October 5, 2019 – Cragsmoor, NY
Difficulty: Easy – Moderate
Length: Approximately 5.2 miles
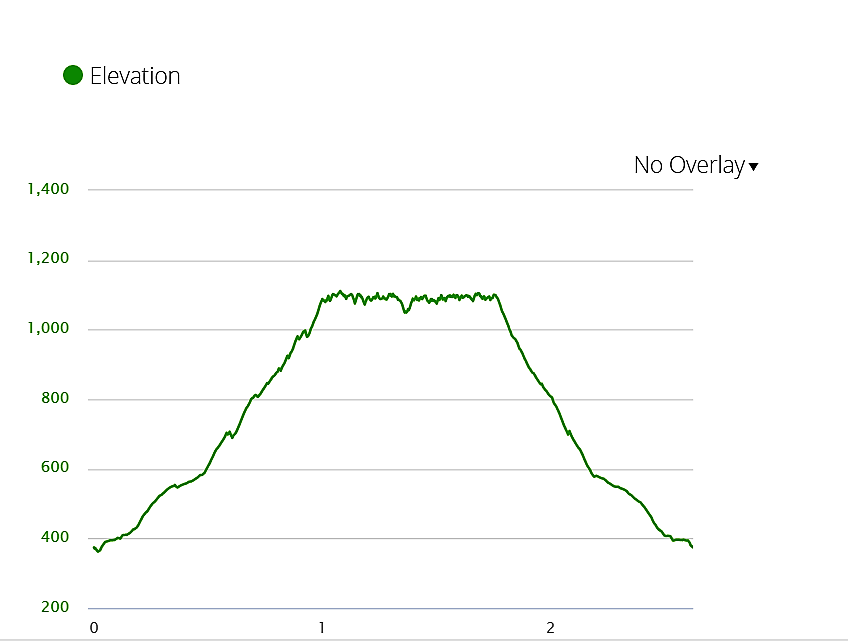
Max elevation: 2,273 ft.– total elevation gain approximately 603 ft.
Route type: Circuit
Map: Shawangunk Trails #104
Fee: $10.00 per vehicle – Empire Pass Accepted
Trailhead parking: 400 Sam’s Point Road – Cragsmoor, NY 12420
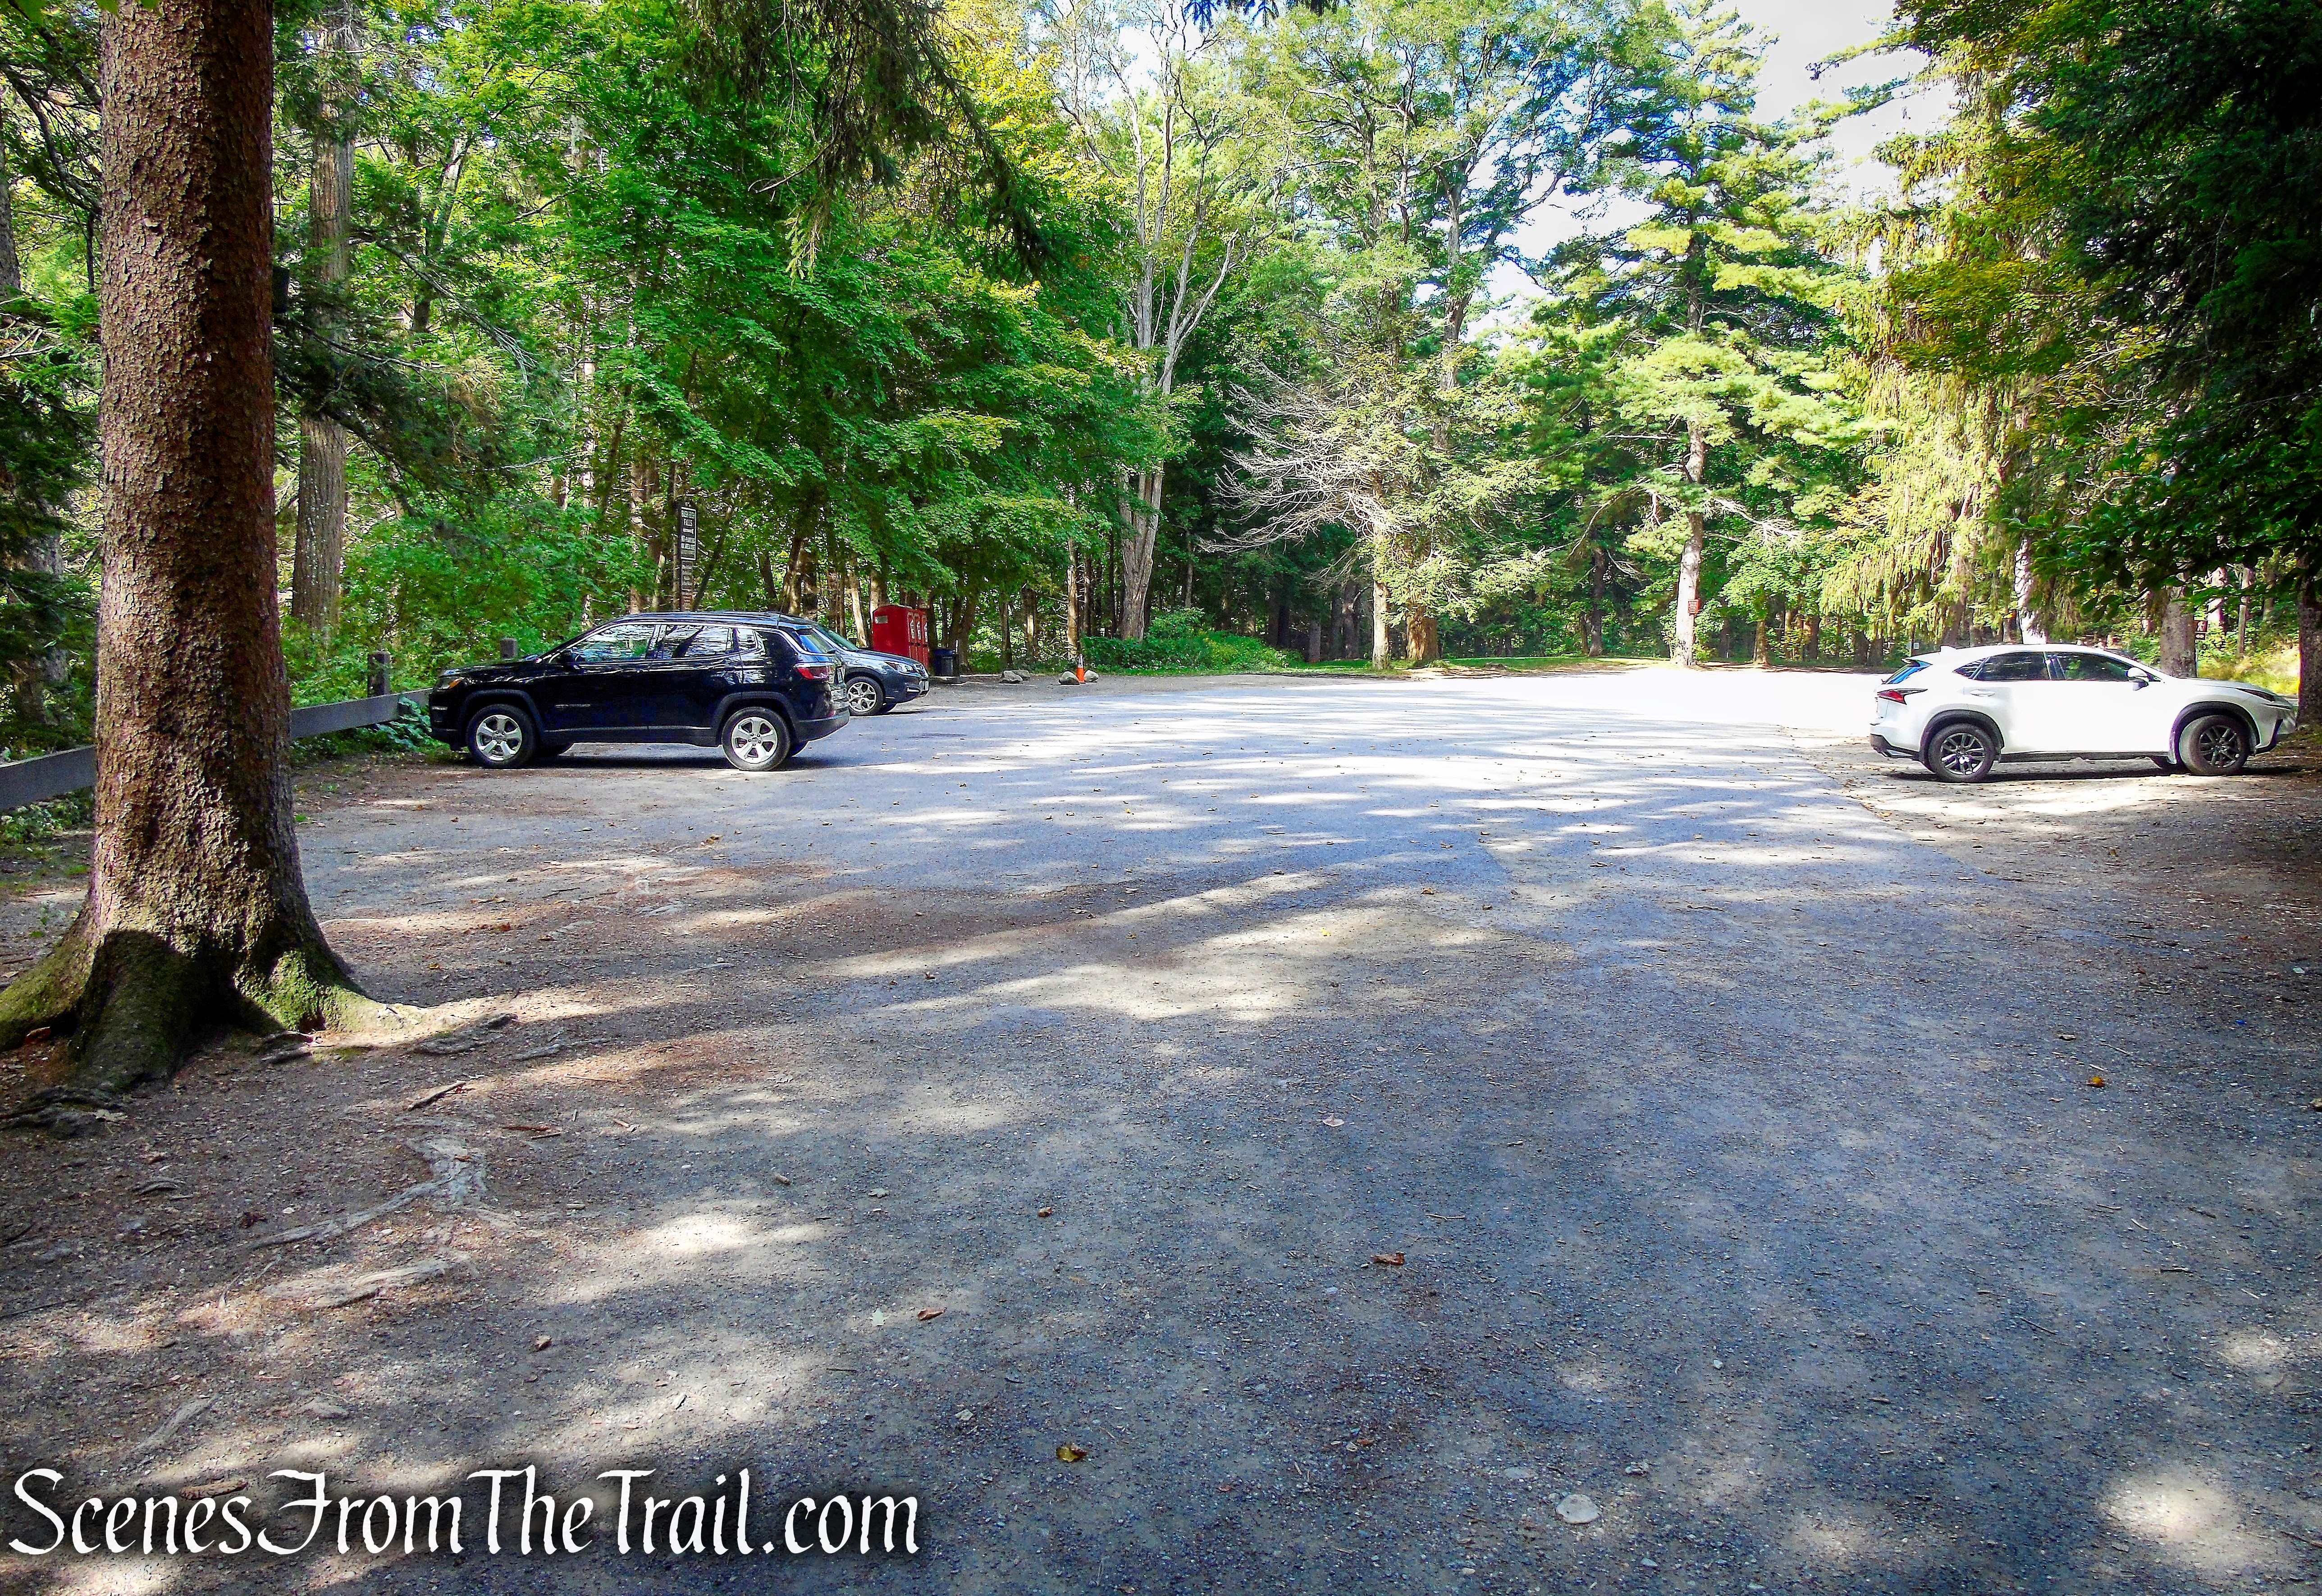
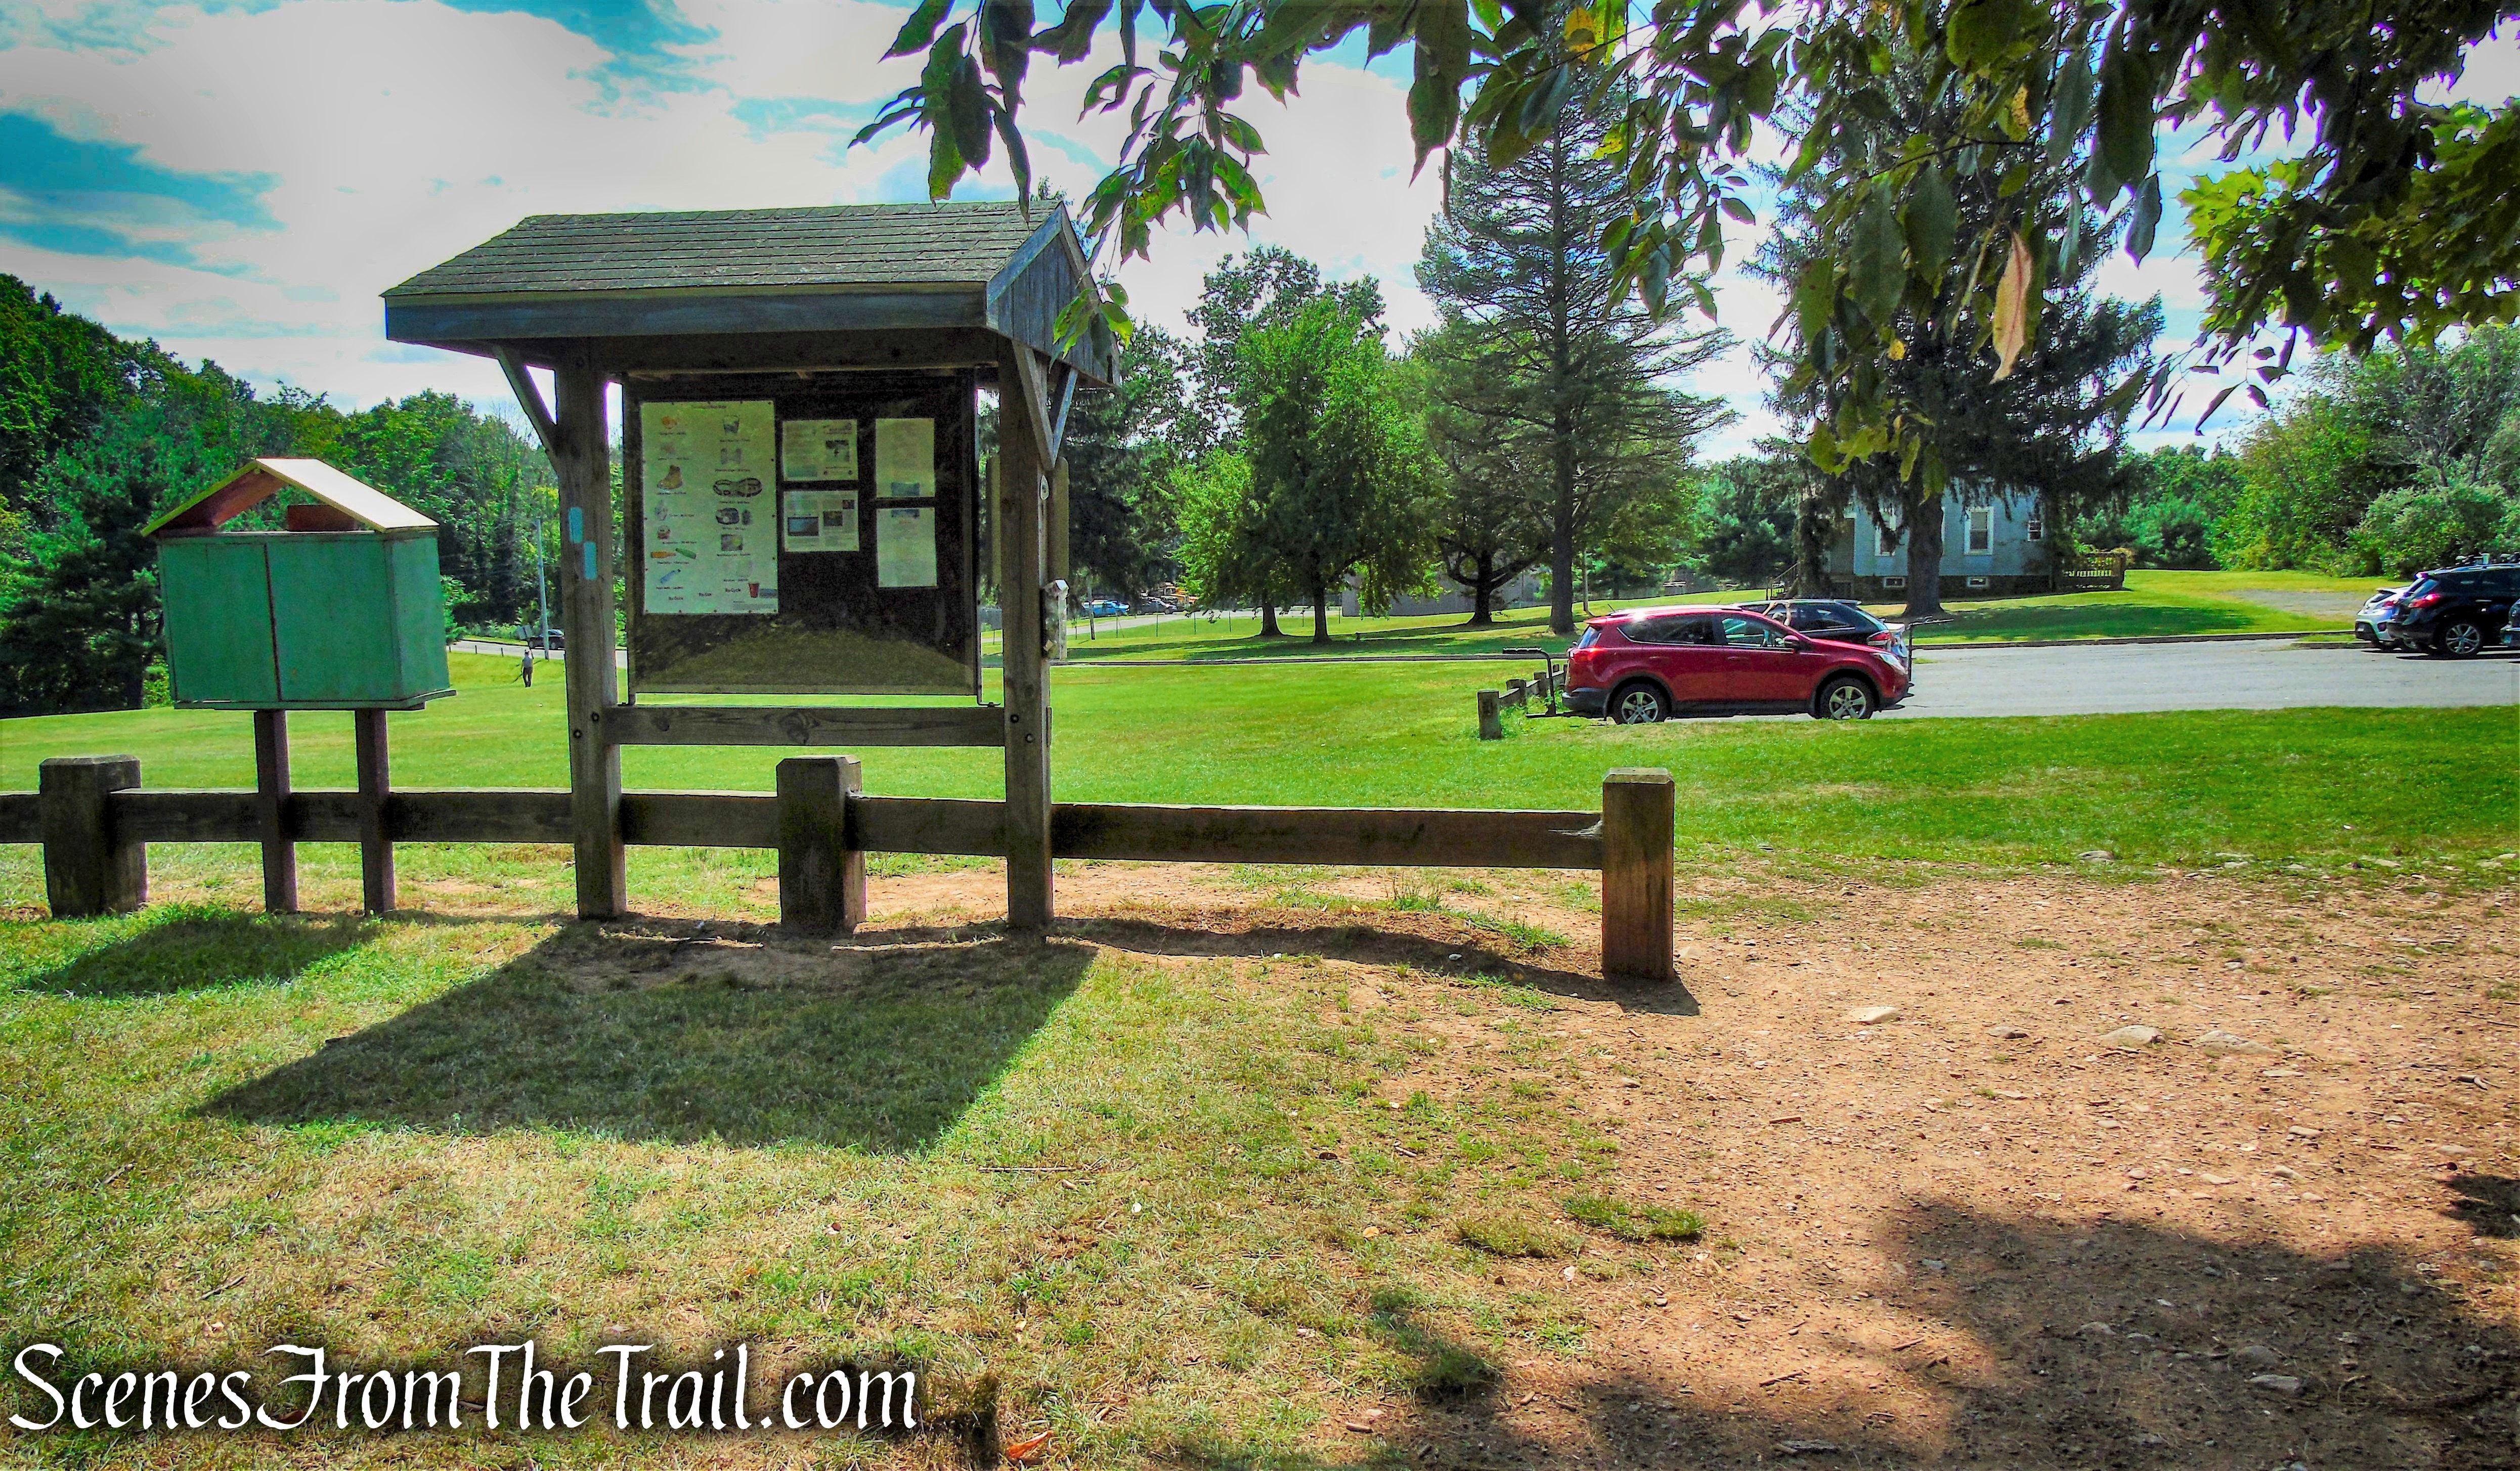
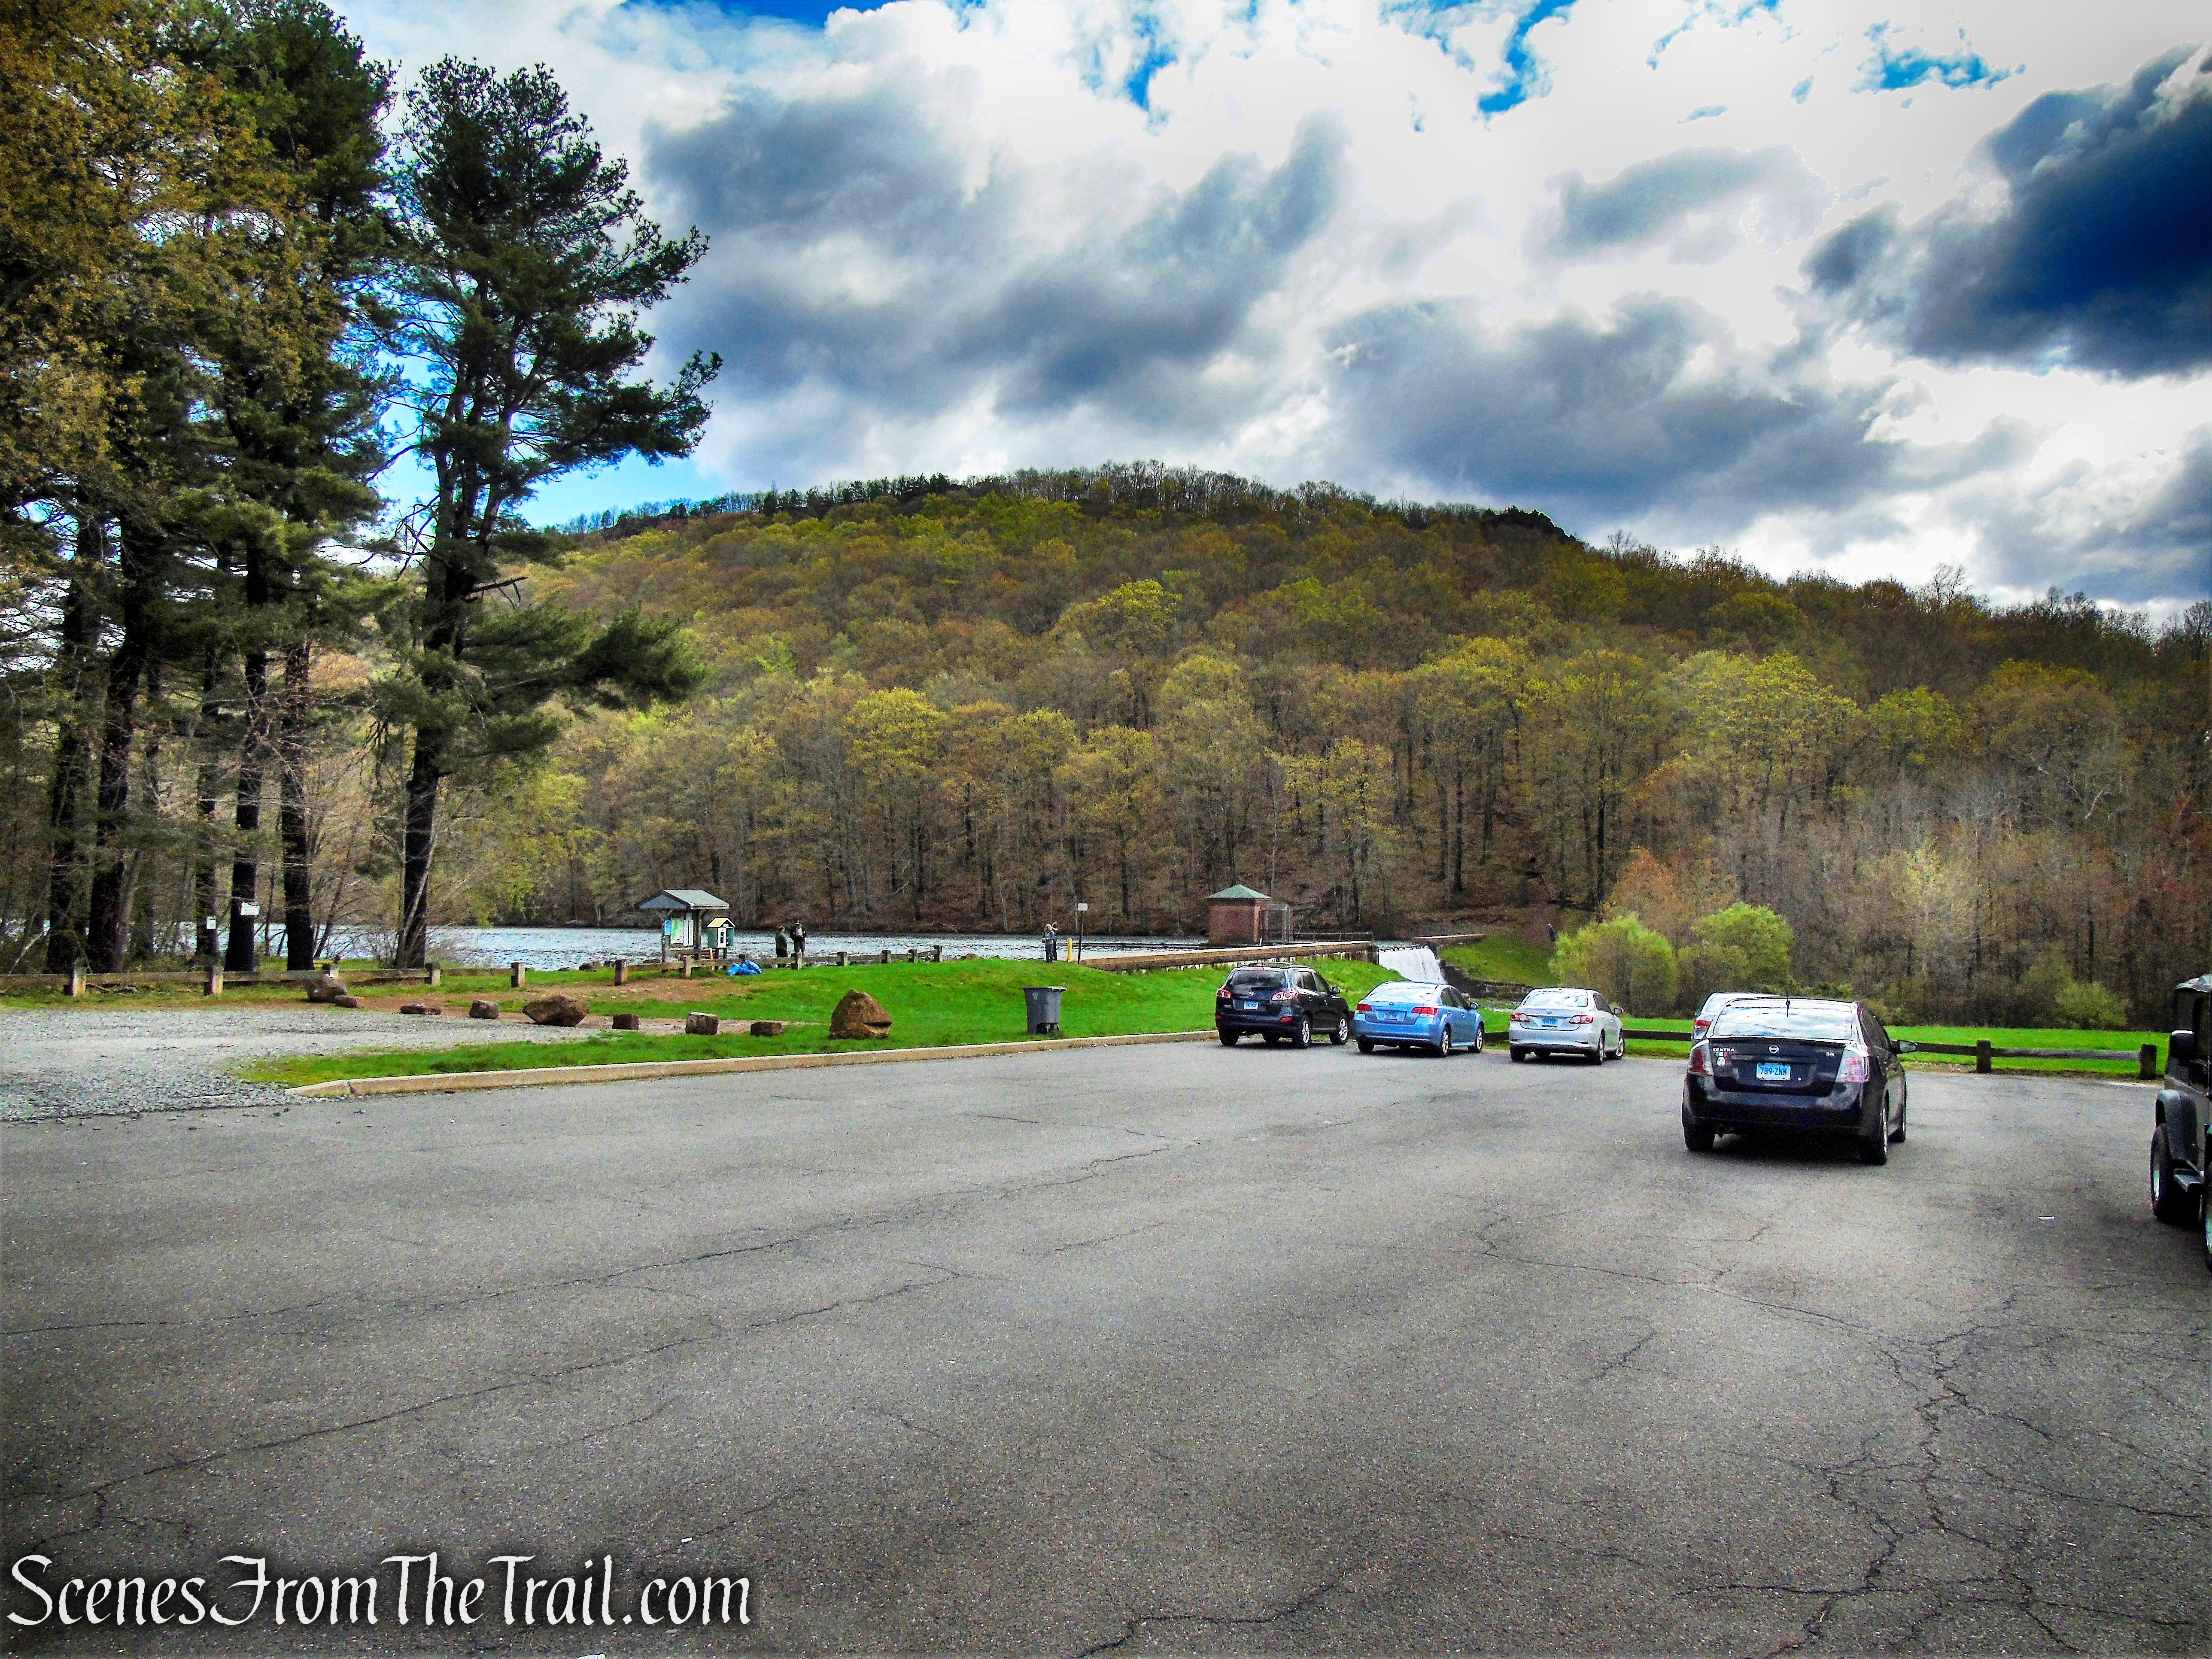
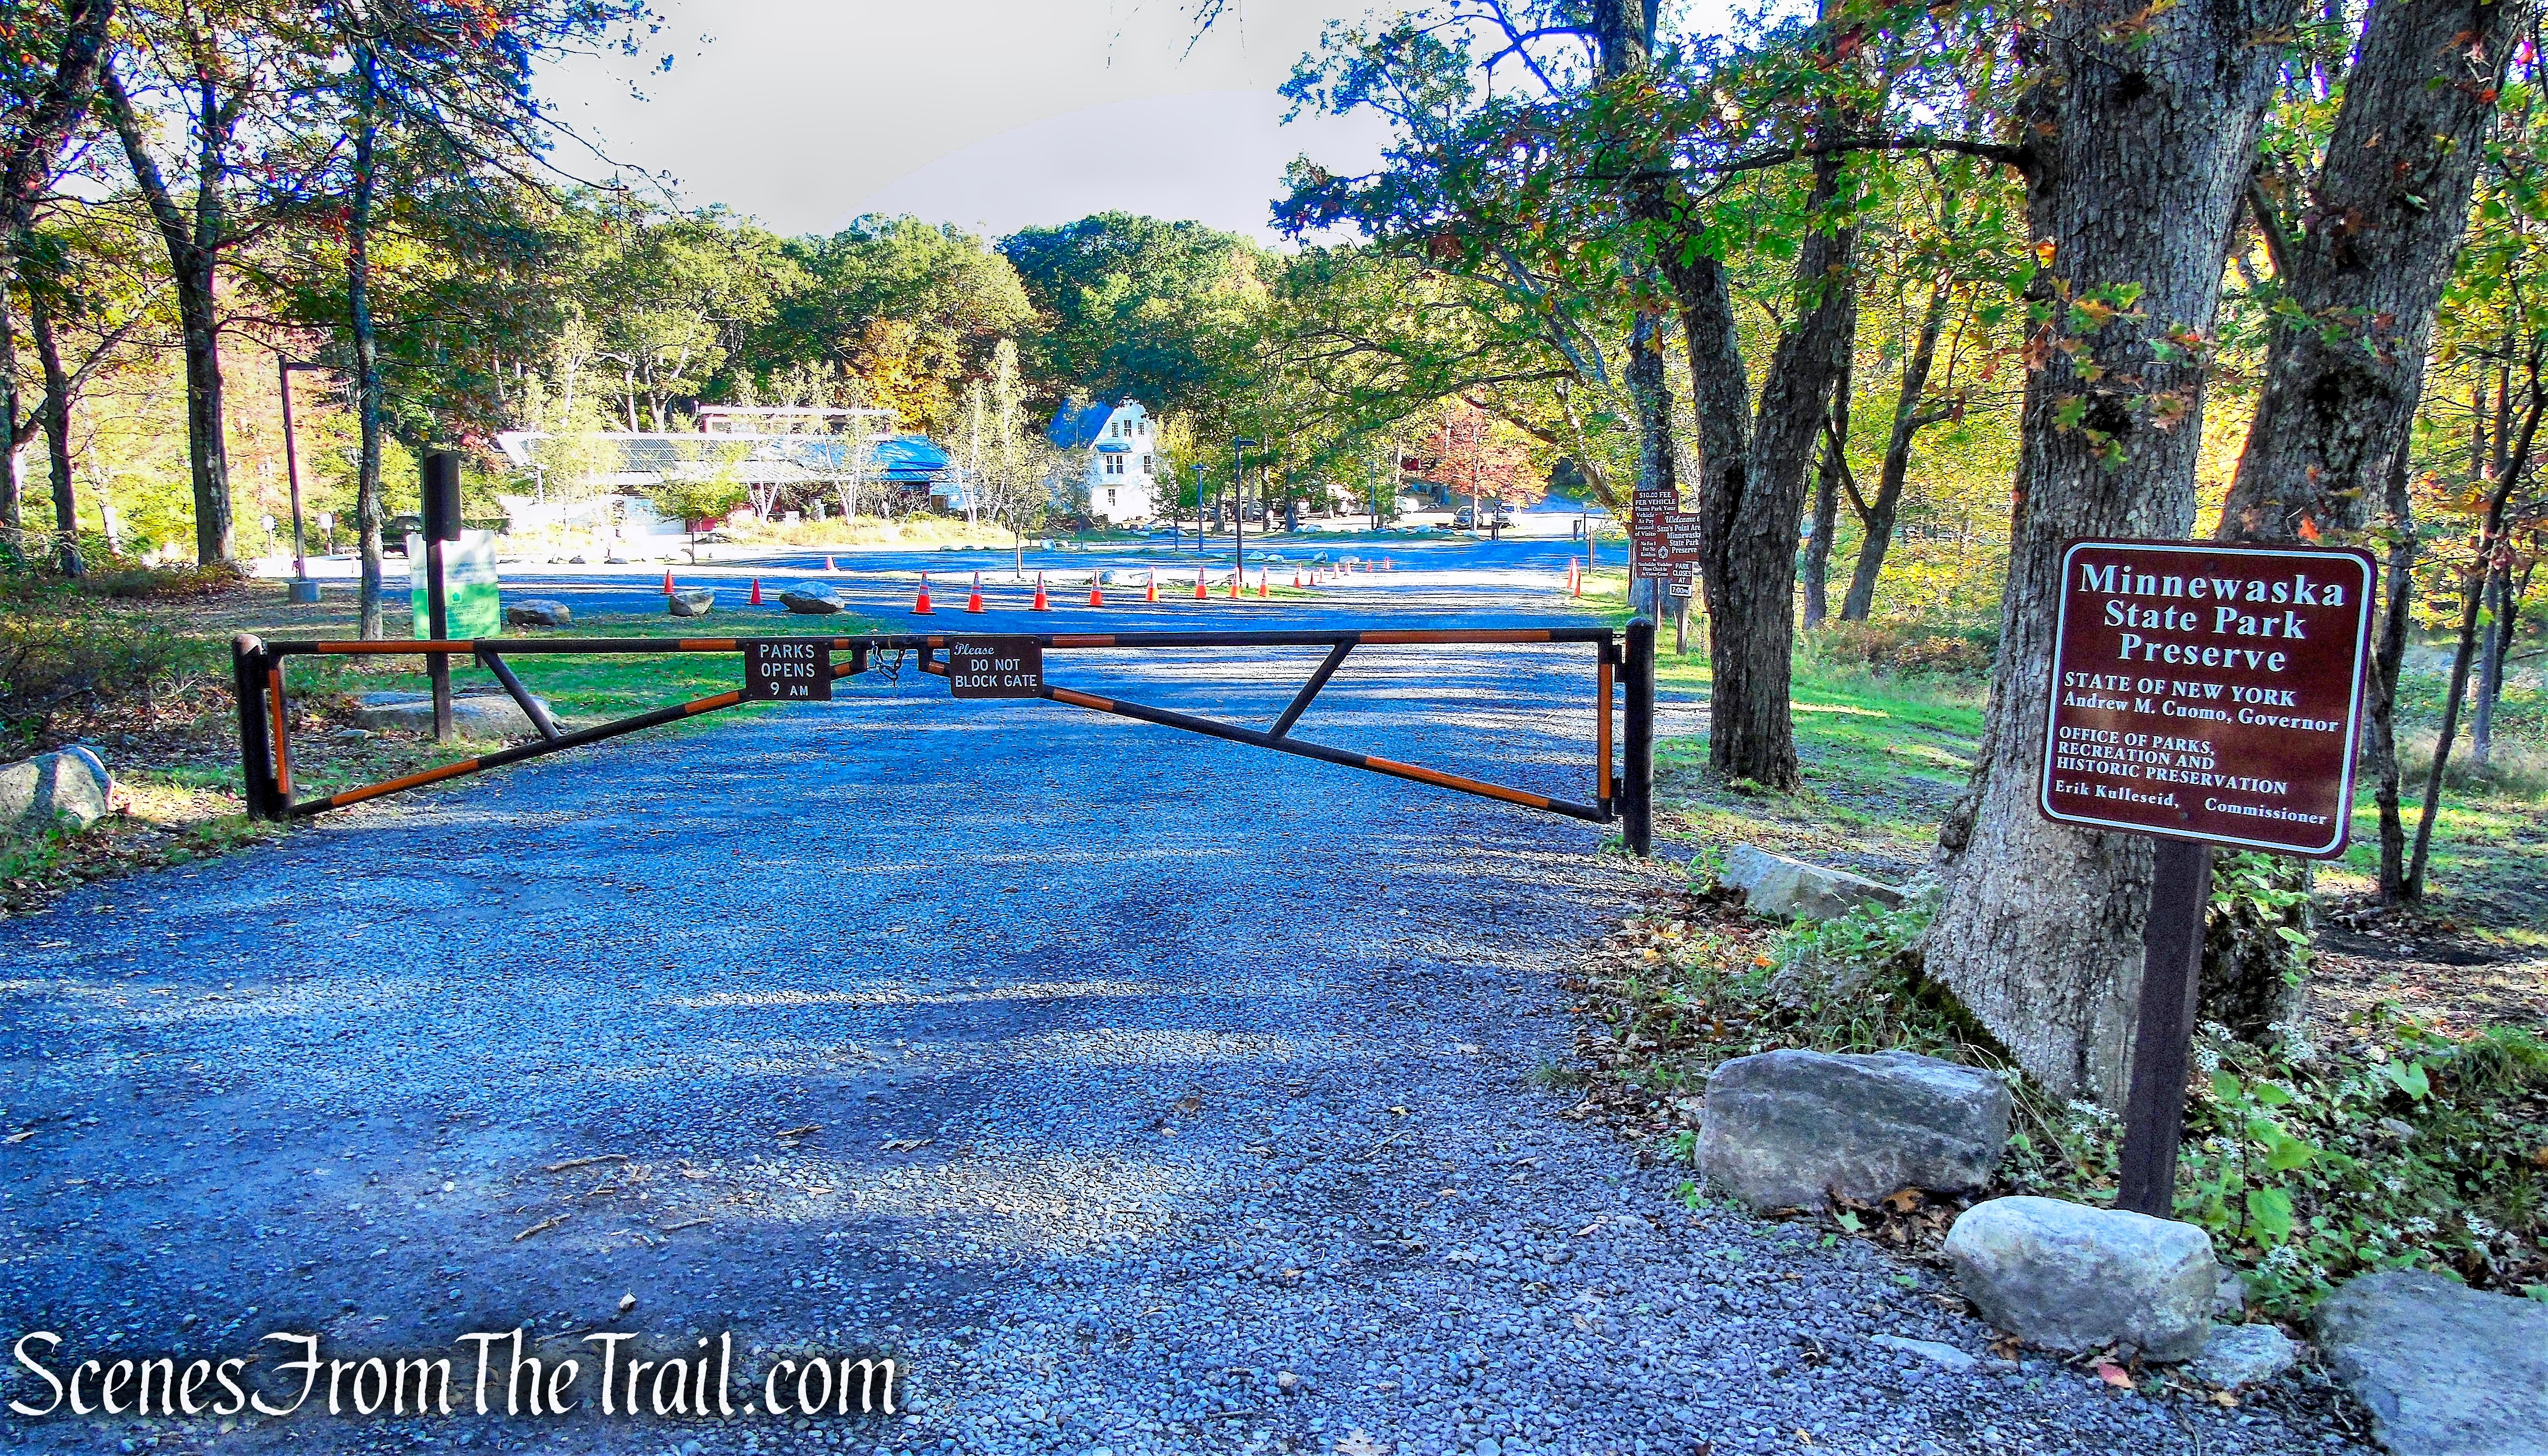
Please Note: The vehicle use fee is $10 per car. Sam’s Point has a small parking facility, with room for 64 cars and 2 buses.
As of April 2022 – Reservations are required weekends and holidays ONLY, from May 1st through October 31st for the Sam’s Point Area of Minnewaska State Park Preserve.
Reservations are for Day Pass ONLY, and required for a morning session starting at 9AM to end at 2PM or afternoon session starting at 2PM to end at posted park closing time. All morning reservations must arrive between 9 AM and 11 AM. Reservations may be purchased up to 14 days before a visit and up to 8 am on the day of a visit for an AM reservation and 1 pm for a PM reservation. There is a limit of 65 permits issued per session. The vehicle use fee is $10 per car and the reservation fee is 95 cents. If you hold a current Empire Pass, Lifetime Liberty Pass or Access Pass there is no fee to make a reservation. If you have any difficulty making a reservation, call the reserve America call center at 1-800-456-CAMP (2267). Click HERE to make an online reservation.
Synopsis:
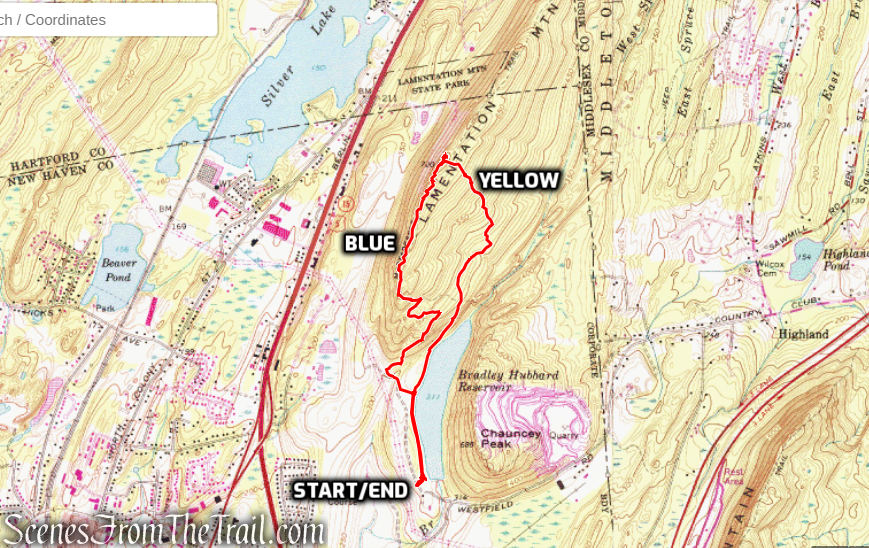
This loop hike follows a wide carriage road as it climbs Sam’s Point to spectacular views. It leaves the road and follows a narrow path through the crevices of the Ice Caves, and continues on a carriage road around Lake Maratanza and past the ruins of berry pickers shacks before it returns to the parking area.
Park Overview:
The Sam’s Point Preserve, located on the highest section of the Shawangunk Mountains, is the most southerly section of Minnewaska State Park Preserve. The area is comprised of approximately 5,400 acres, and is considered to be the most biologically unique area of the entire ridge, and of all the protected natural areas of the Shawangunks, is the least fragmented by hiking trails and carriage roads.
The landscape at Sam’s Point is defined by the dramatic cliffs, talus and slab rock that are all part of the high flat plateau that makes up the Preserve. The top of the plateau is dominated by unique dwarf pitch pine barrens, and is considered one of the world’s best examples of this globally rare plant community.
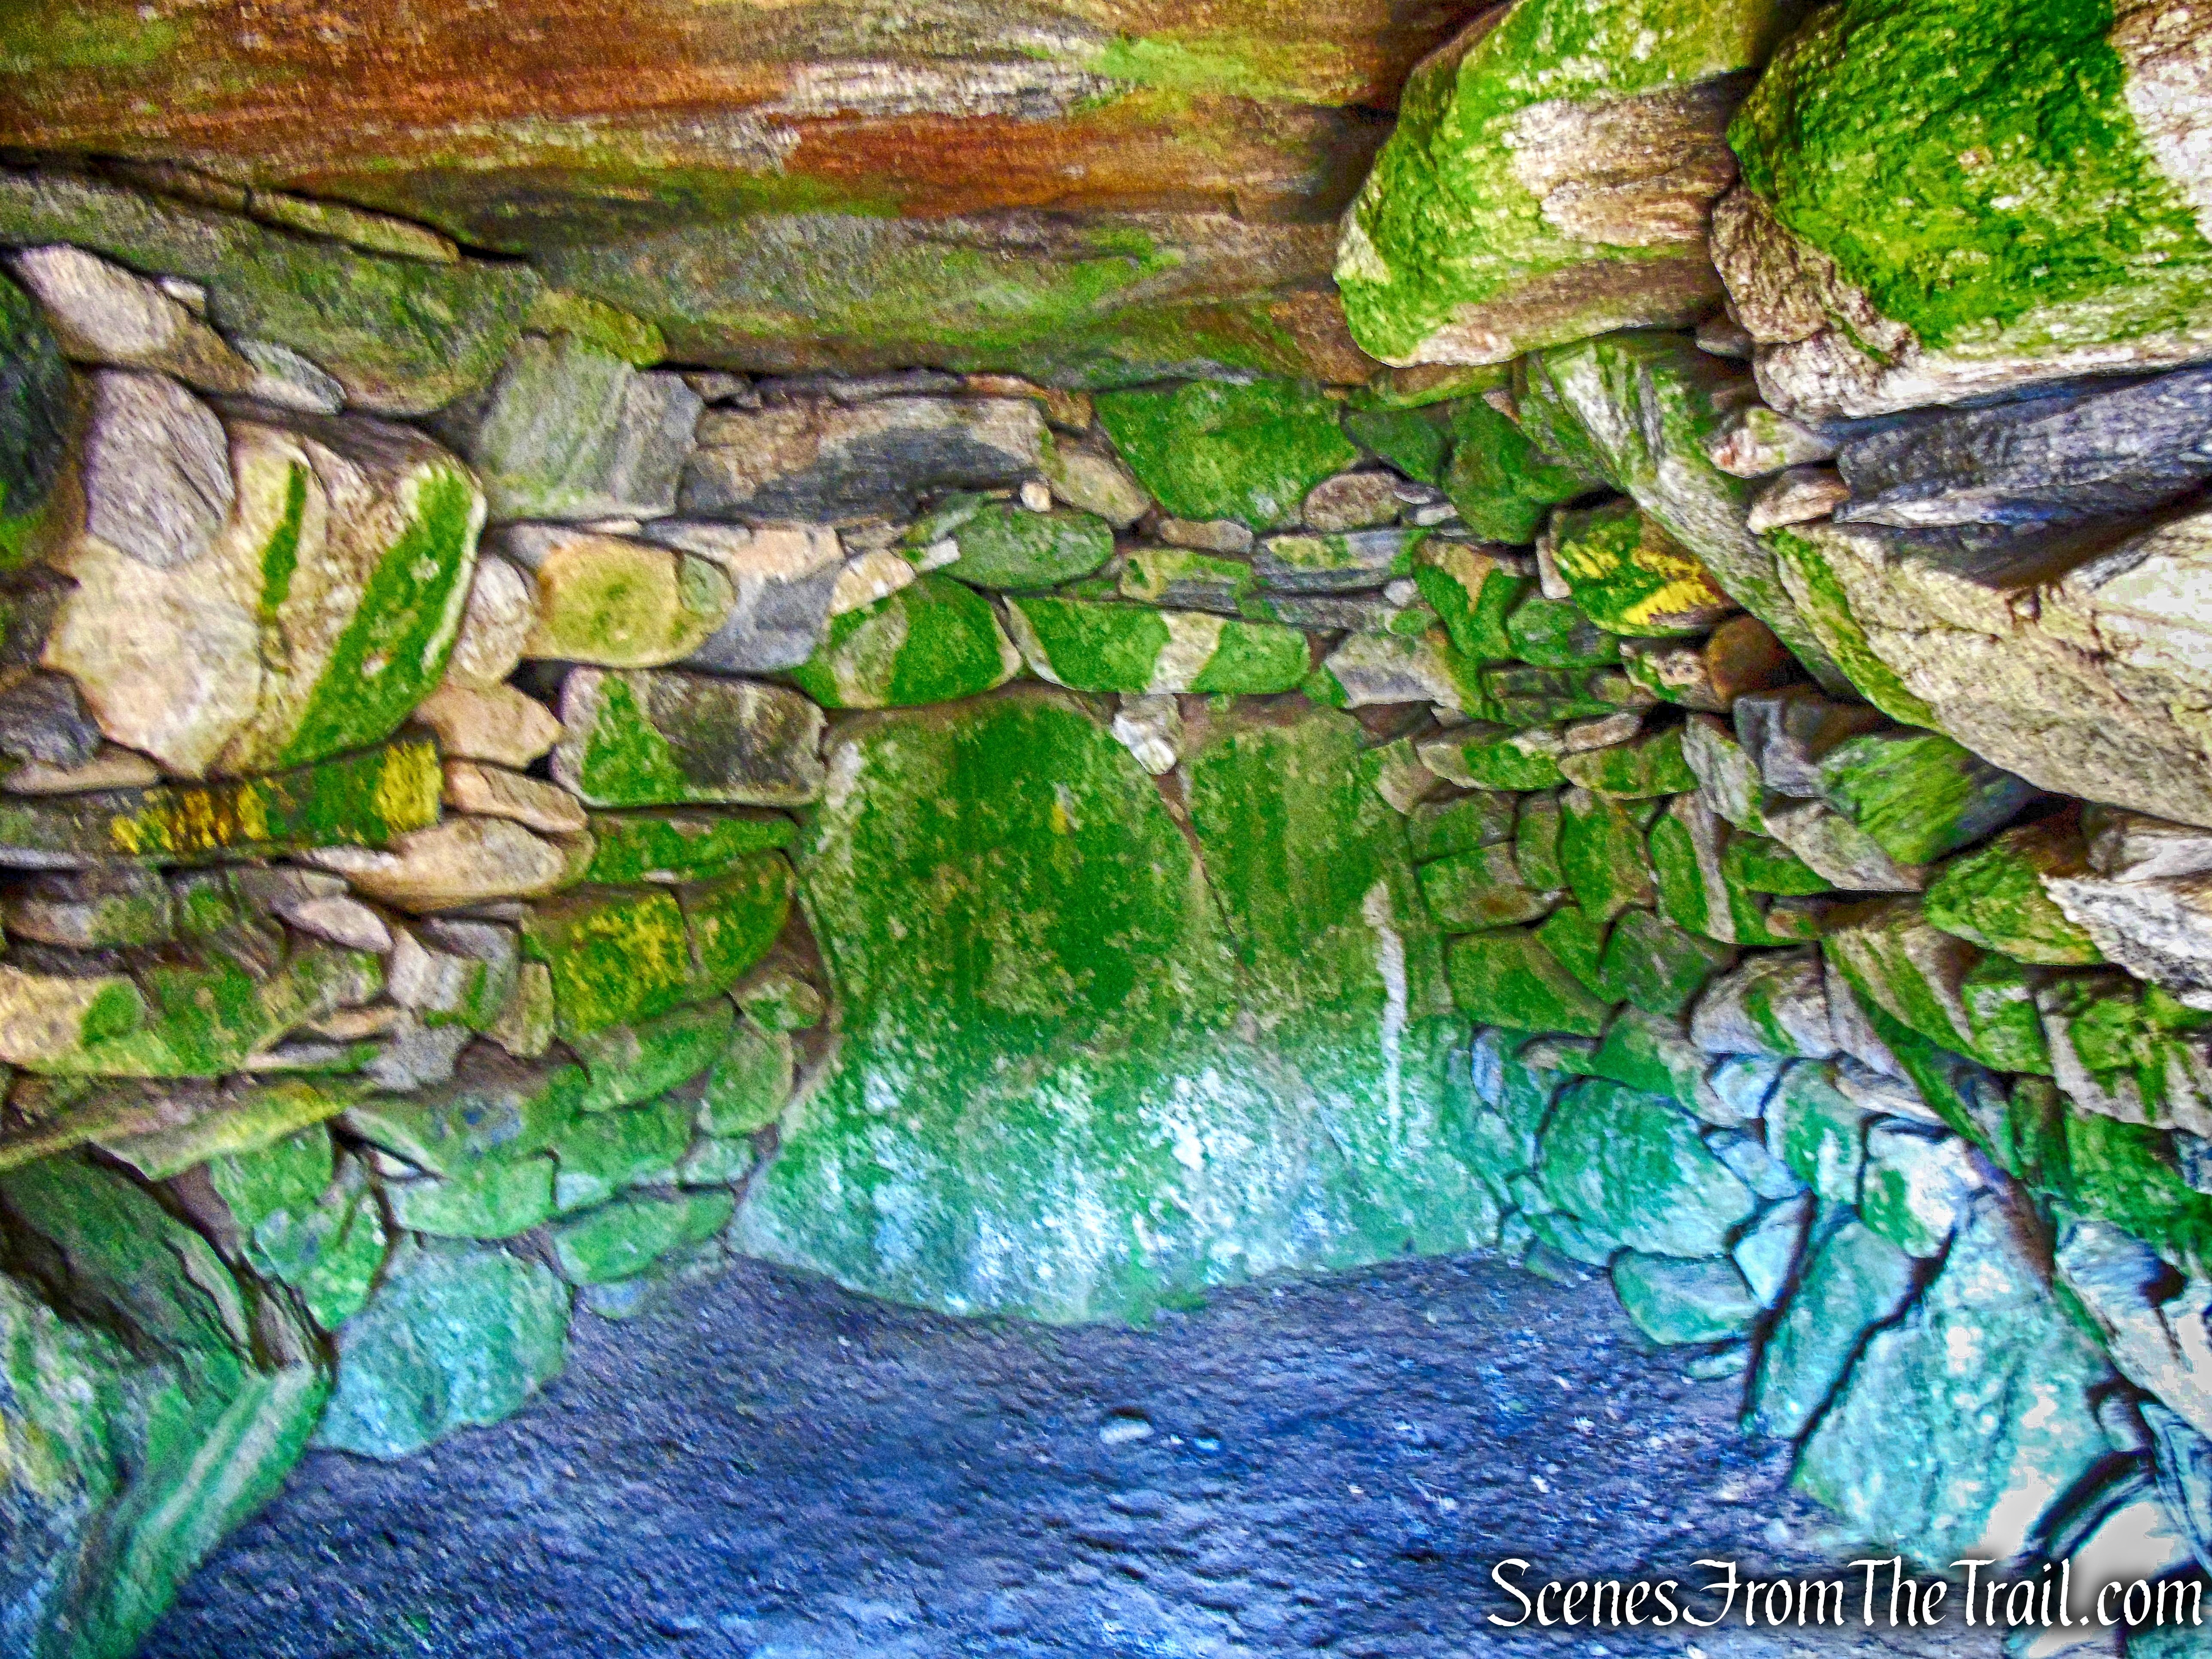
In addition to the unique pine barrens, Sam’s Point Preserve is well-known for the presence of ice caves on the property. Crevice caves, located generally in the talus slopes below the cliffs, retain ice and snow into the late spring and early summer months and are a cool and popular destination for hikers. One set of these caves on the east side of the Preserve are easily accessed by foot on a trail including boardwalks and reached by carriage roads.
Sam’s Point Preserve is open to the public year round for passive recreation including hiking, educational activities, show-shoeing and skiing.
Formerly managed by The Nature Conservancy, Sam’s Point Preserve became a part of Minnewaska State Park Preserve in 2015. It is now owned and operated by the New York State Office of Parks, Recreation and Historic Preservation.

Minnewaska State Park Preserve – Sam’s Point Area
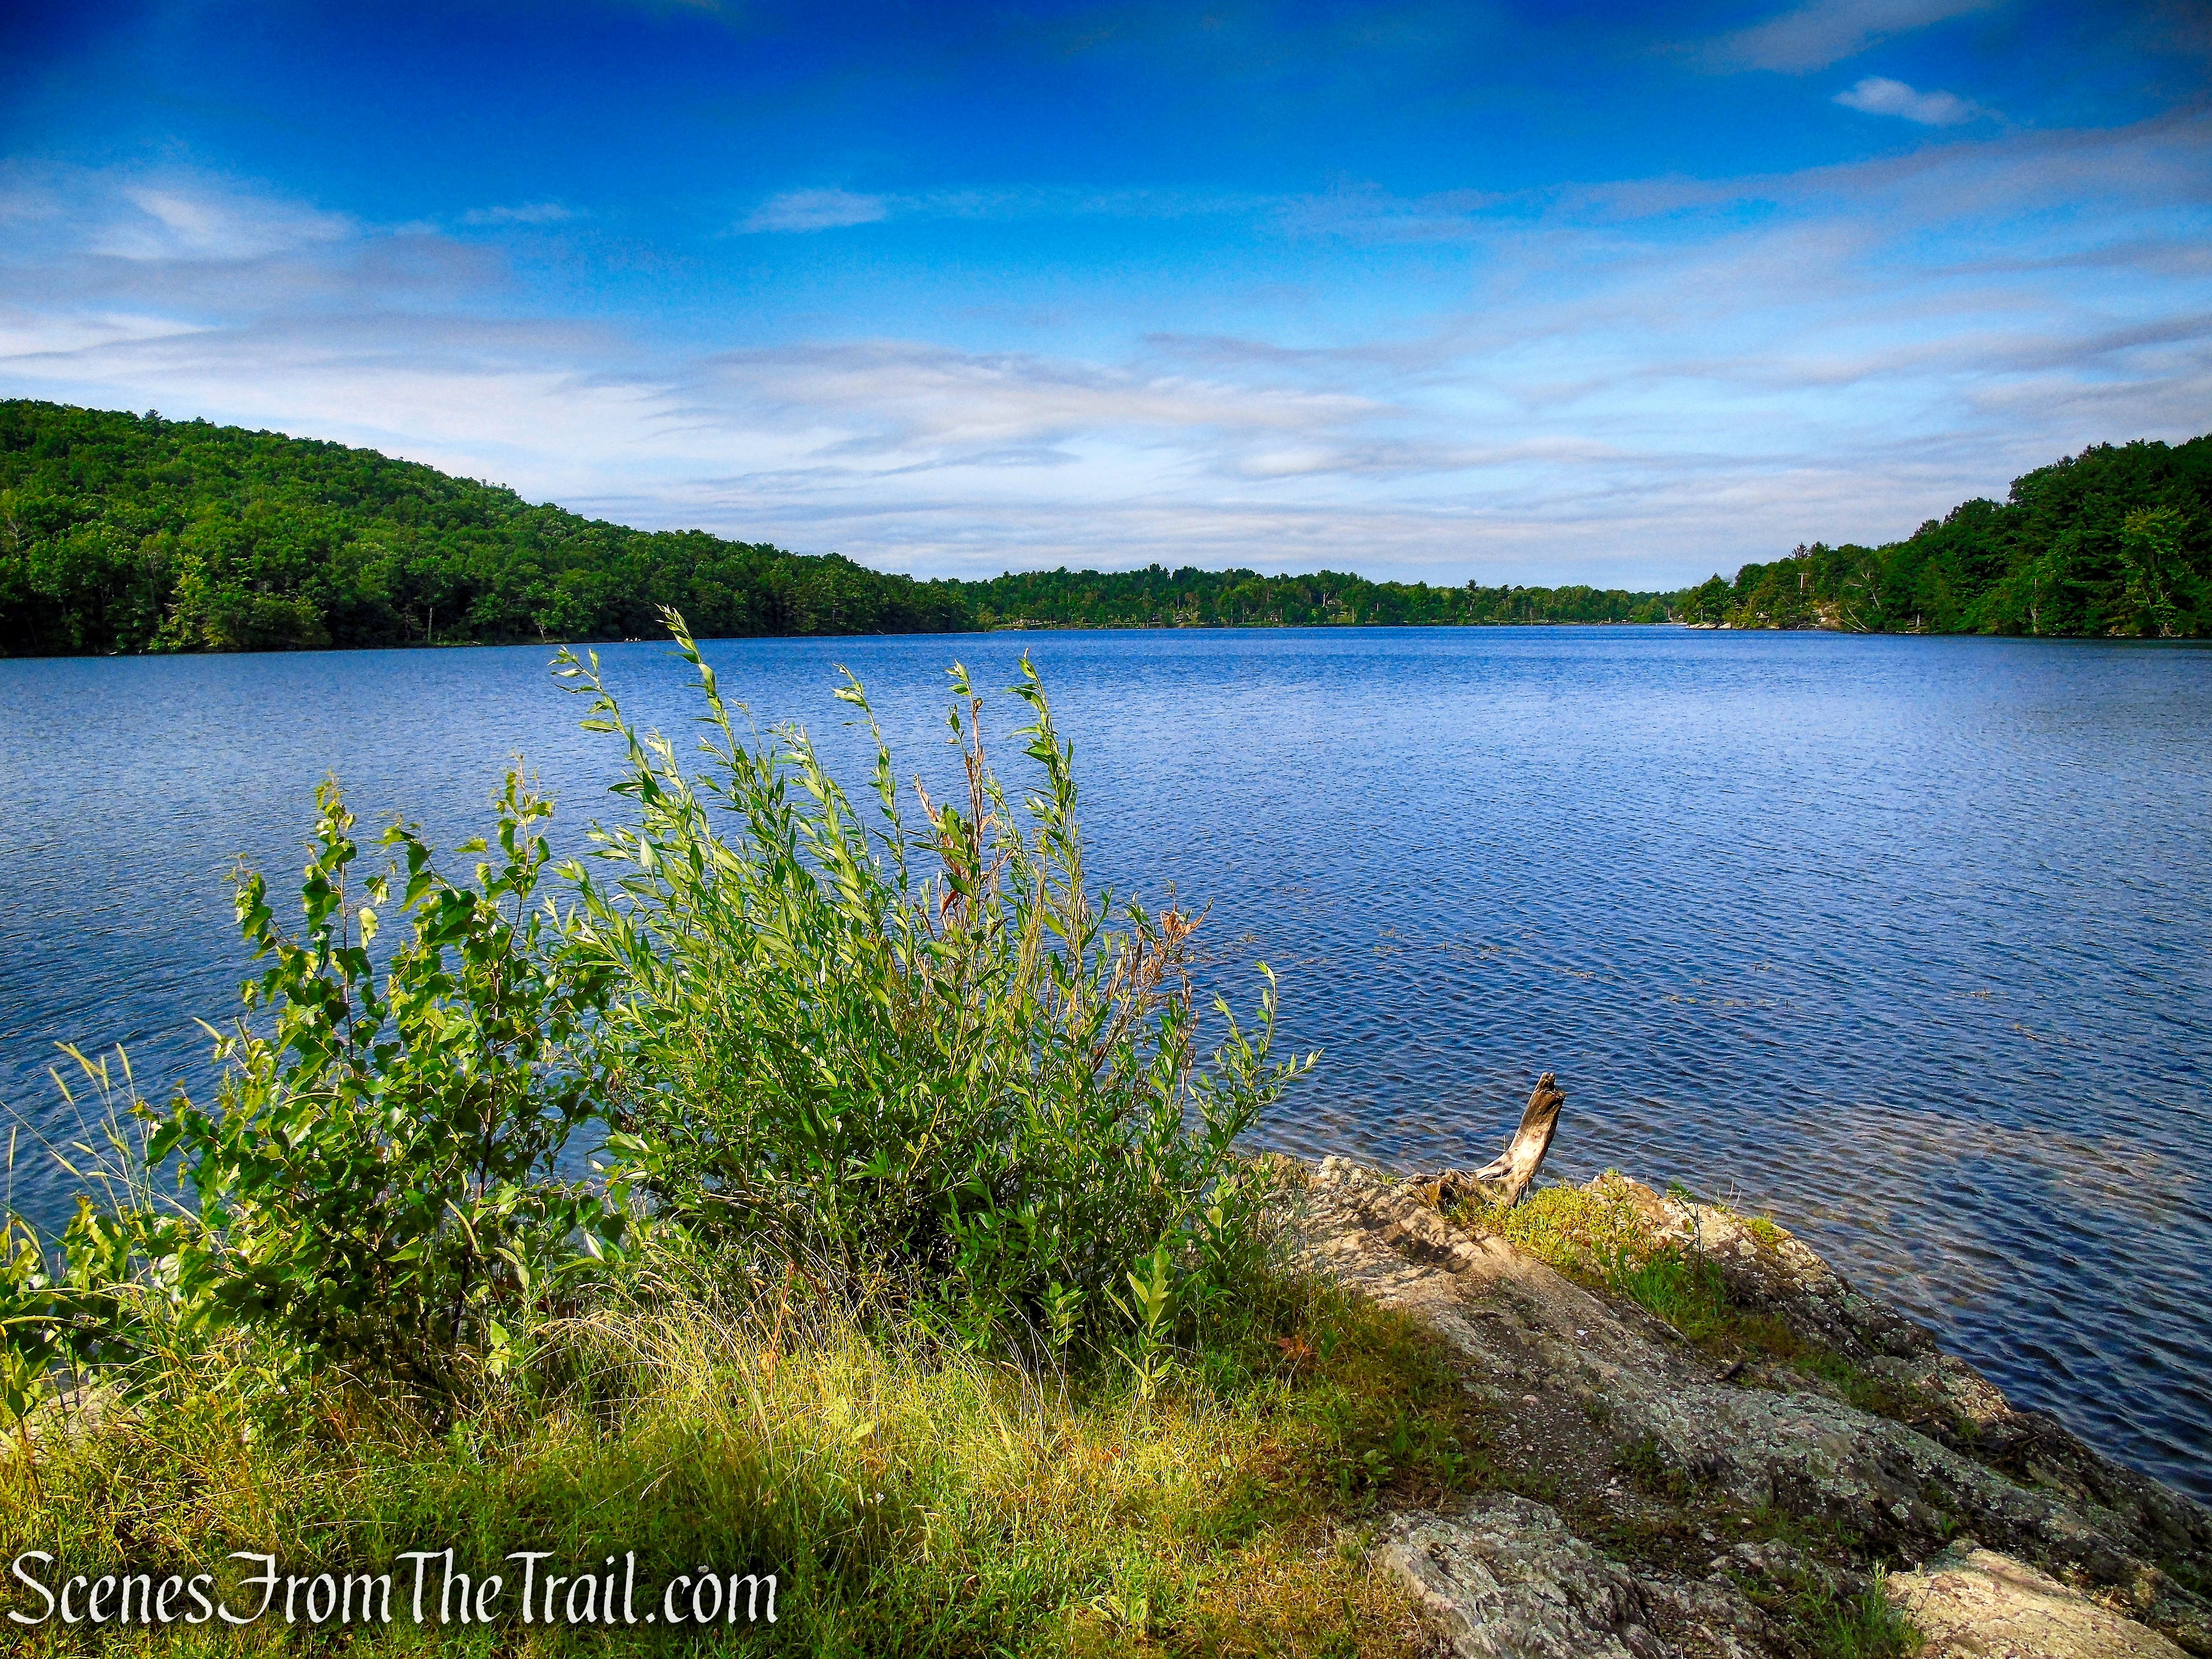
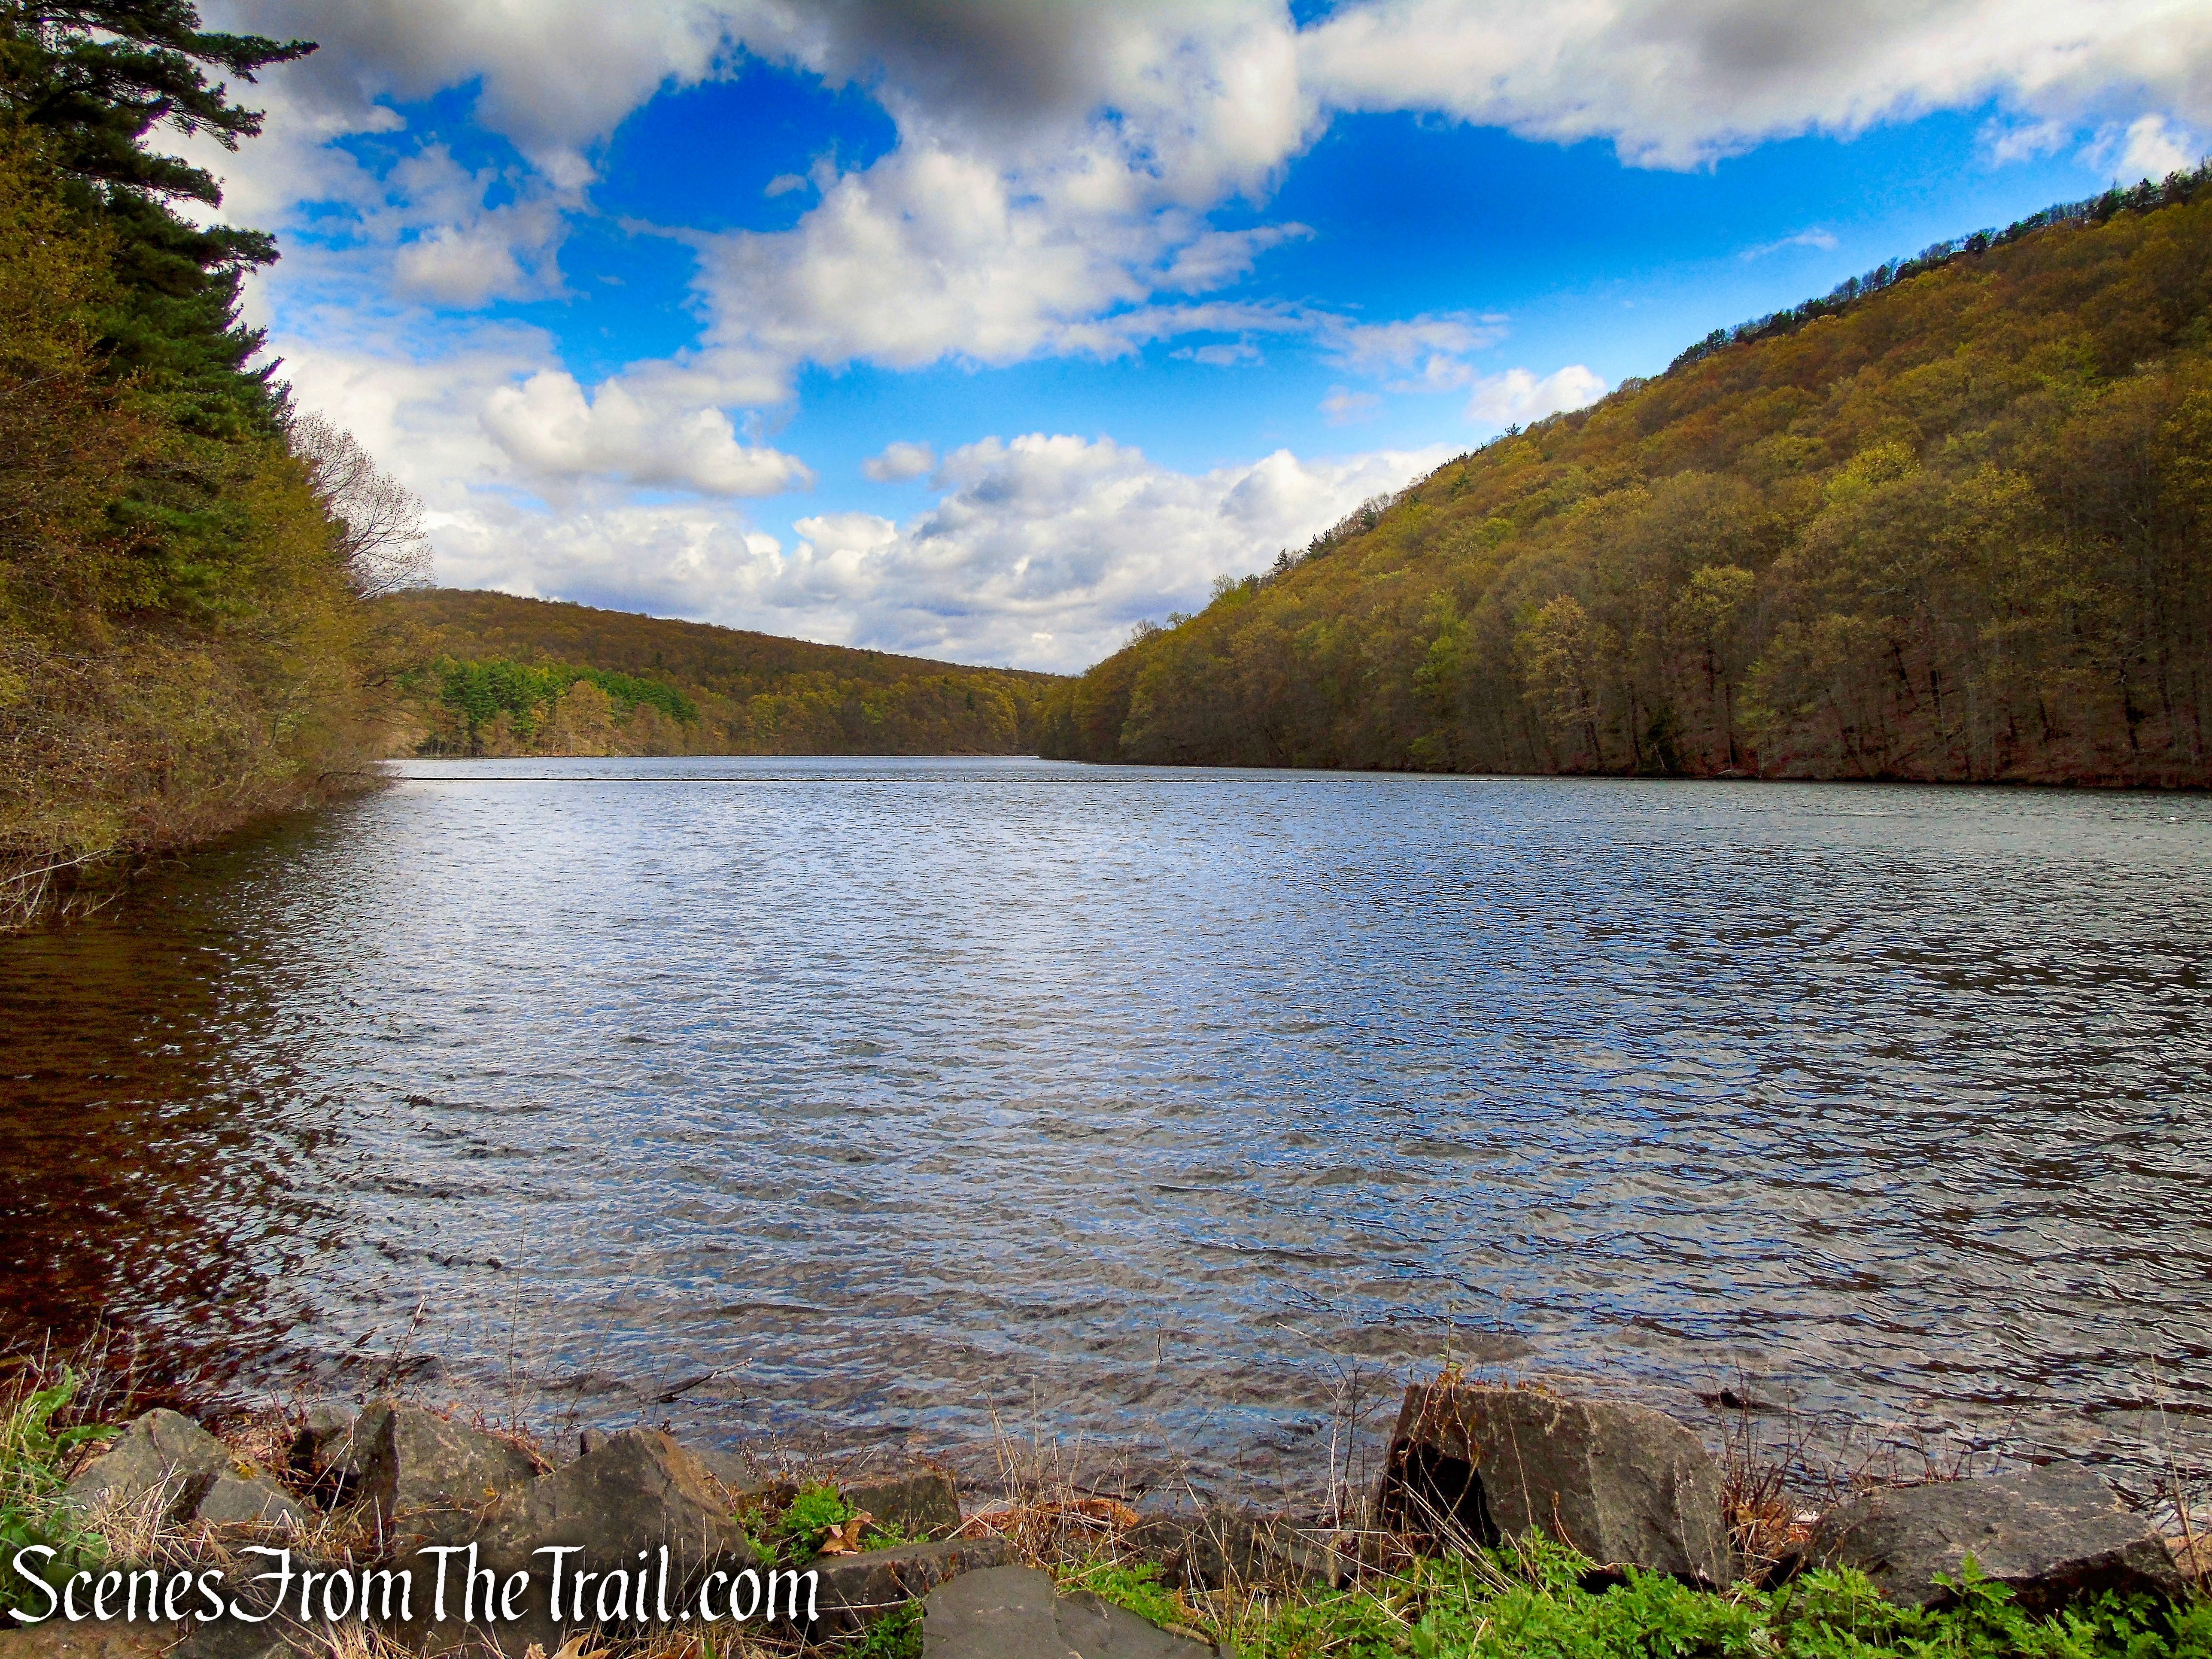
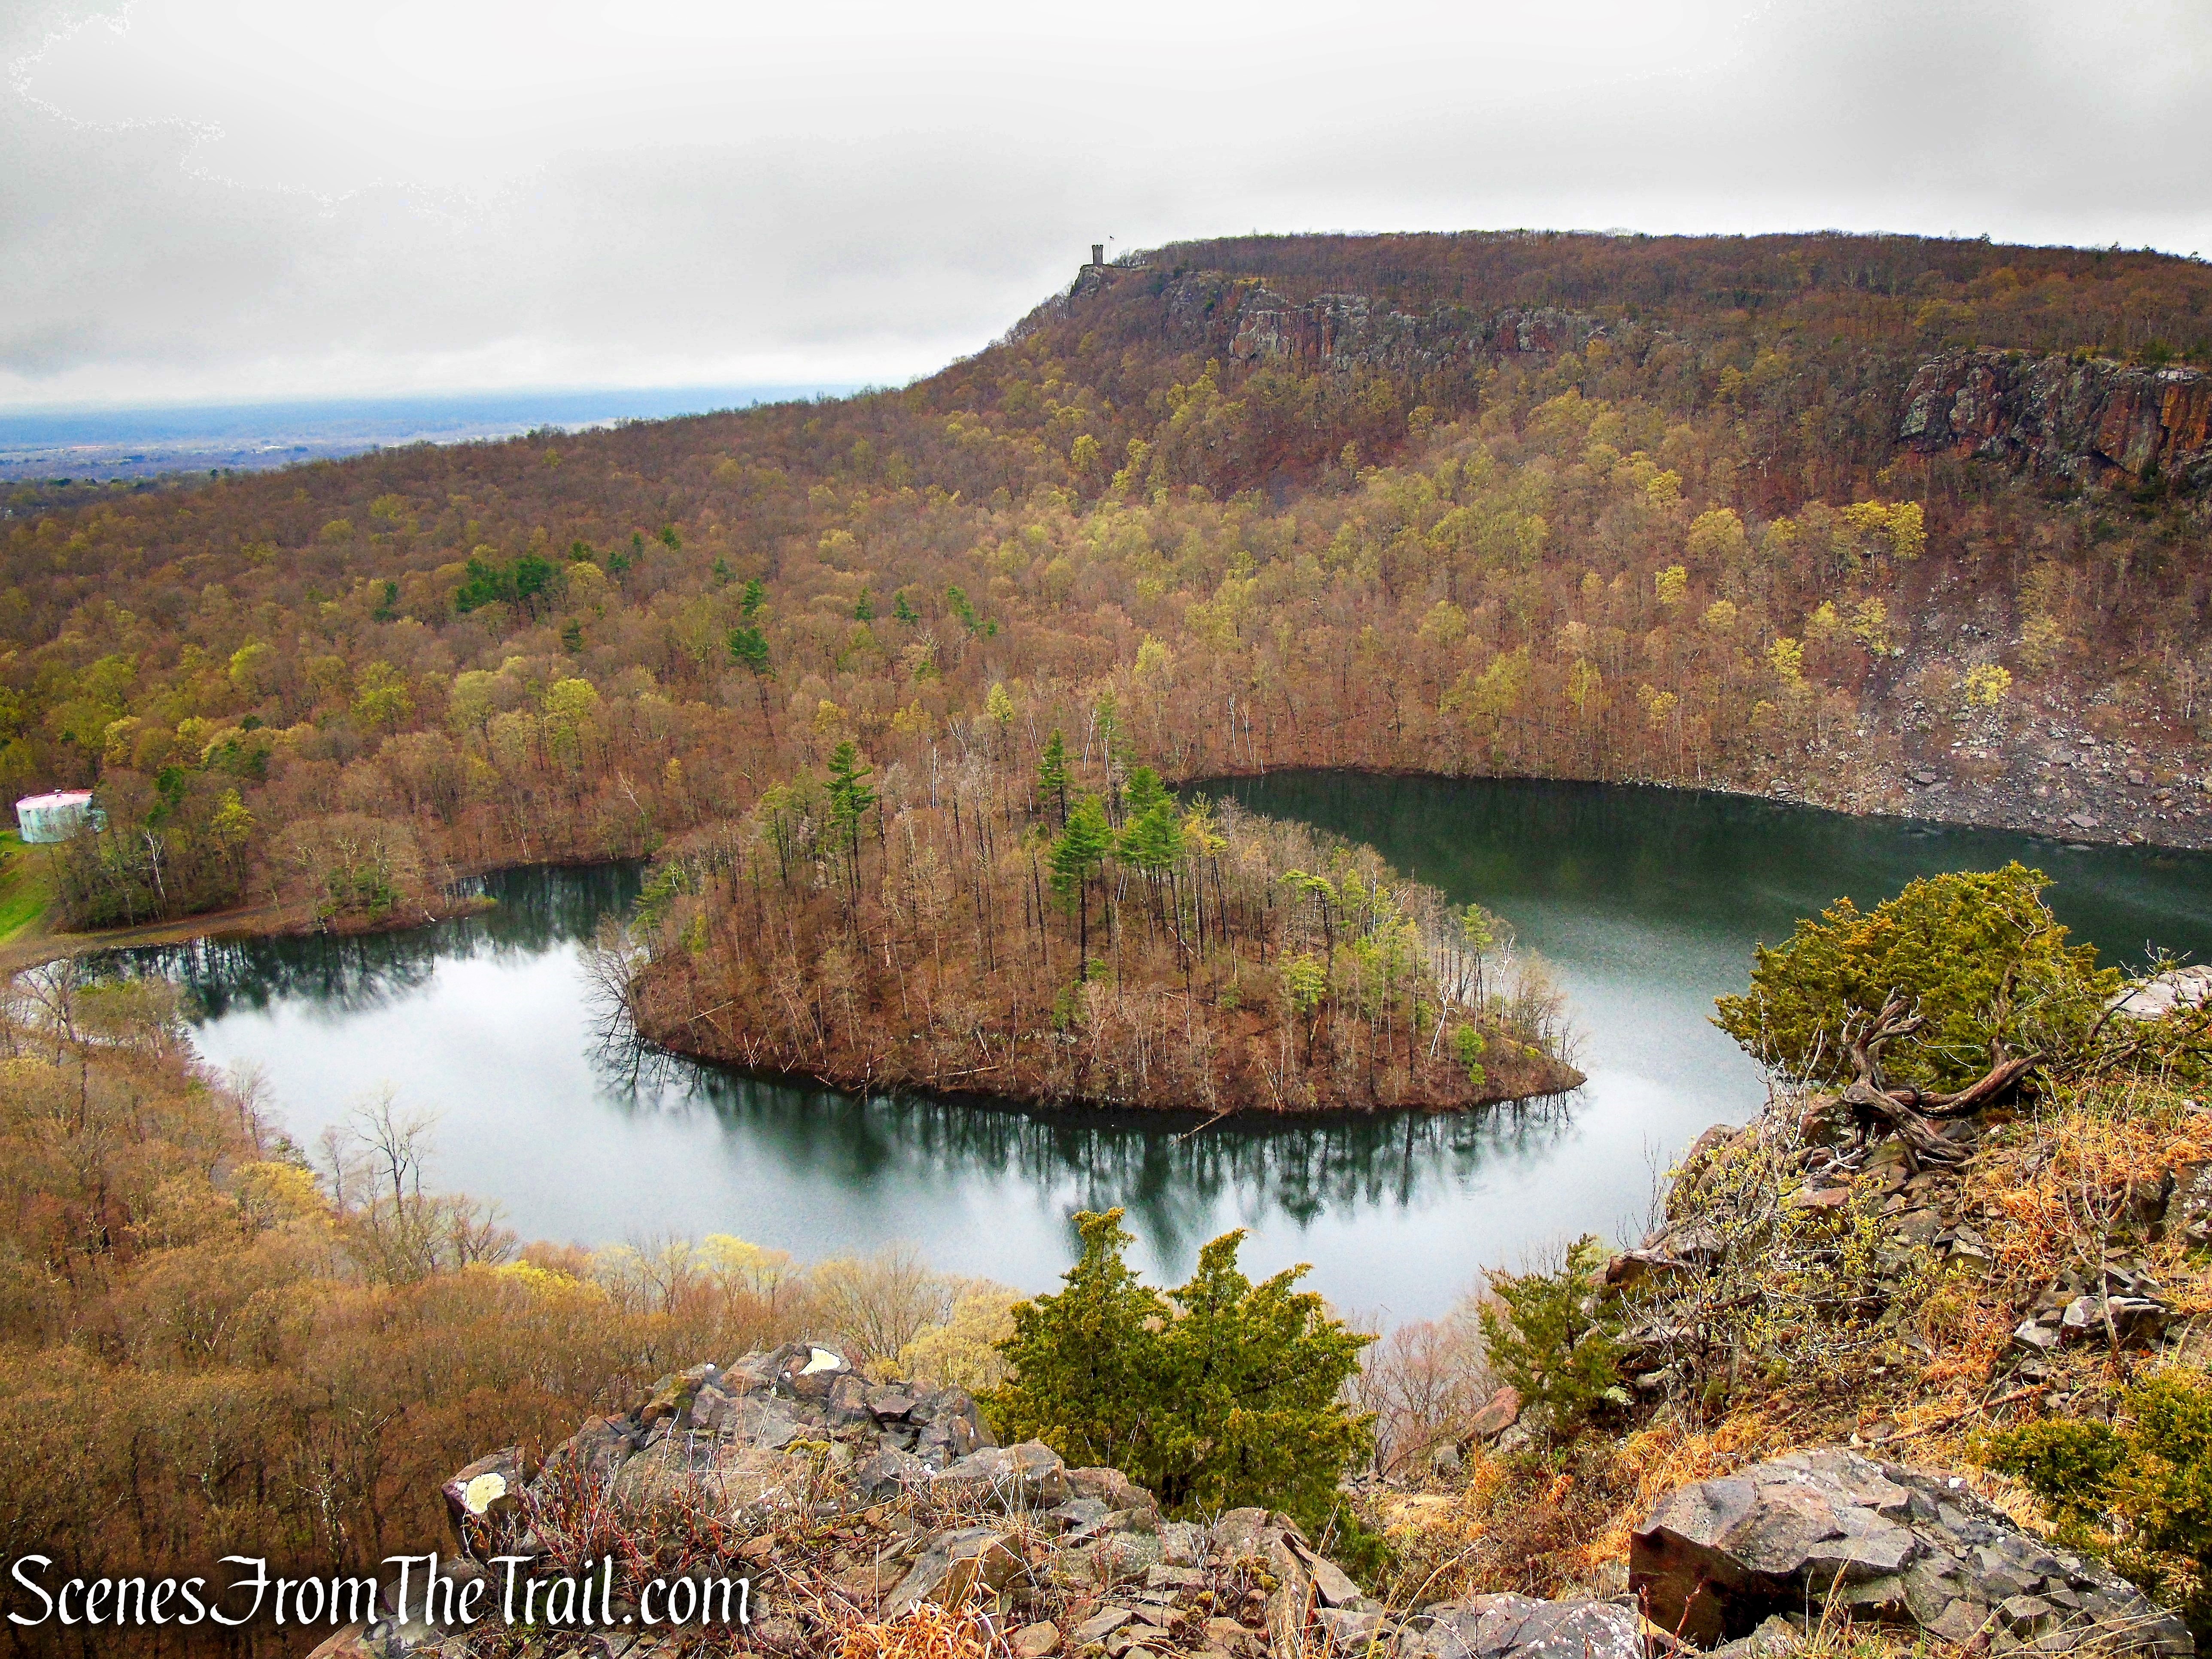
Sam’s Point contains a bounty of natural splendor. It is home to Lake Maratanza, one of the five Shawangunk sky lakes; ice cave crevices that you can explore; cliffs and numerous scenic vistas. Verkeerder Kill Falls, is a spectacular 187 foot high waterfall located on private property, please respect the use of private property and remain on the trail.

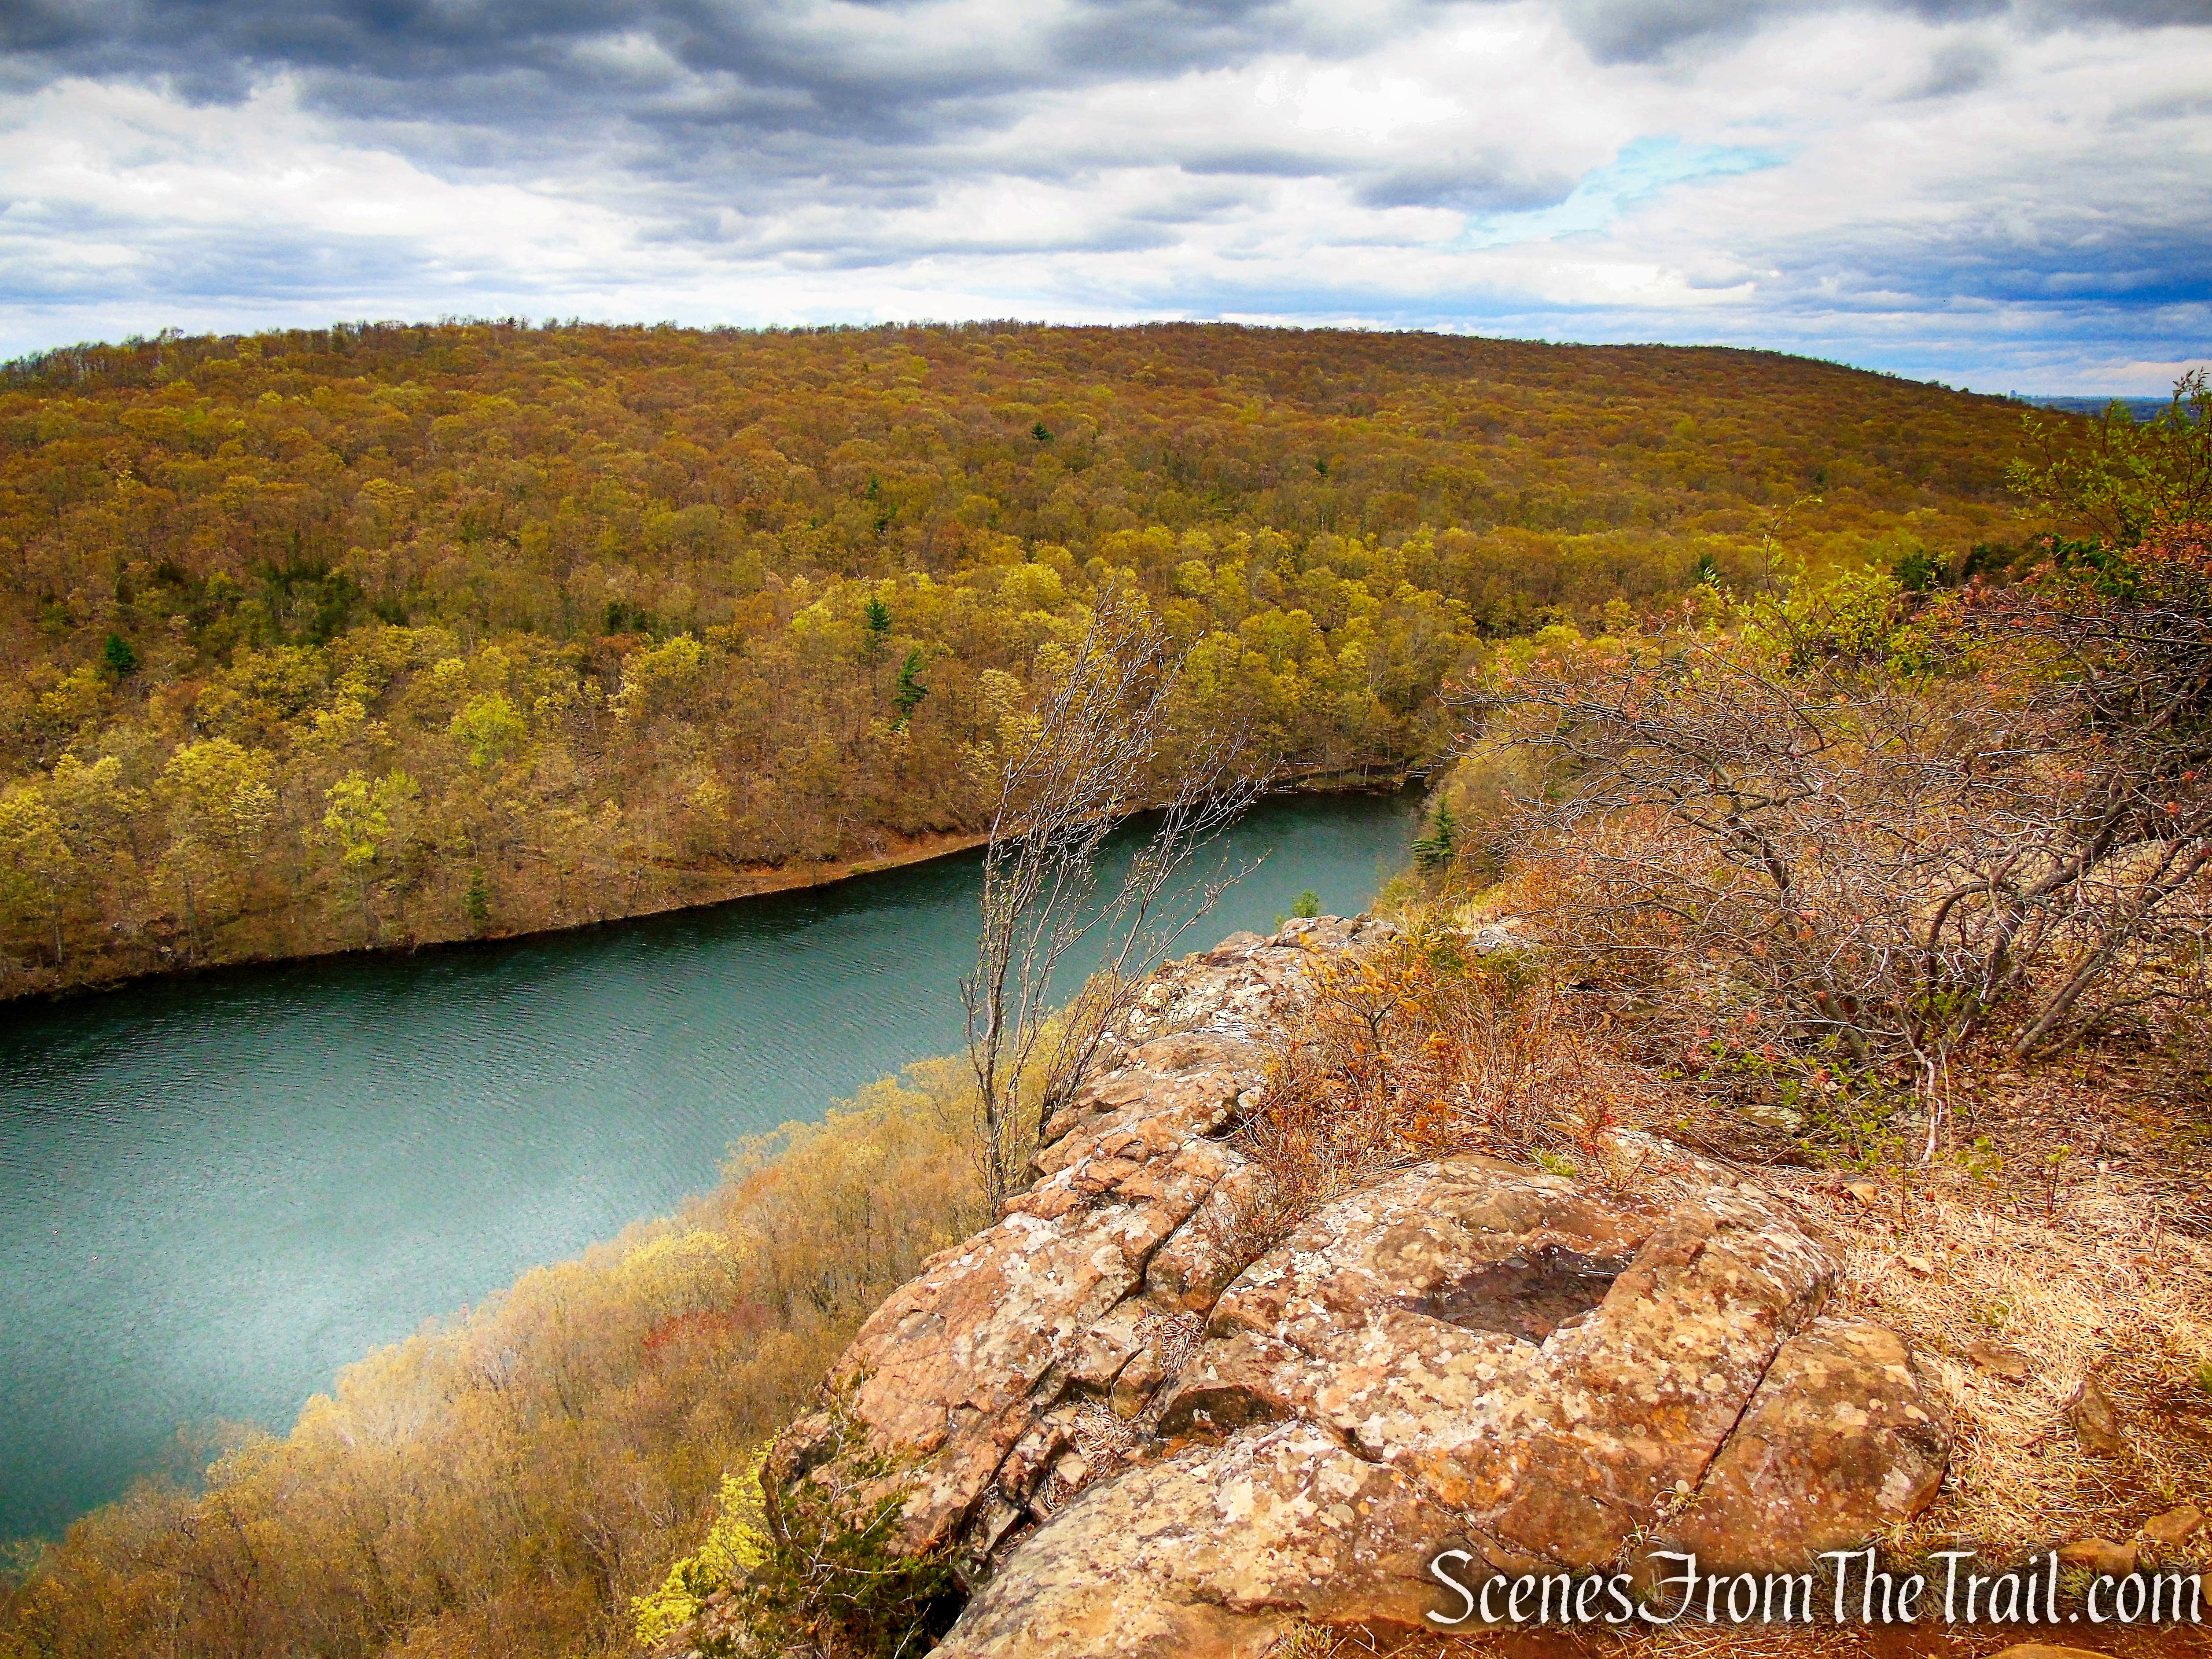
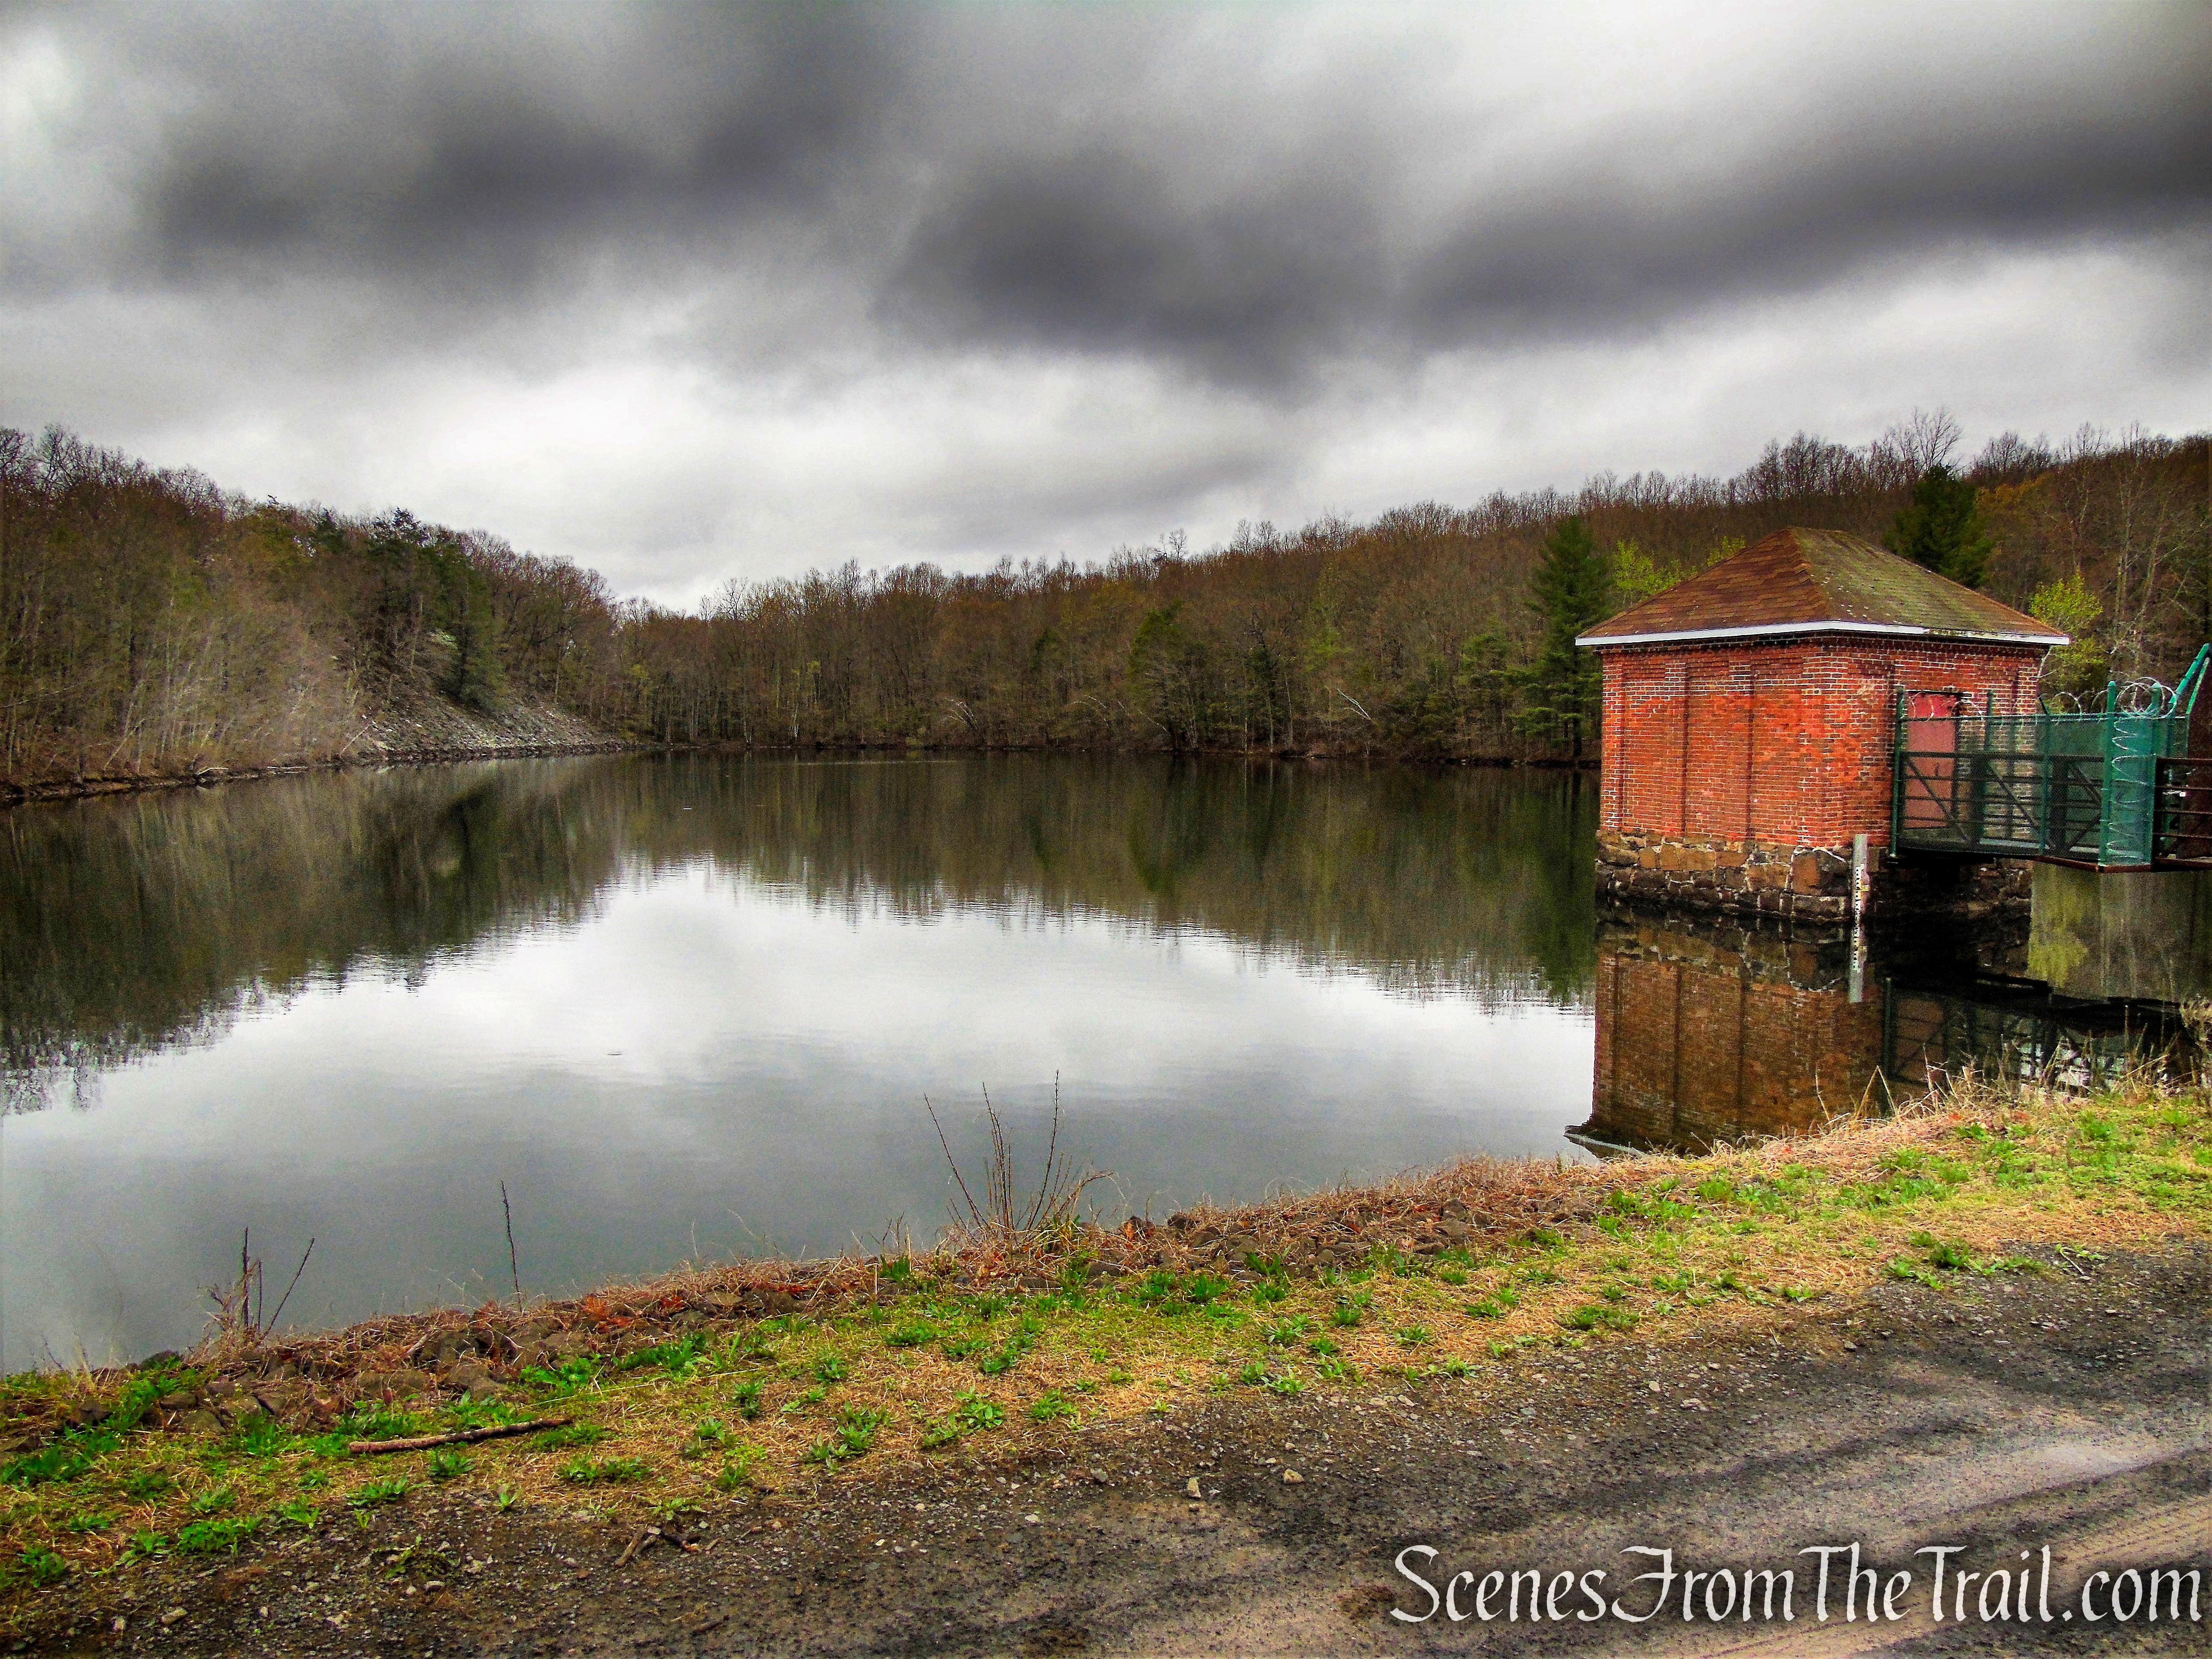
Lake Maratanza – Sam’s Point Preserve

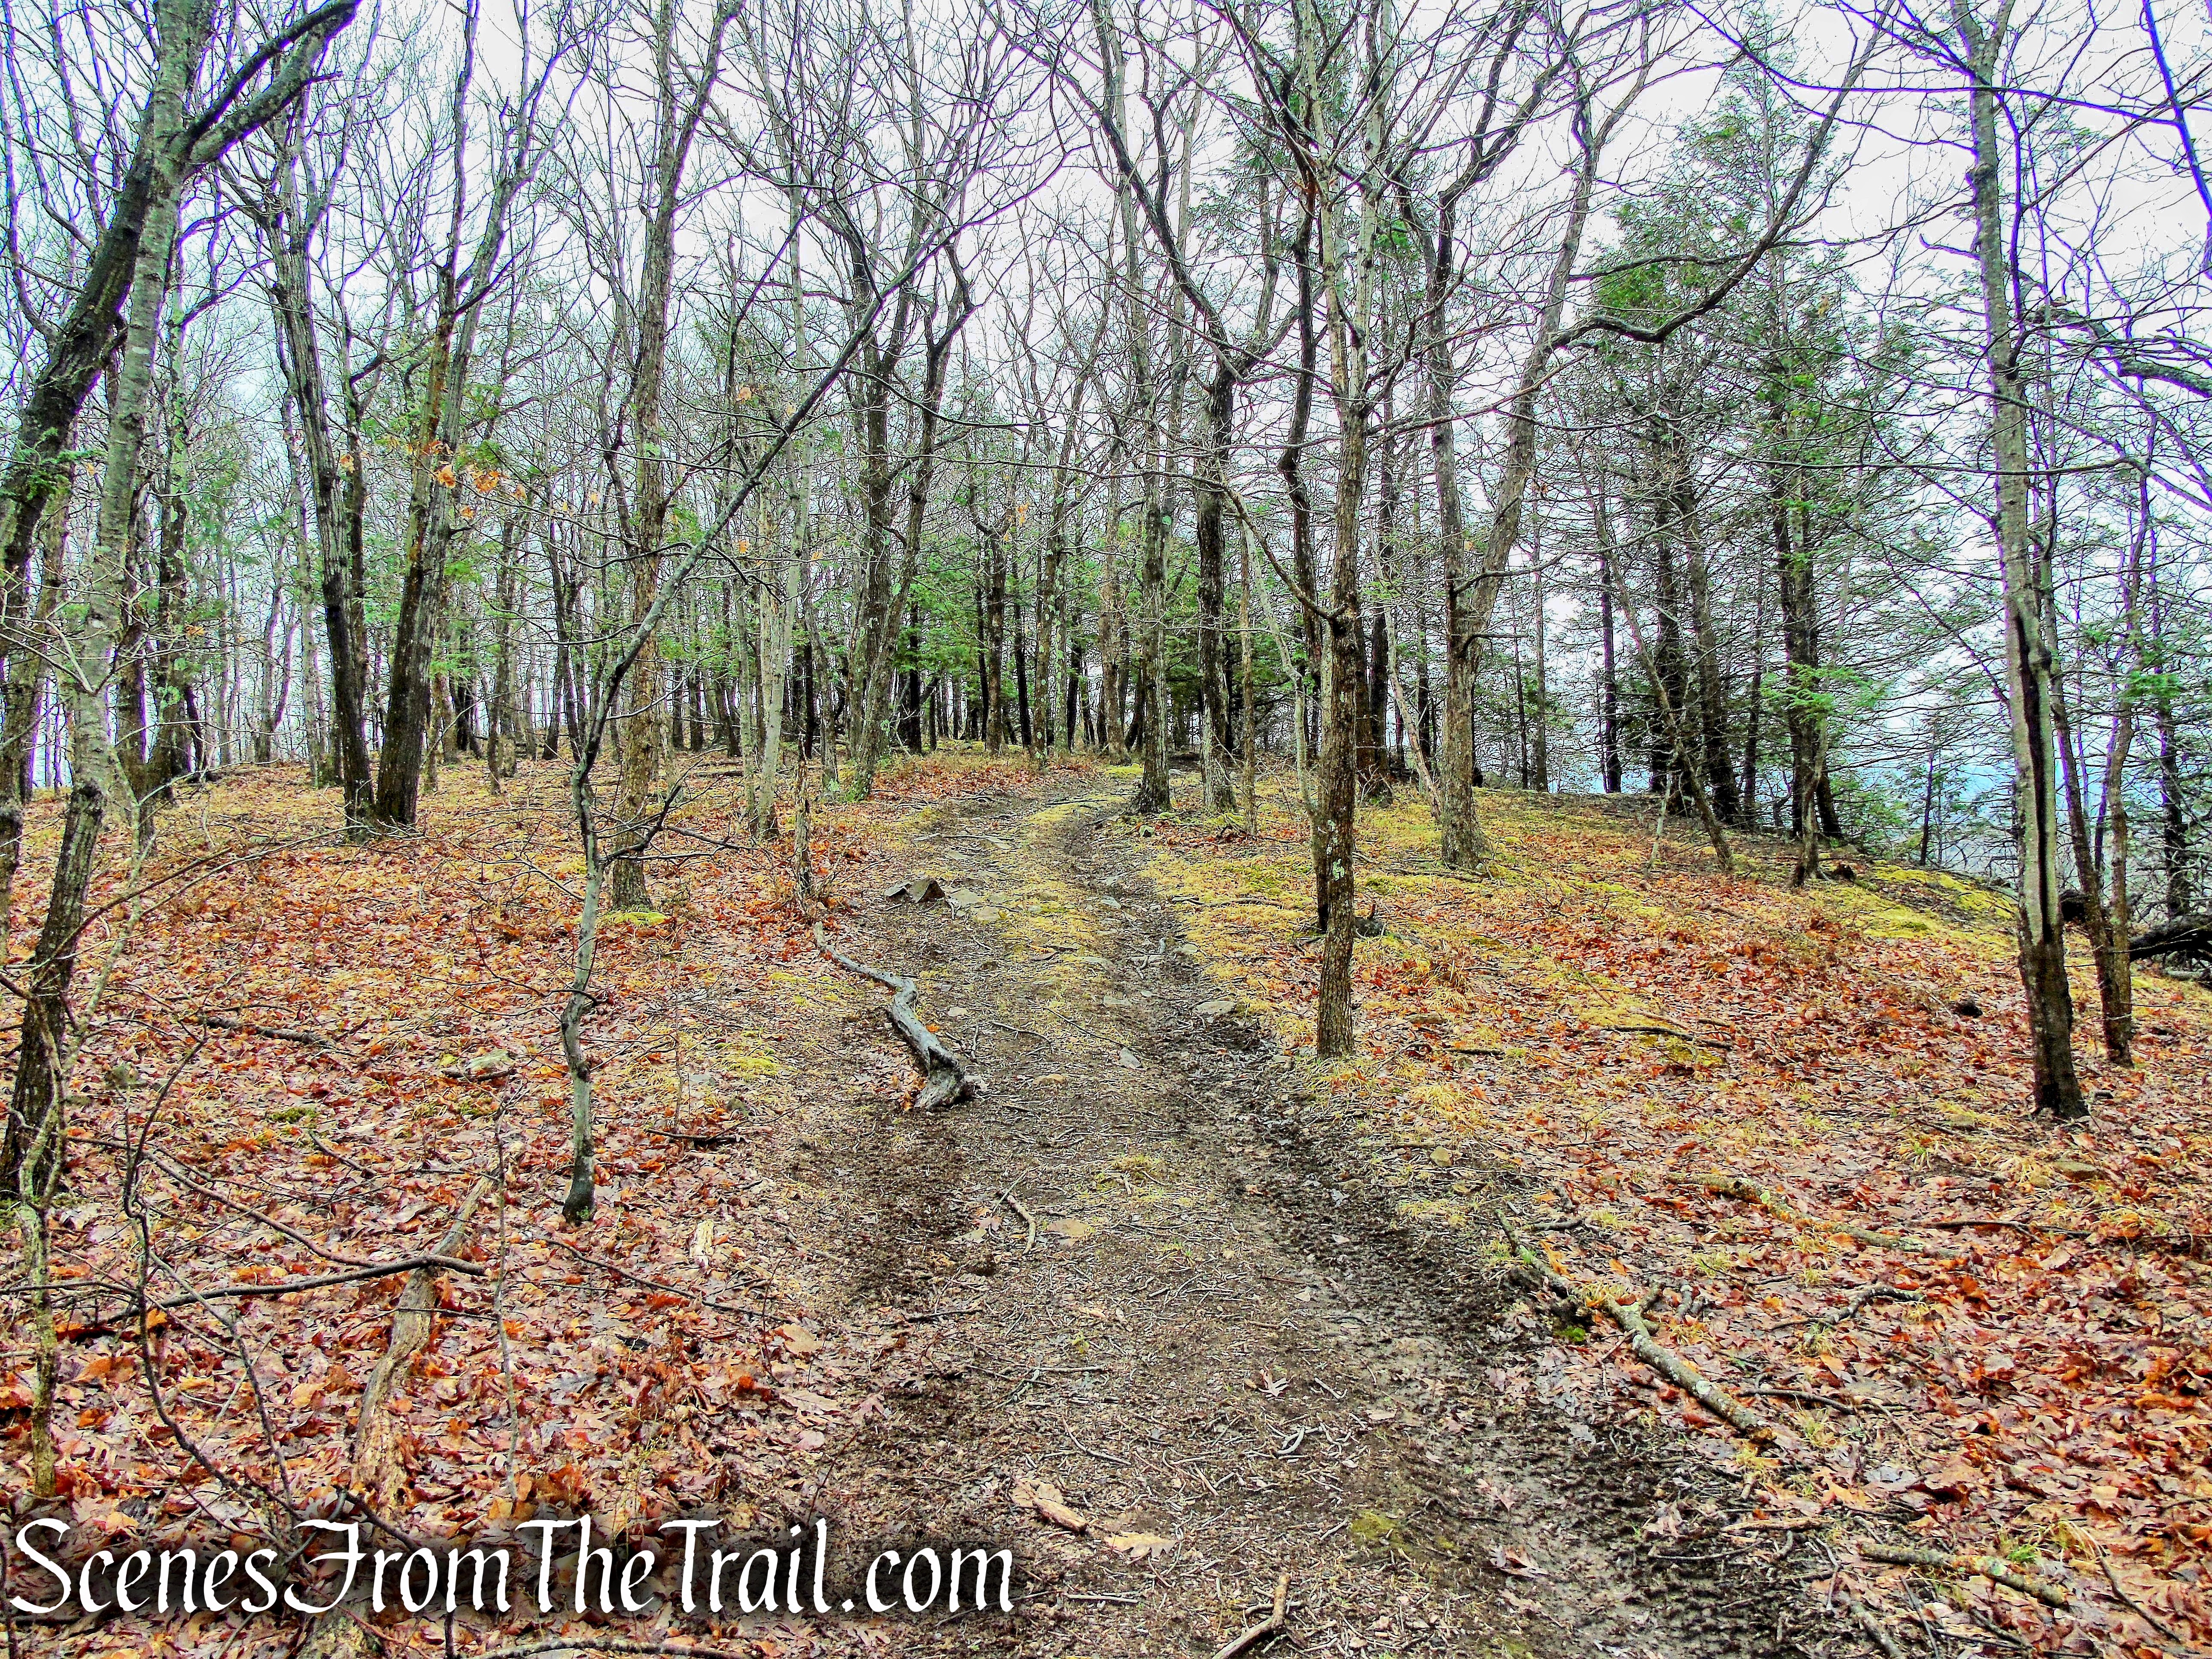
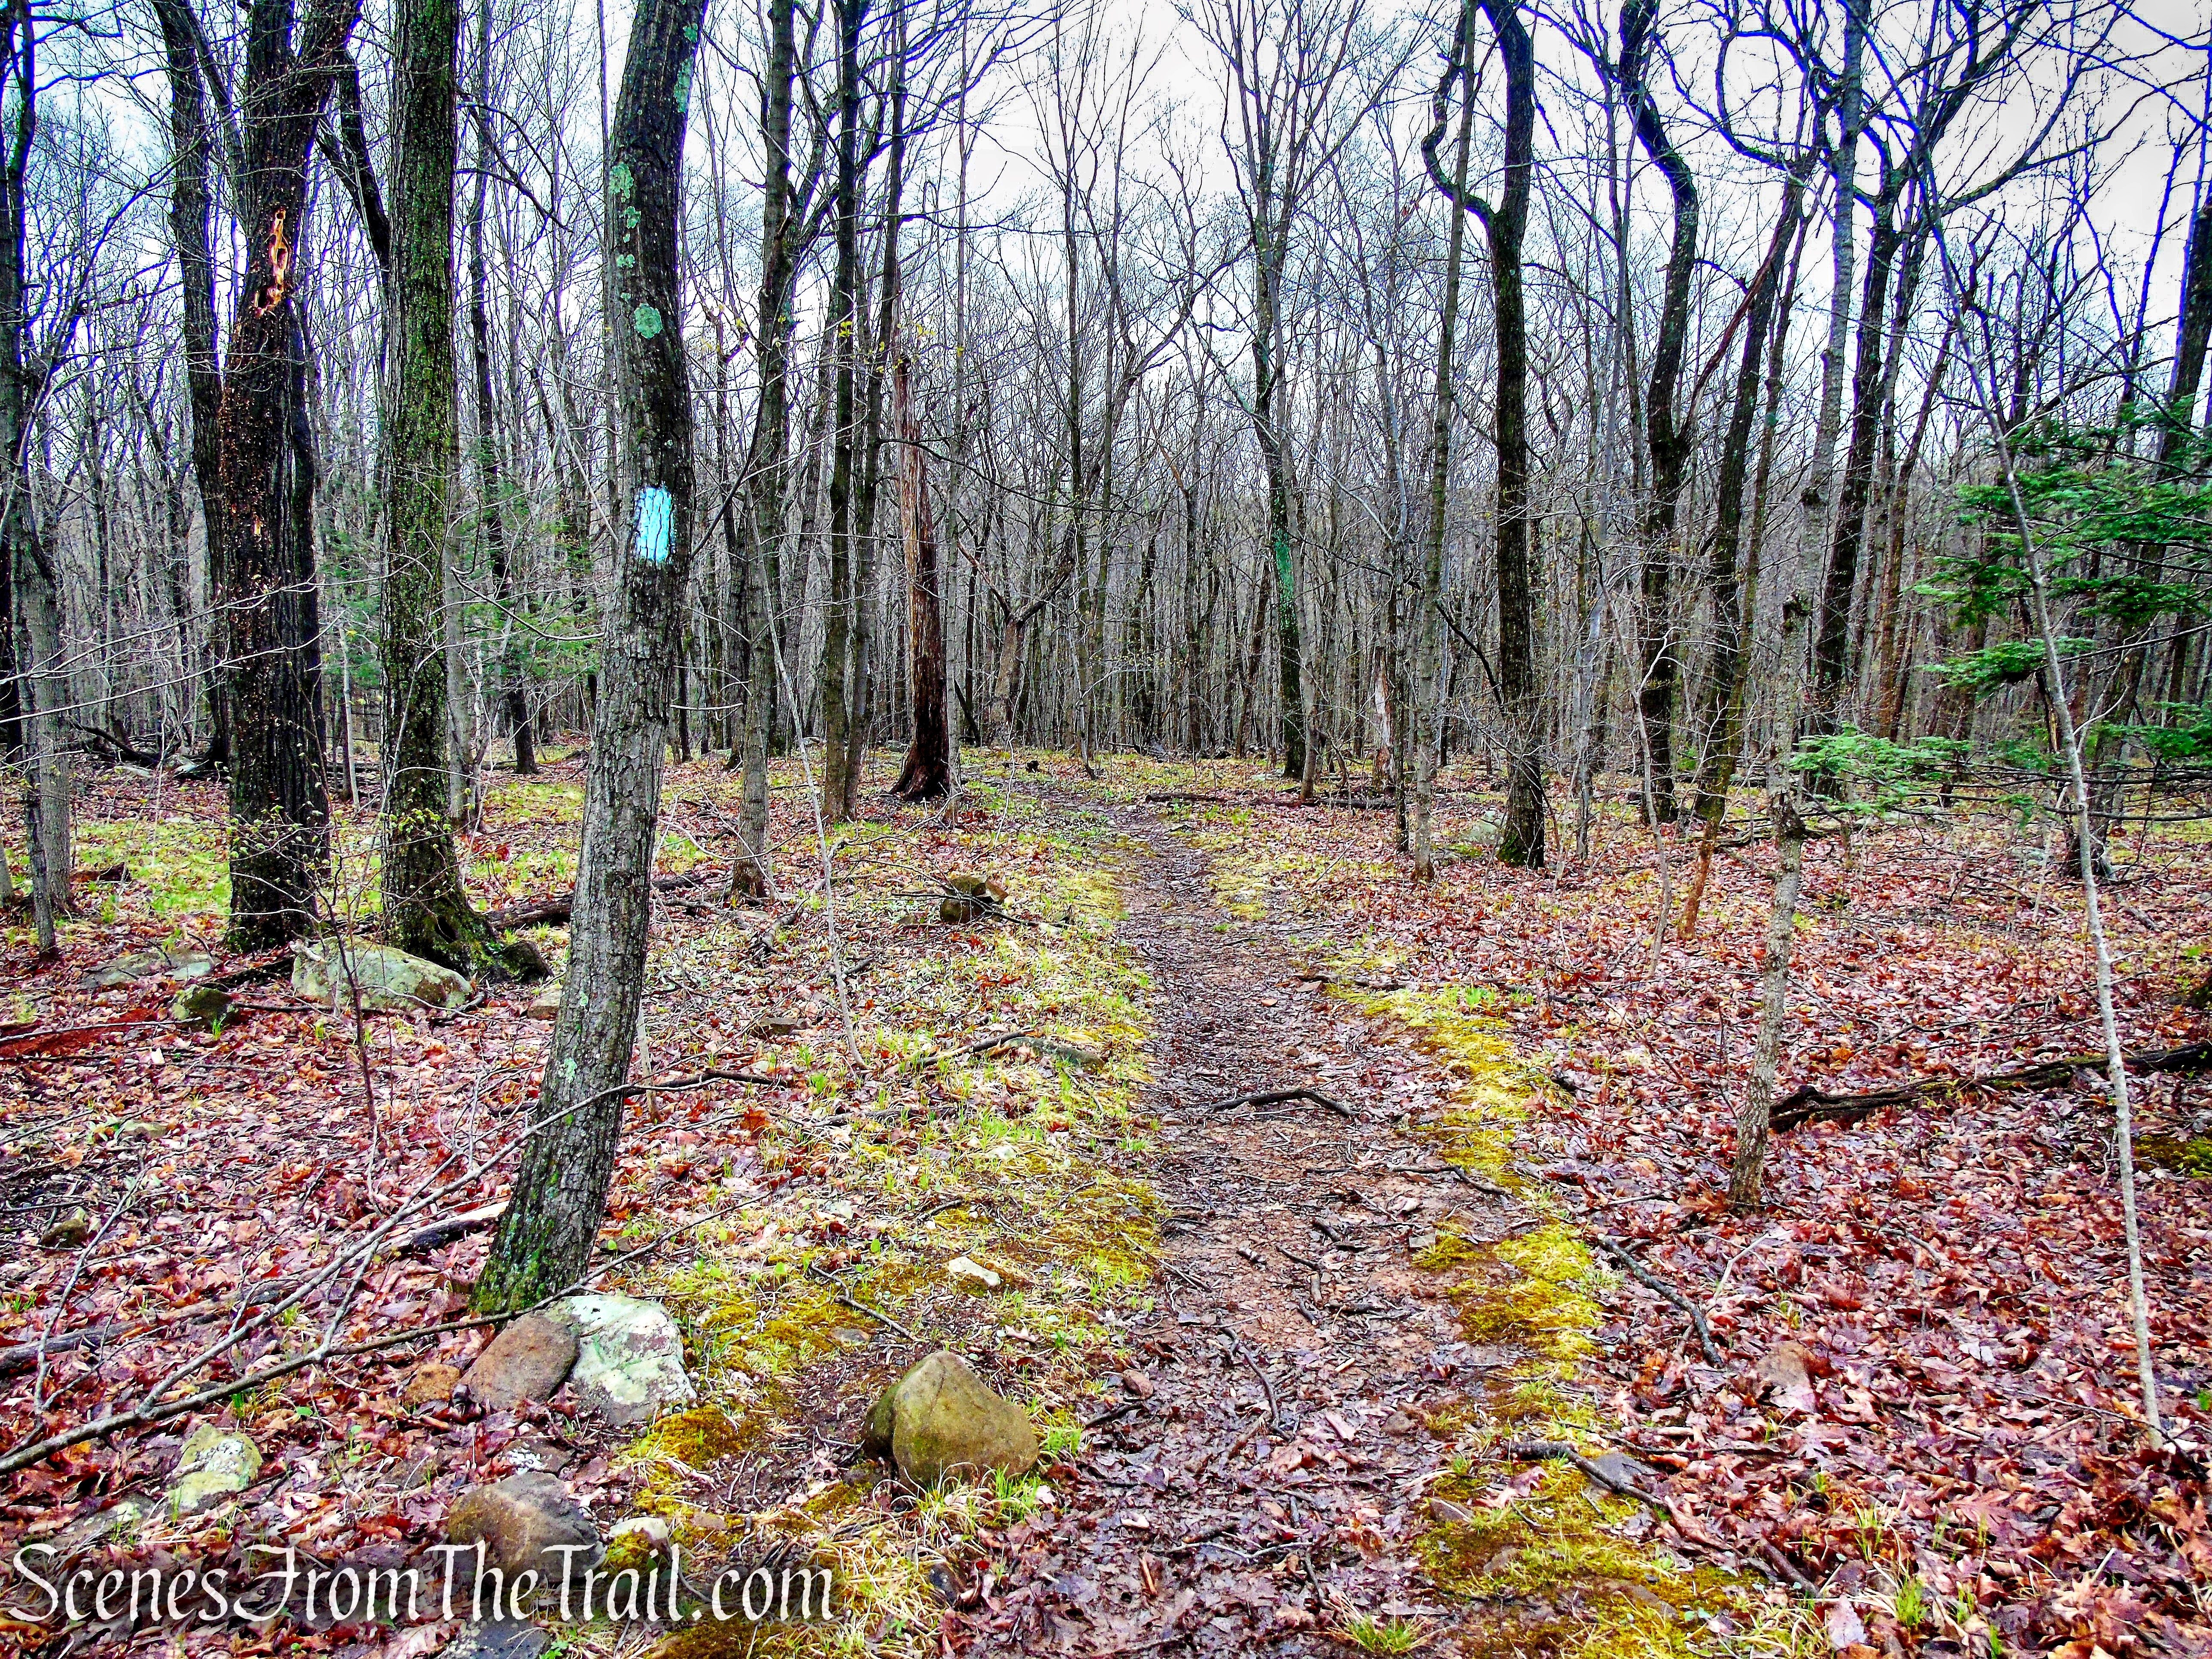
Ice Caves Trail – Sam’s Point Preserve
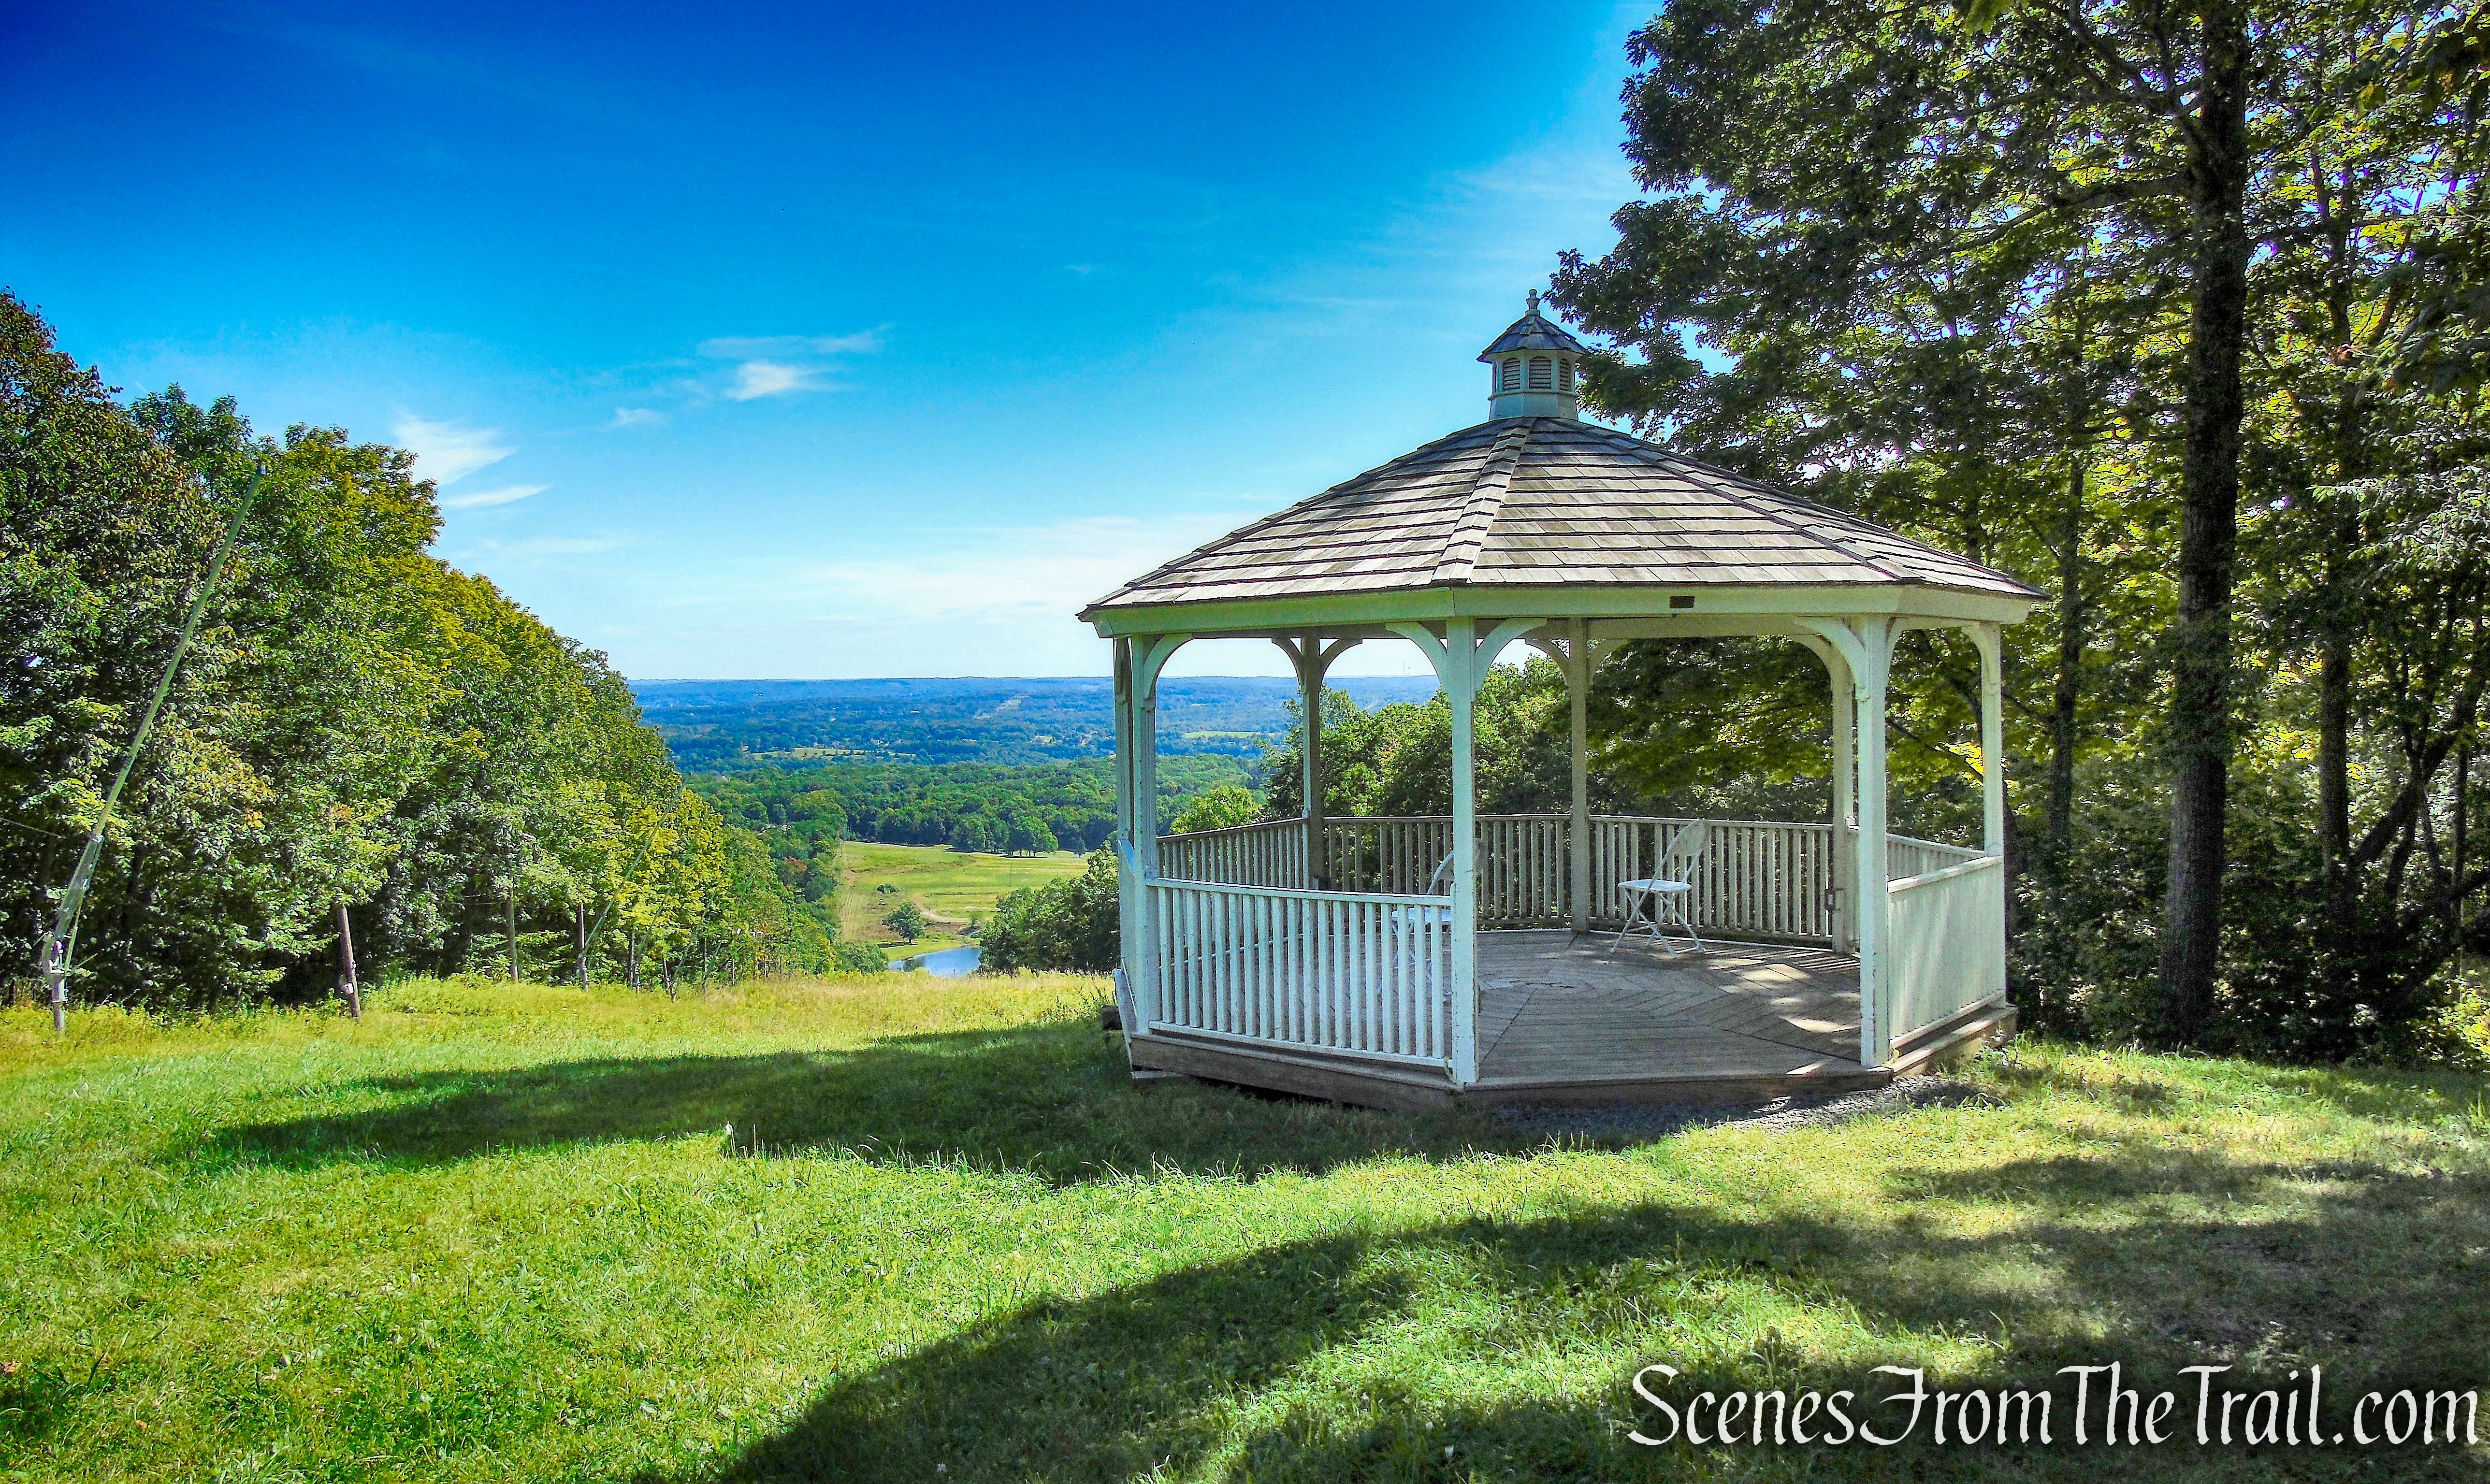
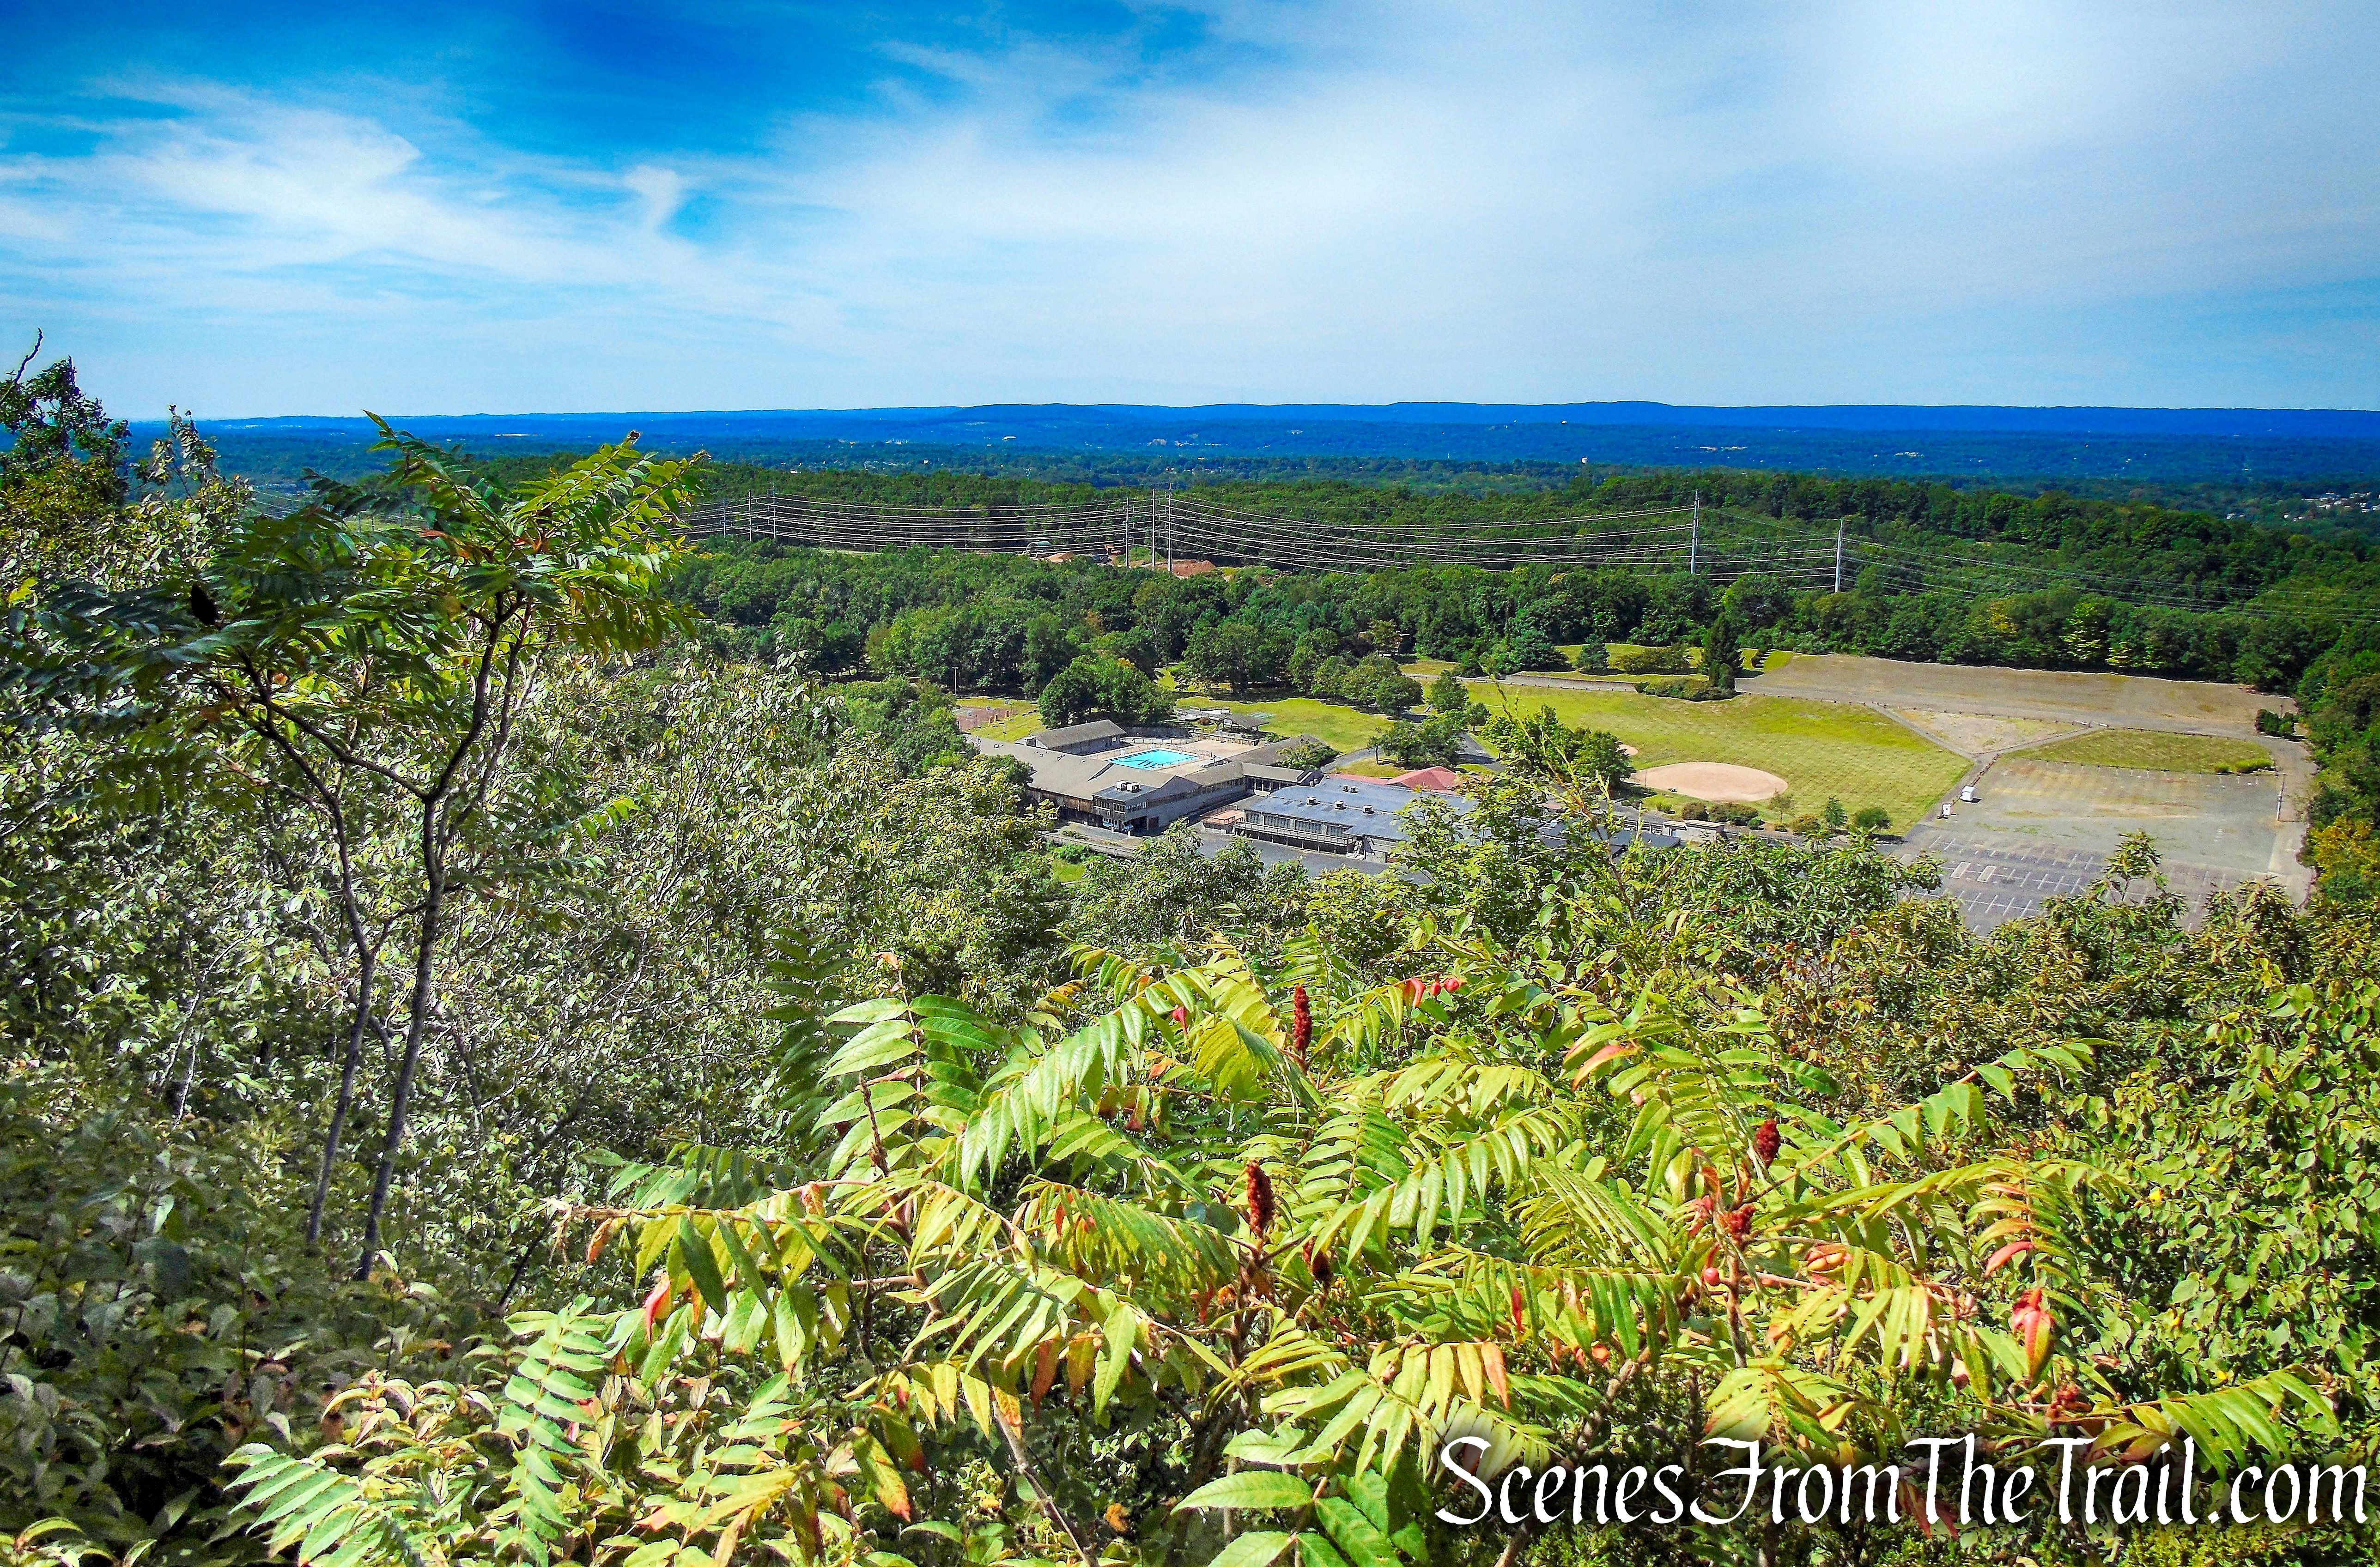
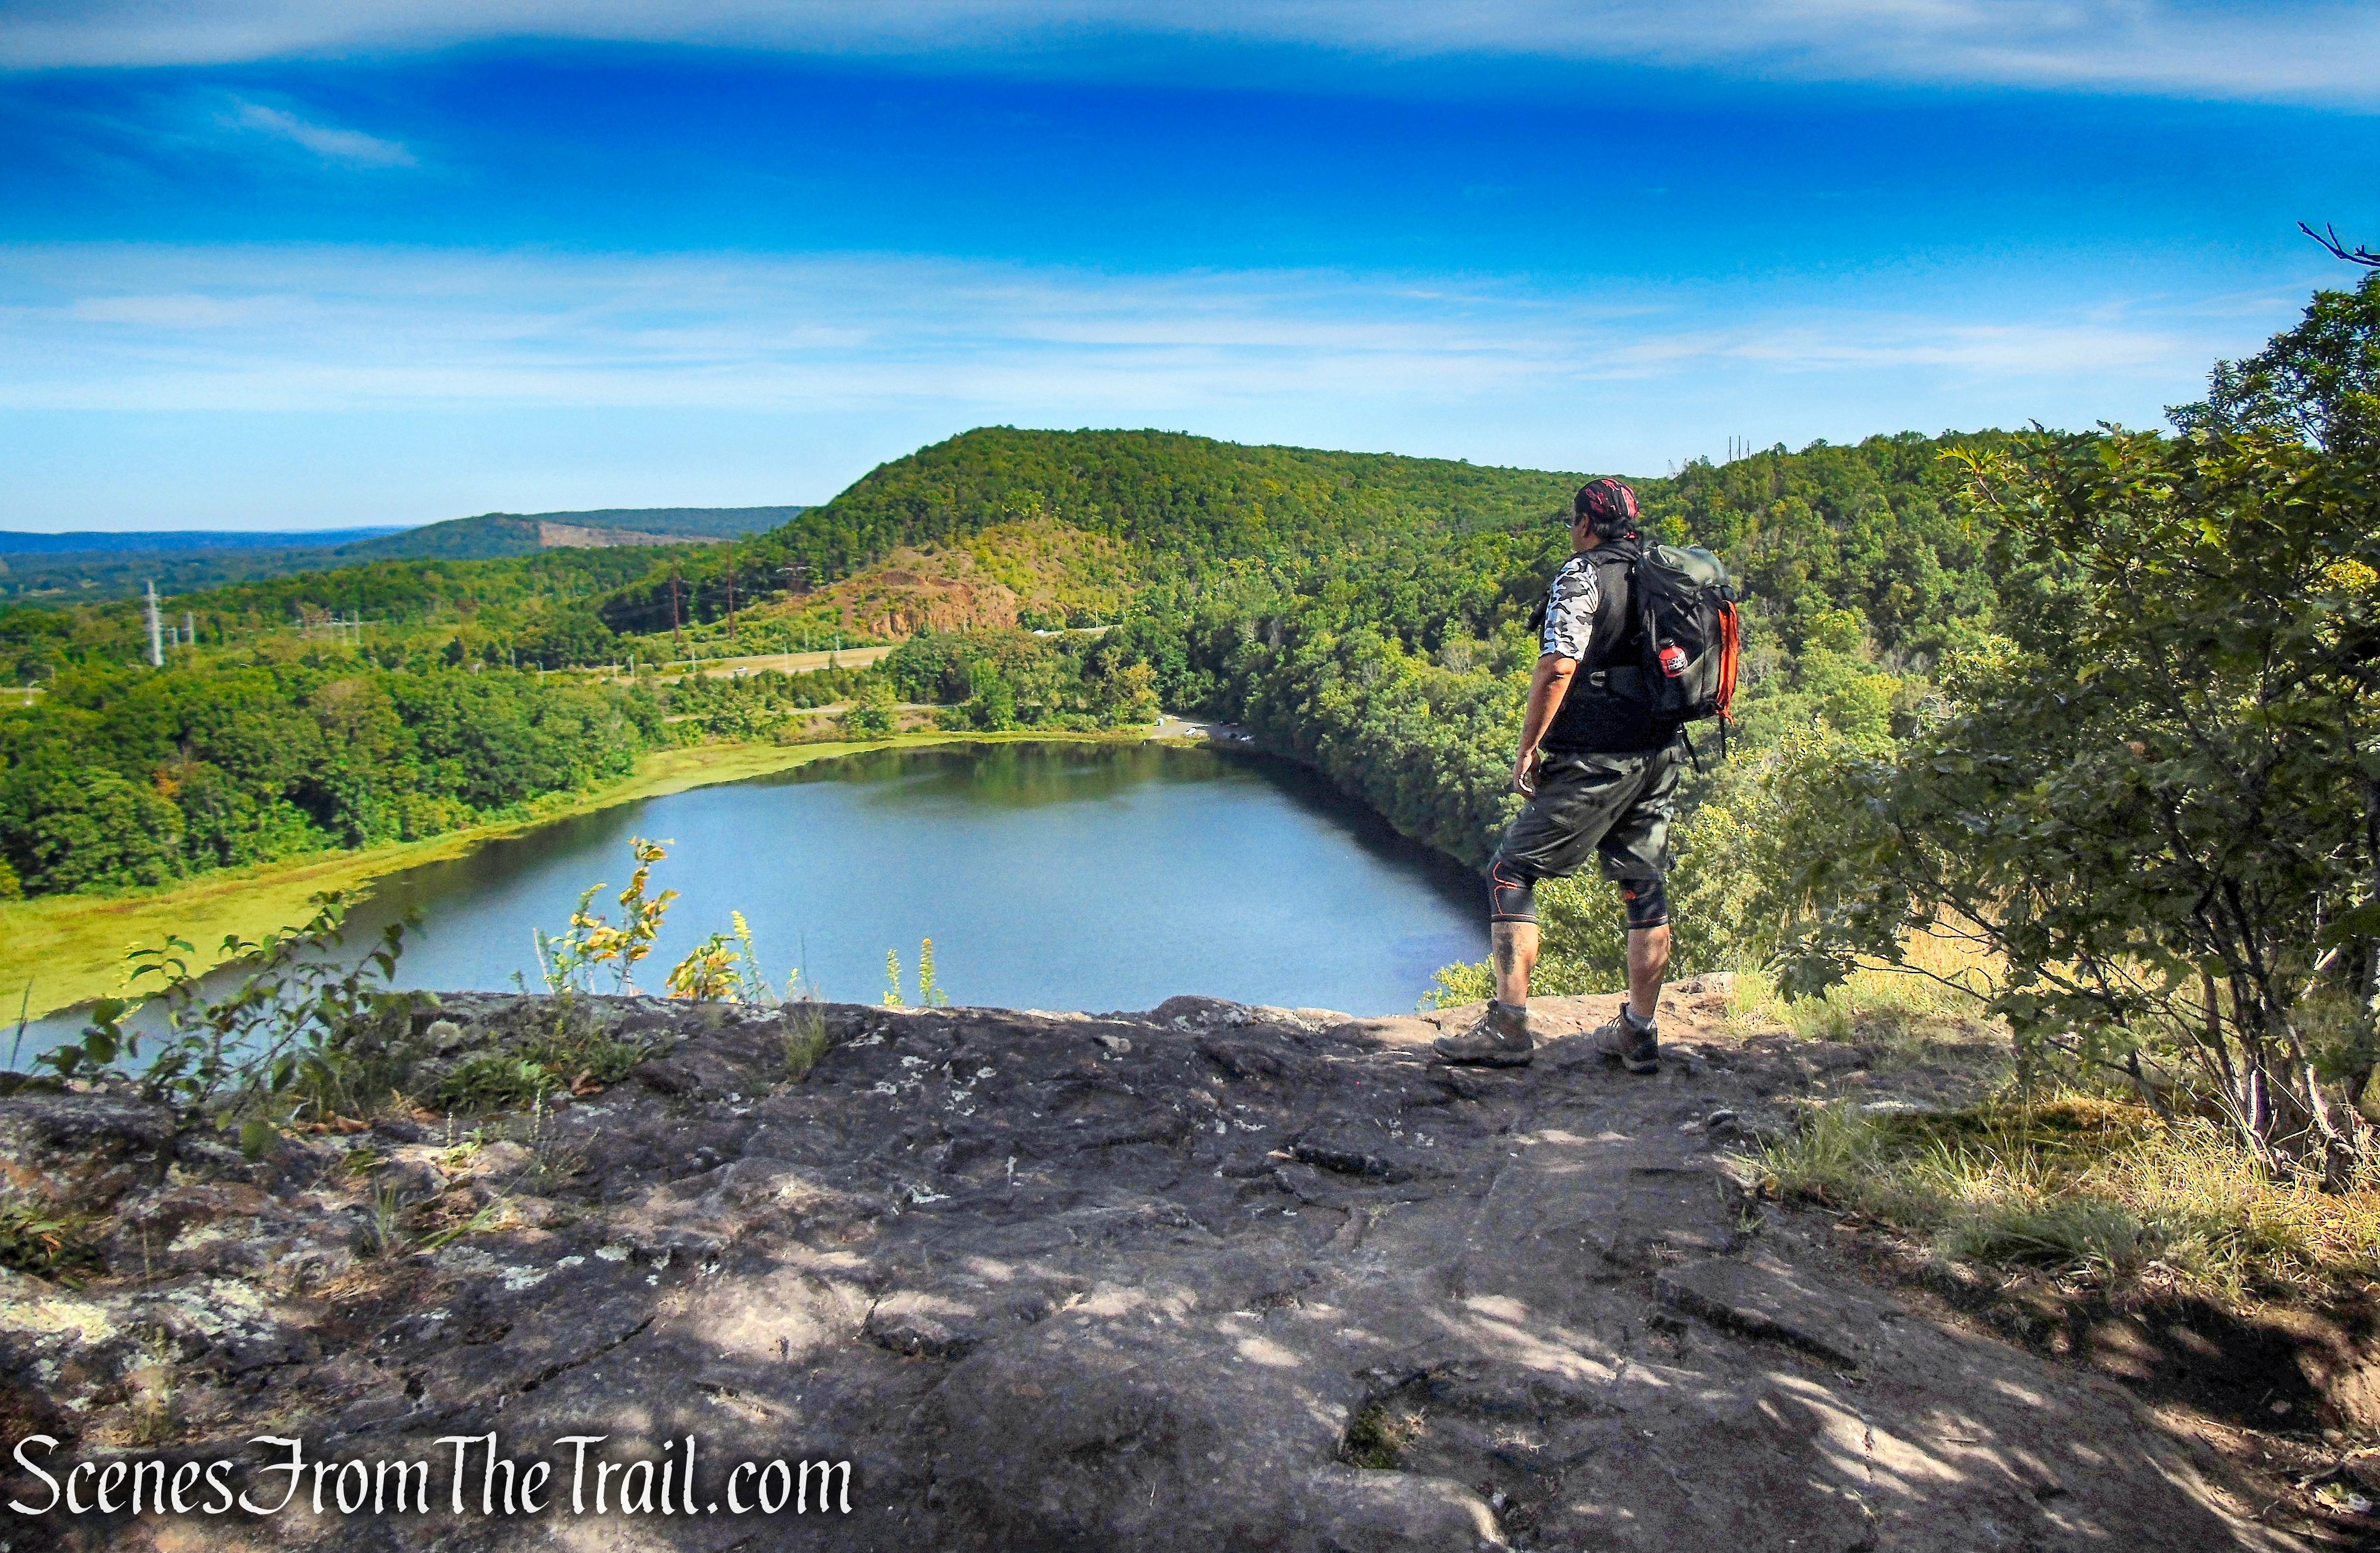
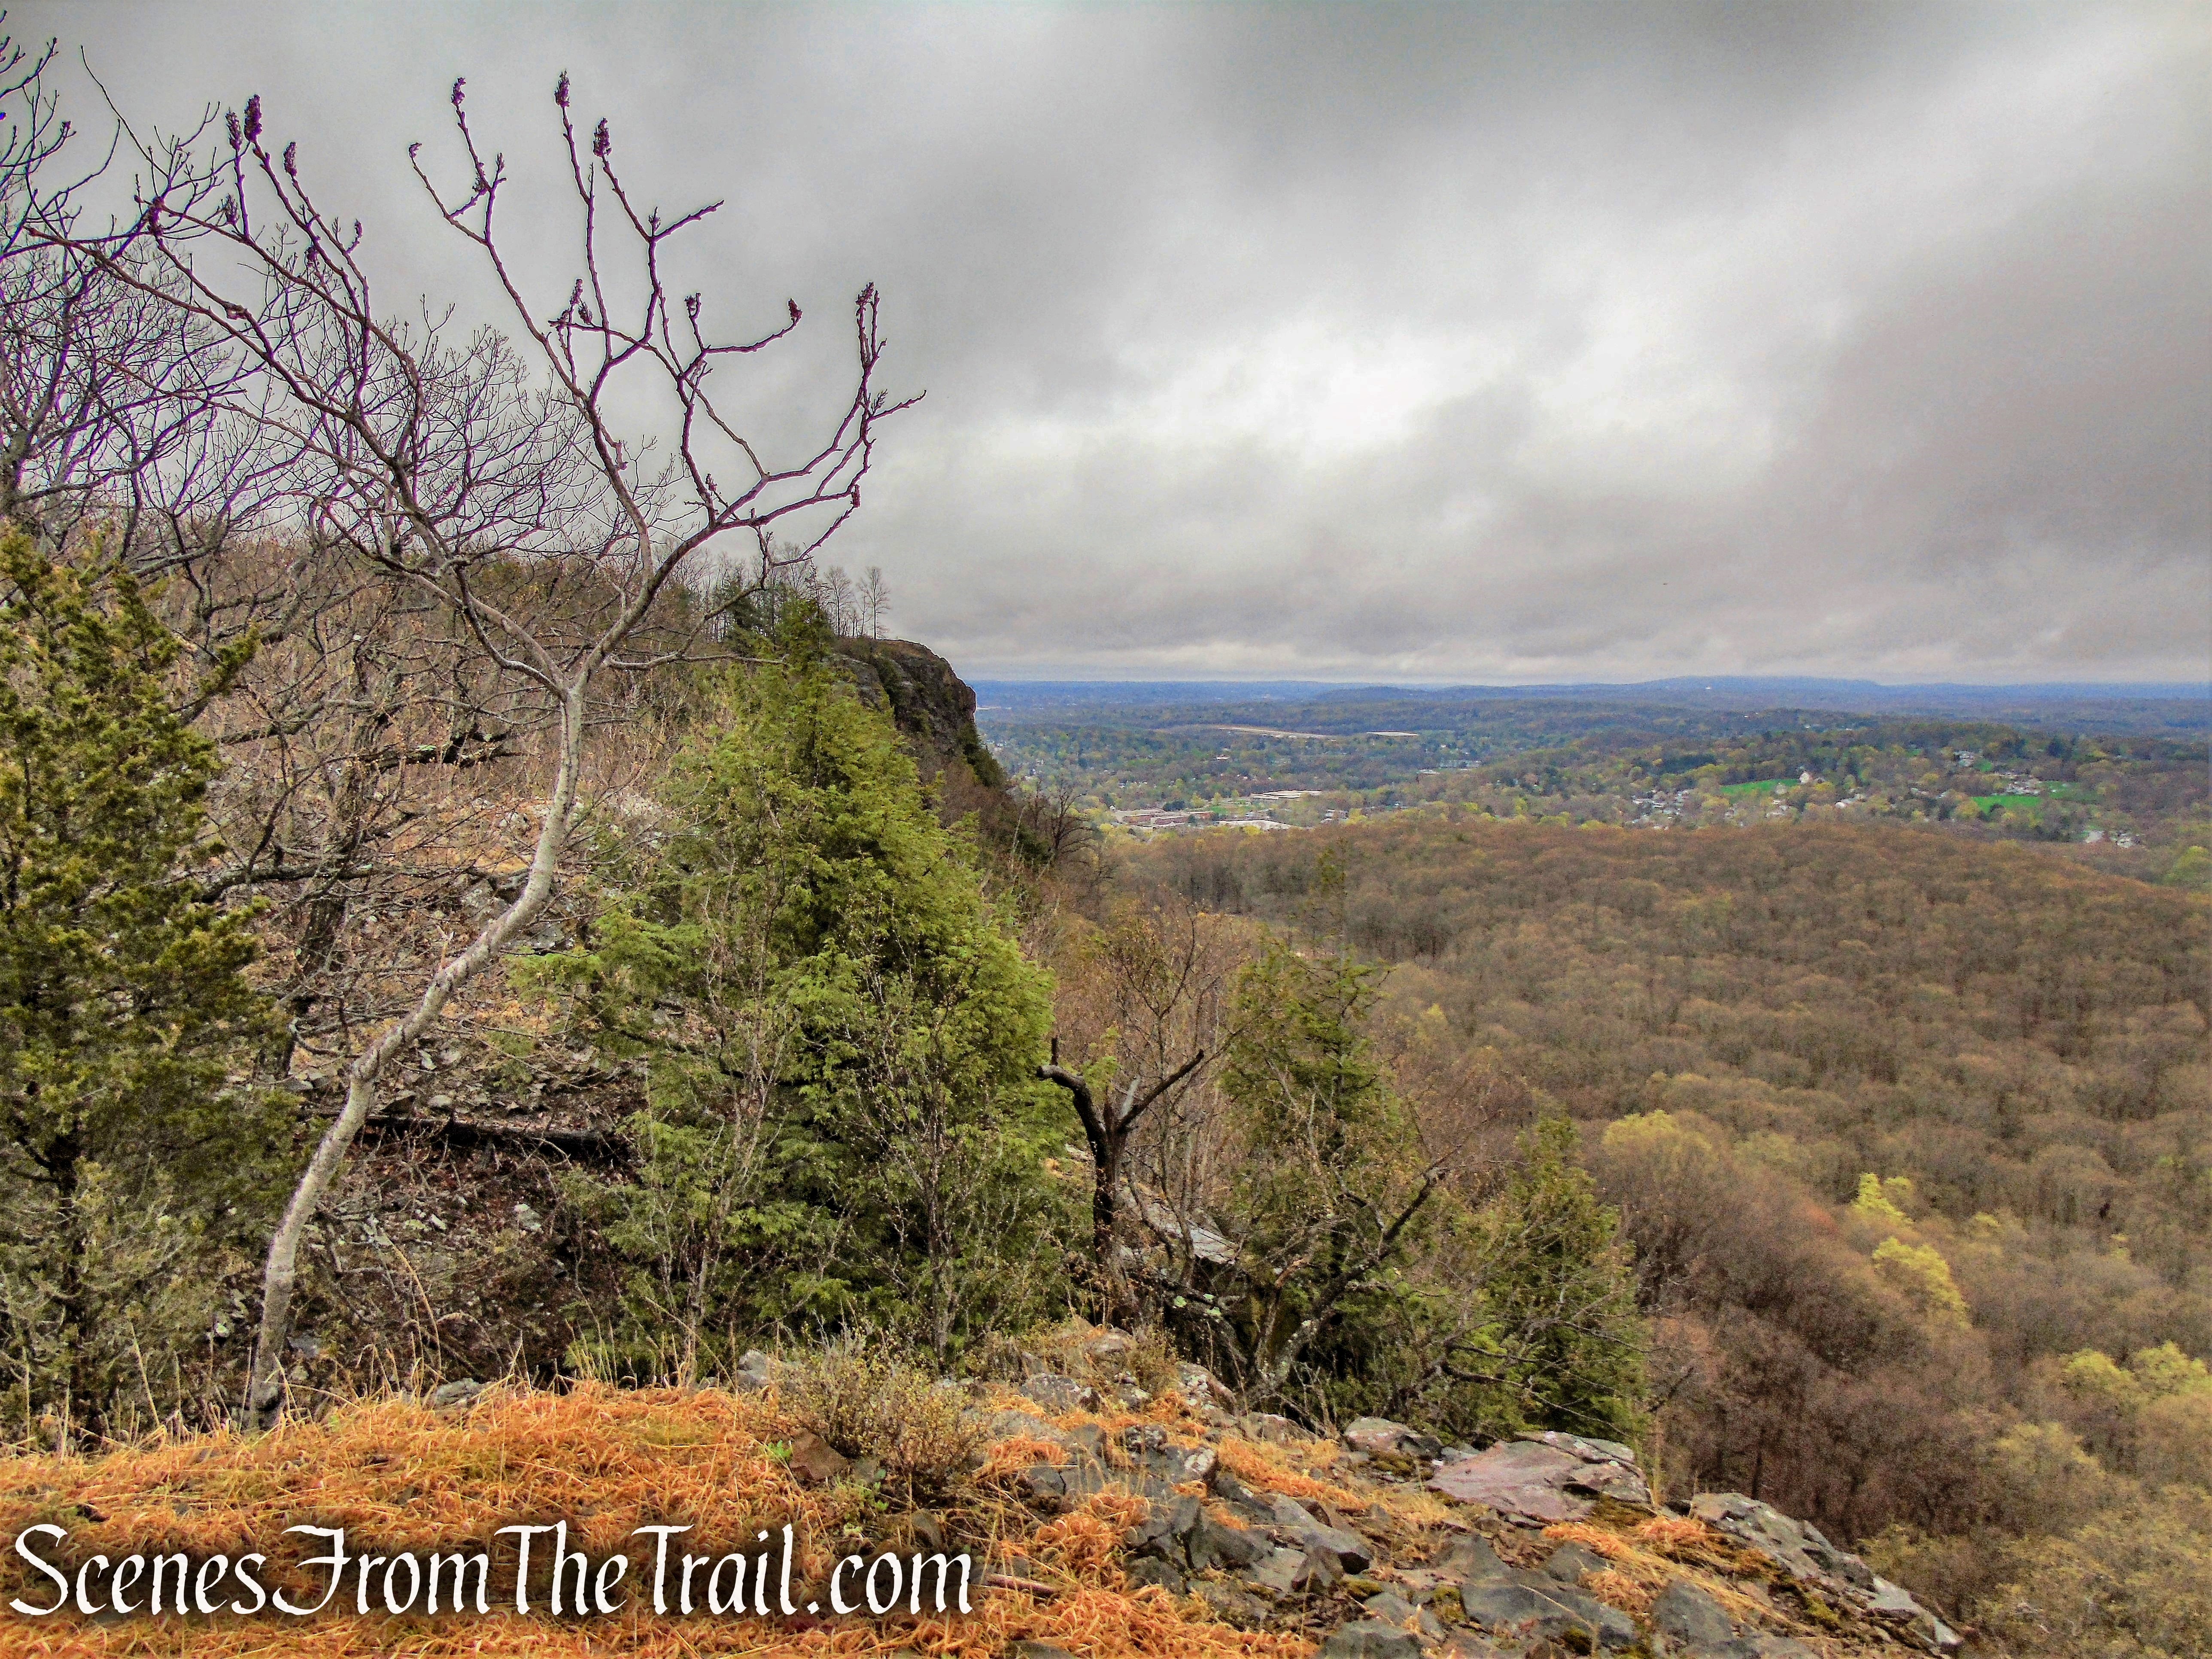
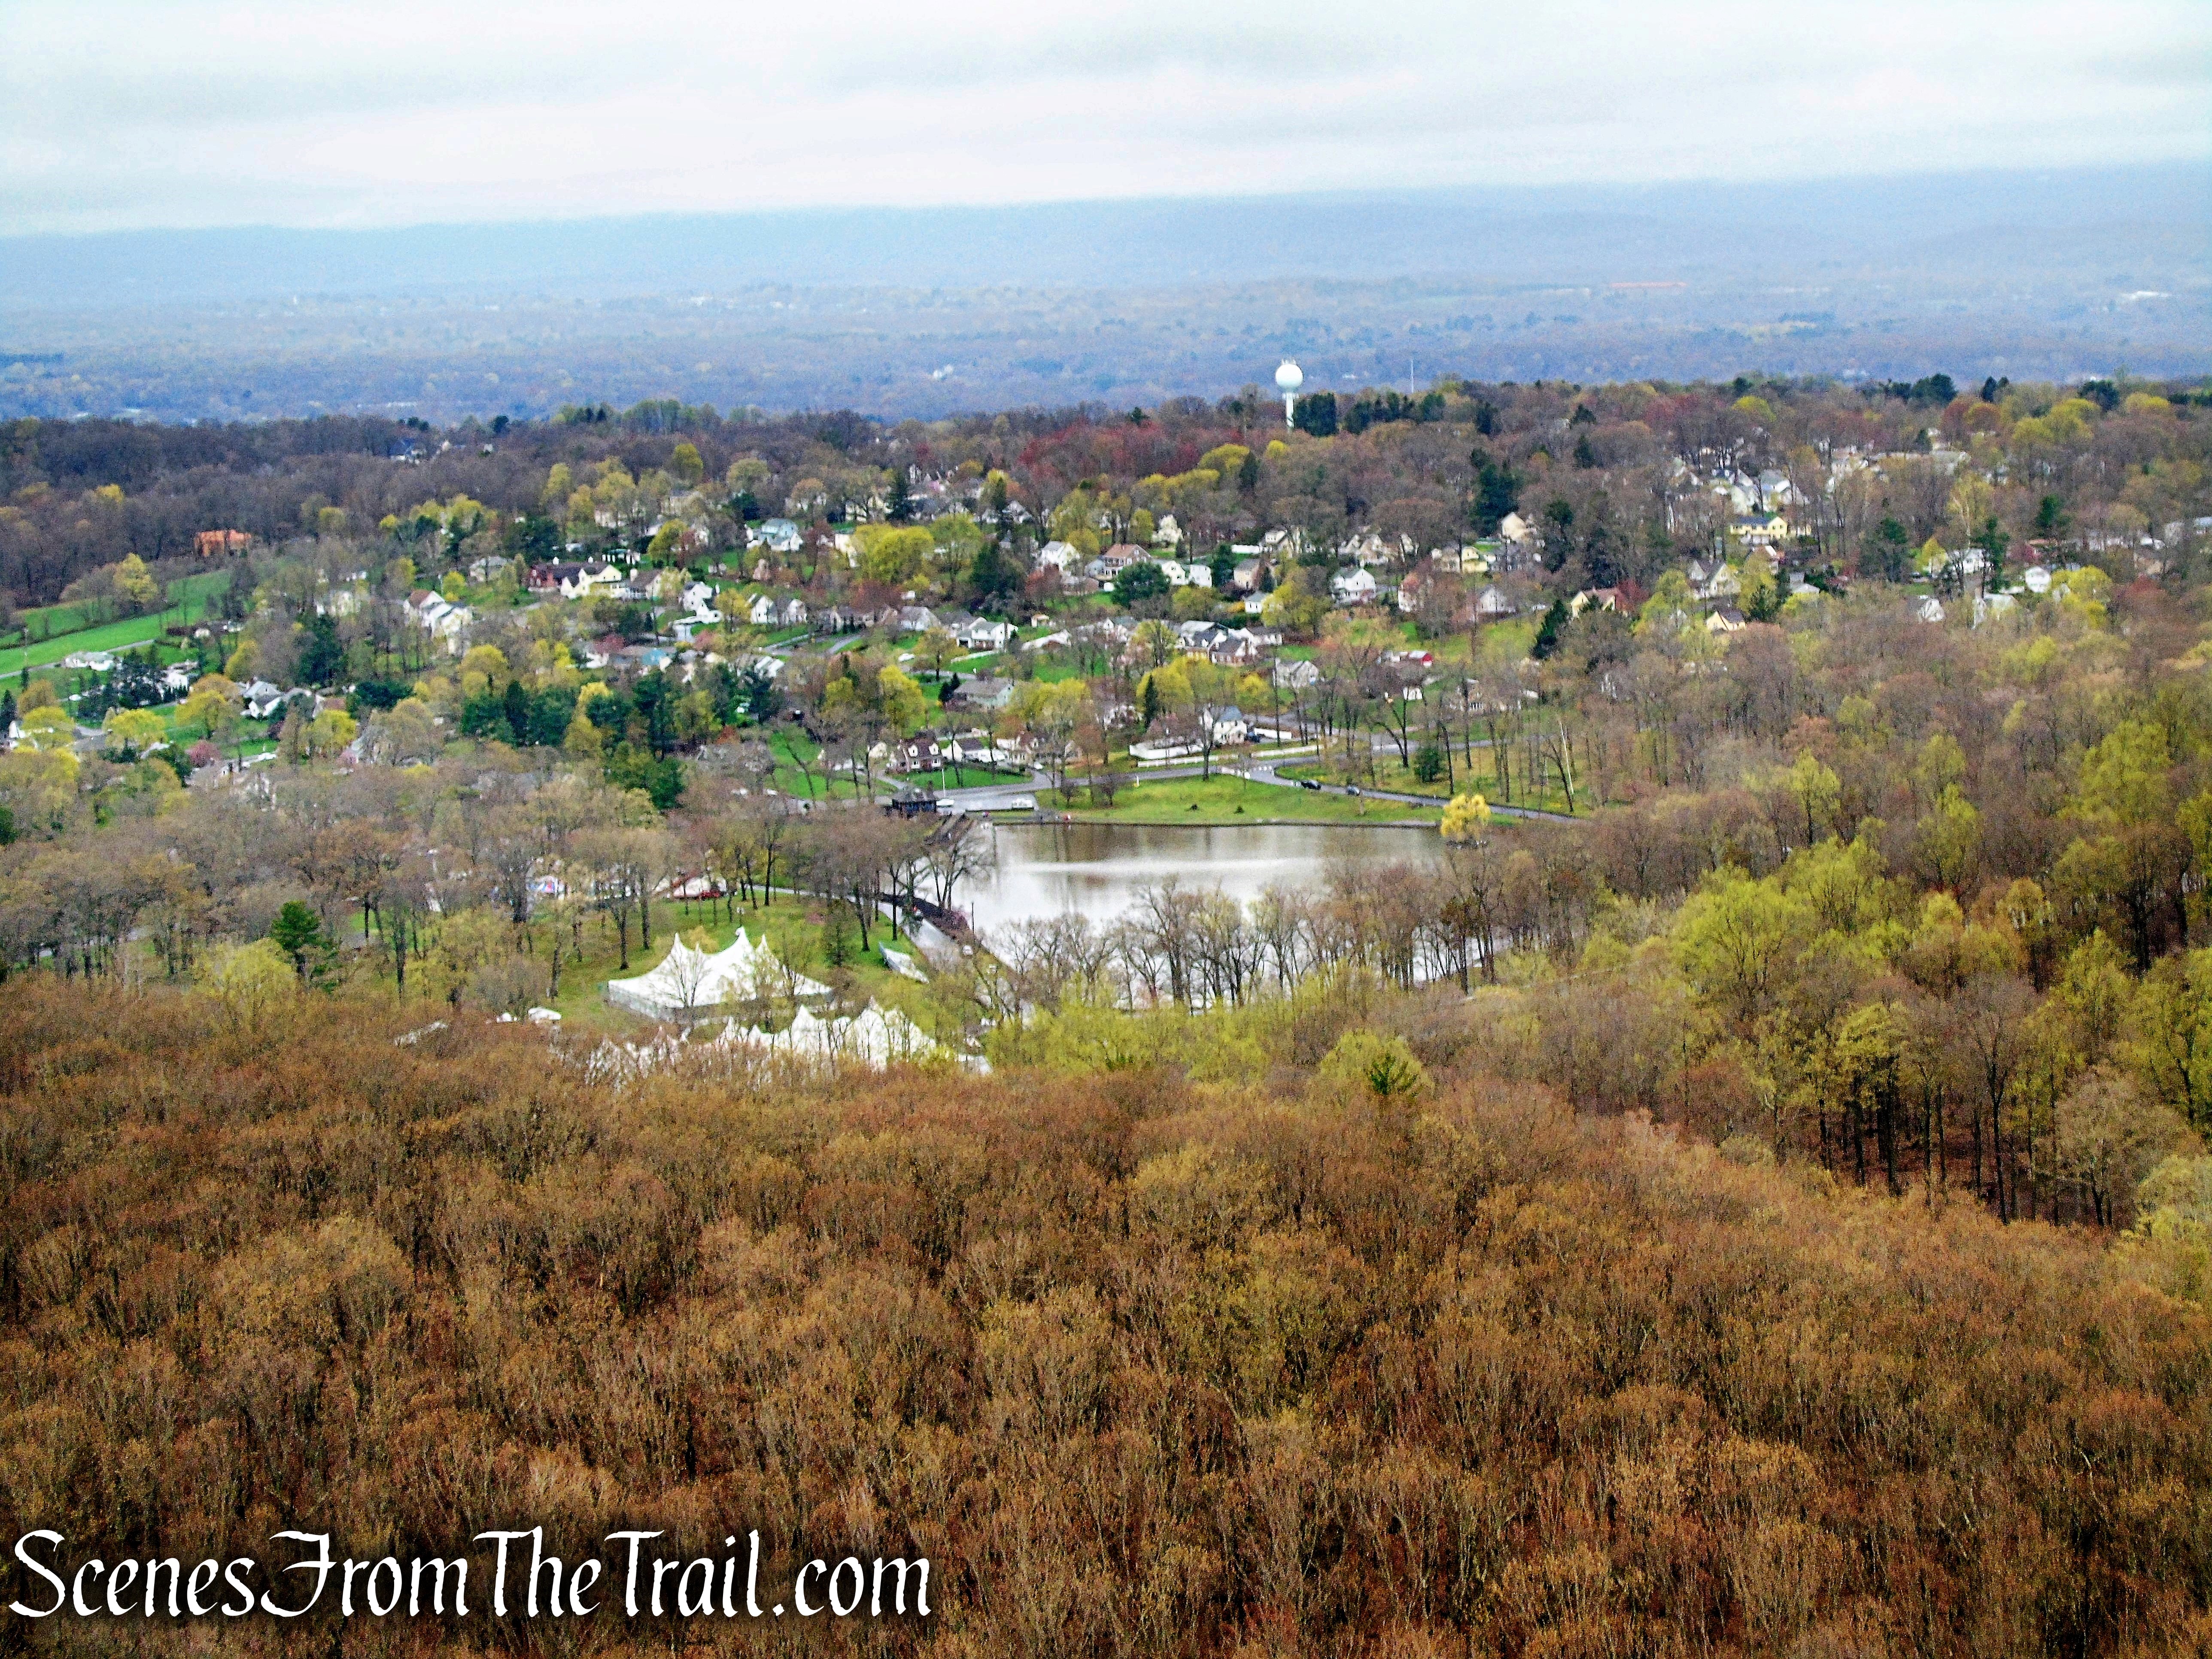
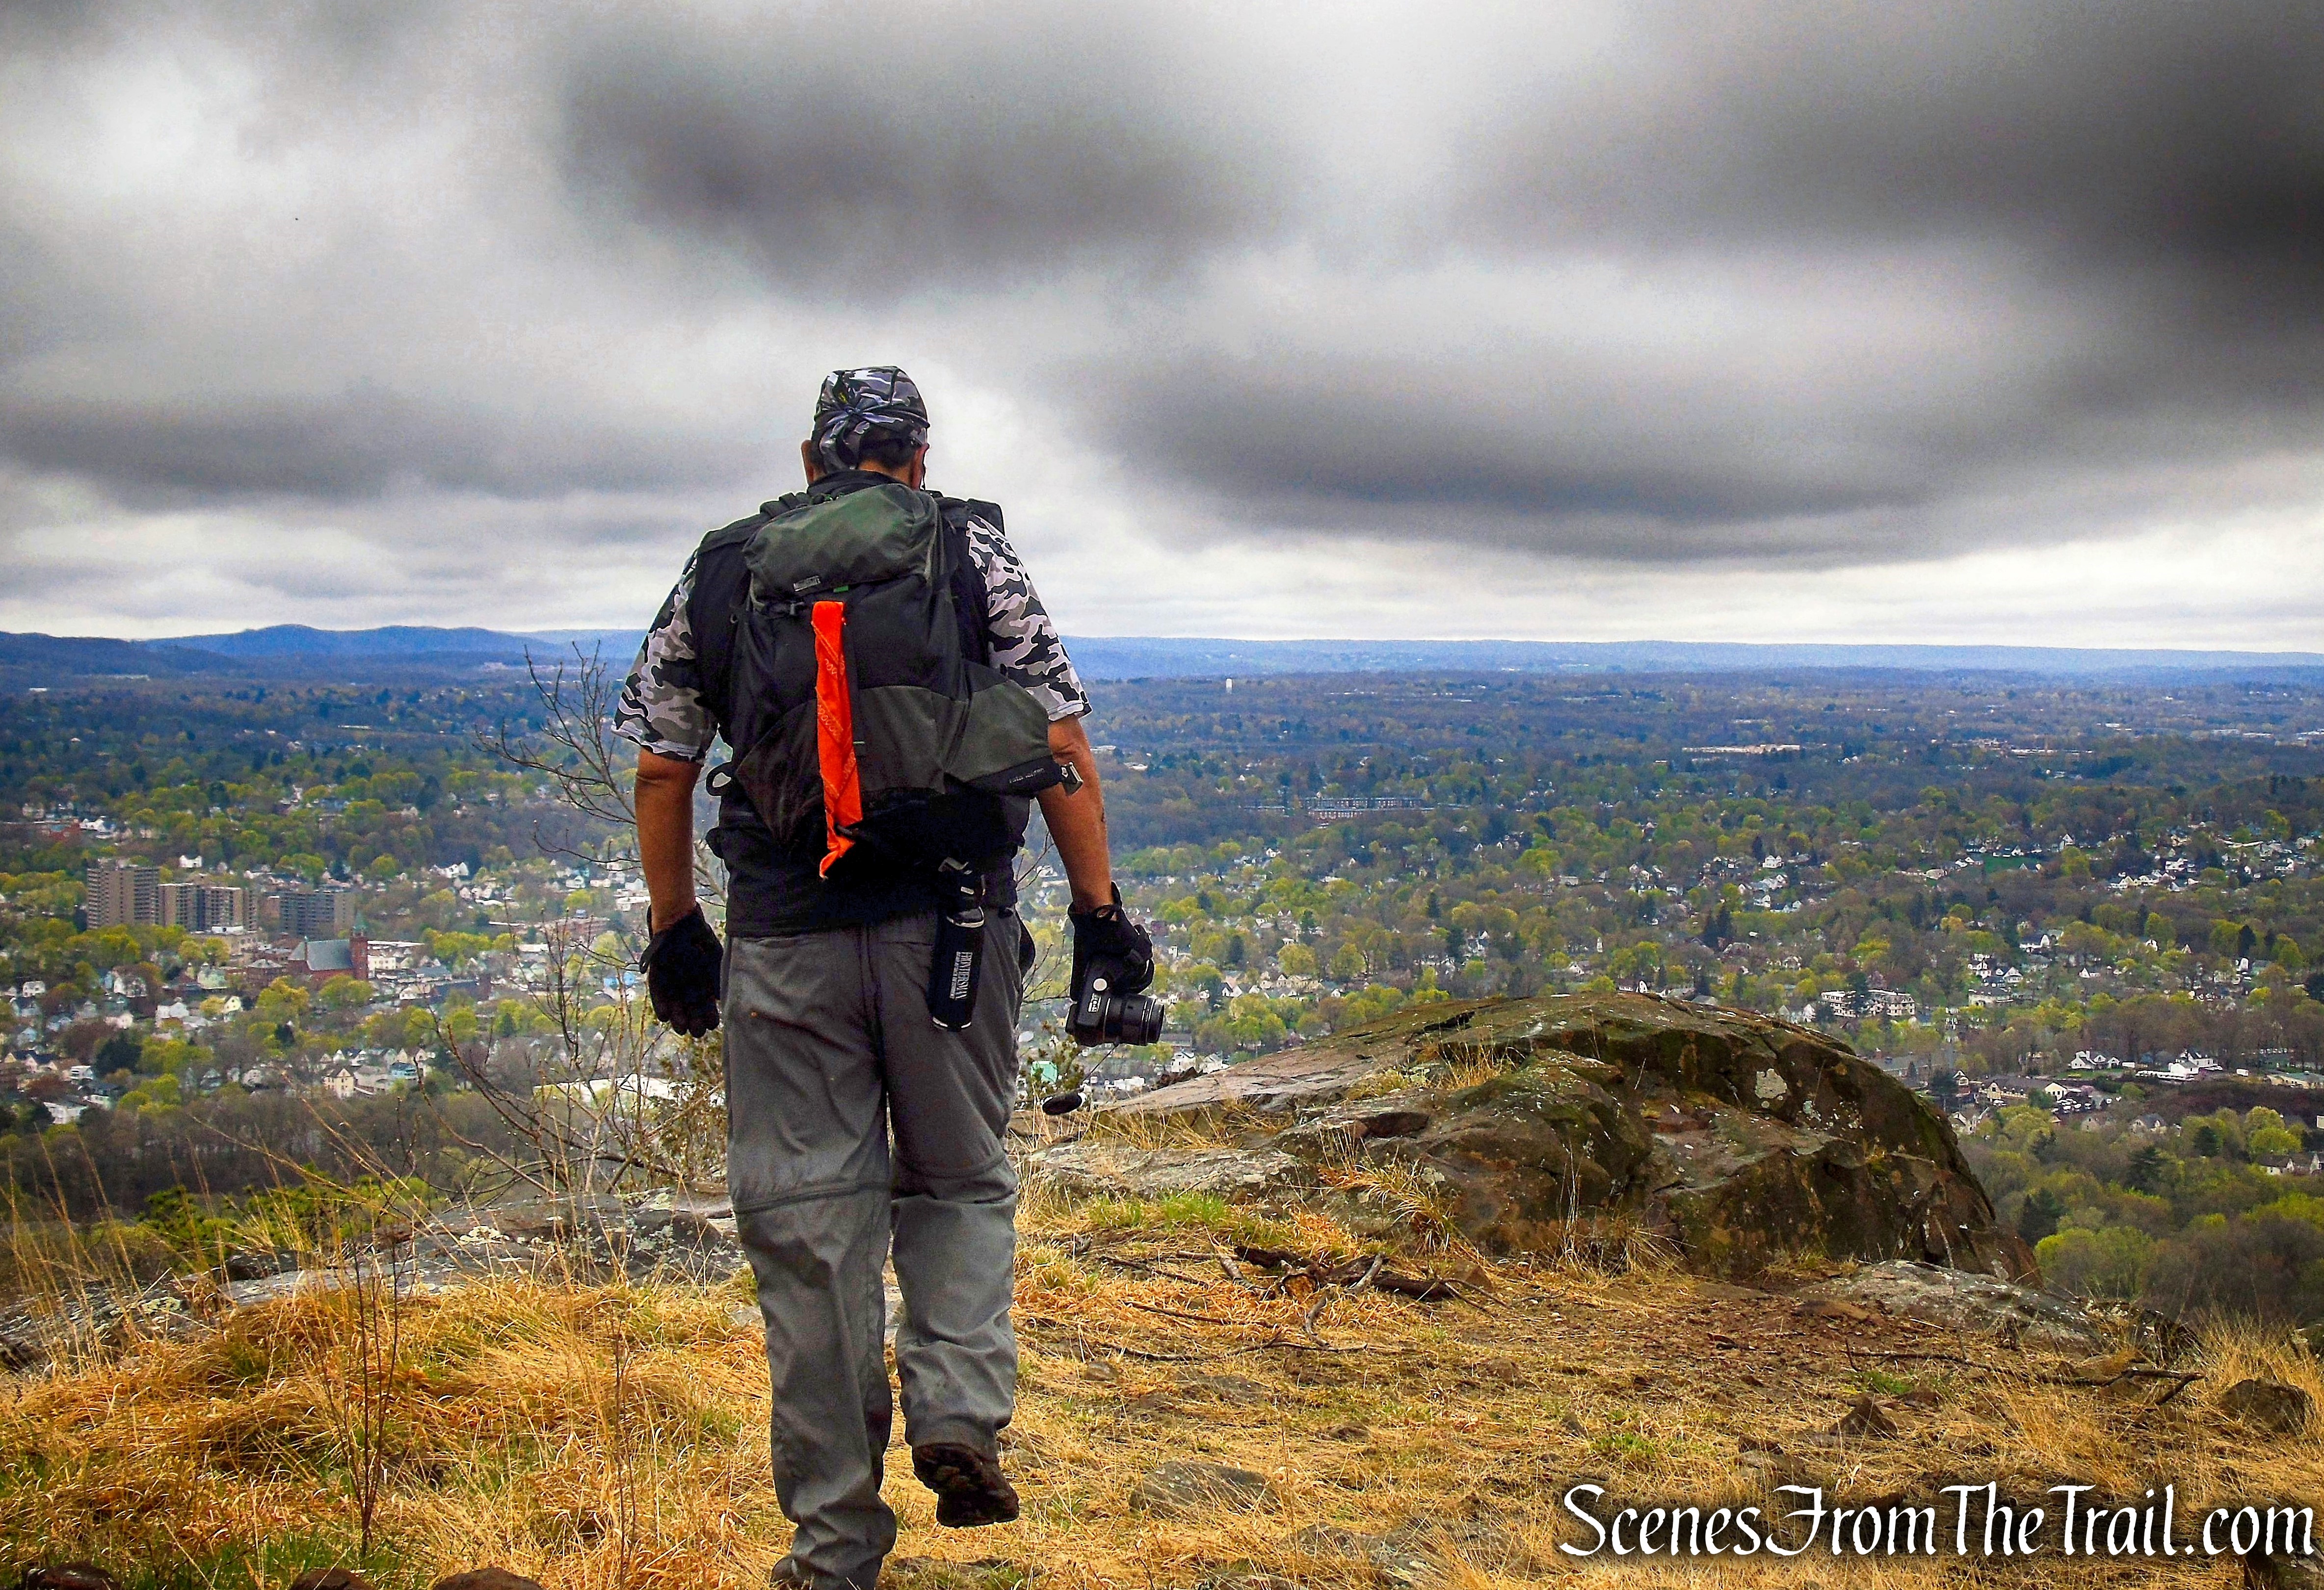
Scenic Vista – Sam’s Point Preserve
History:
Human use of Sam’s Point can be dated back some 8,000 years and there are abundant locations on the property that likely served as rock shelters. Sam’s Point is named for an early European settler named Sam Gonzales who is fabled to have jumped off the cliff escarpment while being pursued by Native Americans.
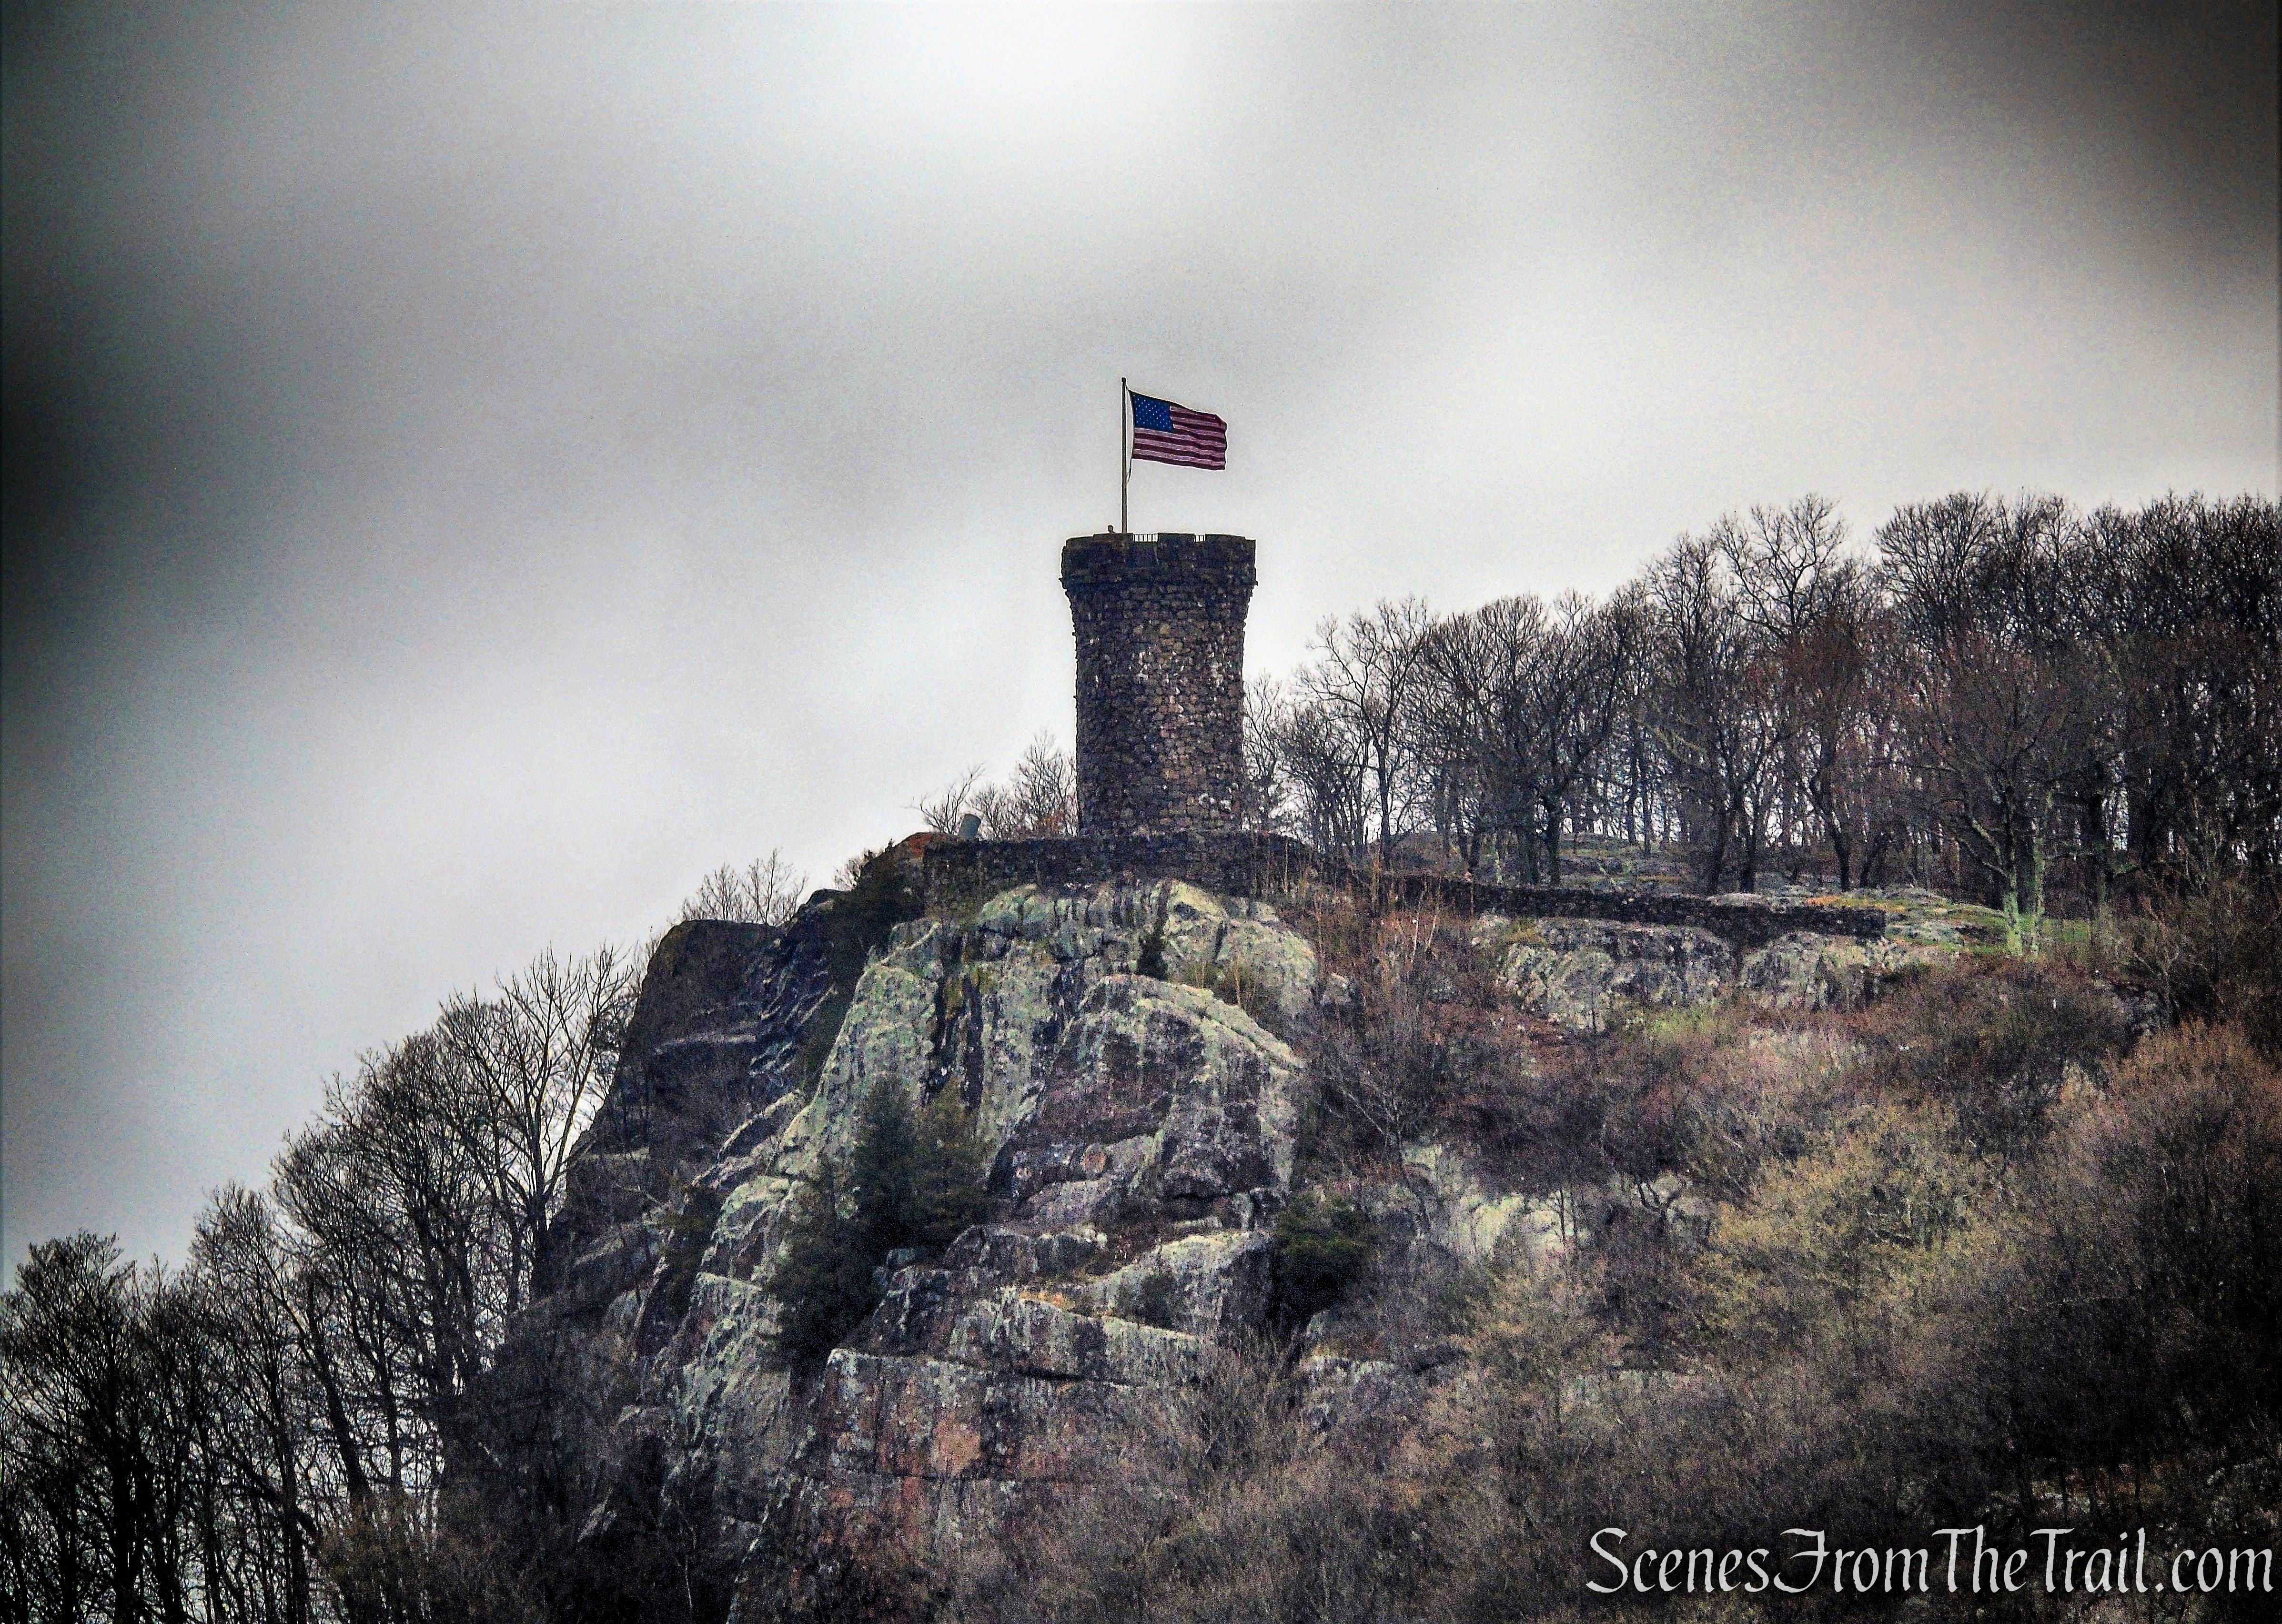
Sam’s Point was the location of two small resort hotels developed in the mid-1800’s, that were eventually destroyed by fire. At the turn of the century, the property was promoted as “Sam’s Point Park” for swimming, fishing, boating, photography and walking. Roadways were constructed to access the hotel on the shore of Lake Maratanza. In the 1930’s, the Civilian Conservation Corps built a road to the High Point Lookout to access a fire tower there.
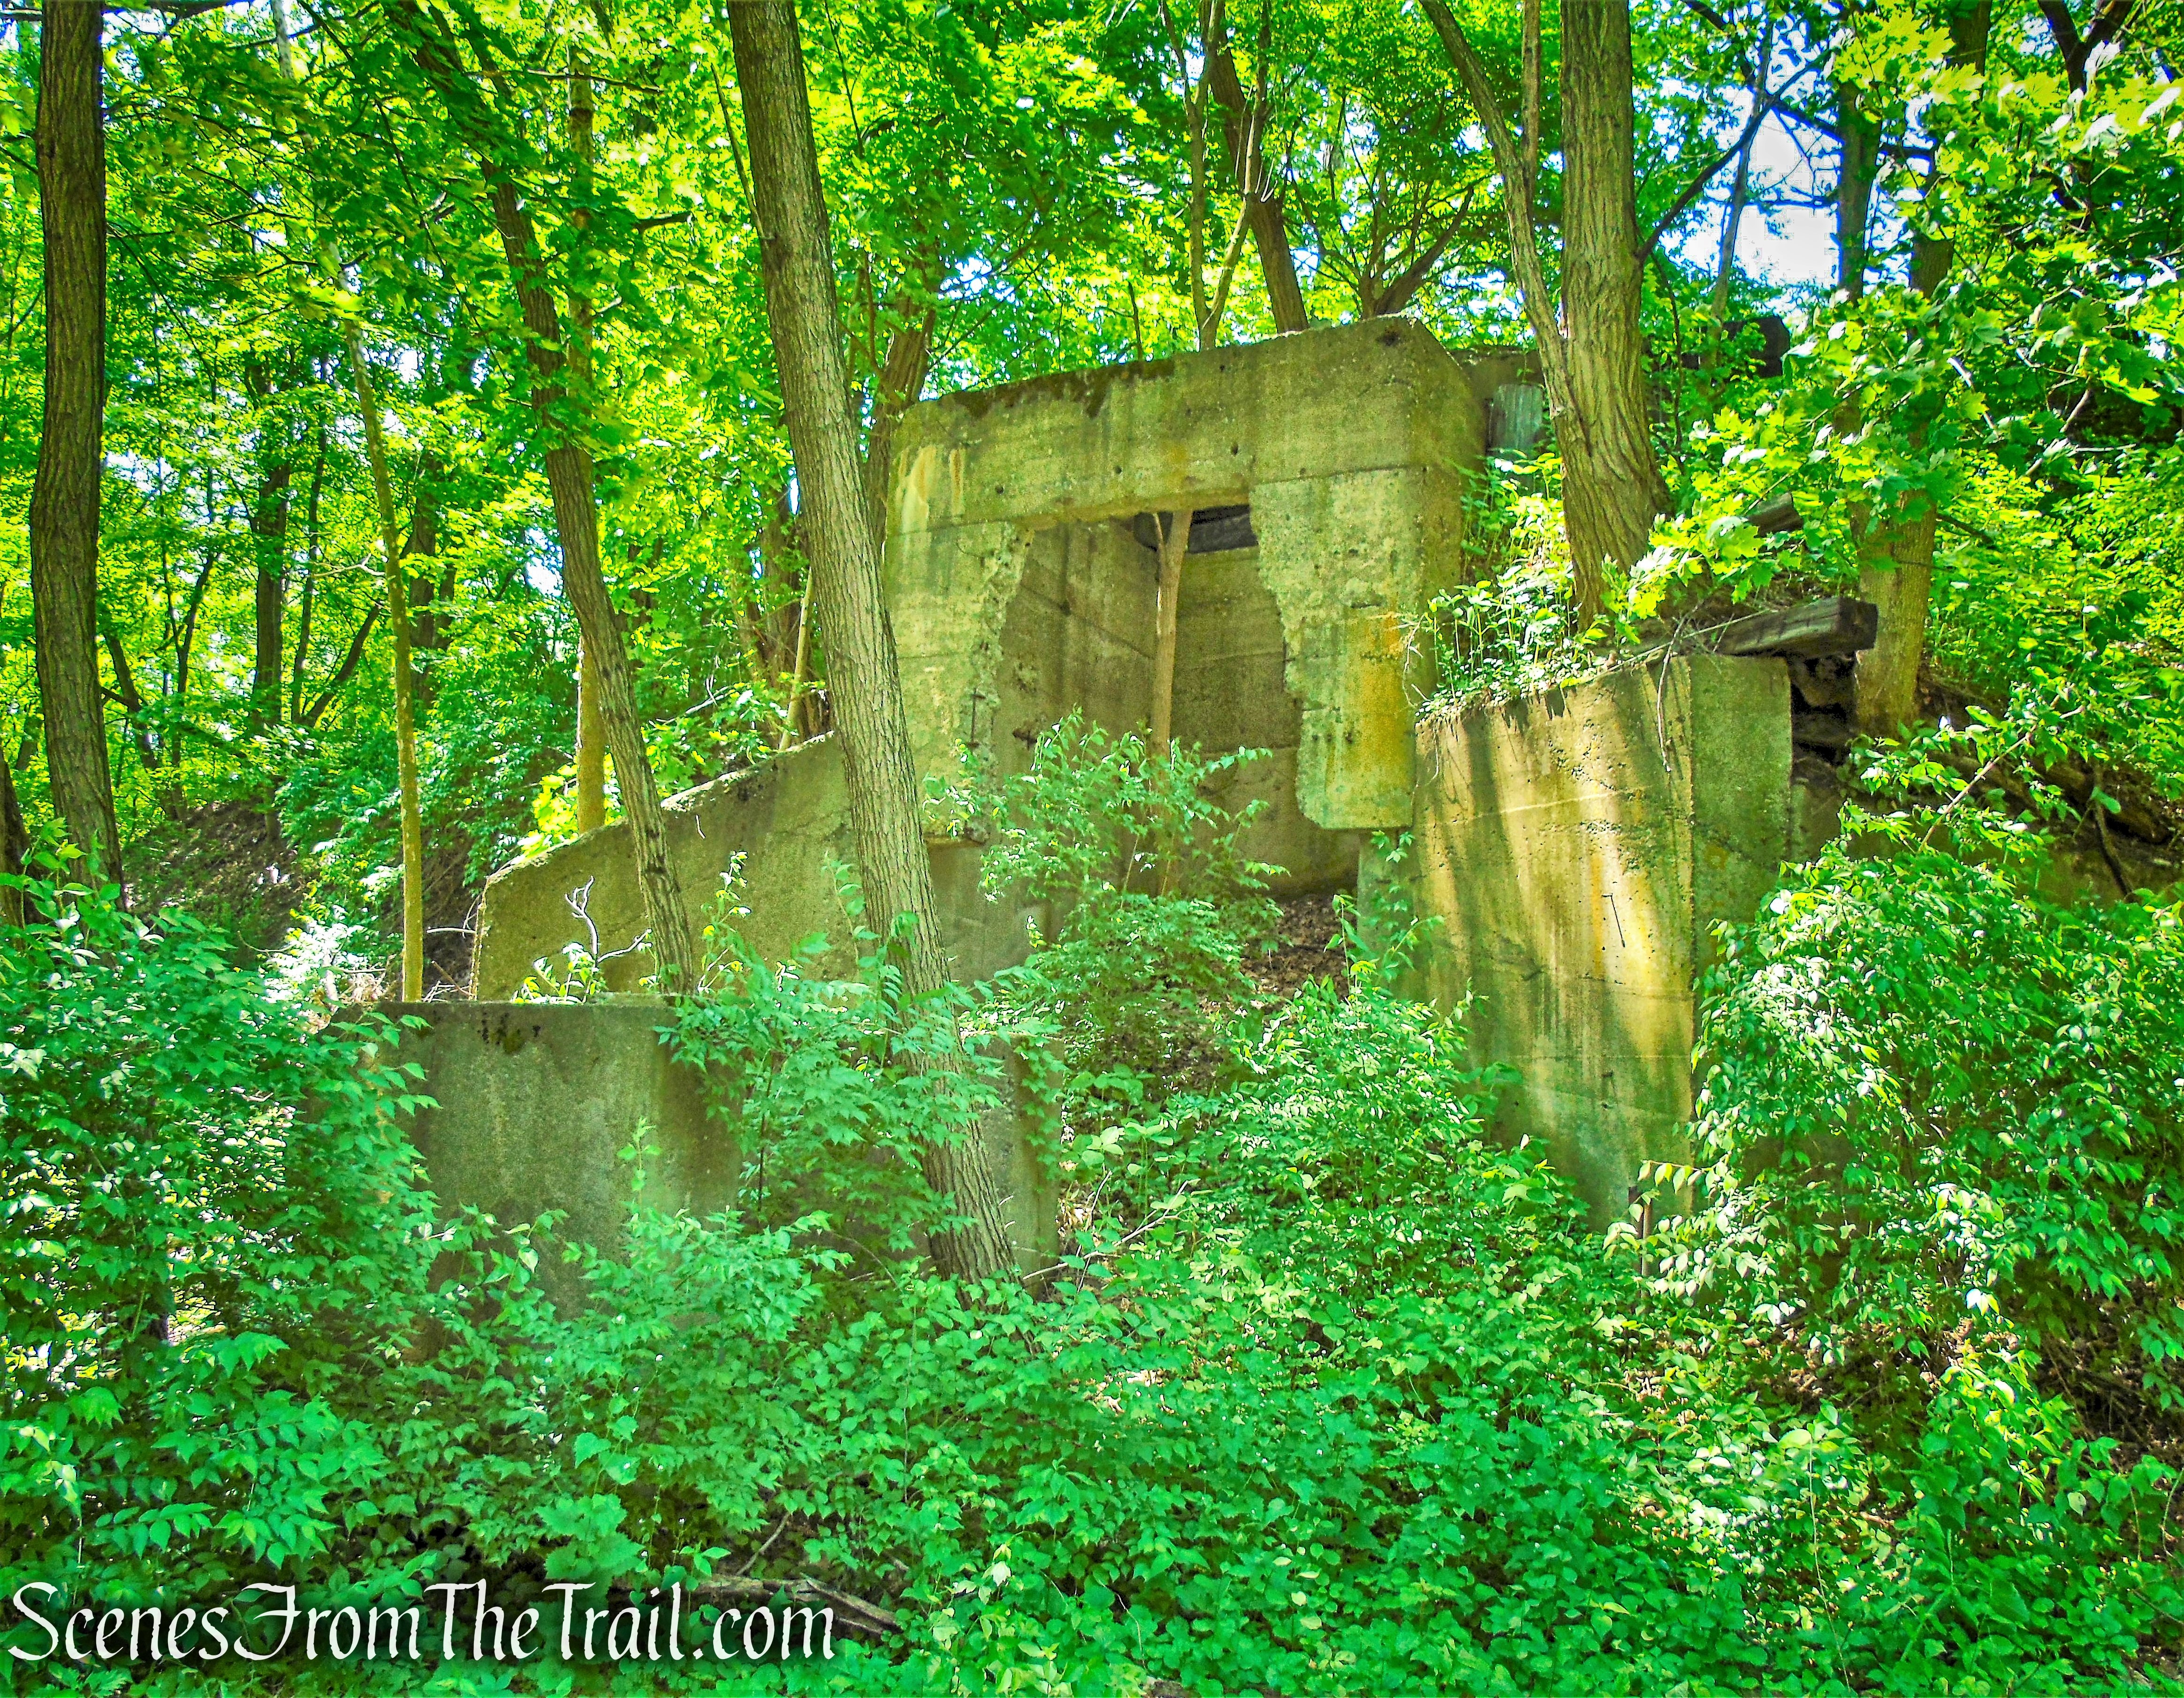
From the mid to late 1800’s until the 1960’s locals and visitors would populate seasonal camps on the property to pick huckleberries and blueberries, creating a significant local industry. This industry passed away with the advent of blueberry cultivation in the New Jersey pine barrens and changes in the local economy after World War Two. Berry pickers were known to set fires on the preserve to enhance berry production. Remains of berry picker shacks are still in evidence on the Preserve, and are considered an important part of the cultural history of the Preserve.
The Village of Ellenville acquired ownership of the property to protect the watershed of Lake Maratanza, which served as a water supply for the community. The lake was dredged and dammed in the 1950’s, converting it from the smallest lake in the Shawangunks to the second largest, after Lake Awosting. In 1967 the property was leased out and developed as a tourist attraction known as “Ellenville Ice Caves Mountain.” An interpretive path through the ice caves talus area was created and serves as the route still visited by many today.
In 1996, the Open Space Institute (OSI) acquired Ice Caves Mountain Incorporated from the Village of Ellenville. In 2006, 3,799 acres of the Preserve were transferred to the Palisades Interstate Park Commission, and is now under the same ownership as Minnewaska State Park Preserve.
Trails Overview:
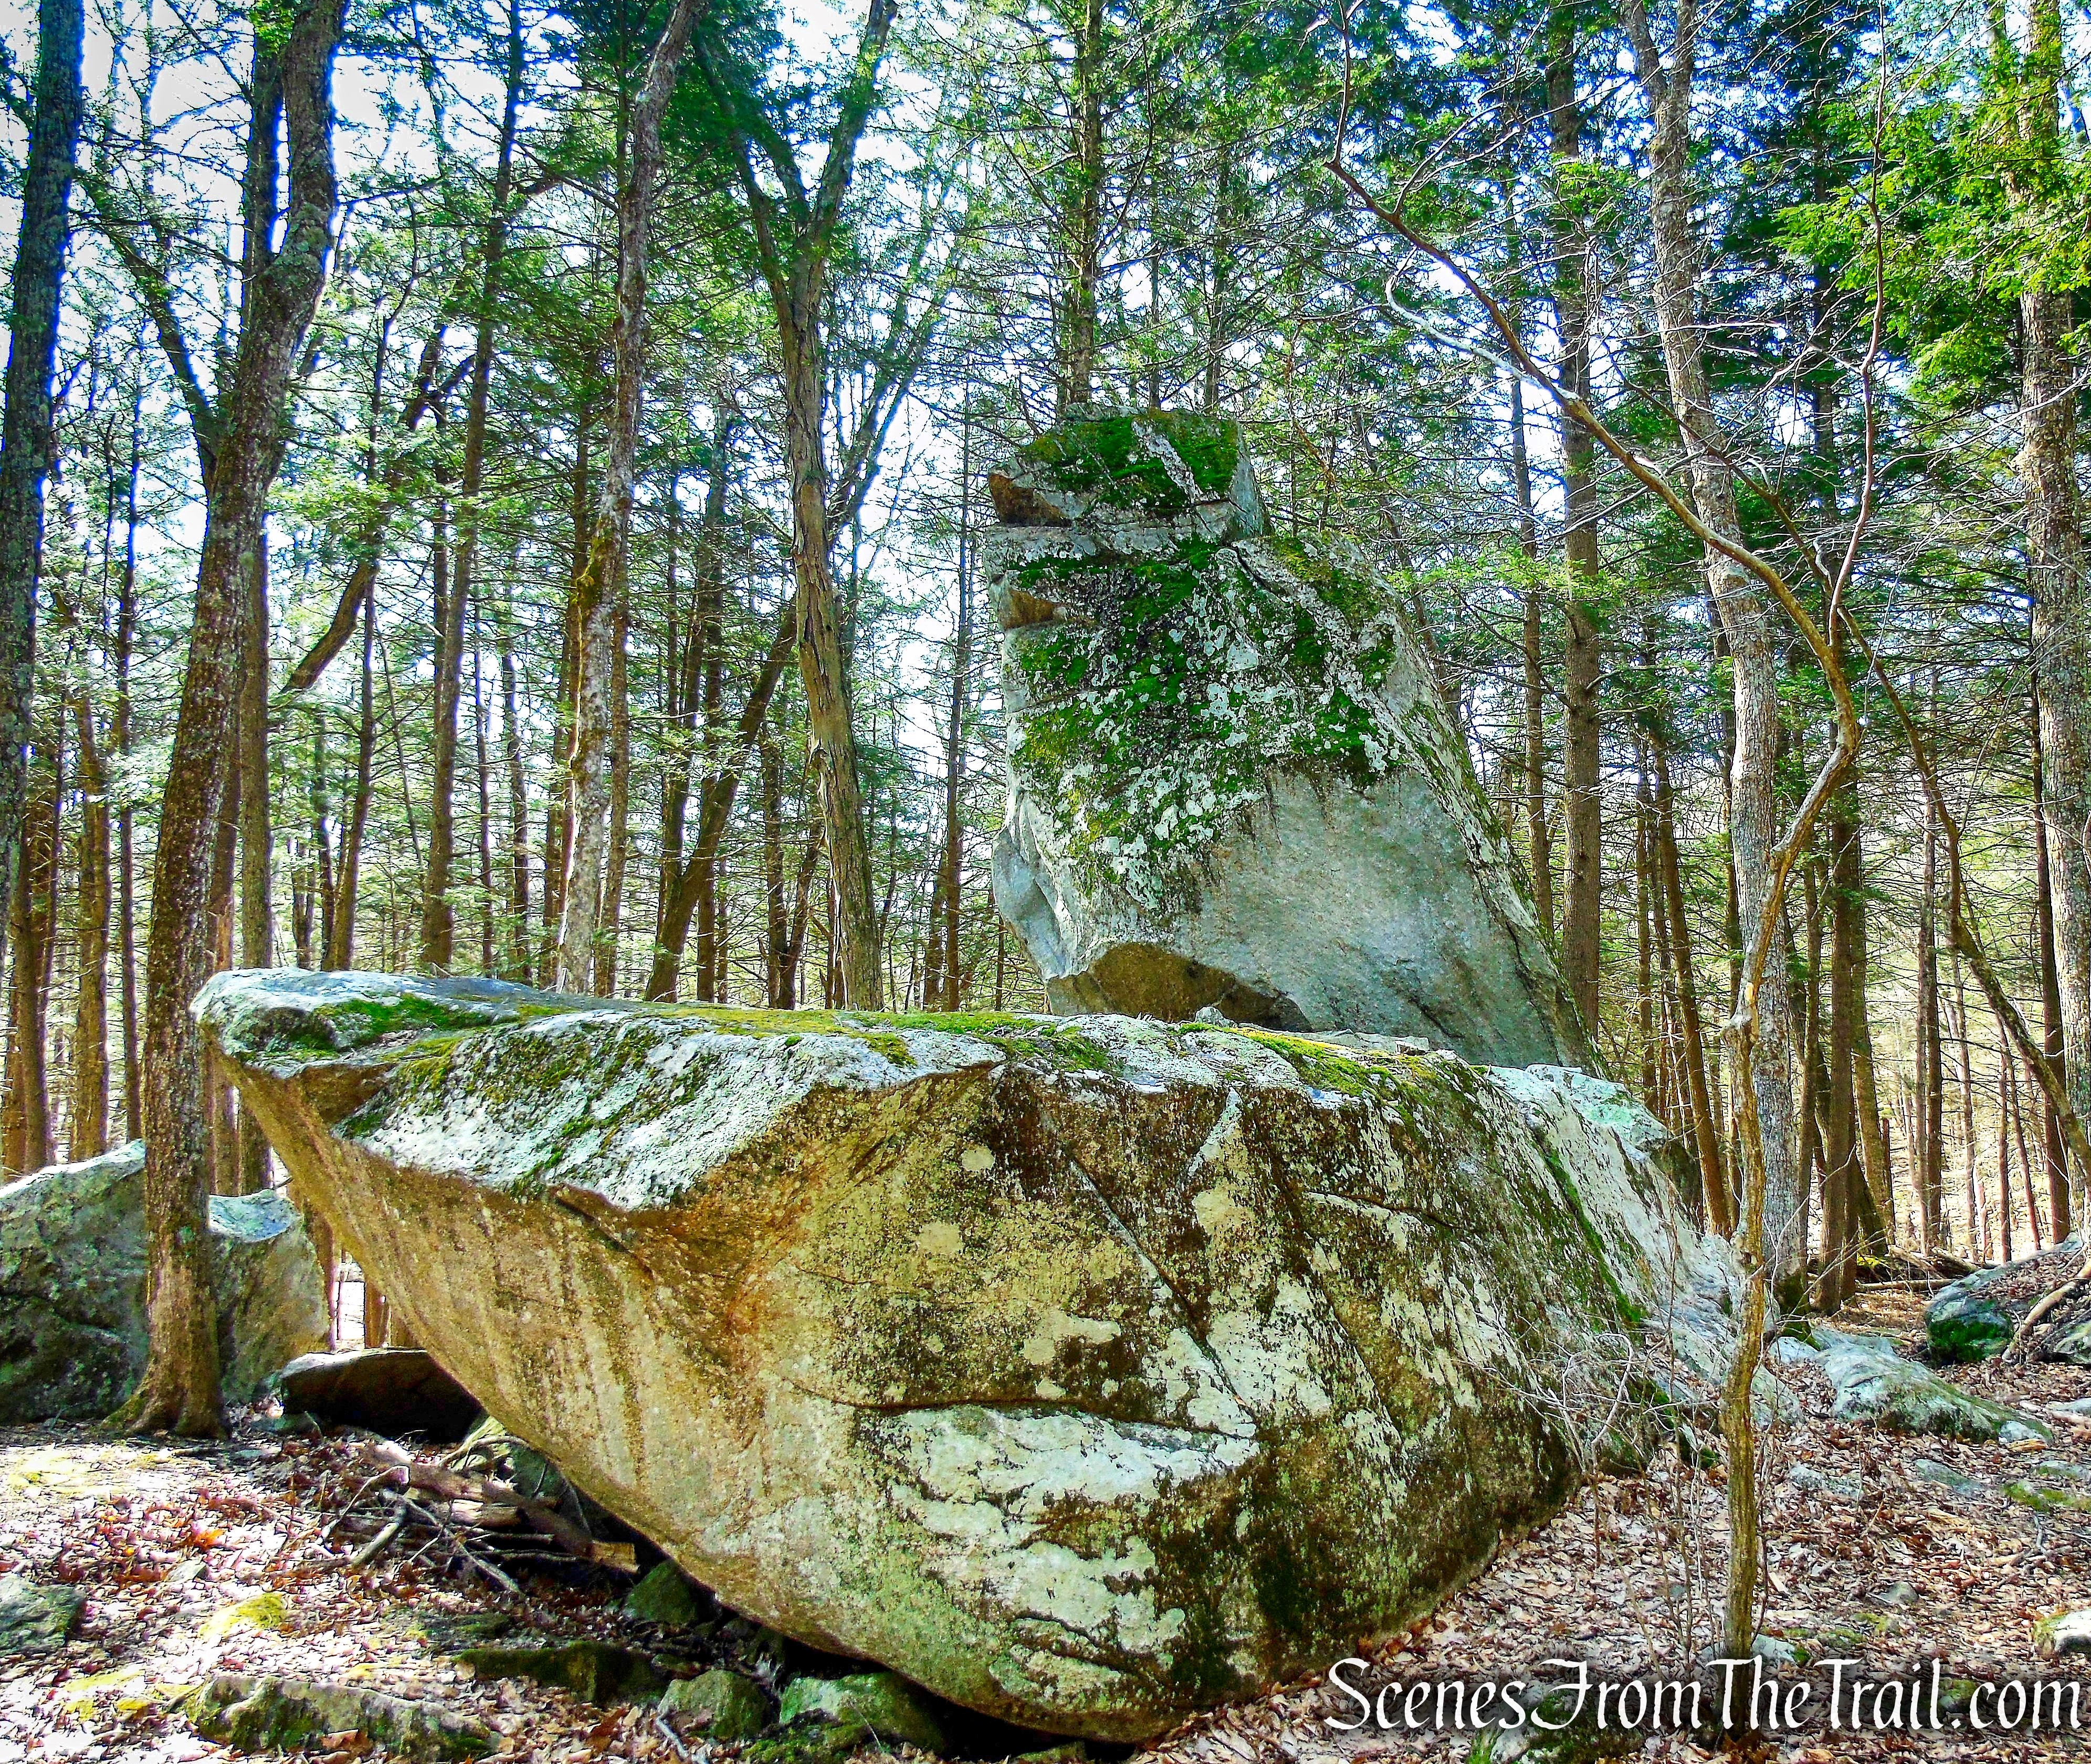
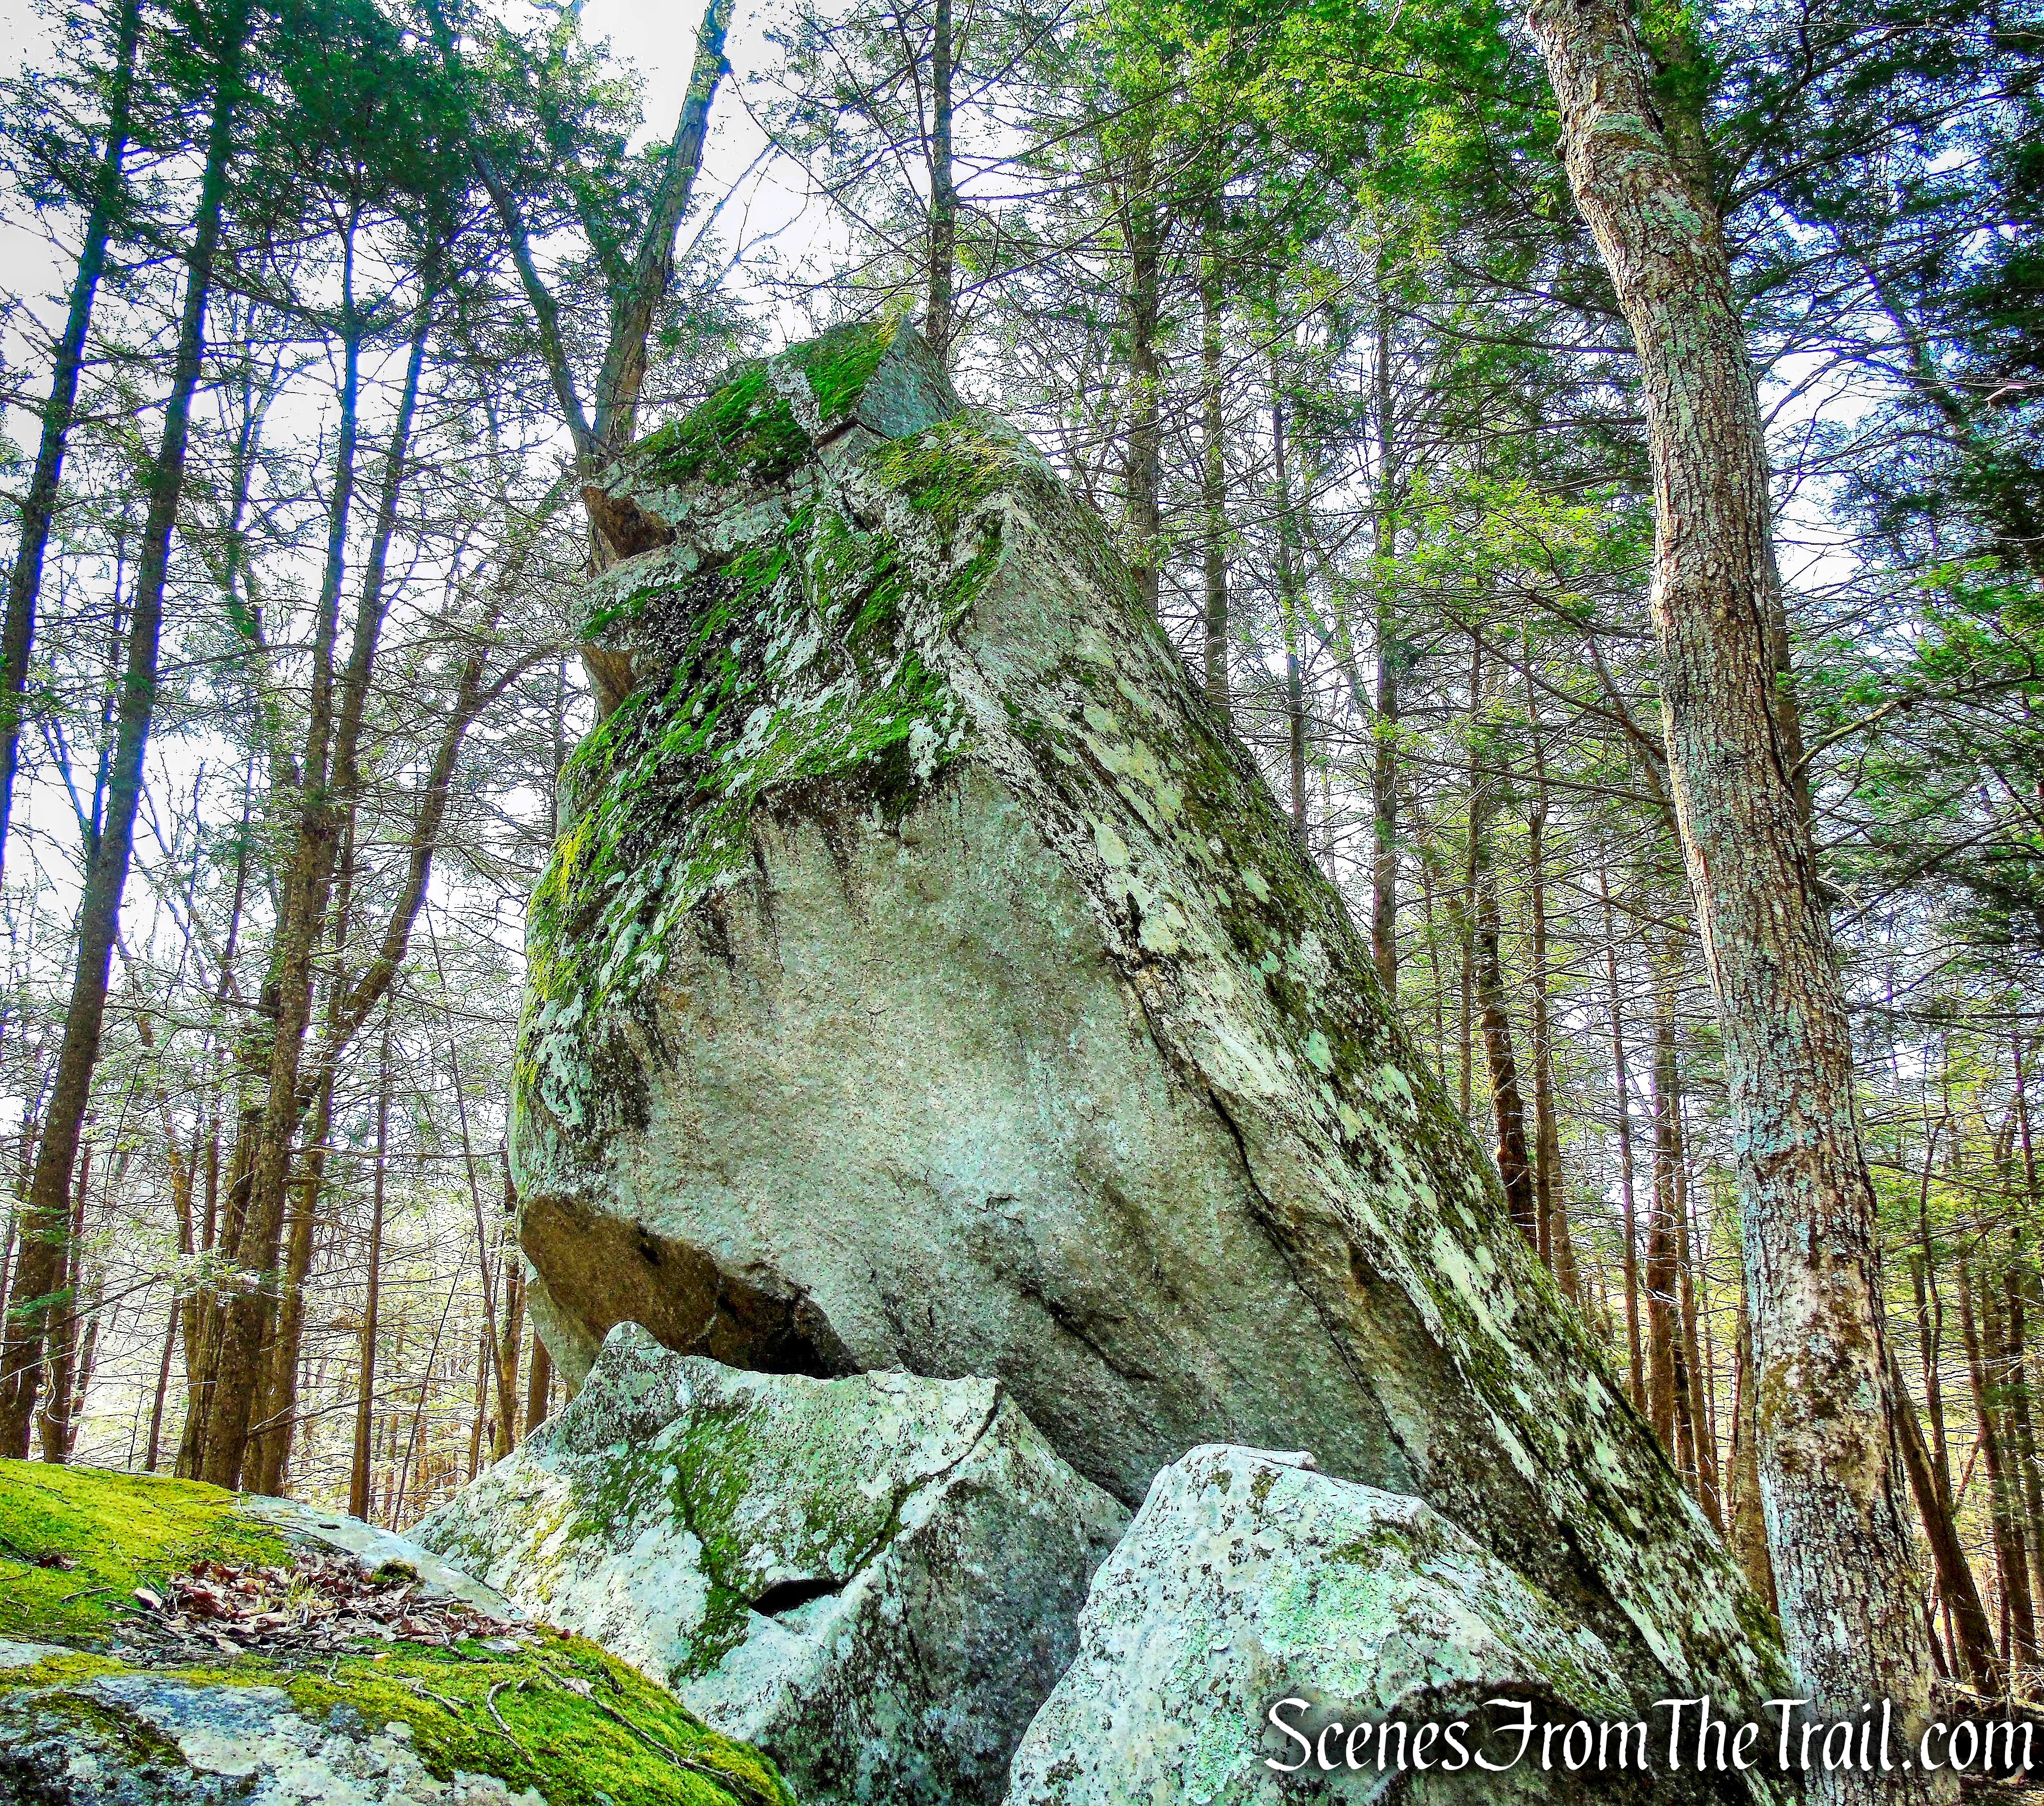
Sam’s Point Preserve is the highest and wildest part of the Shawangunks, with approximately 16-mile network of old roads and footpaths that can be formed into any number of loop hikes, ranging from easy to strenuous. The Preserve offers inviting destinations for hikers relatively close to the main parking area and Sam’s Point Visitor Center: Sam’s Point, with its spectacular views; the Ice Caves, with its own 0.5 mile mini-loop trail, where ice and snow can be seen even in the summer; and Lake Maratanza, the highest of the “Sky Lakes.” Further away are 187-foot Verkeerder Kill Falls, the highest waterfall in the Shawangunks; Indian Rock, a large fractured boulder perched near the top of a cliff and balanced on a smaller boulder; and High Point, the highest point in the area at 2,240 feet.
Trails:
~The Indian Rock Footpath is CLOSED until further notice.
~Please Note: The Ice Caves are only open to the public from April to October.
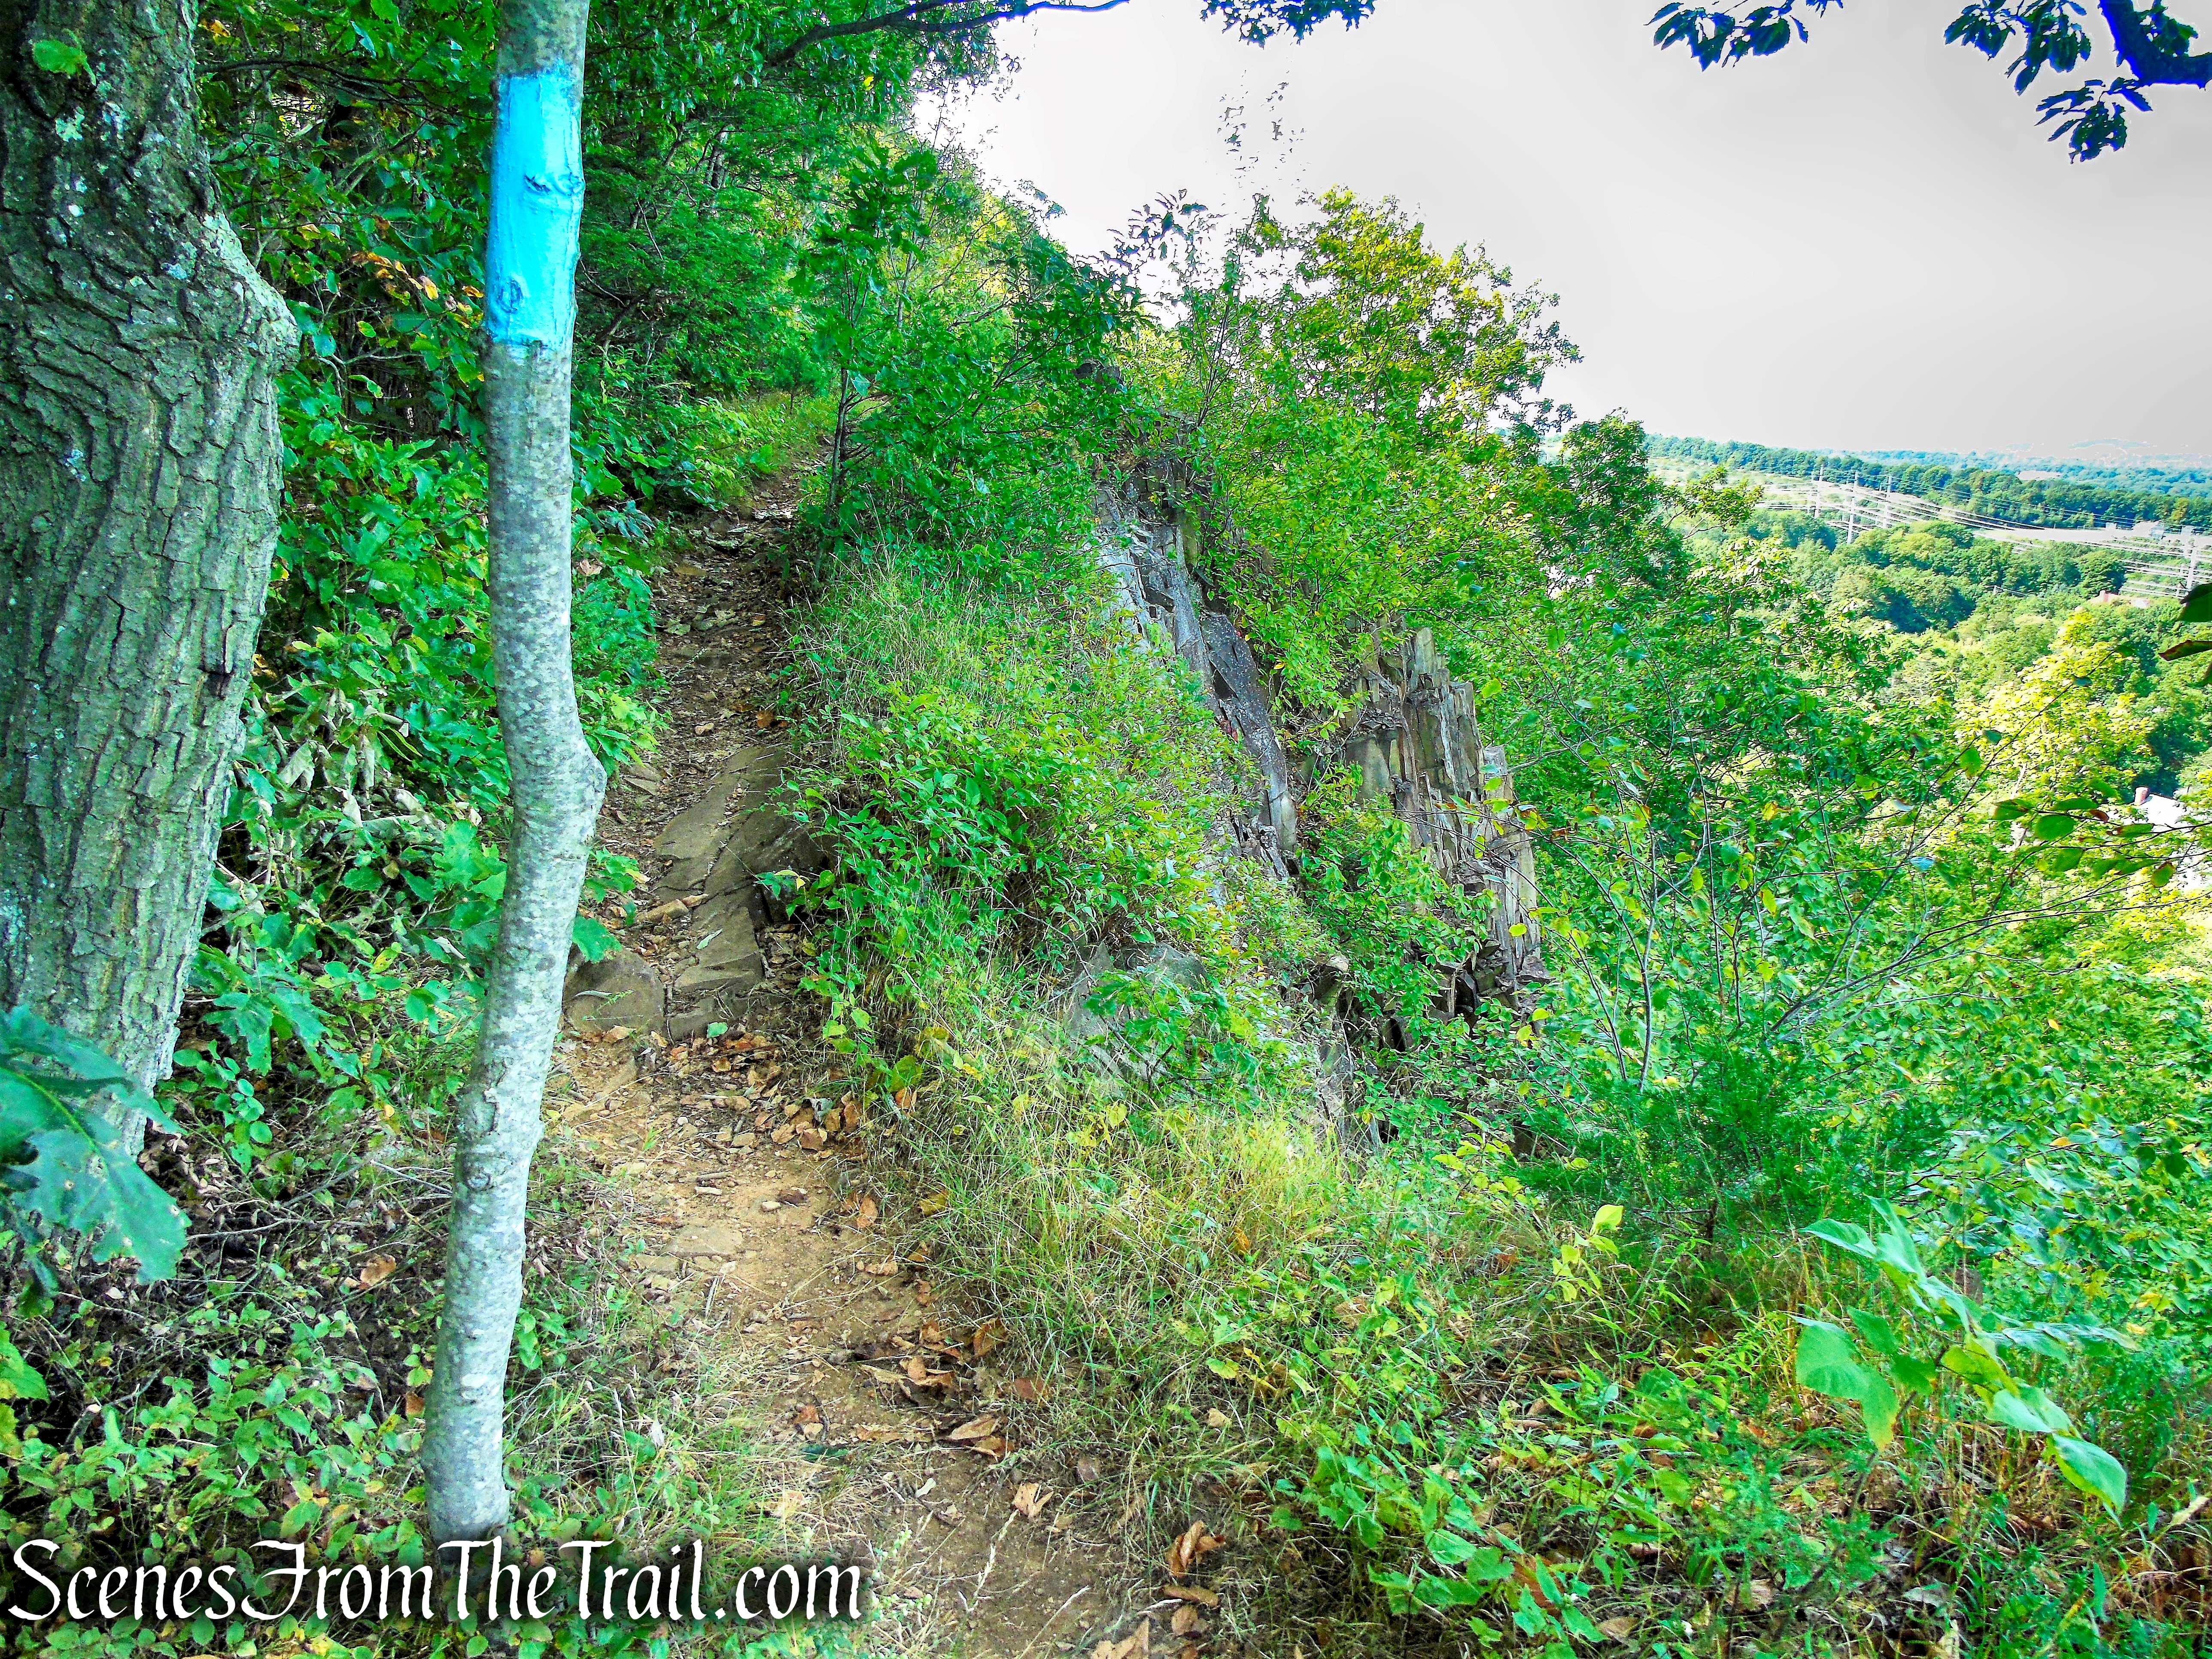
- Right Fork on Loop Road— to Sam’s Point, the Ice Caves and Verkeerder Kills Falls: From the parking area, walk around the gate and take the right fork of the Loop Road to follow the Long Path (aqua blaze) heading southeast at this point. This branch leads to Sam’s Point, then passes by a side trail to the Ice Caves at 1.0 mile (a must to take) and reaches Verkeerder Kill Falls in 3.0 miles.
~Note: From this point, the Long Path no longer heads east towards Mud Pond. It now follows the High Point Trail (red) heading north to Berrypicker Trail (blue). Then from Smiley Carriage Road north, the LP follows the Mine Hole Trail. Click for an updated description of this section of the Long Path.
- Left Fork on Loop Road — to Indian Rock and High Point: From the parking area, walk around the gate and take the left fork of the Loop Road heading northwest, which is briefly co-aligned with the Long Path (aqua blaze). When the Long Path leaves to the left, remain straight on the Loop Road; it will eventually reach the level of Lake Maratanza, which can be glimpsed from the road on the right. Near the most distant point of the Loop Road, as it begins to circle back around the lake, is High Point Carriage Road. Both Indian Rock and High Point are accessible from side trails along this road.
Hike Overview:
Sam’s Point is a popular destination and it is advisable to get there early to assure that you will gain entry. We arrived at about 8:30 am (the preserve opens at 9:00 am) and there was a line of about 10 cars just outside the gate already. More cars were lined up behind us by the time the gates opened. When we were leaving at about 1:30 pm, there was a long line of cars waiting to get in.
Sam’s Point Area – Minnewaska State Park Preserve
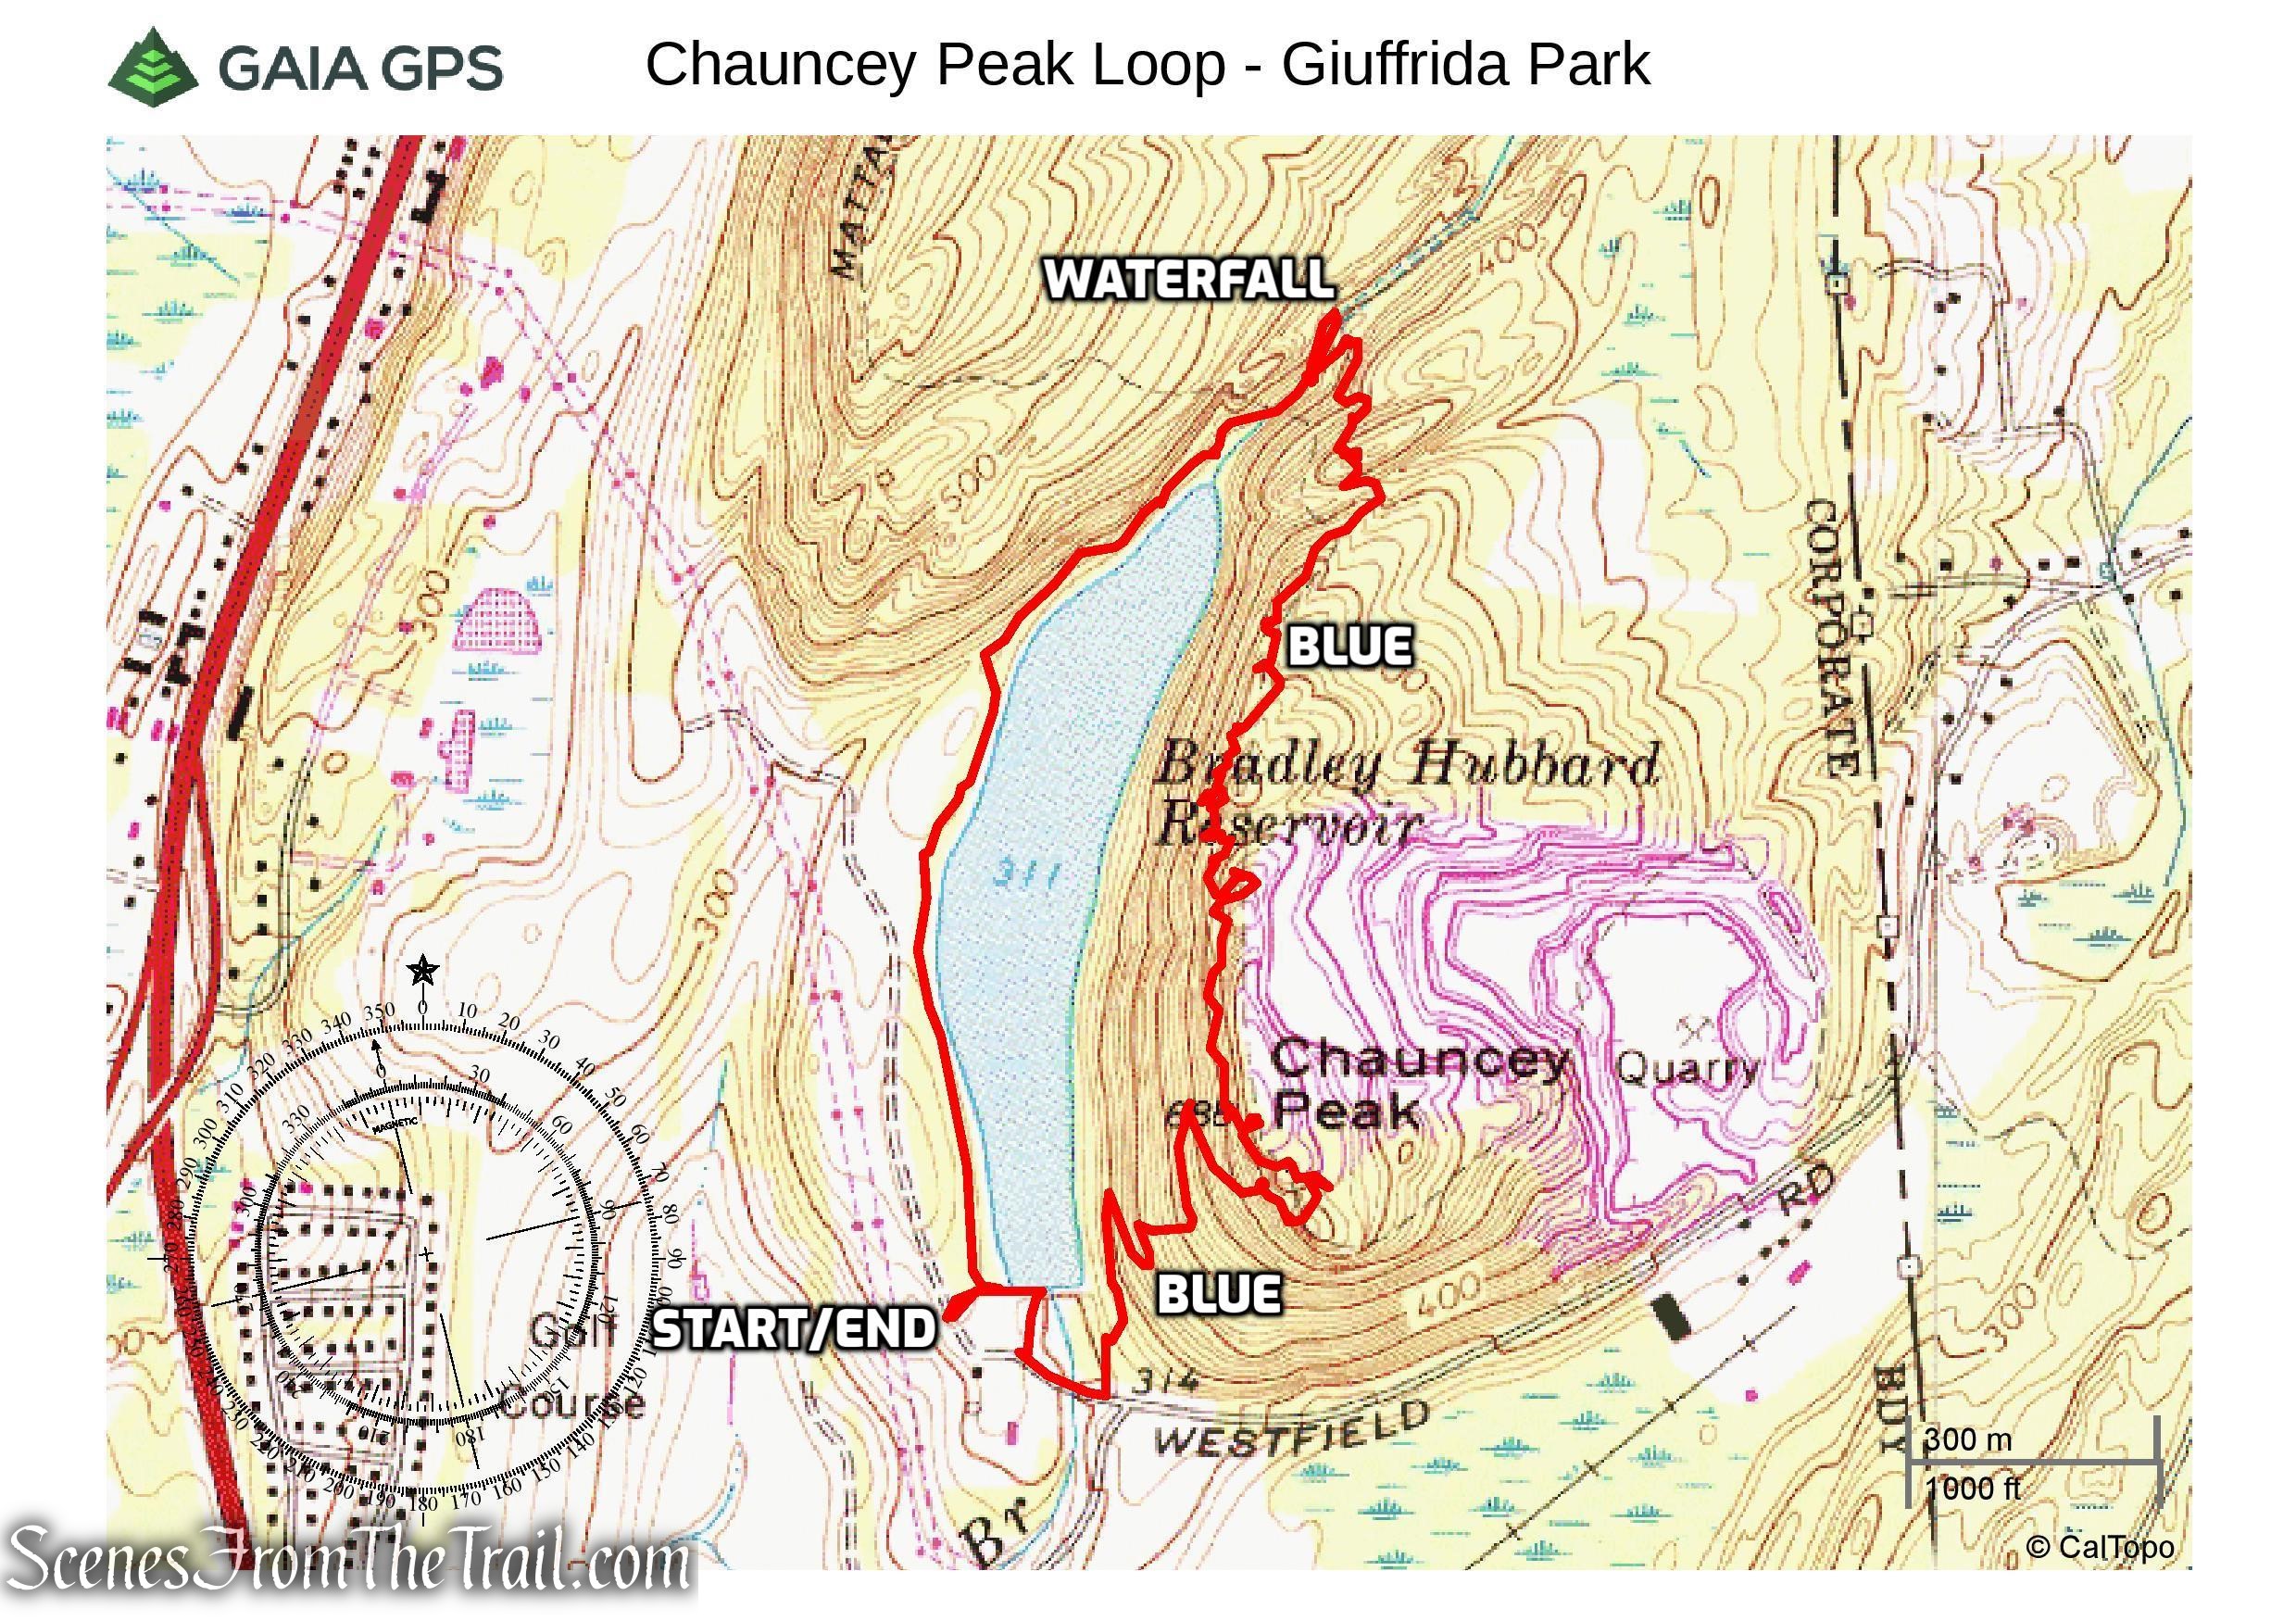
This hike takes the Right Fork on Loop Road and ascends on the carriage road to several viewpoints. It then leaves Loop Road and follows Ice Caves Road (a gravel road) as it descends to the Ice Caves Trail. After emerging from the Ice Caves Trail, retracing steps back to Loop Road and turning right. The hike continues on Loop Road as it makes its way around Lake Maratanza, past the remains of Berry Pickers shacks and back to the parking area.
This hike was done in a counterclockwise manner.

Ice Caves & Lake Maratanza Loop – Sam’s Point
The Hike:
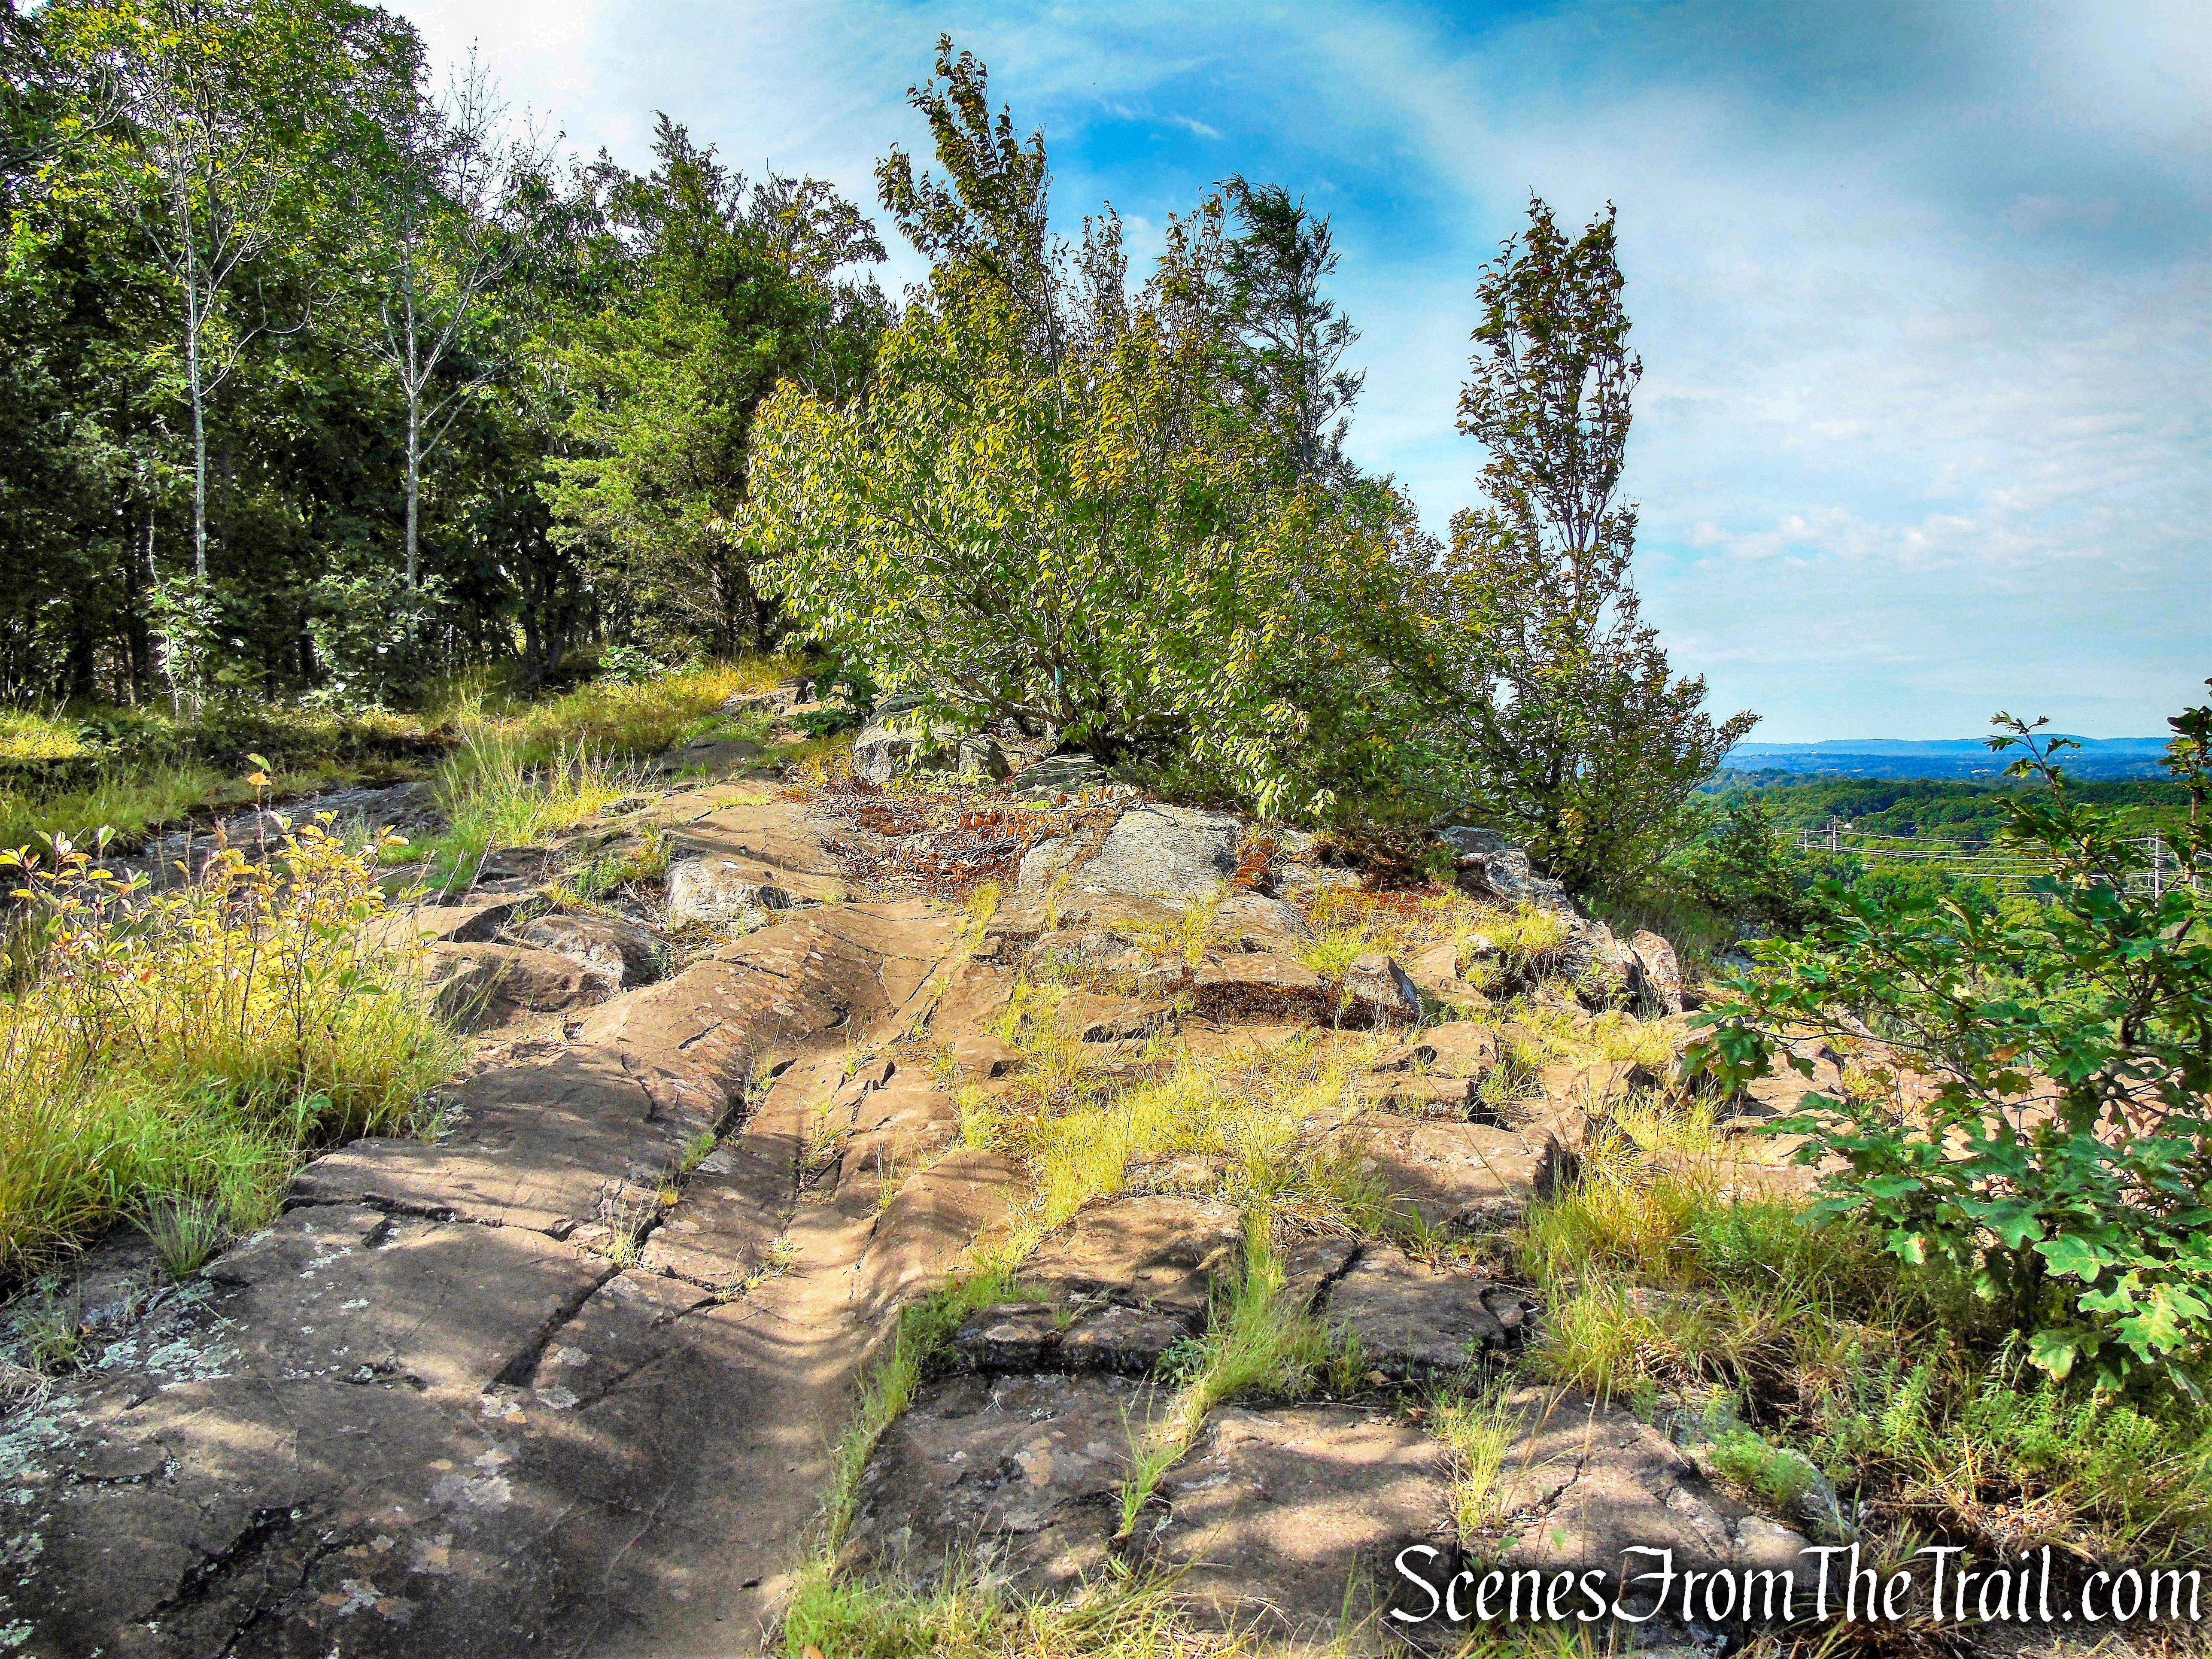
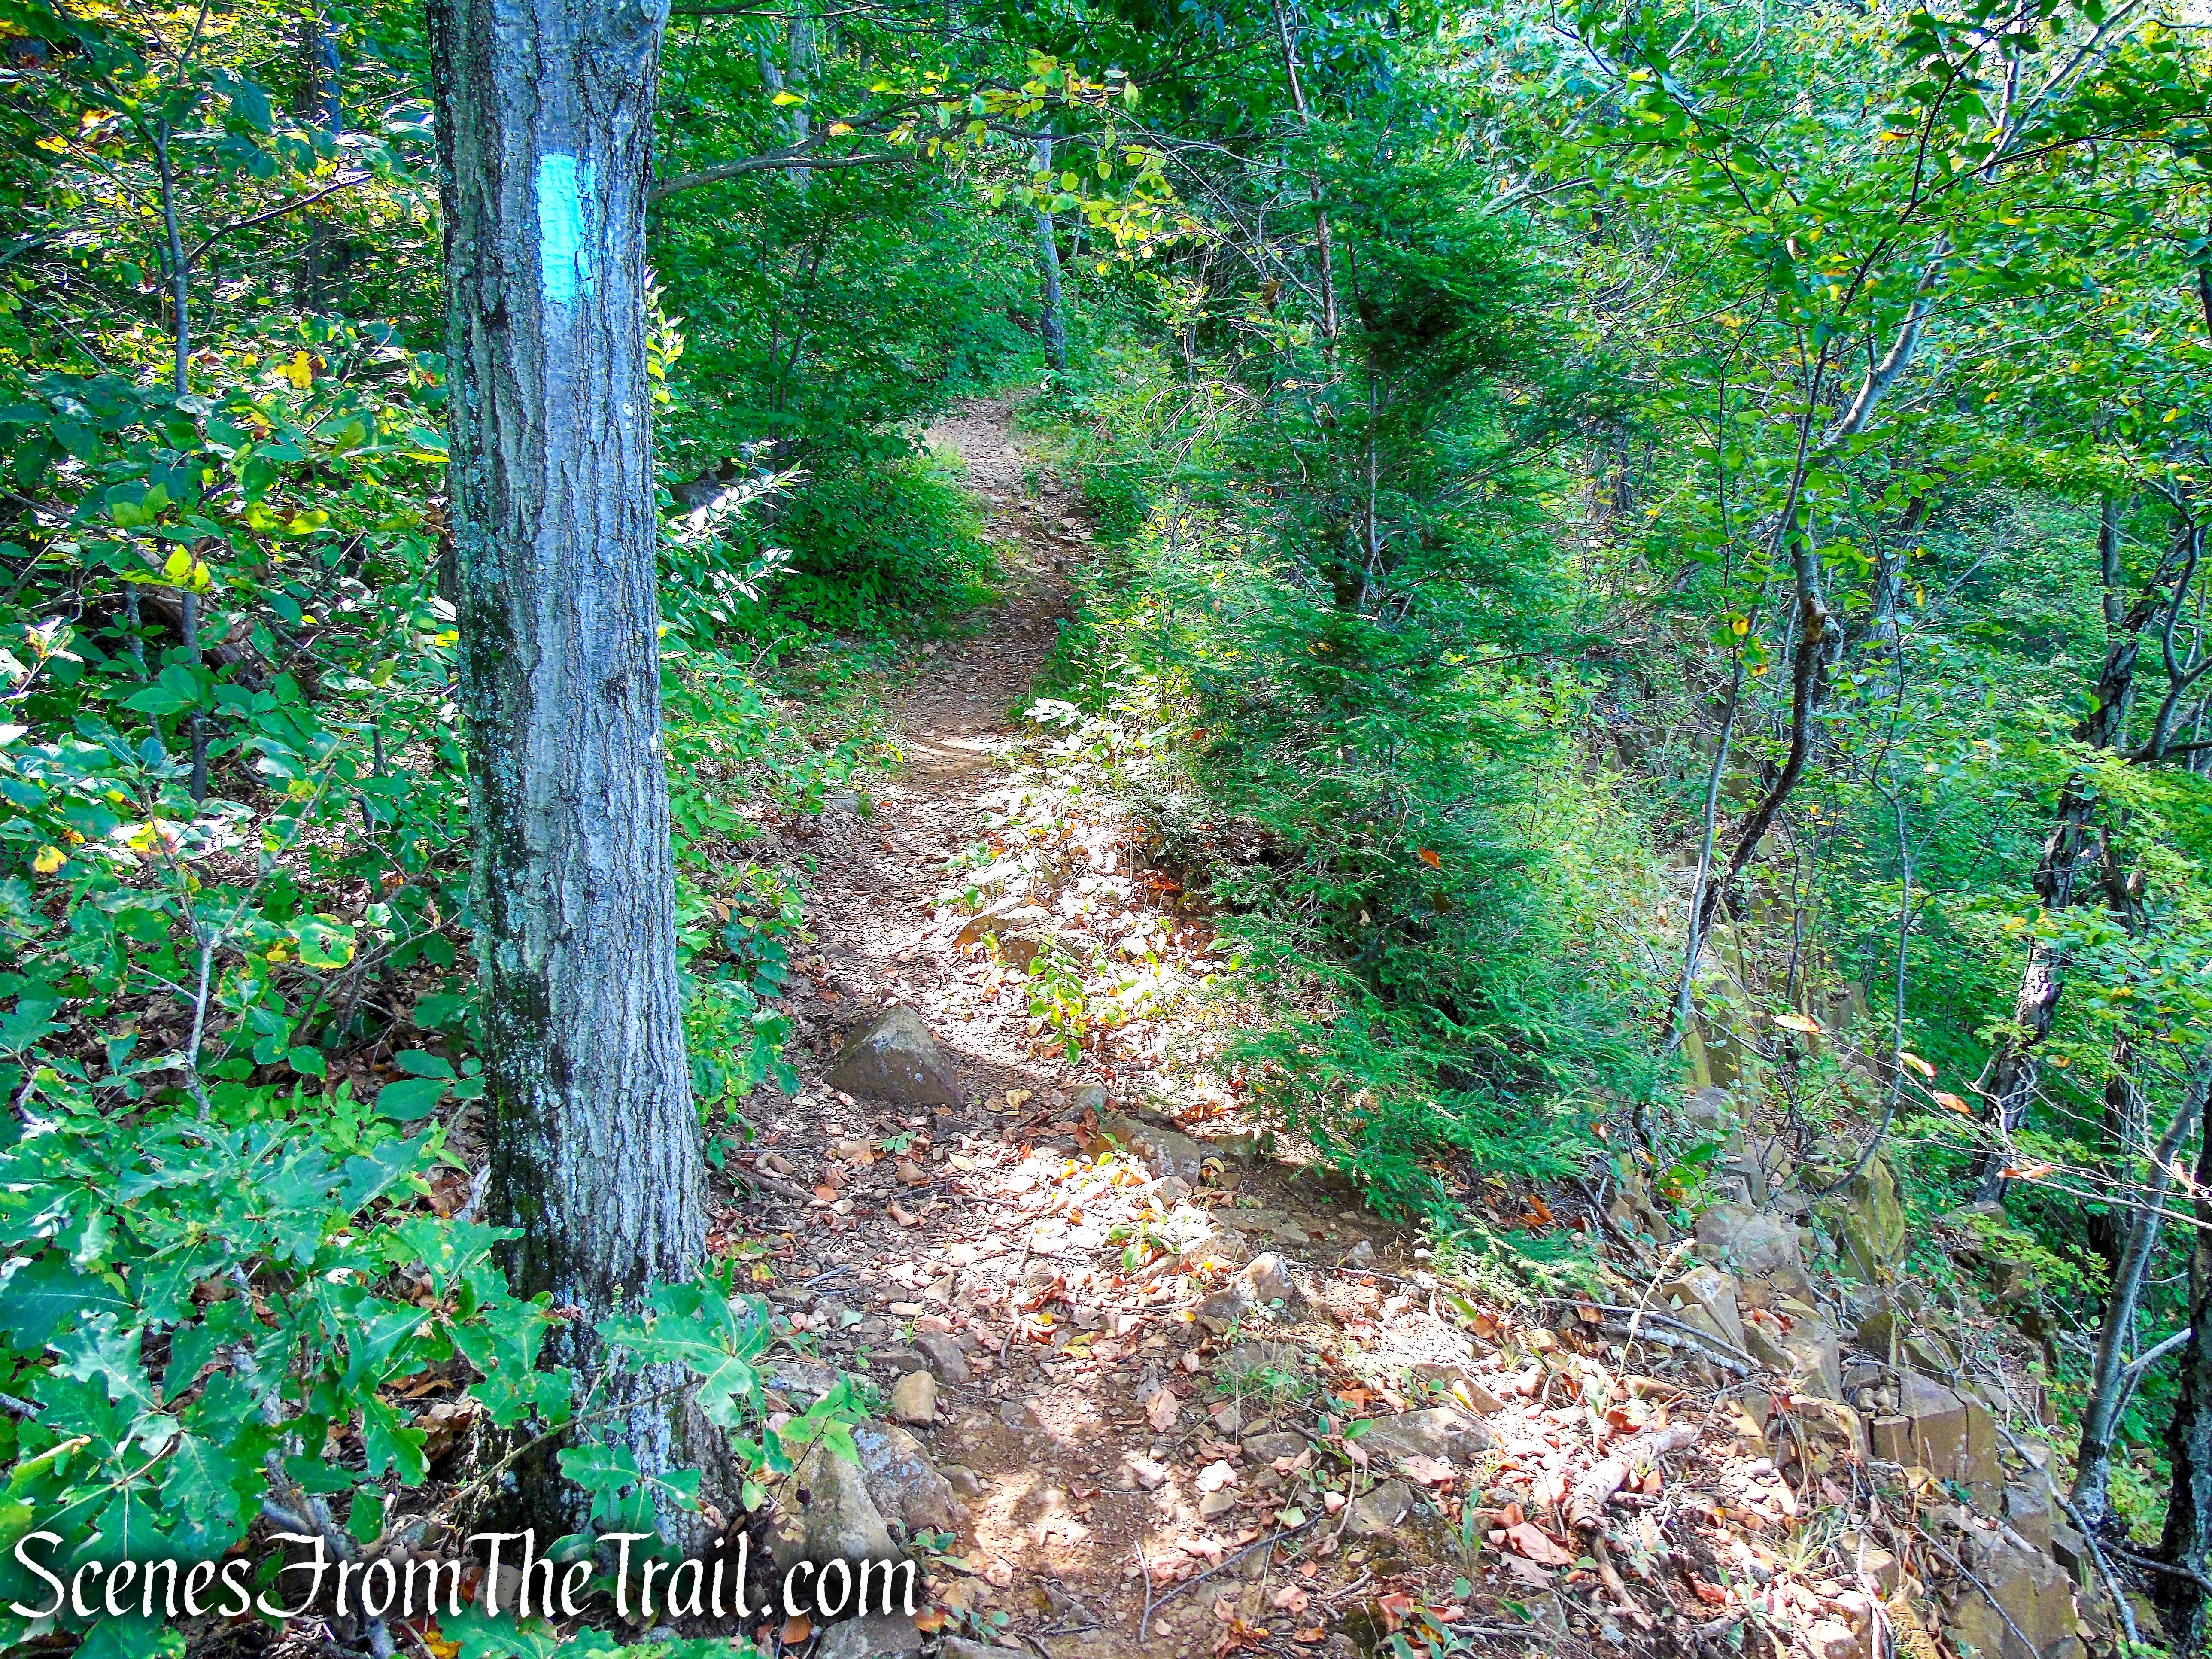
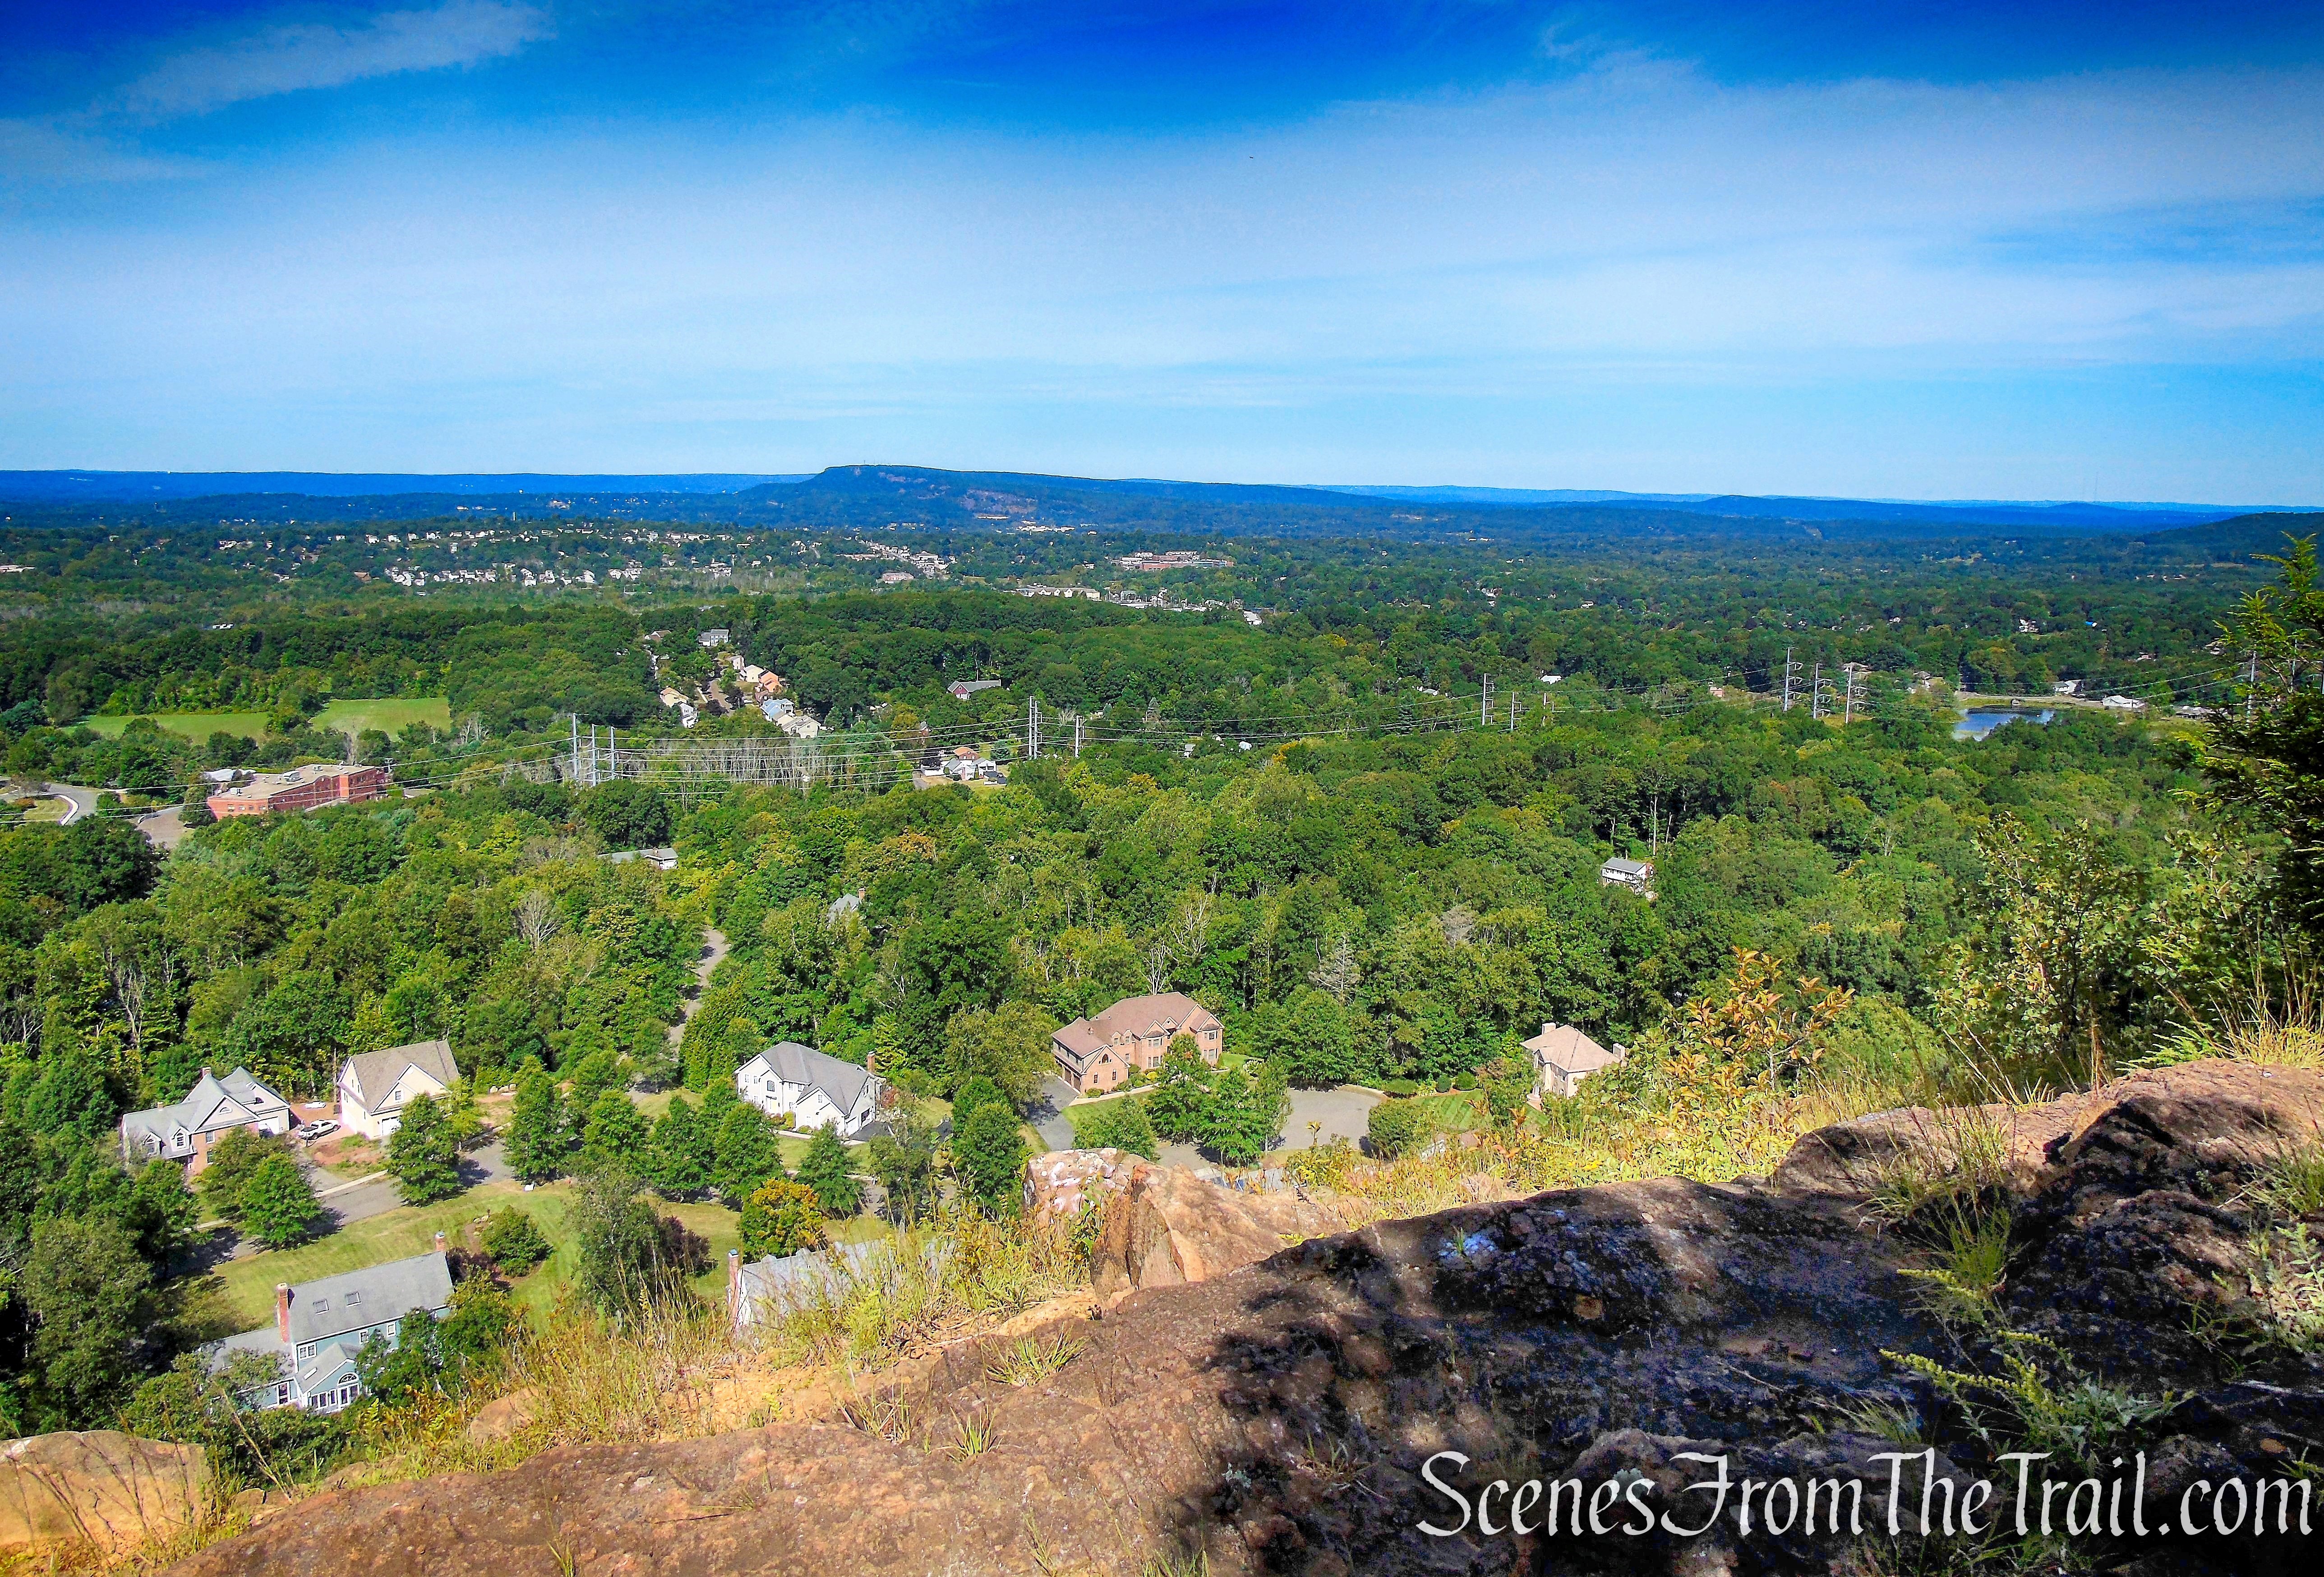
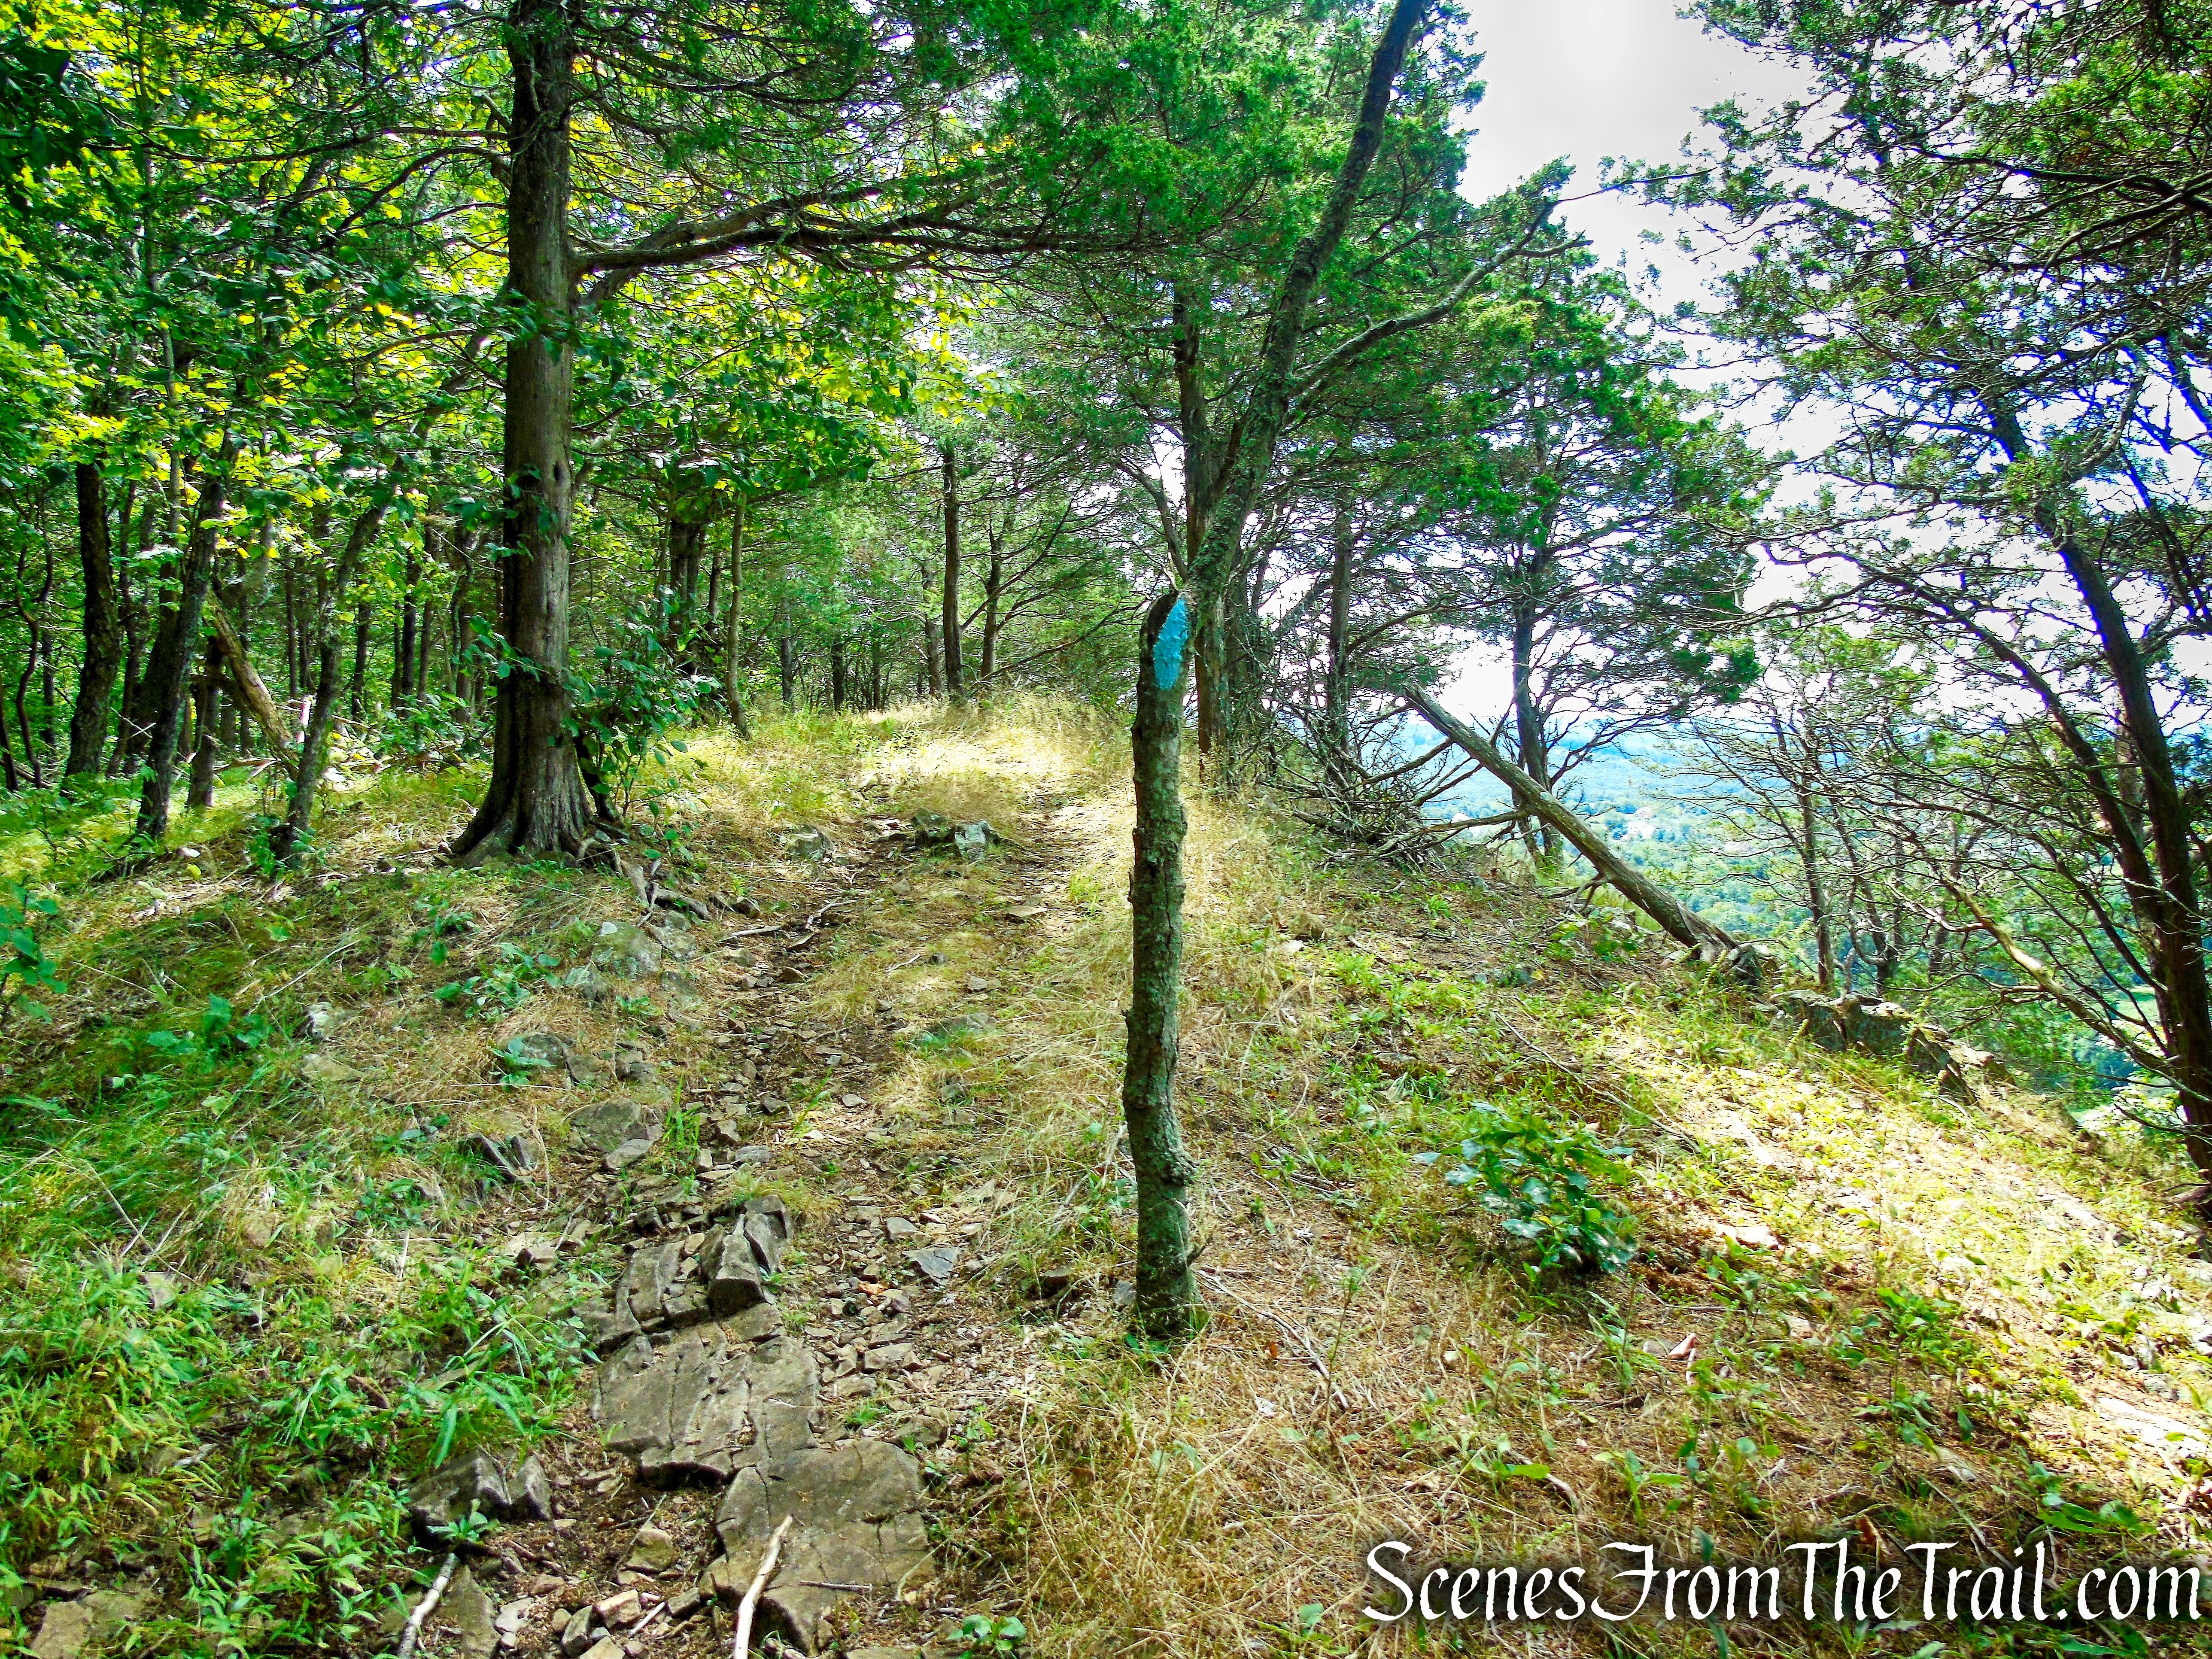
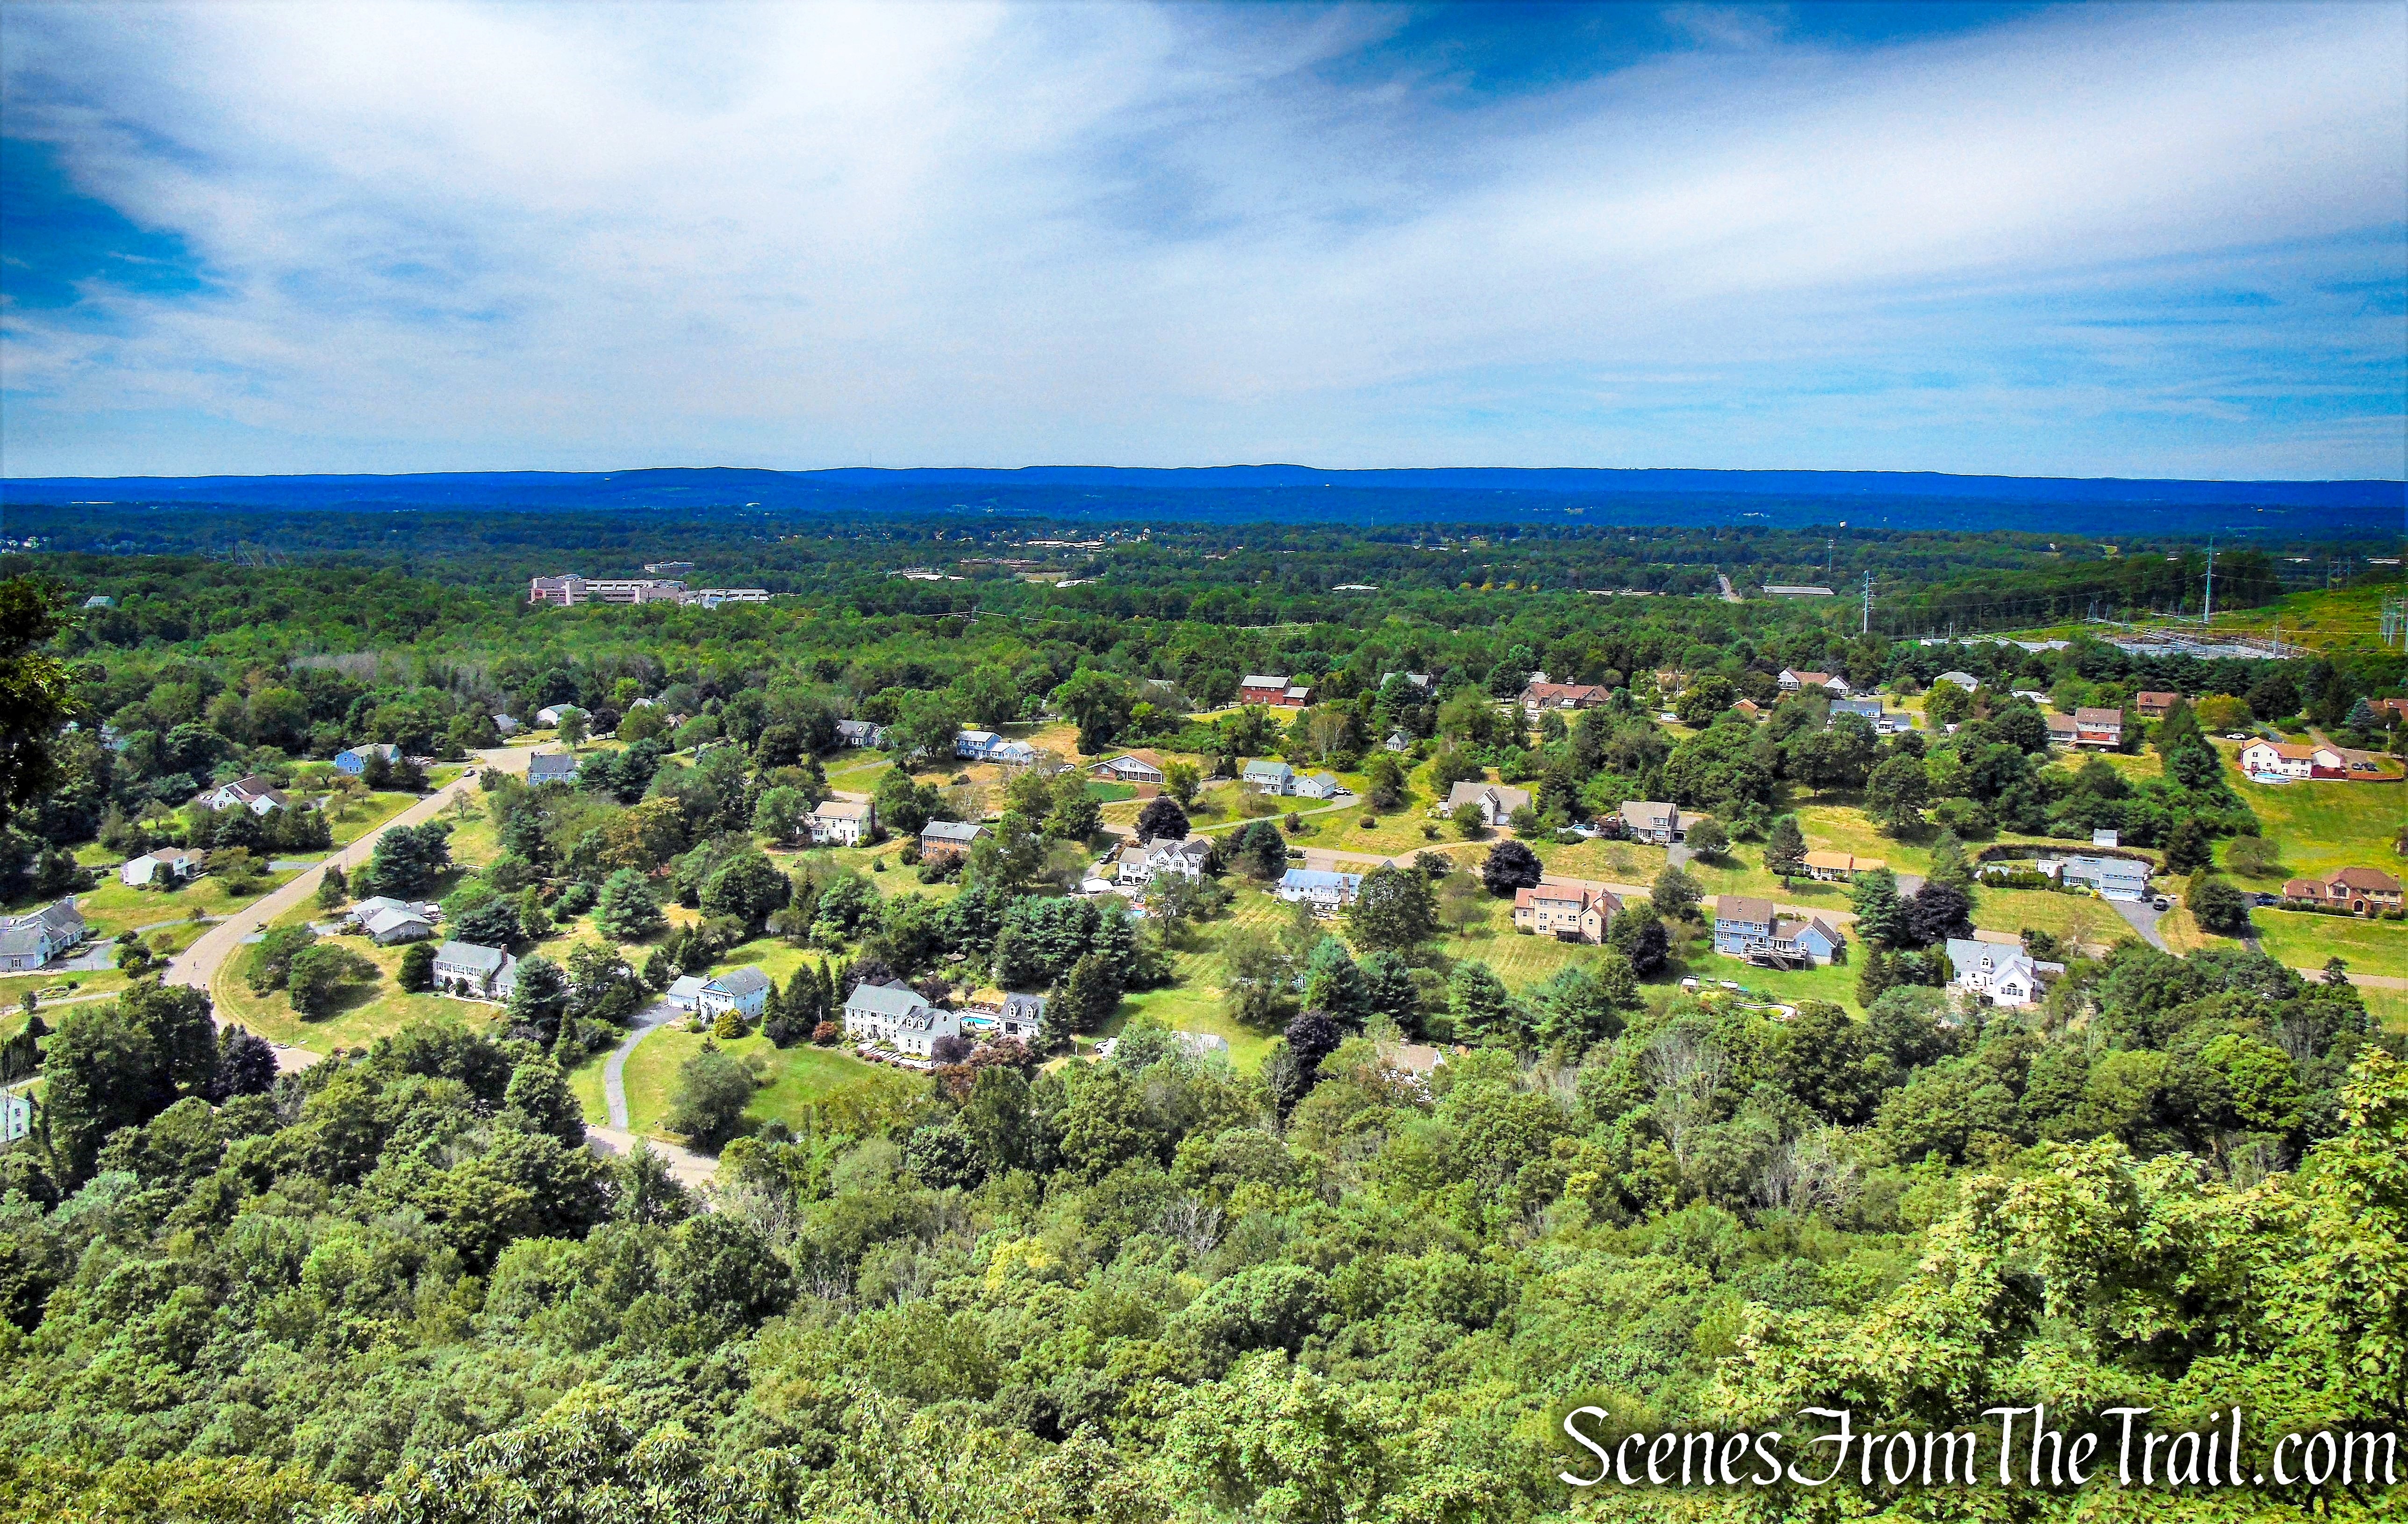
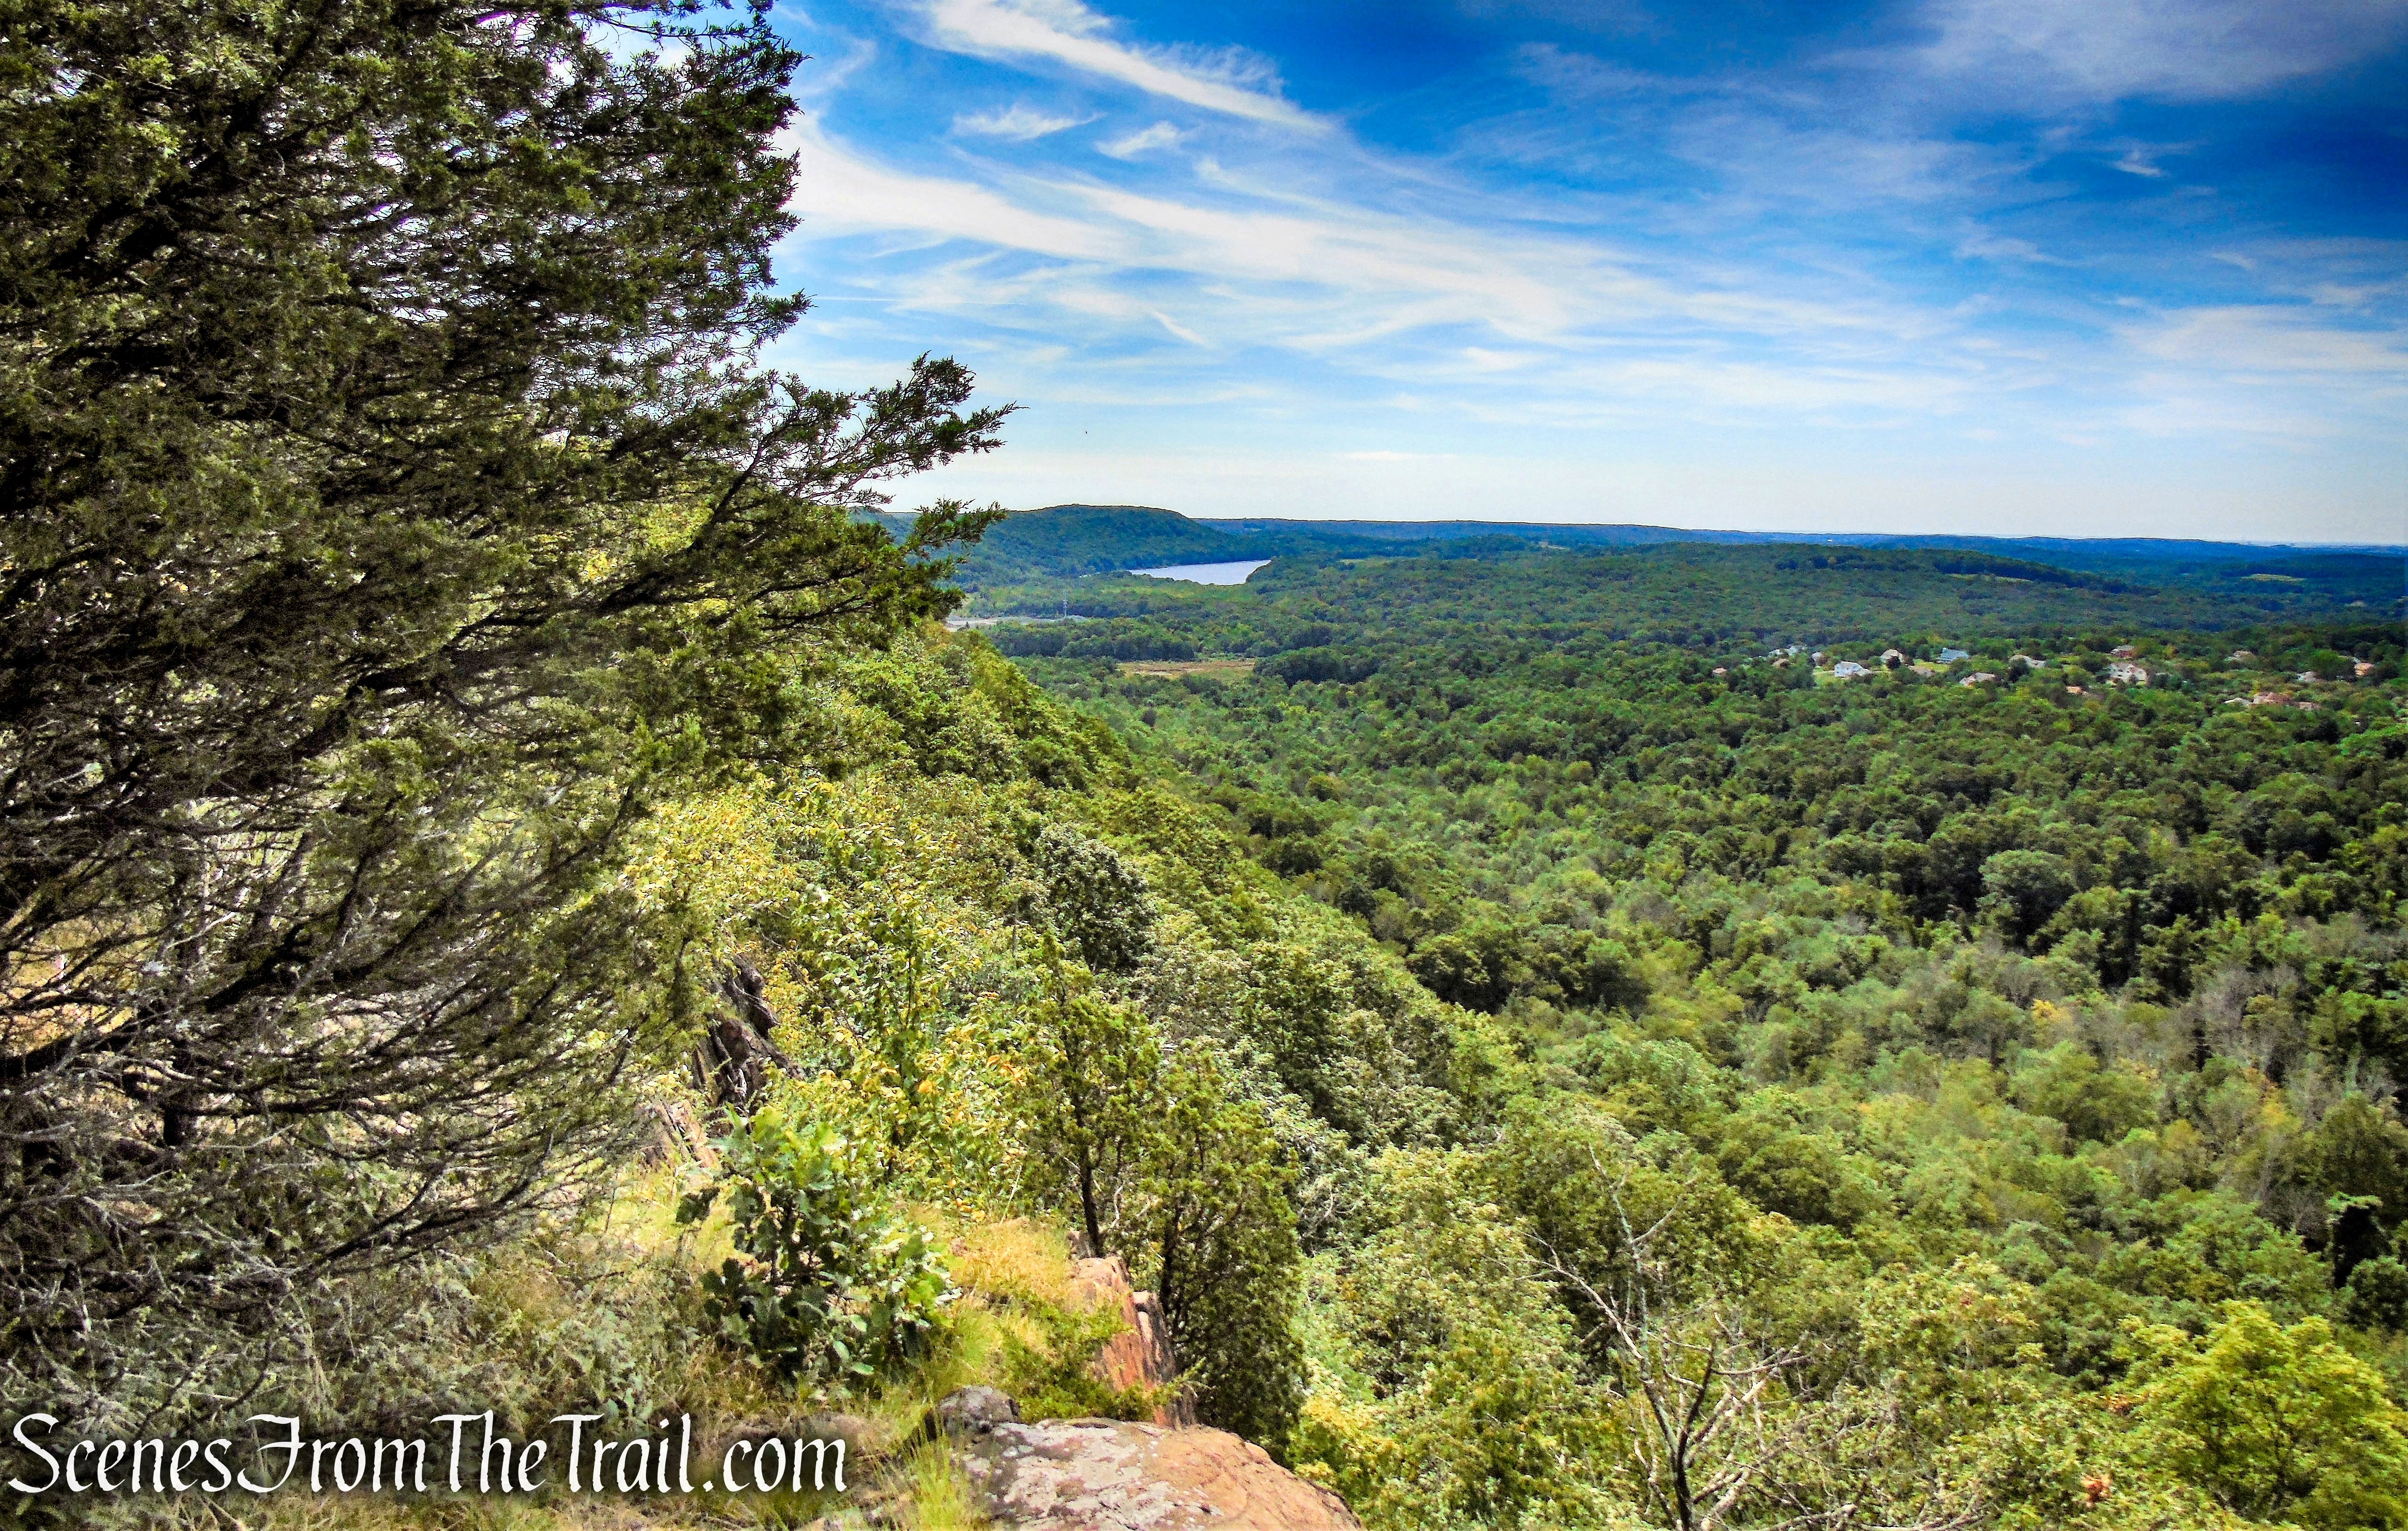
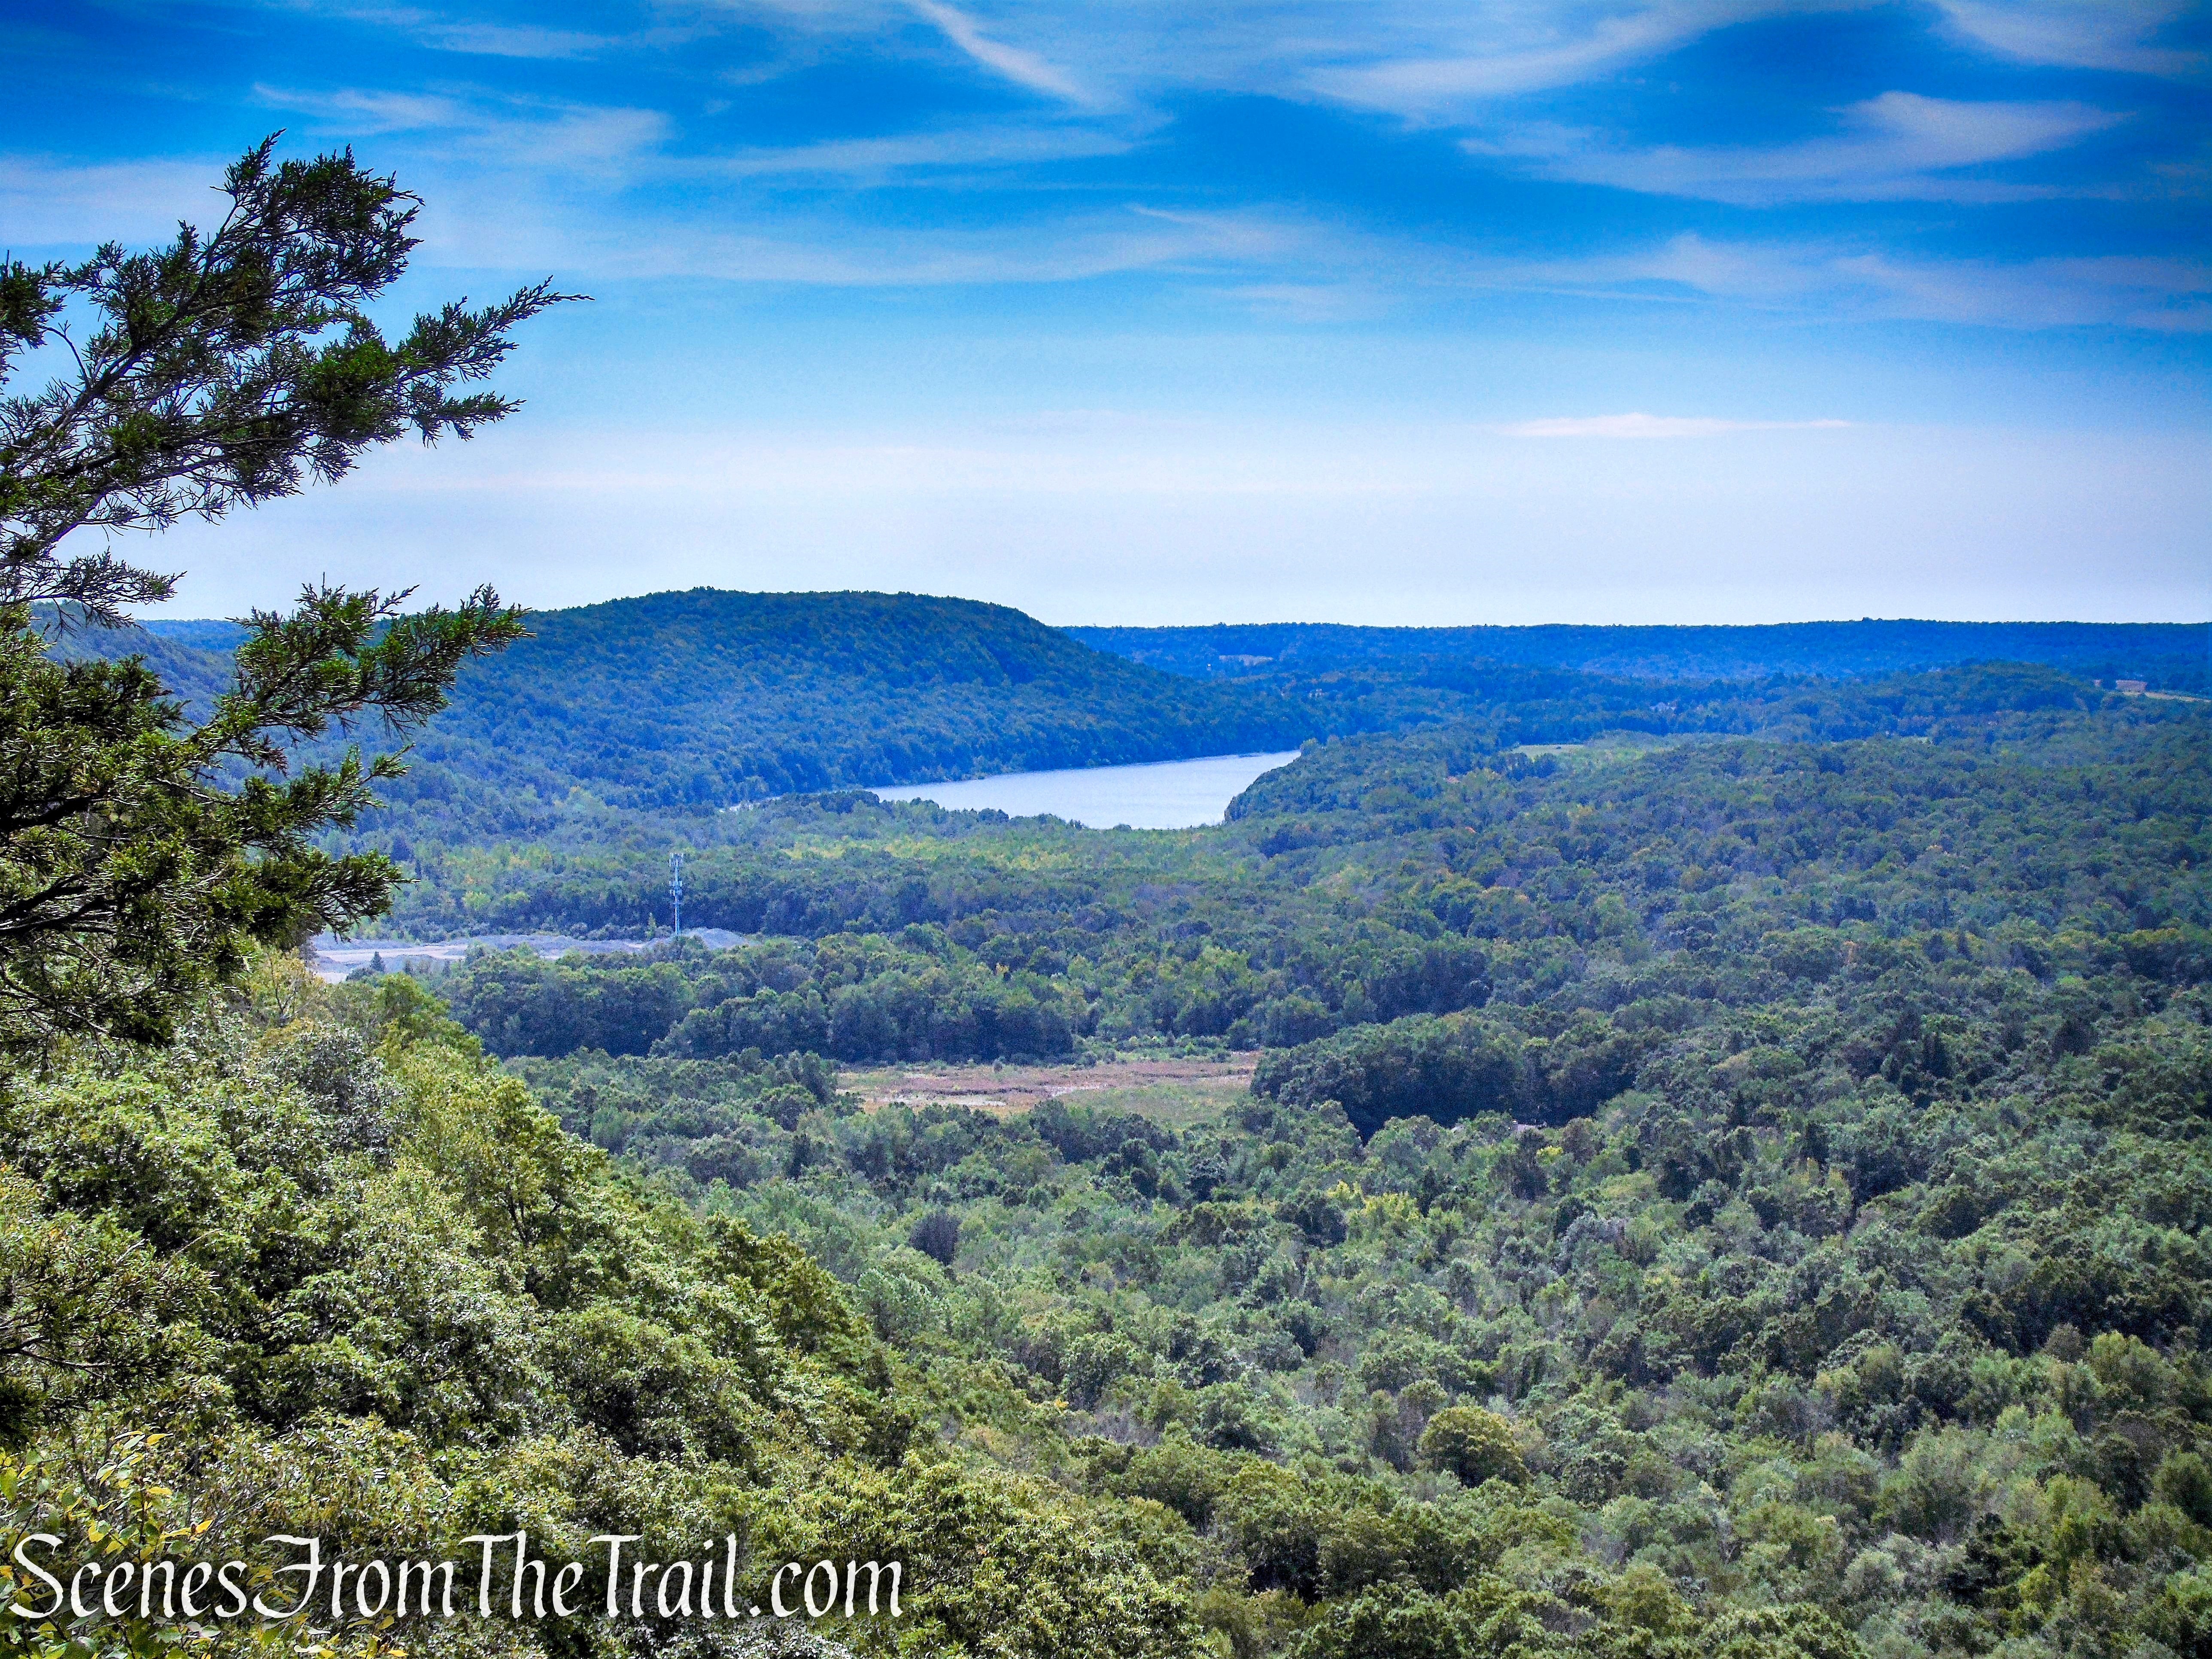
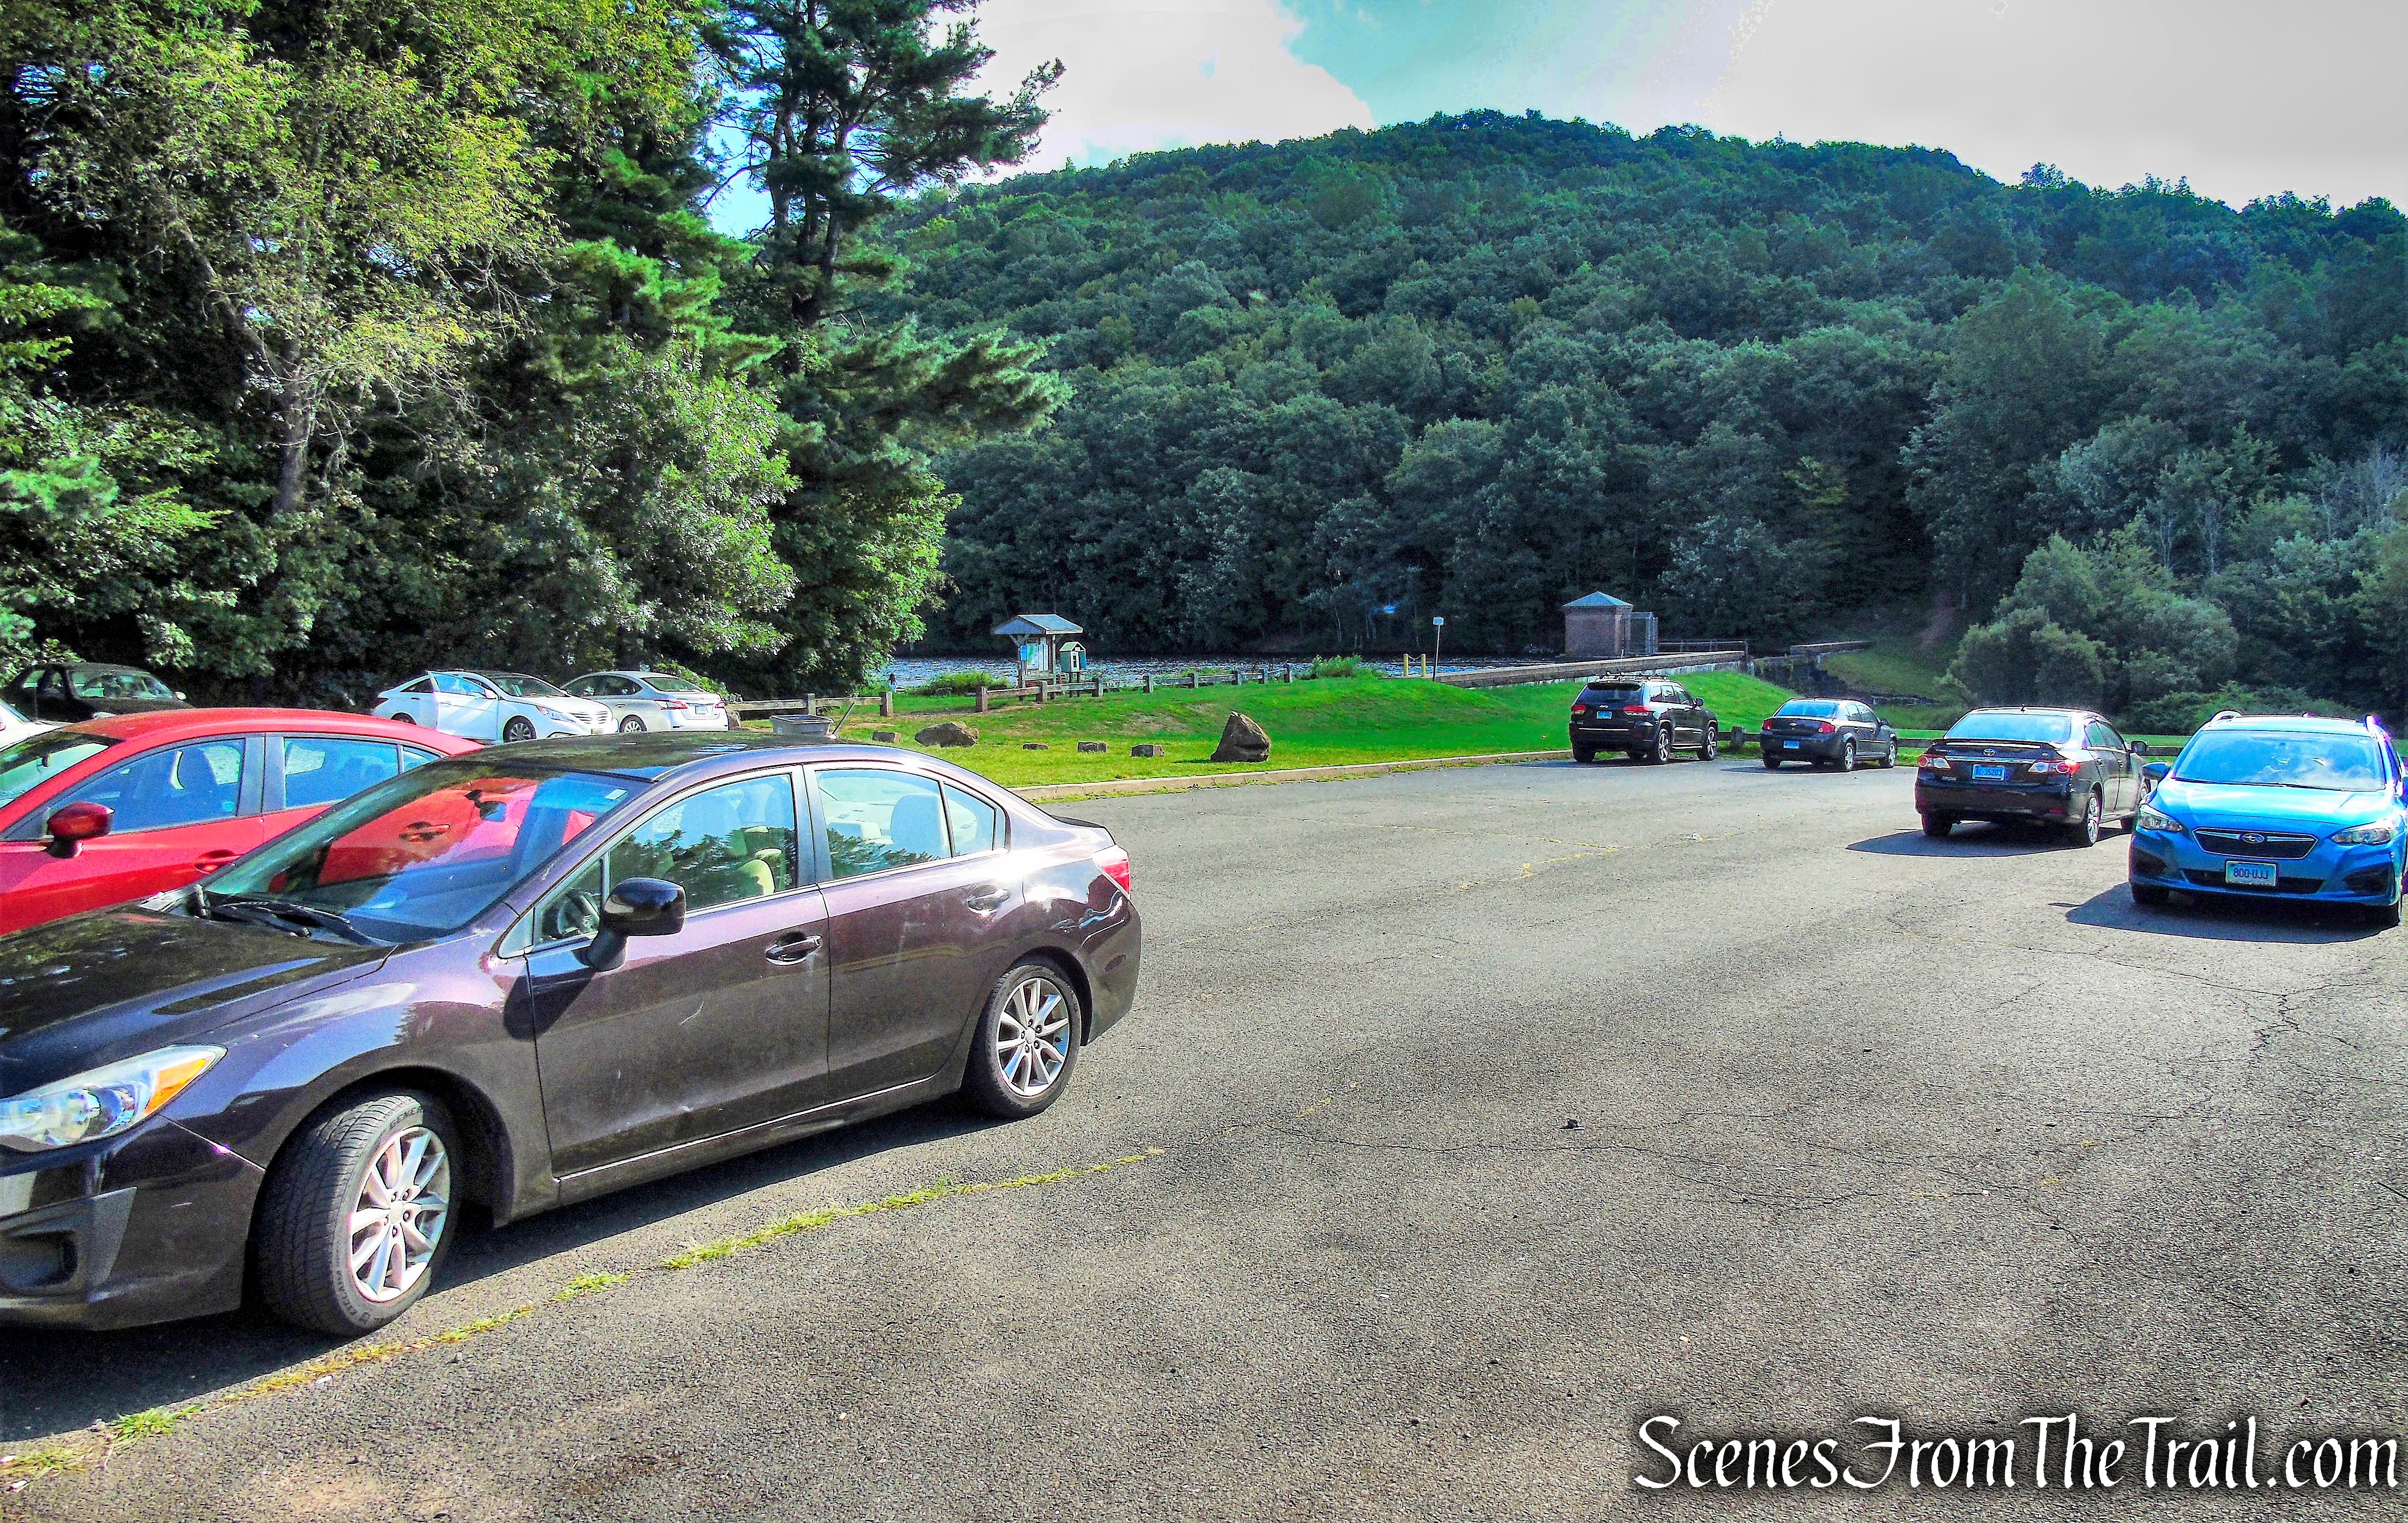
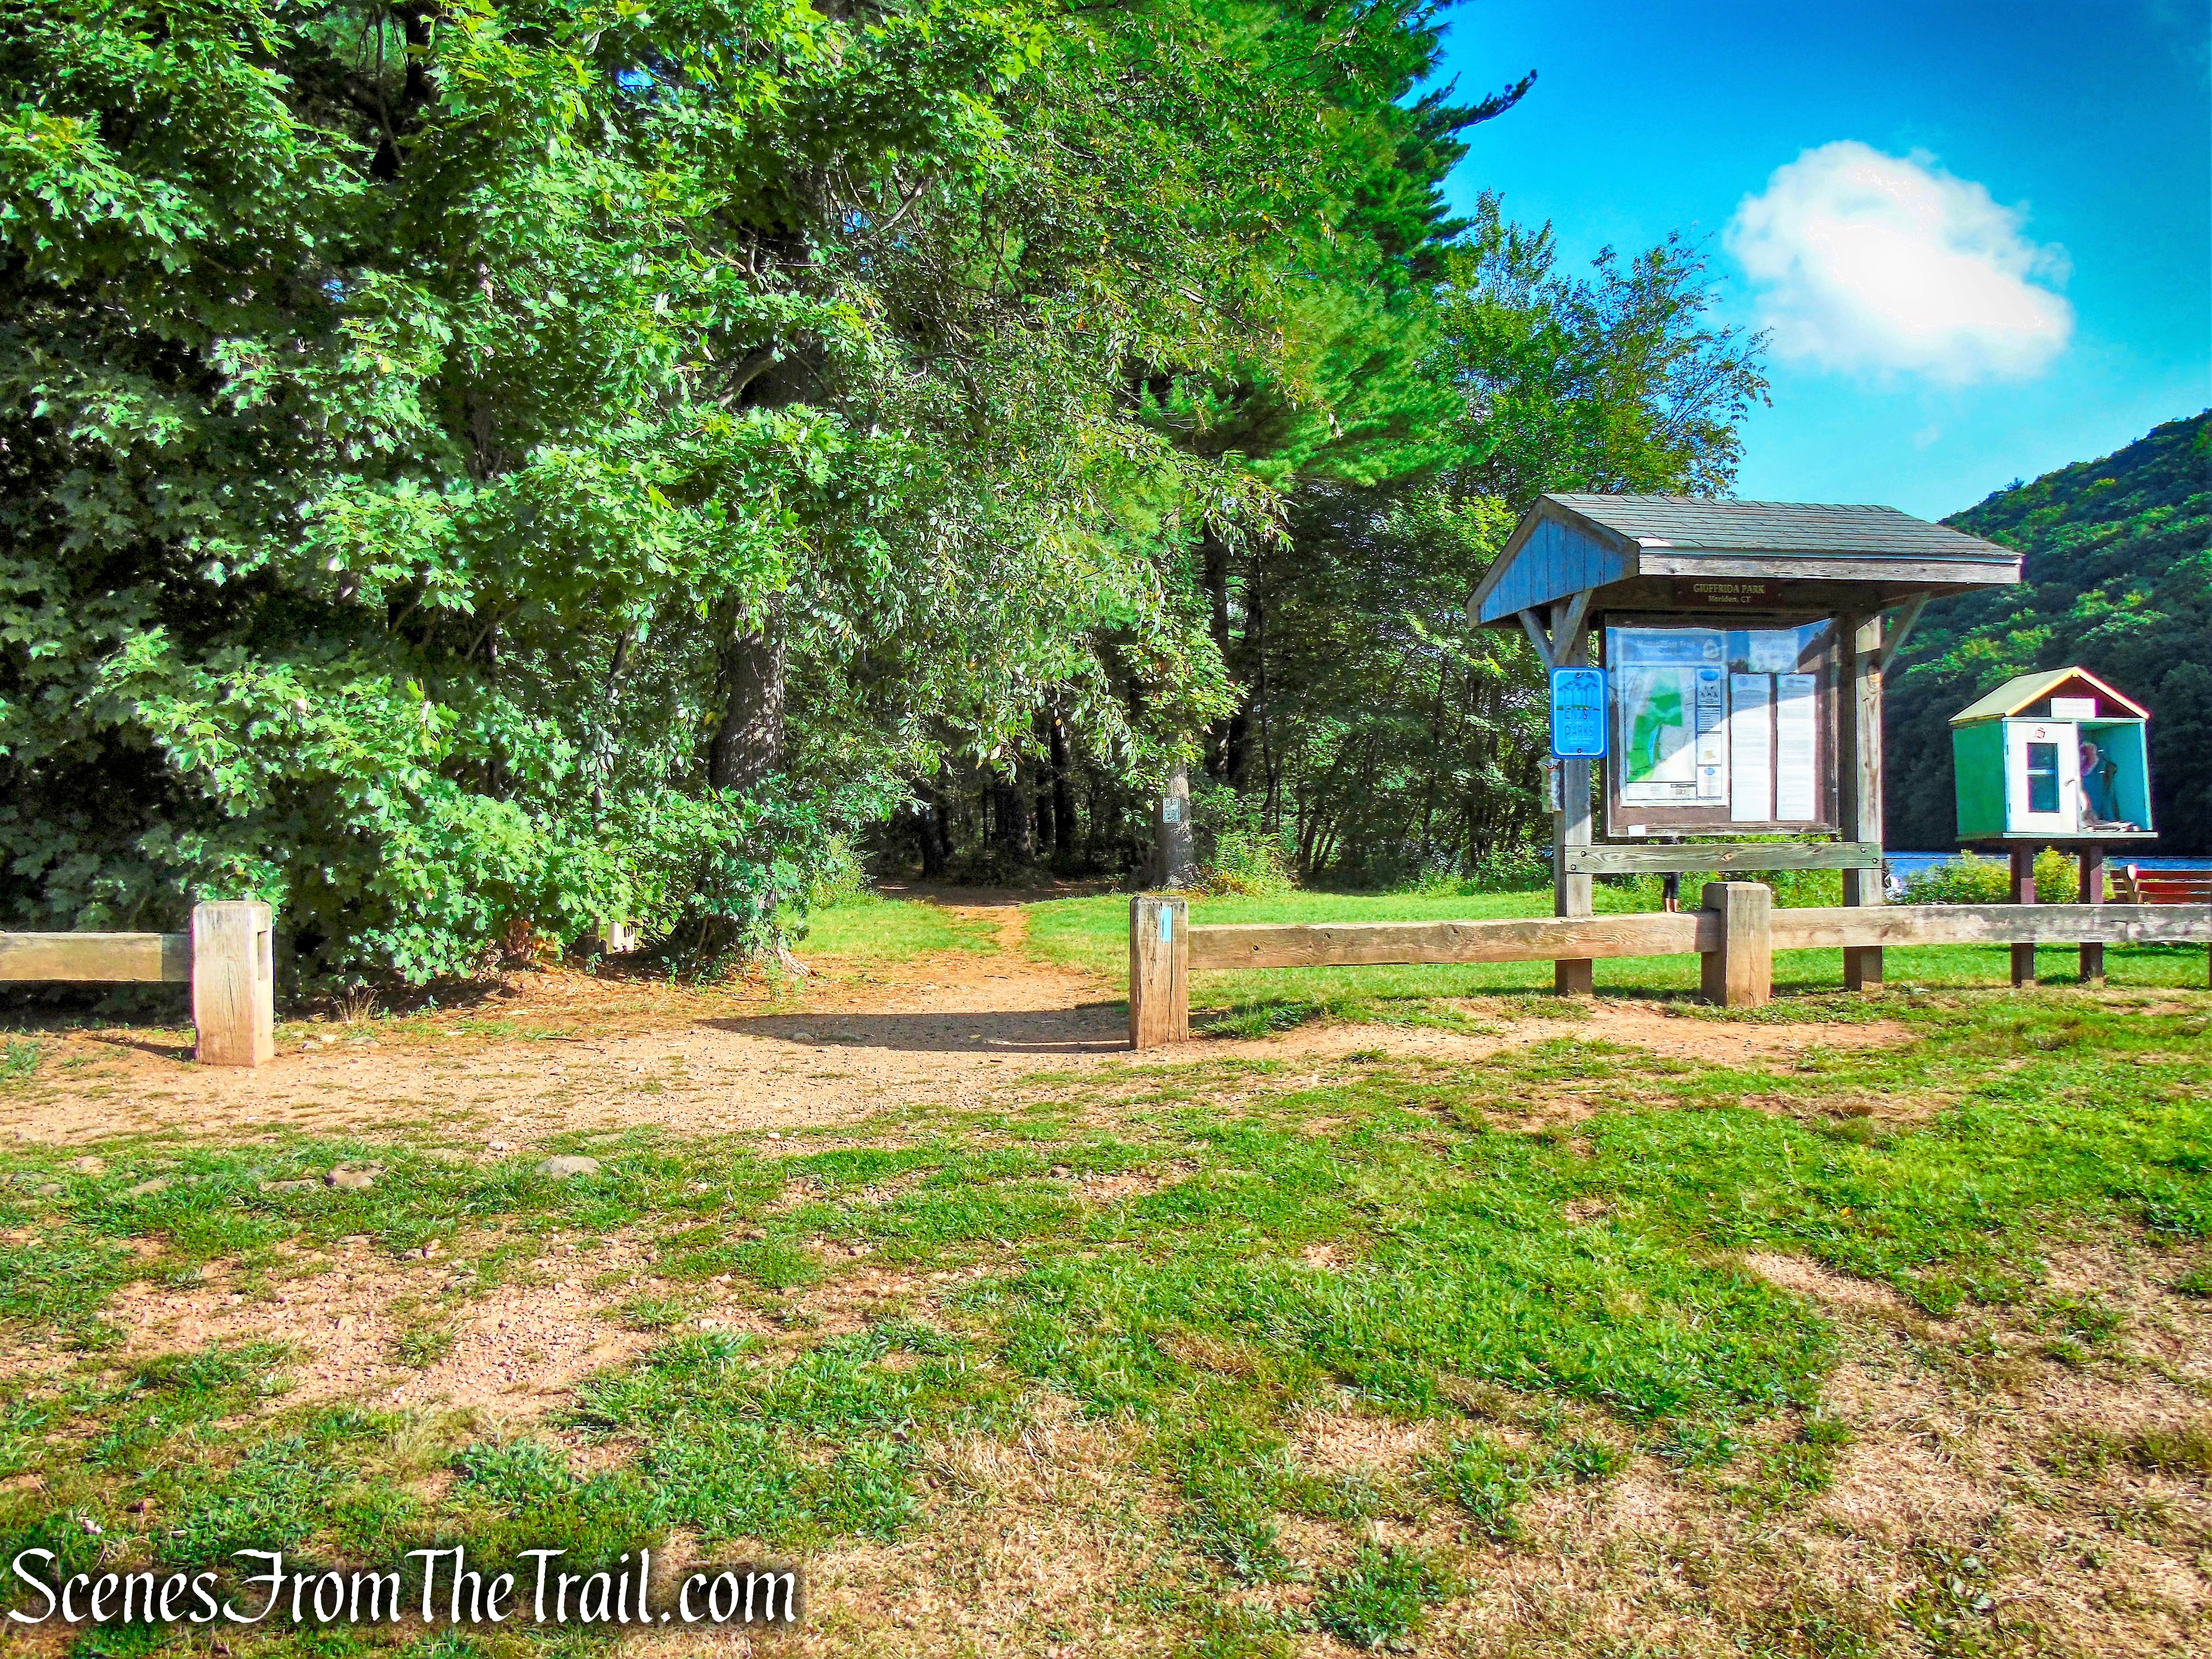
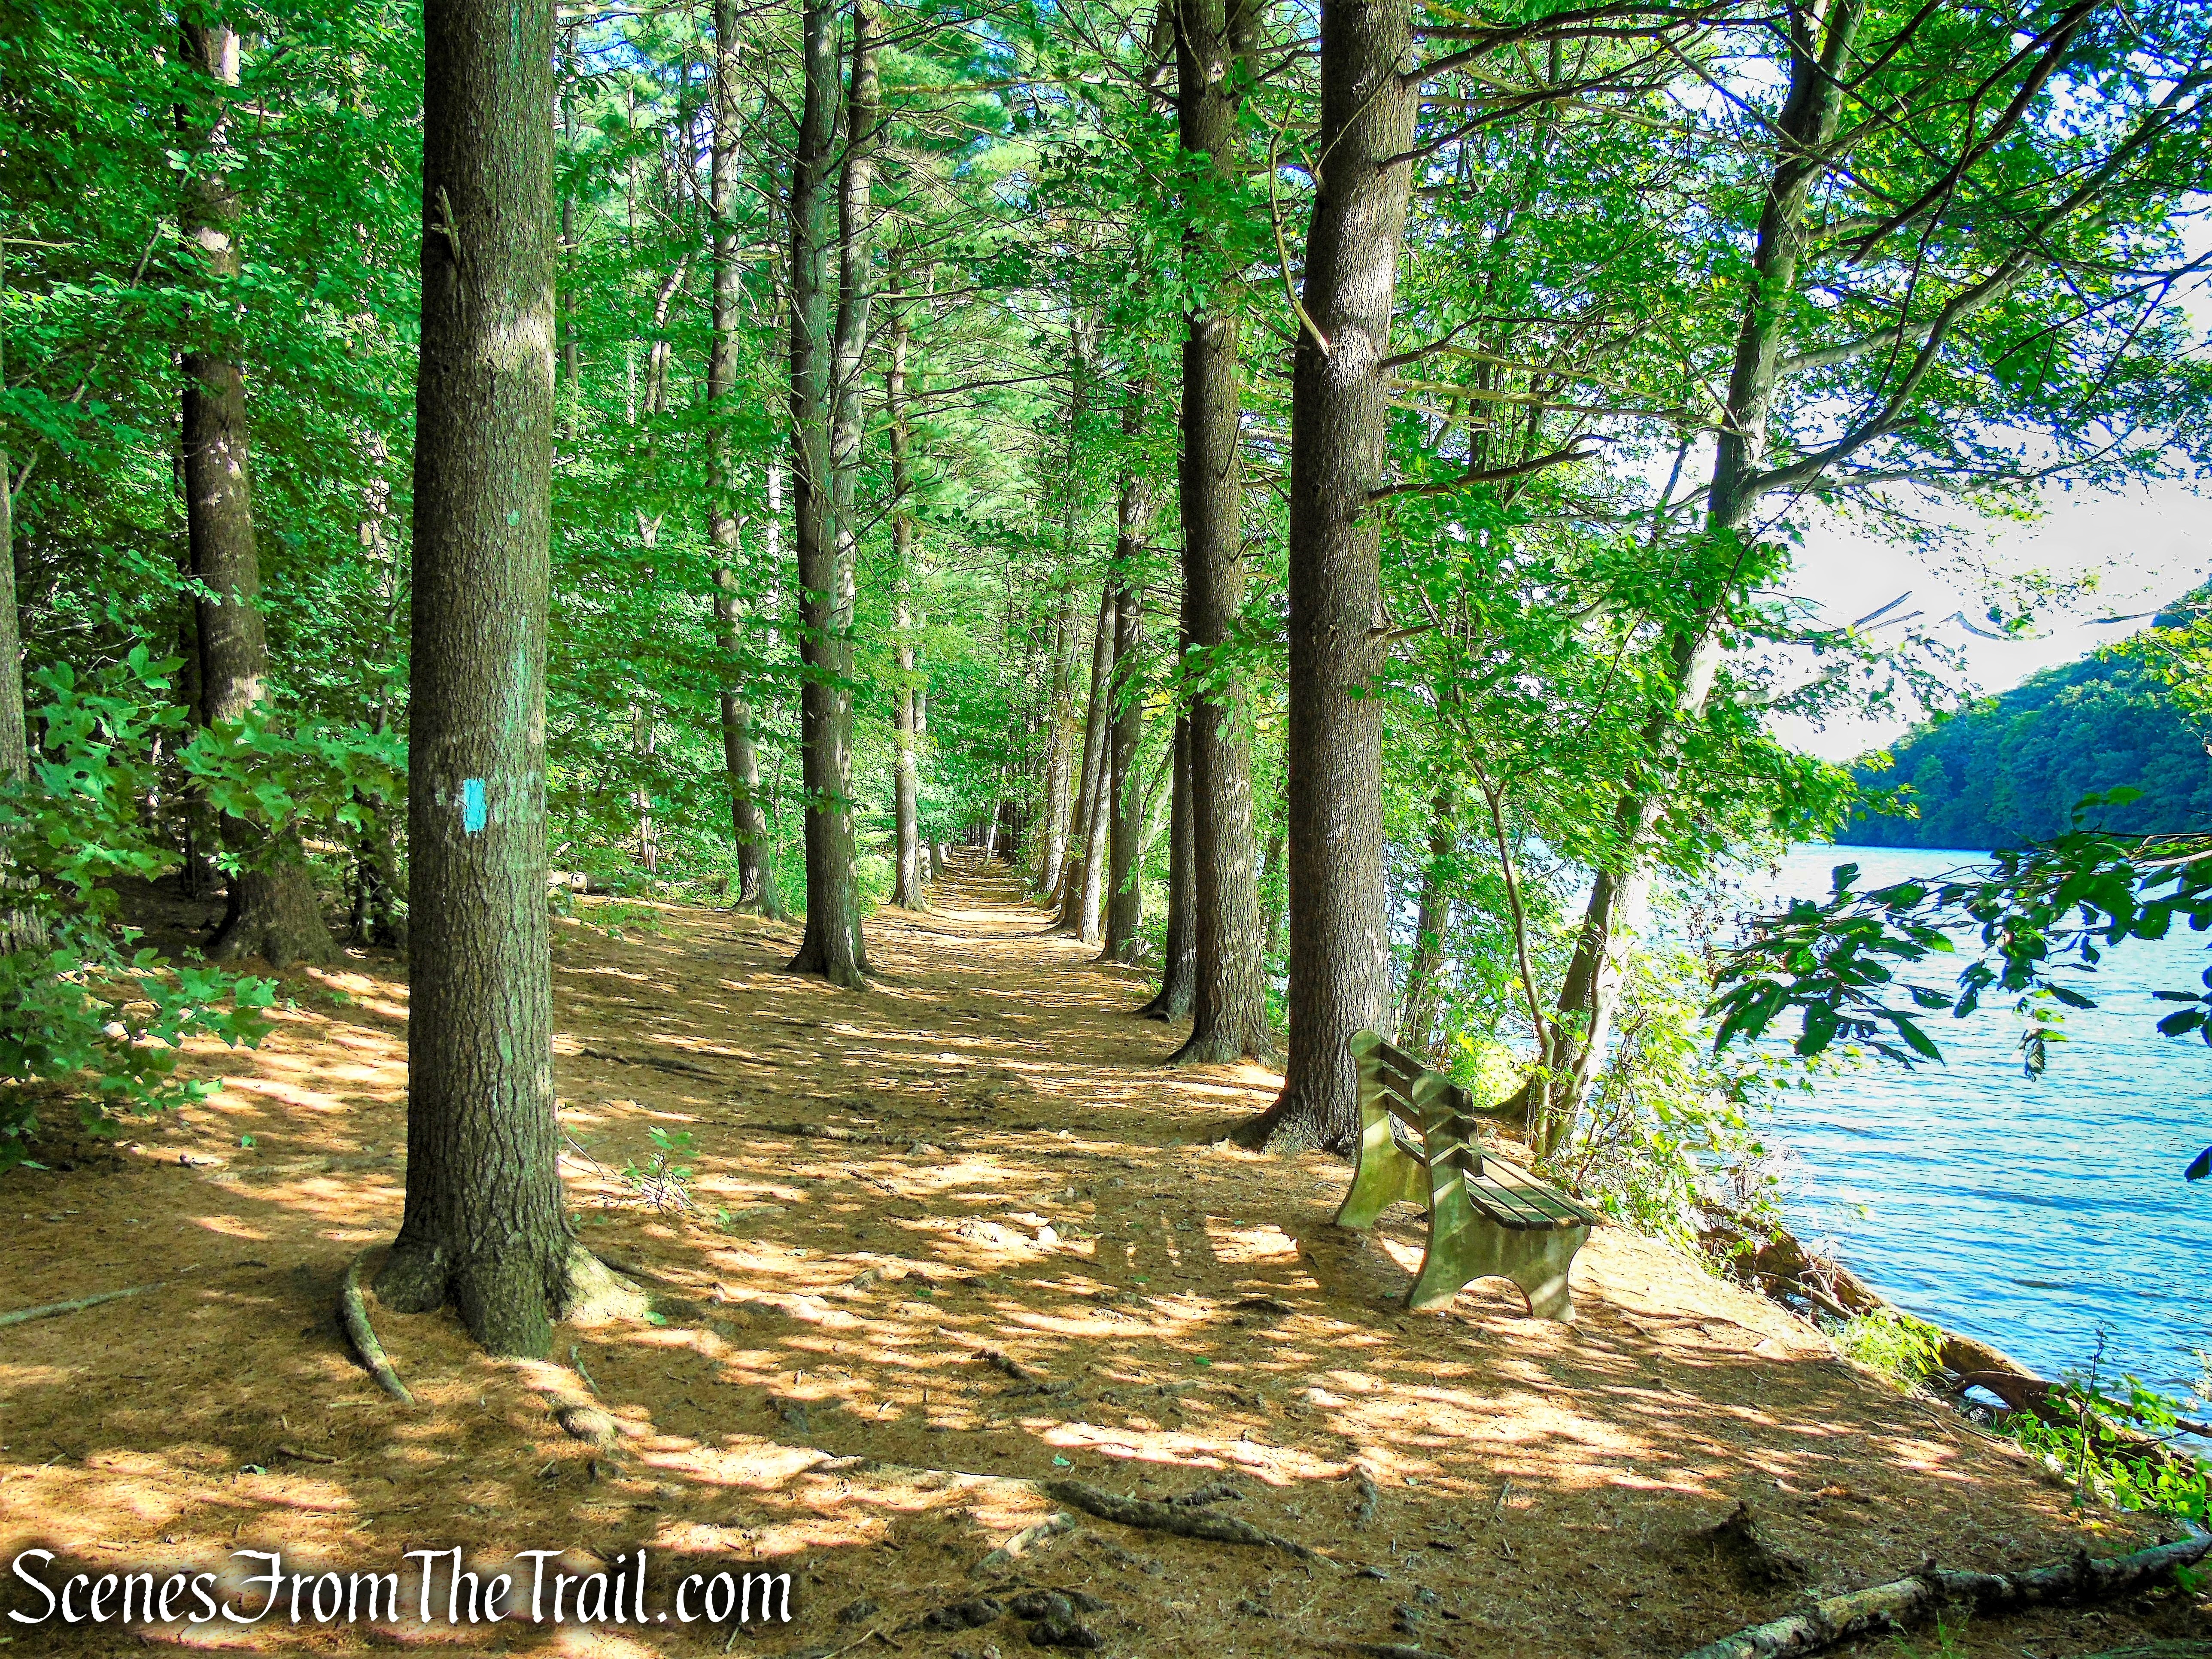
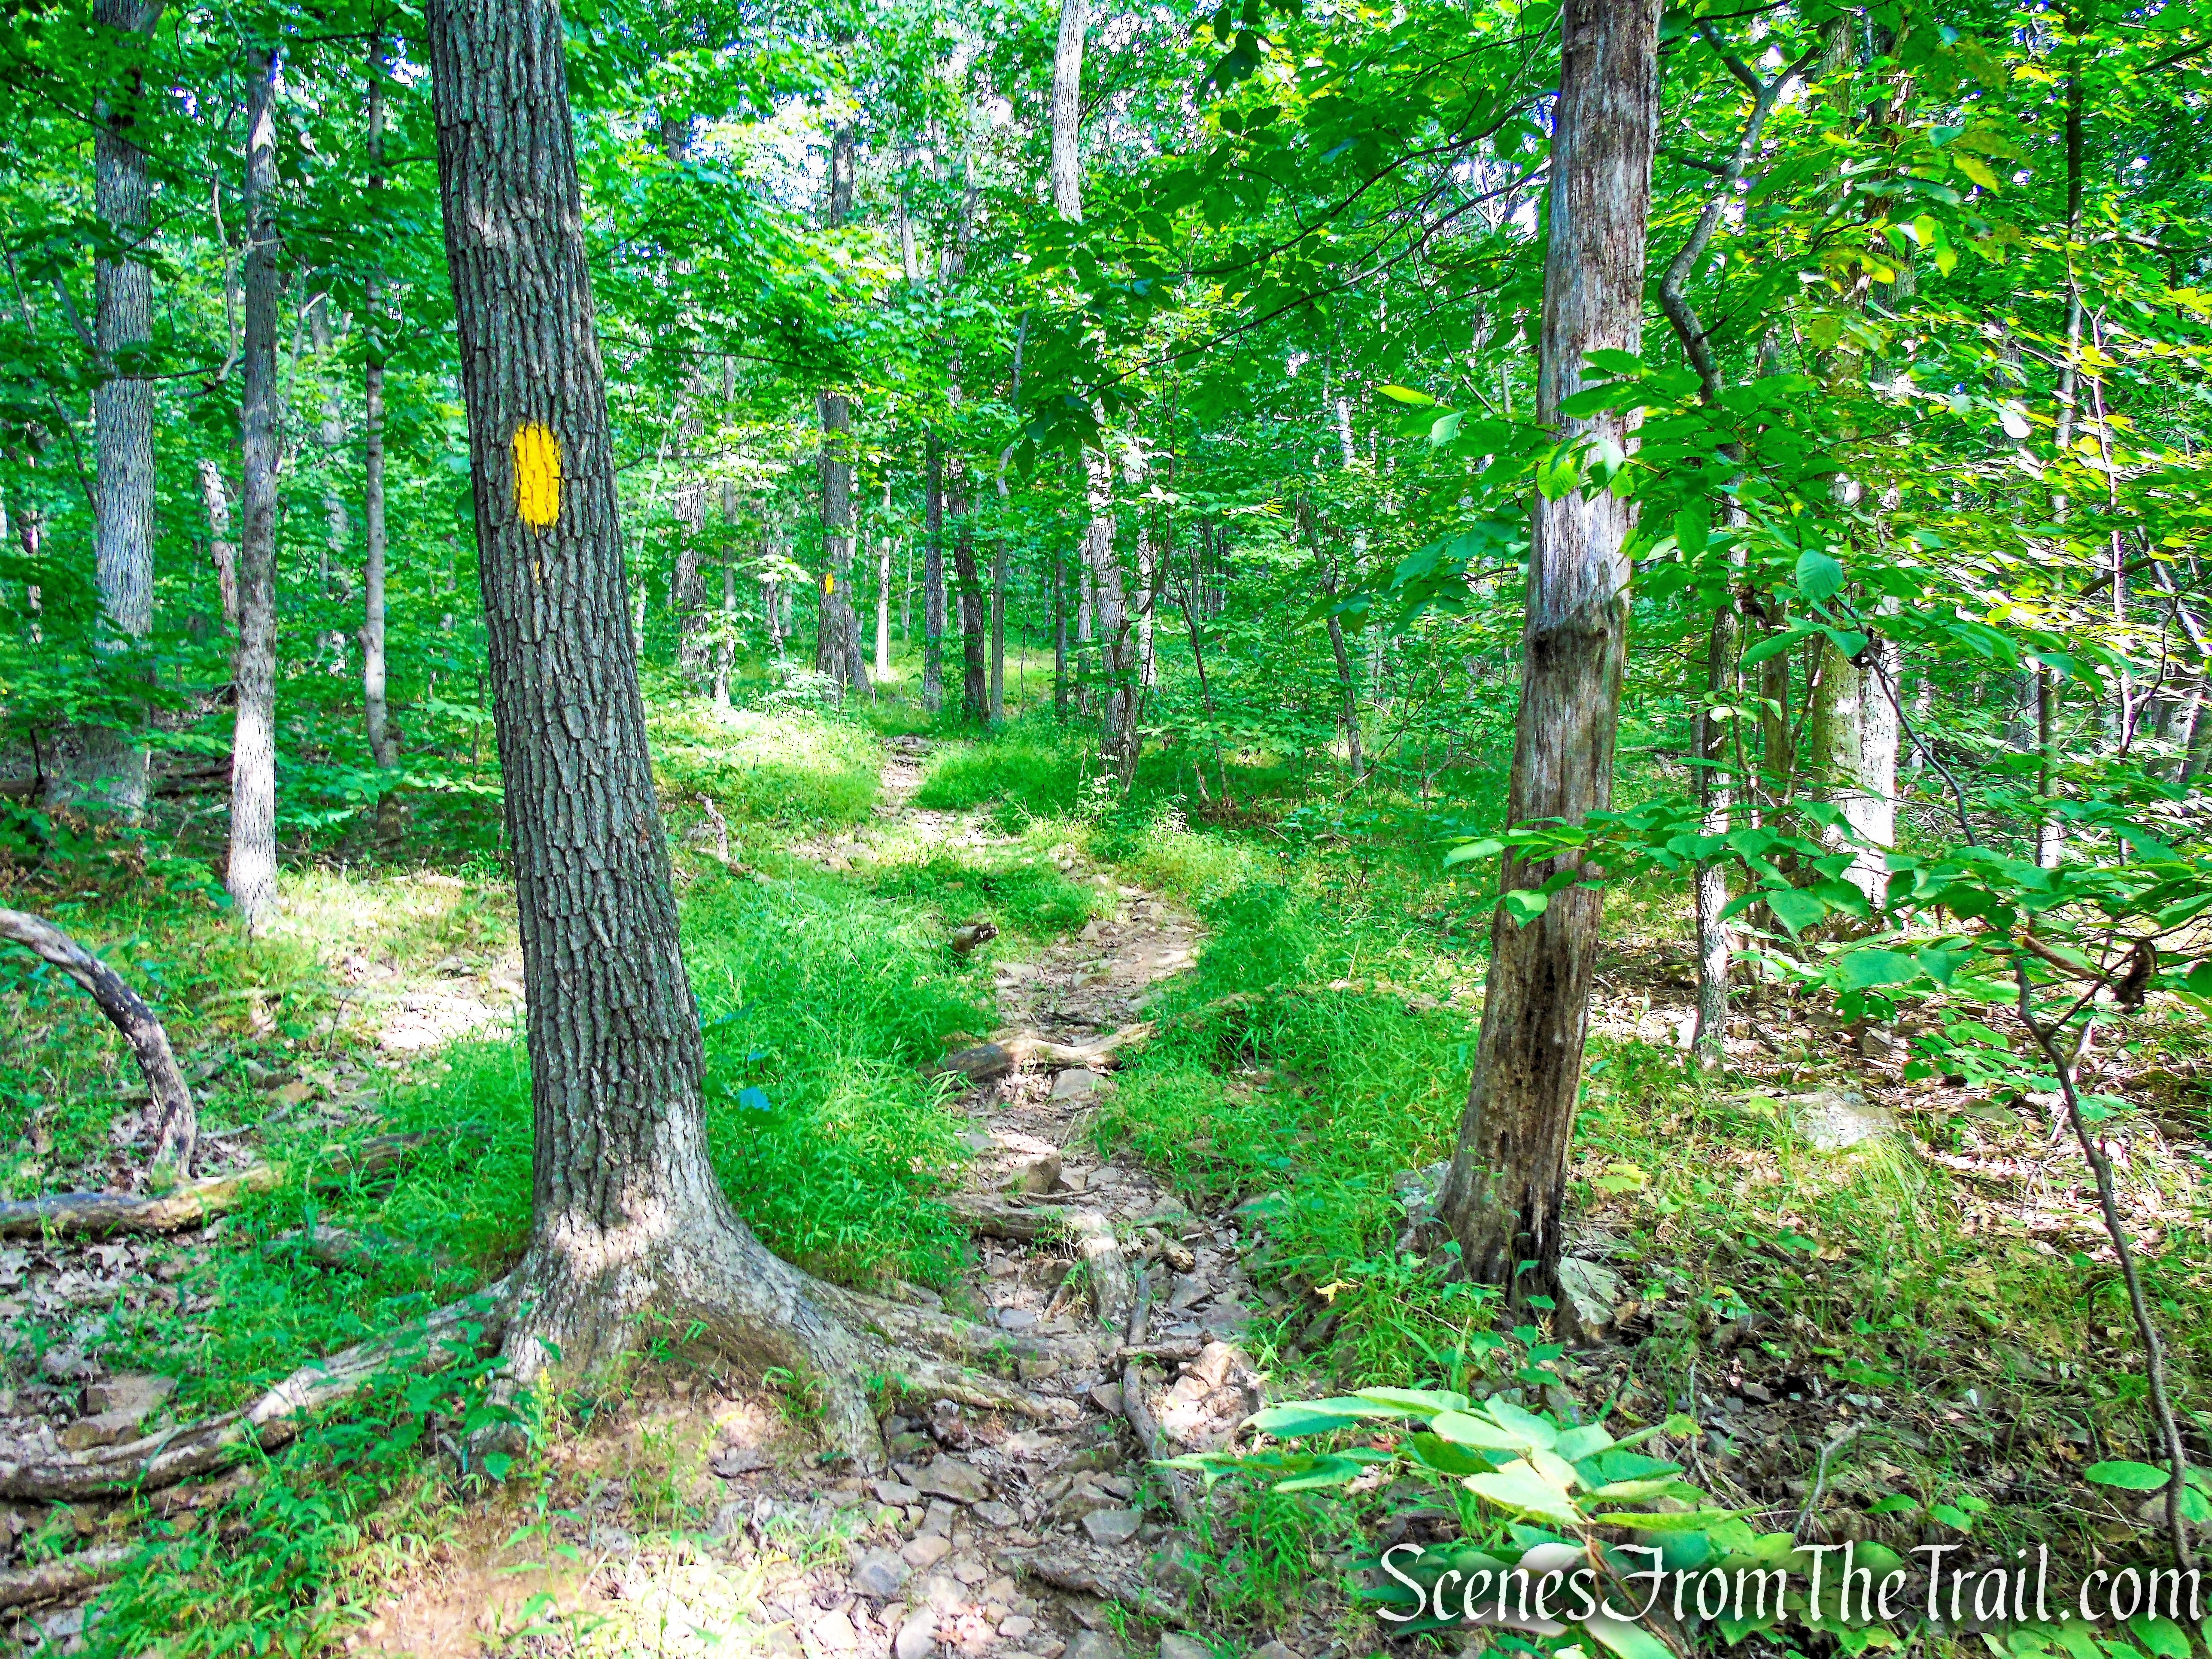
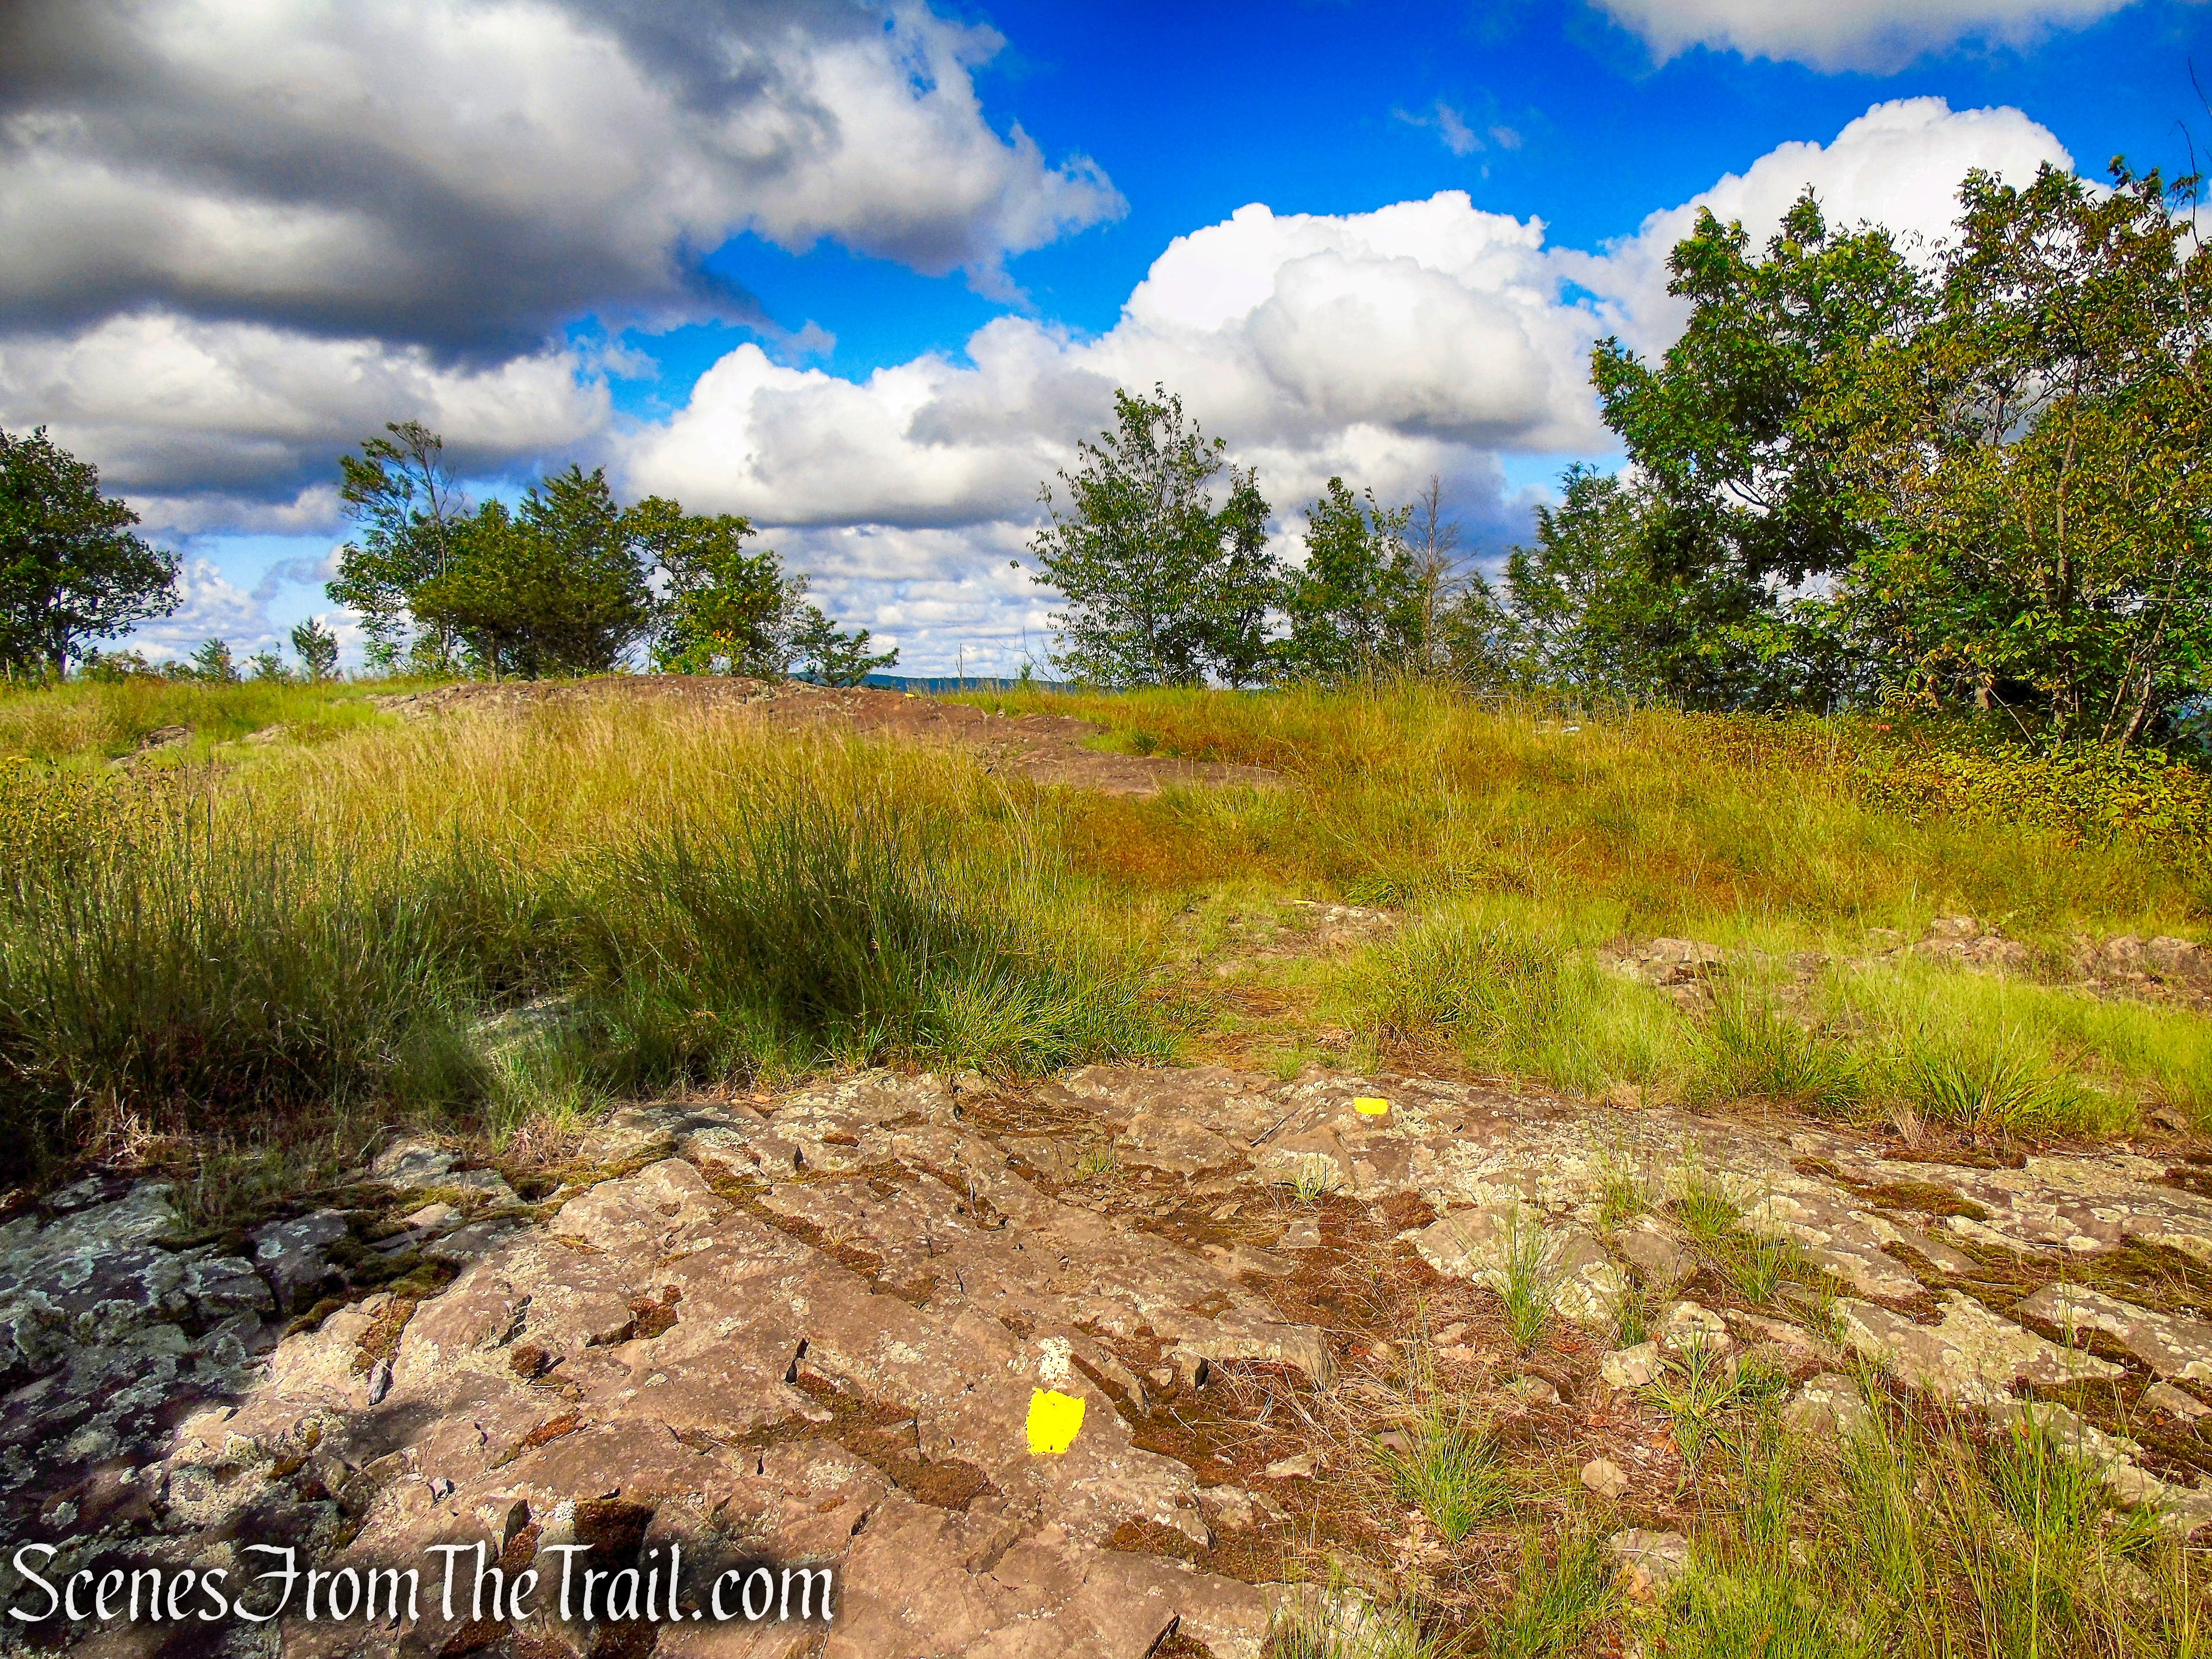
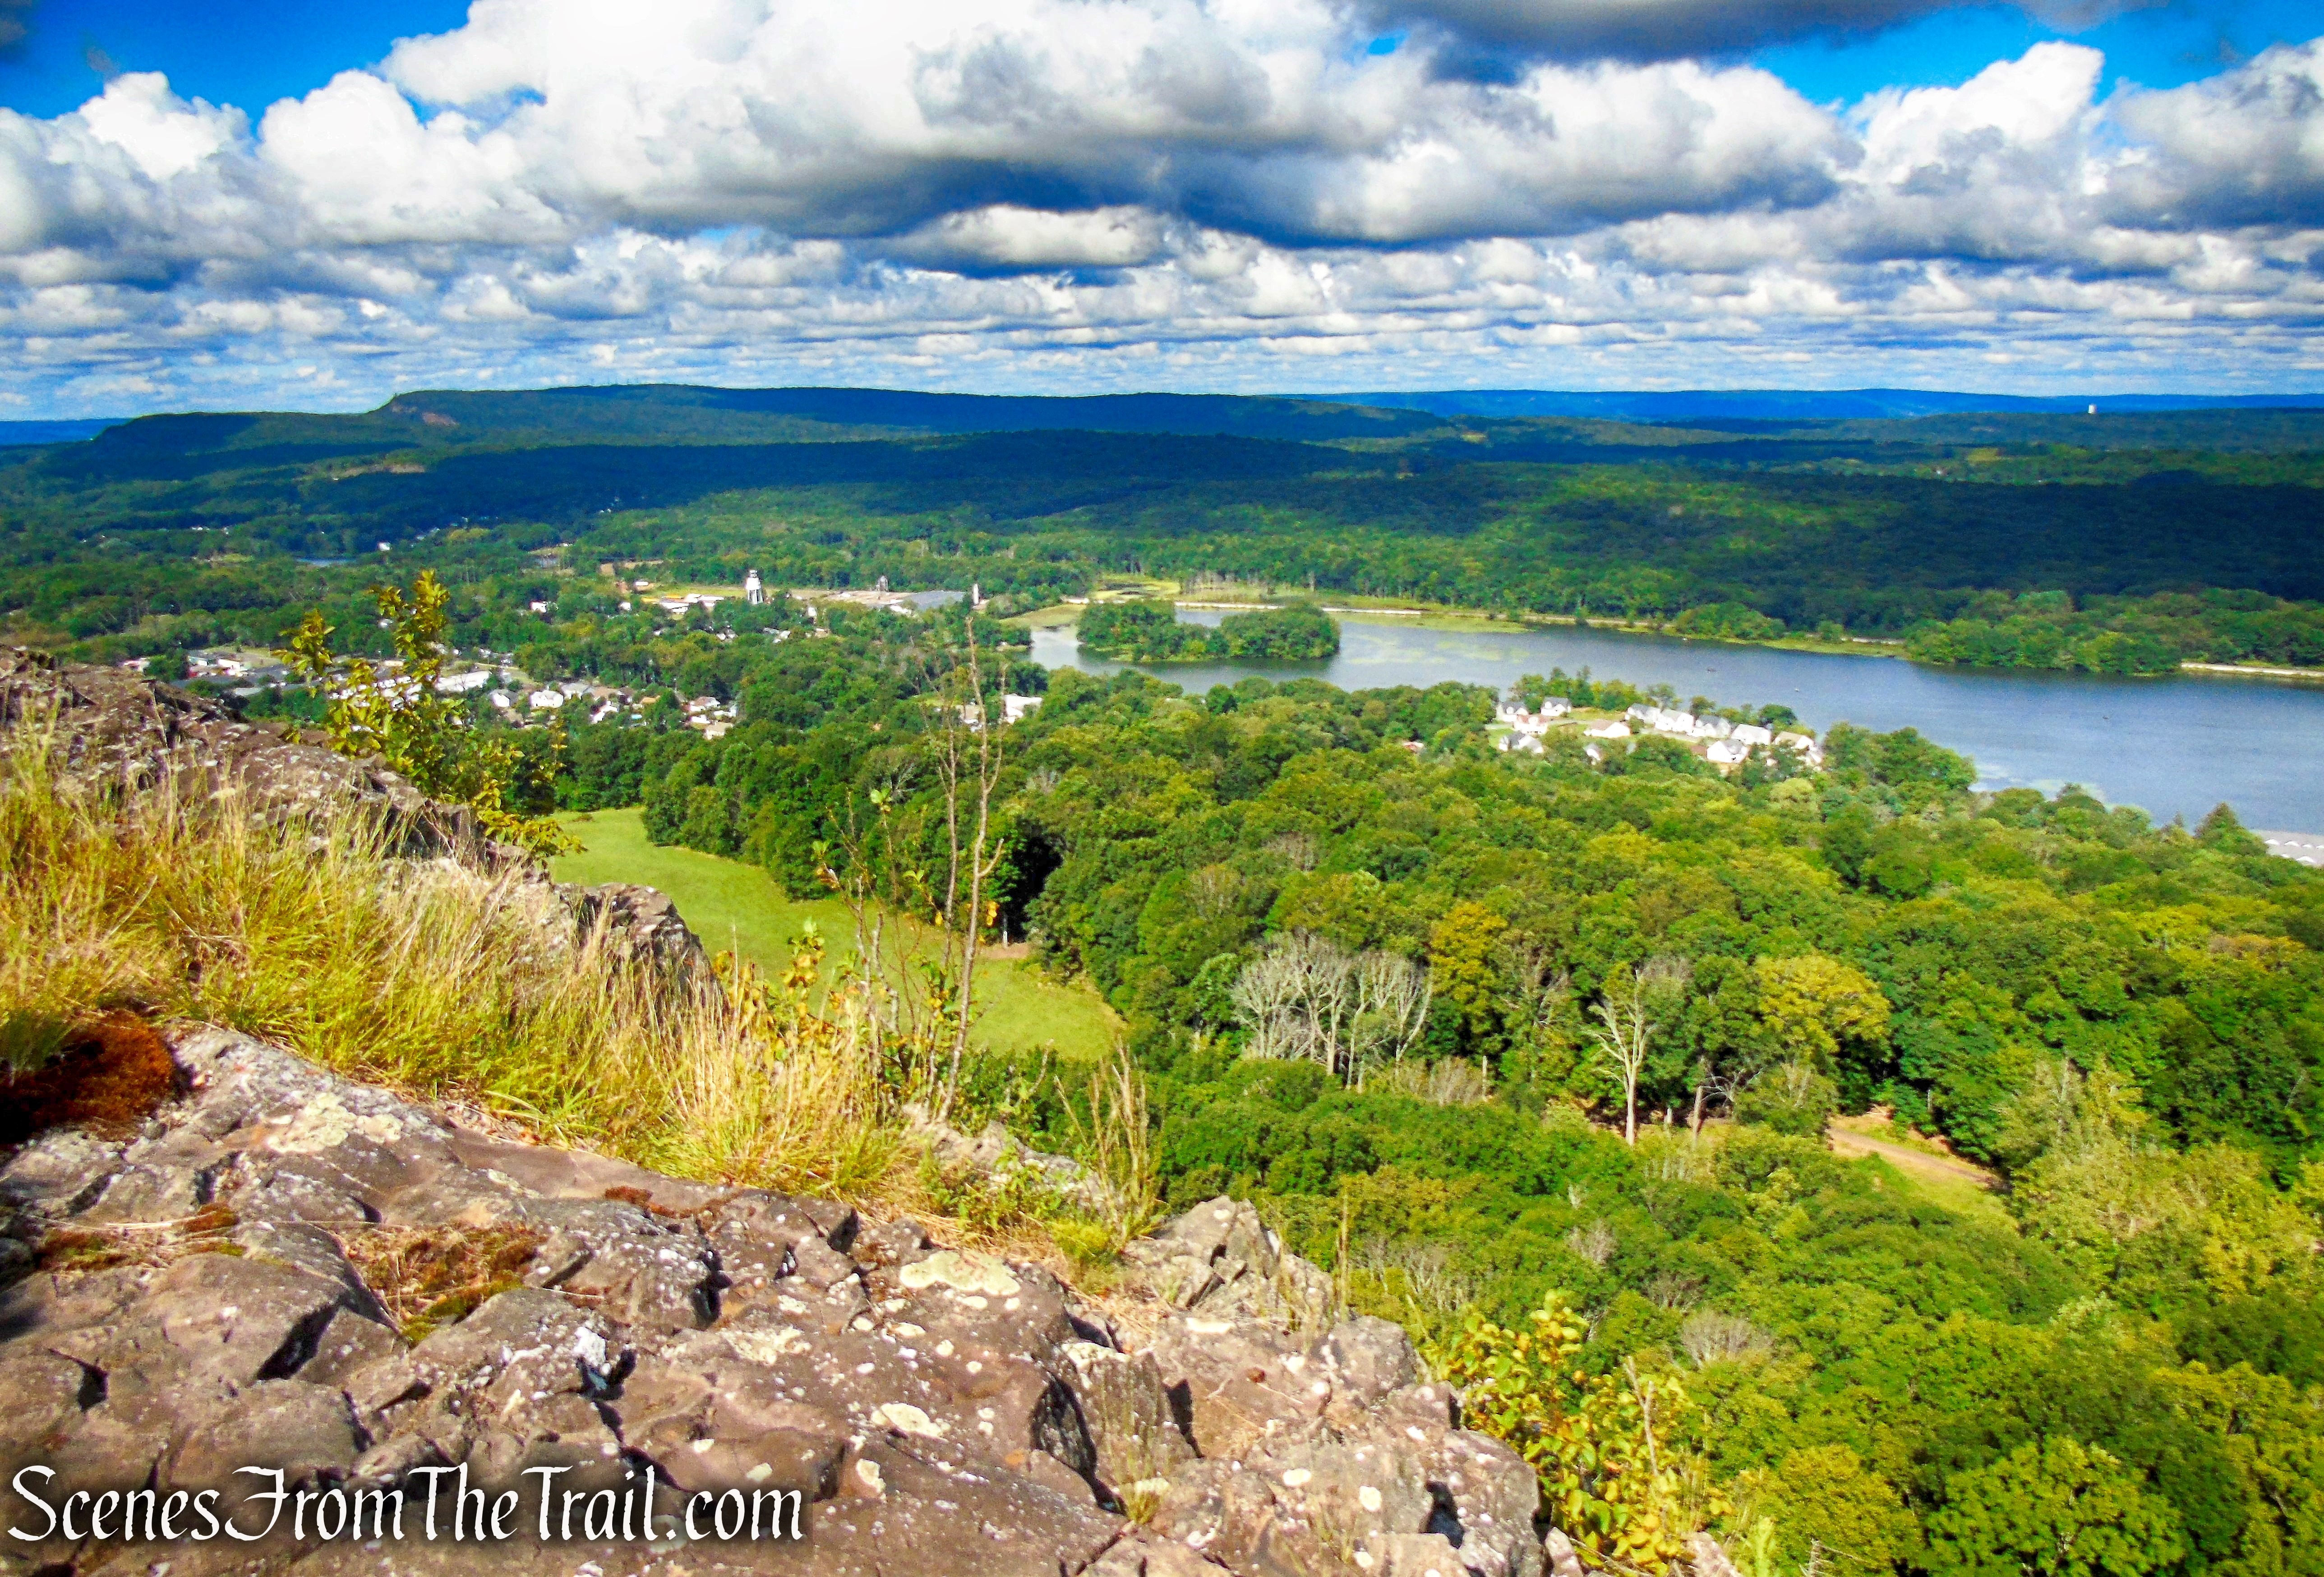
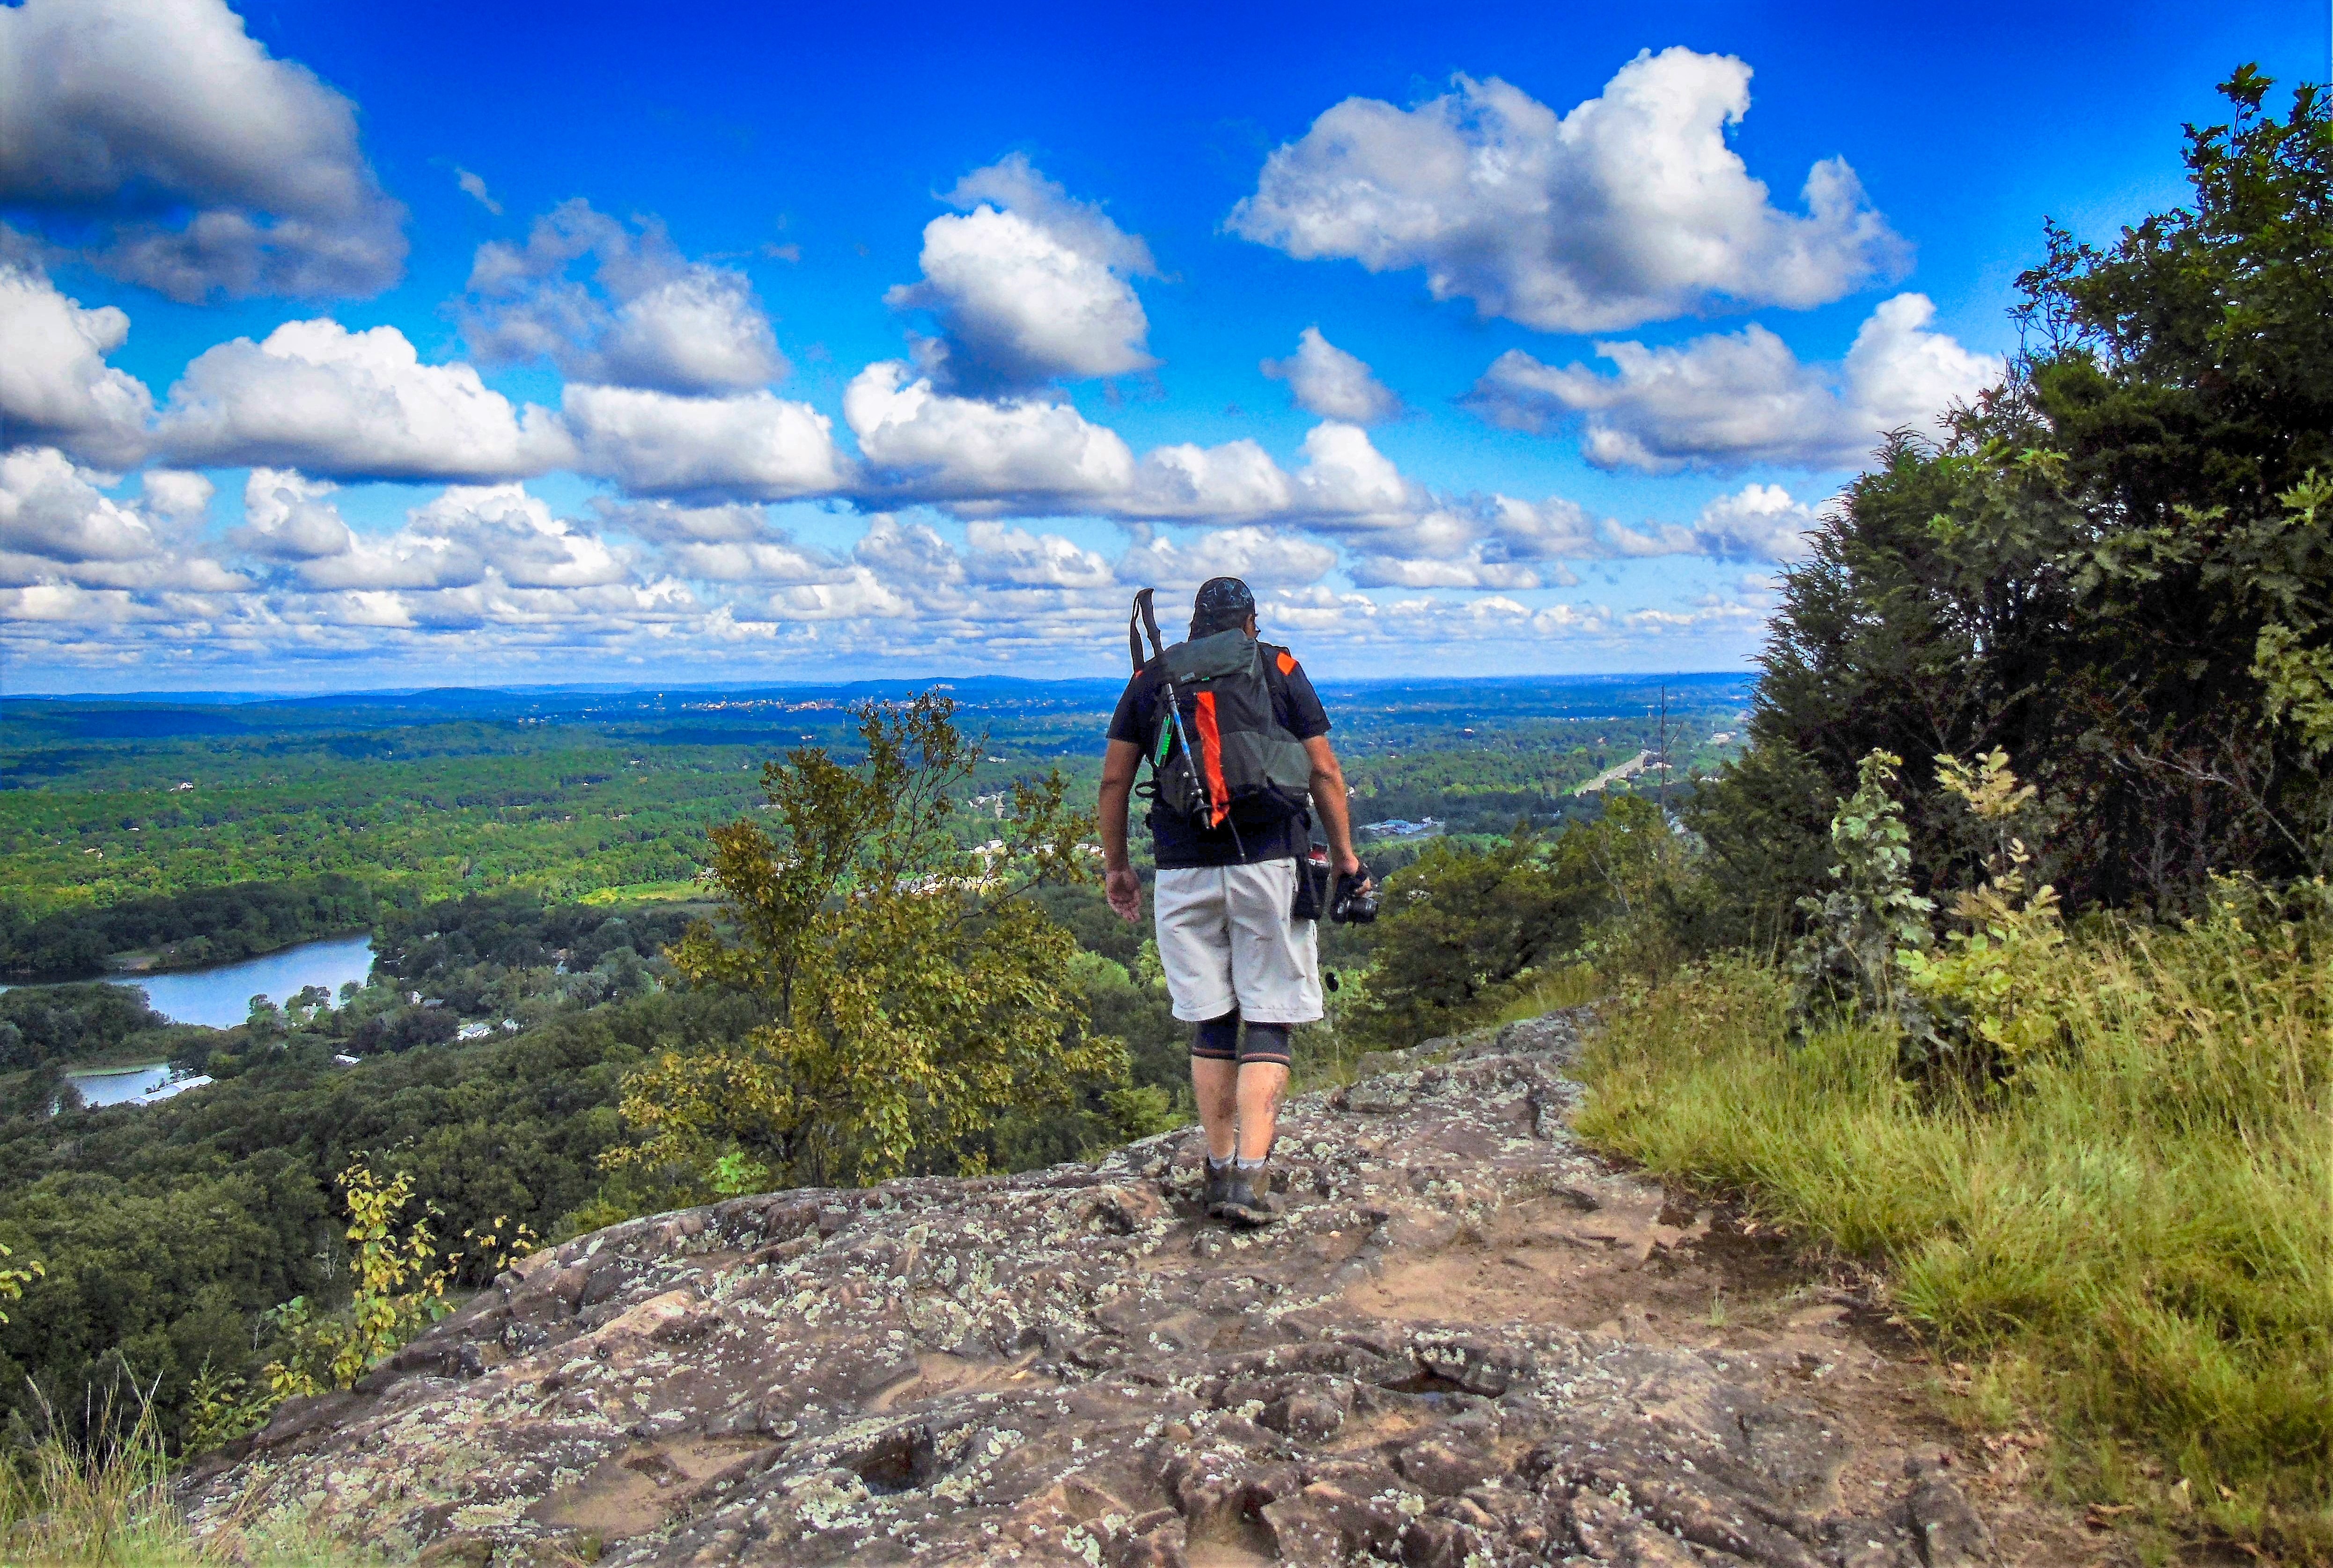
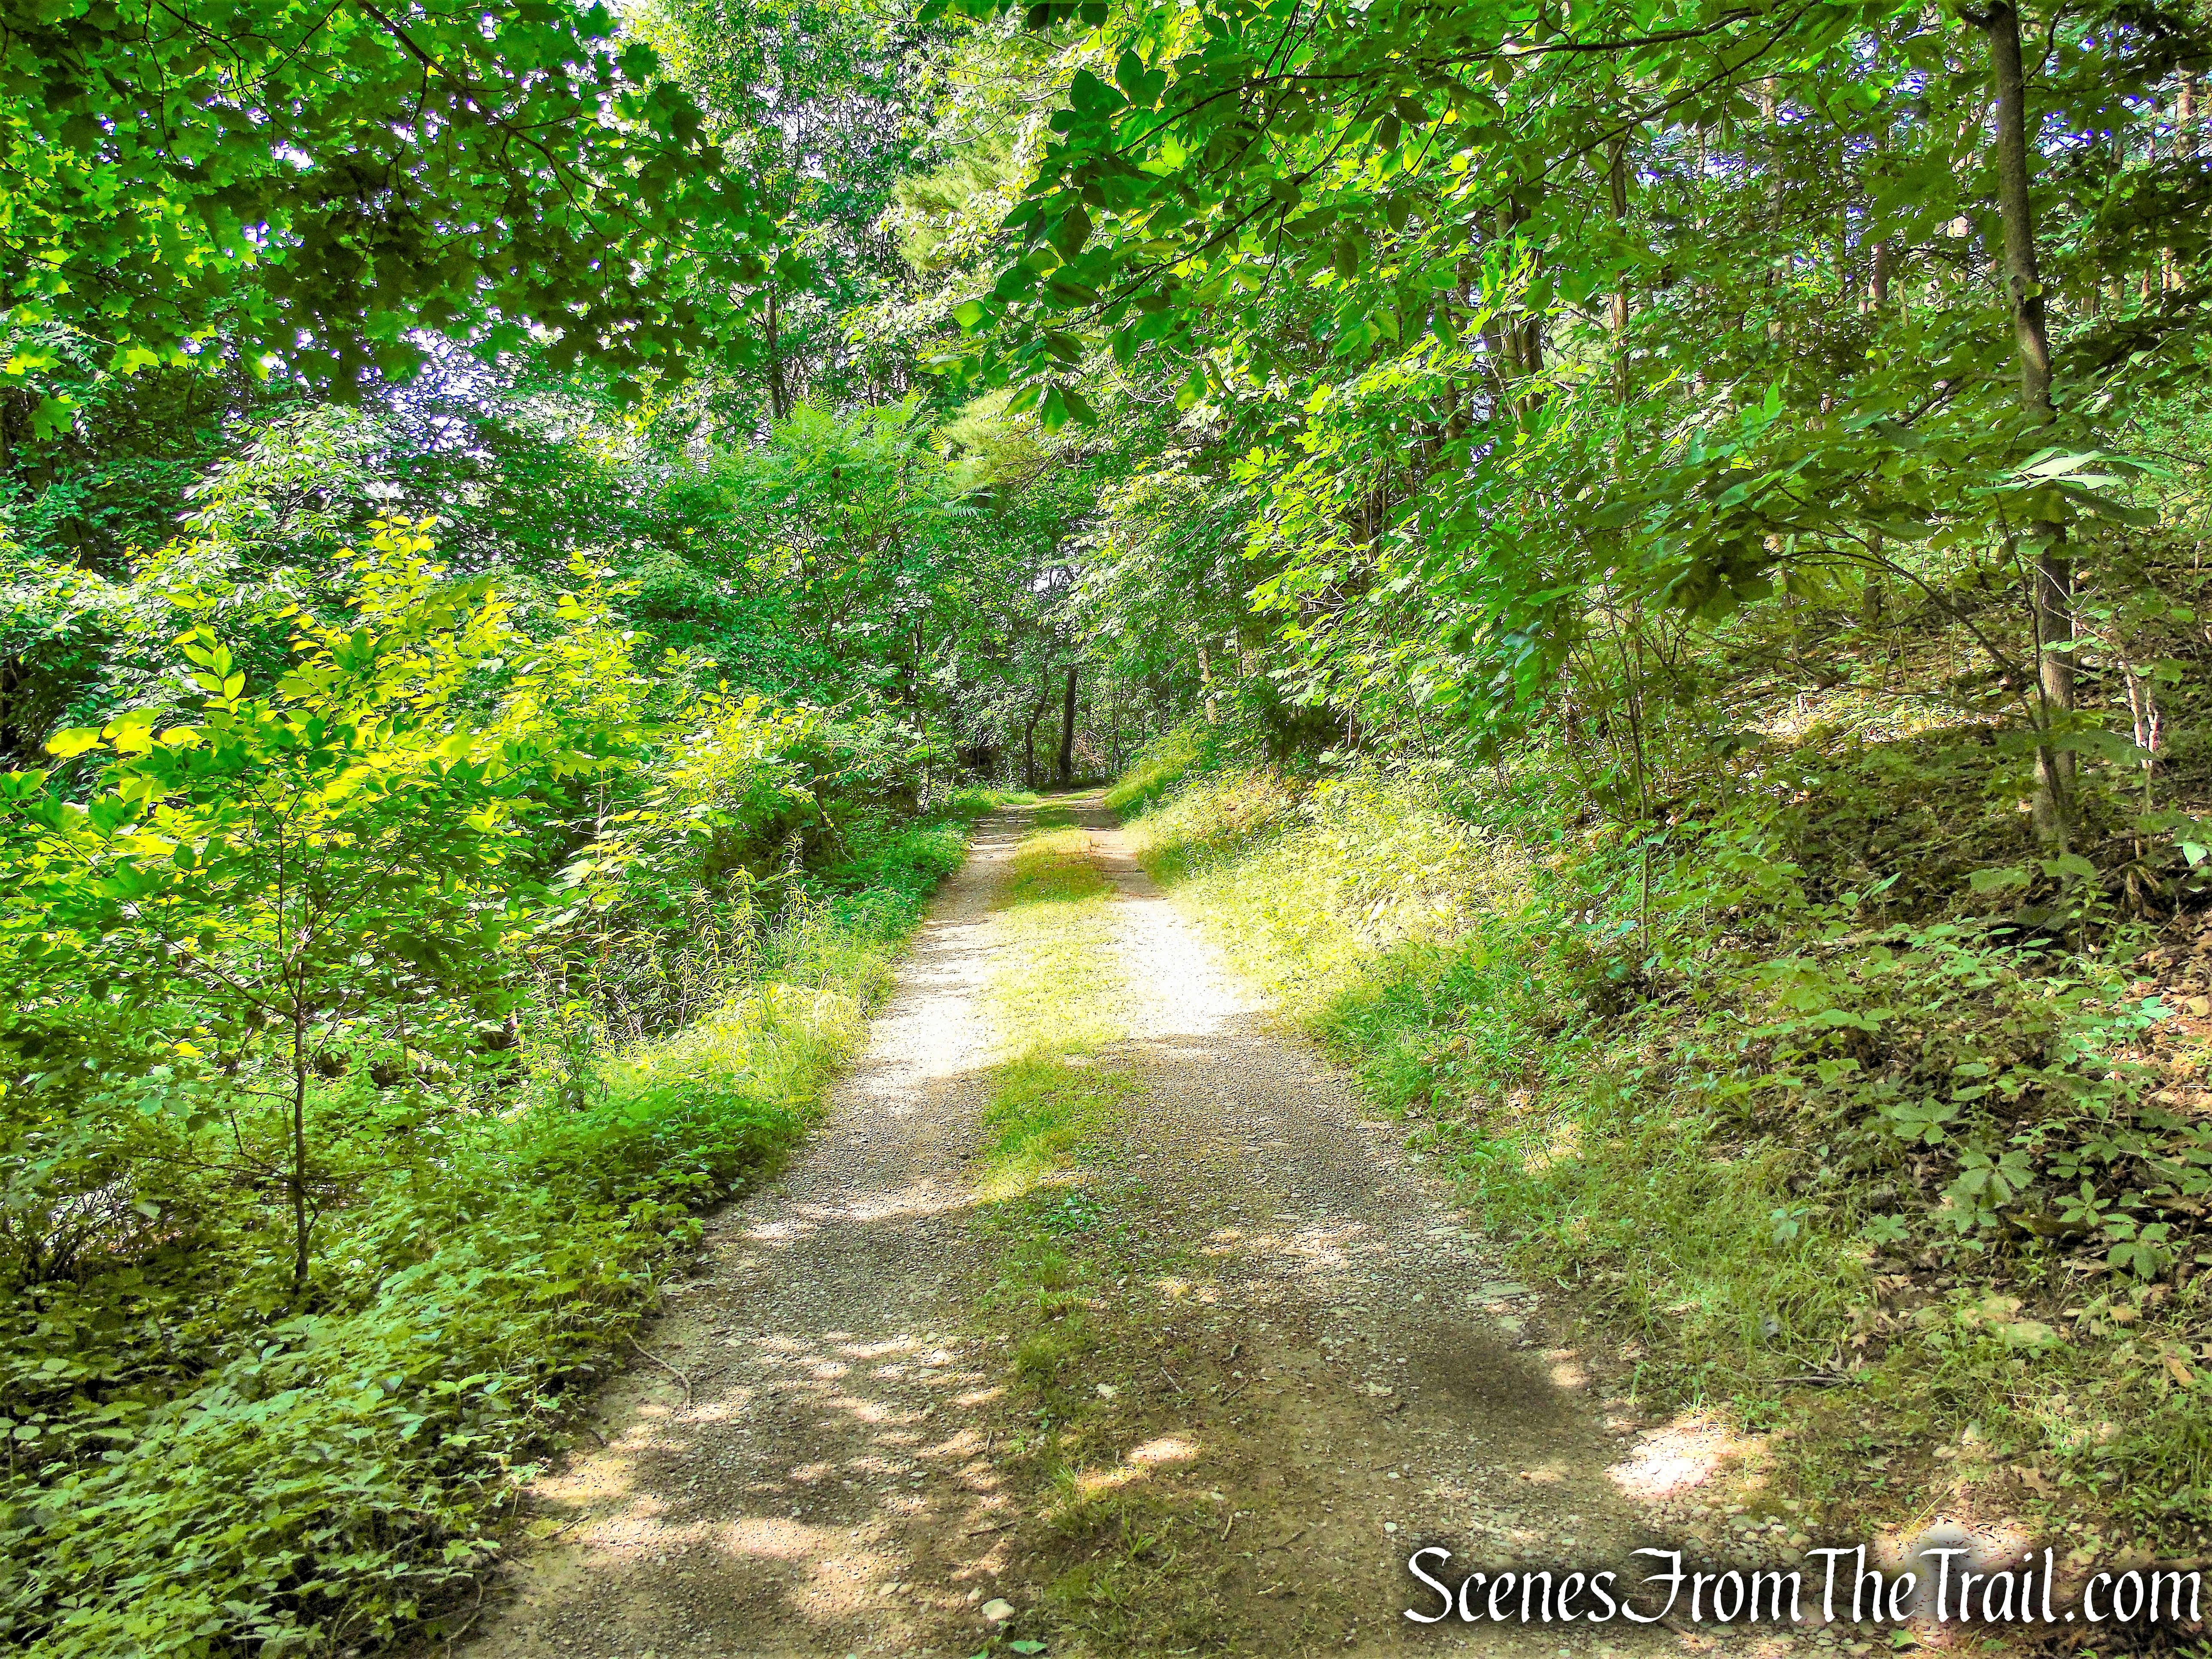
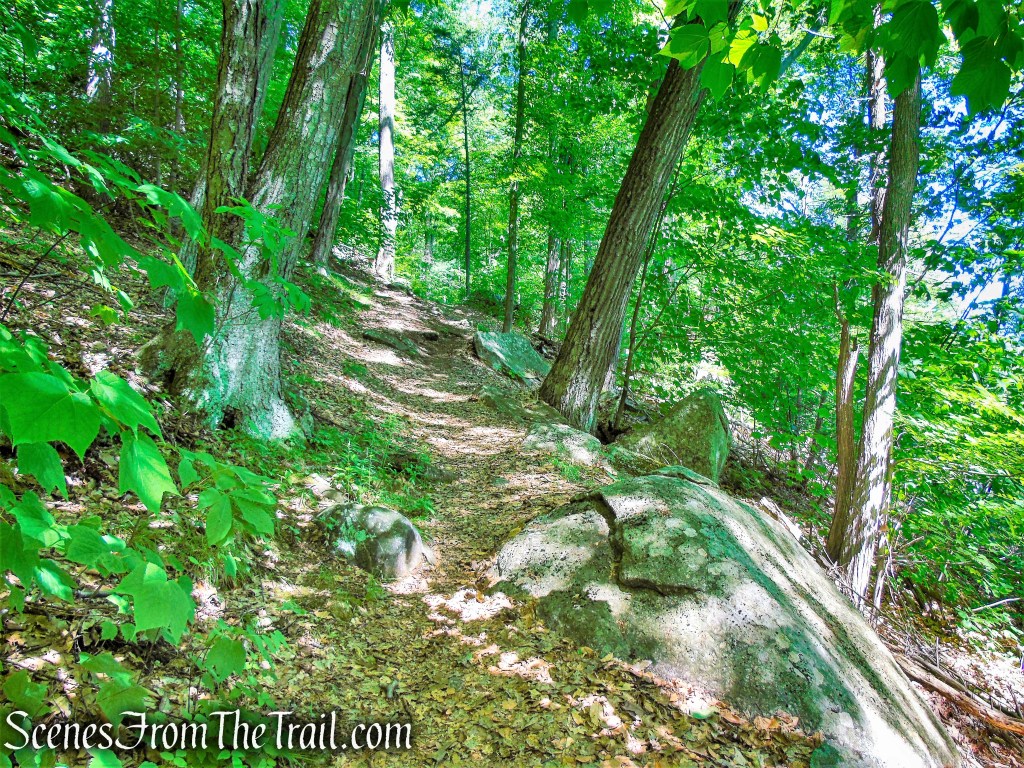
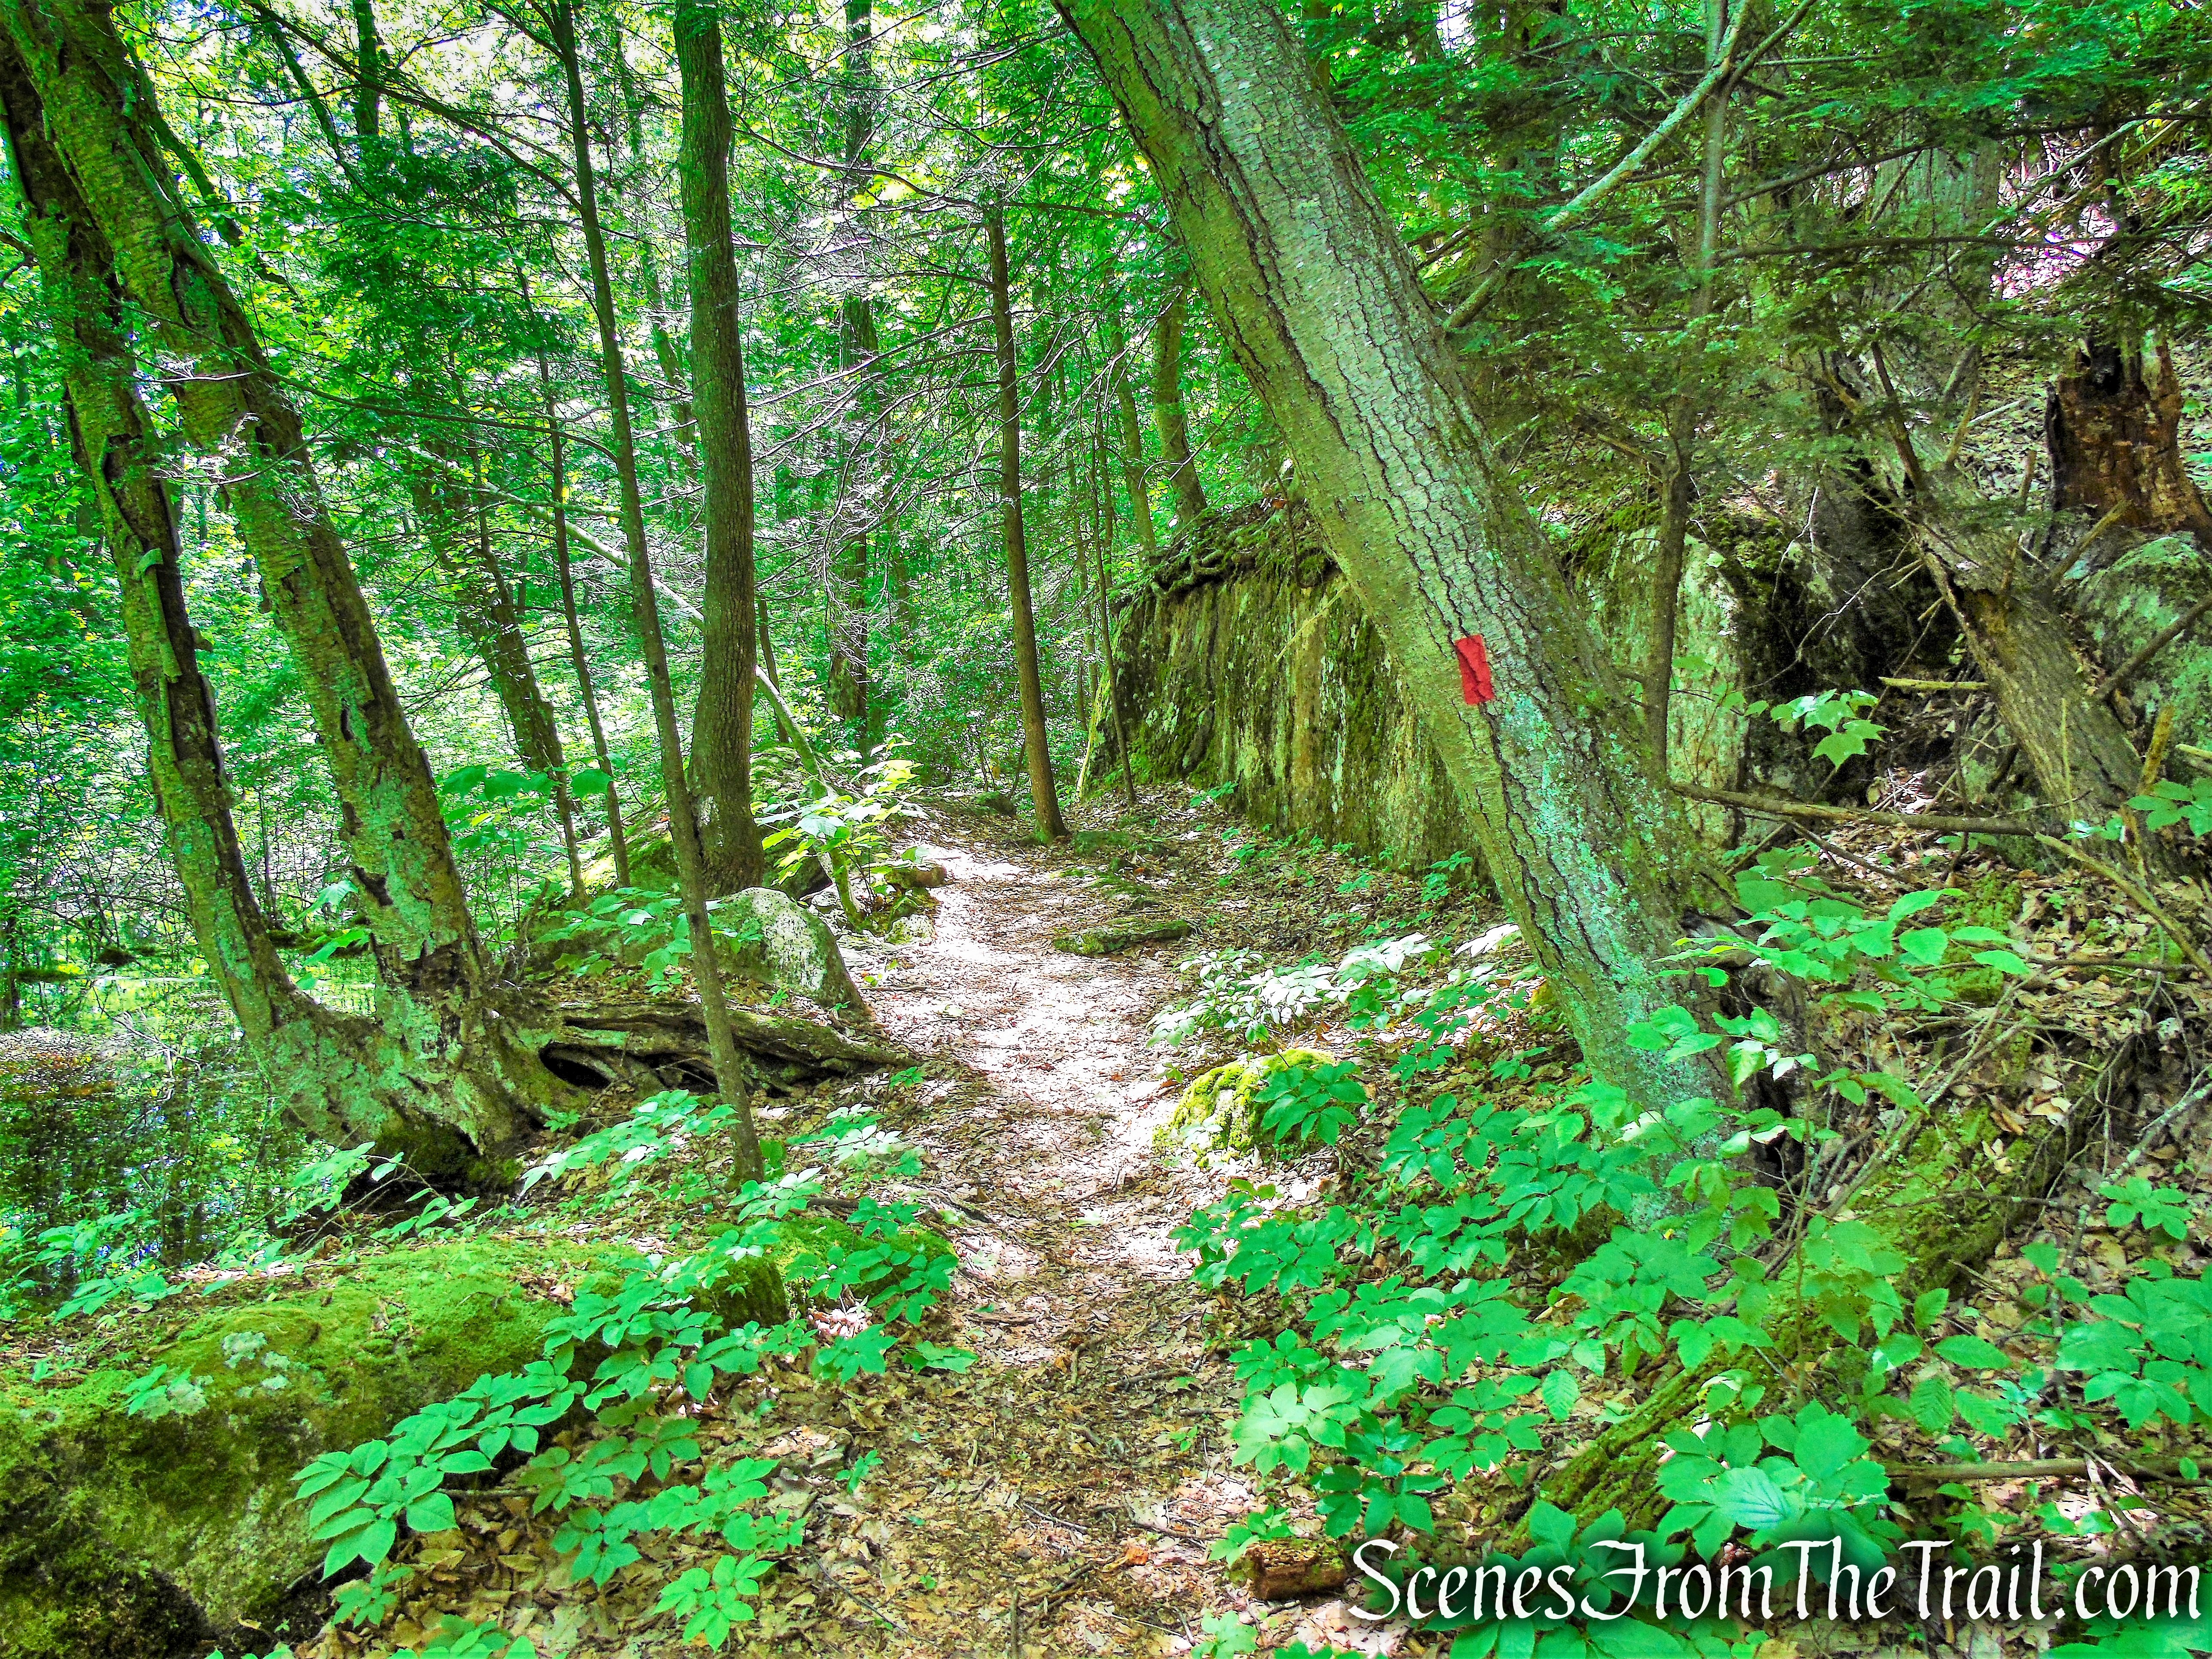
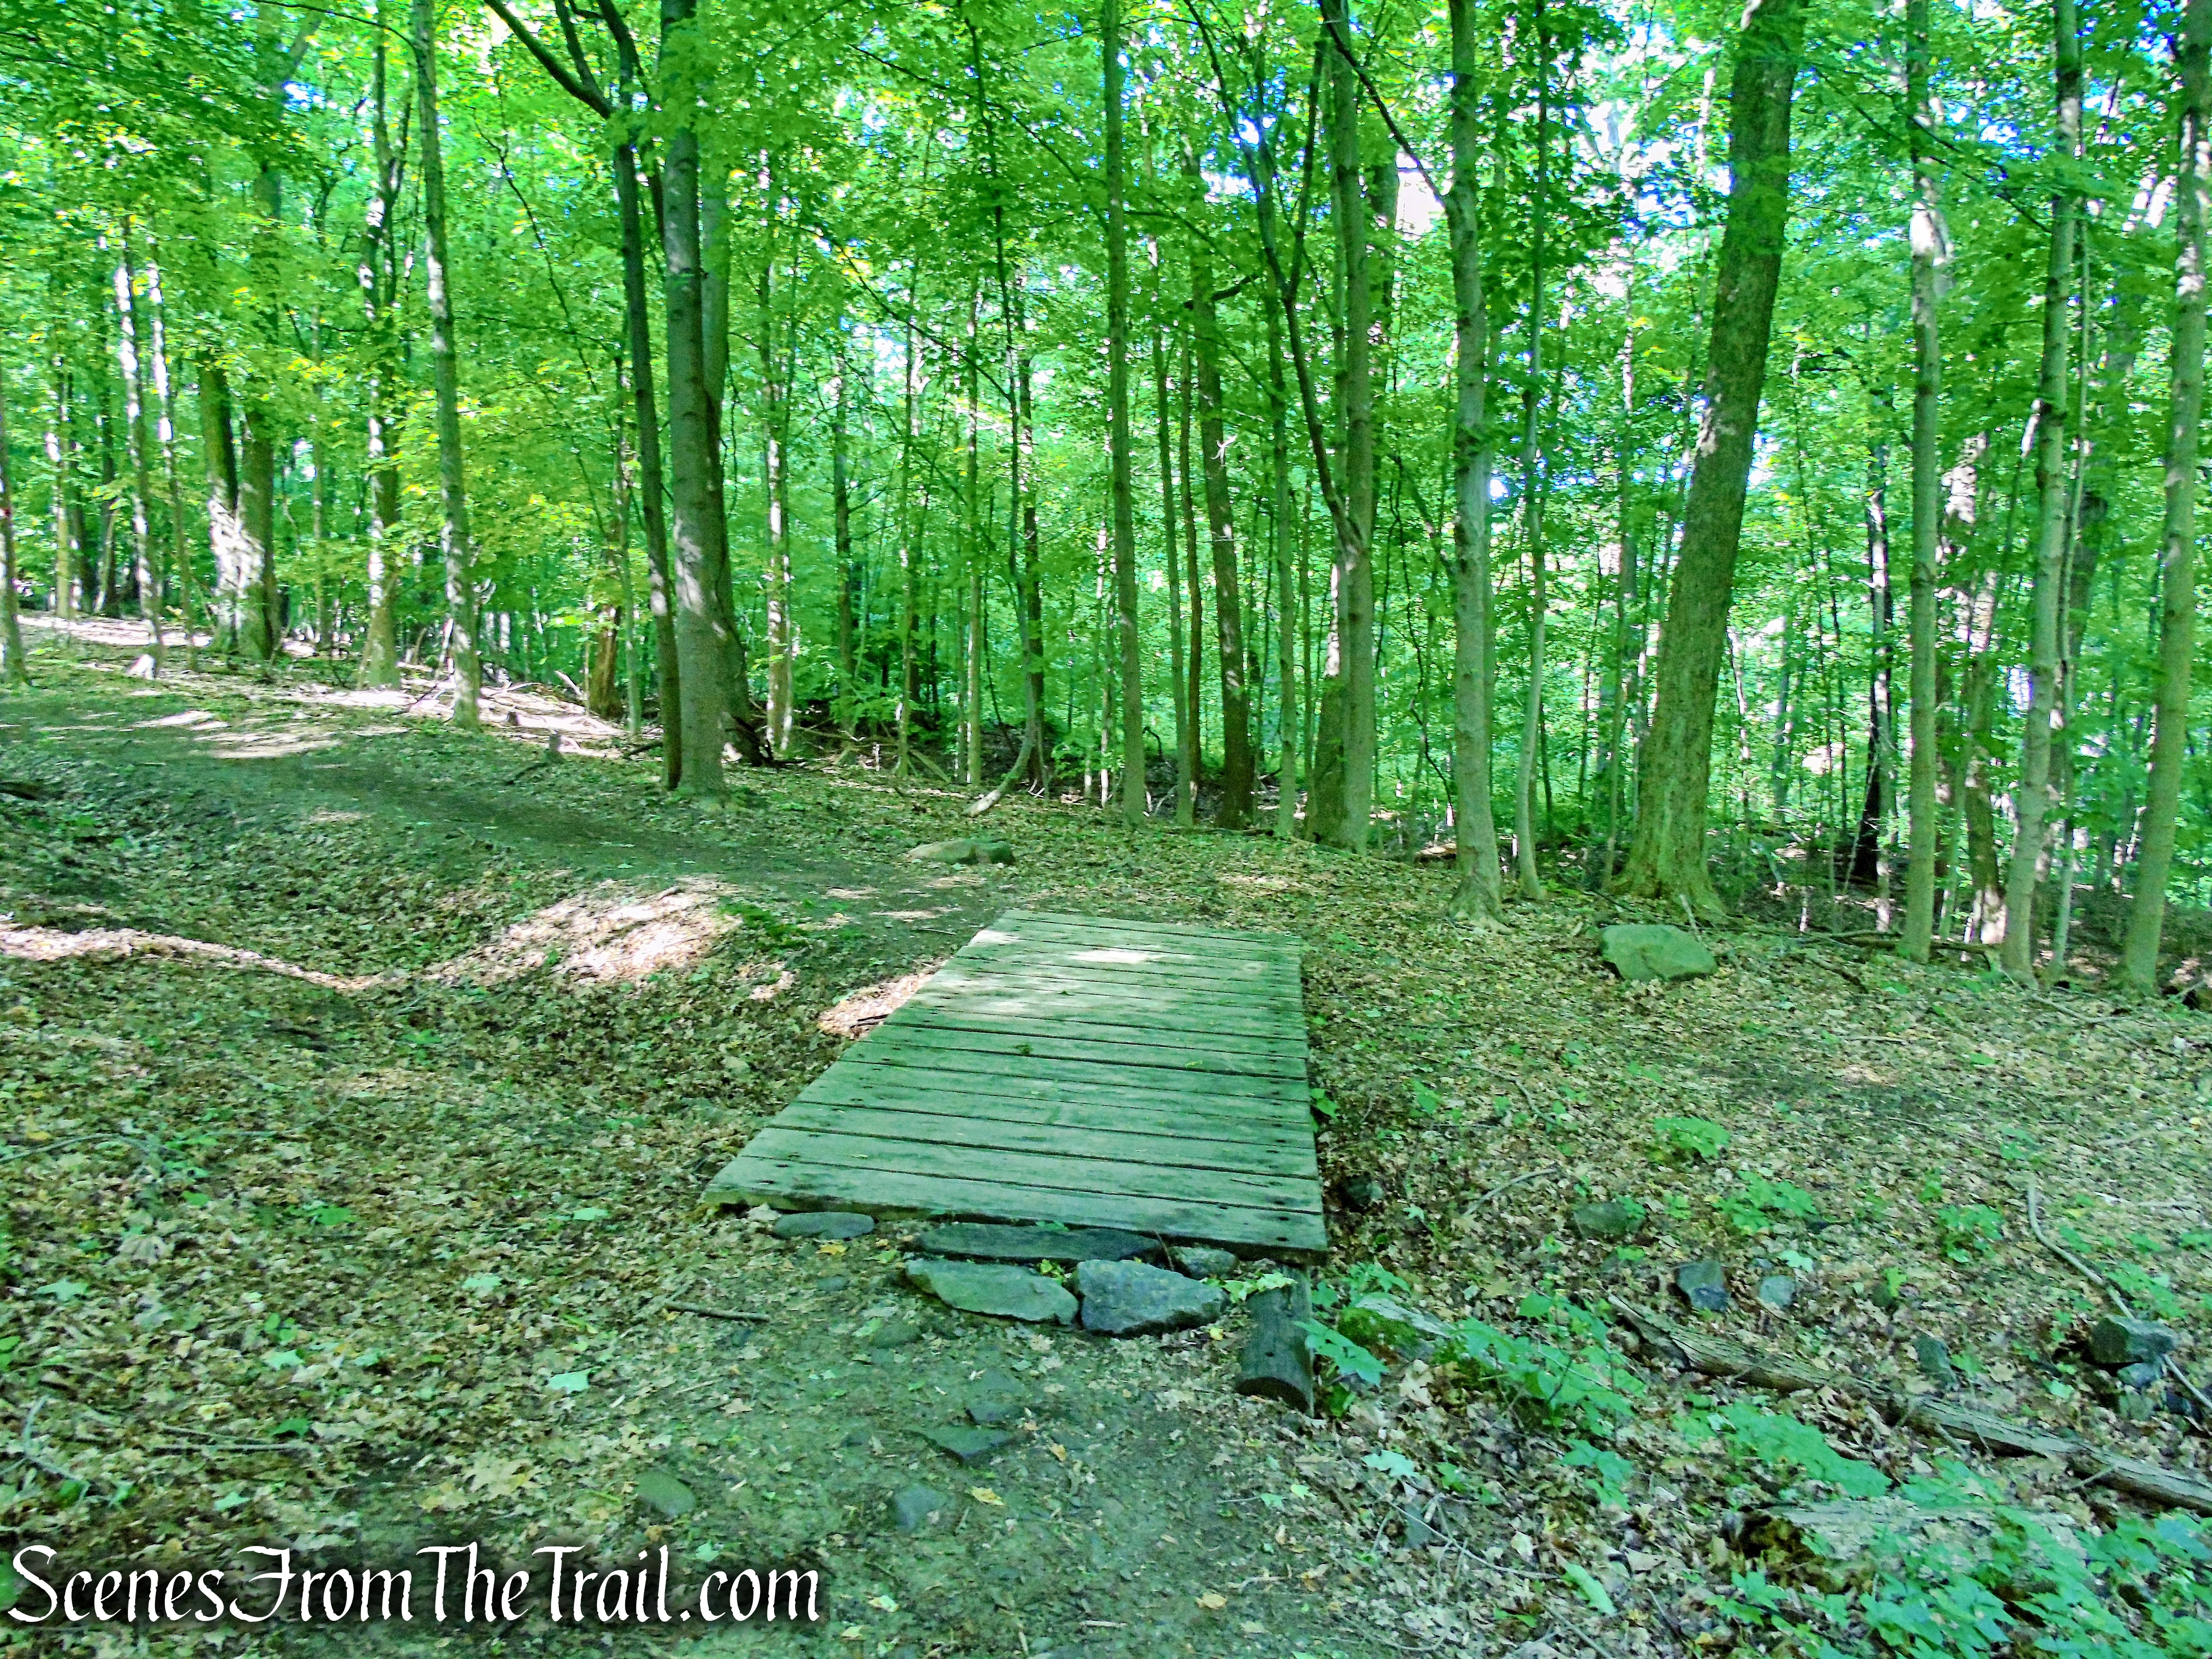
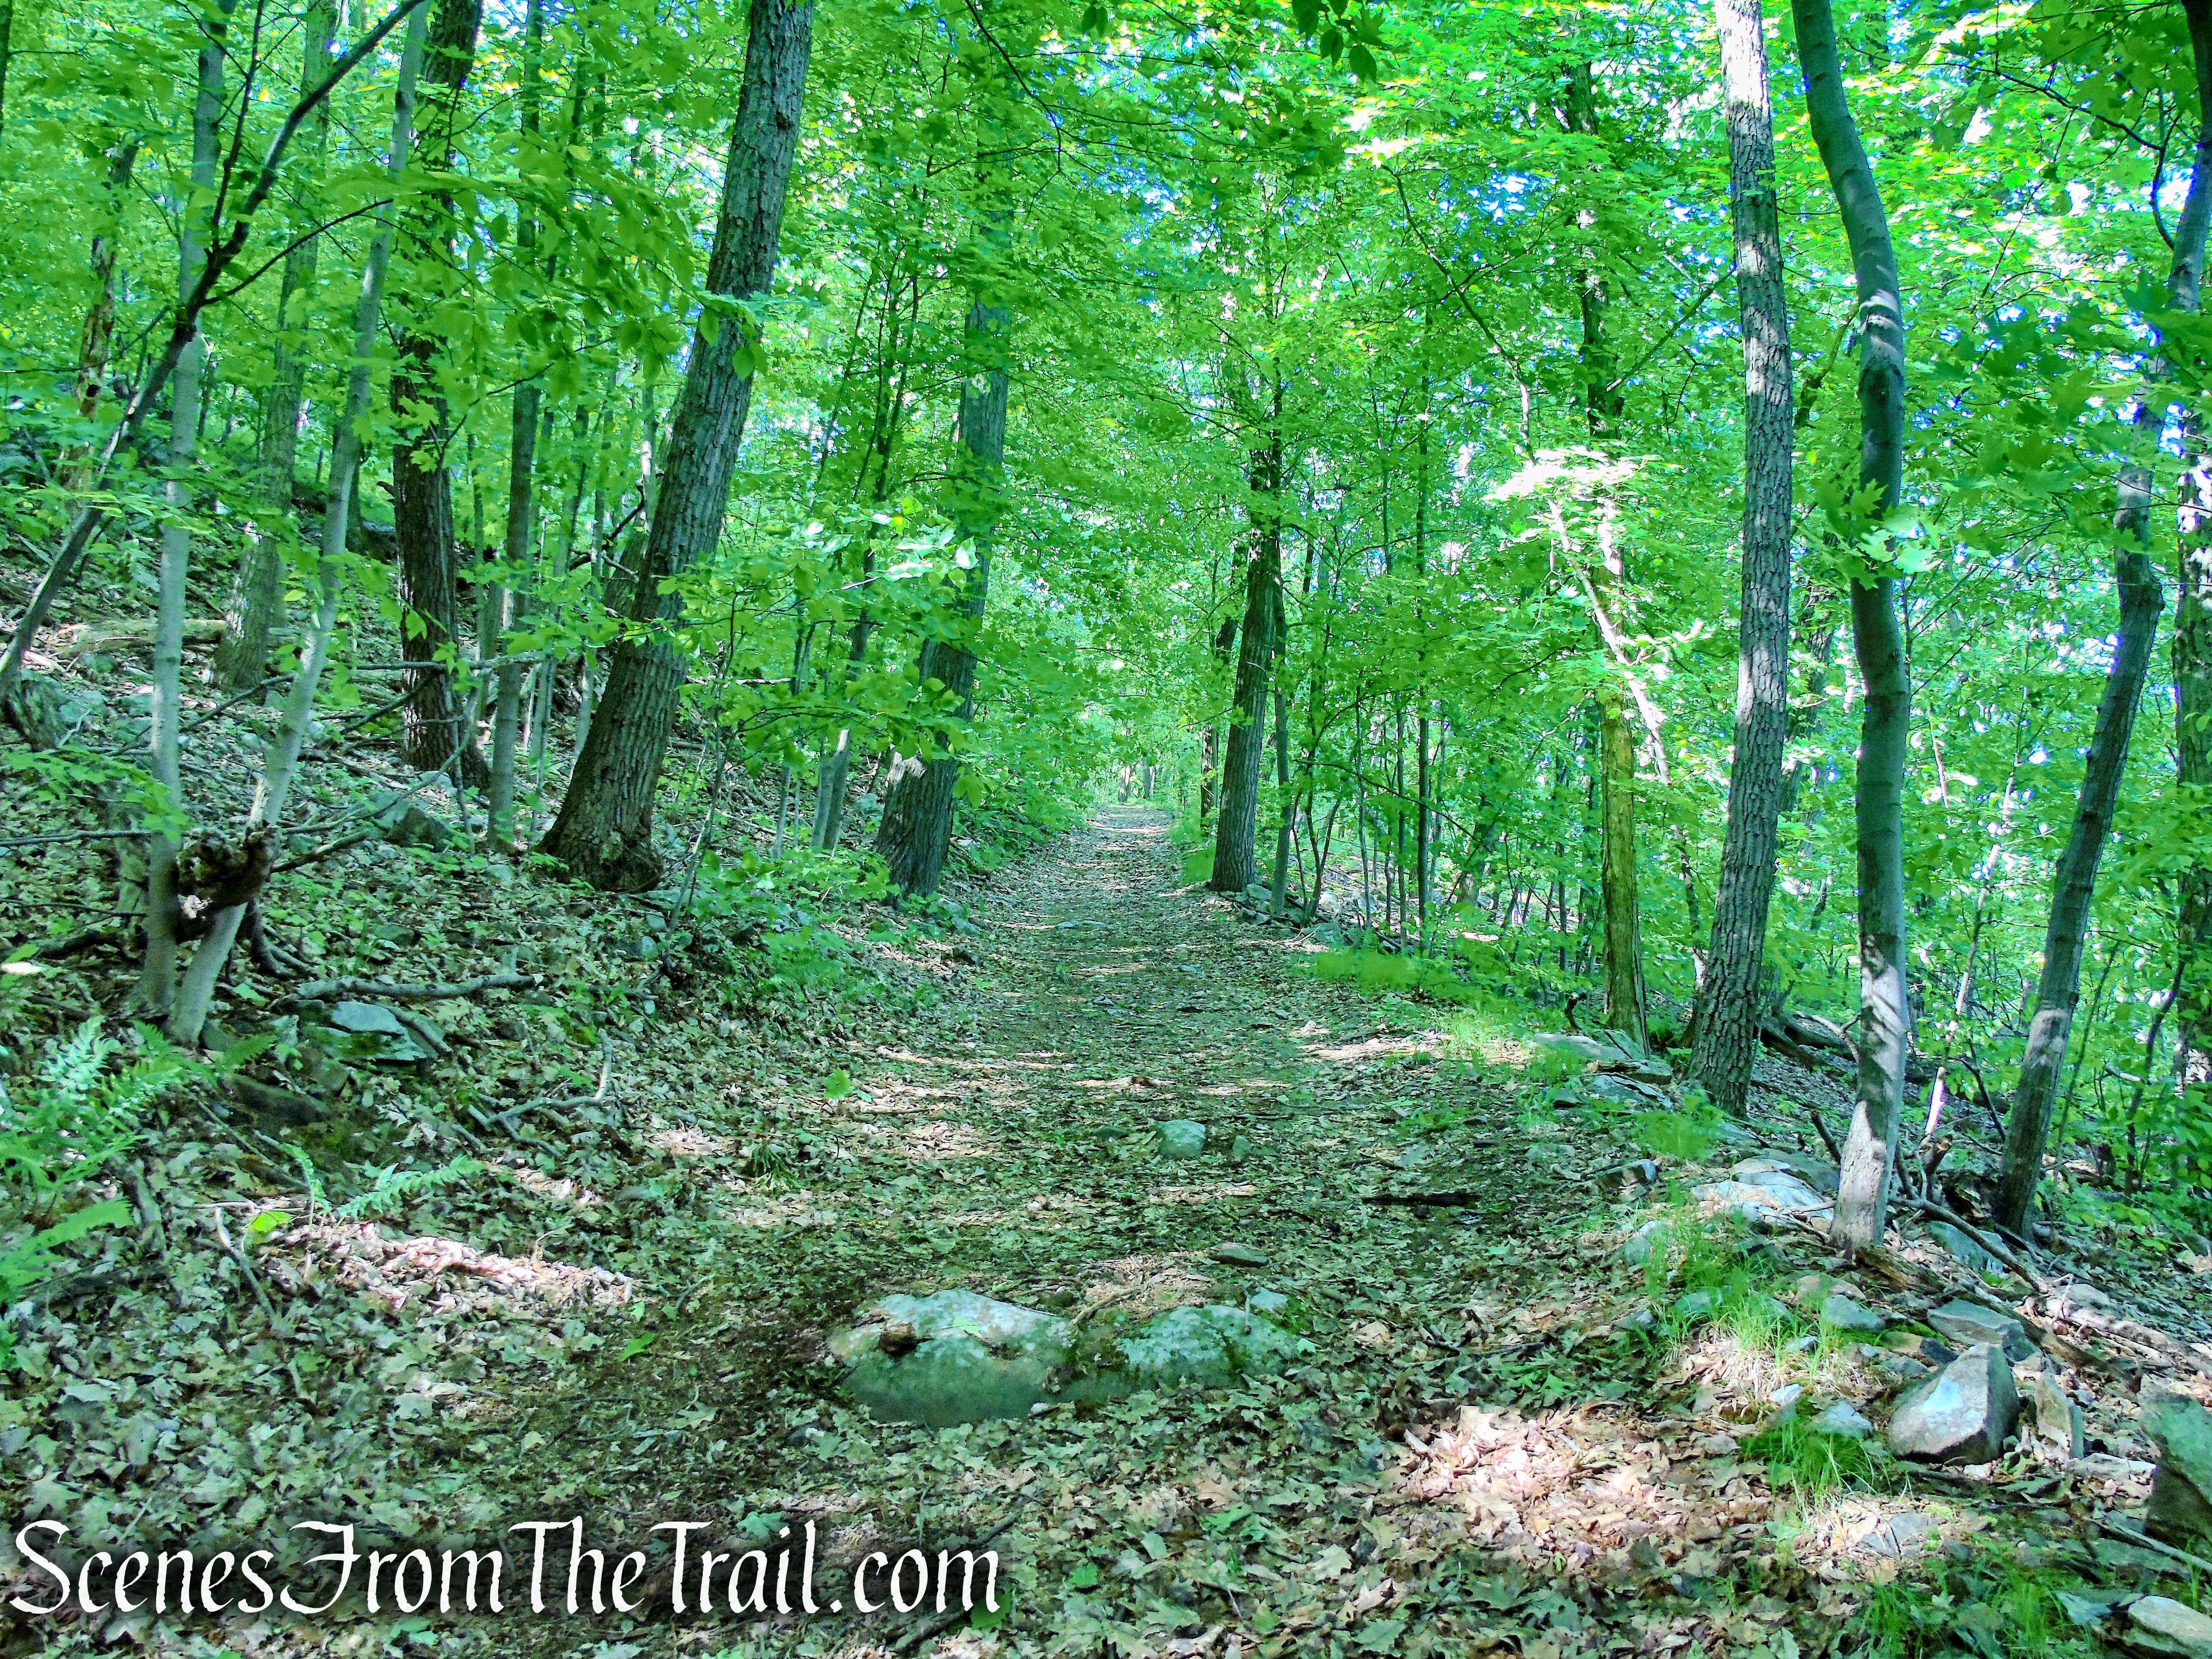
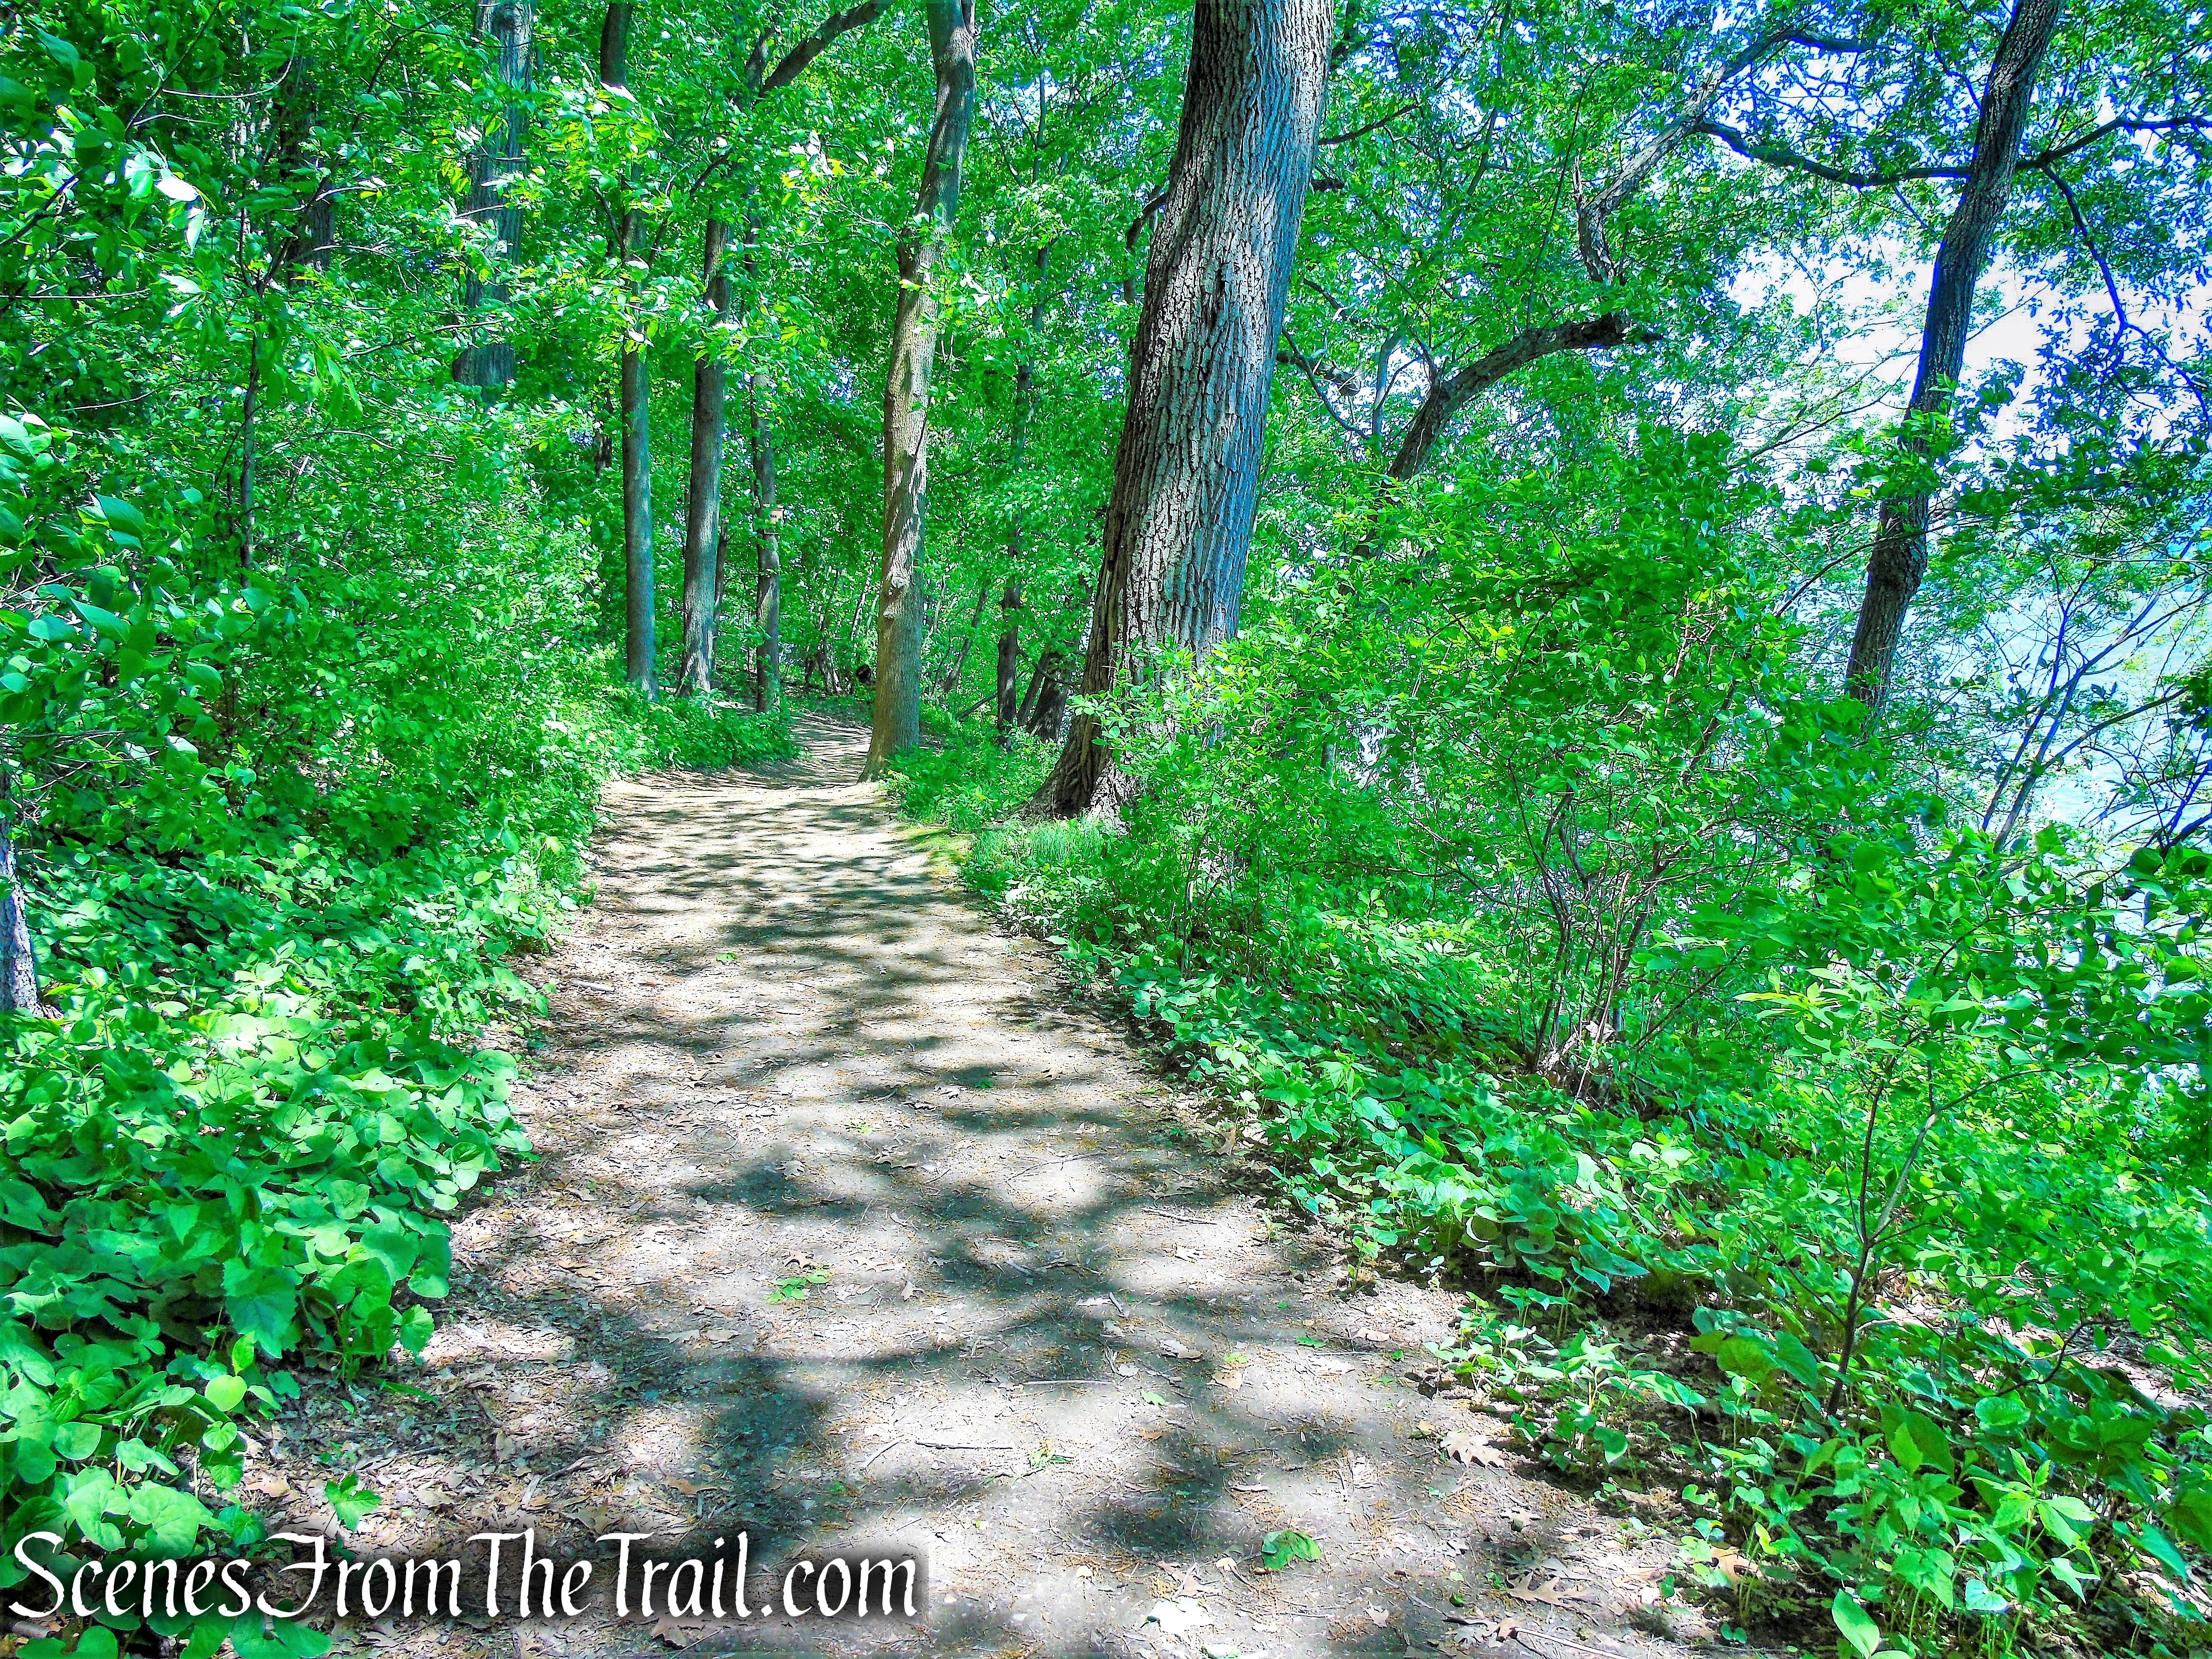
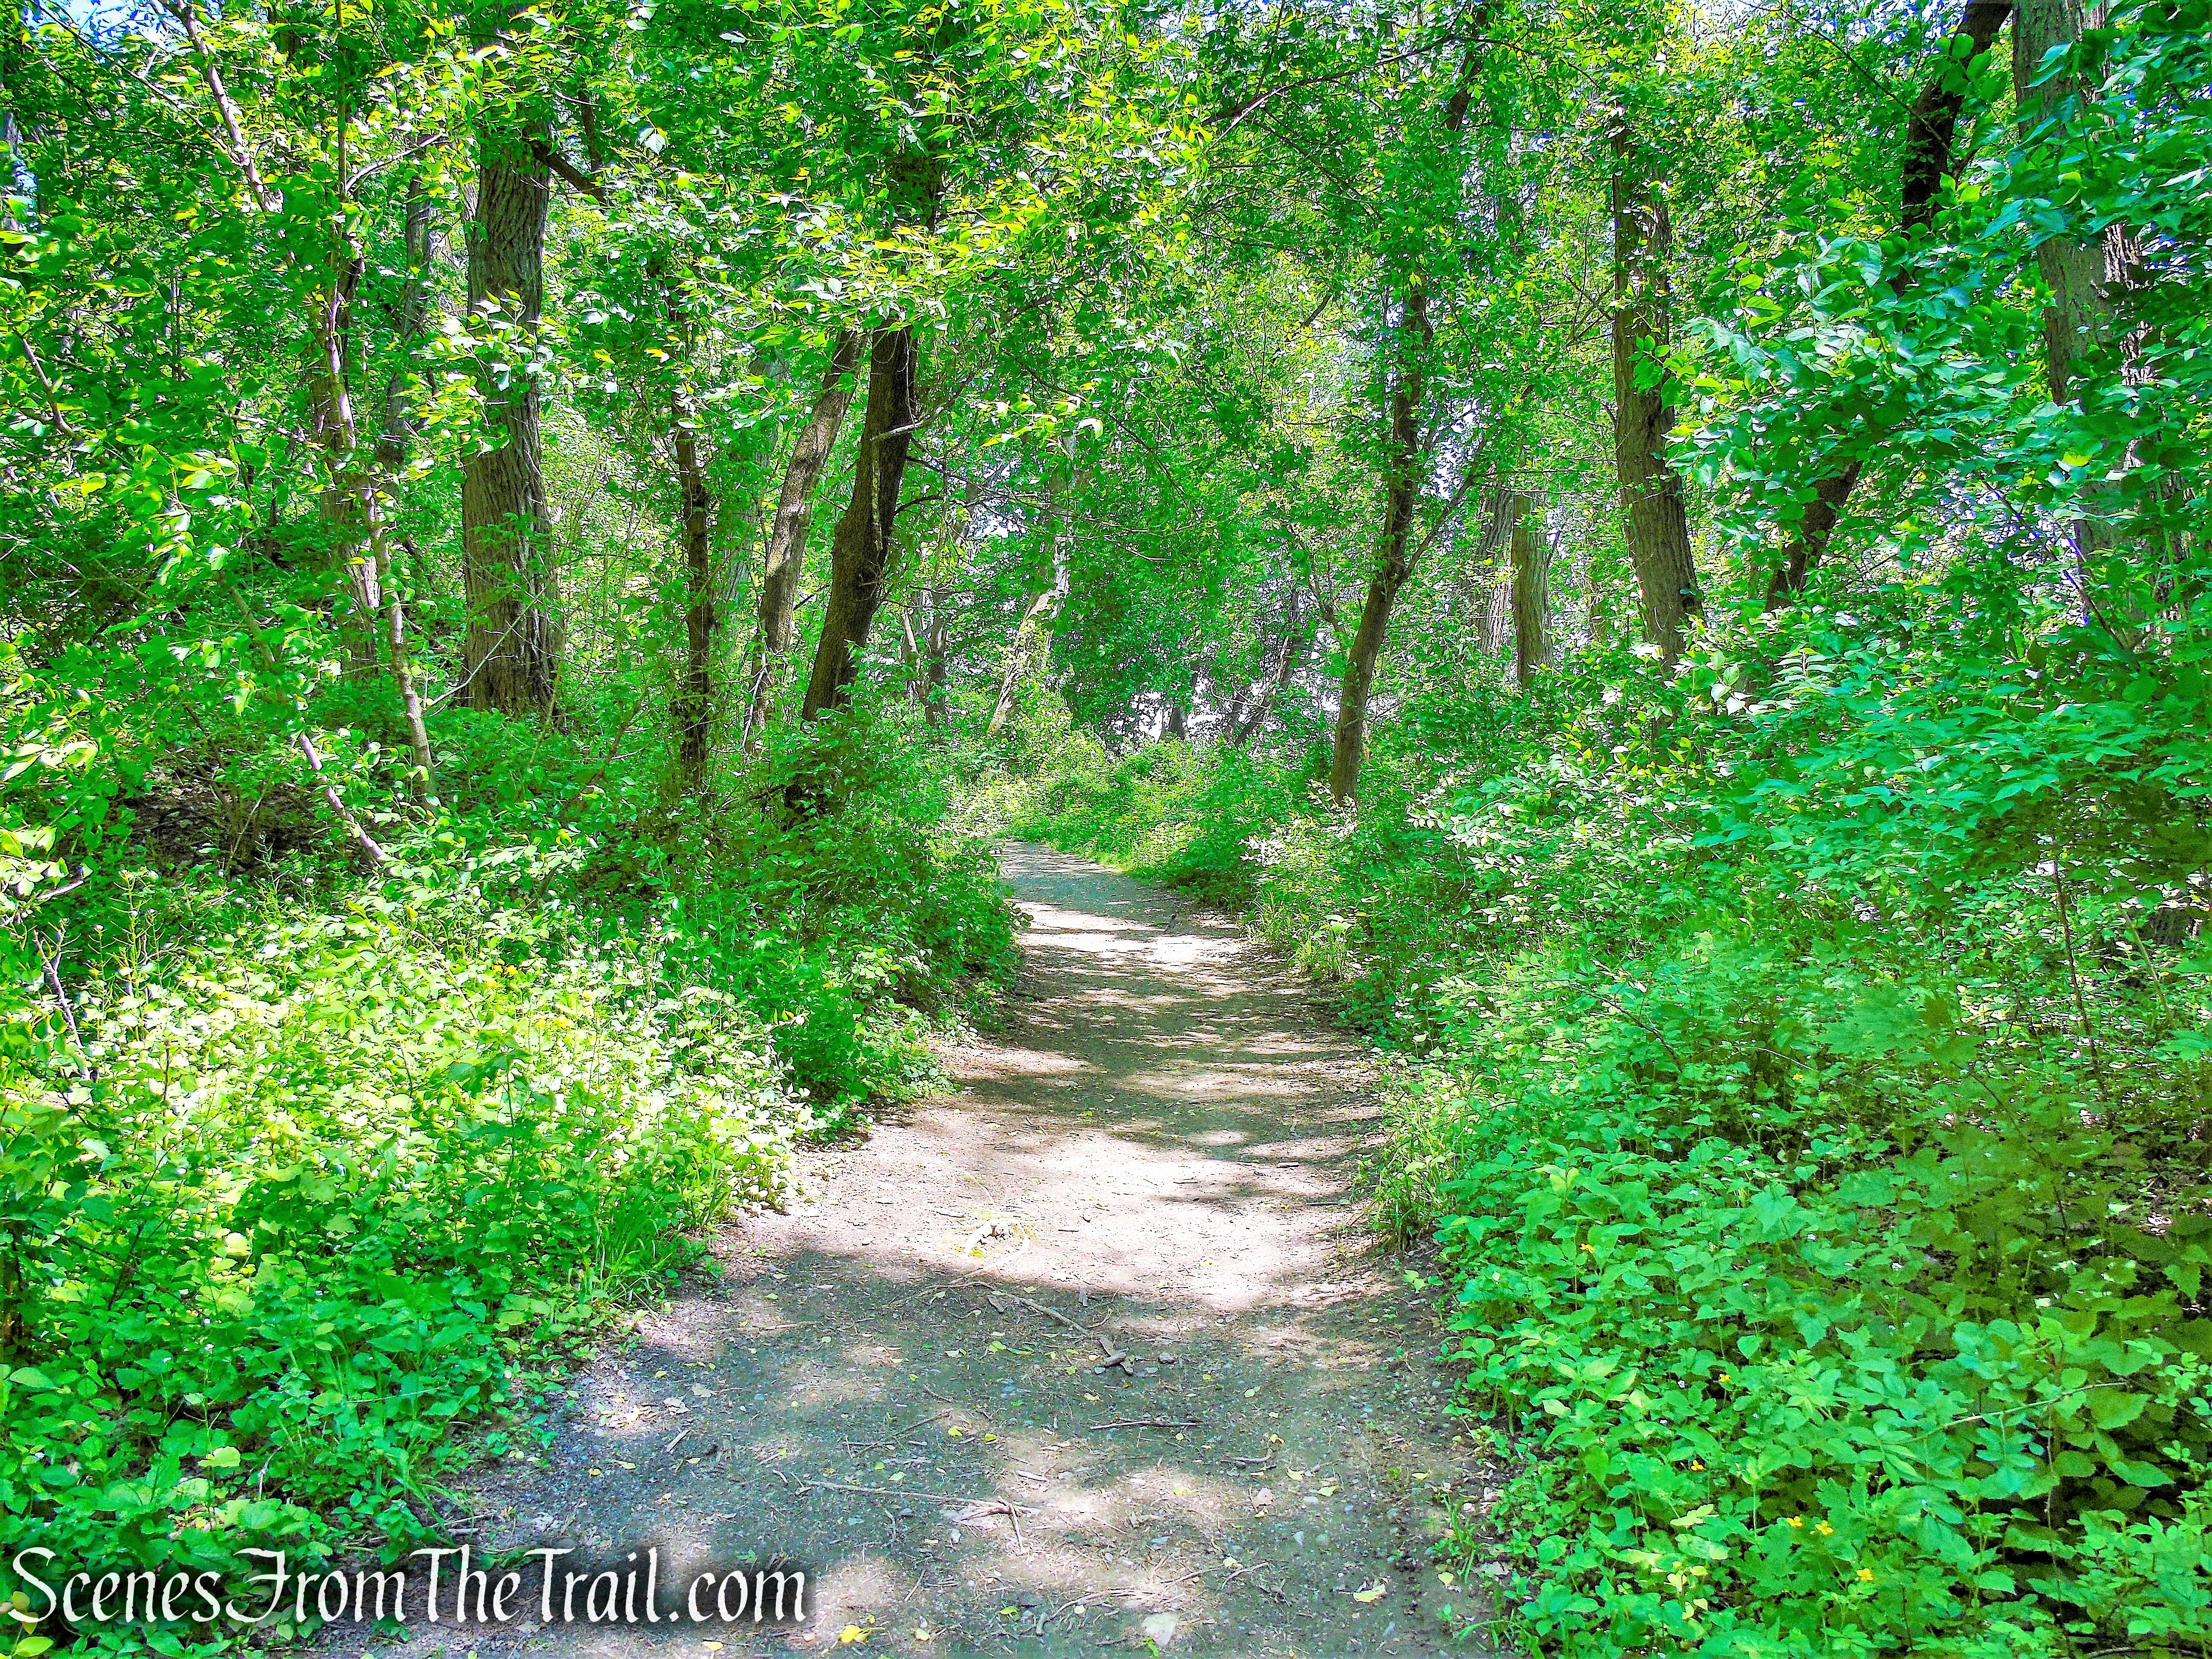
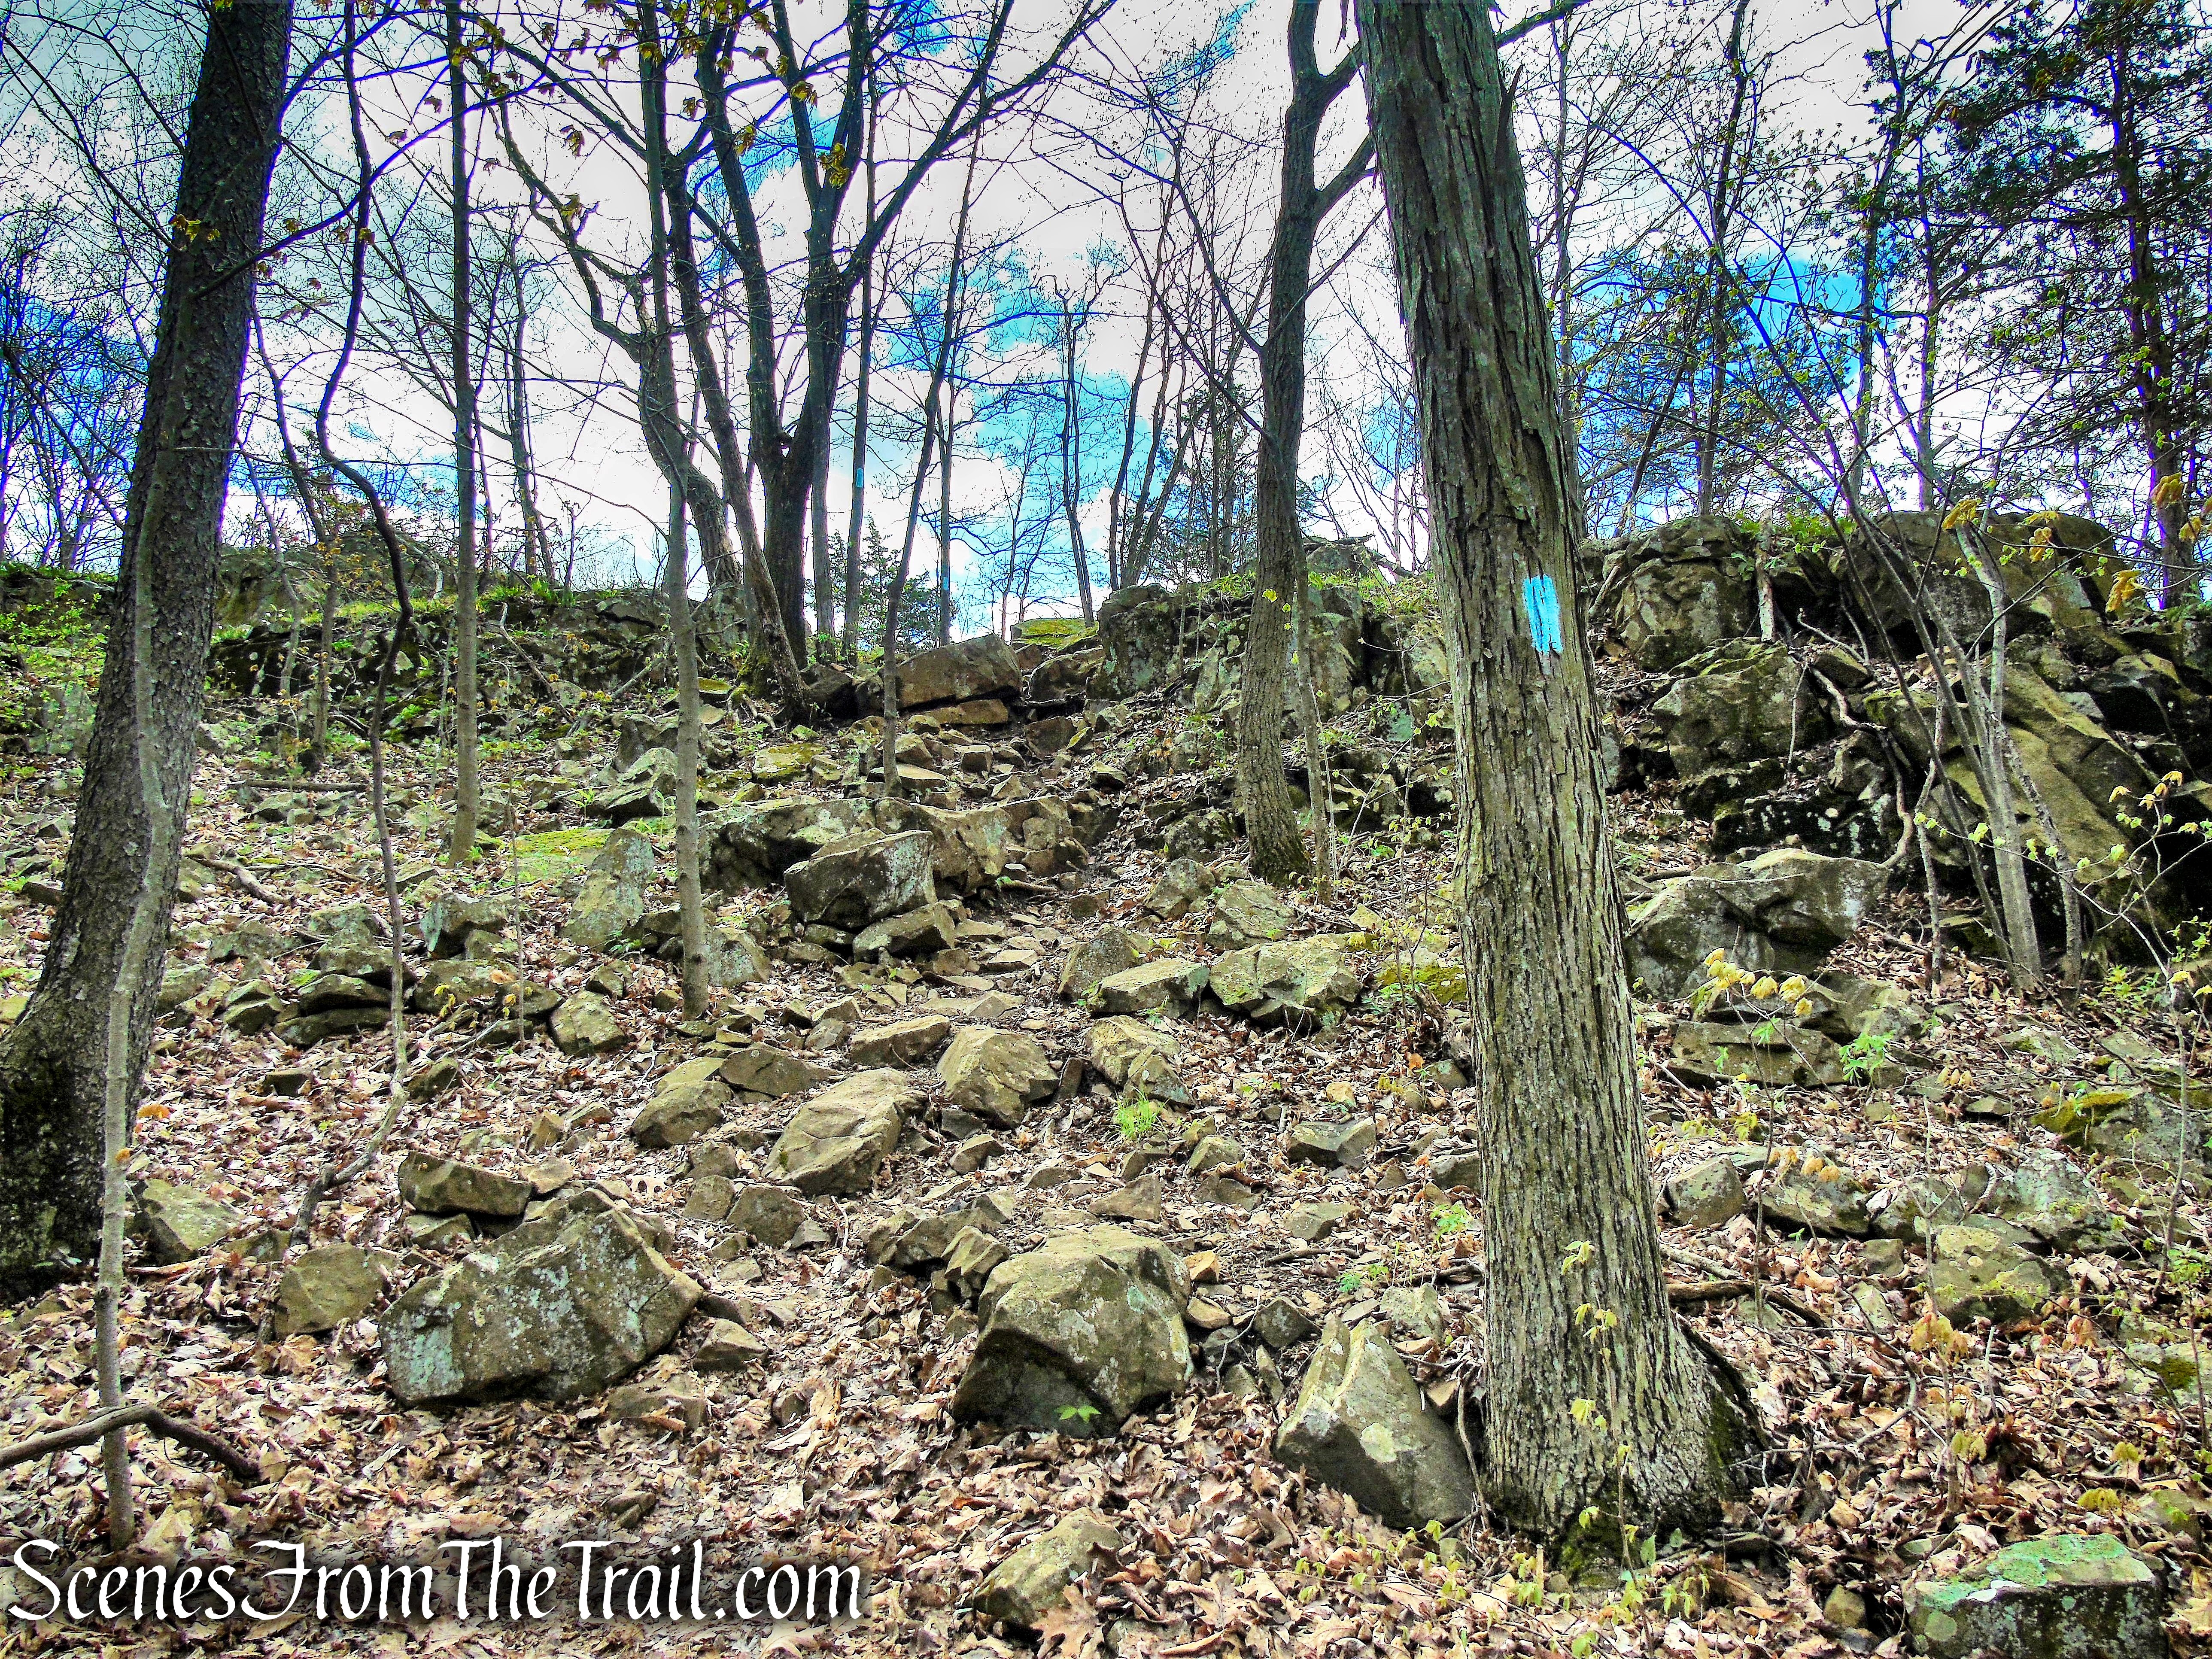
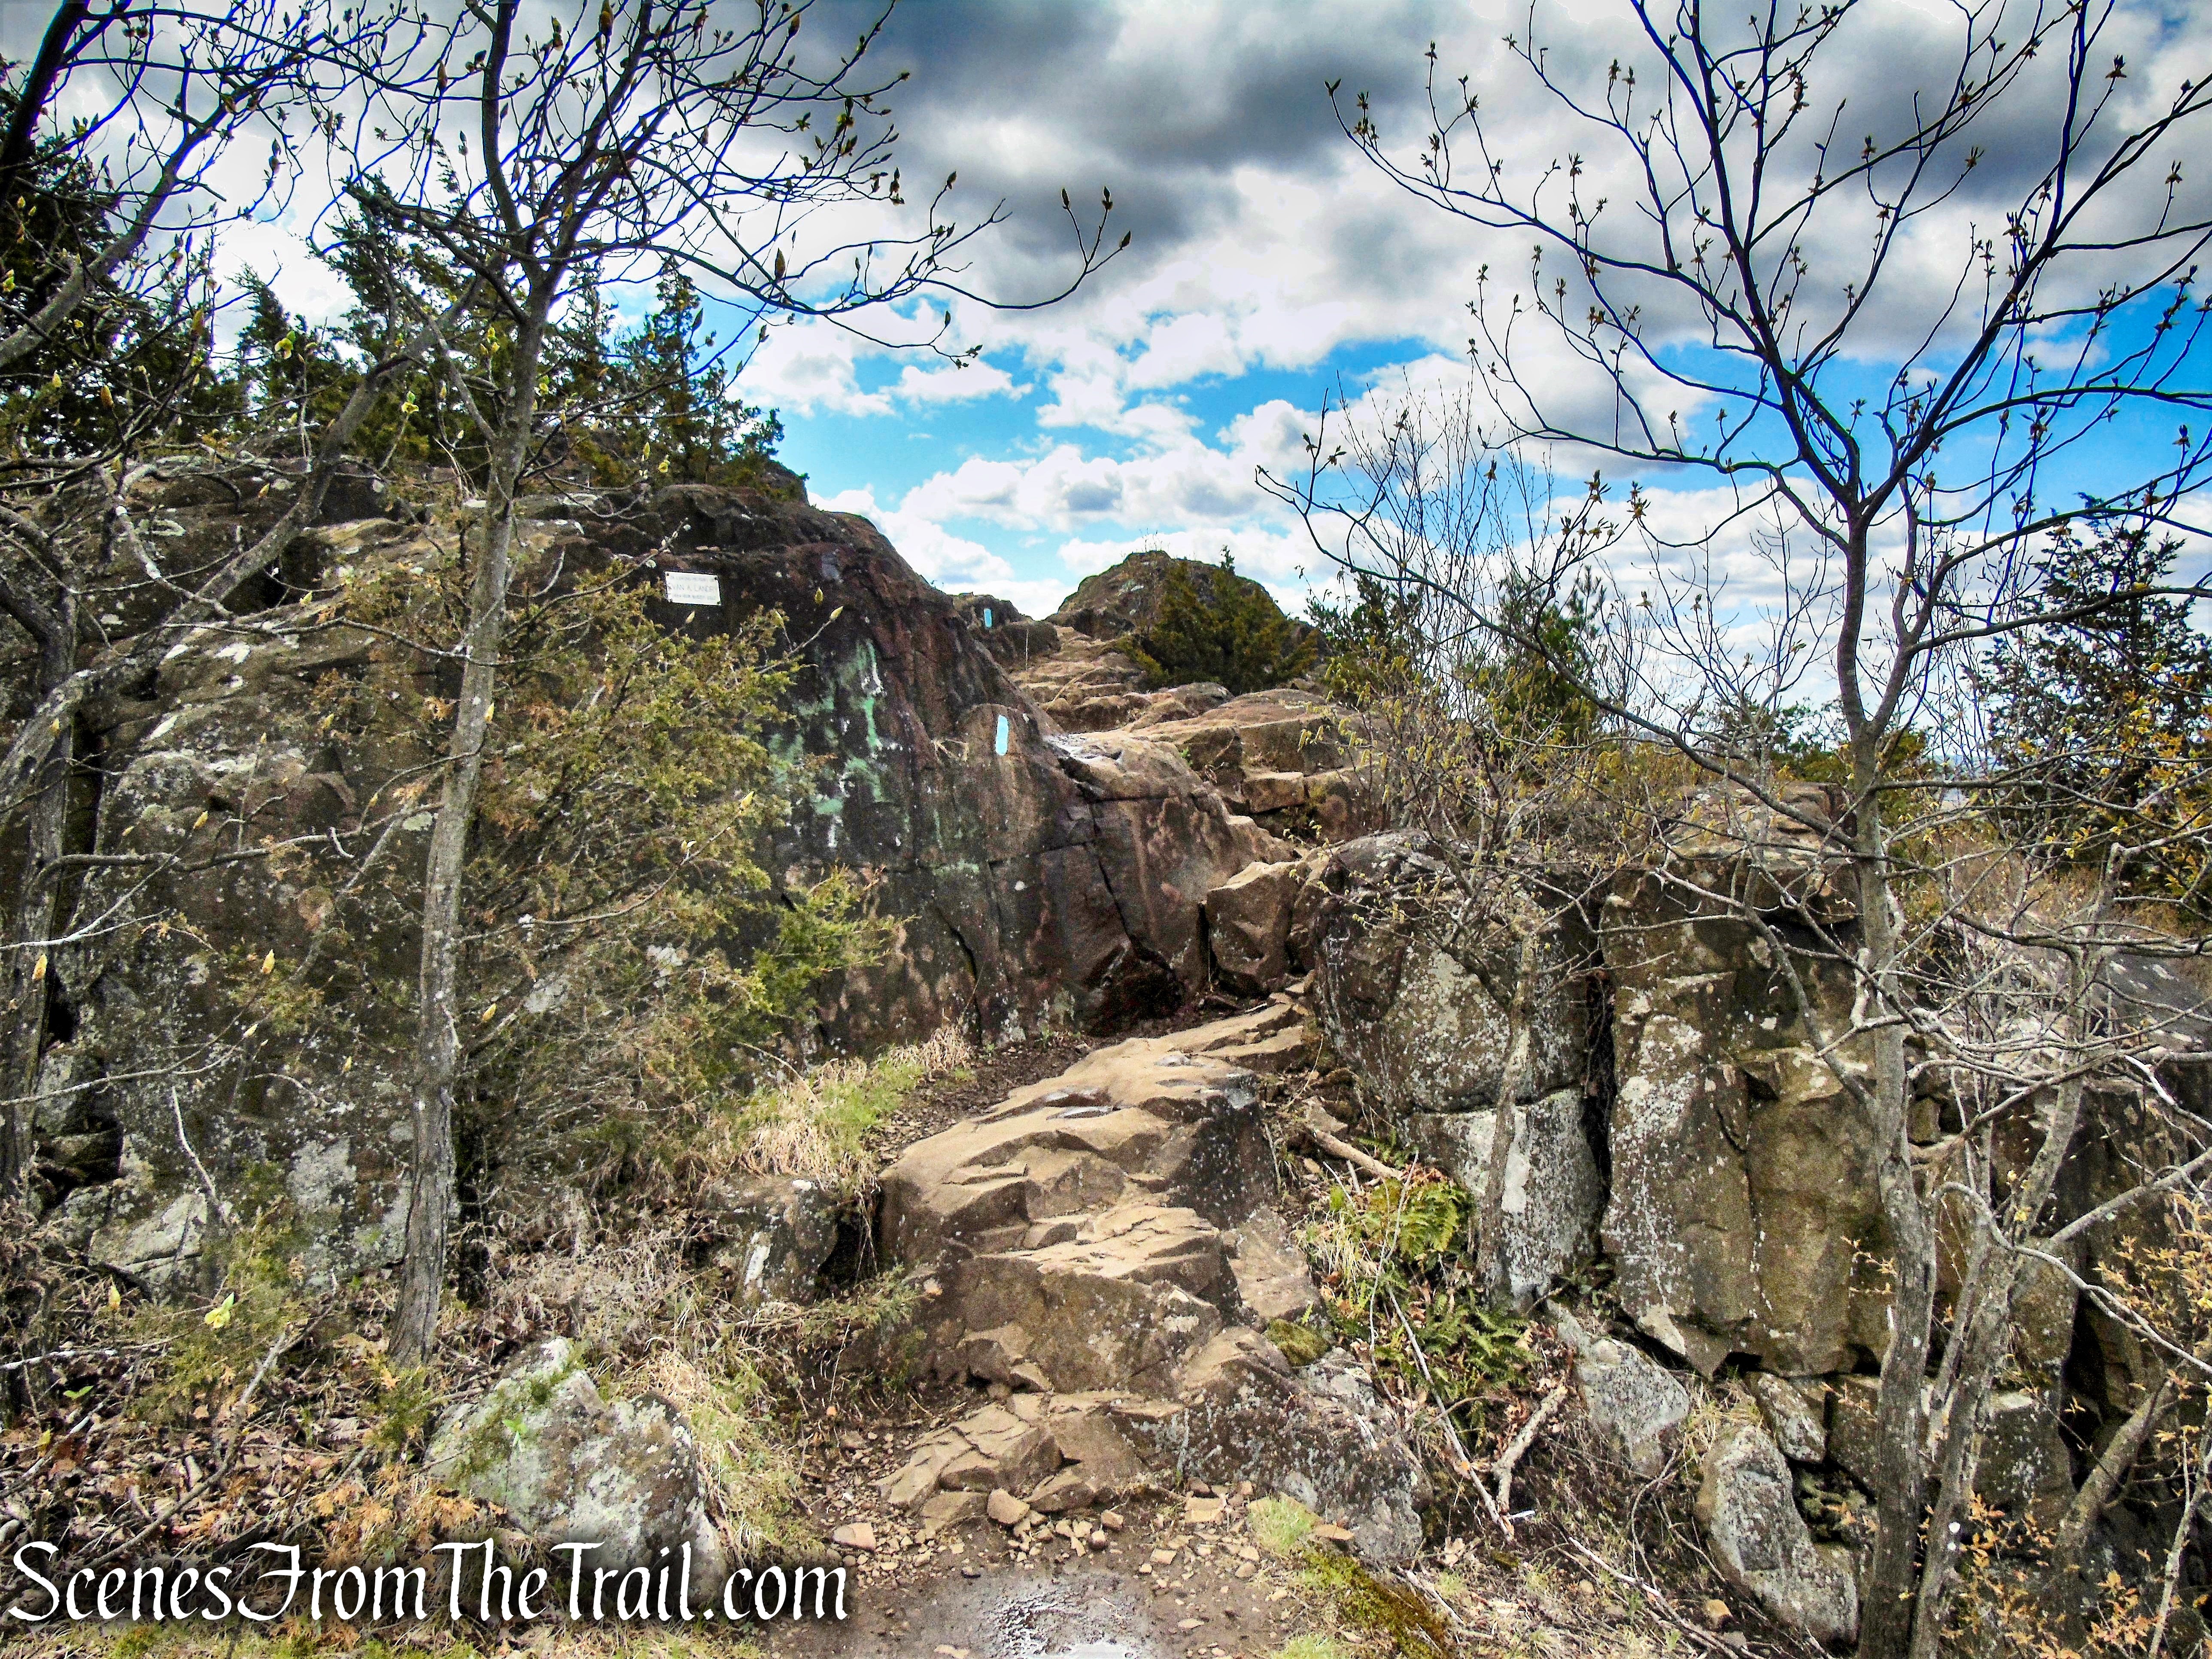
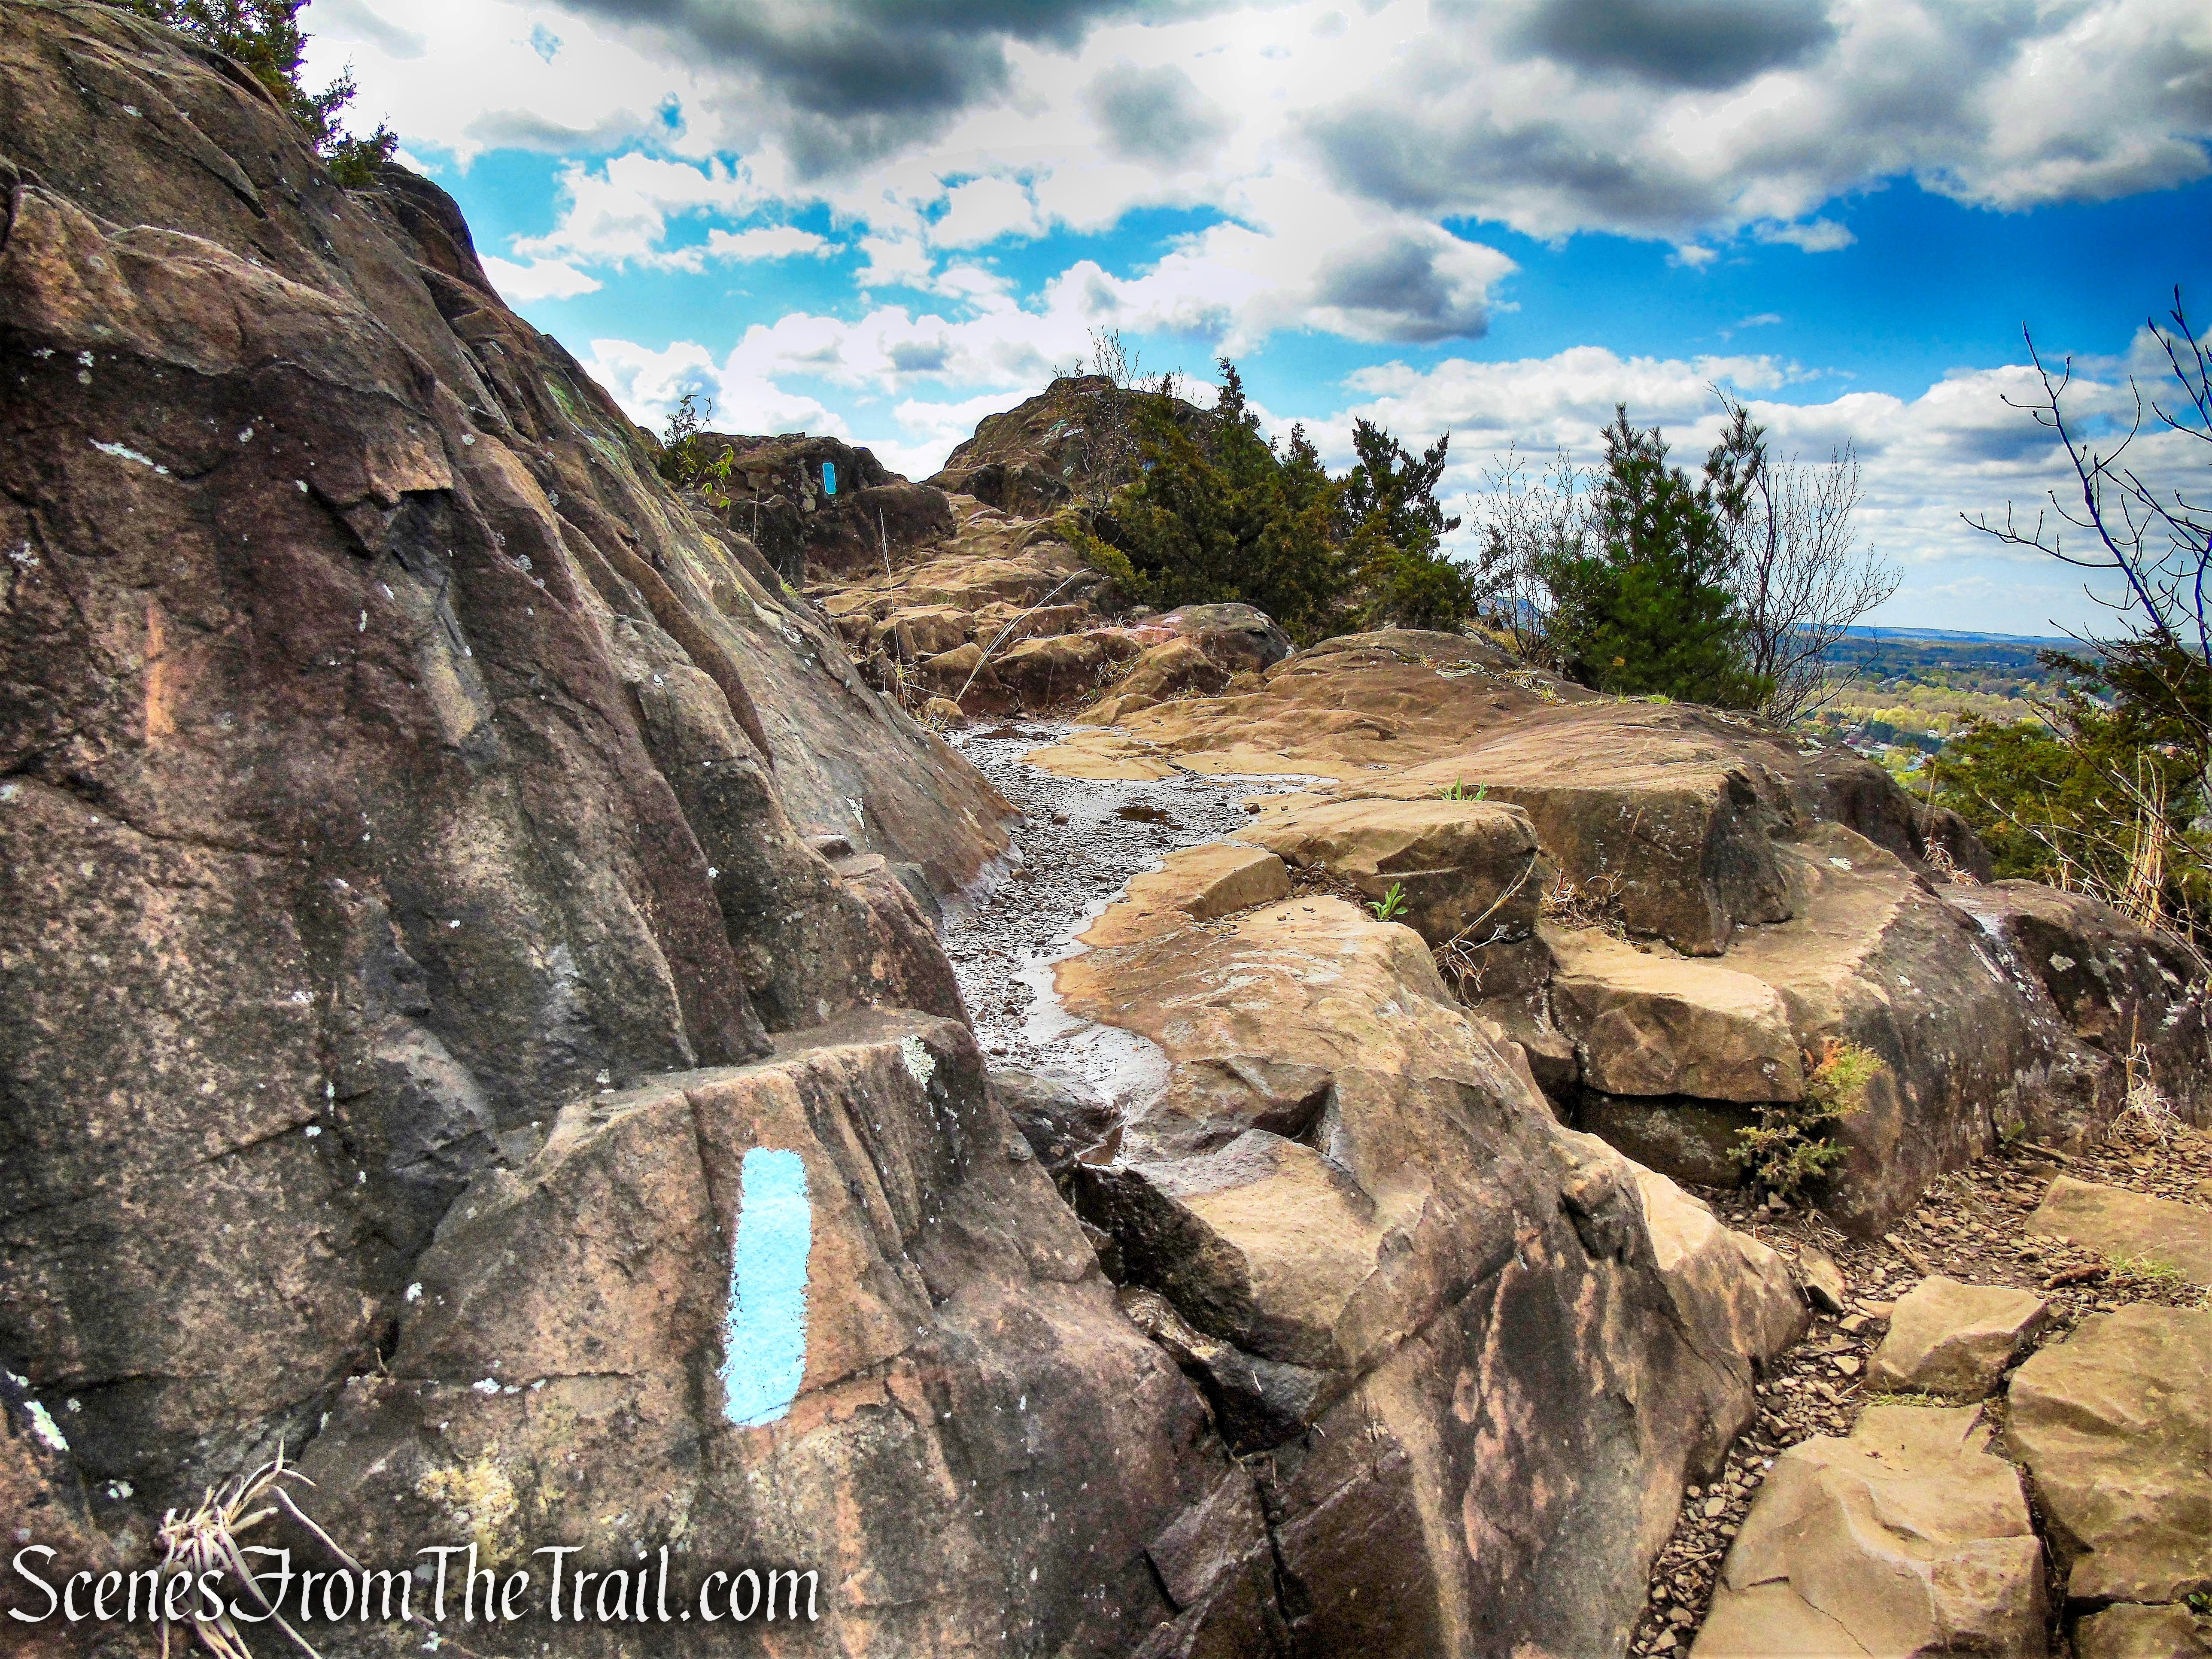
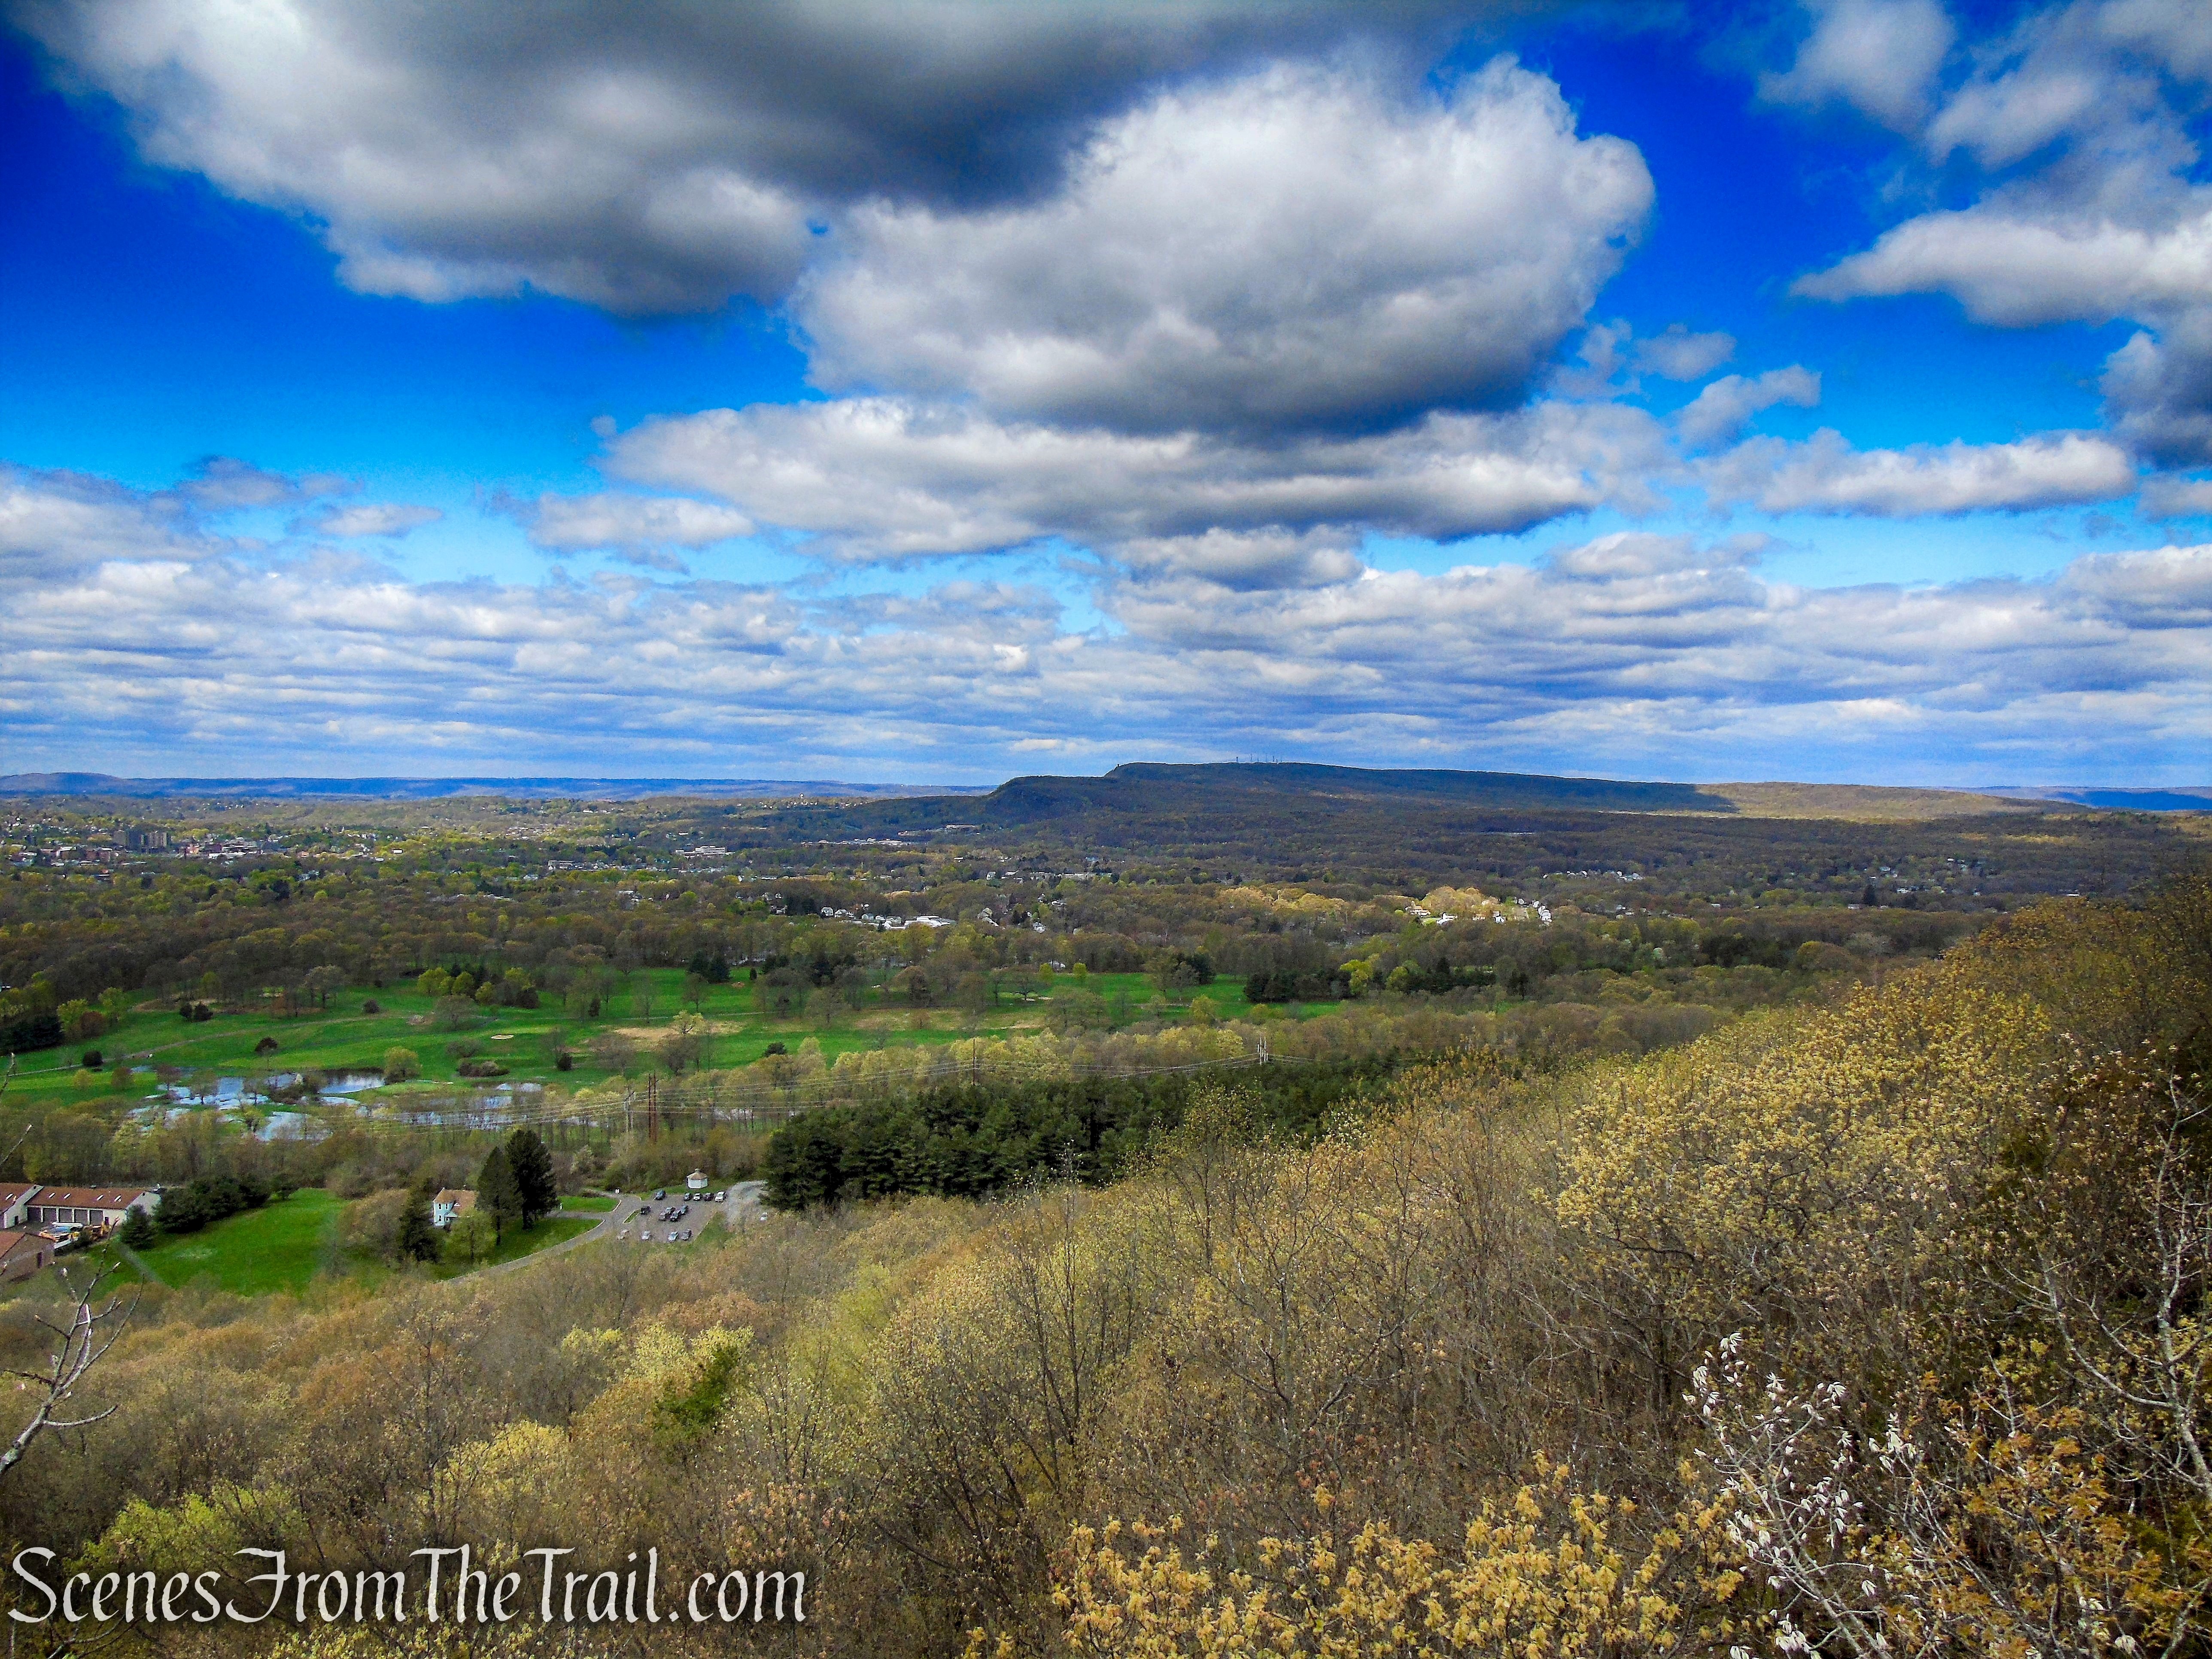
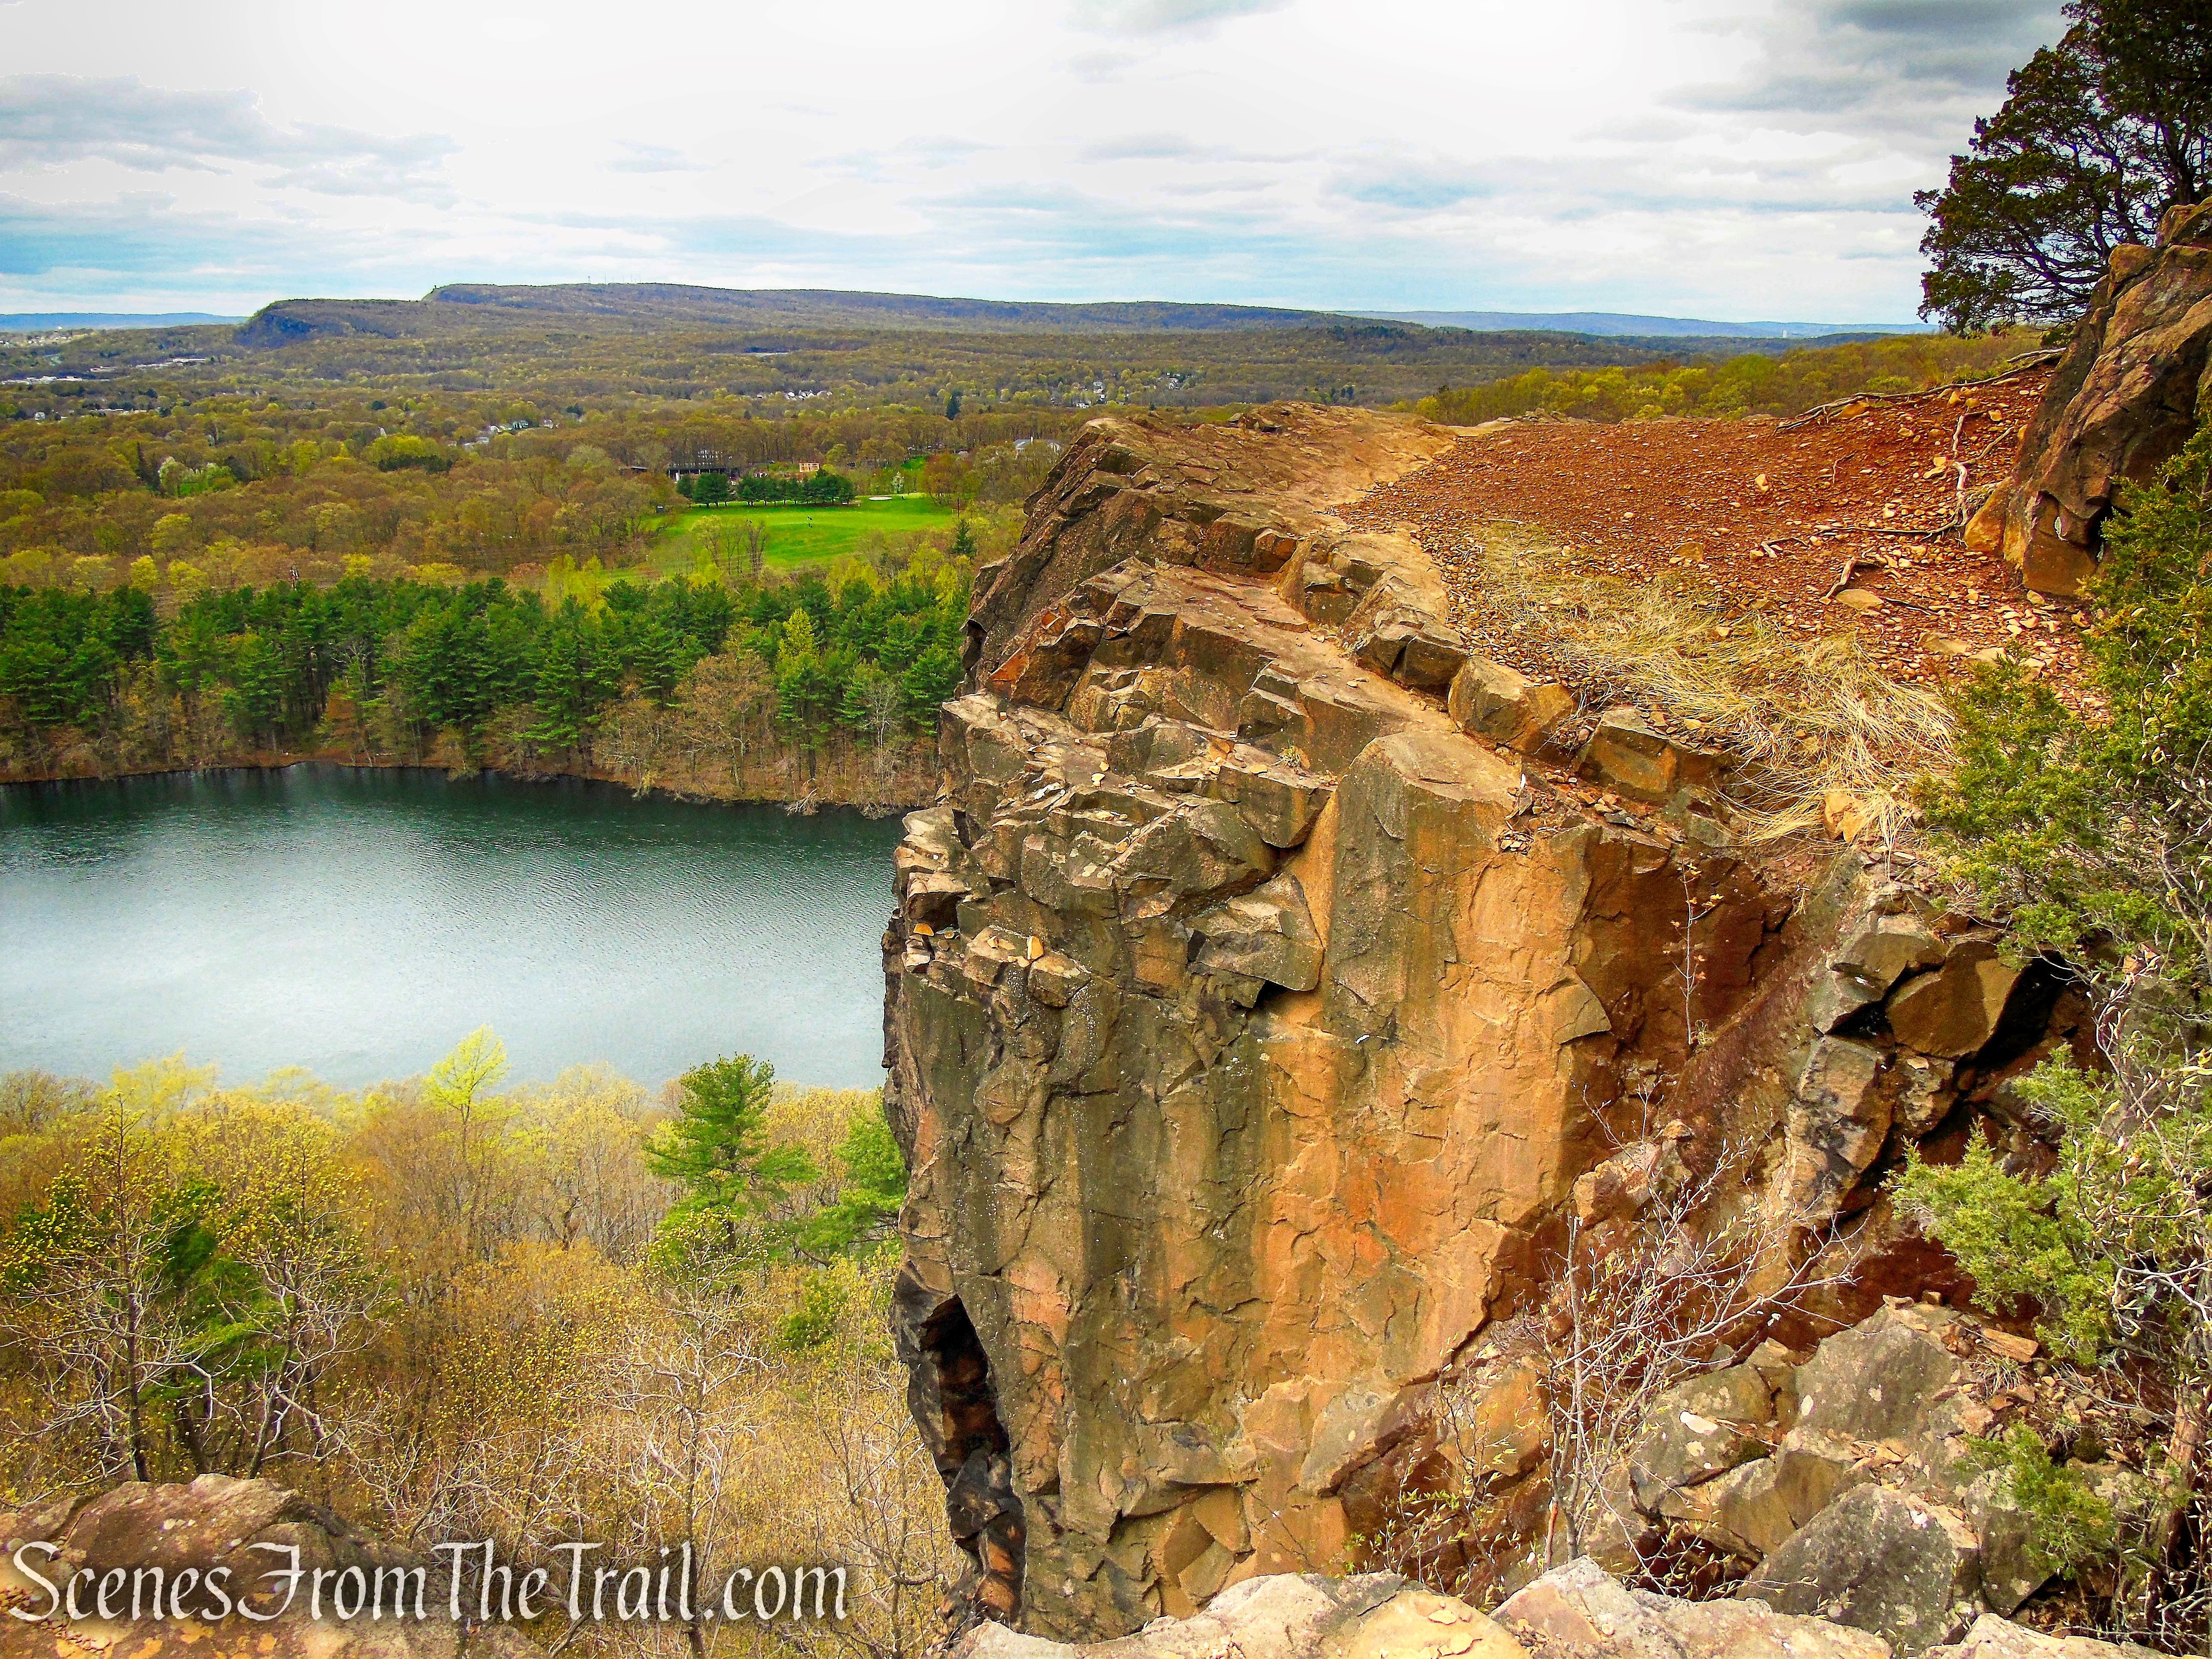
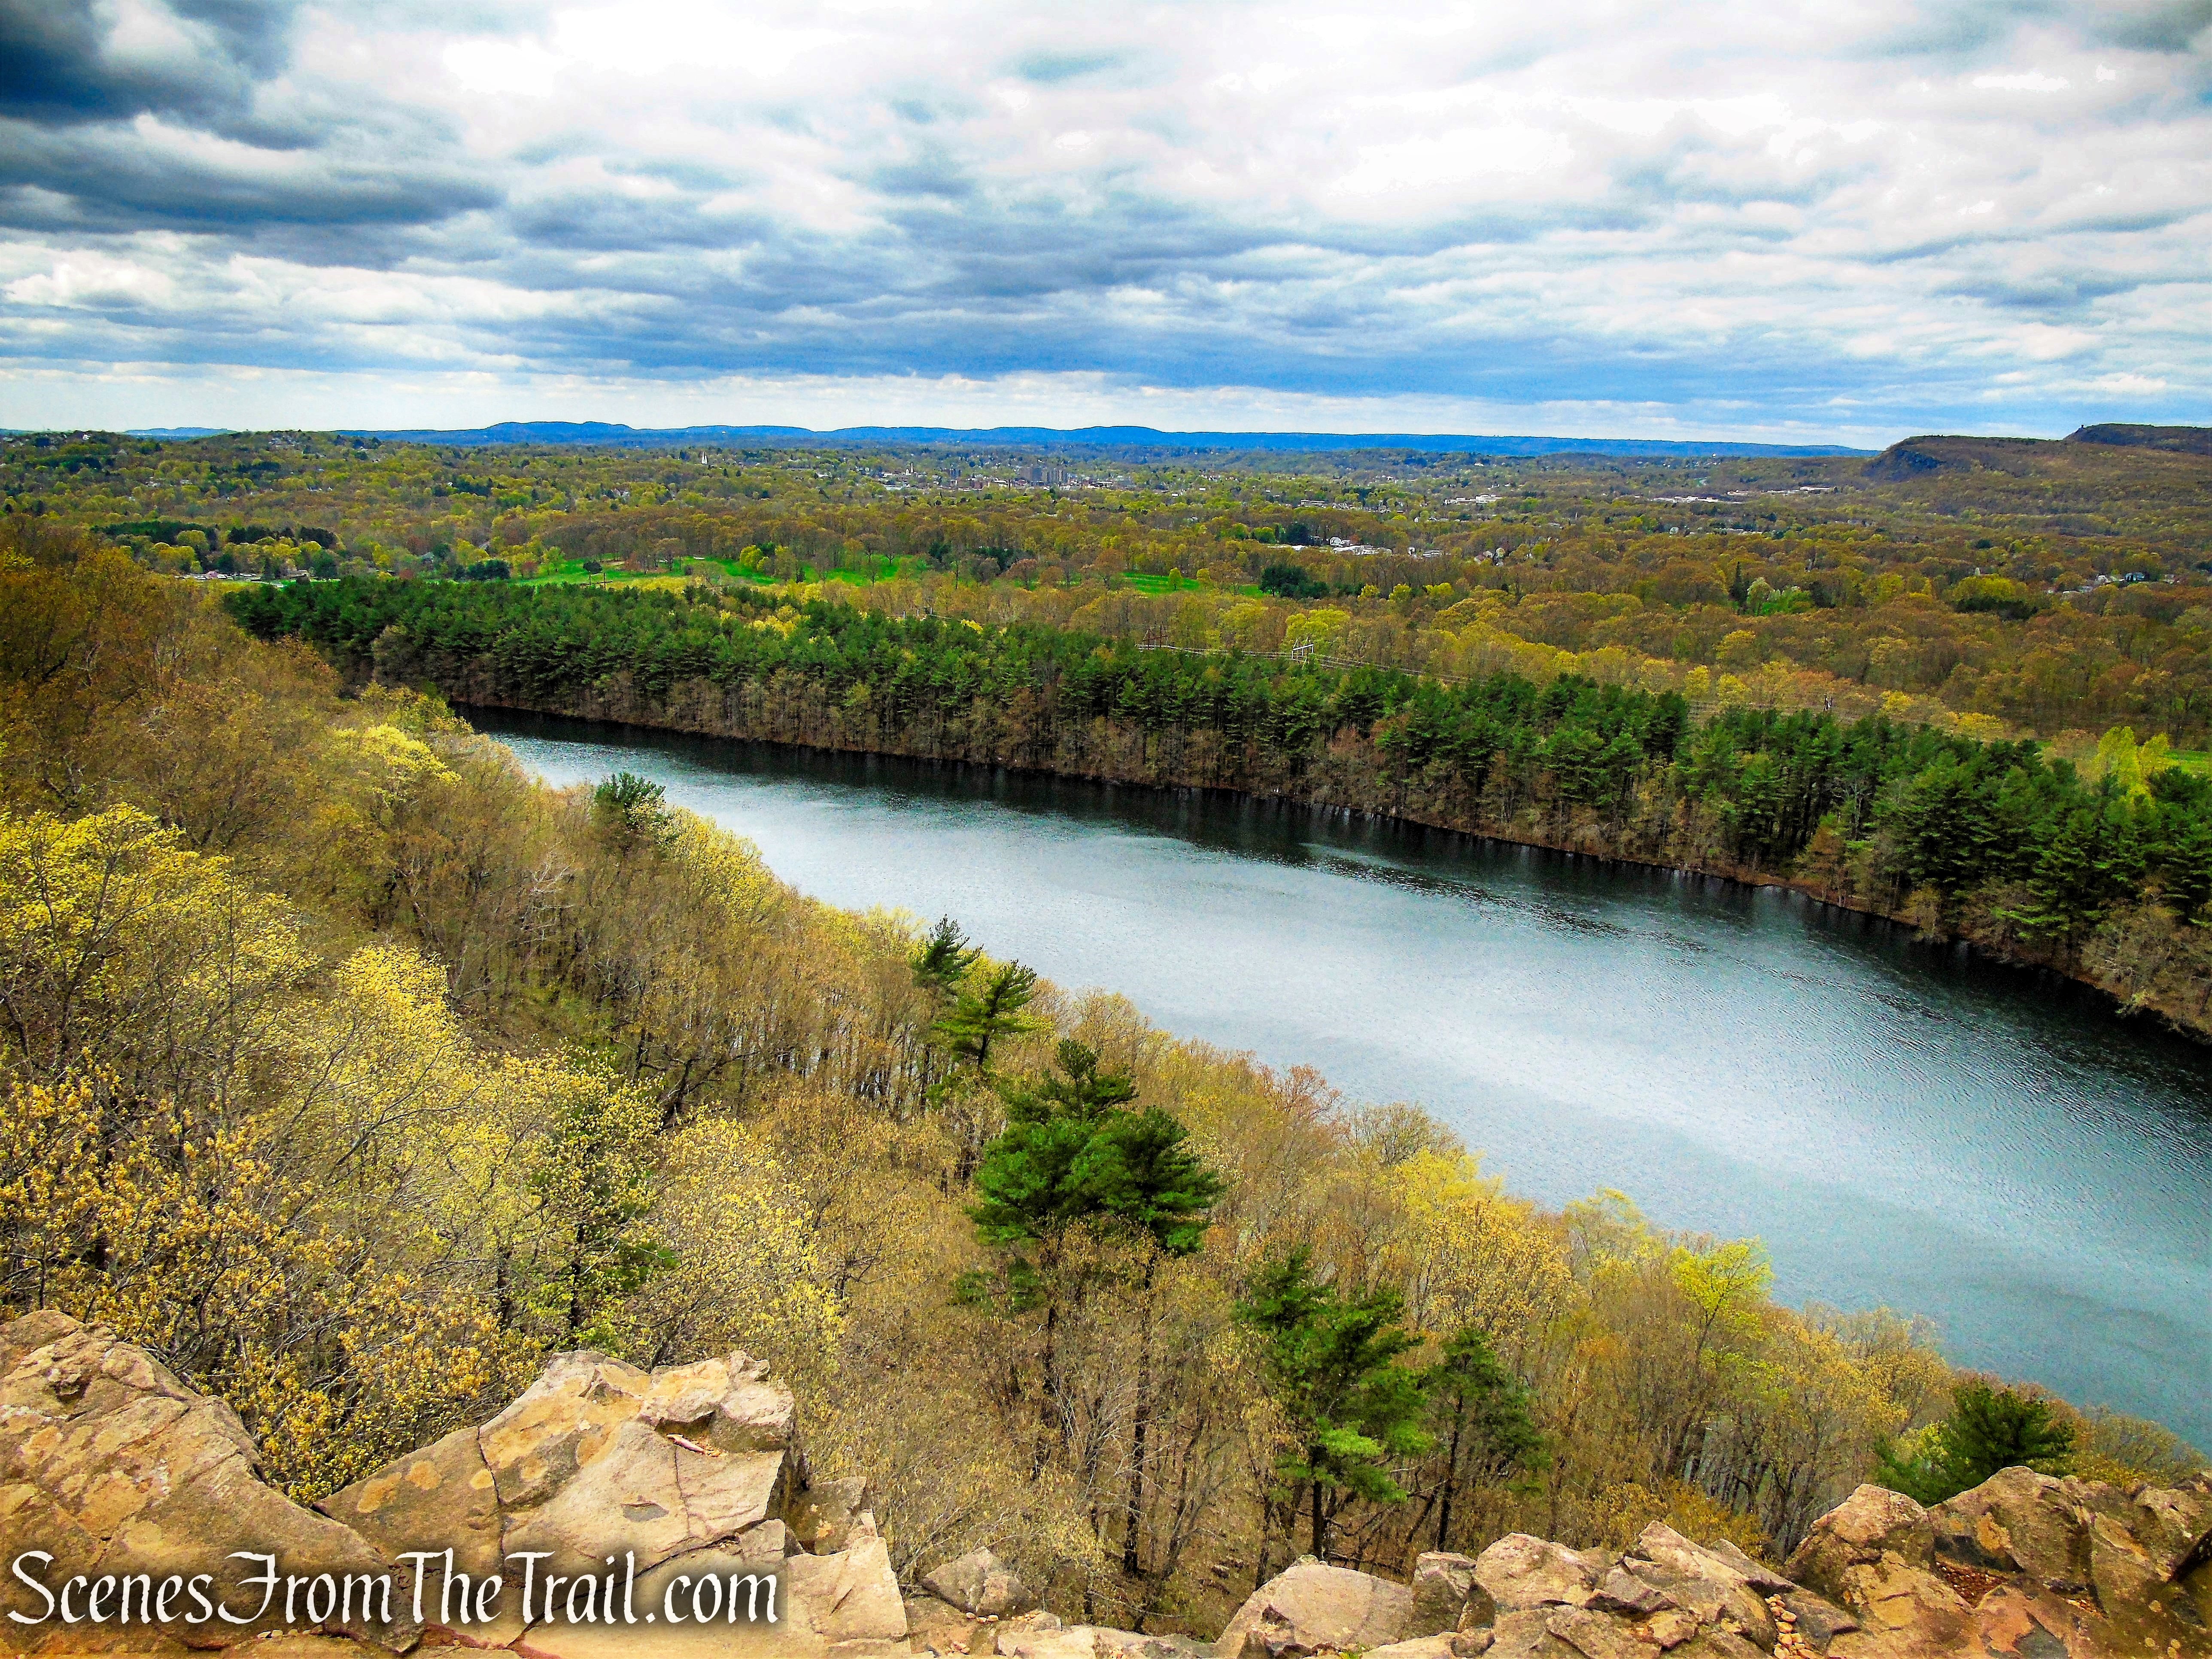
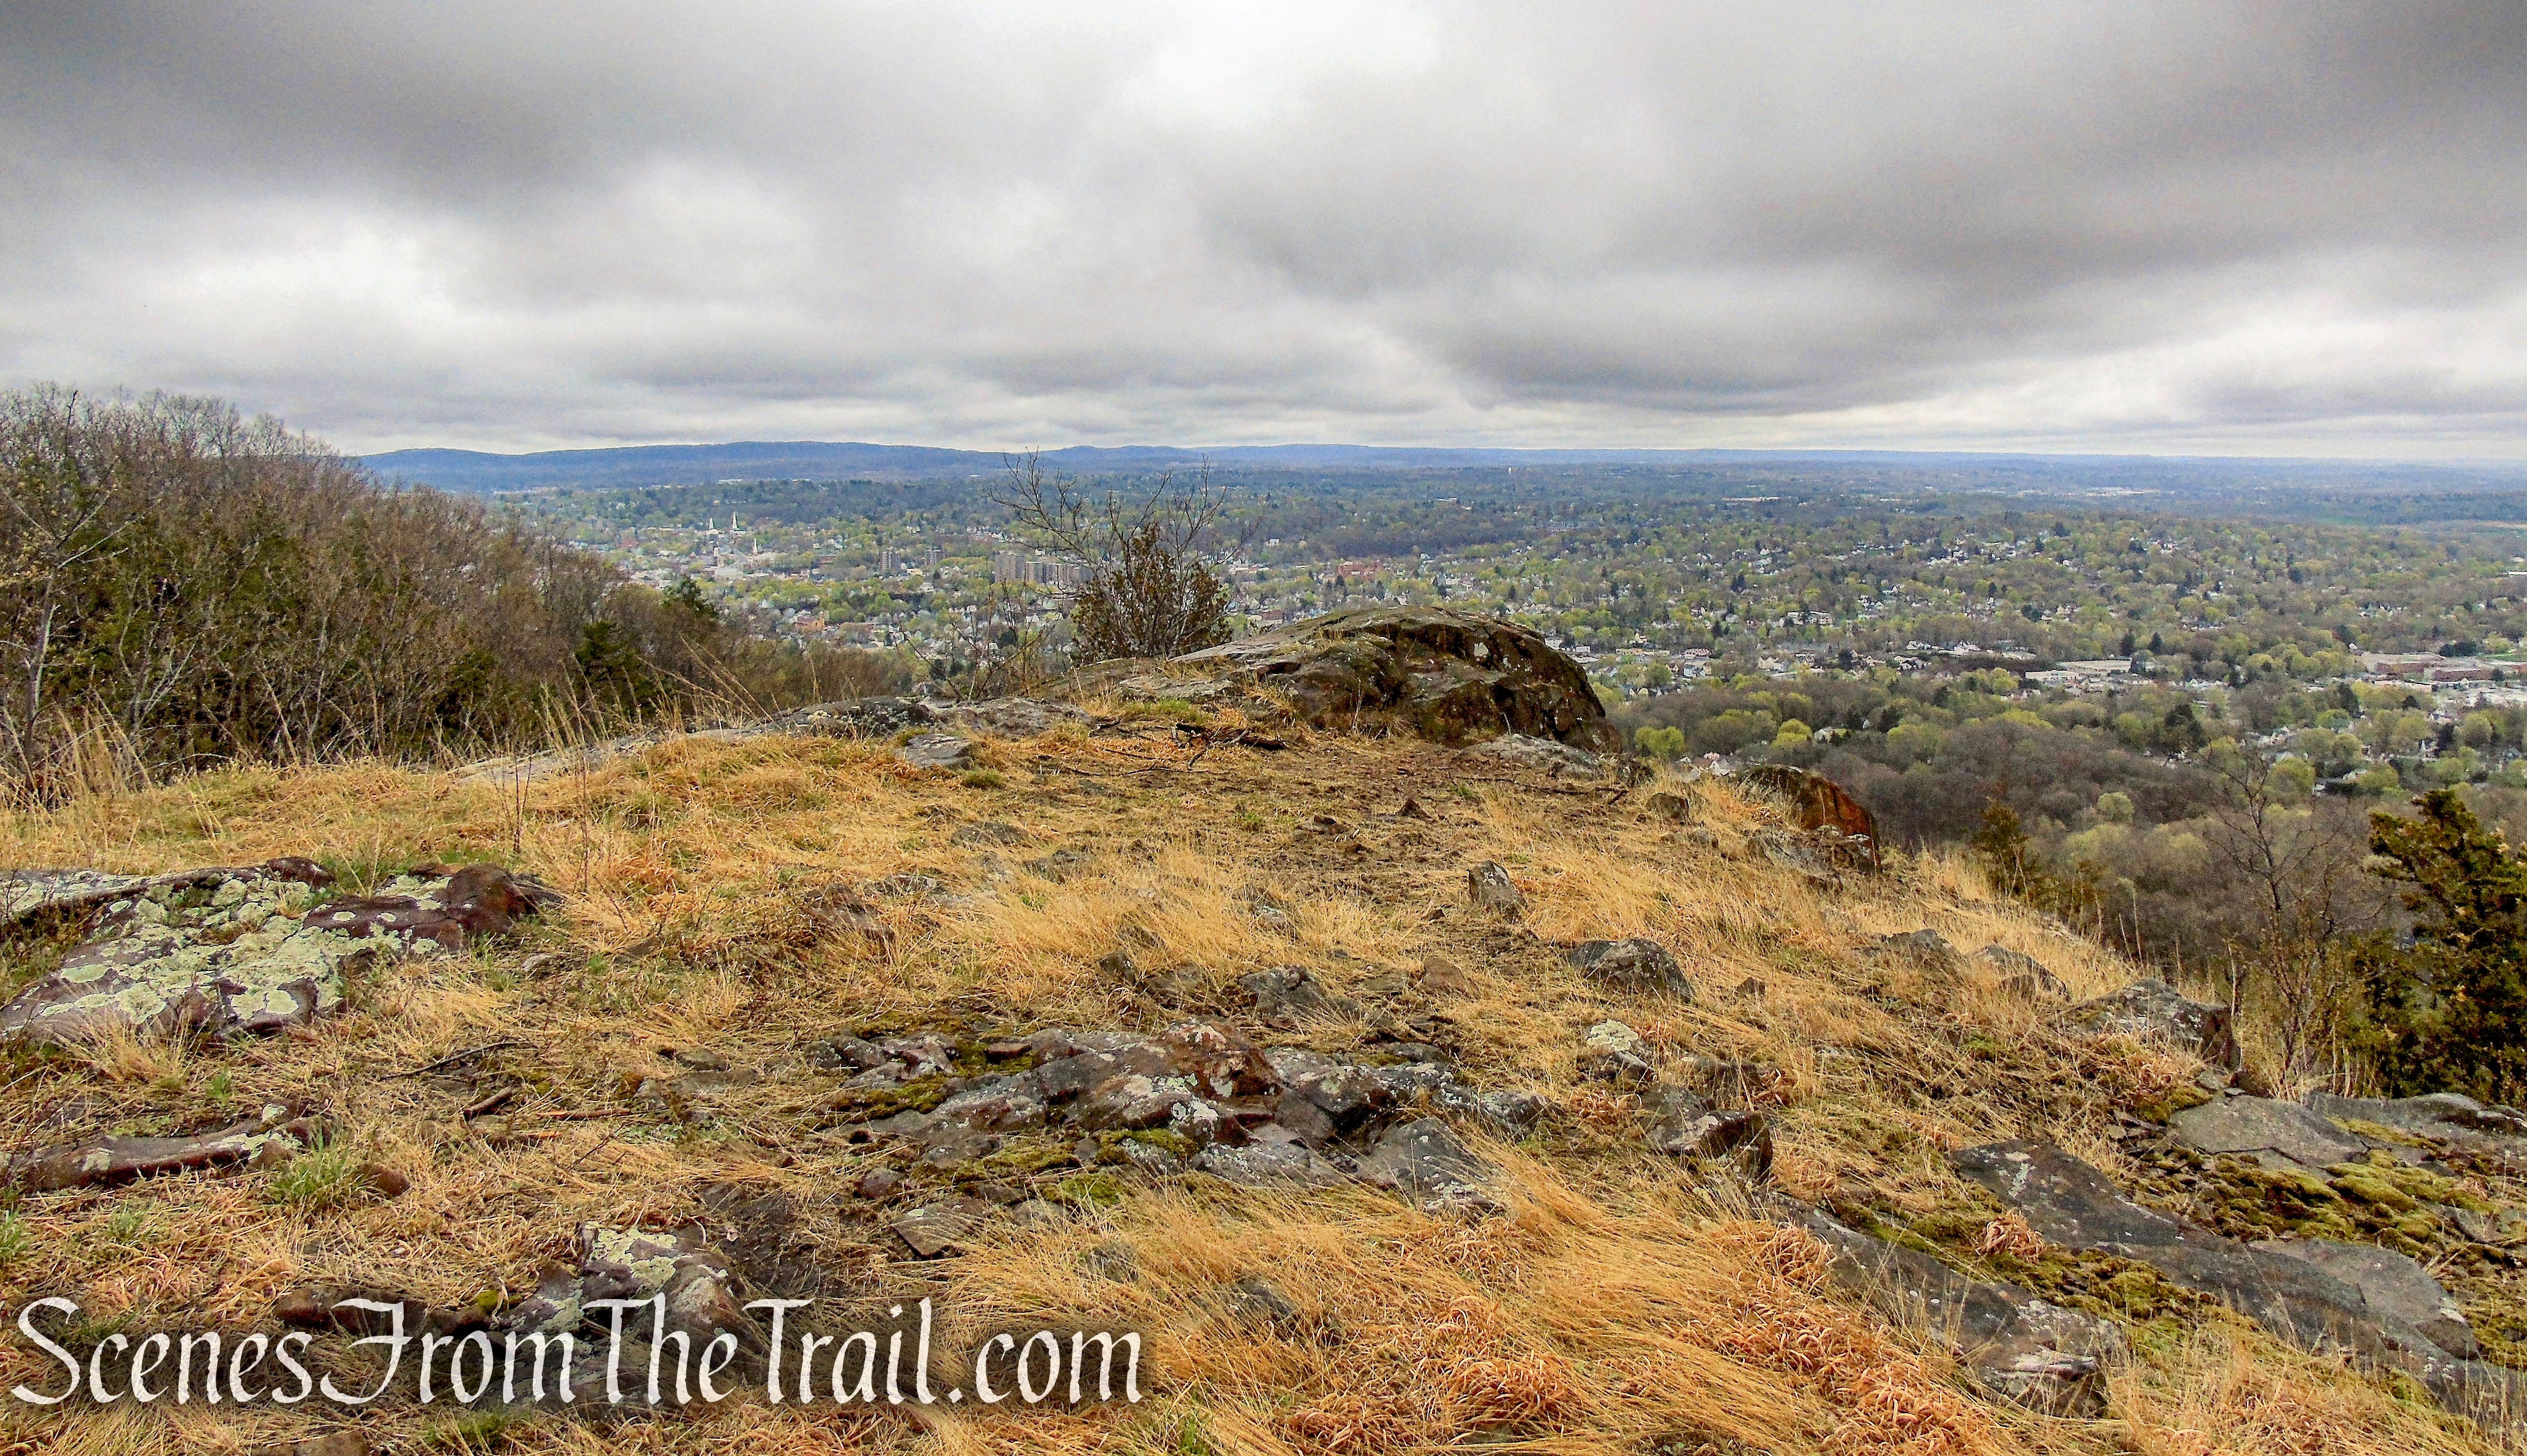
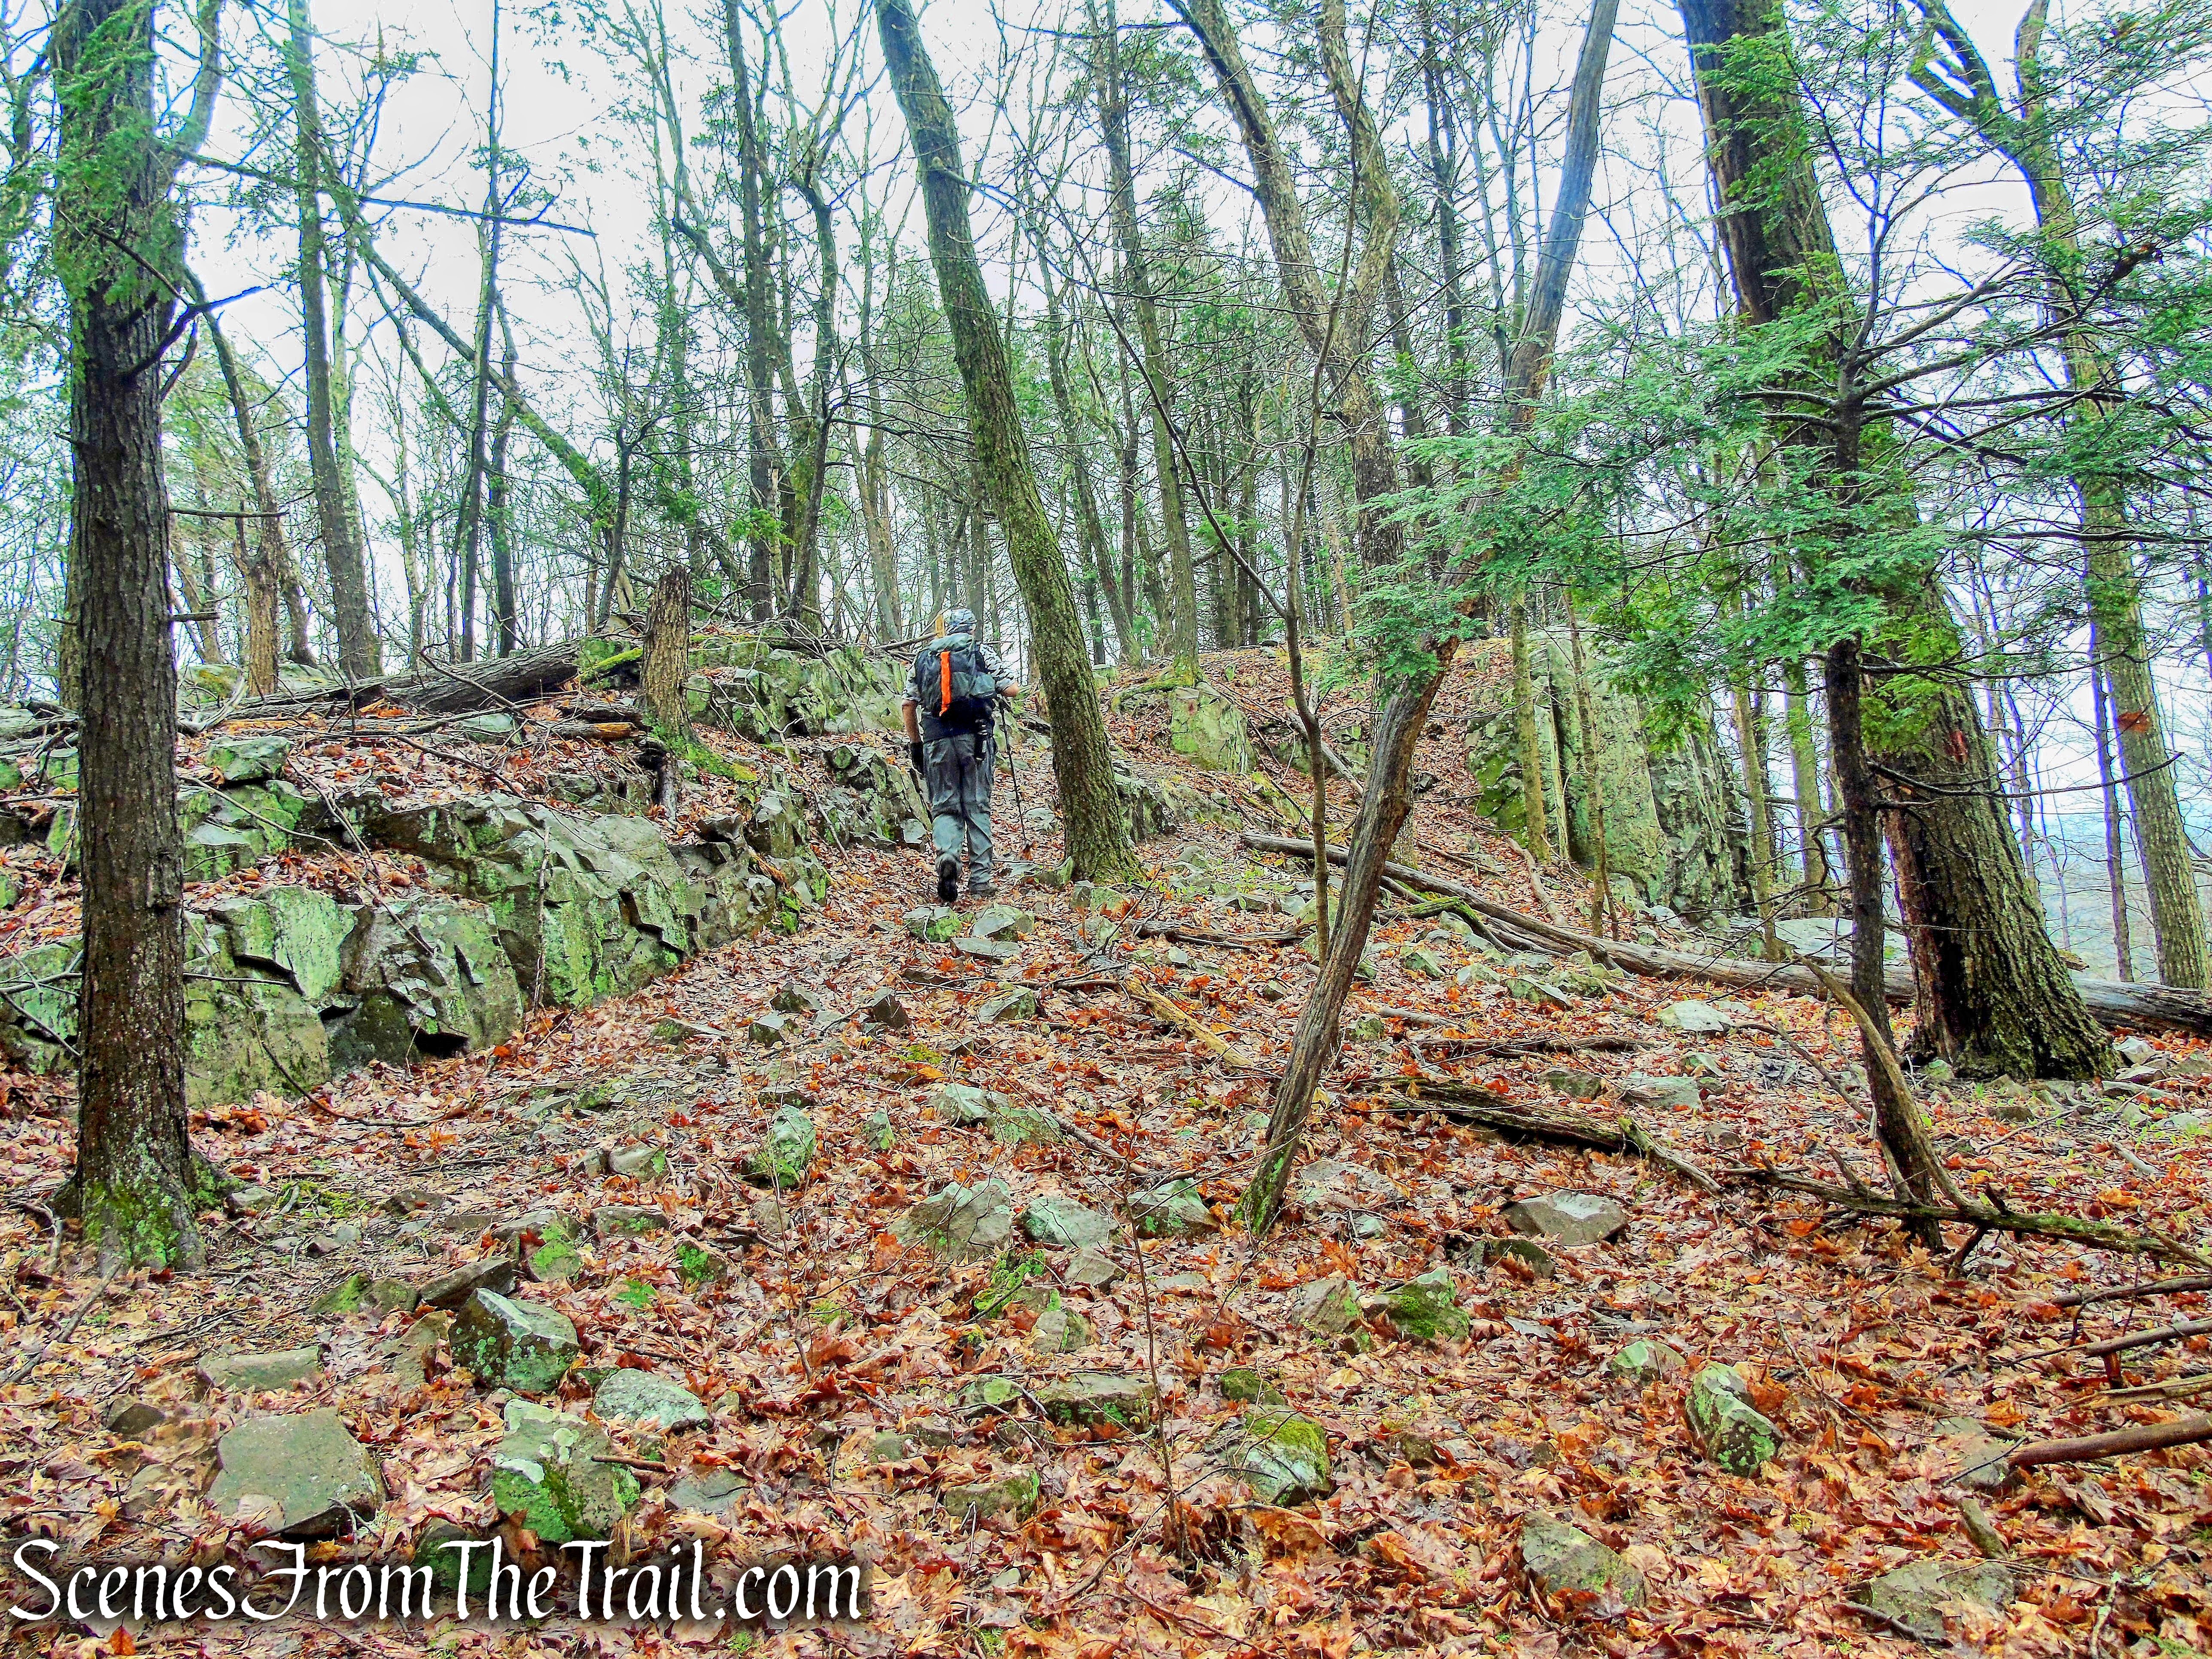
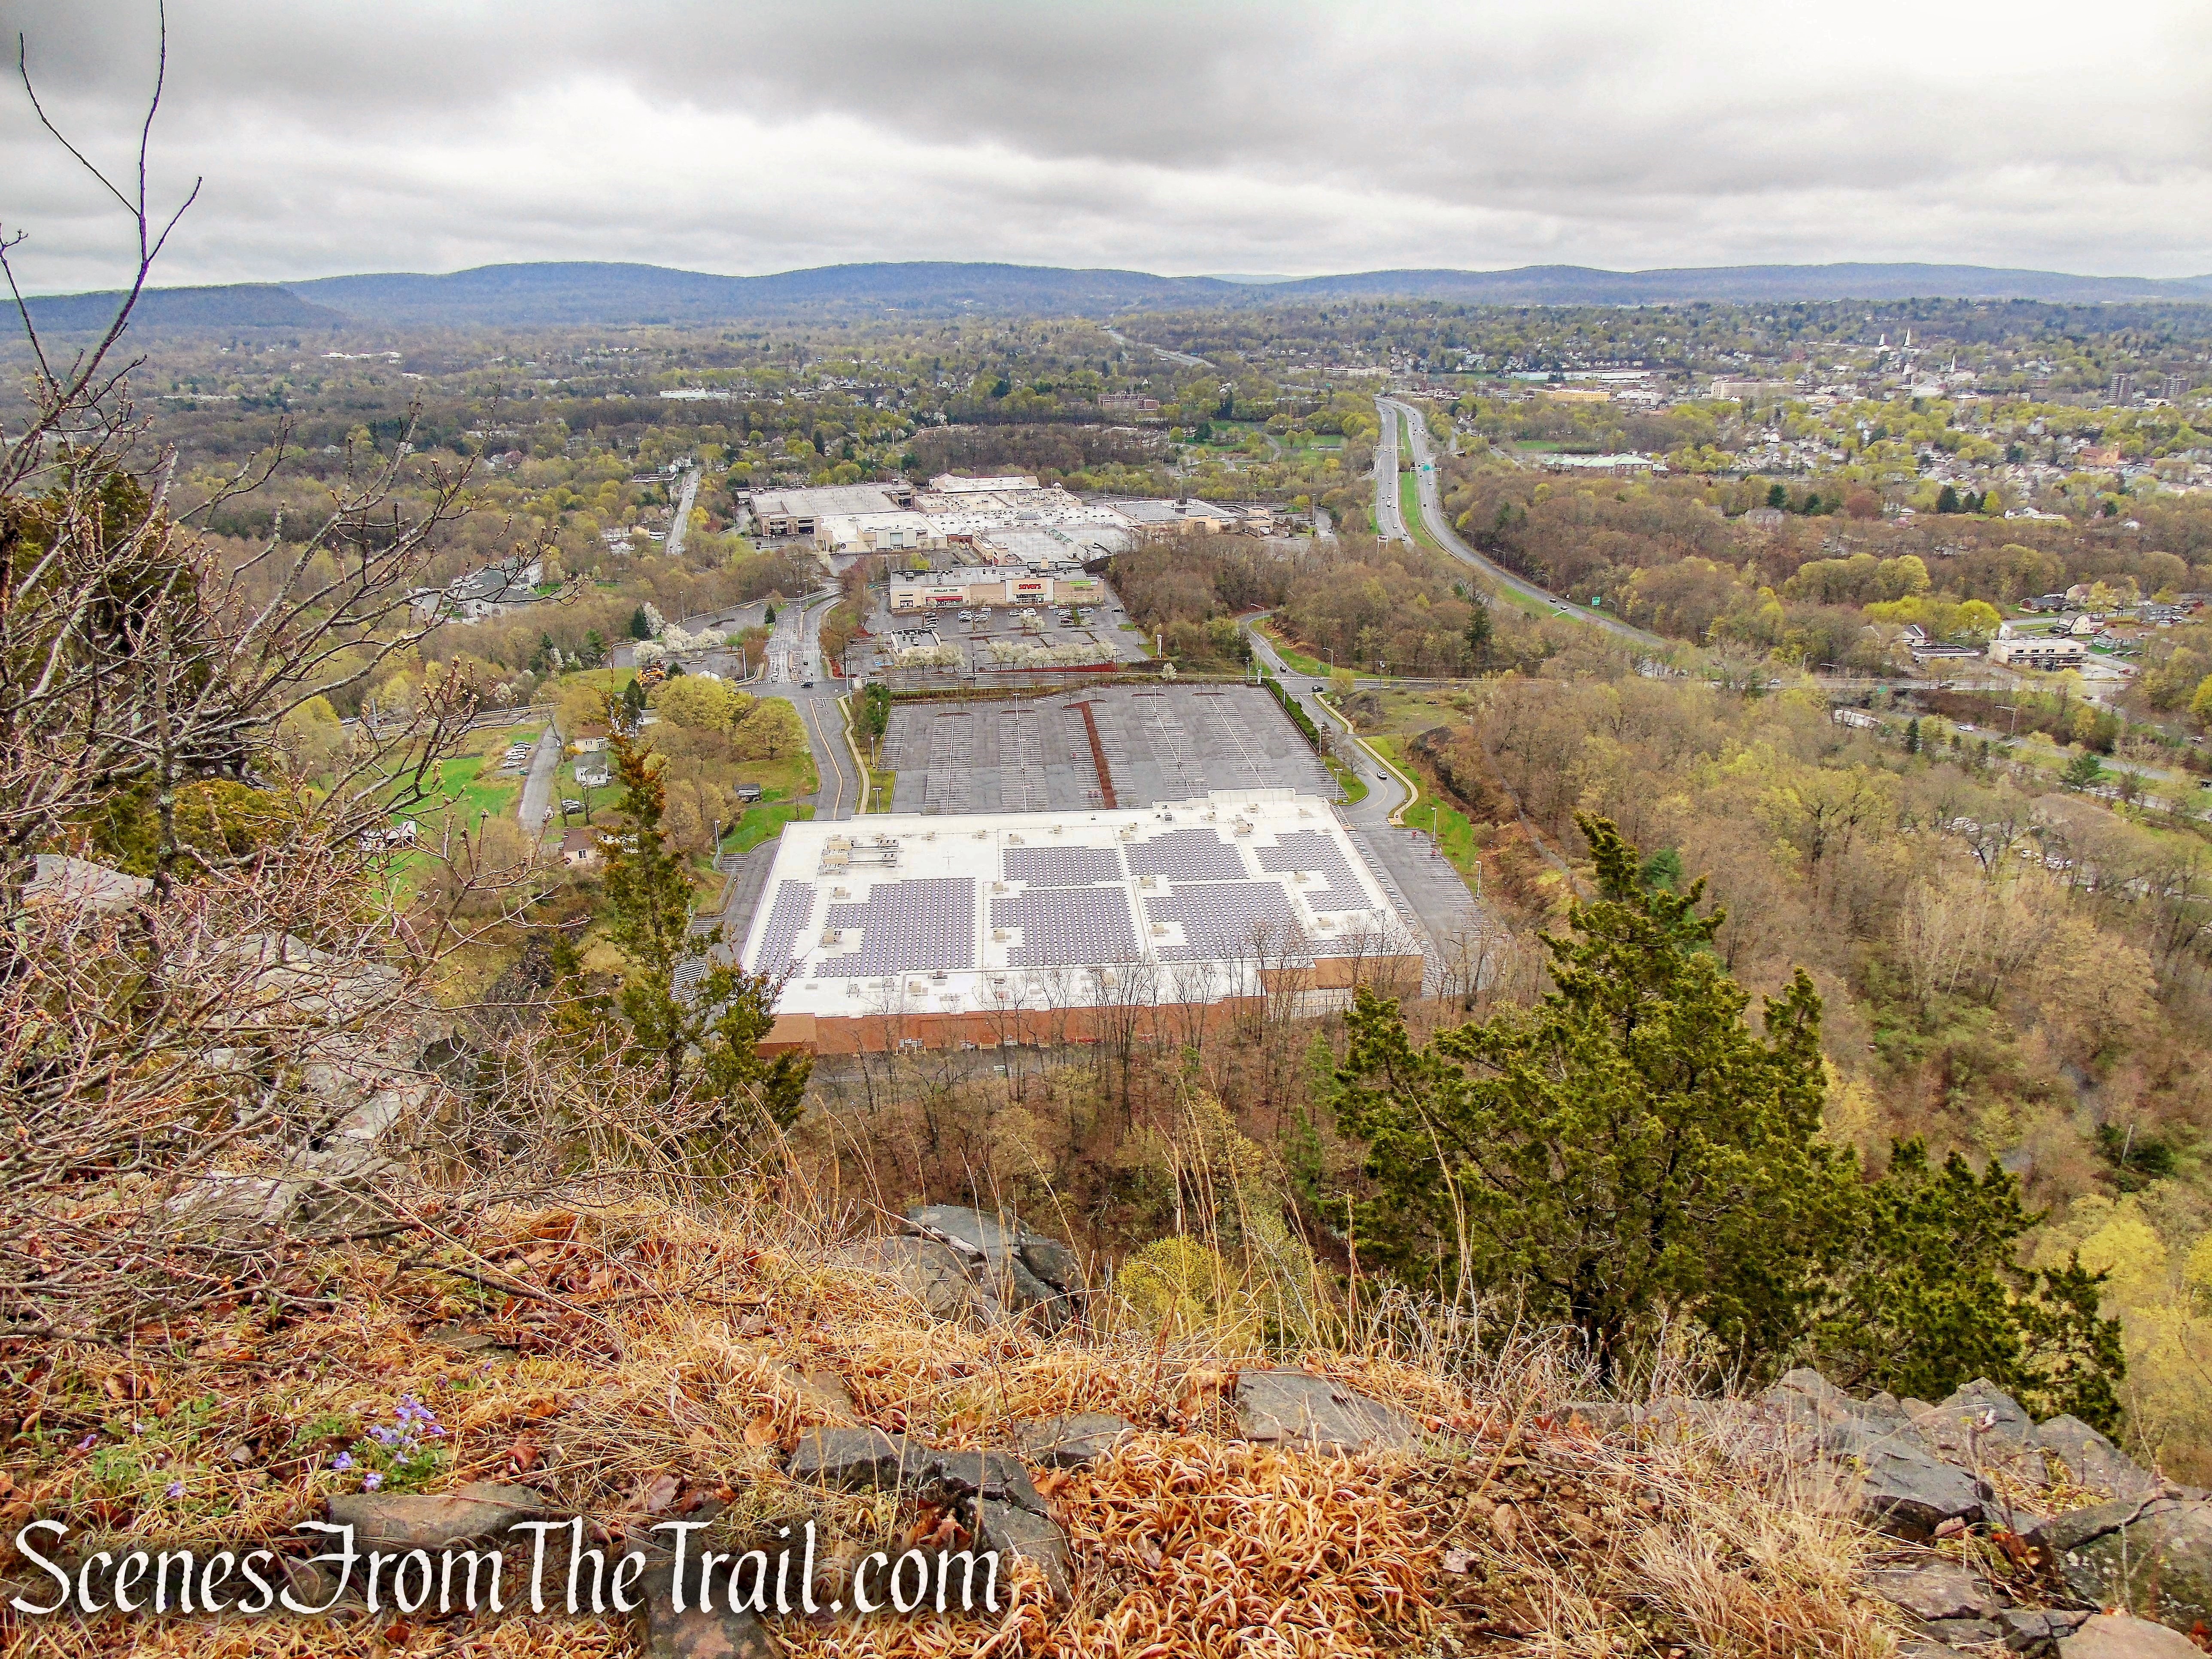
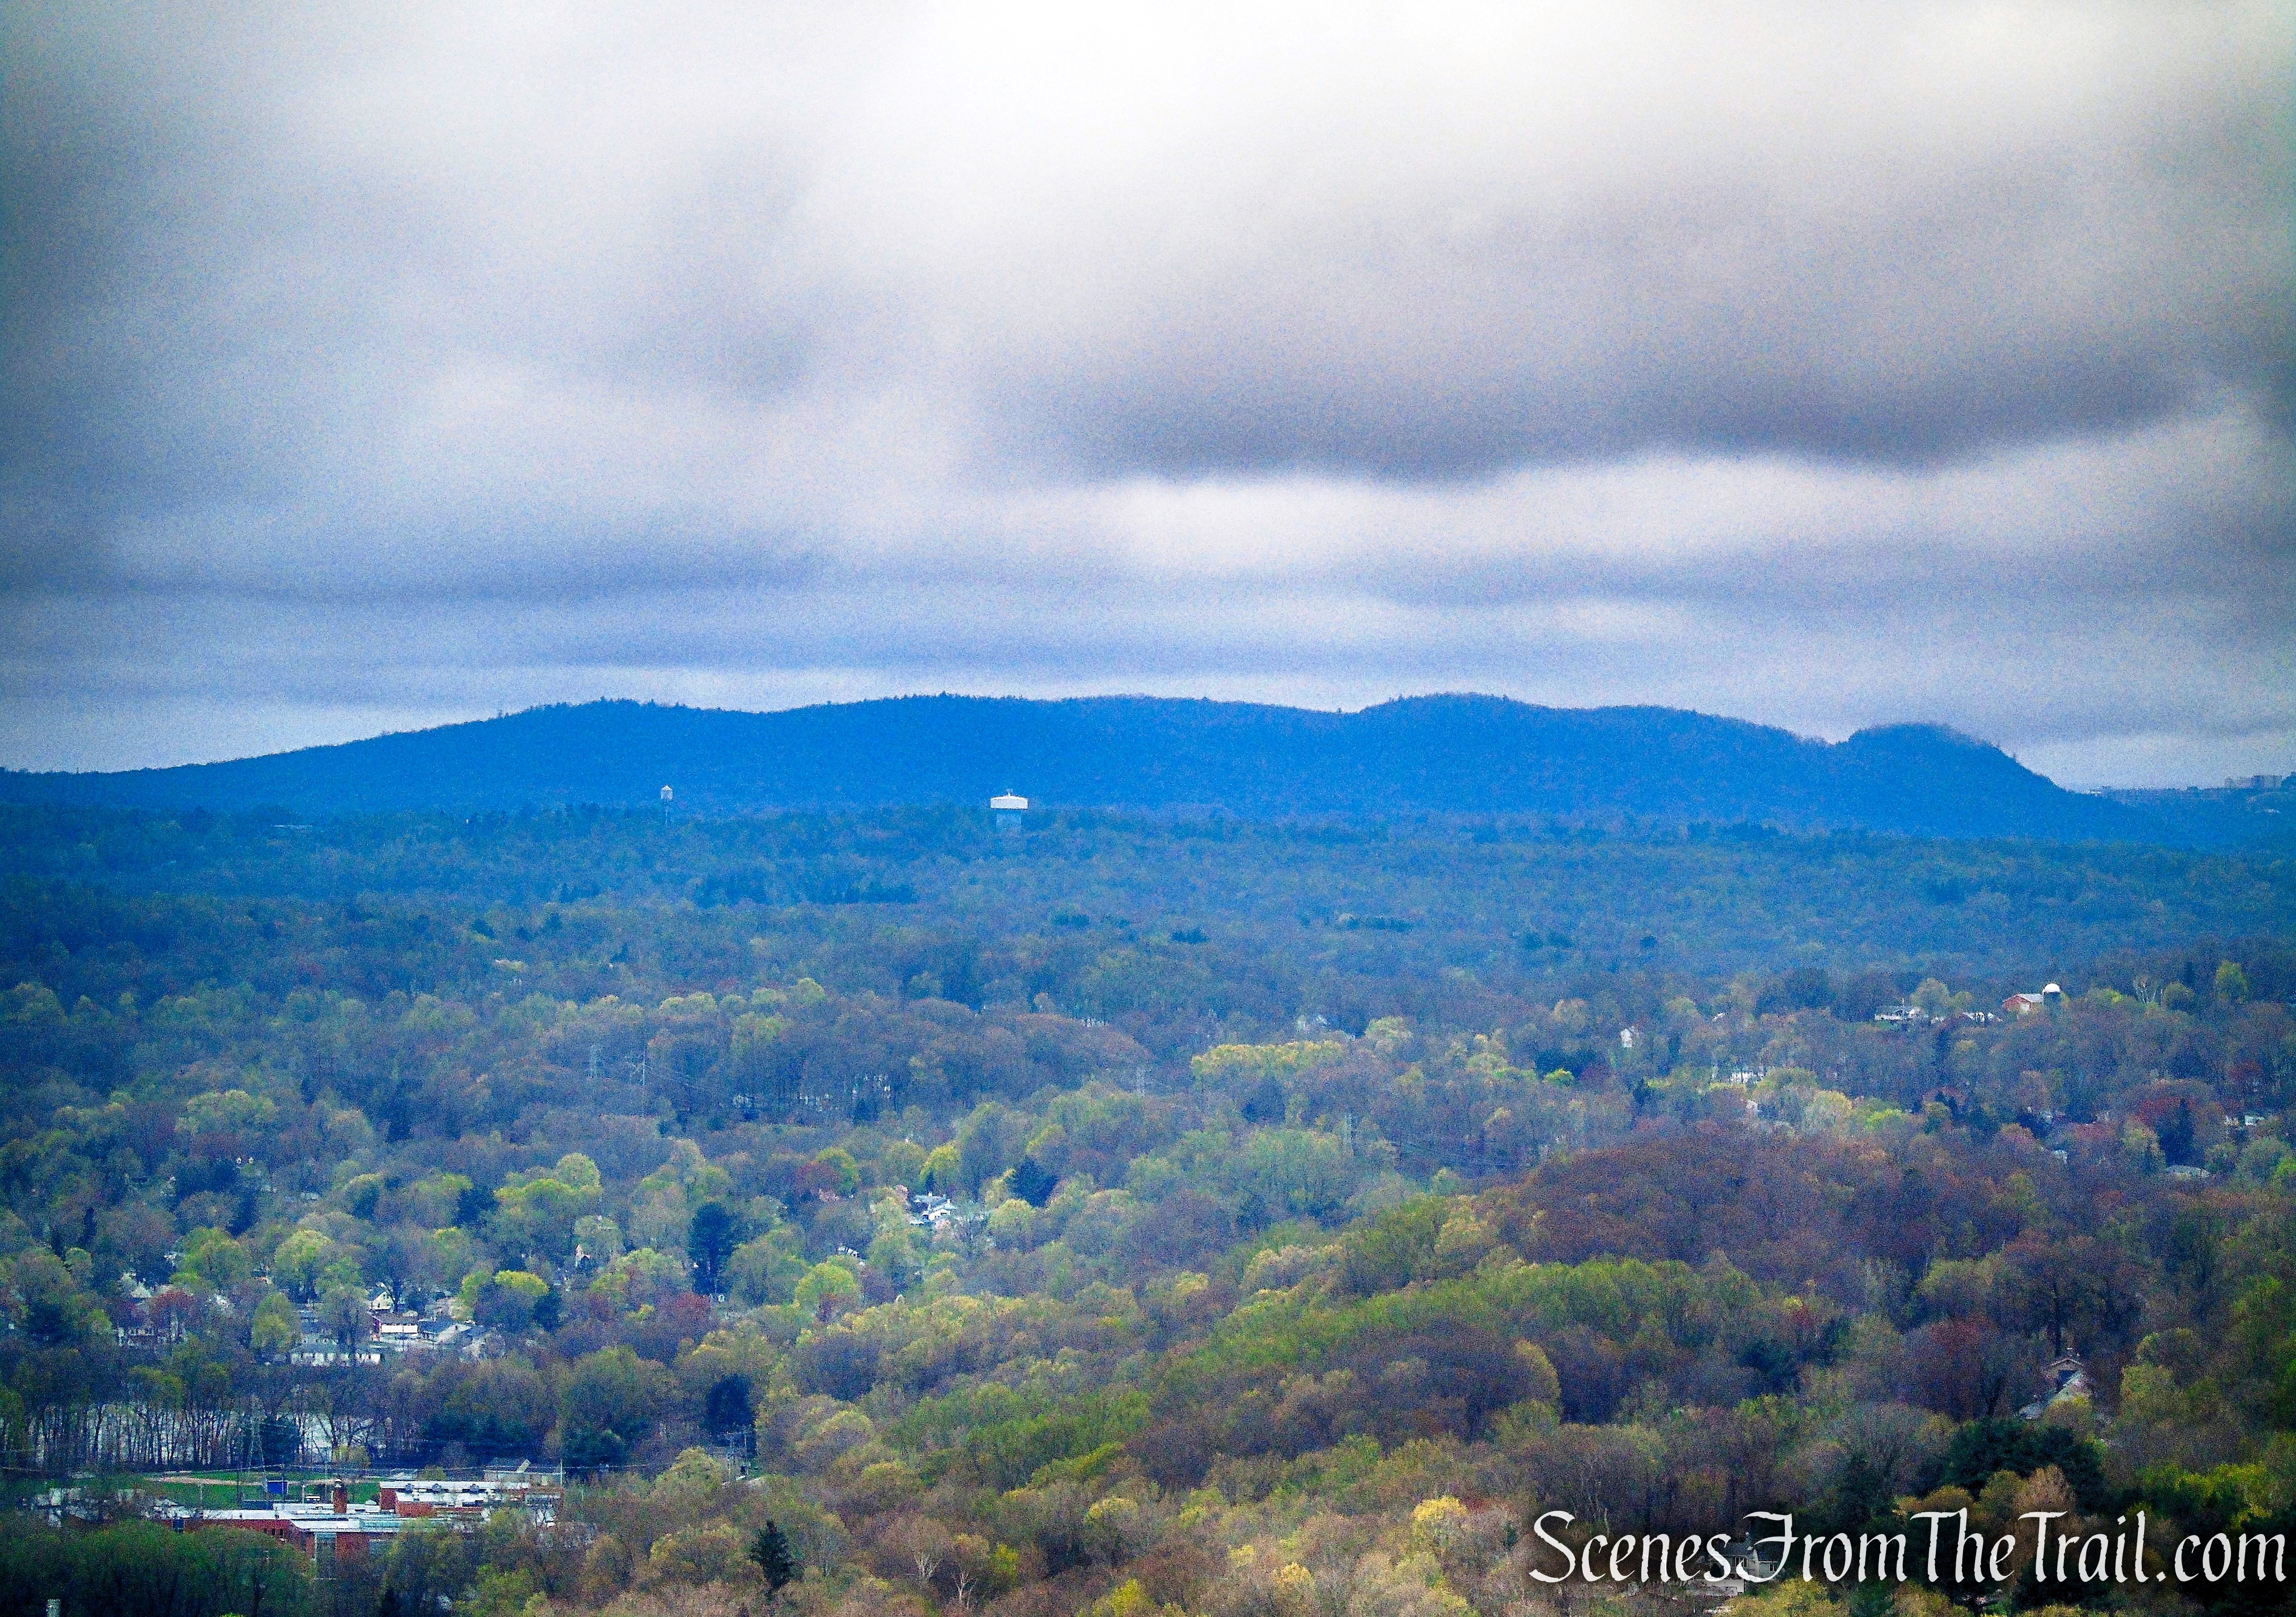
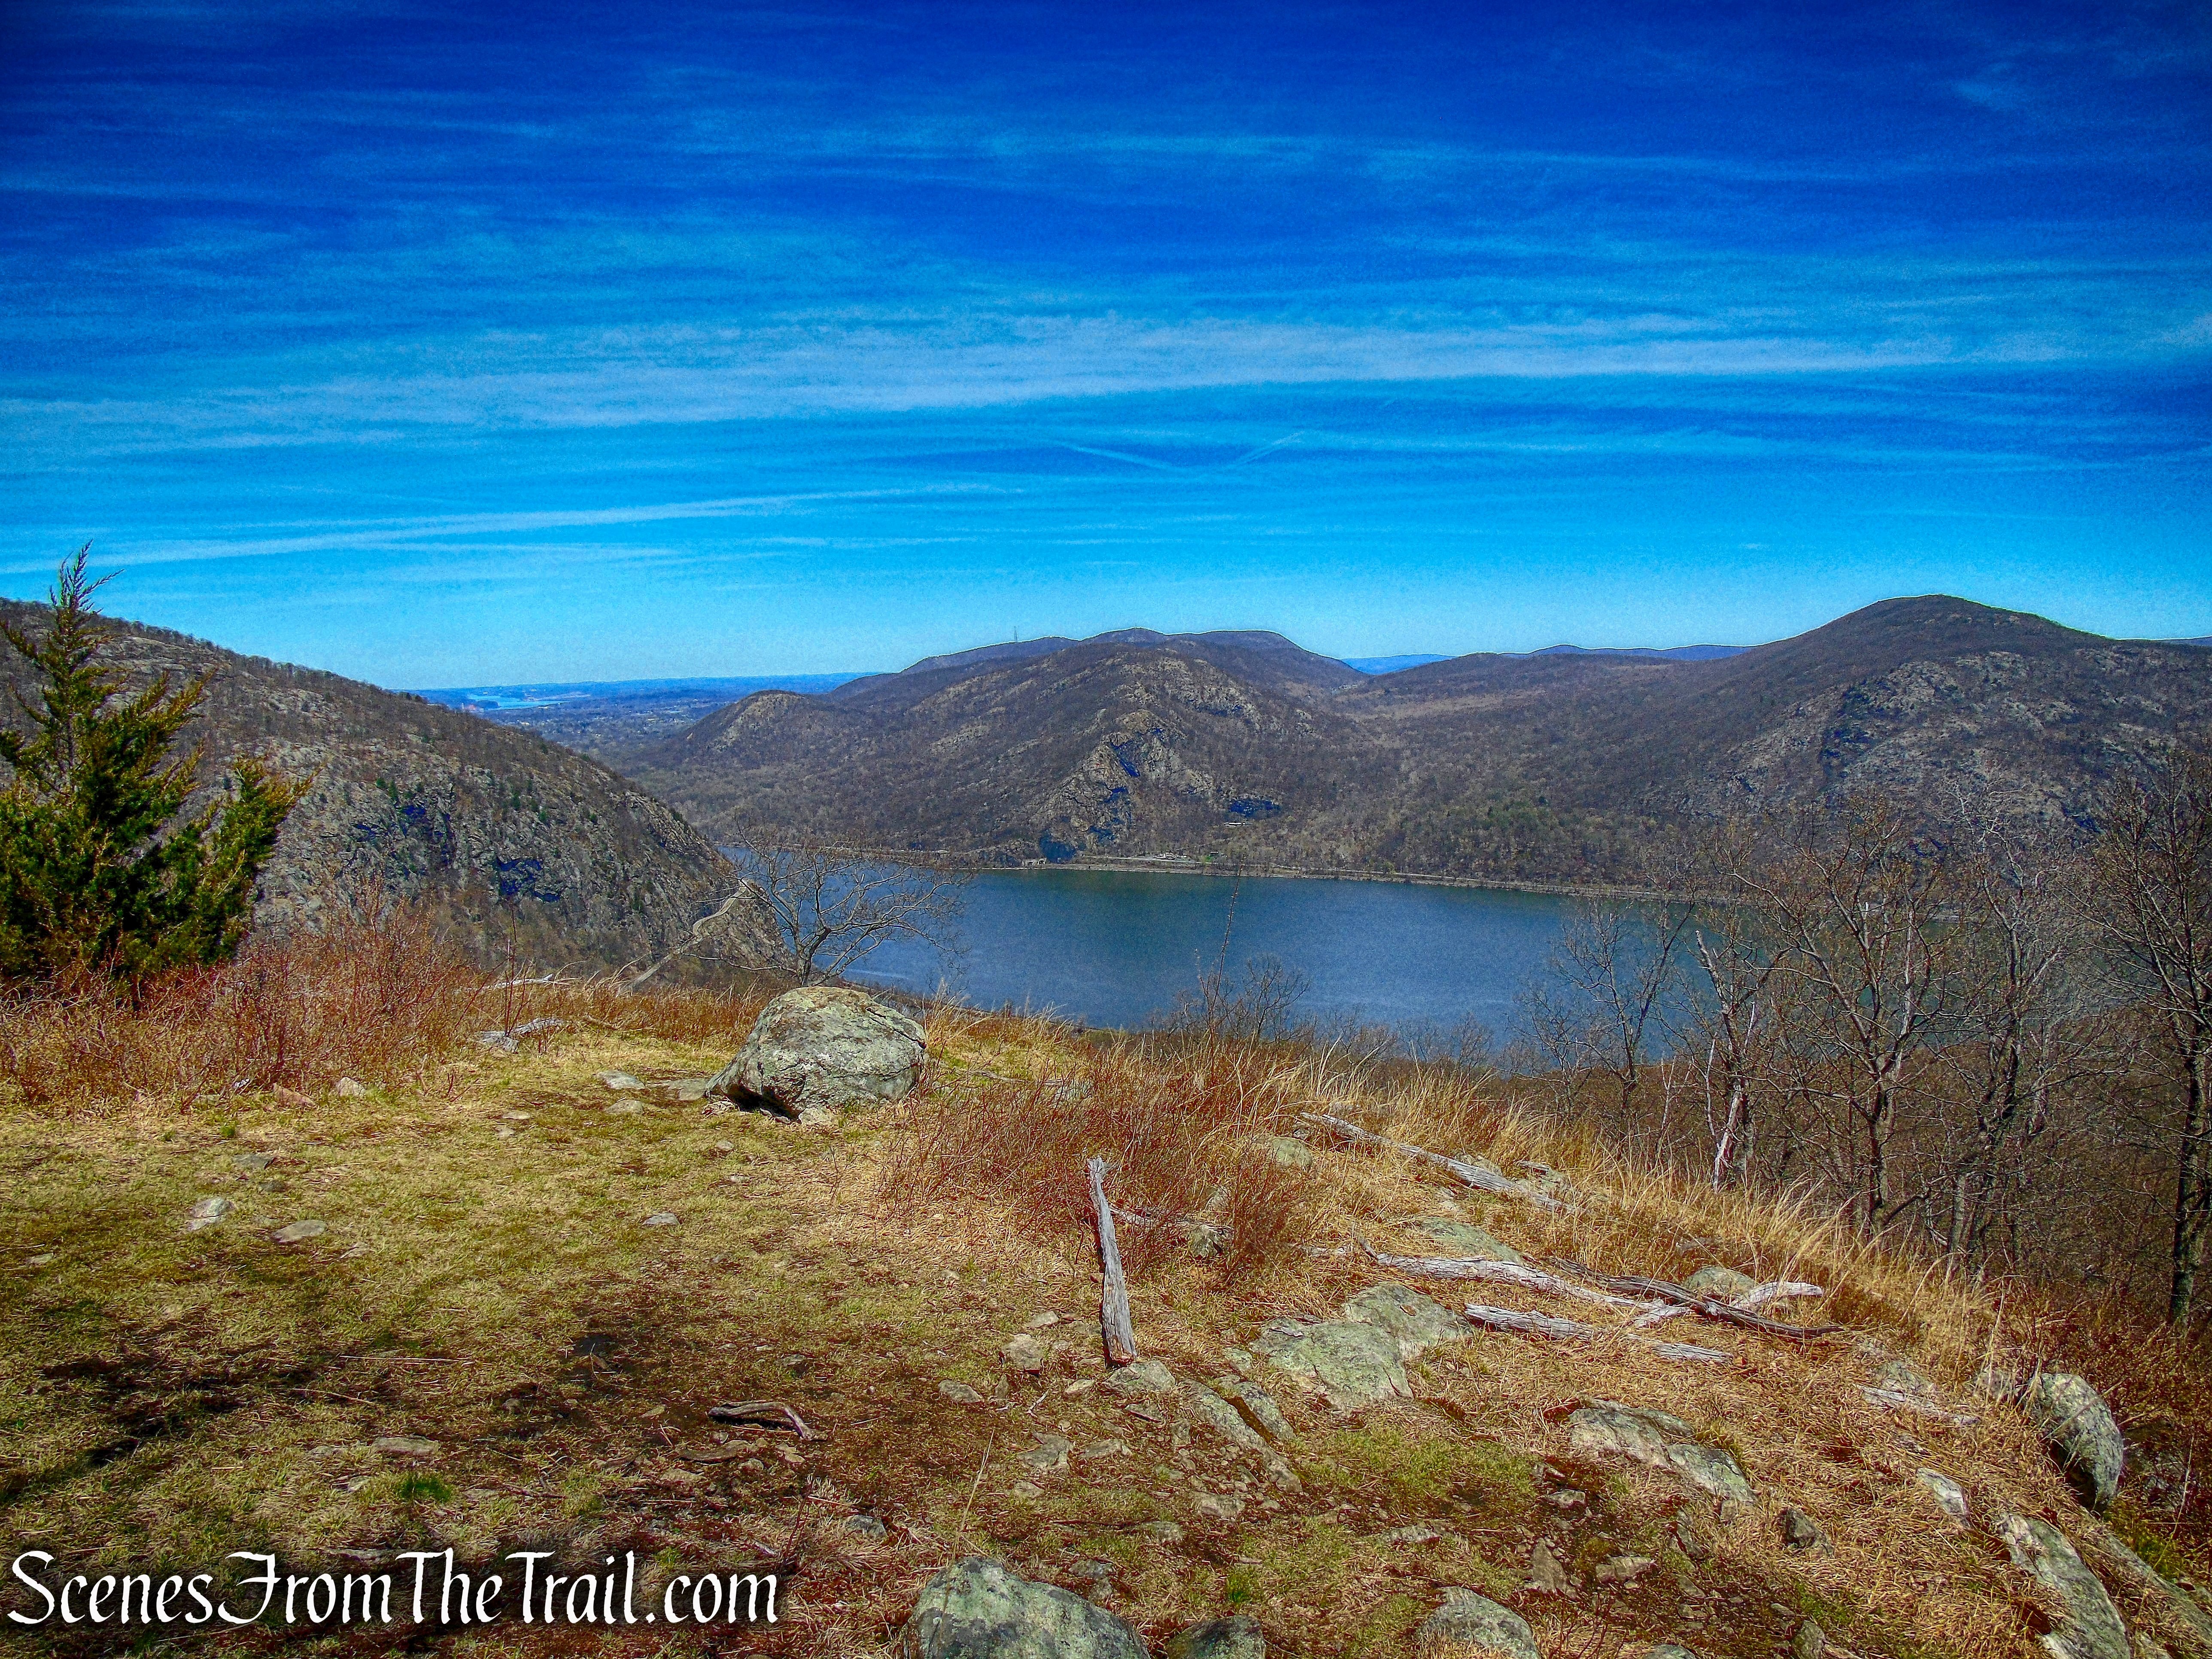
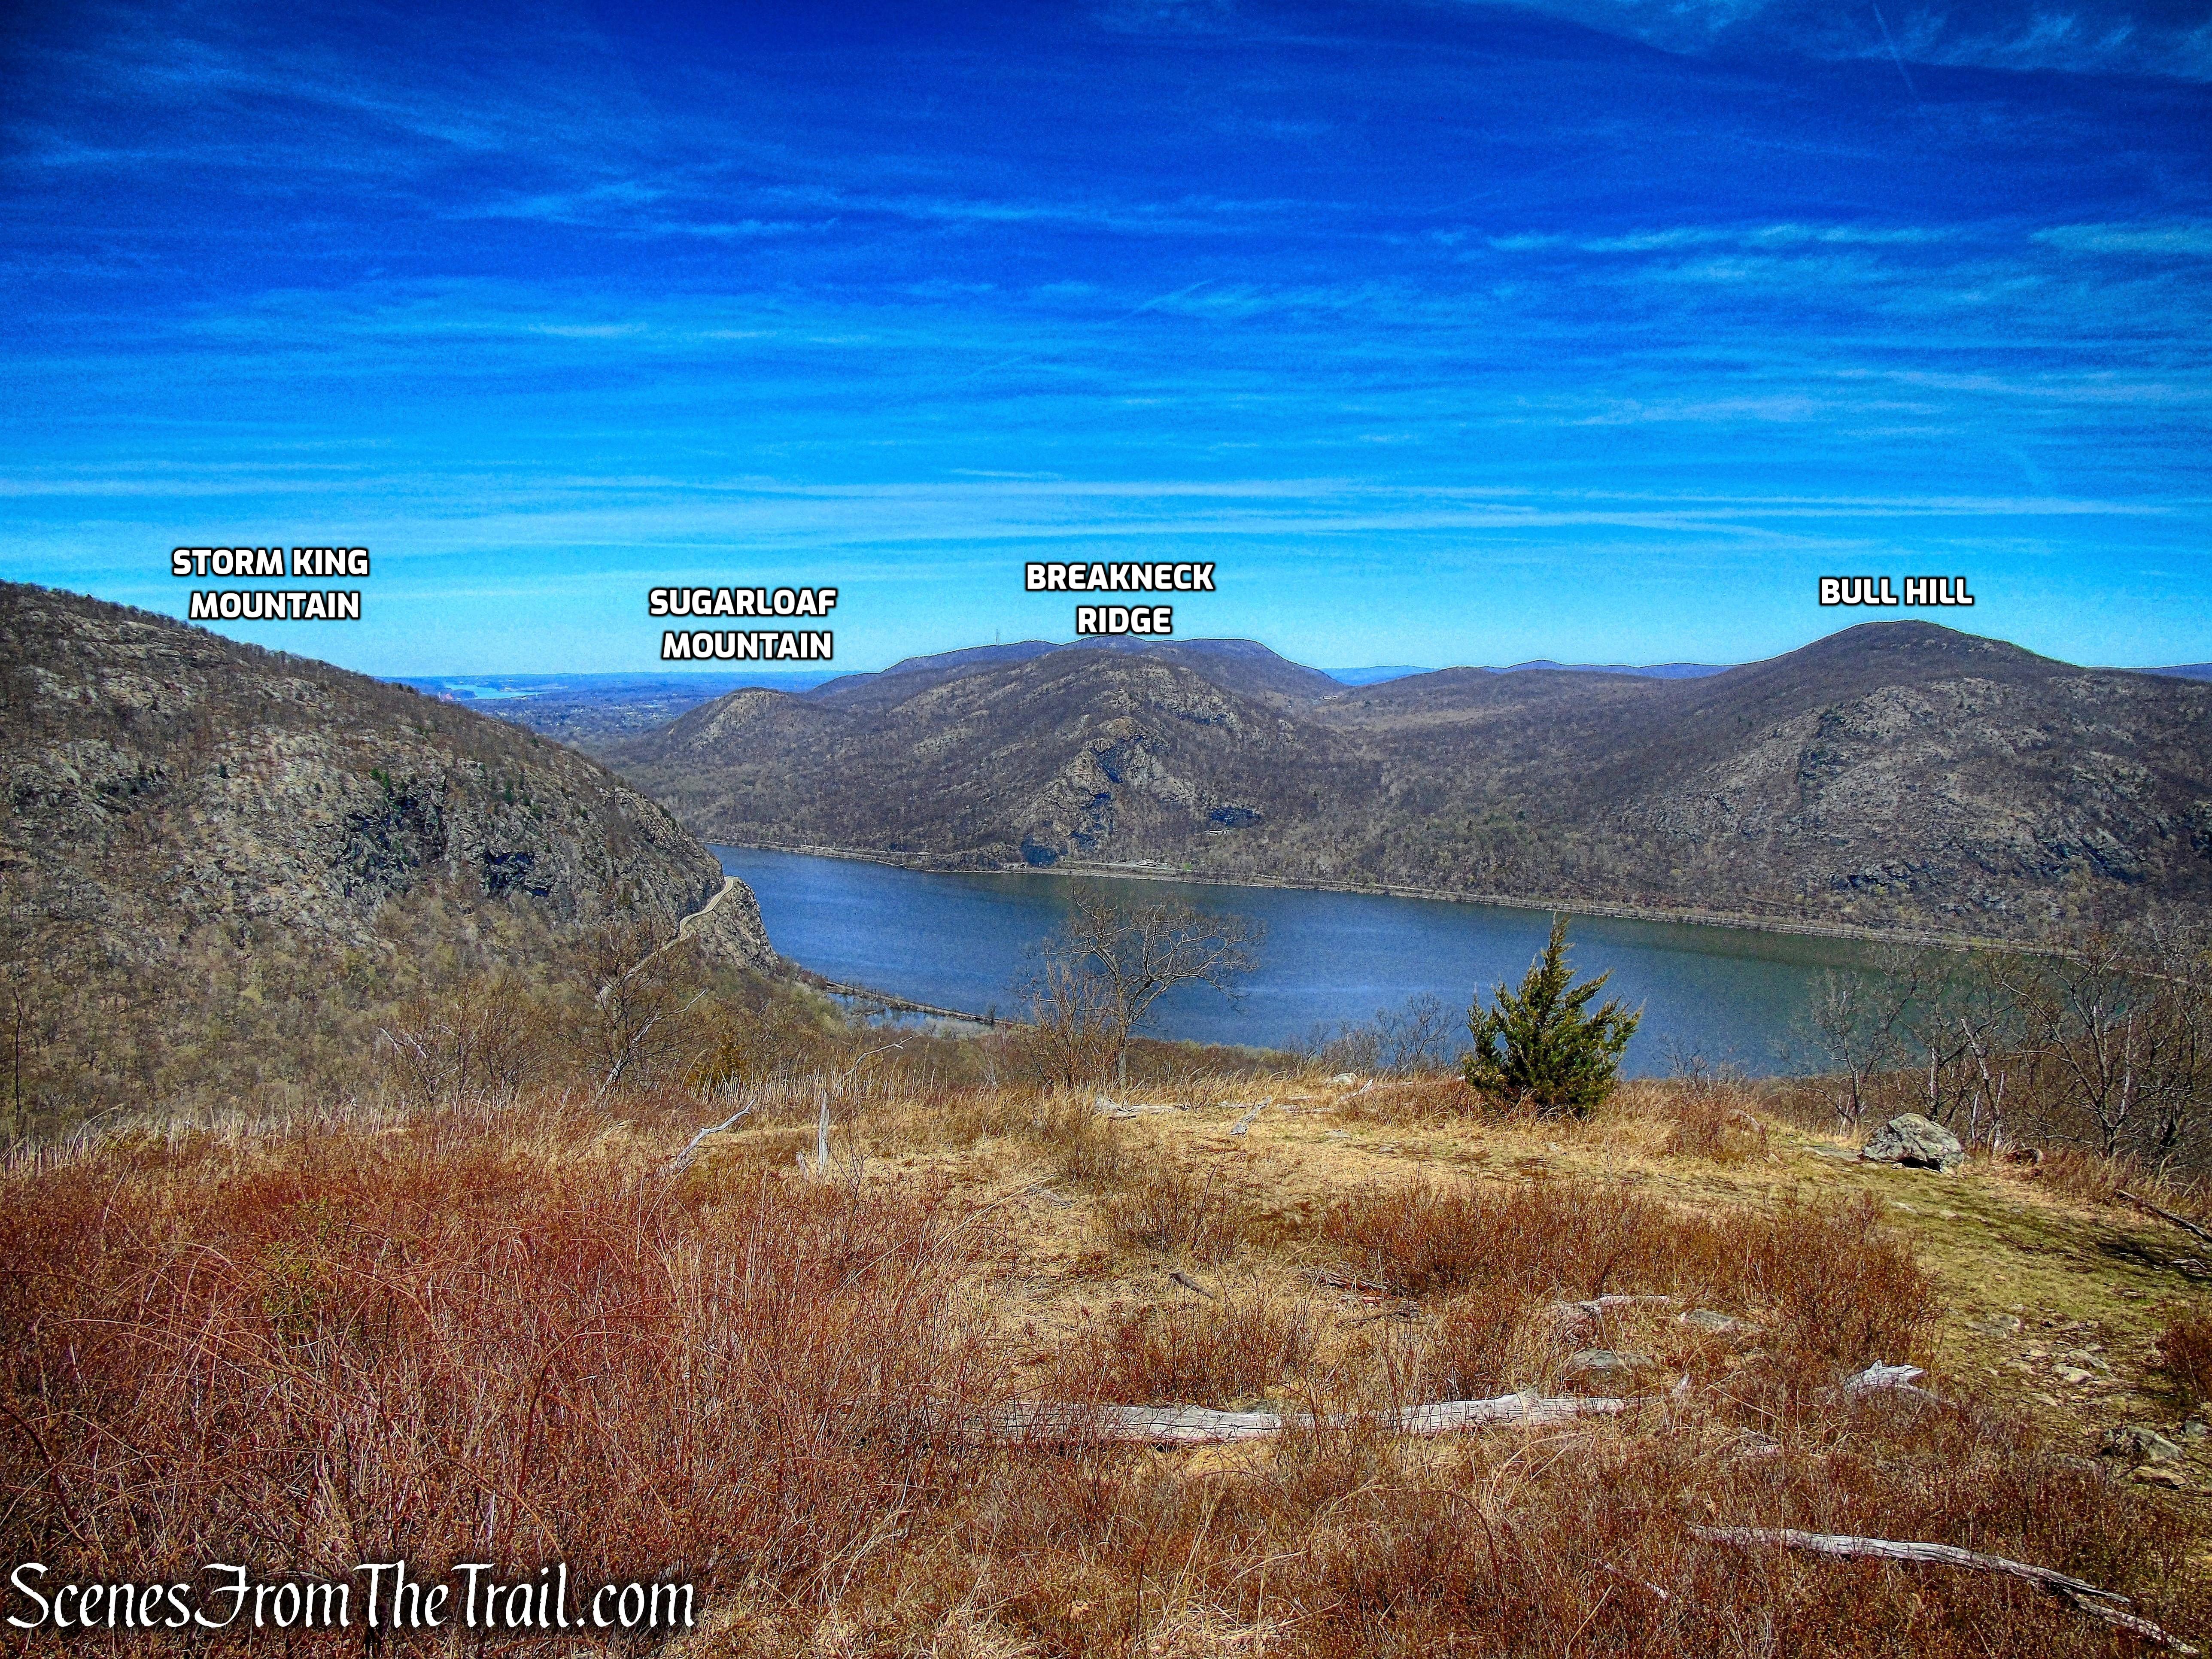
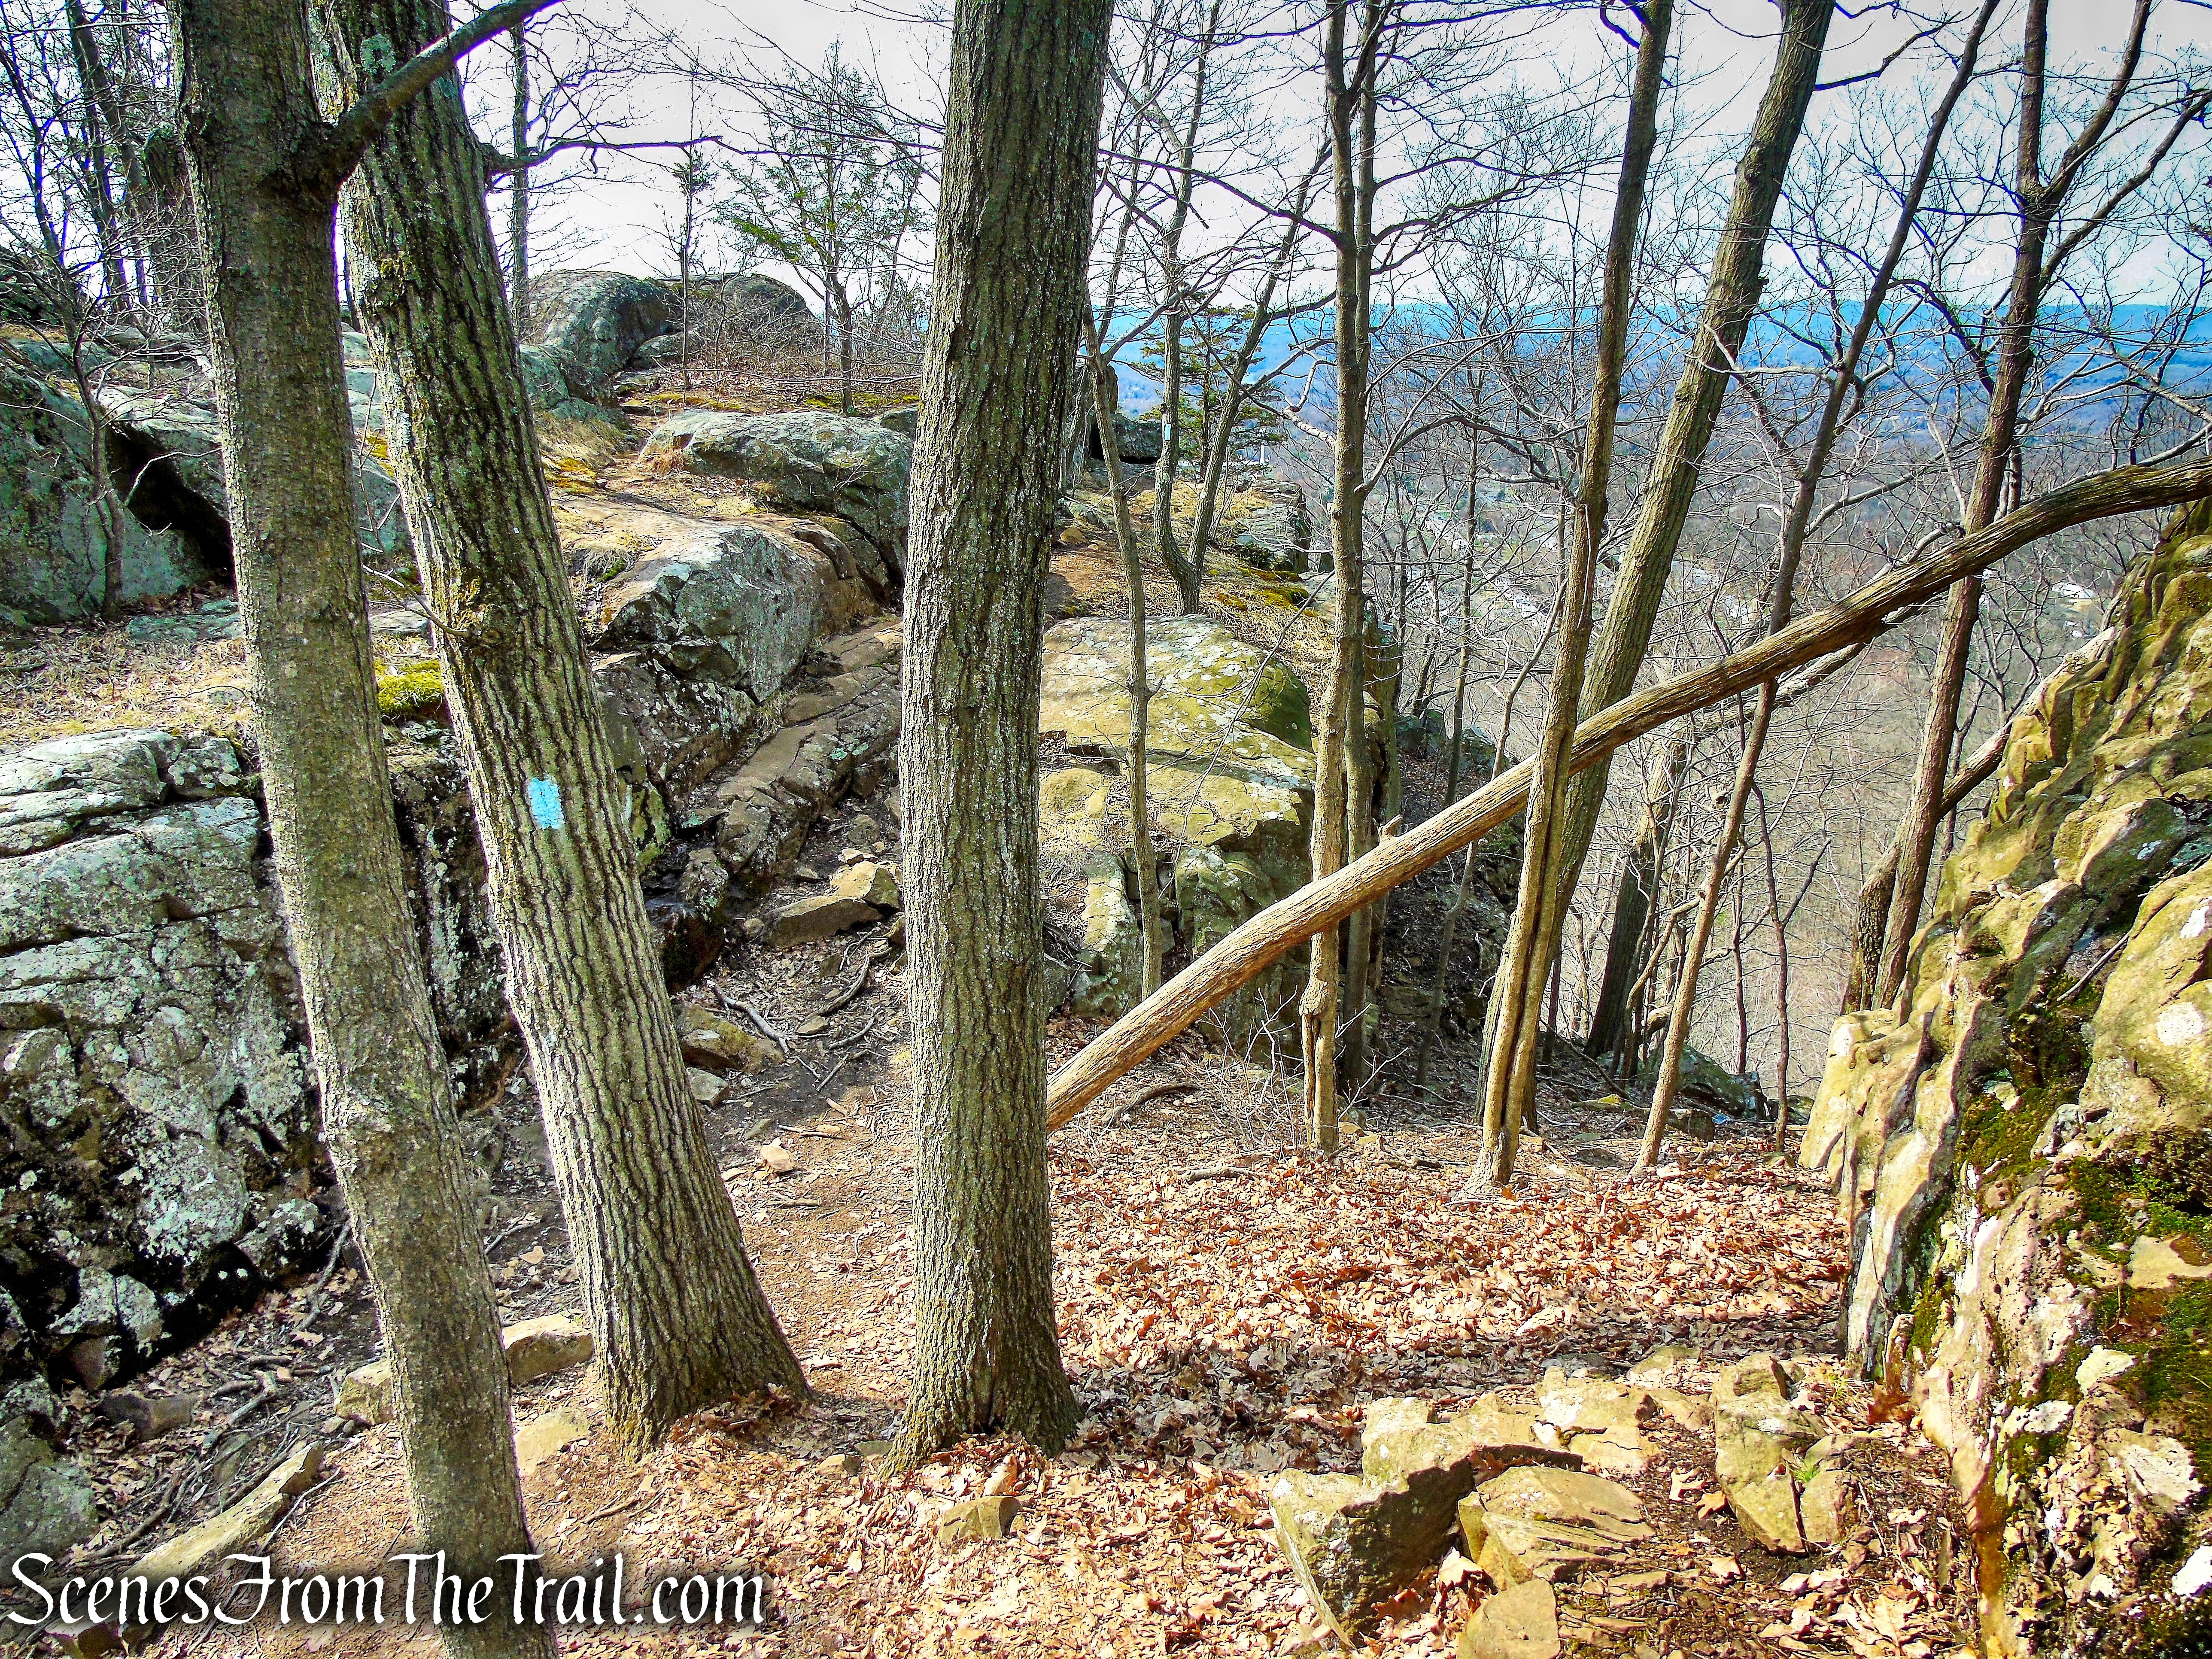
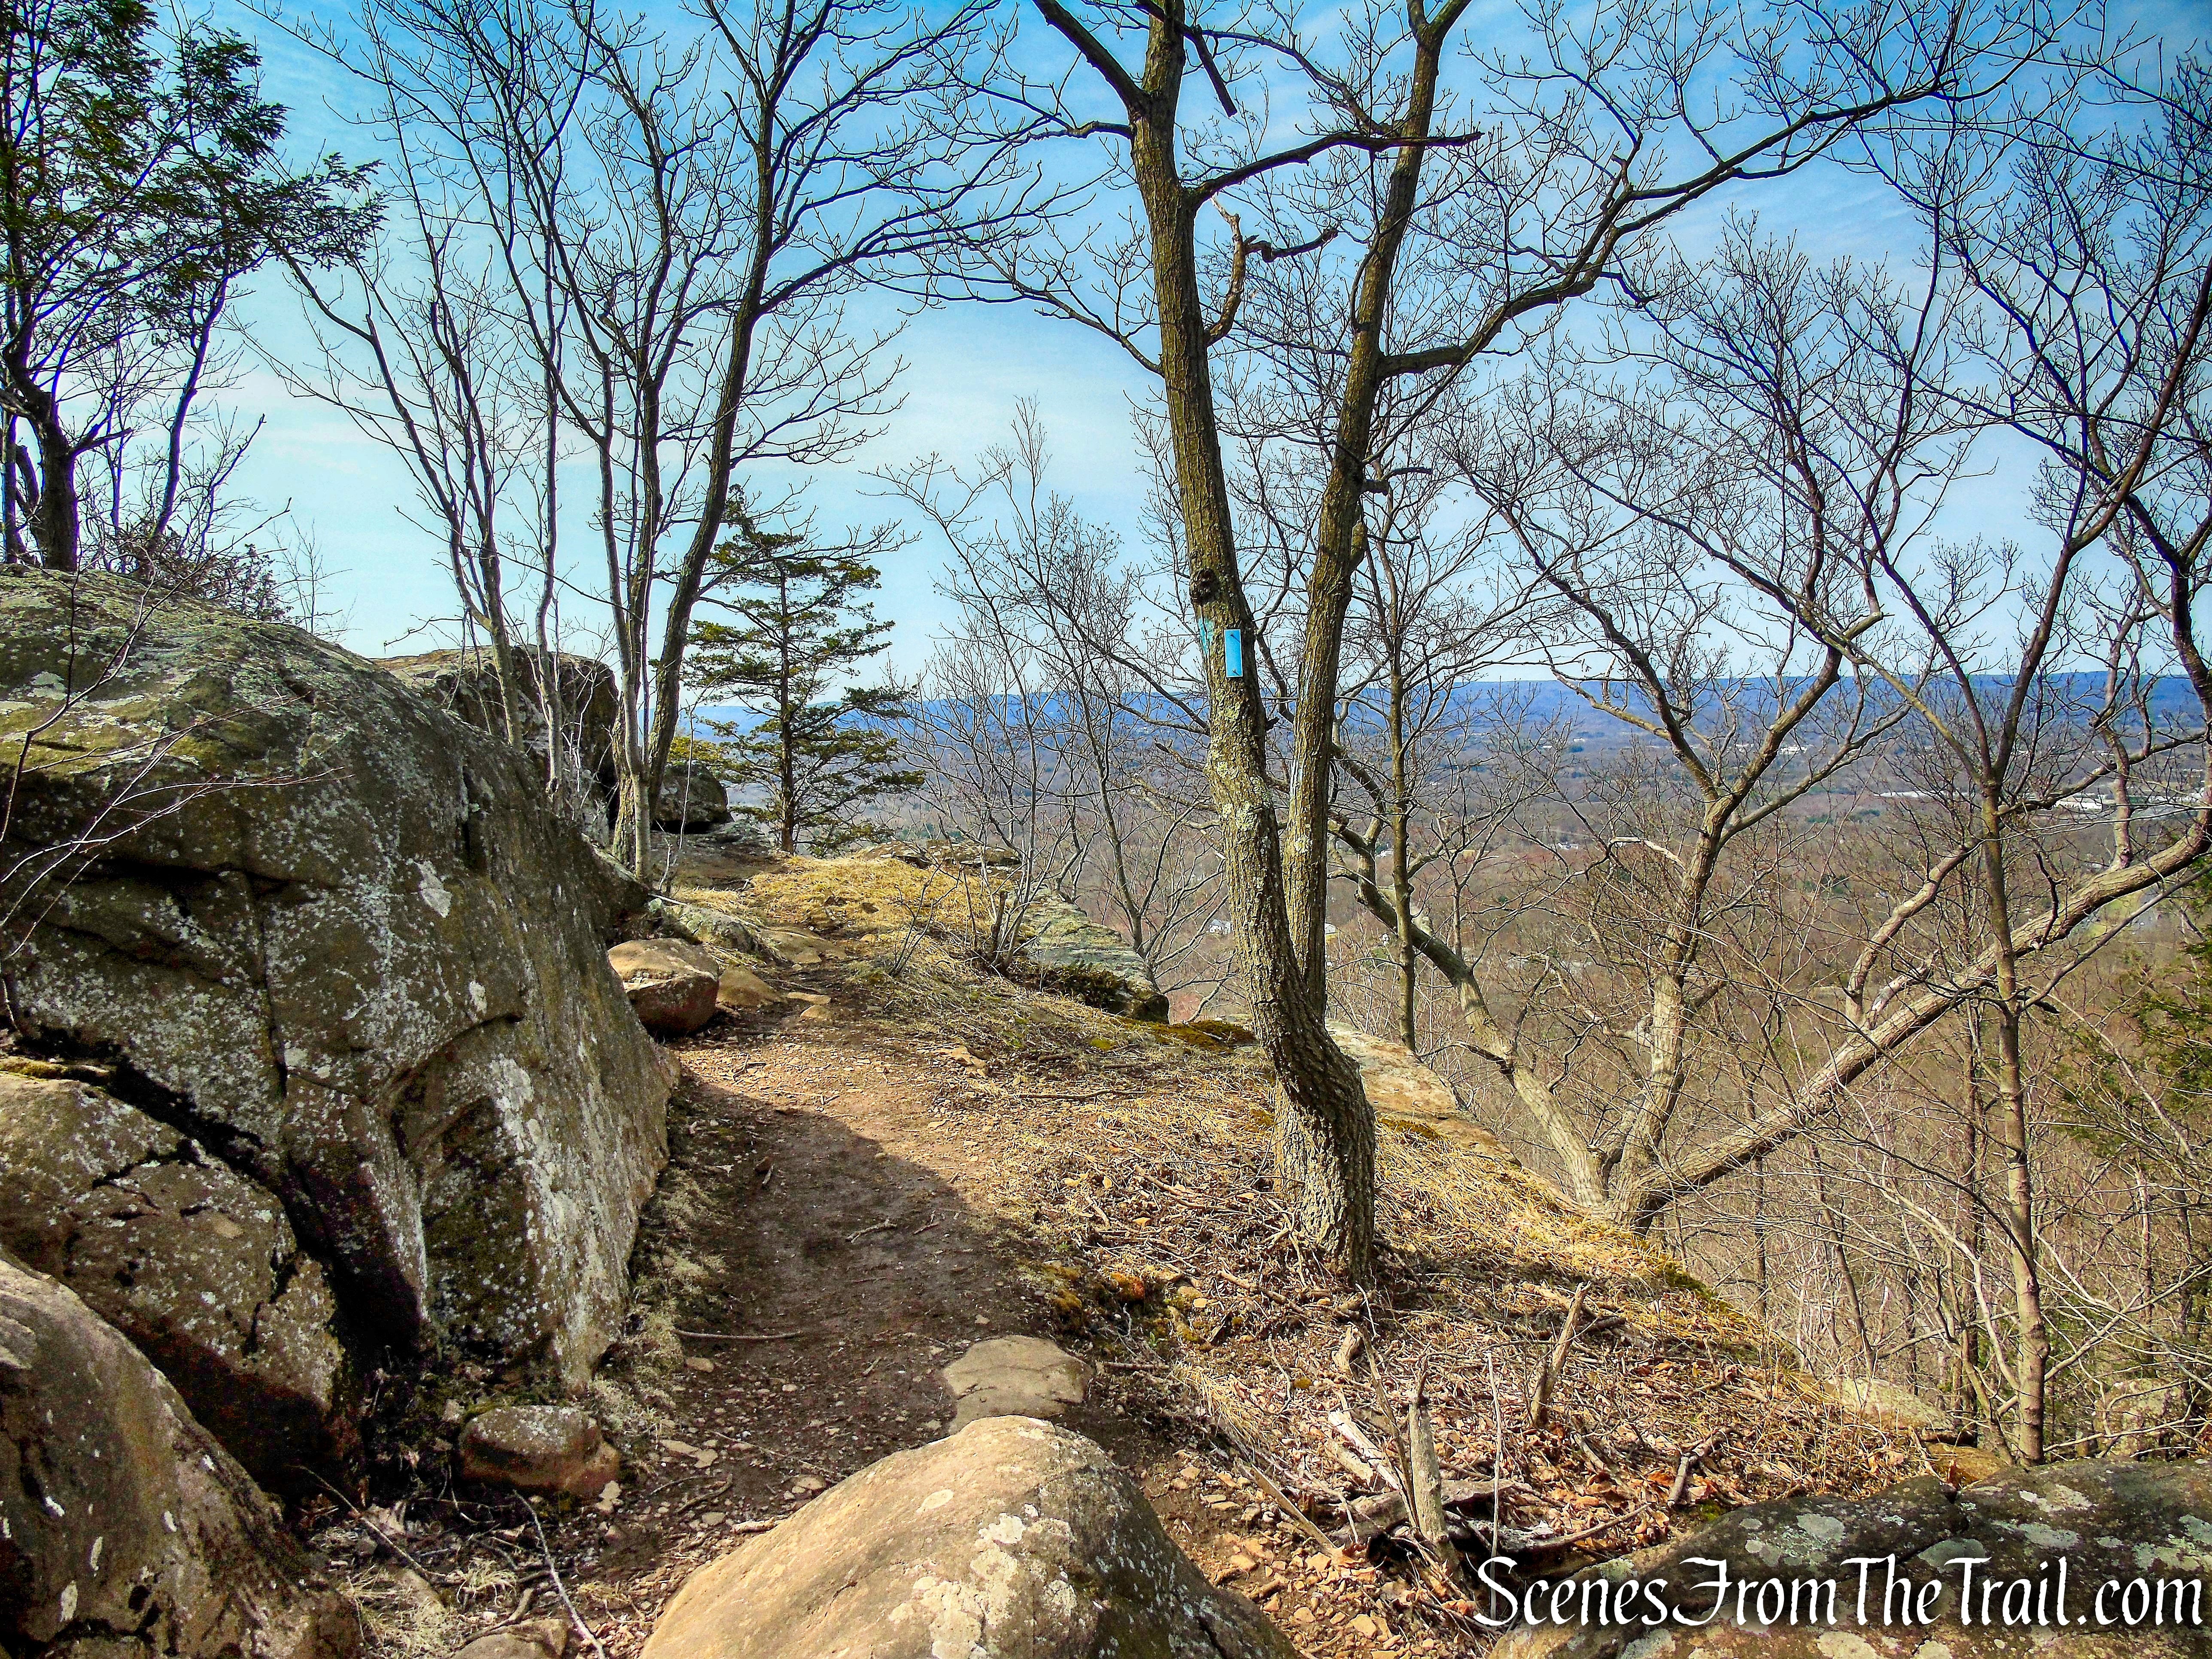
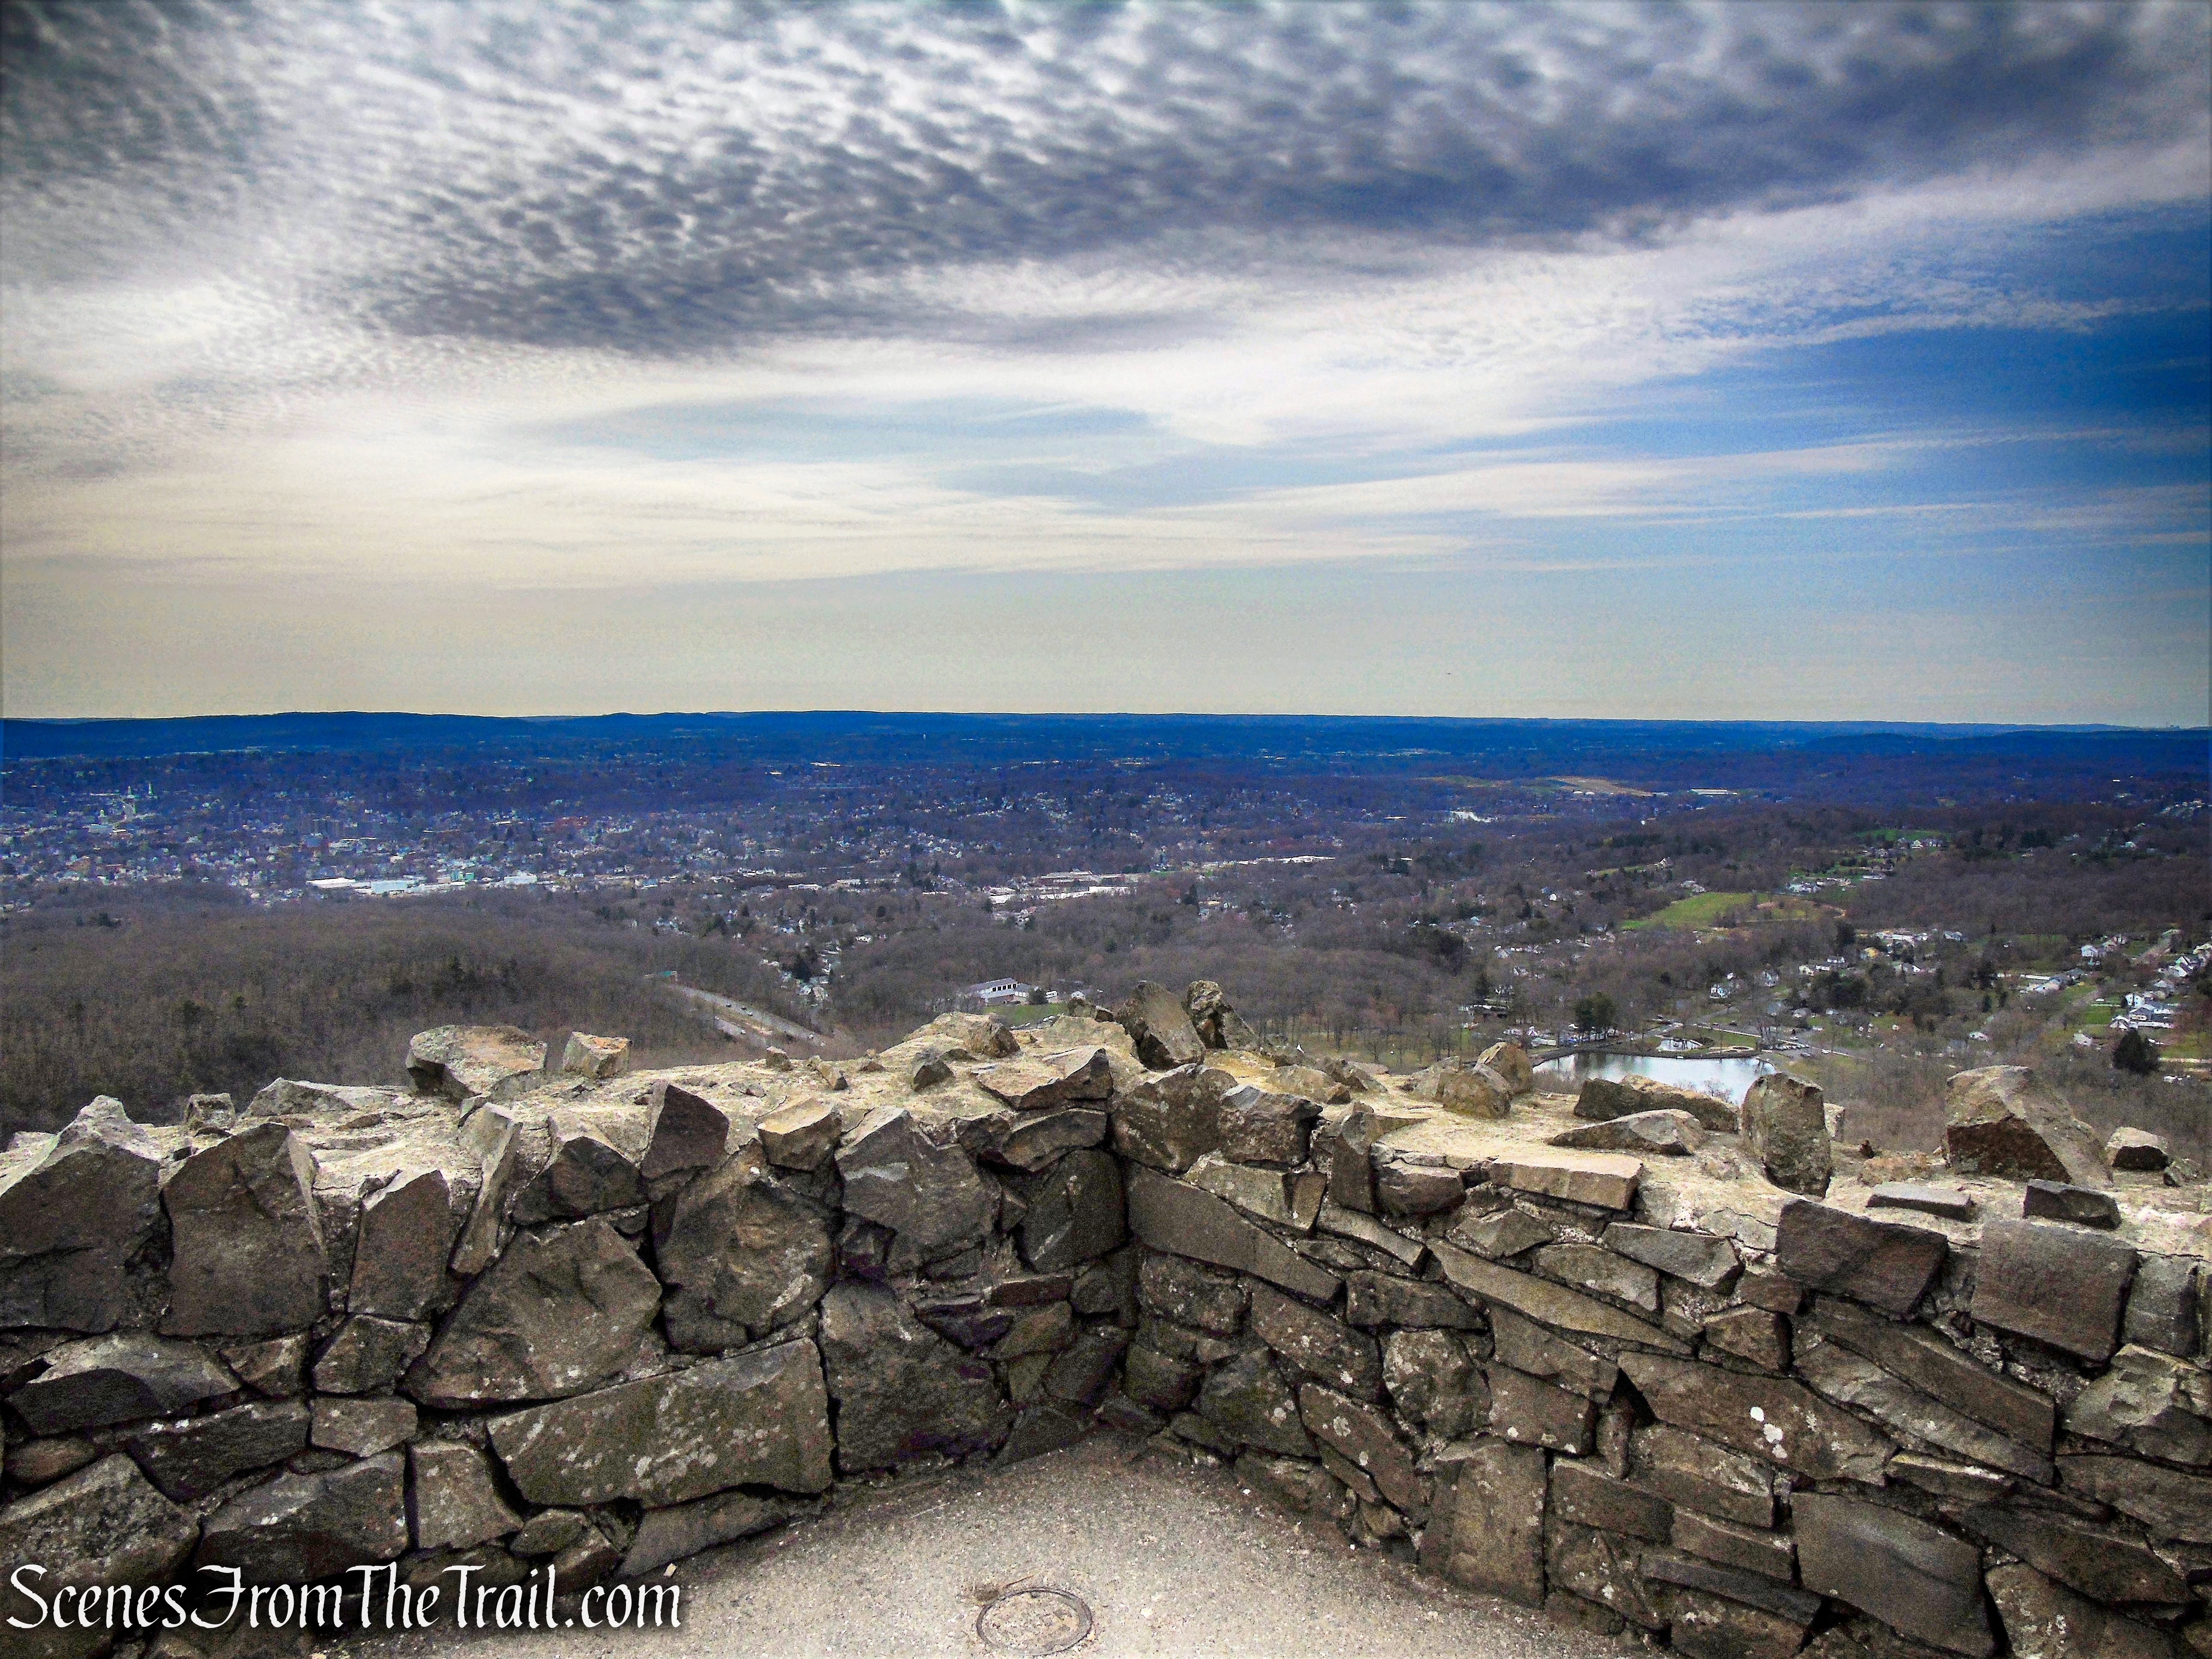
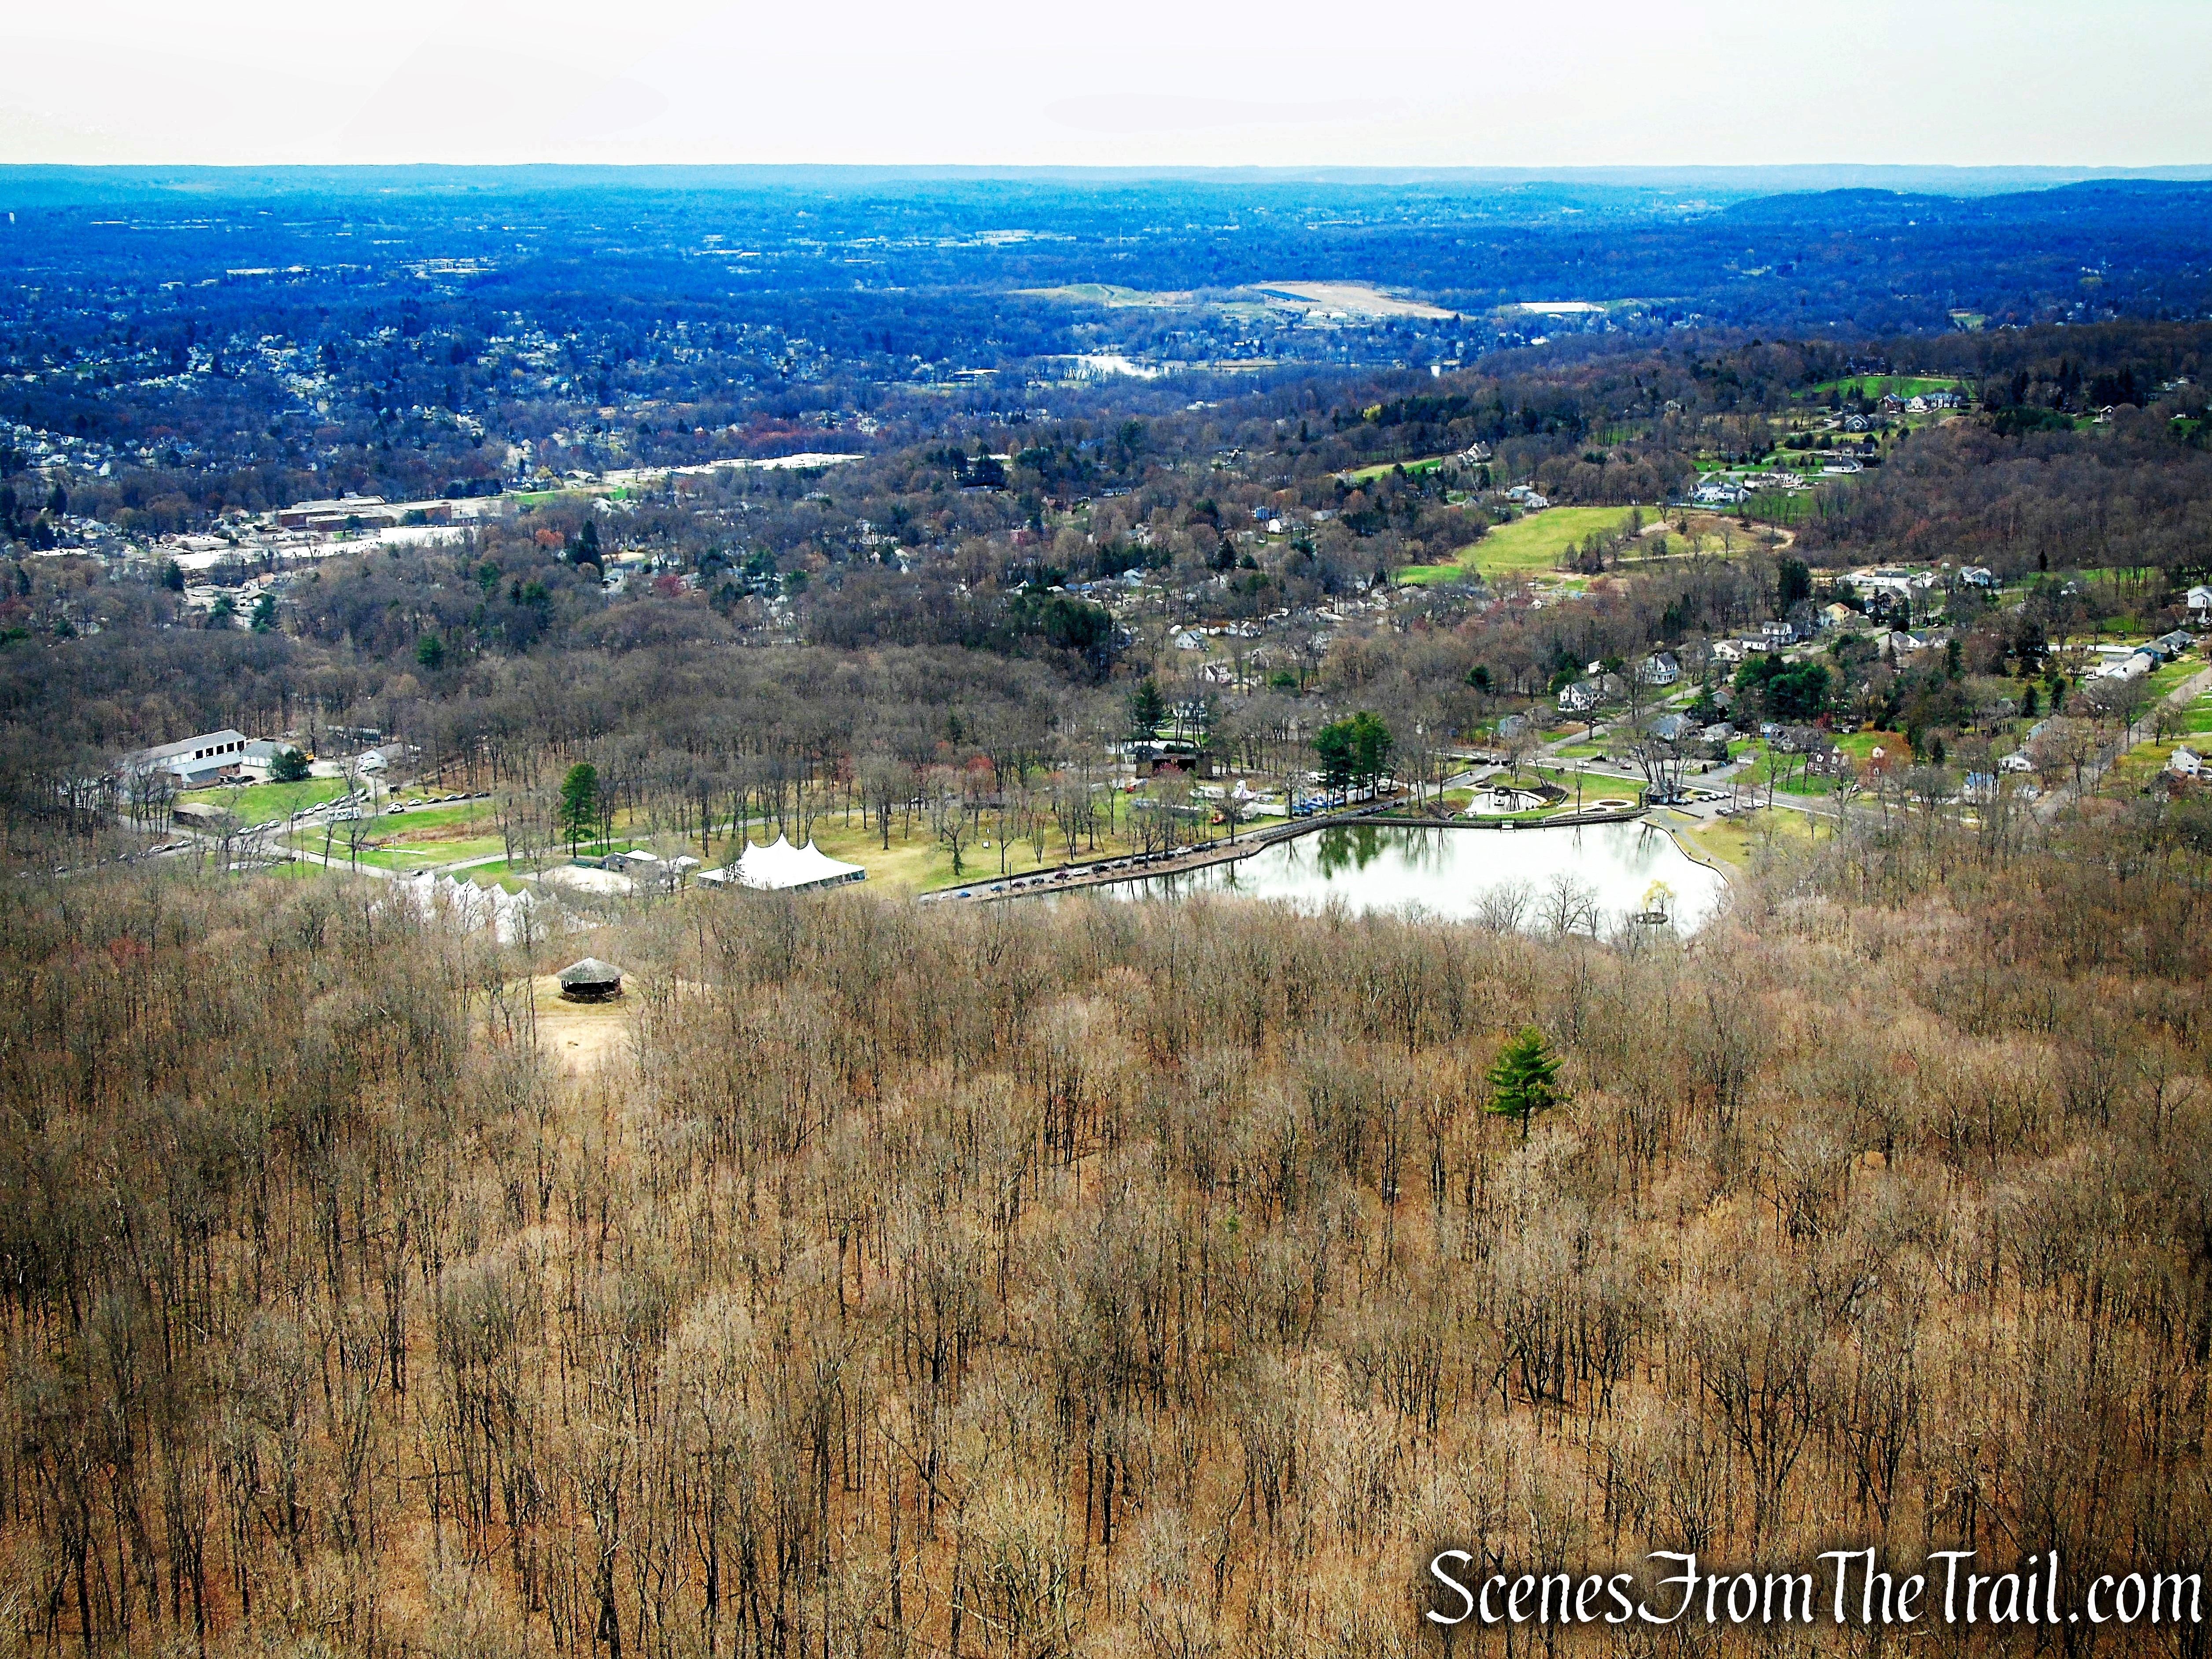
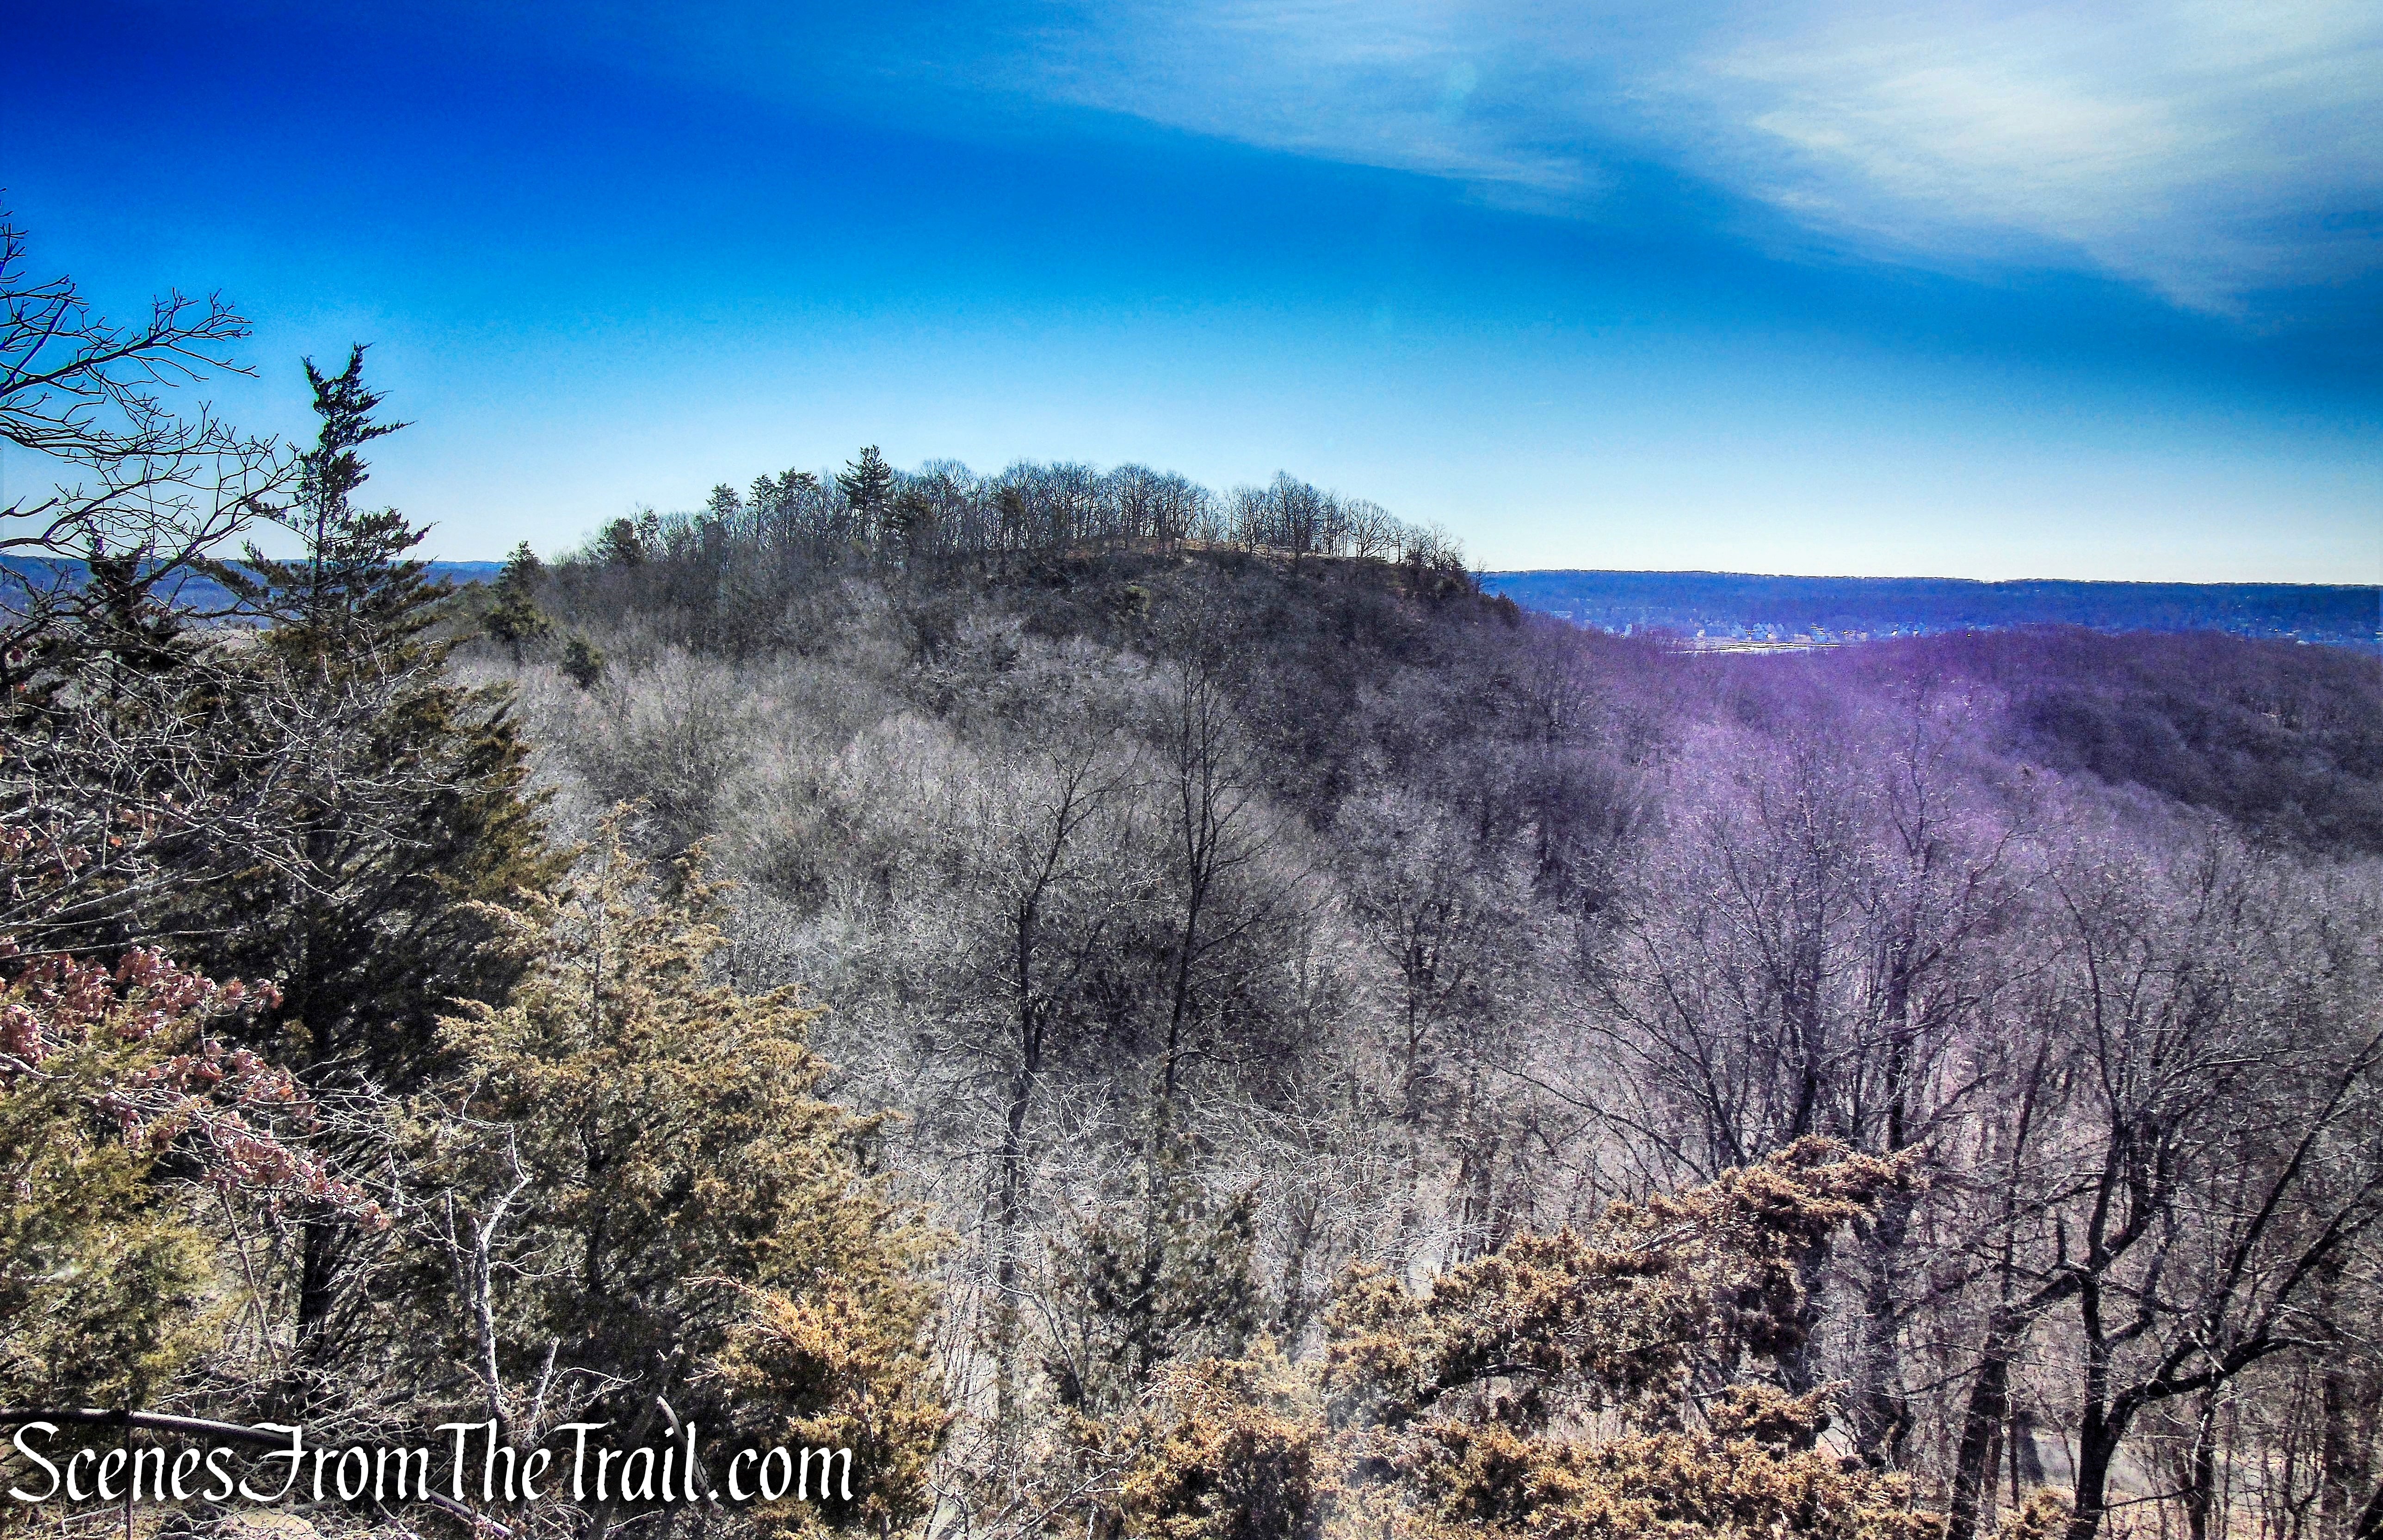
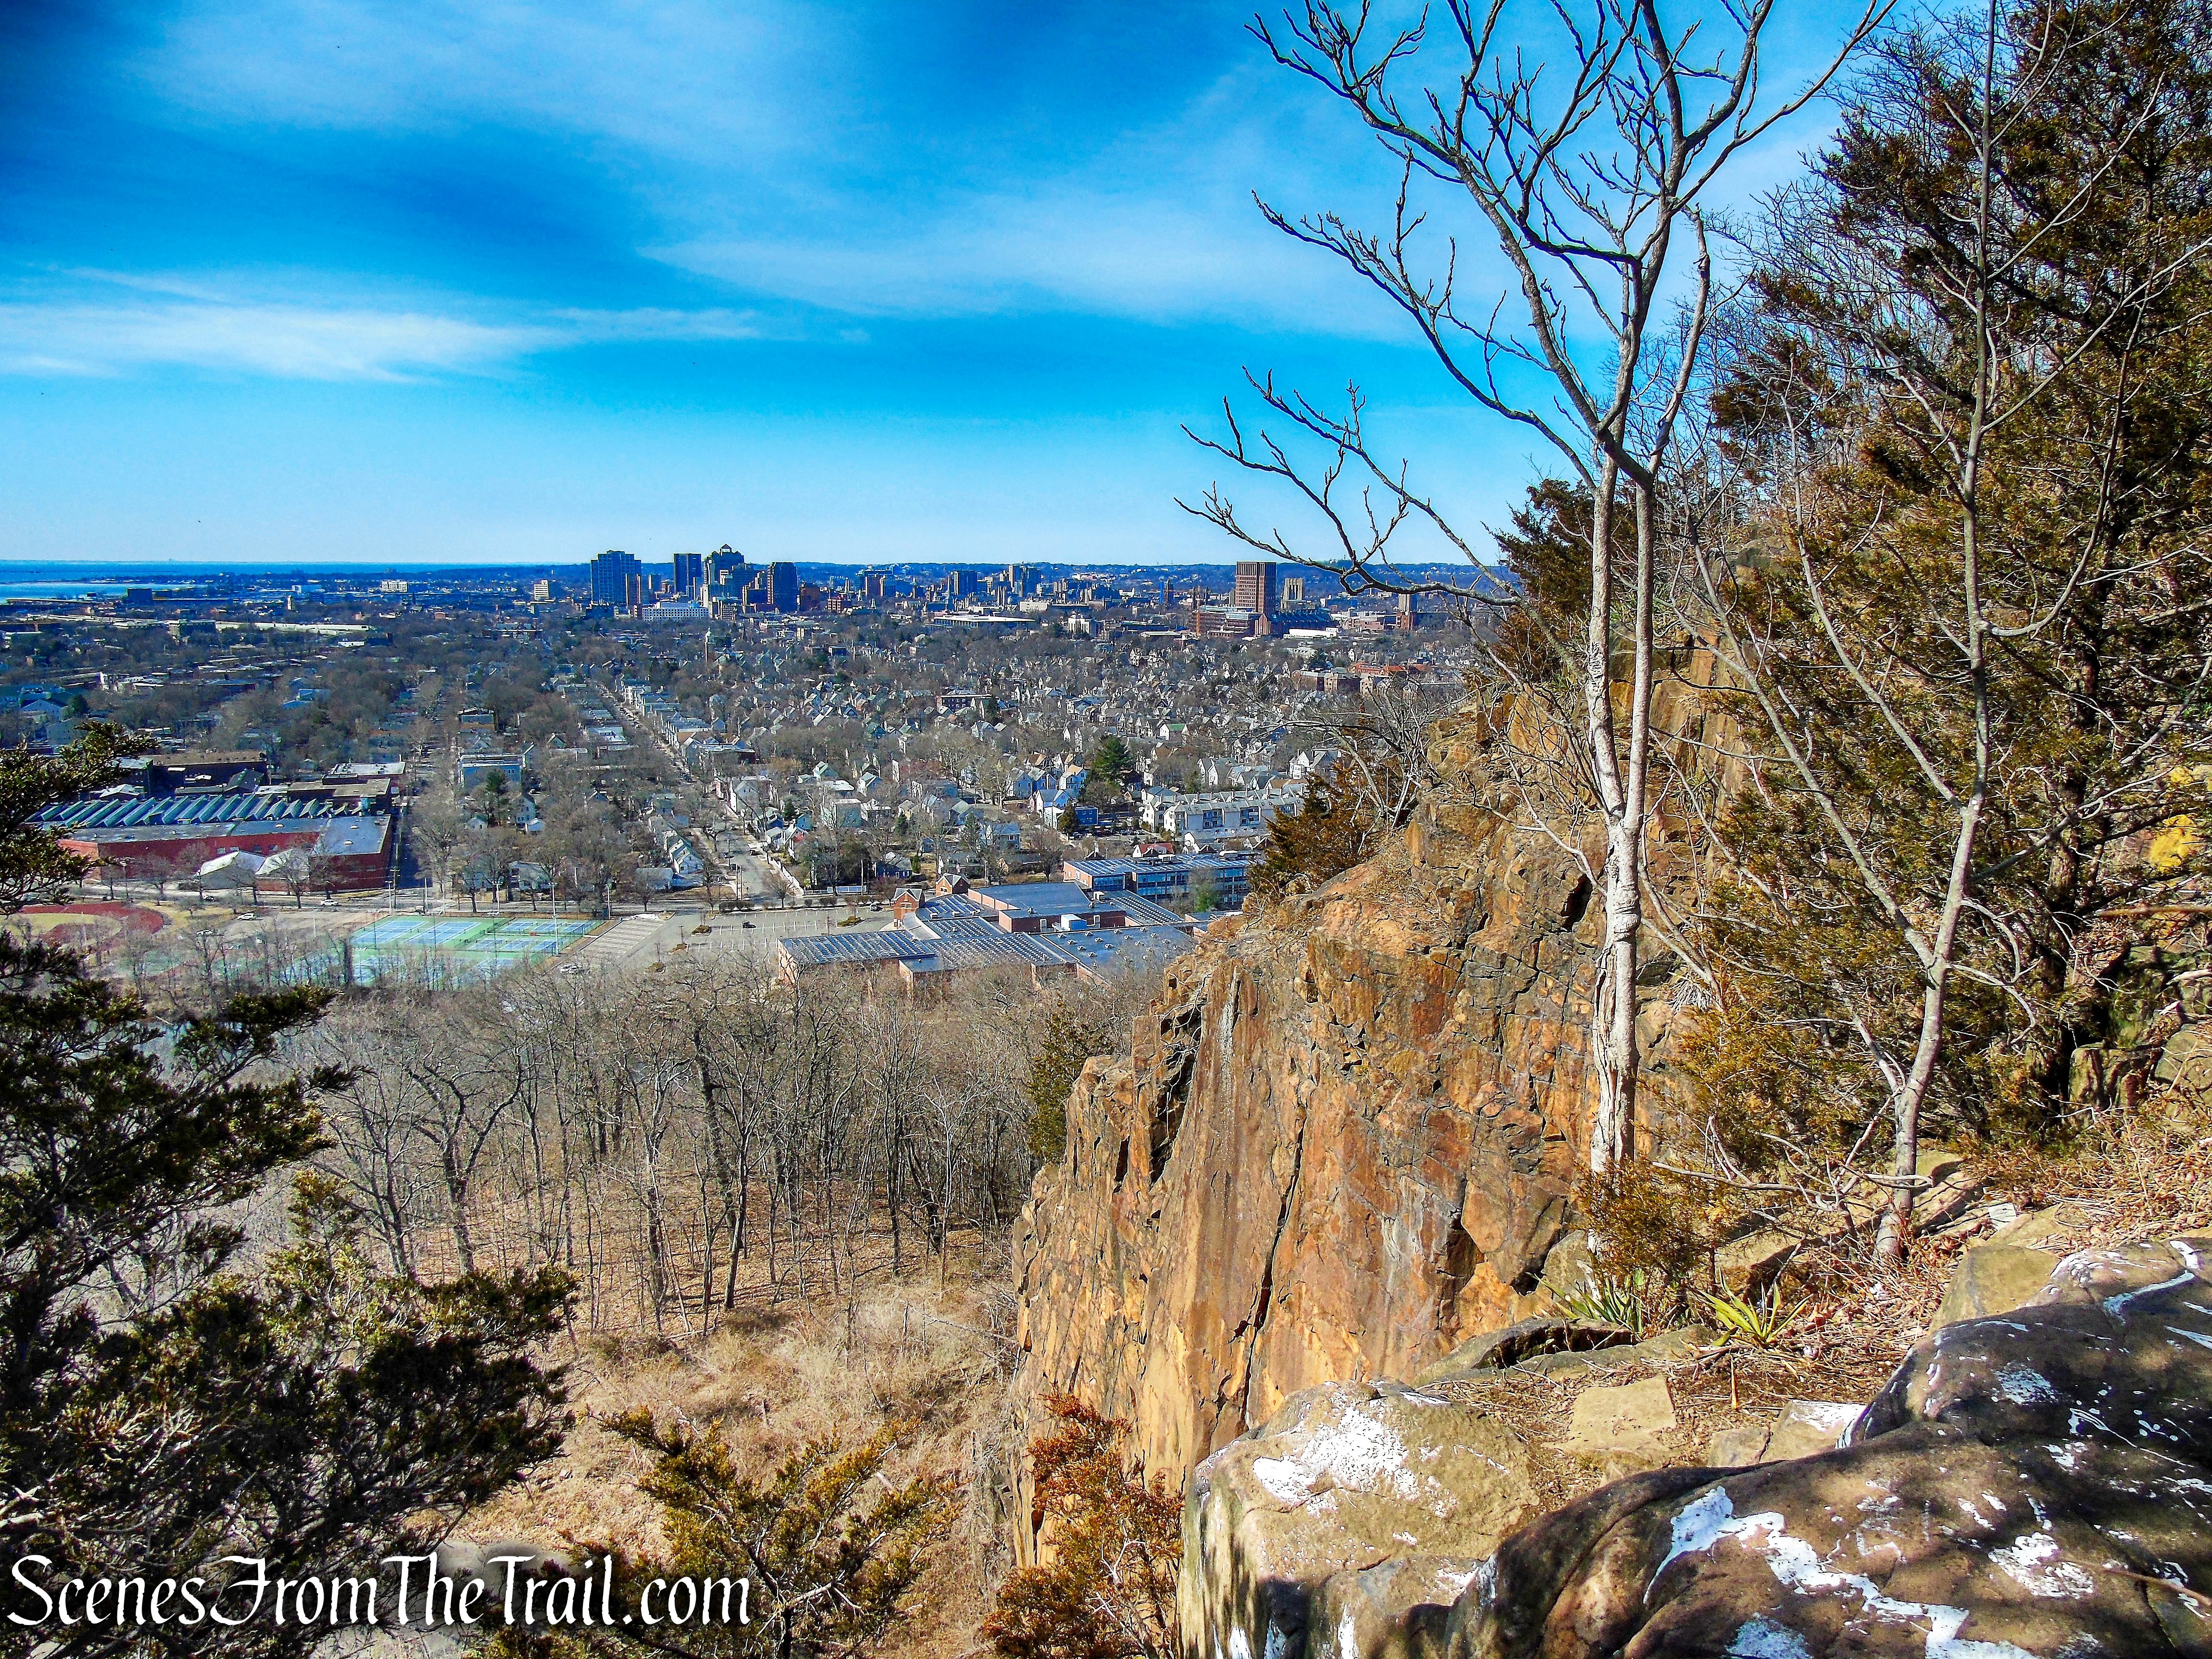
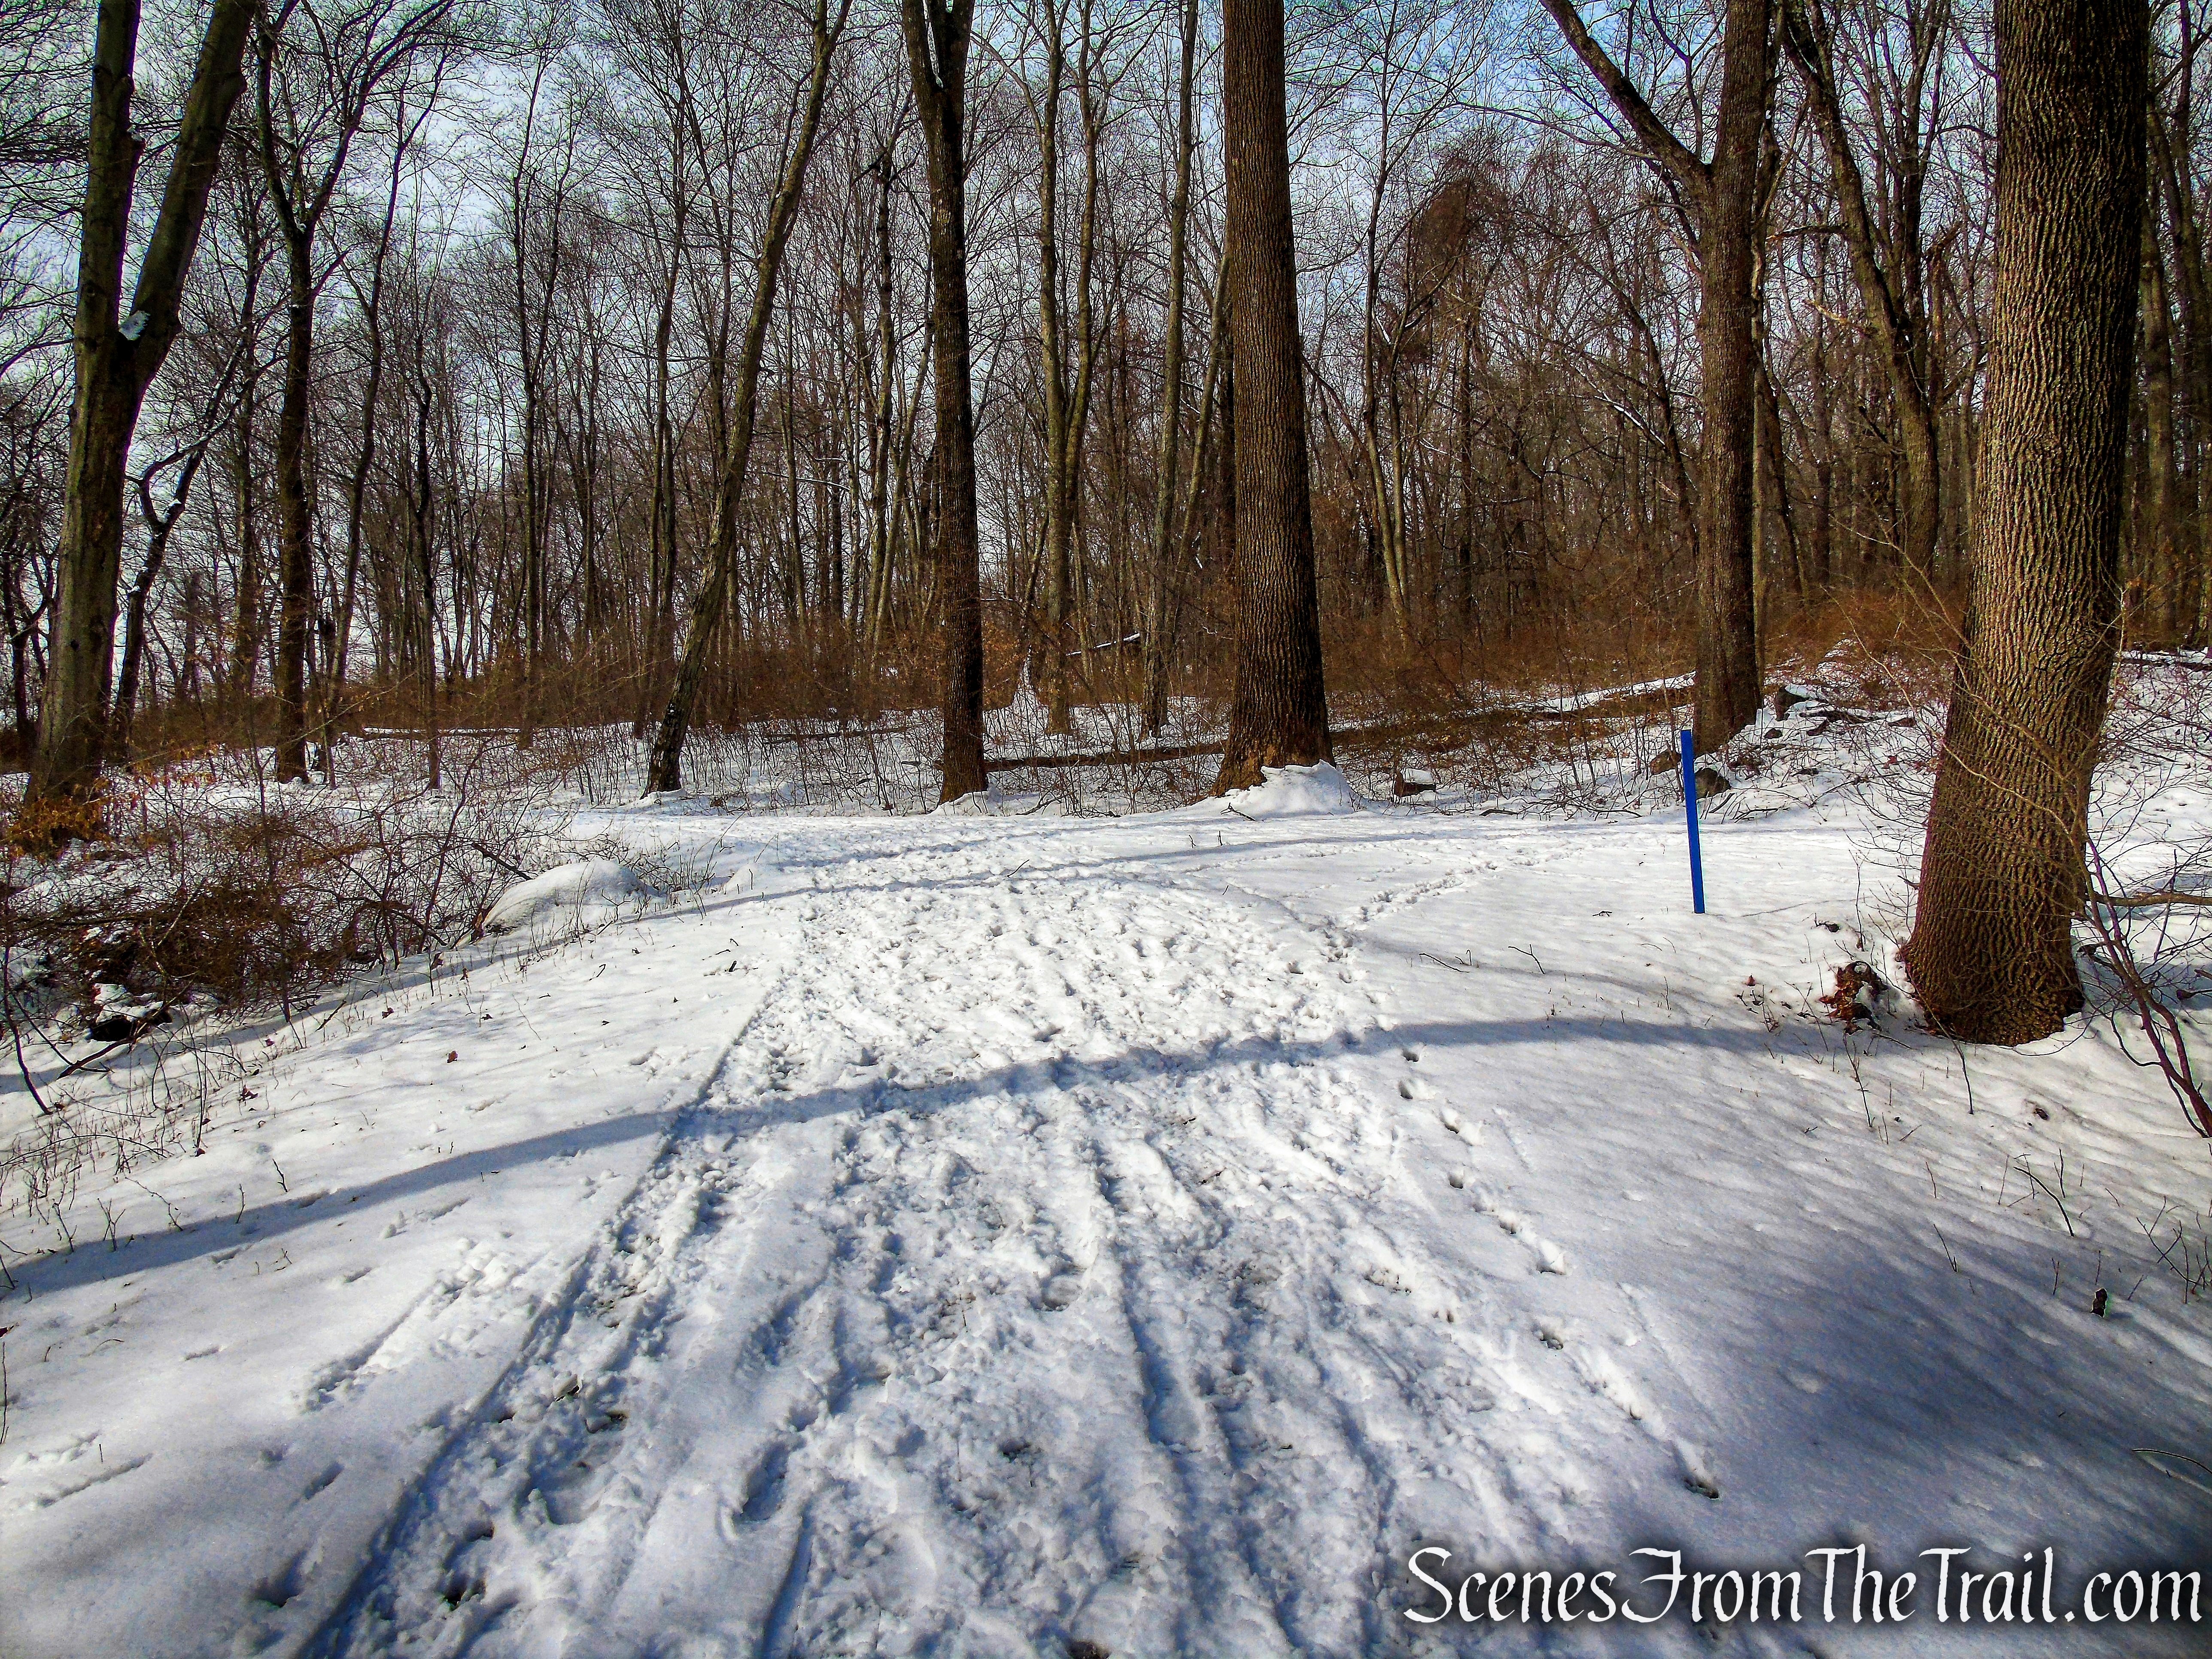
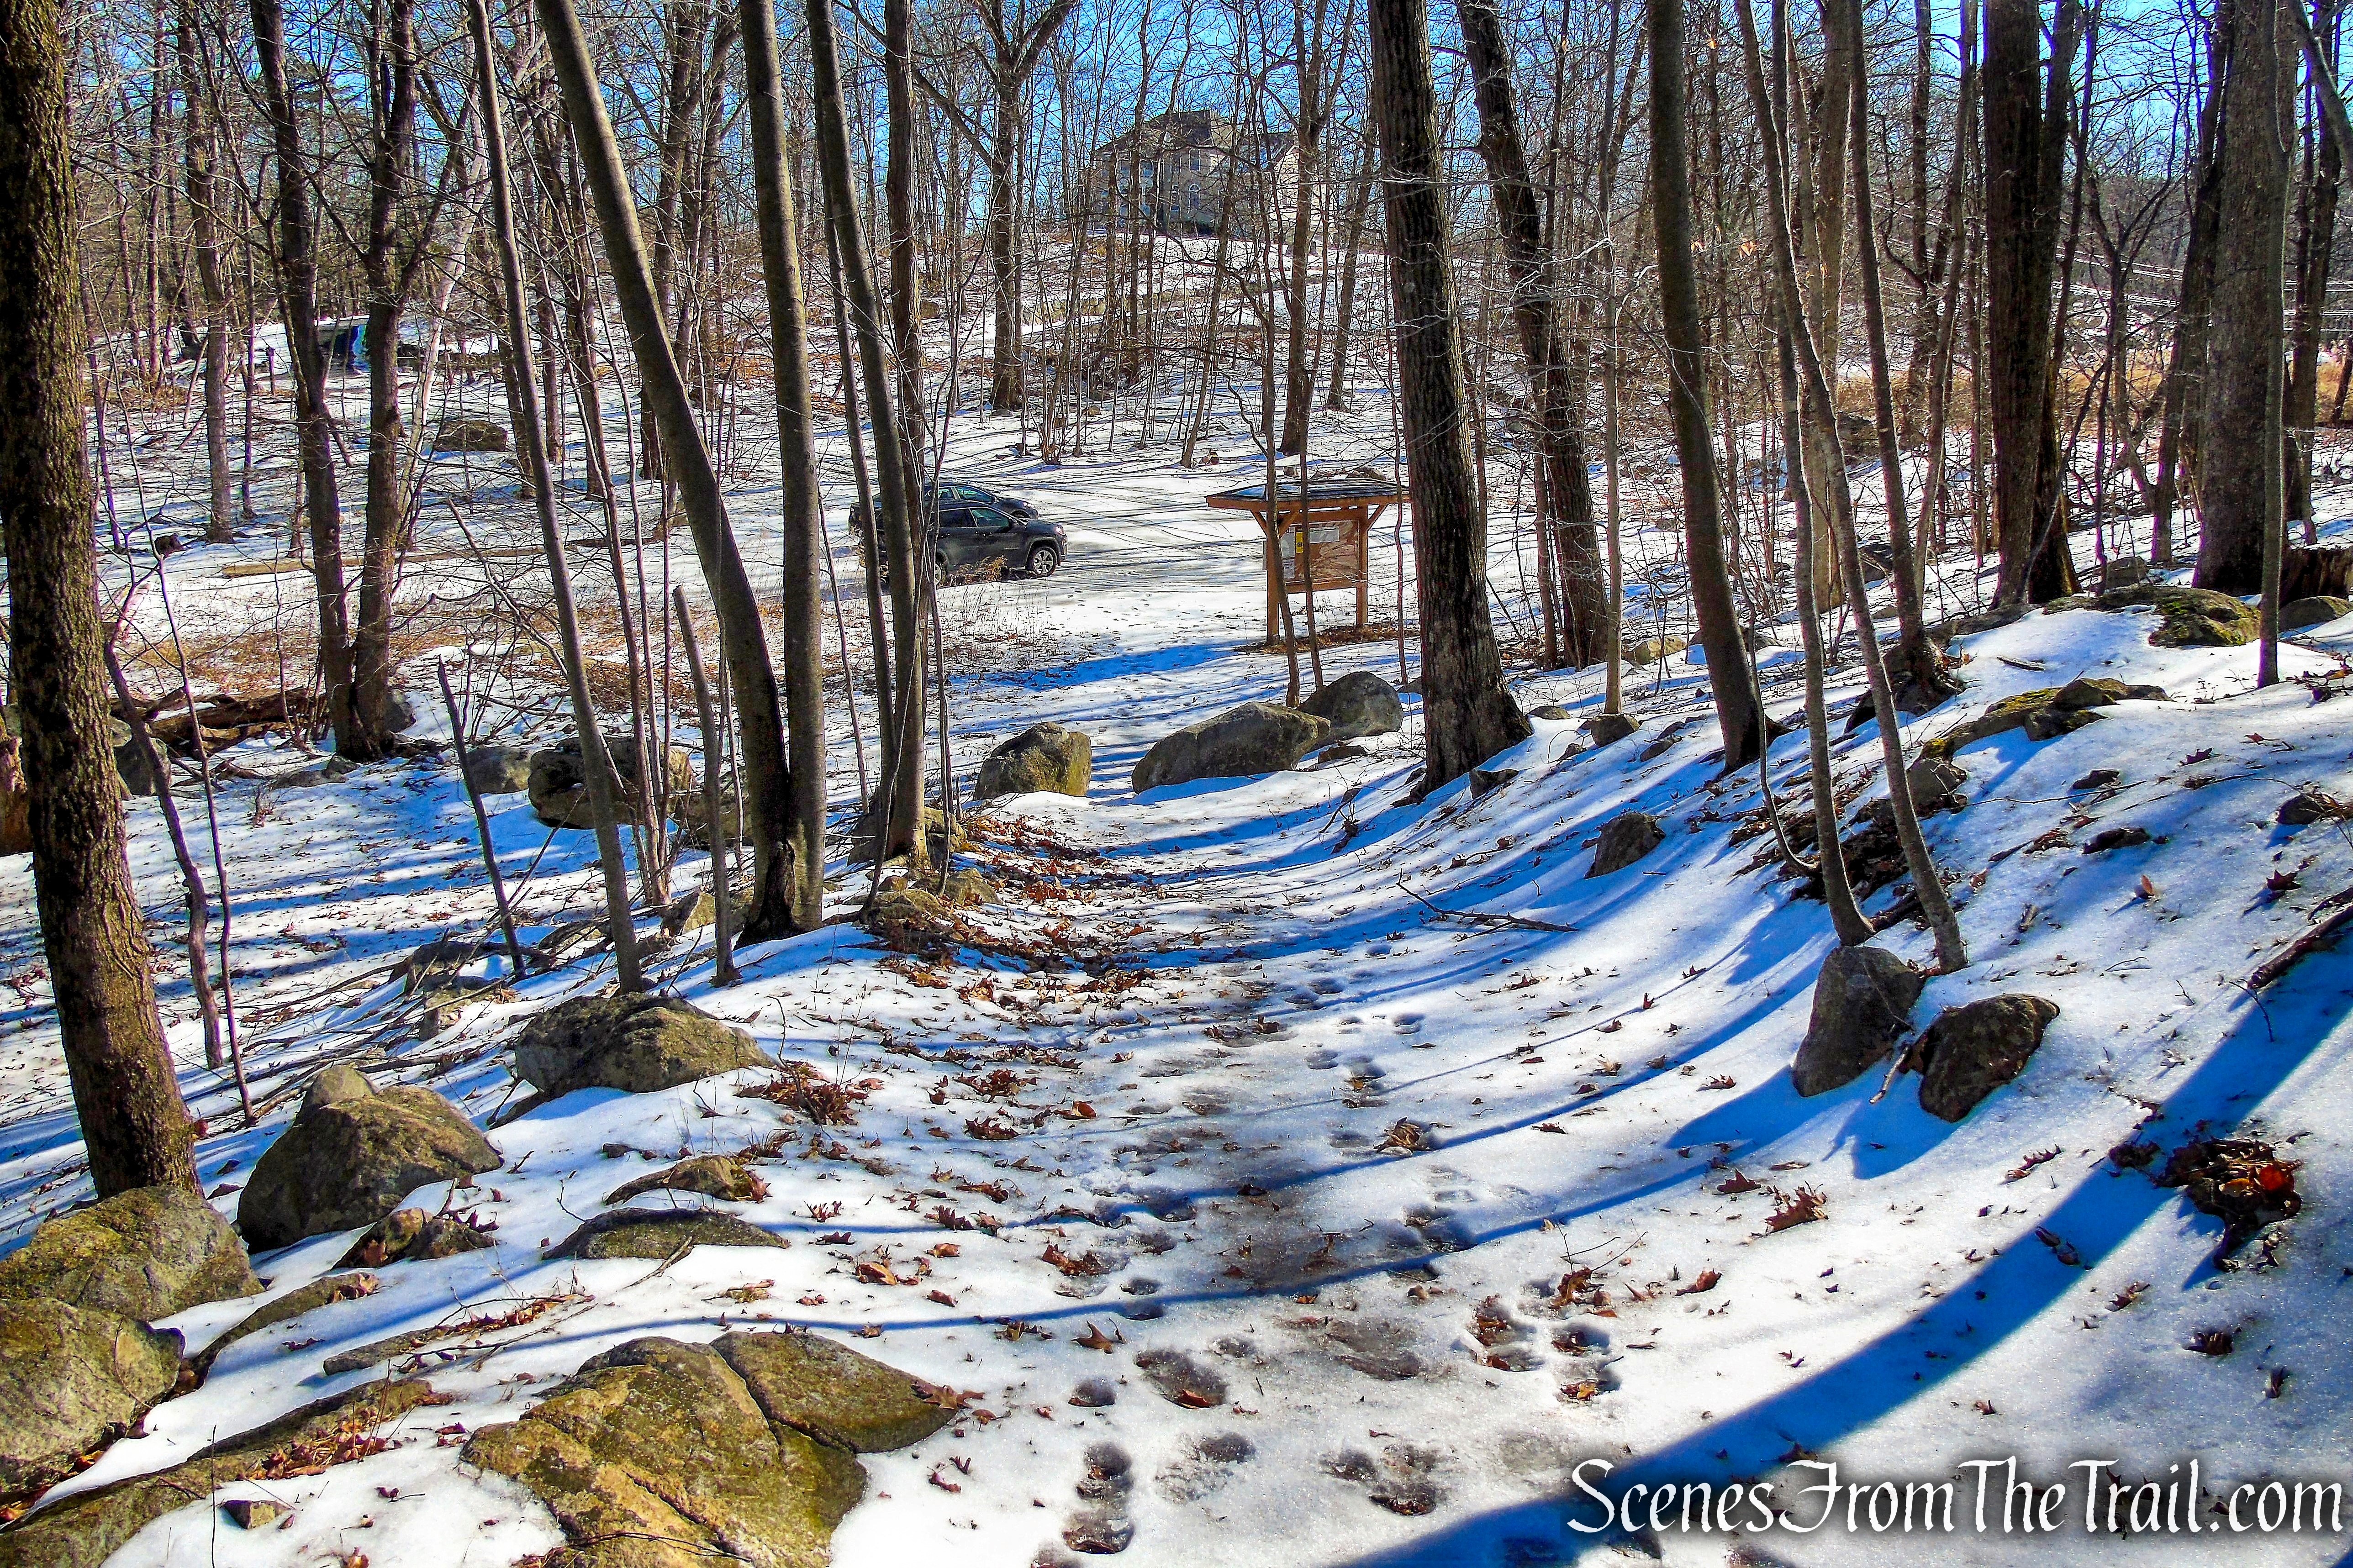
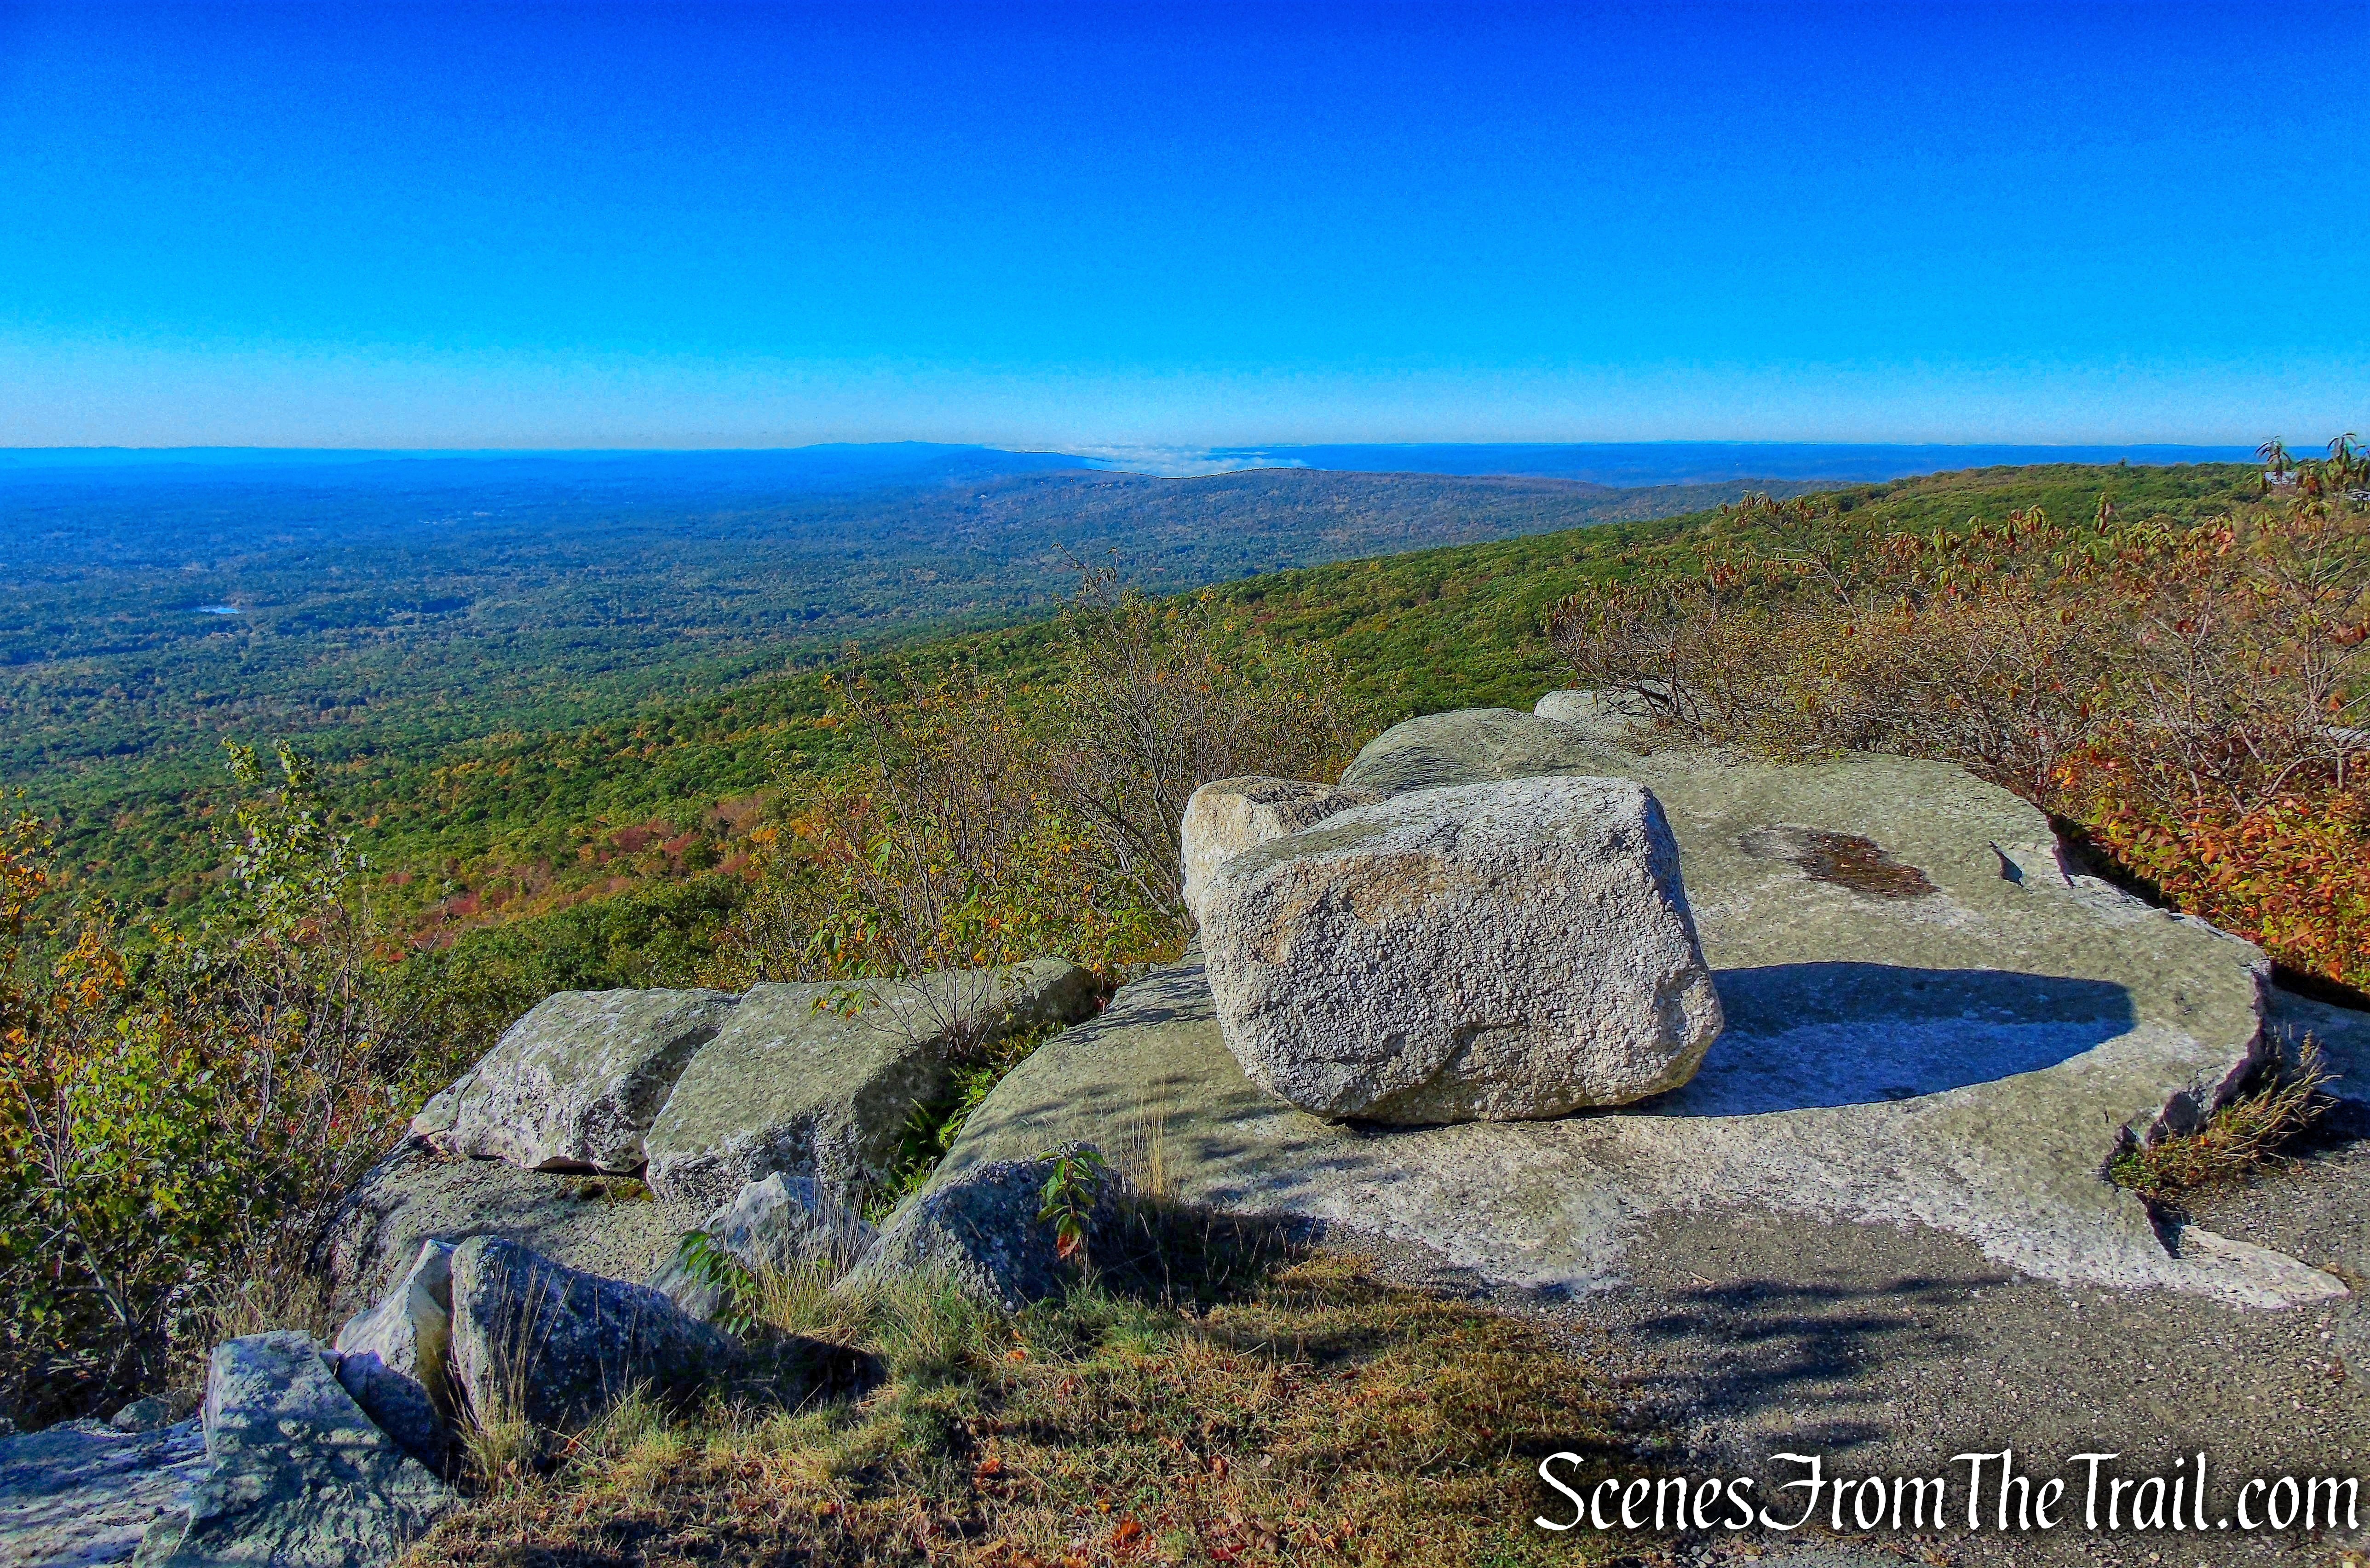
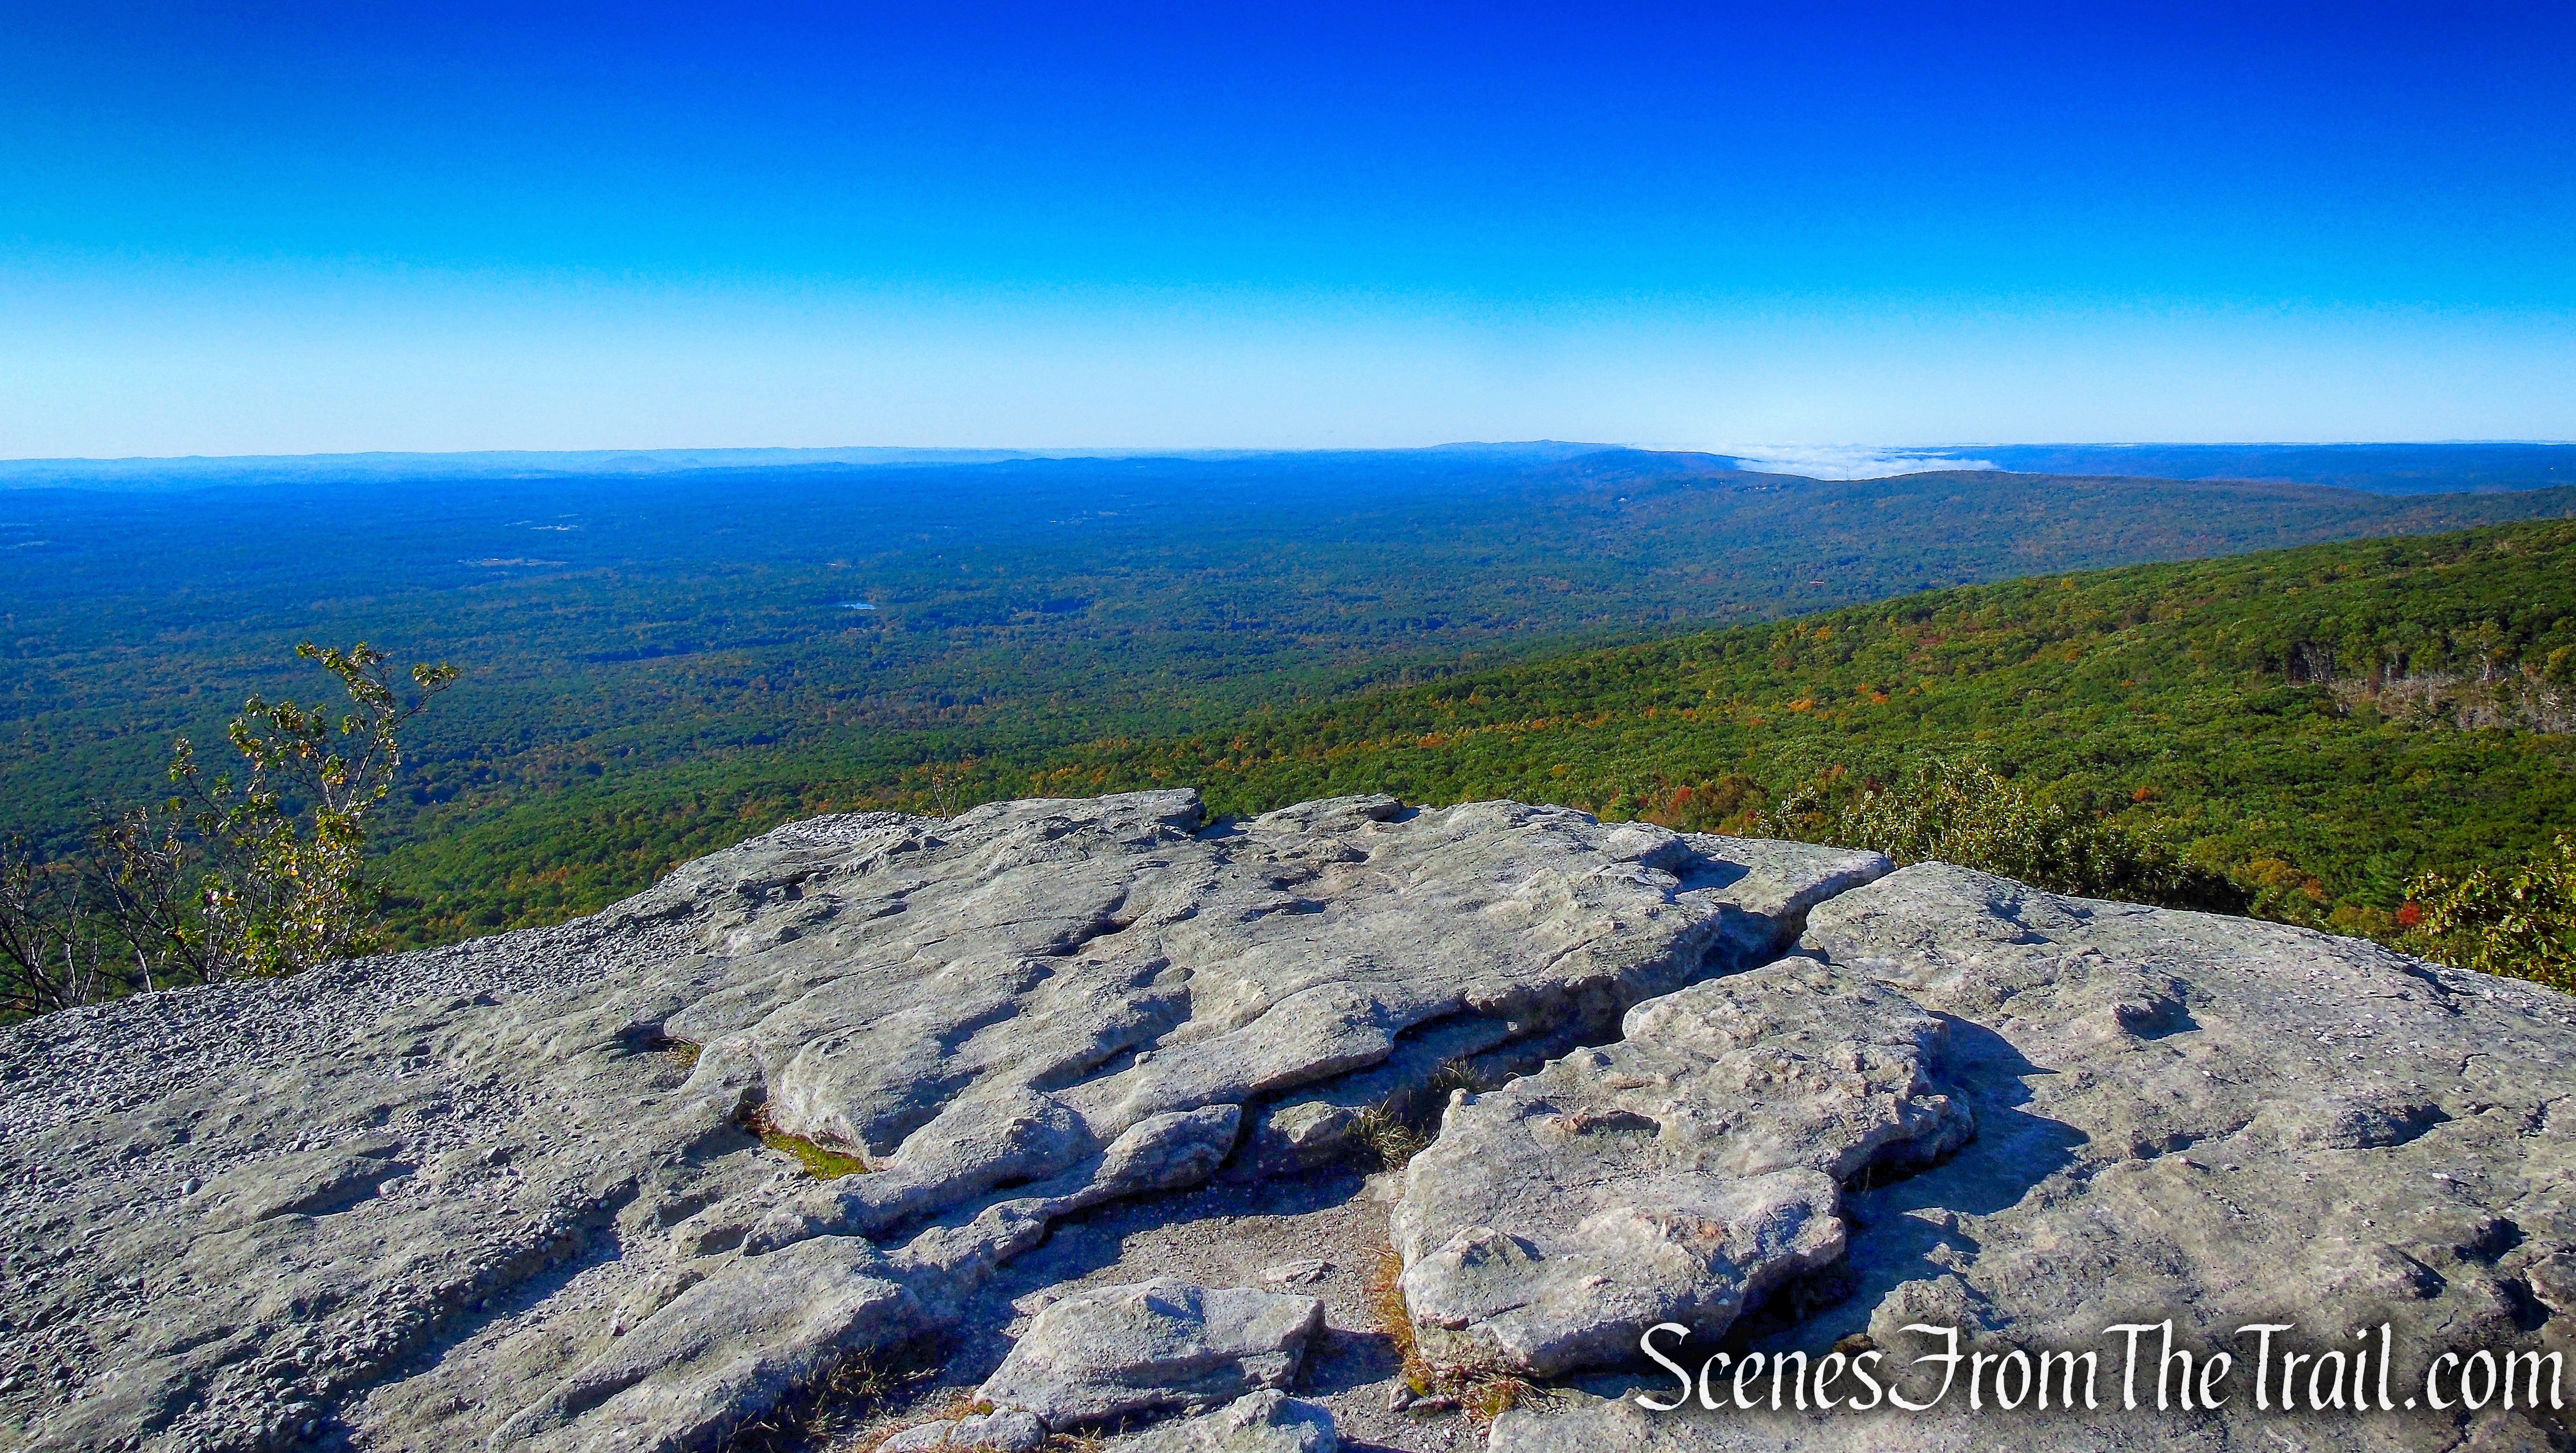
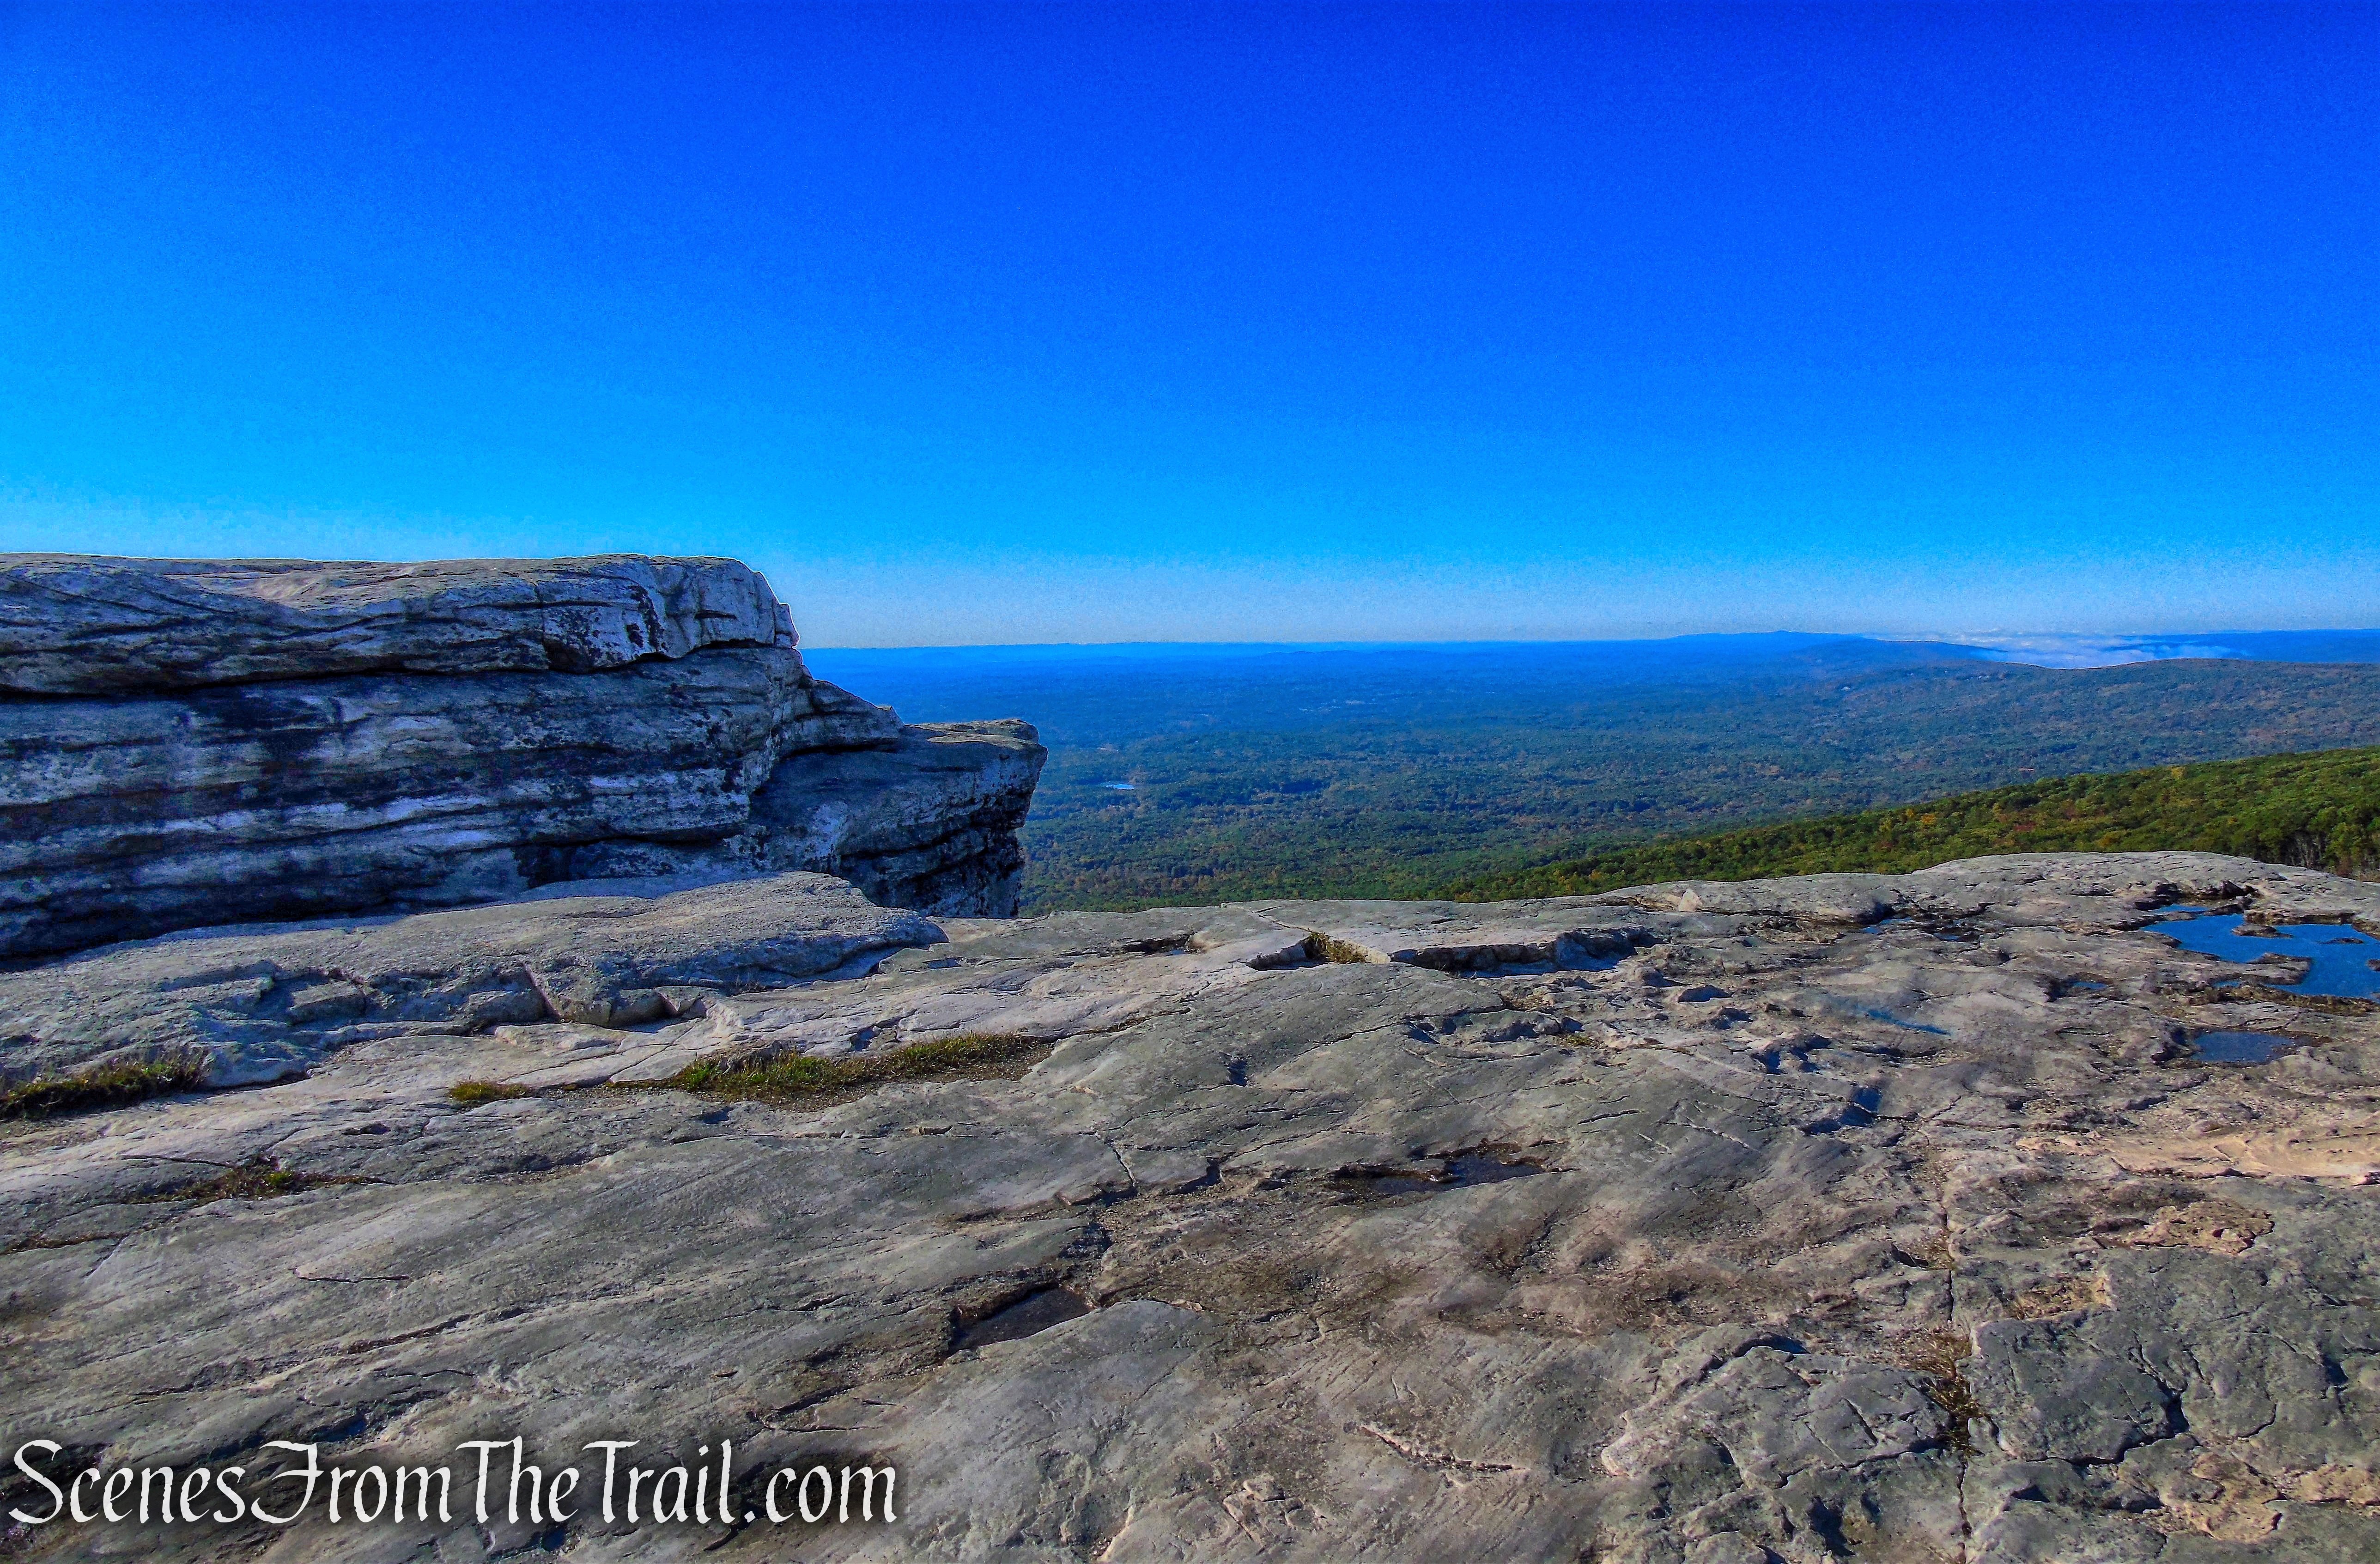
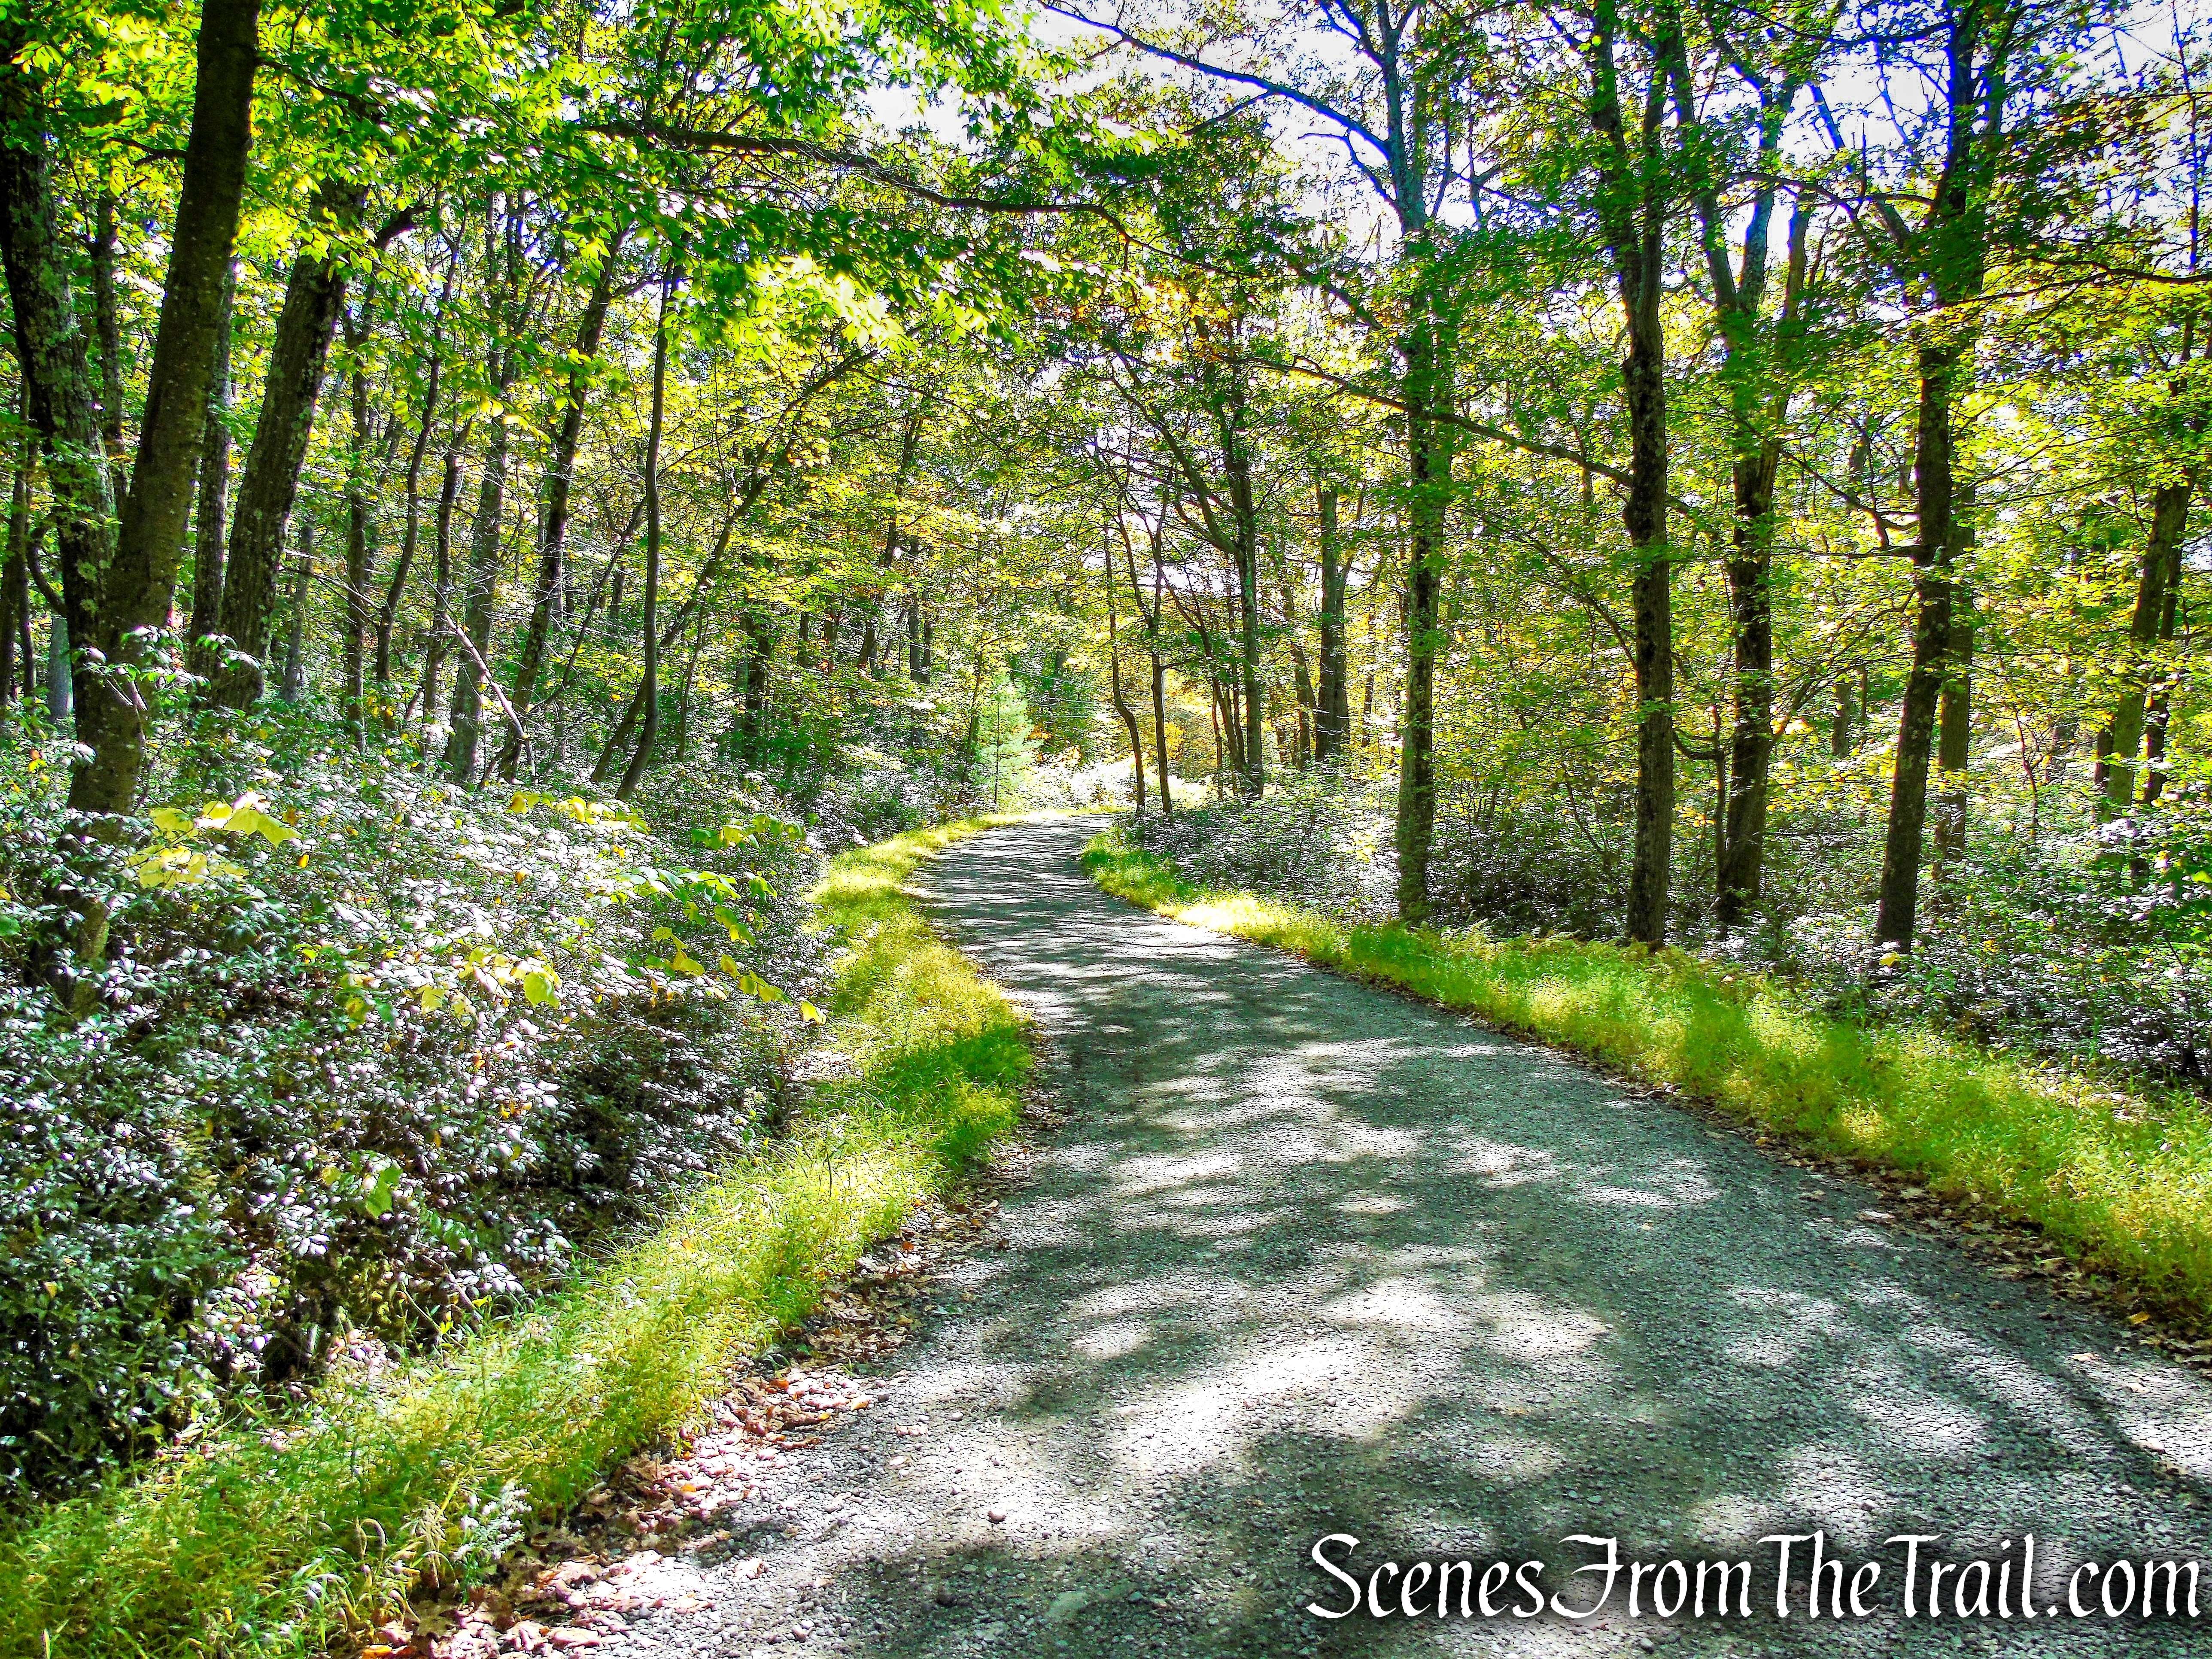
From the parking area, walk around the gate and take the right fork of the Loop Road (a gravel road, closed to private vehicles). Follow the road uphill on switchbacks through a deciduous forest. In about half a mile, you’ll pass dramatic cliffs of Shawangunk Conglomerate on the left, with excellent views from rock outcrops on the right. Just beyond, you’ll see a wide dirt road that goes off to the left. Turn left and follow this road, which leads in a short distance to the top of Sam’s Point, with even more spectacular views to the south along the Shawangunk Ridge and to the east over the Wallkill Valley. This is a good spot to take a break.

Loop Road – Sam’s Point Preserve

Loop Road – Sam’s Point Preserve

Loop Road – Sam’s Point Preserve
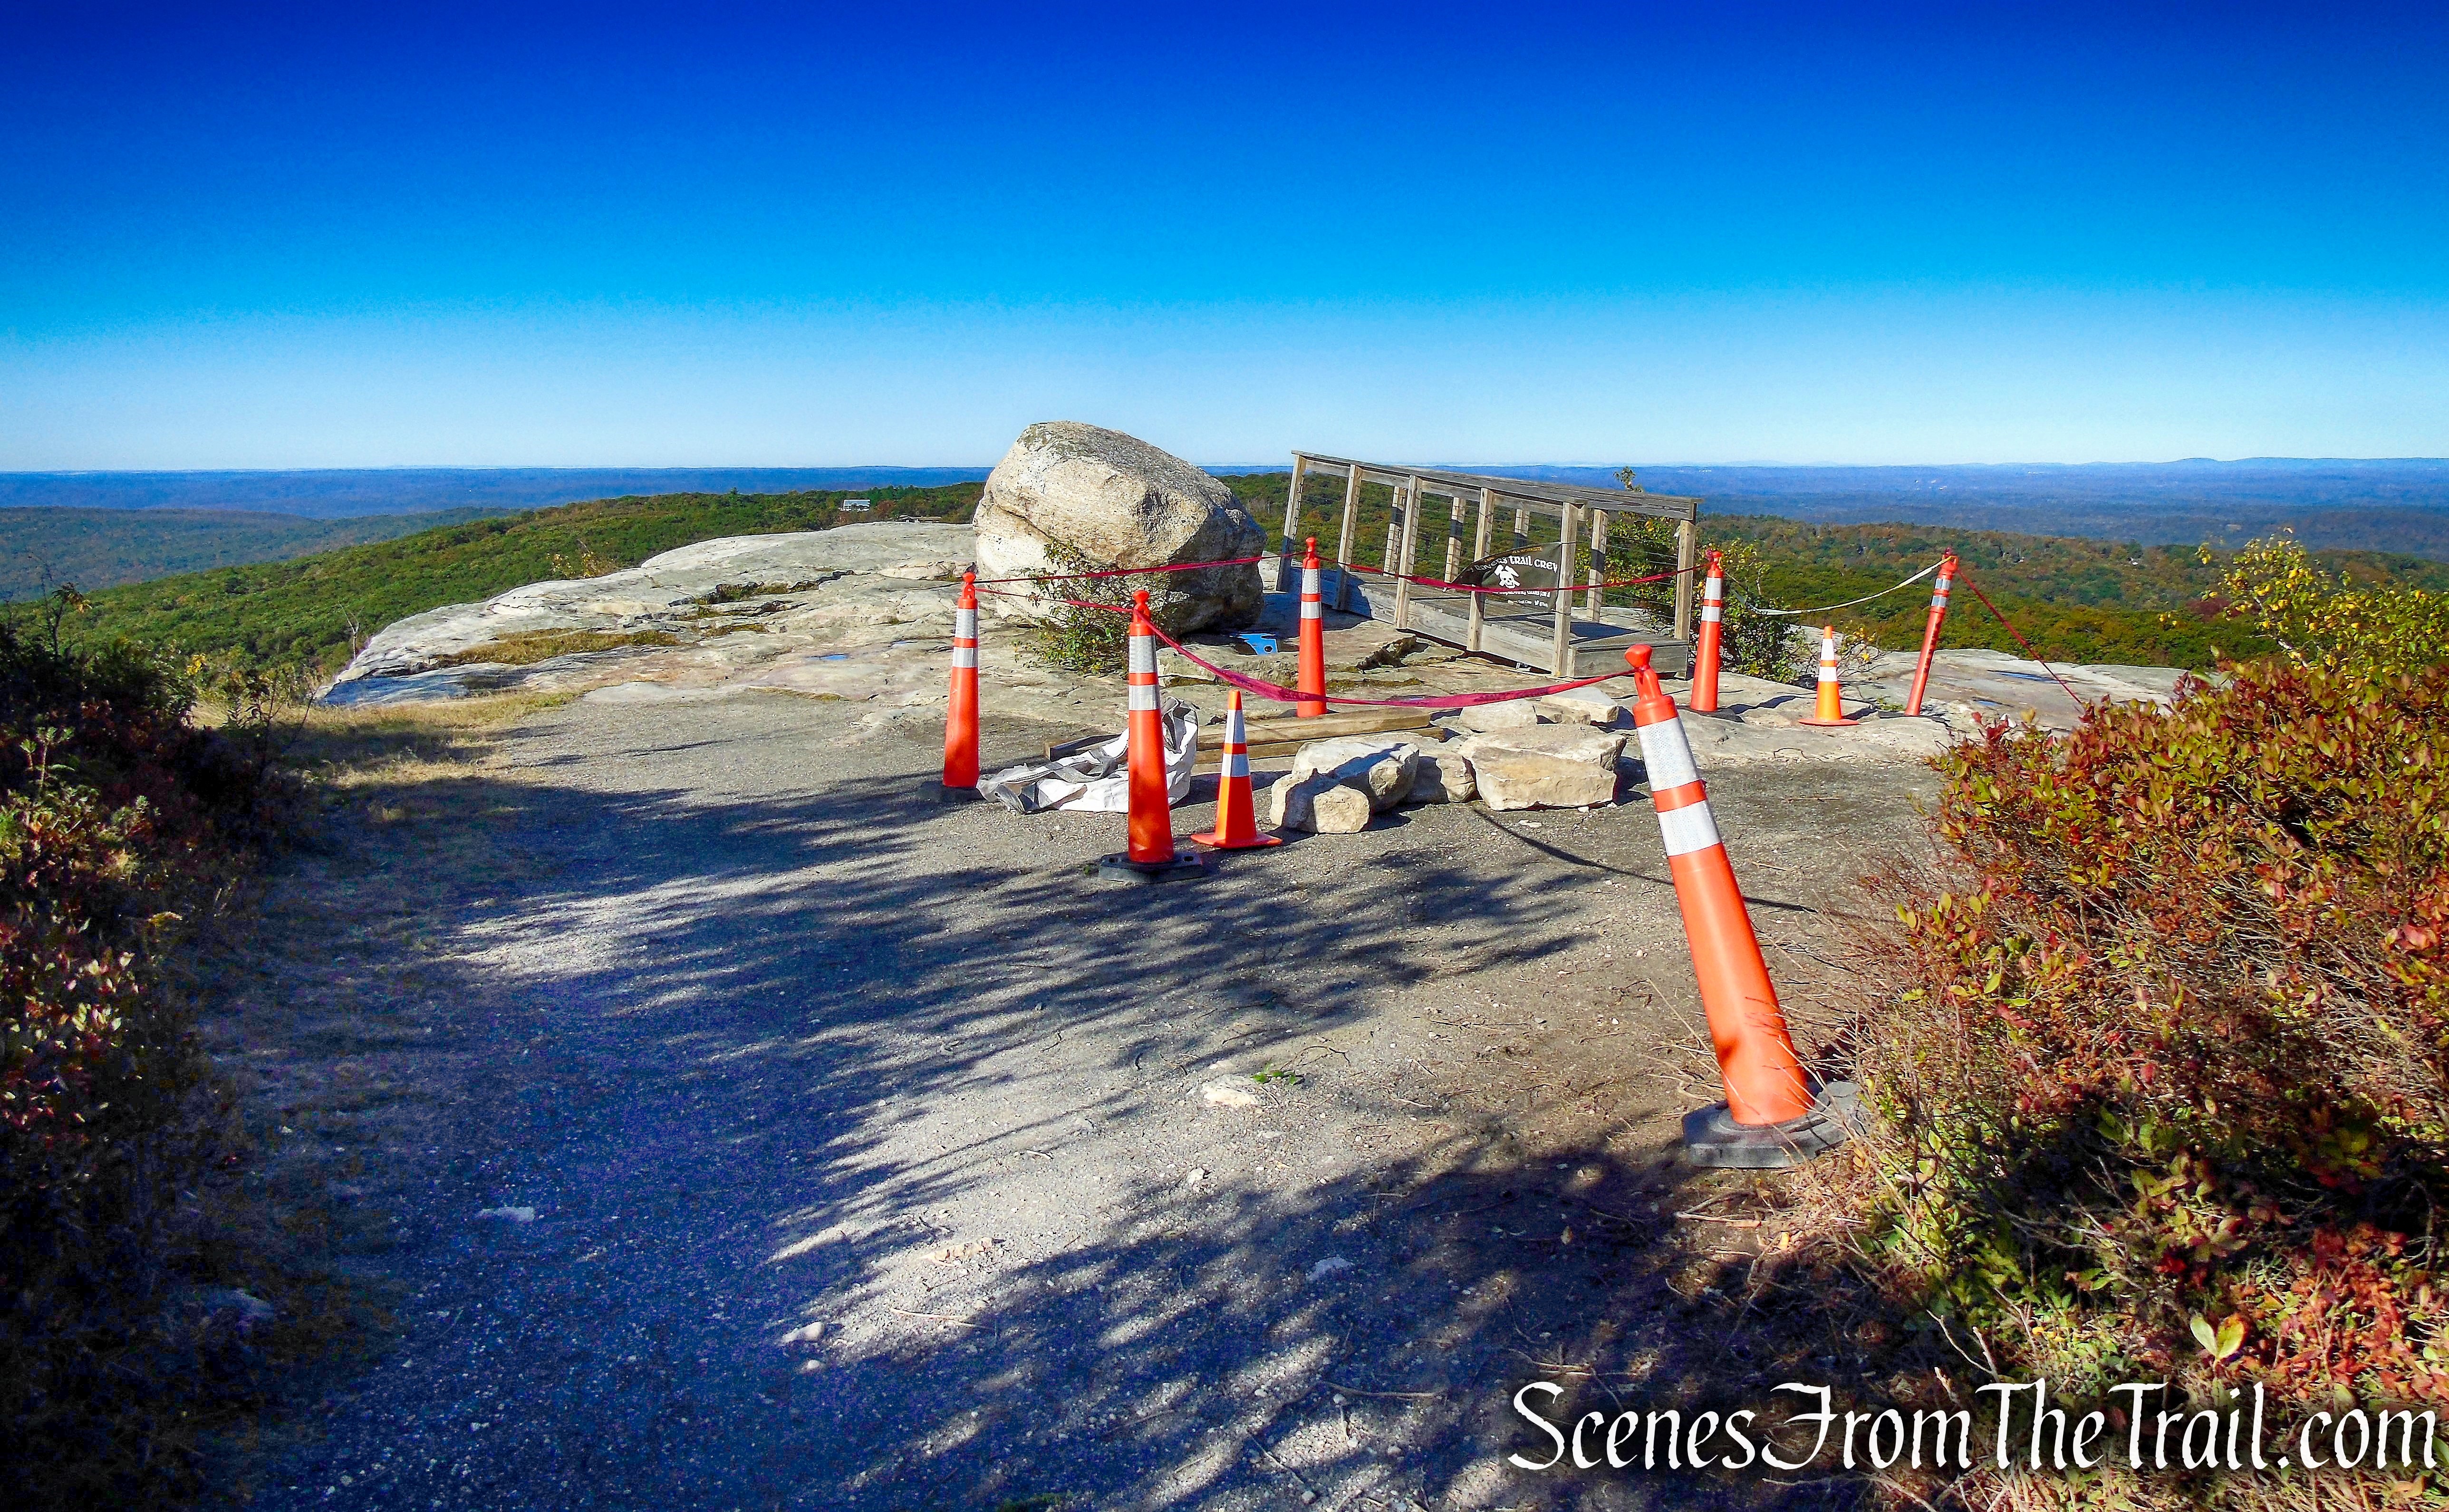
As of march 2022, the Lenape Steps are officially open. Jolly Rovers has more information on the 3 year long project.
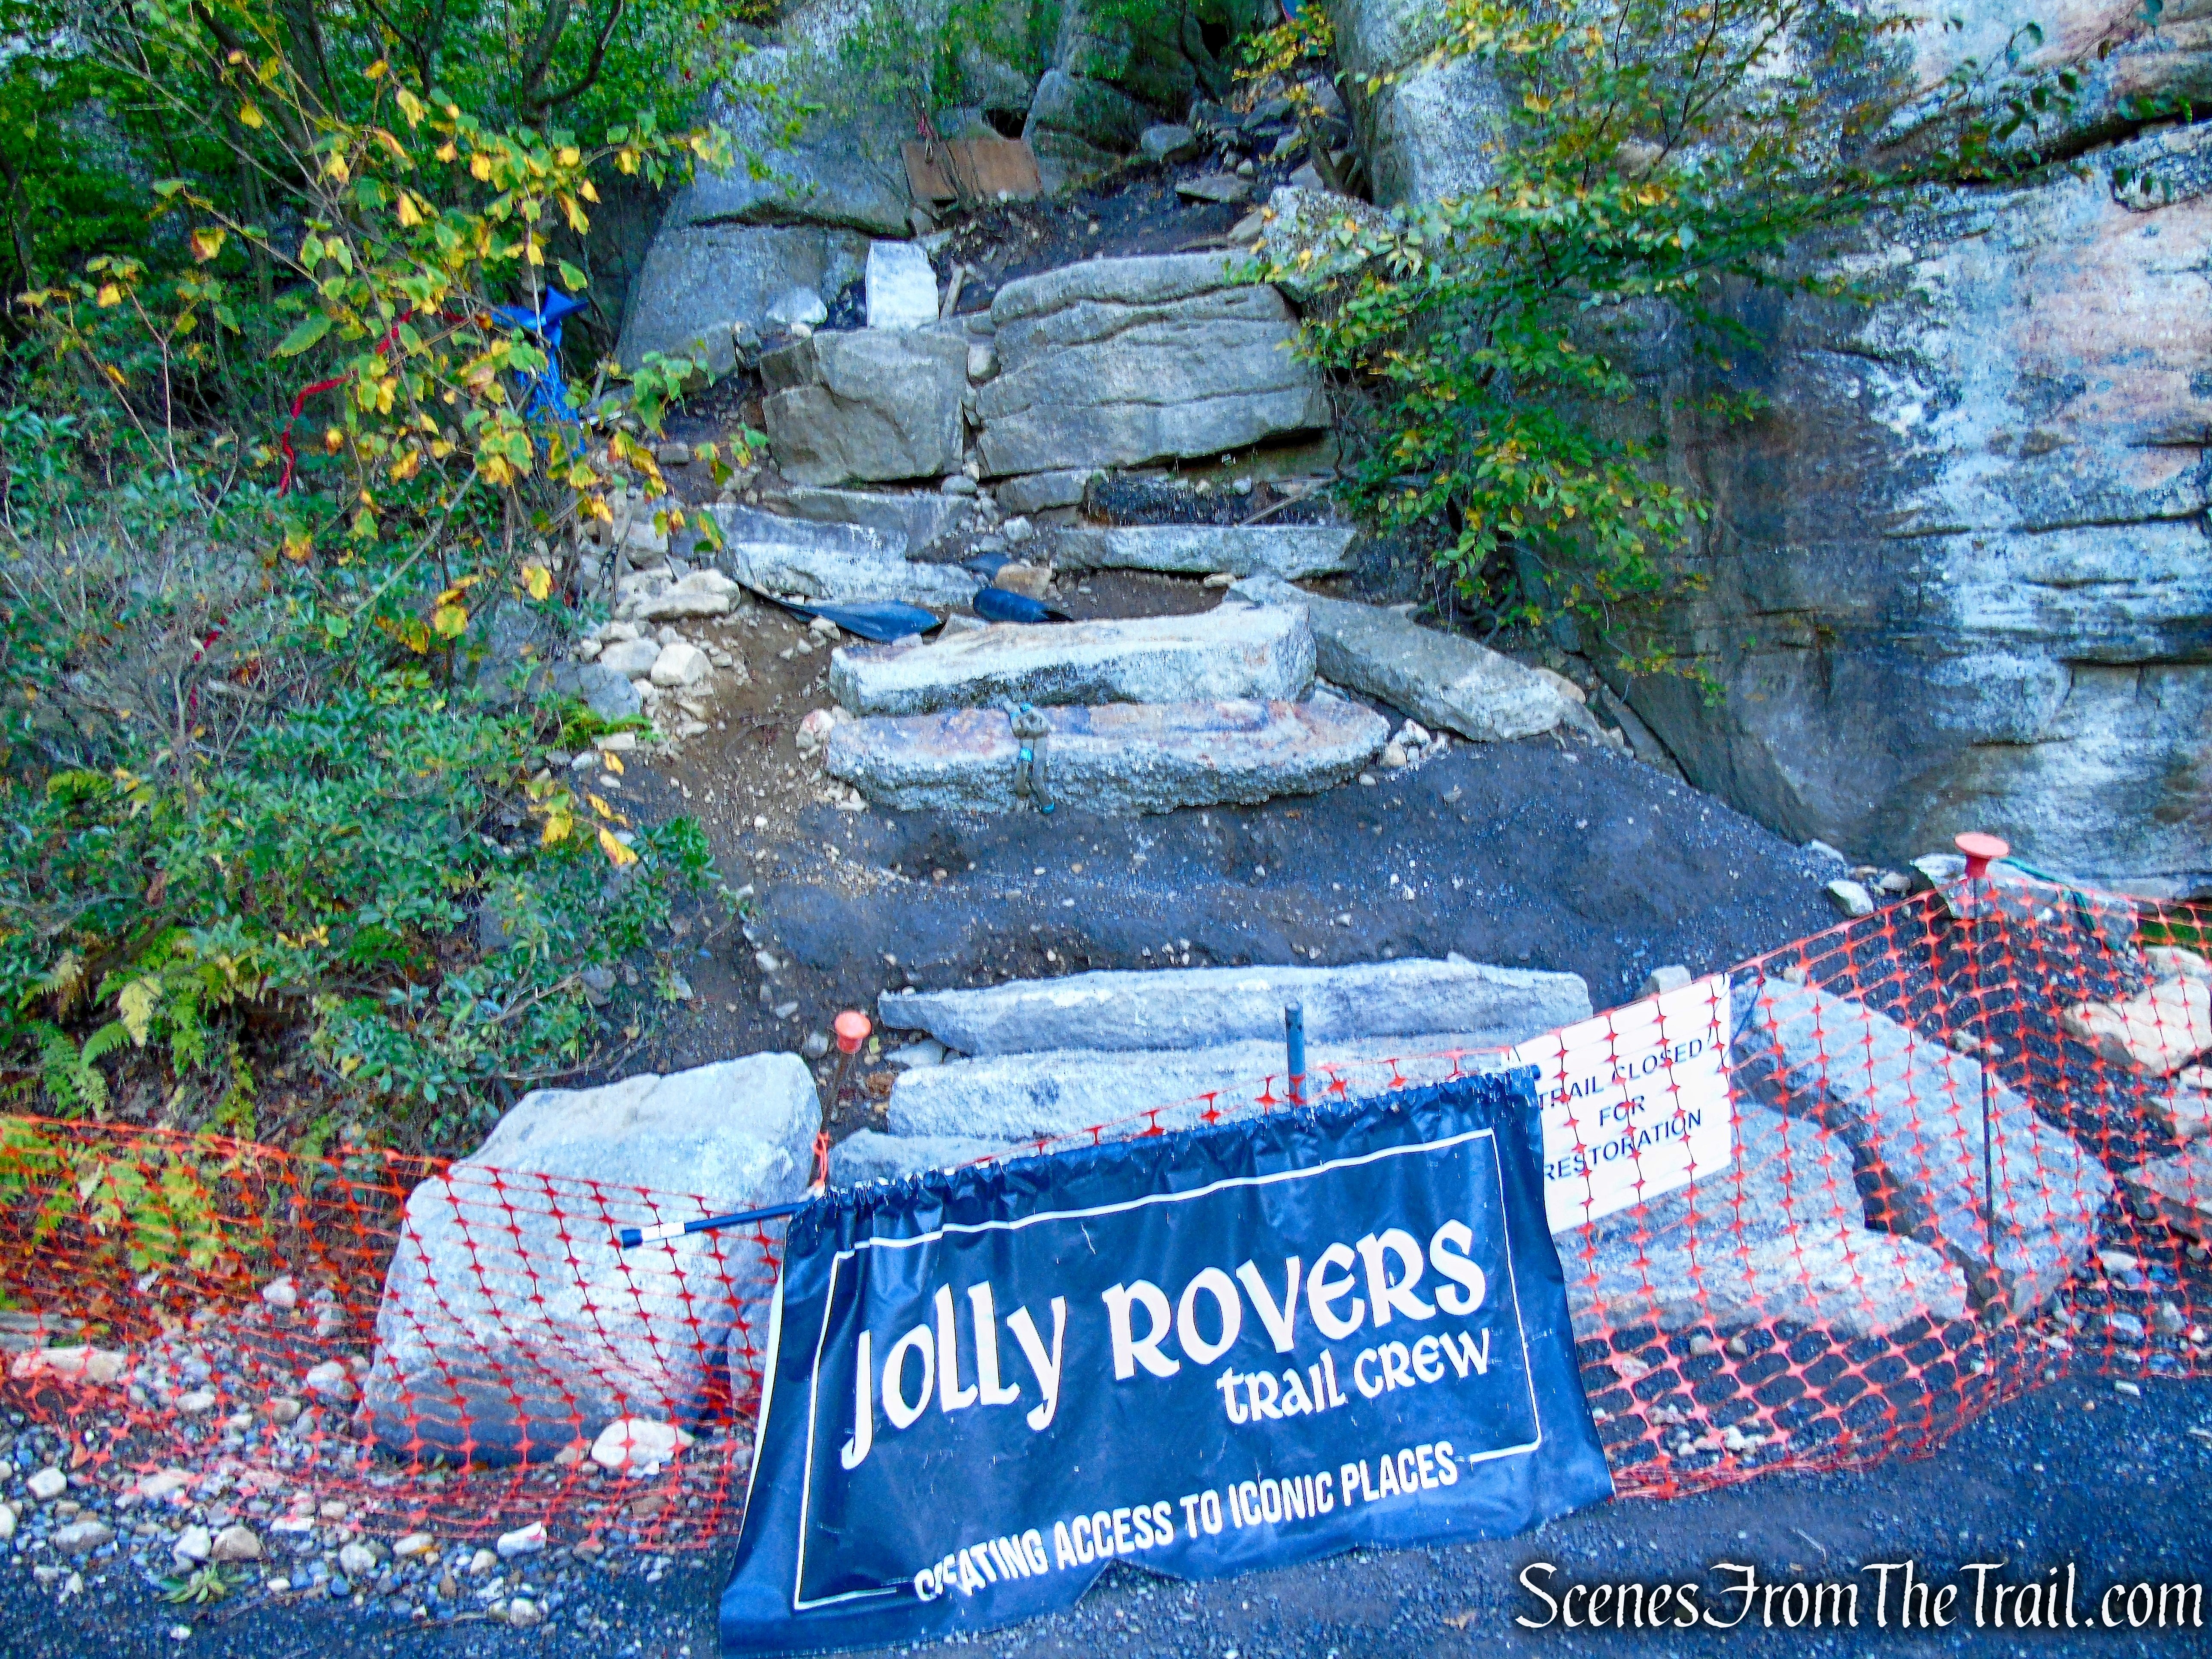
Lenape Steps under construction – Loop Road

Loop Road – Sam’s Point Preserve

Loop Road – Sam’s Point Preserve

Loop Road – Sam’s Point Preserve
Loop Road – Sam’s Point Preserve

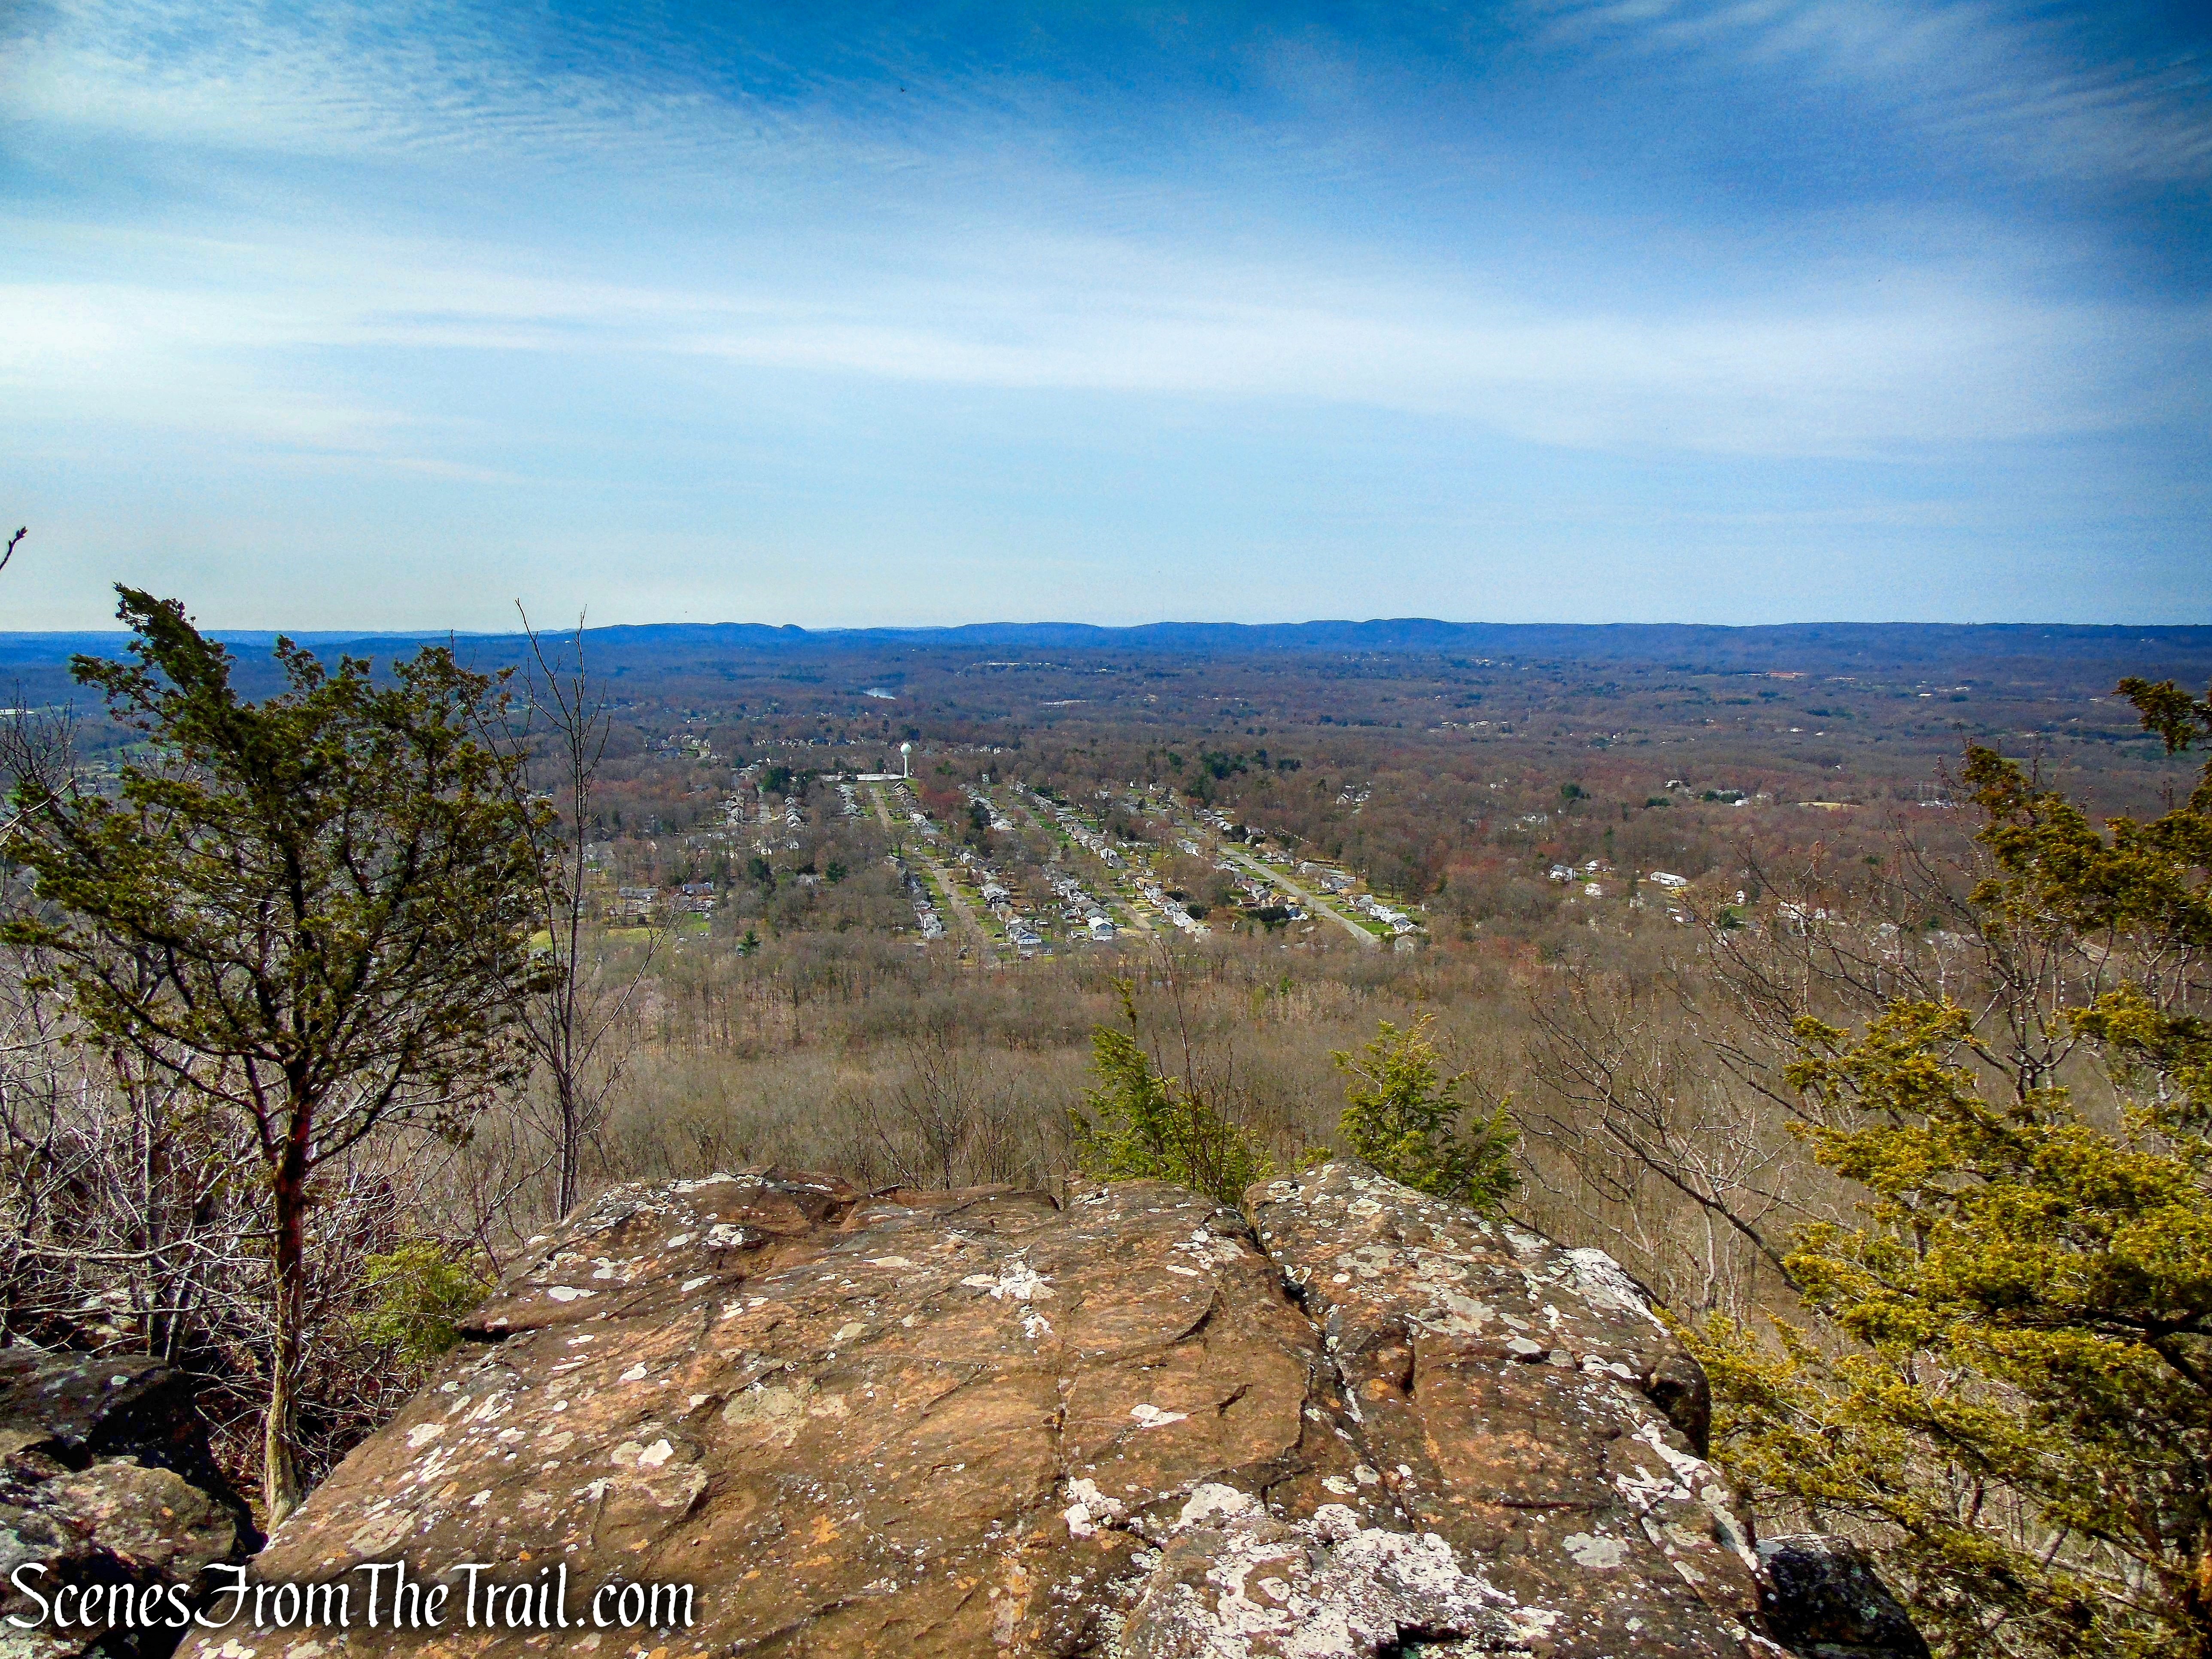
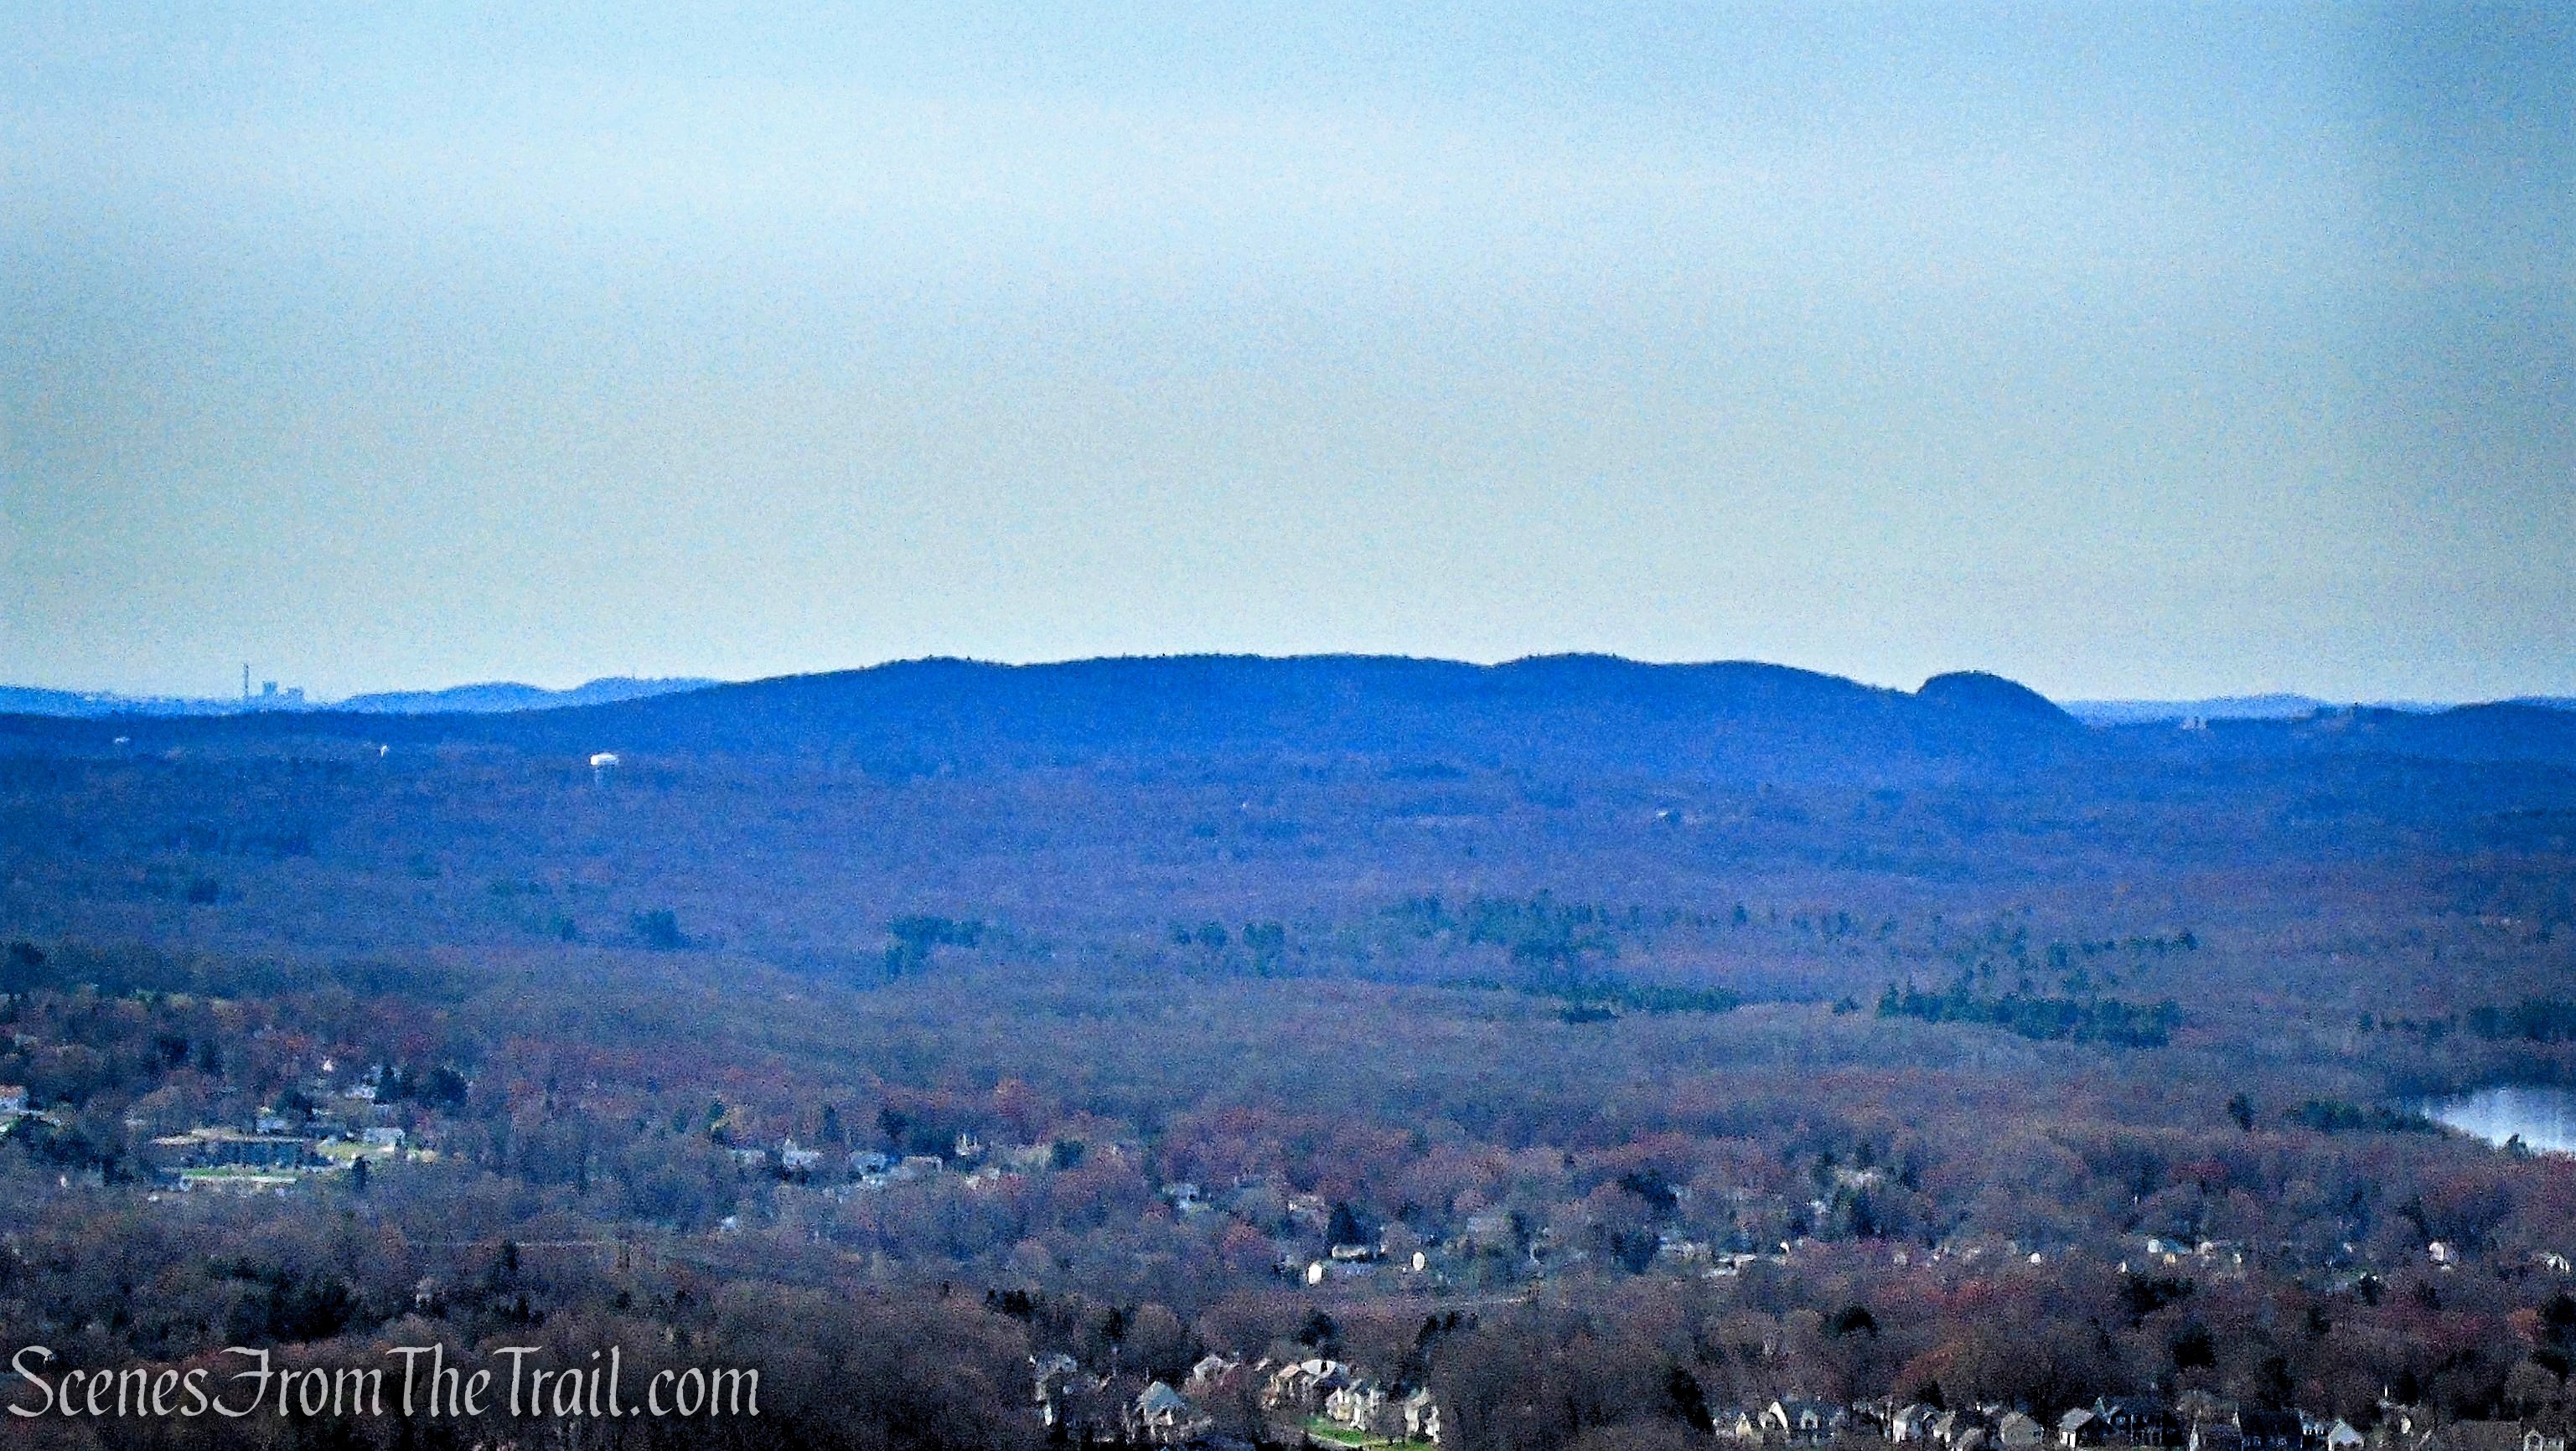
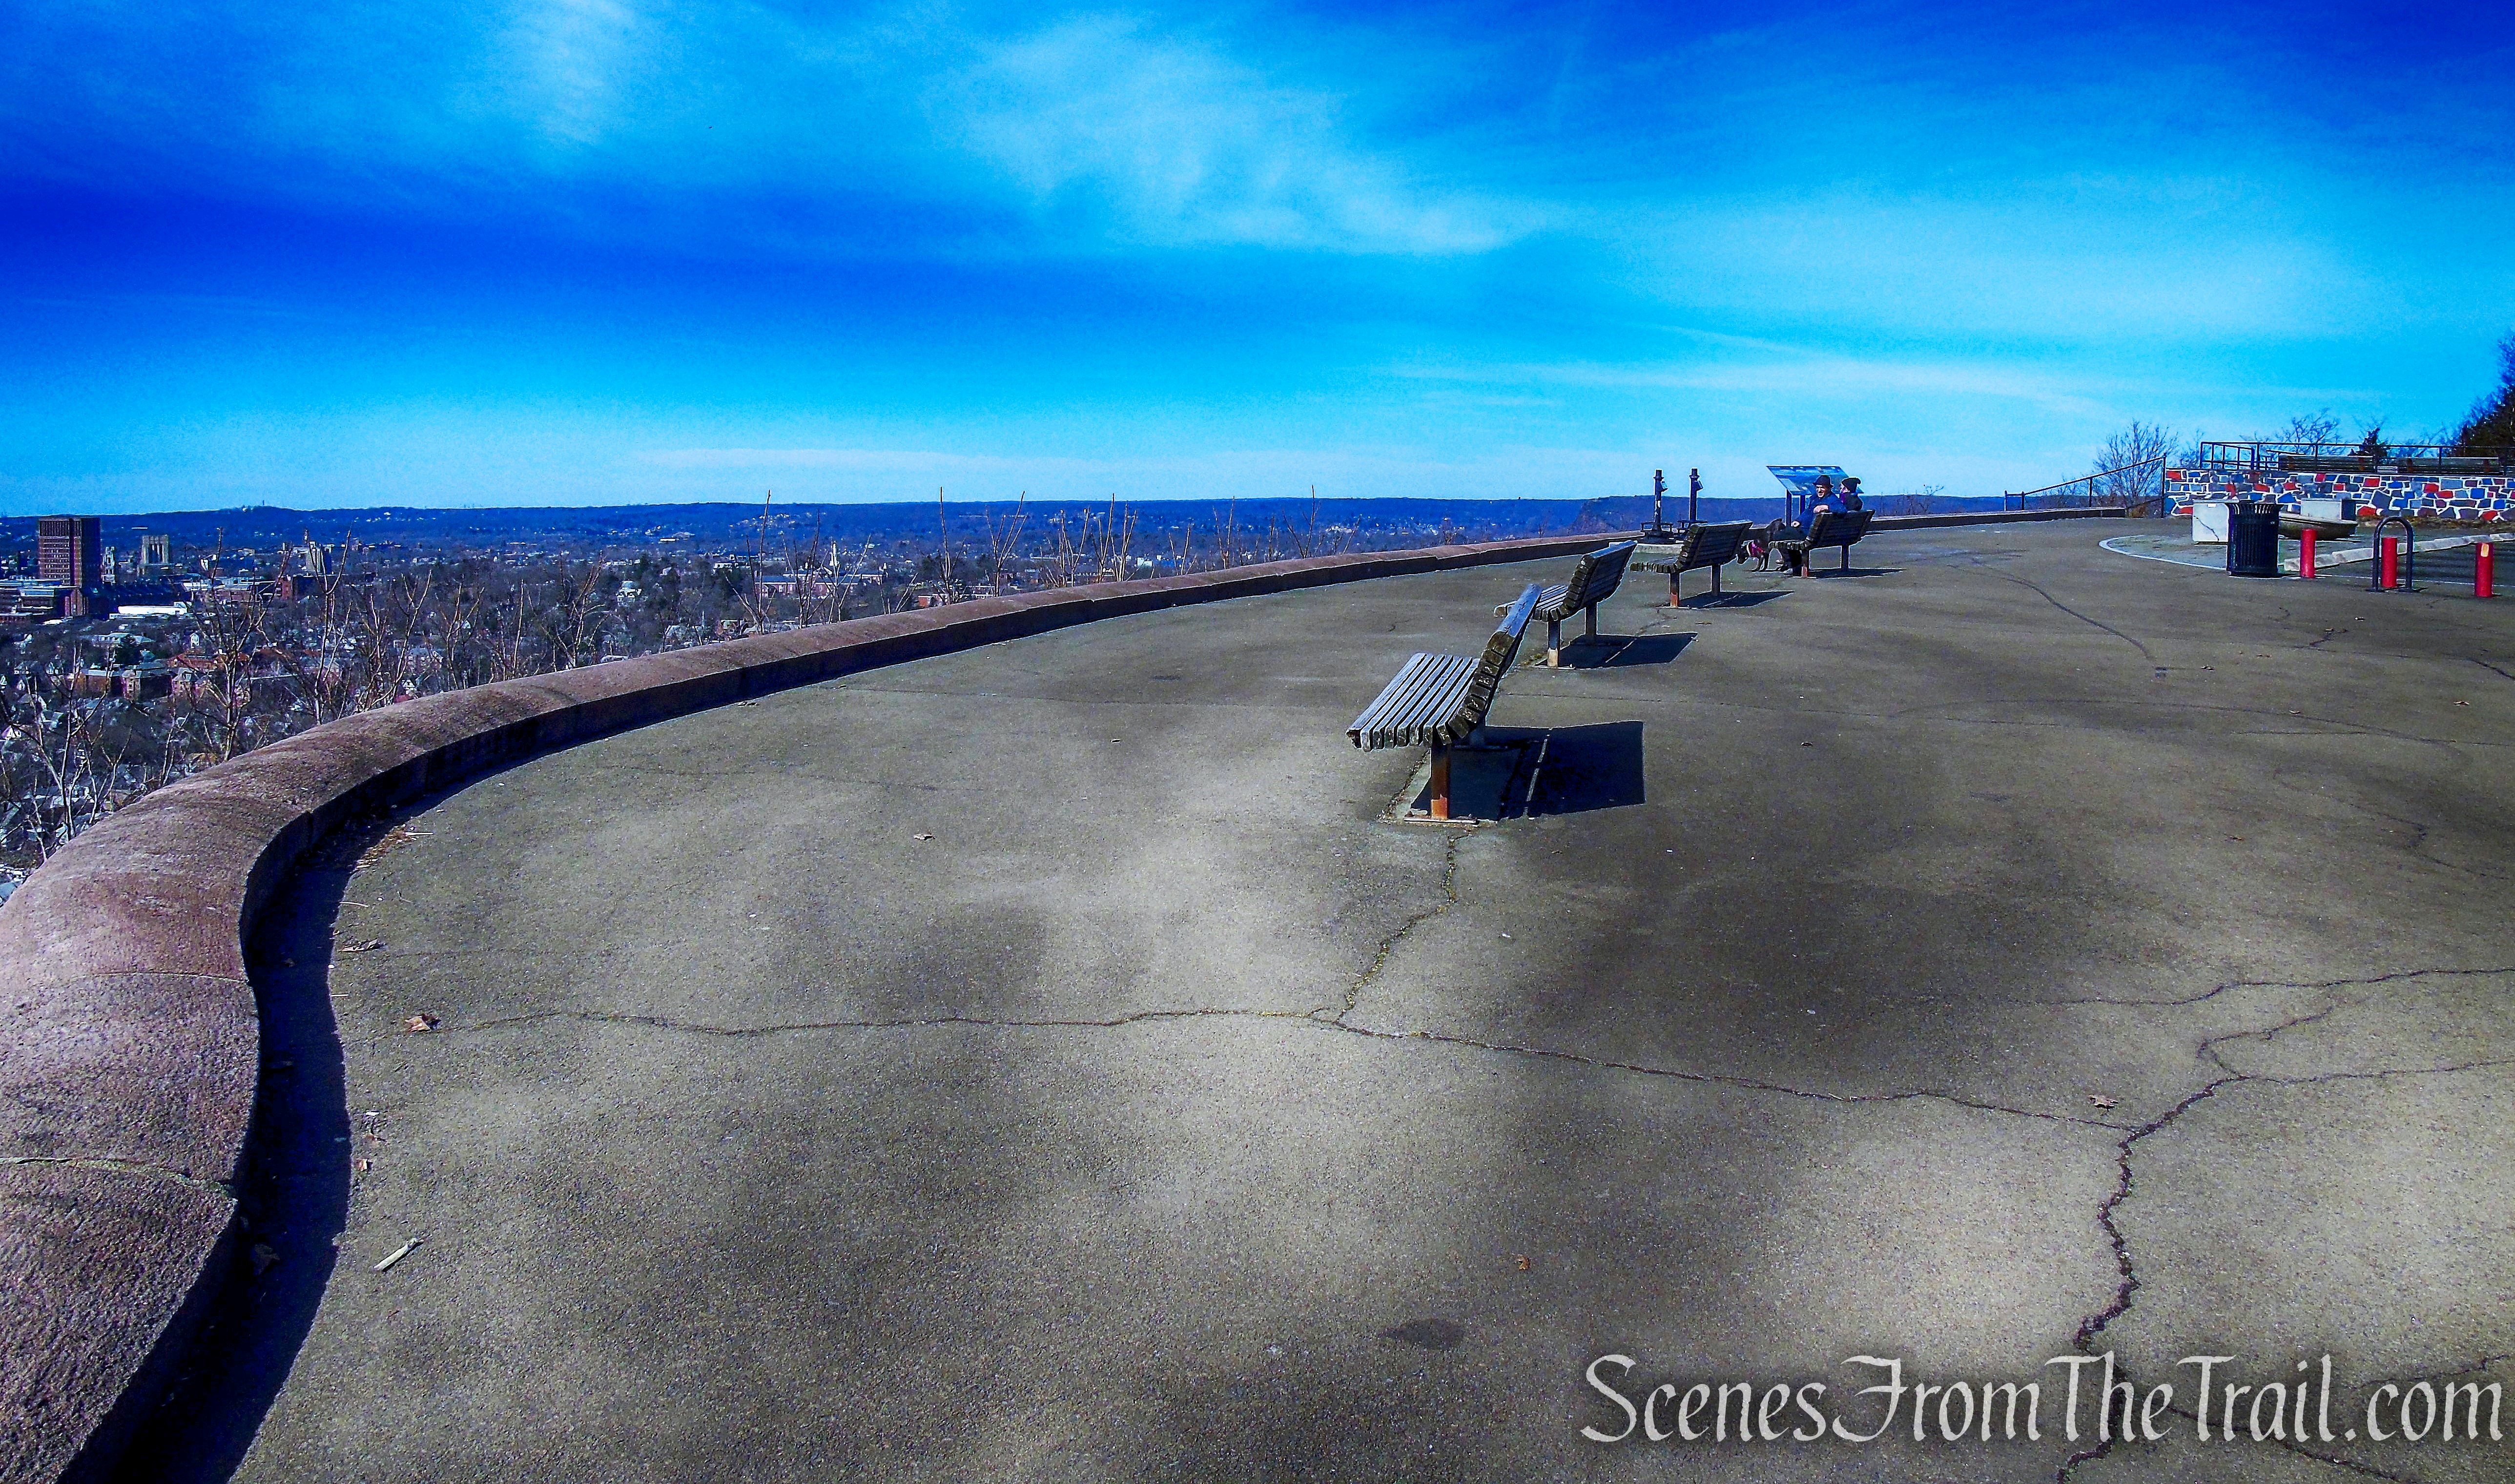
turn left towards Sam’s Point Overlook

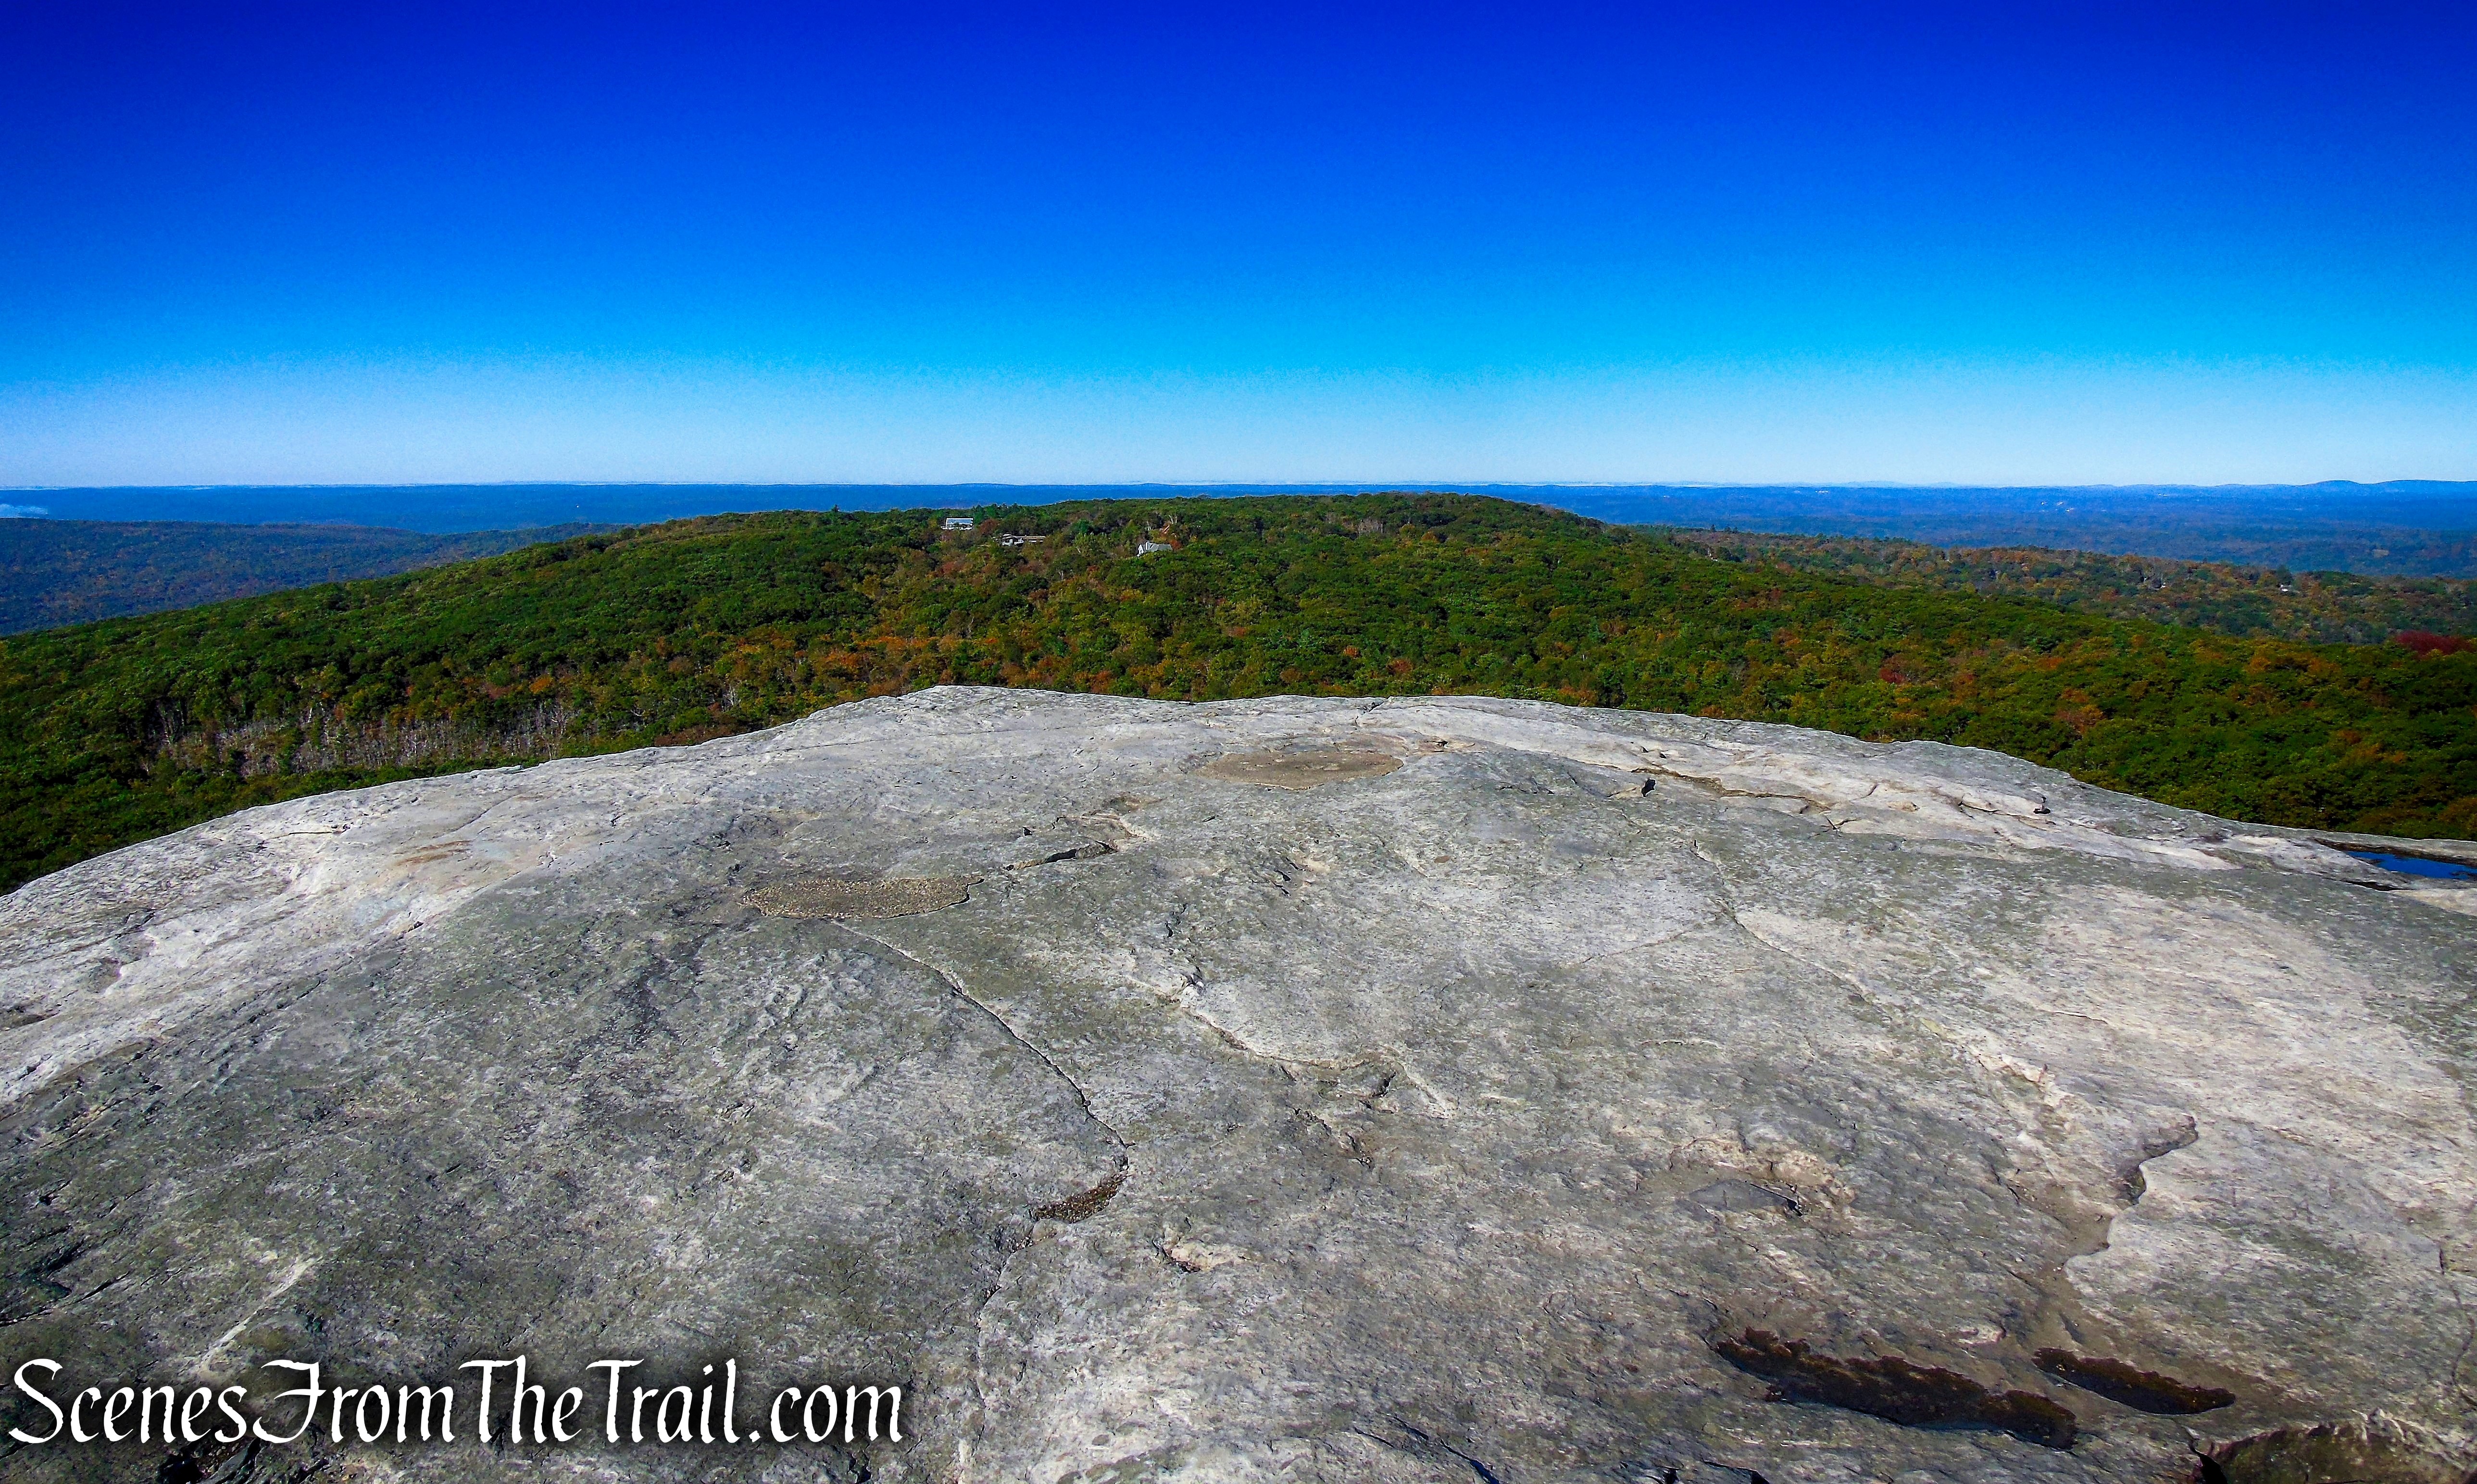
Sam’s Point Overlook
Sam’s Point Overlook
Sam’s Point Overlook

Sam’s Point Overlook

Sam’s Point parking lot
Sam’s Point Overlook

Sam’s Point Overlook
After taking in the views, return to the Loop Road (now paved) and turn left. The road levels off, and the vegetation changes dramatically. The deciduous forest that you have encountered up to here is replaced by a ridgetop dwarf pitch pine forest, with a thick understory of blueberries and huckleberries. Most of the pitch pines grow only about three-to-six feet high – not much higher than the blueberries in the understory!

Loop Road – Sam’s Point Preserve
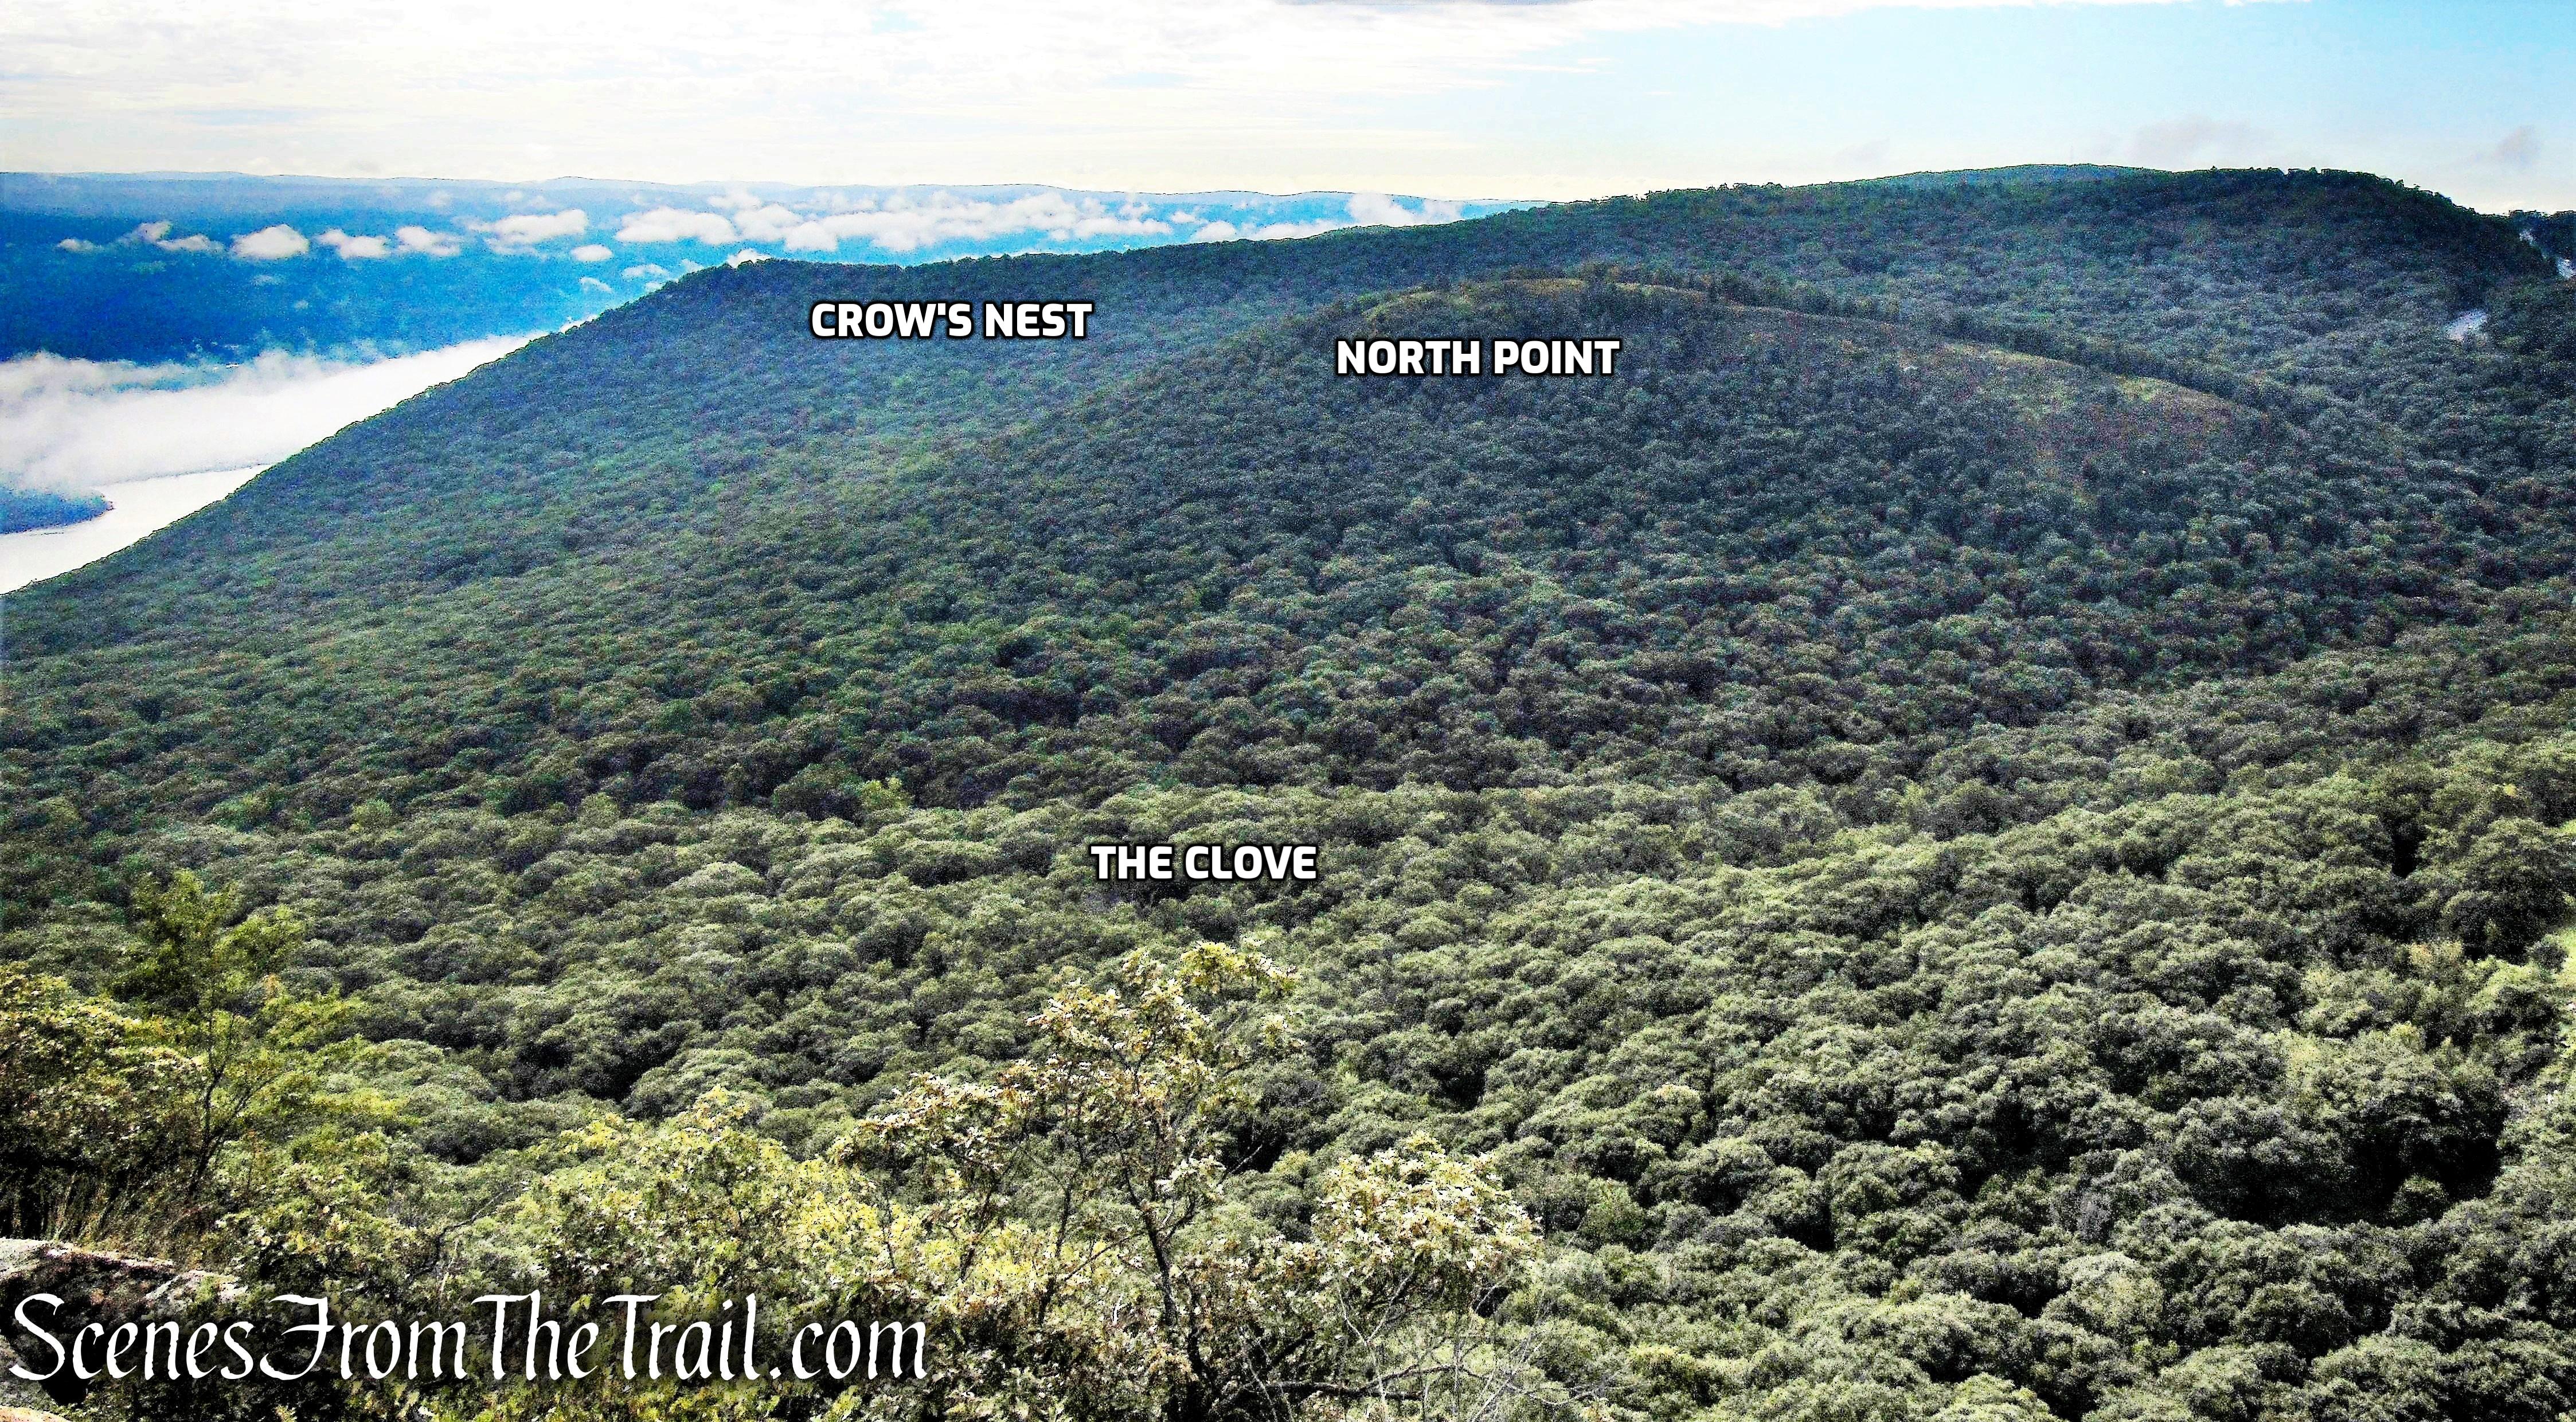
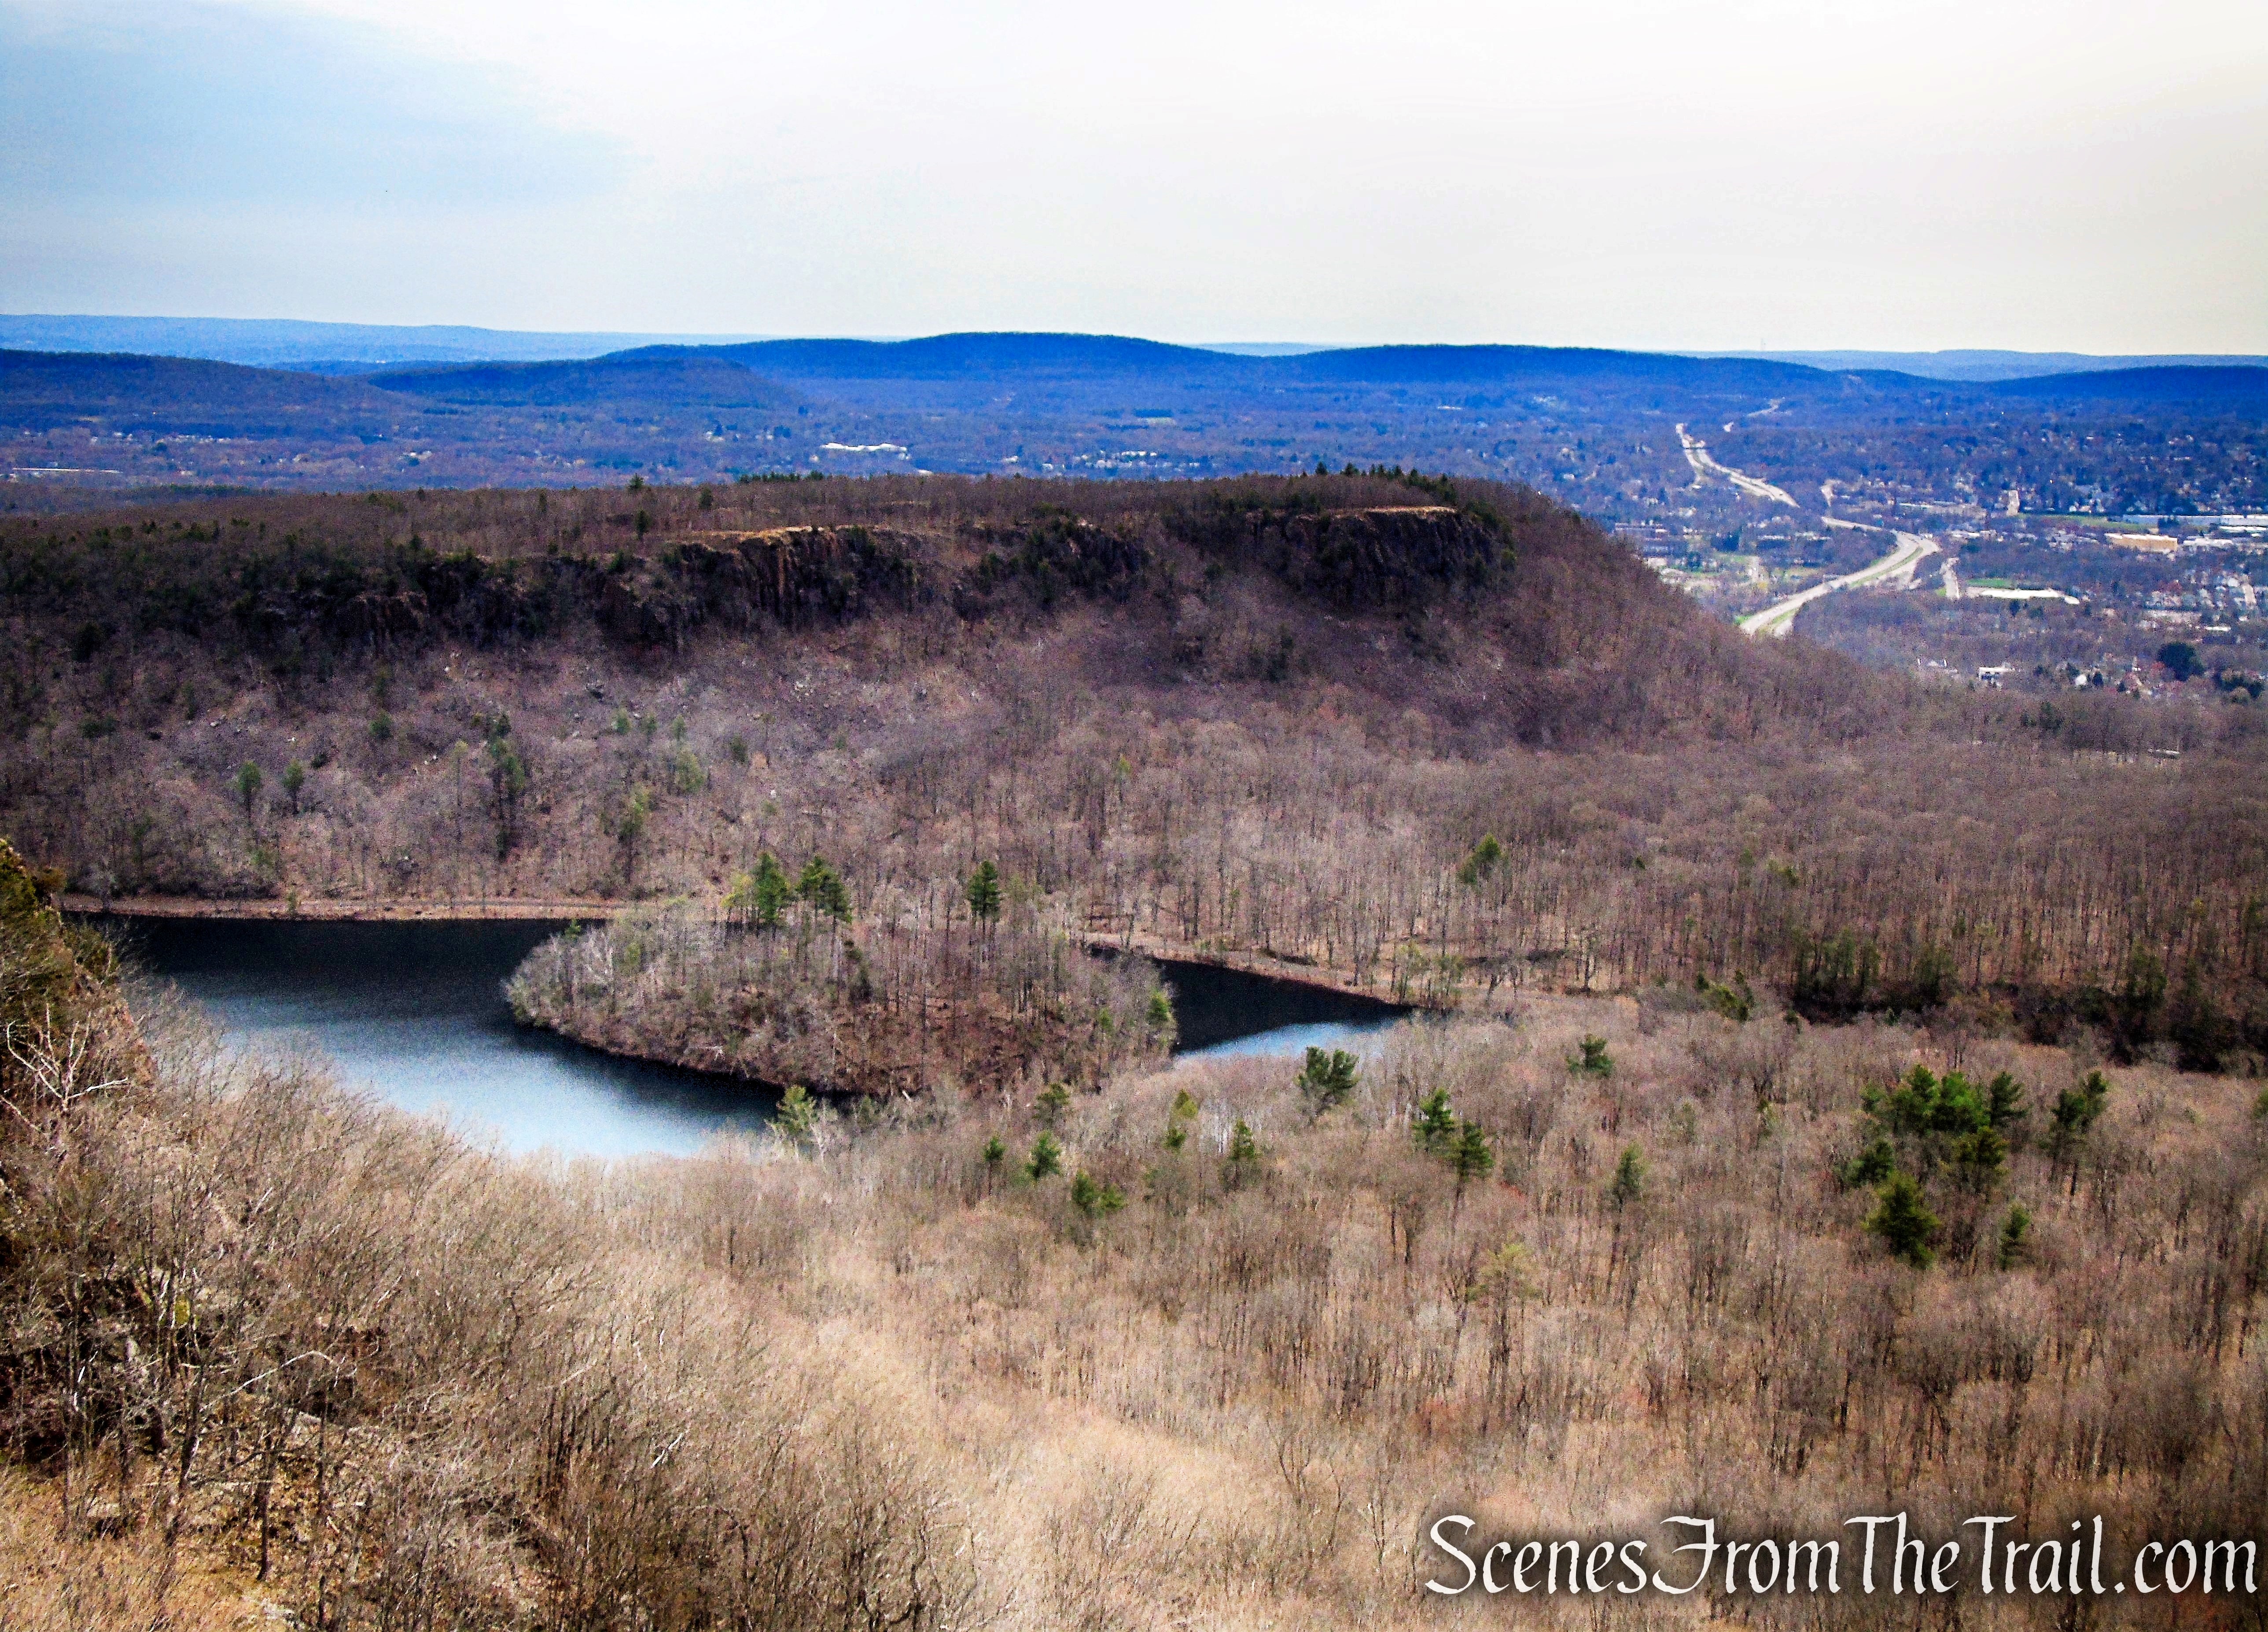
Continue along the road for another half a mile until you reach a junction where a gravel road descends to the right. Note this junction as you will return here as the continuation of the hike will bring you back to this spot. Turn right, following a sign to Ice Caves Road. In a short distance, you’ll notice a sign marking the start of the Verkeerderkill Falls Trail to the left. Continue ahead along Ice Caves Road. As the road descends, it curves to the north, with views ahead over the northern part of the Shawangunk Ridge, including Castle Point and Gertrude’s Nose in Minnewaska State Park.

turn right on Ice Caves Road

turn right on Ice Caves Road

Ice Caves Road – Sam’s Point Preserve
continue past the junction and stay on Ice Caves Road

Ice Caves Road – Sam’s Point Preserve
At the end of the road, you’ll come to a large open area that formerly was used for parking when the road was open to vehicular traffic. Towards the end of the open area, a sign marks the start of the Ice Caves Loop Trail. Developed as a commercial tourist attraction by a private individual in 1967, the Ice Caves were closed in 1996 when the property was acquired by The Nature Conservancy. In 2002, they reopened, but some artificial features (such as colored lights) have been eliminated.
Ice Caves Loop Trail – Sam’s Point Preserve
Ice Caves Loop Trail – Sam’s Point Preserve
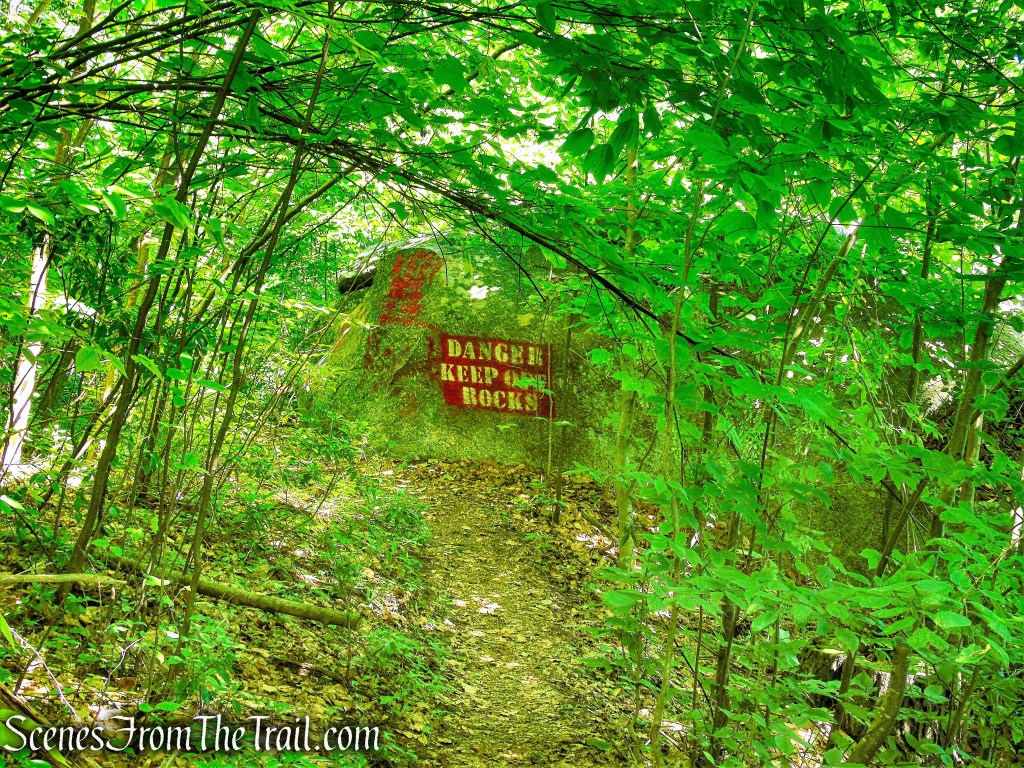
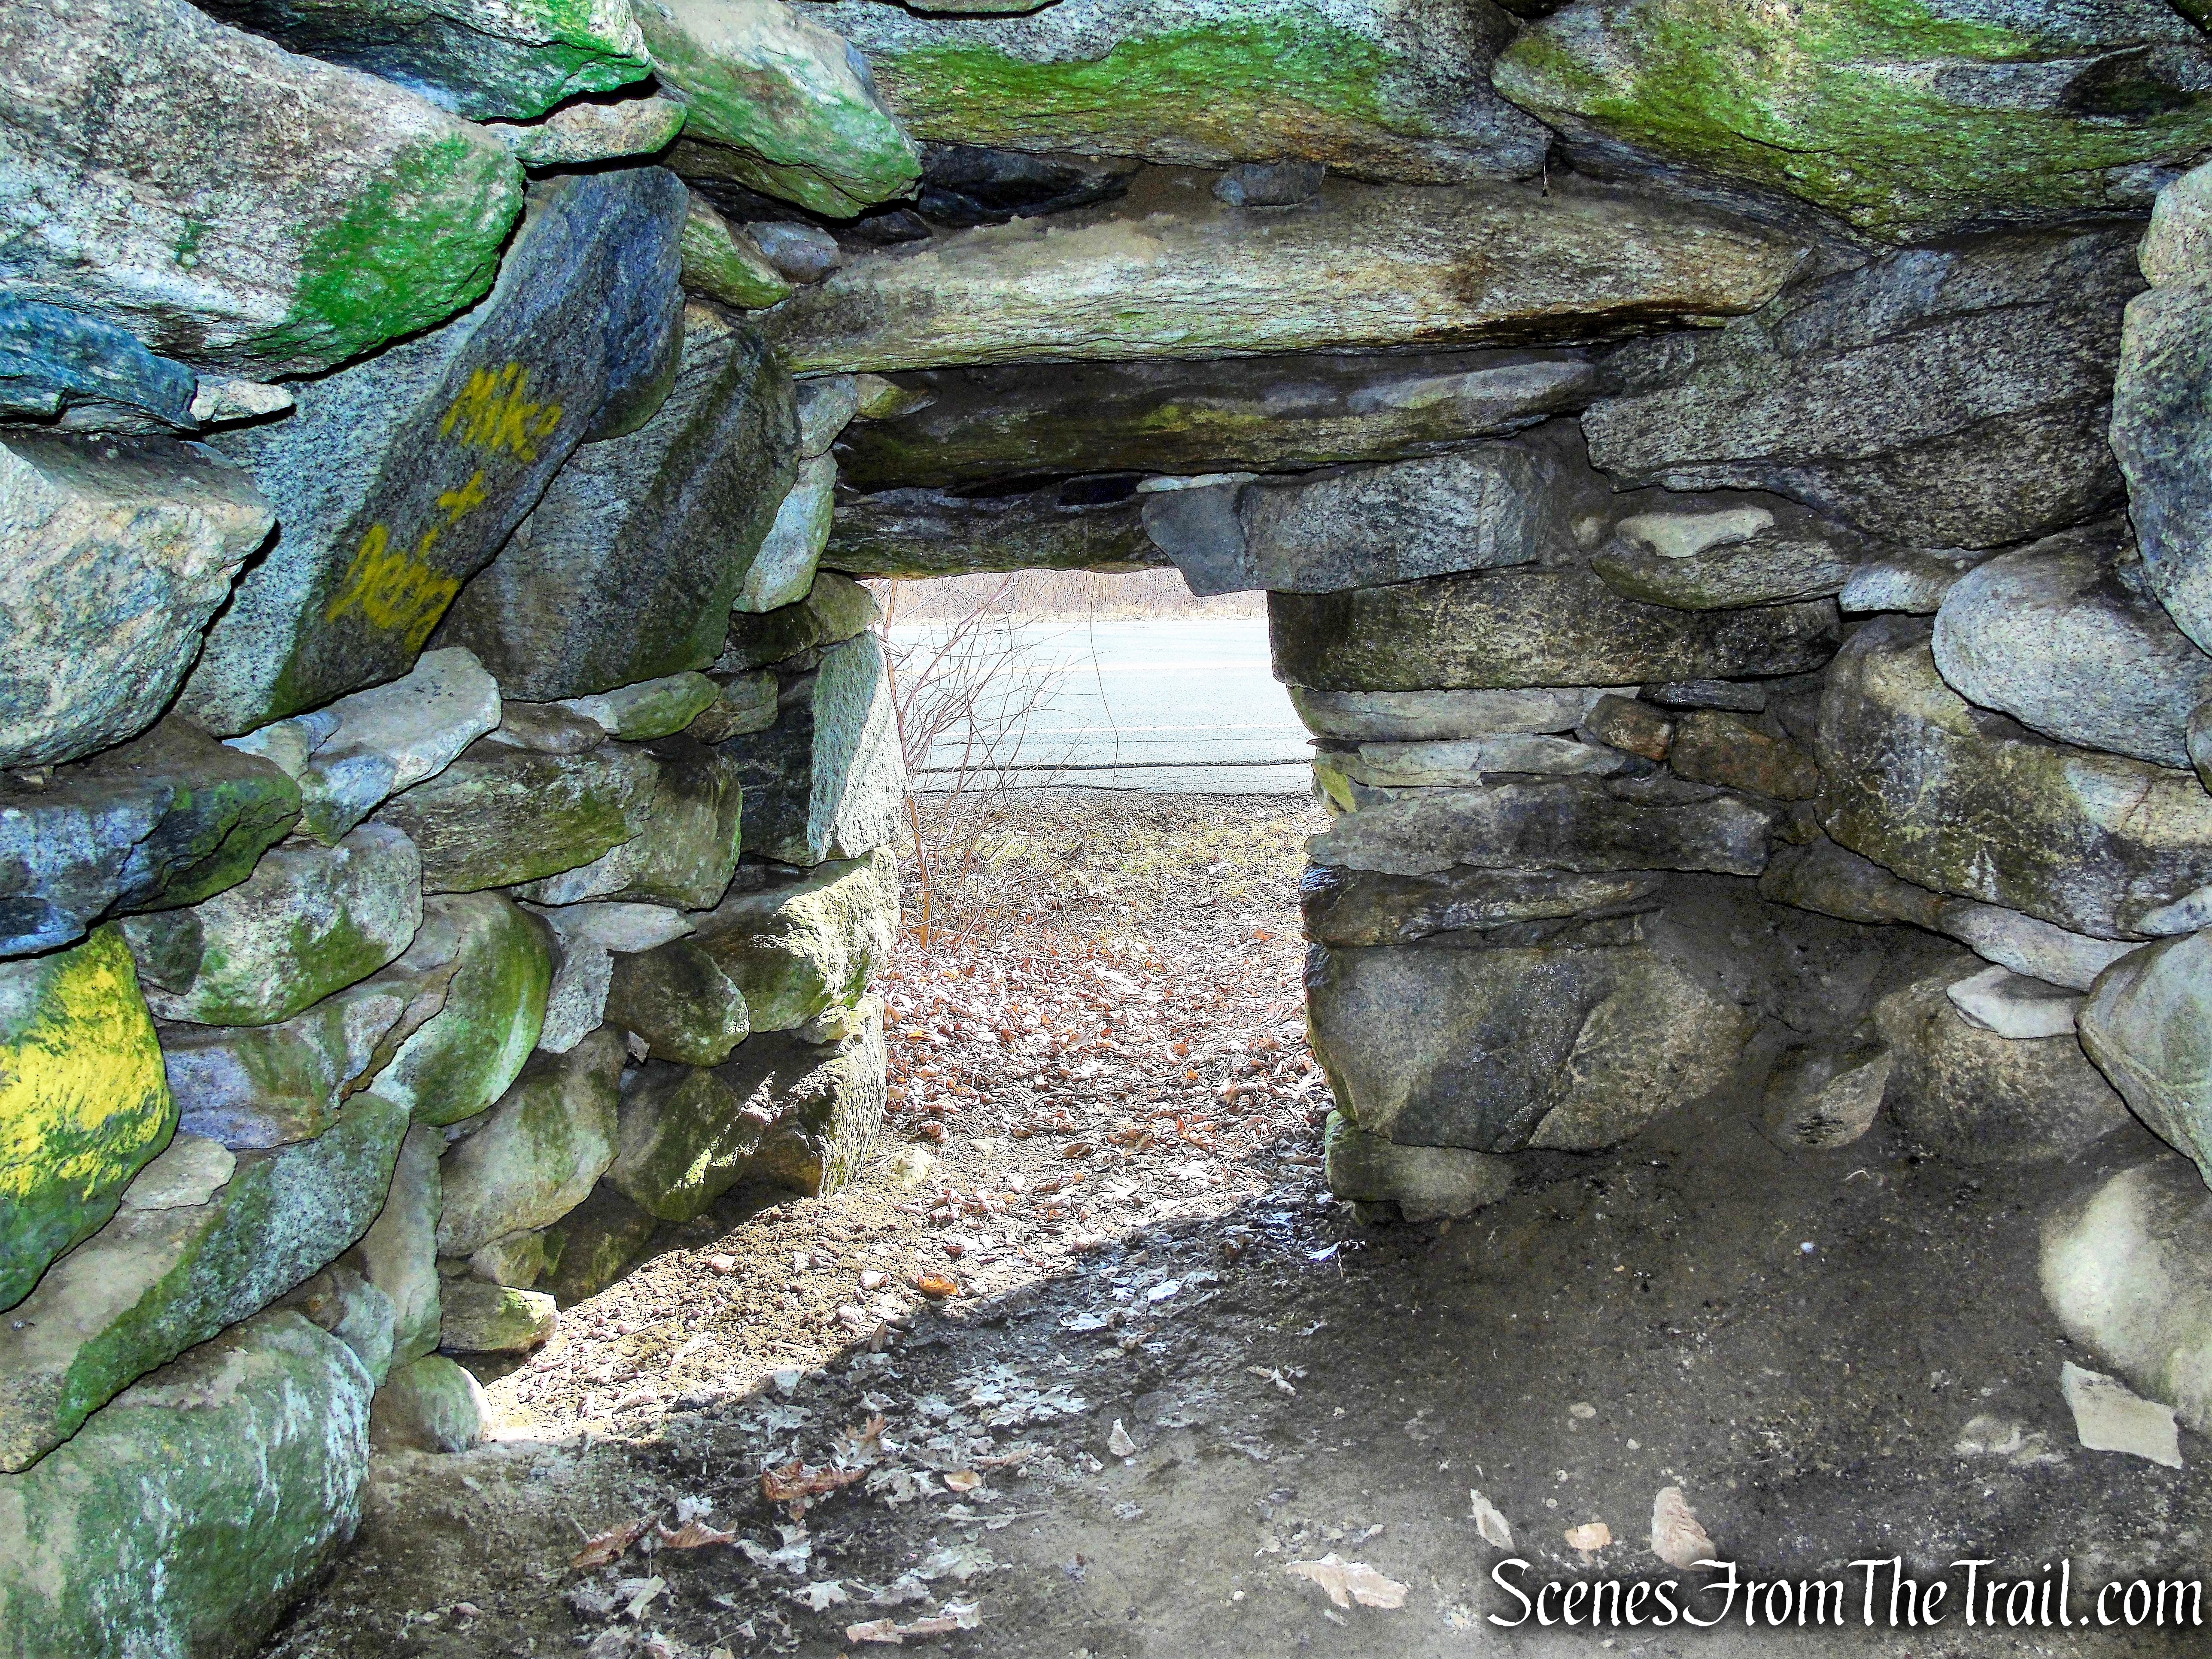
Turn right and descend on a winding footpath, with wooden guardrails, steeply in places. Soon, you’ll descend stone steps into a crevice in the rock, passing underneath a rock wedged overhead. The difference in temperature is quite noticeable! After turning left and passing through a narrower crevice, the trail emerges into the open. Follow the white blazes, which cross several wooden bridges and lead along the base of cliffs on the left, passing beneath overhanging rock ledges. At one point, you’ll have to climb a short wooden ladder.

Ice Caves Loop Trail – Sam’s Point Preserve

Ice Caves Loop Trail – Sam’s Point Preserve

Ice Caves Loop Trail – Sam’s Point Preserve

Ice Caves Loop Trail – Sam’s Point Preserve

Ice Caves Loop Trail – Sam’s Point Preserve

Ice Caves Loop Trail – Sam’s Point Preserve

Ice Caves Loop Trail – Sam’s Point Preserve

Ice Caves Loop Trail – Sam’s Point Preserve
Ice Caves Loop Trail – Sam’s Point Preserve

Ice Caves Loop Trail – Sam’s Point Preserve
Soon, the trail turns left and continues through a rock crevice deep below the surface. Motion-sensitive lighting has been installed to illuminate your passage through this cool, dark area. When you leave this crevice and again emerge into the open, you’ll descend wooden steps, climb stone steps and a wooden ladder, and continue past more dramatic cliffs and under overhanging rock ledges.

Ice Caves Loop Trail – Sam’s Point Preserve

Ice Caves Loop Trail – Sam’s Point Preserve
Ice Caves Loop Trail – Sam’s Point Preserve

Ice Caves Loop Trail – Sam’s Point Preserve

Ice Caves Loop Trail – Sam’s Point Preserve

Ice Caves Loop Trail – Sam’s Point Preserve
A short distance ahead, the trail bears left and goes through another narrow crevice on a raised boardwalk. The Ice Caves are named for this spot, where ice and snow can usually be seen even in late summer!
Ice Caves Loop Trail – Sam’s Point Preserve

Ice Caves Loop Trail – Sam’s Point Preserve

Ice Caves Loop Trail – Sam’s Point Preserve

Ice Caves Loop Trail – Sam’s Point Preserve

Ice Caves Loop Trail – Sam’s Point Preserve

Ice Caves Loop Trail – Sam’s Point Preserve

Ice Caves Loop Trail – Sam’s Point Preserve
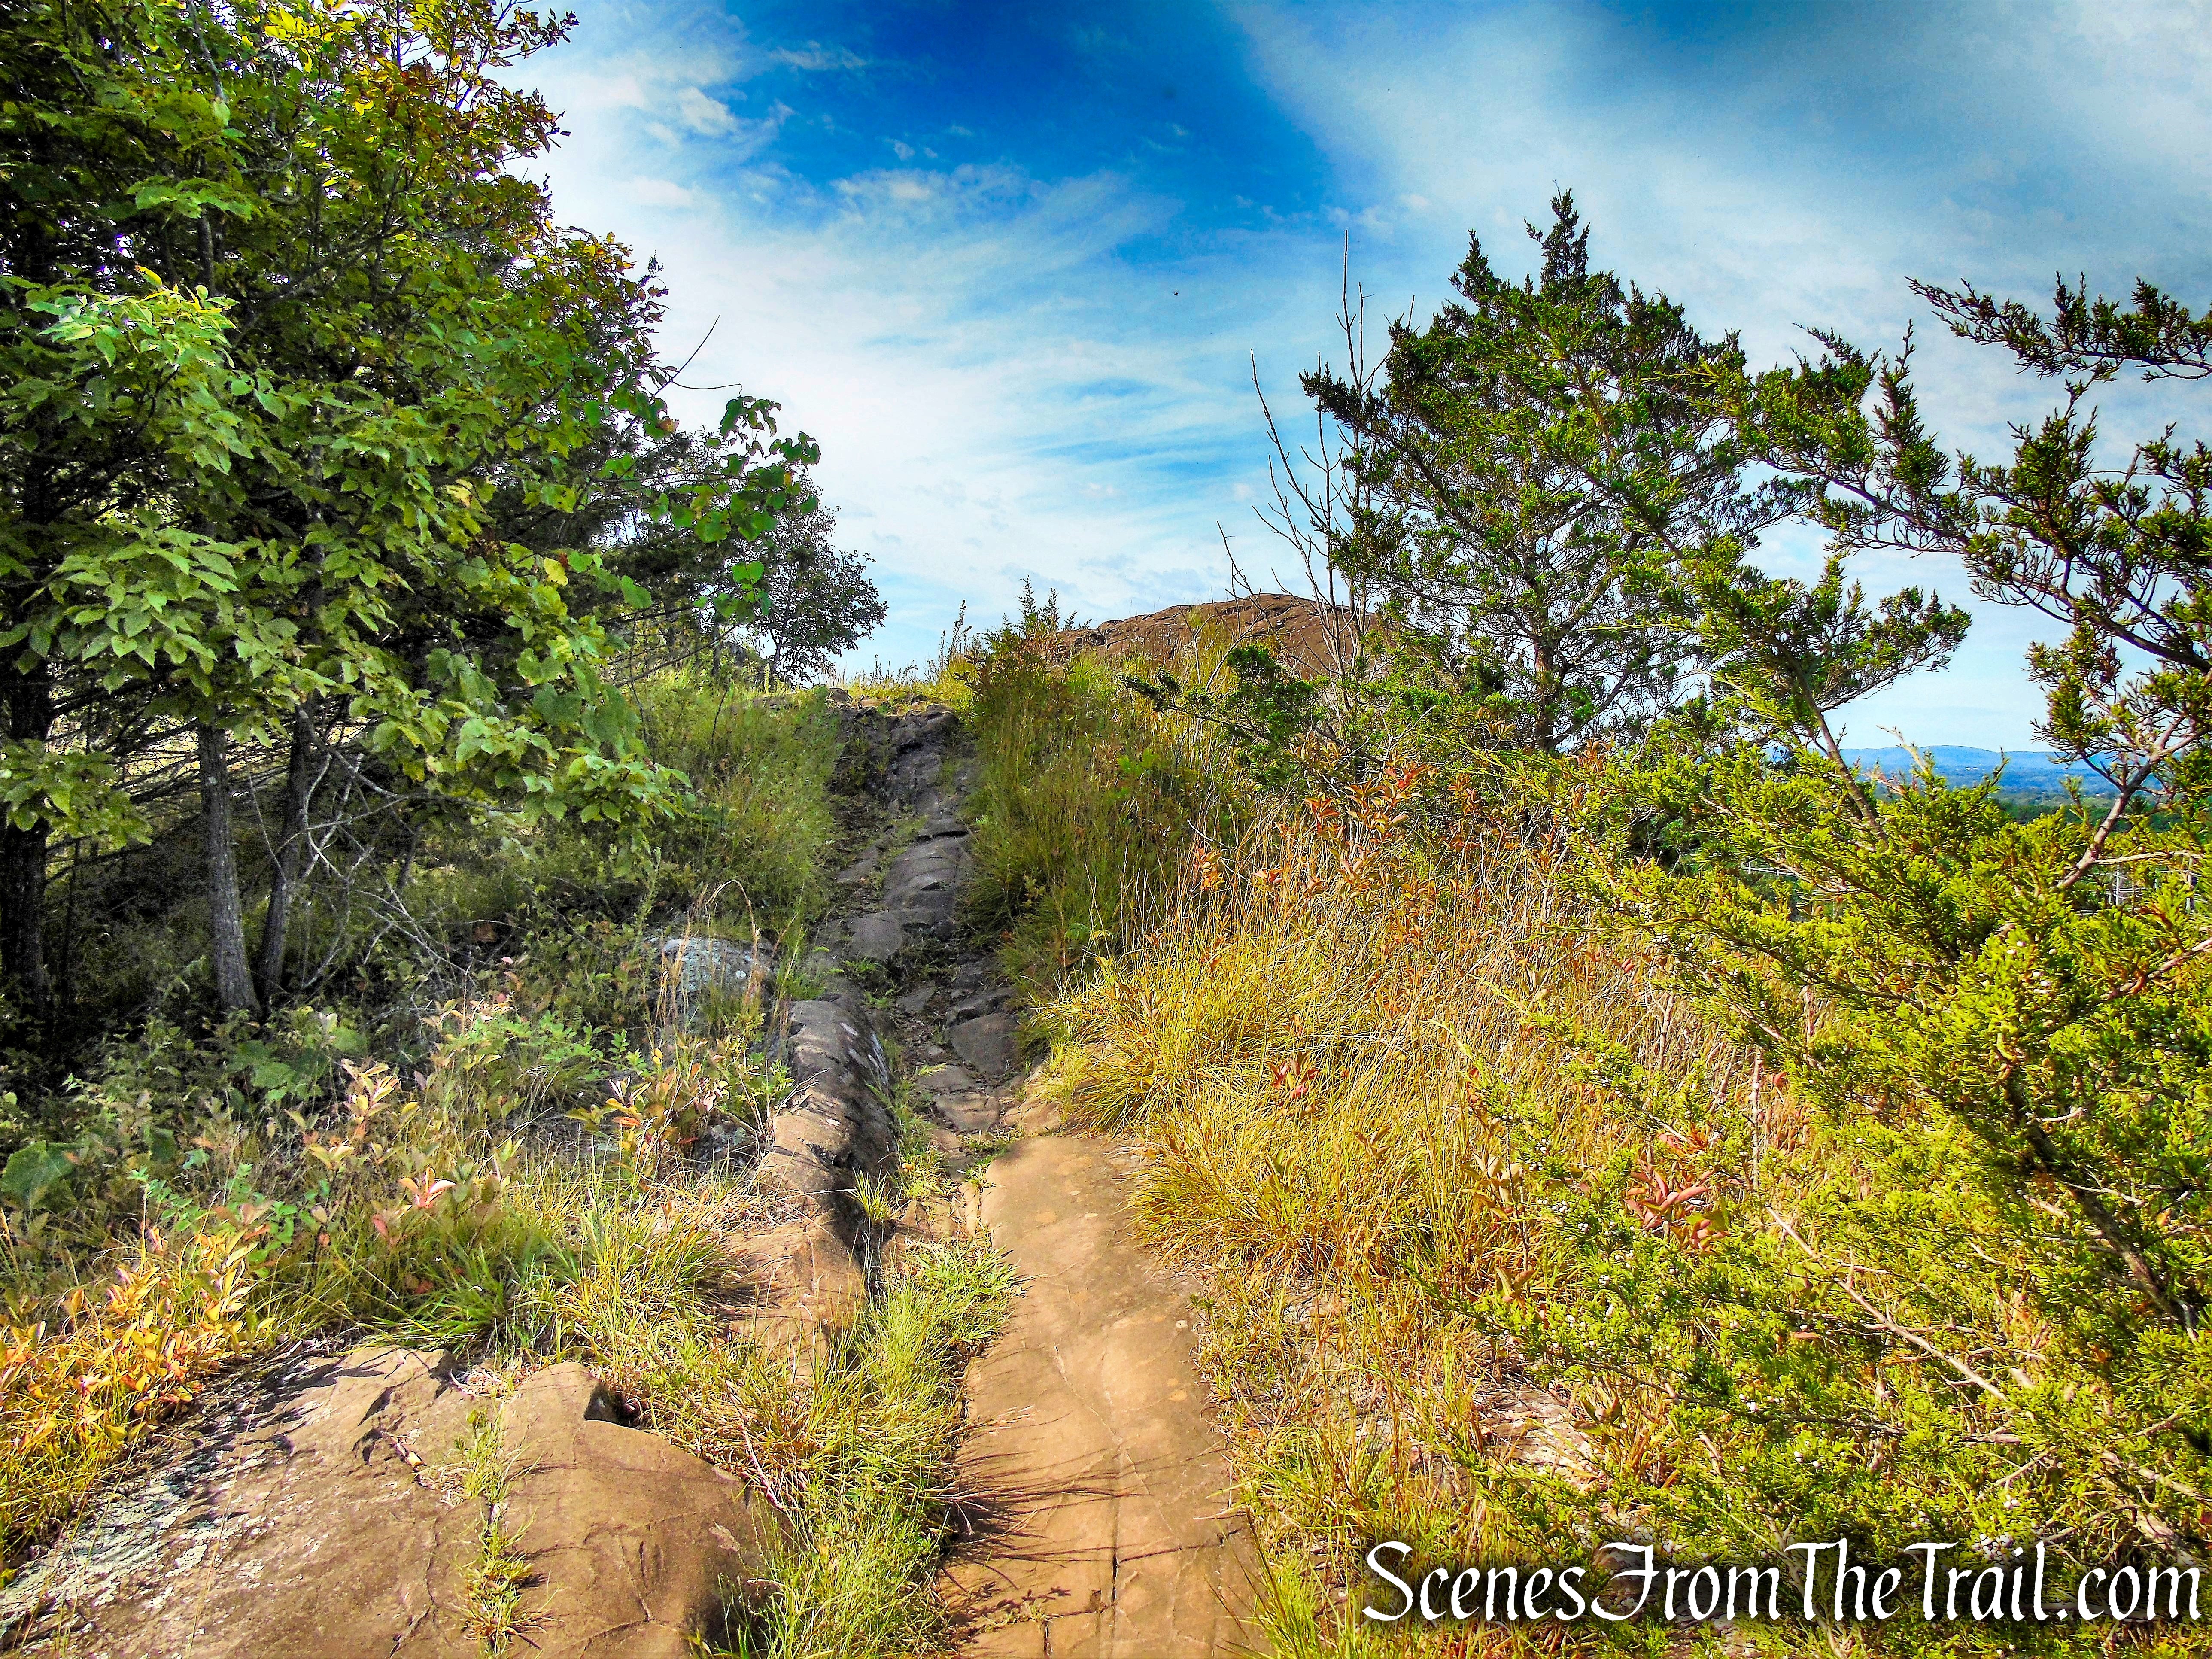
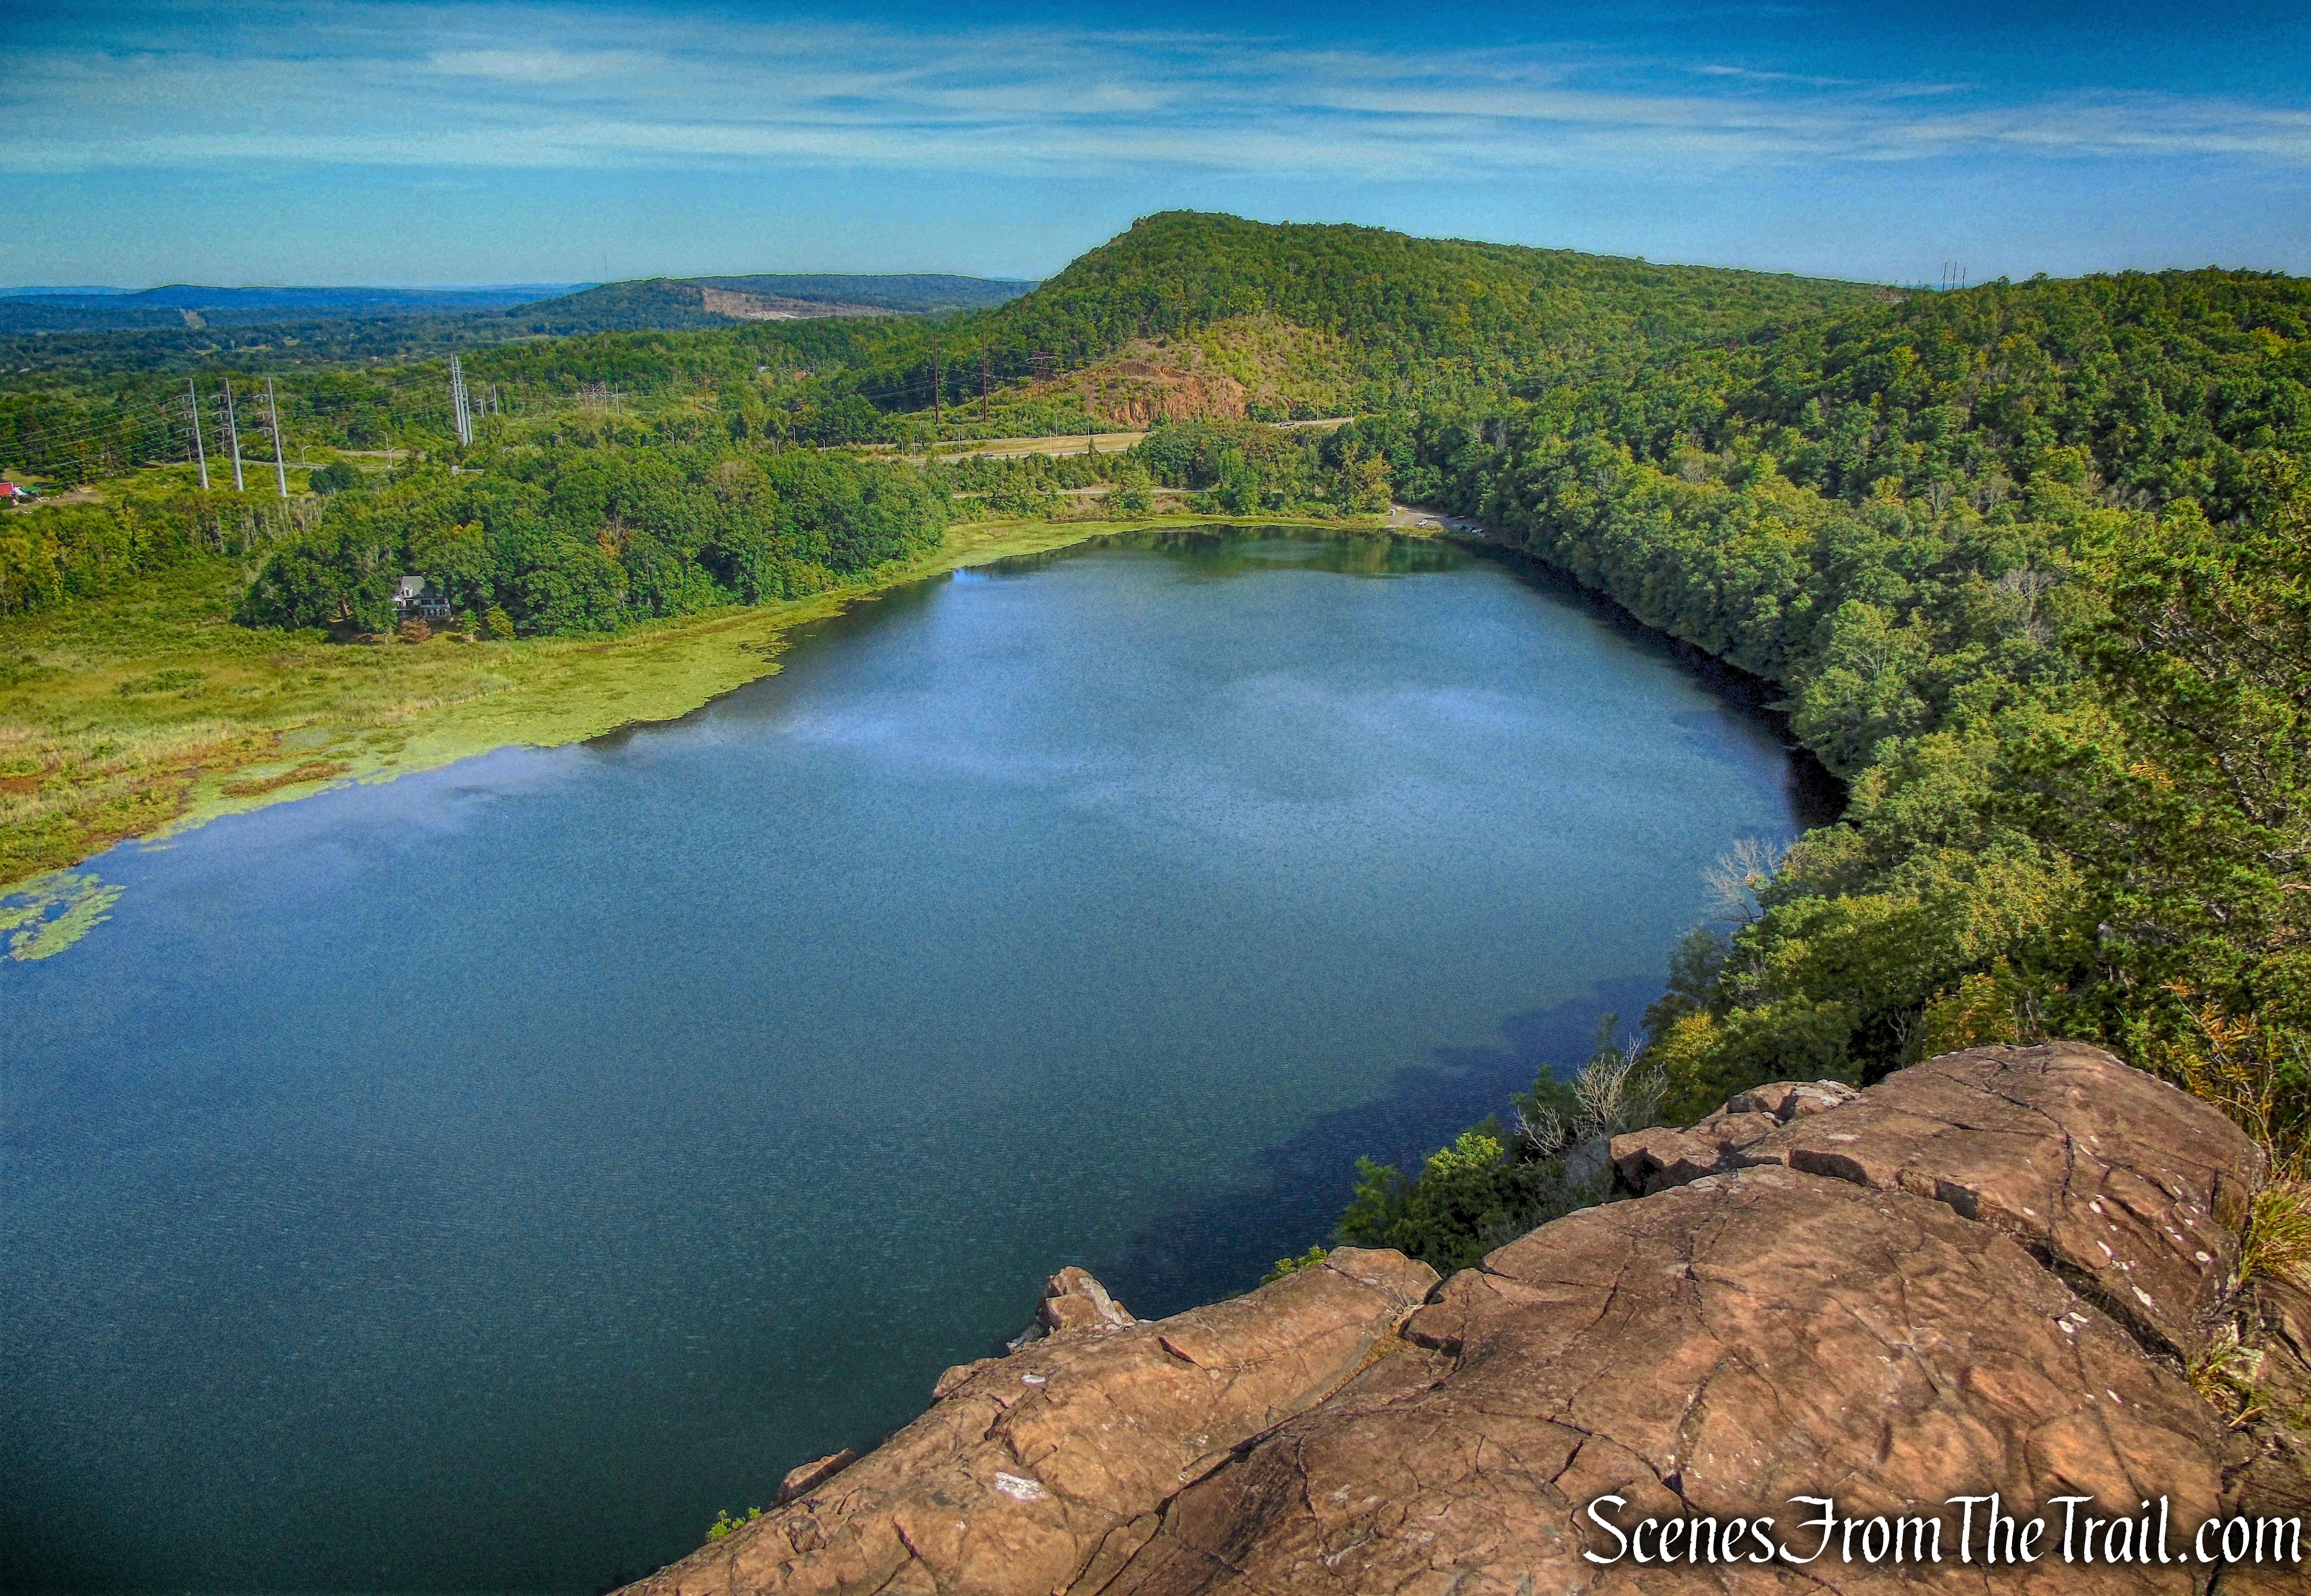
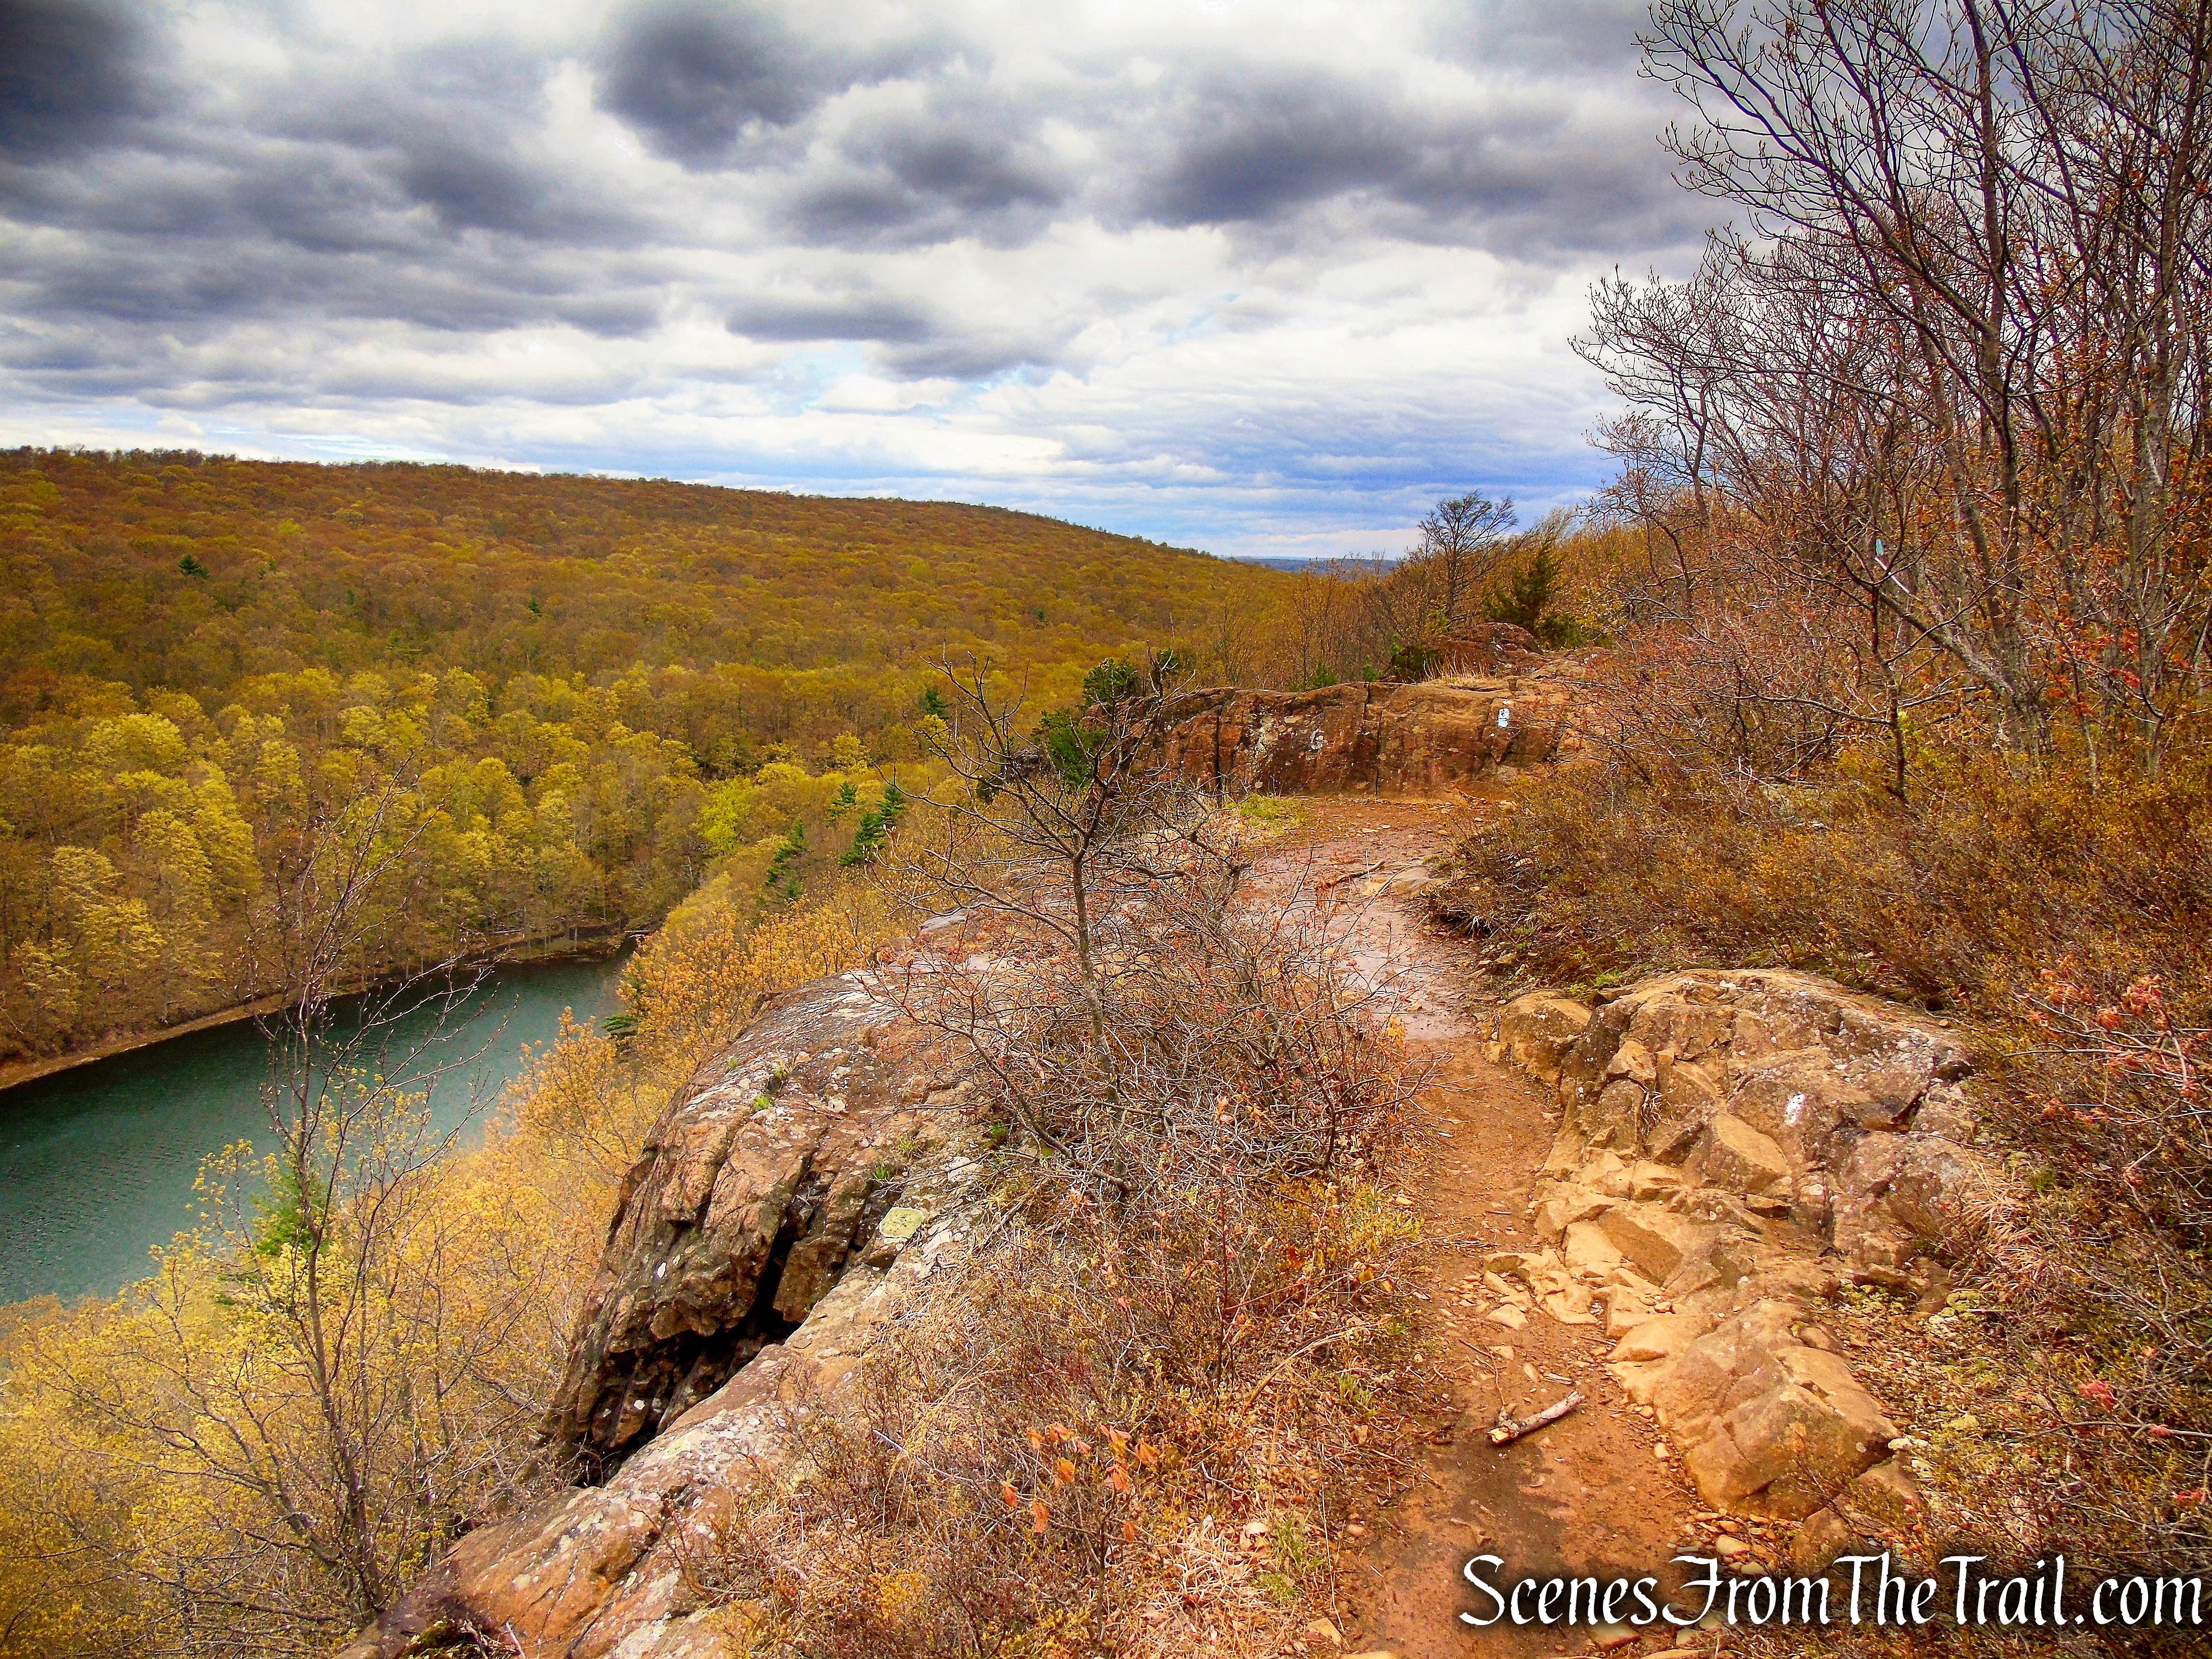
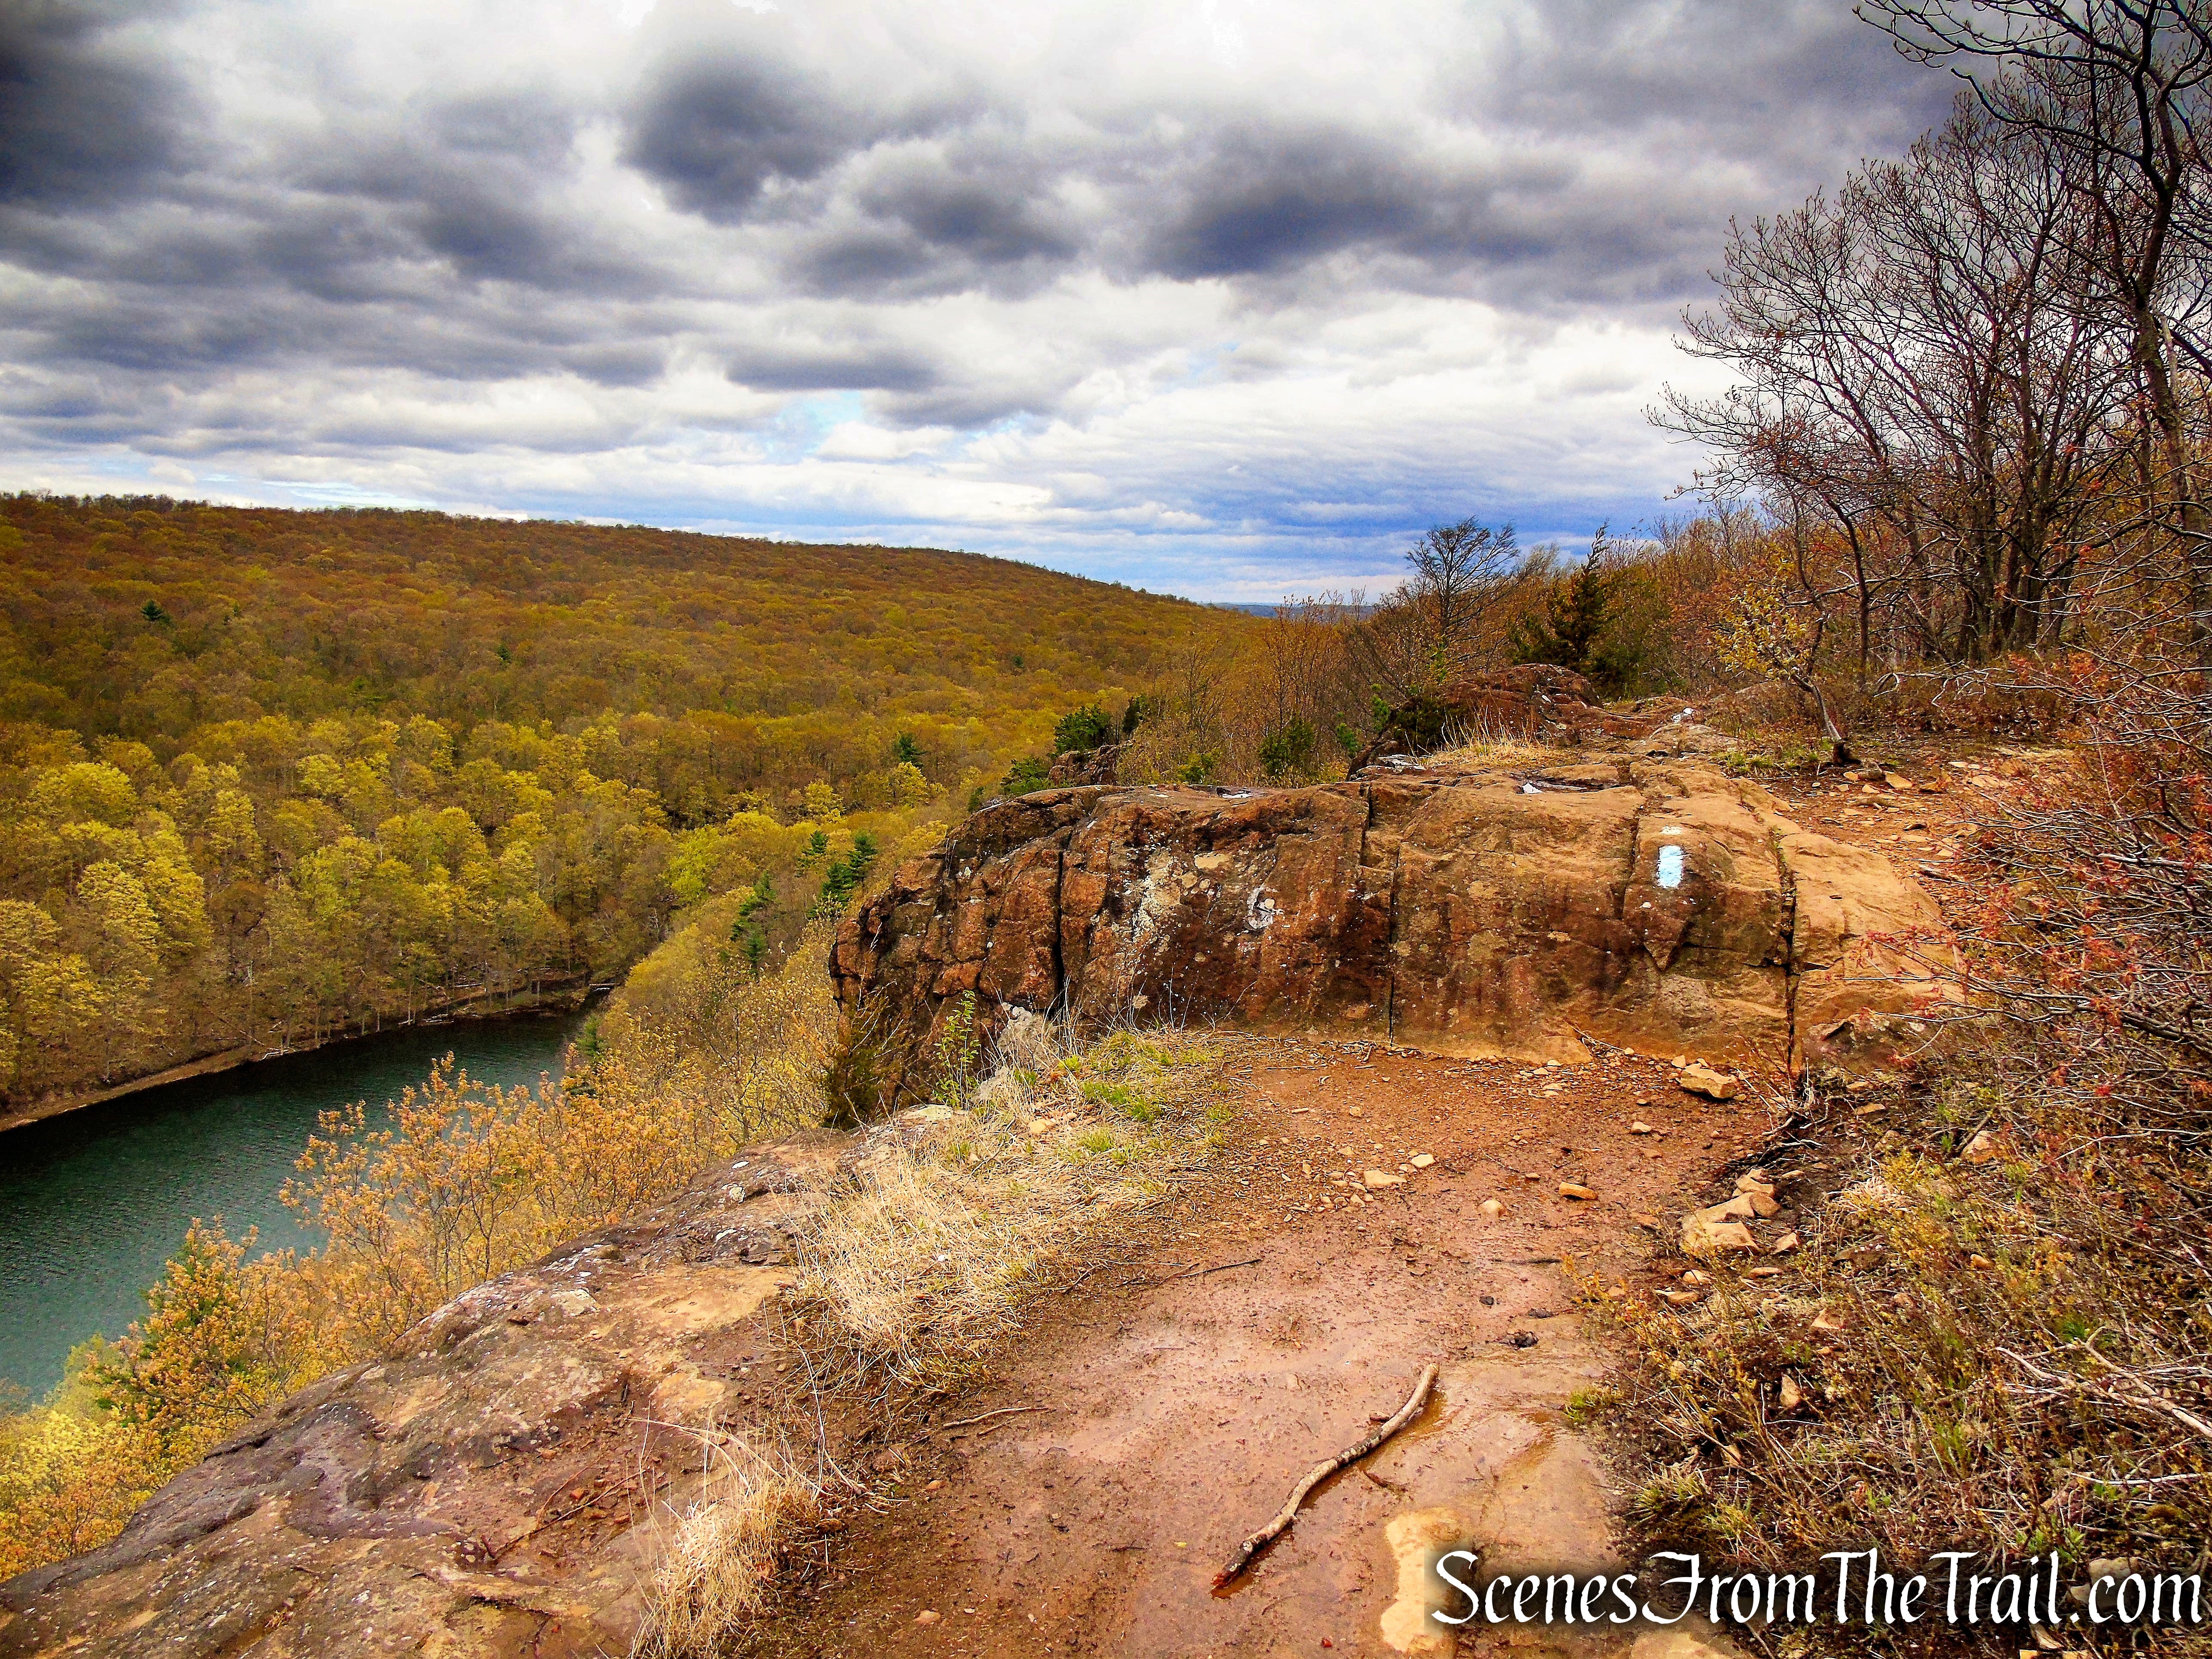
Leaving this rock crevice, you’ll climb a wooden ladder and emerge on a open rock outcrop where a solar panel has been installed to provide power to the lighting in the caves. This marks the end of your spectacular trip through the Ice Caves. Here, the white-blazed trail turns right and returns to the start of the loop. Before following this trail, turn left and proceed a short distance to exposed rock outcrops, with excellent views to the north and east.

Ice Caves Loop Trail – Sam’s Point Preserve

Scenic Vista – Ice Caves Loop Trail – Sam’s Point Preserve

Scenic Vista – Ice Caves Loop Trail – Sam’s Point Preserve

Scenic Vista – Ice Caves Loop Trail – Sam’s Point Preserve
After enjoying the views, continue ahead on the white-blazed trail and follow it back to the open area where you started the descent into the Ice Caves.
Ice Caves Loop Trail – Sam’s Point Preserve

Ice Caves Loop Trail – Sam’s Point Preserve

Ice Caves Loop Trail – Sam’s Point Preserve

terminus of Ice Caves Loop Trail – Sam’s Point Preserve
Now retrace your steps up the gravel road, past the junction with the Verkeerderkill Falls Trail, to the junction with Loop Road. Turn right at the T-intersection and follow the carriage road as it heads northeast, a short distance towards Lake Maratanza.

Ice Caves Road – Sam’s Point Preserve
Ice Caves Road – Sam’s Point Preserve

turn right on Loop Road

Loop Road – Sam’s Point Preserve
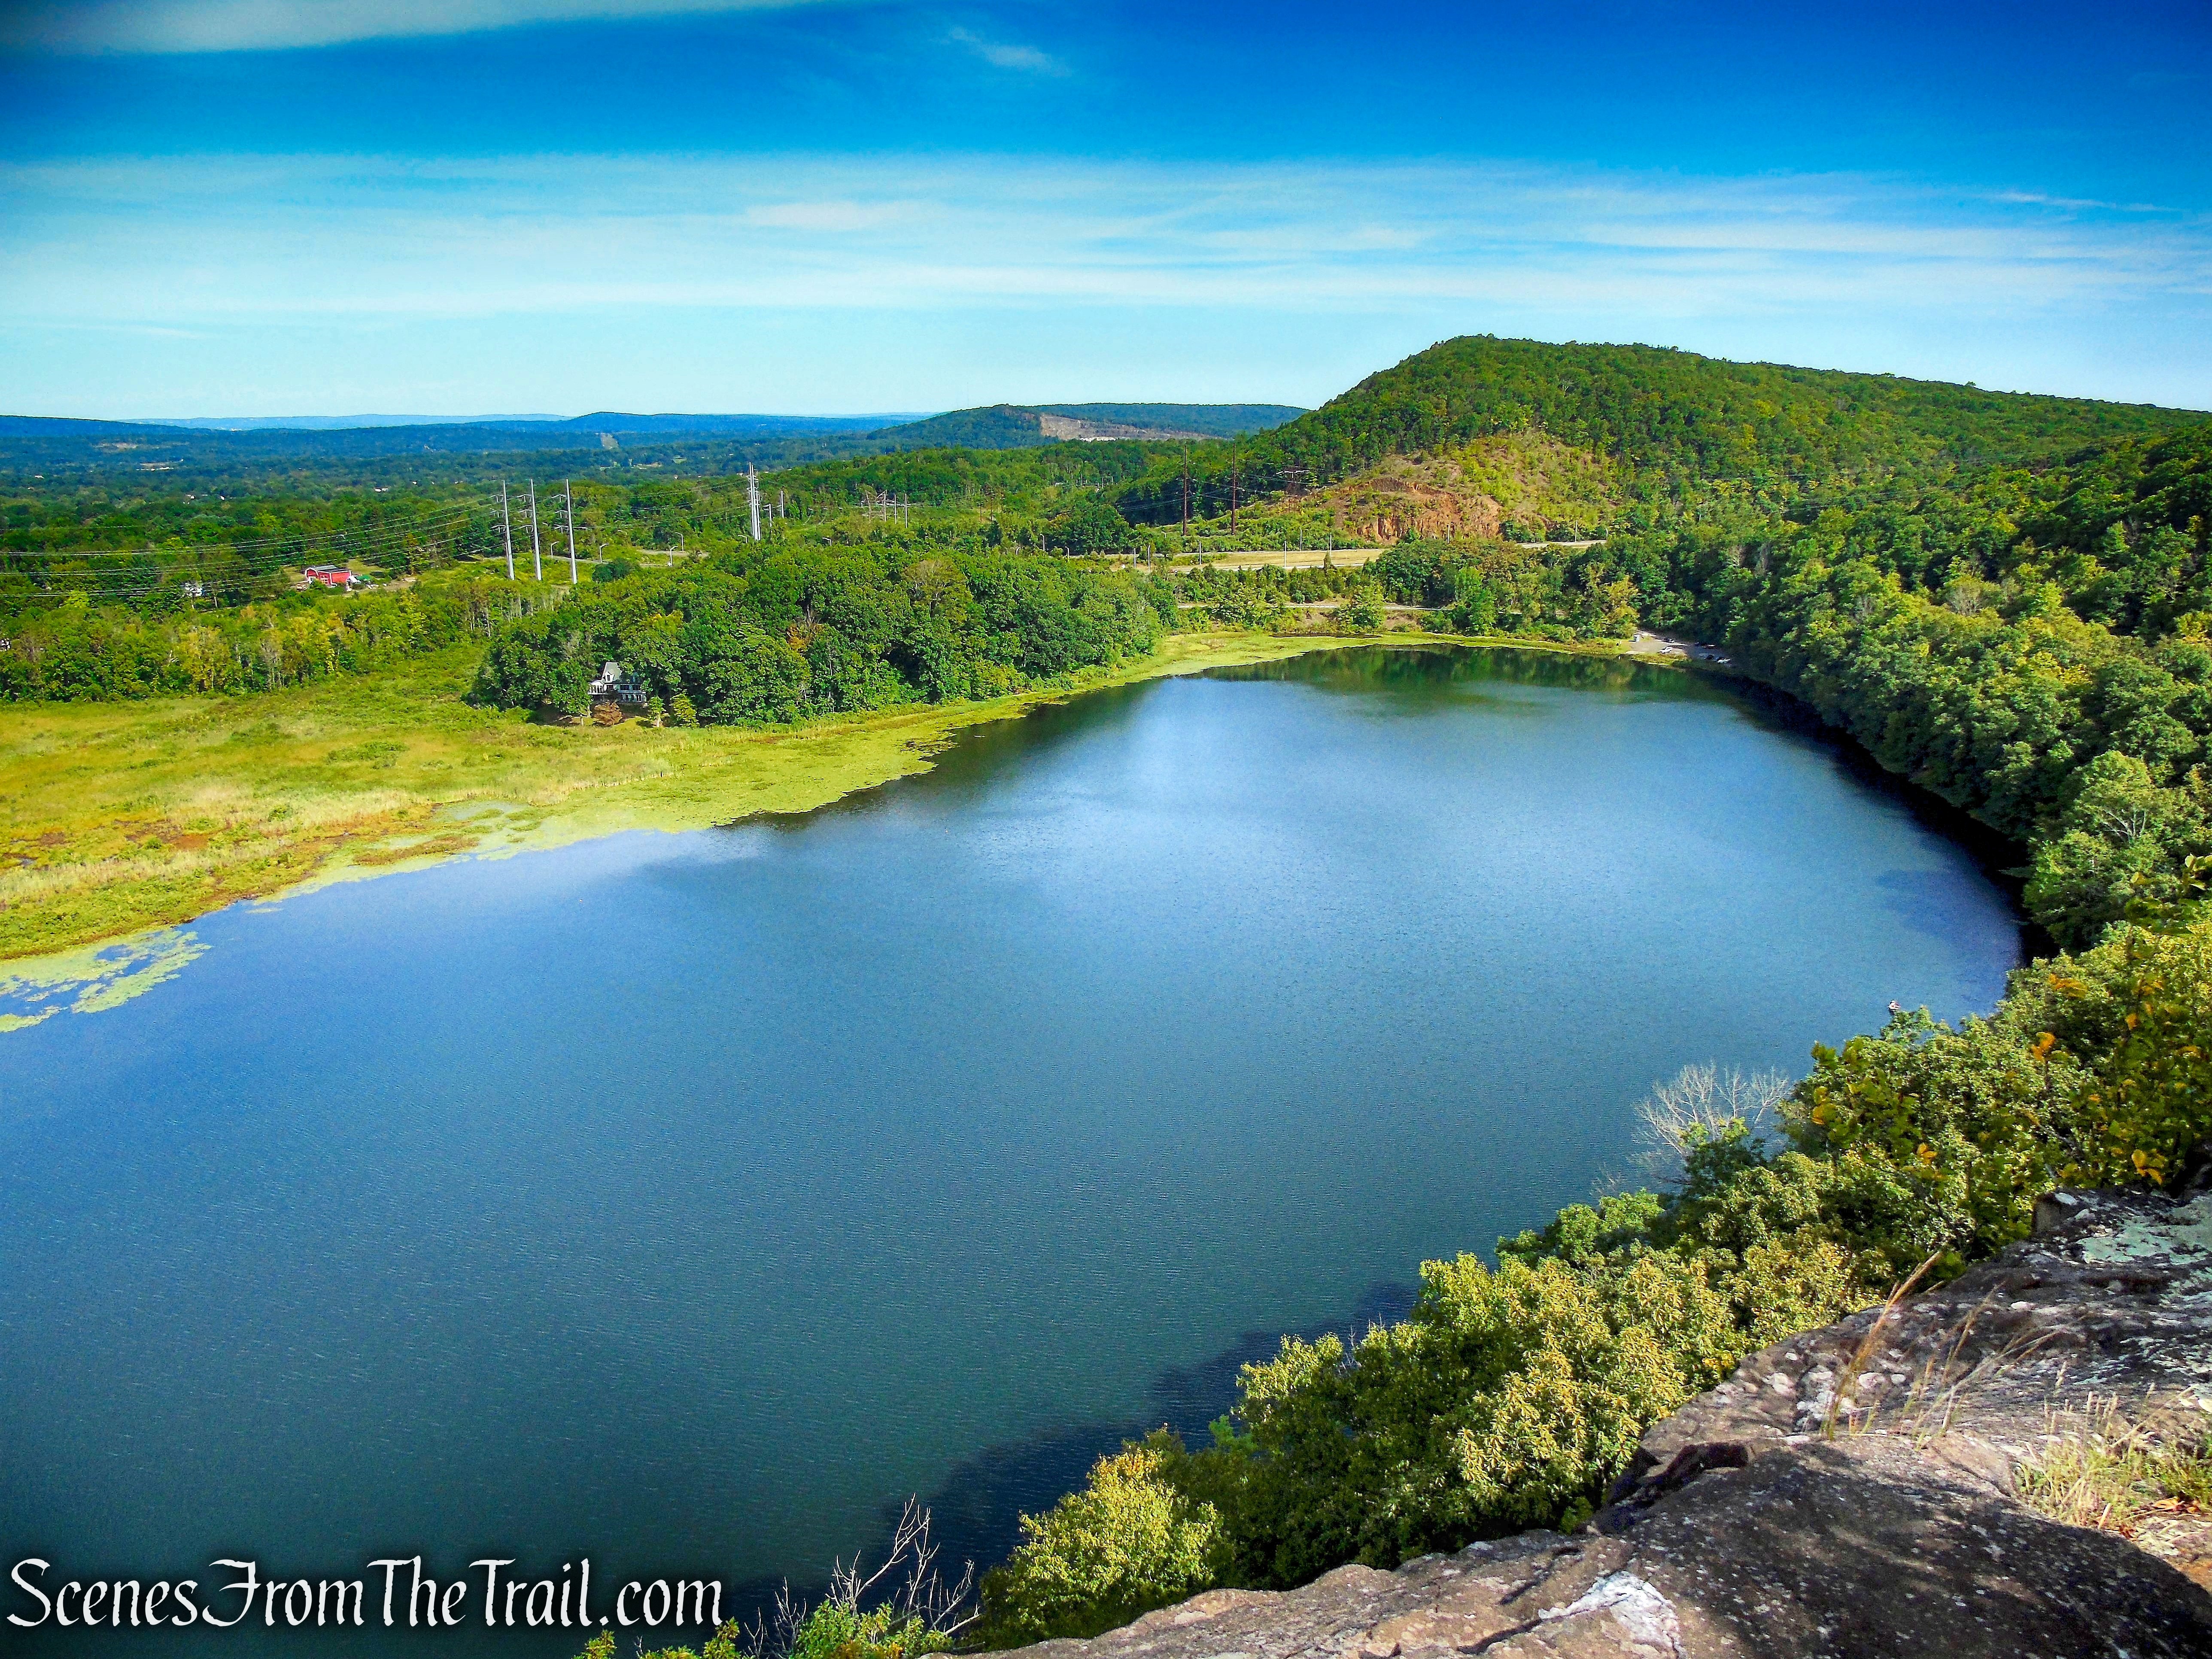
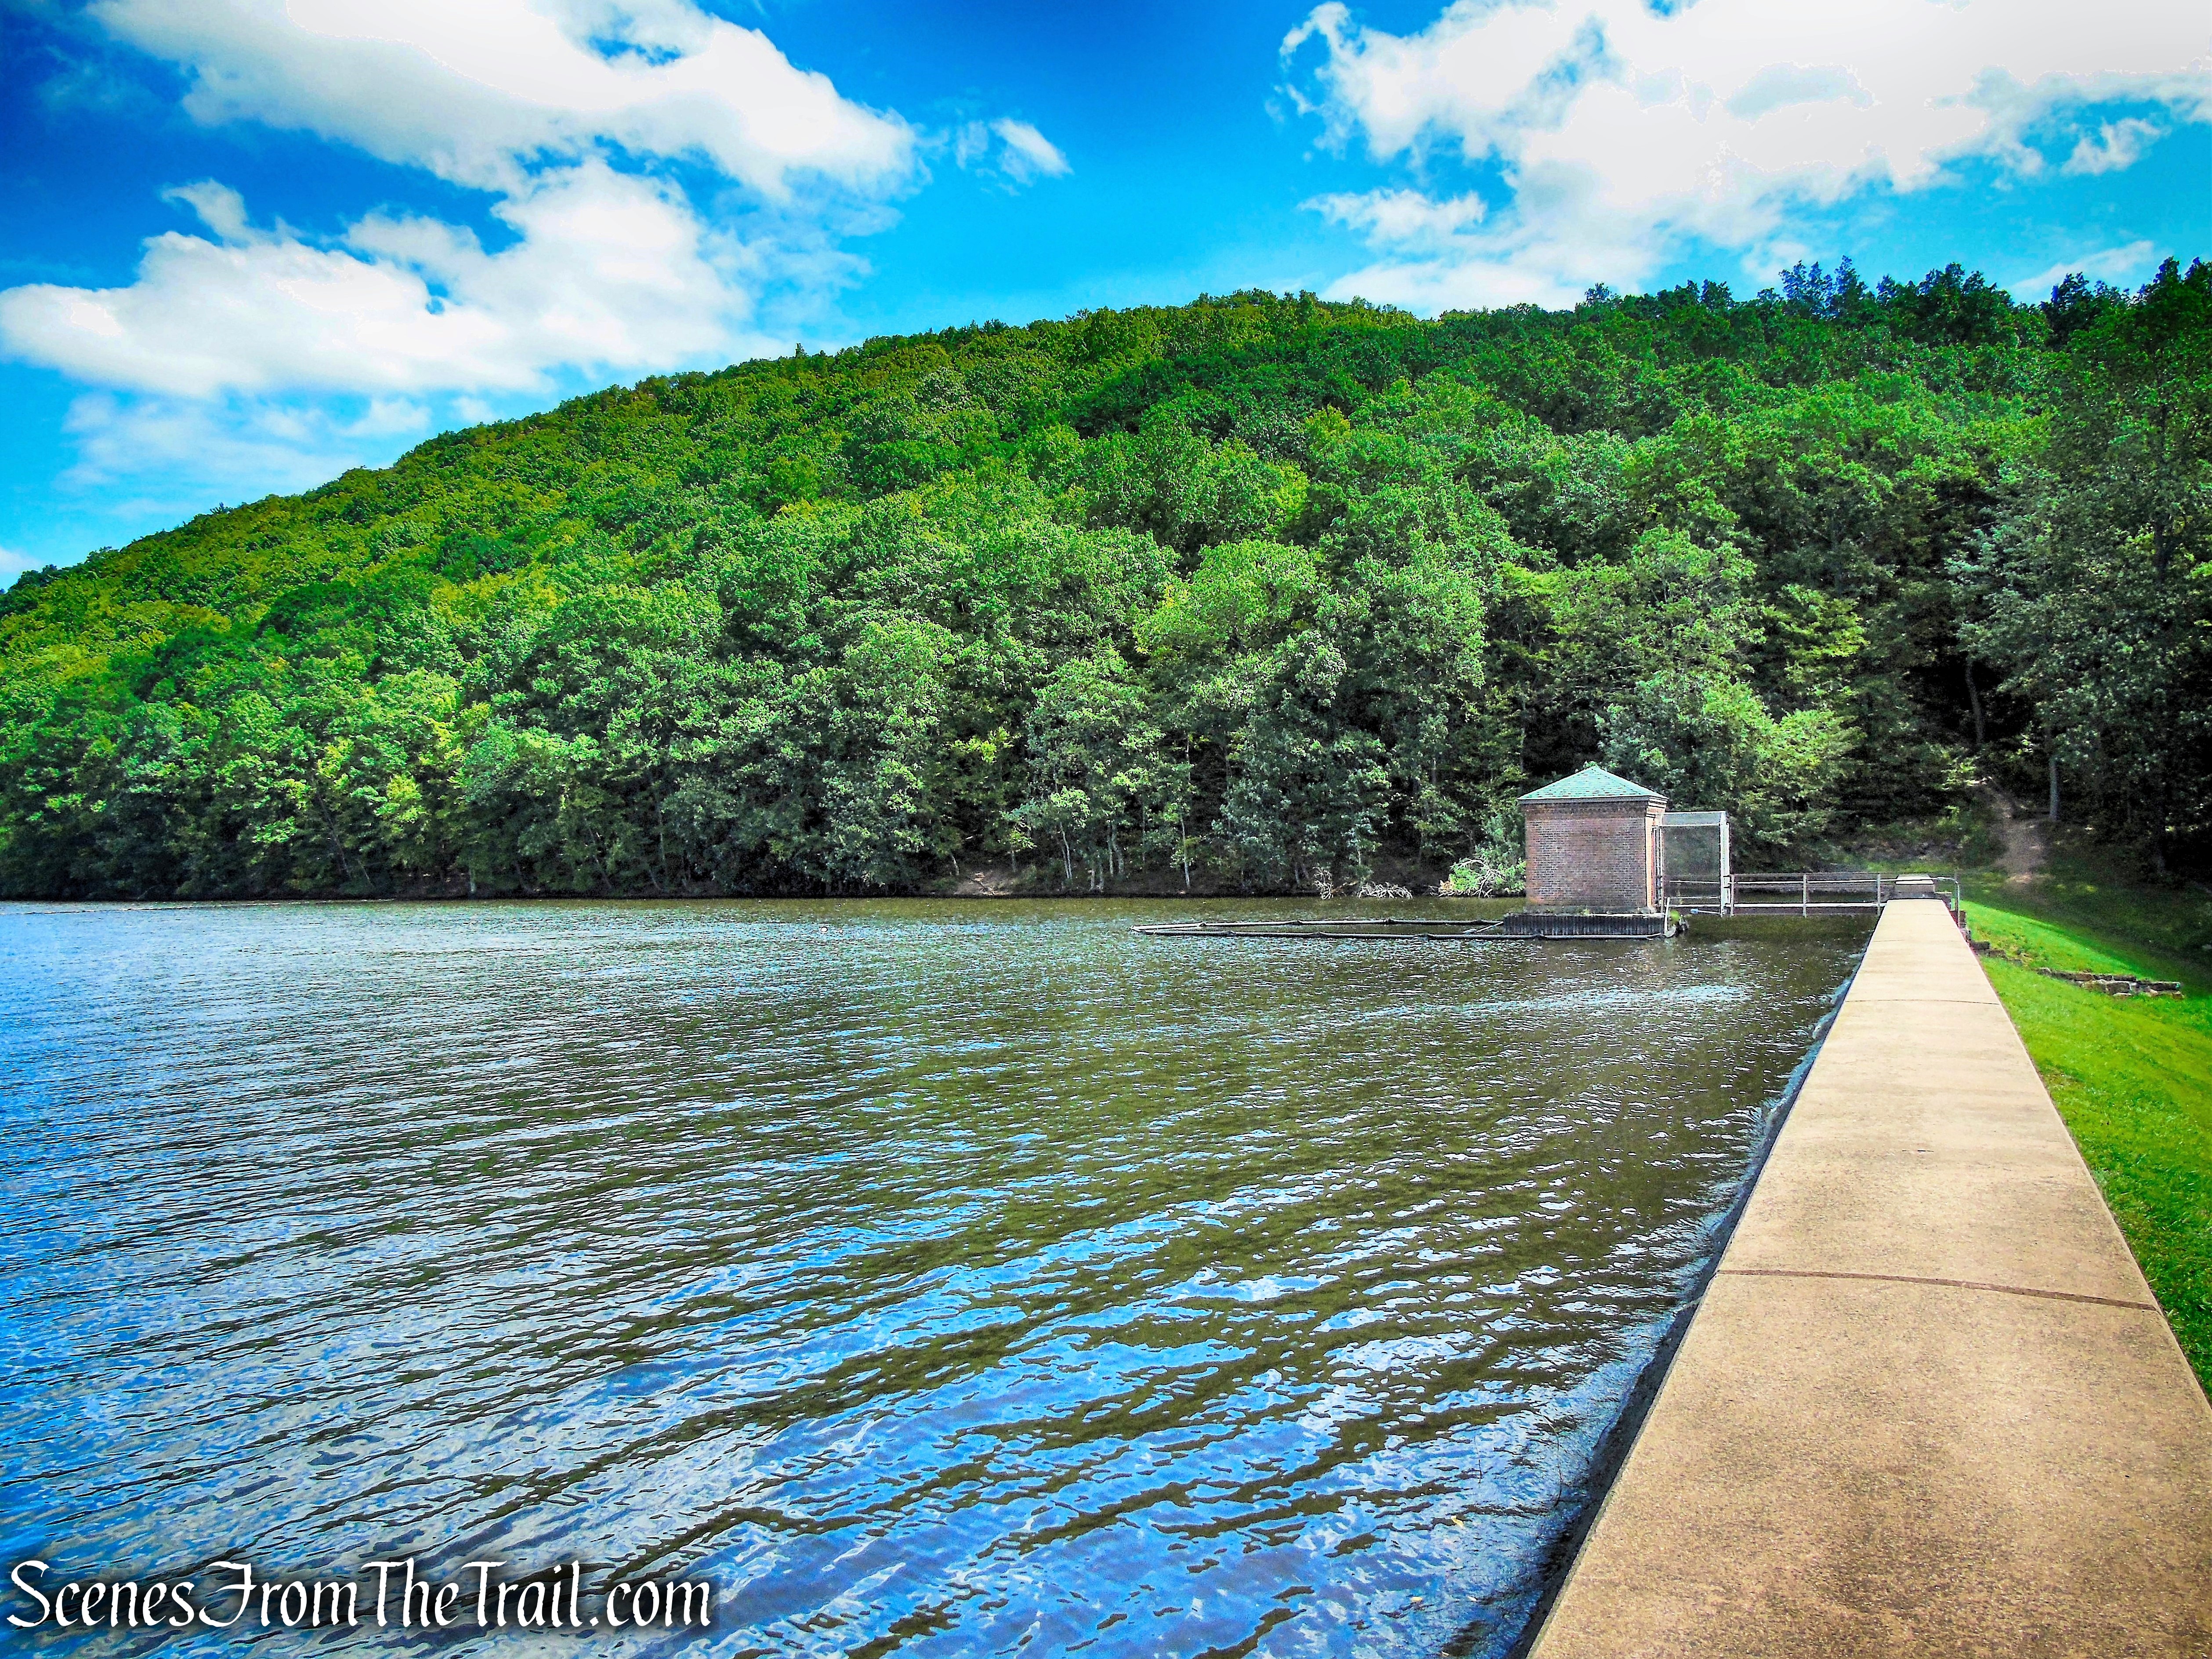
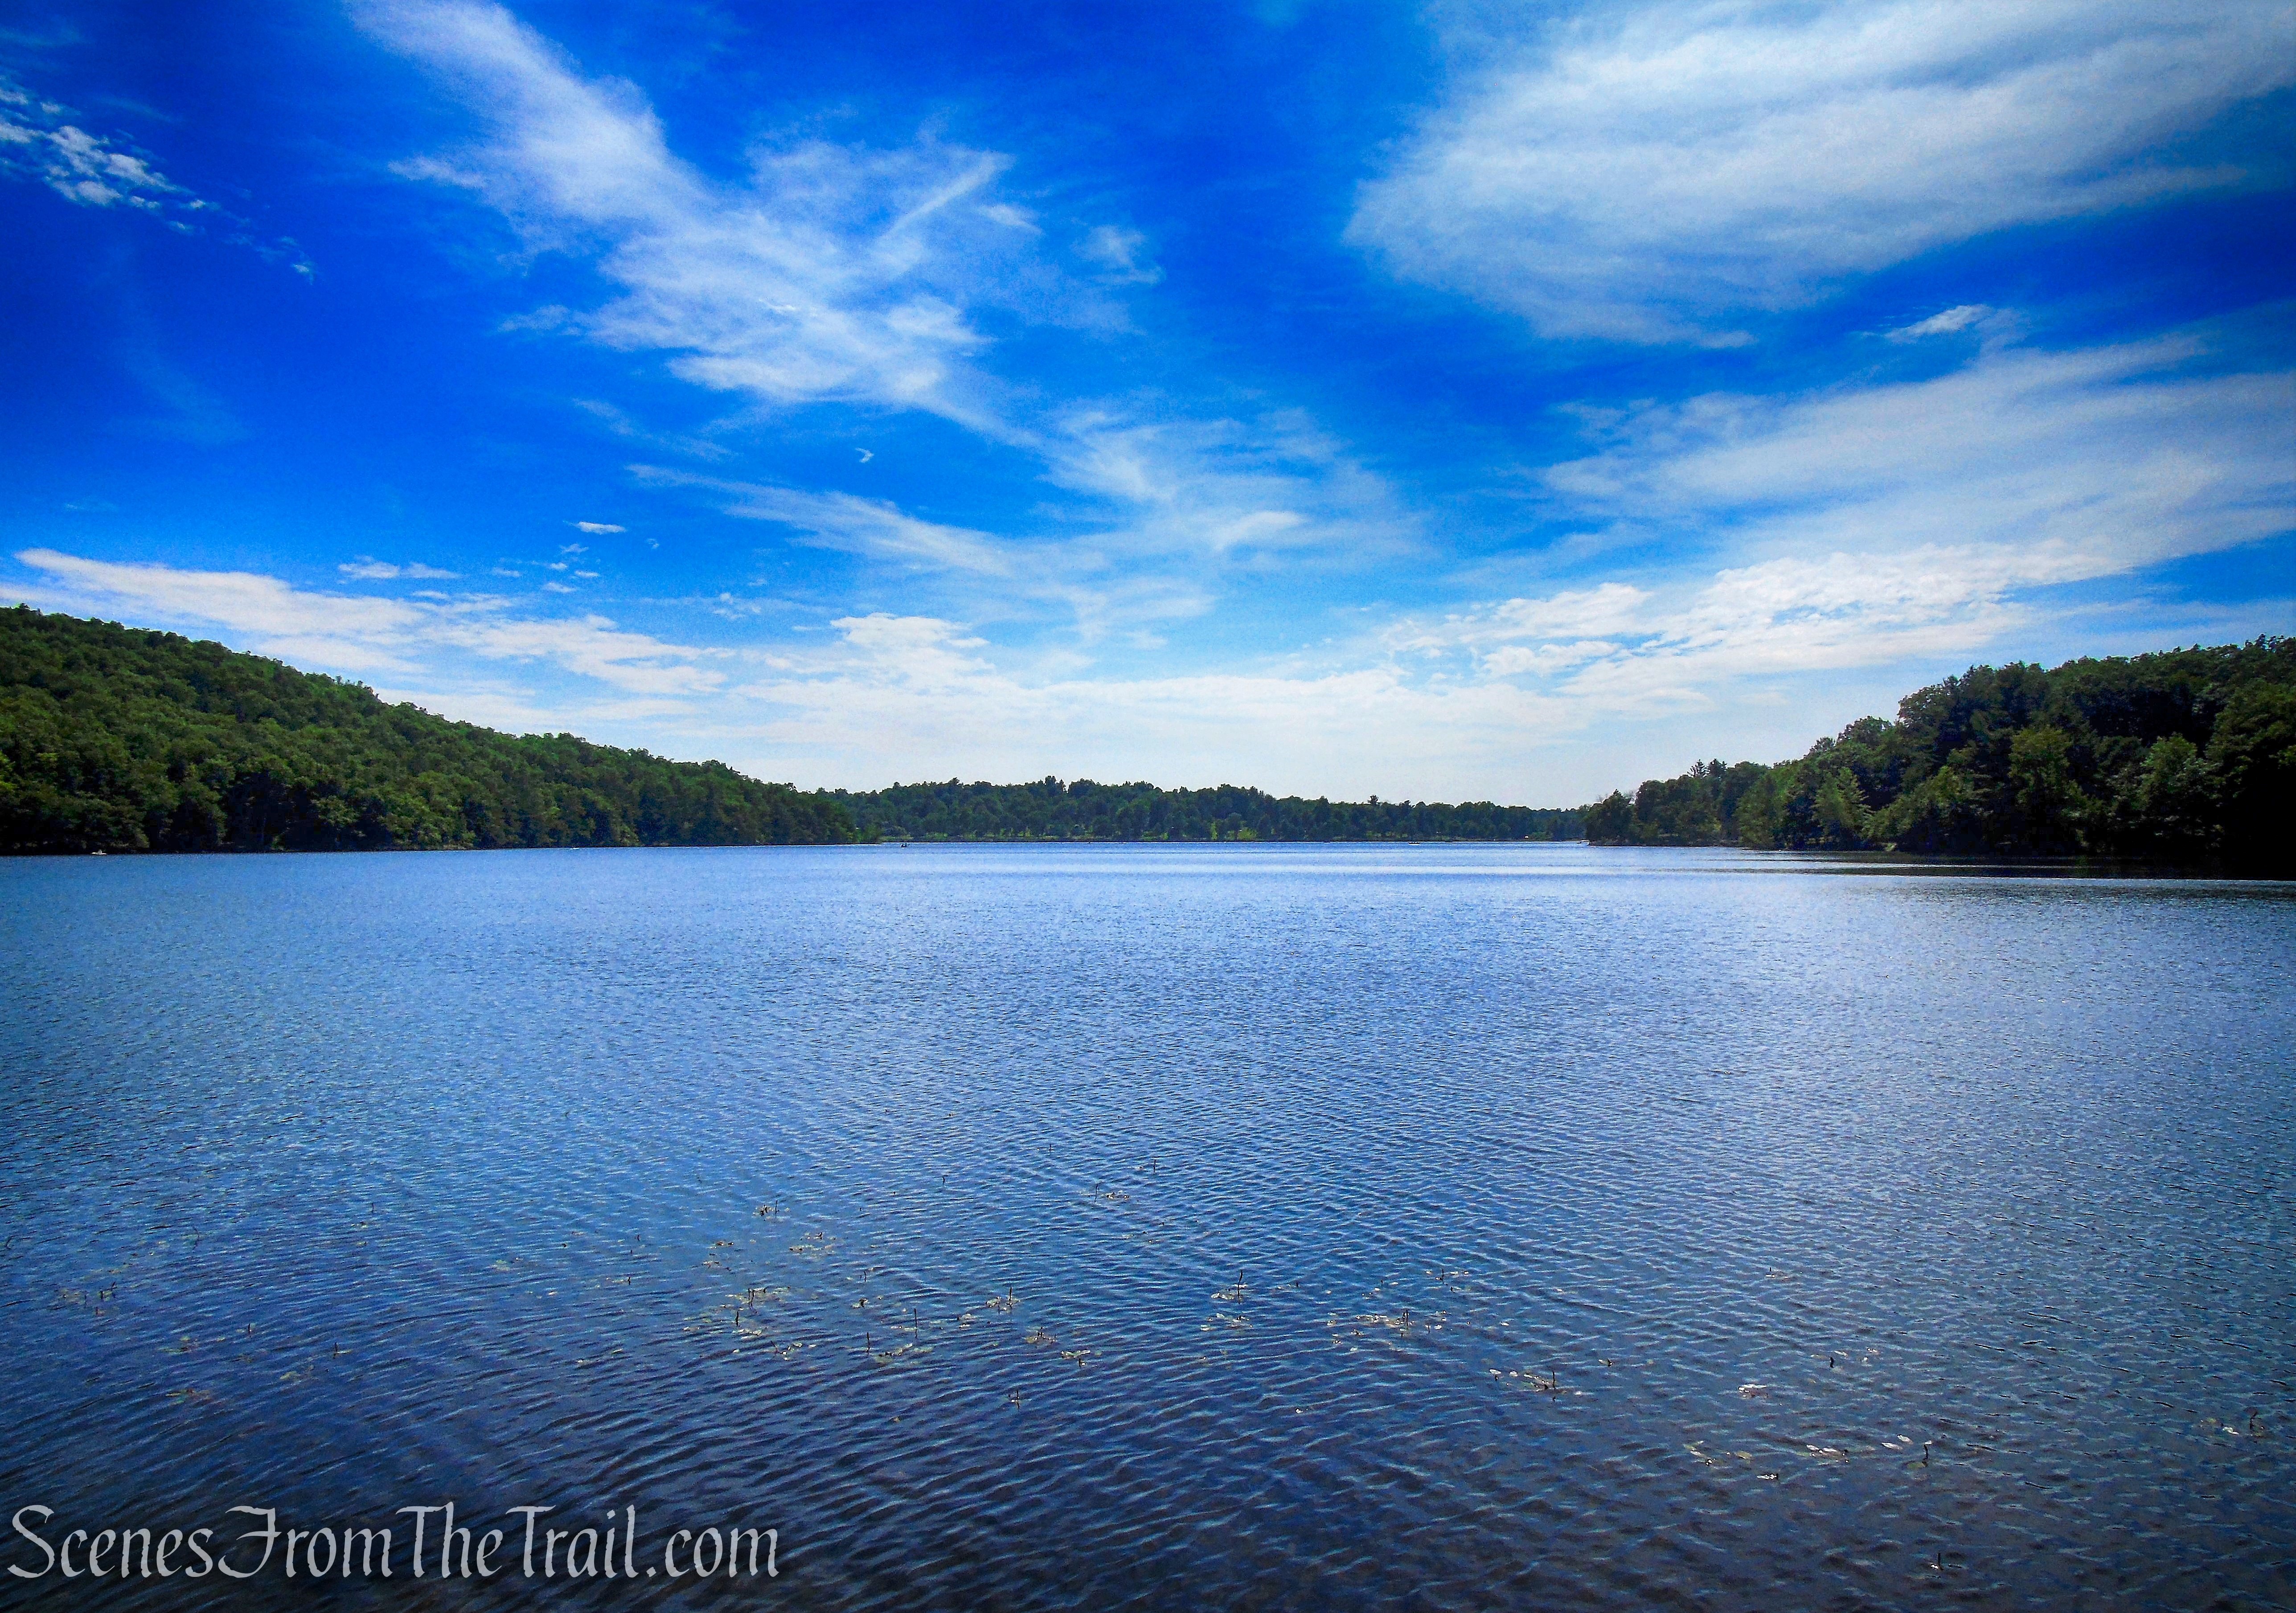
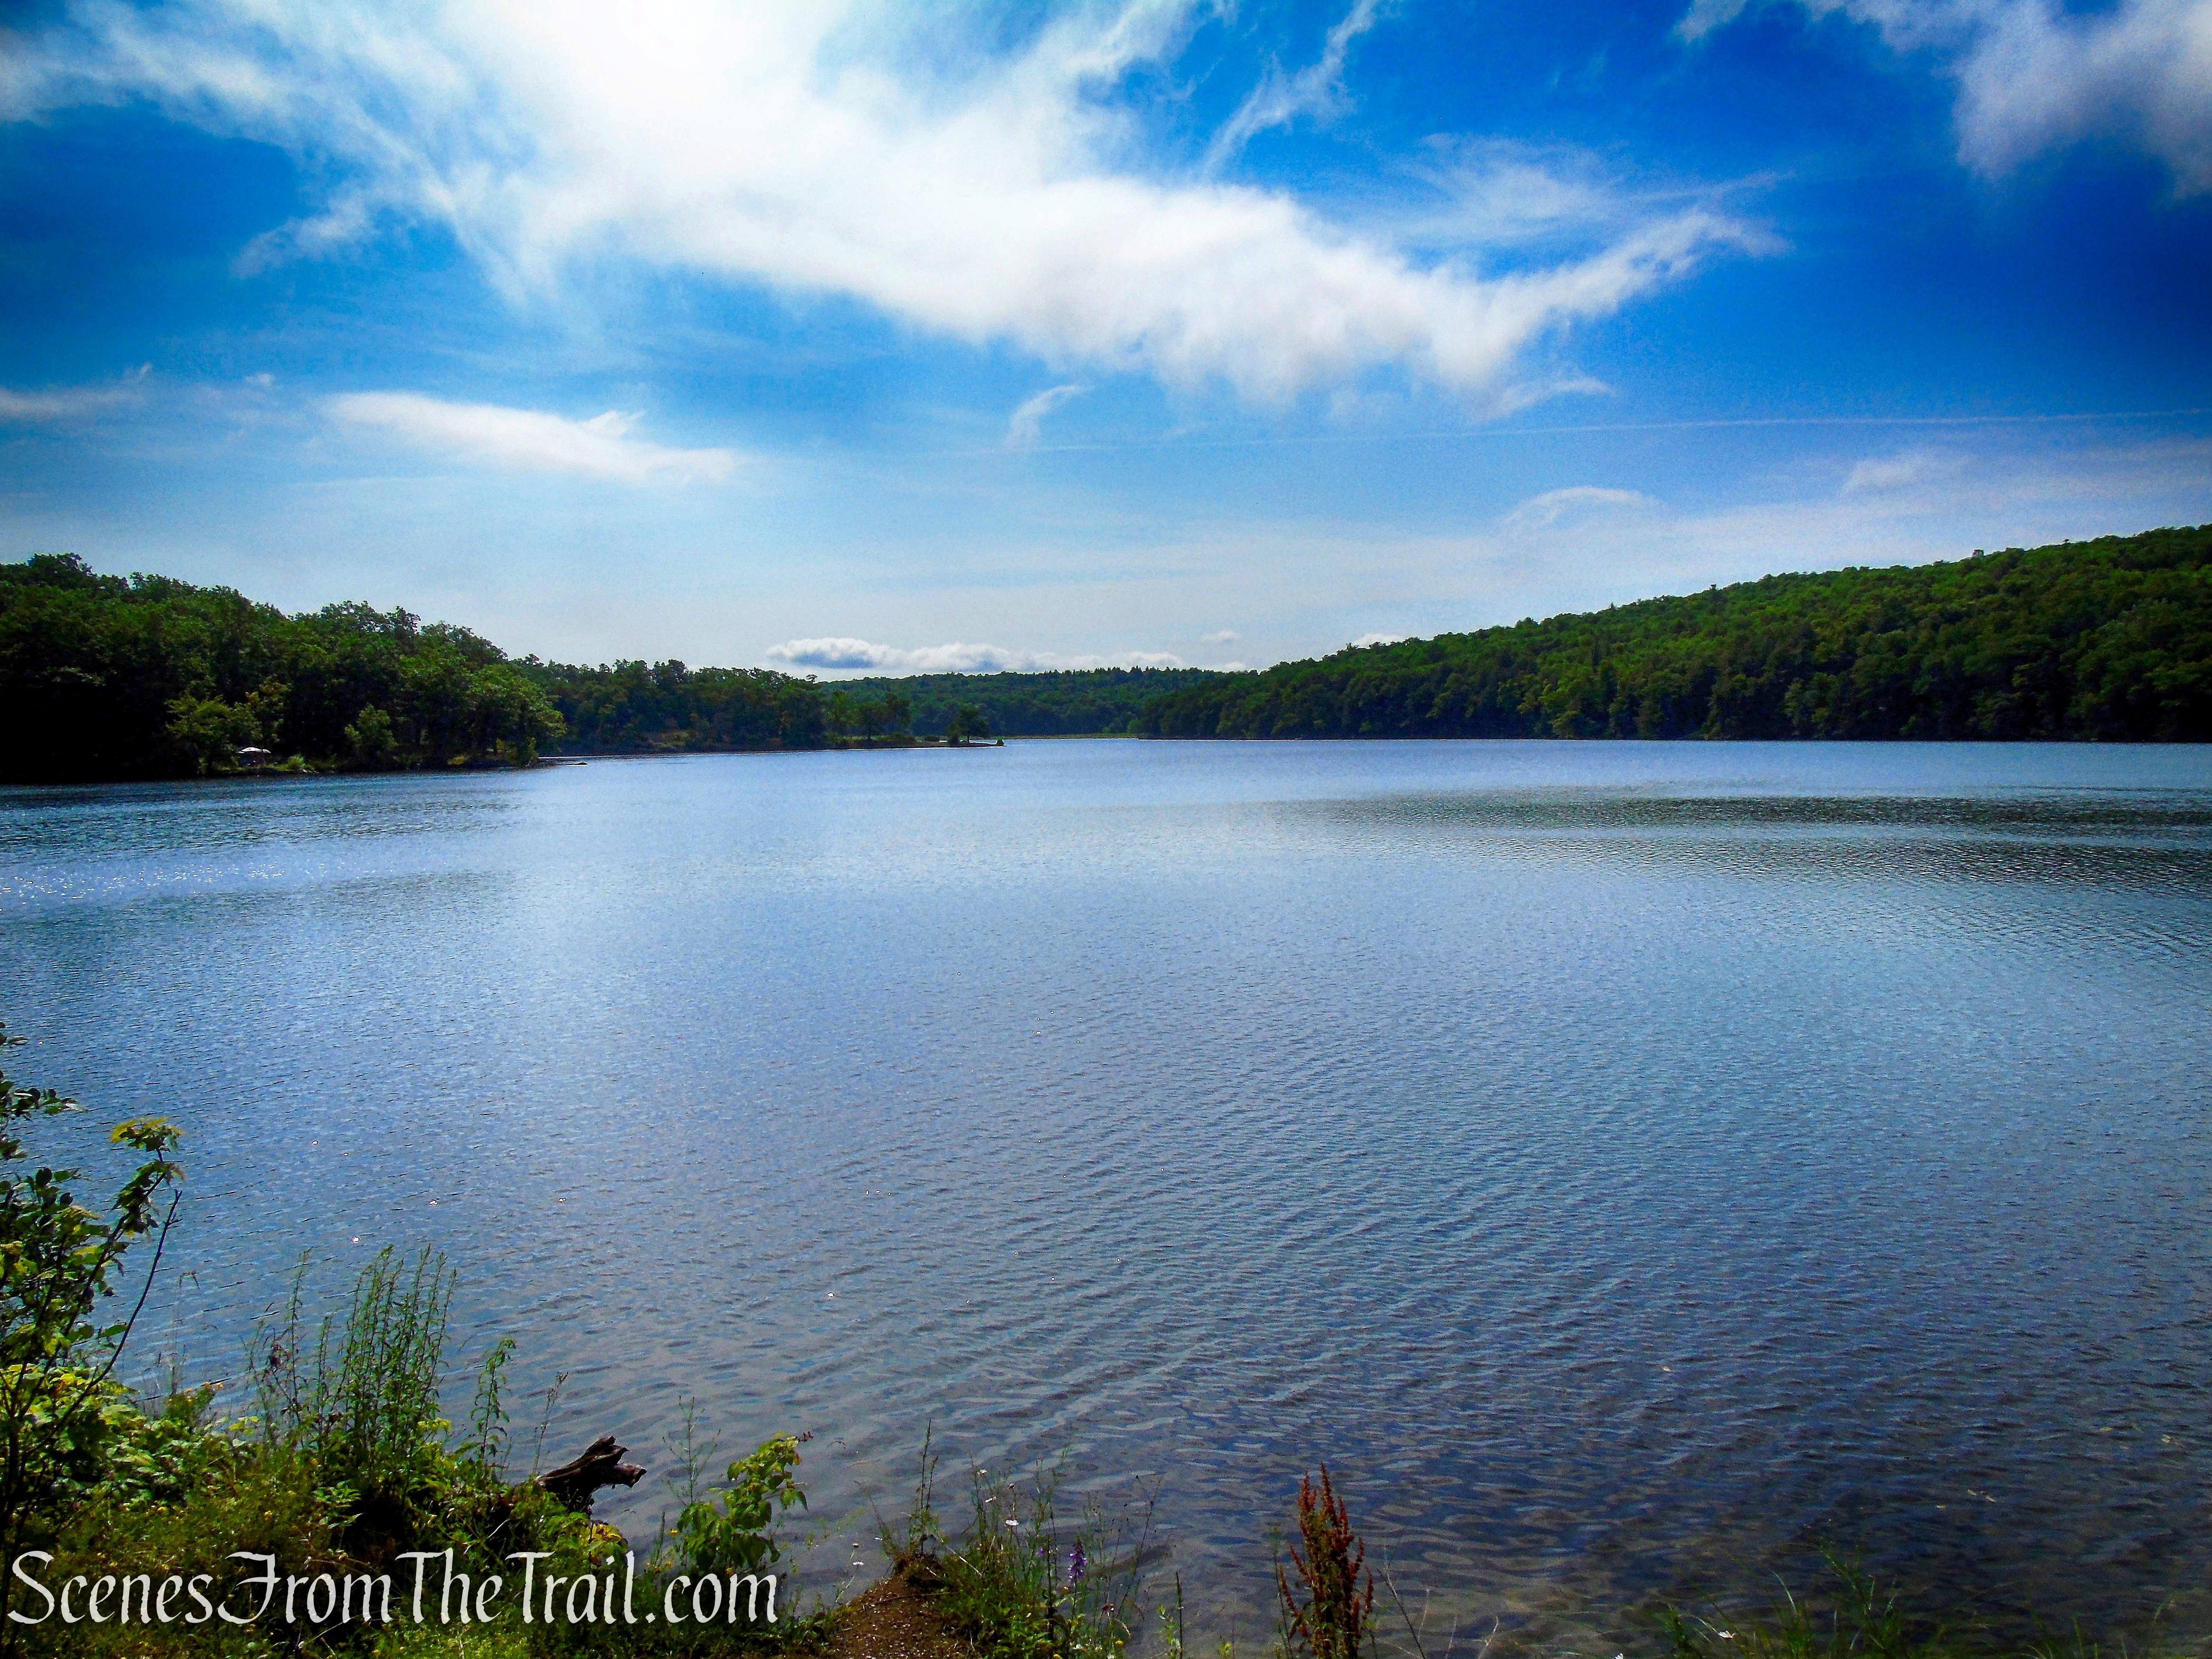
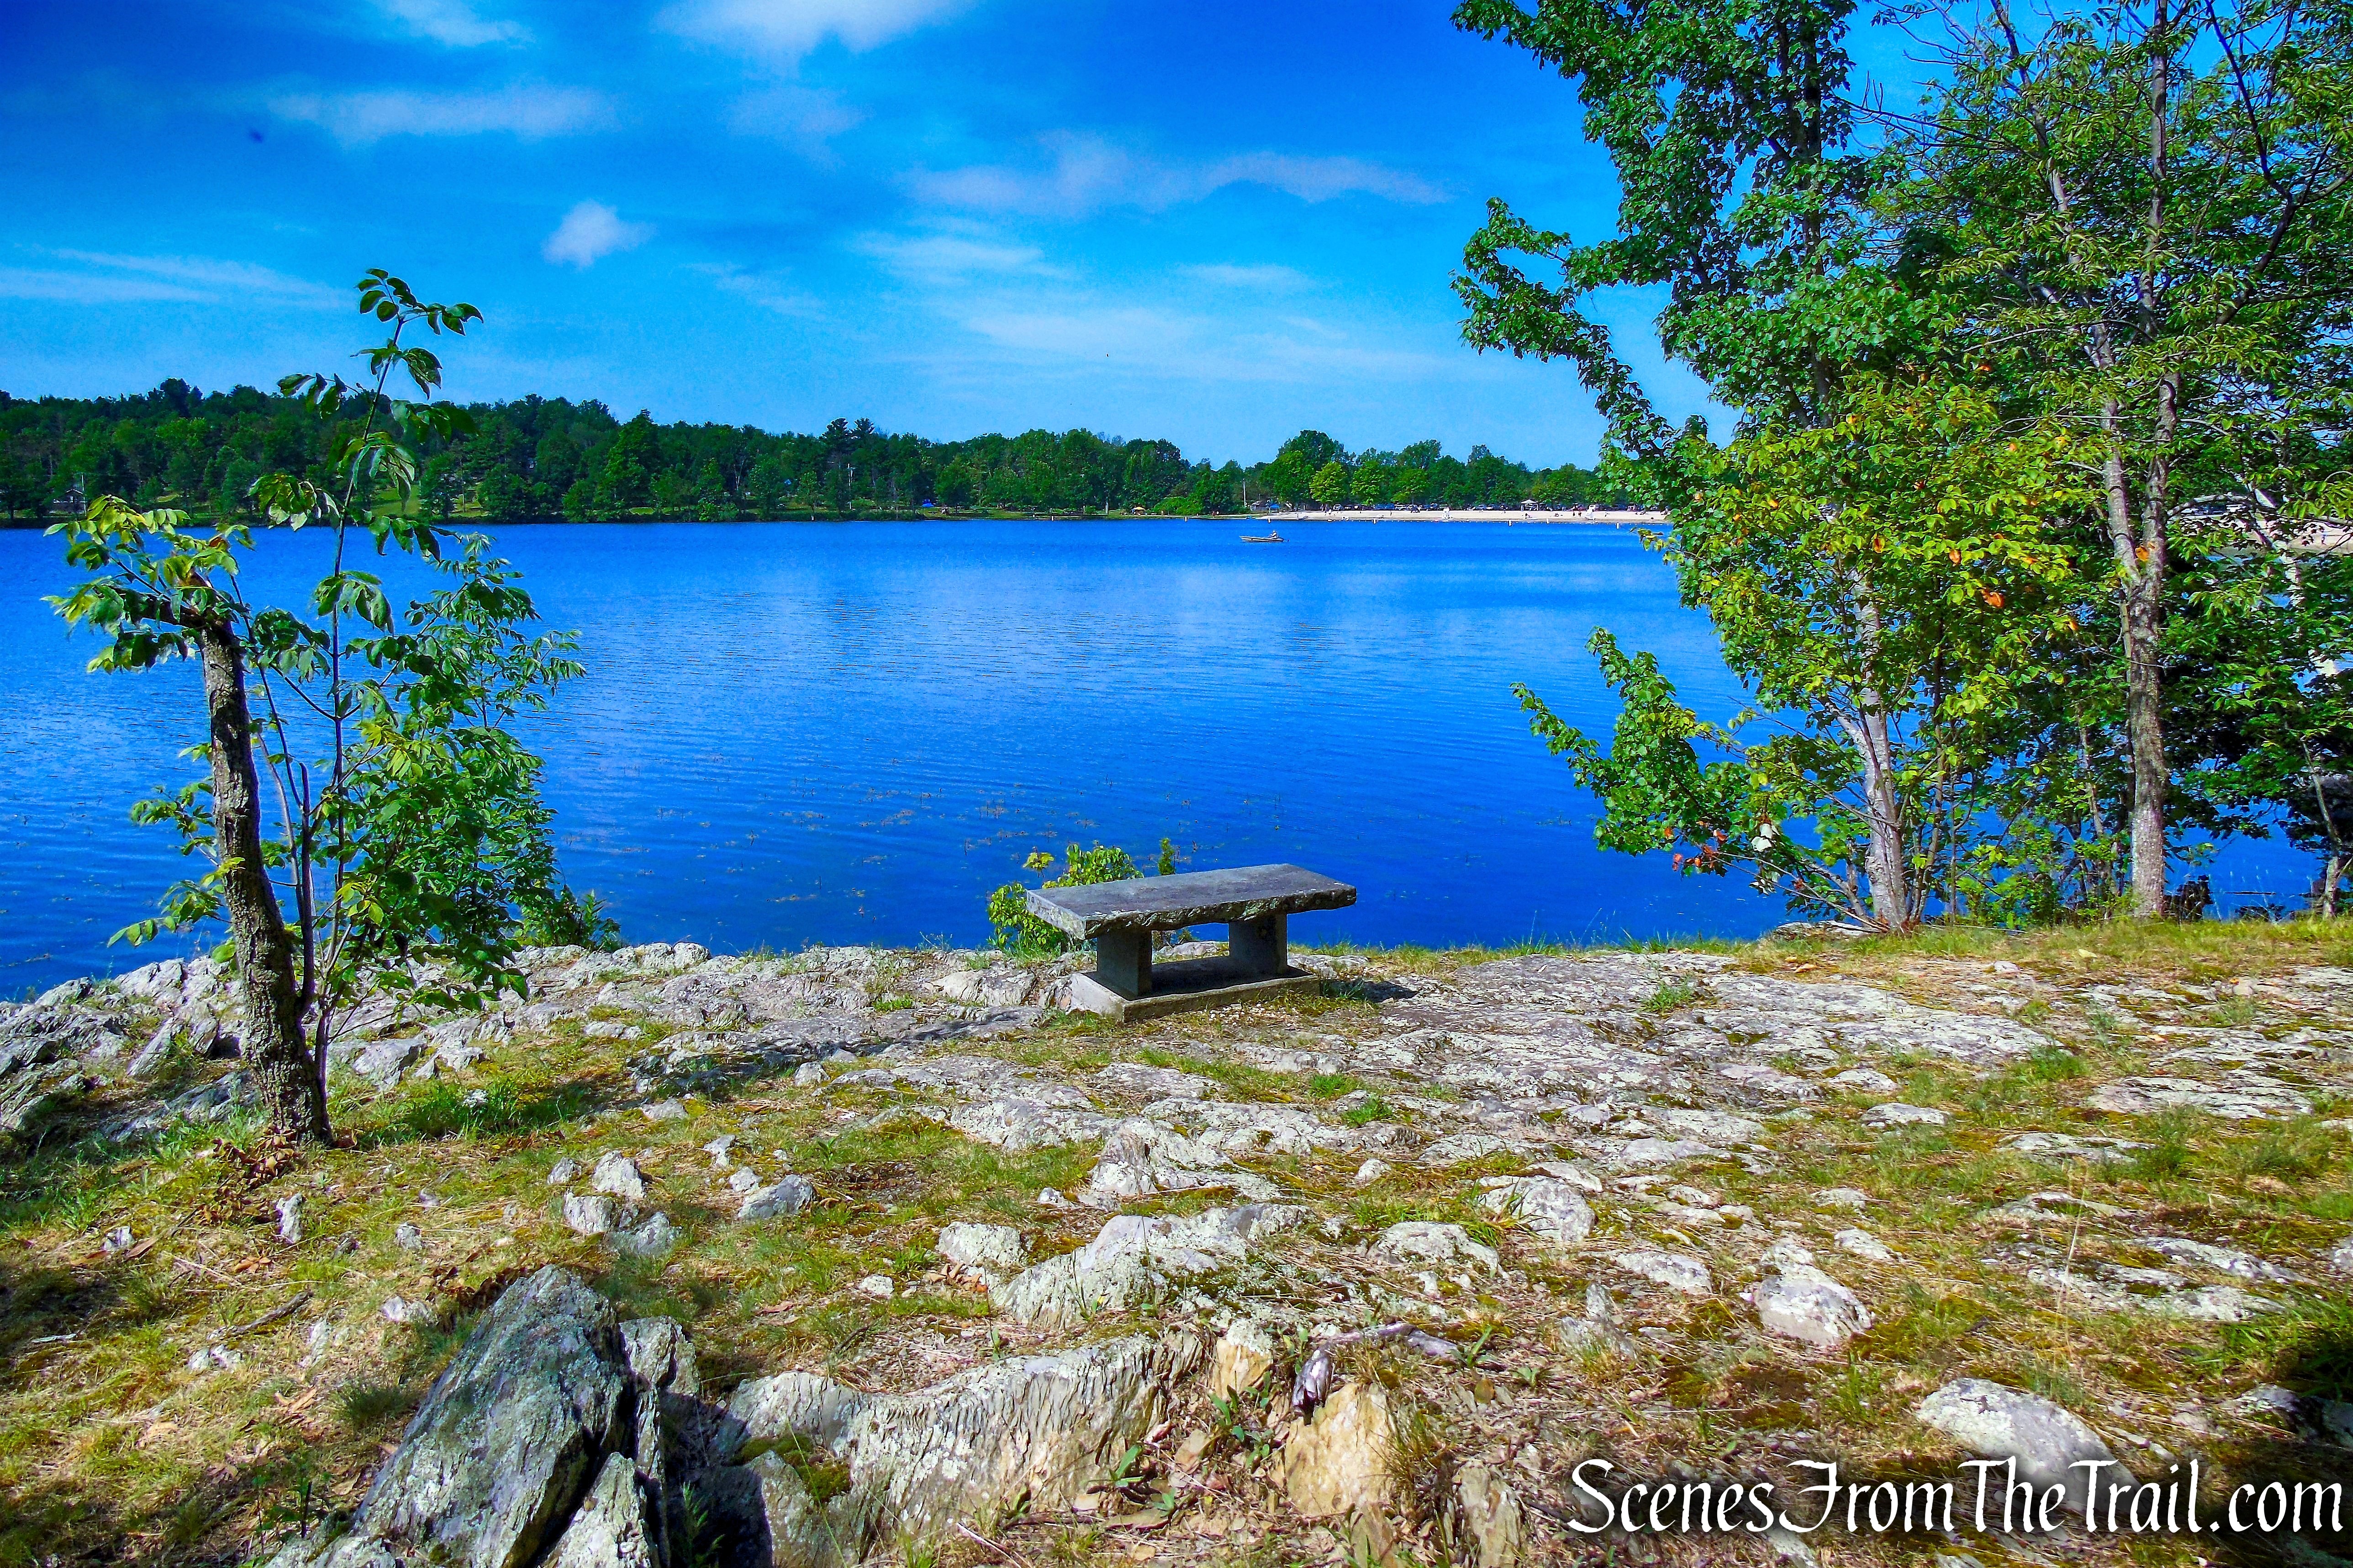
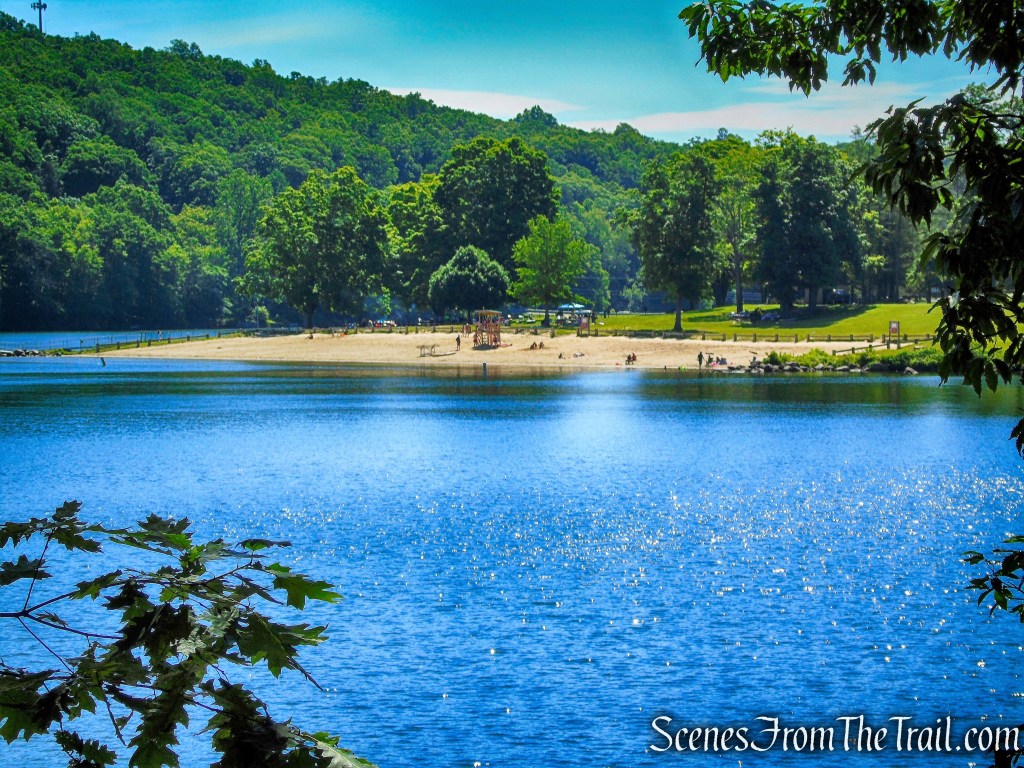
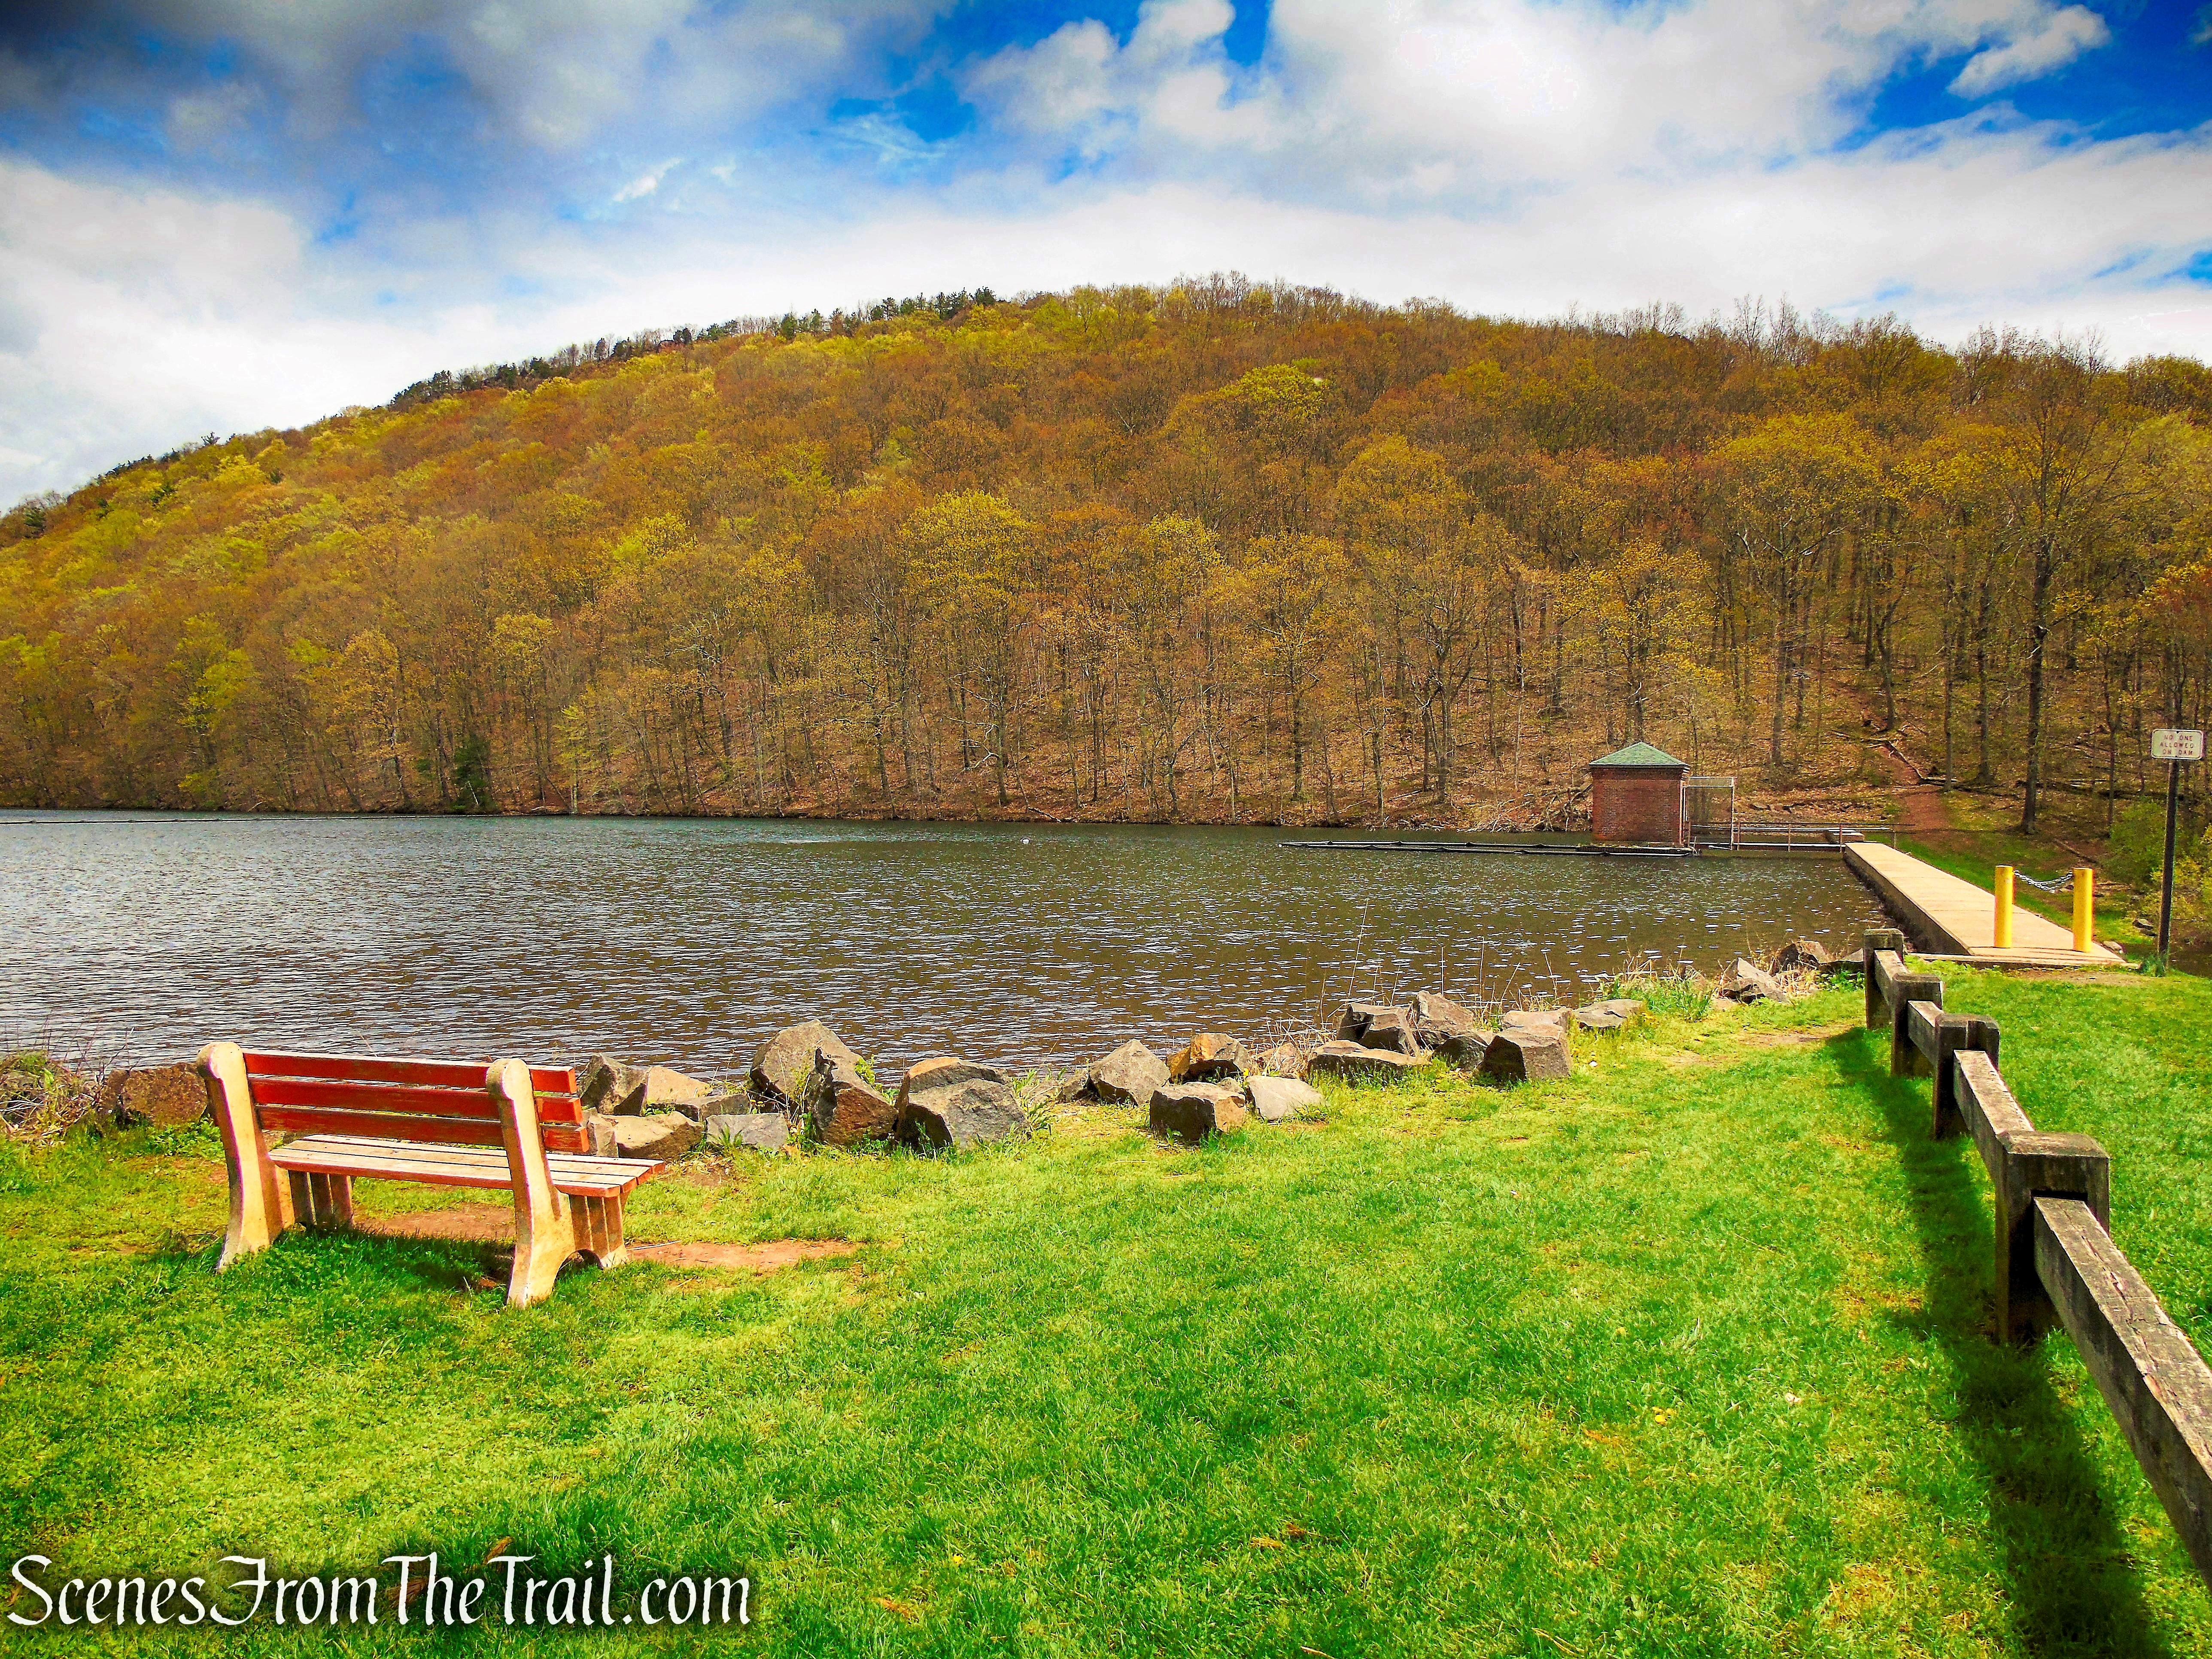
Lake Maratanza is the highest of the five “Sky Lakes” (the others are Mohonk Lake, Lake Minnewaska, Lake Awosting and Mud Pond) on the Shawangunk Ridge at 2,245 feet above sea level. It receives its water only from rainfall, both directly and as a runoff from the very low slopes around its perimeter.
Lake Maratanza – Sam’s Point Preserve
In 1902, LeGrand Botsford constructed a hotel next to Lake Maratanza. LeGrand’s hotel burned down within just two years.

Lake Maratanza – Sam’s Point Preserve
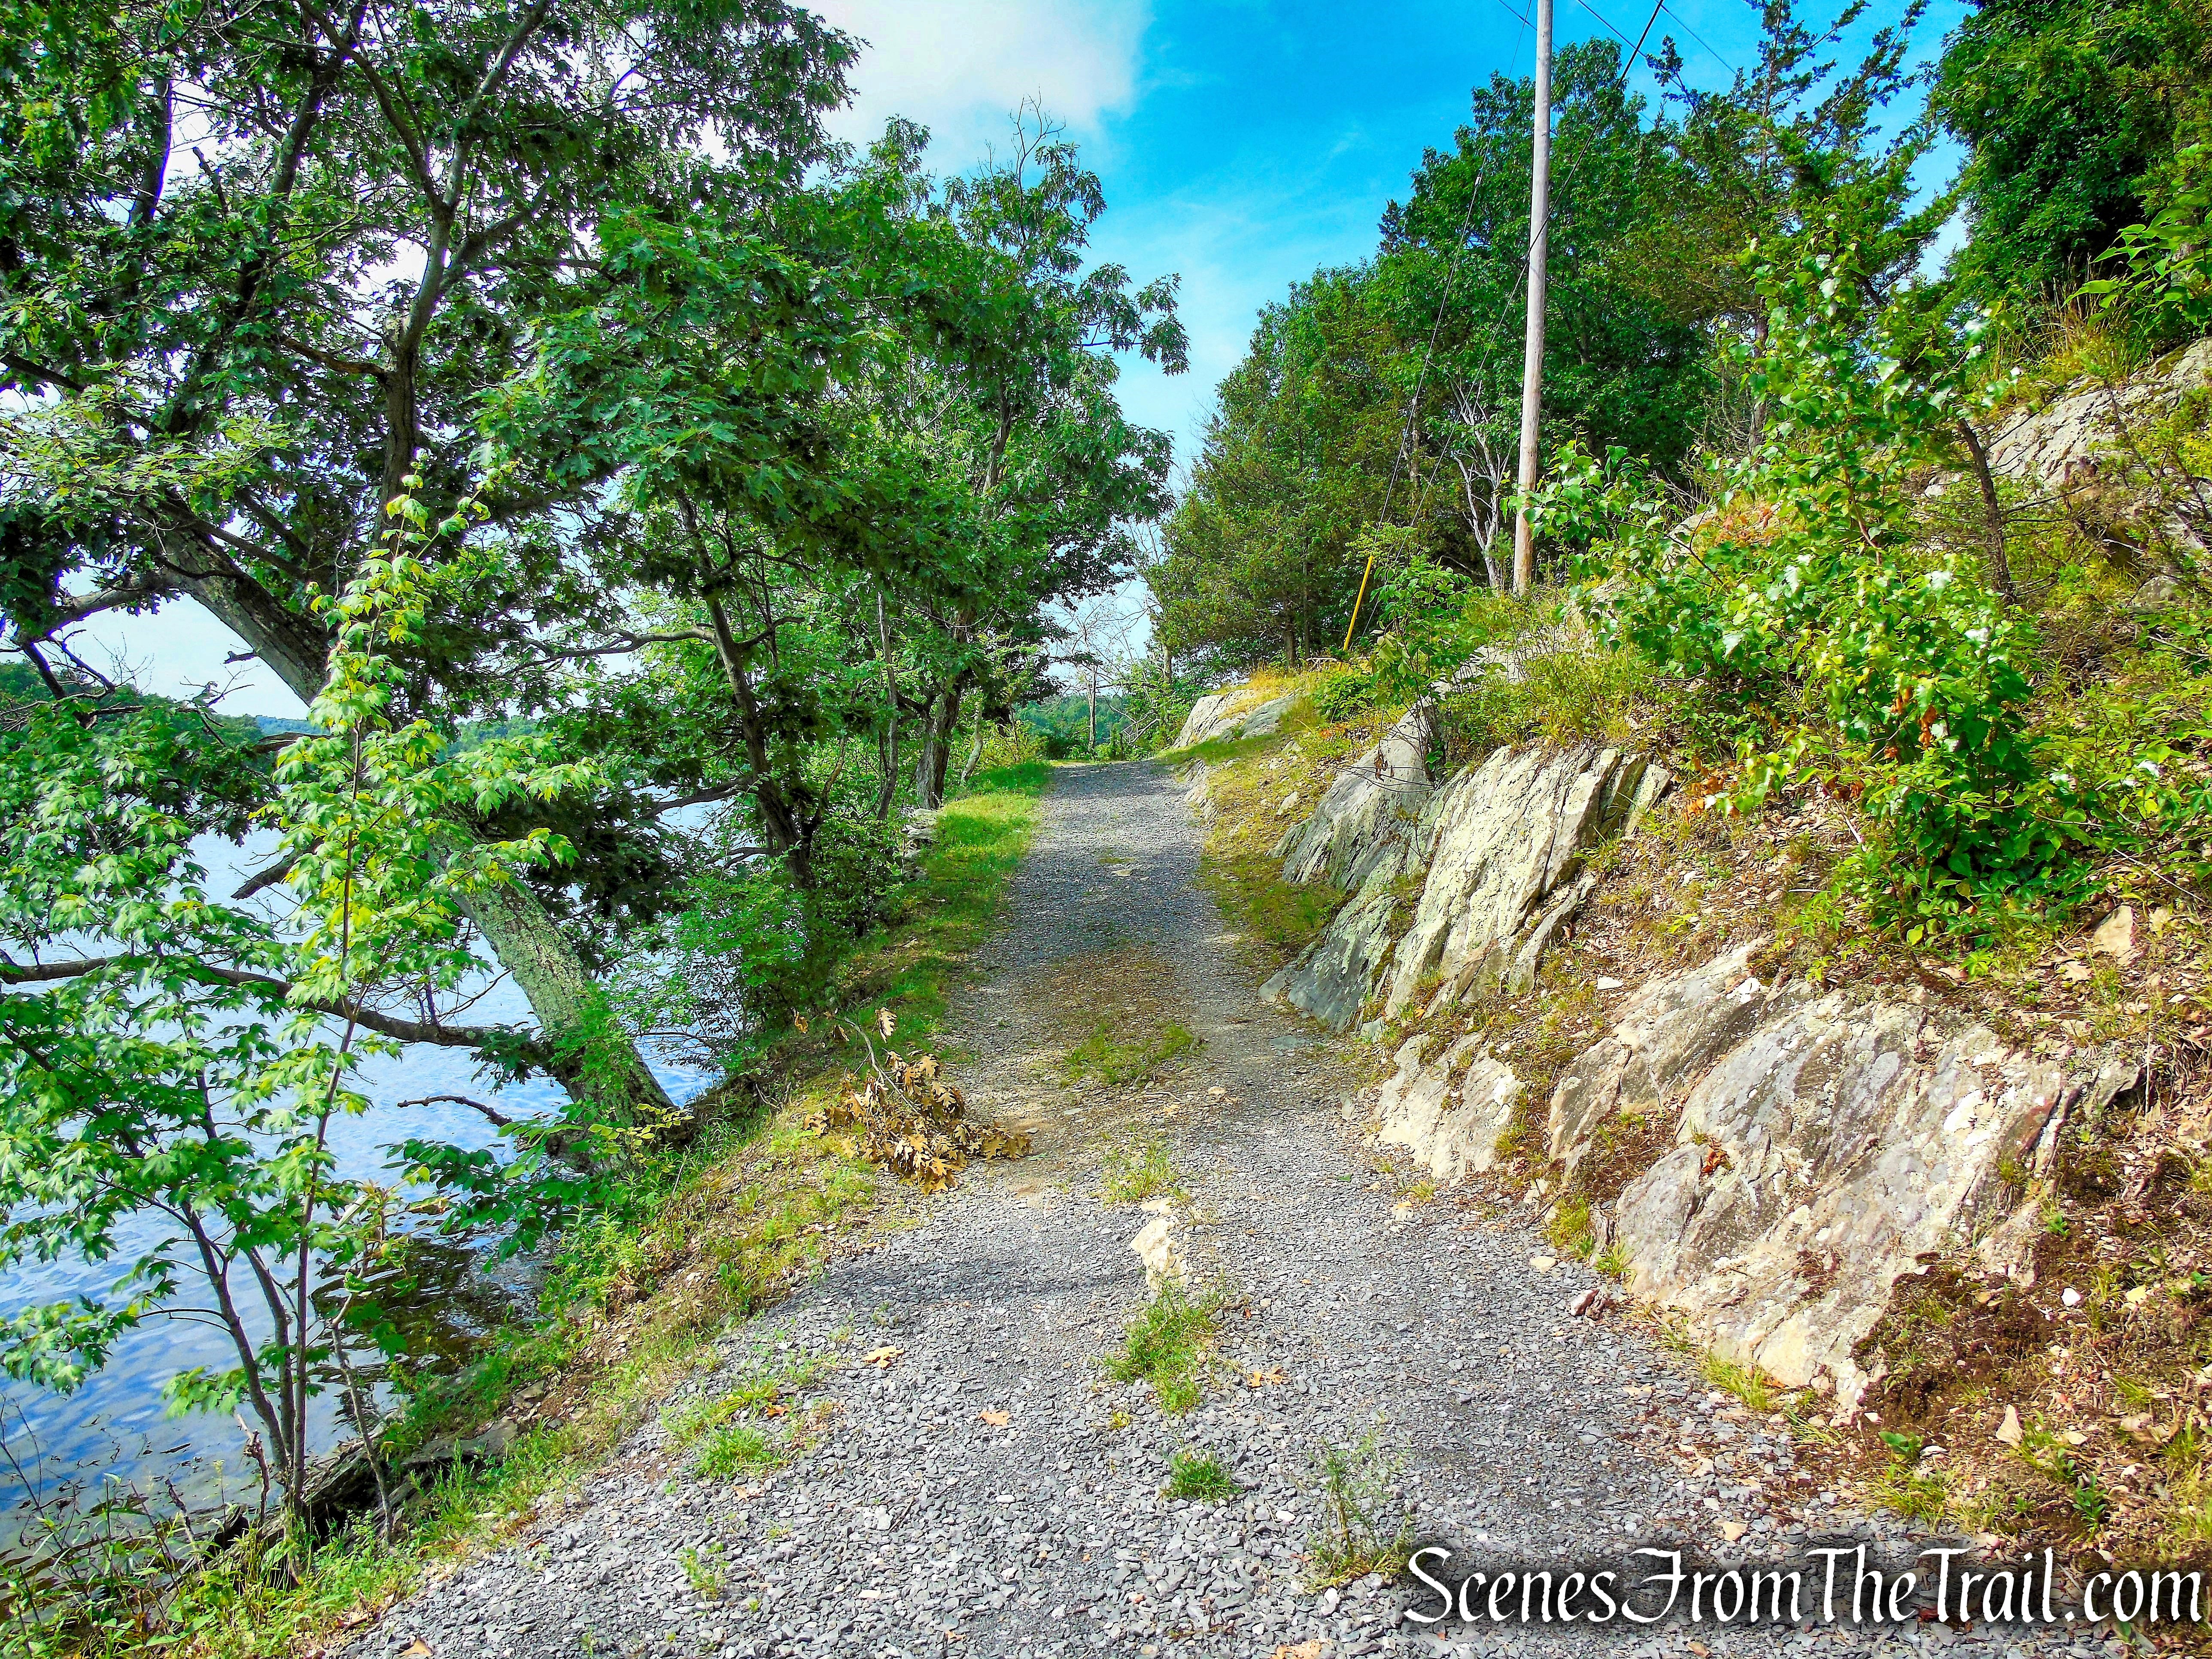
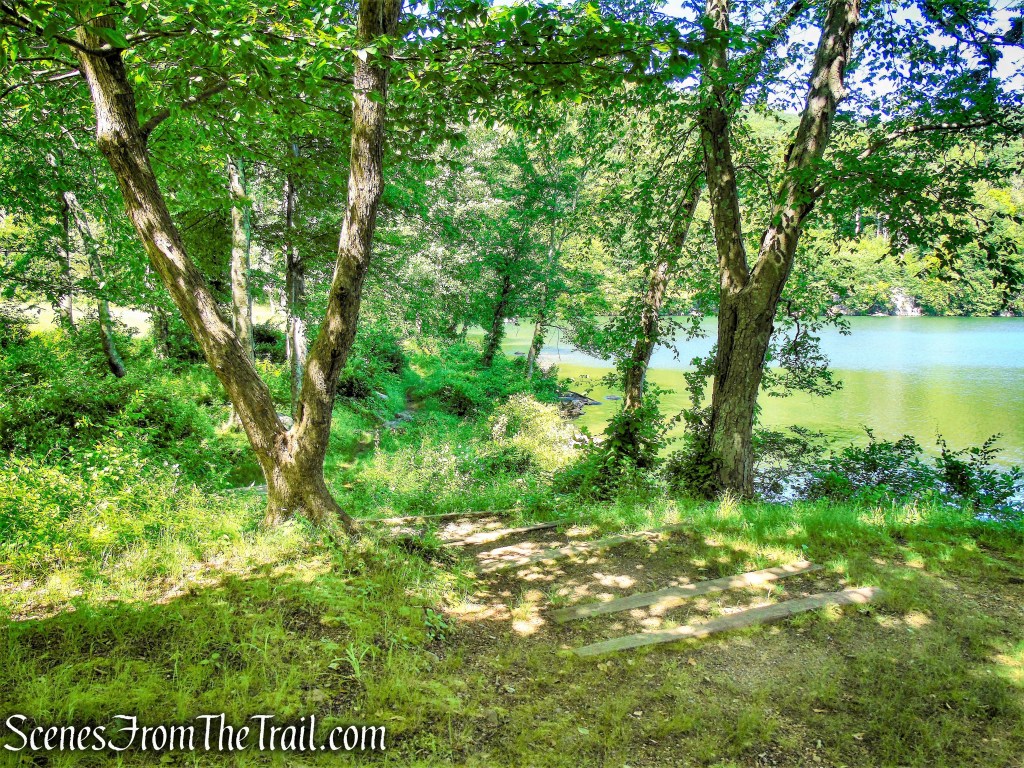
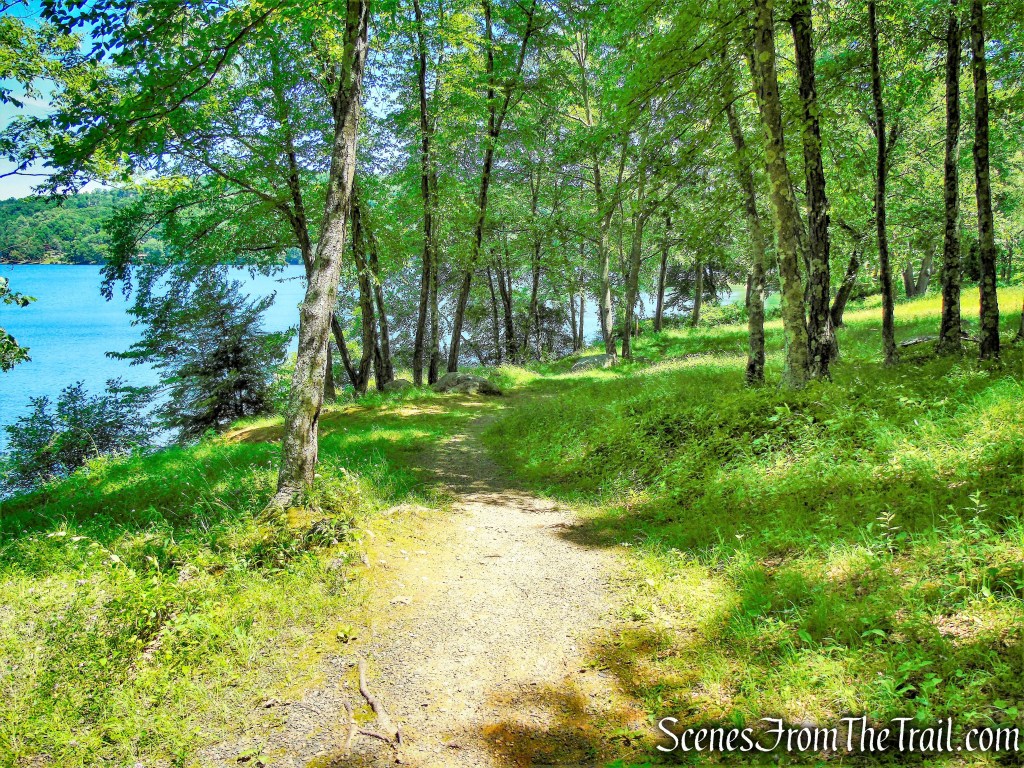
After taking a break at the shore of the lake, continue to follow Loop Road as it makes its way around the perimeter of the lake. The road then passes a junction with High Point Carriage Road marked by a wooden sign. Continue ahead on Loop Road as it passes by several radio towers on the right. In a short distance, an unmarked side trail begins on the left (opposite a road on the right that leads to one of the towers). Follow this side trail a short distance down to the scenic Lake Maratanza.

Loop Road – Sam’s Point Preserve
Lake Maratanza – Sam’s Point Preserve

Loop Road – Sam’s Point Preserve

Loop Road – Sam’s Point Preserve
unmarked footpath – Sam’s Point Preserve

Lake Maratanza – Sam’s Point Preserve

Lake Maratanza – Sam’s Point Preserve
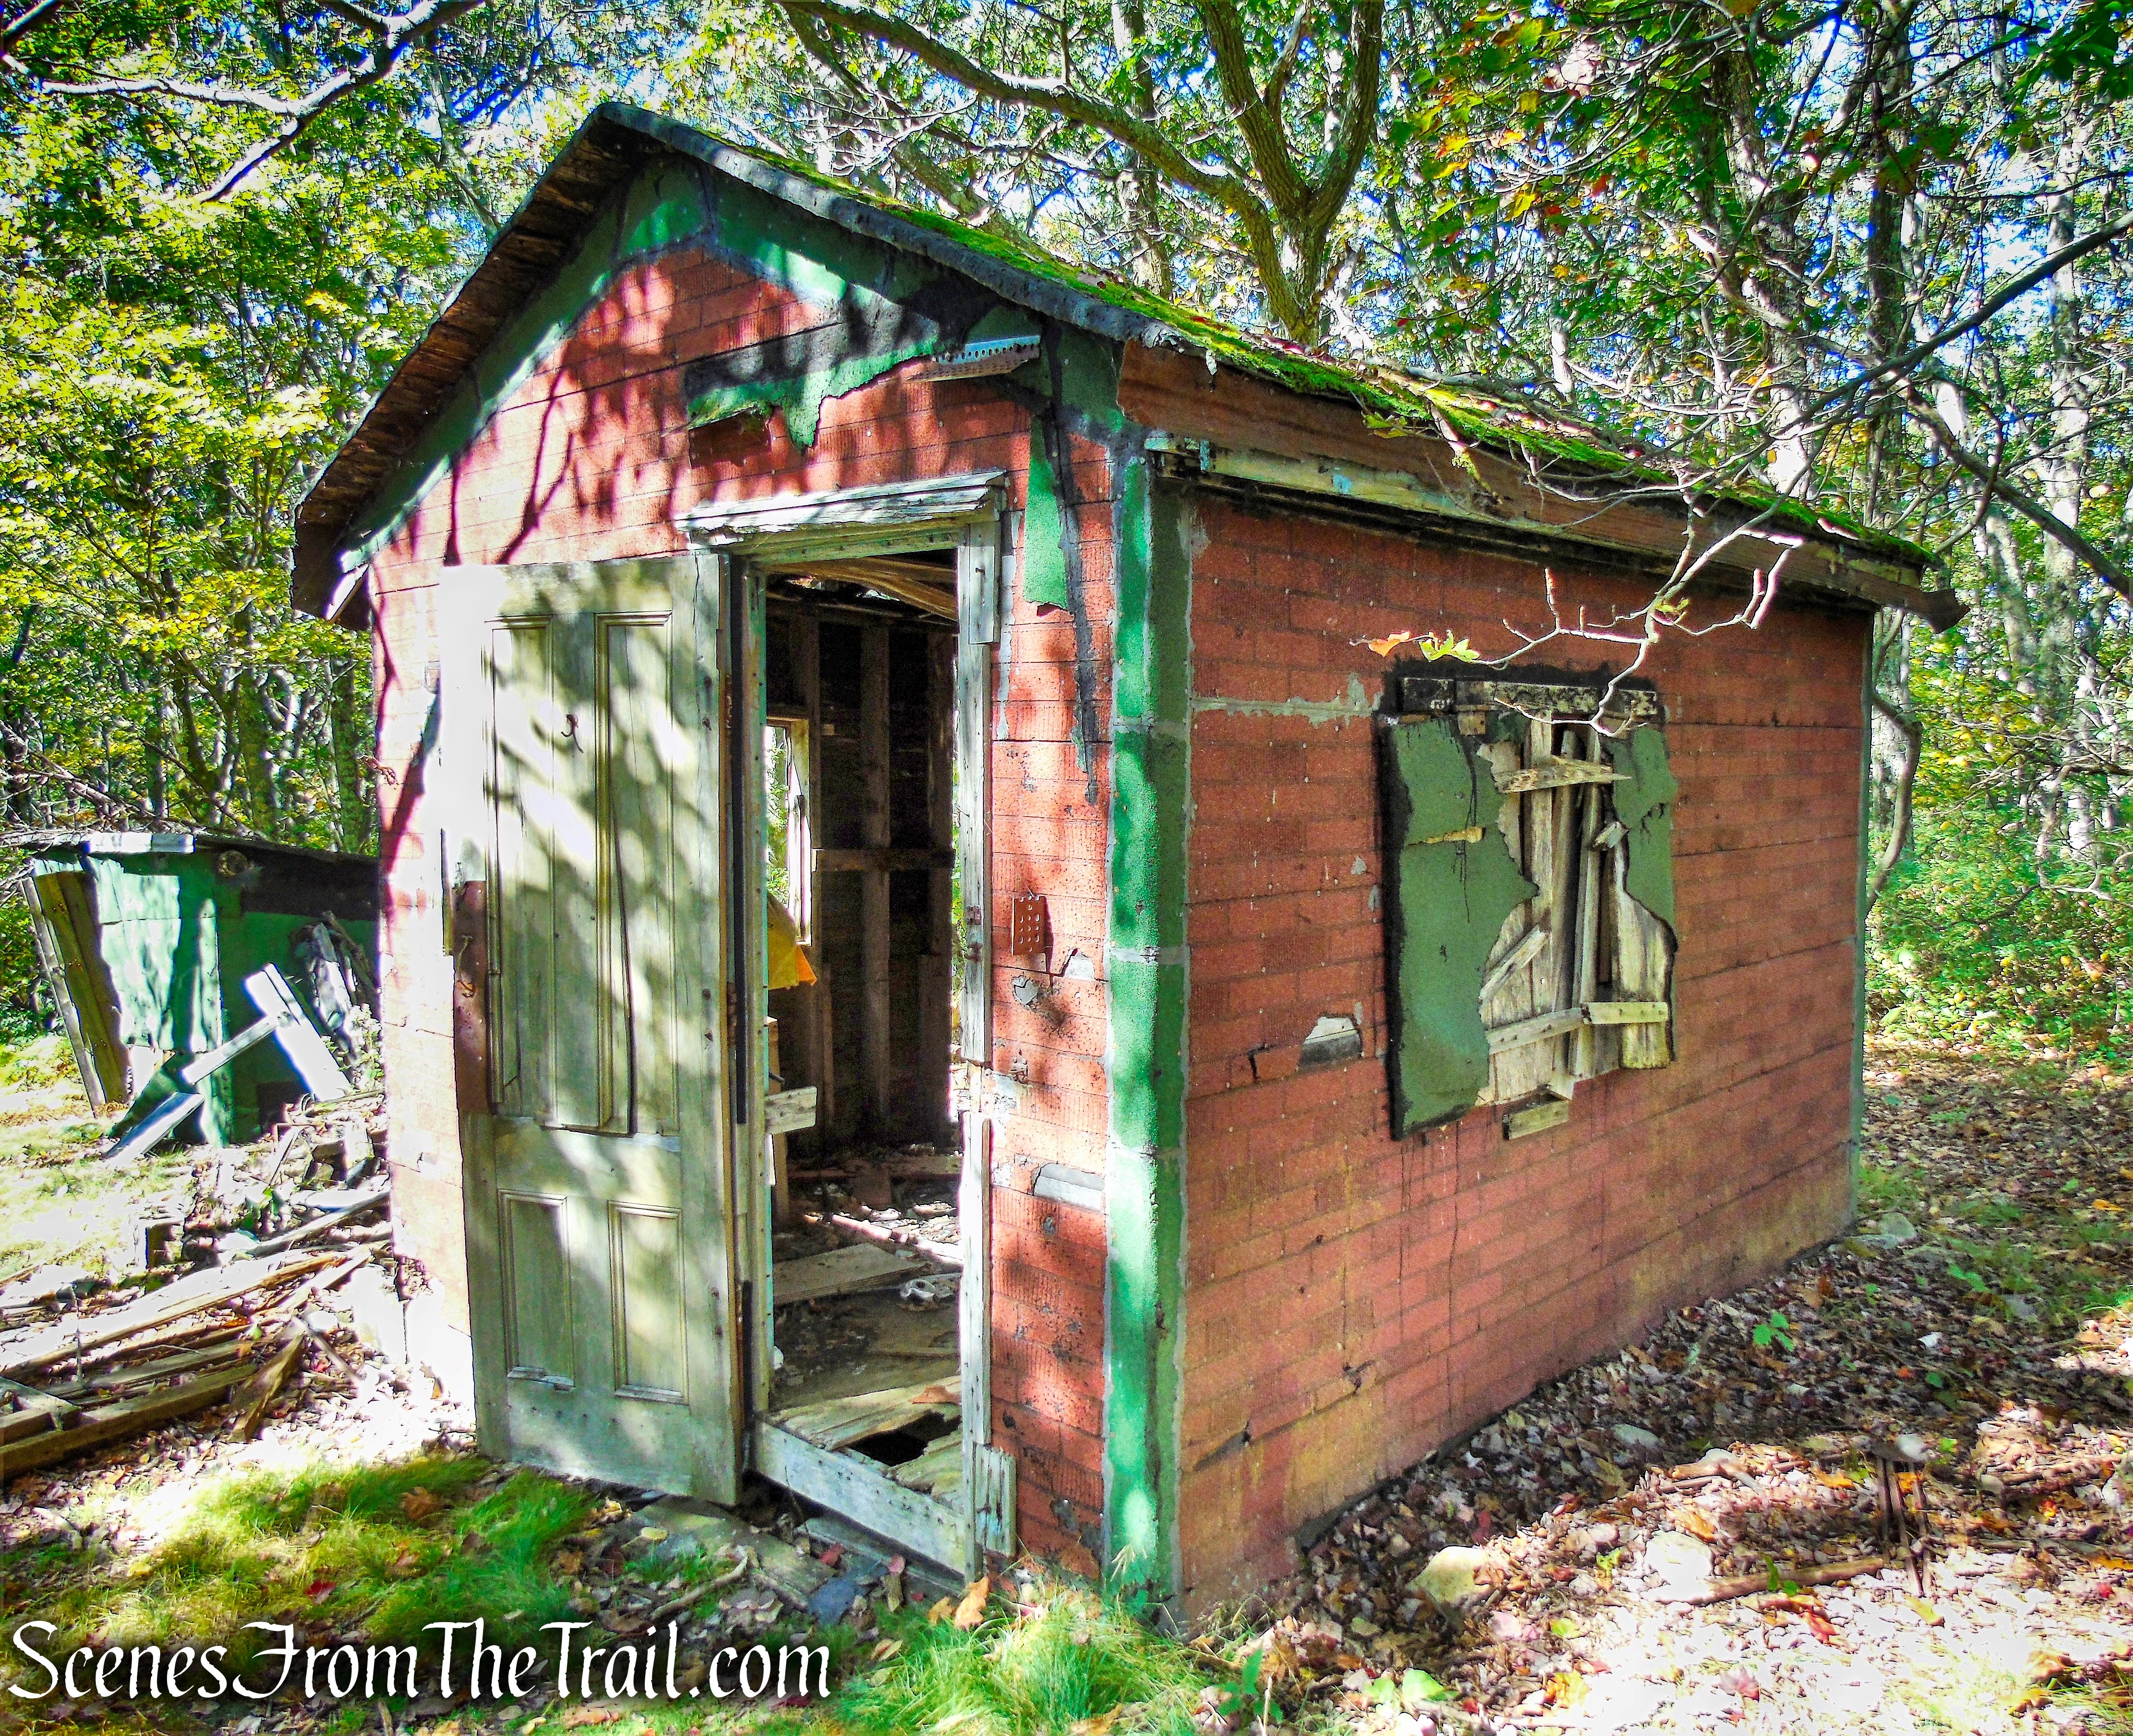
After taking a break at the shore of the lake, return to Loop Road and turn left. Follow the road downhill, passing the remains of shacks on the right, built to house the “berry pickers” who lived there seasonally while harvesting the blueberries and huckleberries which are found in abundance in the area.
Loop Road – Sam’s Point Preserve
Loop Road – Sam’s Point Preserve

Berry Picker Cabins – Sam’s Point Preserve

Berry Picker Cabins – Sam’s Point Preserve

Berry Picker Cabins – Sam’s Point Preserve
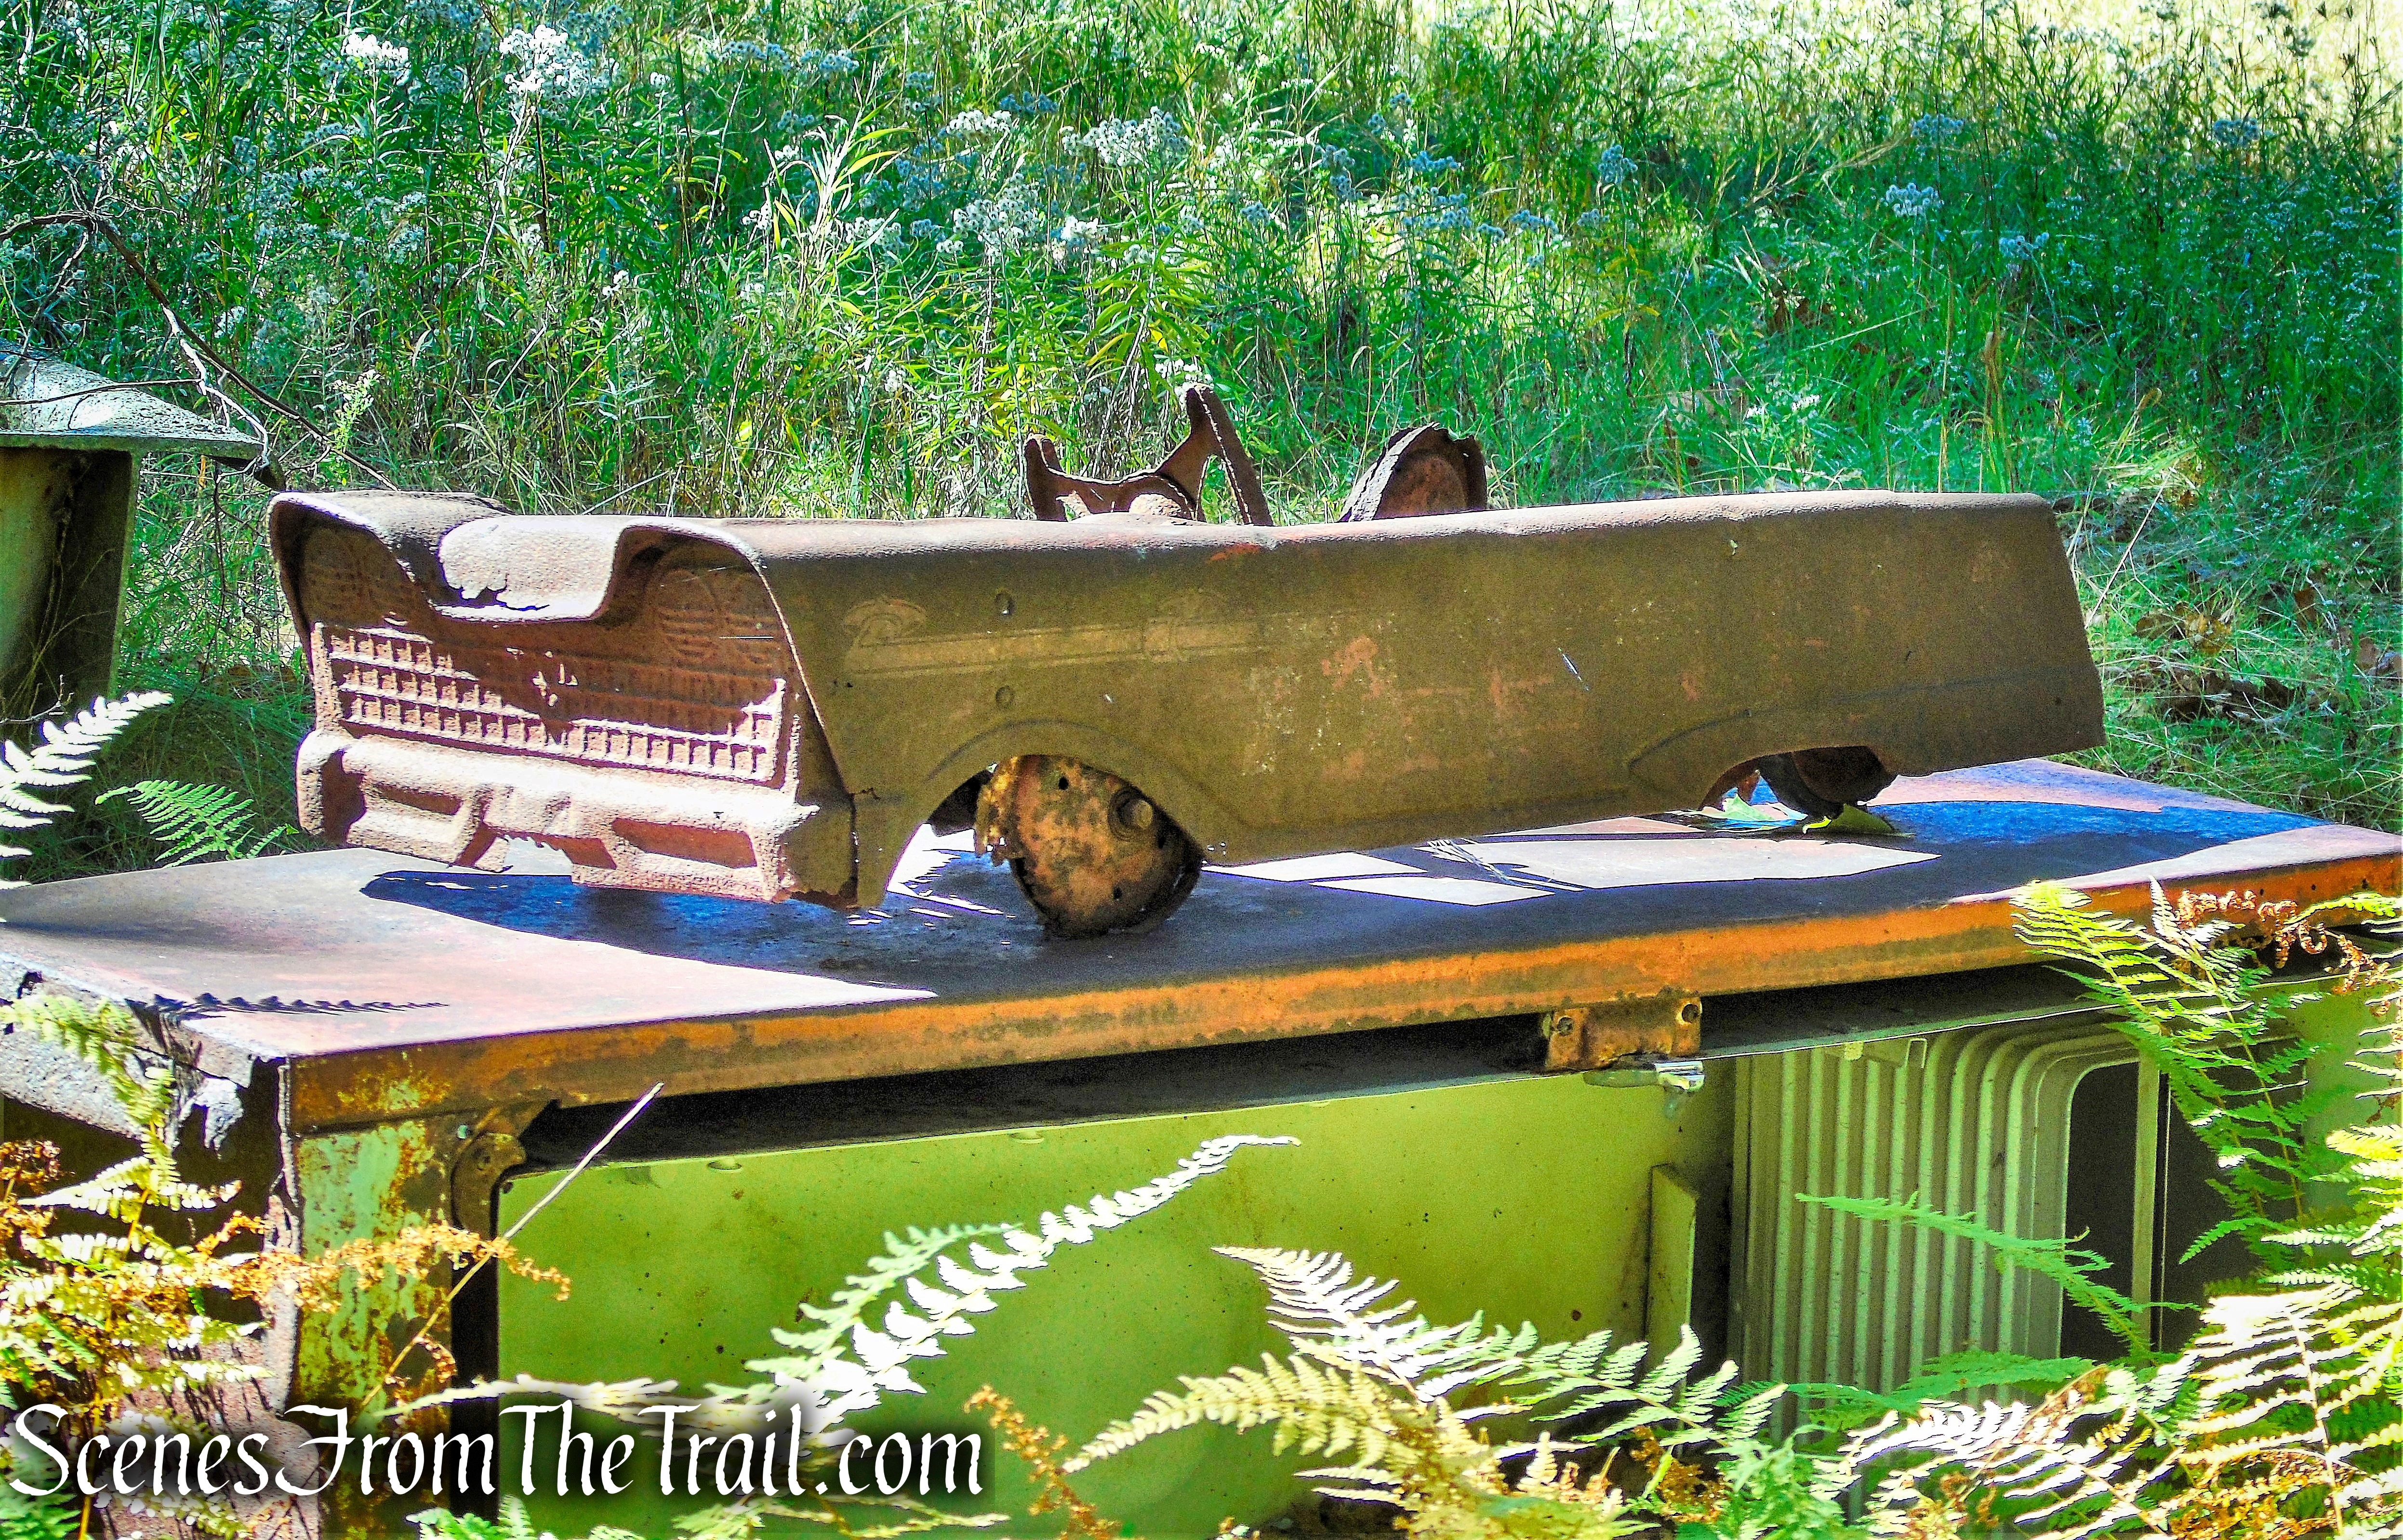
Berry Picker Cabins – Sam’s Point Preserve

Berry Picker Cabins – Sam’s Point Preserve
Loop Road continues downhill and passes several dilapidated berry pickers shacks on the right. The berry pickers were a group of working-class men and women who began to inhabit the Shawangunk Ridge seasonally in the middle of the nineteenth century. At some point, the berry pickers began to establish seasonal and/or semi permanent camps within what is now the Preserve and the adjacent lands.

Loop Road – Sam’s Point Preserve
Berry Picker Cabins – Sam’s Point Preserve
Loop Road – Sam’s Point Preserve

Berry Picker Cabin – Sam’s Point Preserve

Berry Picker Cabin – Sam’s Point Preserve
Soon, Loop Road makes its way back to the parking area, where the hike began.

Loop Road – Sam’s Point Preserve
Review:
A wonderful hiking experience that has a lot to offer. The views are breathtaking and the Ice Caves are a must if visiting. This place fills up early and is best visited on a weekday to avoid the crowds. The carriage roads are easy walking with the footpaths a little more rugged. The Ice Caves Loop Trail is slightly challenging, but very rewarding. Worth the trip to explore this area with its unique scenic landscape.
~Please Note: The Ice Caves are only open to the public from April to October.
Pros: Scenic views, Ice Caves, Lake Maratanza, The Gunks, historical features.
Cons: Gets extremely crowded on weekends.
Take a hike!

Ice Caves and Lake Maratanza Loop – Sam’s Point Preserve
Sources: