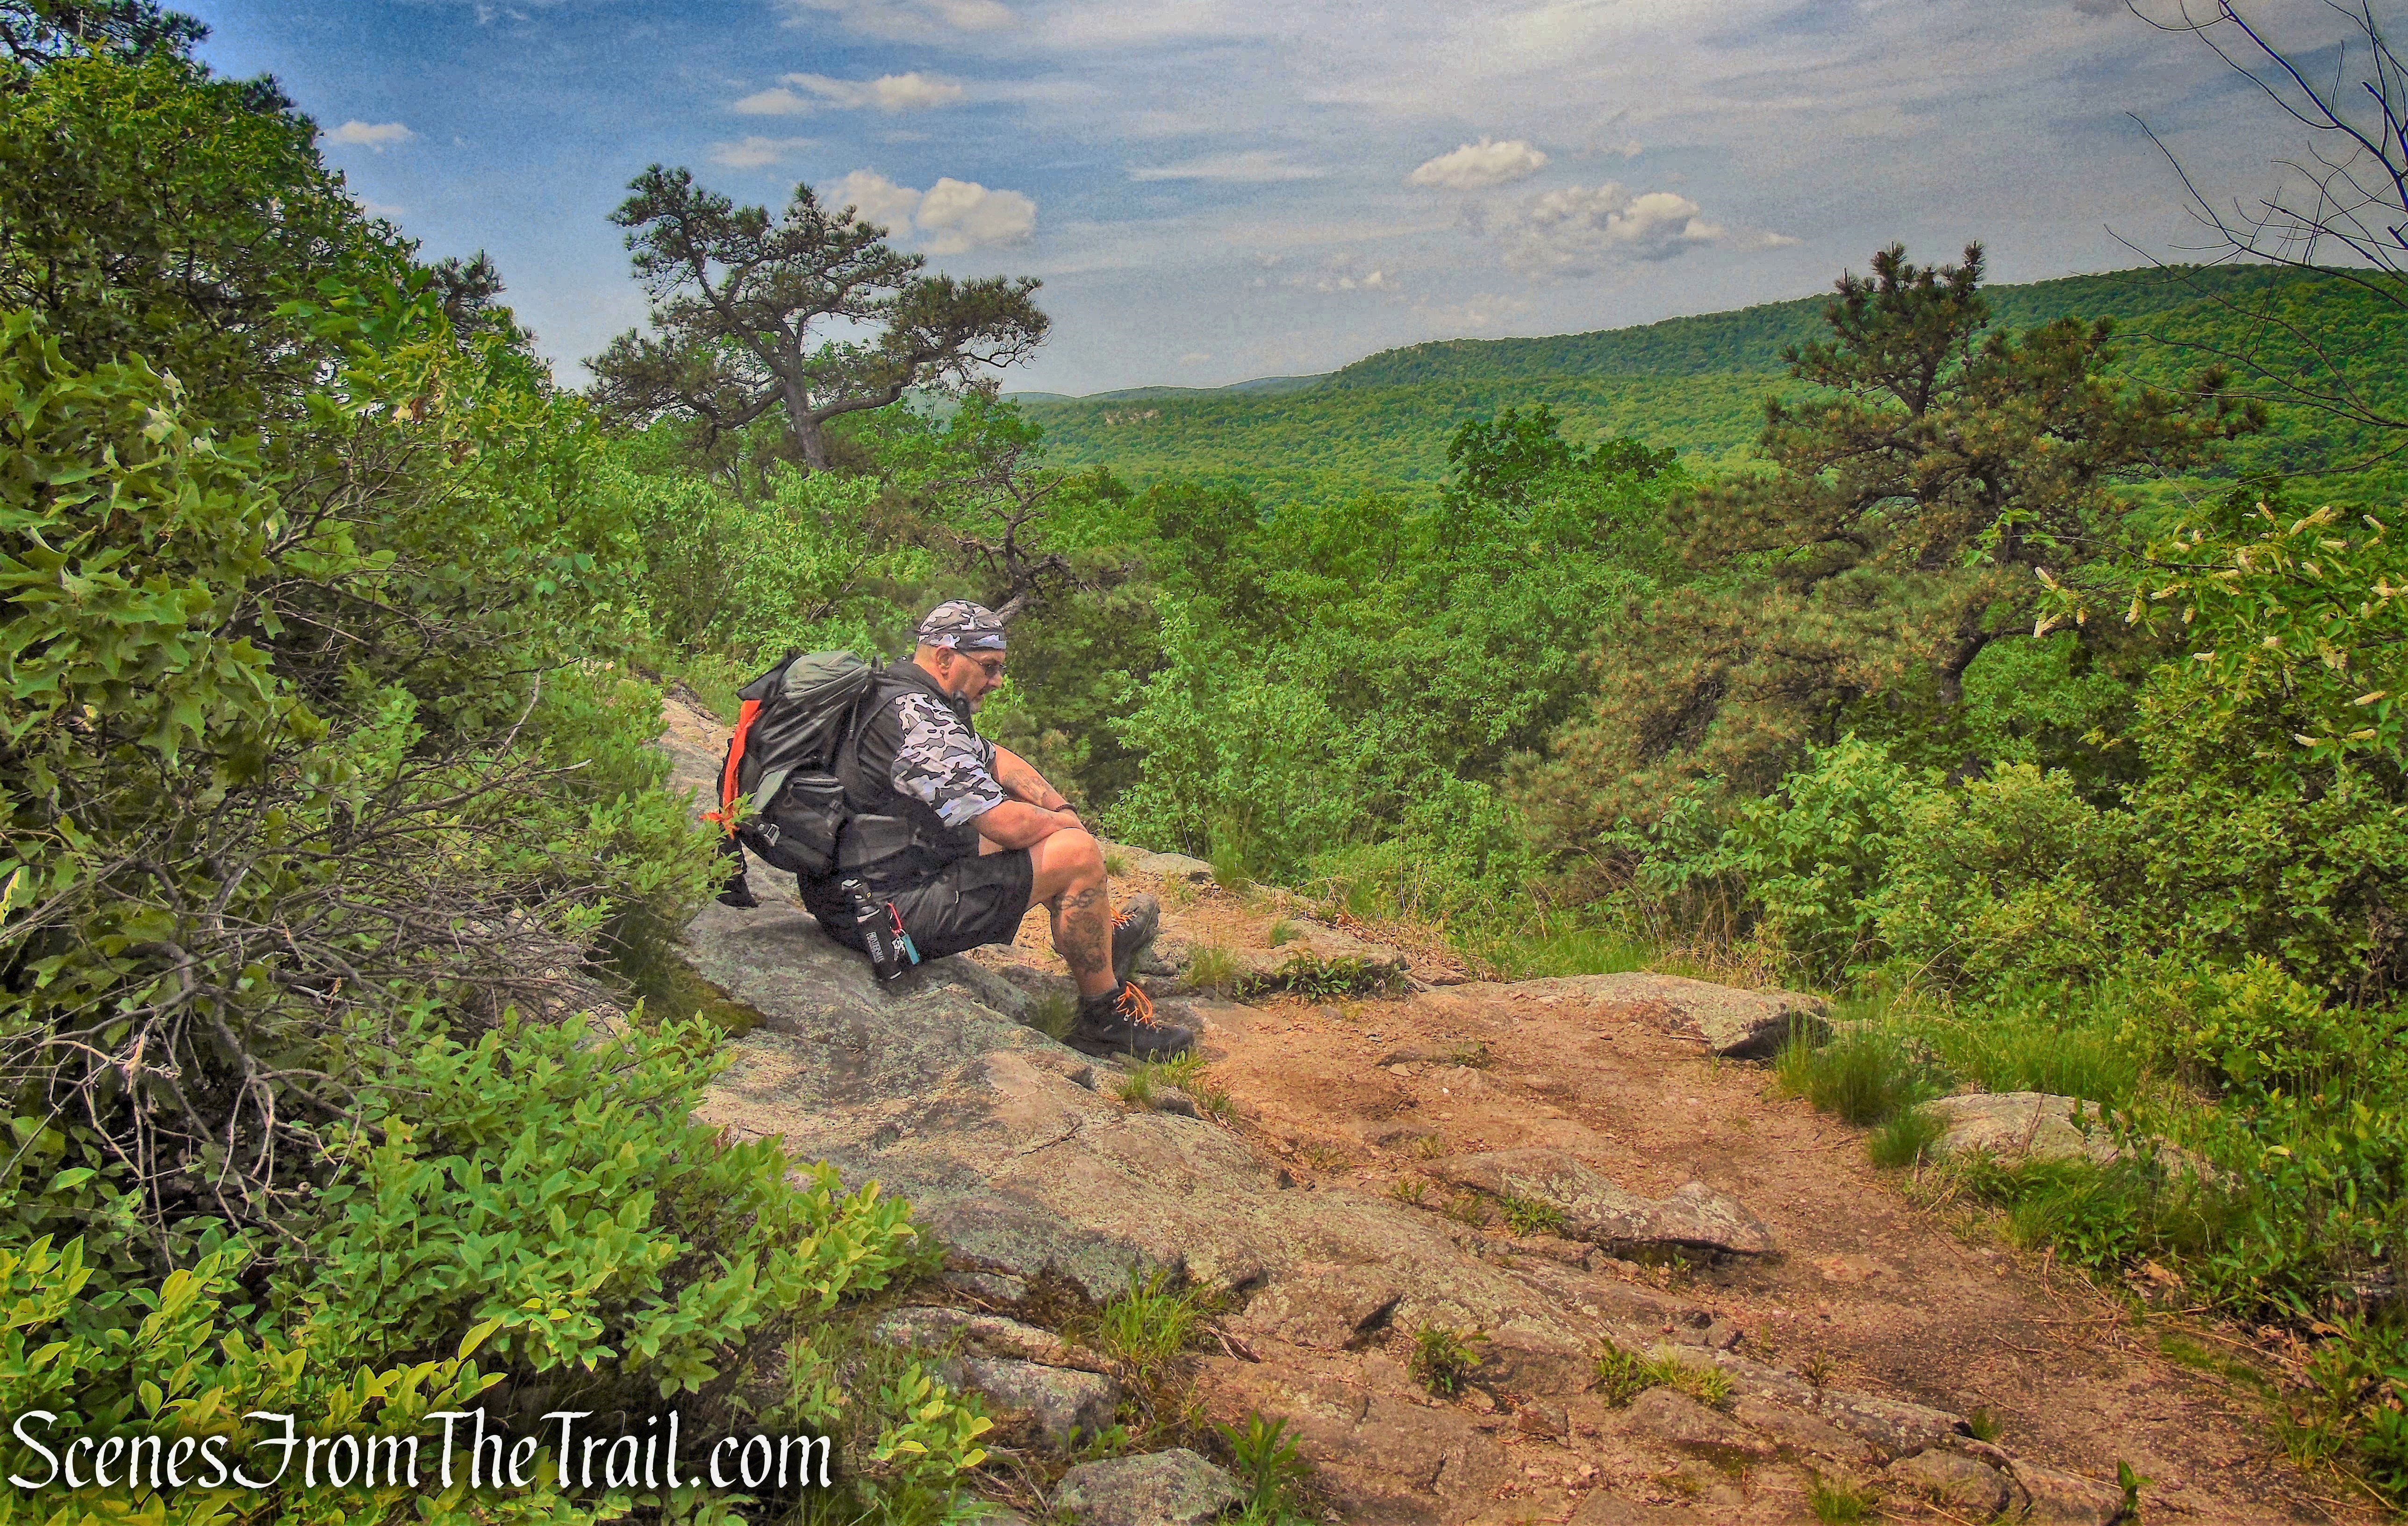
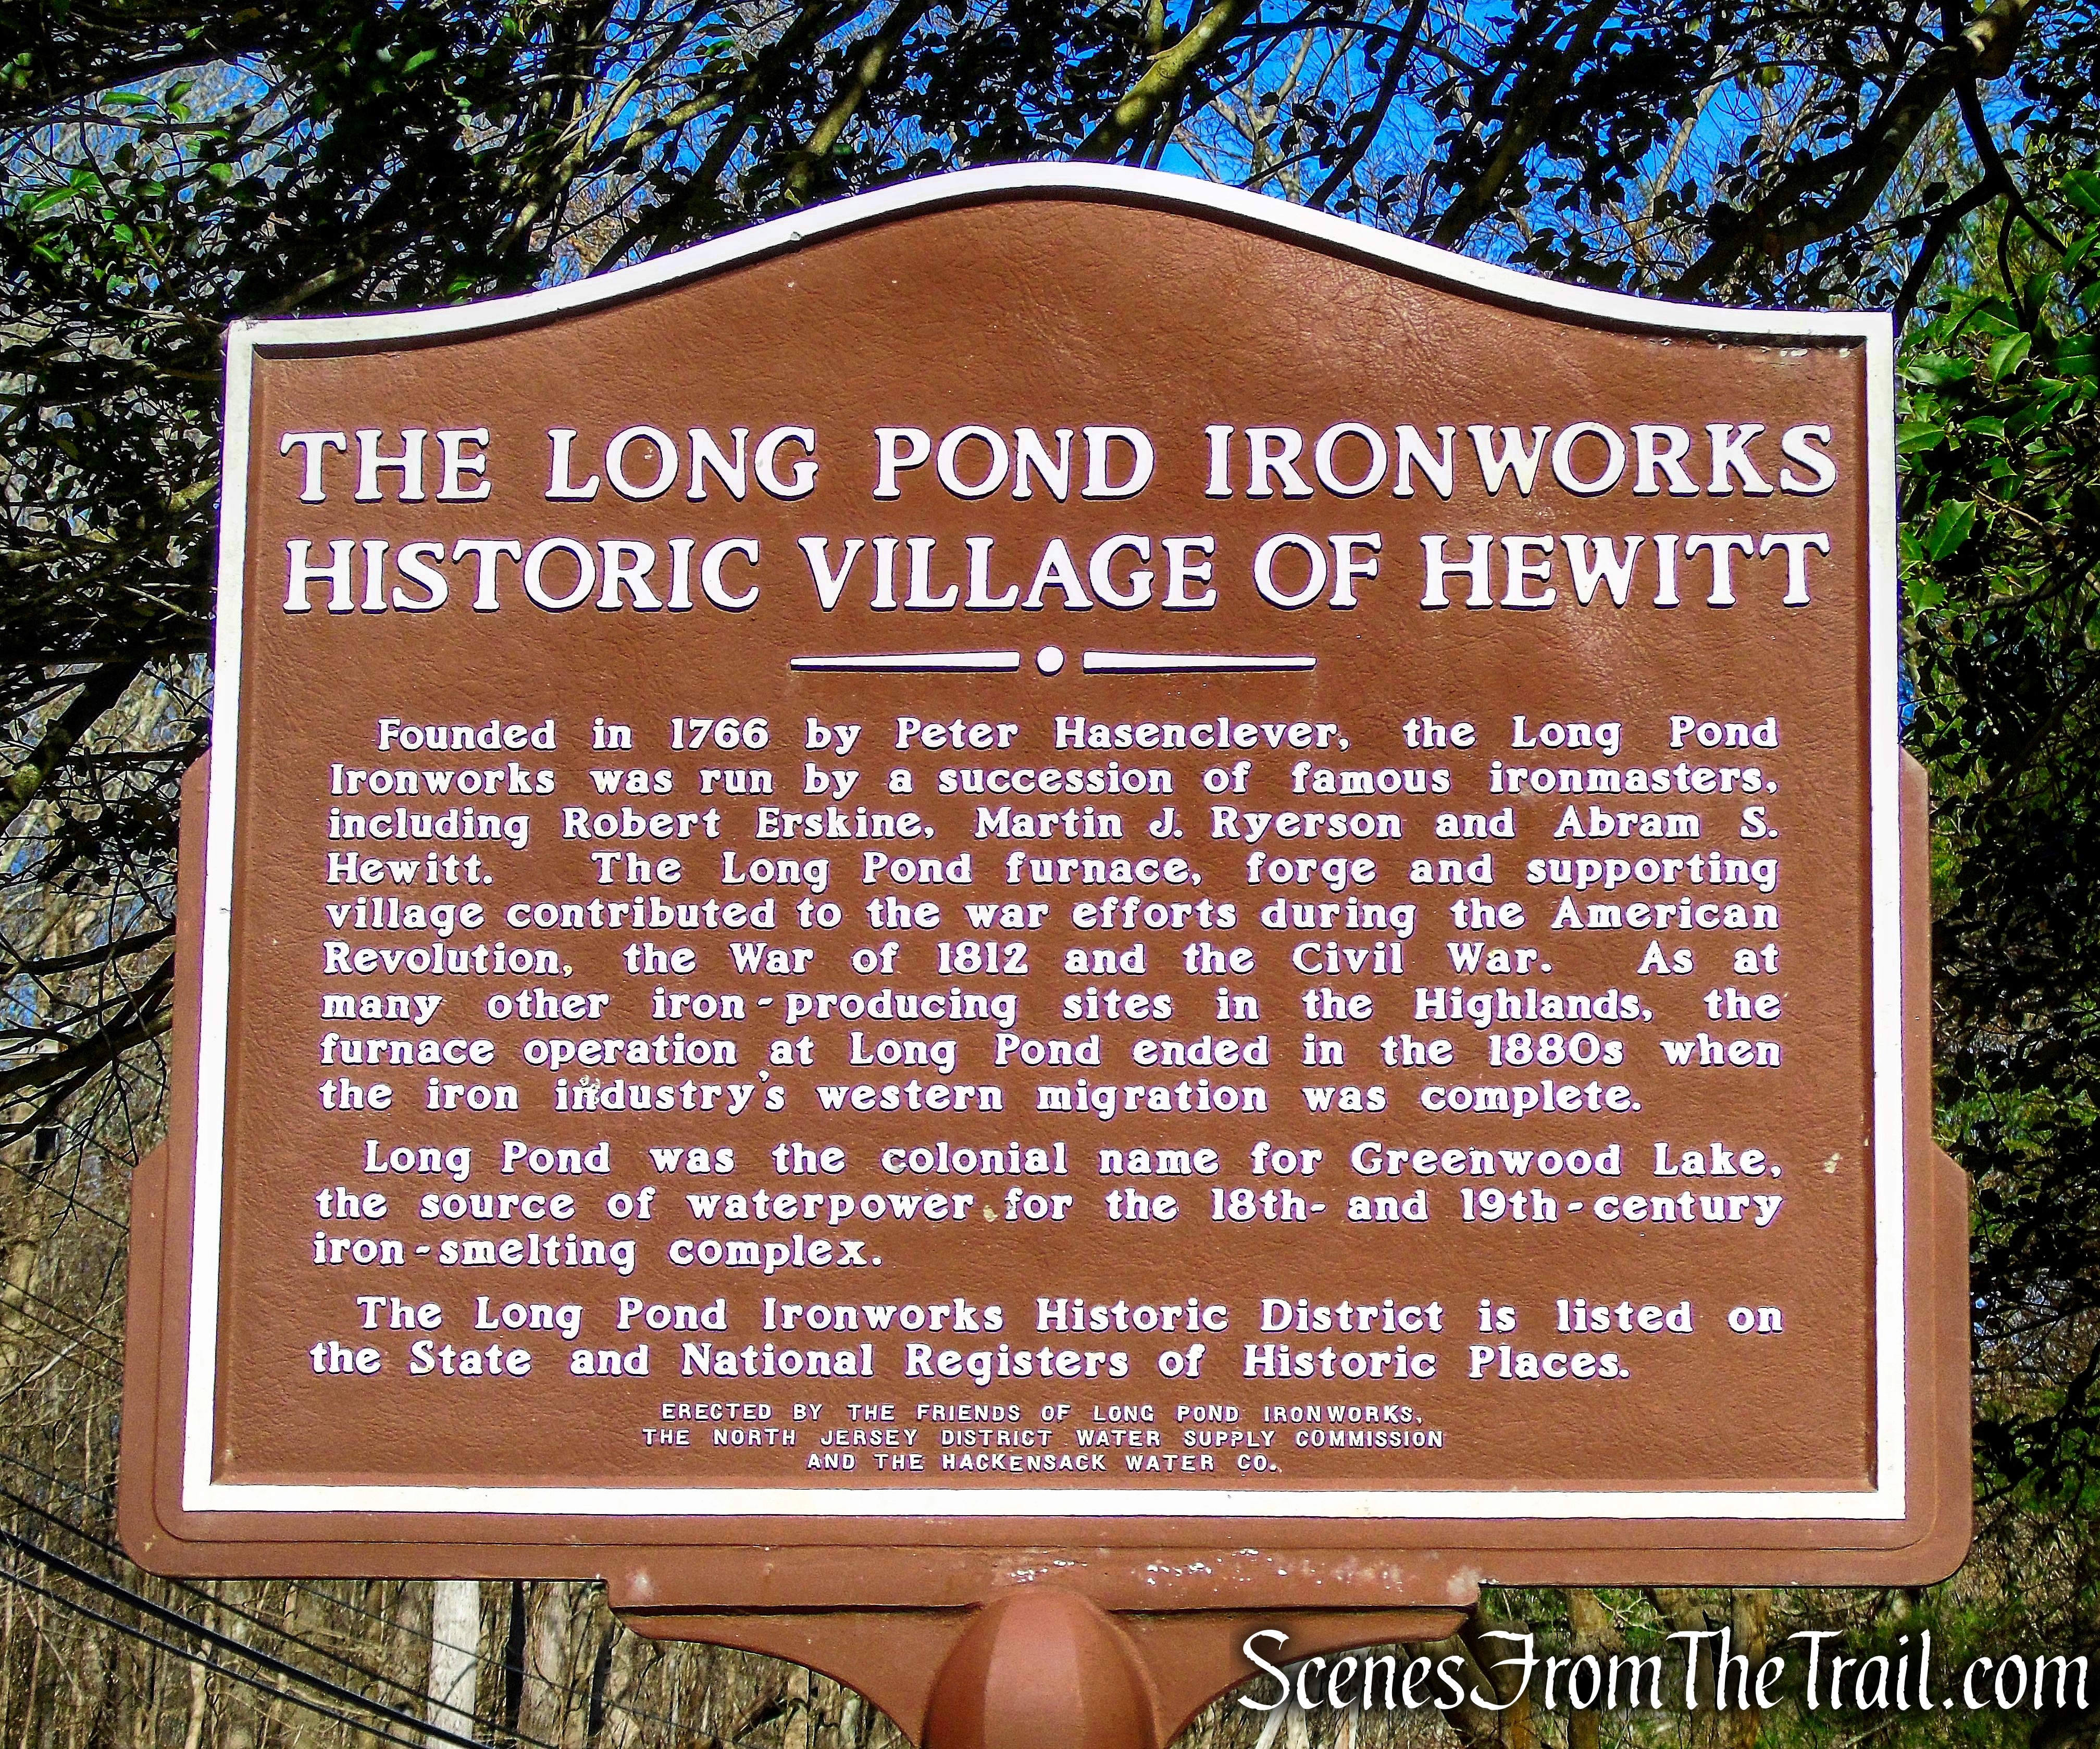
August 18, 2018 – Wawarsing, NY
Difficulty: Easy (1 steep ascent on stone steps and back down the same way)
Length: Approximately 1.7 miles
Max elevation: 1,387 ft.– total elevation gain approximately 281 ft.
Route type: Out and back
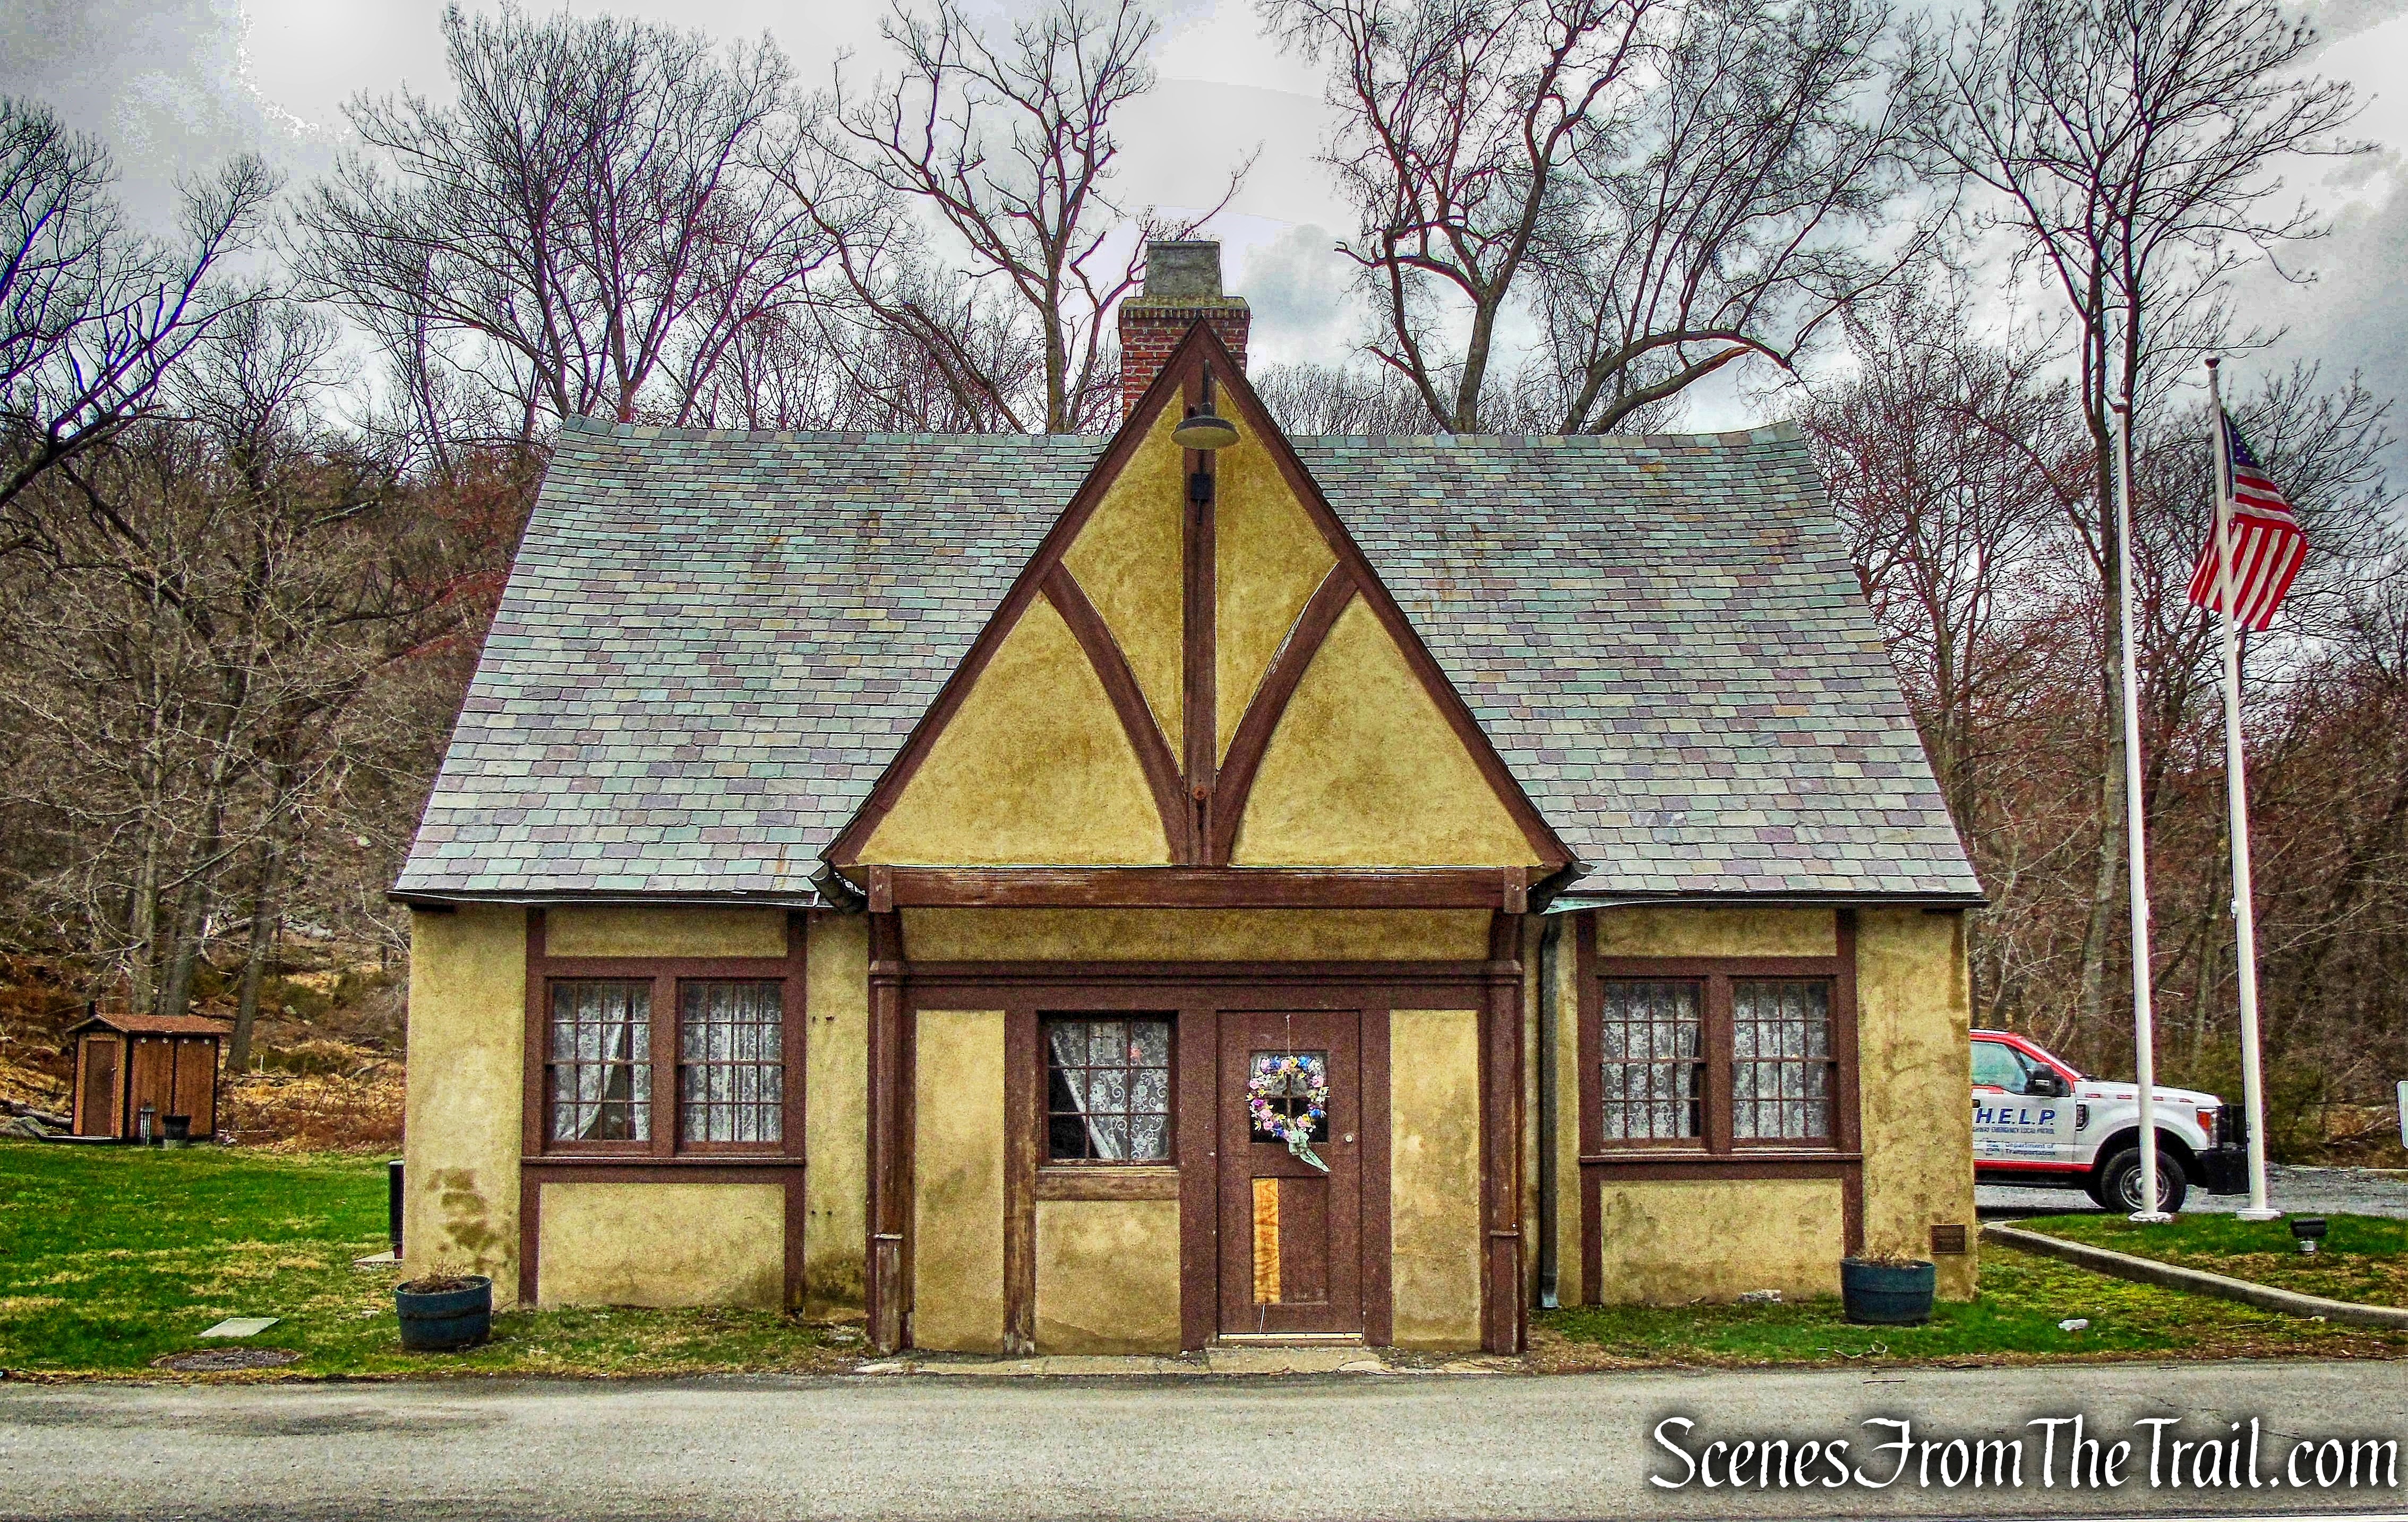
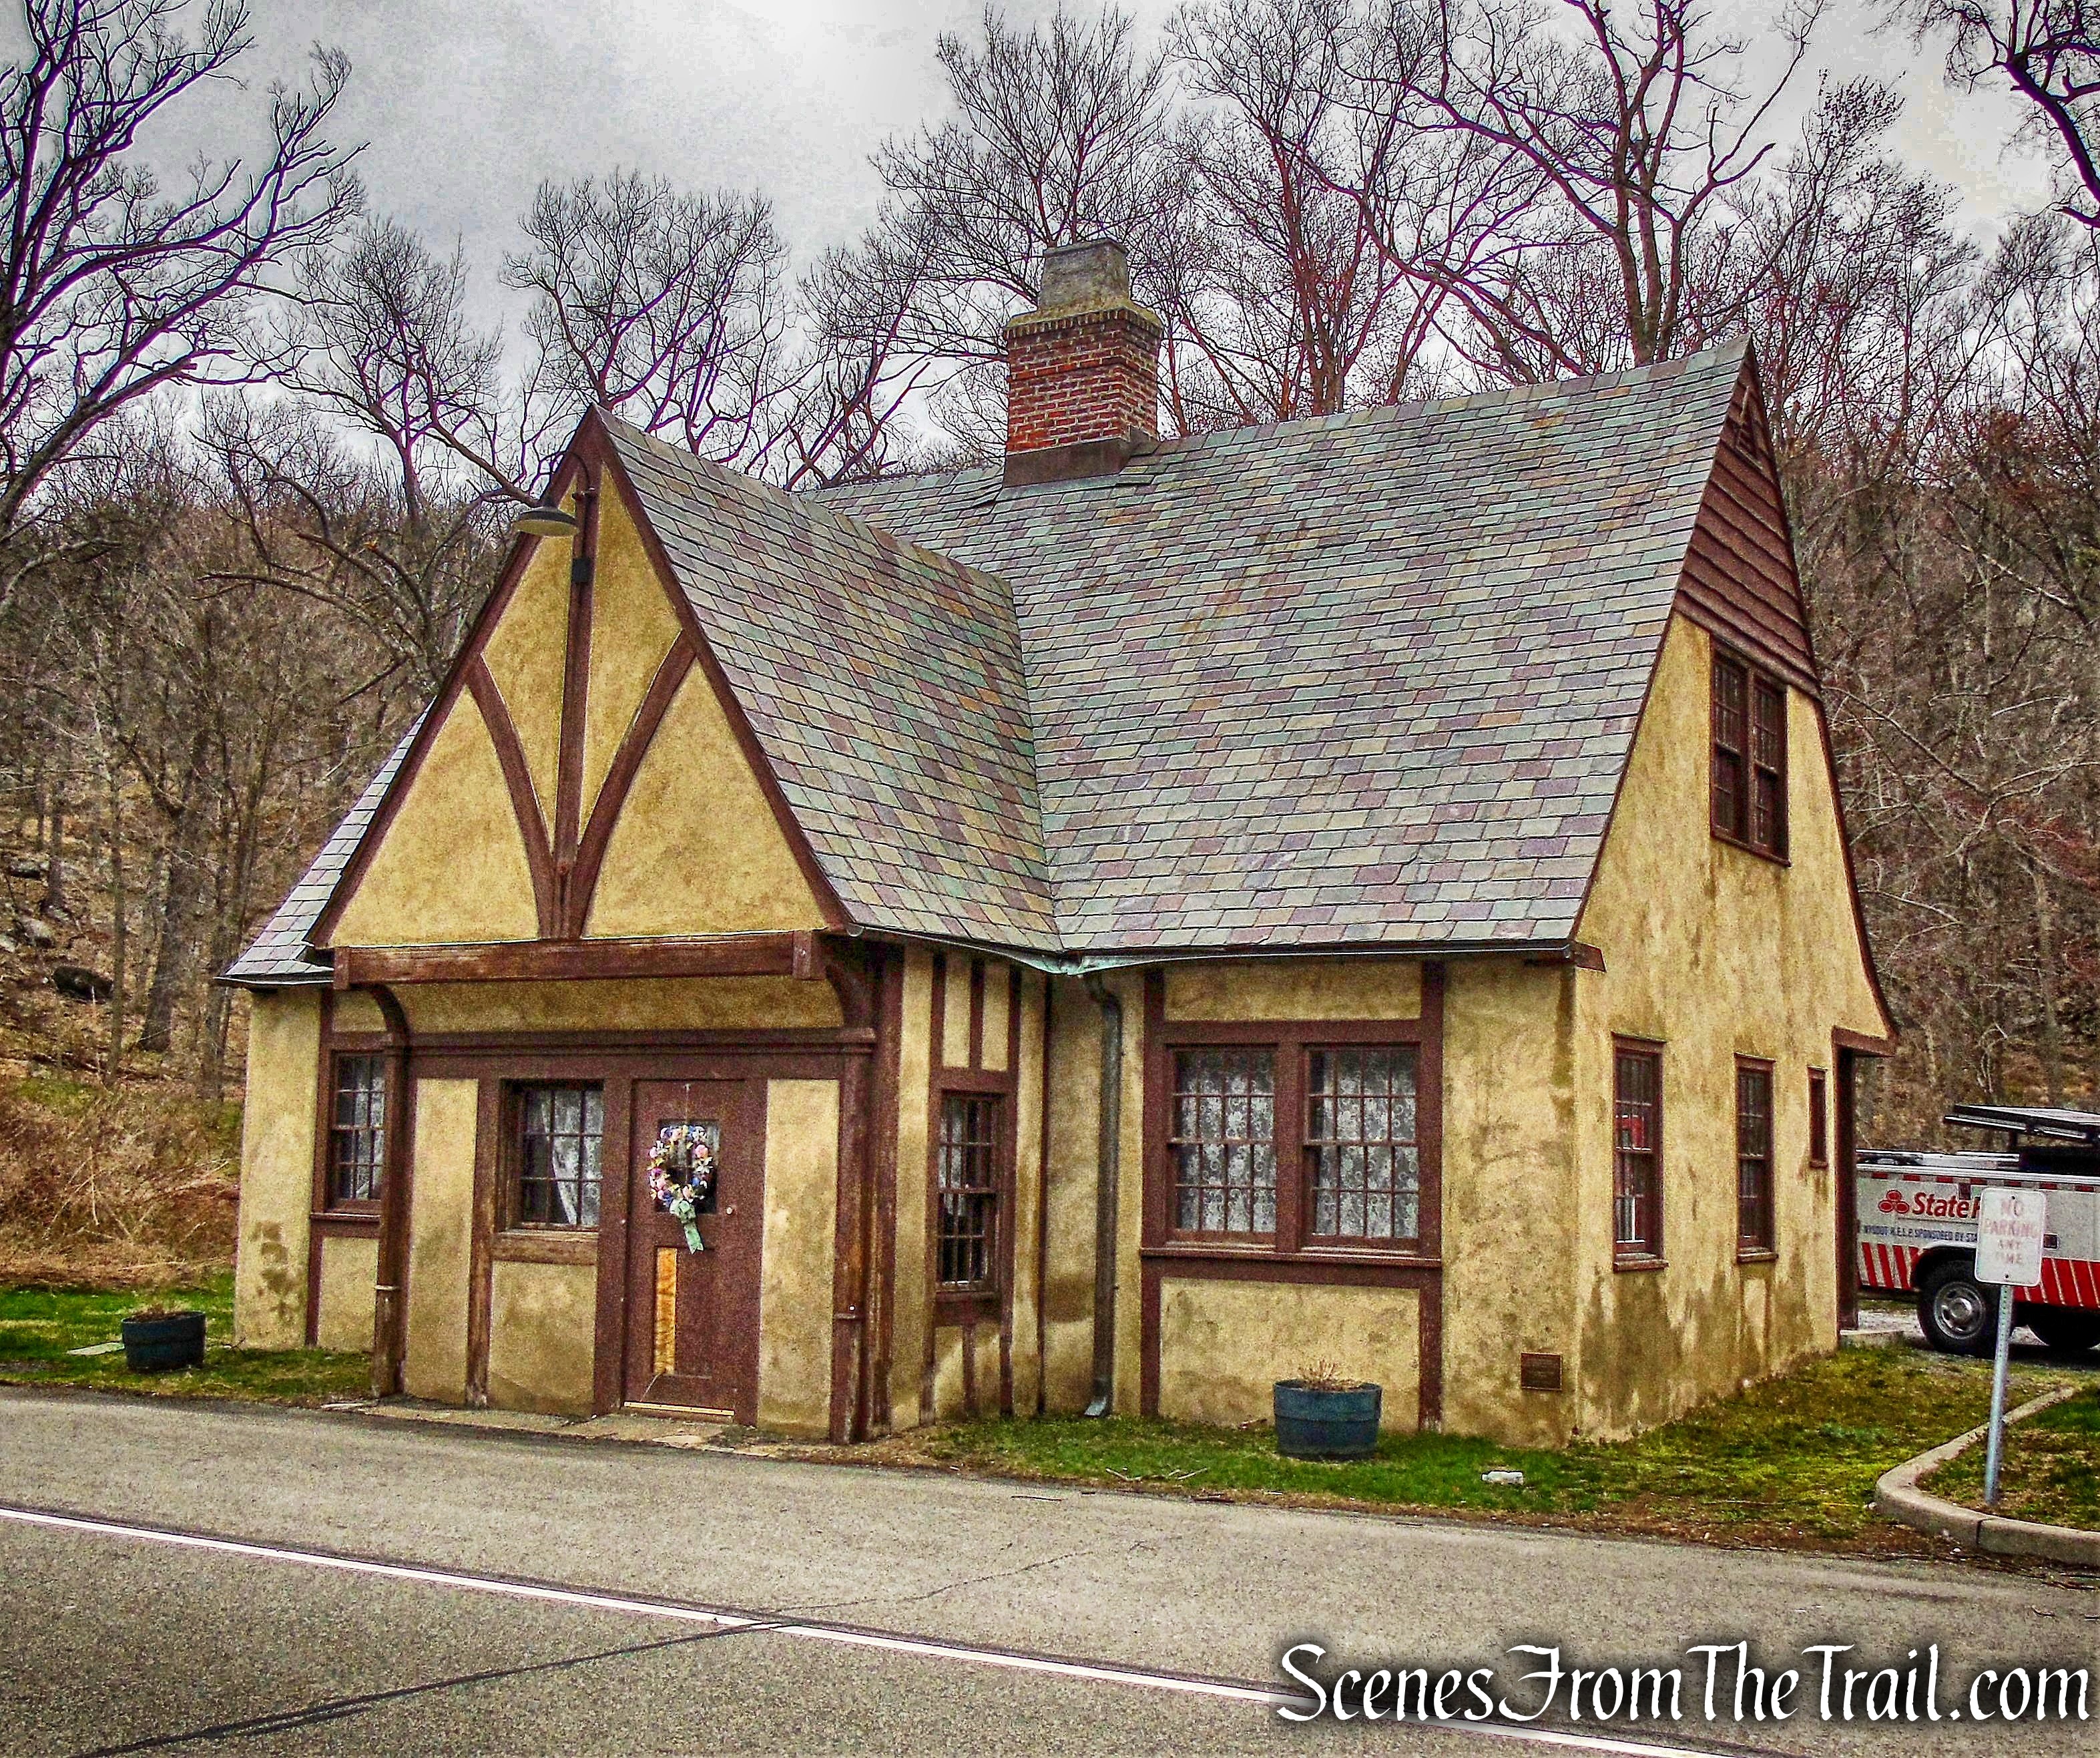
Trailhead parking: Shaft 2A Road Wawarsing, NY 12446
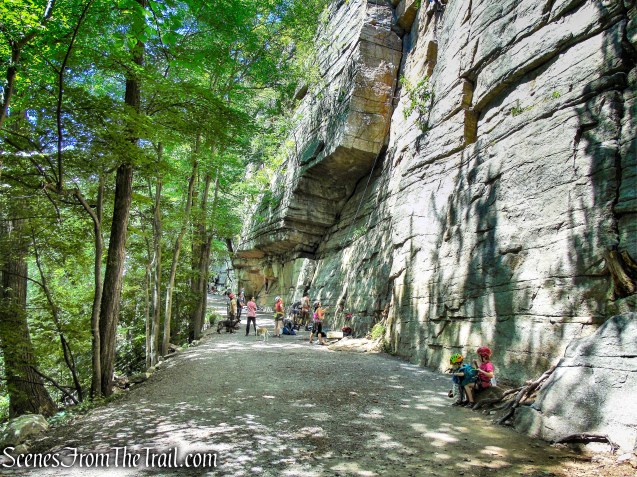
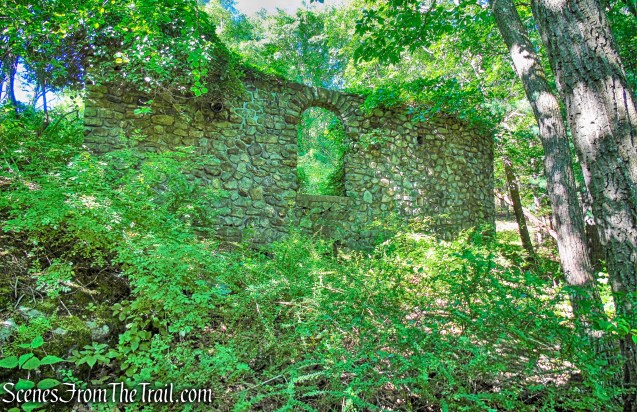
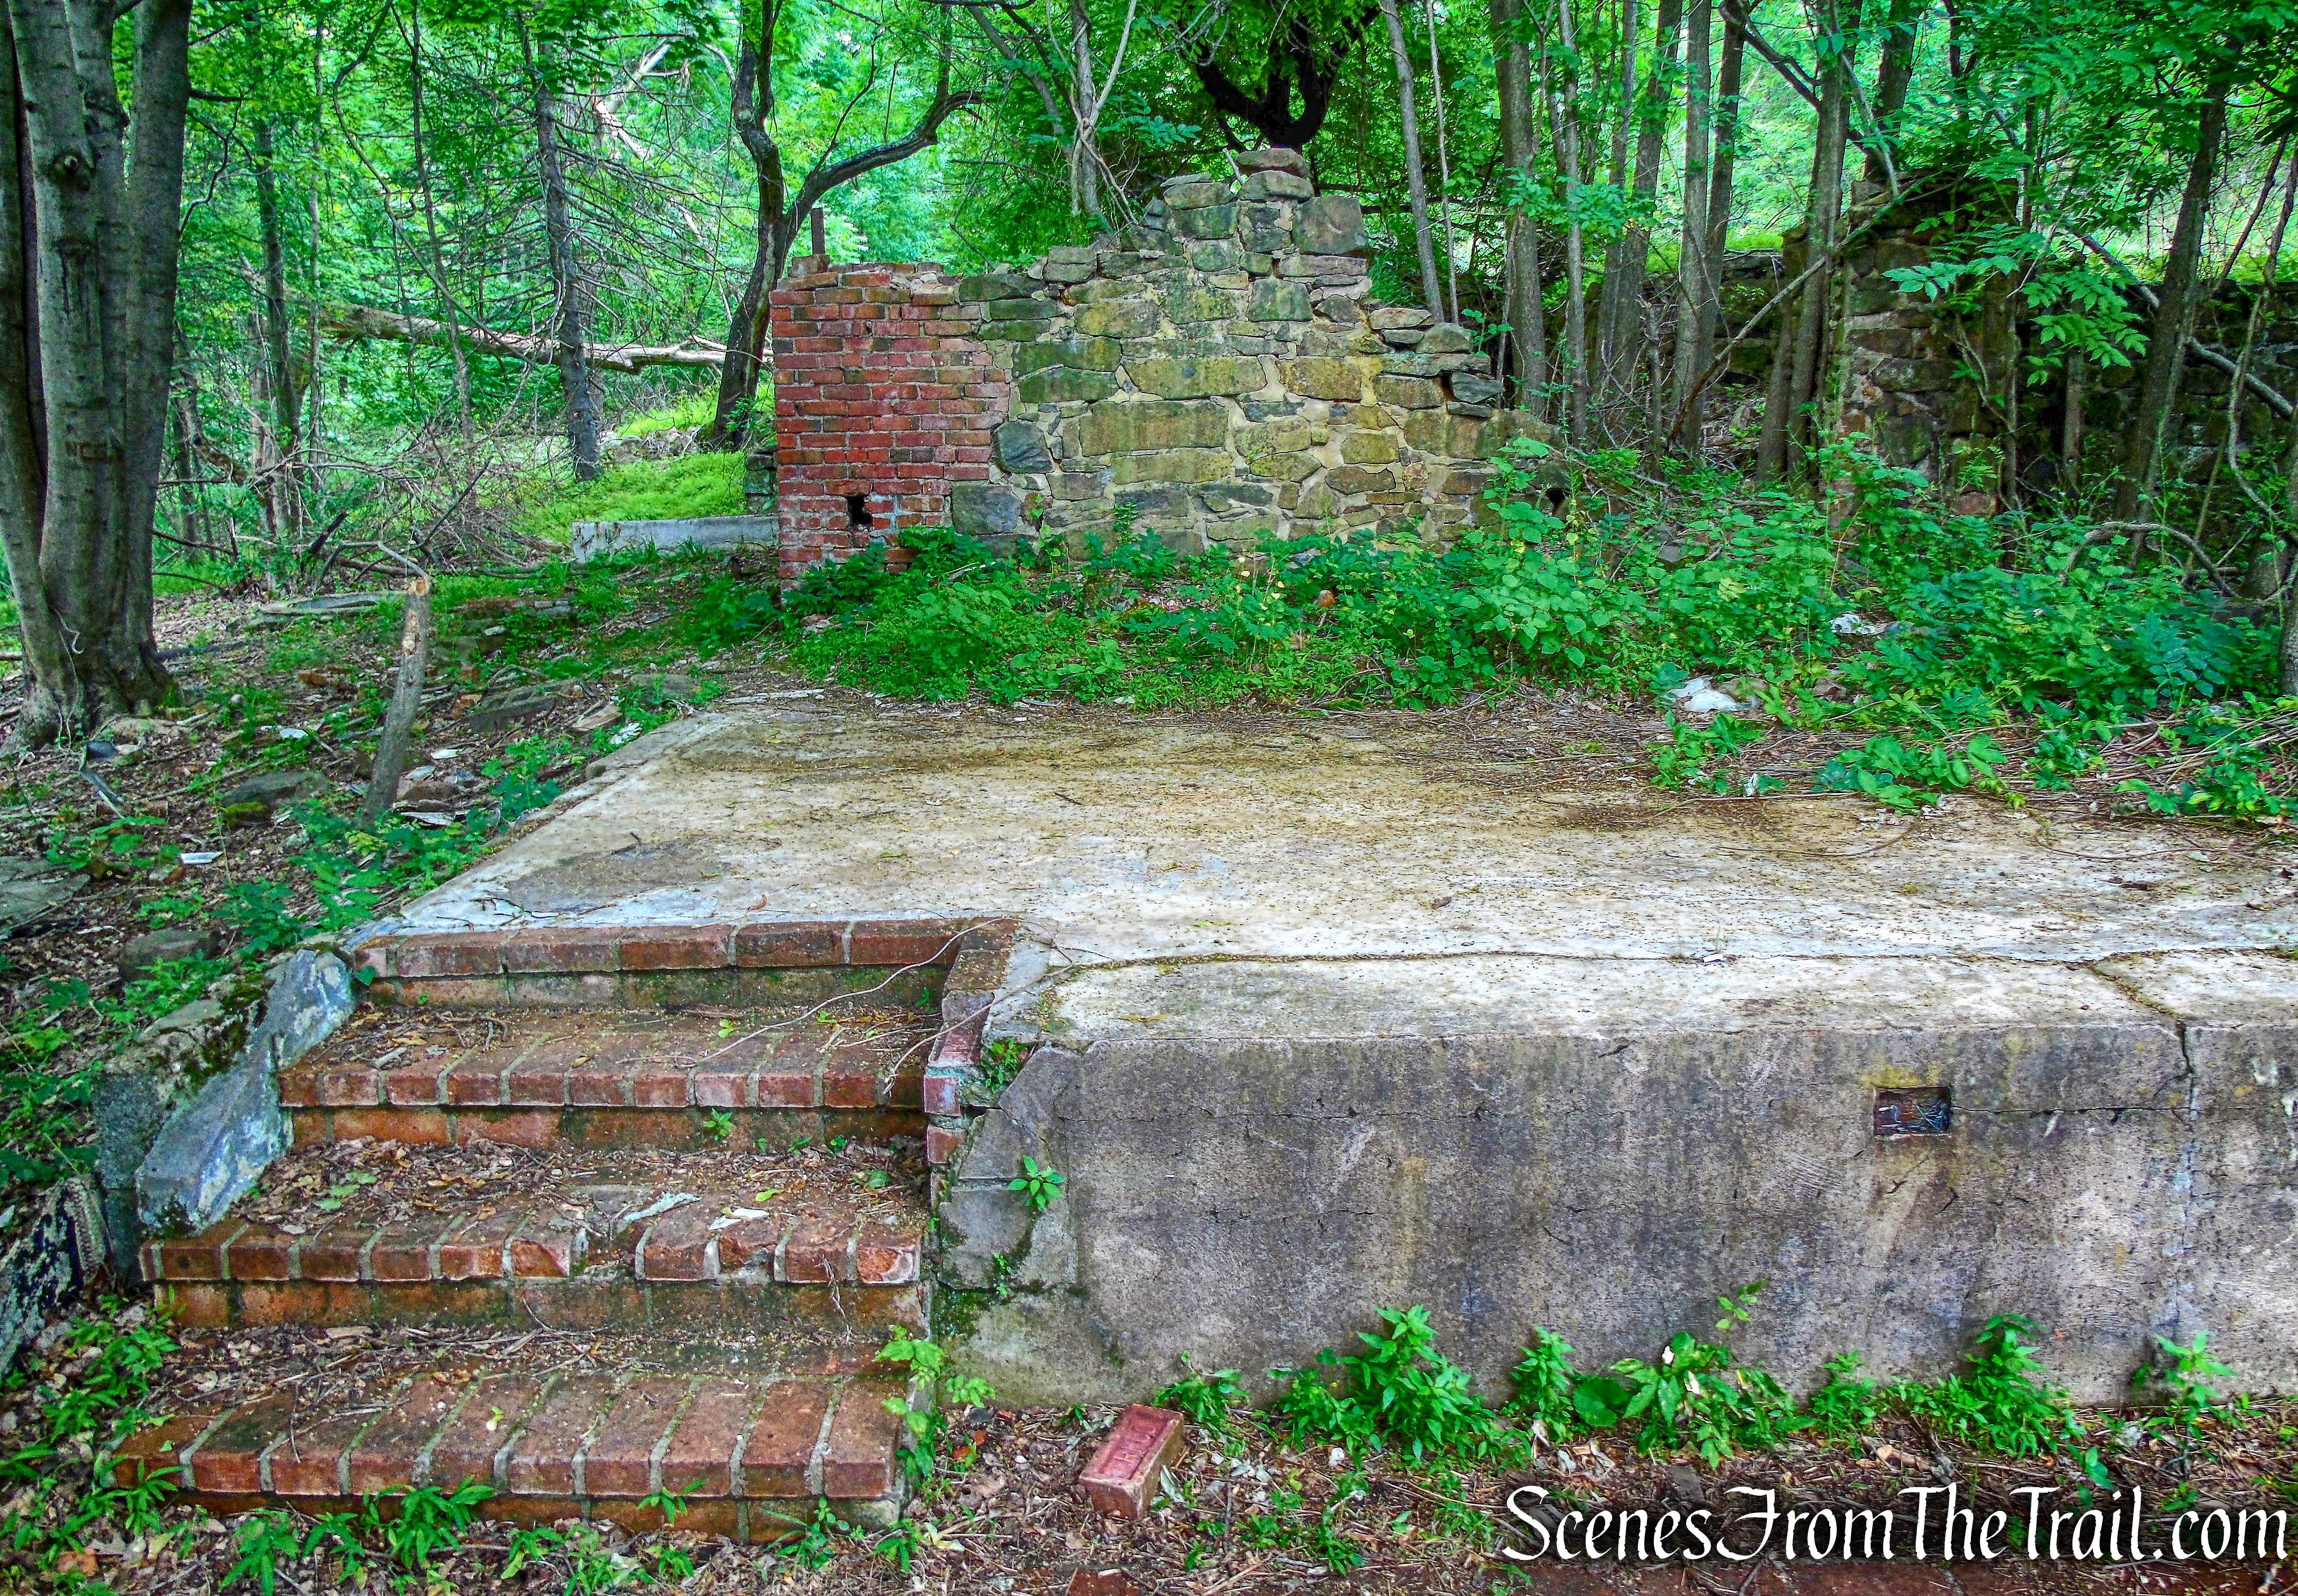
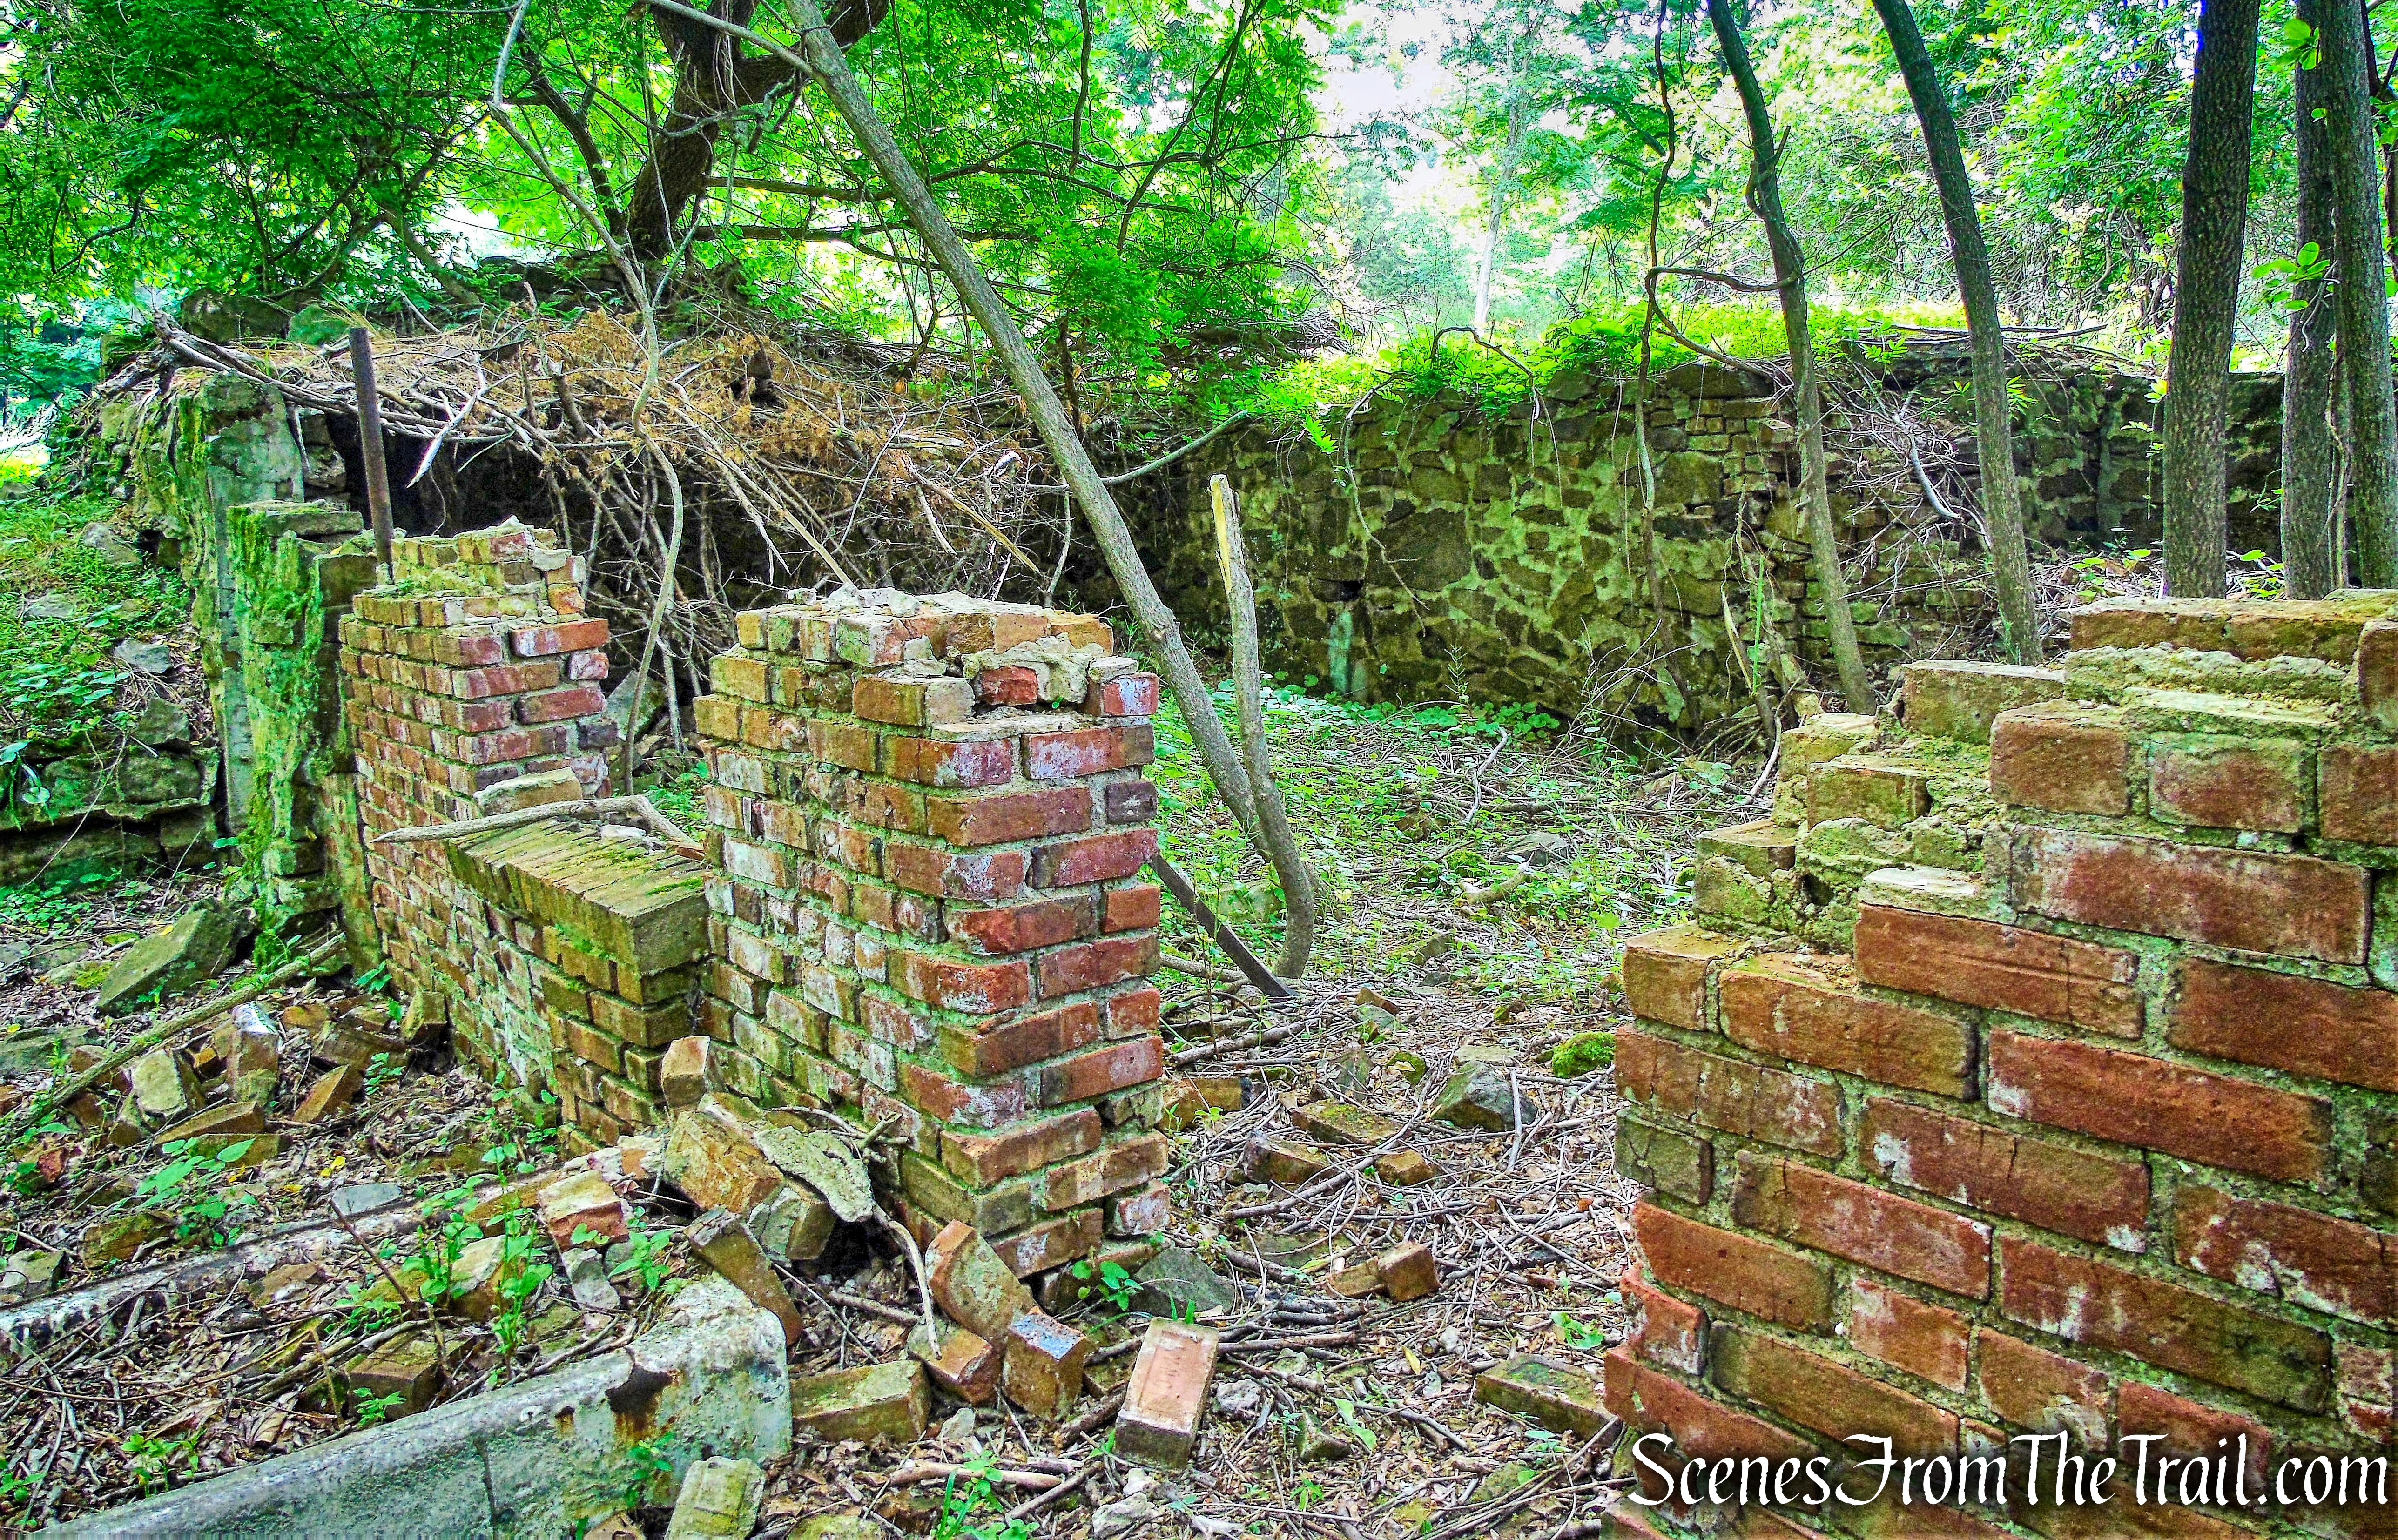
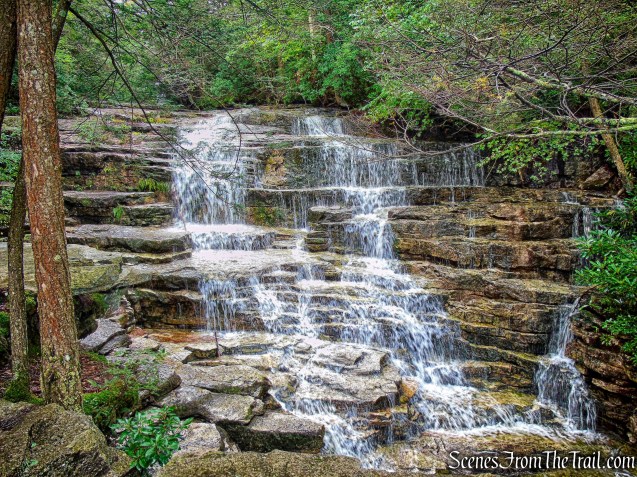
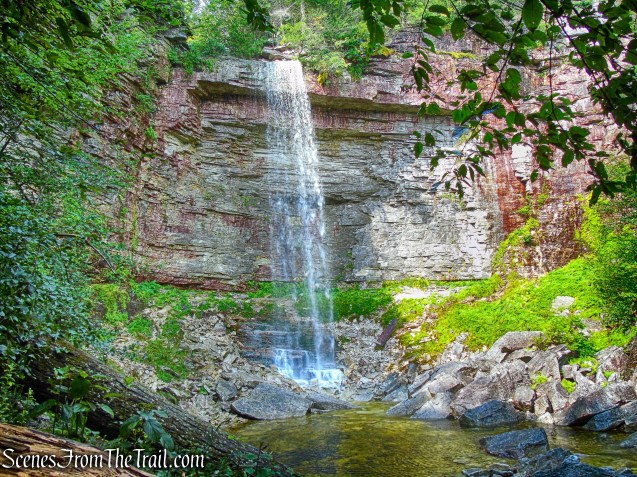
For decades Stony Kill Falls had been a secret gem known to locals and avid tourists of the famed Shawangunk Ridge. Hidden in the southwest flank of the Minnewaska State Park Preserve, a towering 87 foot drop swelled every Spring into a roaring waterfall with no official access route. Gated off at the end of an unassuming road with the unappealing name of Shaft 2A Road, only those in the know, knew where to go.

Stony Kill Falls
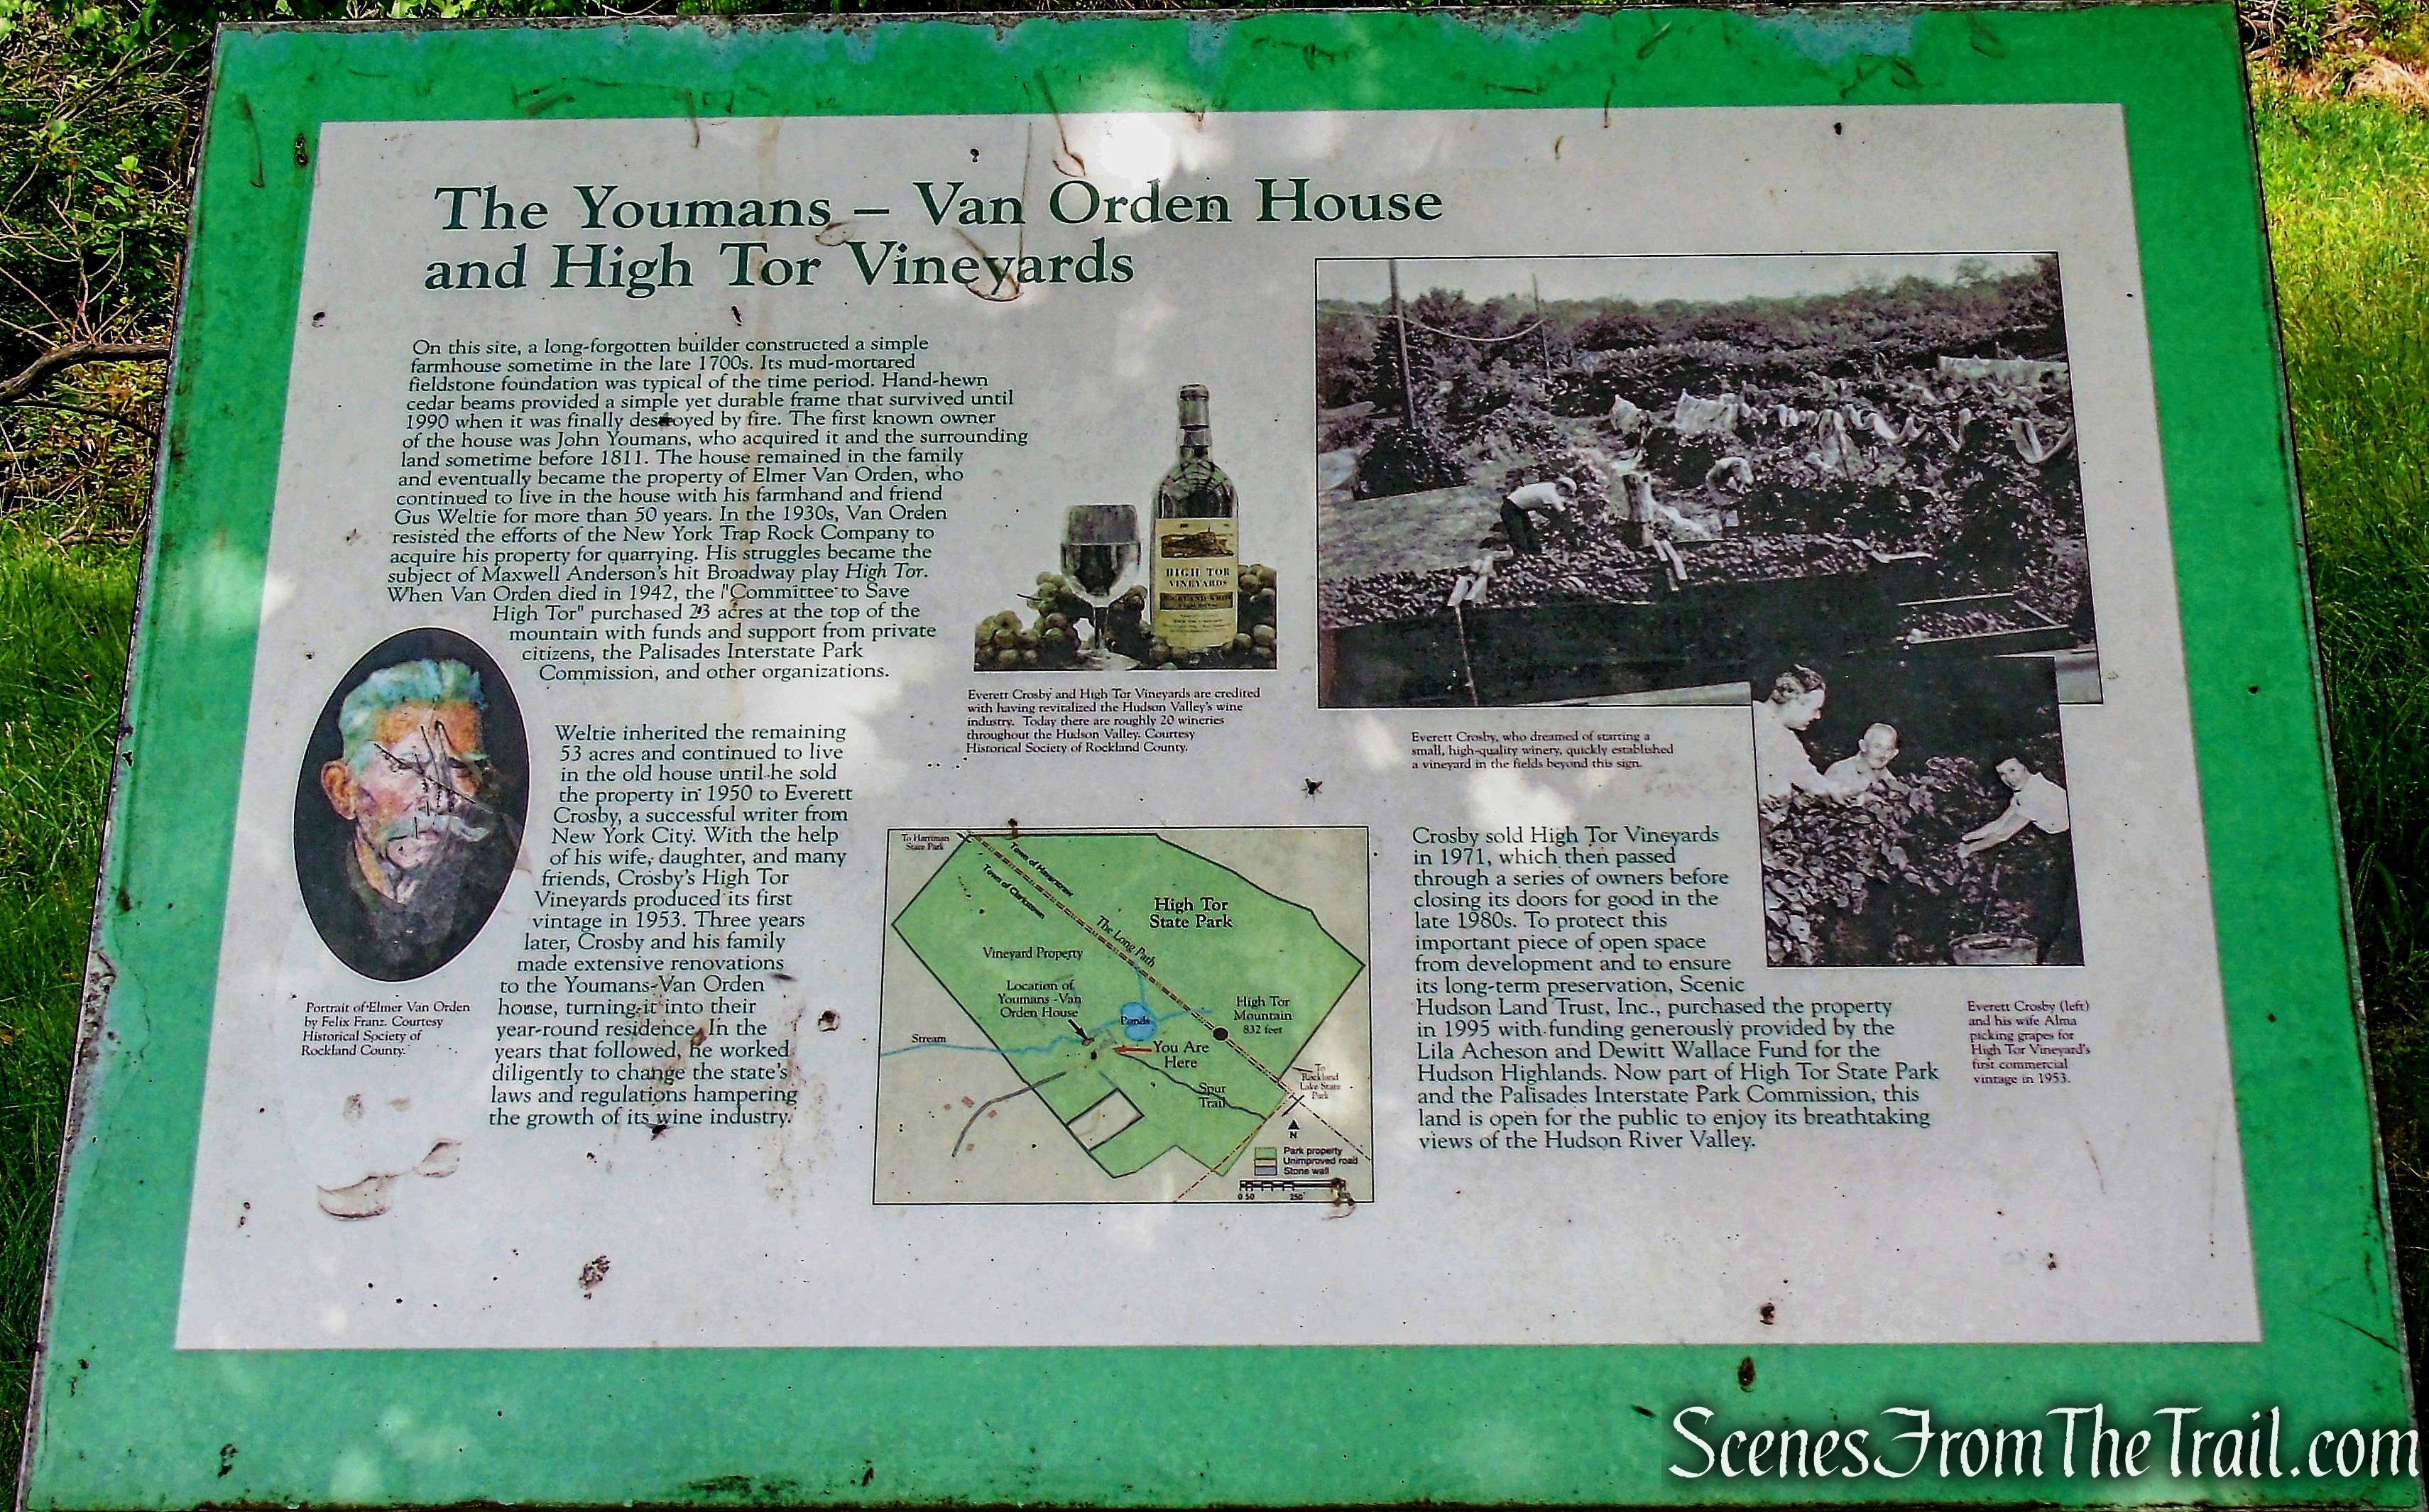
The land it sits on was acquired in 2001 by the State of New York, The Open Space Institute and the New York-New Jersey Trail Conference from Napanoch Sand and Gravel Company, that once owned the land.

Stony Kill Falls
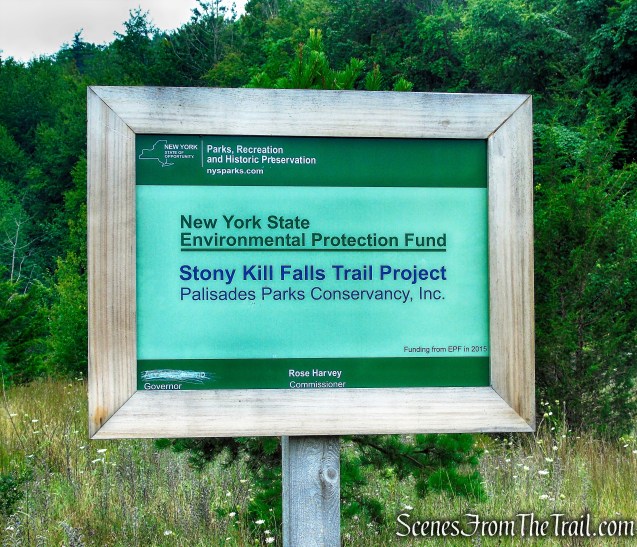
The Stony Kill Area Trail Project at Minnewaska State Park Preserve, created a formal, sustainable hiking trail to provide safe access and views of the Stony Kill Waterfall. The trail includes two footbridges, multiple stone steps through a boulder field and a sustainable route up the steep slope to access the upper falls.
The project was paid for by a grant from NYS Parks and by the Palisades Park Conservancy. Tahawus Trails LLC was contracted by the Palisades Park Conservancy for all aspects of the project and supervised and managed volunteer contributions to the project.
Stony Kill Falls Trail
I first visited Stony Kill Falls in April of 2015 and at that time there was little information about its location online. Once on site, there was no set route to get to the falls and definitely no safe way to reach the top. Reaching the base of the falls entailed scrambling over boulders strewn about the Stony Kill. Below is an image from April of 2015 with ice formed from the spray. The Falls are unusually beautiful in the wintertime when cold temperatures create an icy, cone like structure at the base of the Falls.
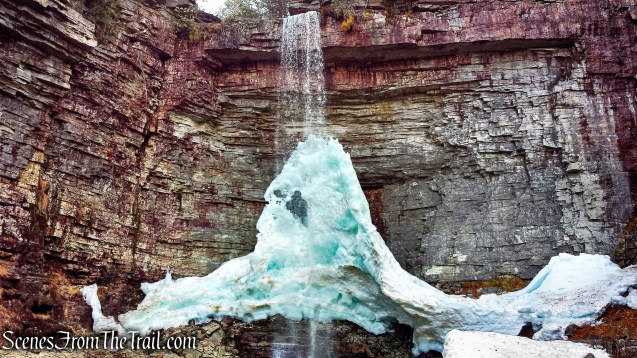
Stony Kill Falls – April 18, 2015
Upon hearing that the new trail was complete, it was time to pay a return visit. I was not only impressed, but also in awe of the exceptional work that was done in order to create safe and easy access through this marvelous place. This is a fairly easy out and back hike, but can be combined with the Stony Kill Carriage Road at the terminus of the Stony Kill Falls Trail, past the top of the falls, for longer hikes.

Stony Kill Falls
A new feature that I have added is the Google Earth Fly-Through. It follows the path that we hiked and it gives you a good idea of the terrain, layout, amount of parking etc. Check it out, it’s pretty cool.
View the Google Earth Fly-Through video of the hike below.
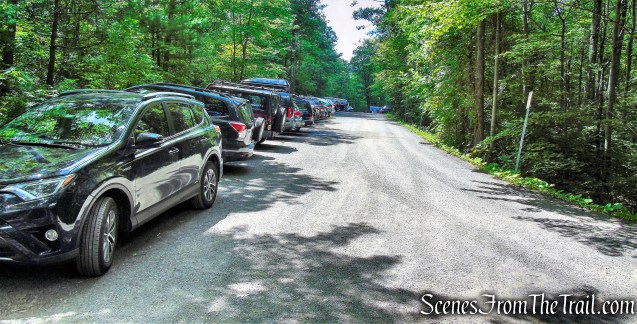
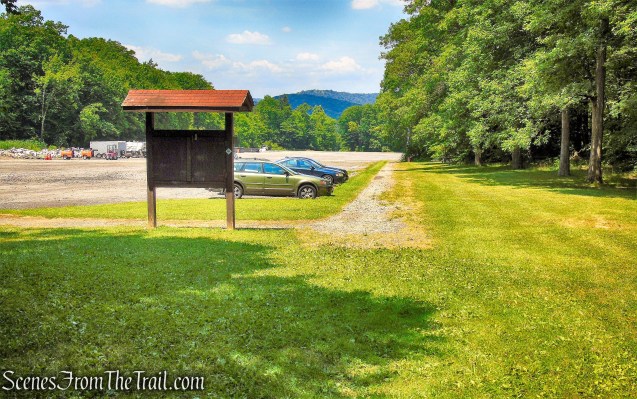
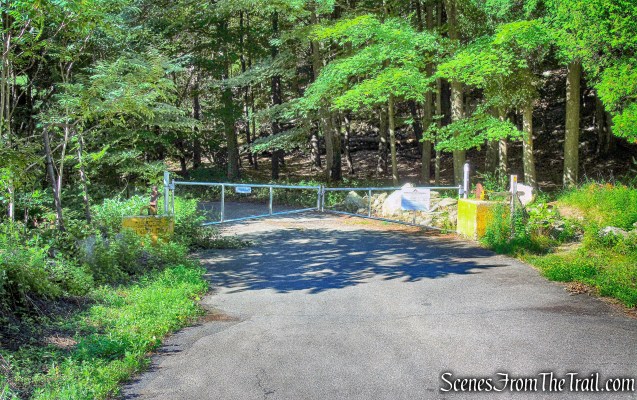
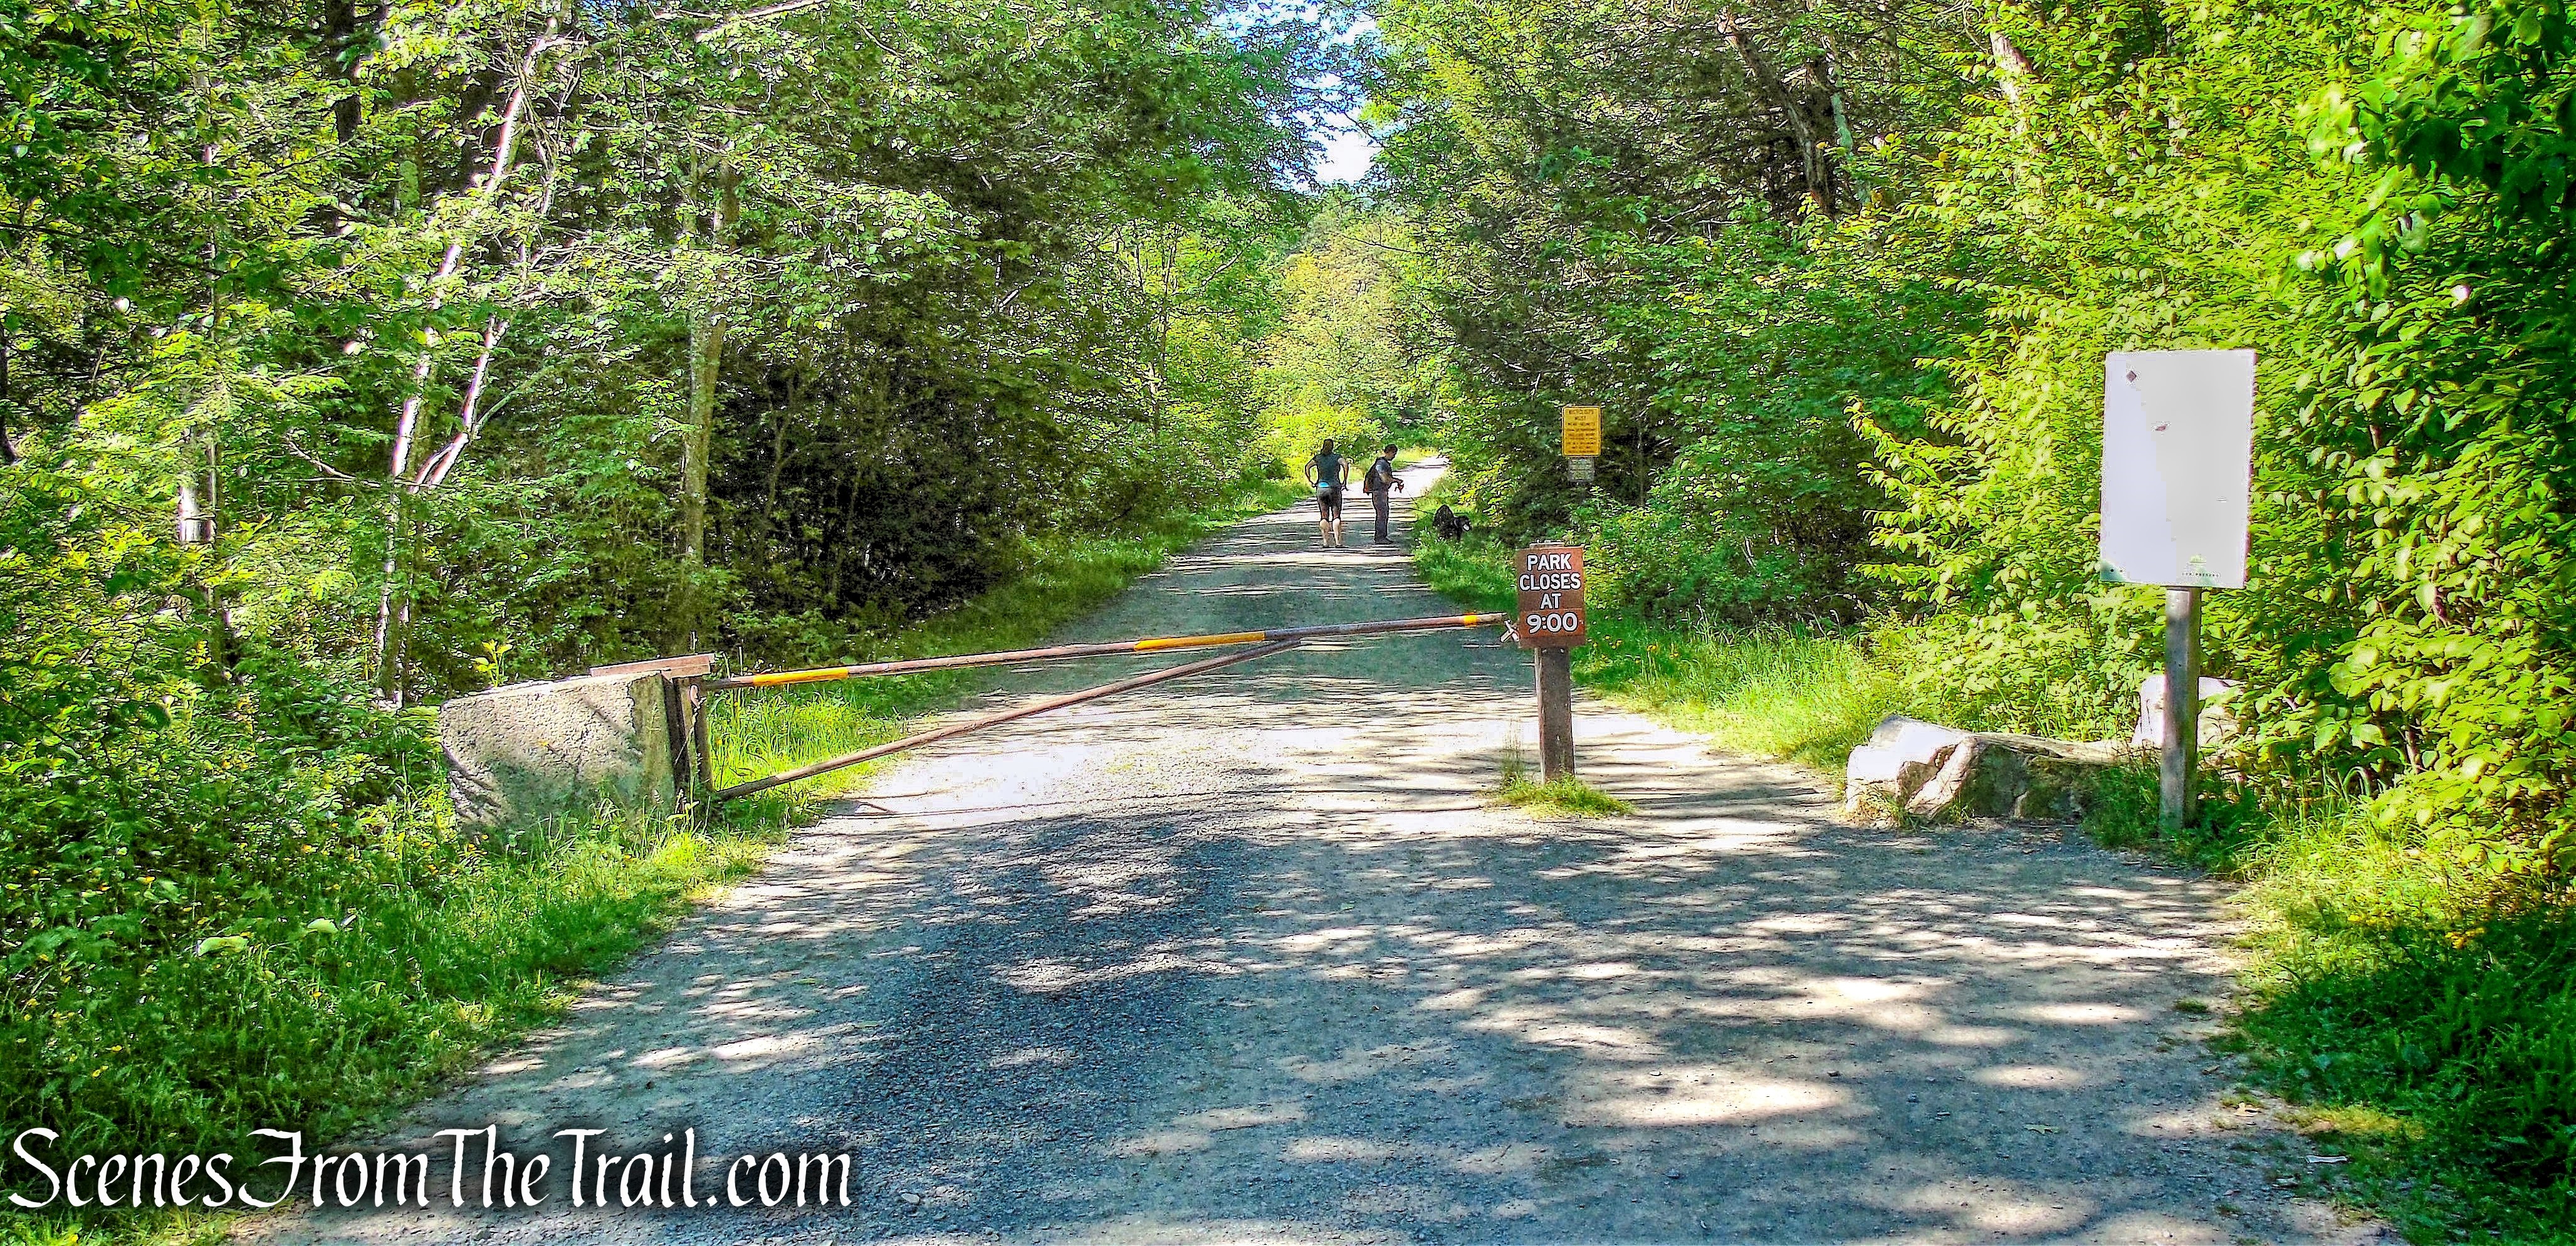
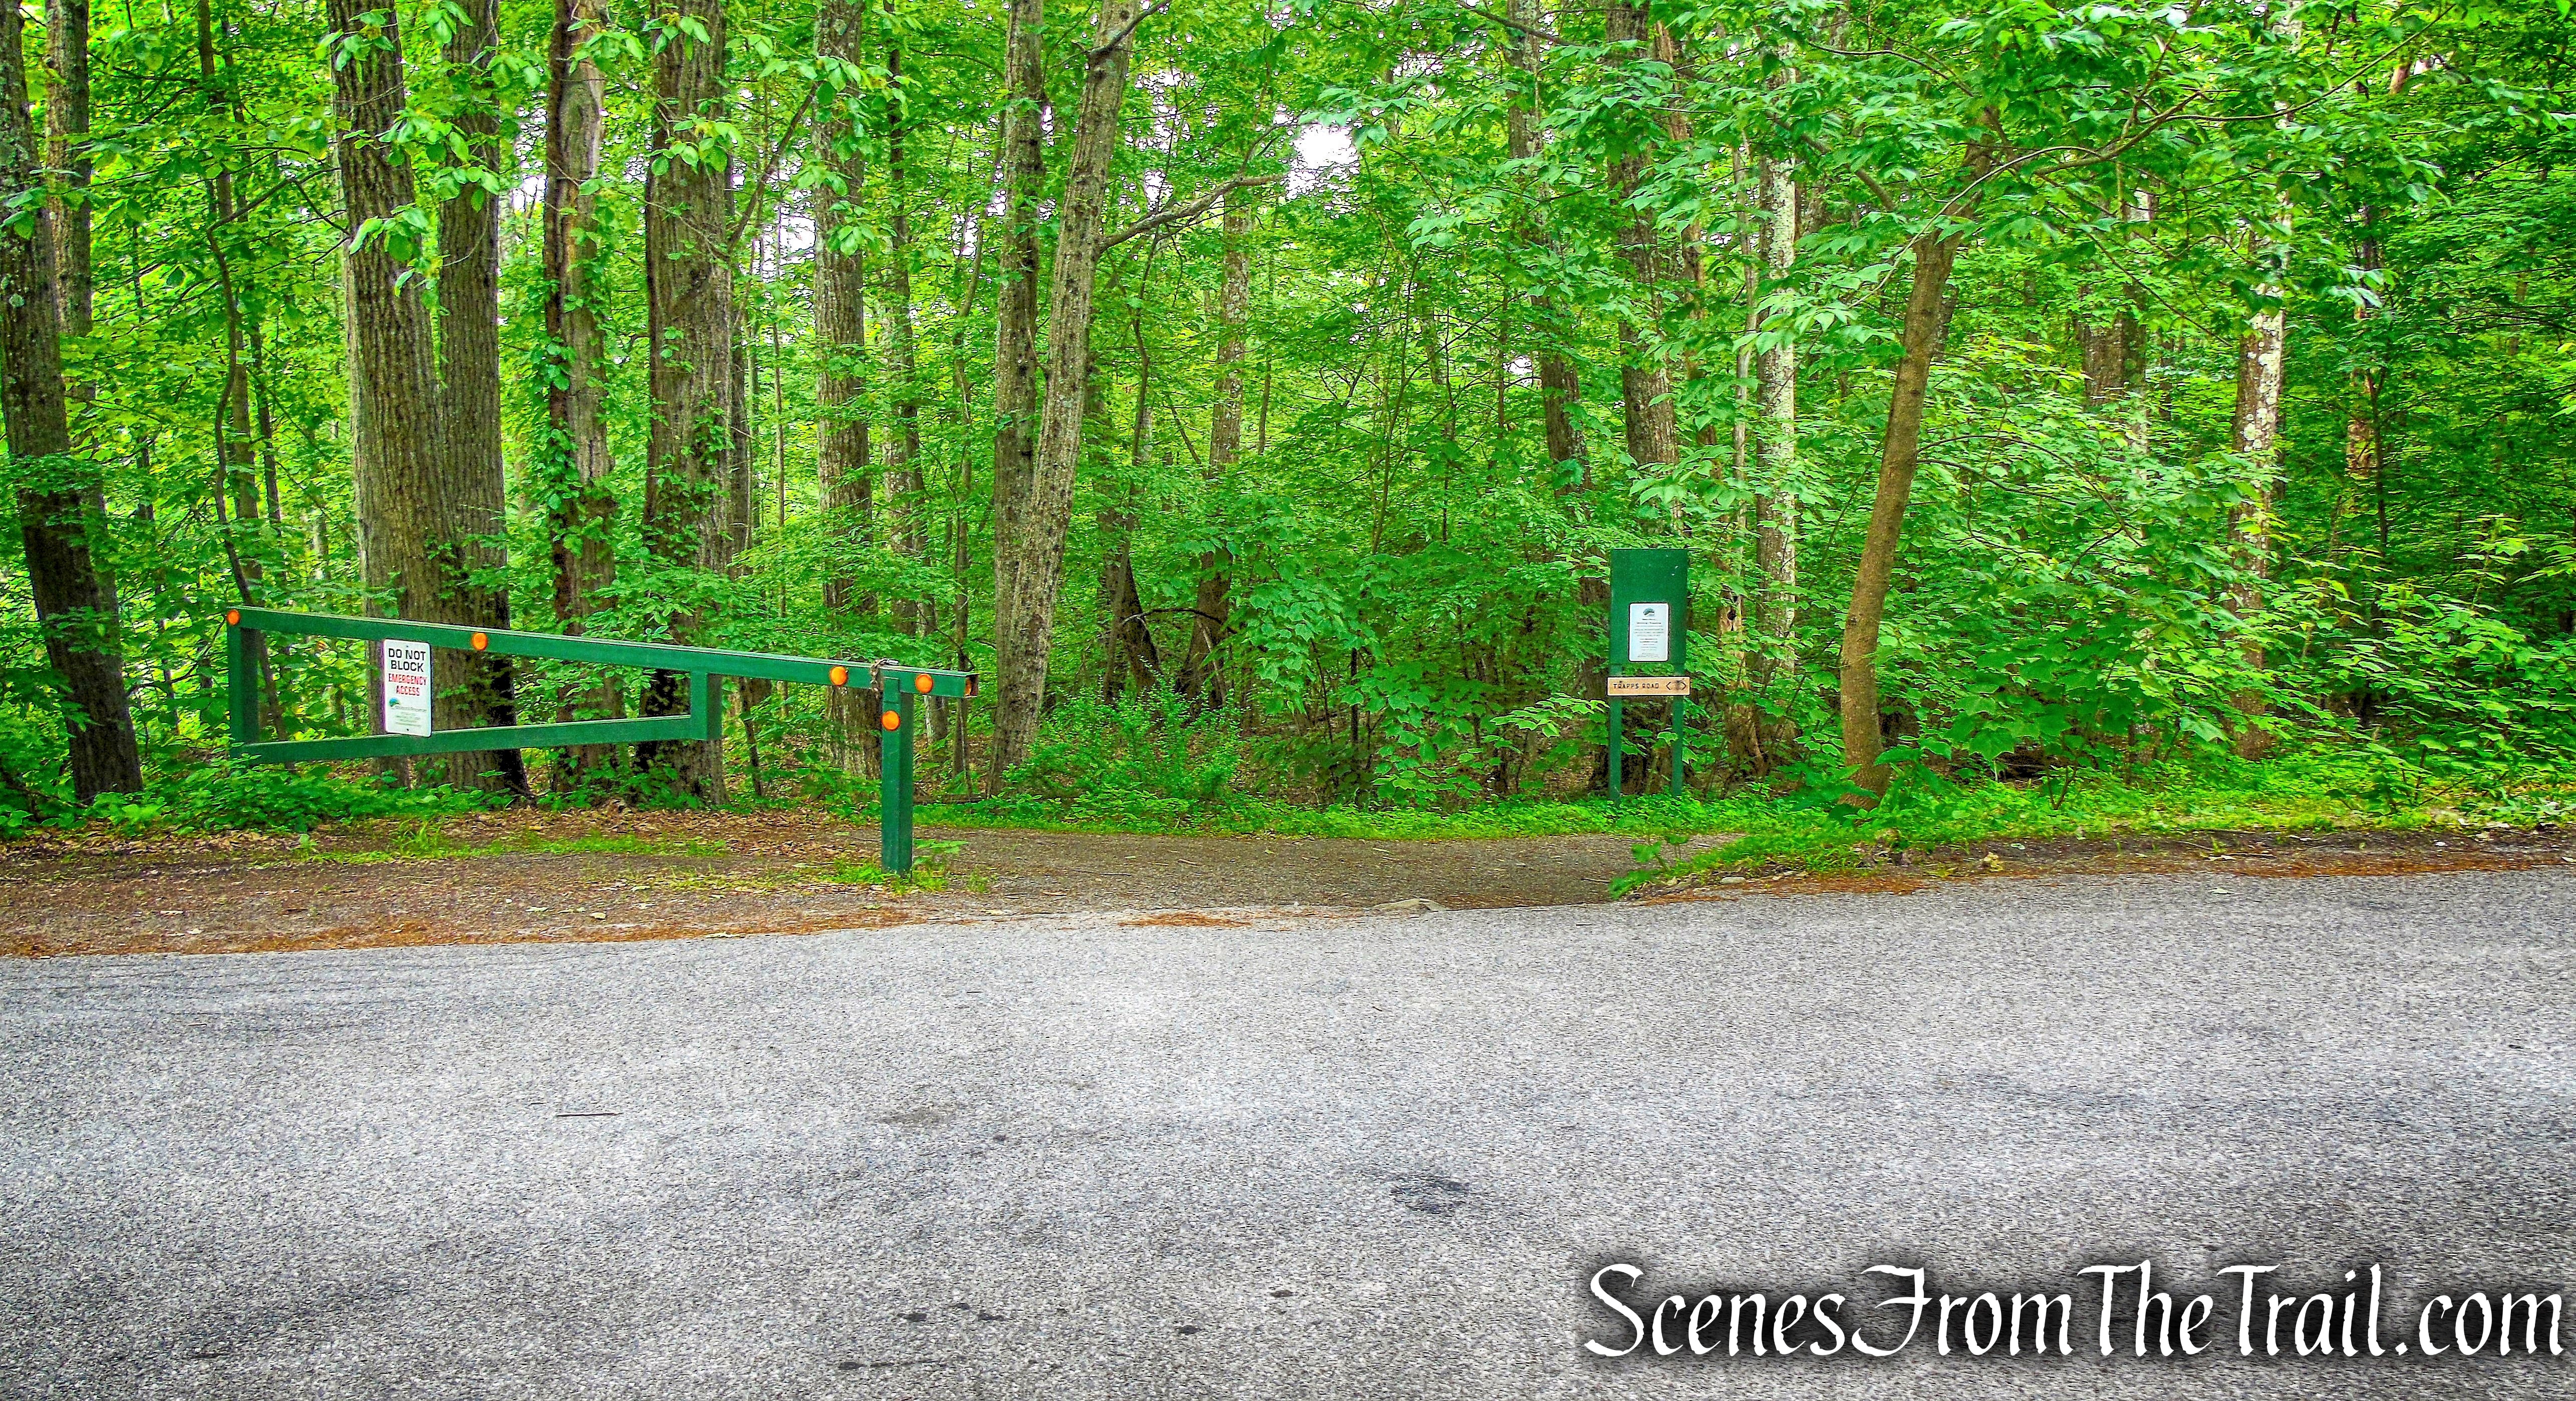
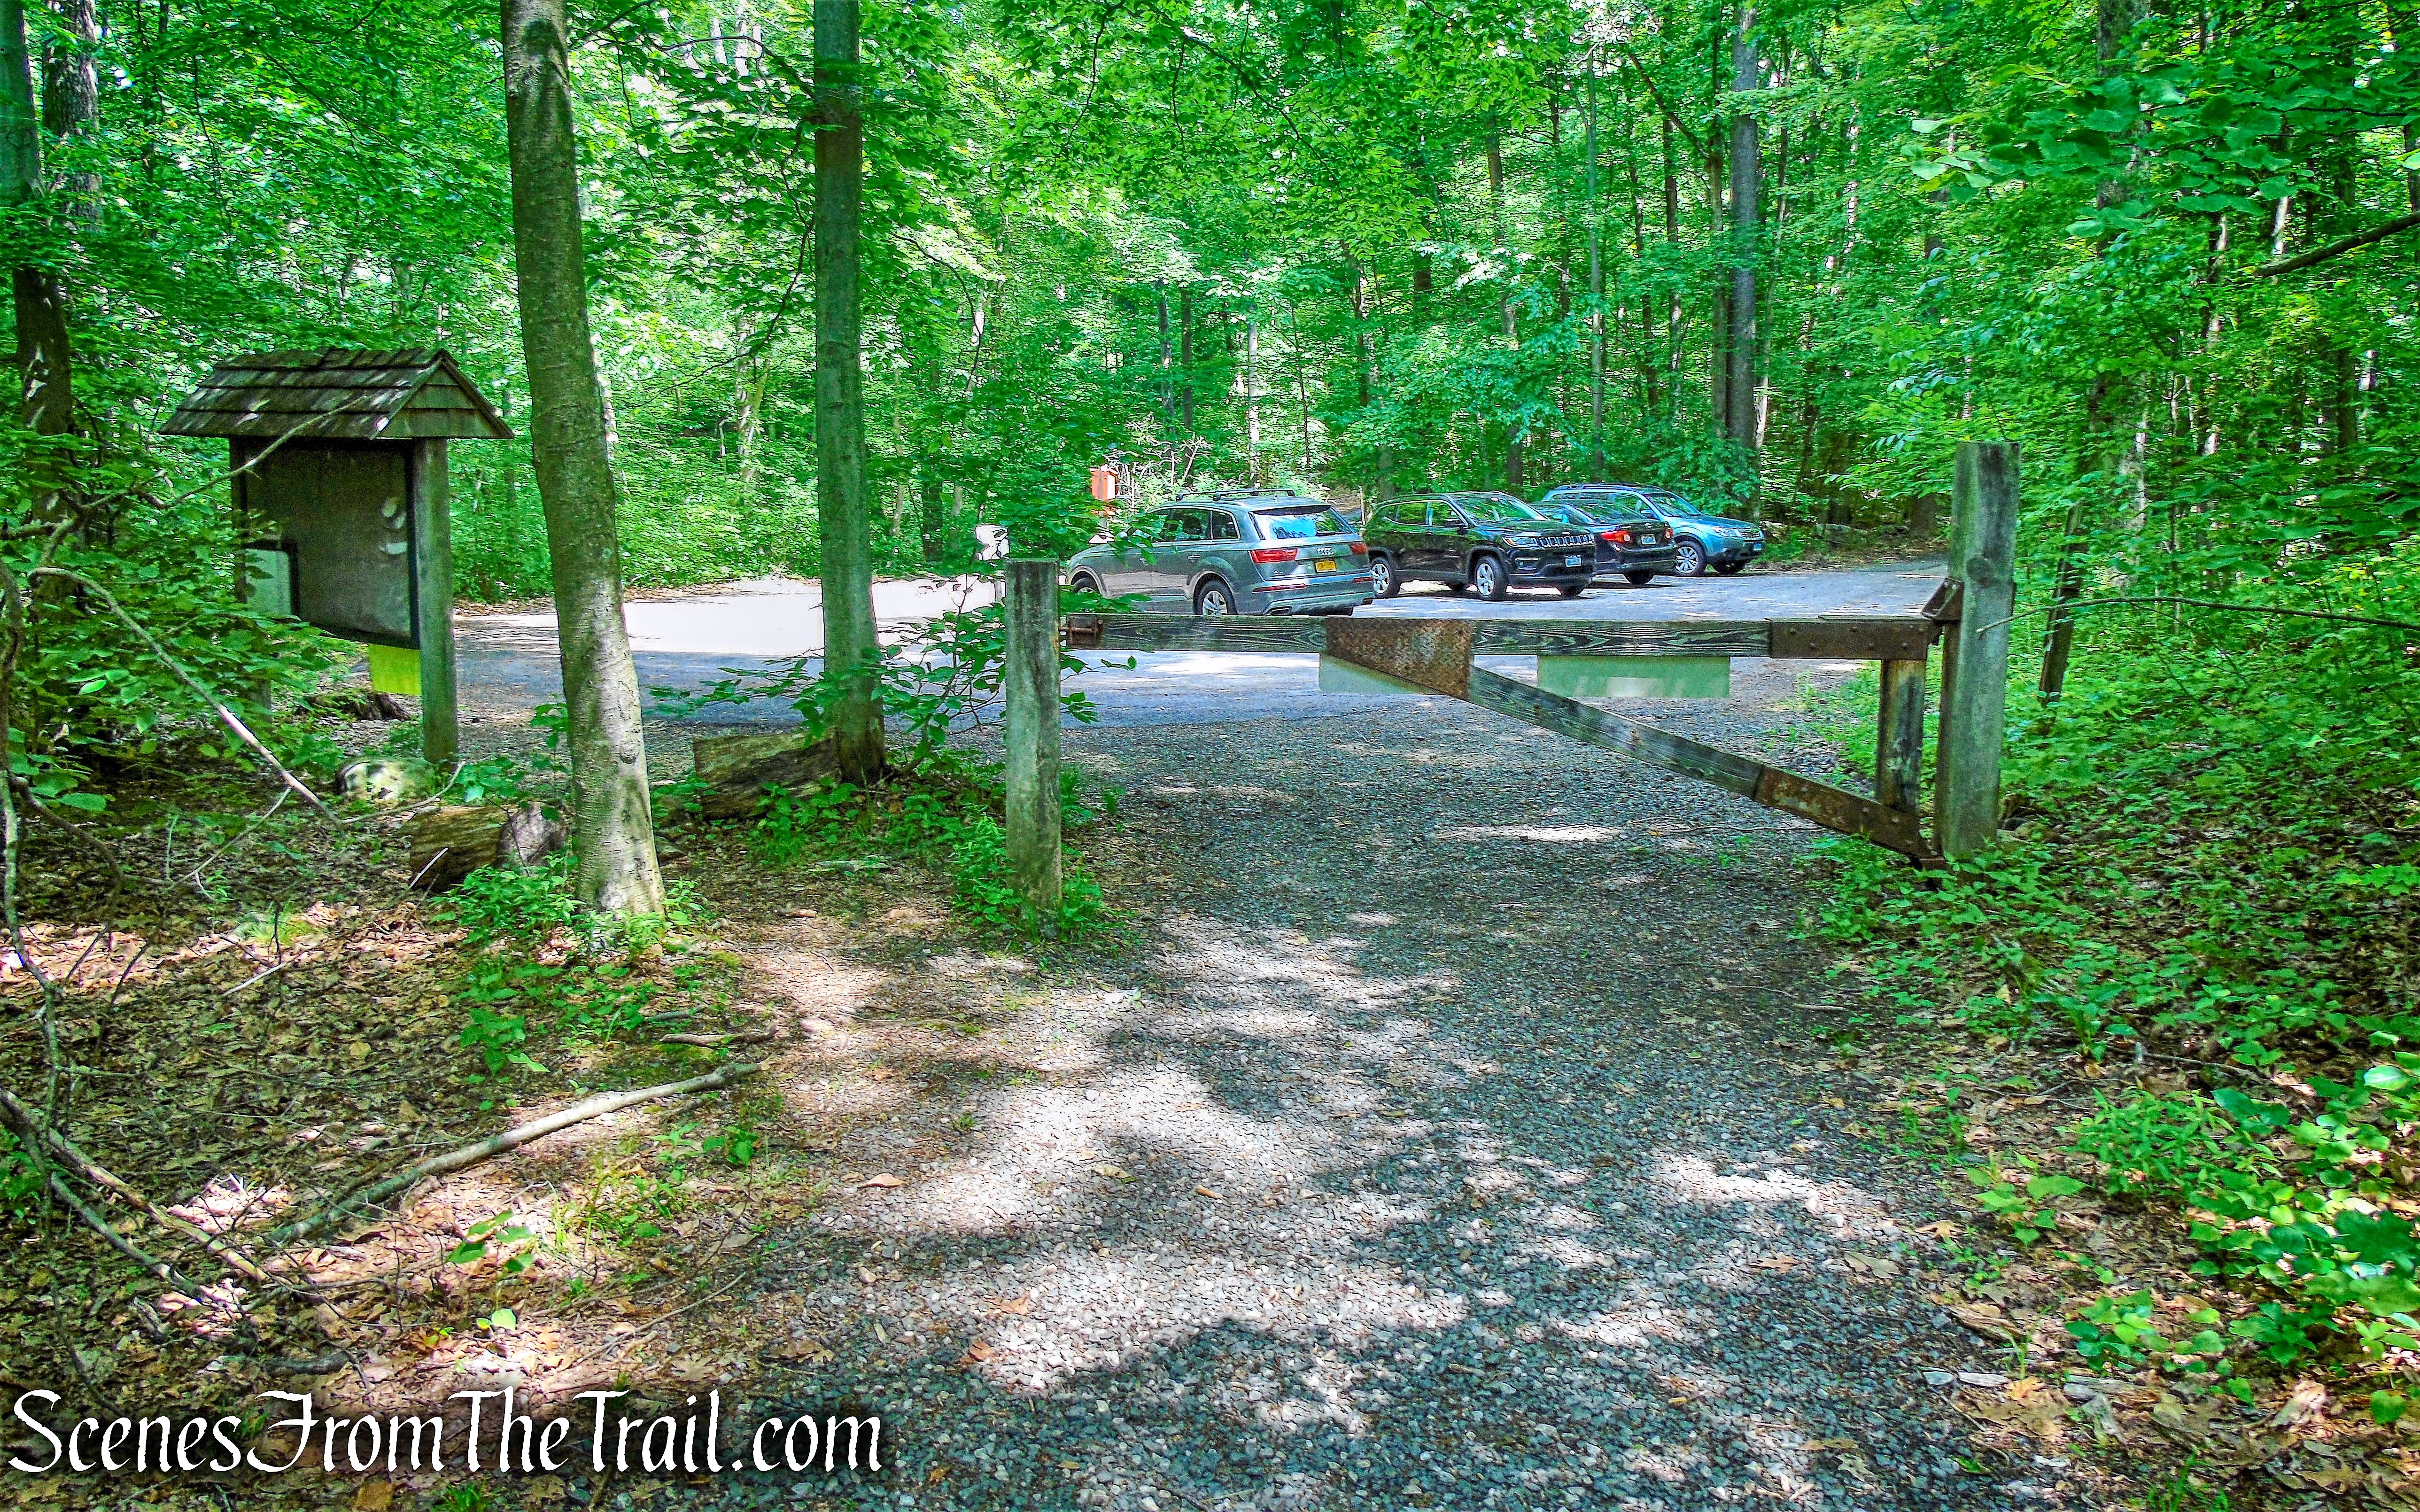
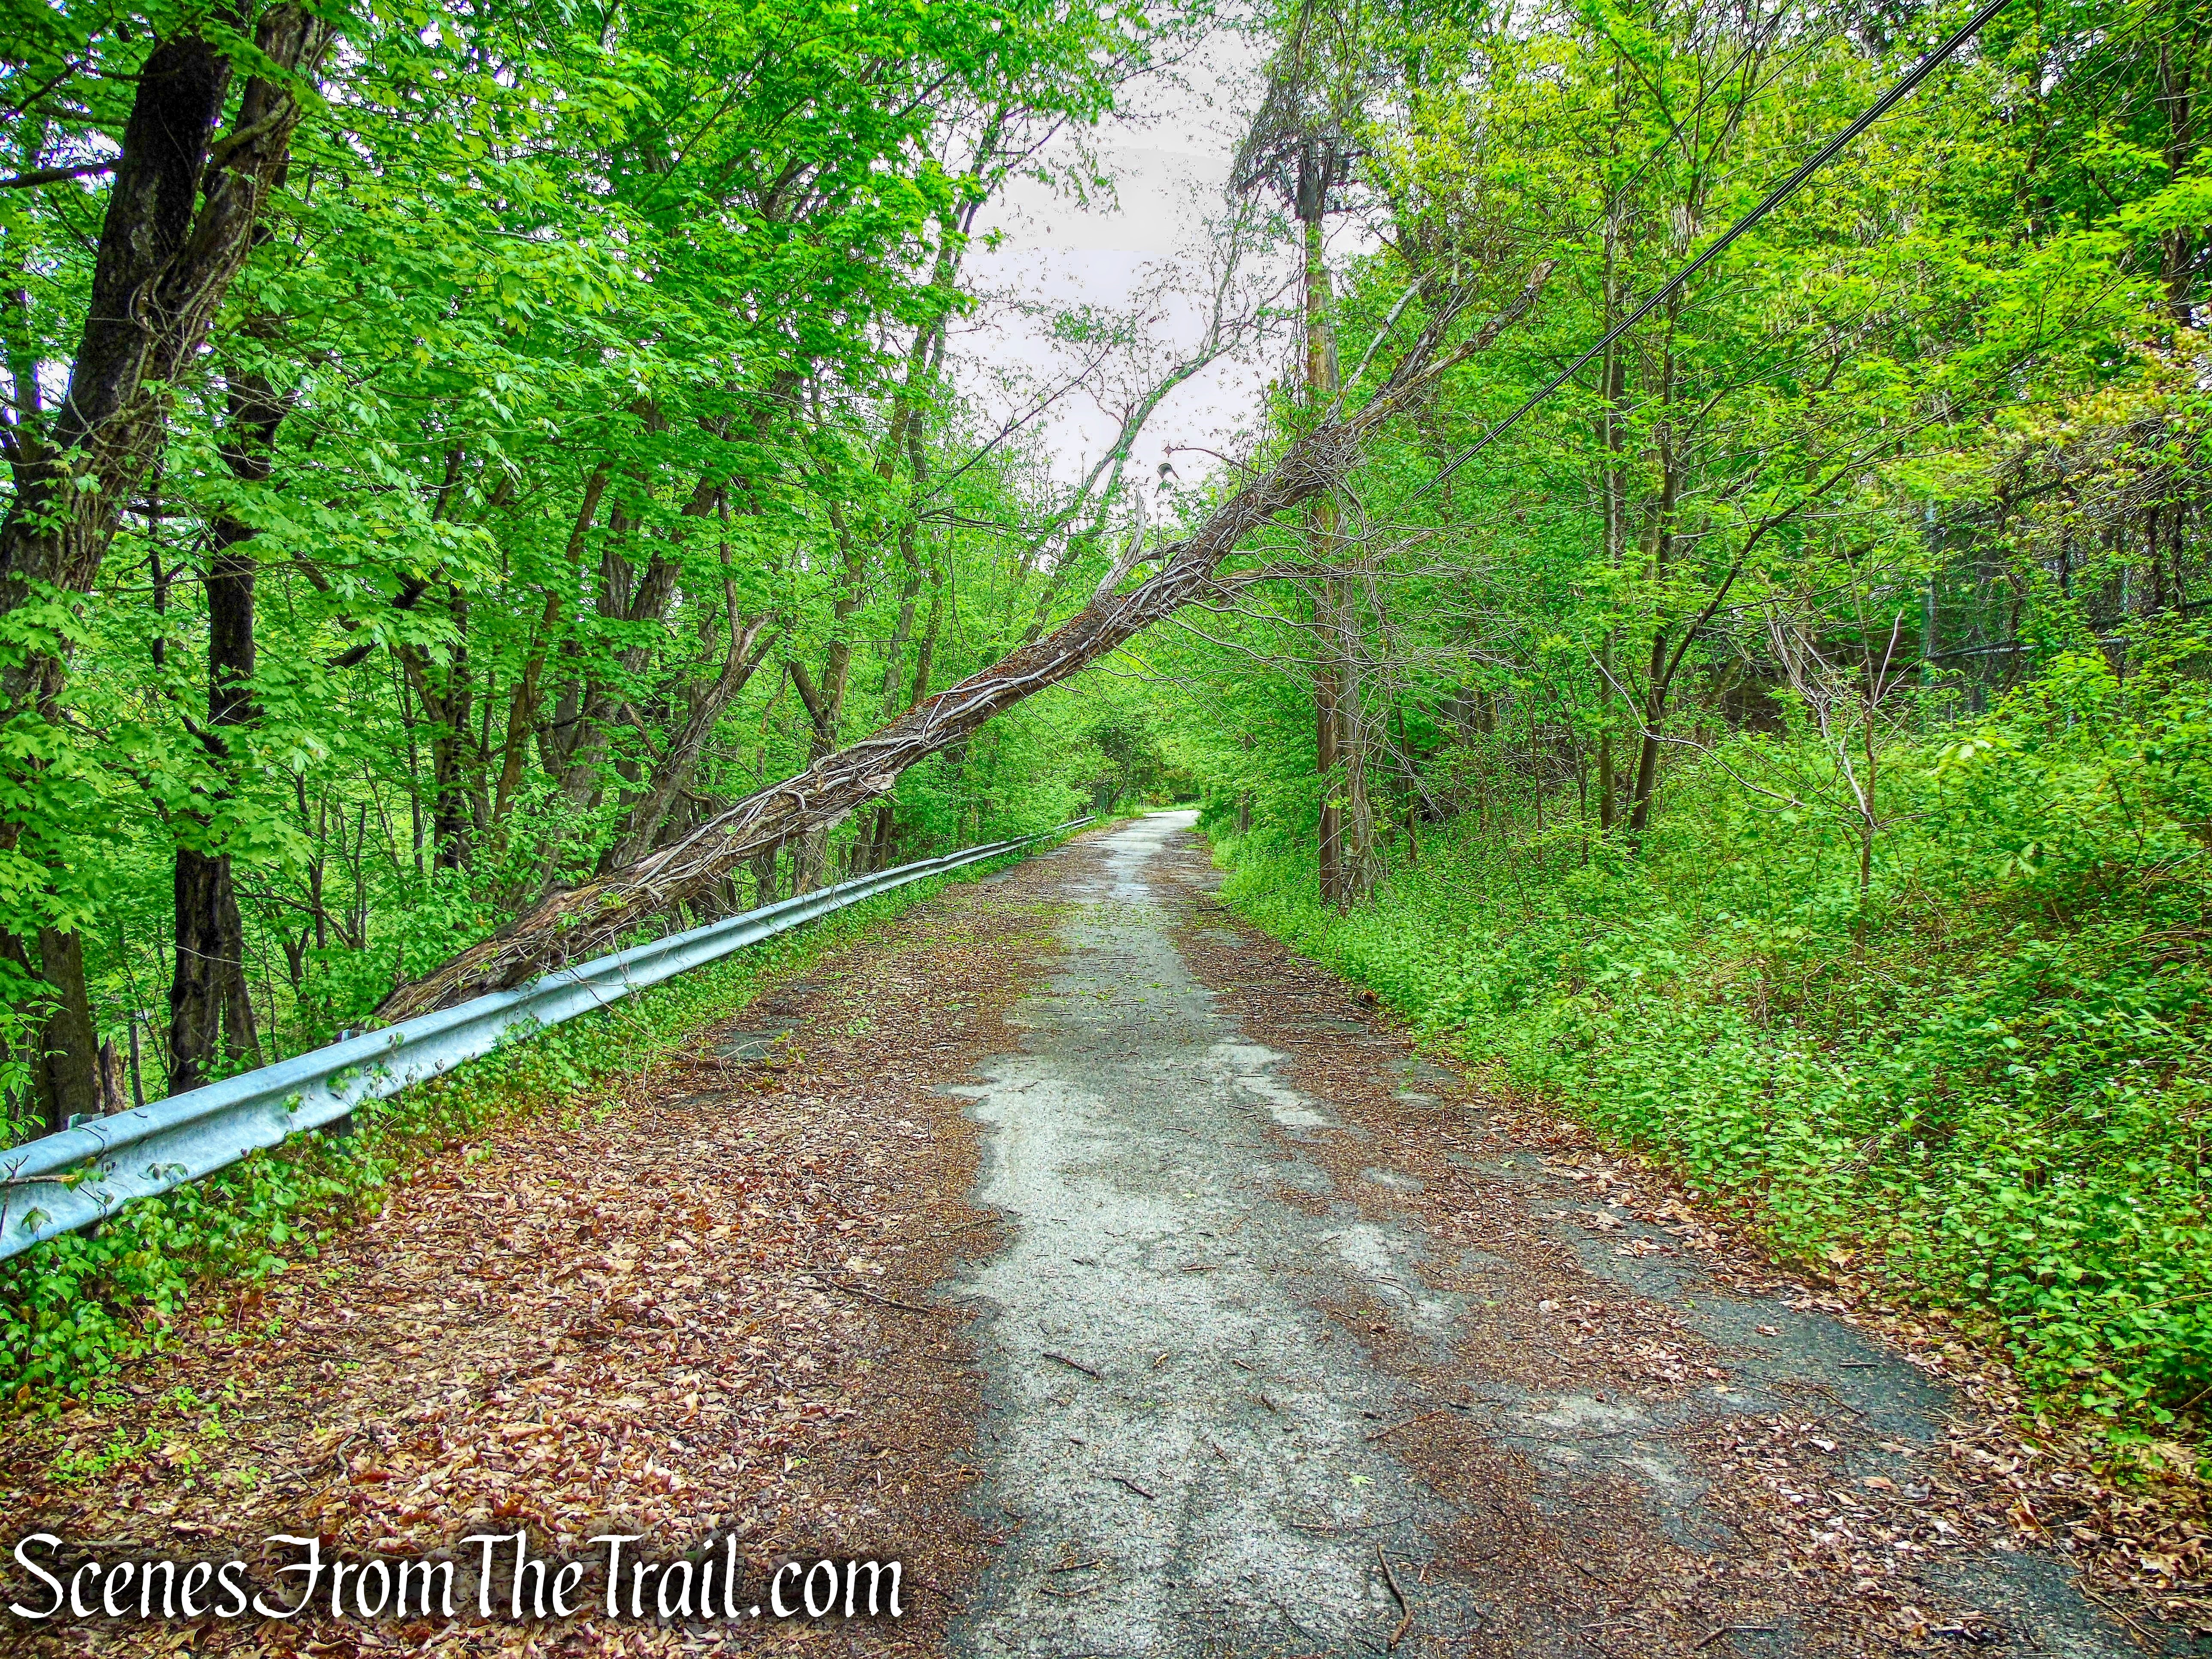
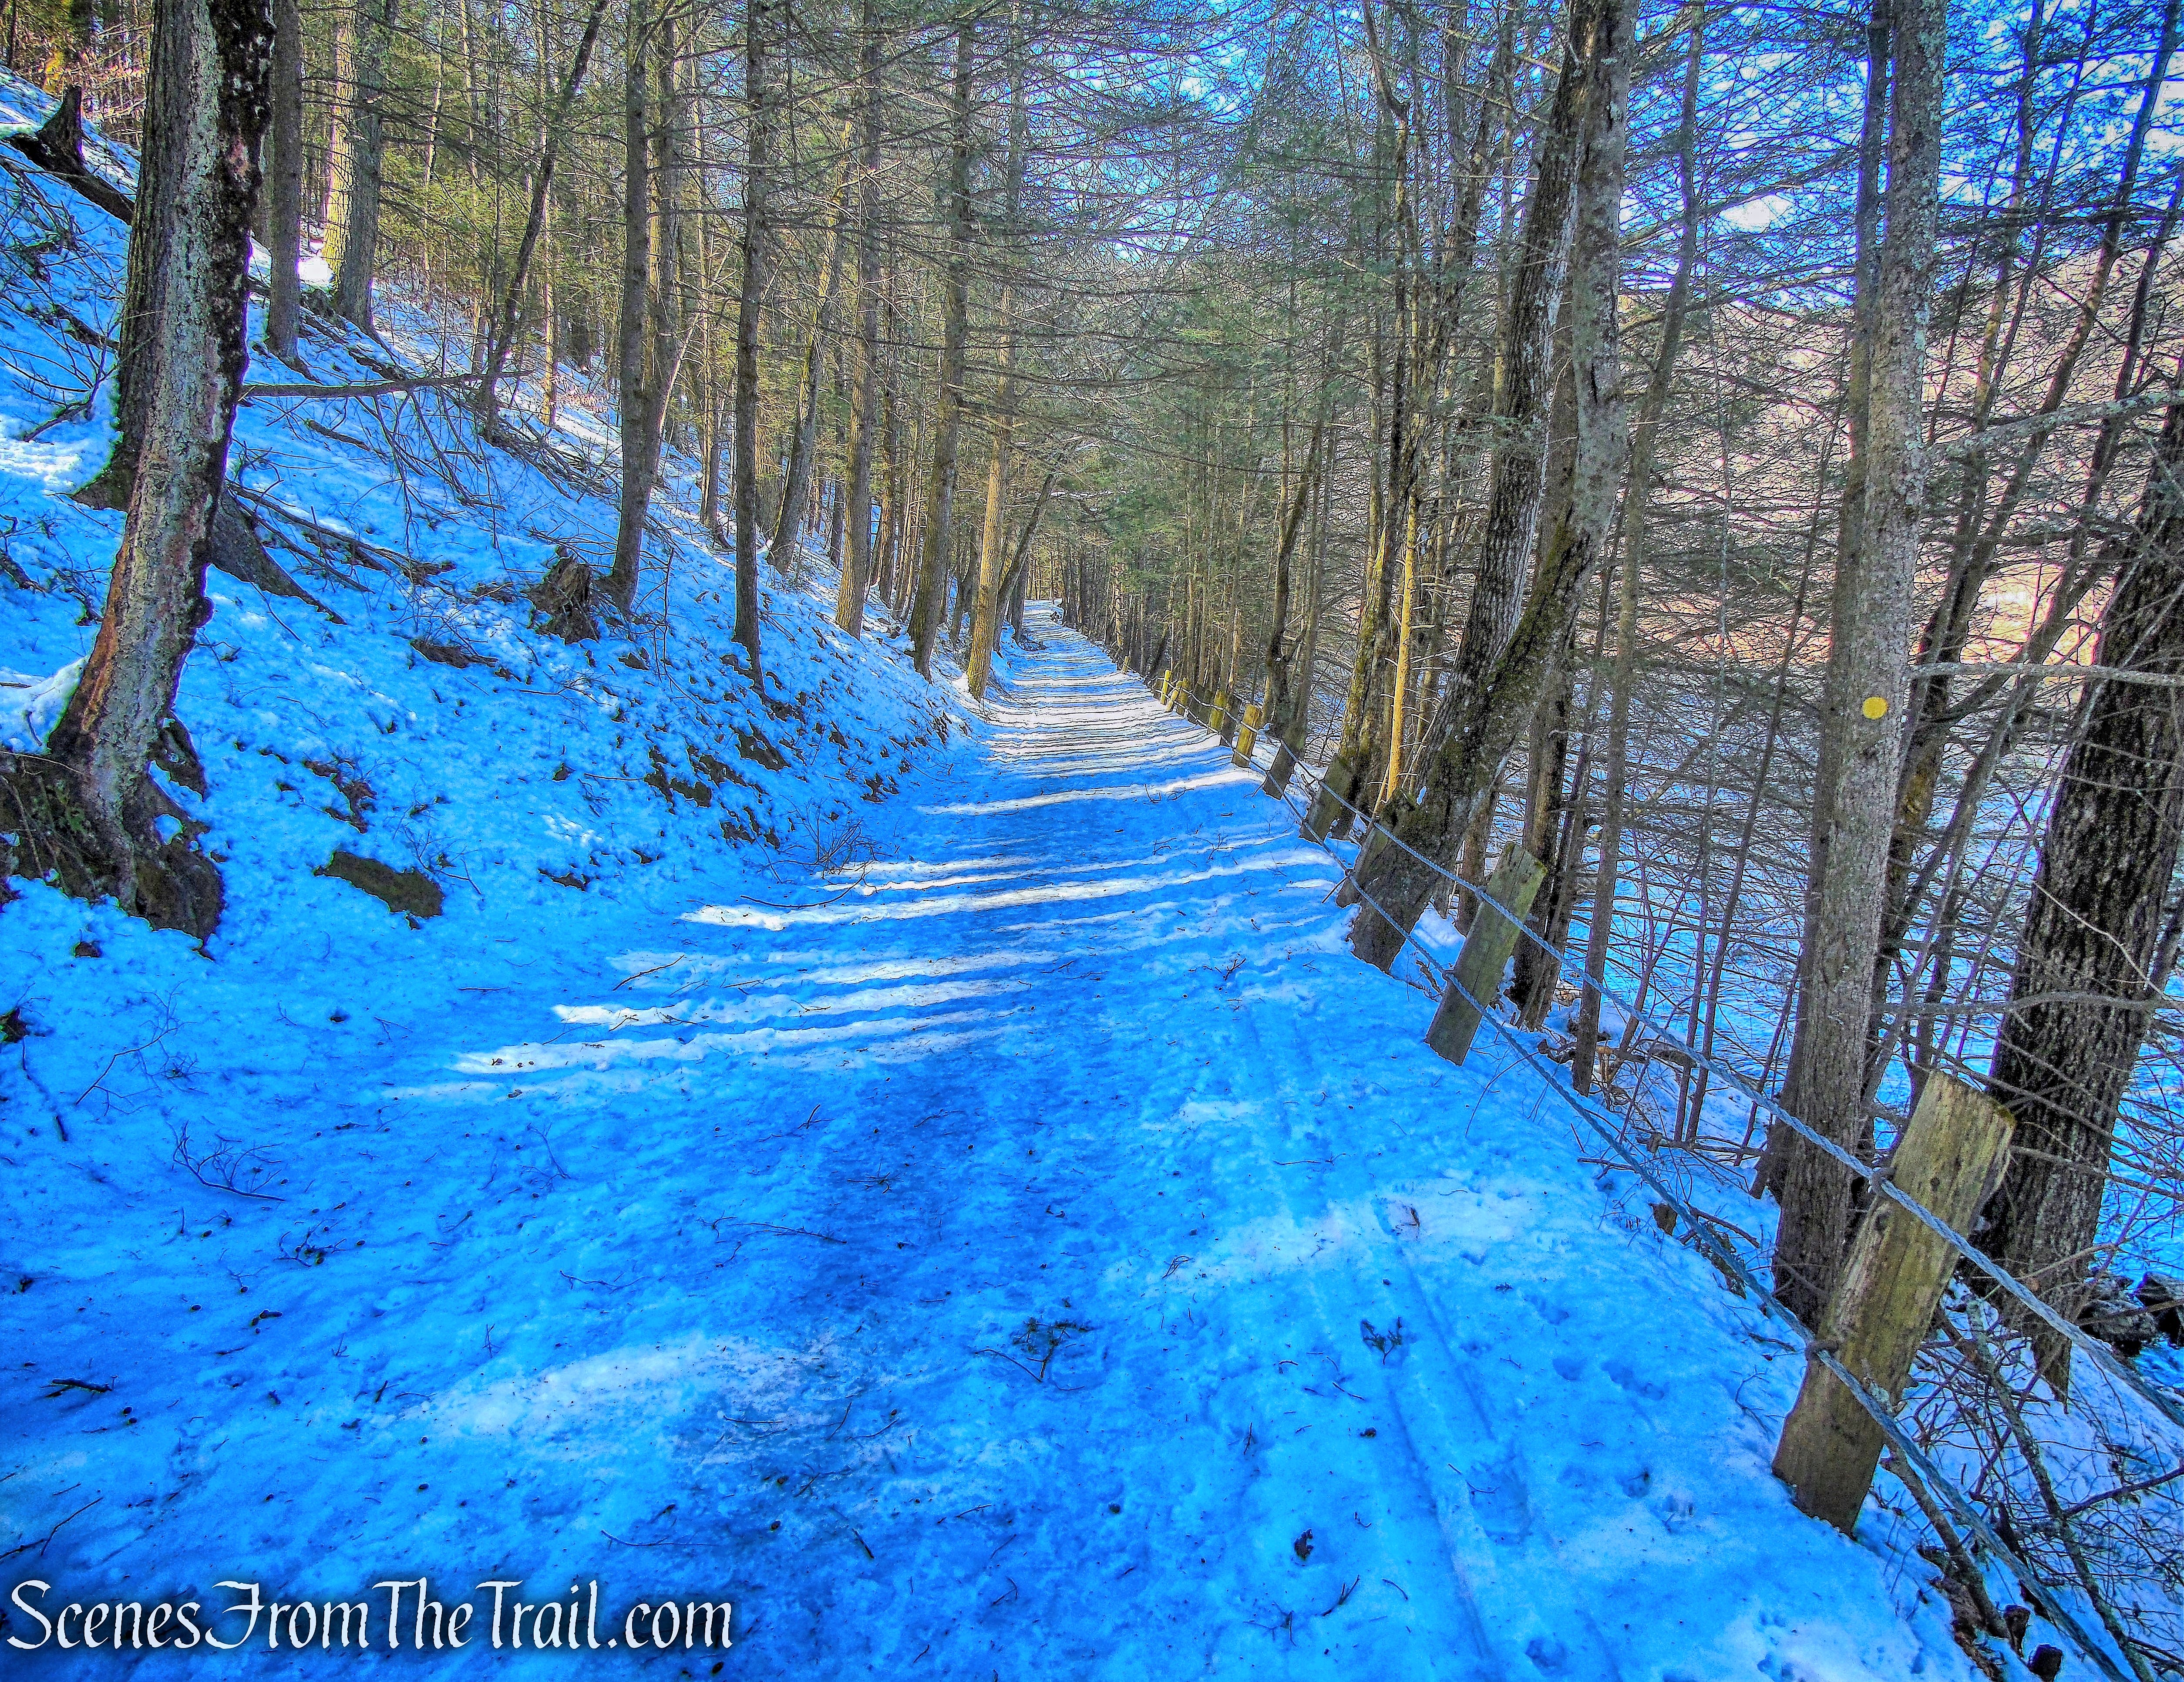
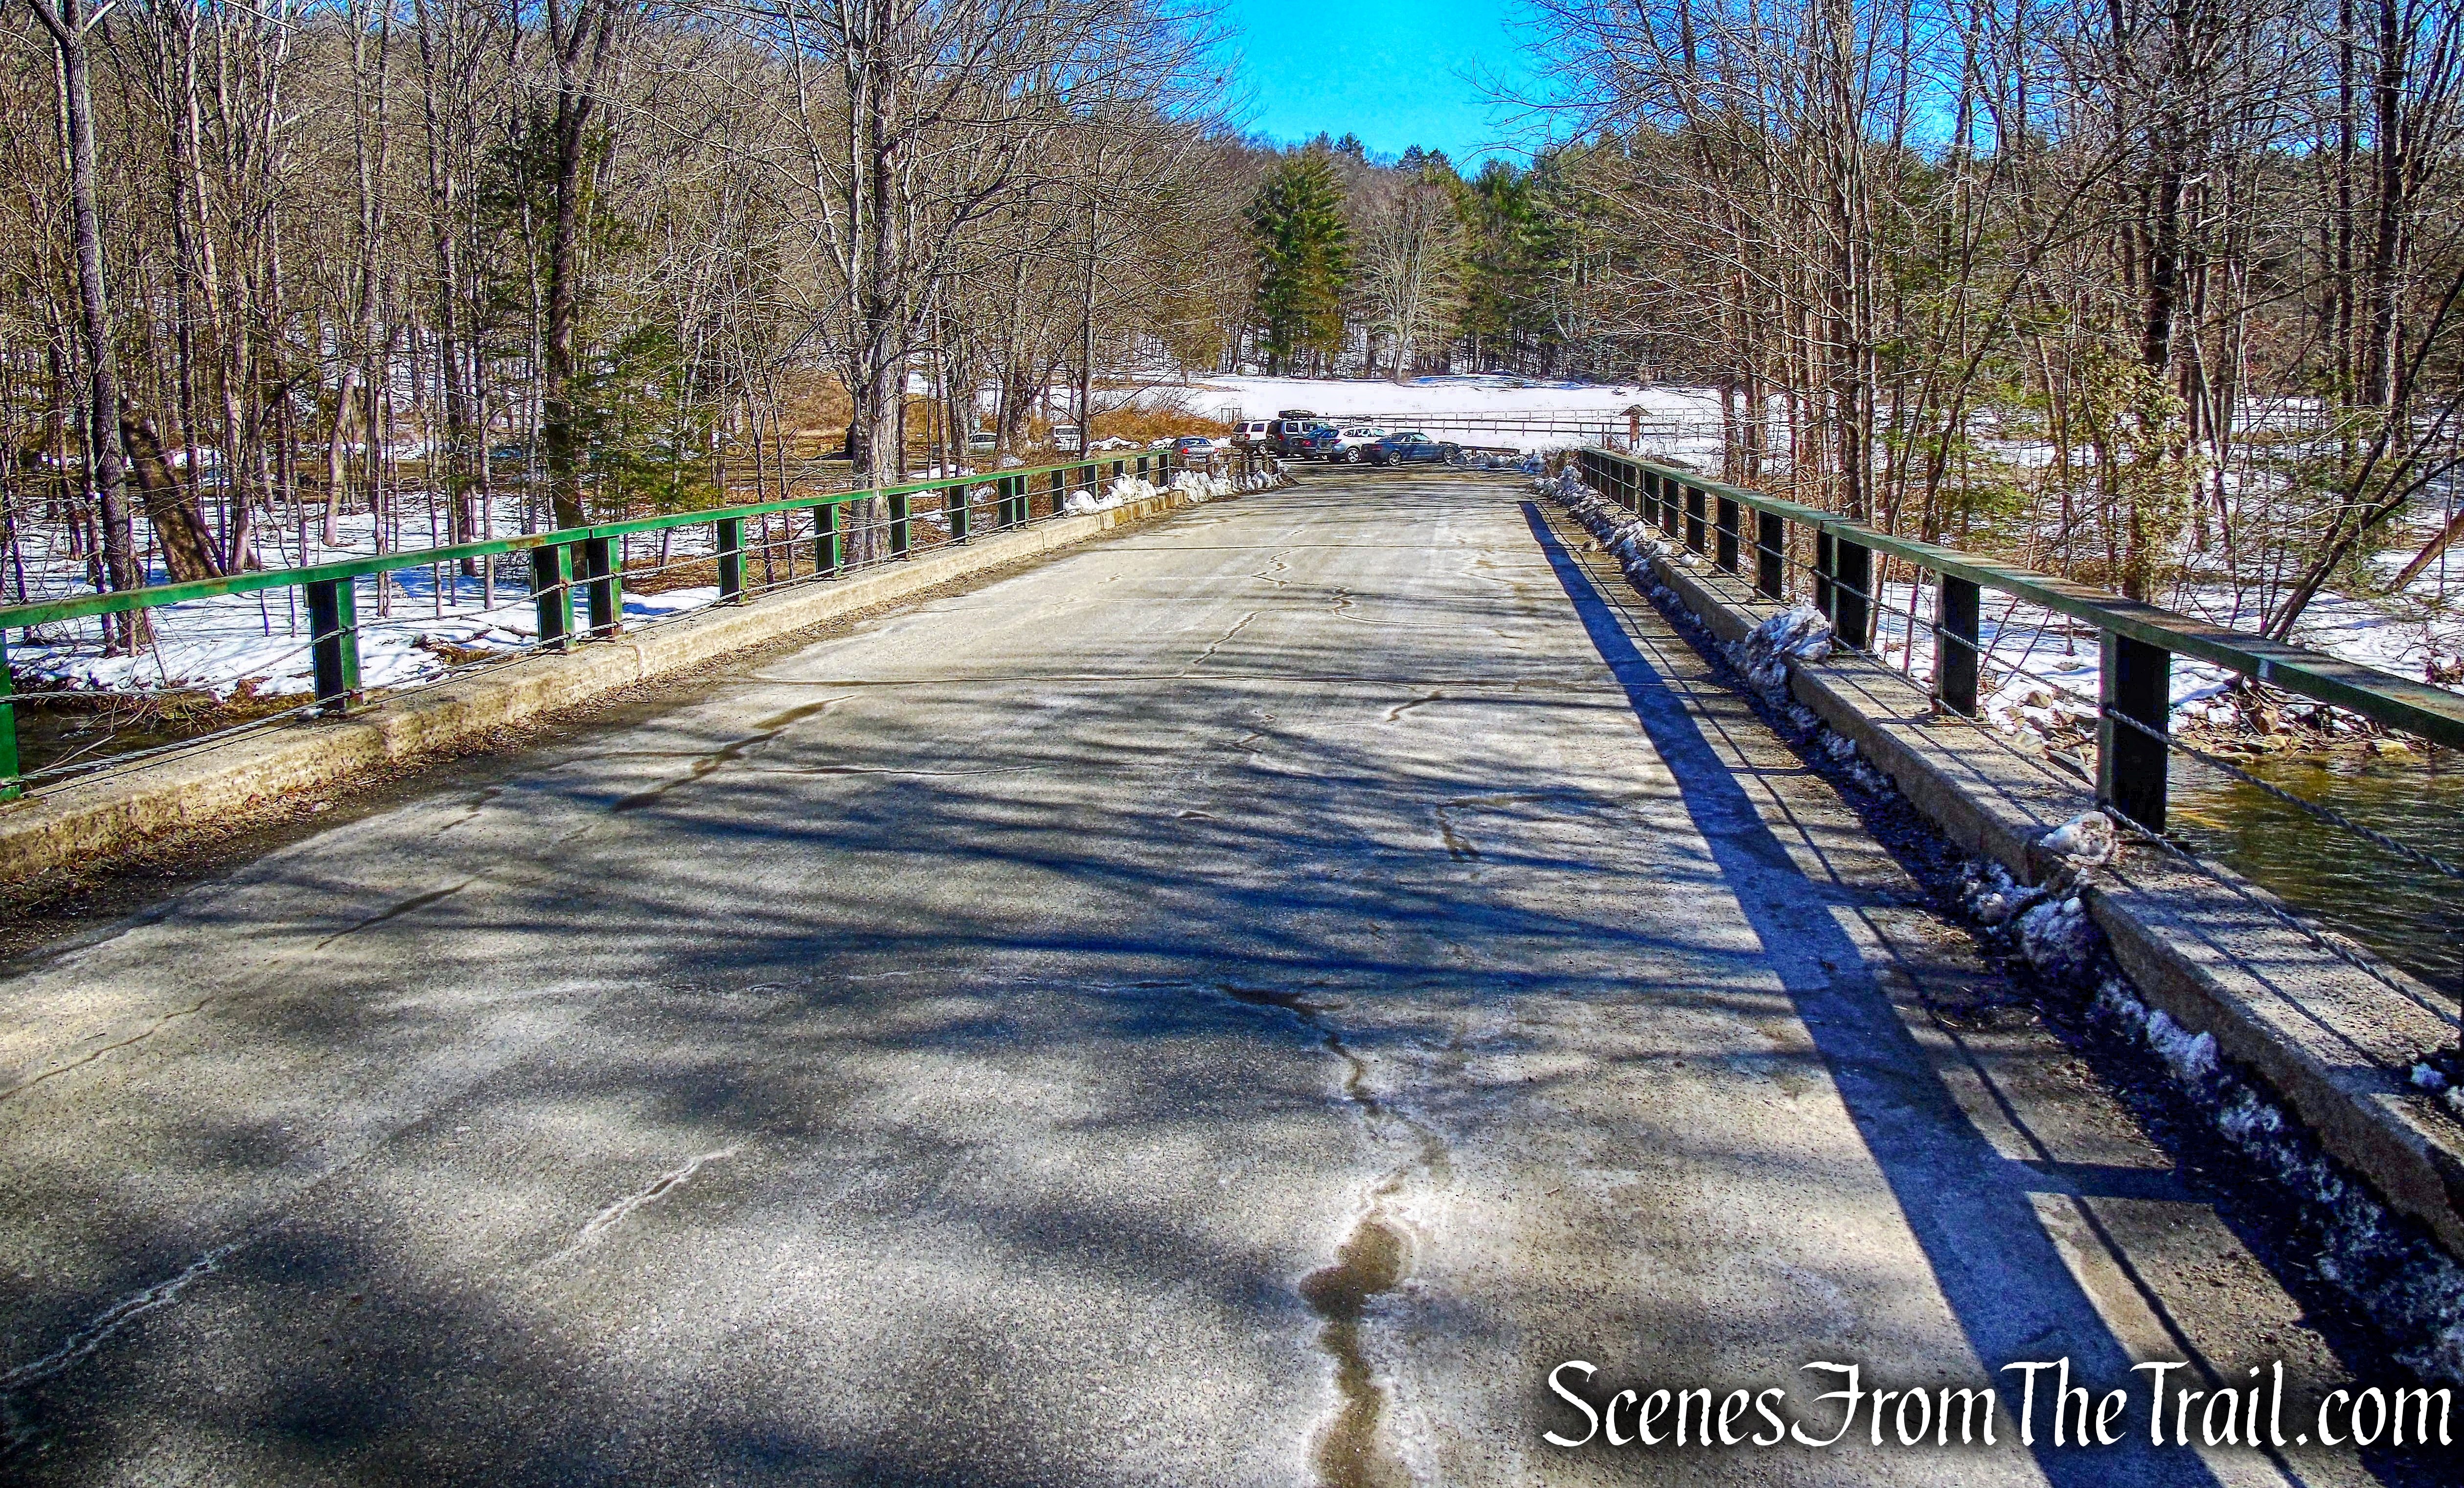
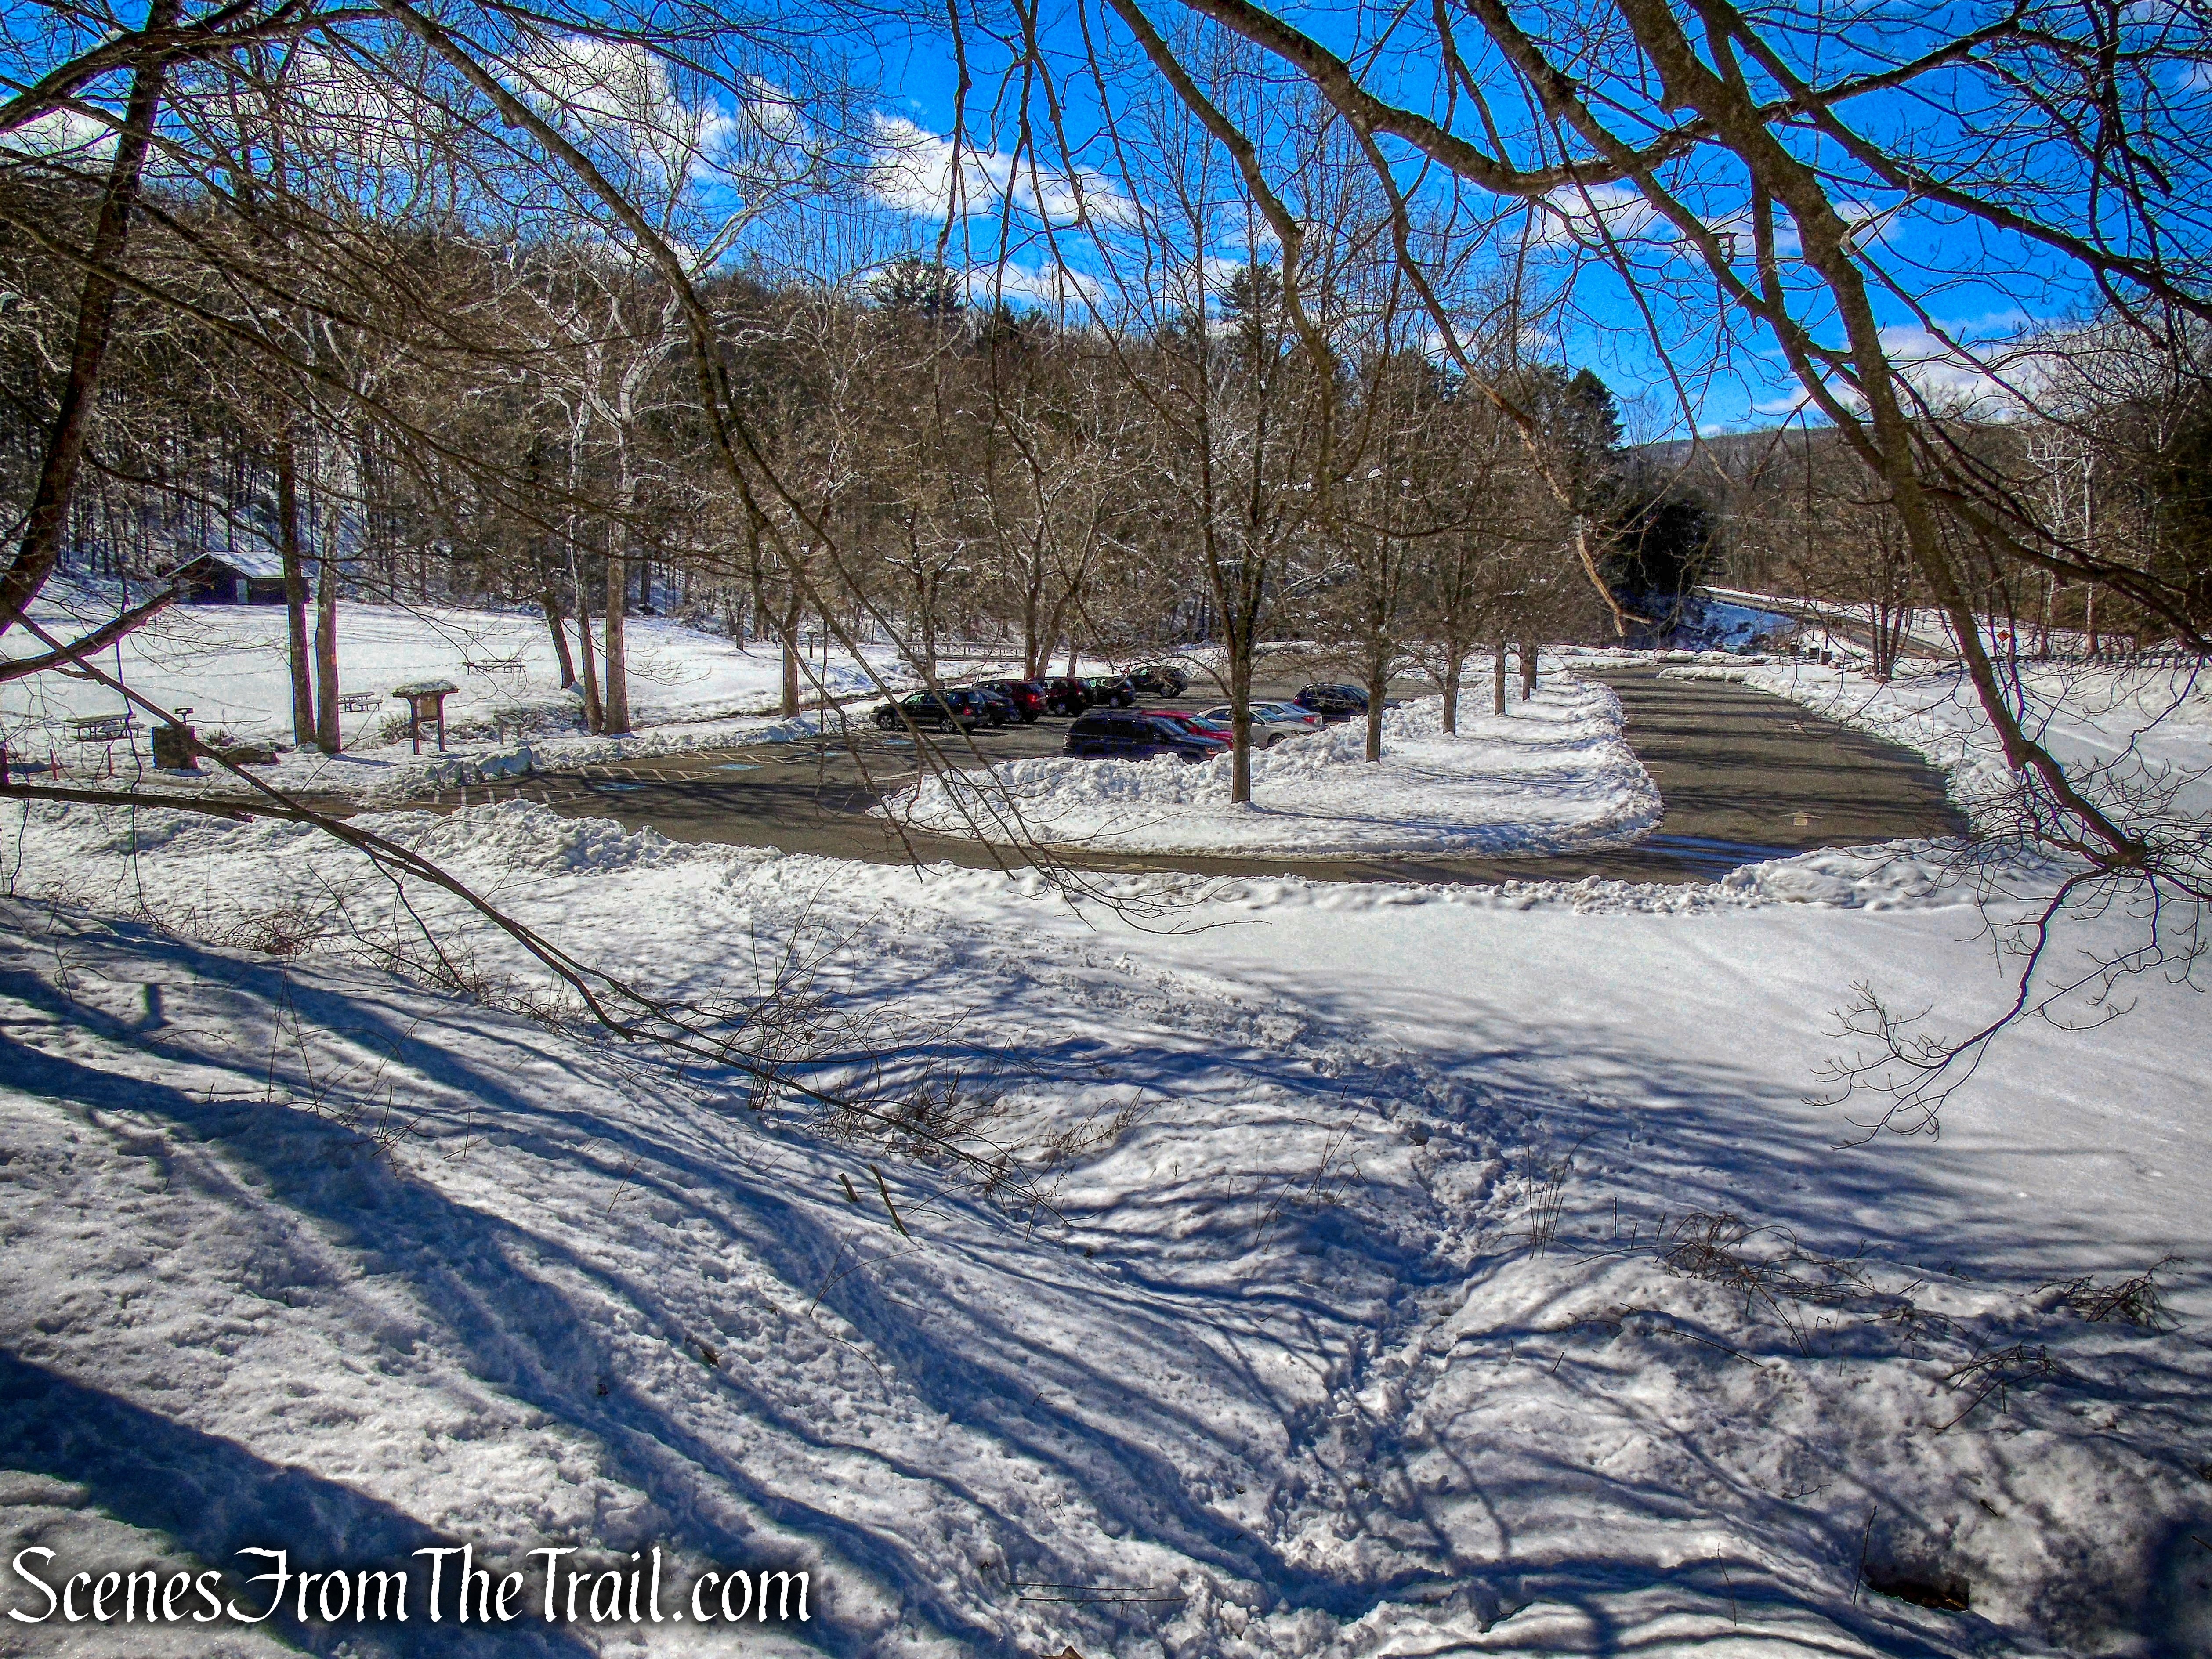
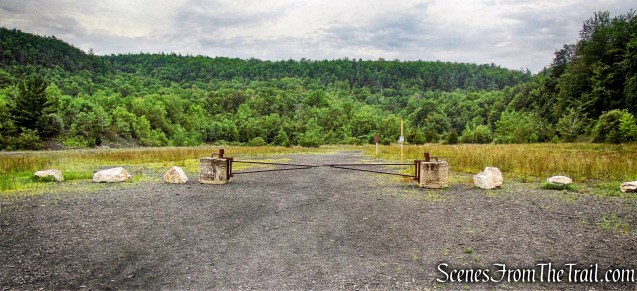
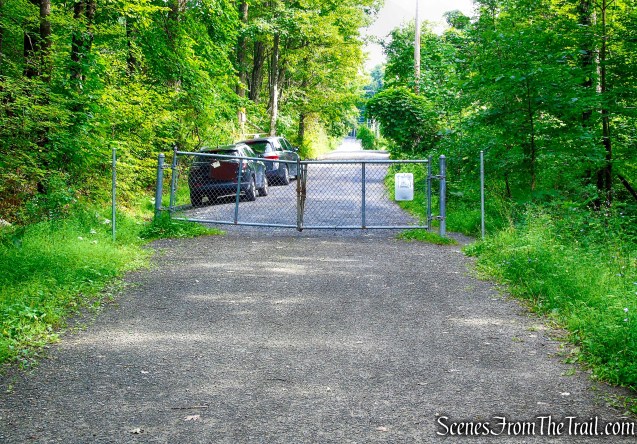
Parking is at the end of Shaft 2A Road, alongside the road. The road is narrow and its a good idea to turn around and park facing away from the gate, as sometimes the road gets lined with vehicles.

Shaft 2A Road
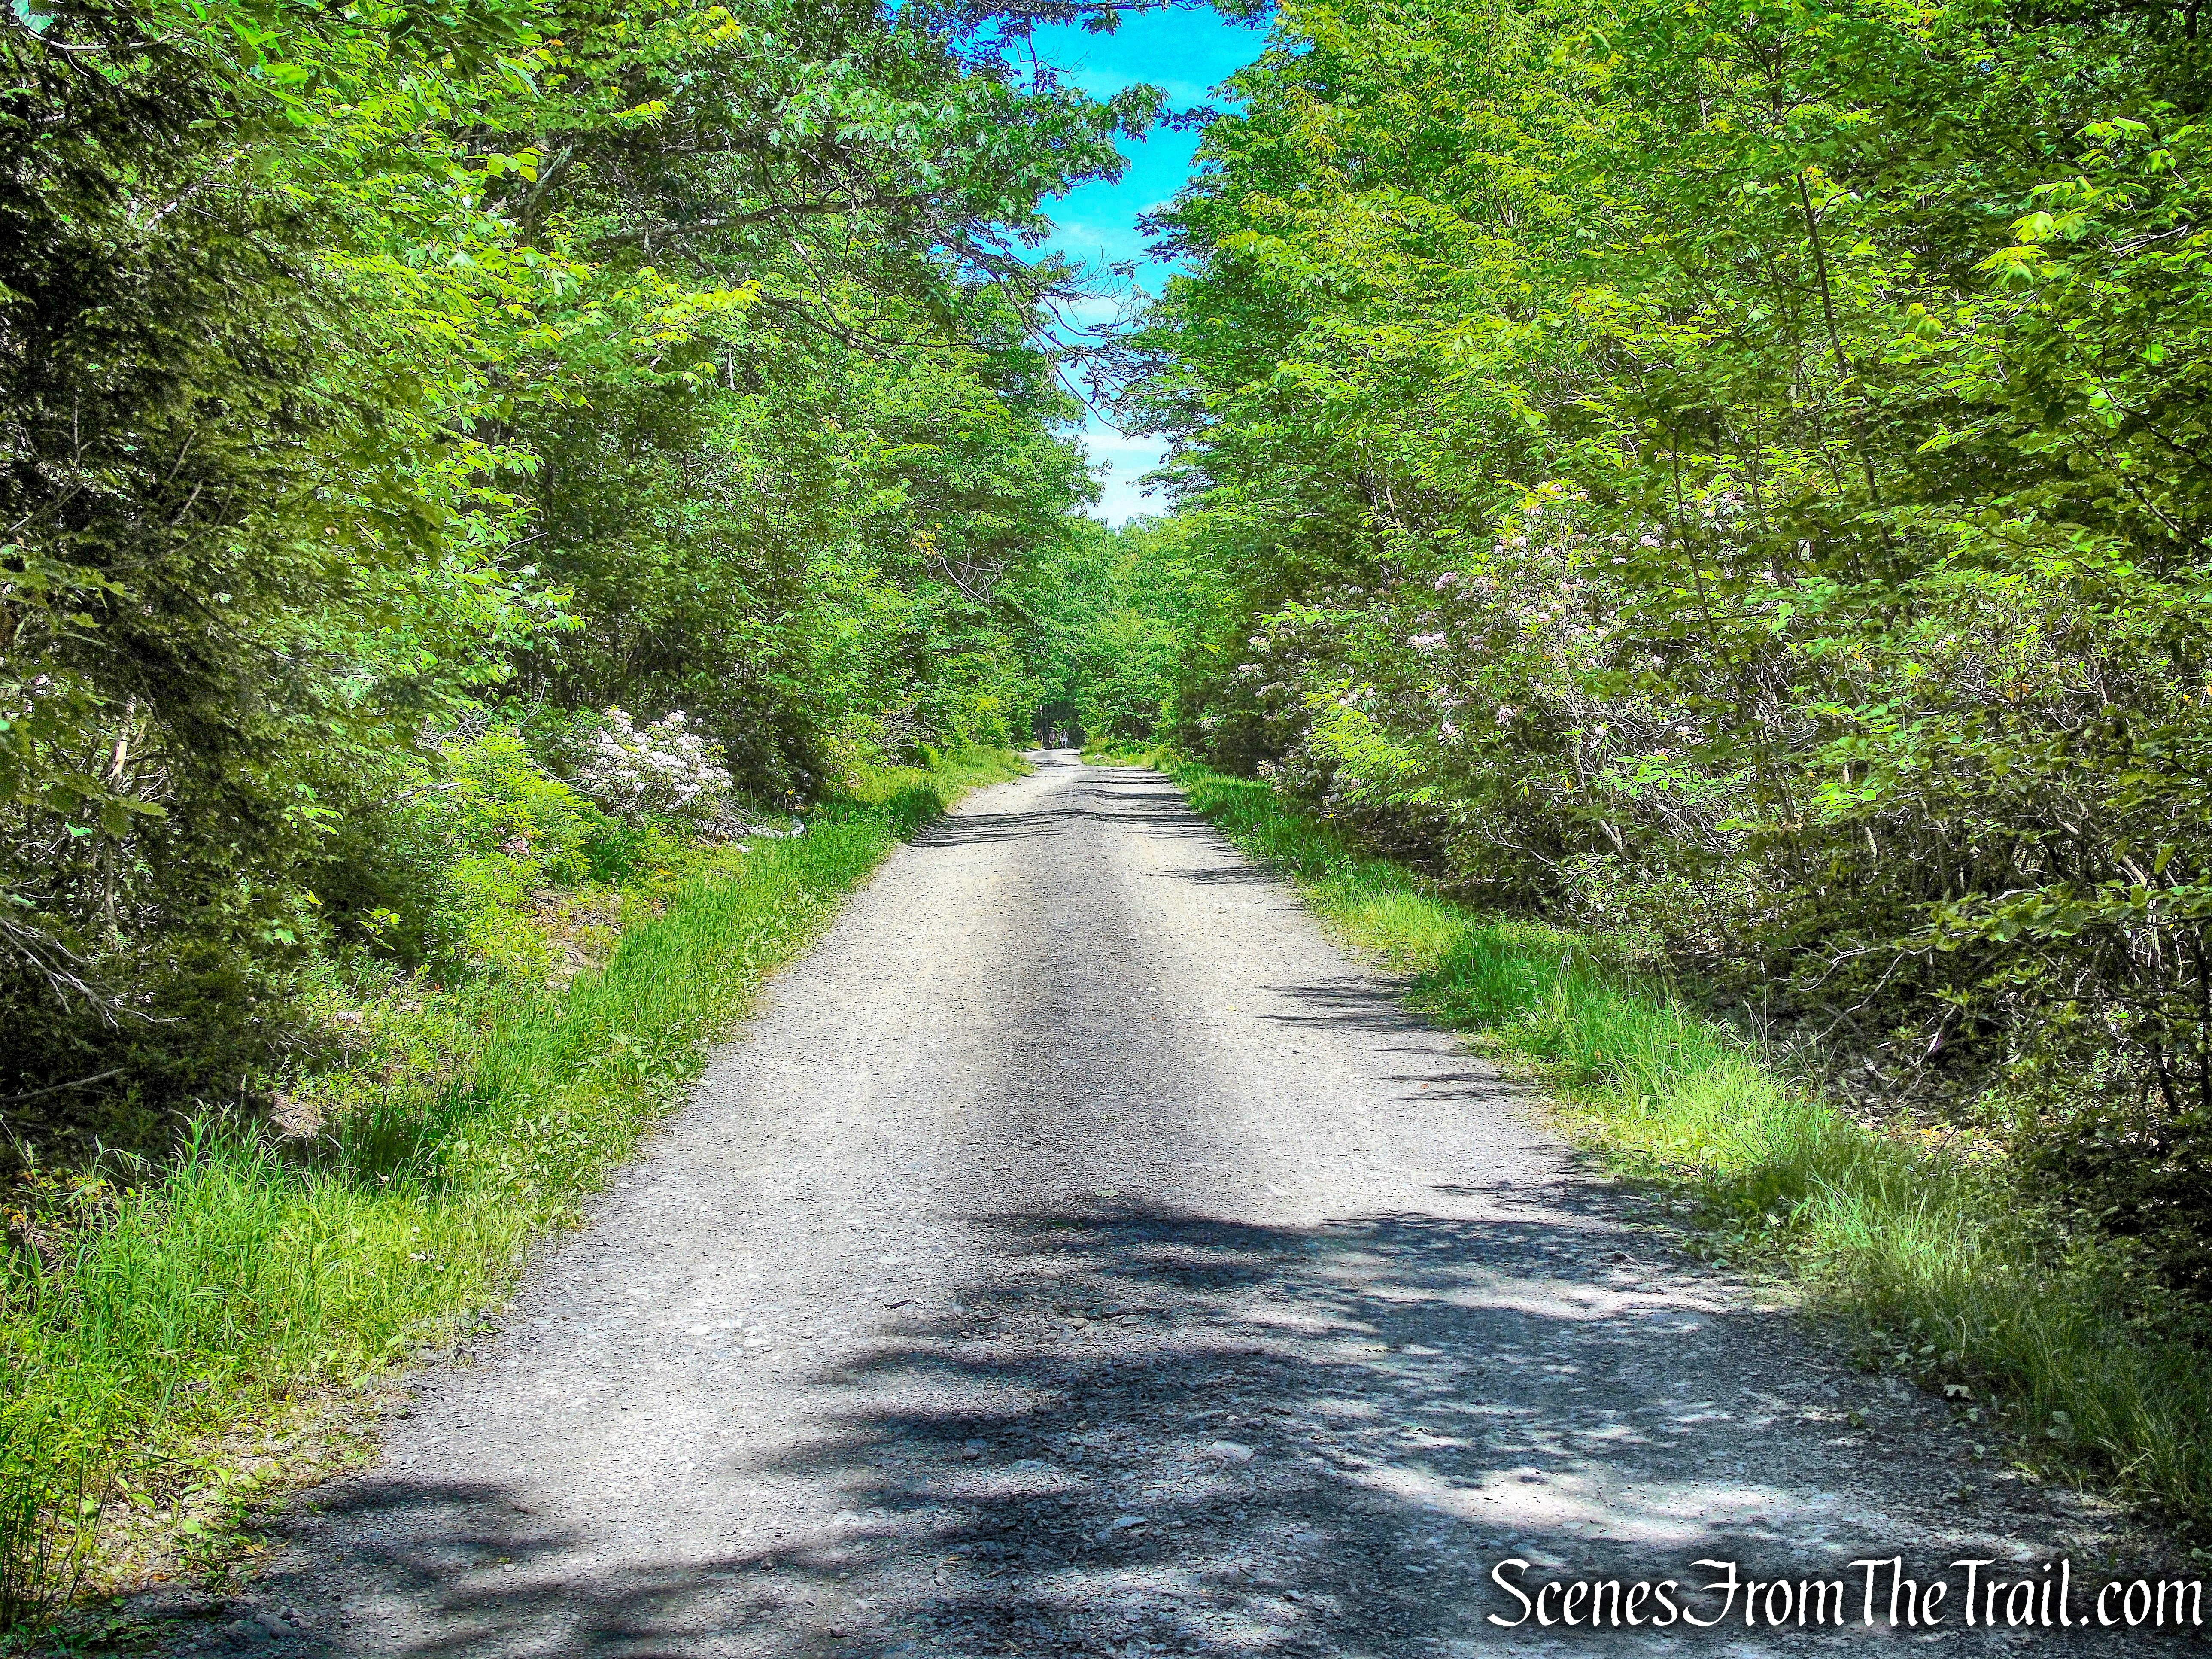
Shaft 2A Road continues past the gate. We walked around the gate and proceeded down the gravel road.
Shaft 2A Road
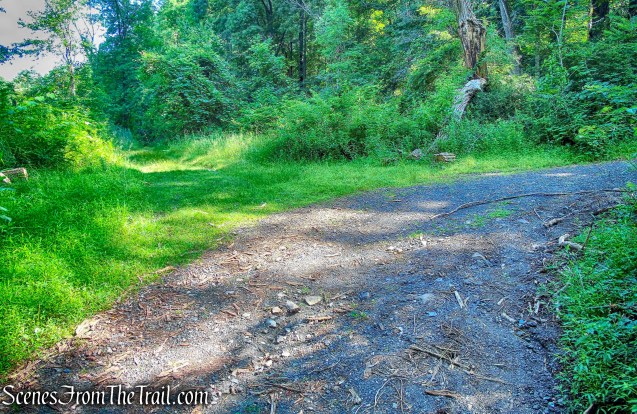
In about 300 yards, the road splits at a clearing. We stayed to the left.
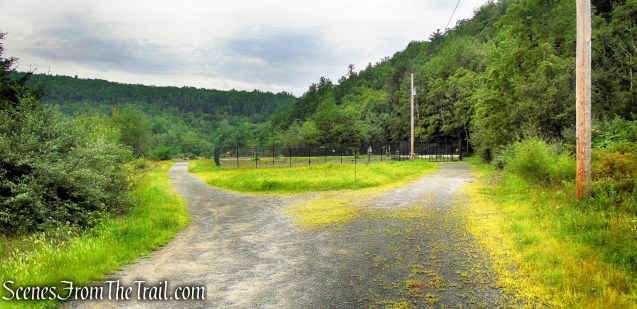
Shaft 2A Road
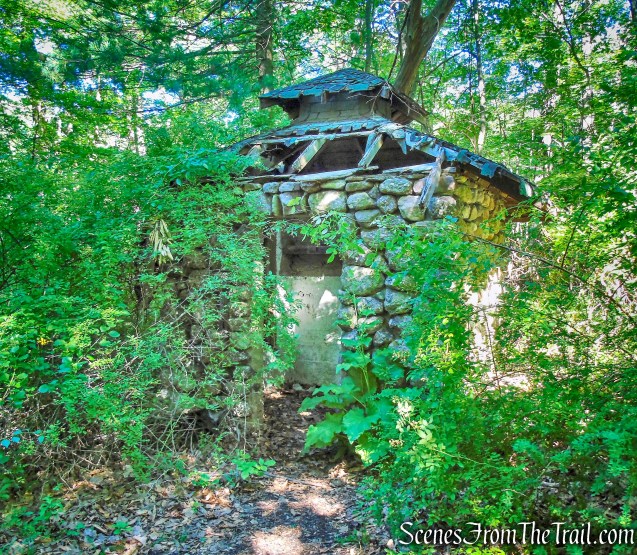
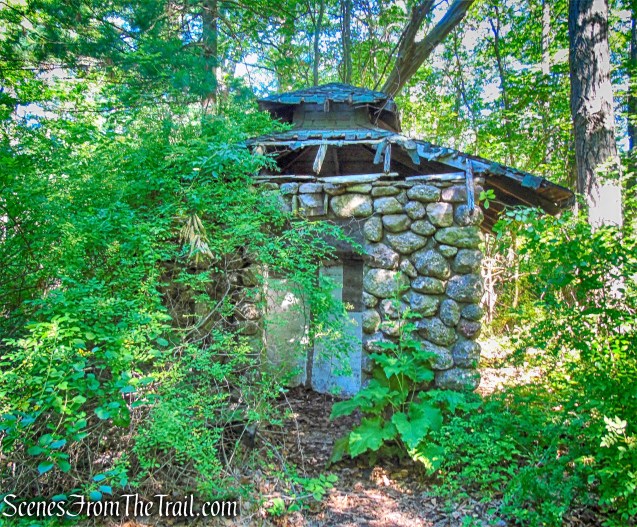
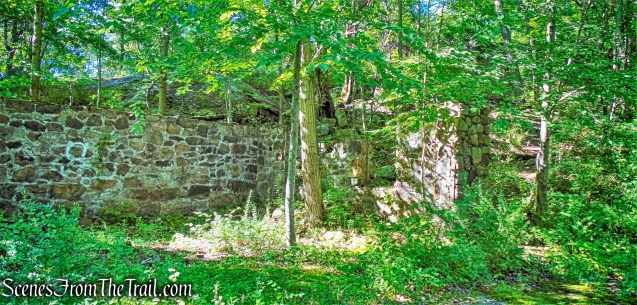
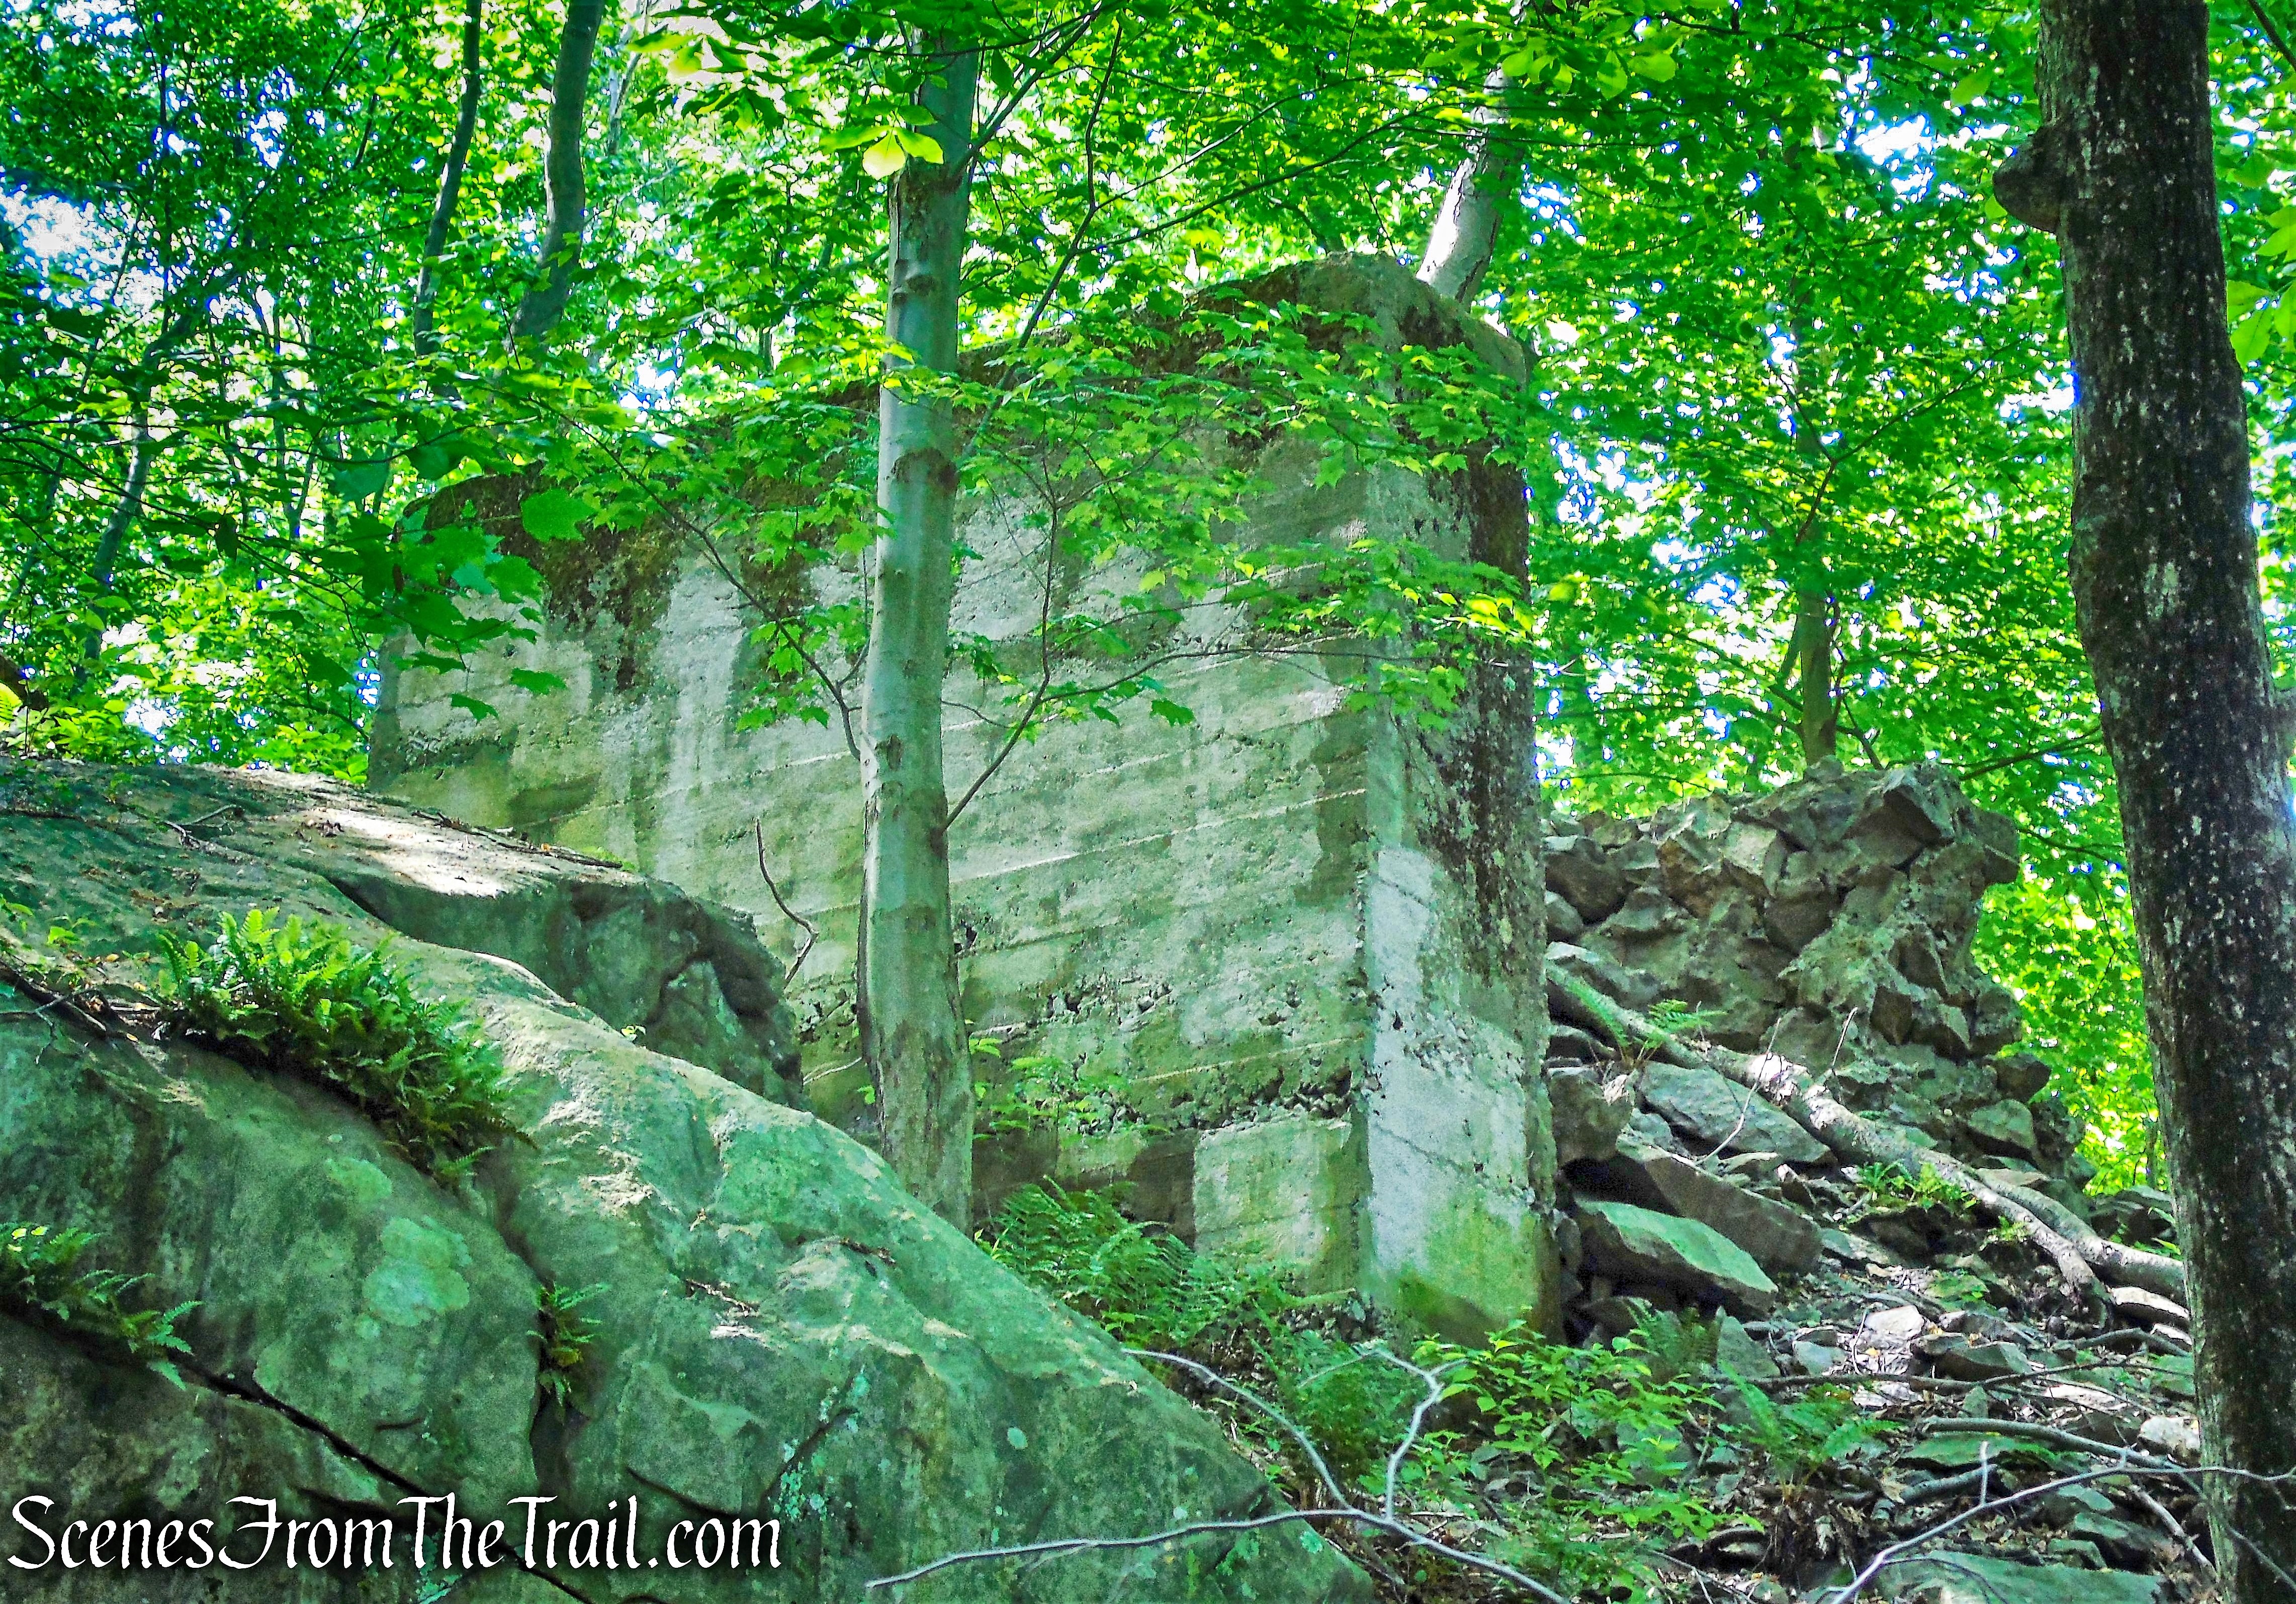
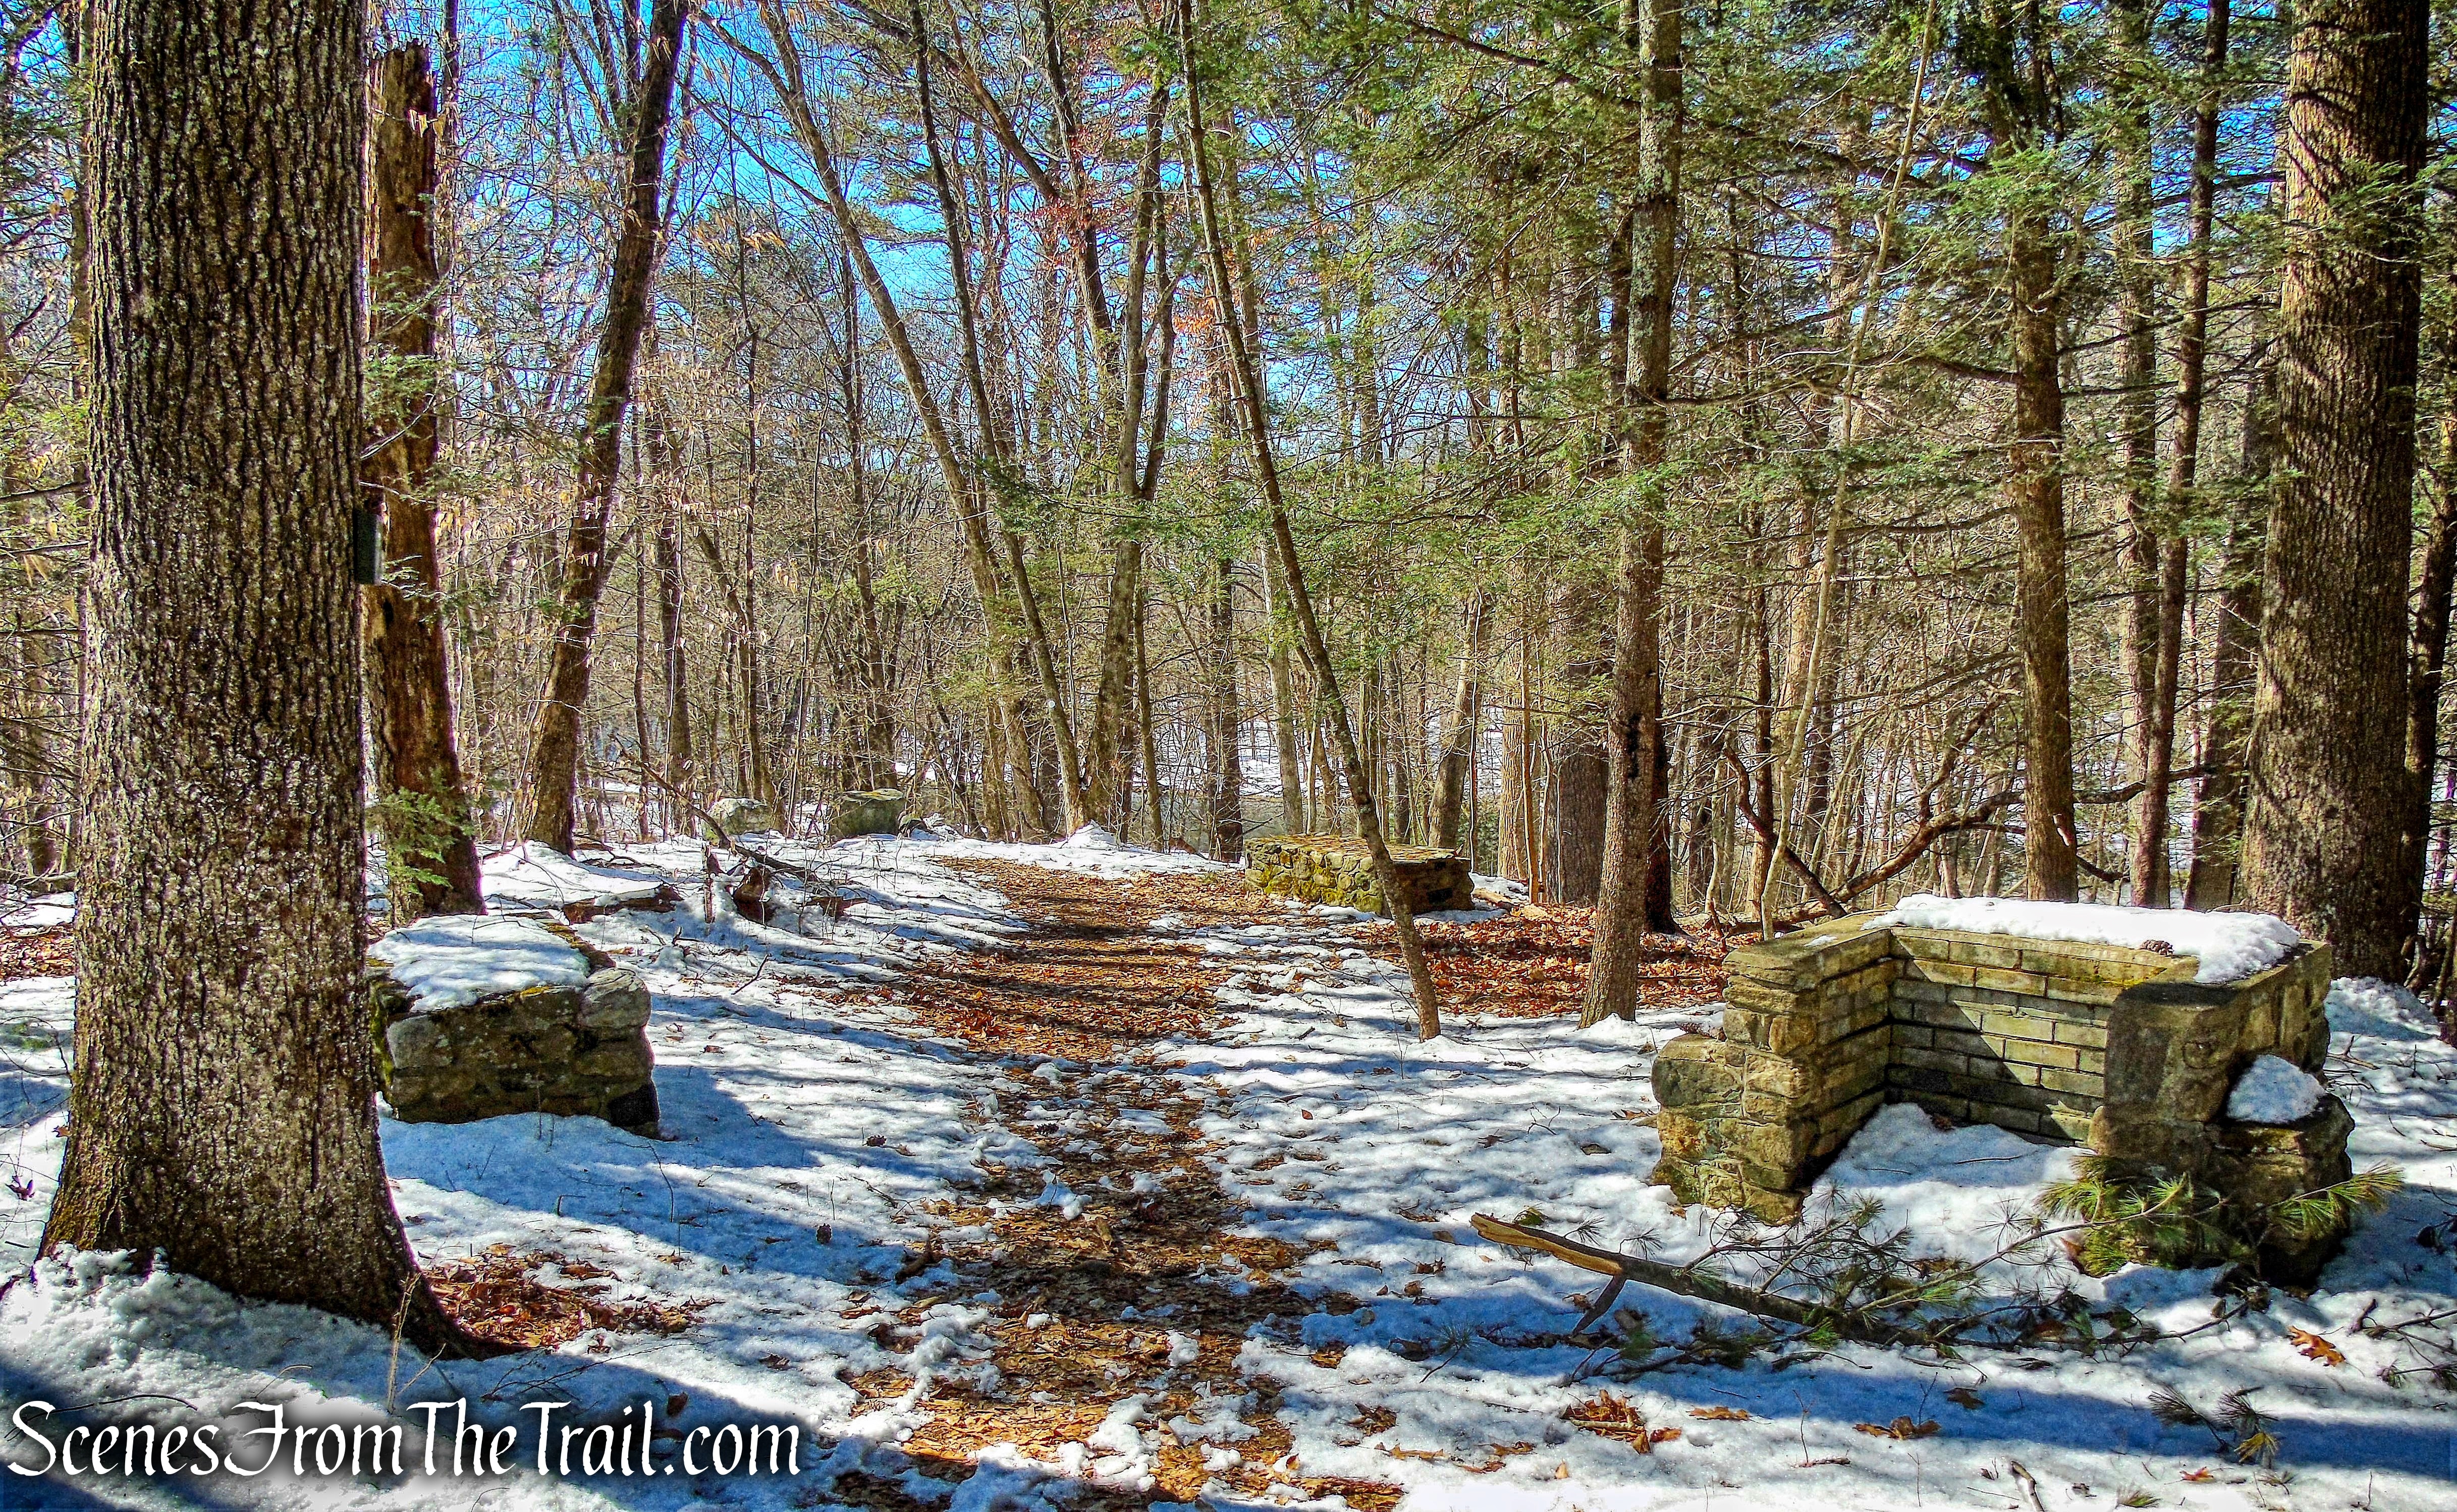
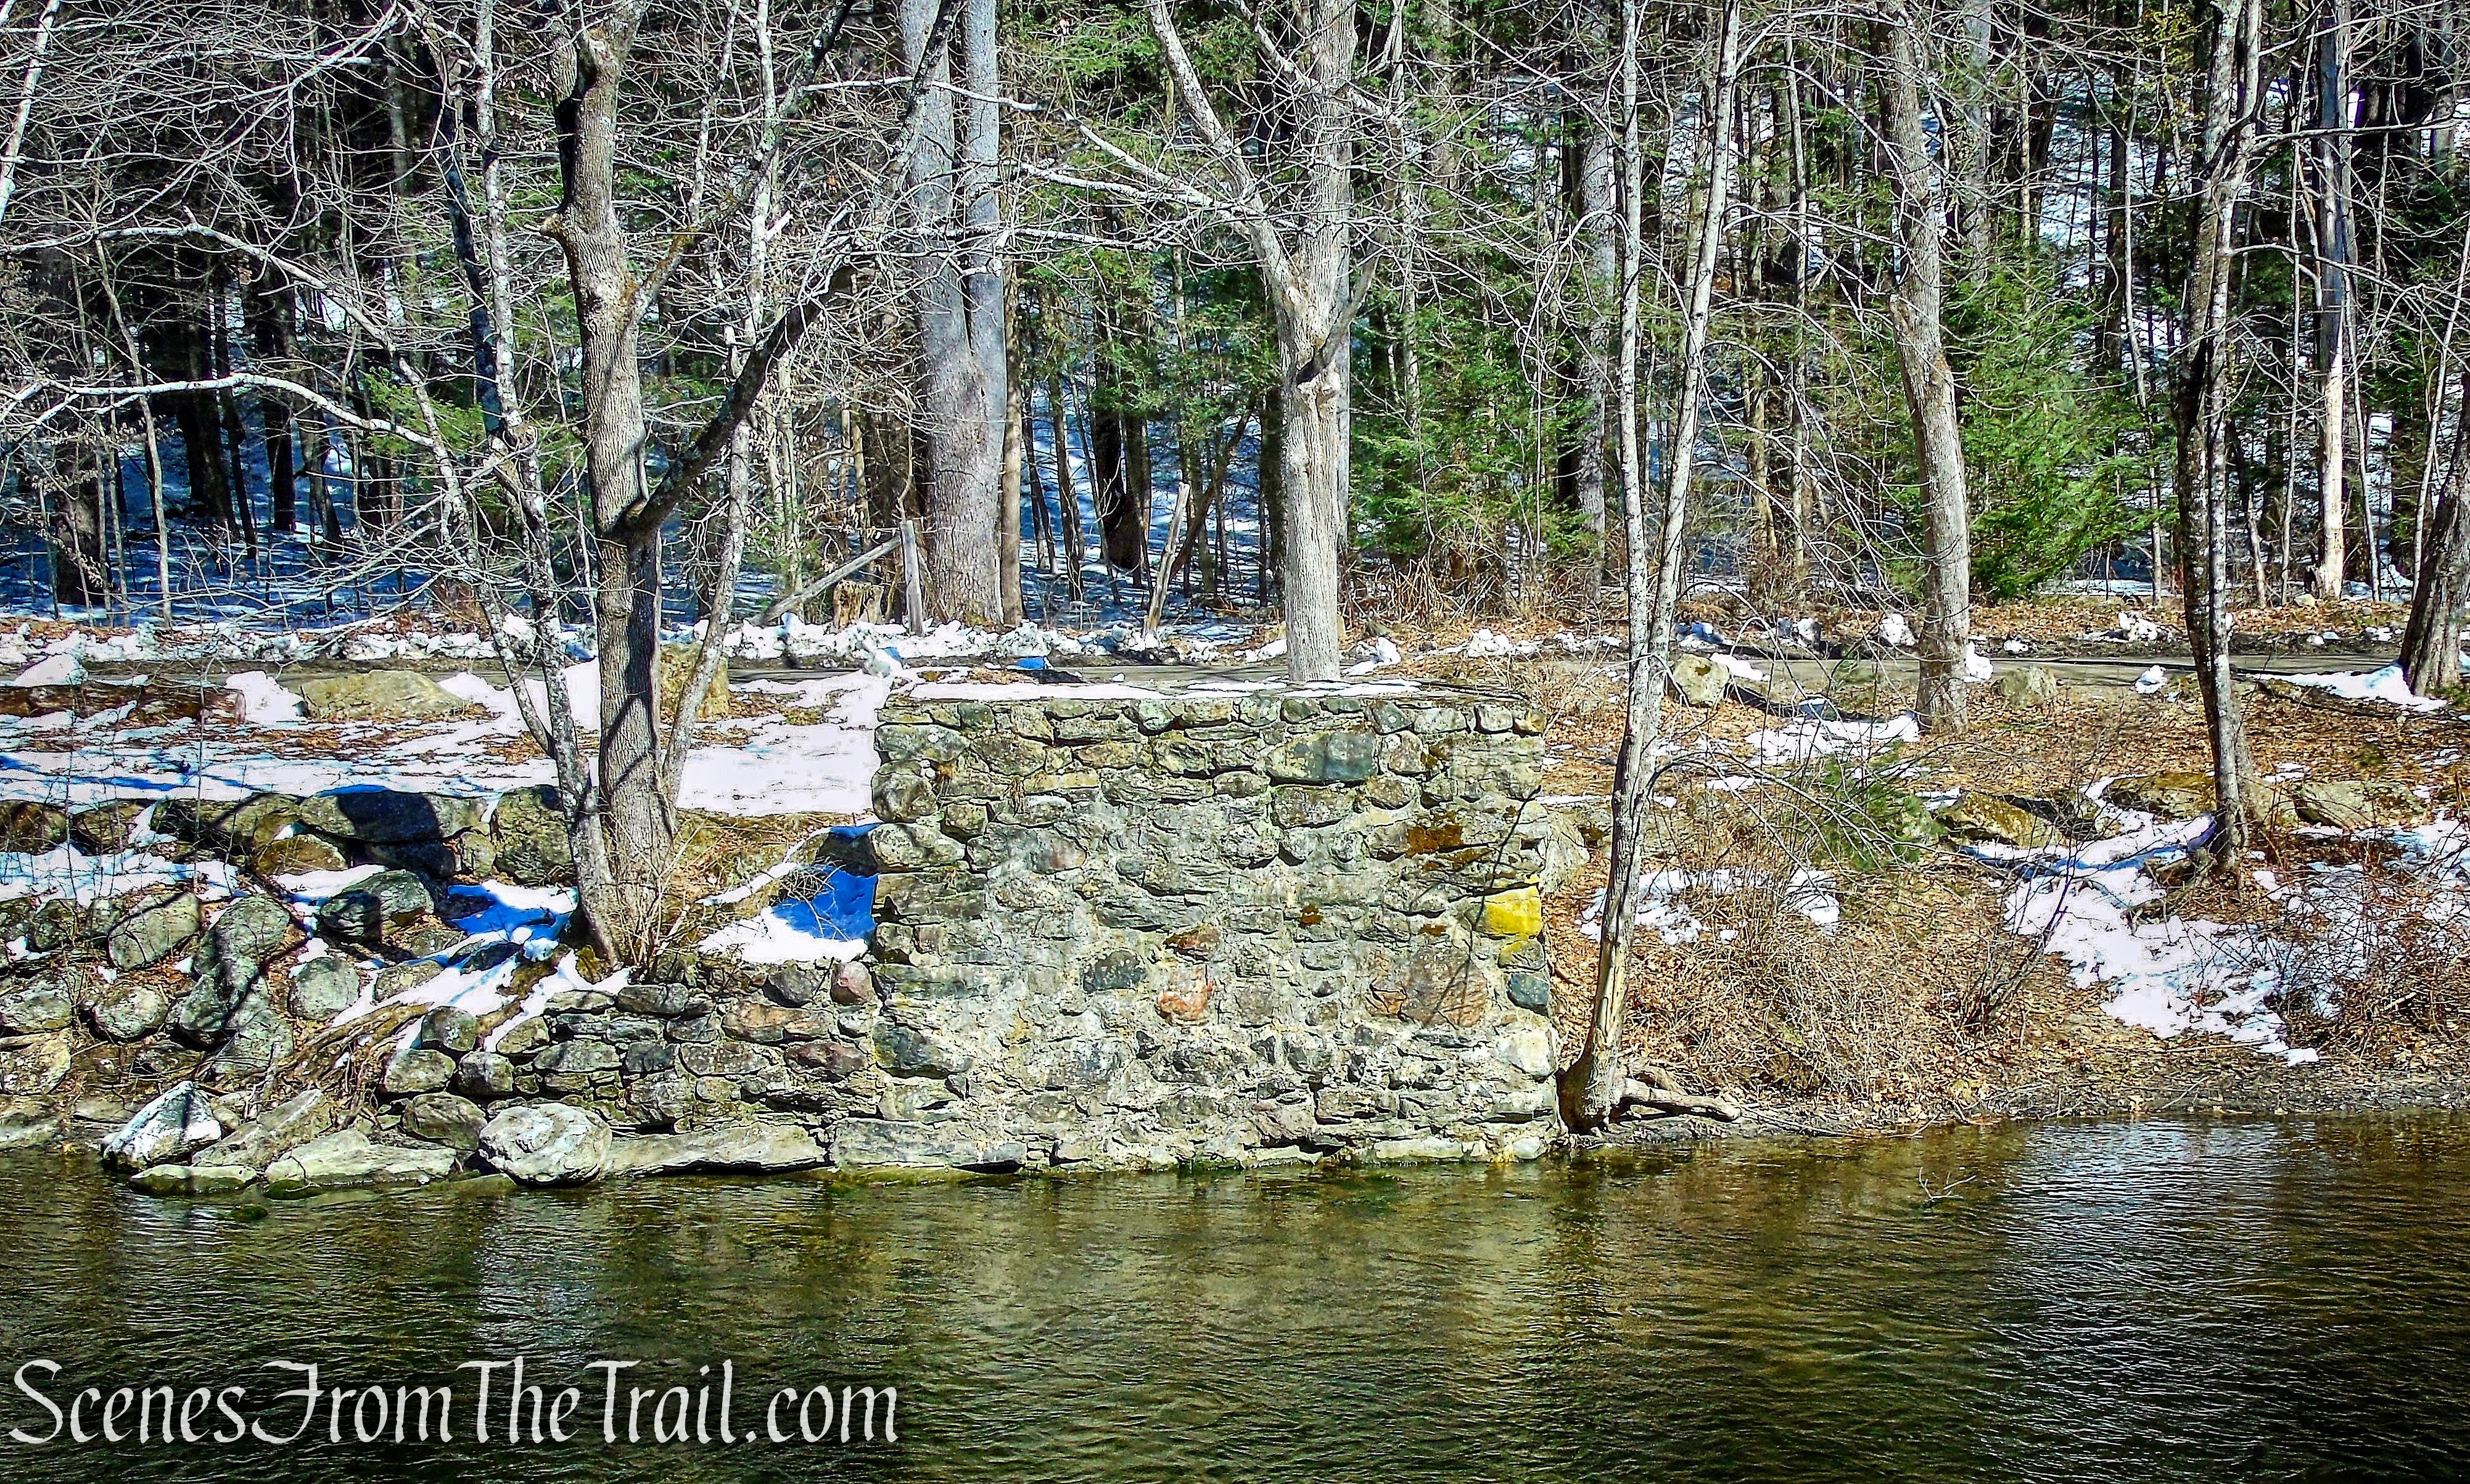
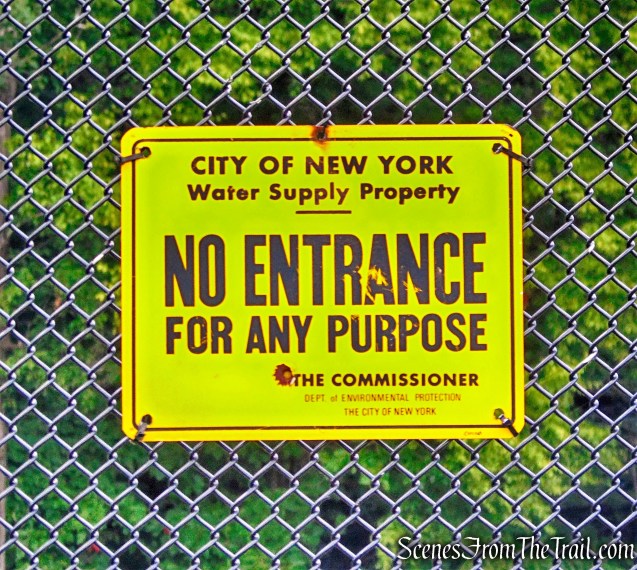
To the right of the clearing is a fenced in shaft, a deep water valve, running hundreds of feet below the earth to the Catskill Aqueduct. A feature of this area’s history was the building of two aqueduct lines through it, aqueducts that brought Catskill Mountain water to New York City. The first line, the Catskill Aqueduct, was built from 1909 to 1915, and the second line, the Delaware Aqueduct, was built from 1937 to 1945. The entire aqueduct system provides 350 to 400 million gallons of water per day to New York City or about 40% of their water supply.
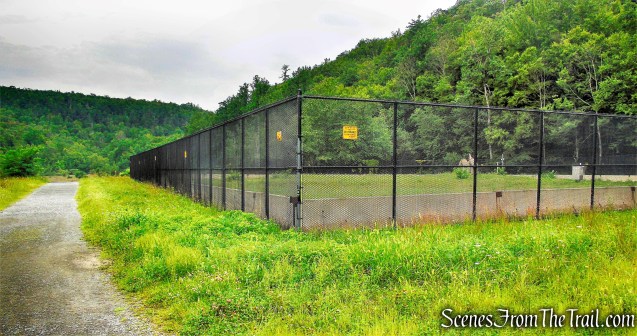
Shaft 2A
Shaft 2A, located near Stony Kill Falls within the Preserve, is one of 67 access shafts along the aqueduct. An easement agreement between OPRHP/PIPC and the New York City Water Authority allows for authorized access by the Authority to Shaft 2A from Shaft 2A Road.
Shaft 2A
On the left is an aging helipad, possibly utilized as a quick access point for repairs to the Aqueduct.
helipad
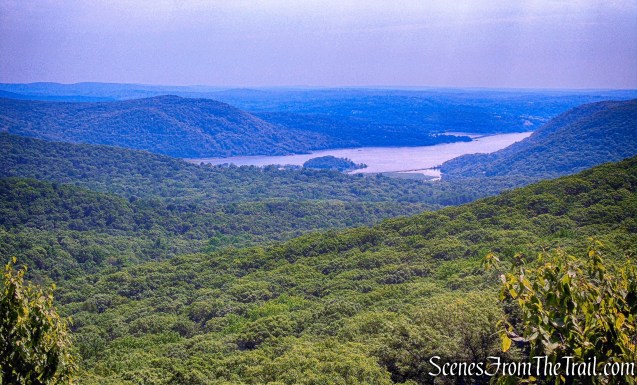
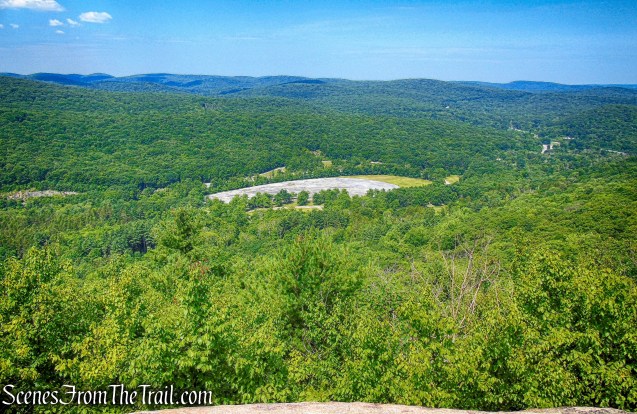
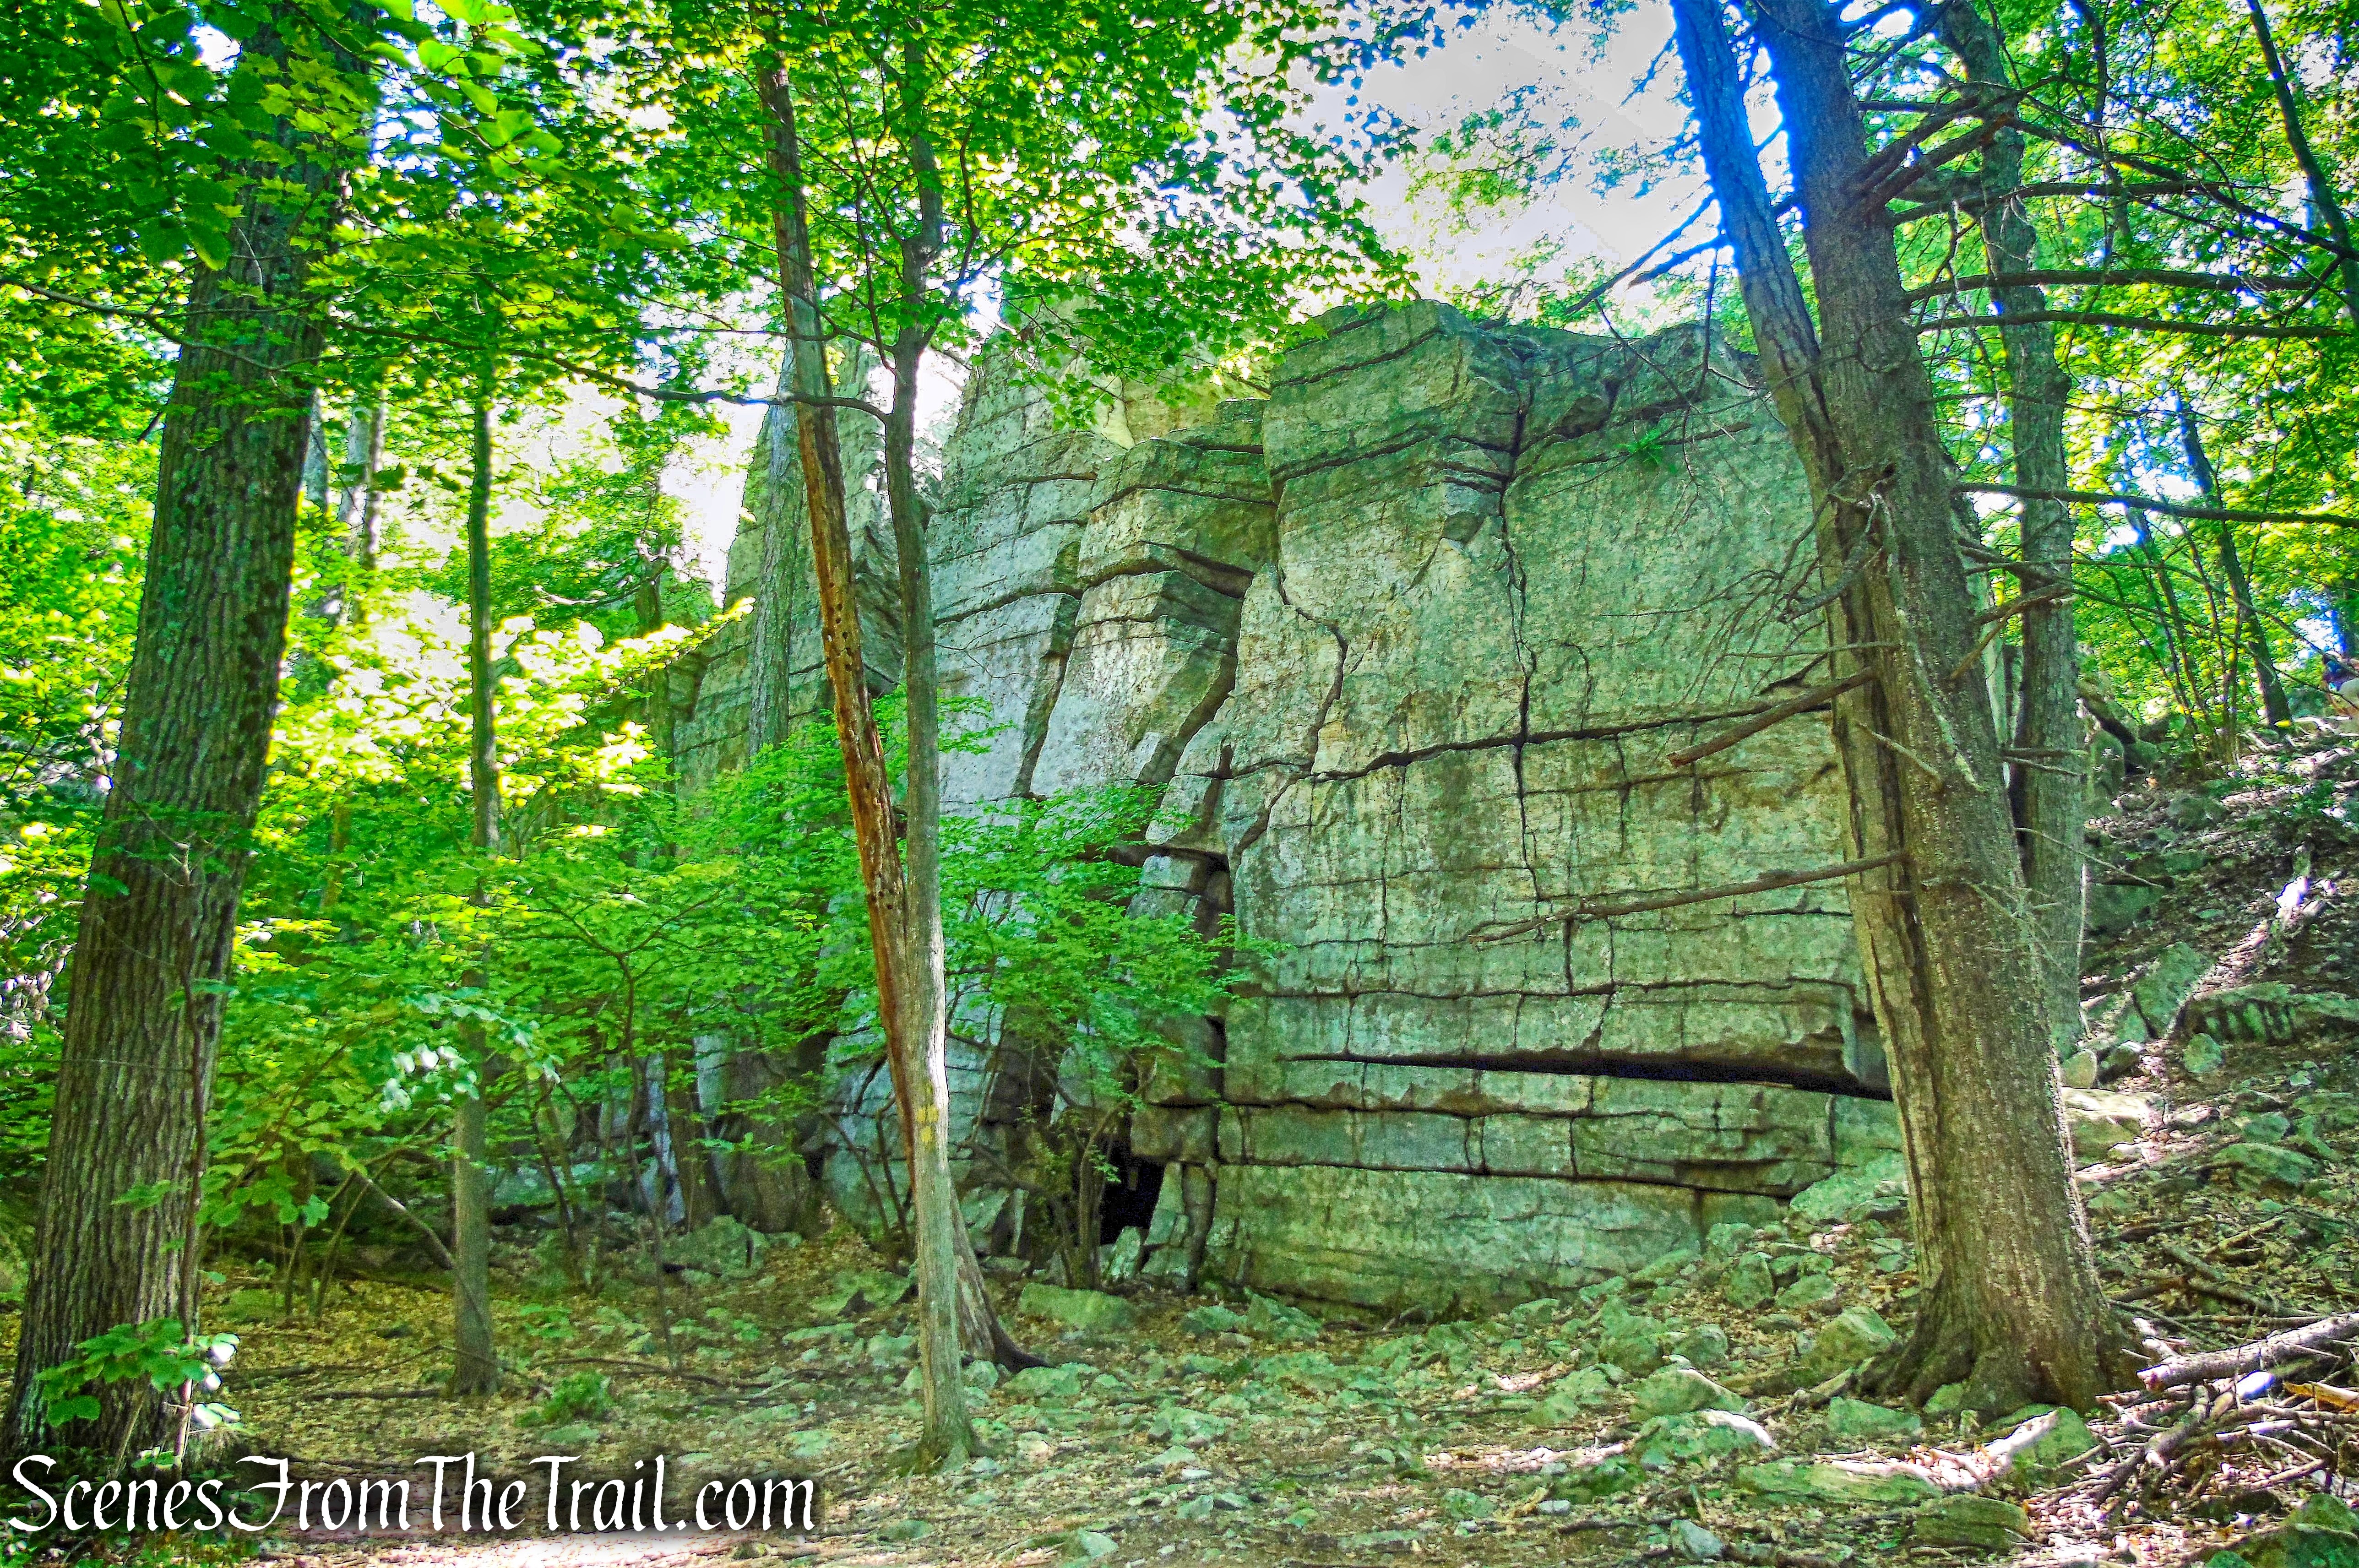
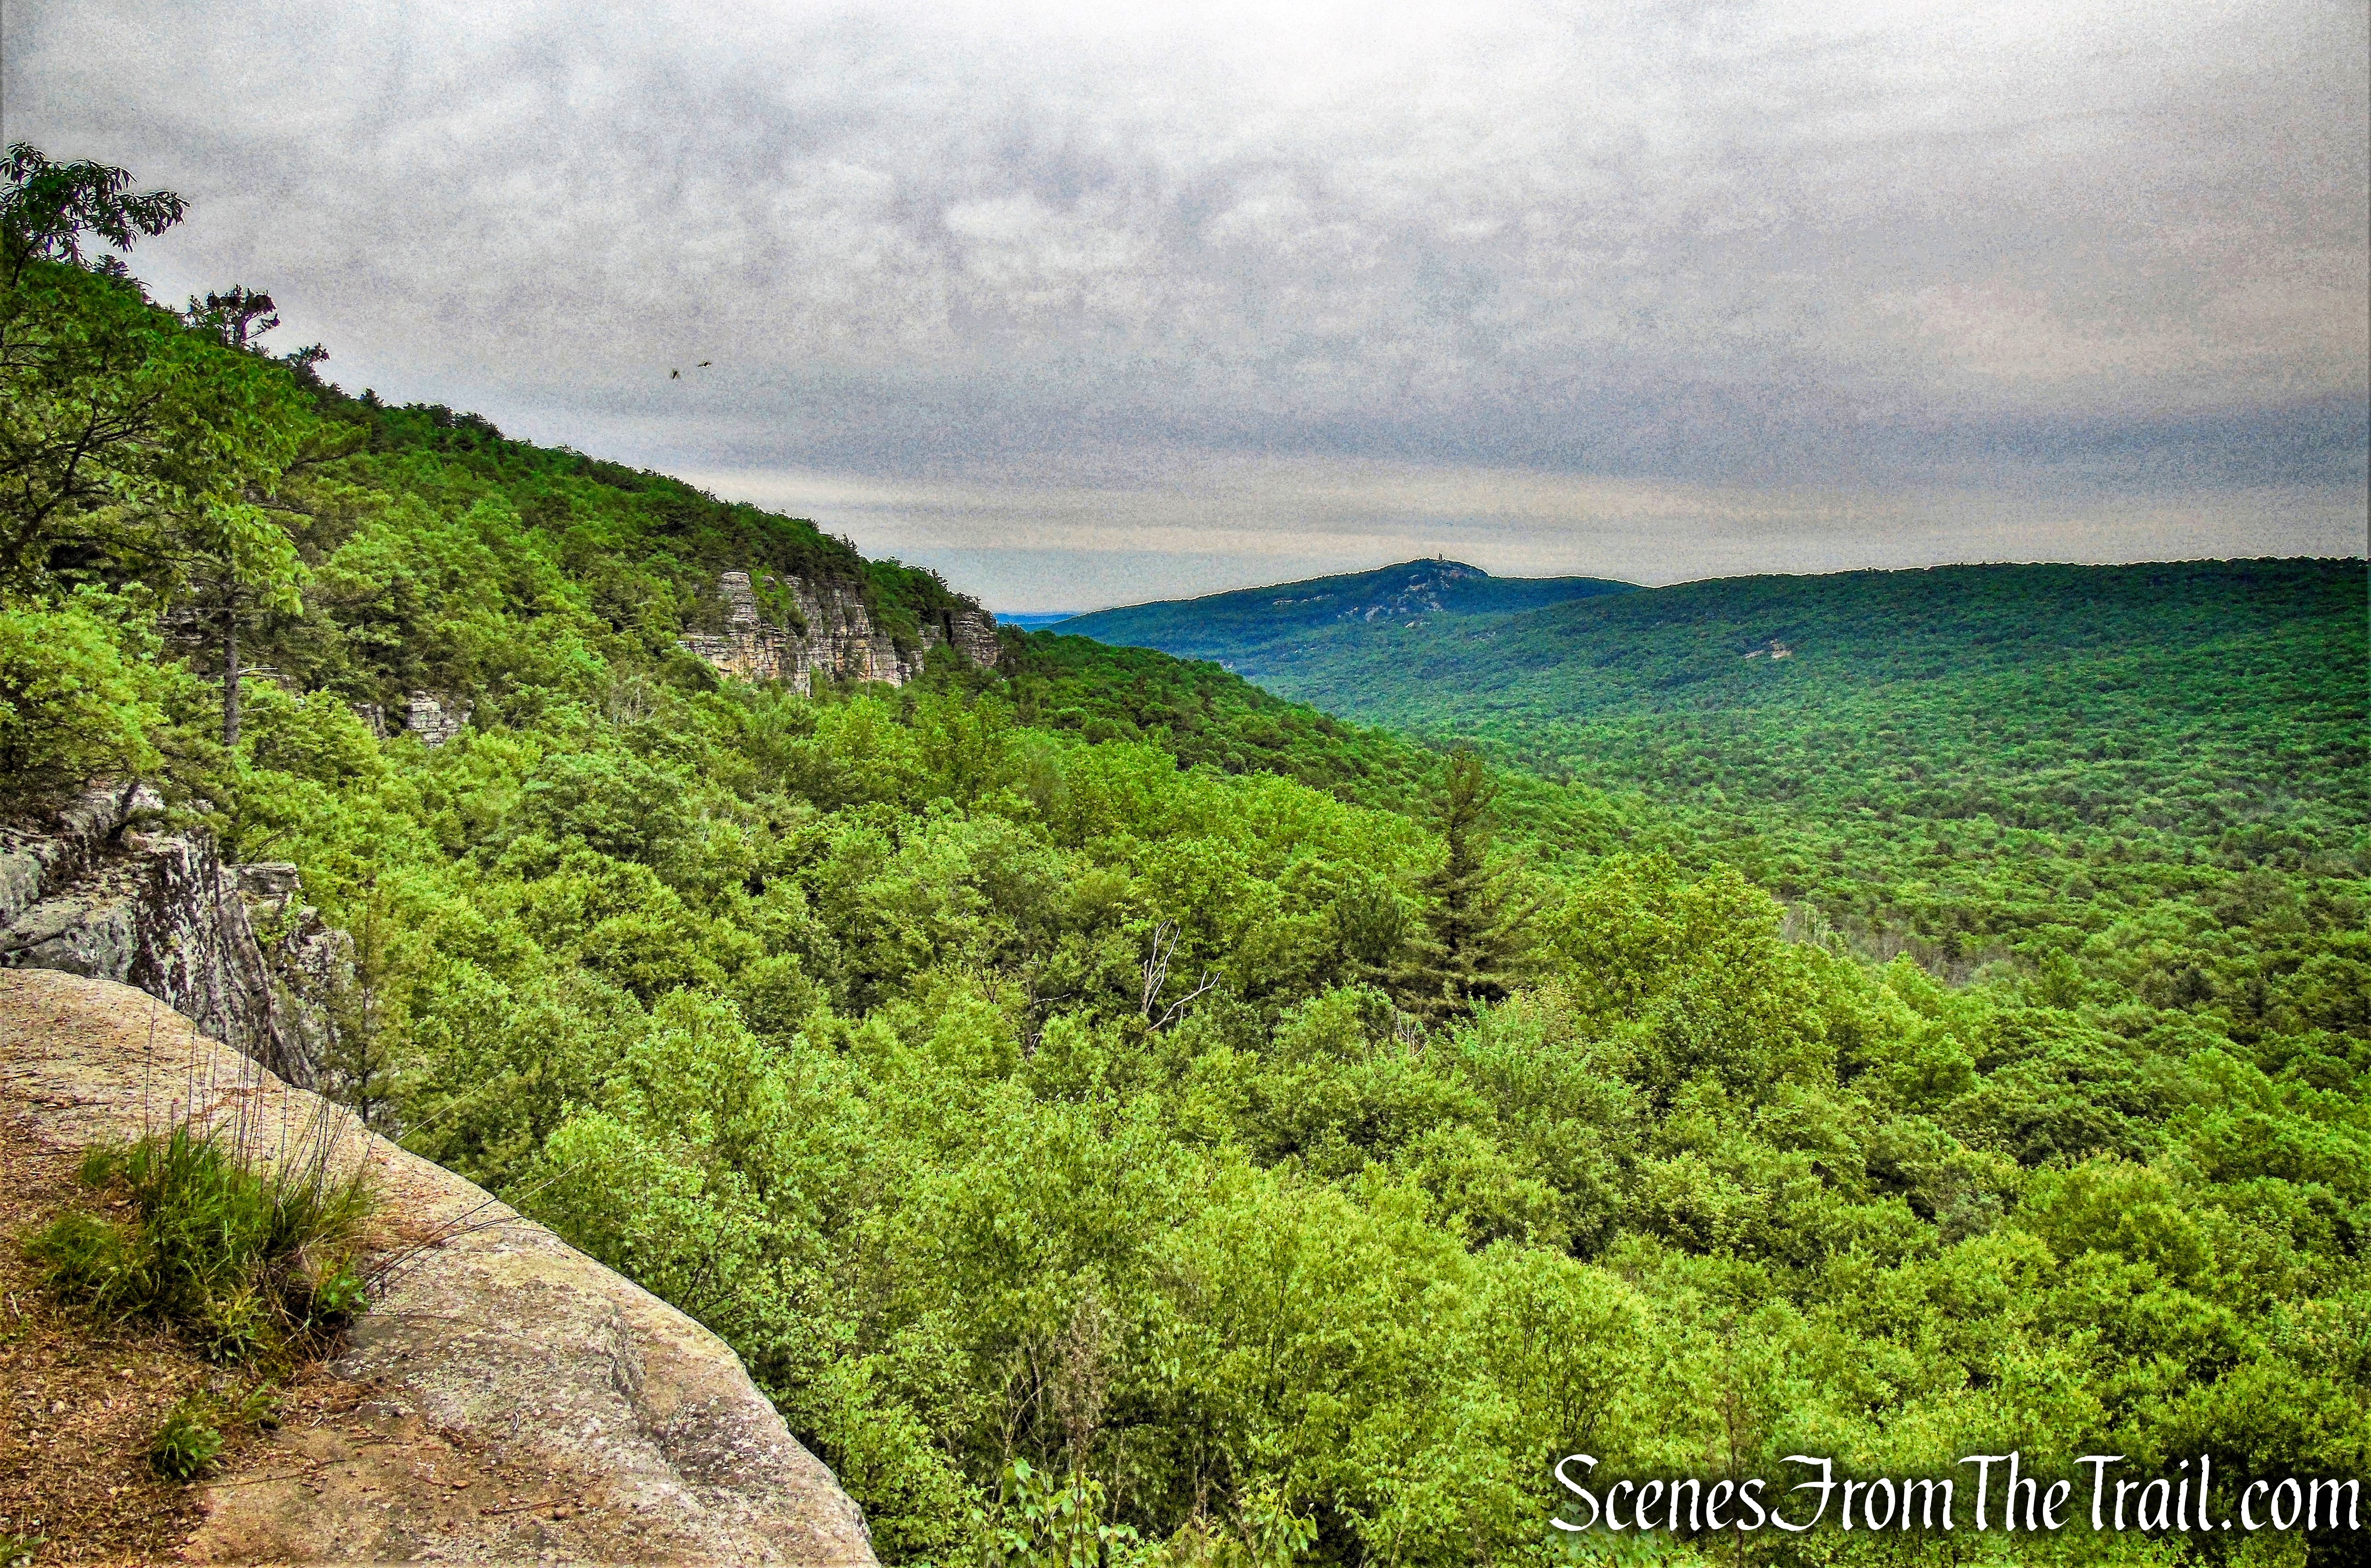
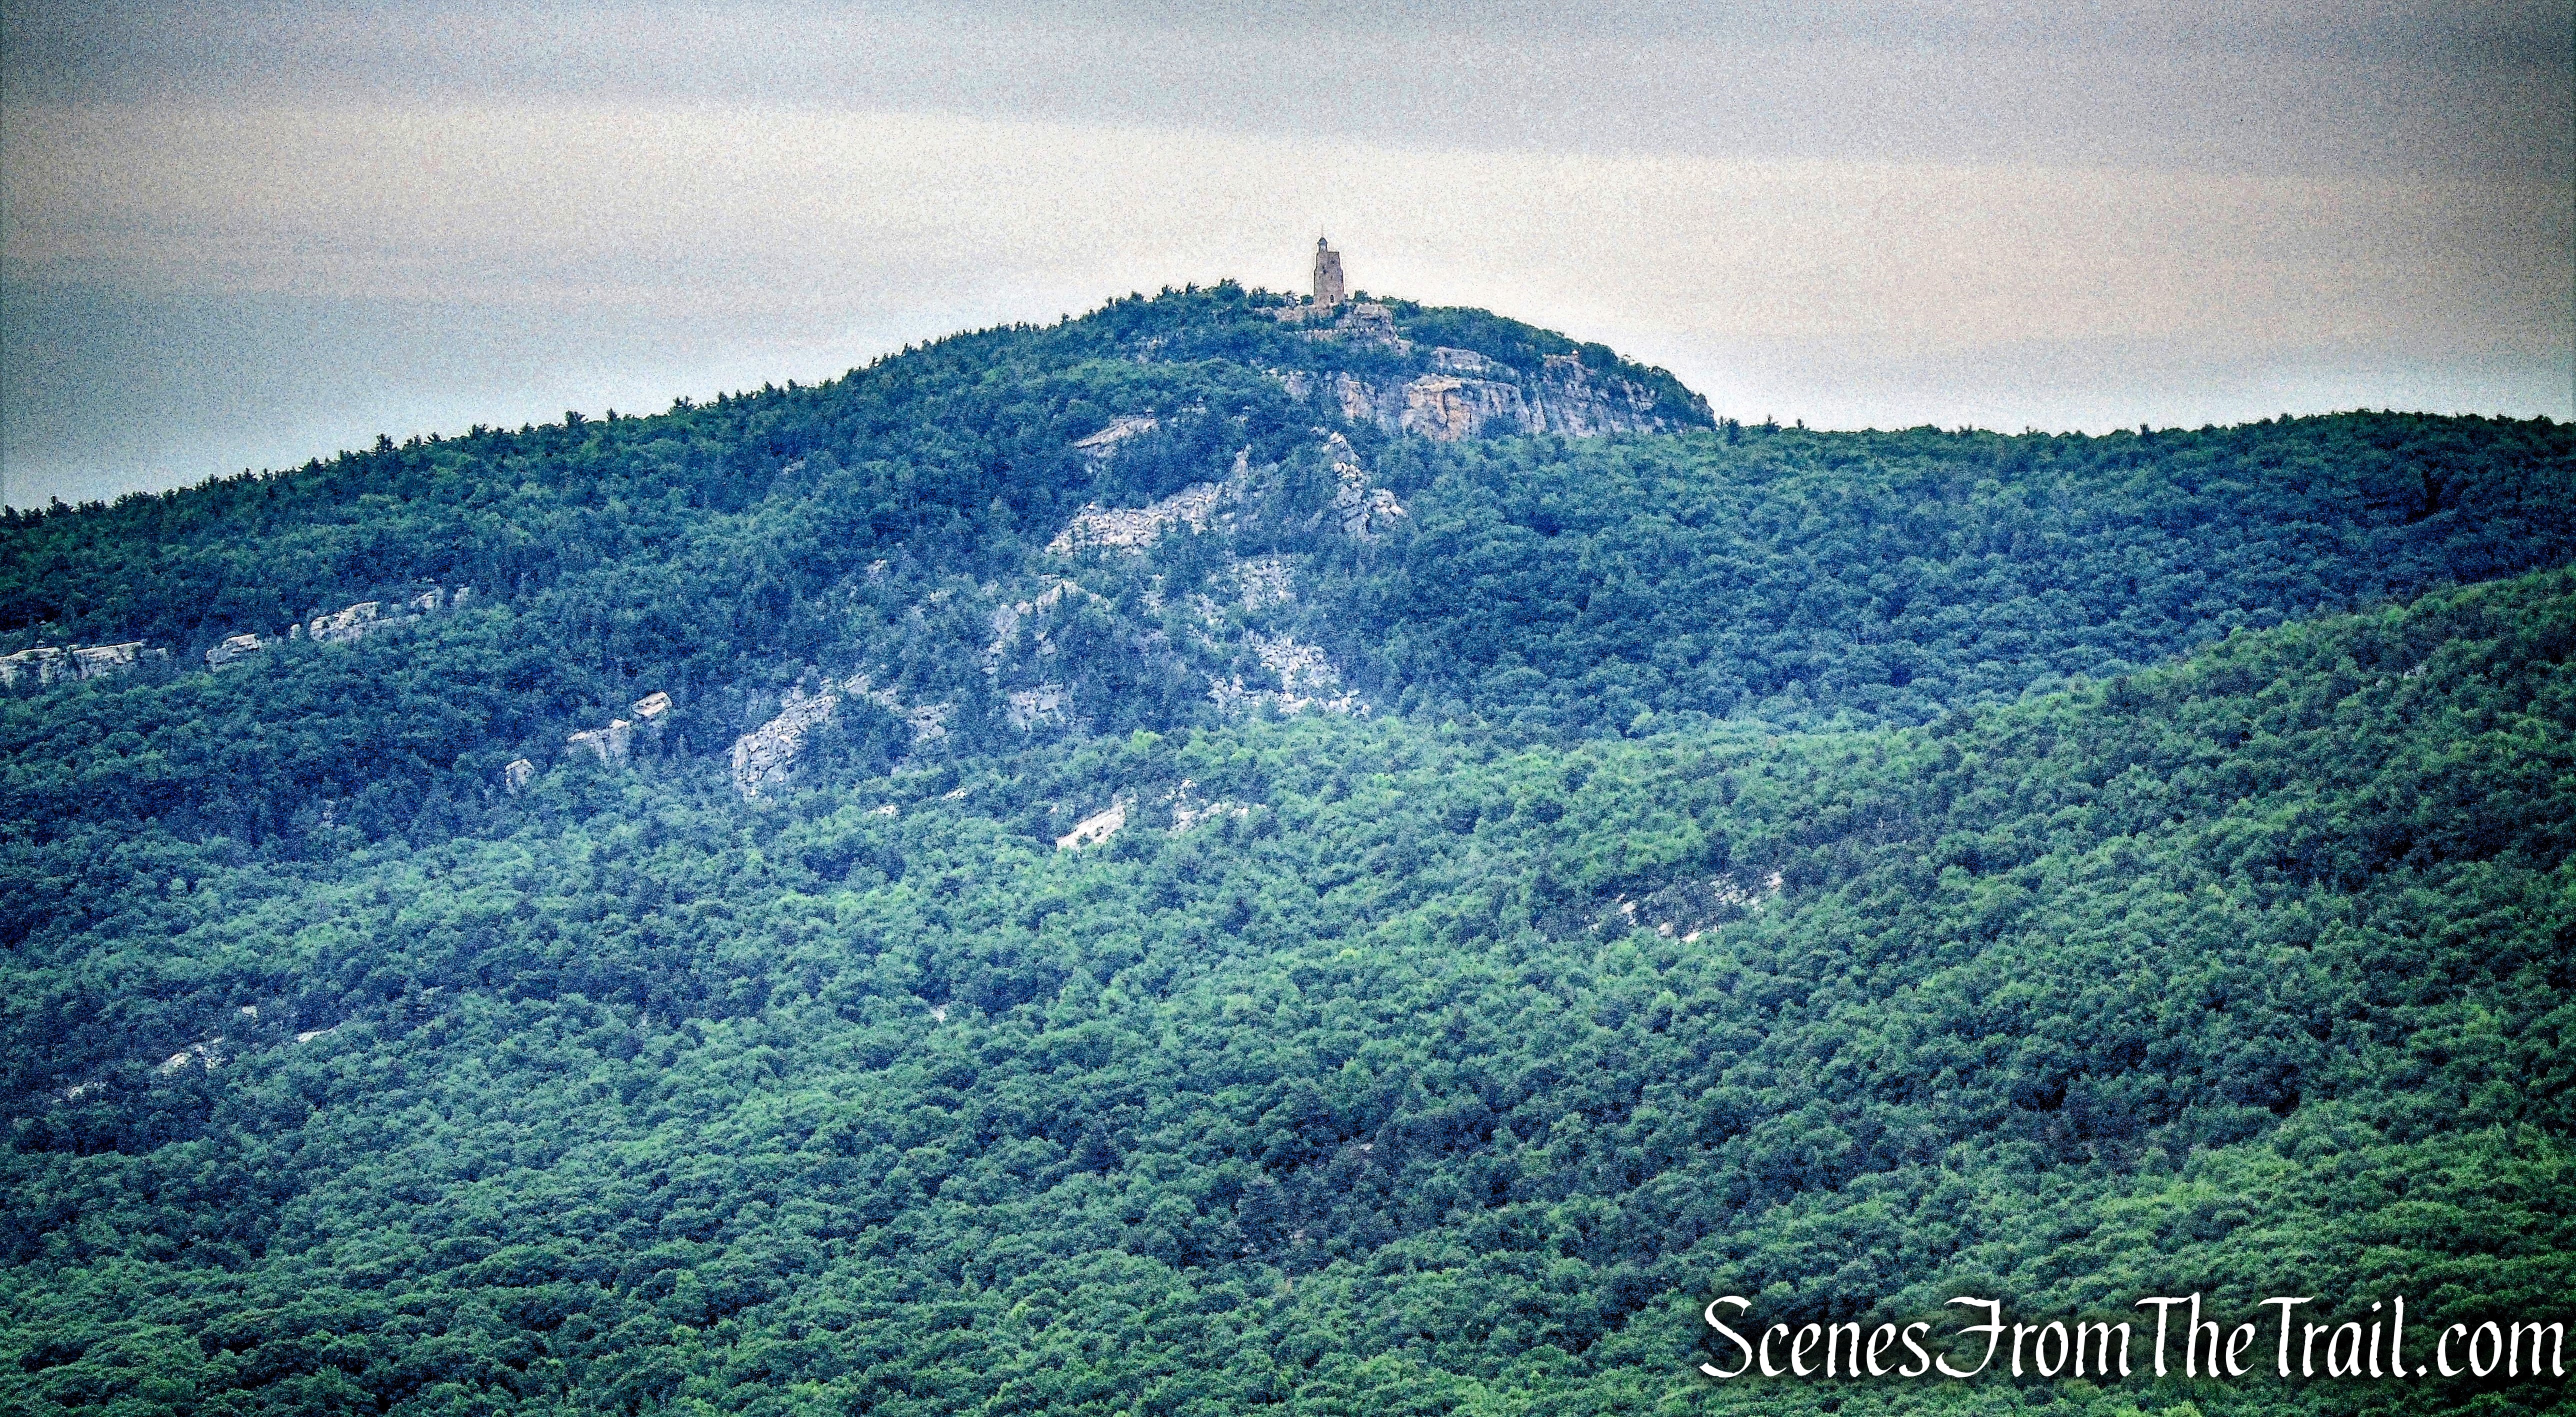
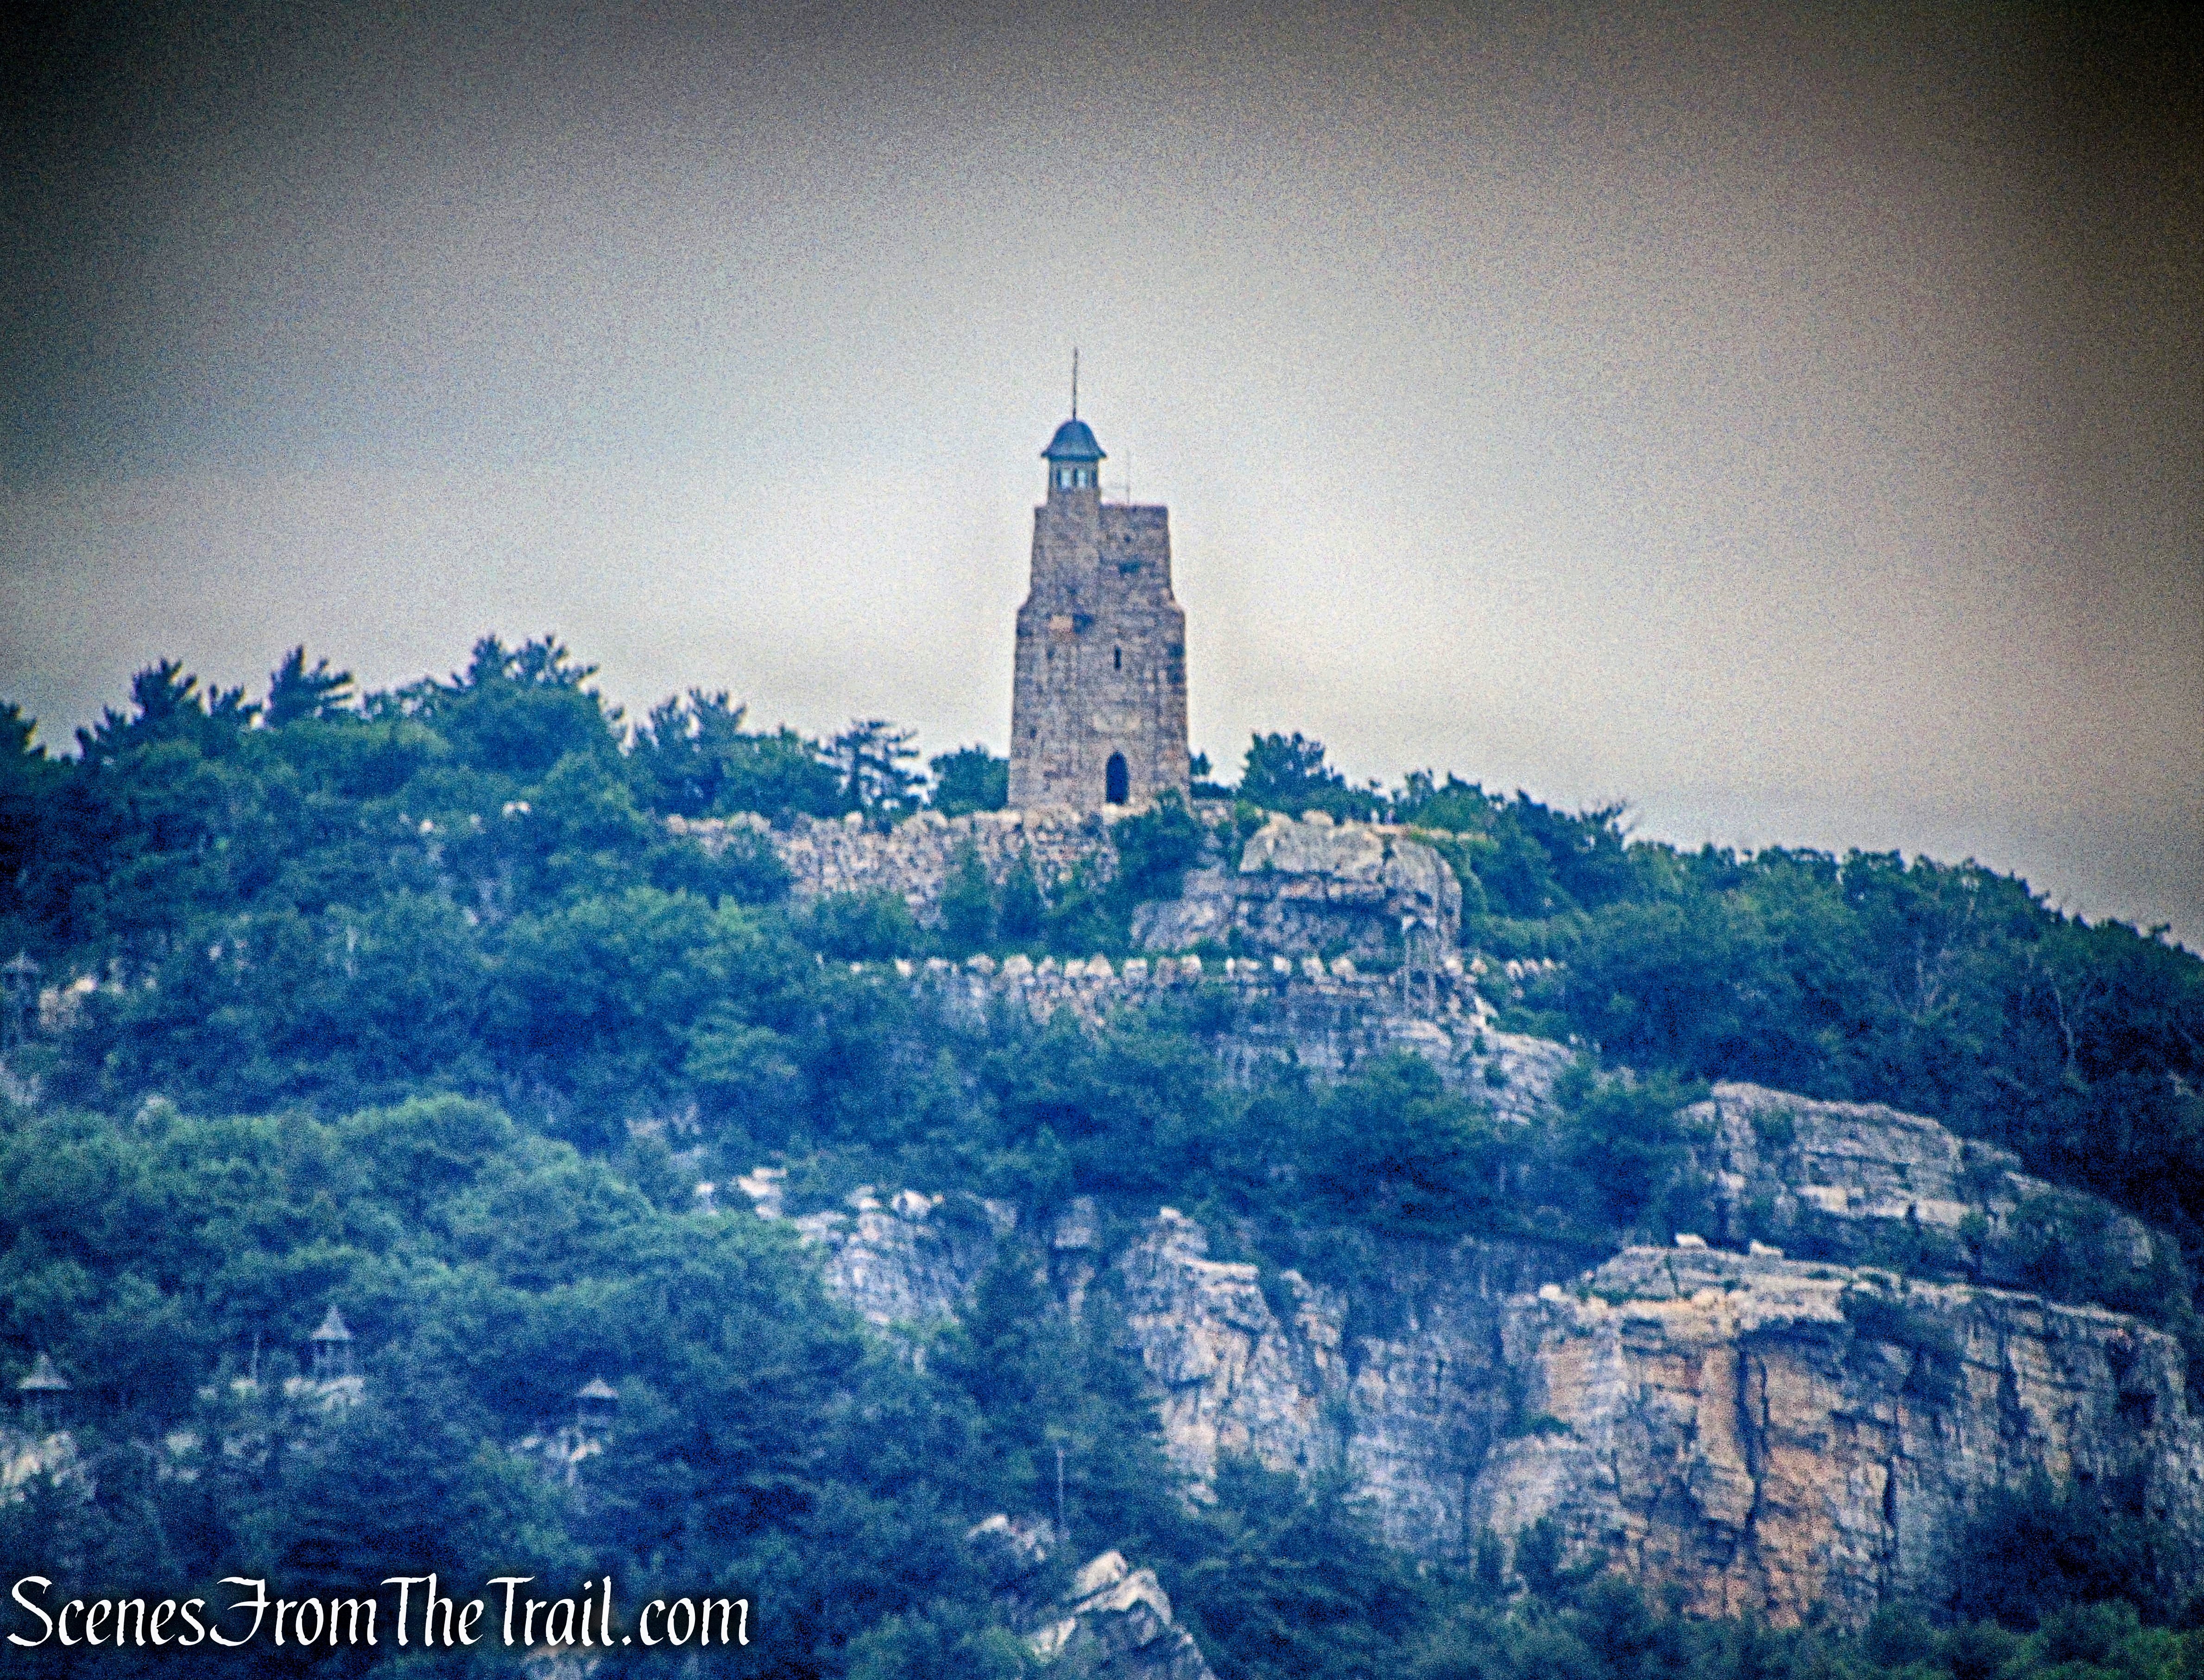
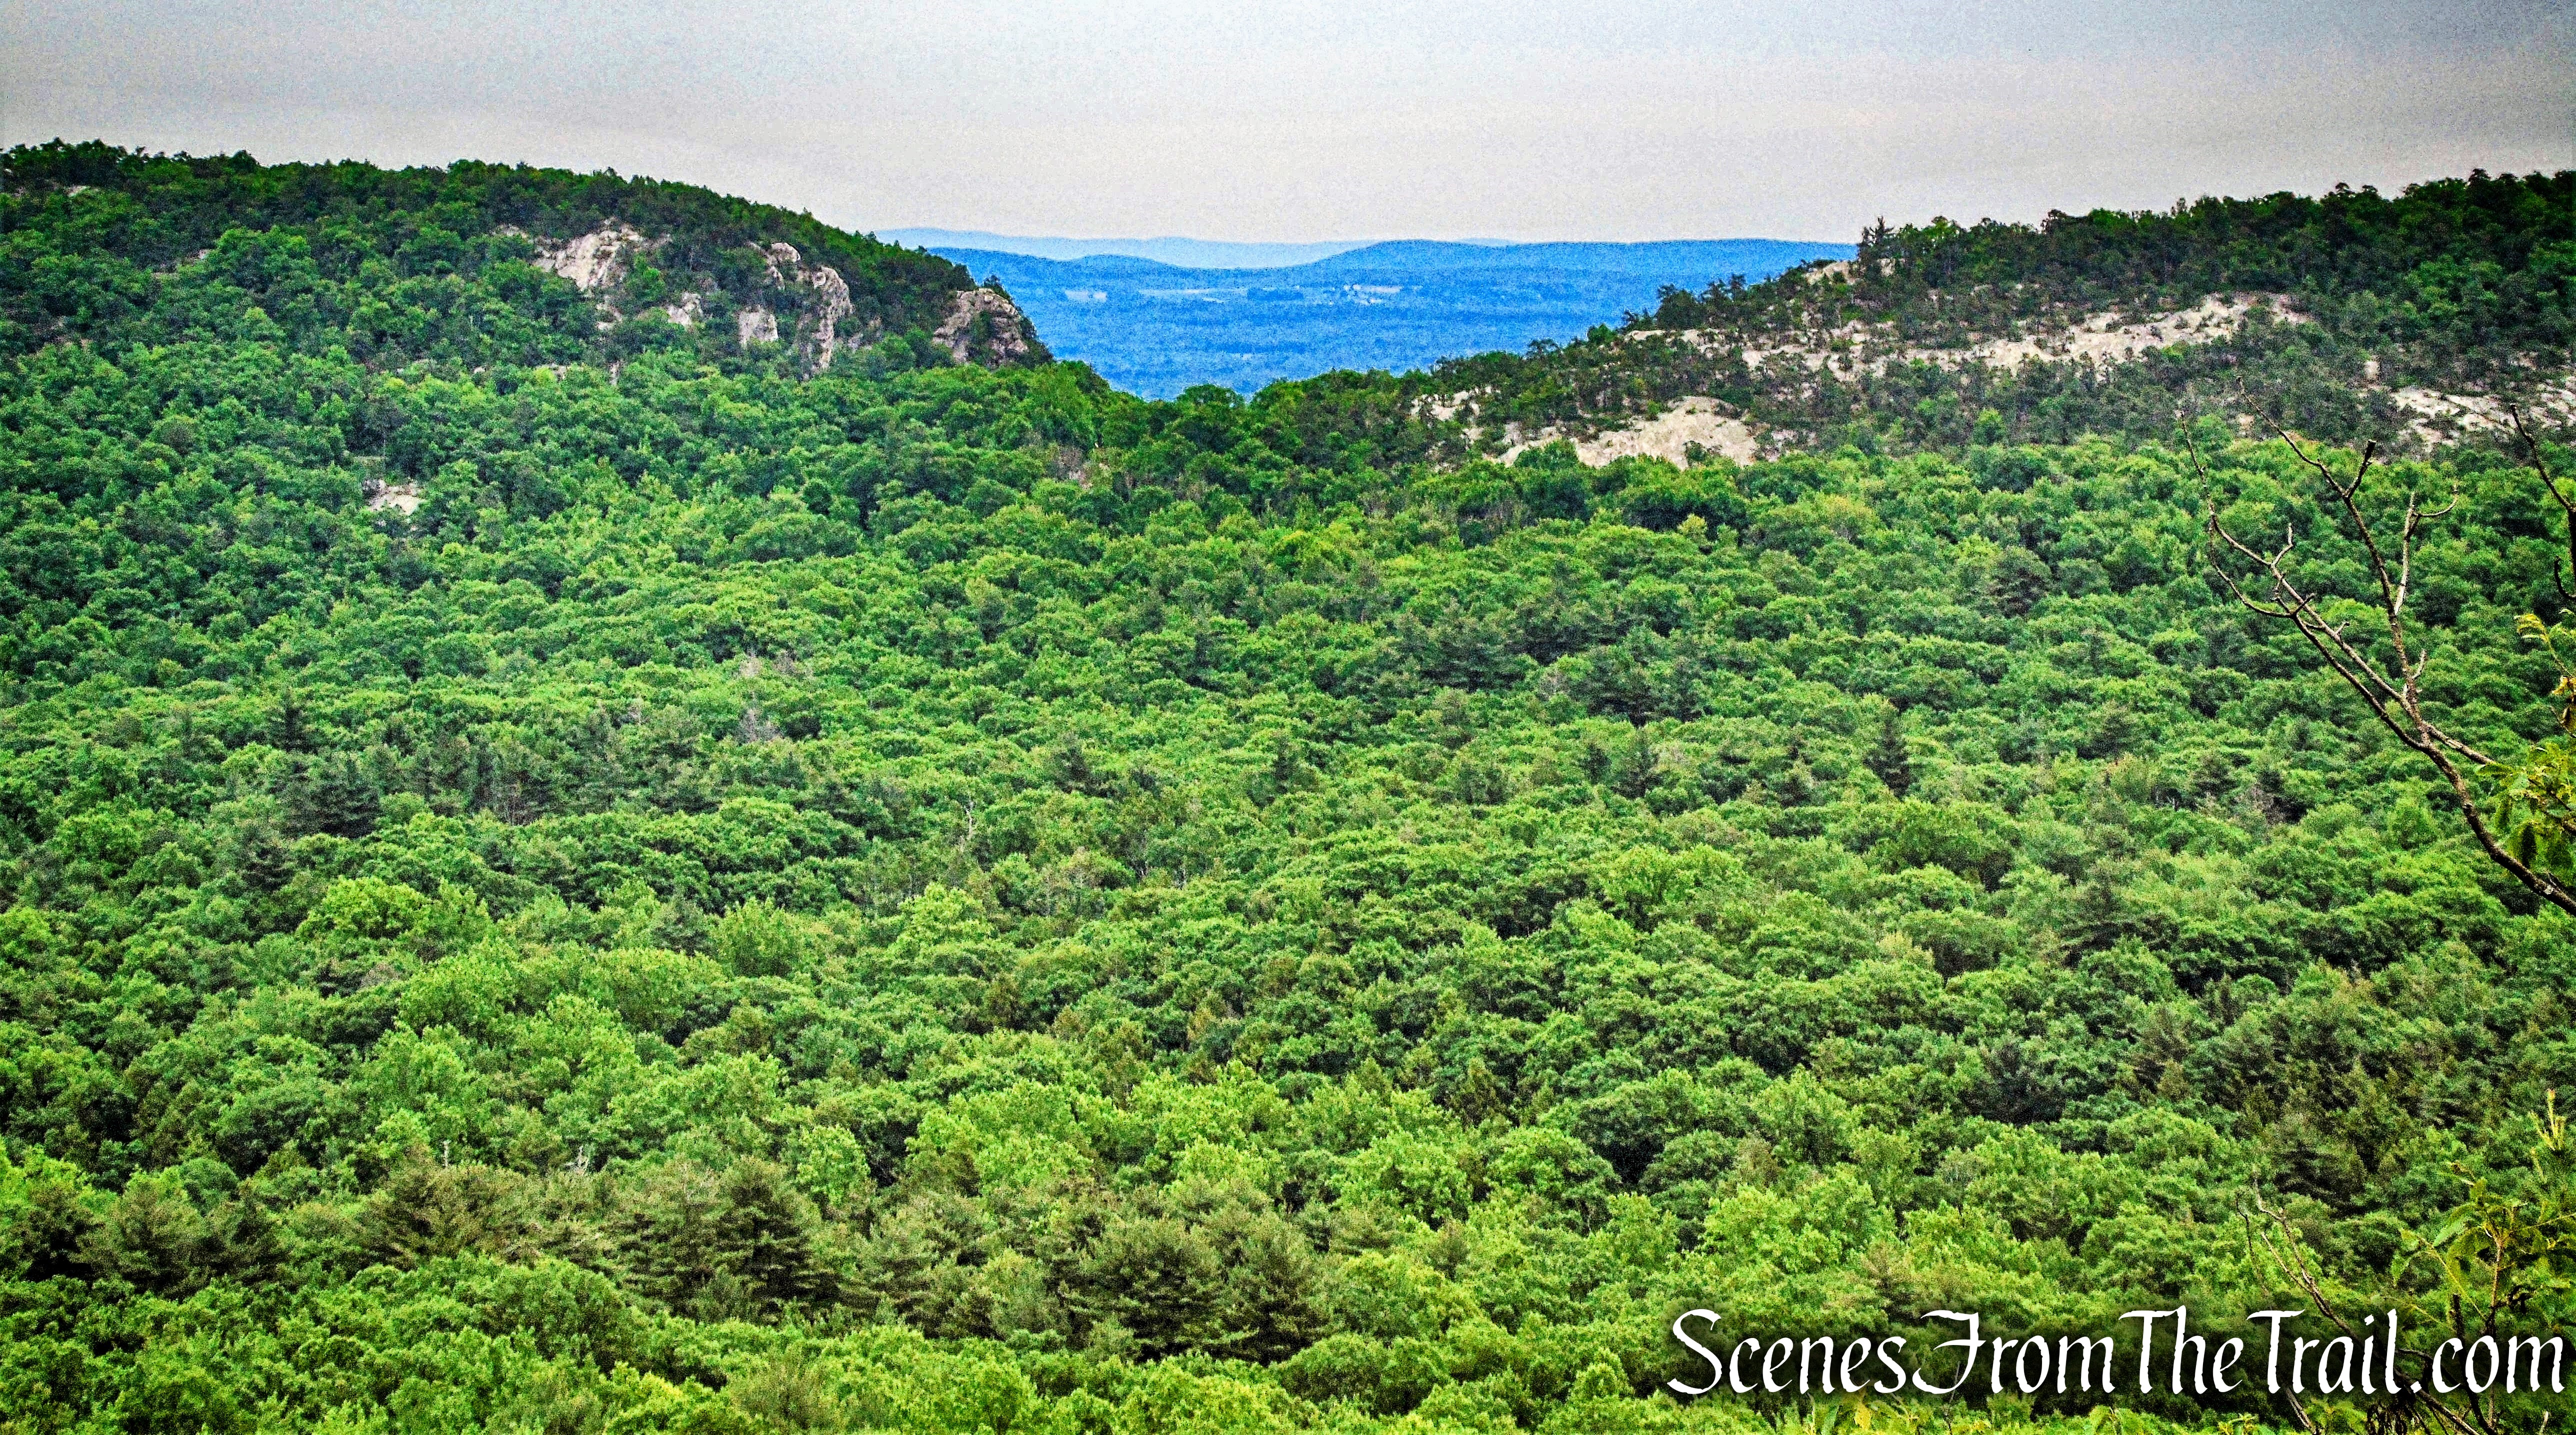
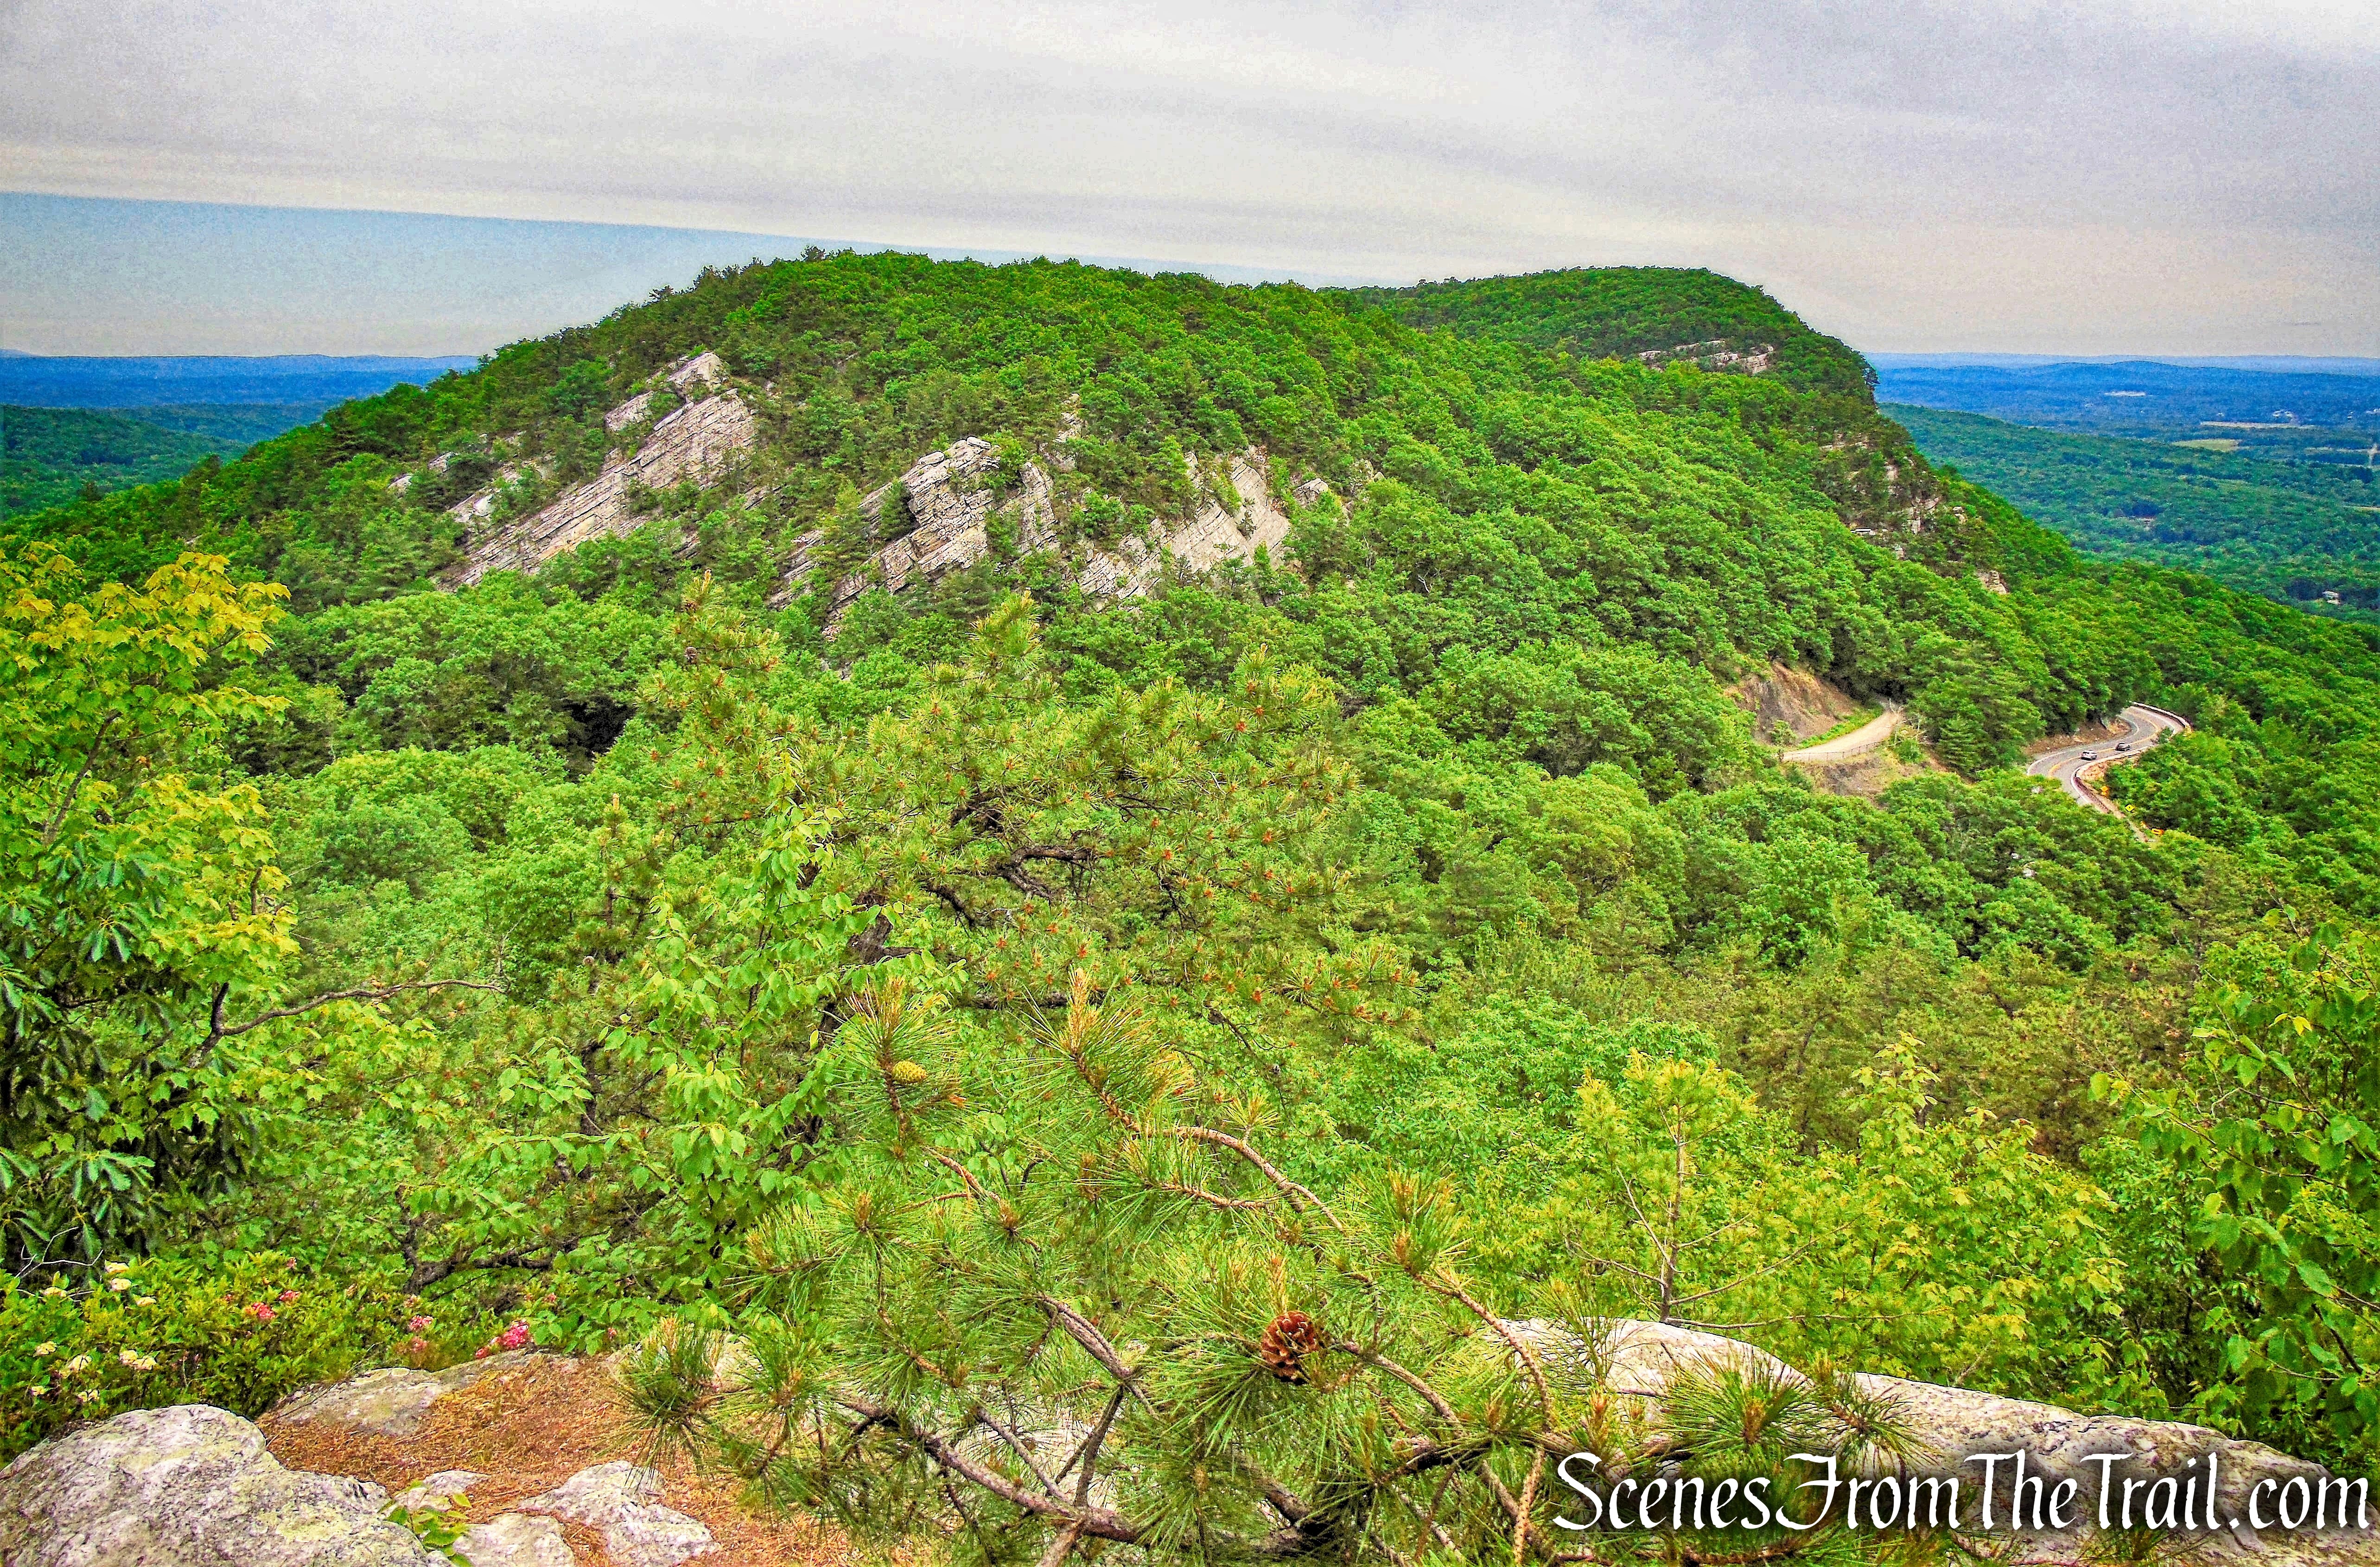
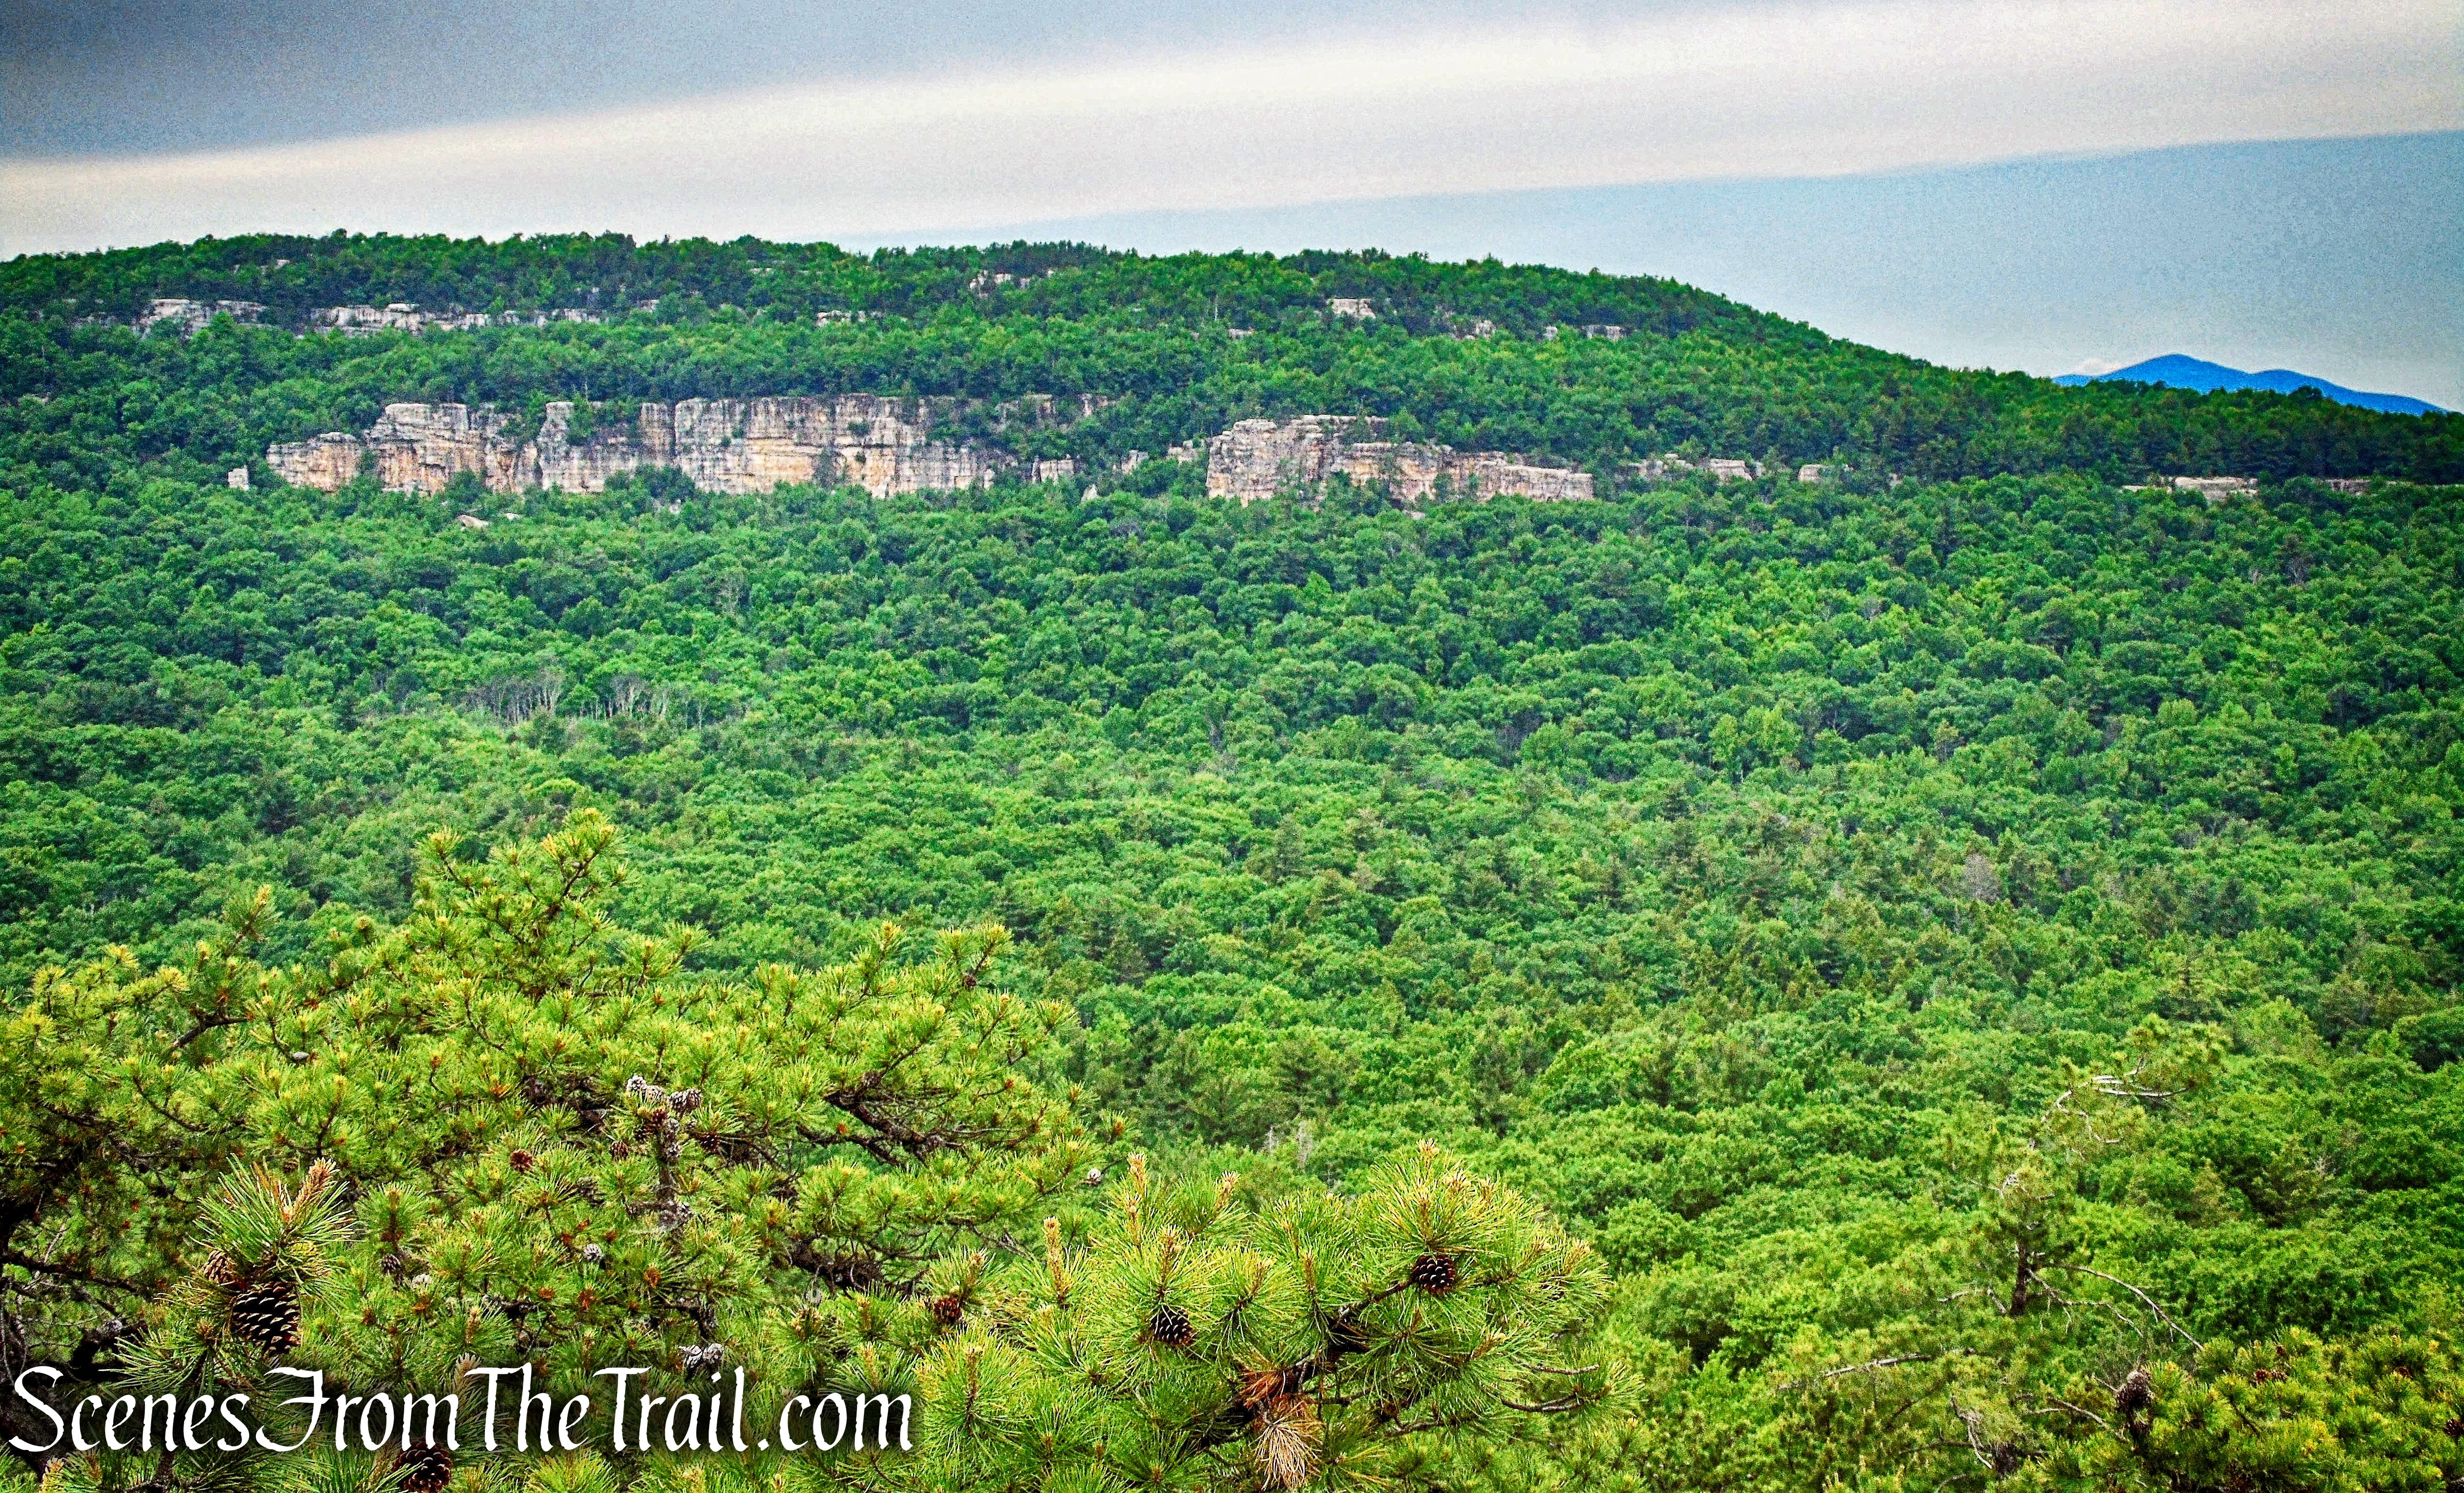
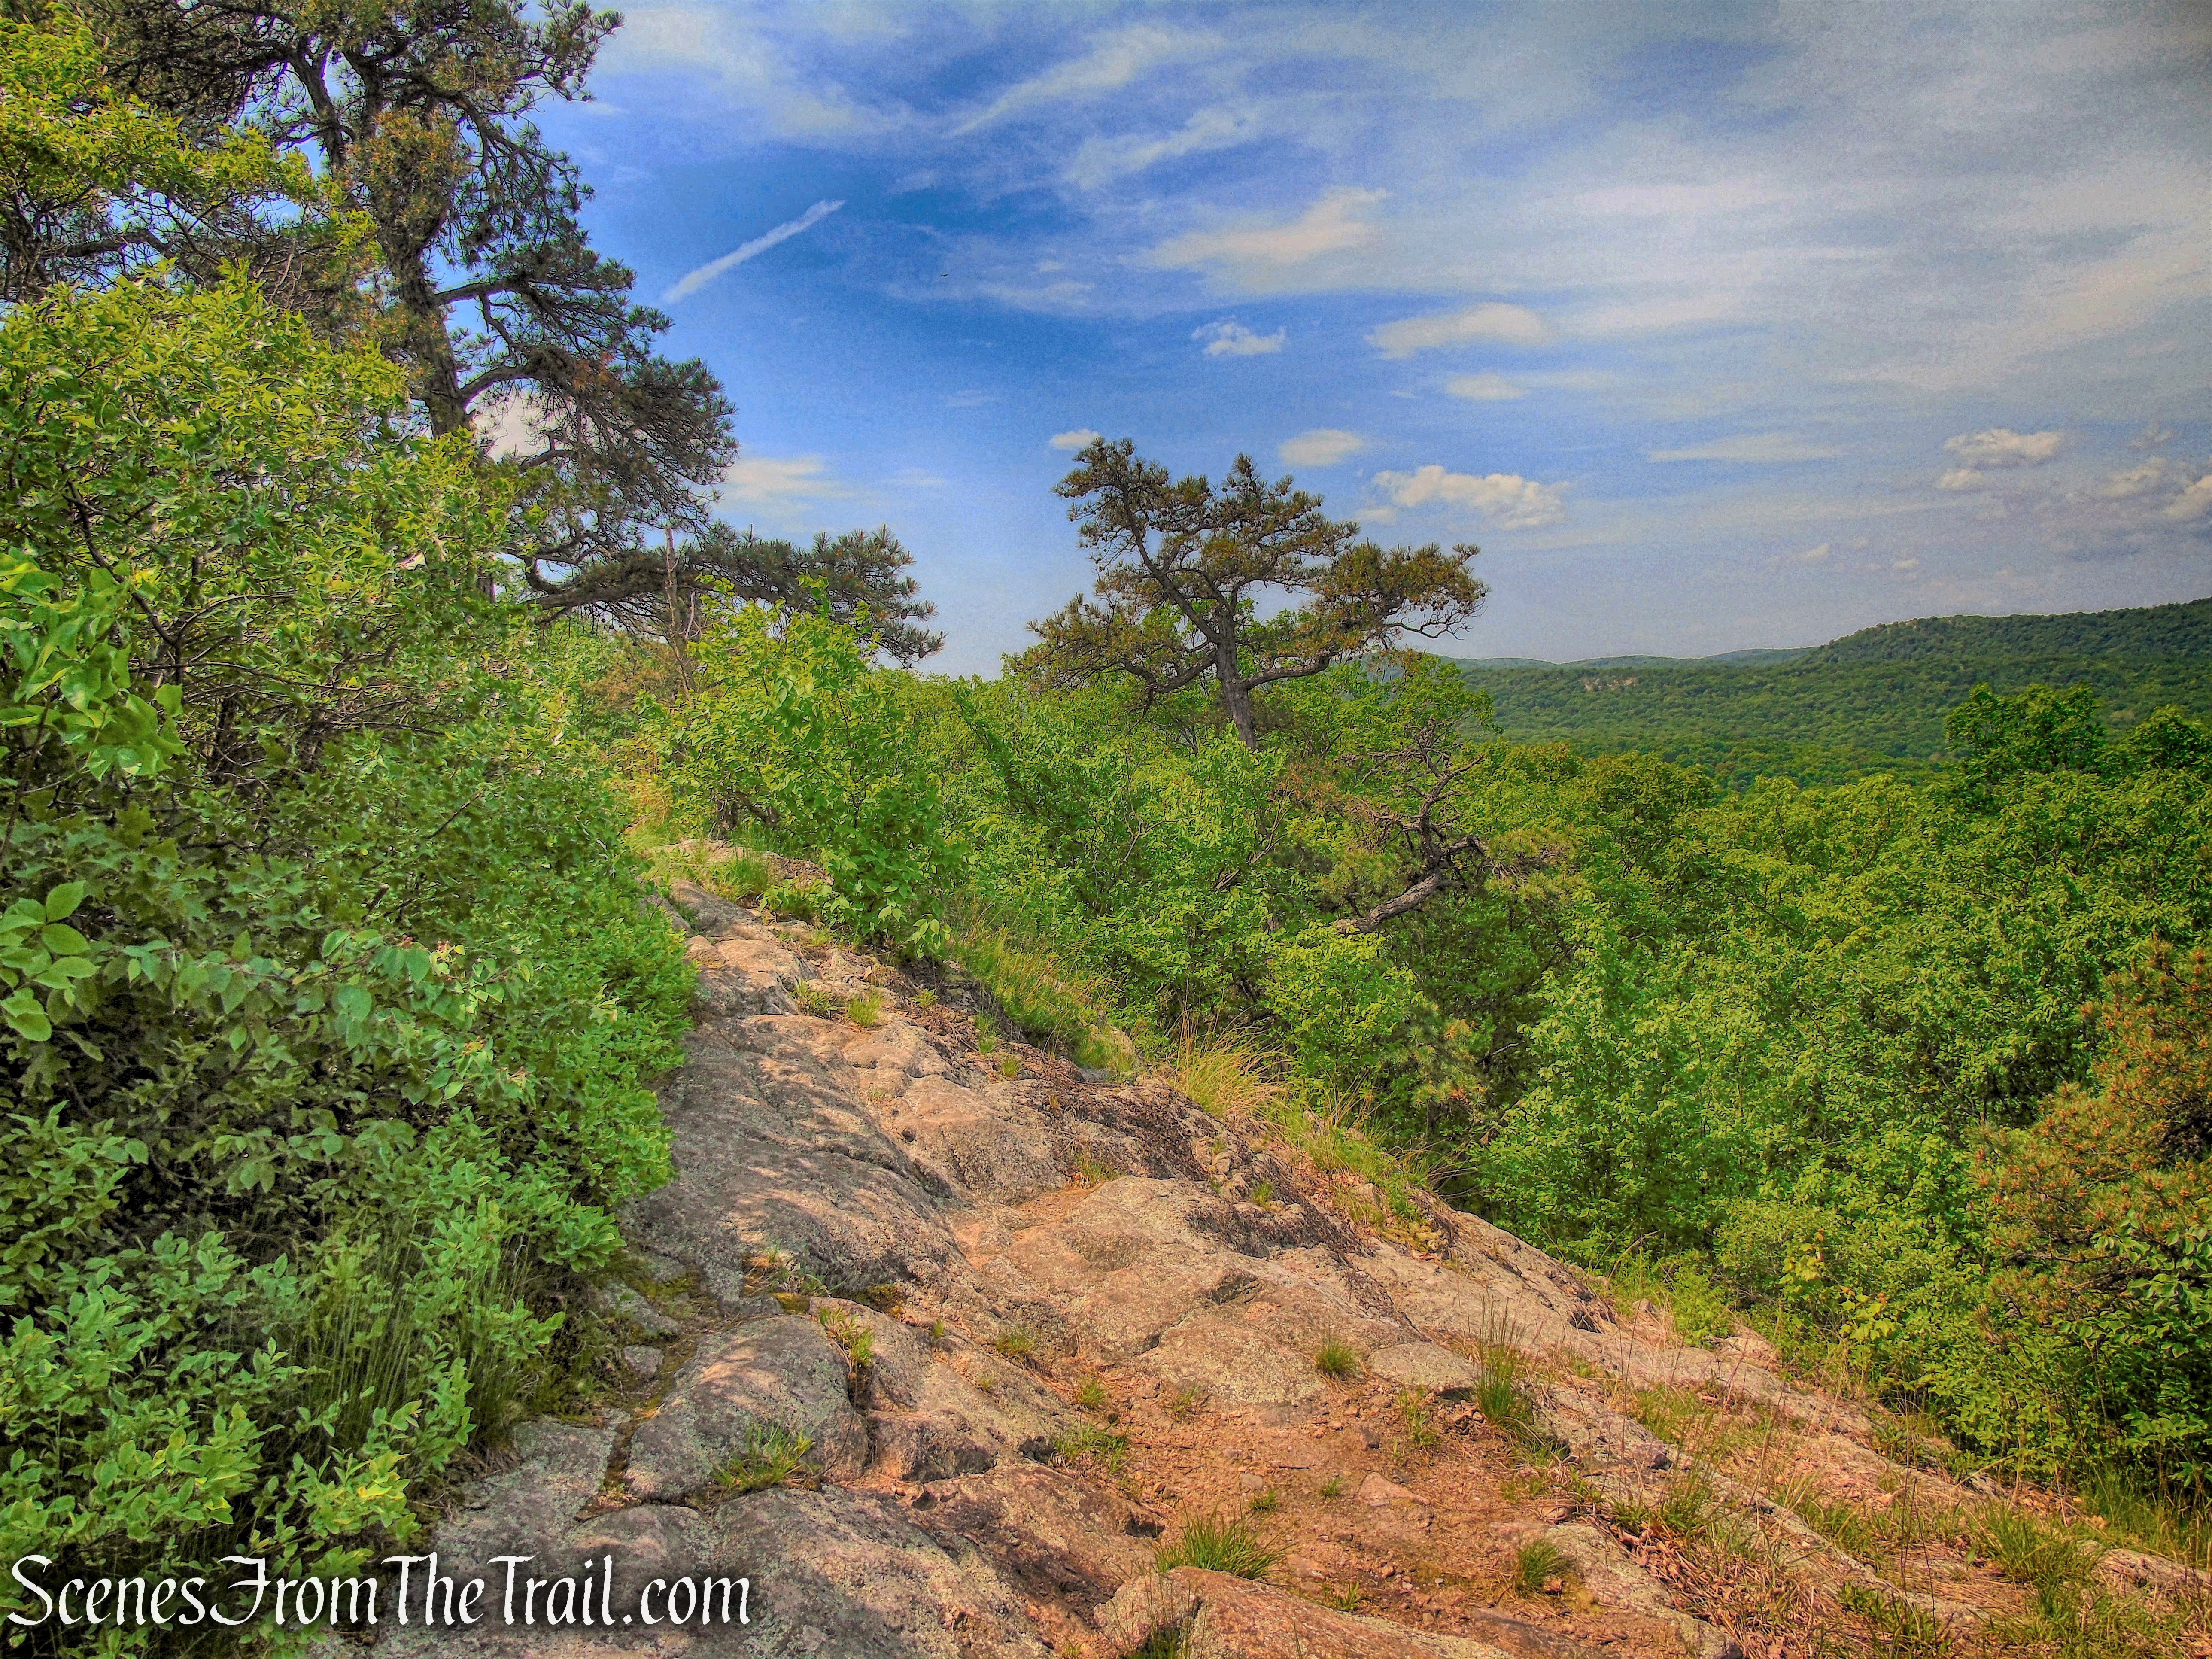
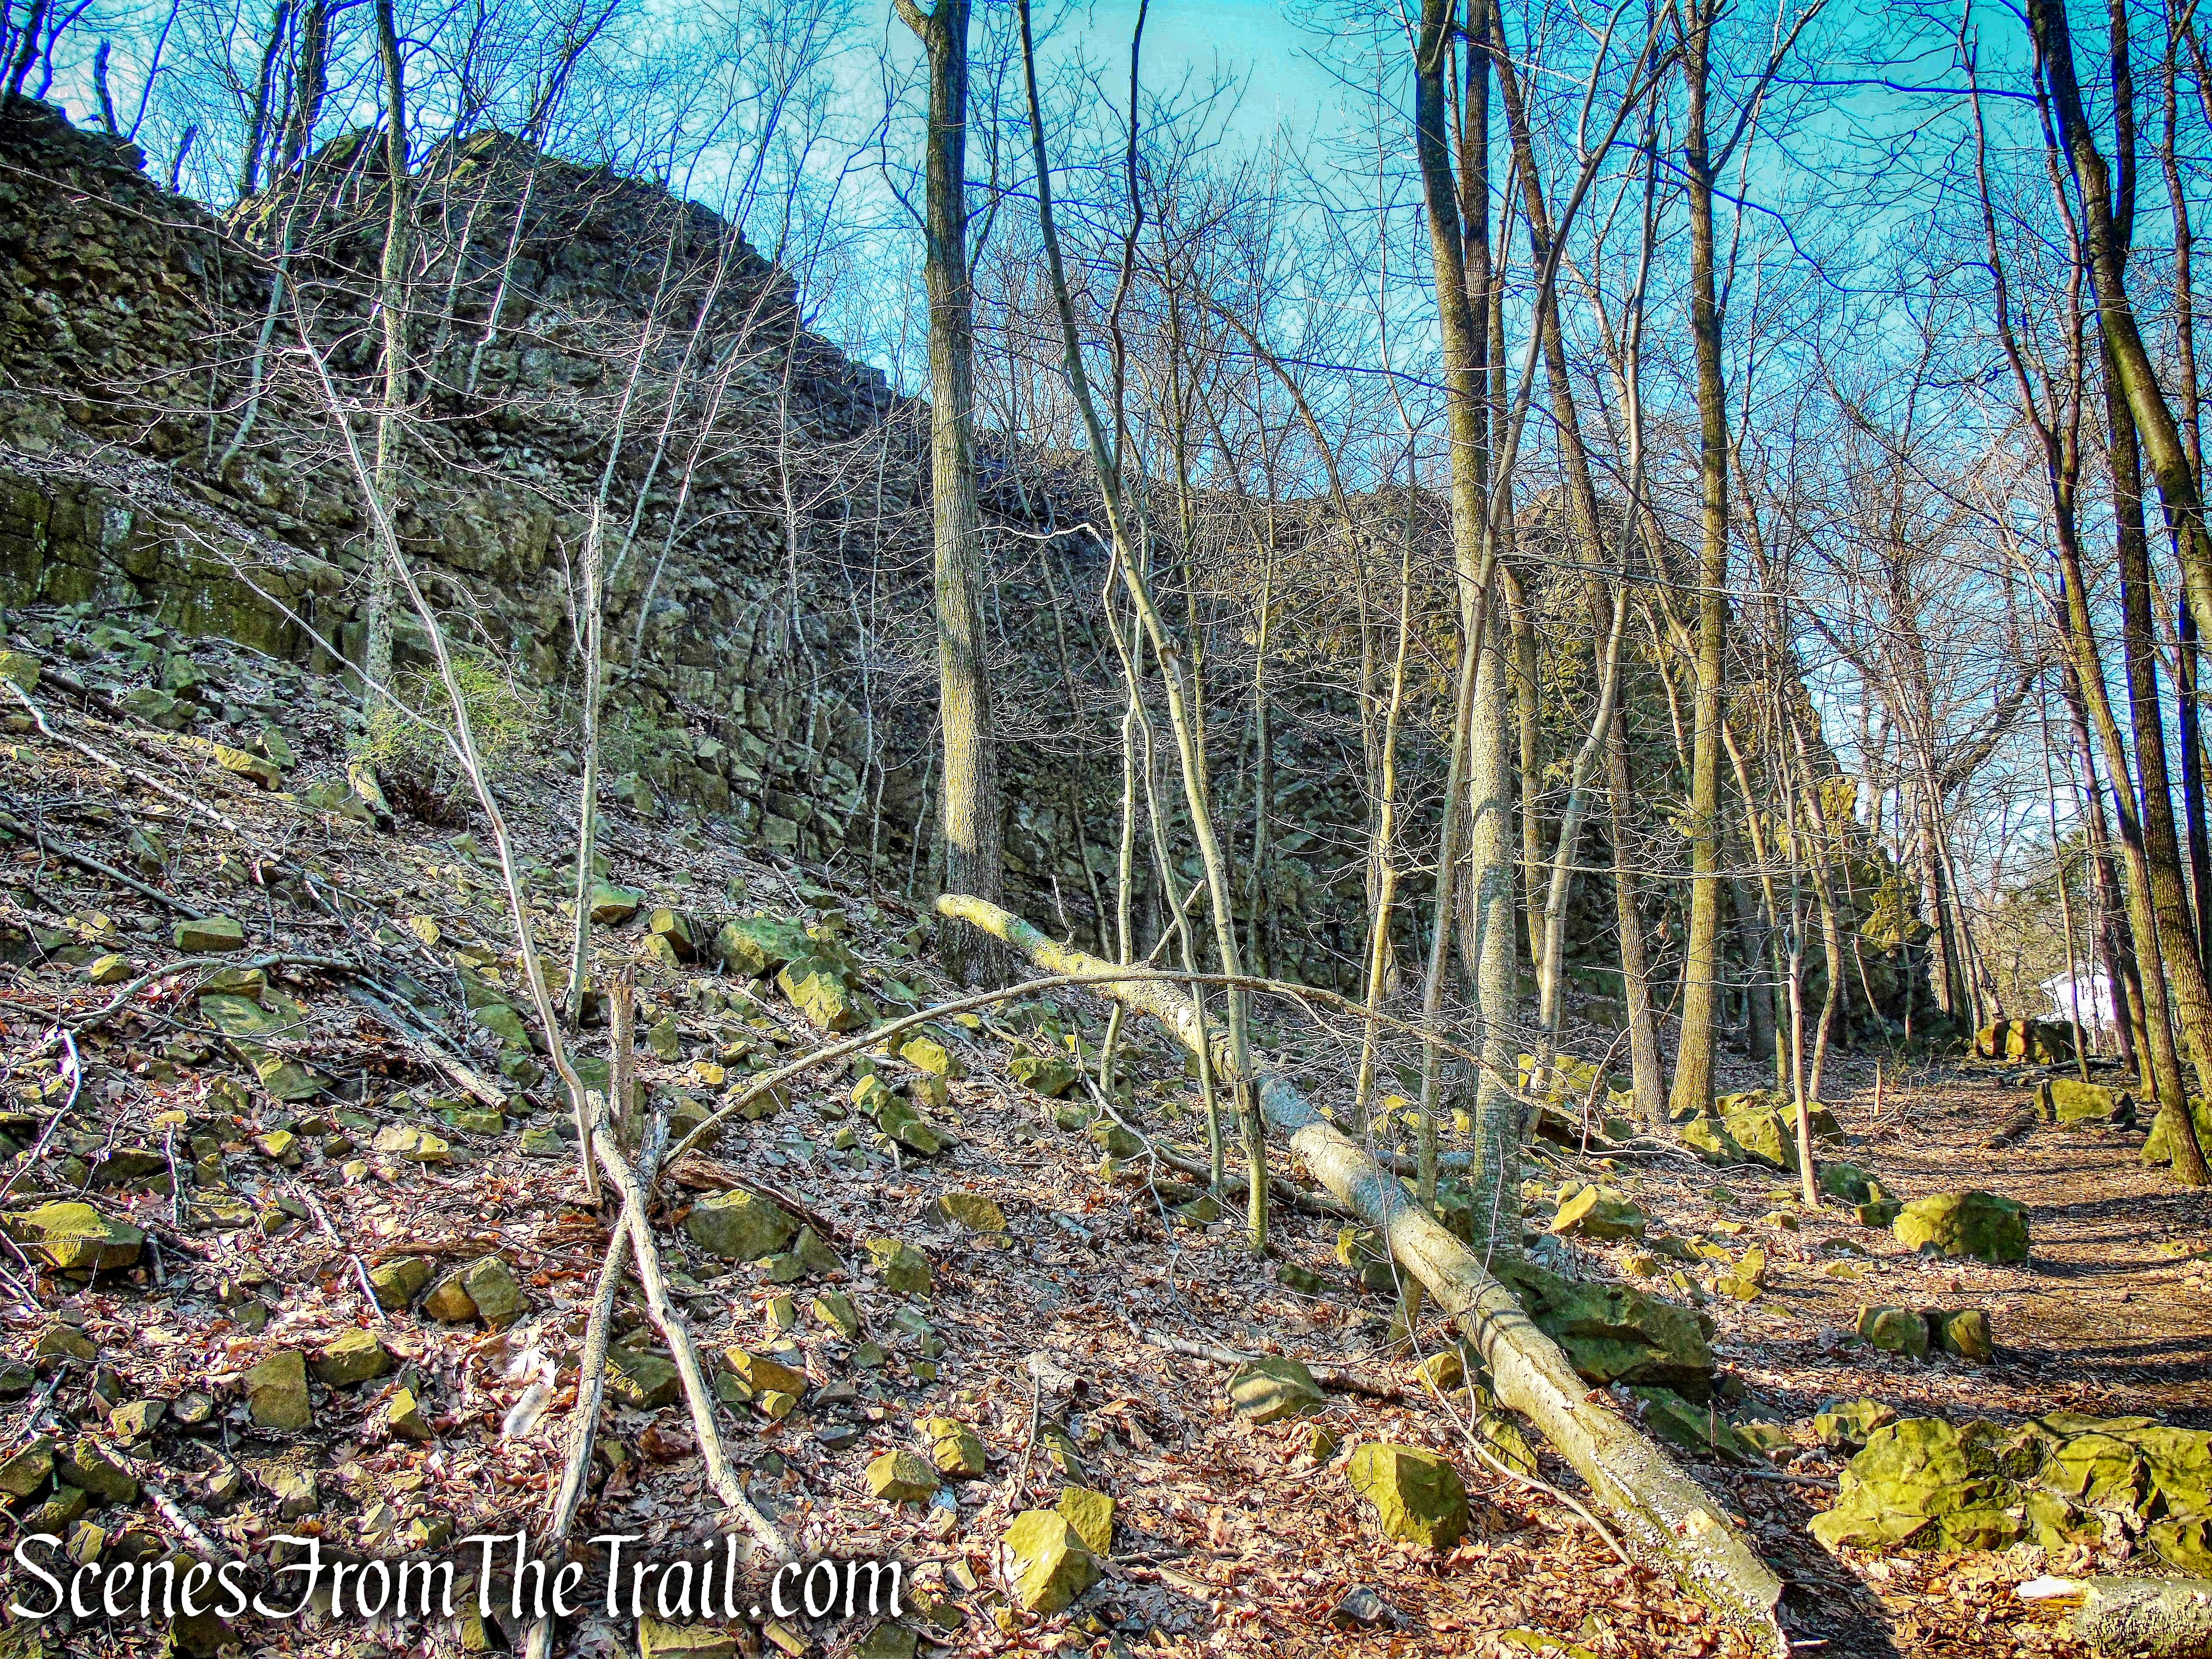
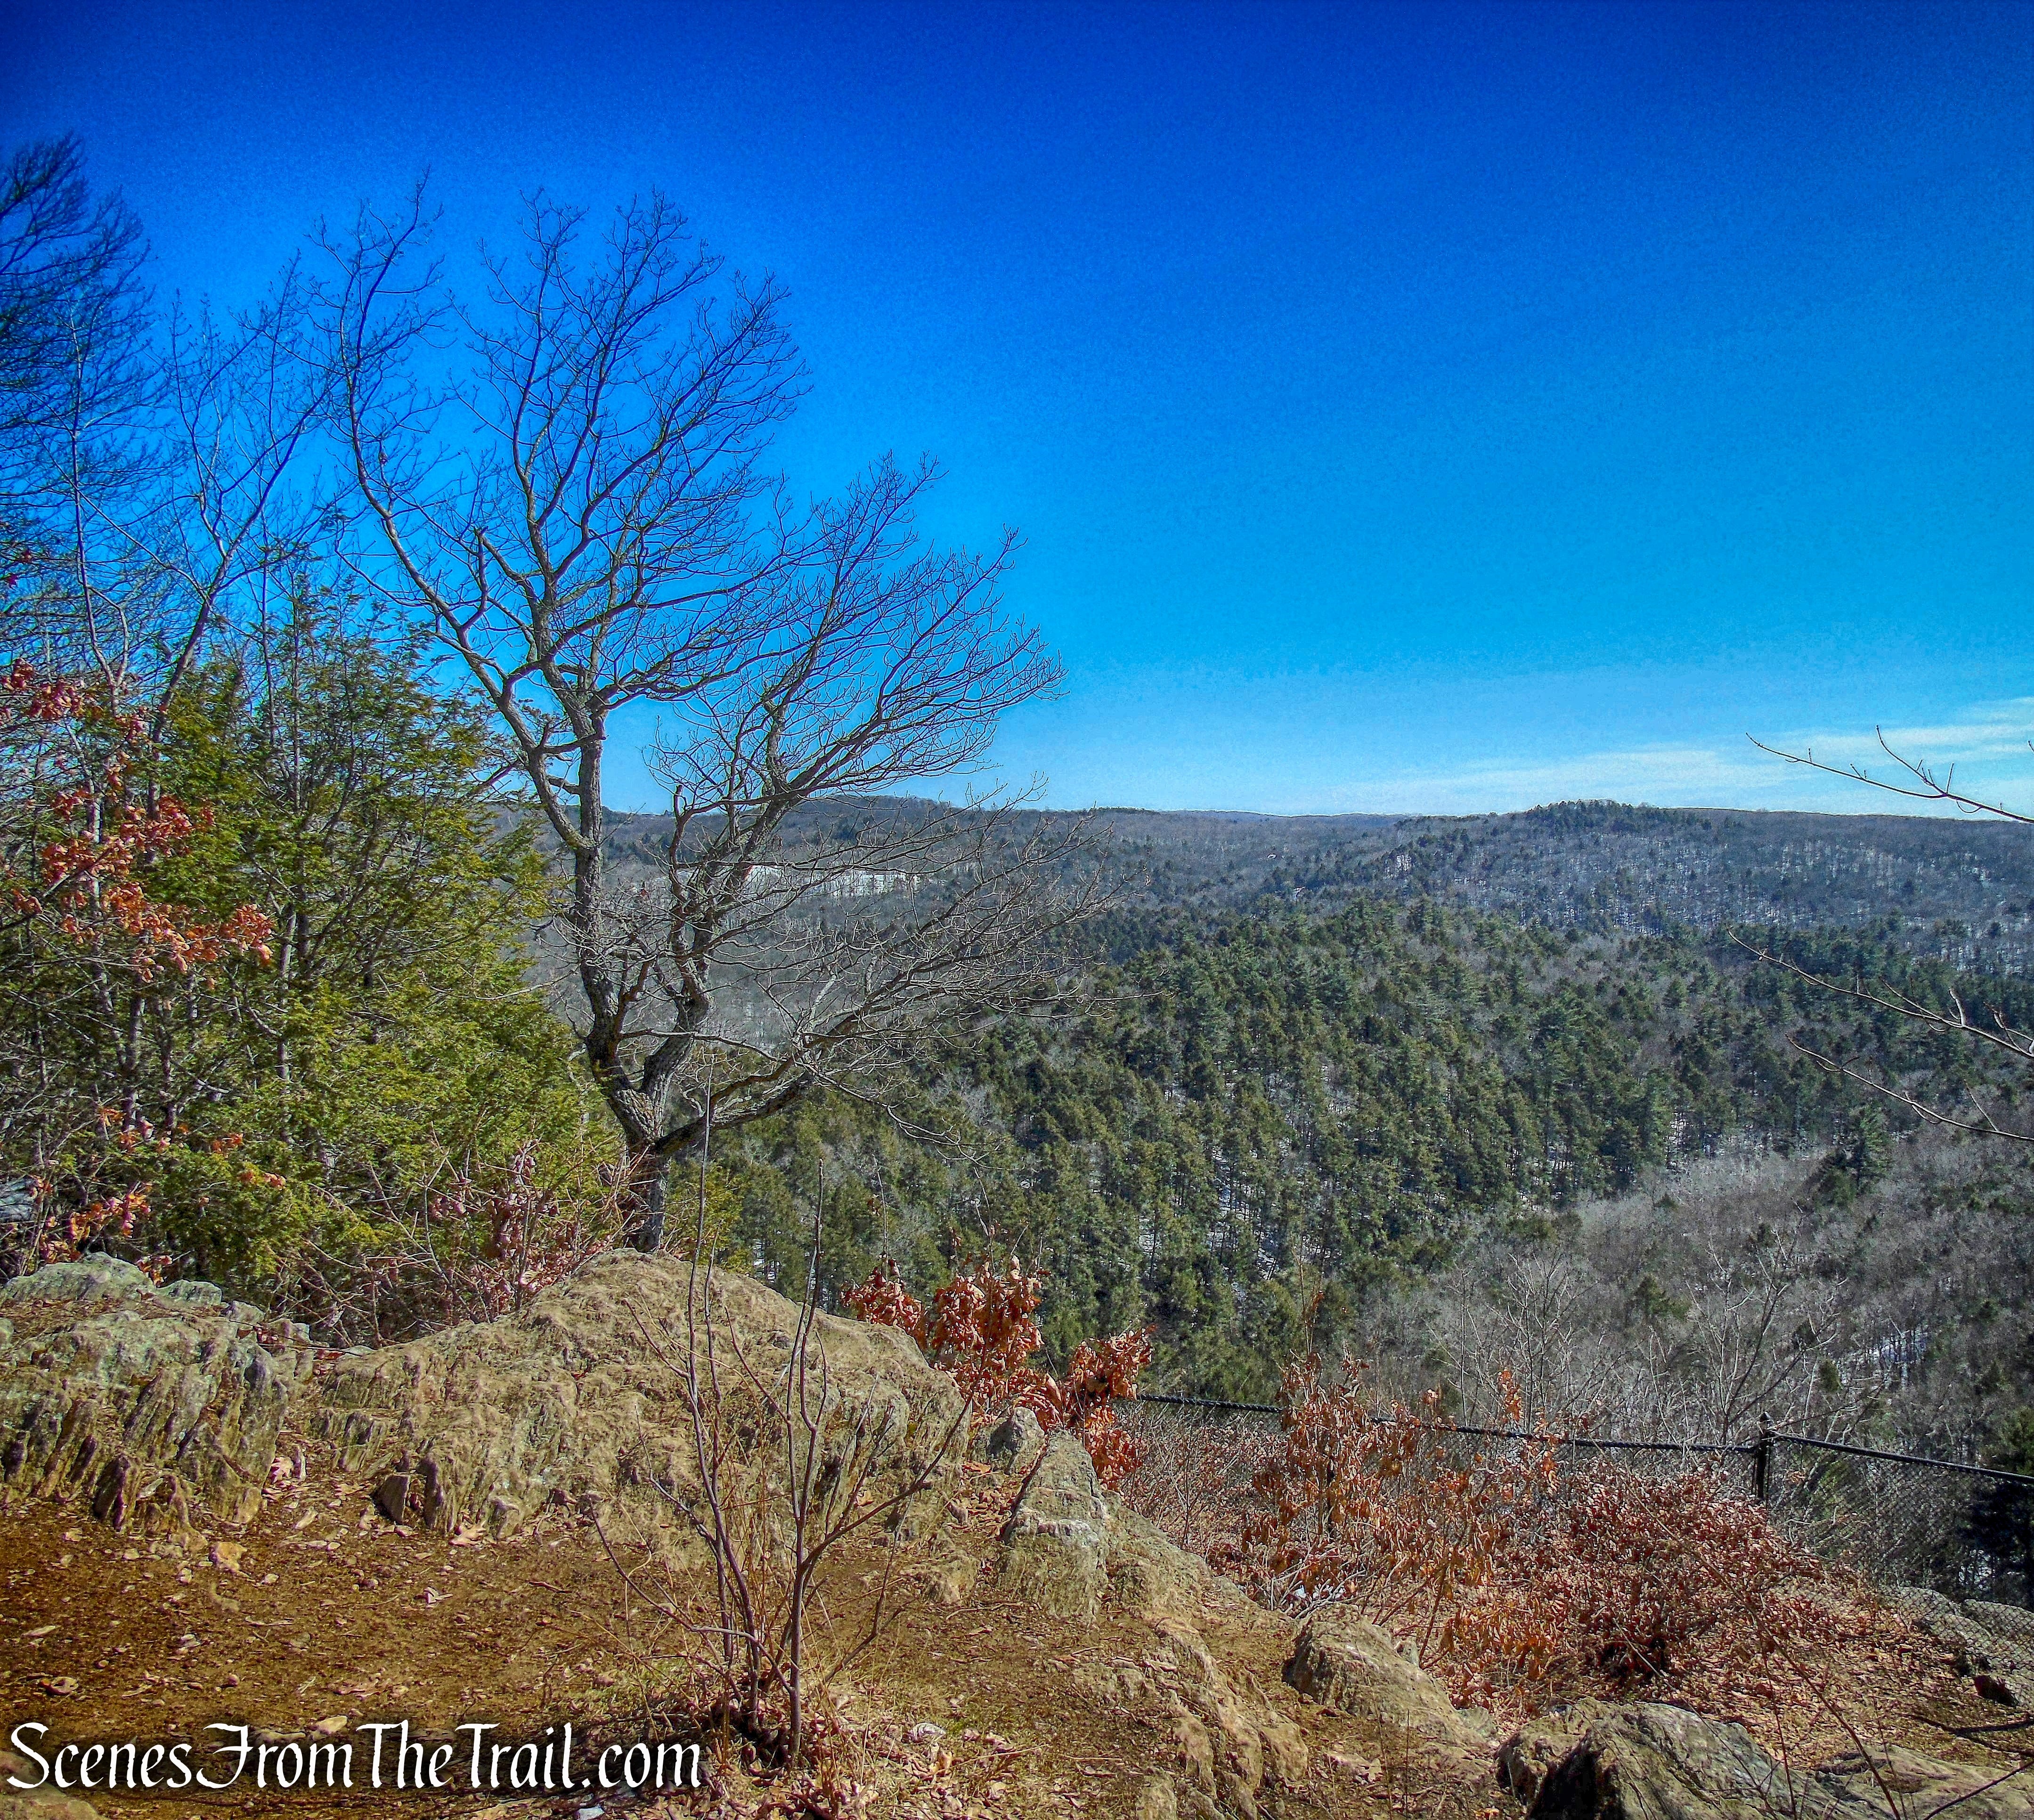
Just beyond the helipad, the cliffs of the Shawangunk Ridge come into view.
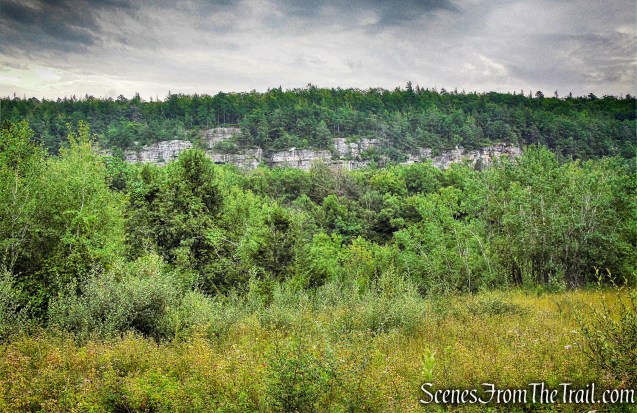
Shawangunk Ridge
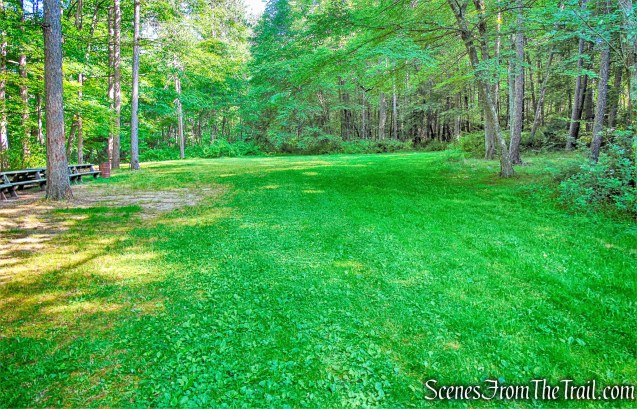
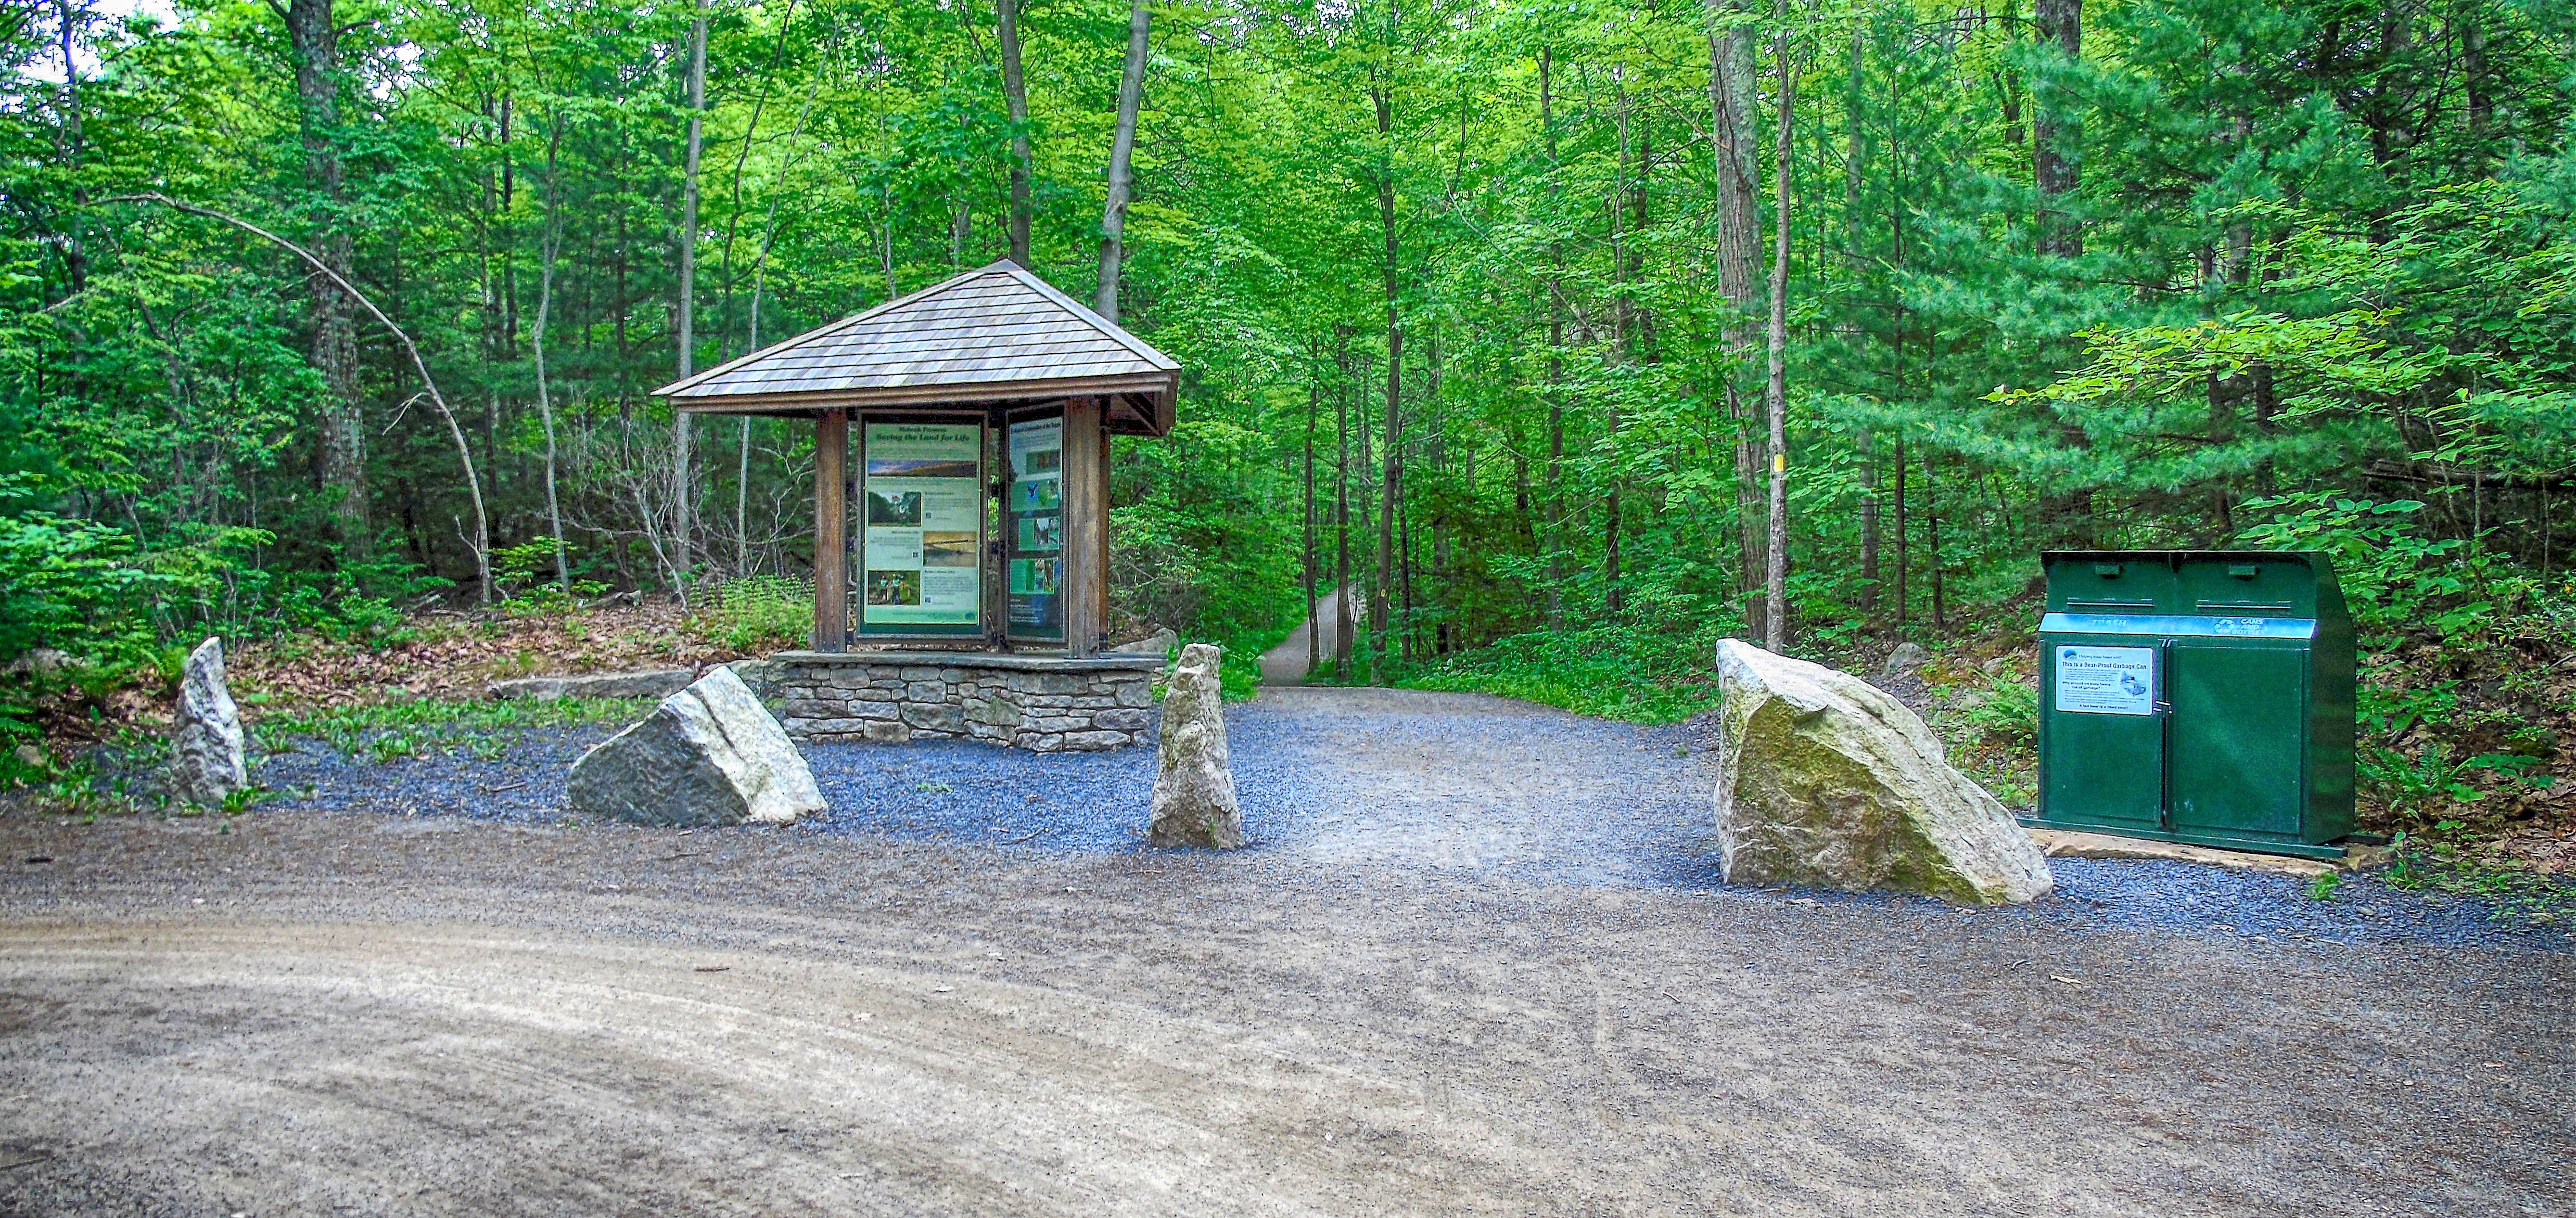
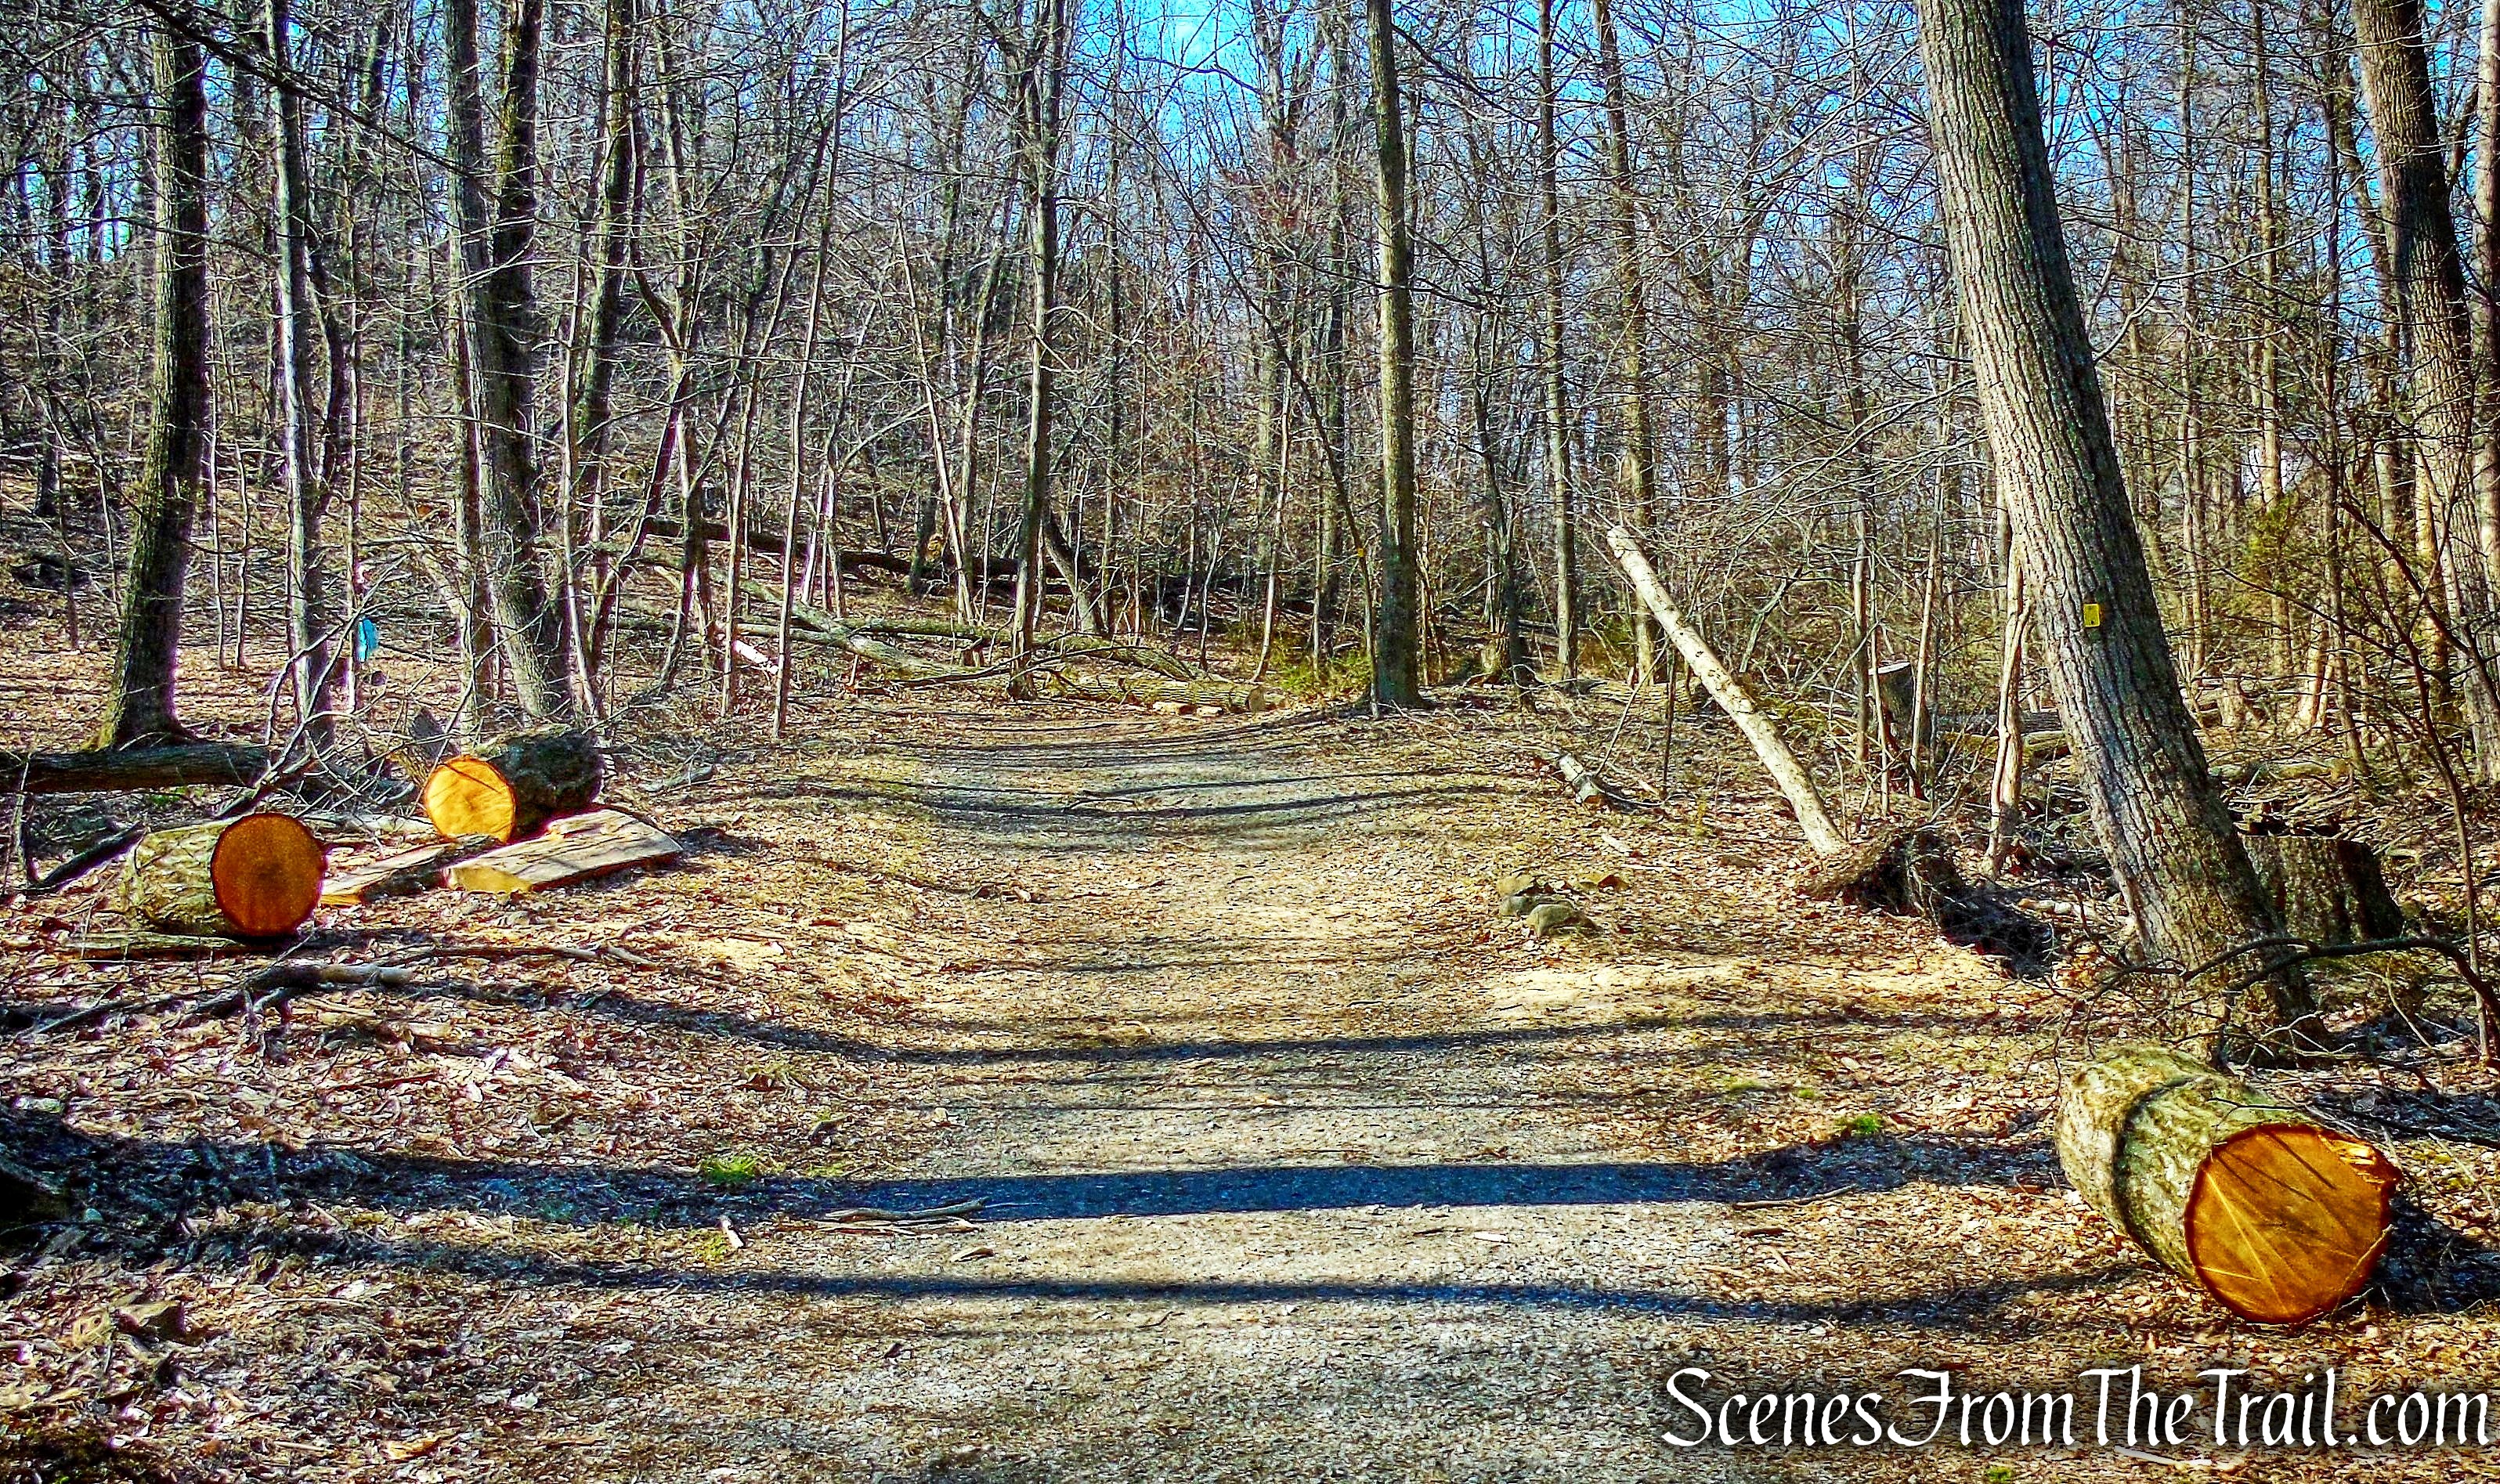
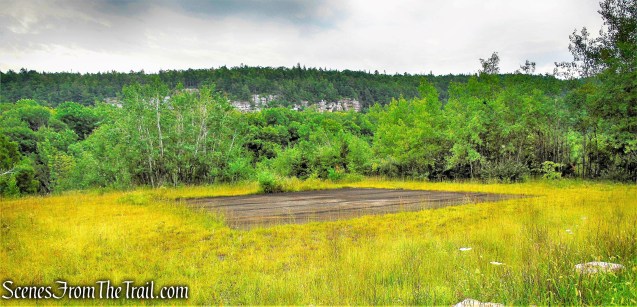
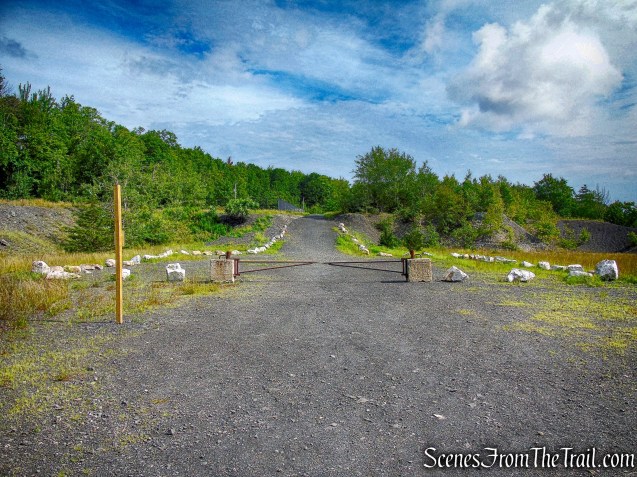
Continuing along the gravel road, the path dips down into a gravel pit that has been transformed into a parking area. I presume that at some point they will open this up, which would make the parking, much more visitor friendly.
Update 2019: The new parking area is now open (9am – 5pm) and the hike now begins from here.

Shaft 2A Road
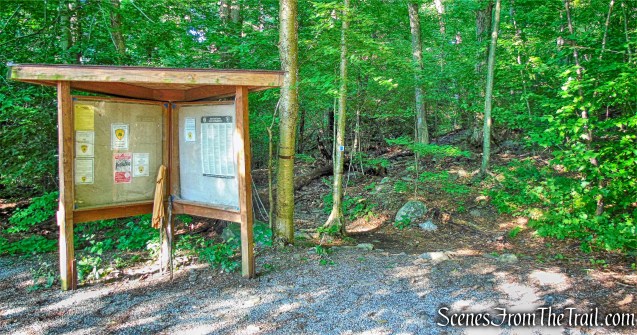
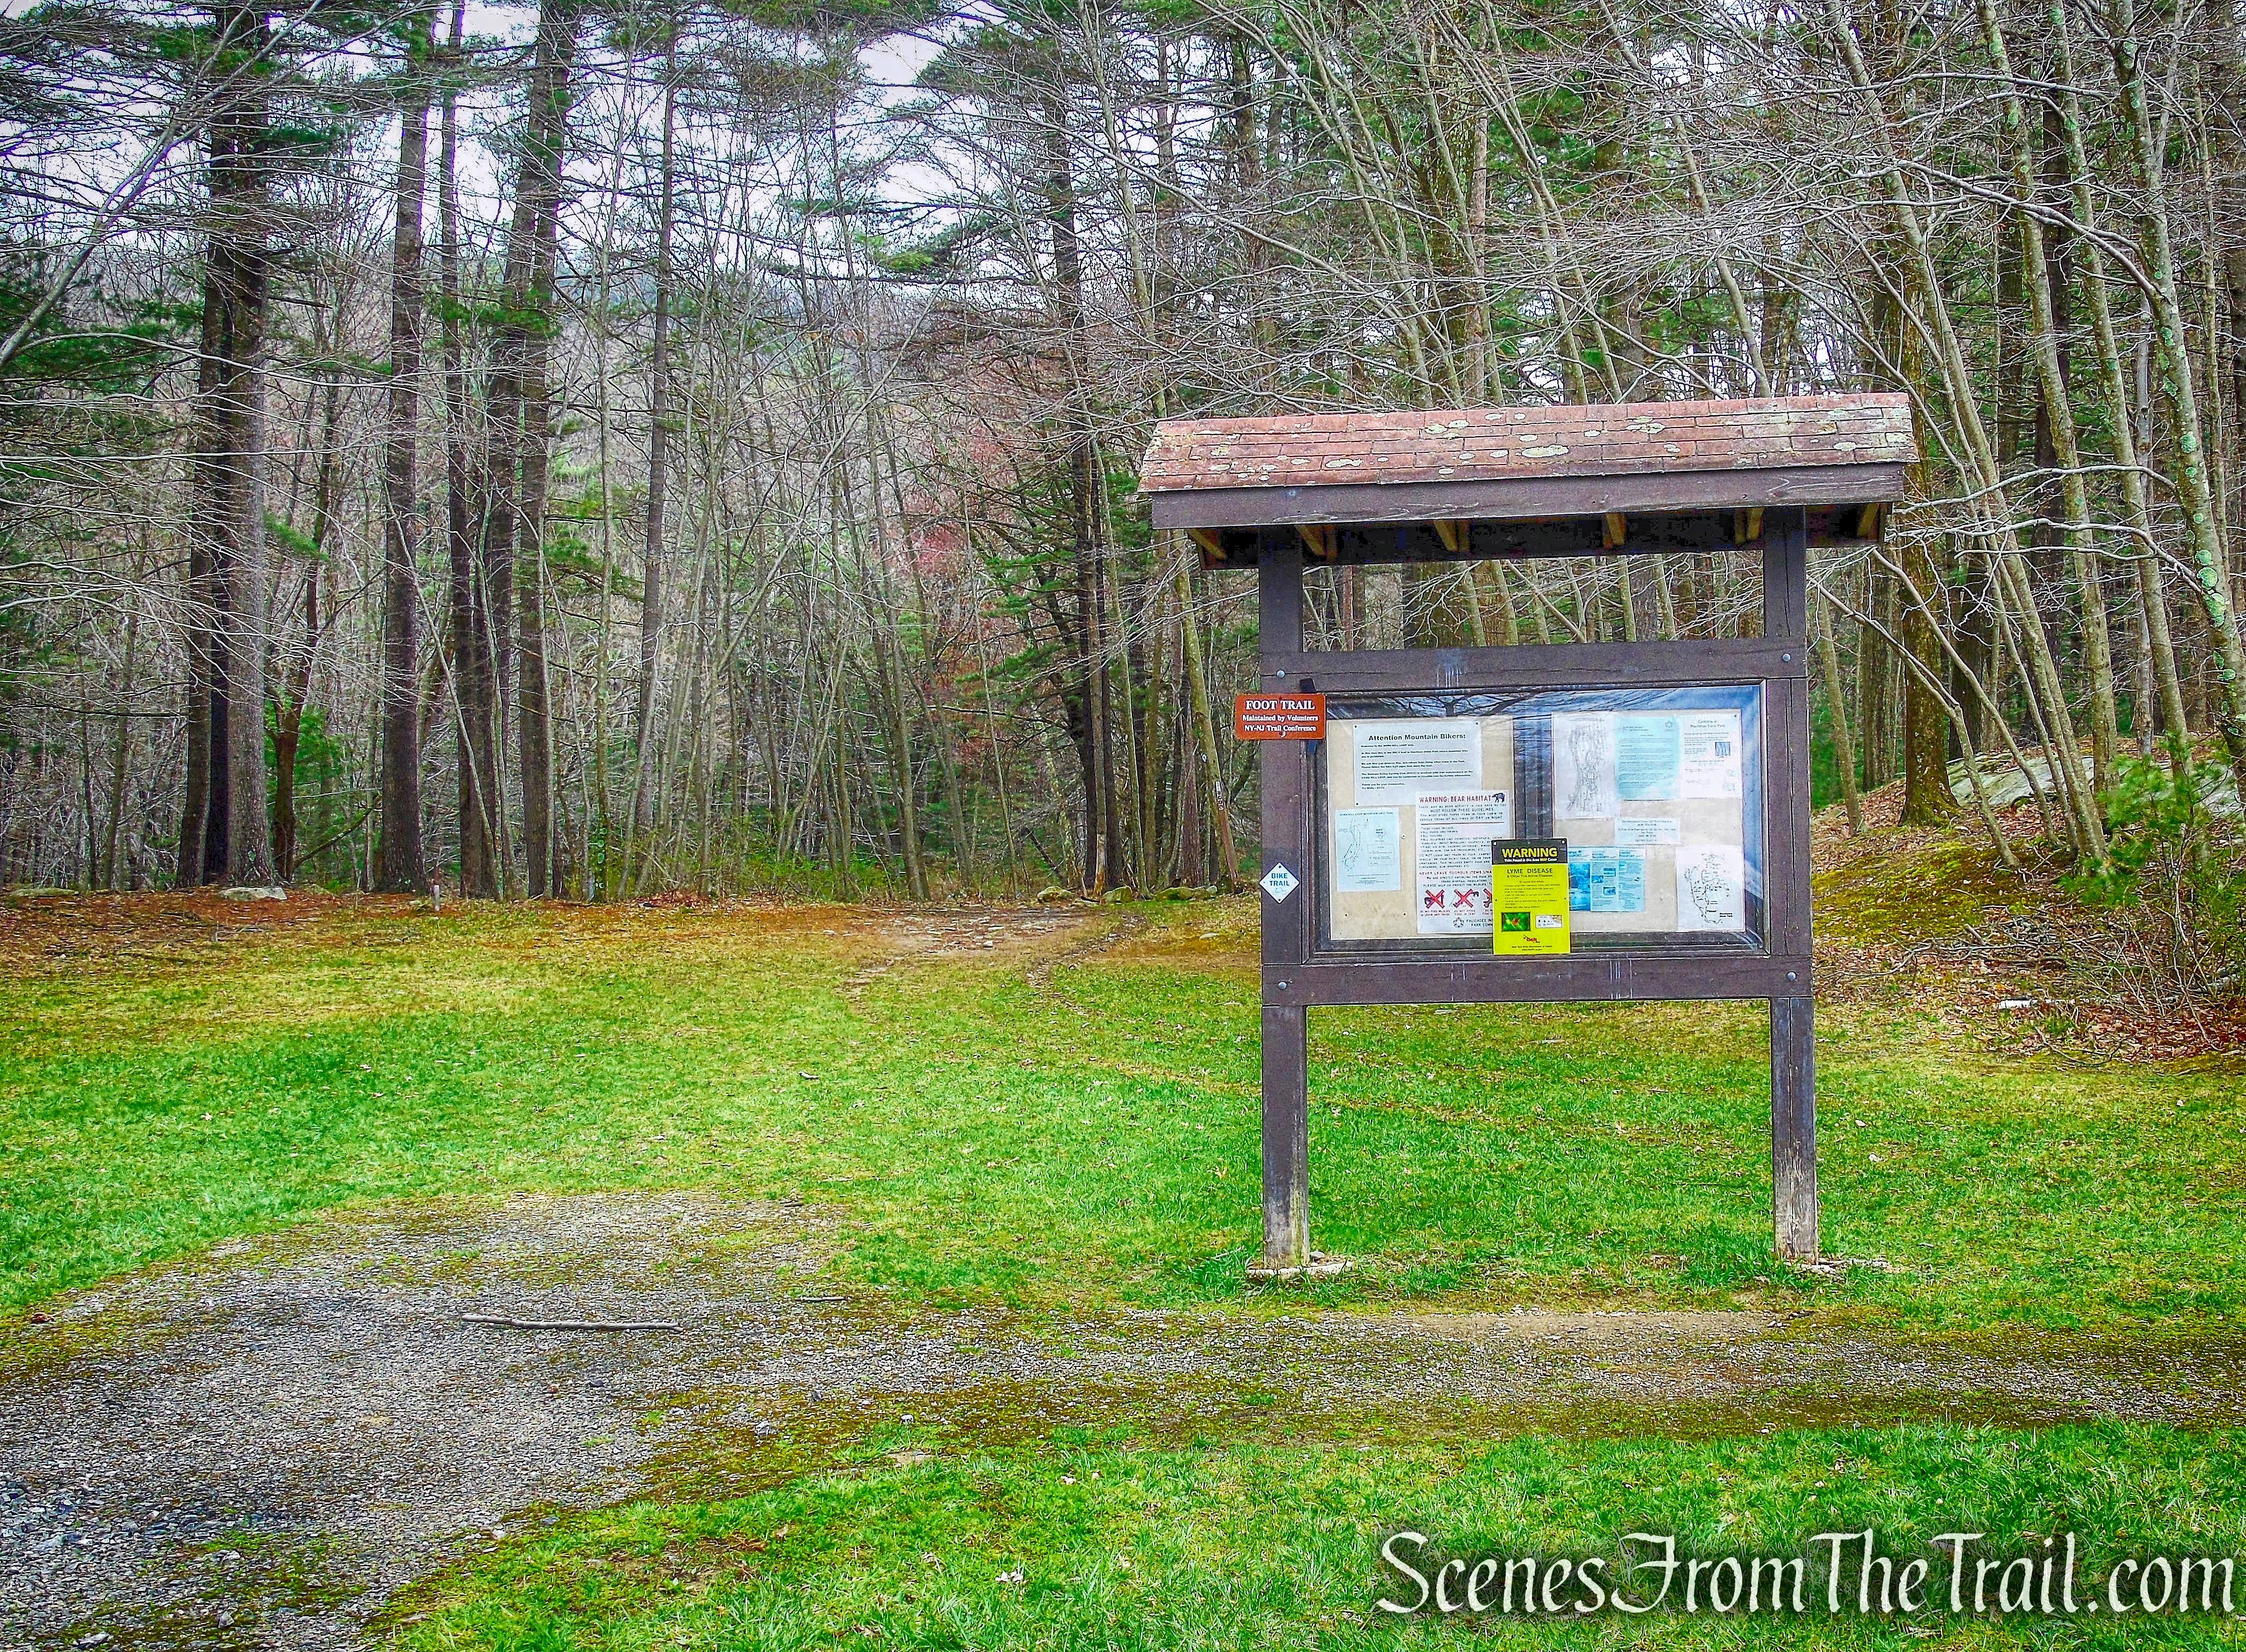
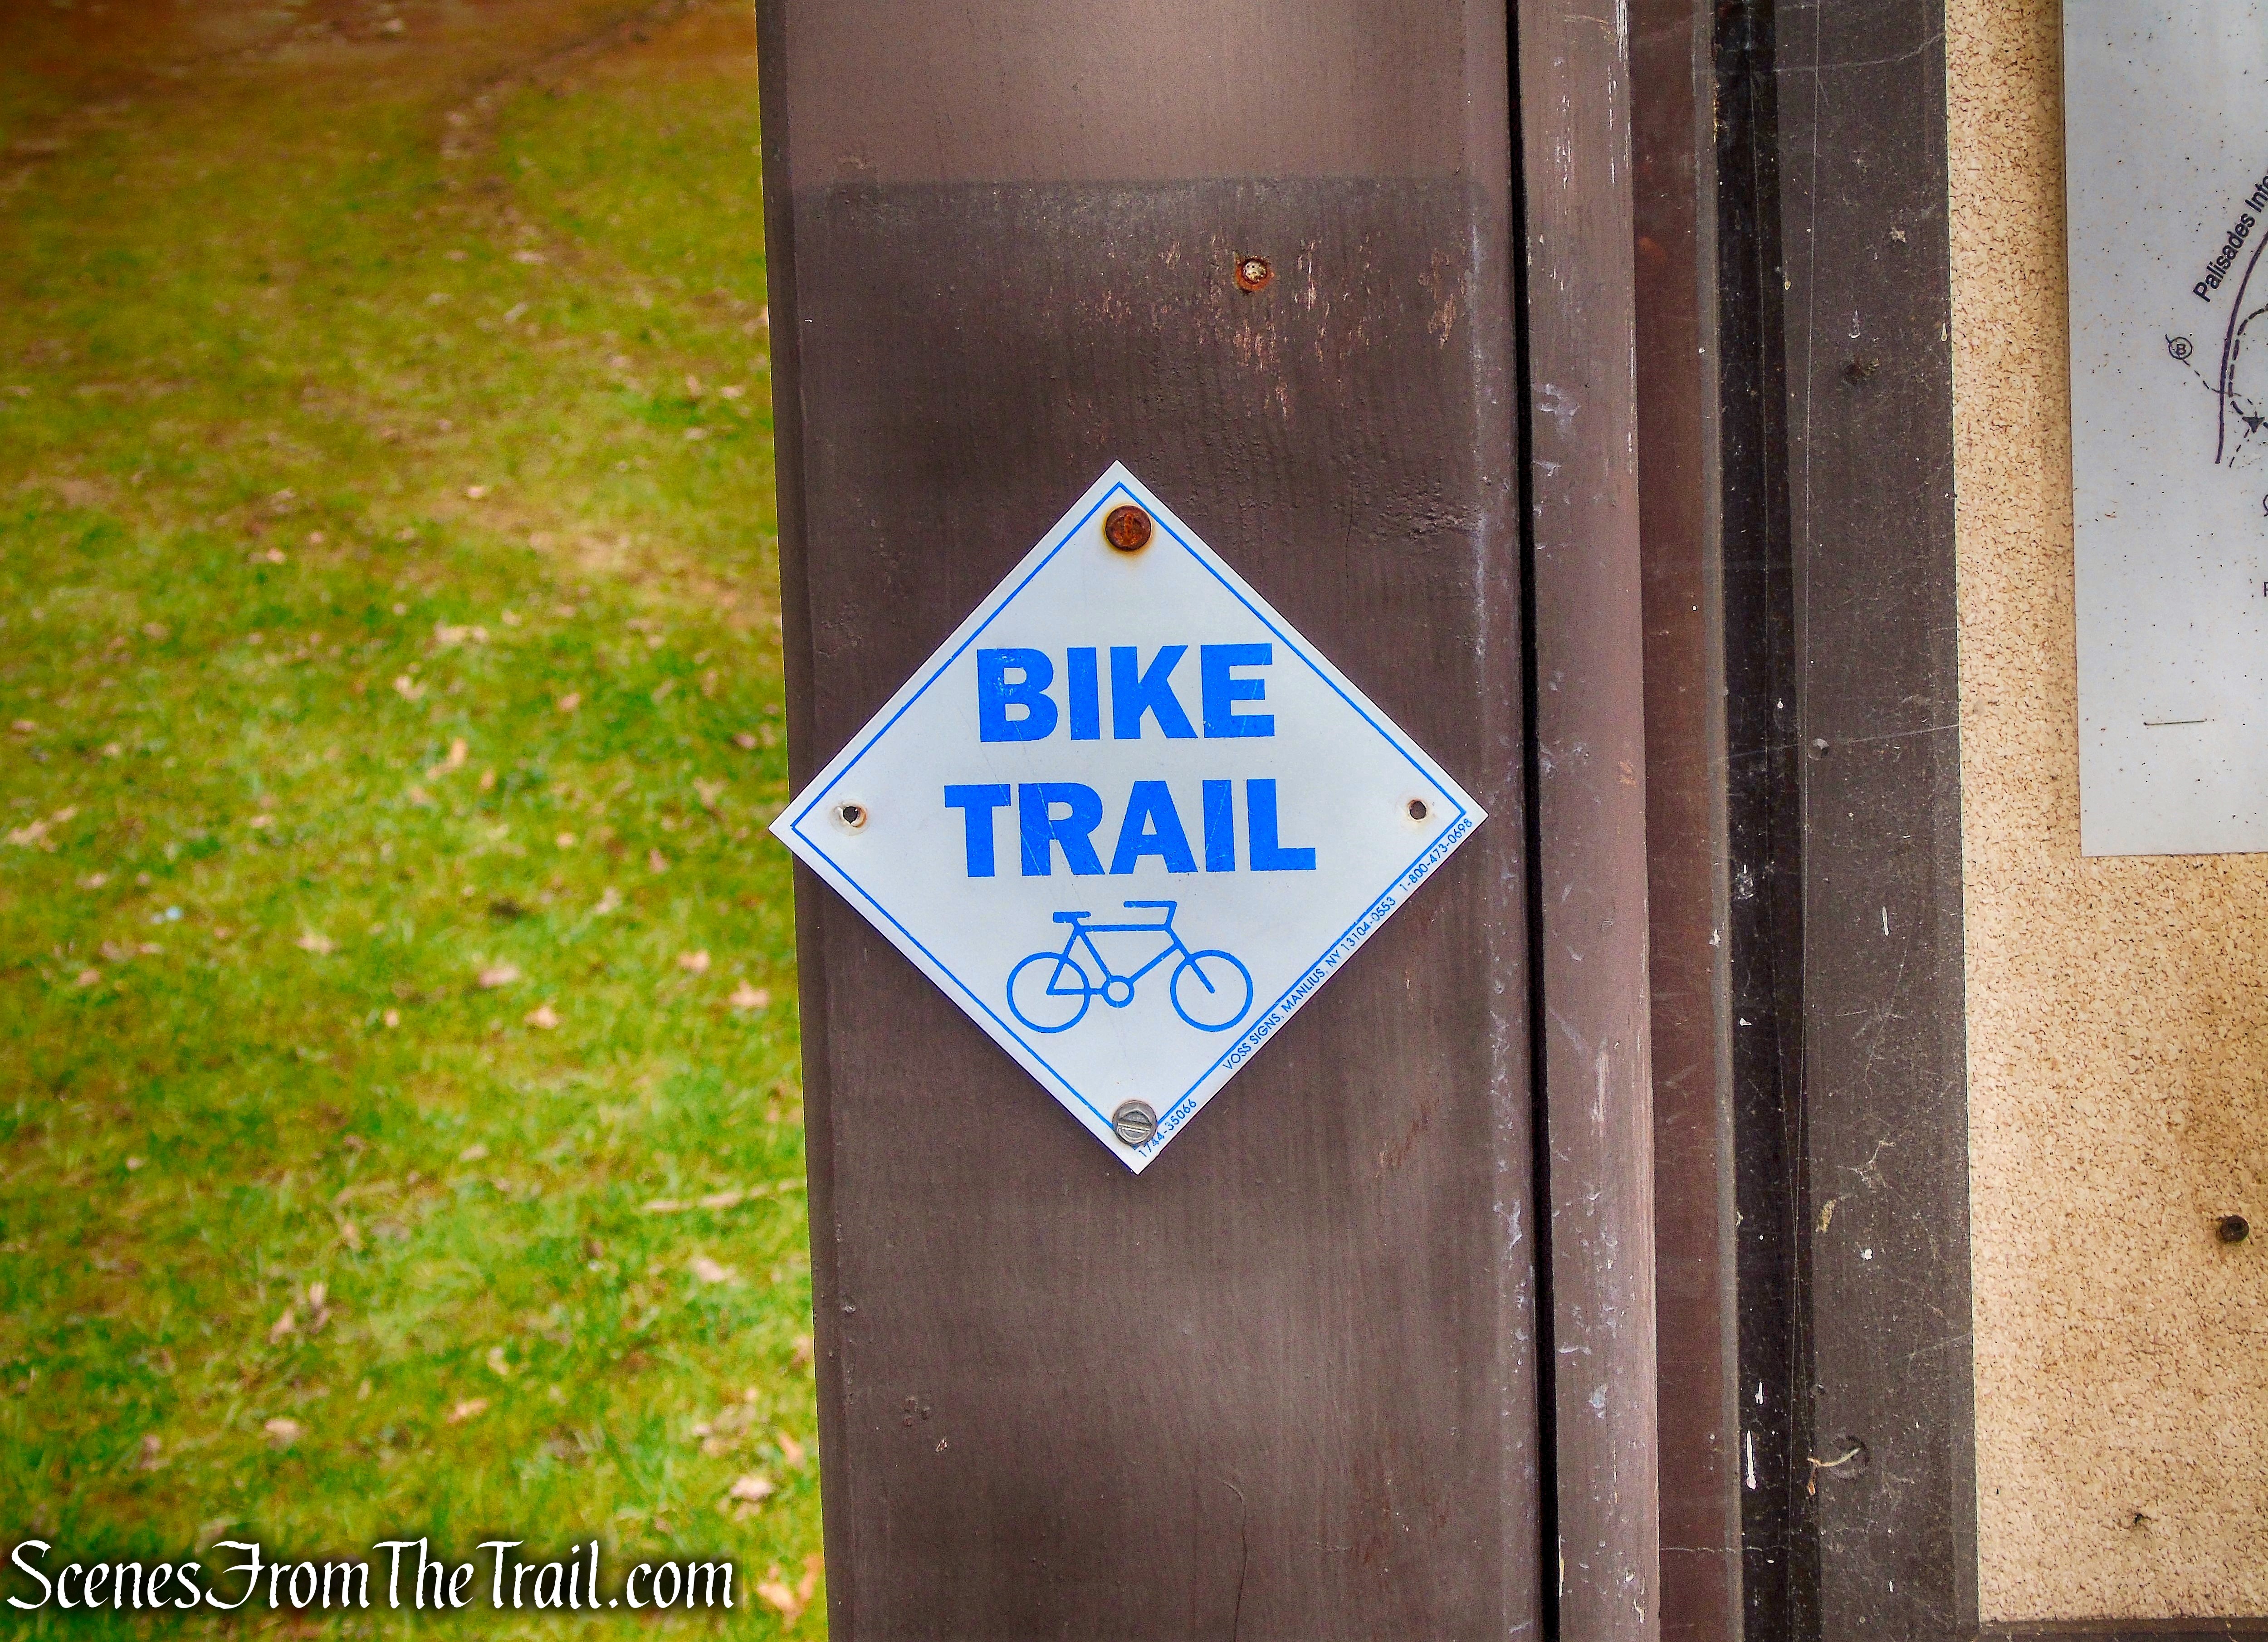
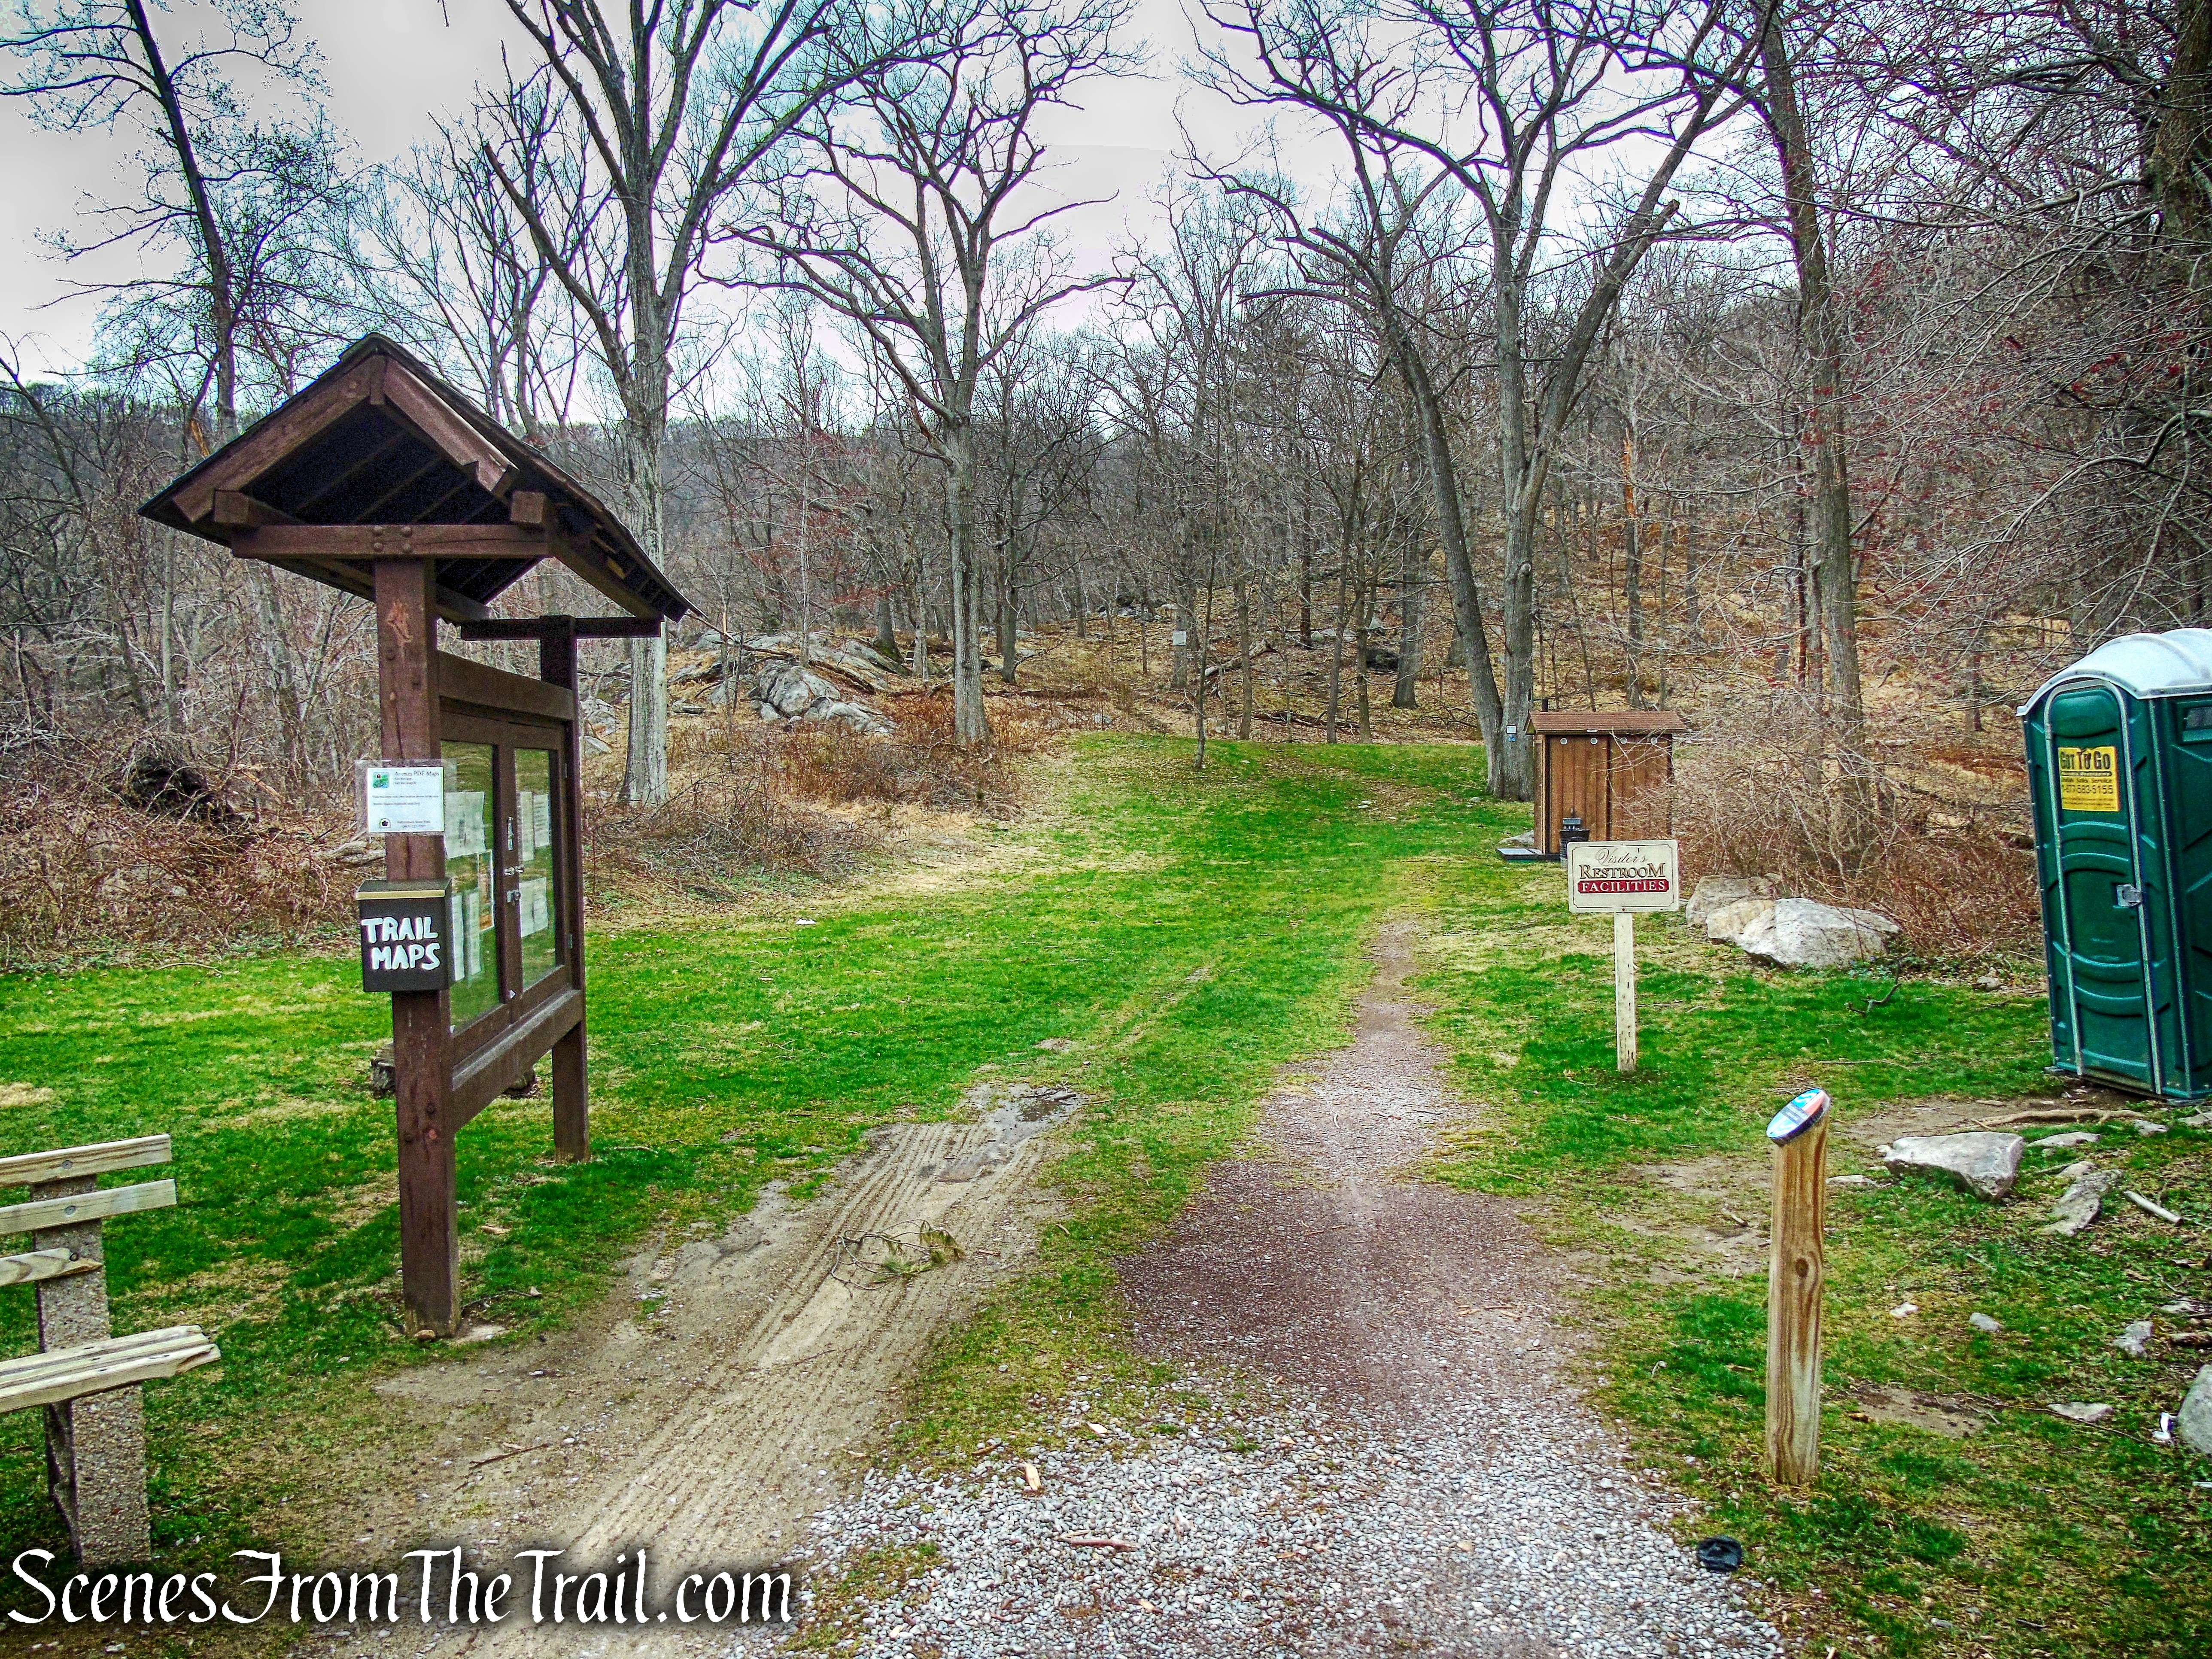
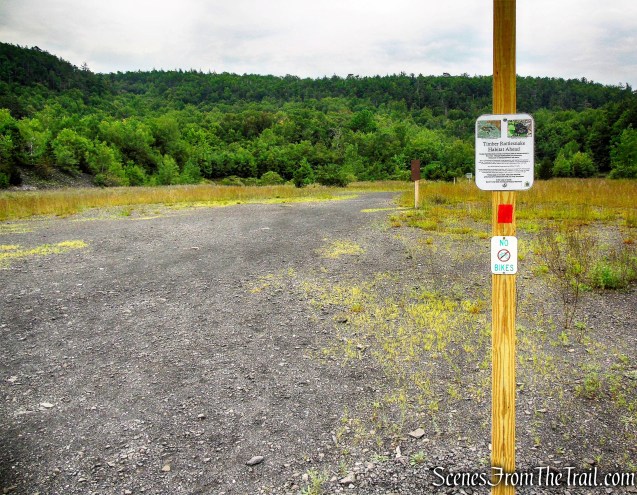
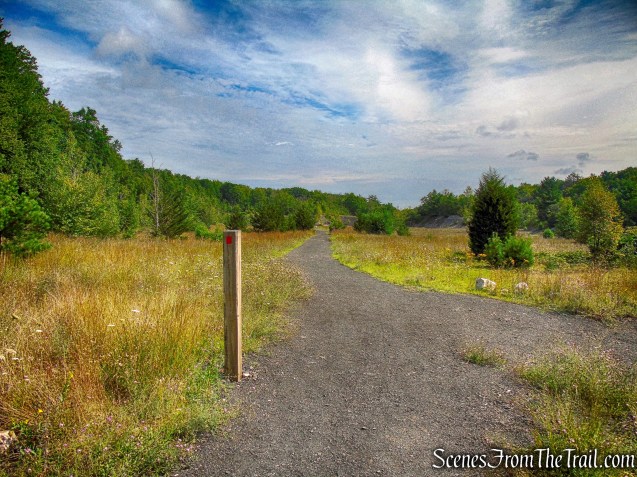
The Stony Kill Falls Trail begins at the southern end of this parking area just past the gate.
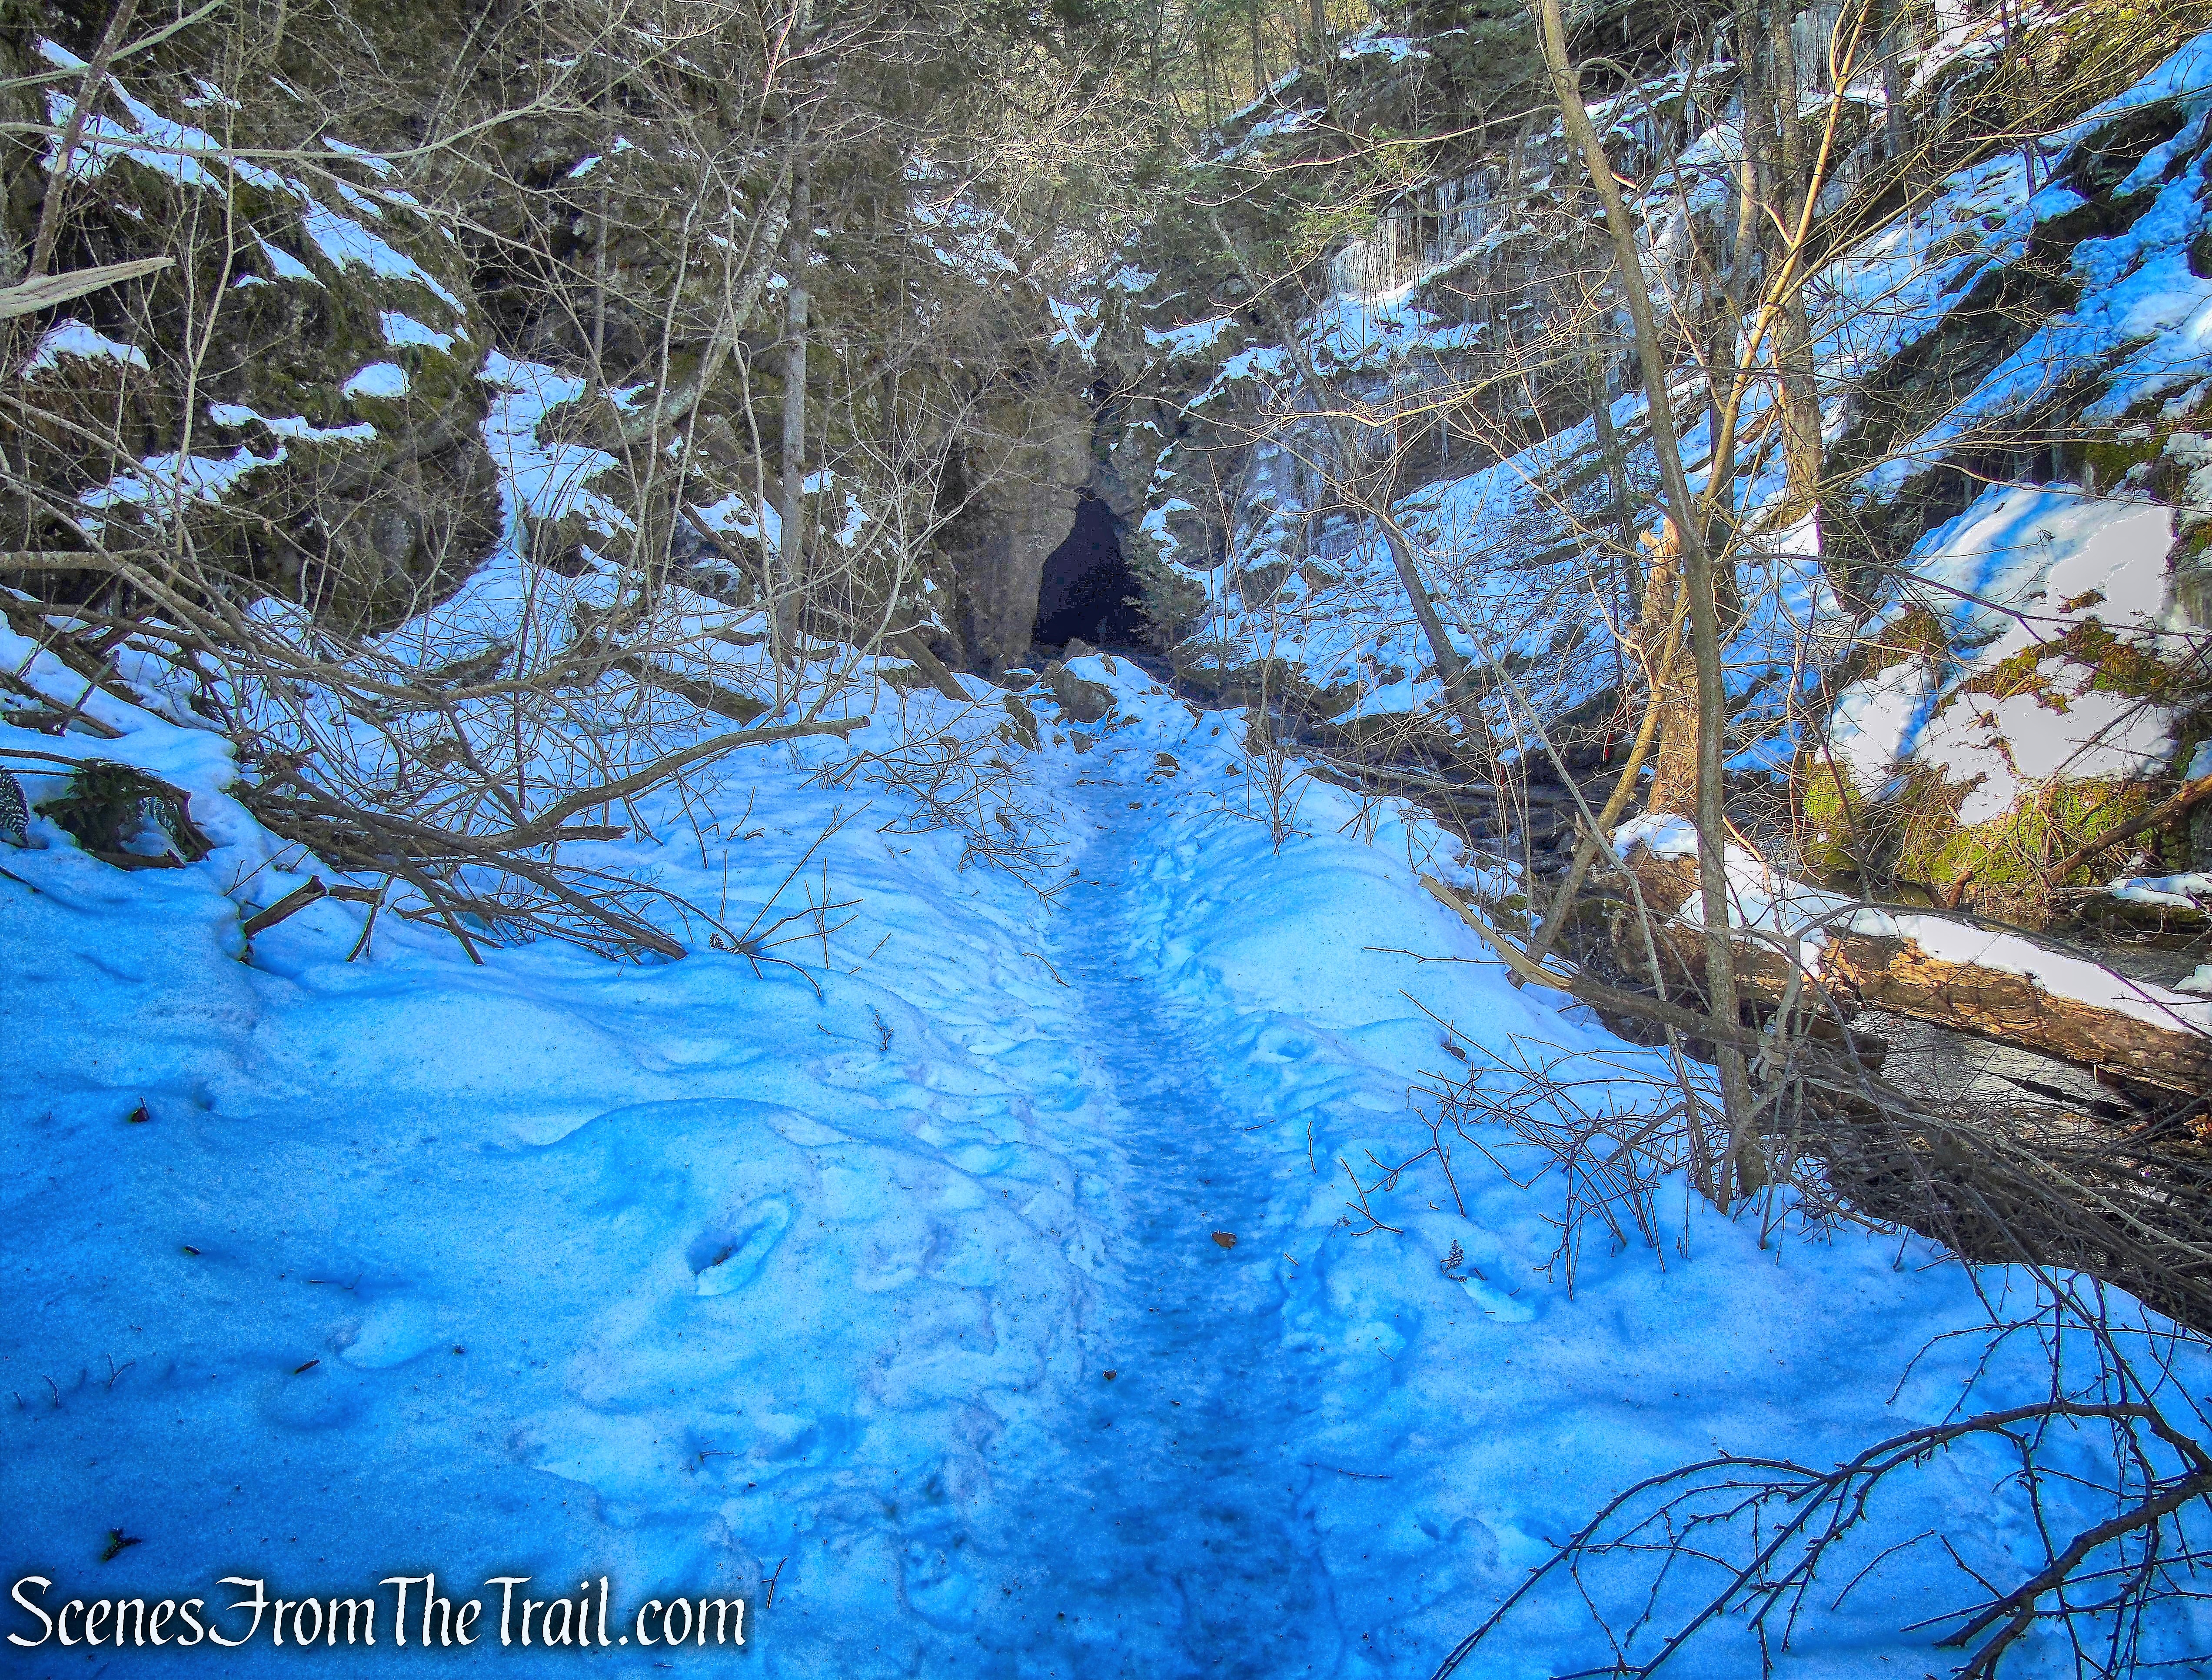
Stony Kill Falls Trail
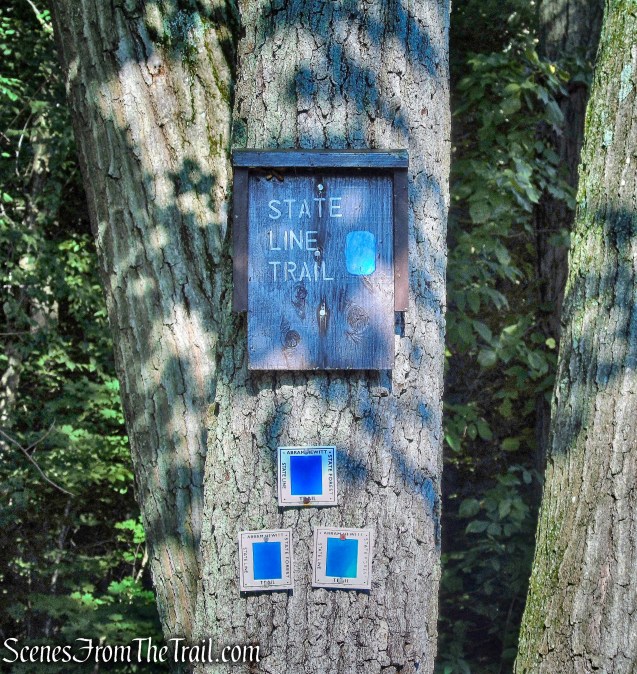
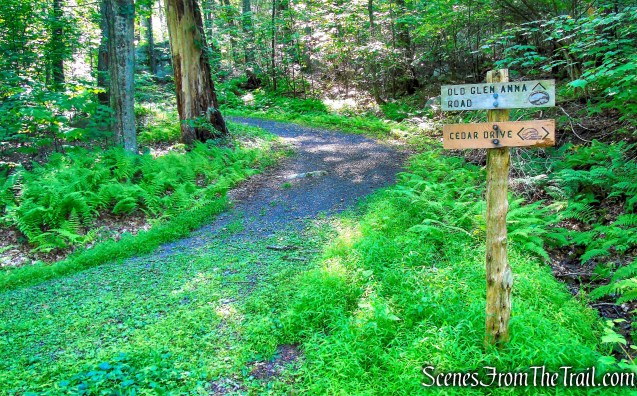
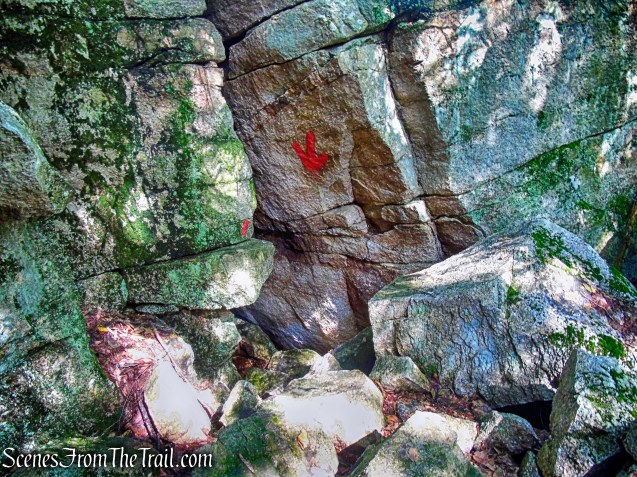
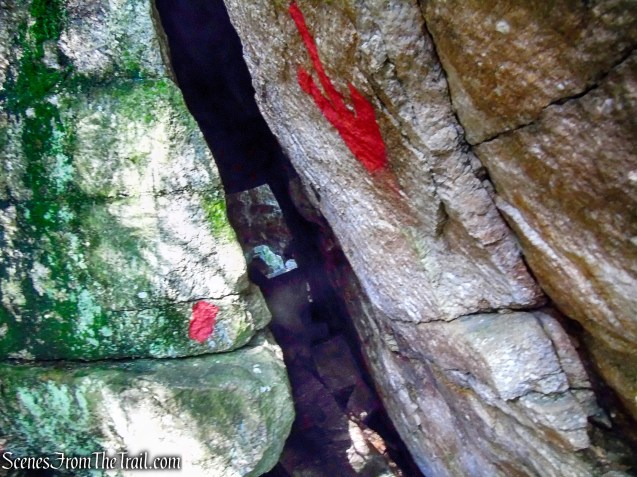
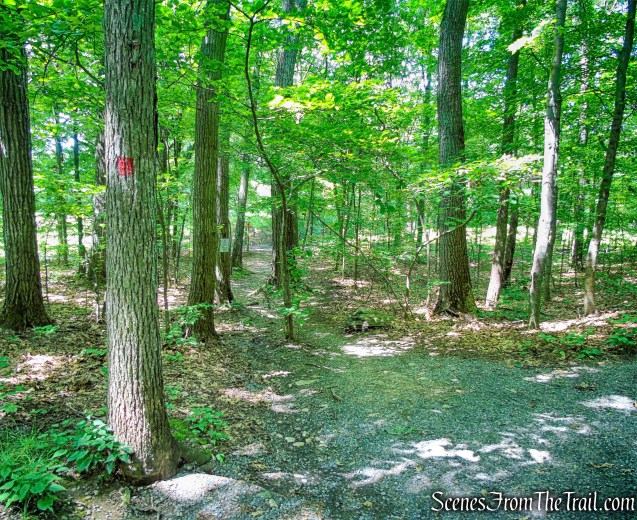
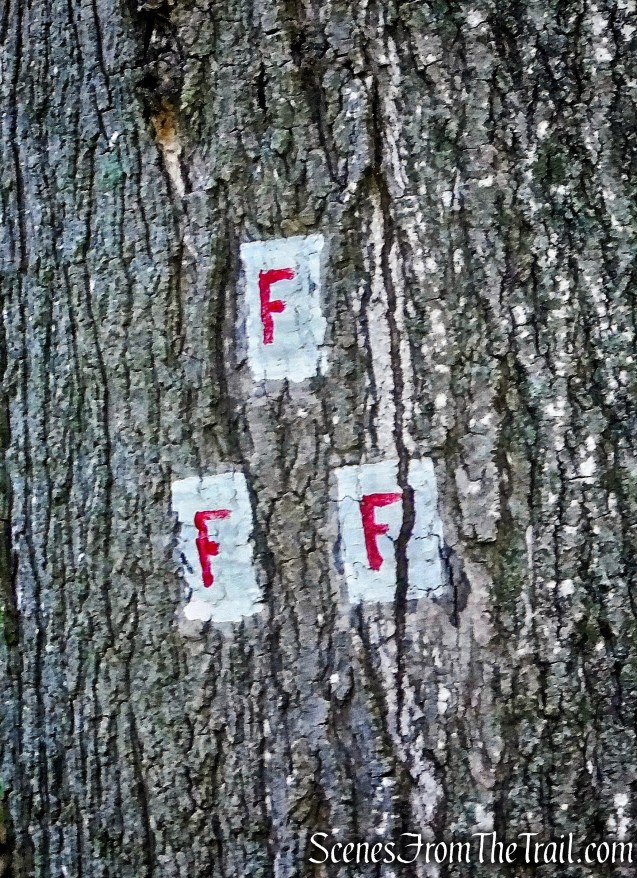
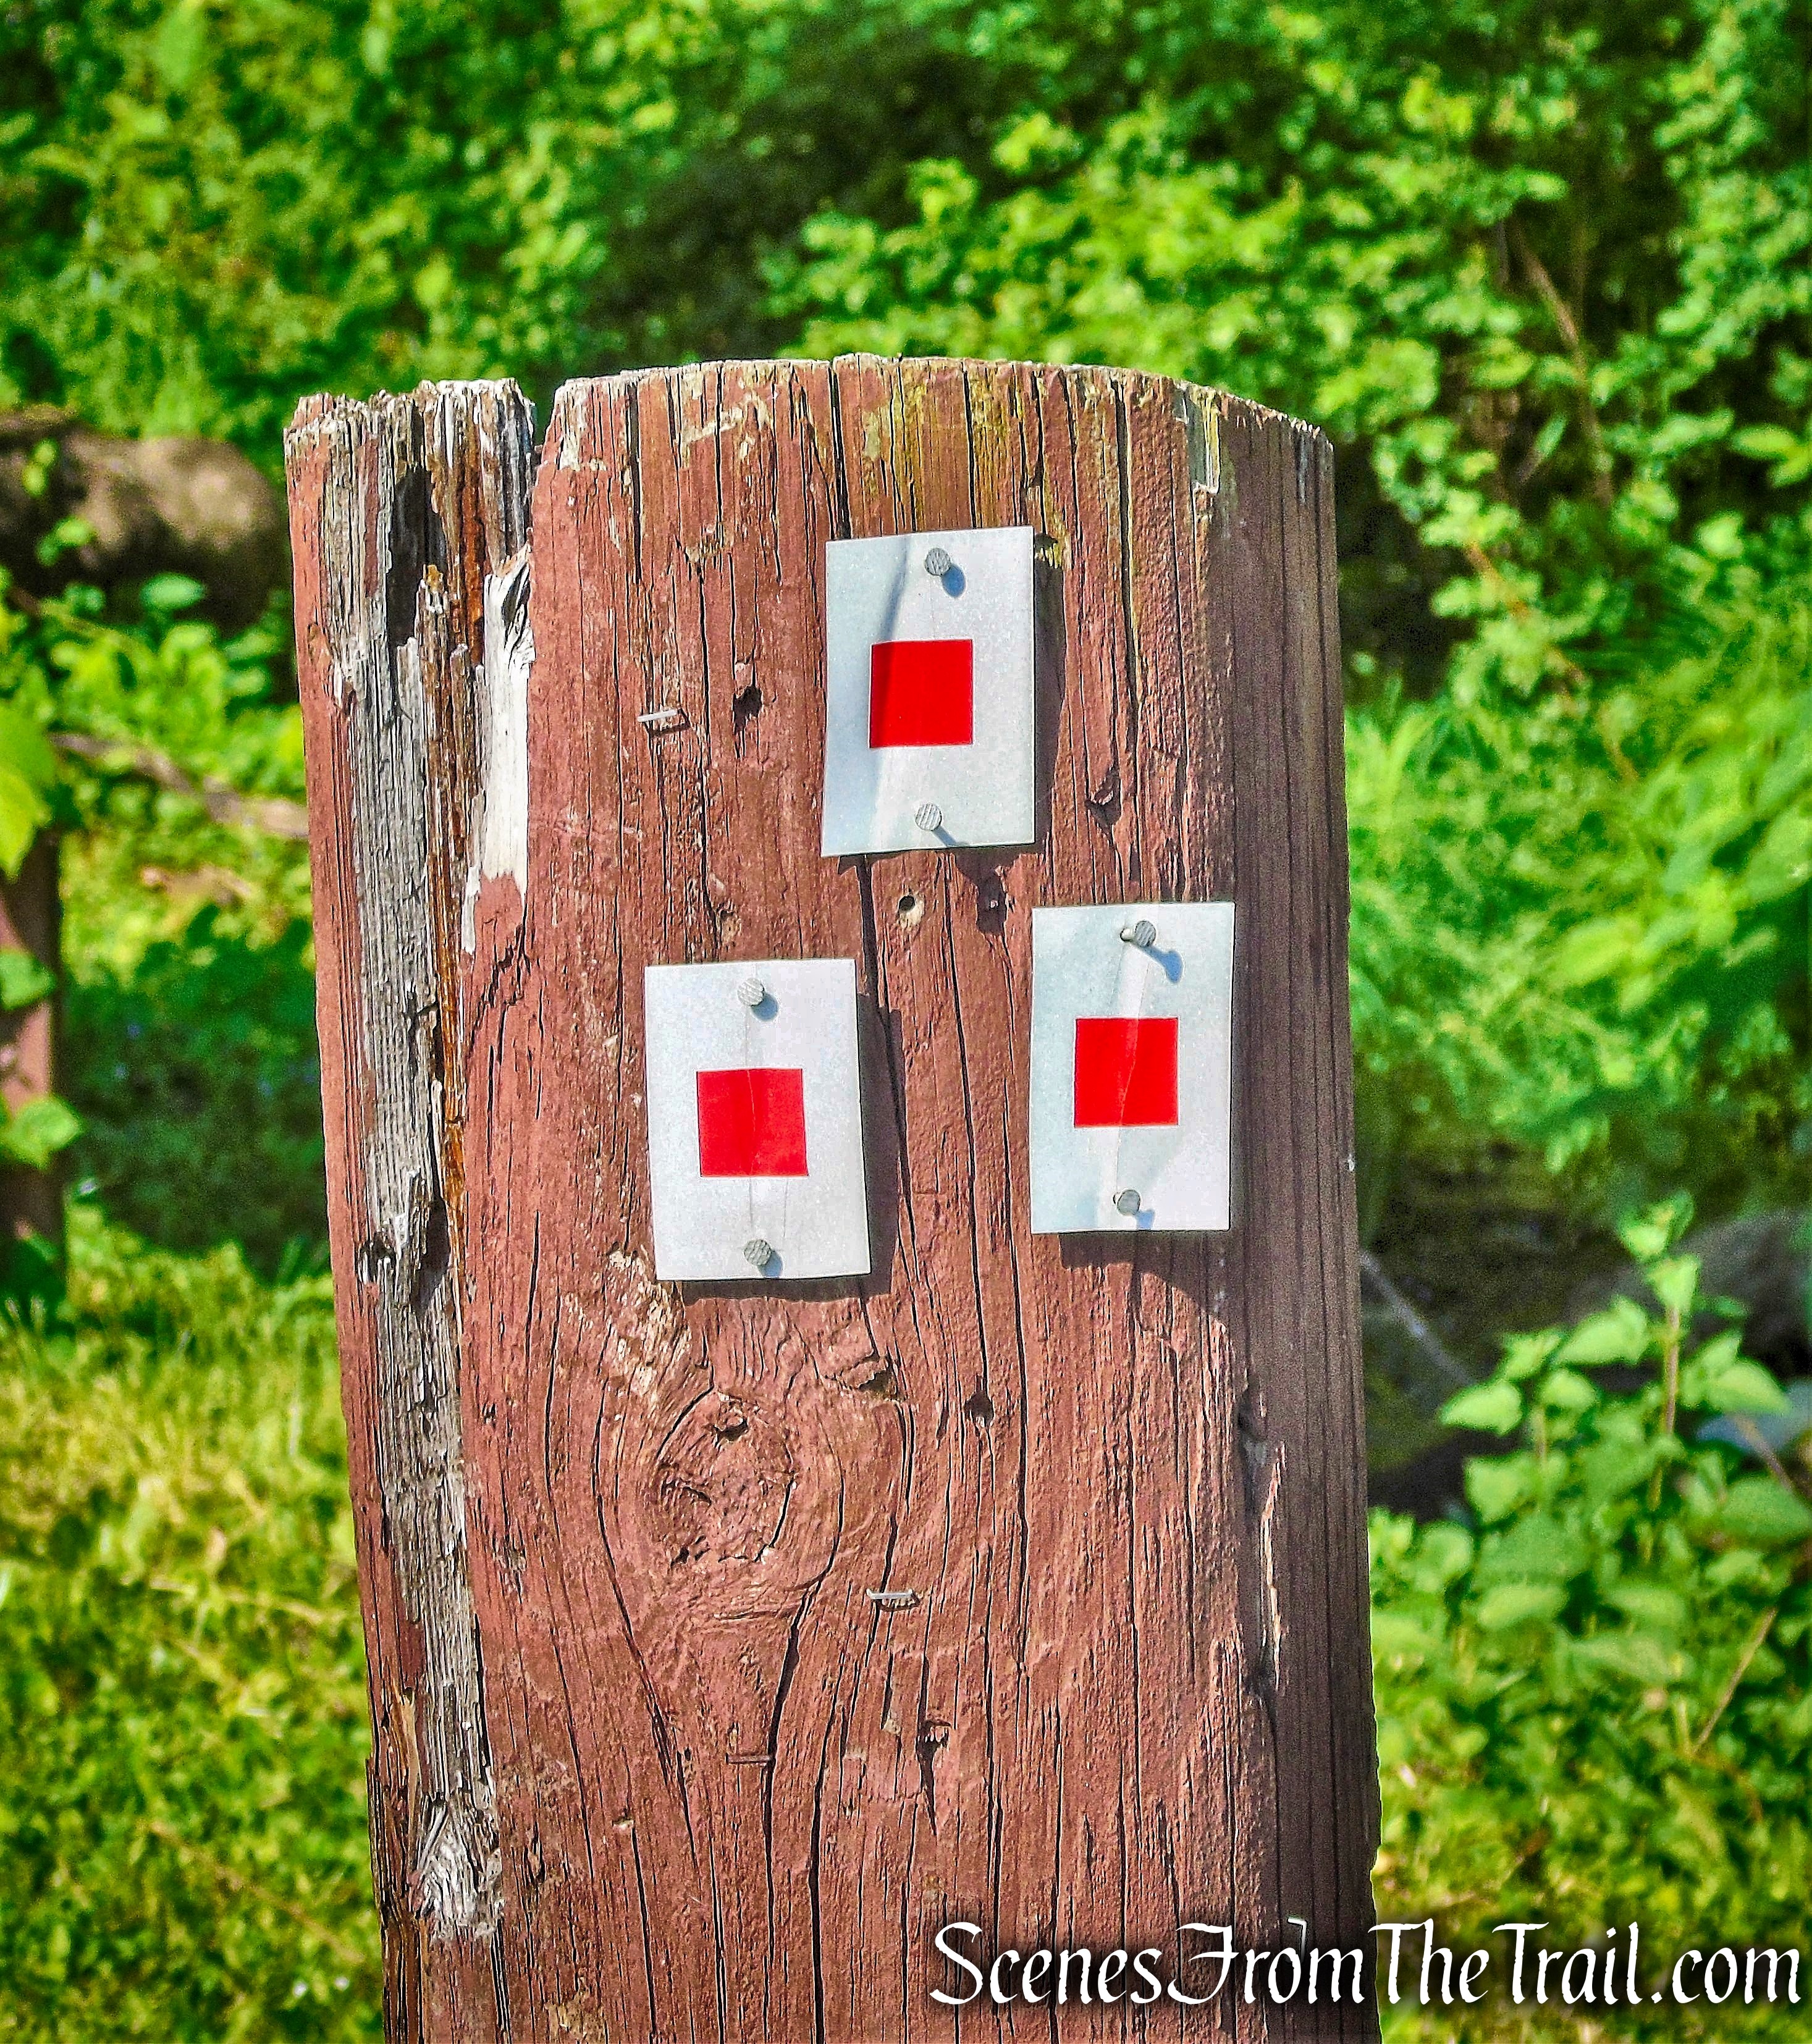
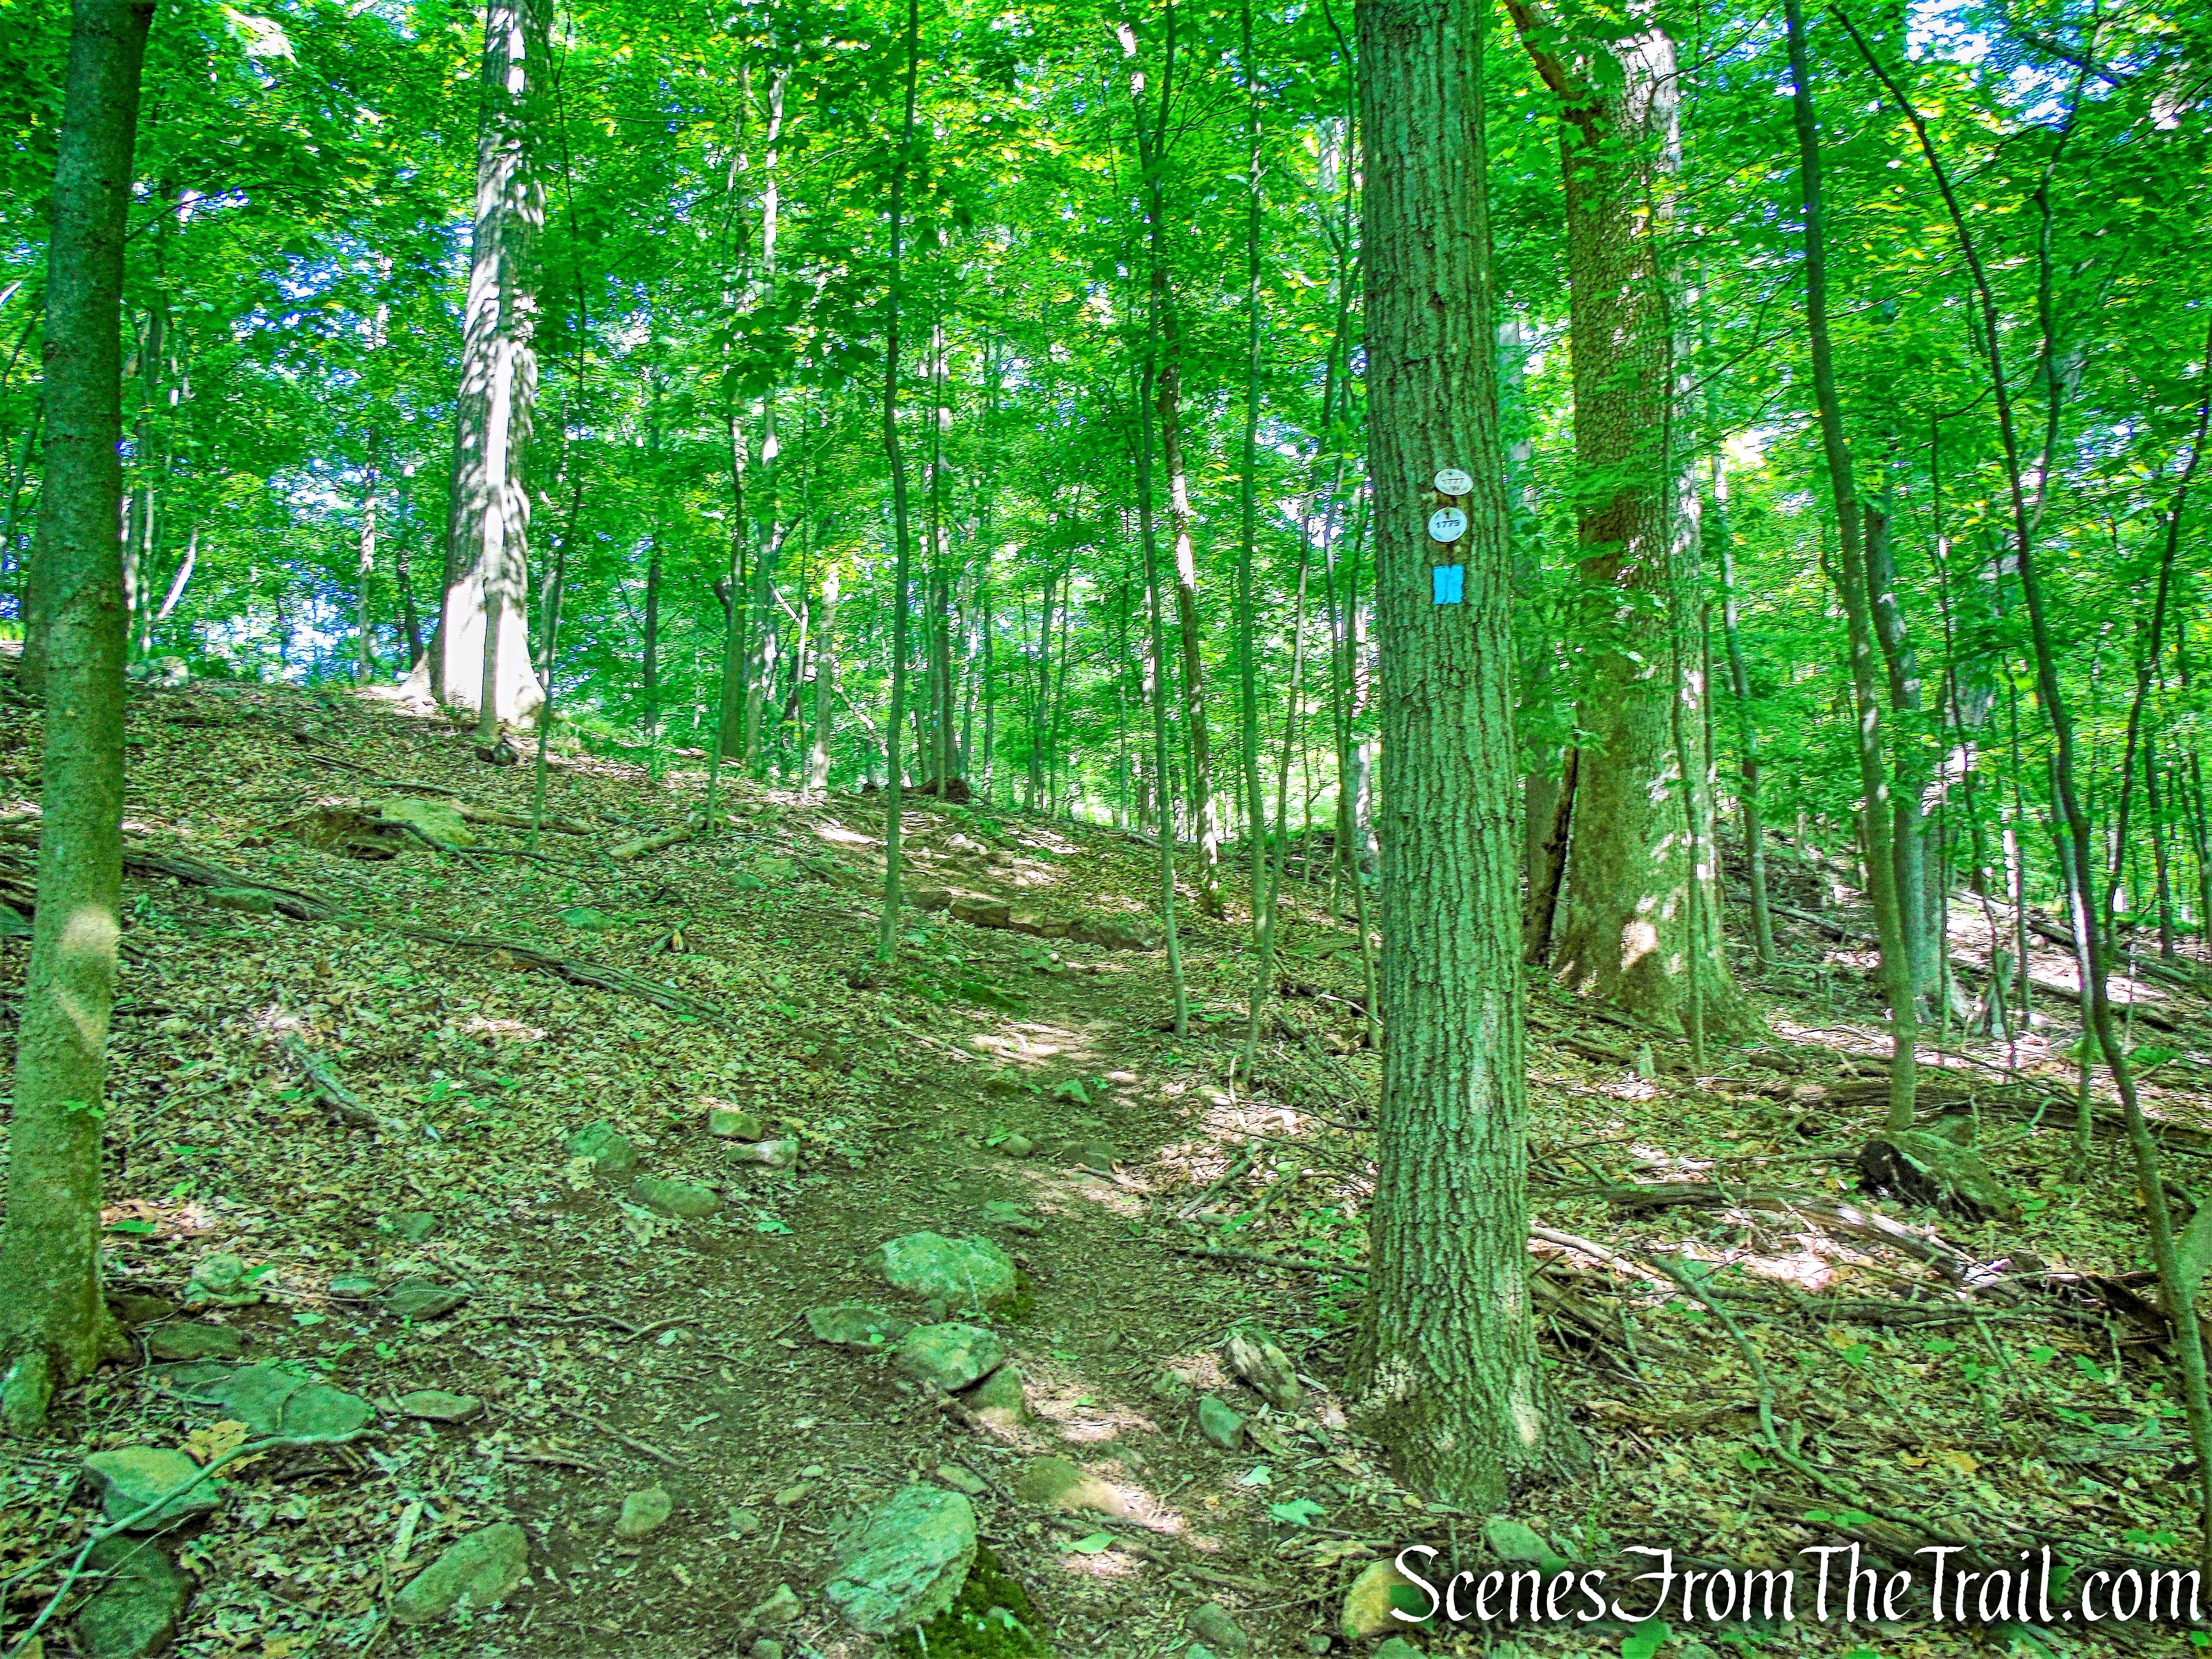
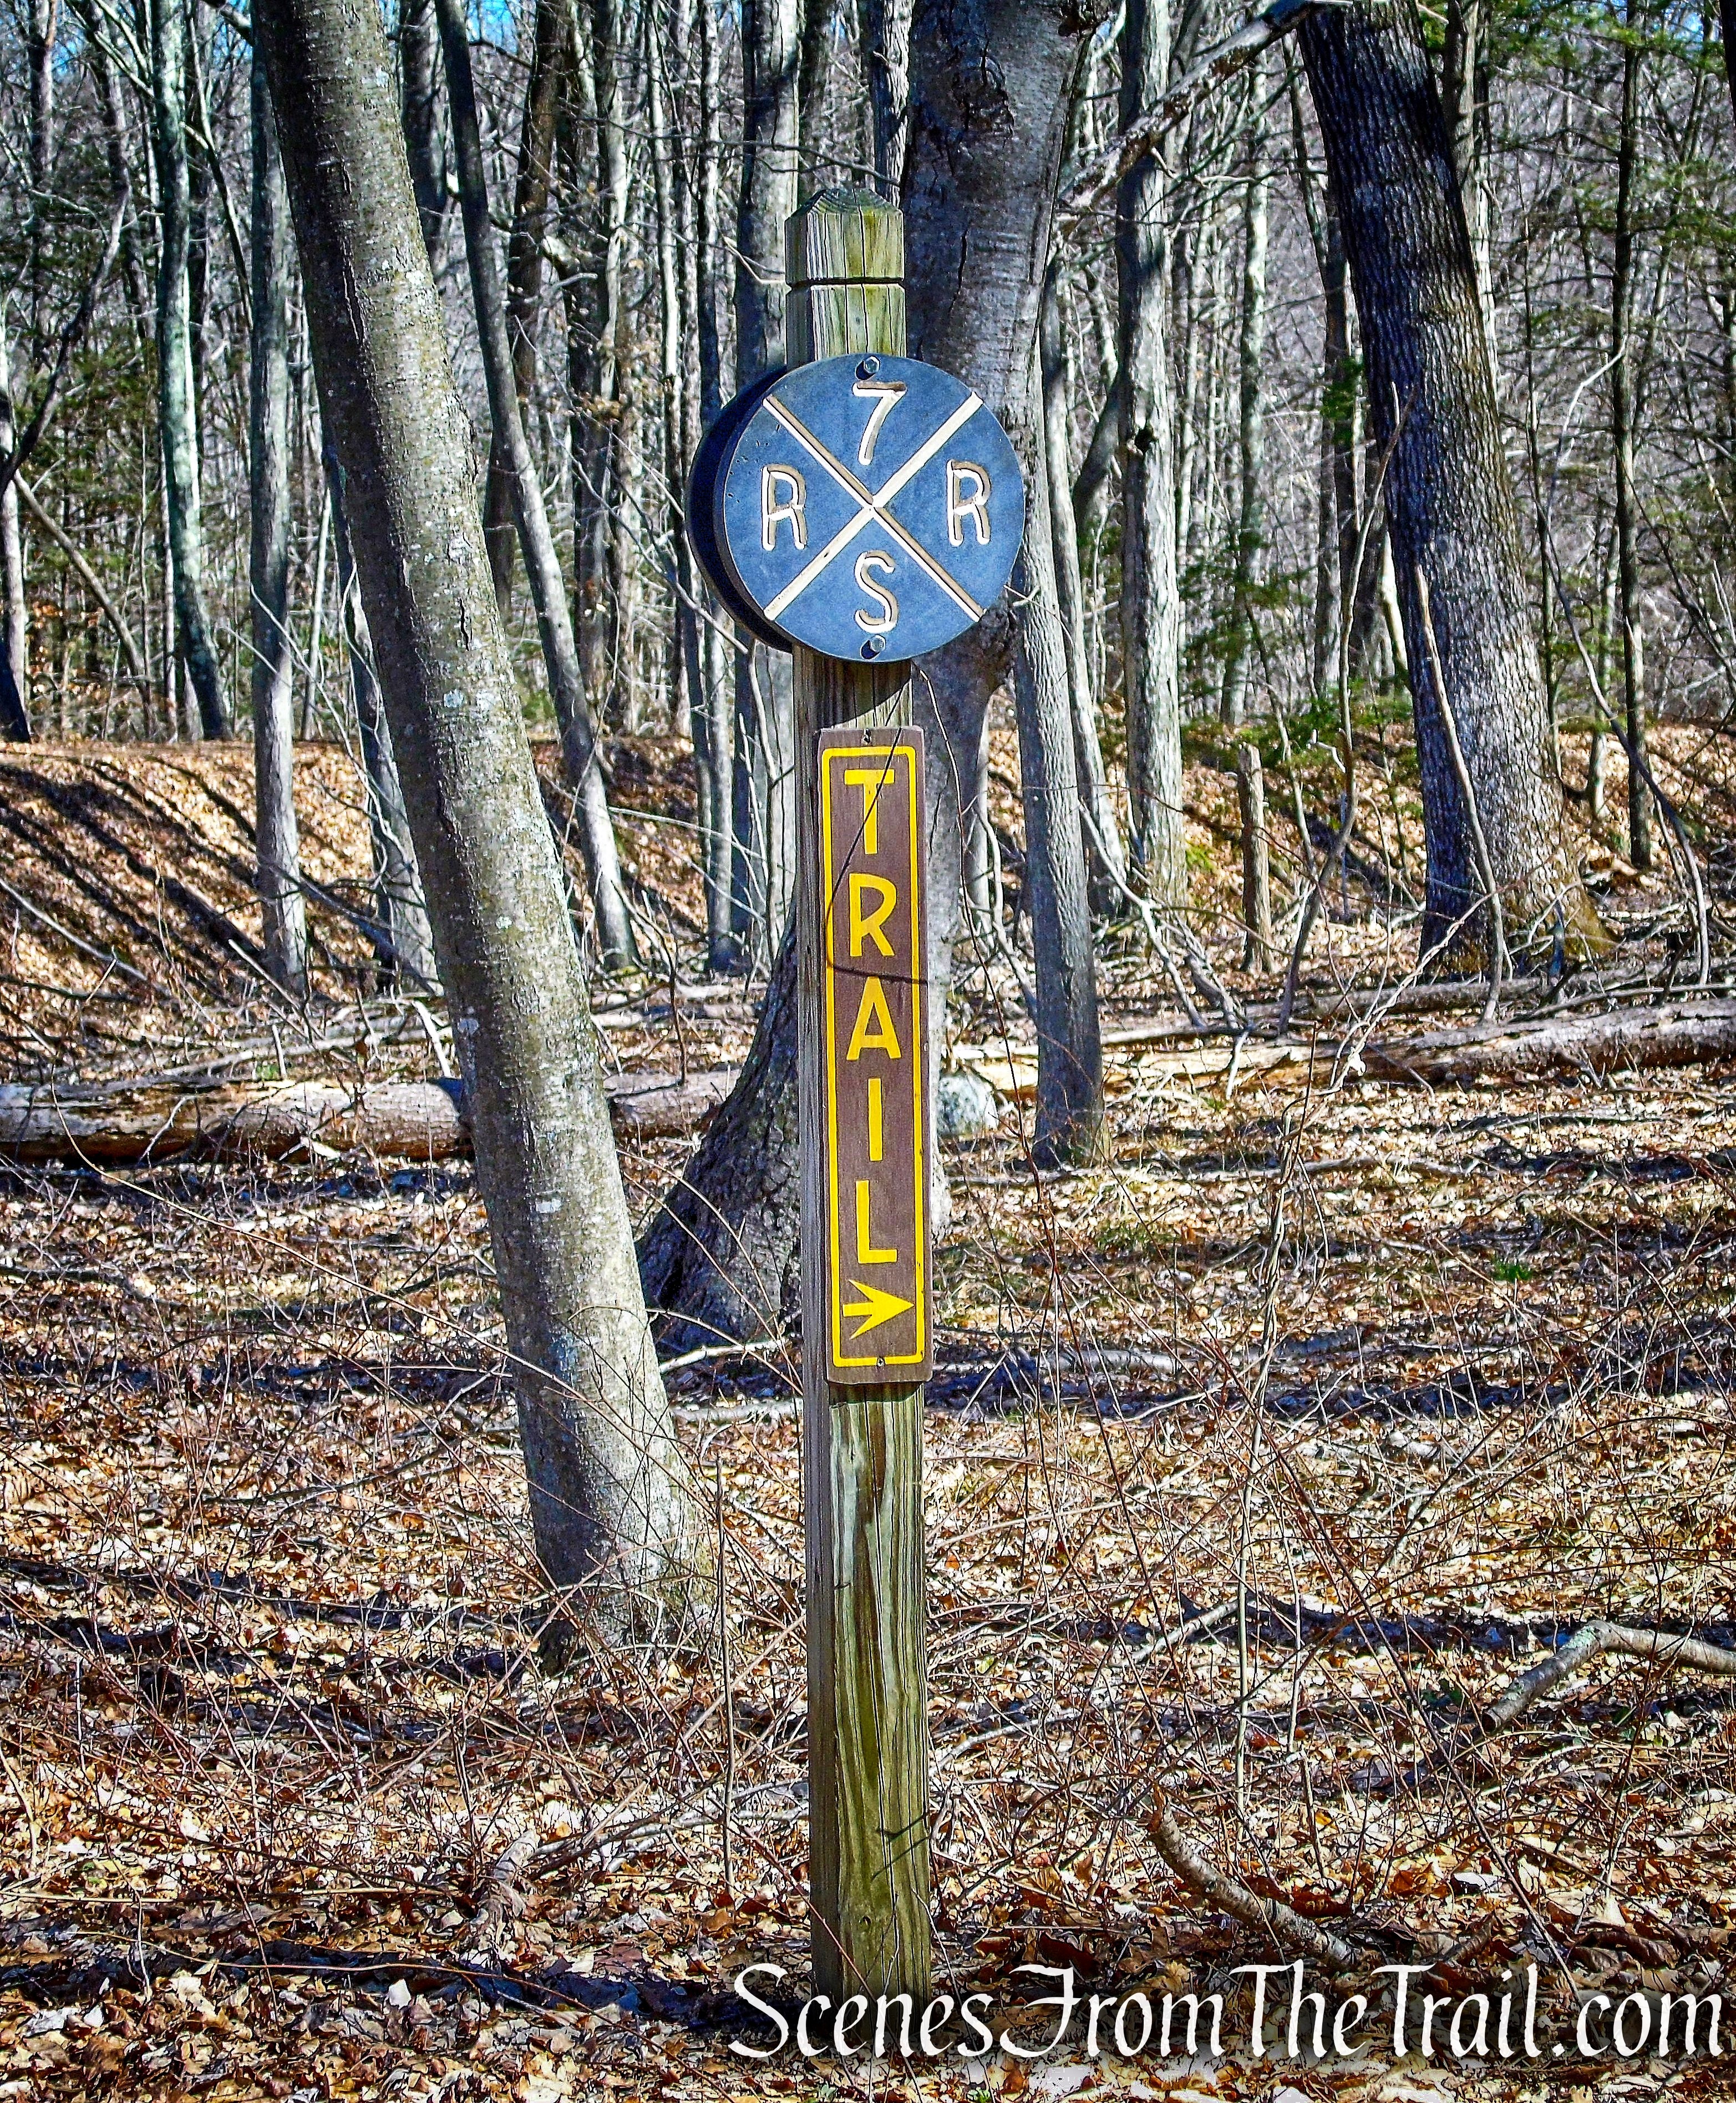
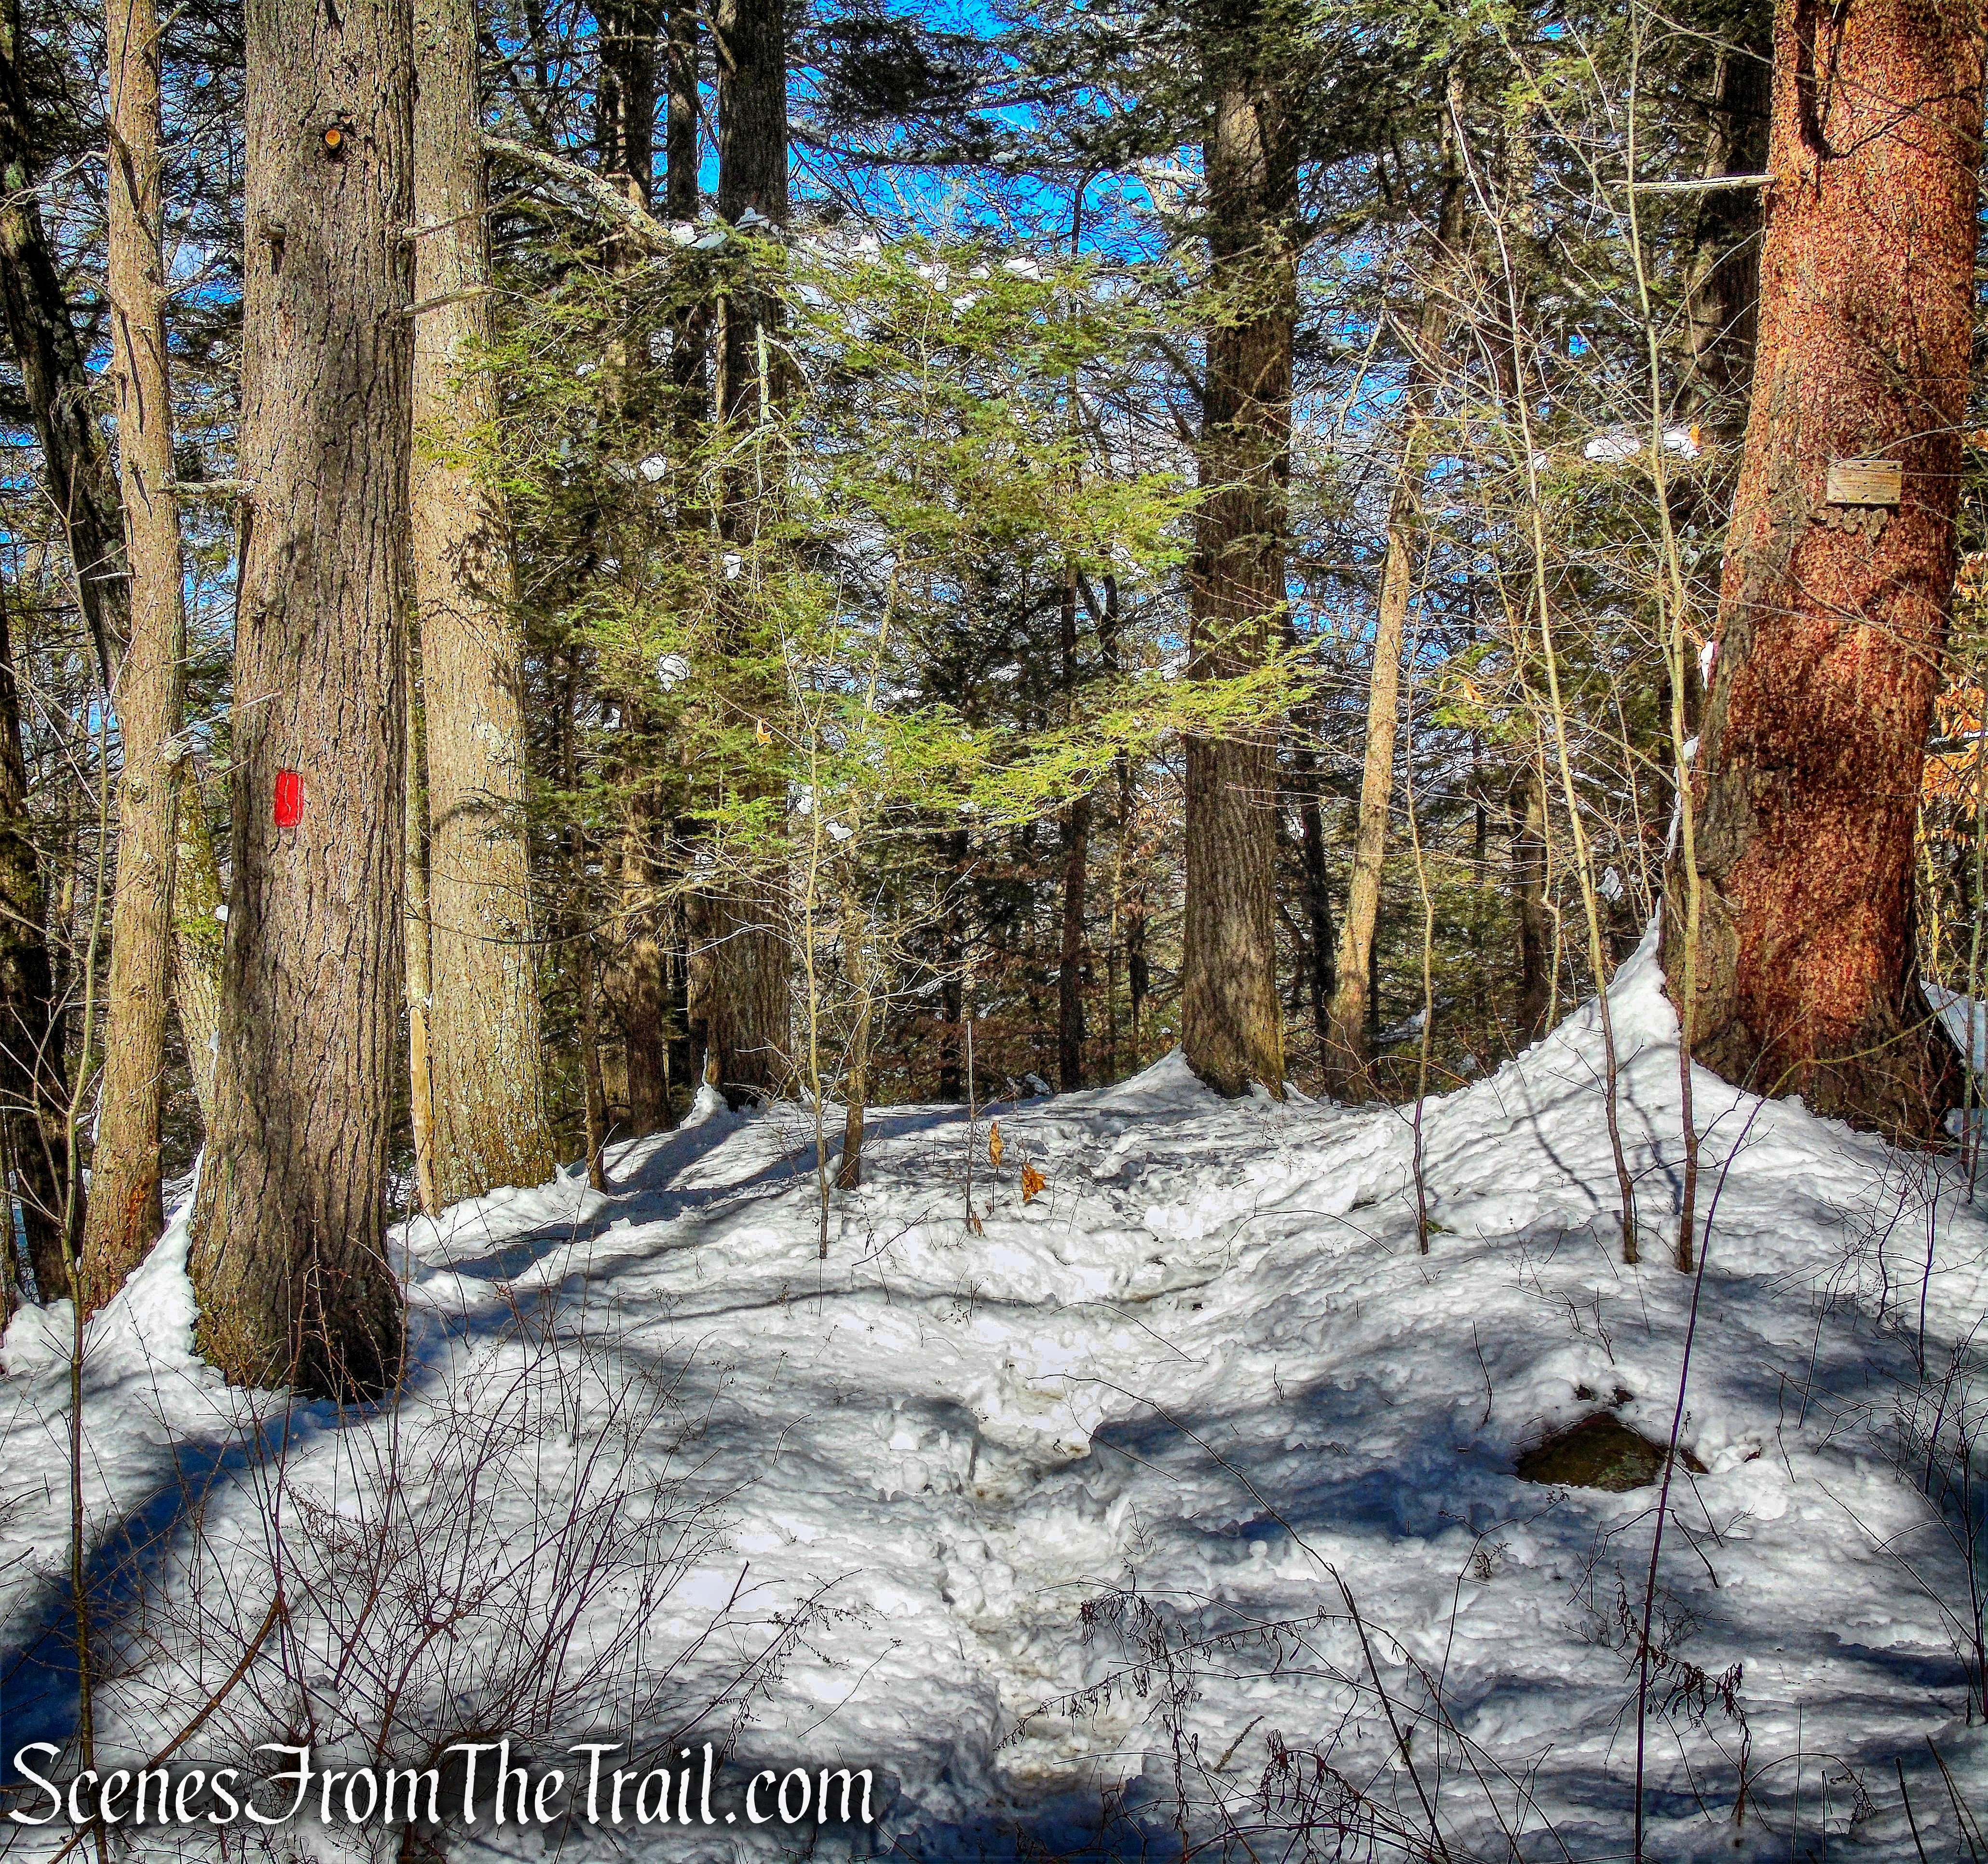
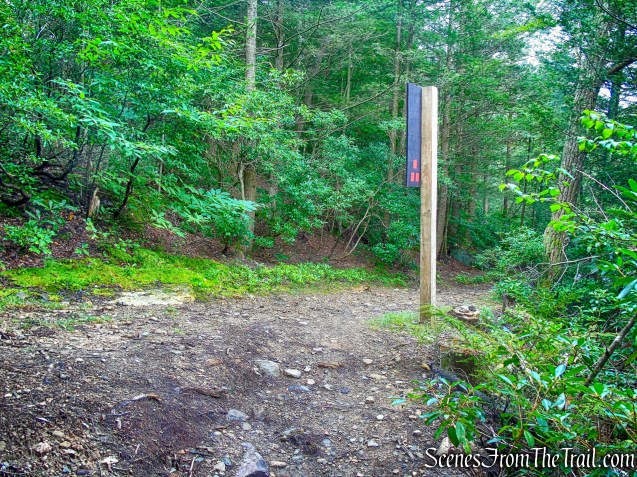
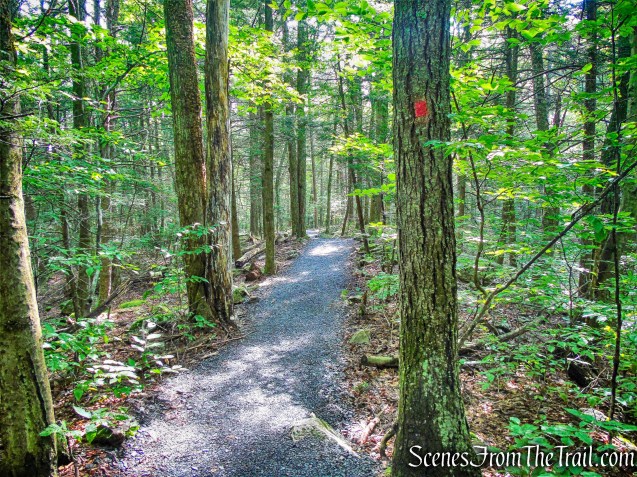
The trail is marked with red blazes and begins at the southern end of Shaft 2A Road.
Stony Kill Falls Trail
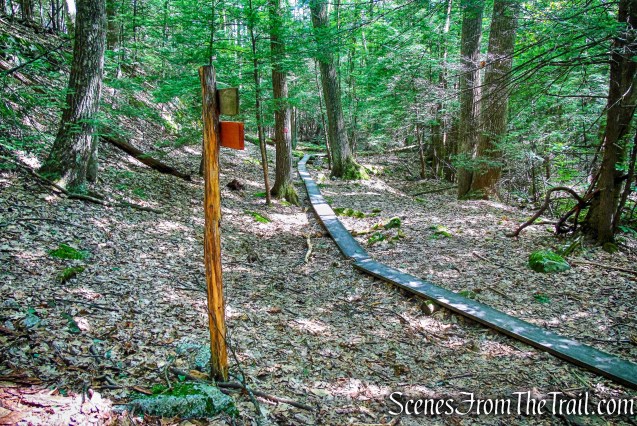
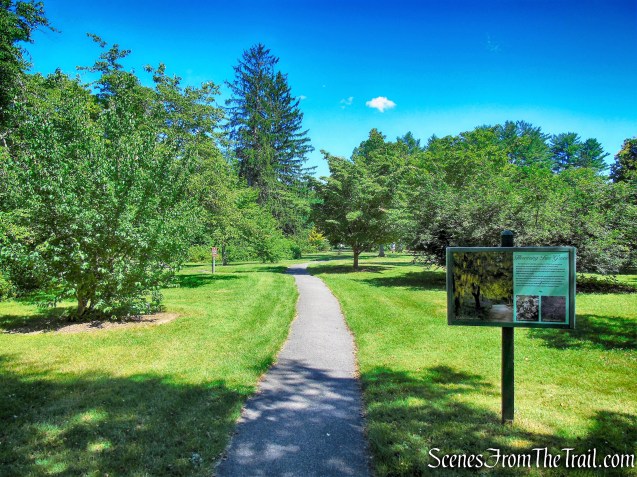
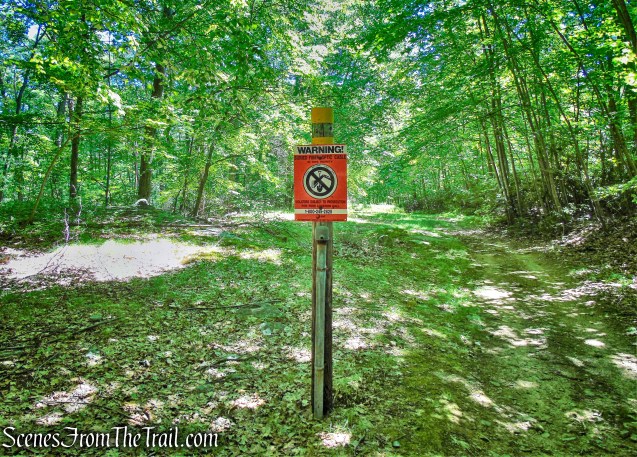
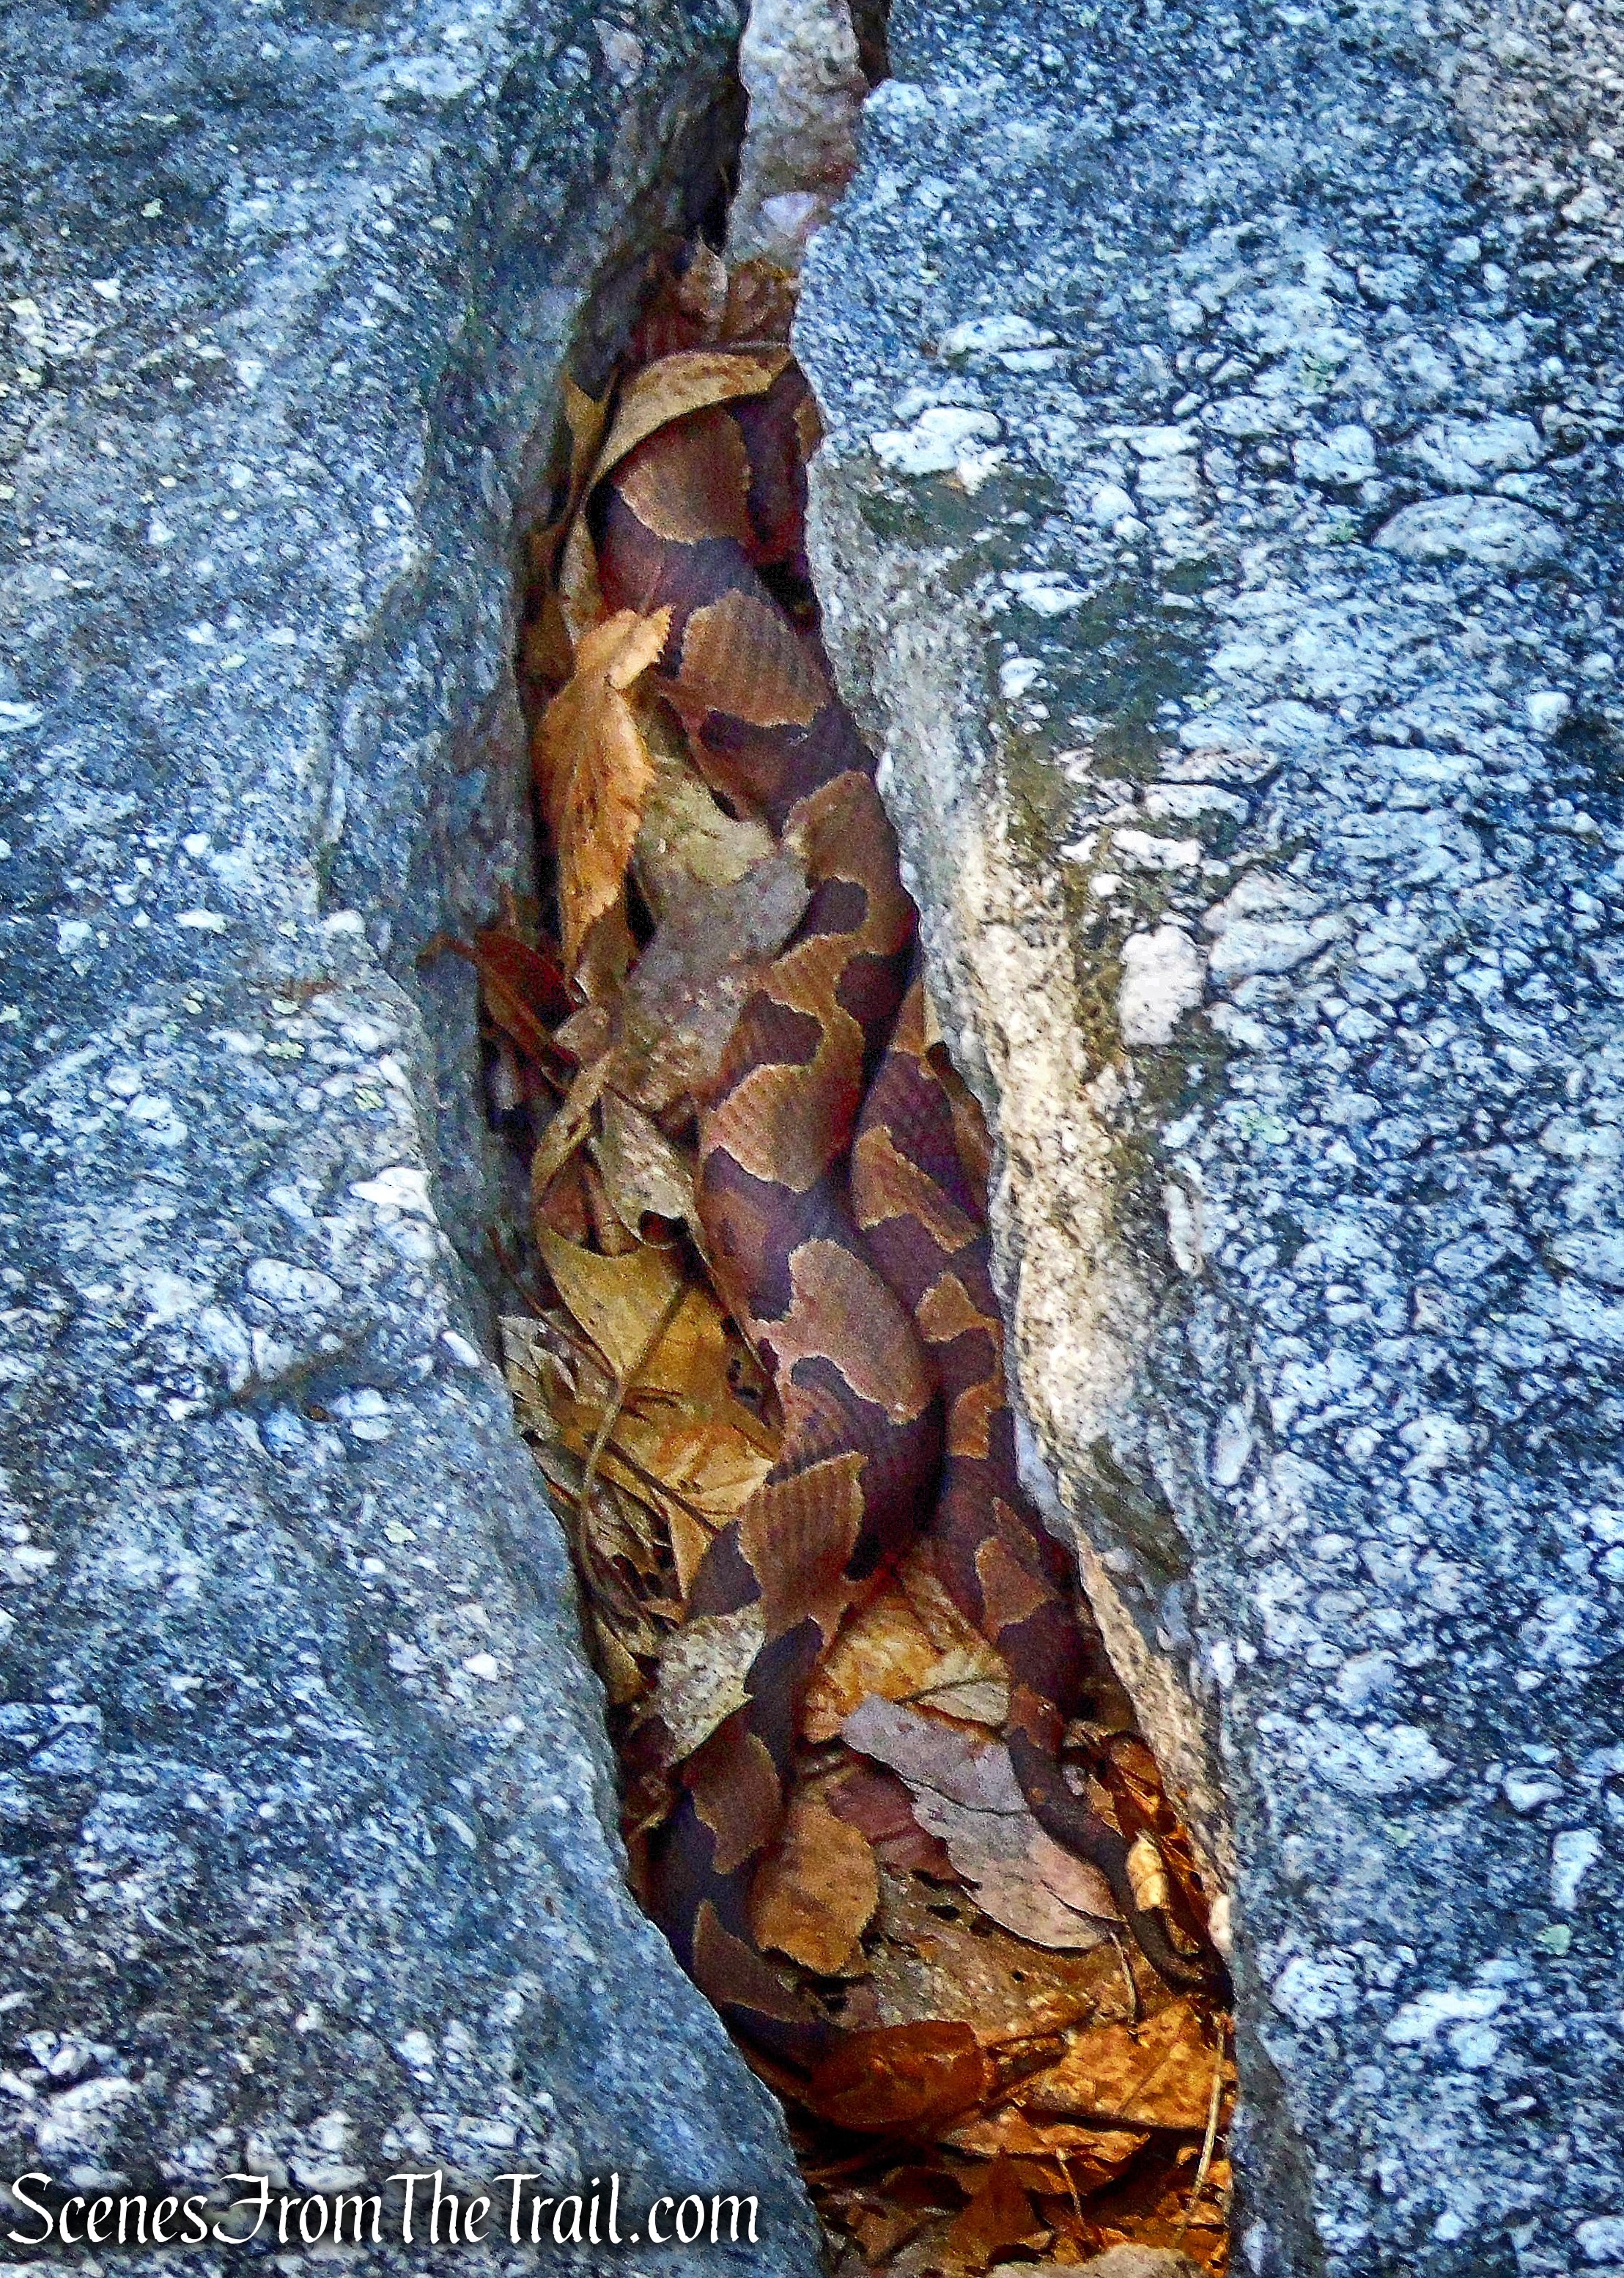
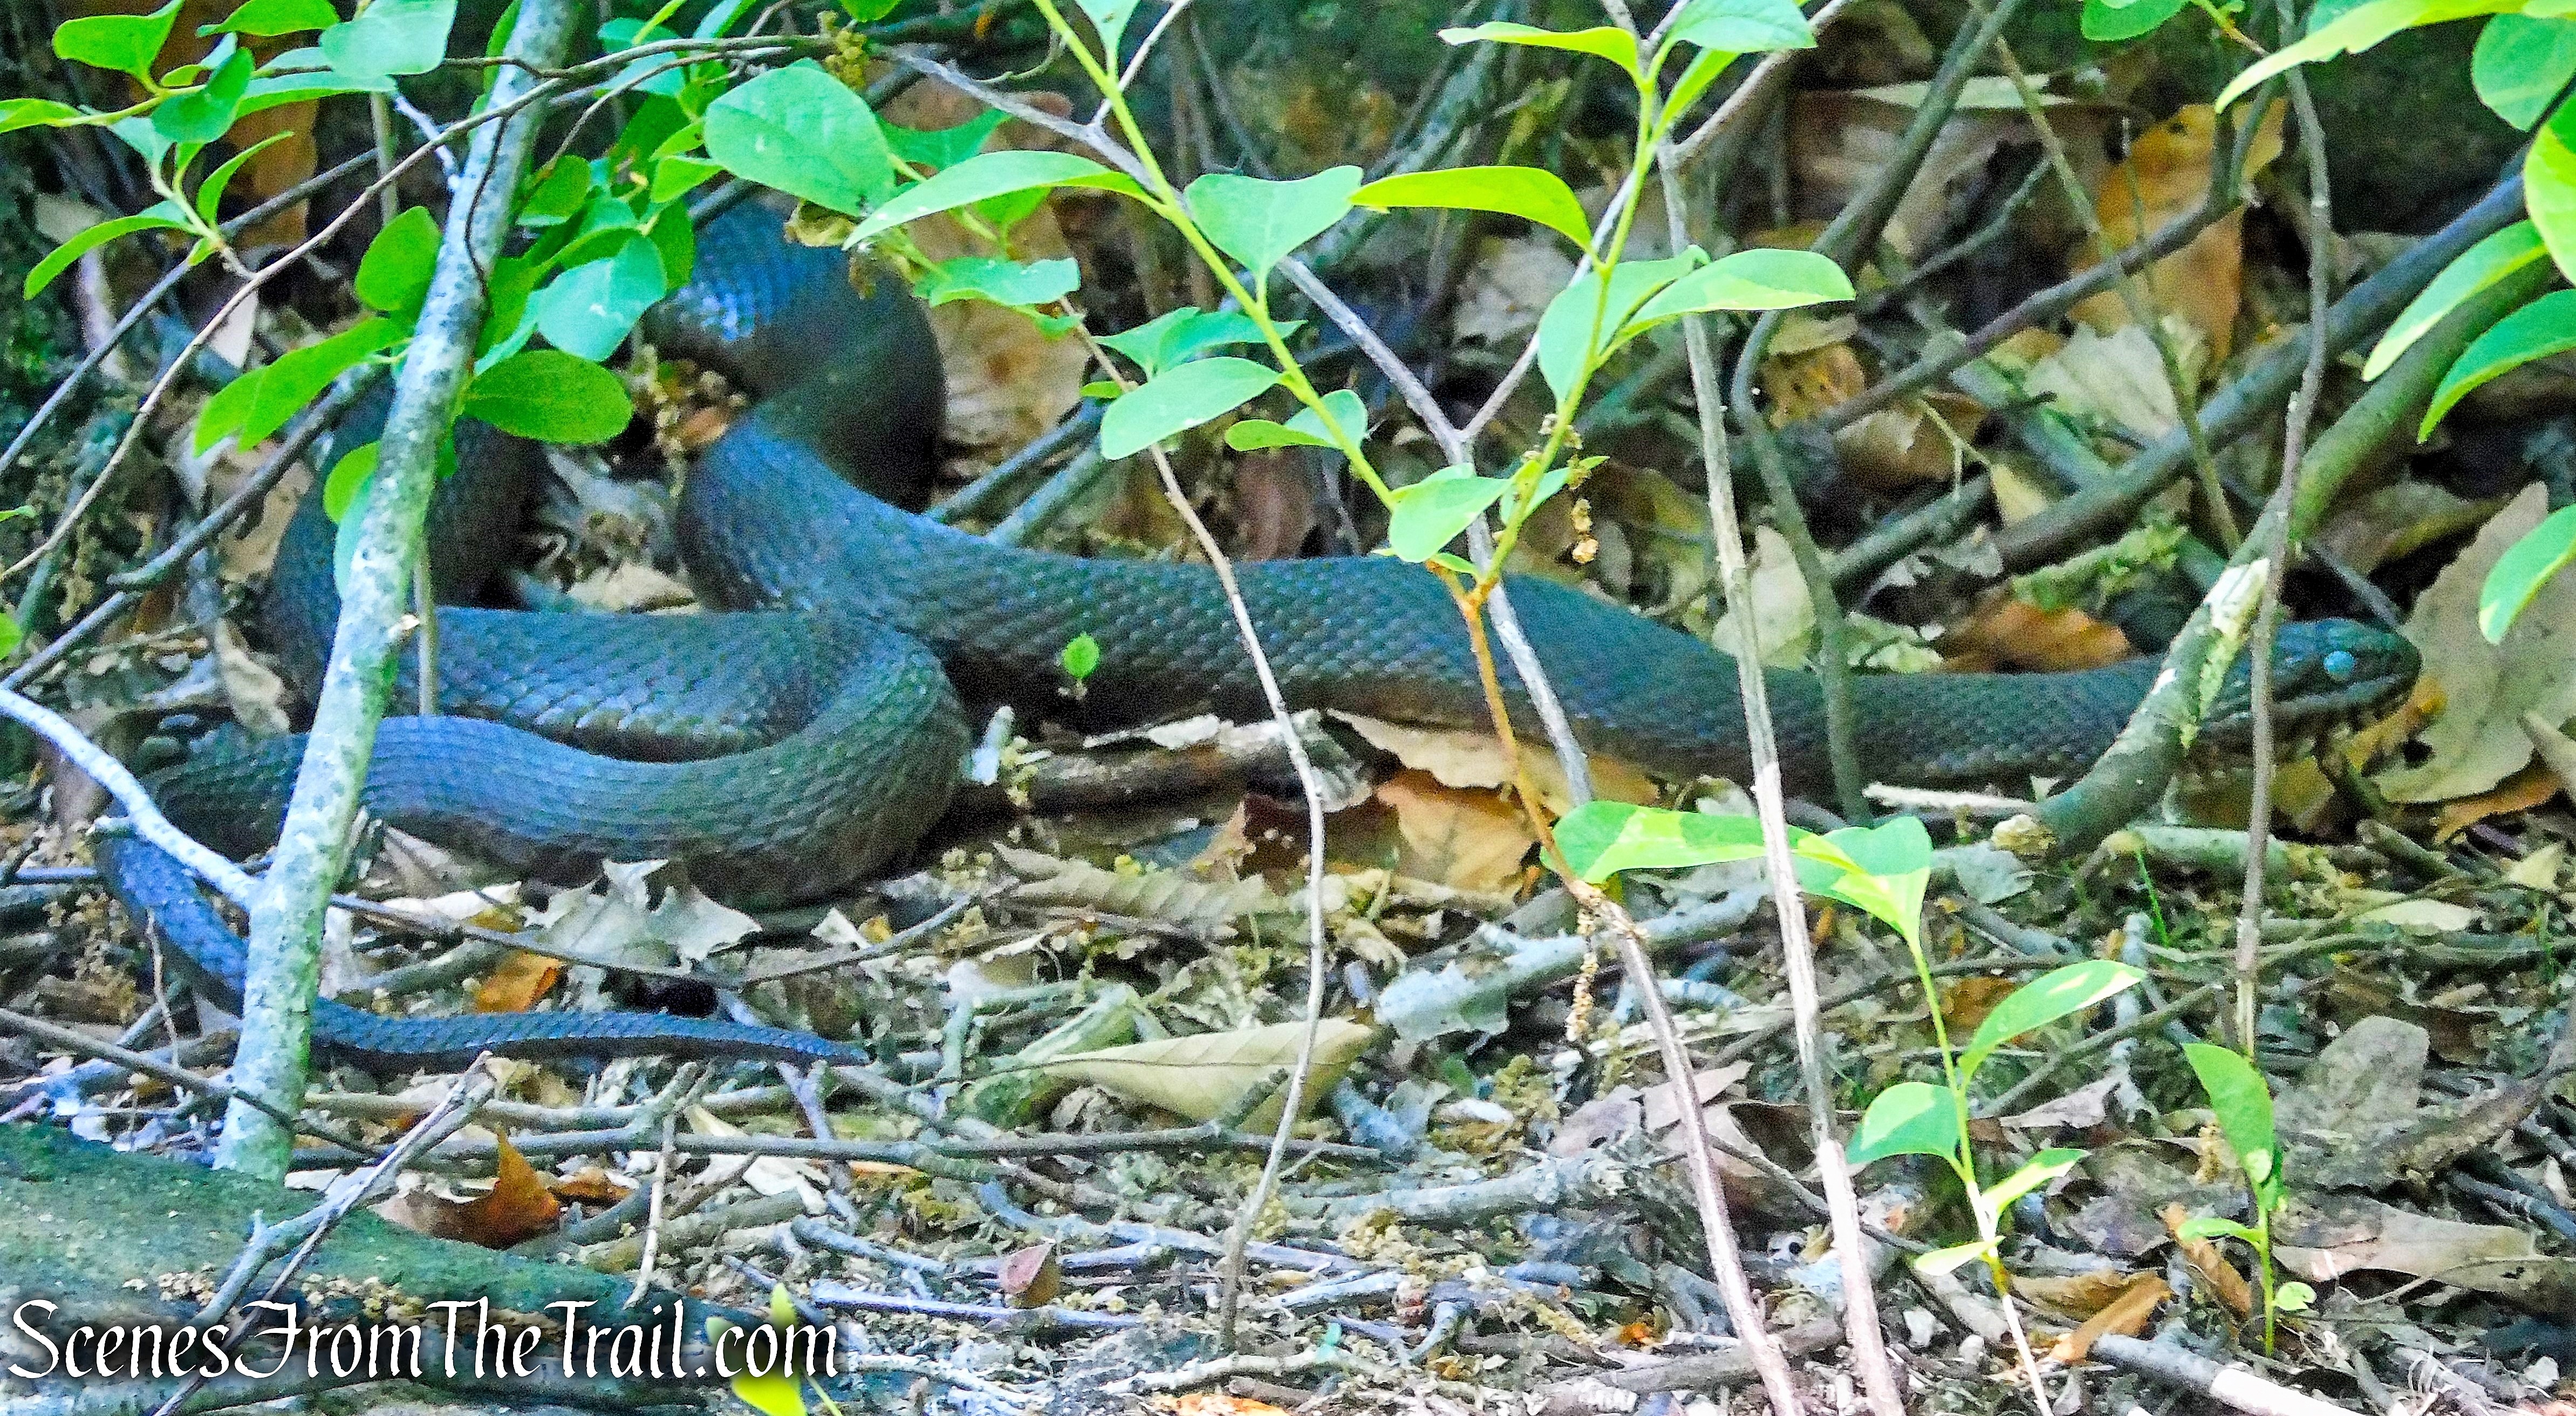
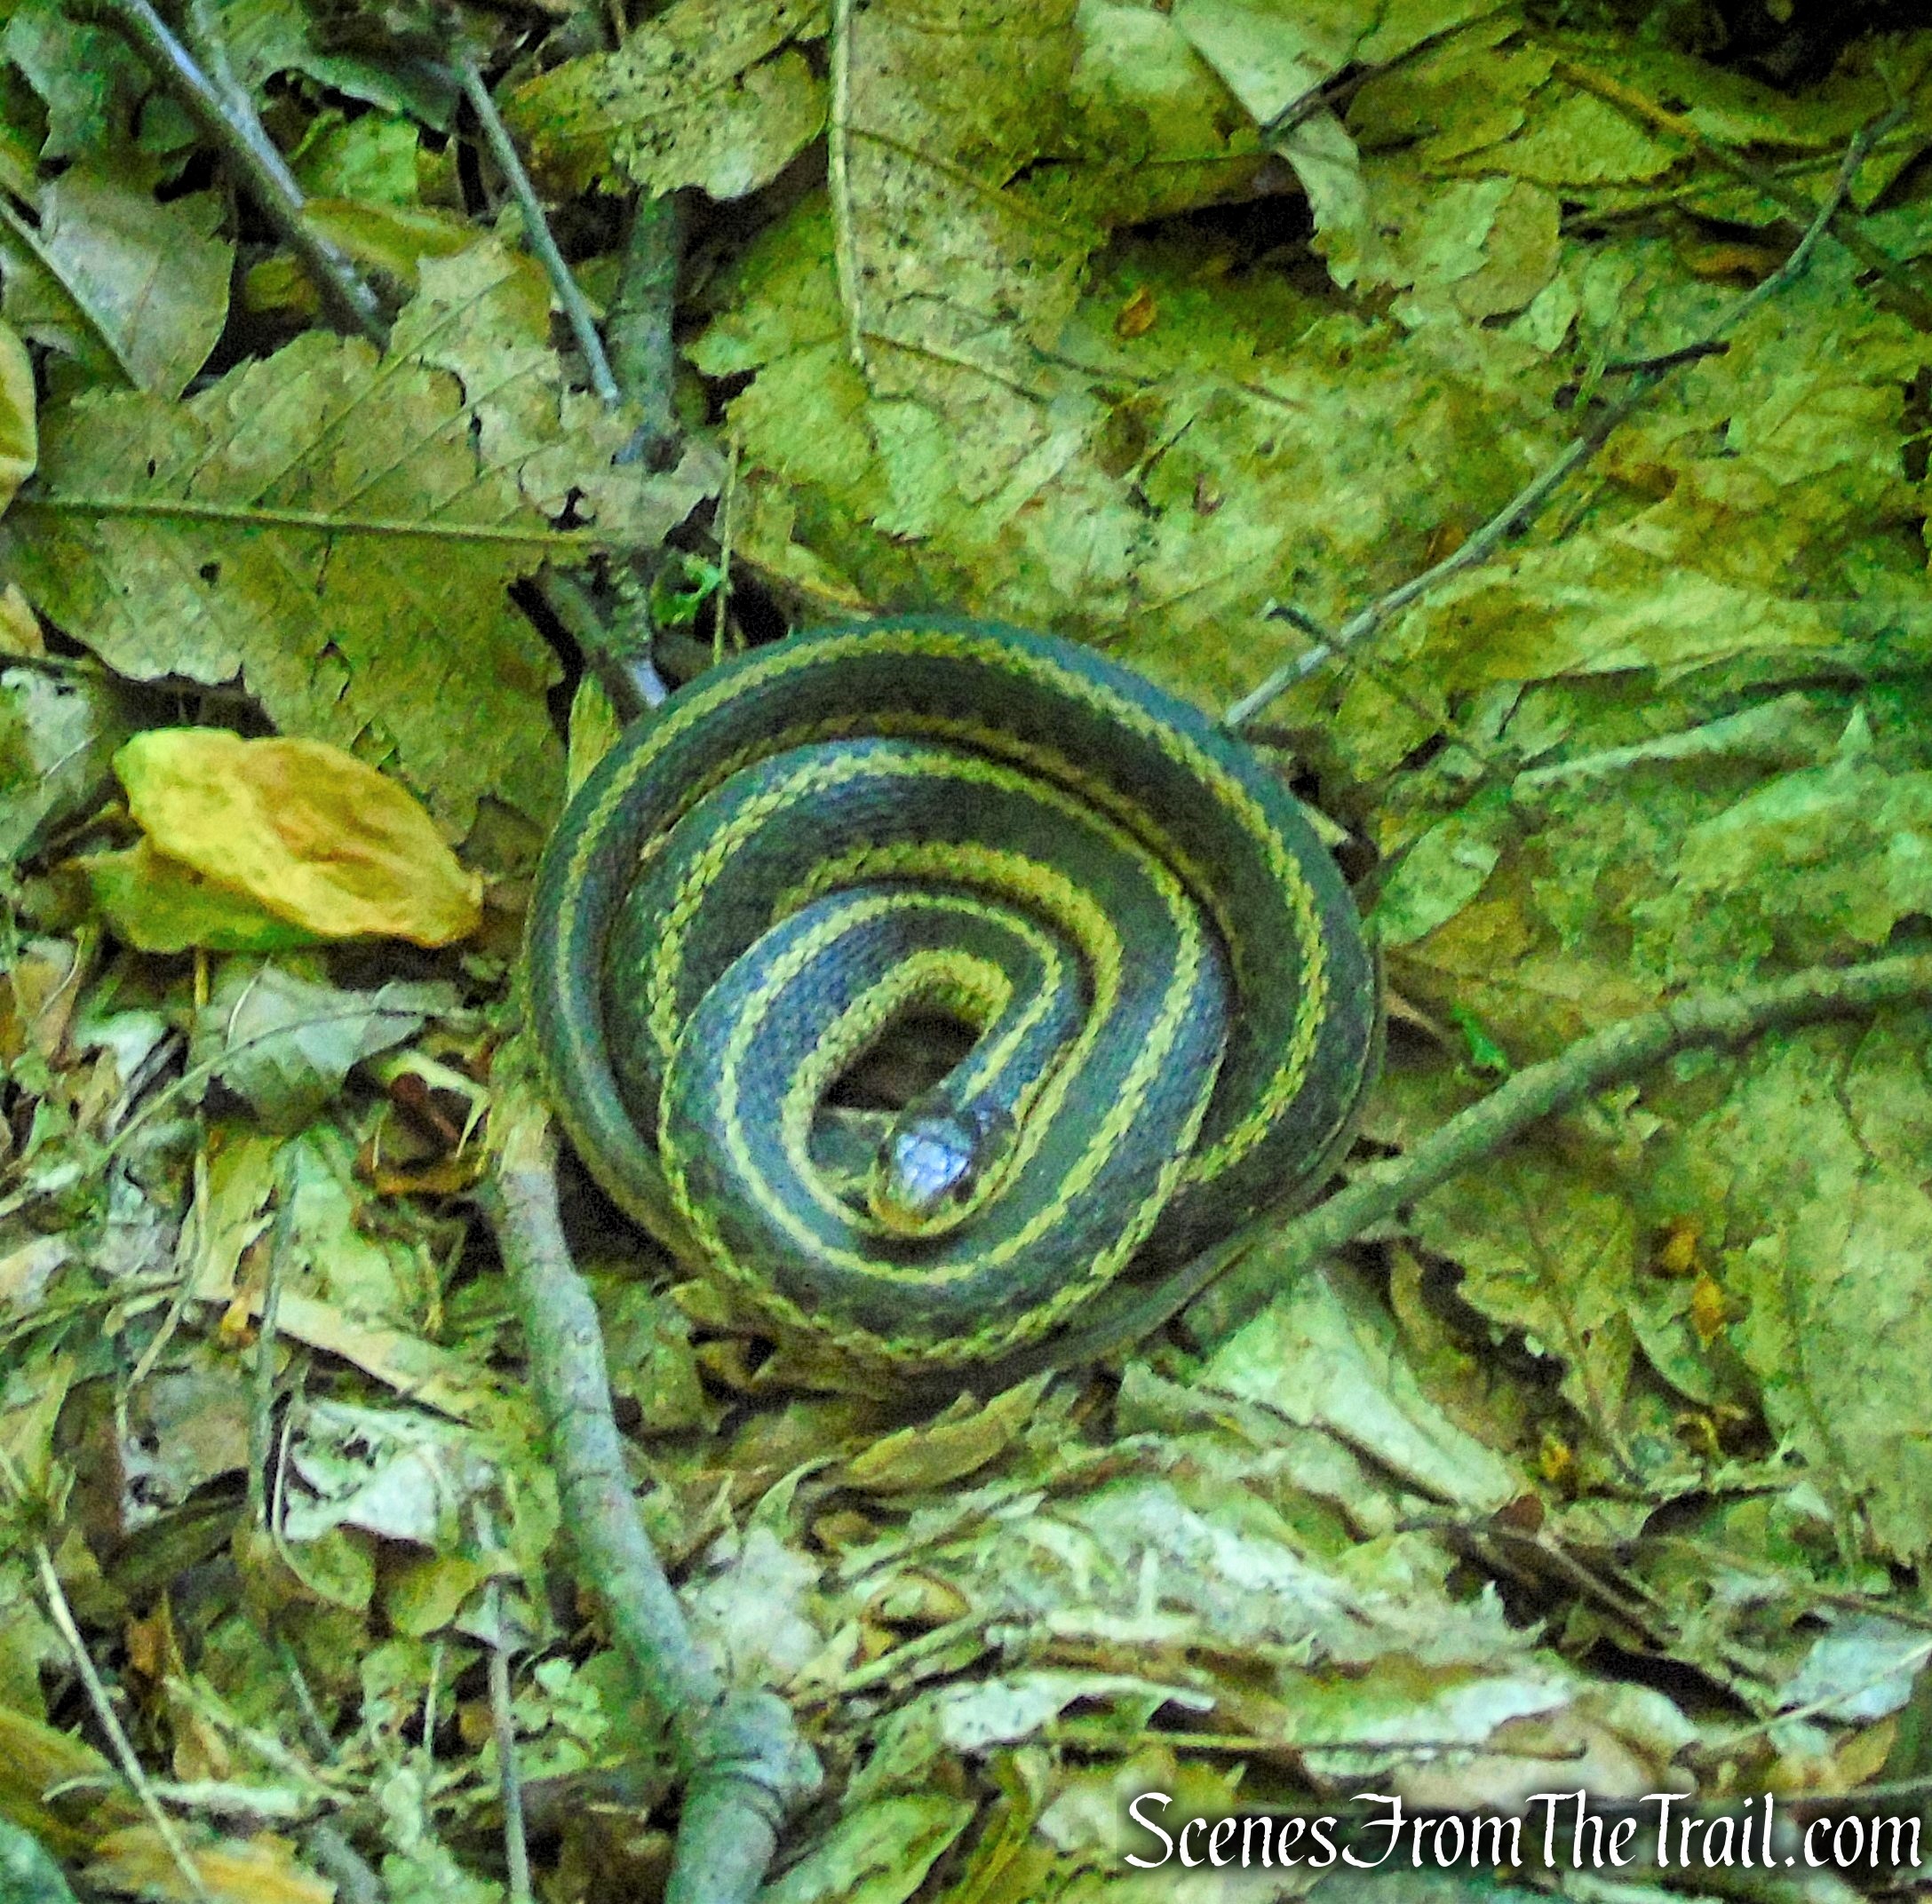
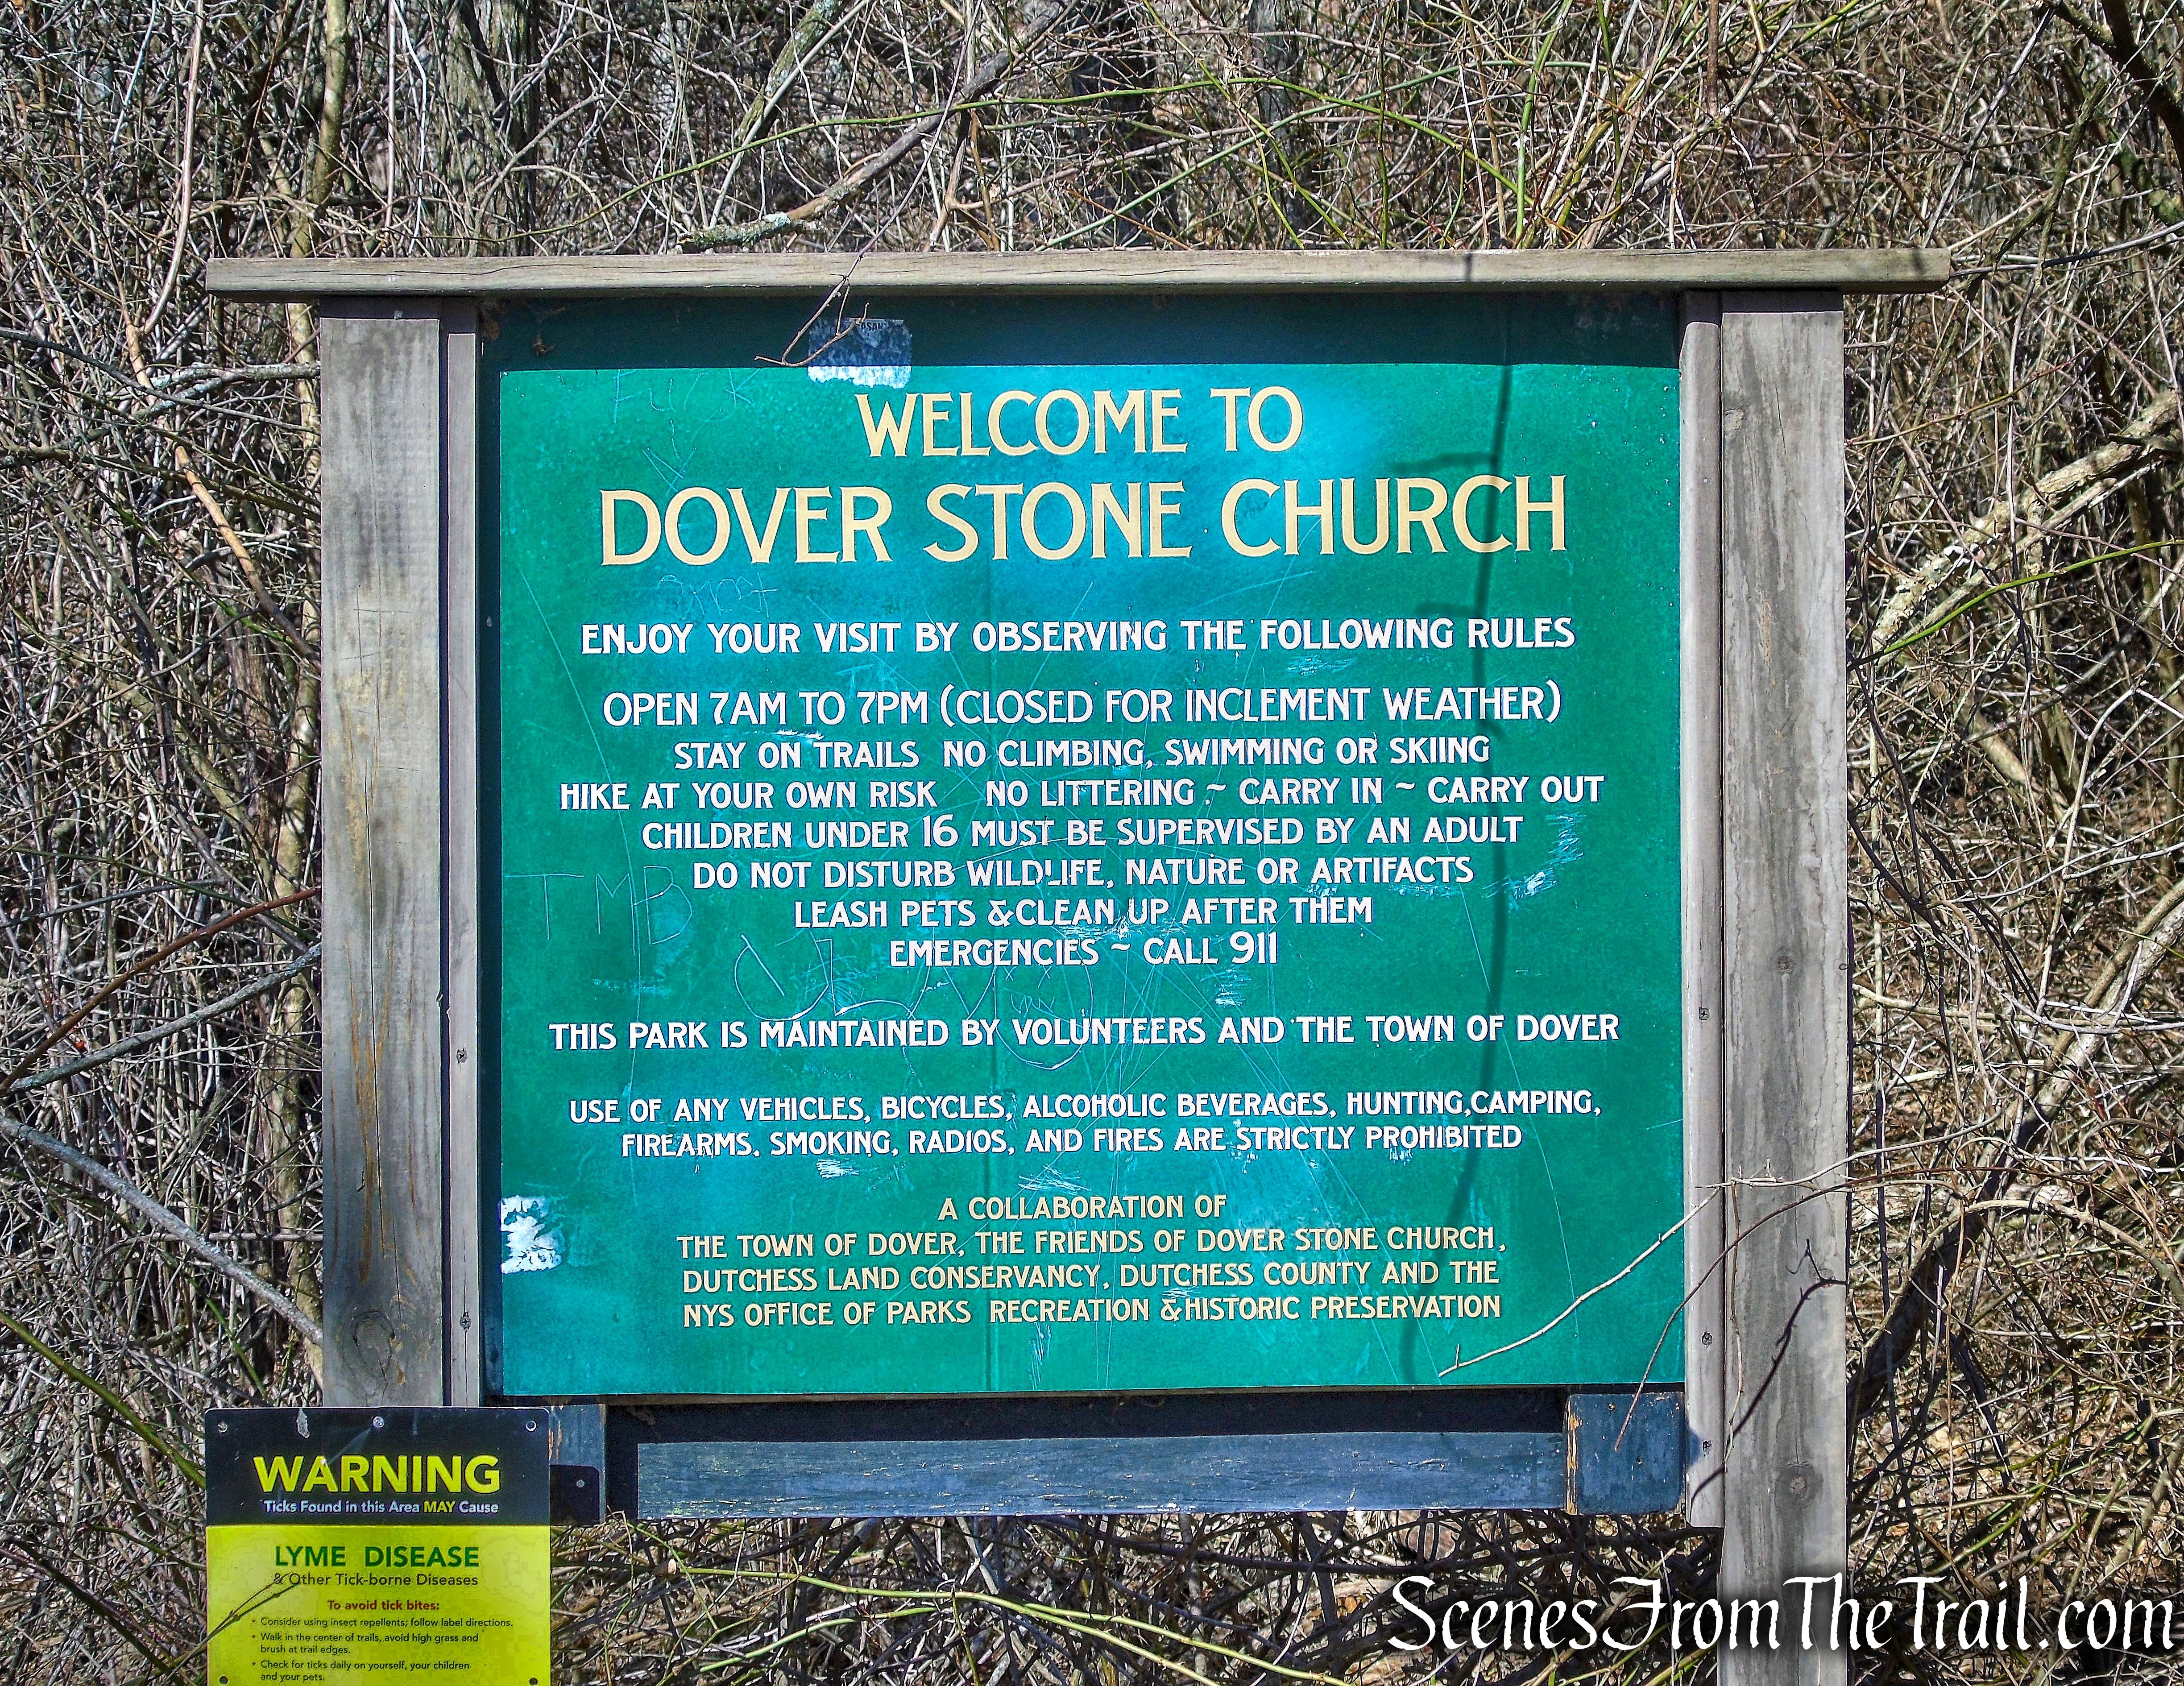
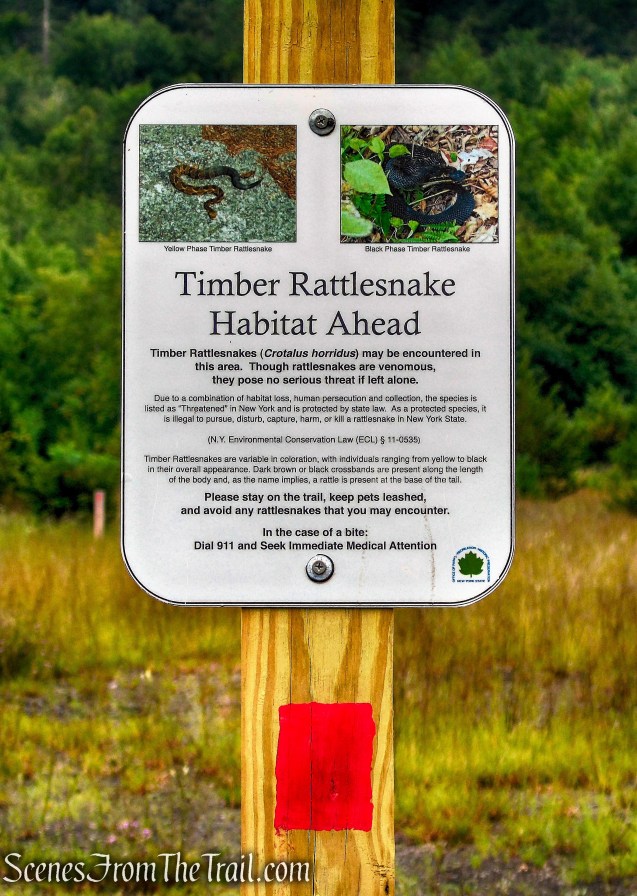
A sign on the post warns of Timber Rattlesnakes that inhabit this area. None were encountered on our visit, but care should be taken by remaining on the designated trail.
Stony Kill Falls Trail
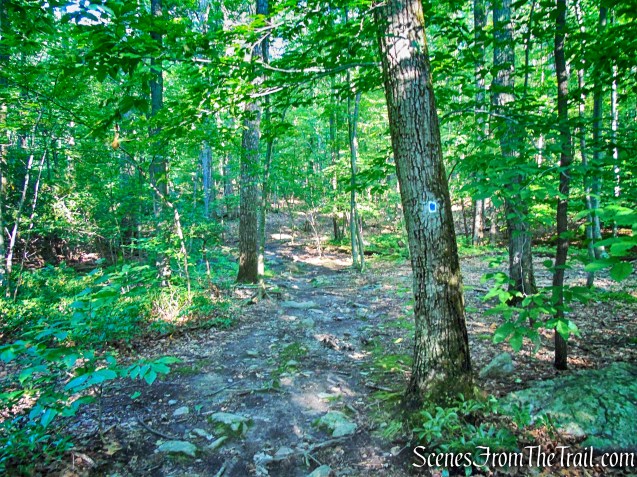
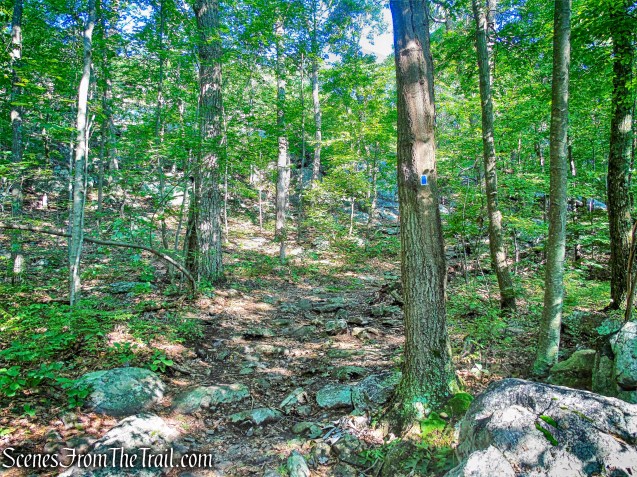
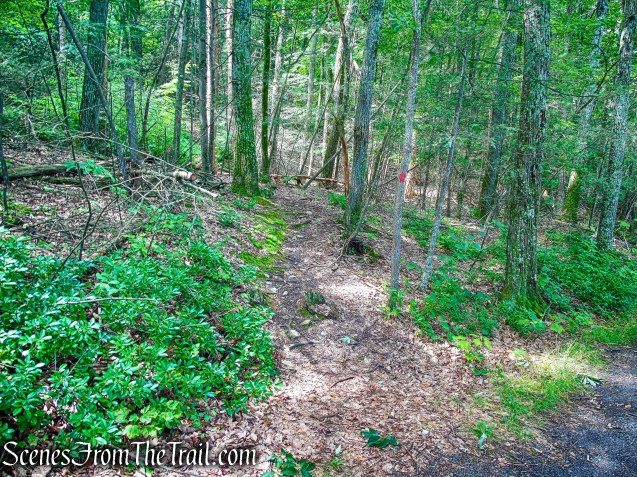
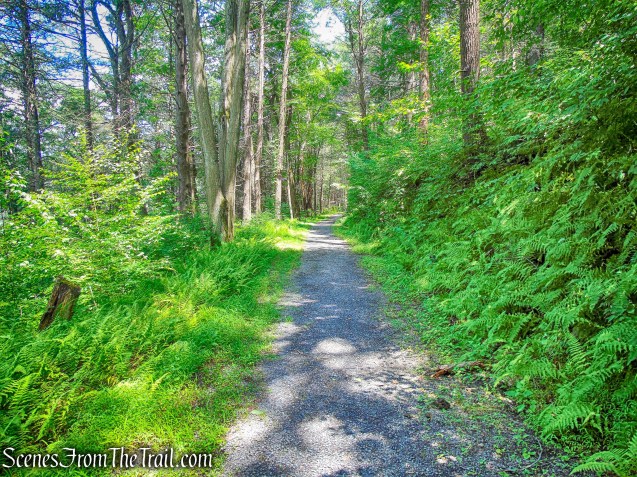
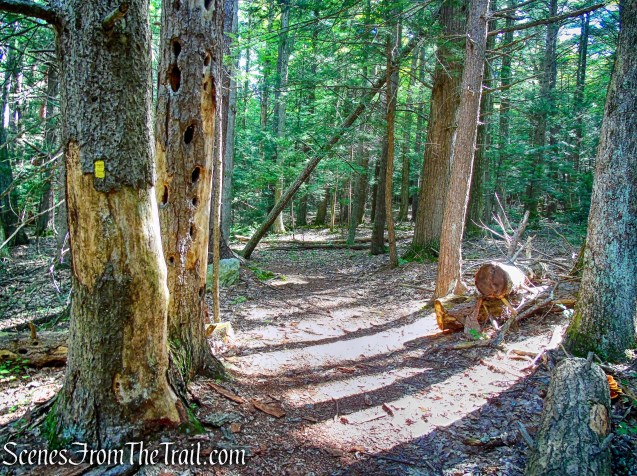
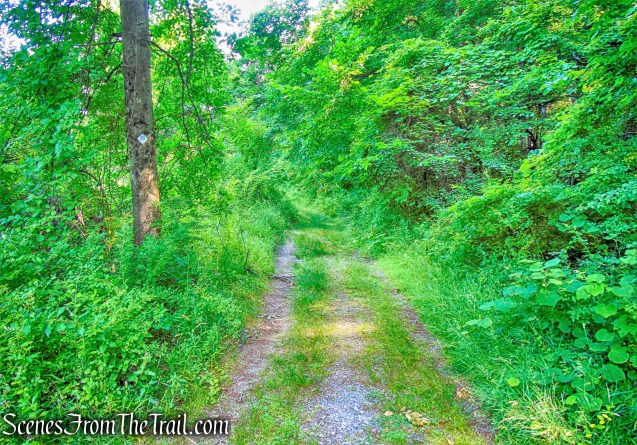
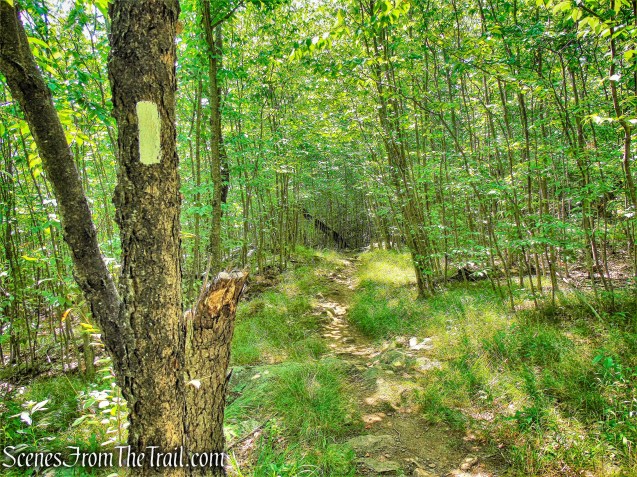
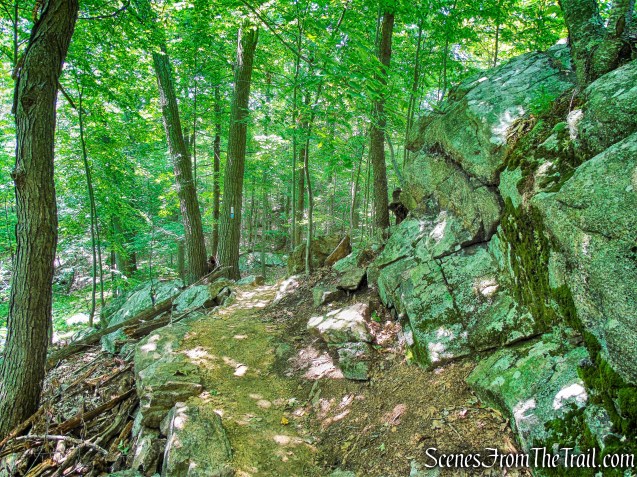
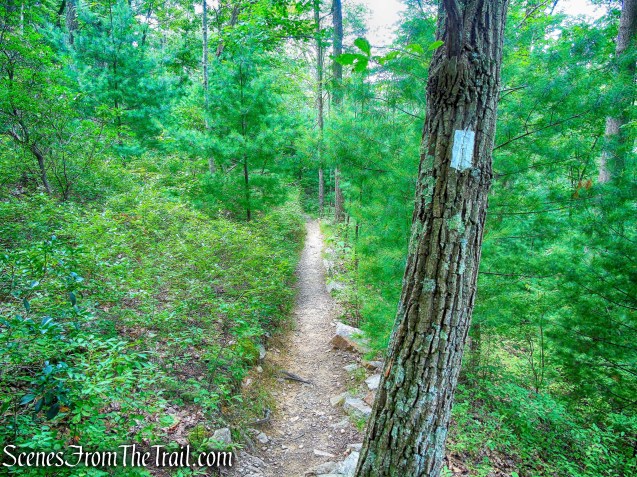
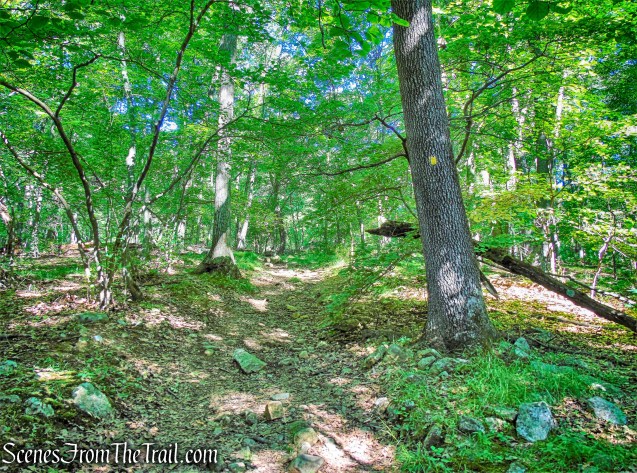
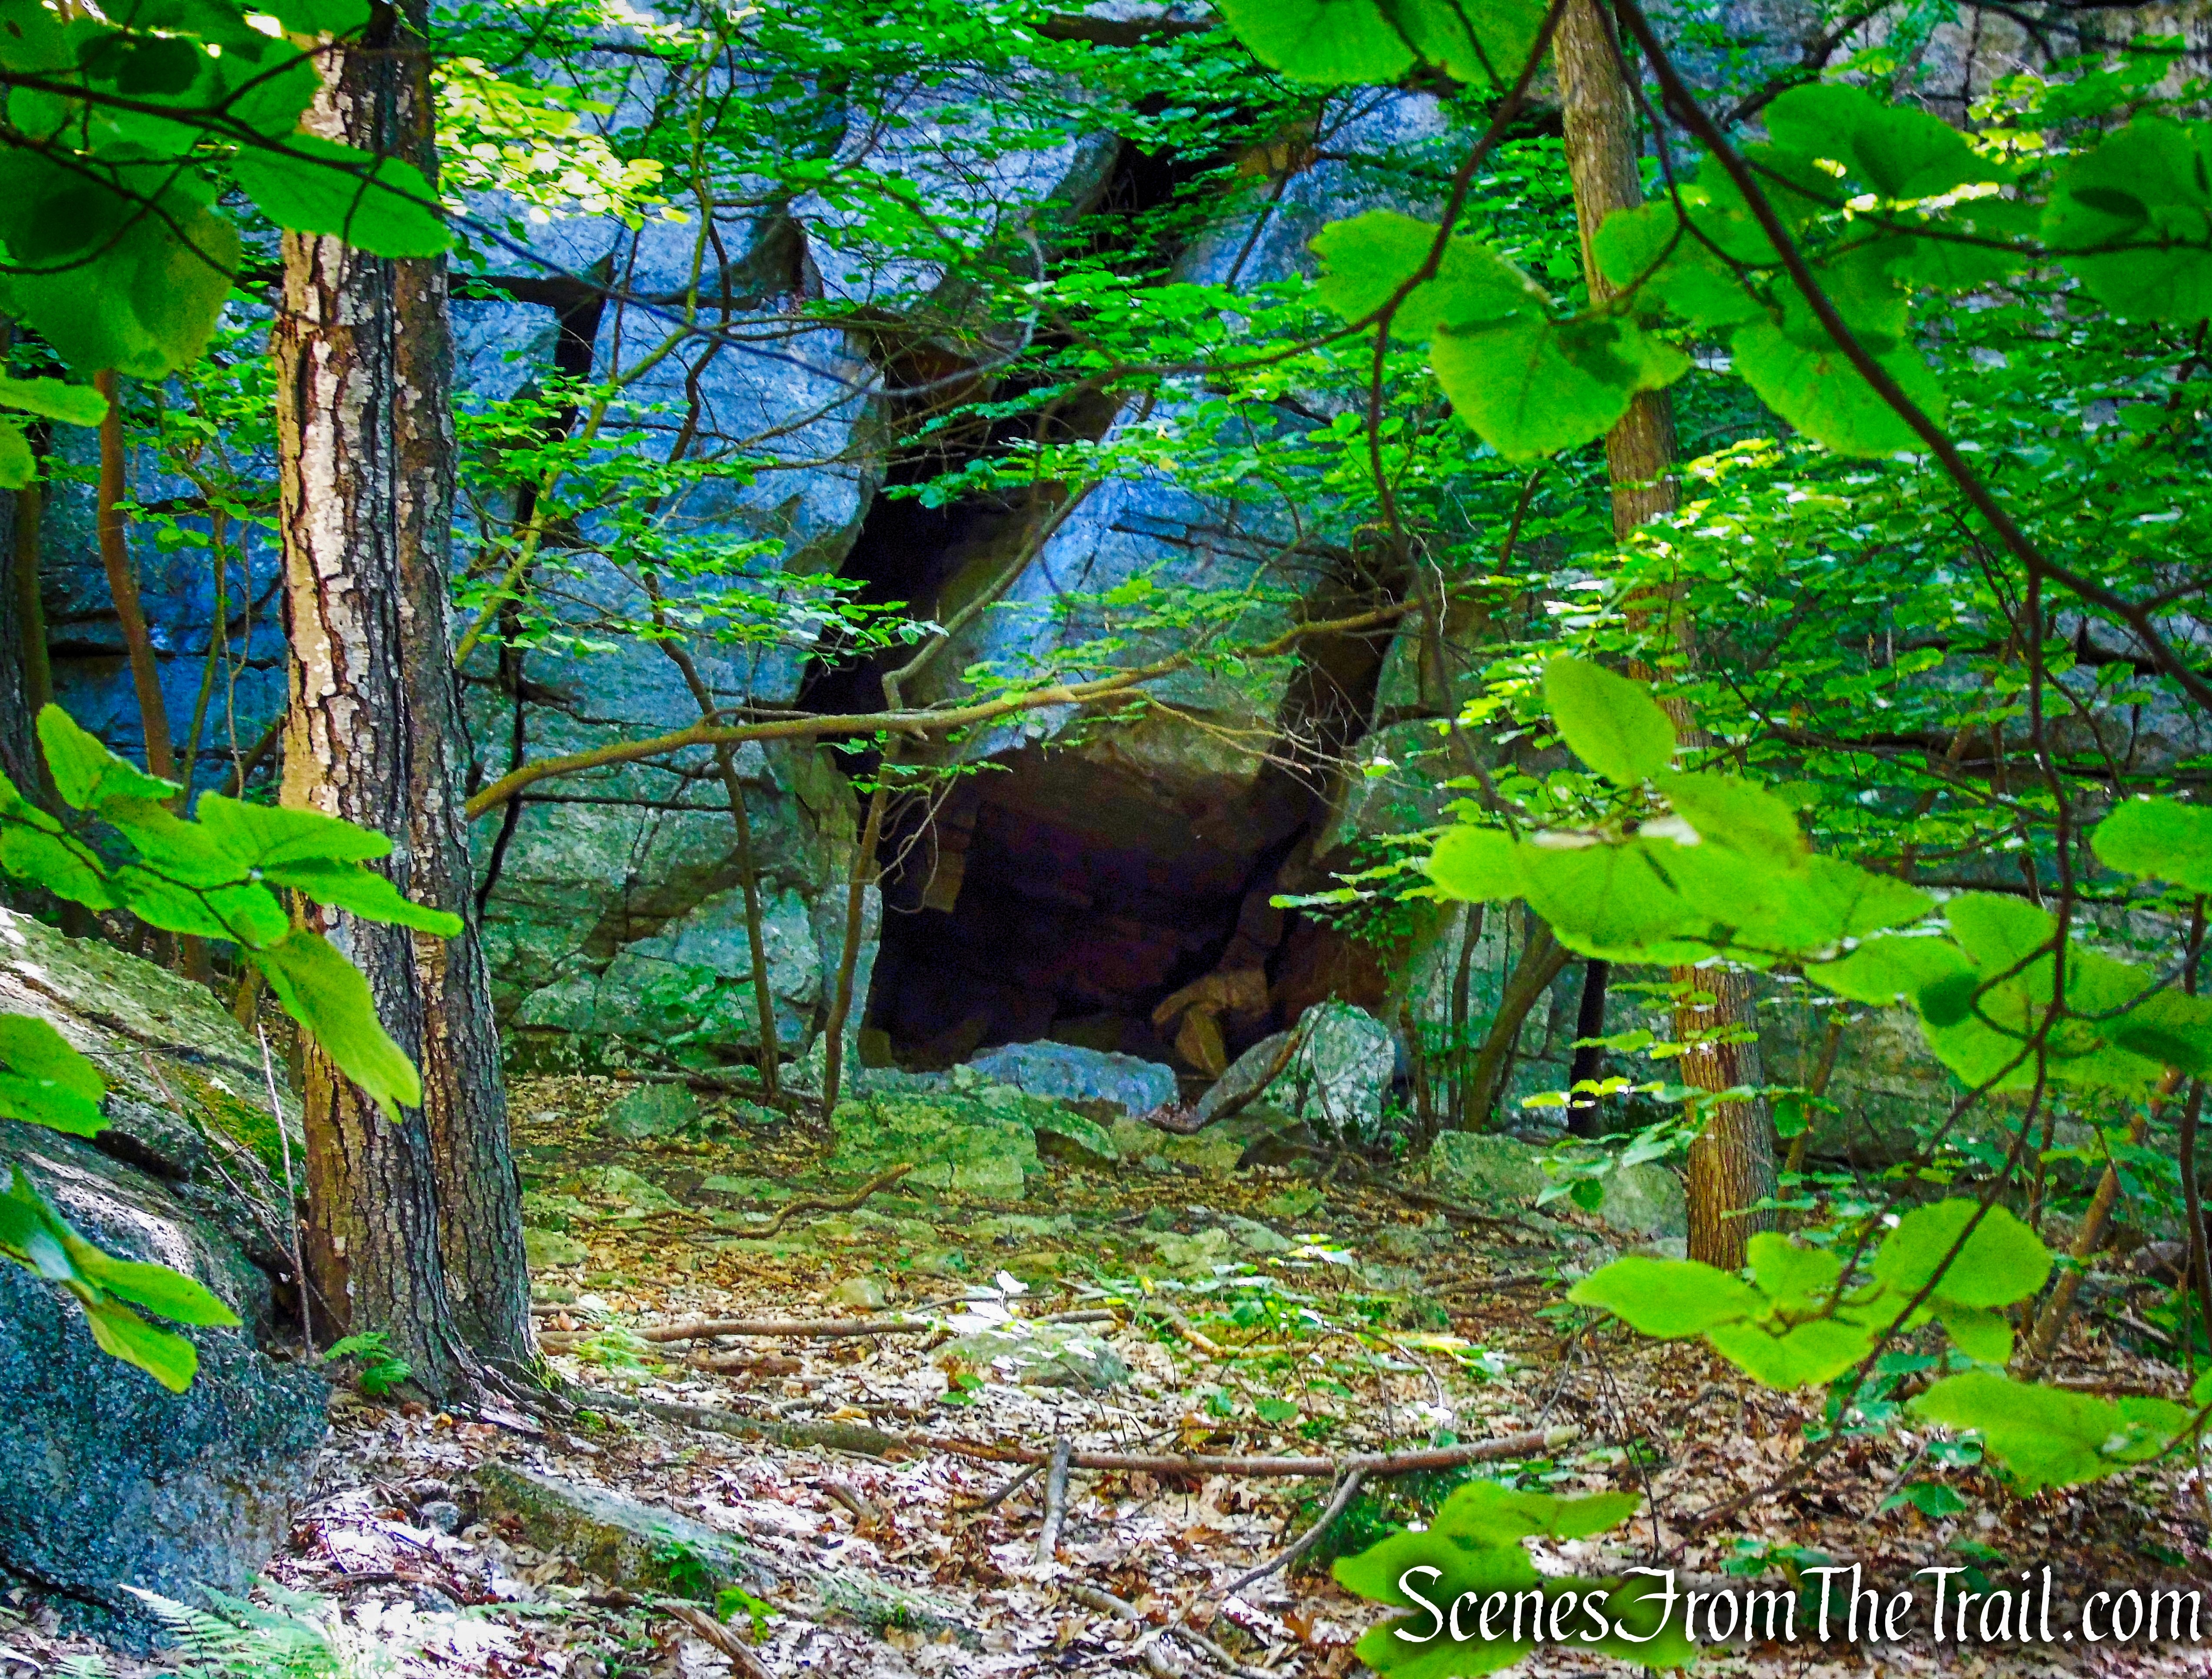
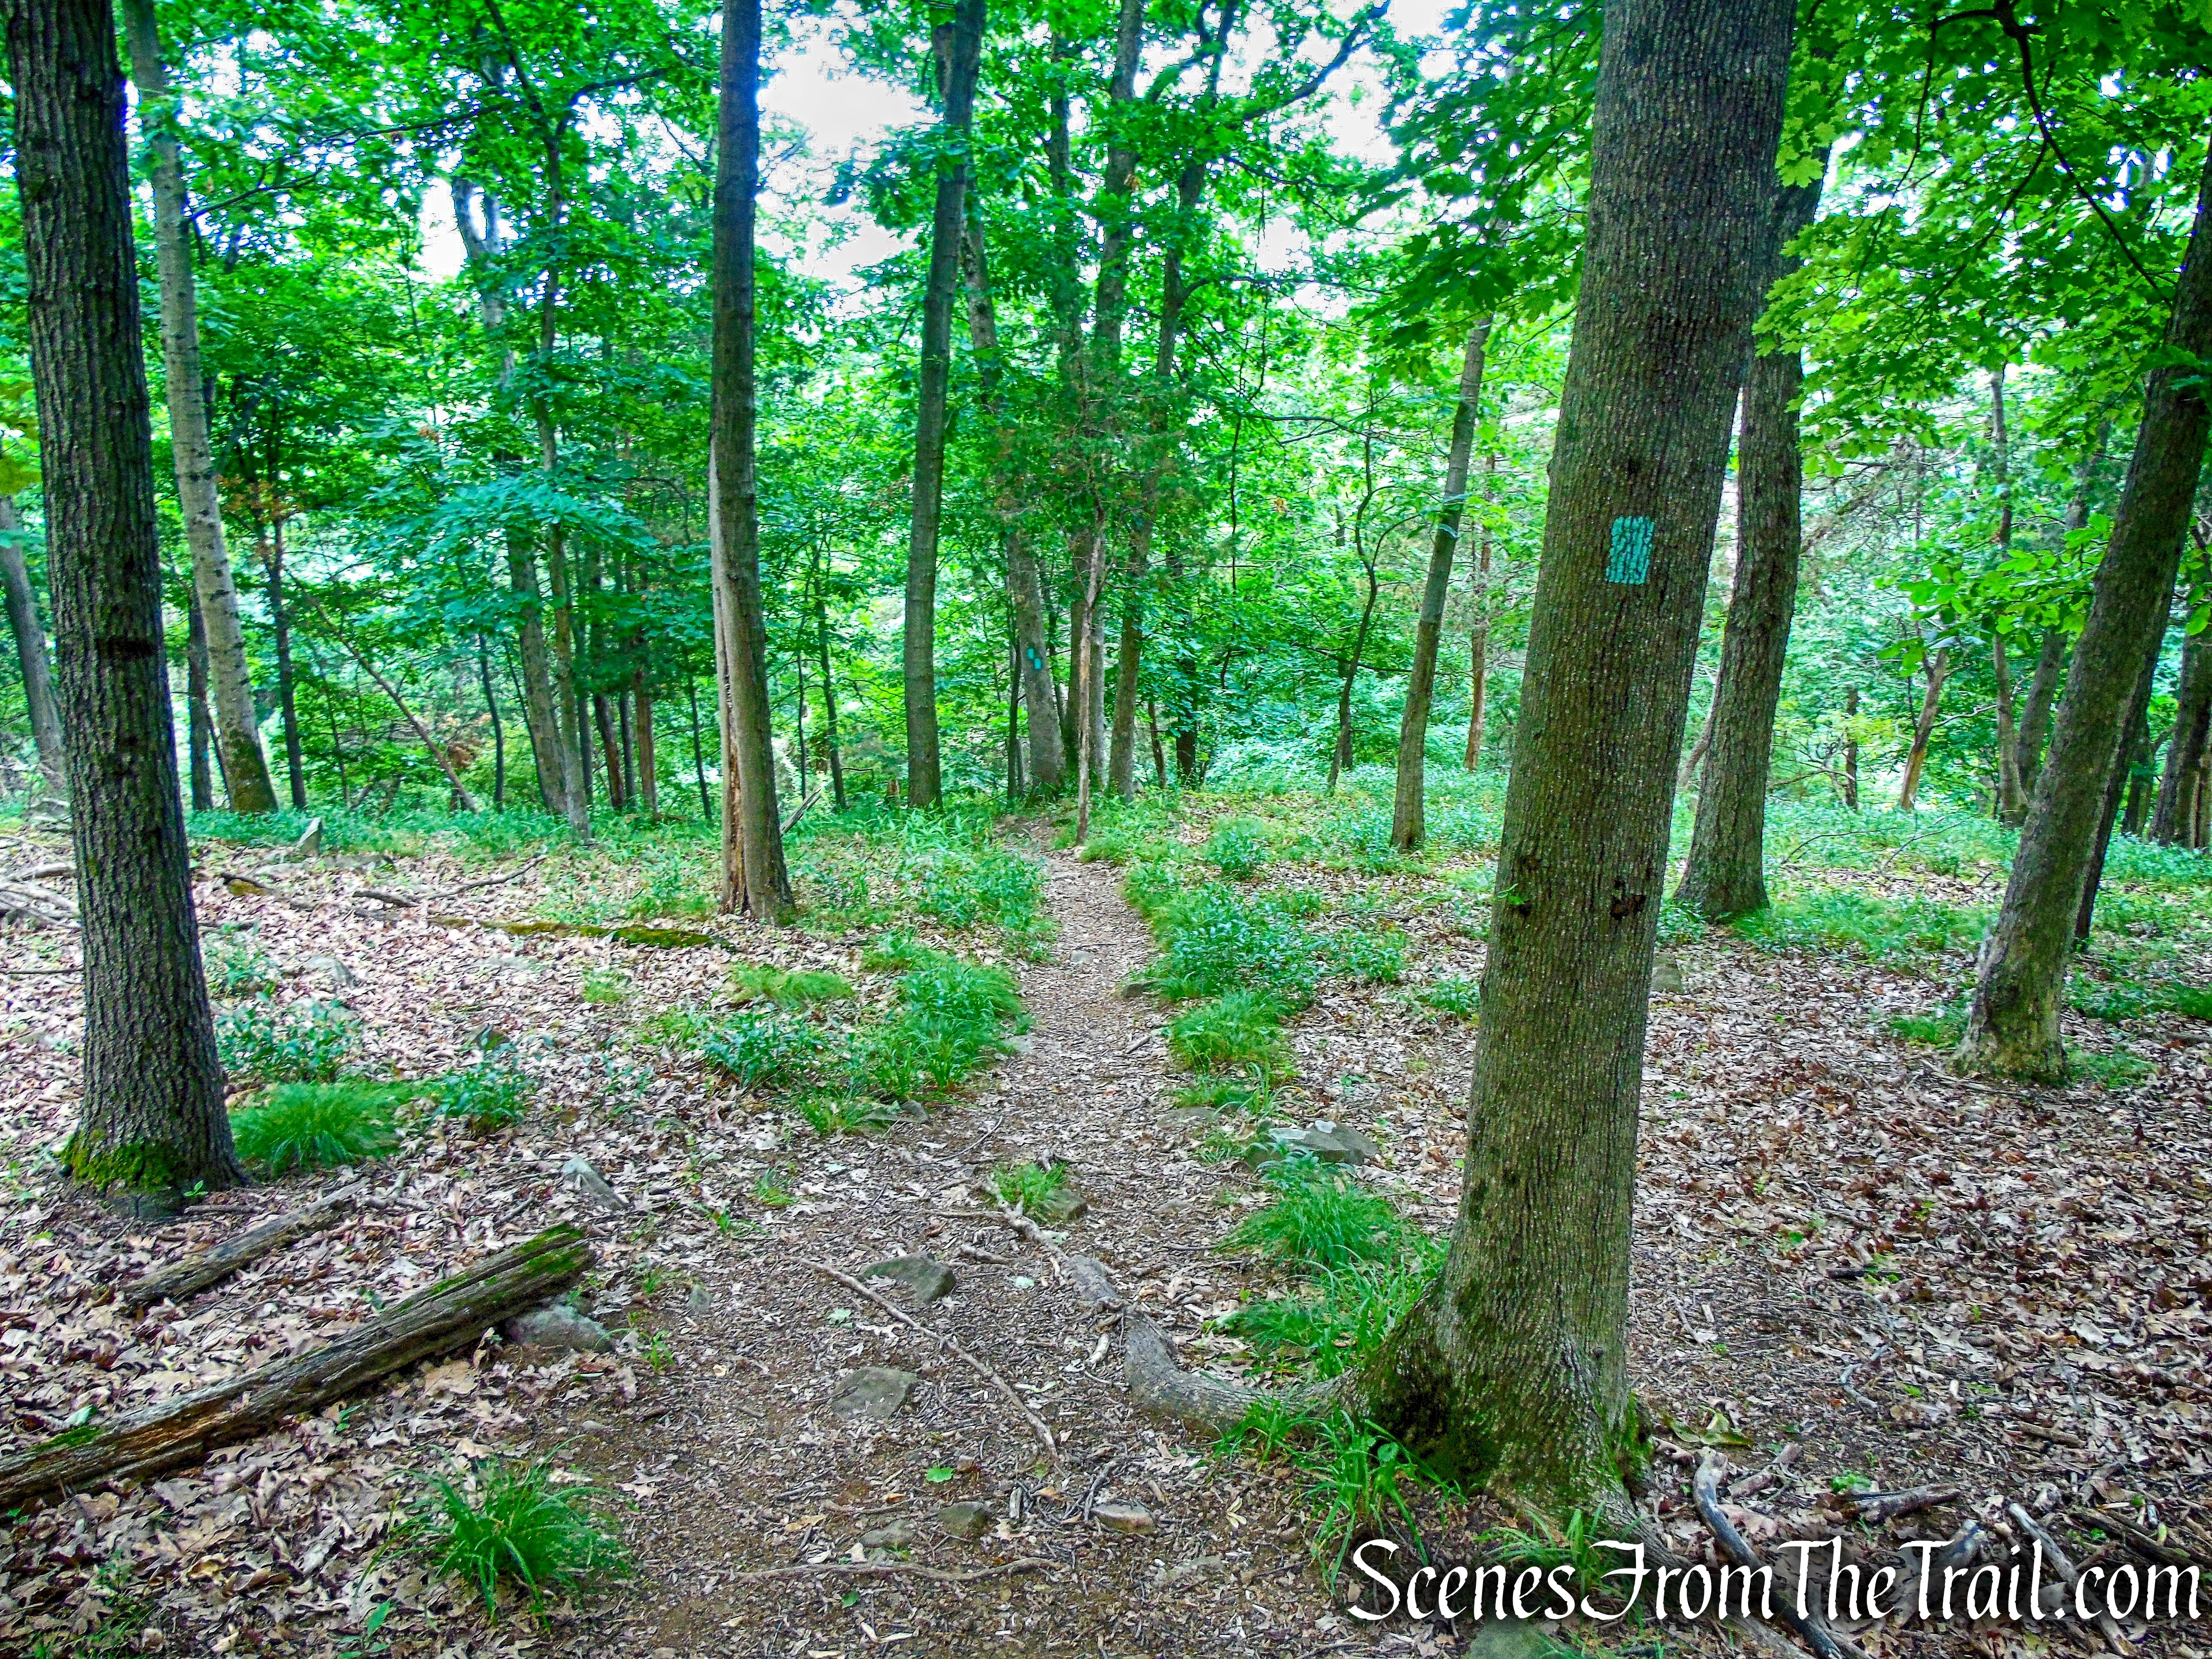
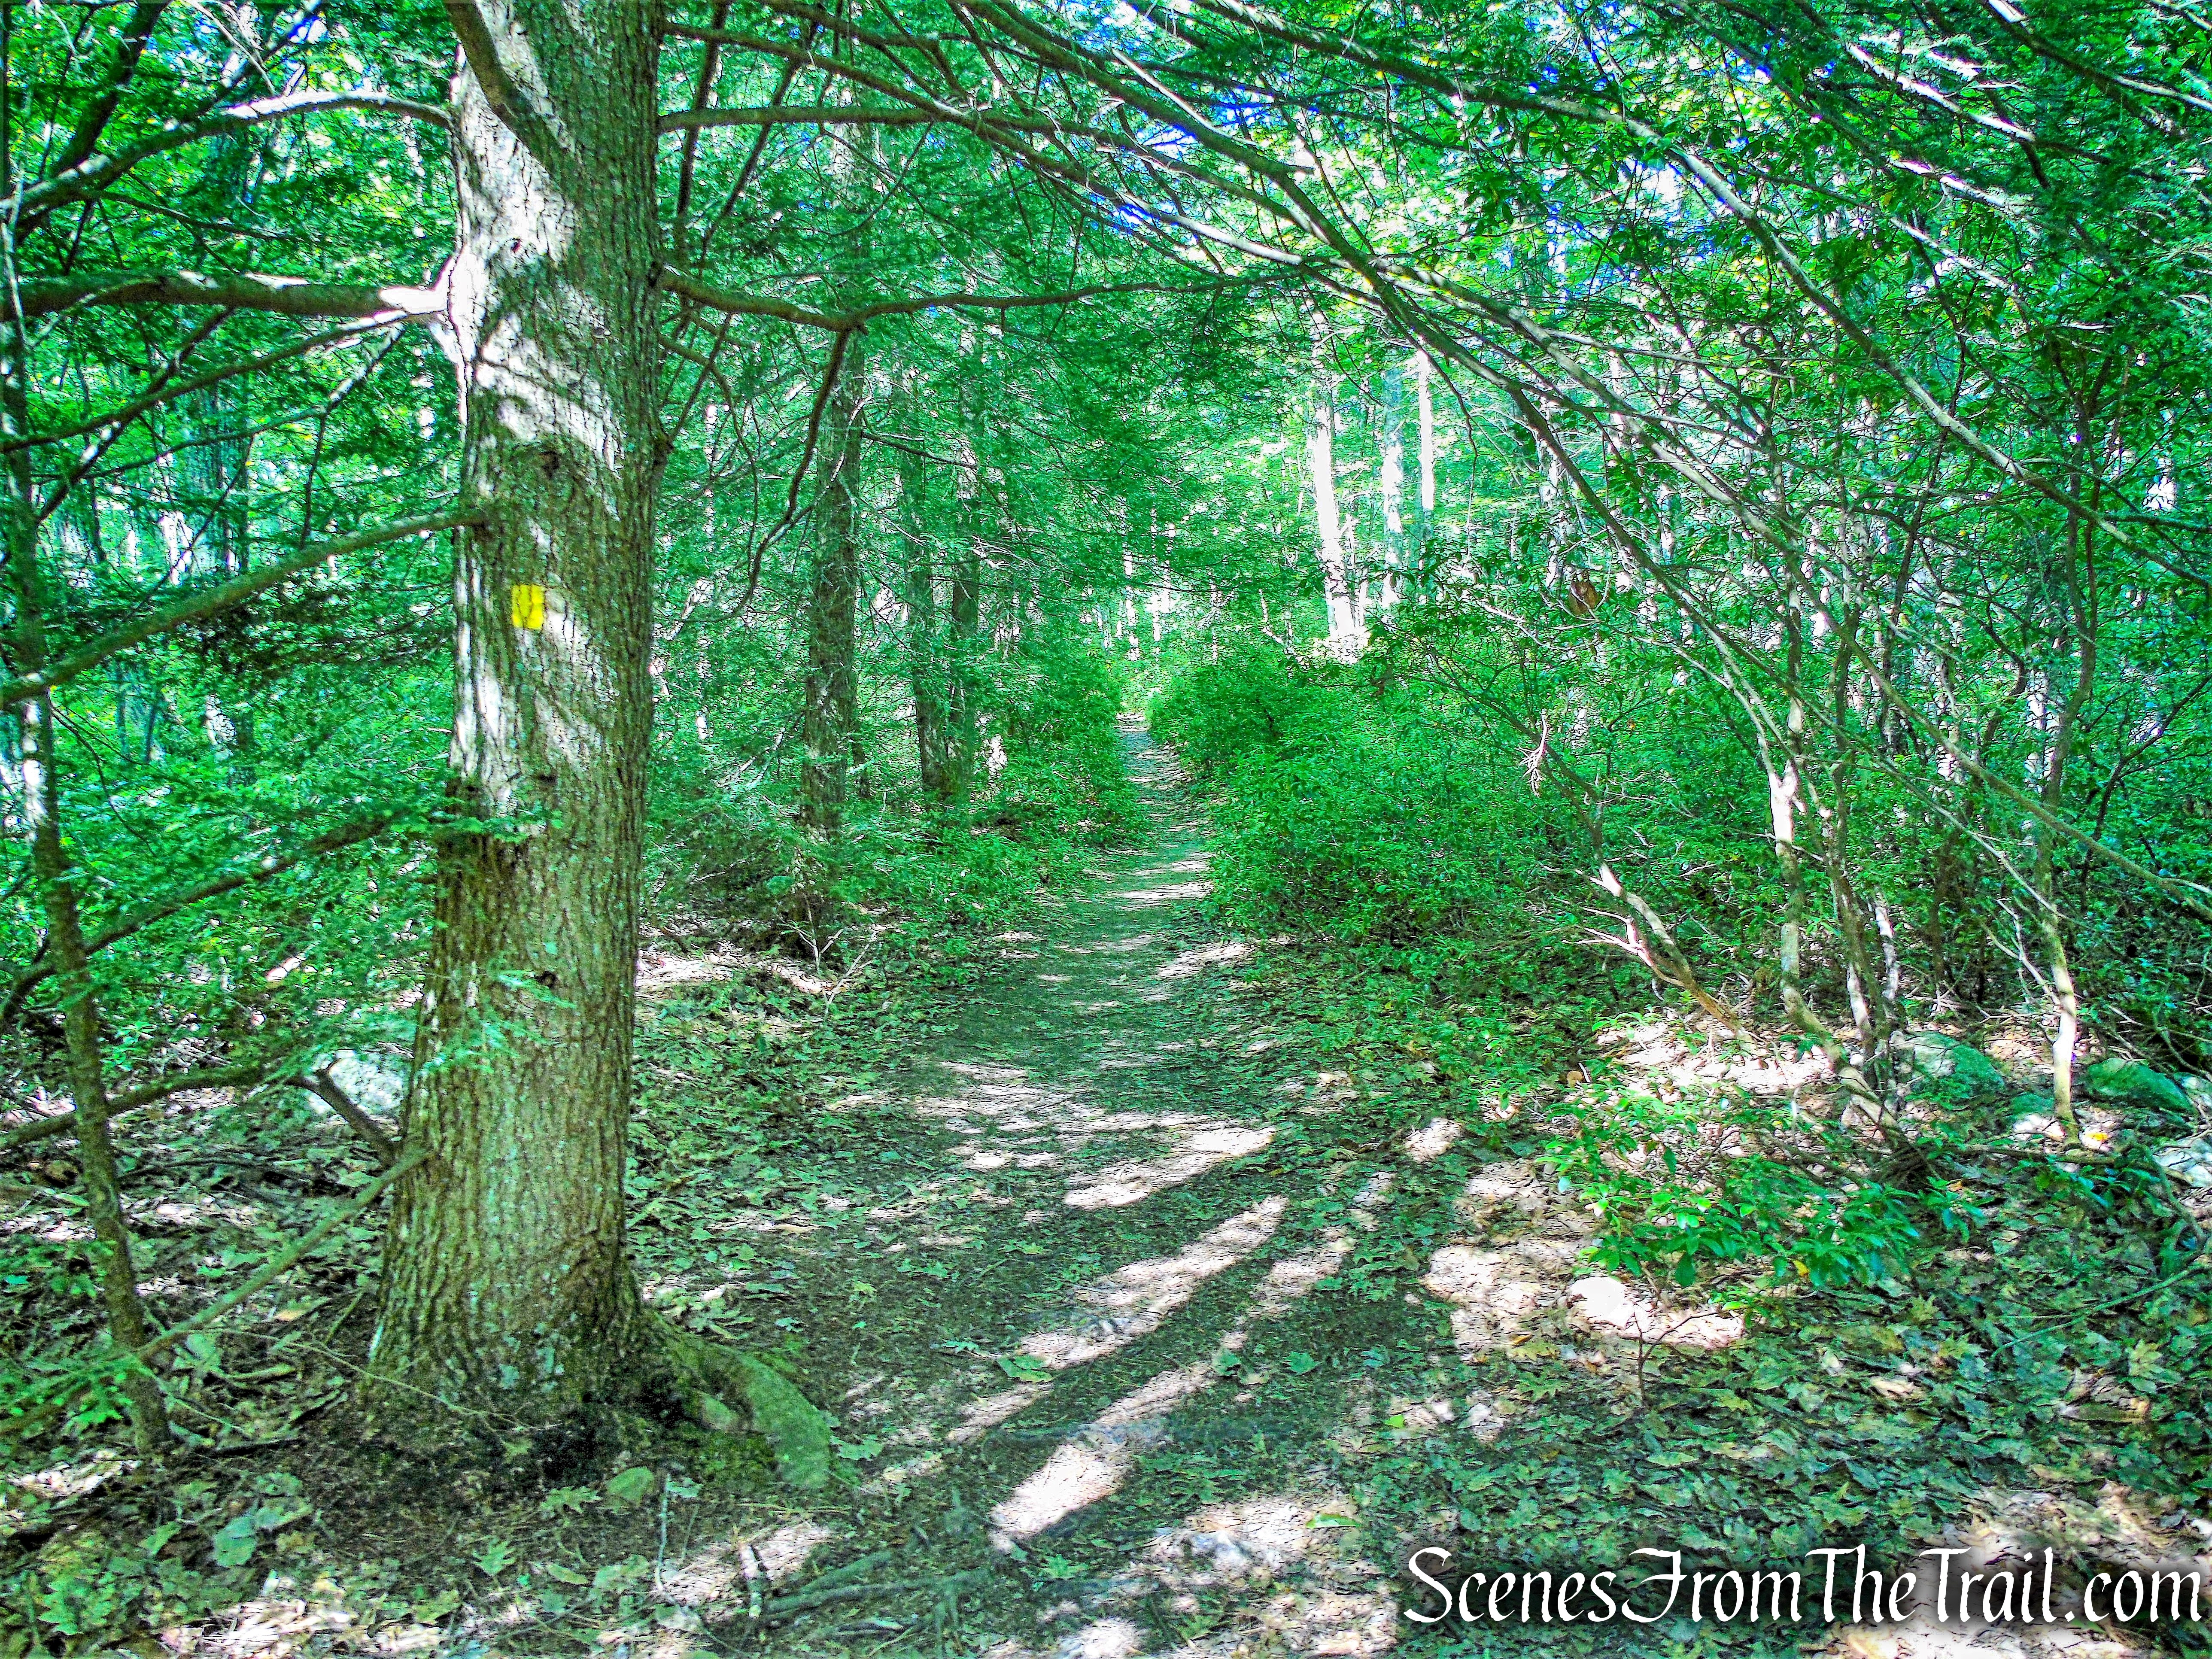
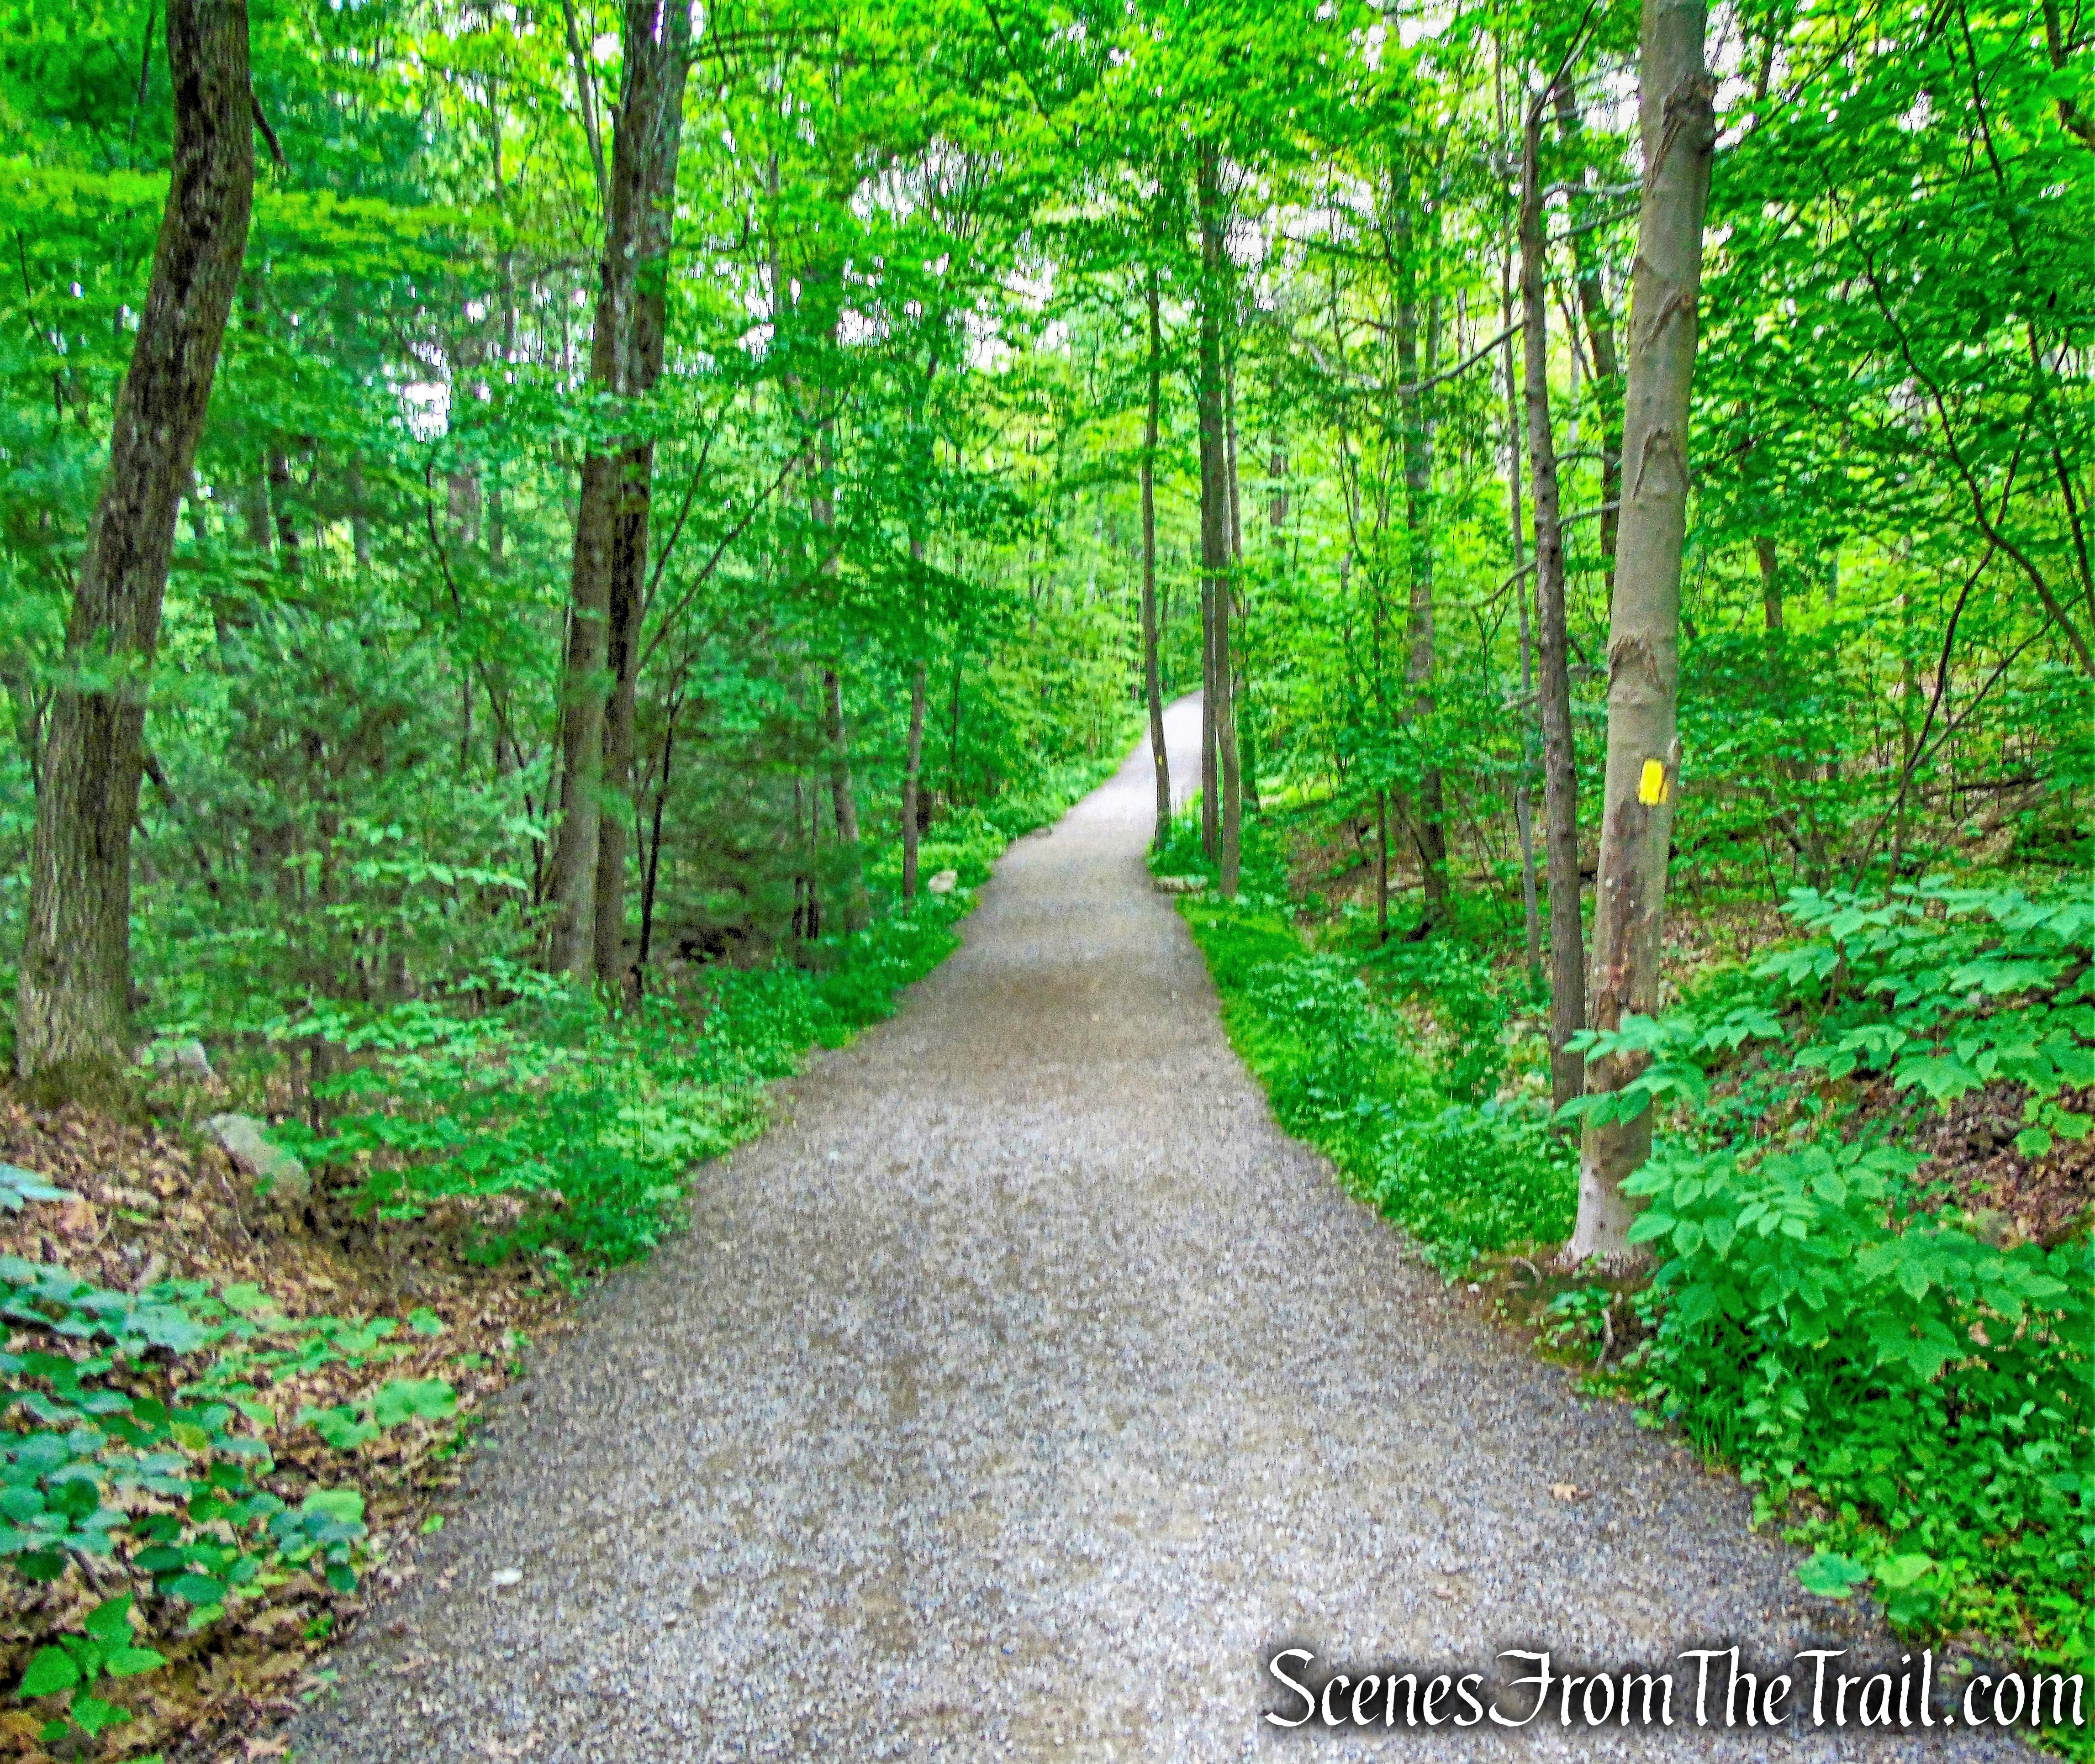
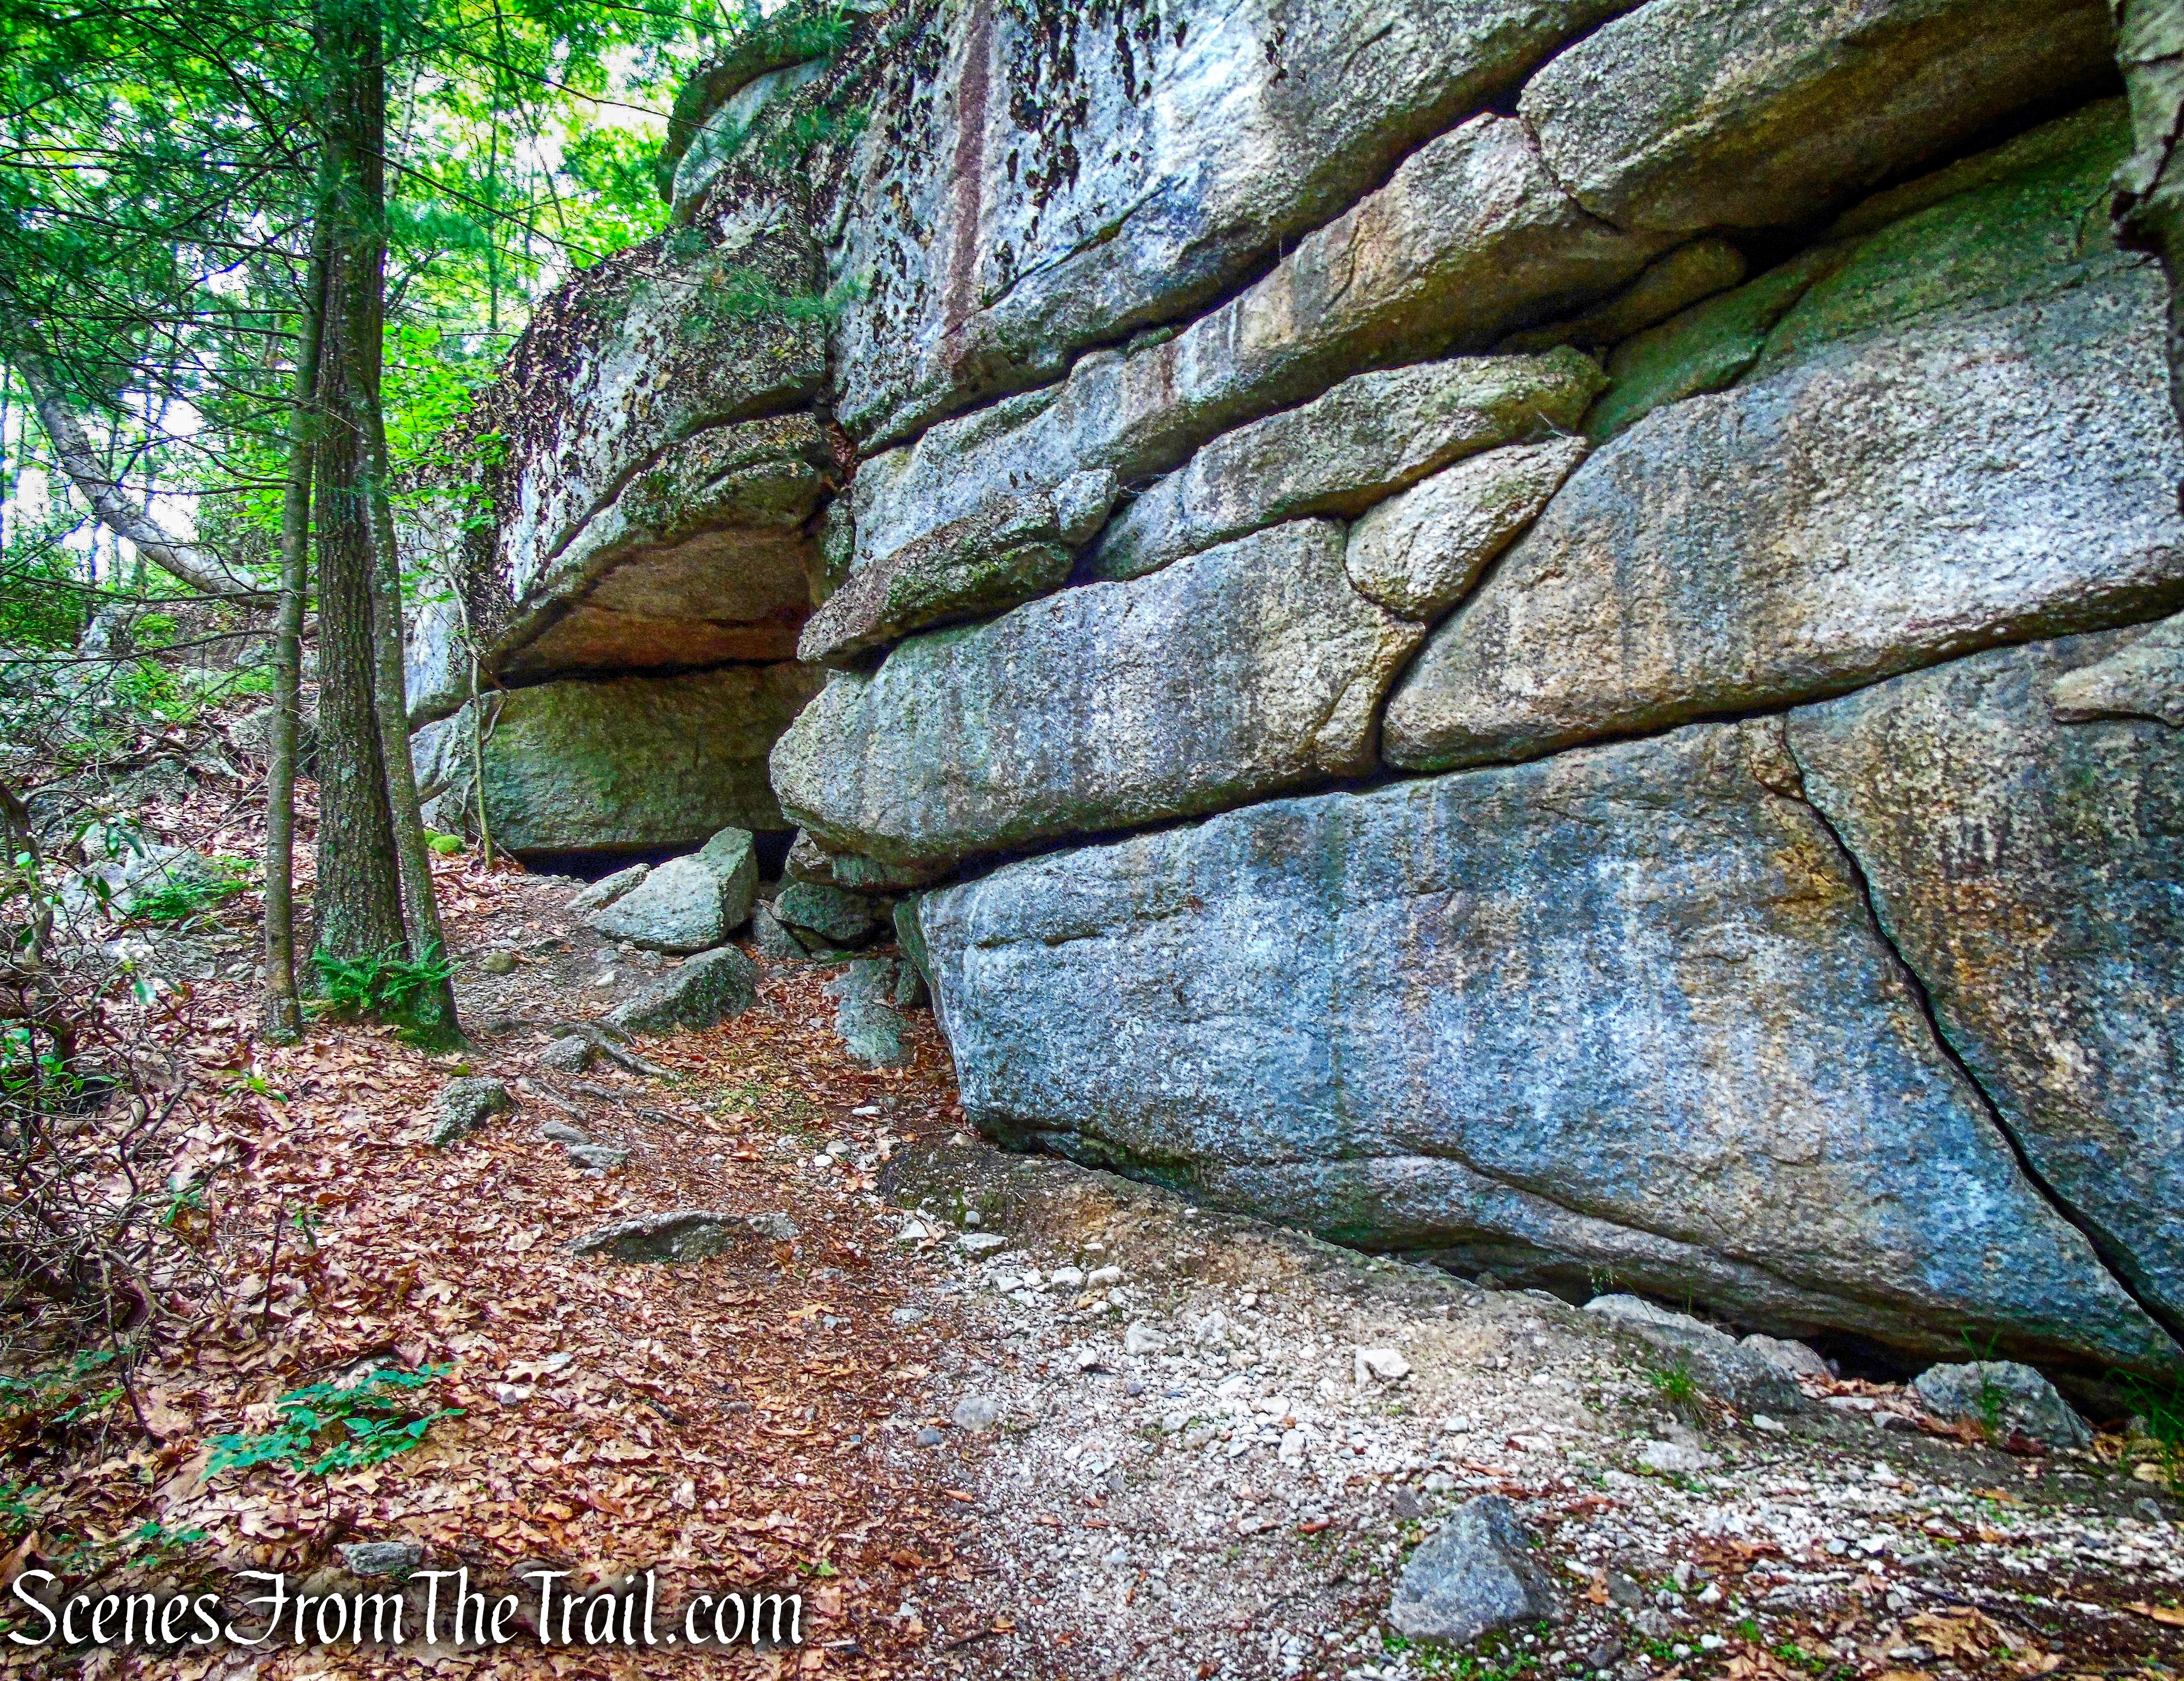
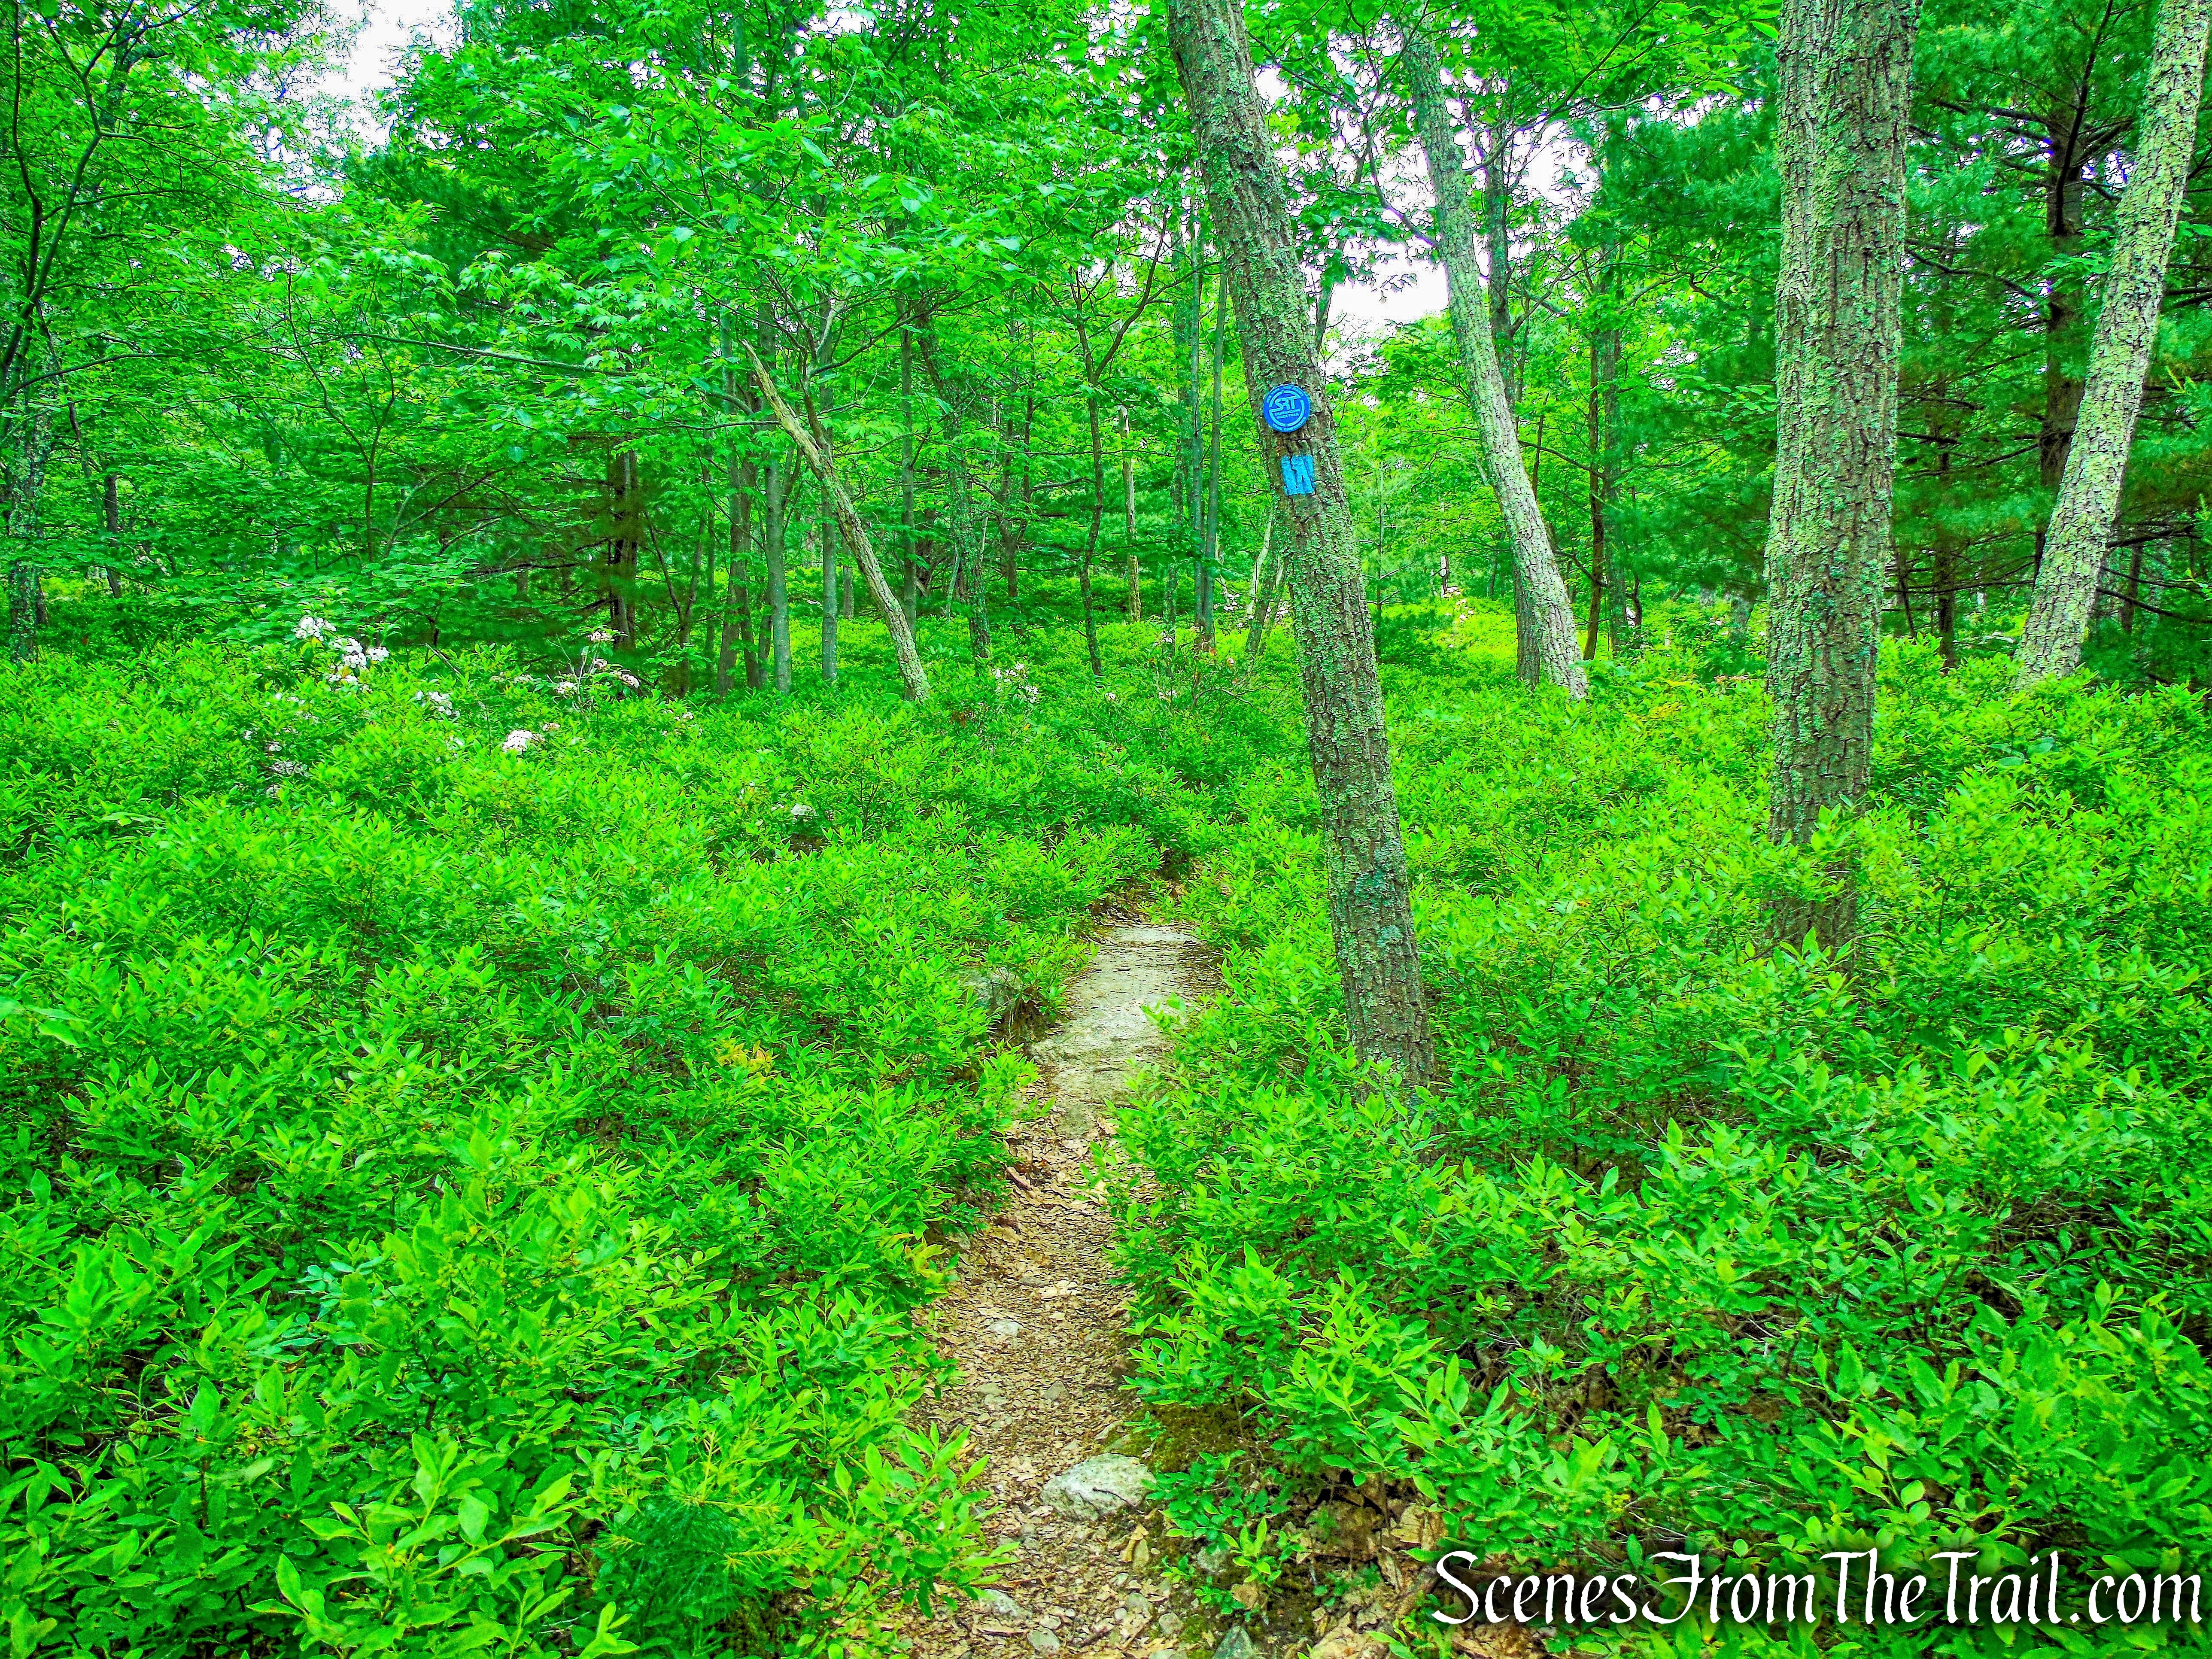
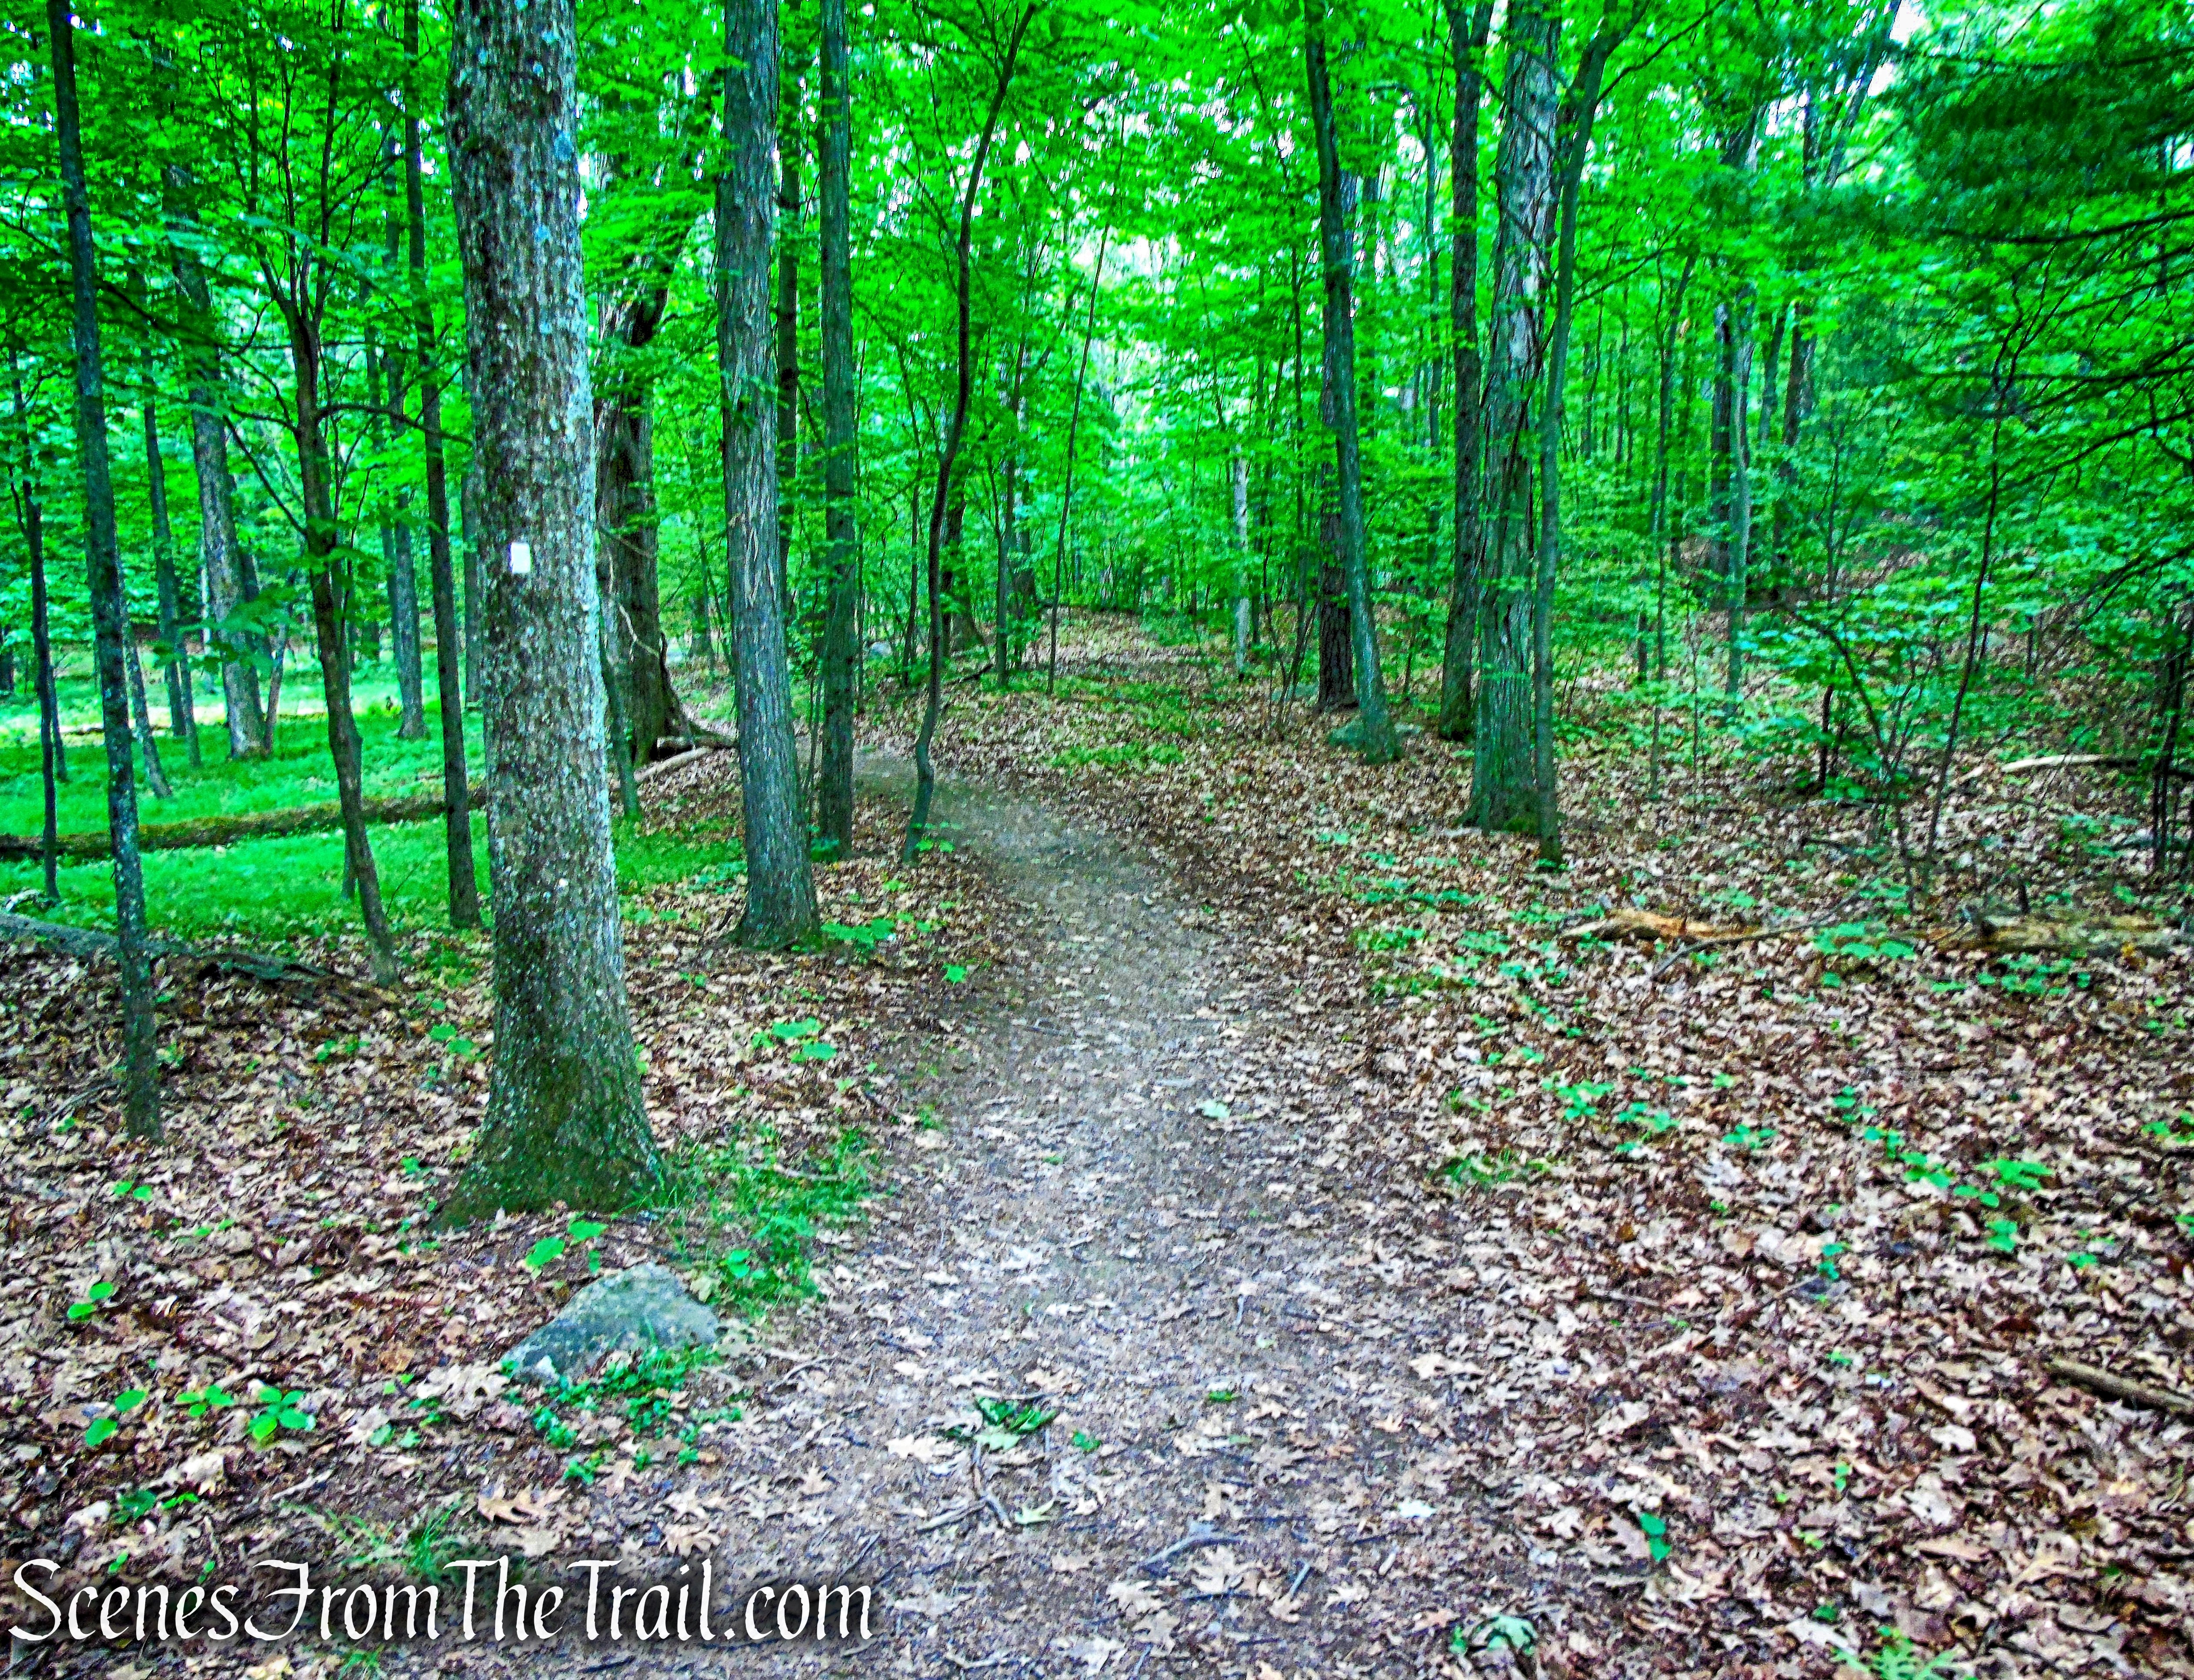
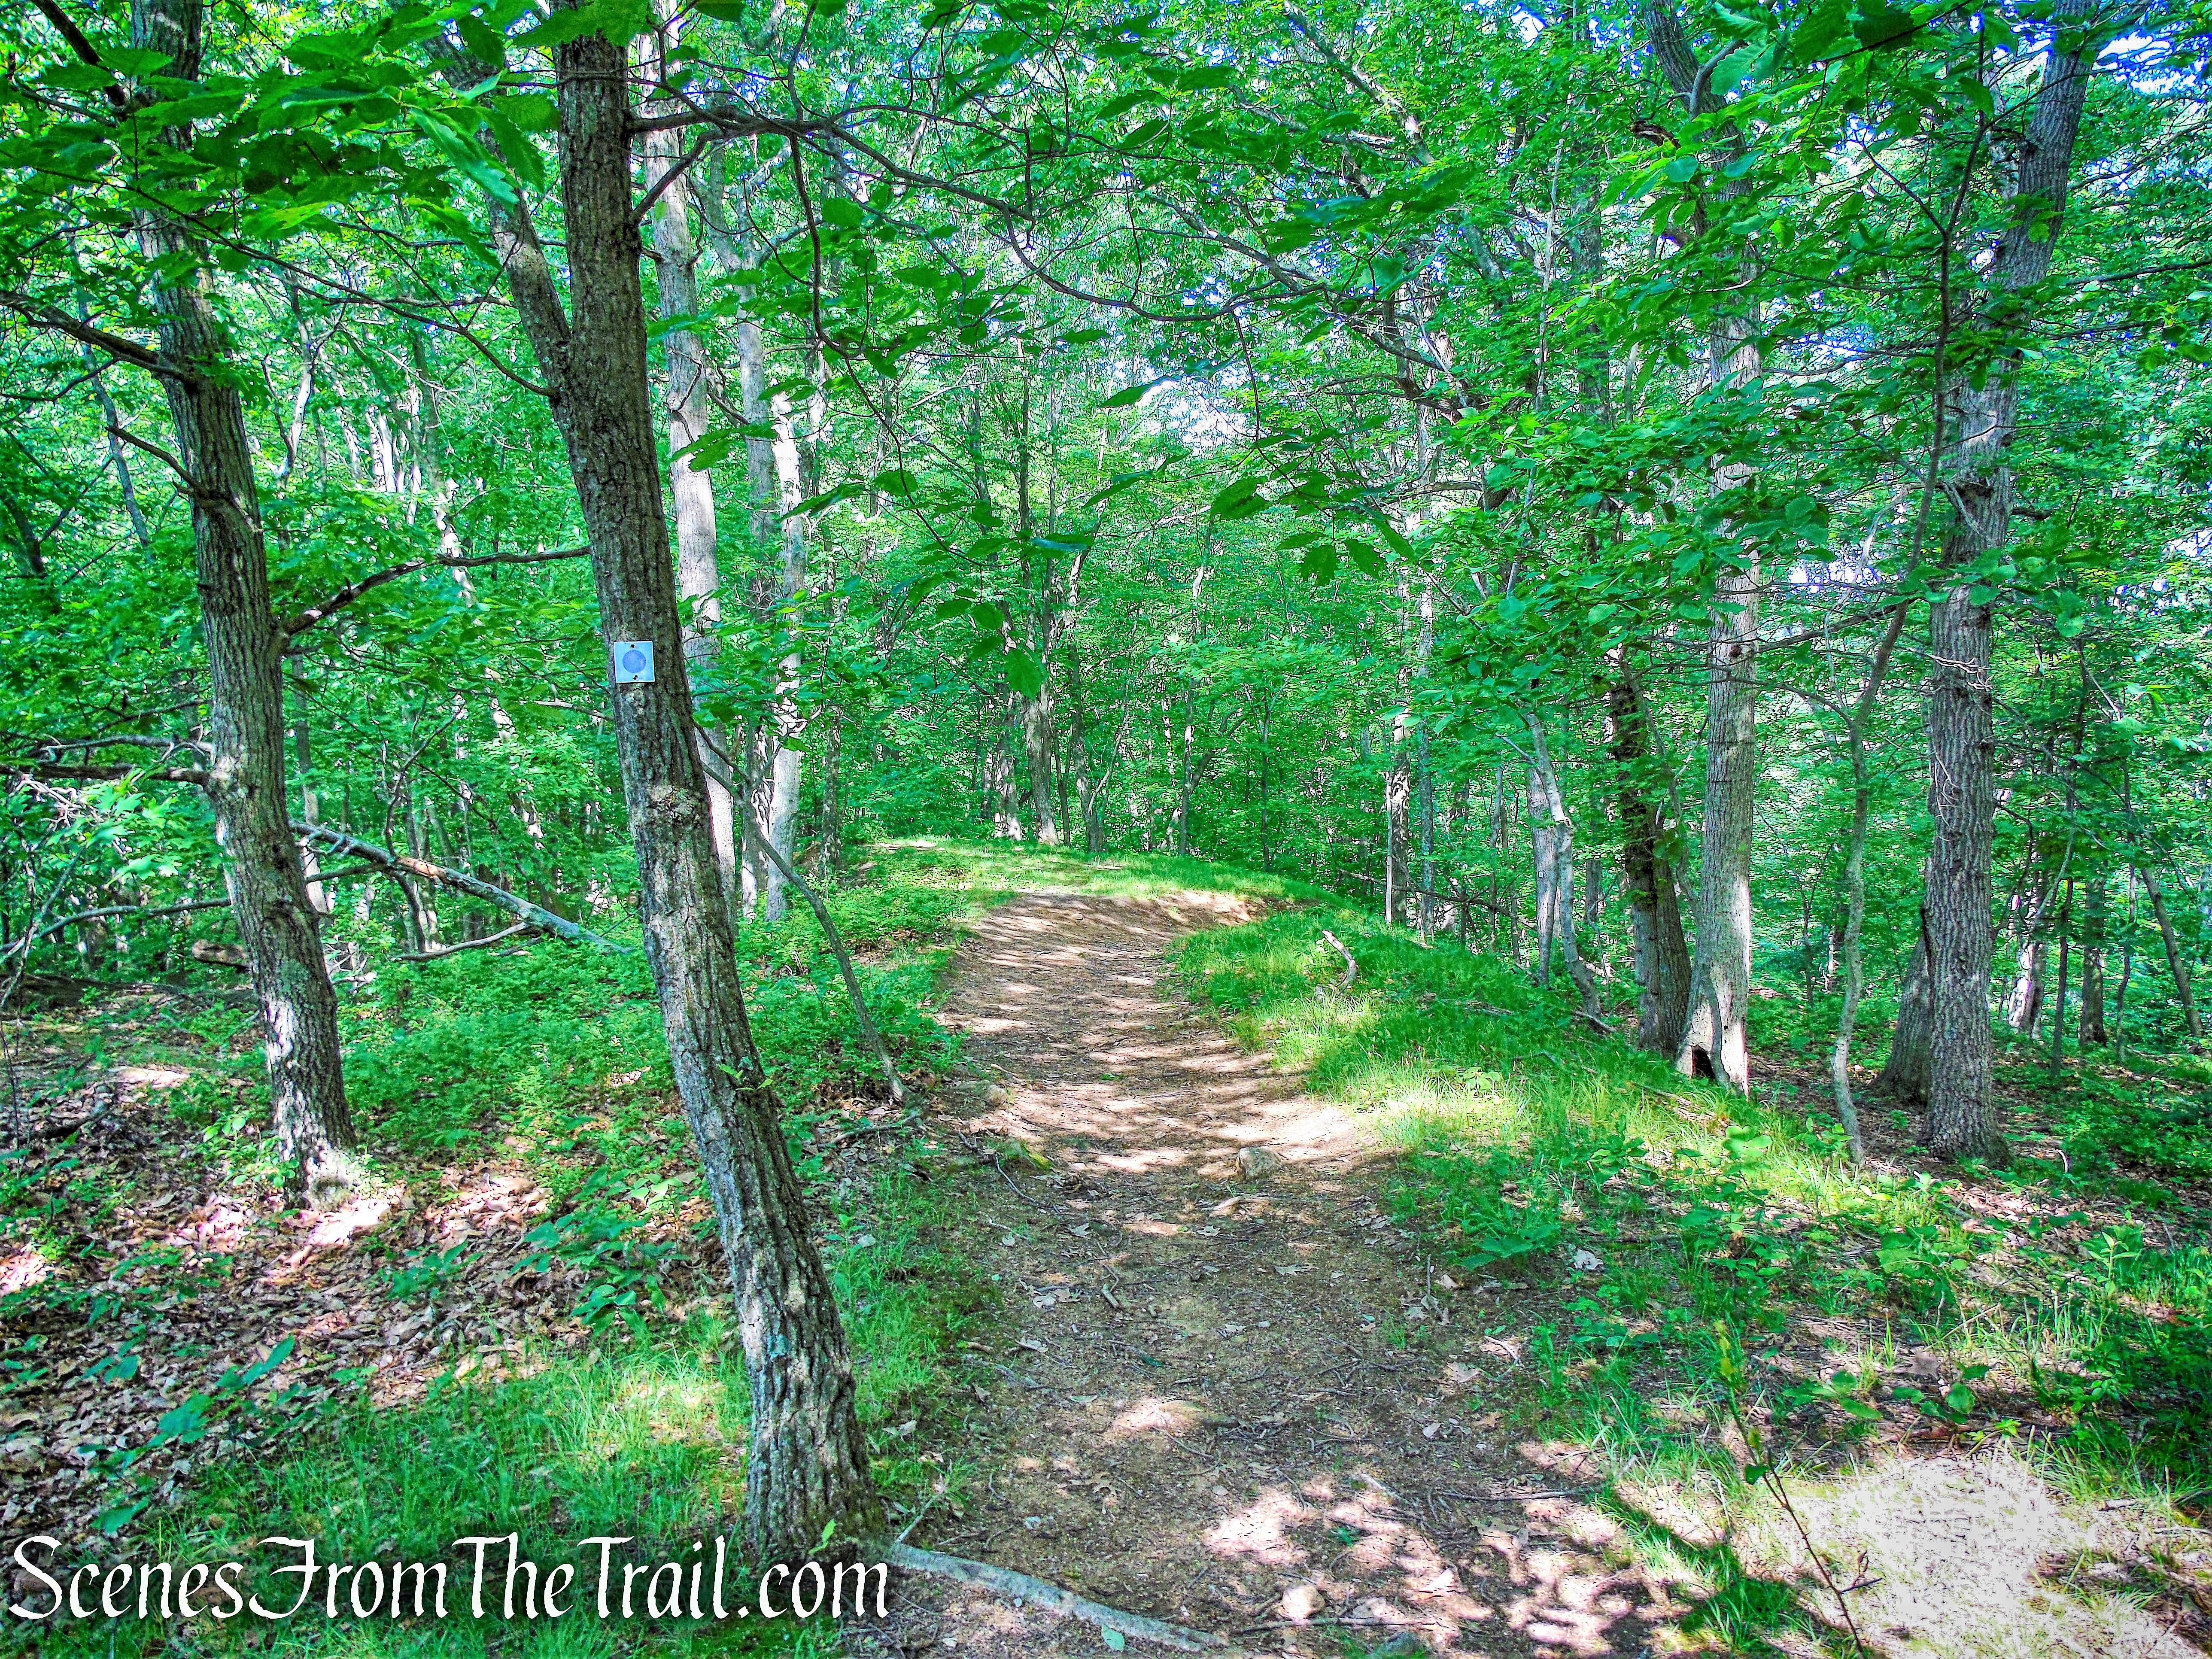
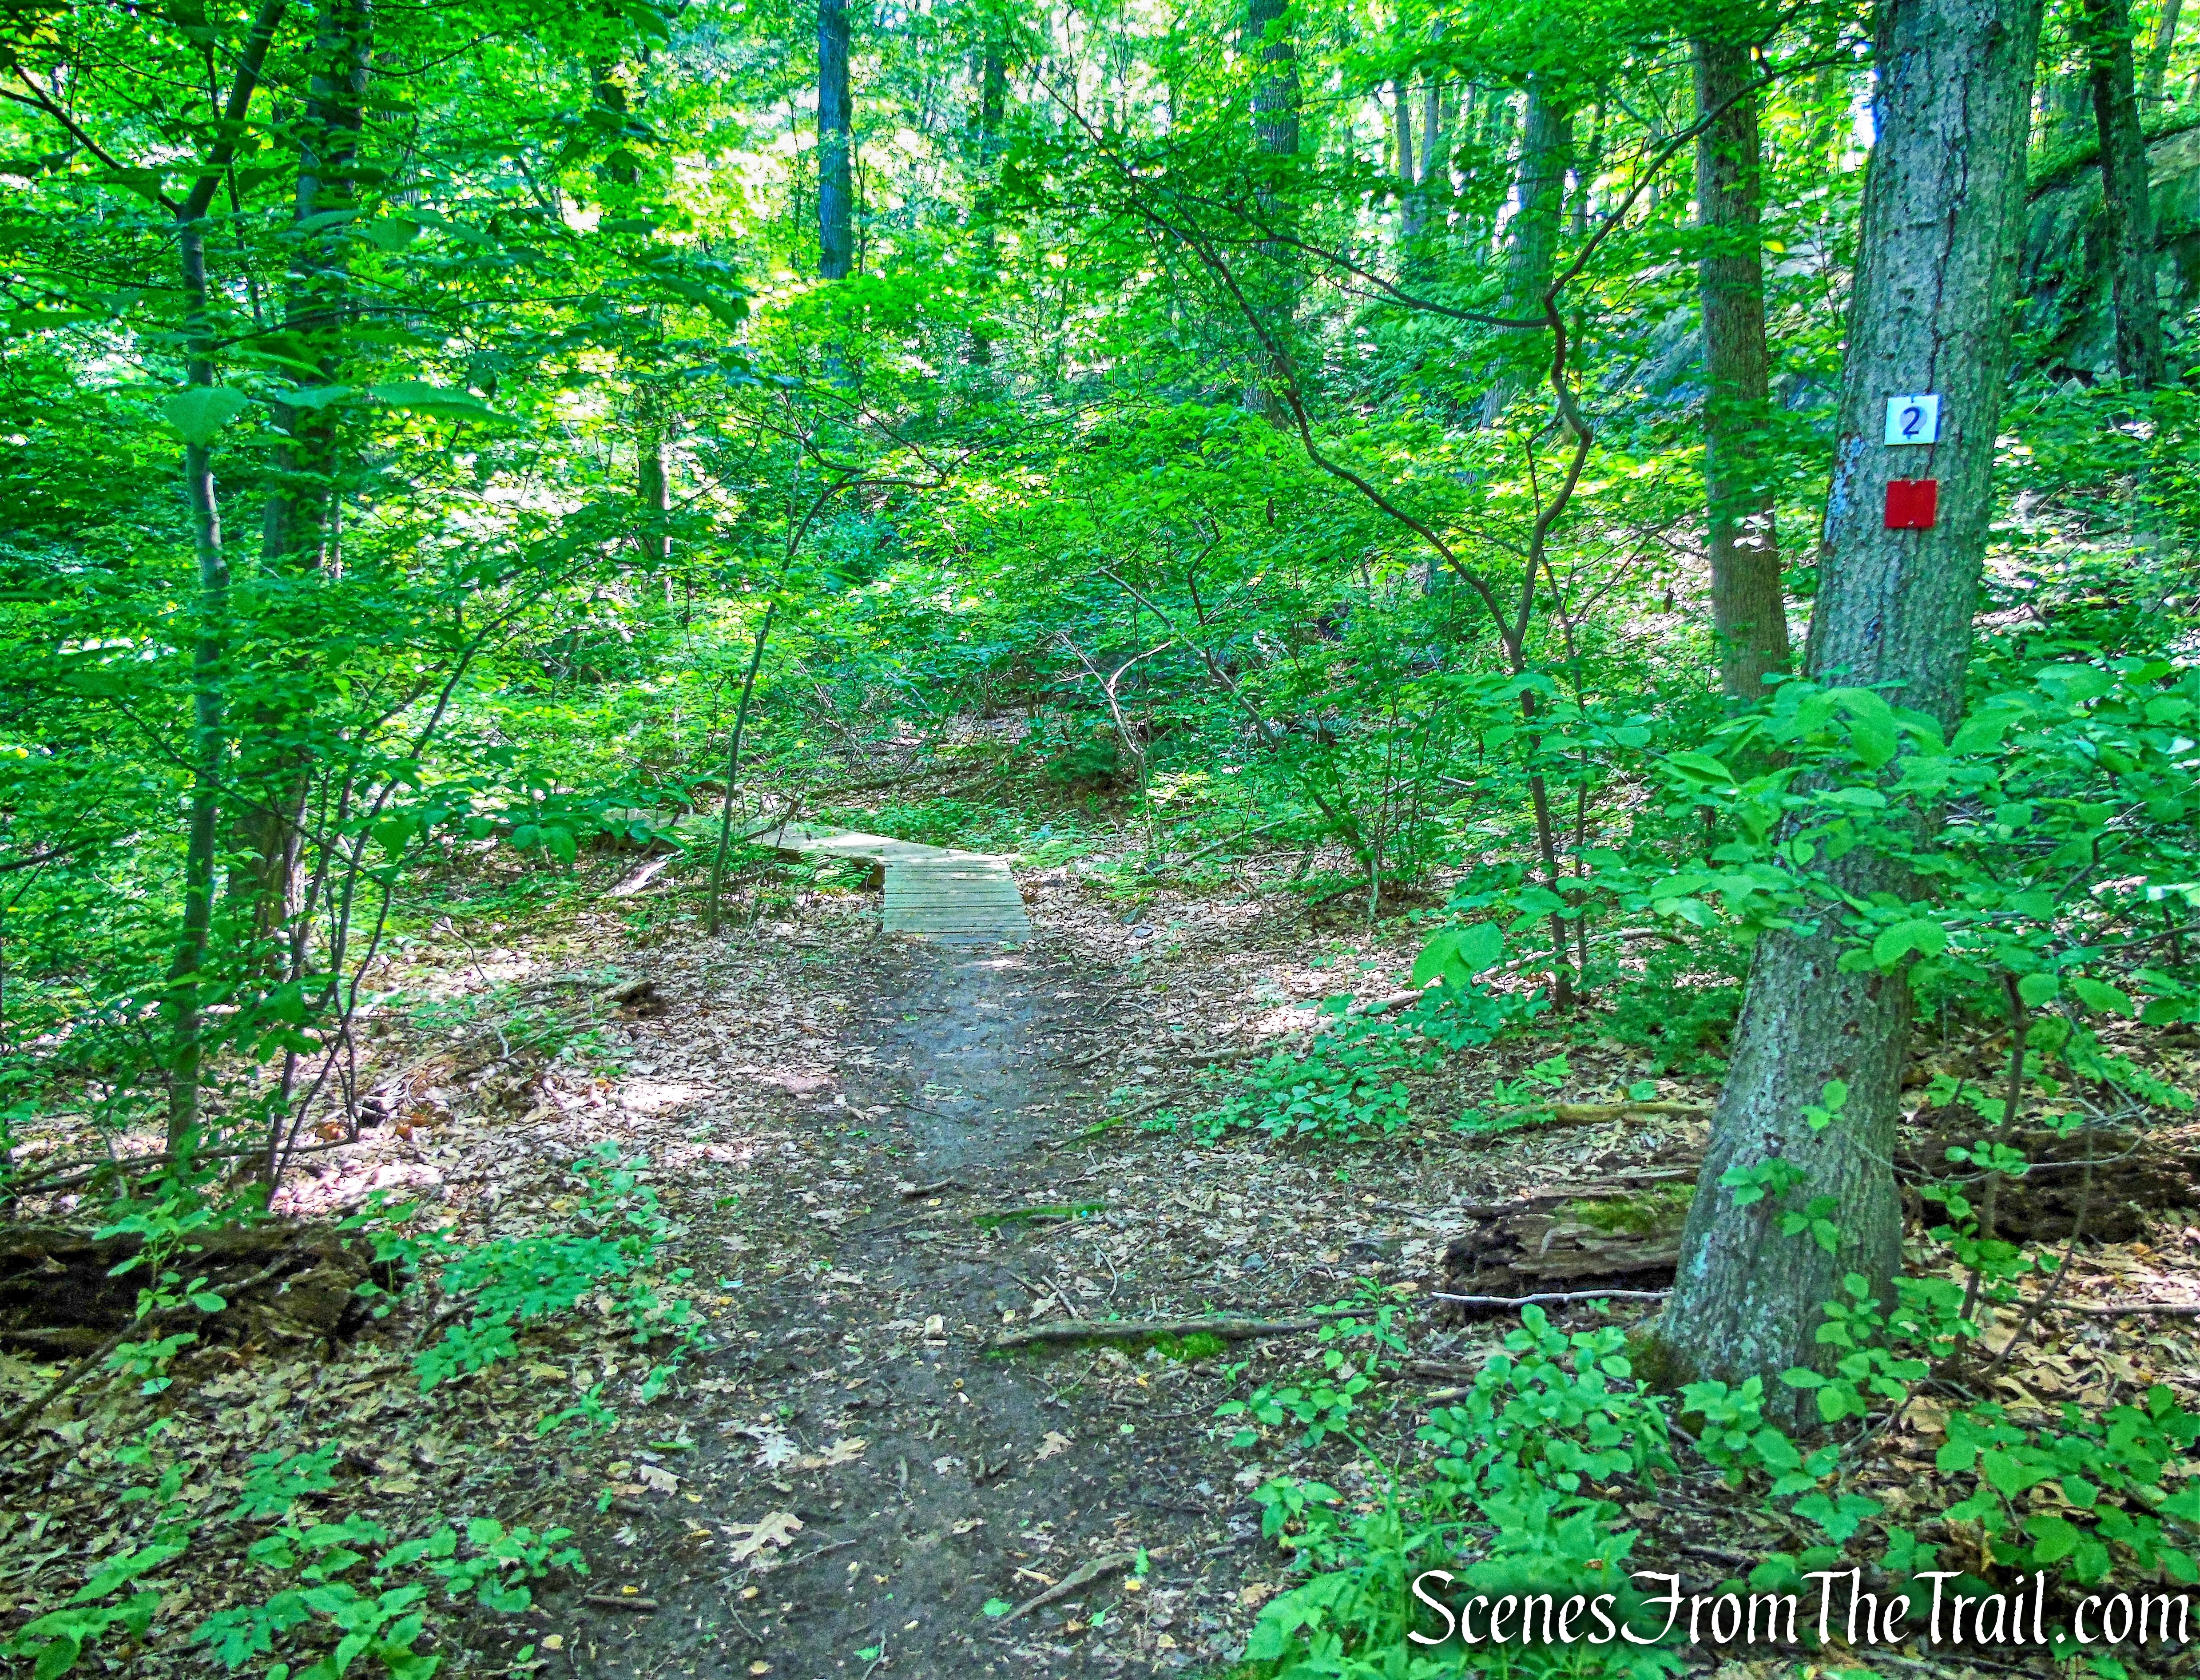
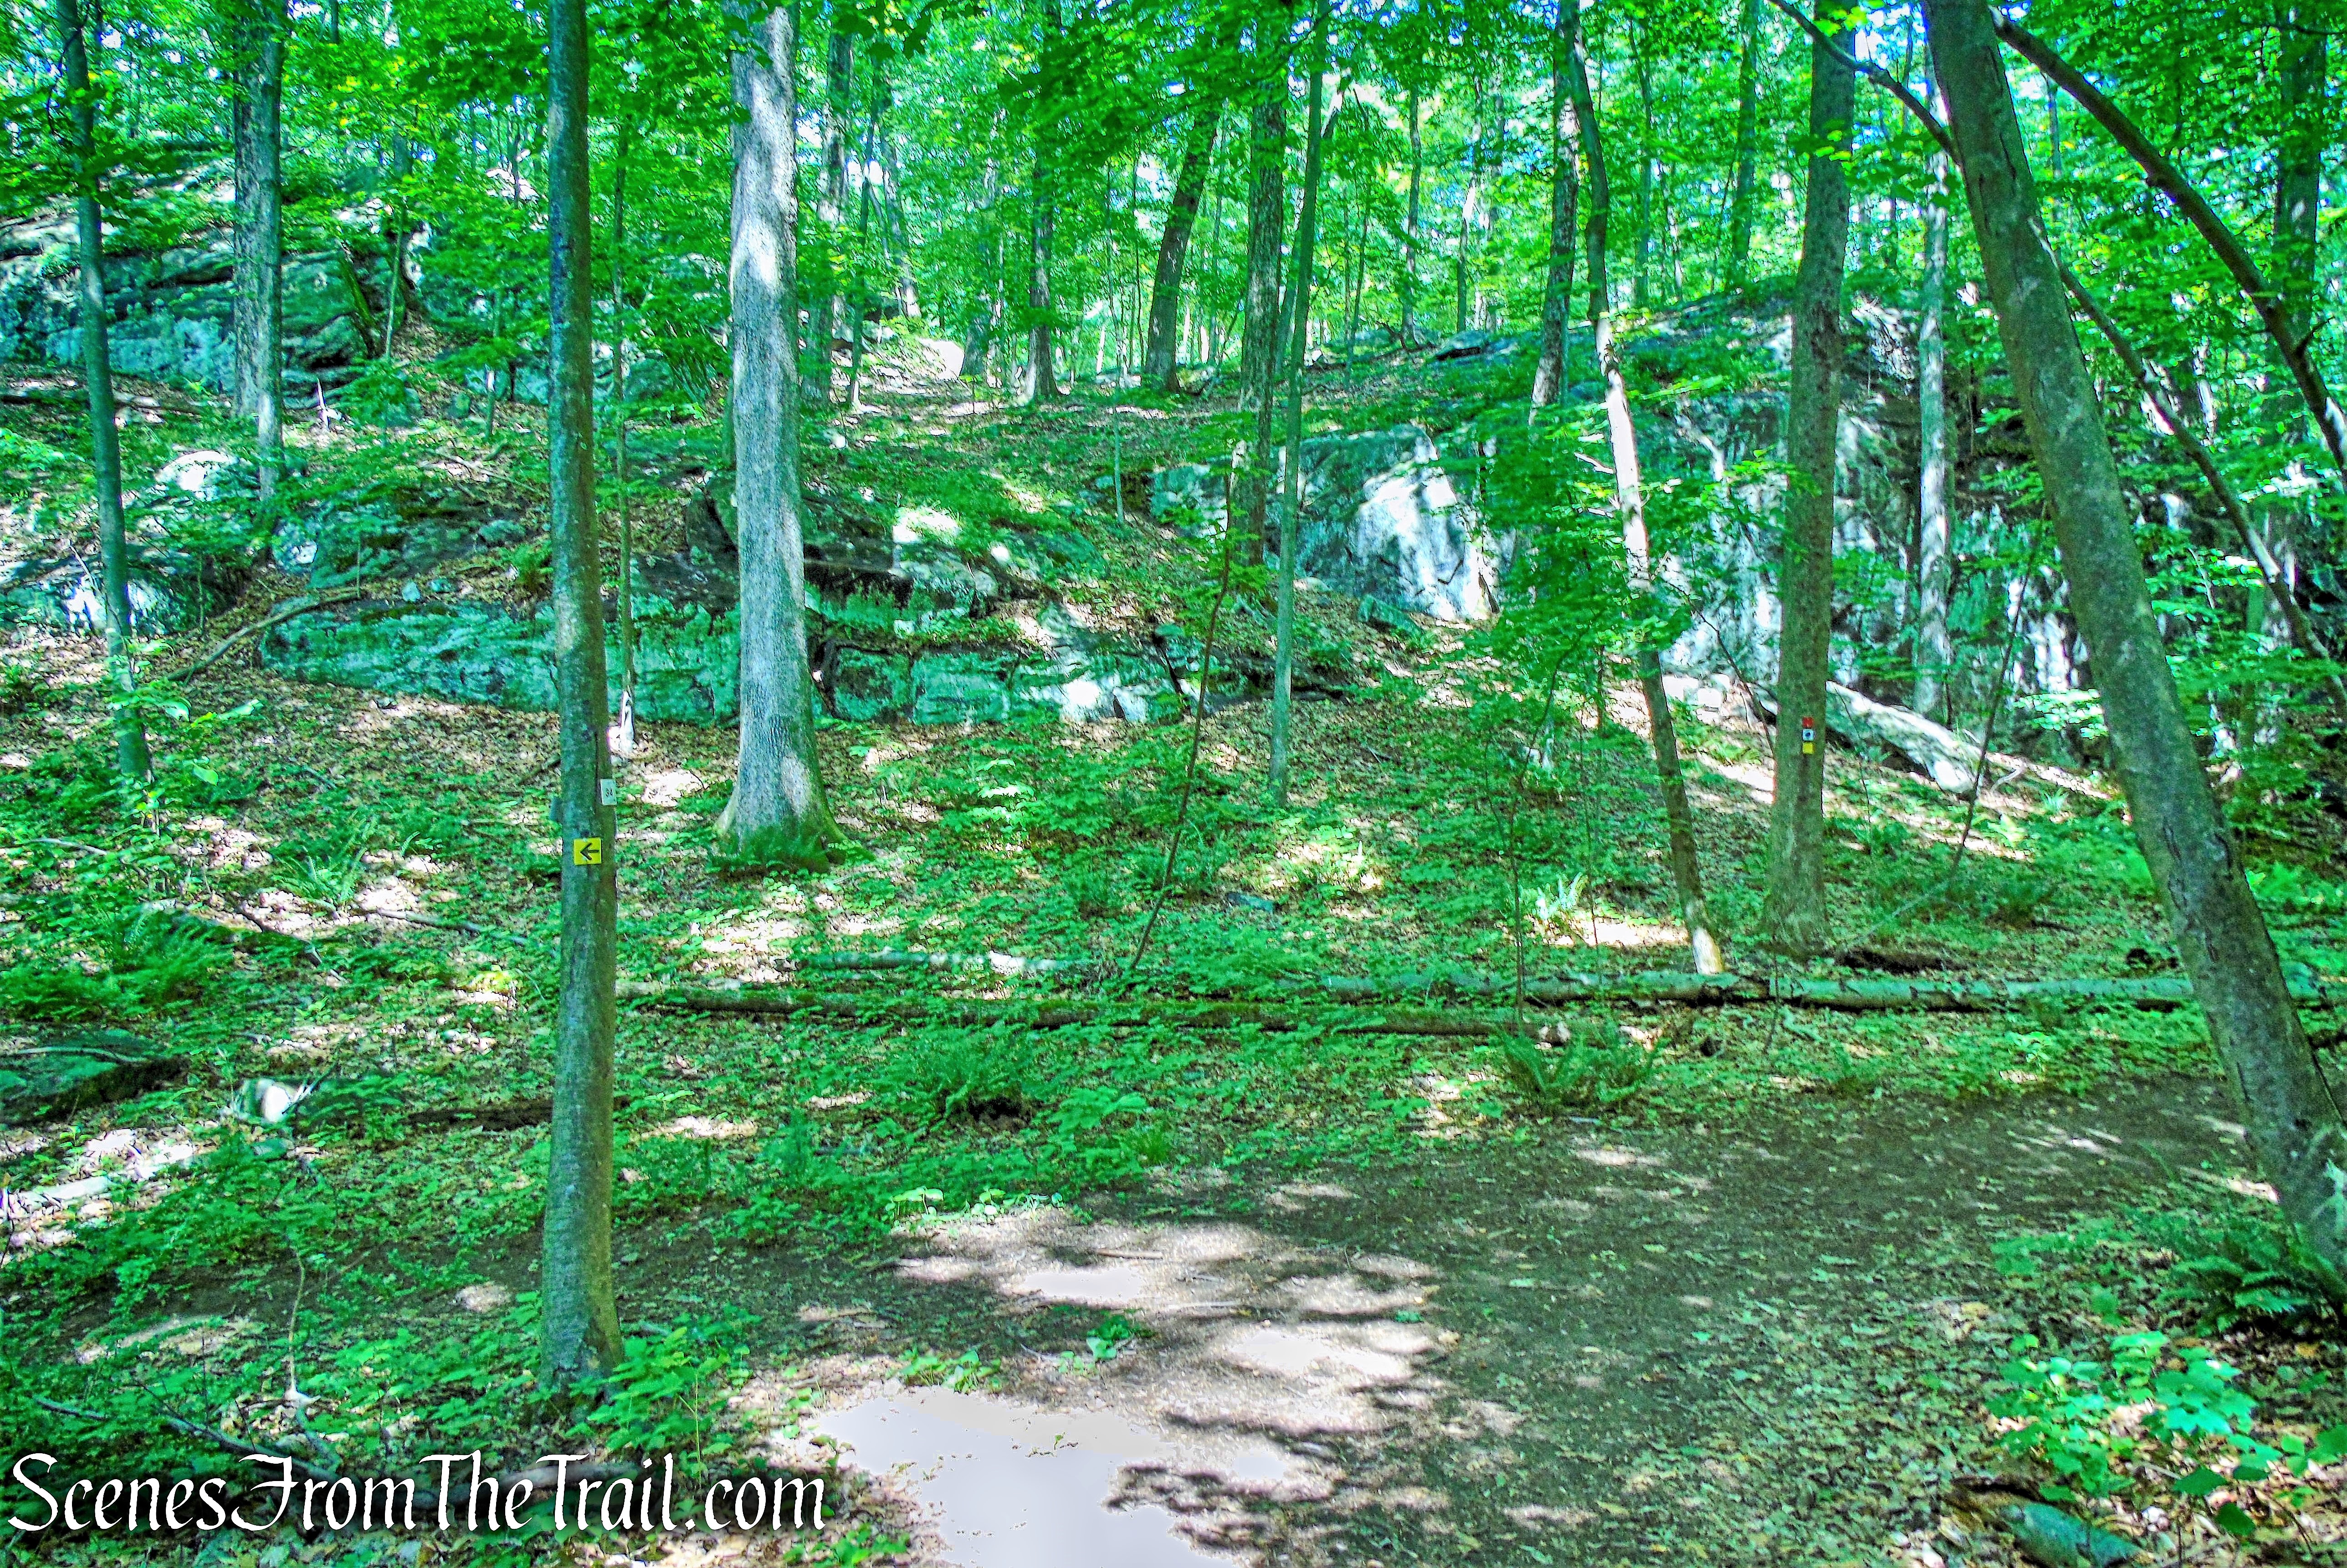
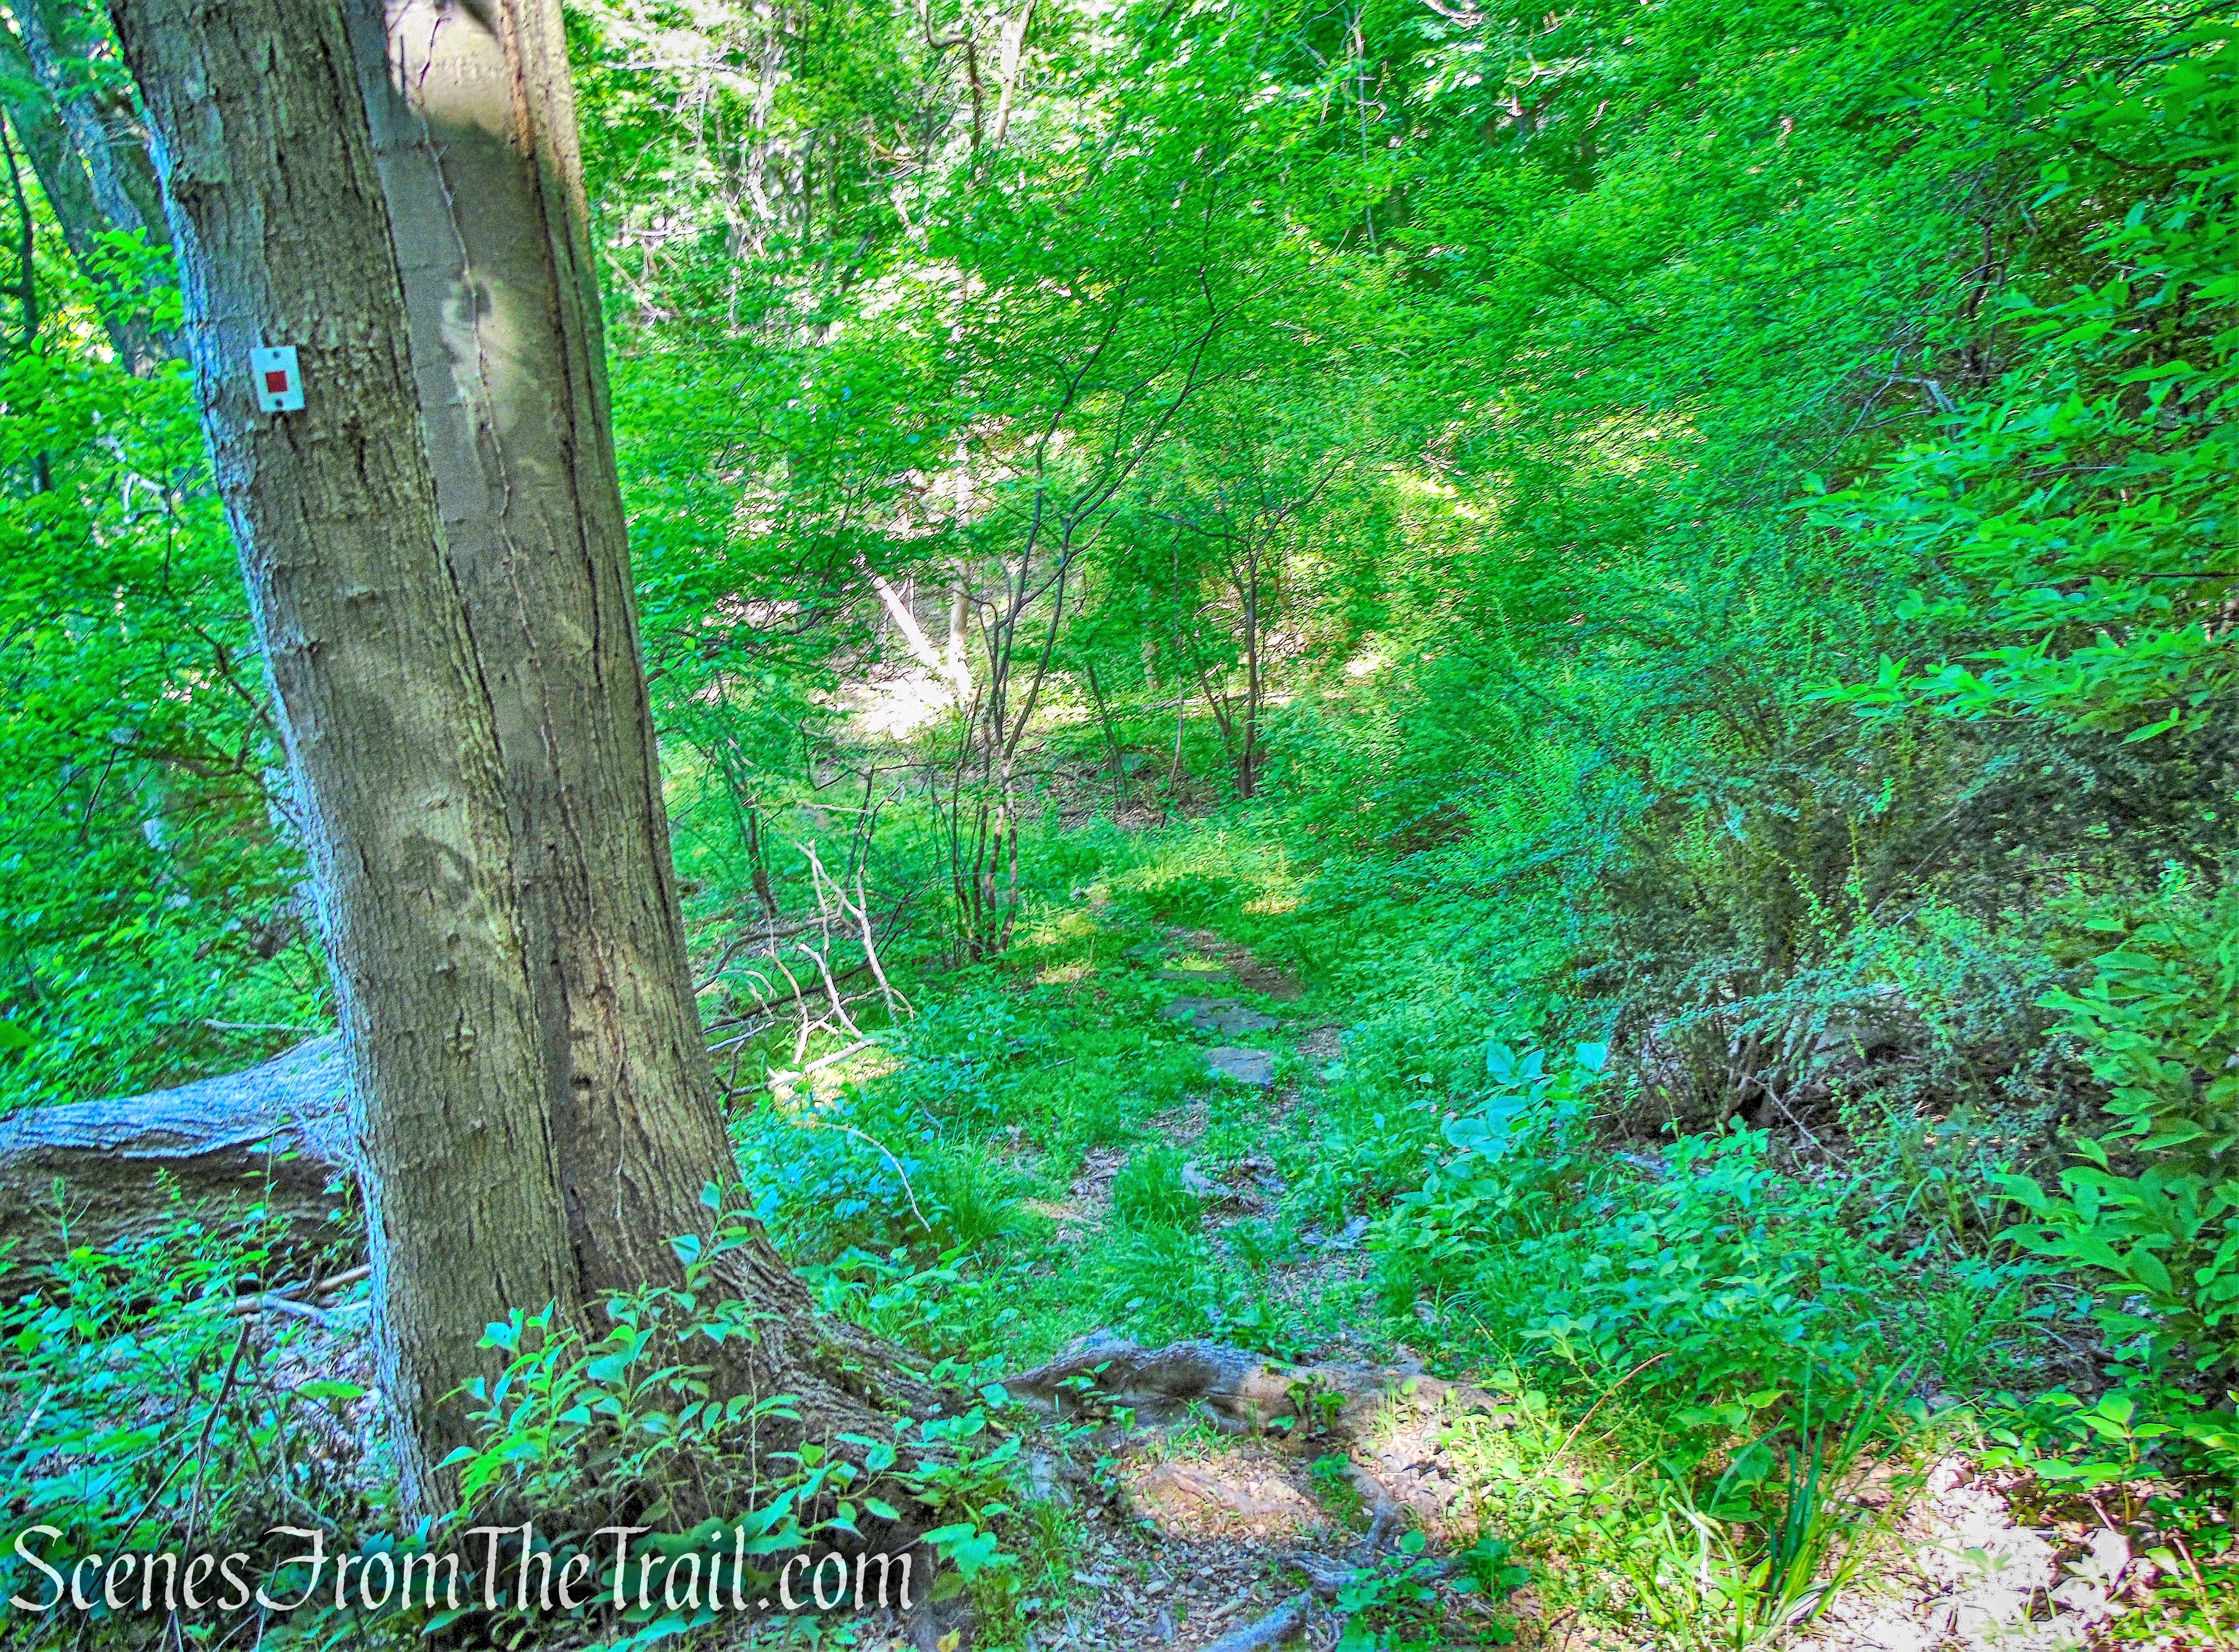
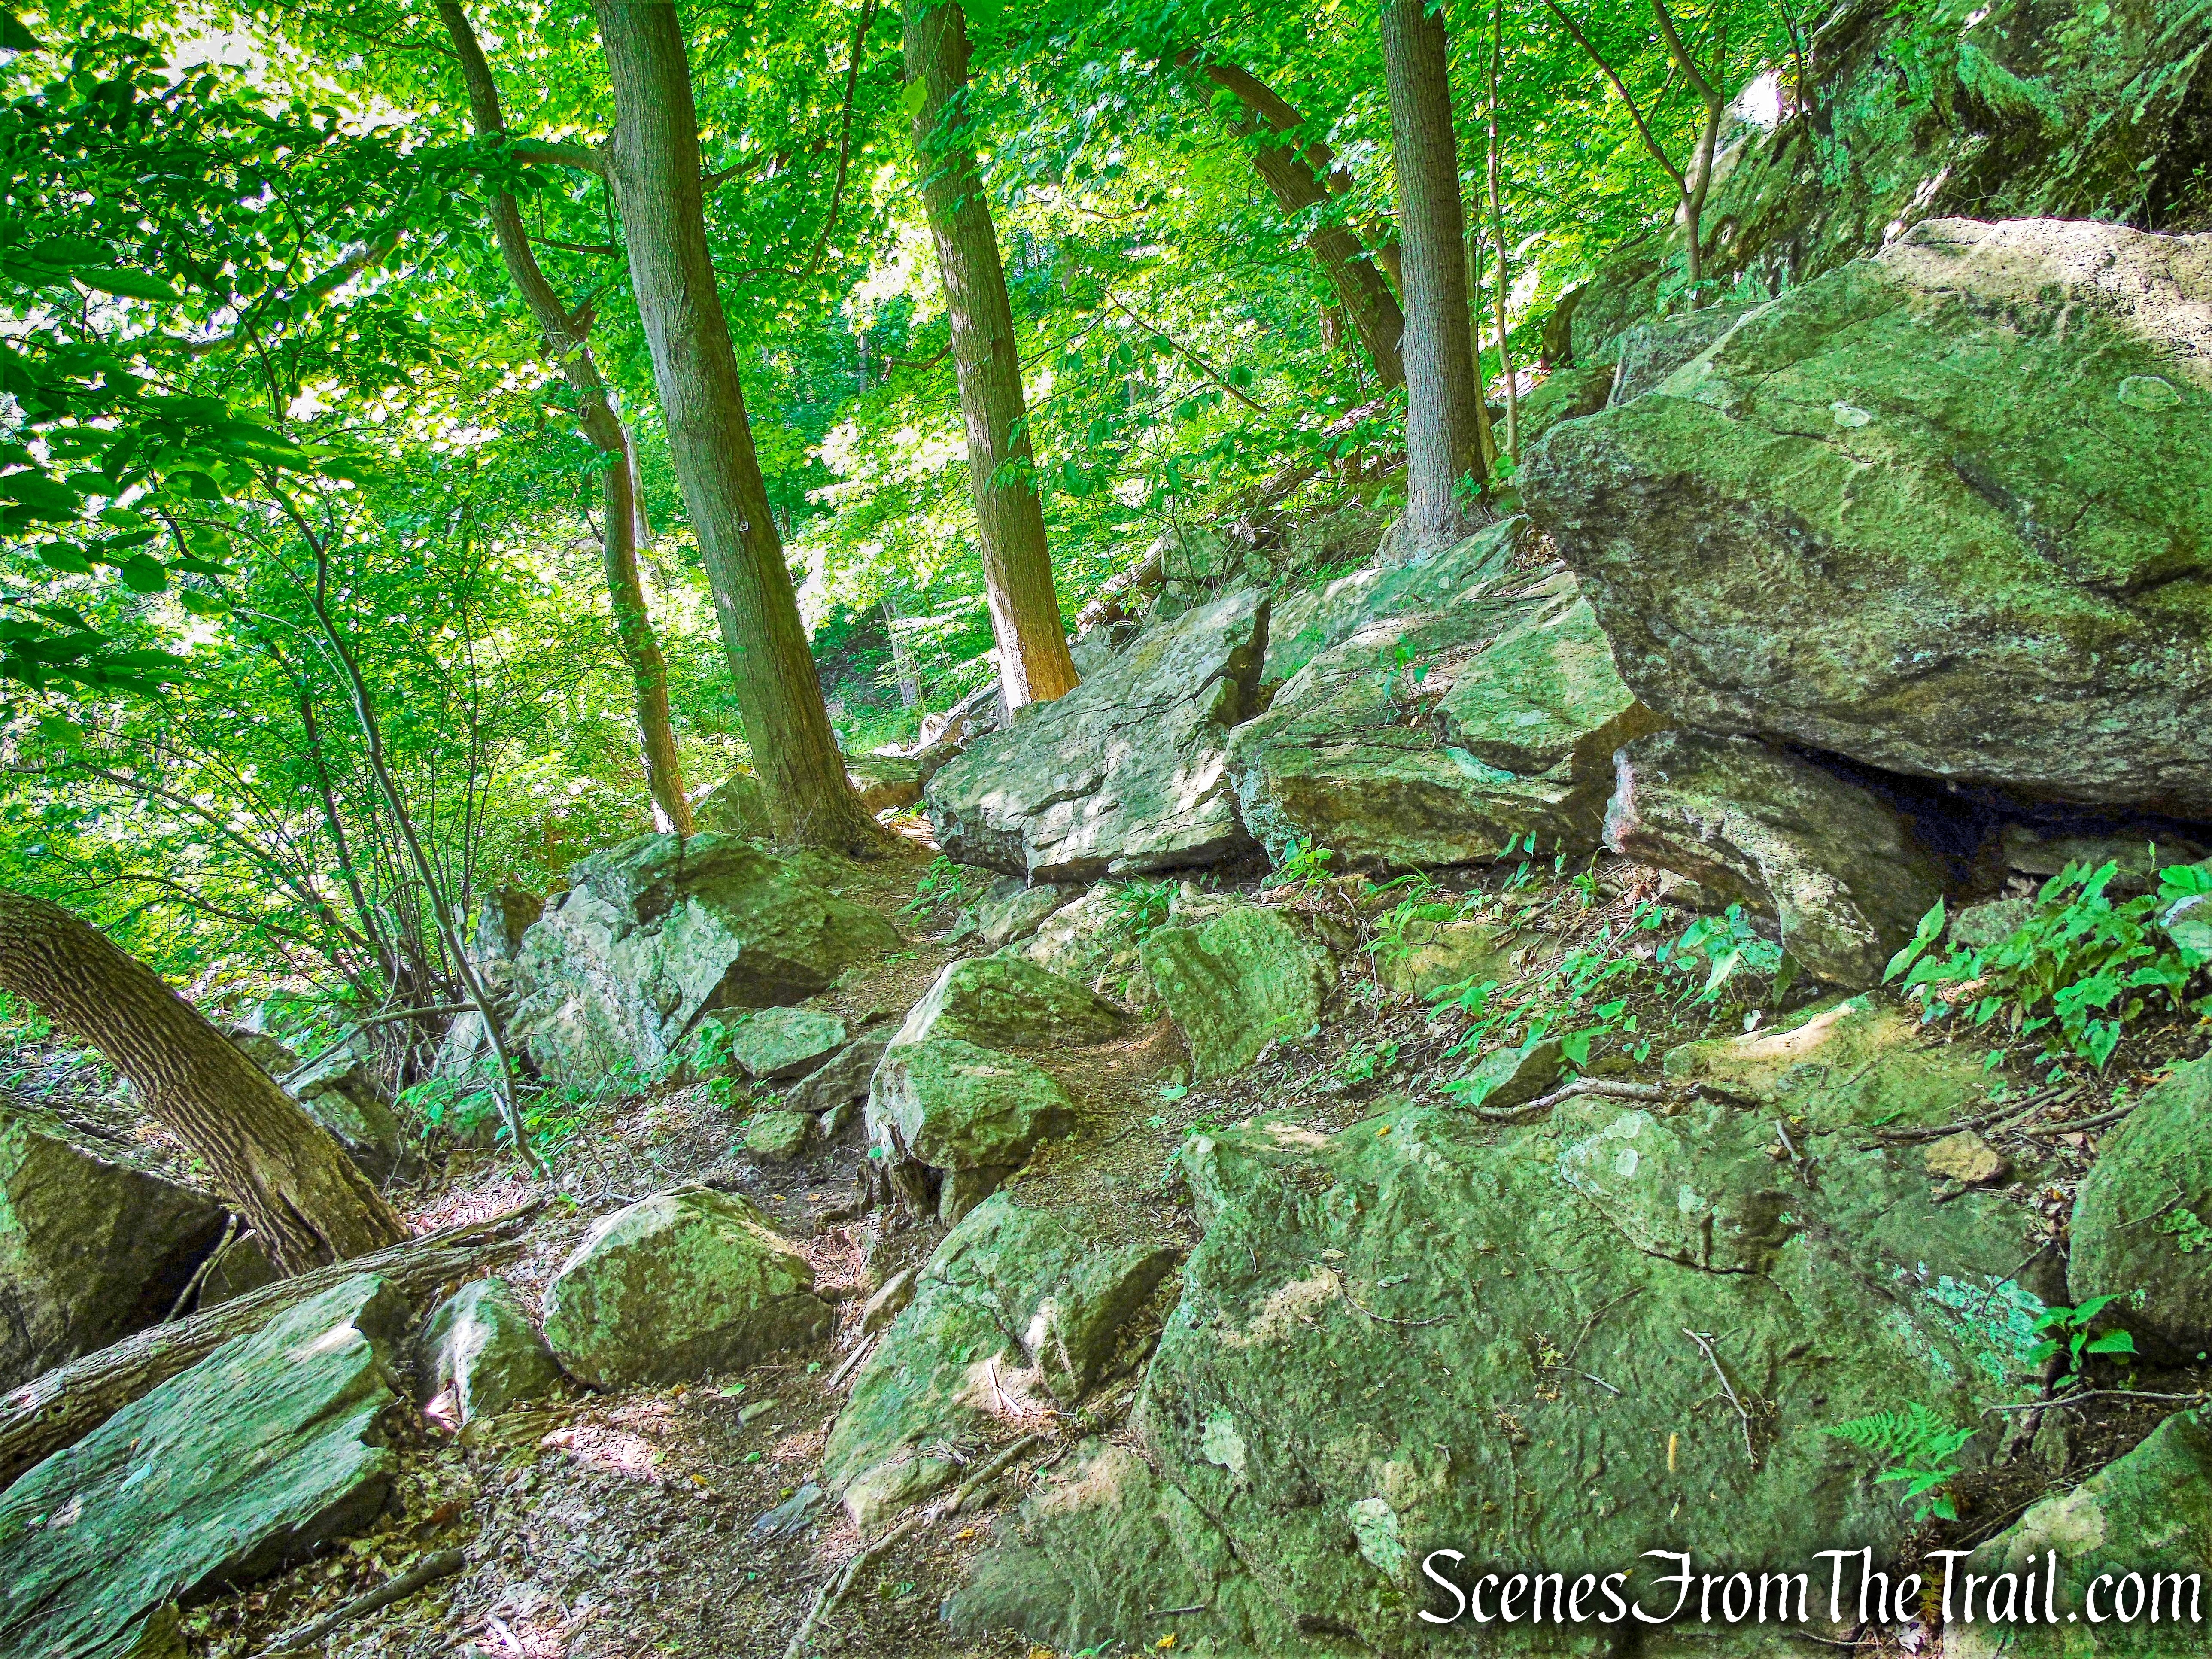
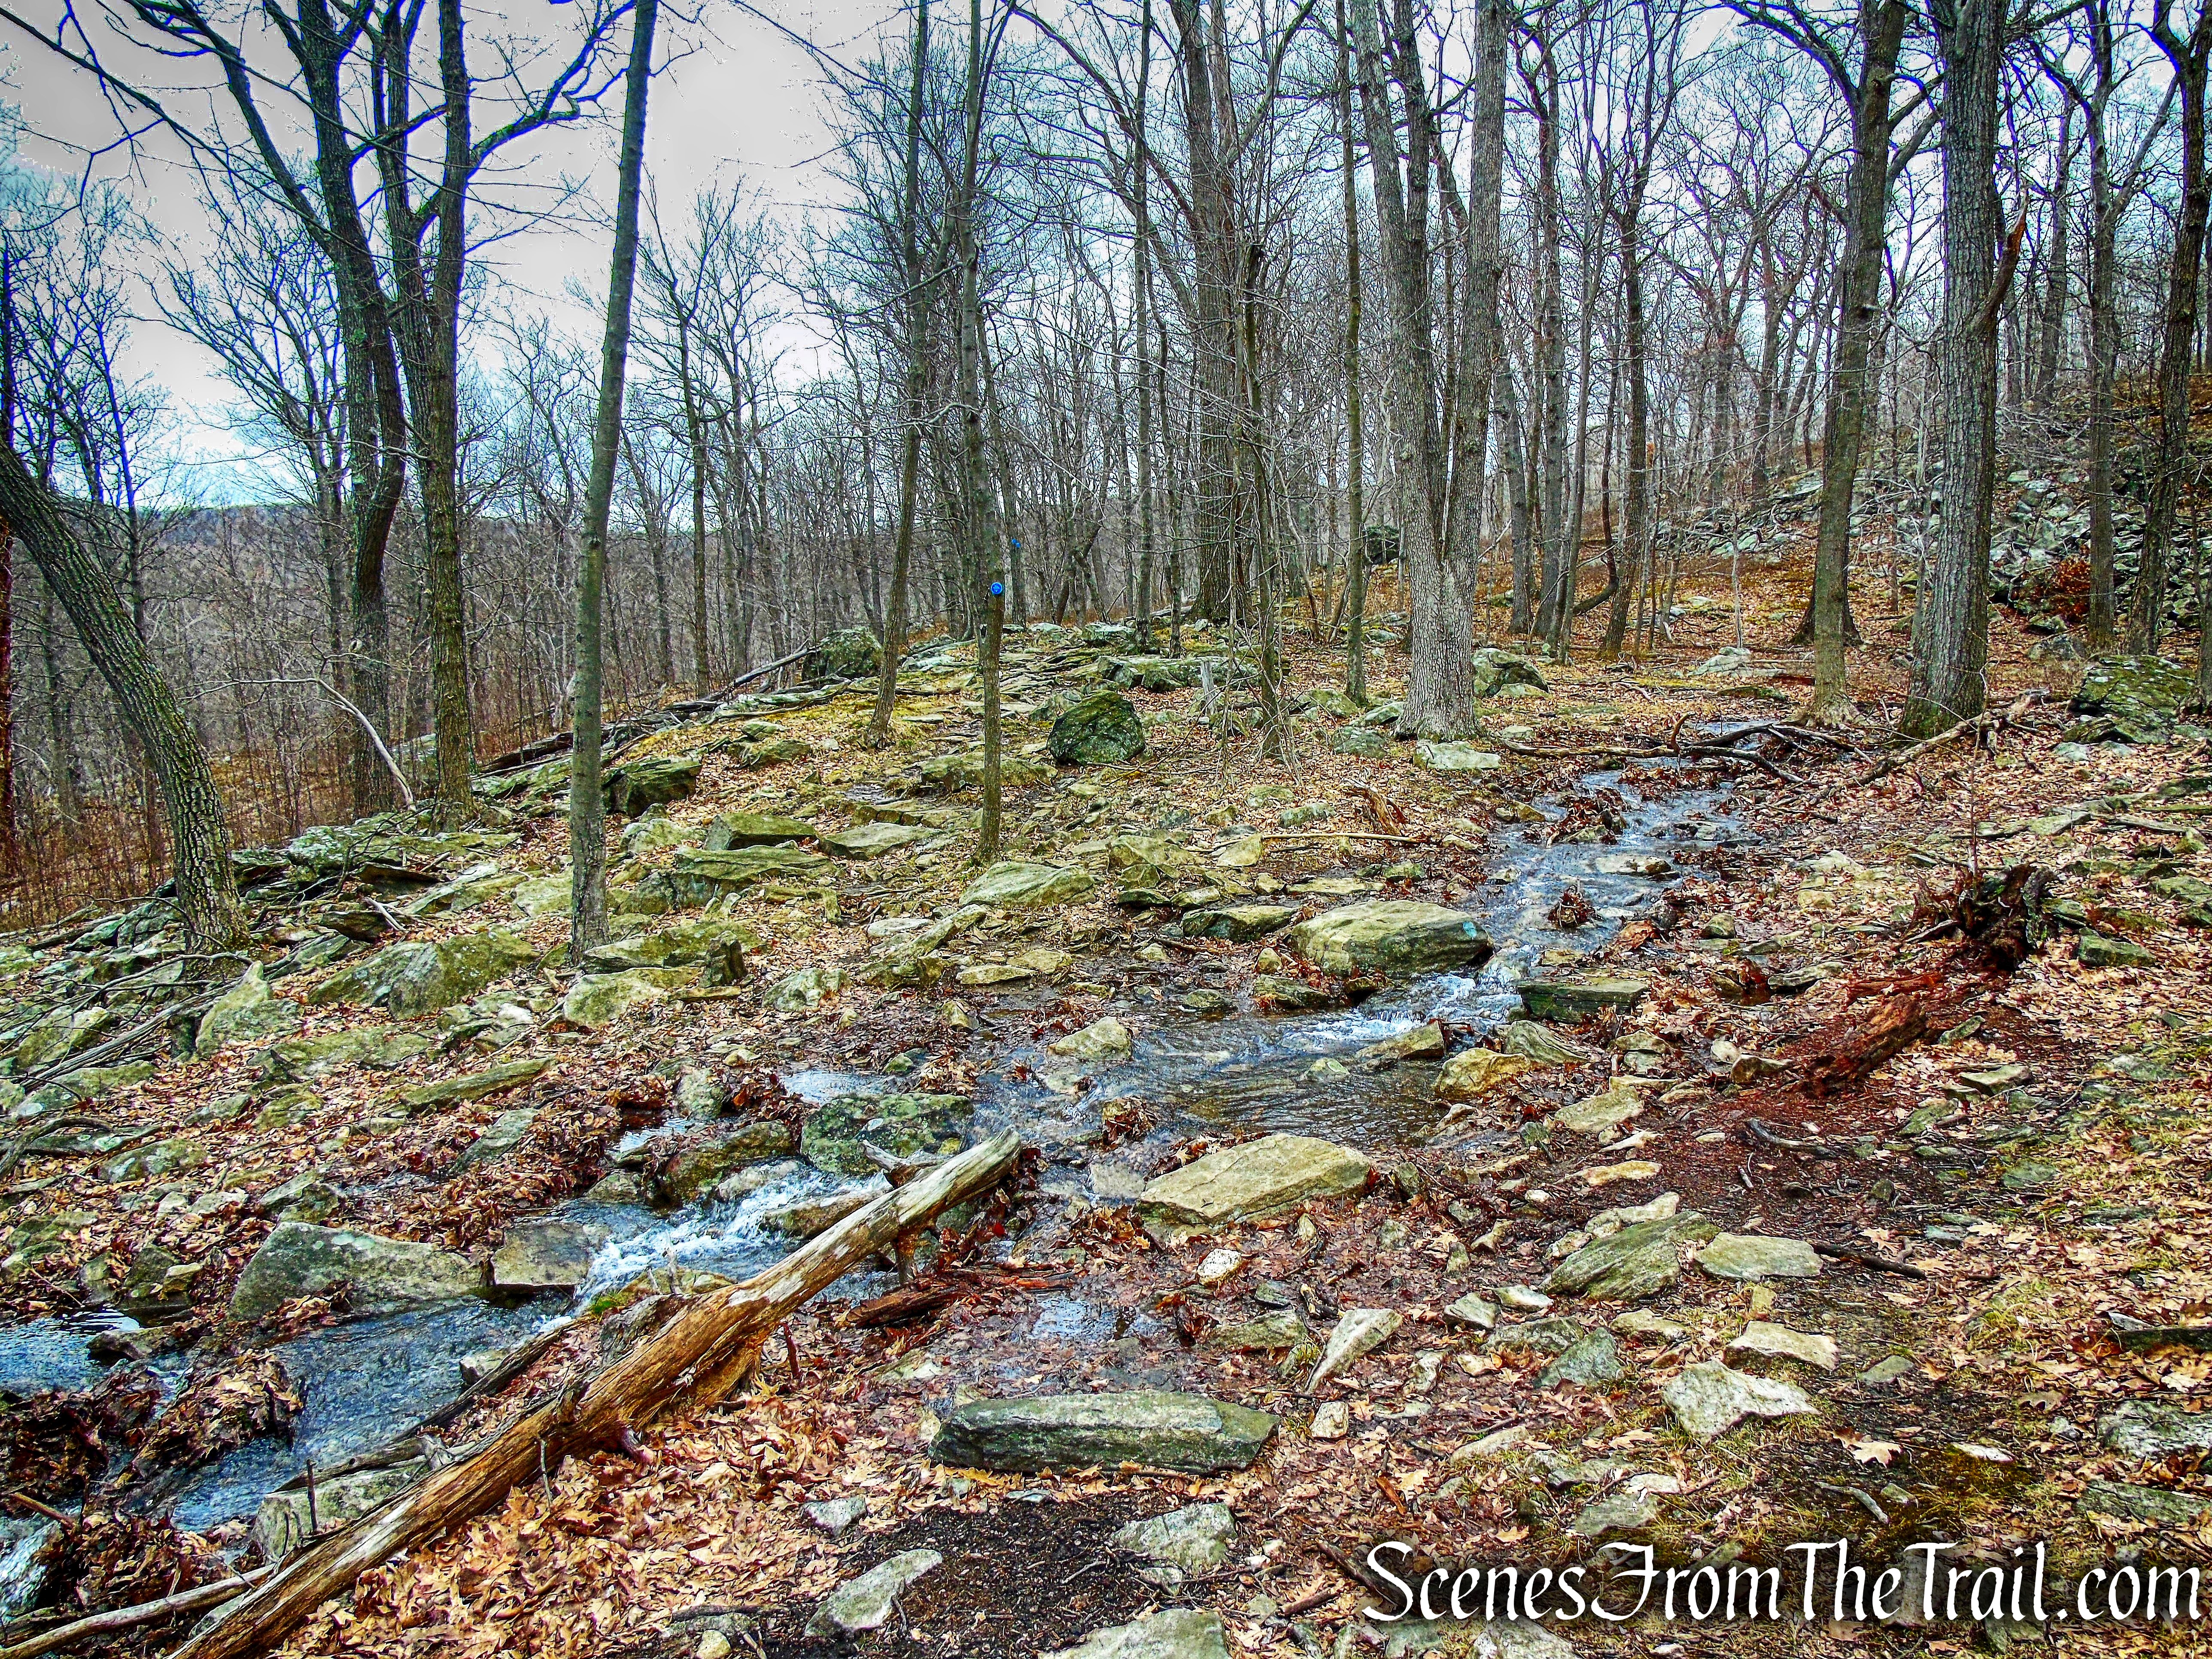
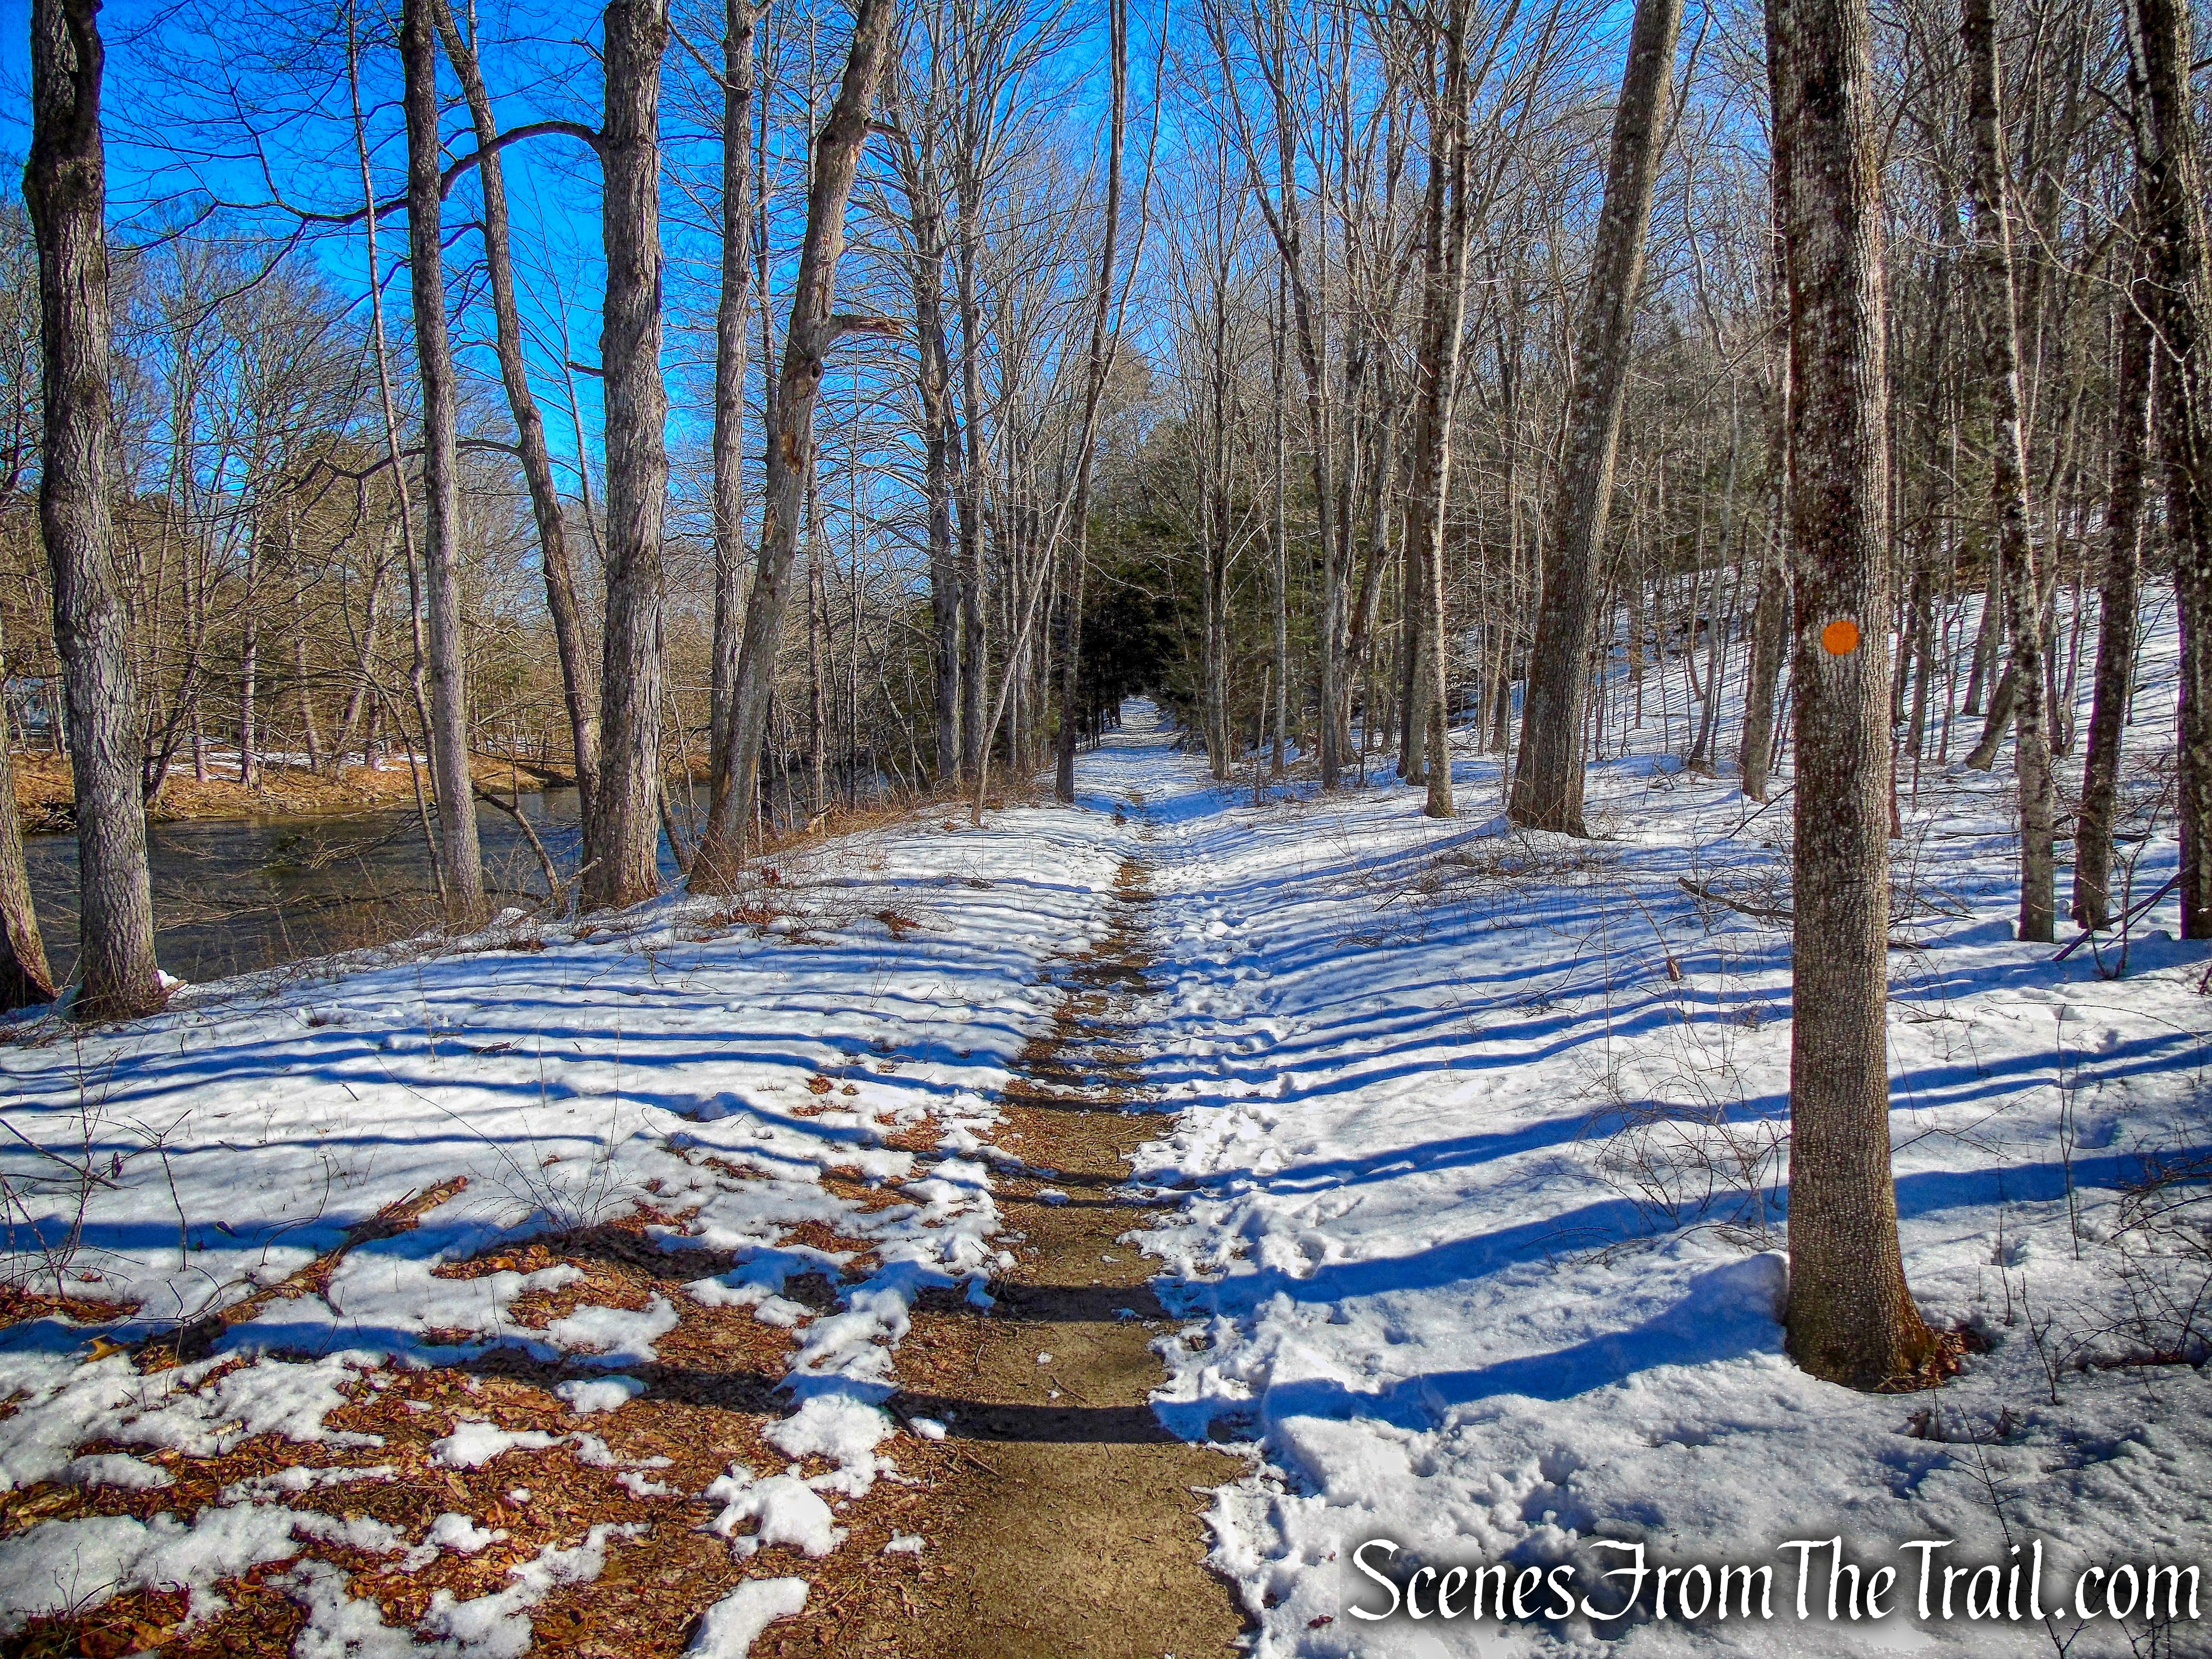
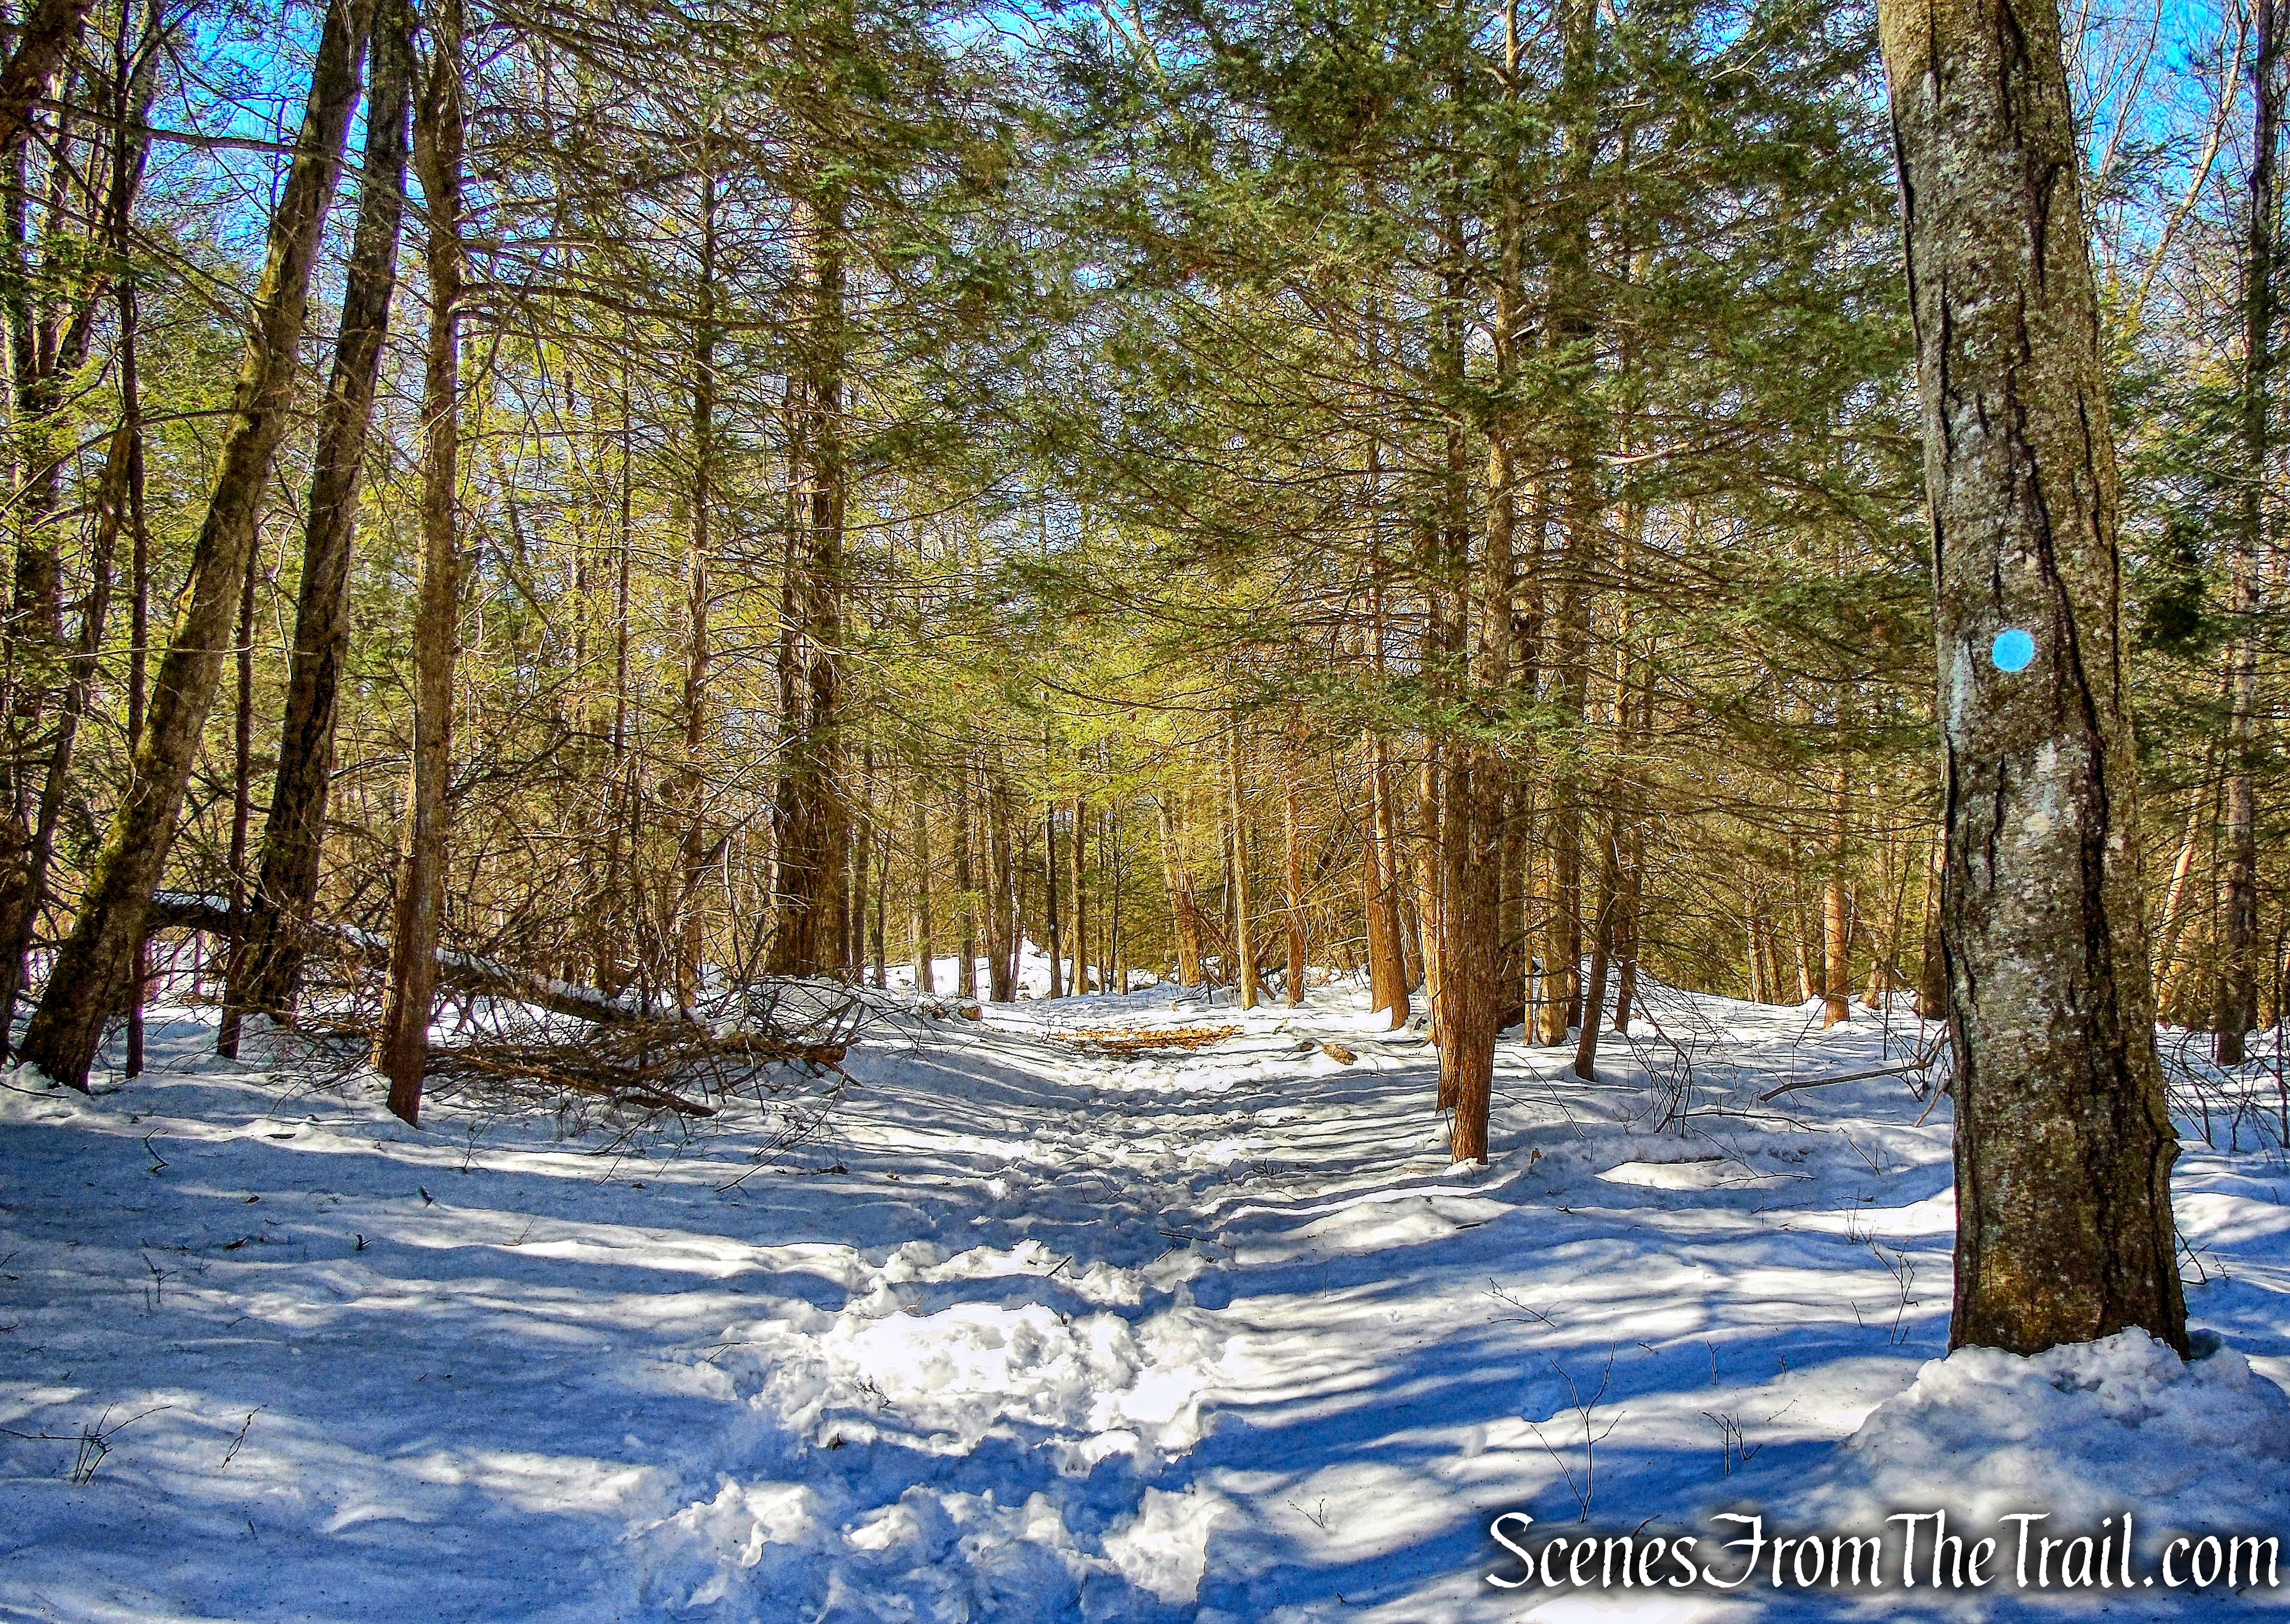
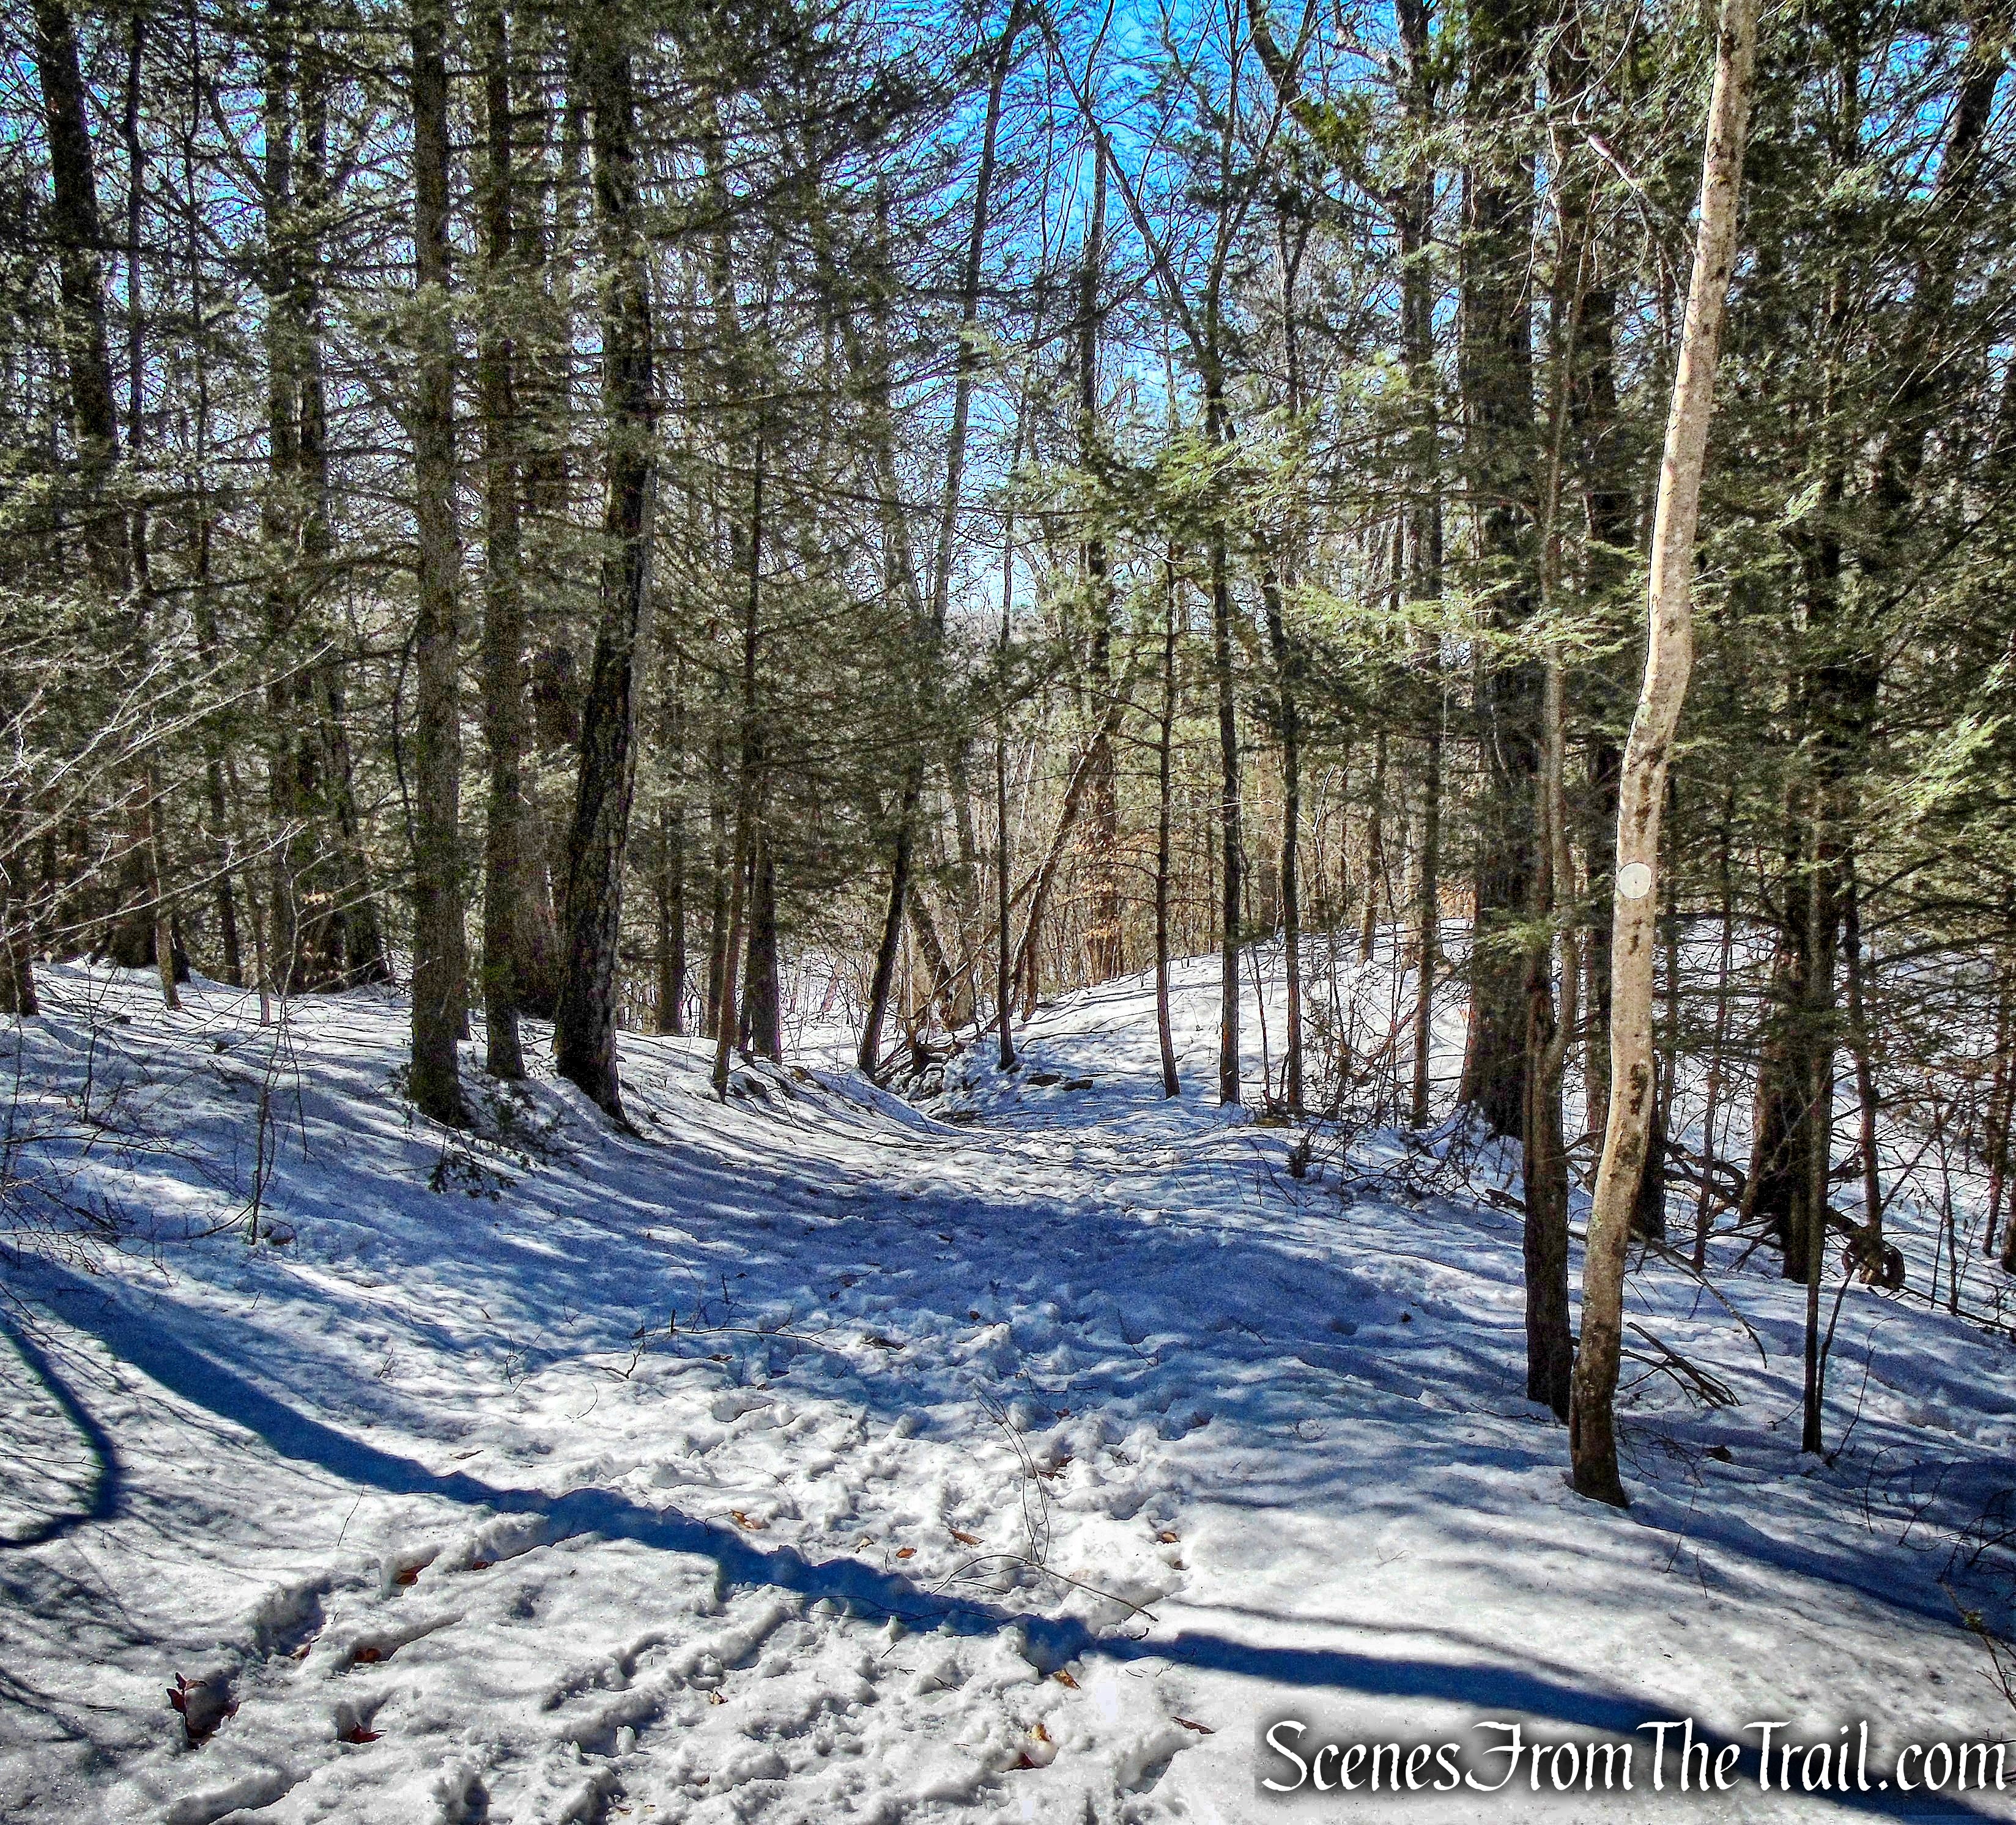
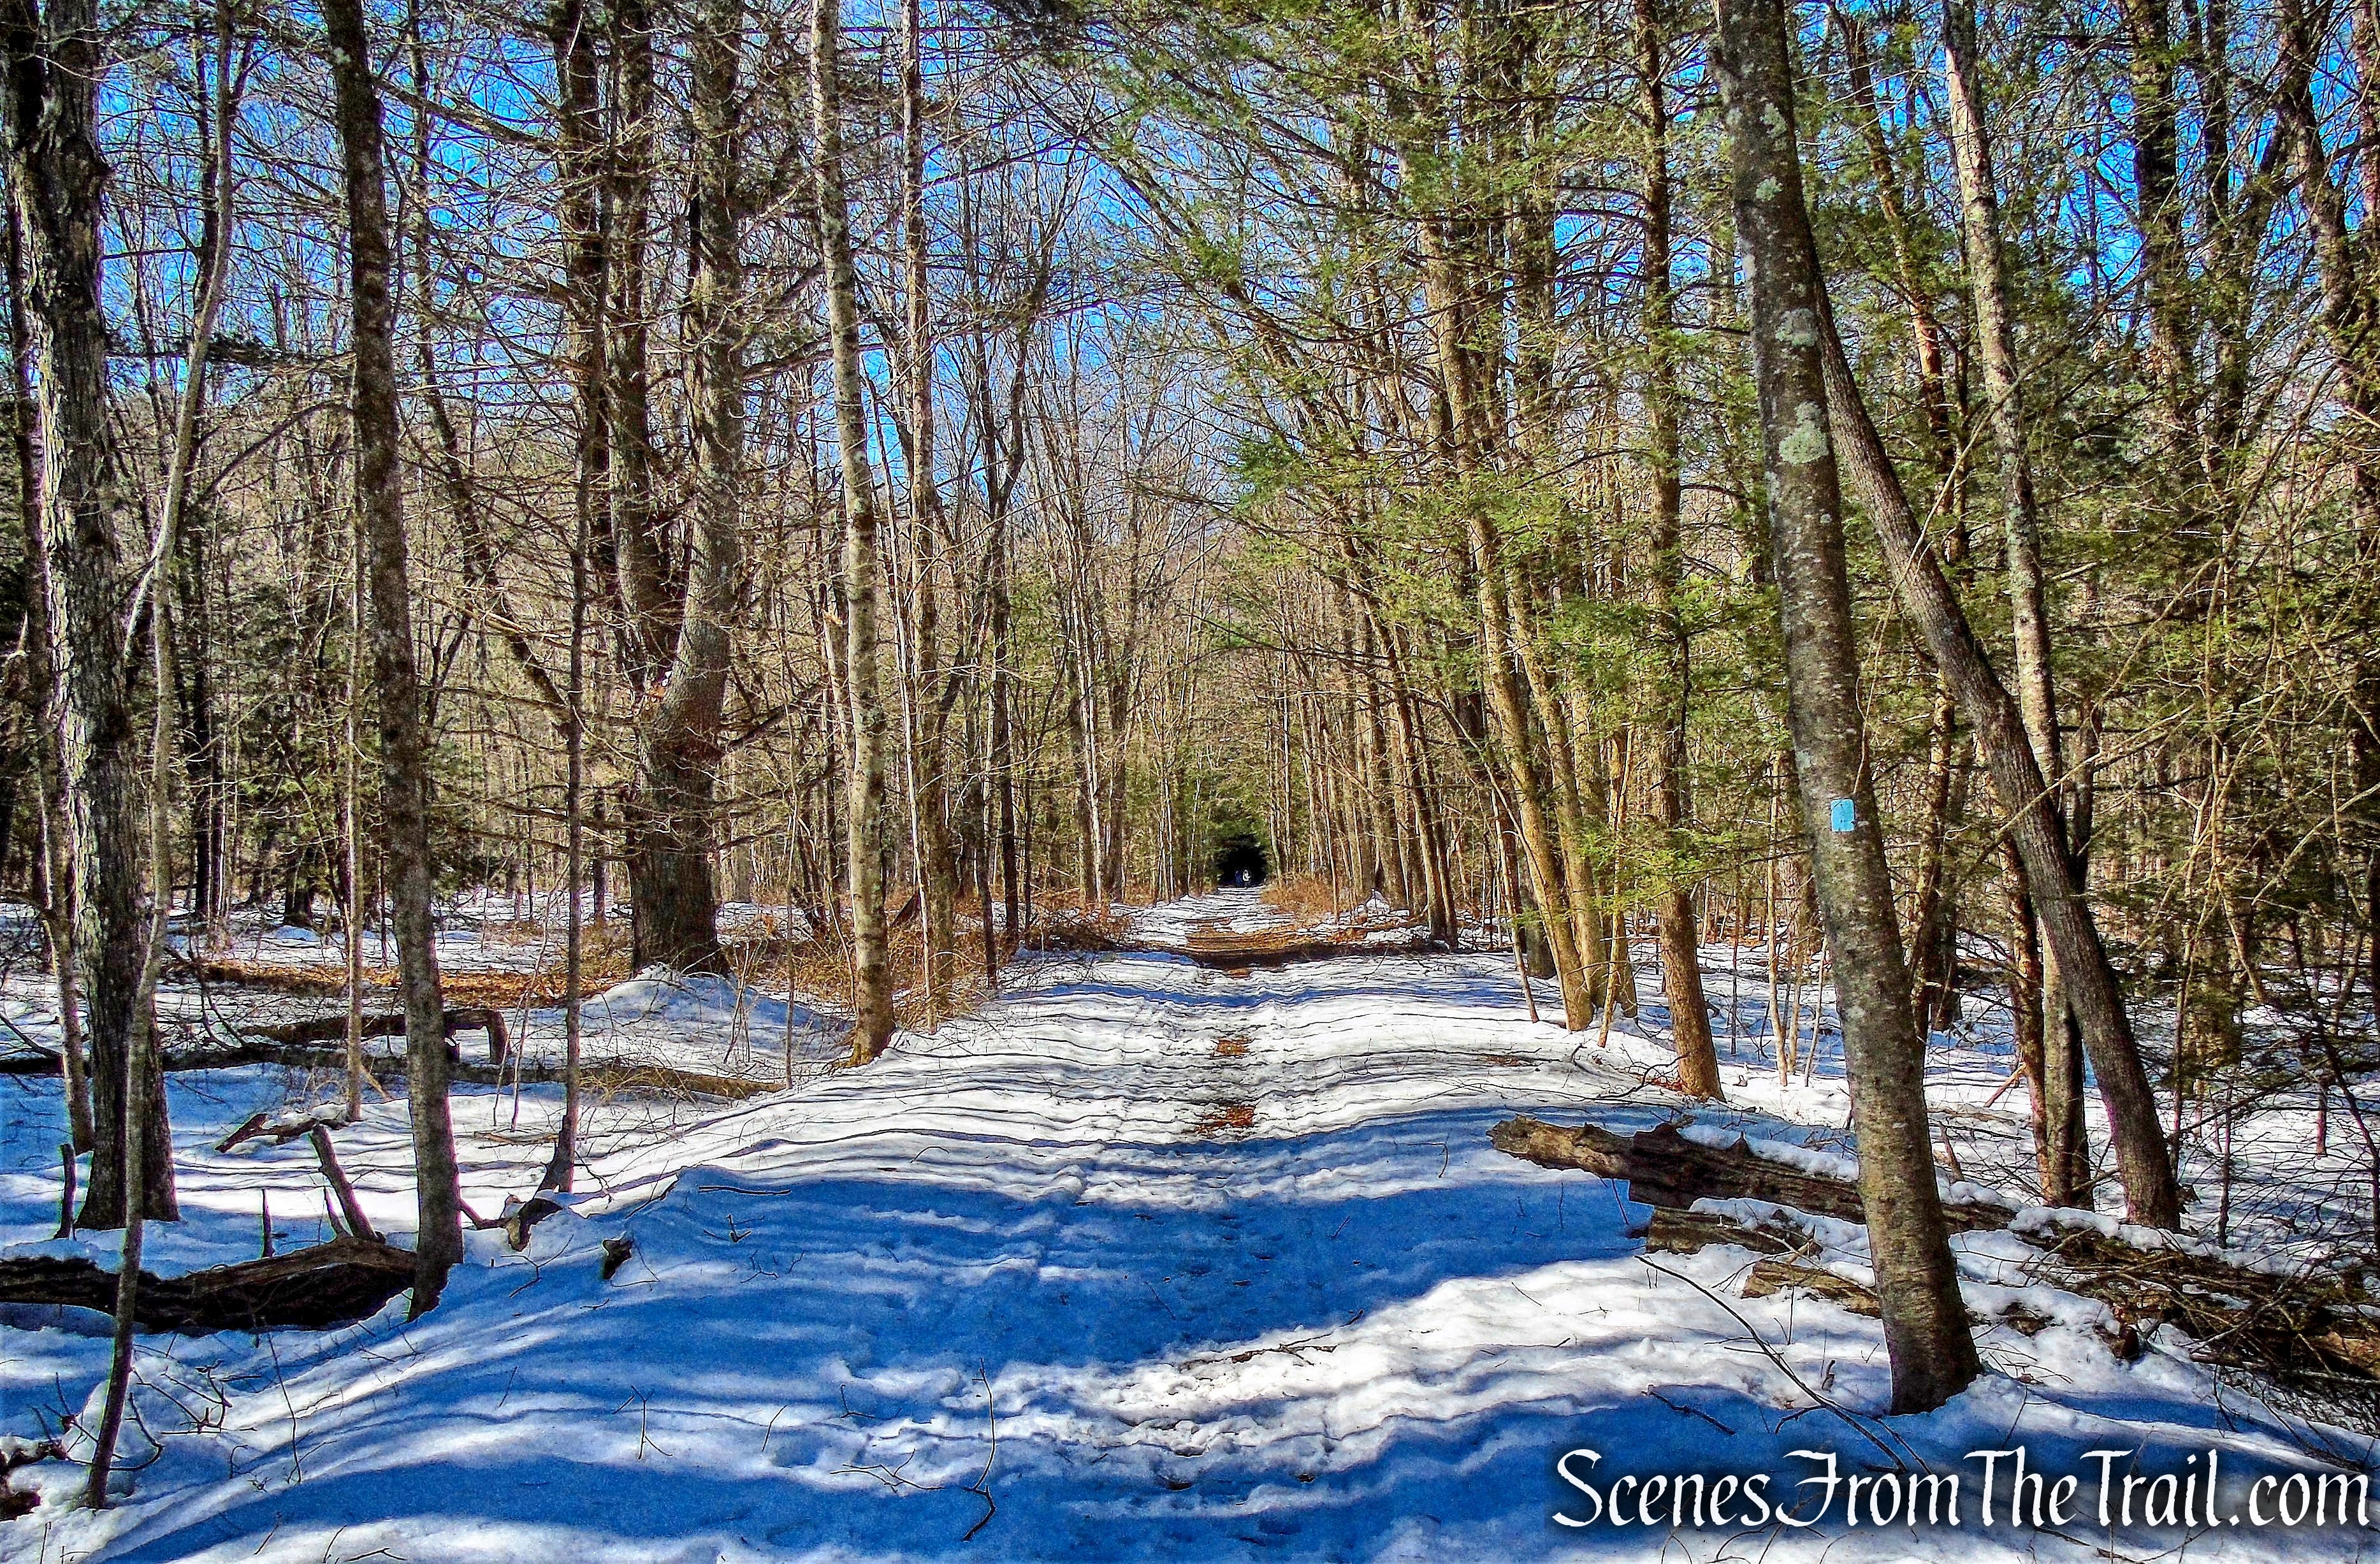
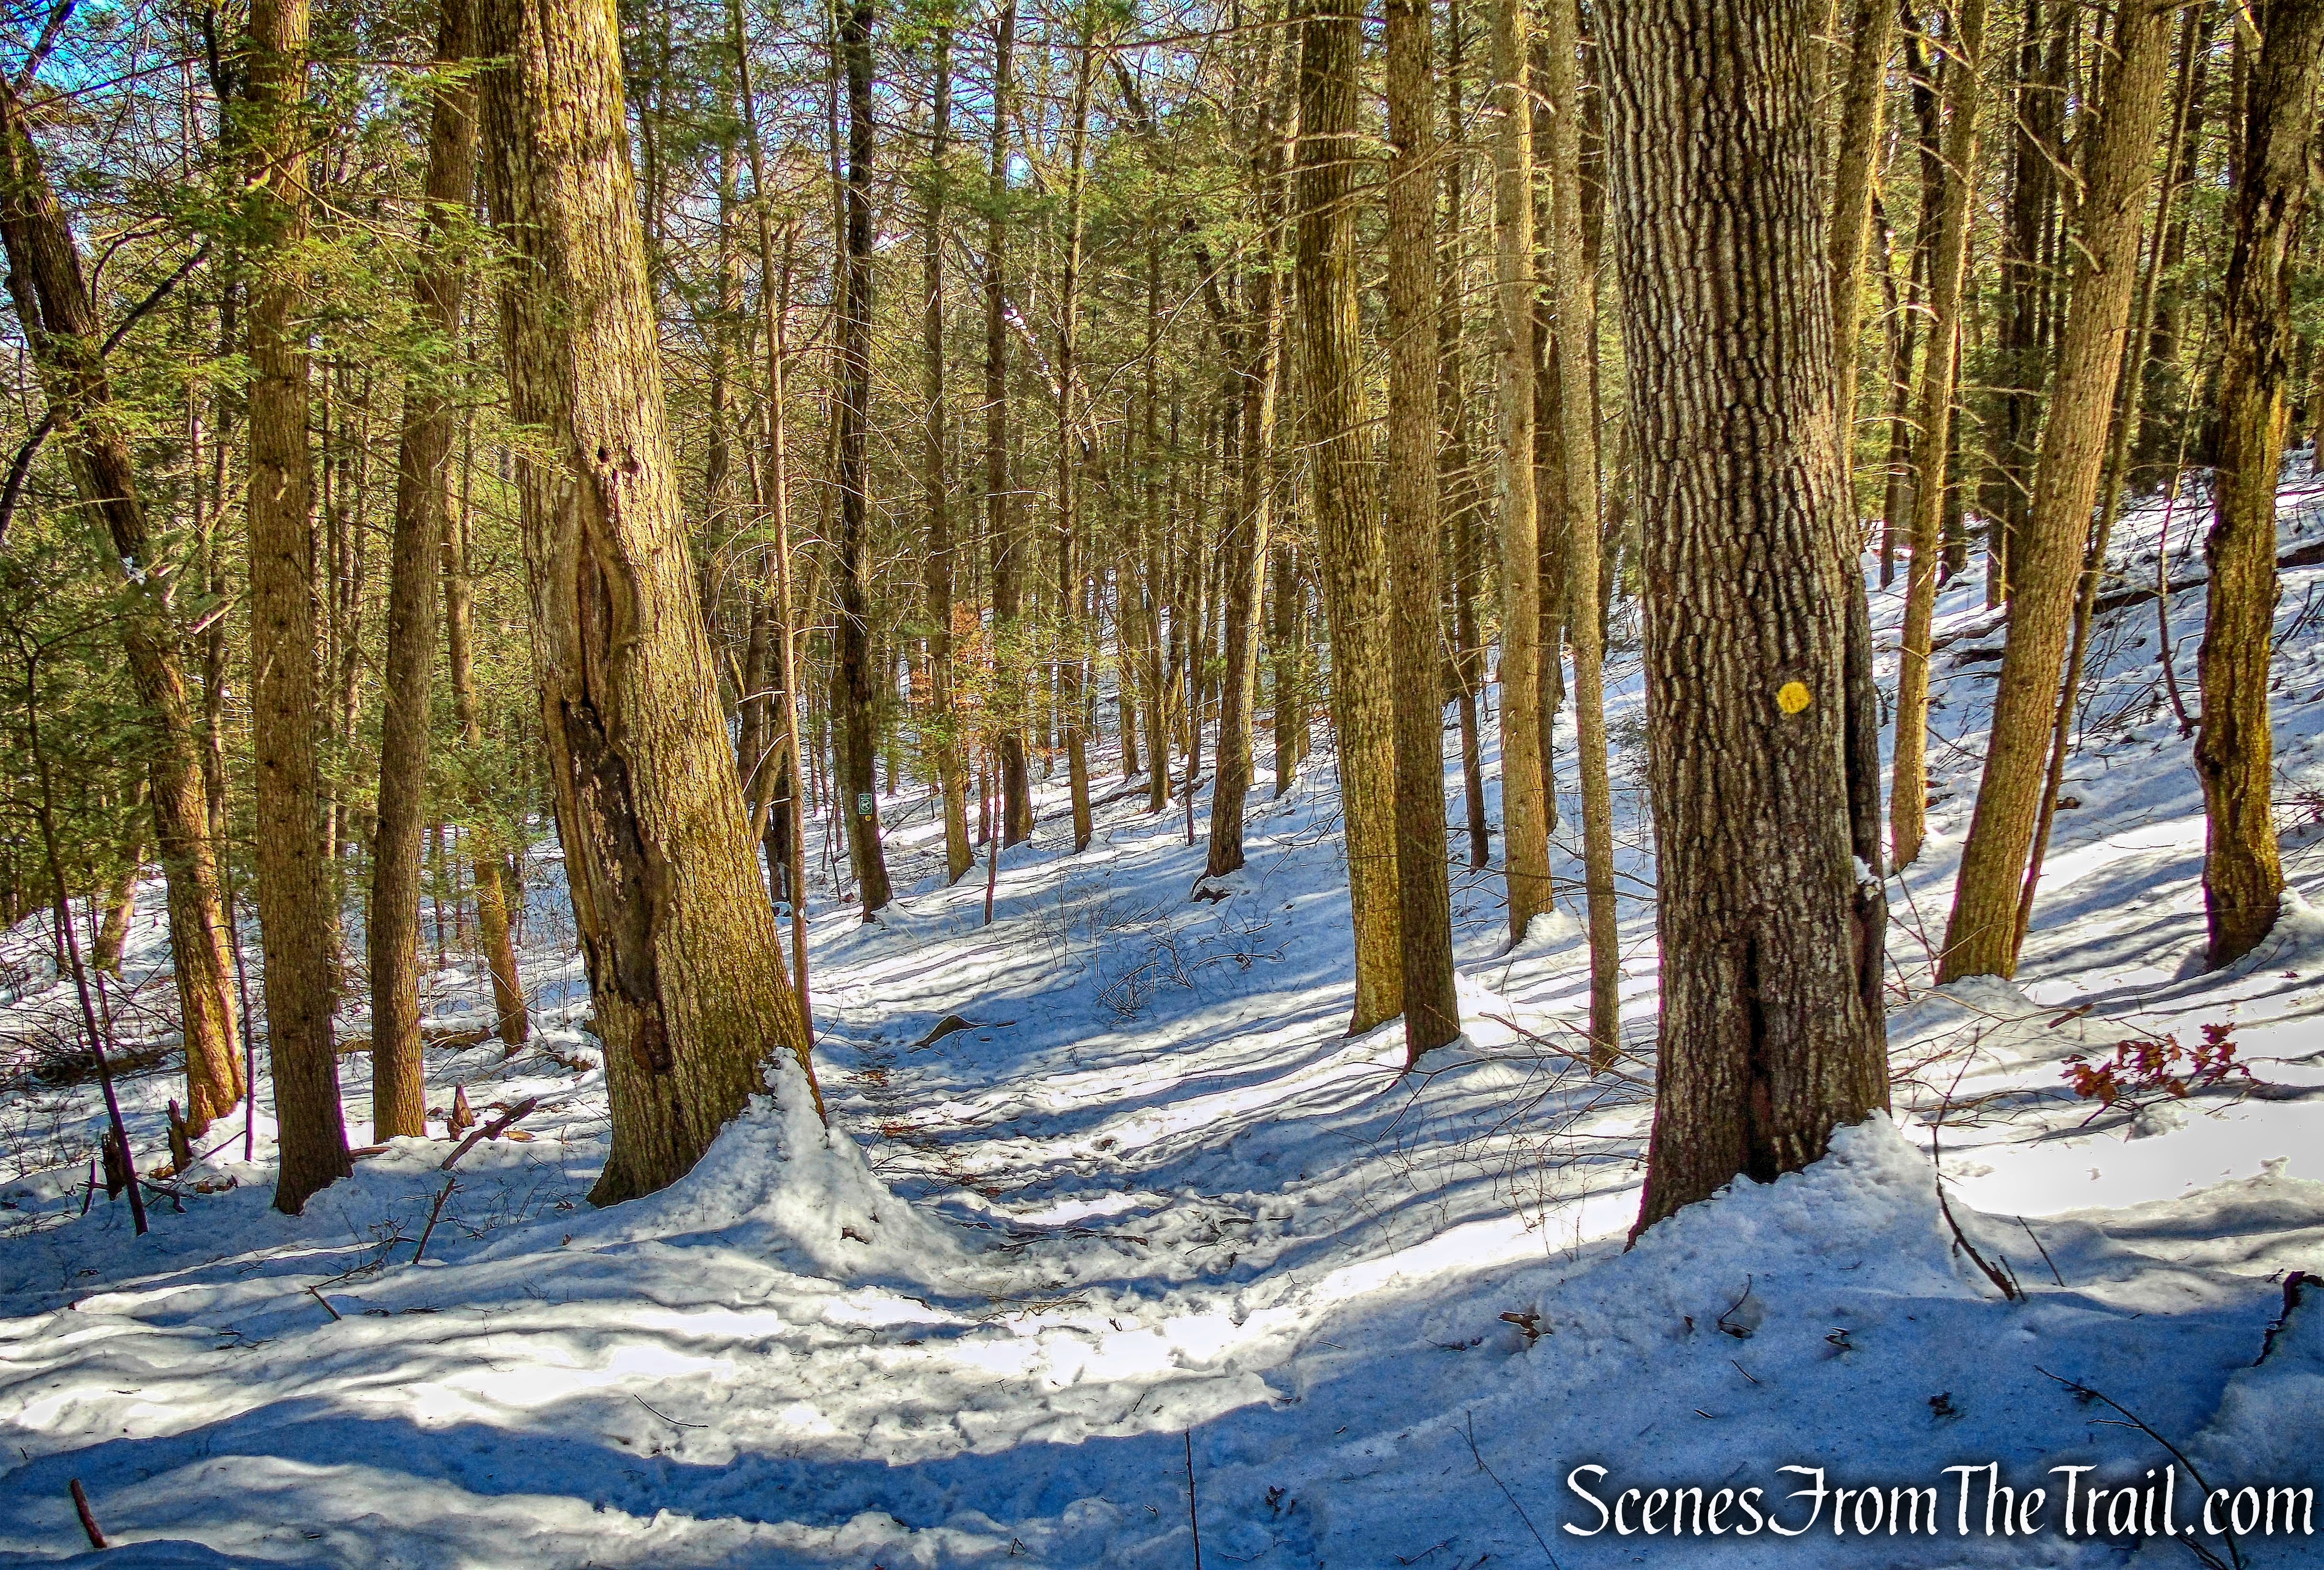
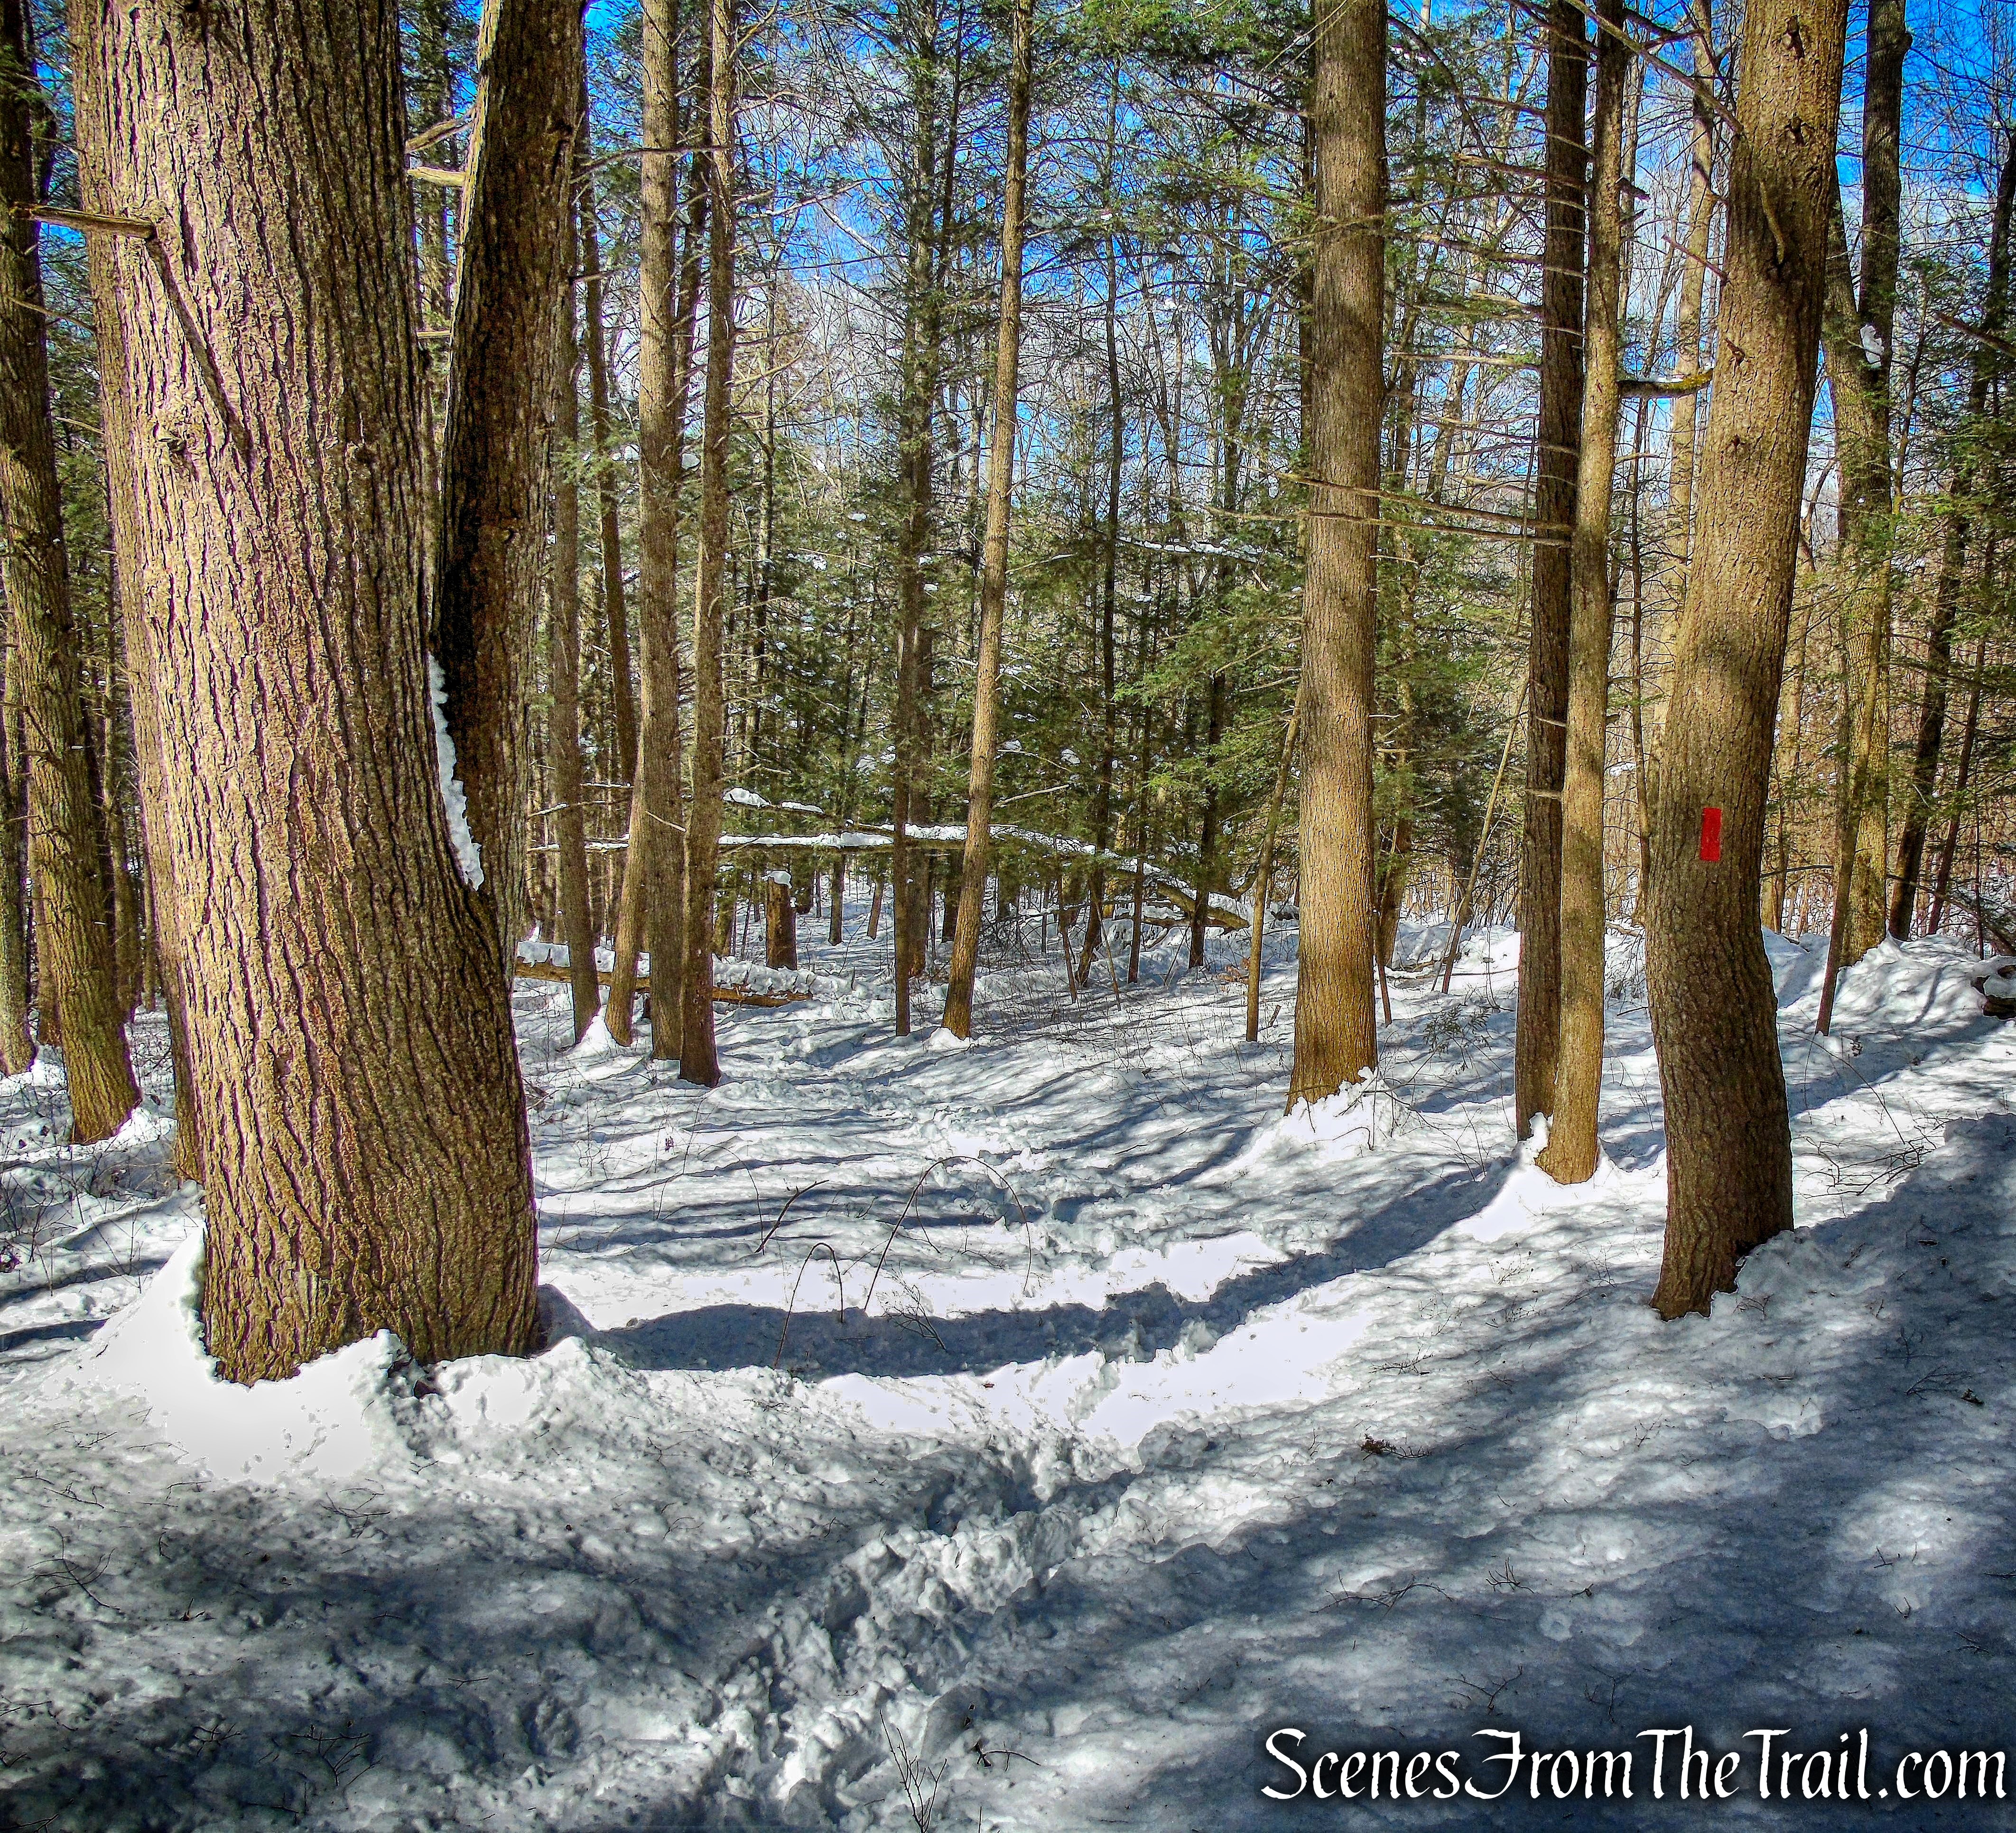
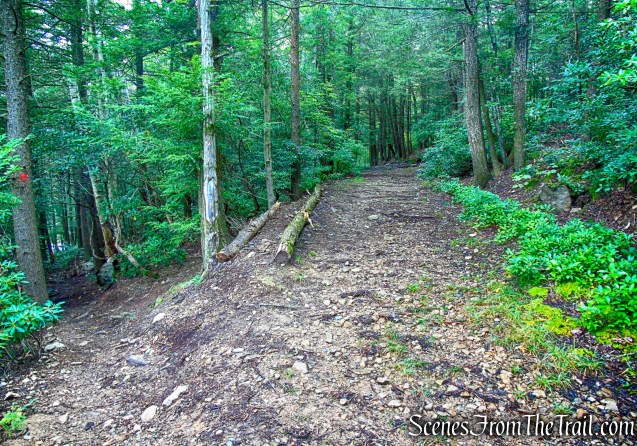
The well blazed trail soon leaves the open area and ducks into the woods.
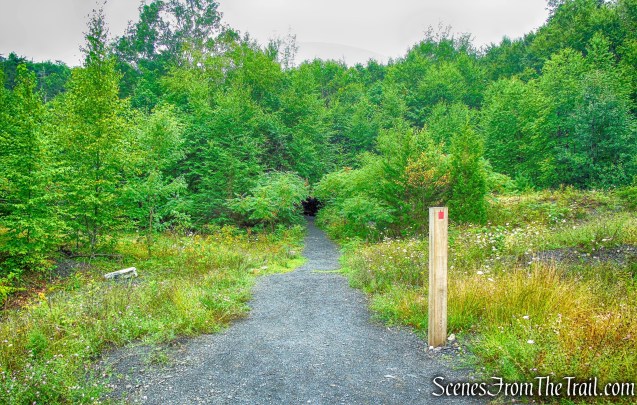
Stony Kill Falls Trail
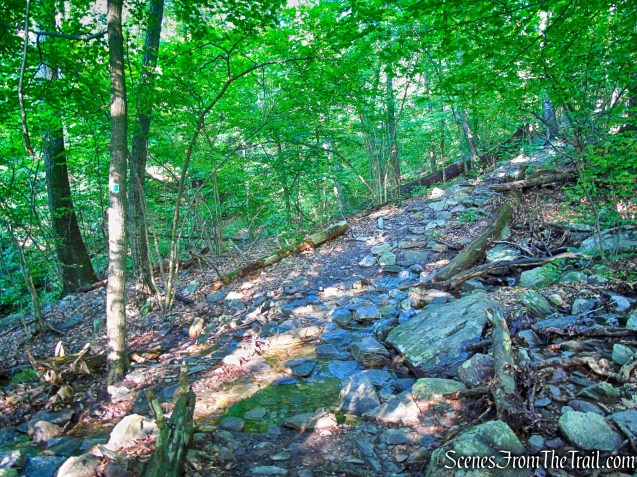
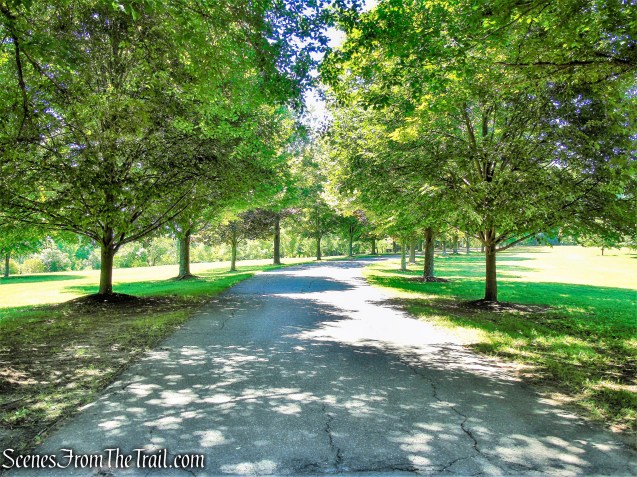
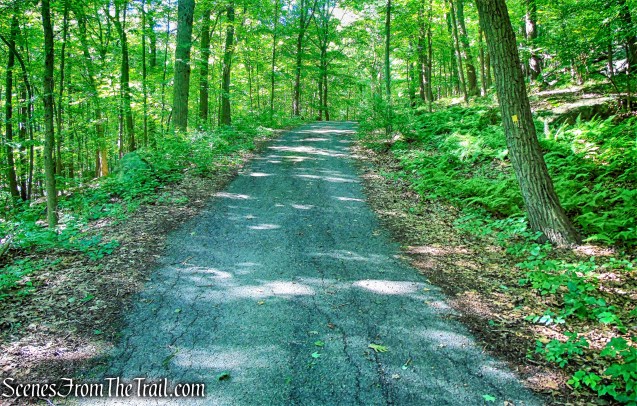
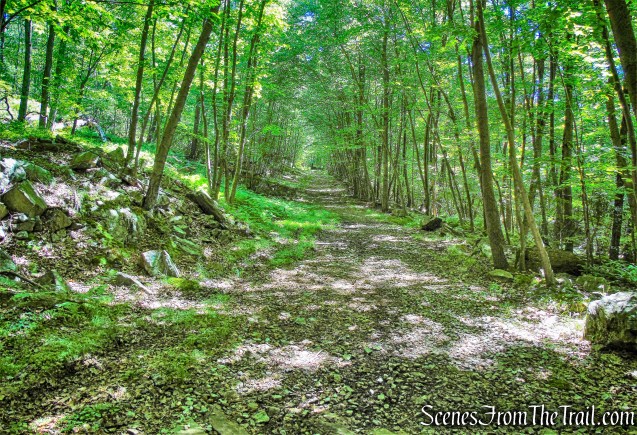
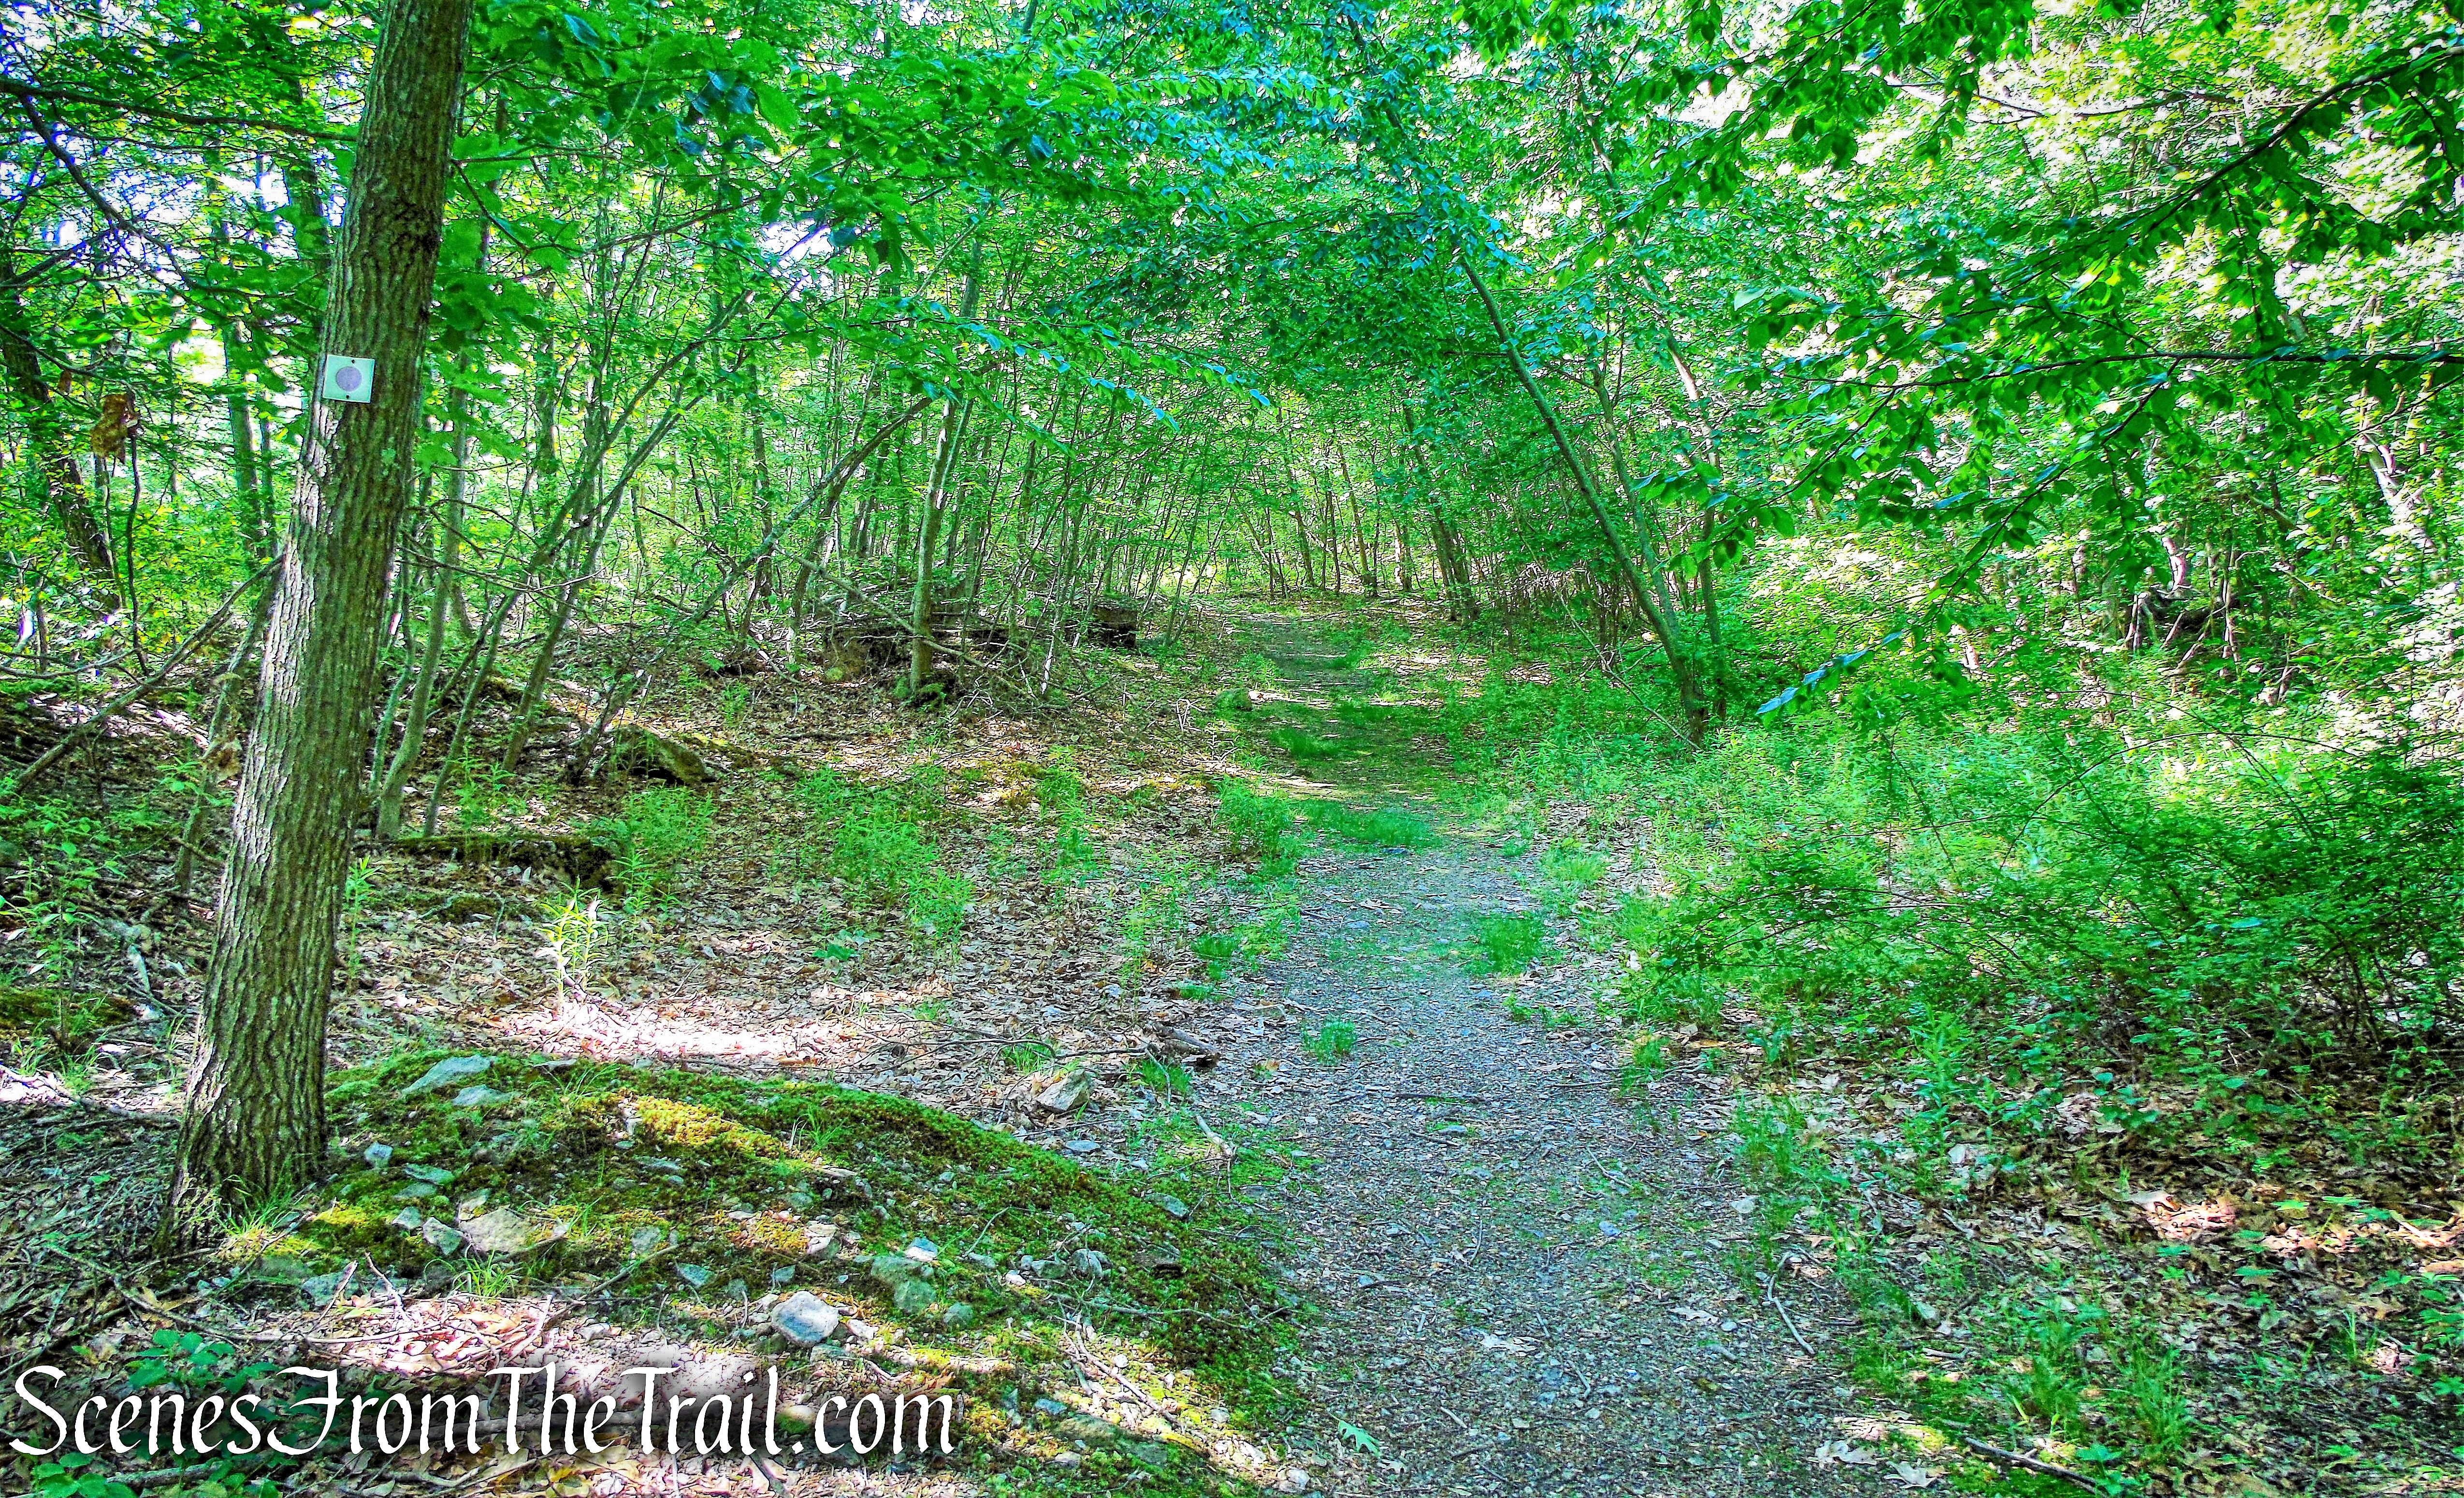
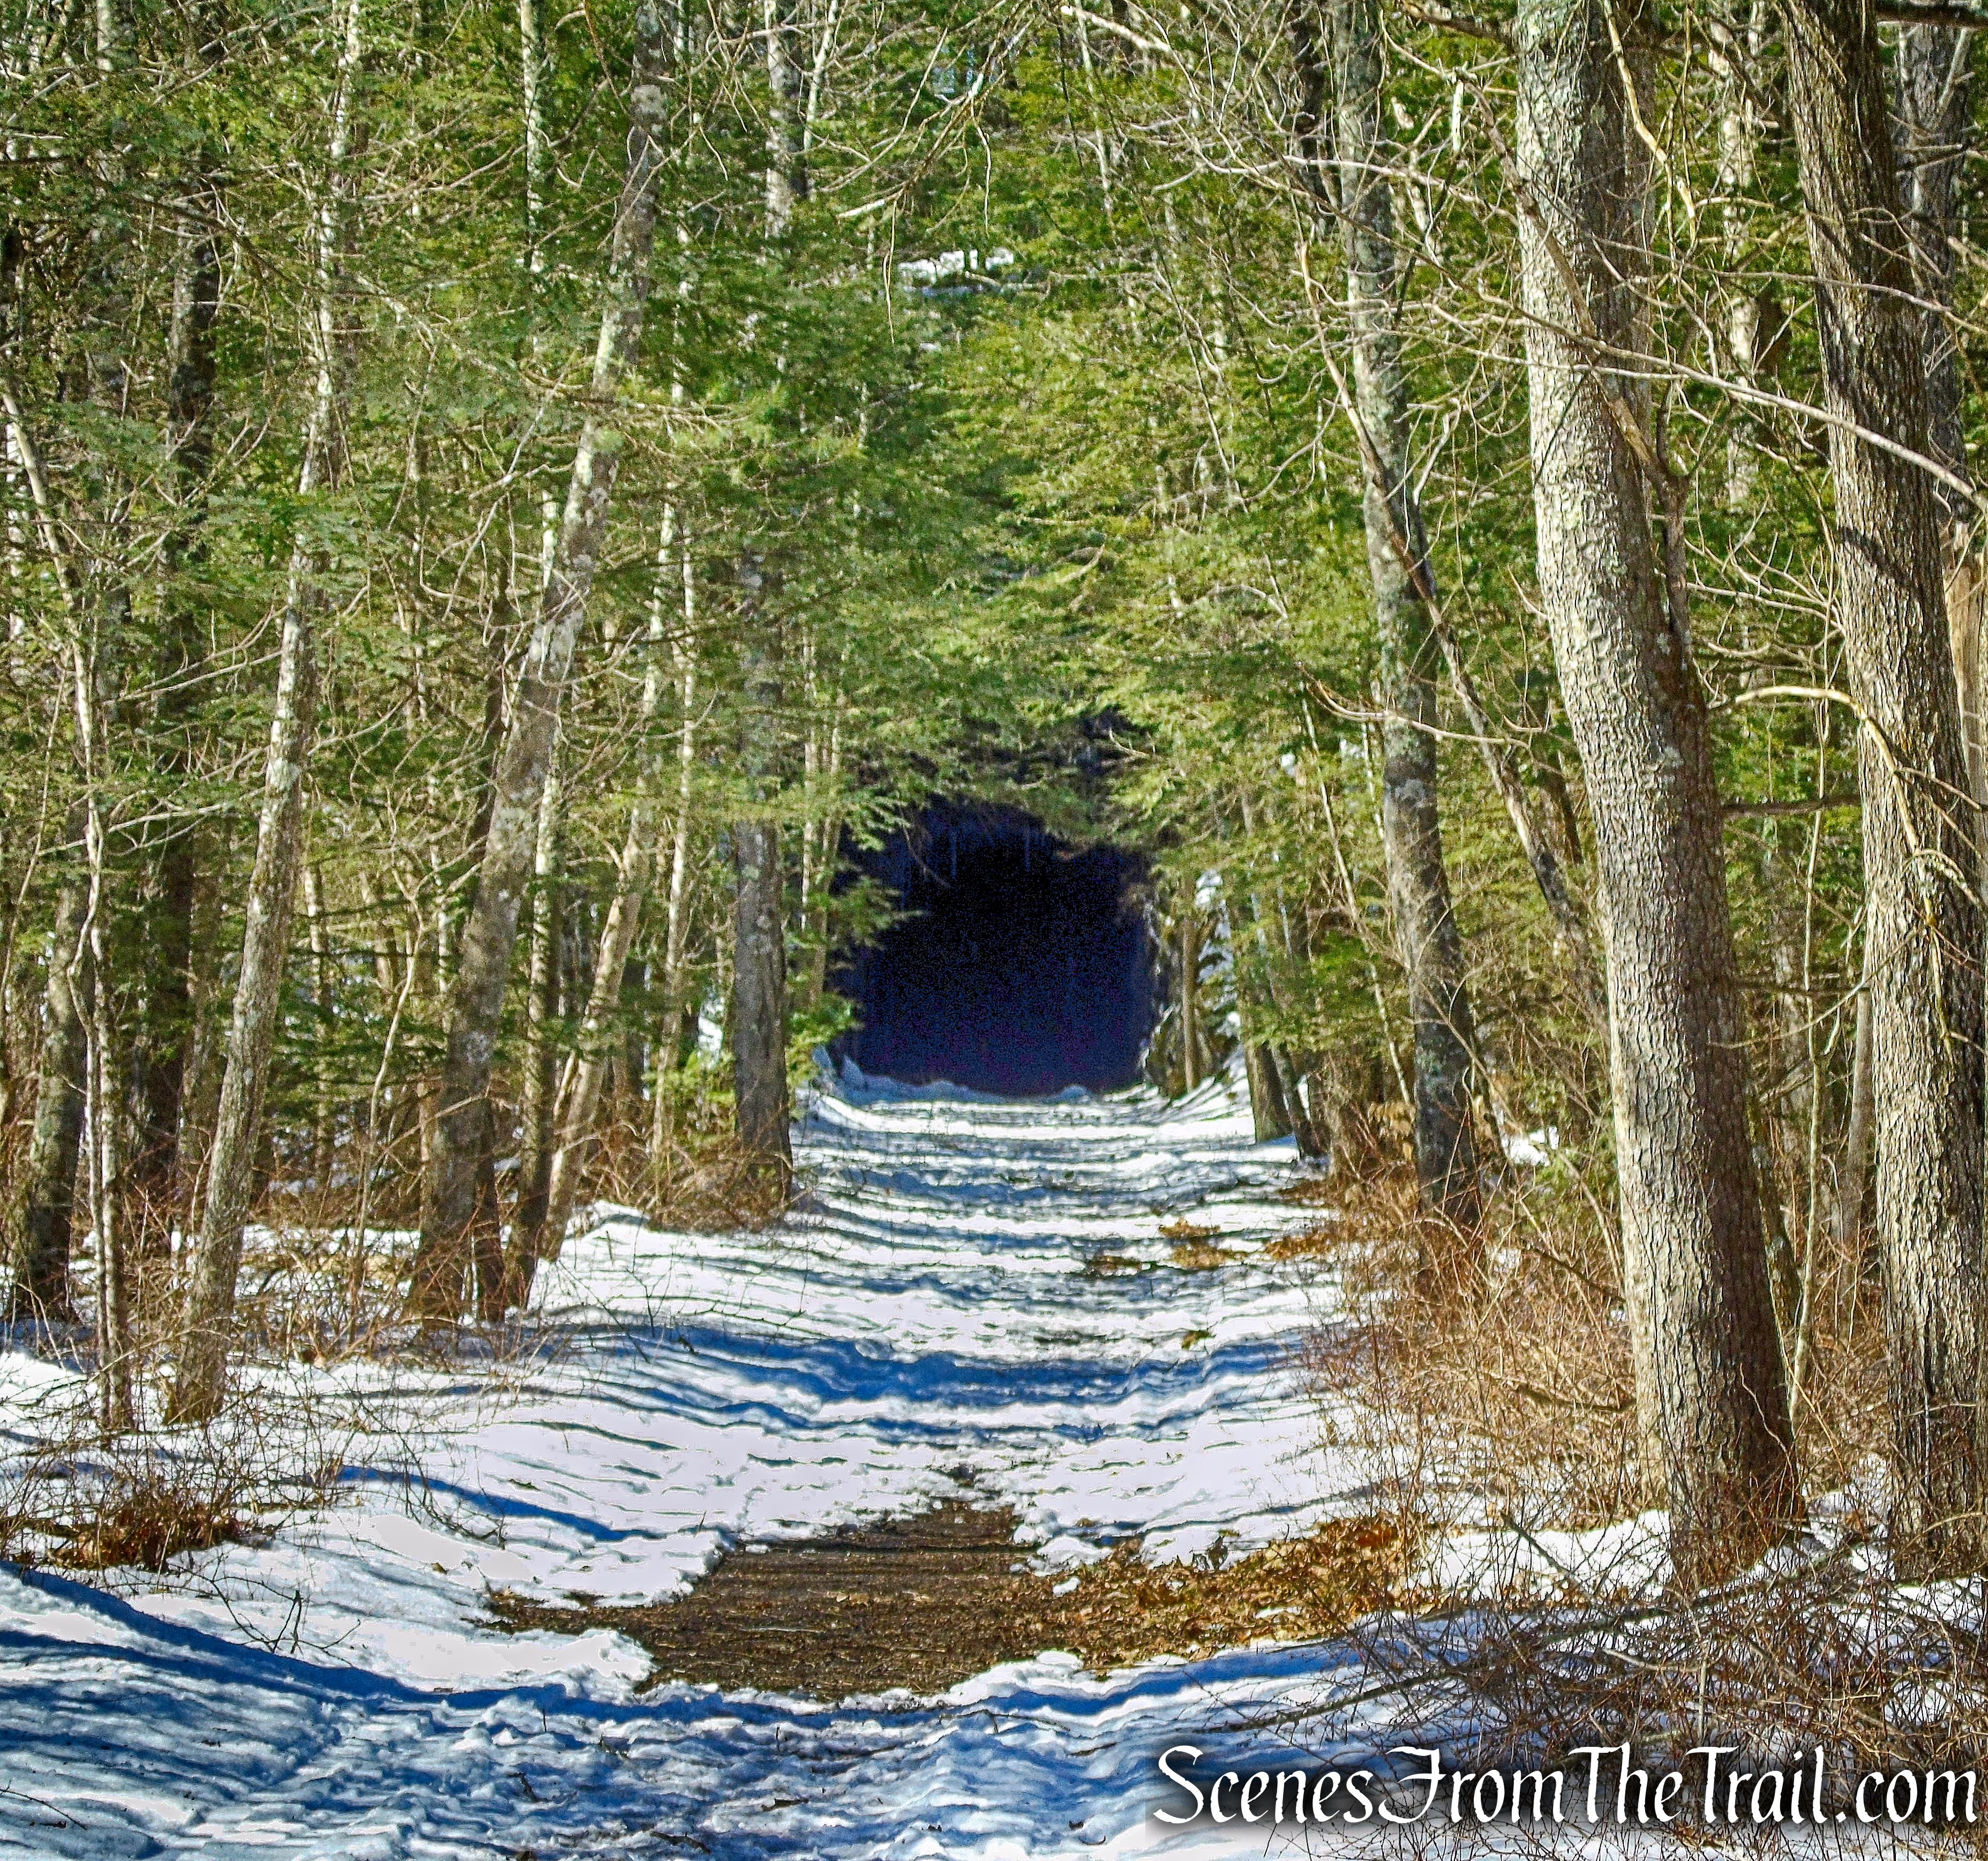
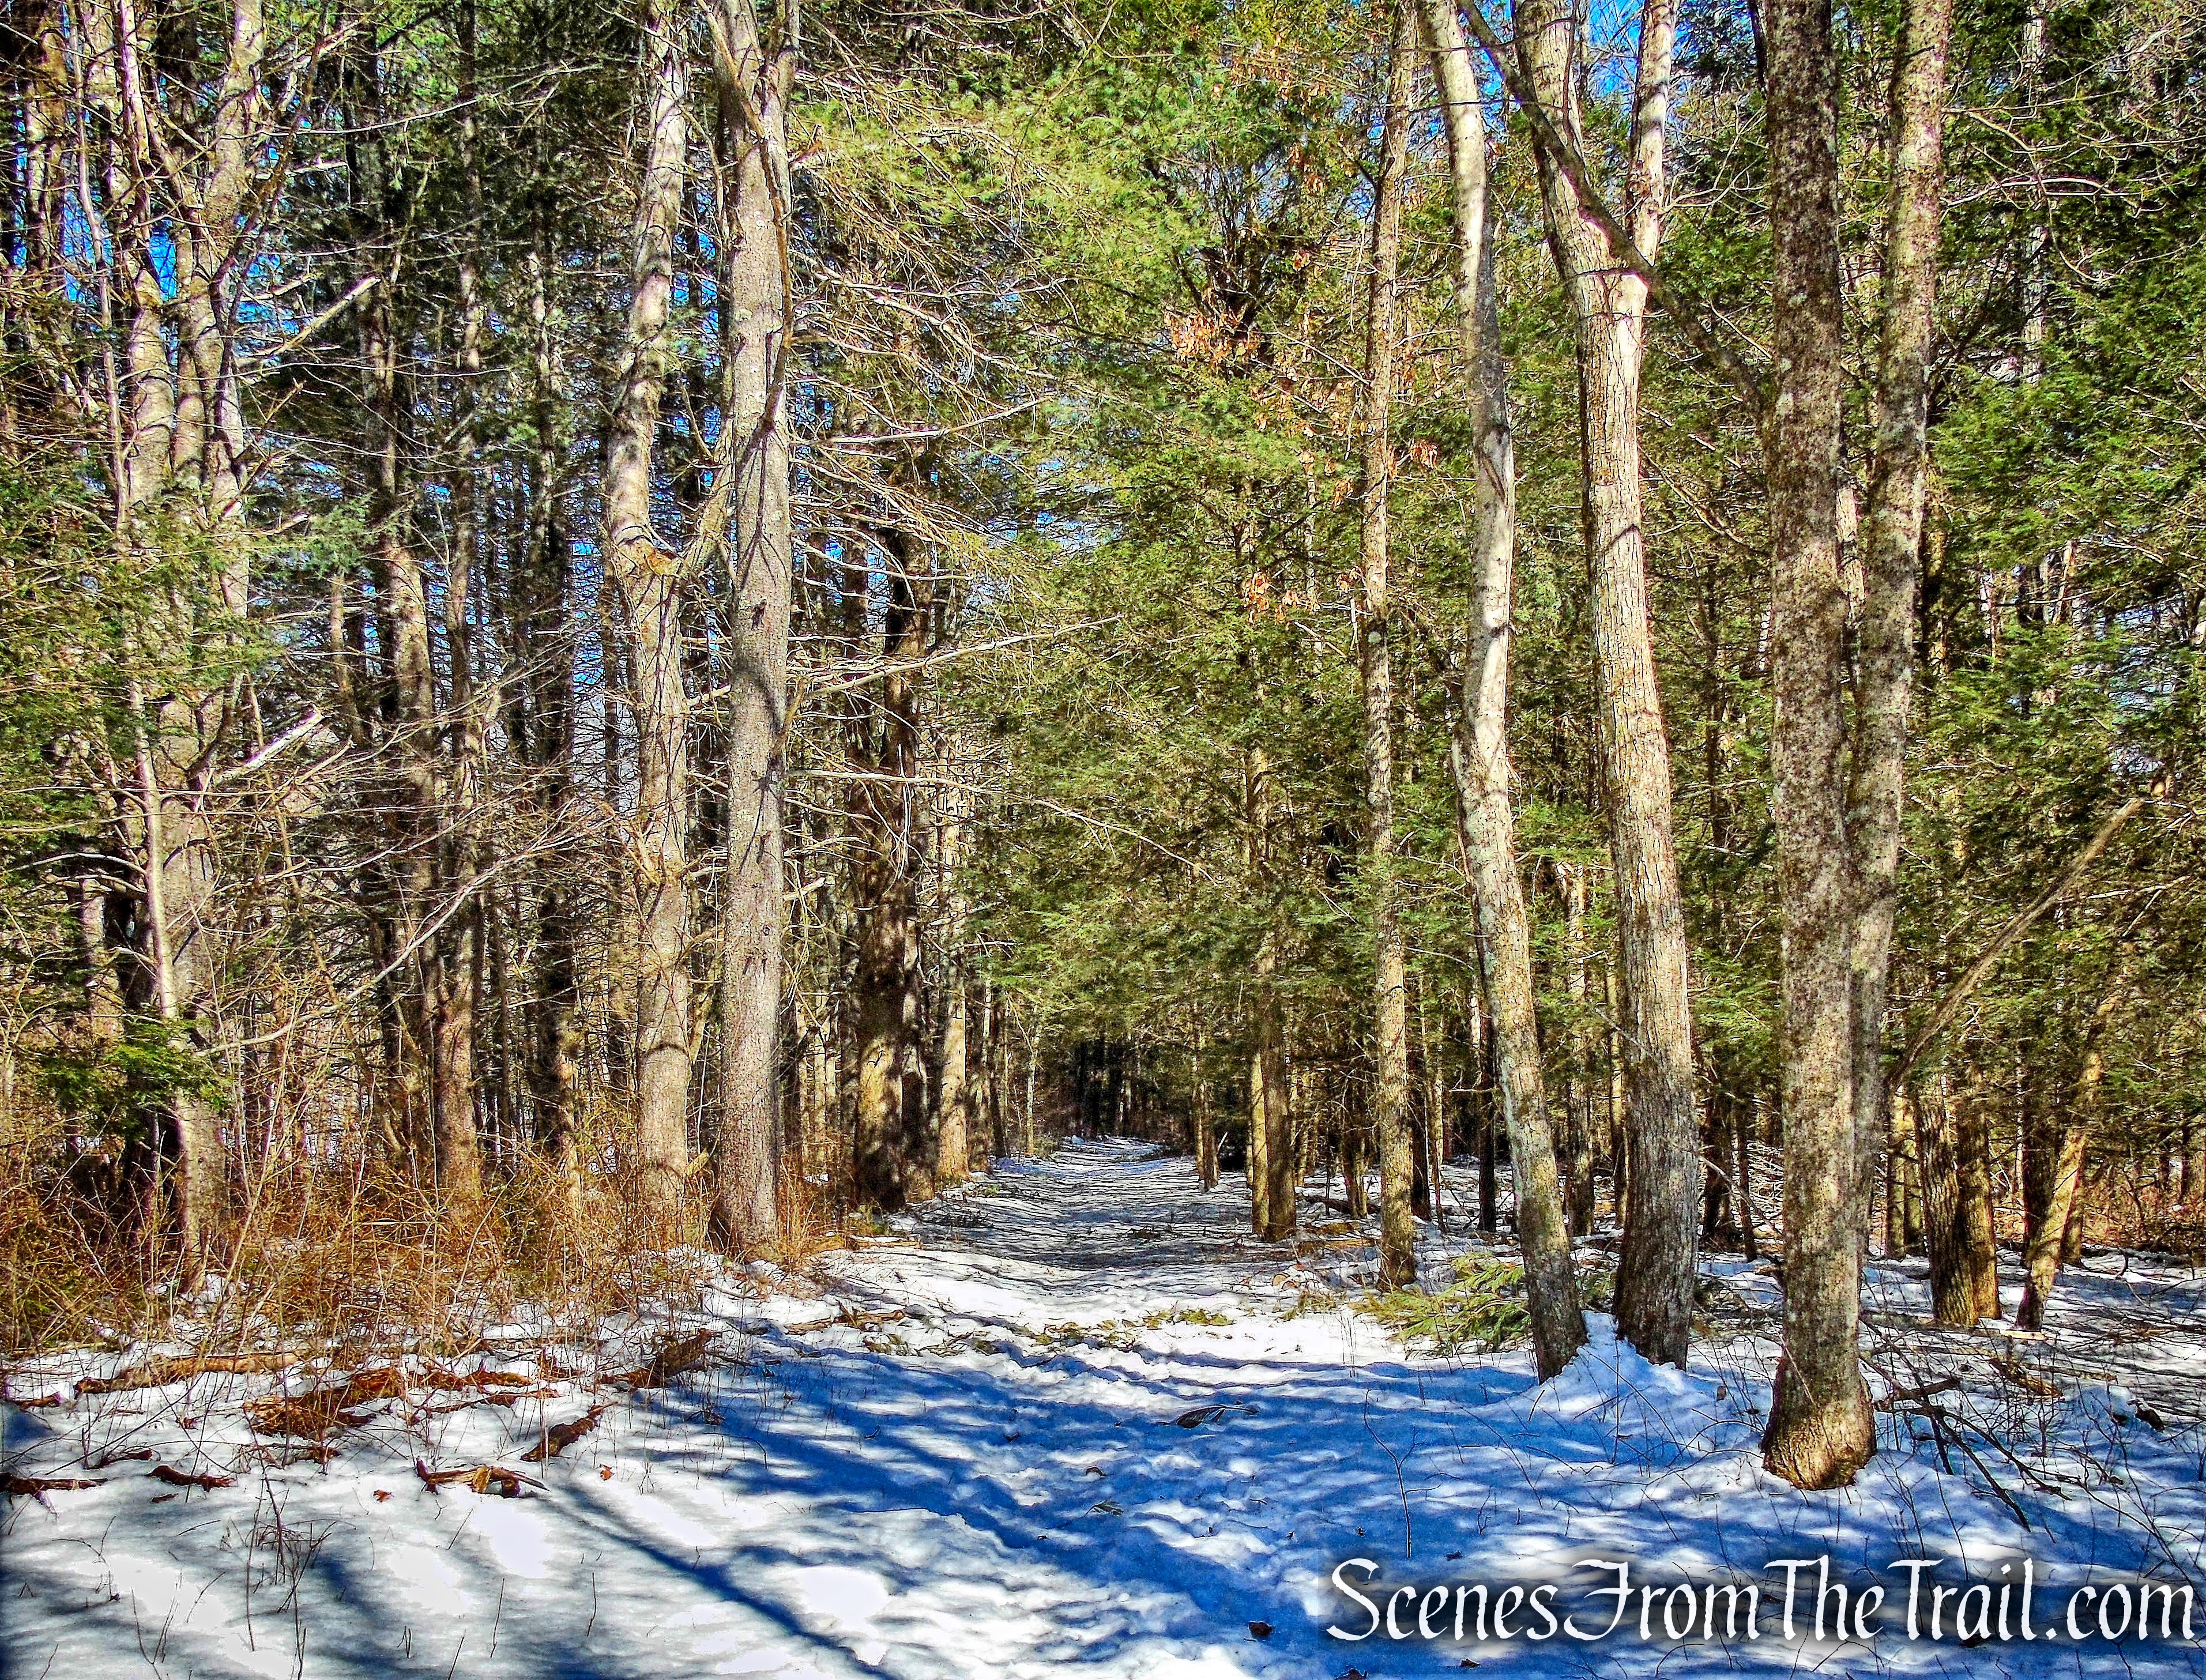
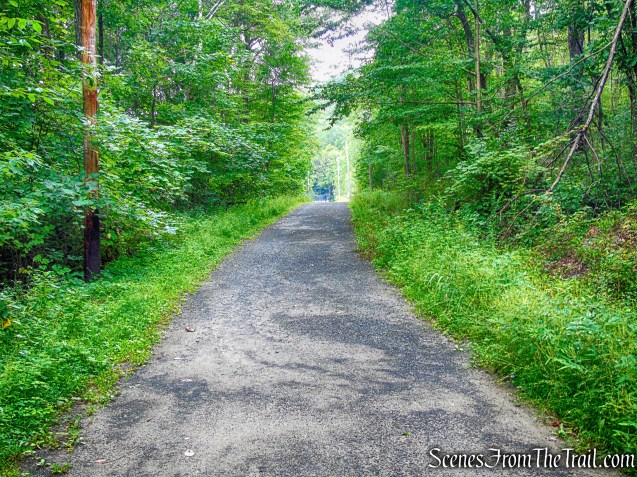
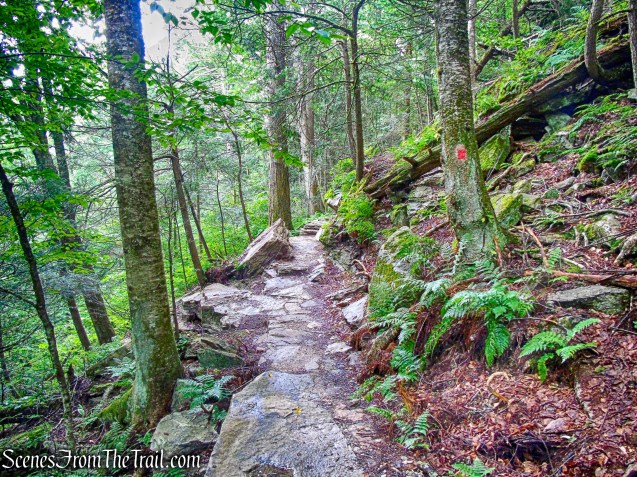
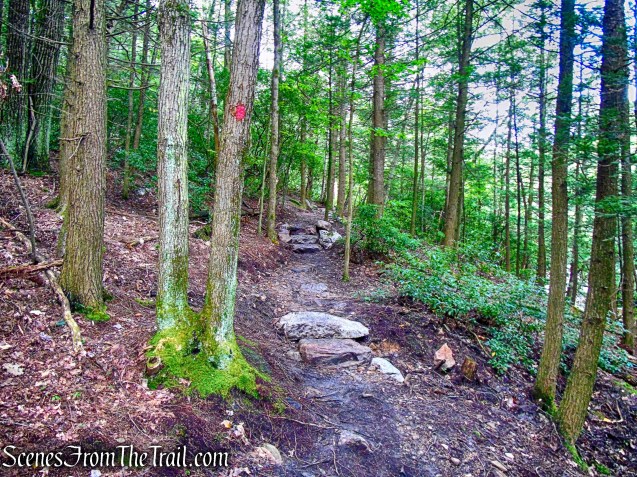
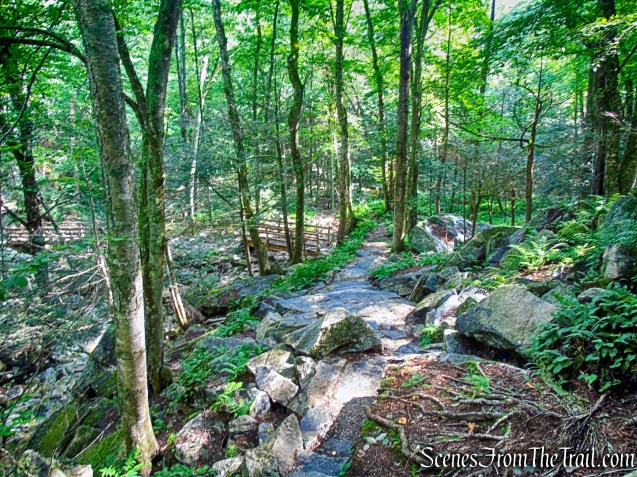
The trail continues on a crushed stone tread, constructed of shale, from the piles quarried from the Aqueduct shafts. The path is packed down so firm, that it resembles blacktop.
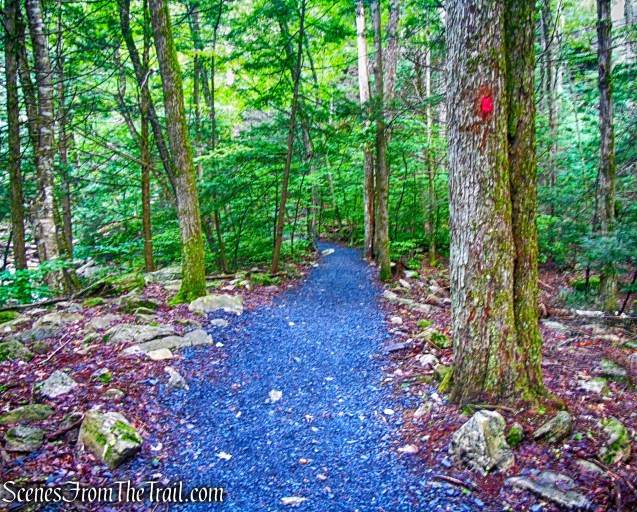
Stony Kill Falls Trail
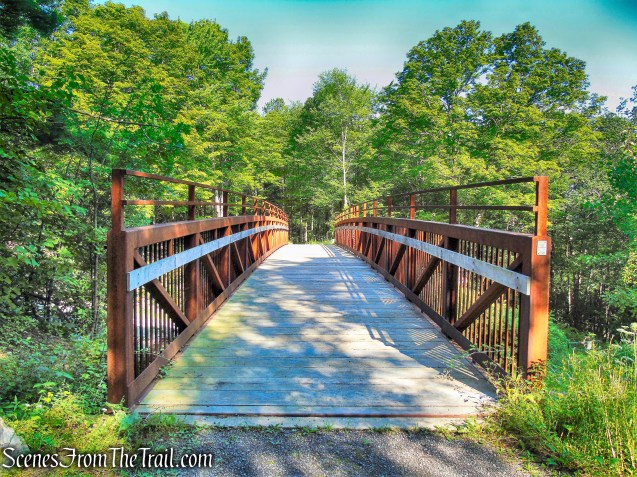
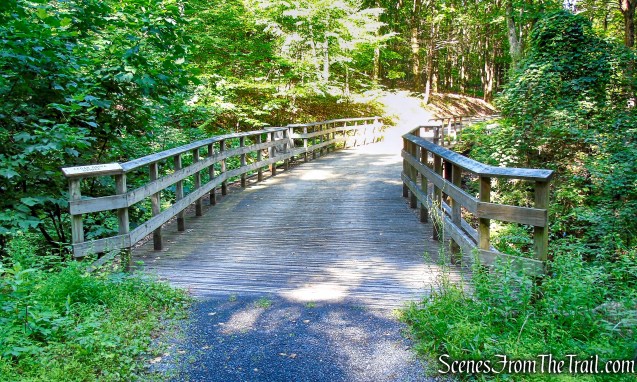
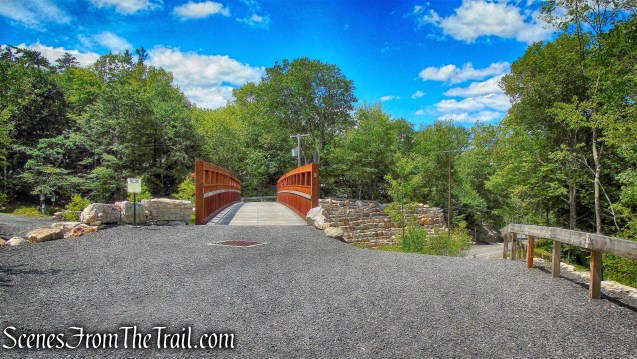
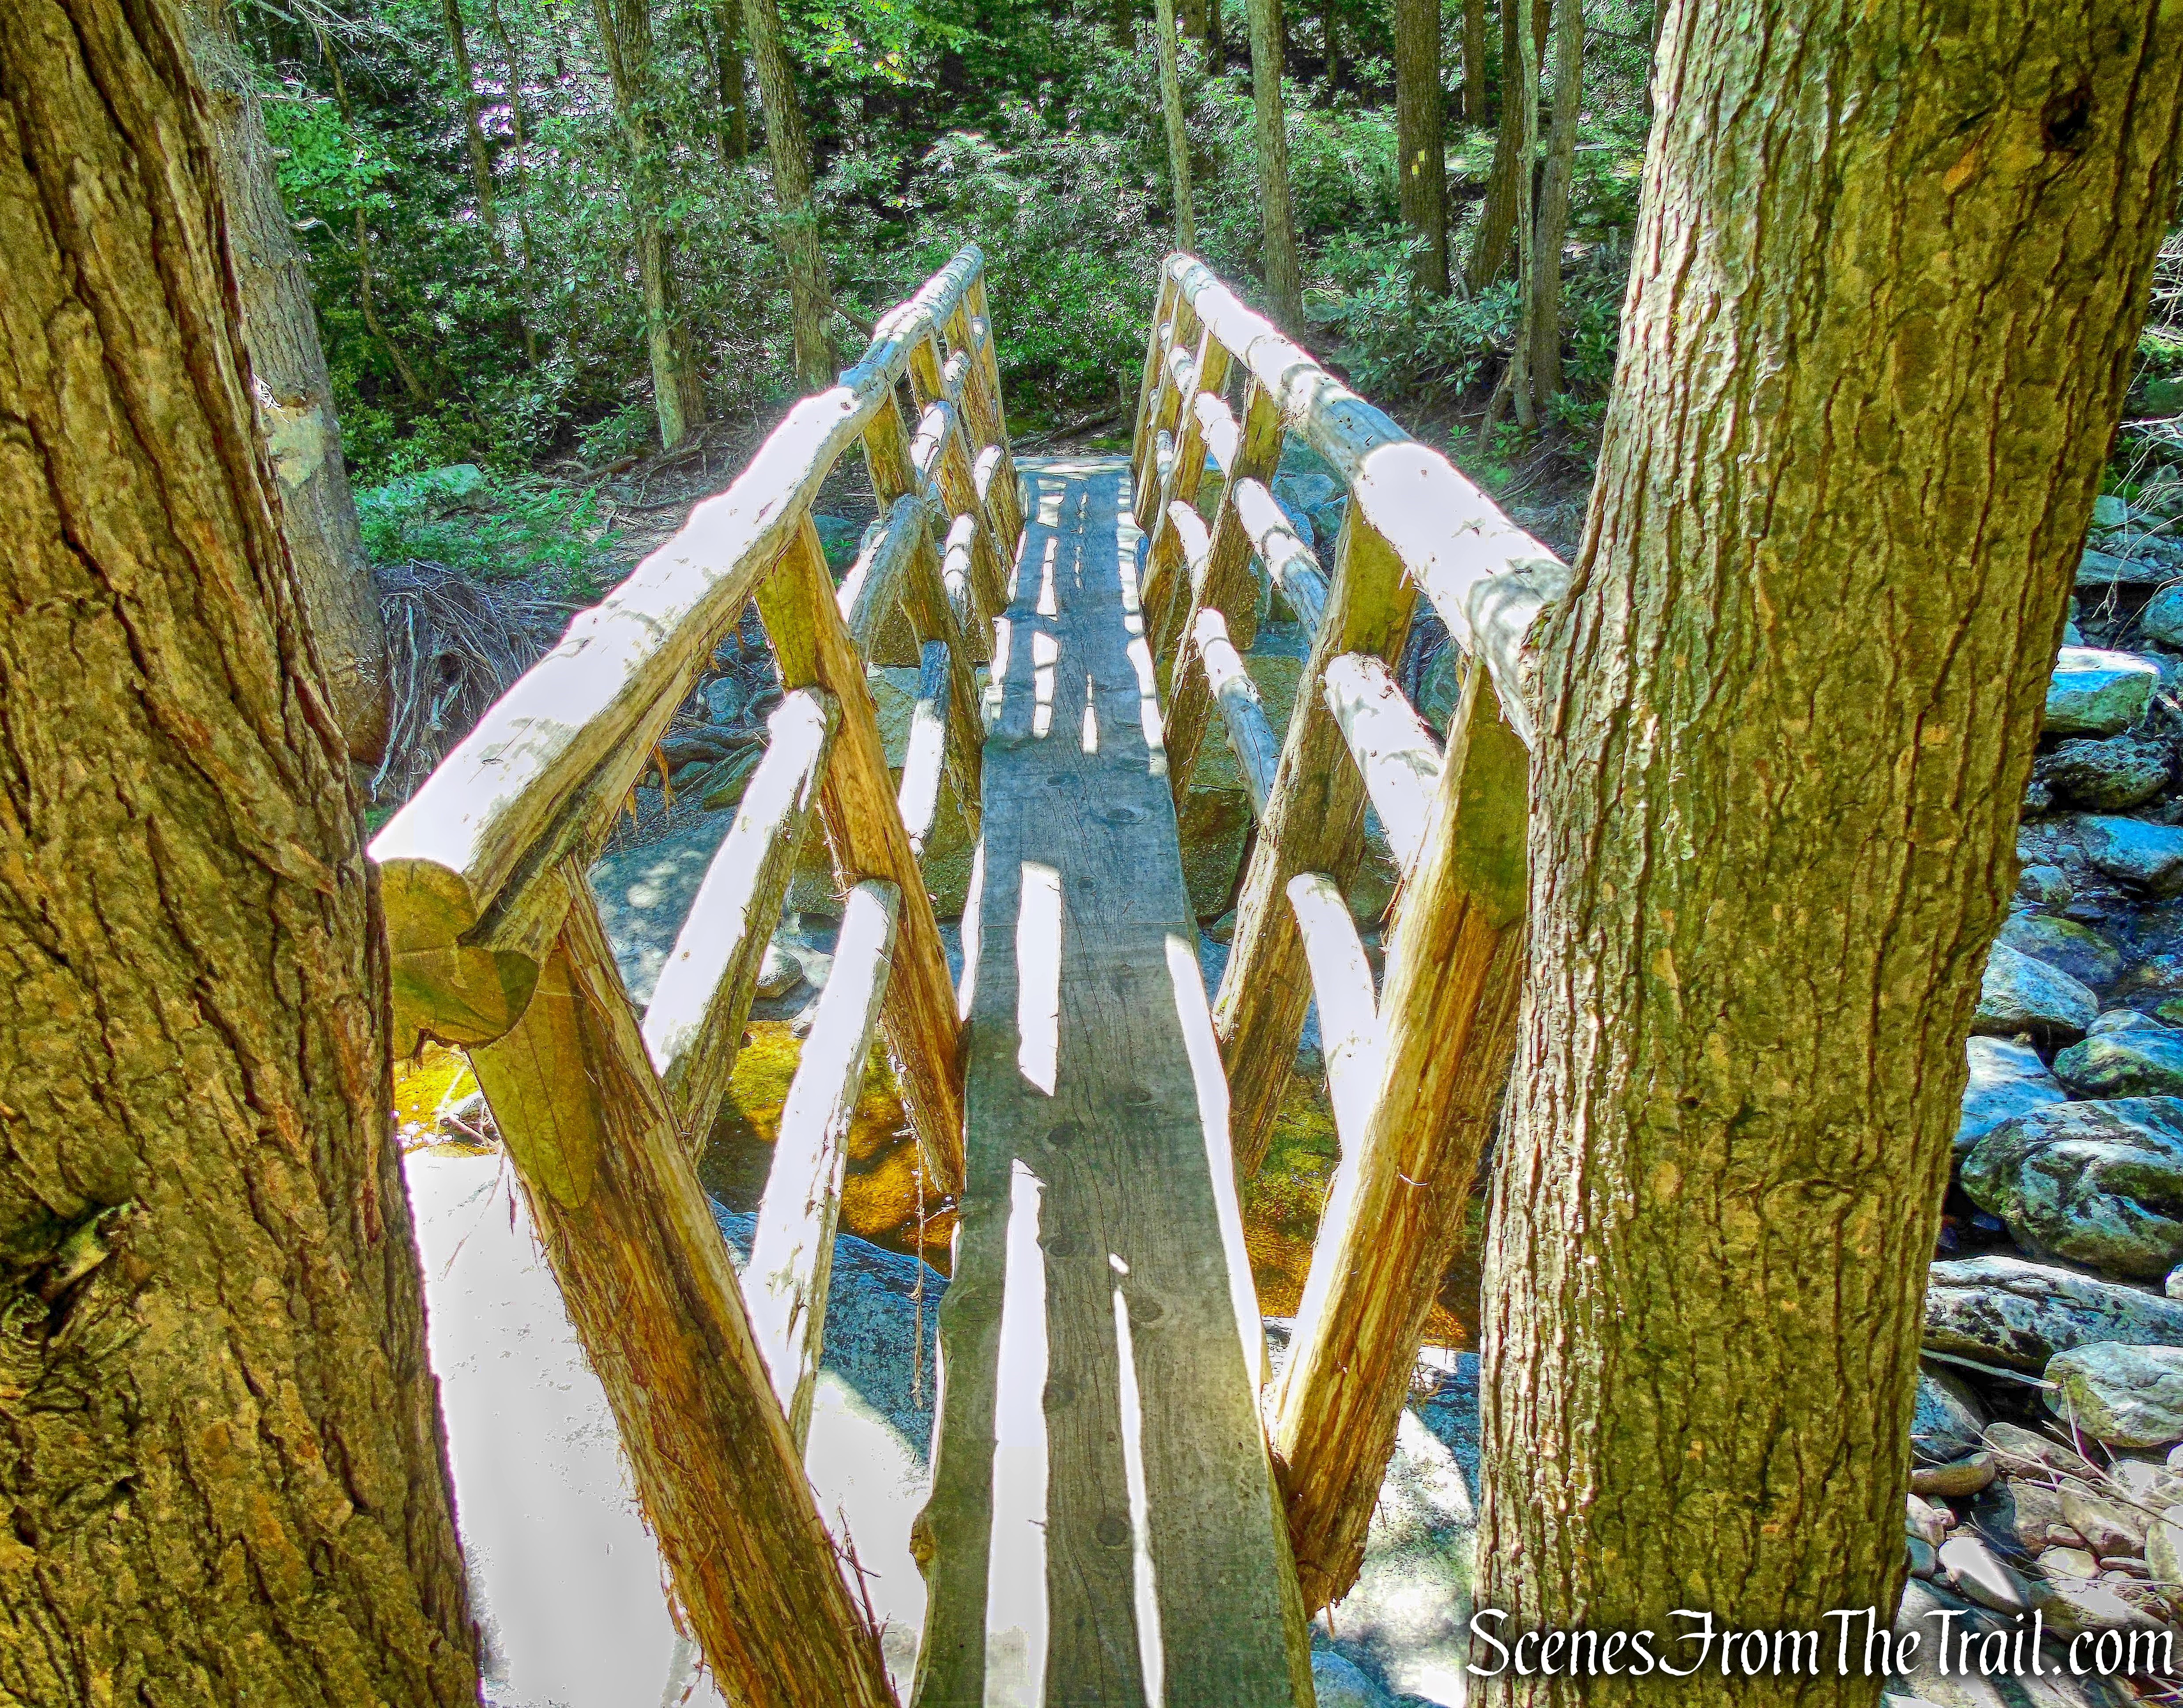
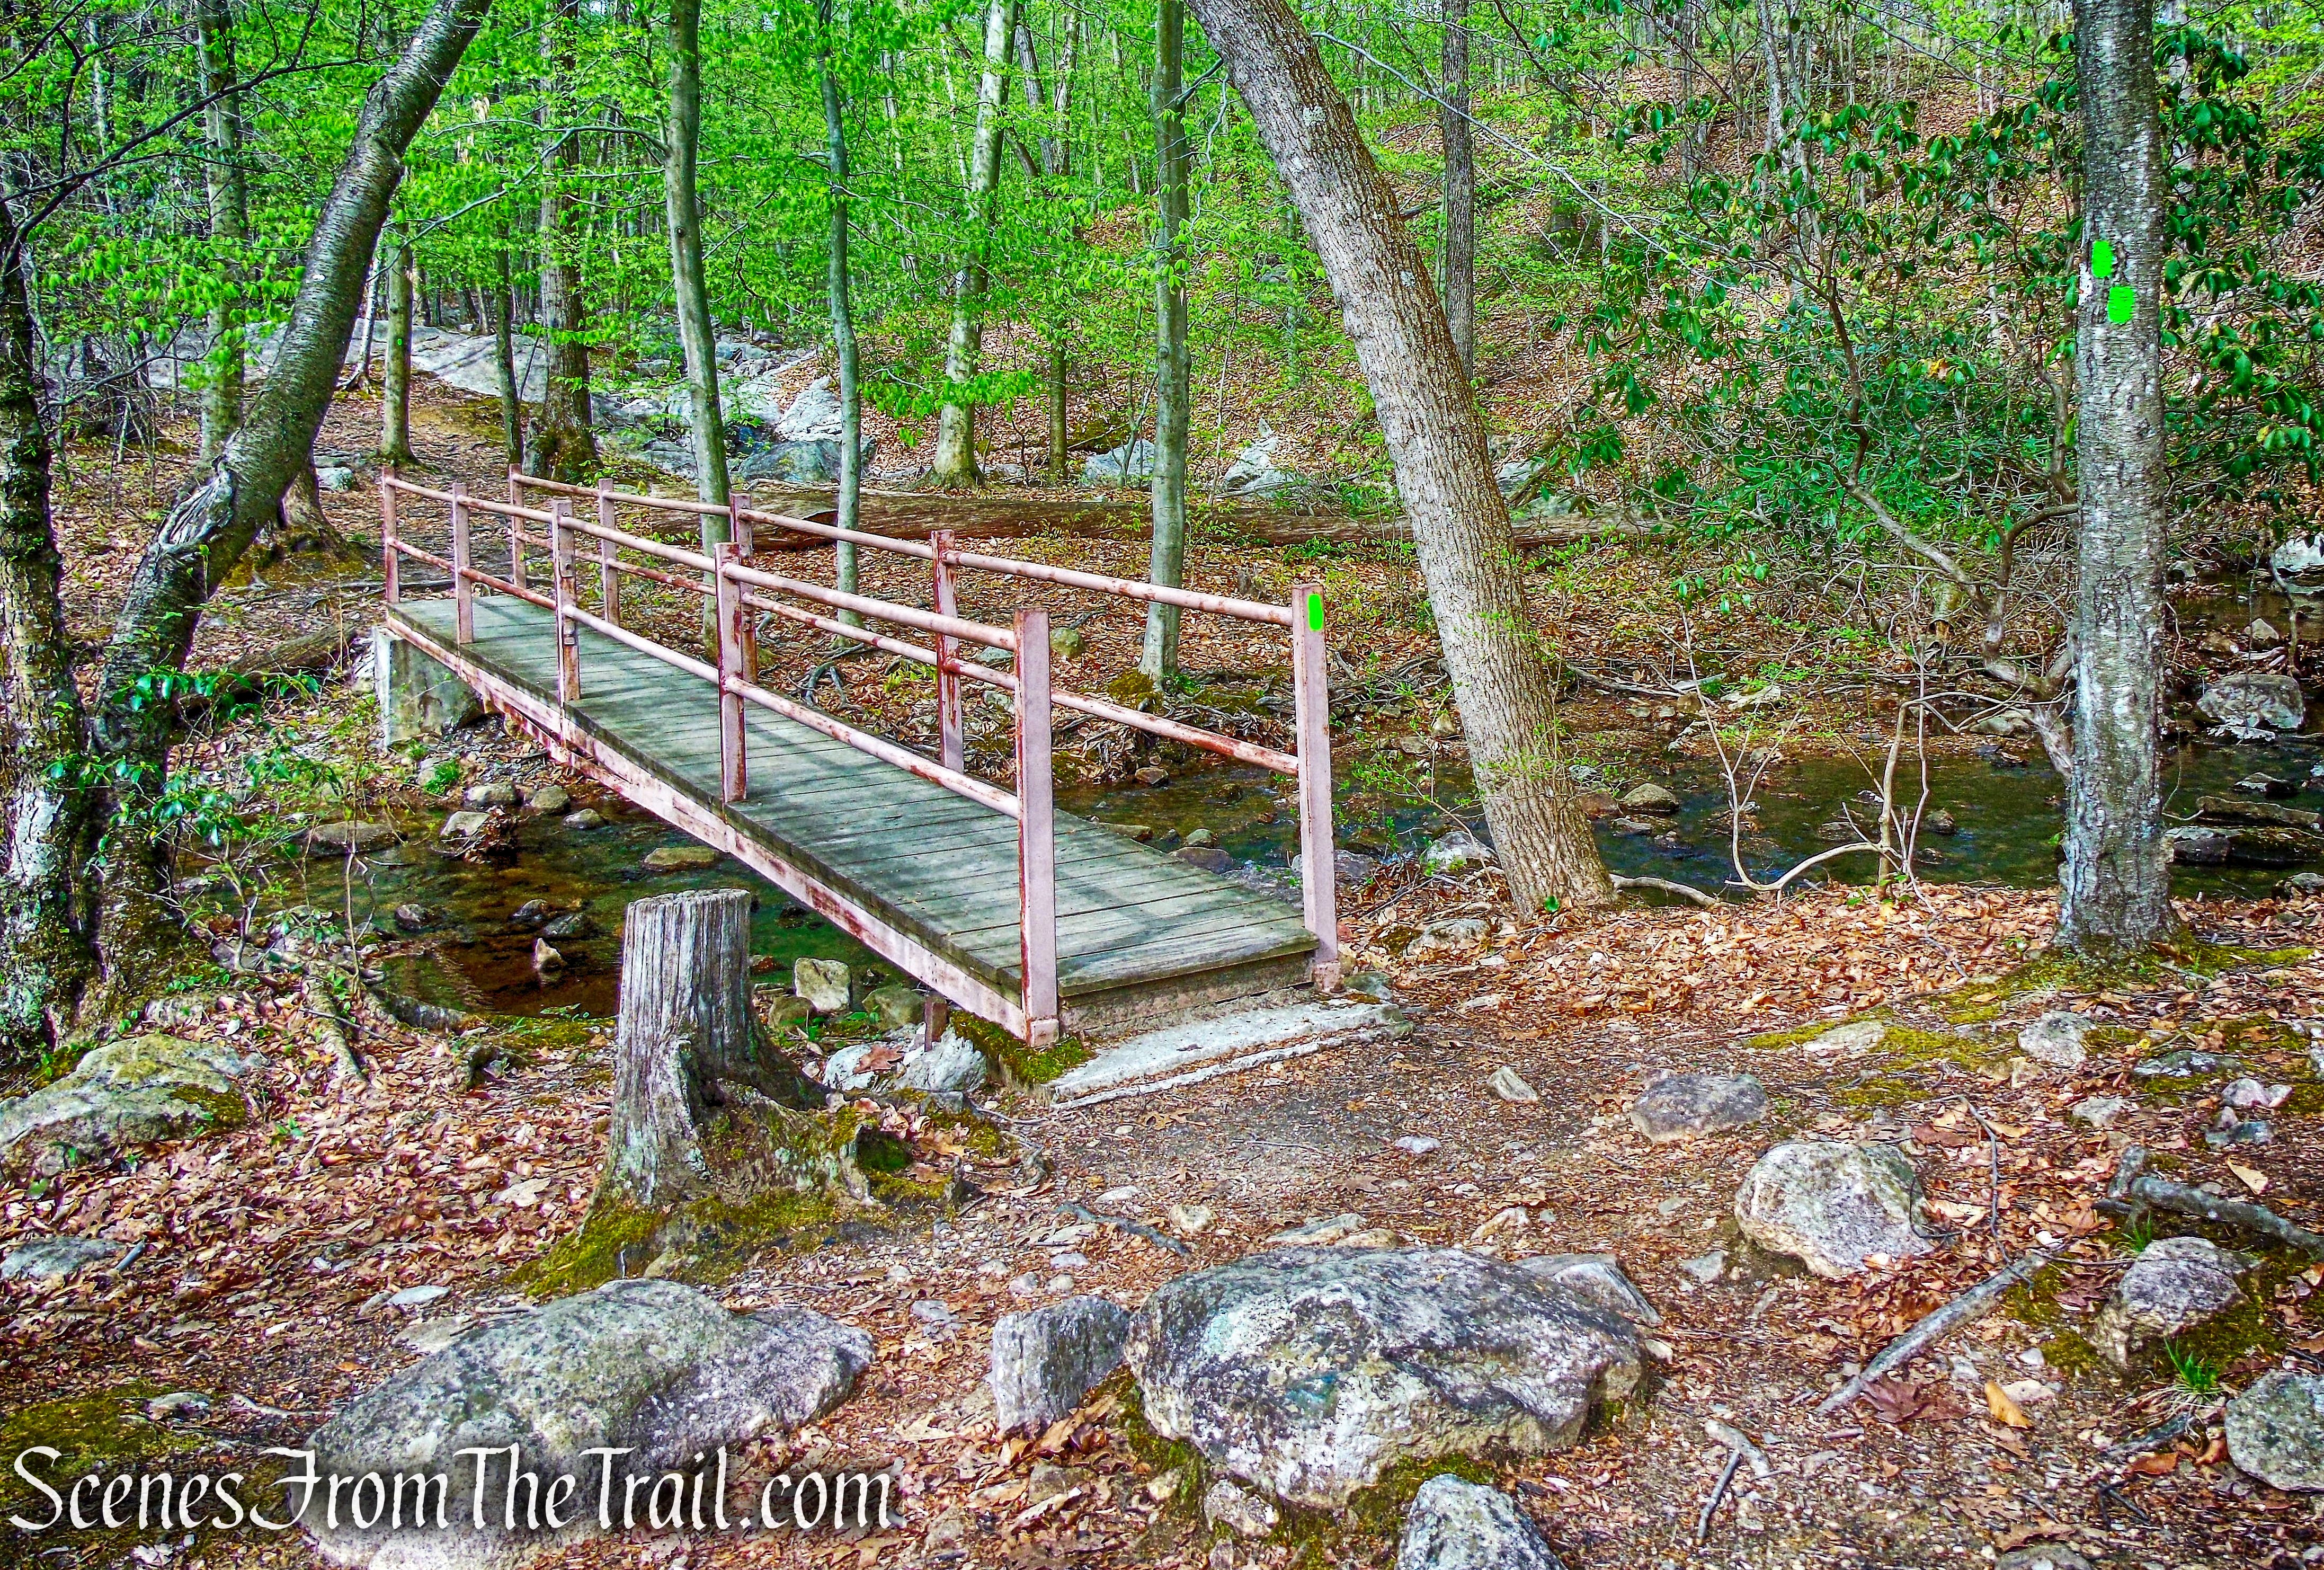
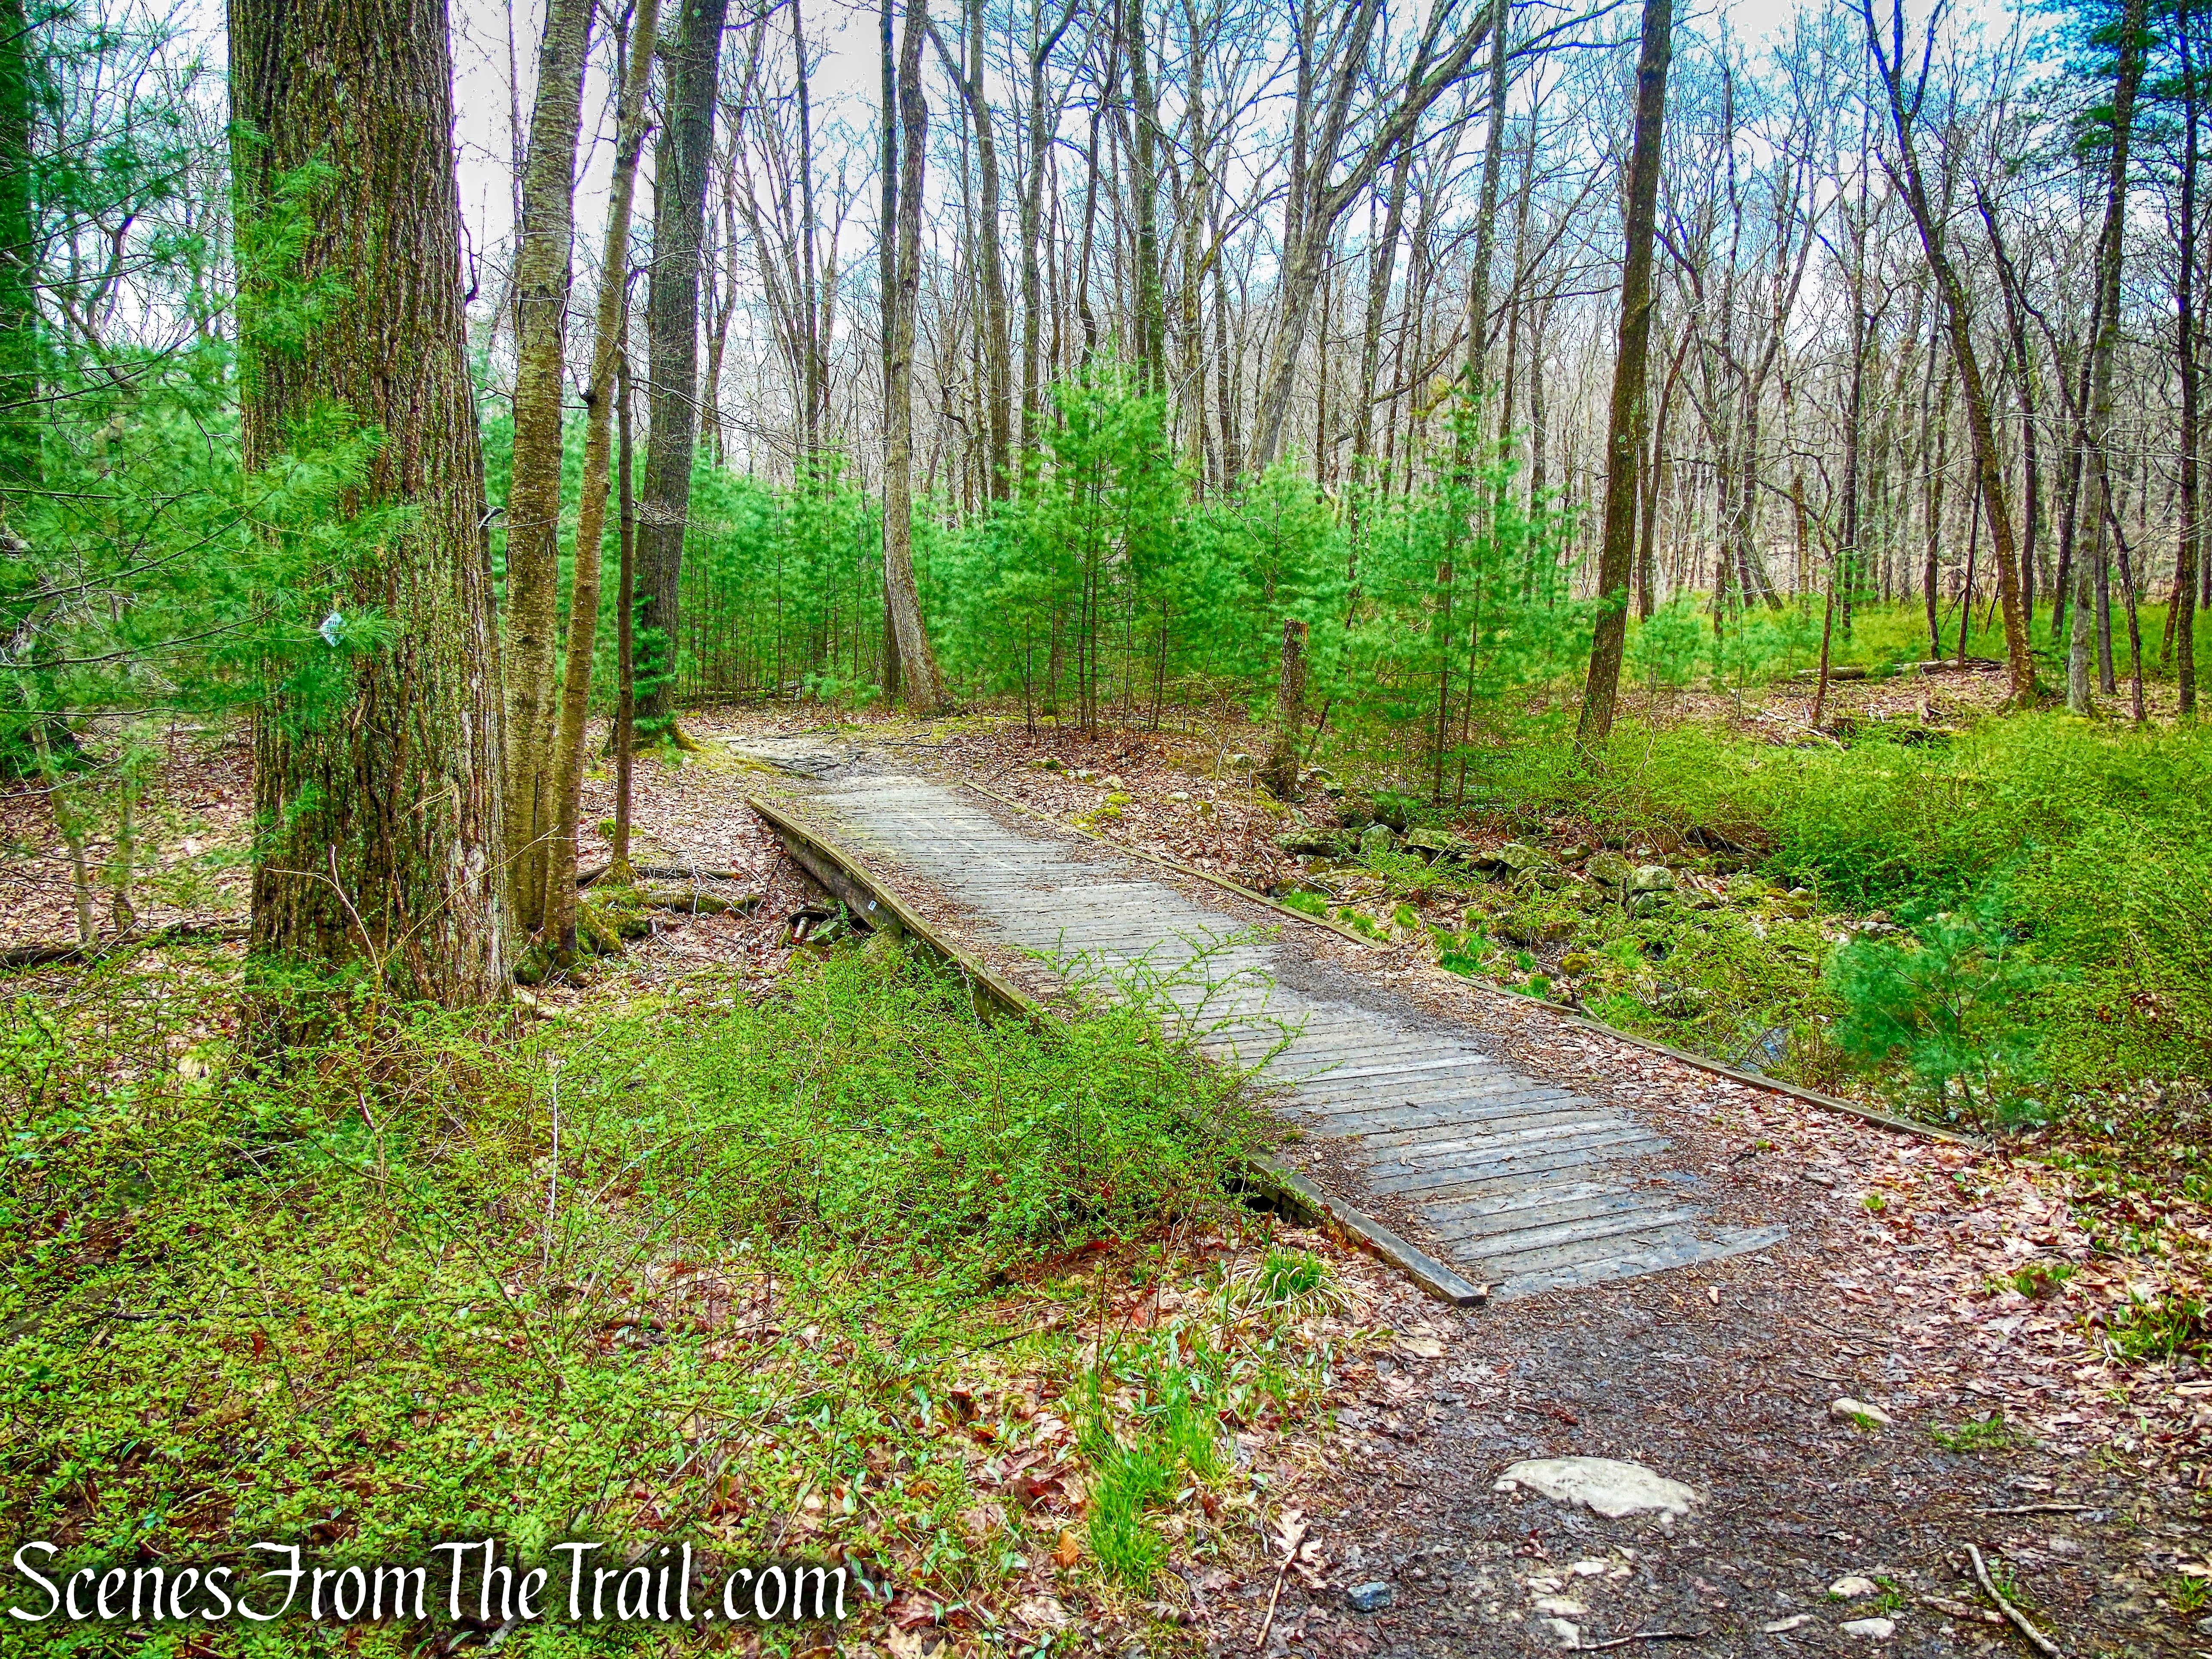
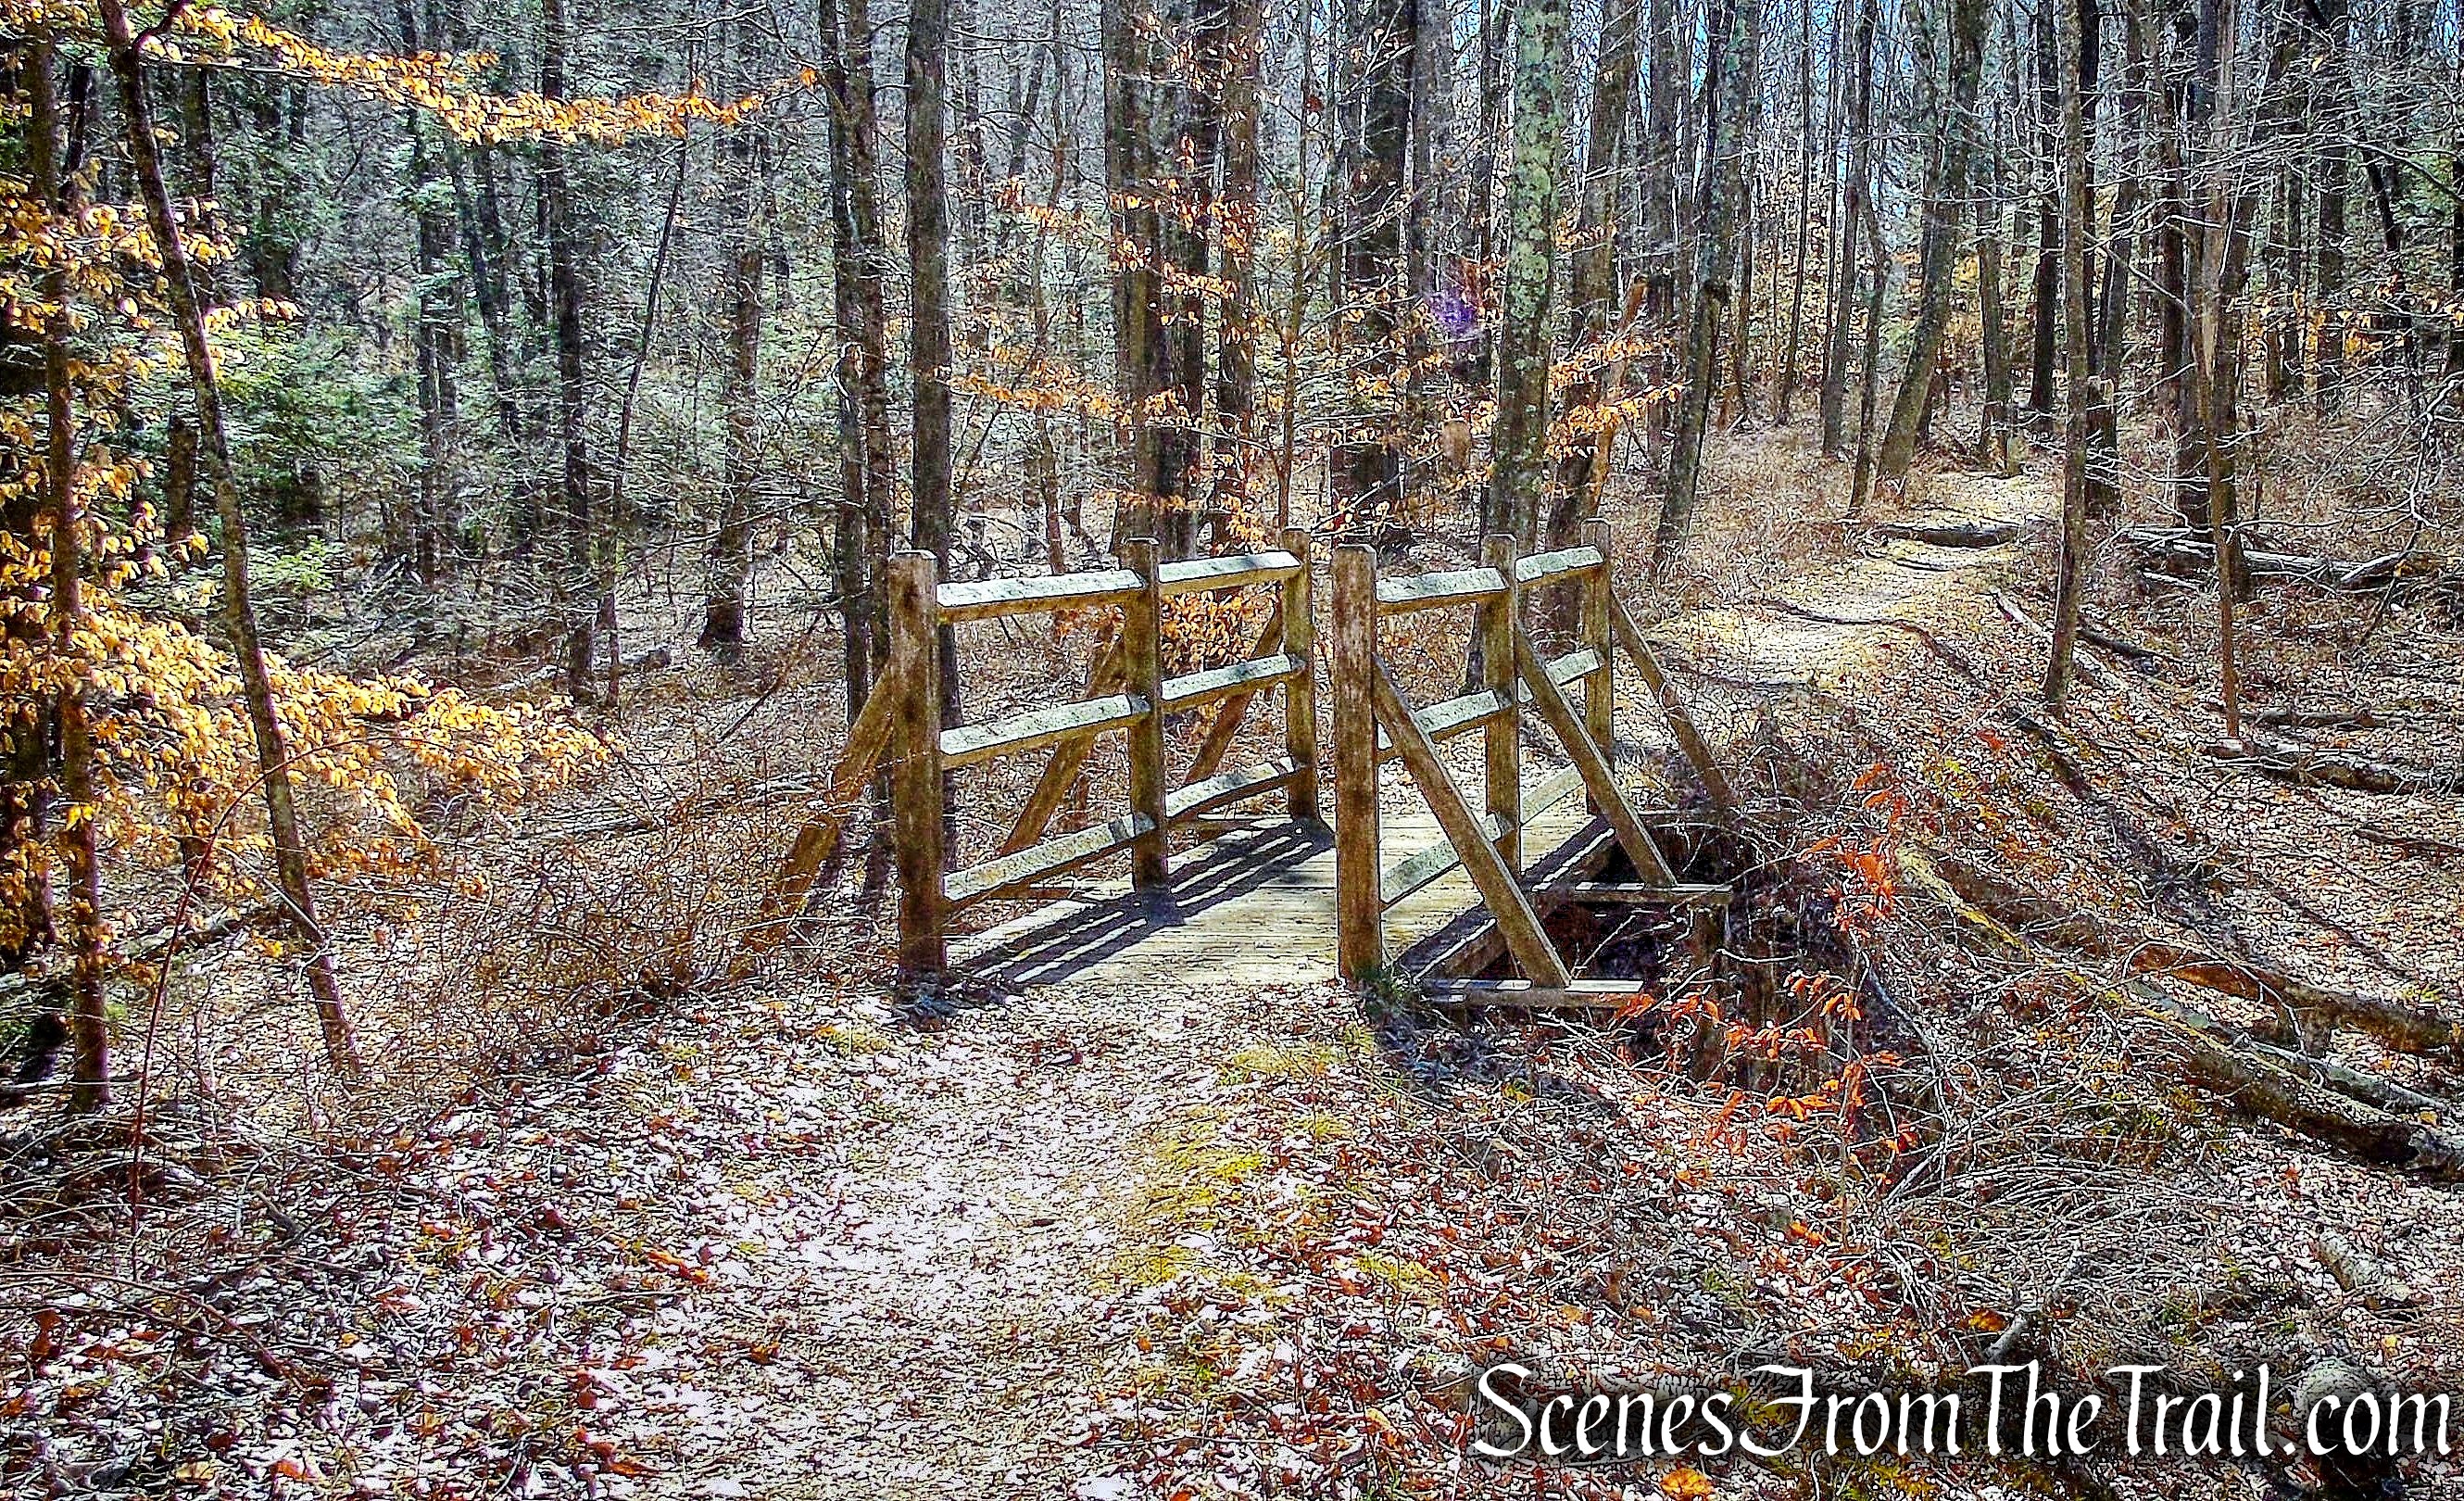
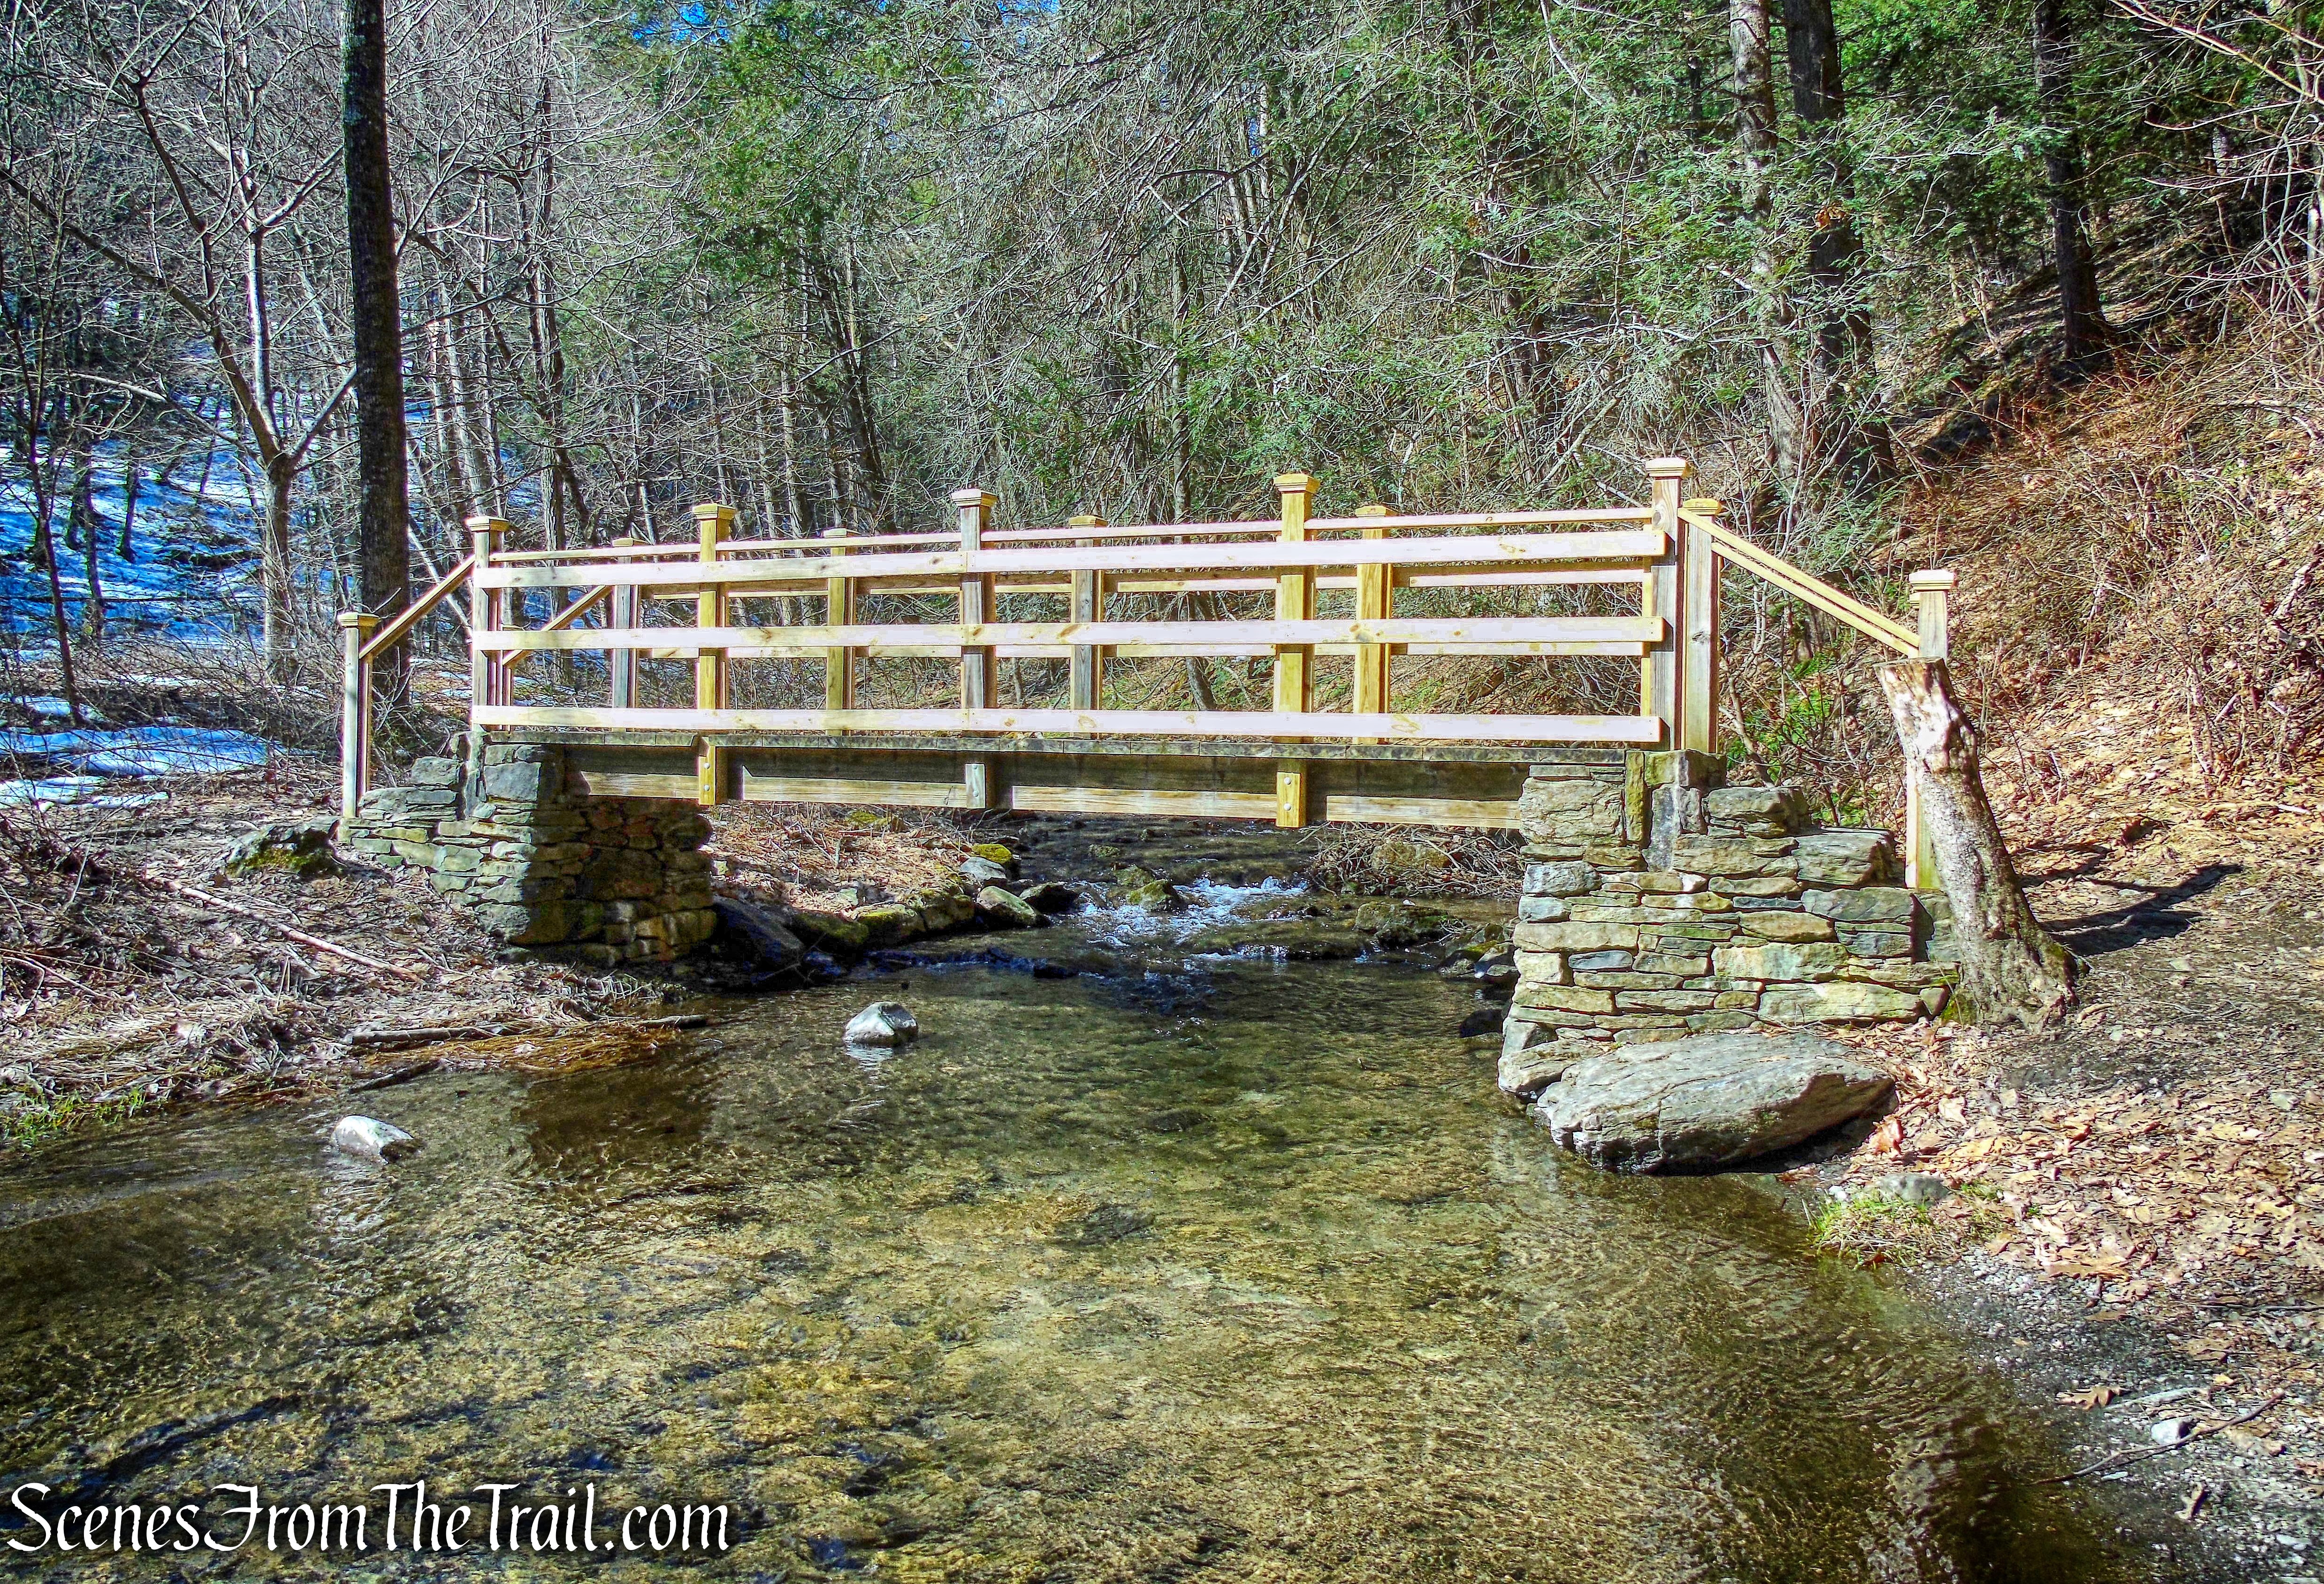
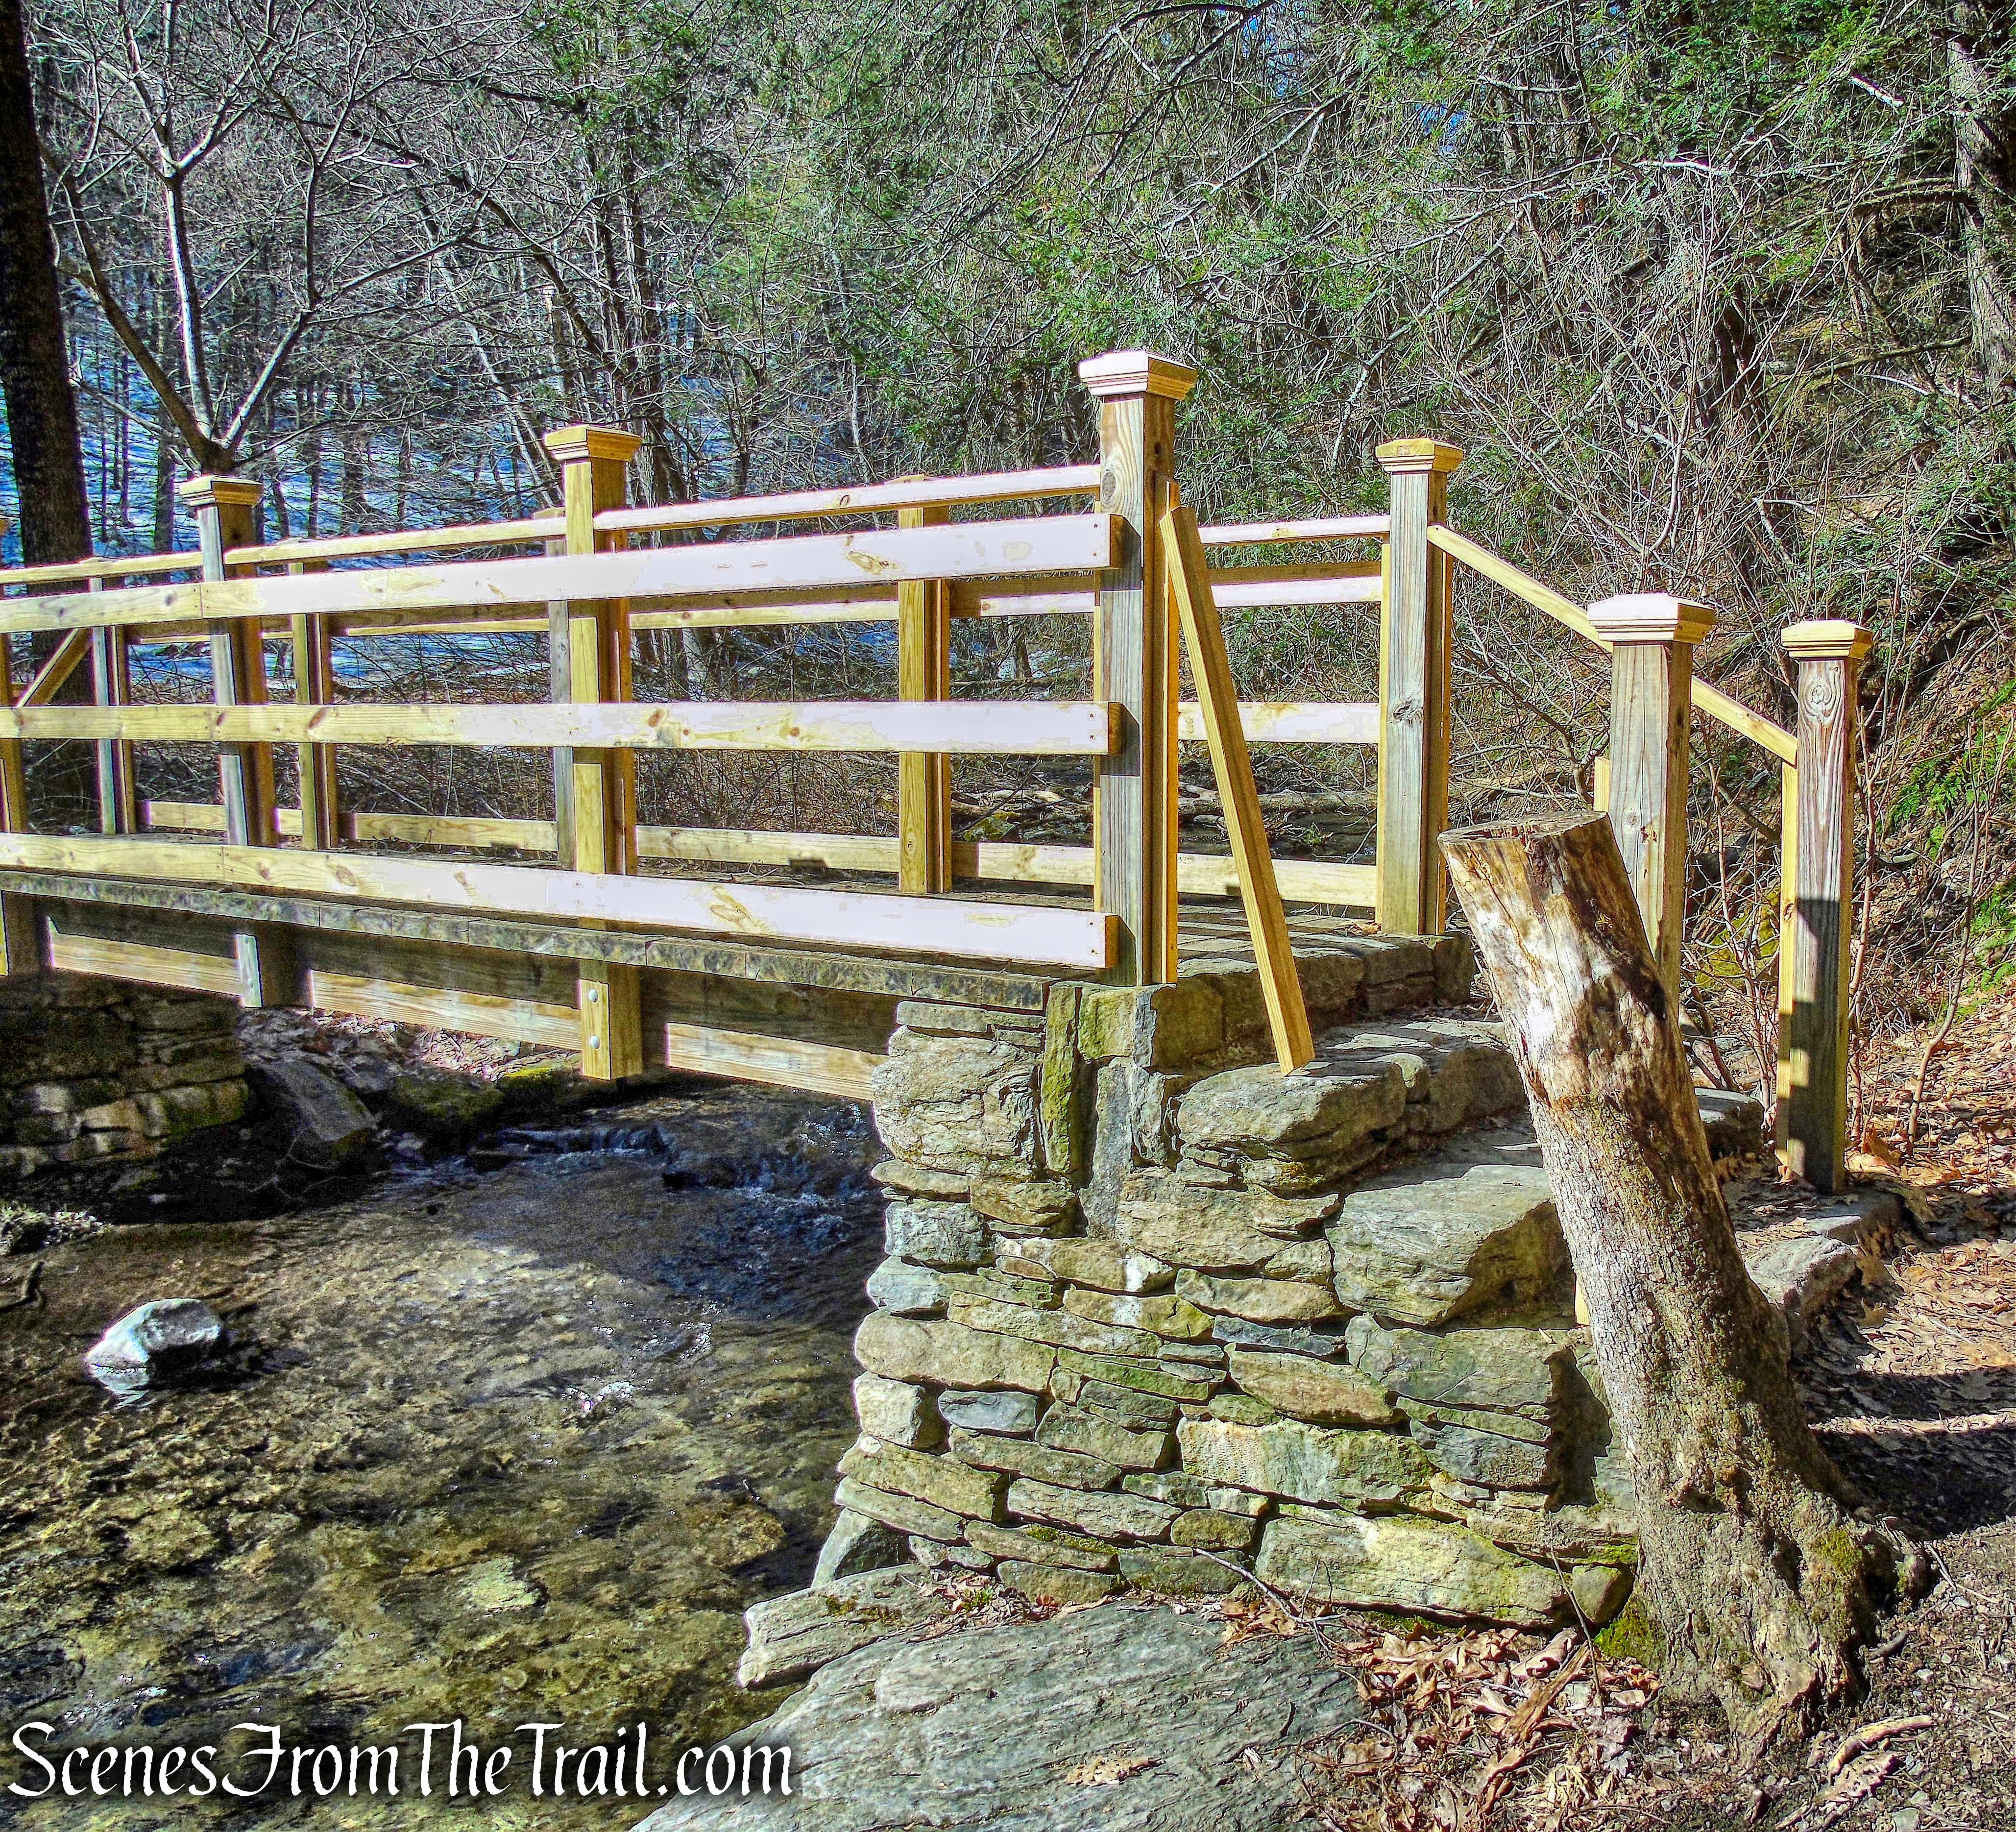
In a short distance, the trail crosses the Stony Kill on a rustic timber footbridge, built by Tahawus Trails LLC in 2017. The bridges are constructed with Black Locust railings and decking. The first bridge is 30 ft. long and is framed with Galvanized I-beams.
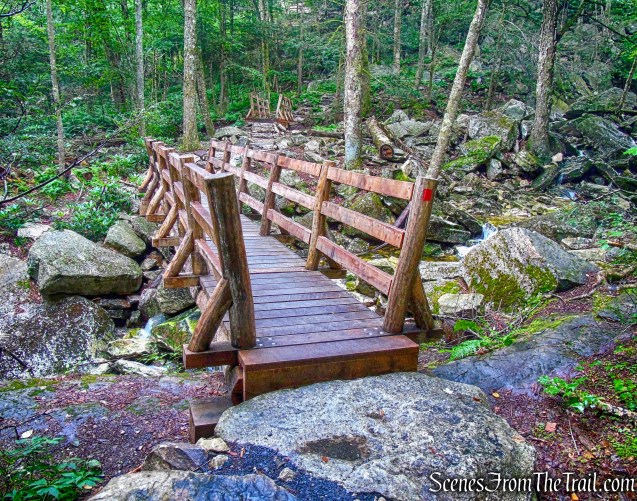
footbridge – Stony Kill Falls Trail
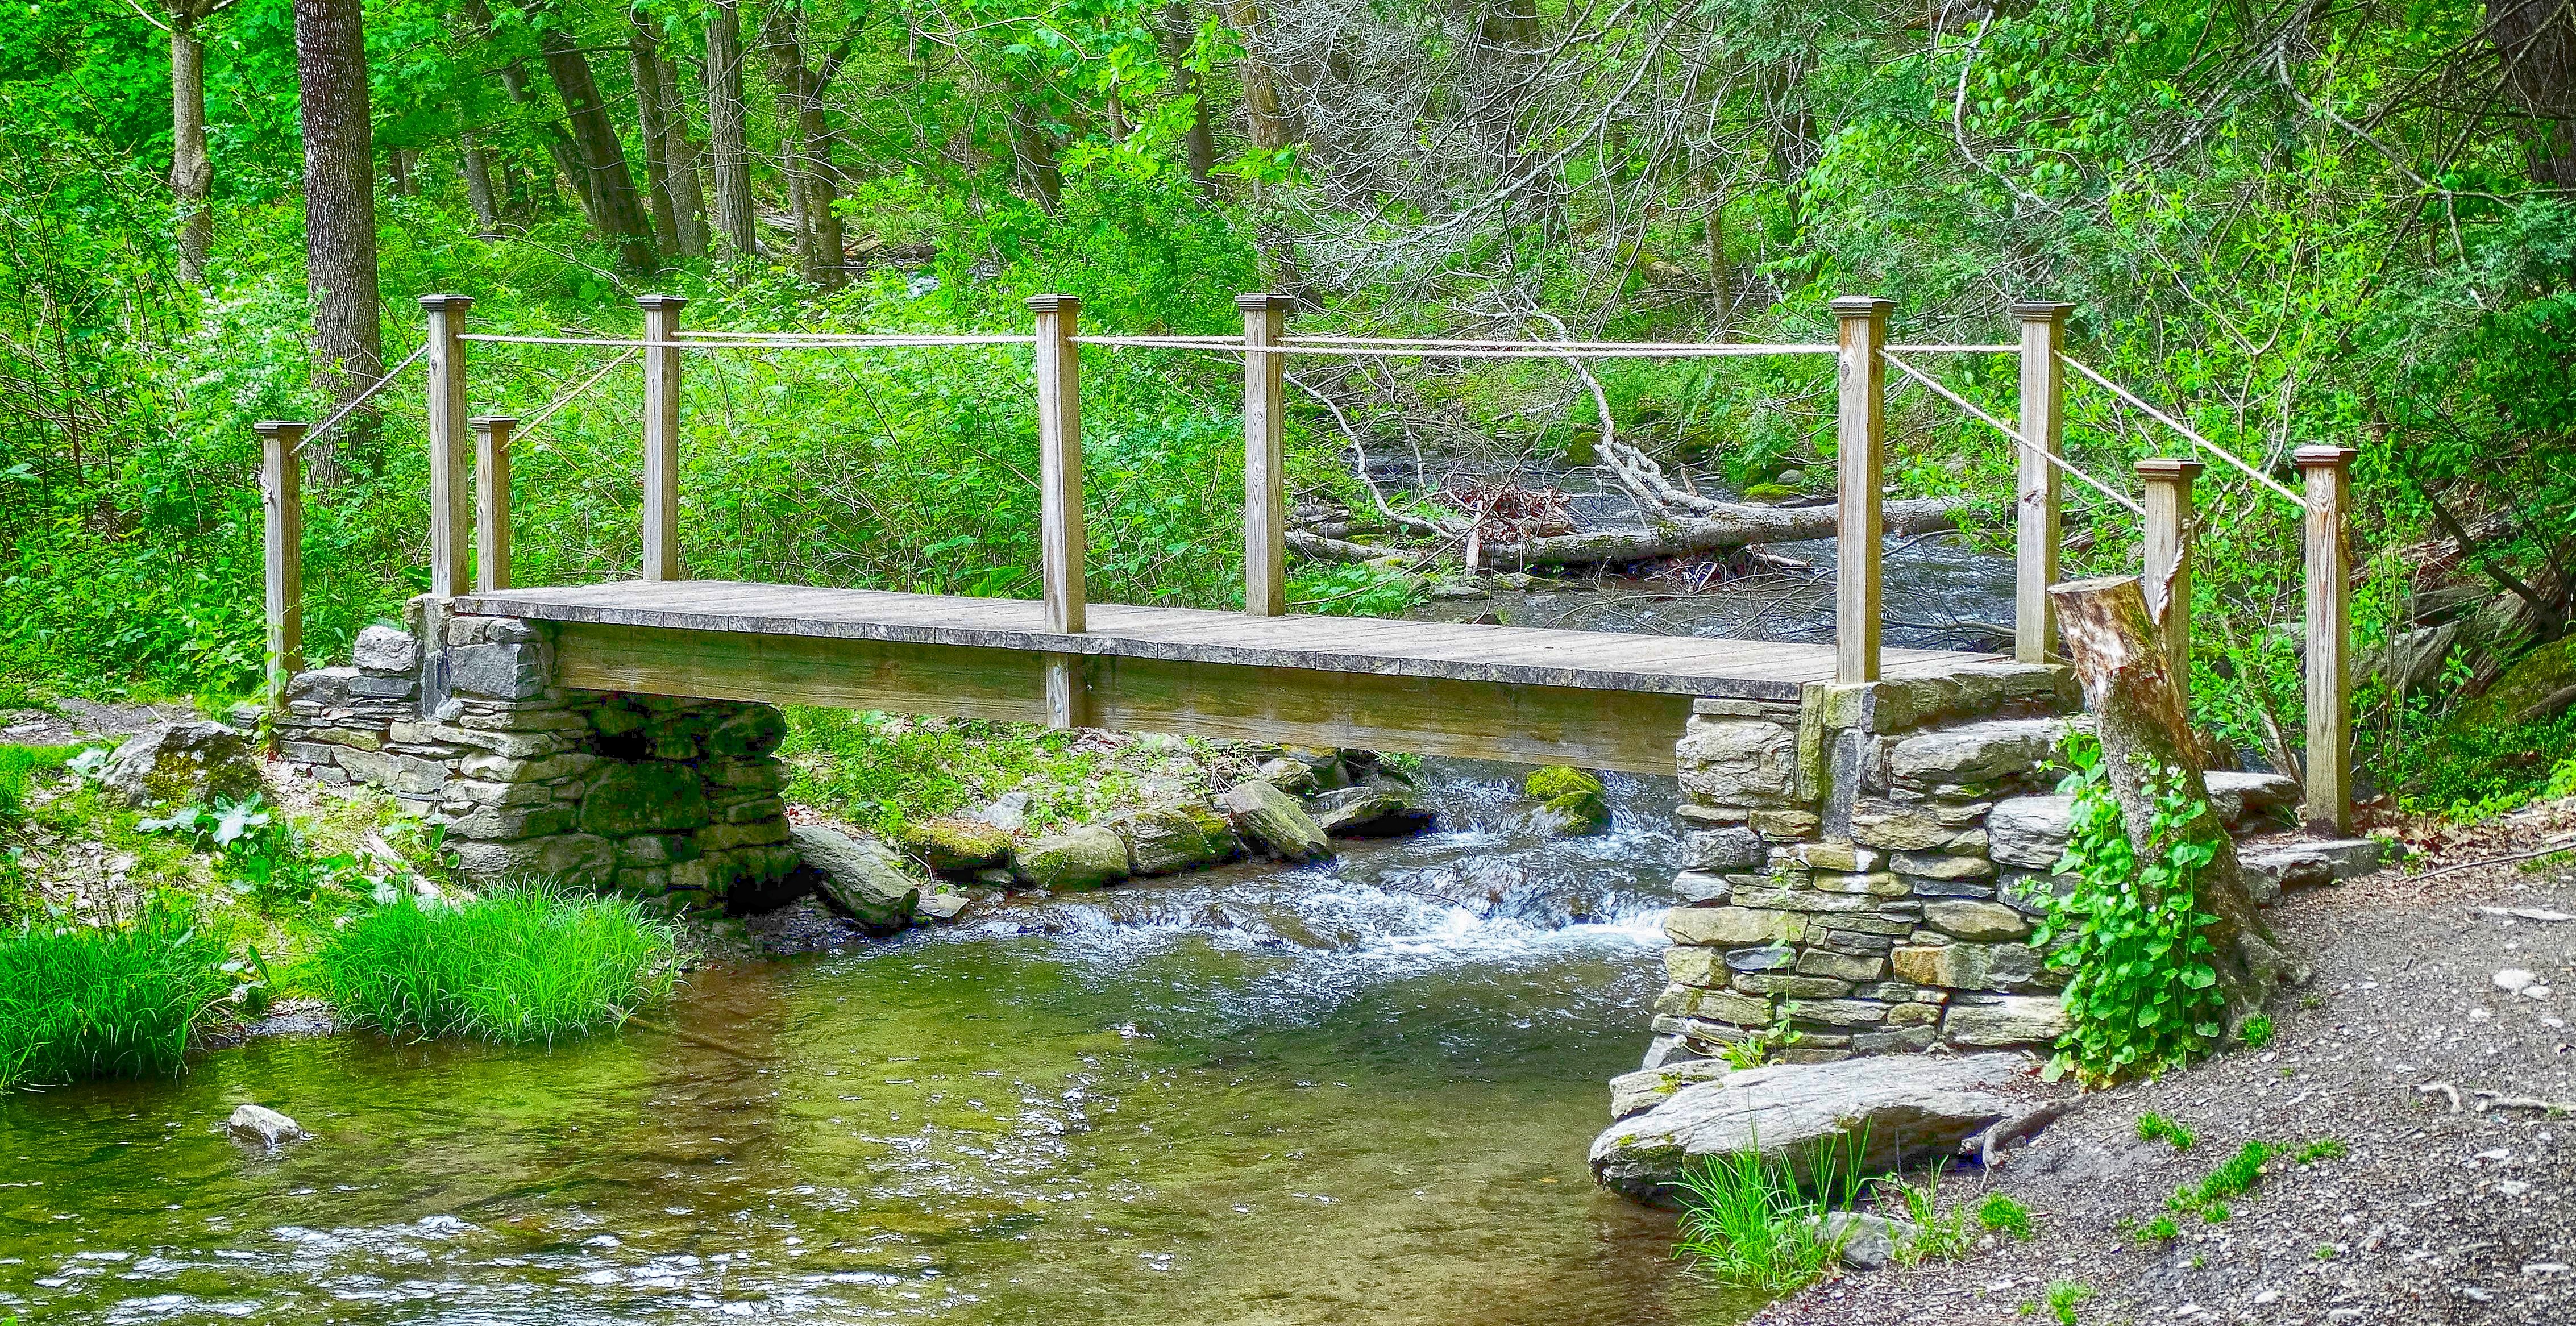
The trail then almost immediately, crosses another. The second bridge is 19 ft. long and framed with Pressure Treated Pine.
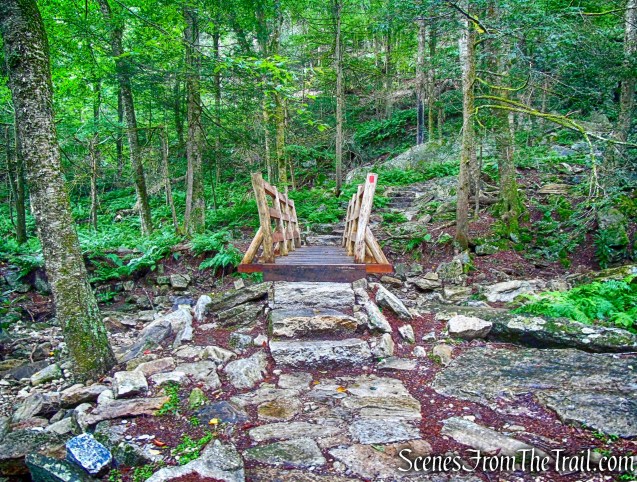
footbridge – Stony Kill Falls Trail
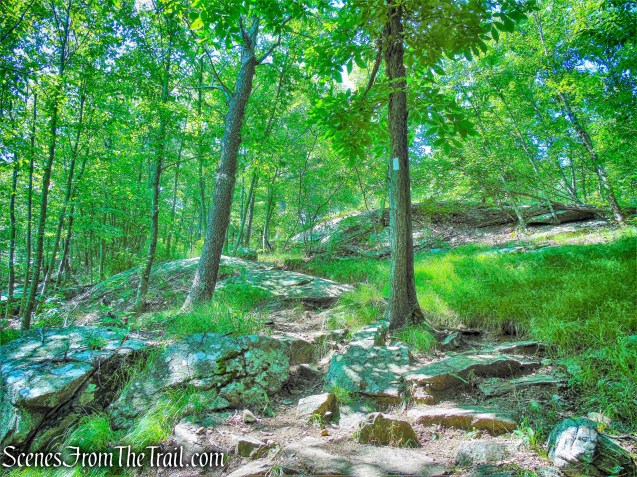
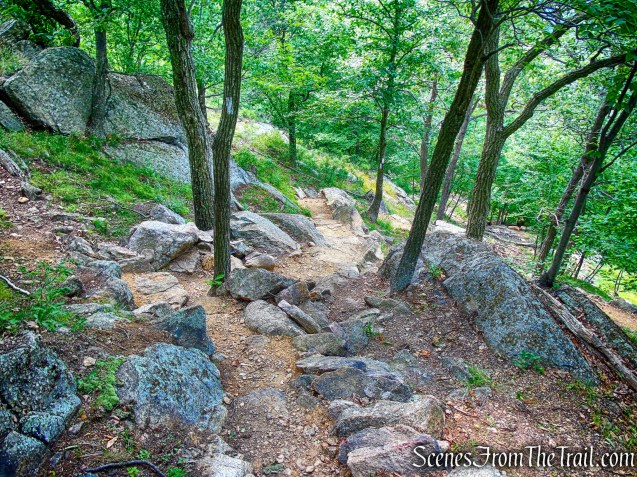
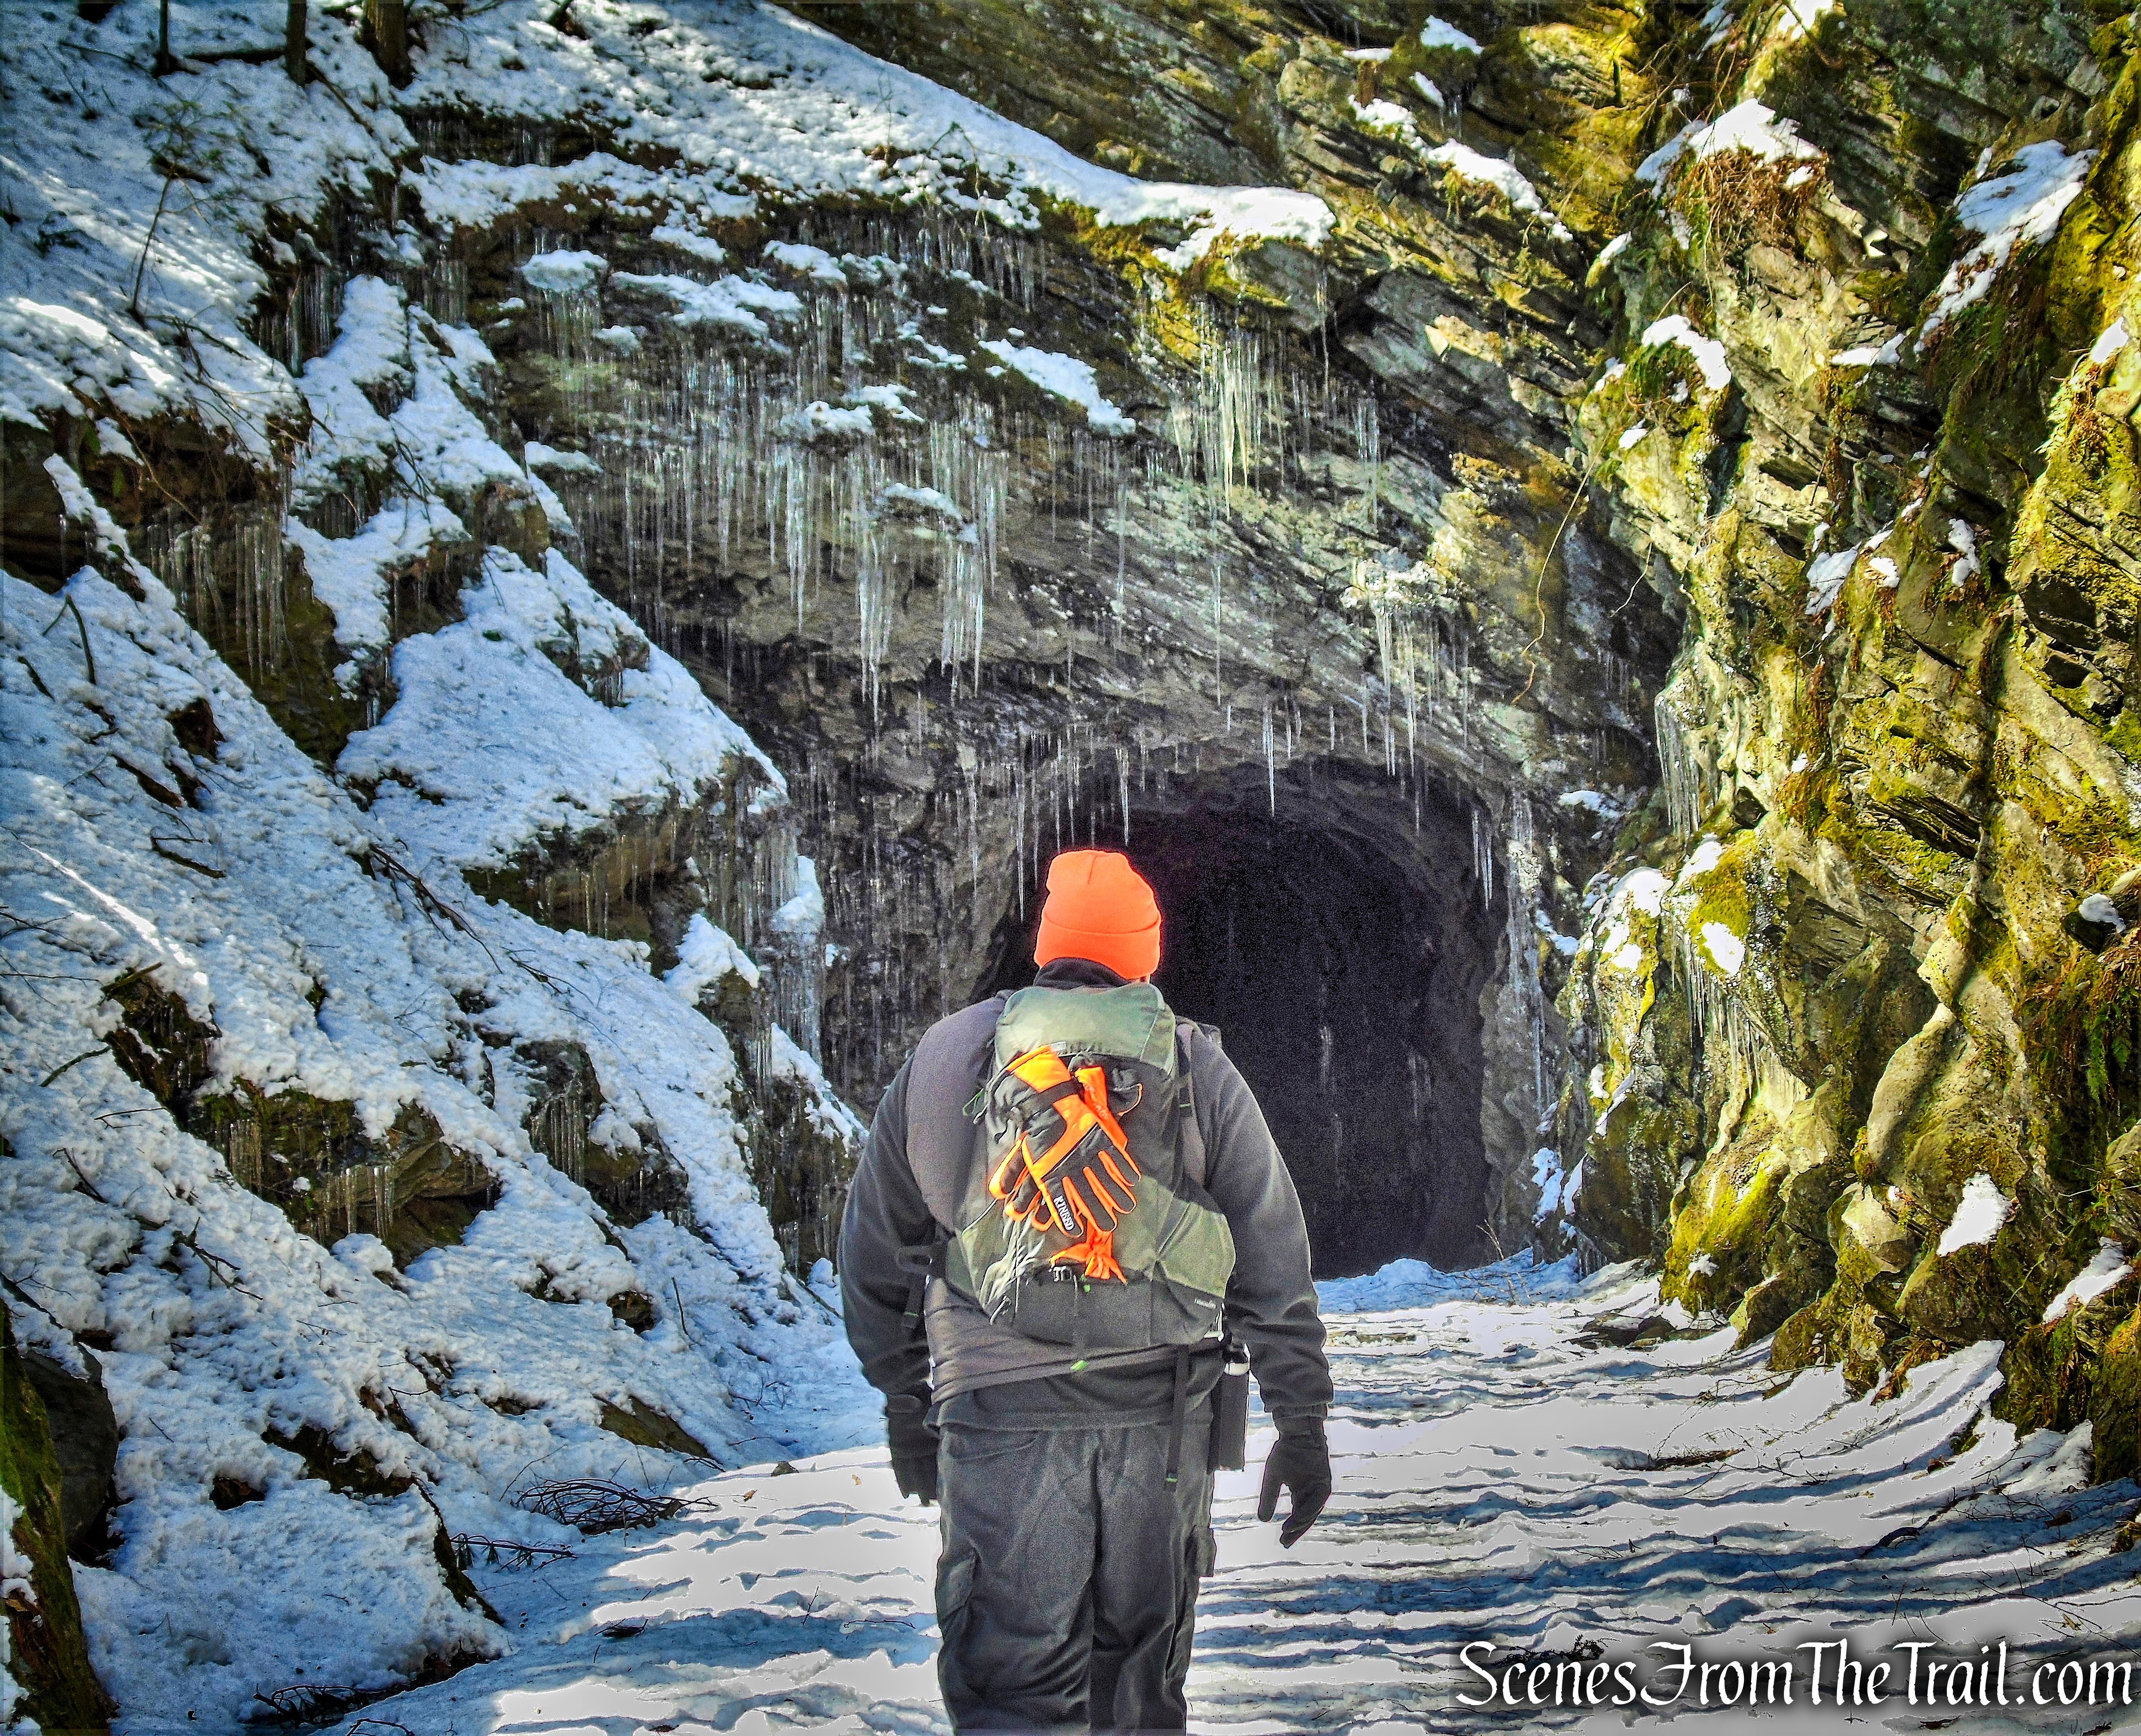
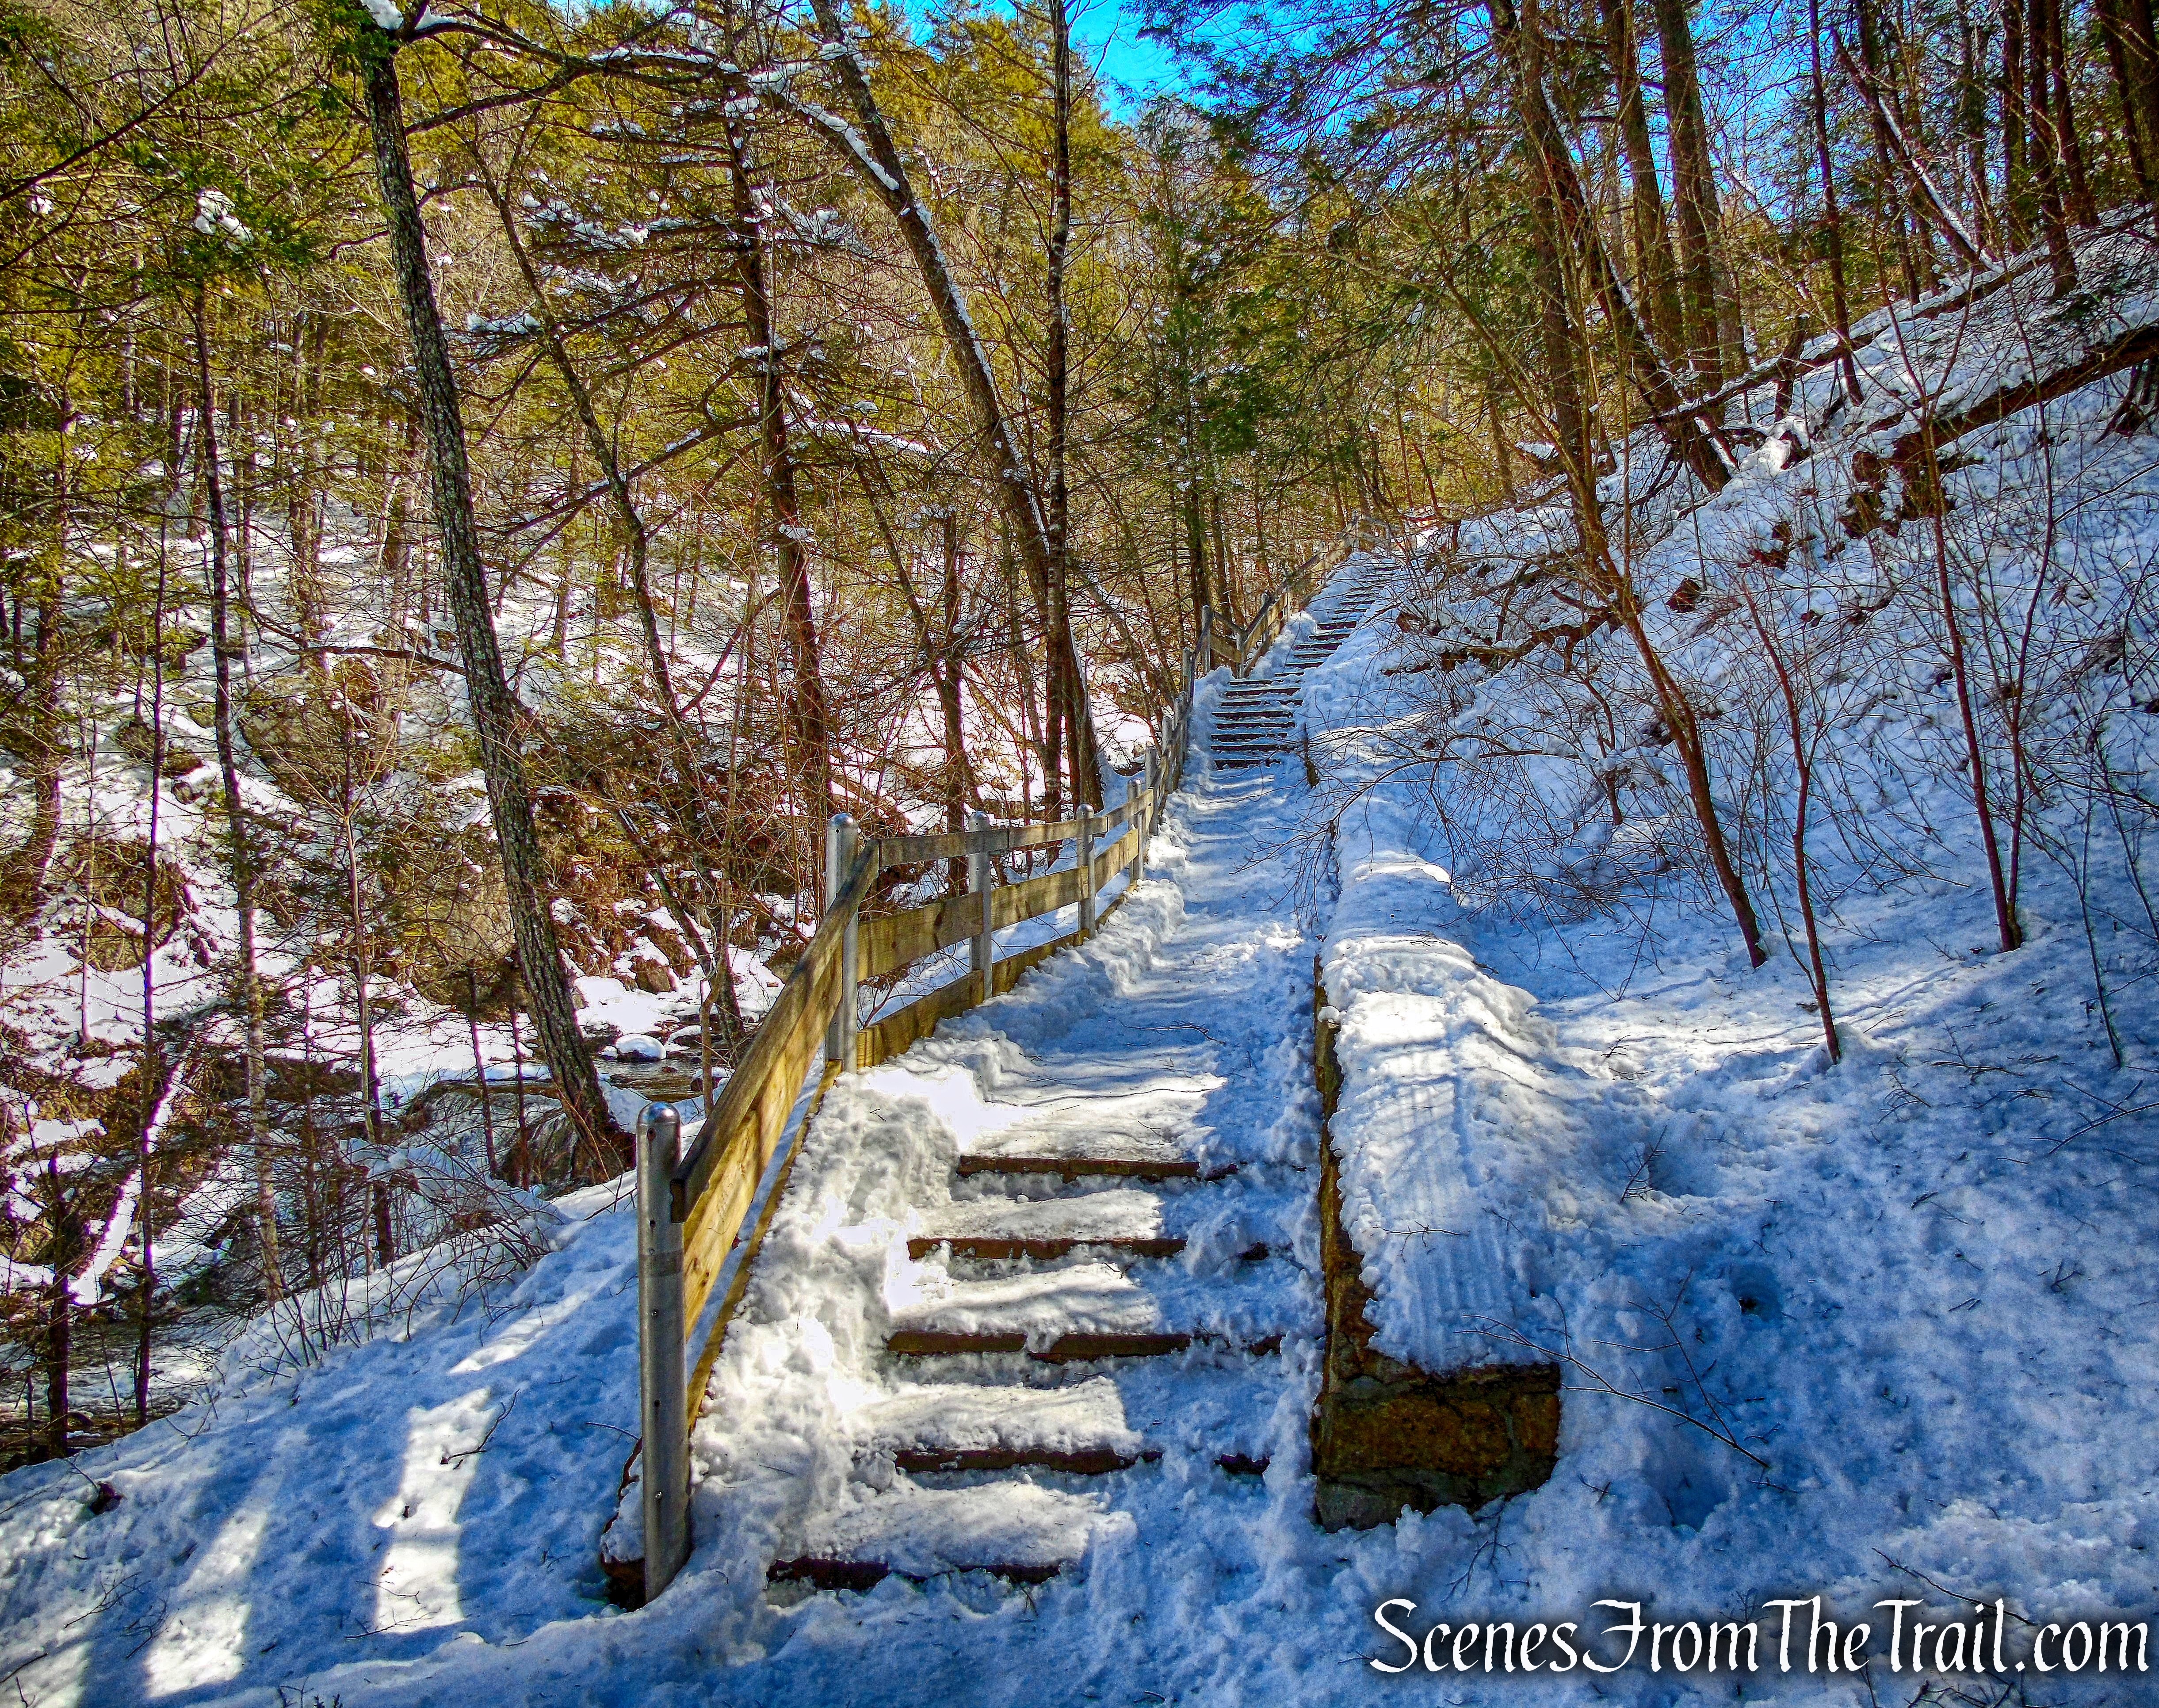
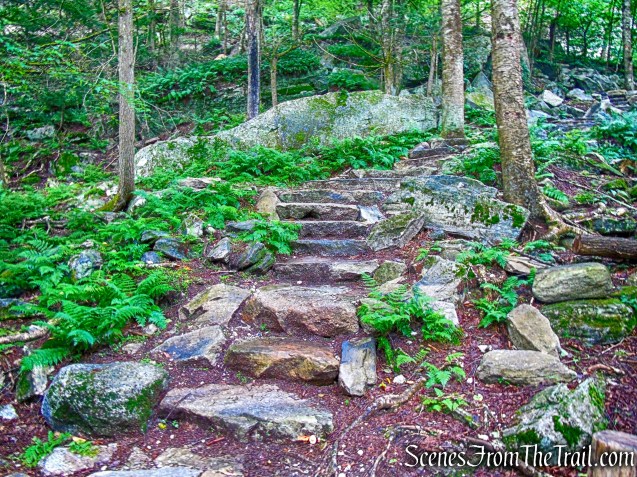
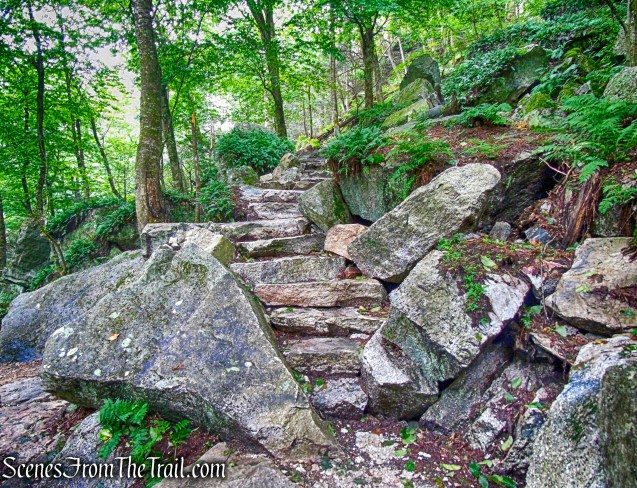
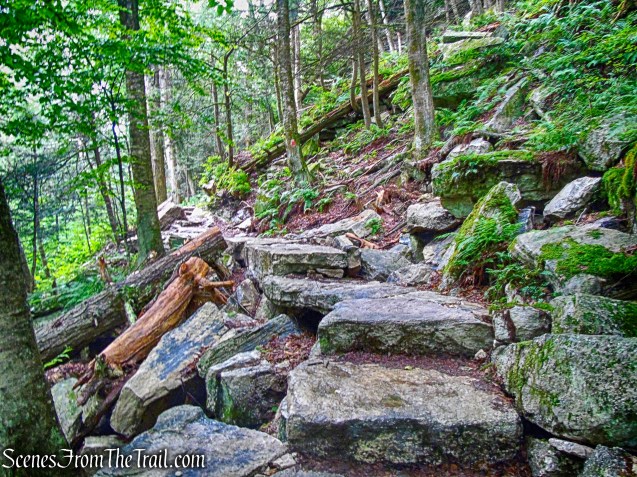
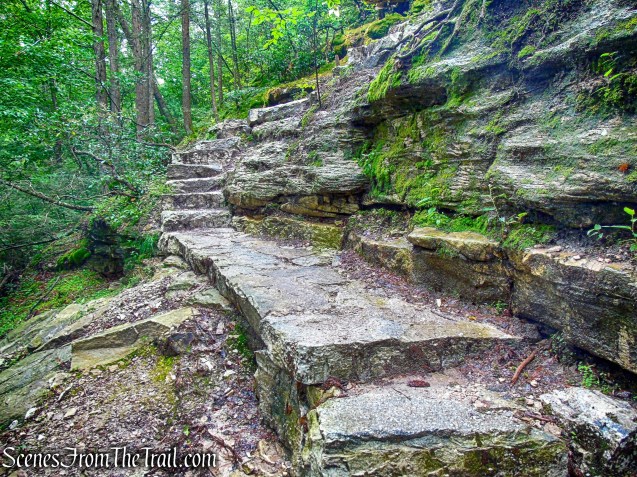
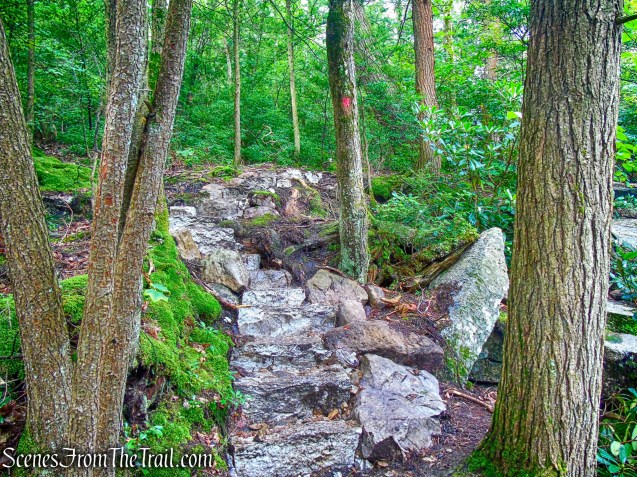
The trail now ascends stone steps. The Jolly Rovers Trail Crew built the 35 step stone staircase leading to the stone paved viewing platform, overlooking the falls.
stone steps – Stony Kill Falls Trail
Chris Ingui, Executive Director and Founding Member of The Jolly Rovers states: “To accomplish this, our volunteers donated 3,000 work hours over the course of 30 days through the Fall of 2016 through the Fall of 2017. The stone was all native Shawangunk conglomerate and was split and shaped onsite and flown into place via overhead zip lines that we rigged into the surrounding trees.”
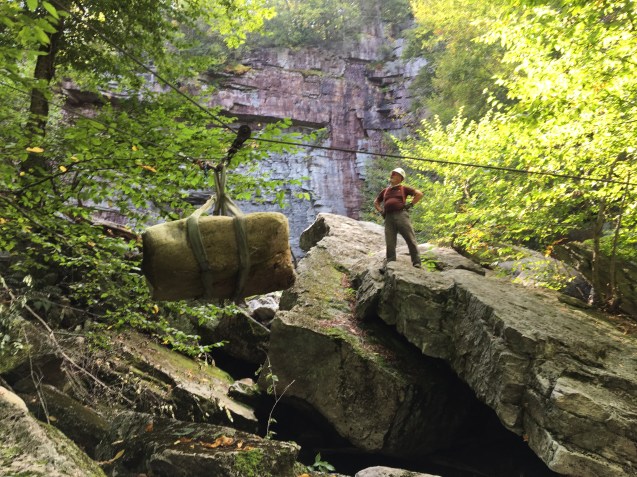
Jolly Rovers Trail Crew – Photo Credit: Chris Ingui

Jolly Rovers Trail Crew – Photo Credit: Chris Ingui
The finished product is outstanding, and and I for one am grateful to have these dedicated men and women put in such effort to make this place more easily accessible and enjoyable.

stone steps – Stony Kill Falls Trail
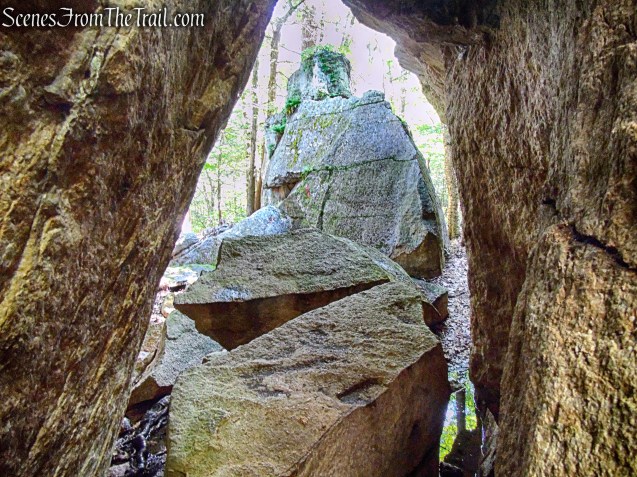
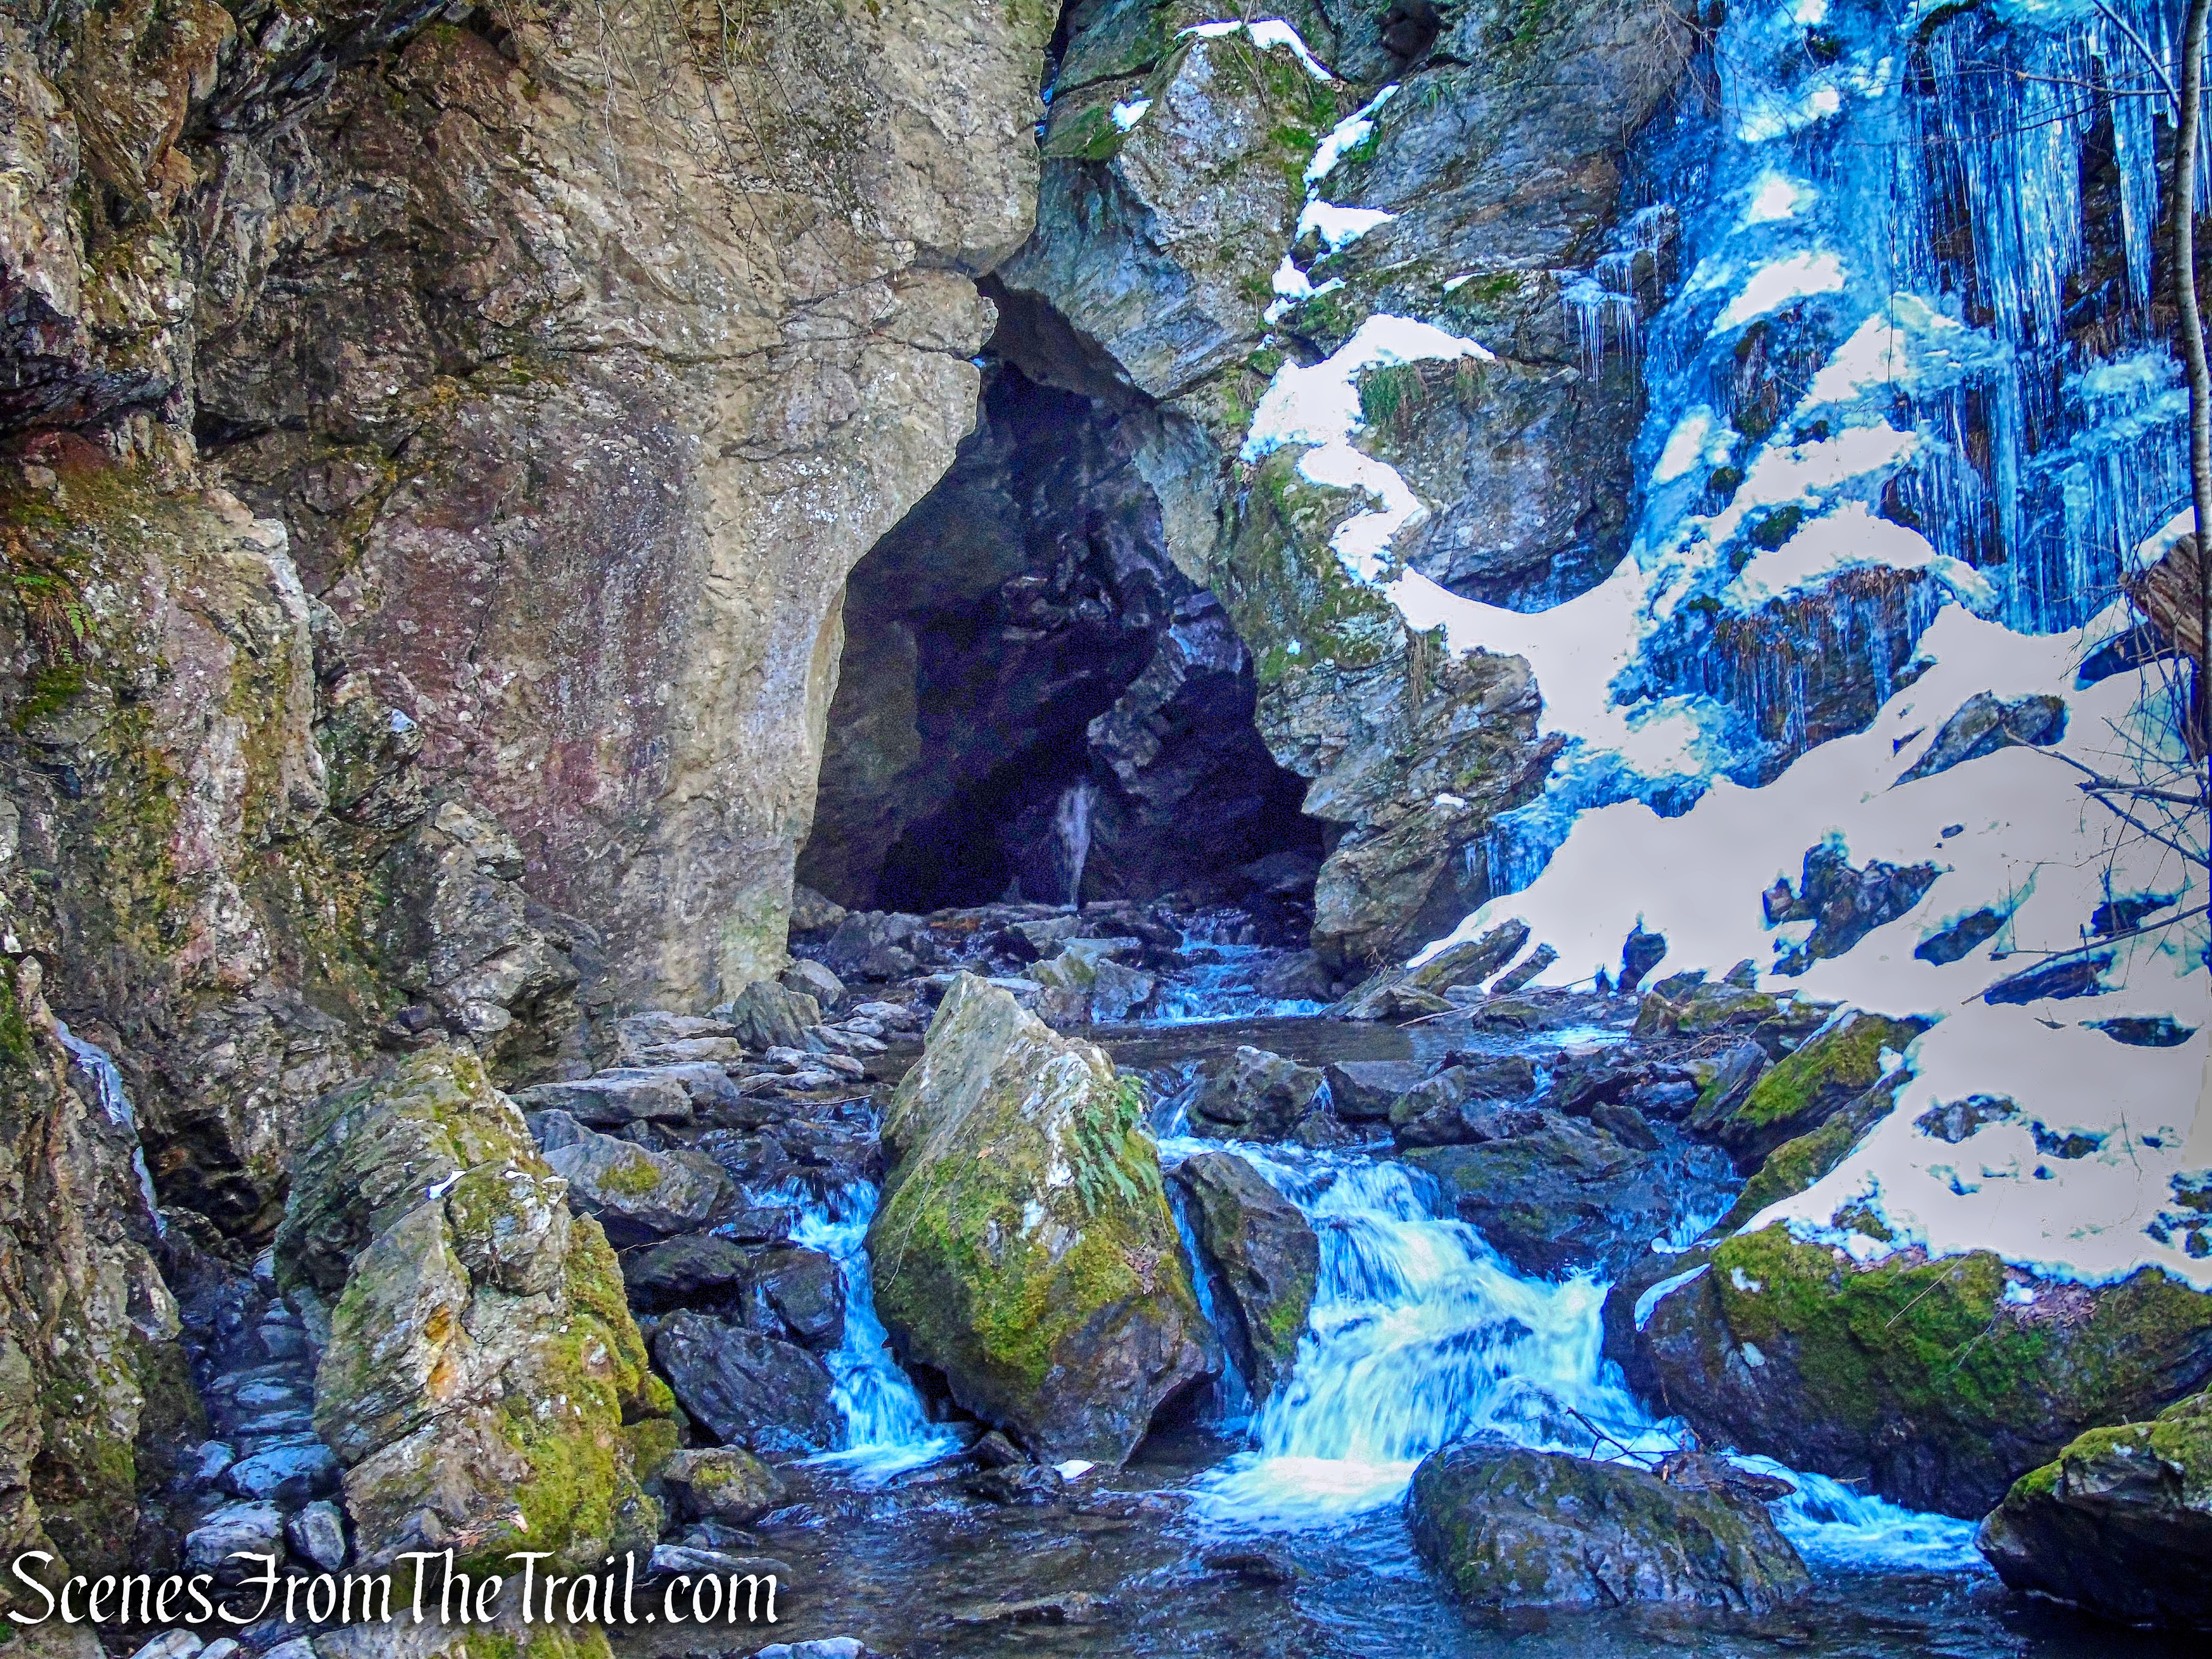
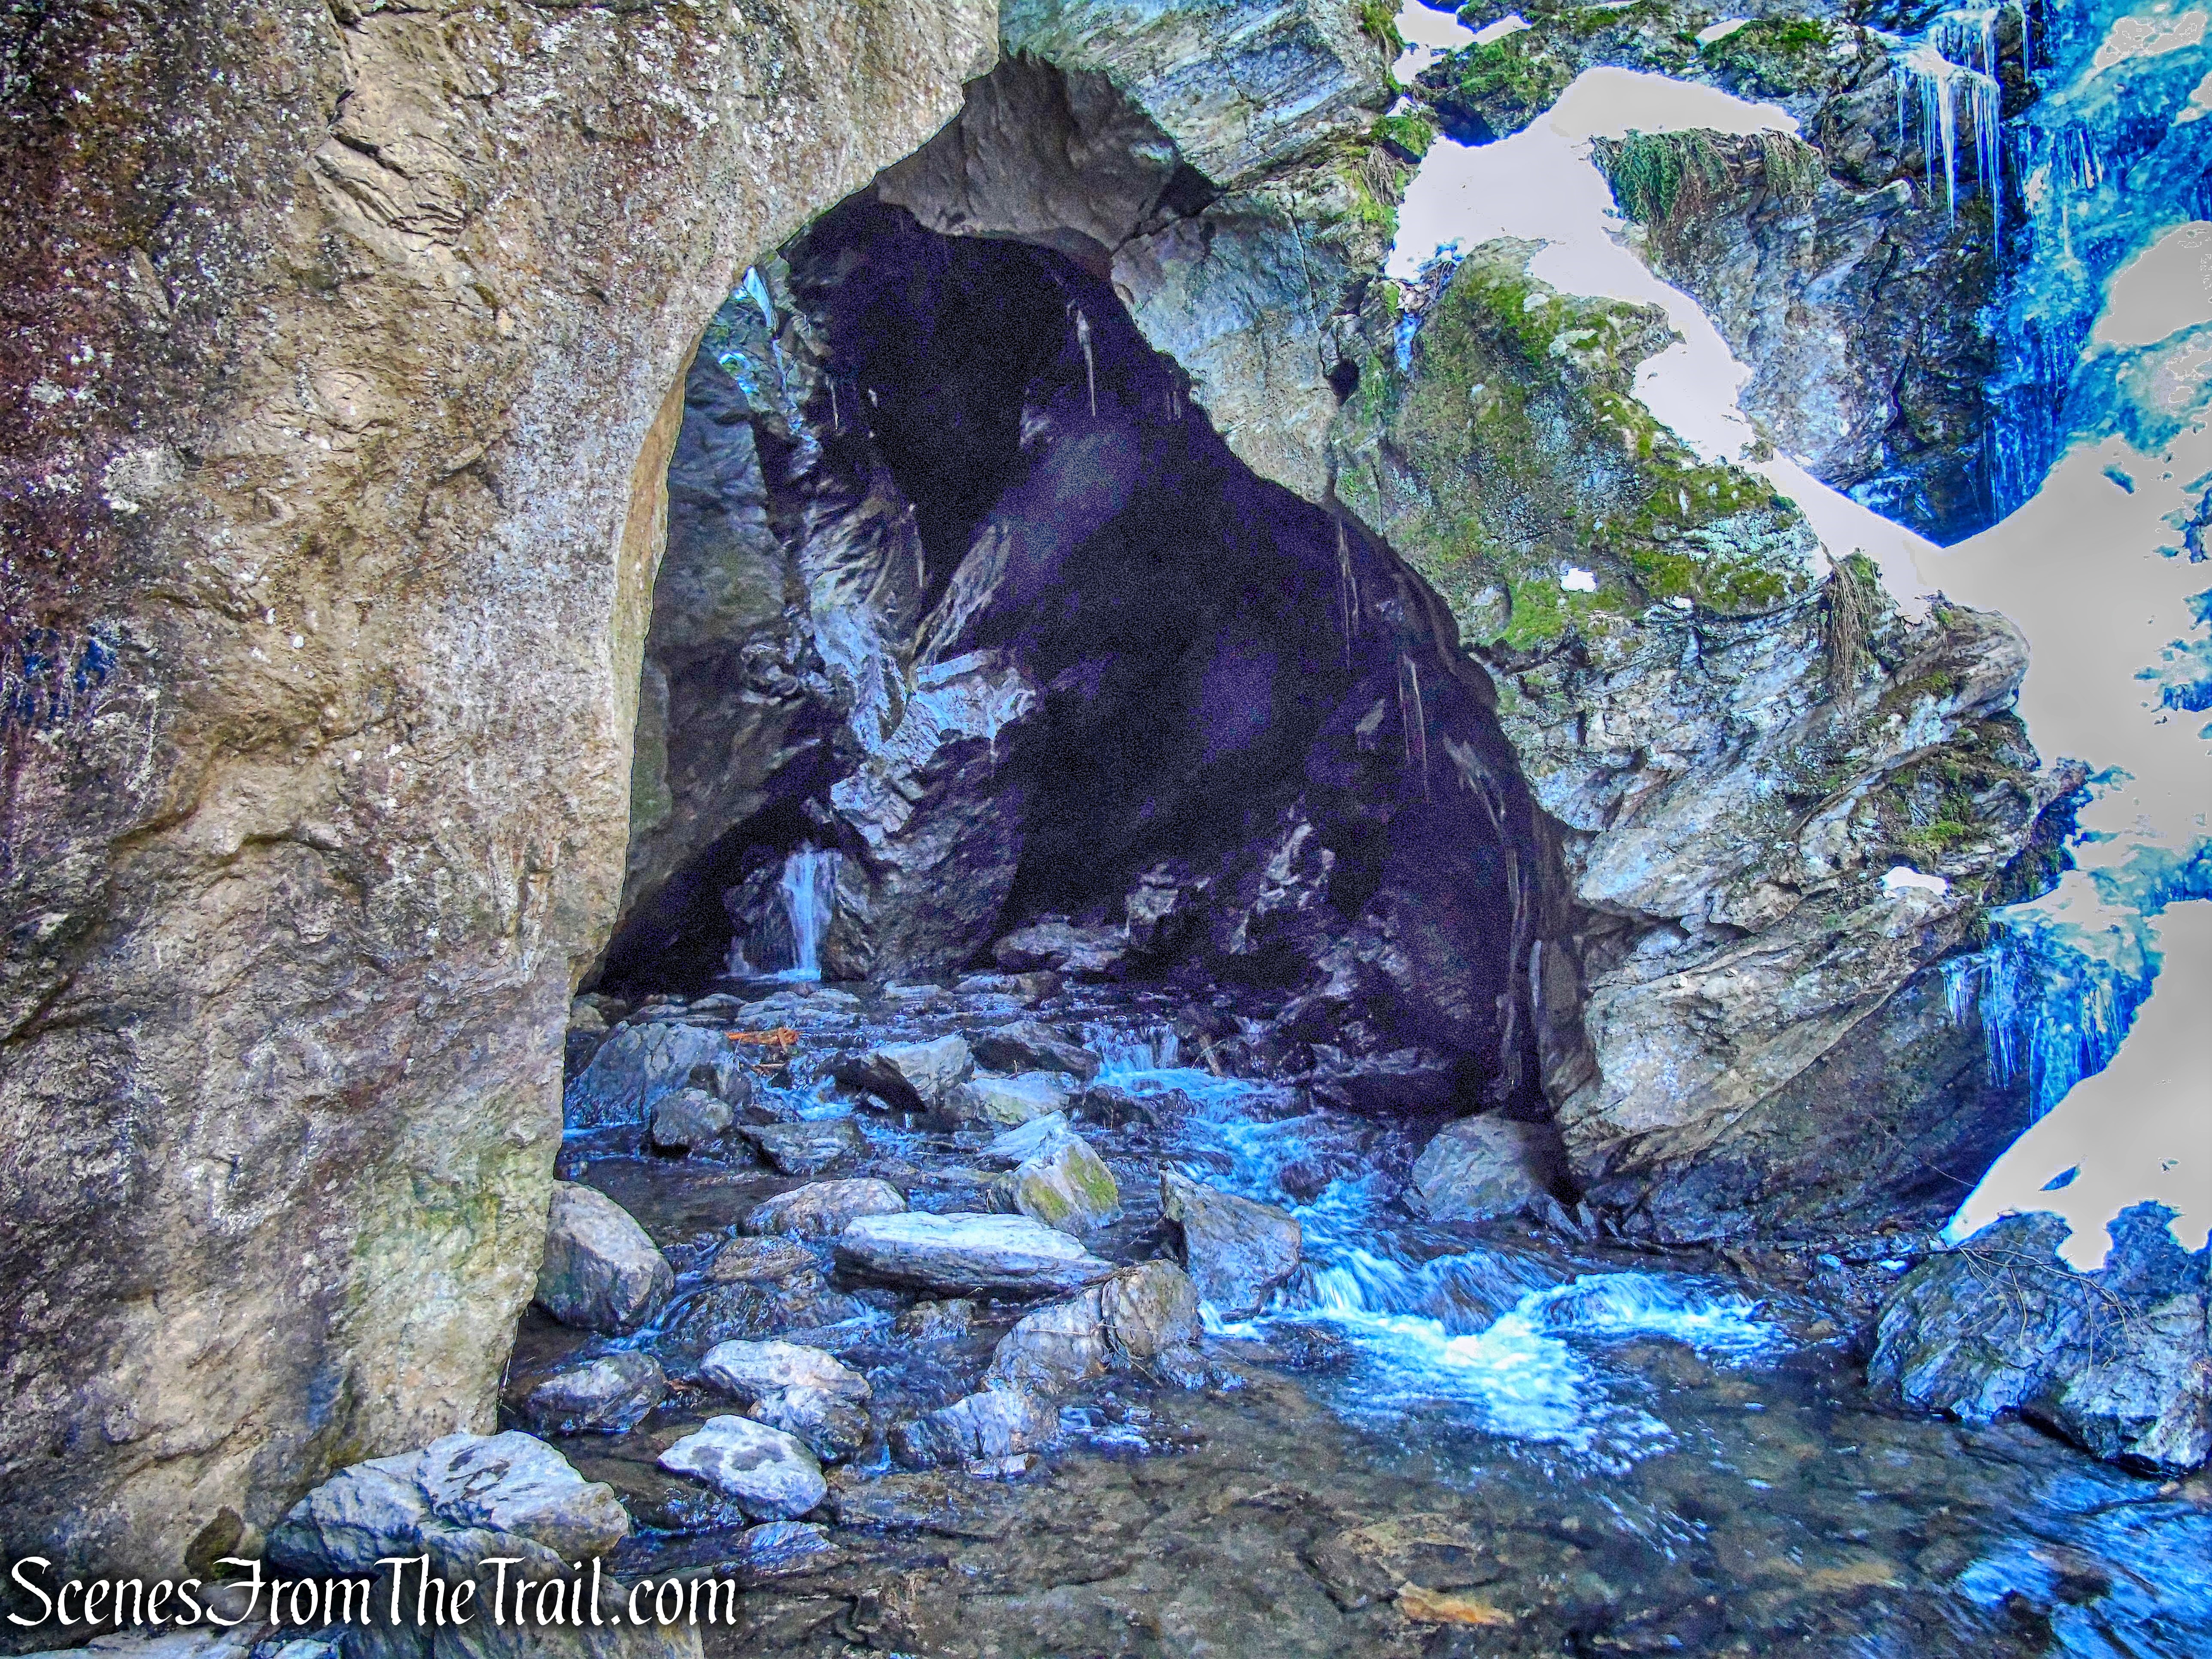
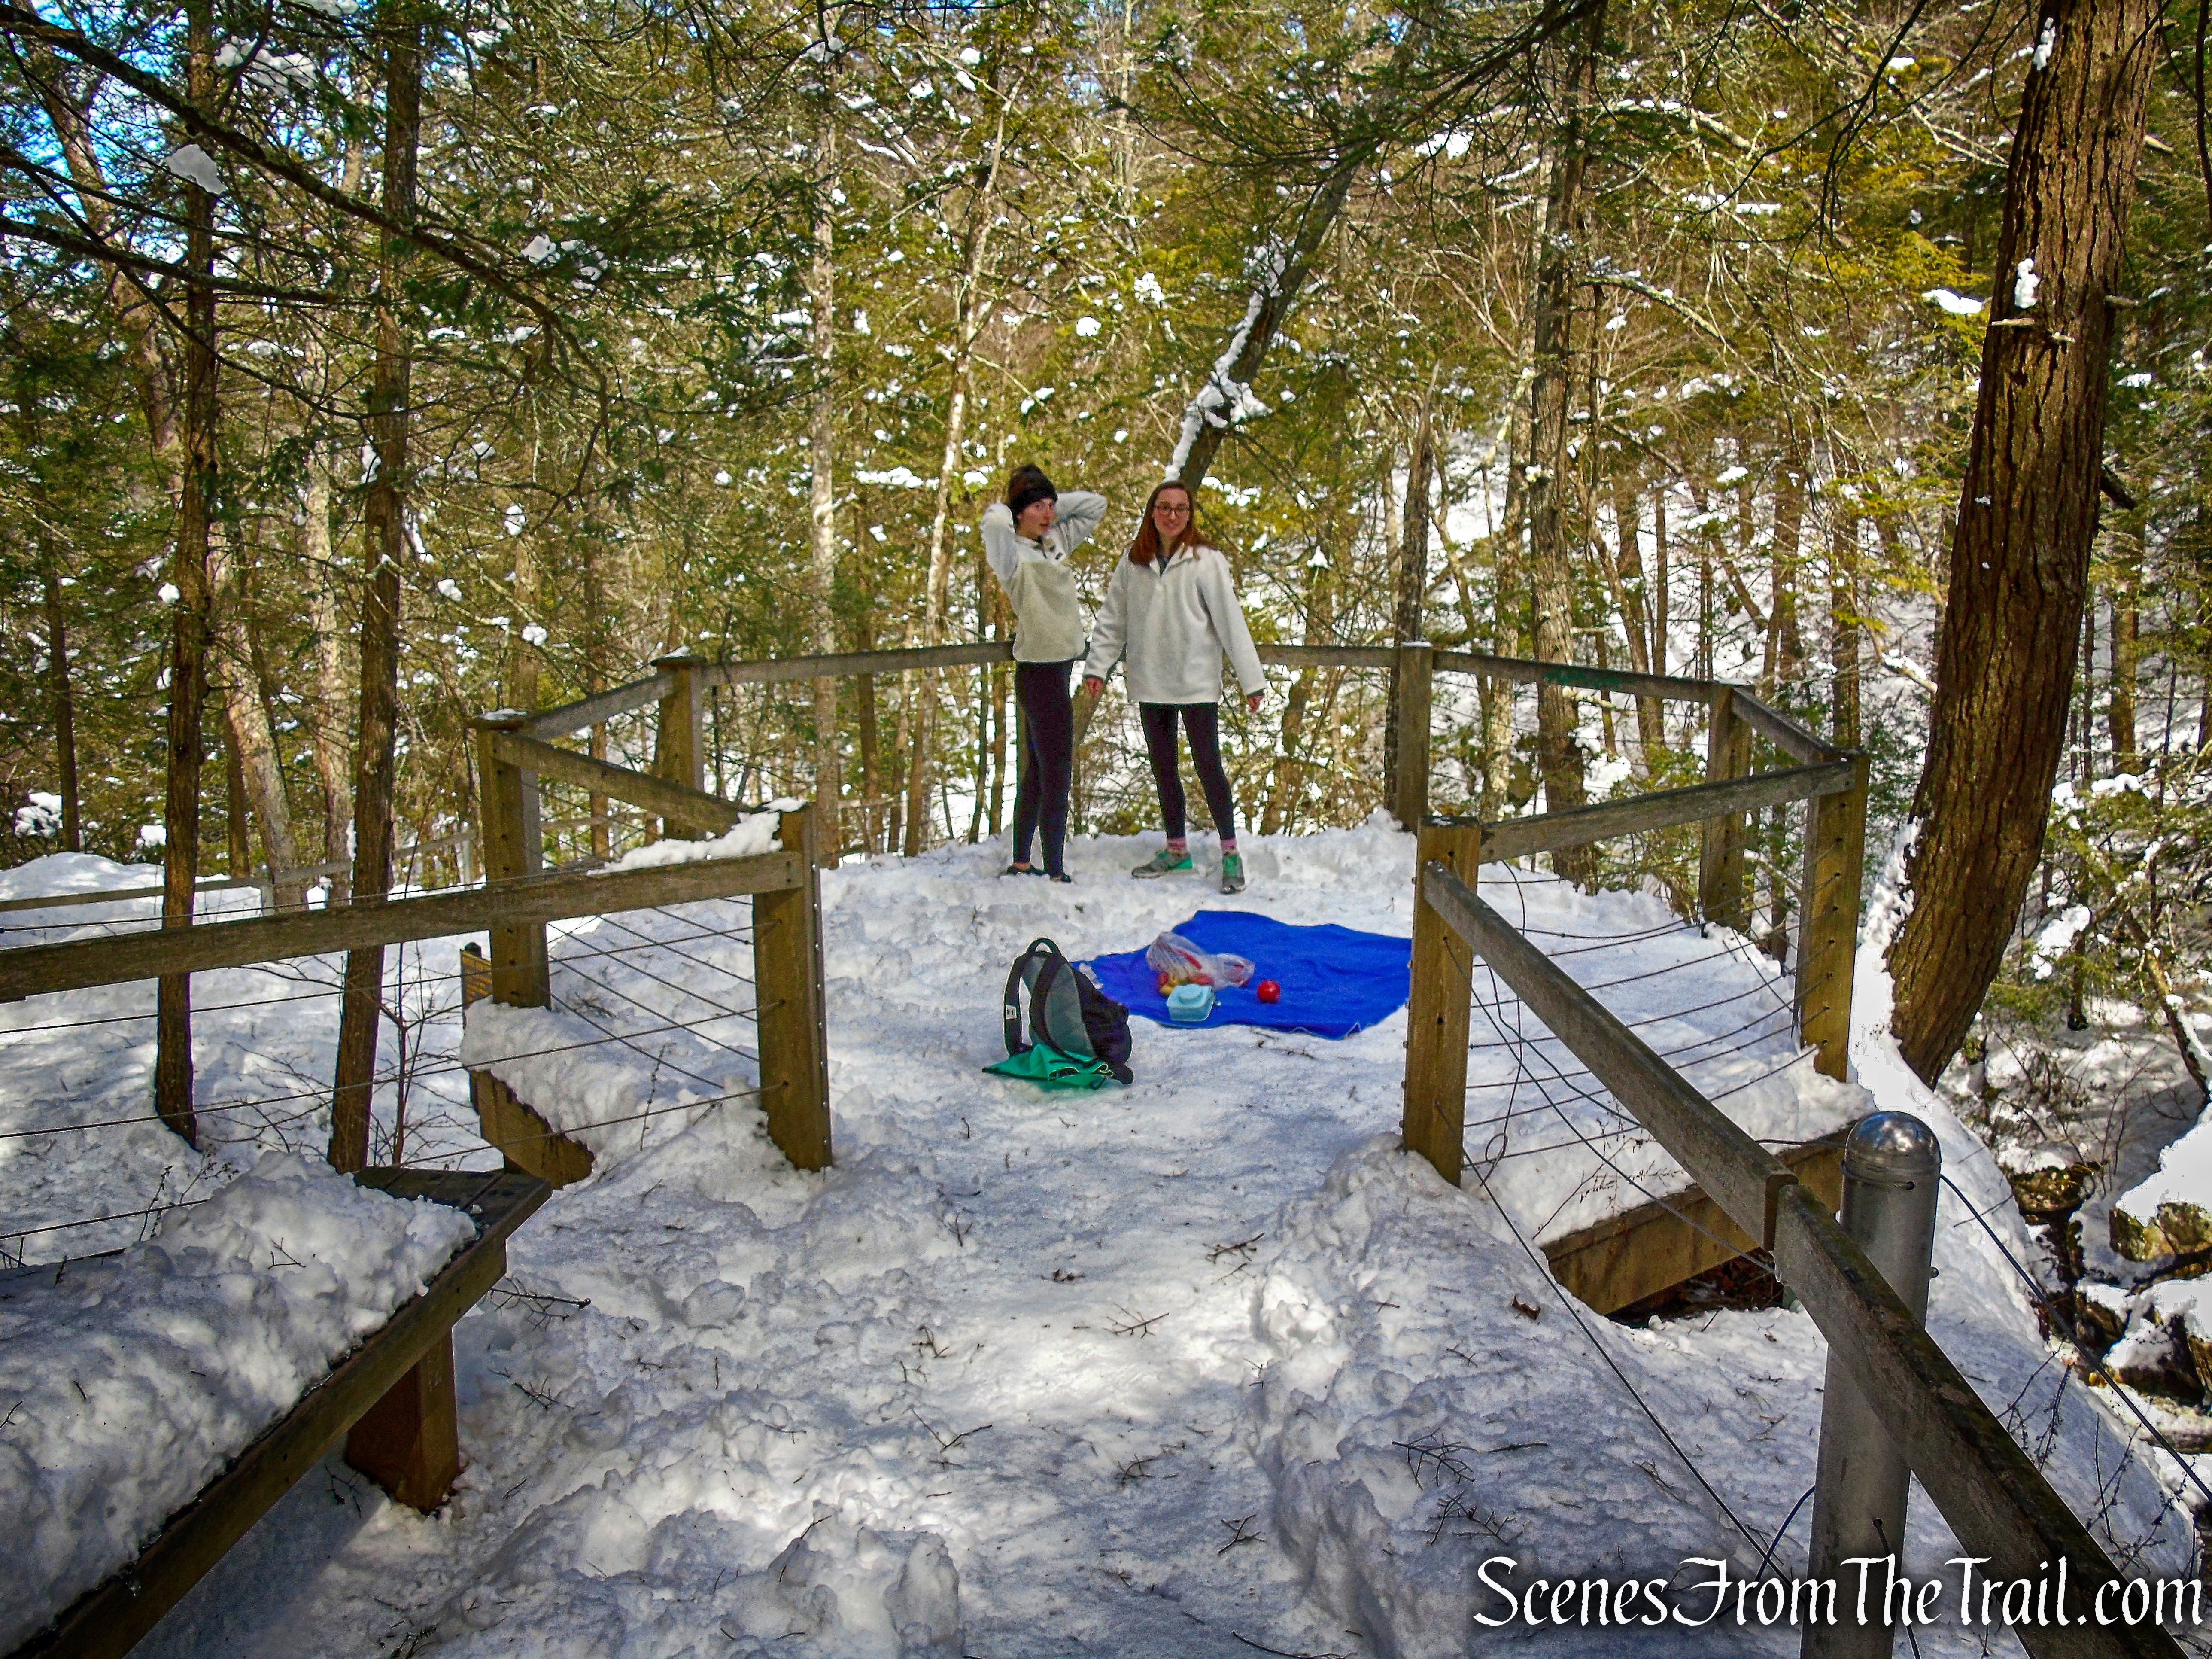
The stone steps lead to a stone paved 12′ by 12′ viewing platform with a keyhole view of Stony Kill Falls. This was constructed as a collaborative effort with Tahawus and the Rovers.
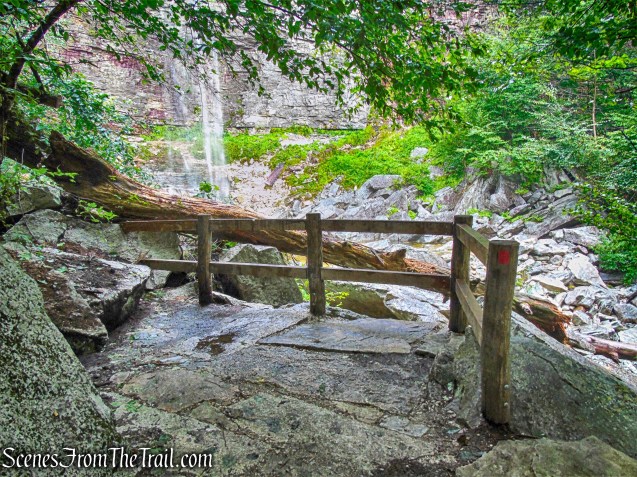
viewing platform – Stony Kill Falls Trail
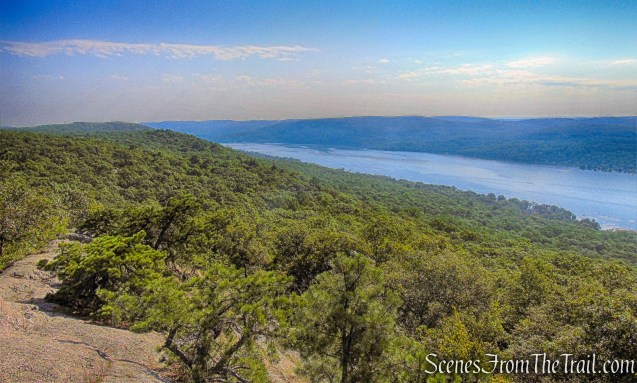
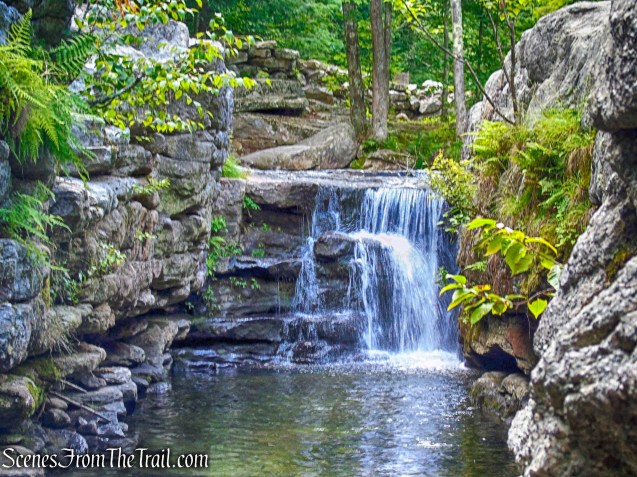
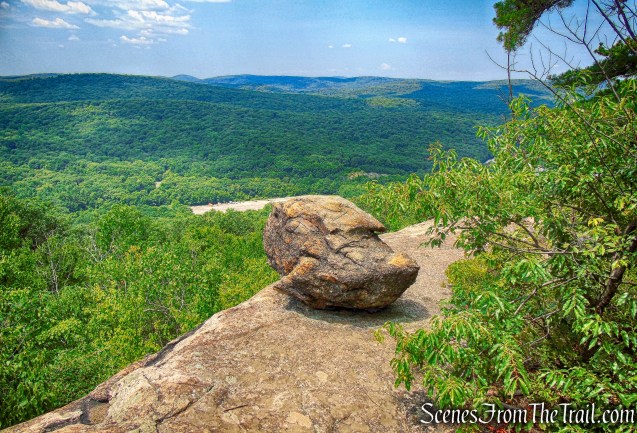
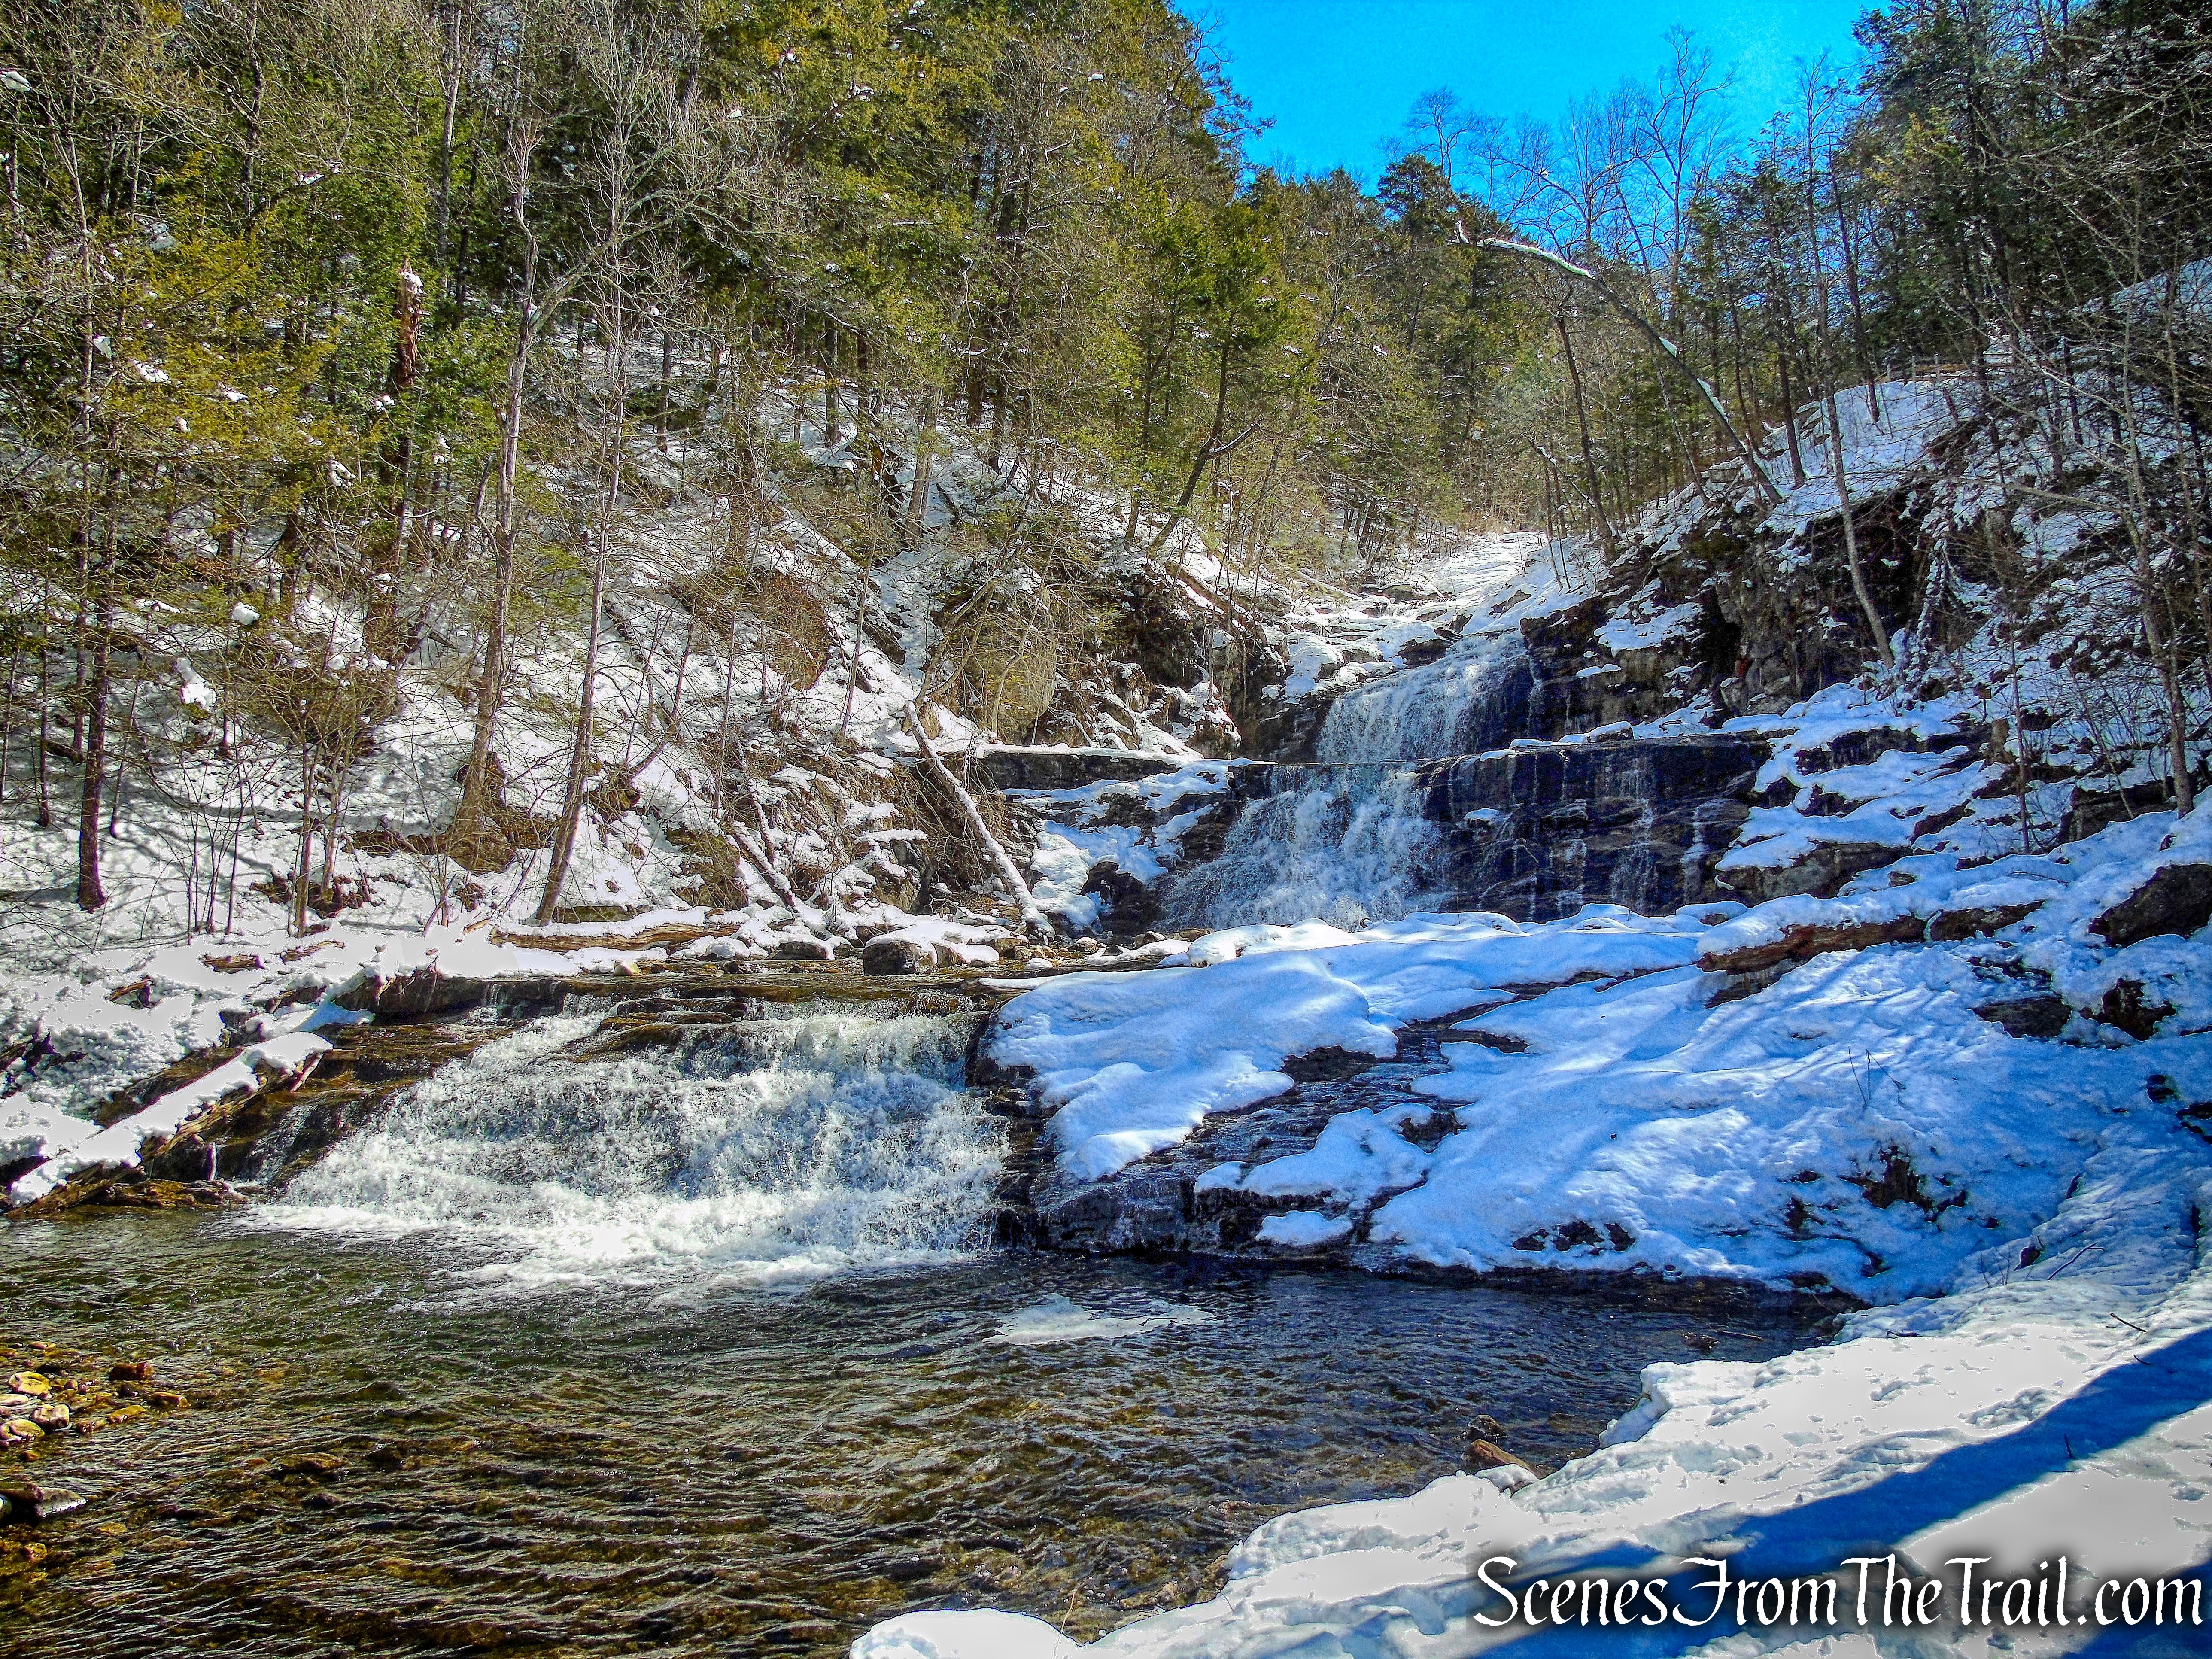
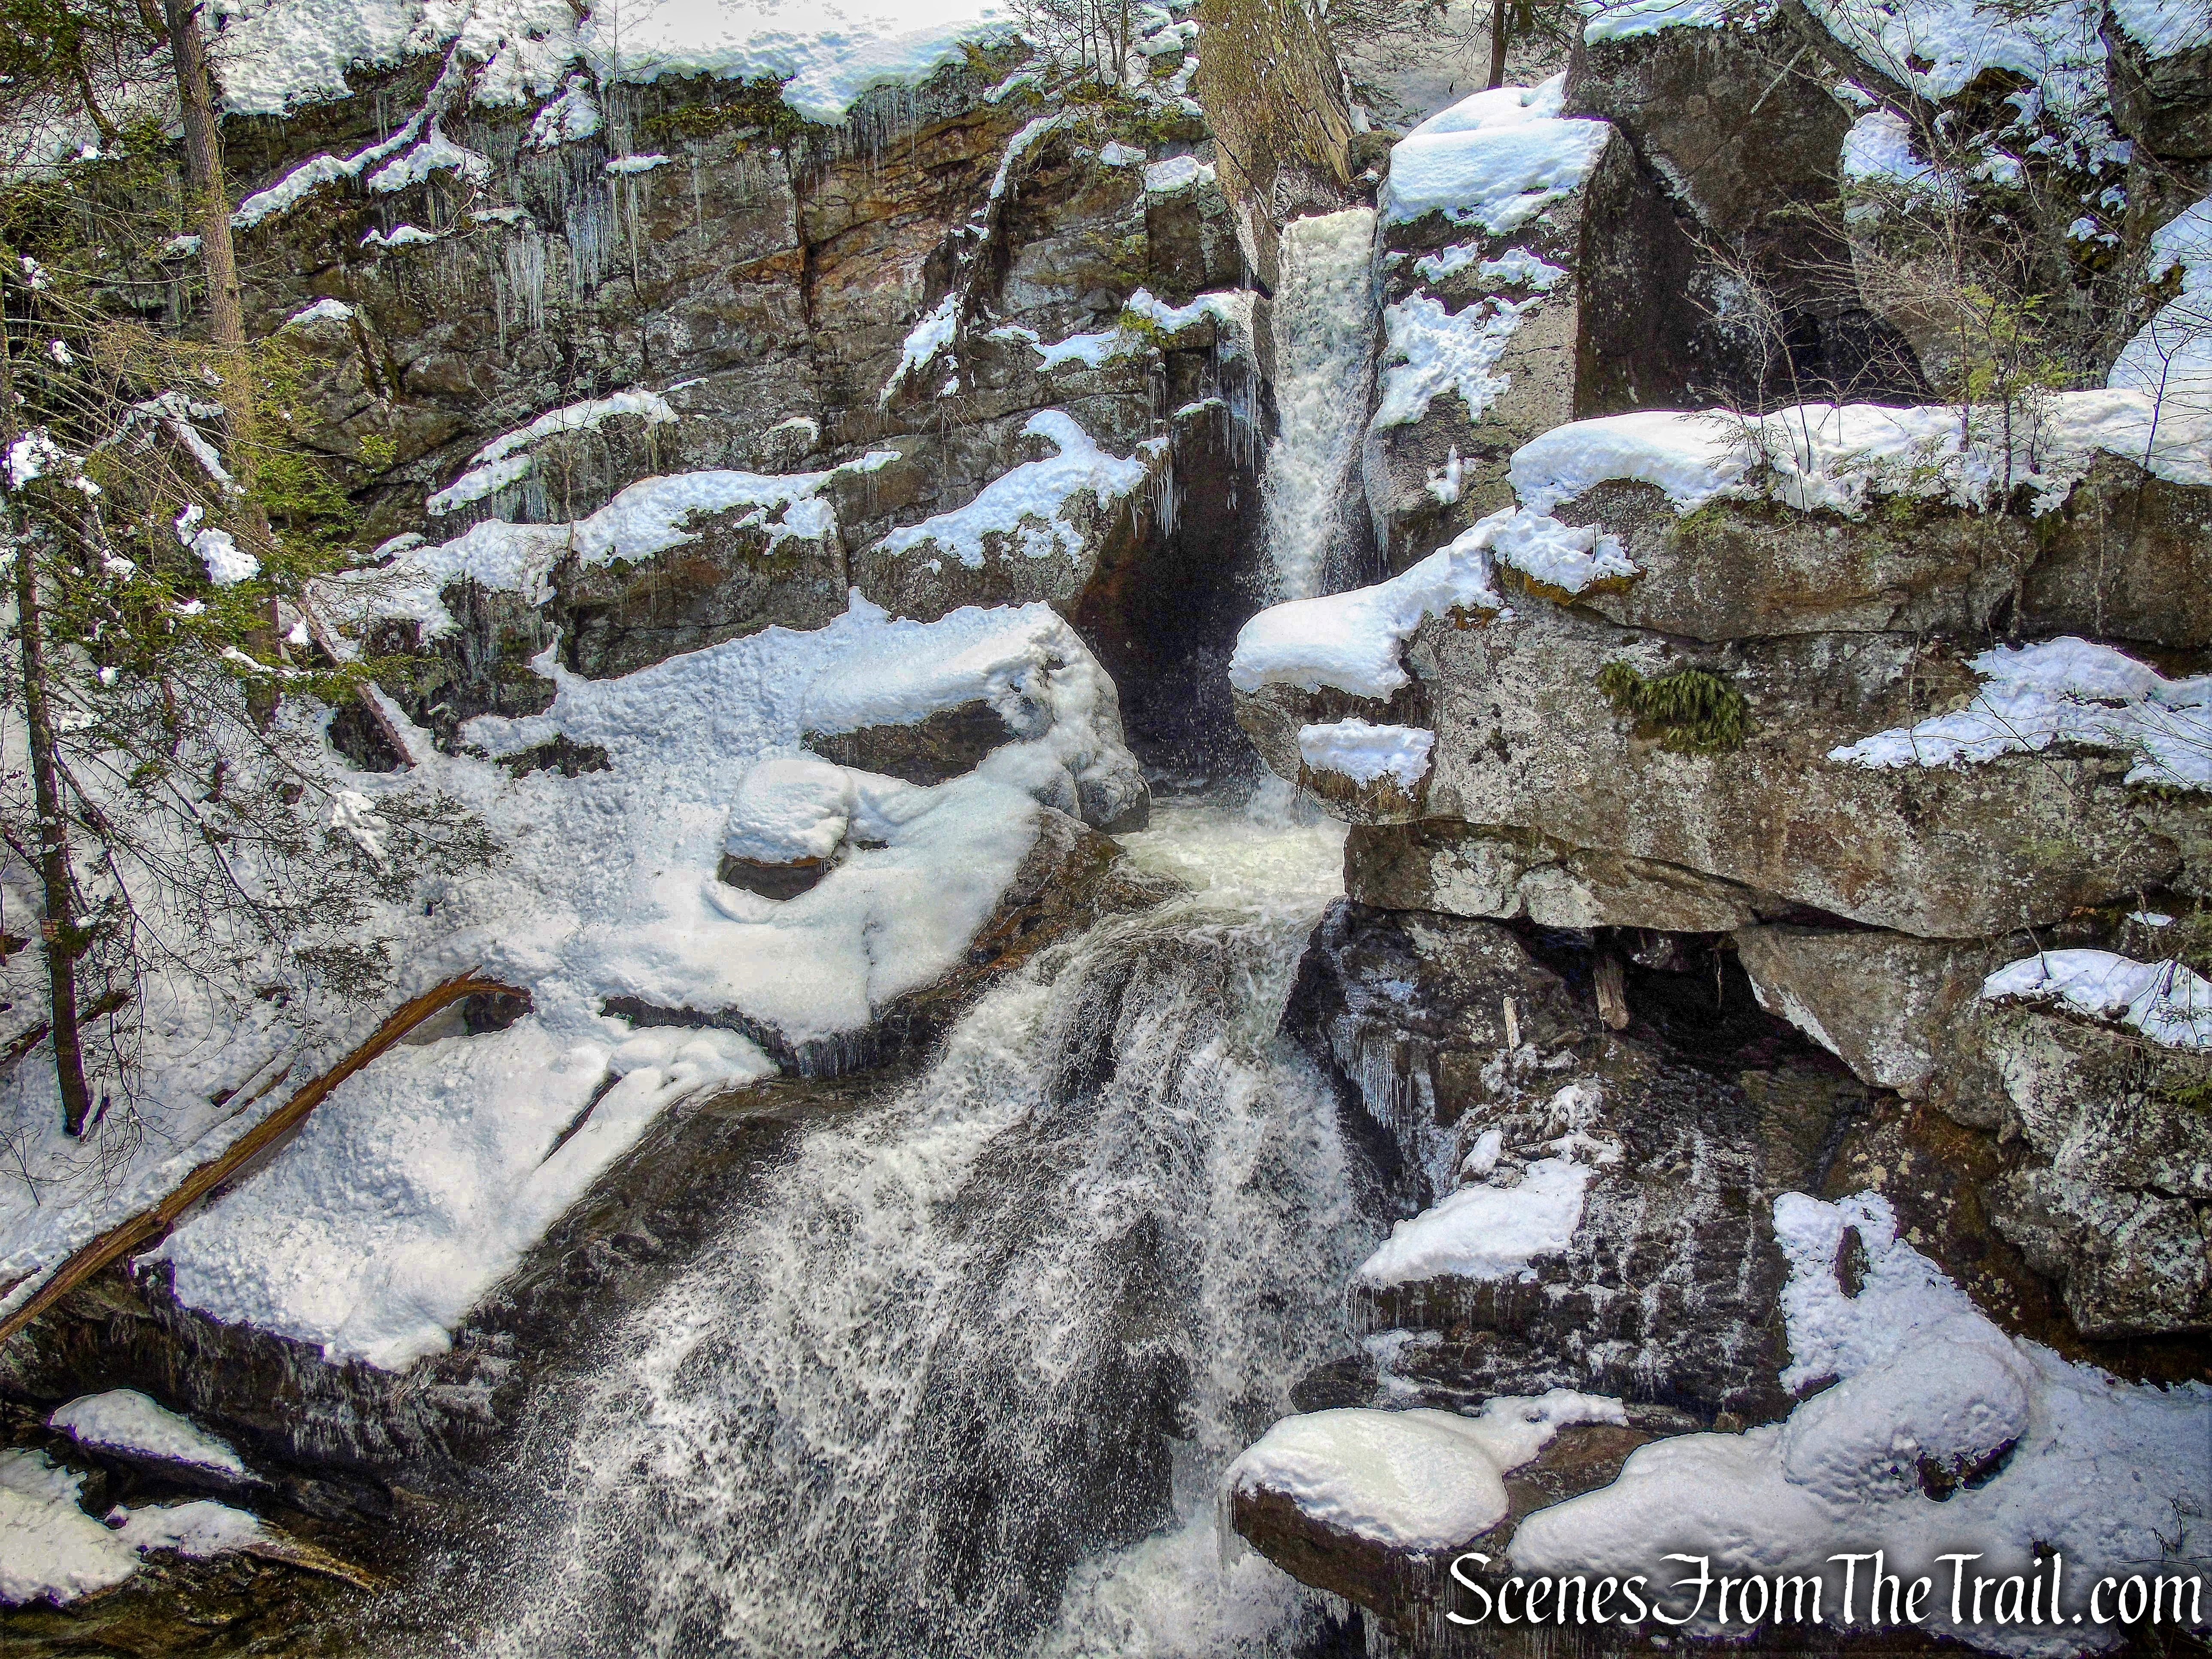
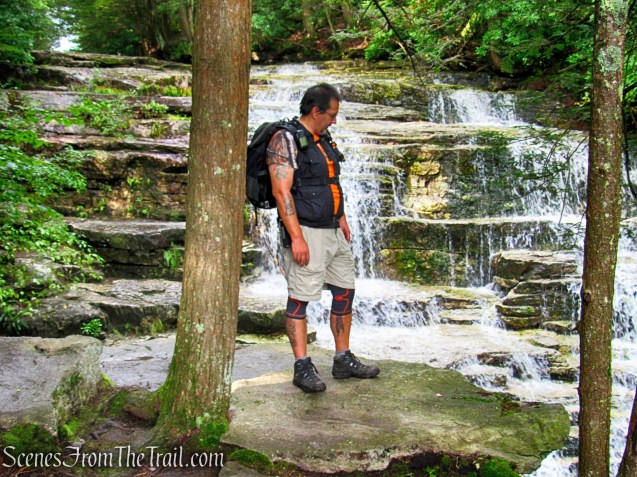
The 87-foot Stony Kill Falls, is one of the major waterfalls in the Shawangunks and is a popular destination for hikers, bird watchers and photographers. The volume varies with the season and the rainfall, but at any time, it is a beautiful sight.
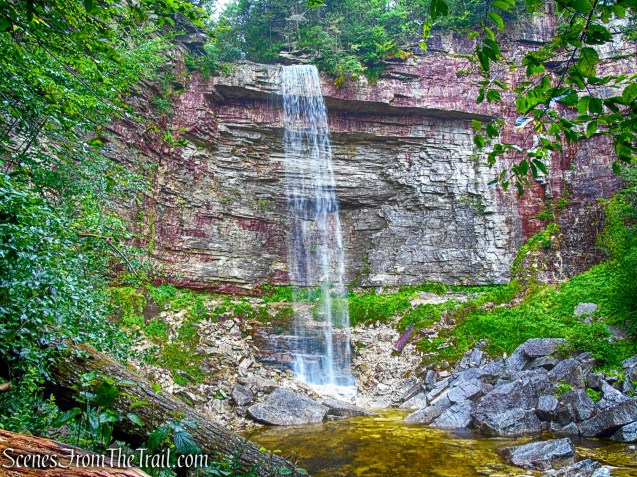
Stony Kill Falls
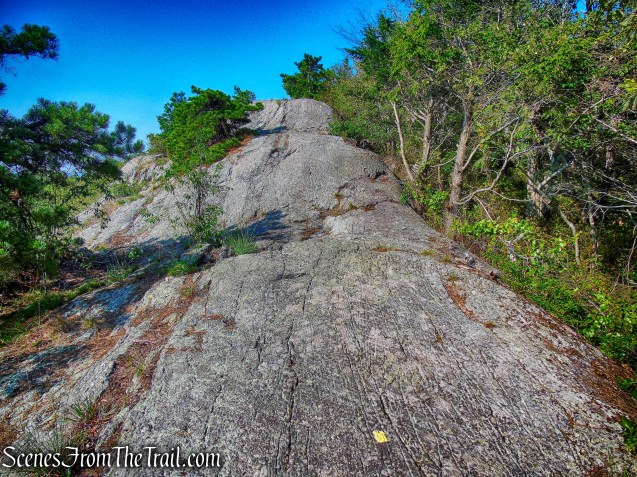
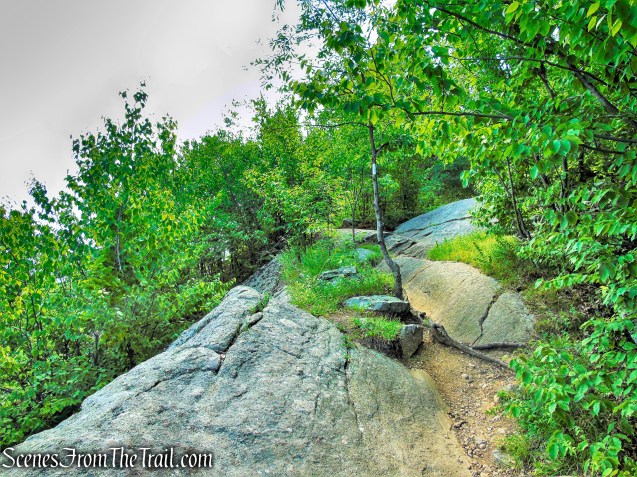
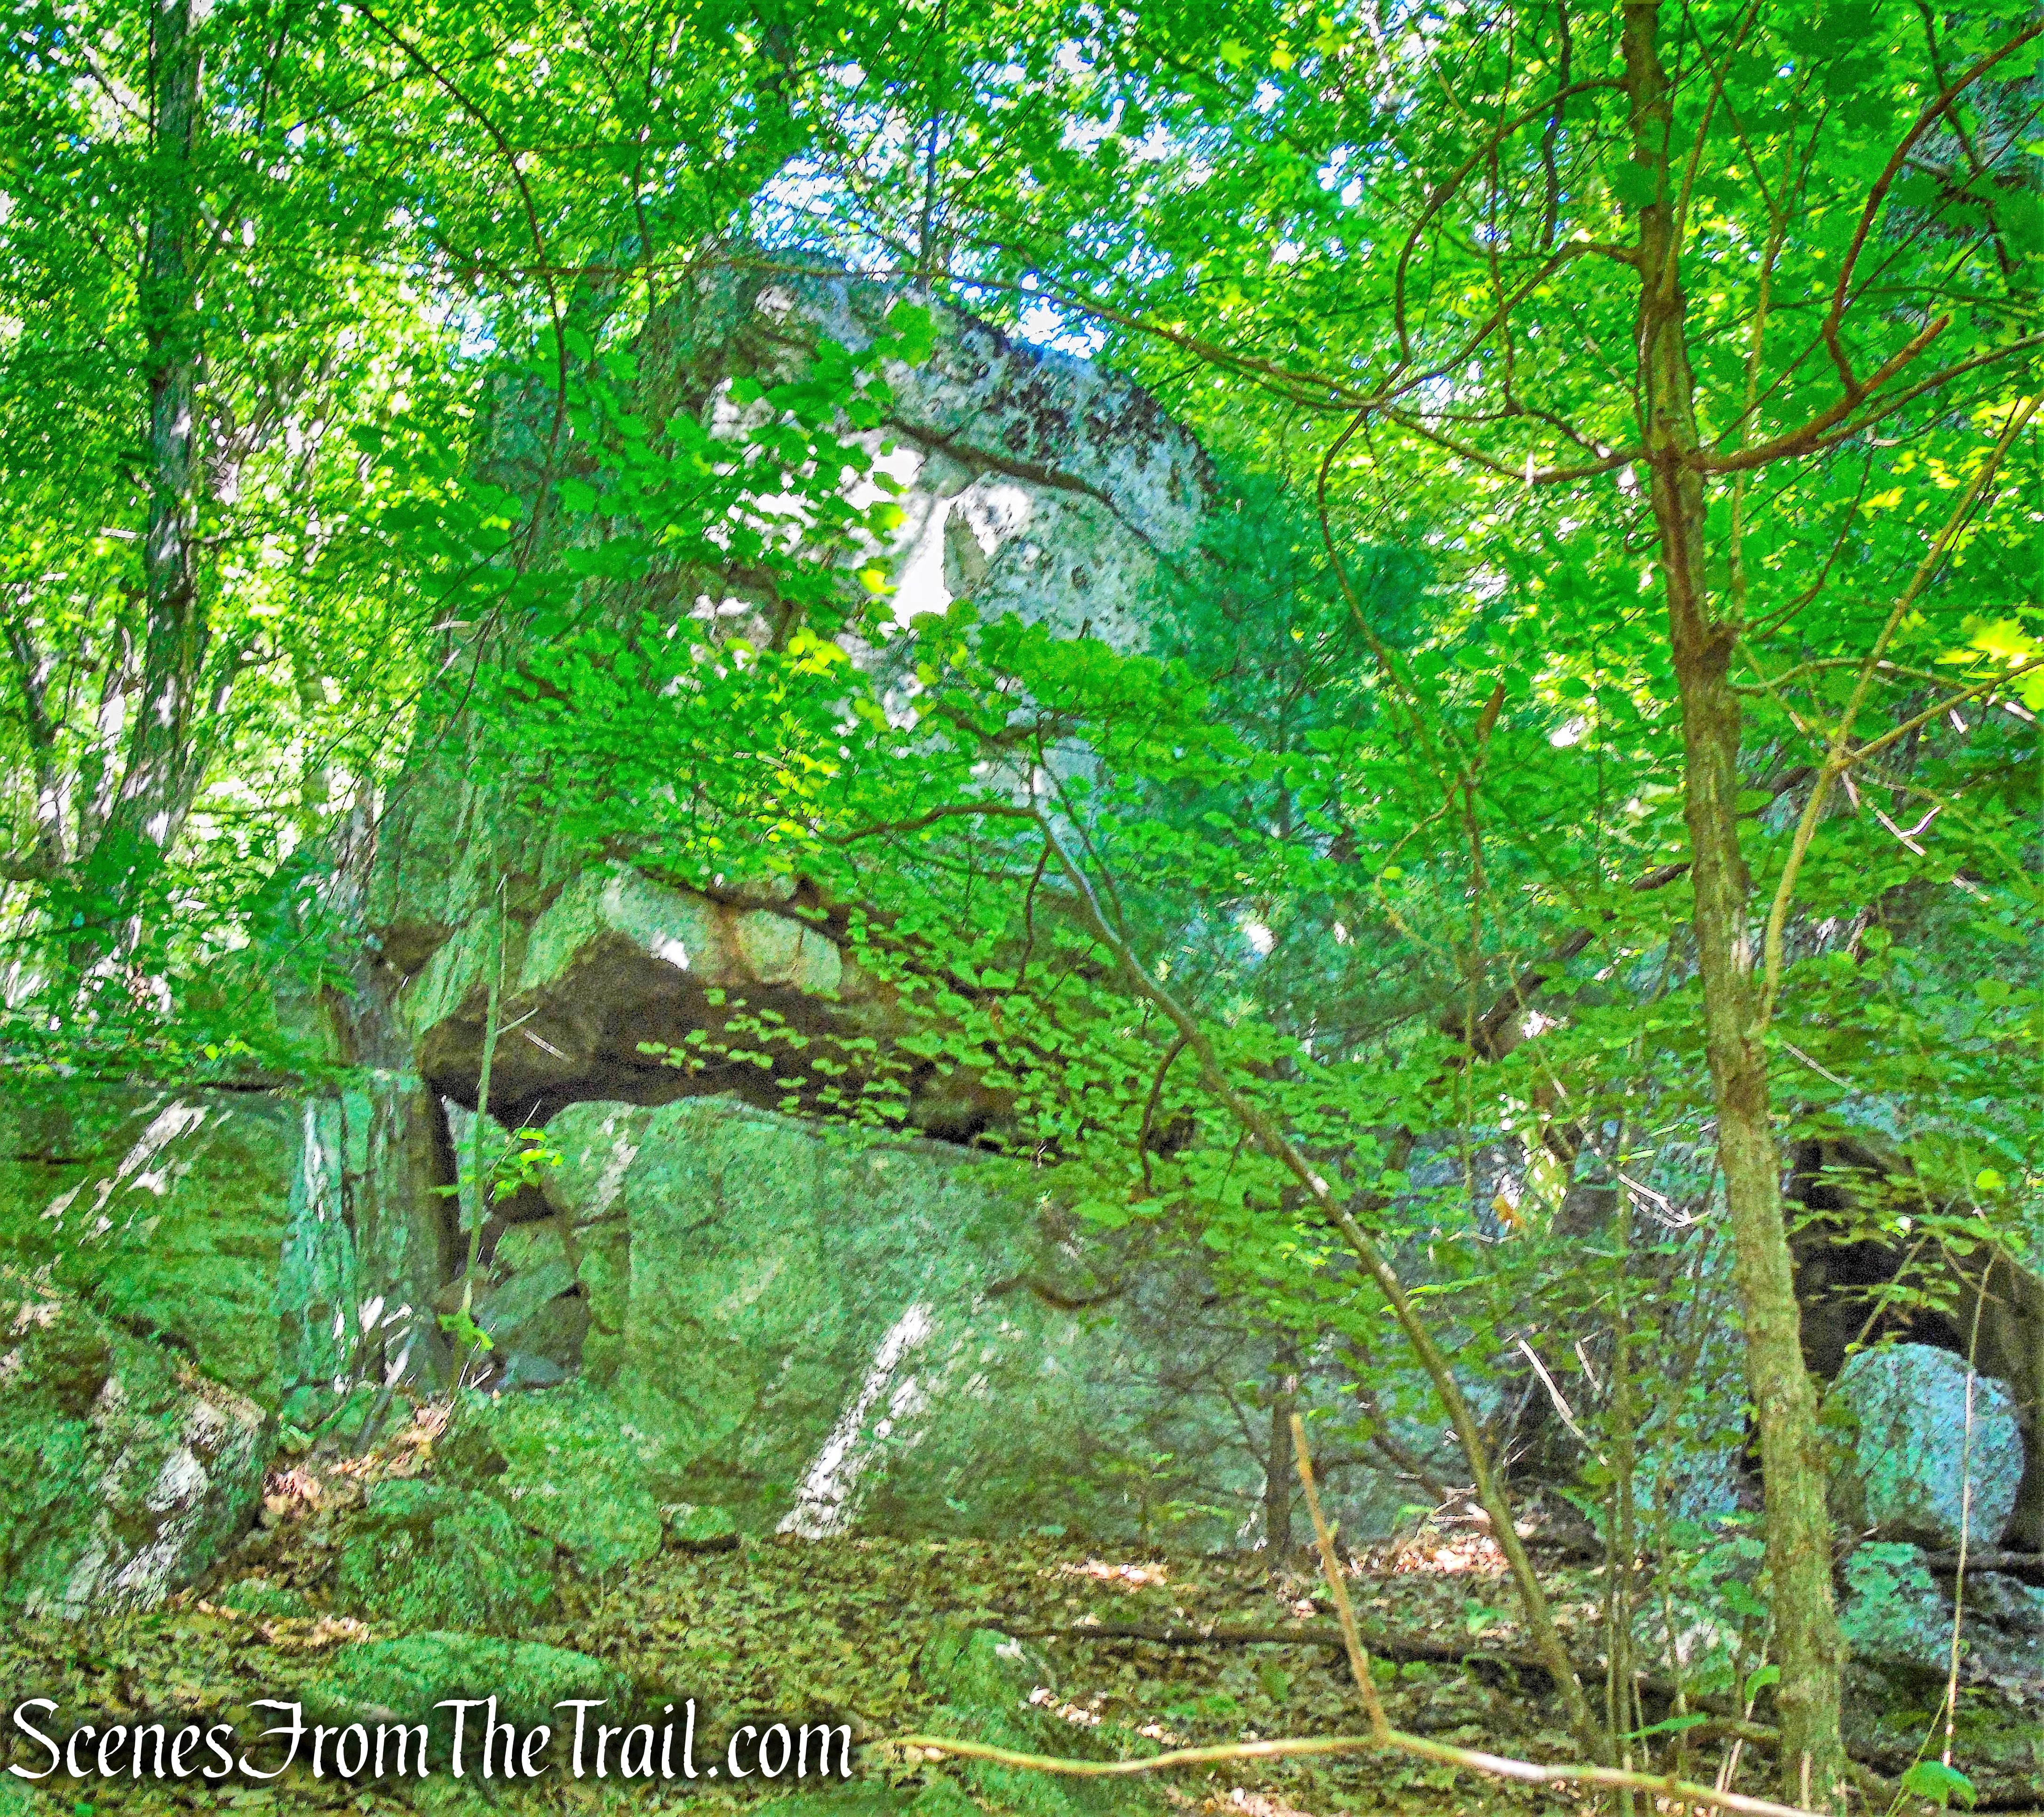
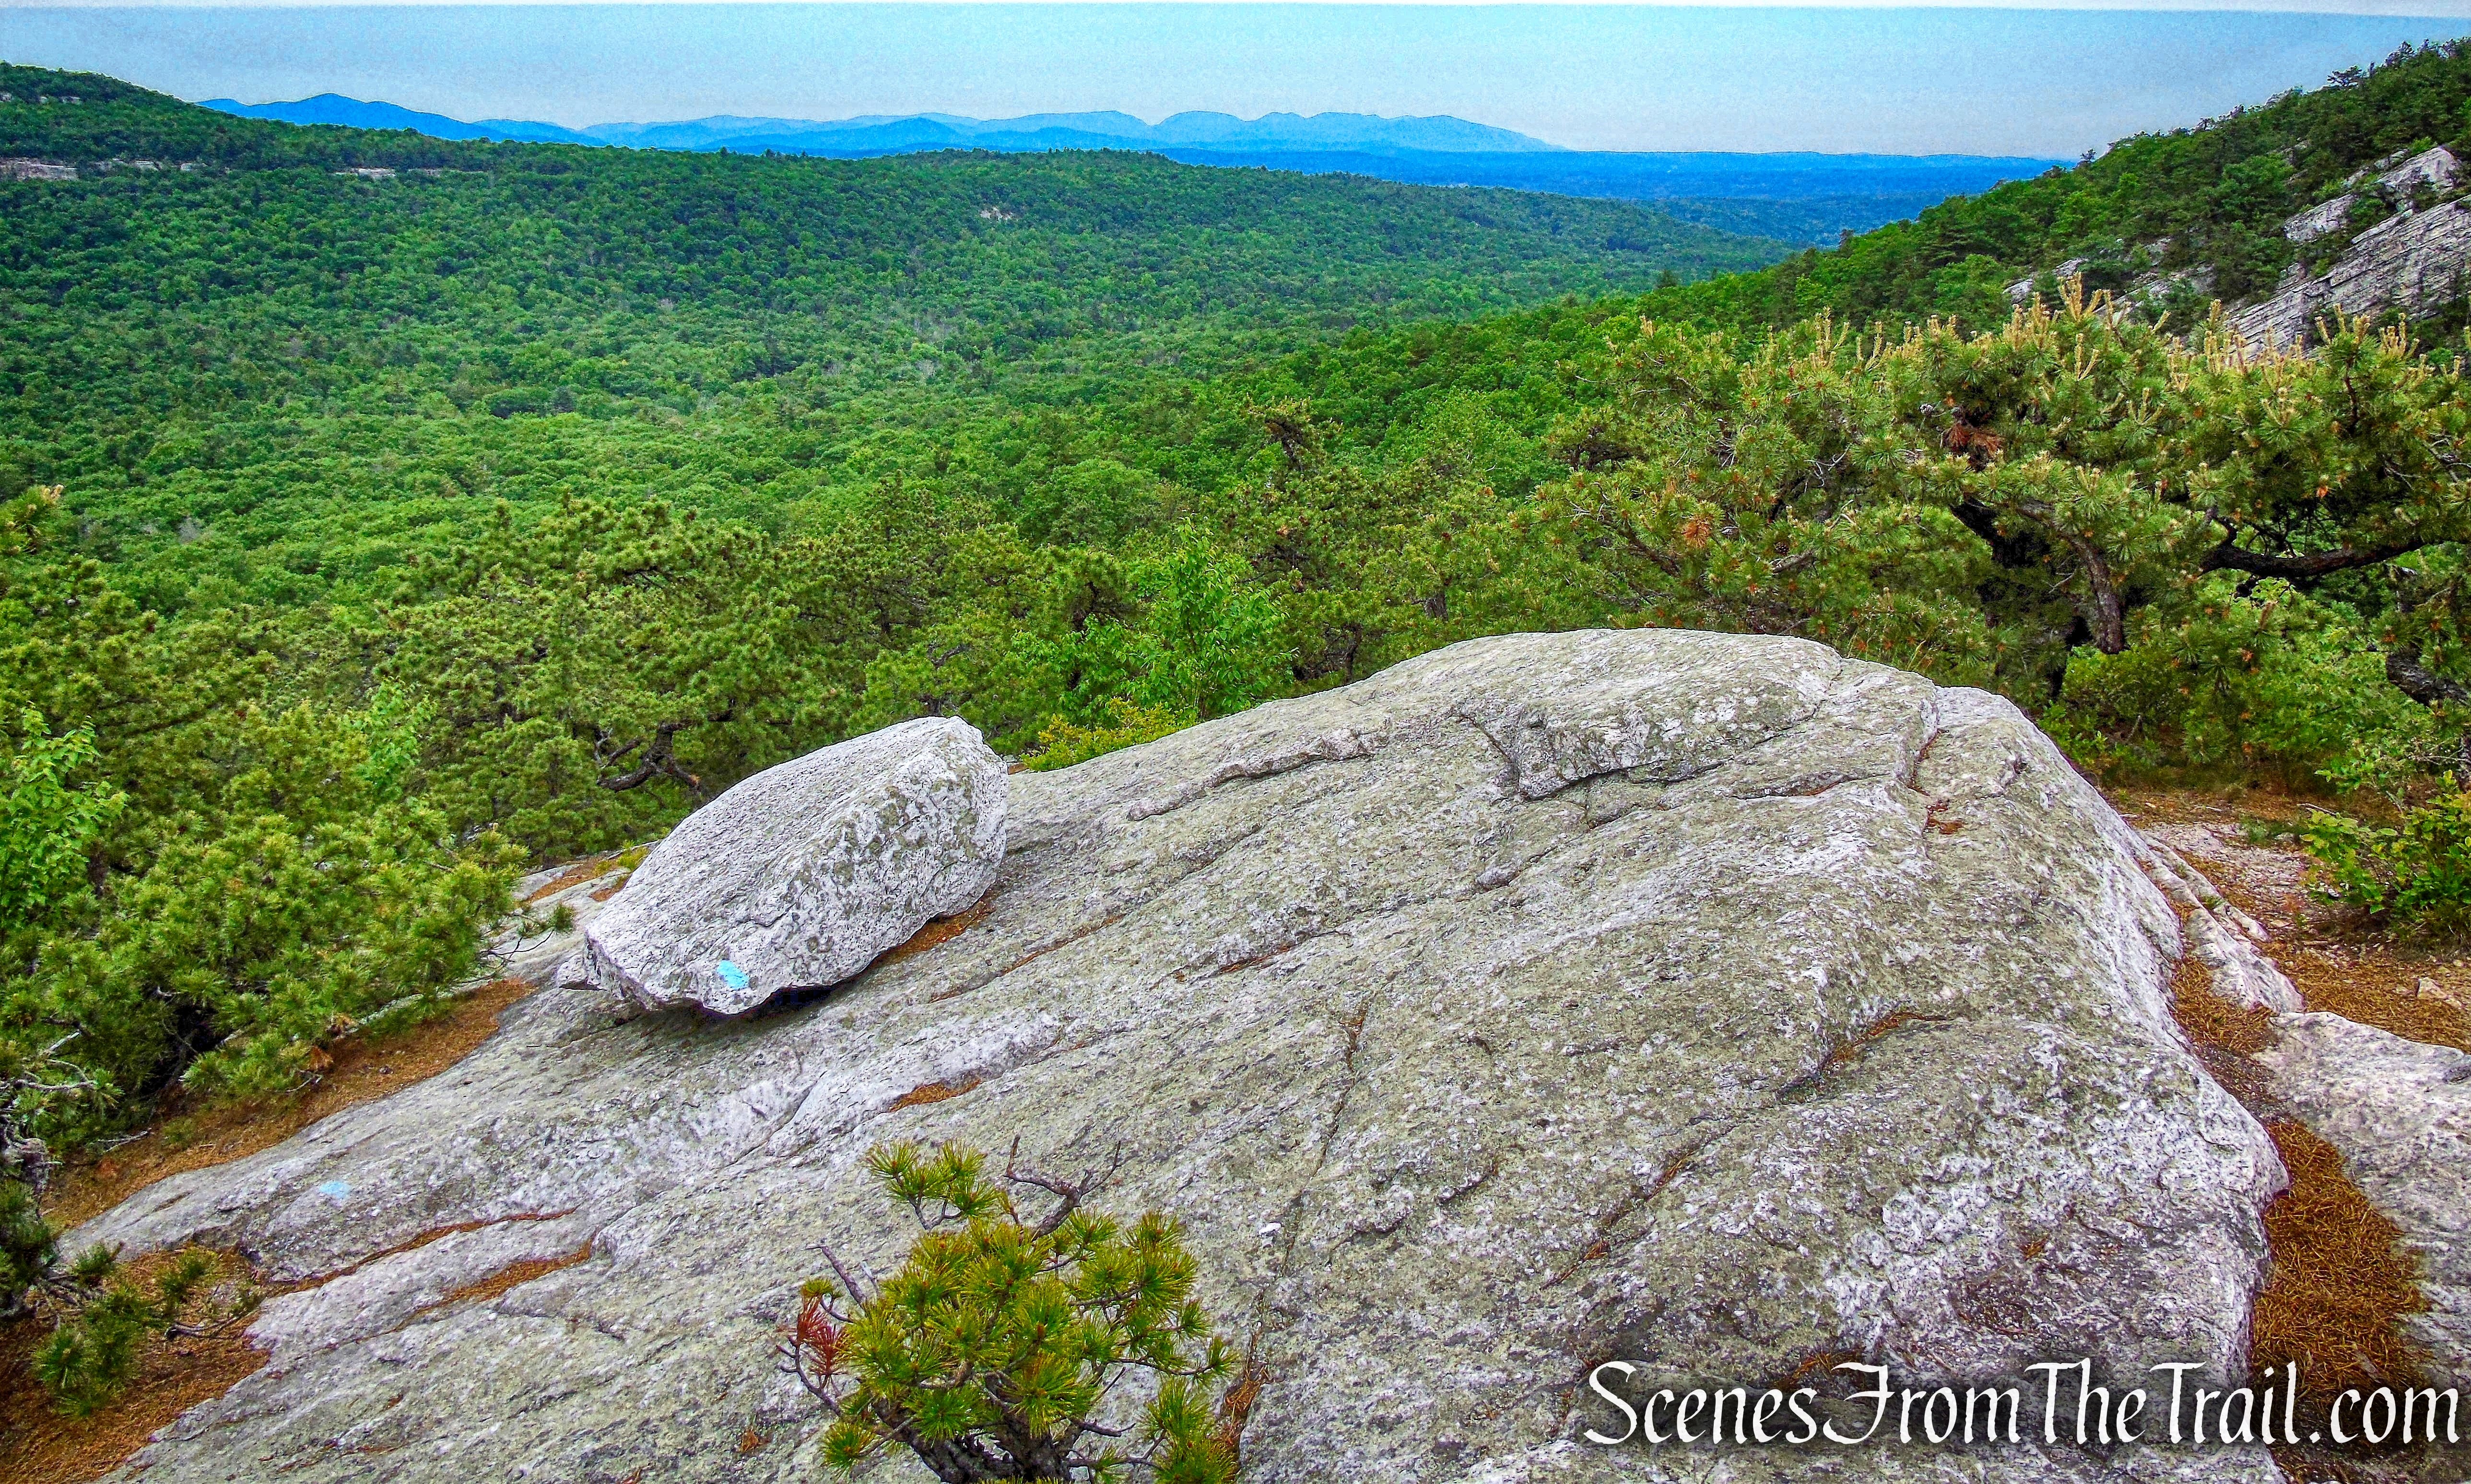
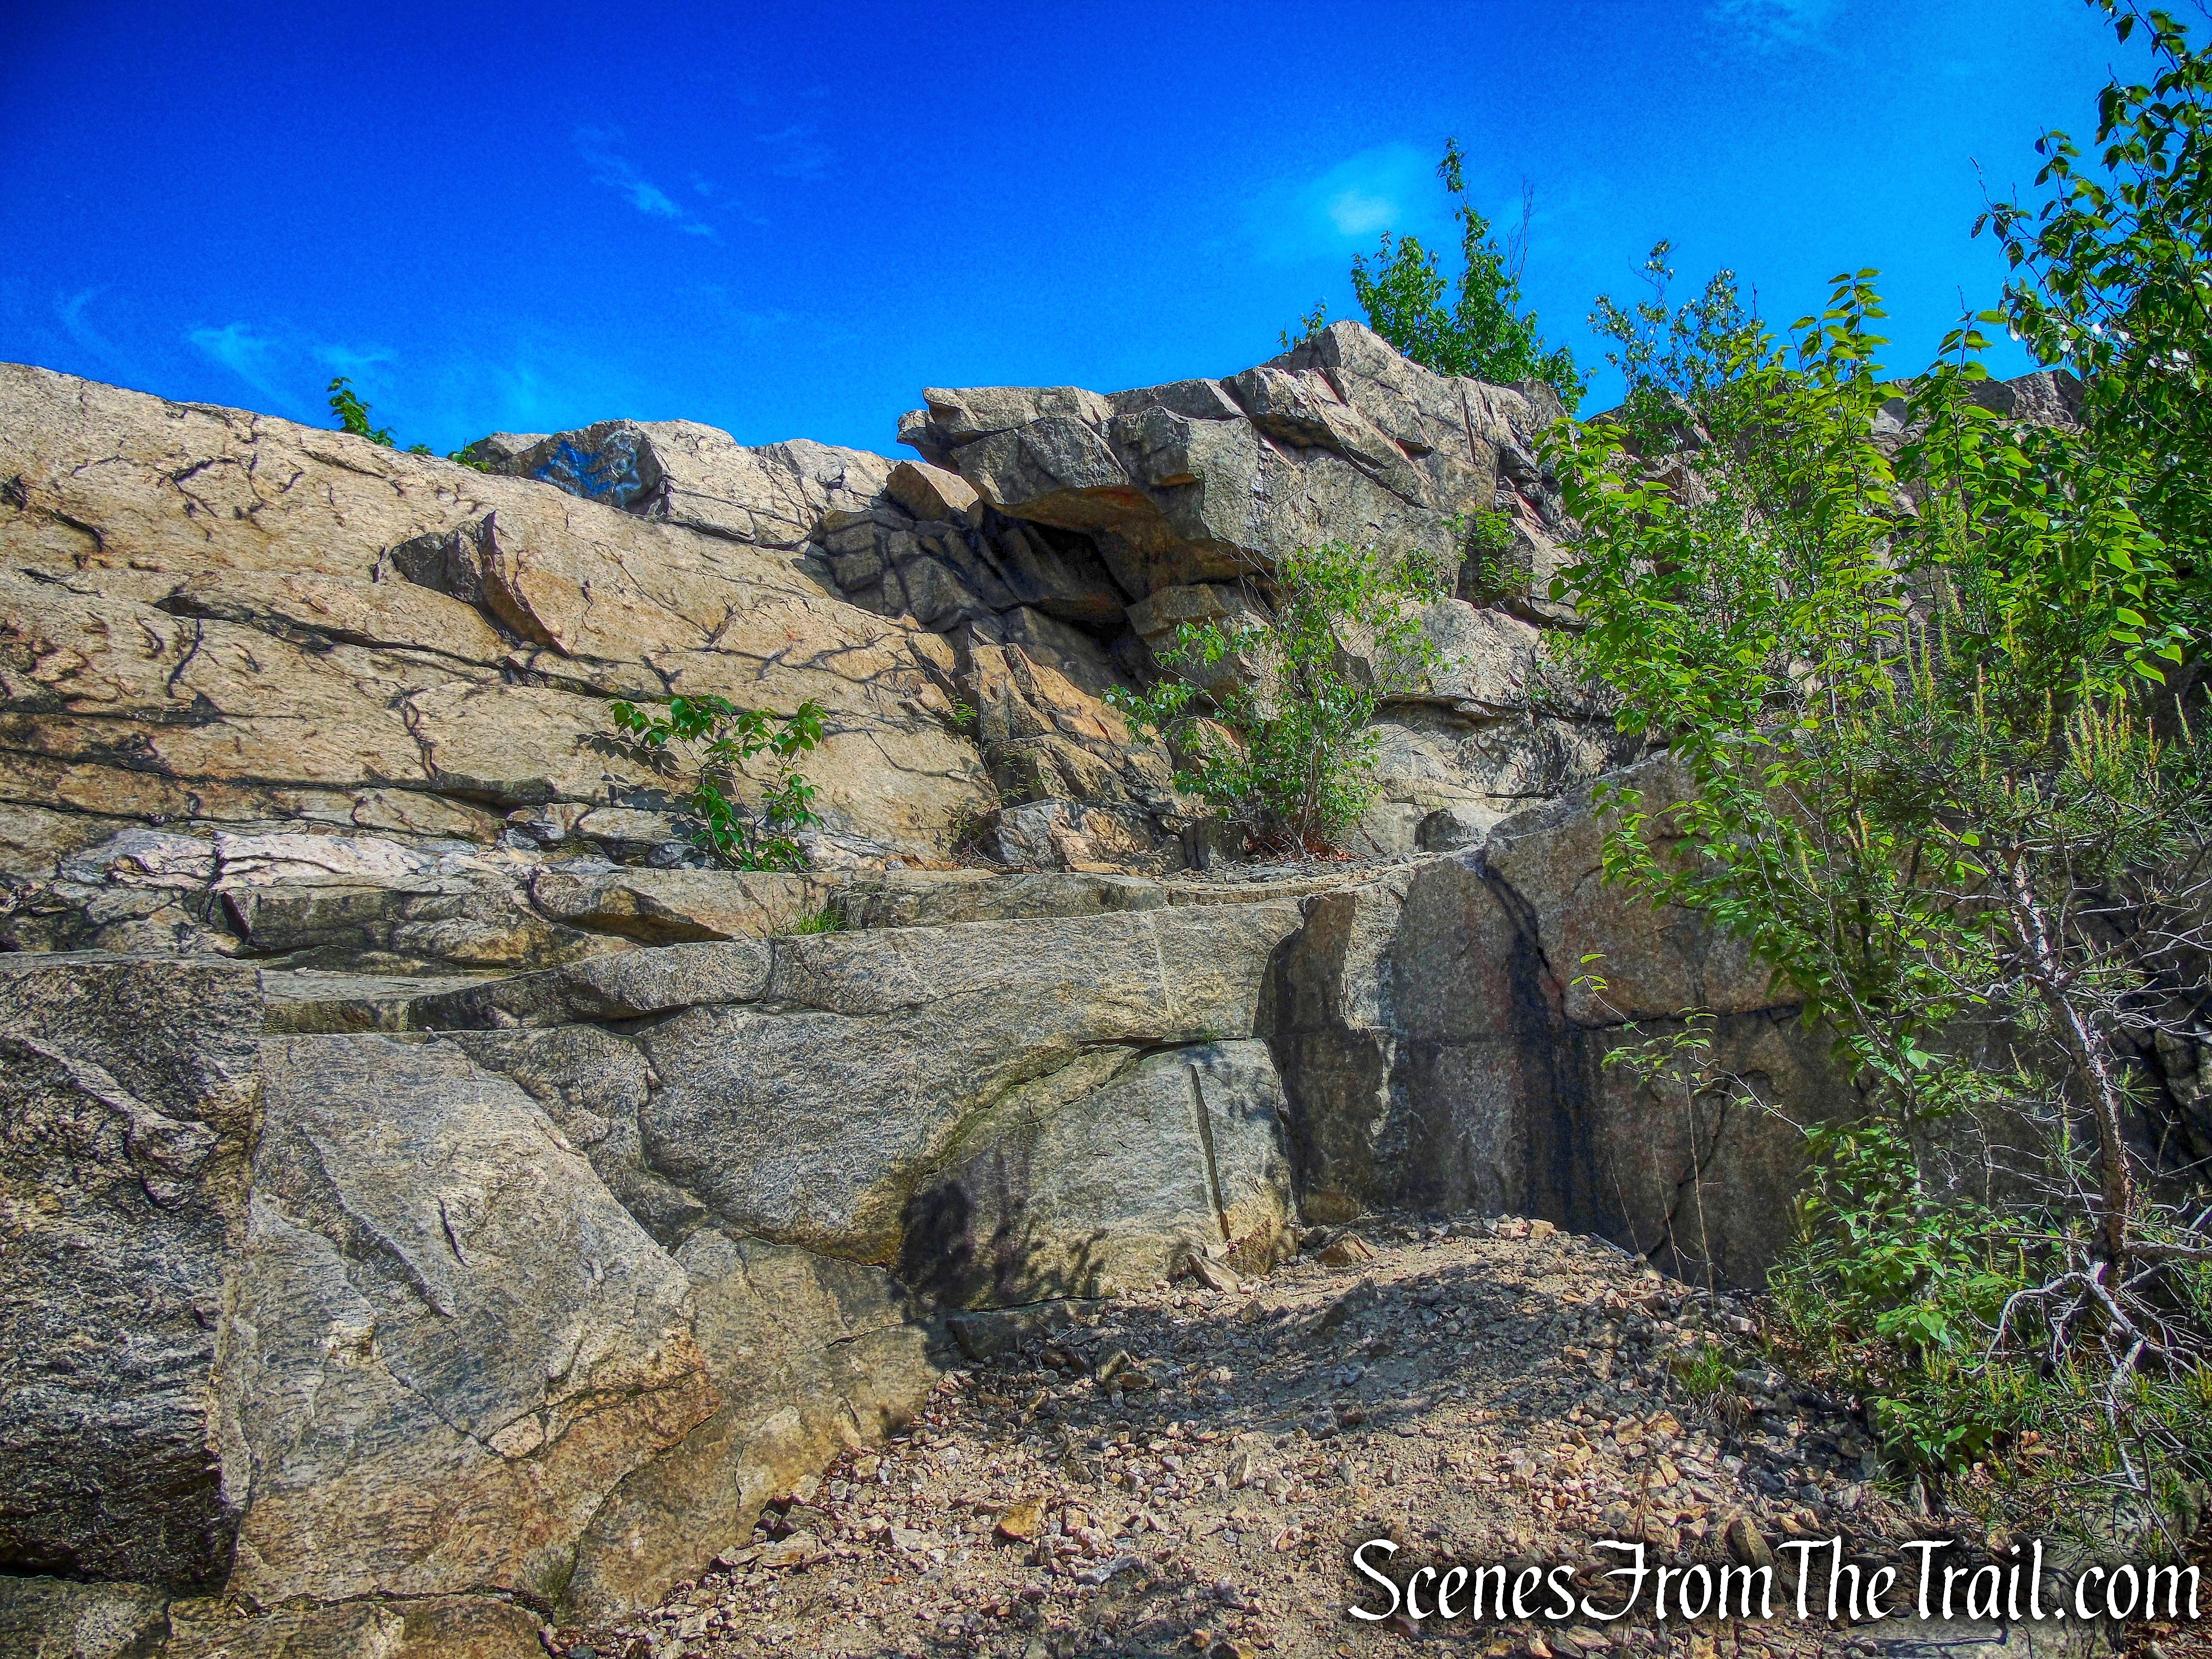
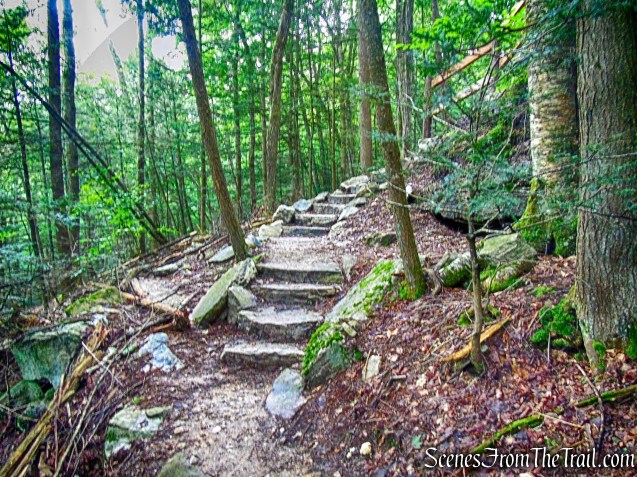
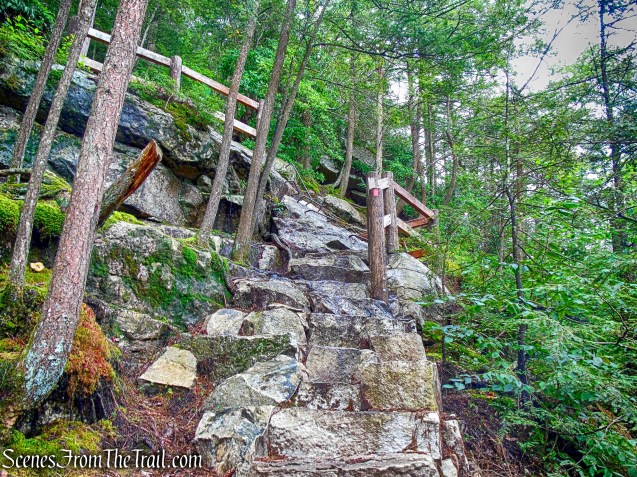
From the viewing platform, Tahawus Trails LLC constructed the remaining ascent up the steep bedrock ledge to the summit of the Falls.
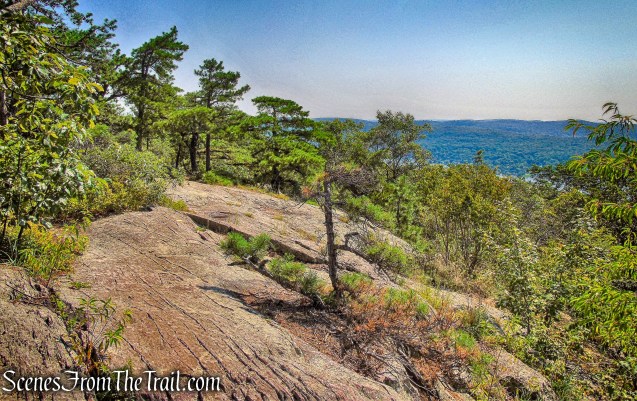
Stony Kill Falls Trail
The trail switchbacks using stone steps and paved landings. According to Eddie Walsh, founder of Tahawus Trails LLC, Tahawus put in about 2,300 man hours into the project.
Stony Kill Falls Trail
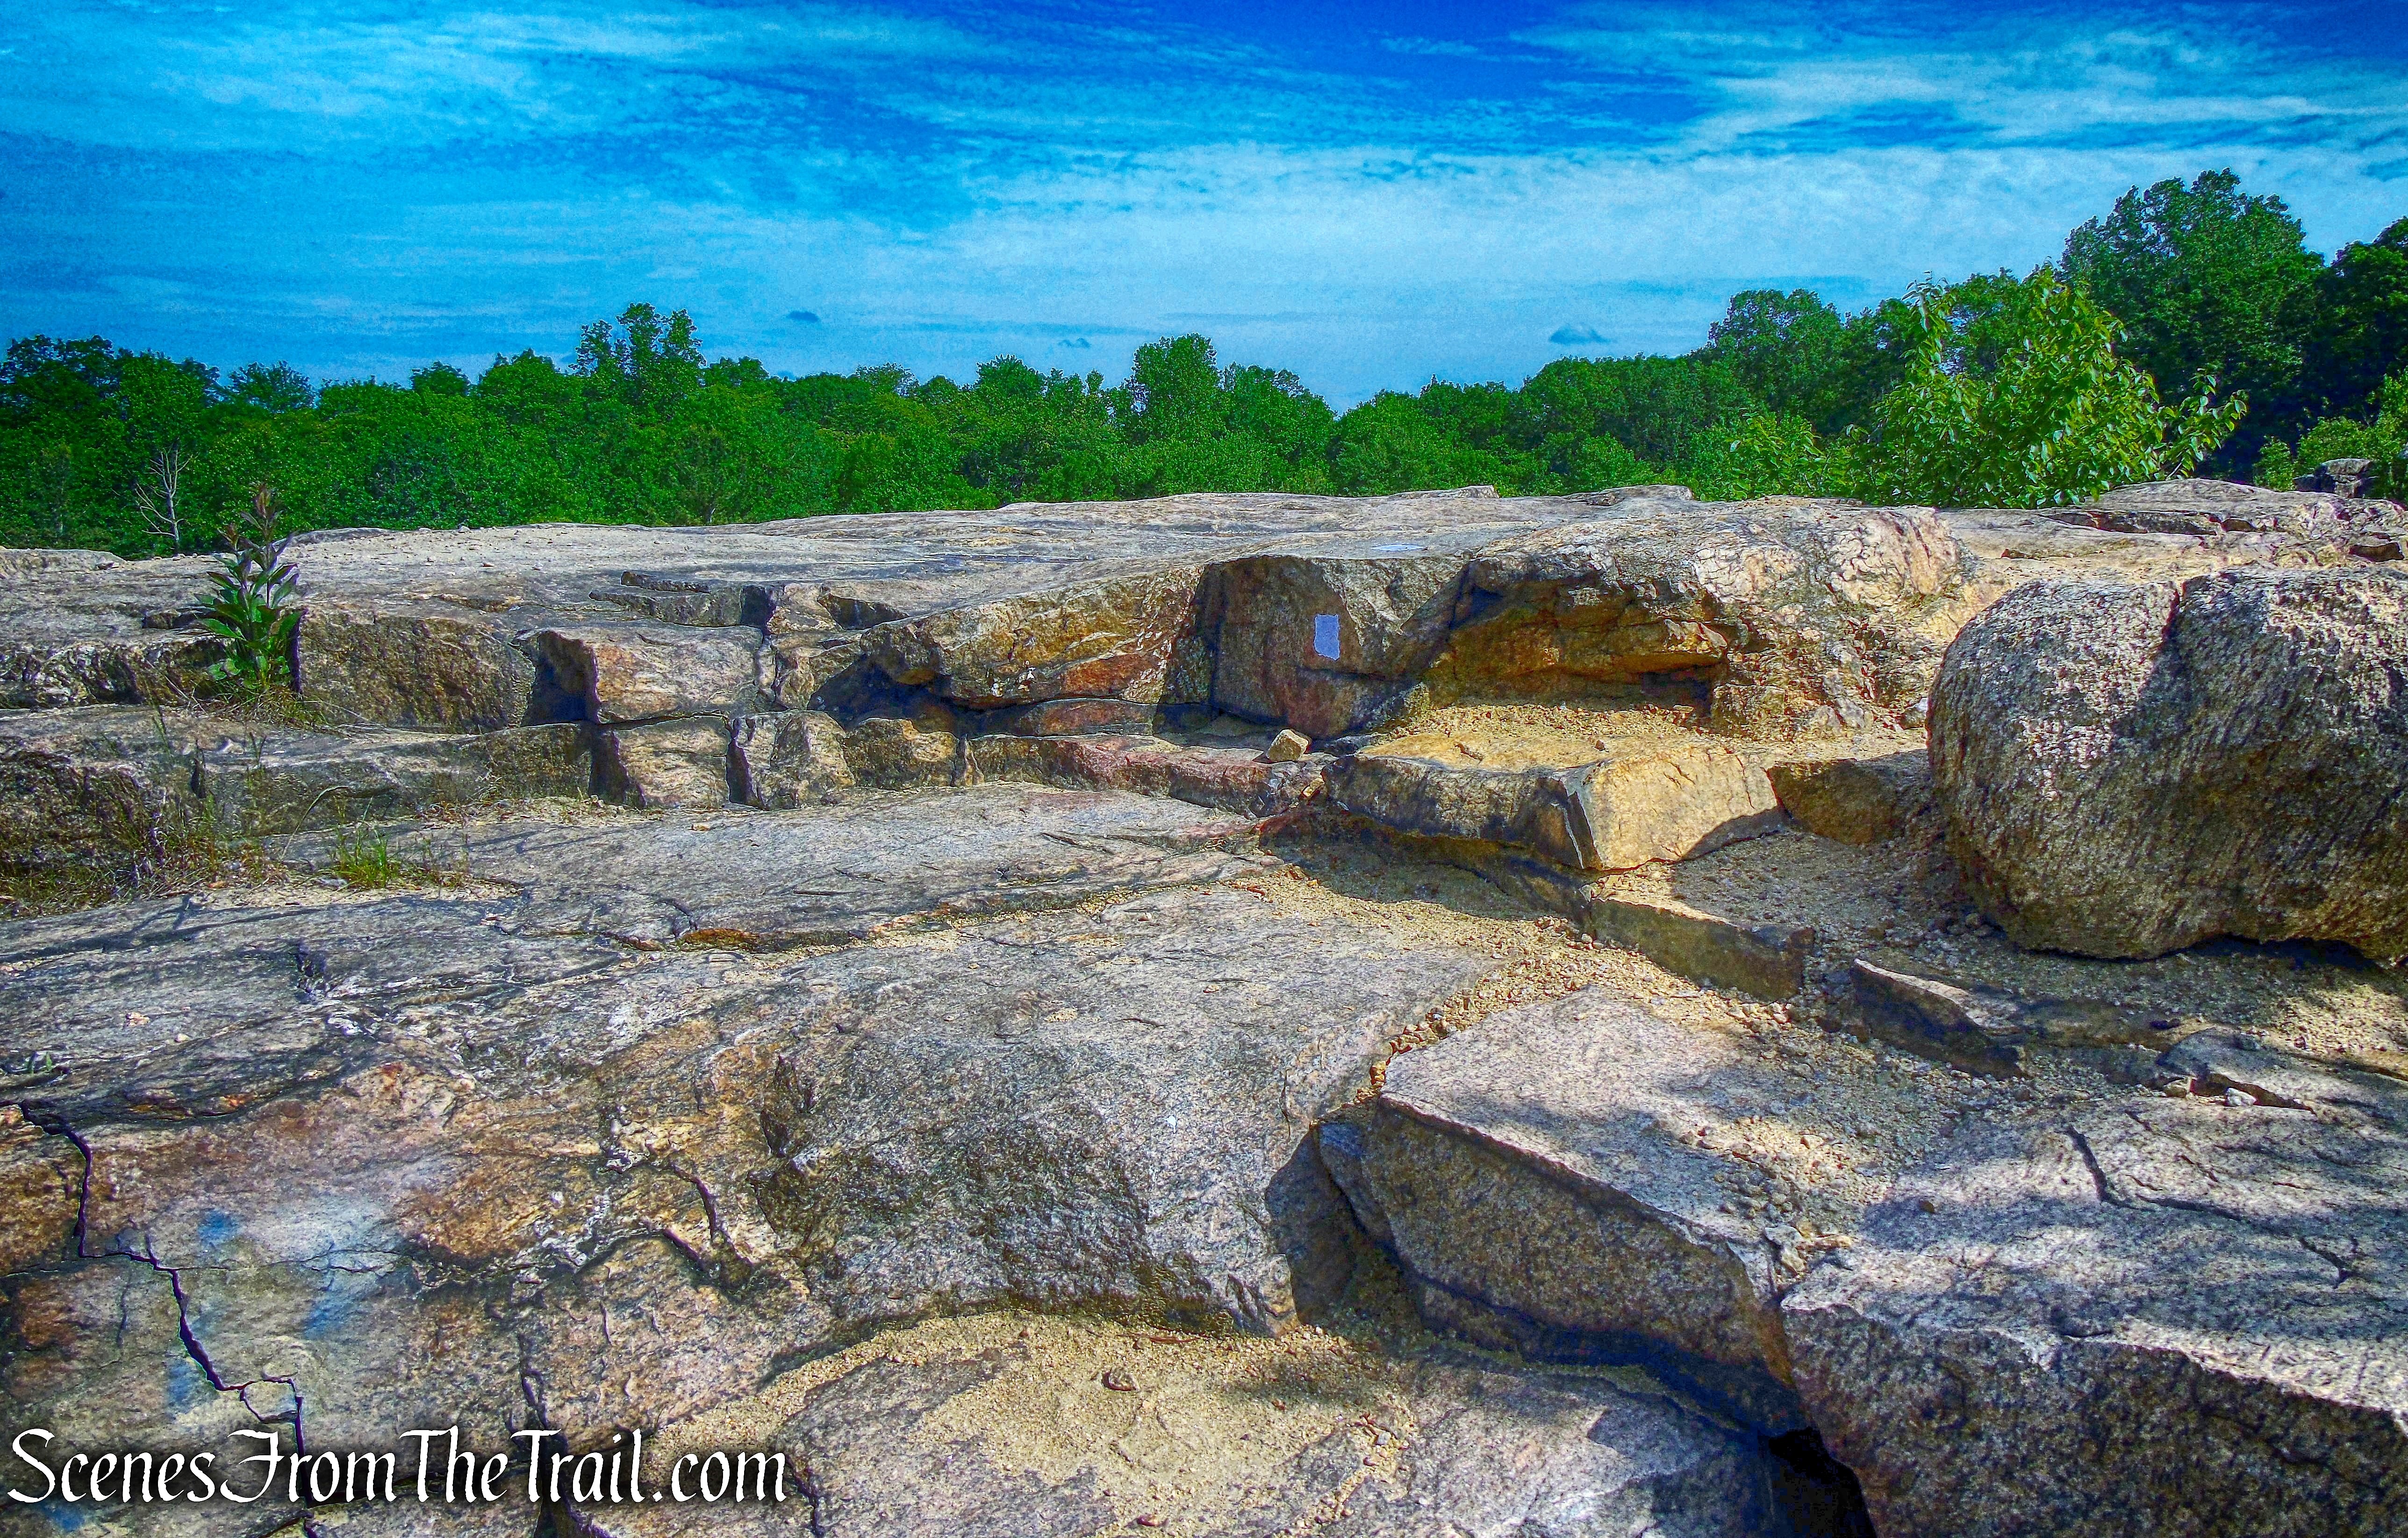
The trail includes 140 linear feet of Stone Paved Tread Surface.
Stony Kill Falls Trail
Stony Kill Falls Trail
In total, Tahawus Trails installed 230 steps, shaped from stone on site.
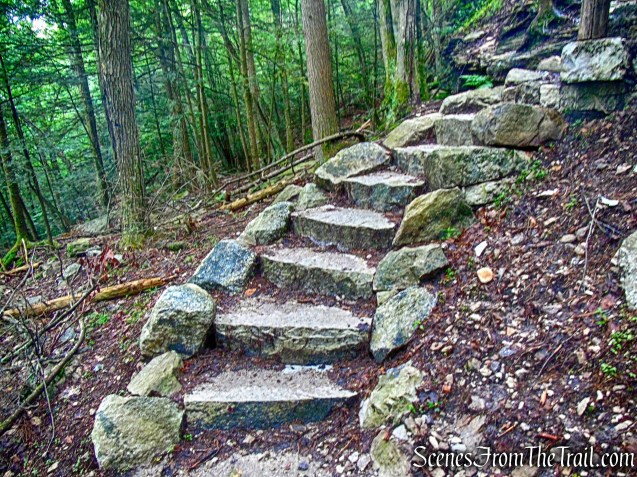
Stony Kill Falls Trail
The trail blends in so well to its surroundings, that it looks like it was always there.
Stony Kill Falls Trail
The stone steps seem to disappear into the hillside.
Stony Kill Falls Trail
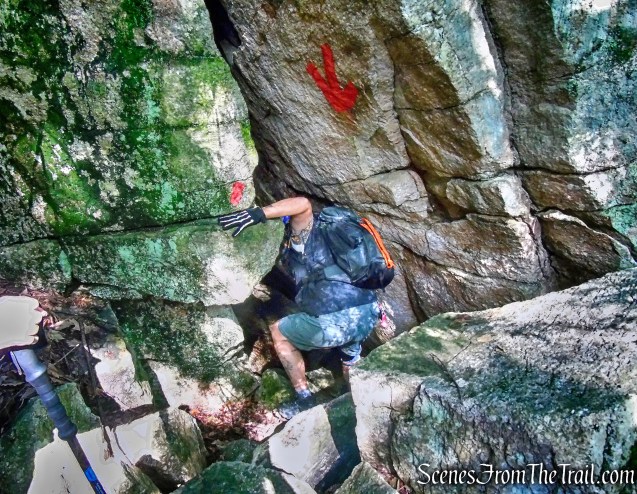
There are 6 Iron Rungs to help navigate a short steep section, along with 70 linear feet of Barrier Railings.
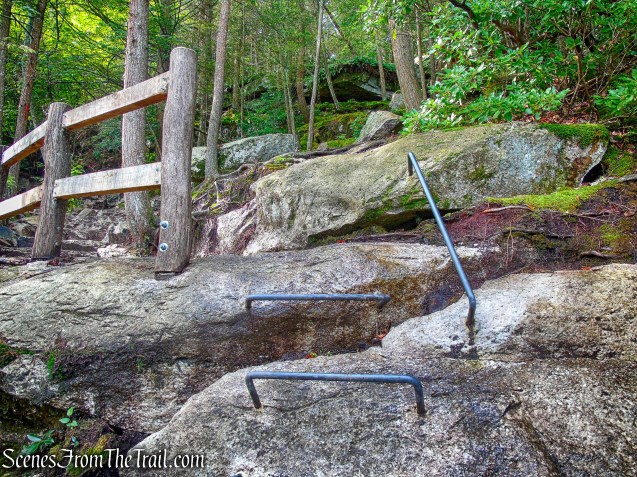
Stony Kill Falls Trail

Stony Kill Falls Trail
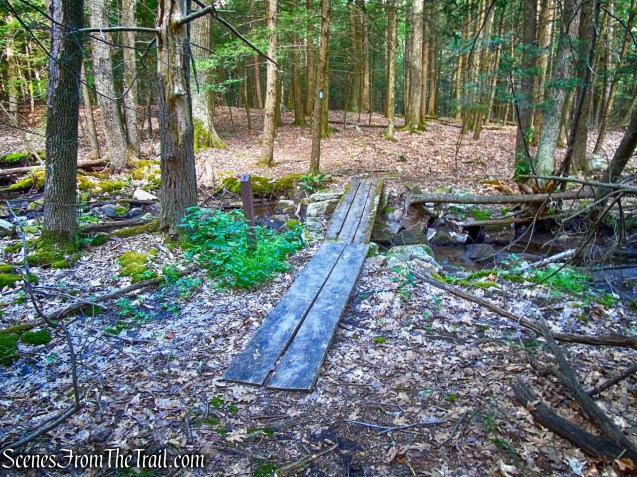
A 9-foot plank bridge is bolted down and secure over a wet area.
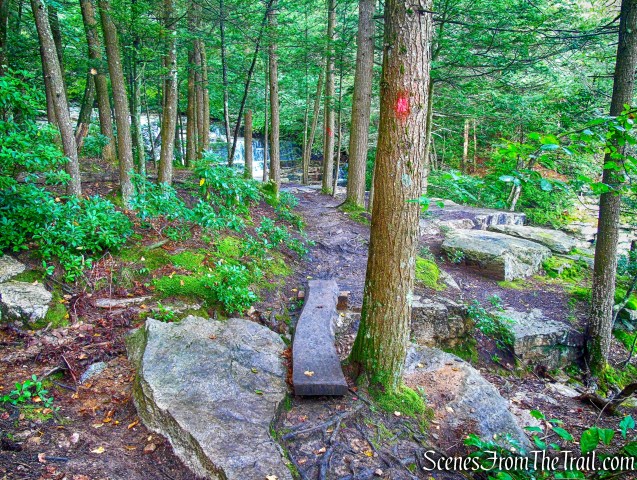
Stony Kill Falls Trail
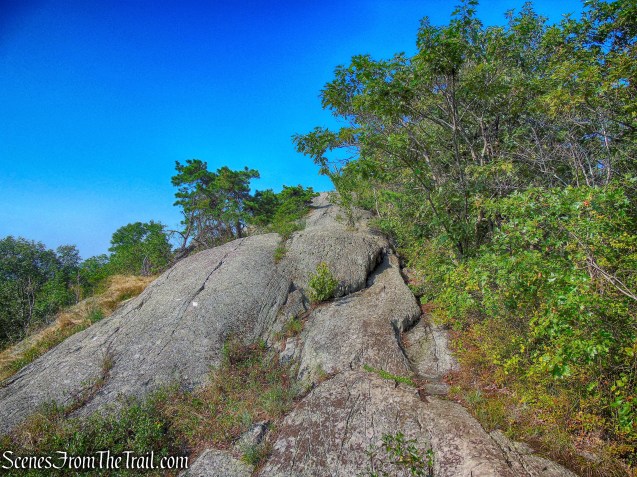
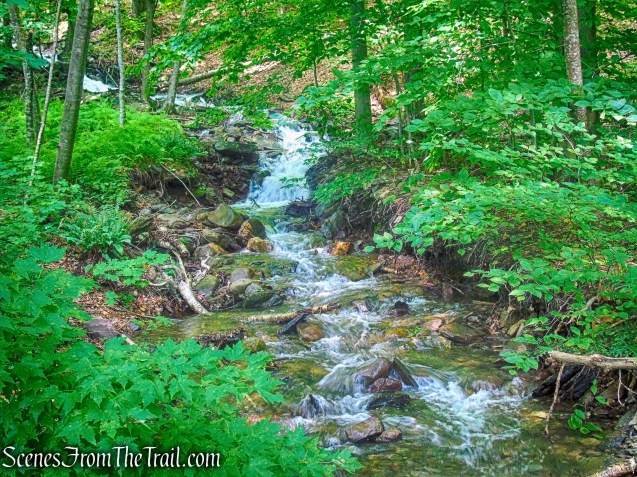
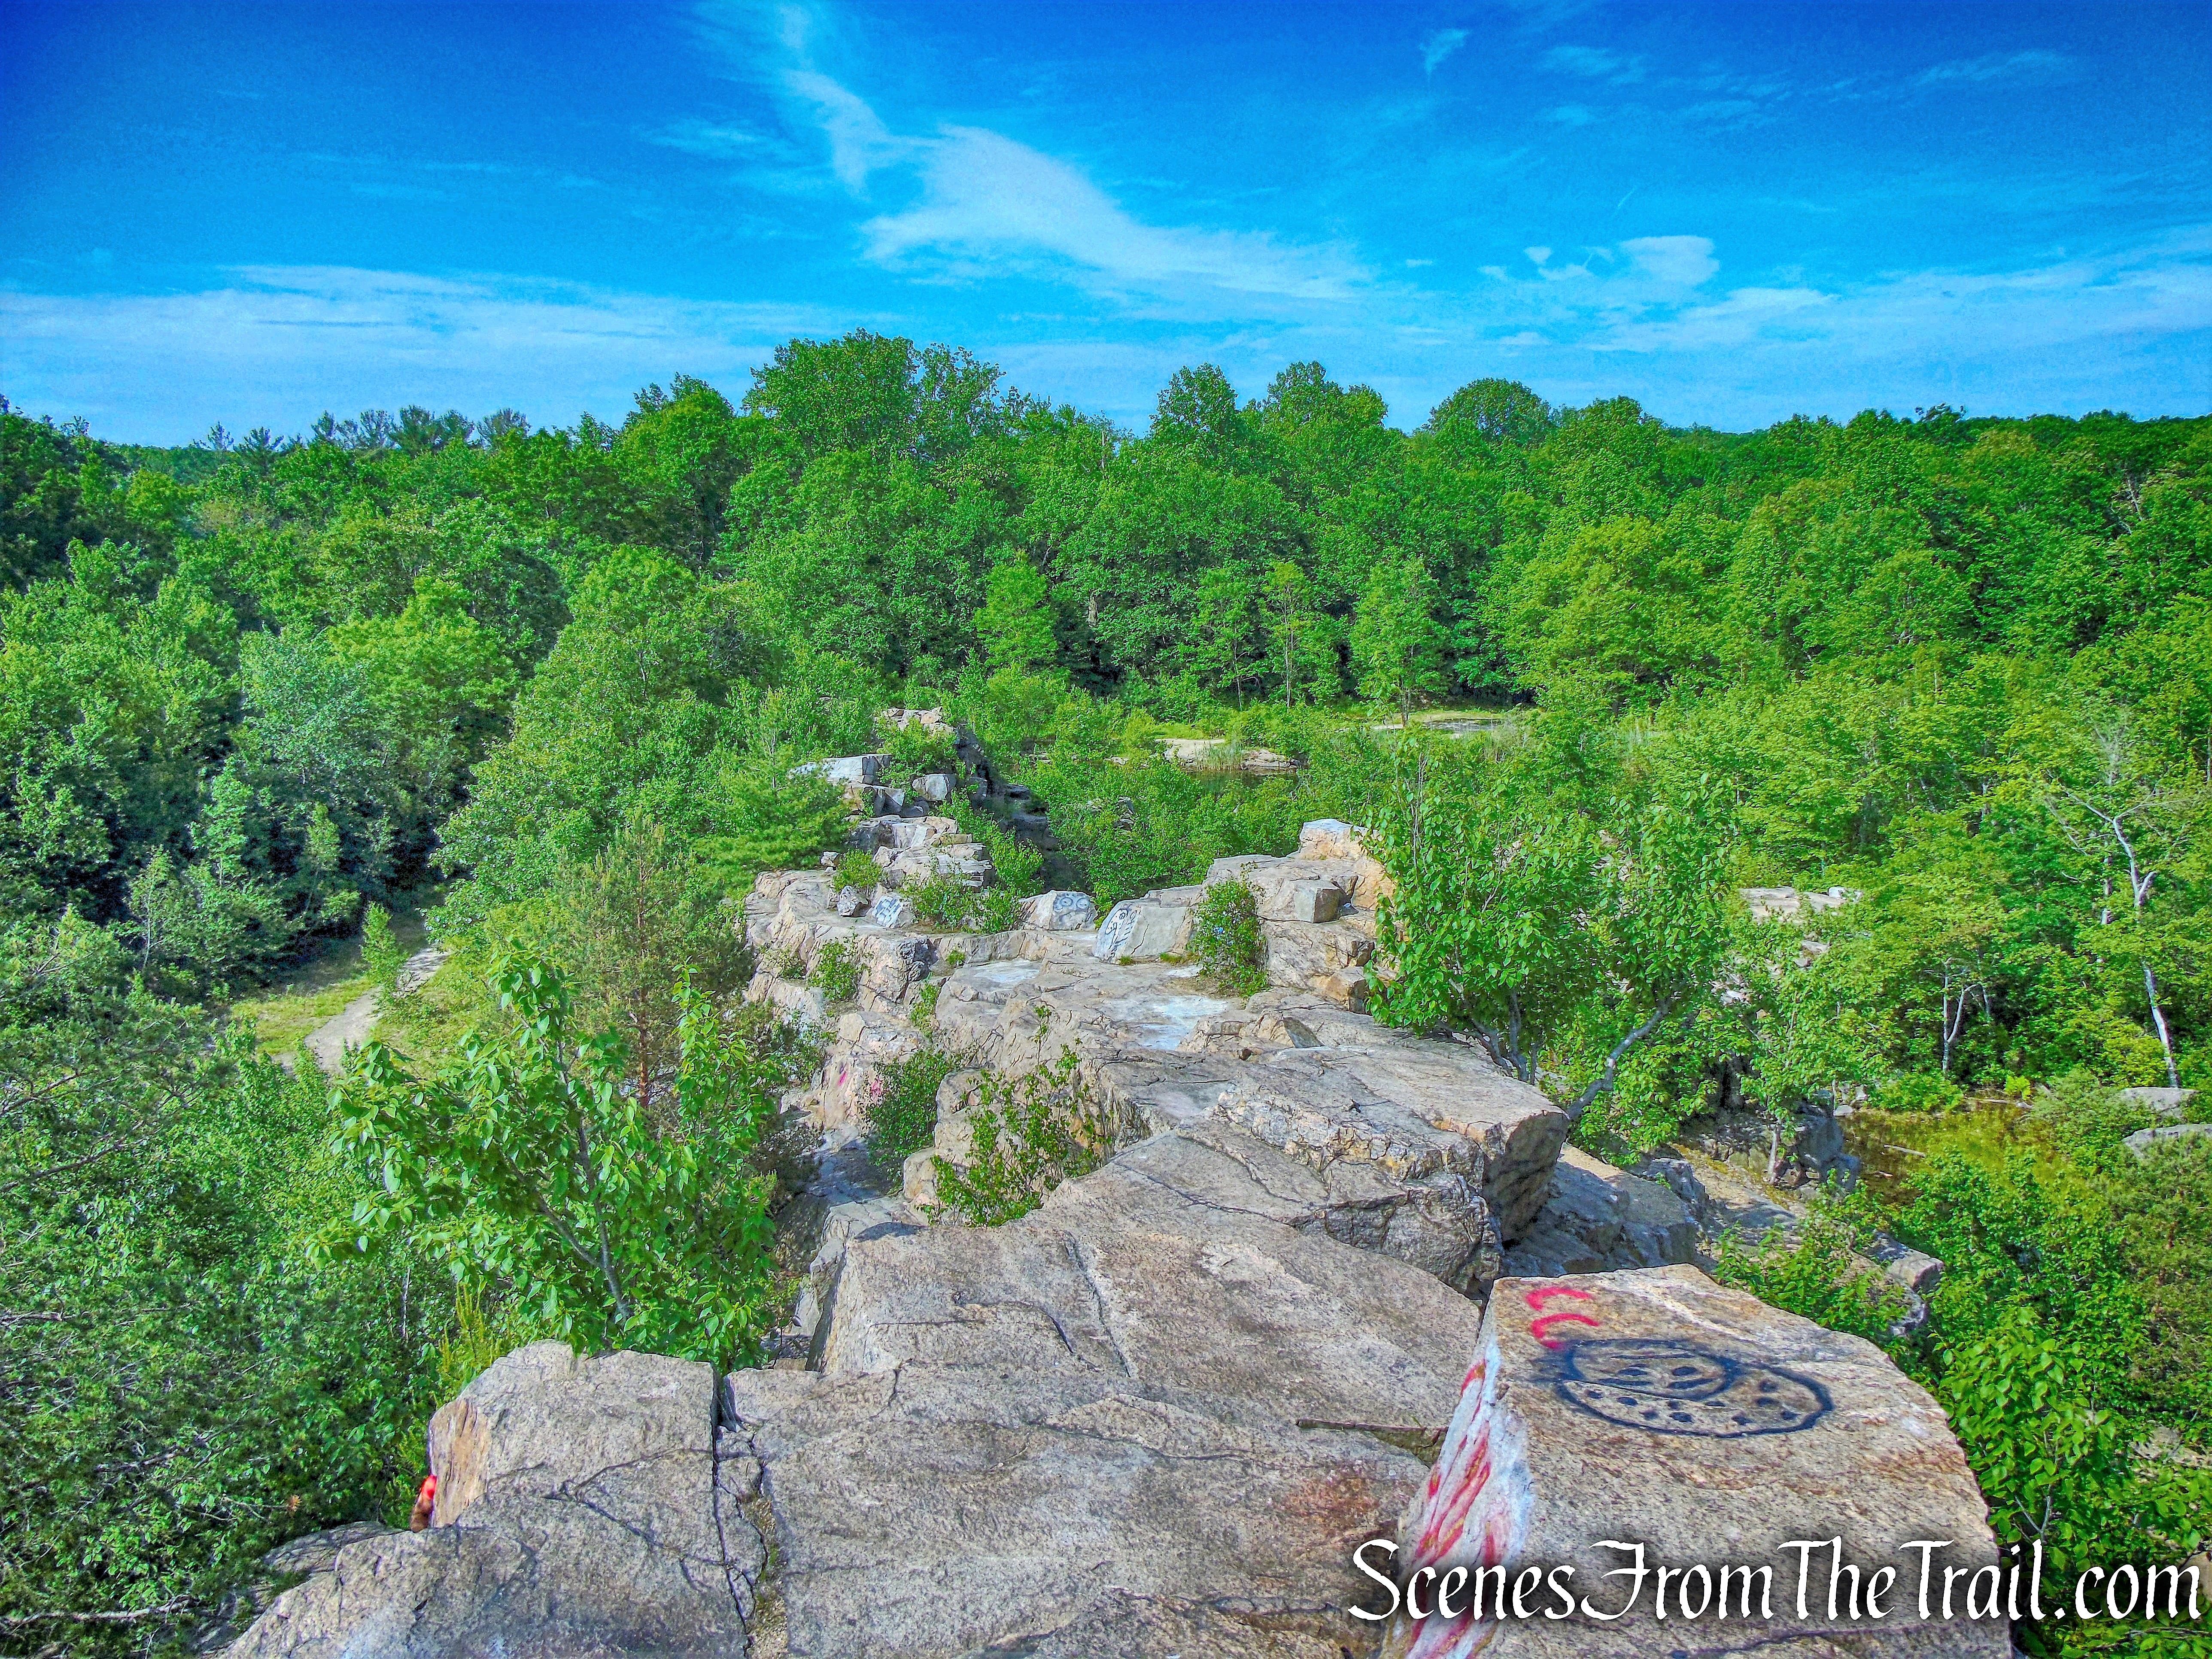
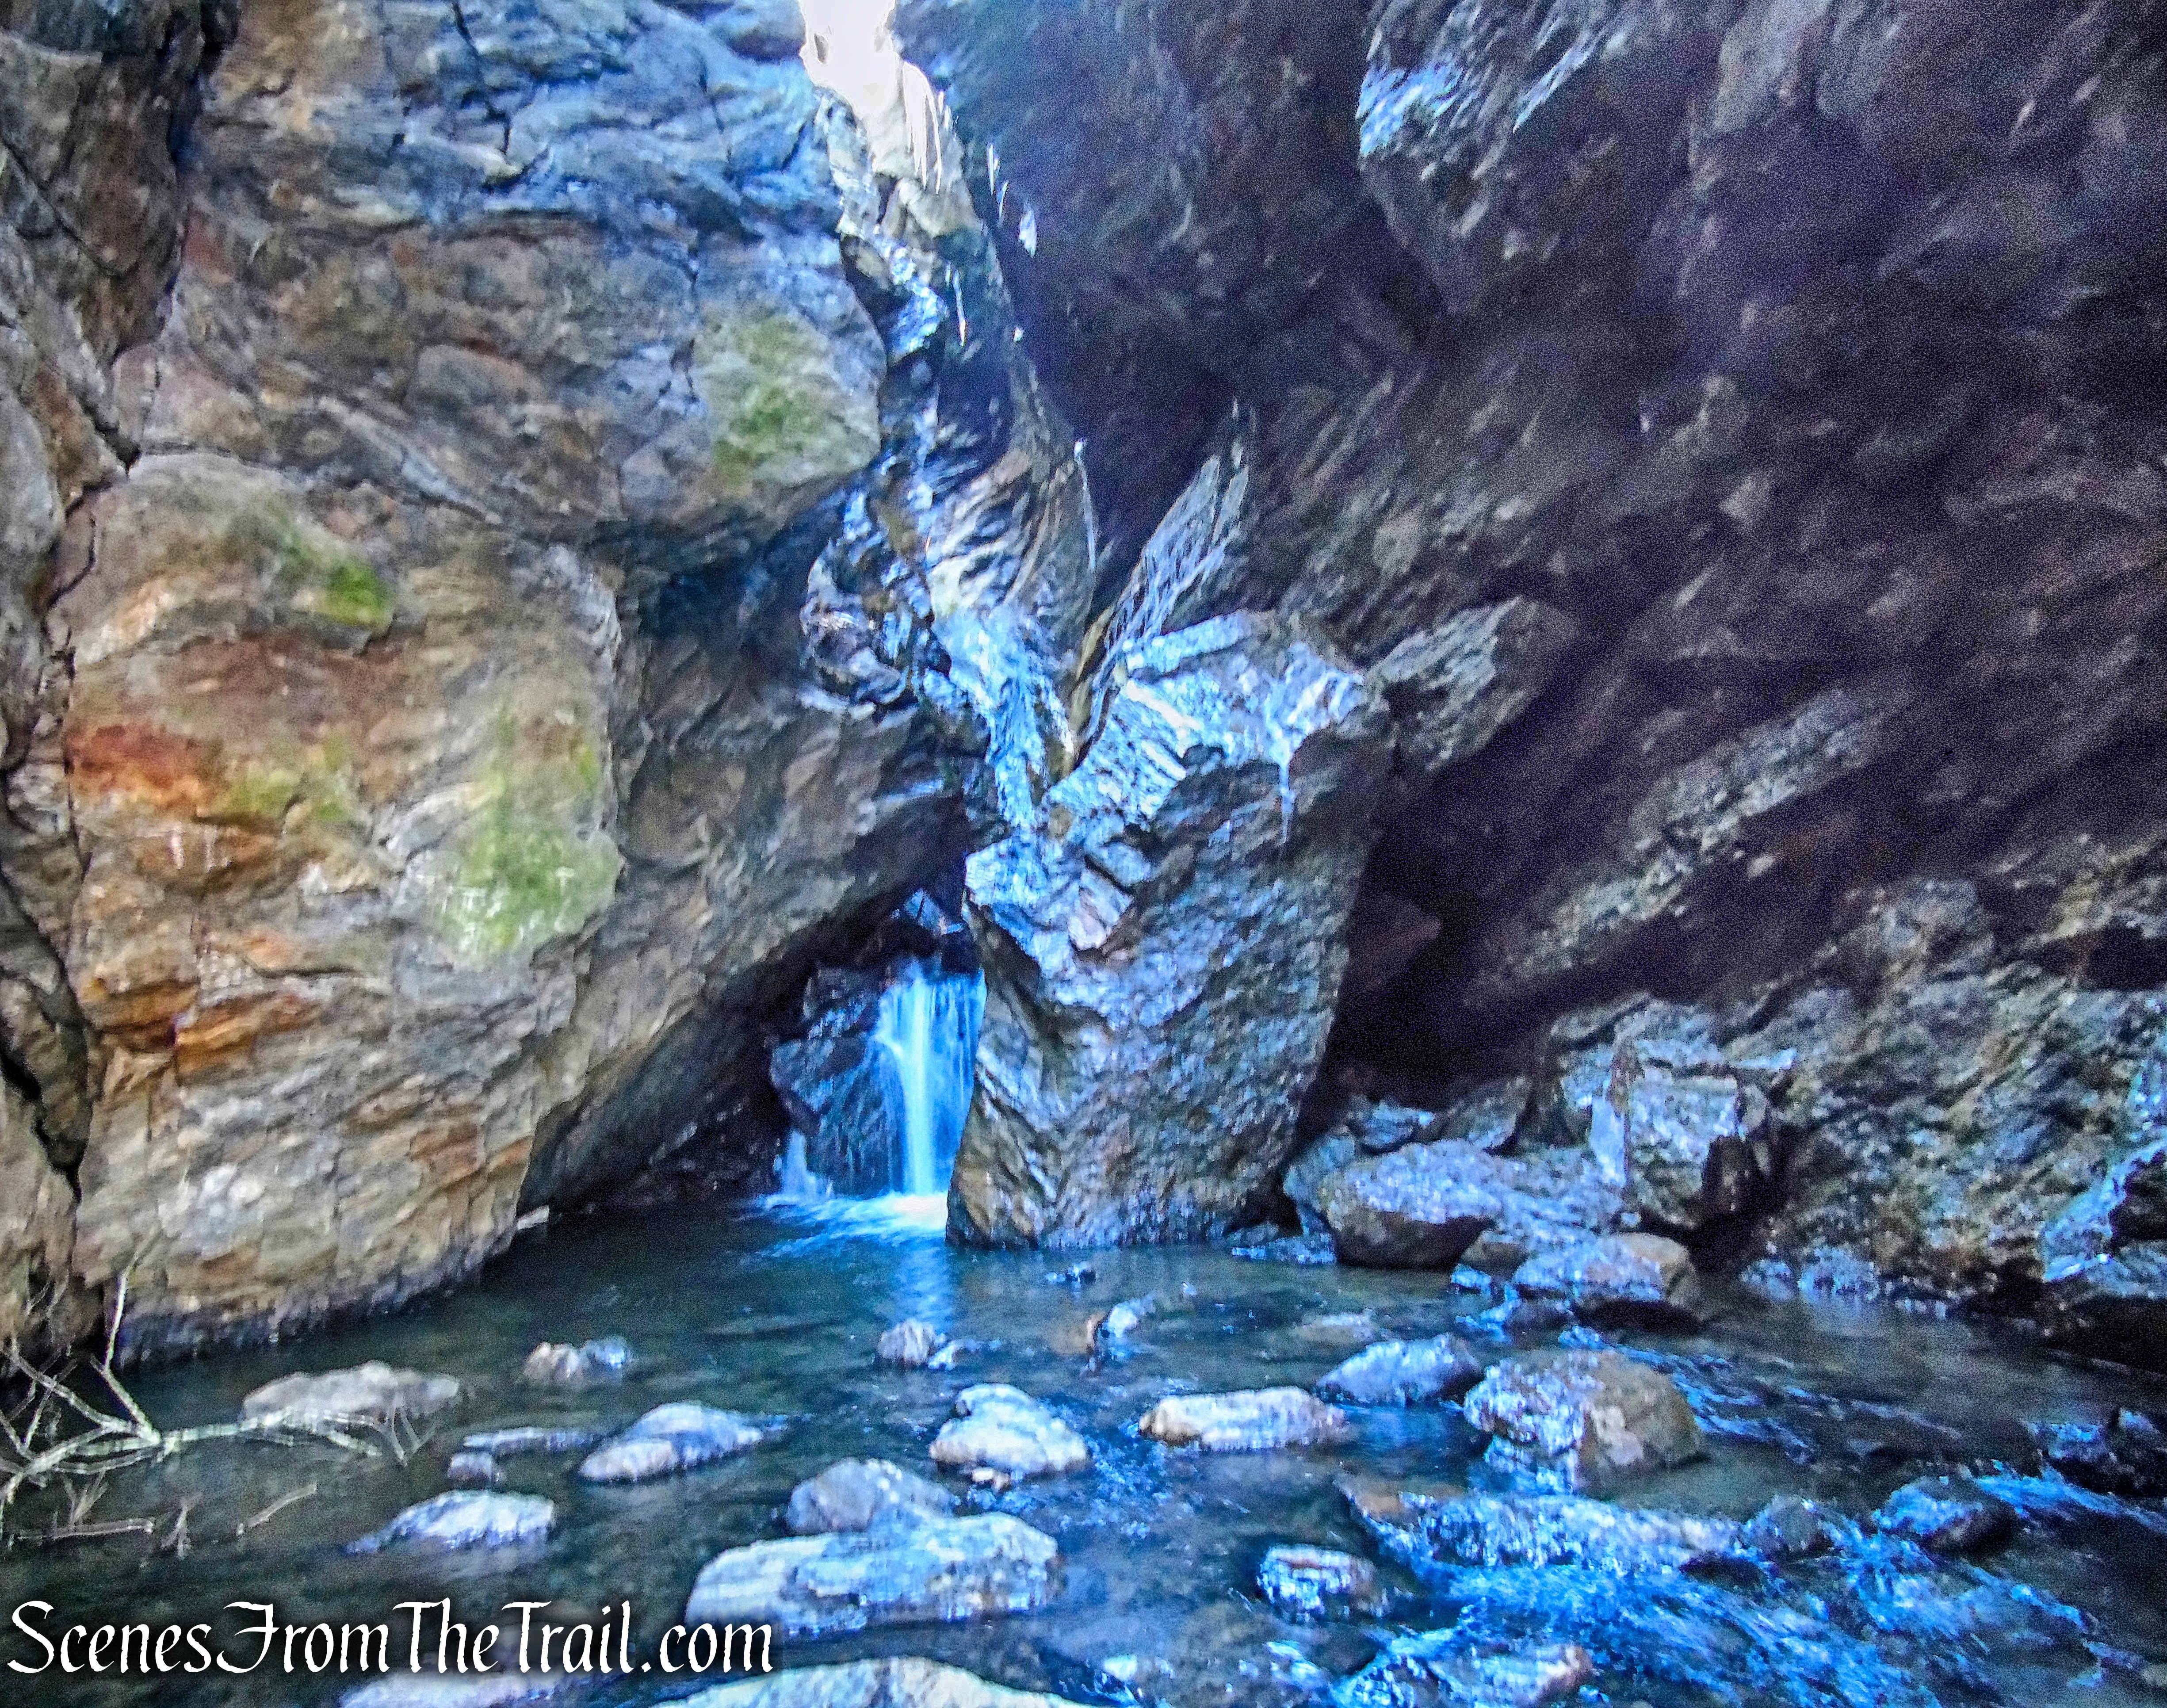
The trail reaches the top of the falls, where there is a 30-foot cascade. Previously, there was no safe access to this area from the base of the falls.

Stony Kill Falls Trail
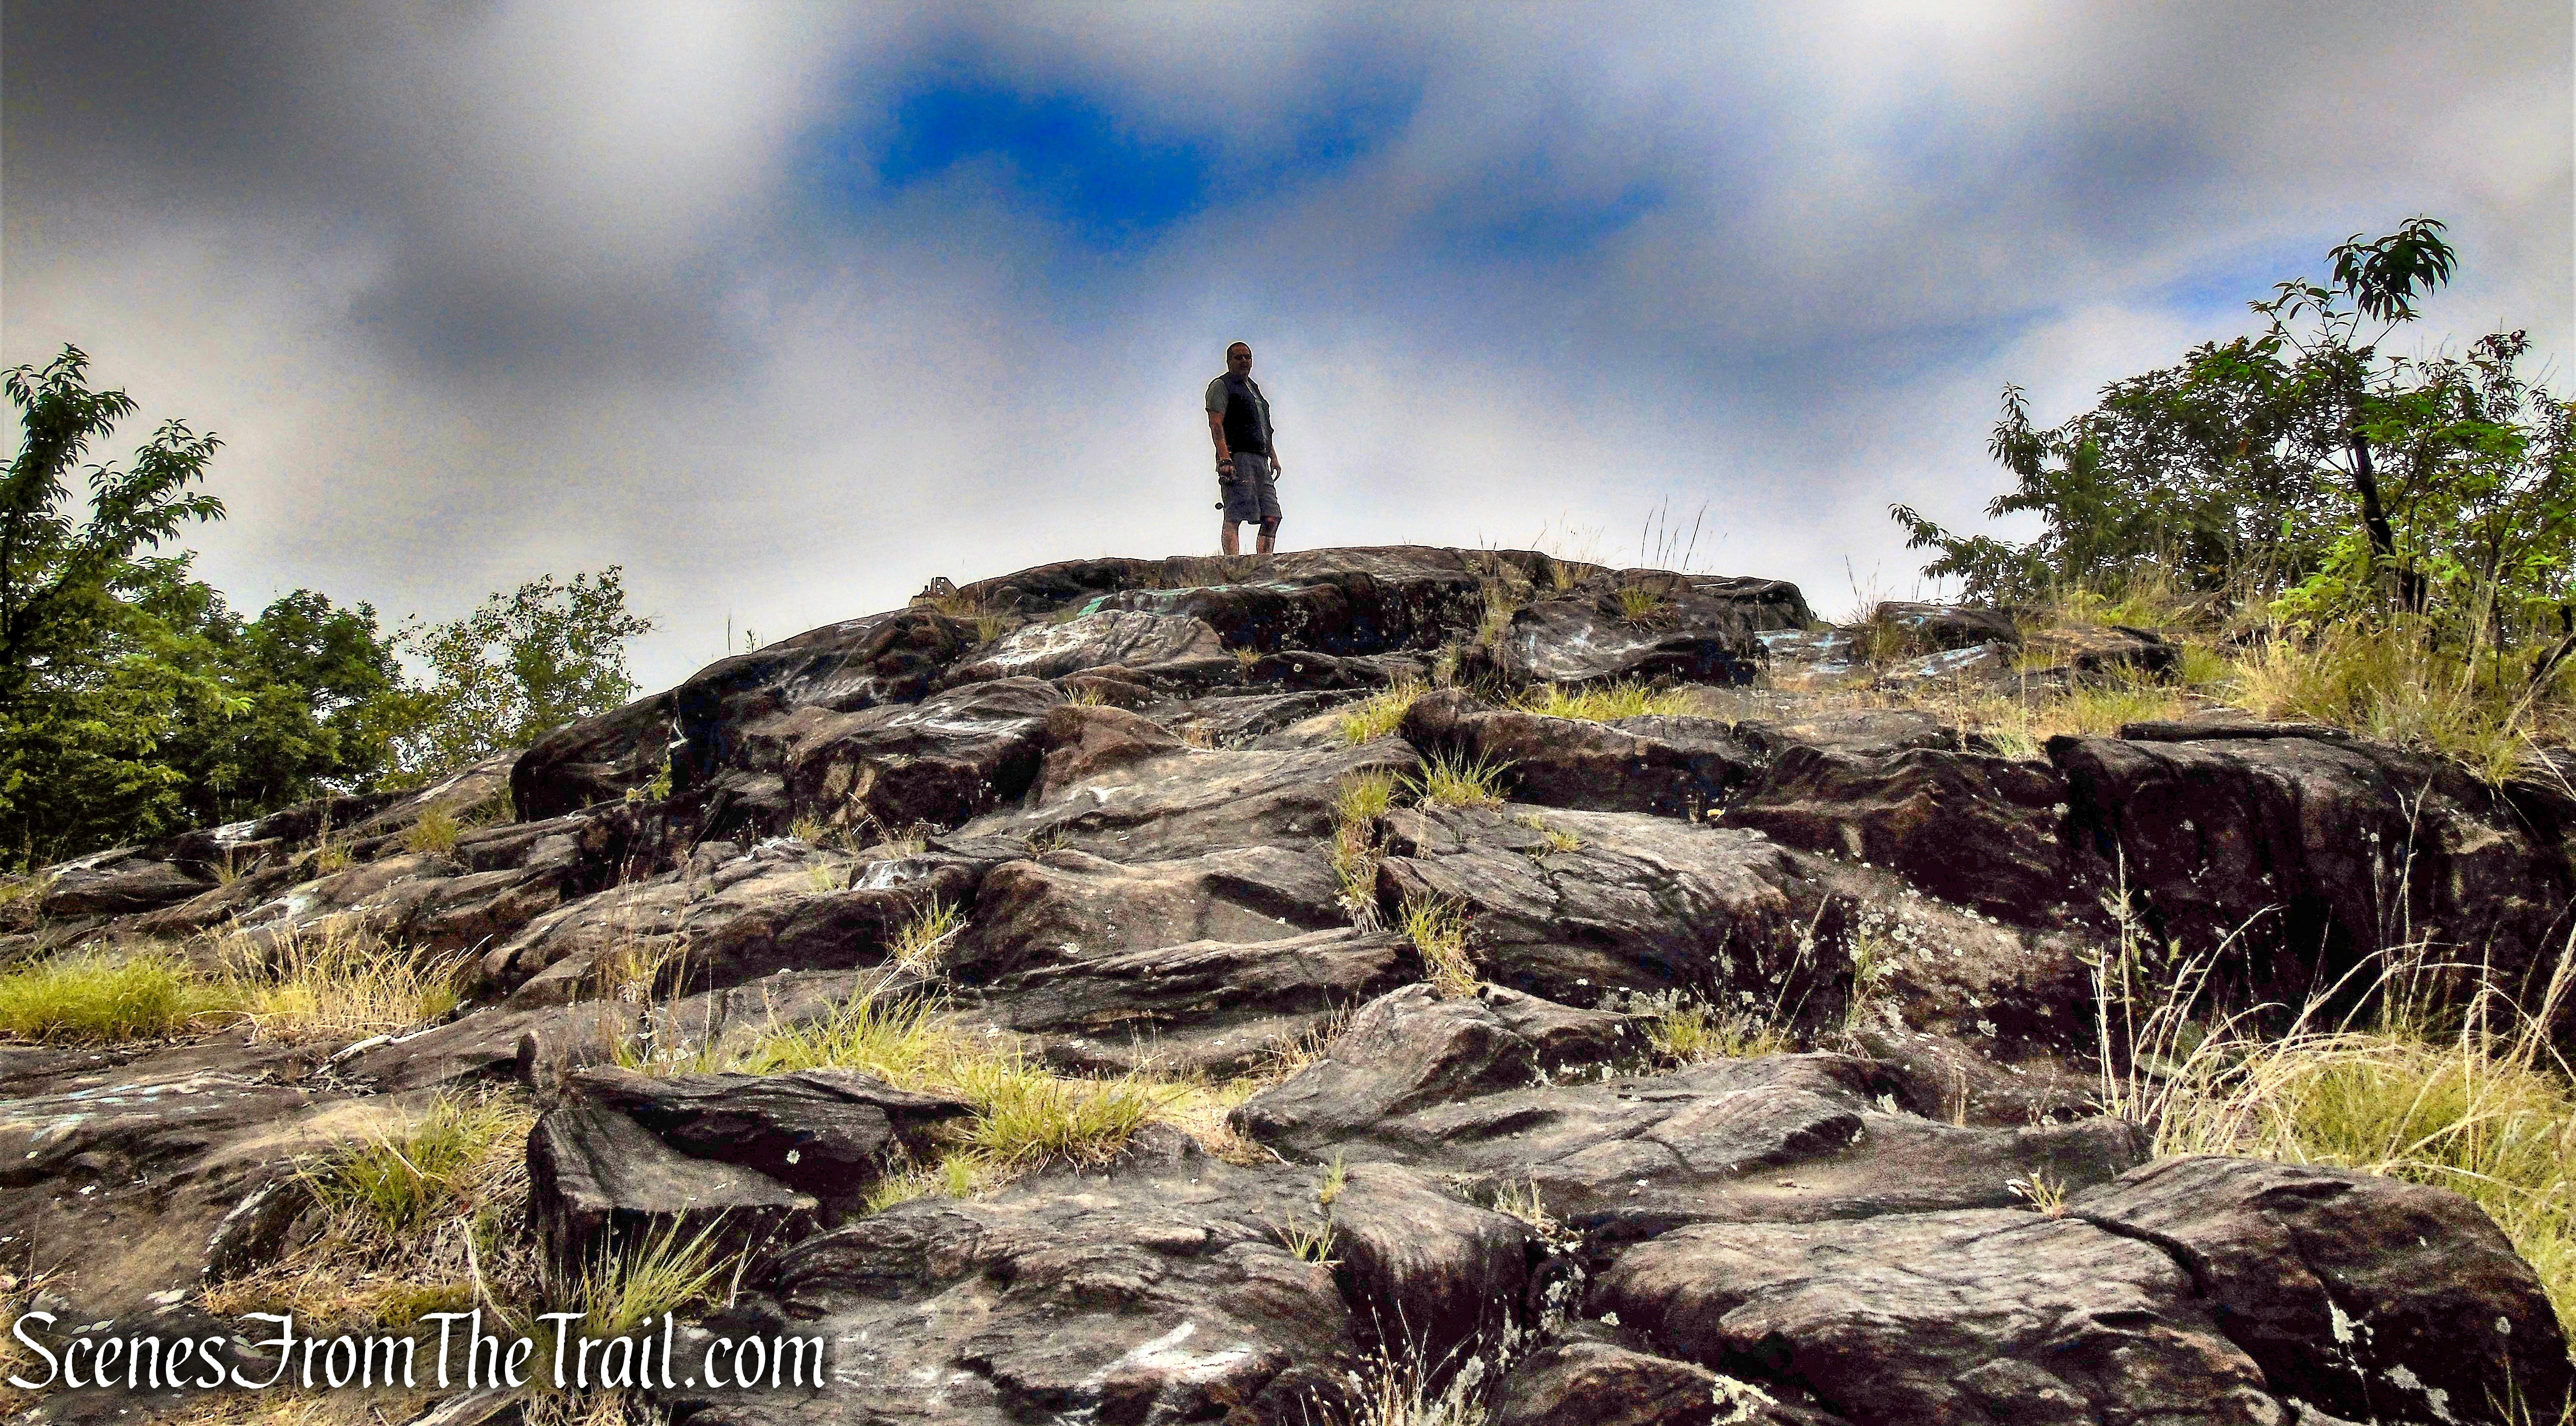
Having never been to the top of the falls before, this was a great place to relax and enjoy the scenery.
upper falls – Stony Kill Falls Trail
The Stony Kill cascades down the staircase like rock formation before it plummets 87 feet off the cliff.

upper falls – Stony Kill Falls Trail
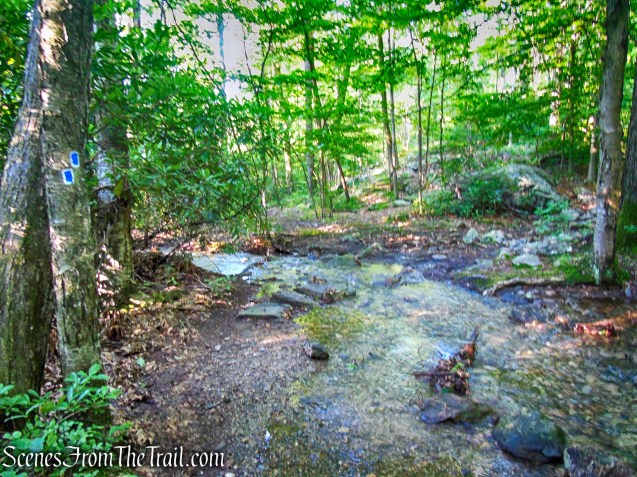
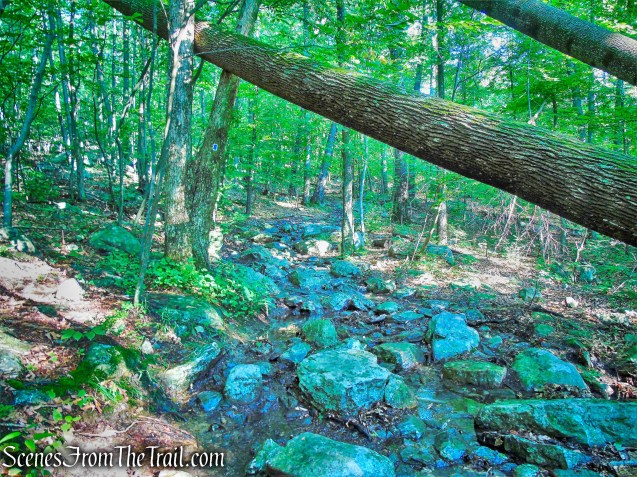
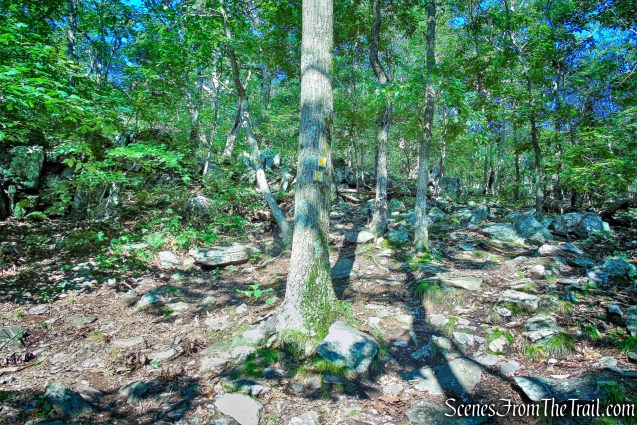
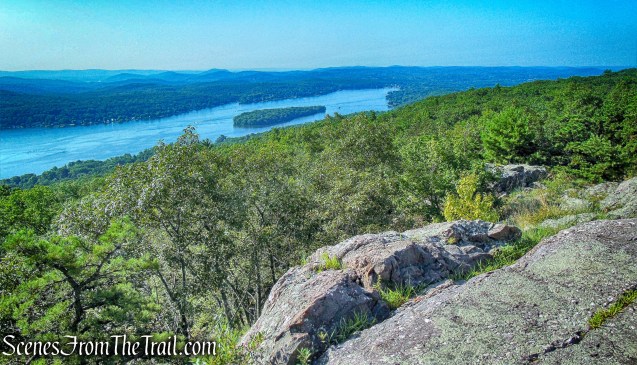
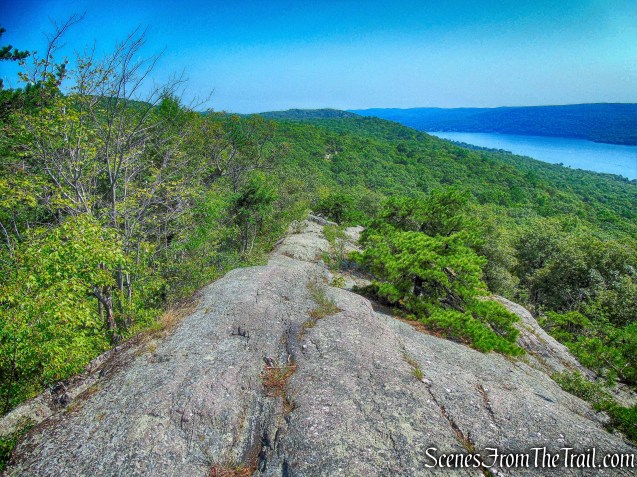
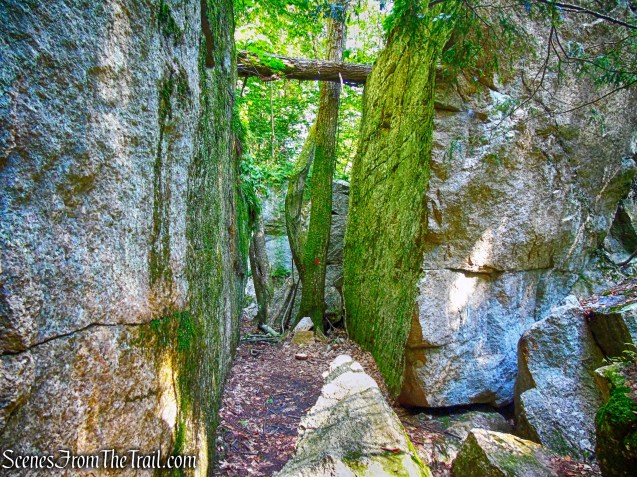
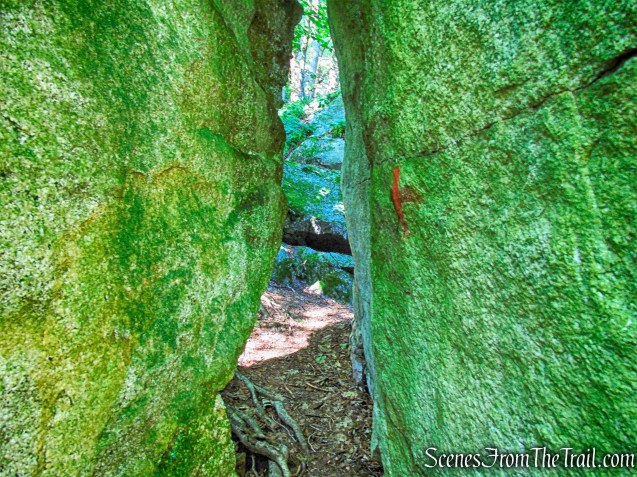
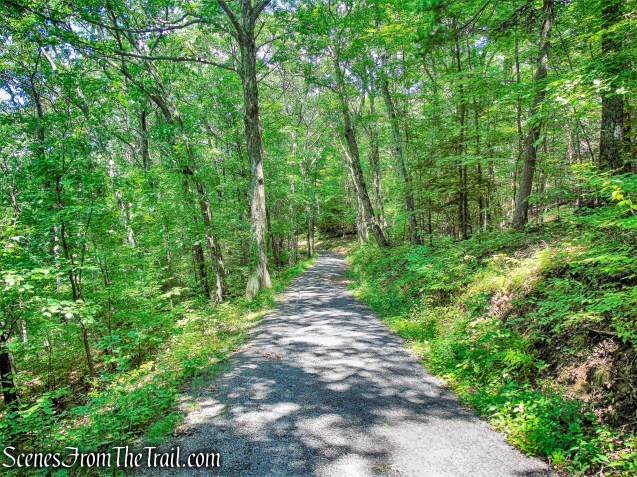
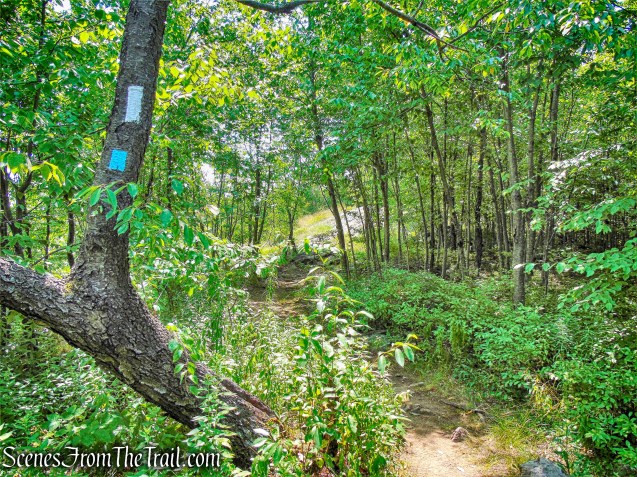
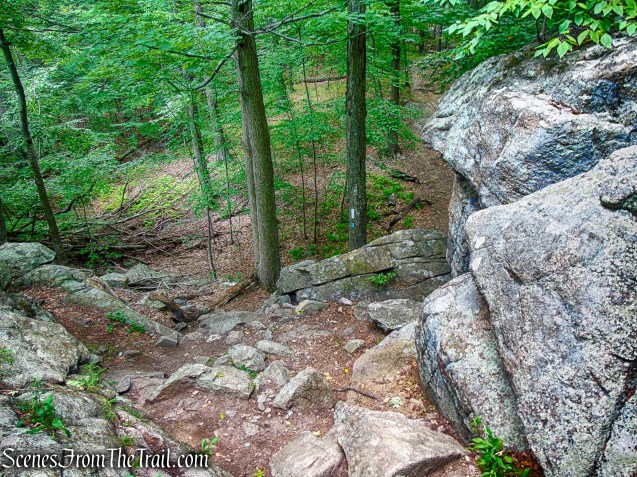
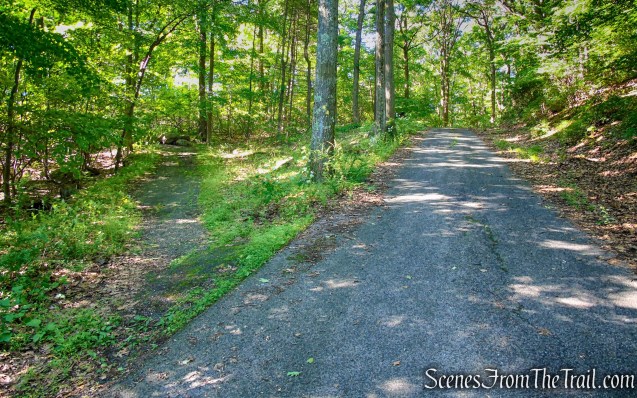
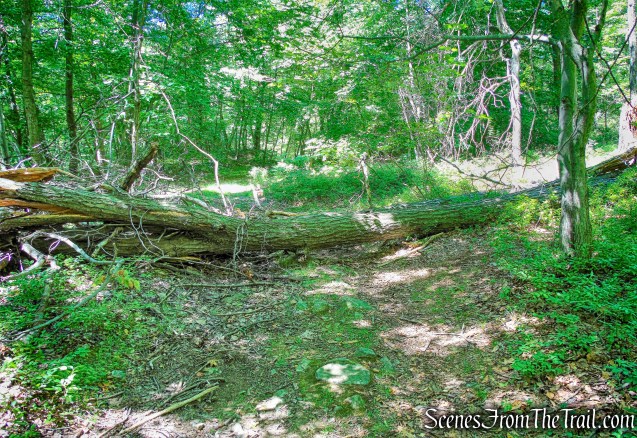
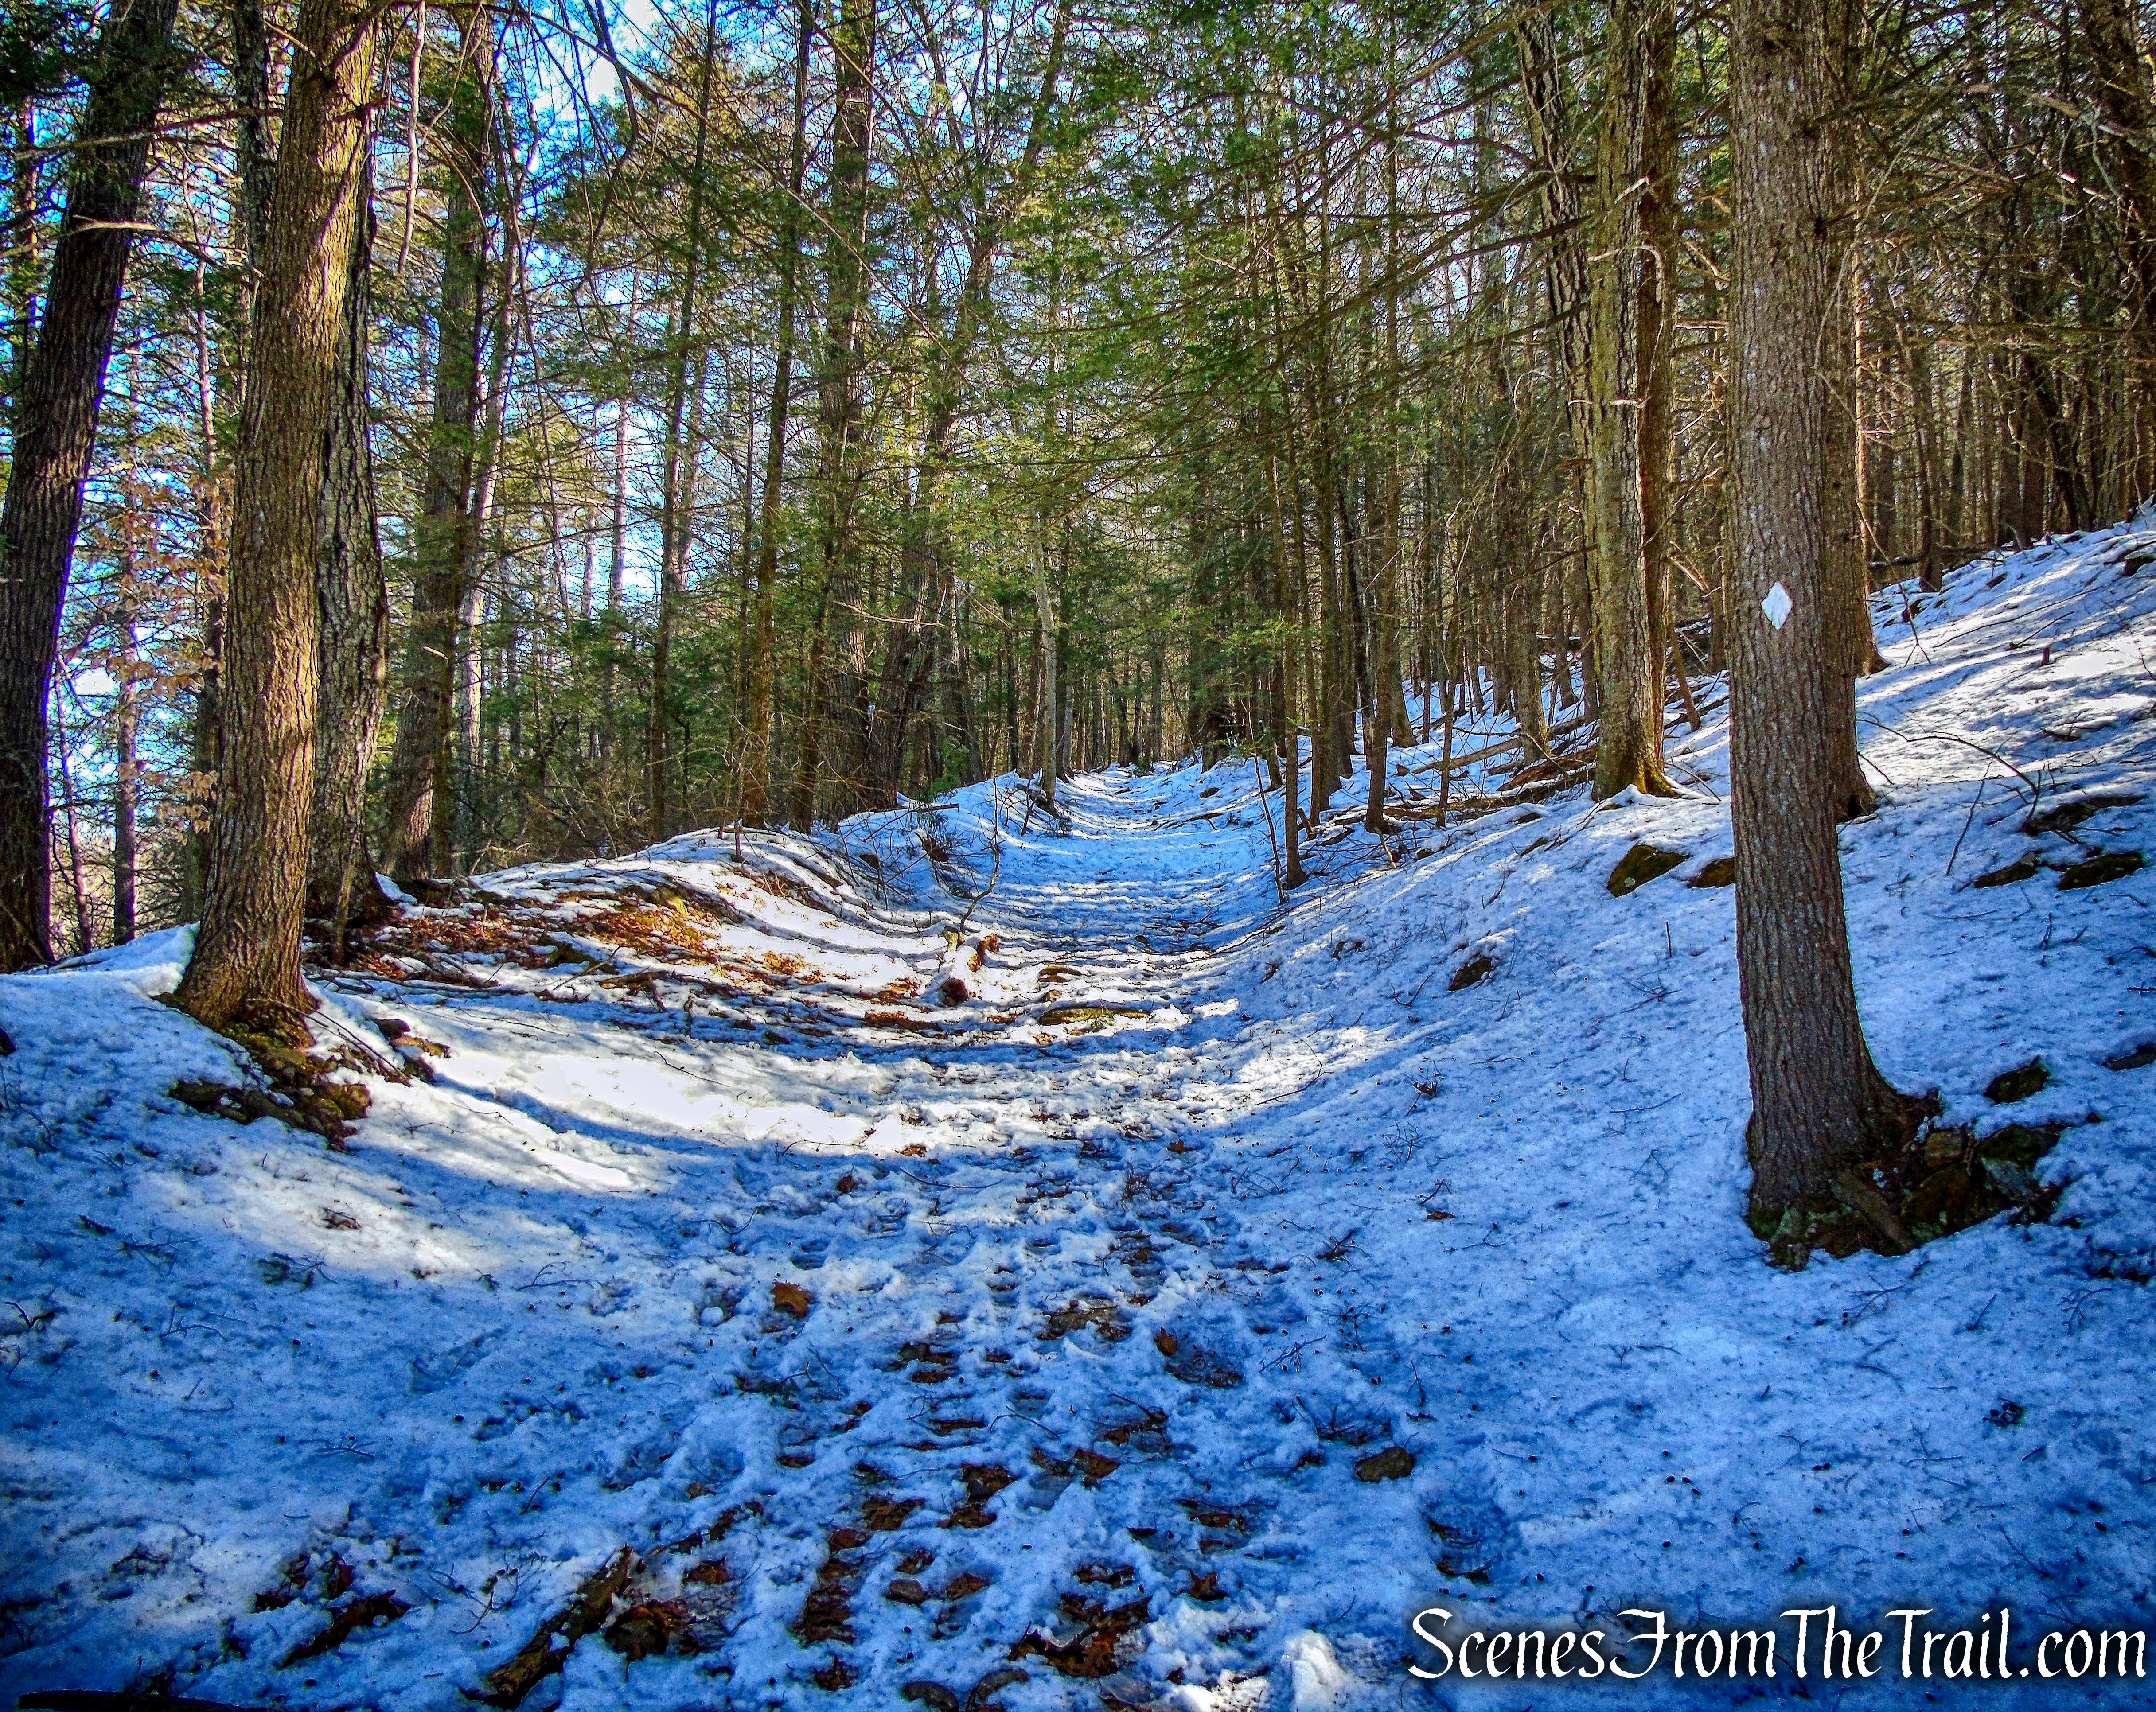
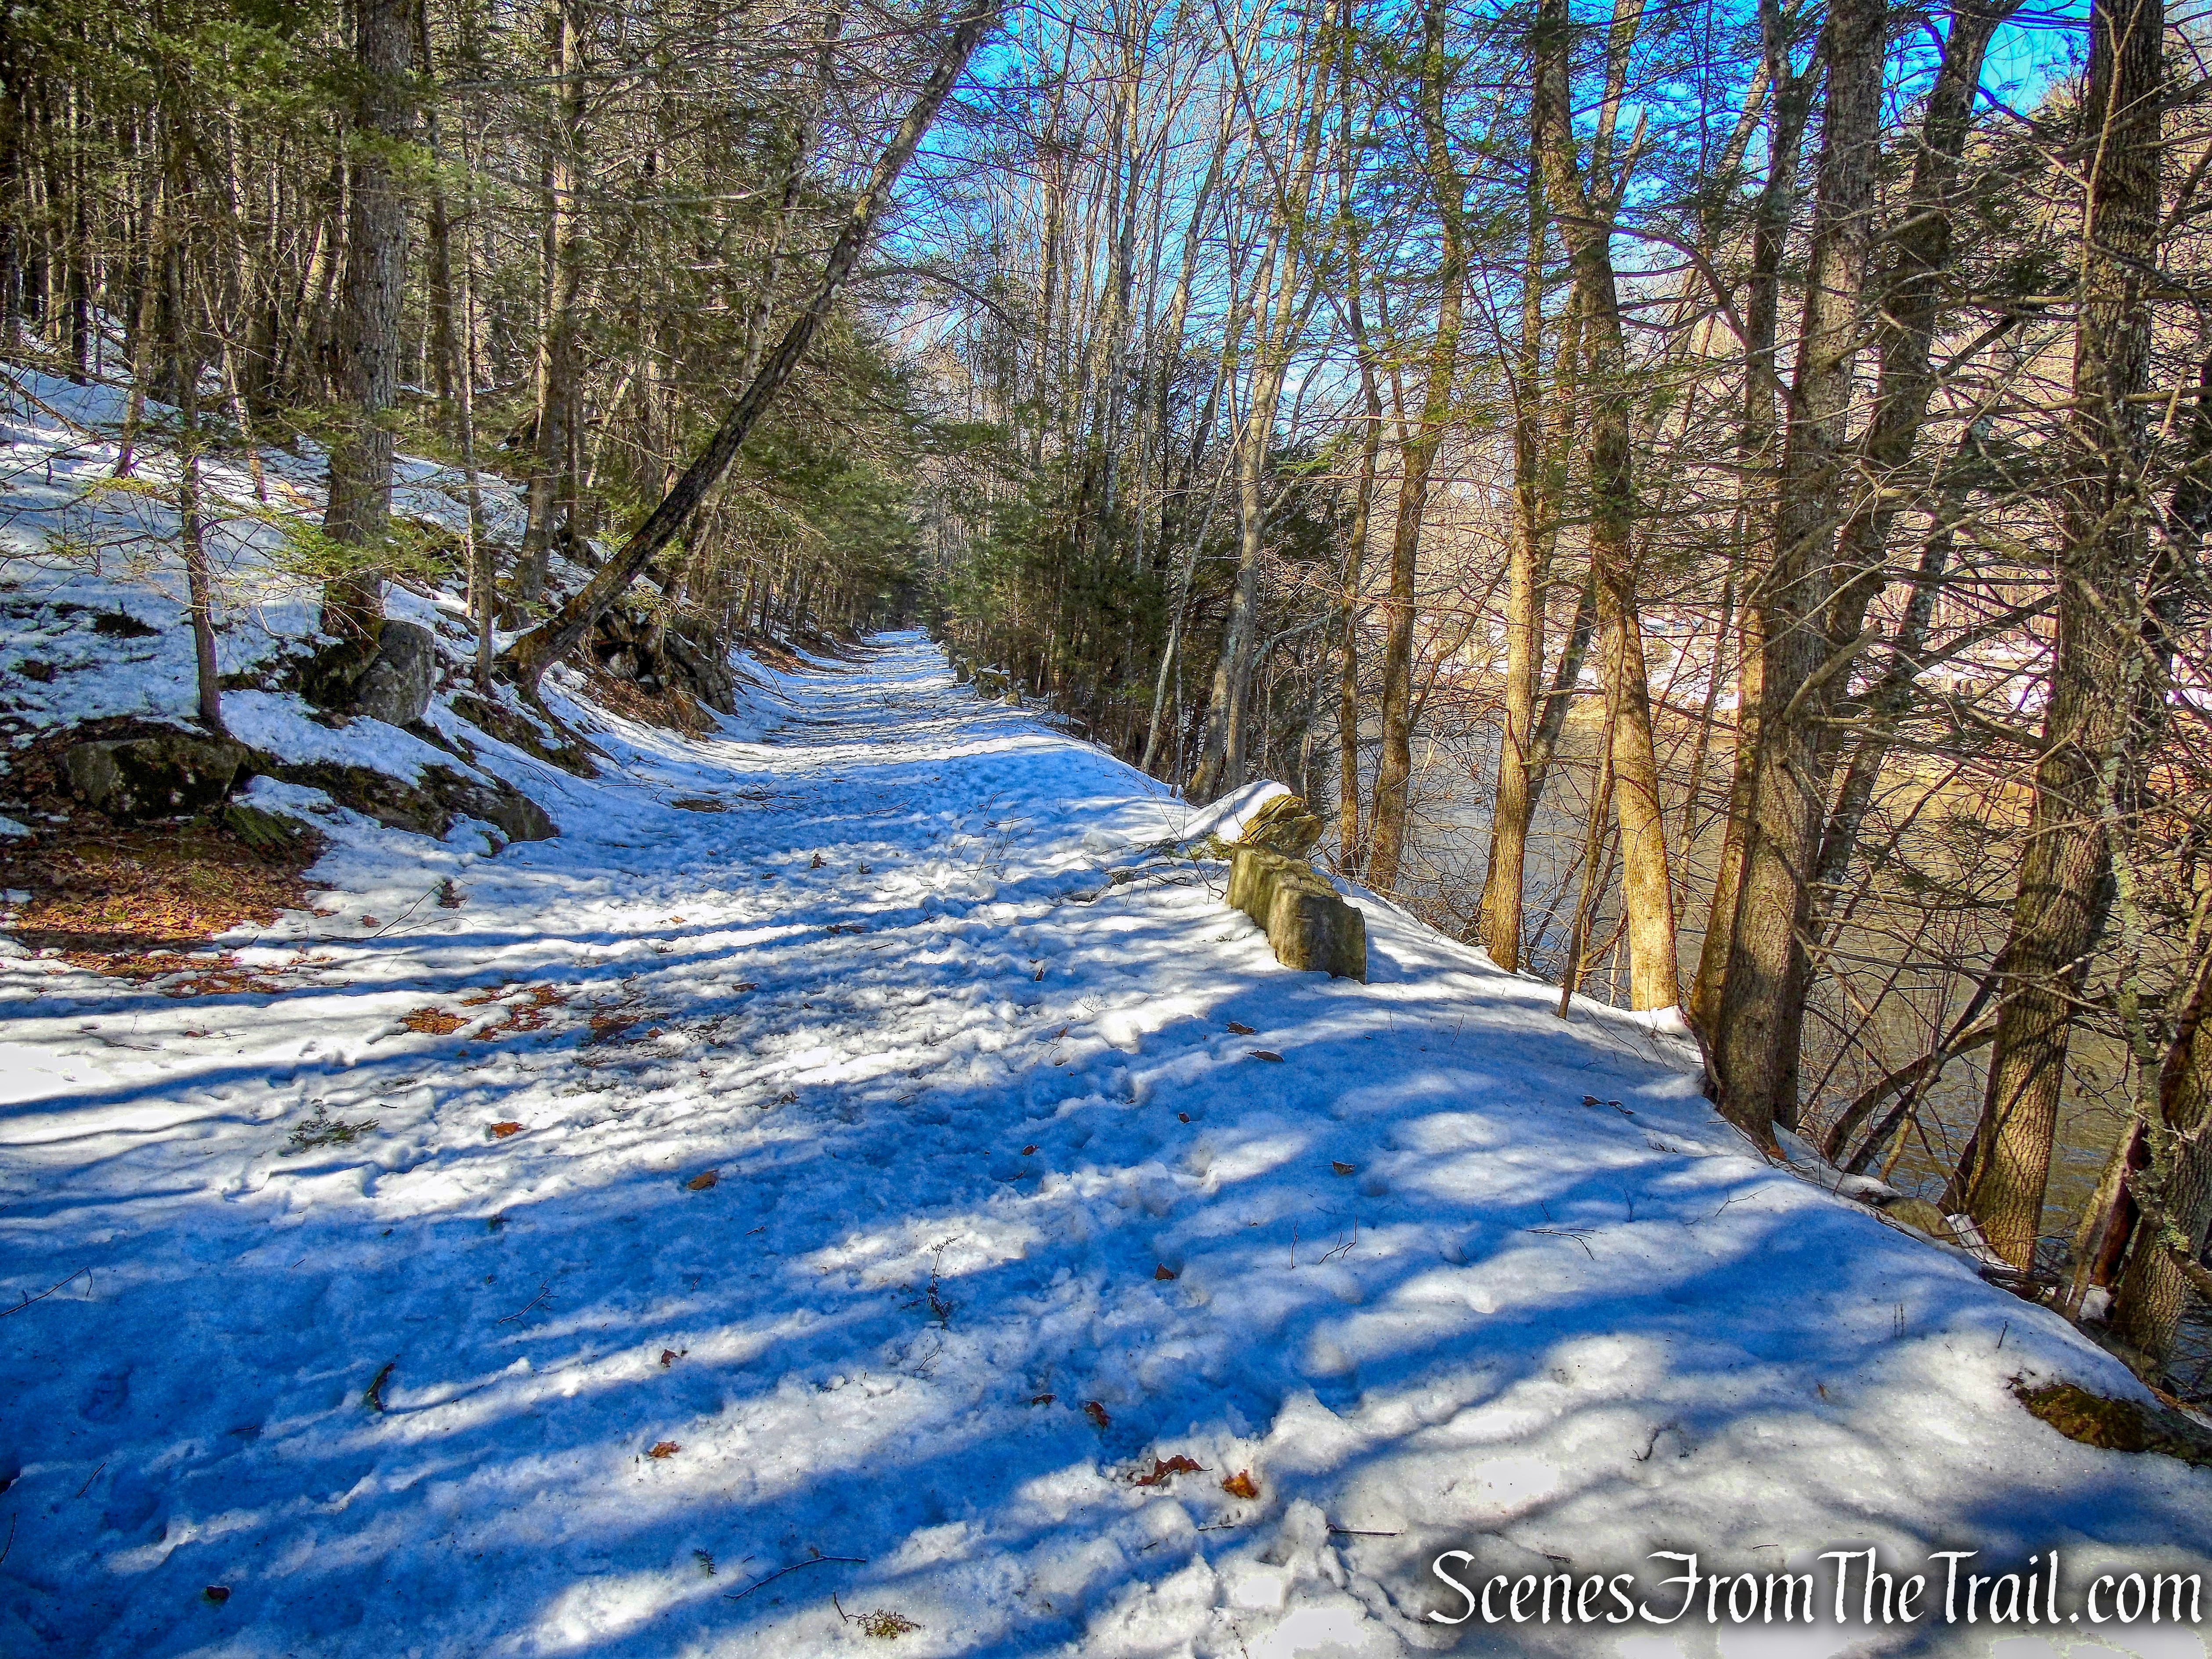
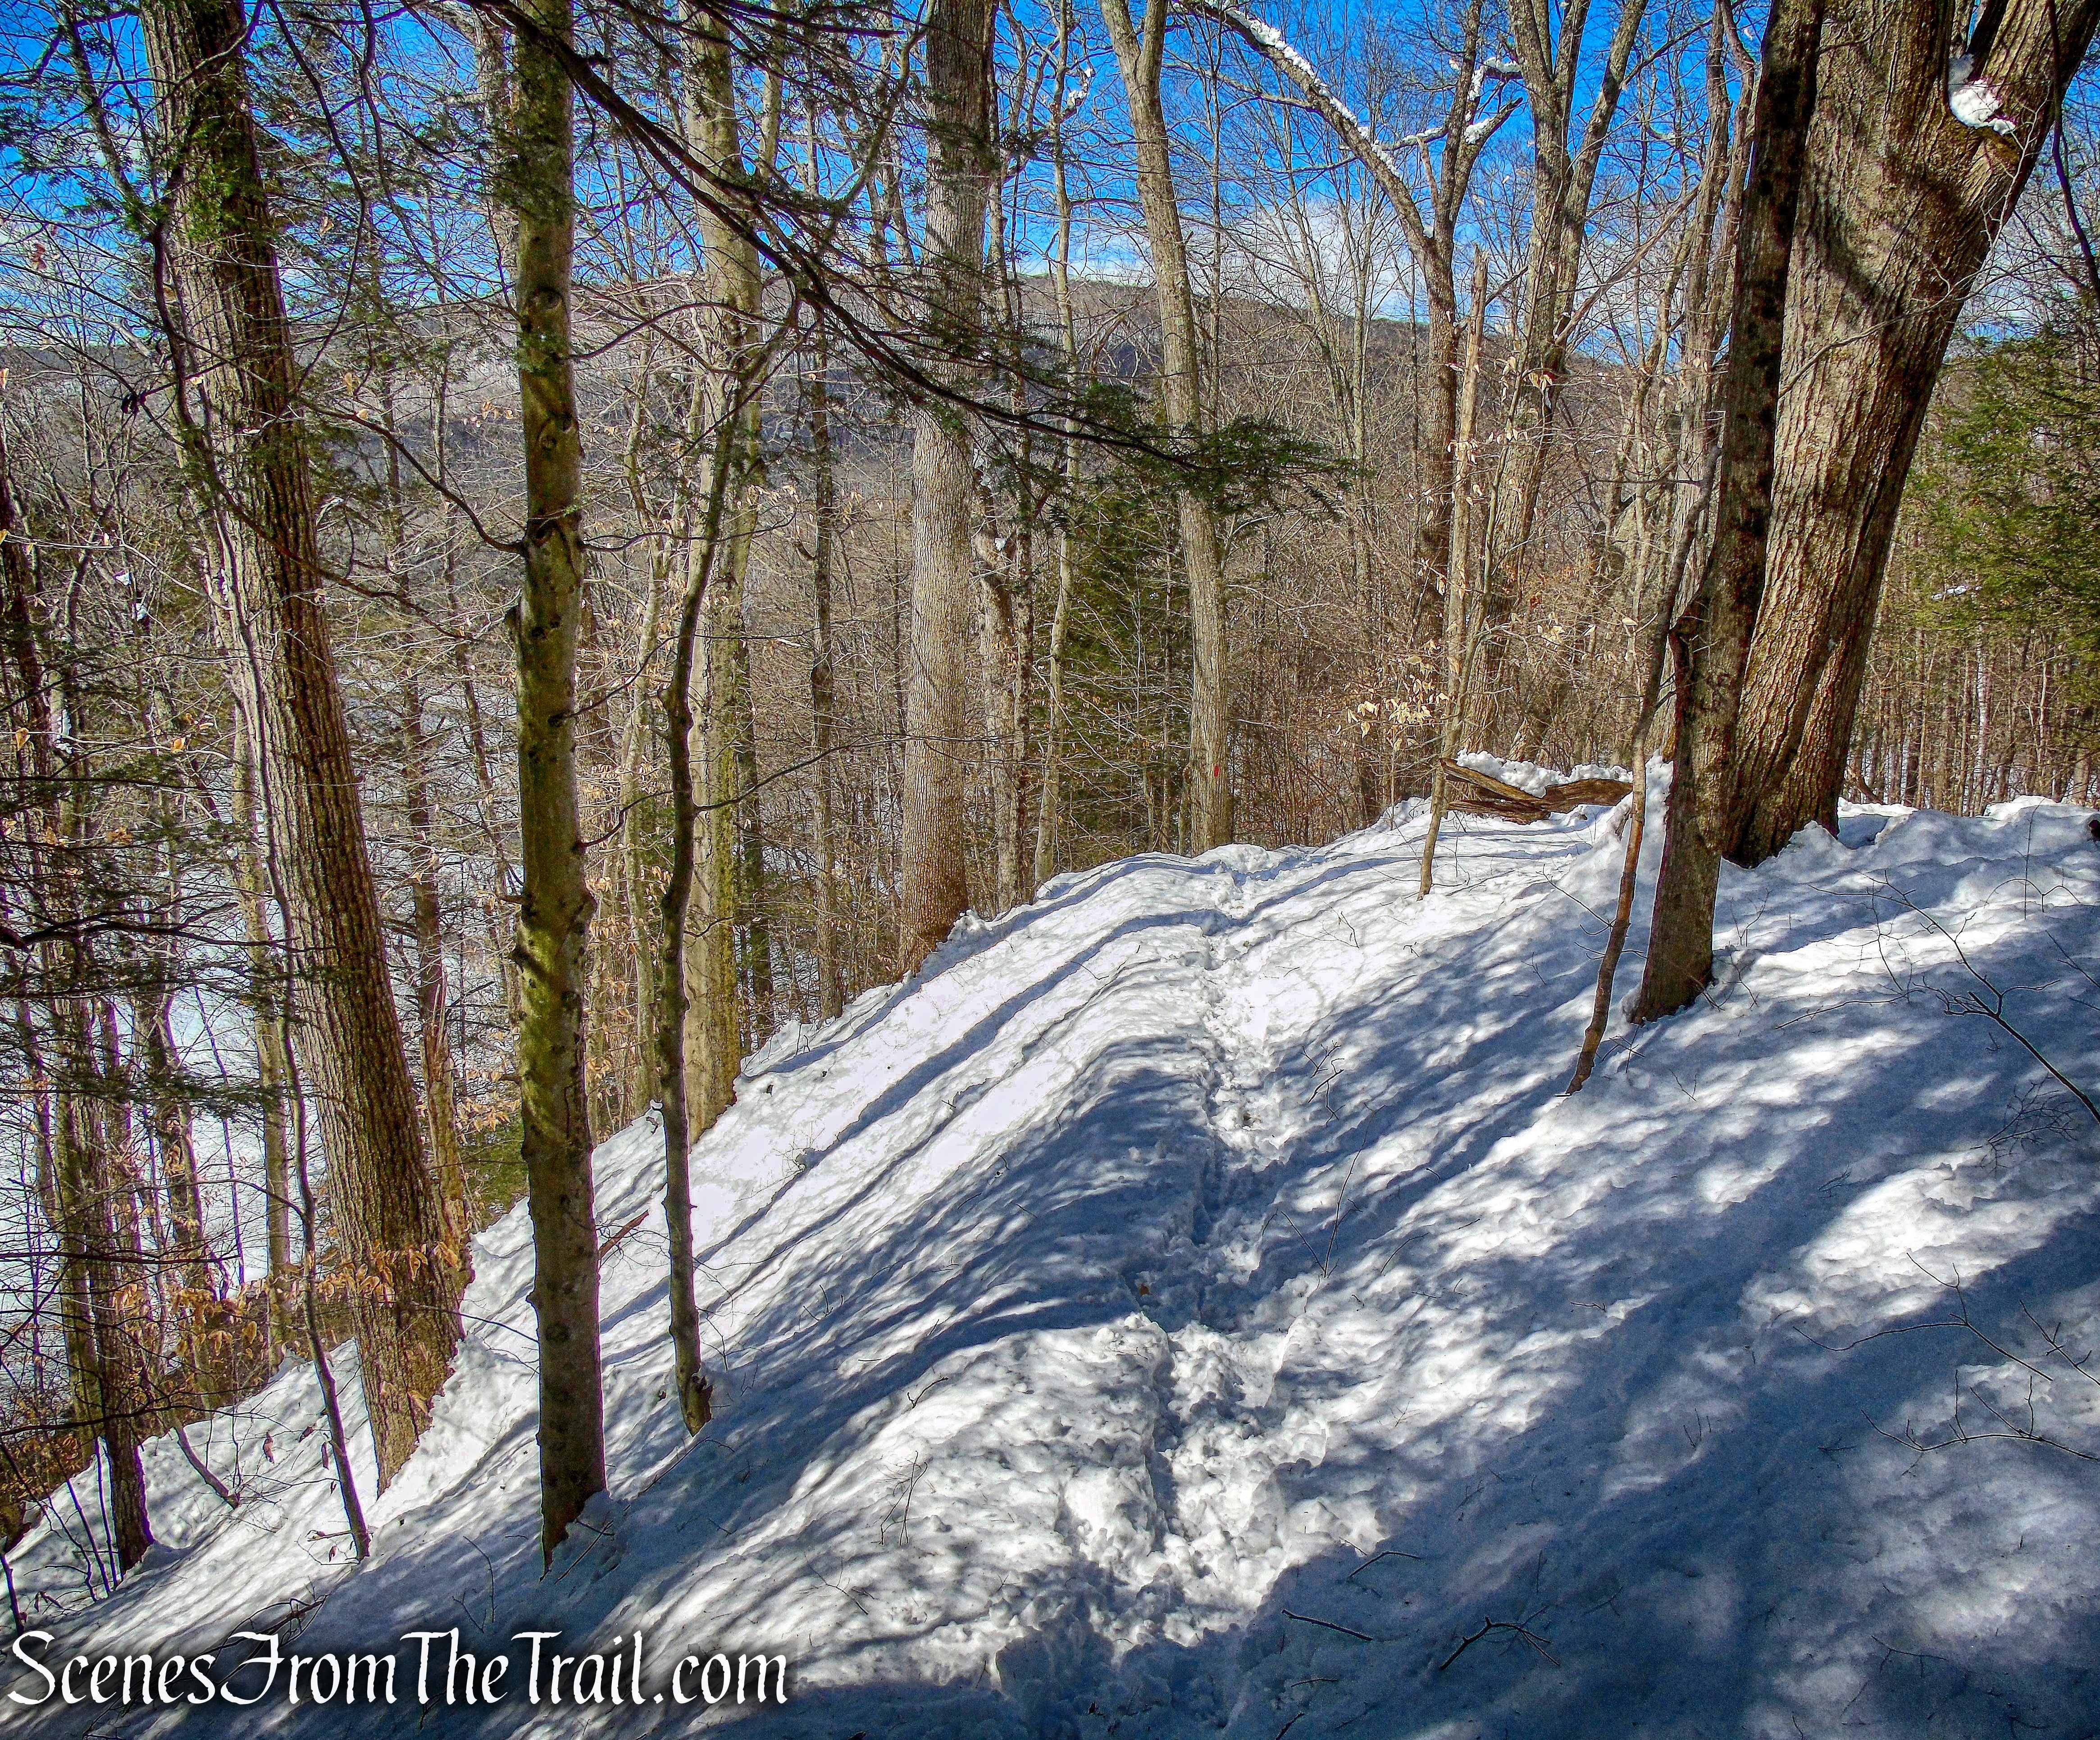
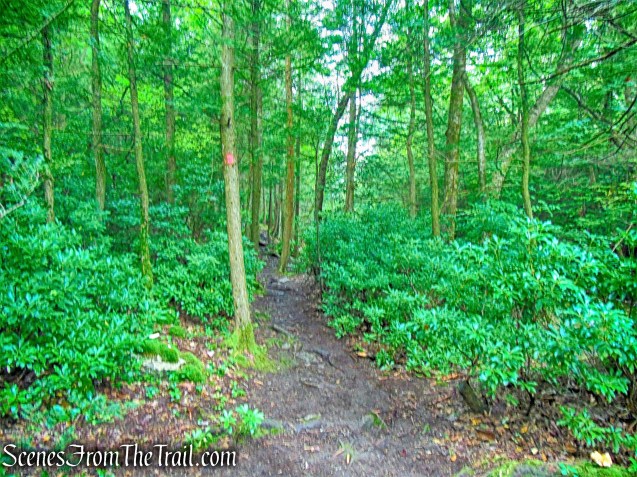
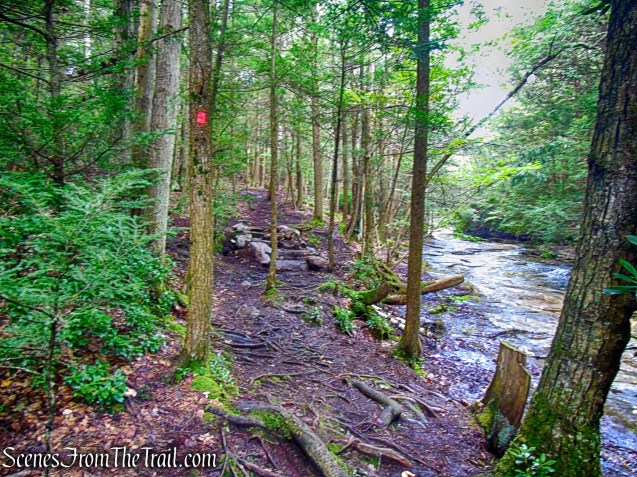
The trail continues southwest along the Stony Kill.
Stony Kill Falls Trail
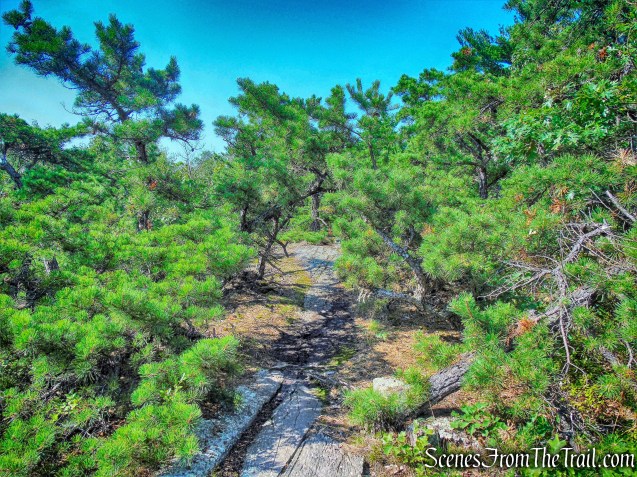
It moves away from the Stony Kill briefly.
Stony Kill Falls Trail
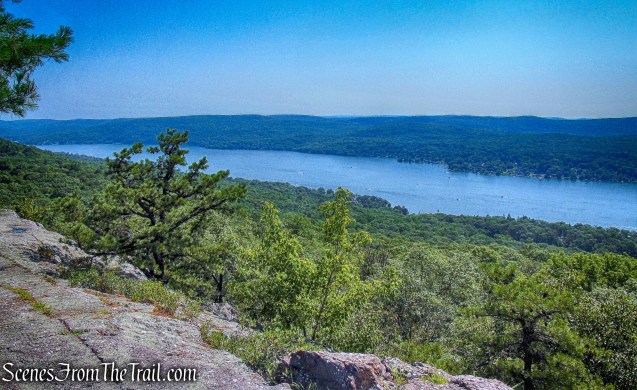
The trail heads upstream along the Stony Kill, which flows northeast from Minnewaska State Park to Rondout Creek.
Stony Kill Falls Trail
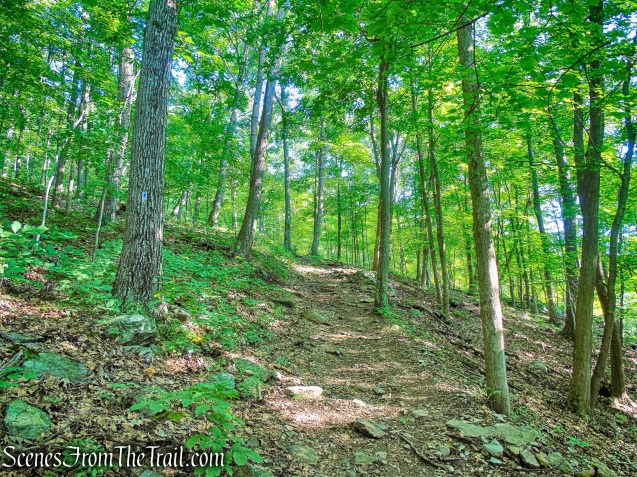
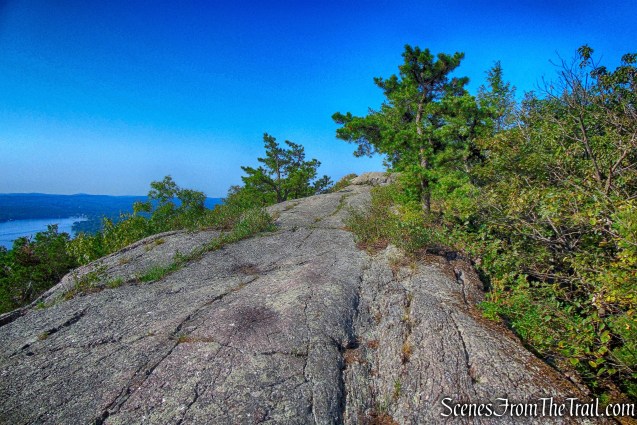
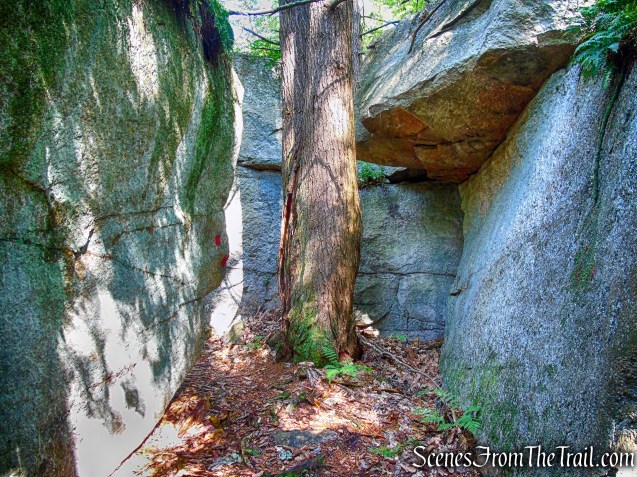
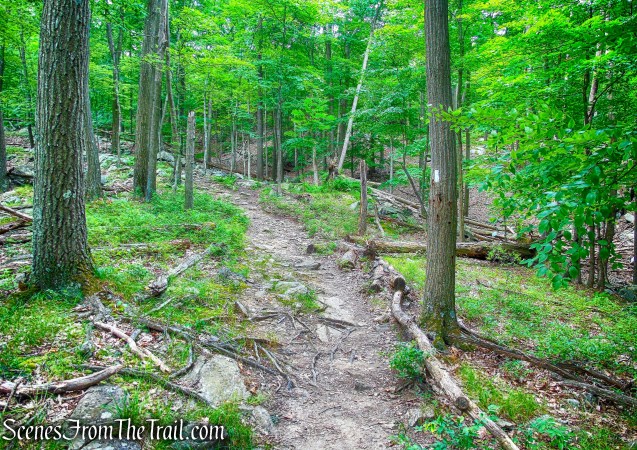
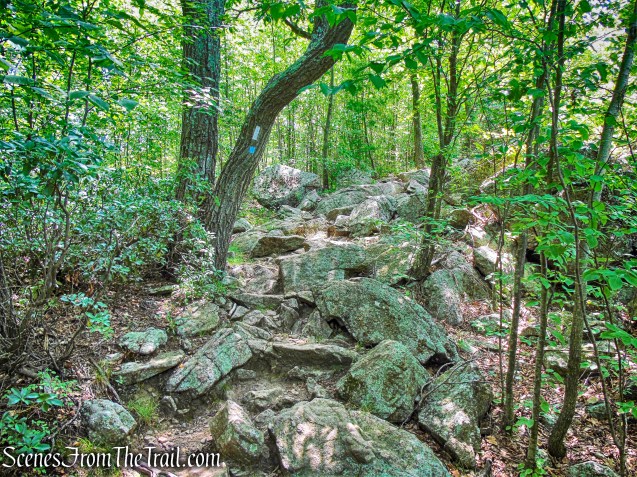
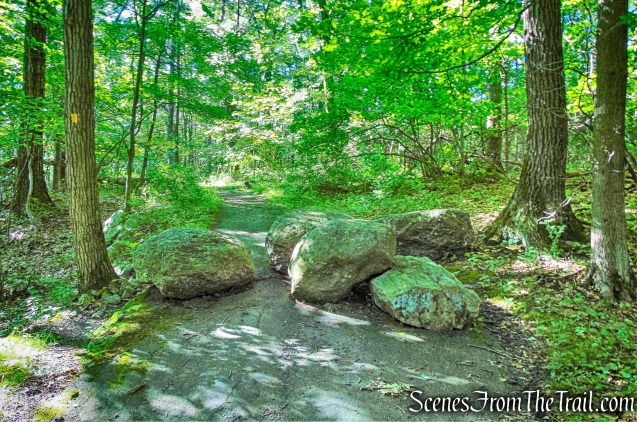
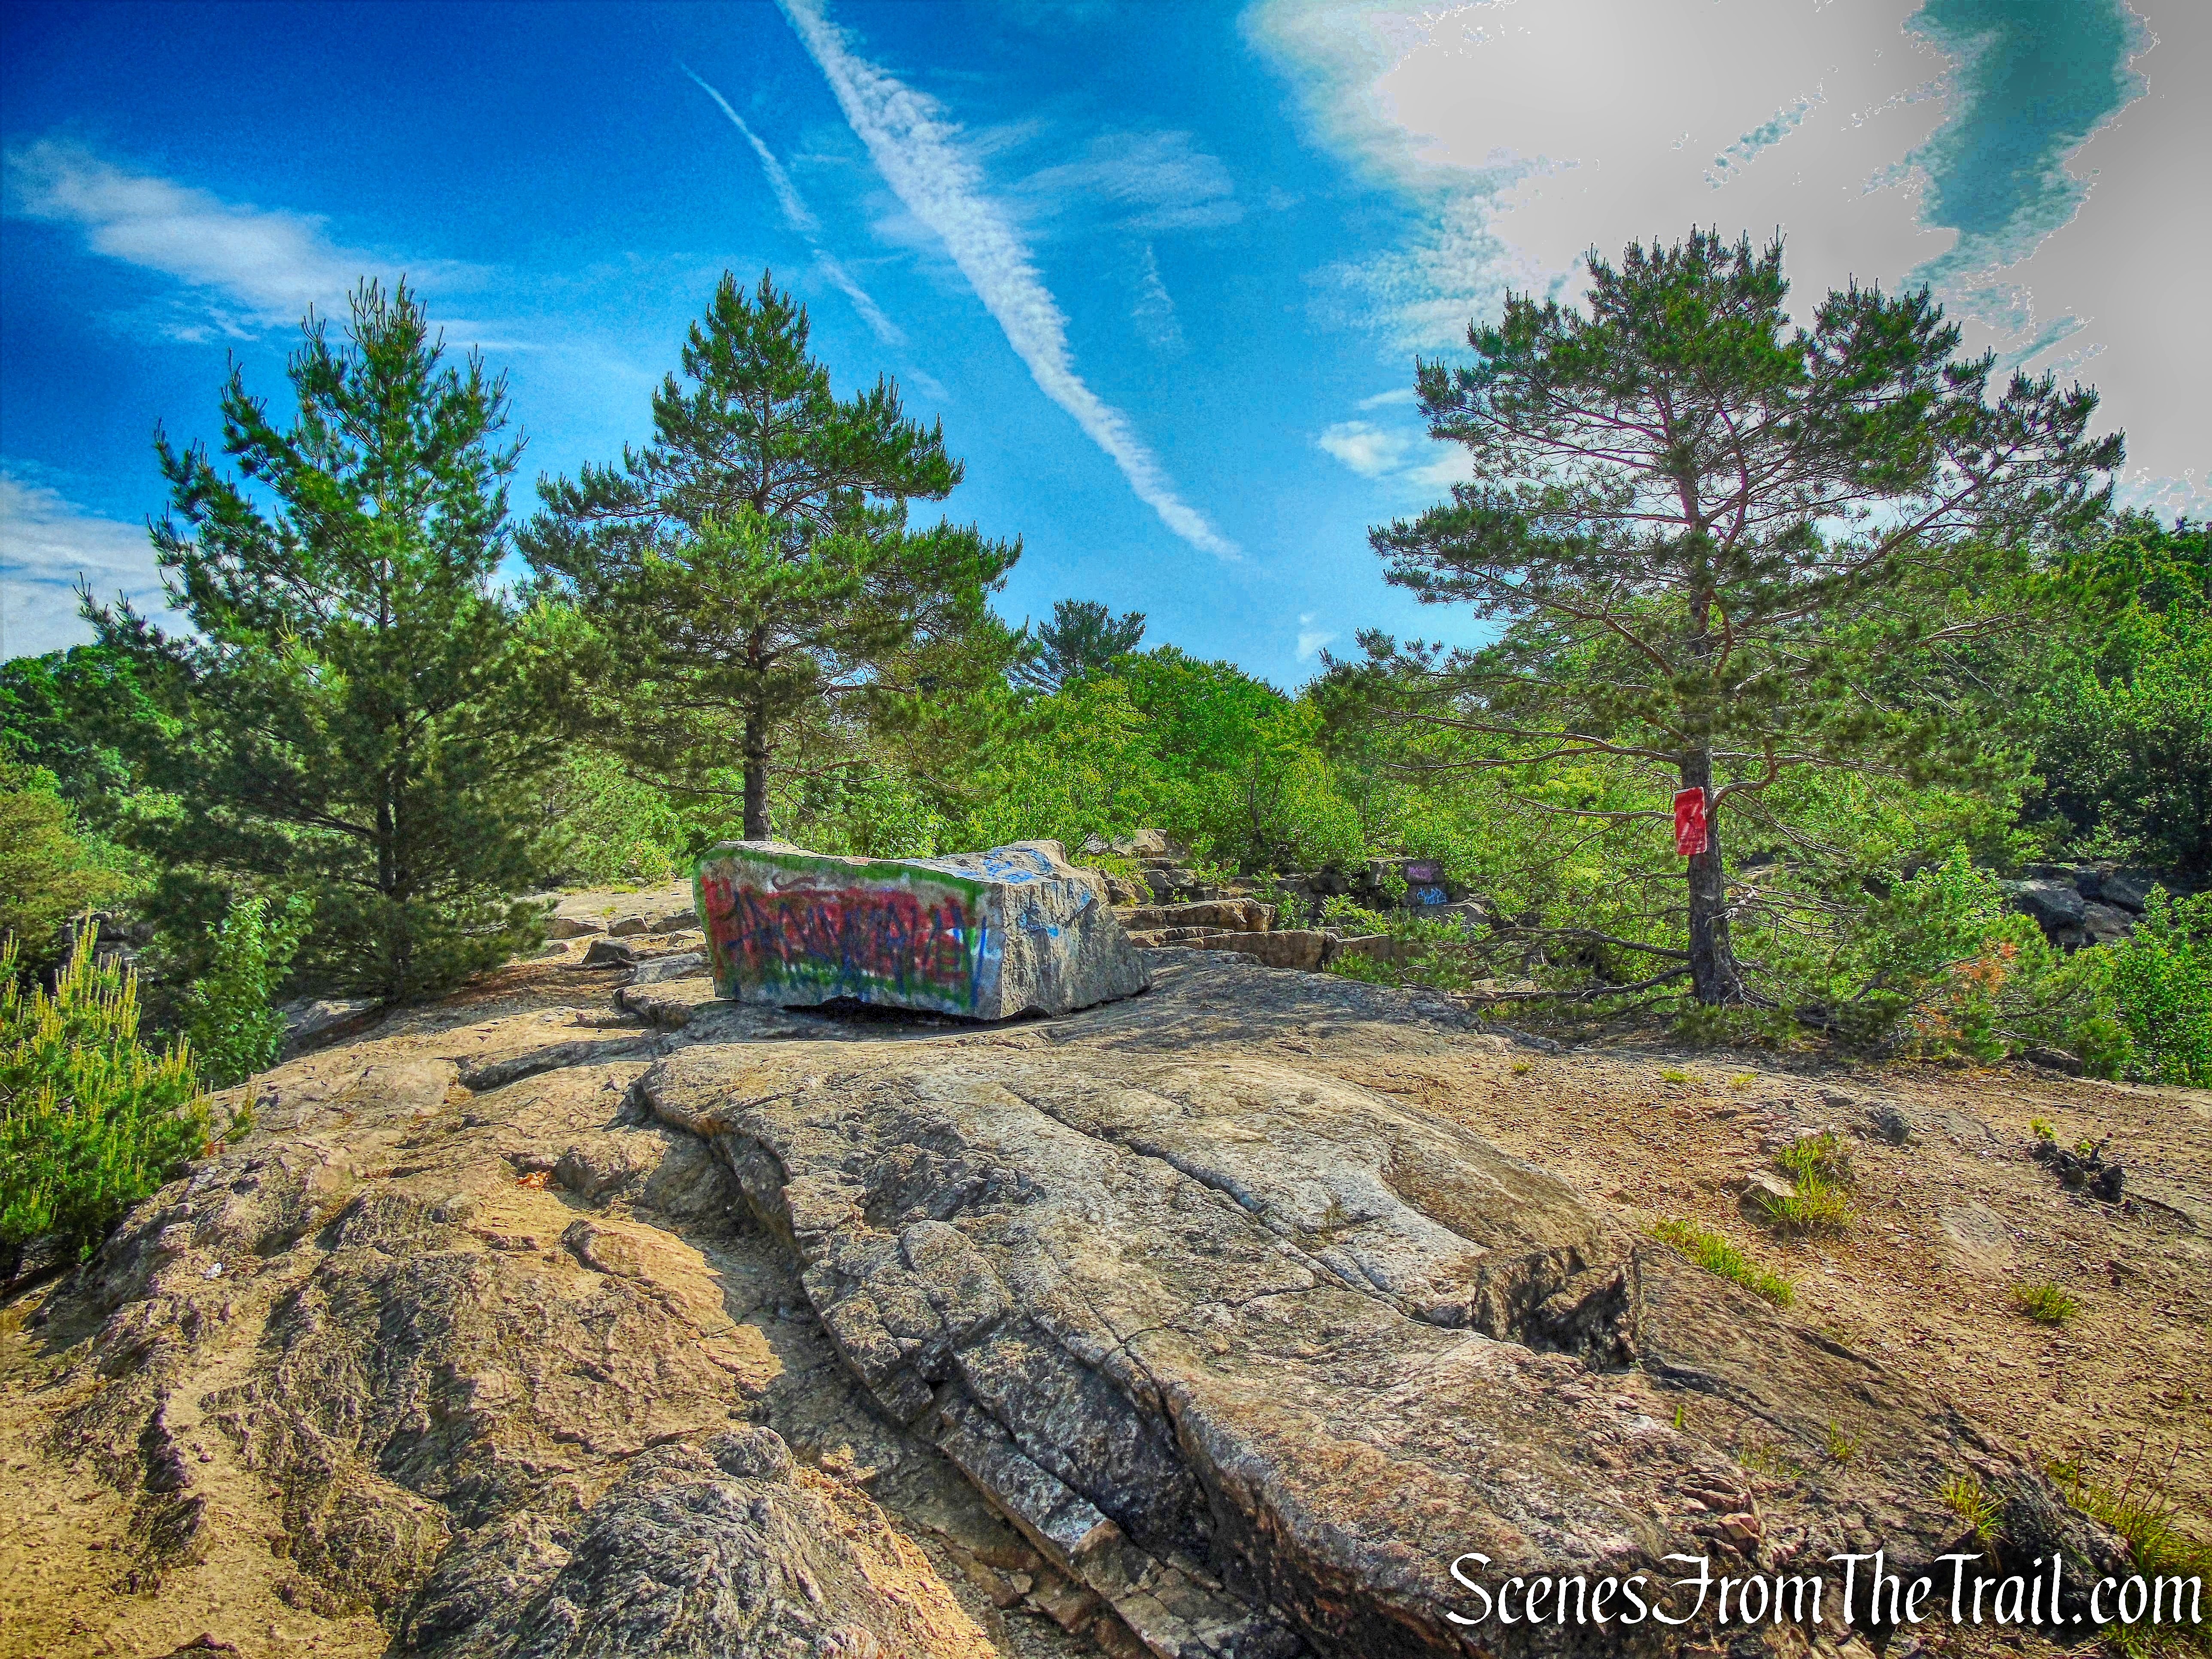
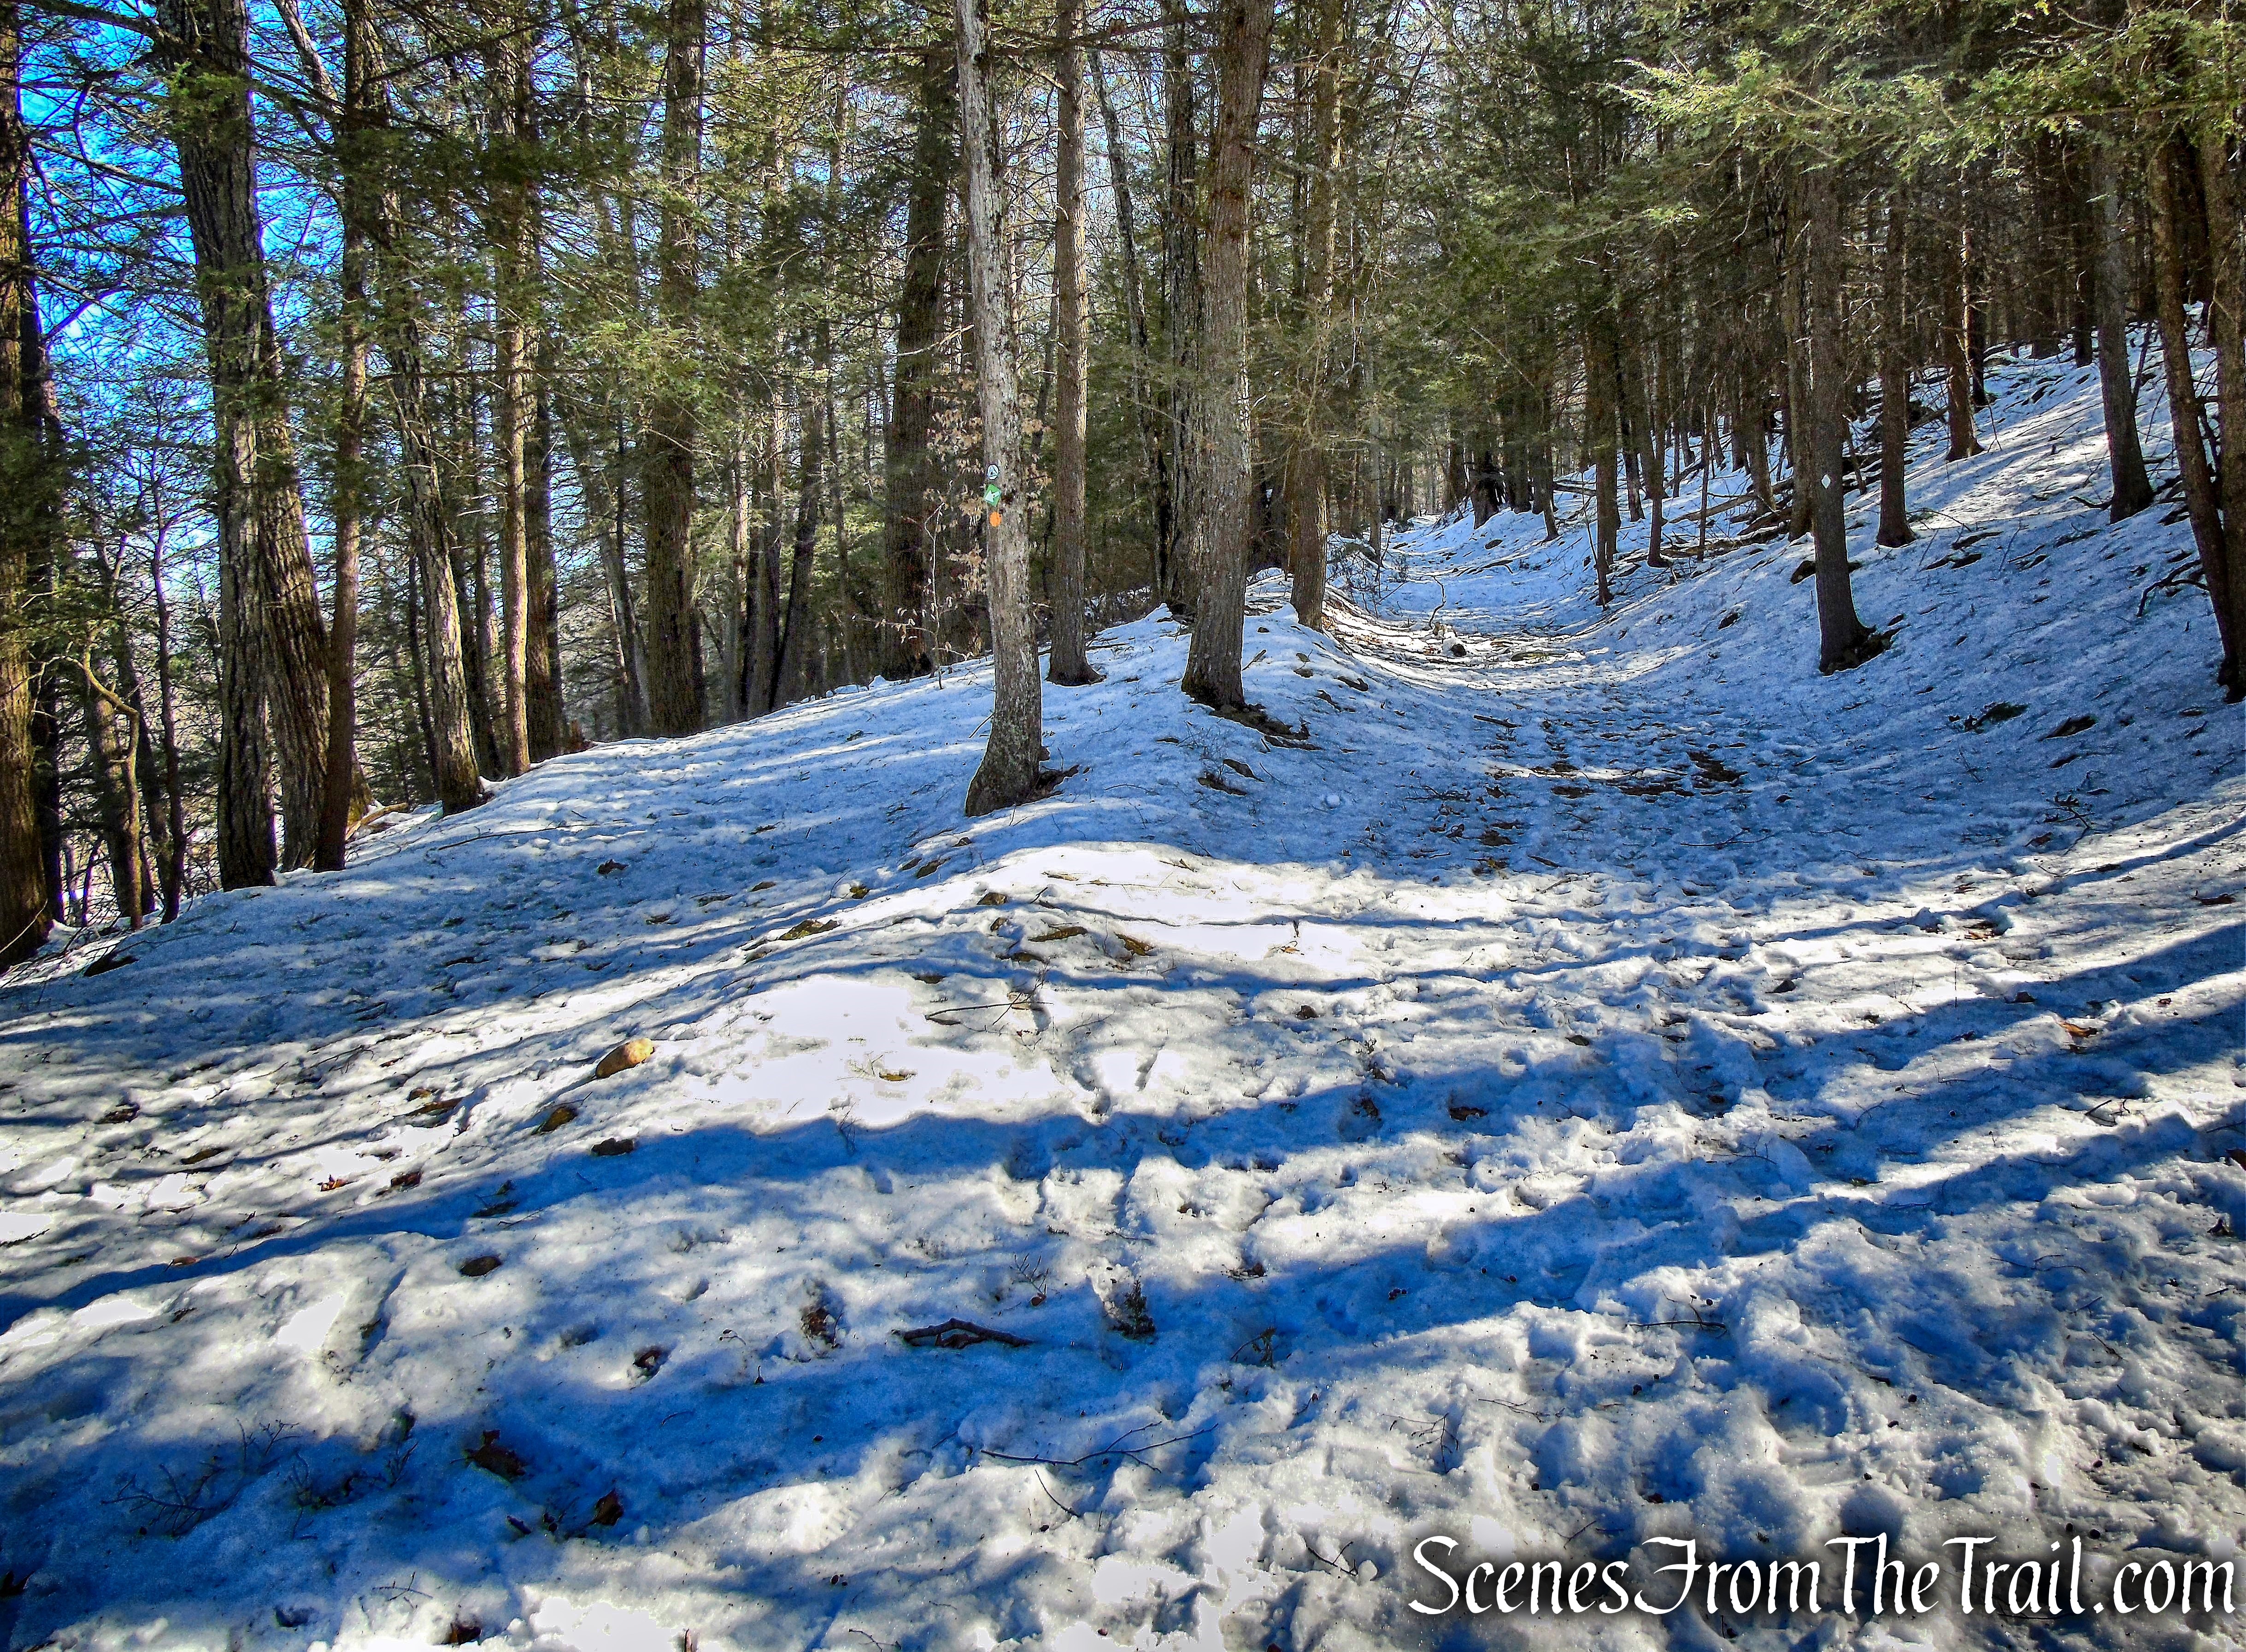
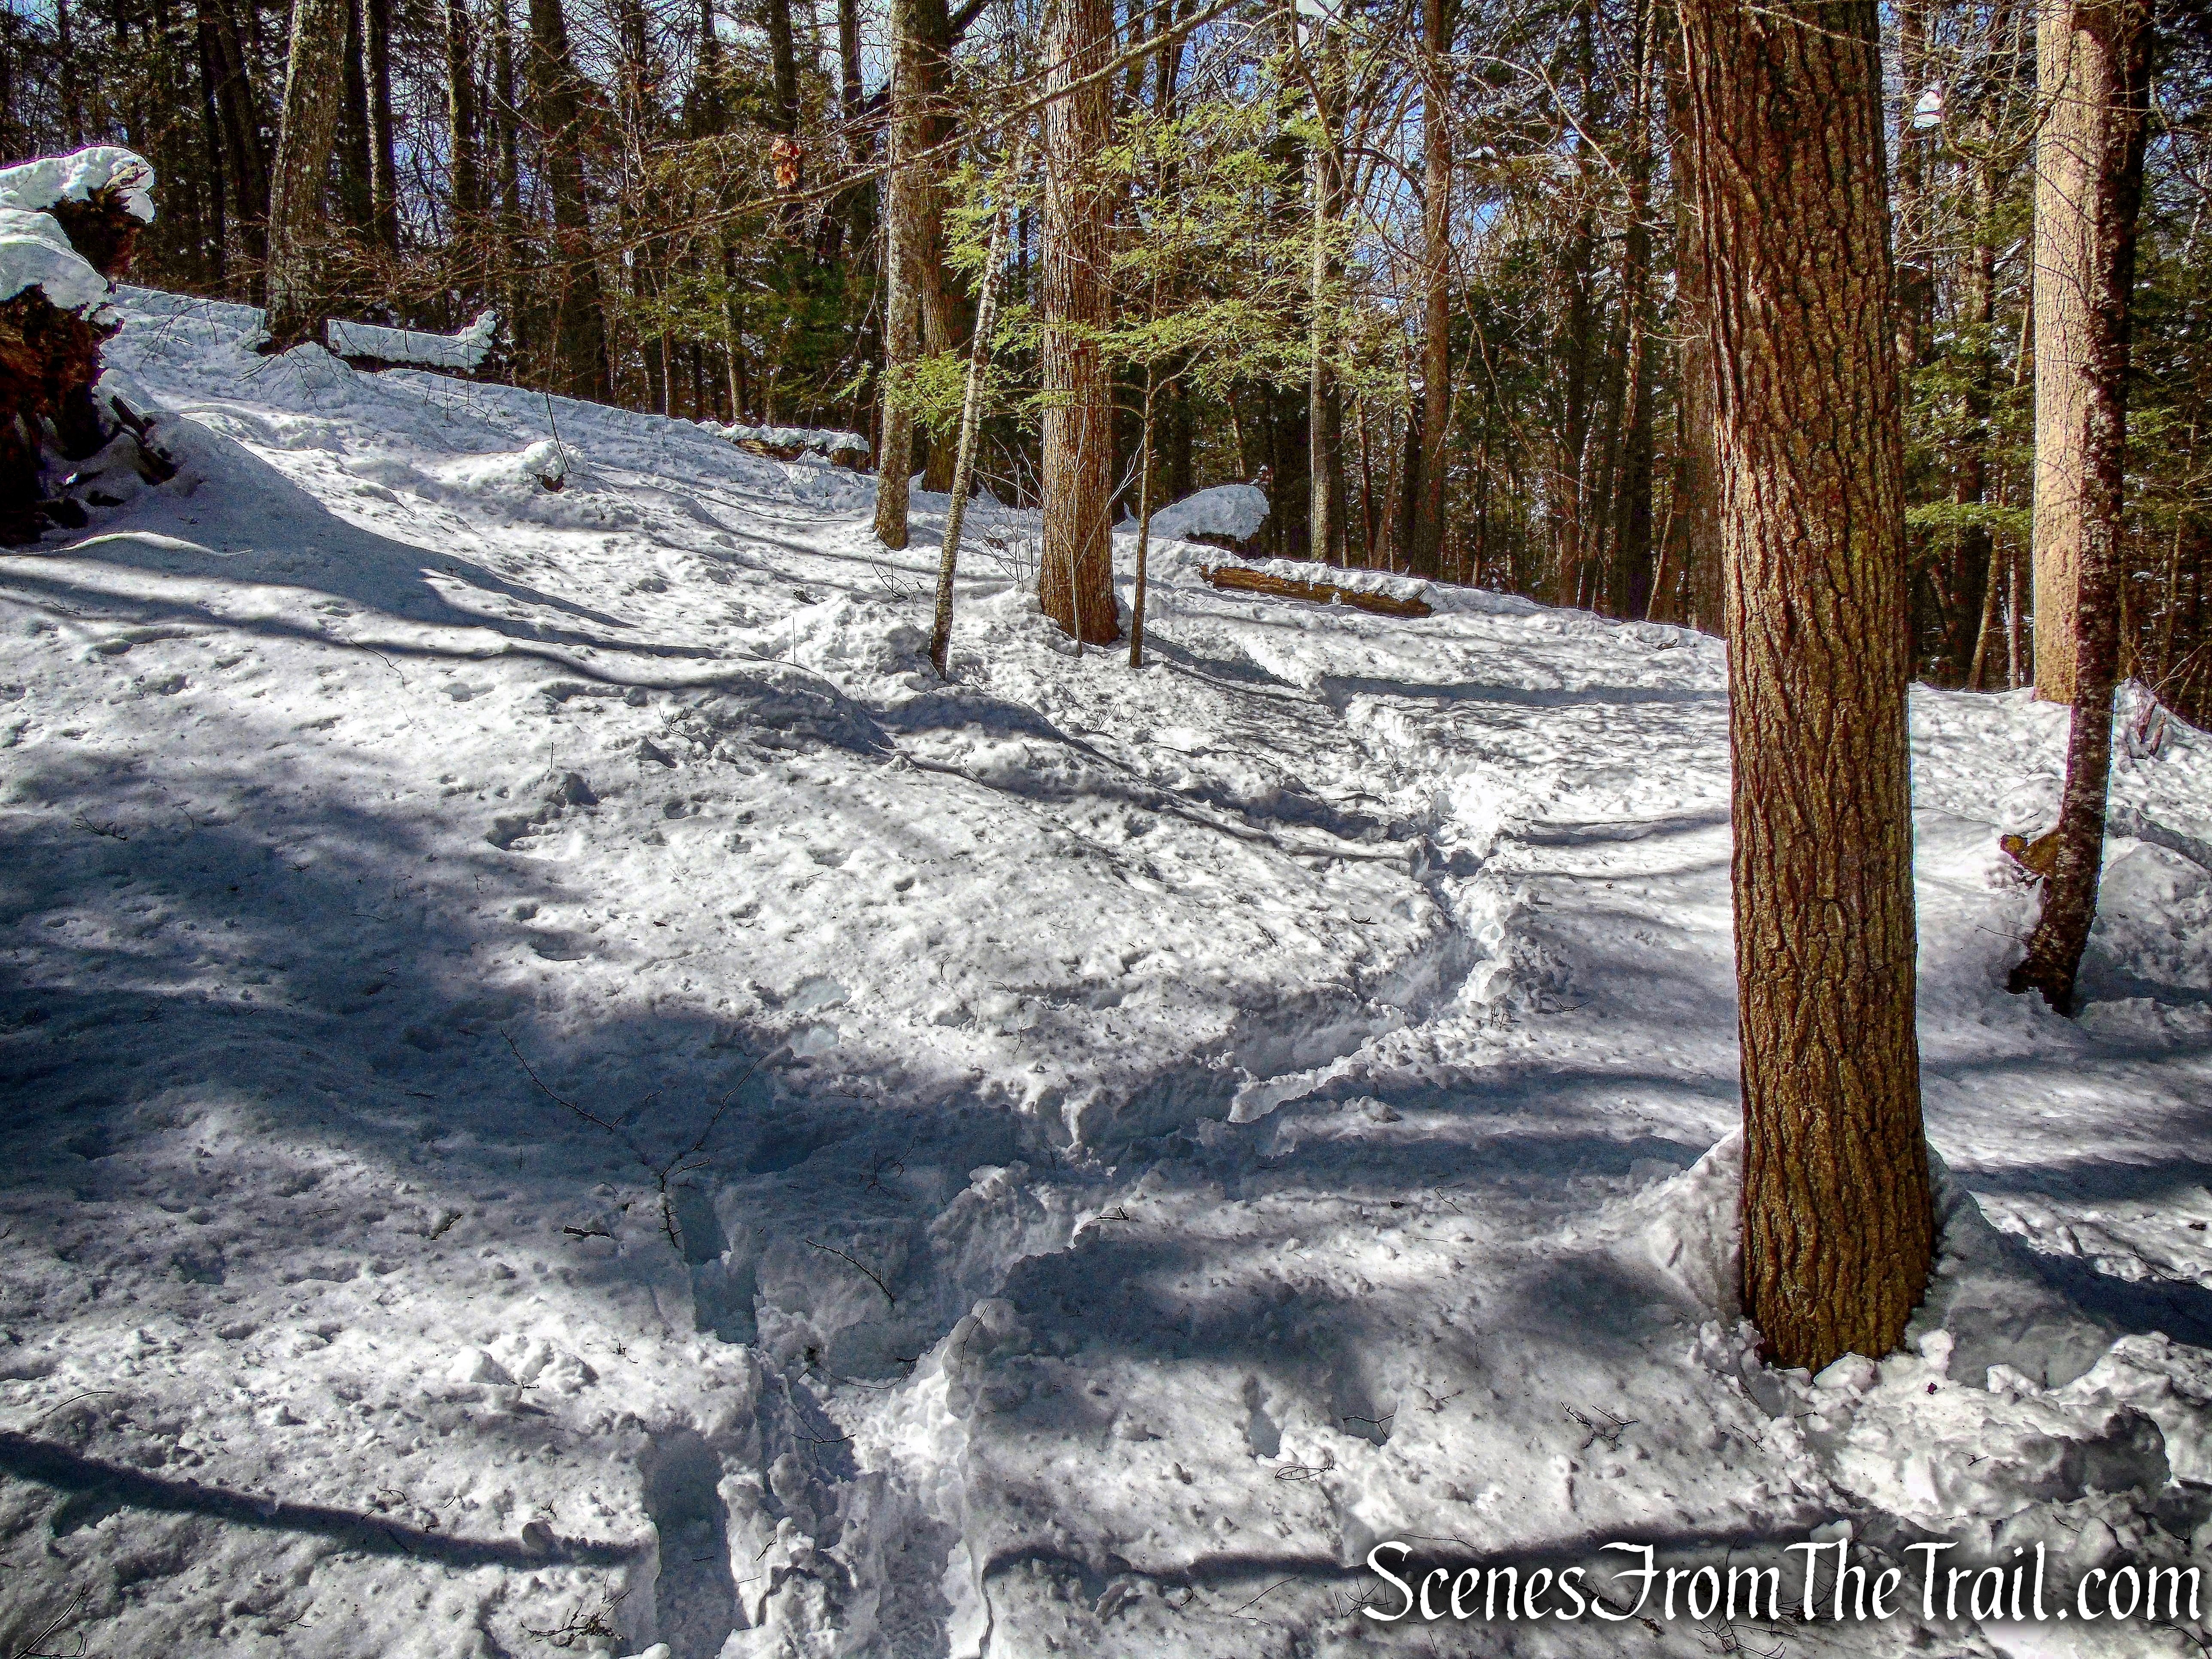
The trail now climbs gradually.
Stony Kill Falls Trail
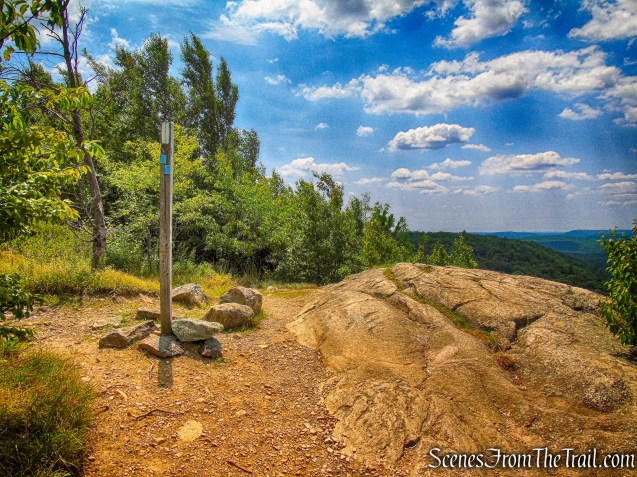
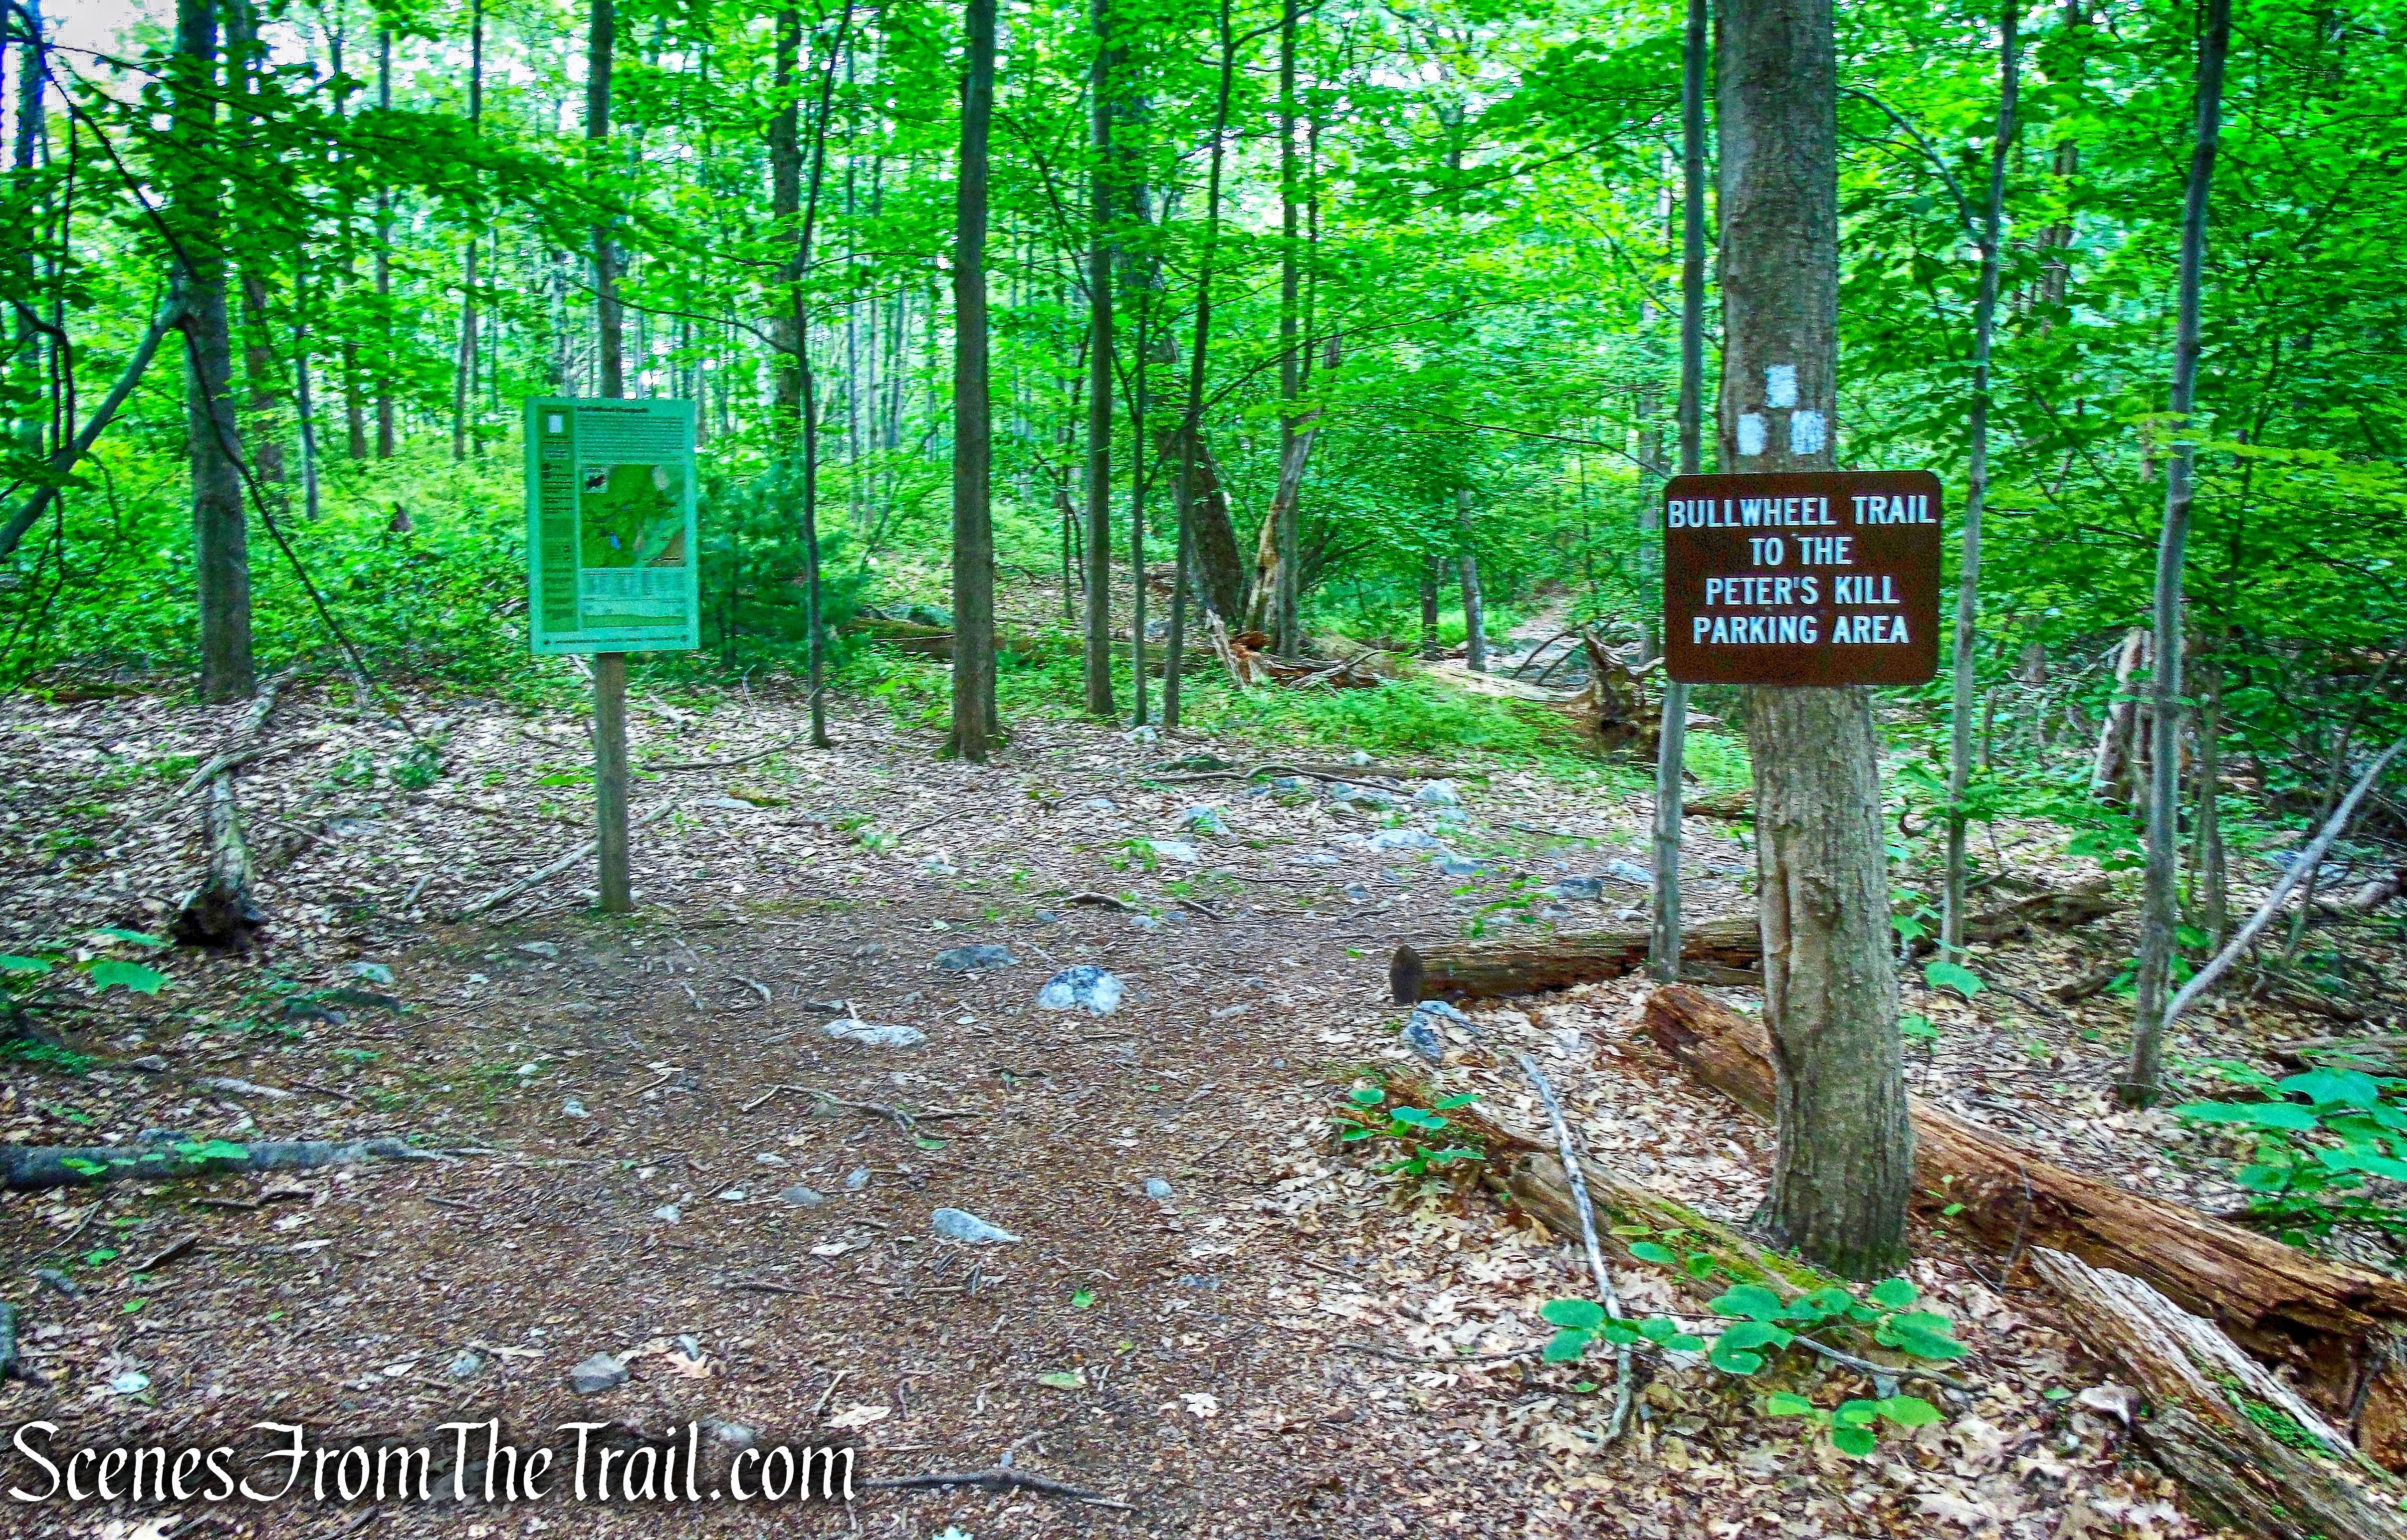
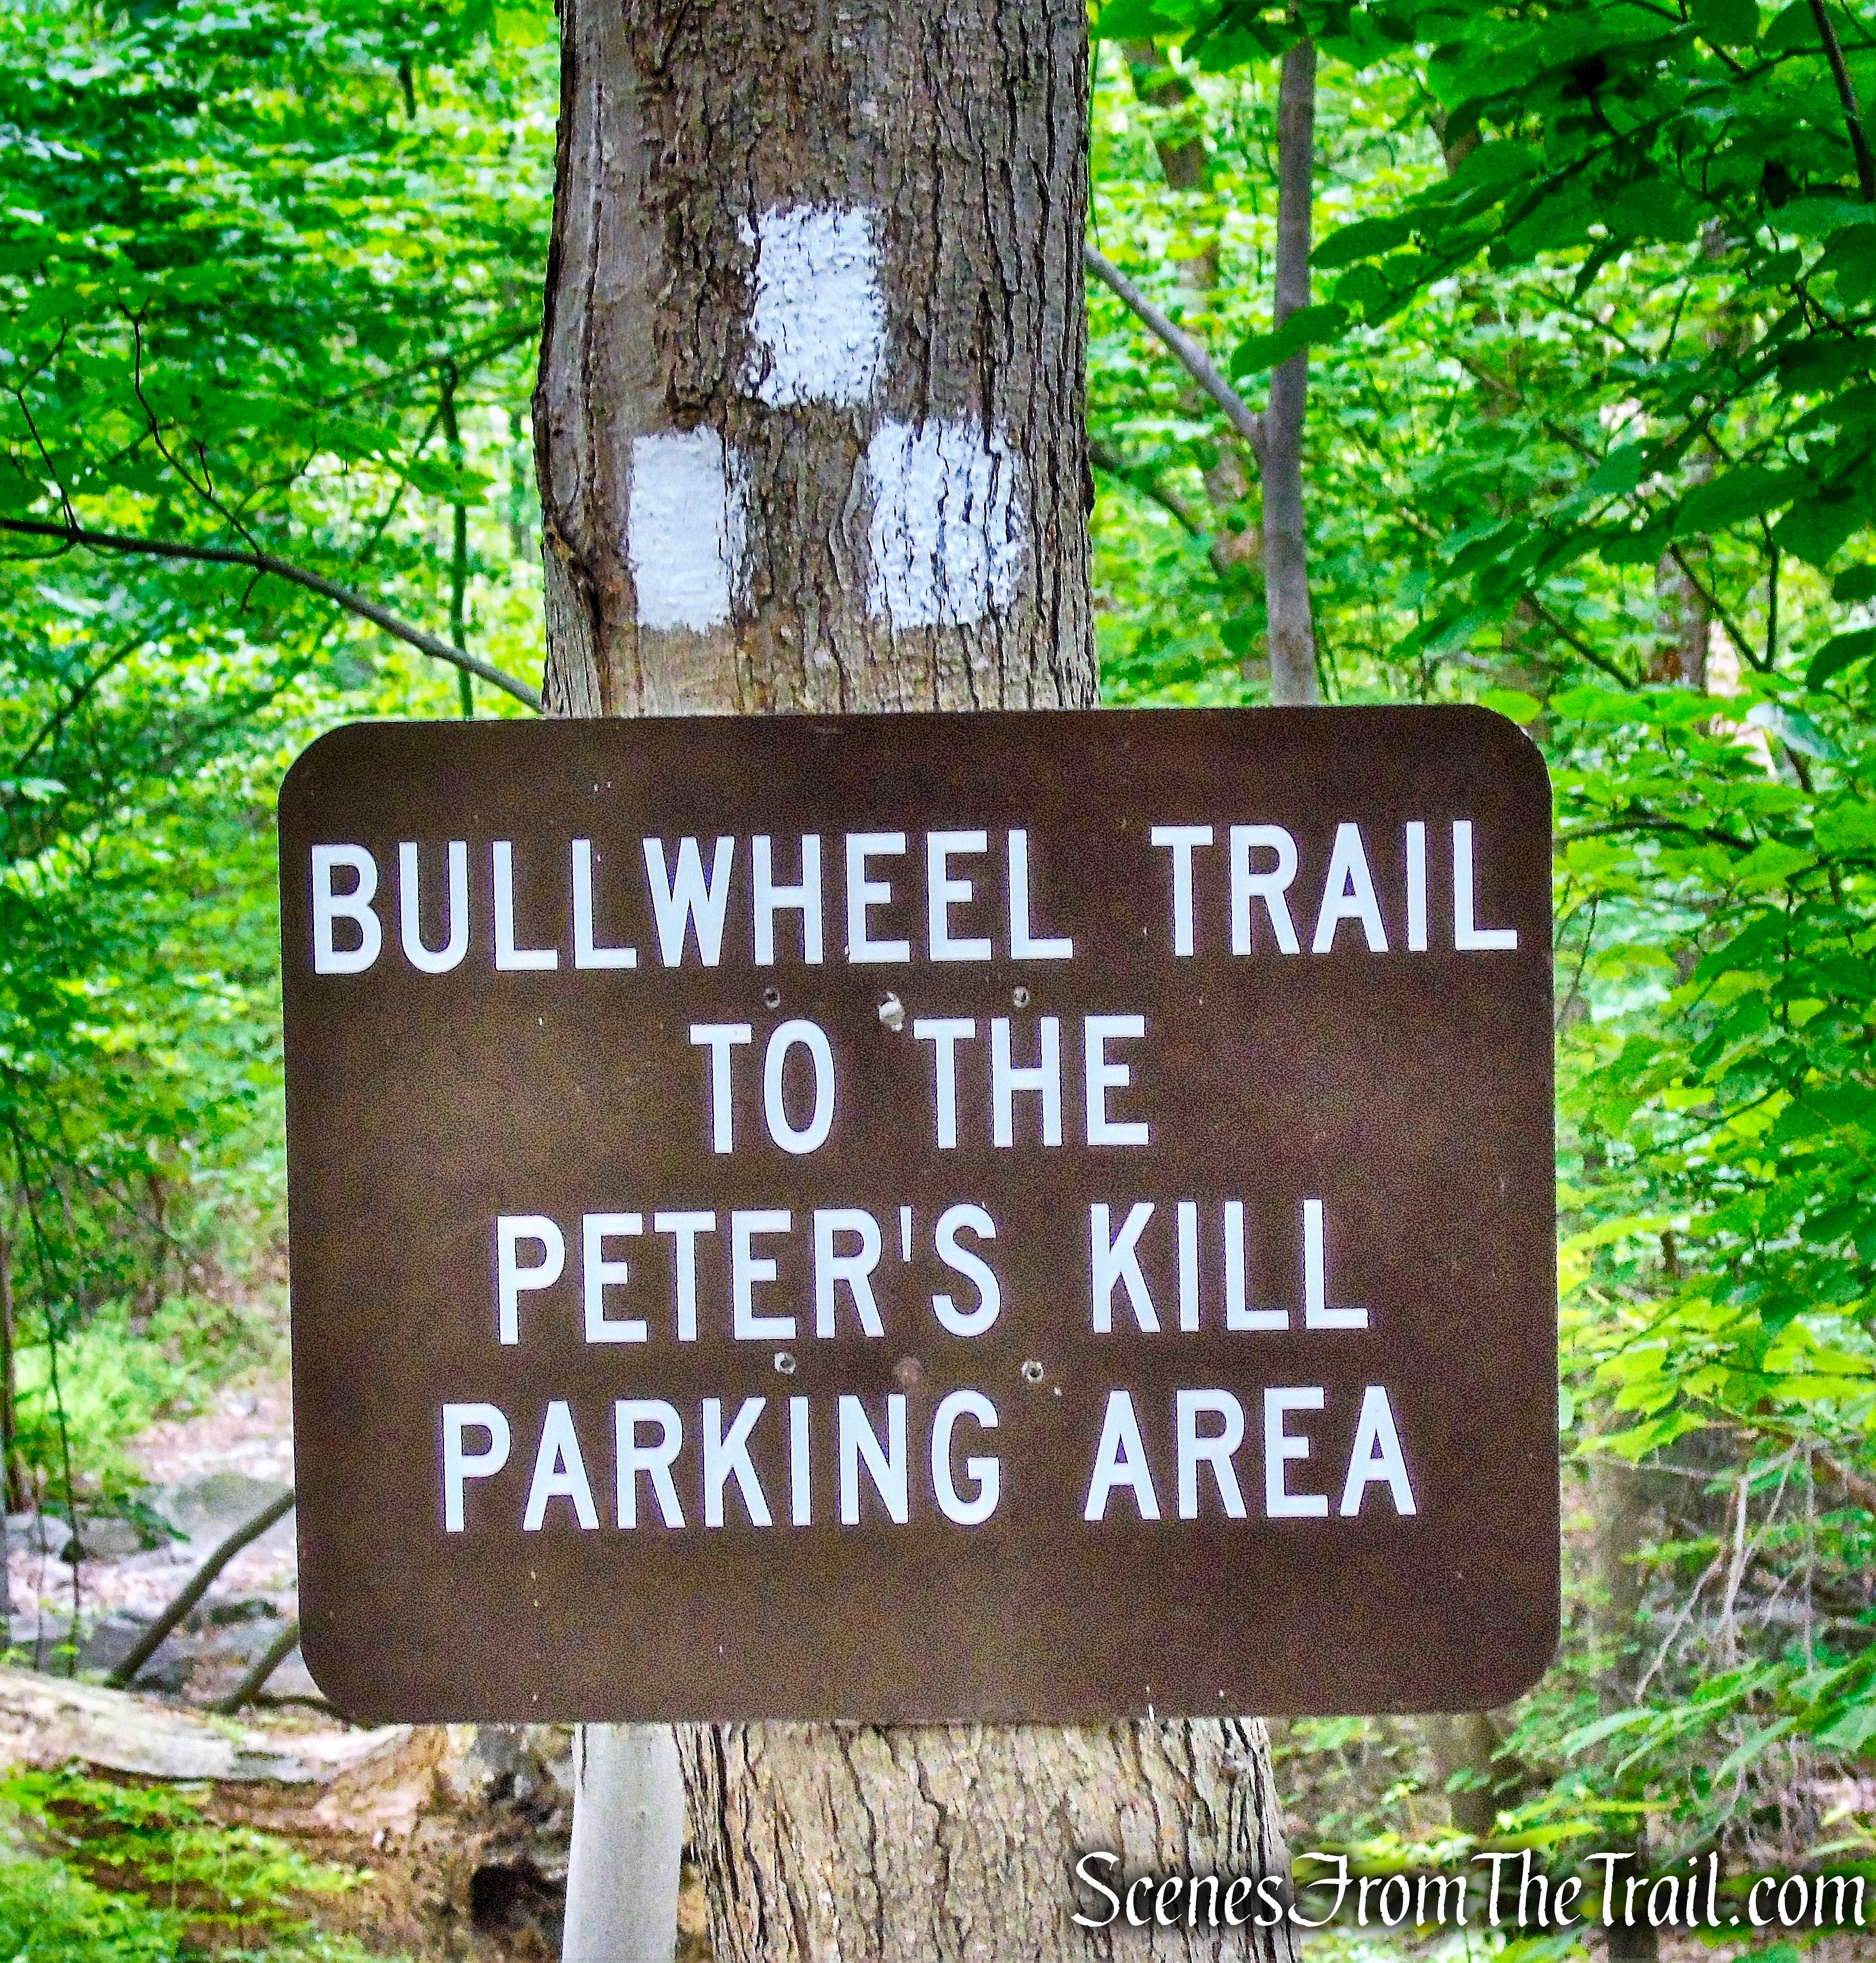
The Stony Kill Falls Trail ends at the northern end of the Stony Kill Falls Carriage Road, where we turned right.
terminus of Stony Kill Falls Trail
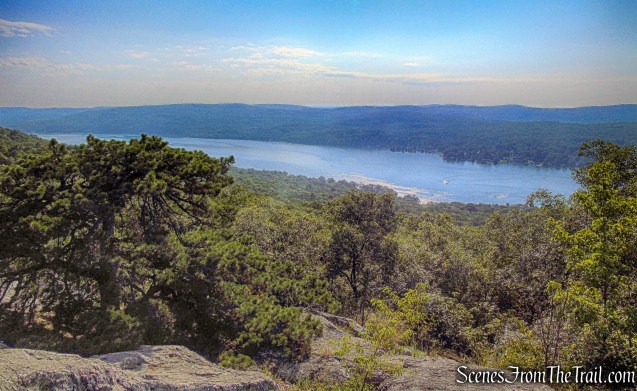
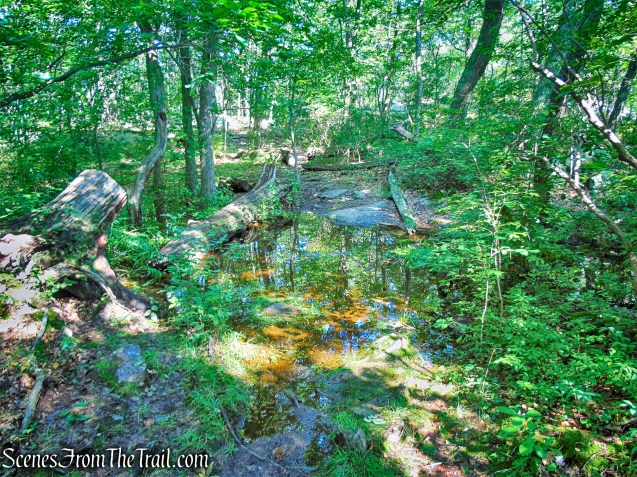
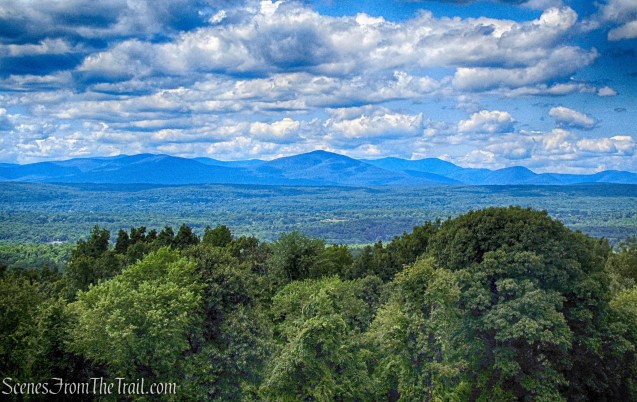
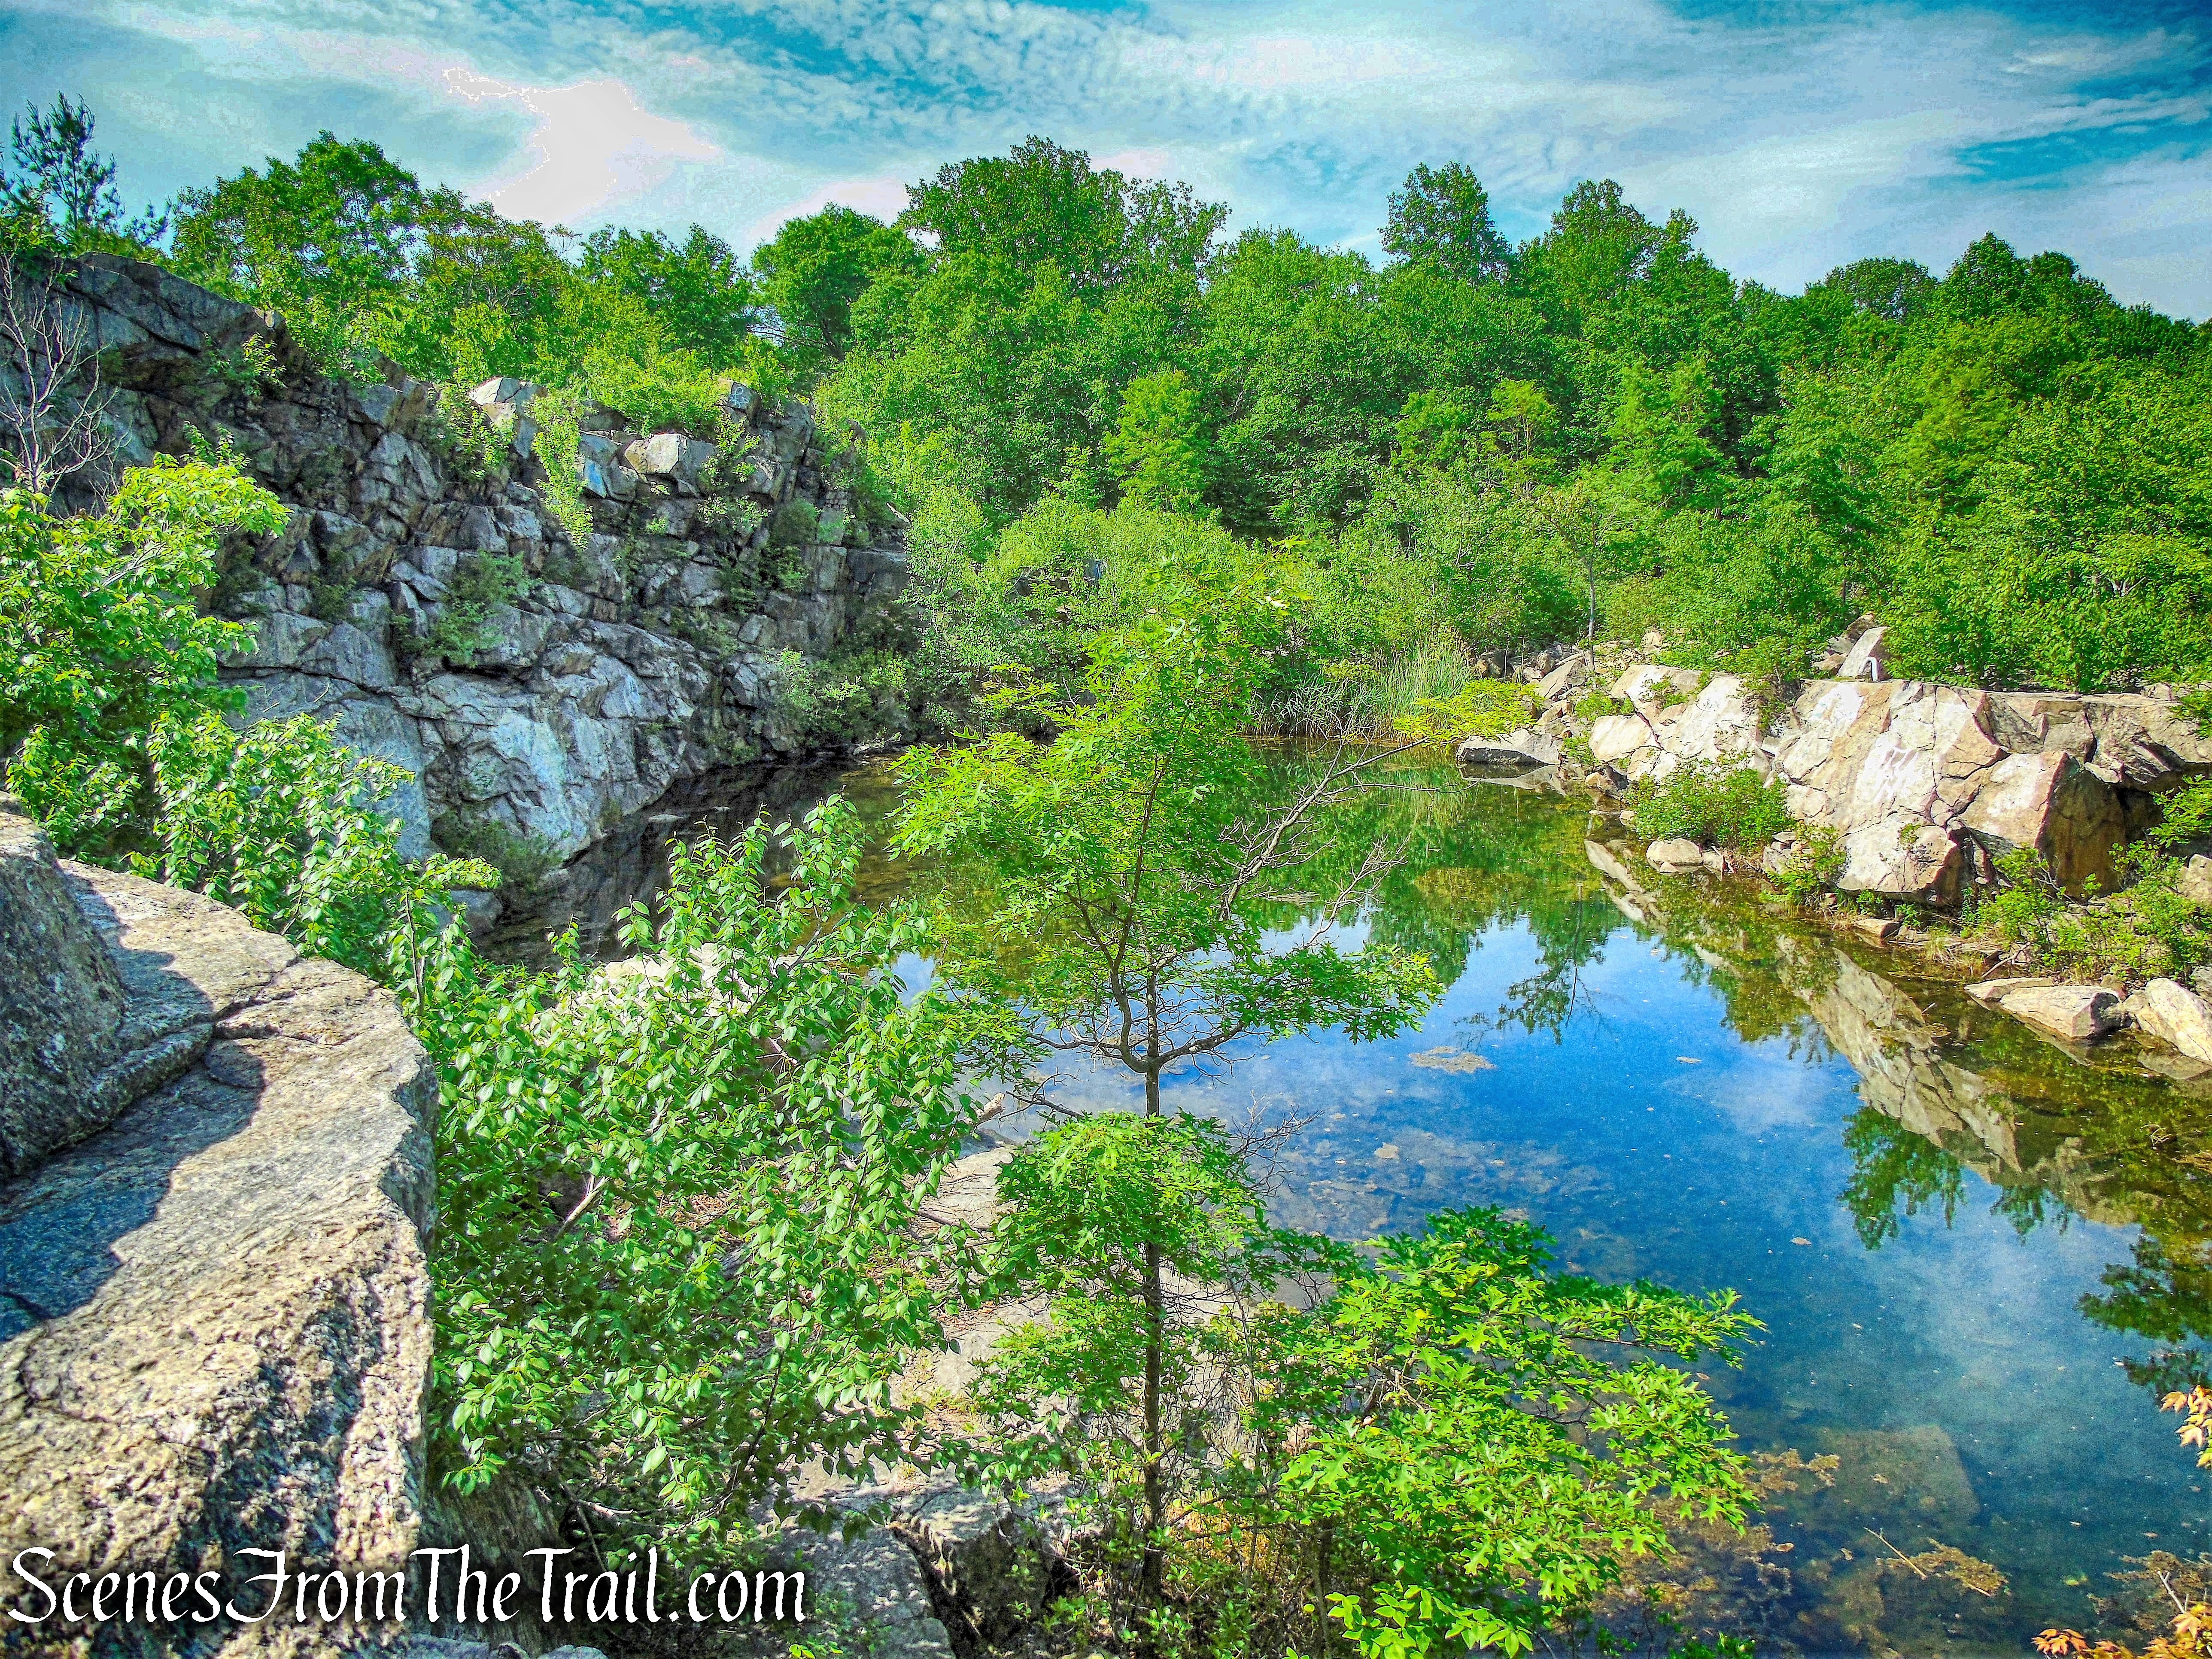
A short distance away is the “nudist pool,” that is lined with smooth rock slabs. Beyond the pool, the Stony Kill can be followed upstream for several miles, where the hiker will come across many pools and small cascades, as it flows from Minnewaska State Park.

nudist pool – Stony Kill
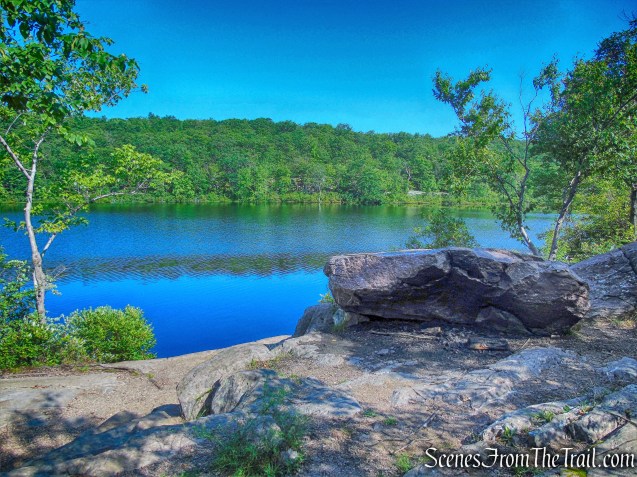
Retracing our steps, we turned left and departed the Stony Kill Carriage Road and got back on the red-blazed Stony Kill Falls Trail. The Stony Kill Carriage Road runs south for 1.5 miles and ends at a junction with the Smiley Carriage Road, just north of Lake Awosting.
junction with Stony Kill Carriage Road
We retraced our steps back to the viewing platform to get one last look at Stony Kill Falls before heading out. We passed two women and a little girl just before reaching the viewing platform. The only people we would see on this hike. It pays to get an early start.
Stony Kill Falls
Walking back along the trail, I looked around and felt very fortunate to have such a charming place to explore.
Stony Kill Falls Trail
Recrossing the footbridges, I had to stop again and take a long look around. I honestly hated leaving here.

Stony Kill Falls Trail
Stony Kill Falls Trail
Back out in the open area, we followed the gravel road back the way we came.
Stony Kill Falls Trail
Stony Kill Falls Trail
While getting ready to leave, several cars drove up. We were fortunate enough to arrive early and for the most part, had the place to ourselves.
Shaft 2A Road
Having visited Stony Kill Falls before there were any formal trails, I was blown away with all the work that has been done there. Such great care has been taken to make it this trail blend in to the natural landscape. Thanks to the creativity, vision and sweat of Tahawus Trails LLC, The Jolly Rovers and all the volunteers, making a magnificent place even more alluring.
Pros: One of the most attractive trails that I have hiked on, Stony Kill Falls, Easy to follow trail, scenic landscape.
Cons: Slippery when wet, parking situation hopefully improves if they open up the new parking area.
Take a hike!
Stony Kill Falls
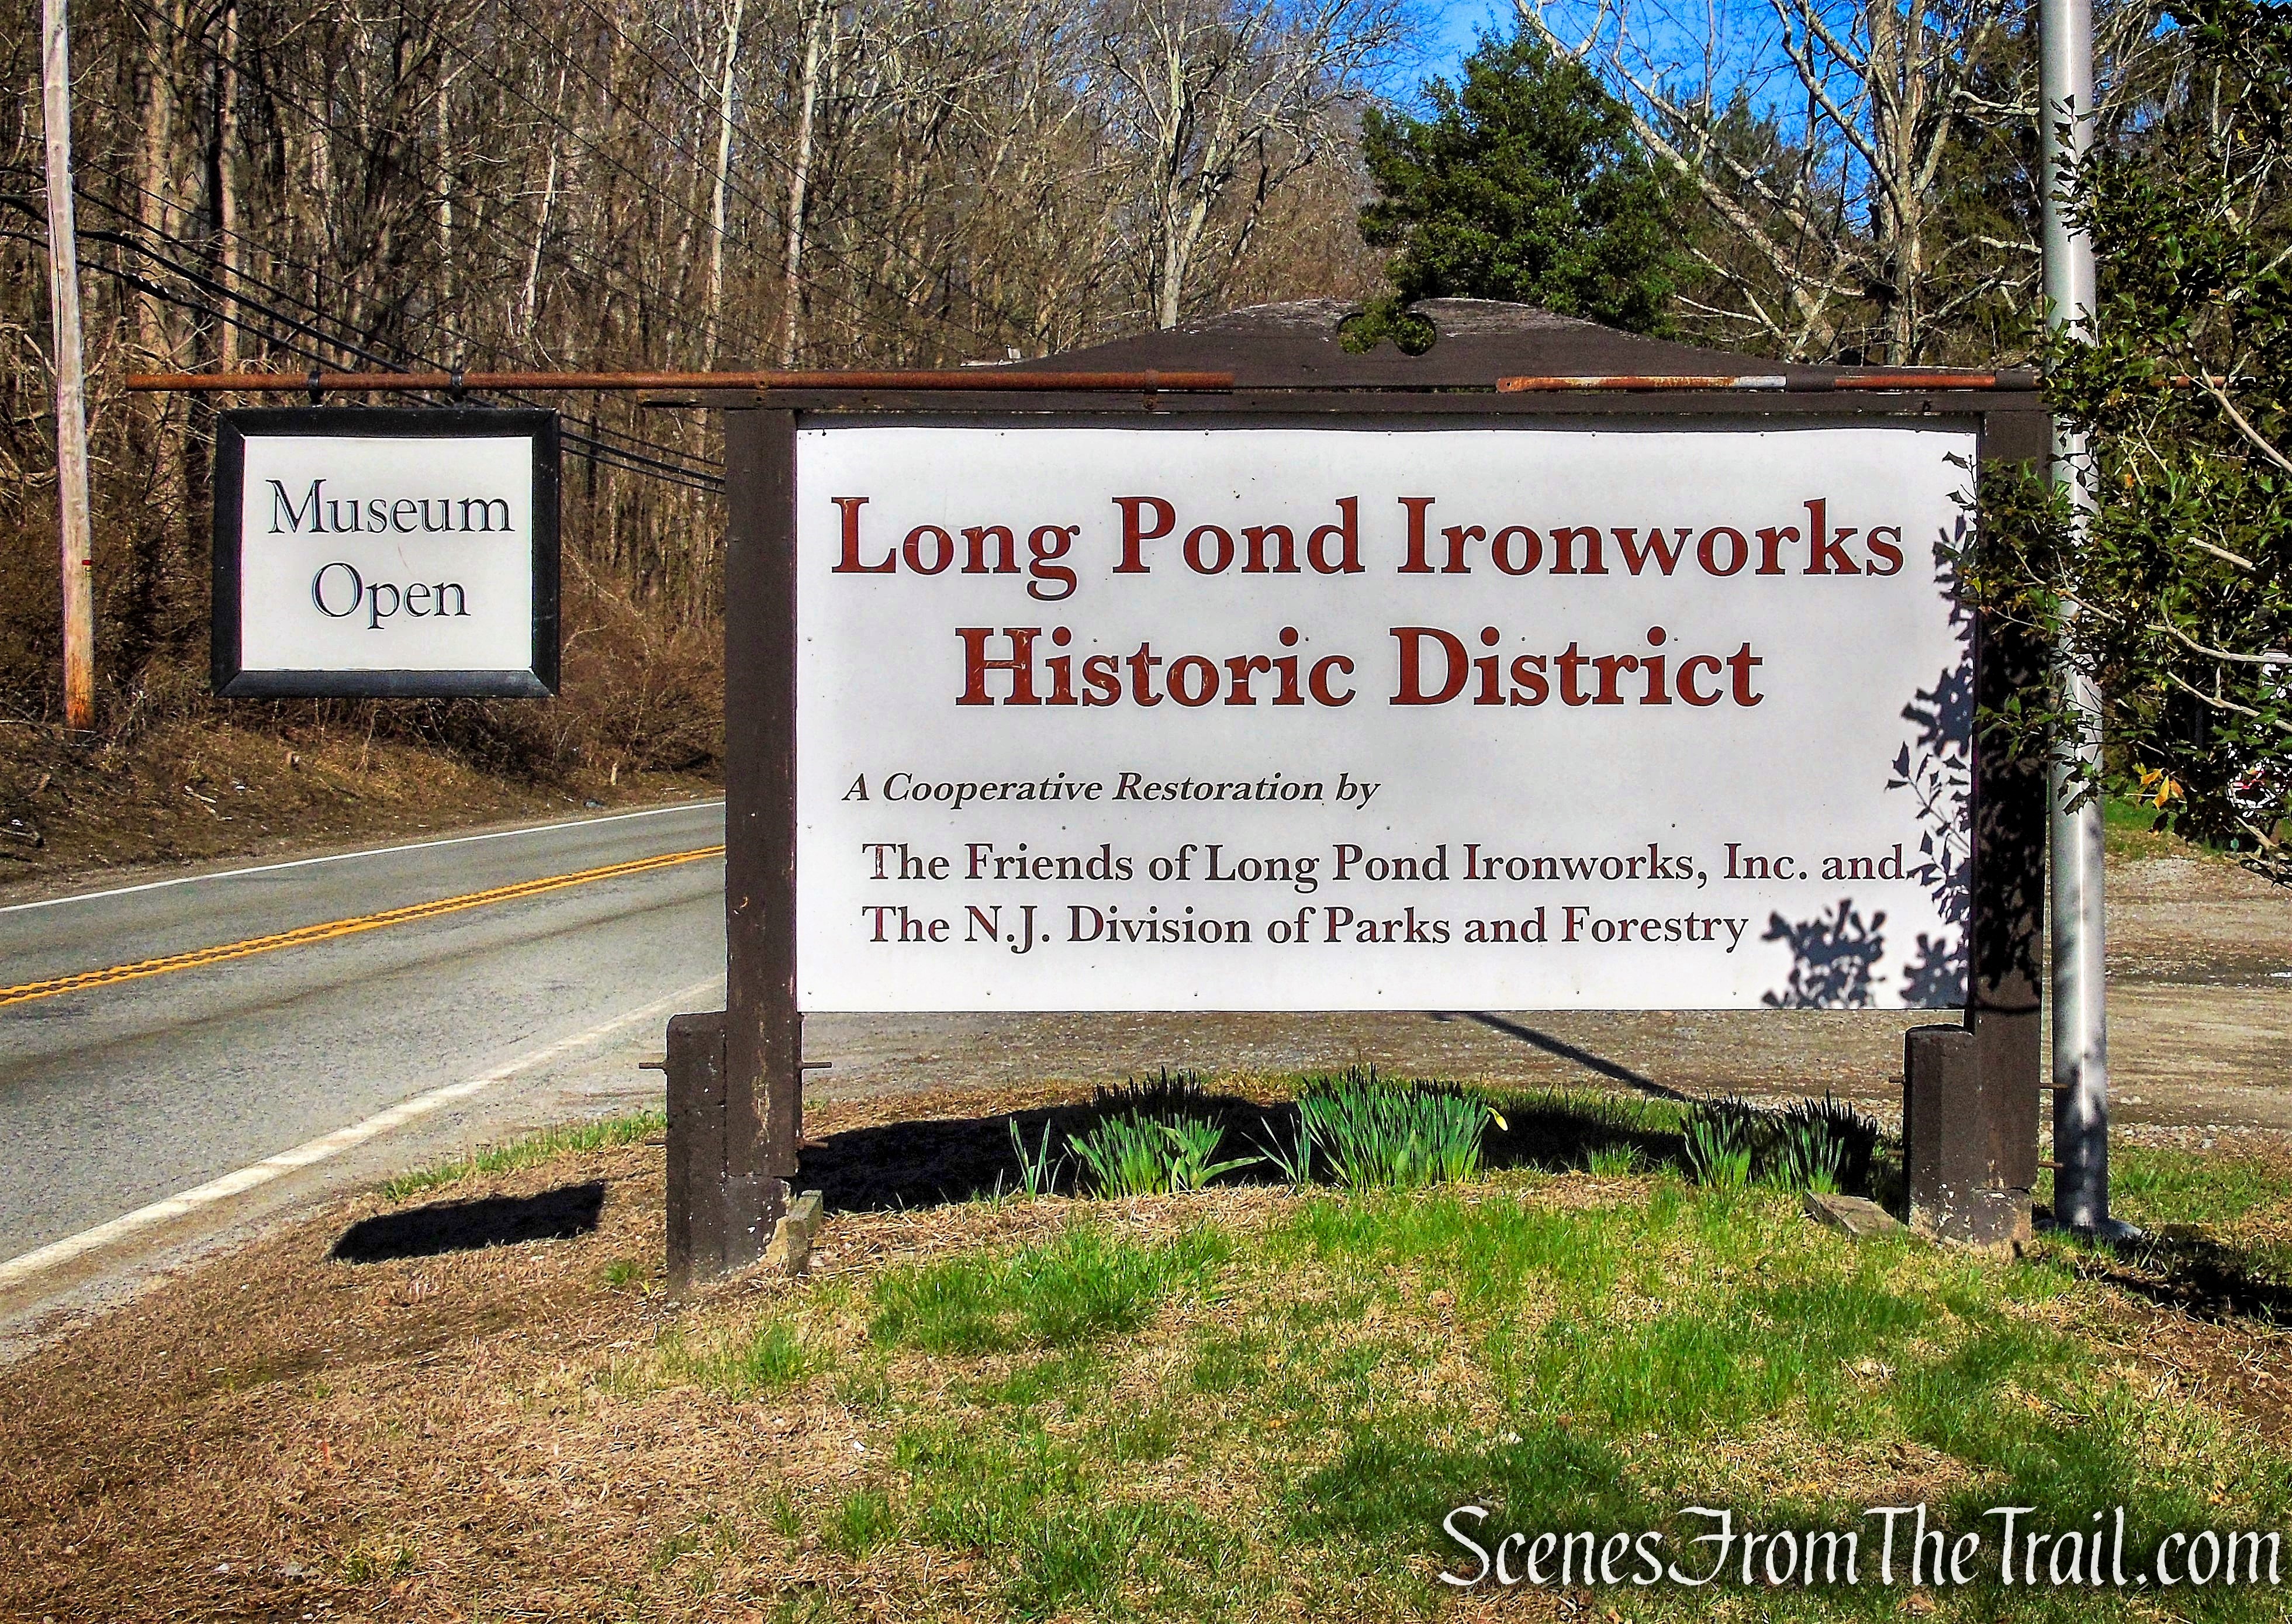
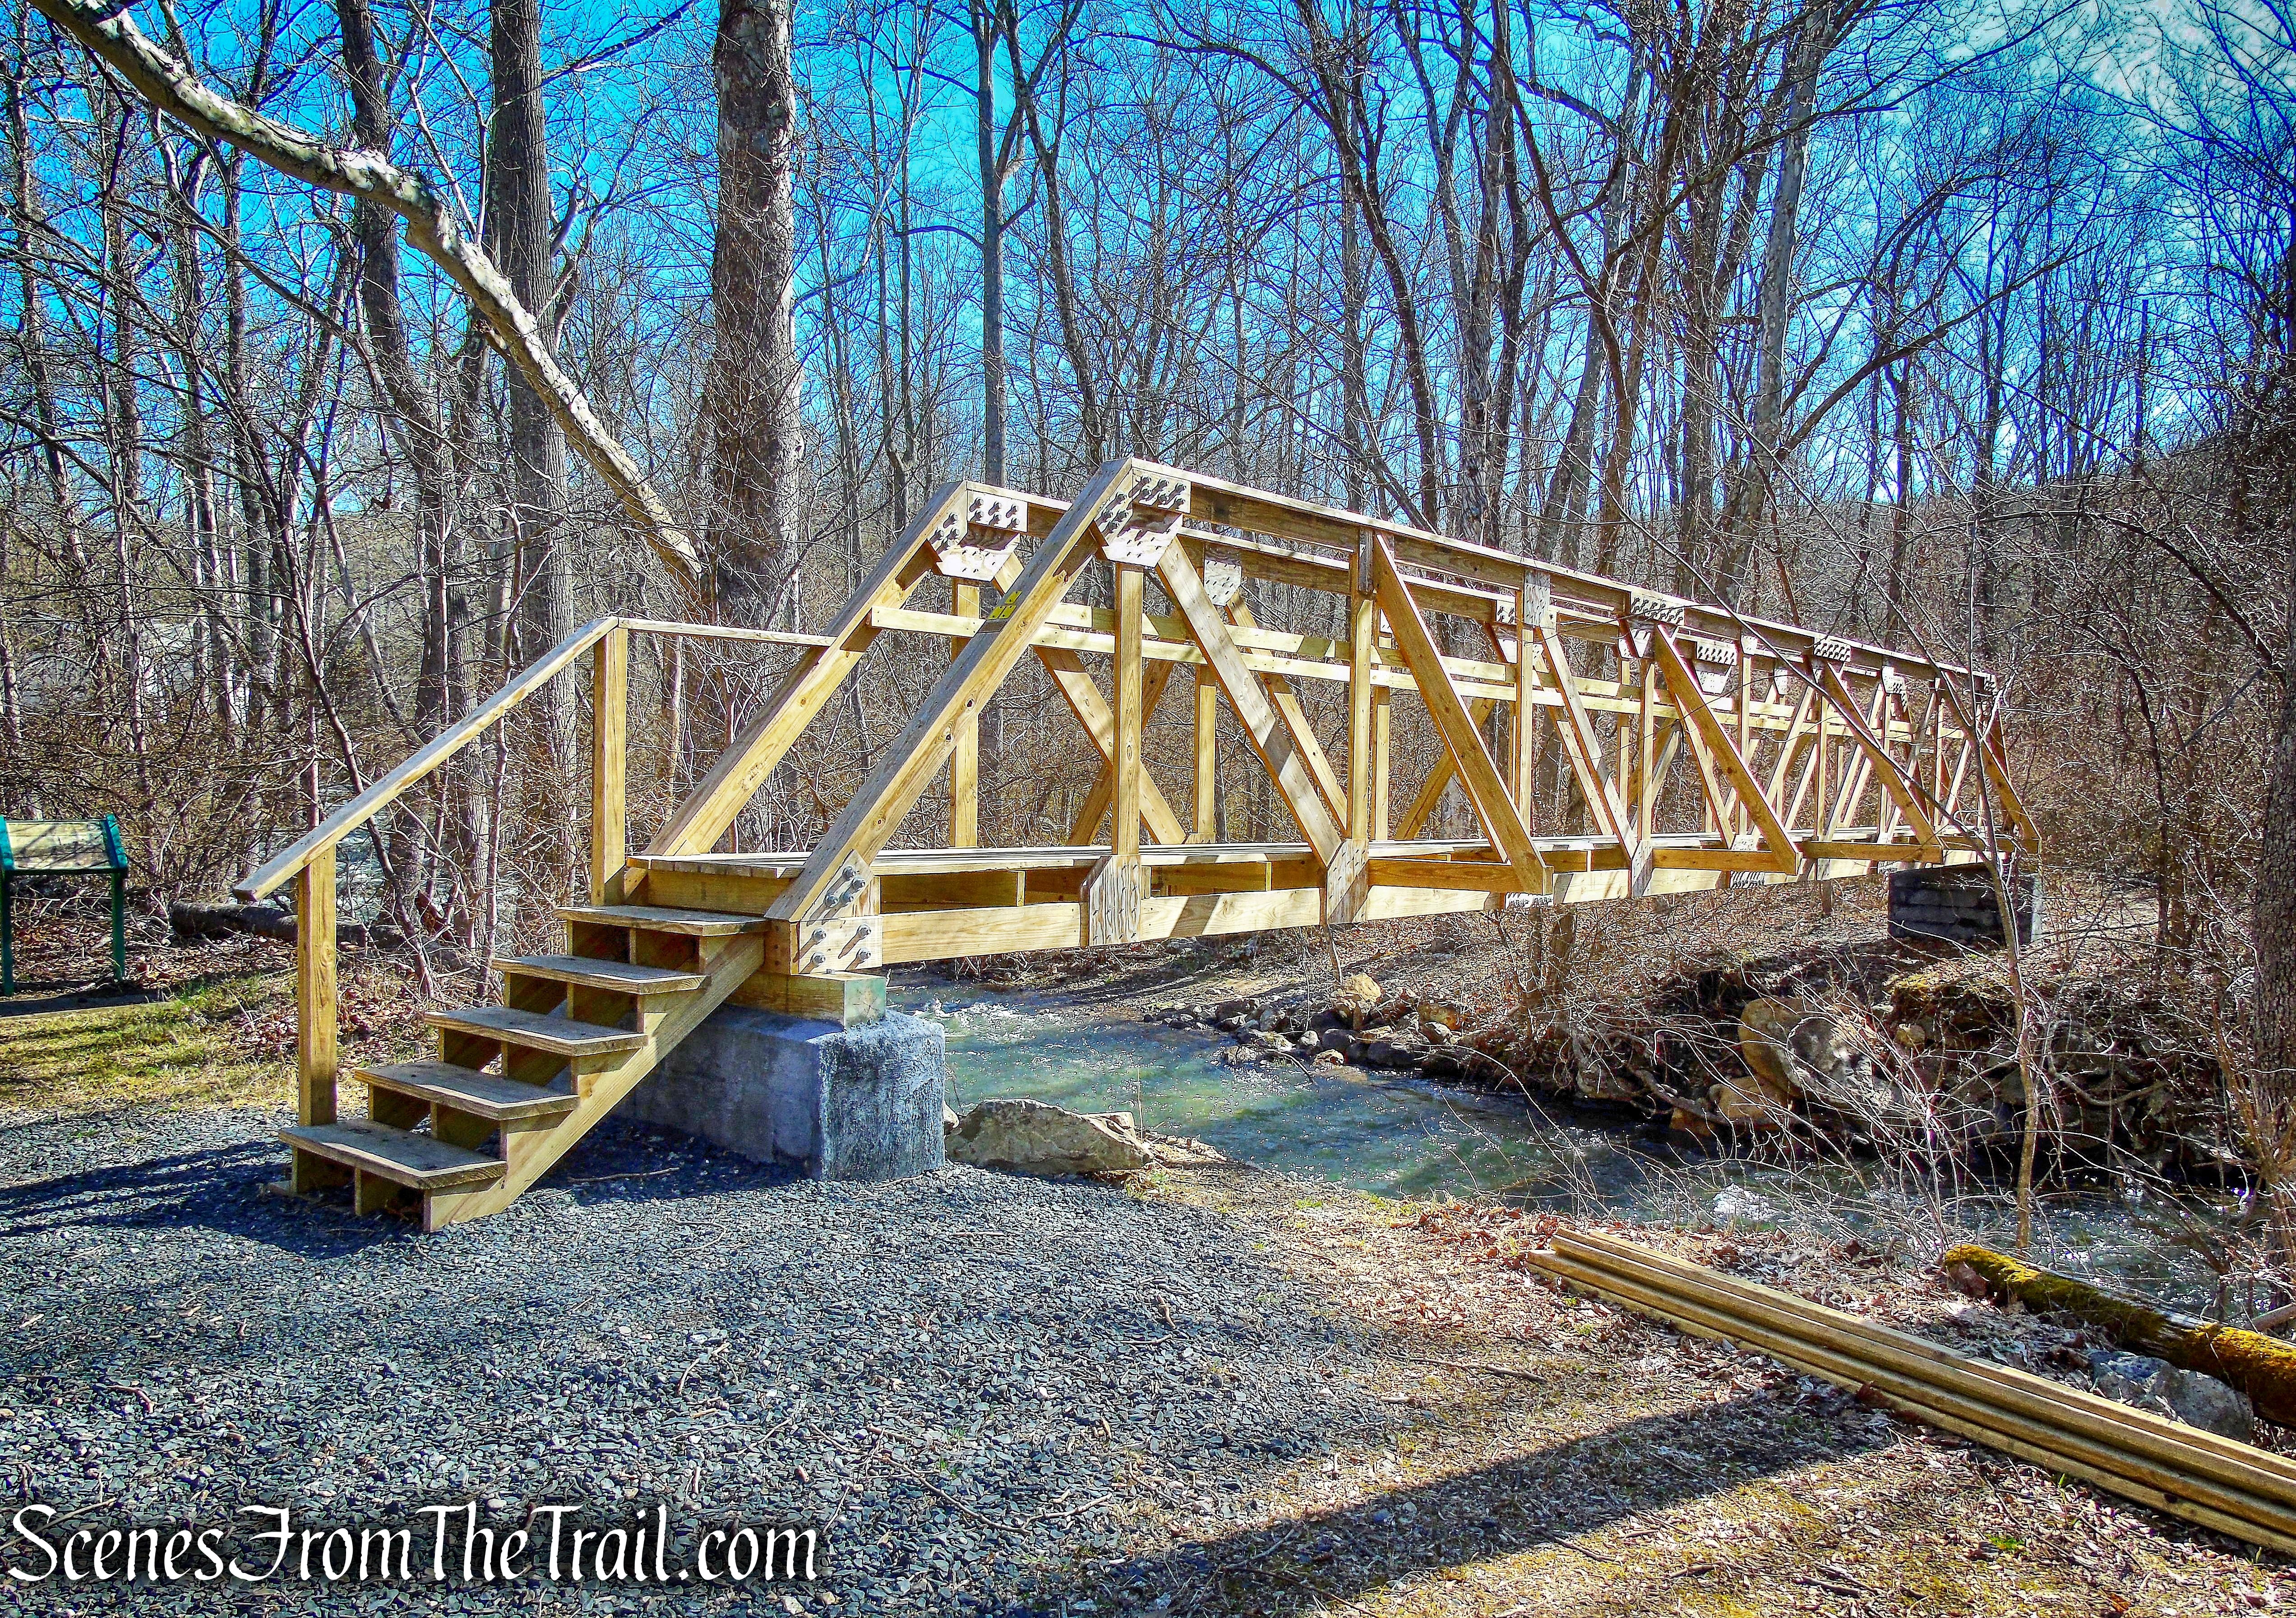
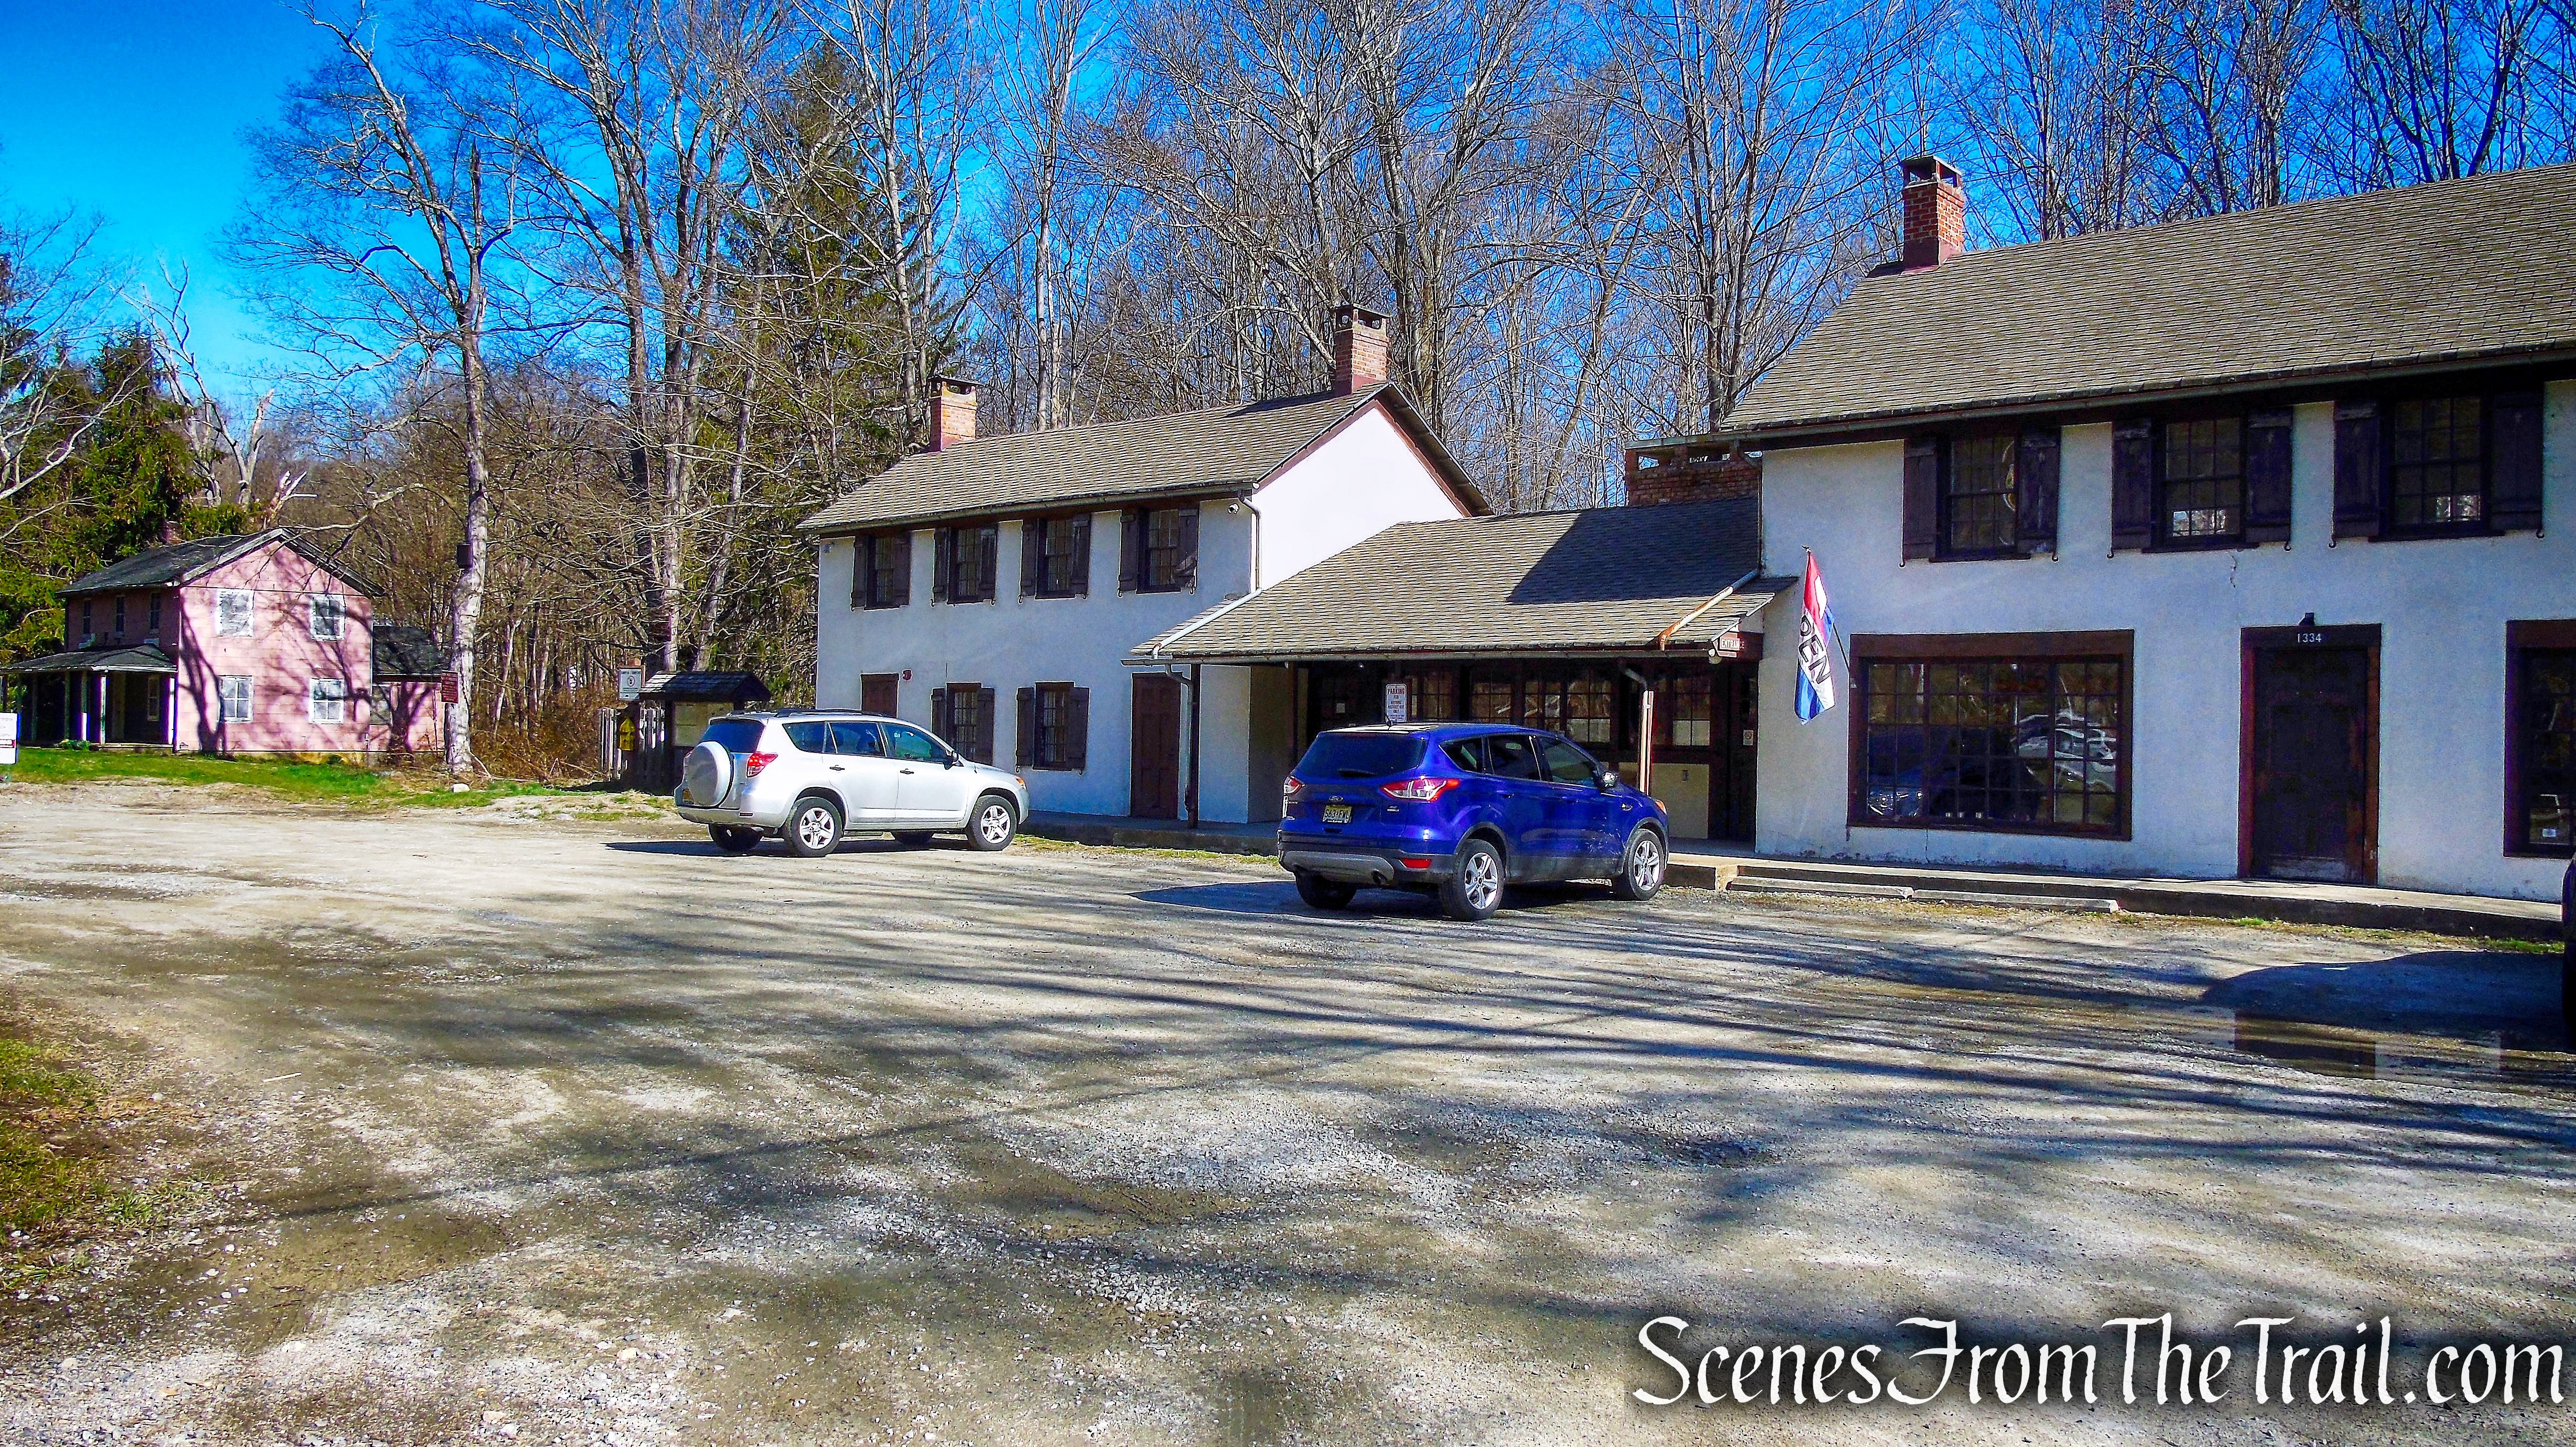
Sources: