July 14, 2024 – Pine Plains, NY
Difficulty: Strenuous
Length: Approximately 2.2 miles
Max elevation: 1460 ft. – total elevation gain approximately 950 ft.
Route type: Lollipop Loop
Map: Thompson Pond/Stissing Mt Trail Map
Trailhead parking: 499 Lake Rd, Pine Plains, NY 12567
No toilets on site – No entrance or parking fees
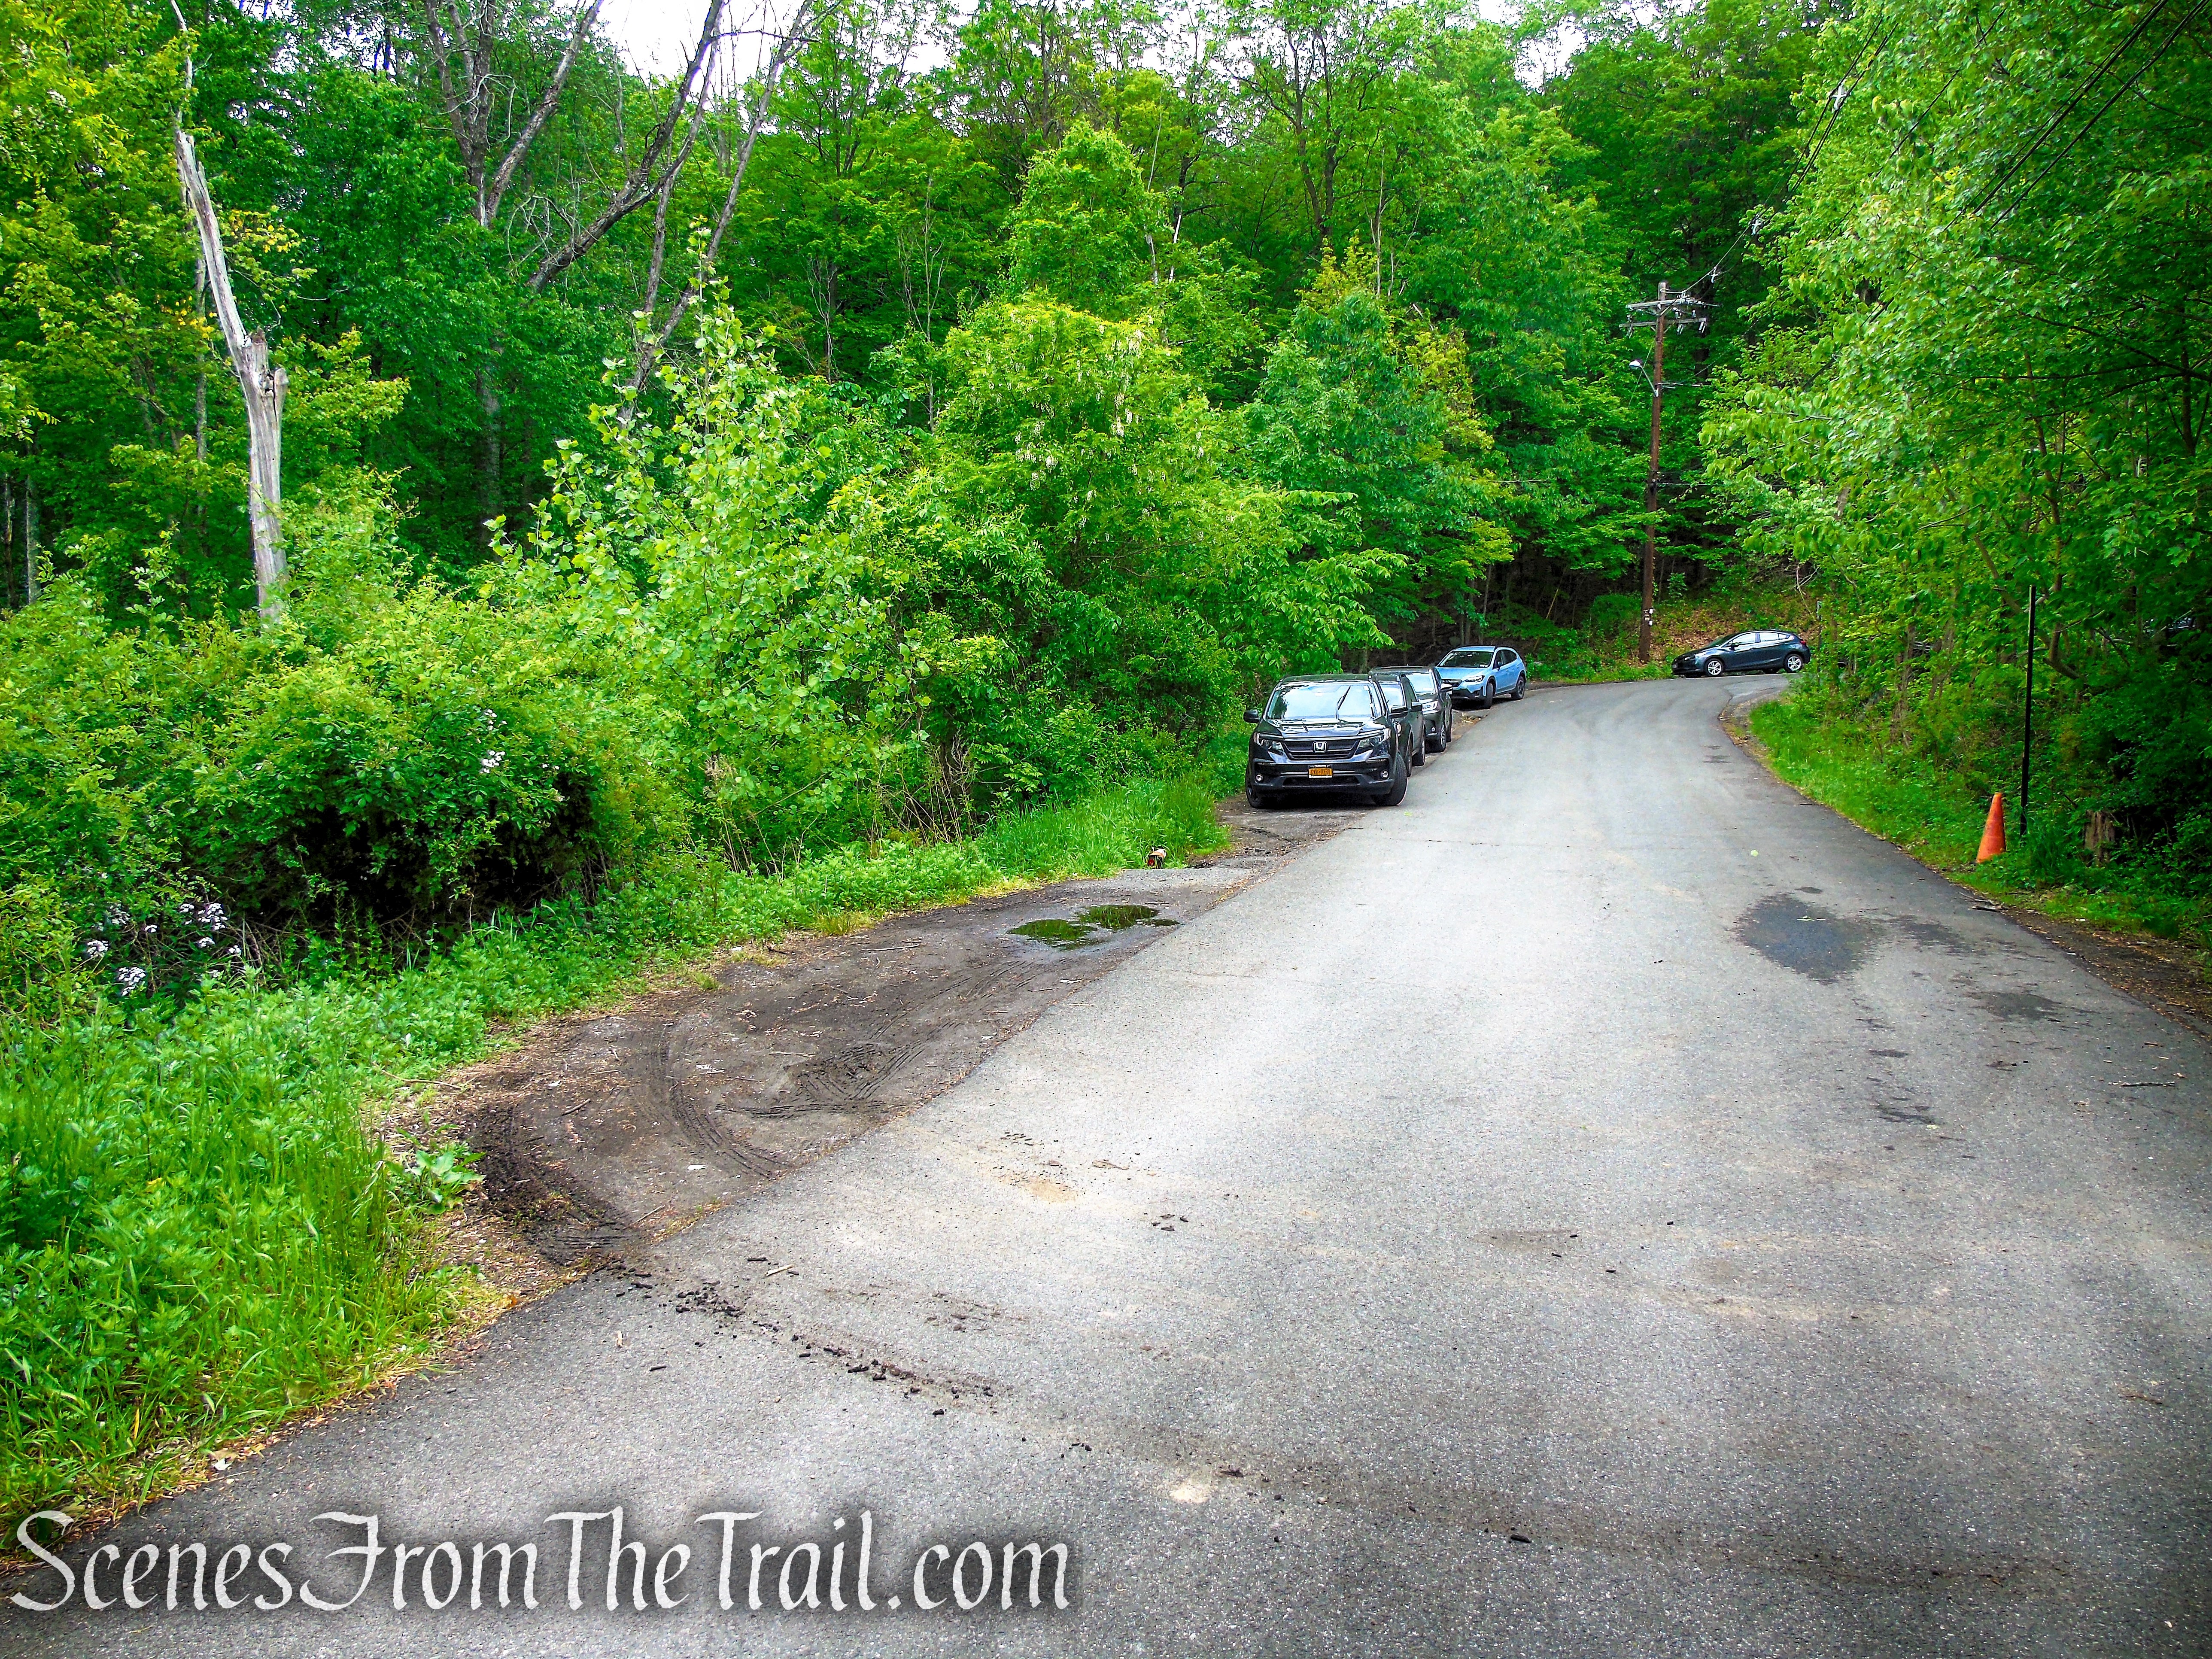
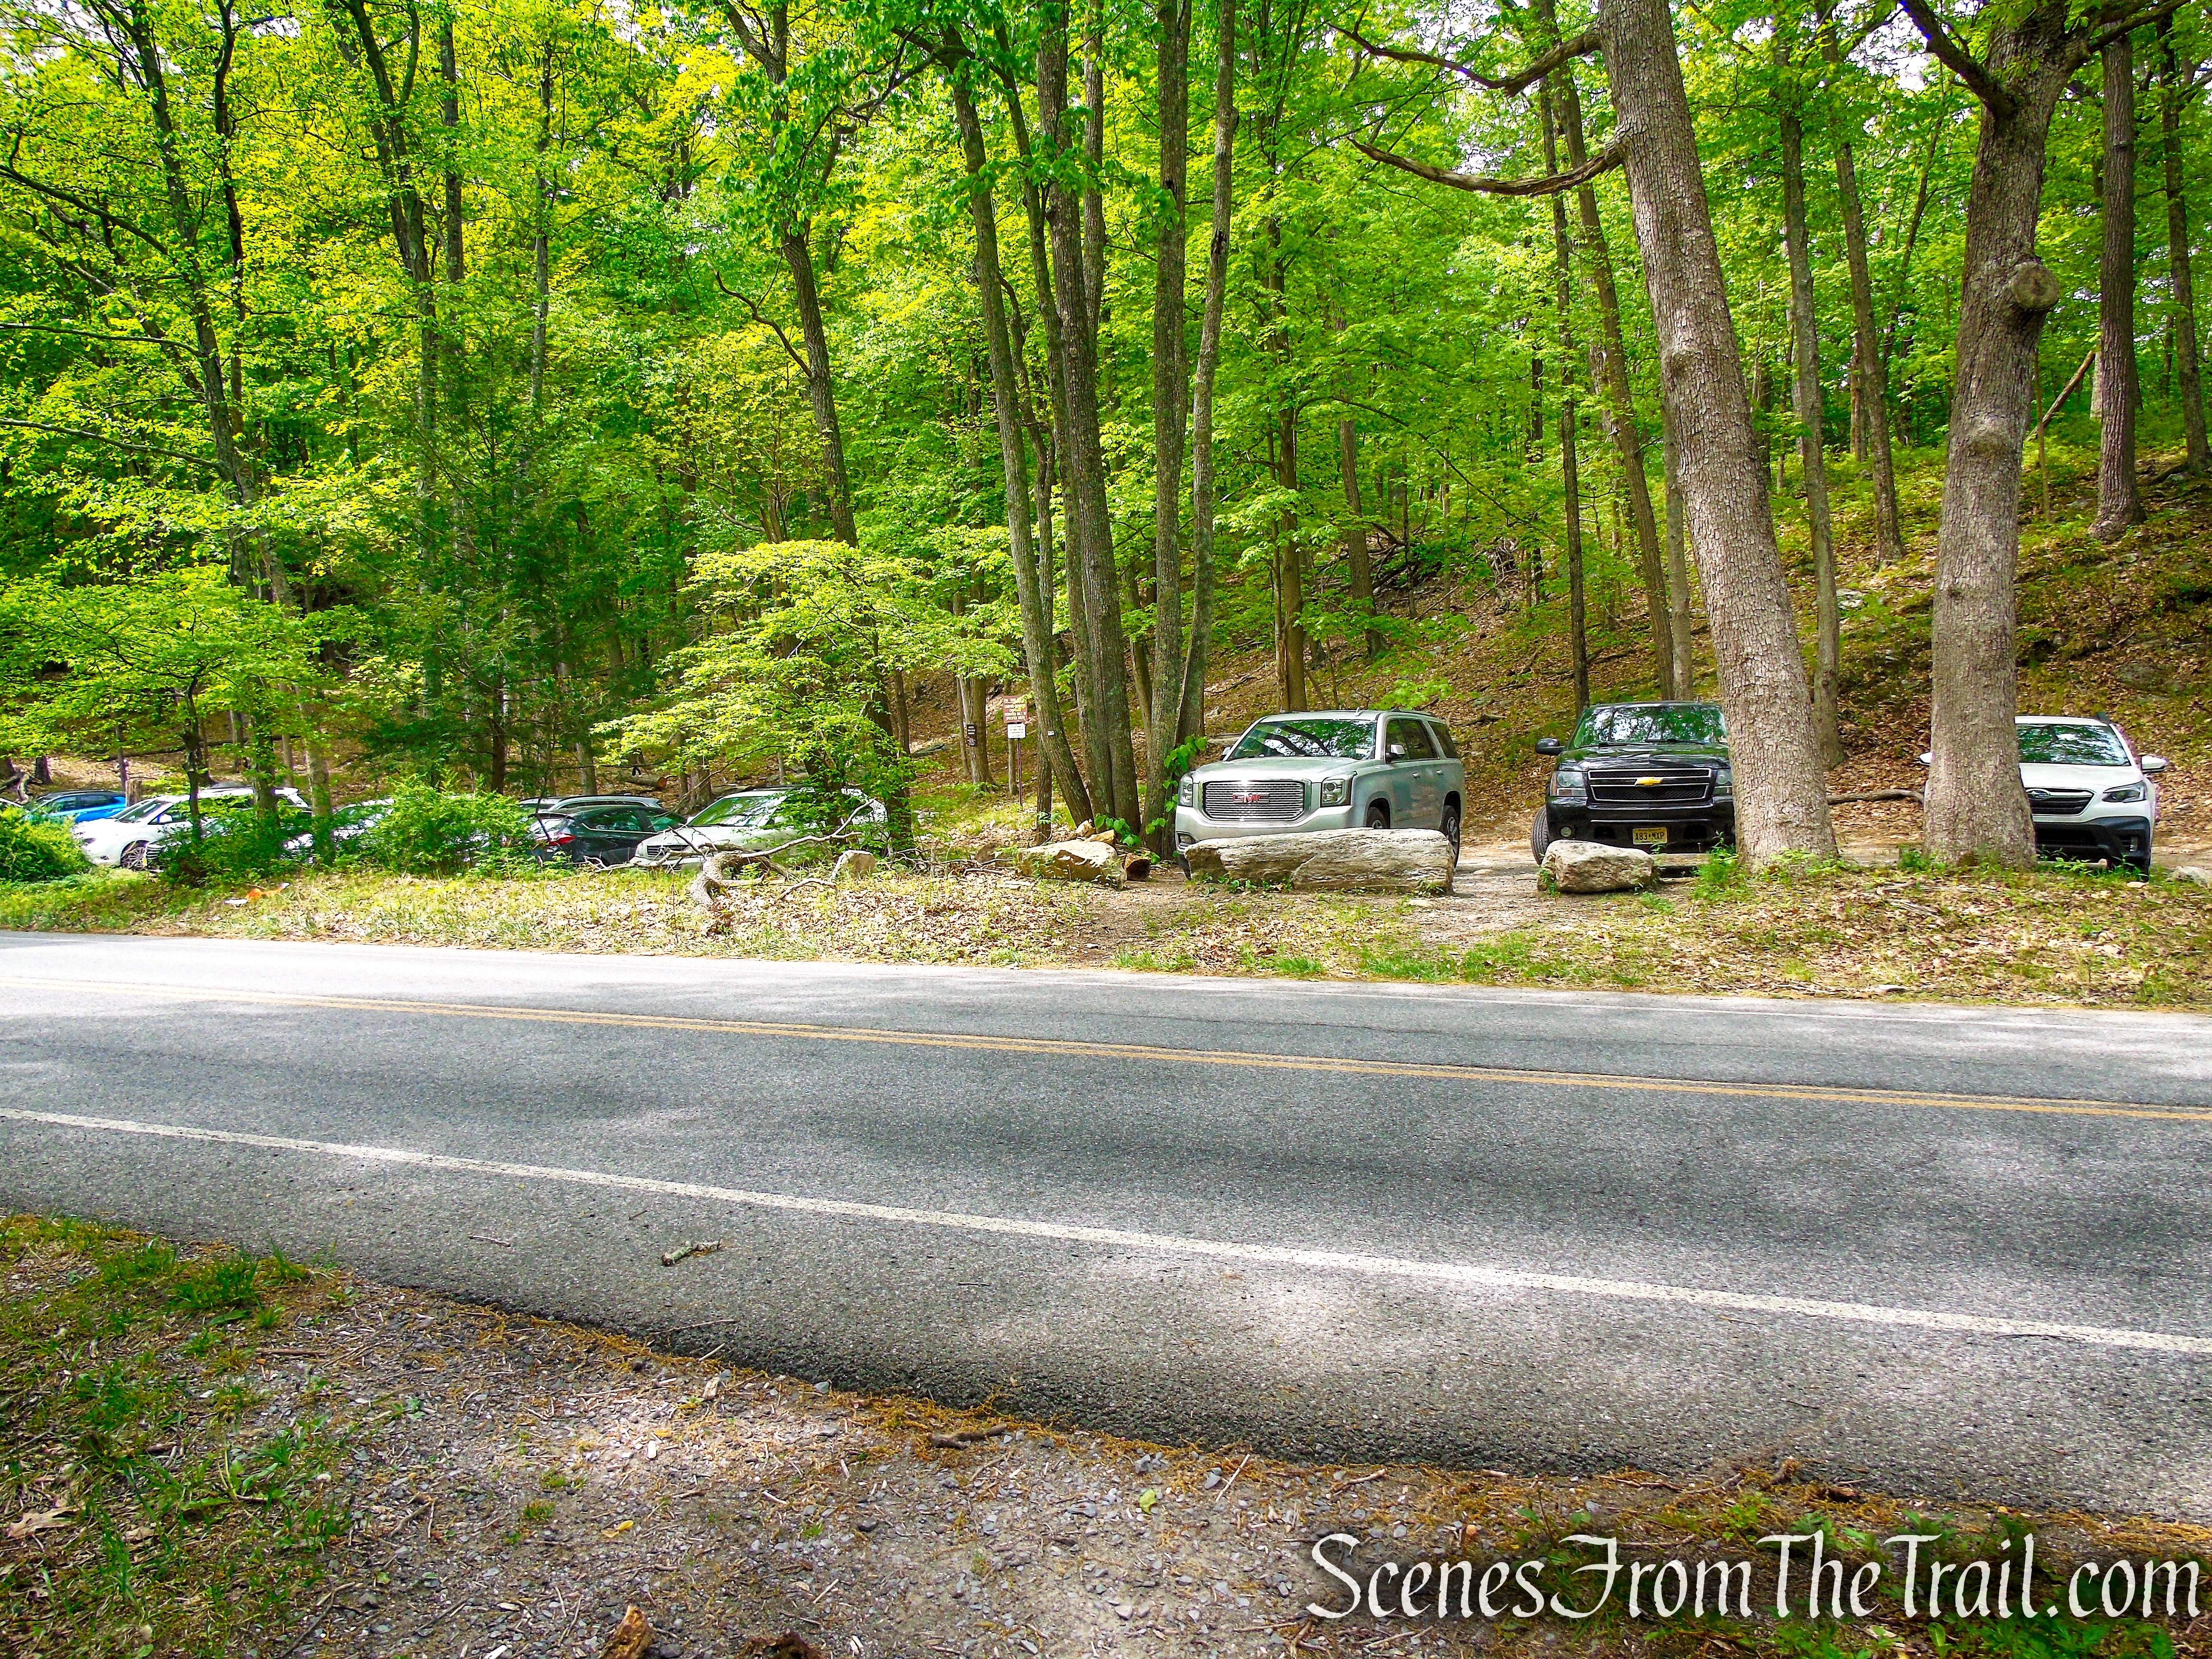
Pull-off parking lot on shoulder for about 10 cars
Overview:
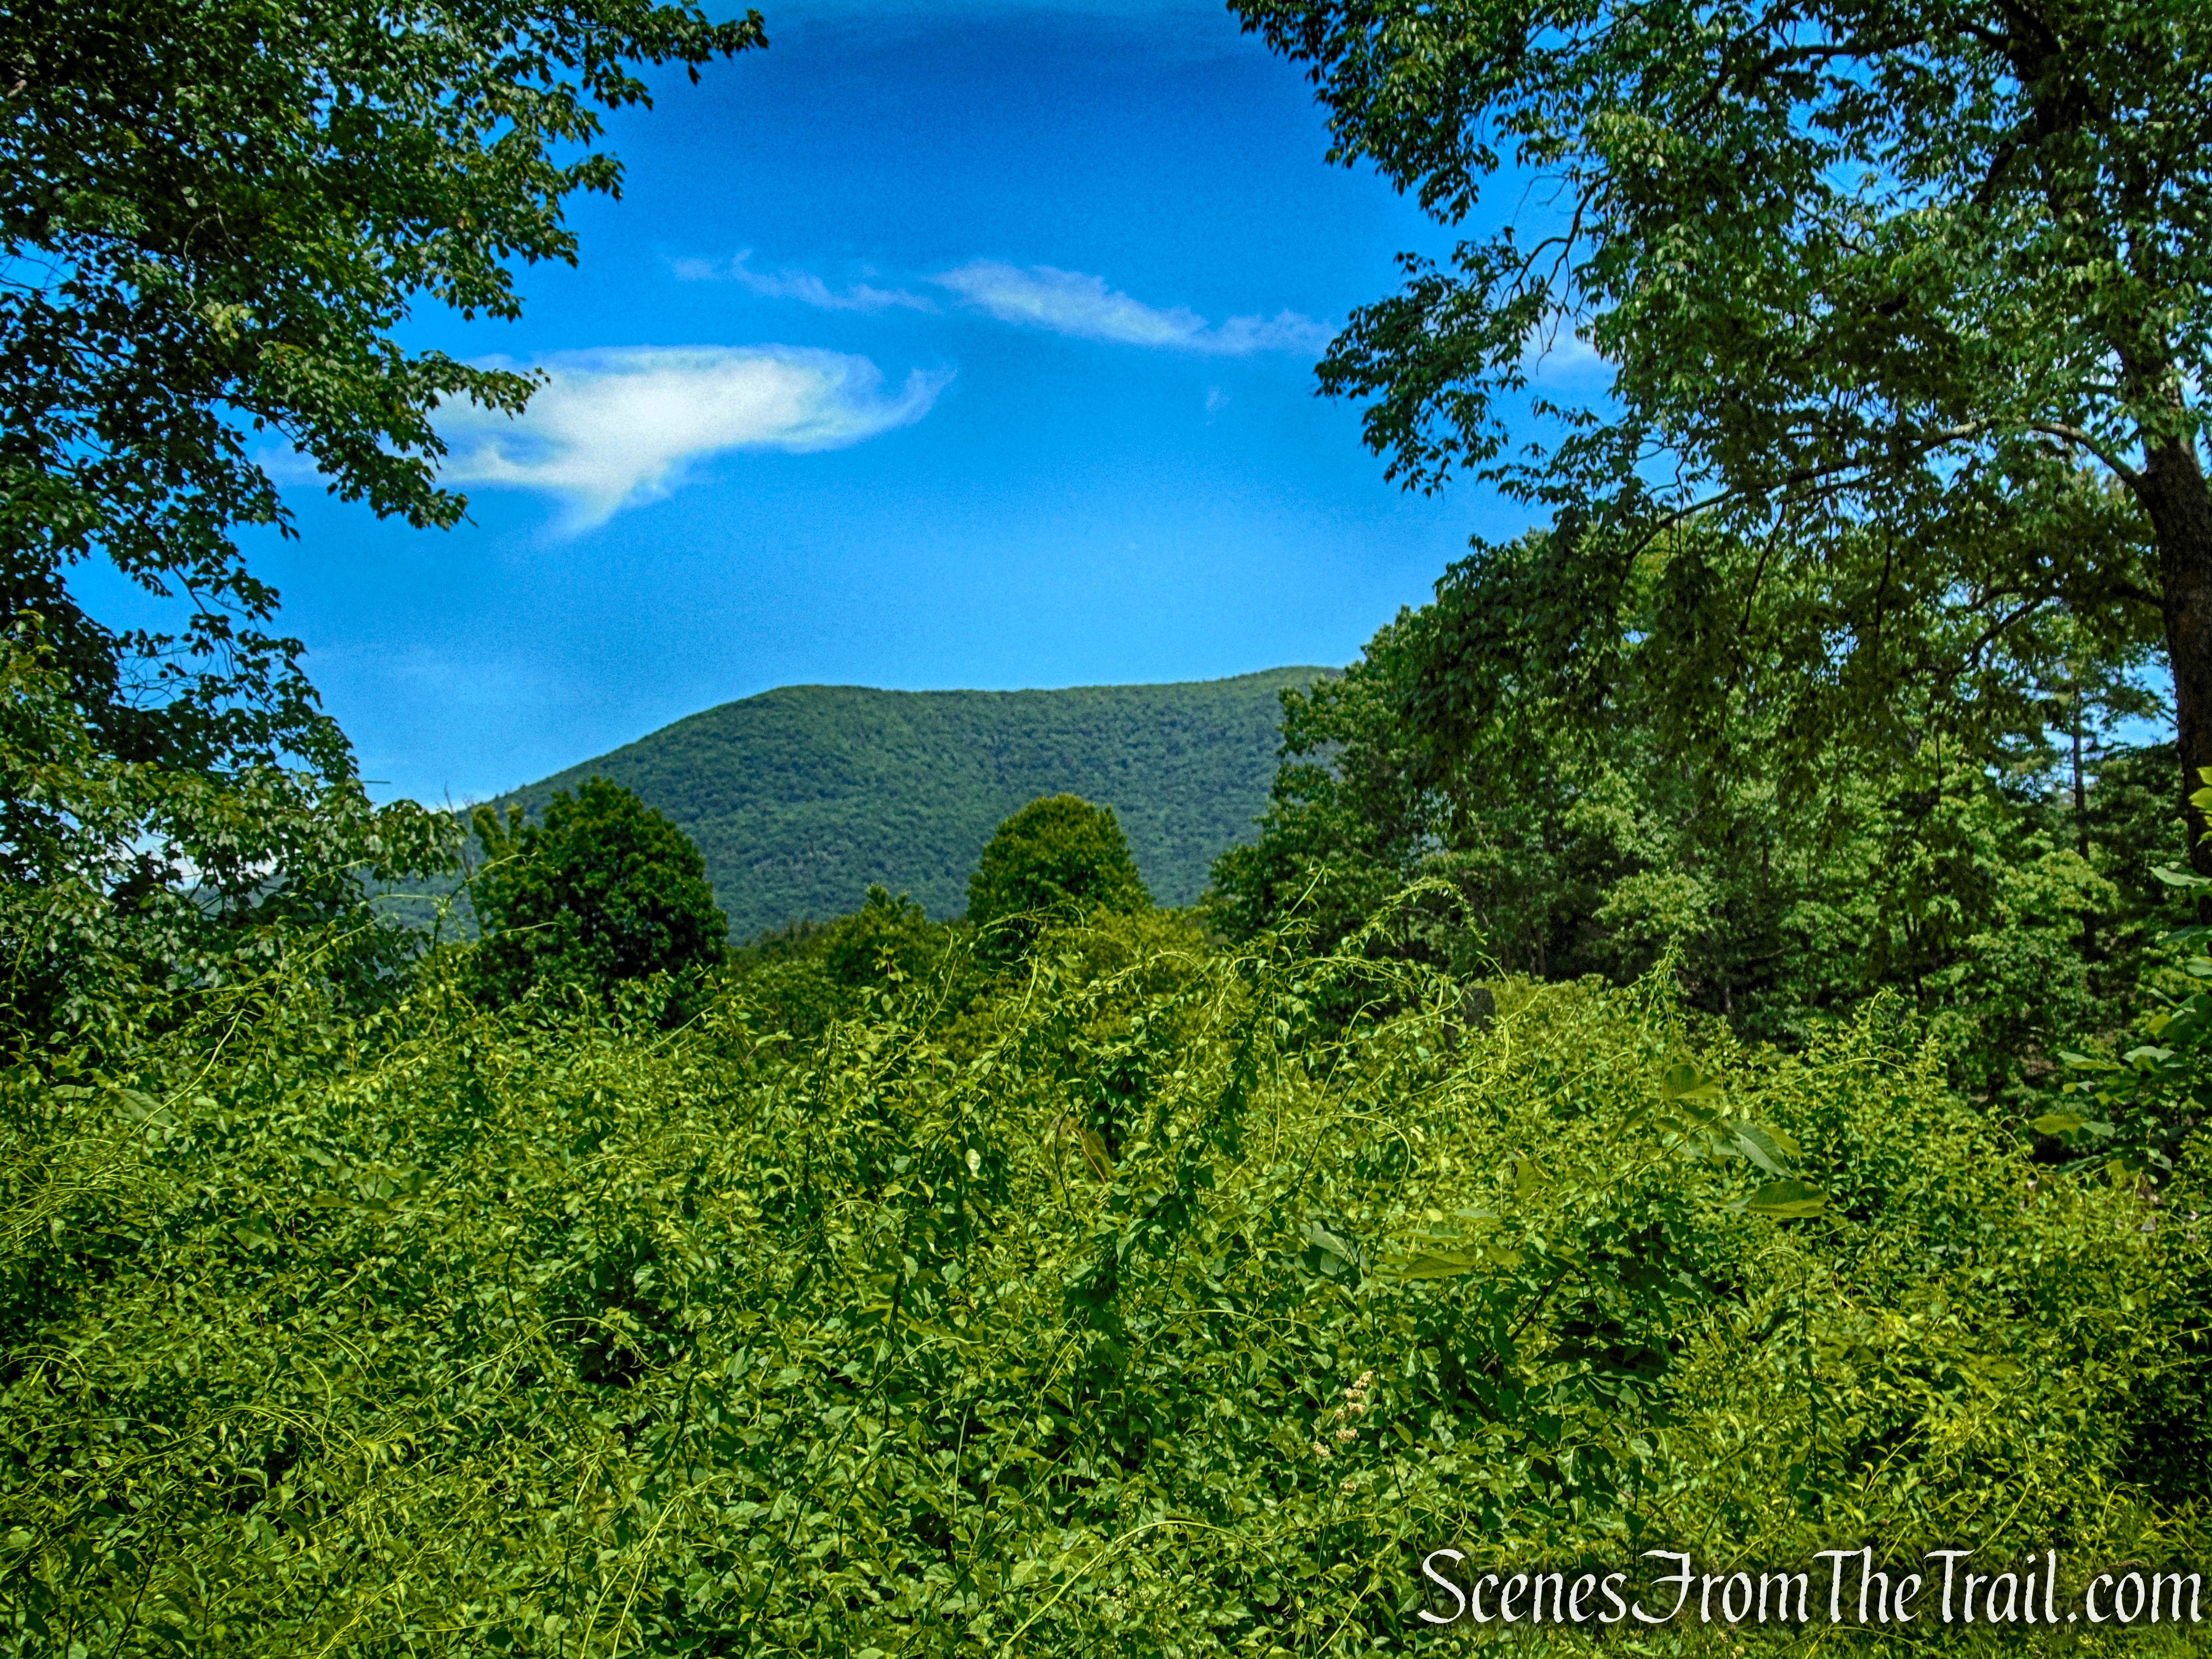
Stissing Mountain is a 1,402-foot-tall mountain in Pine Plains, NY. It is composed of the same Precambian bedrock as the Hudson Highlands but is separated from them or any other Precambian outcrop by many miles. The terrain is very steep and rocky, with many exposed ledges, rocky crests, and talus slopes. There is an exhibit devoted to the mountain’s geology in the American Museum of Natural History.

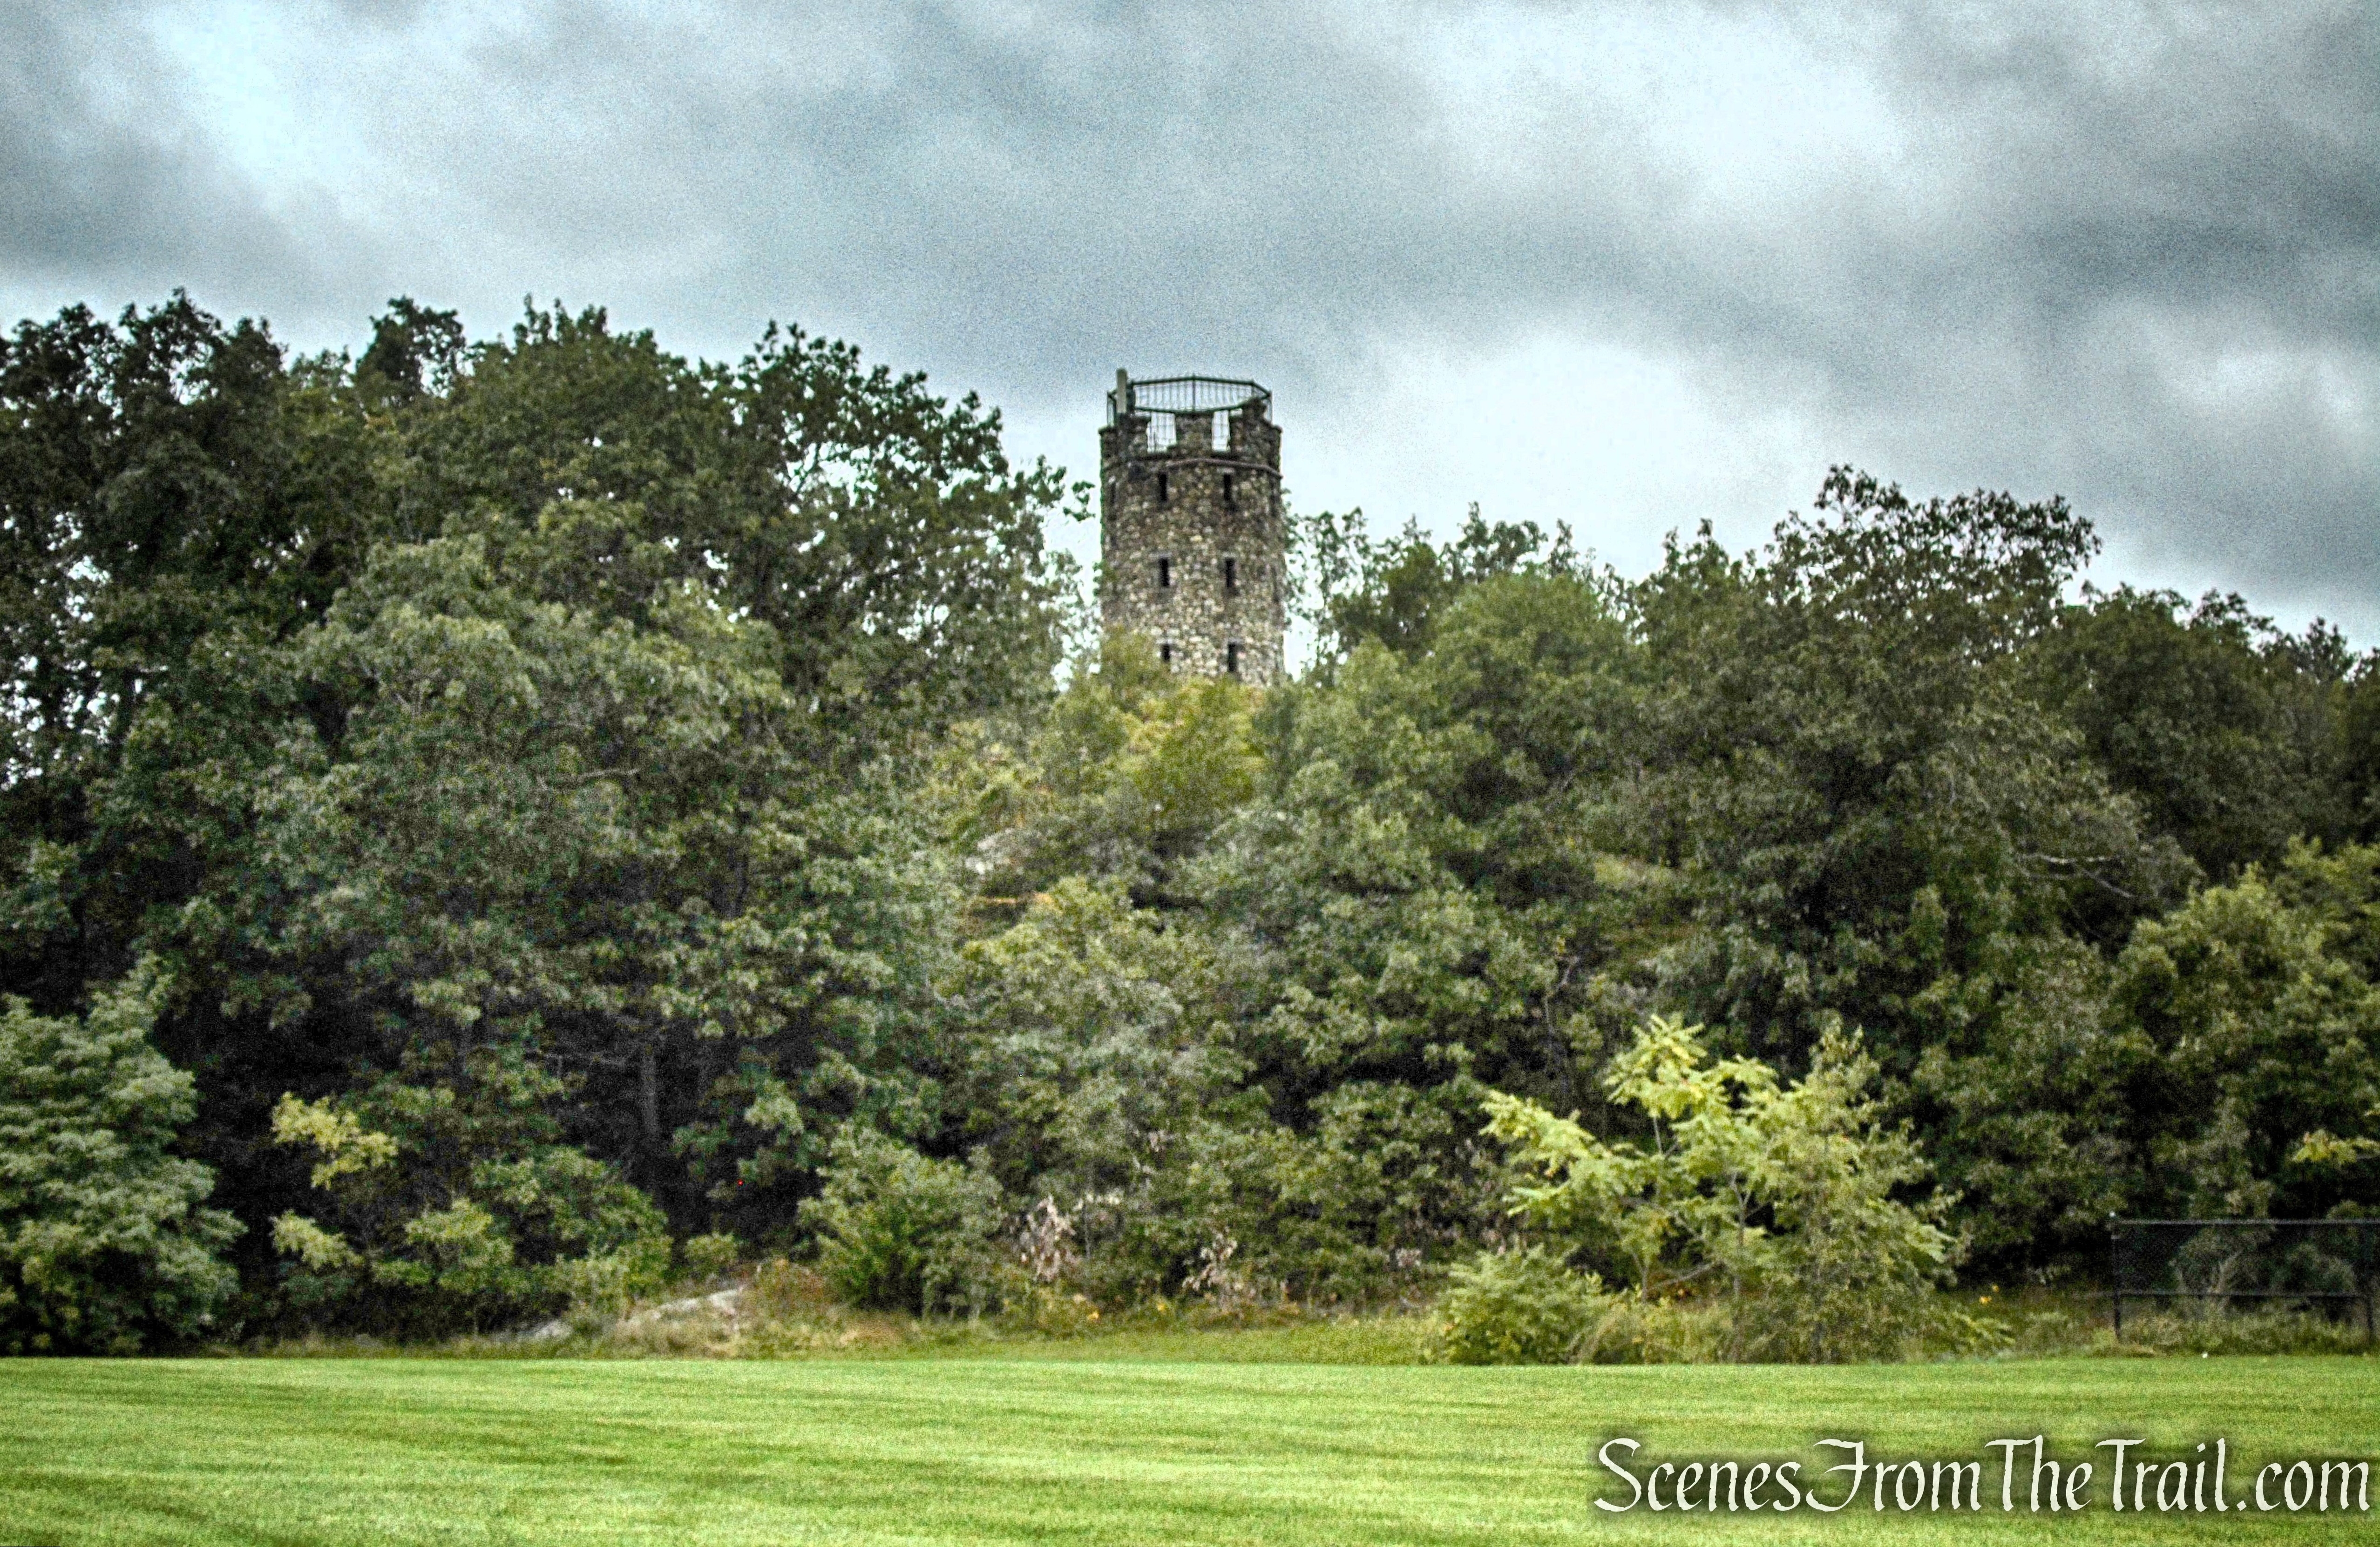
Stissing Mountain as viewed from Thompson Pond Preserve
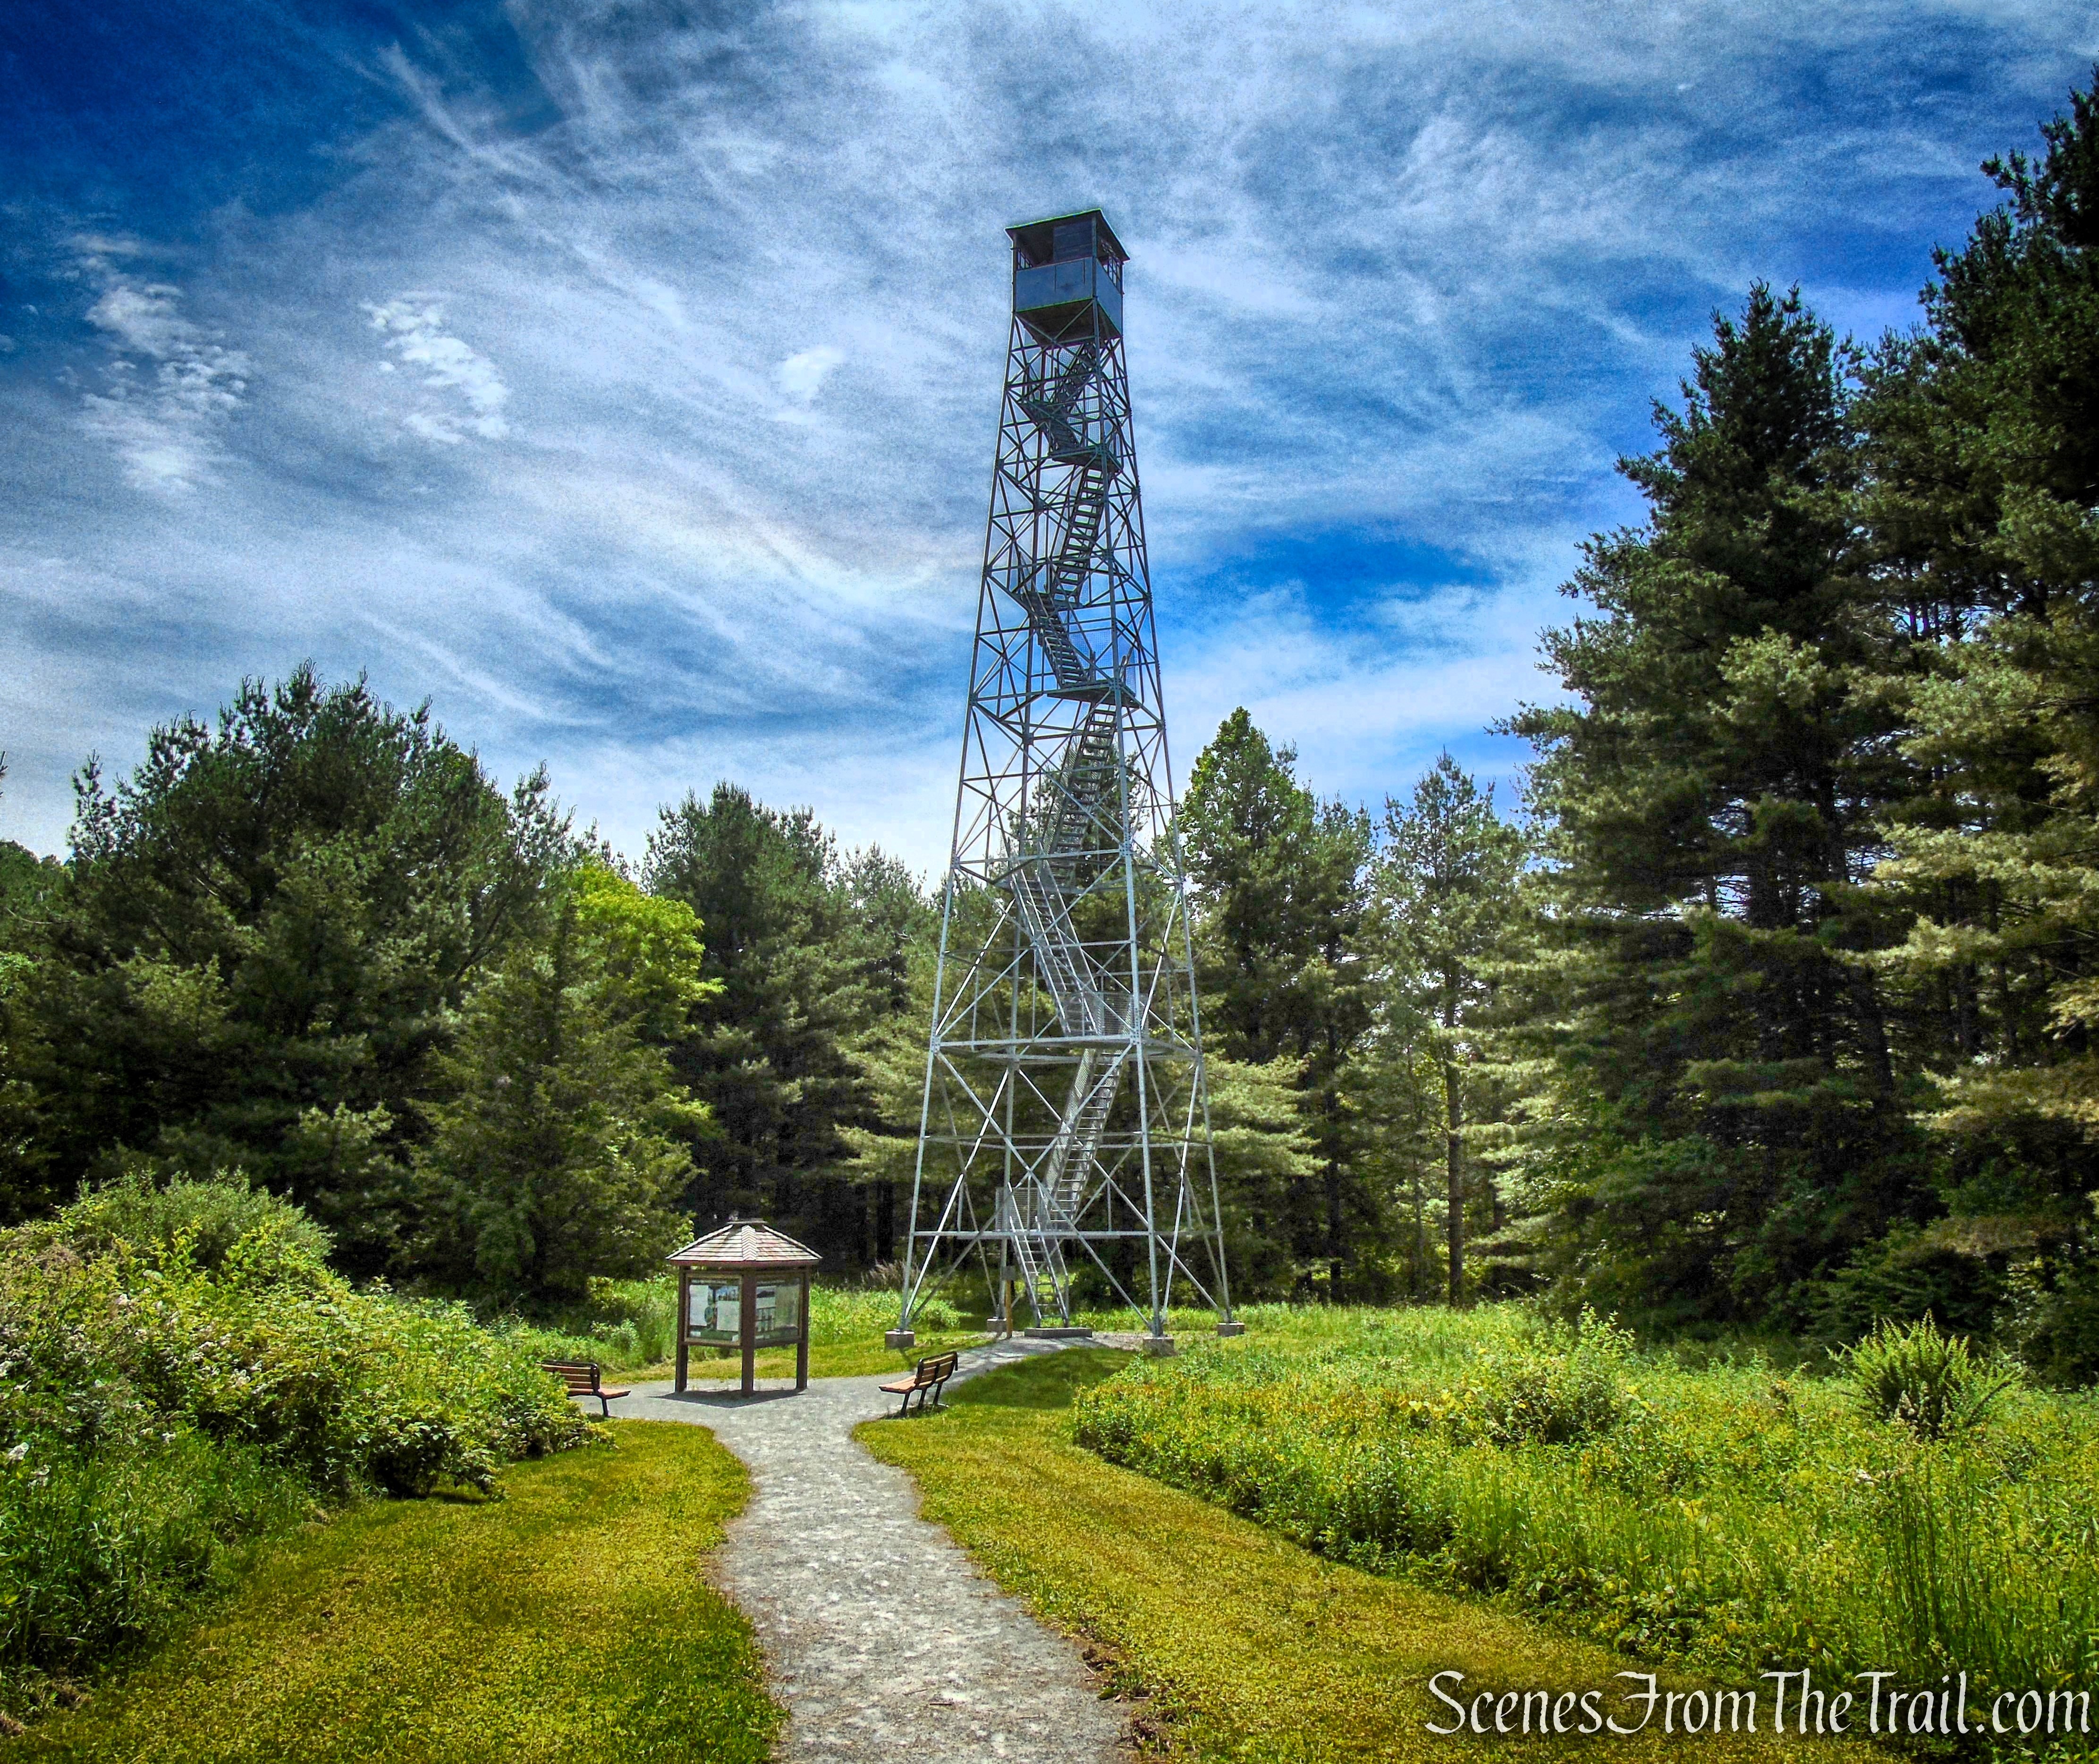
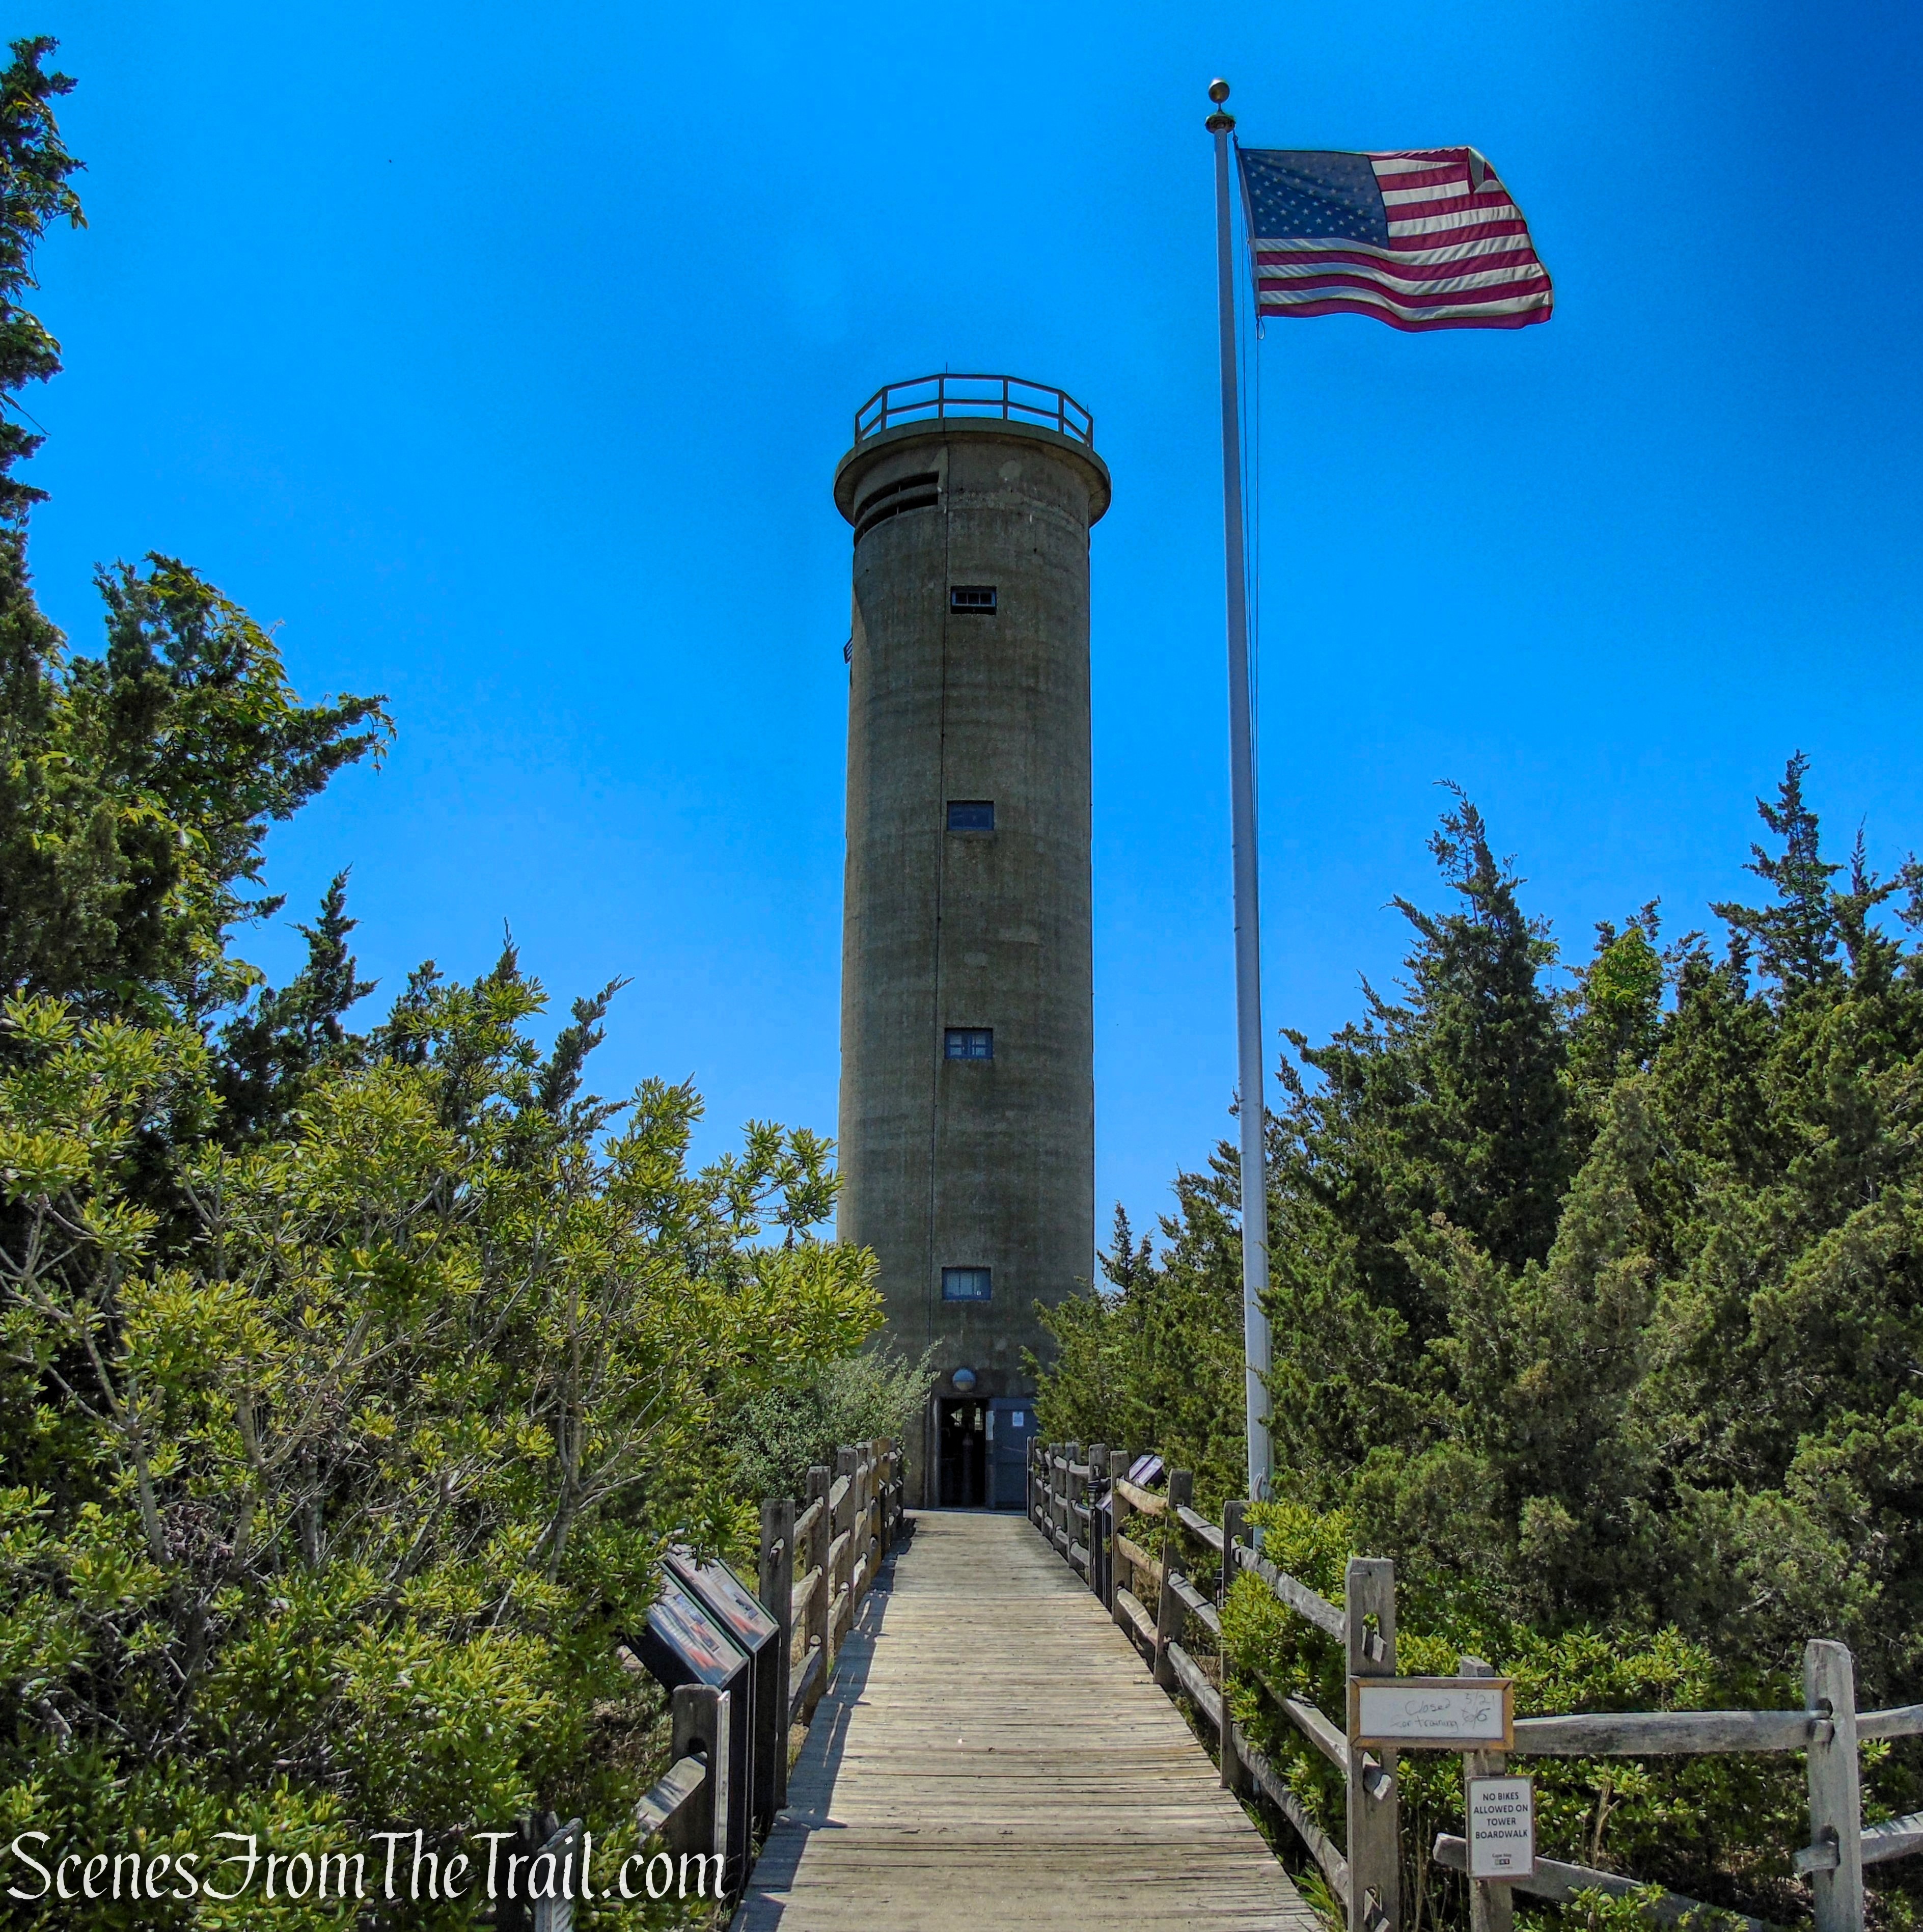
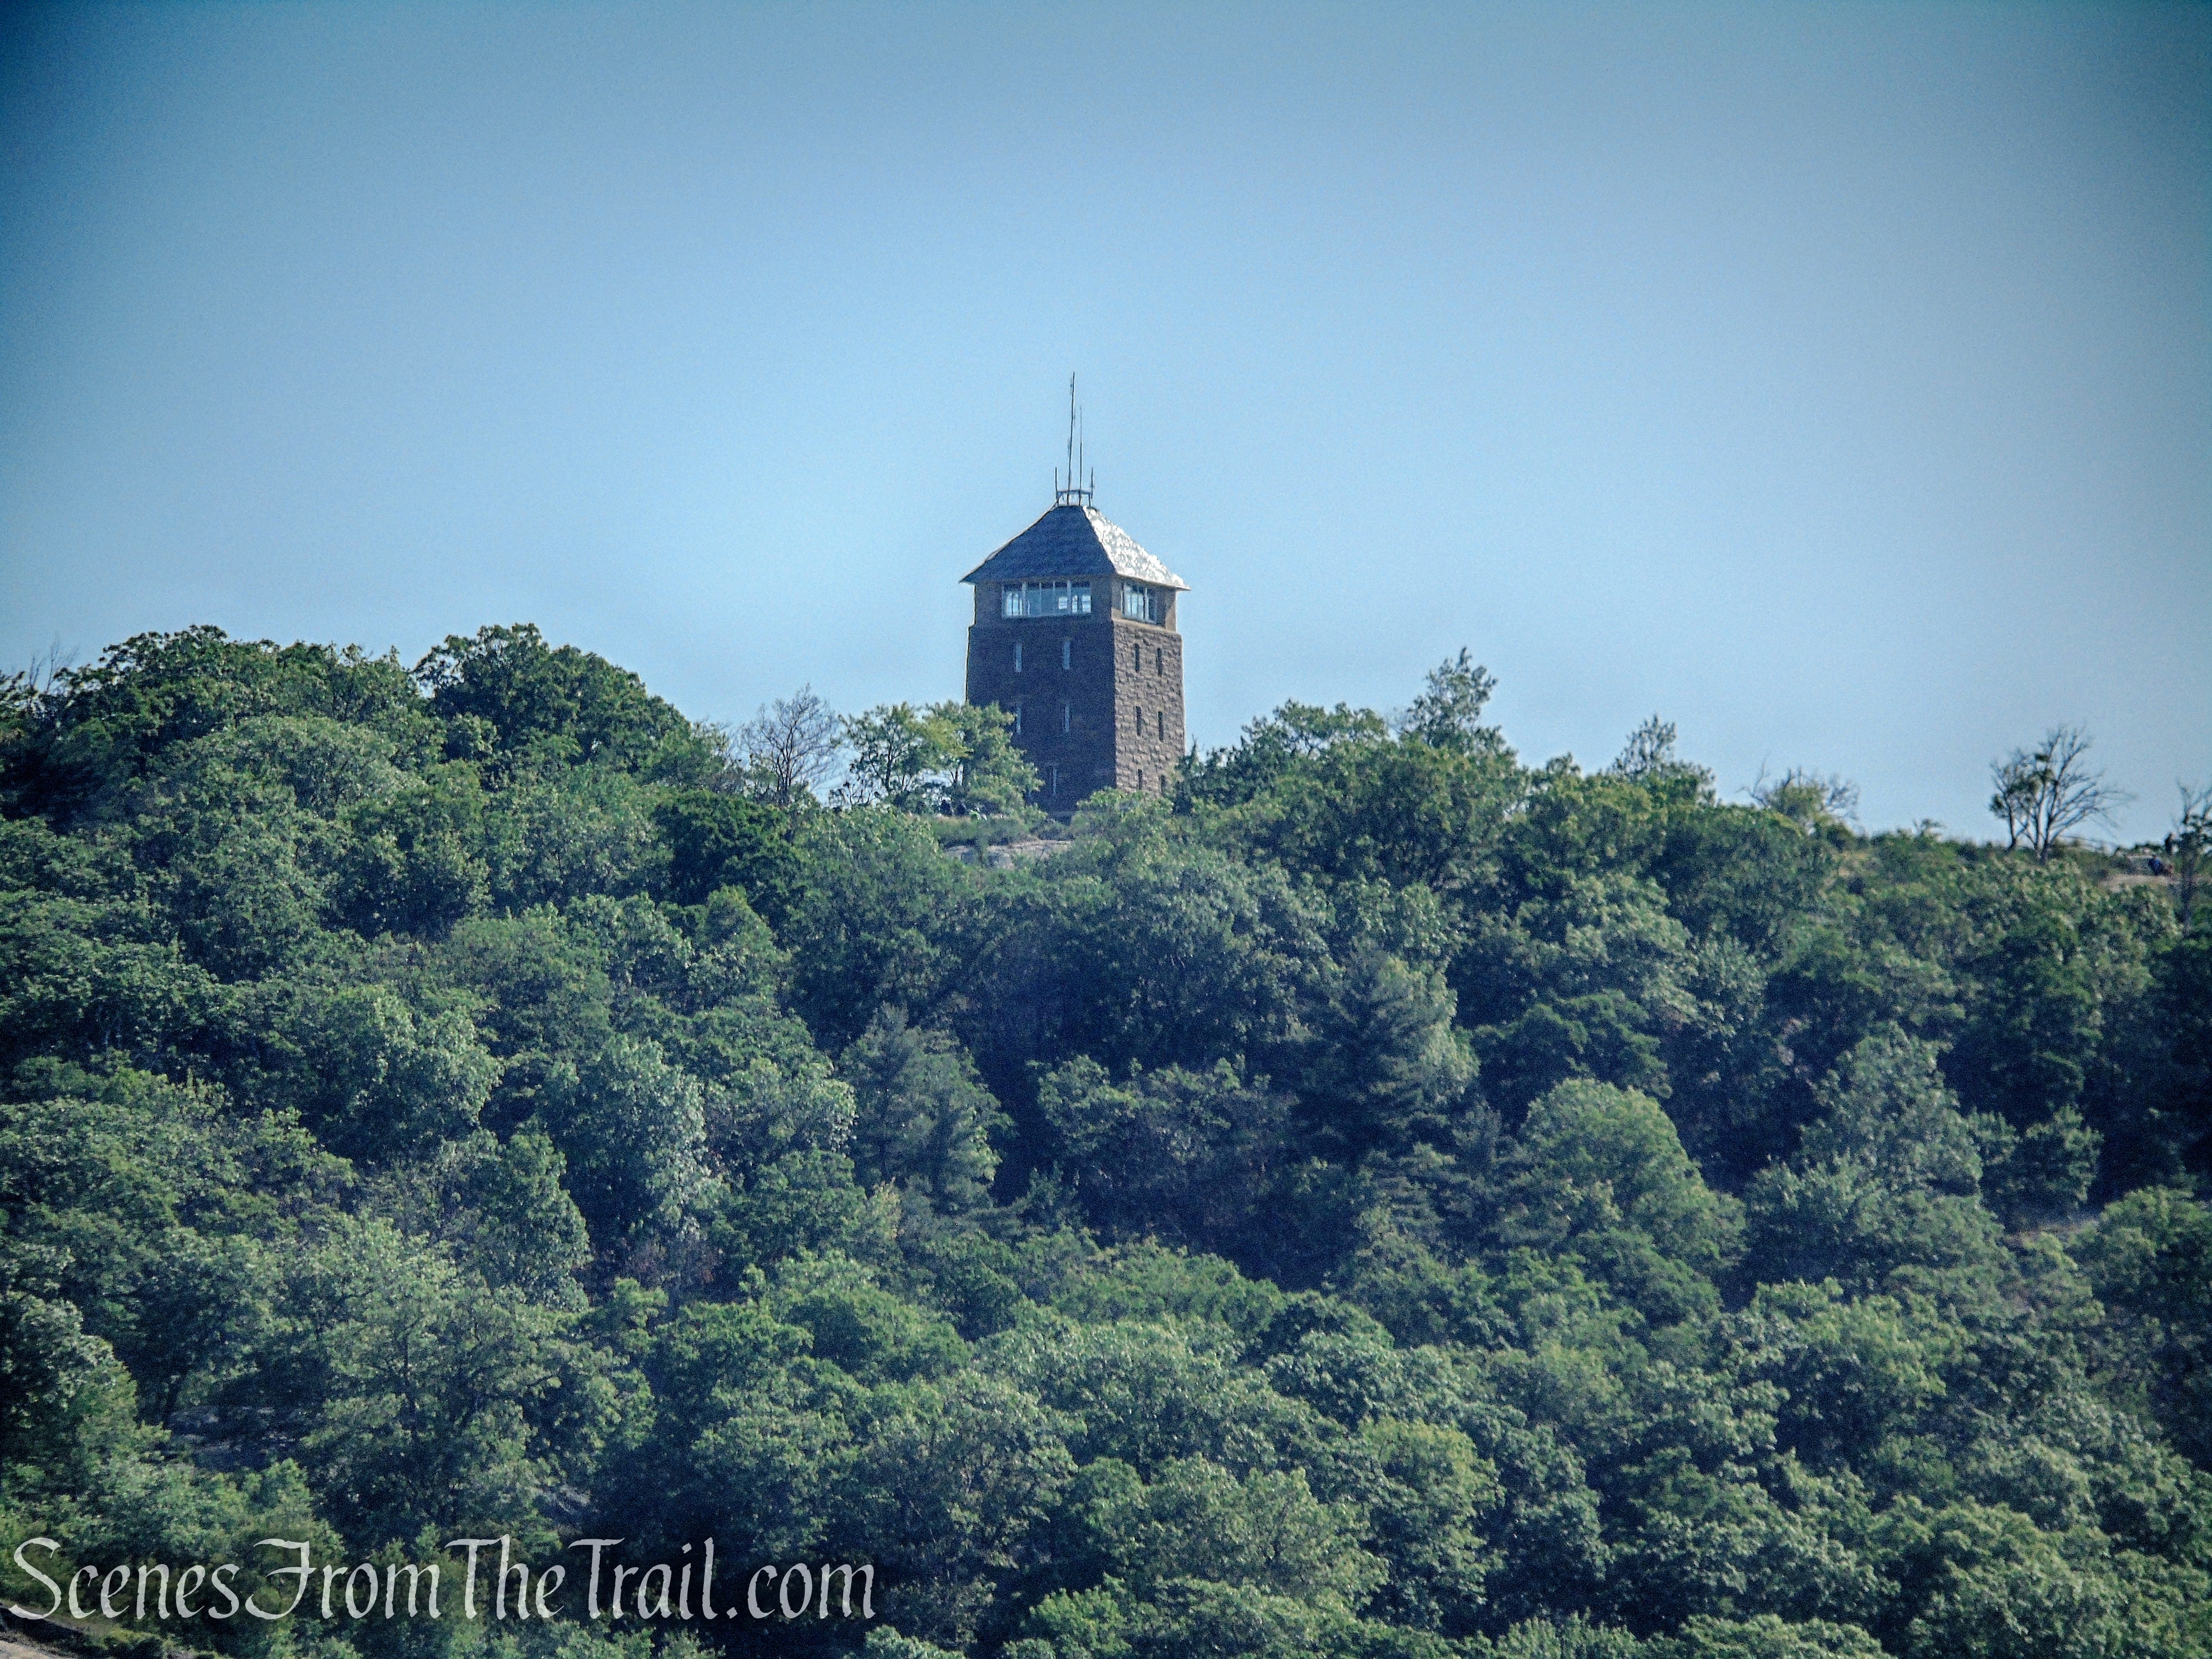
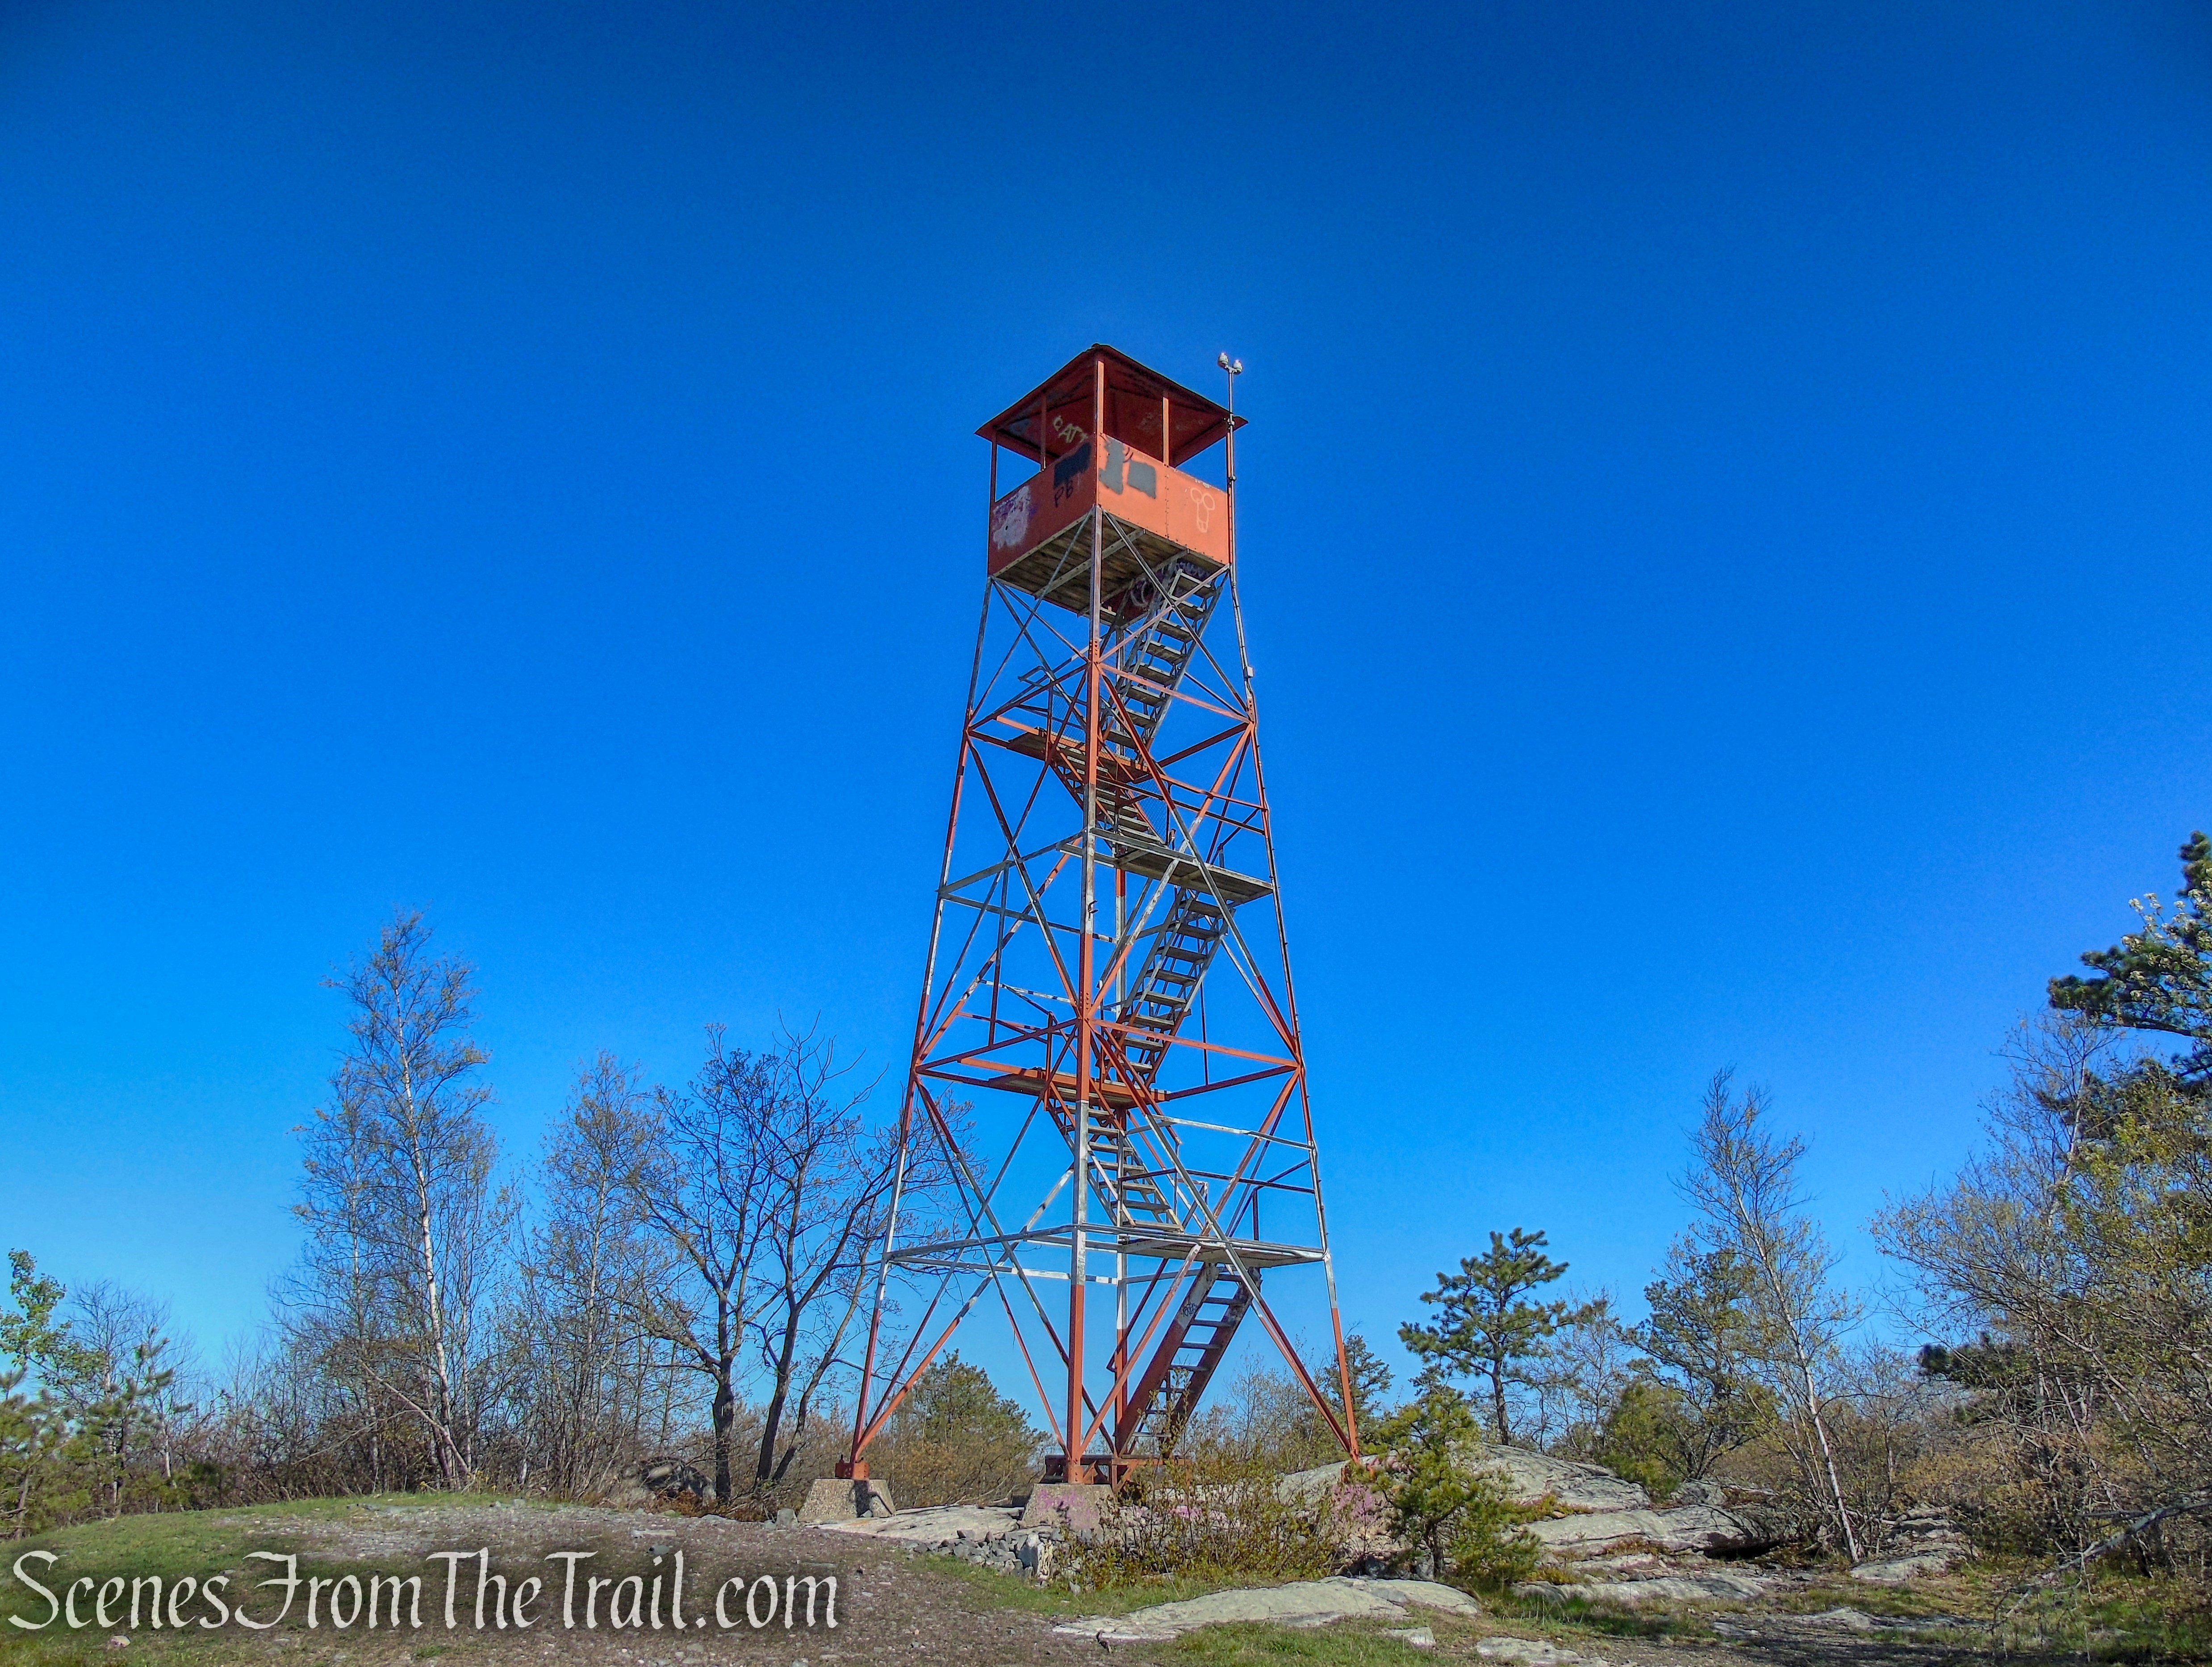
A short lollipop-loop of freshly marked trails begins at a small parking lot on Lake Road. It steeply climbs the mountain to the 80-foot fire tower near the summit. The Stissing Fire Tower provides vistas east to Connecticut, Massachusetts, and Vermont; Southwest to Pennsylvania and New Jersey; and North to the Empire State Plaza in Albany.

Stissing Mountain Fire Tower as viewed from Thompson Pond Preserve
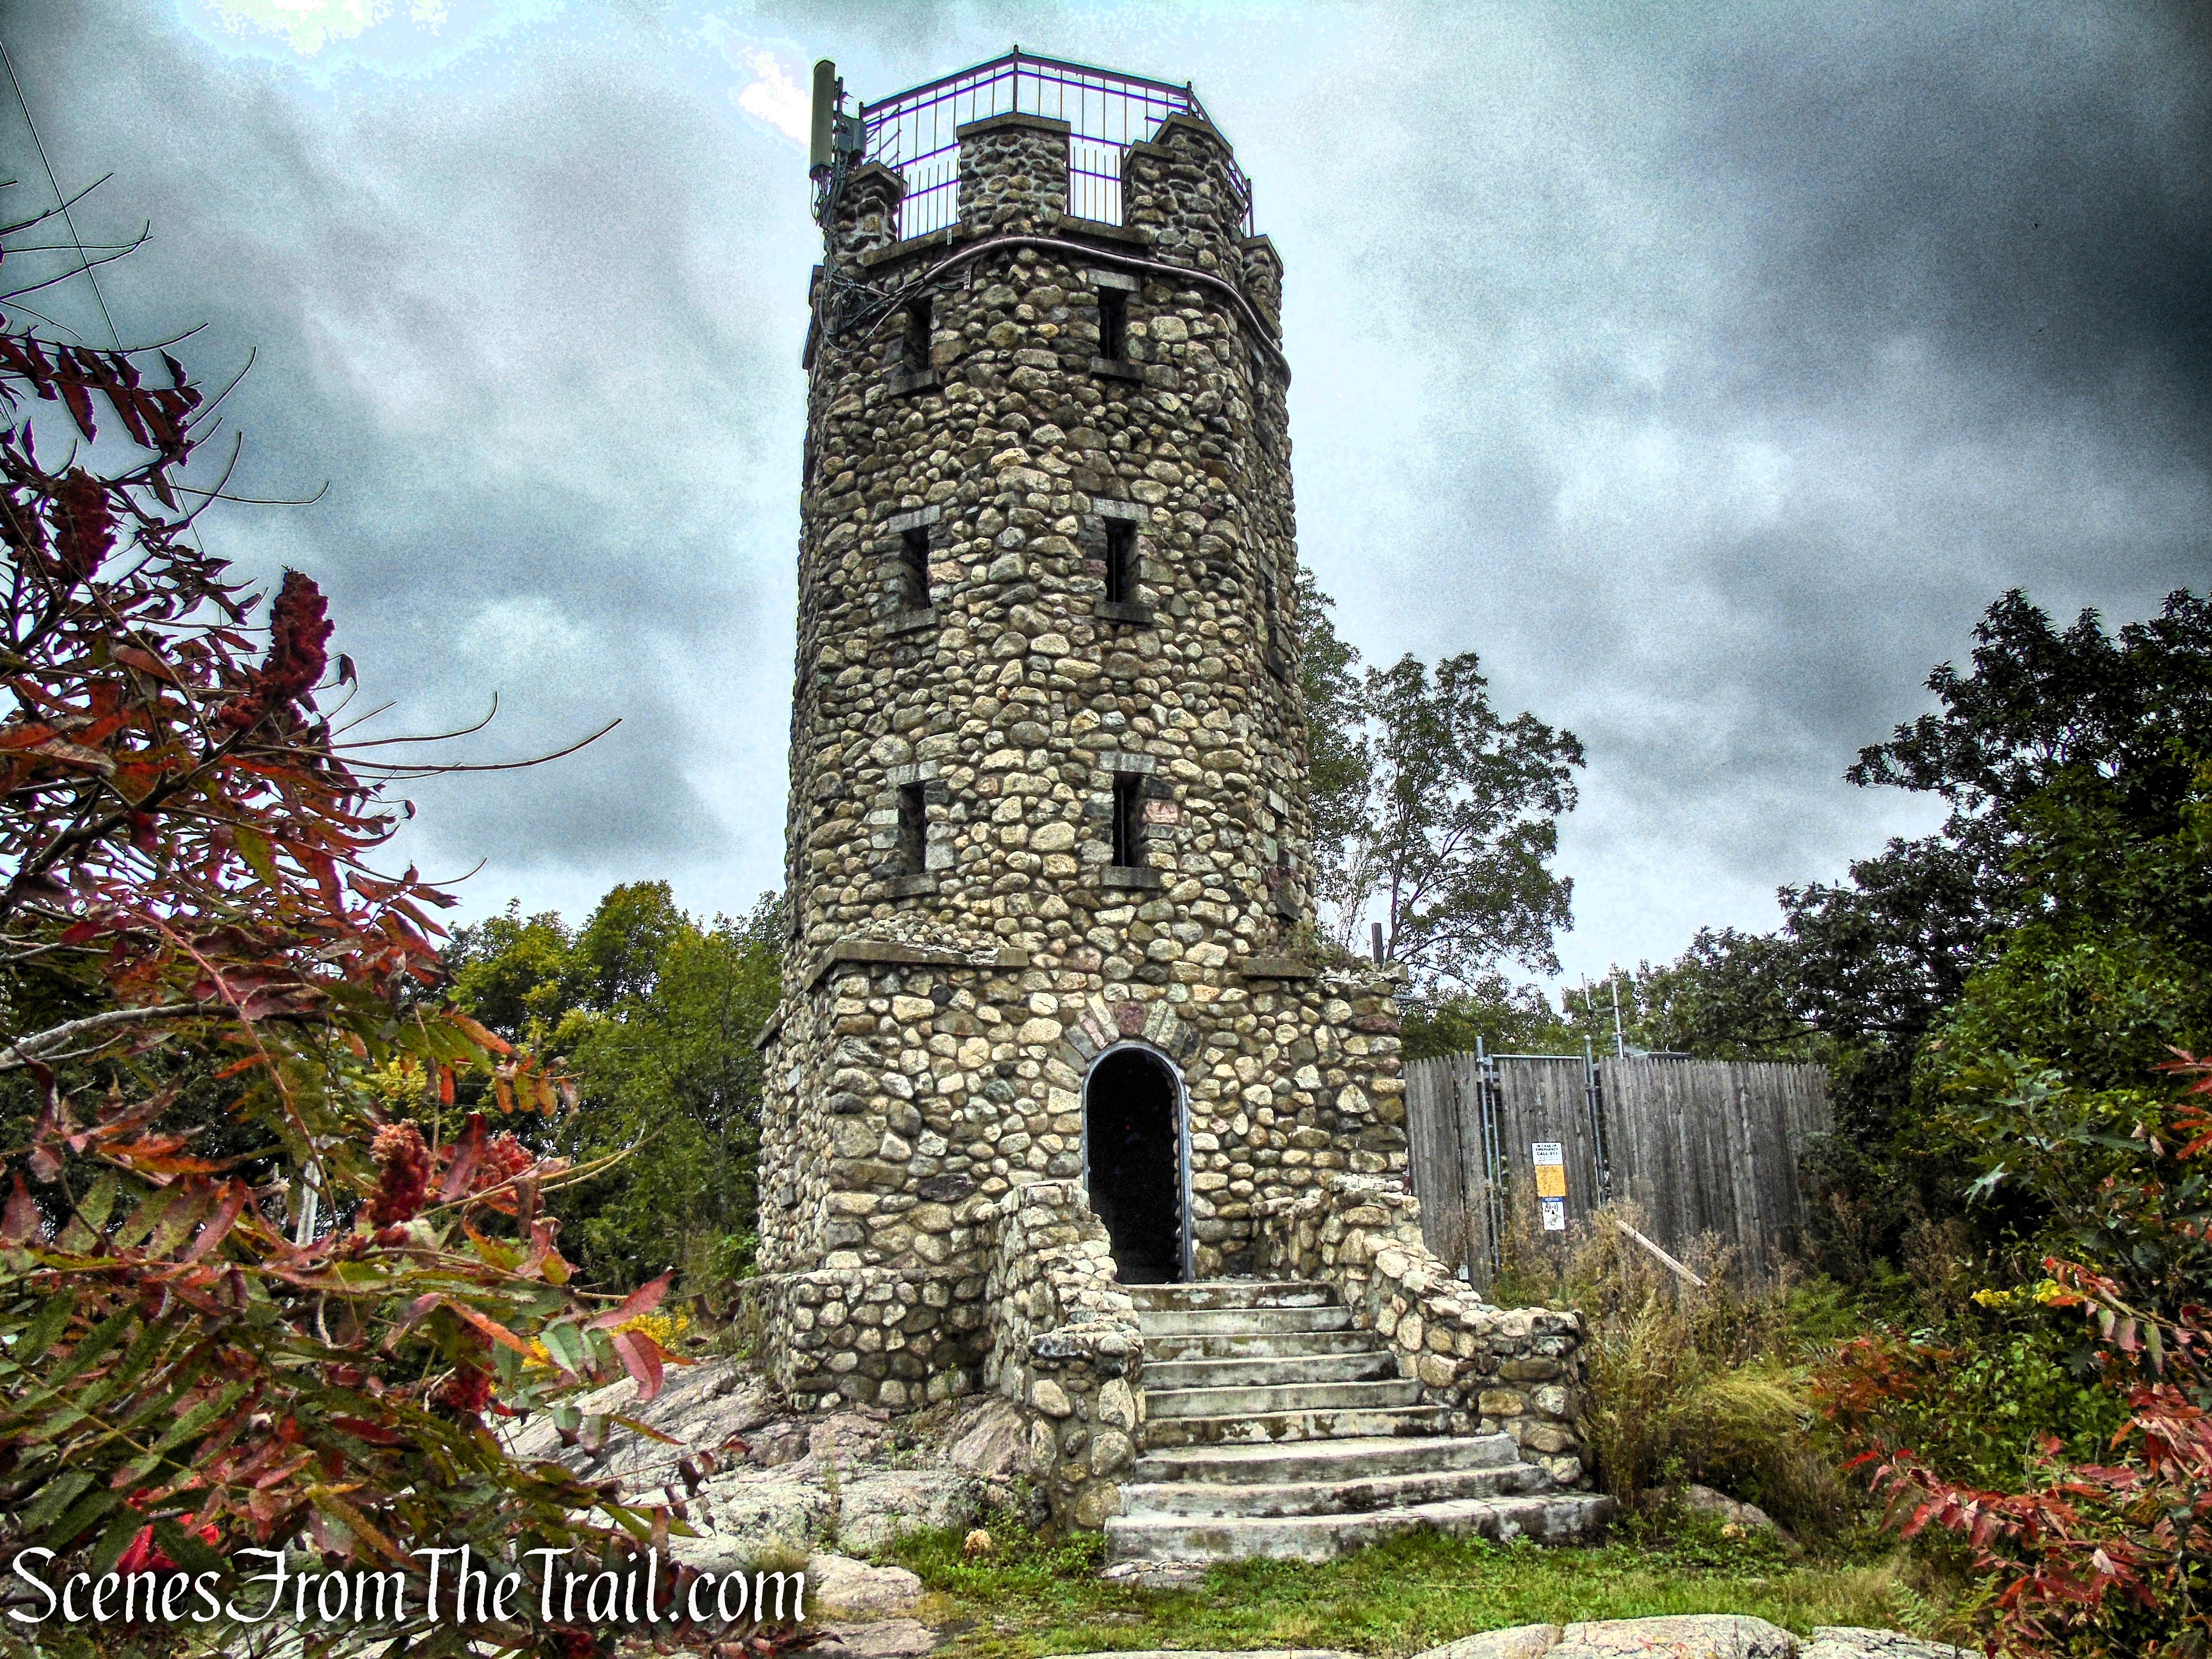
Stissing Mountain is part of the Thompson Pond Nature Preserve, managed by The Nature Conservancy. The steel tower is open to the public, and it is a popular hiking destination. The tower is owned by the Friends of Stissing Landmarks, a citizens group that formed to rescue it from demolition.

Stissing Mountain Fire Tower
History:
While the name Stissing is most certainly of Native American origin, its etymology is not precisely known. Earlier forms of the word are Tishasink, Teesink, and Stissink. In his book, Aboriginal Place Names of New York, William M. Beauchamp says that its possible origin is the Algonkian word tahshin, meaning “he raises himself”. There is a legend that the mountain was named for an Indian chief who lived in the notch between Stissing Mountain and Little Stissing, its neighbor to the immediate north. On an old patent survey map drawn in 1734 by surveyor Richard Edsall, it is called Stissink Mountain. This may be the earliest written record of the name of this mountain.
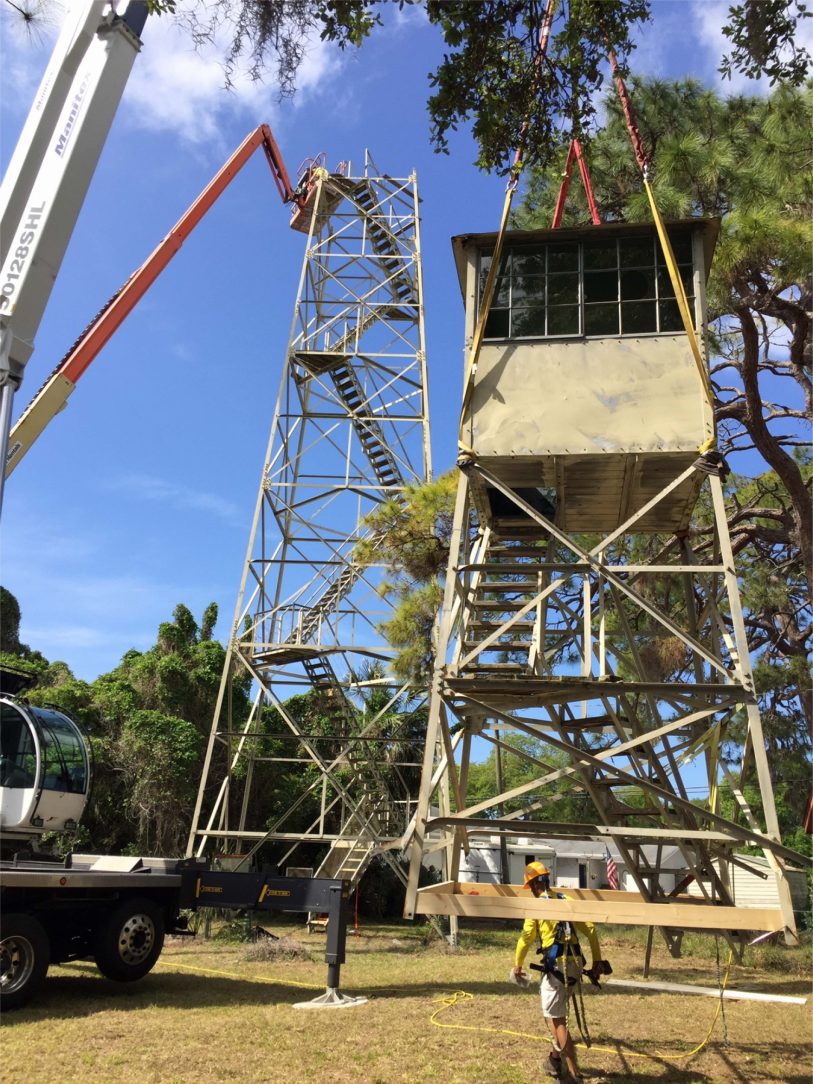
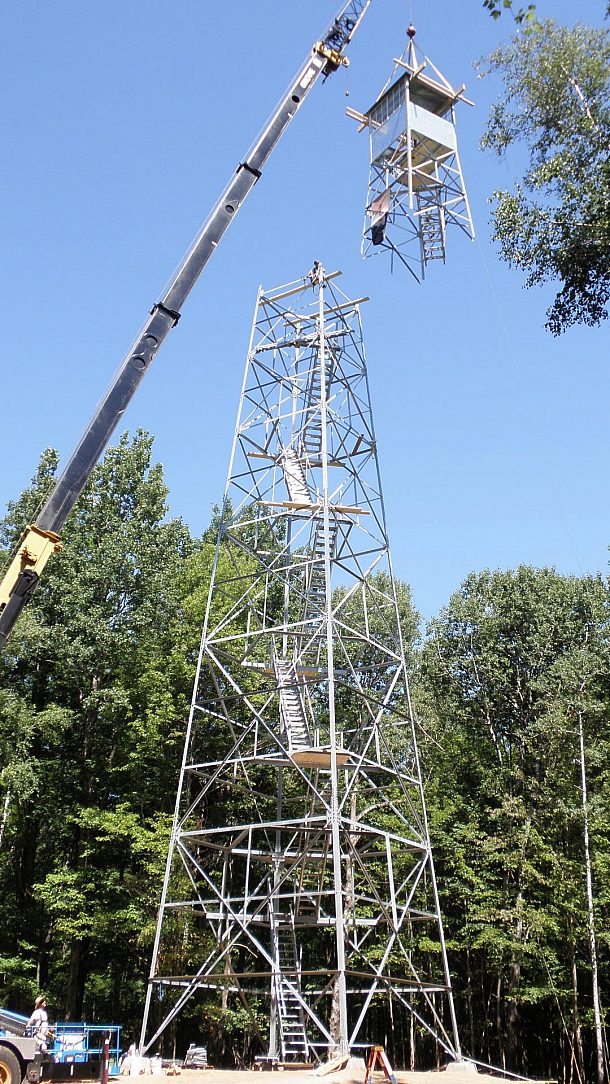
According to the Forest Fire Lookout Association, the structure on Stissing Mountain is a 79′ 6″ International Derrick E-4898 (circa 1932) tower, provided to the State of New York by the US Forest Service and erected by the Boston Corners – Civilian Conservation Corps (CCC) Camp in November and December of 1933.

Stissing Mountain Fire Tower
This tower was first staffed in 1935 reporting 91 fires and 610 visitors. This tower ceased operation sometime between 1979 and 1982.

Forest Fire Observers – Stissing Mountain
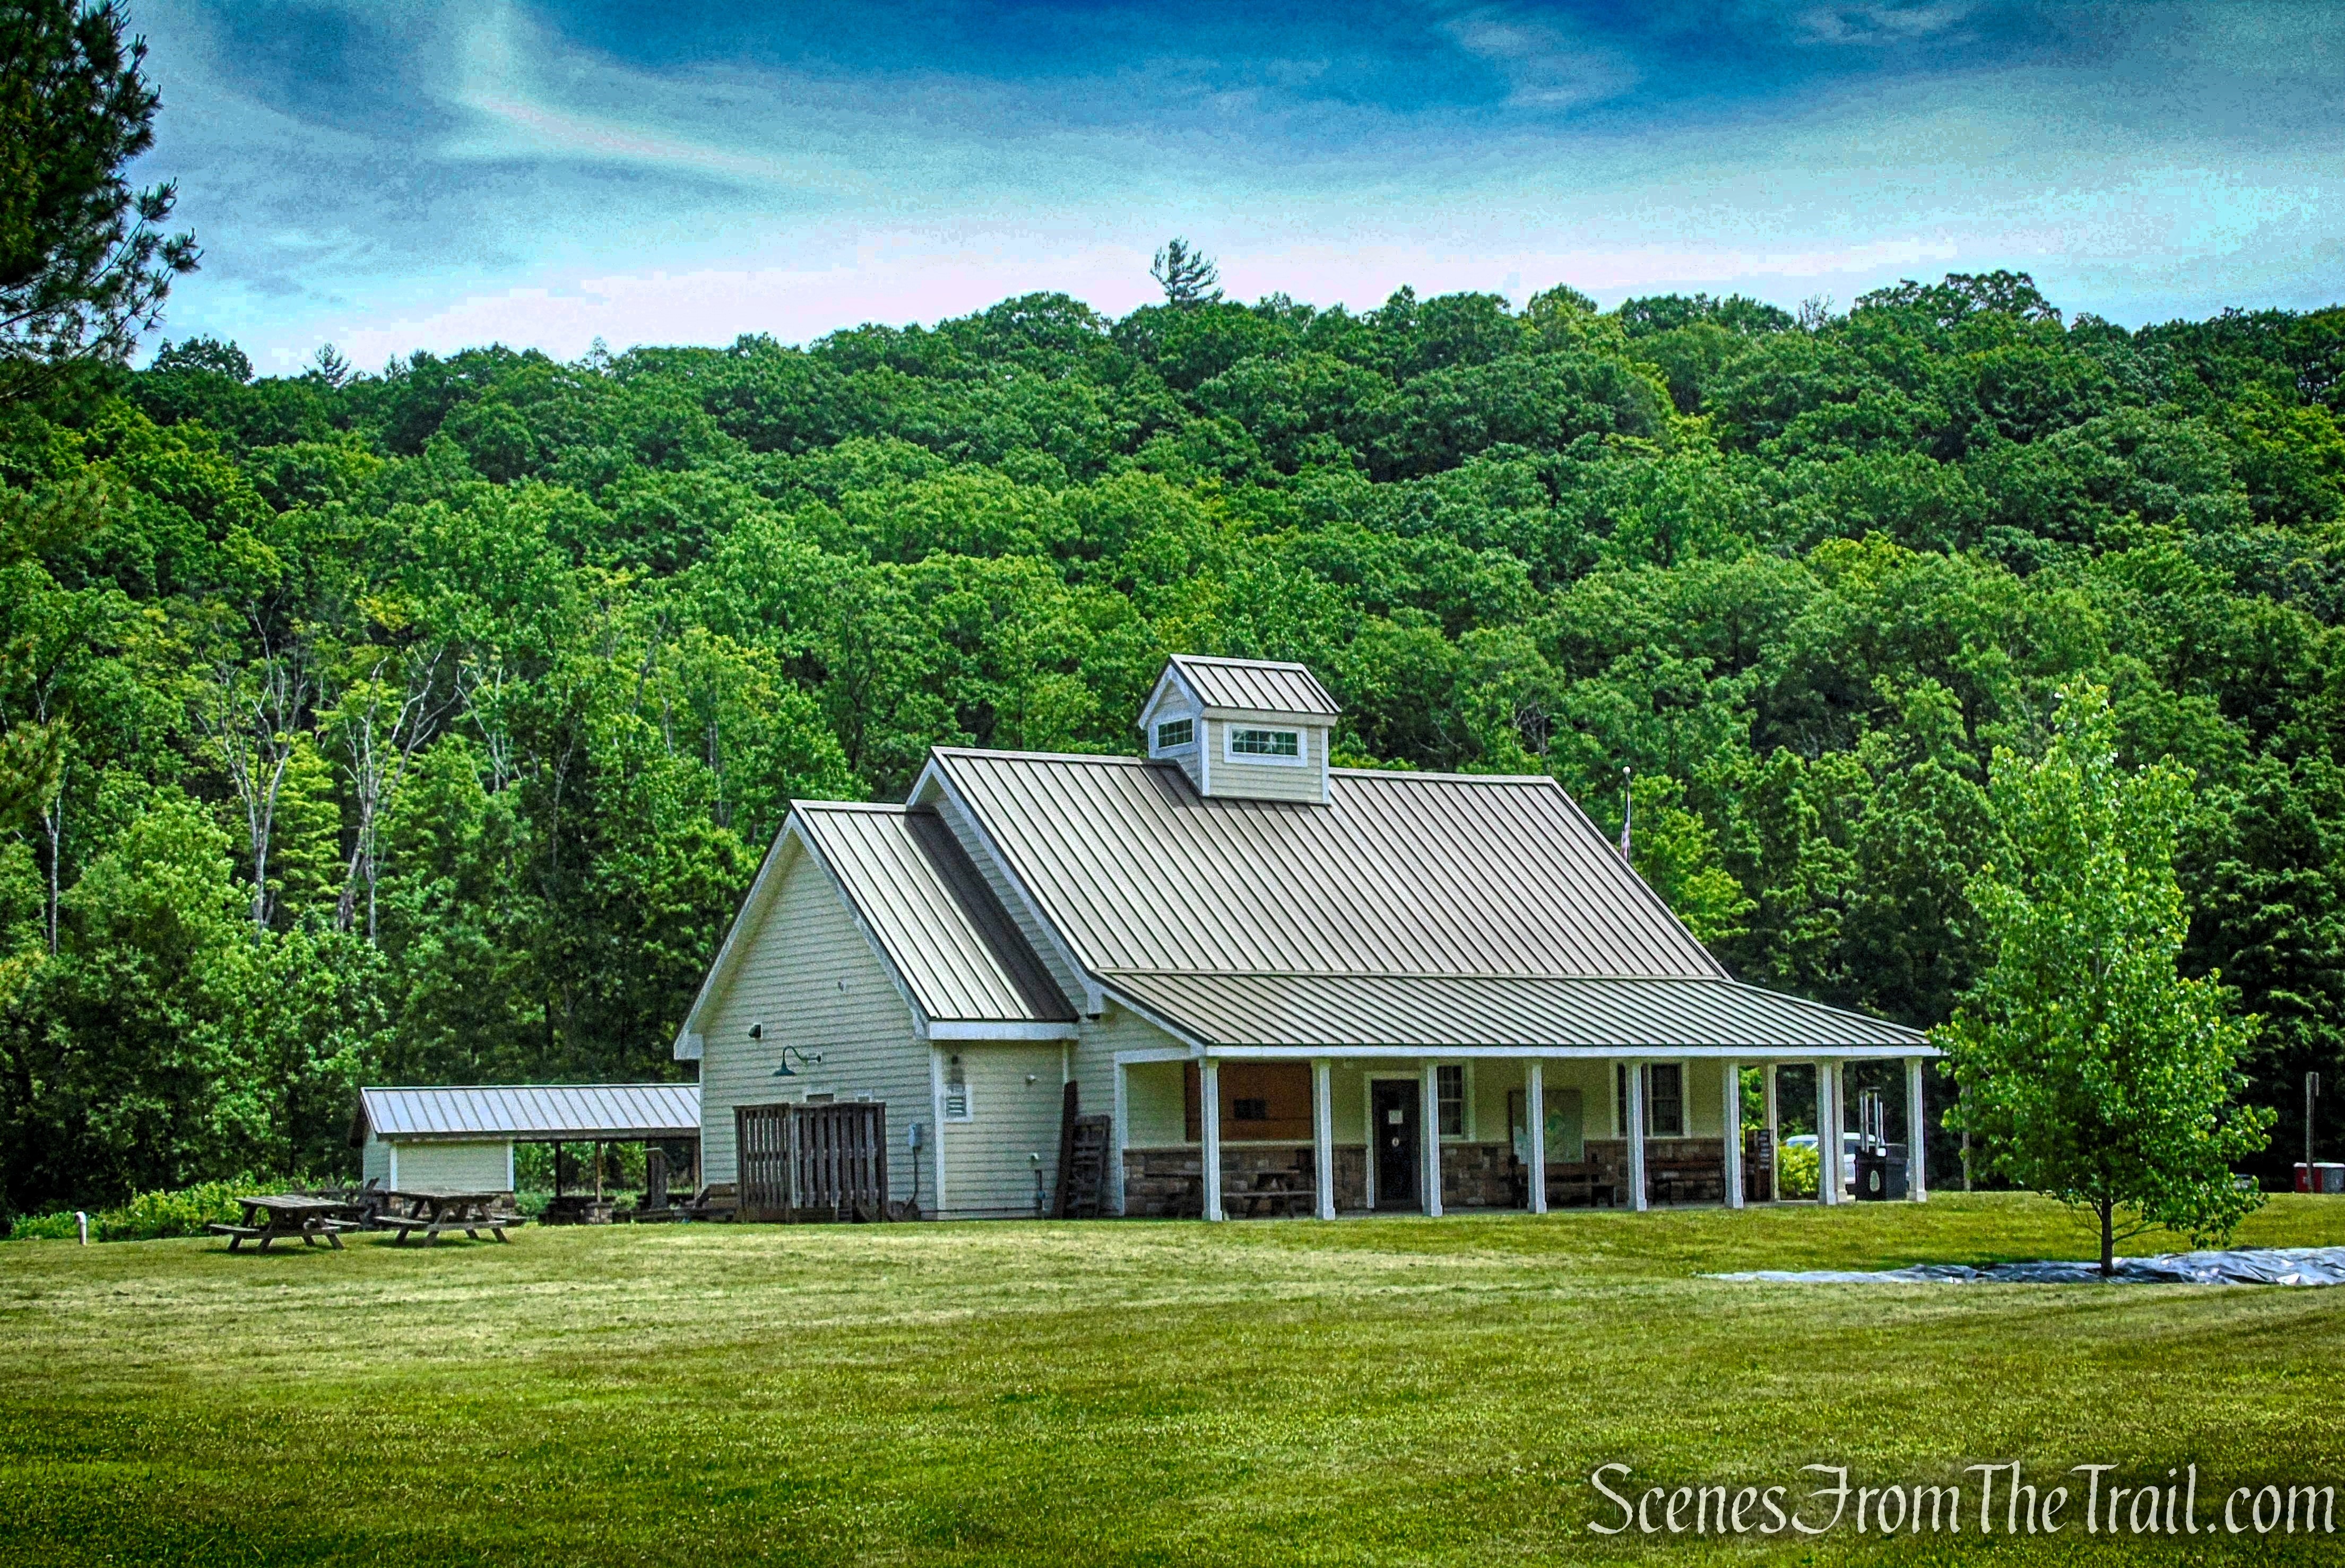
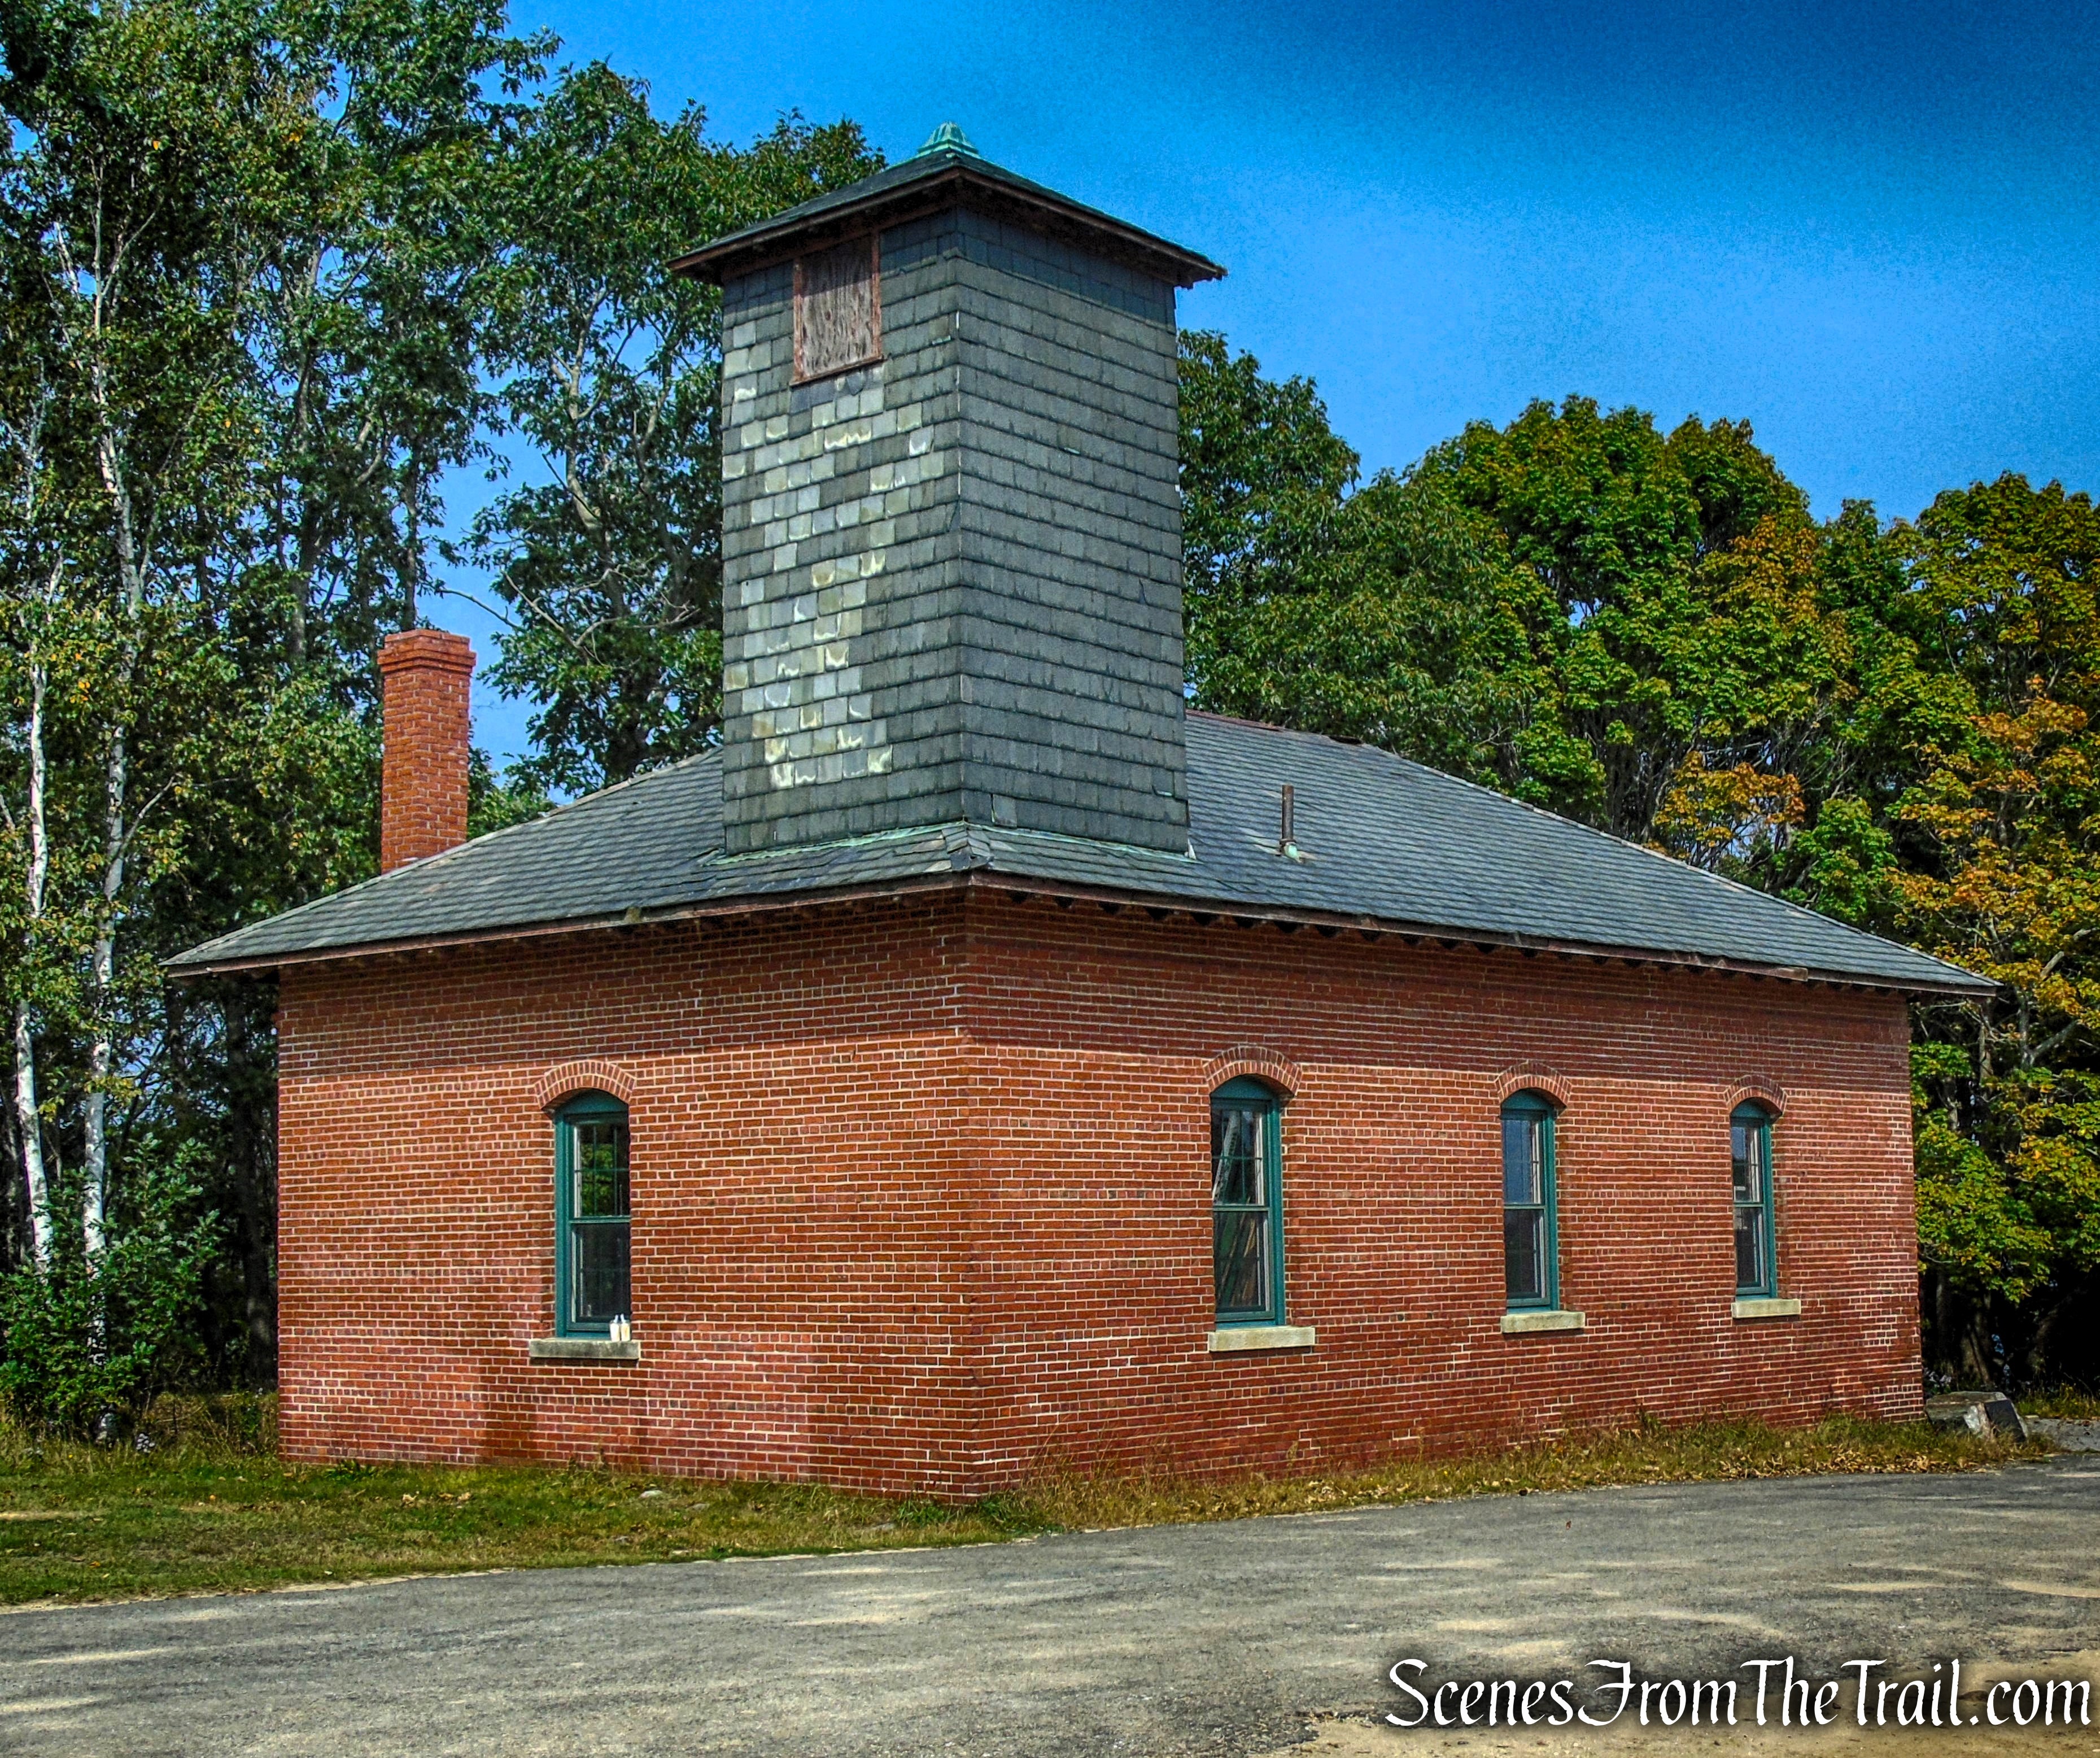
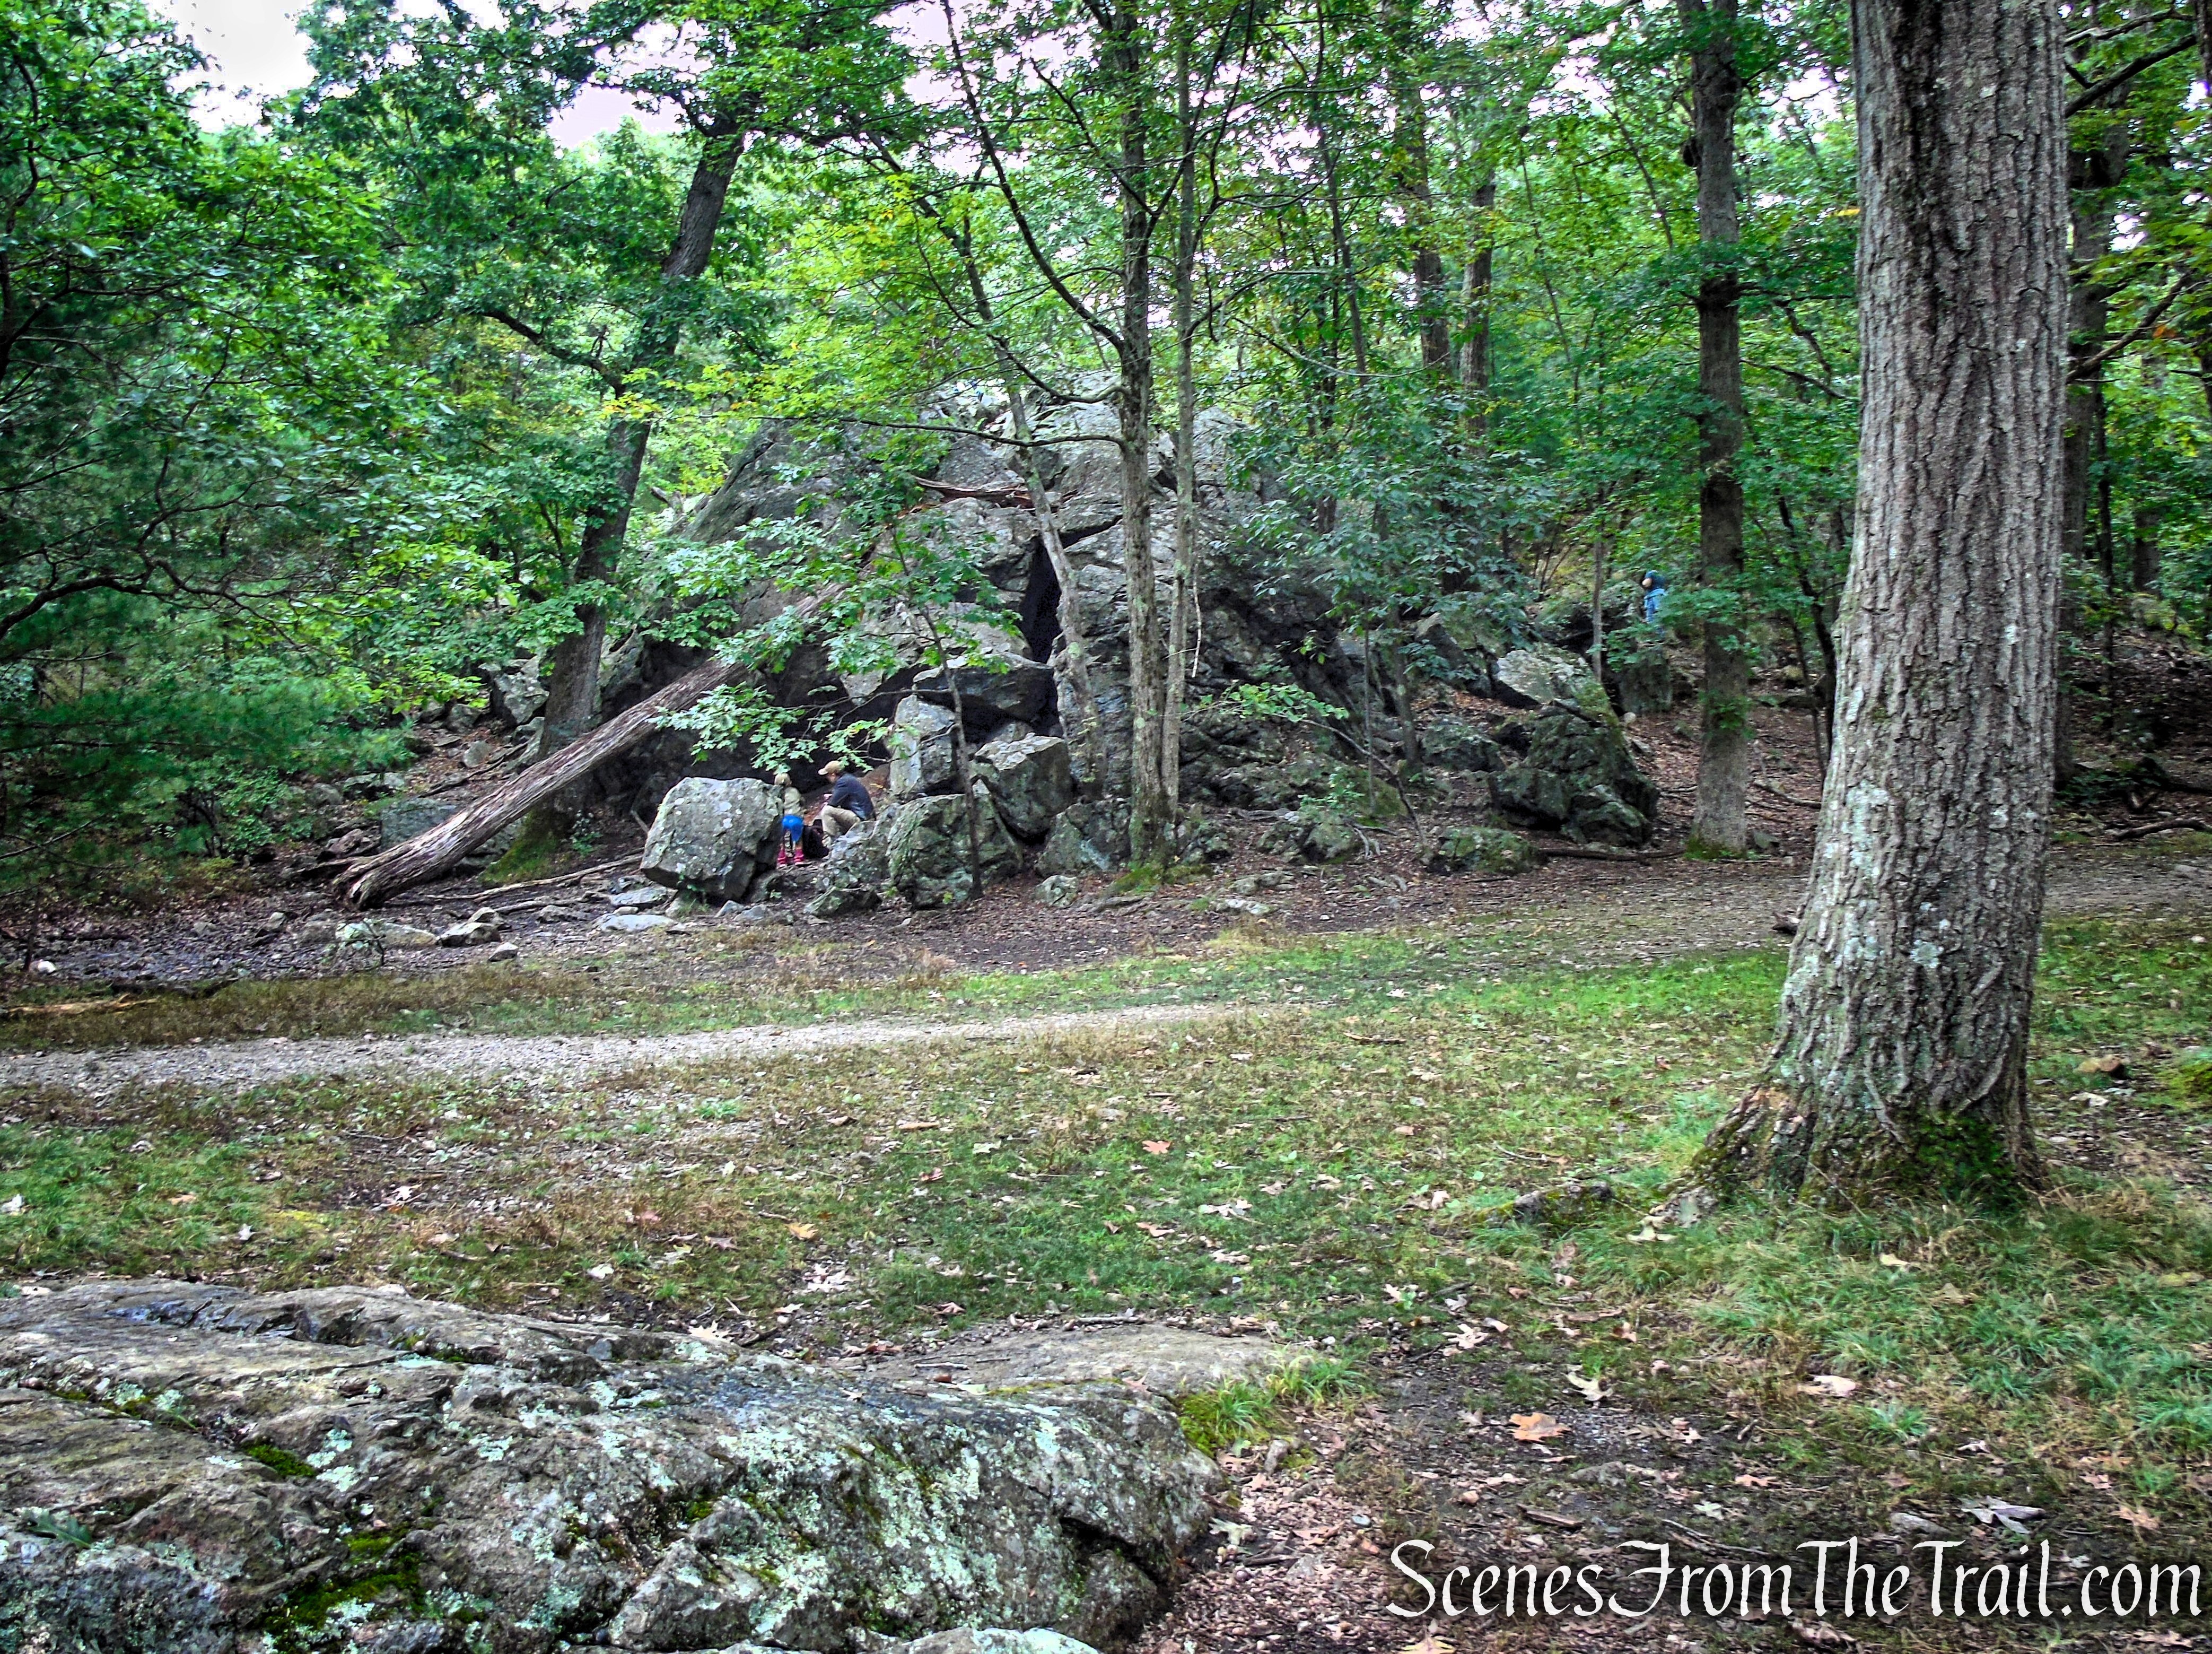
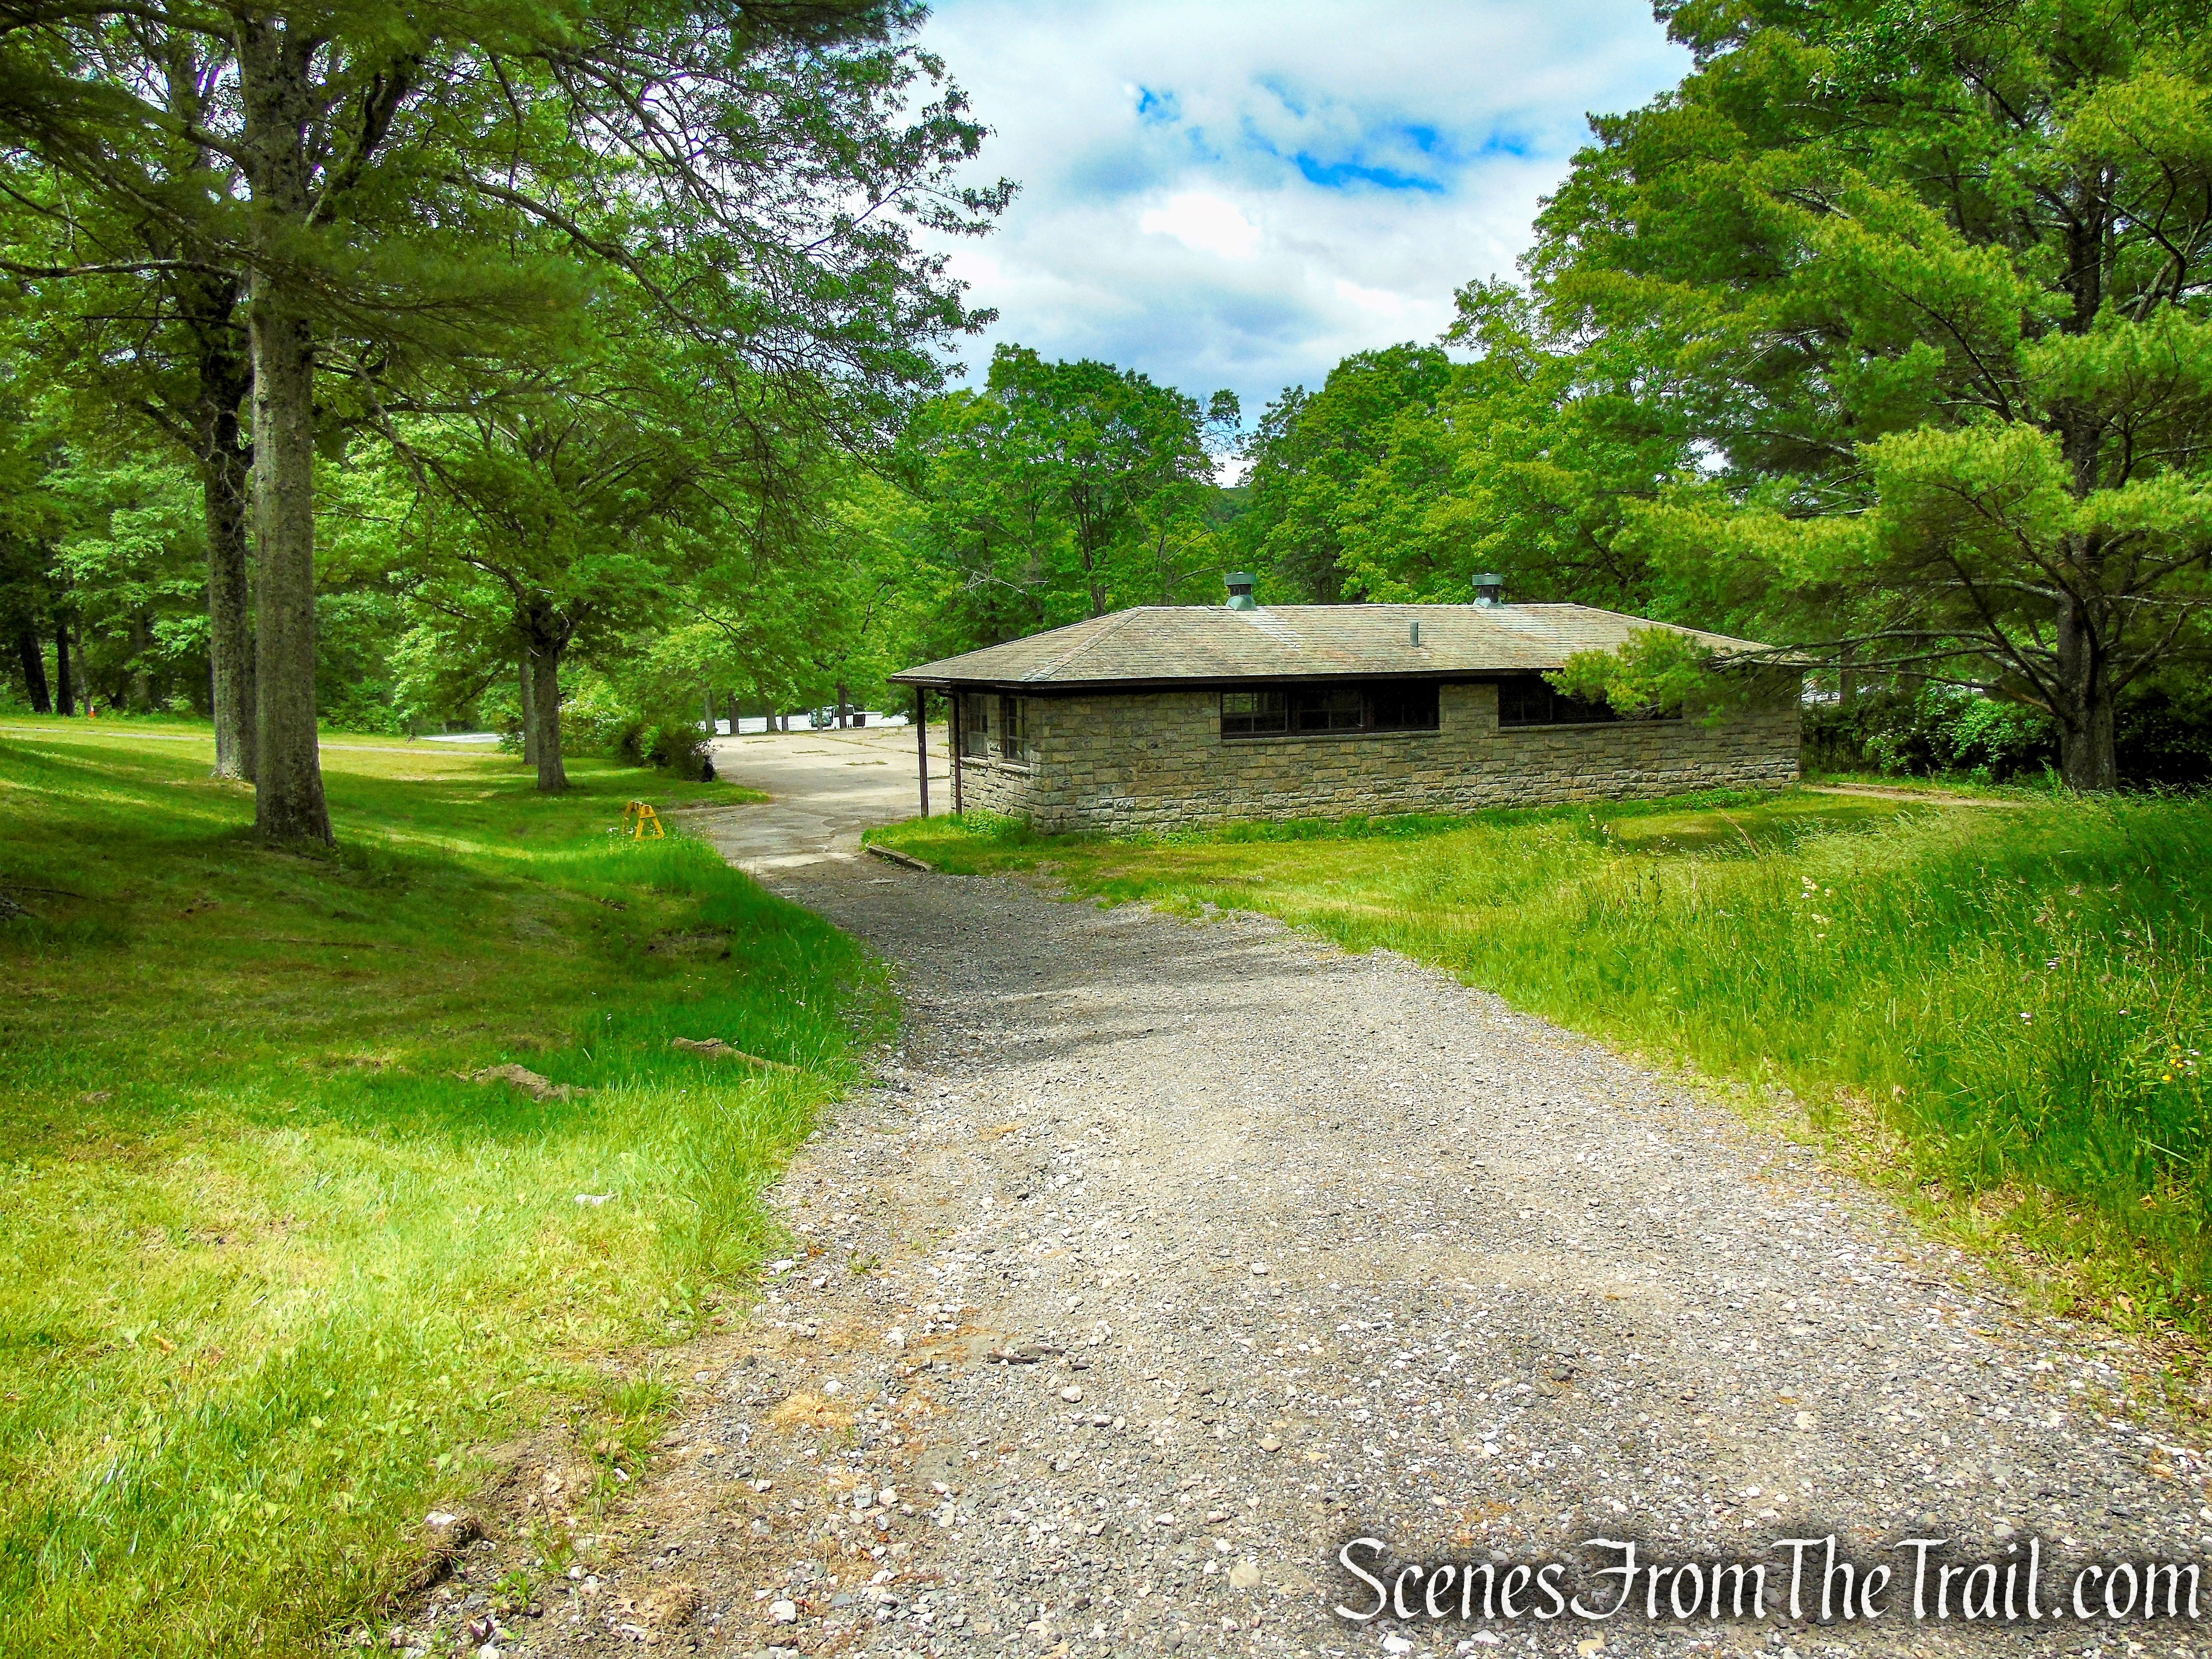
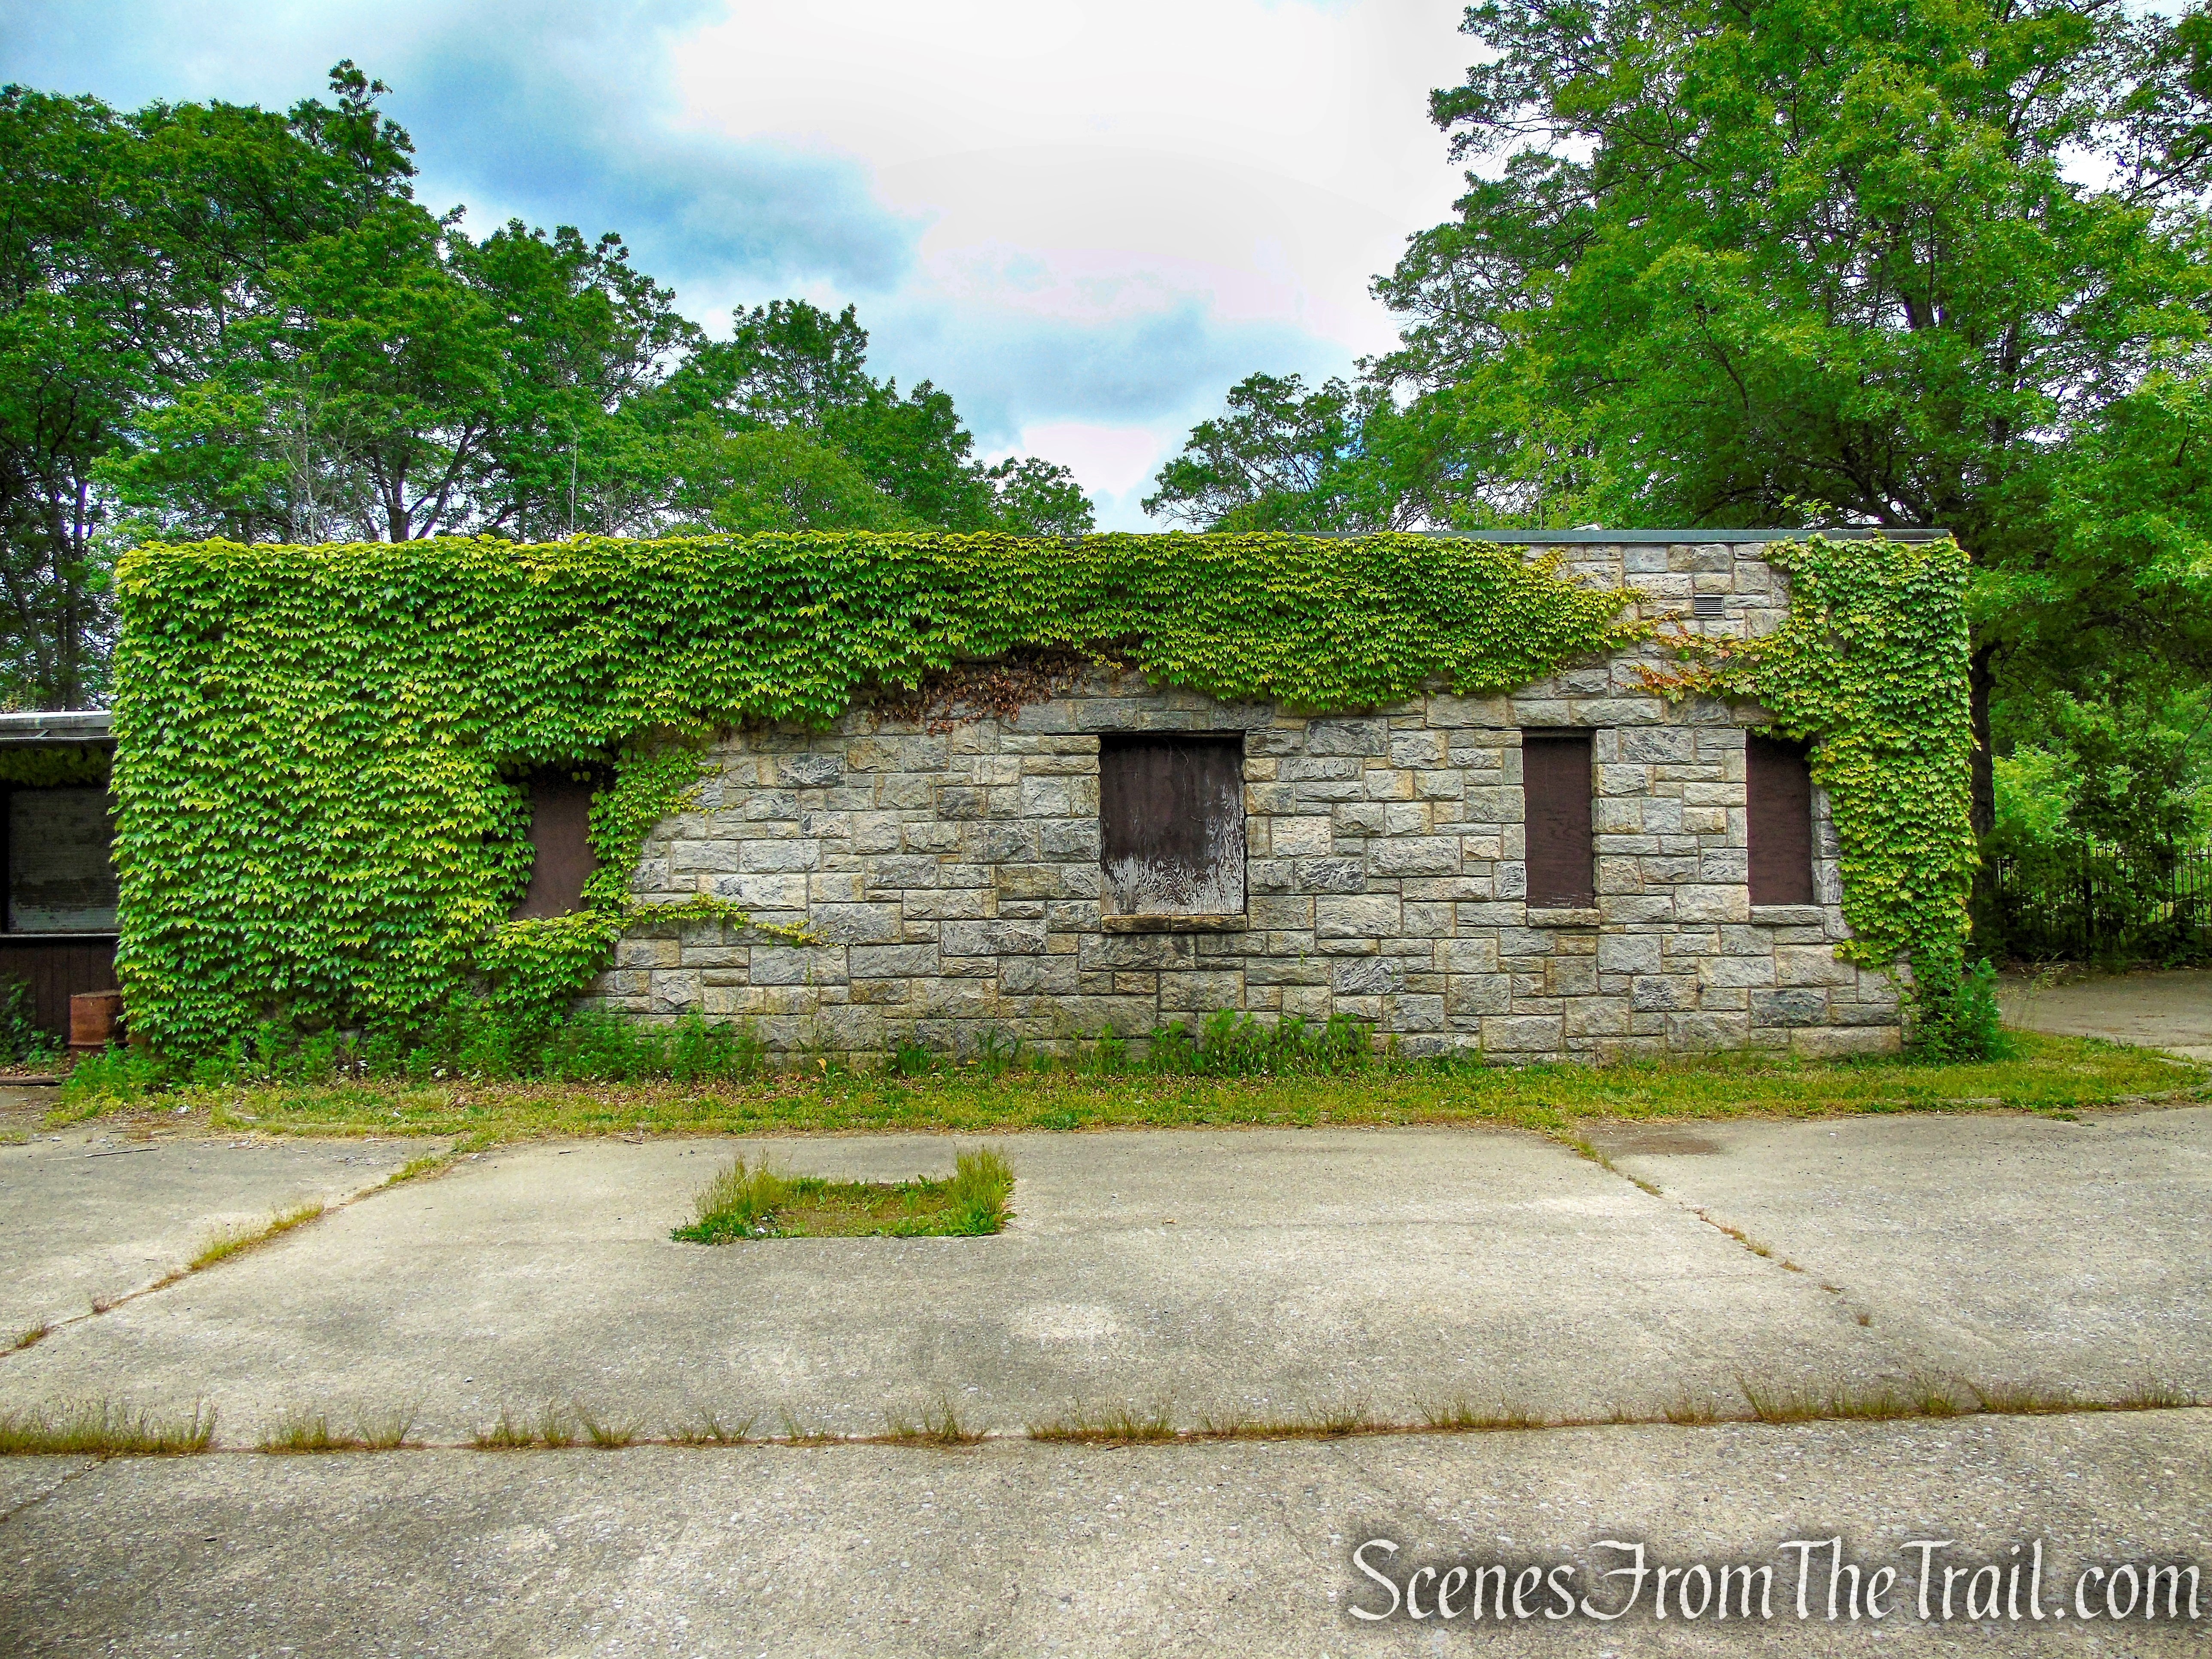
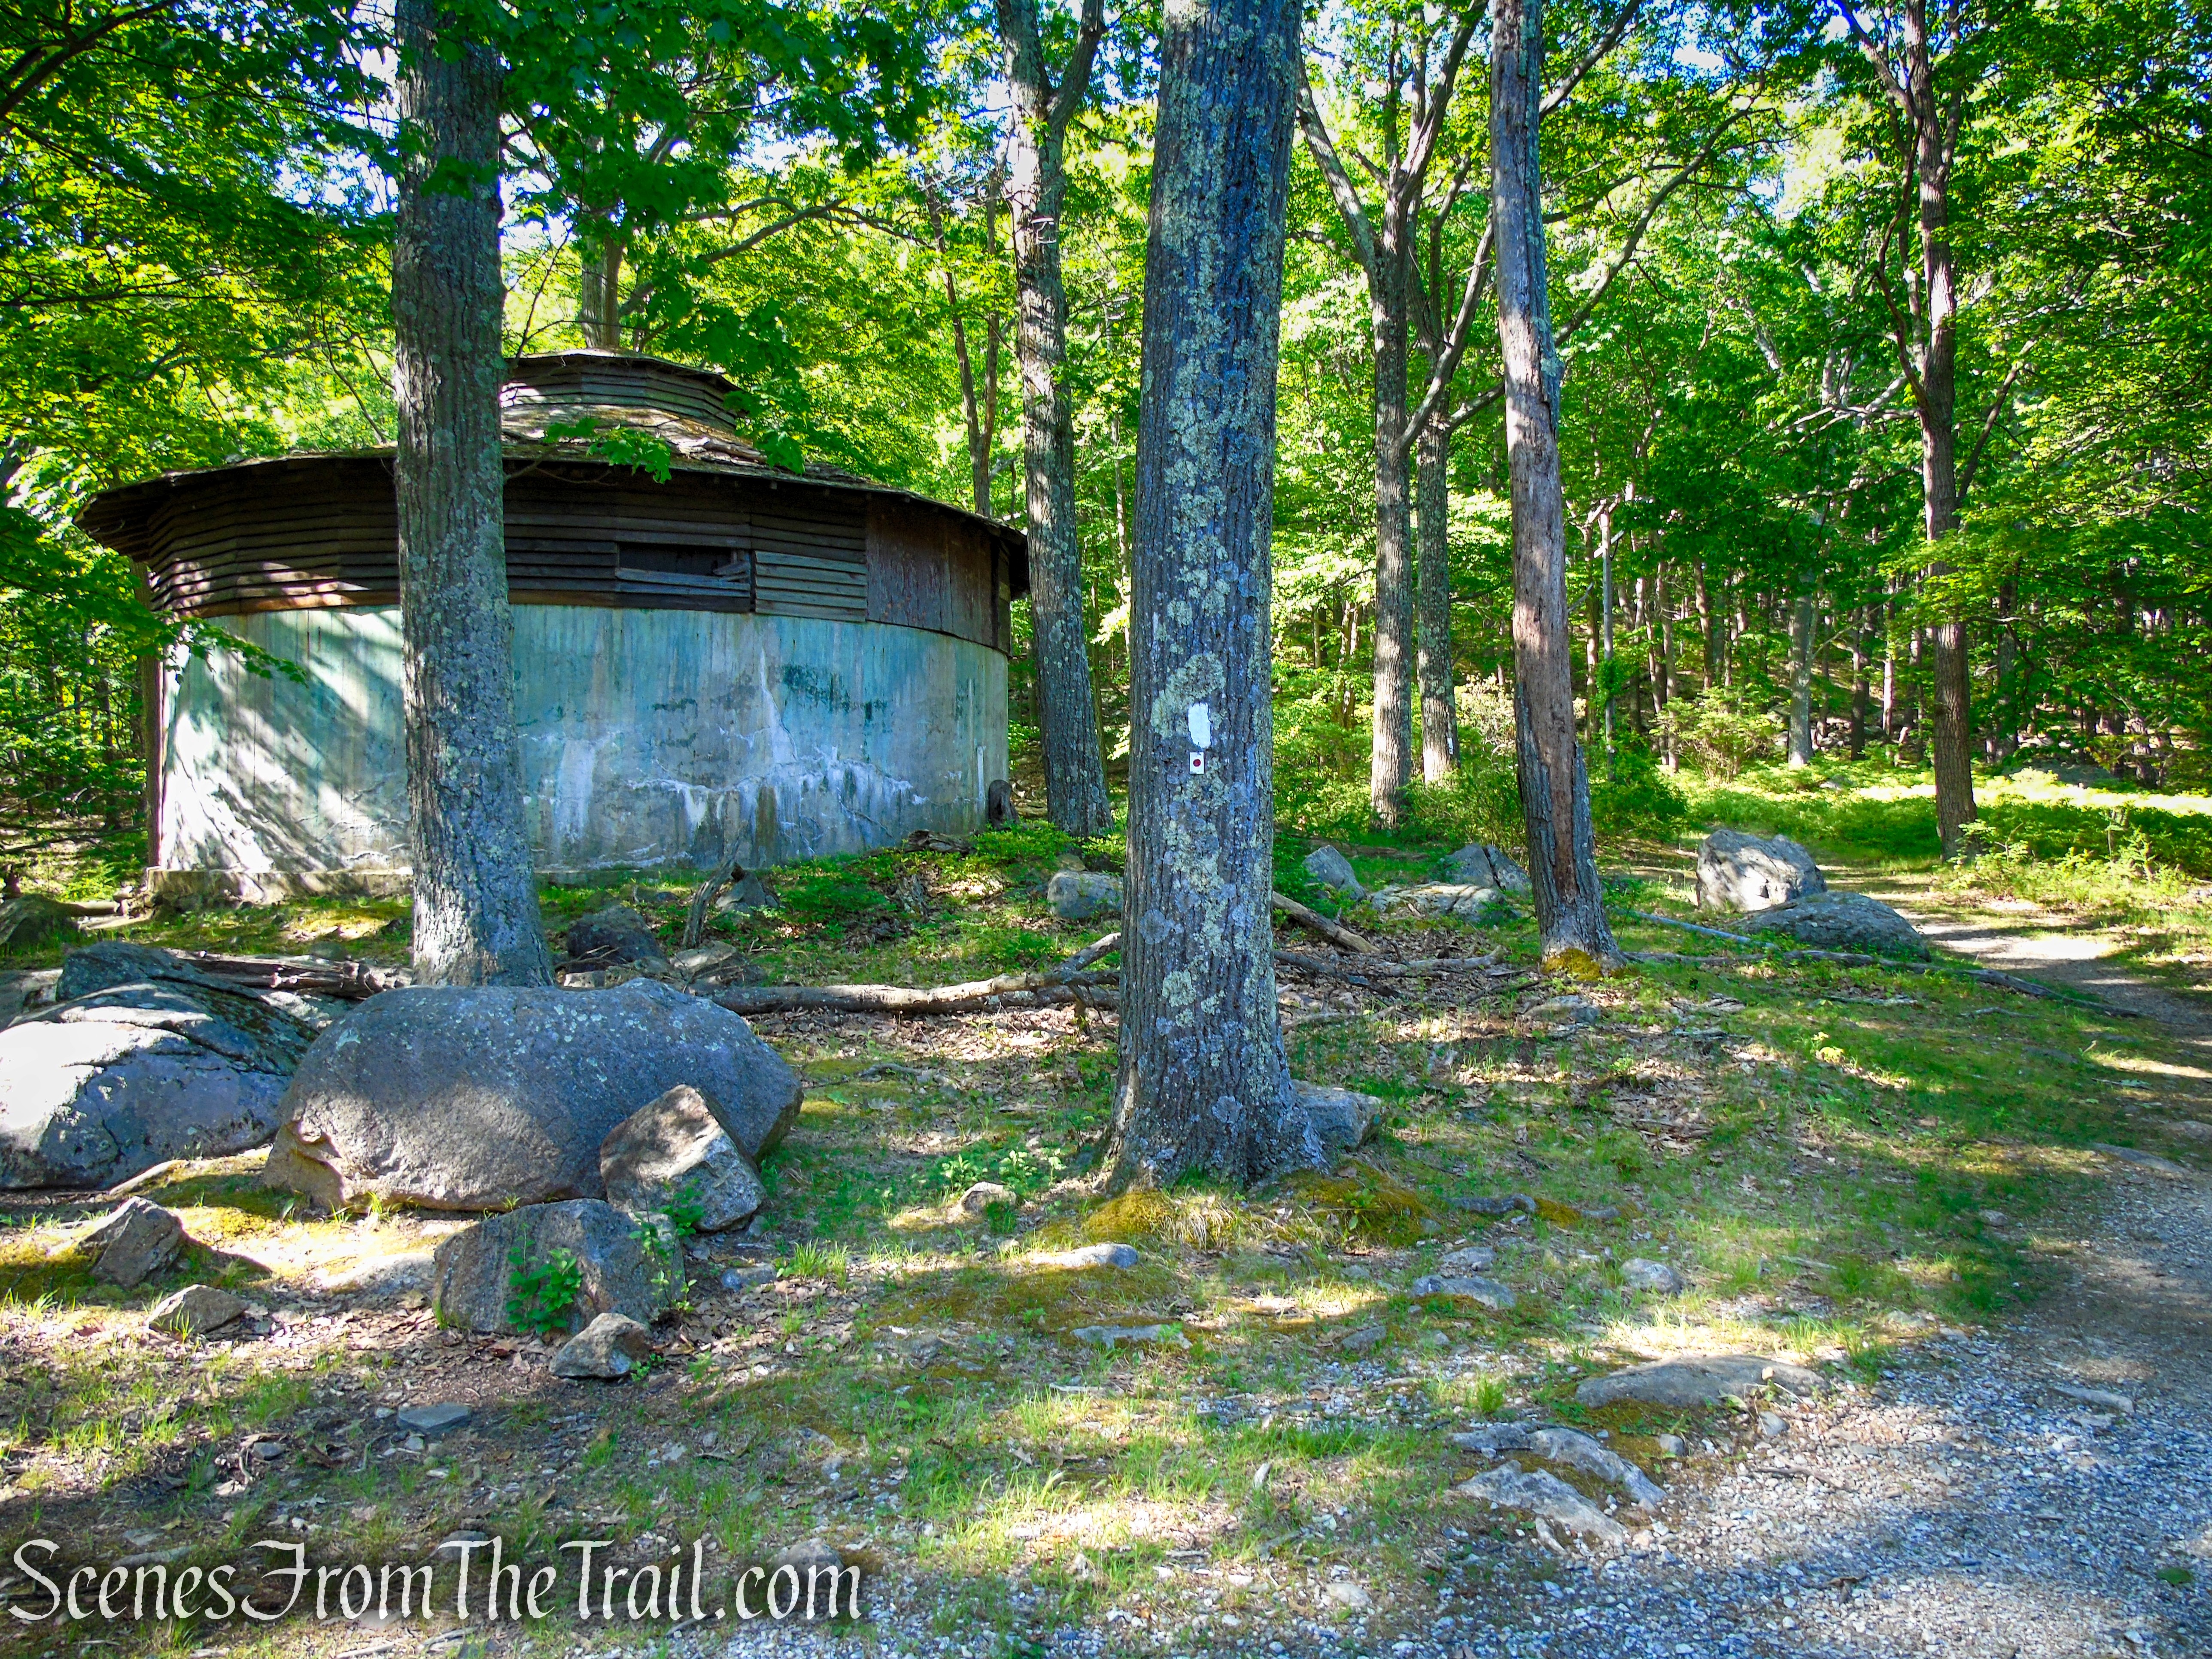
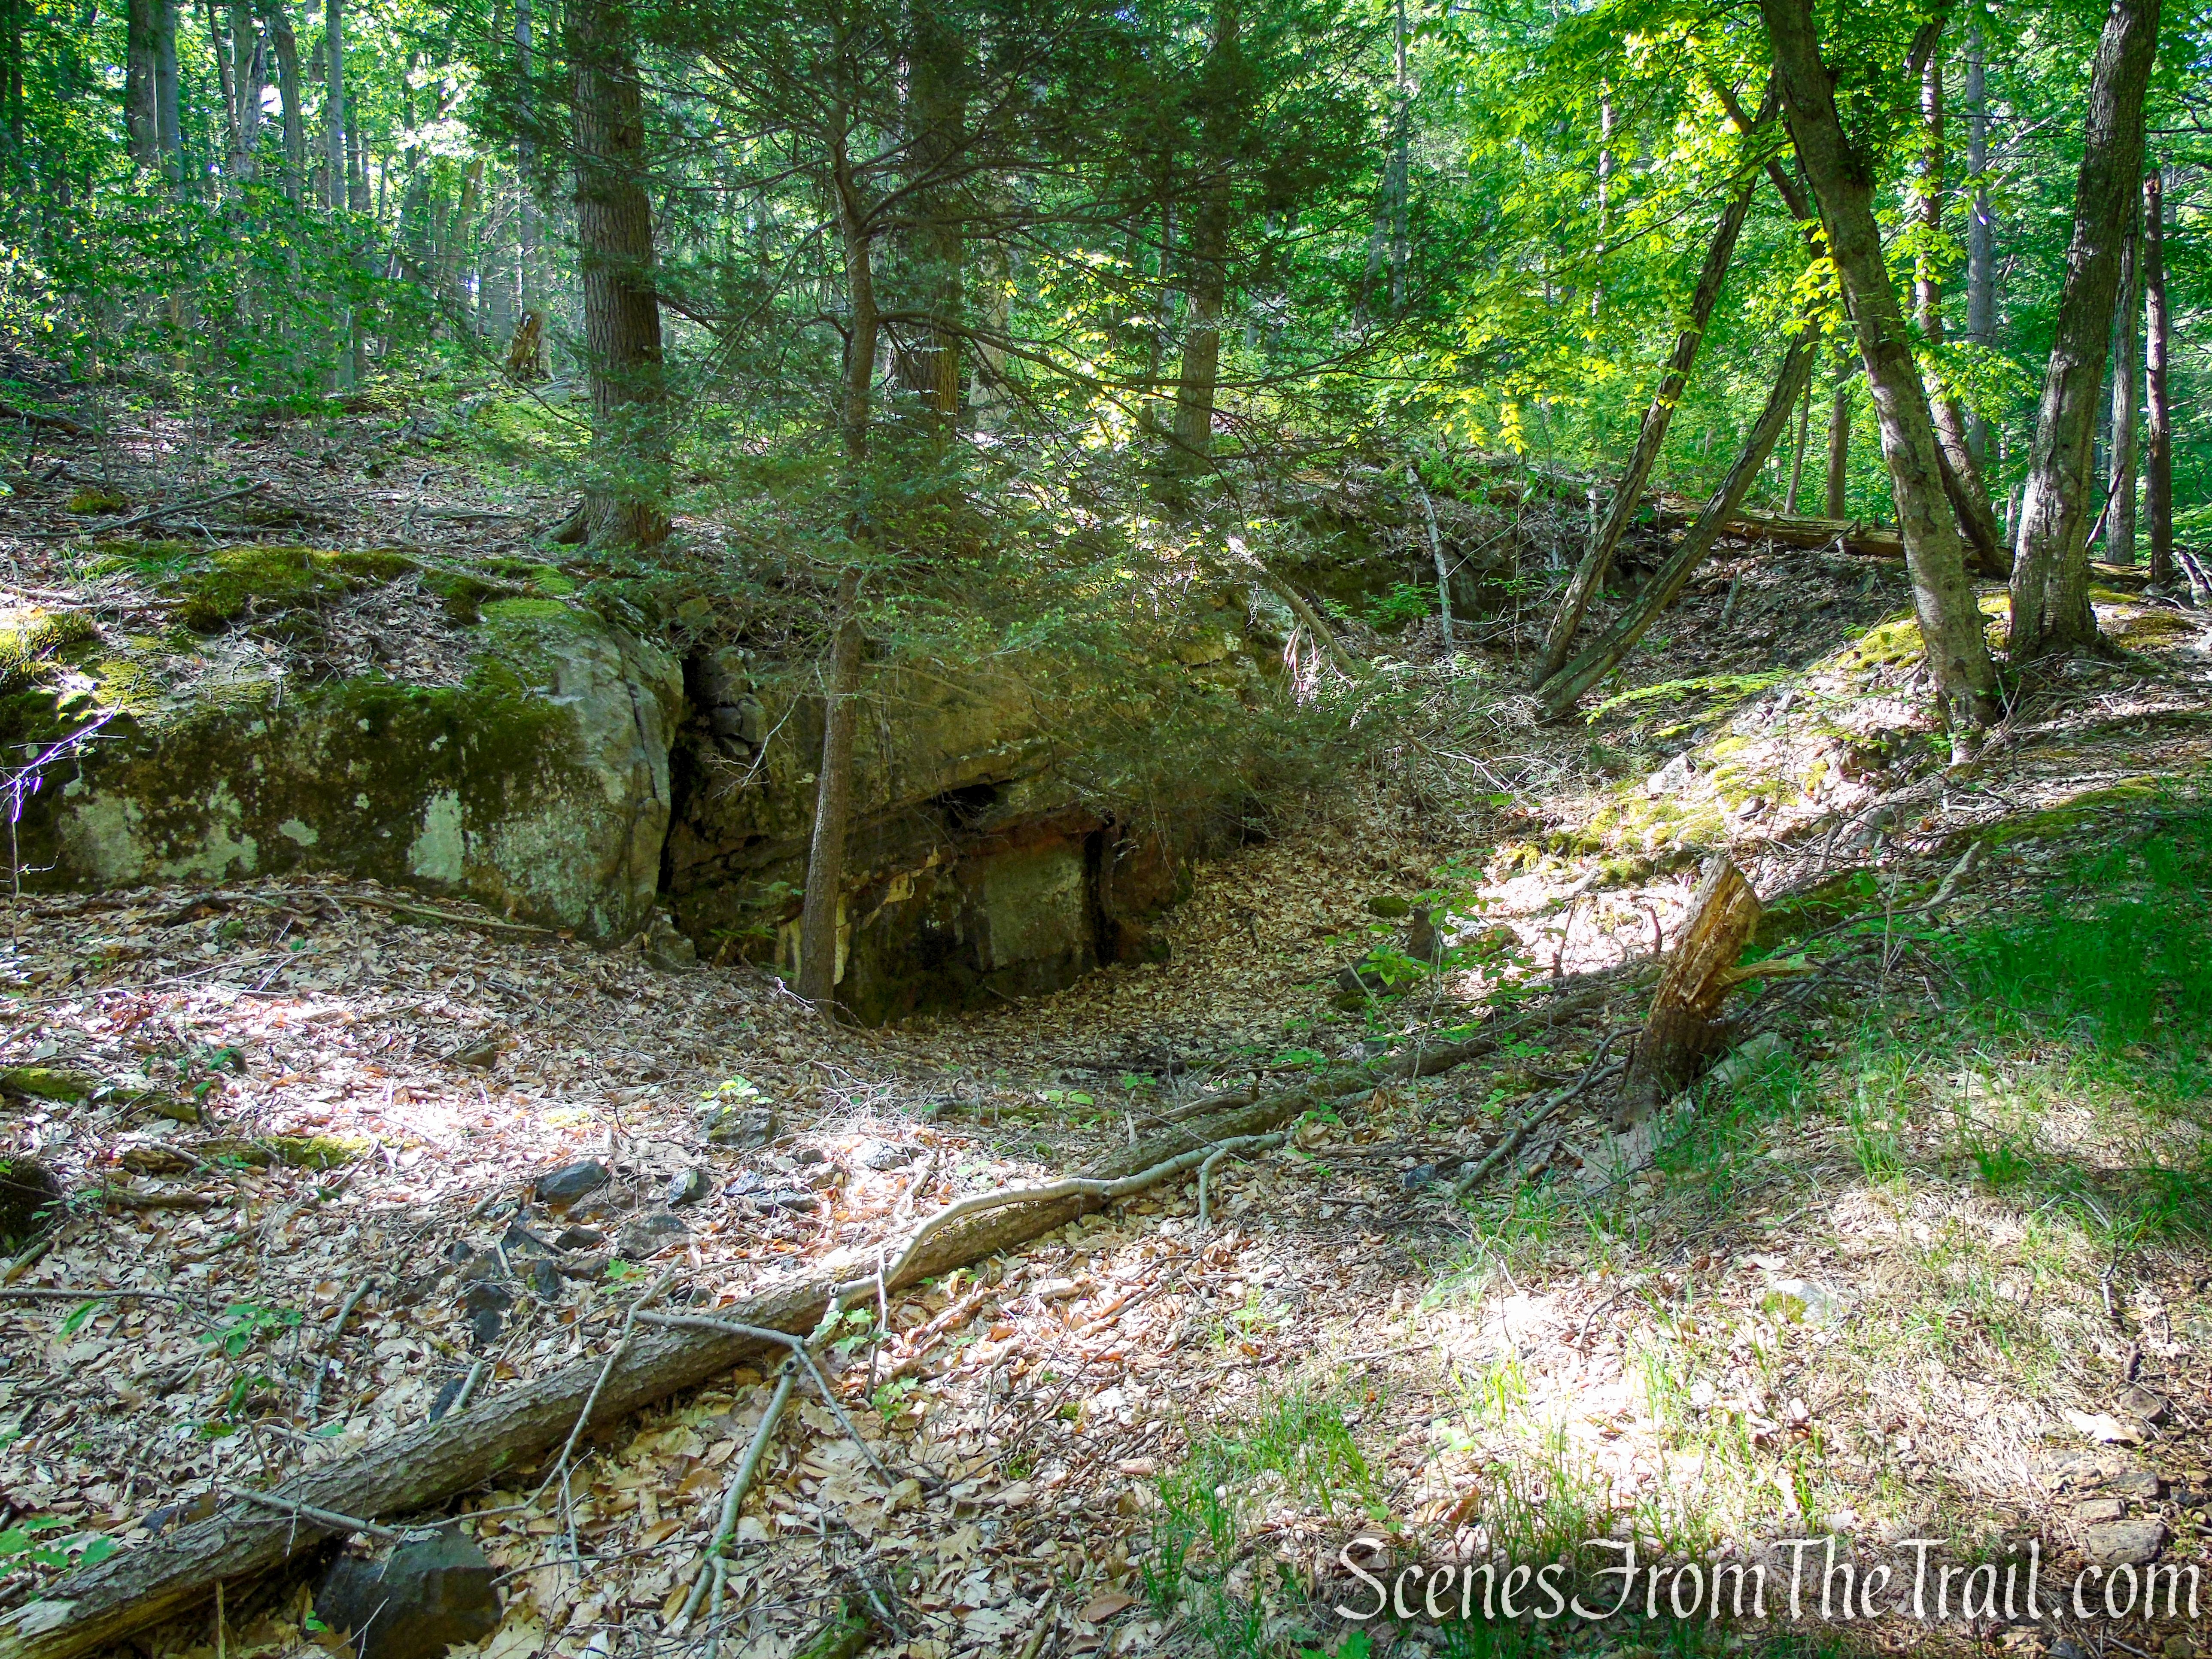
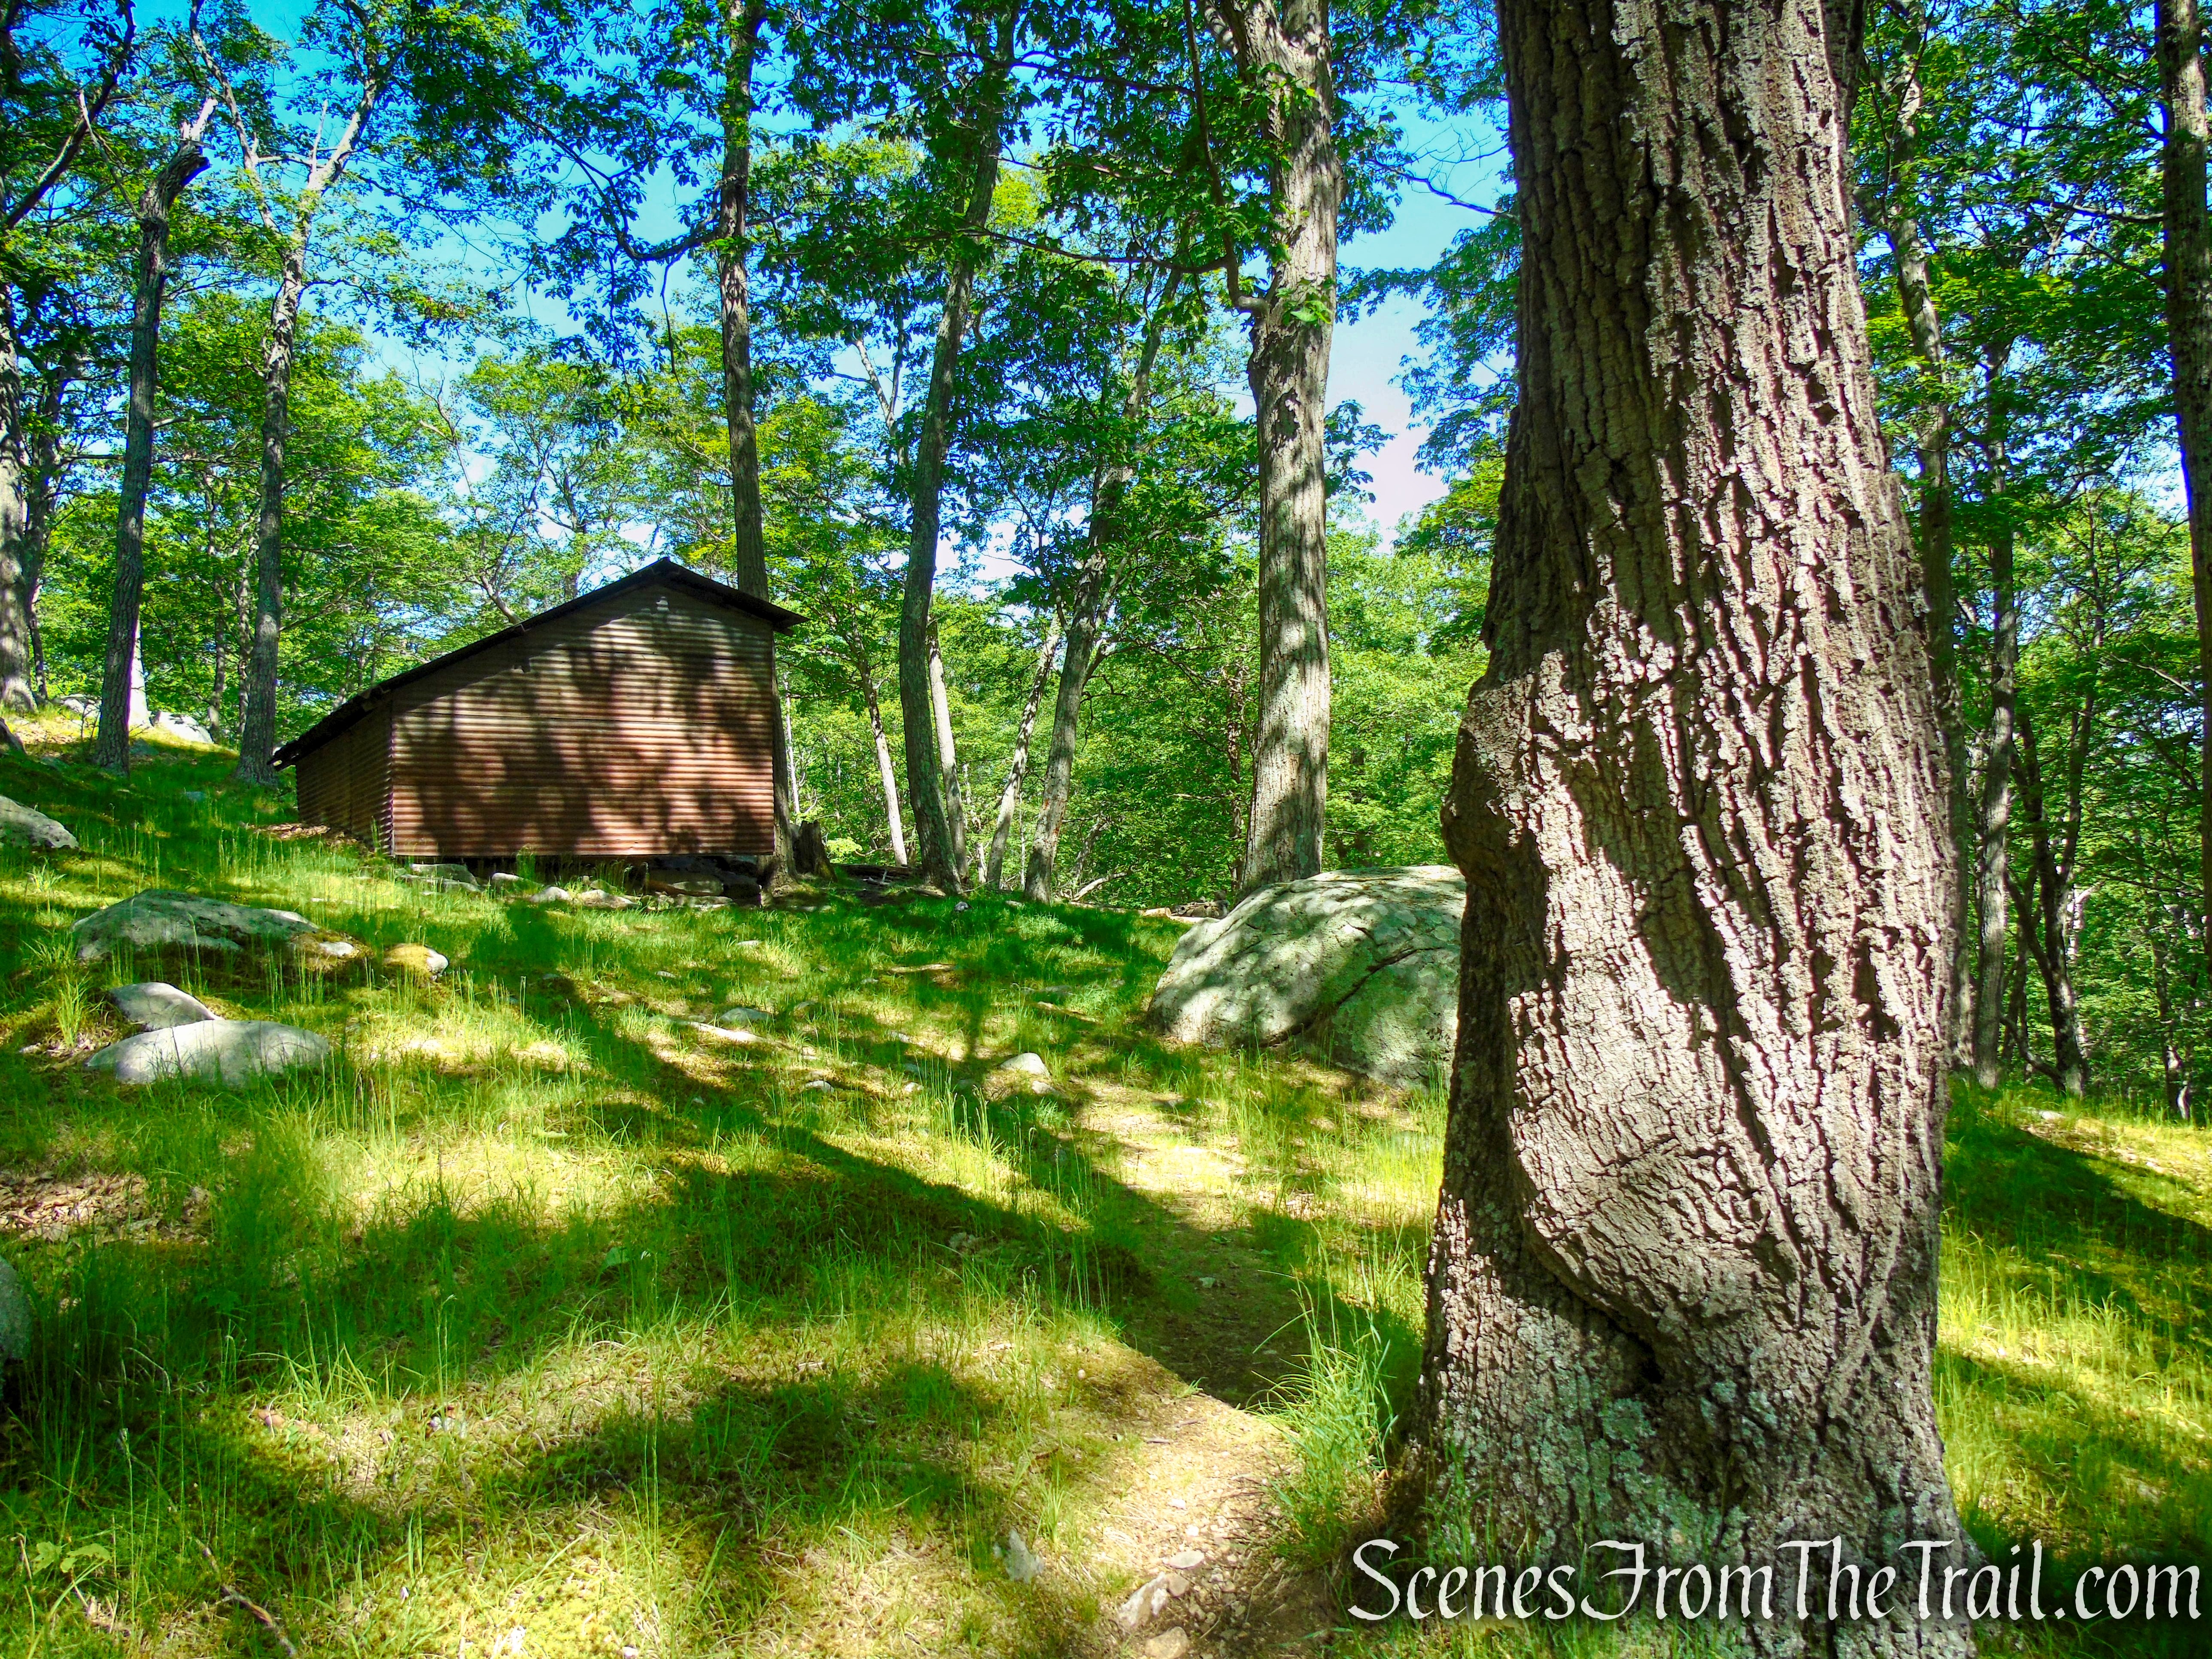
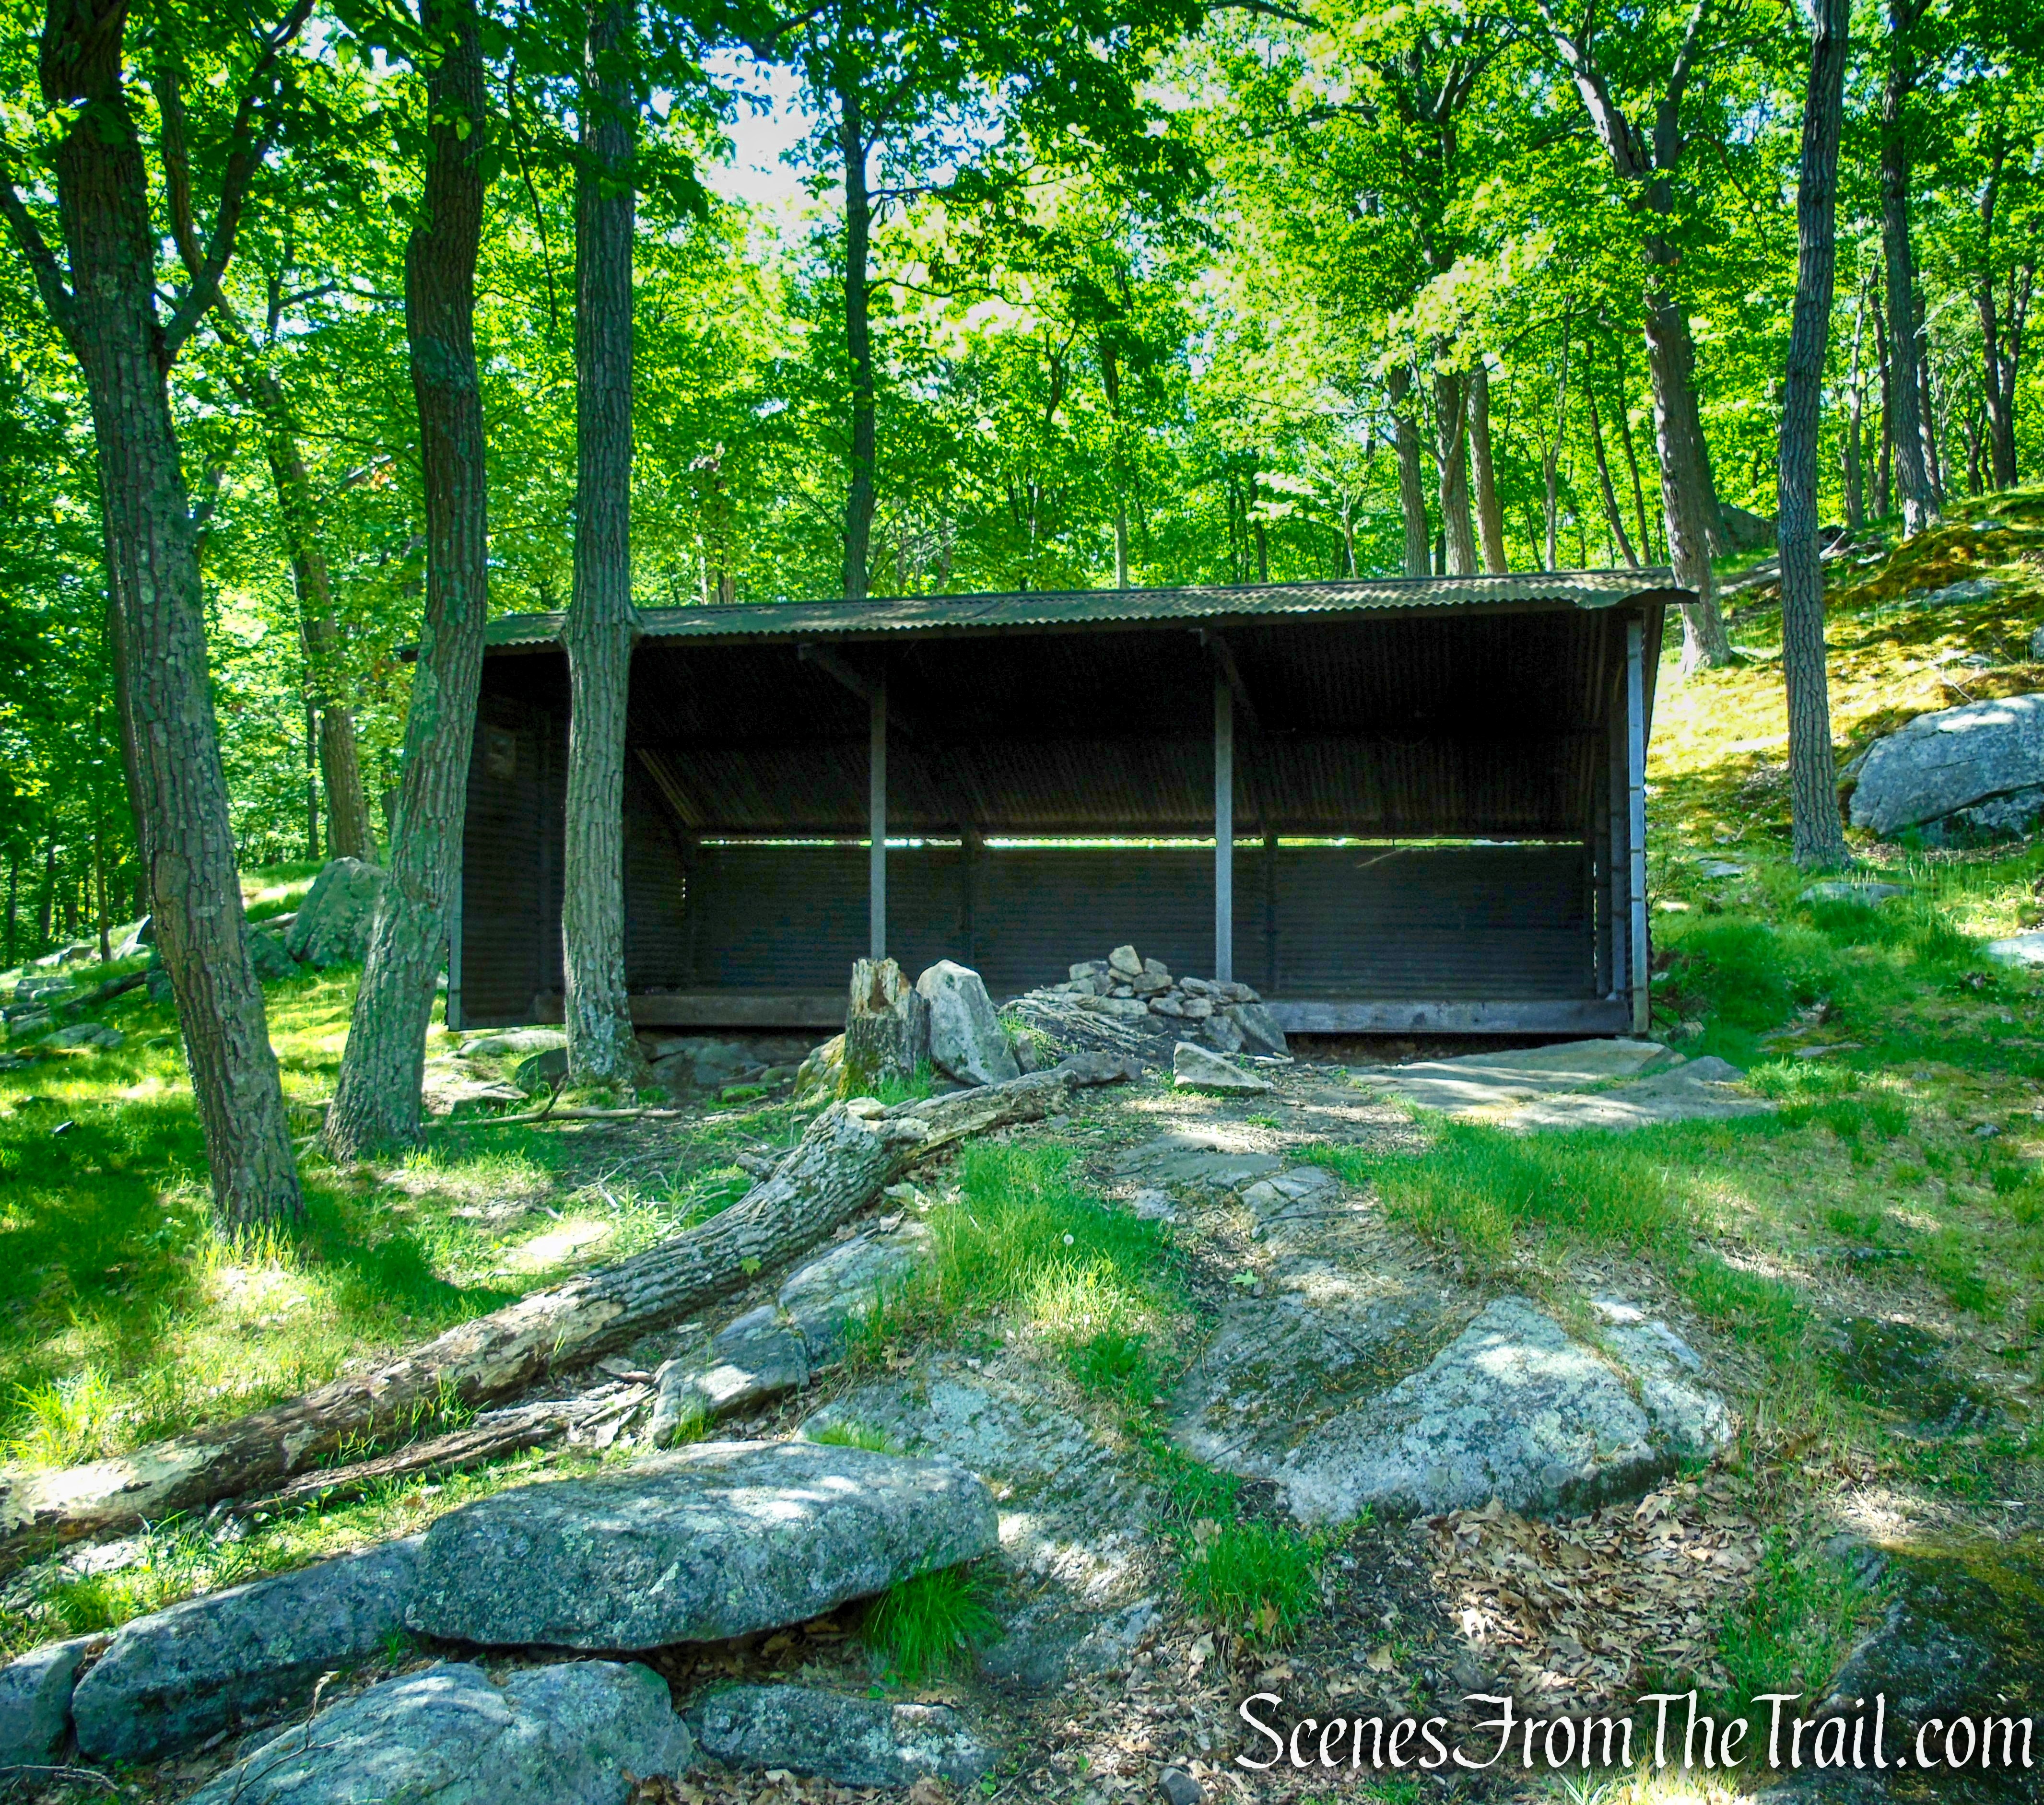
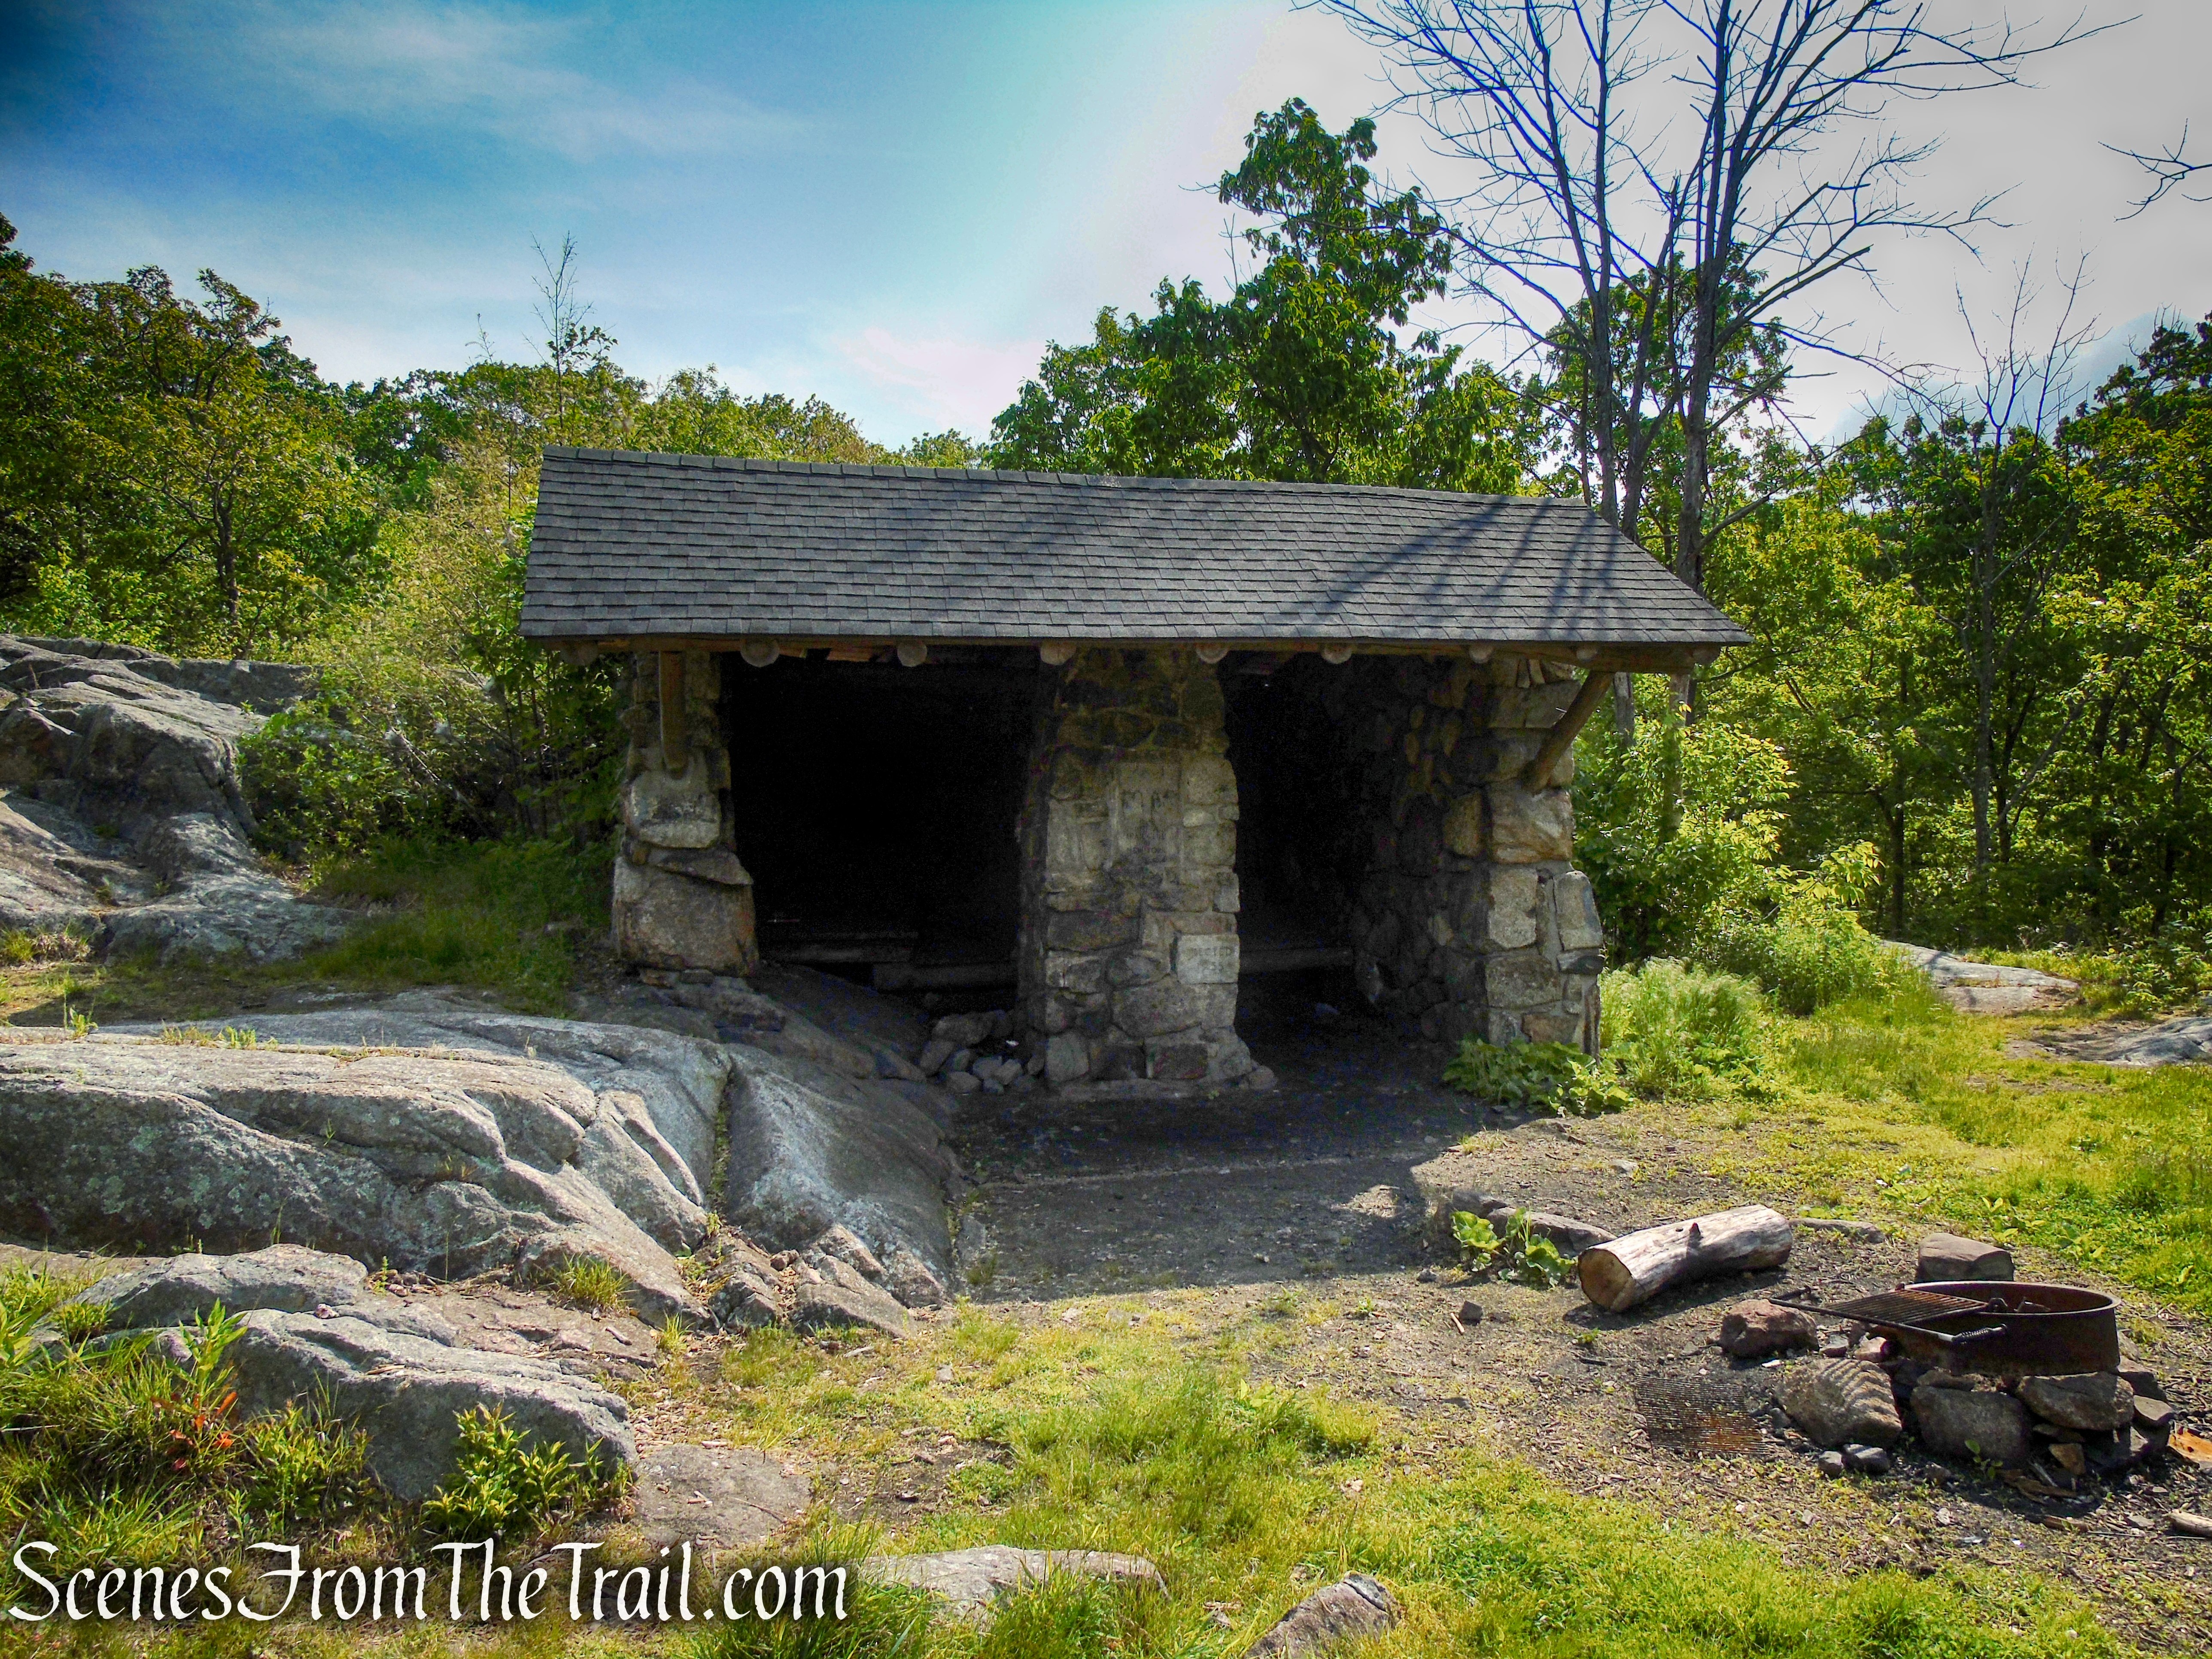
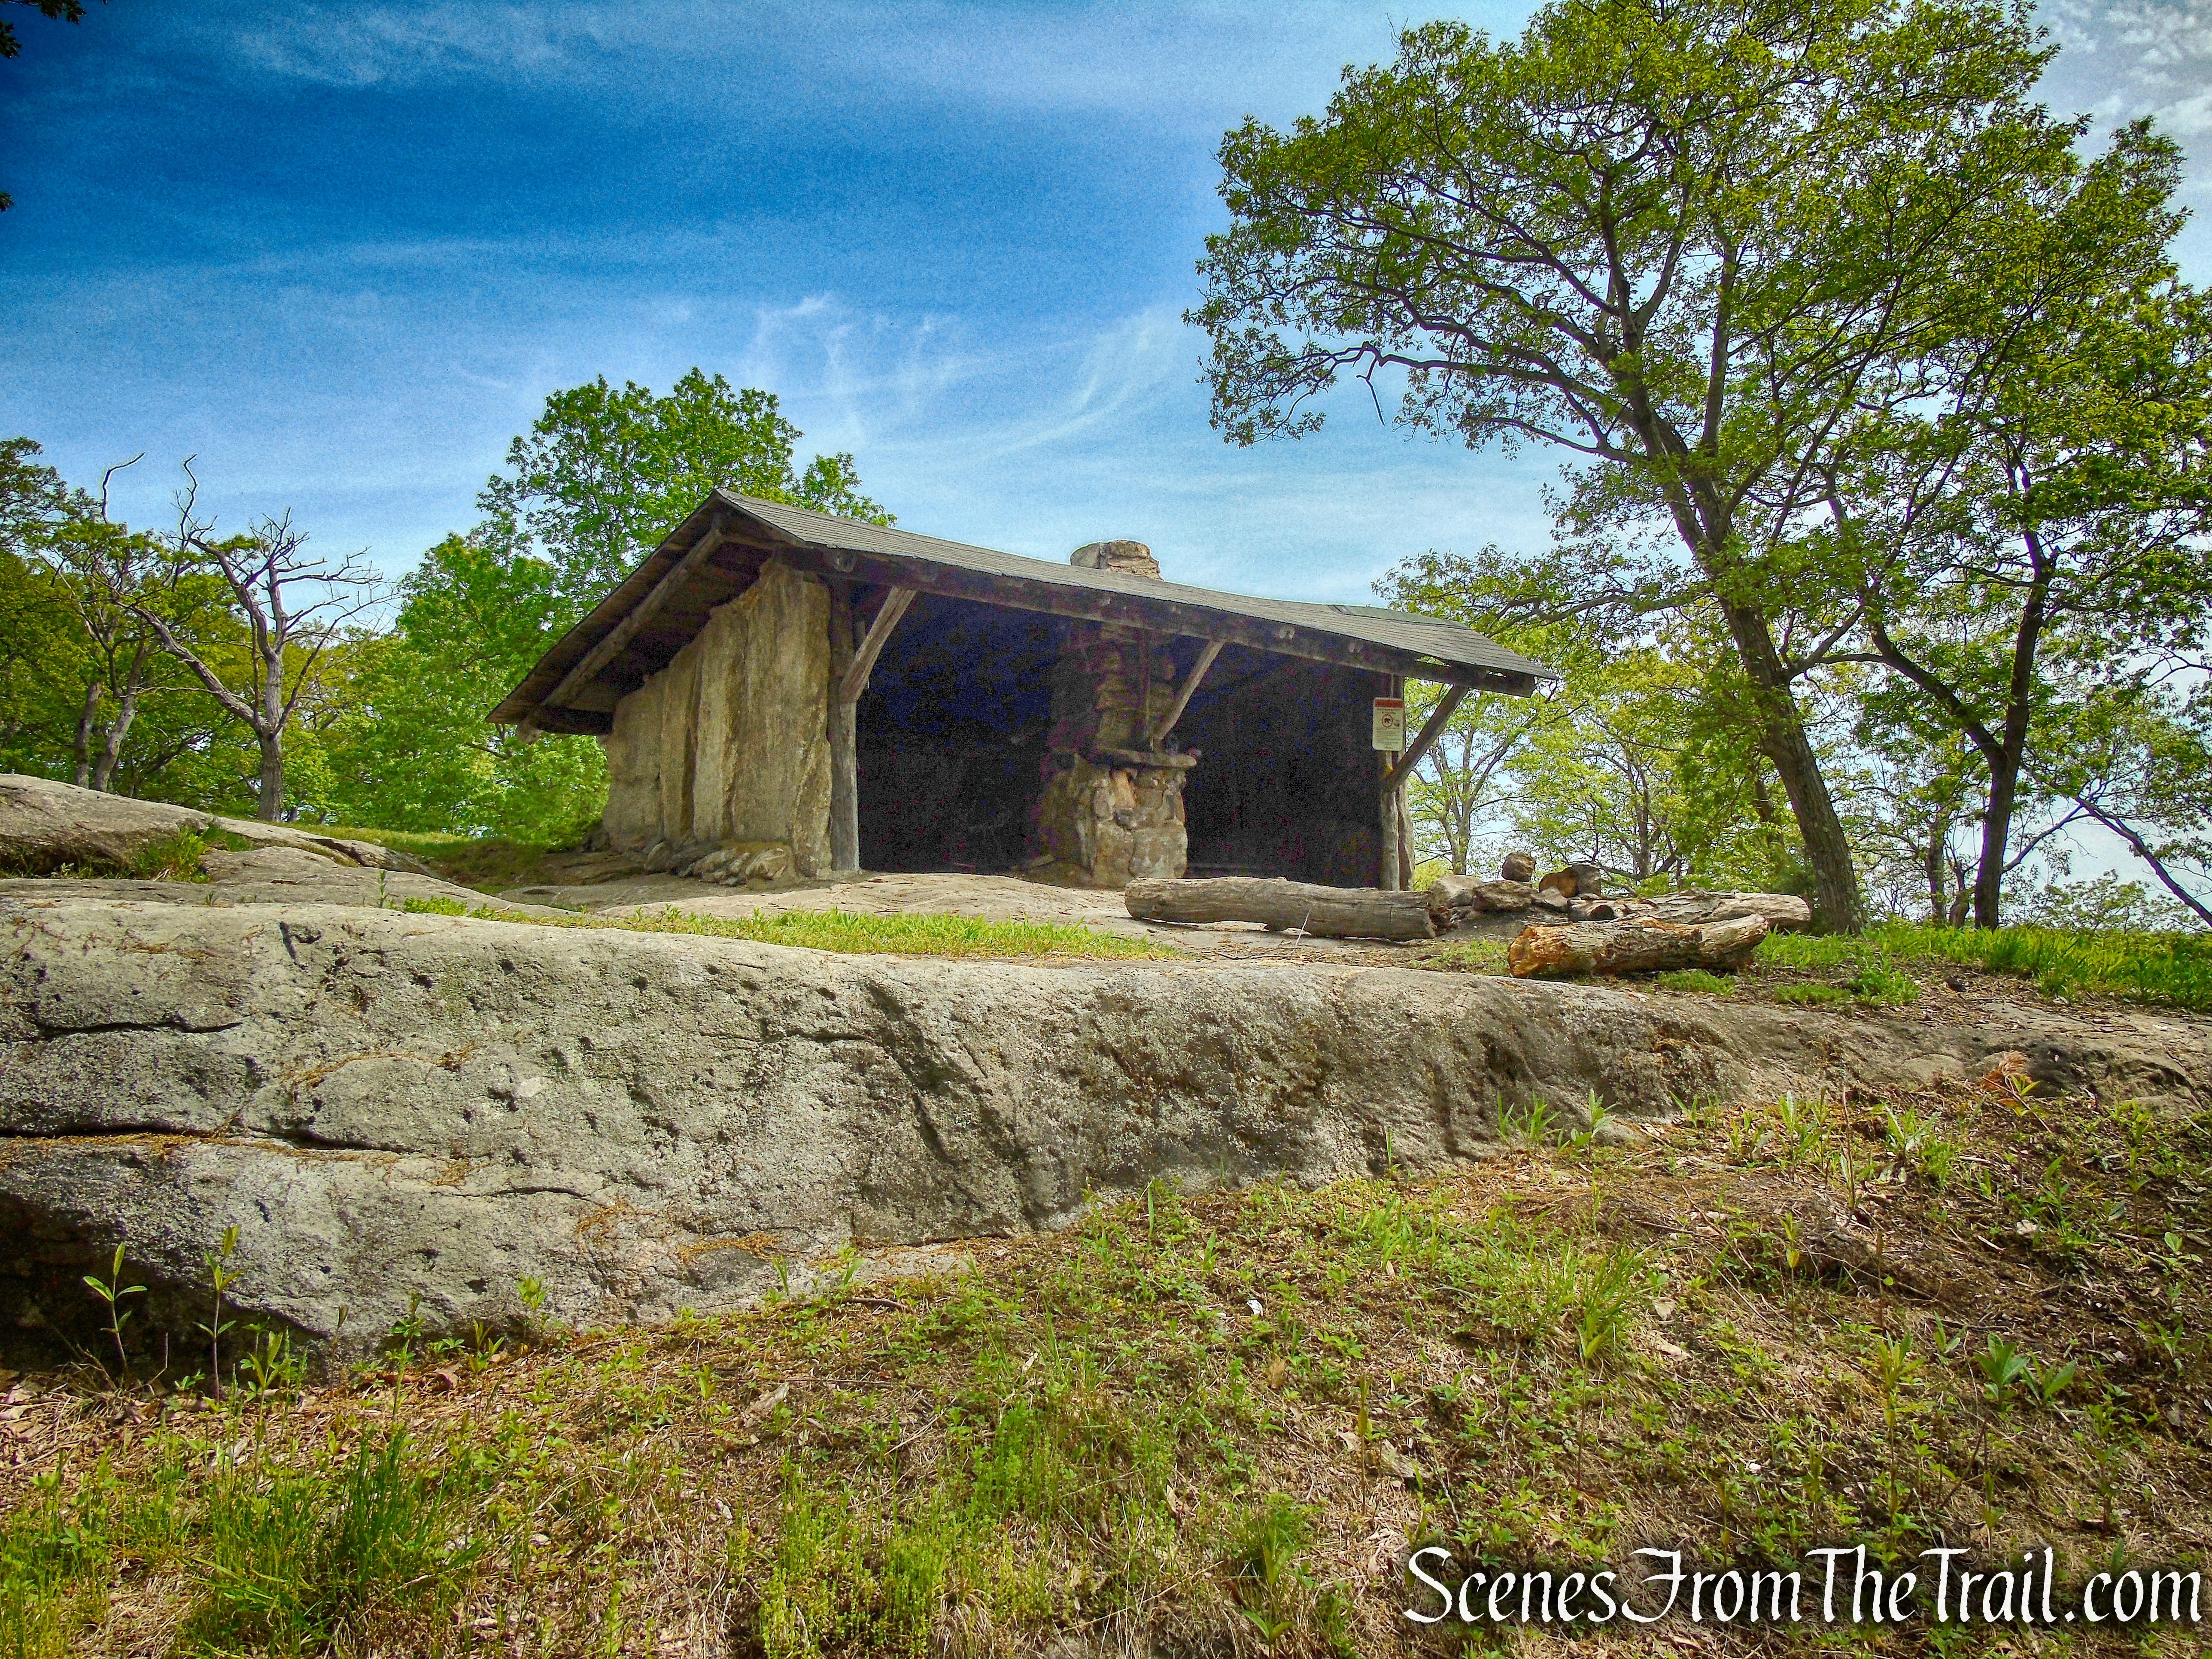
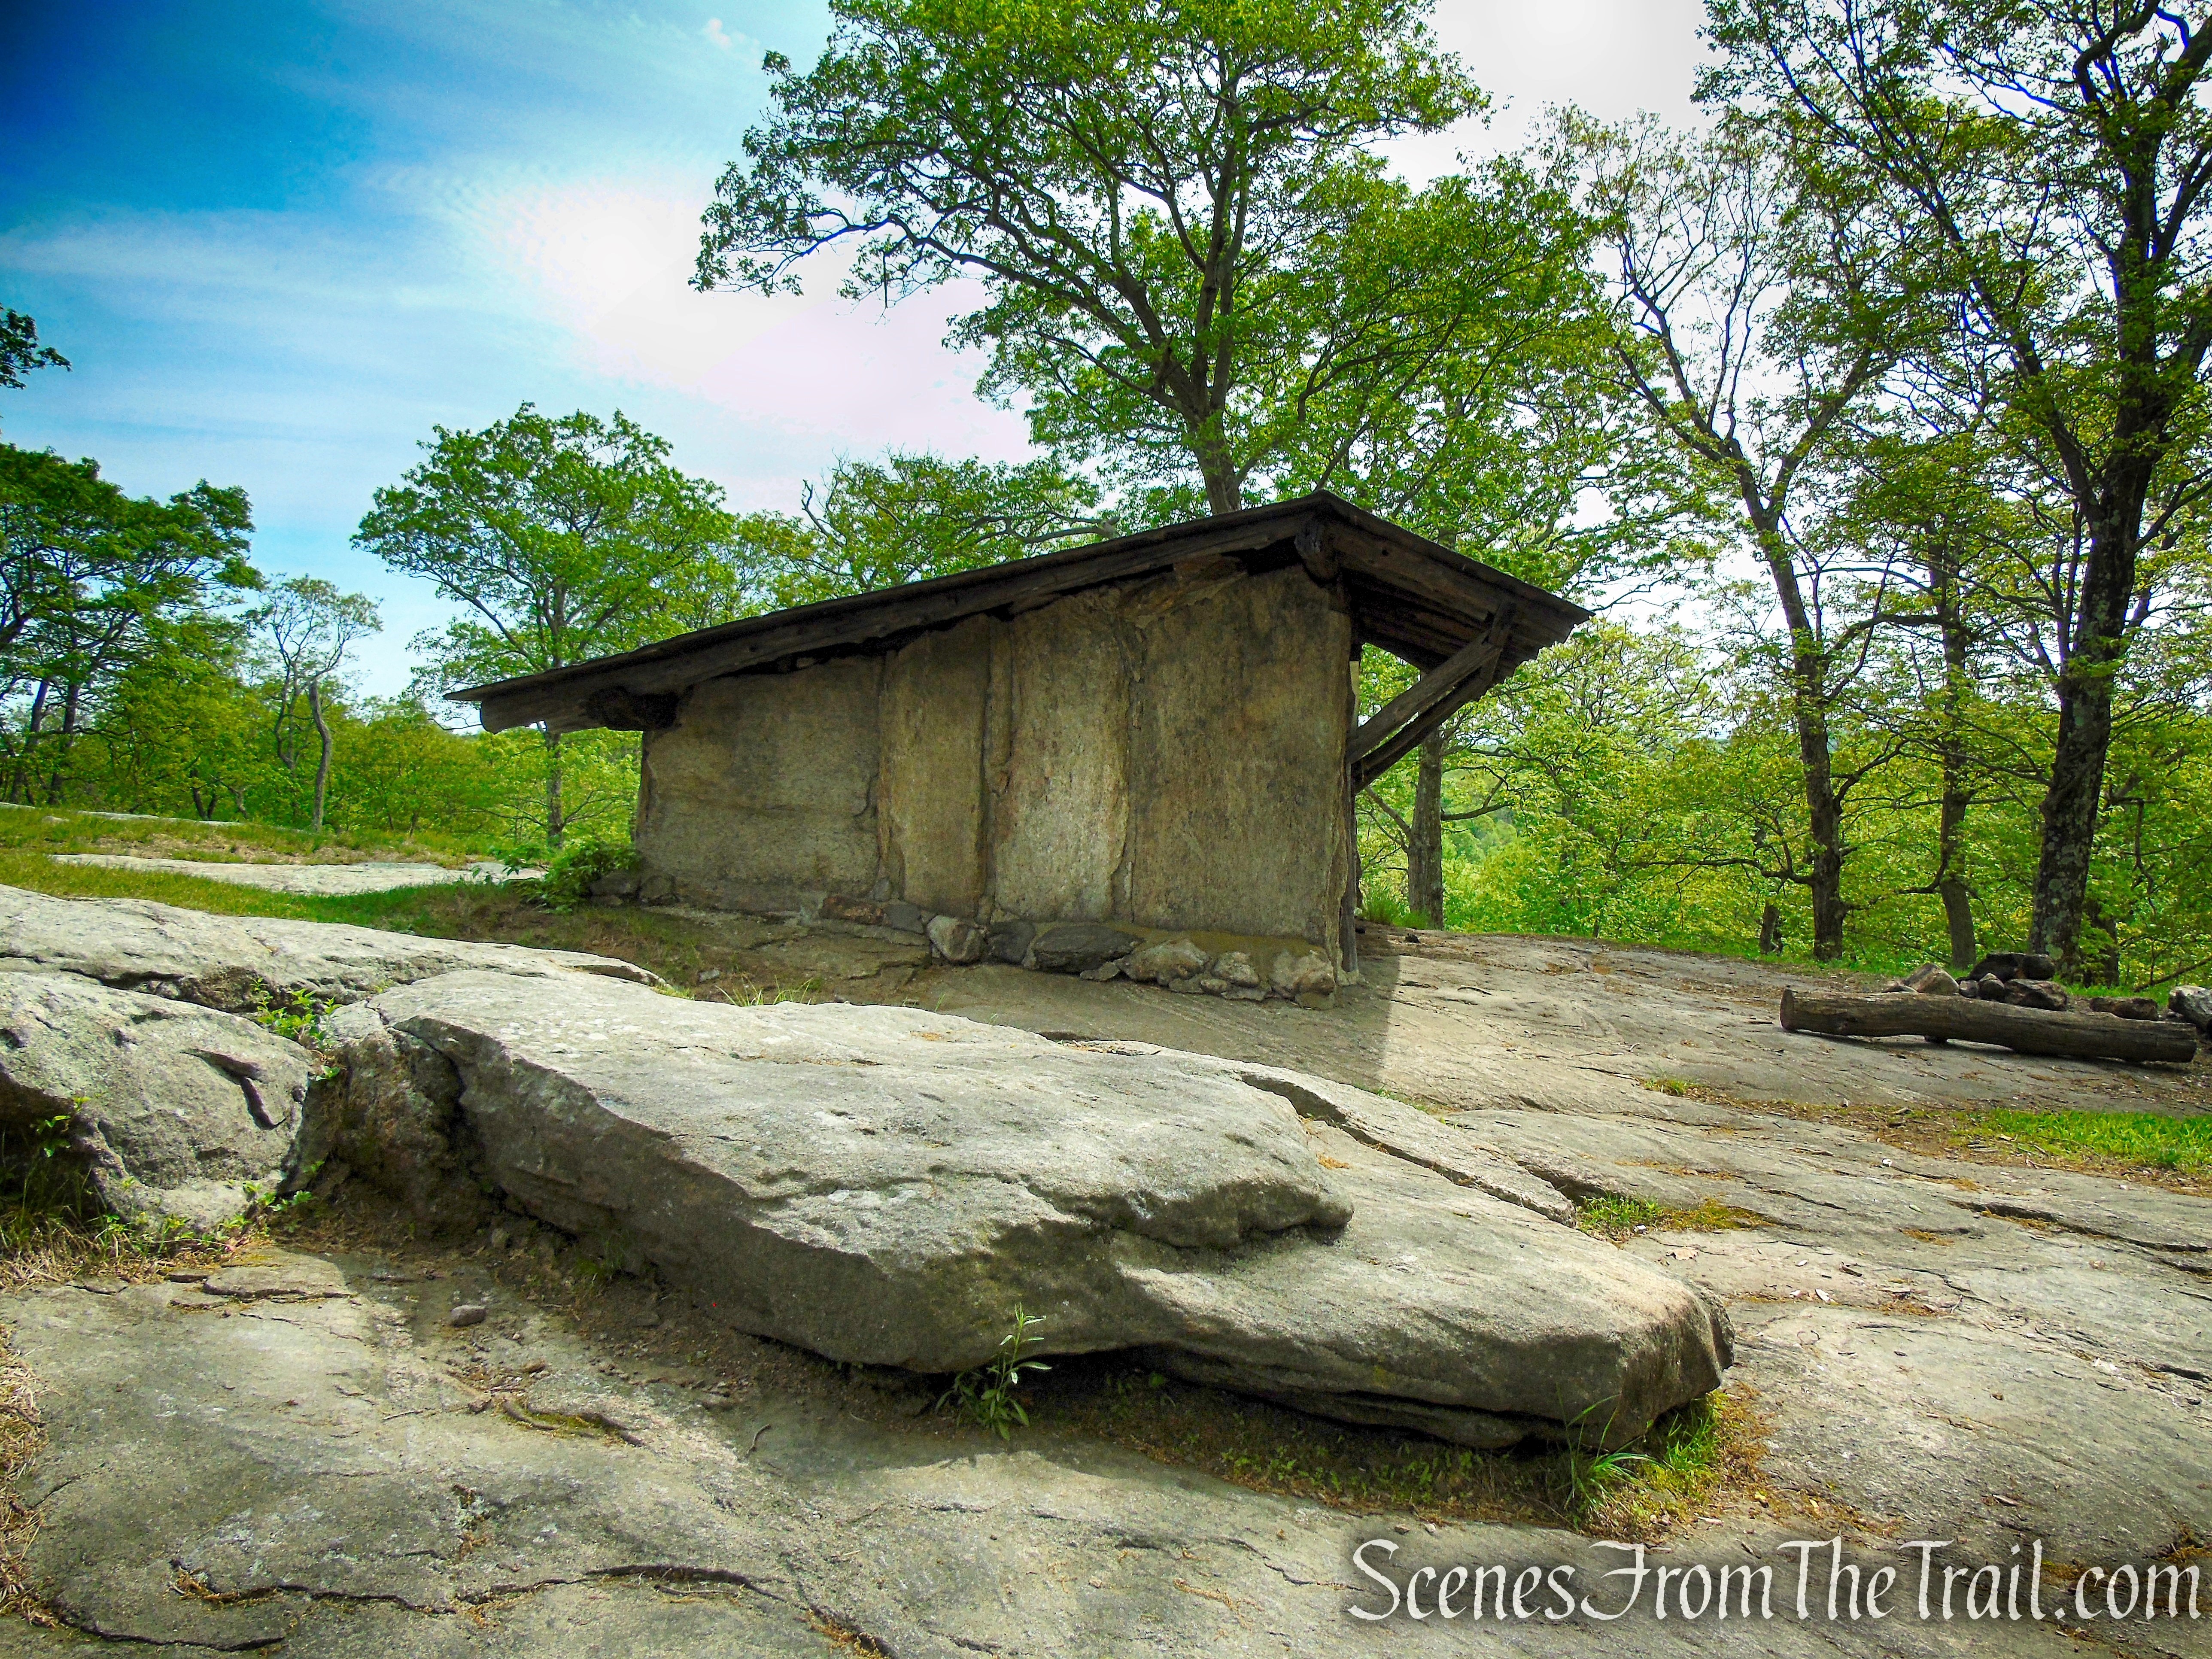
The ranger’s cabin, located approximately 200 feet to the north, burned in 1976.

Remains of the former ranger cabin
New York State announced in 1986 that the Tower was no longer needed and would be removed. Concerned citizens formed Friends of Stissing Landmarks (FOSL) in 1986 to take over responsibility for the Tower and keep it open for the public. In 1994, the Tower was turned over to FOSL, which maintains the structure today. Hikers are welcome to access the Tower at their own risk and at no cost. FOSL encourages all users to send donations to assist in the maintenance of the Tower.
Beginning in 1958, The Nature Conservancy acquired 530 acres of Stissing Mountain and Thompson Pond, forming the Thompson Pond Preserve. The New York State Department of Environmental Conservation has also designated Stissing and Little Stissing Mountains, together with the Wappinger Creek Valley, part of a Significant Biodiversity Area called the Stissing Mountain Wetlands Complex.
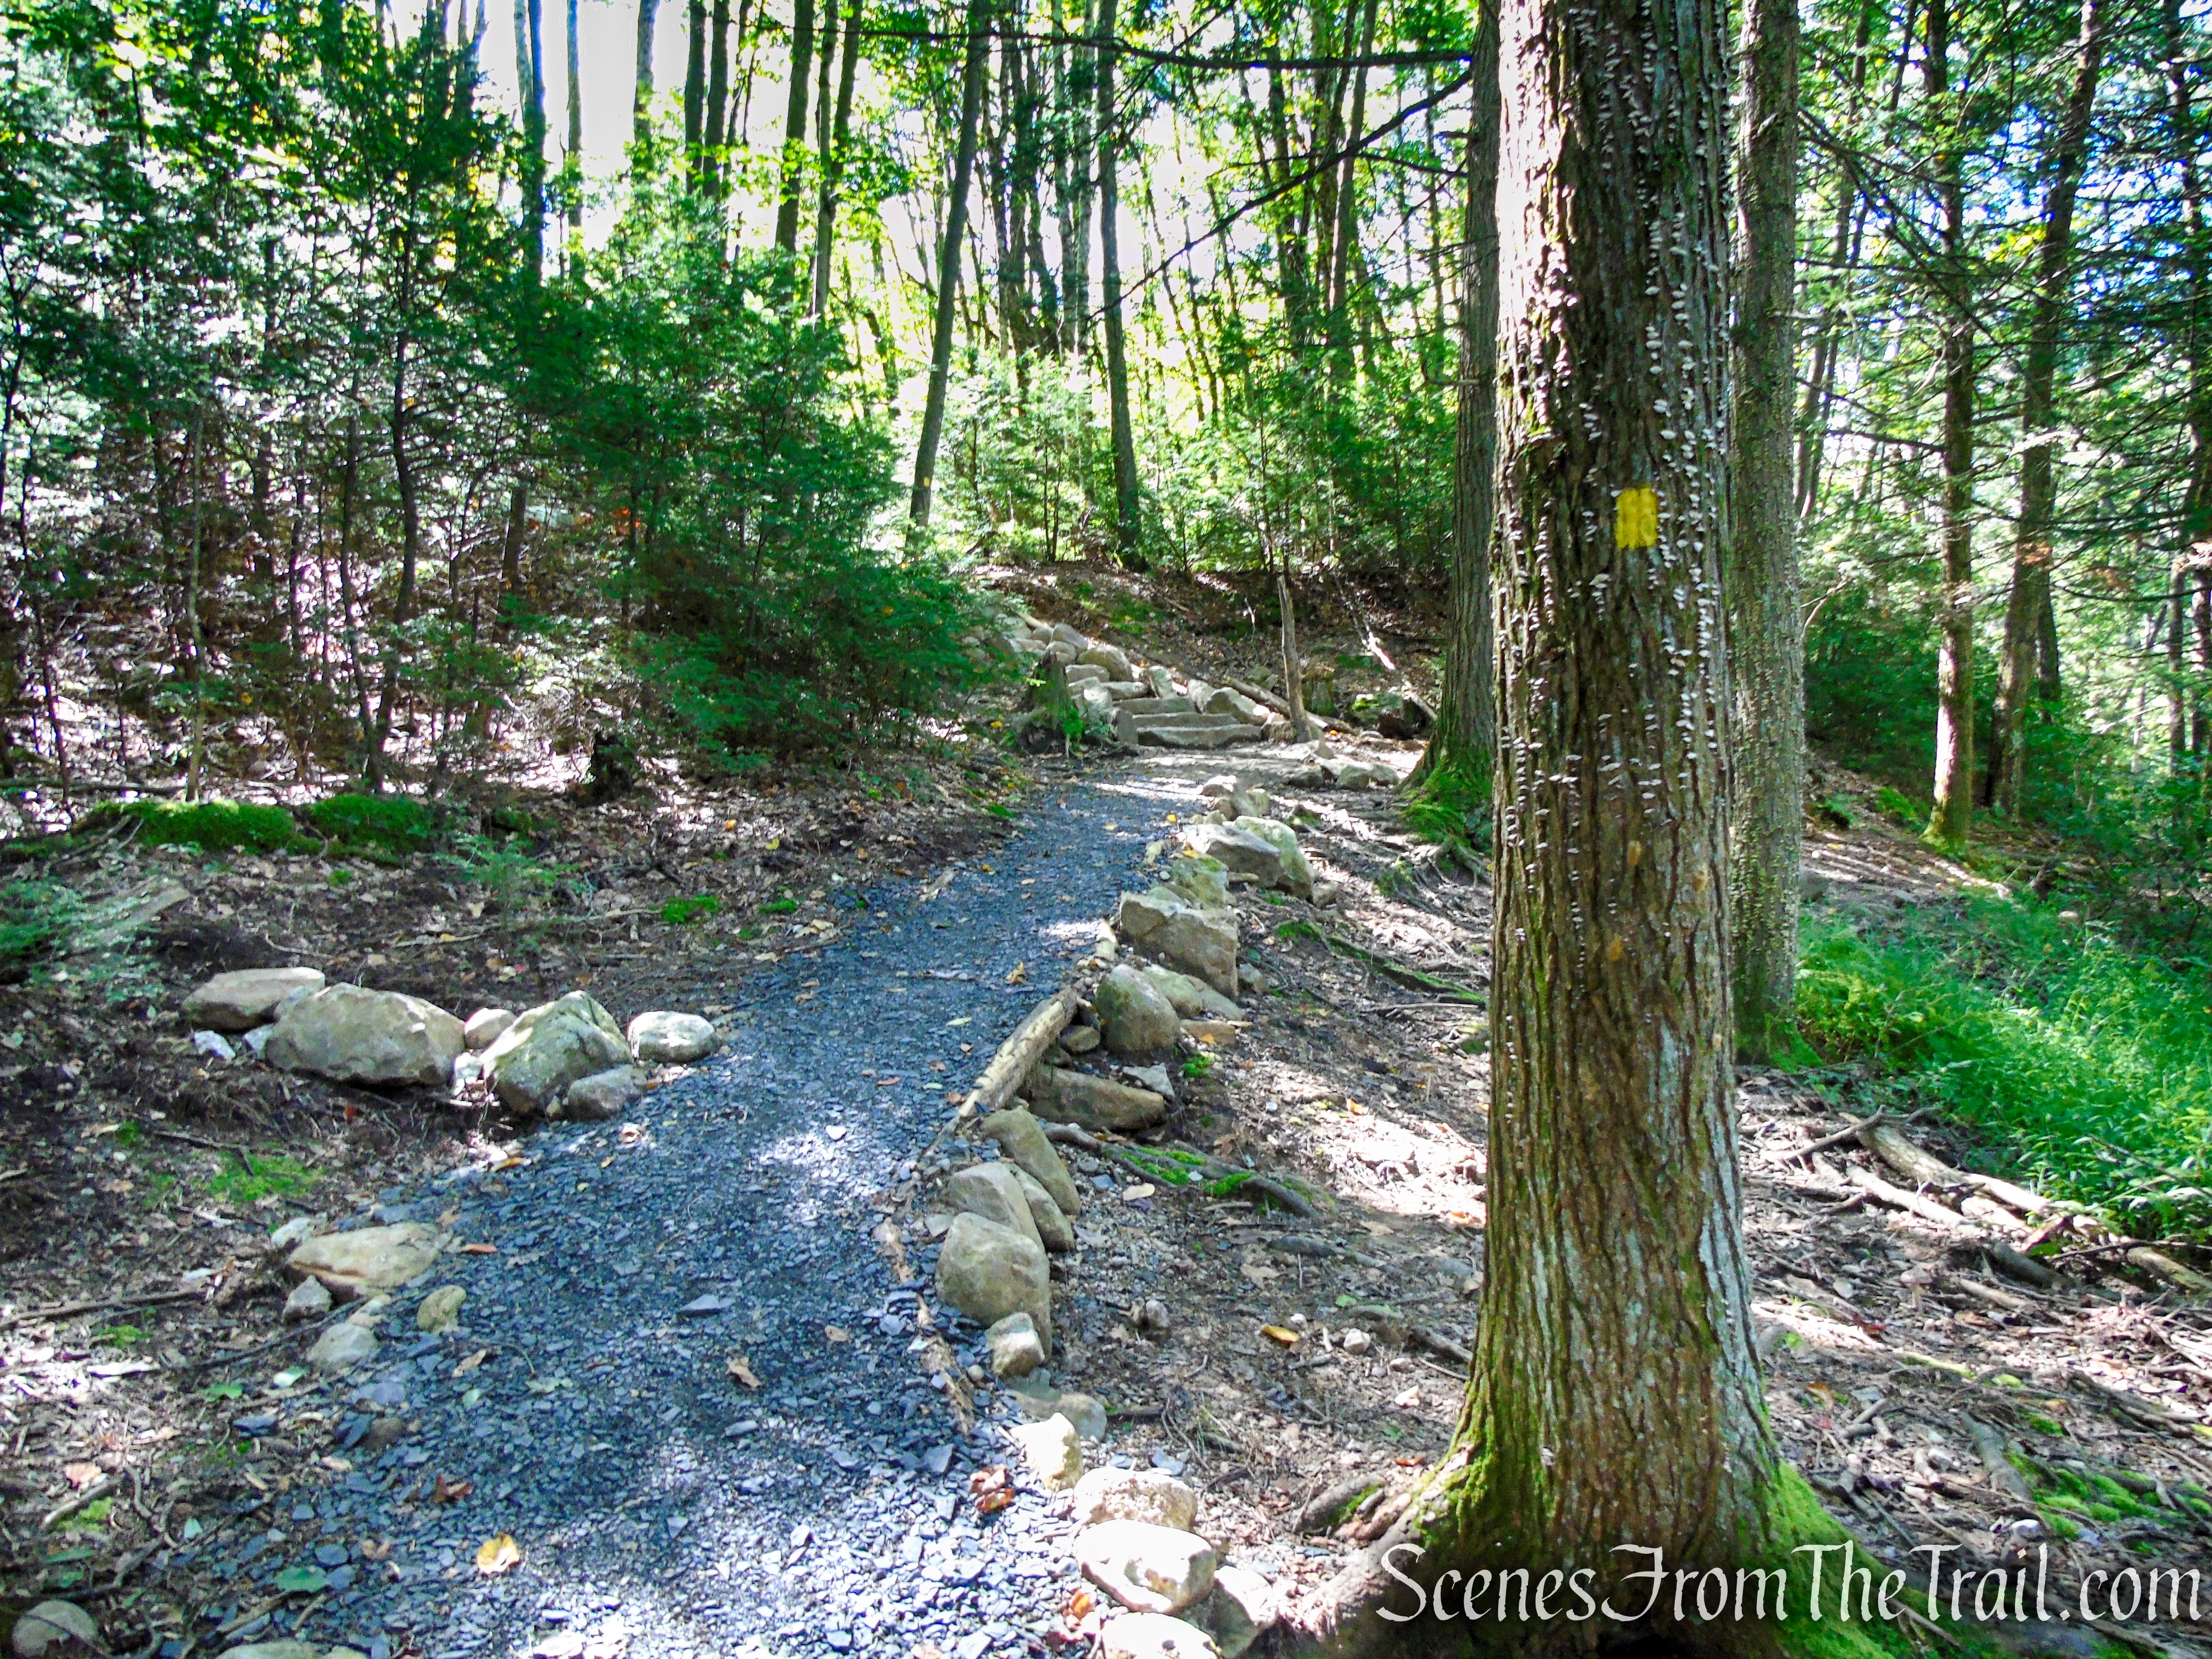
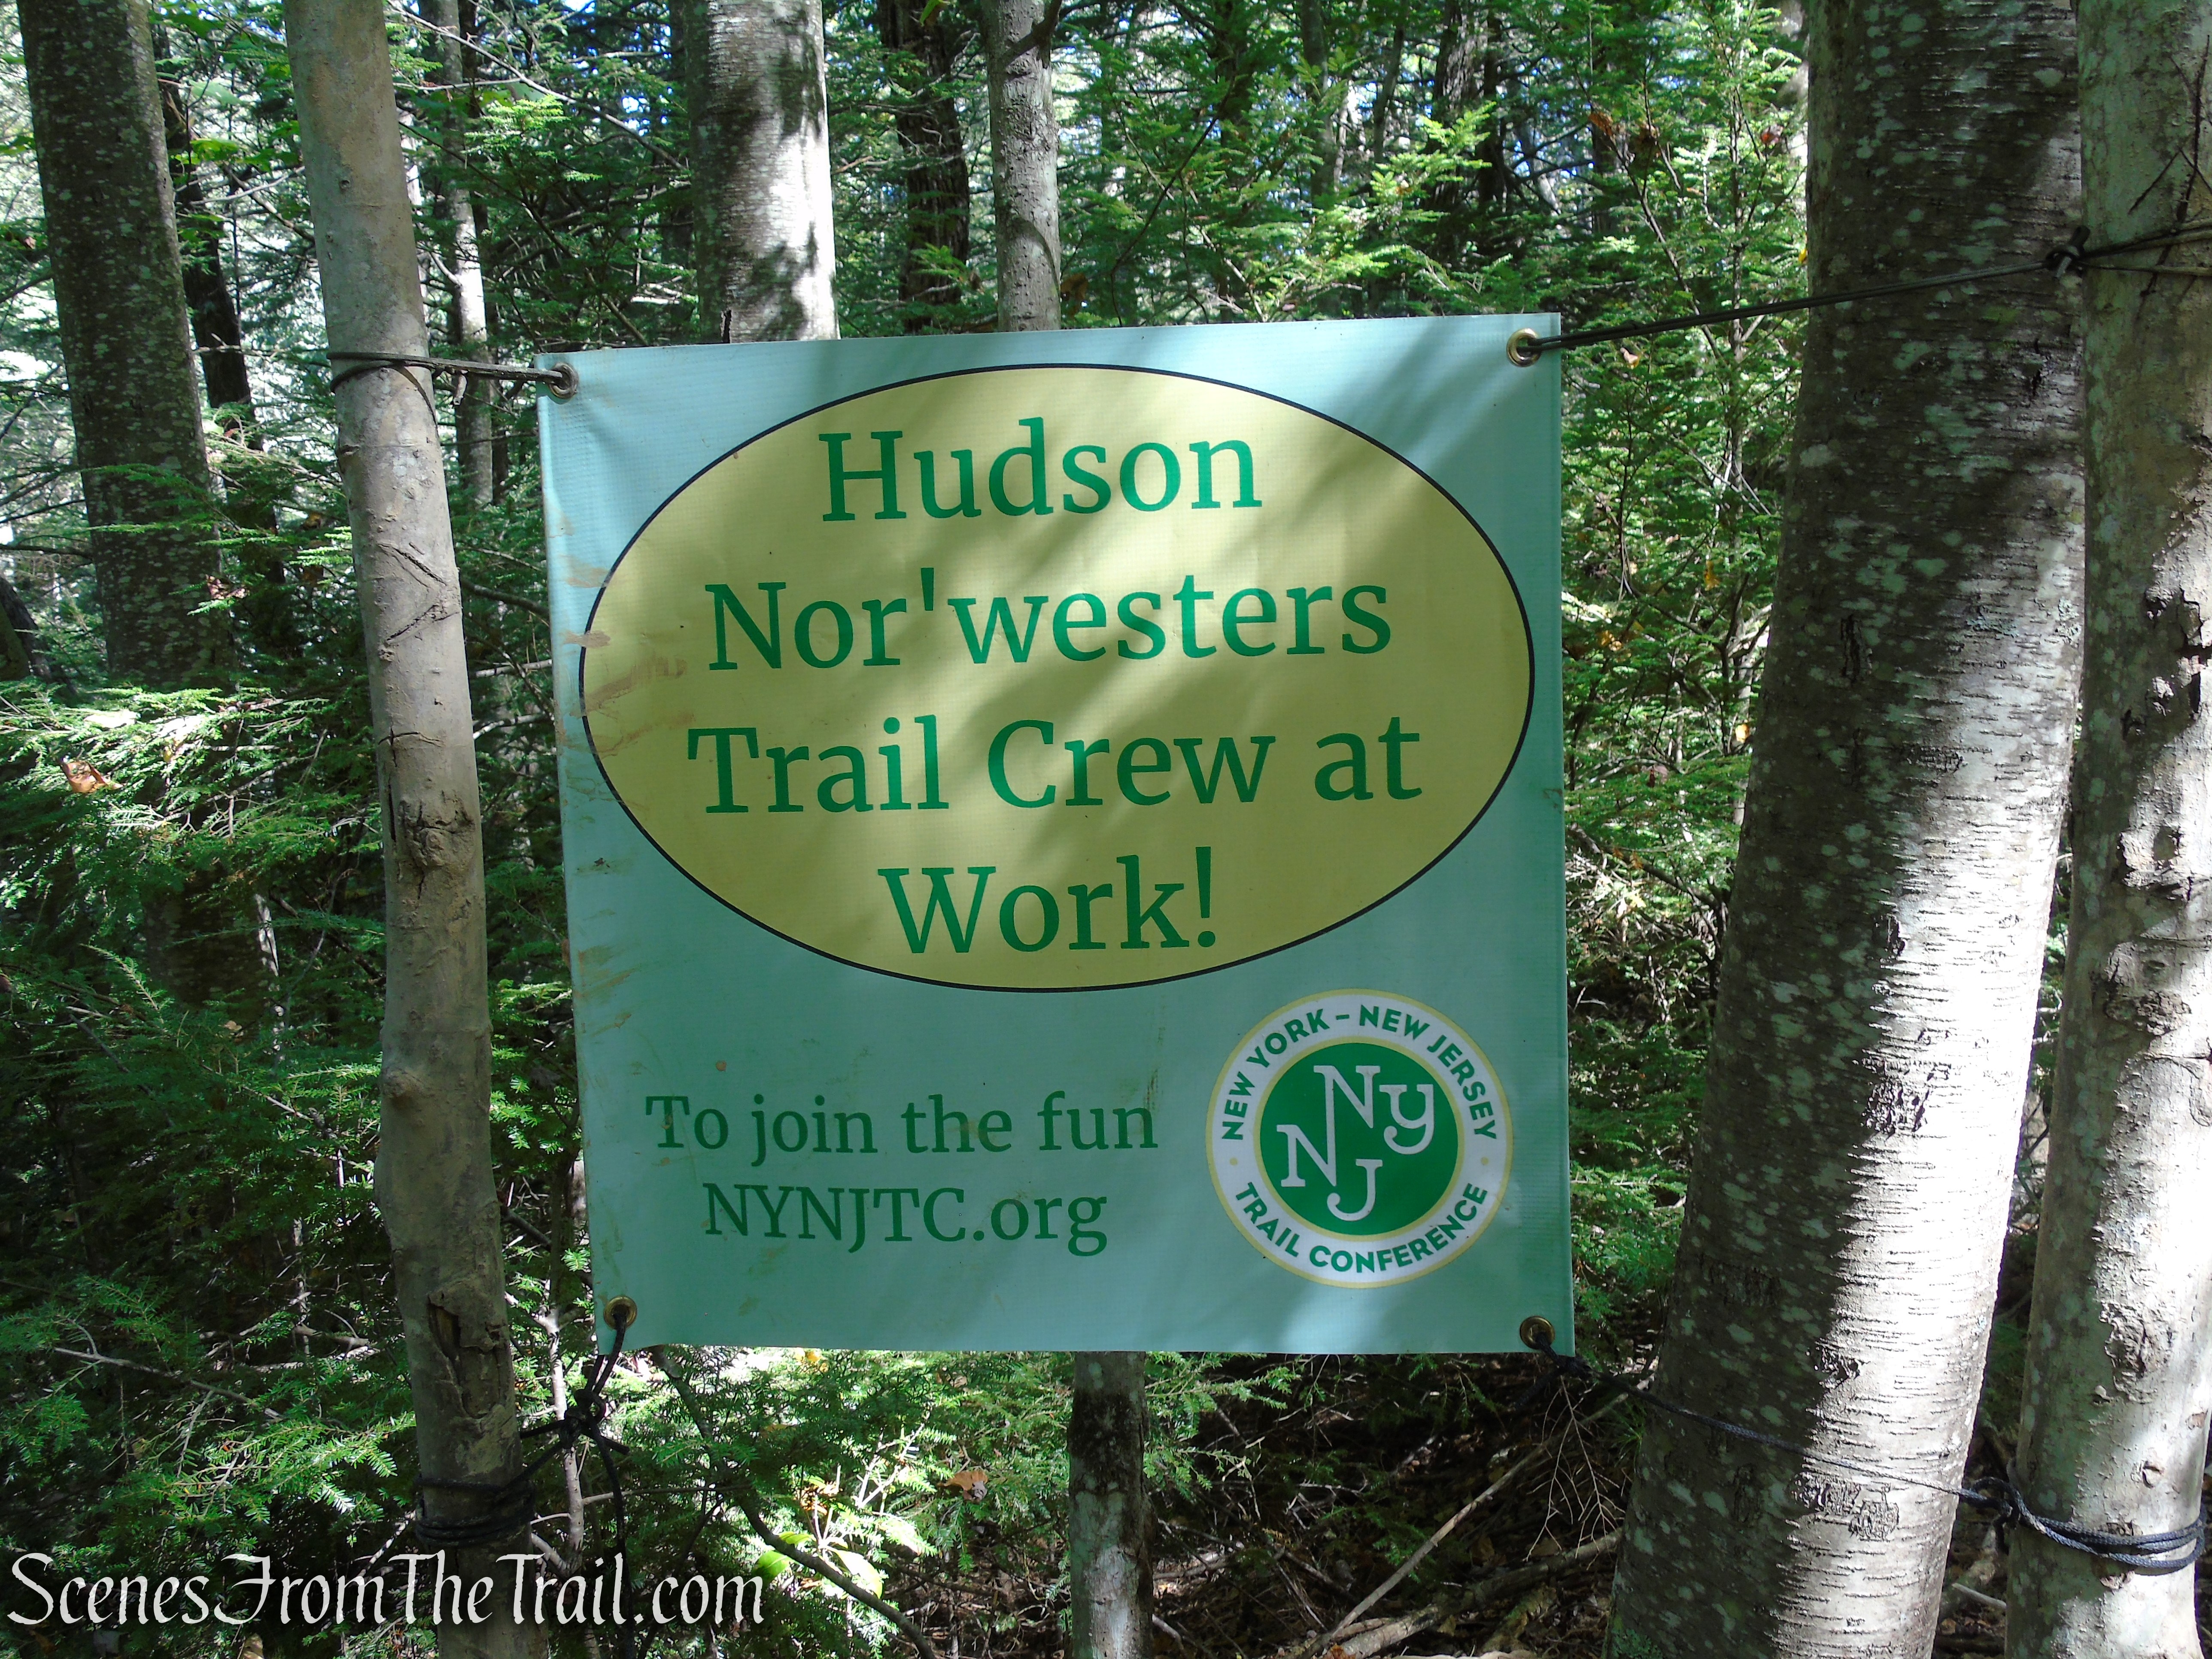
In late 2022, the lower parts of the trail was rerouted away from the eroded gully and is now well graded with multiple switchbacks. New trail markers were added to replace the old can tops that were previously used.
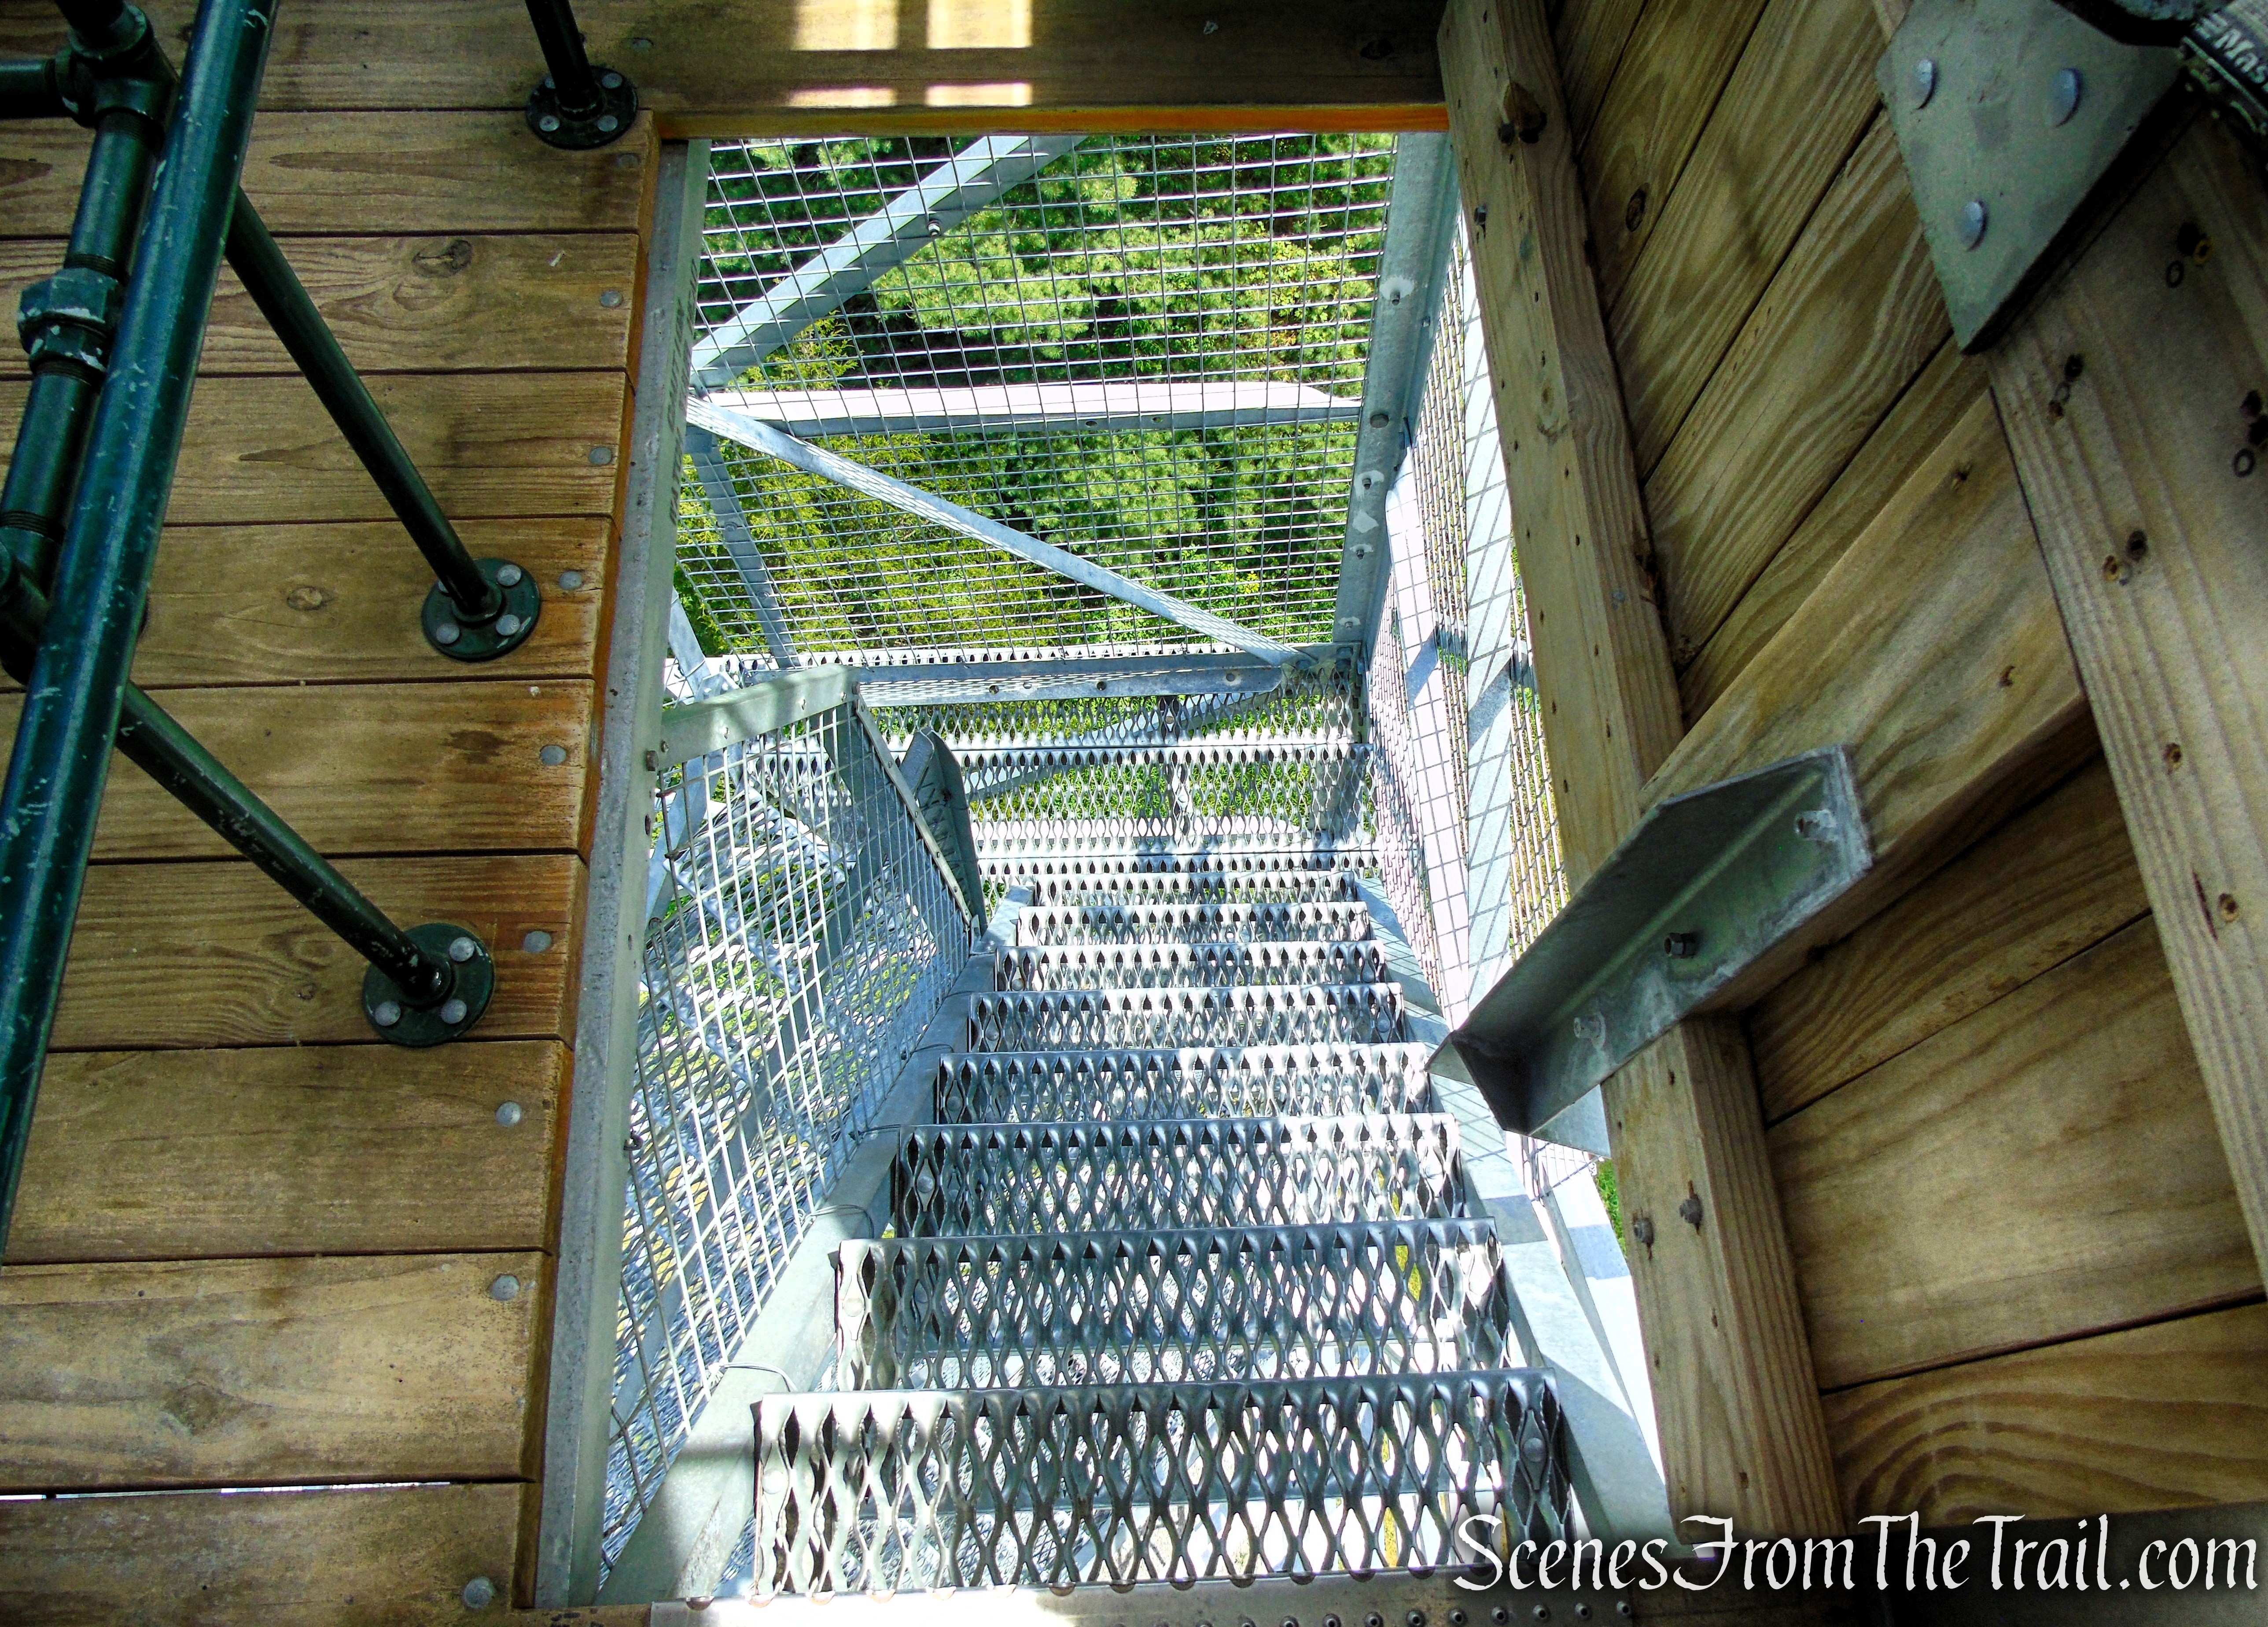
In October 2023, Friends of Stissing Landmarks (FOSL) replaced the stairs and landings on the fire tower. The stairs up the tower consist of 106 treads and seven landings. It was estimated that about half of the treads were original from 1933-34 when the Civilian Conservation Corps constructed the tower. All 106 treads and the landings were replaced.

Stissing Fire Tower
The wood is Larch and came from the pilings of the old Tappan Zee Bridge.
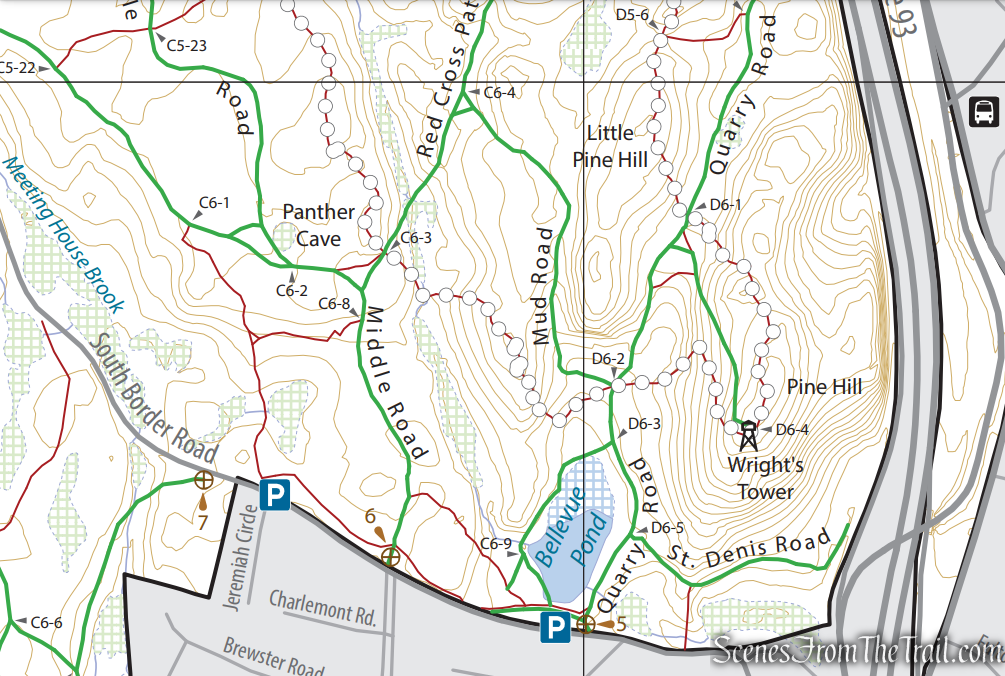
Trails Overview:
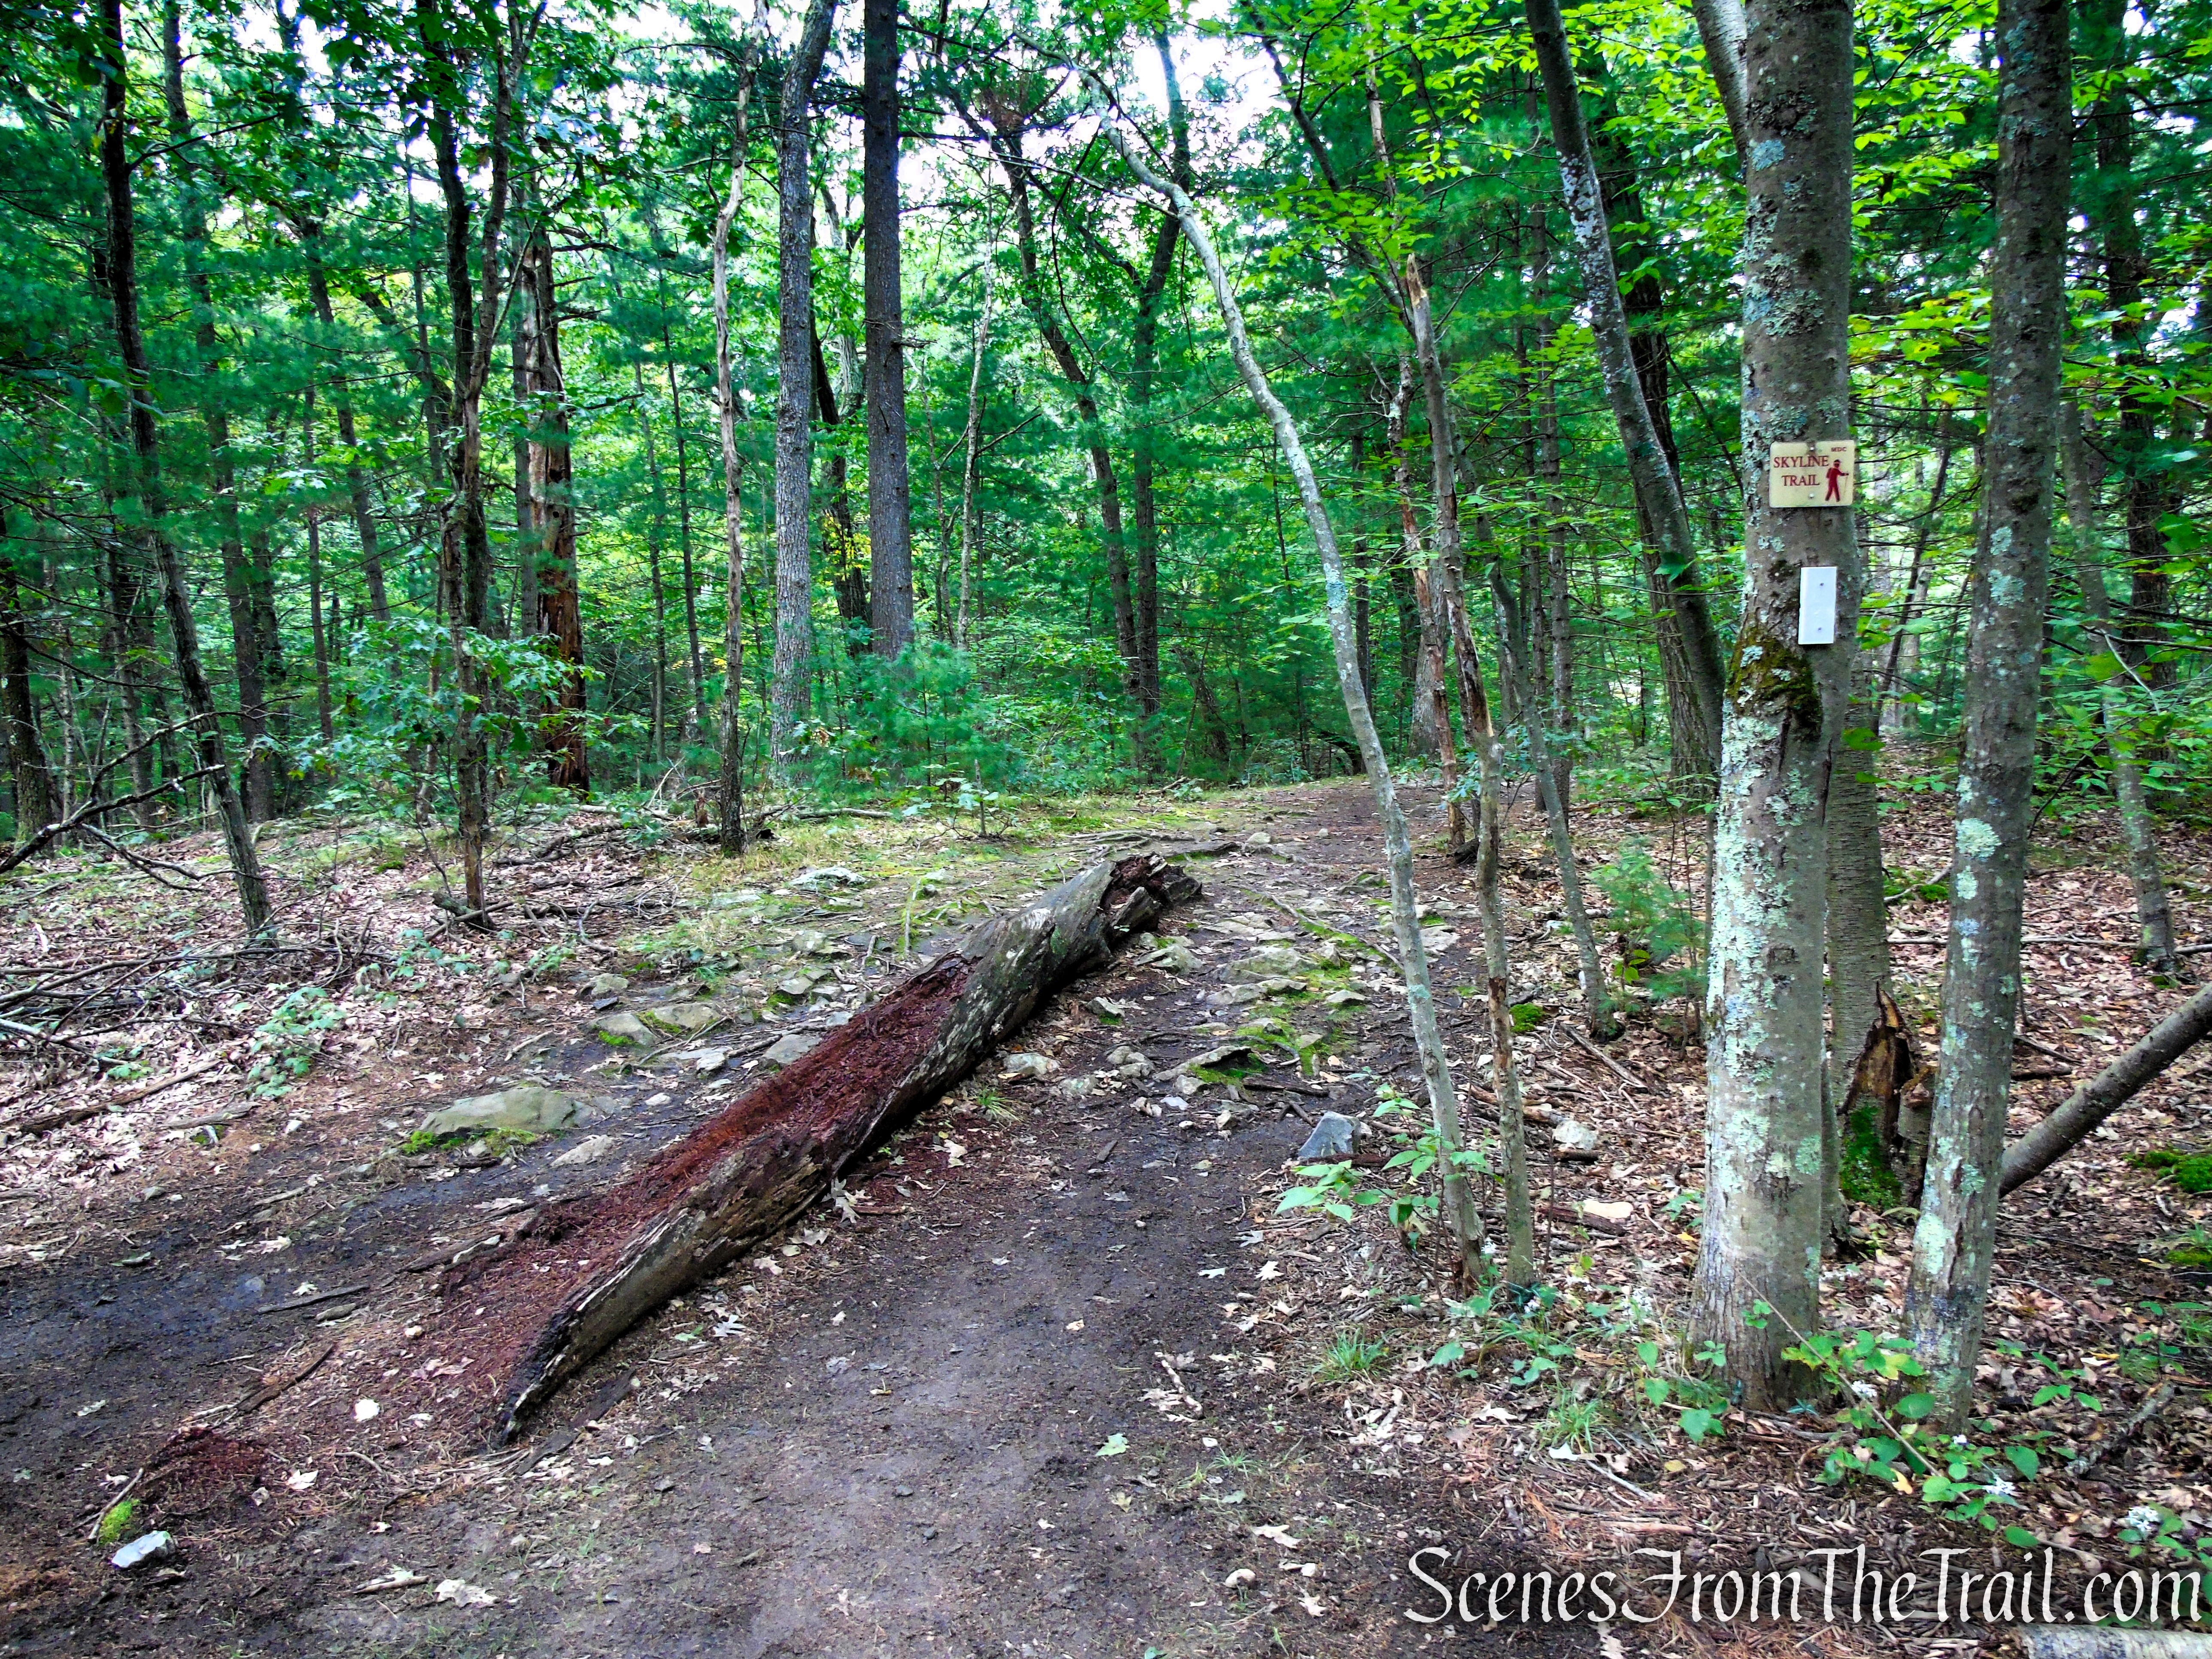
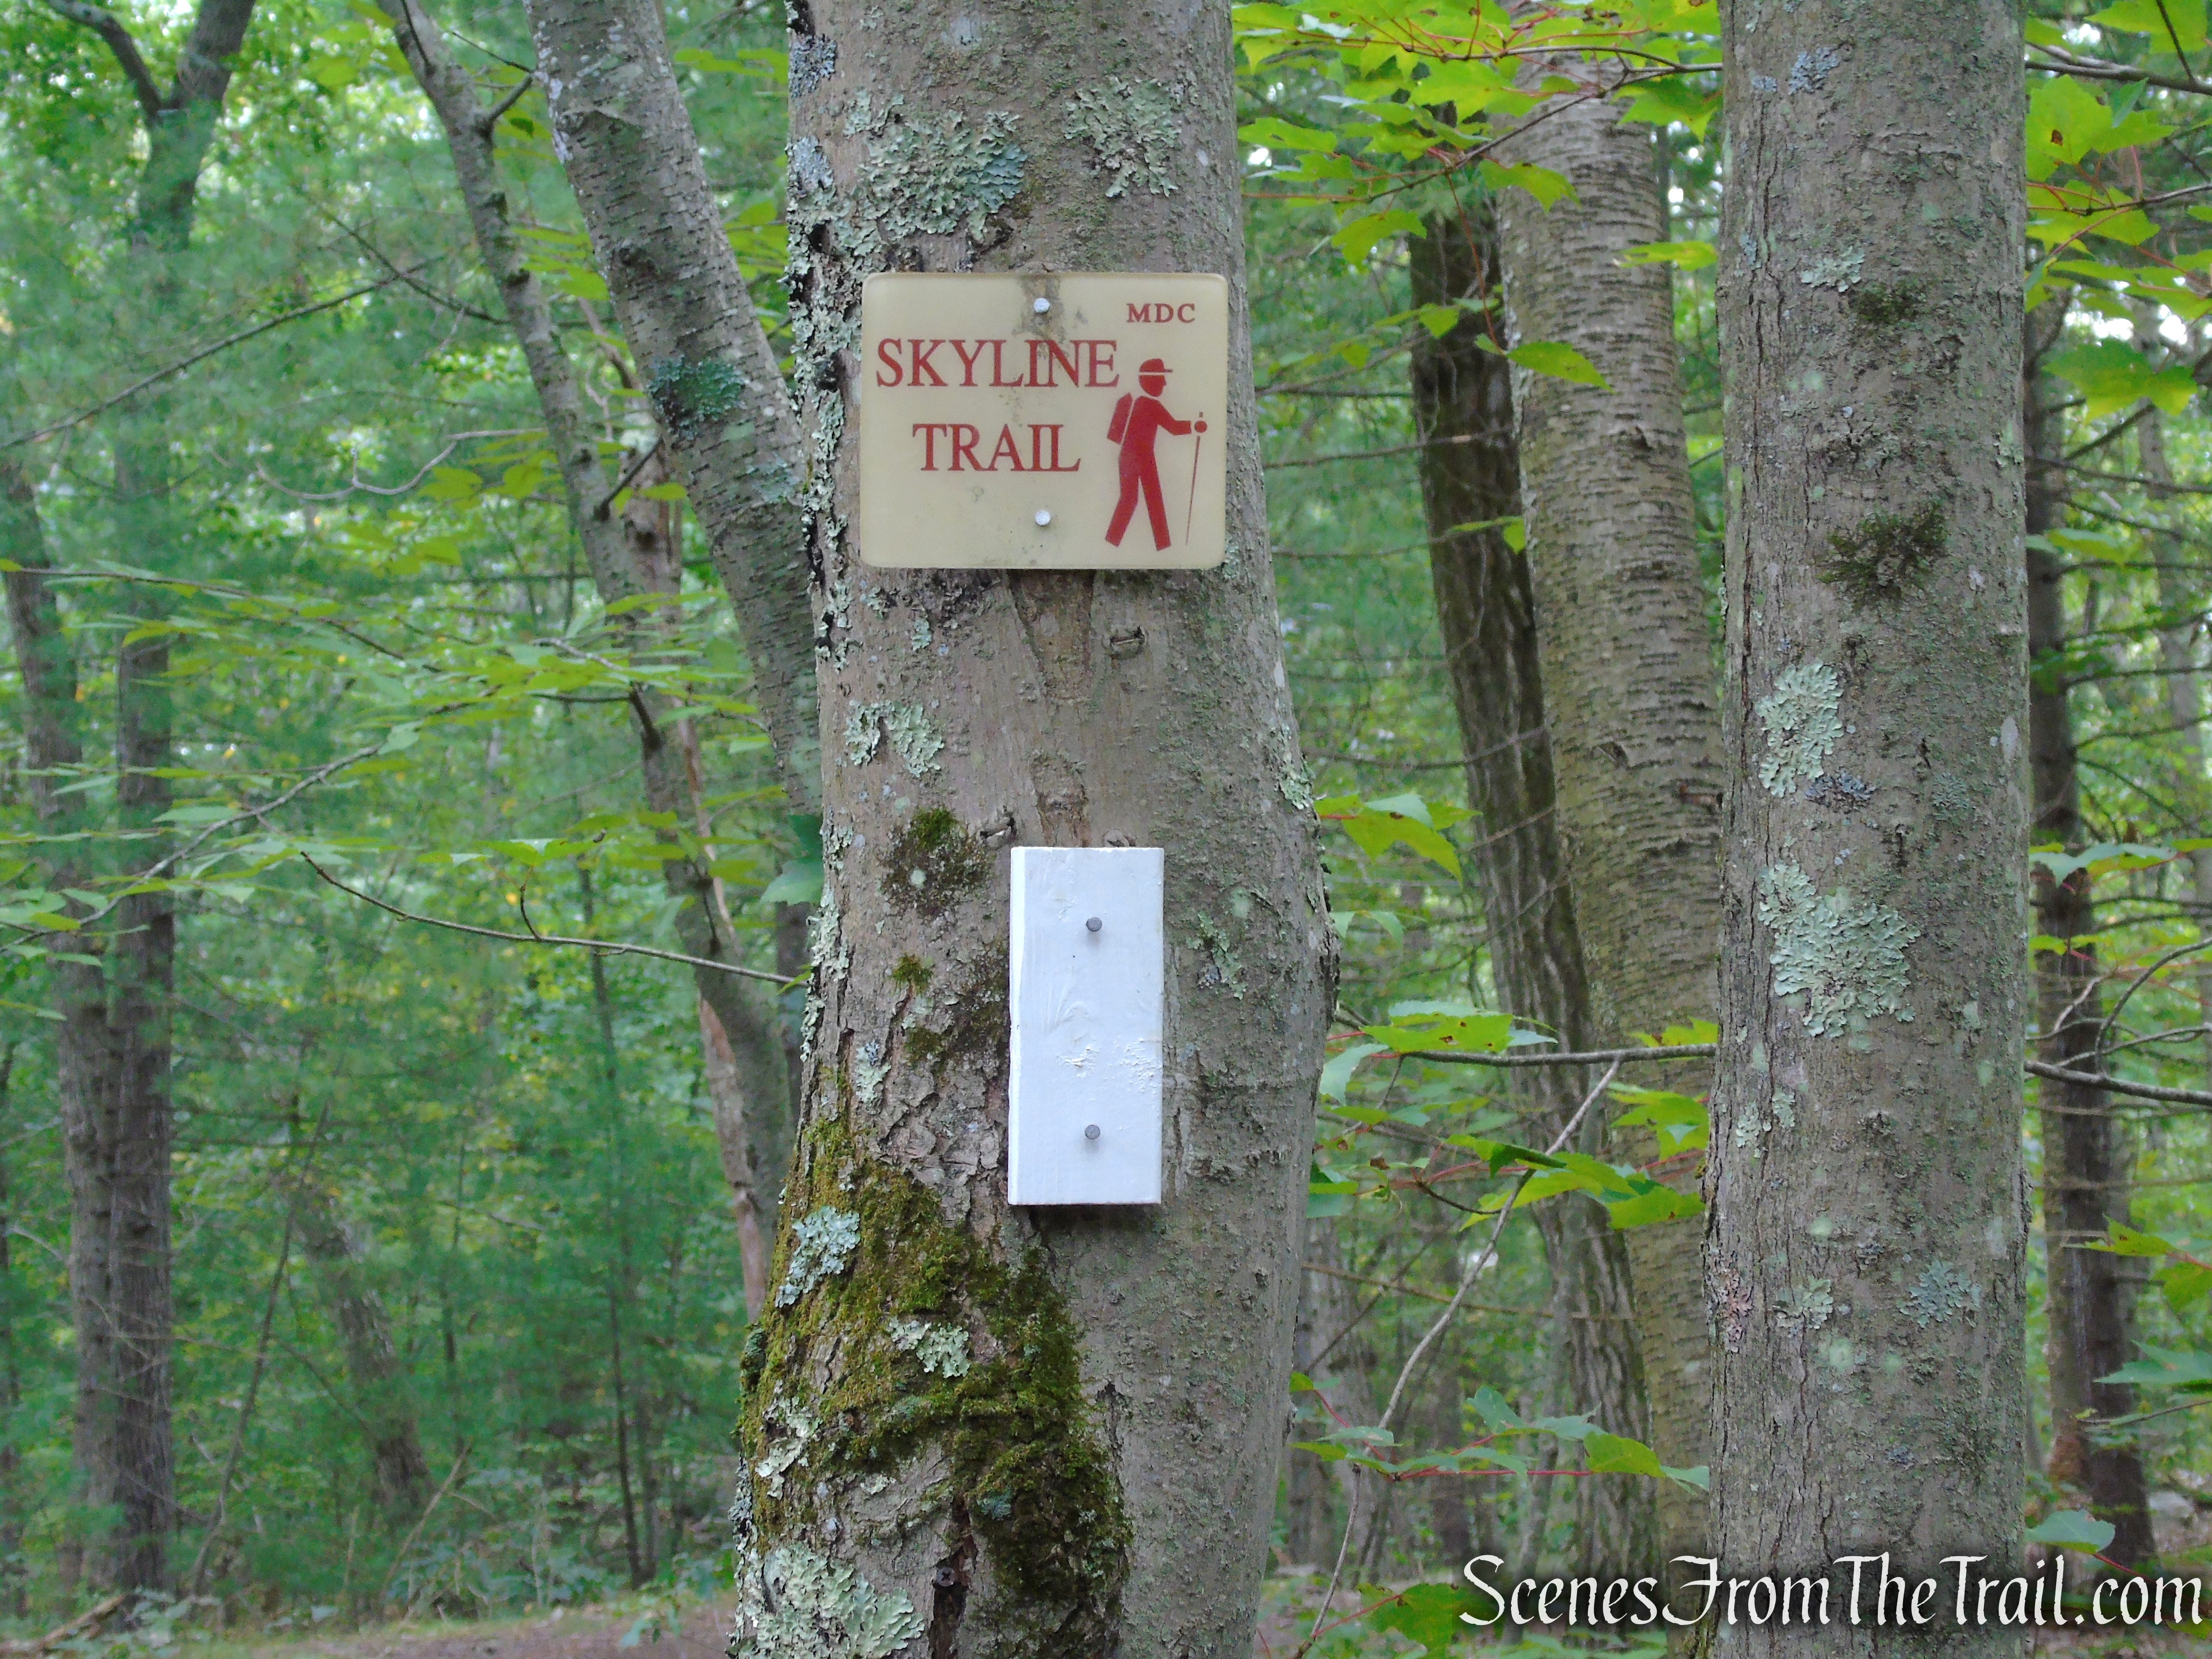
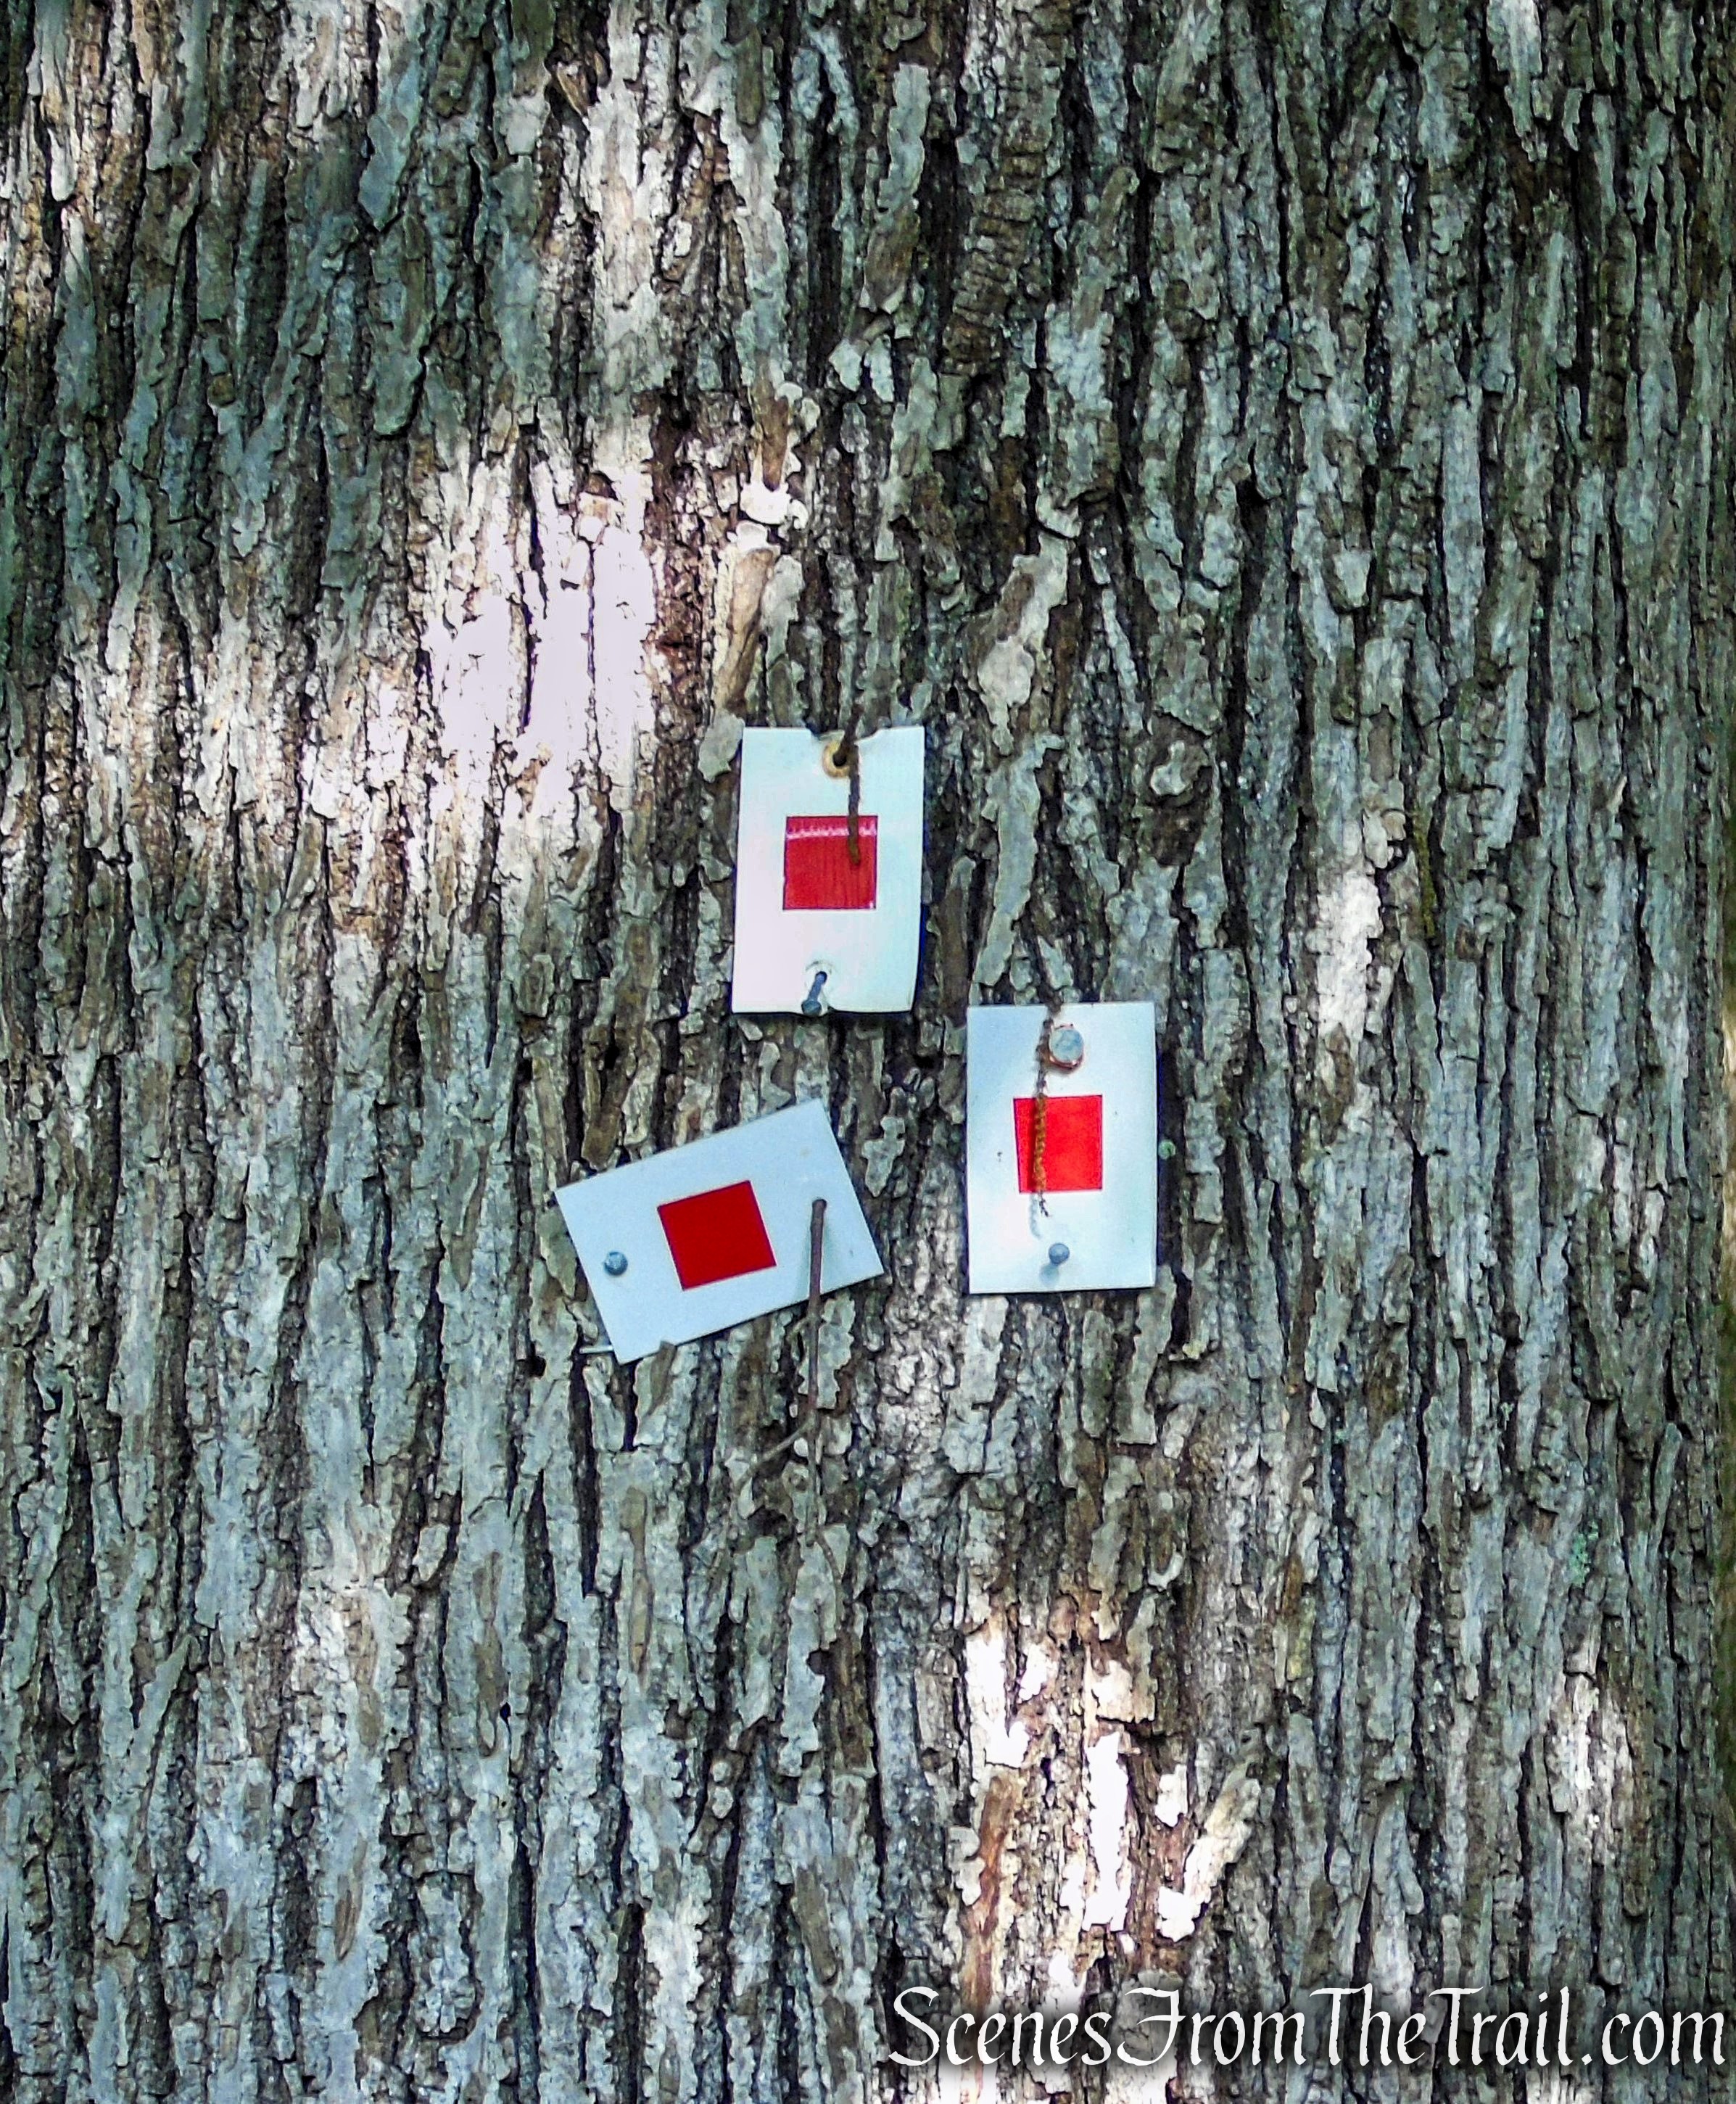
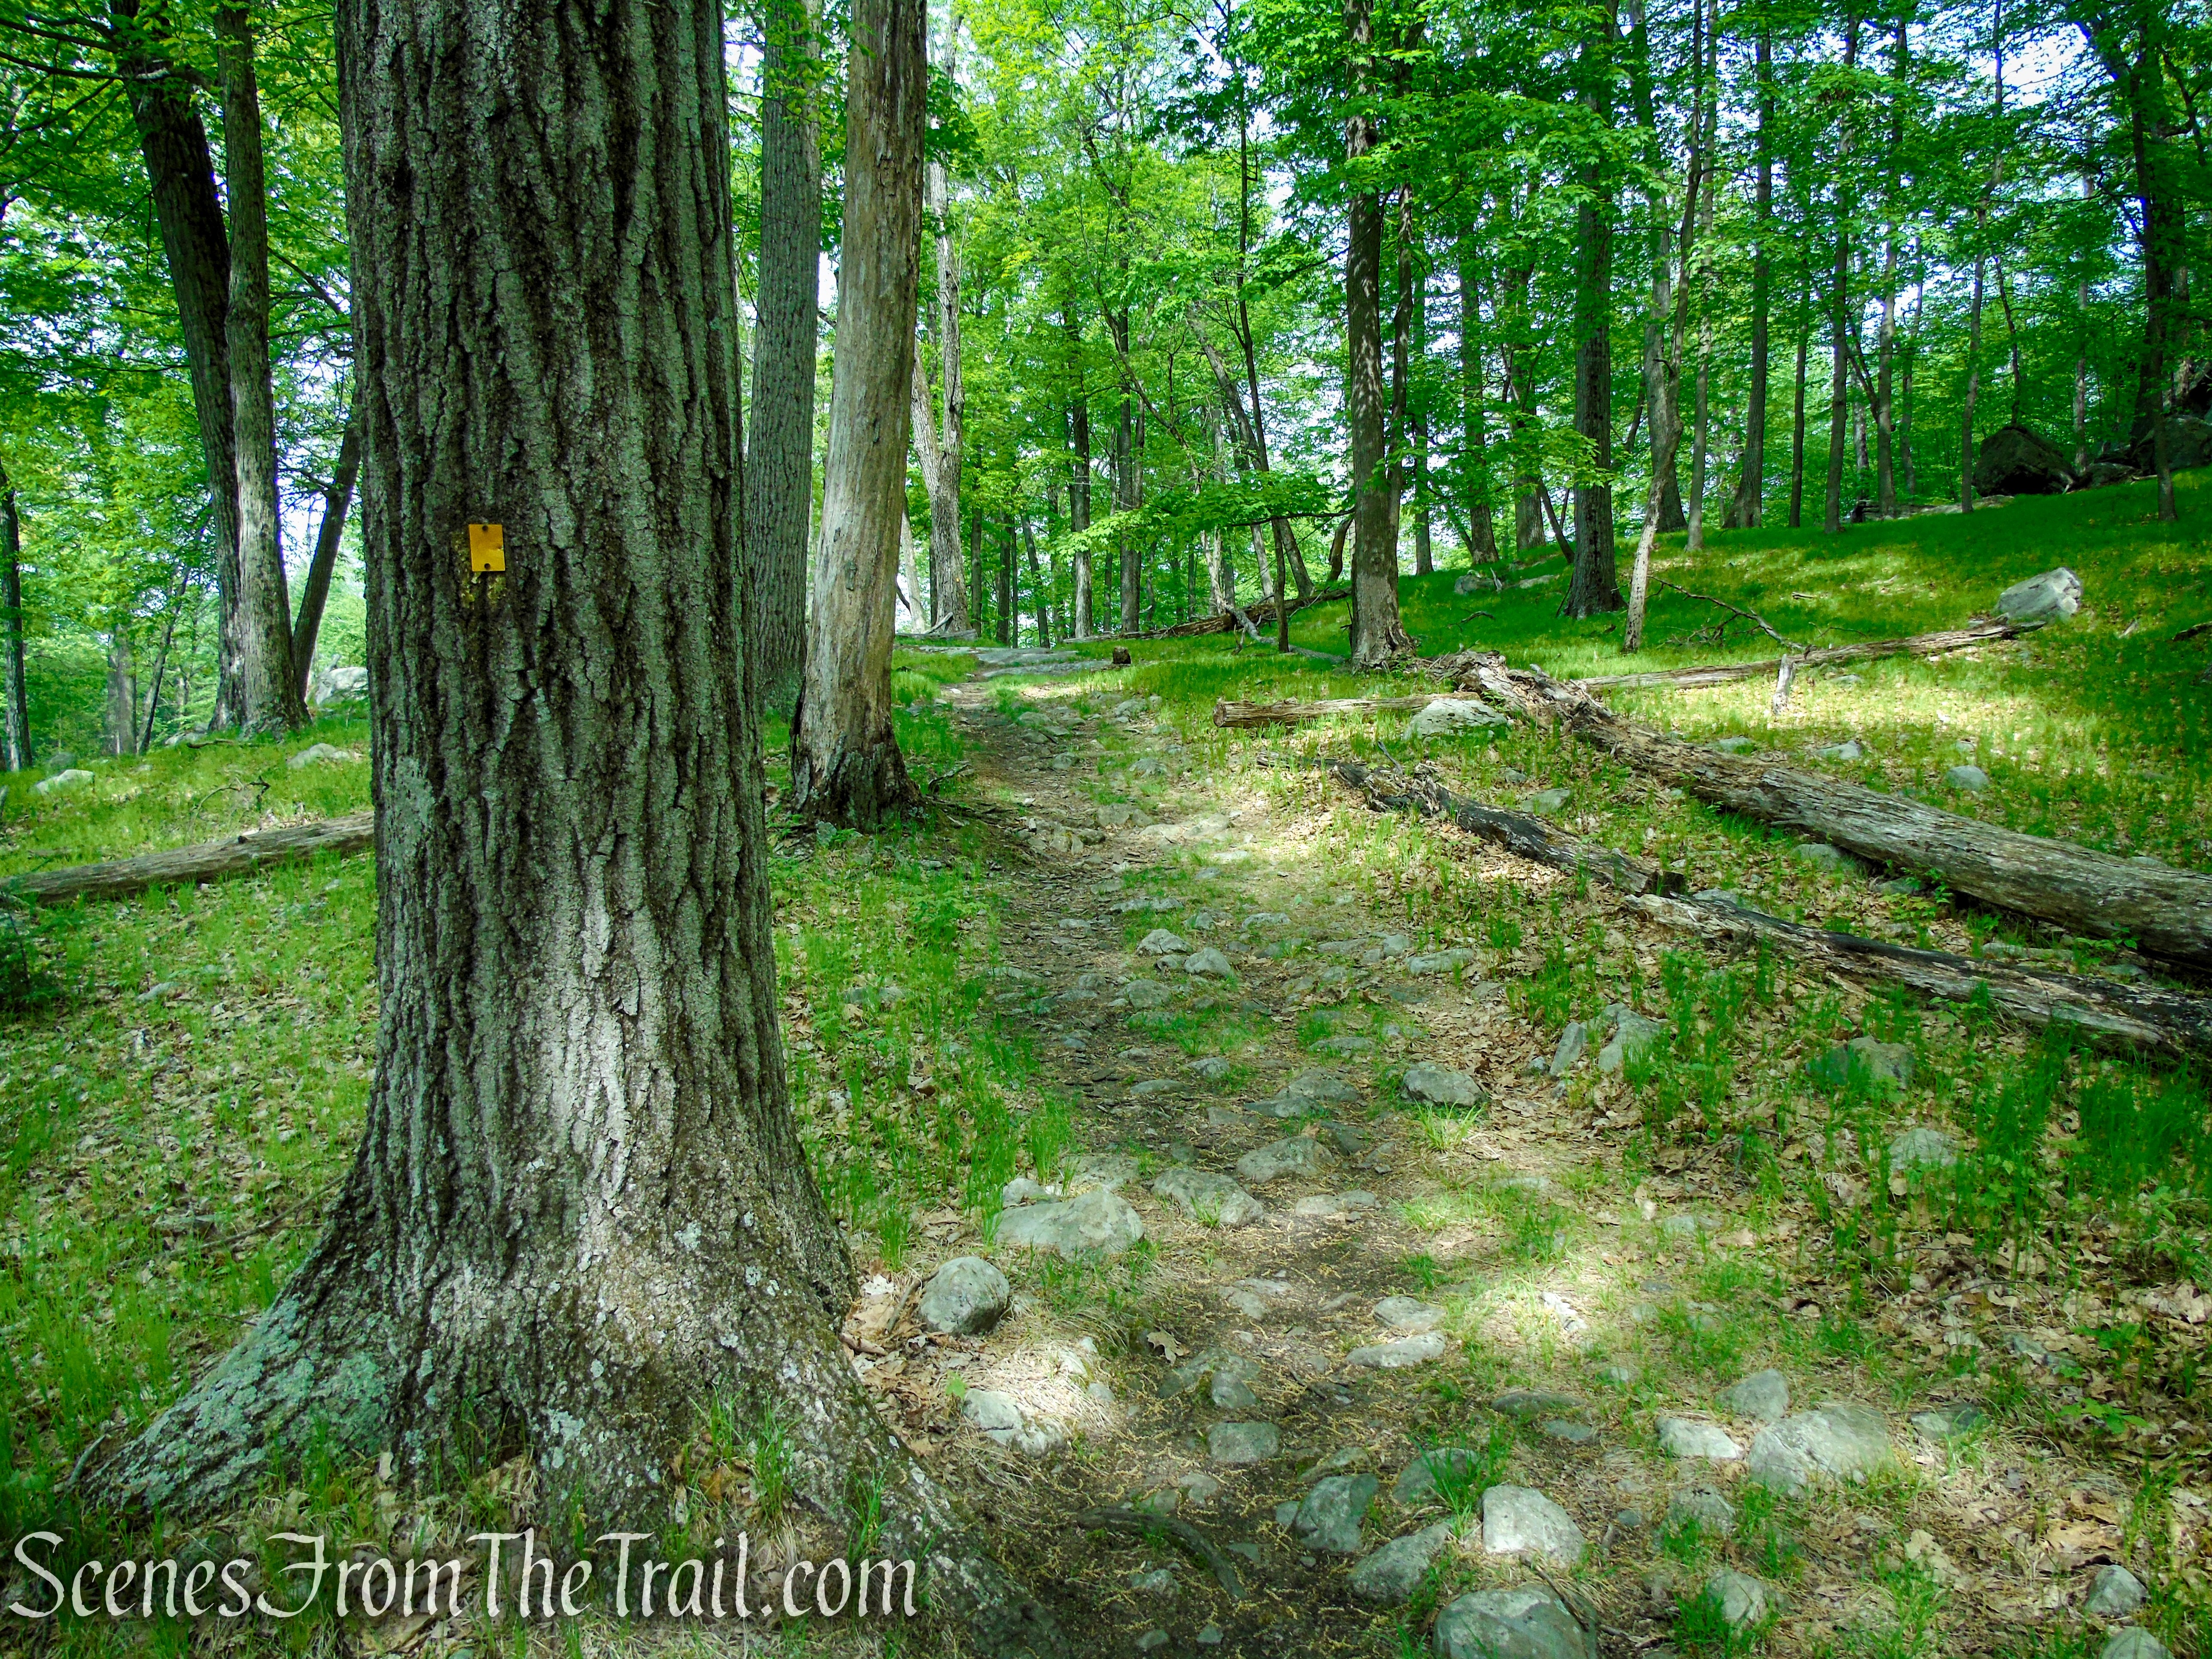
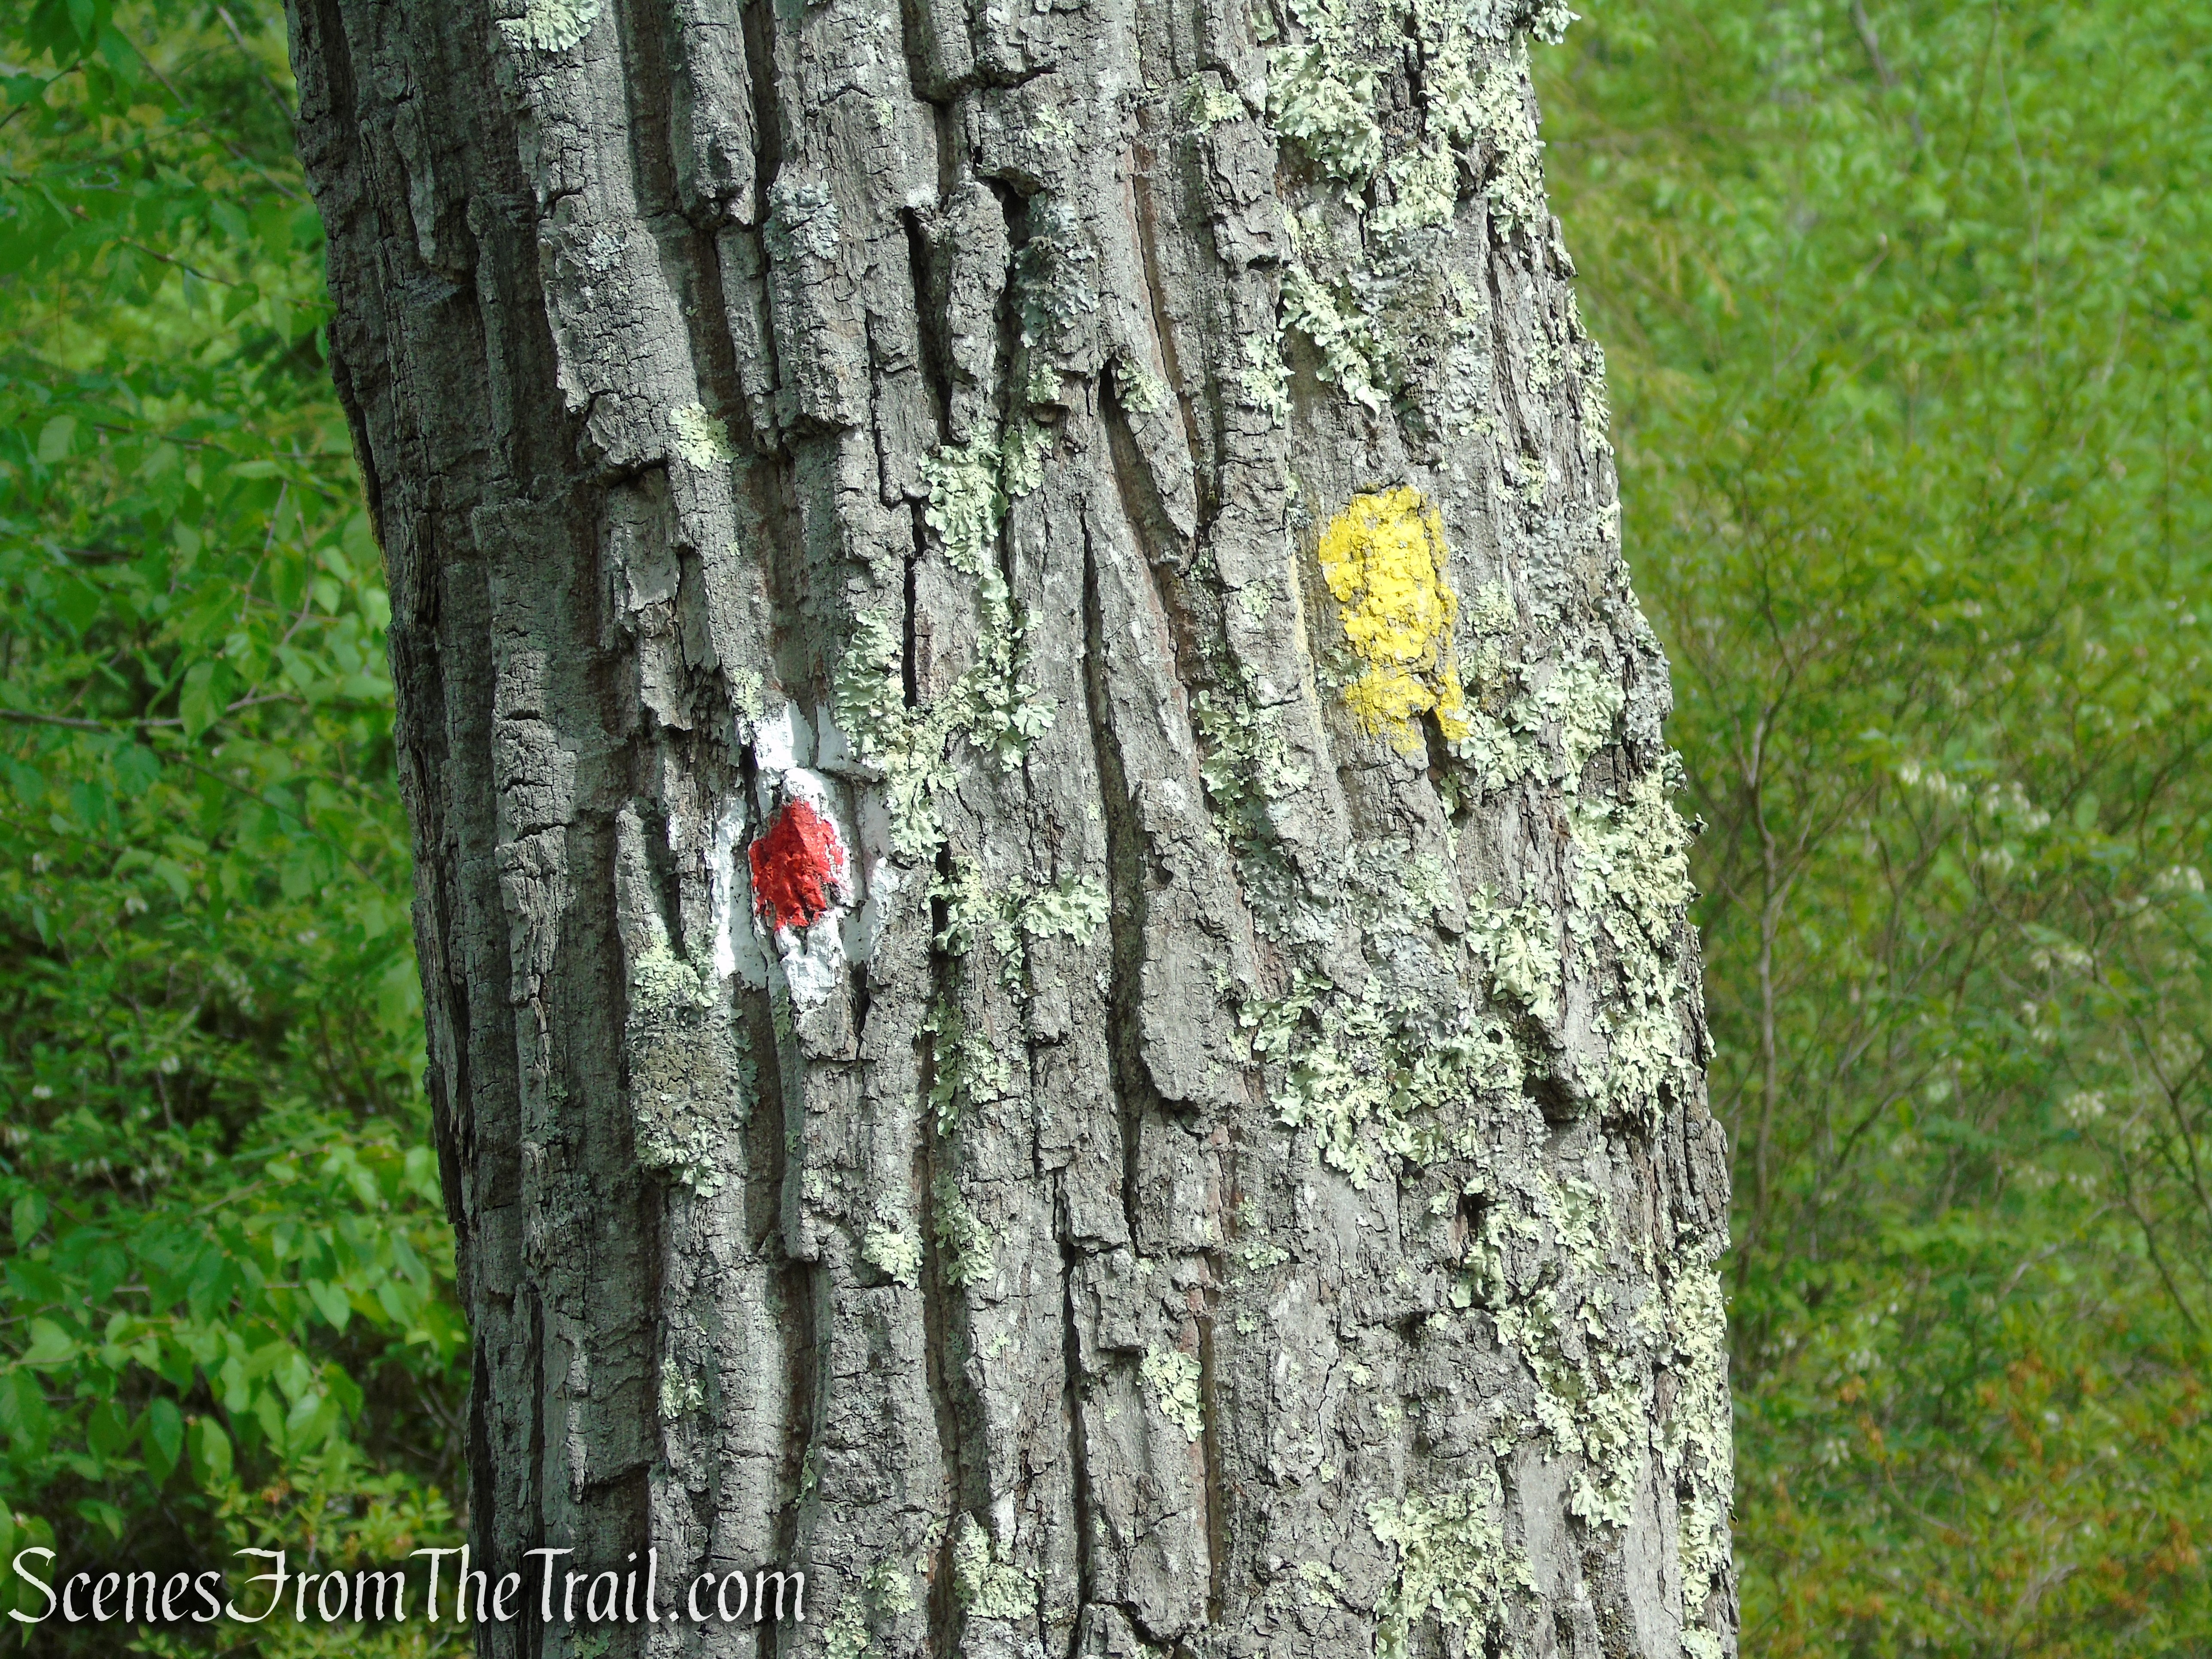
From Lake Road, the trails are mostly woods roads that climb steeply up the mountain. The trails are marked with Friends of Stissing Landmarks (FOSL) round metal discs.

Red Trail – Stissing Mountain
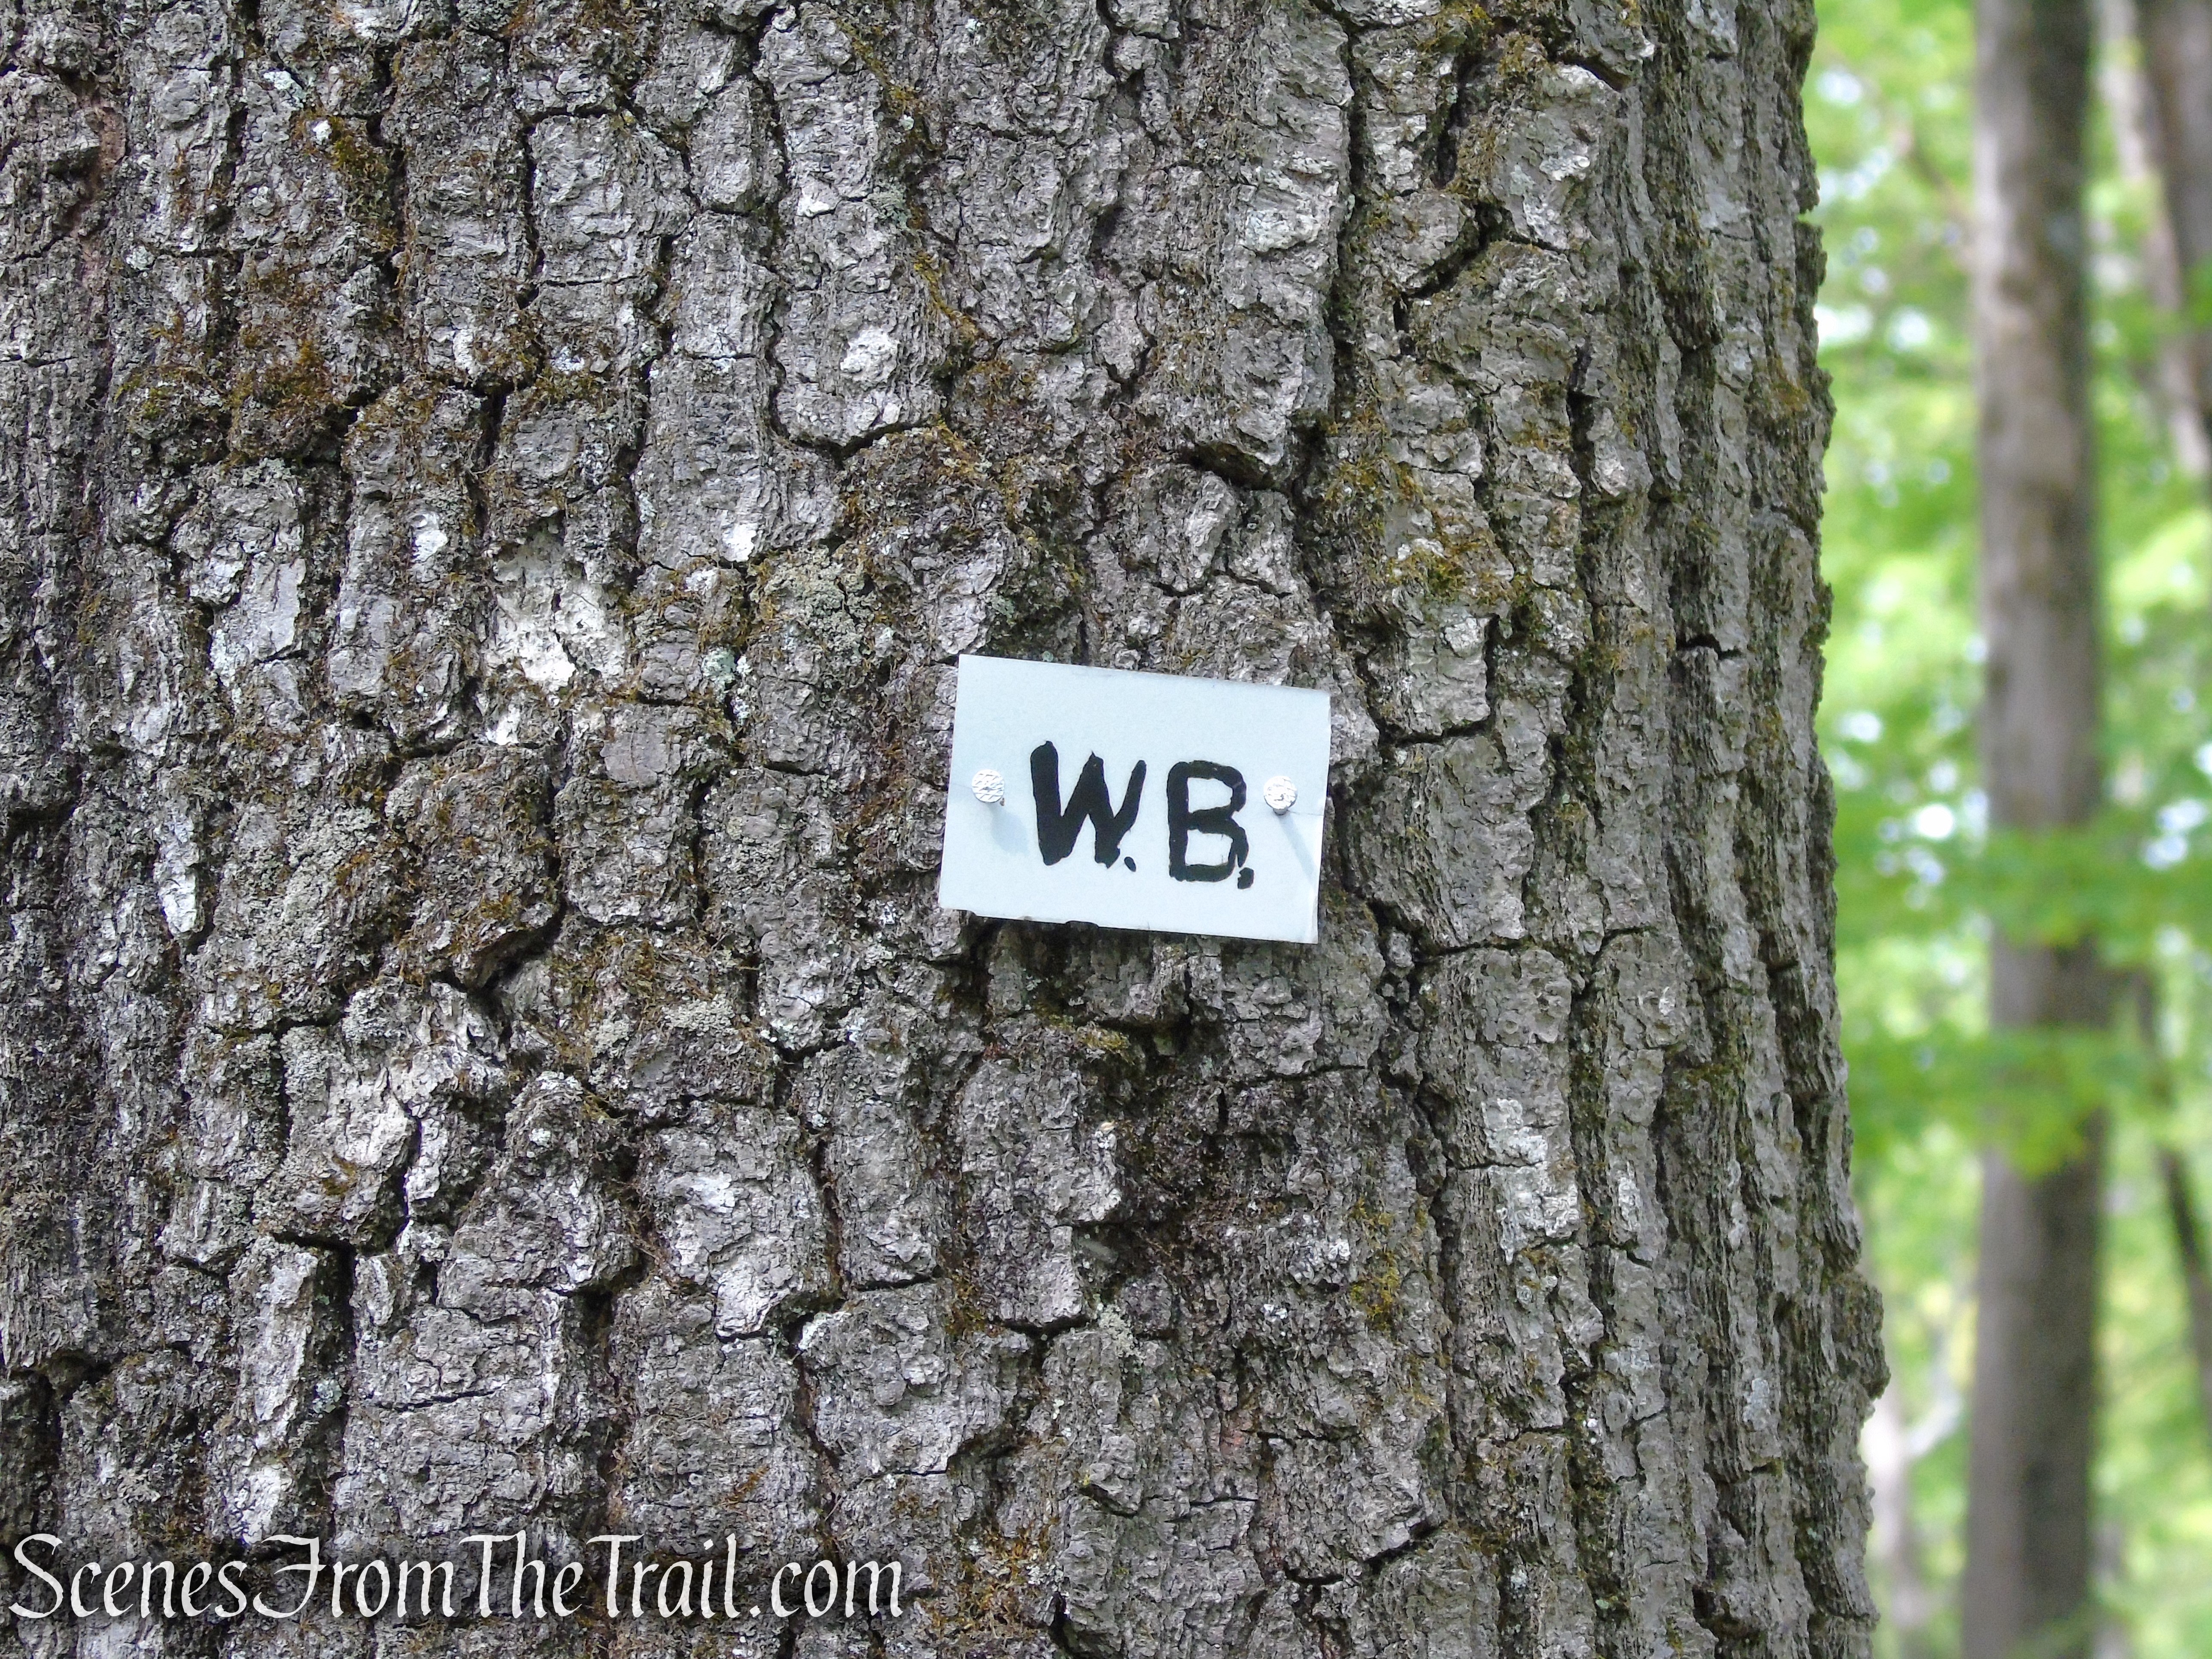
The trails used to be marked with rusty can tops and faded orange or blue discs, with some of the old markers remaining.

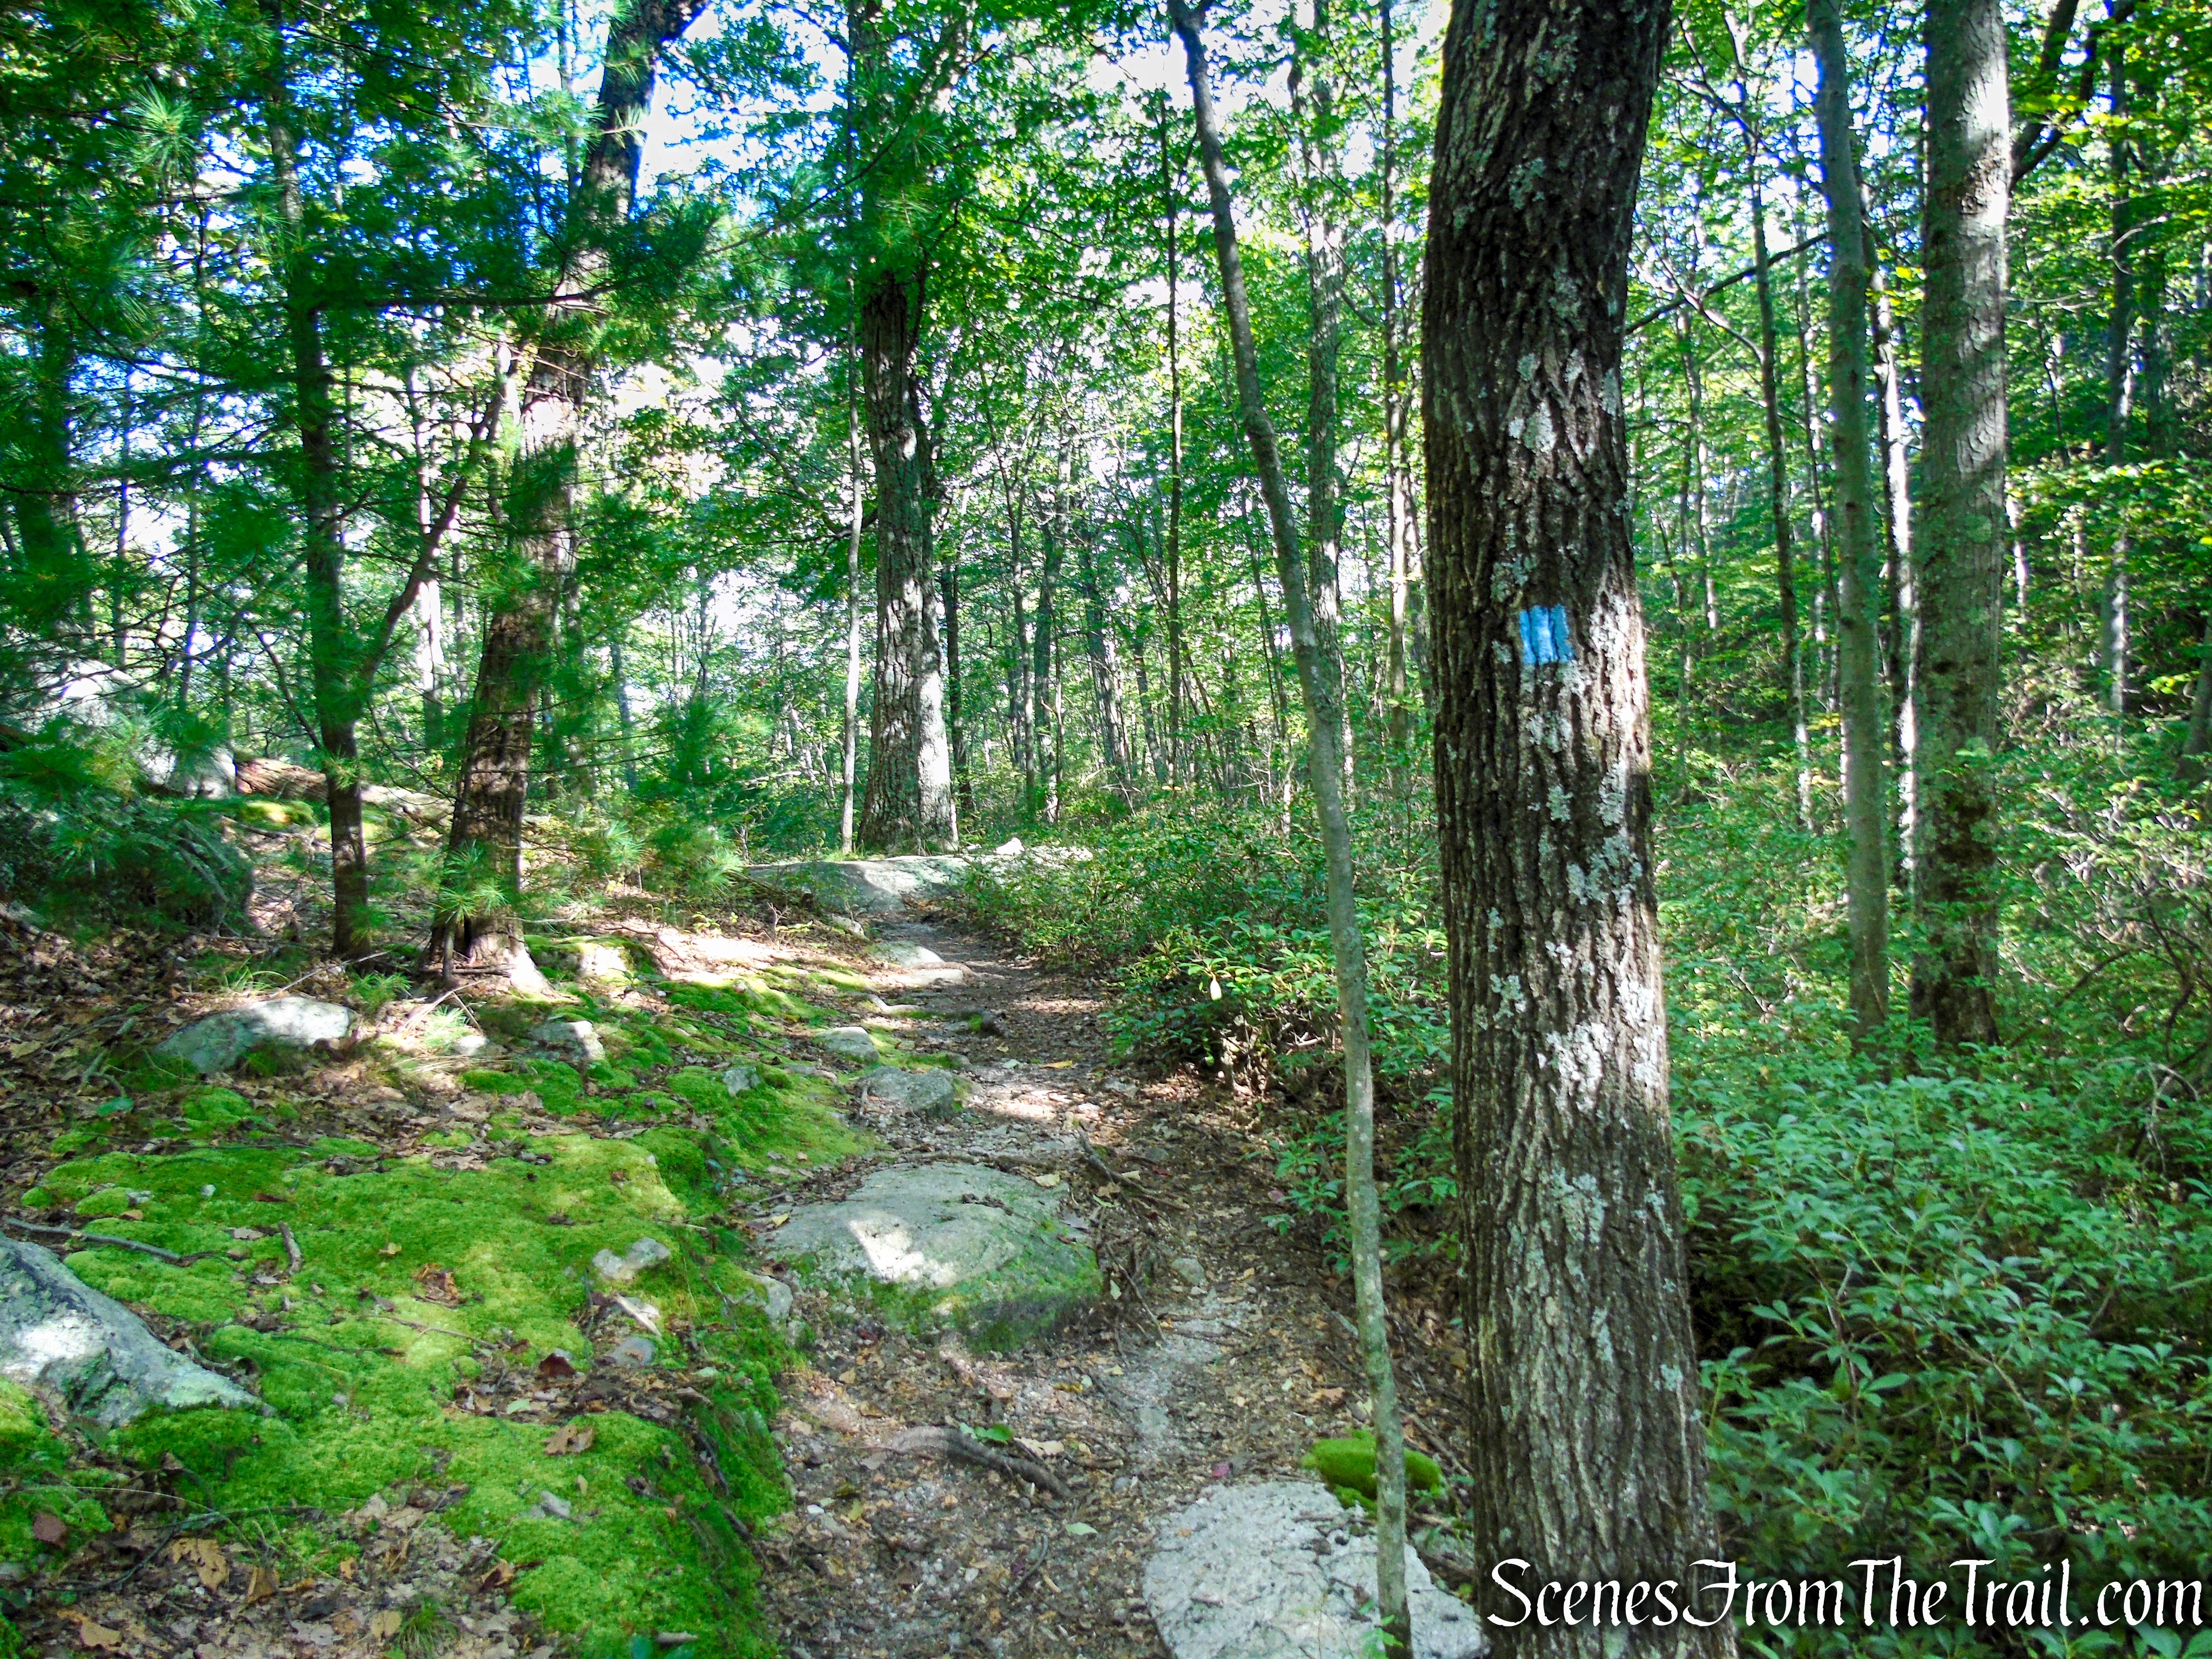
Blue Trail – Stissing Mountain
The Red Trail is steeper, but makes for a shorter route. The Blue Trail utilizes an old deteriorating access road, which is more gradual, but longer, making a loop hike possible.
The available trail map is outdated (2019) and only shows one trail up the mountain.
Hike Overview:
I did this hike in June 2022 on a cold and extremely windy day. It was in the mid 50’s and cloudy that day, but the blustery wind at the top of the tower, made it feel more like it was in the low 40’s. Because of the high winds, we didn’t spend much time at the top of the fire tower.
Shortly after doing the hike, I read that they added brand spanking new blazes to the trails. It took two years to get back up there to update the hike, but here we are. It was much warmer on this day and the air quality wasn’t very good. It felt like an easier hike when it was cooler. The trails are well shaded.
We only saw a few people near the fire tower and passed a lone hiker on our way down.
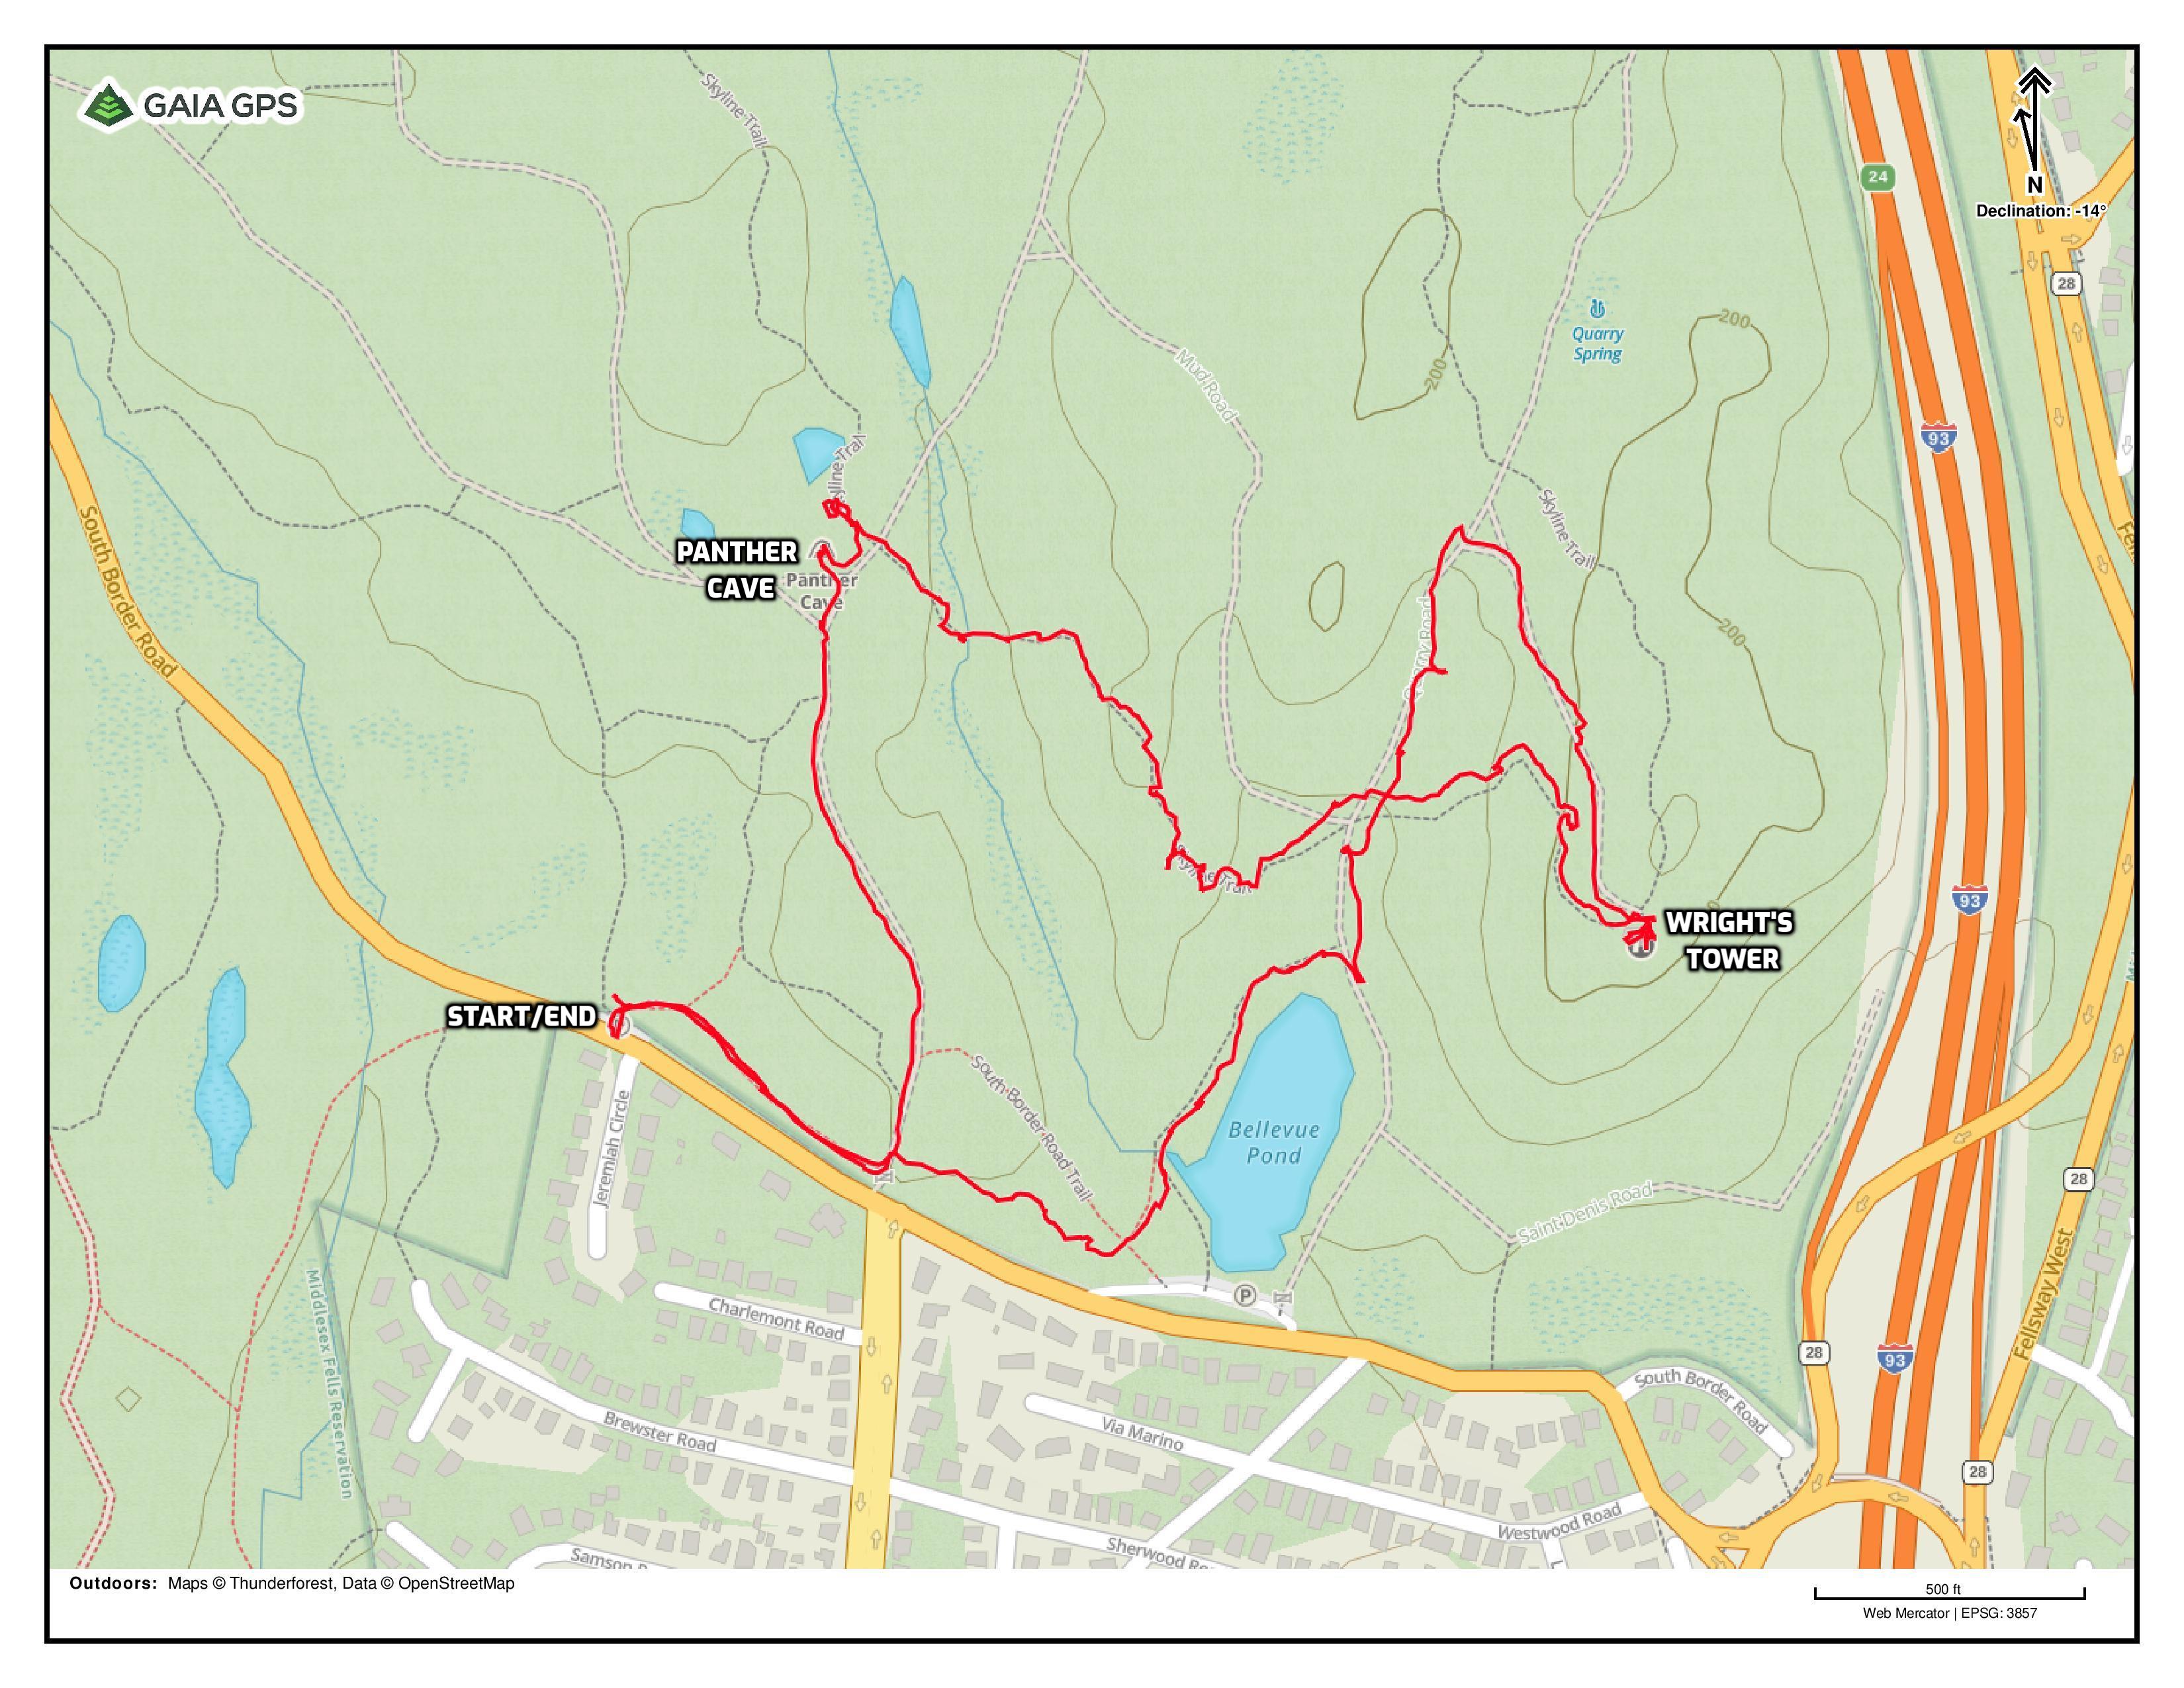
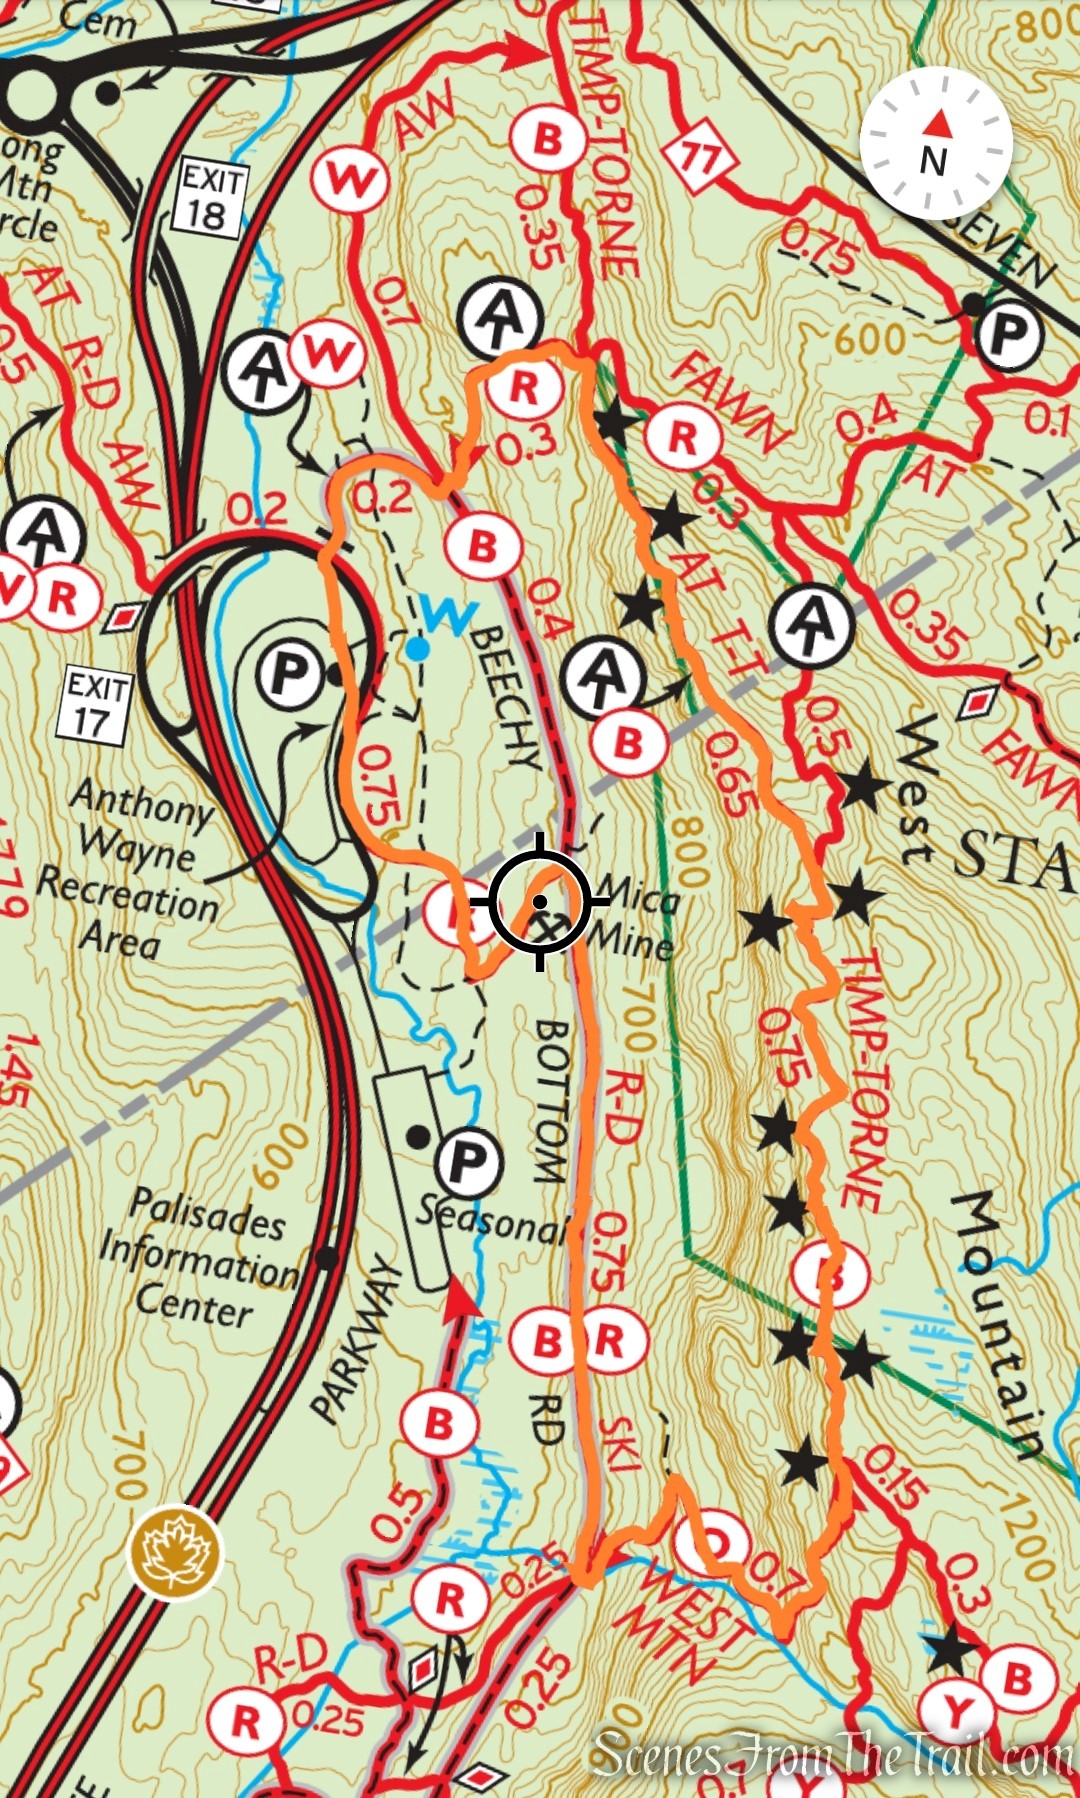
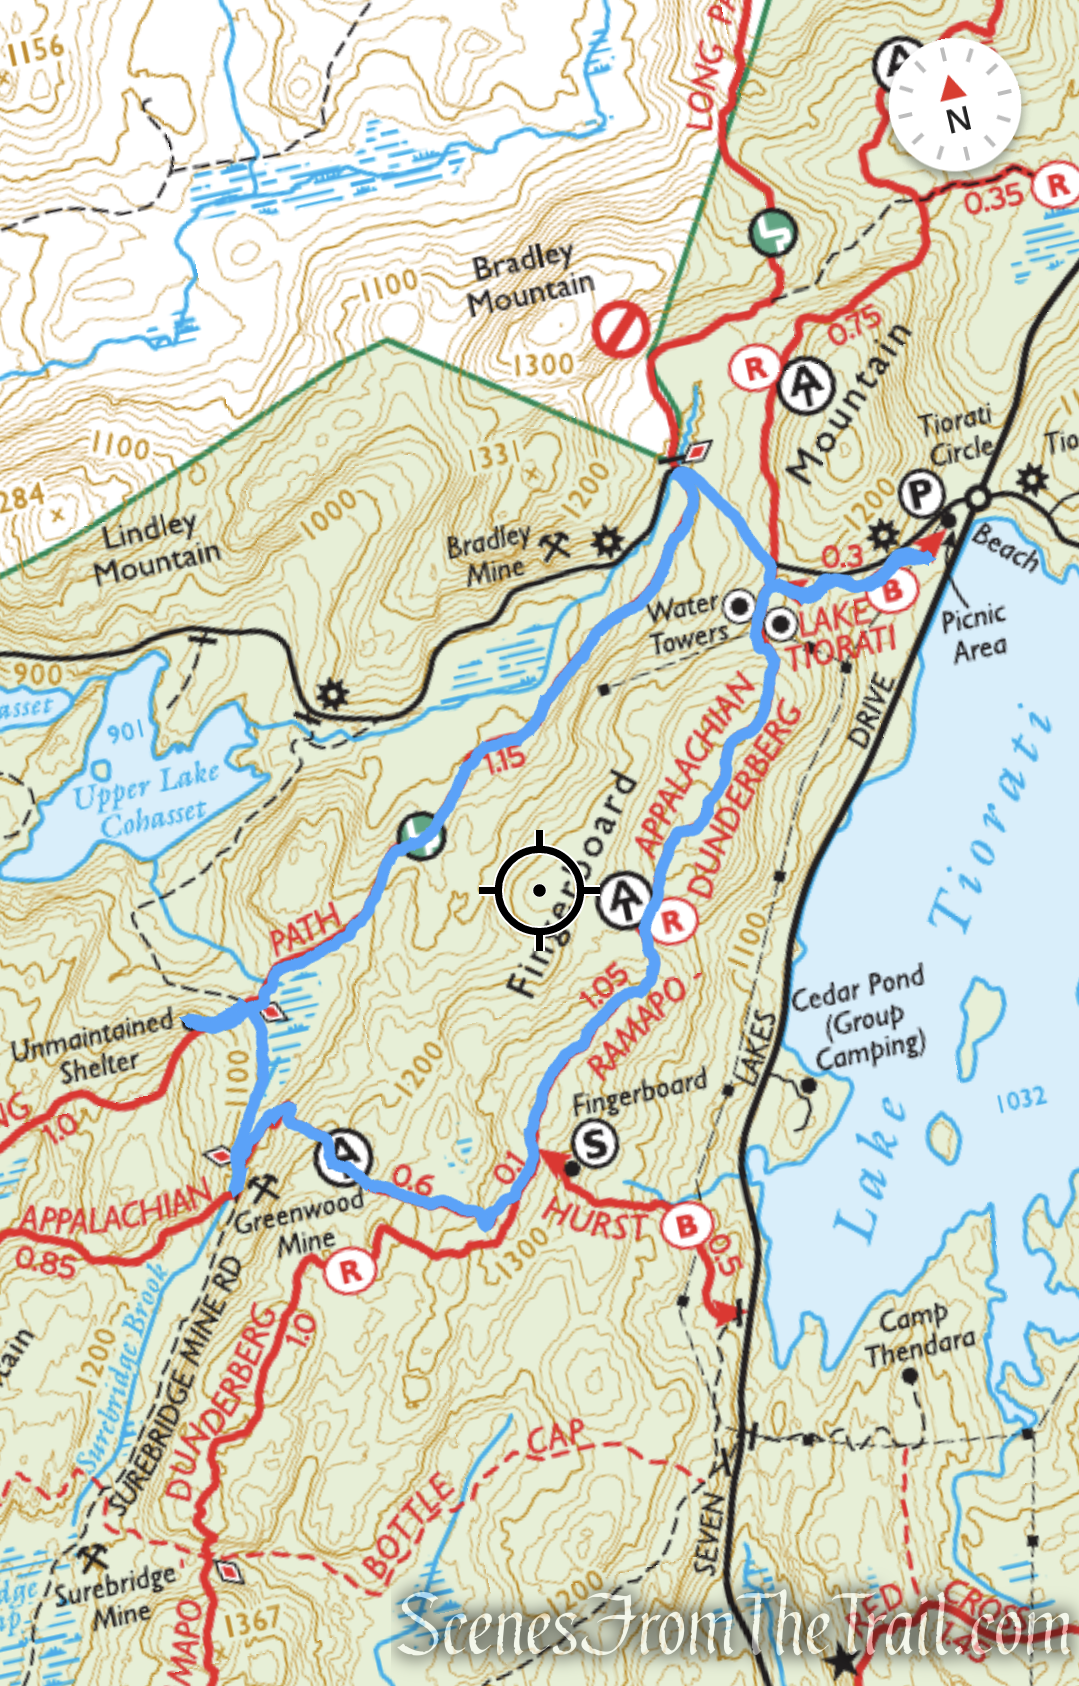
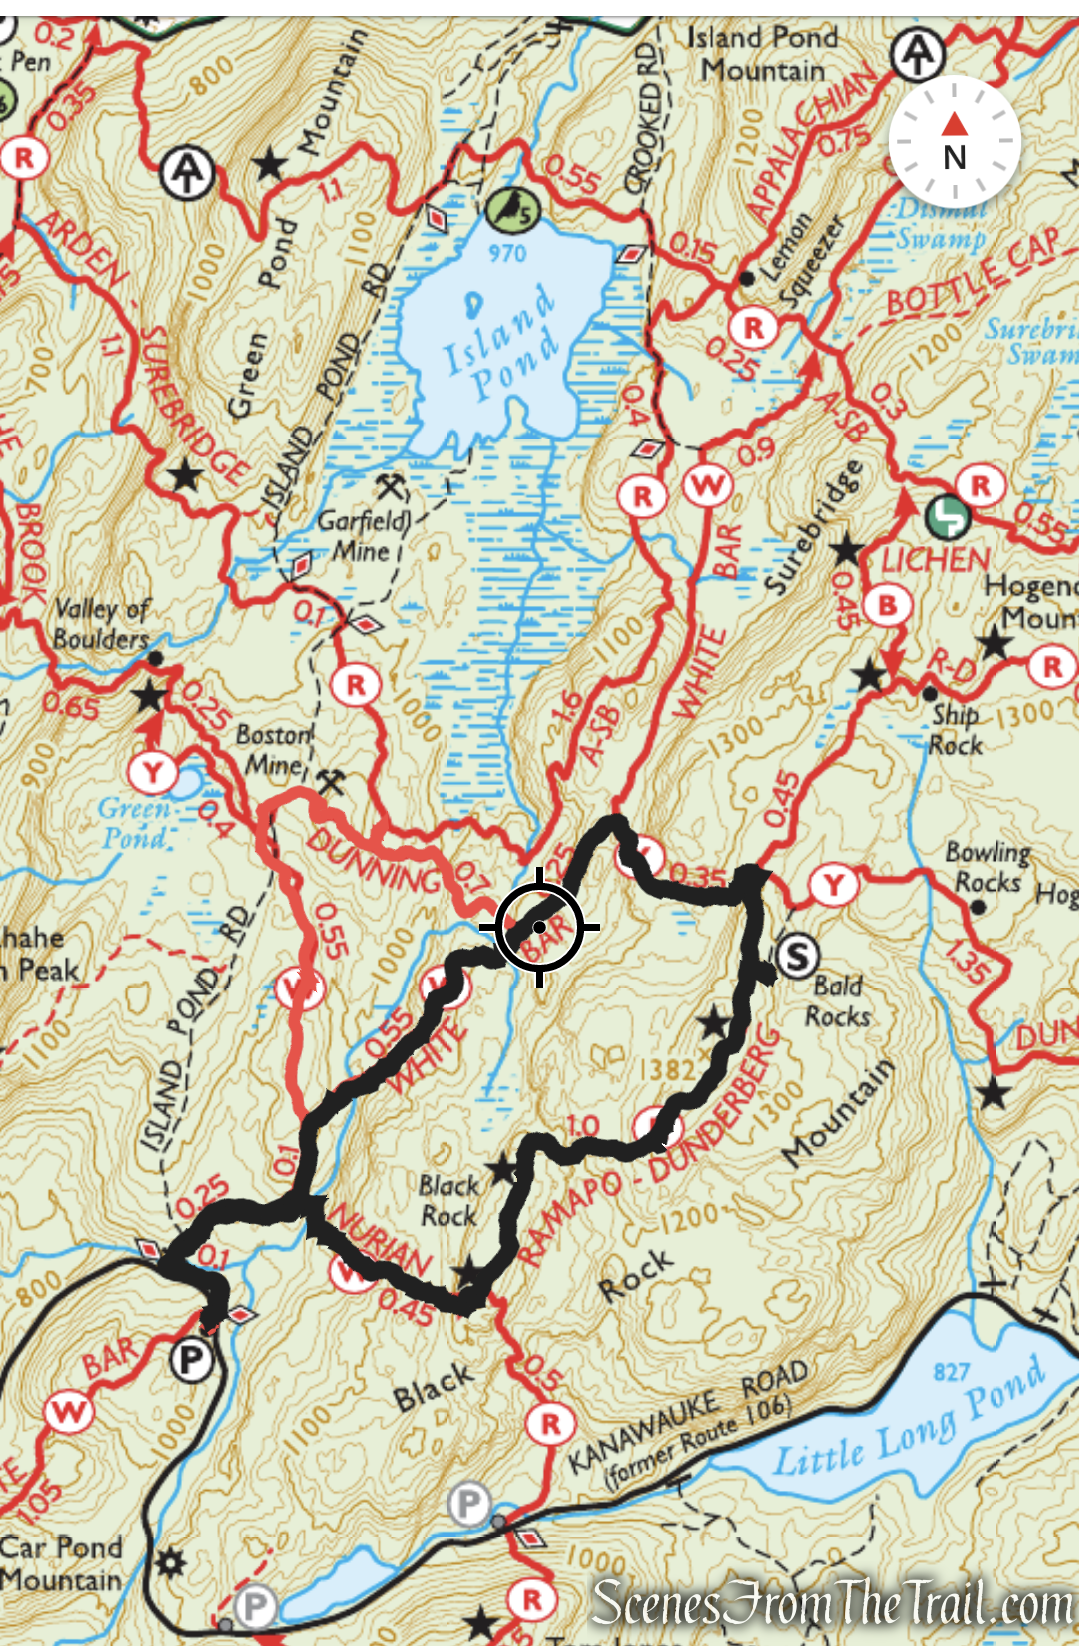
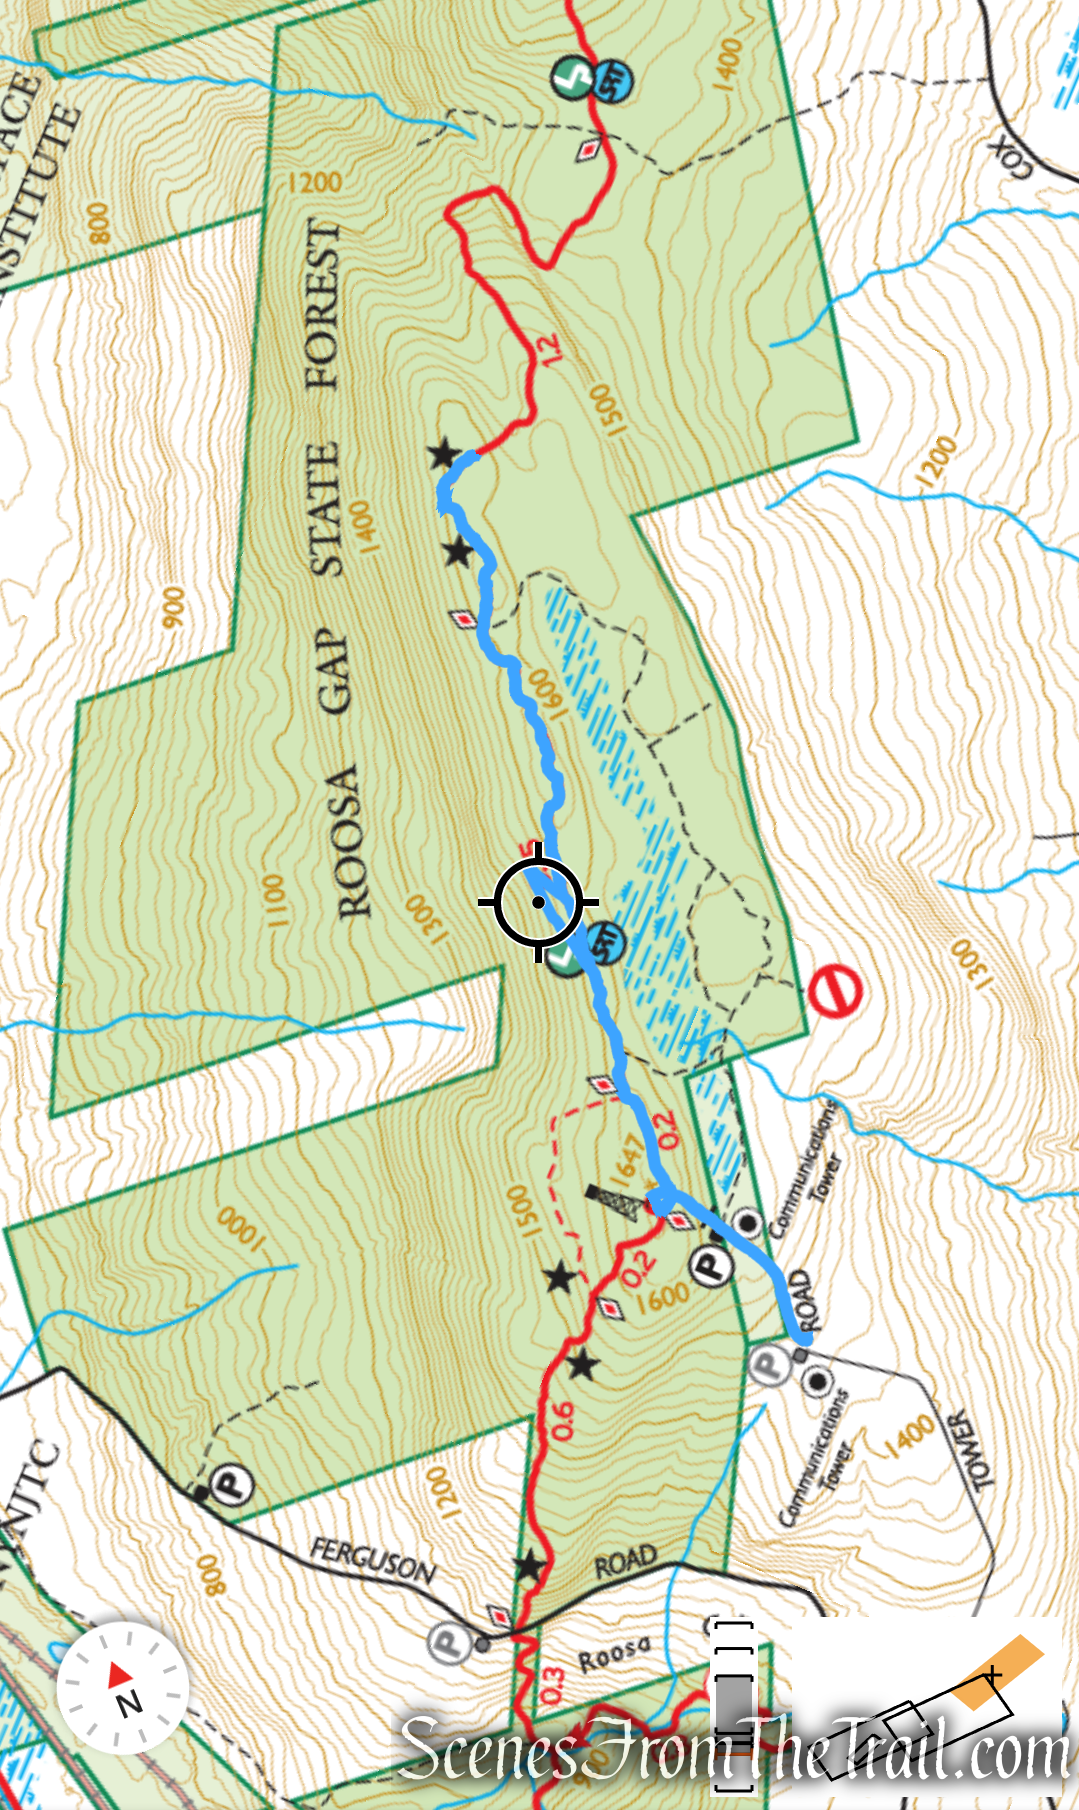
This Lollipop Loop was done clockwise, ascending on Red (steeper) and descending on Blue. I prefer a less steep descent which is gentler on the knees.

Stissing Mountain Fire Tower Loop
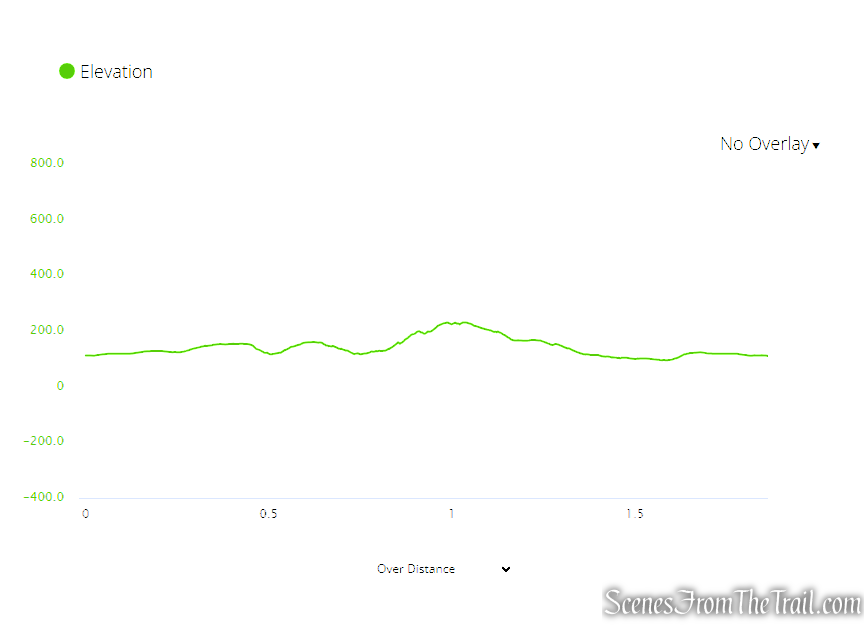
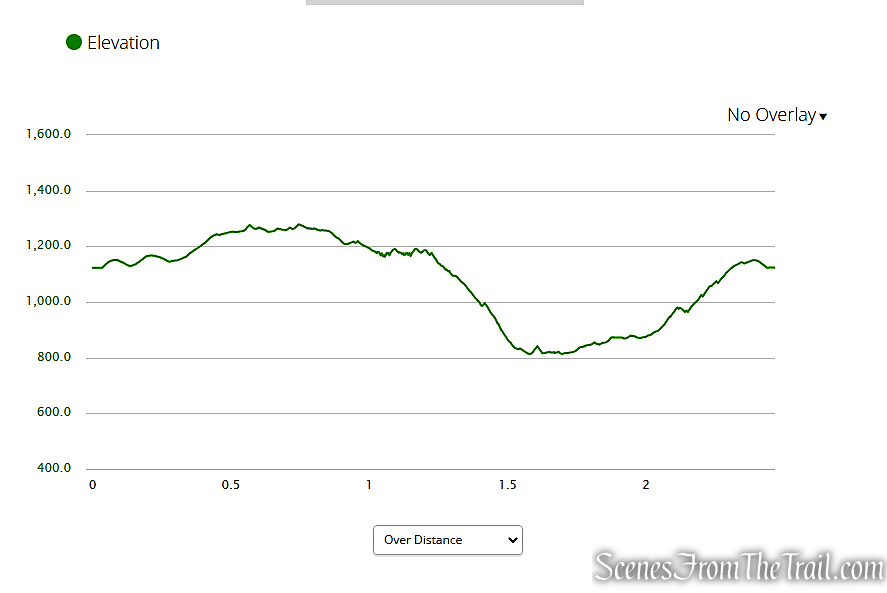
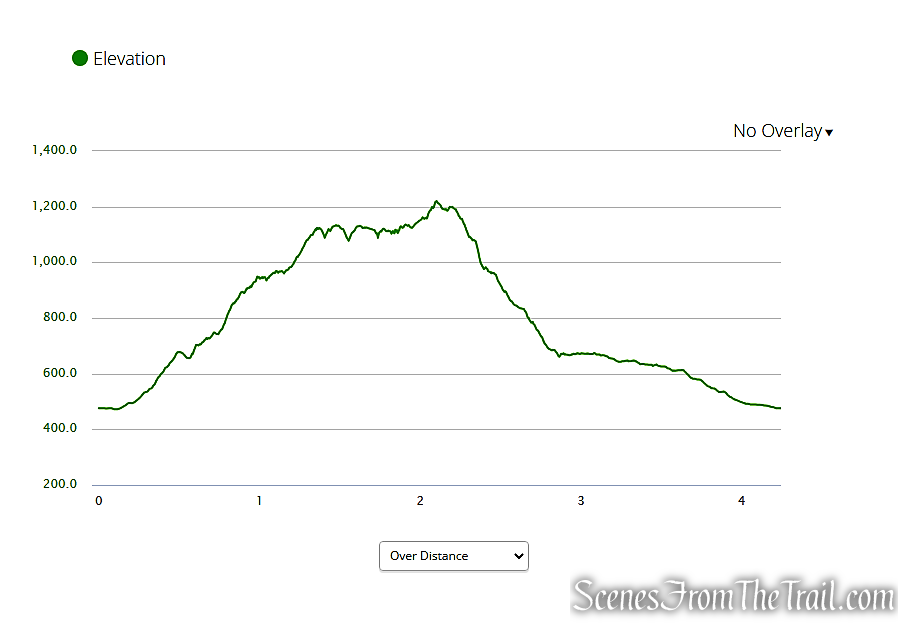
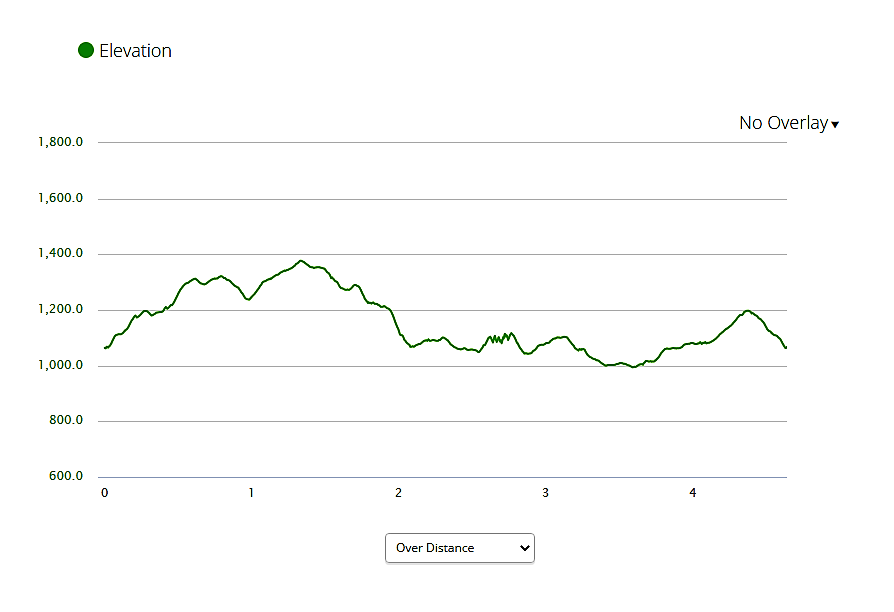
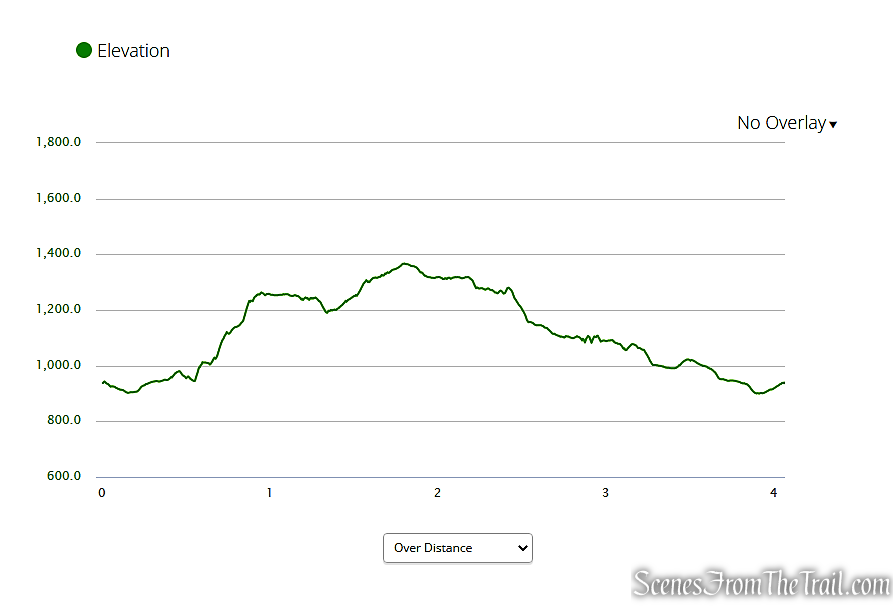
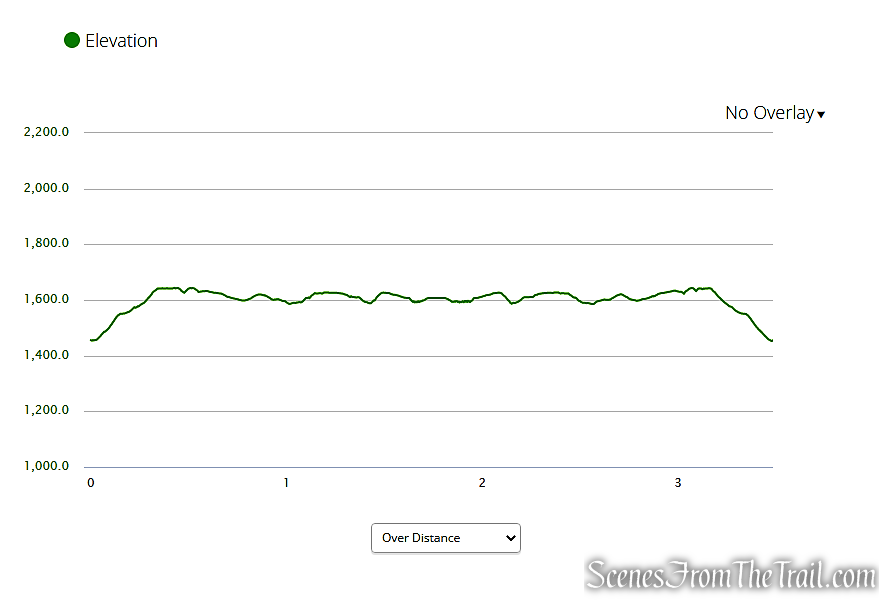
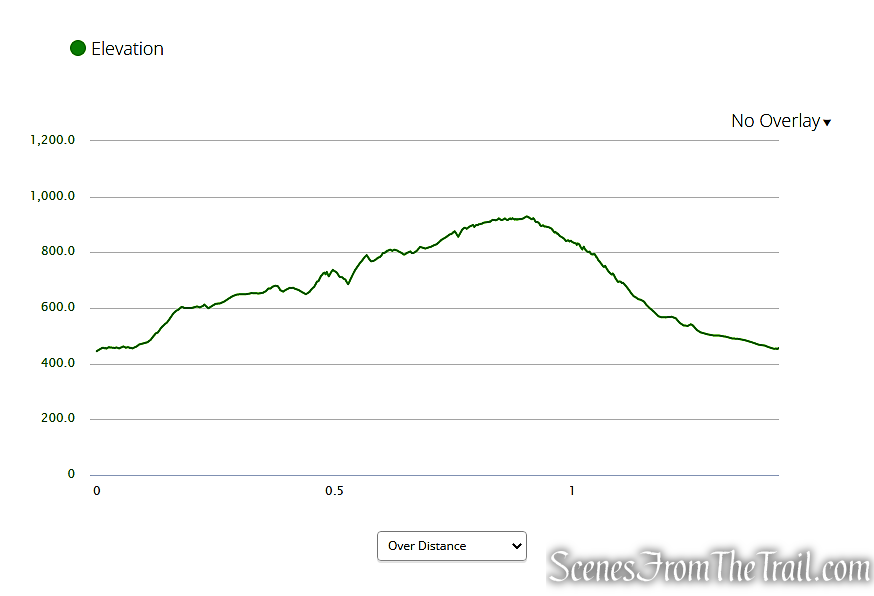
As you can see from the elevation graph, it is quite steep going up and down.

Elevation profile – Stissing Mountain Fire Tower Loop
Please Note: There is no view from the base of the fire tower, so if you don’t climb at least part of the way up, you will not enjoy any of the marvelous views.
The Hike:
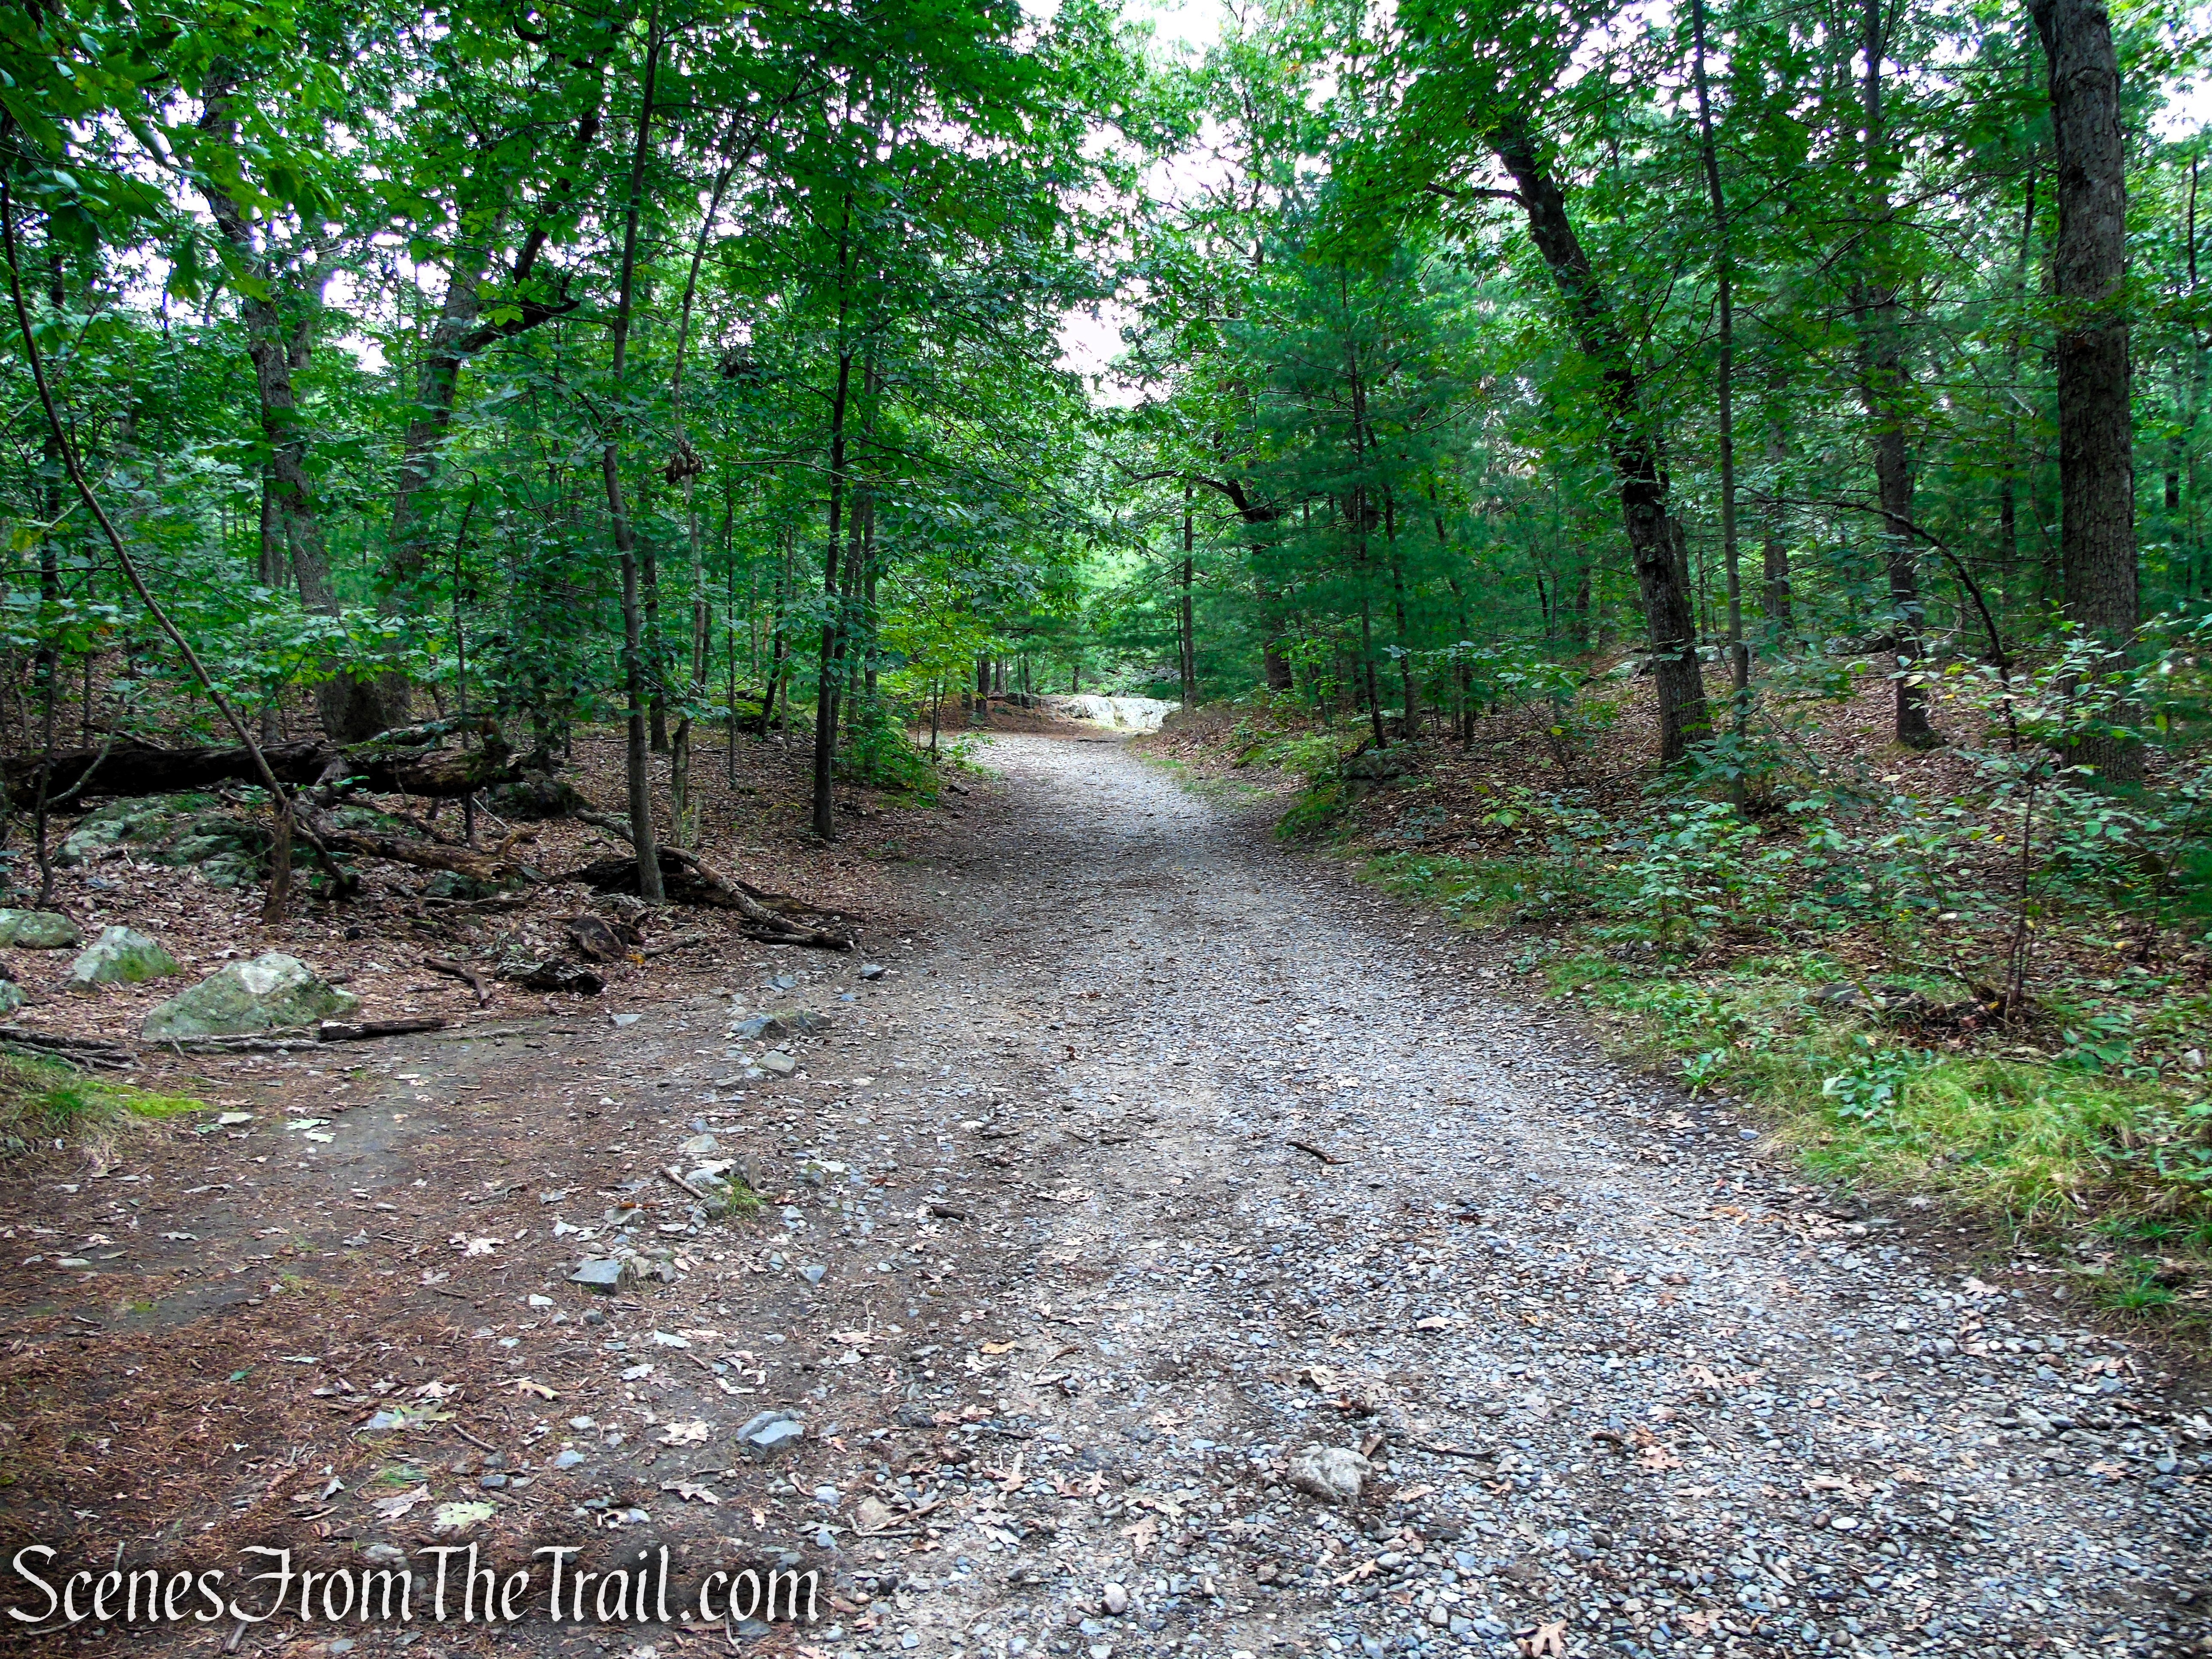
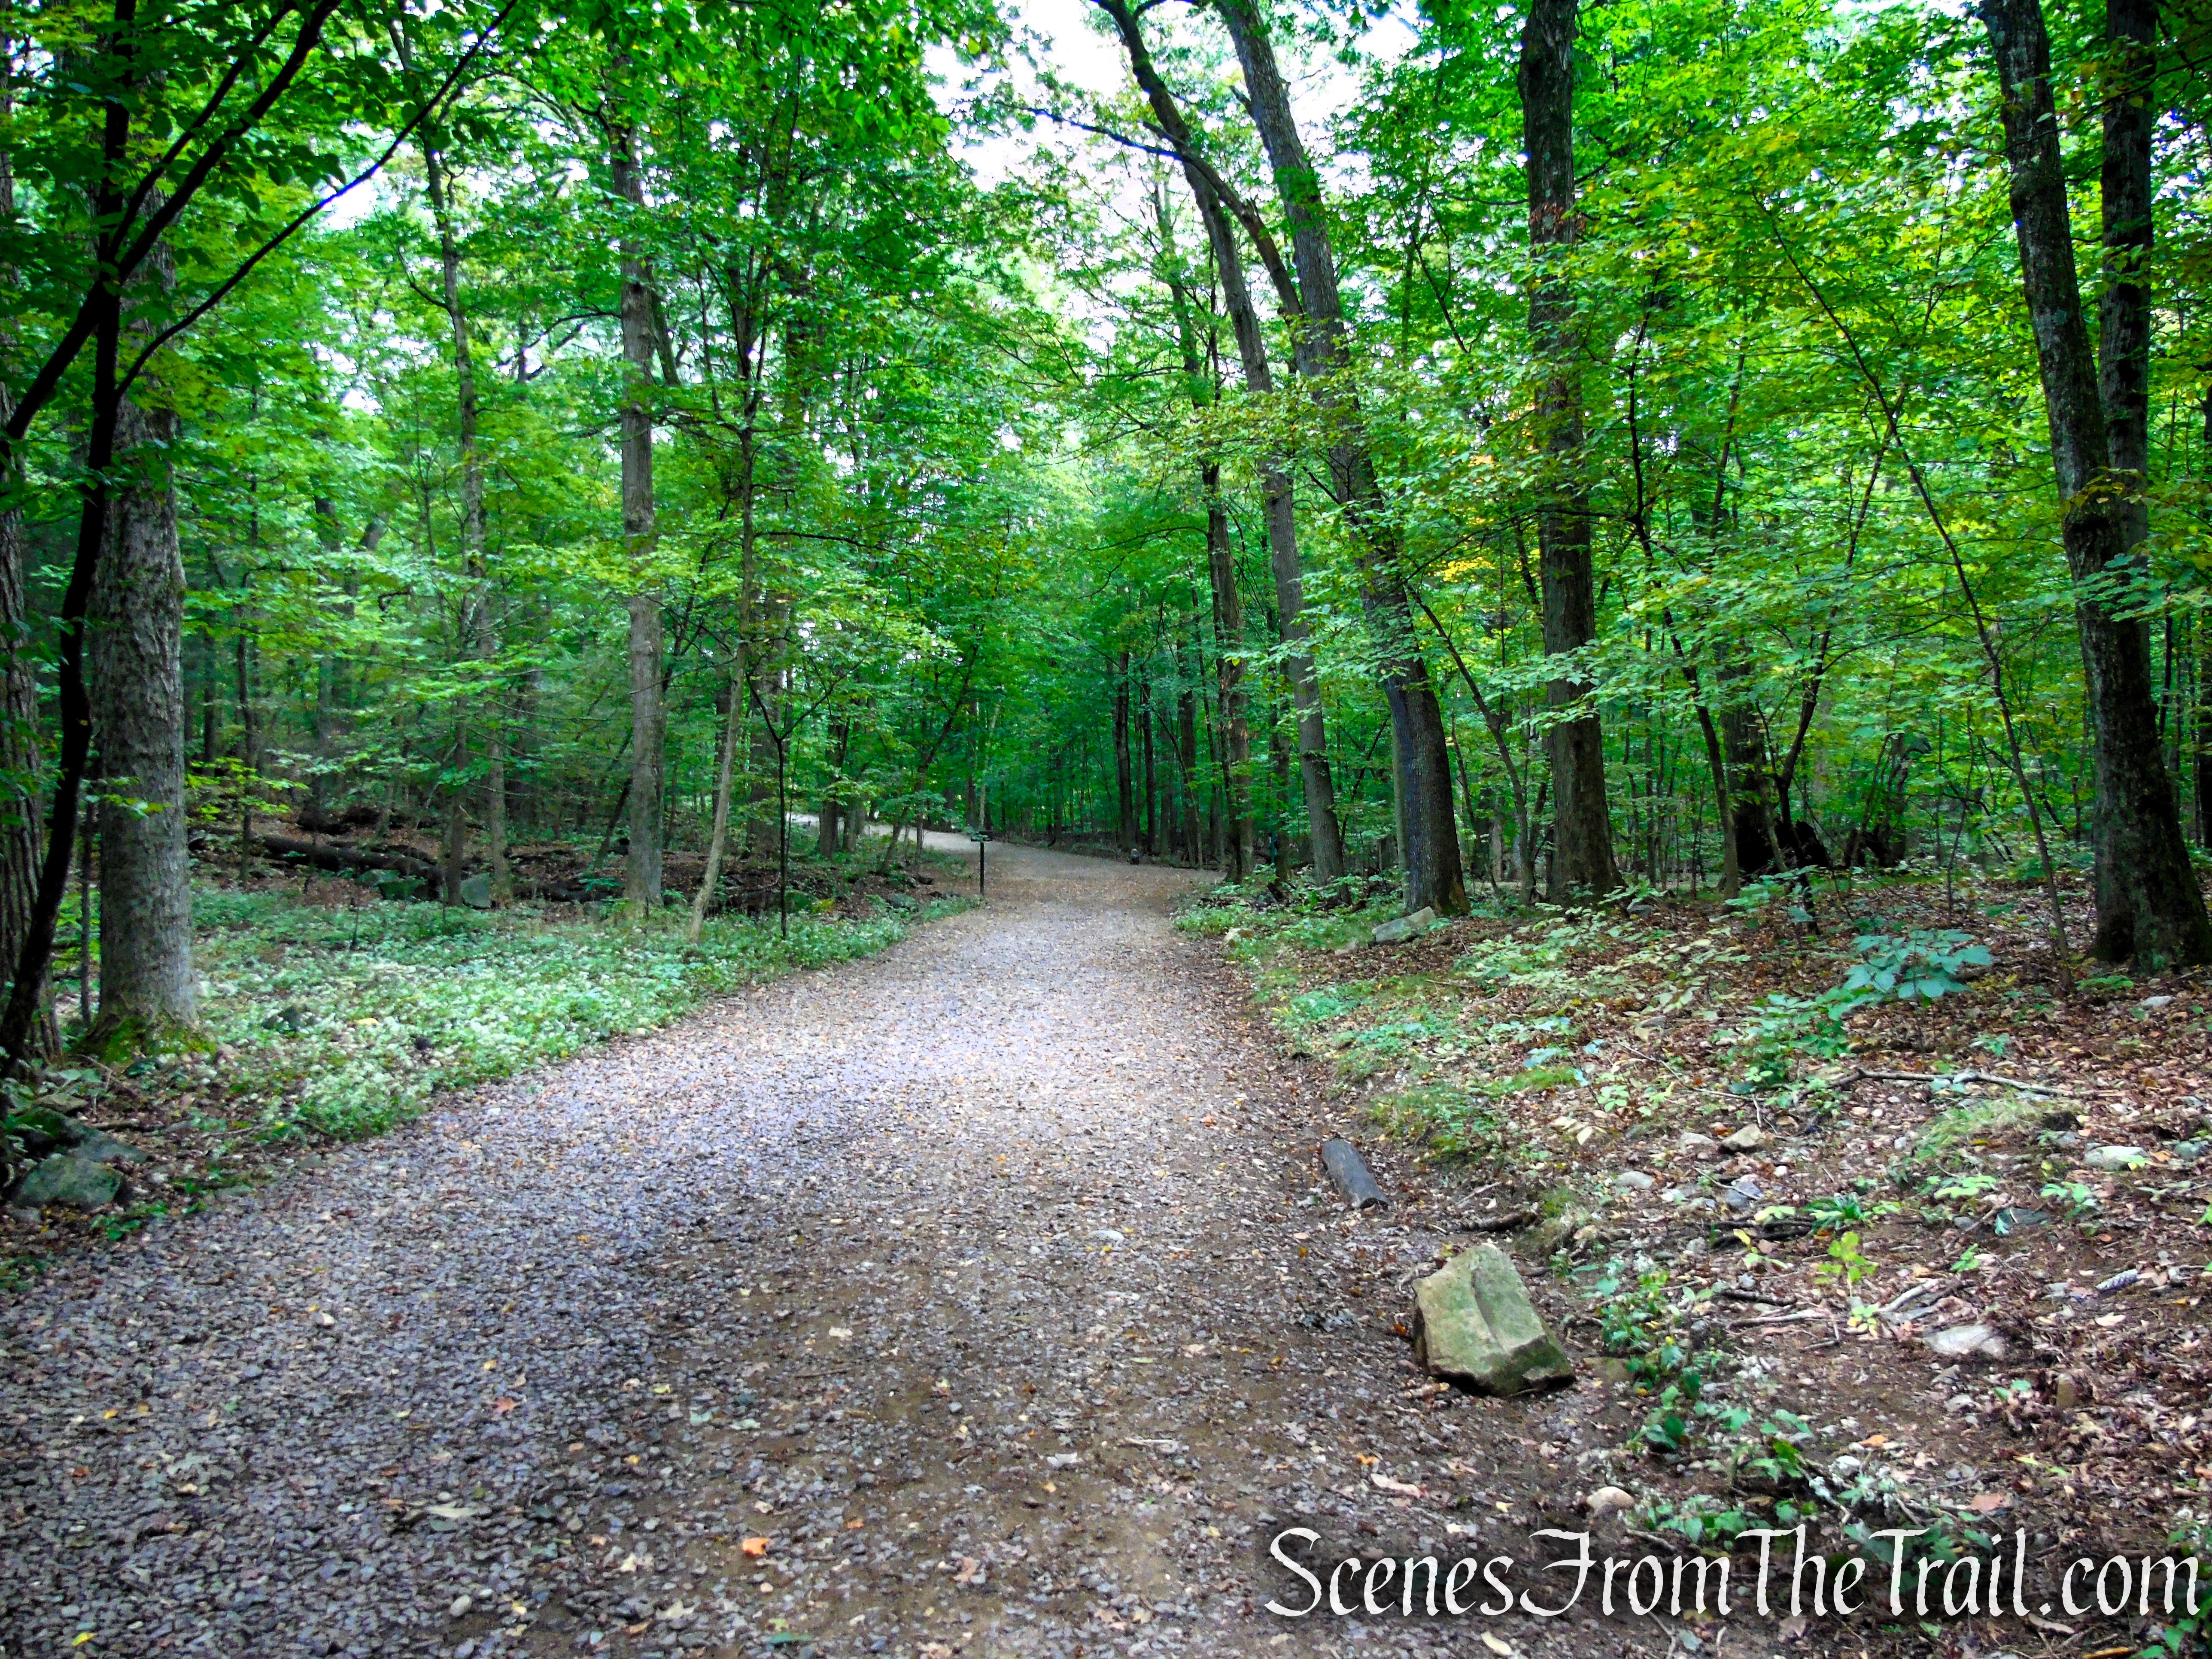
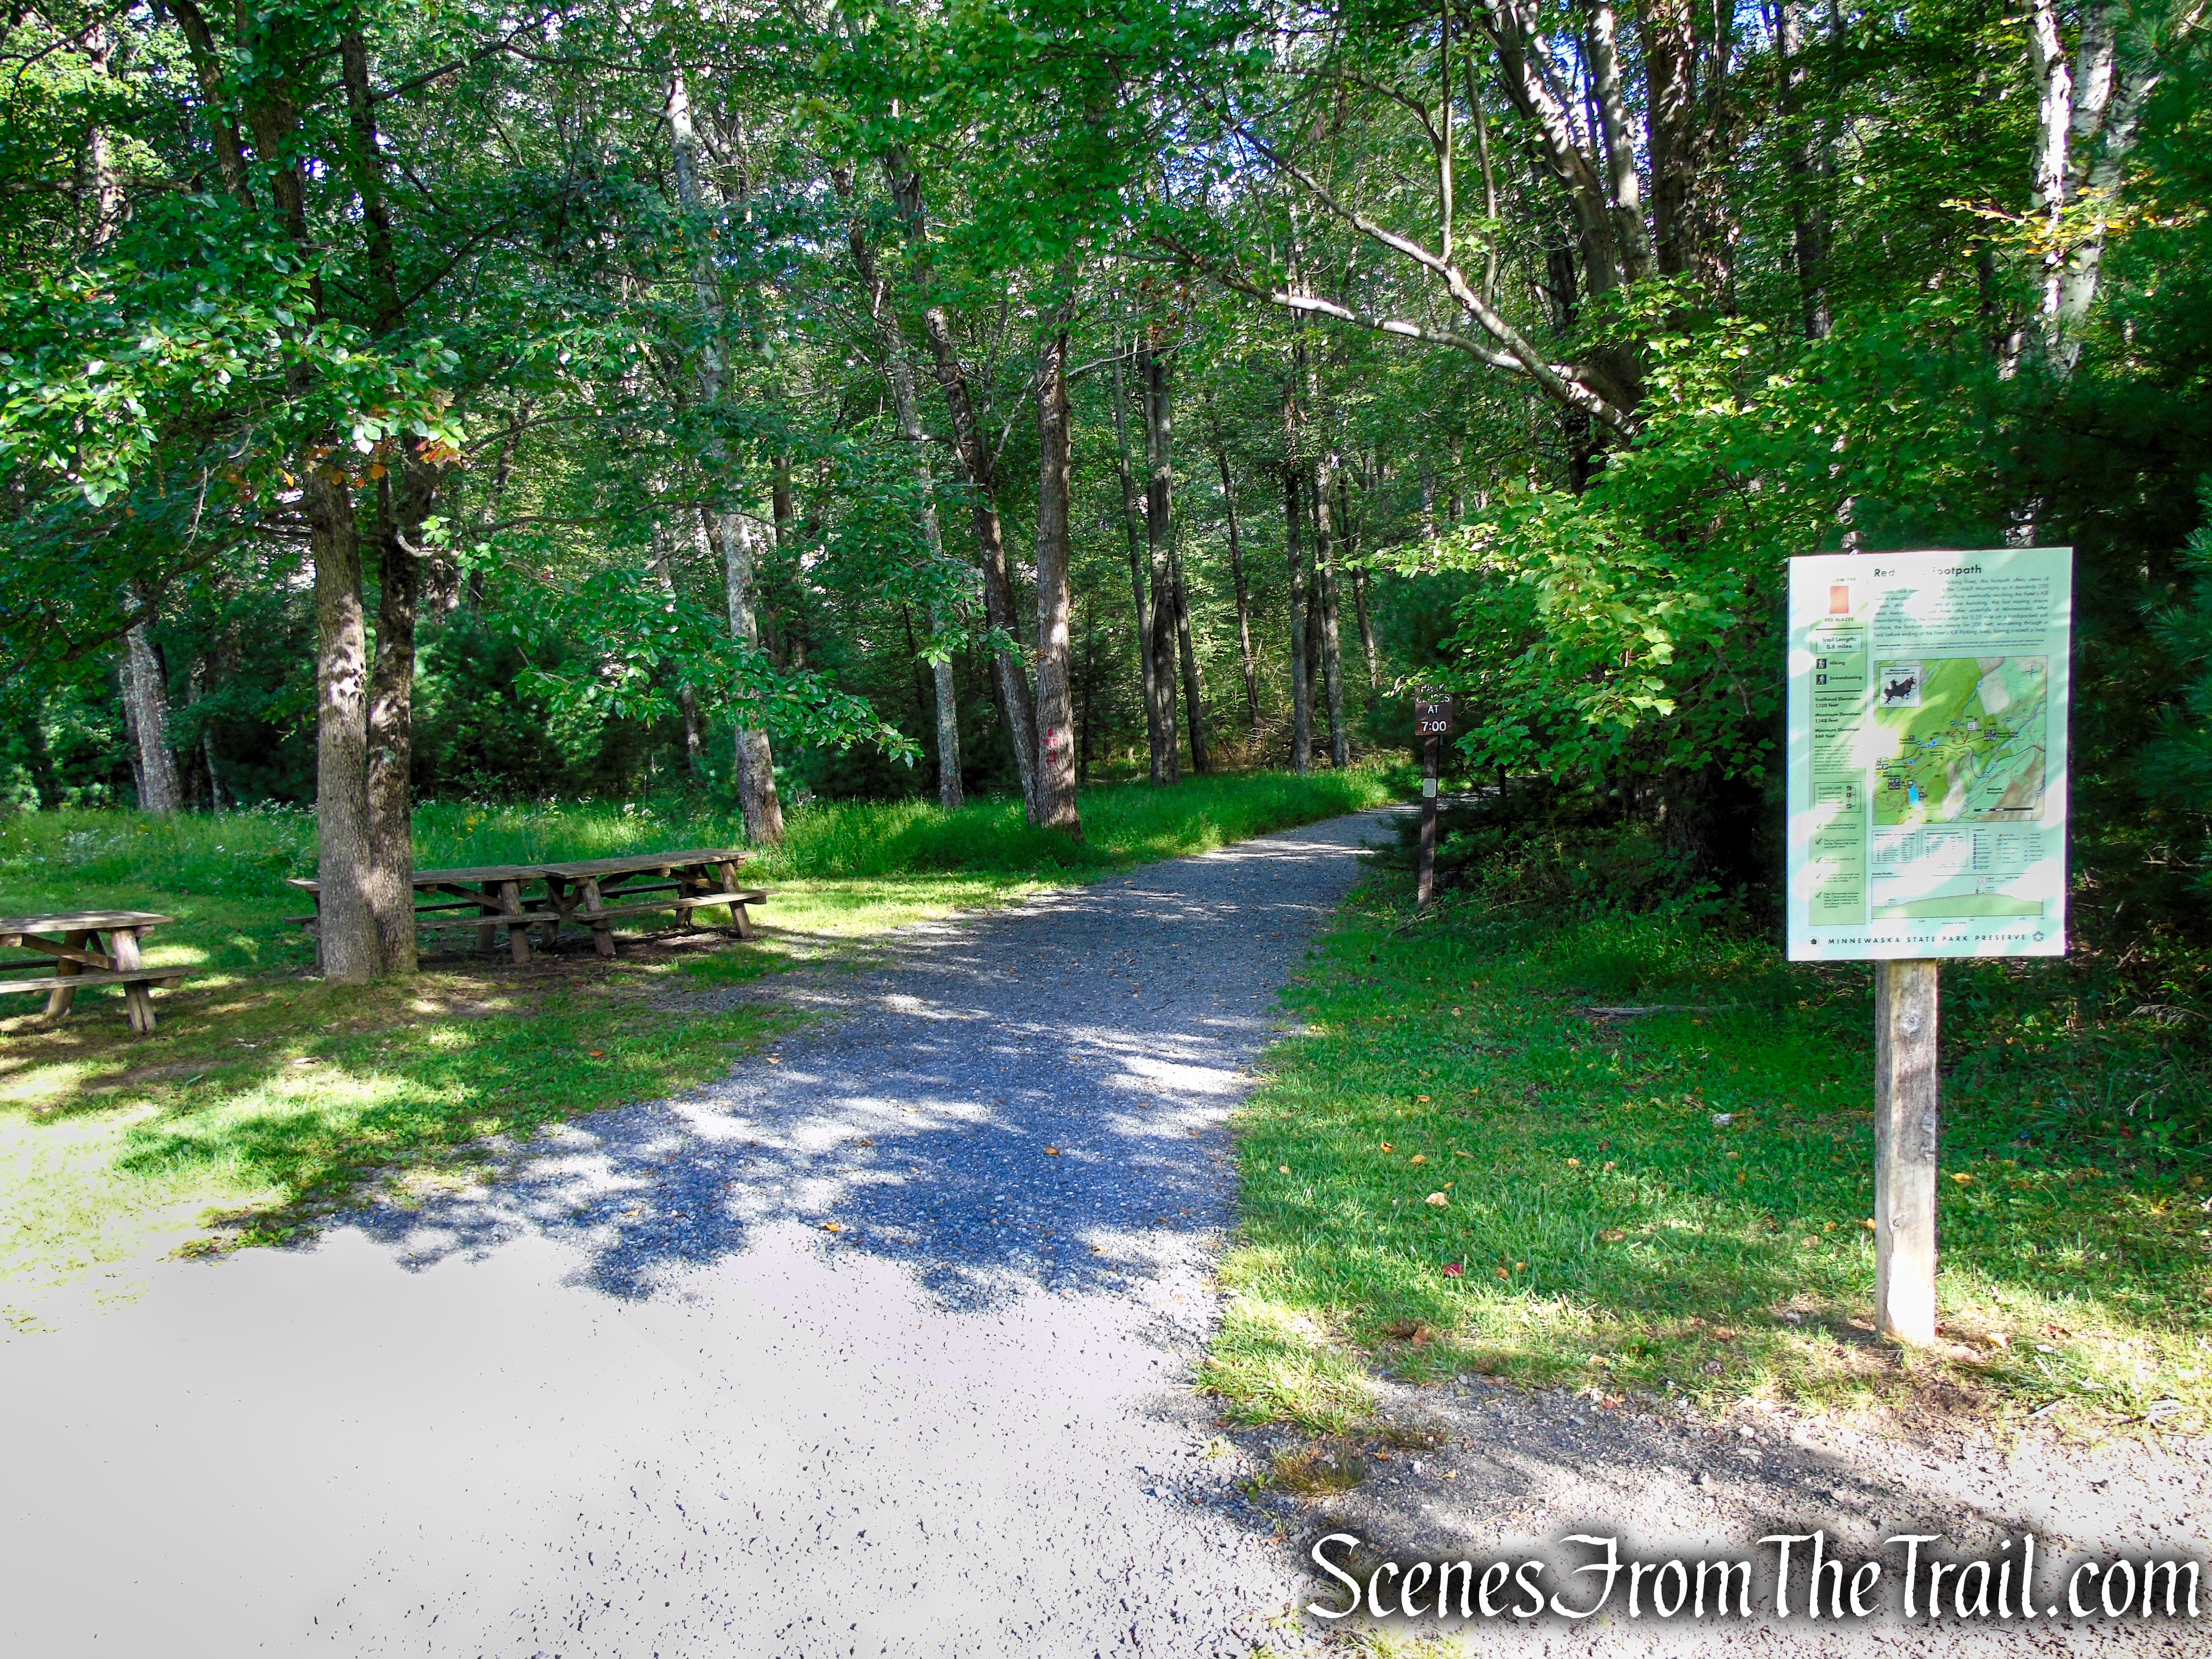
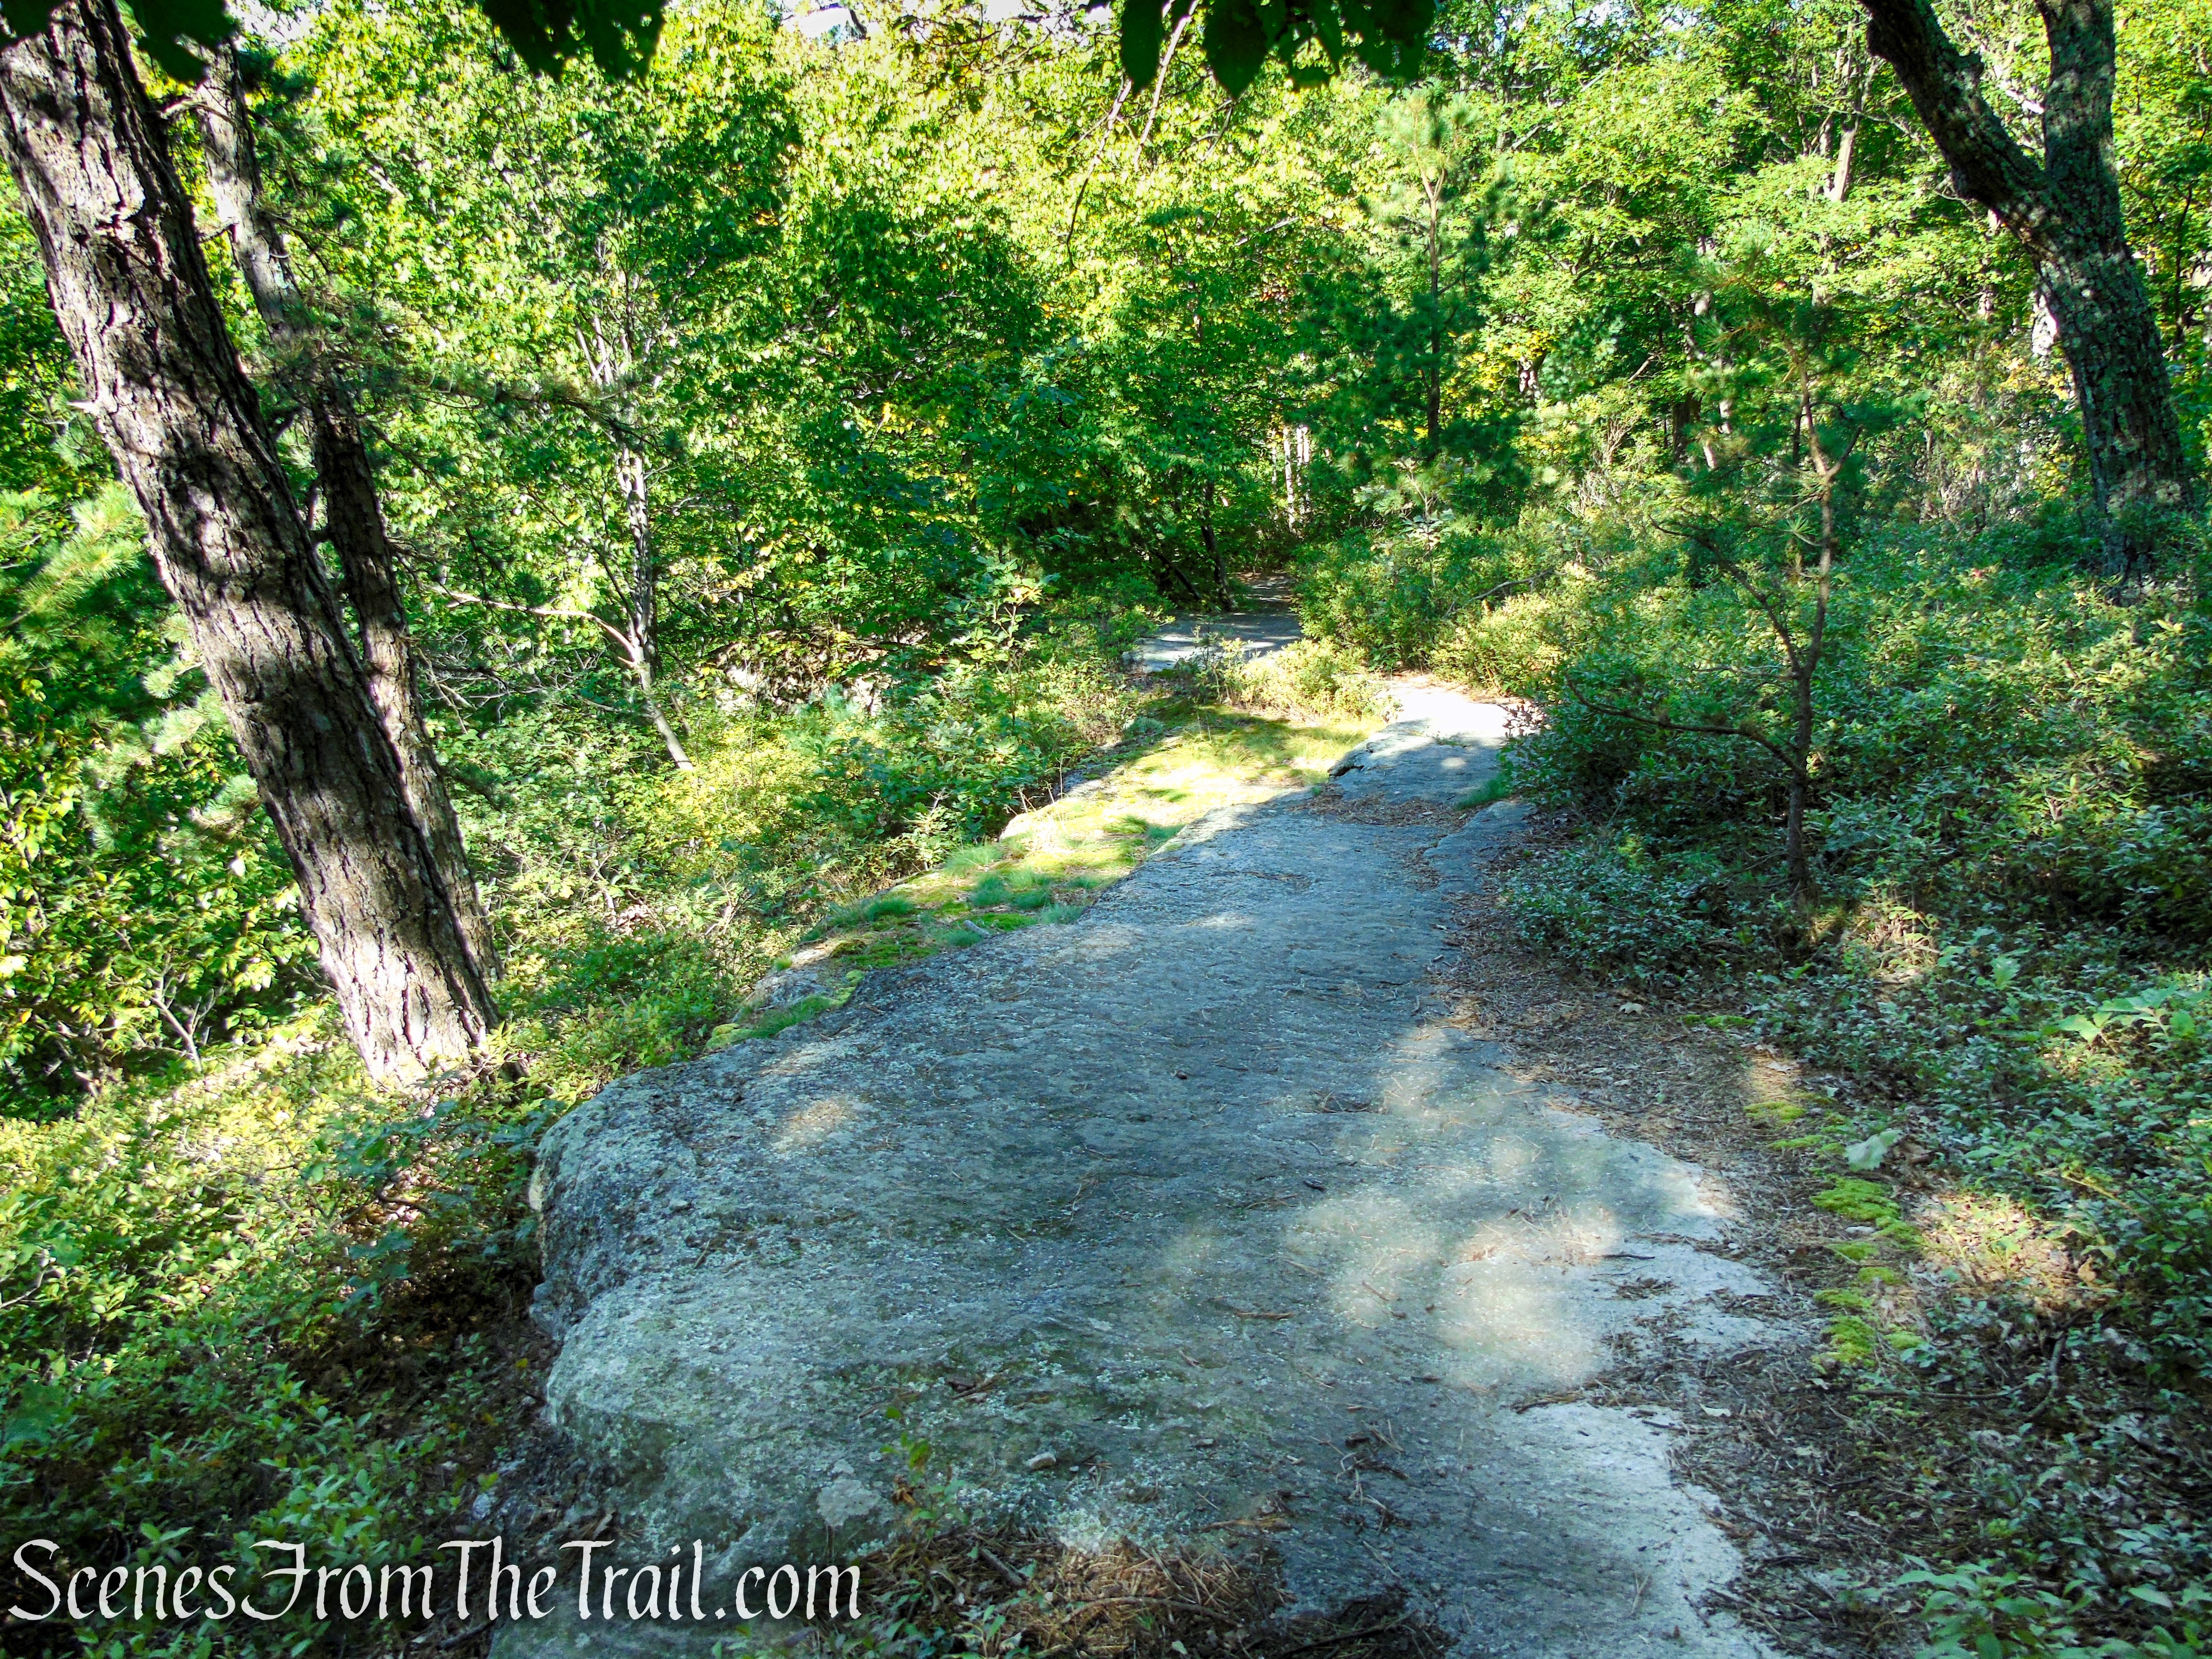
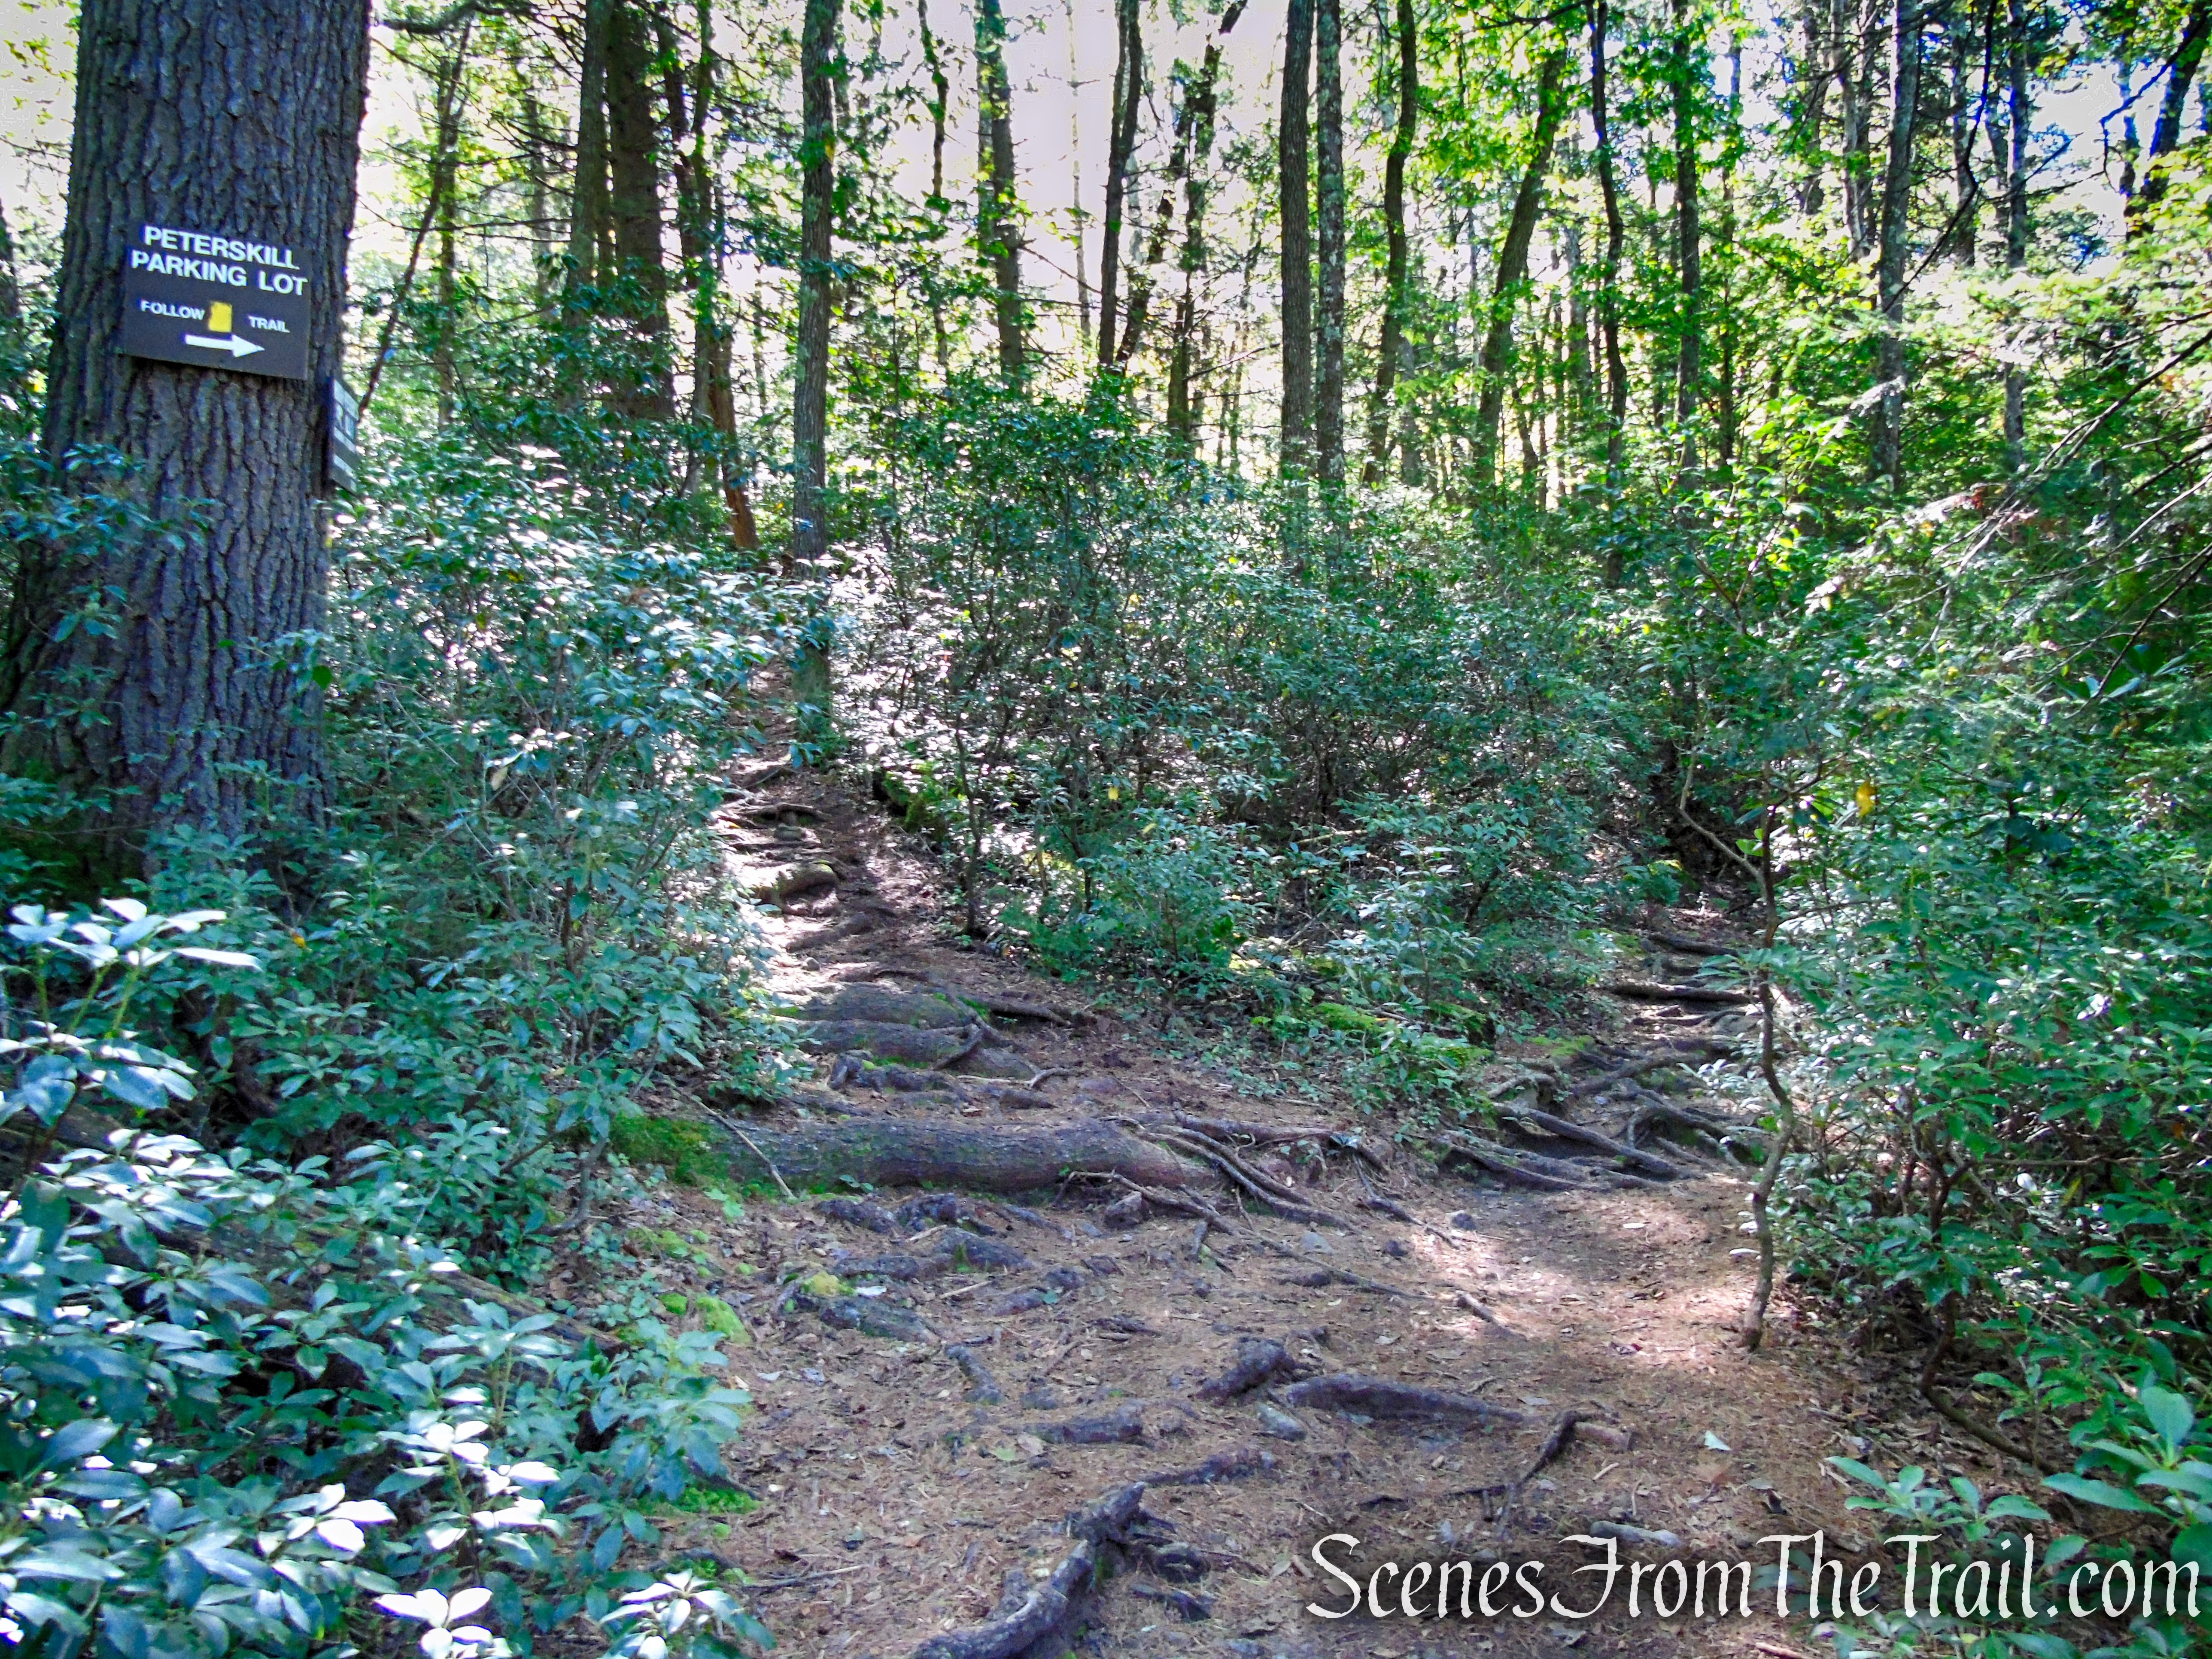
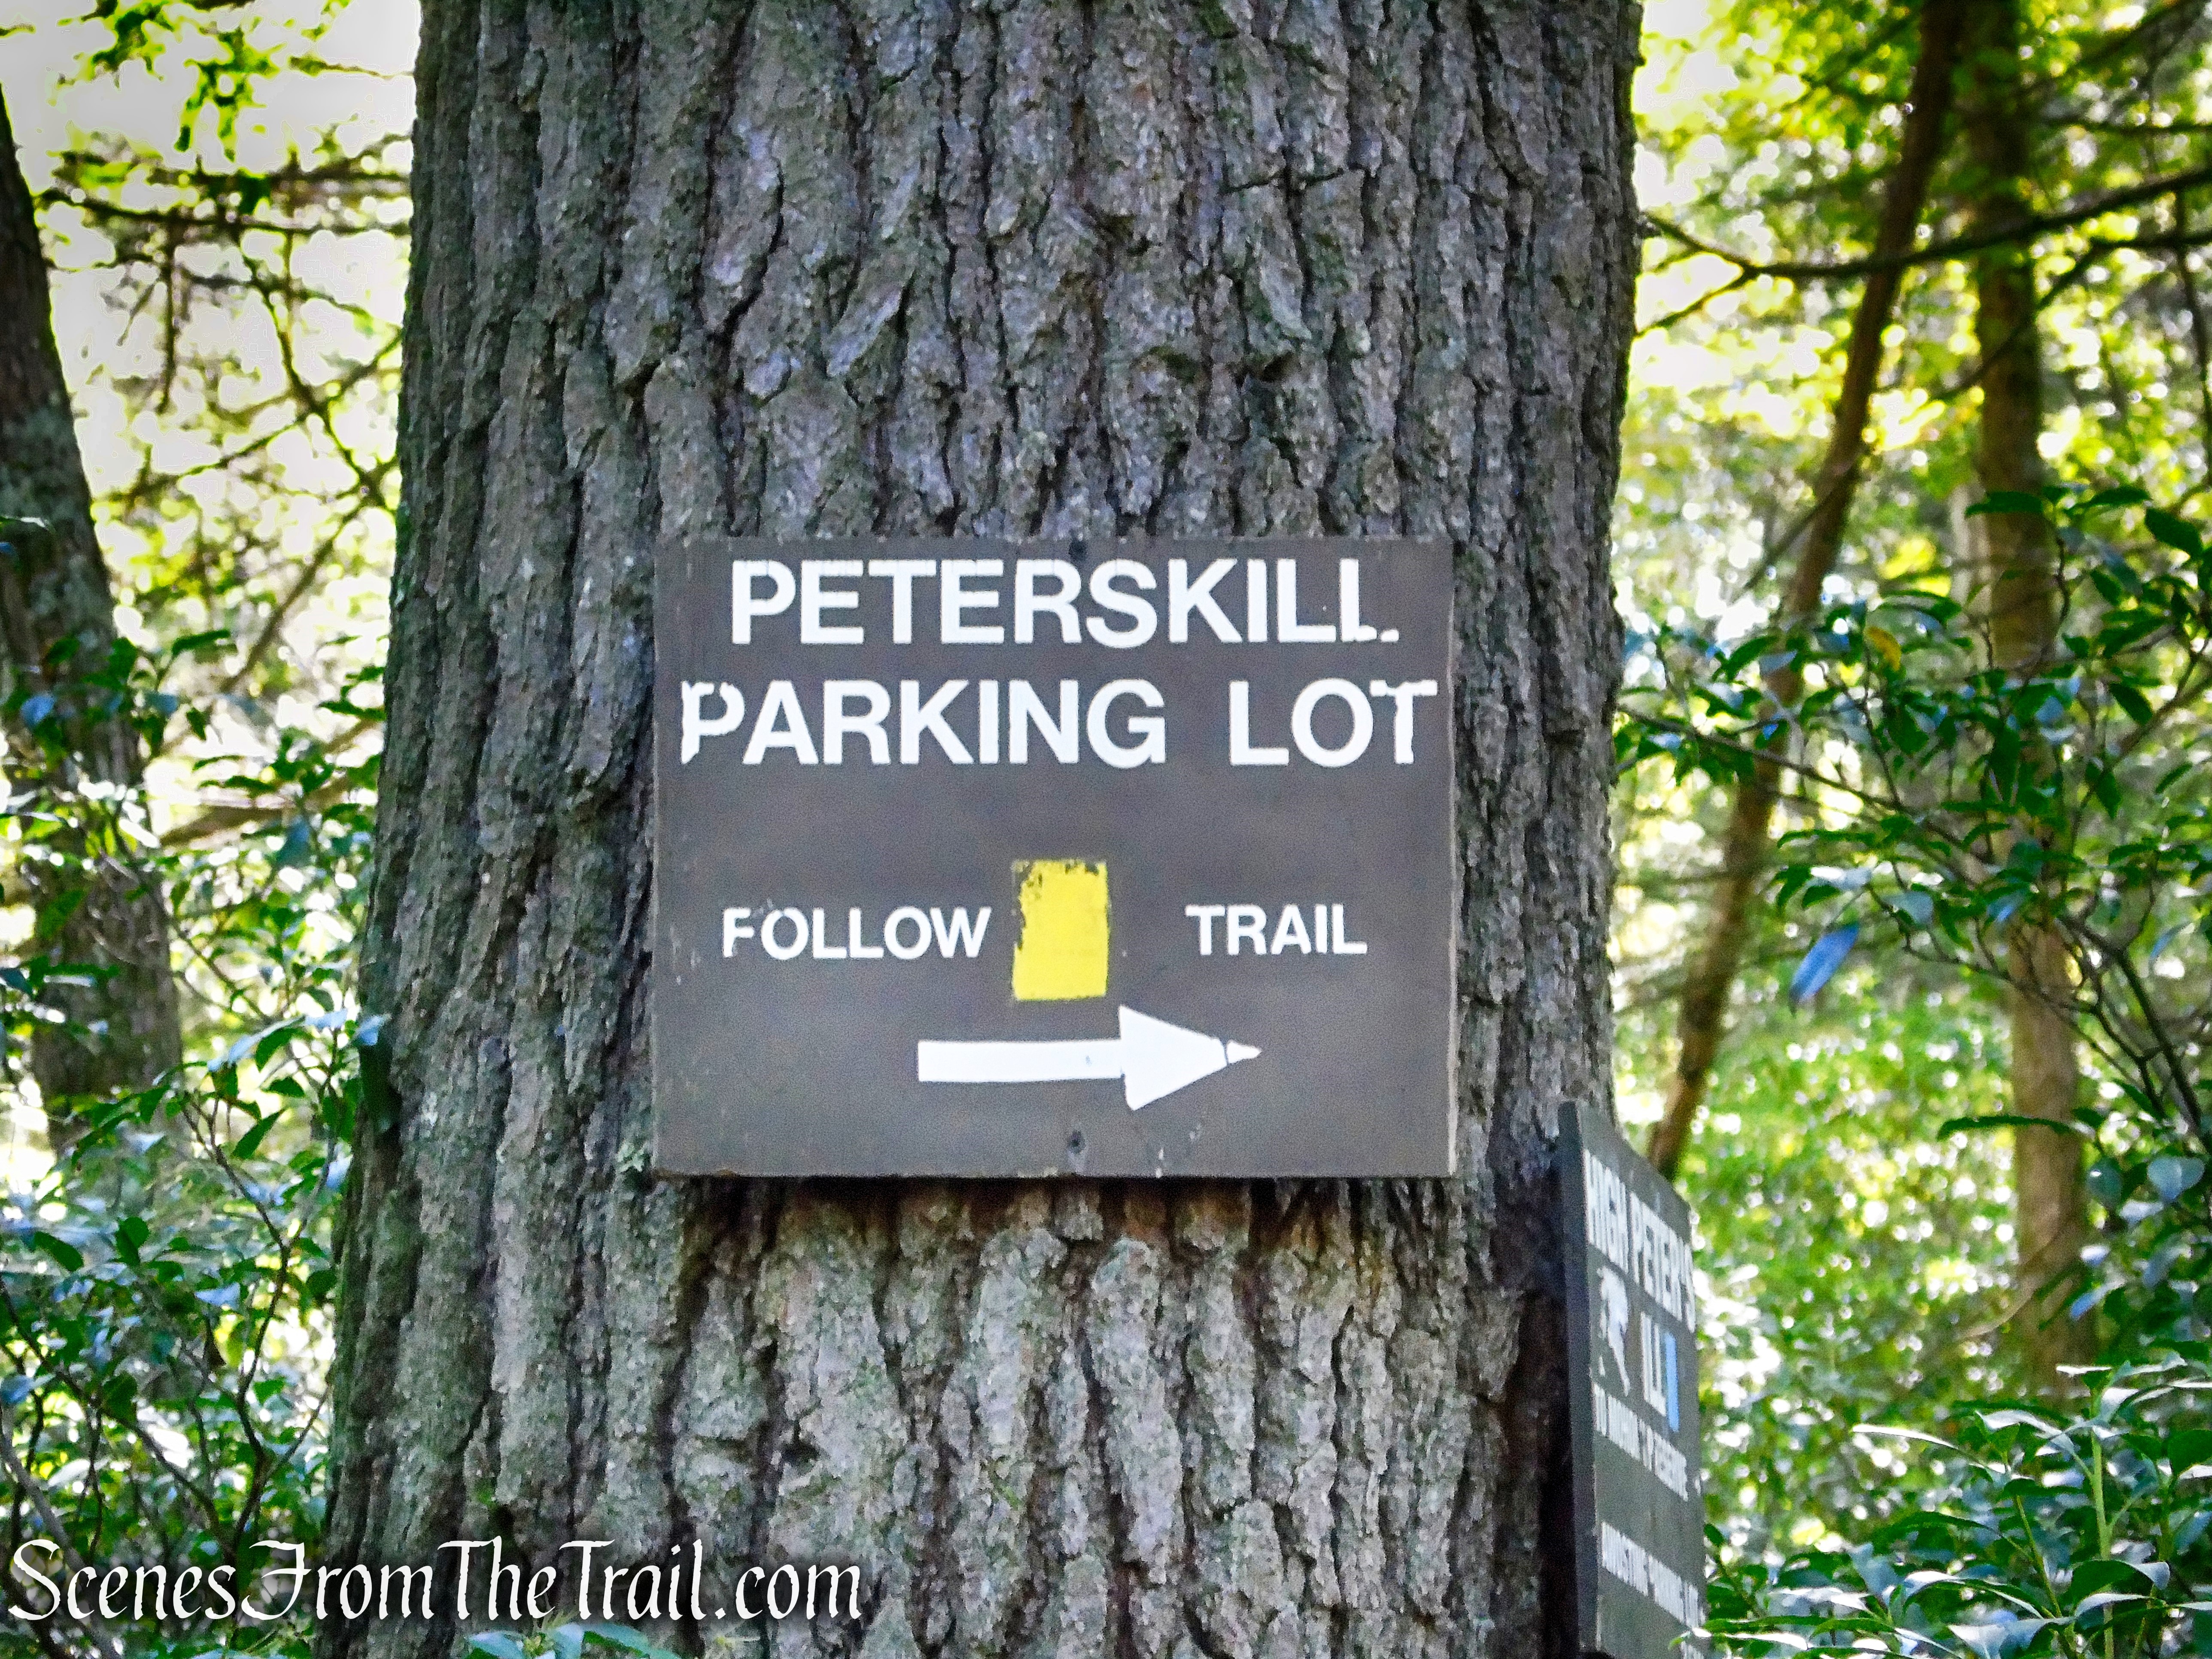
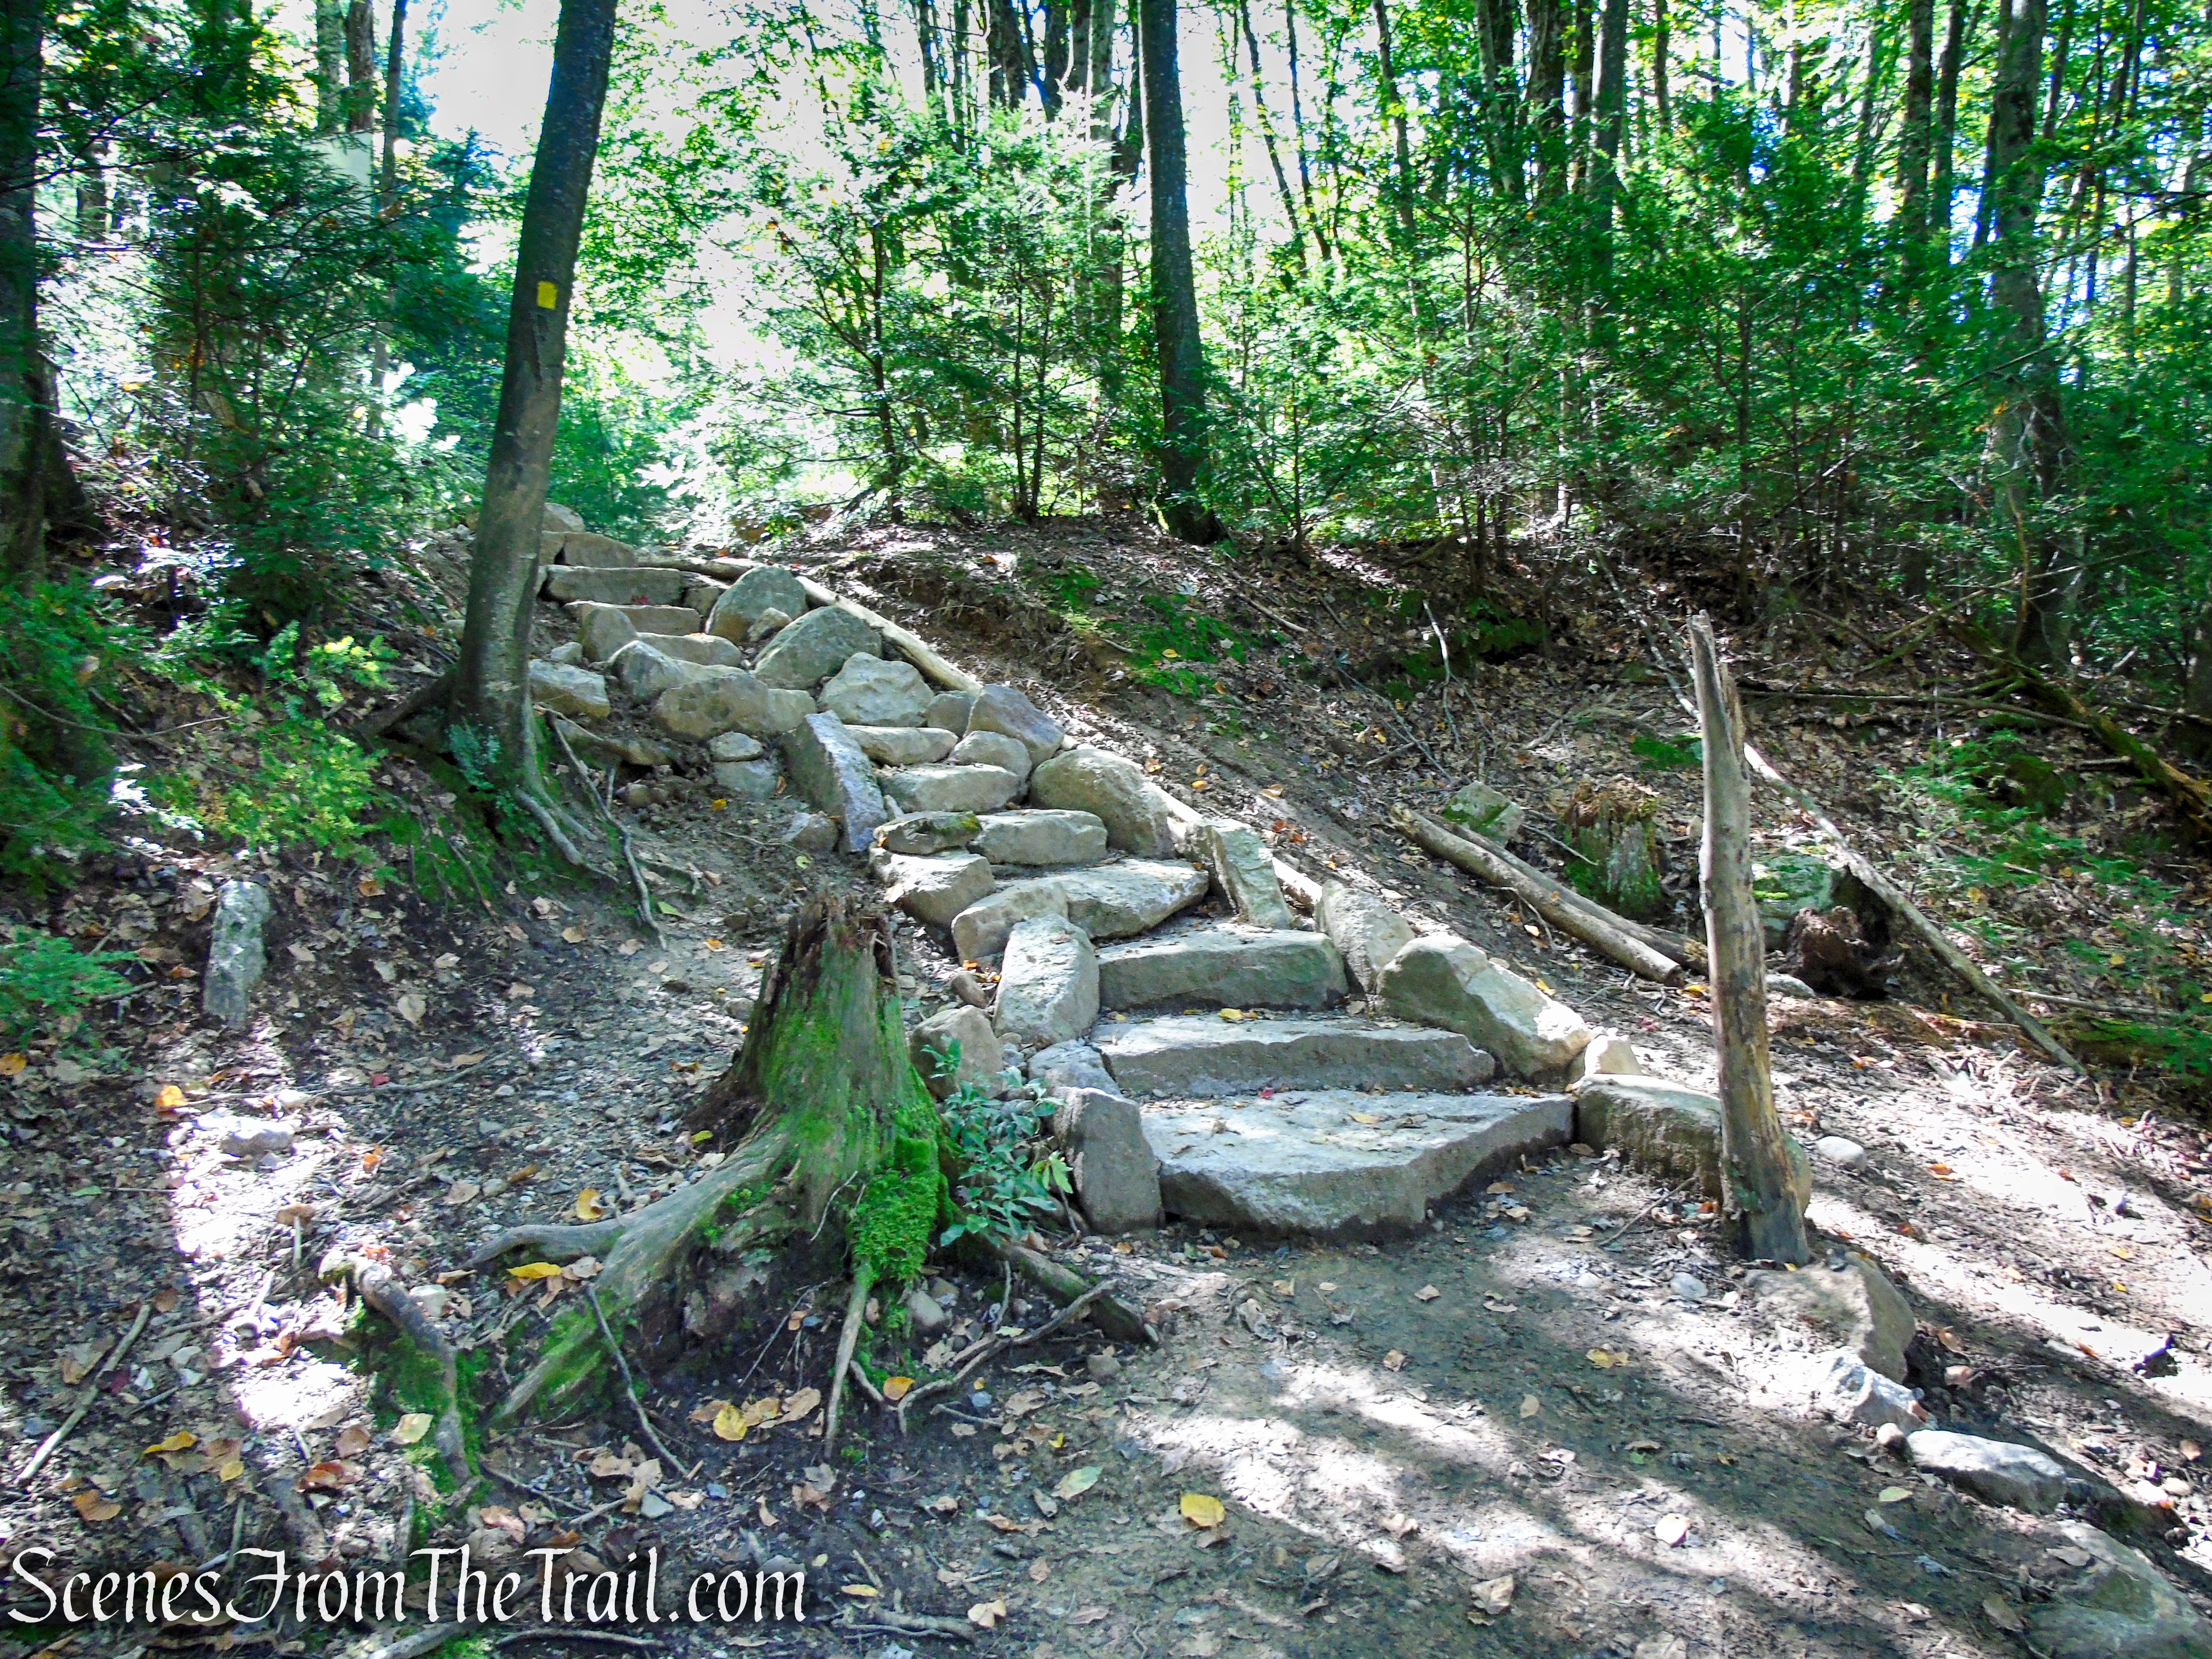
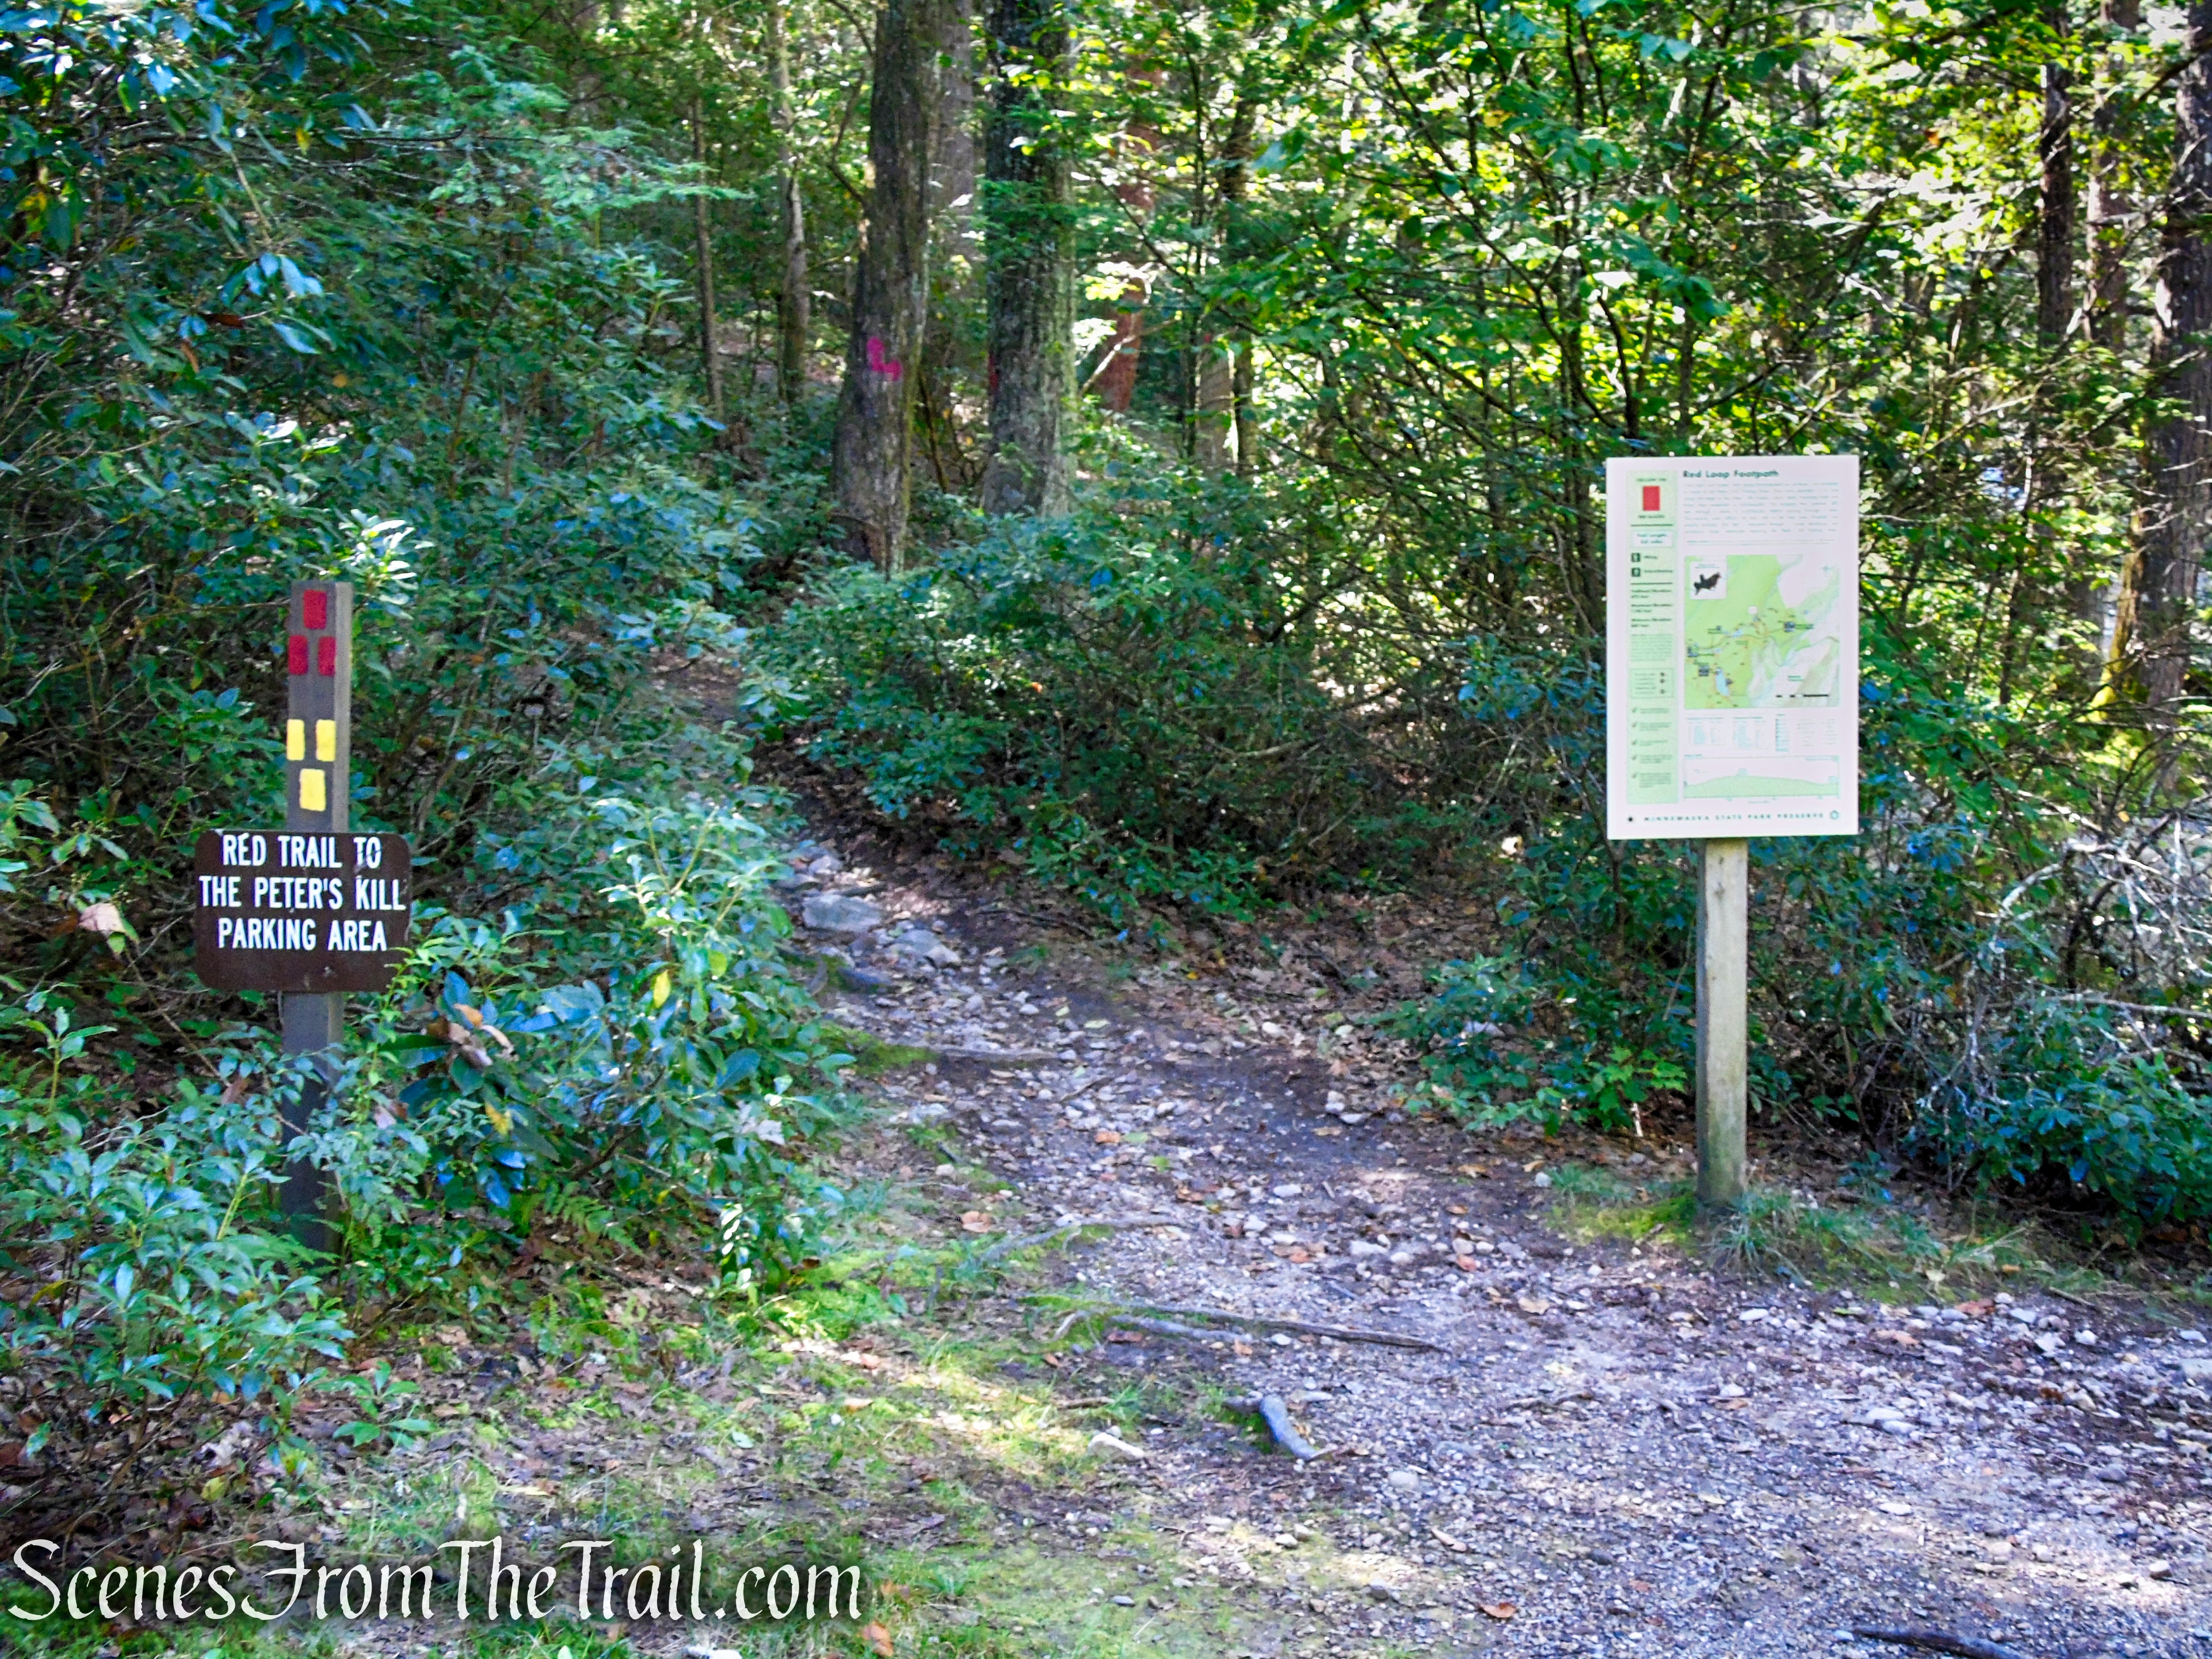
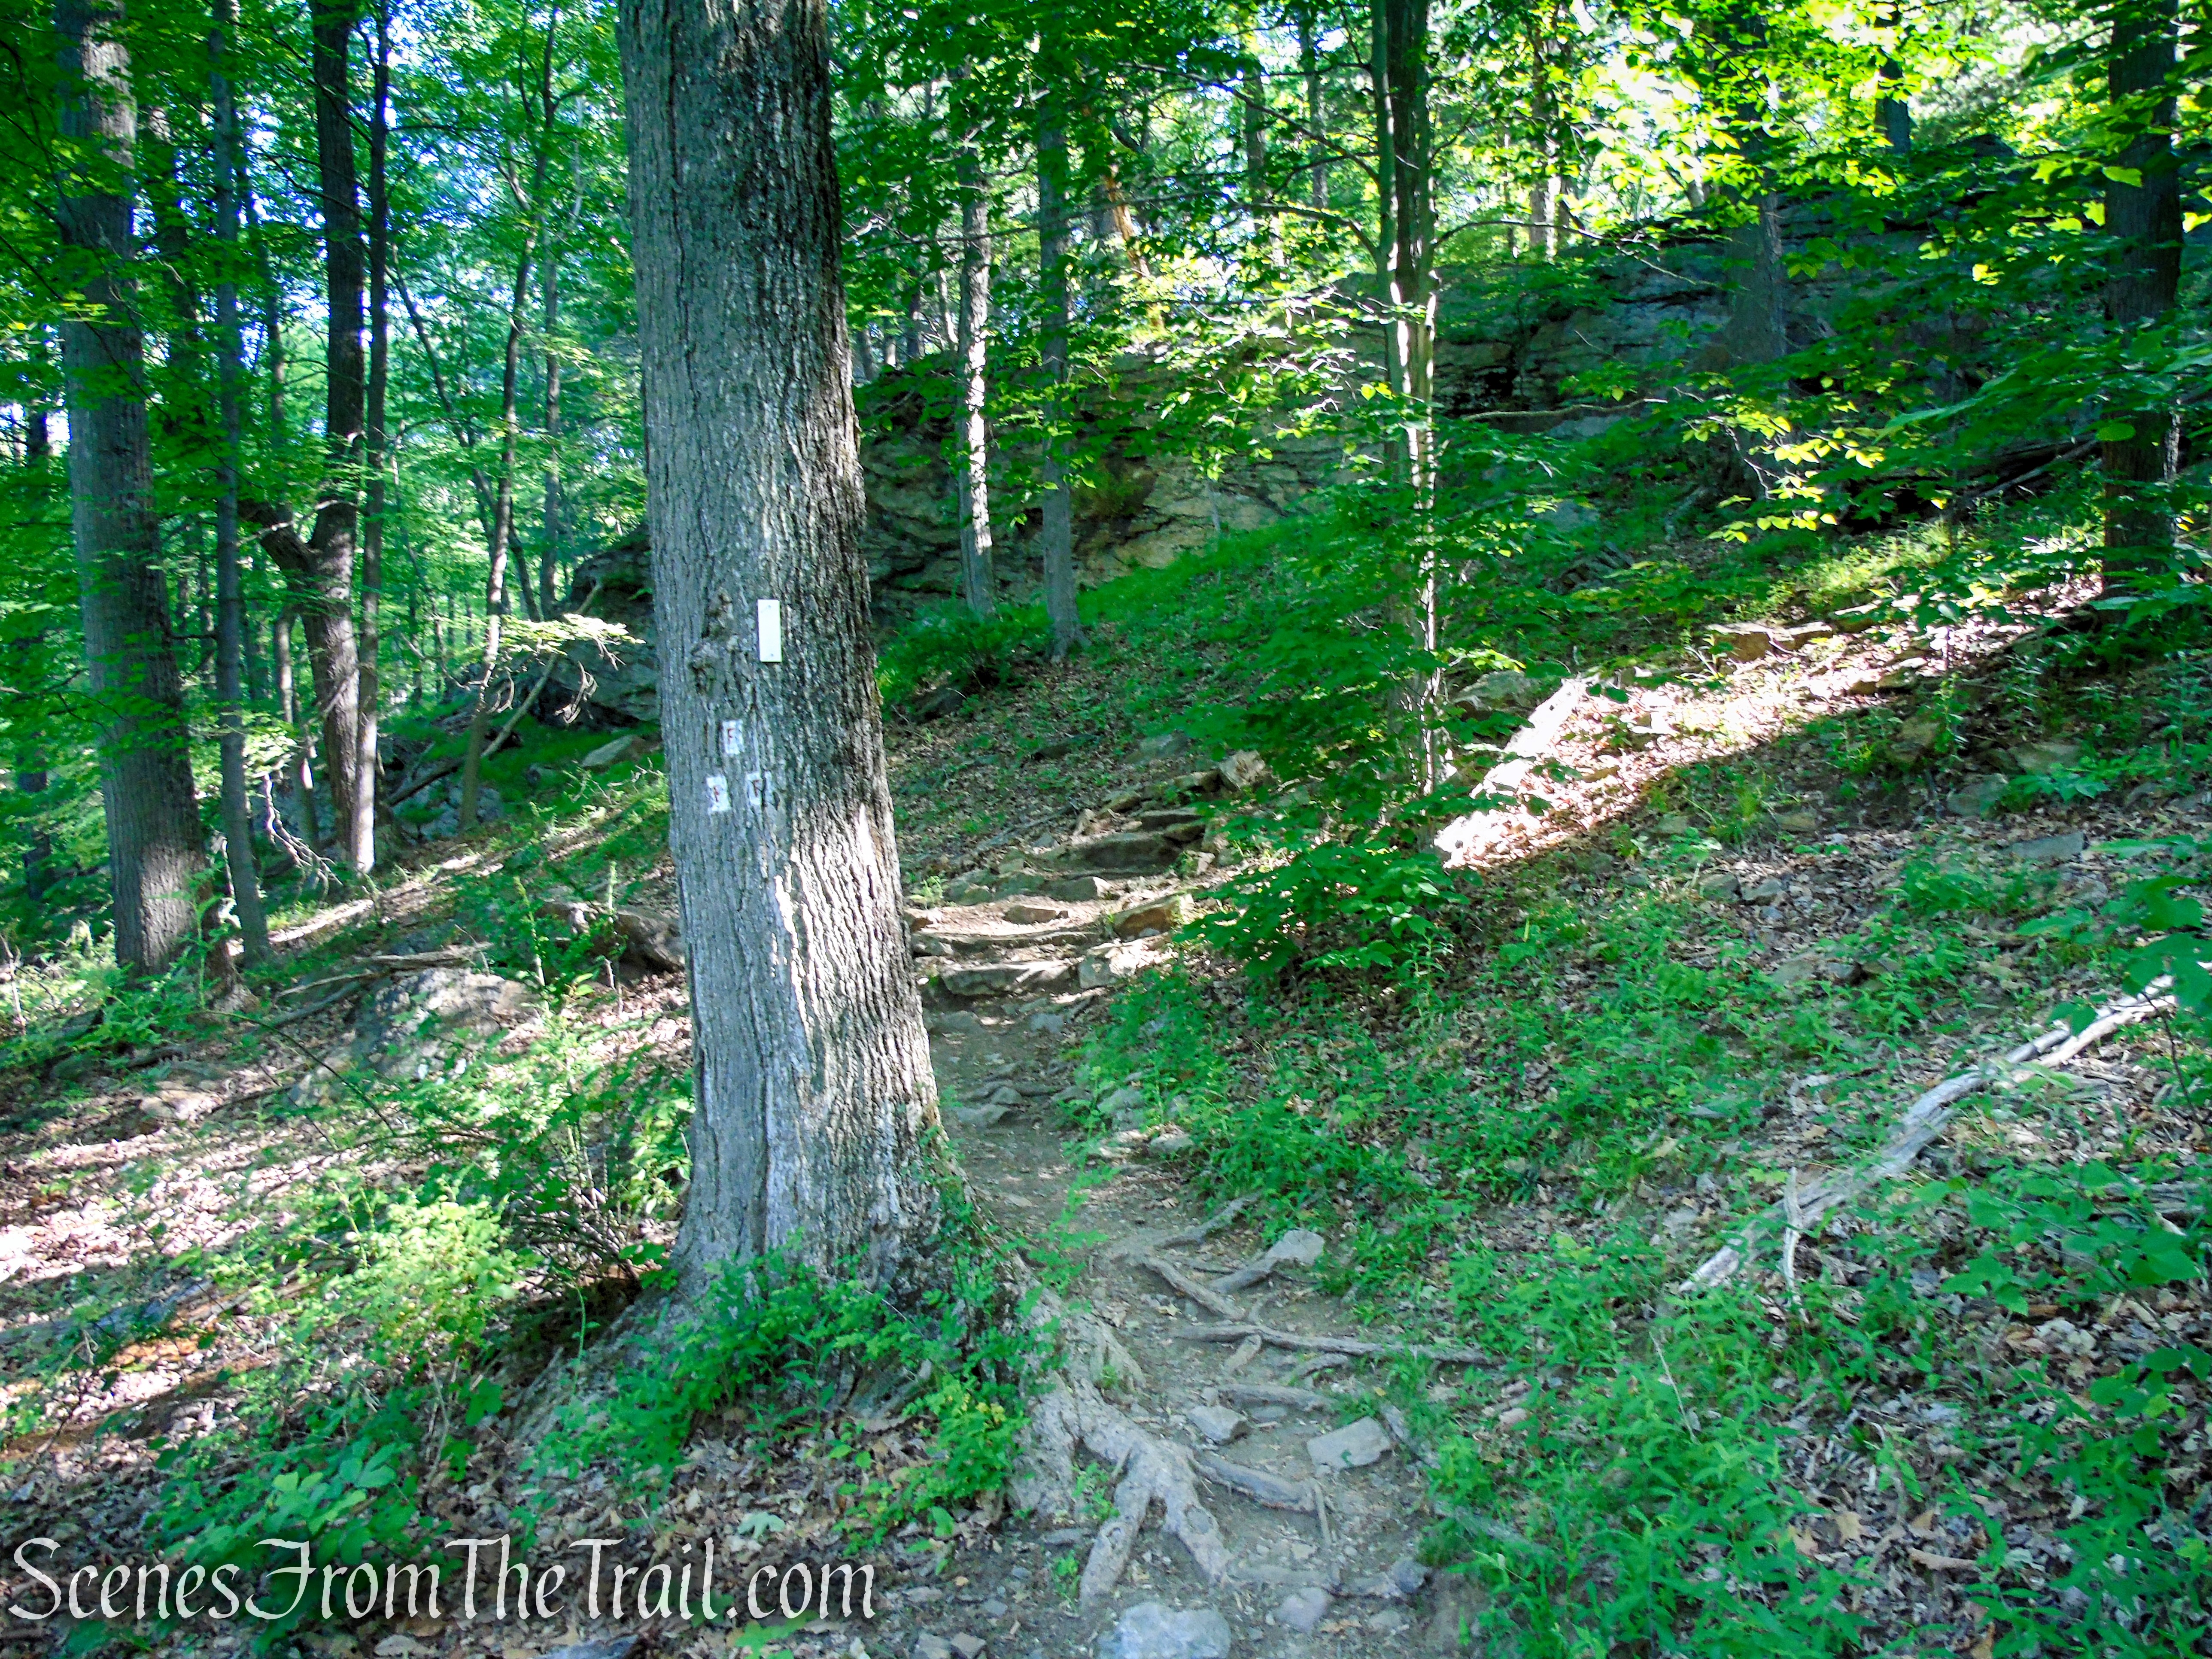
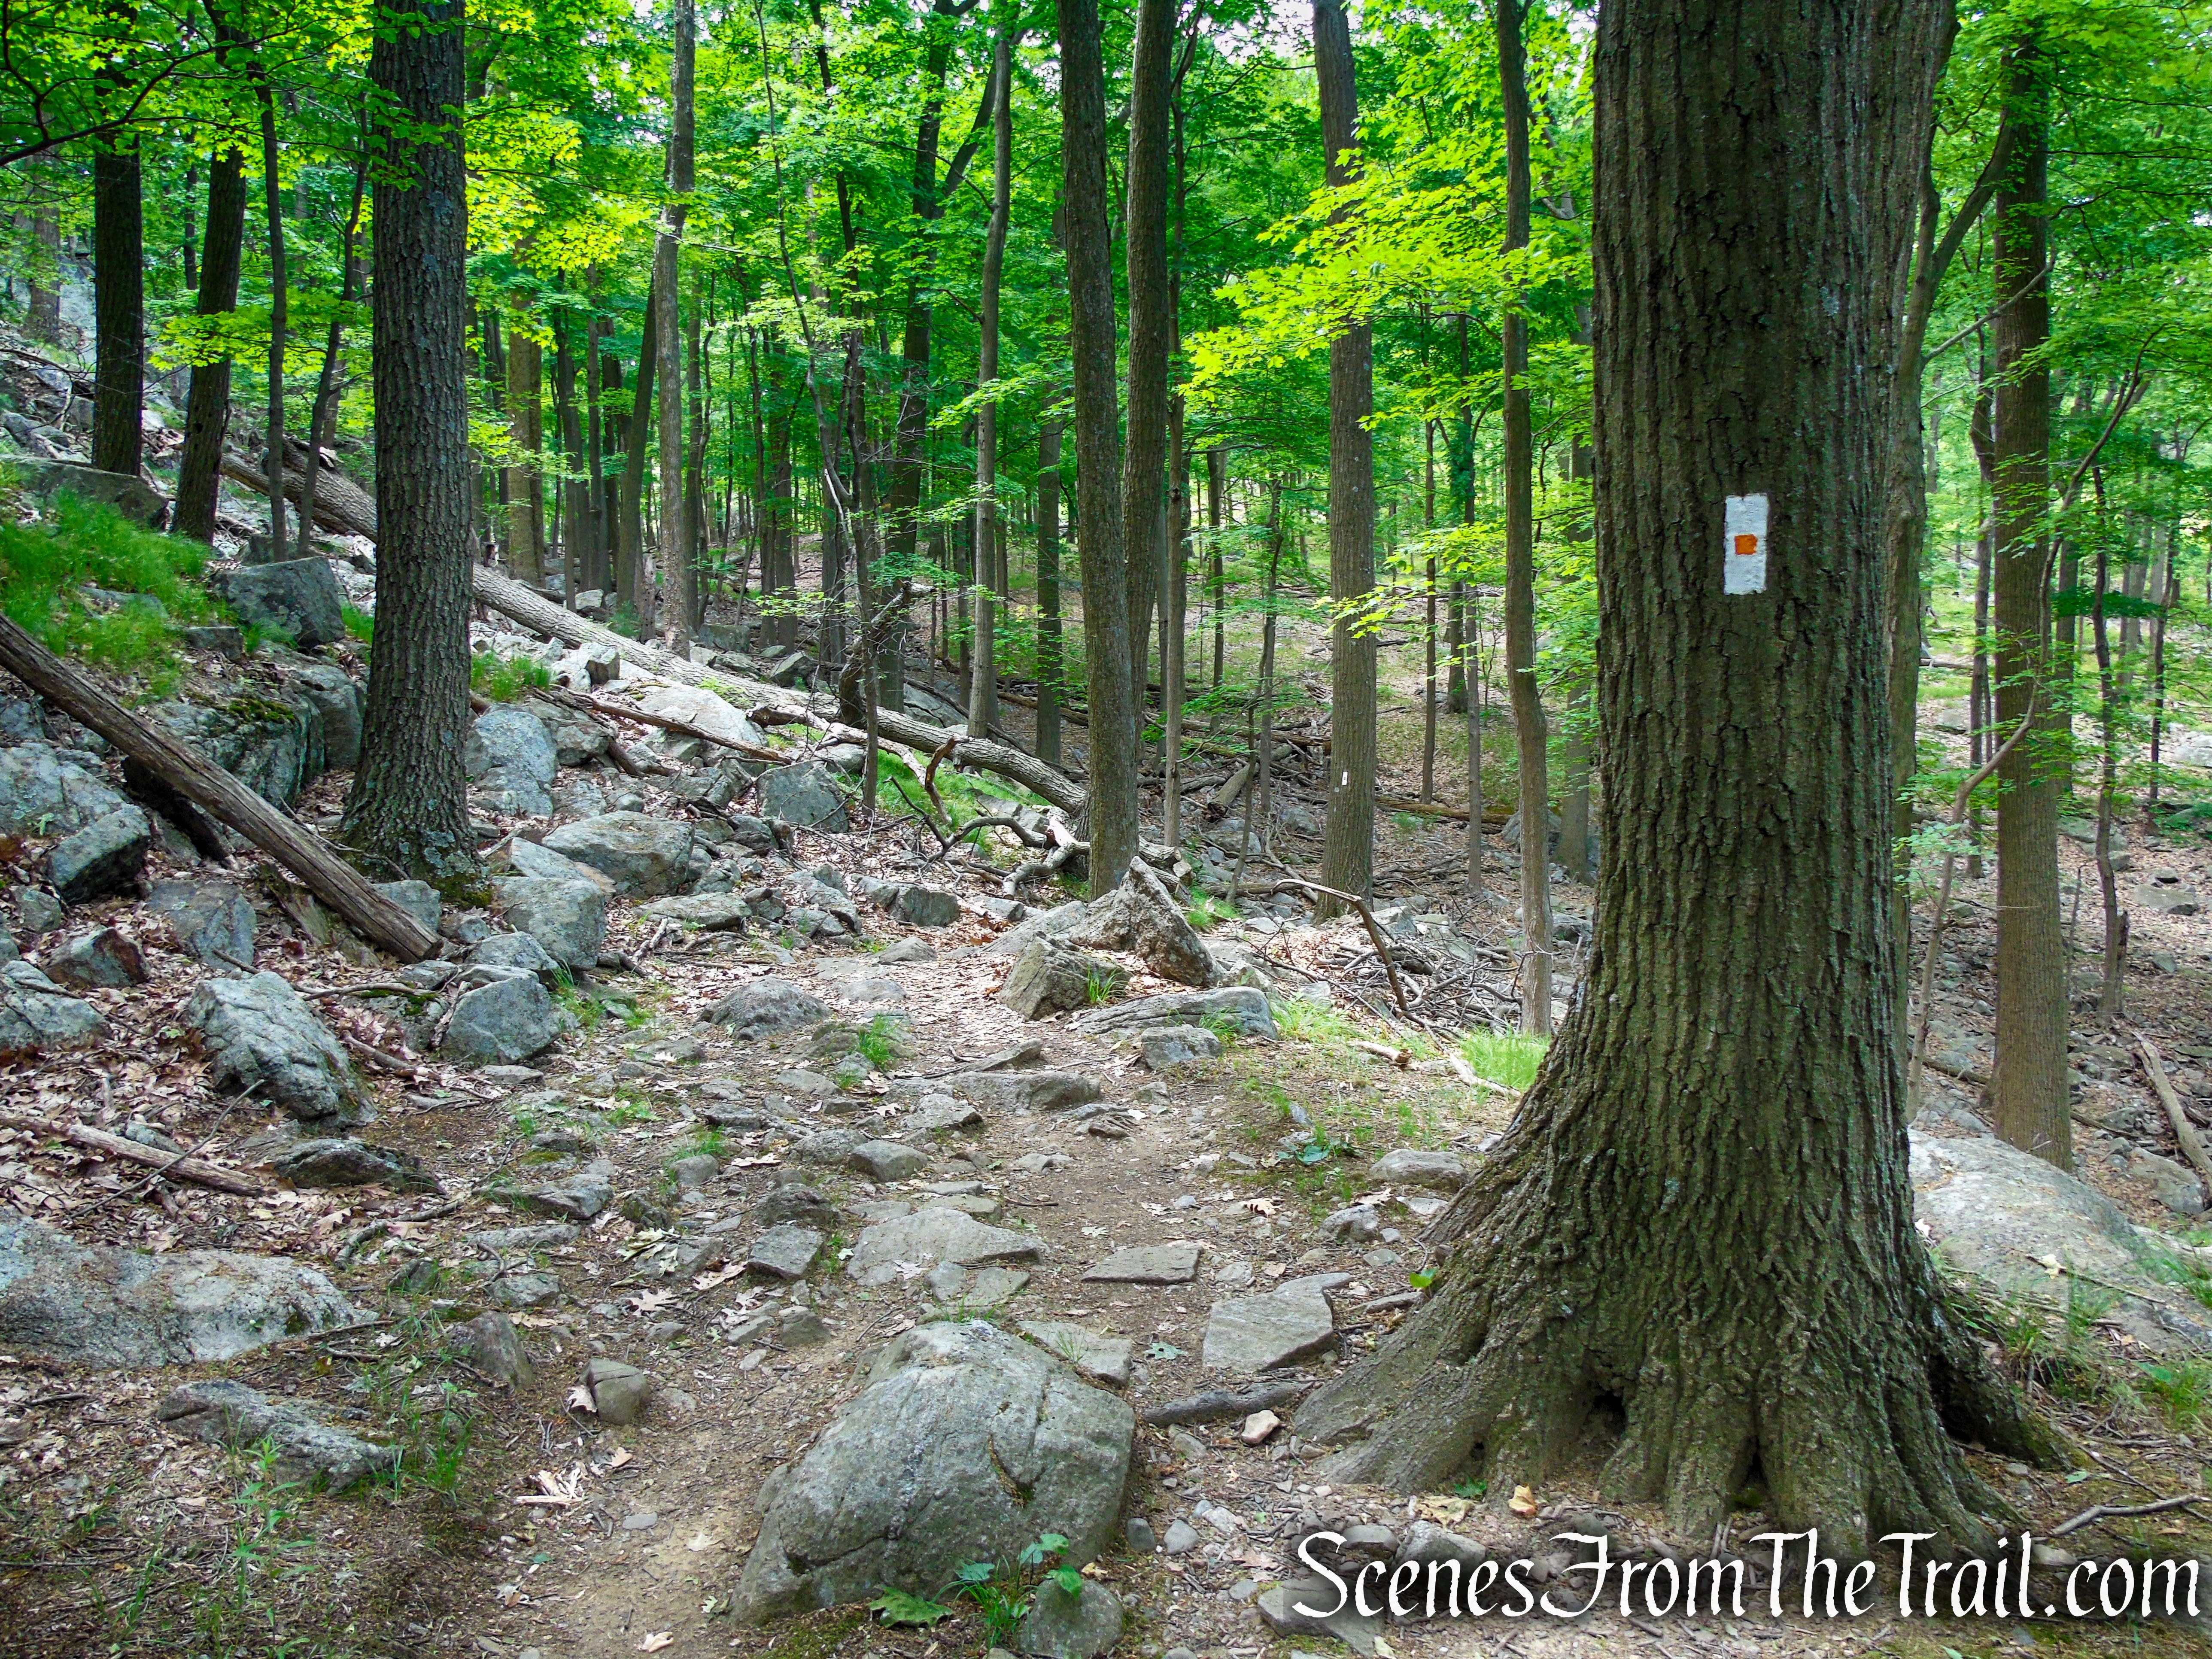
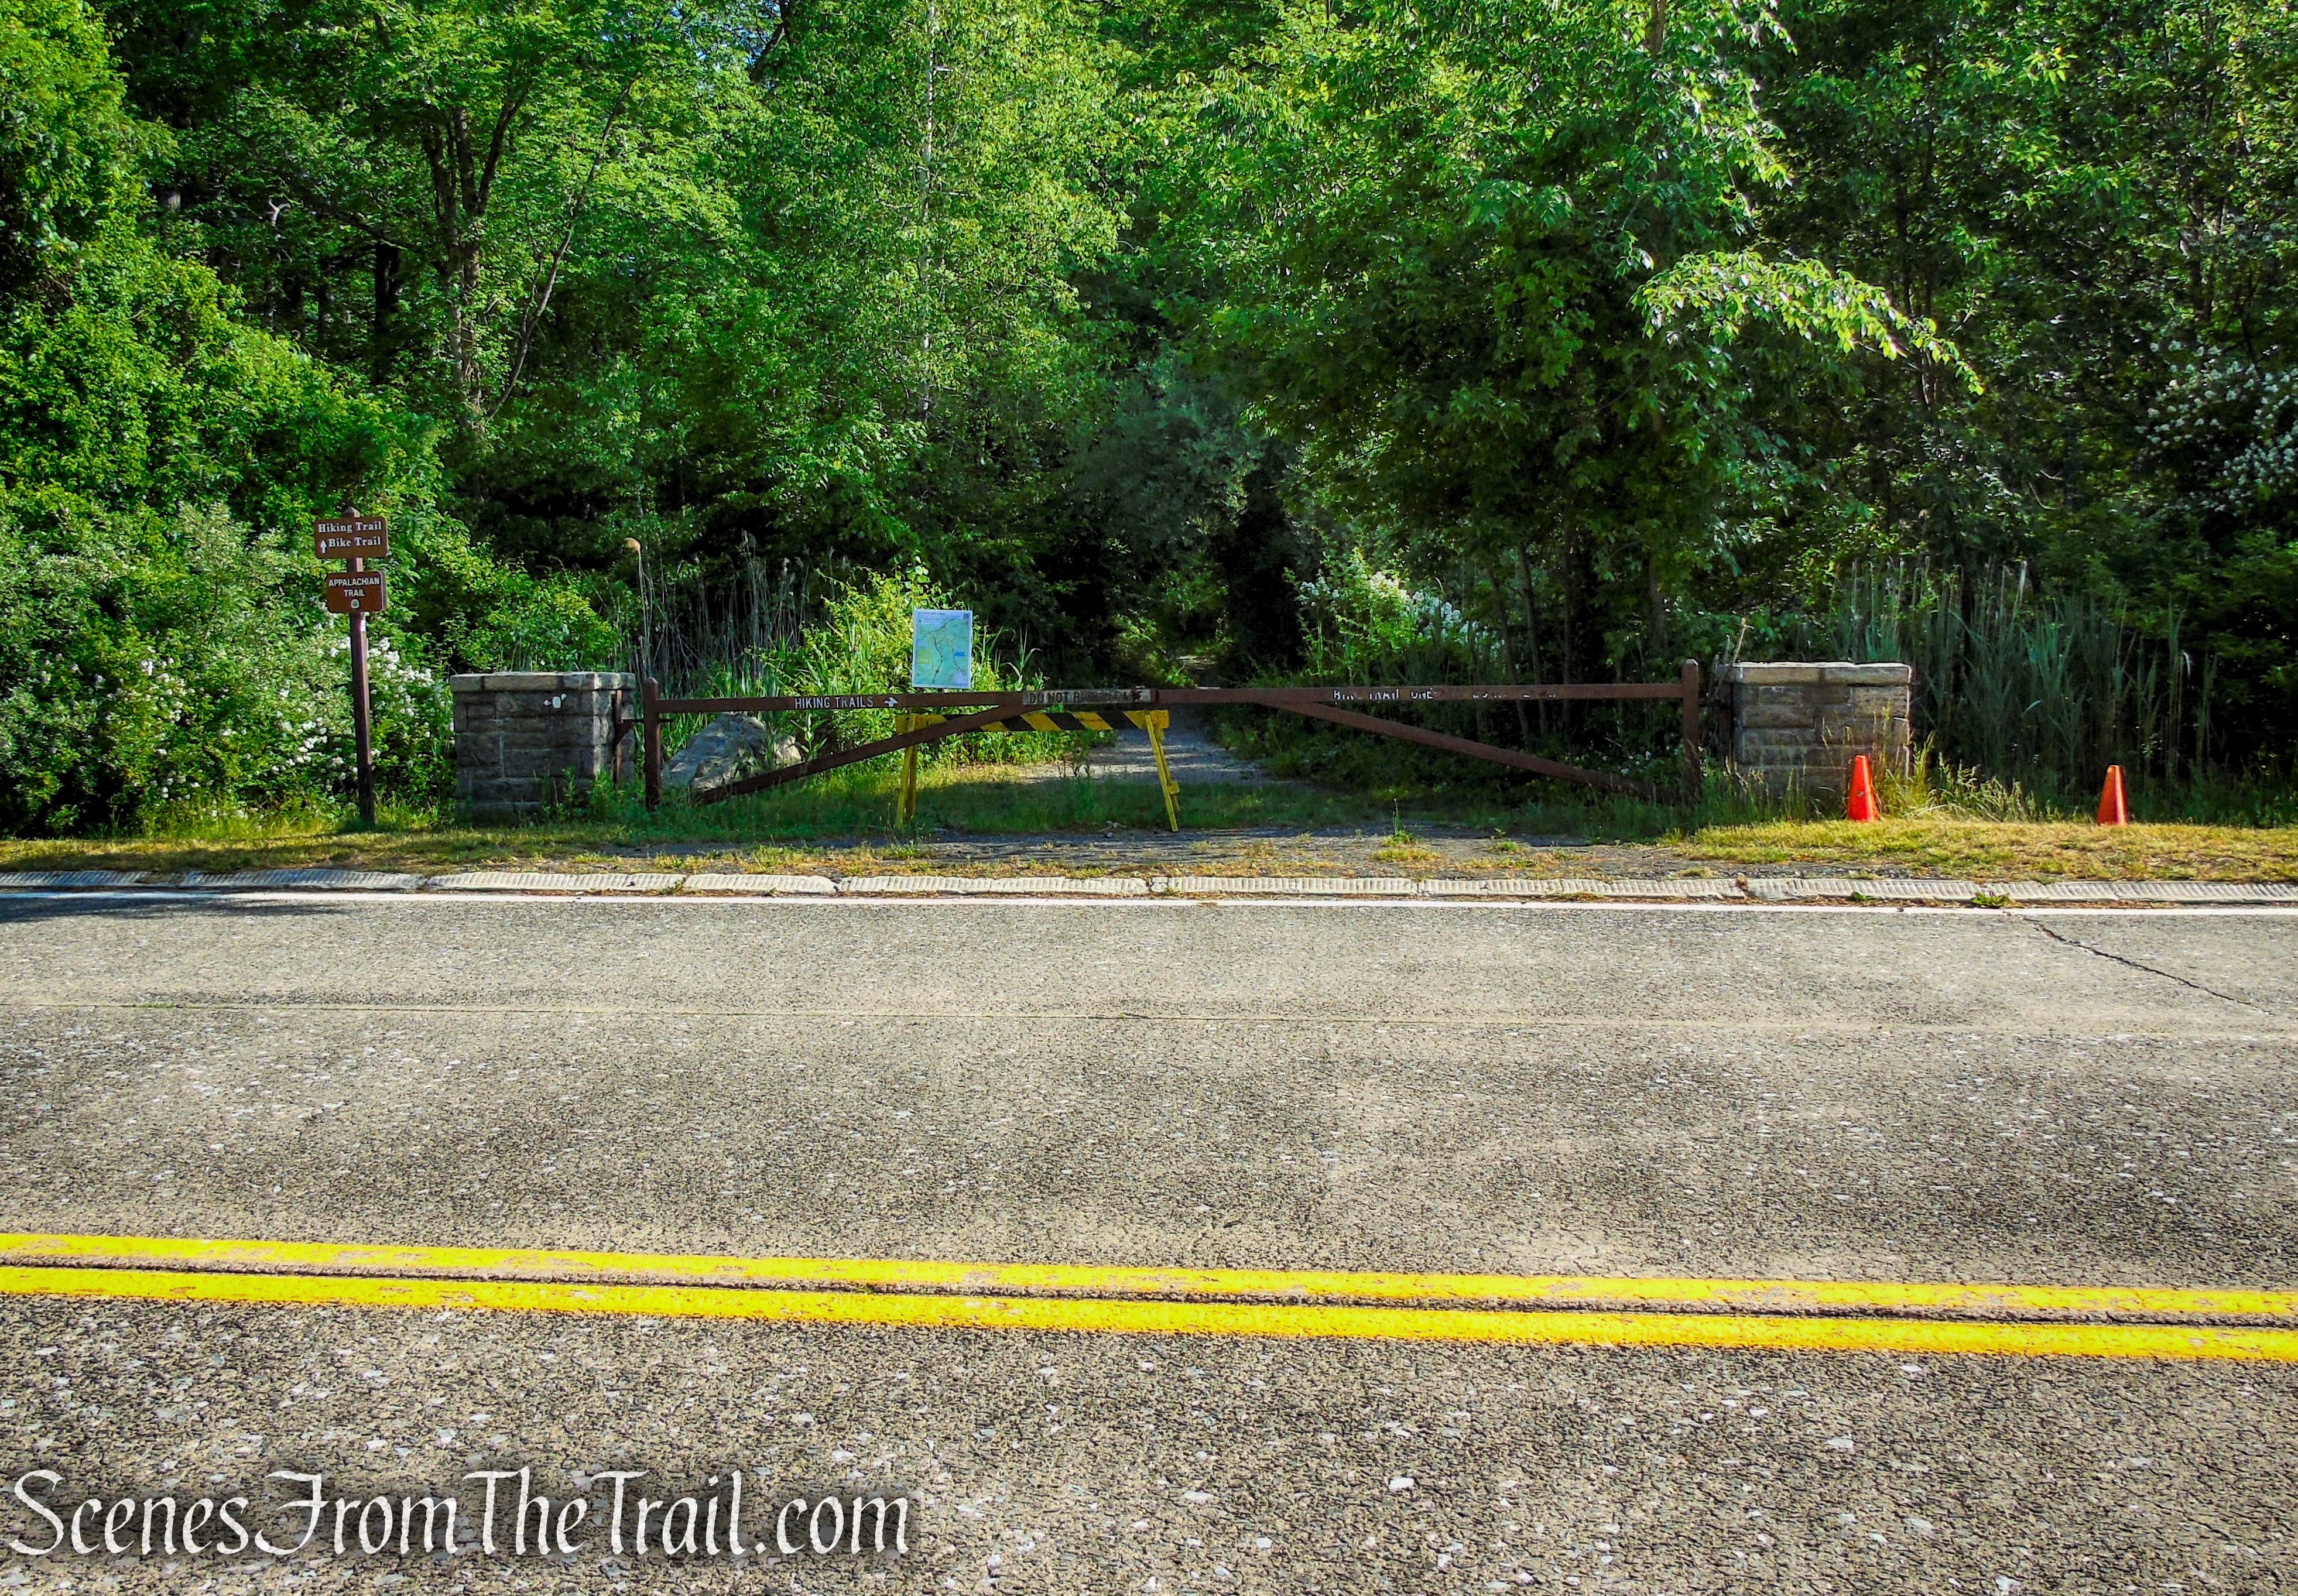
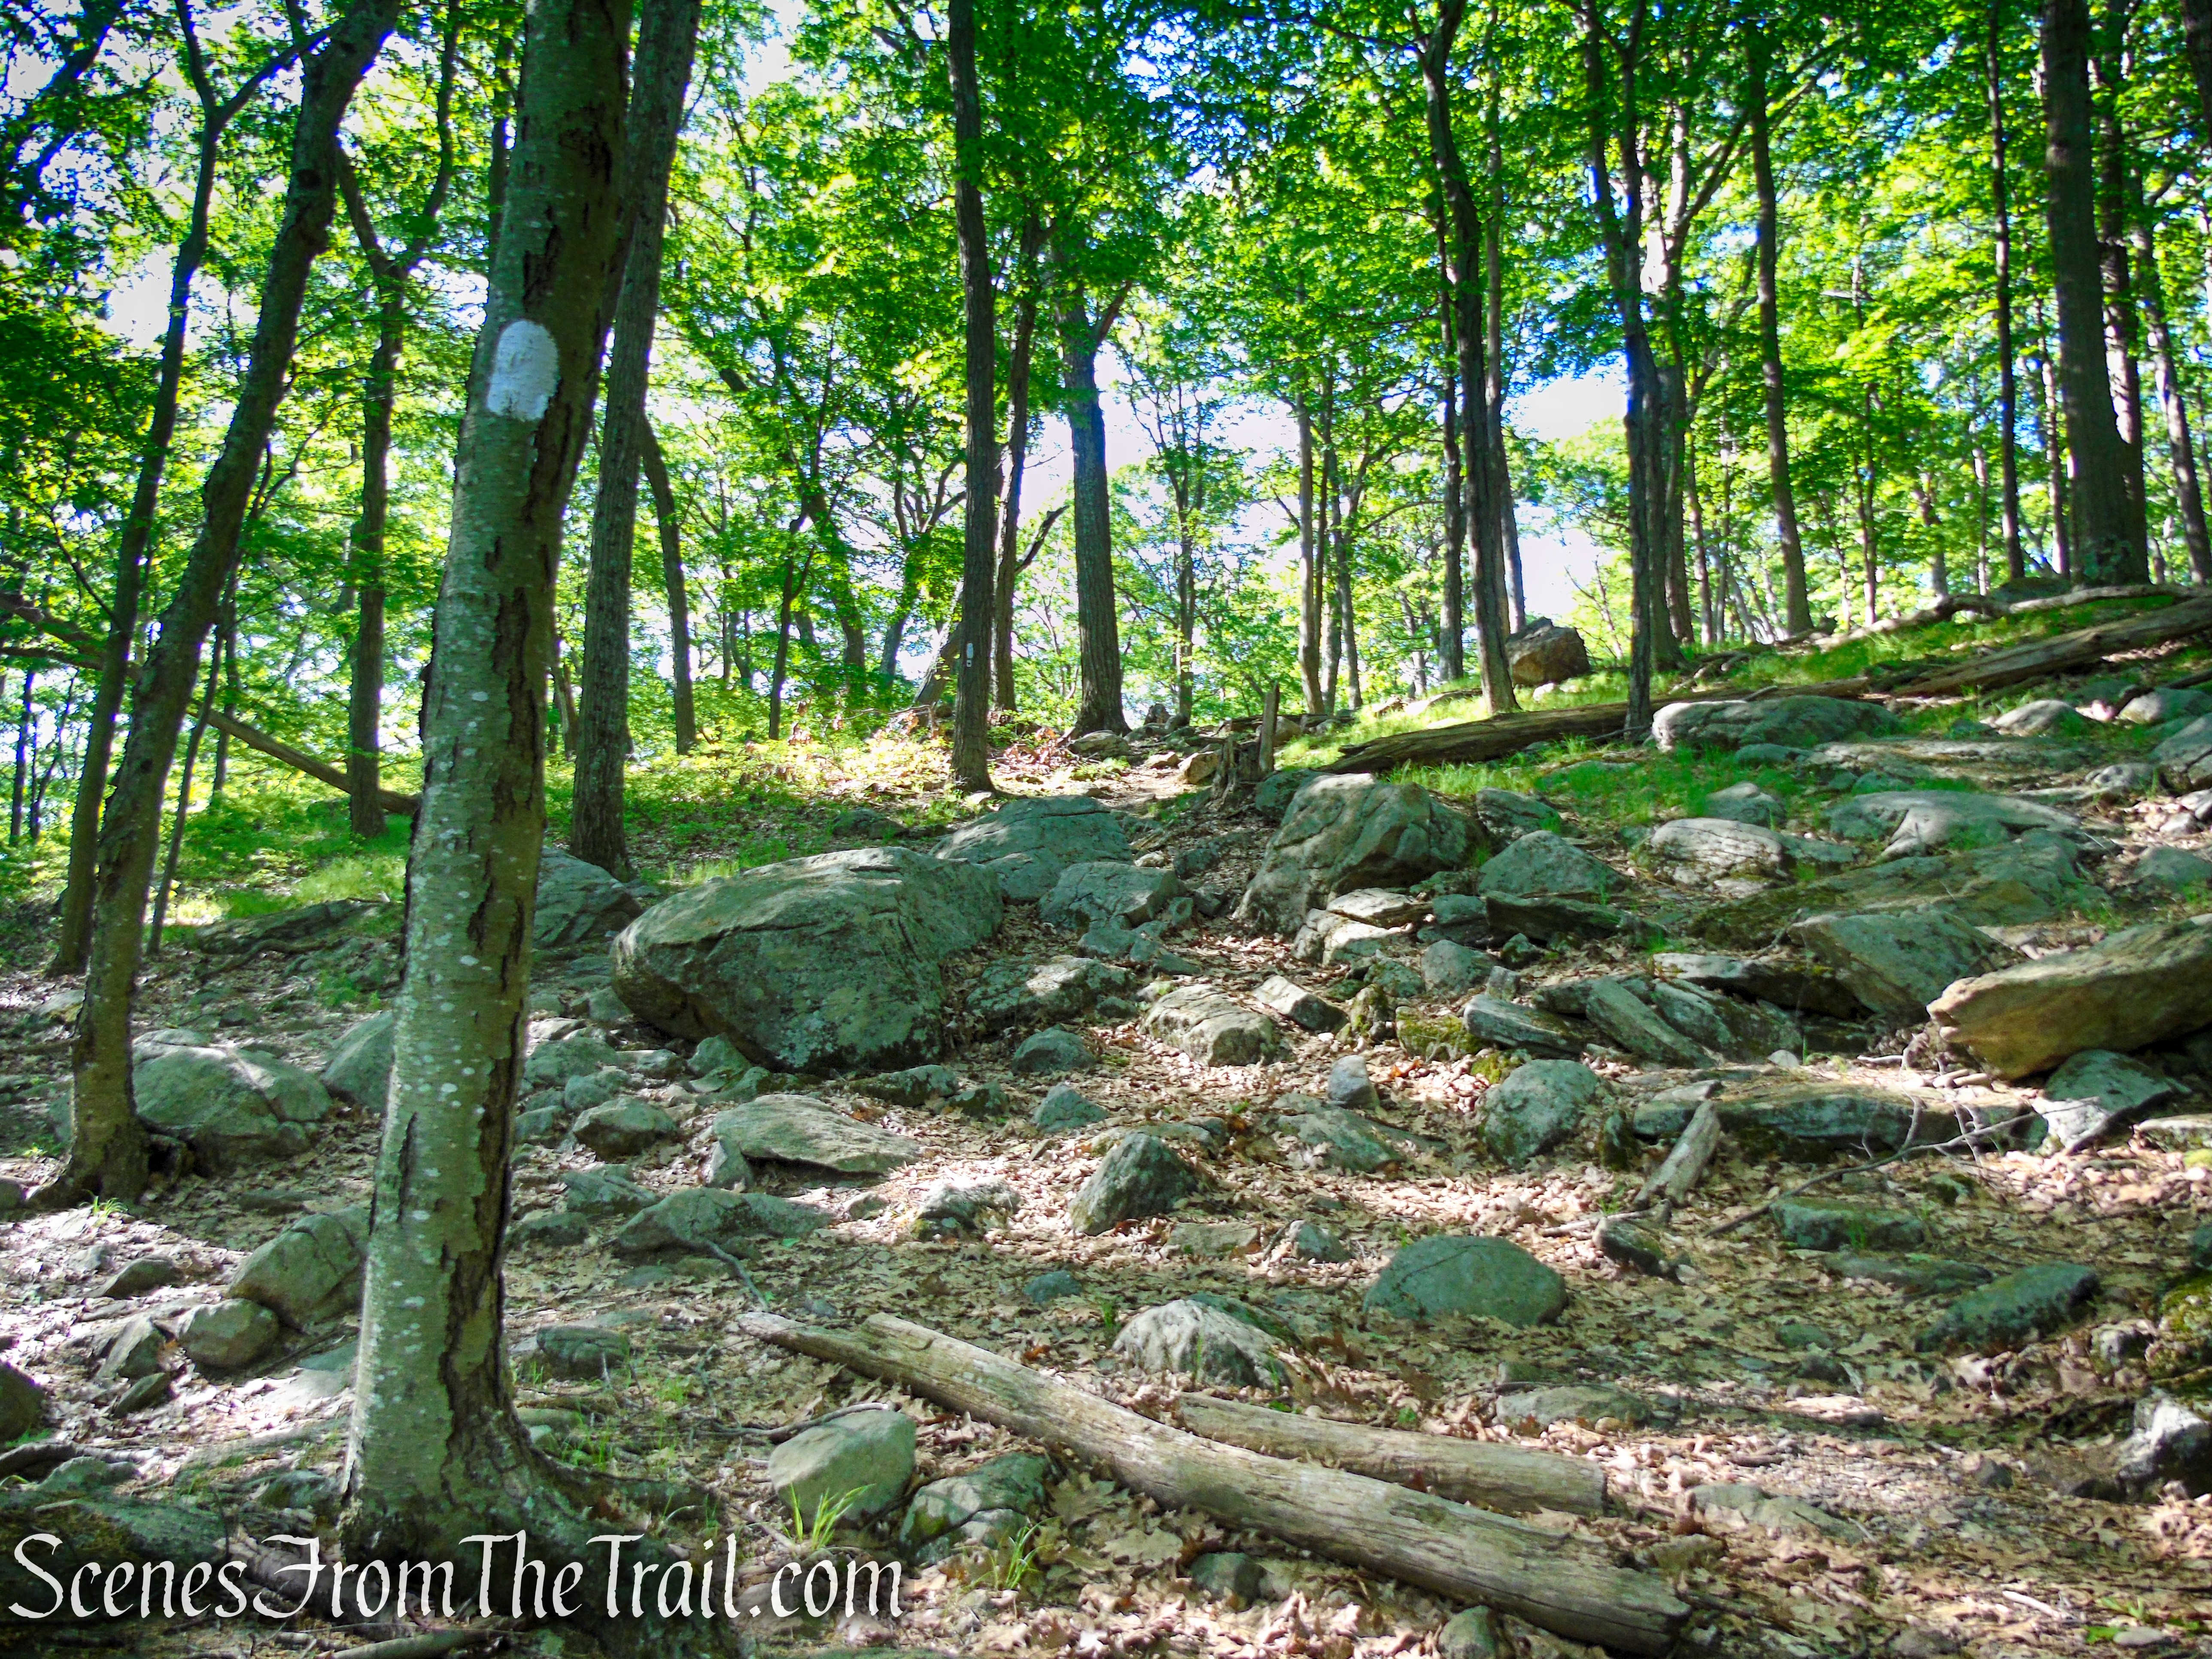
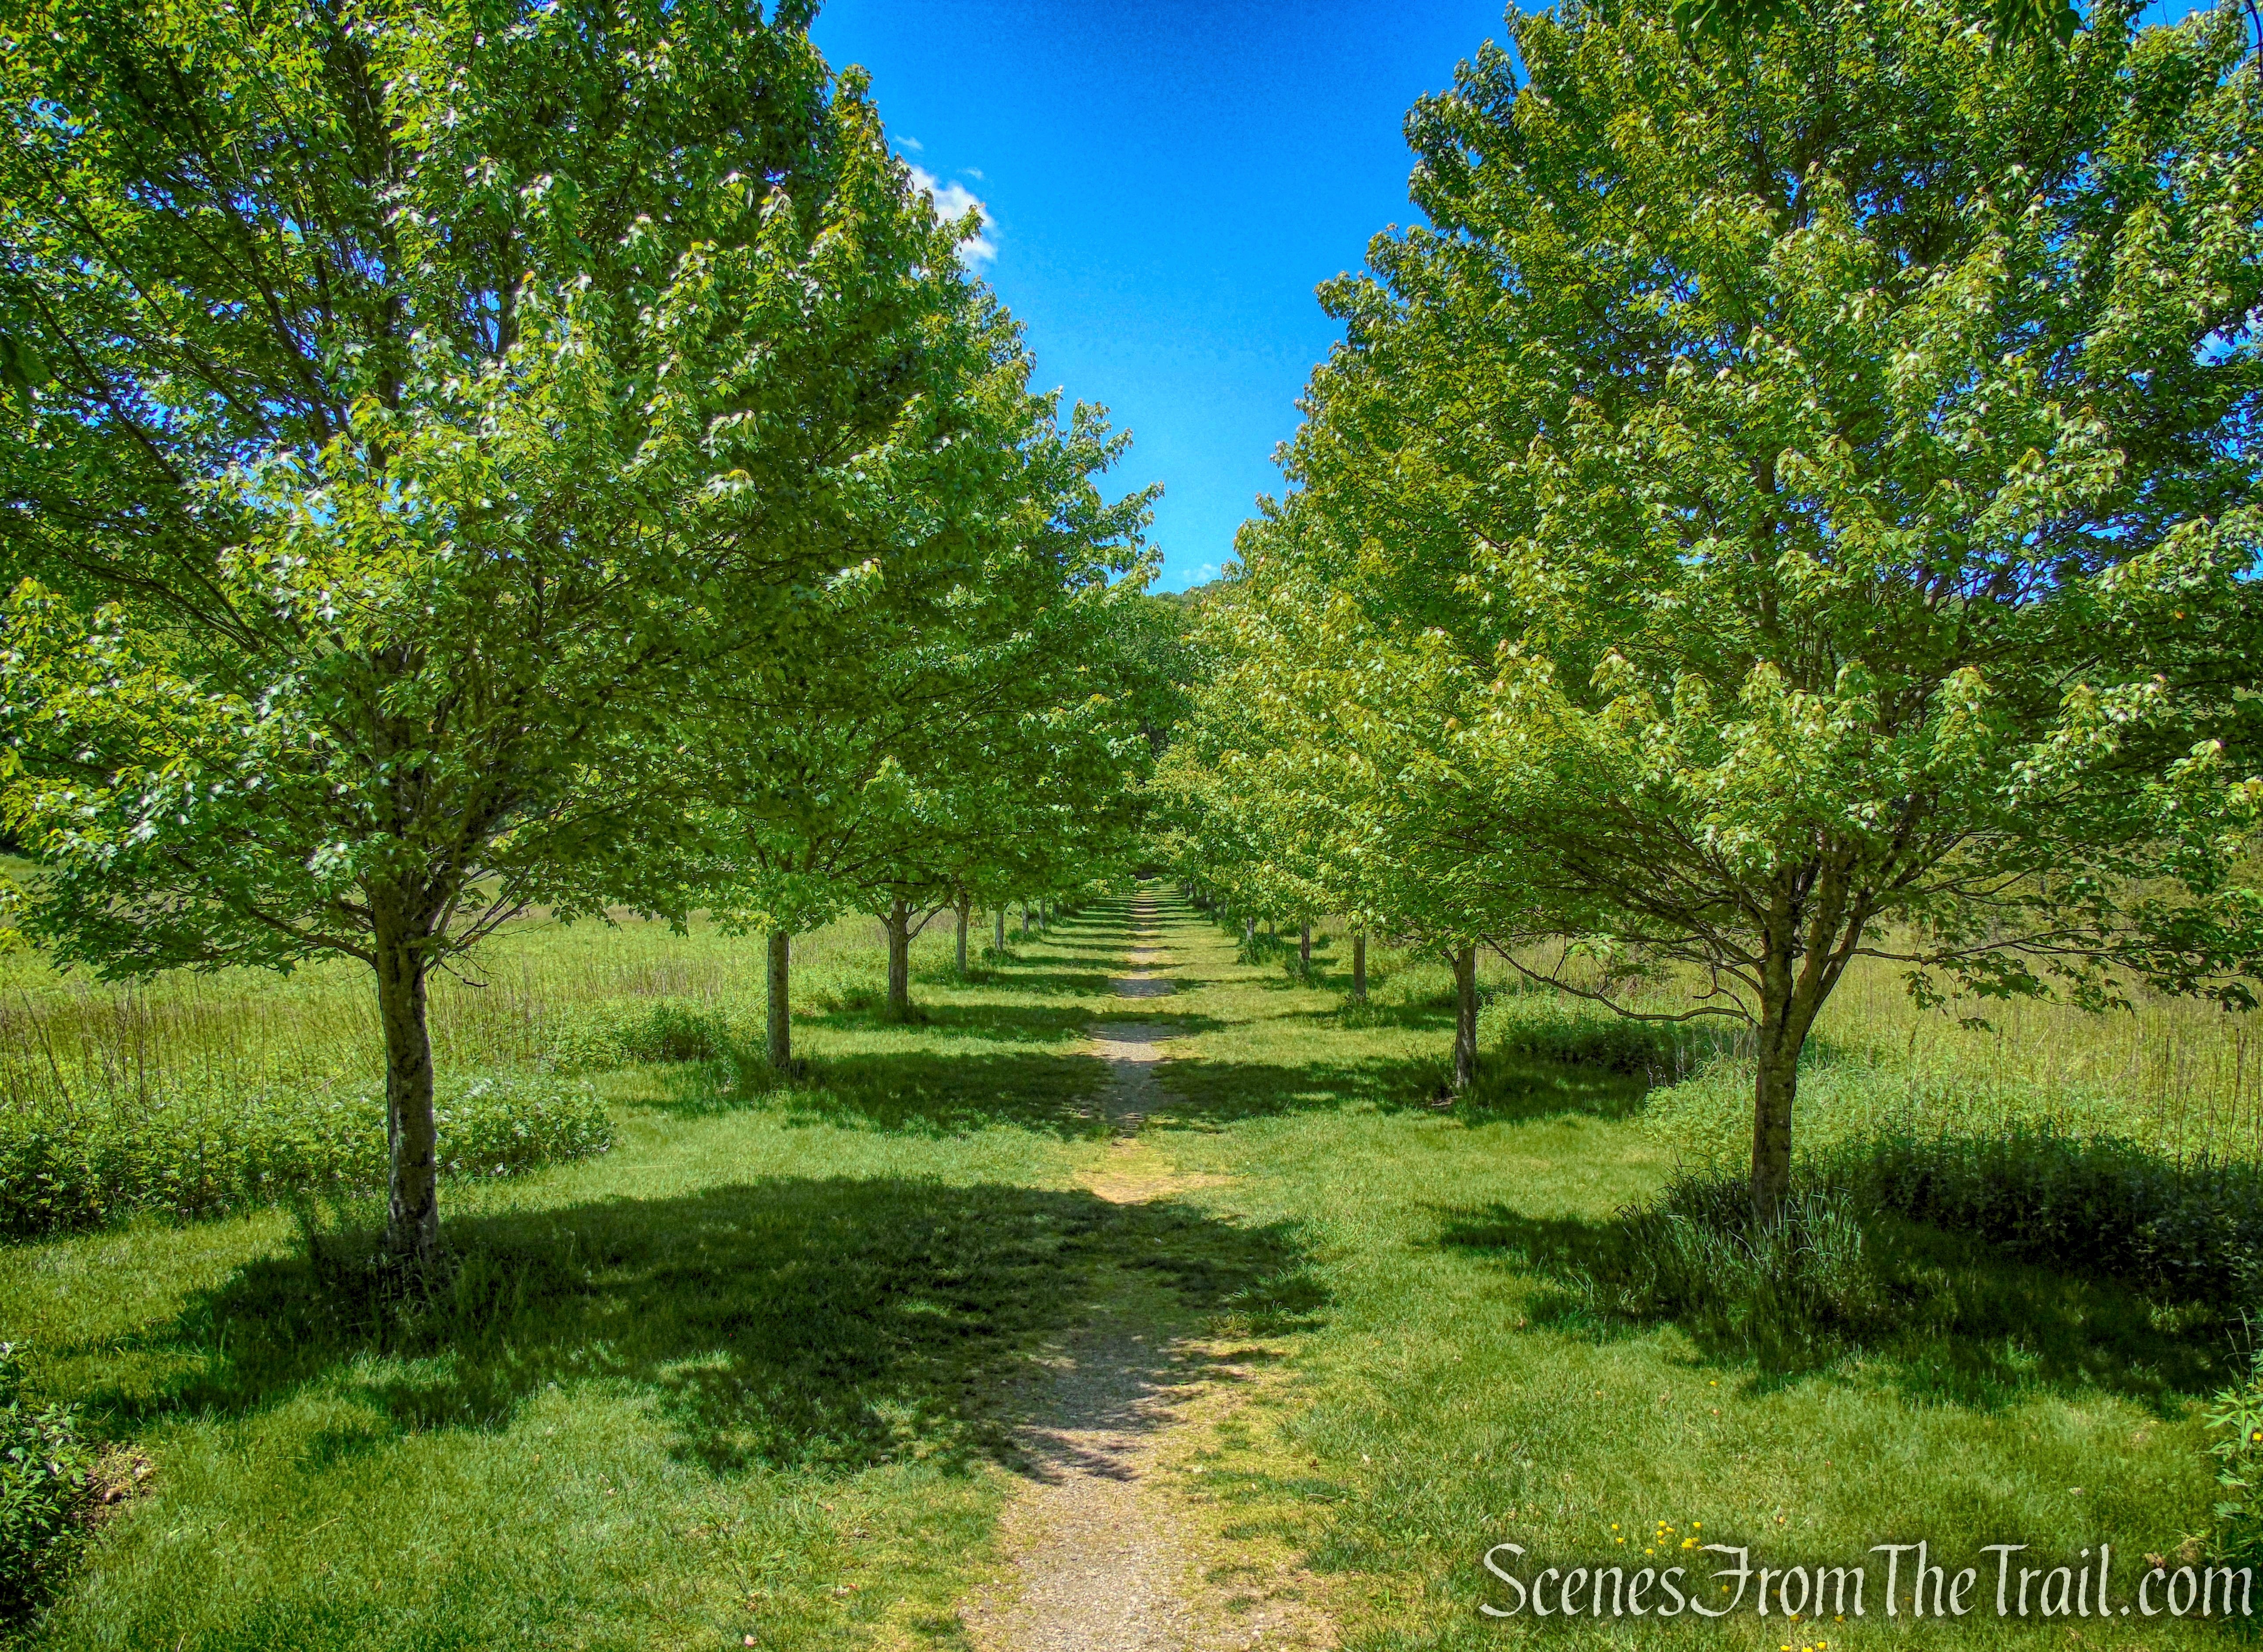
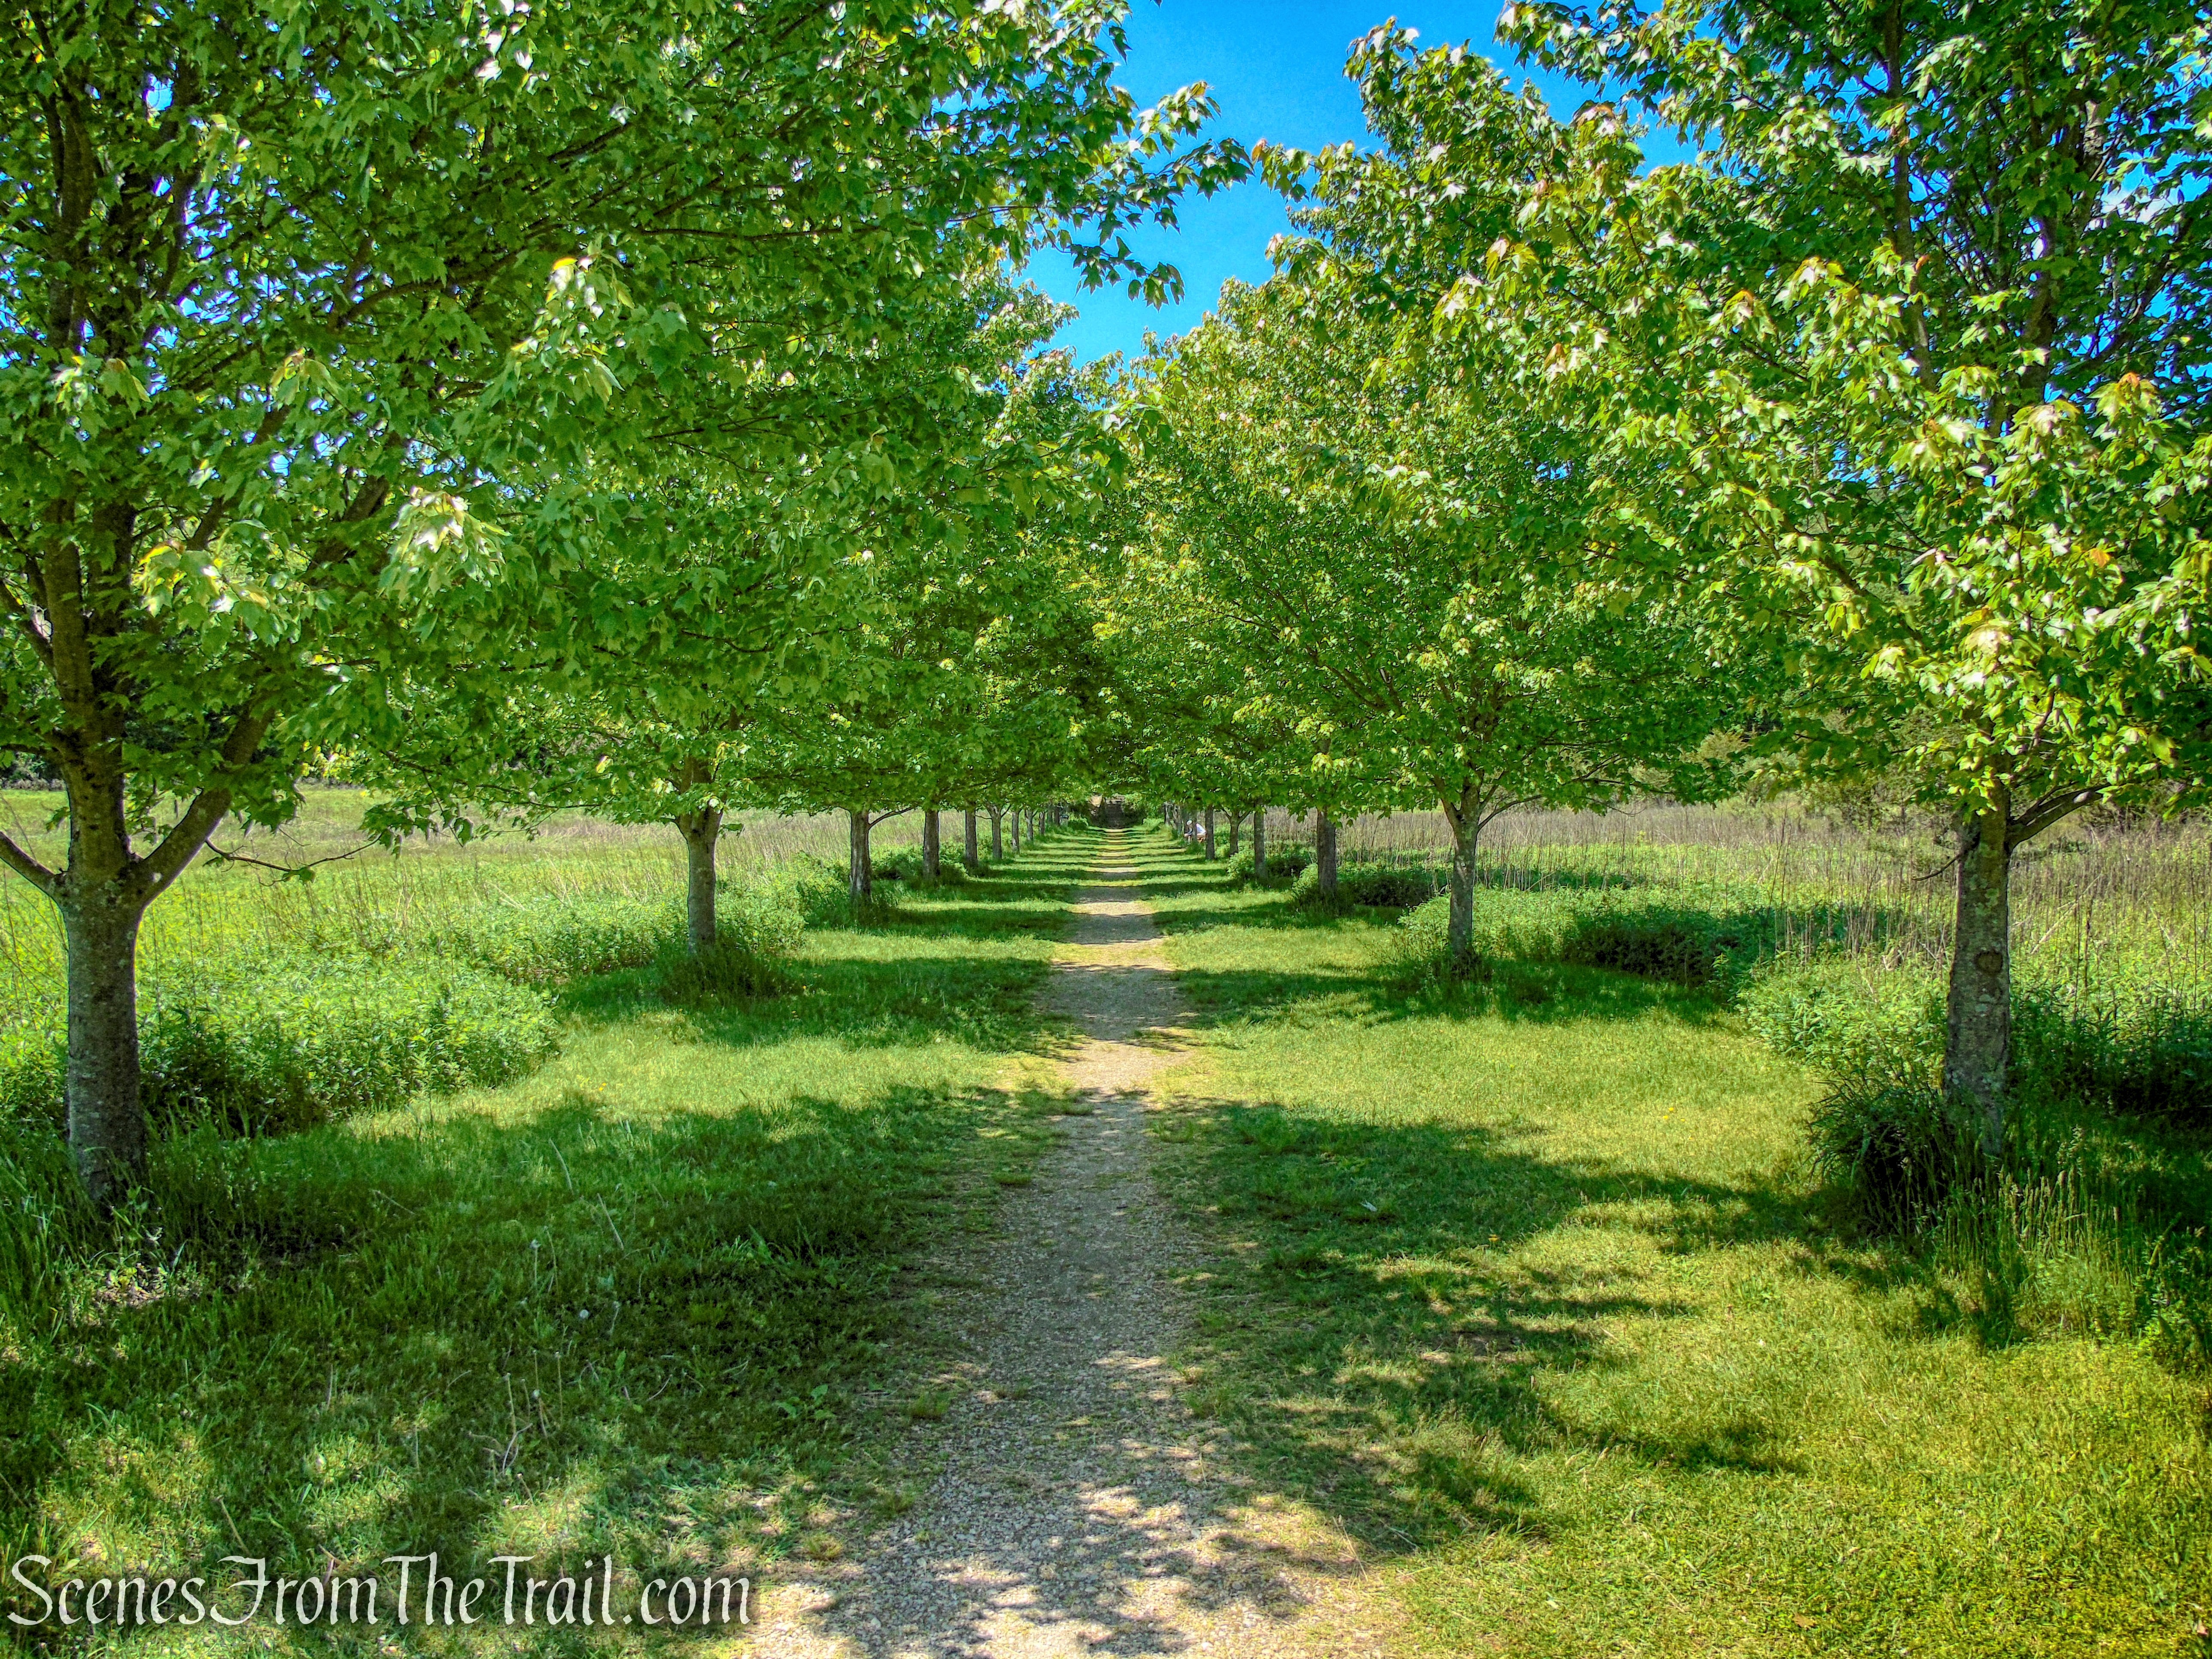
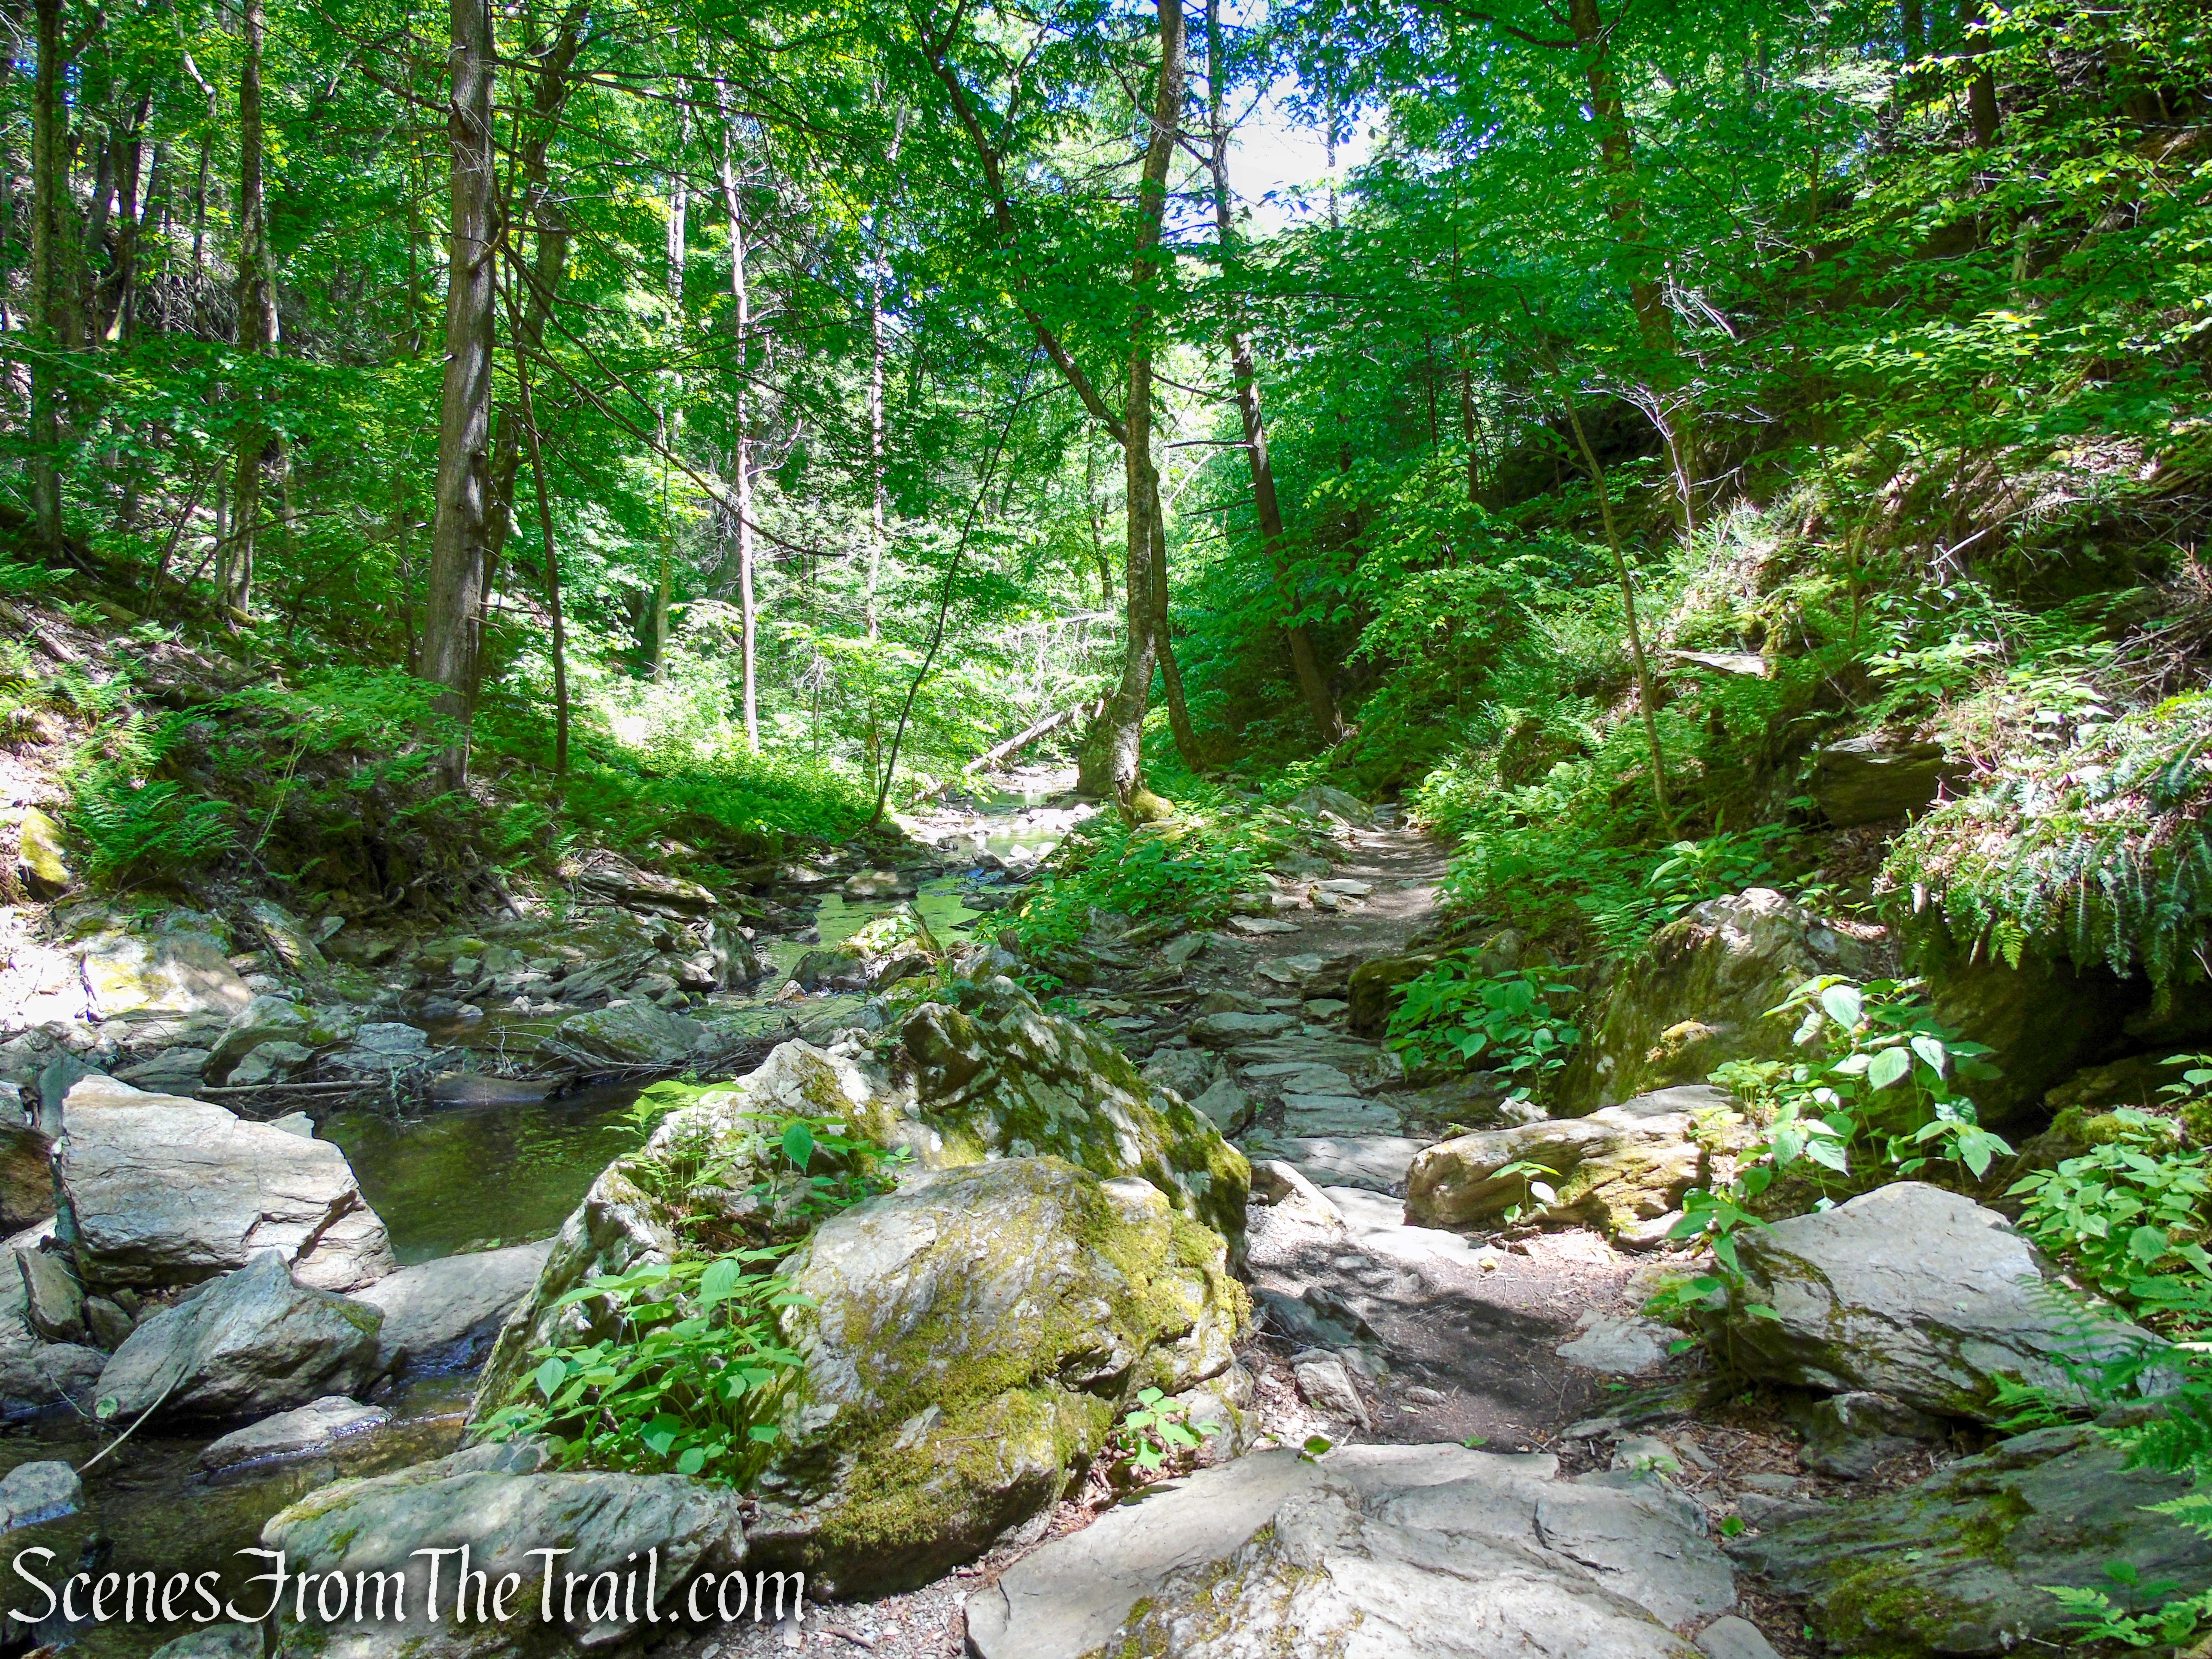
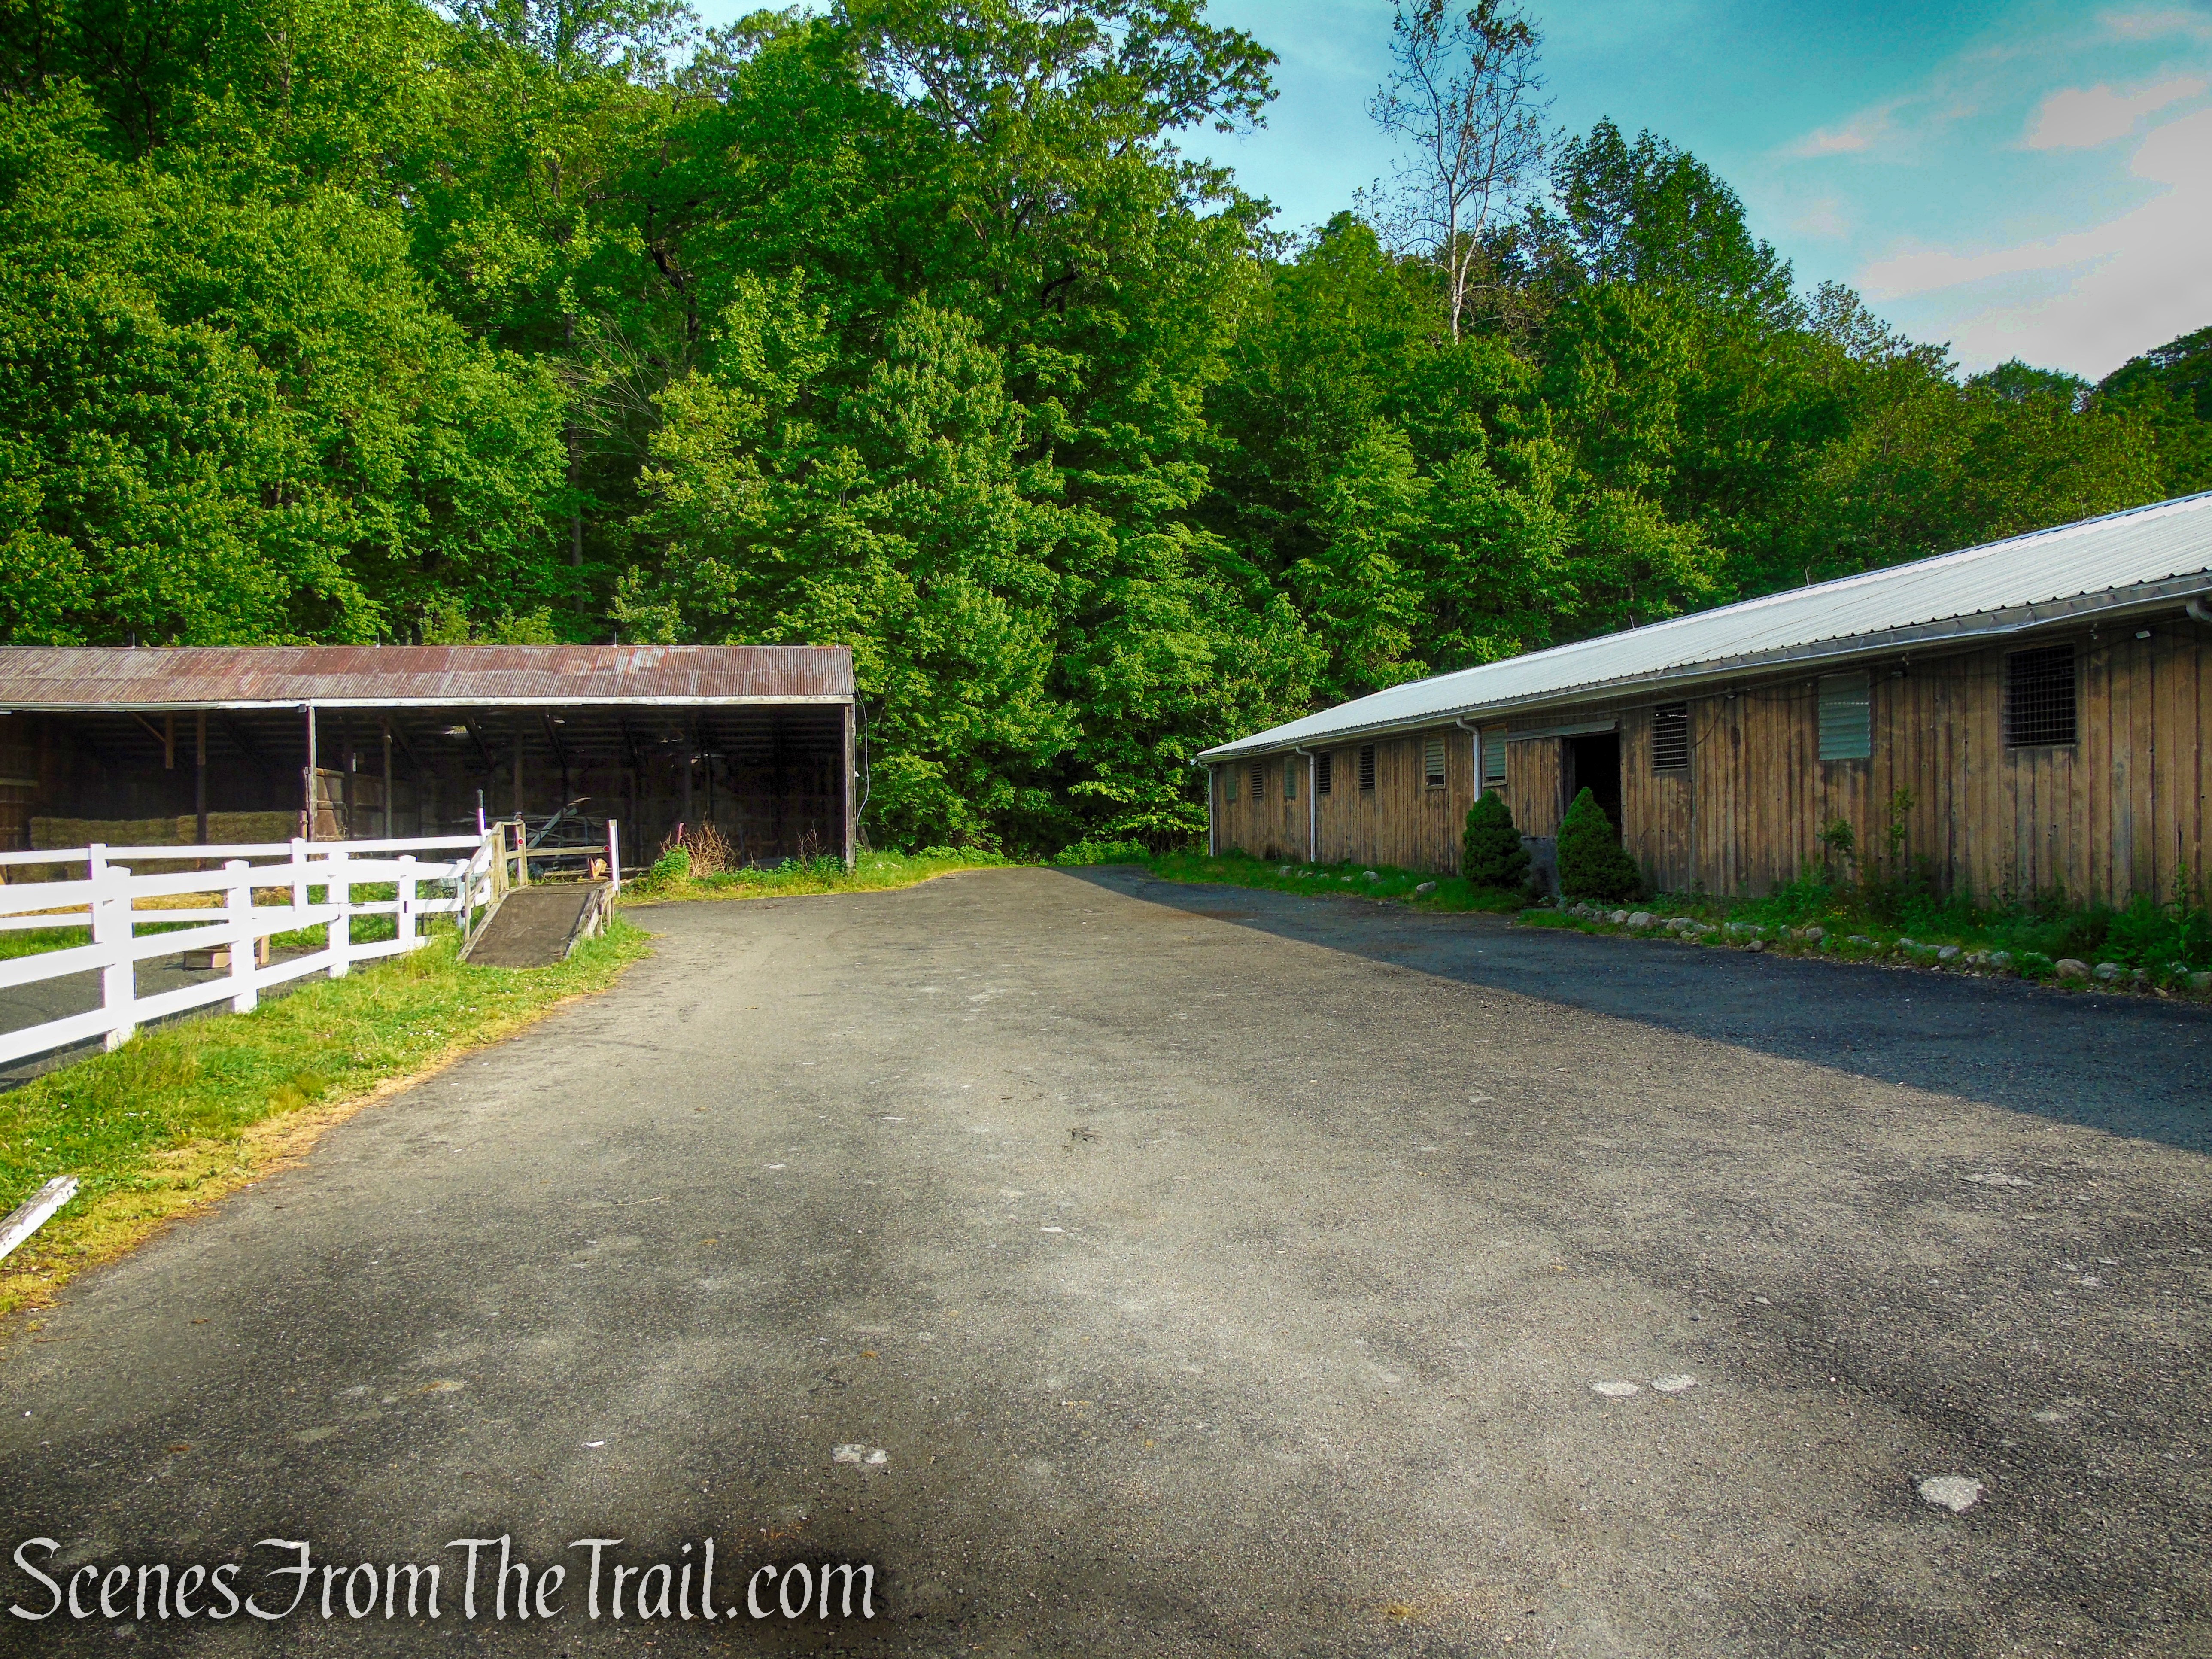
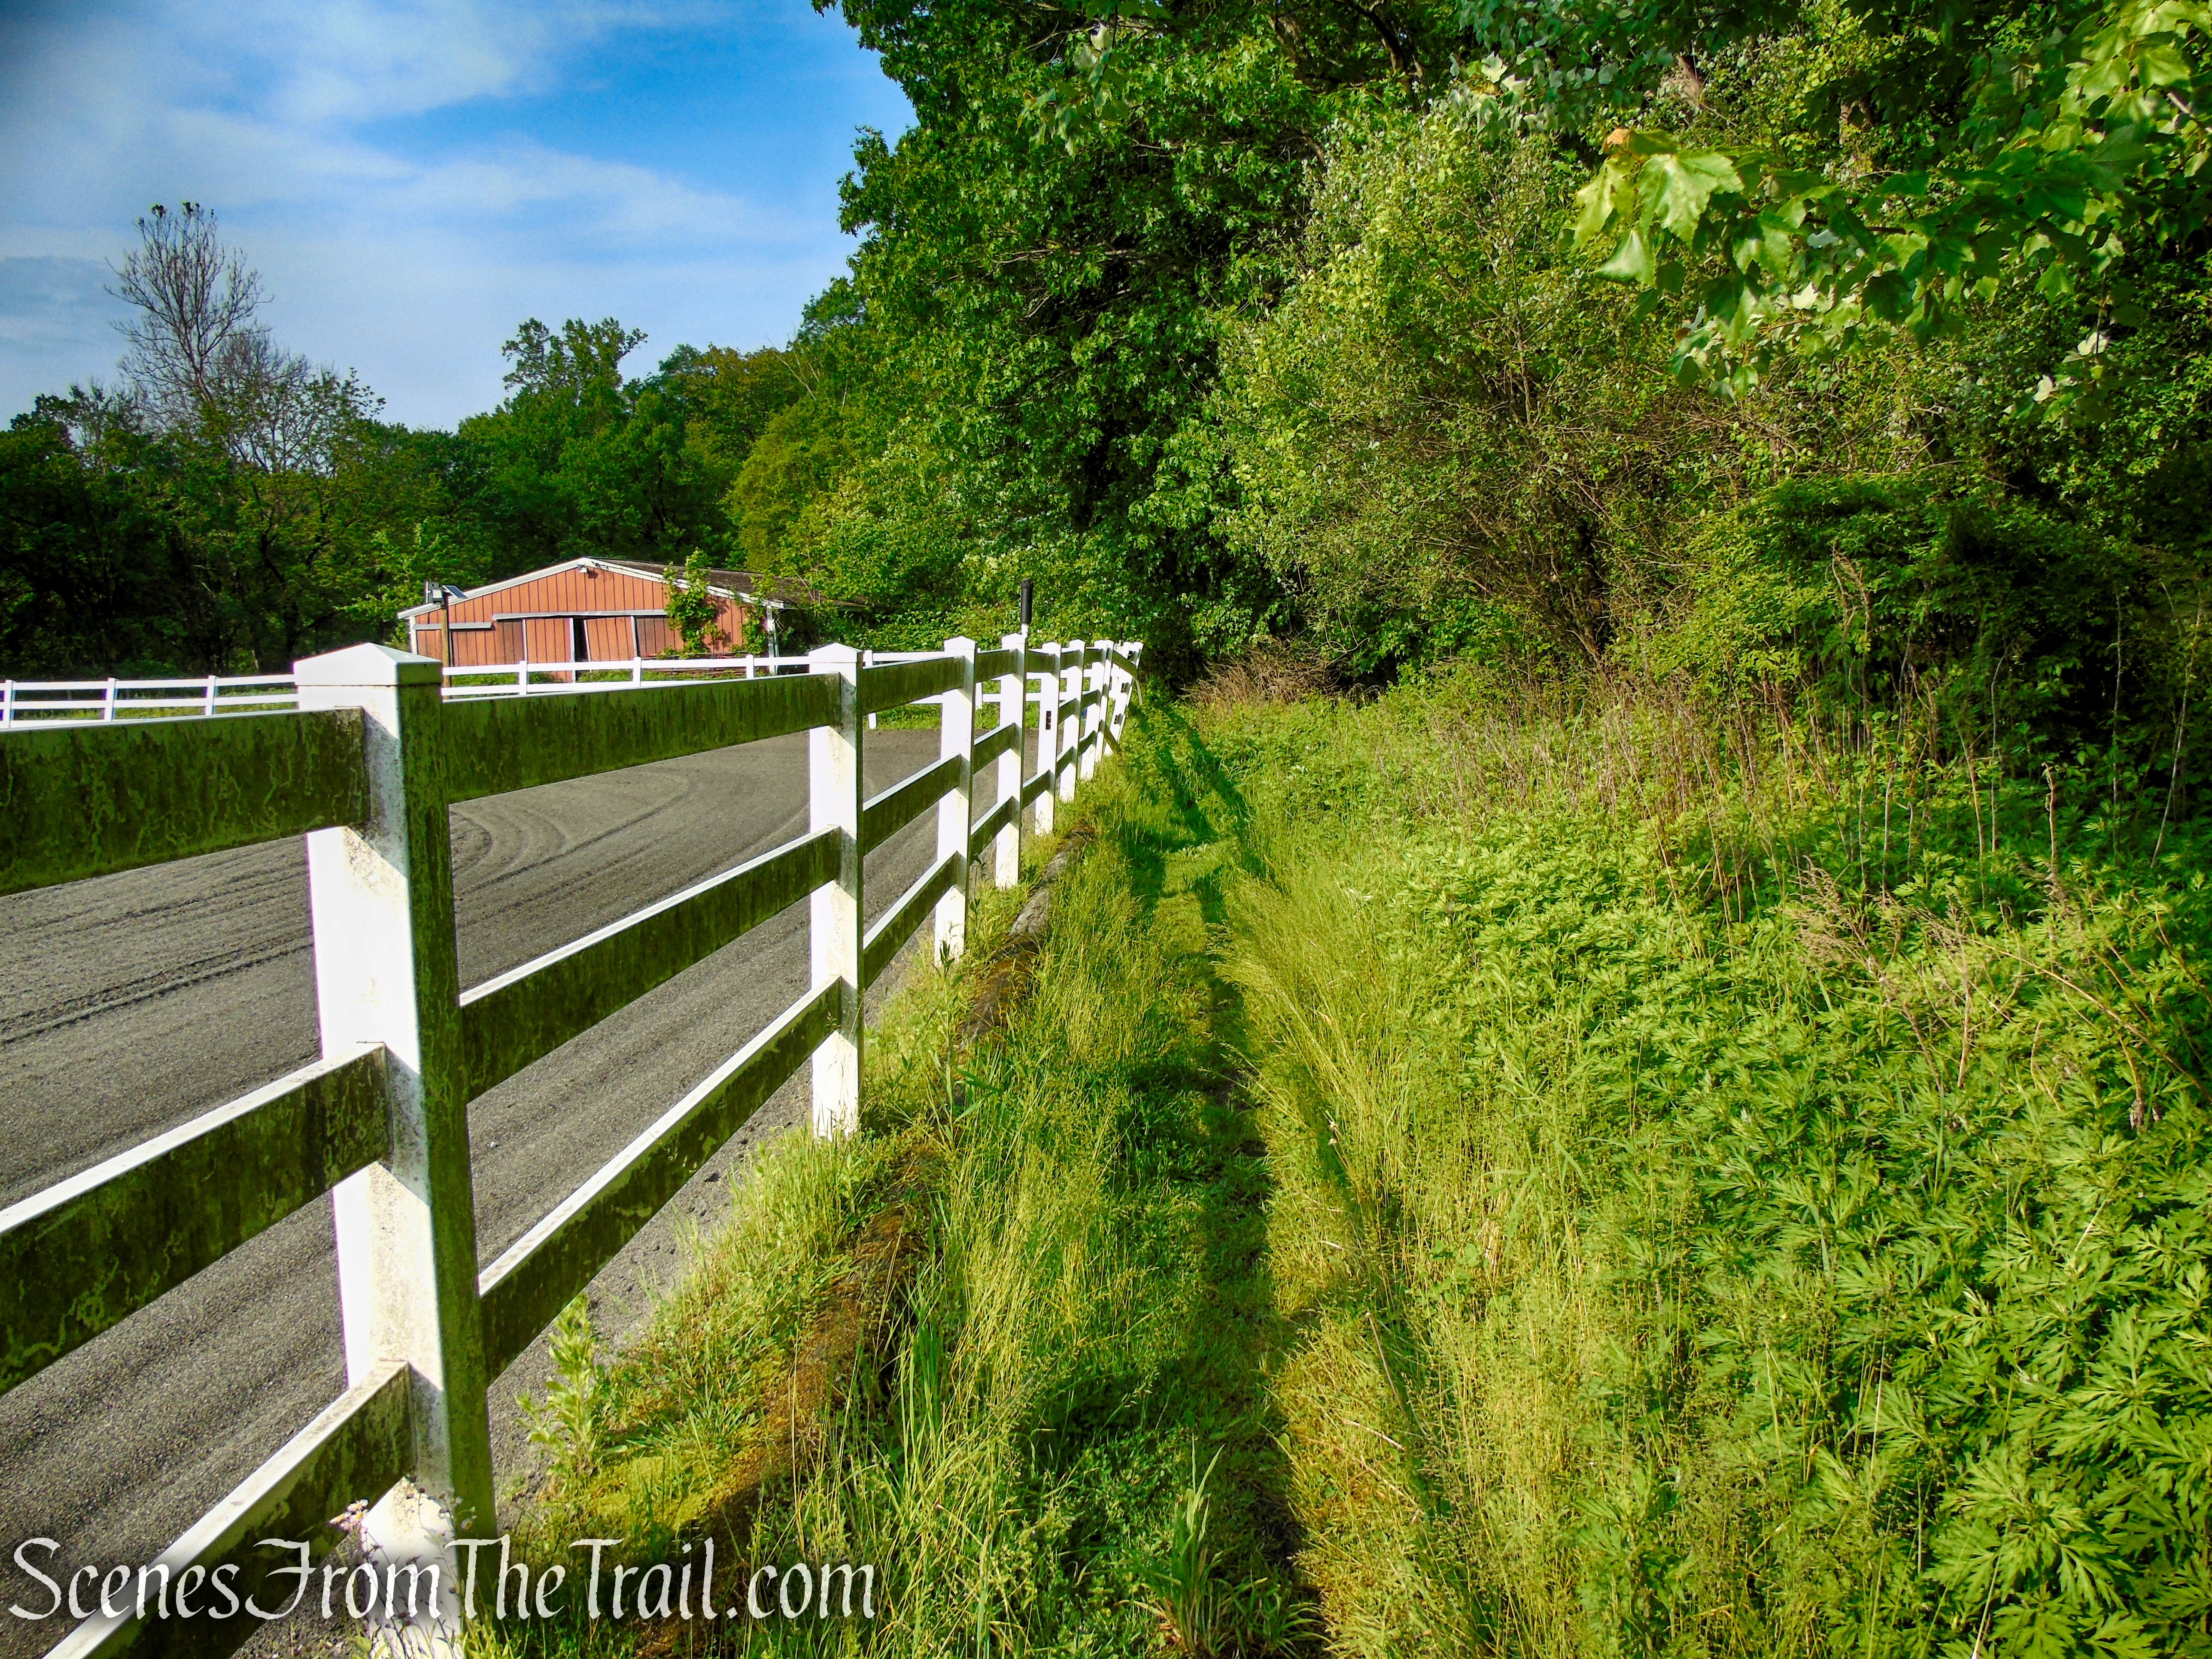
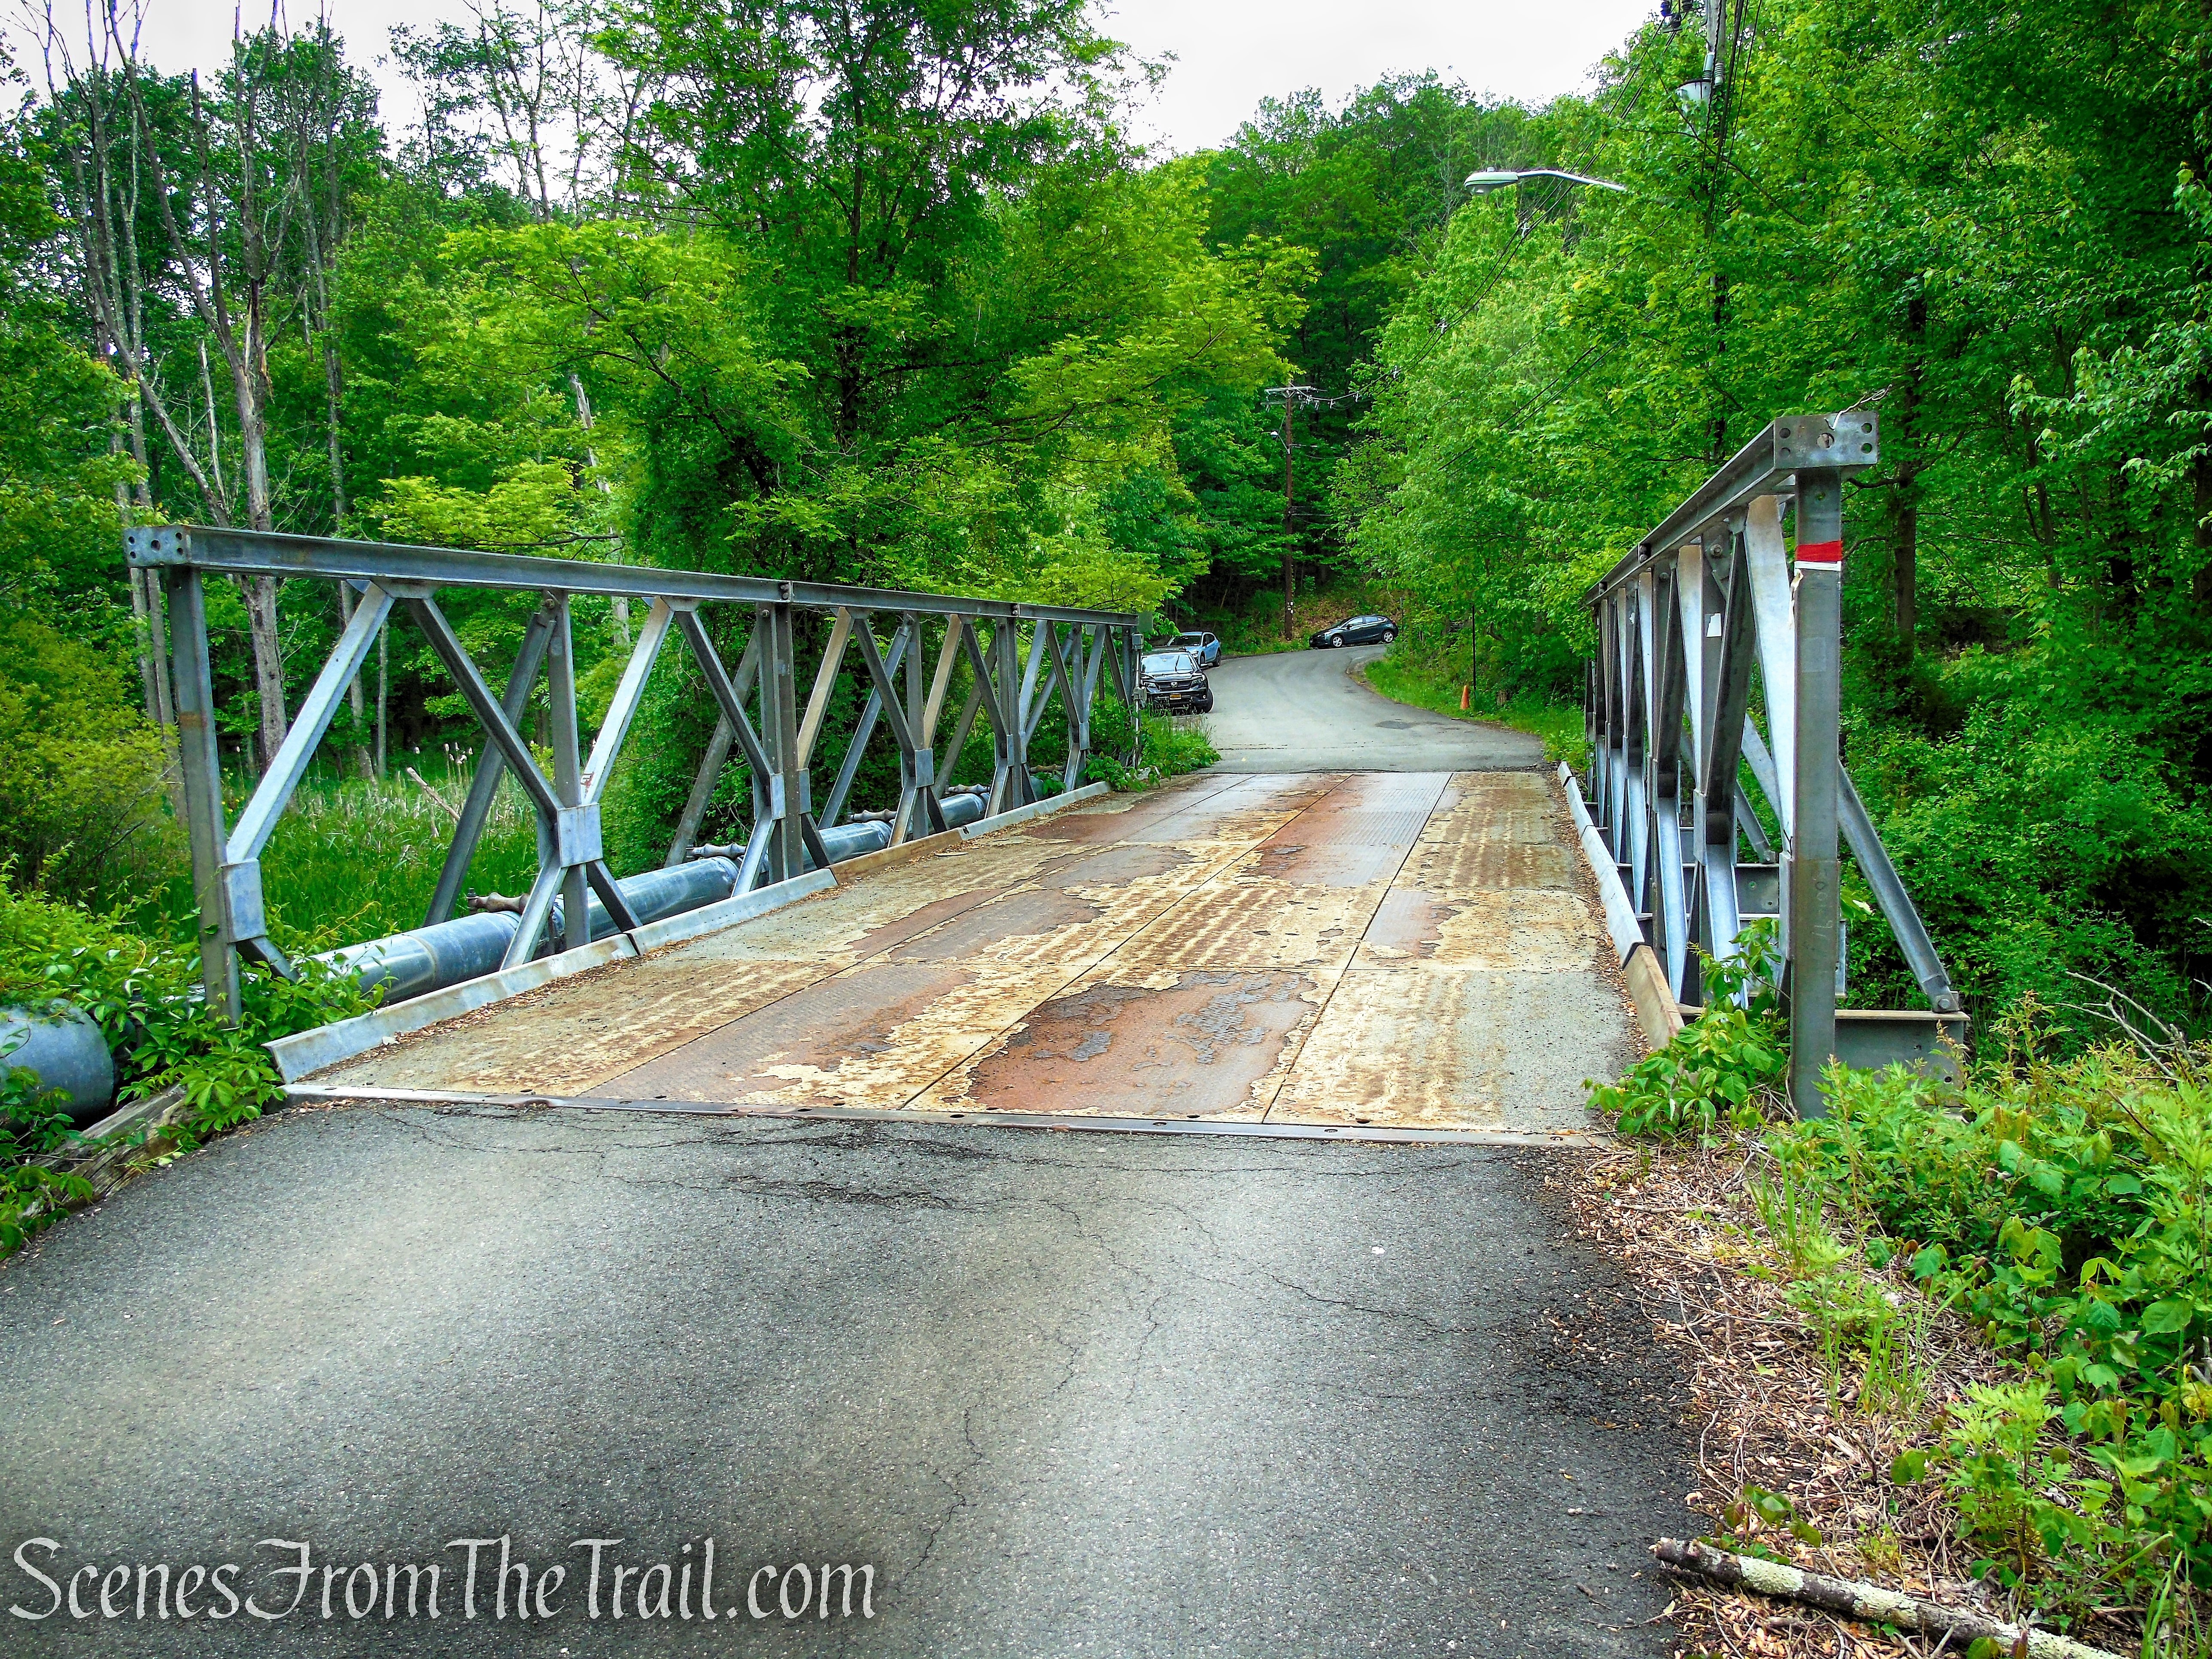
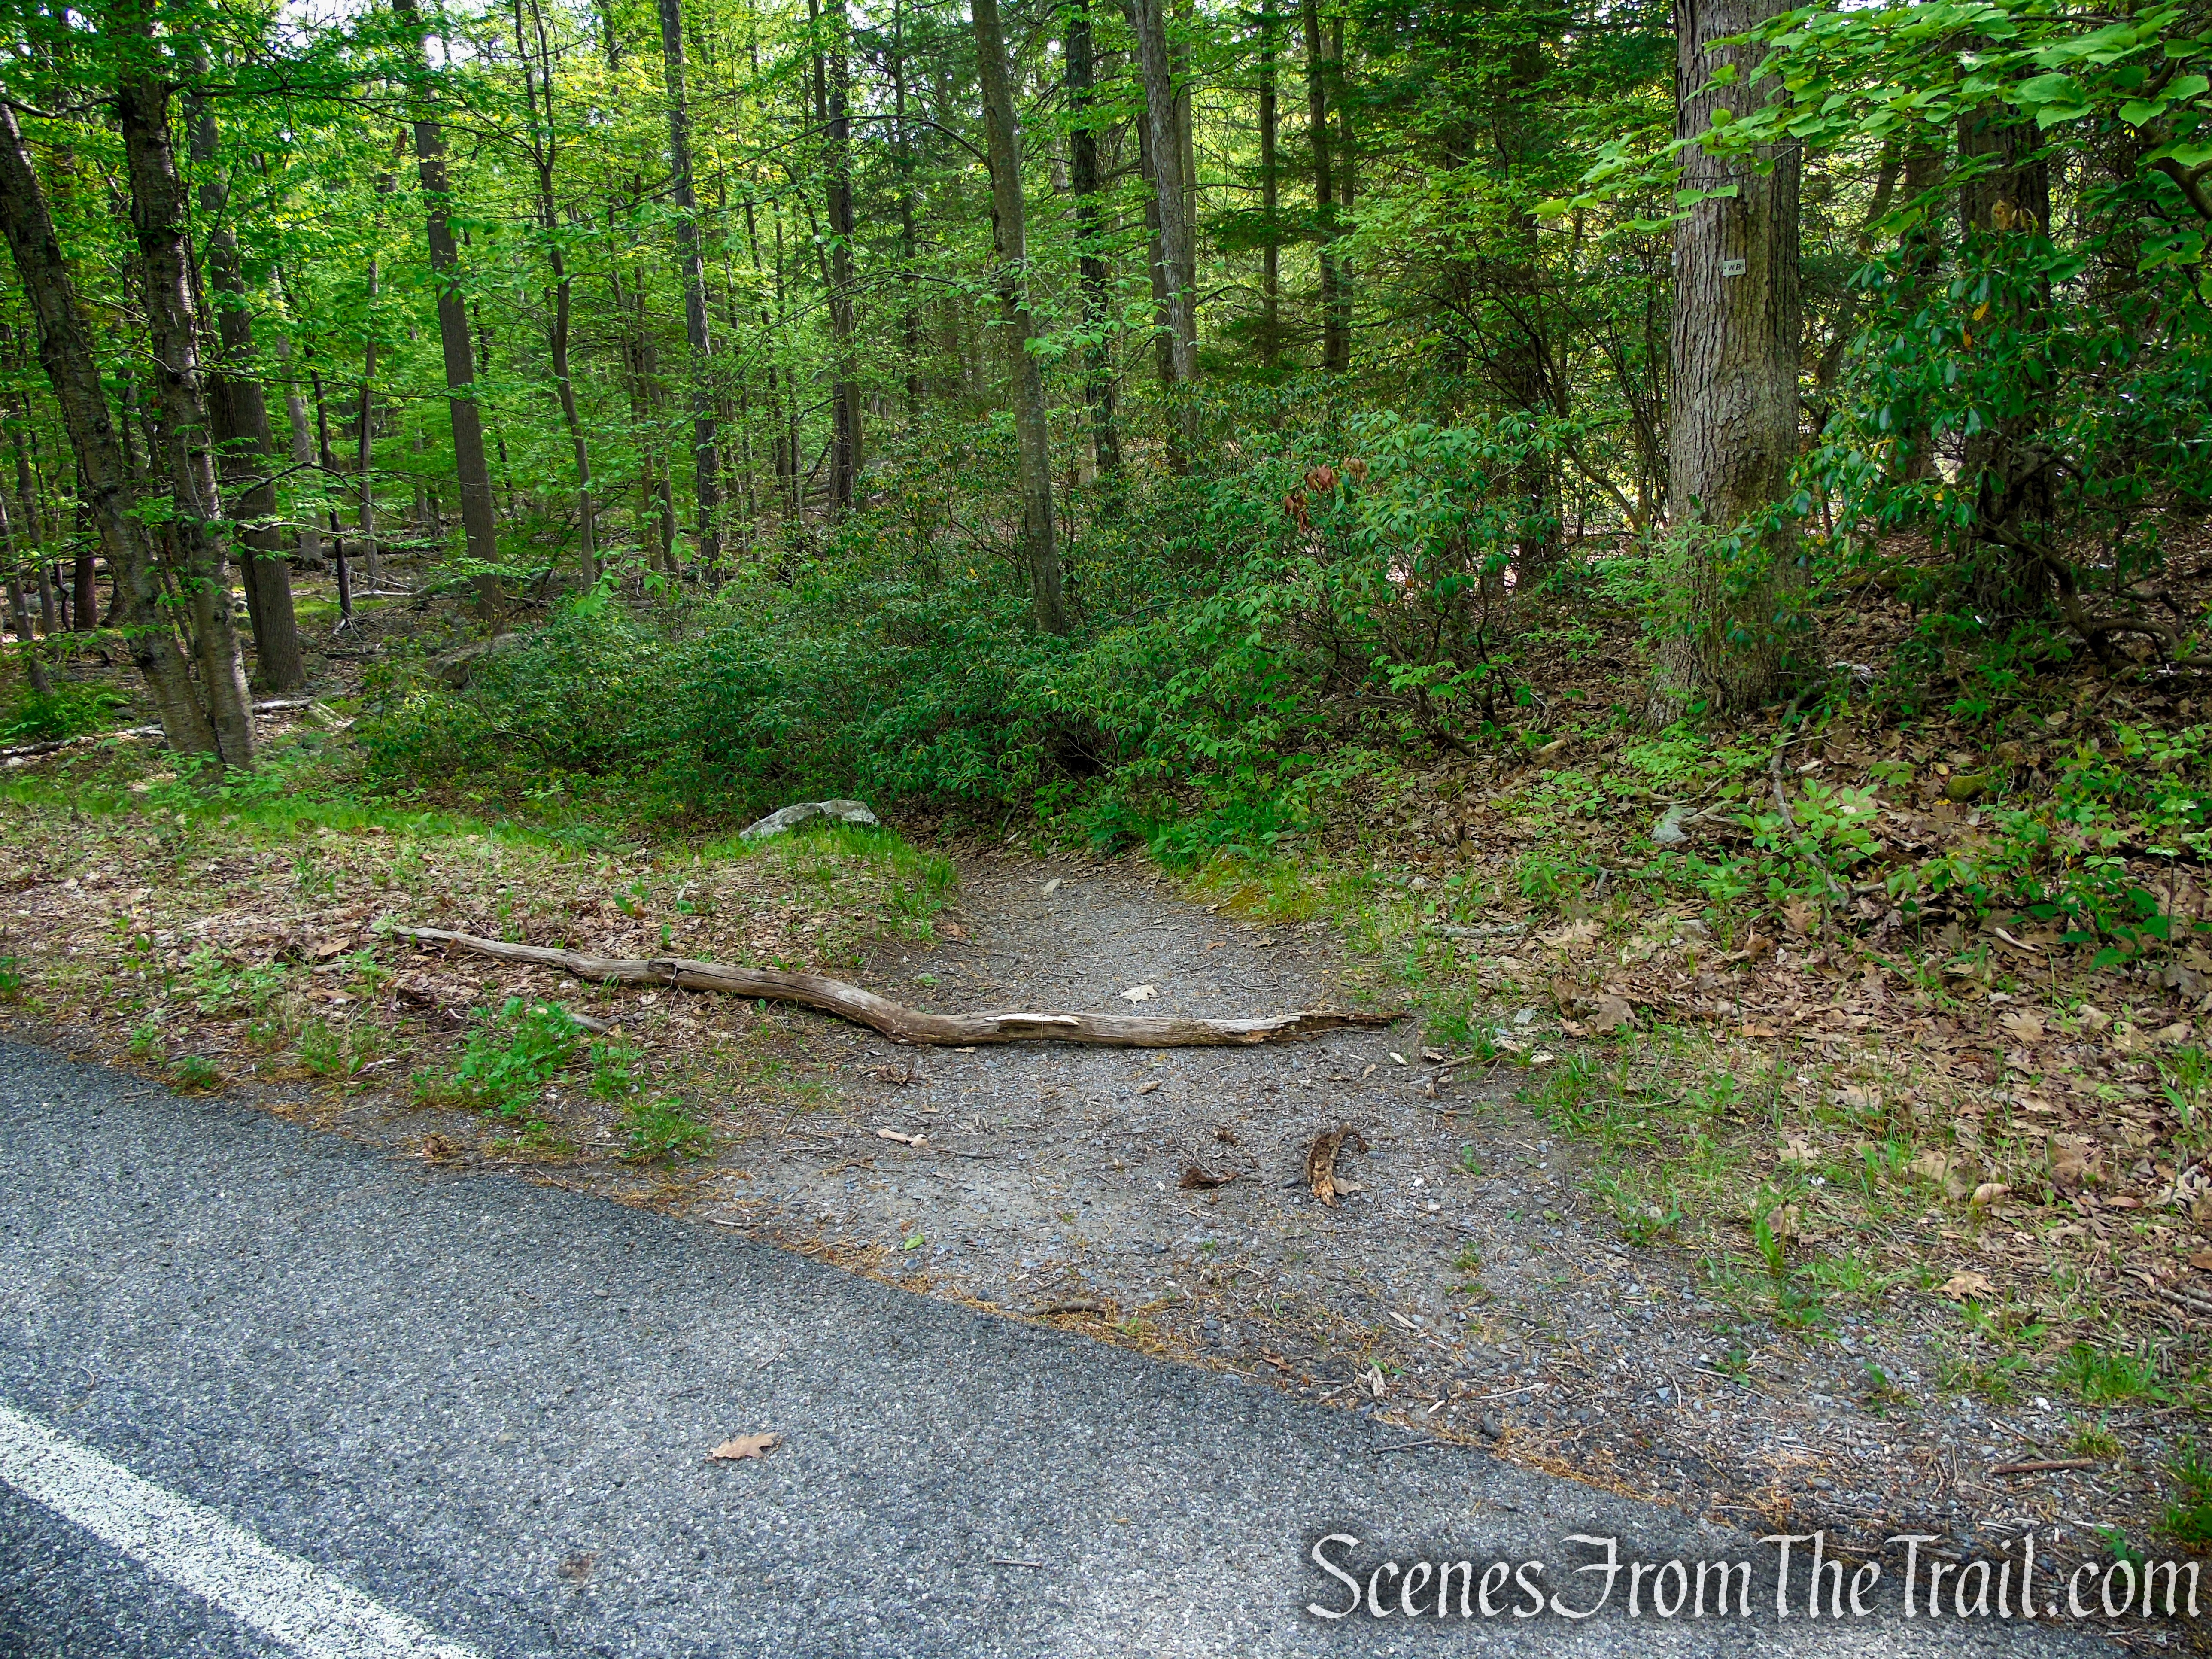
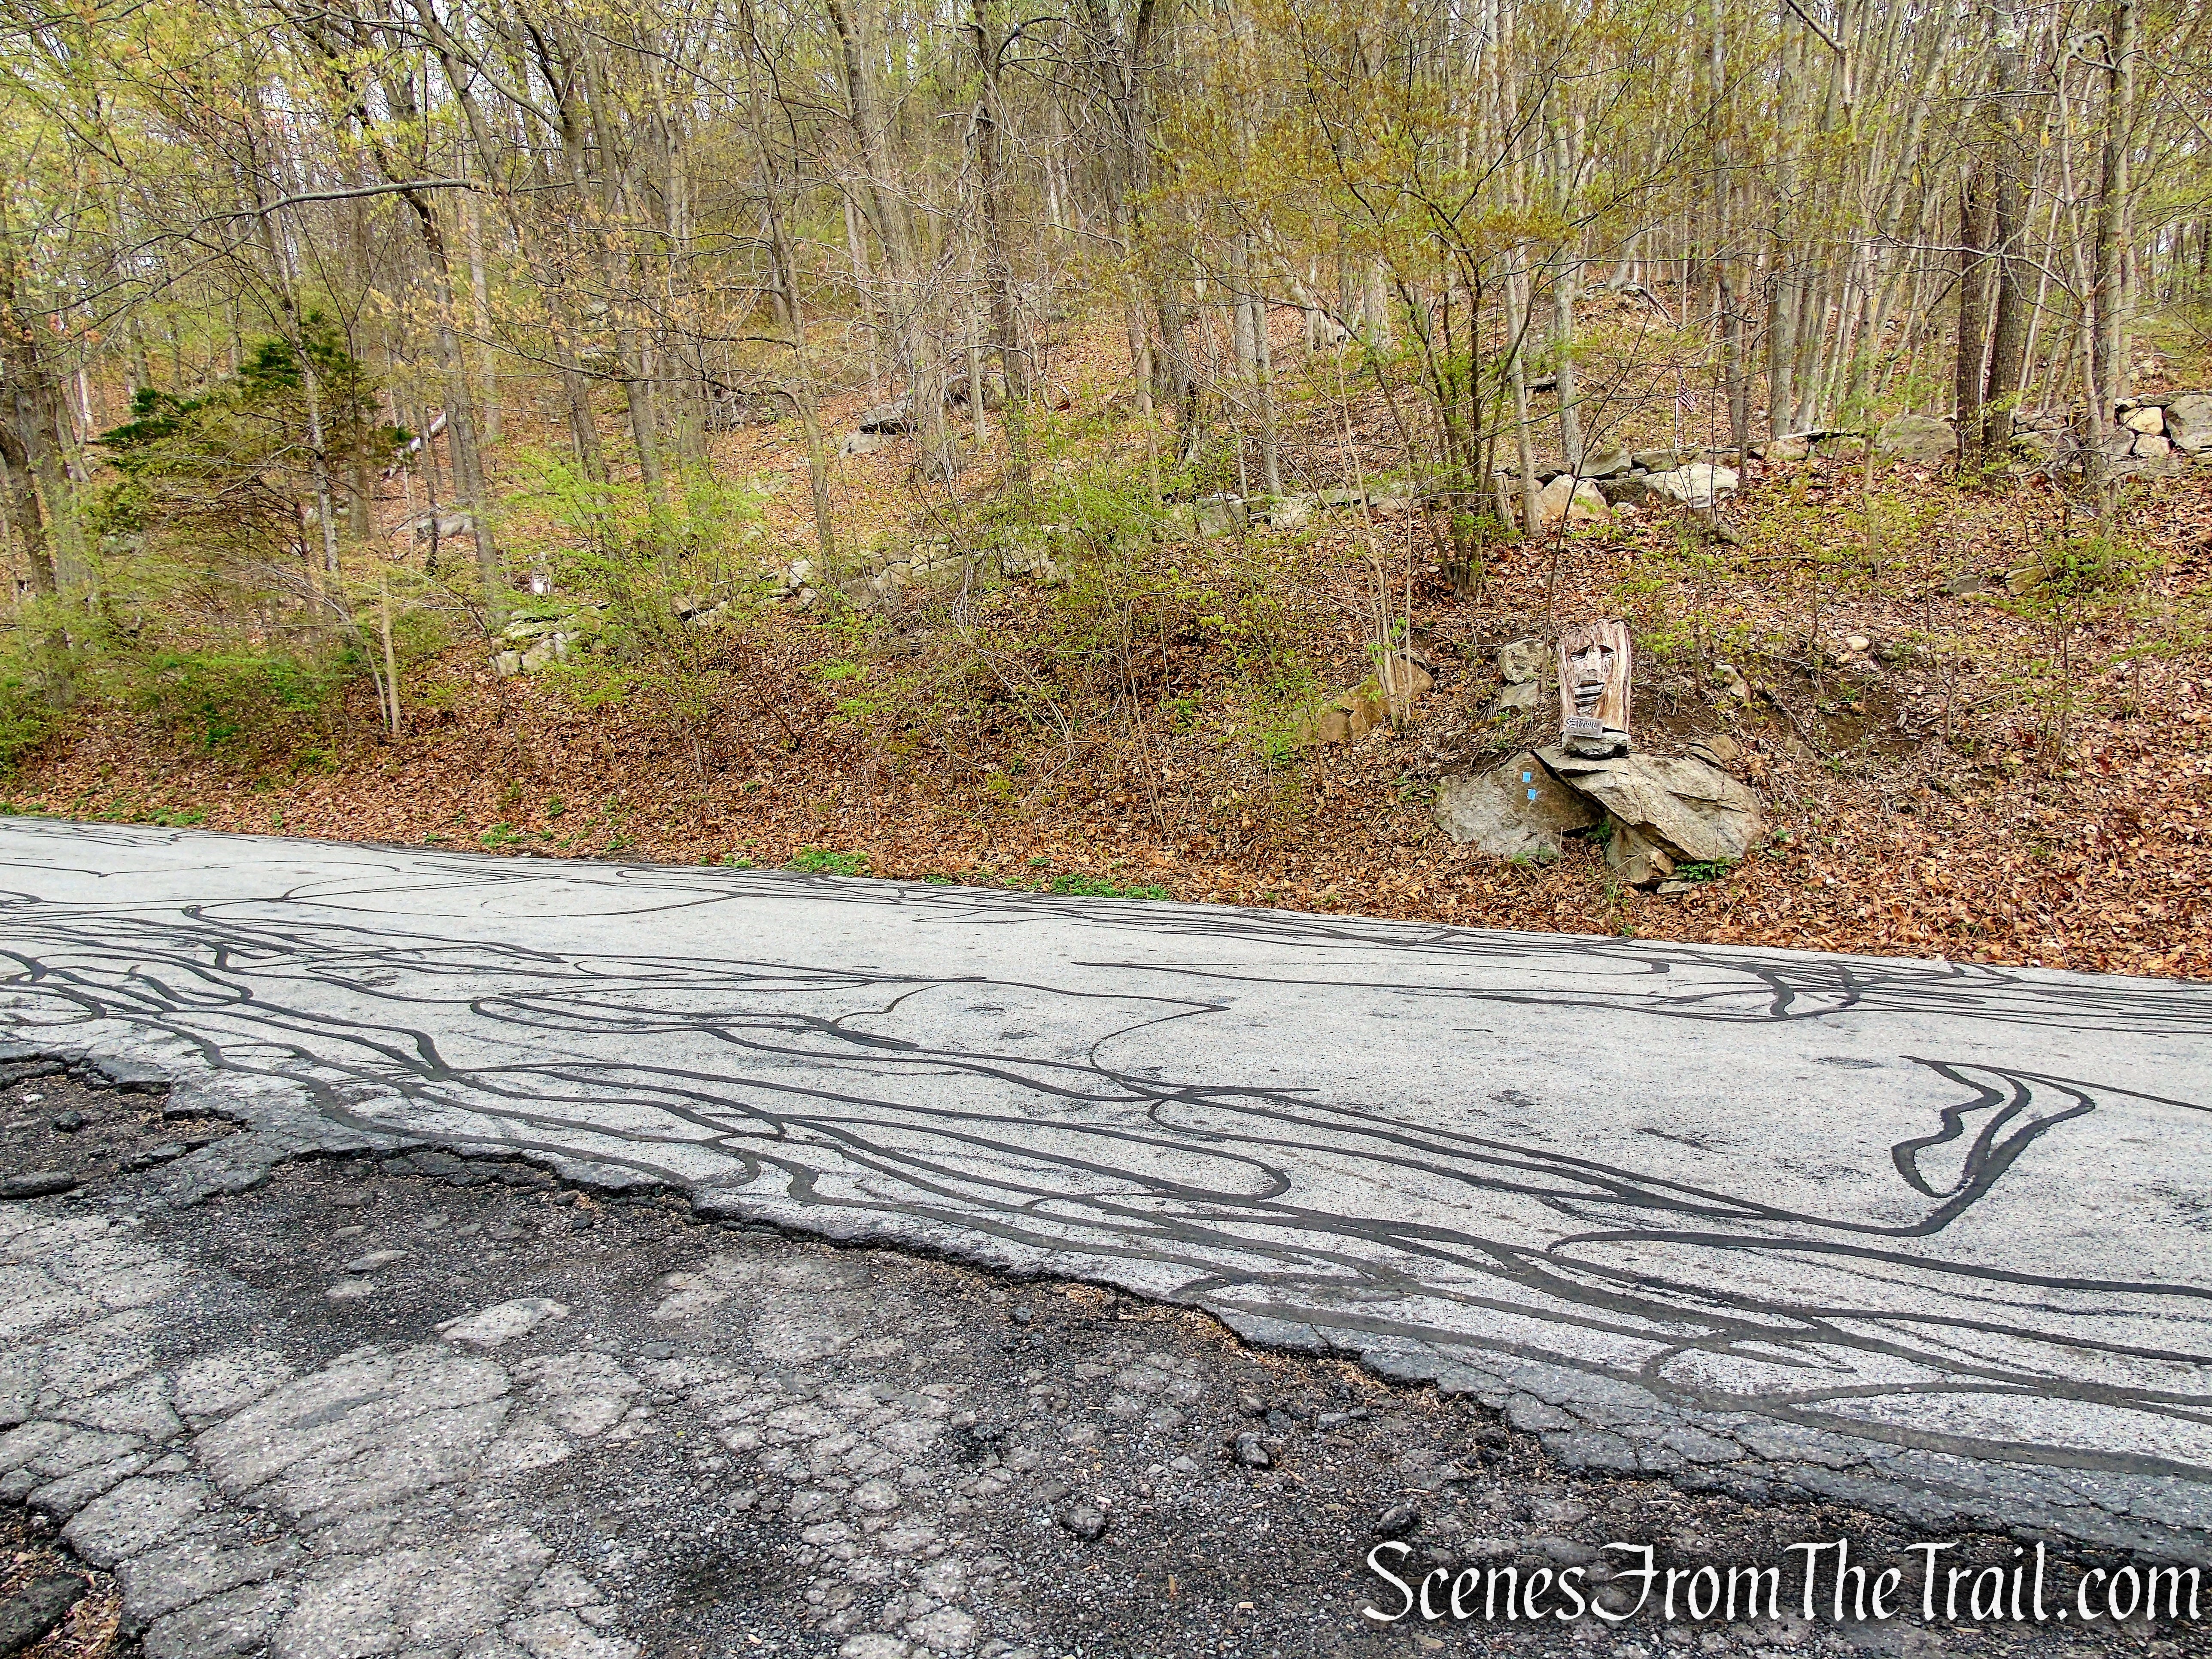
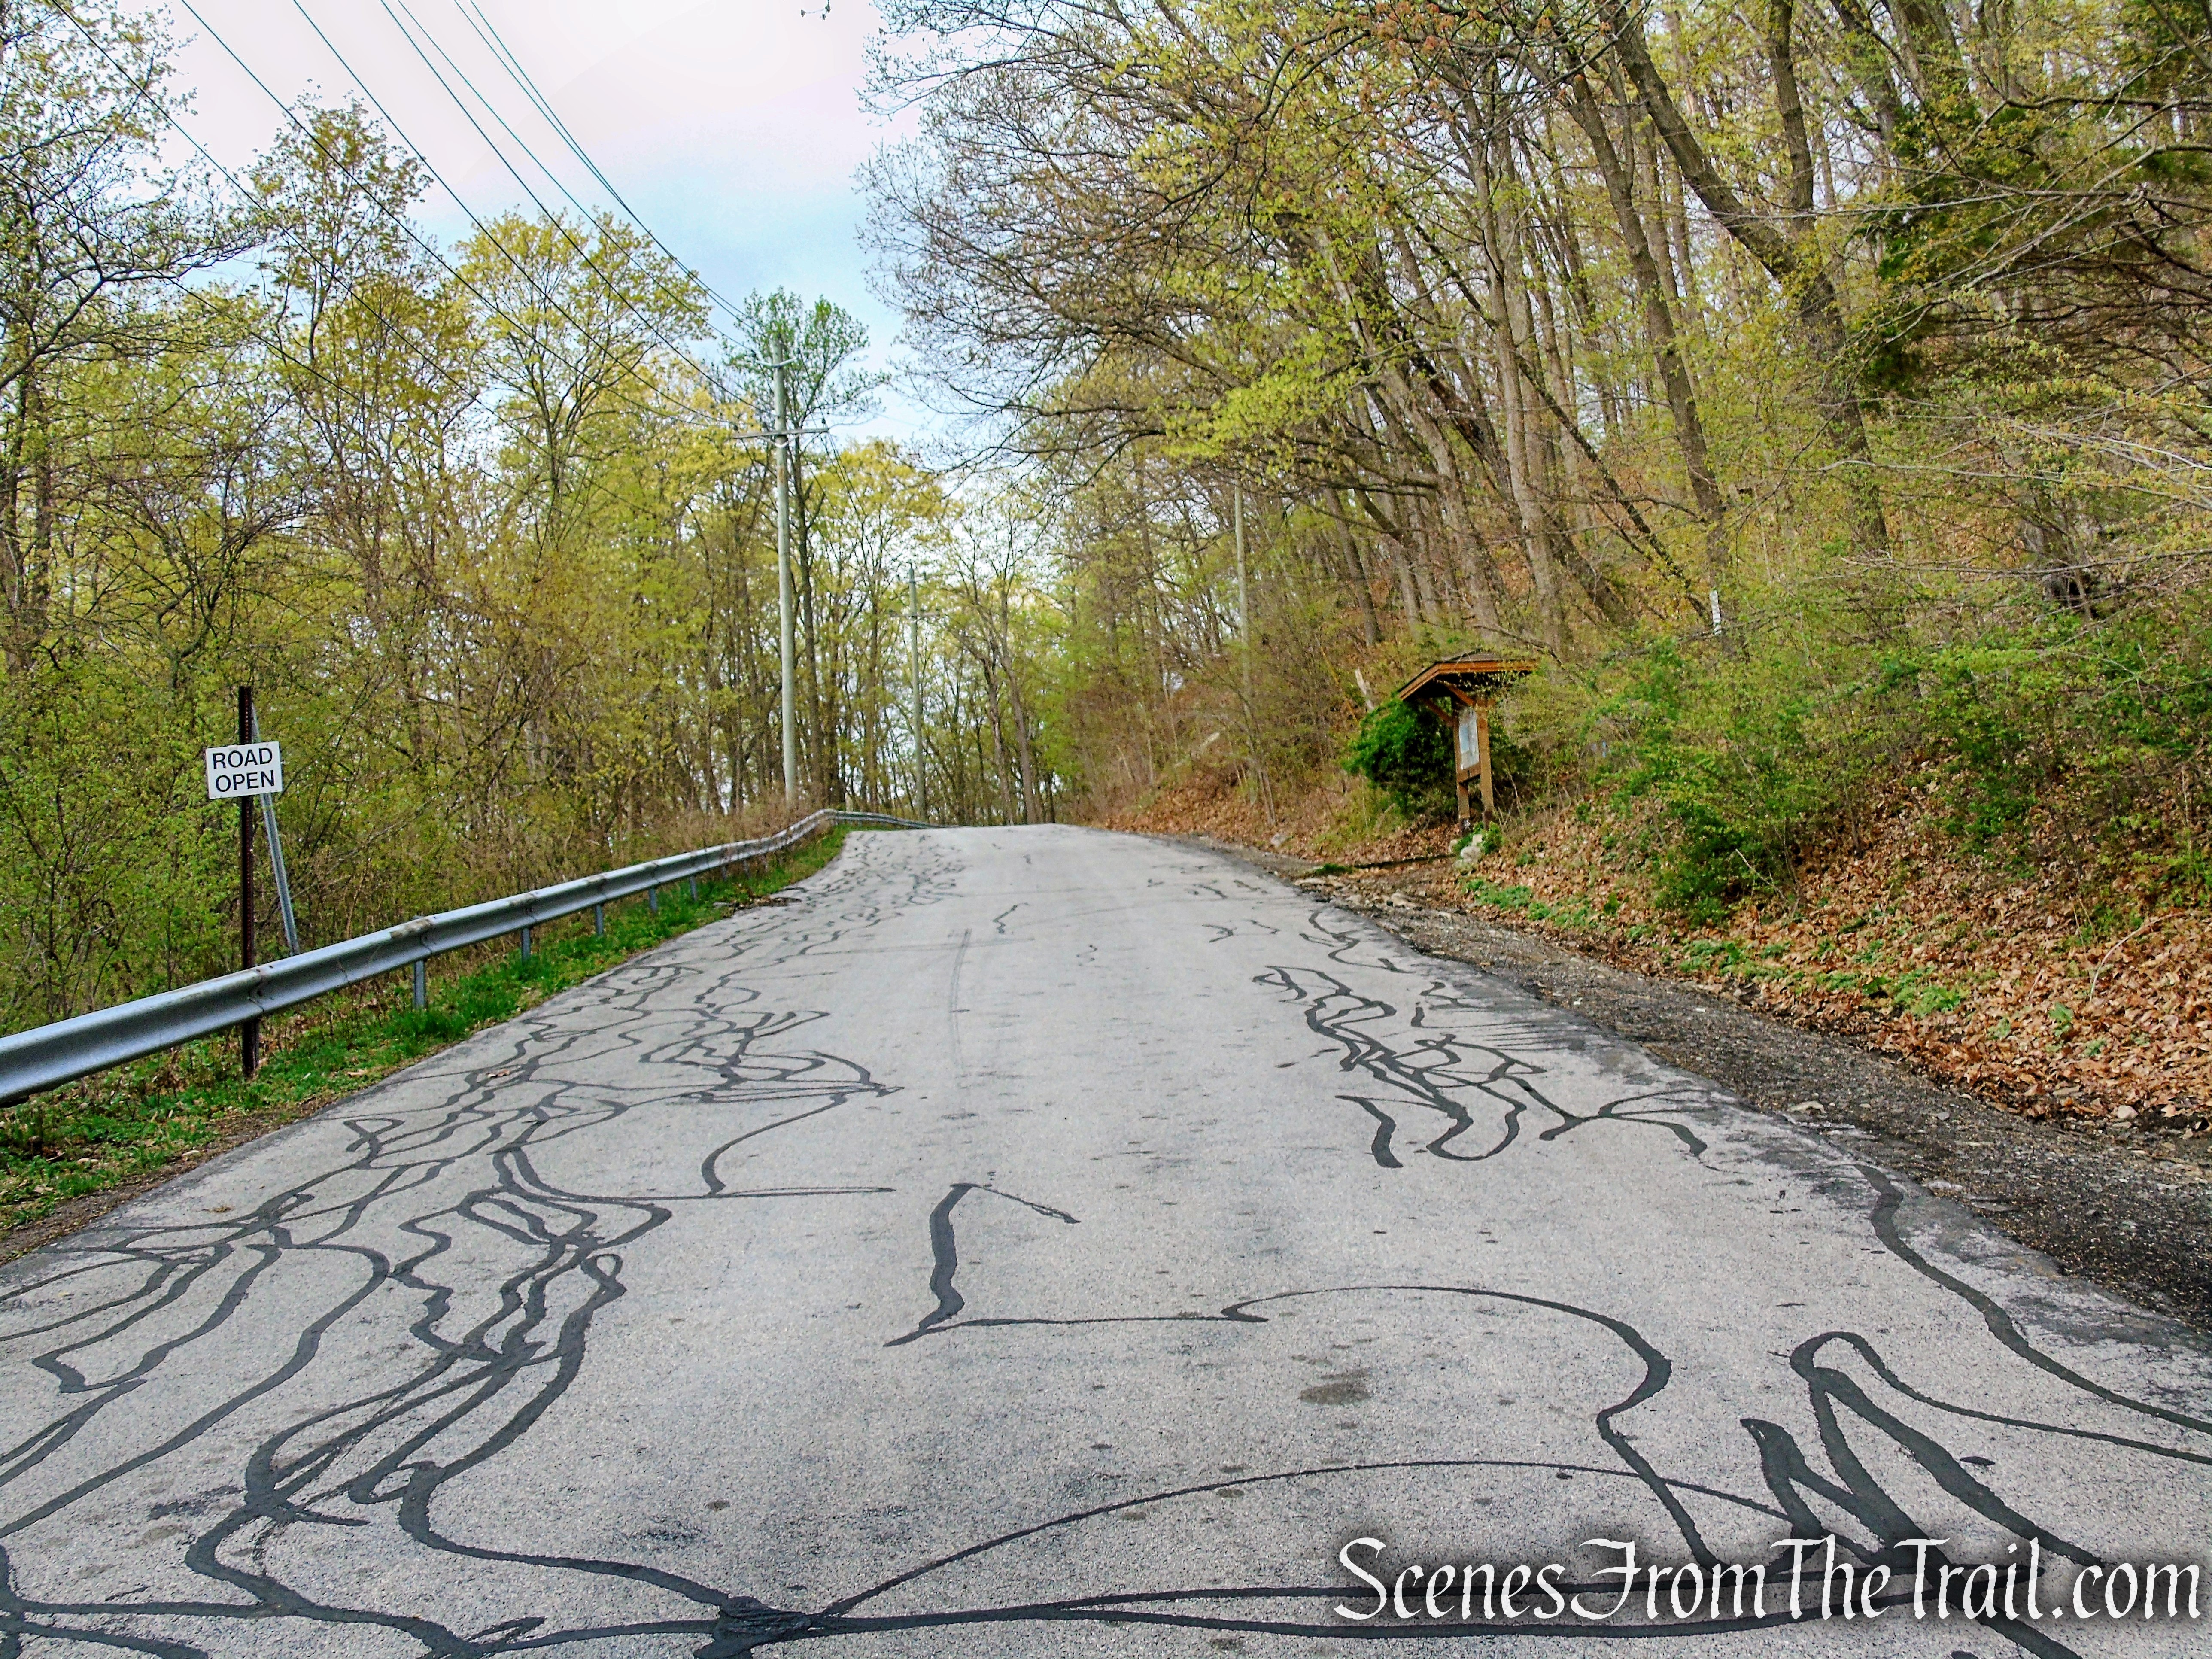
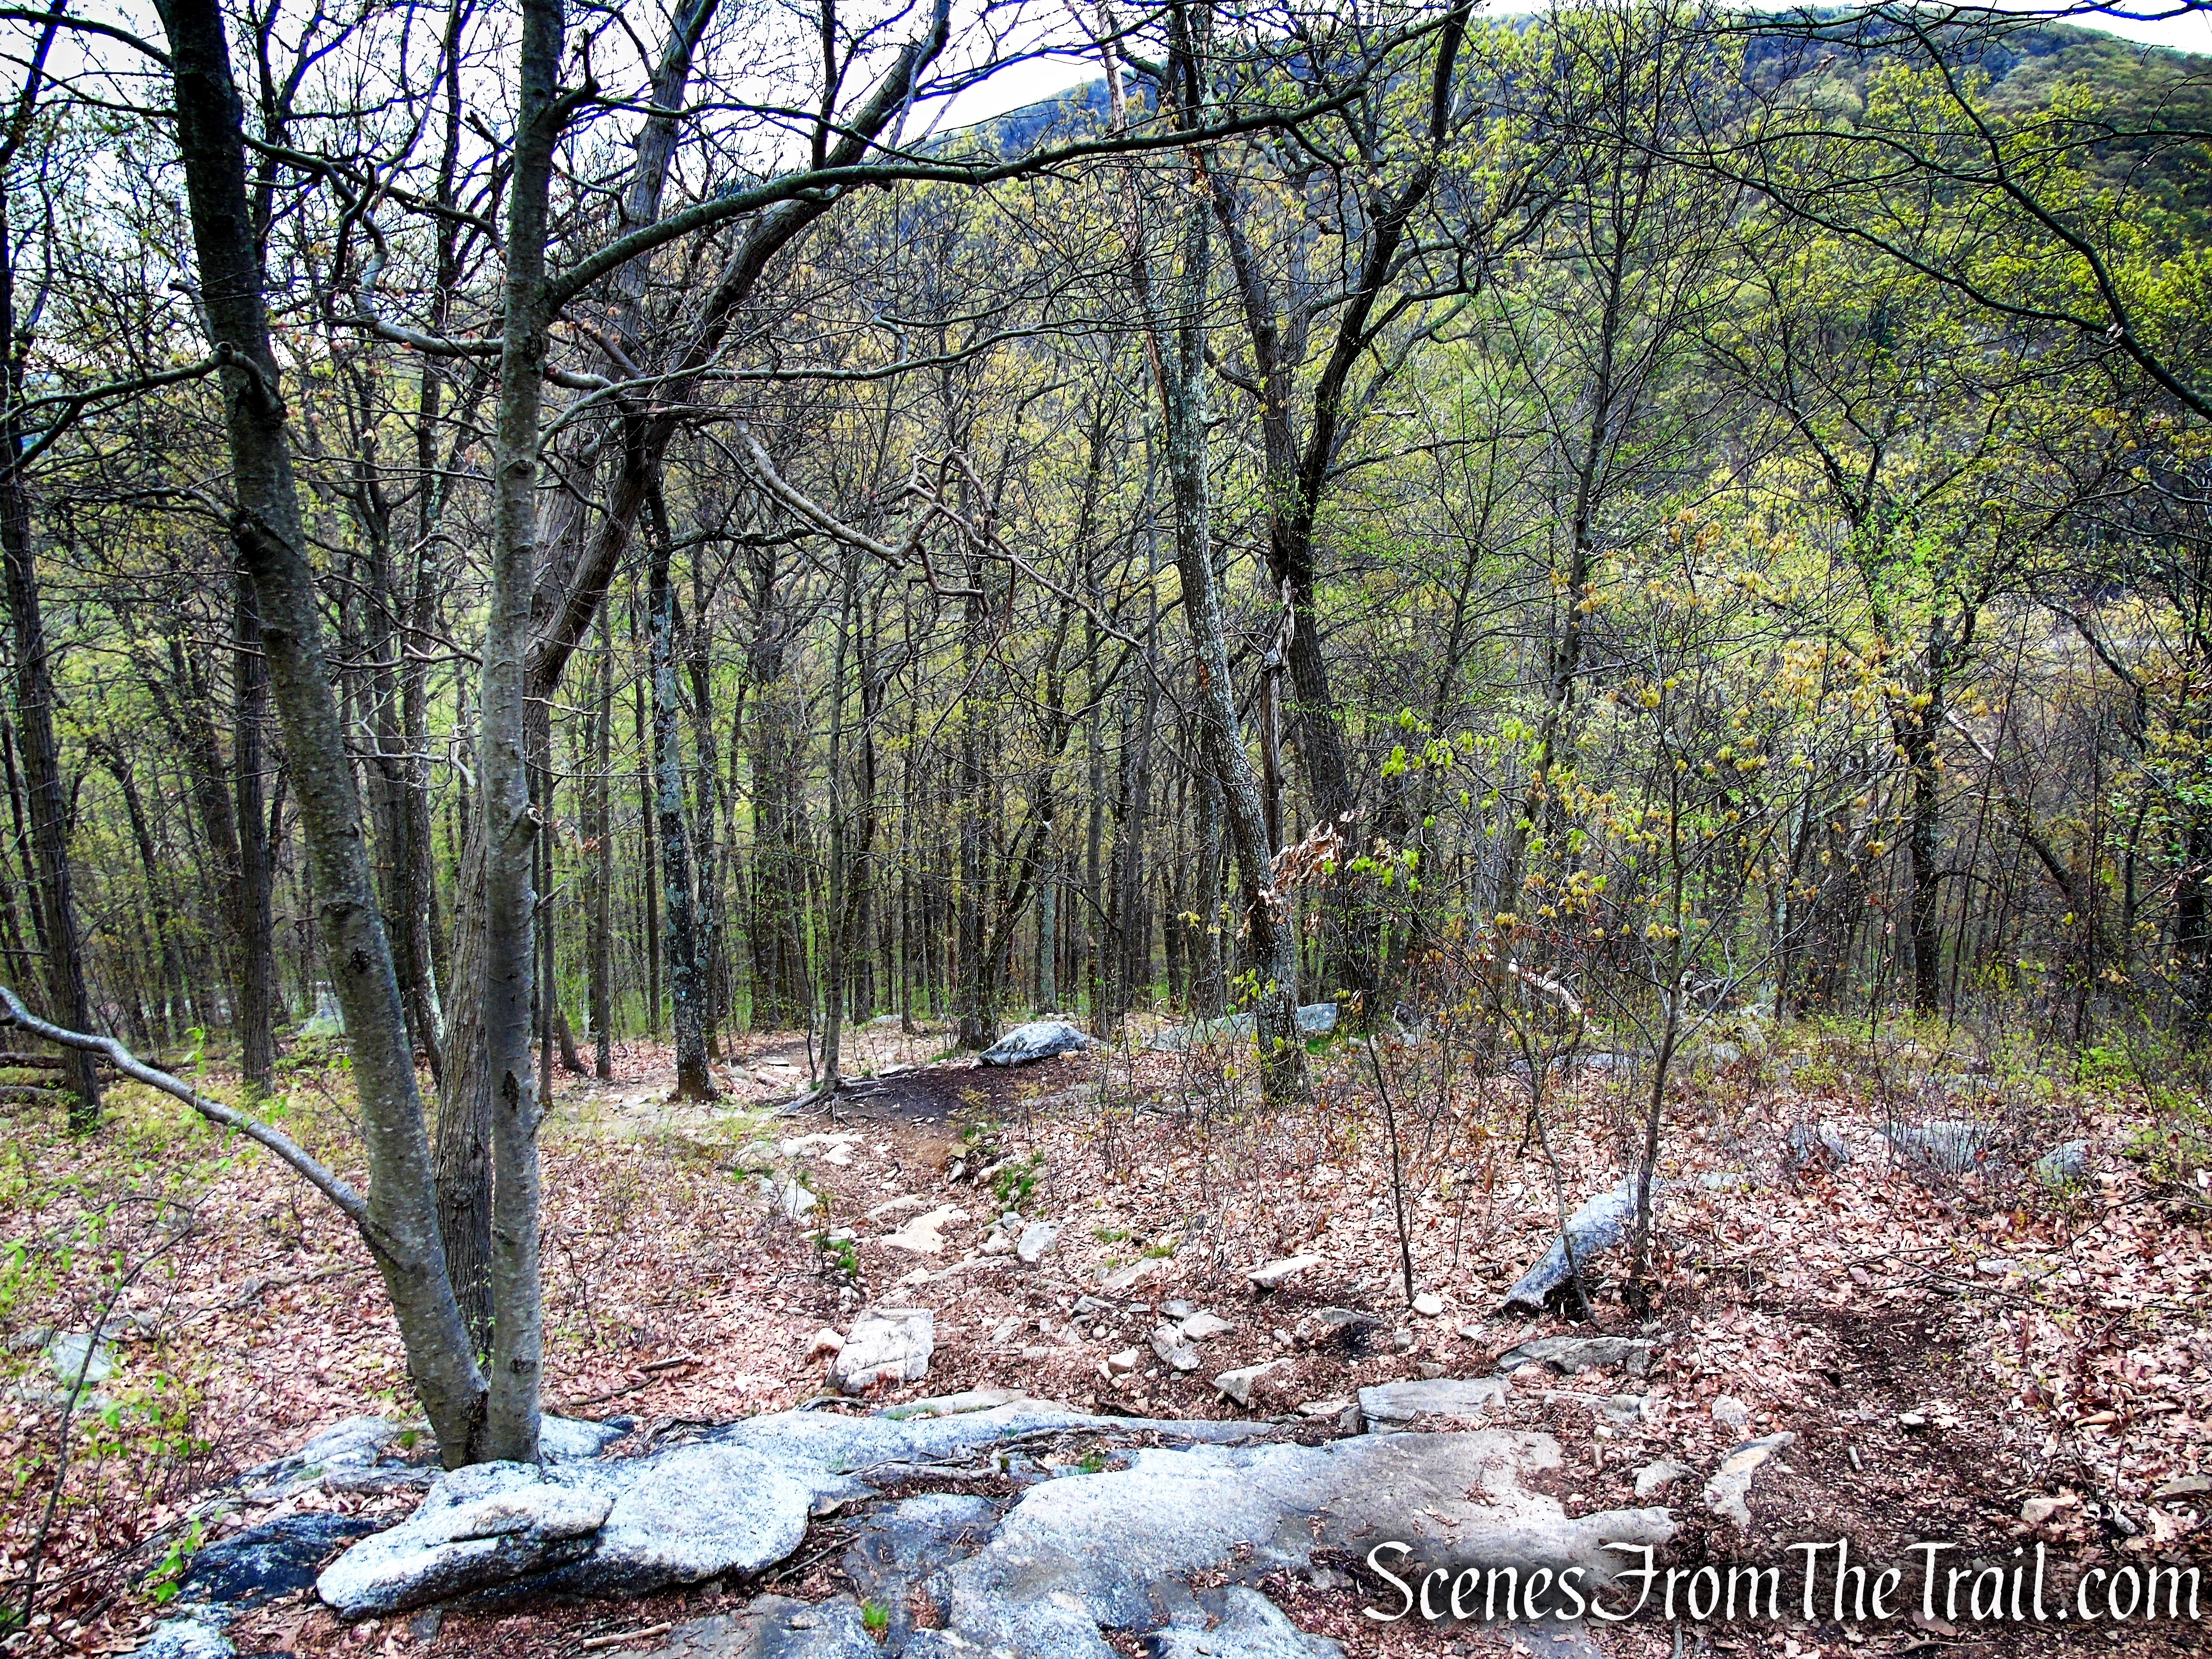
From the trailhead parking lot on Lake Road, carefully cross the street and head into the woods on a steep, rocky footpath, following the red blazes. The trail soon bears left and climbs on switchbacks to avoid an old eroded section of trail.

Lake Road Trailhead – Stissing Mountain

Lake Road Trailhead – Stissing Mountain

Lake Road Trailhead – Stissing Mountain

Lake Road Trailhead – Stissing Mountain

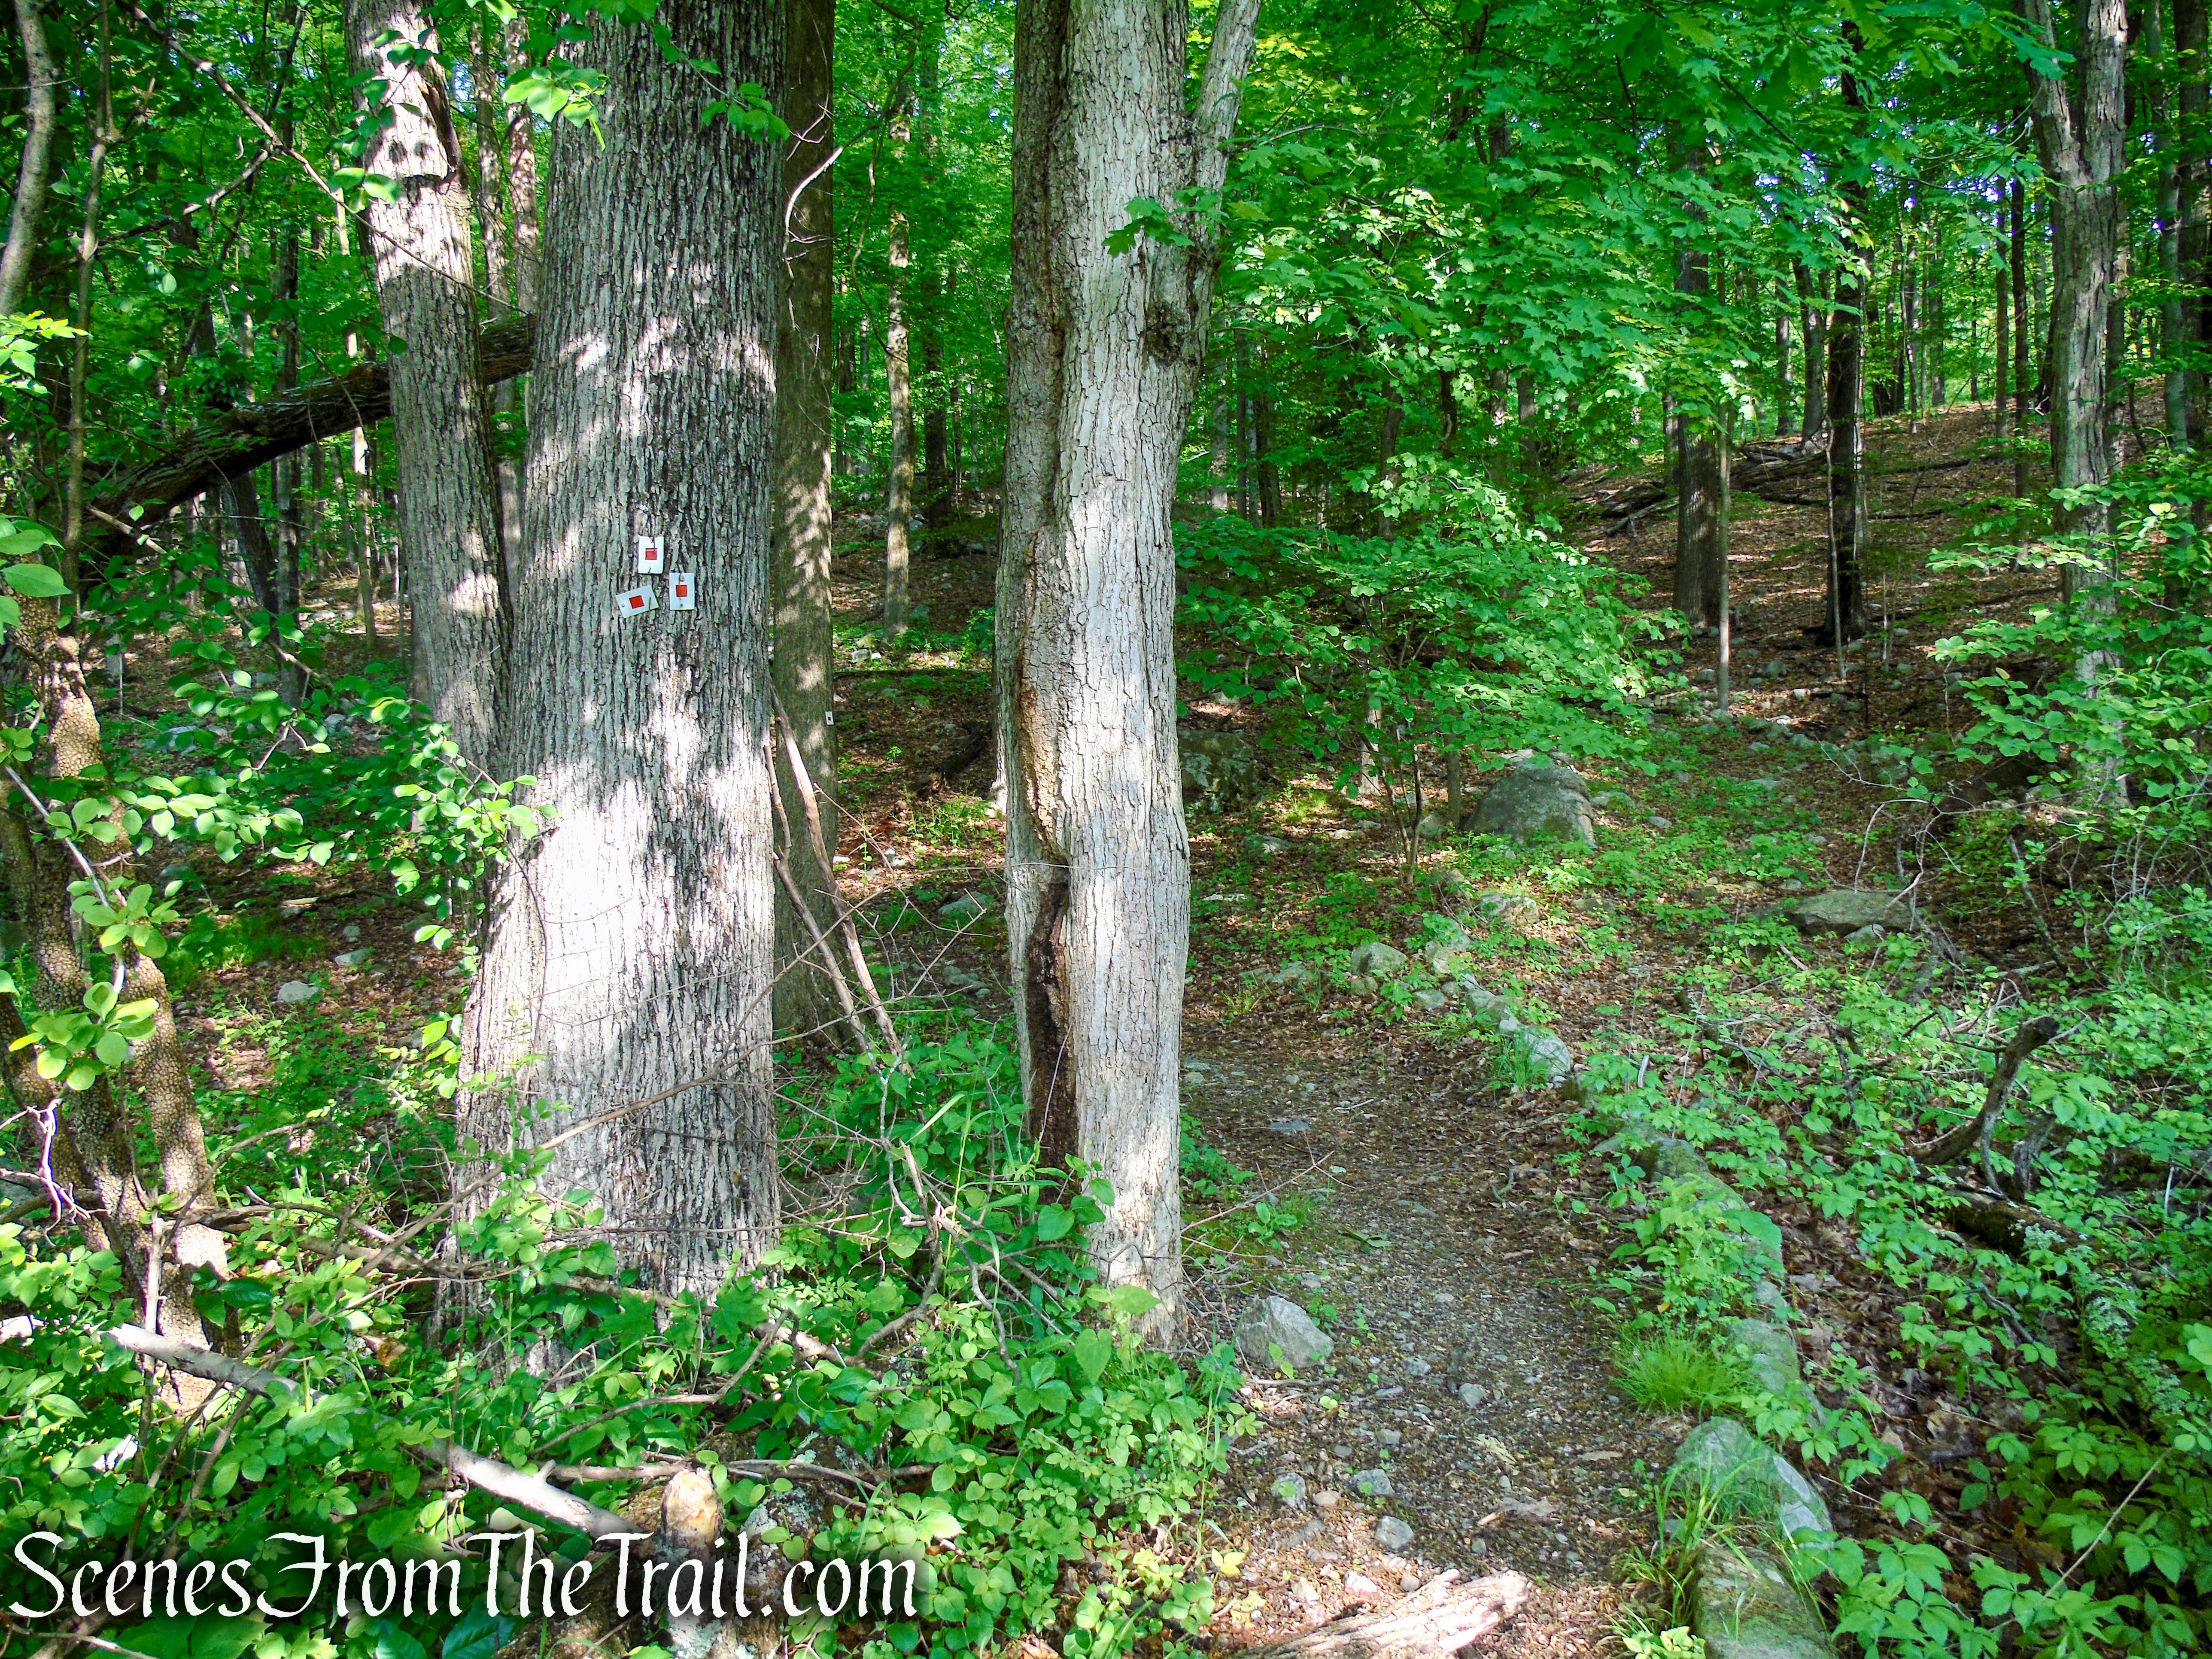
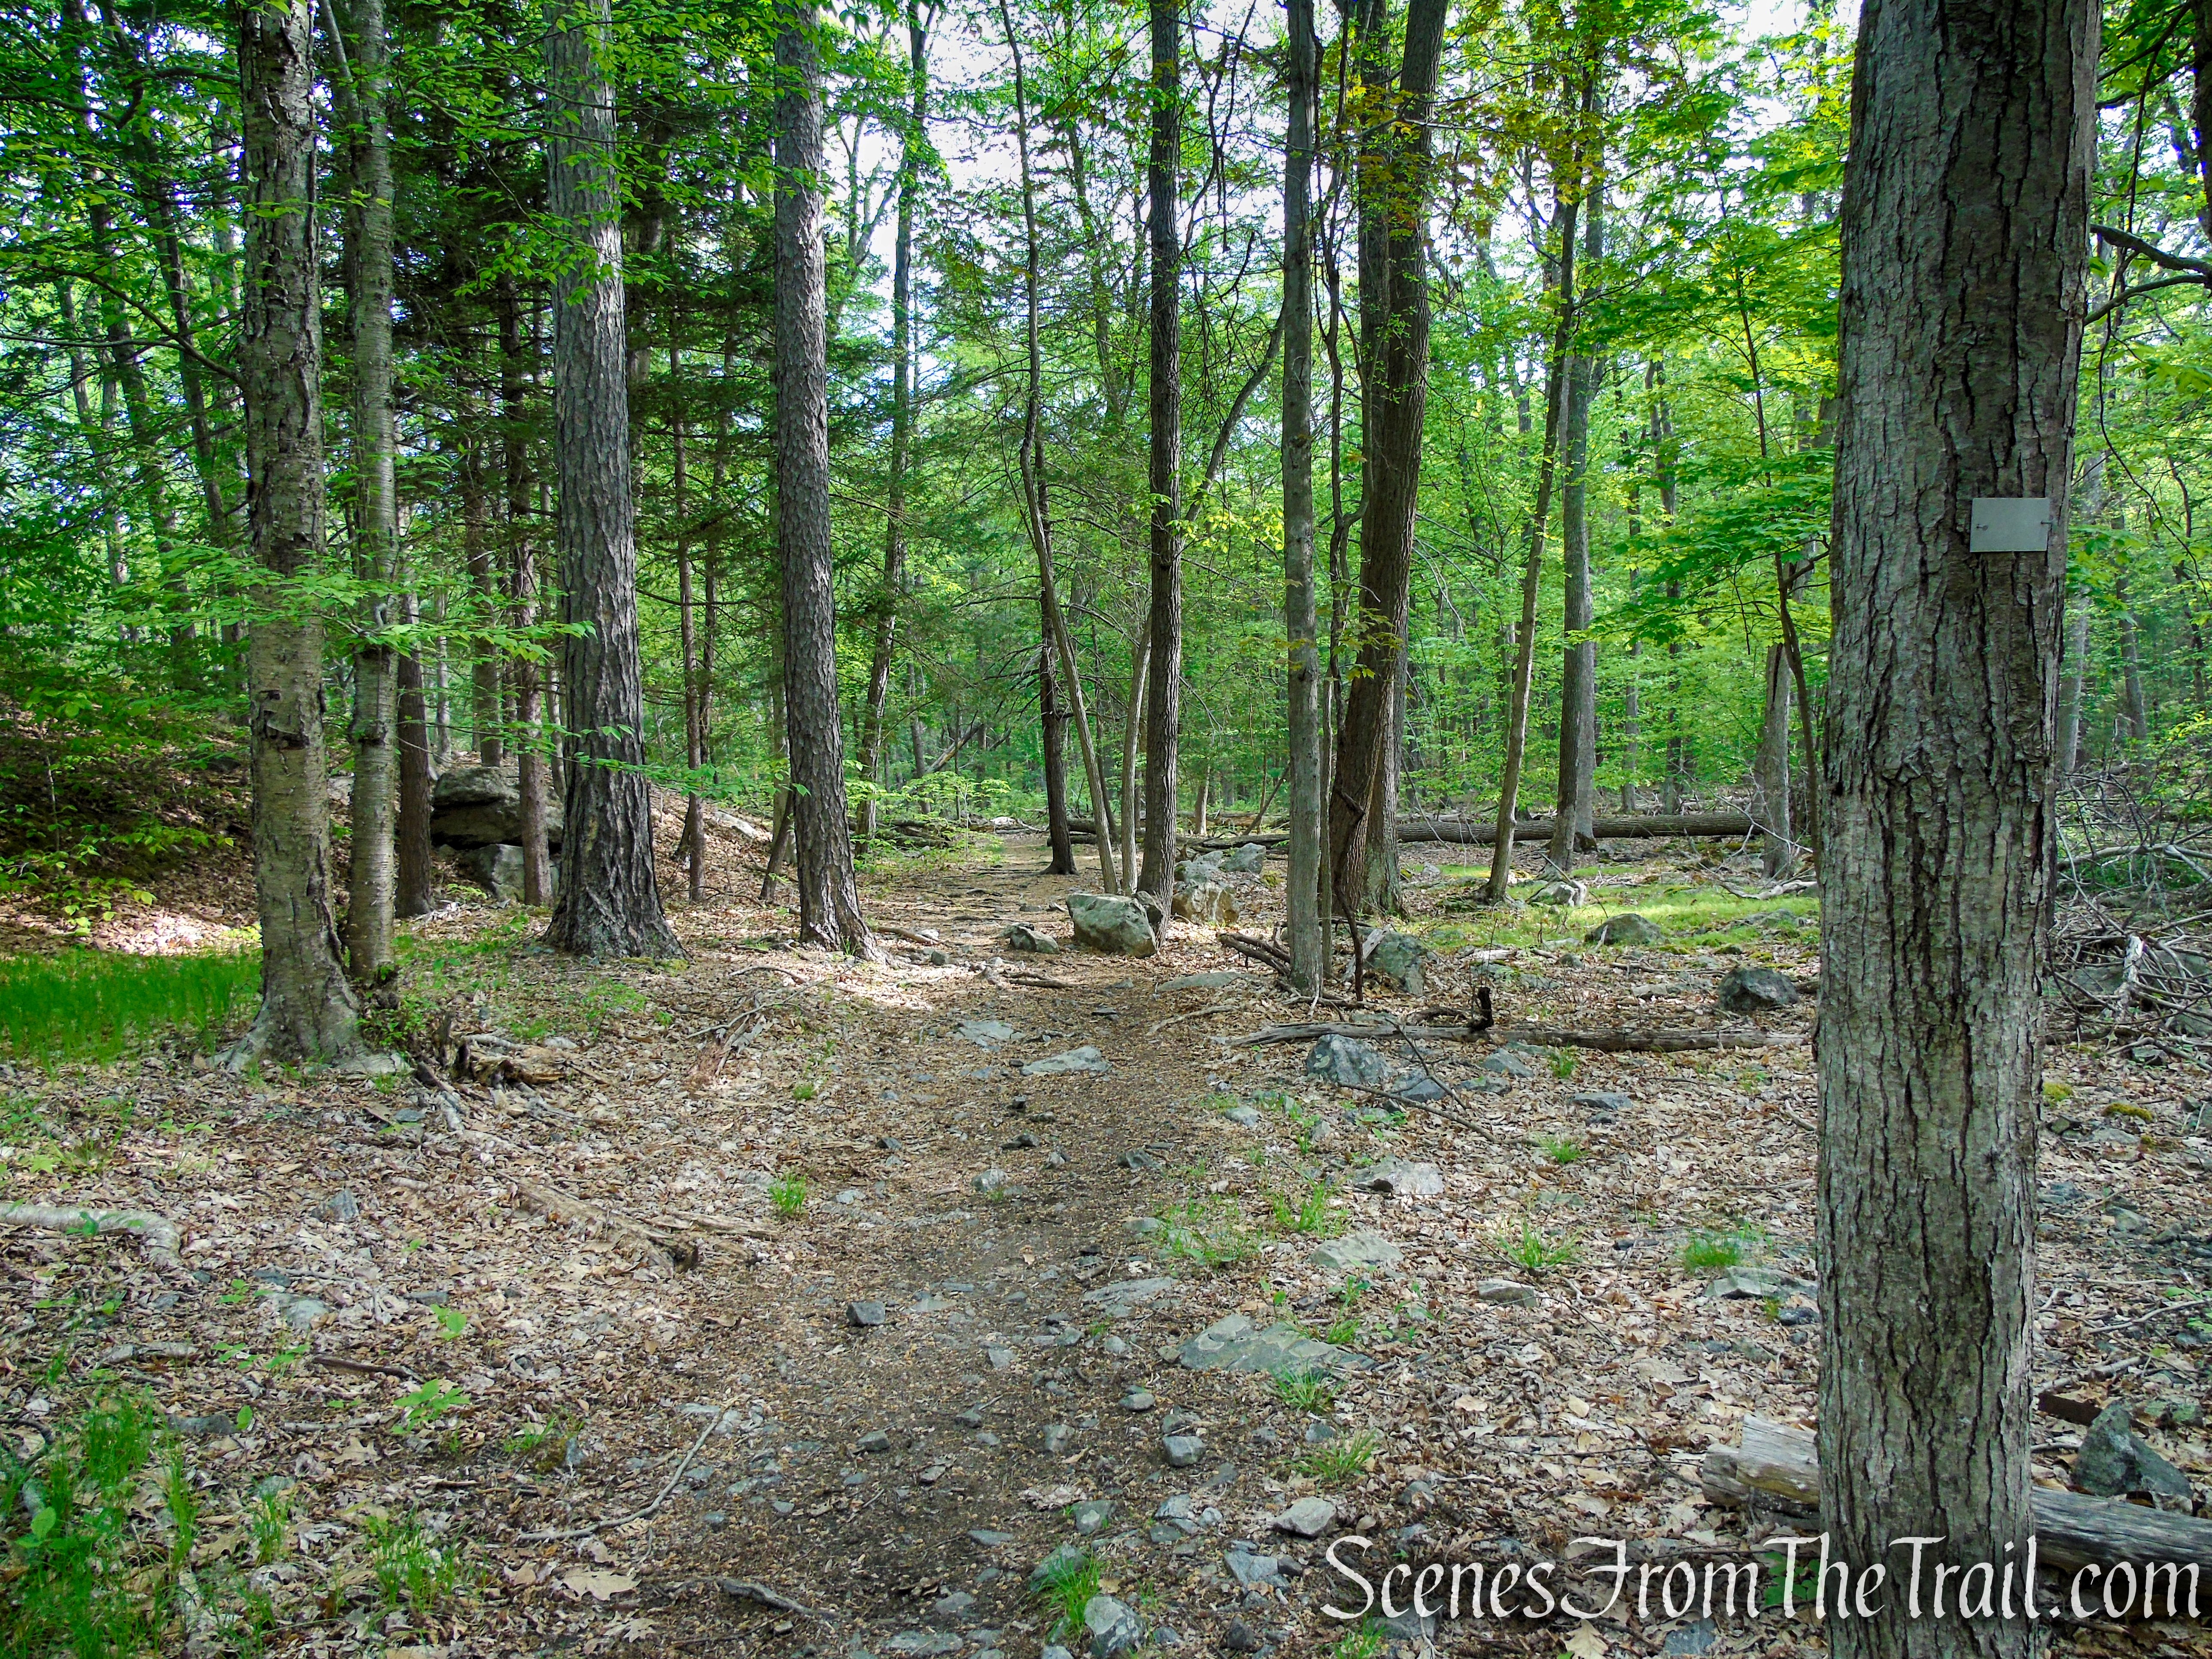
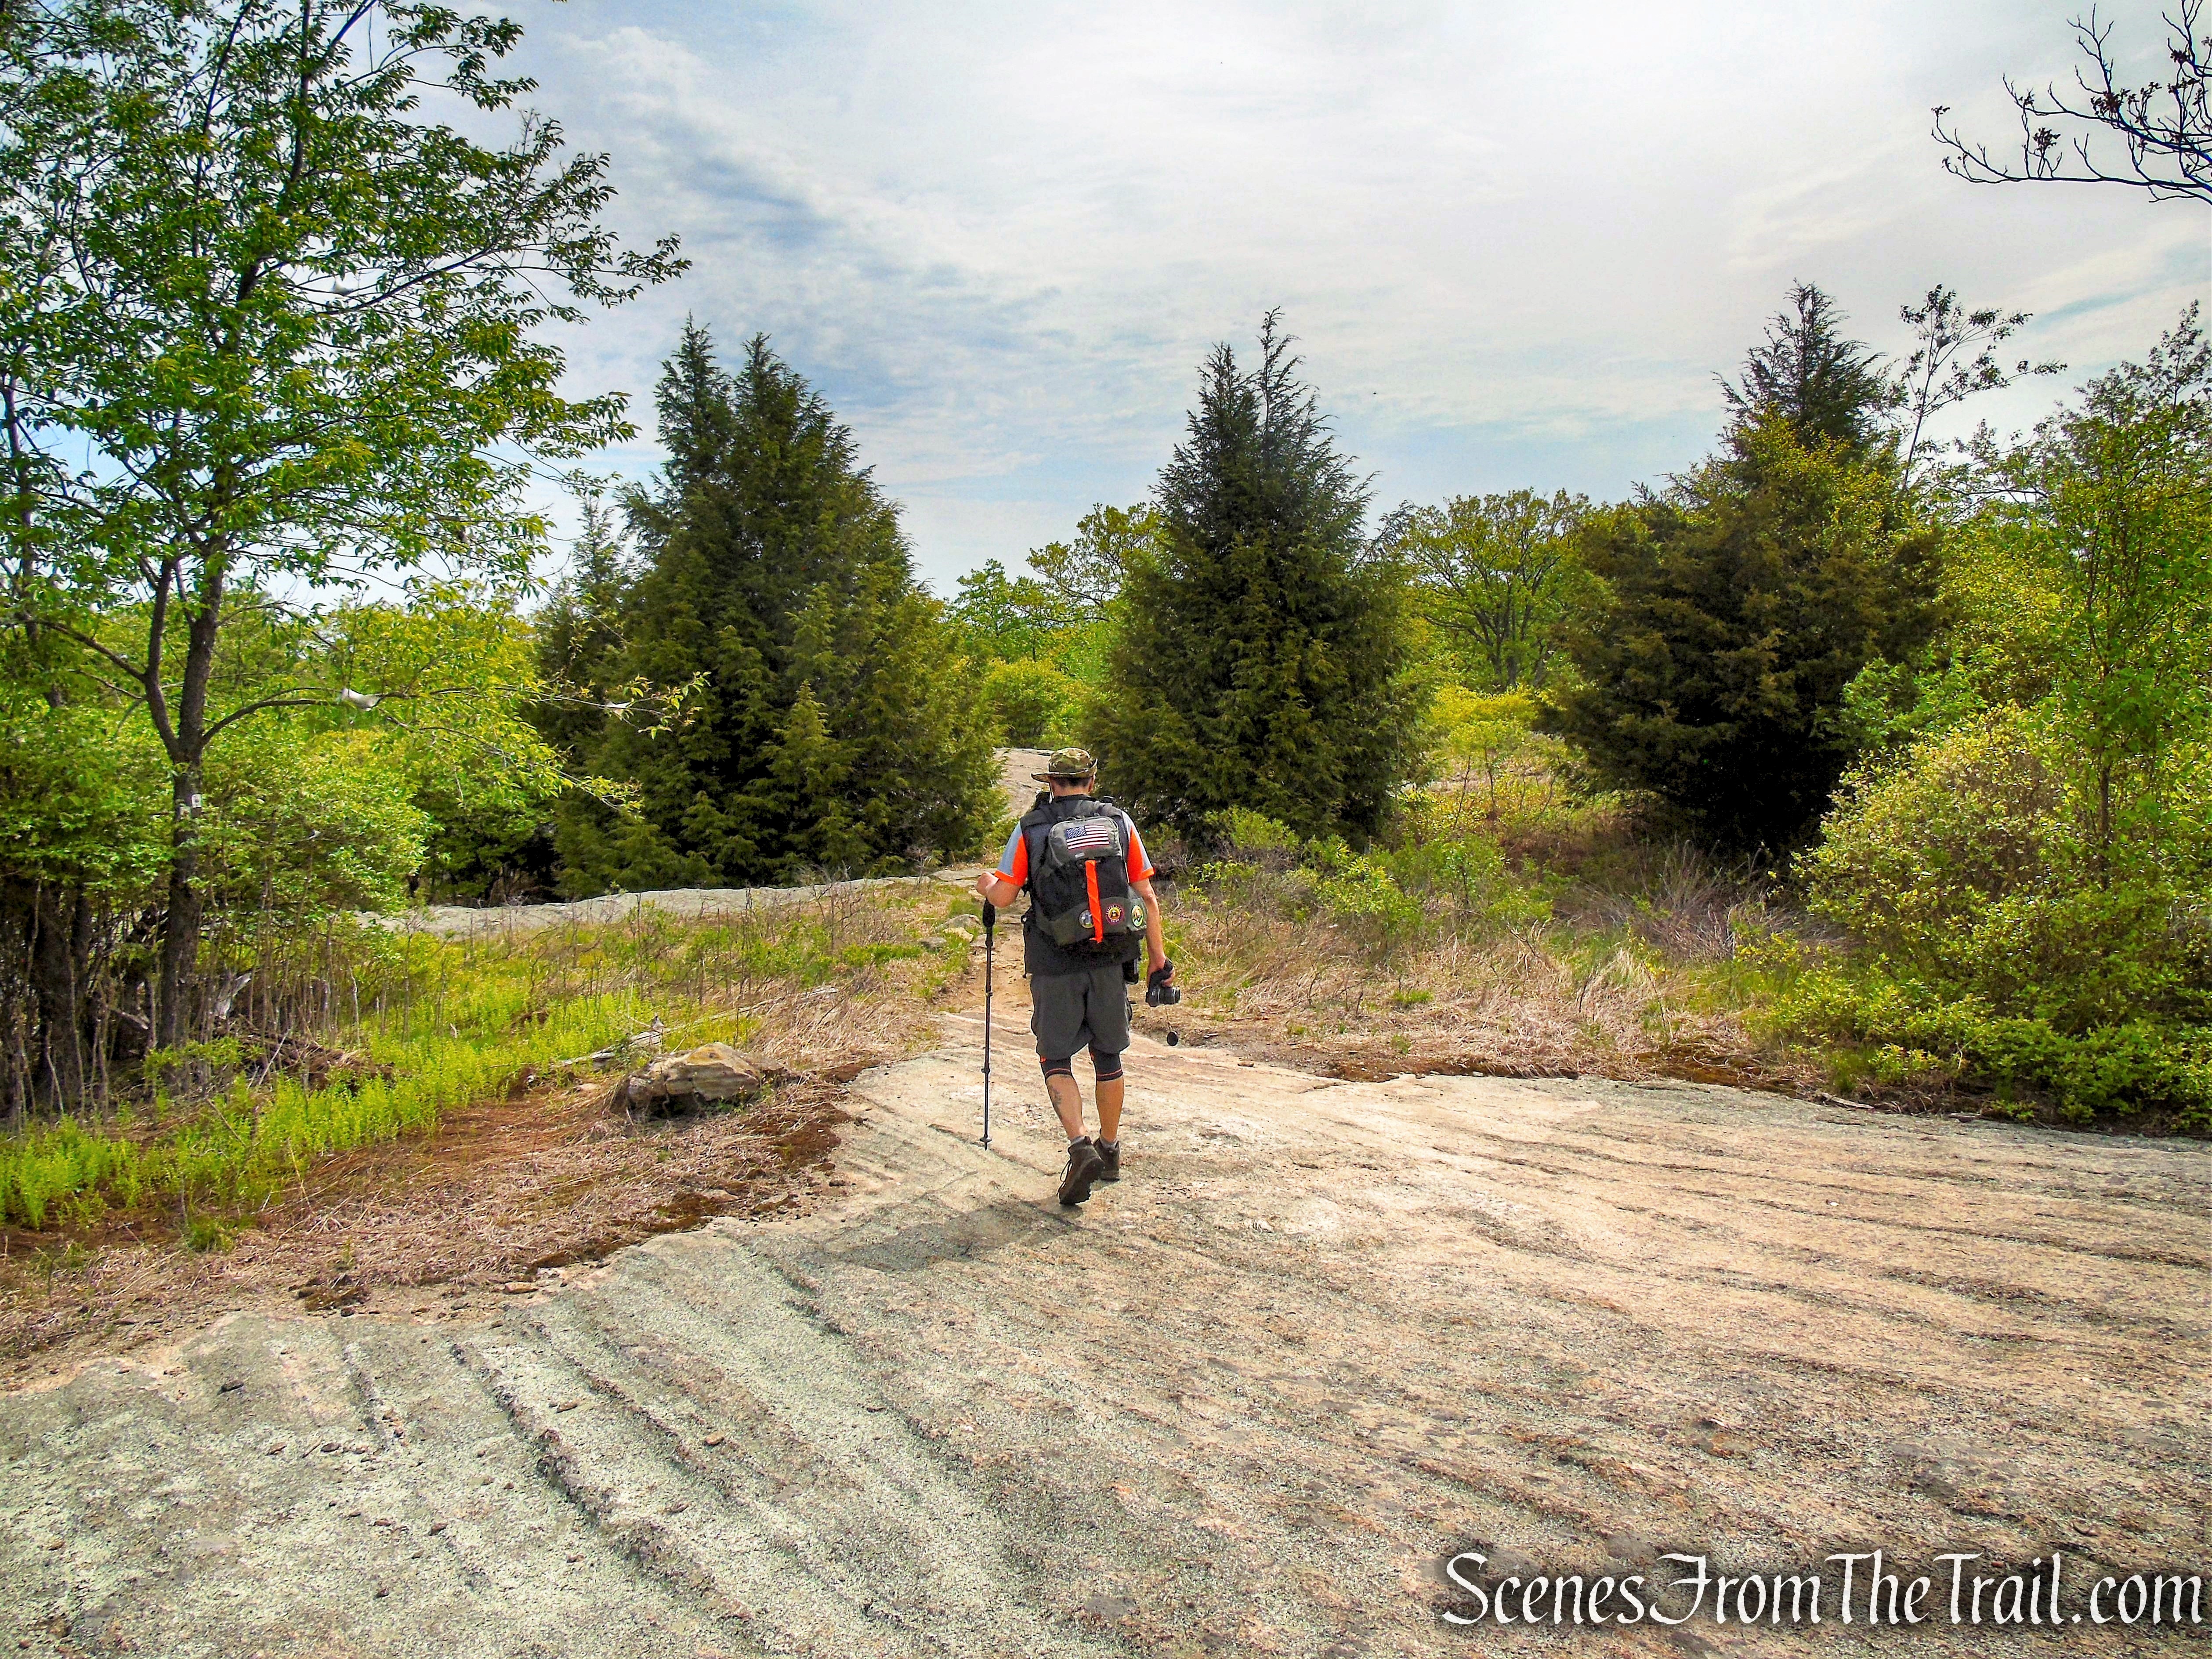
Red Trail – Stissing Mountain

Red Trail – Stissing Mountain

Red Trail – Stissing Mountain

Red Trail – Stissing Mountain

Red Trail – Stissing Mountain

Red Trail – Stissing Mountain
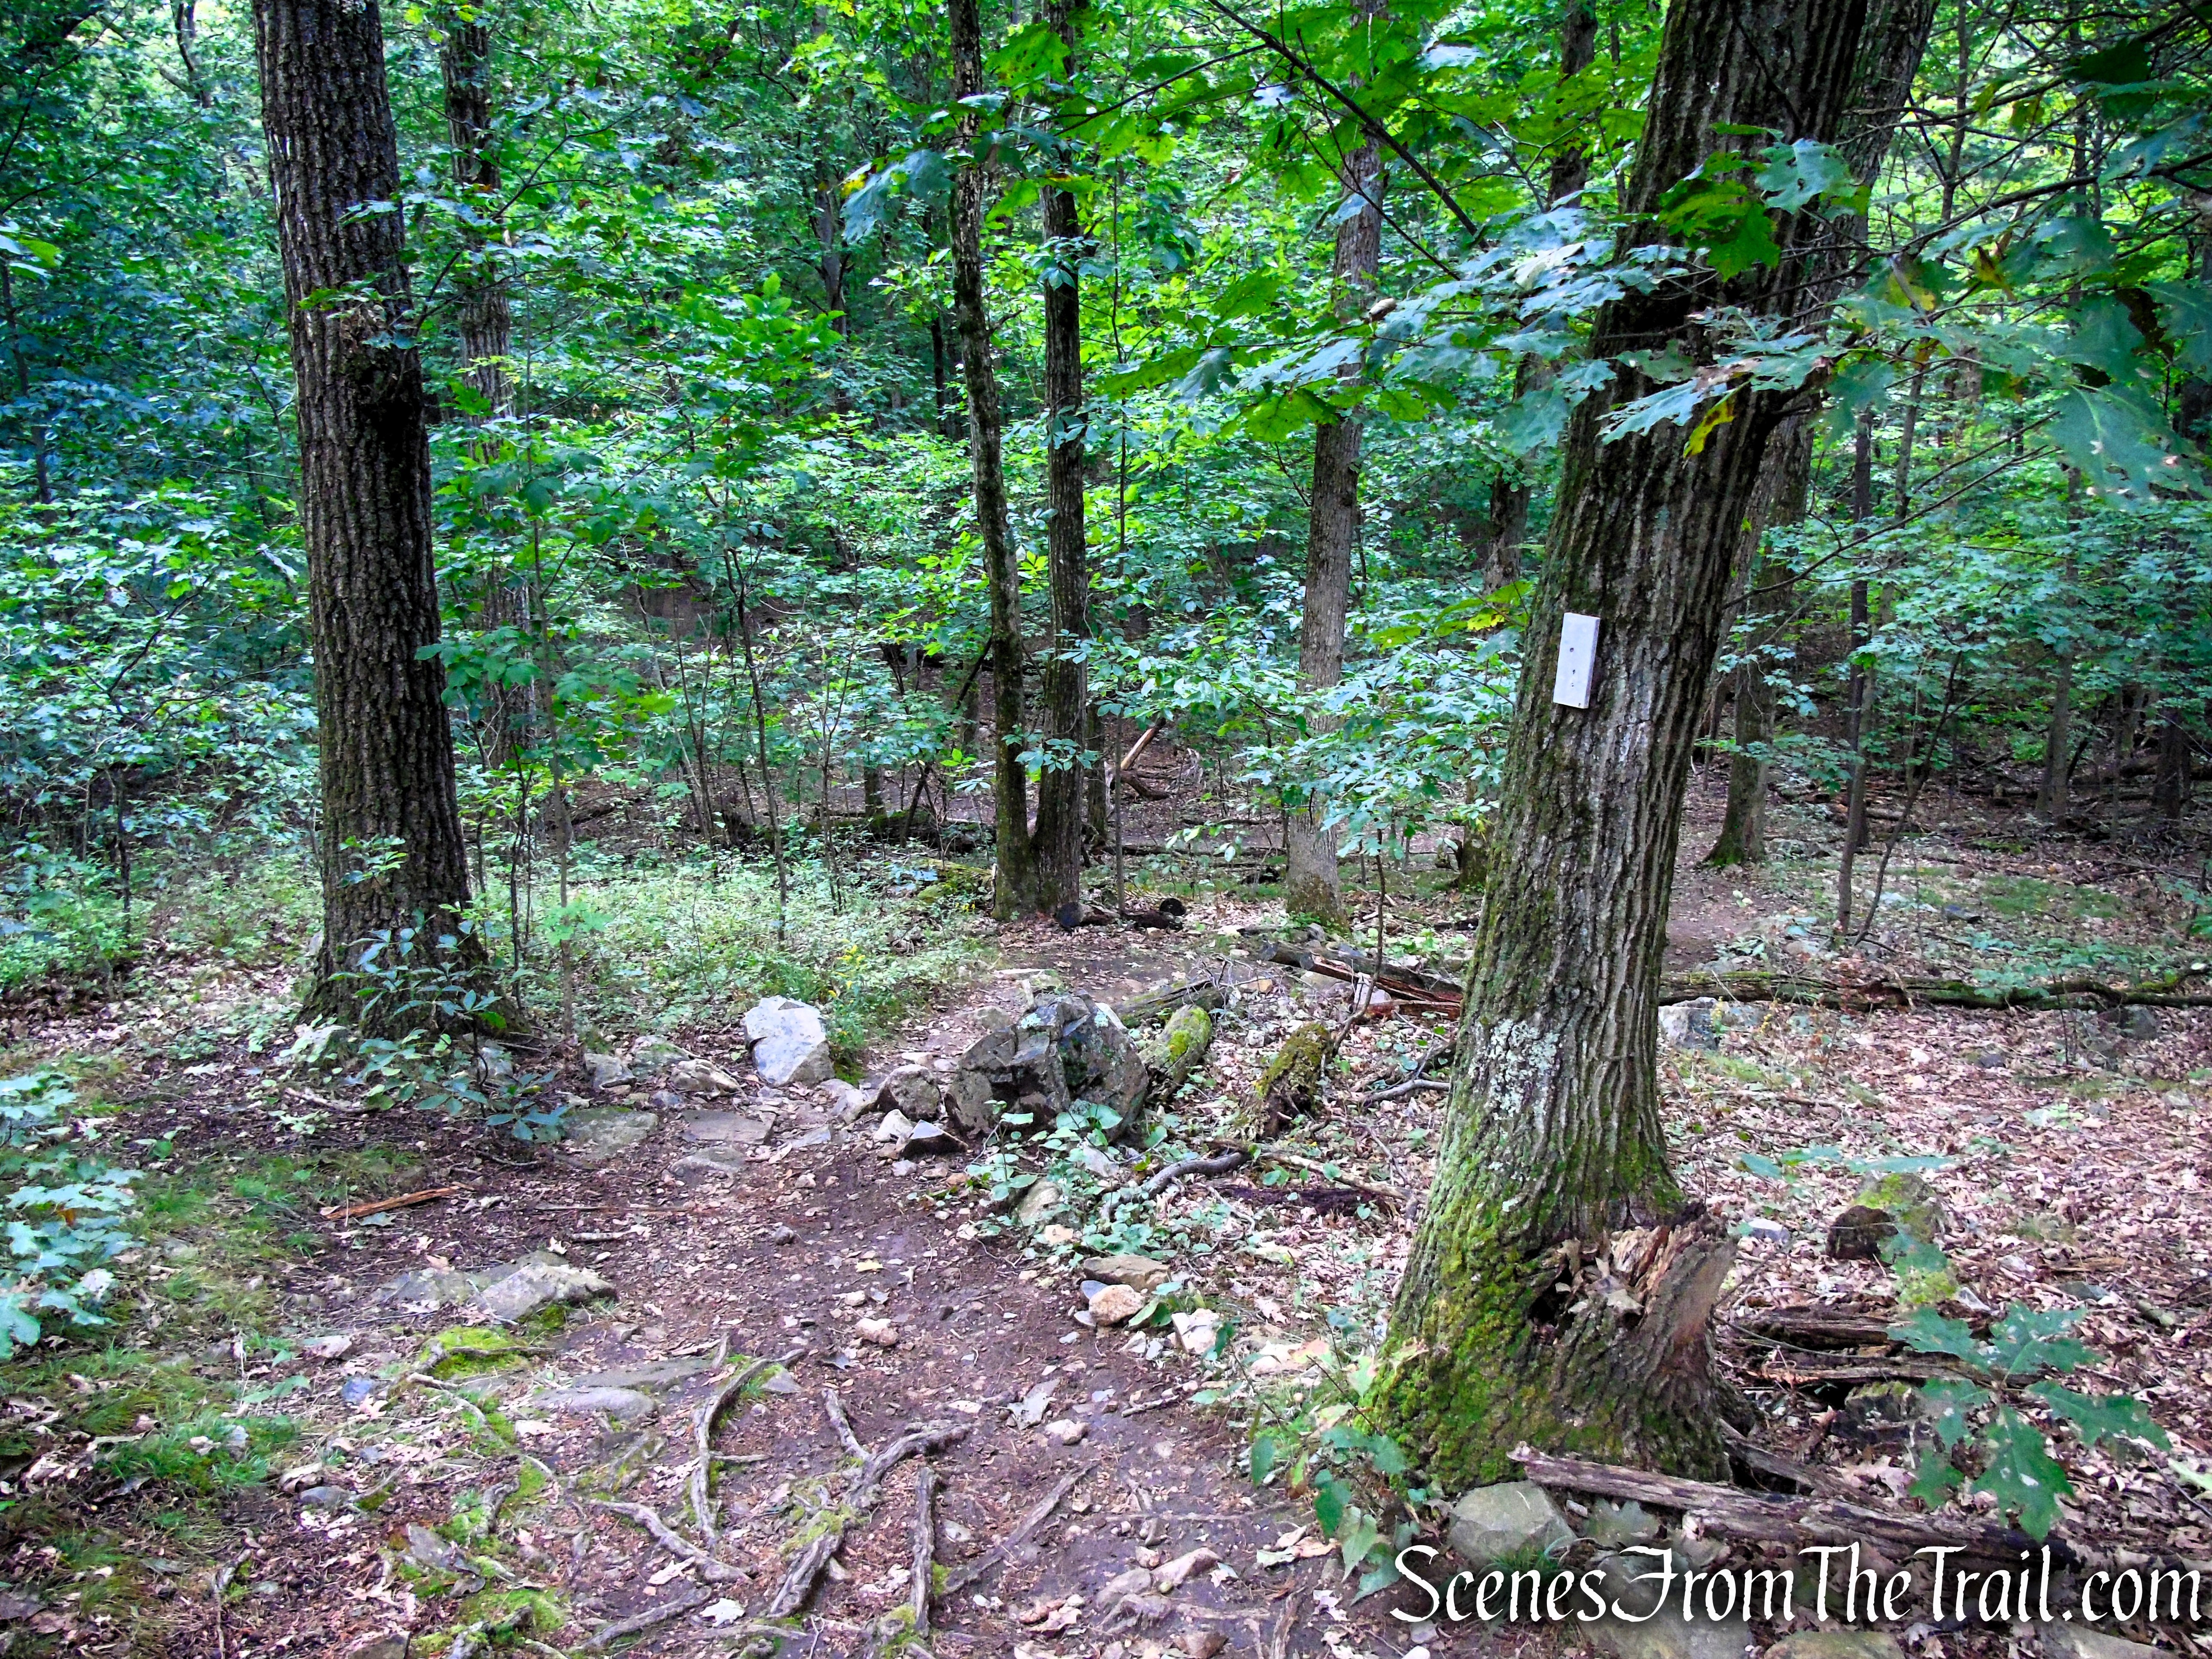
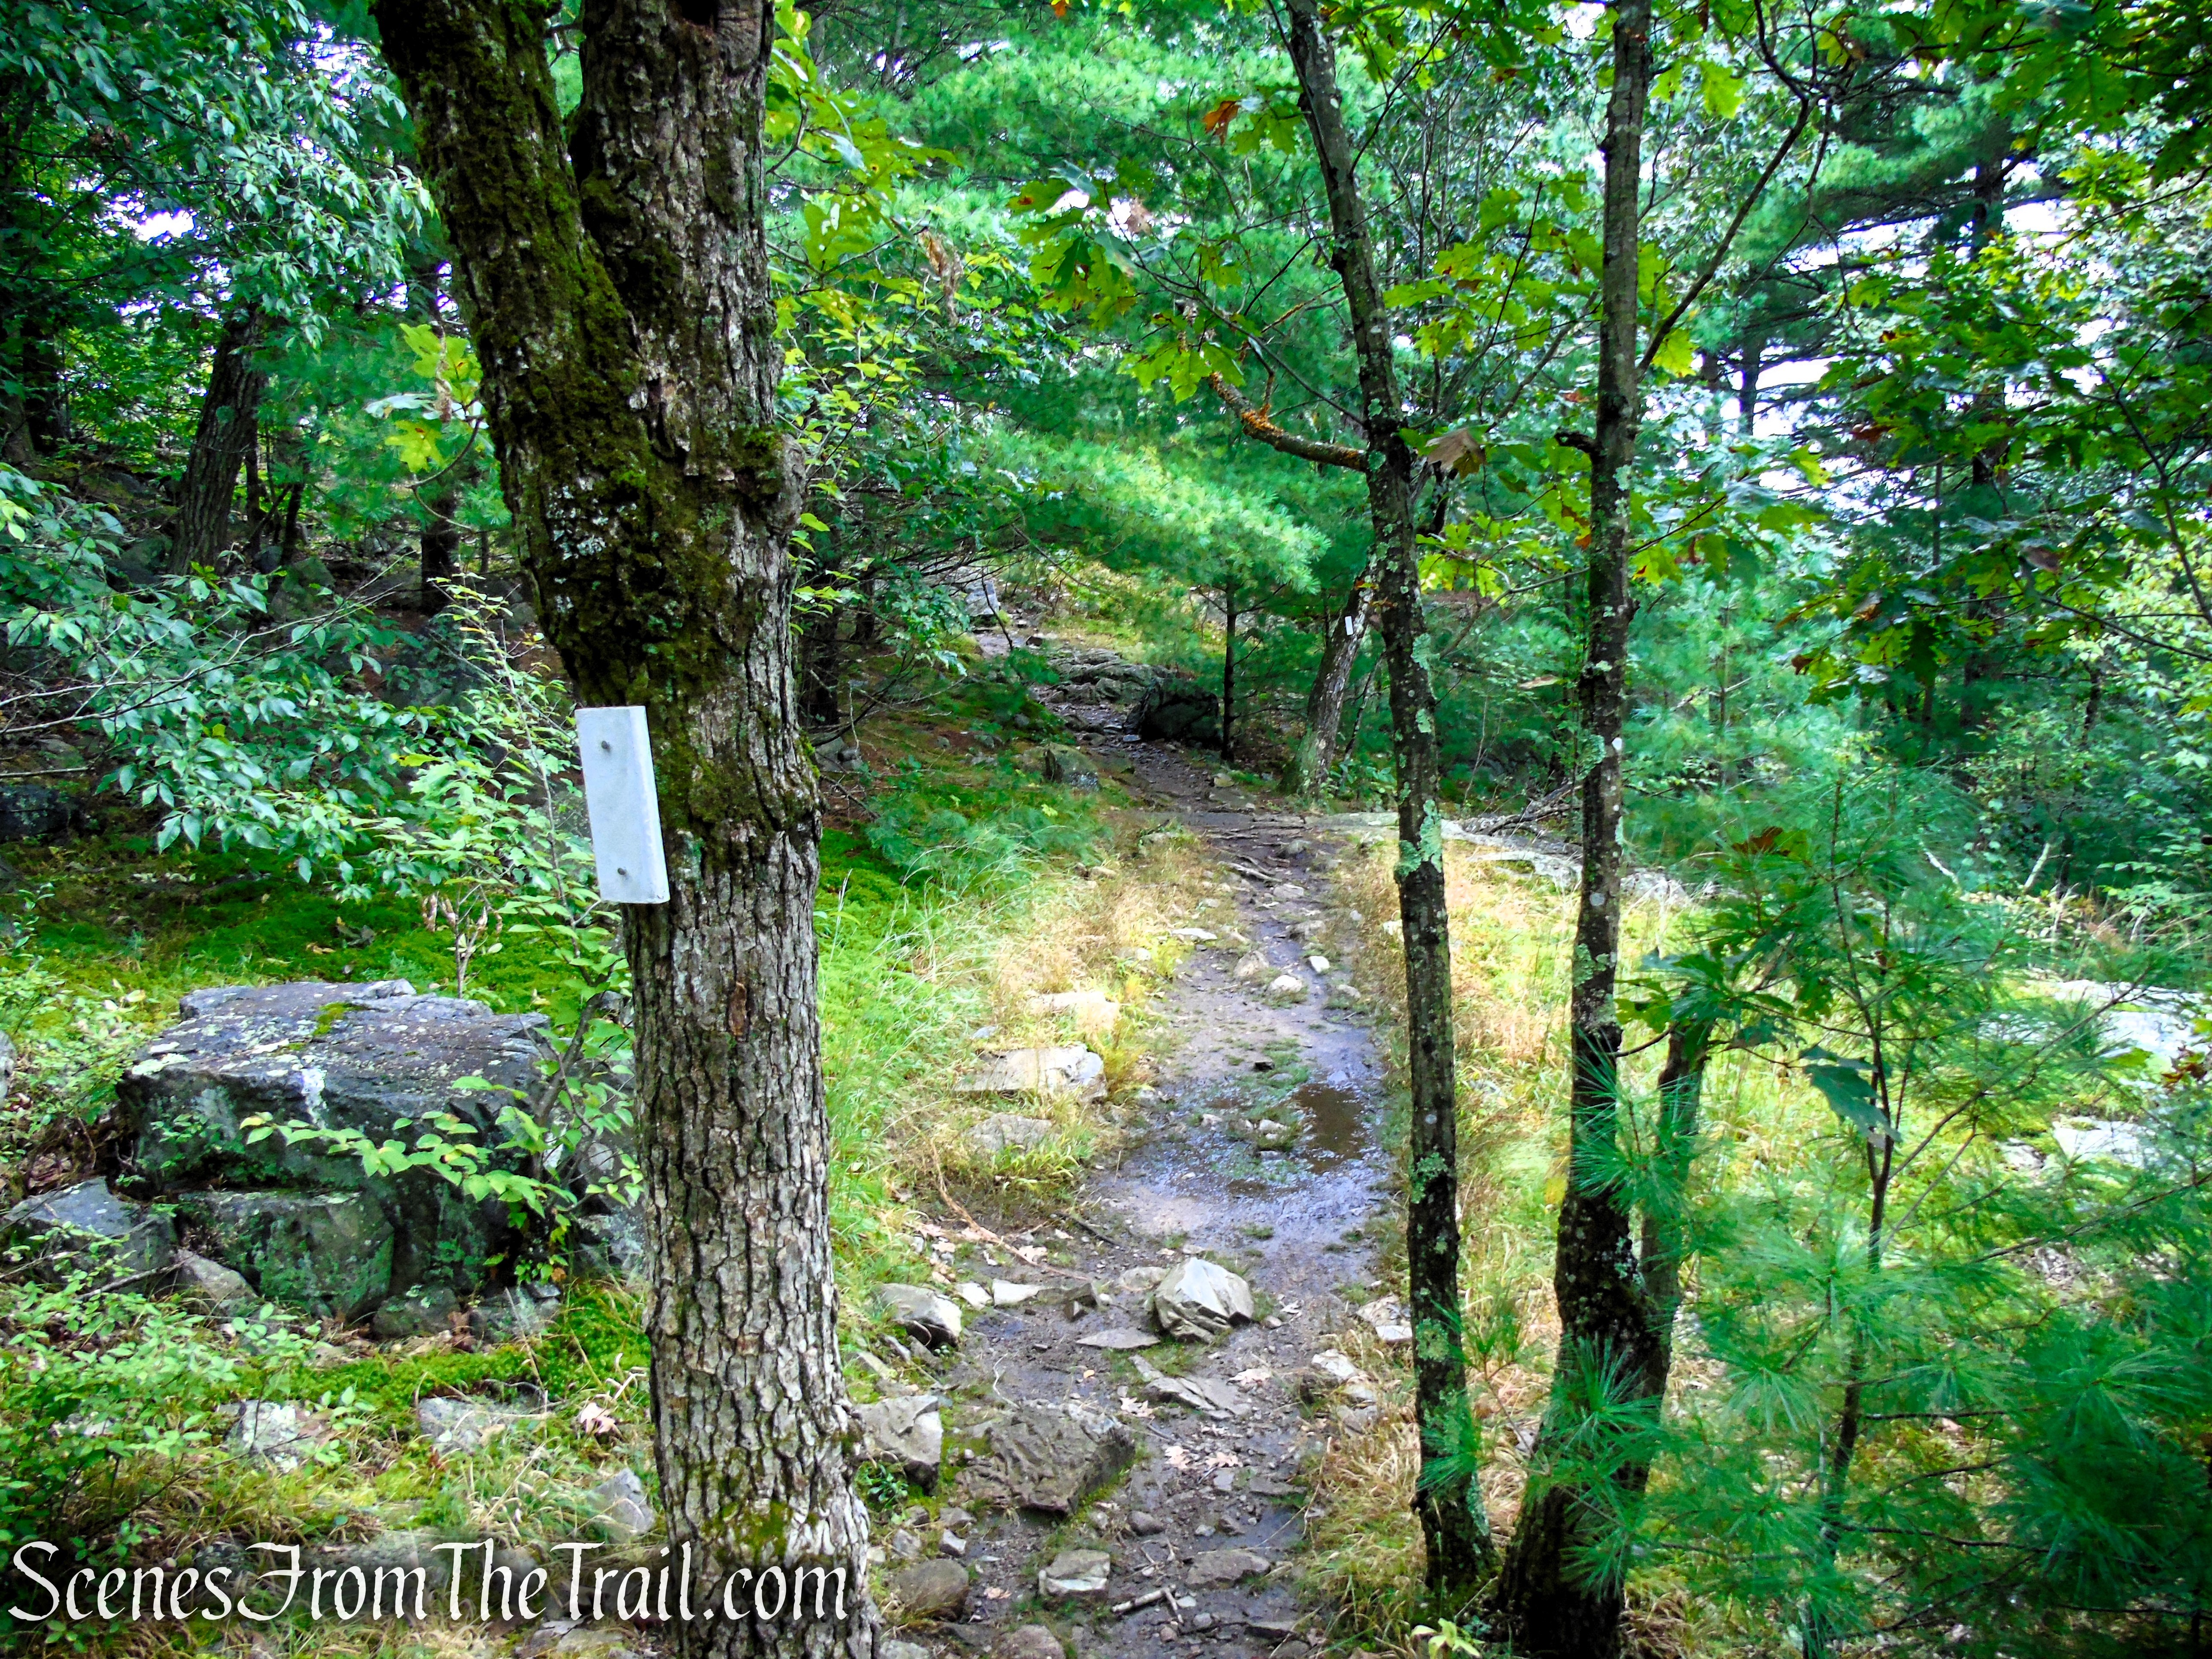
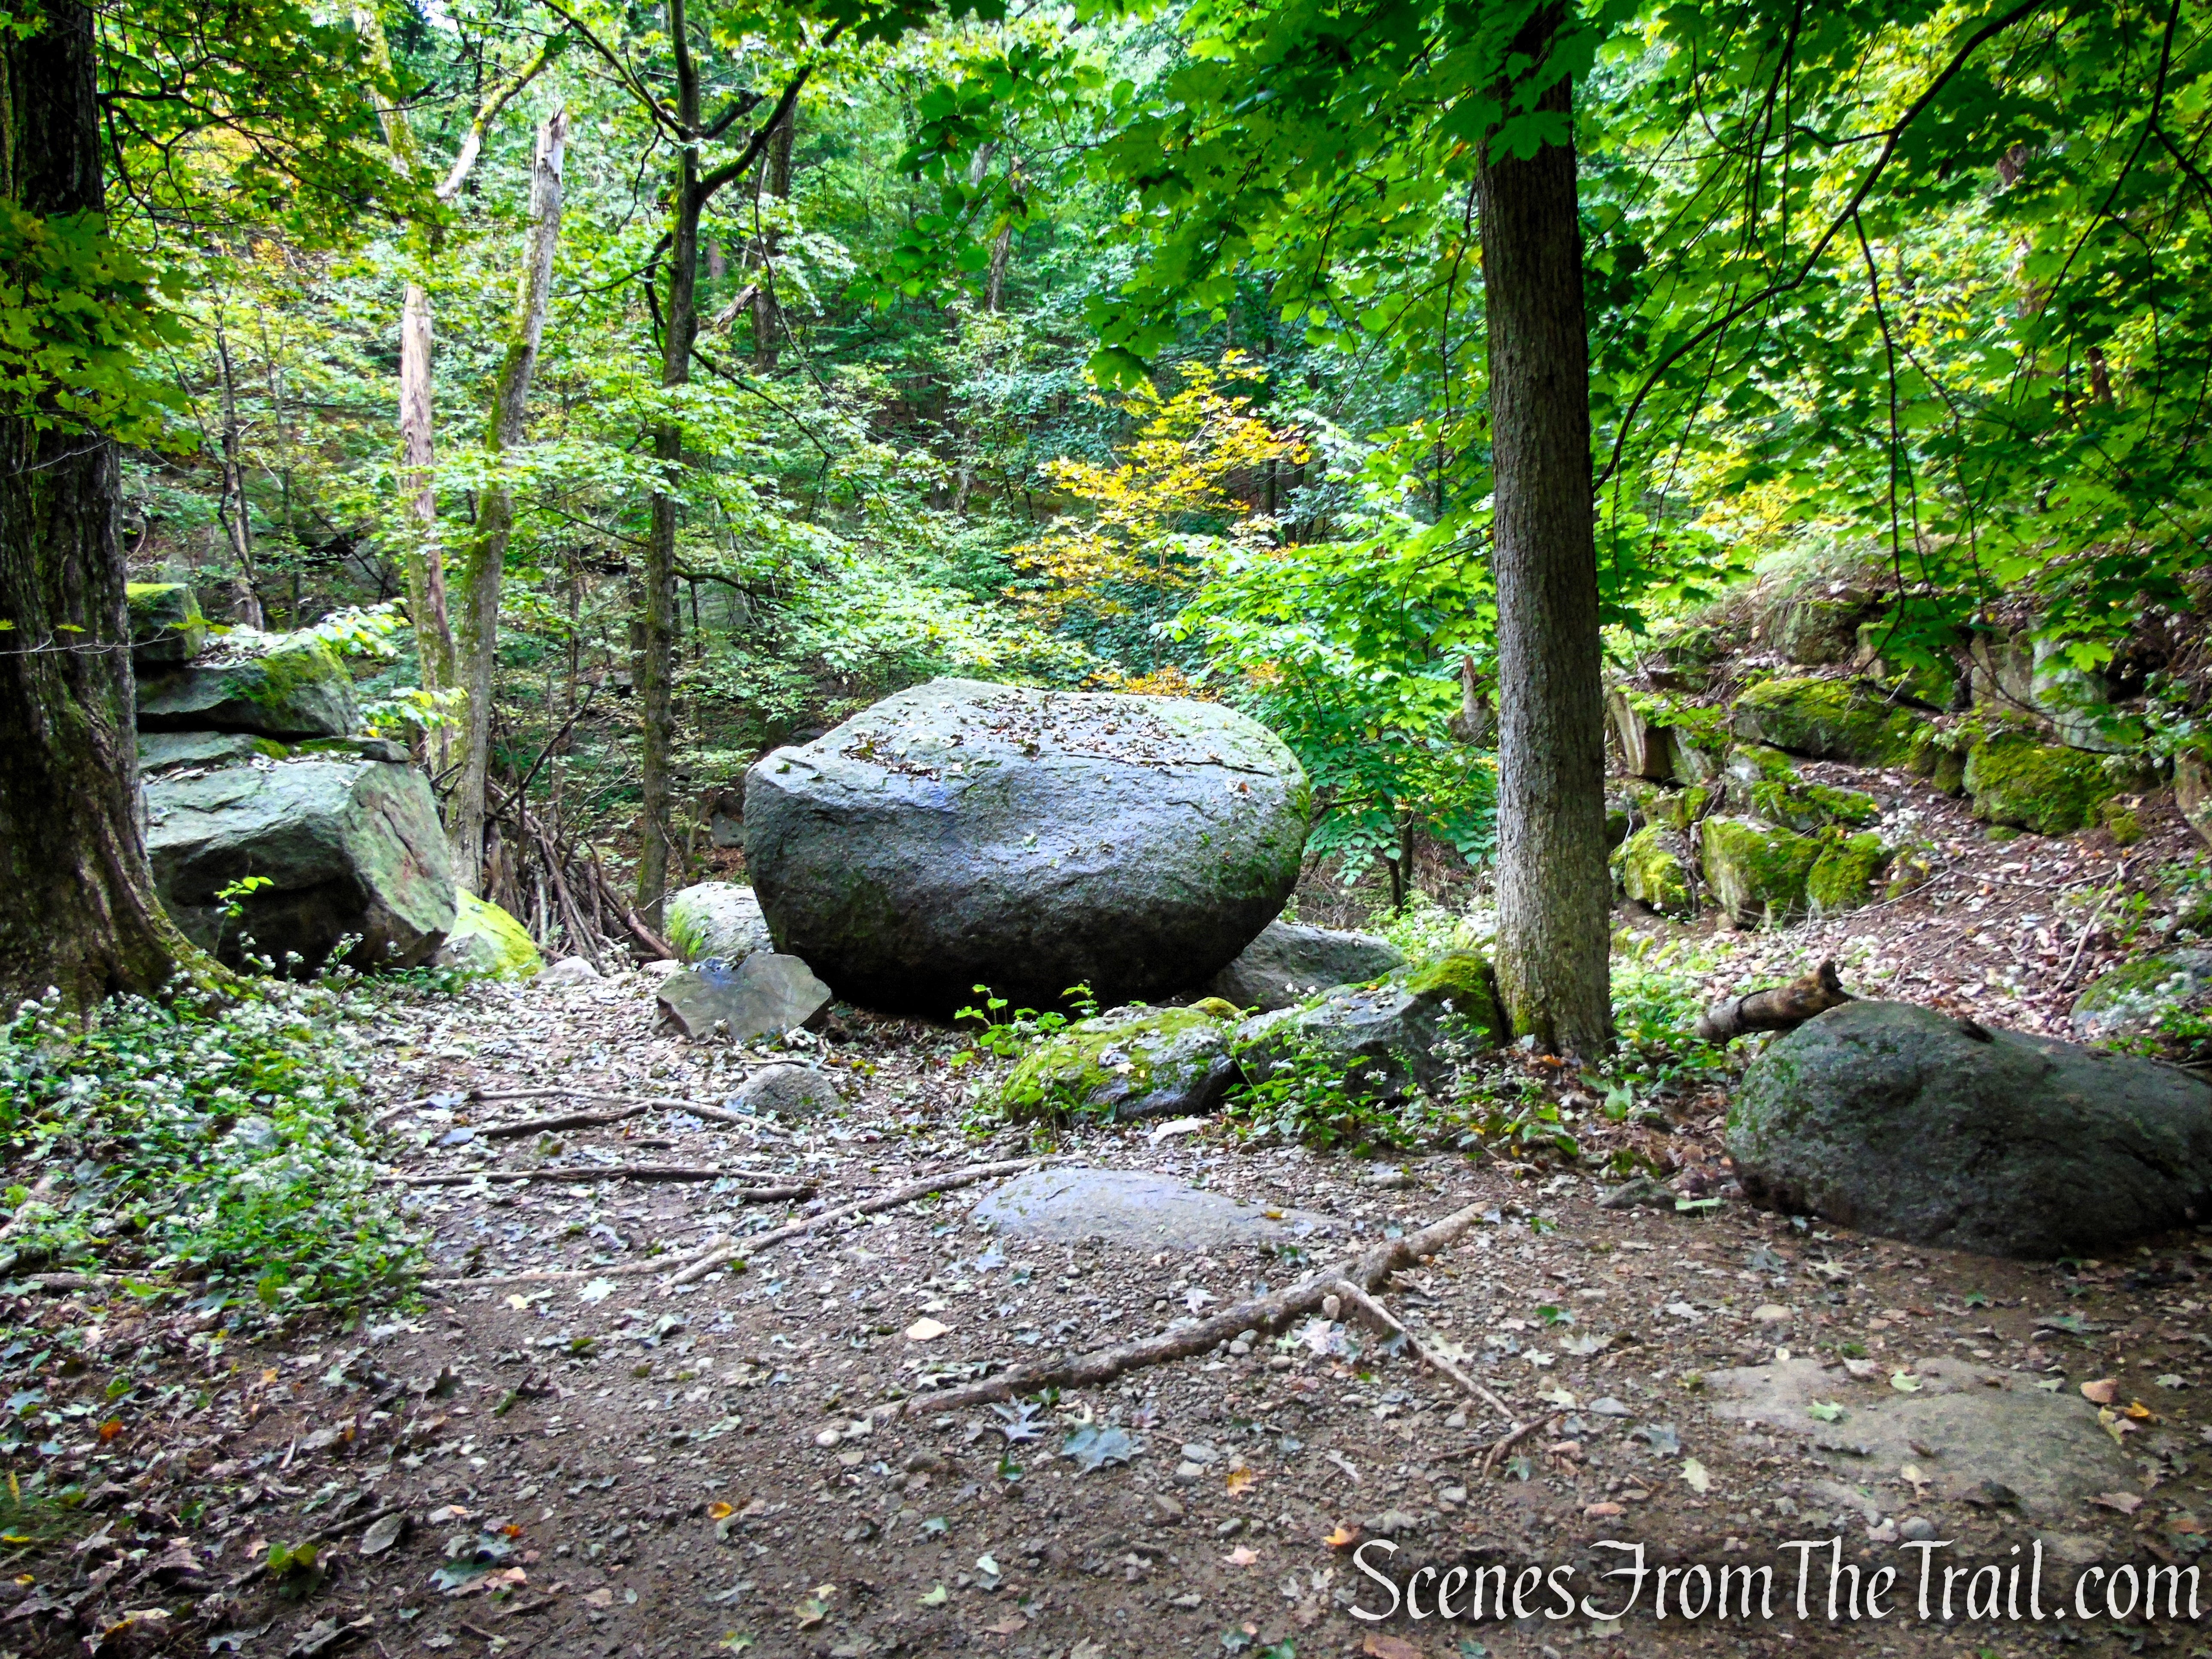
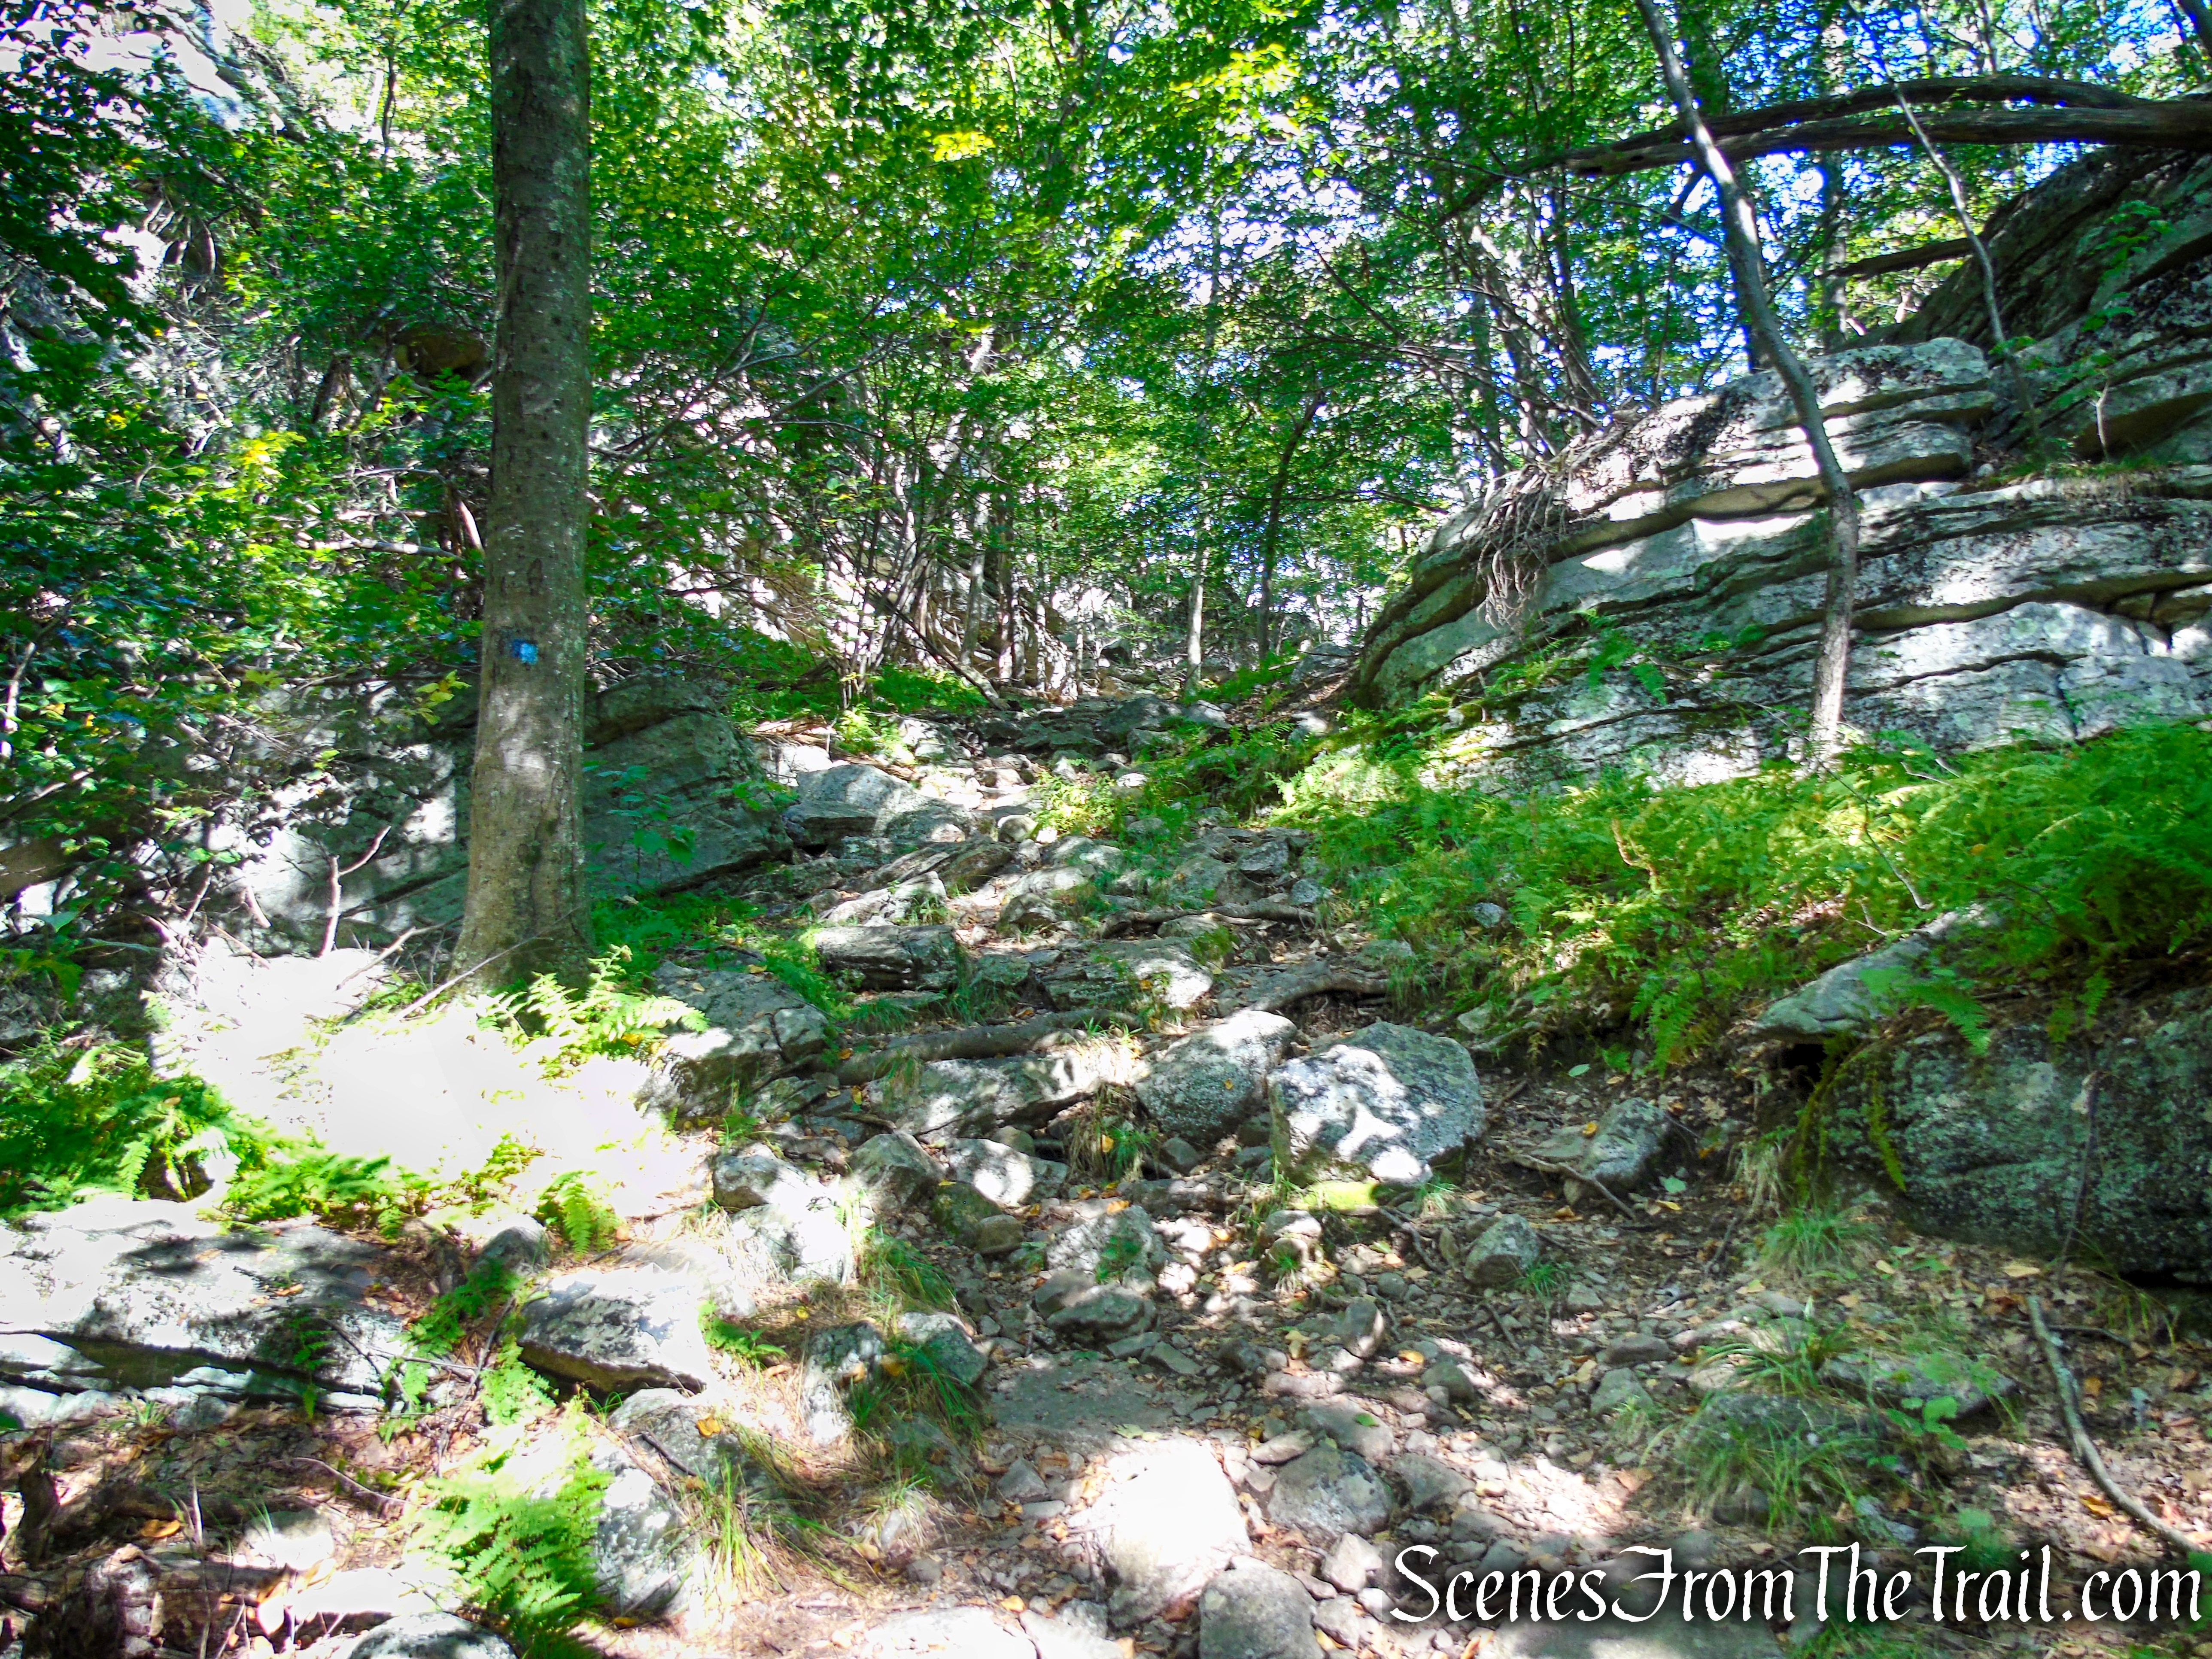
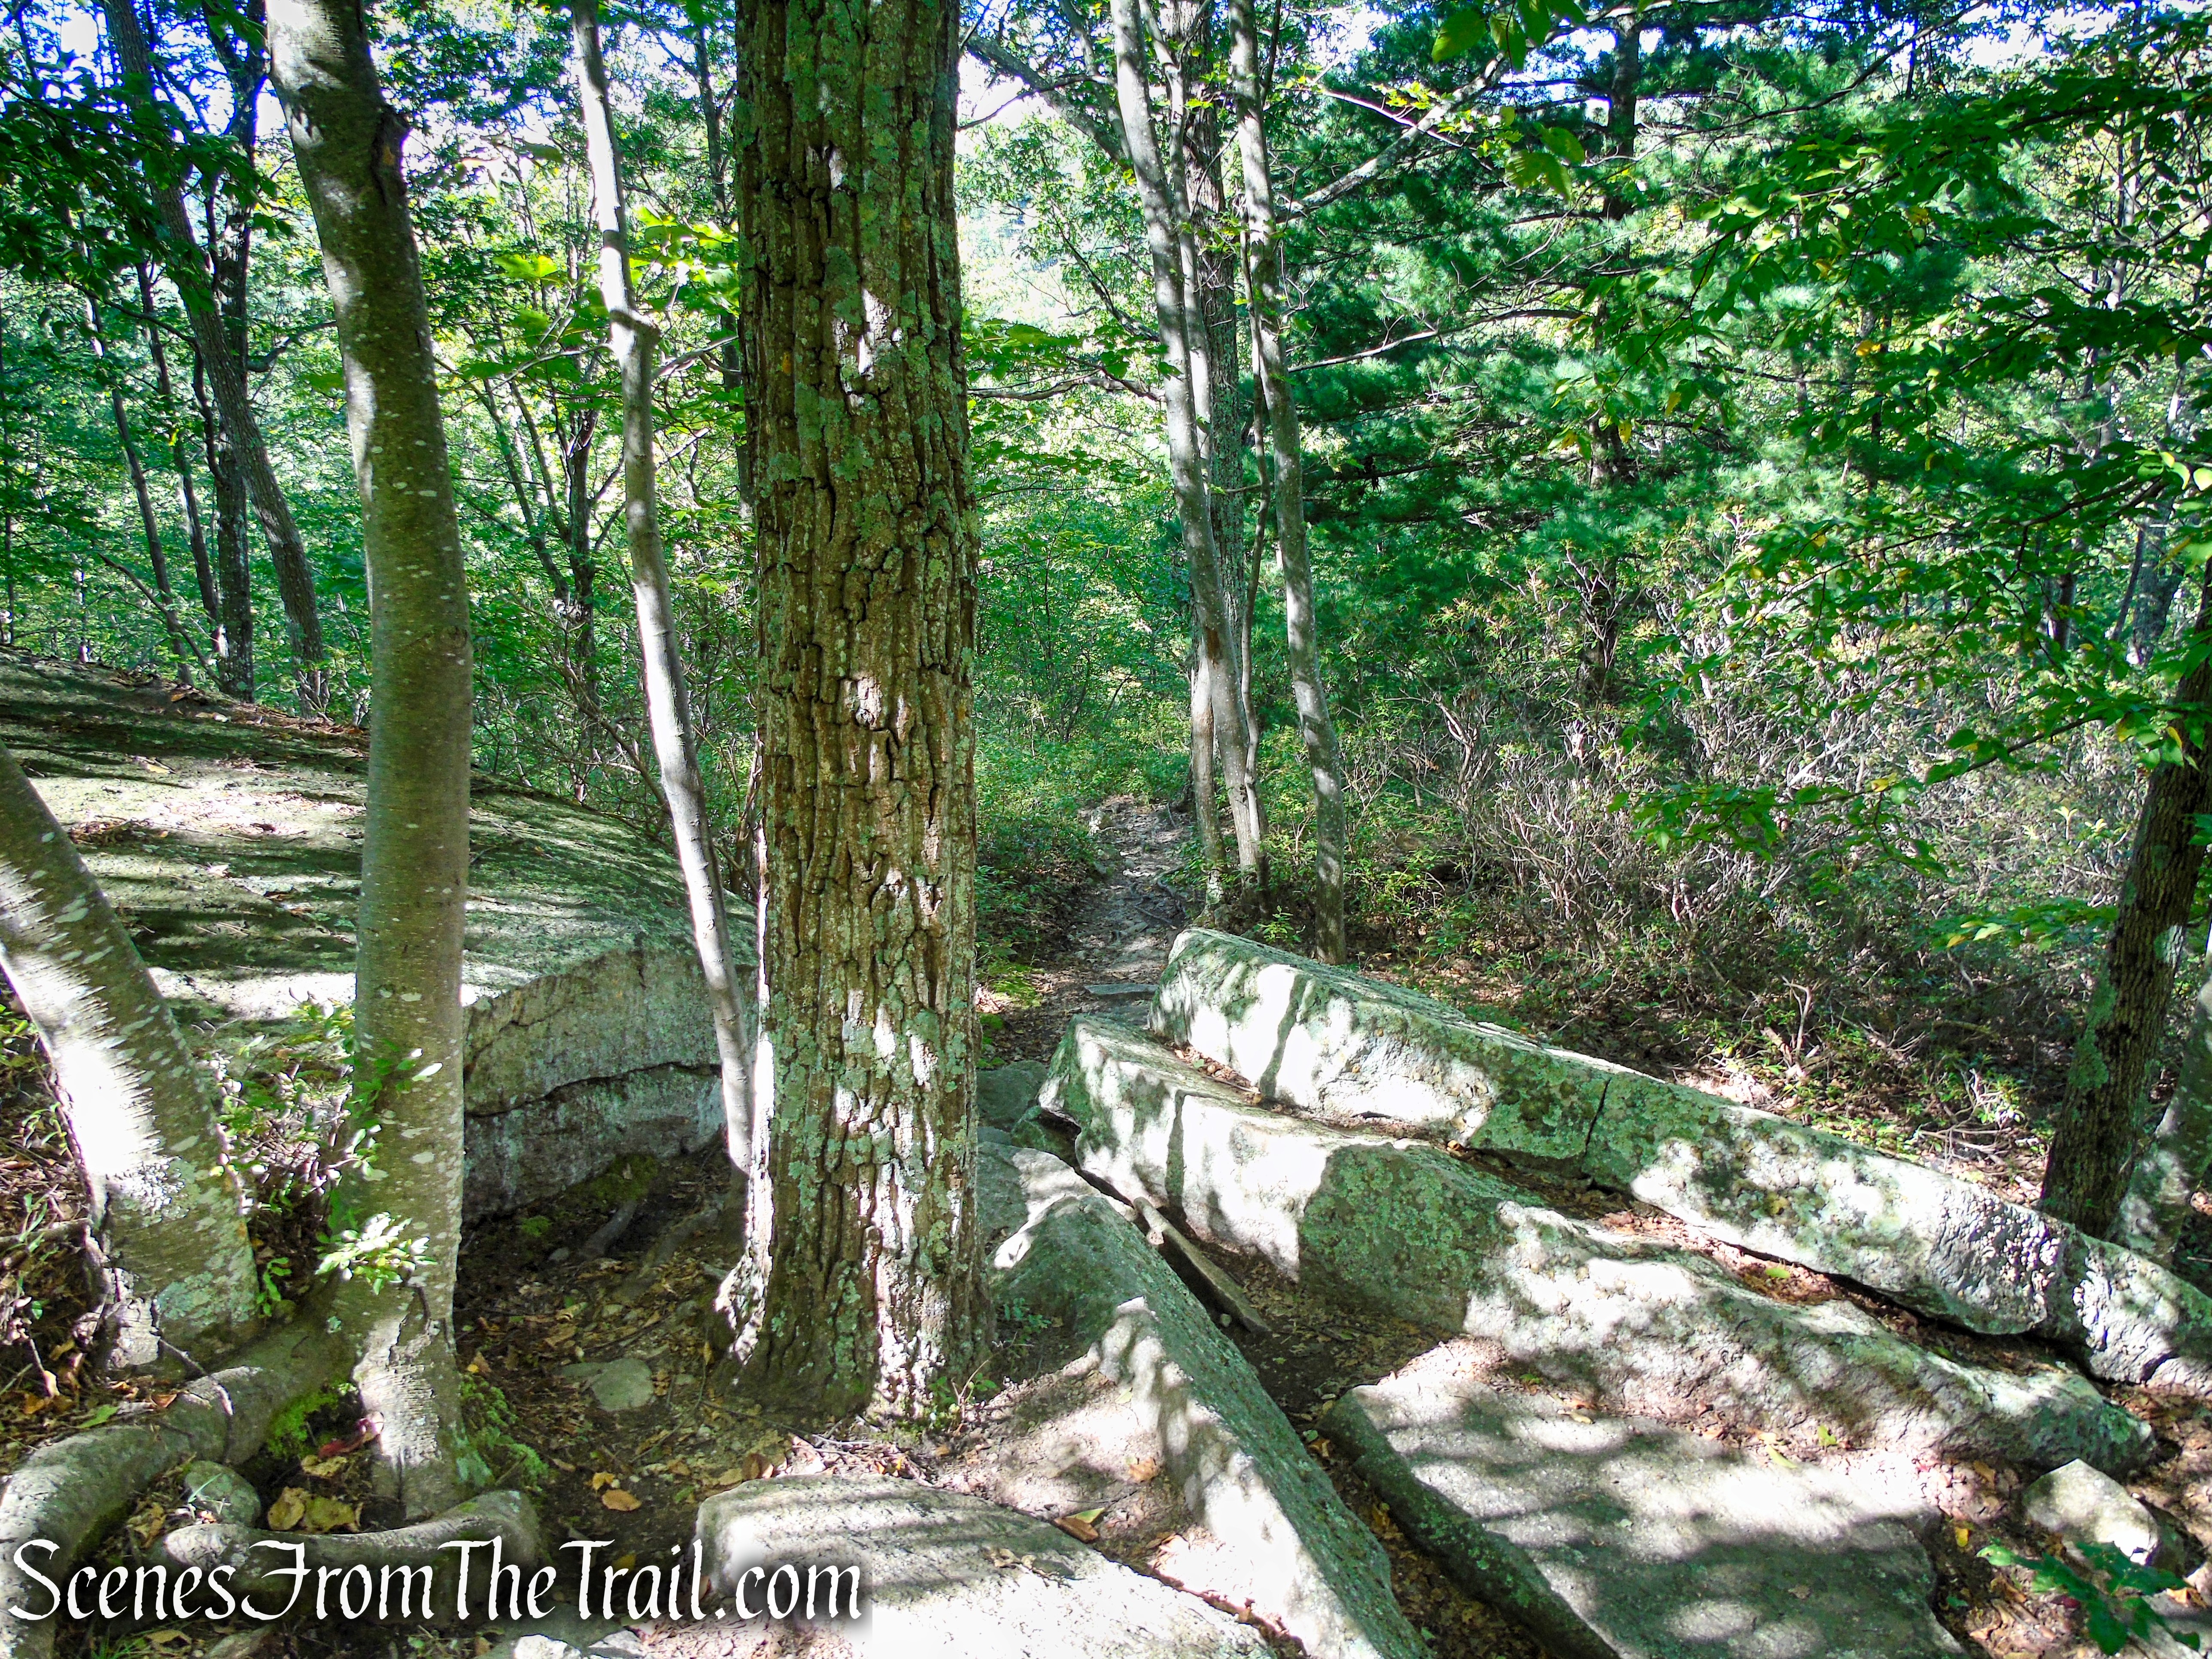
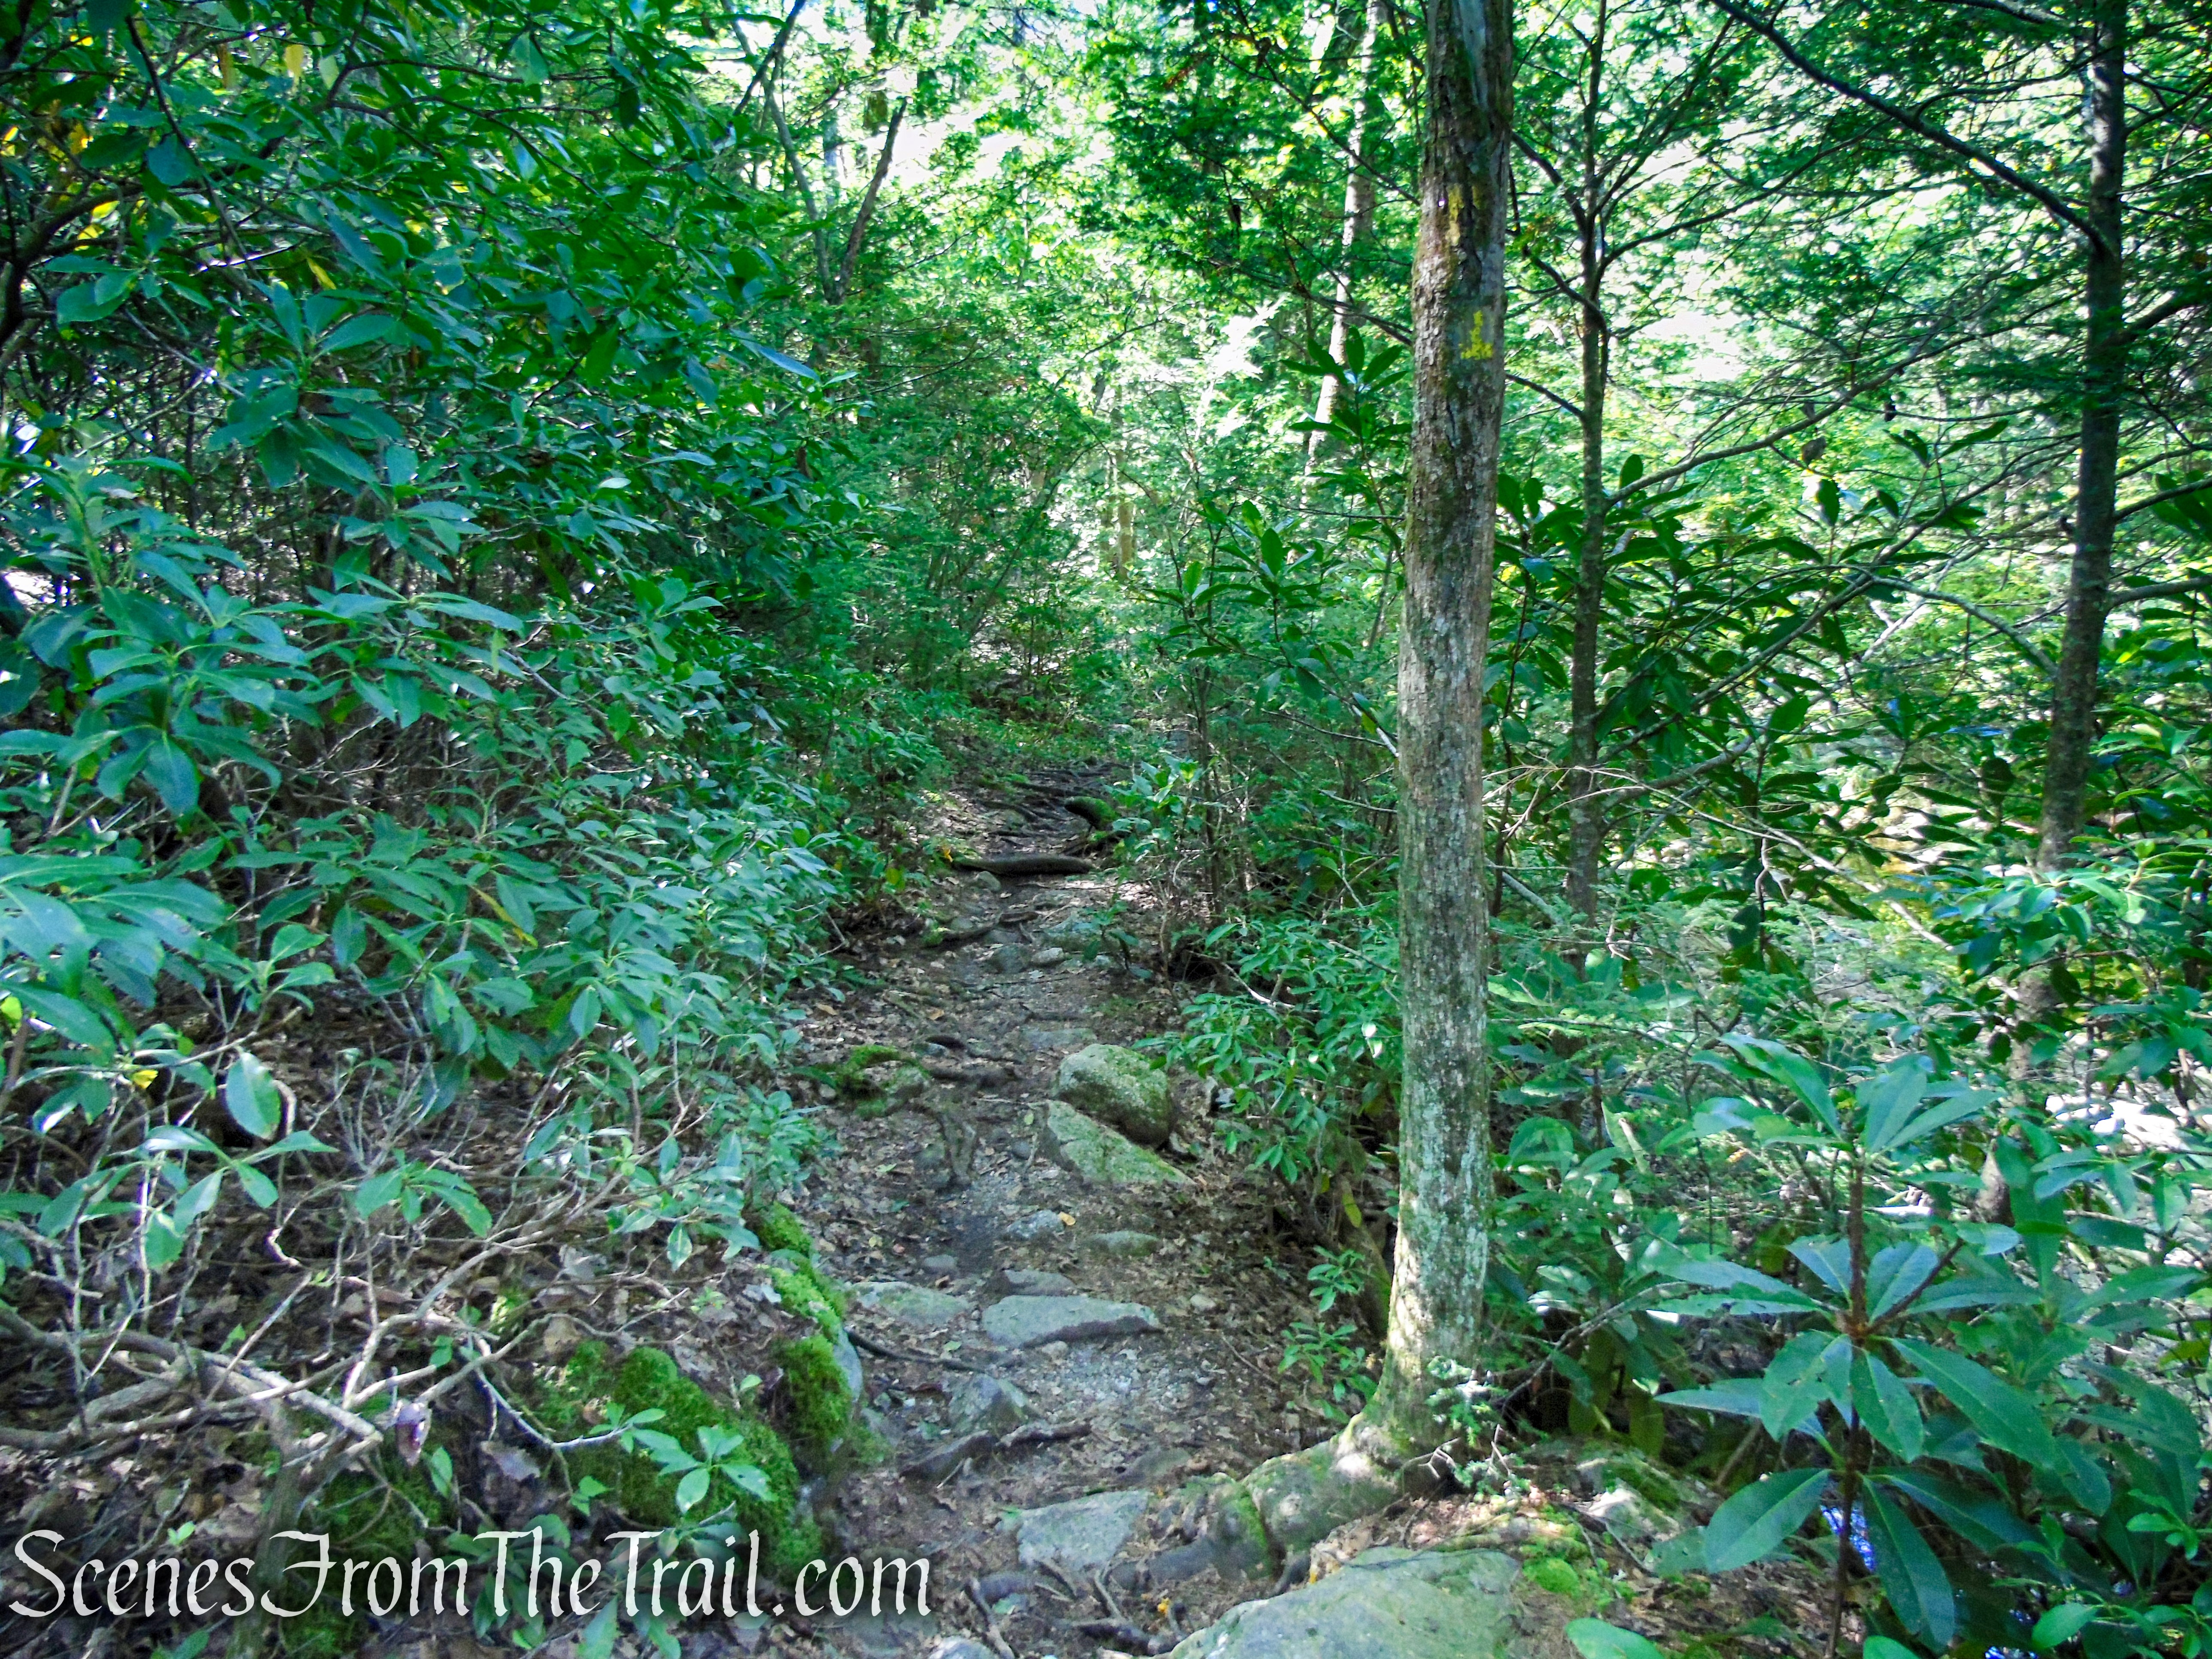
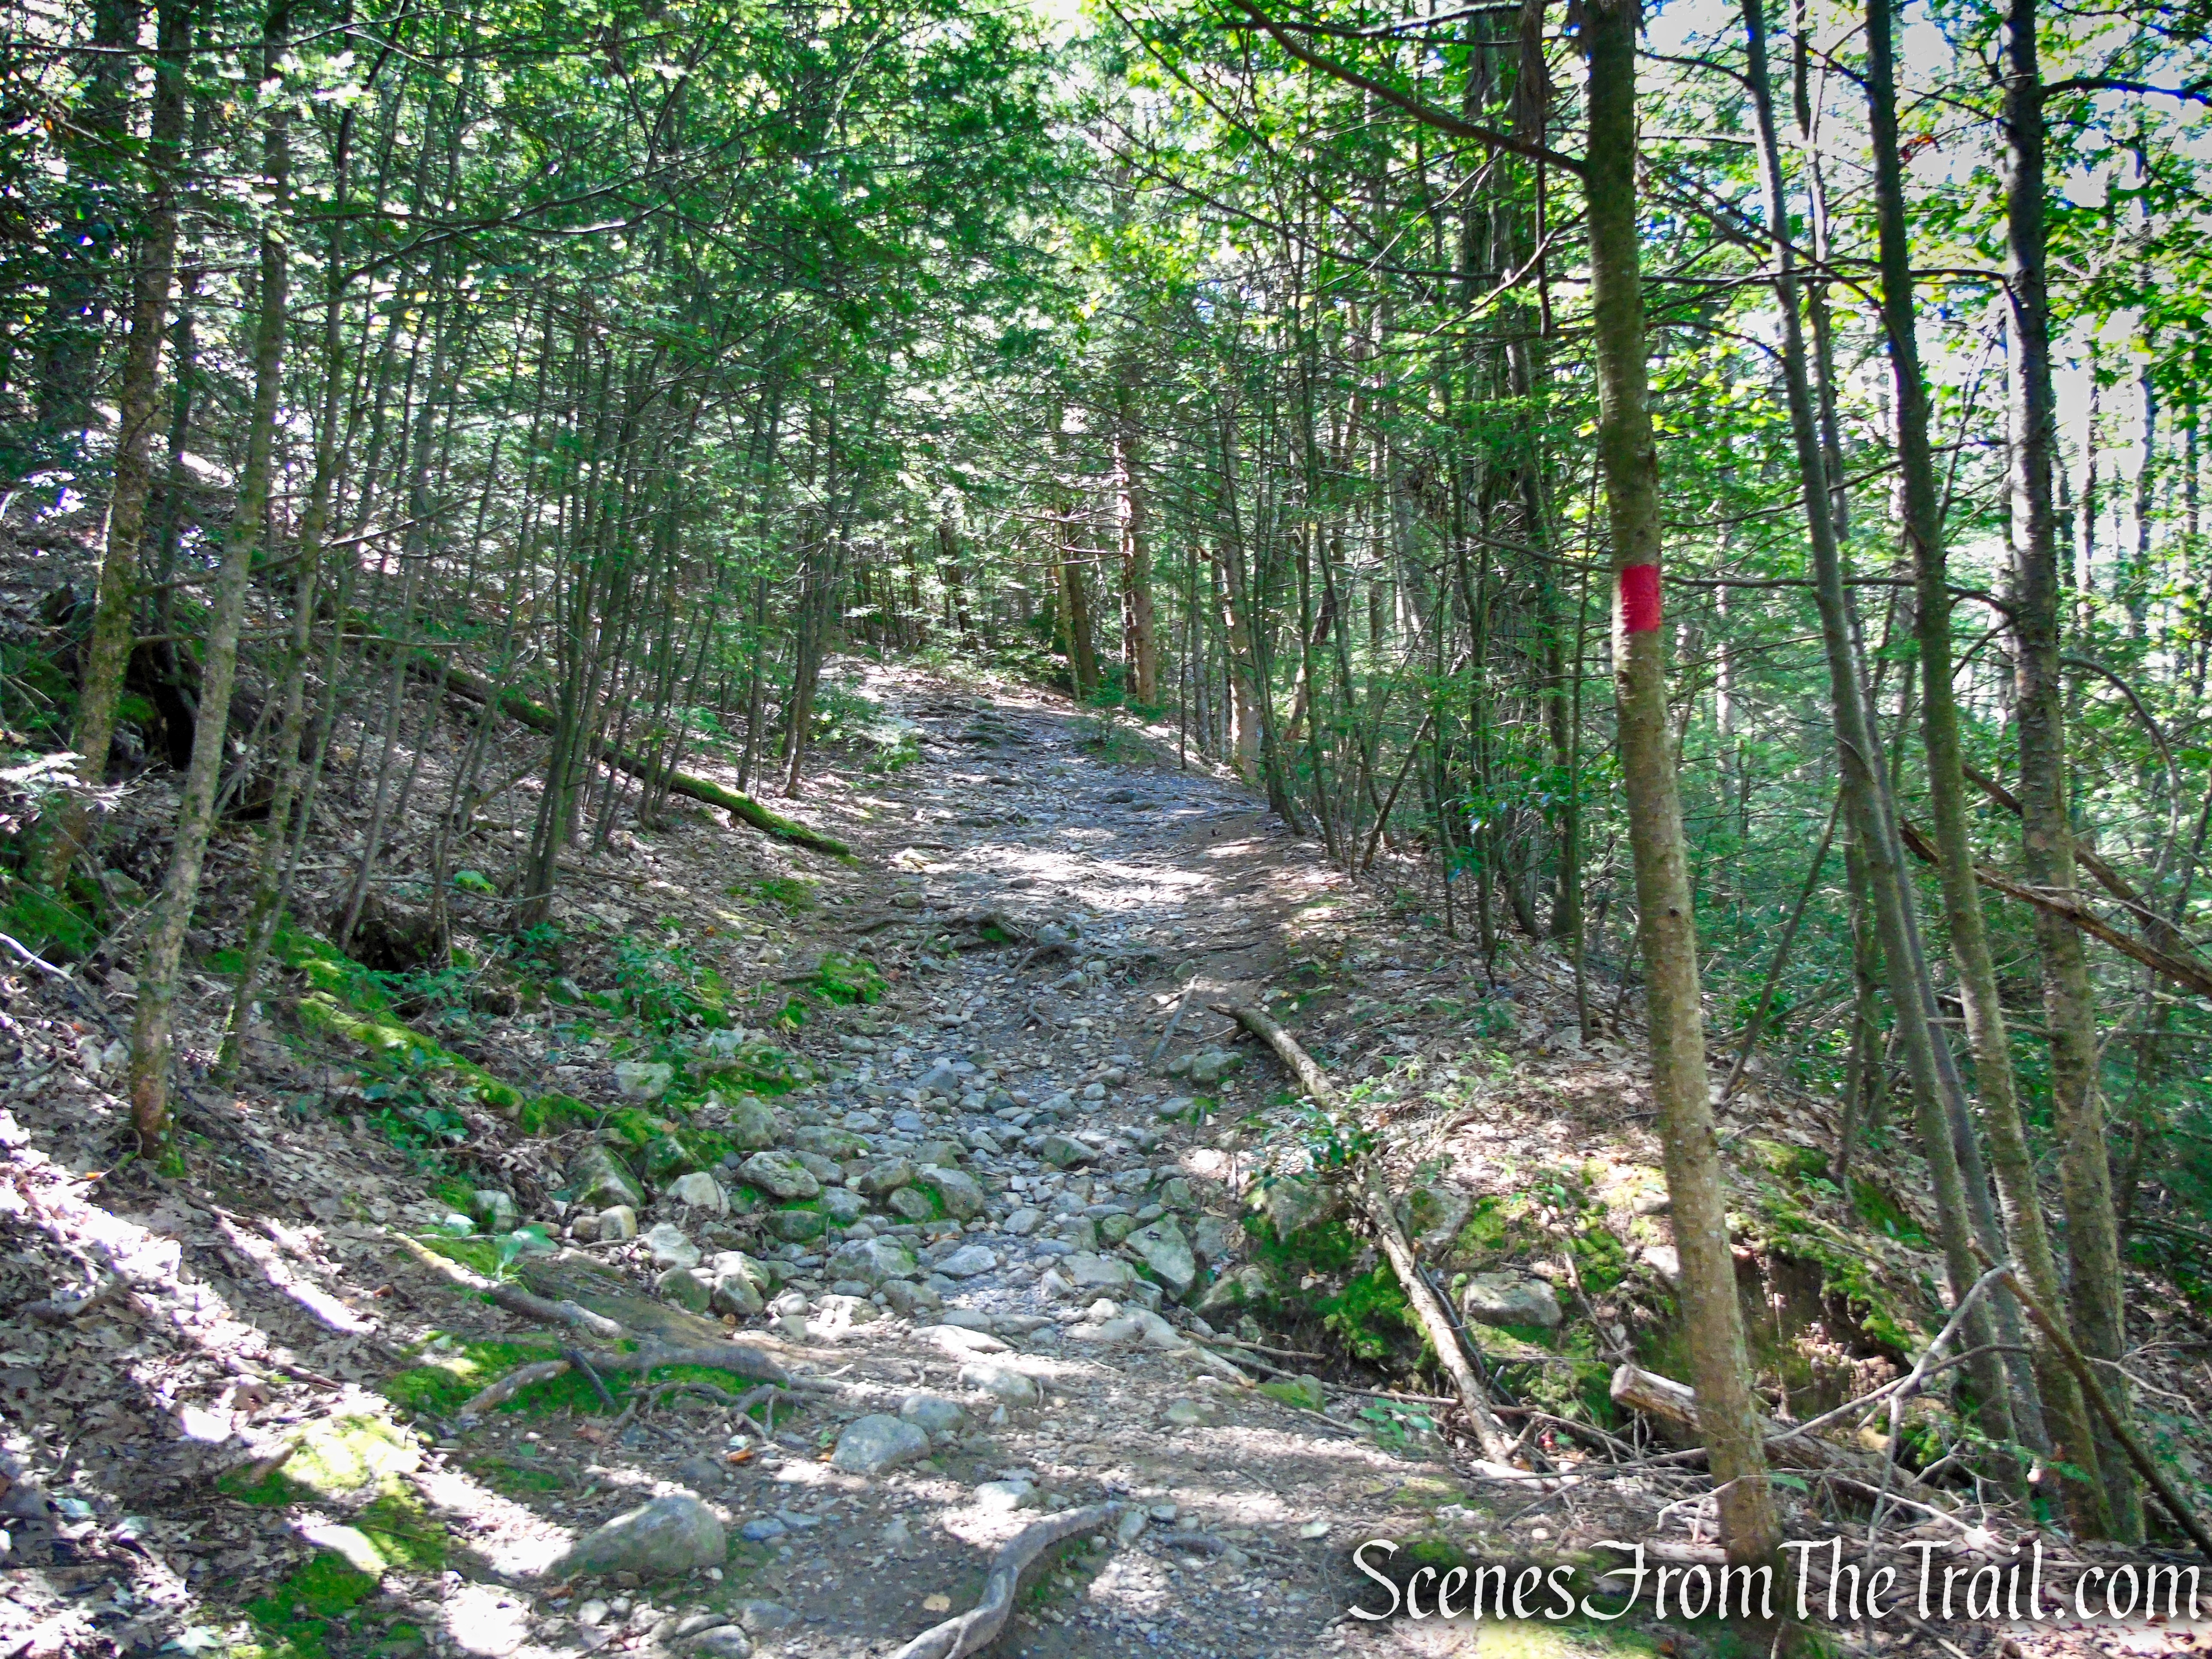
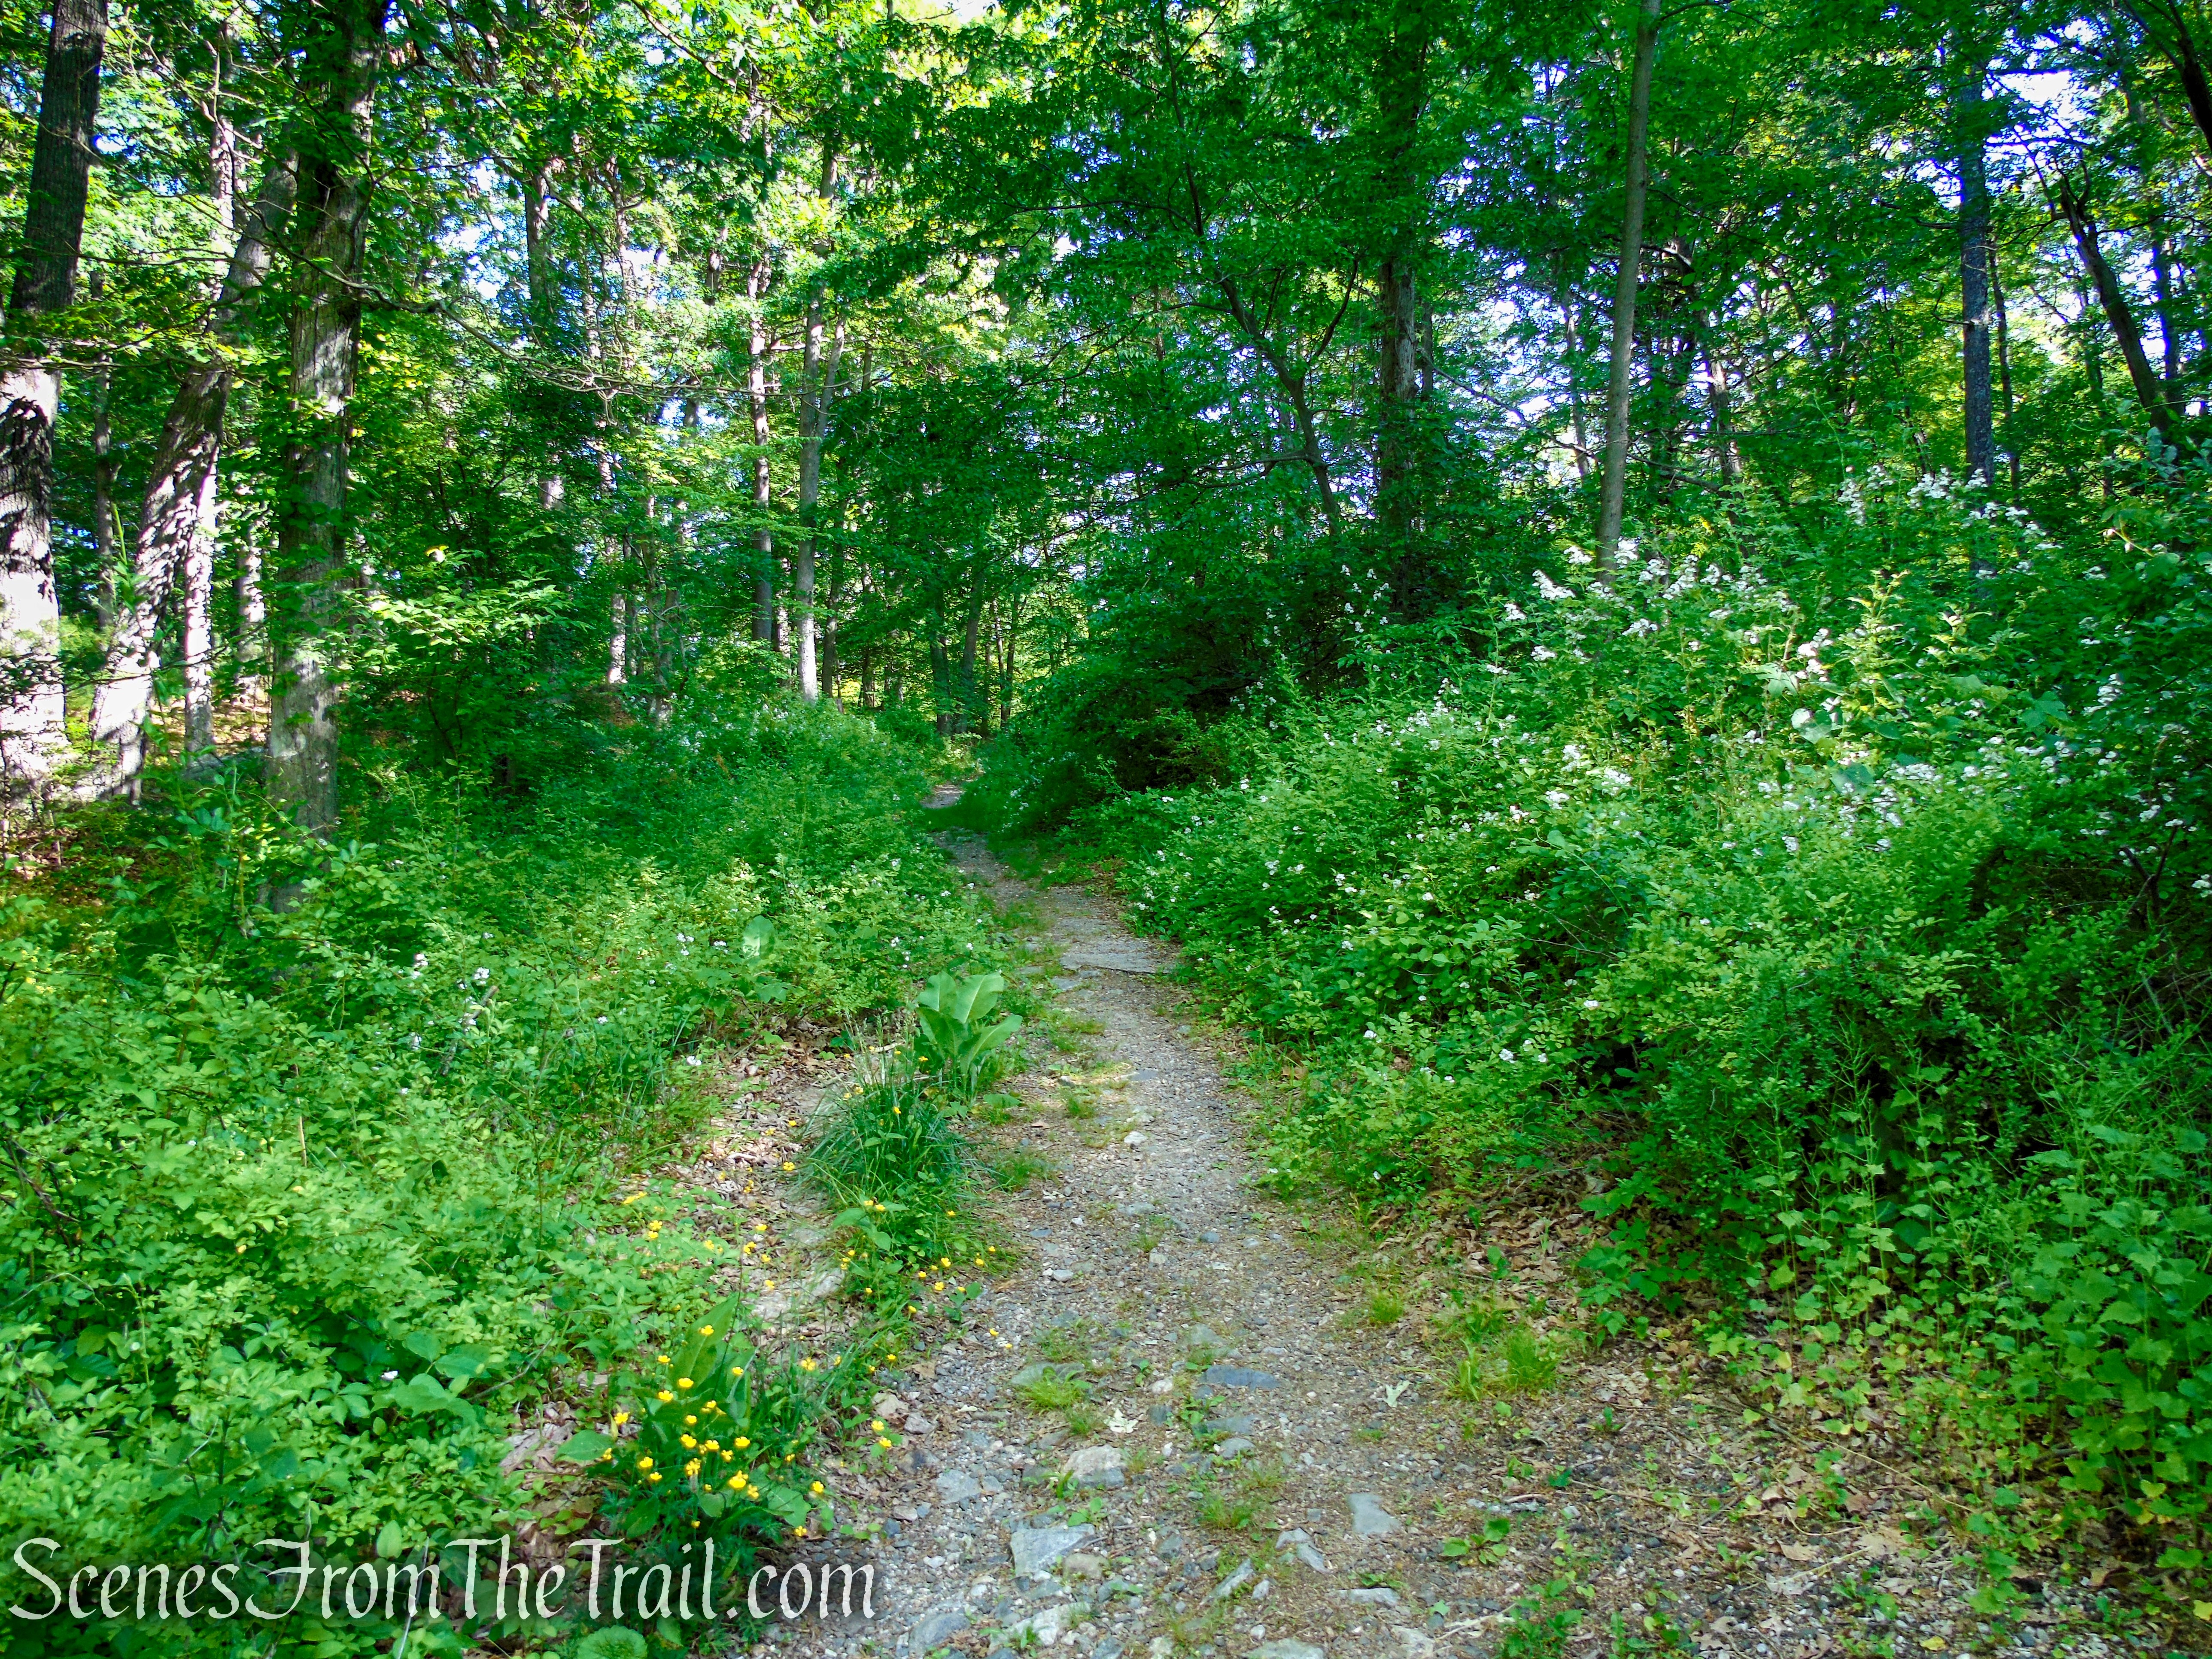
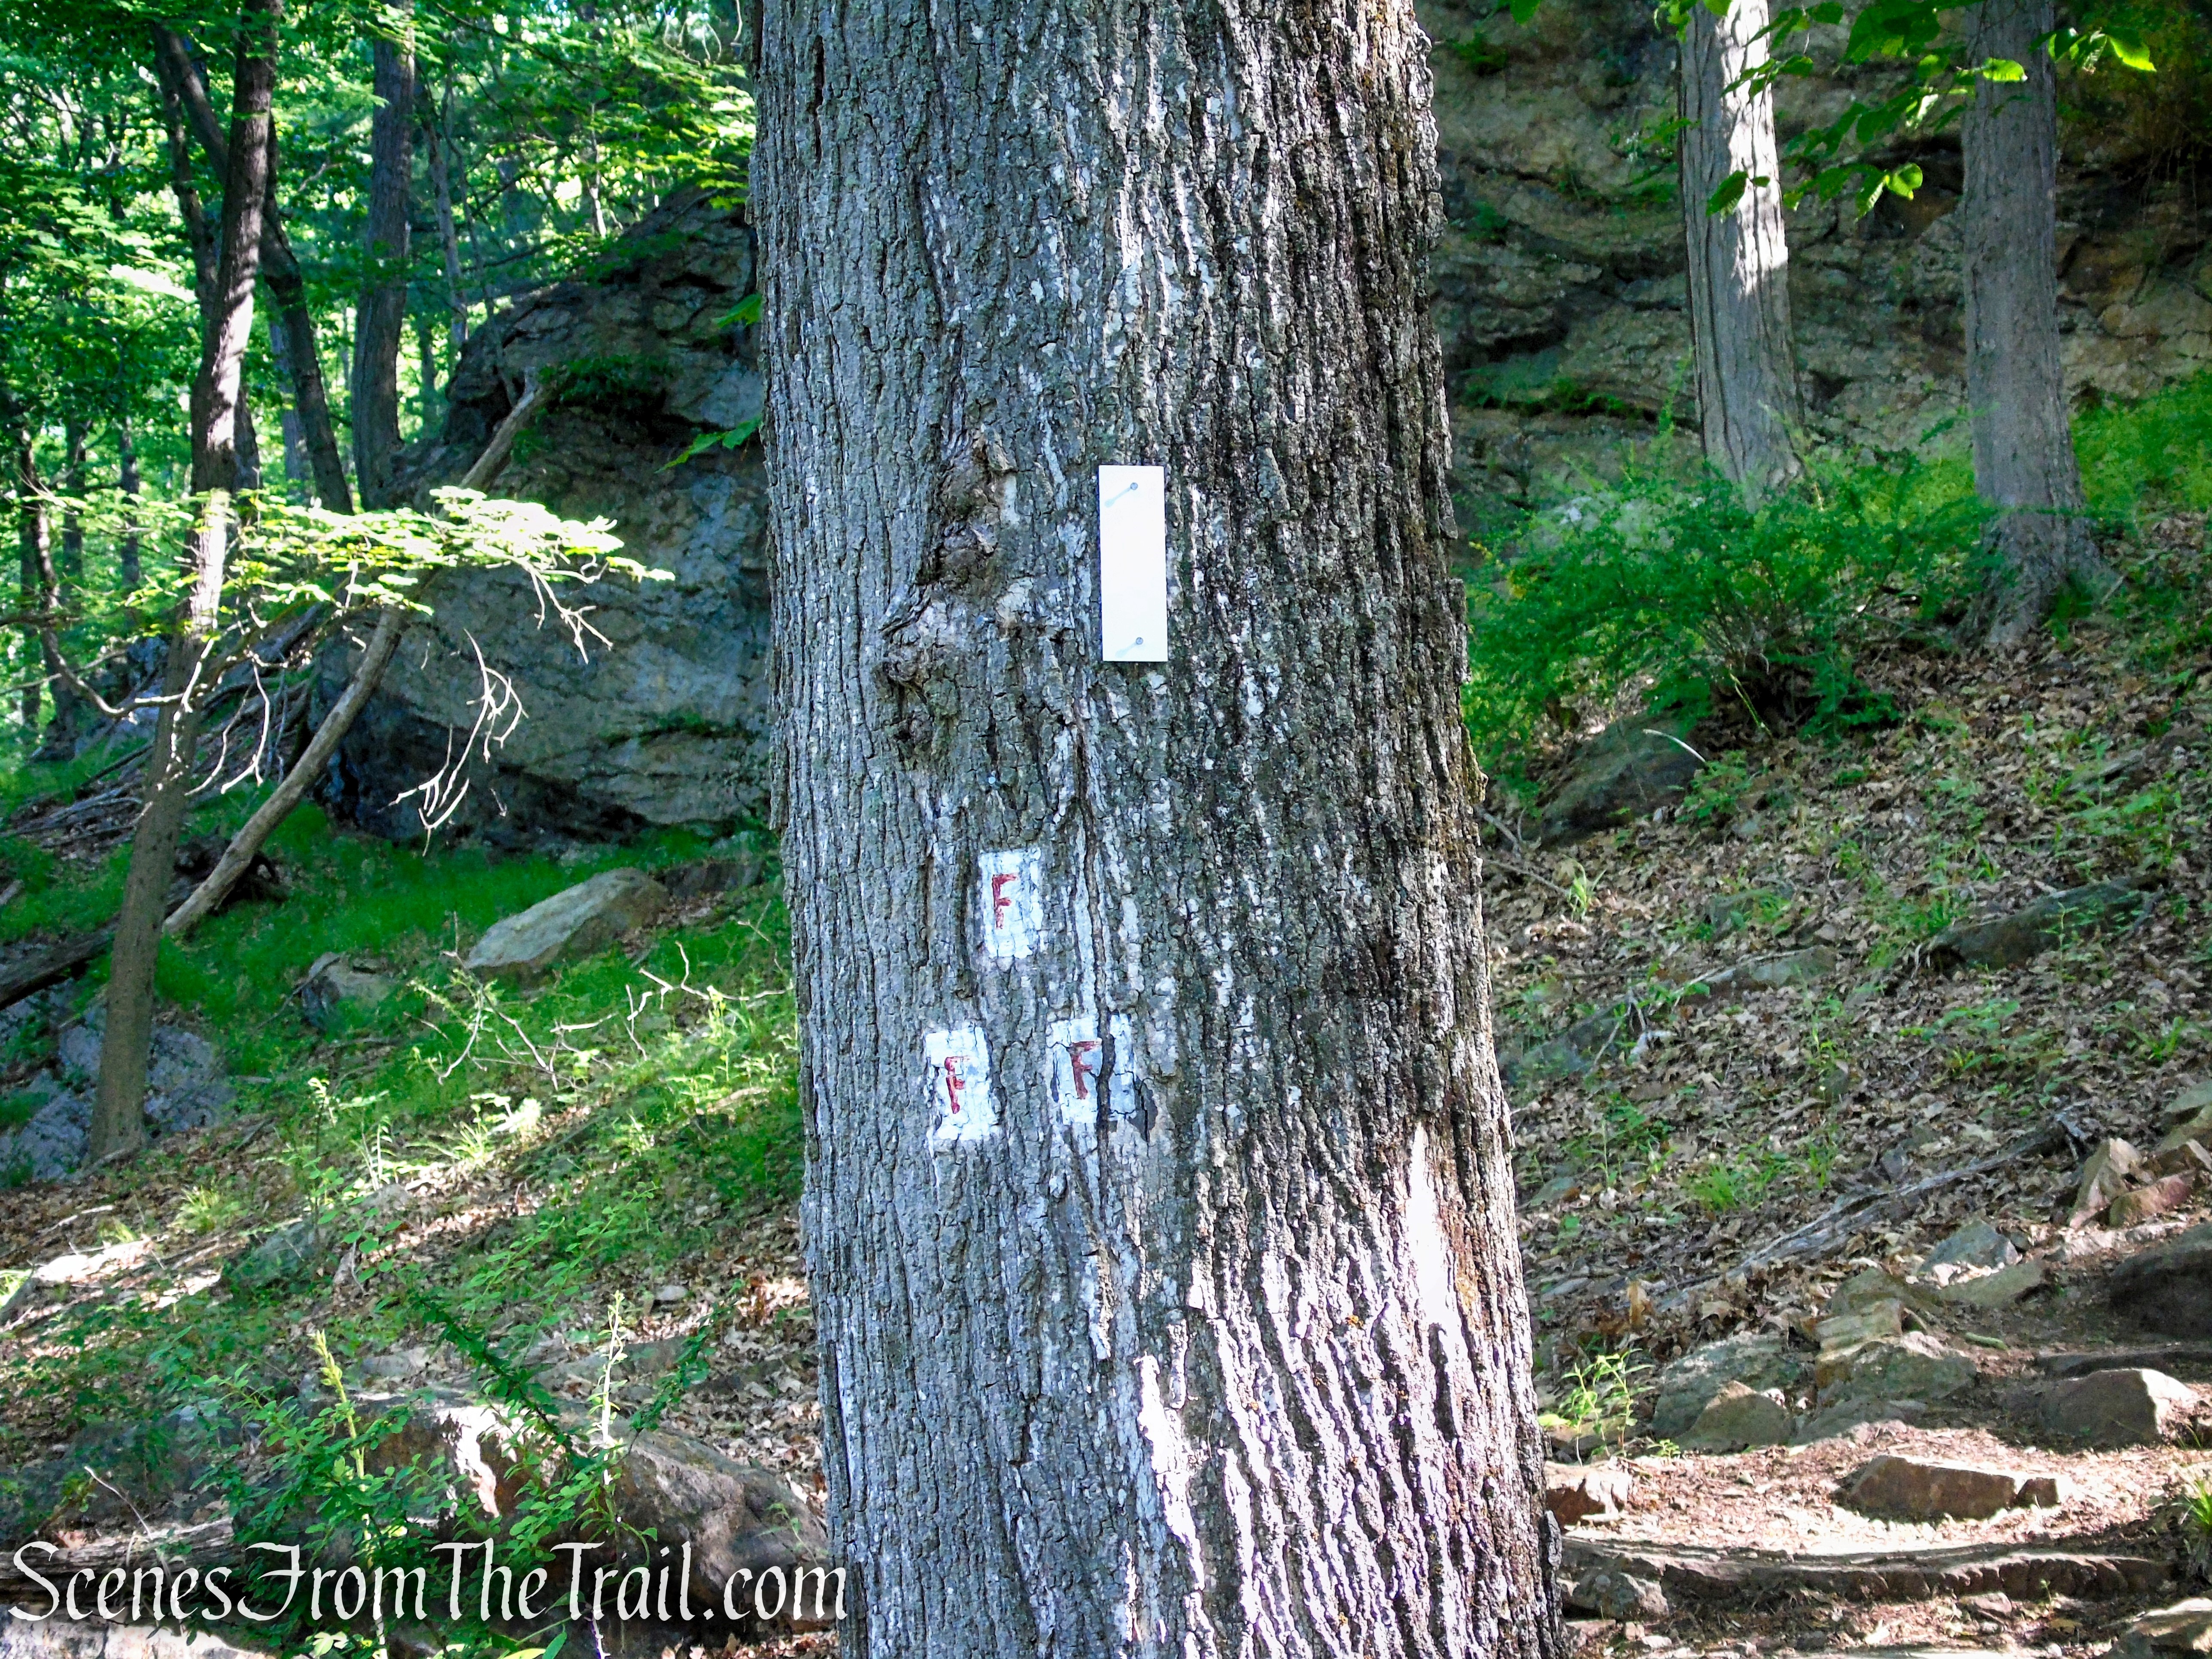
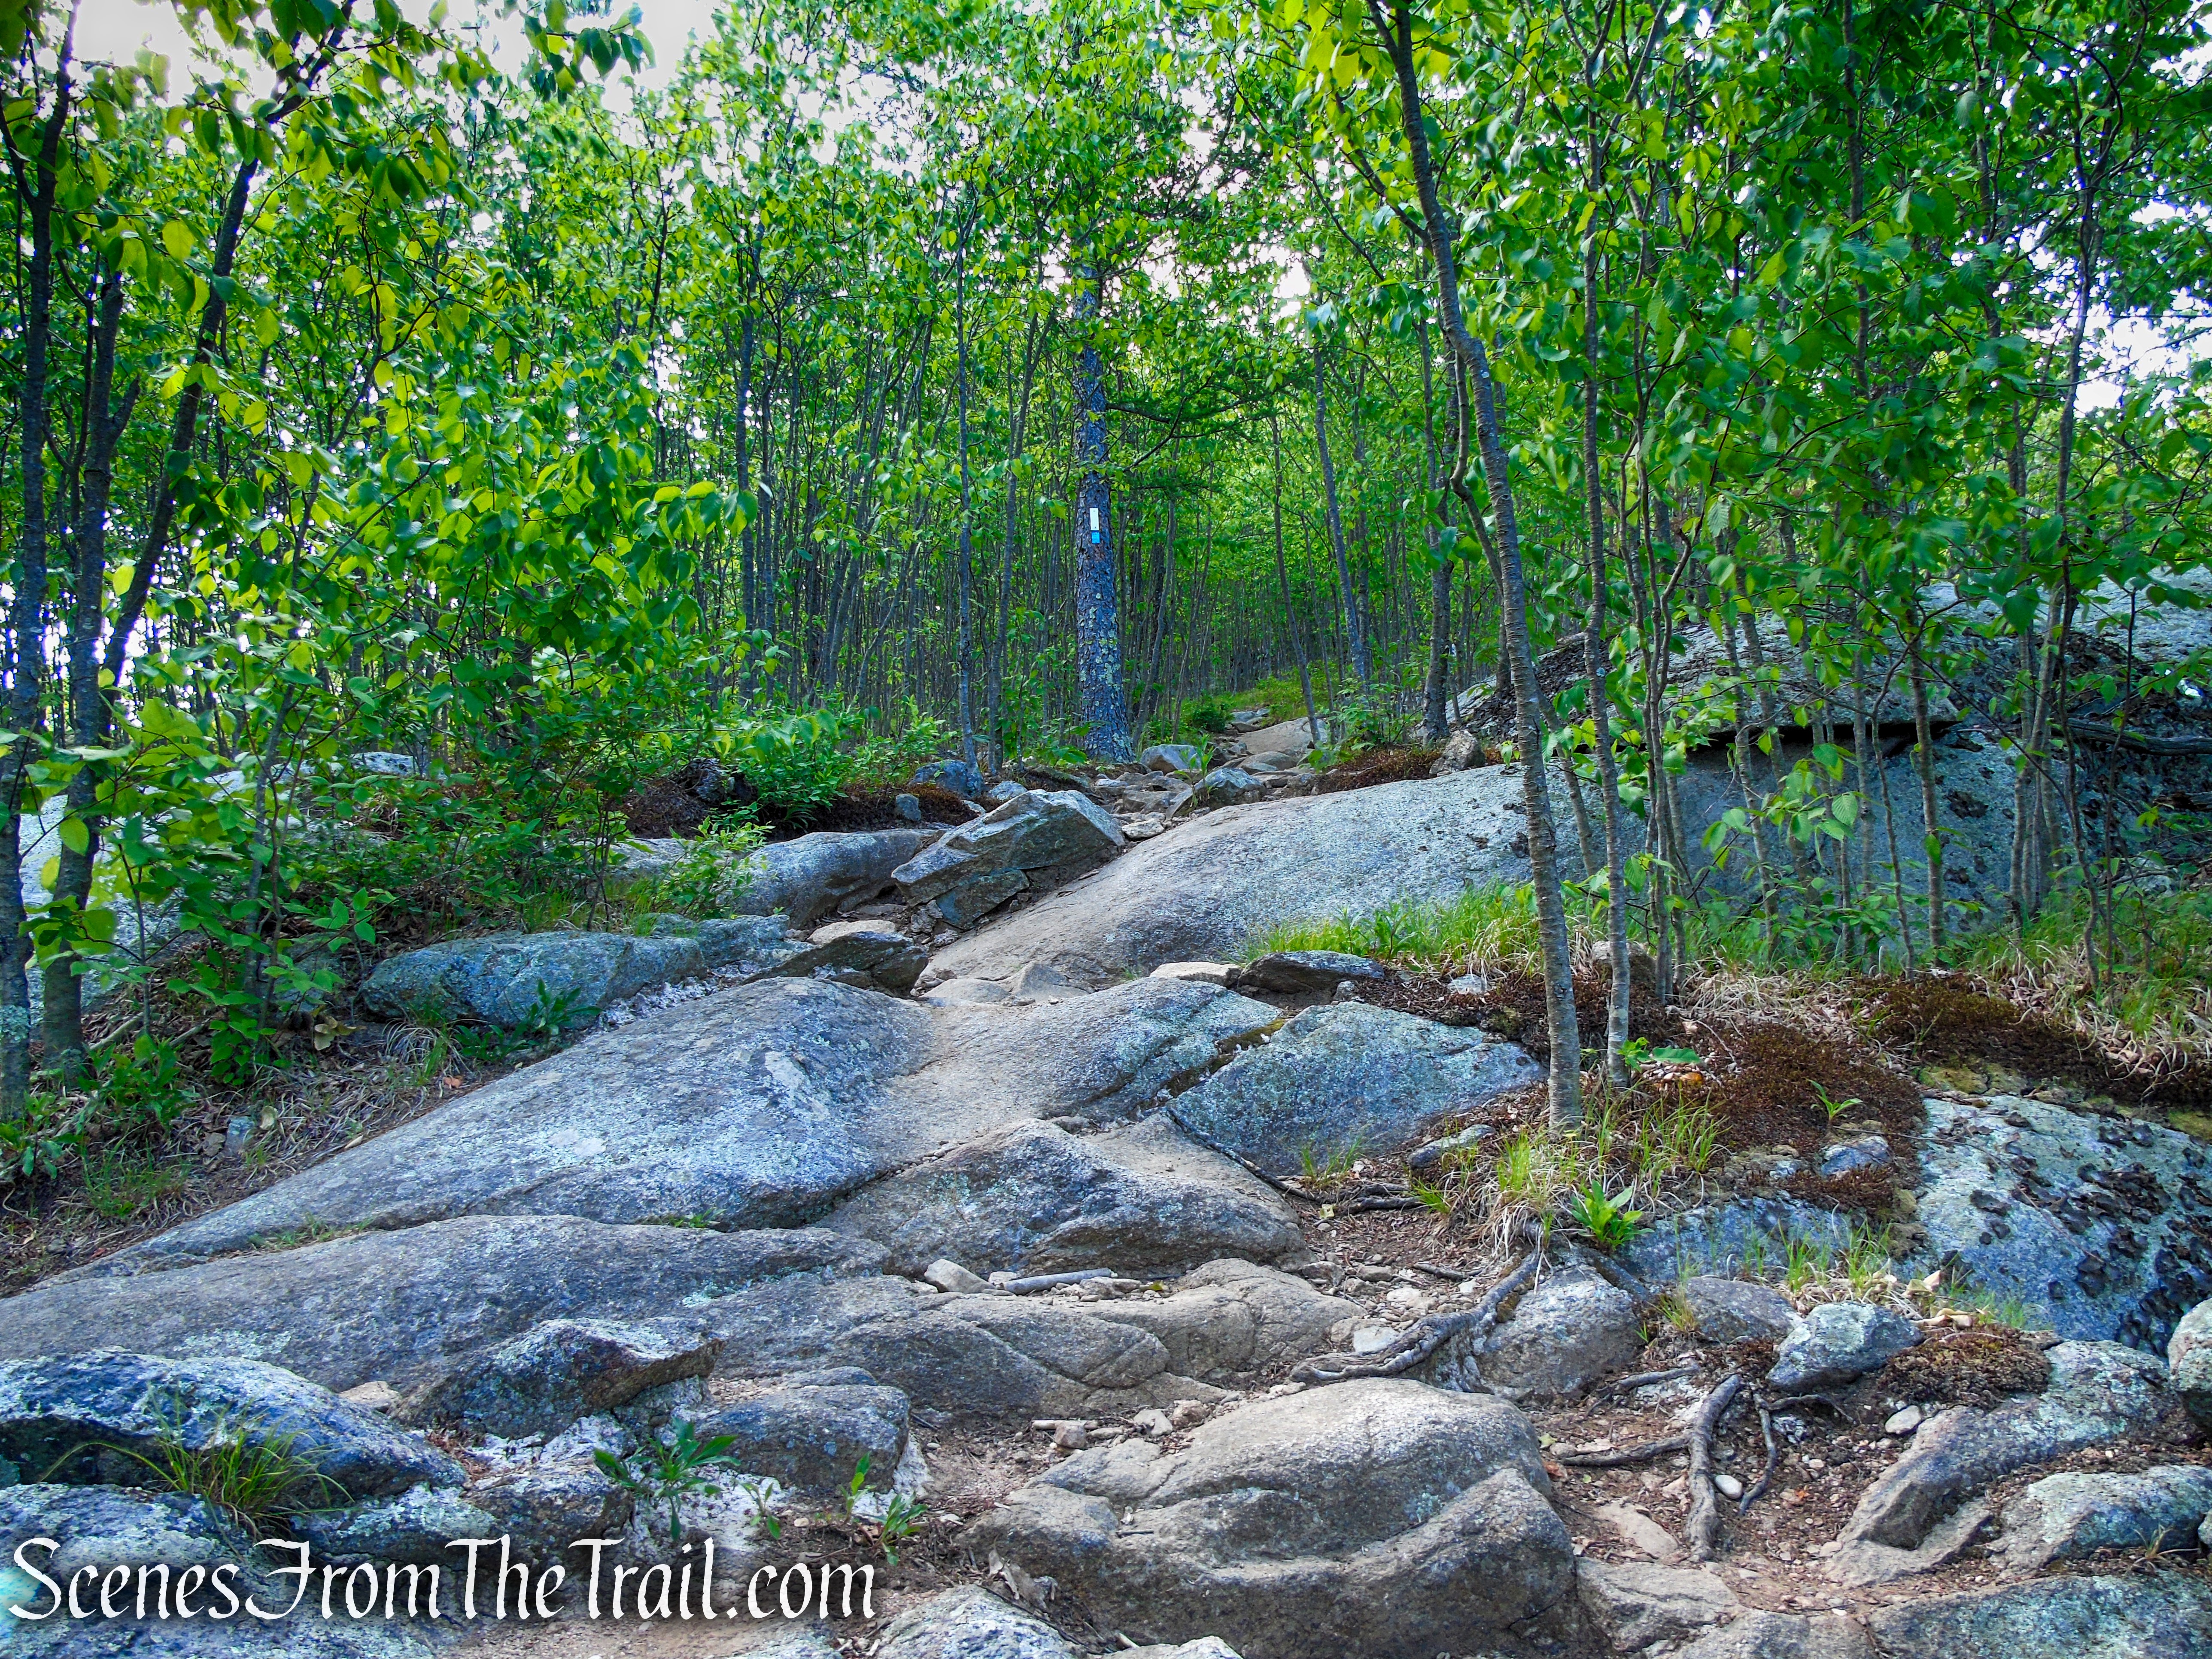
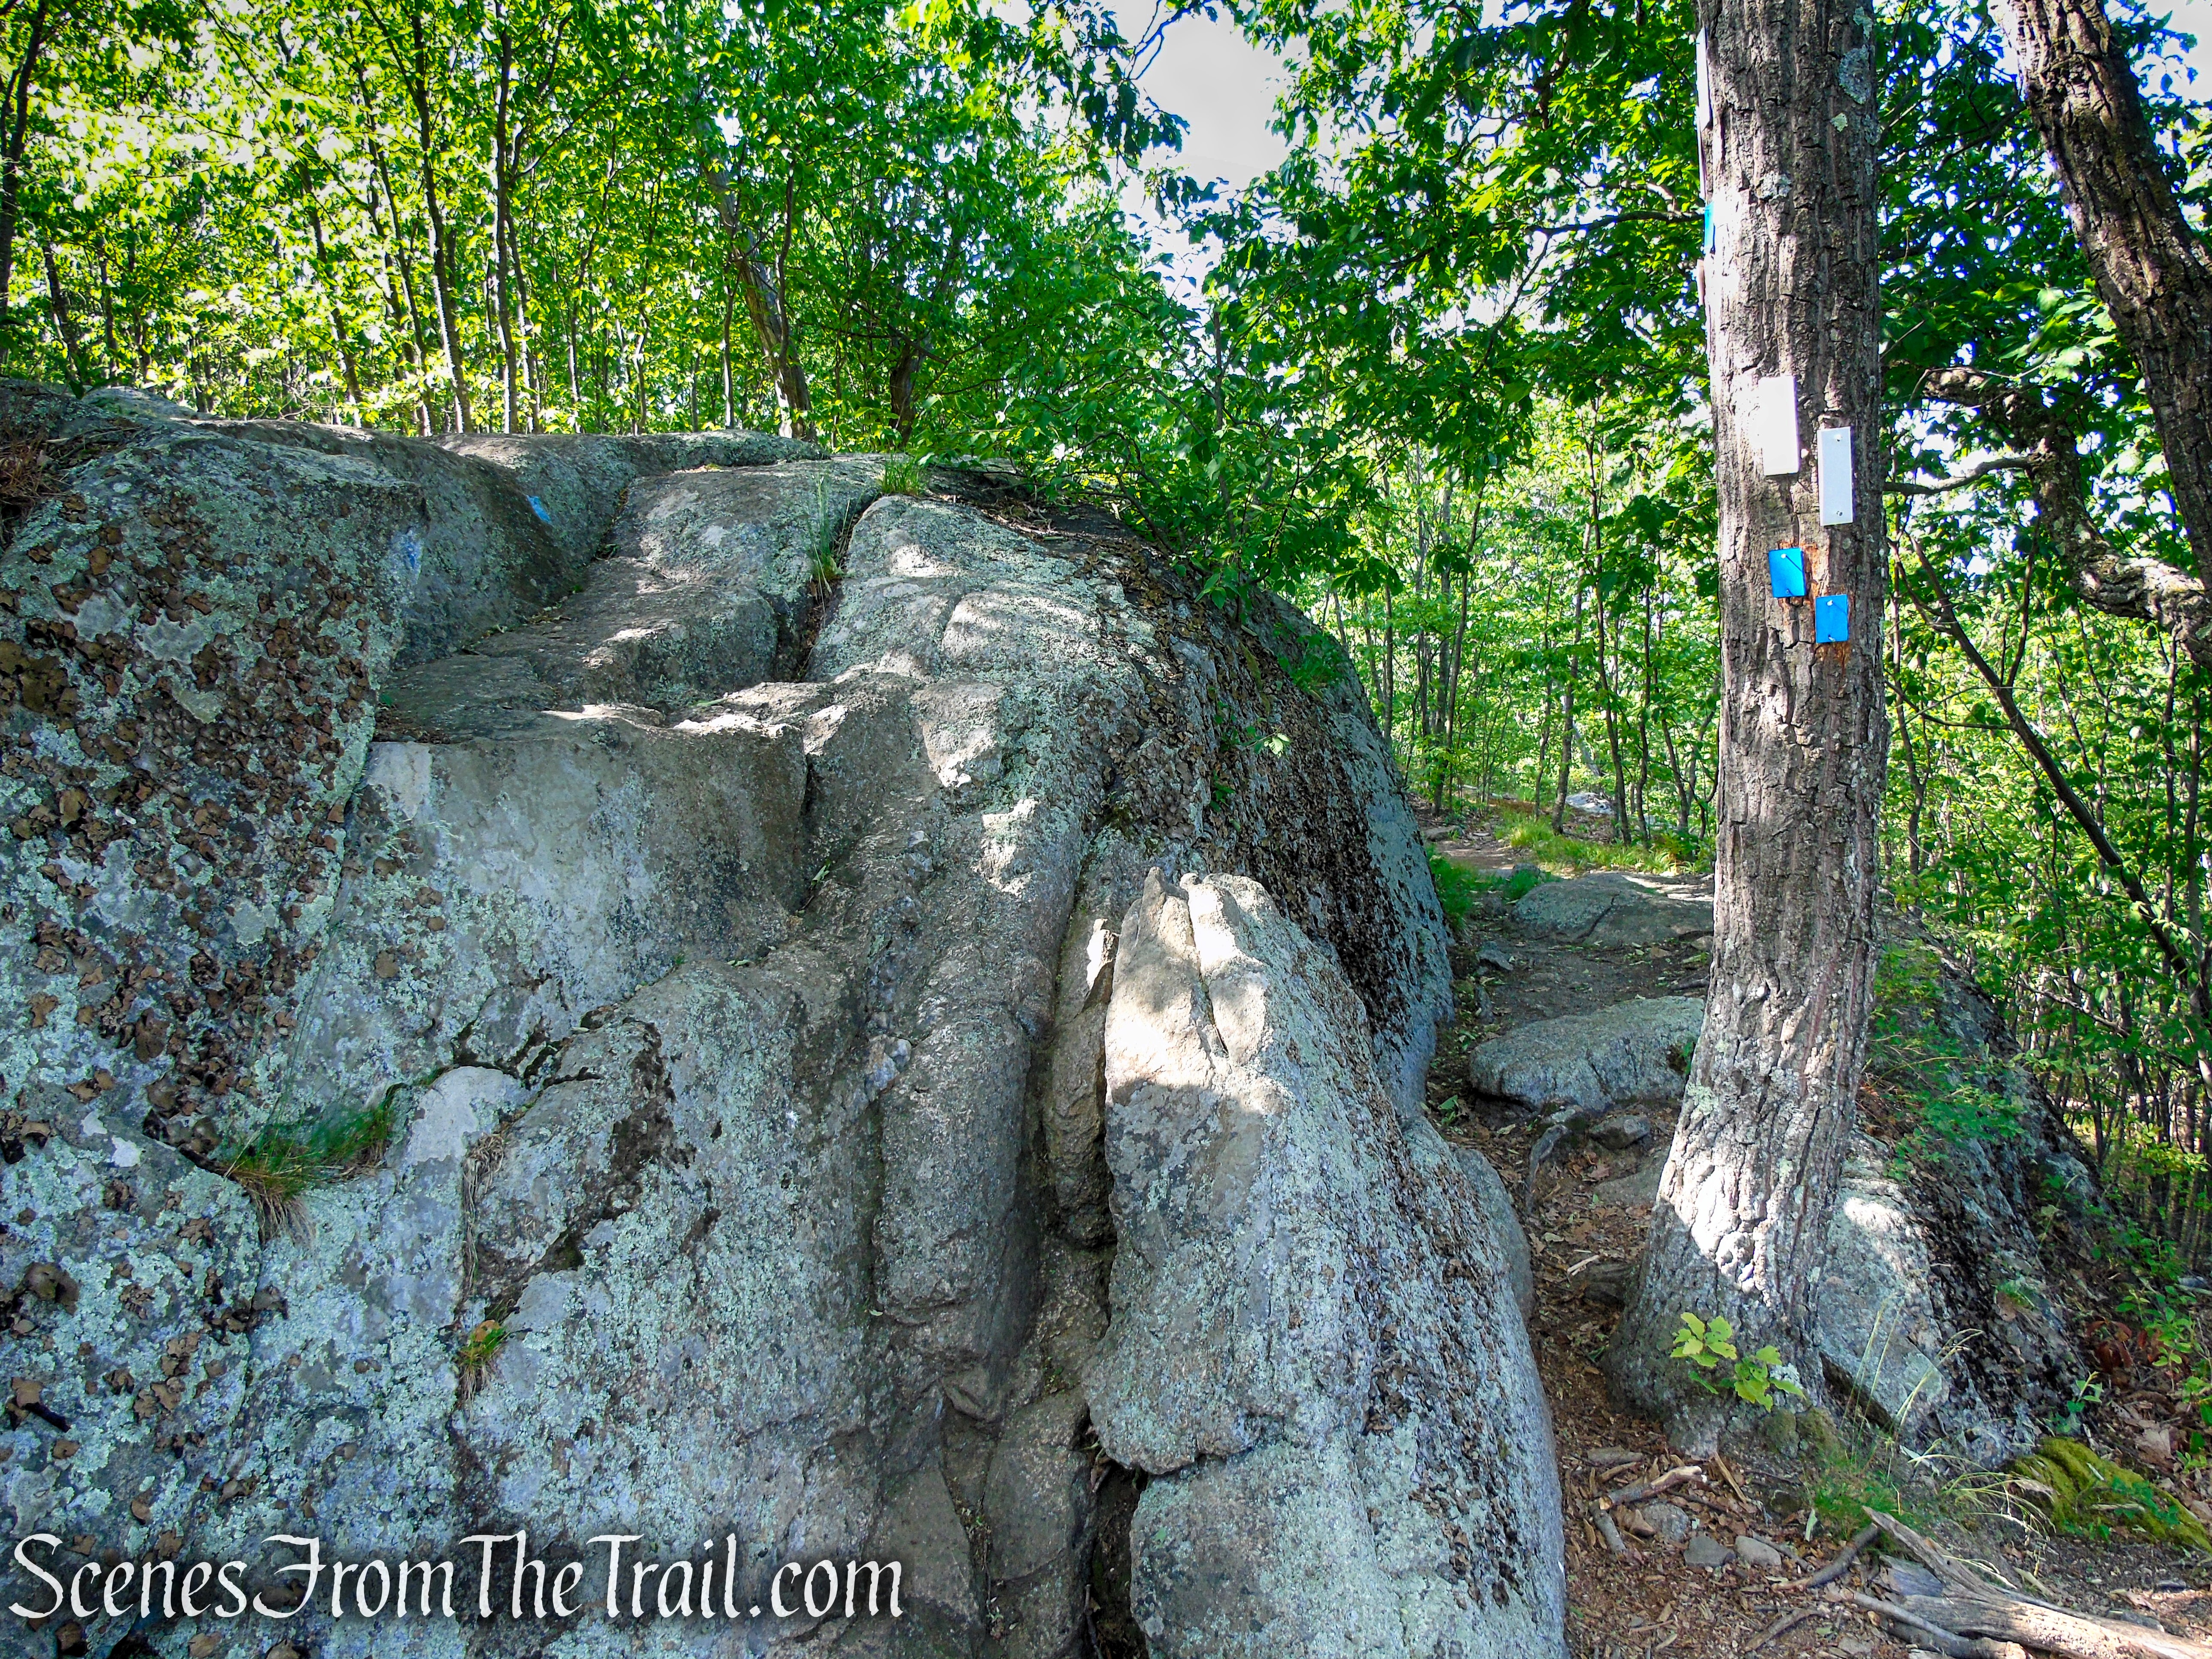
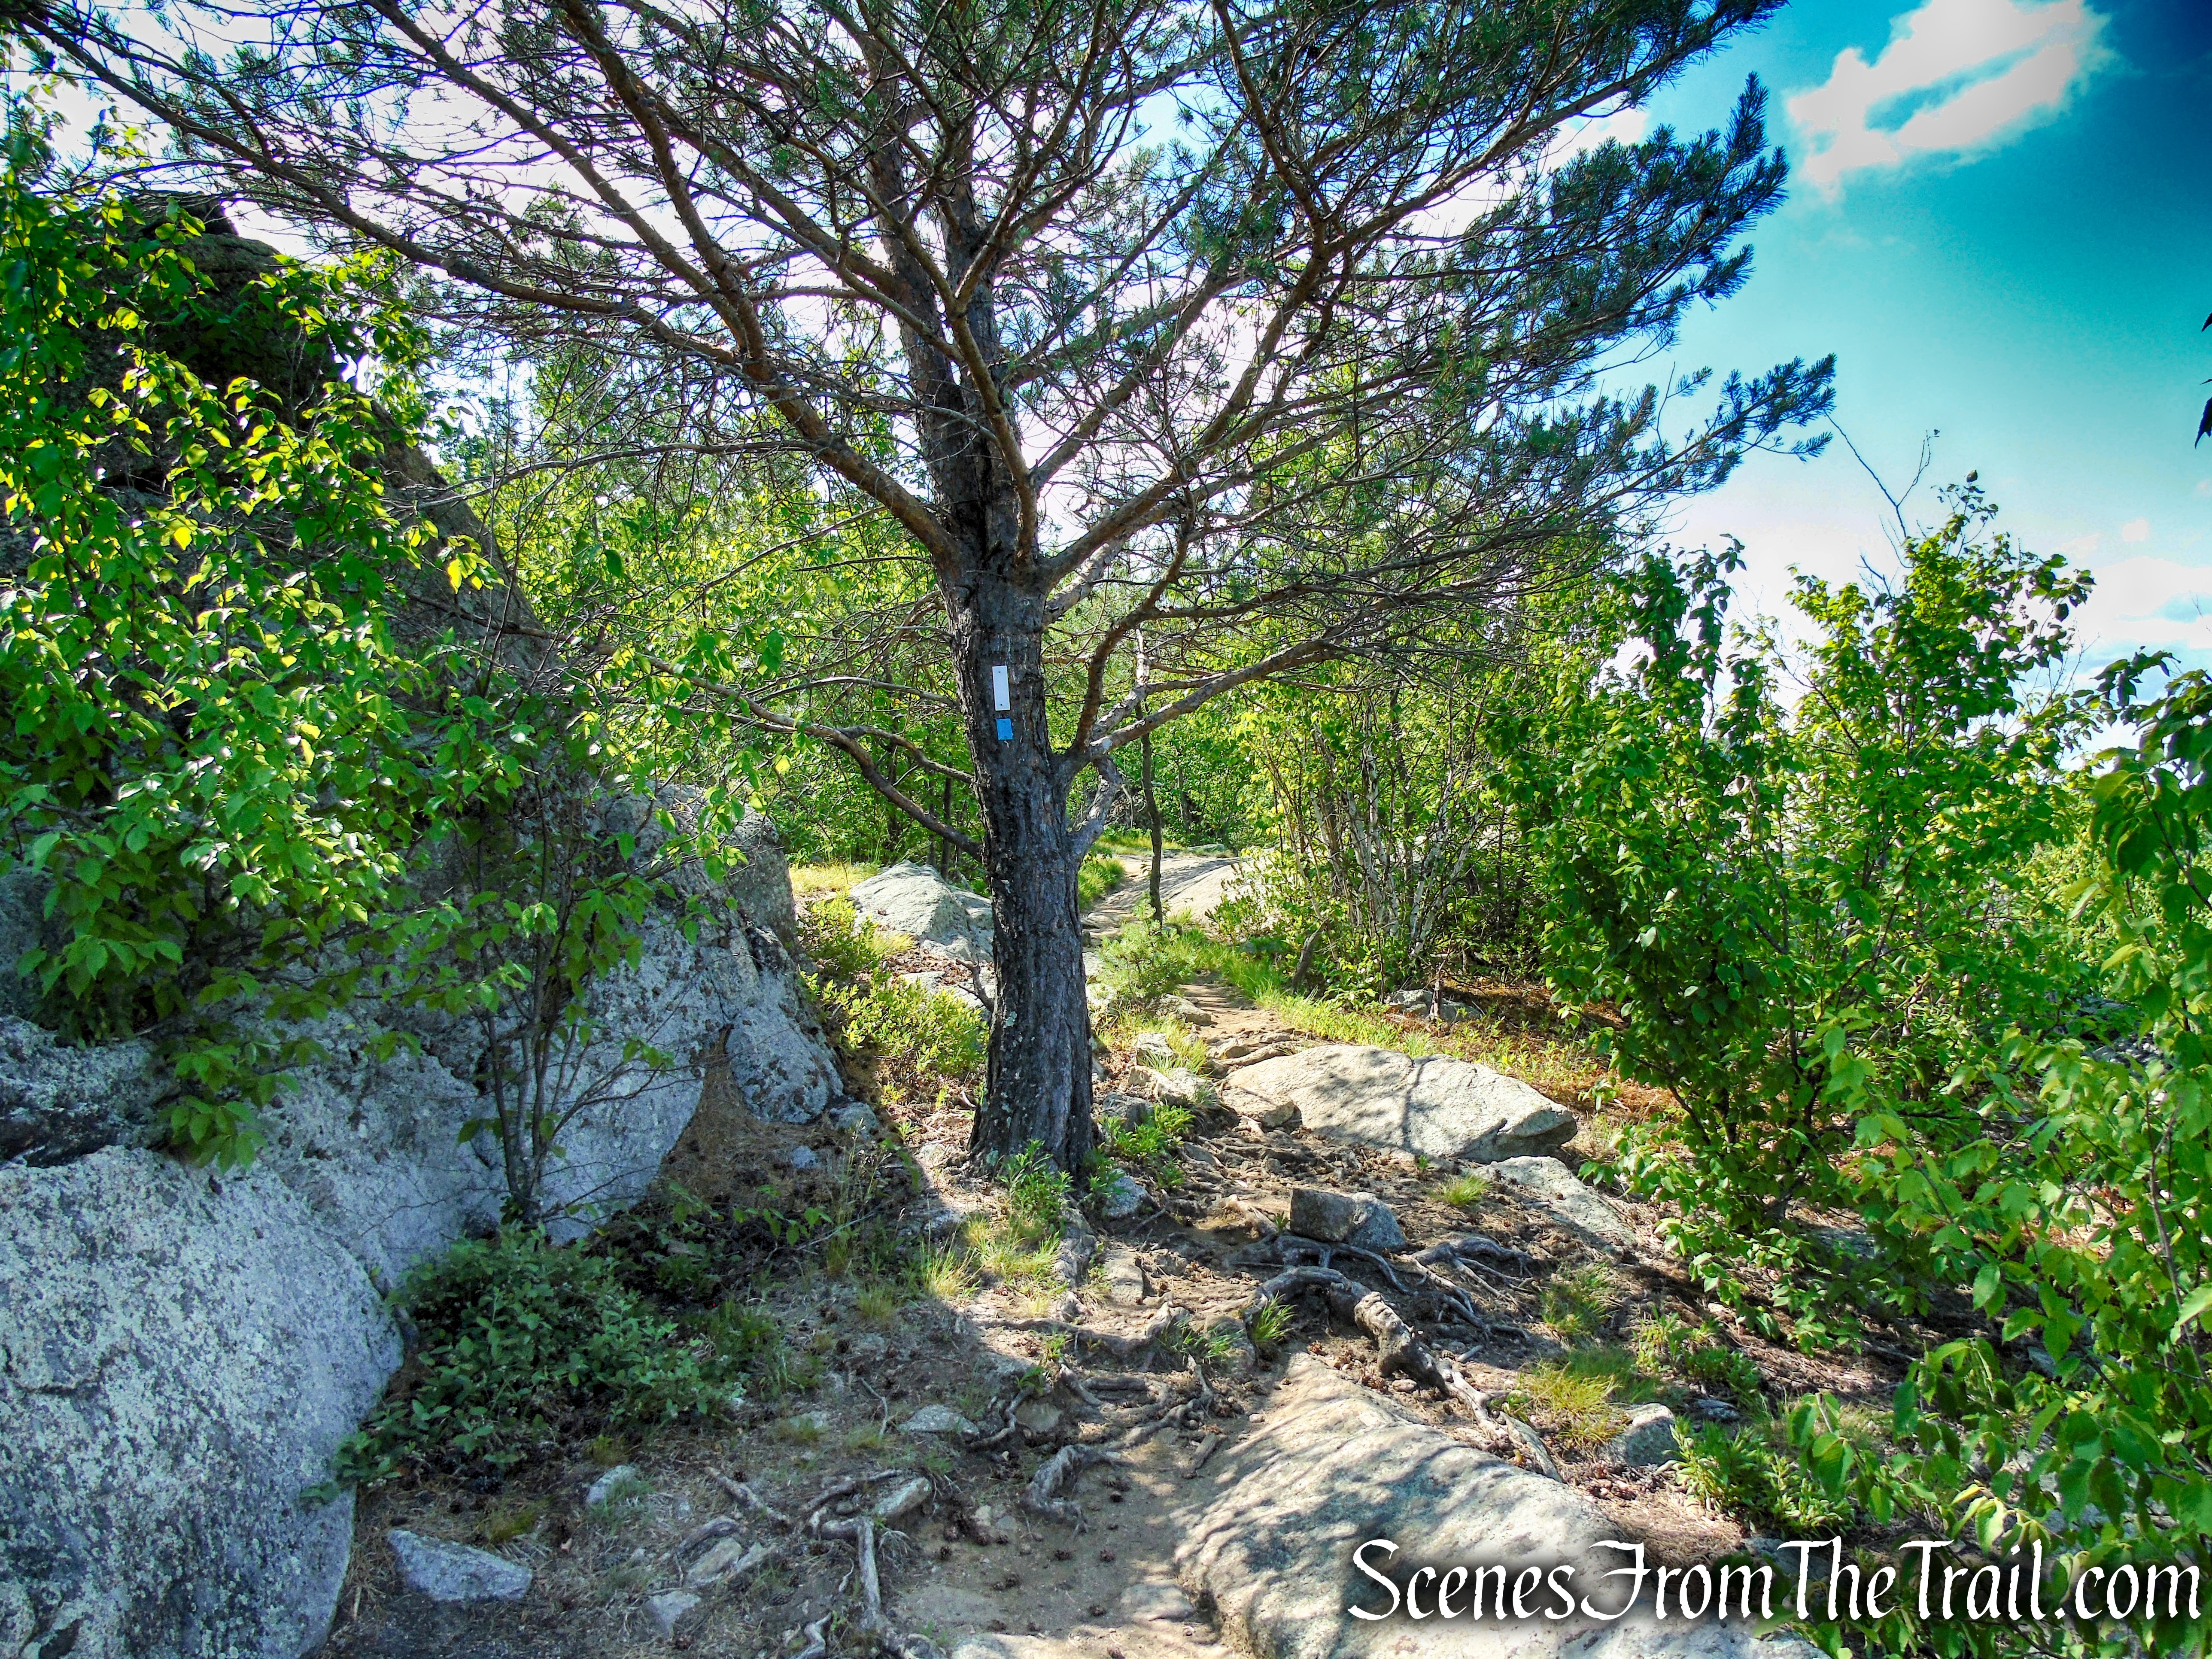
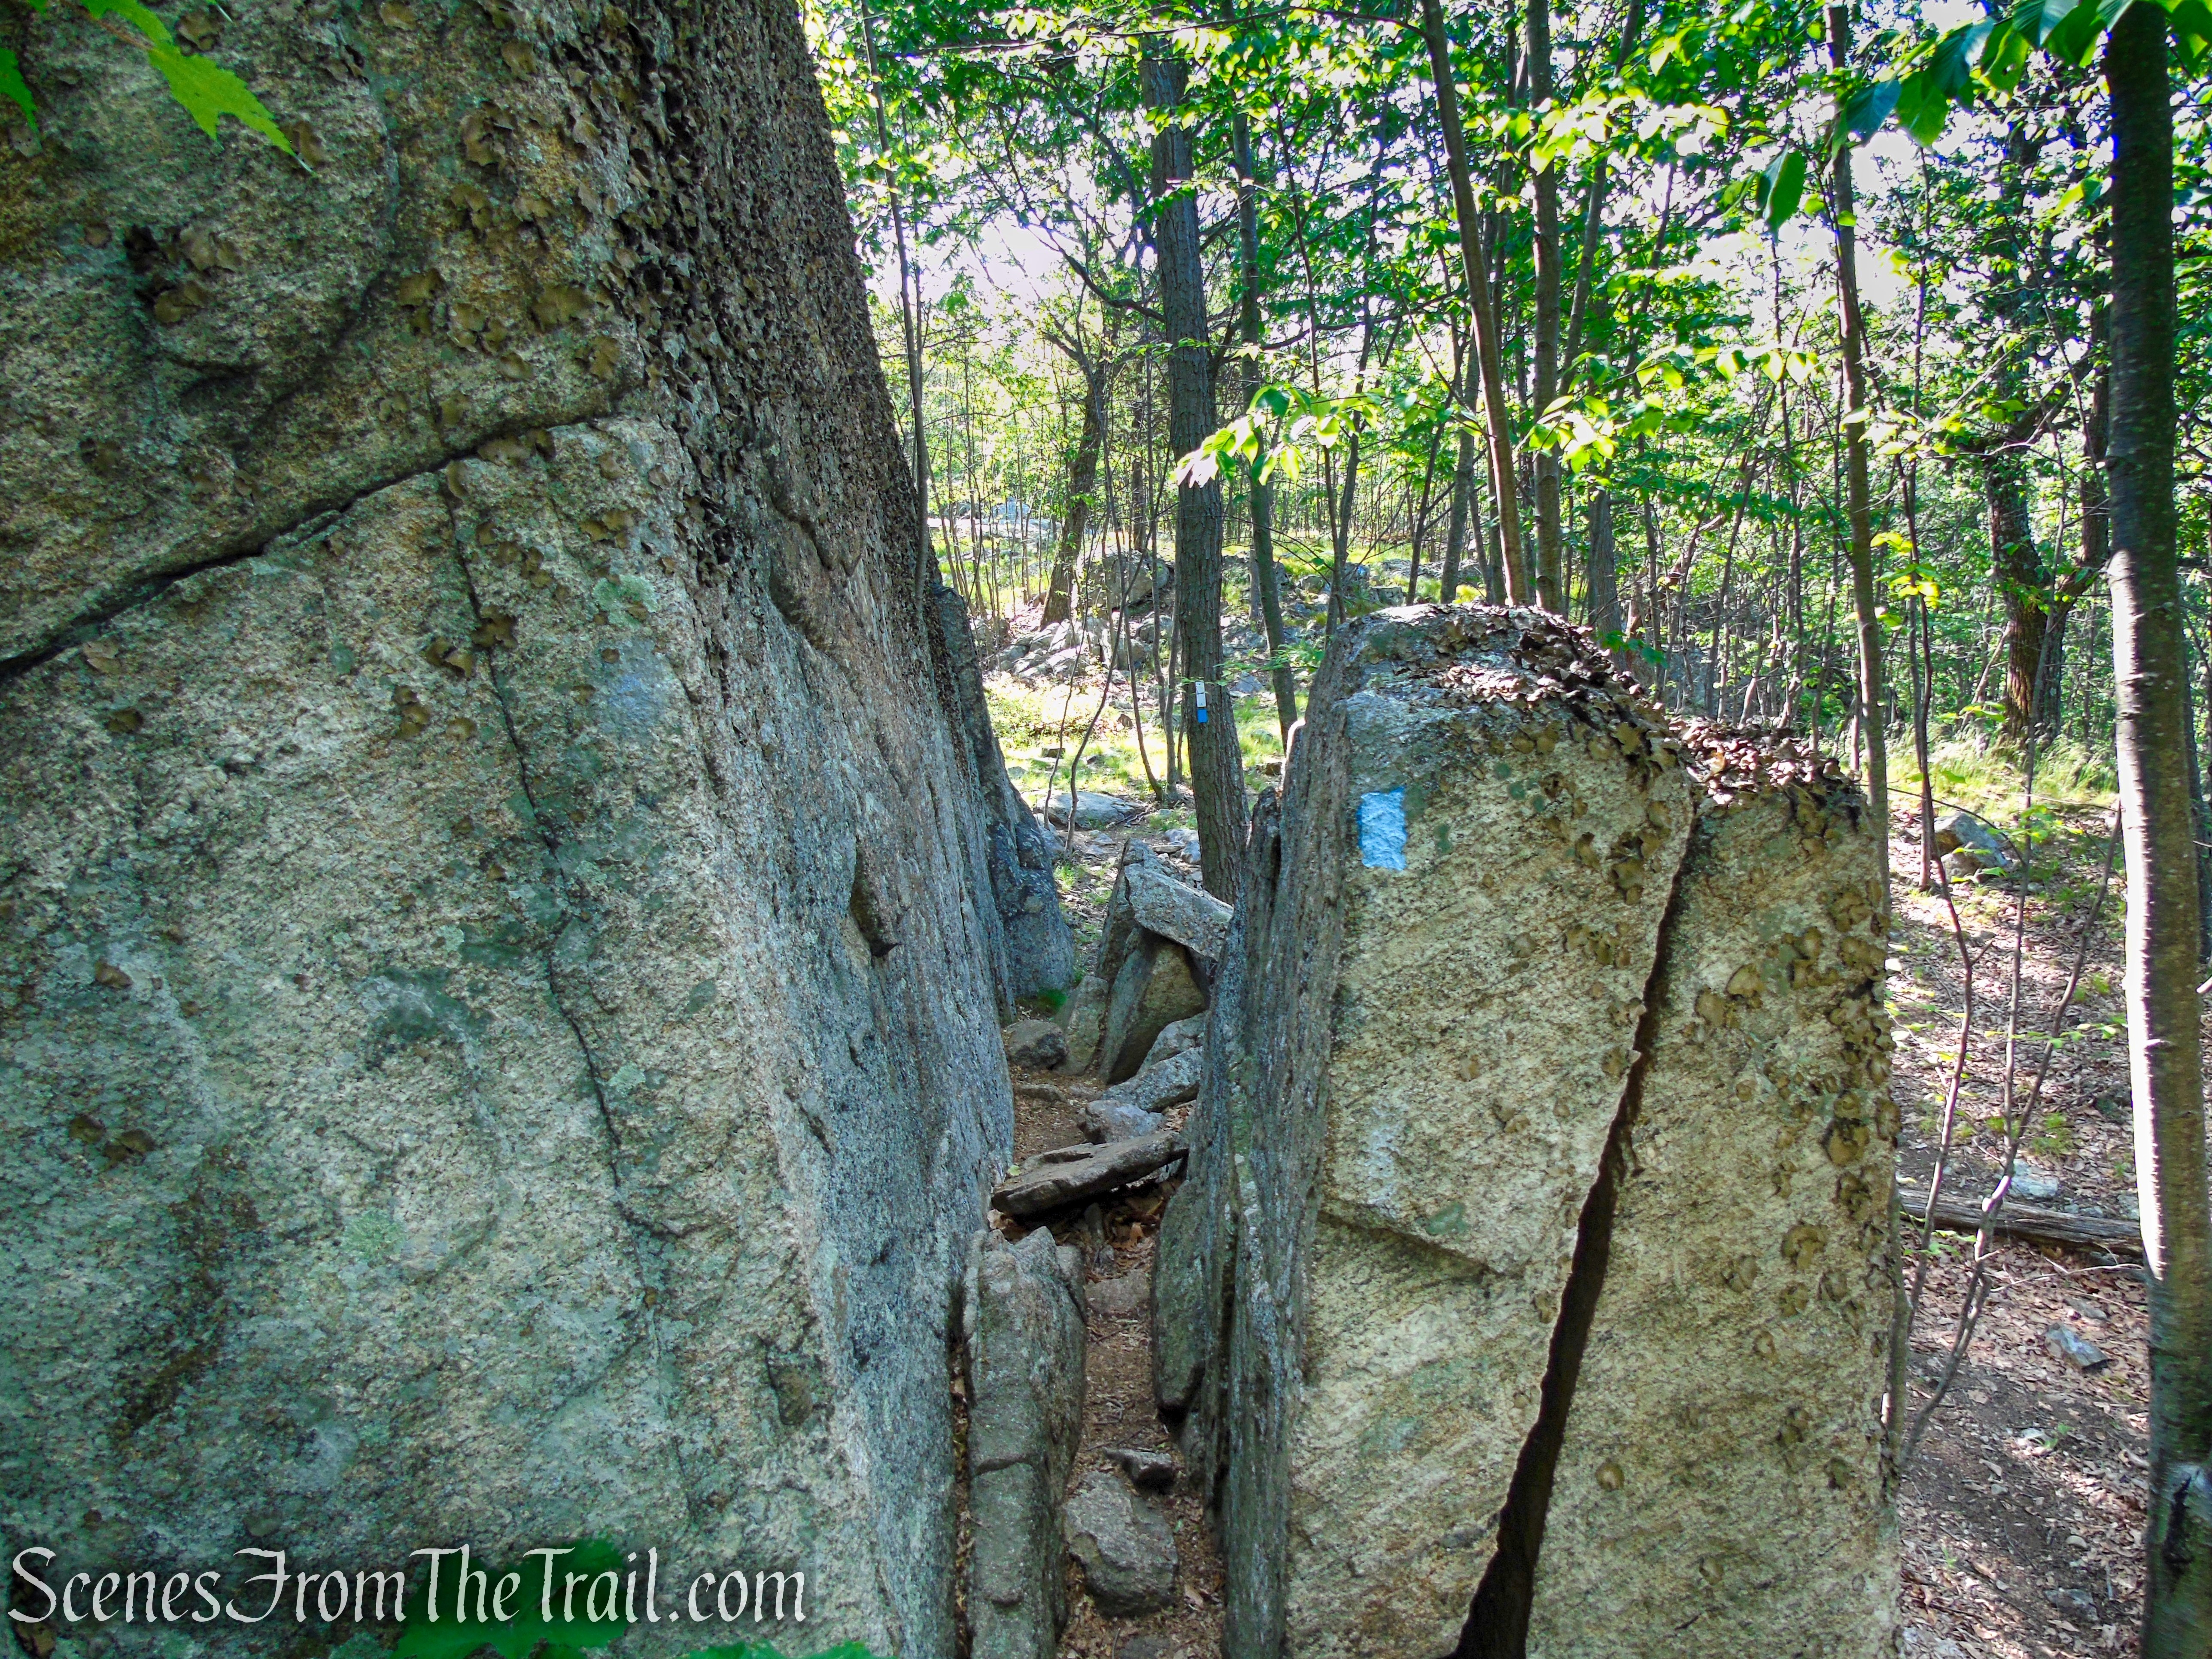
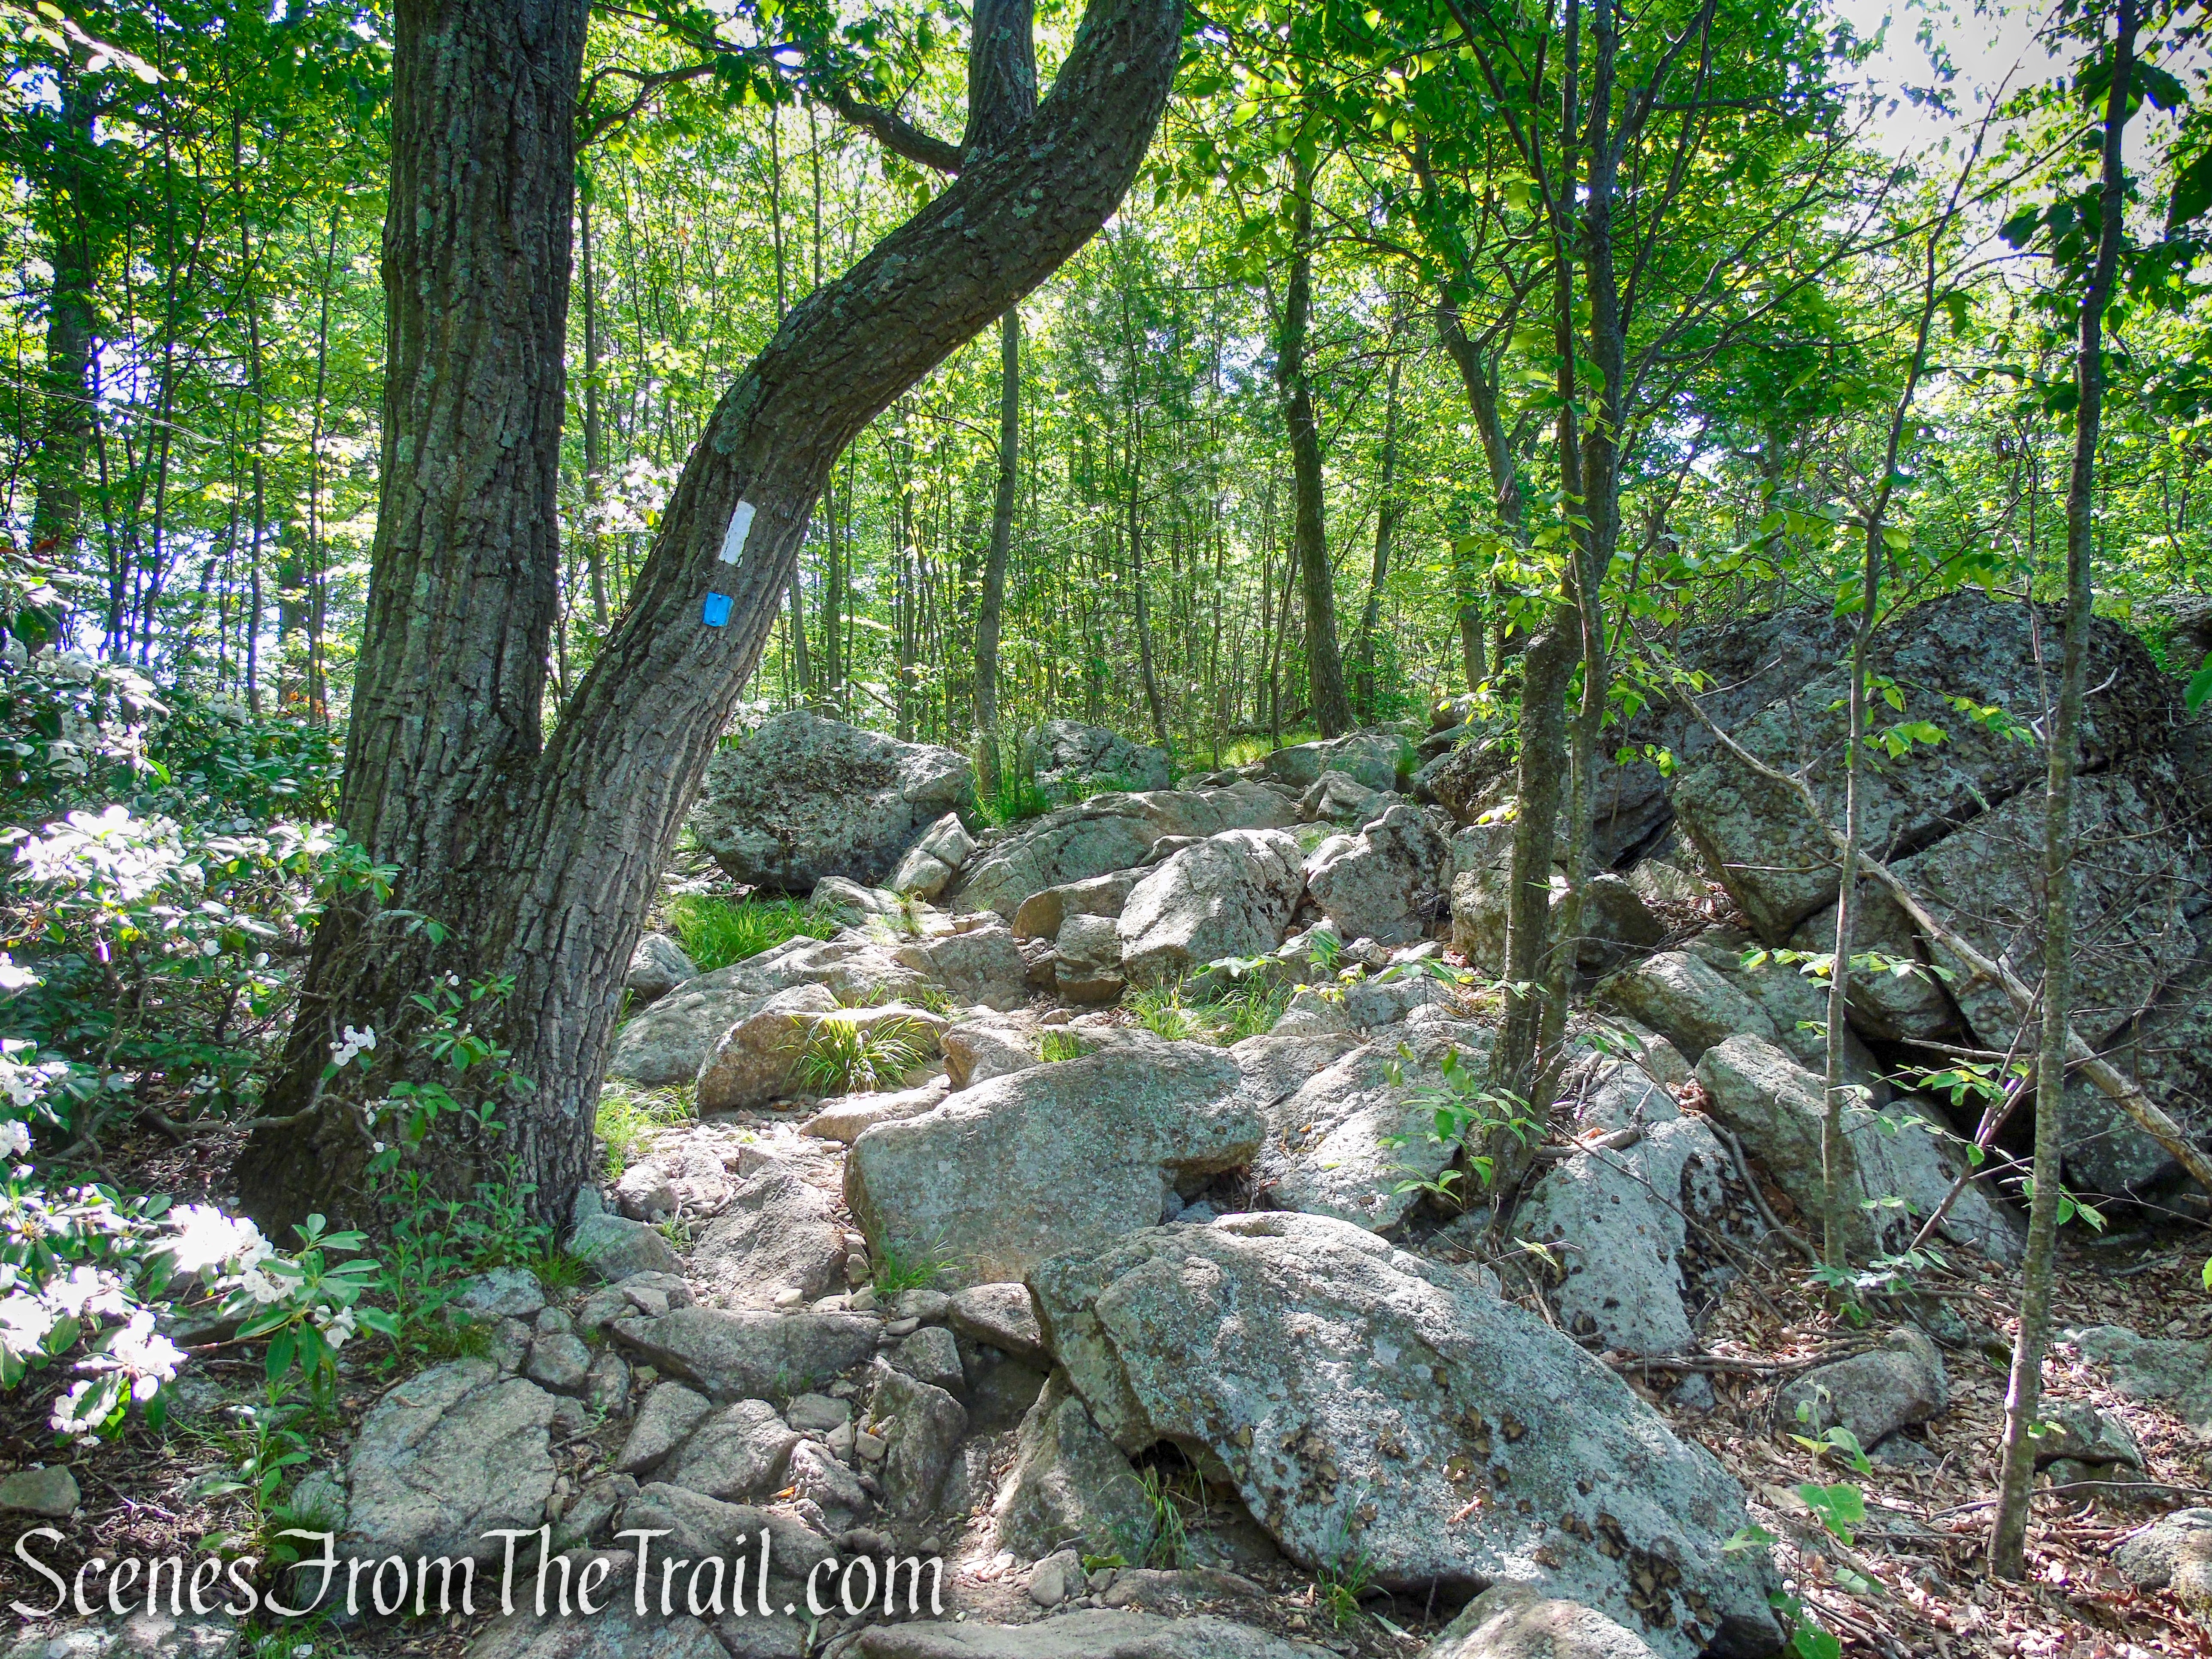
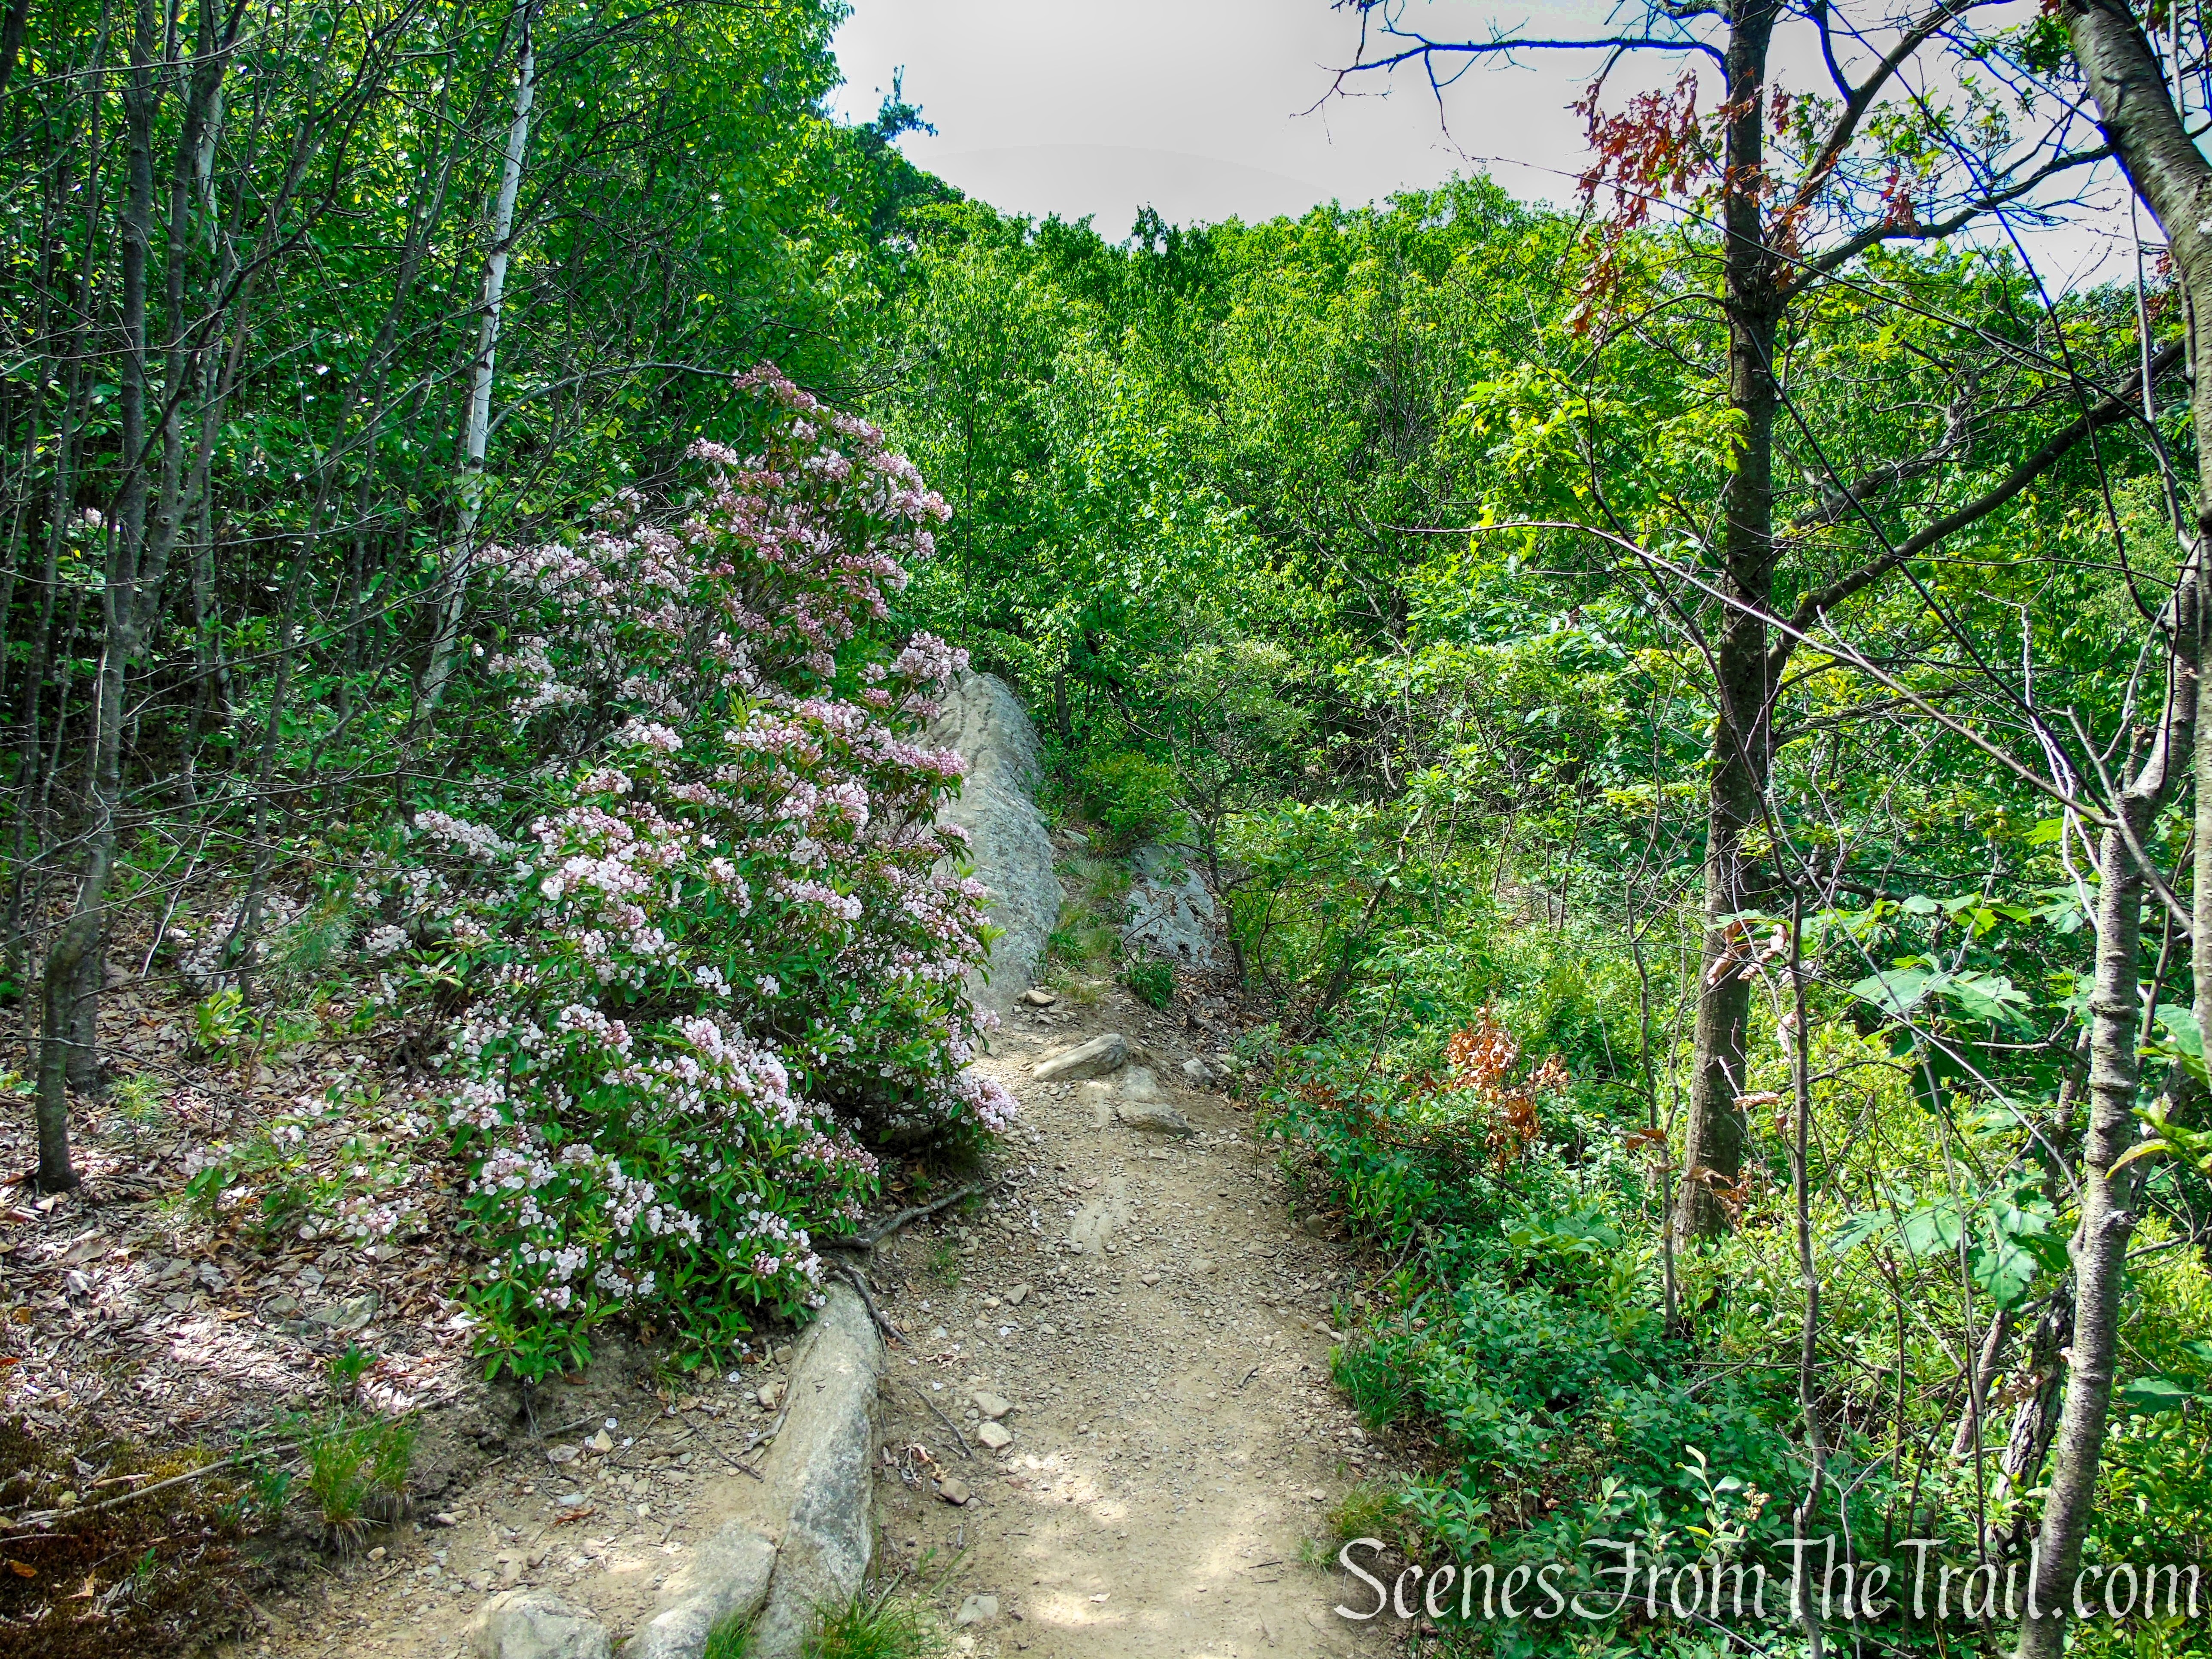
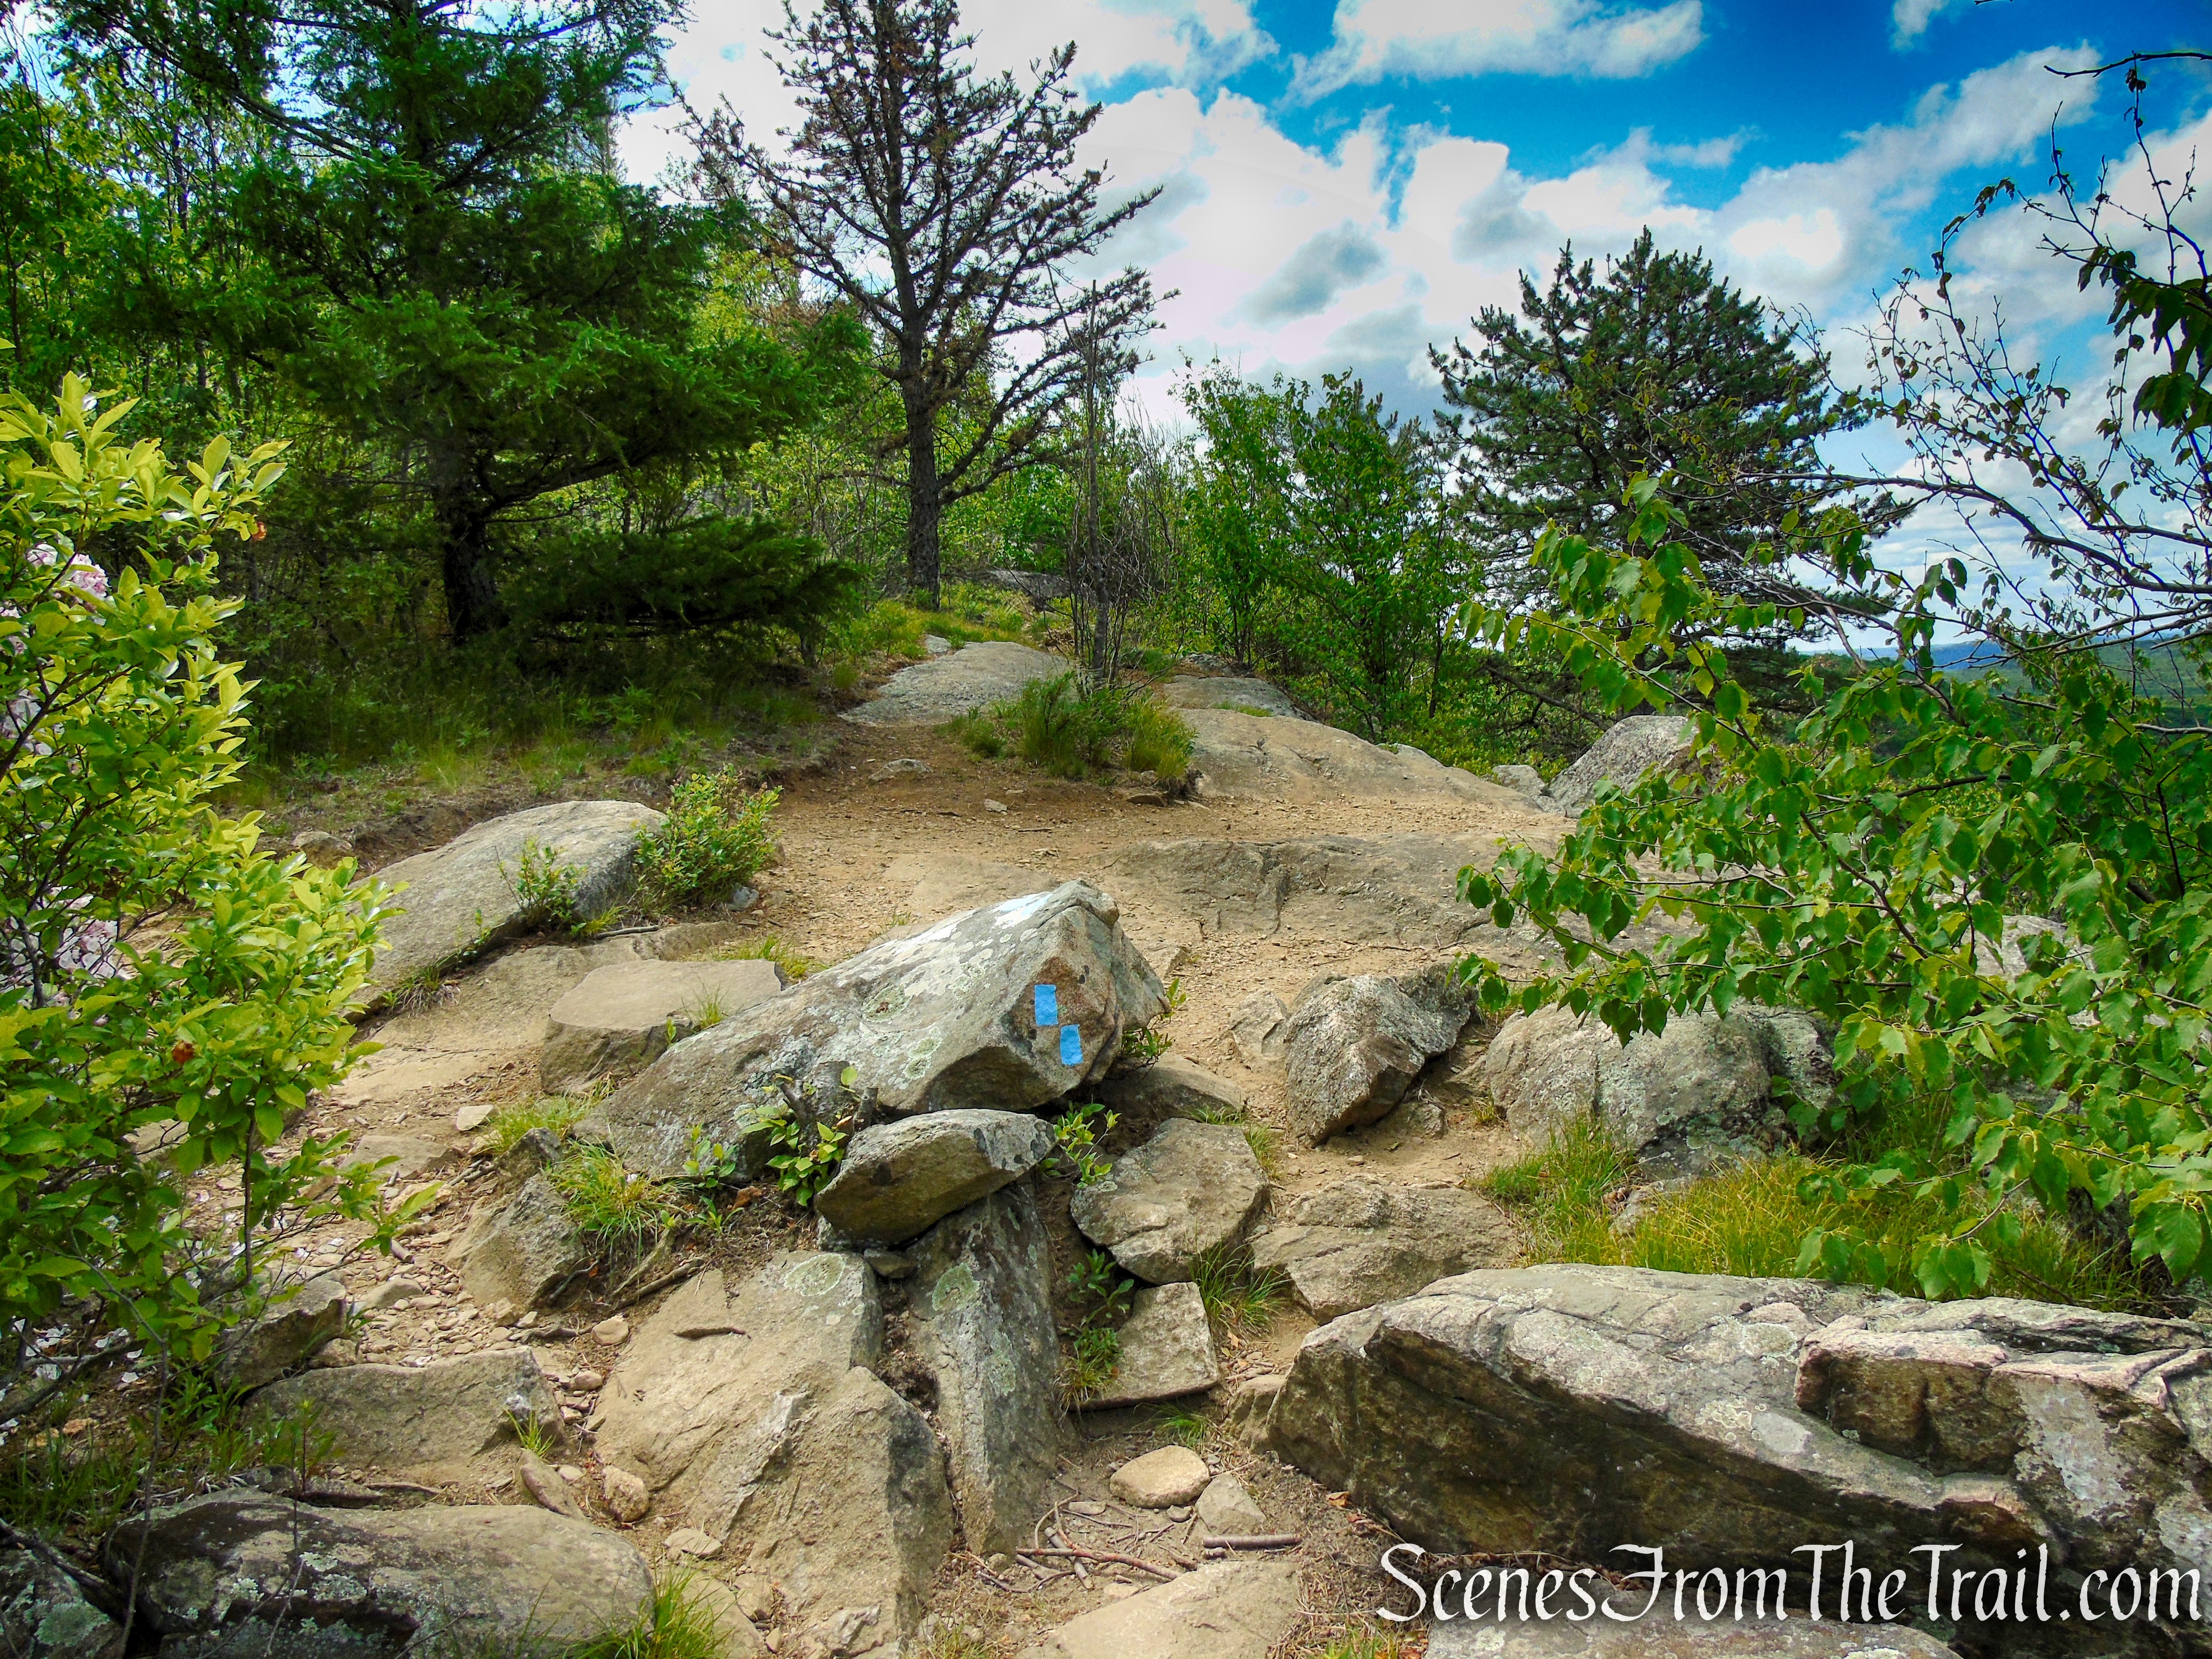
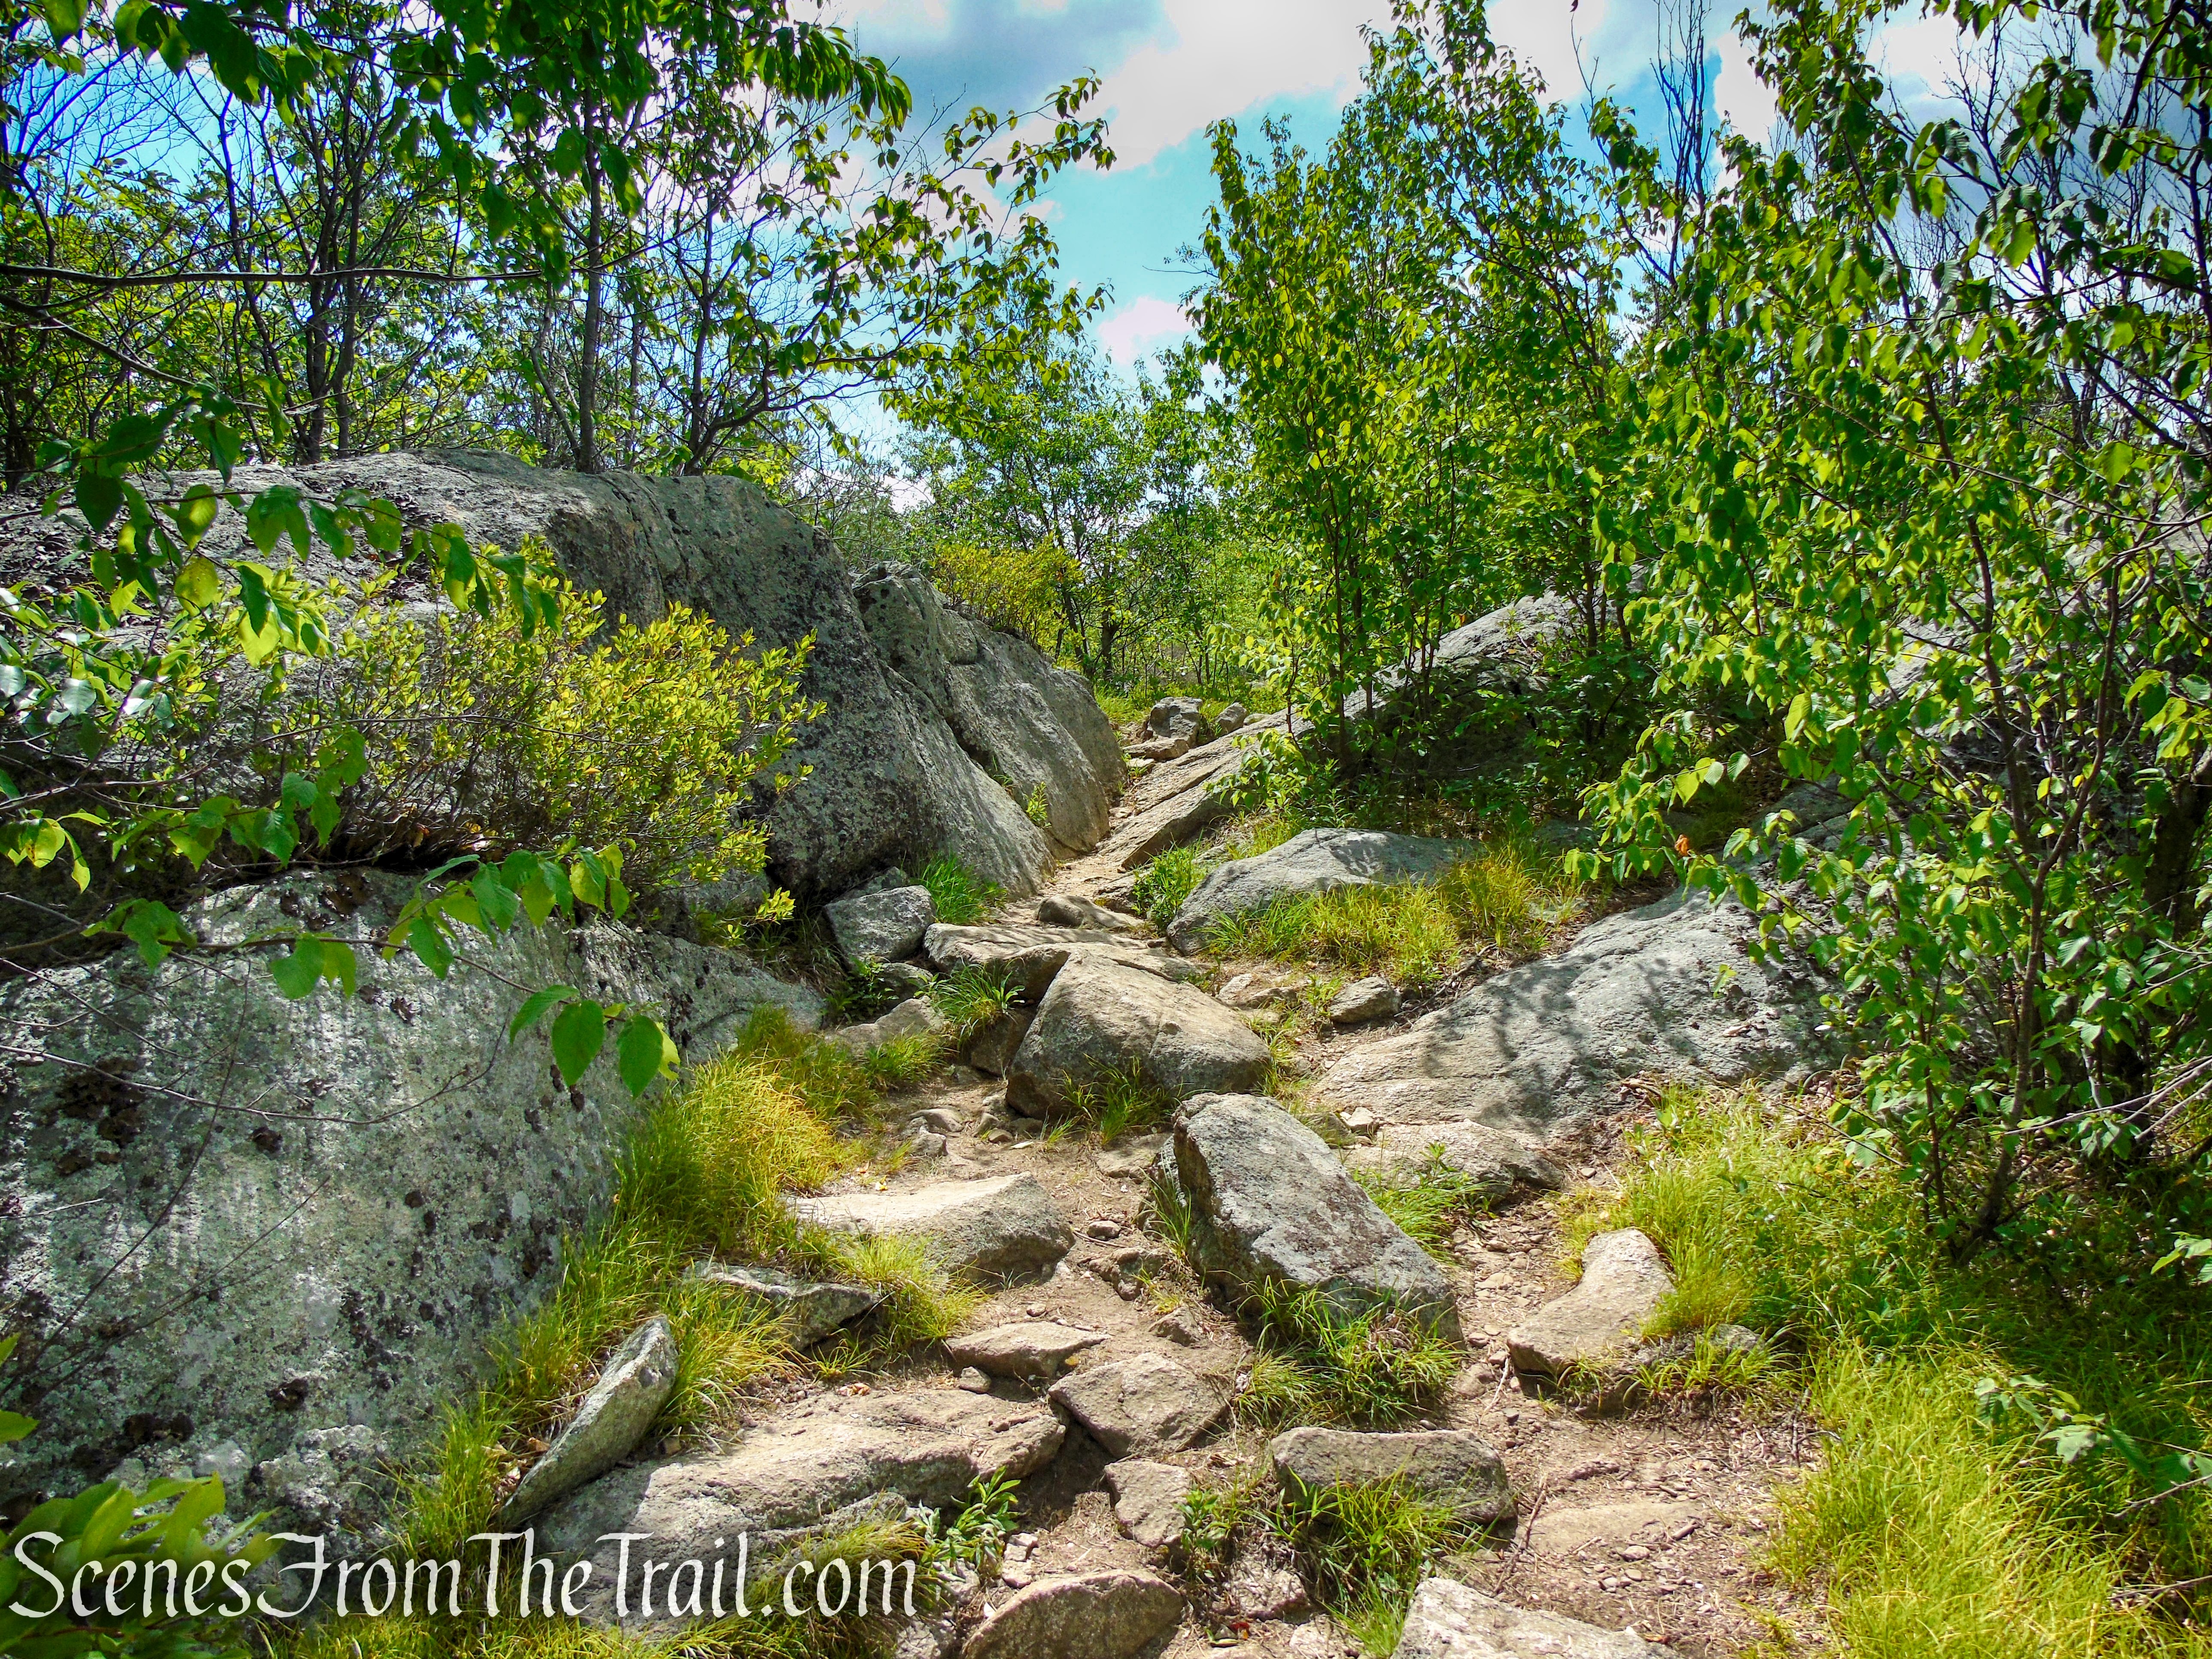
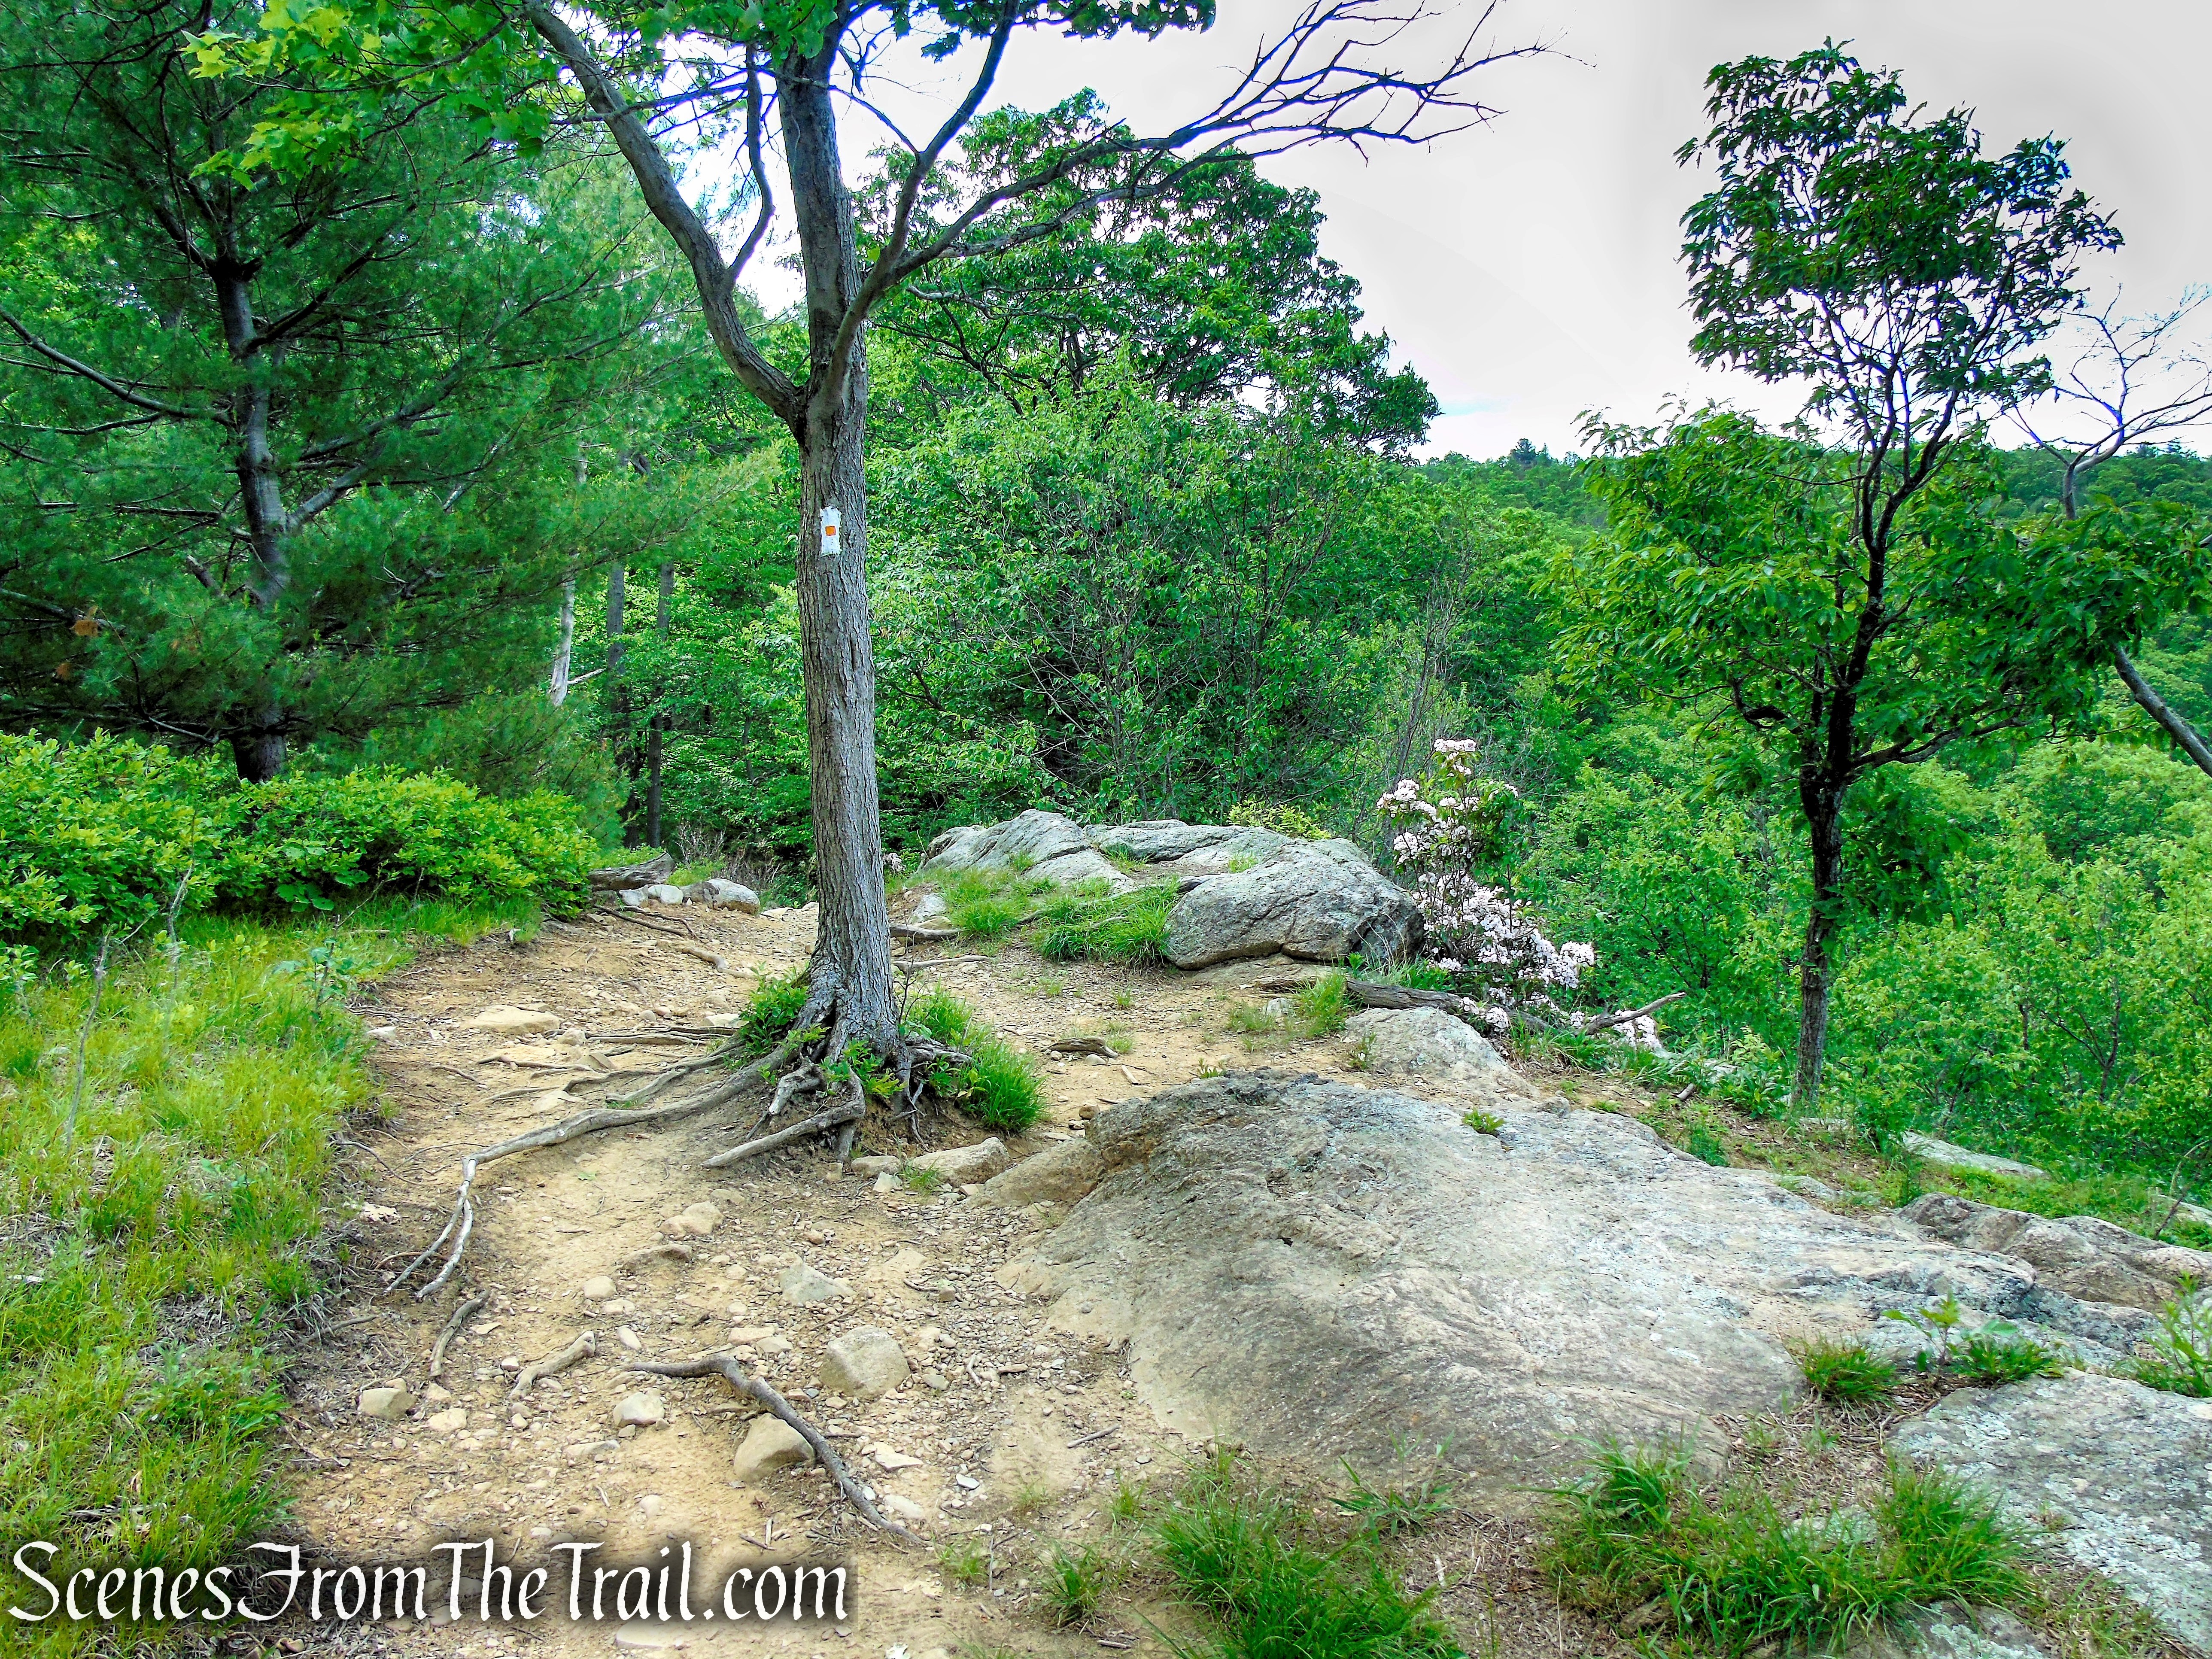
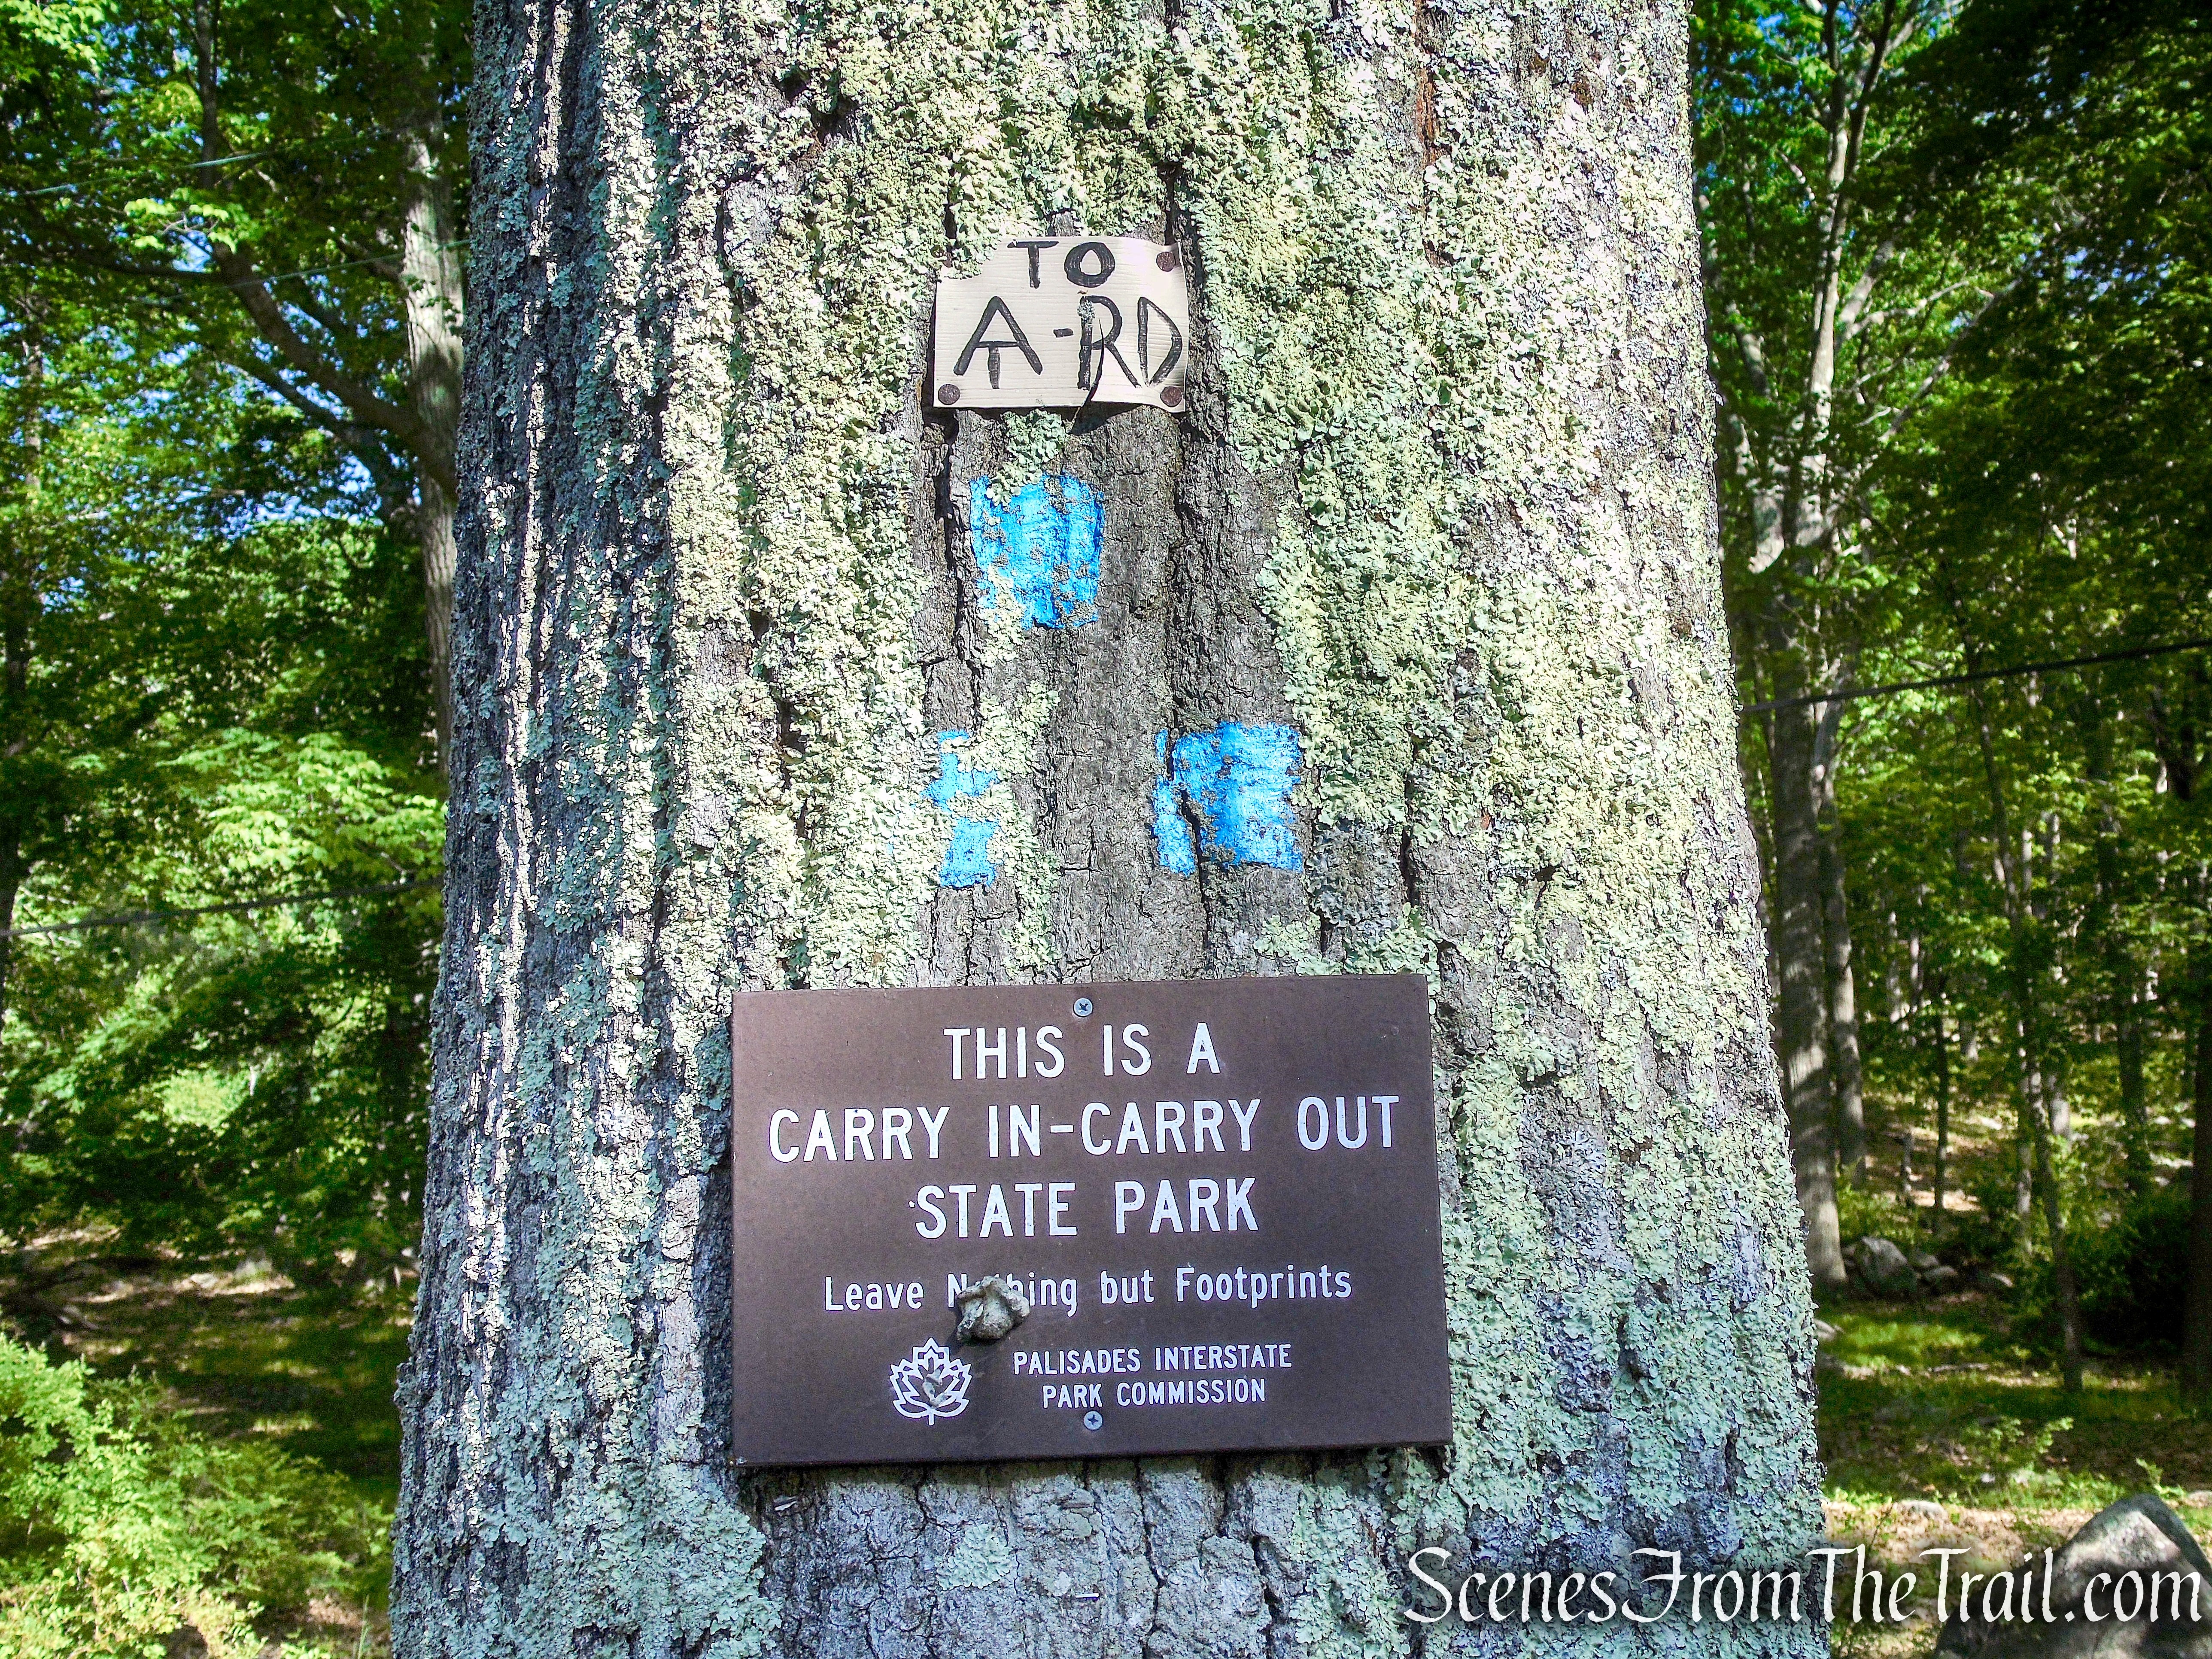
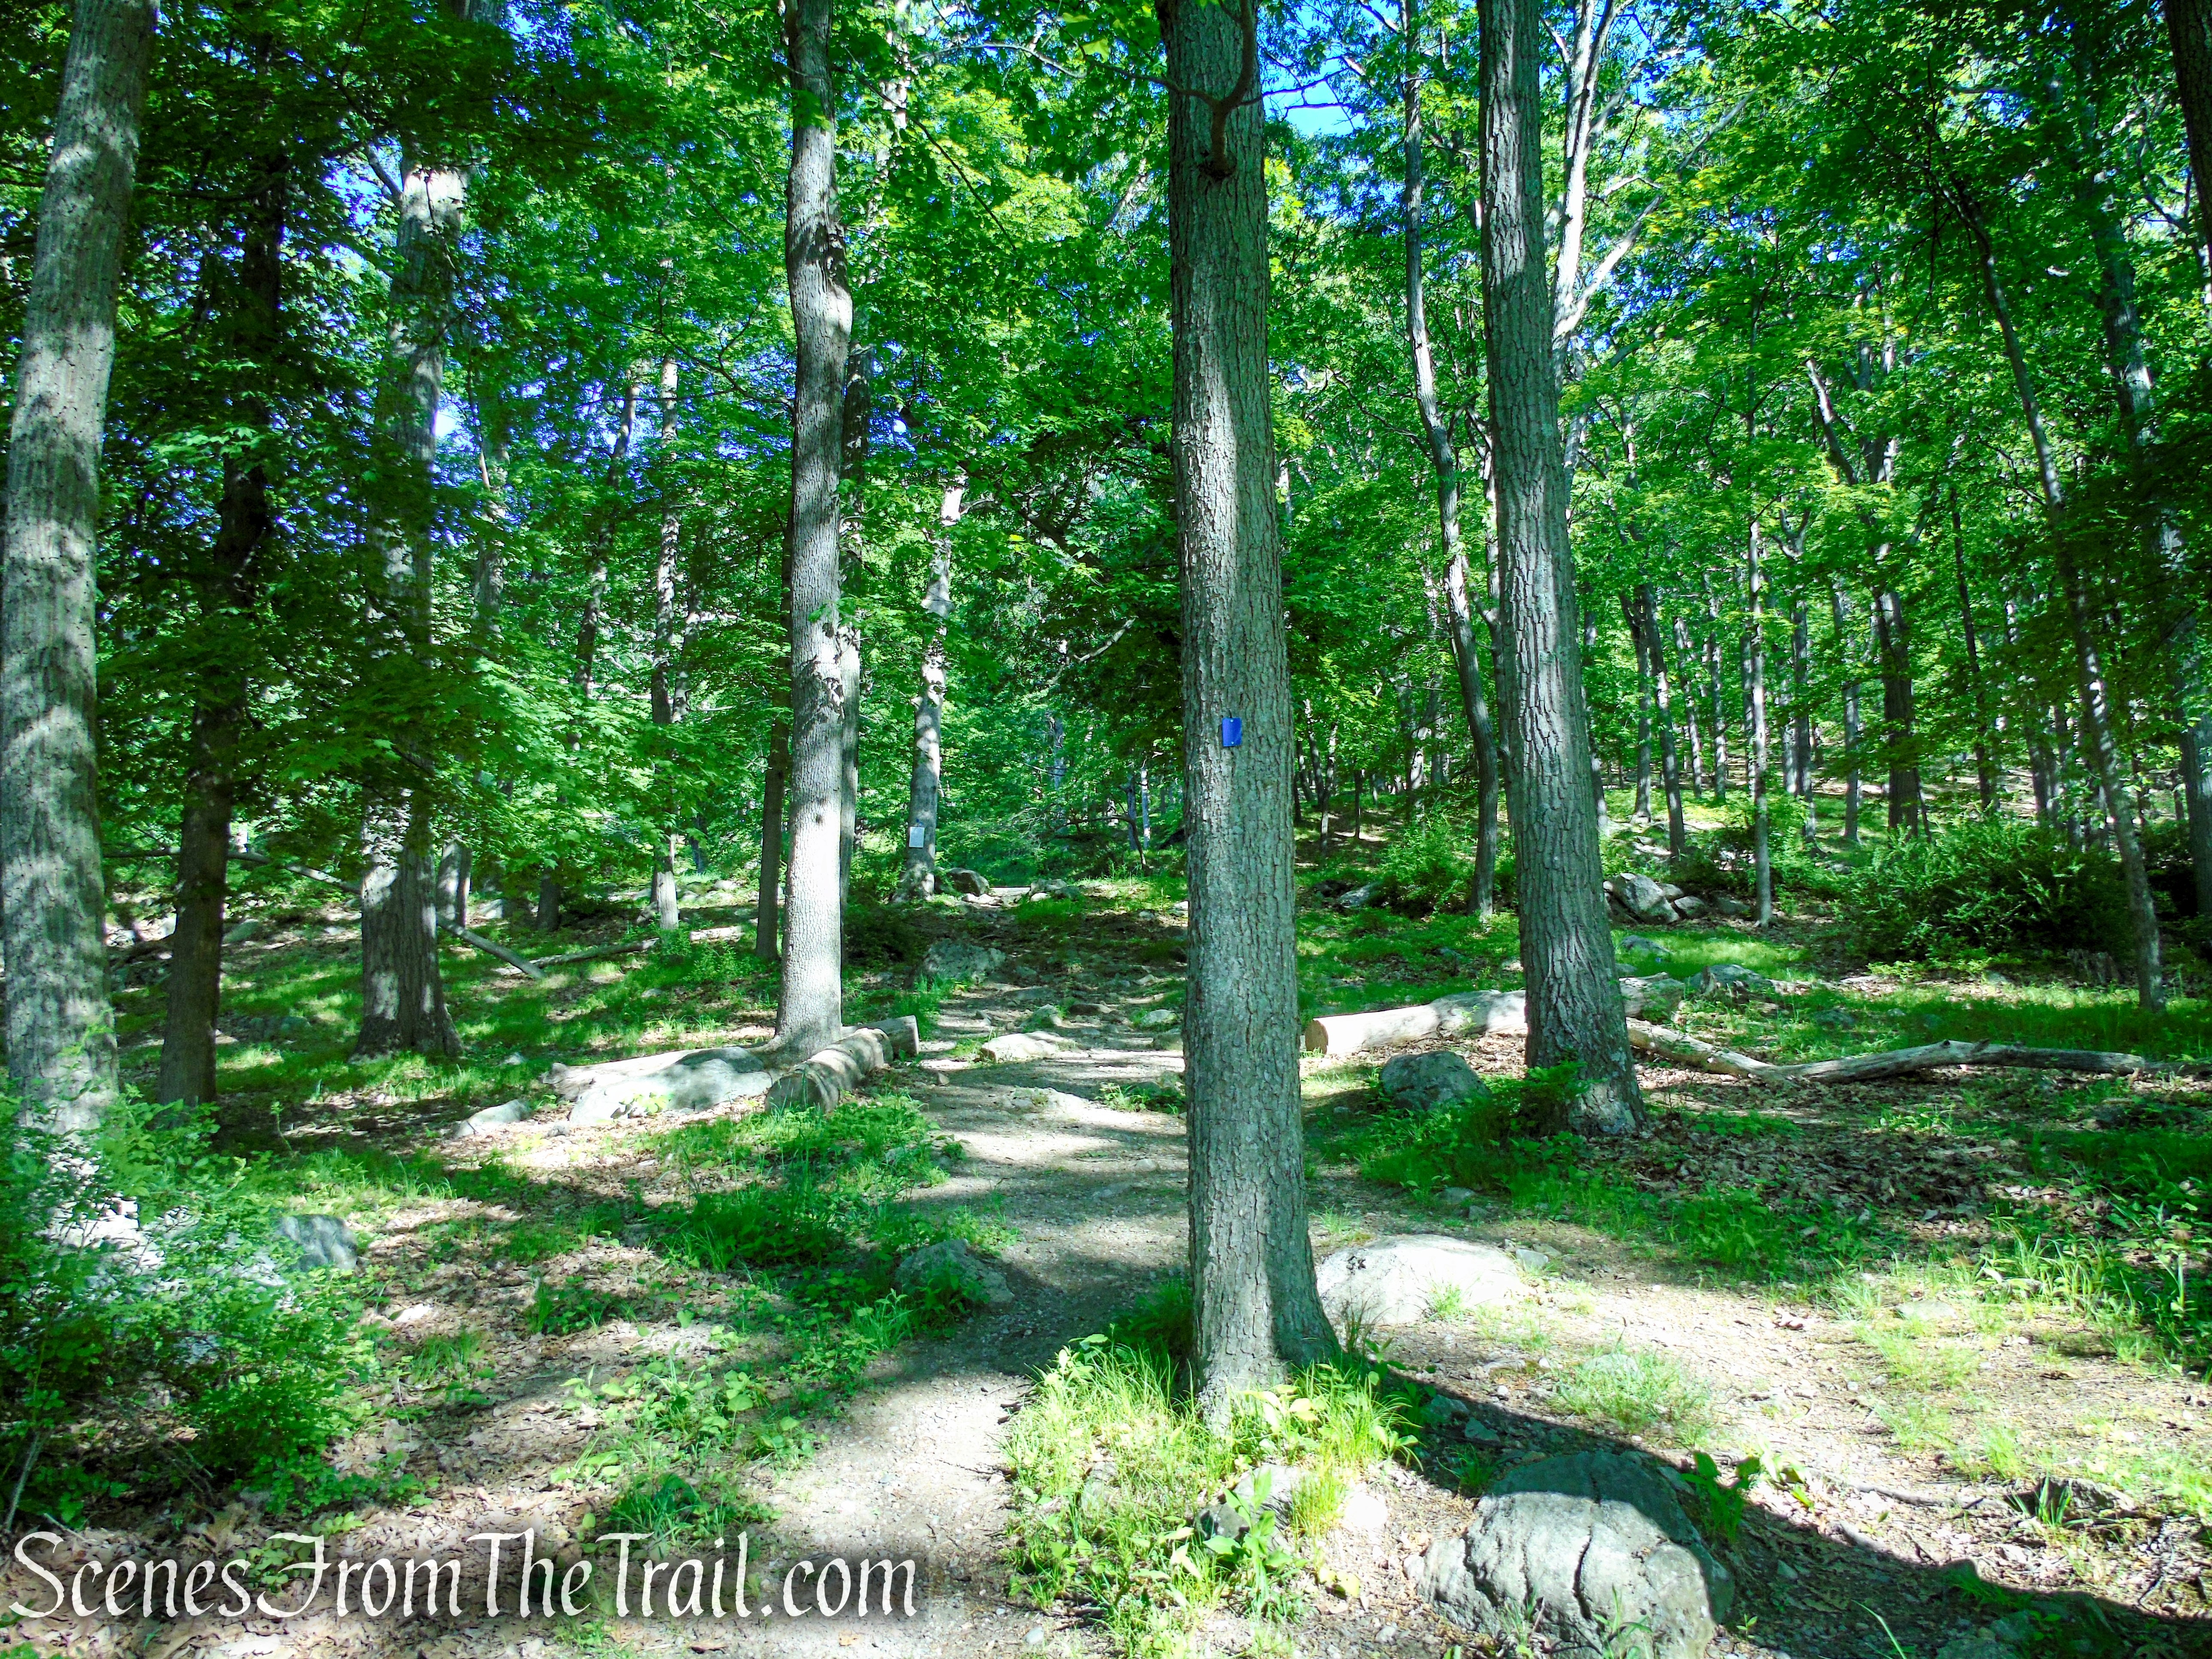
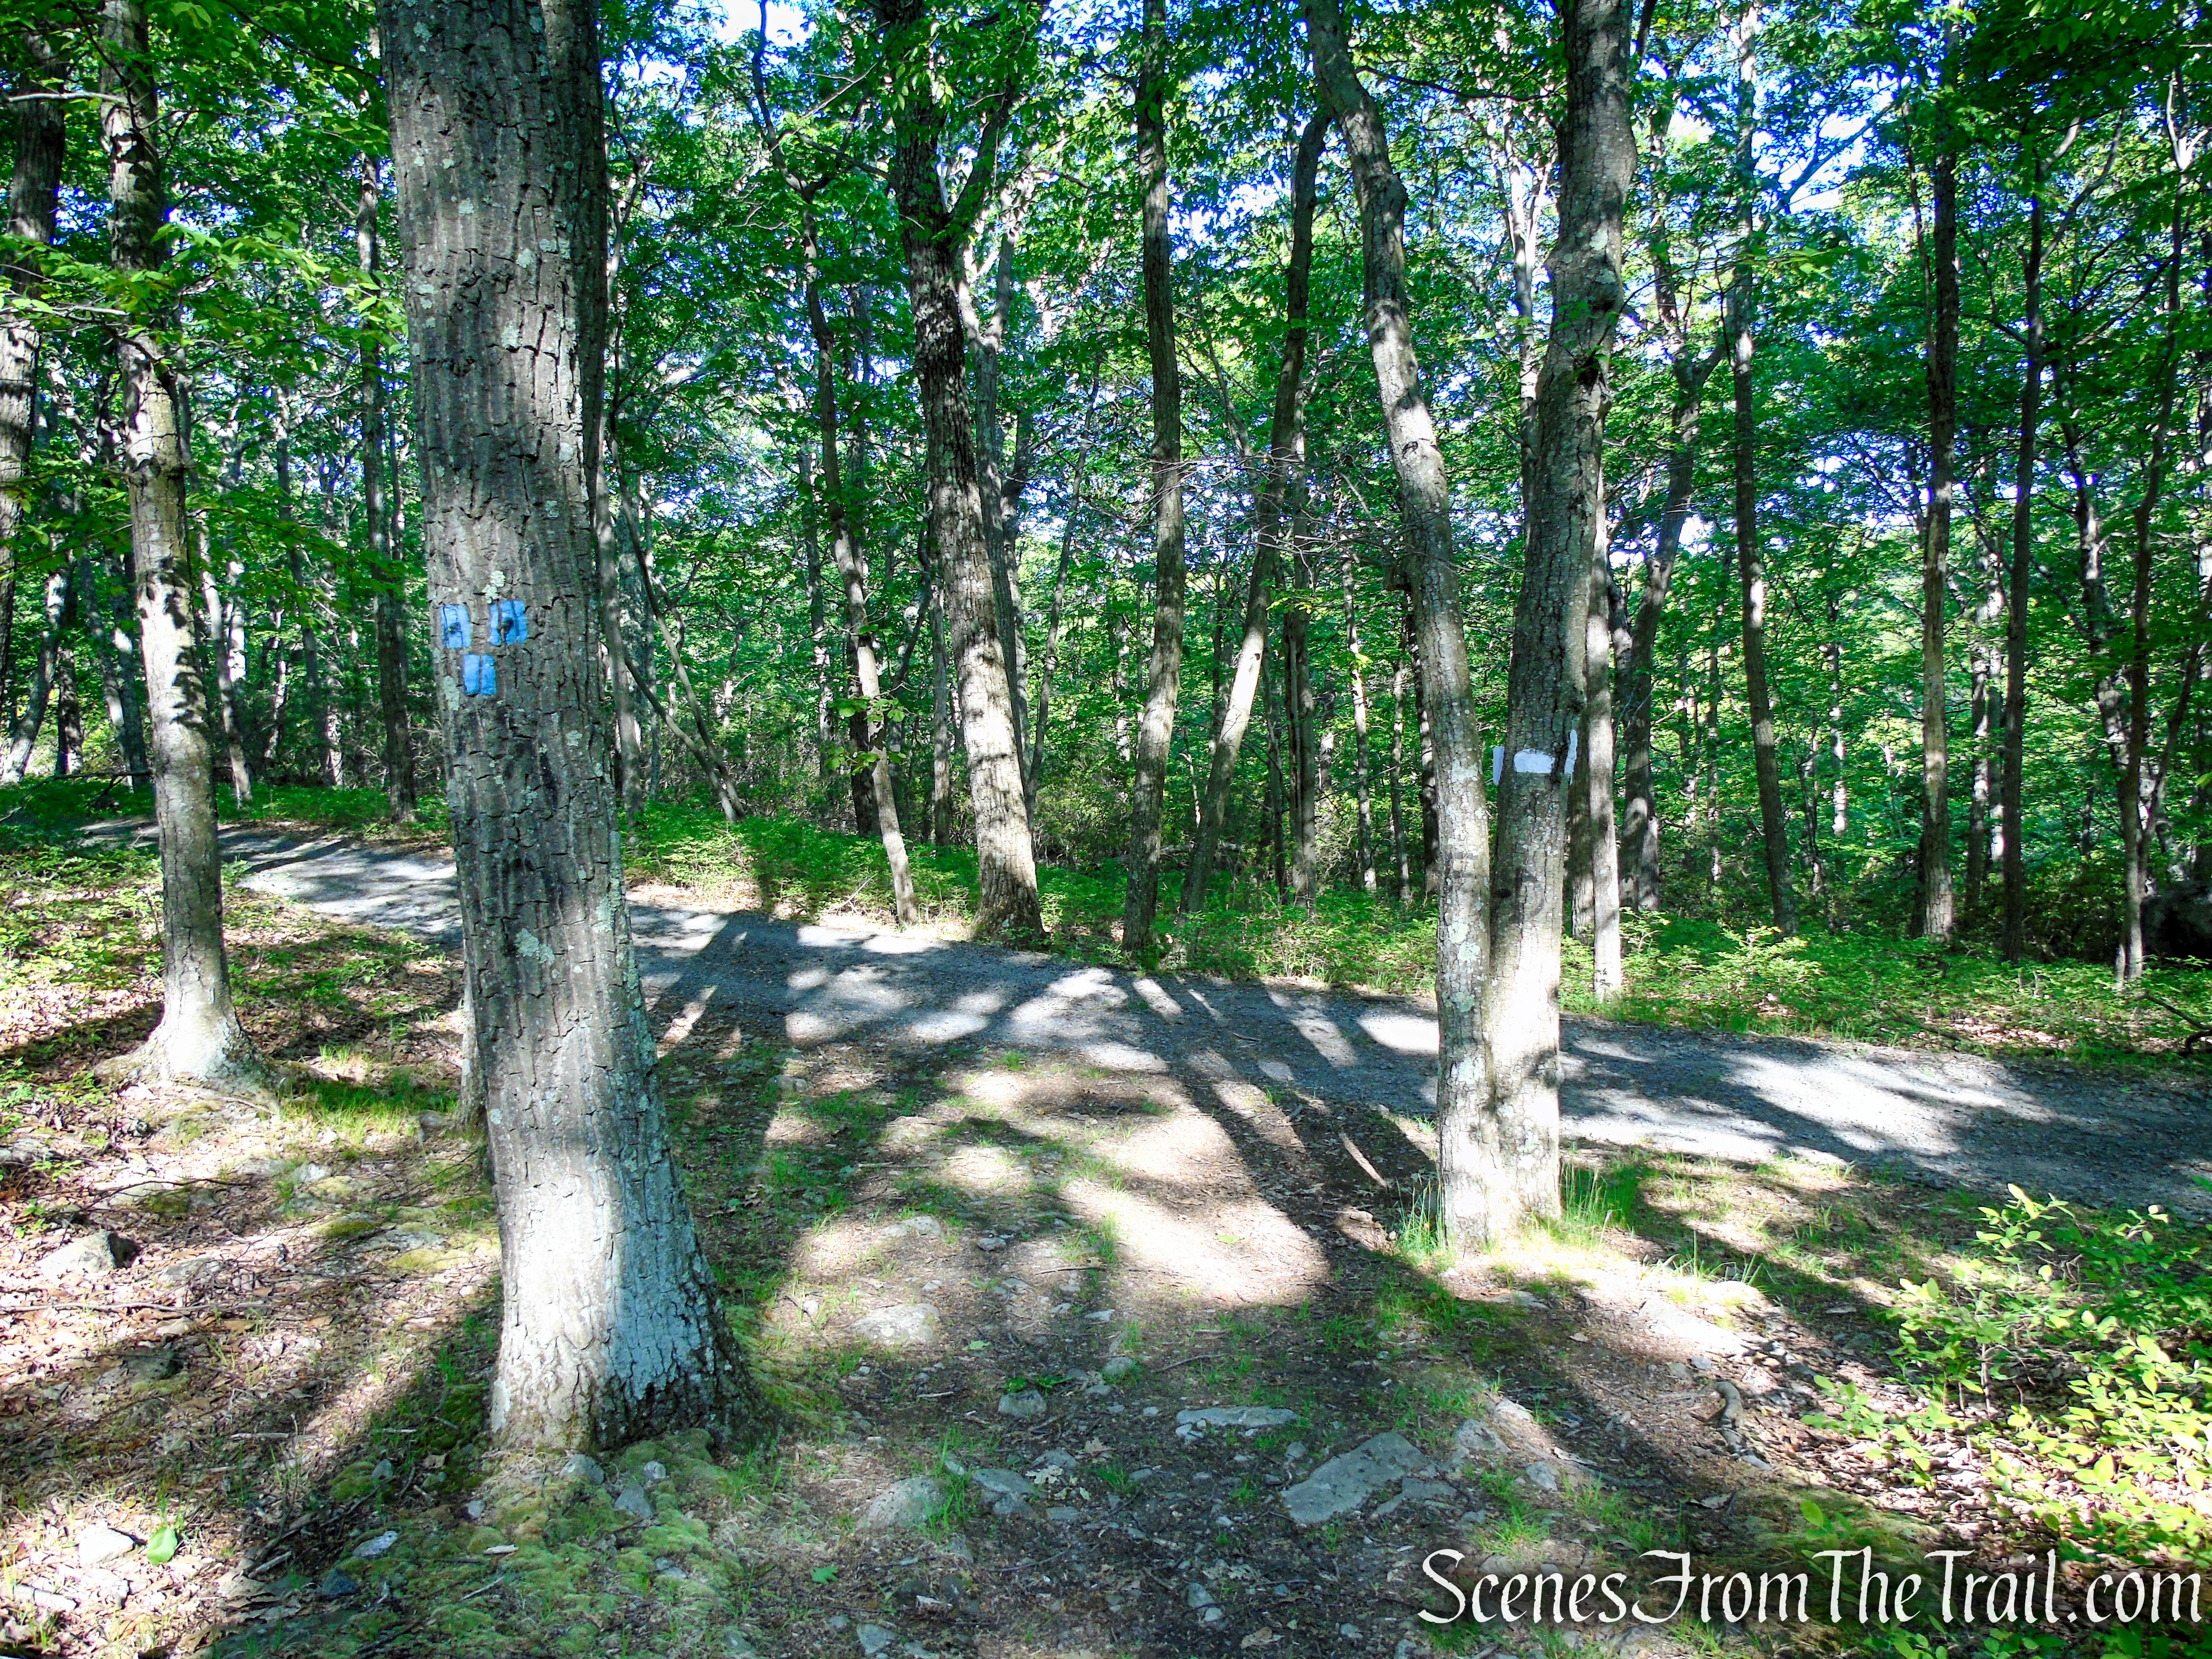
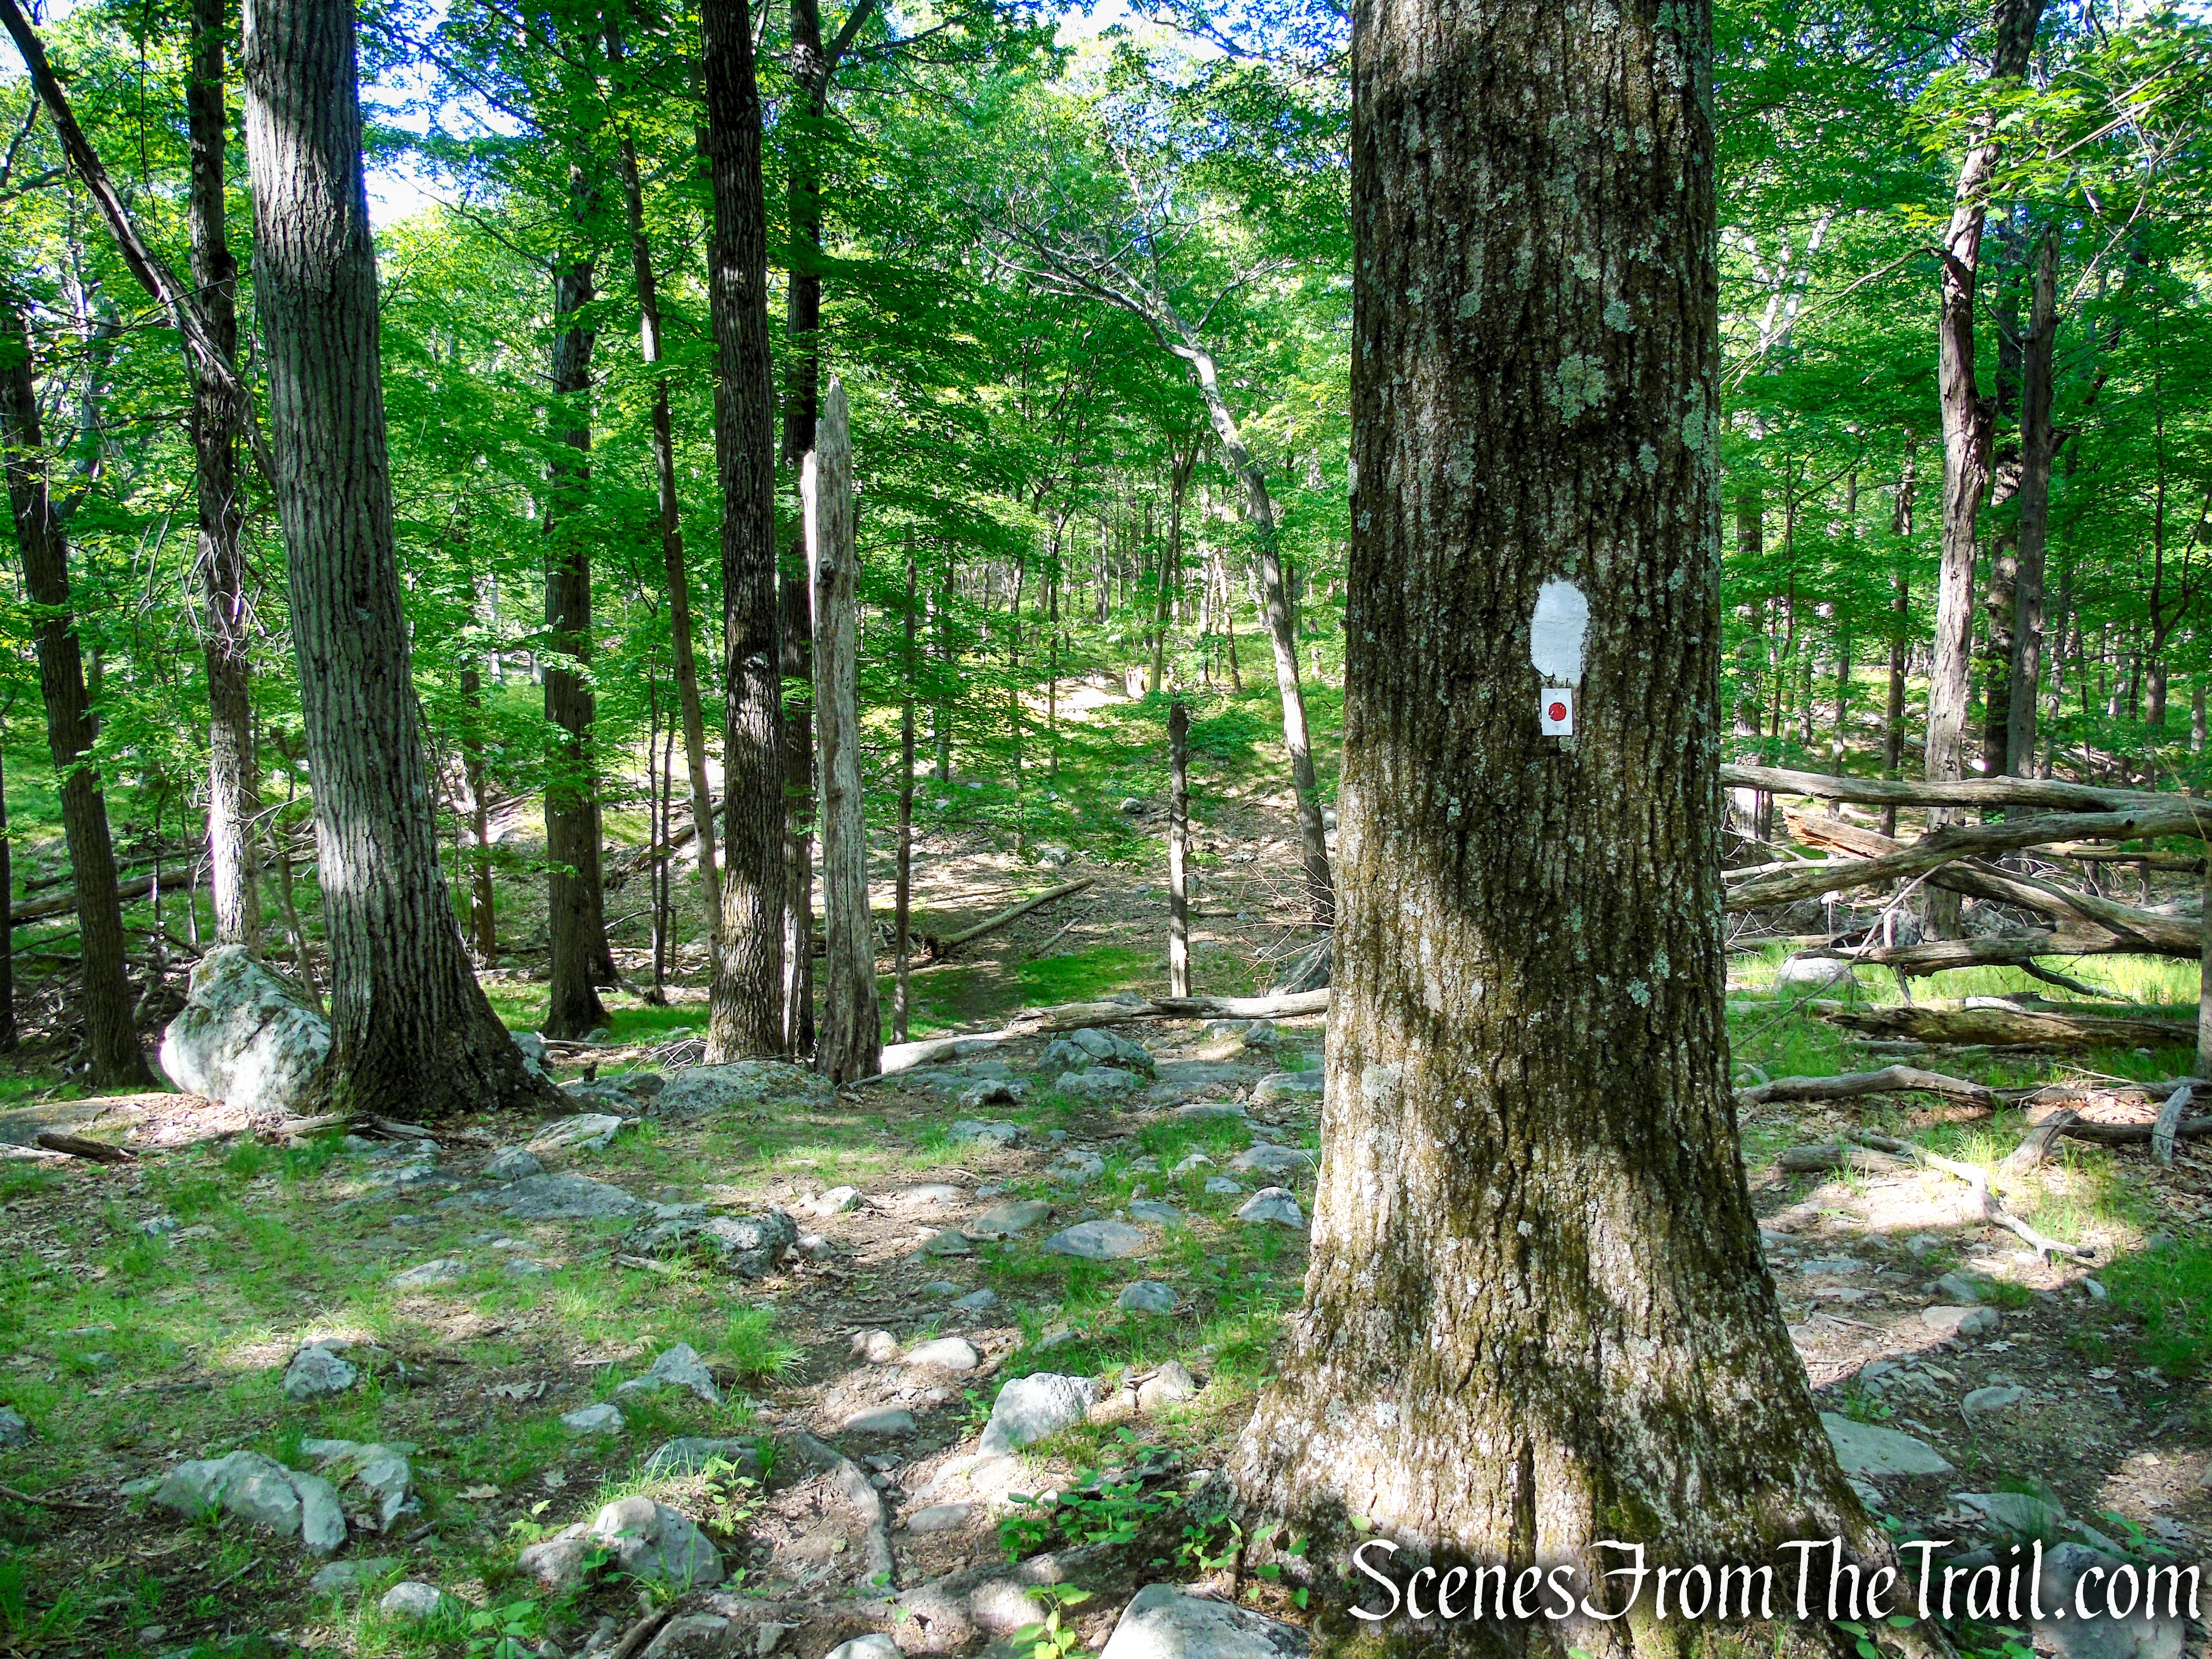
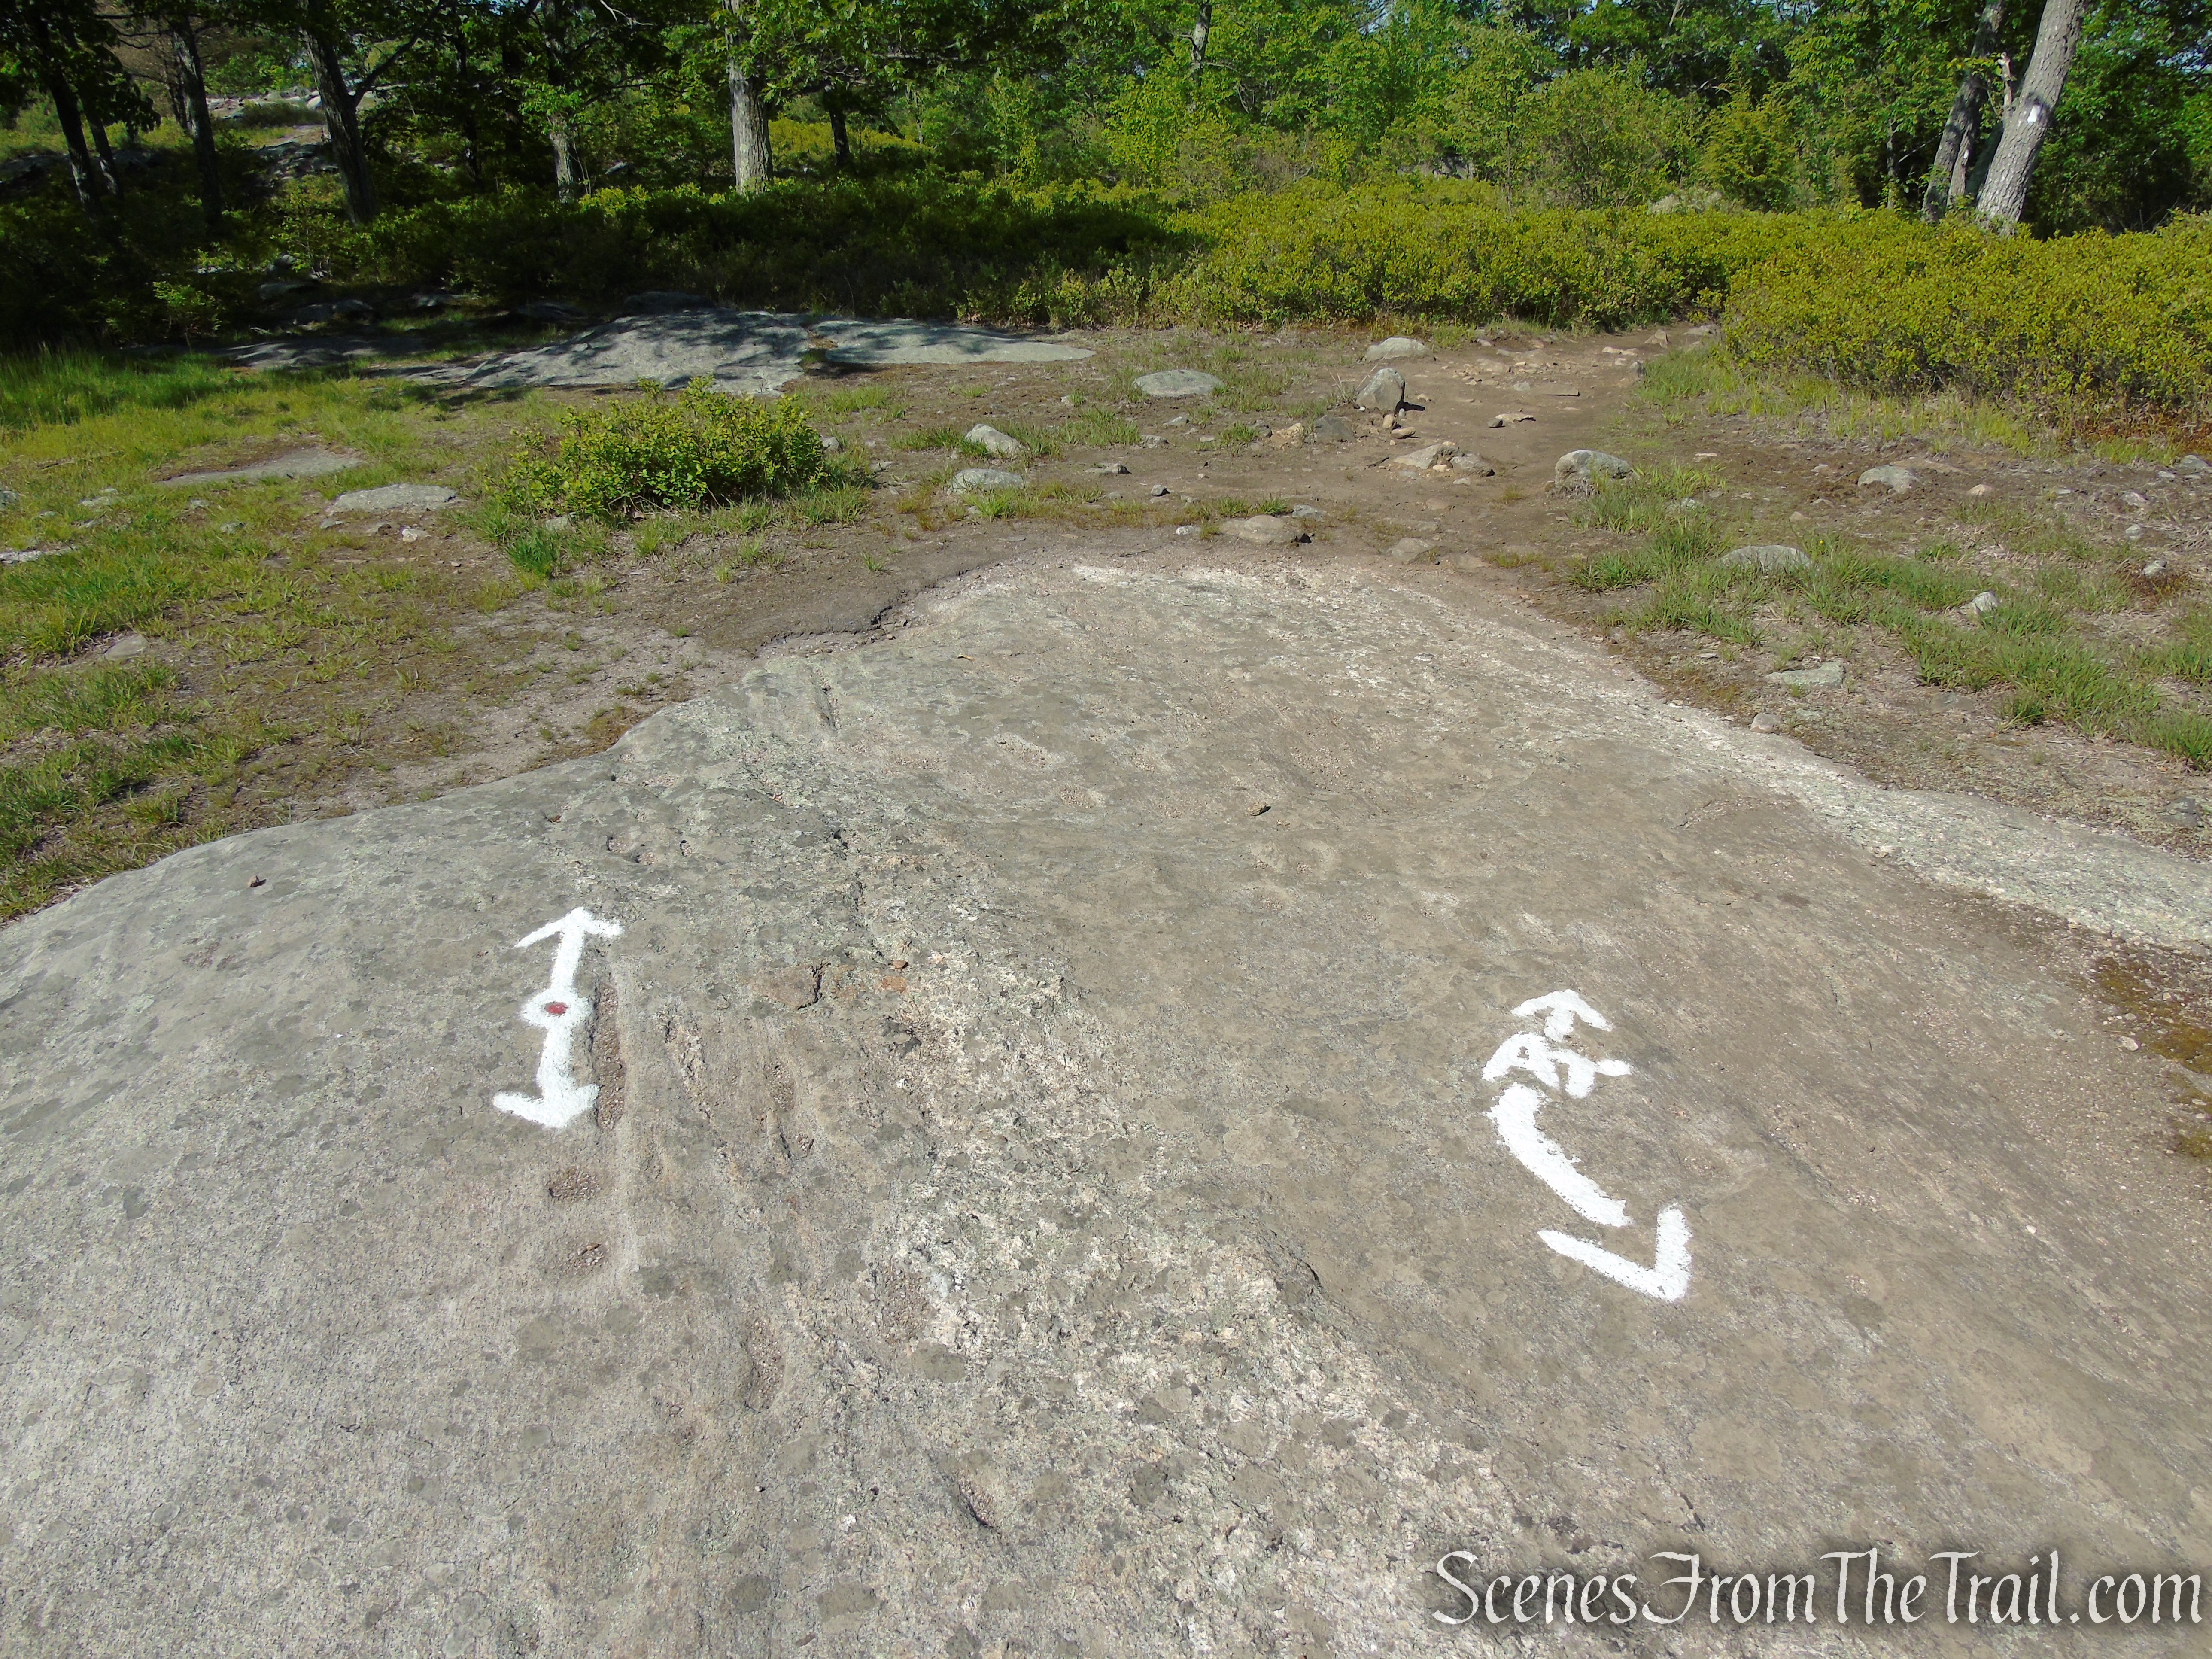
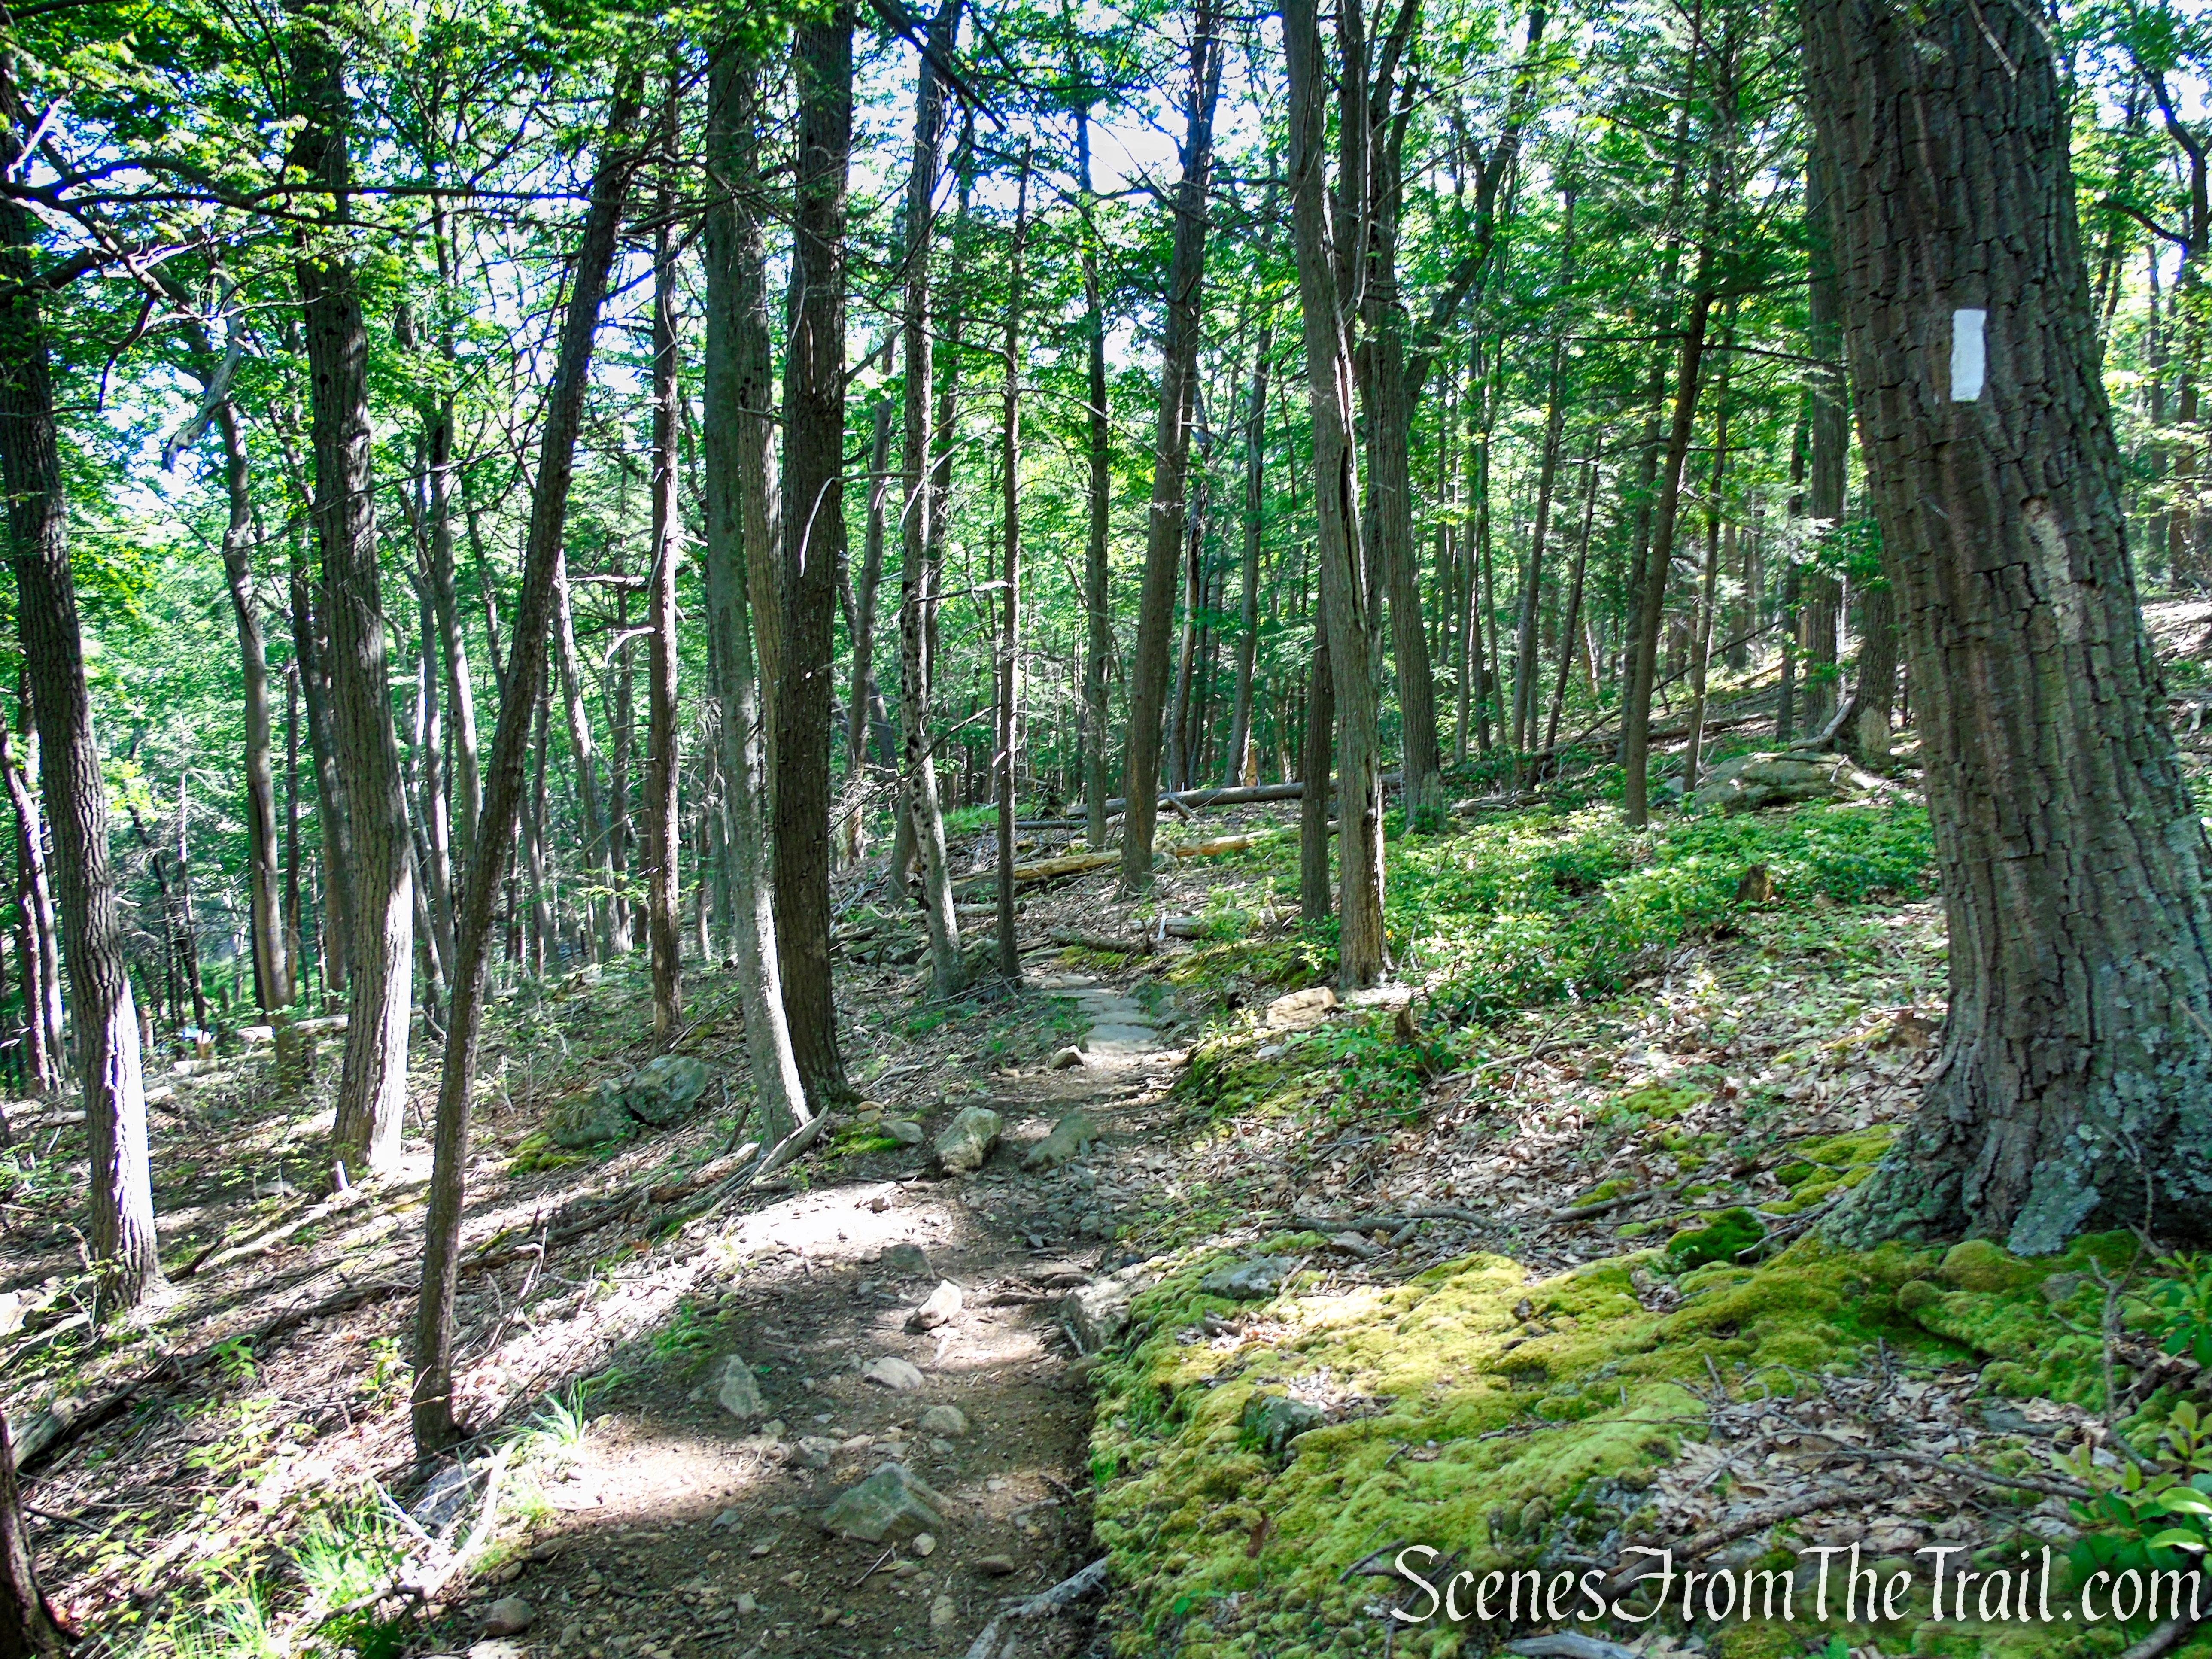
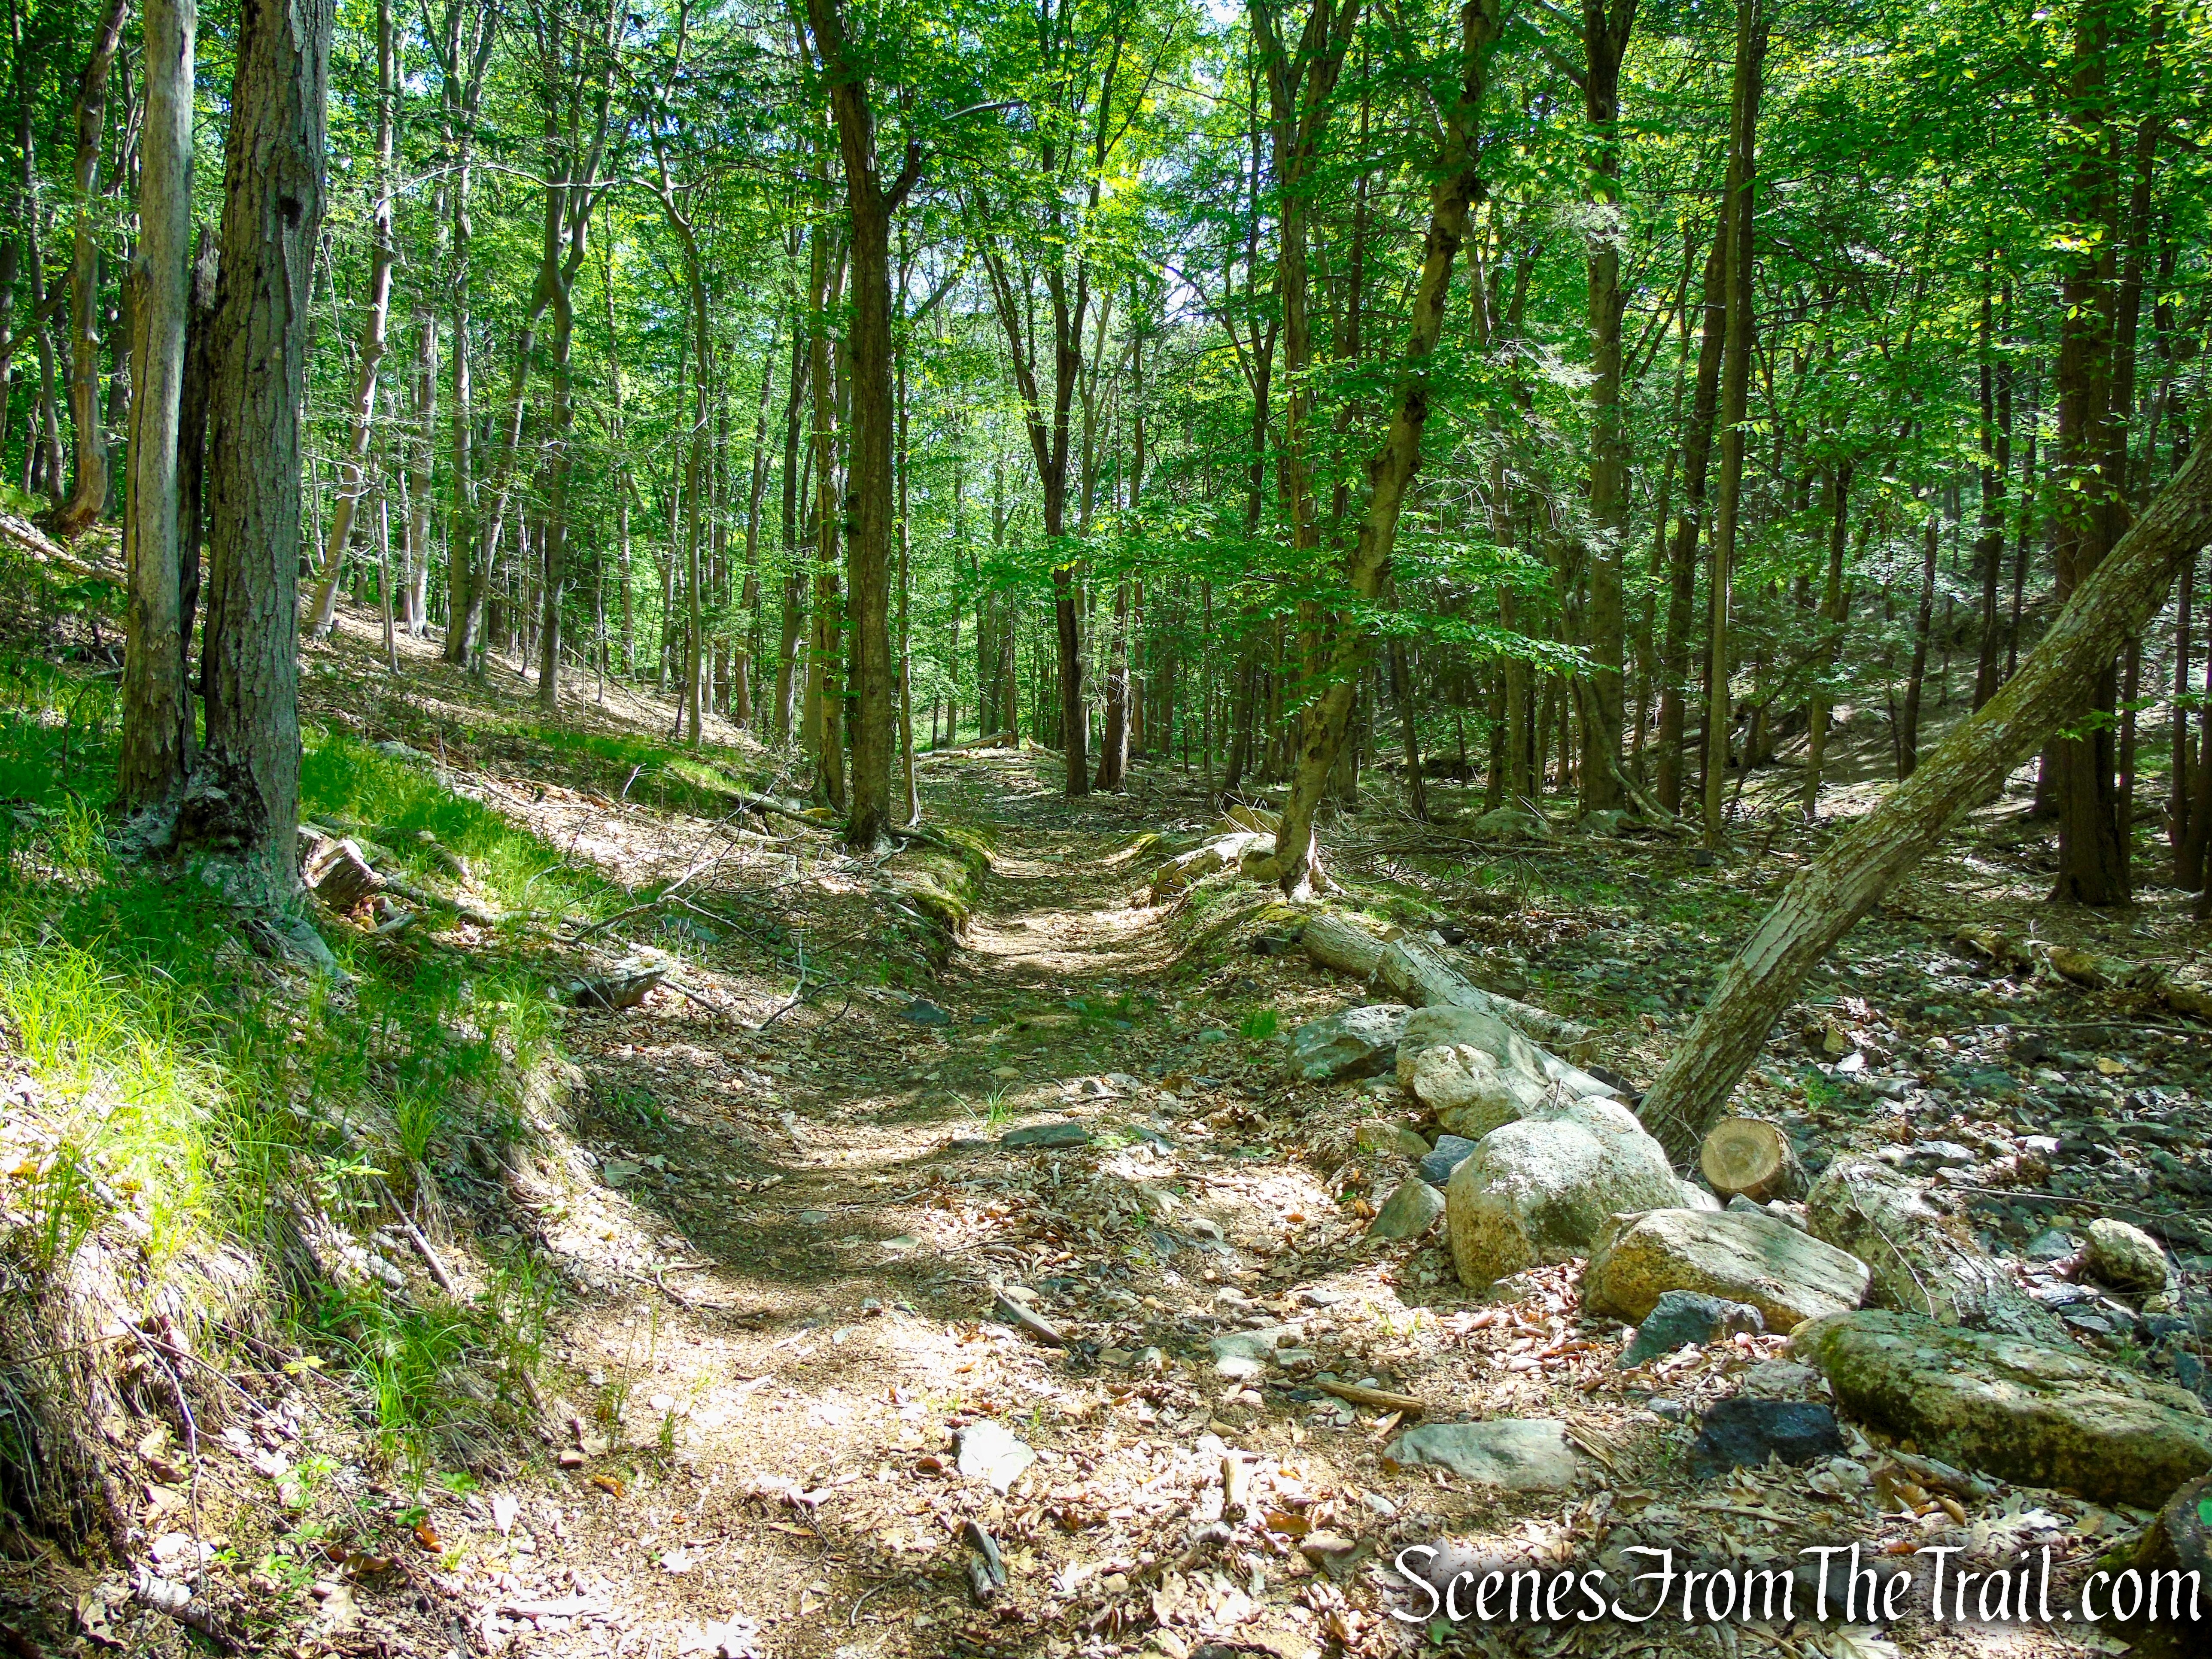
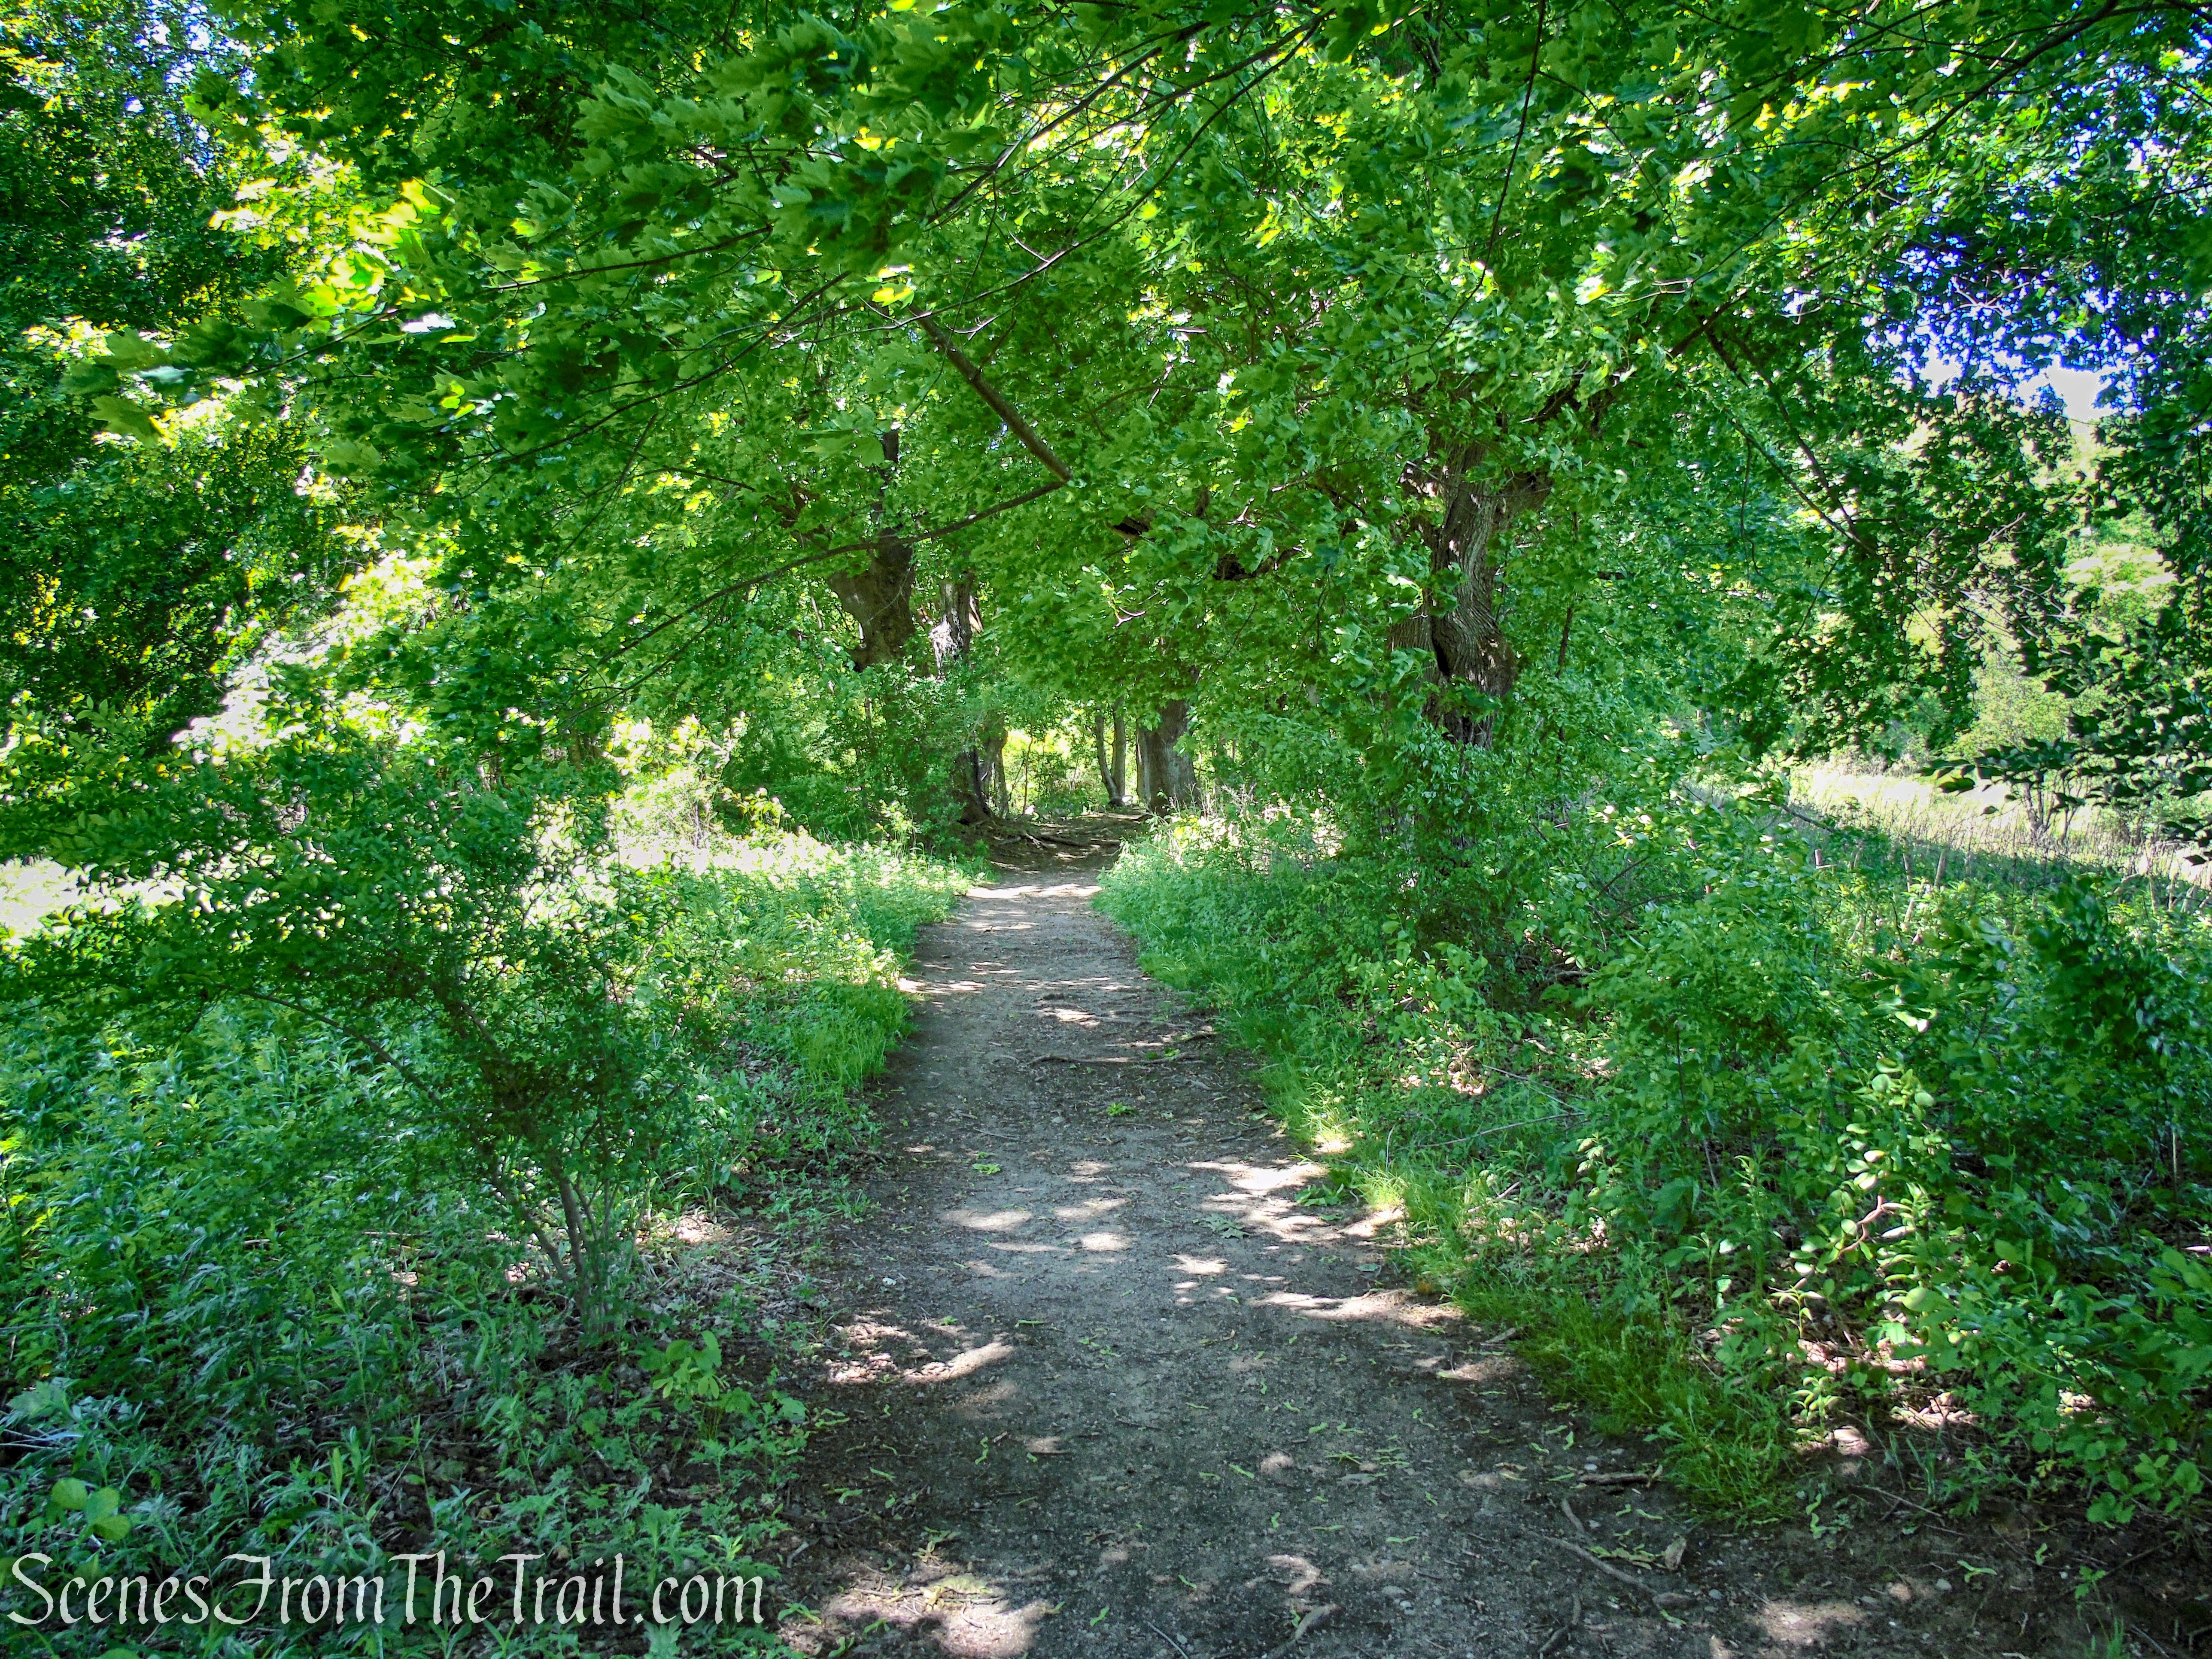
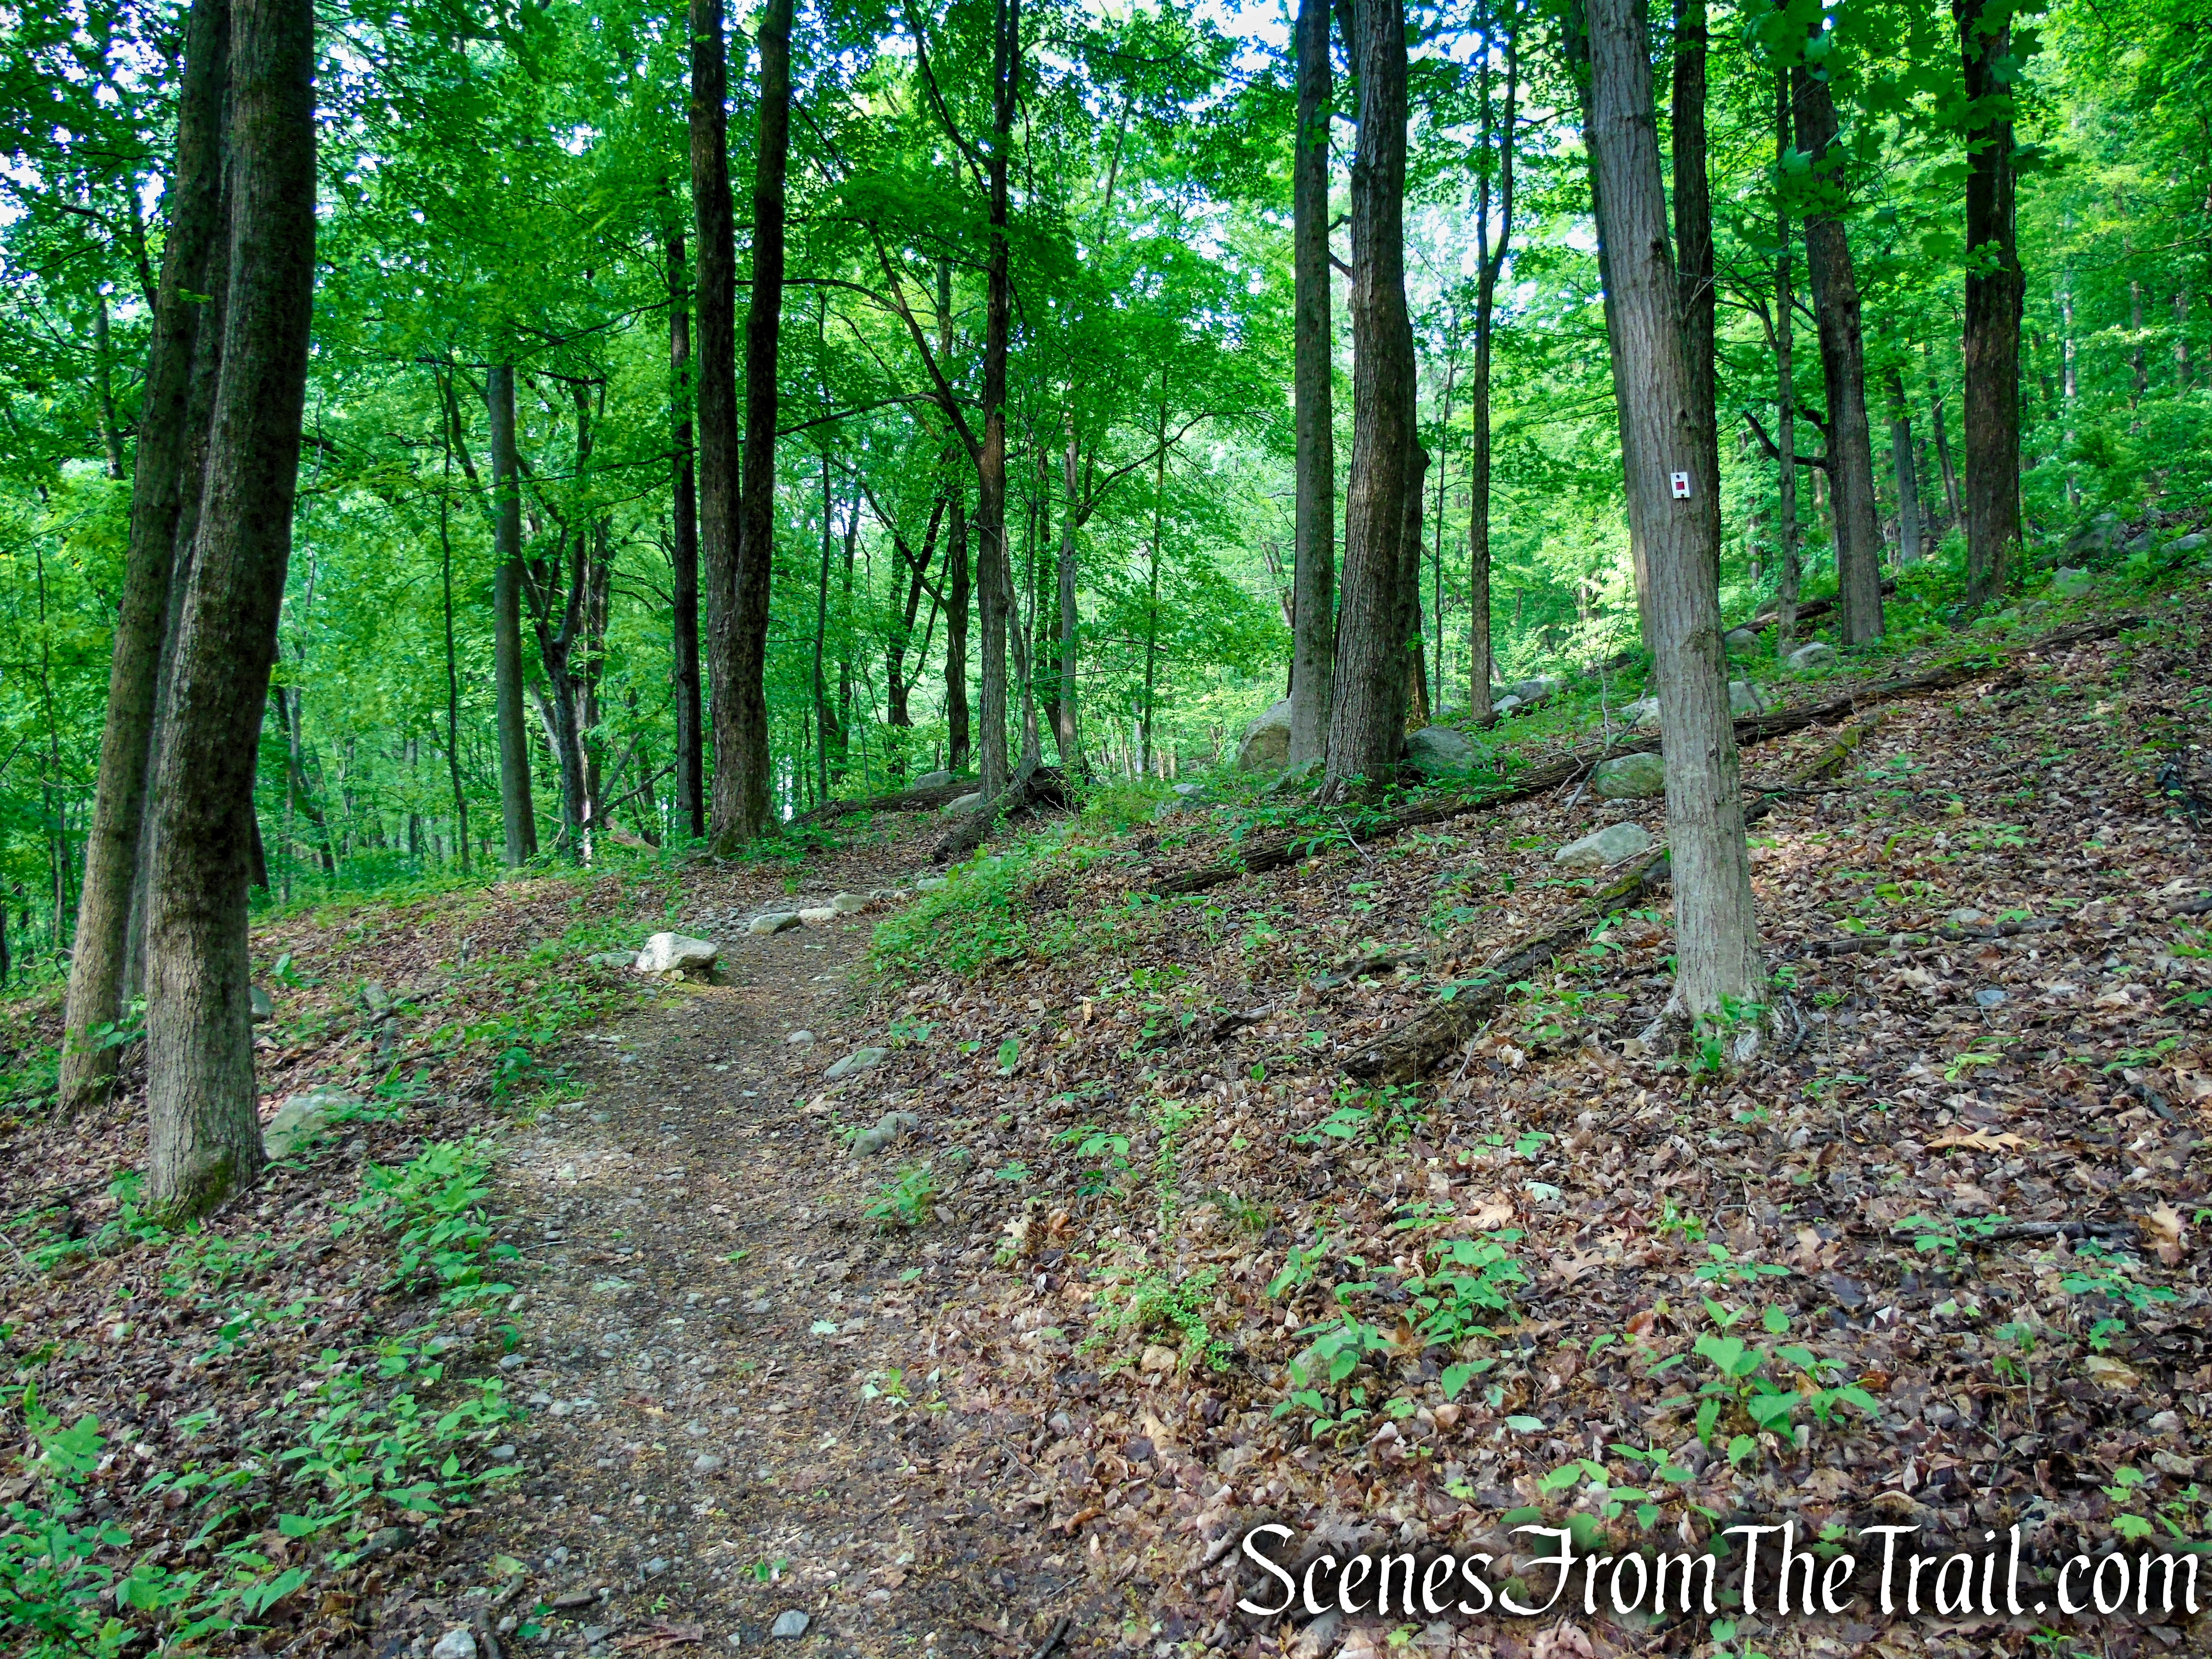
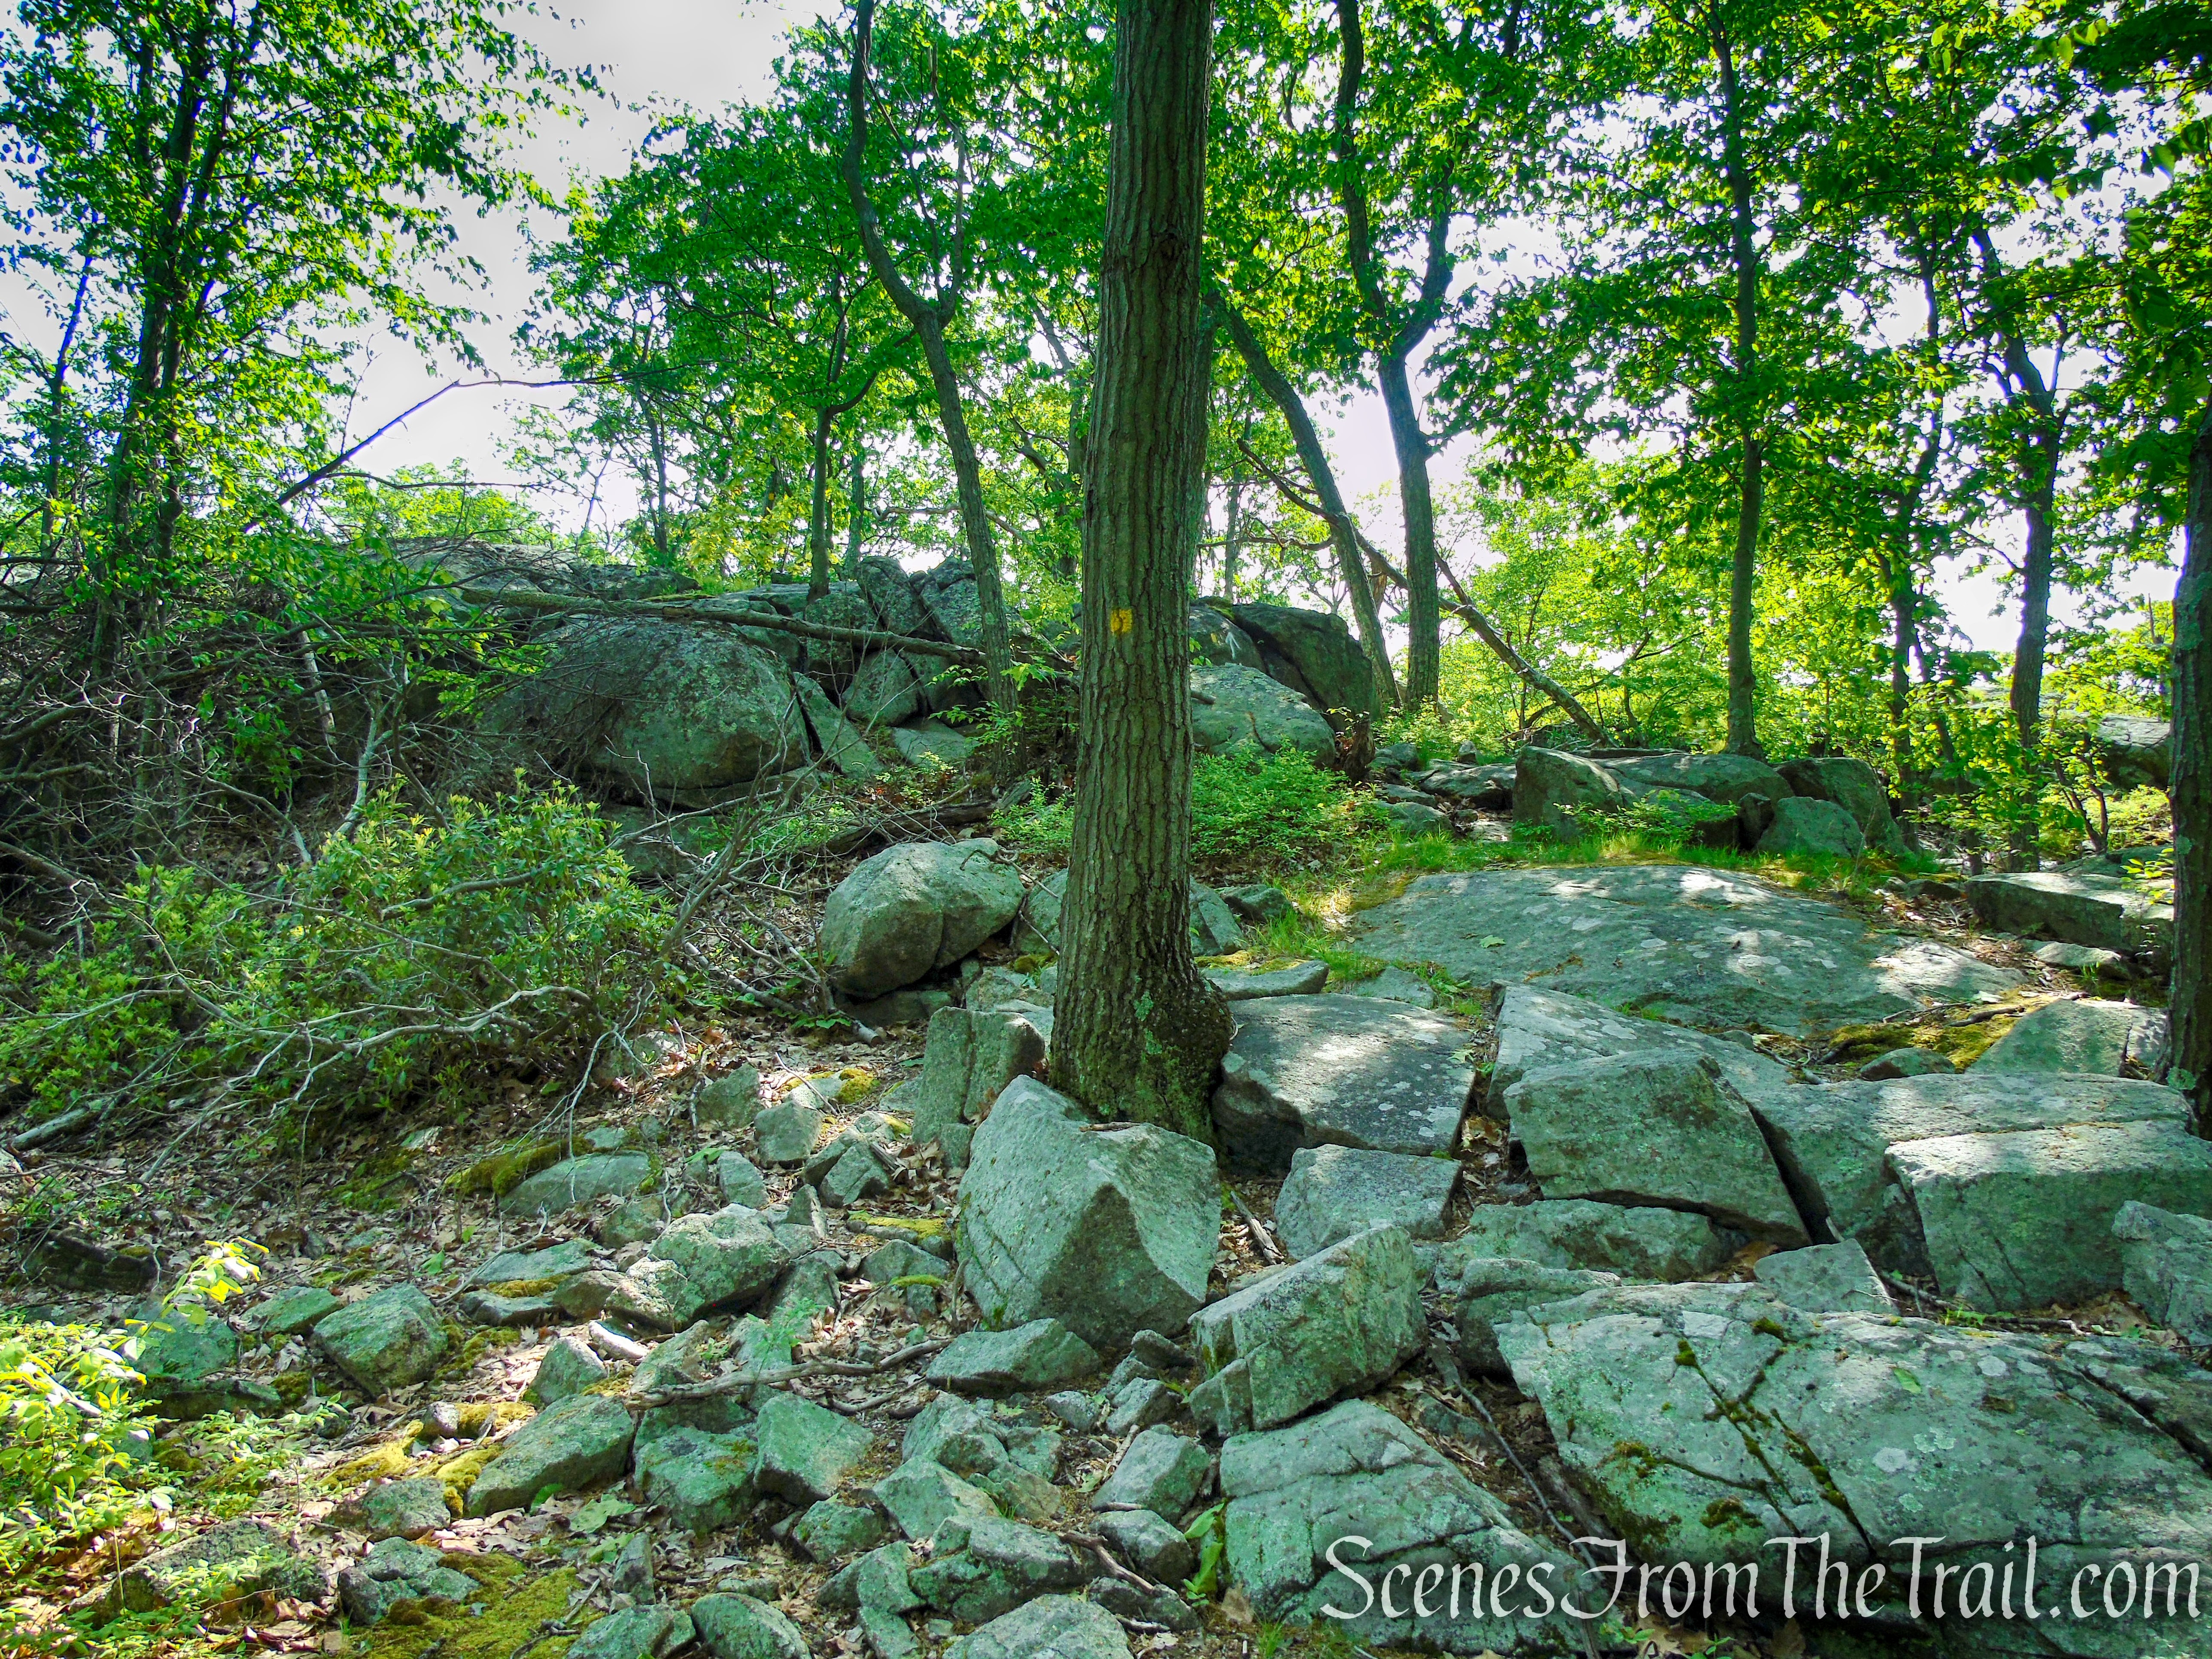
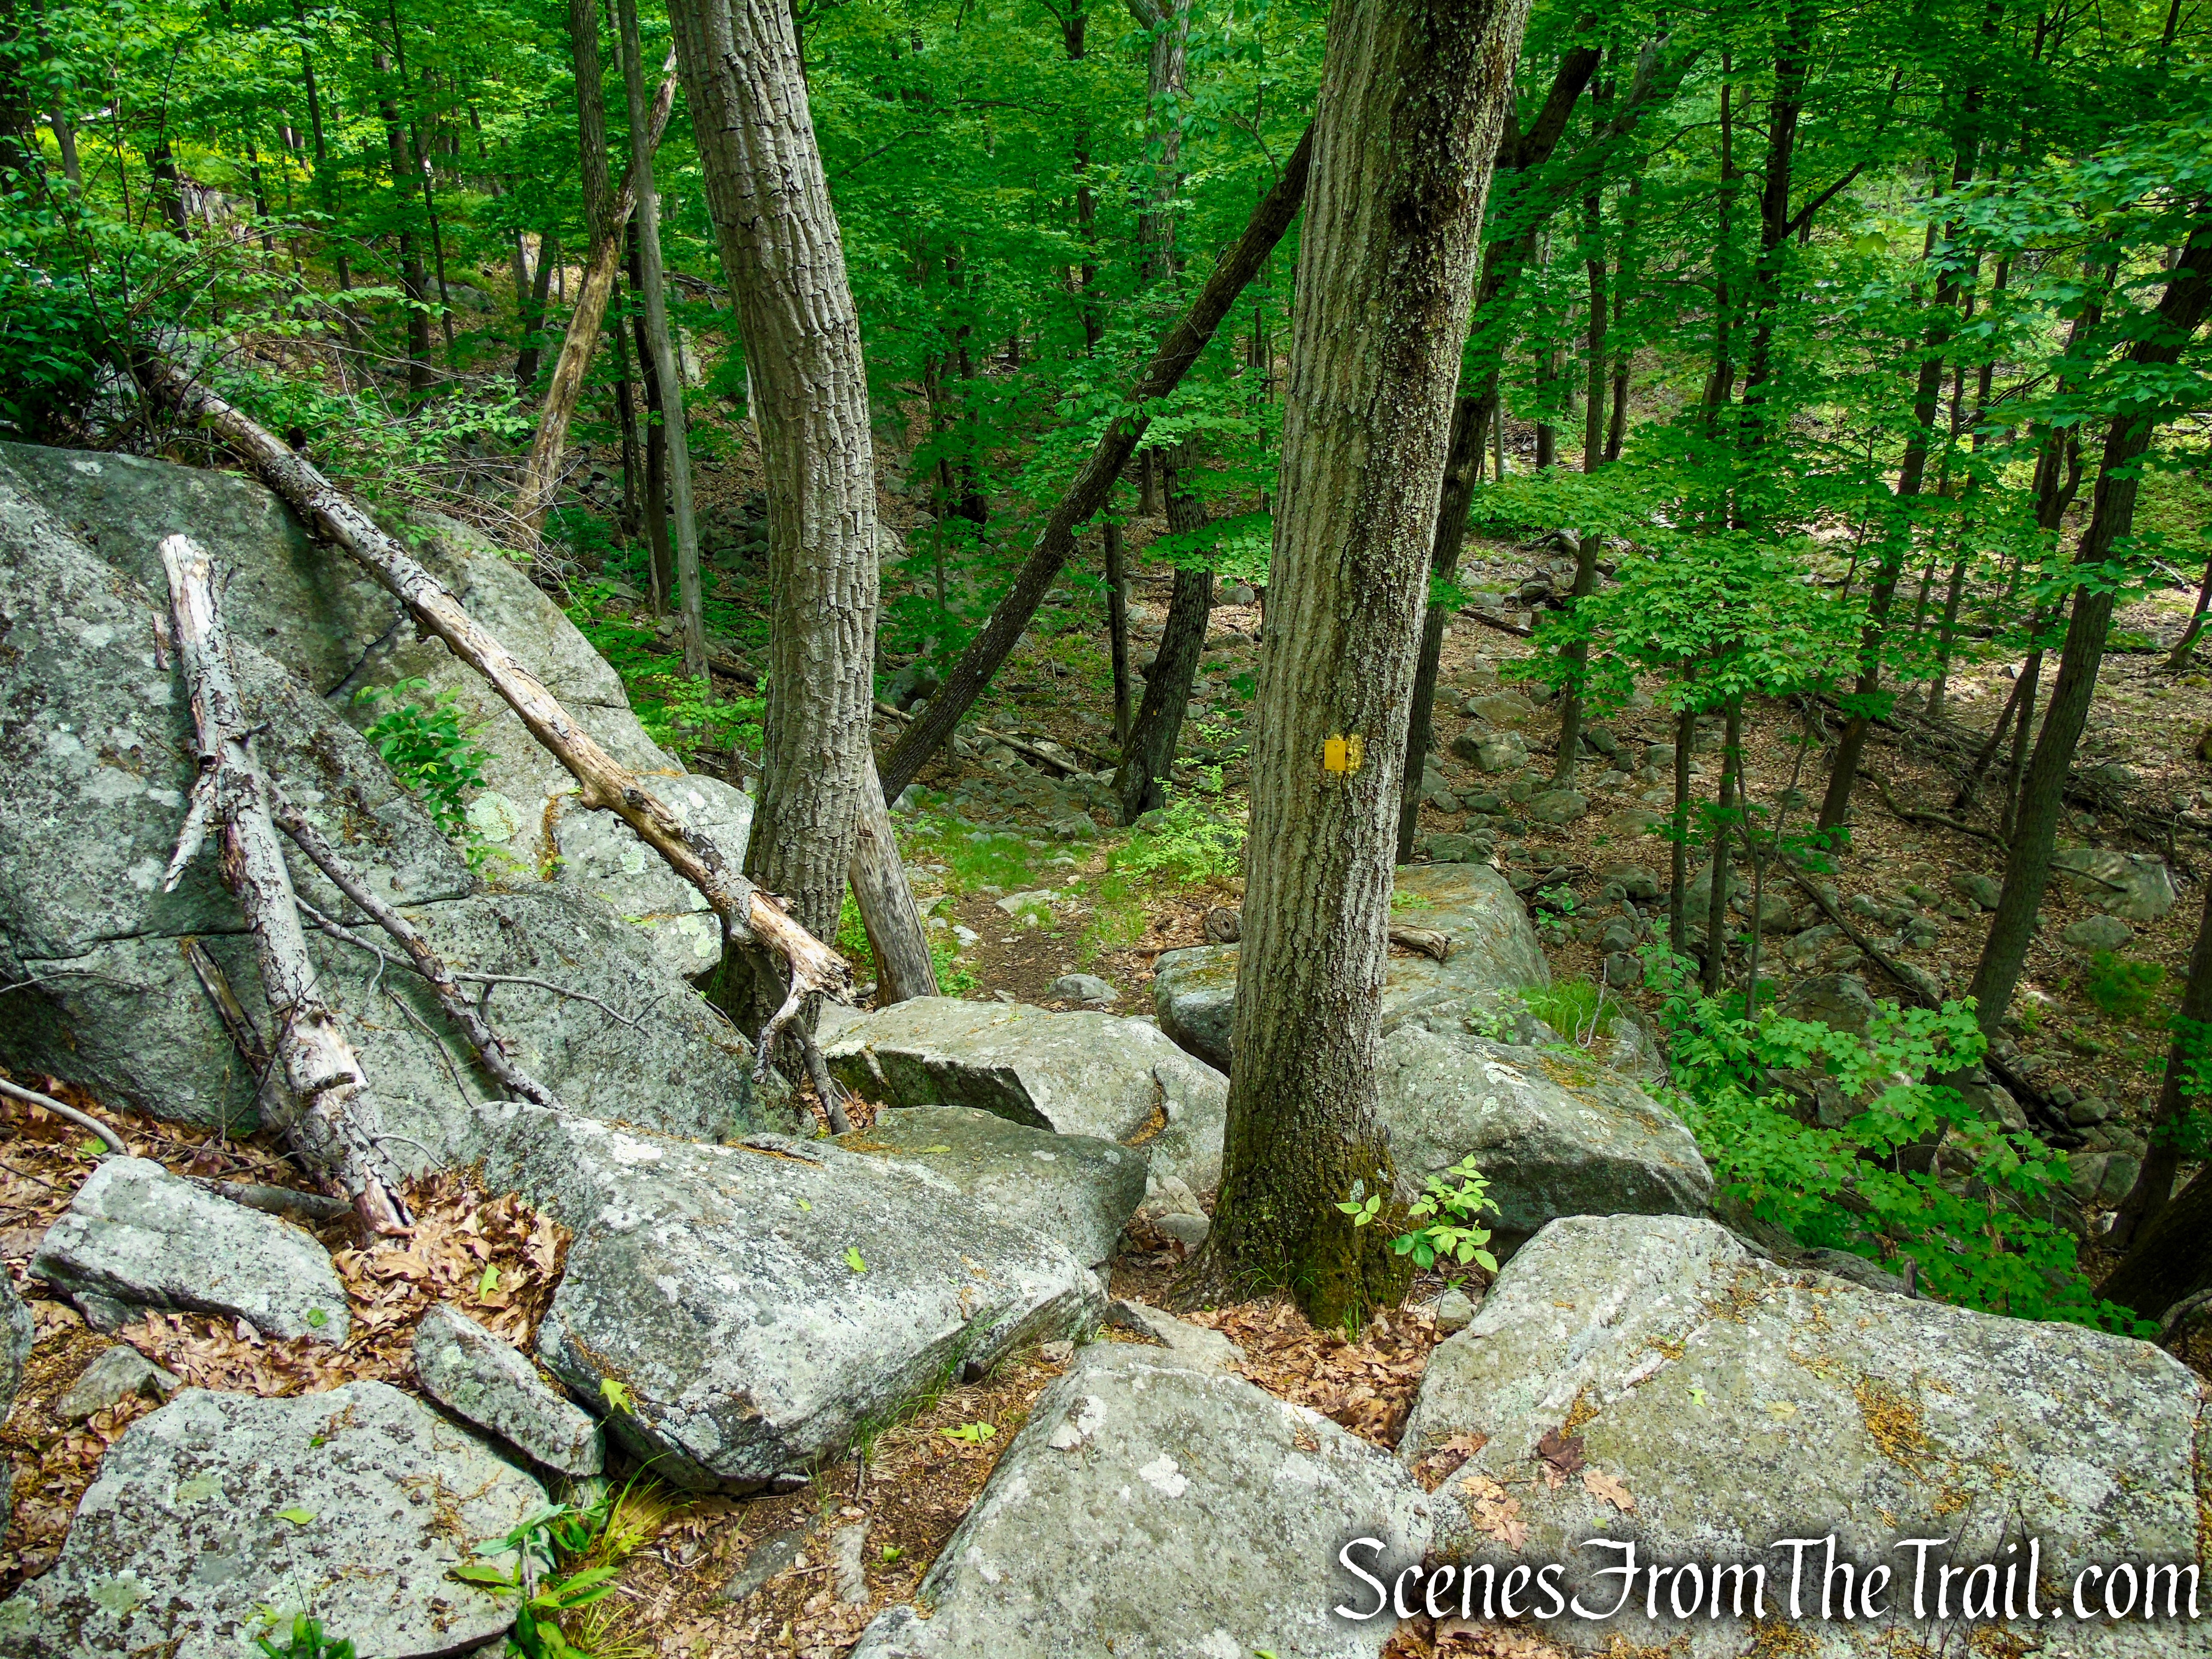
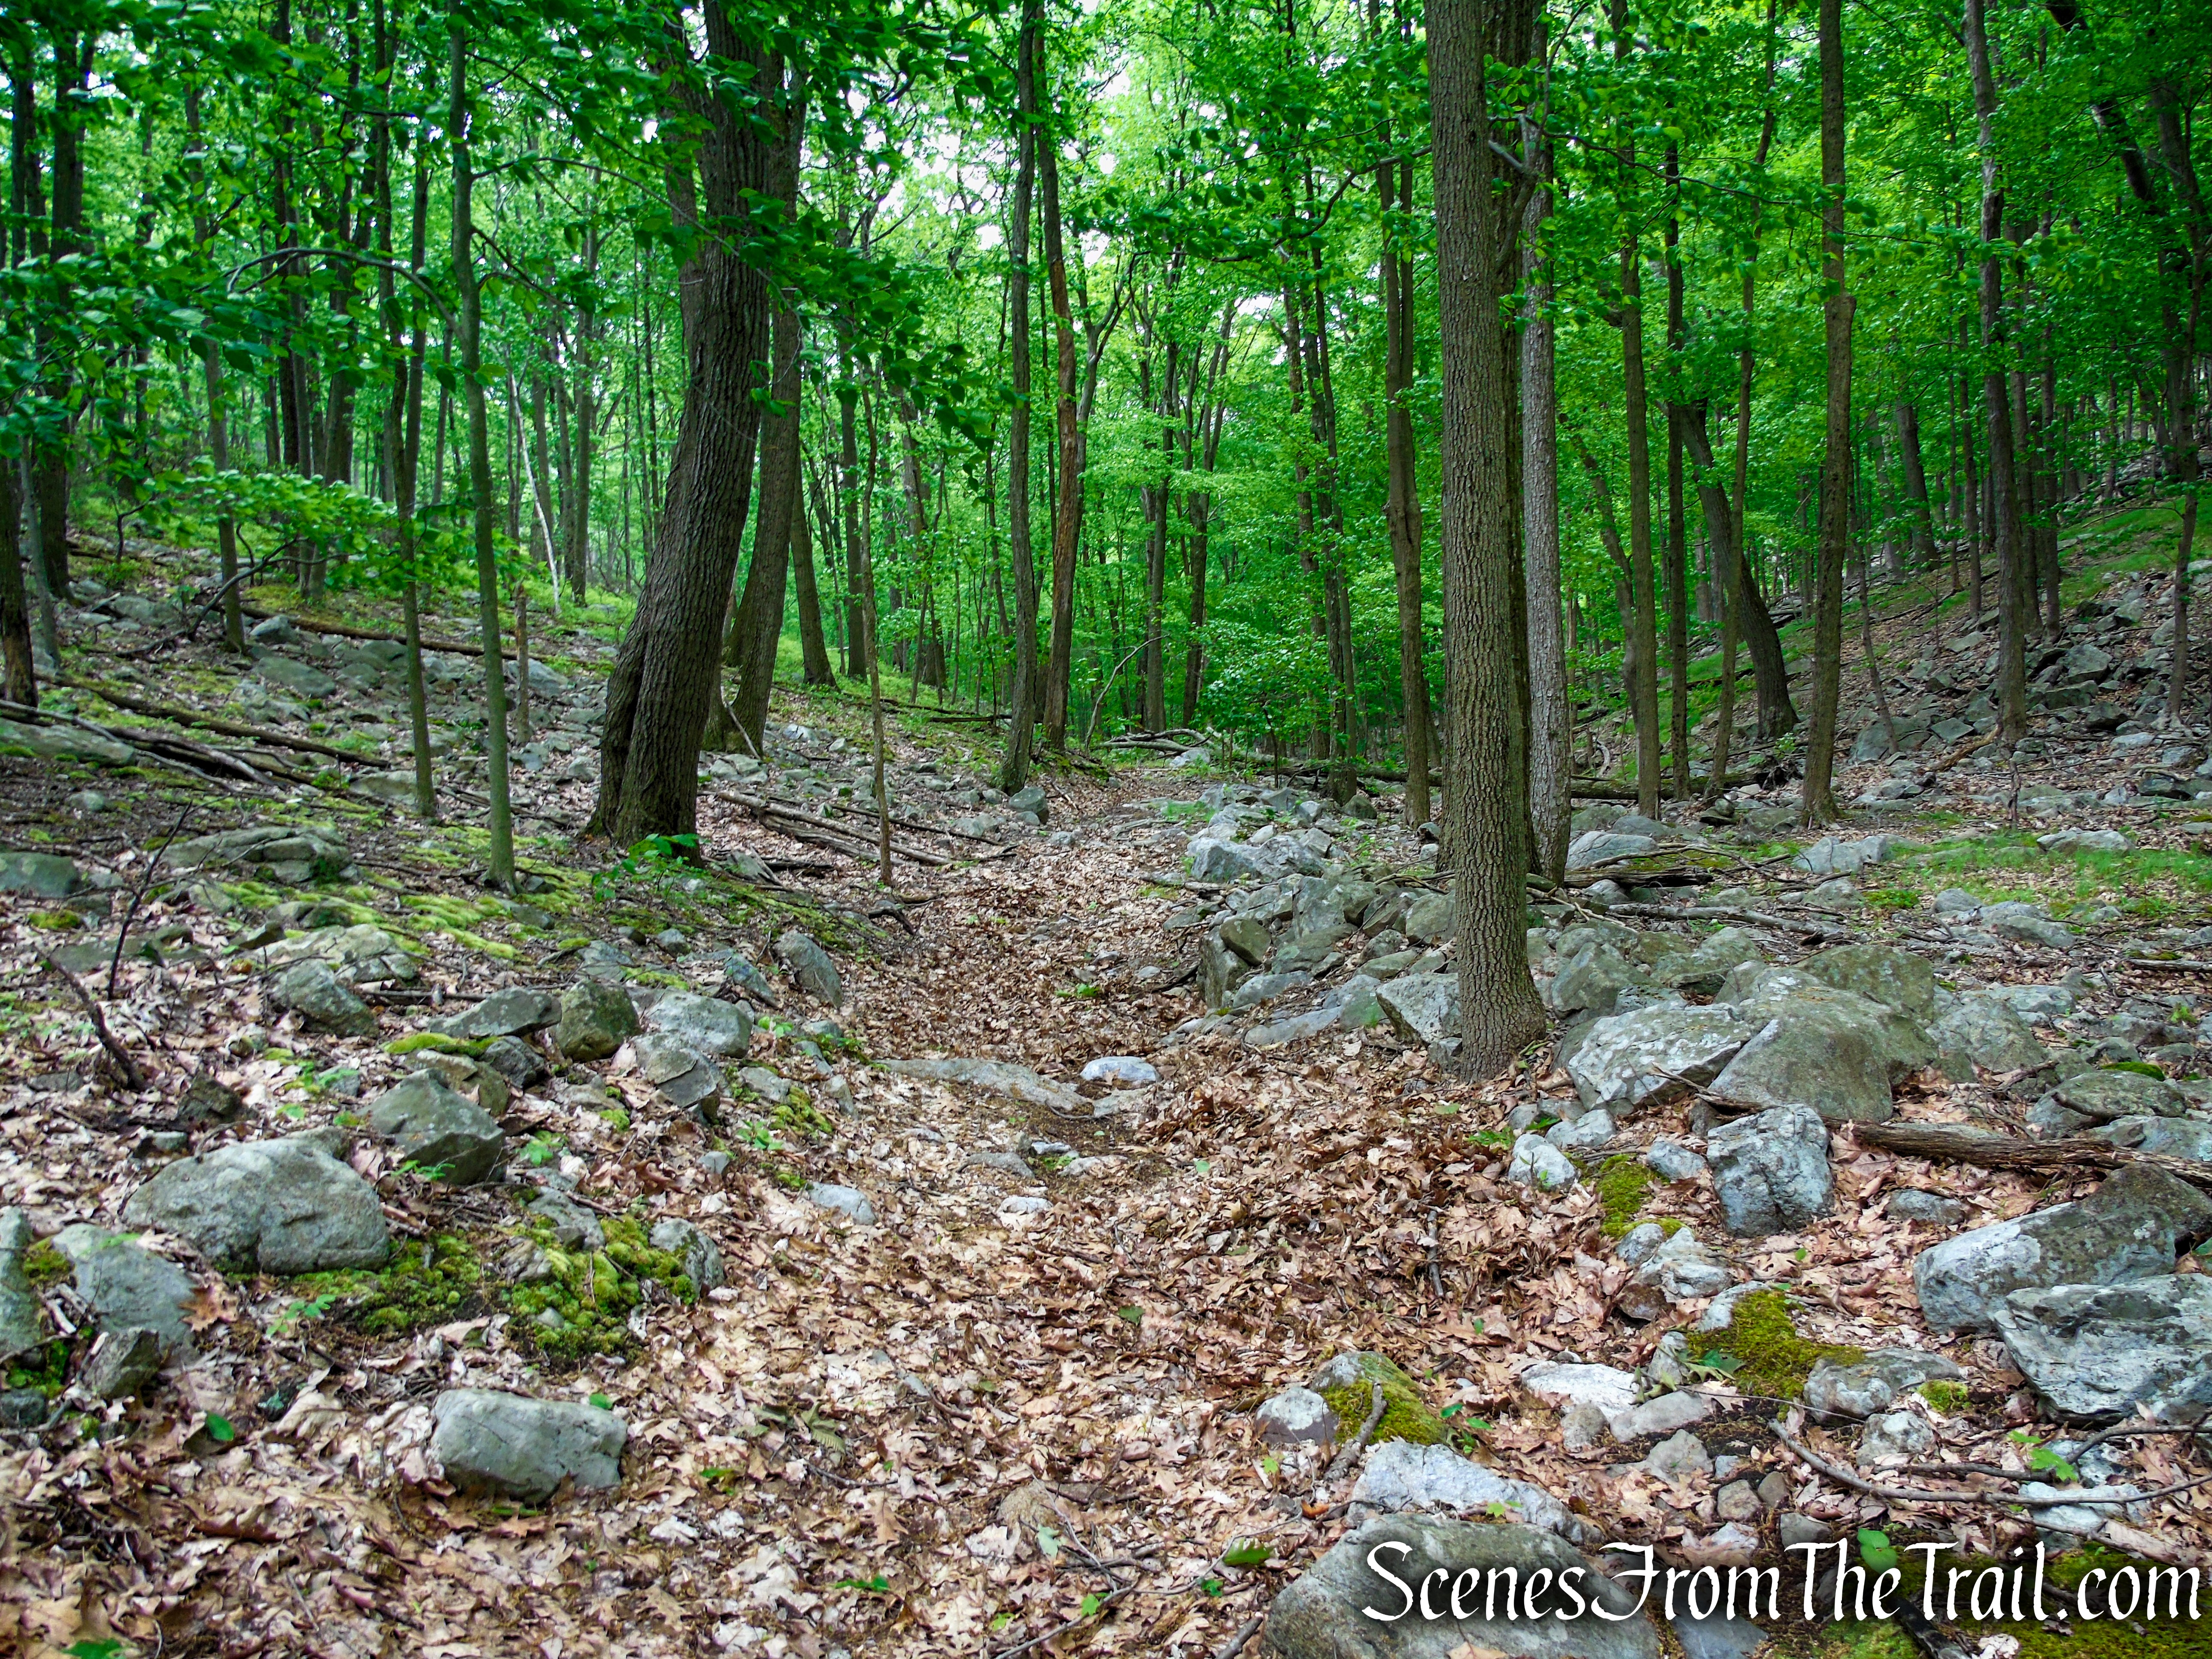
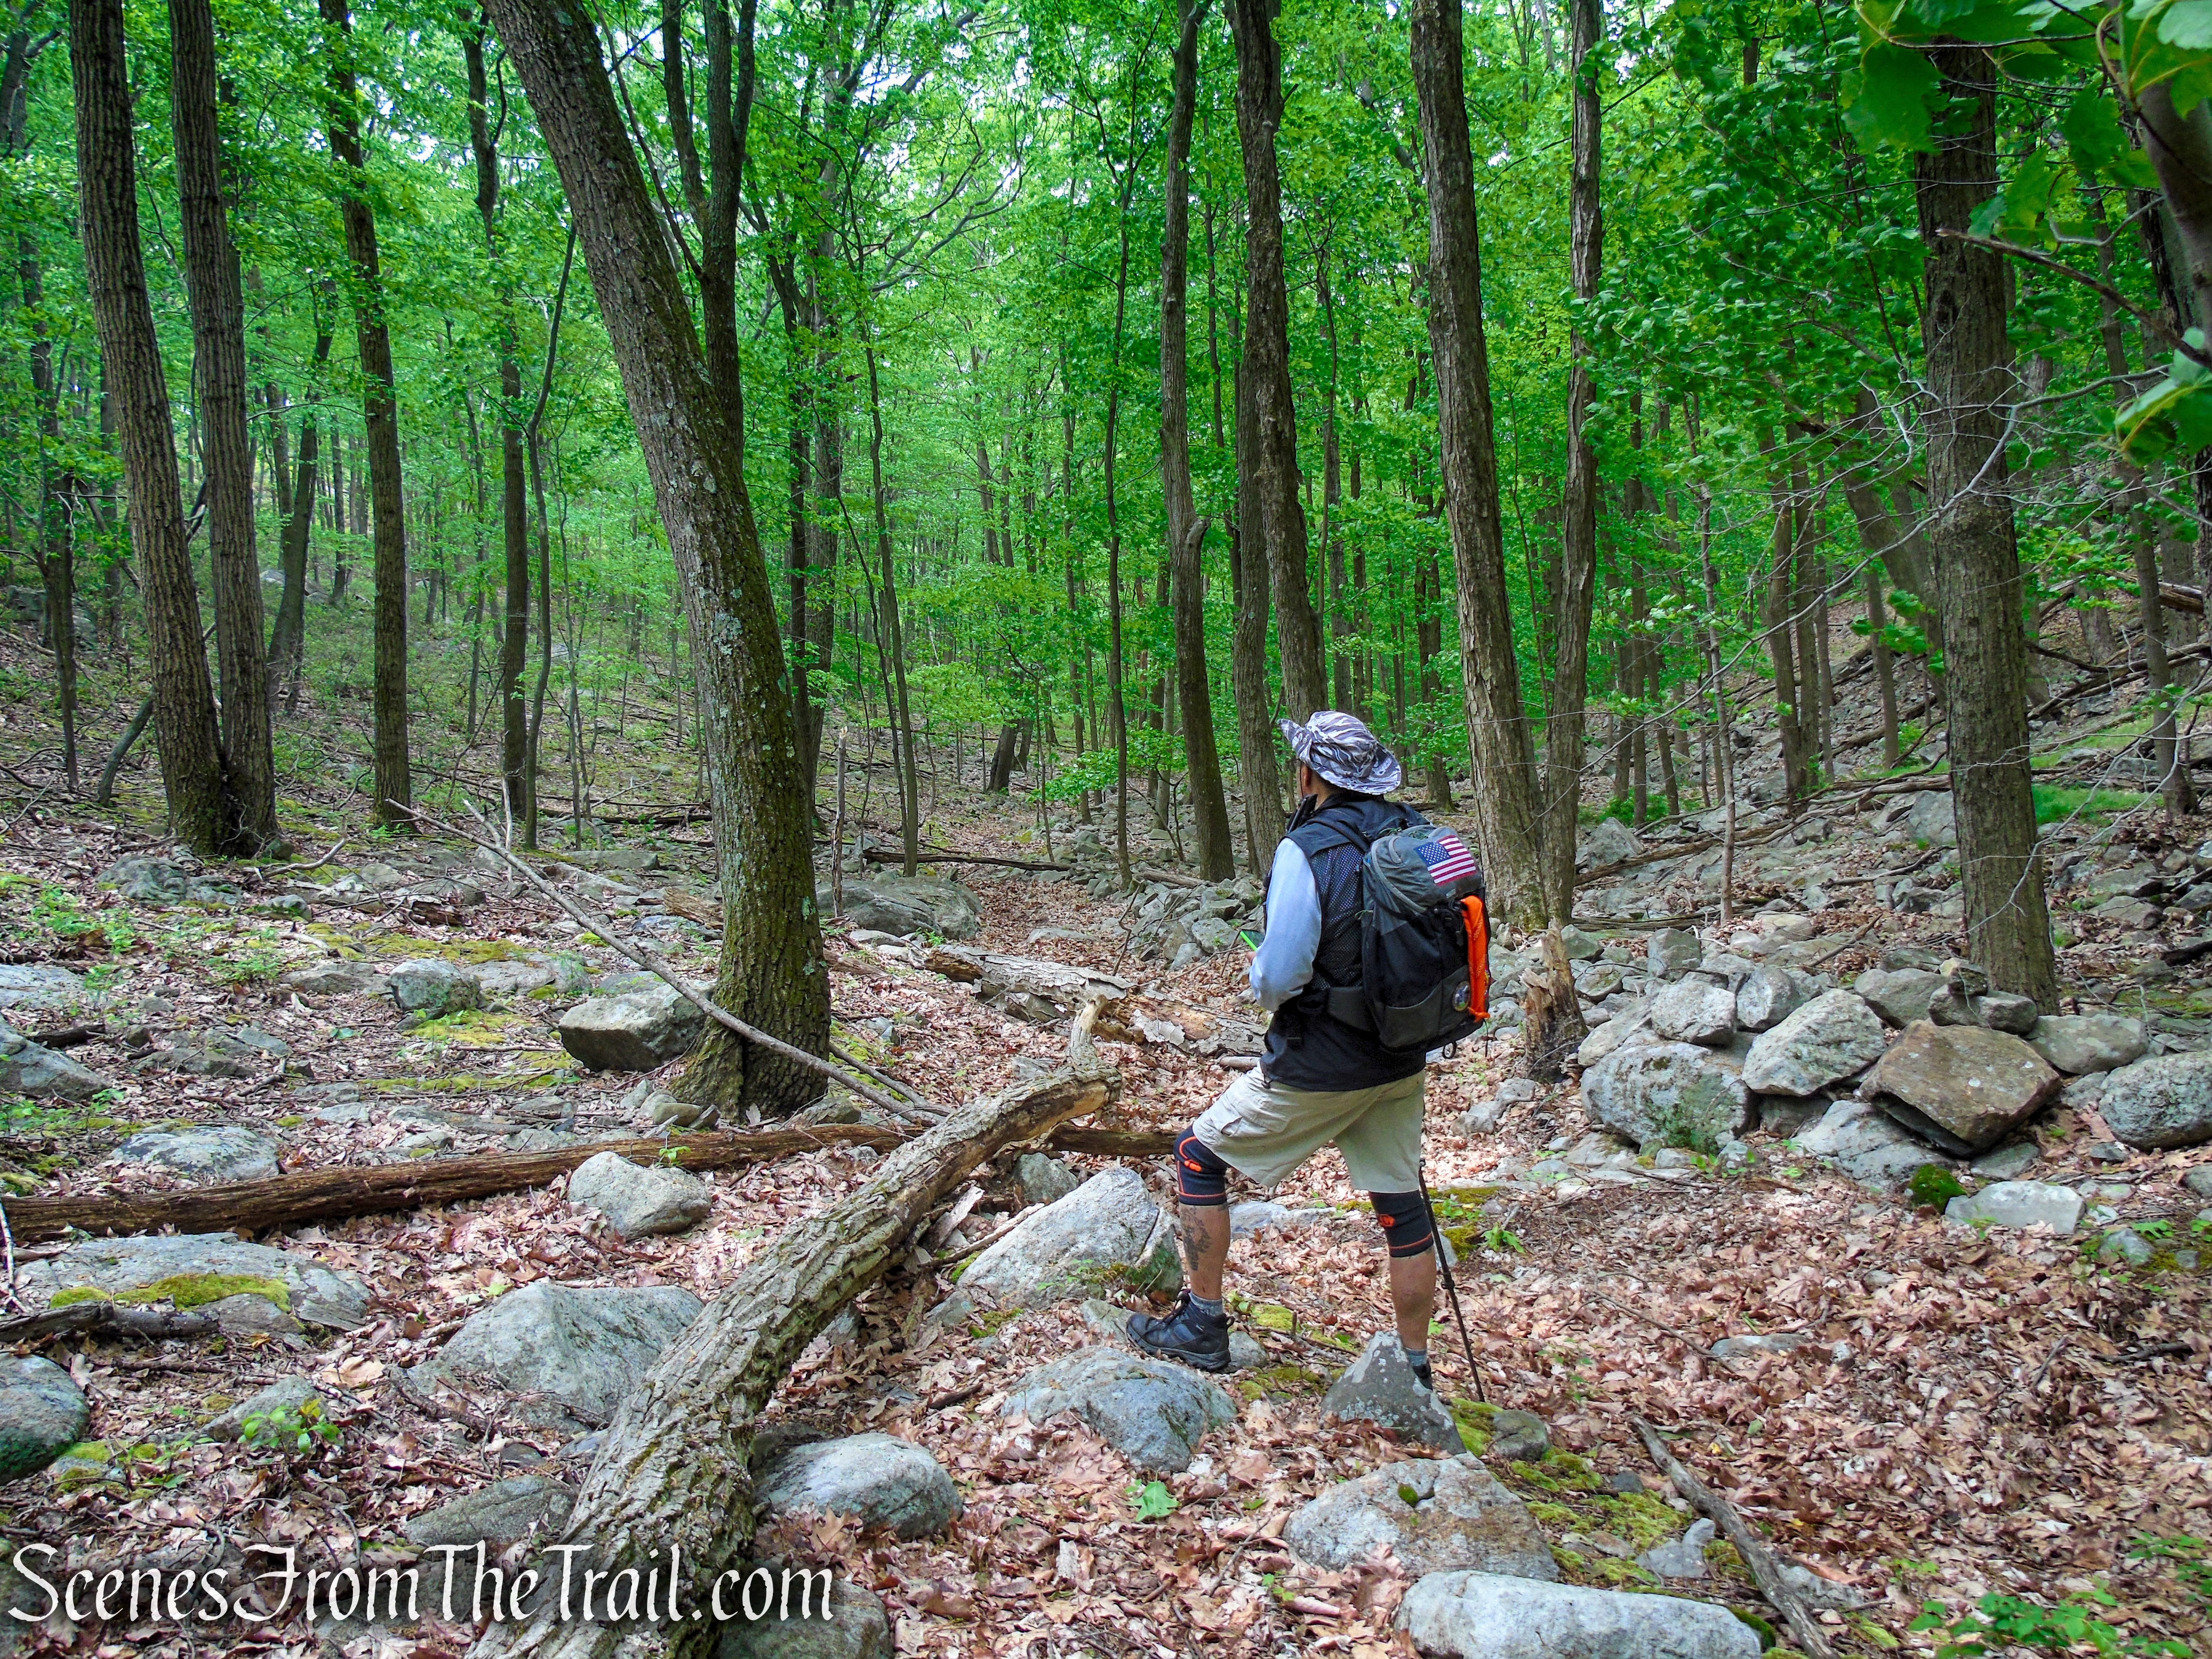
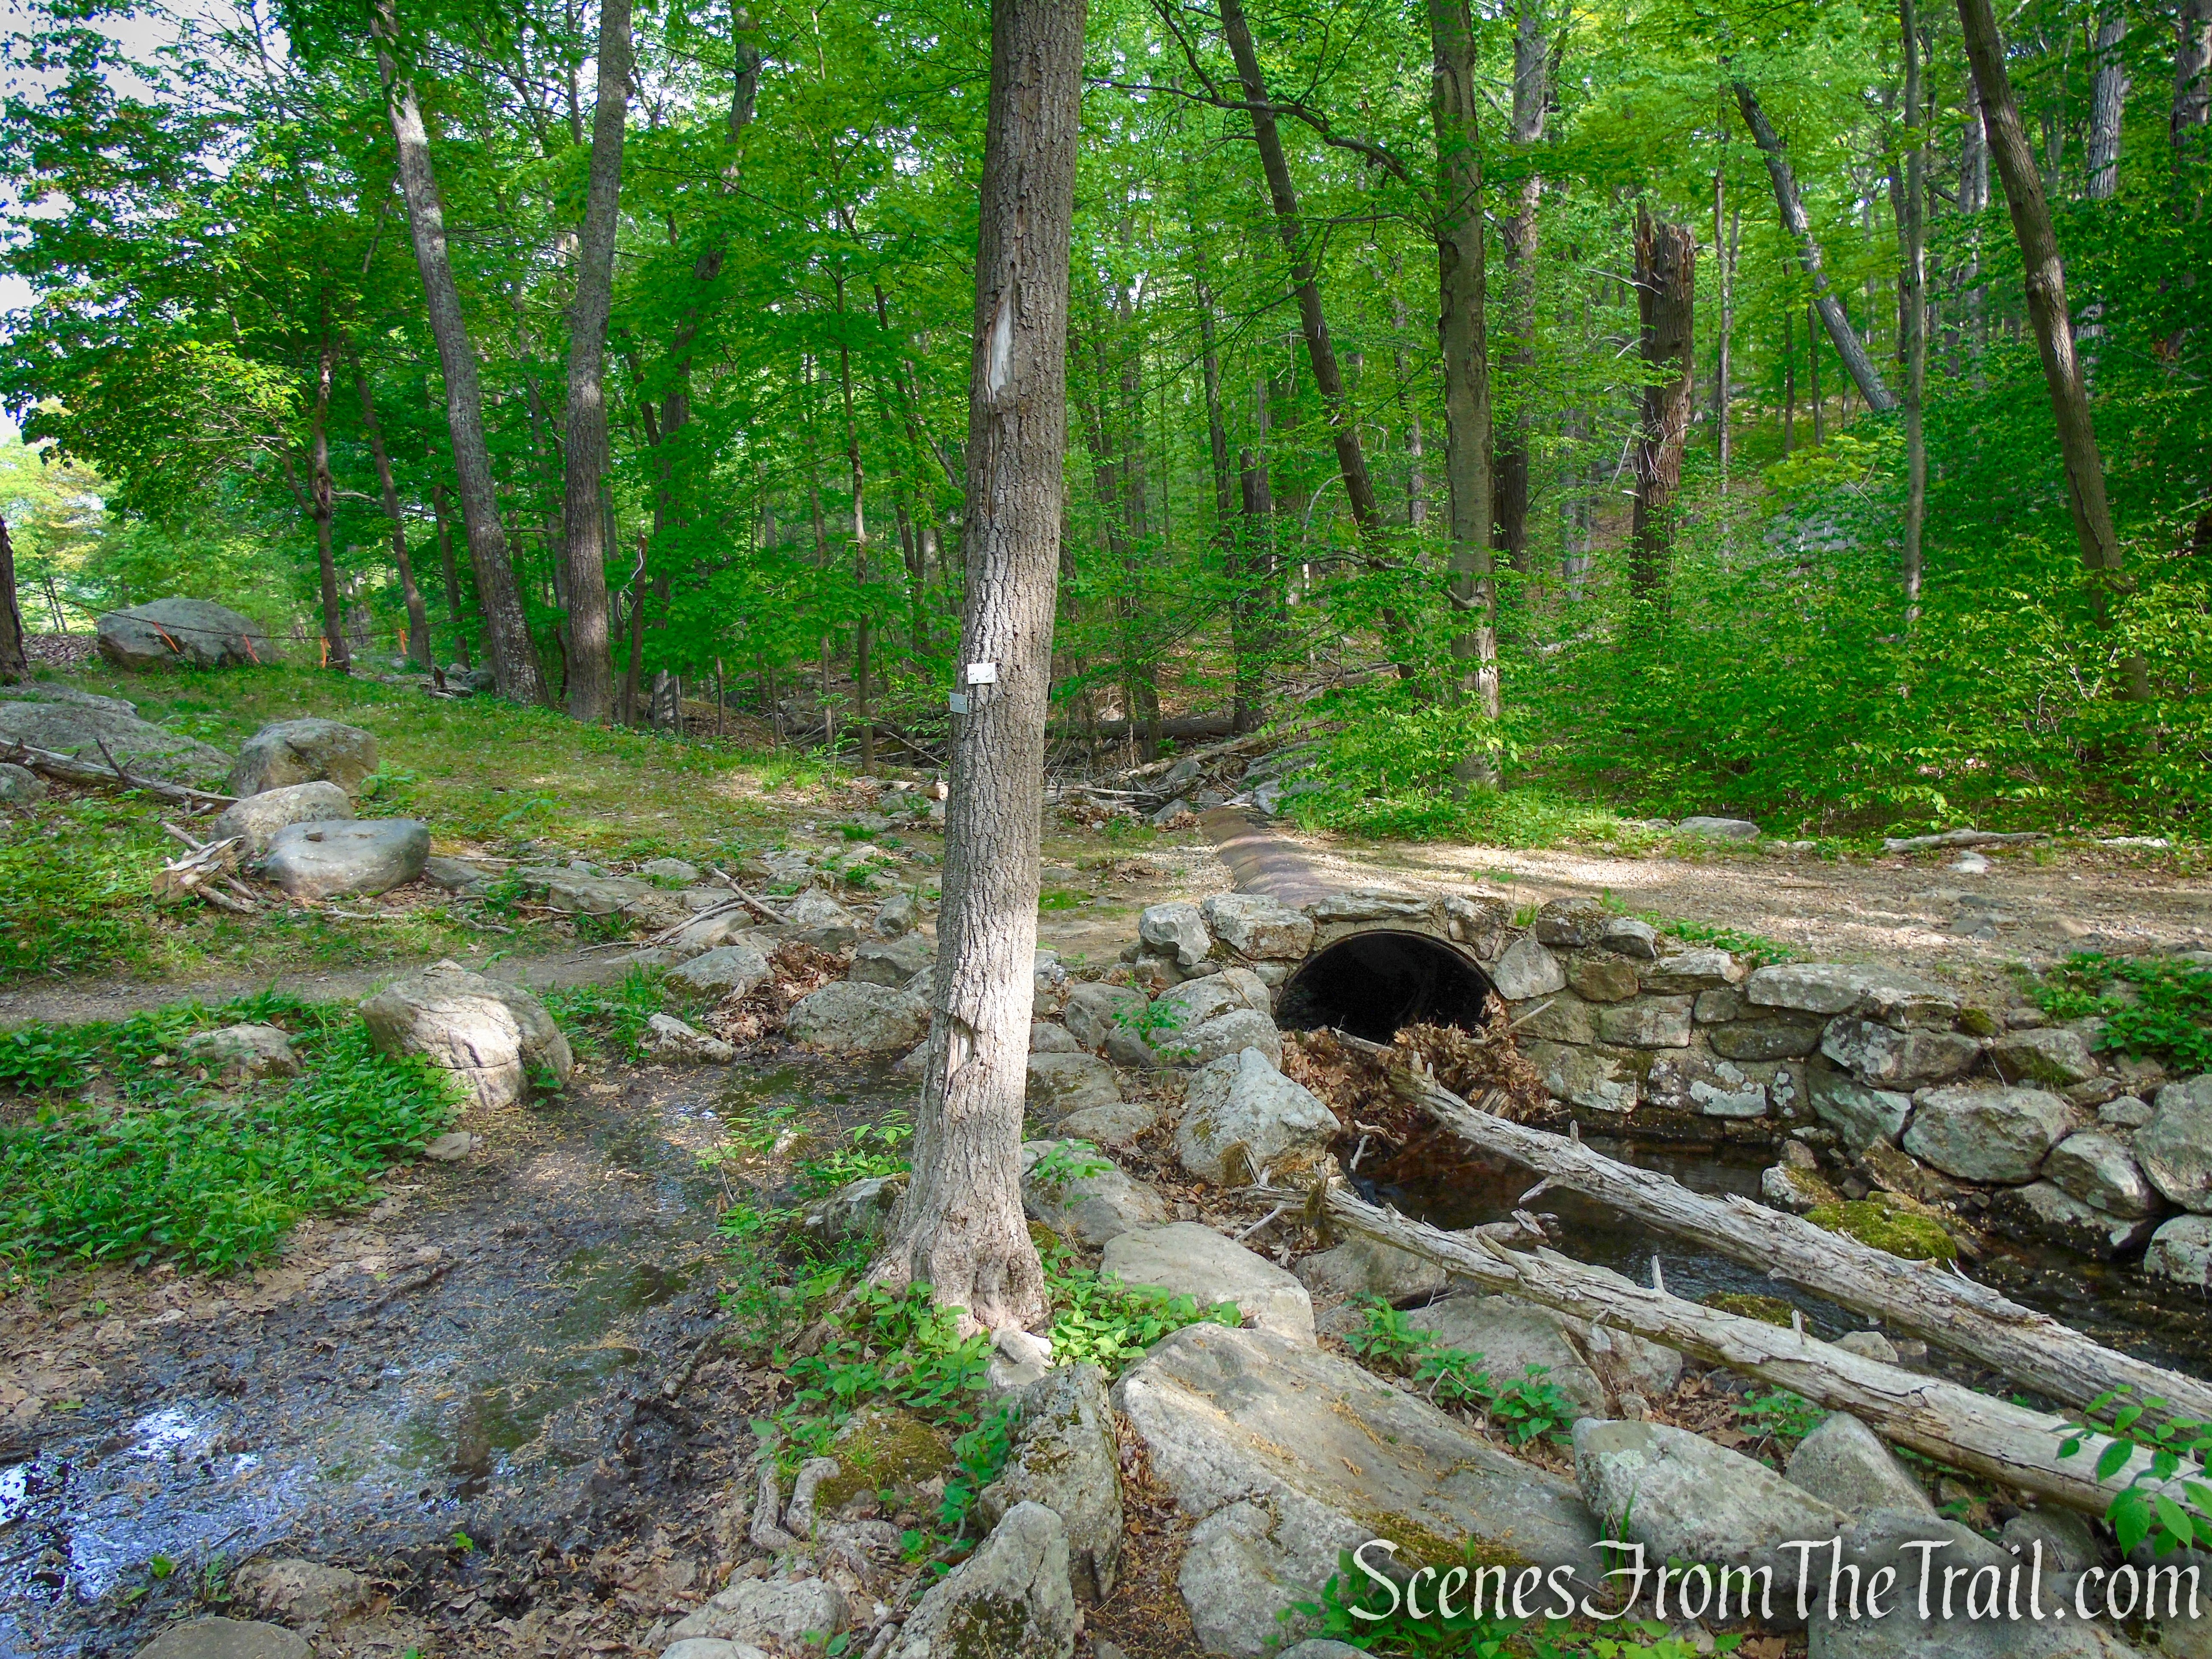
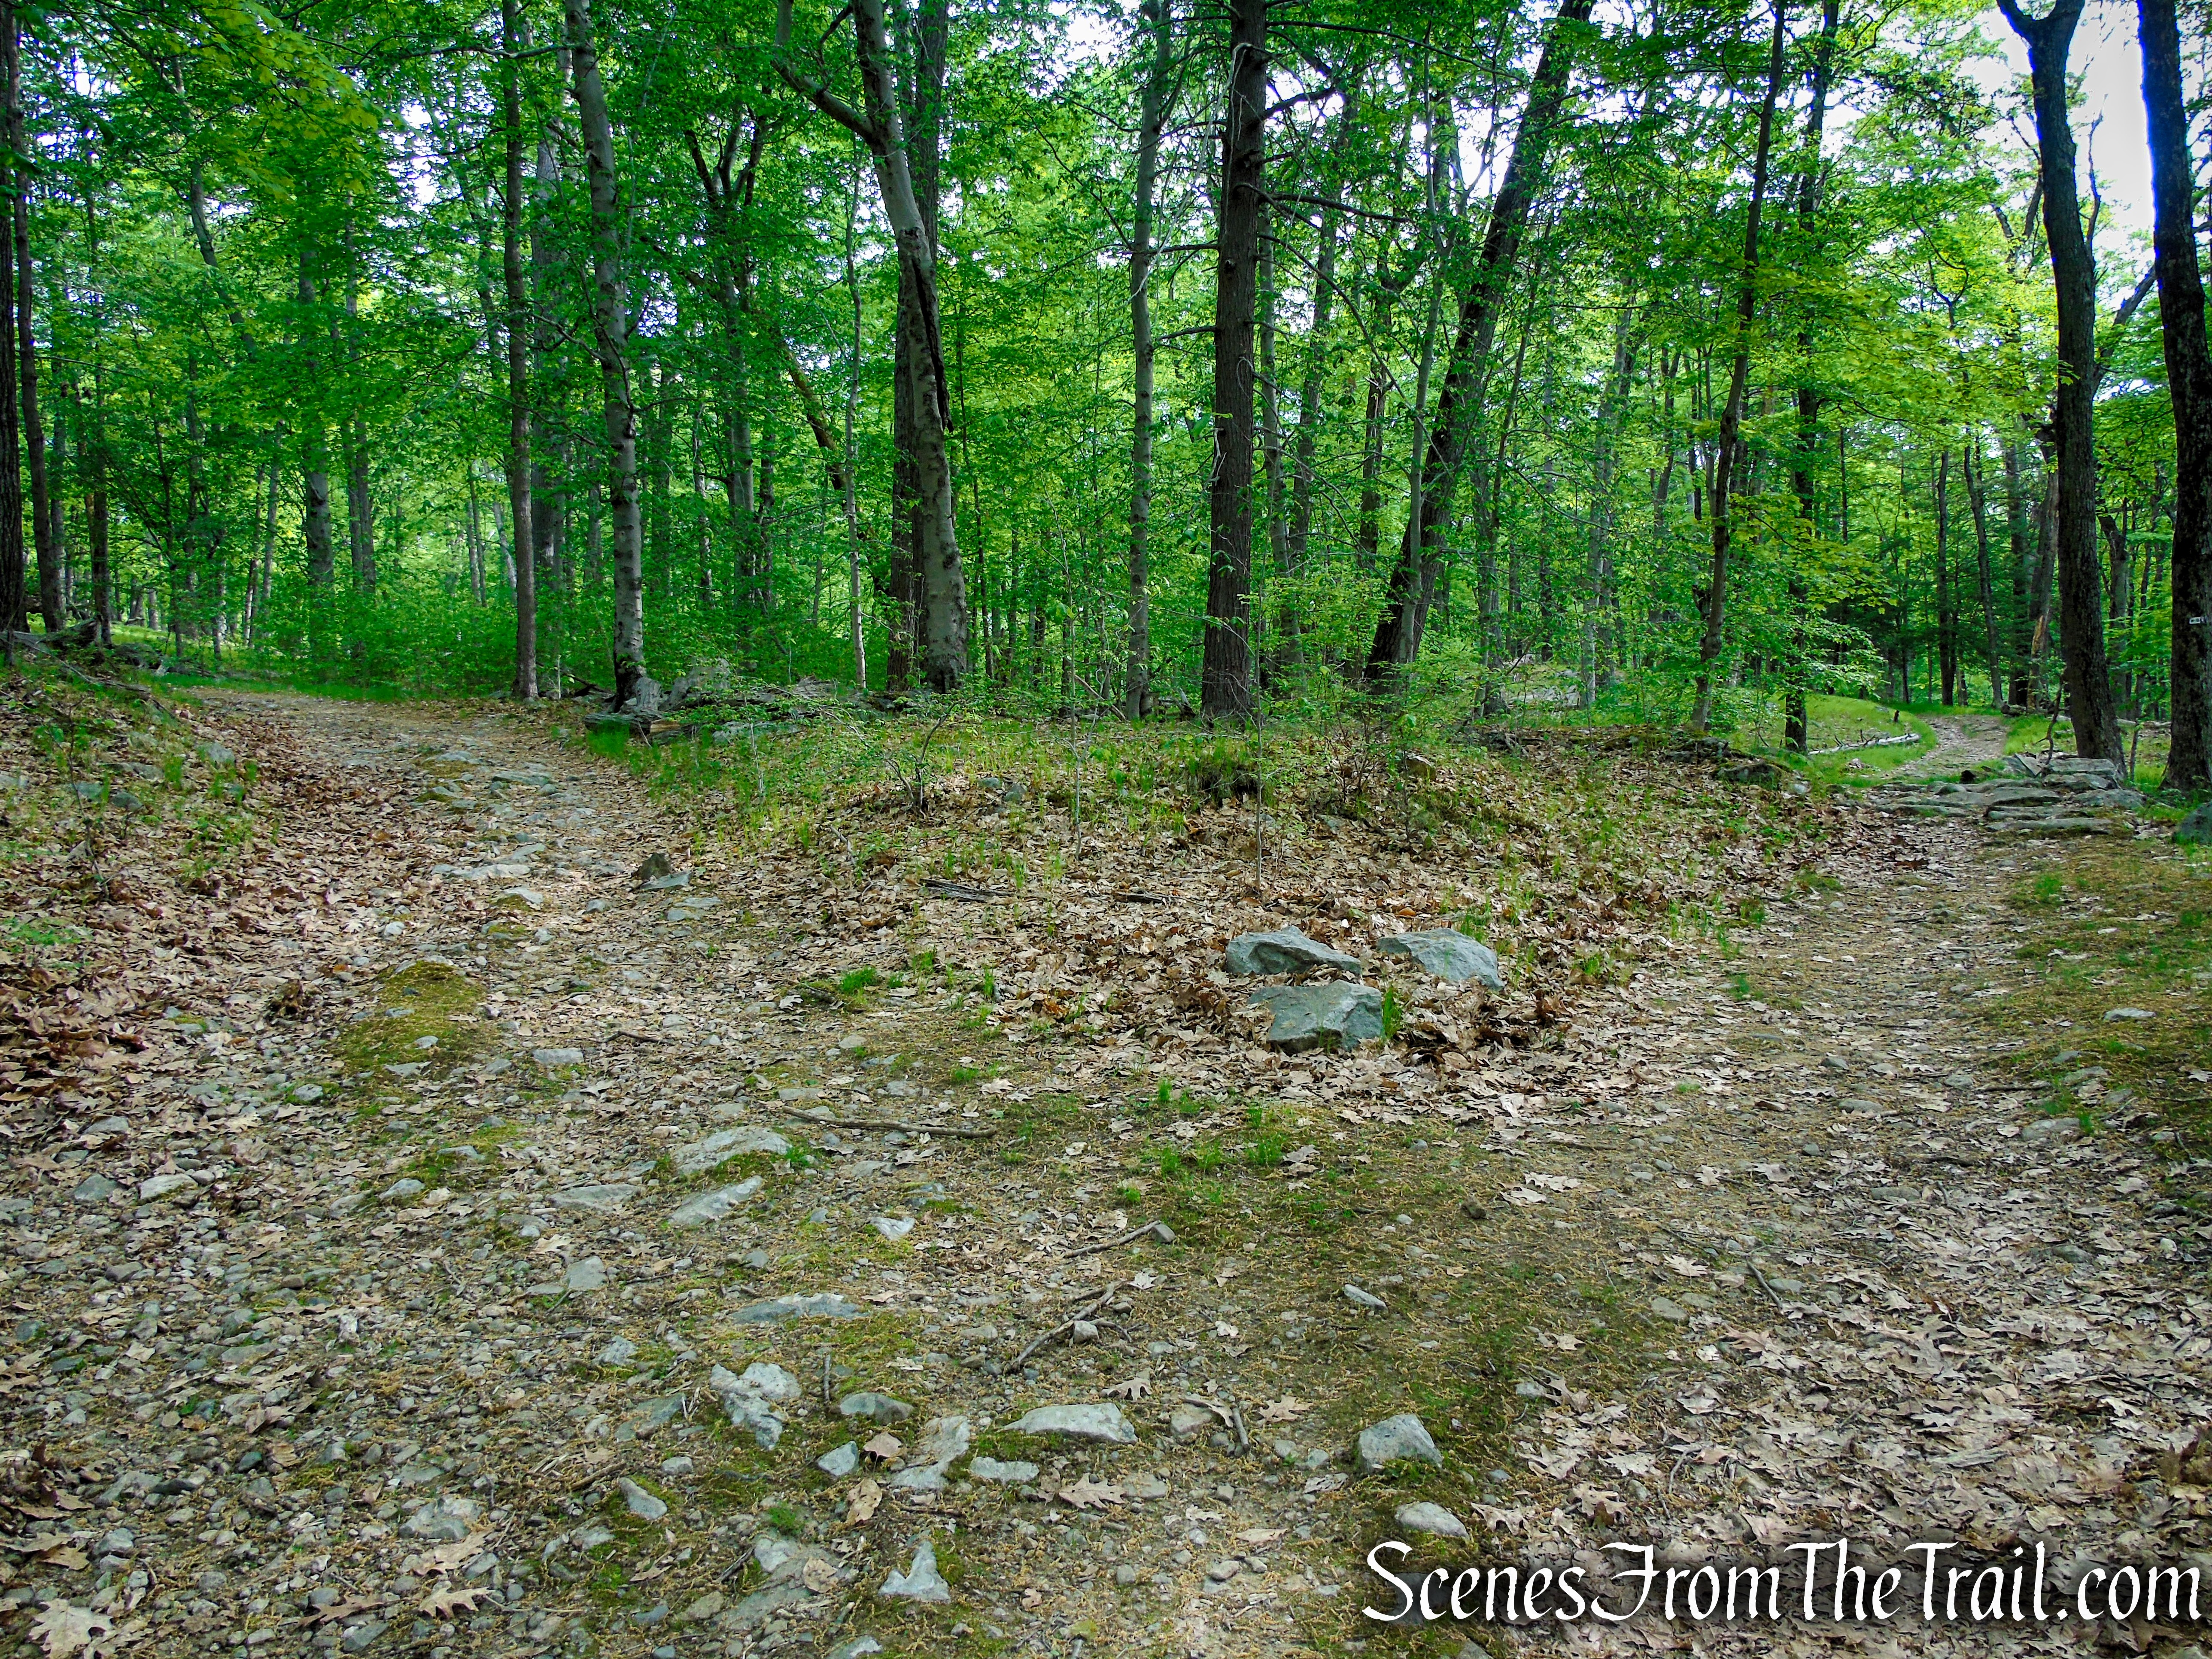
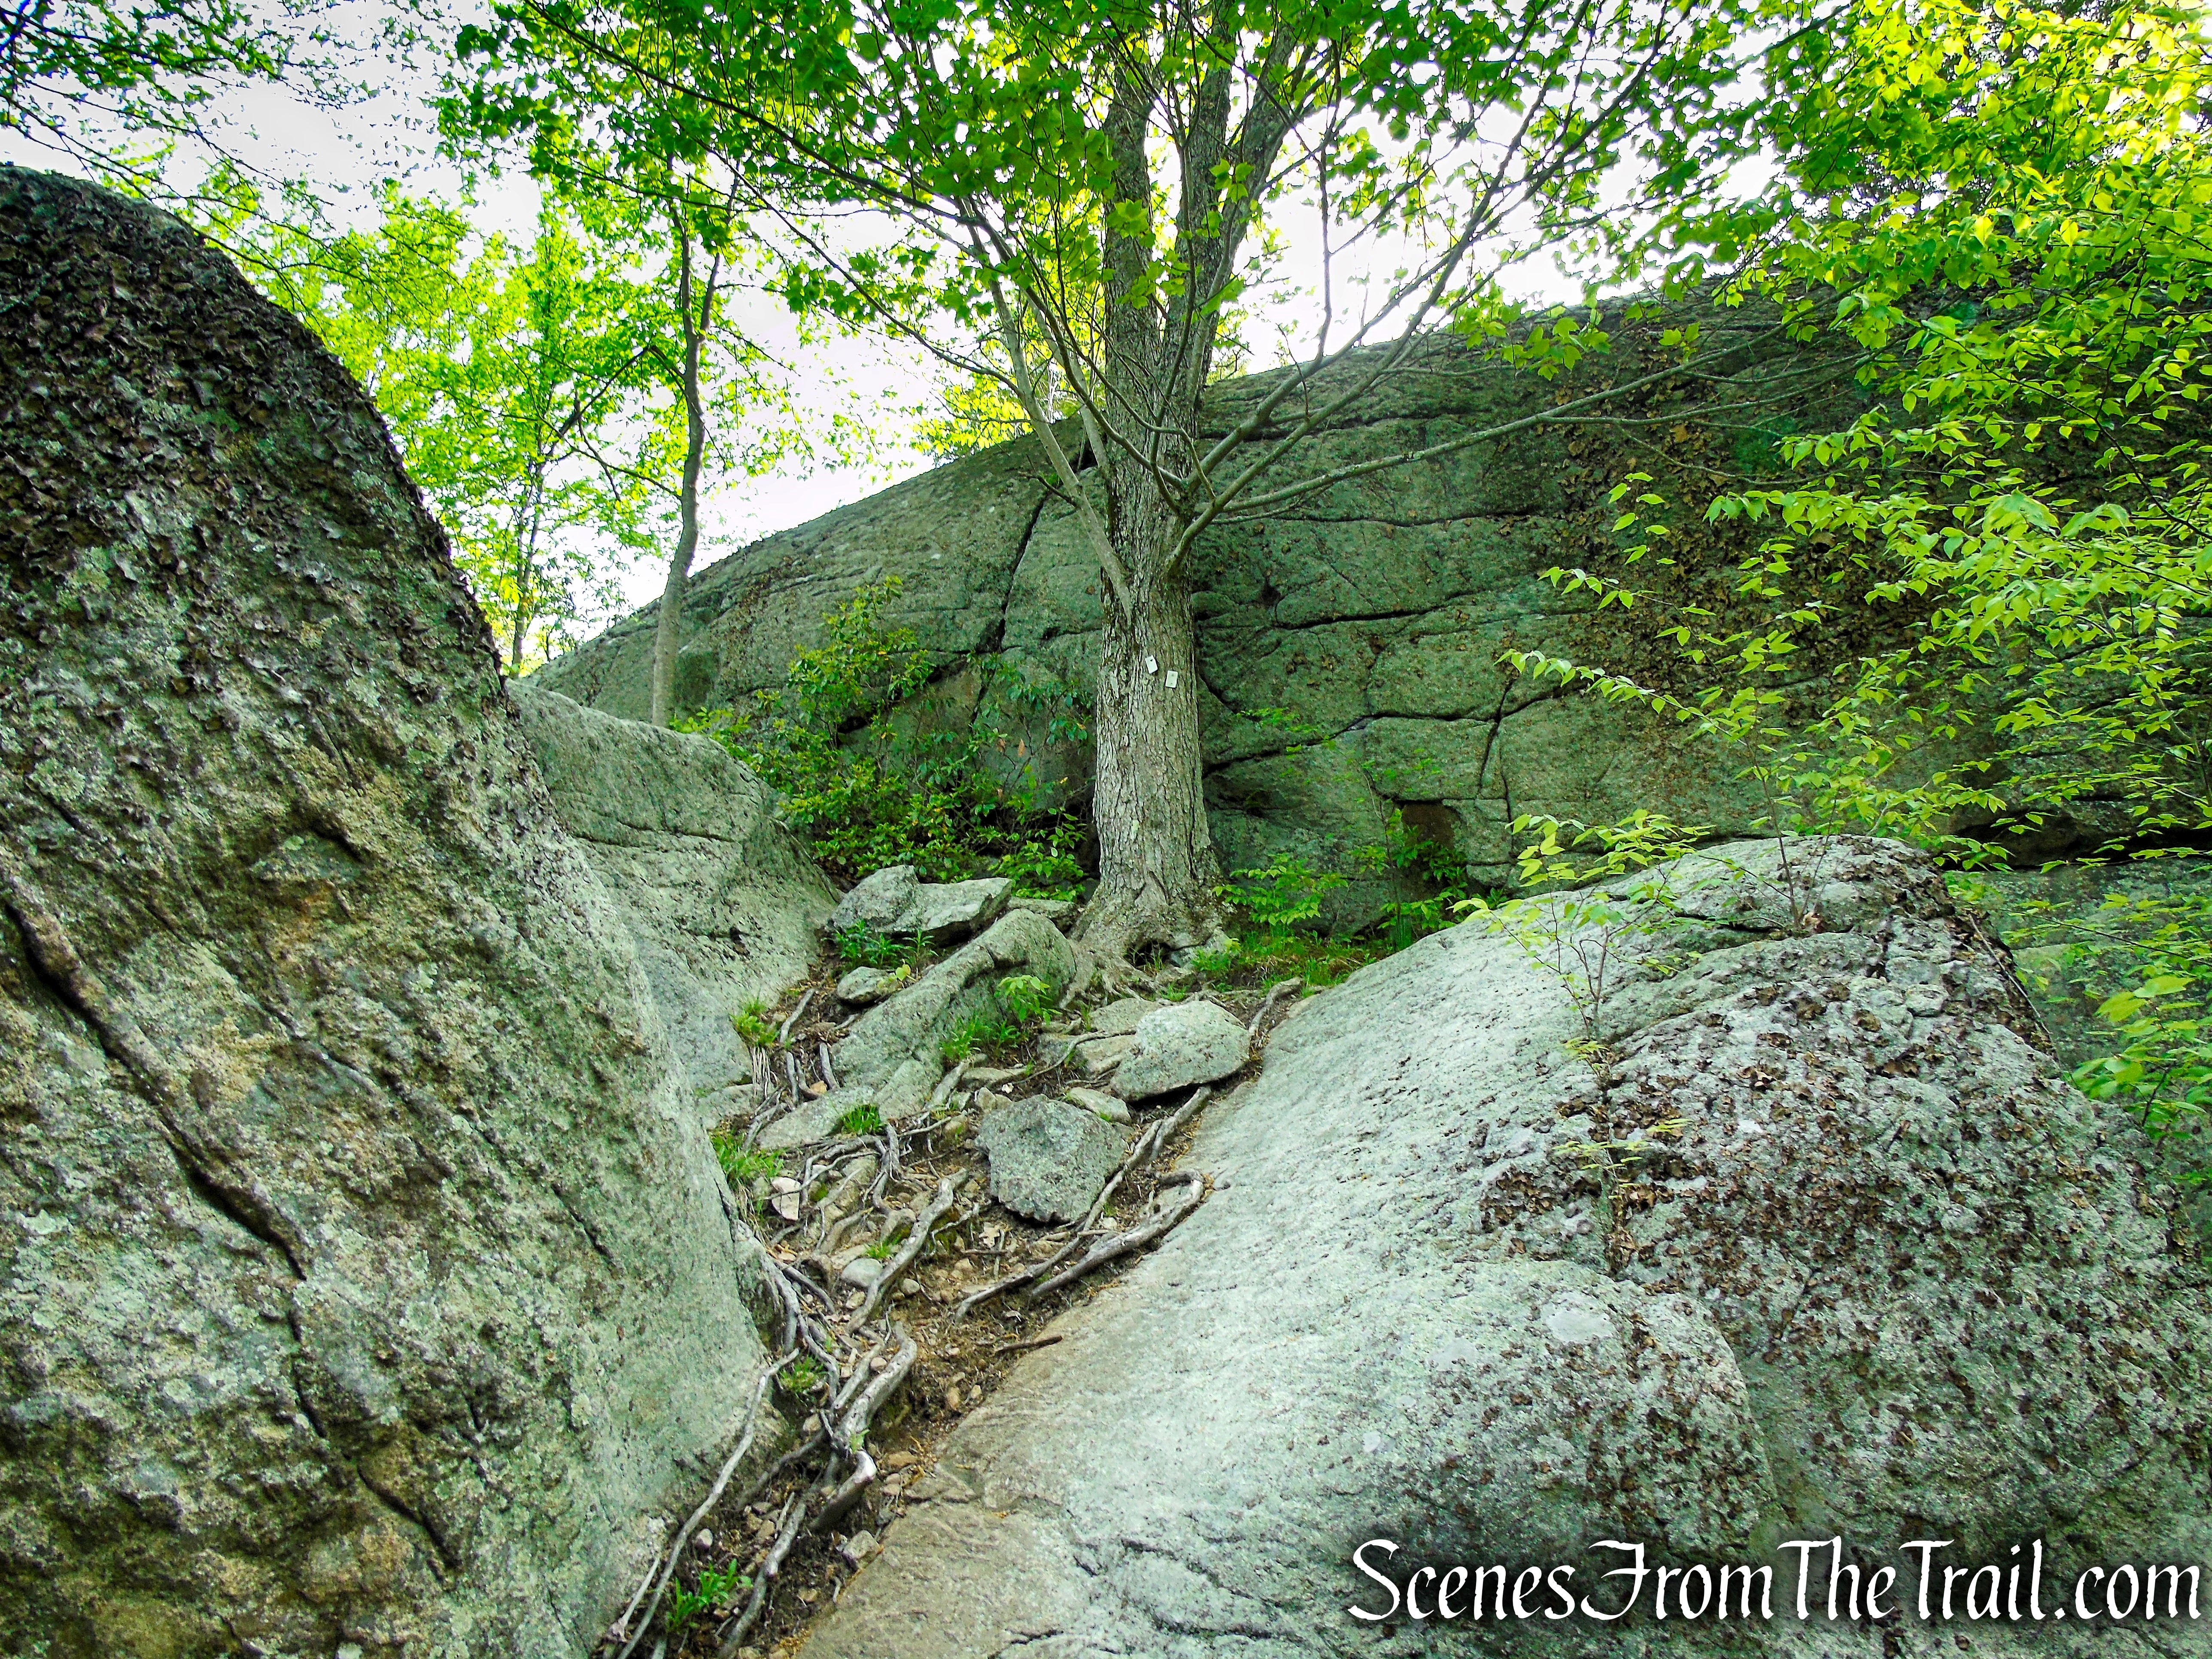
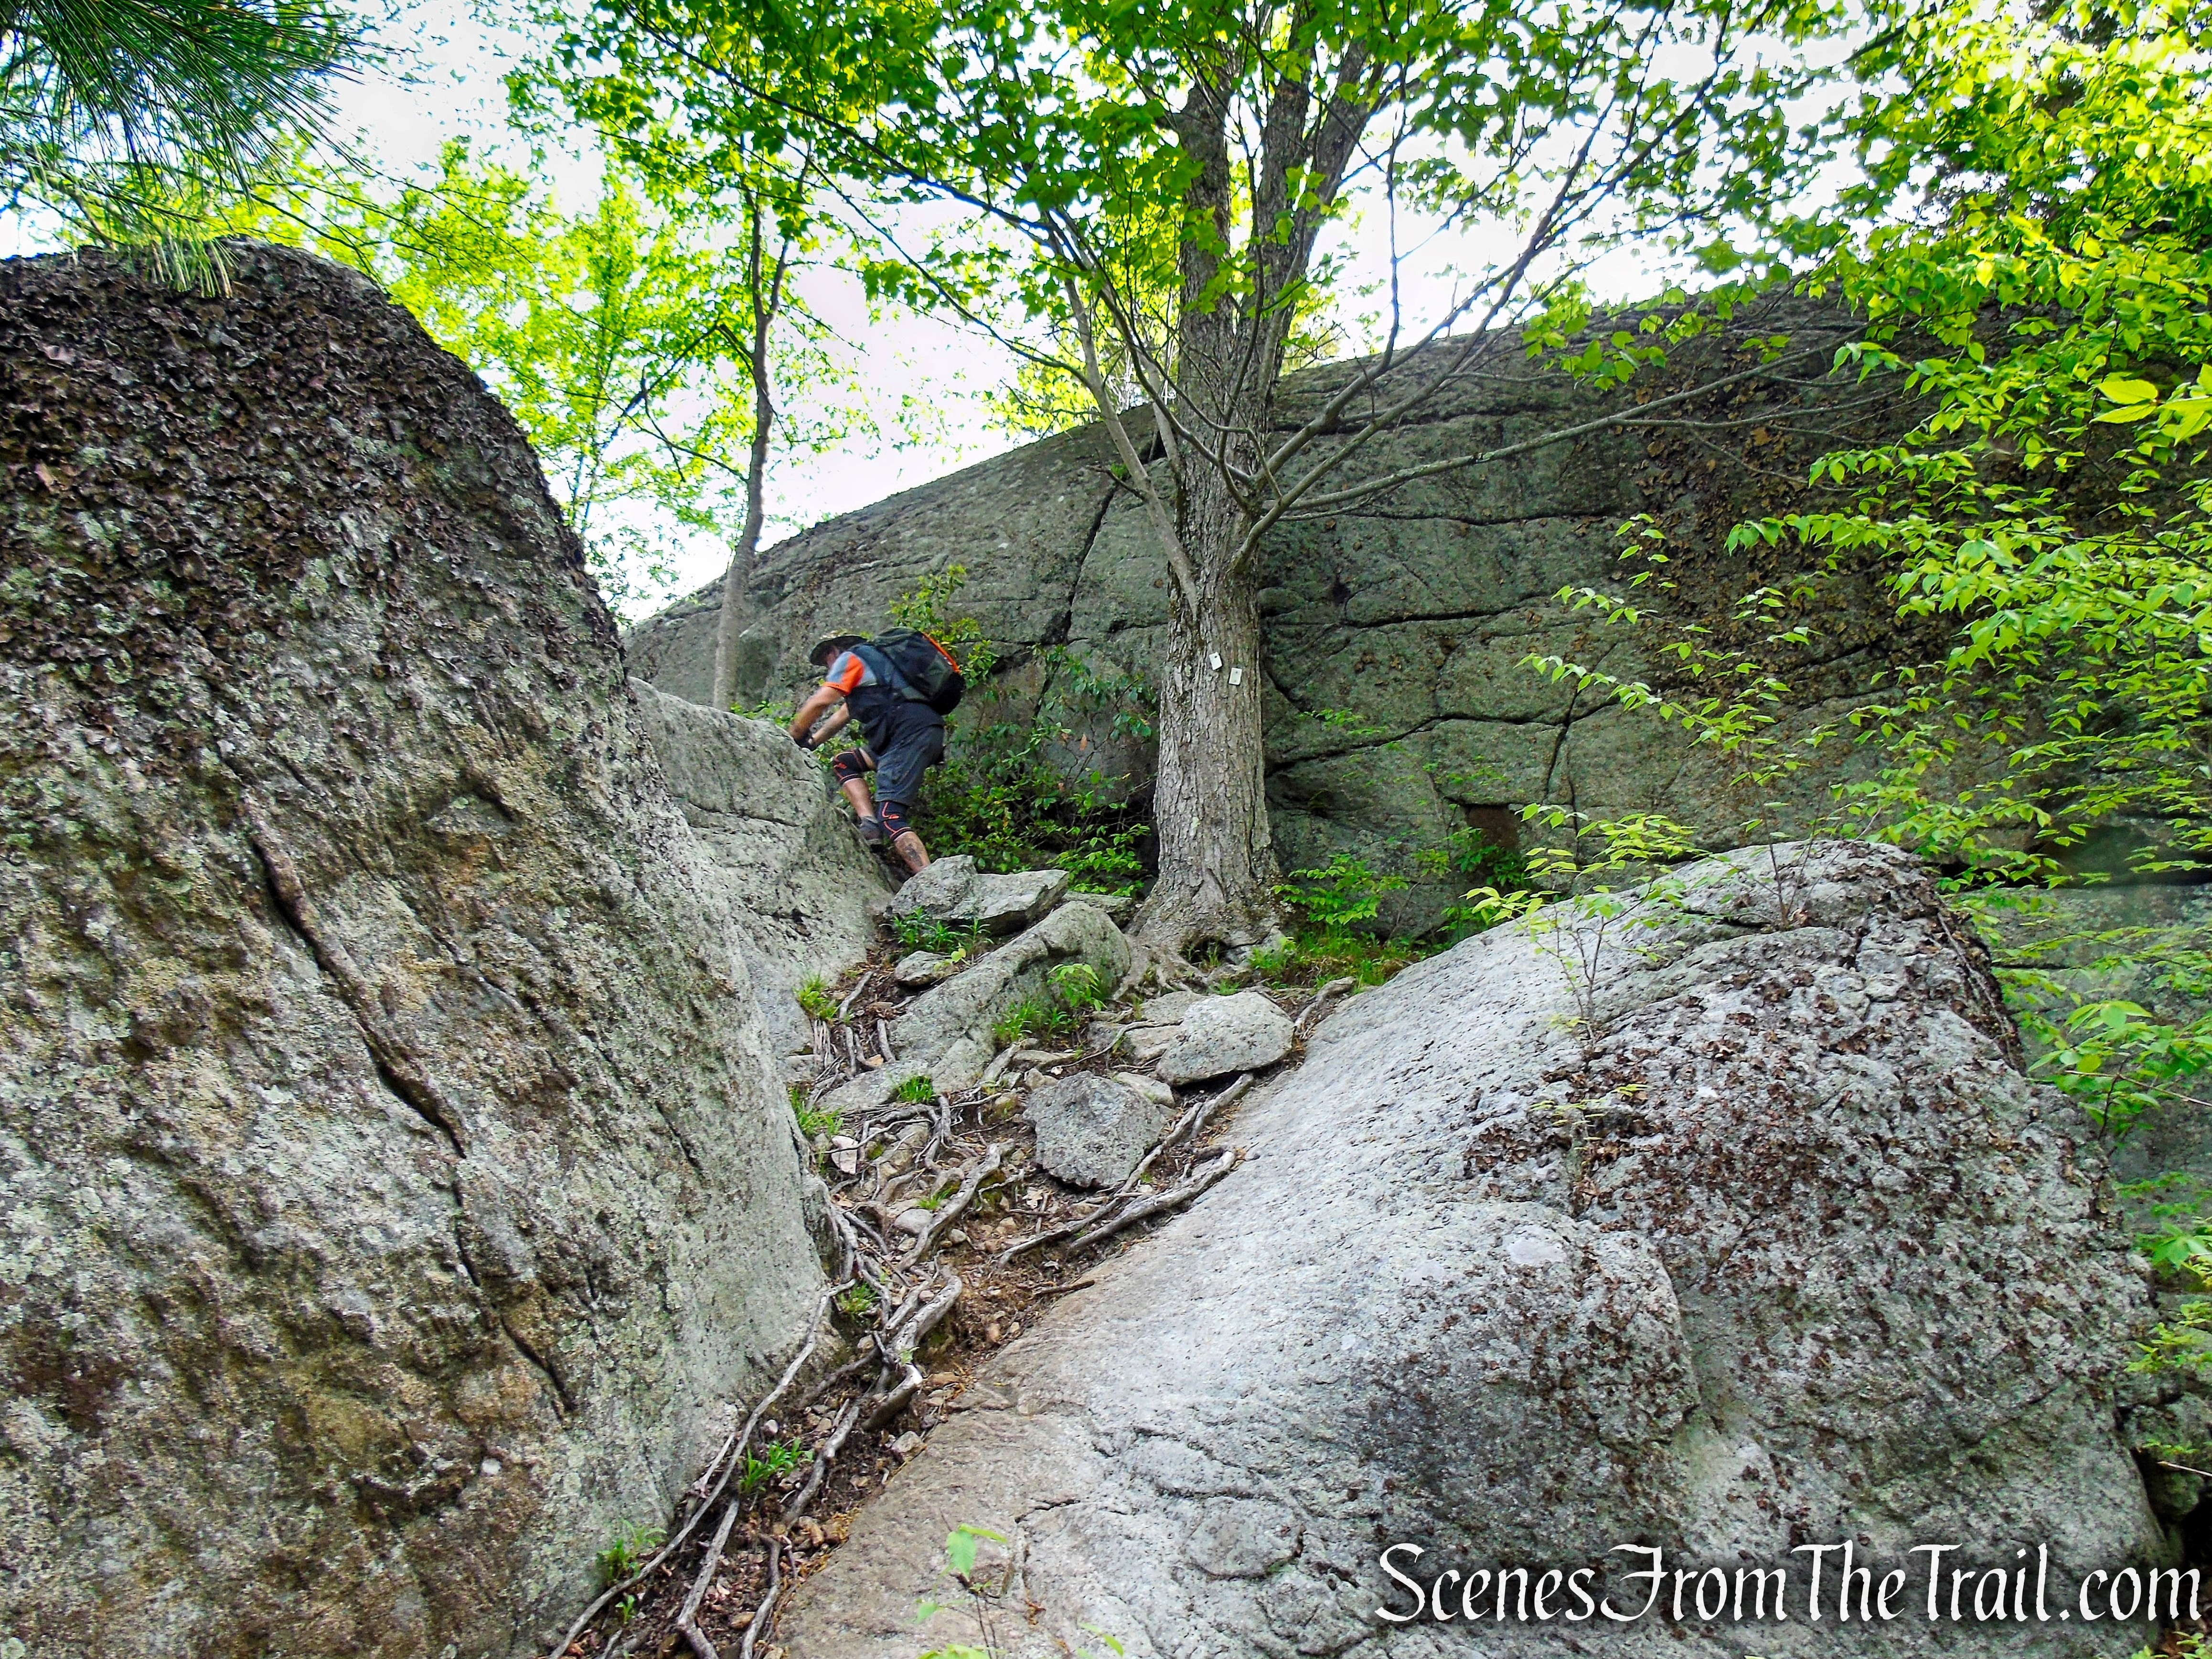
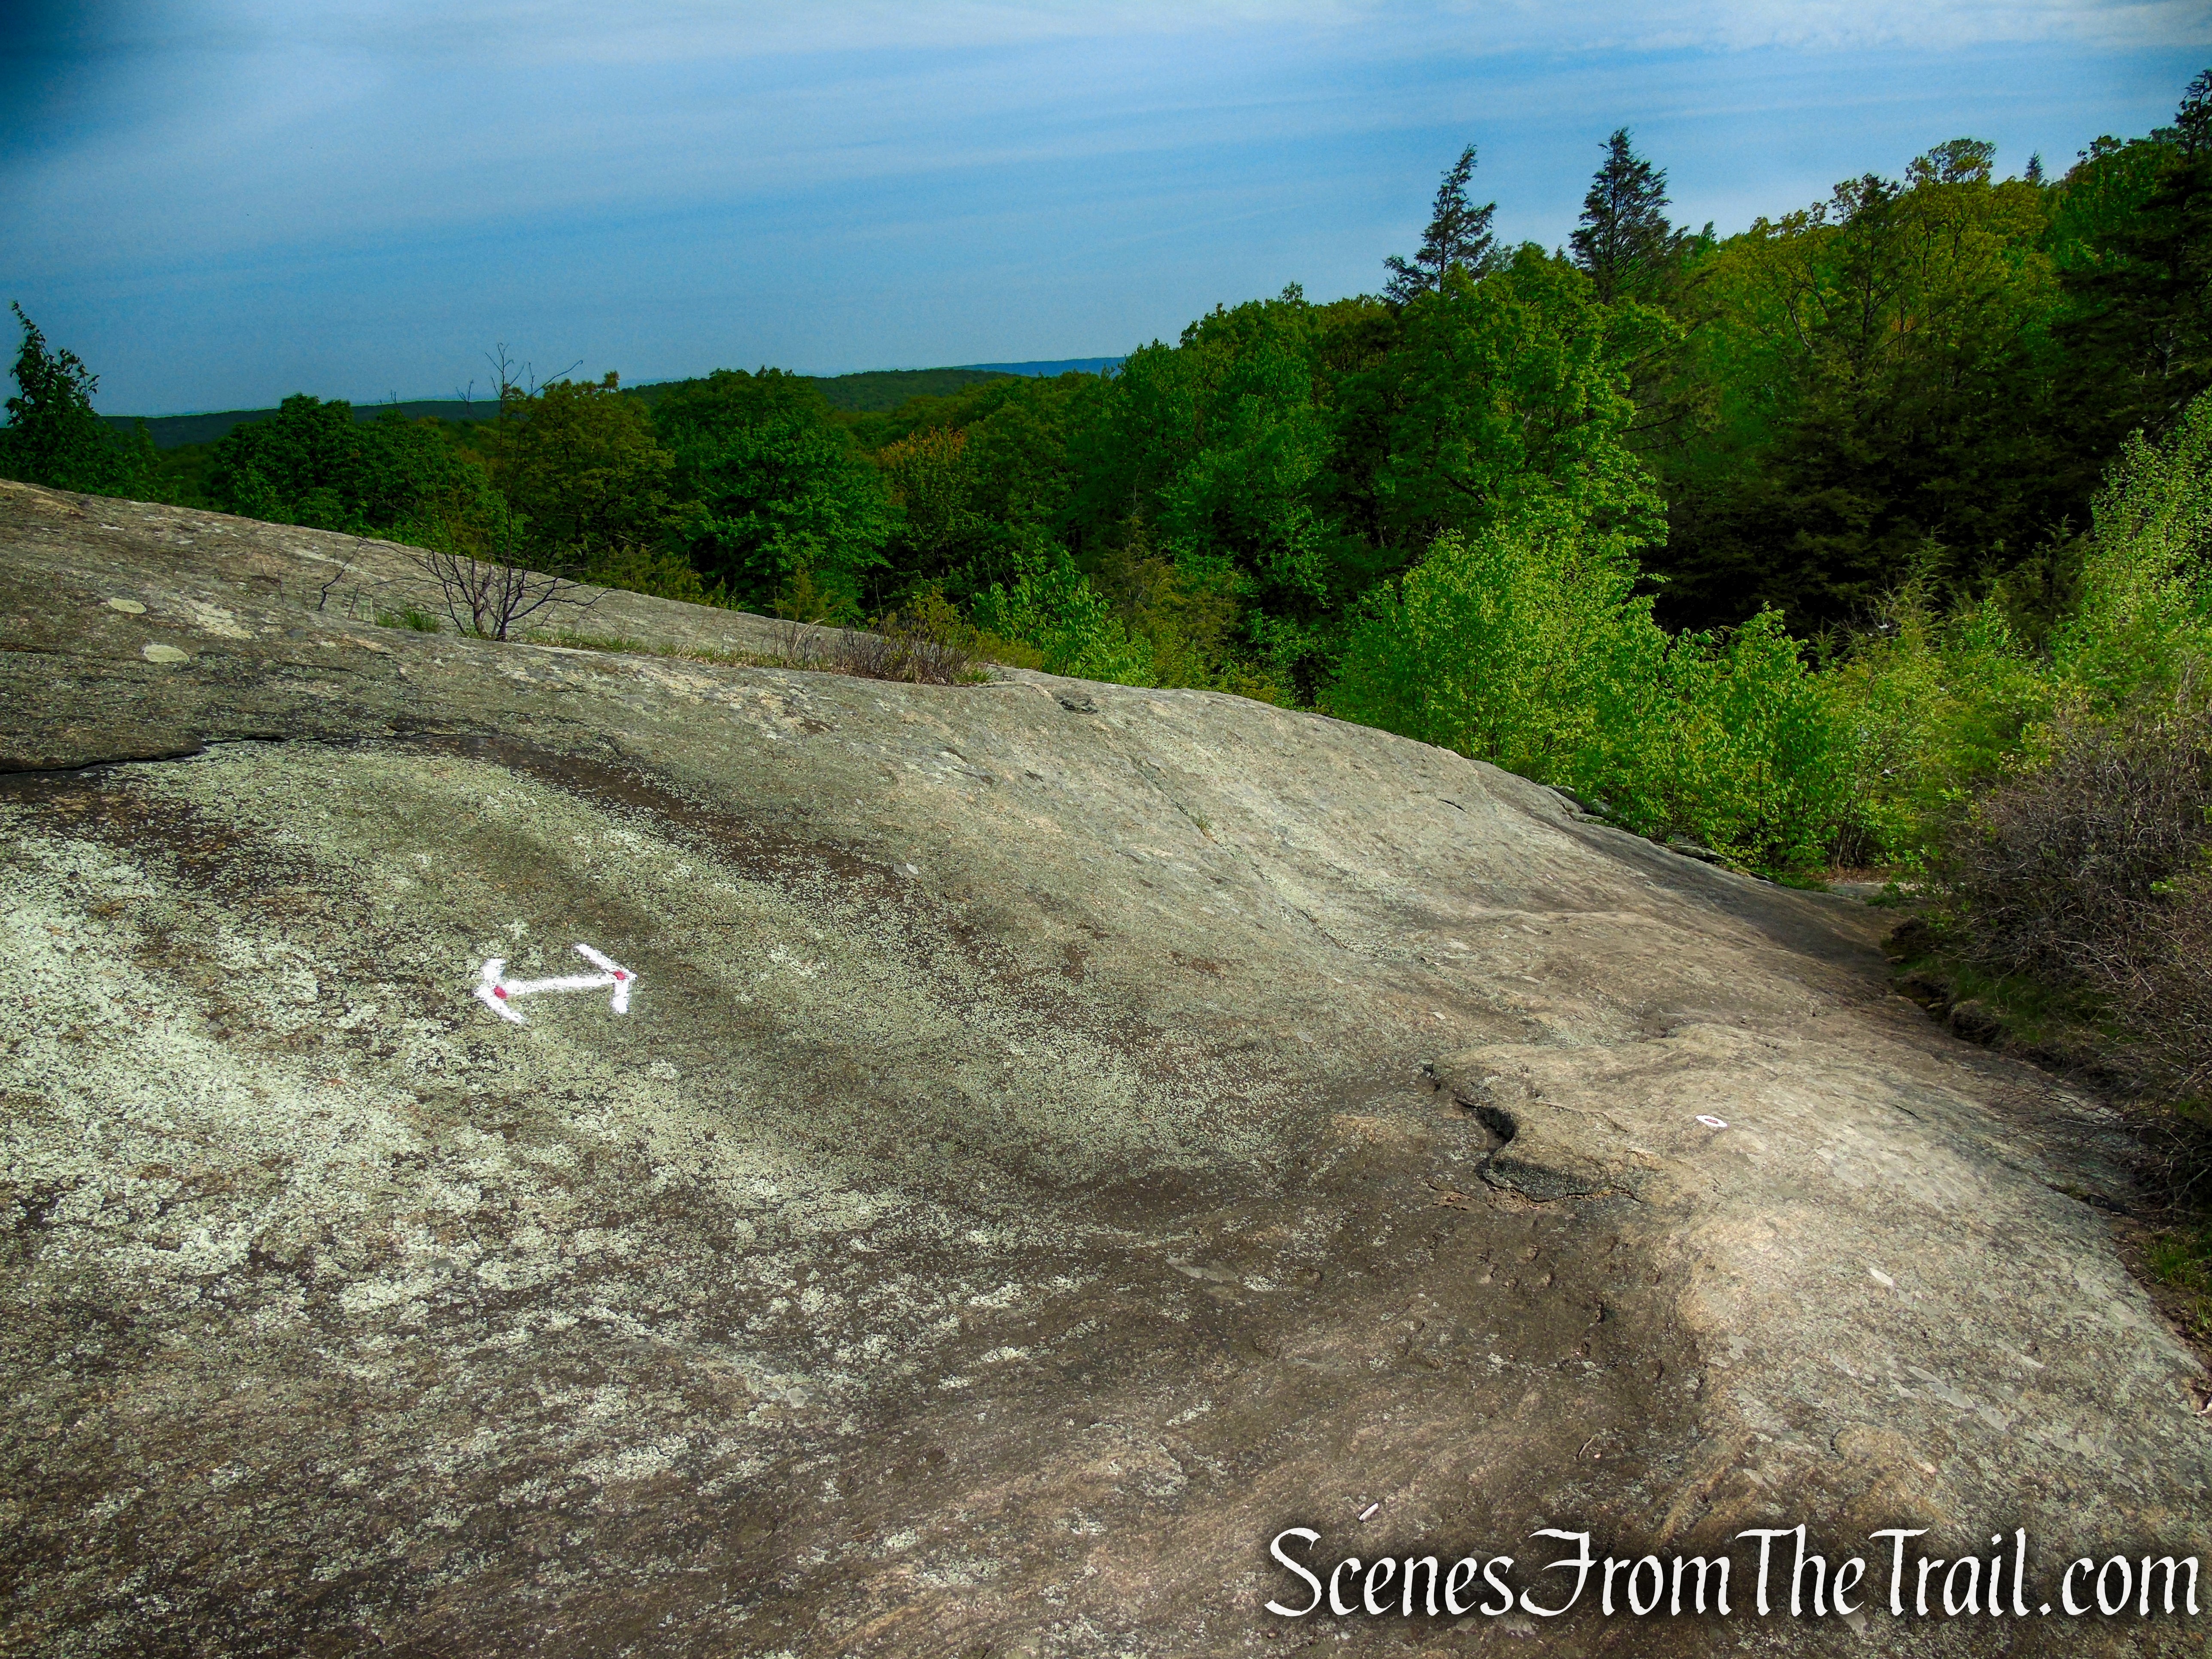
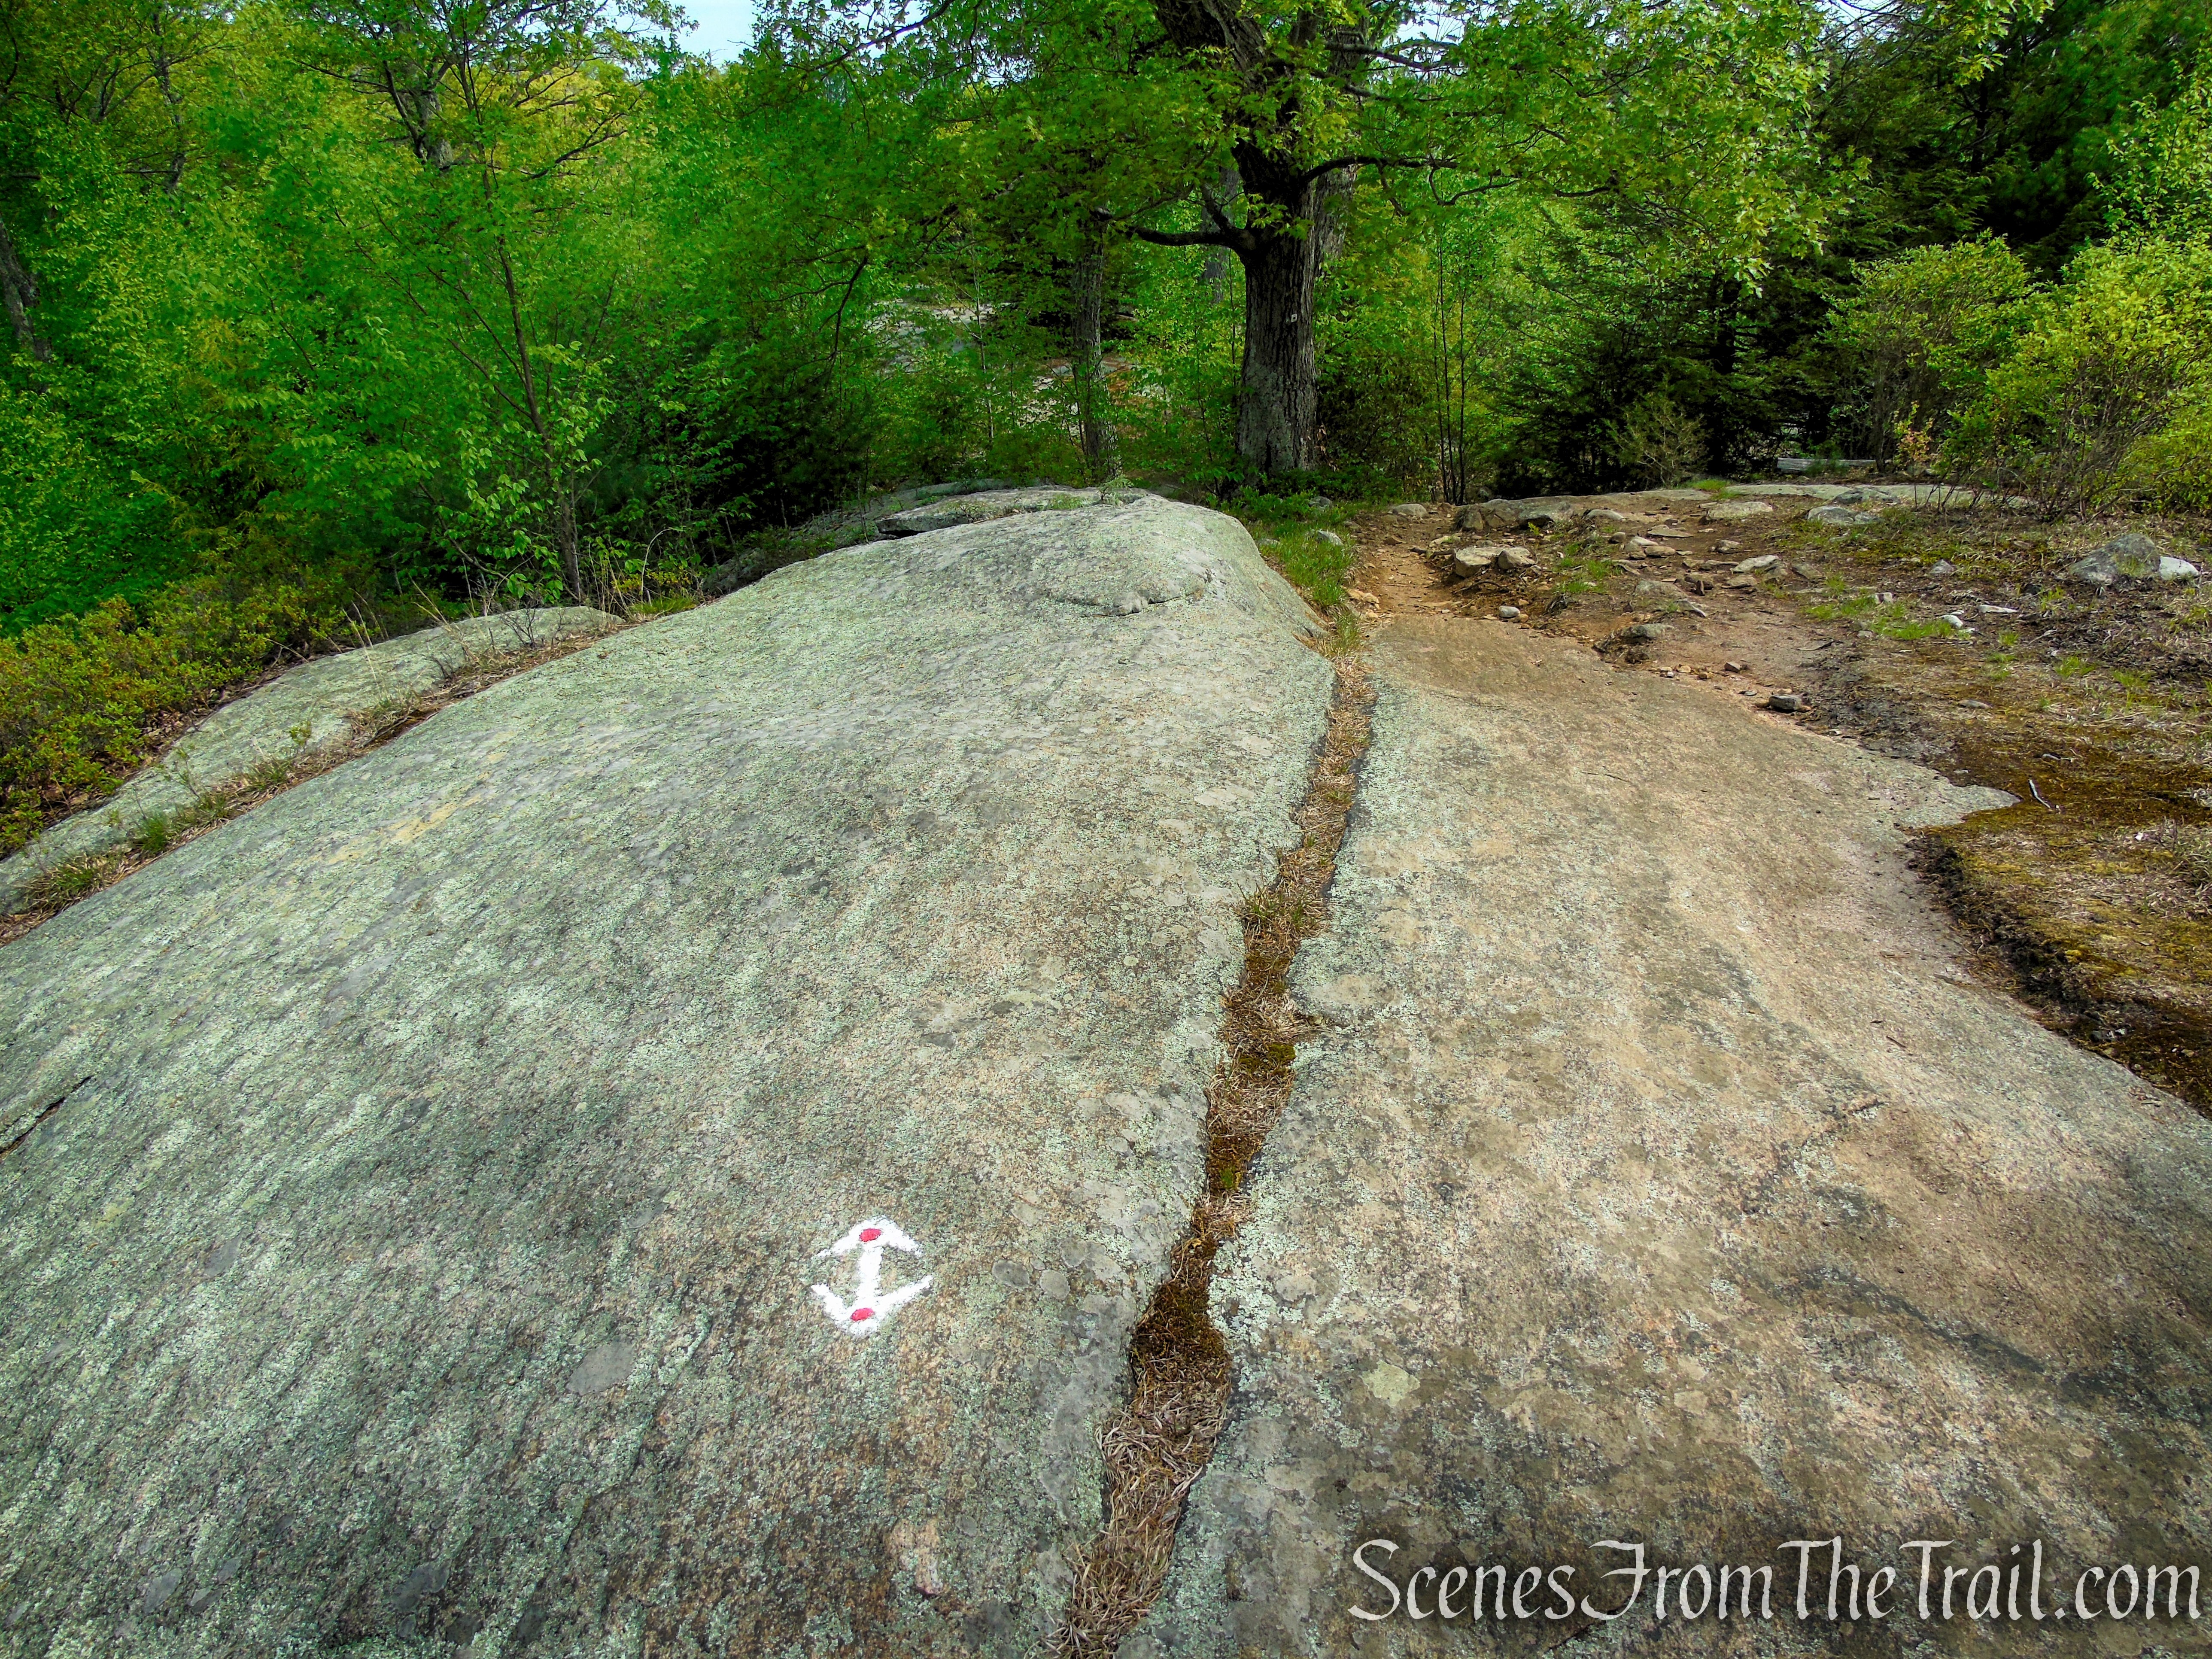
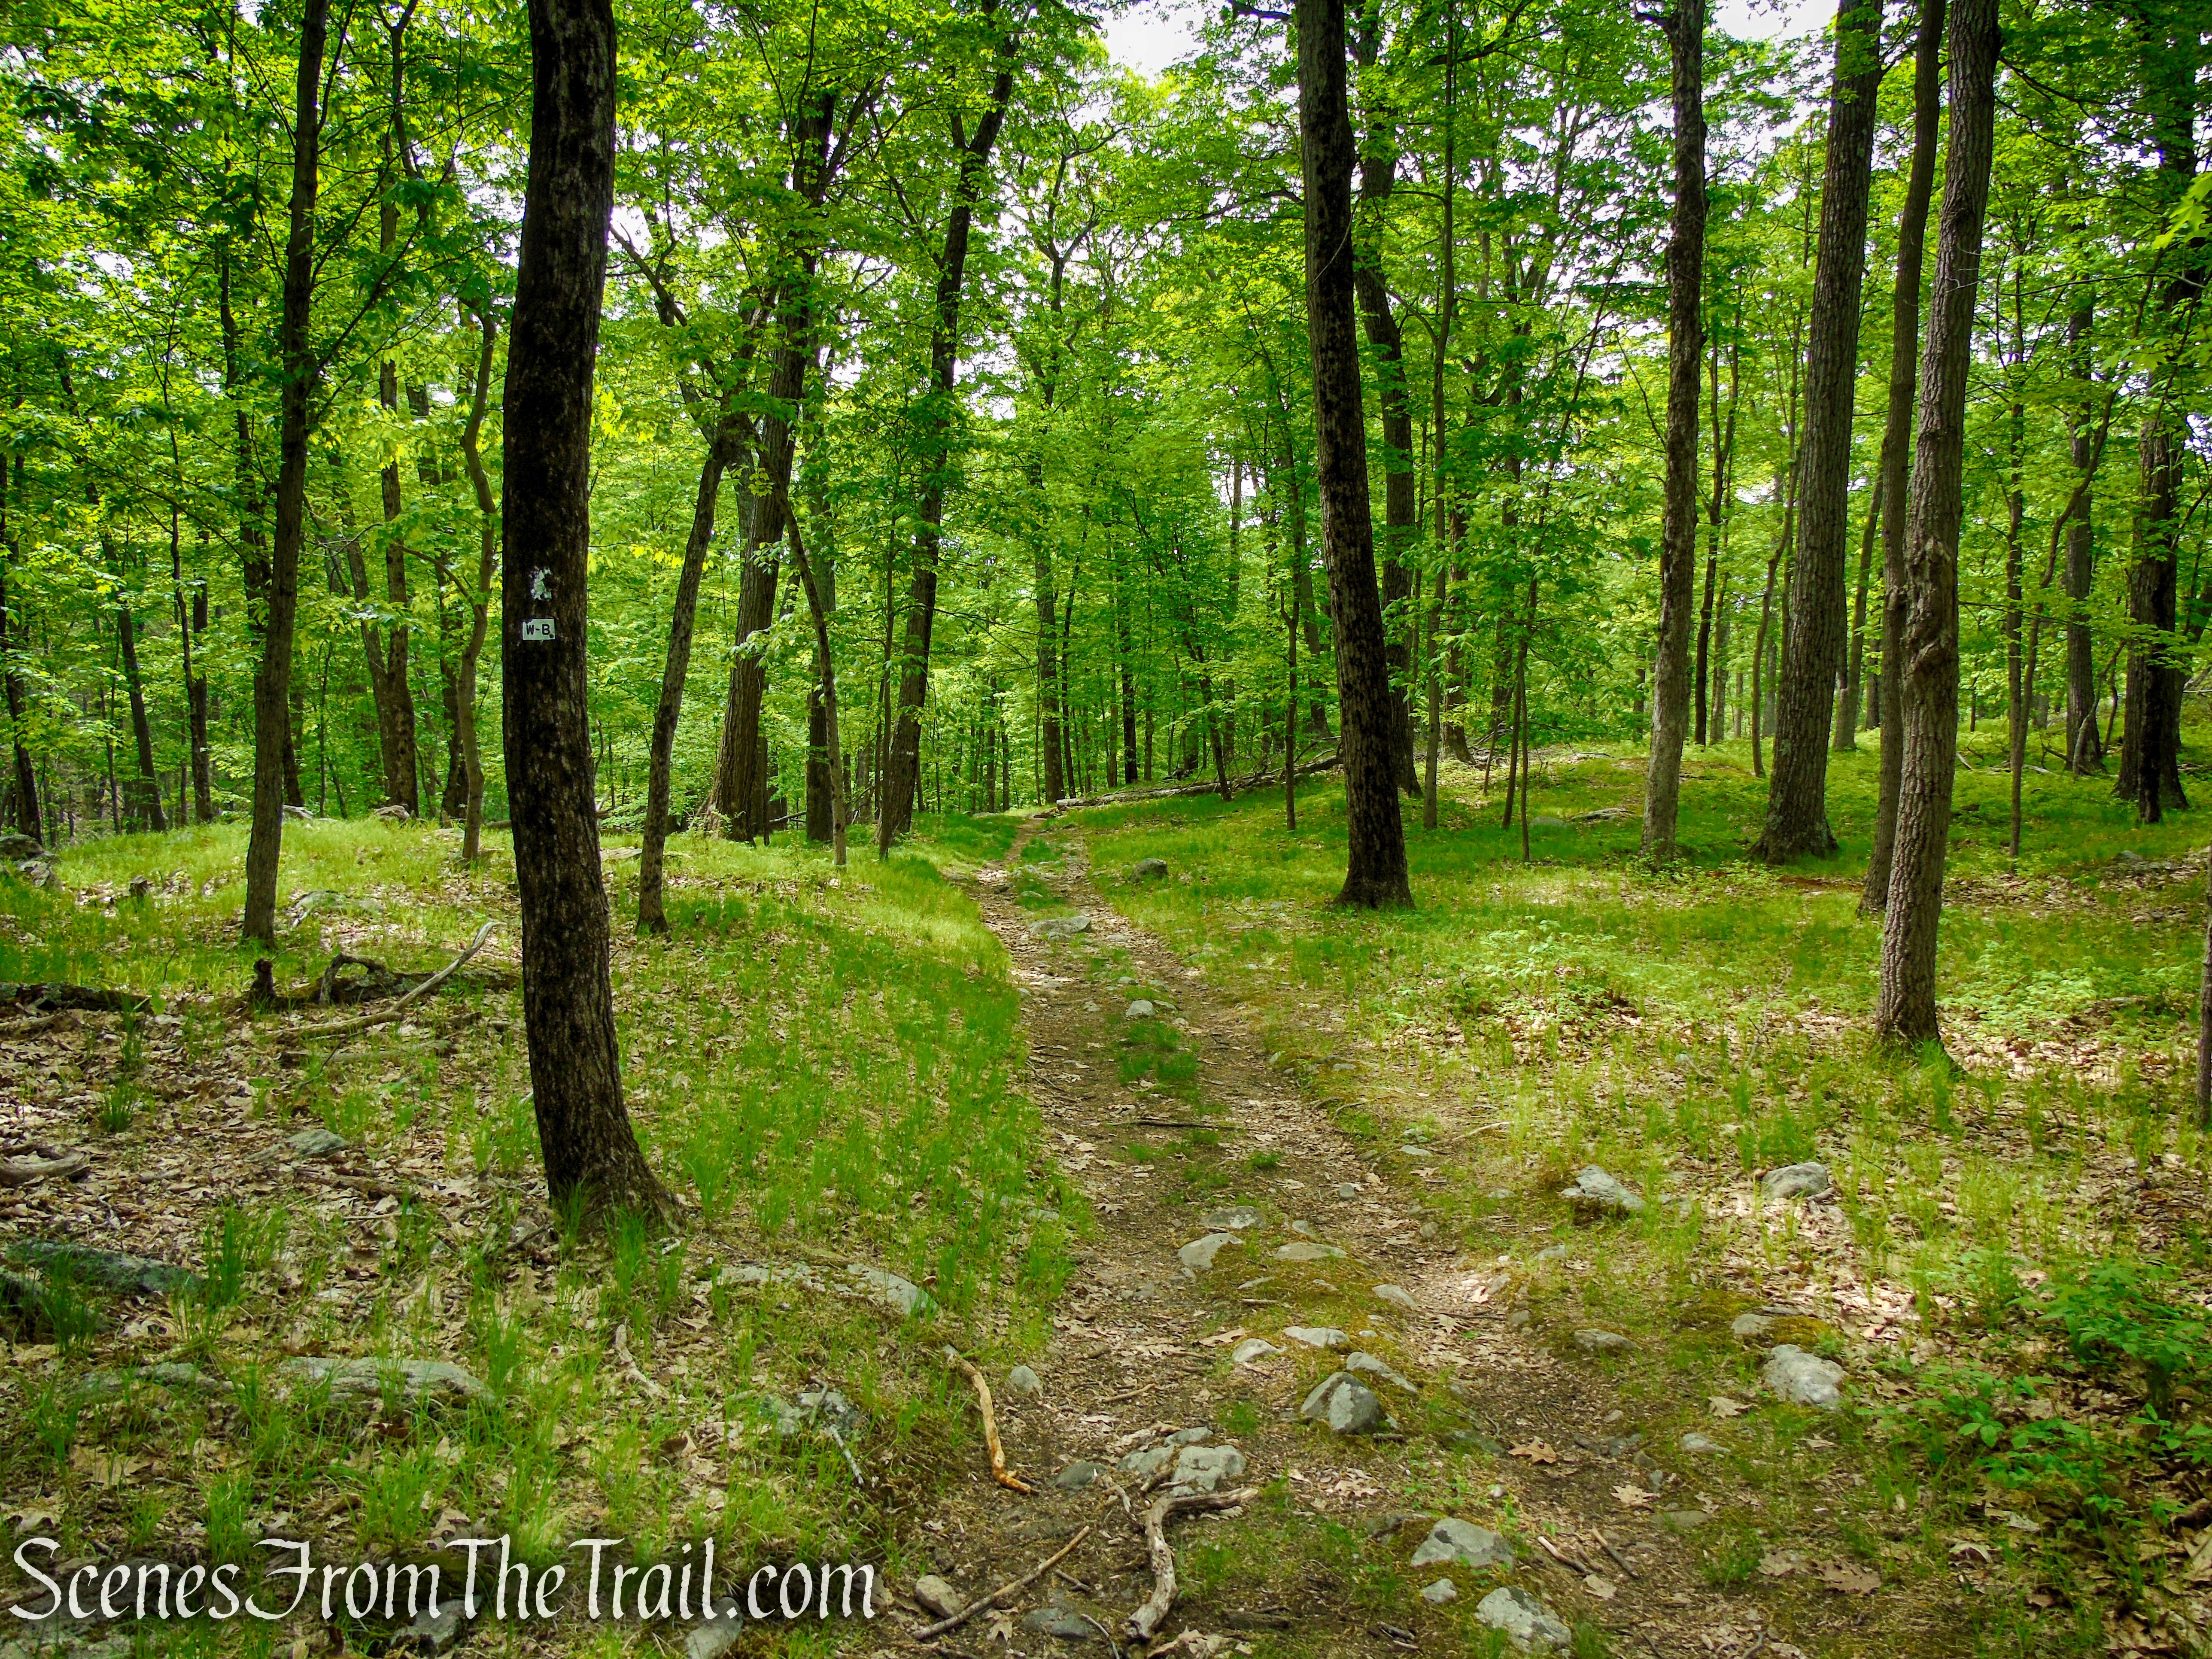
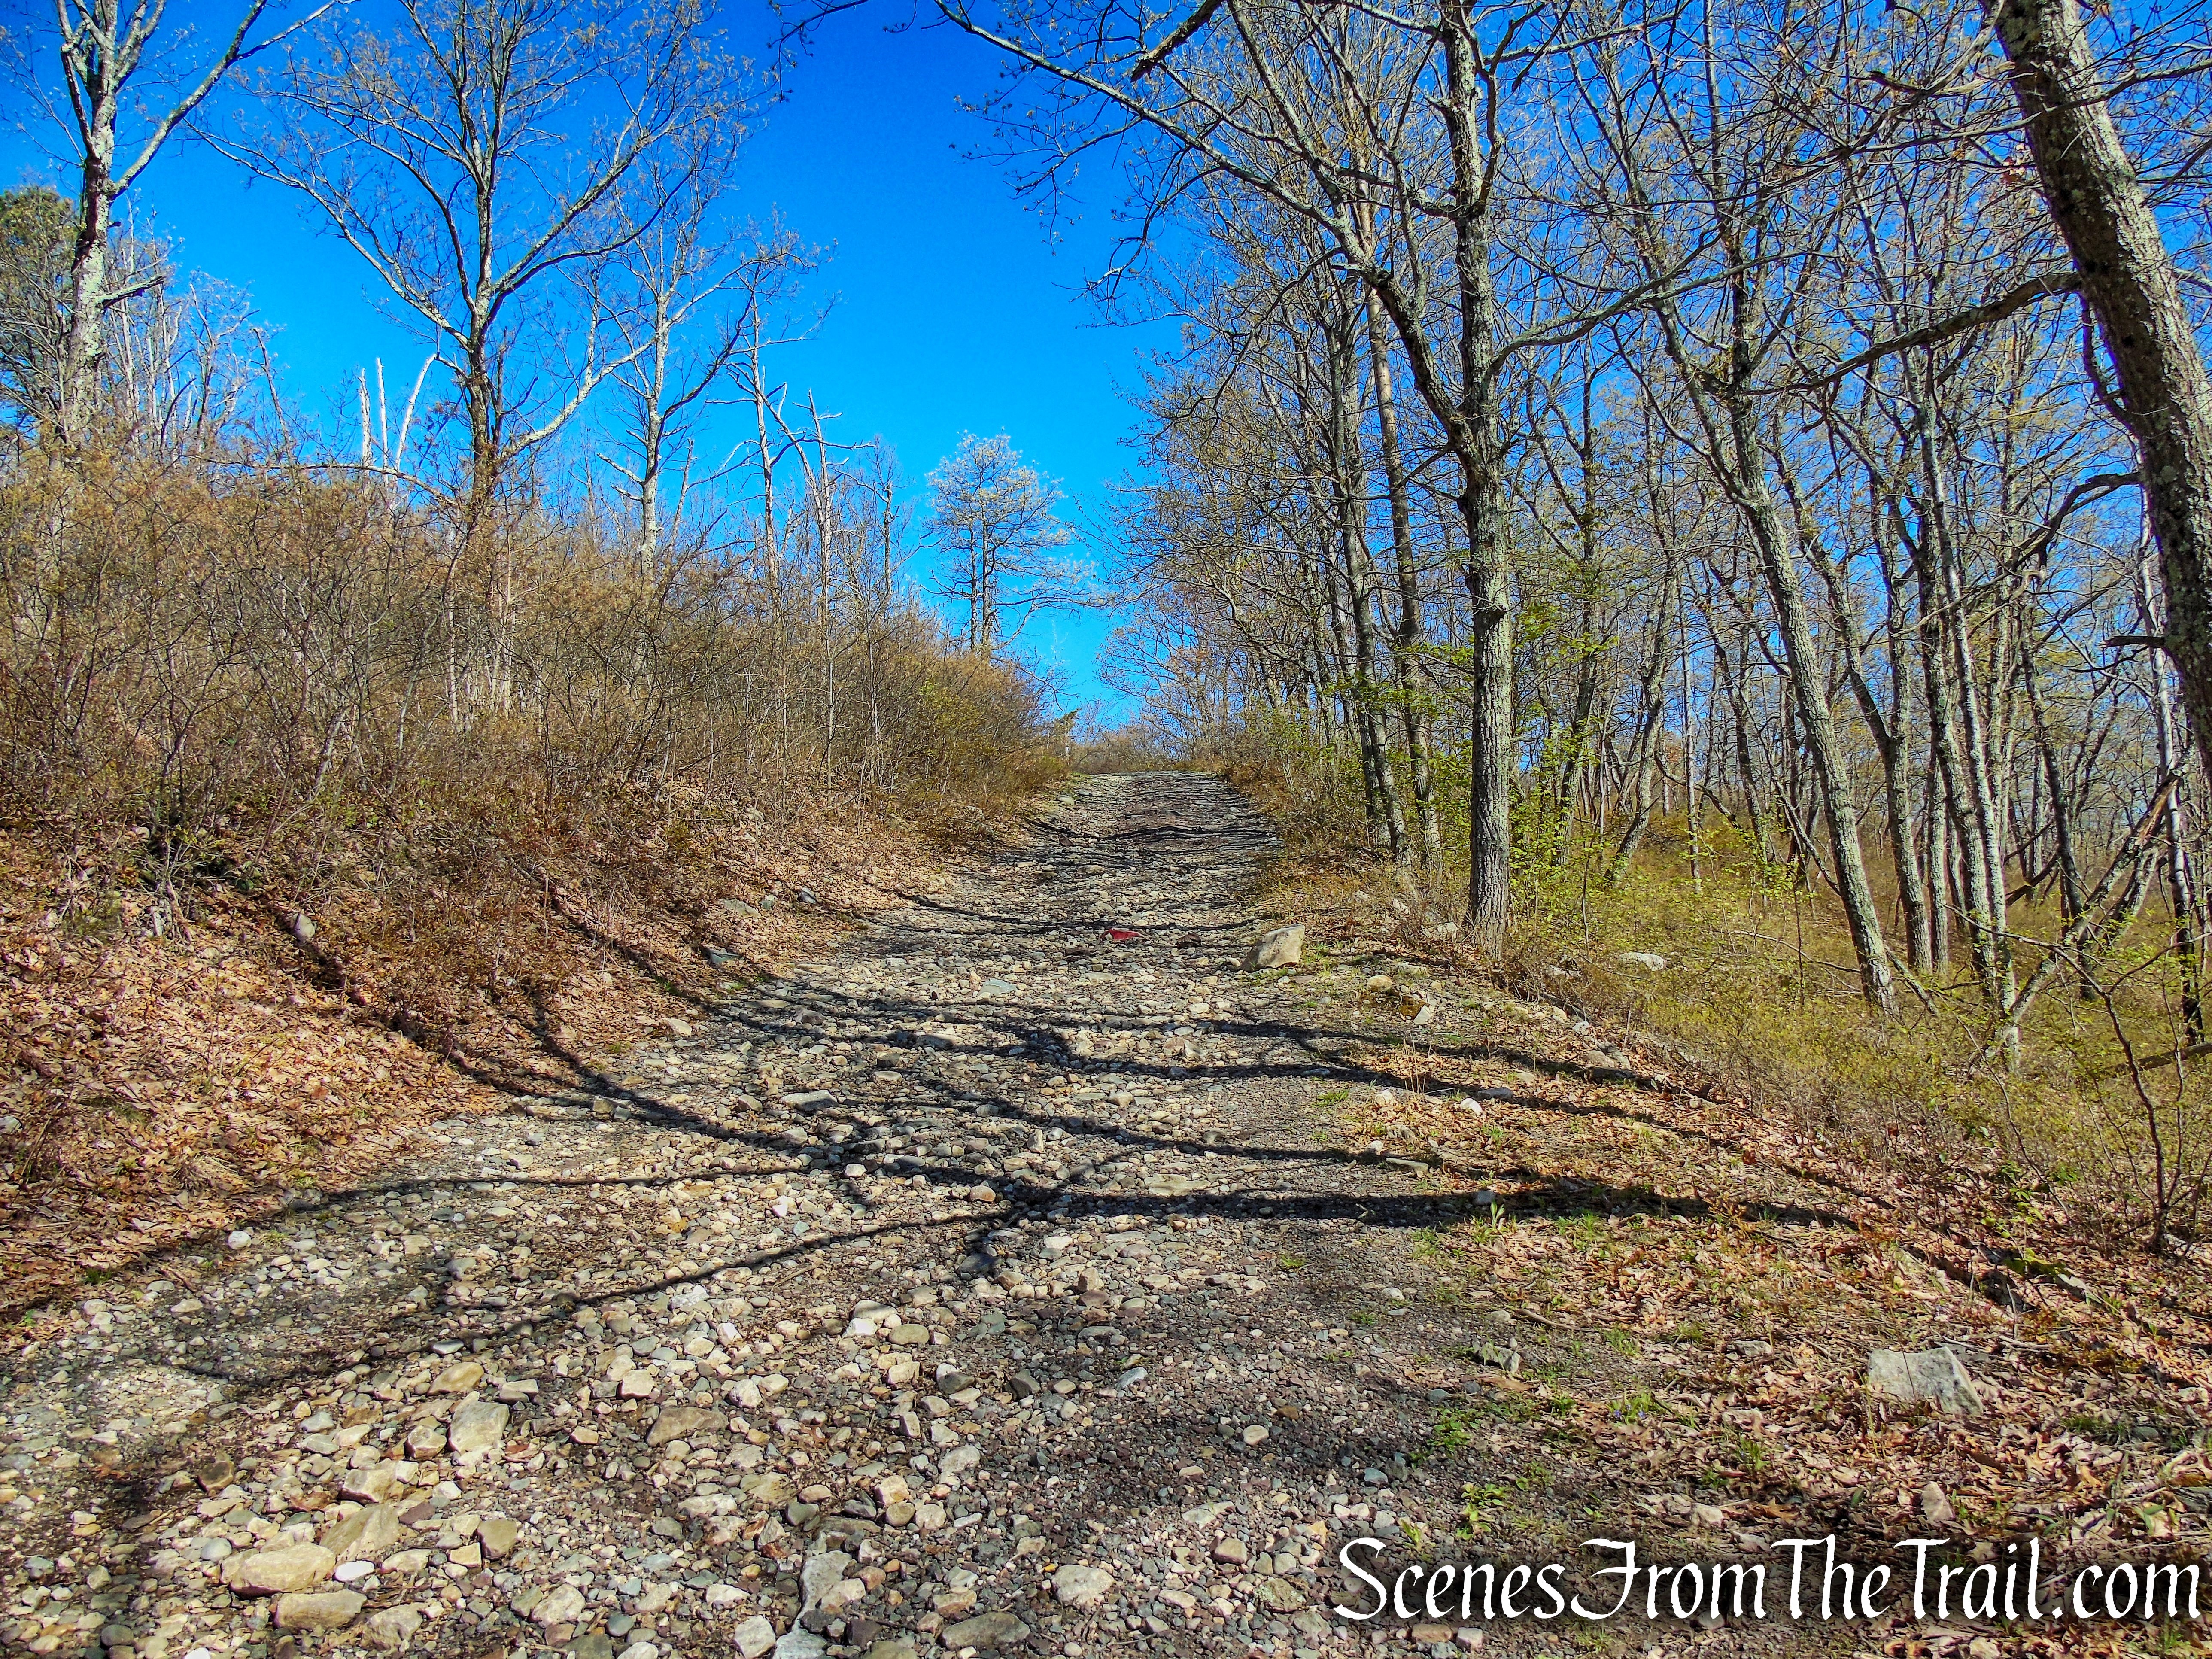
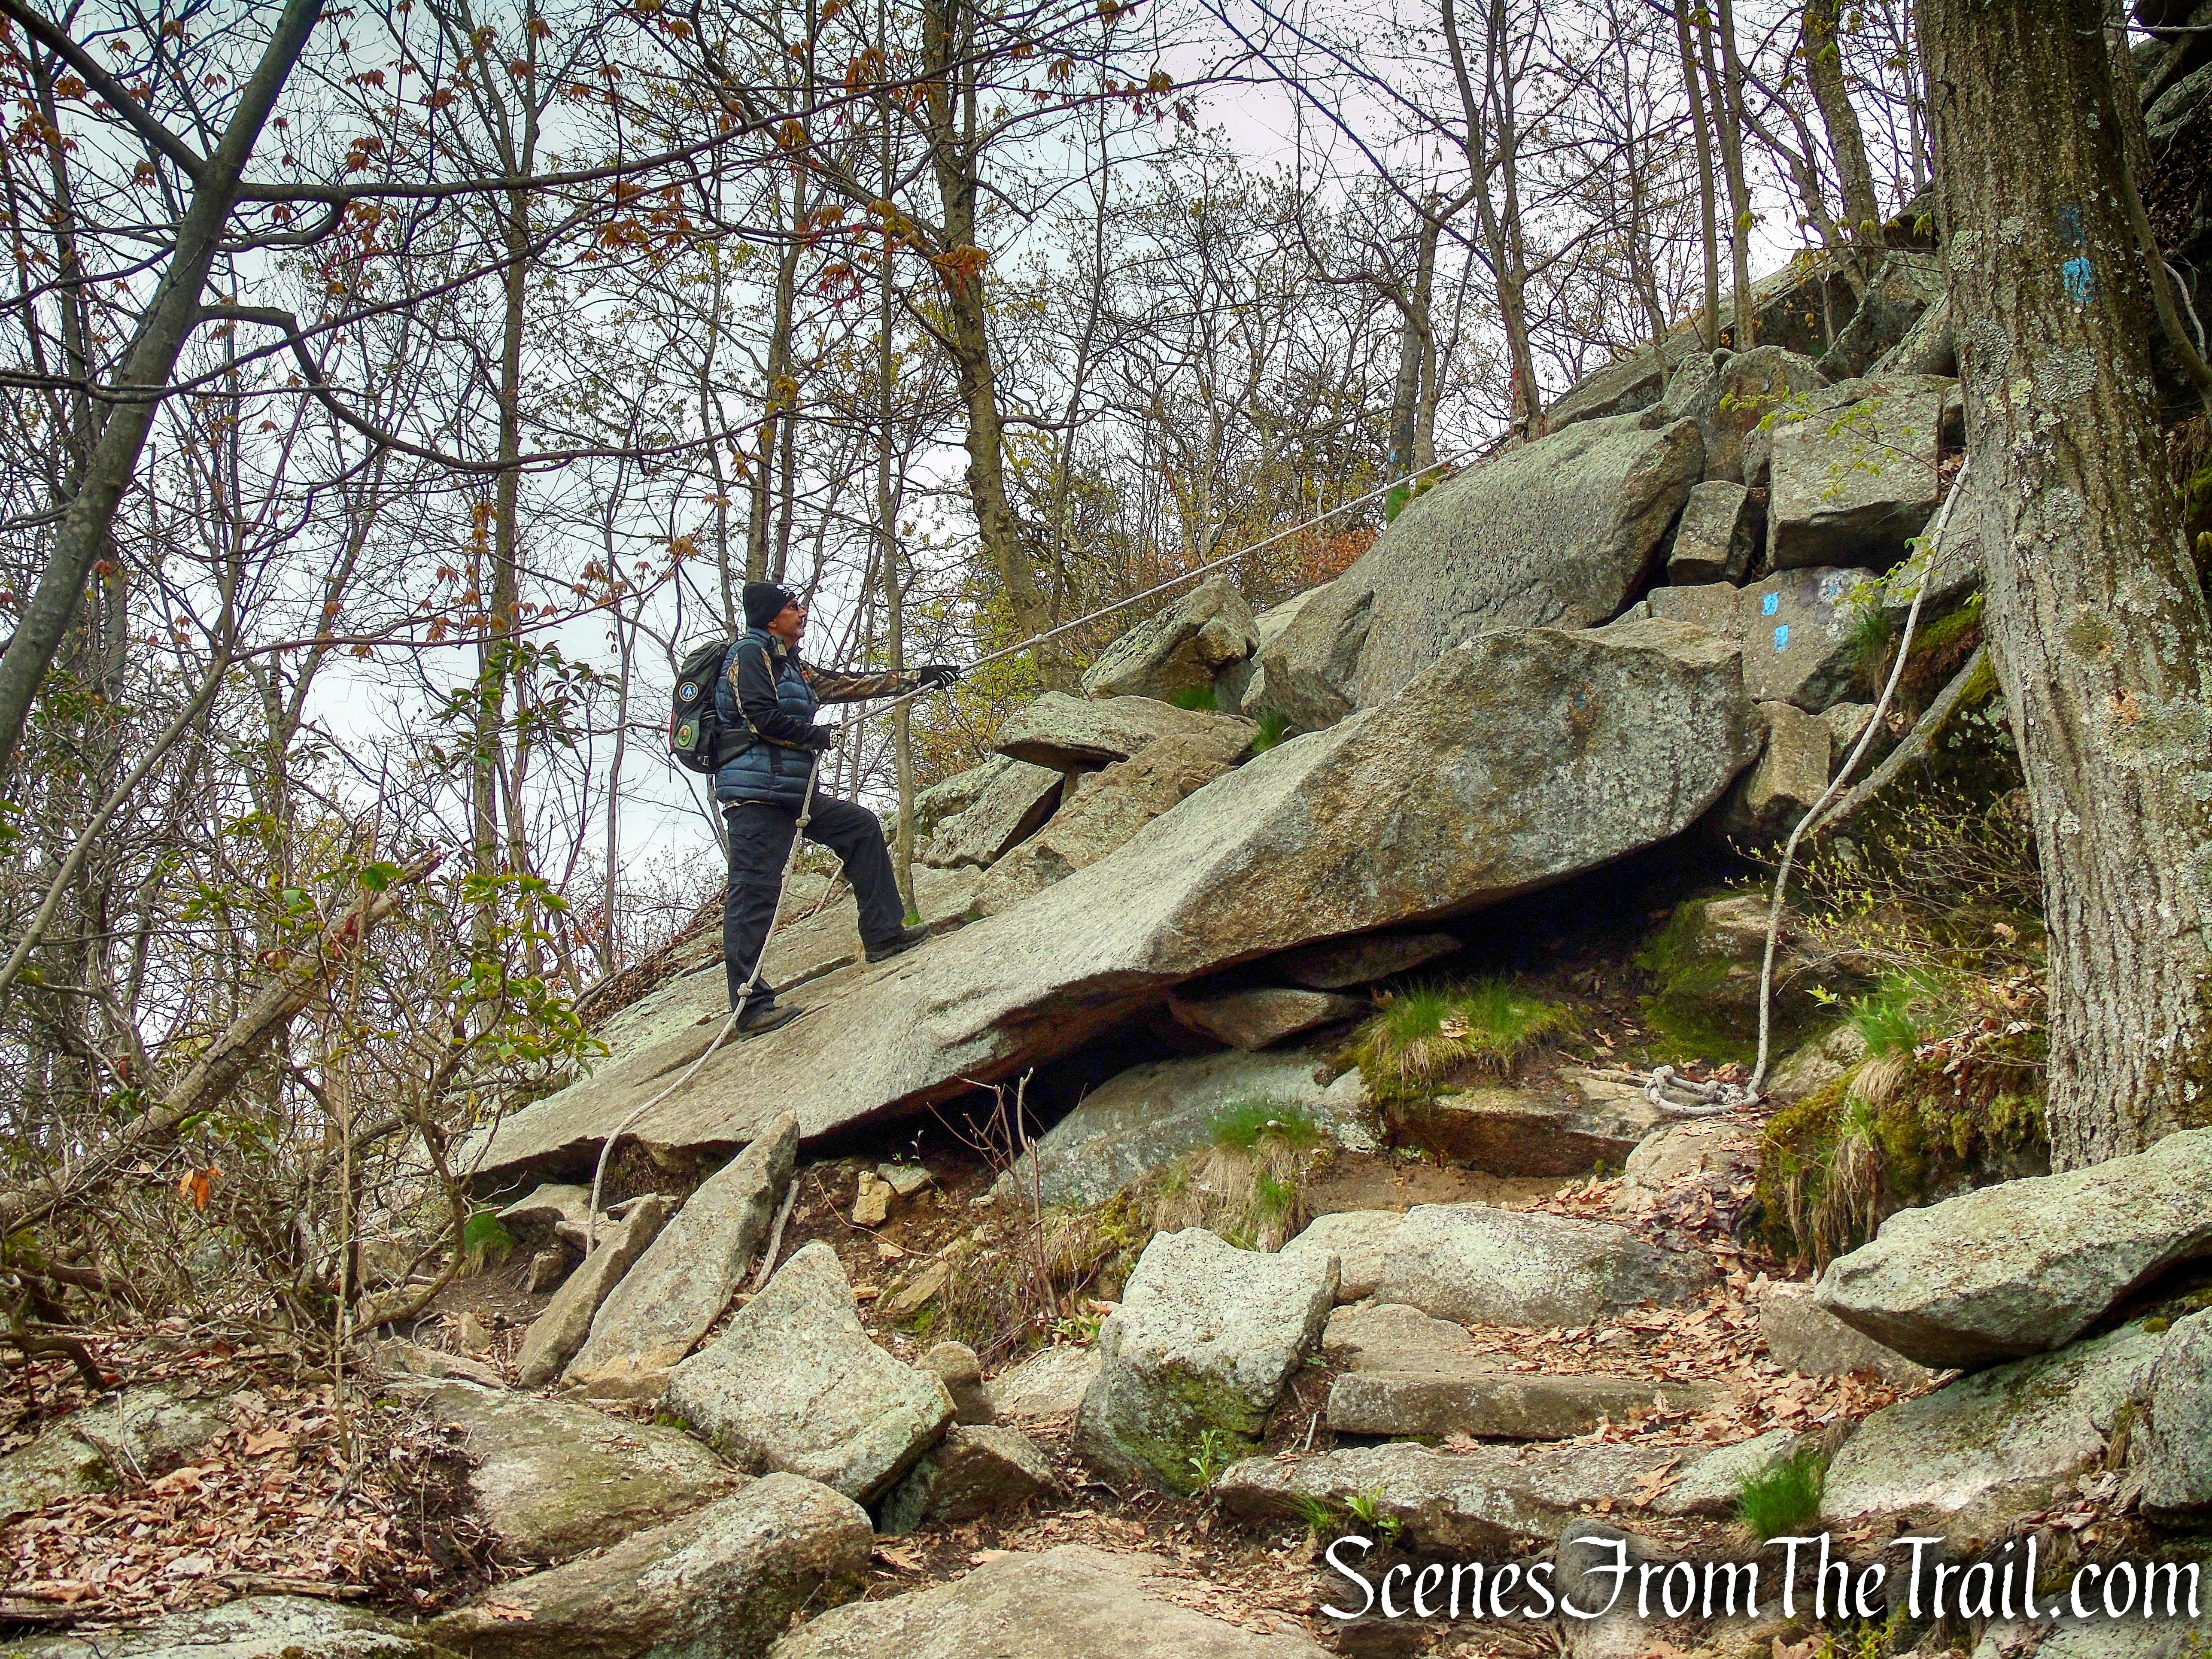
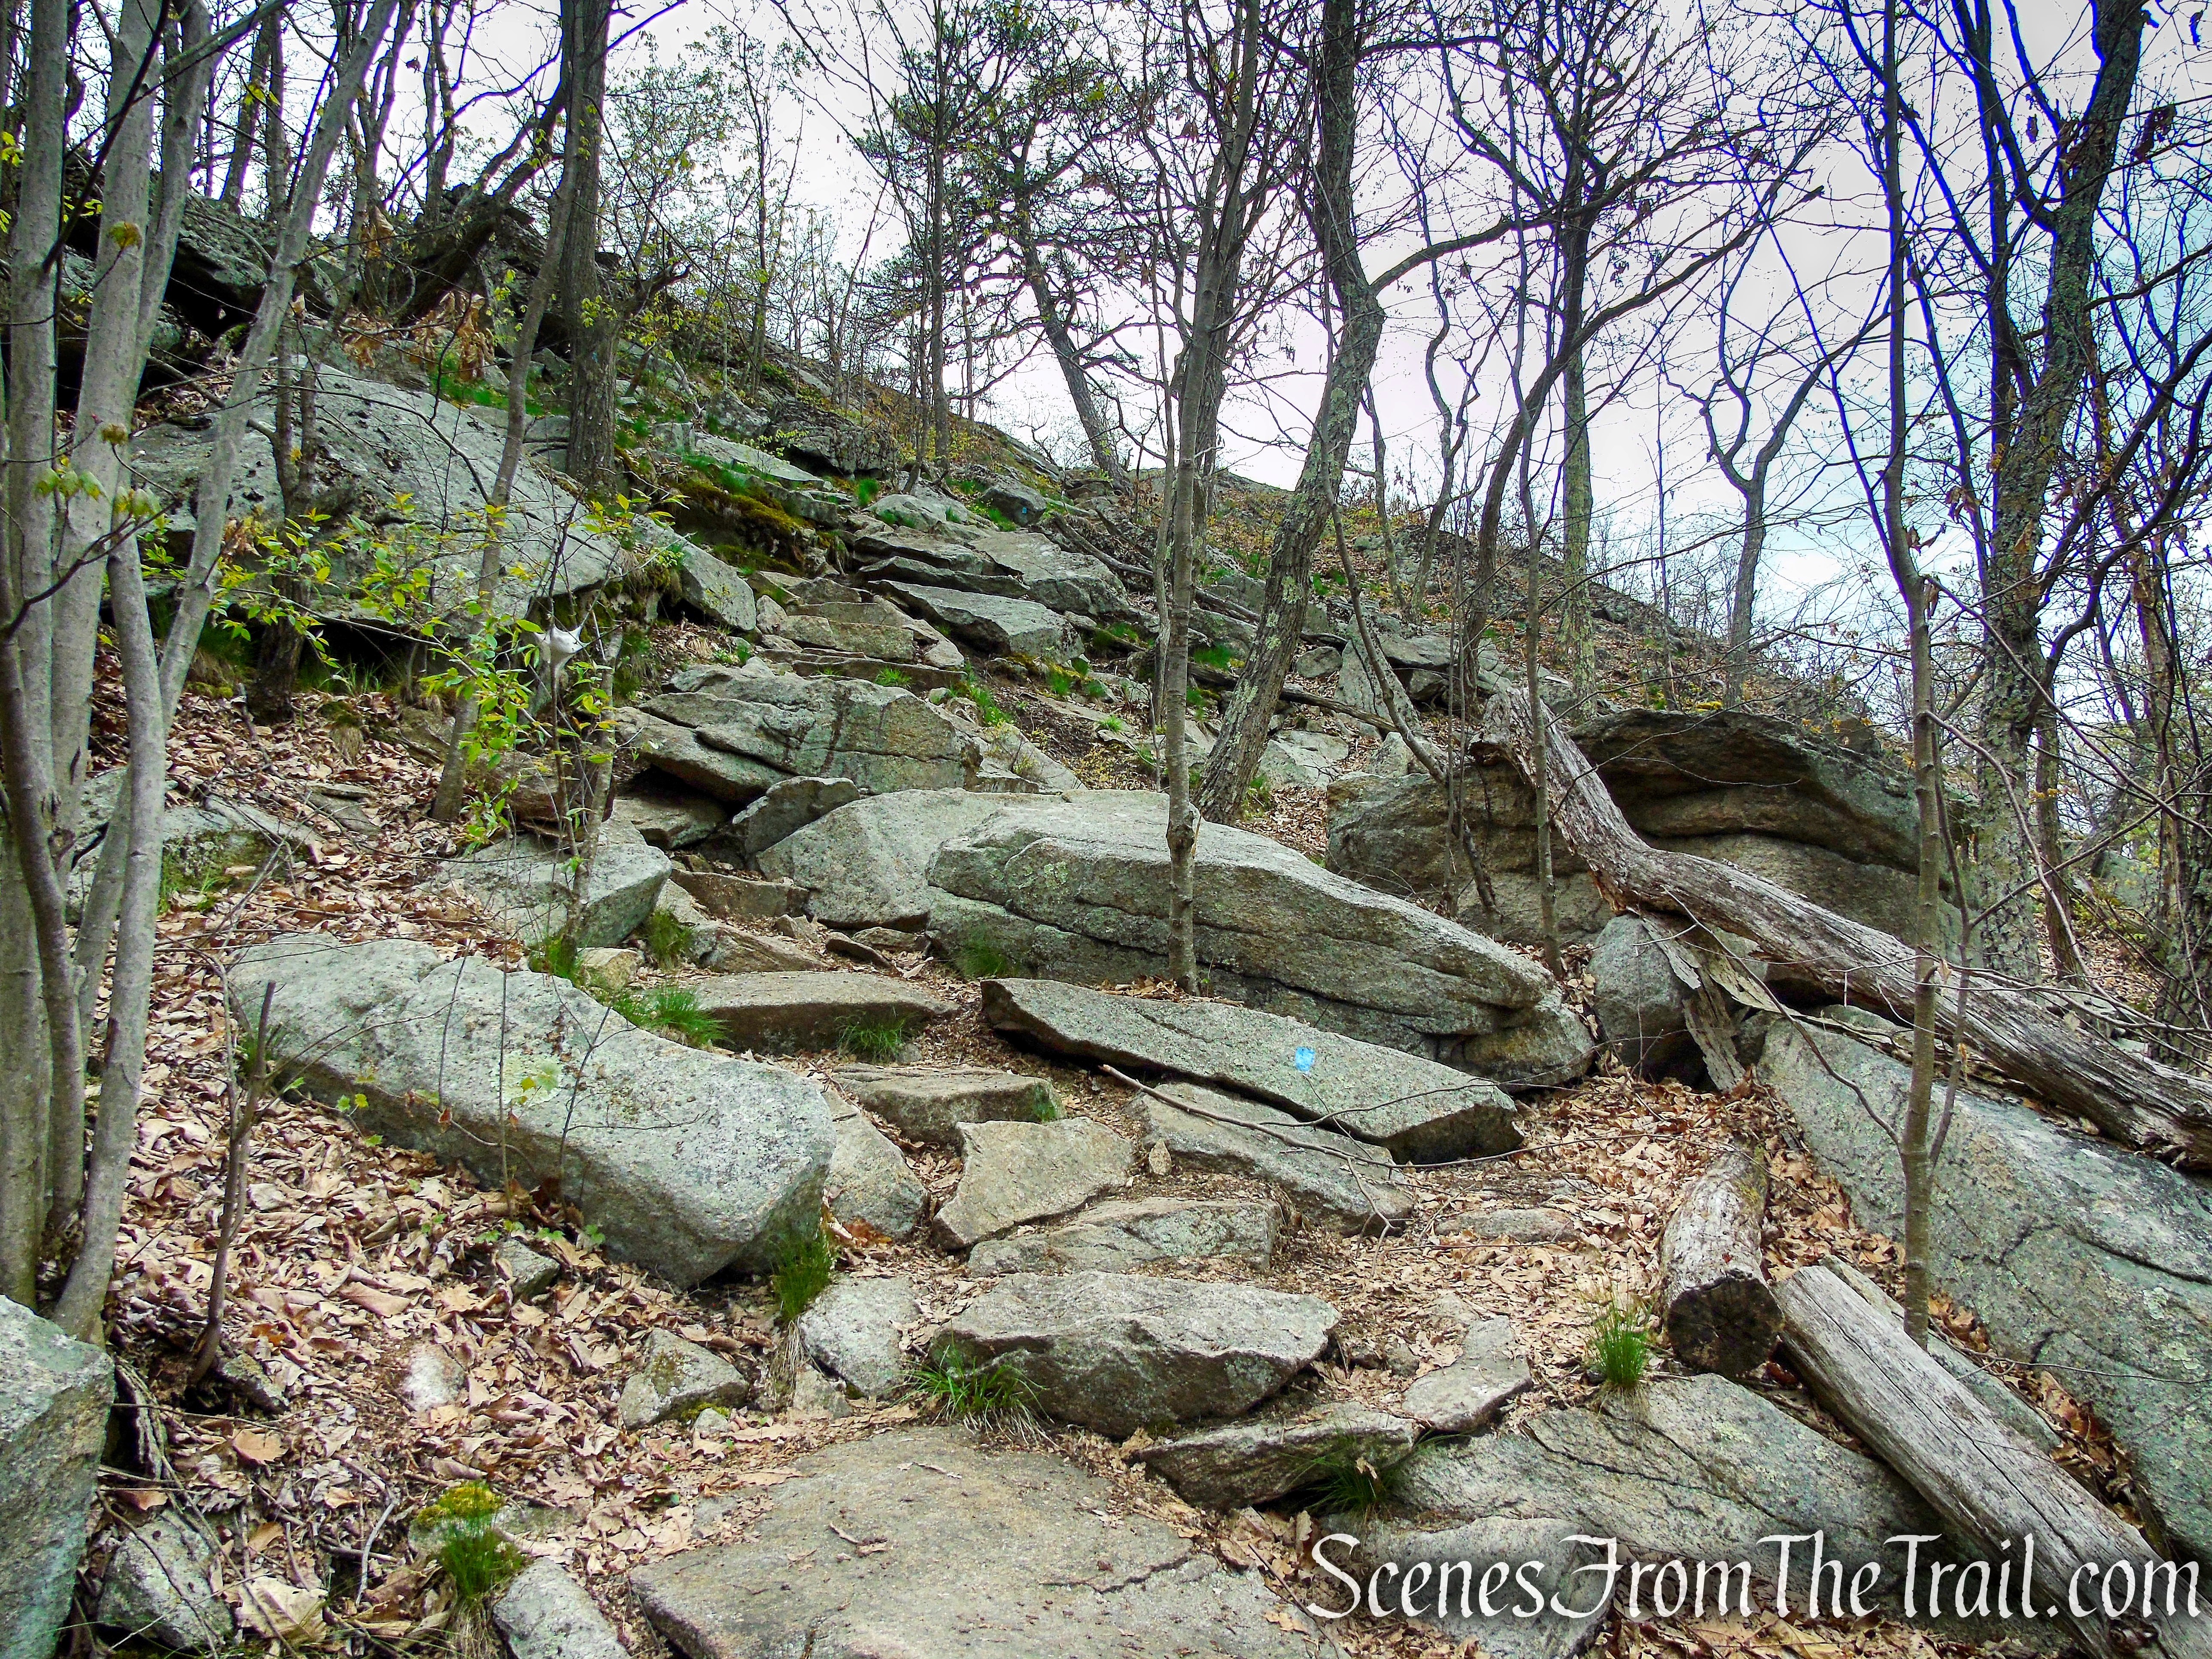
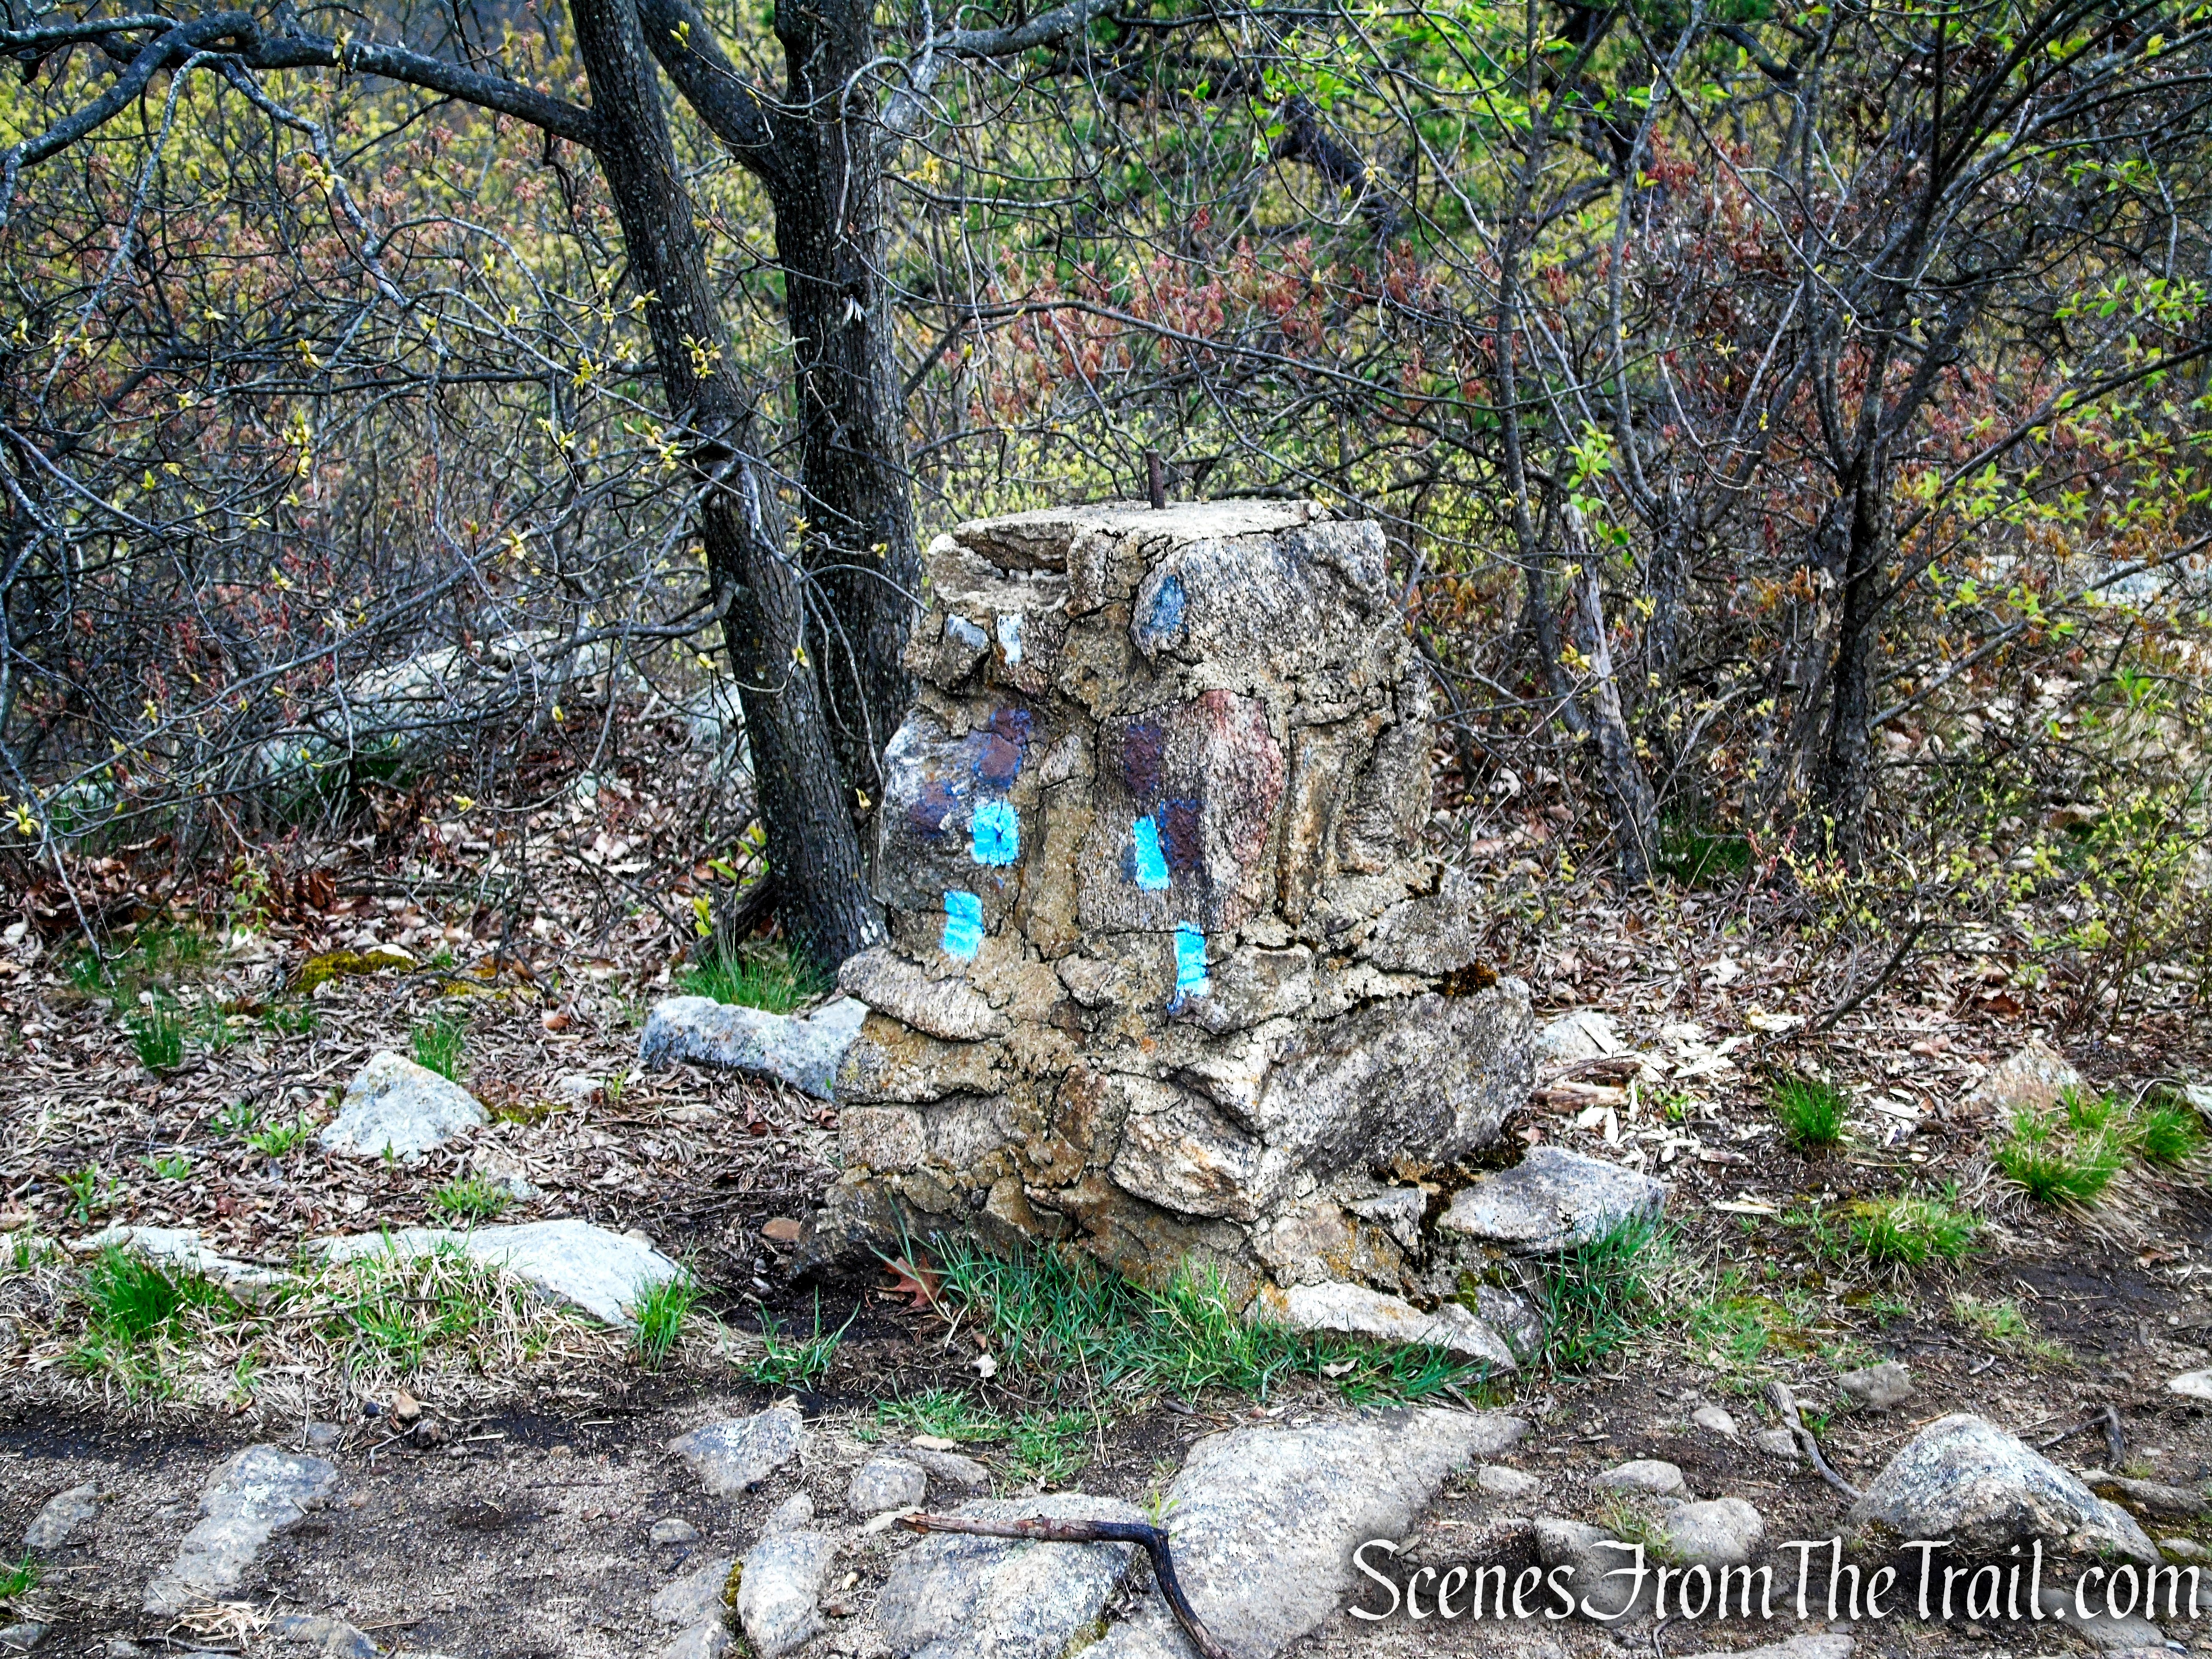
In about 350 yards, the Red Trail reaches a junction with an old woods road, the route of the Blue Trail, which is marked by a pile of rocks. The Blue Trail will be your return route. For now, bear left to remain on the Red Trail, which soon becomes quite steep and rocky.

Bear left on Red Trail

Bear left on Red Trail

Bear left on Red Trail

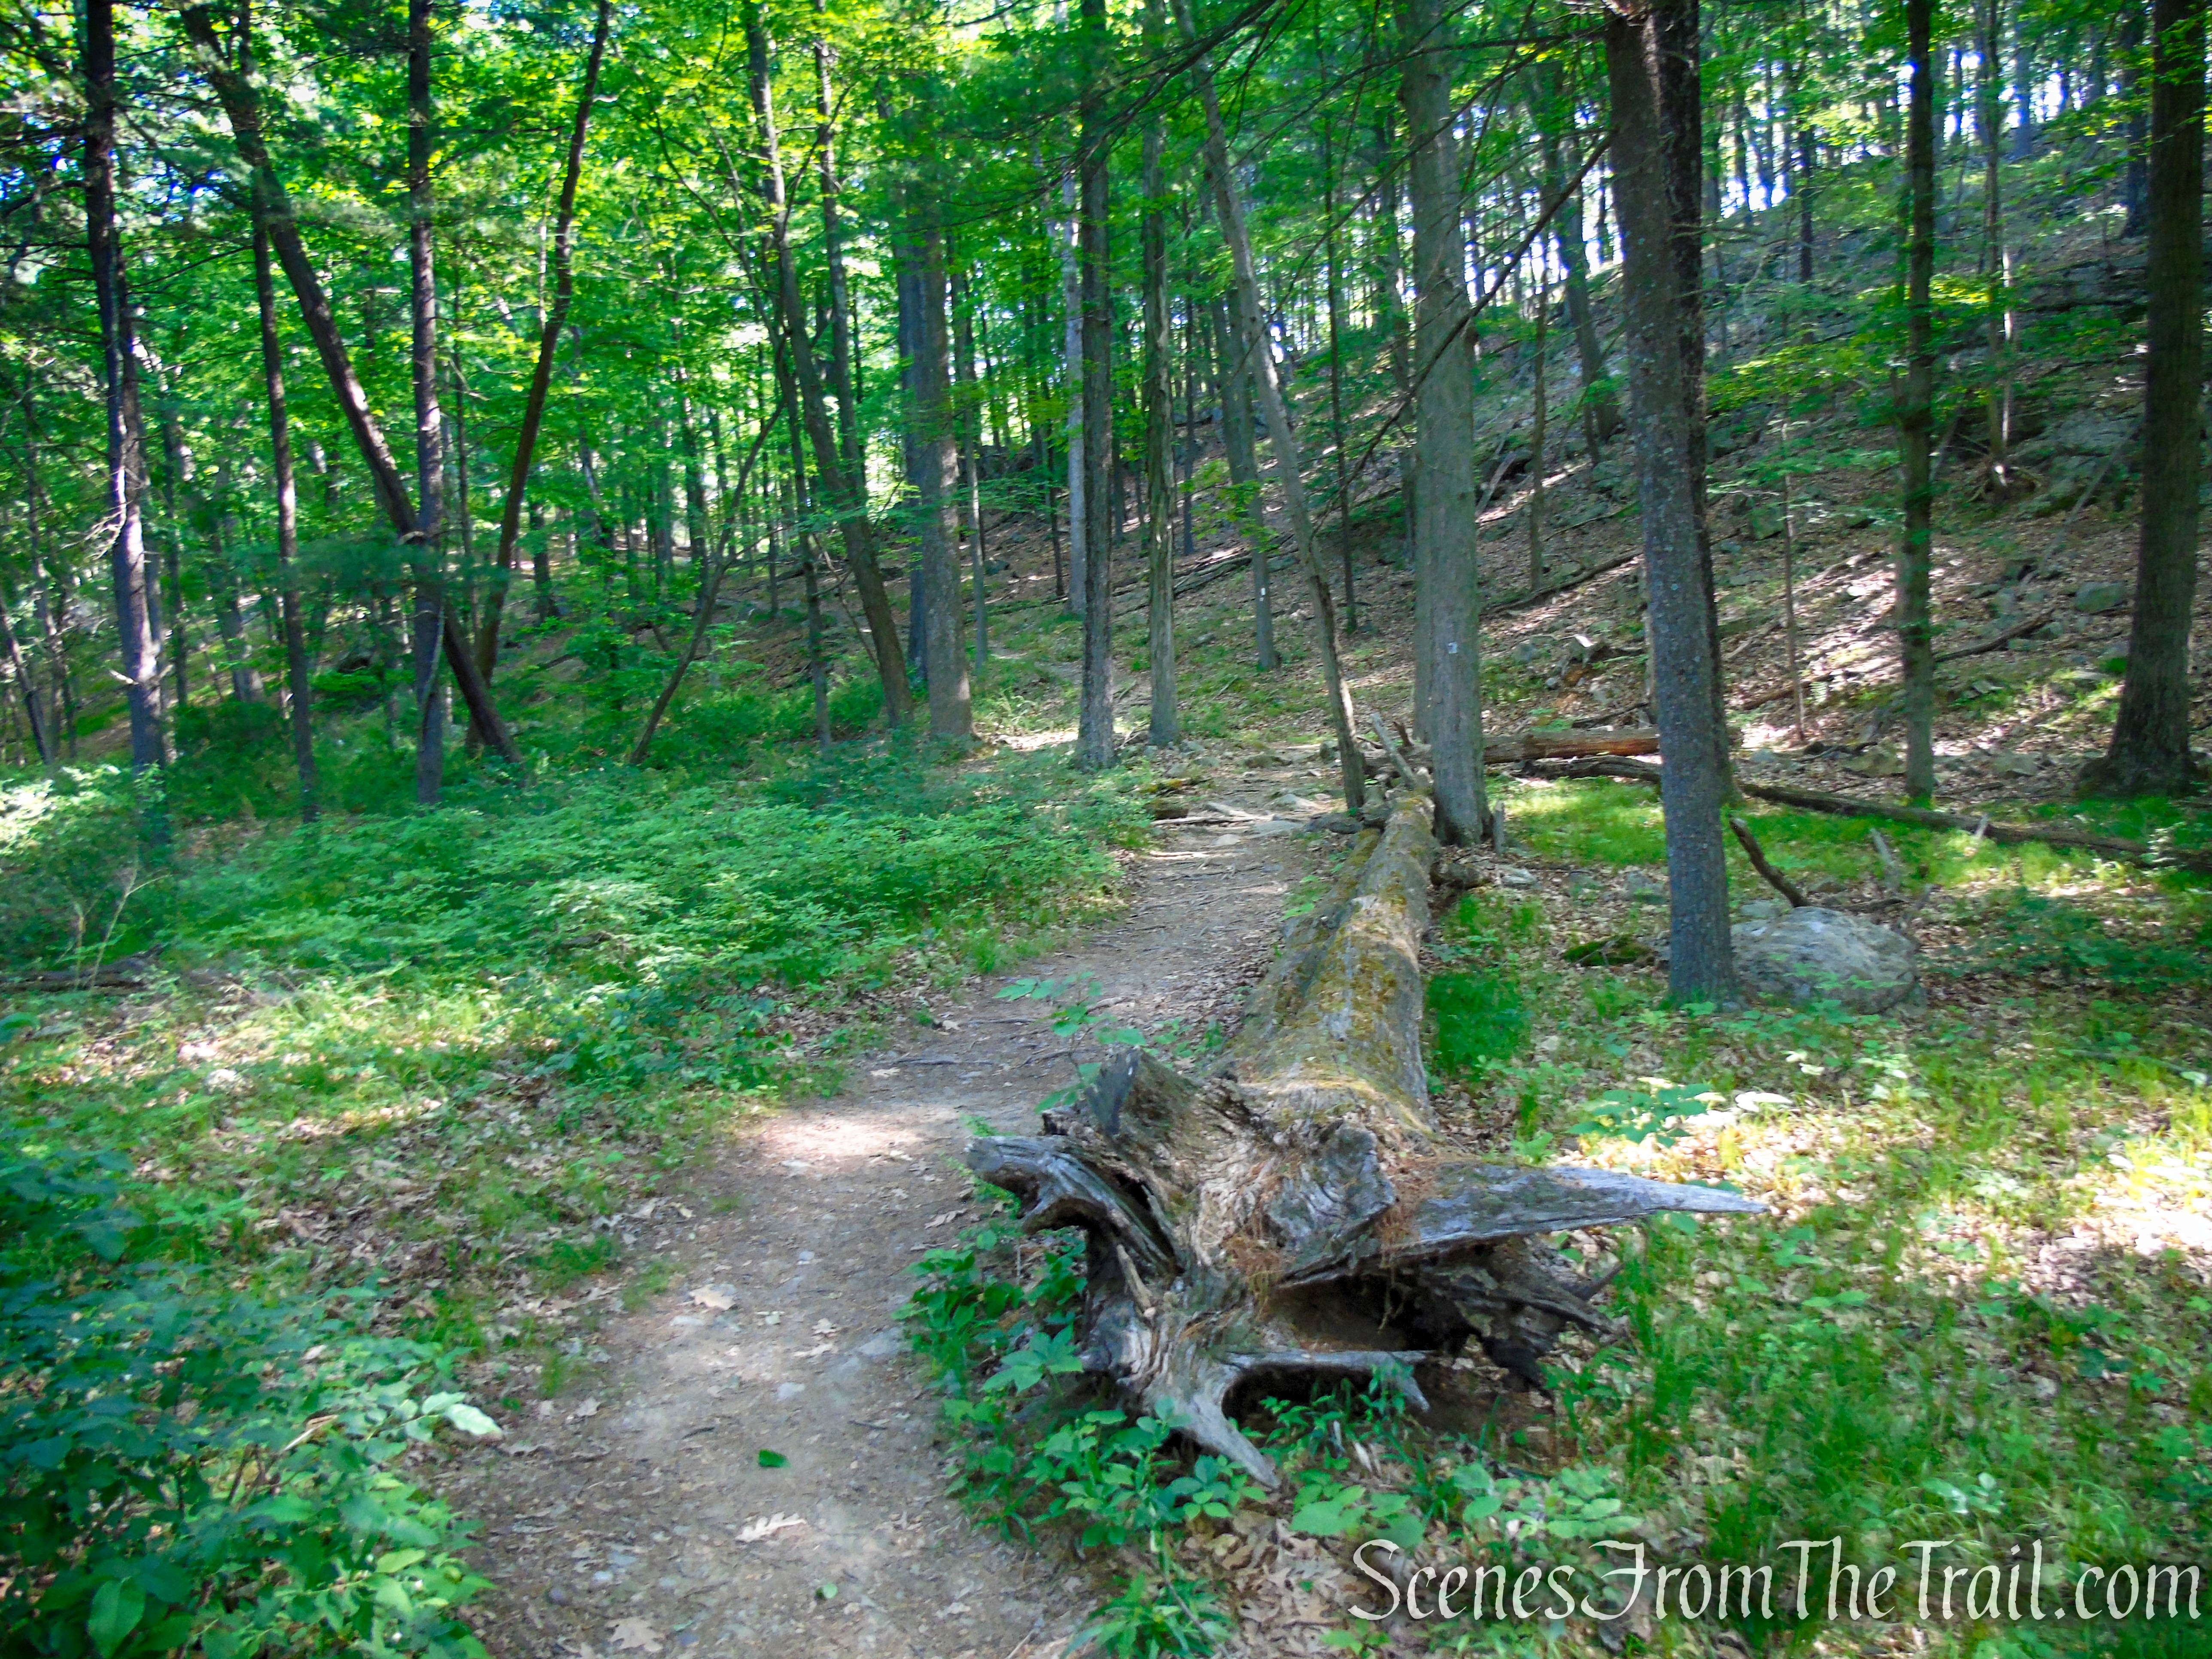
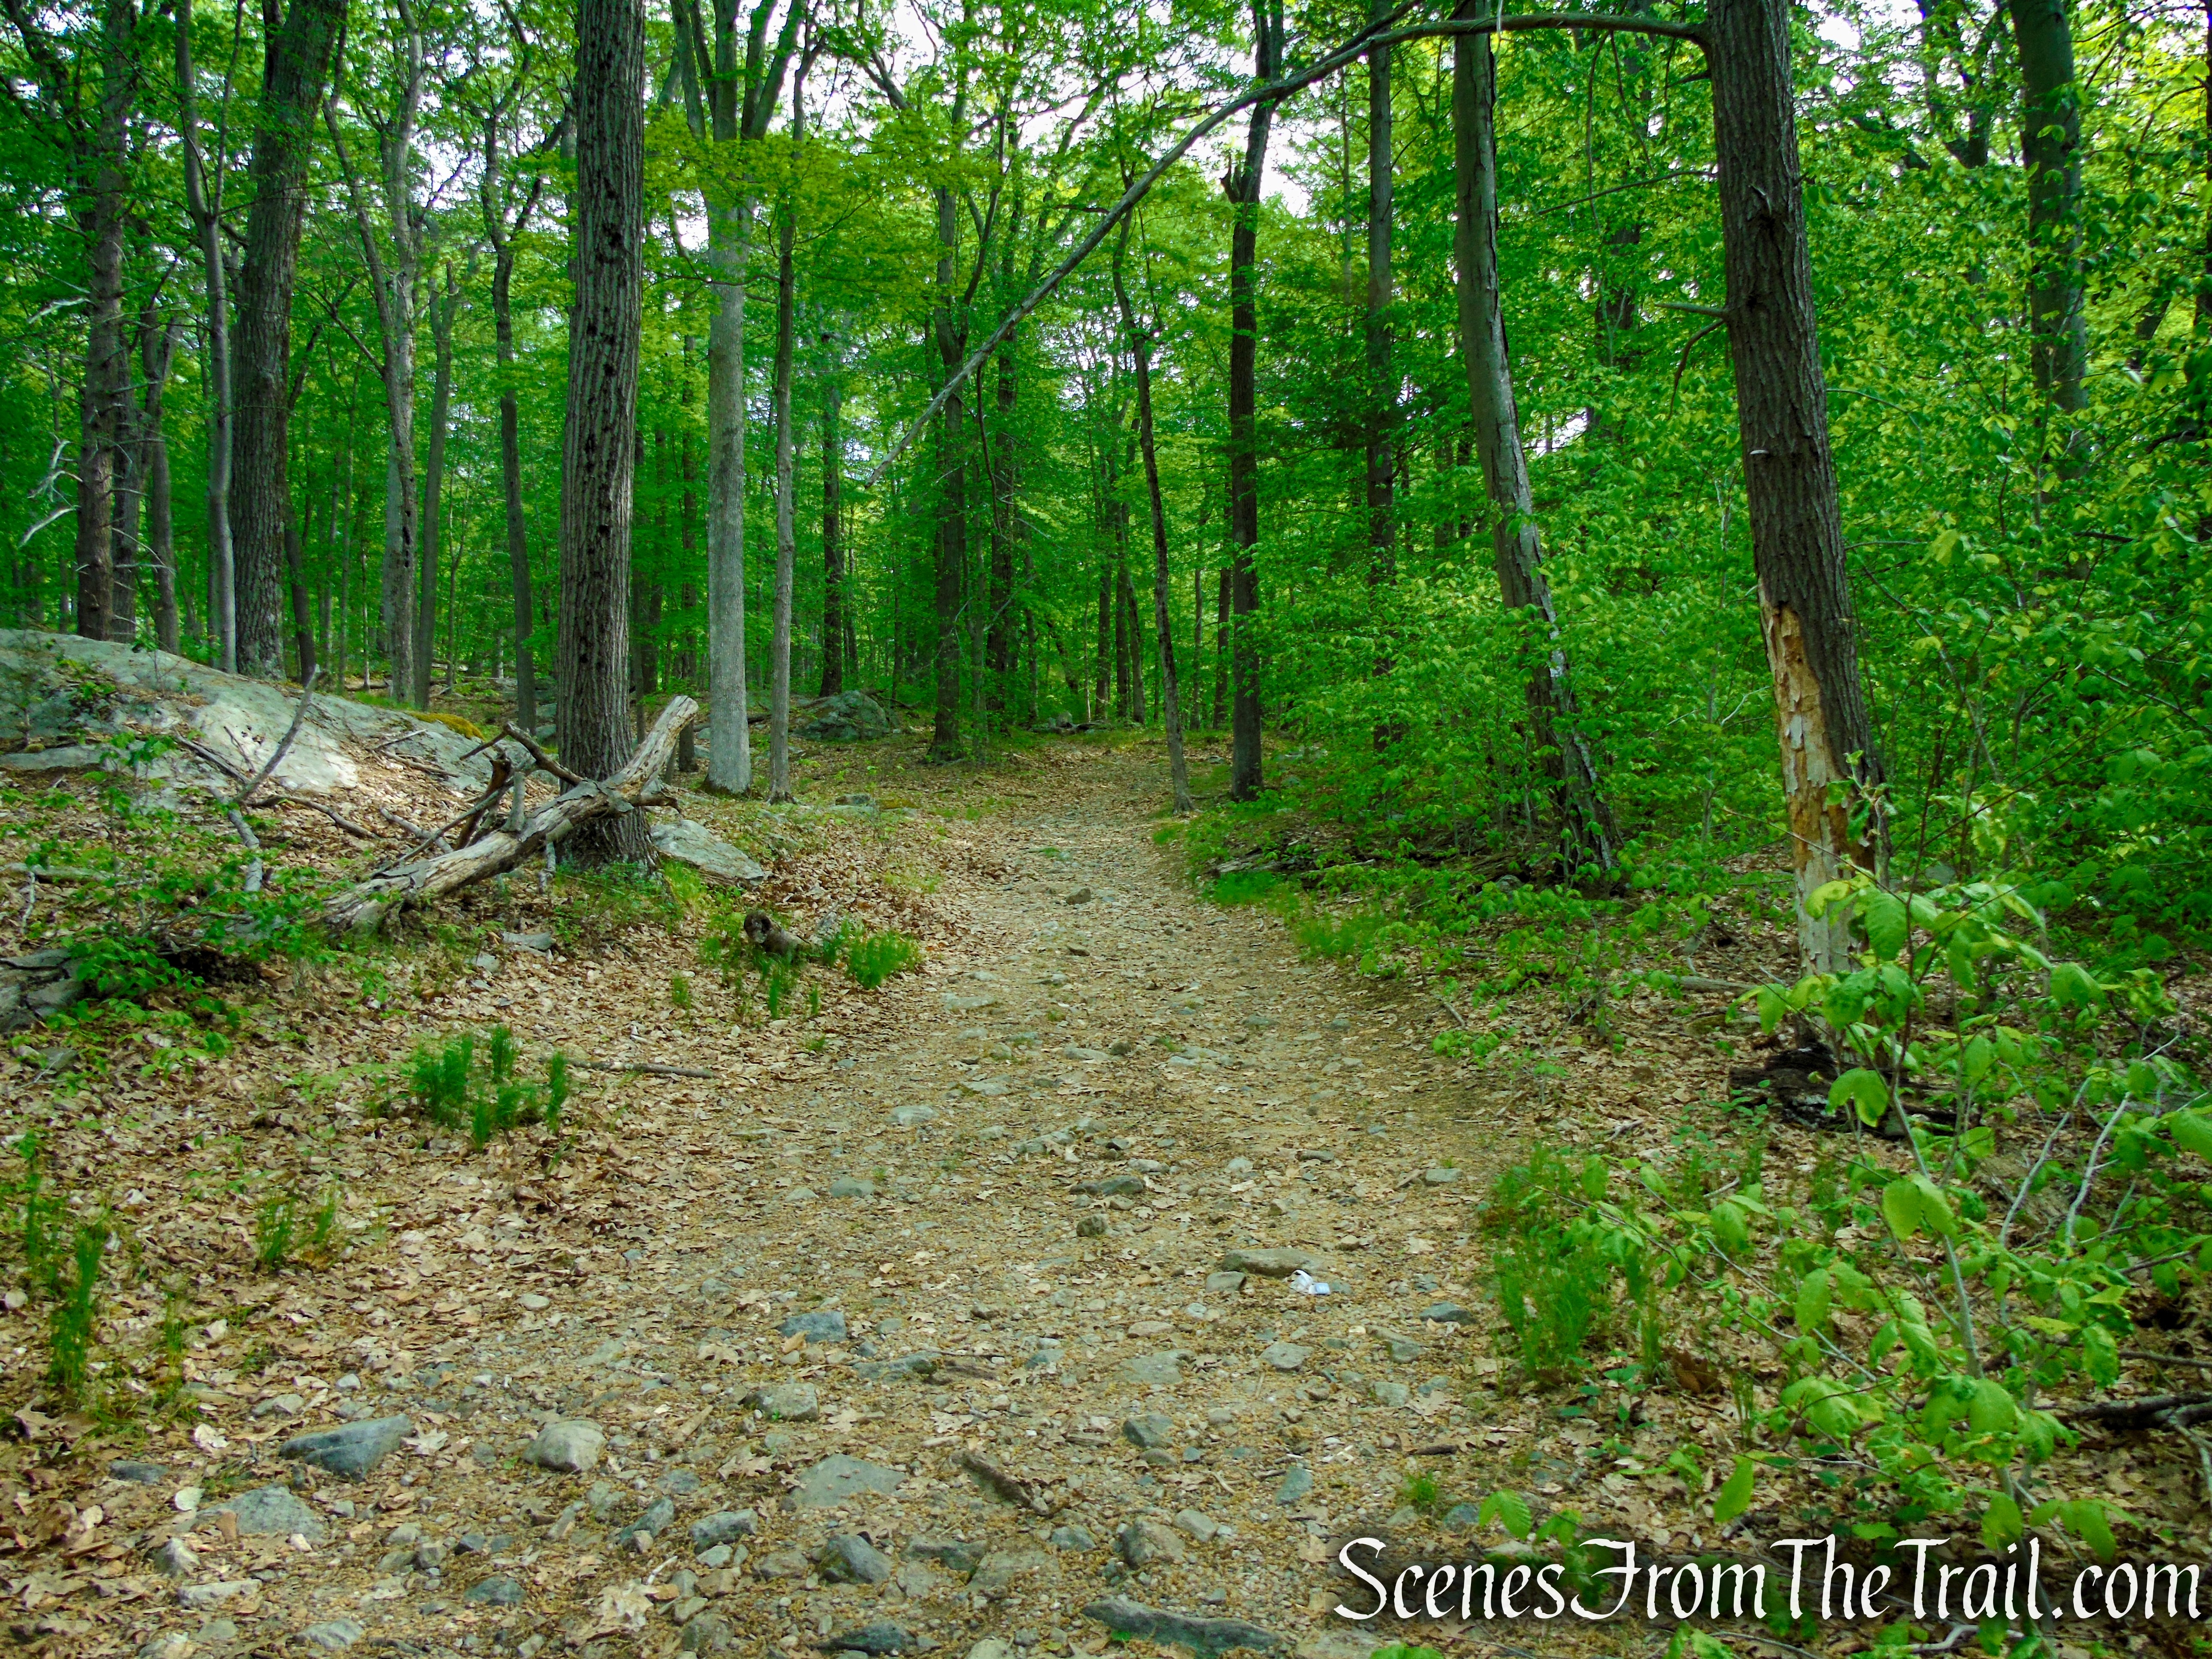
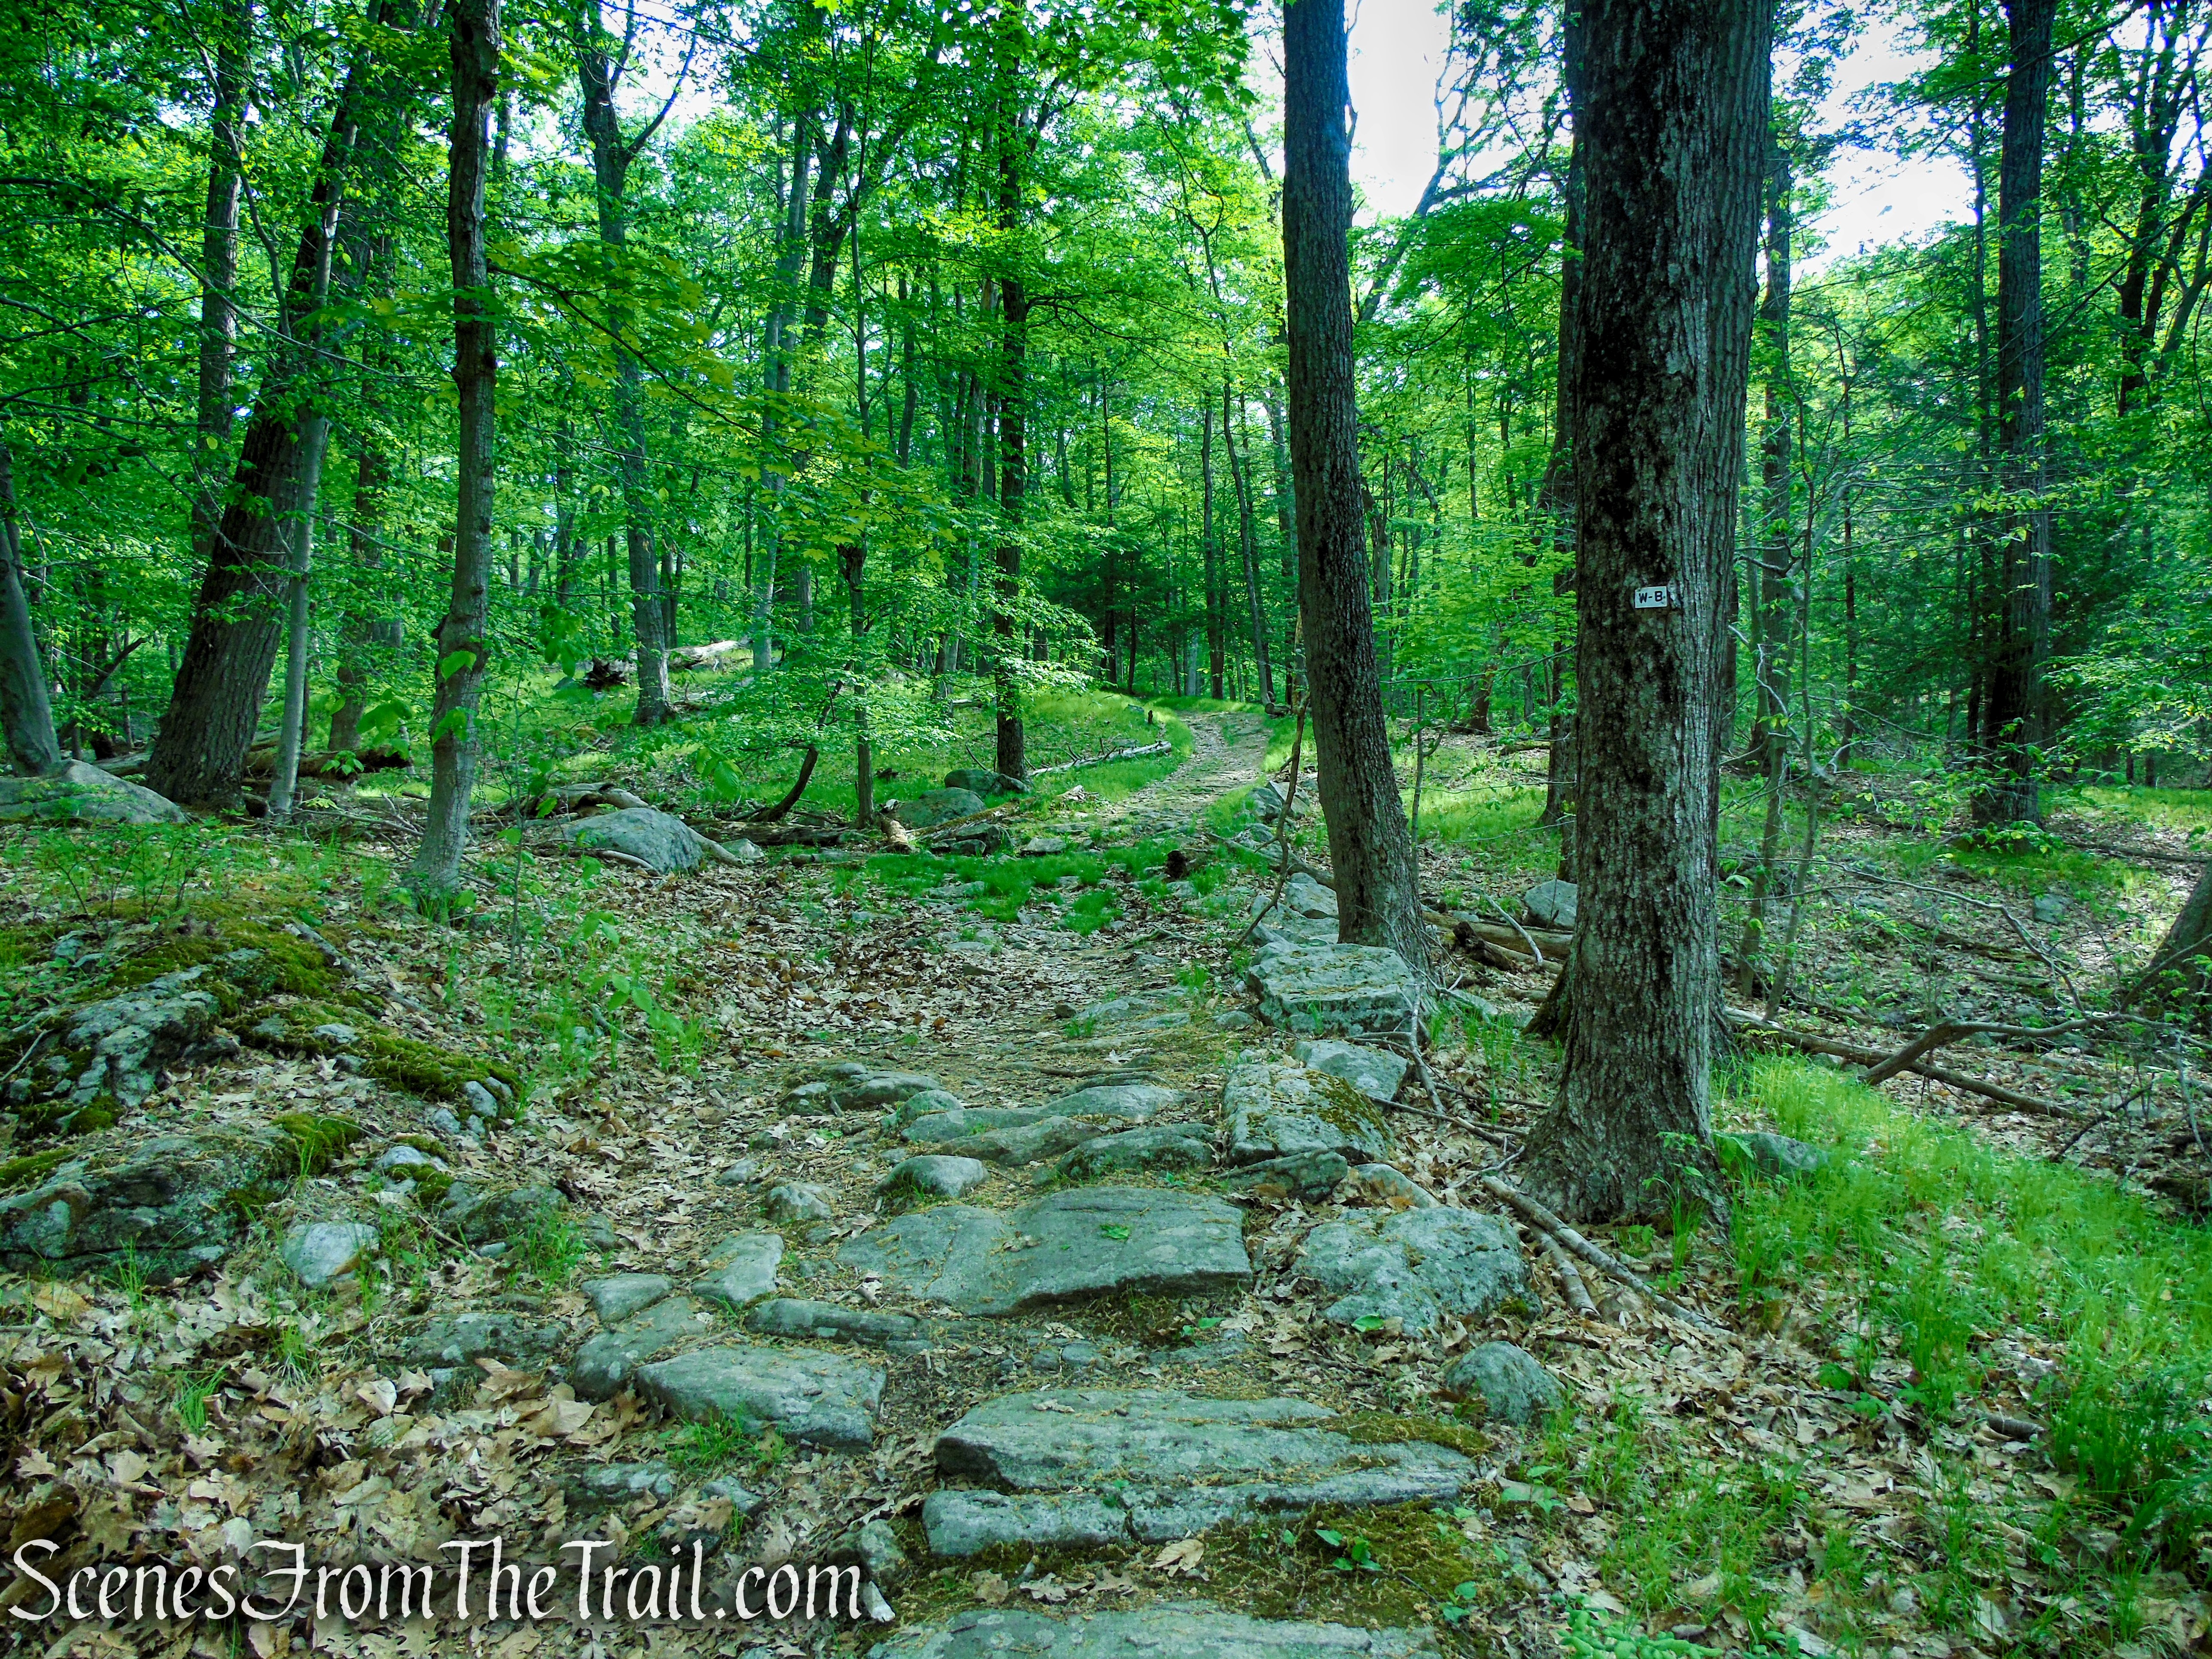
Red Trail – Stissing Mountain
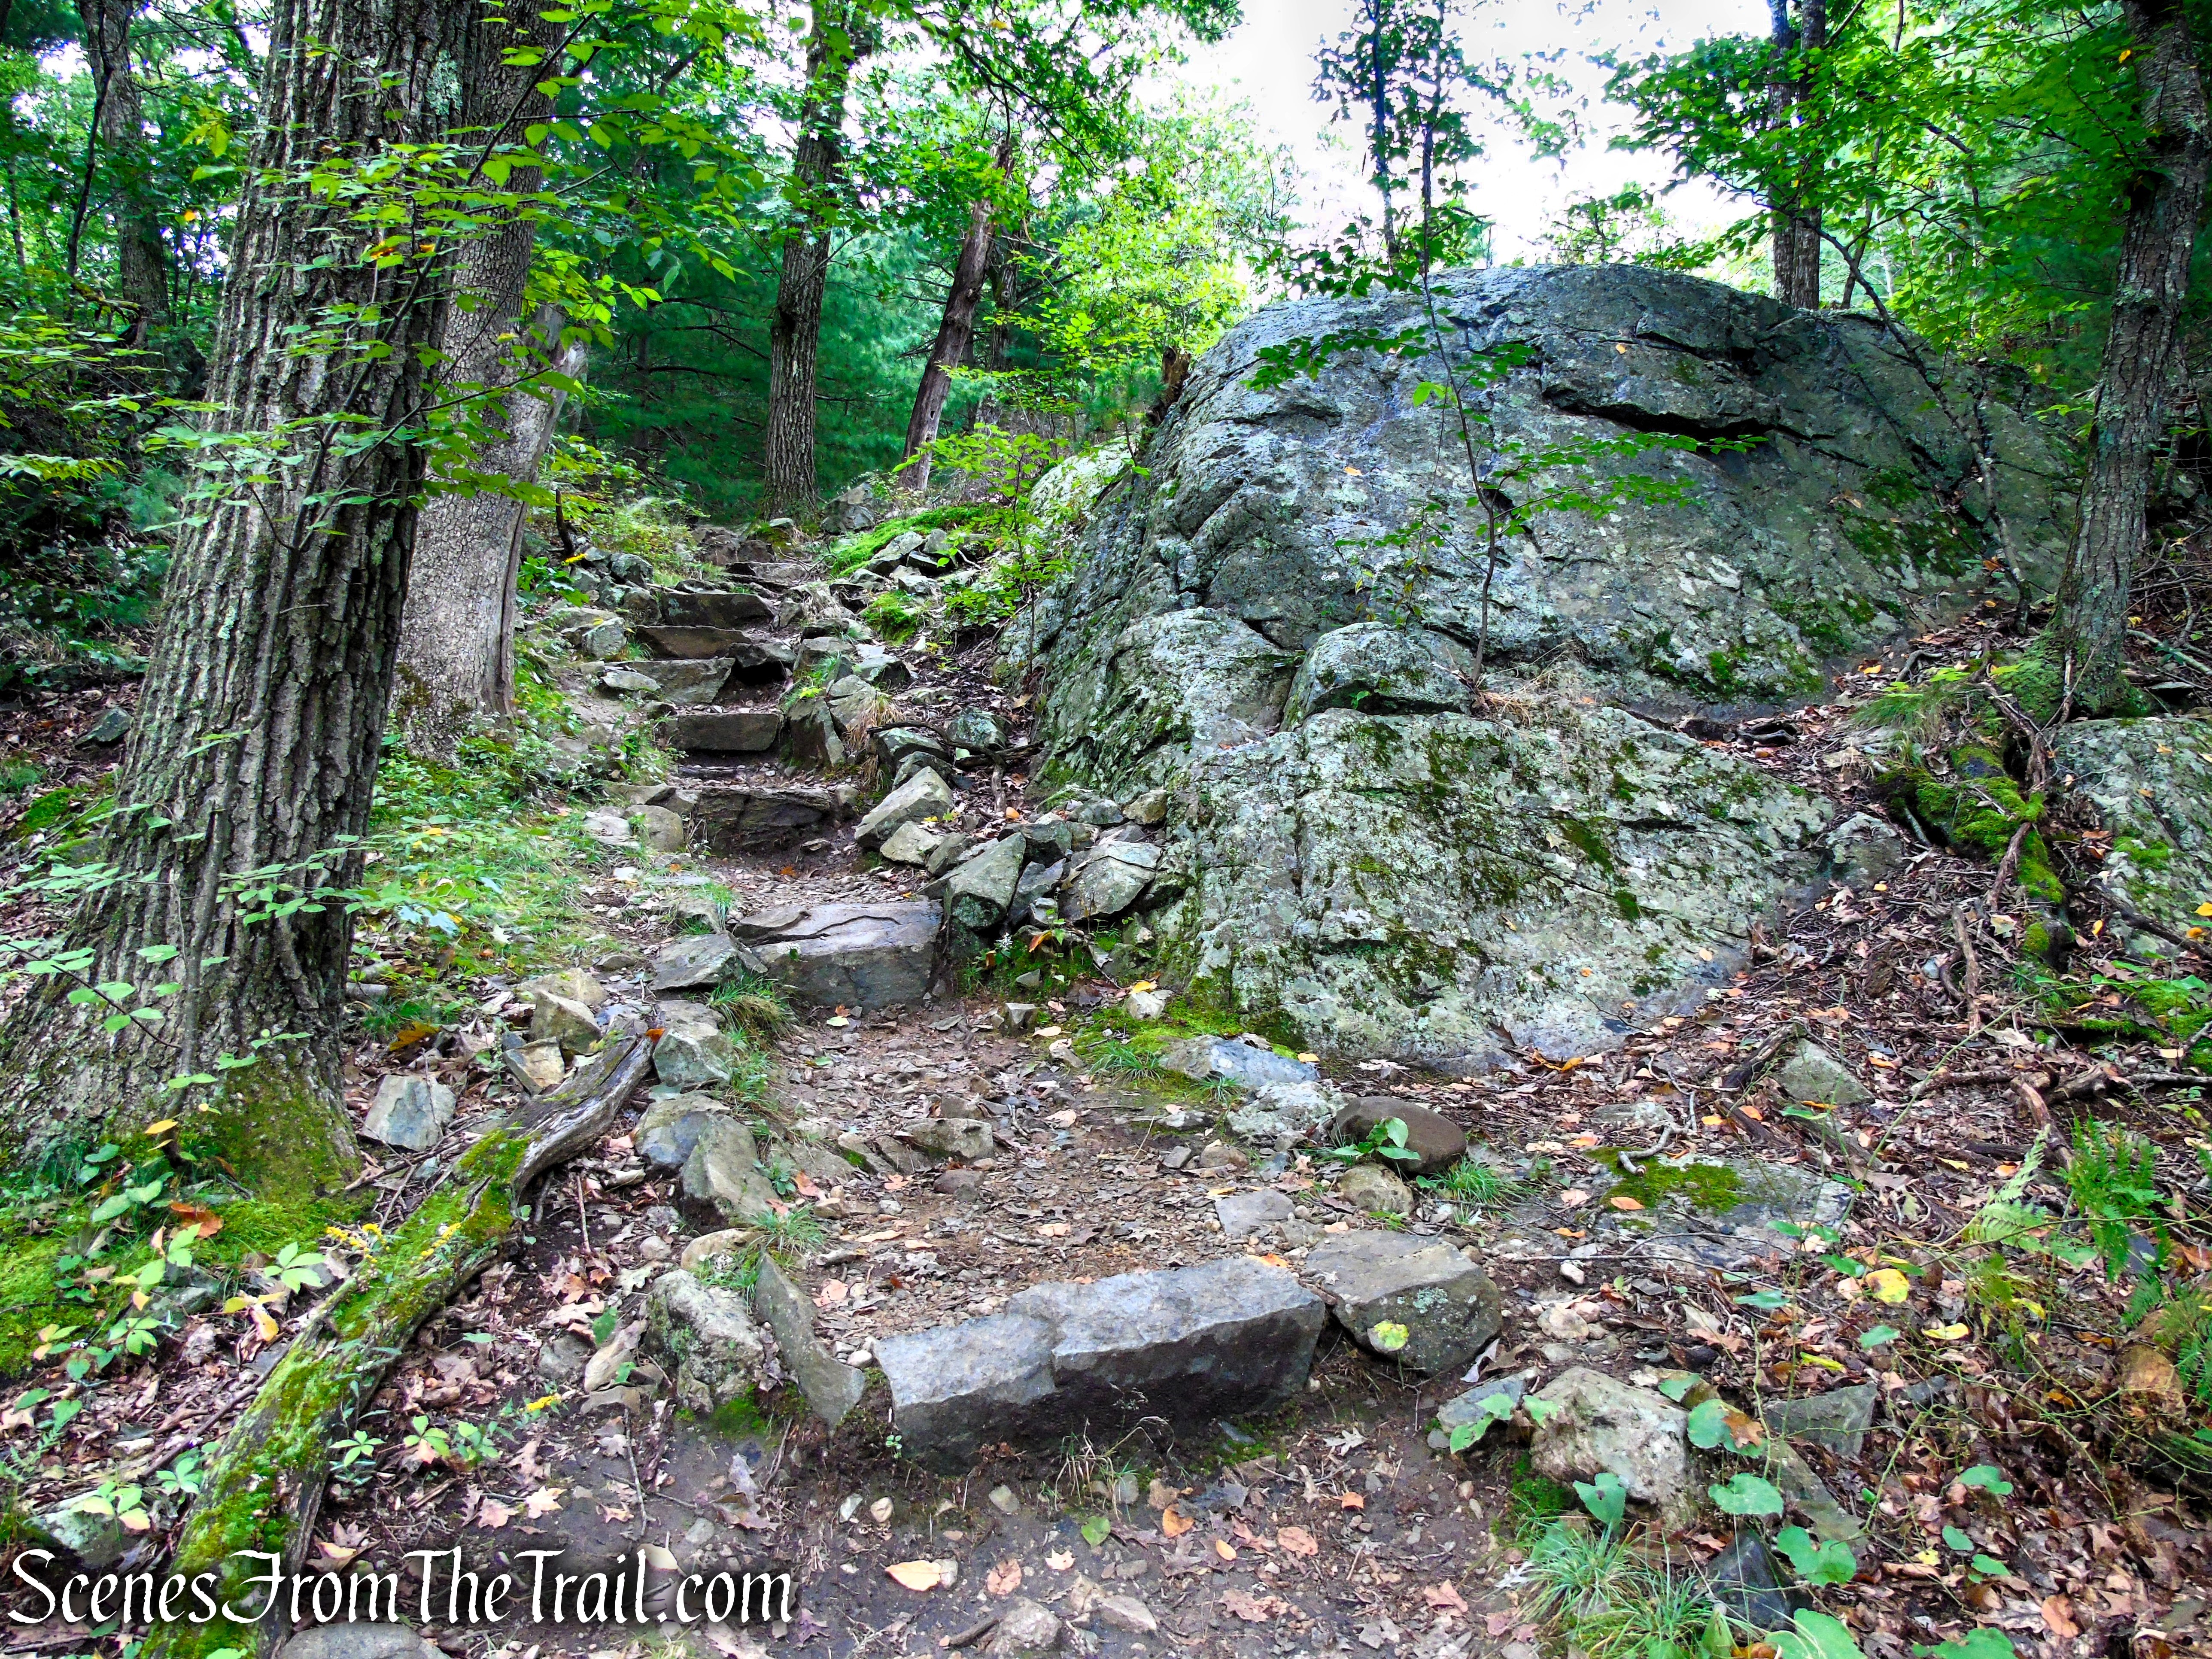
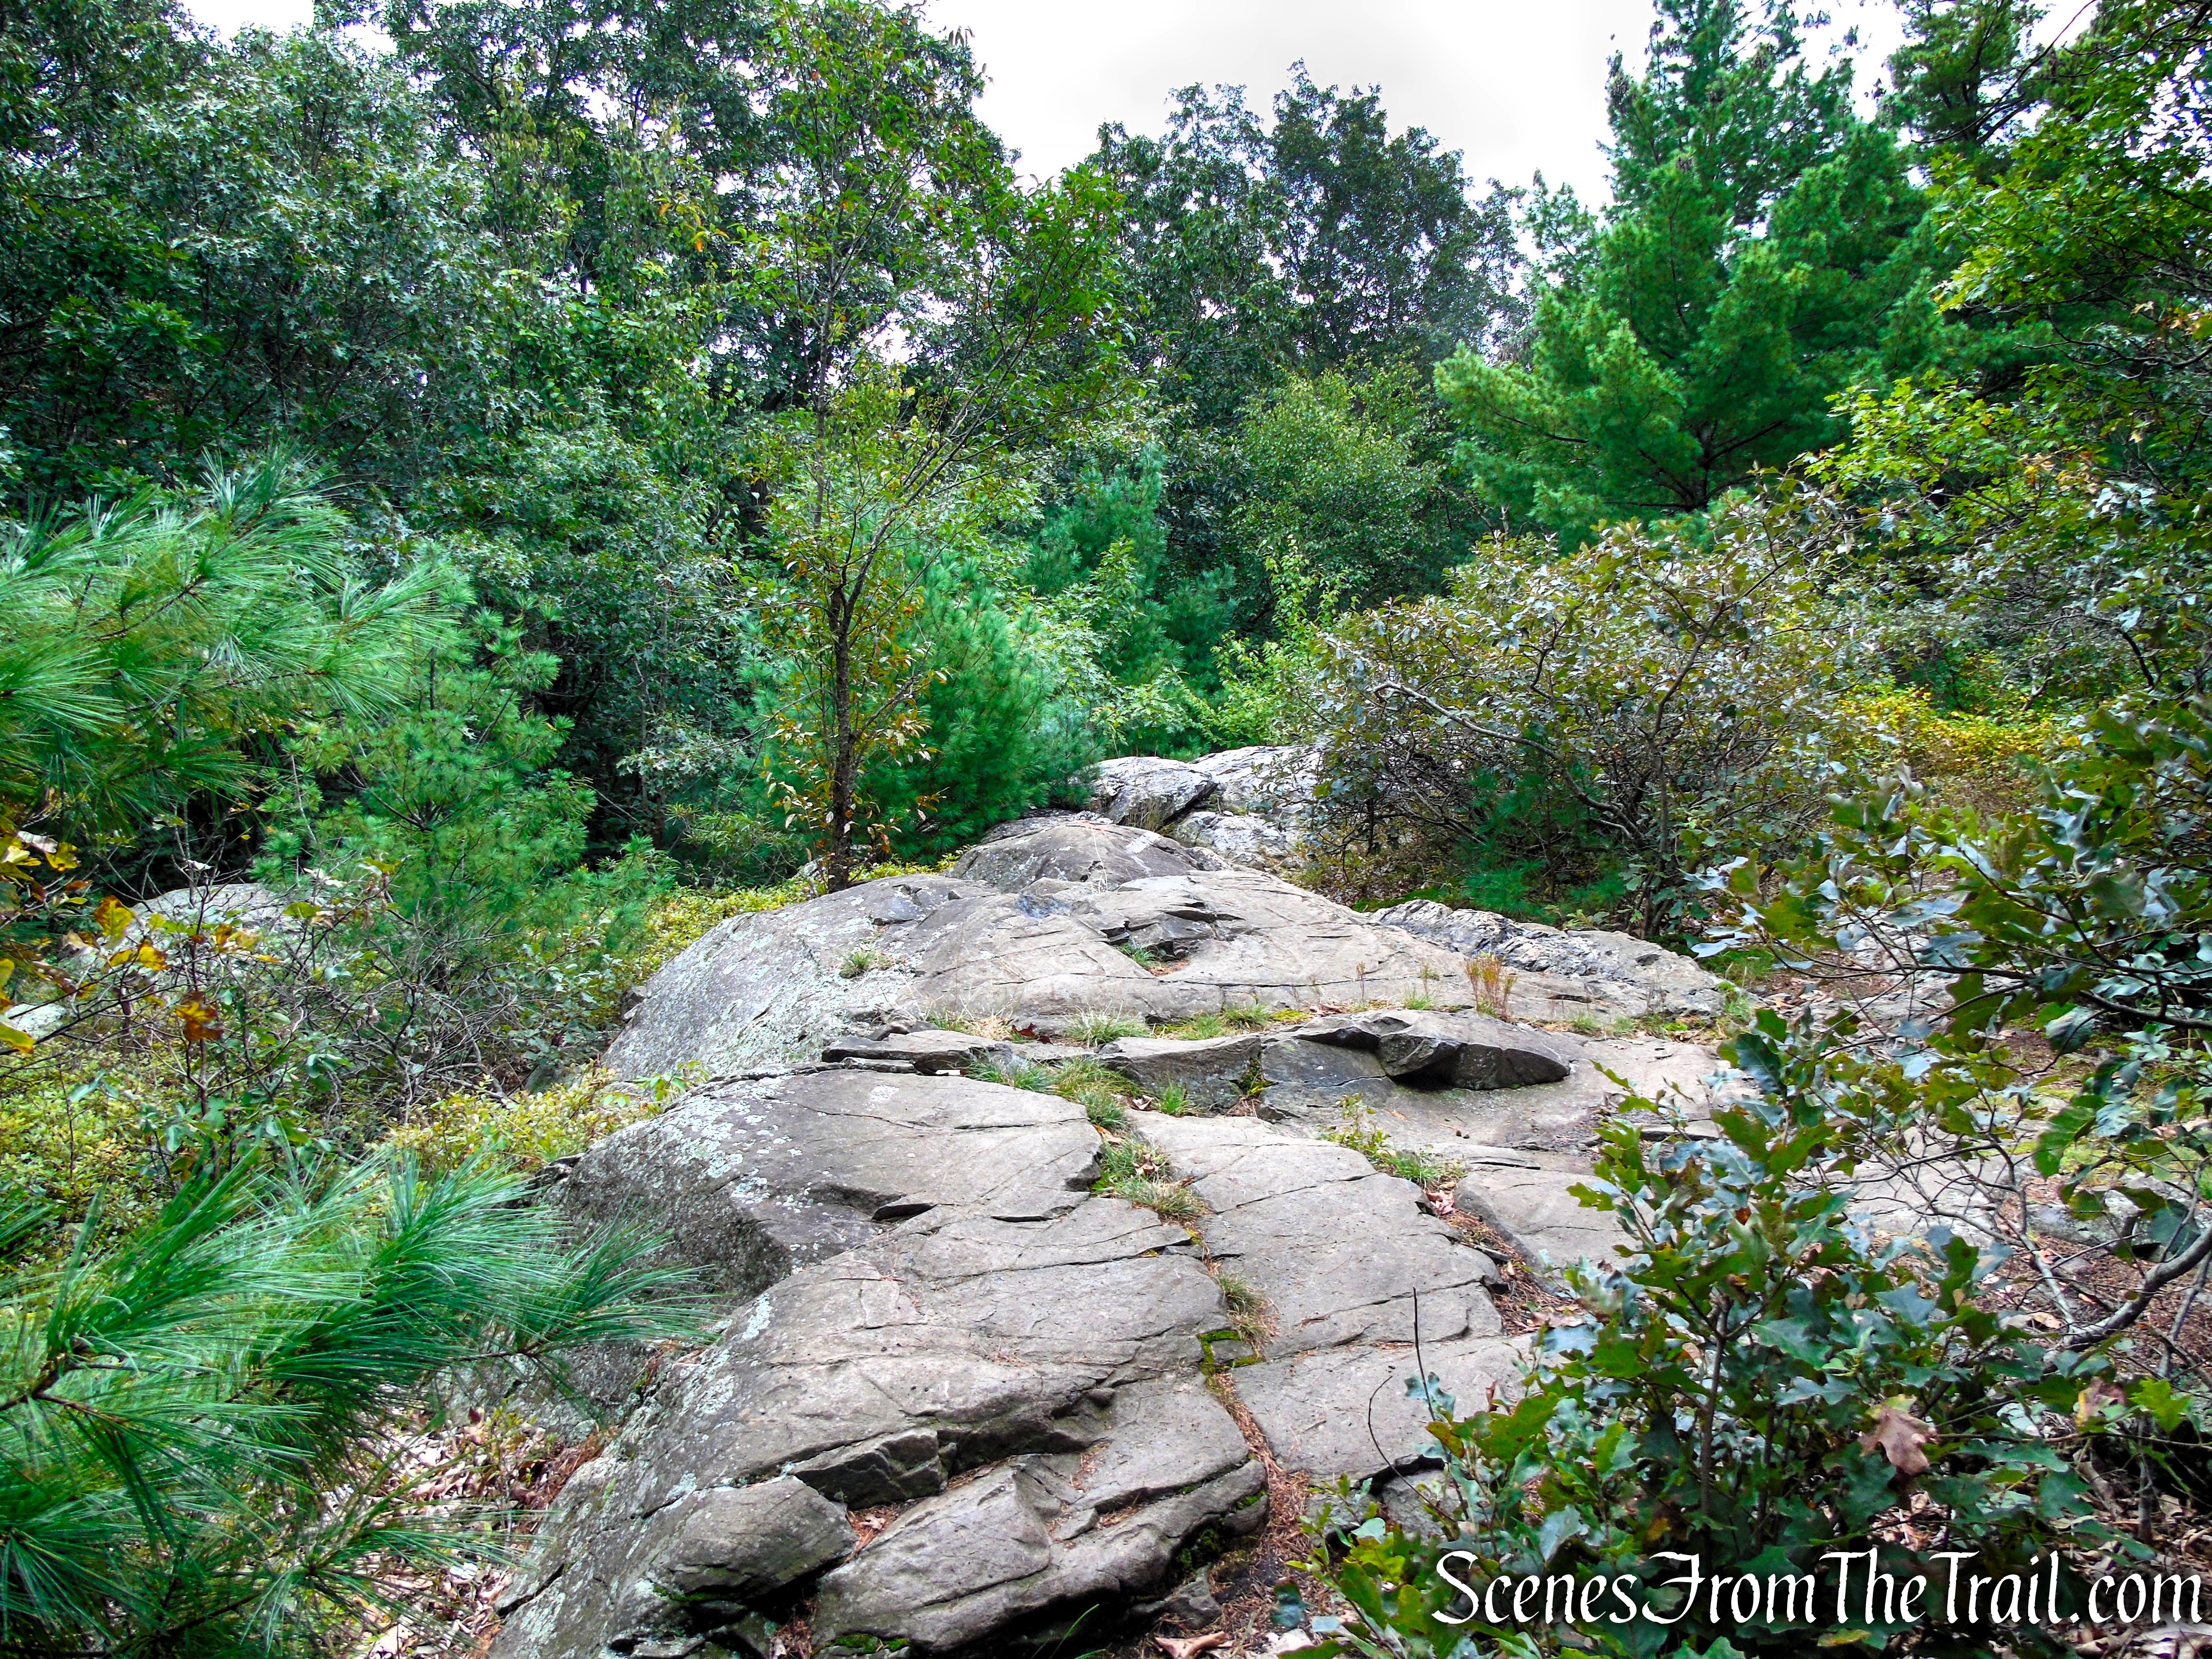
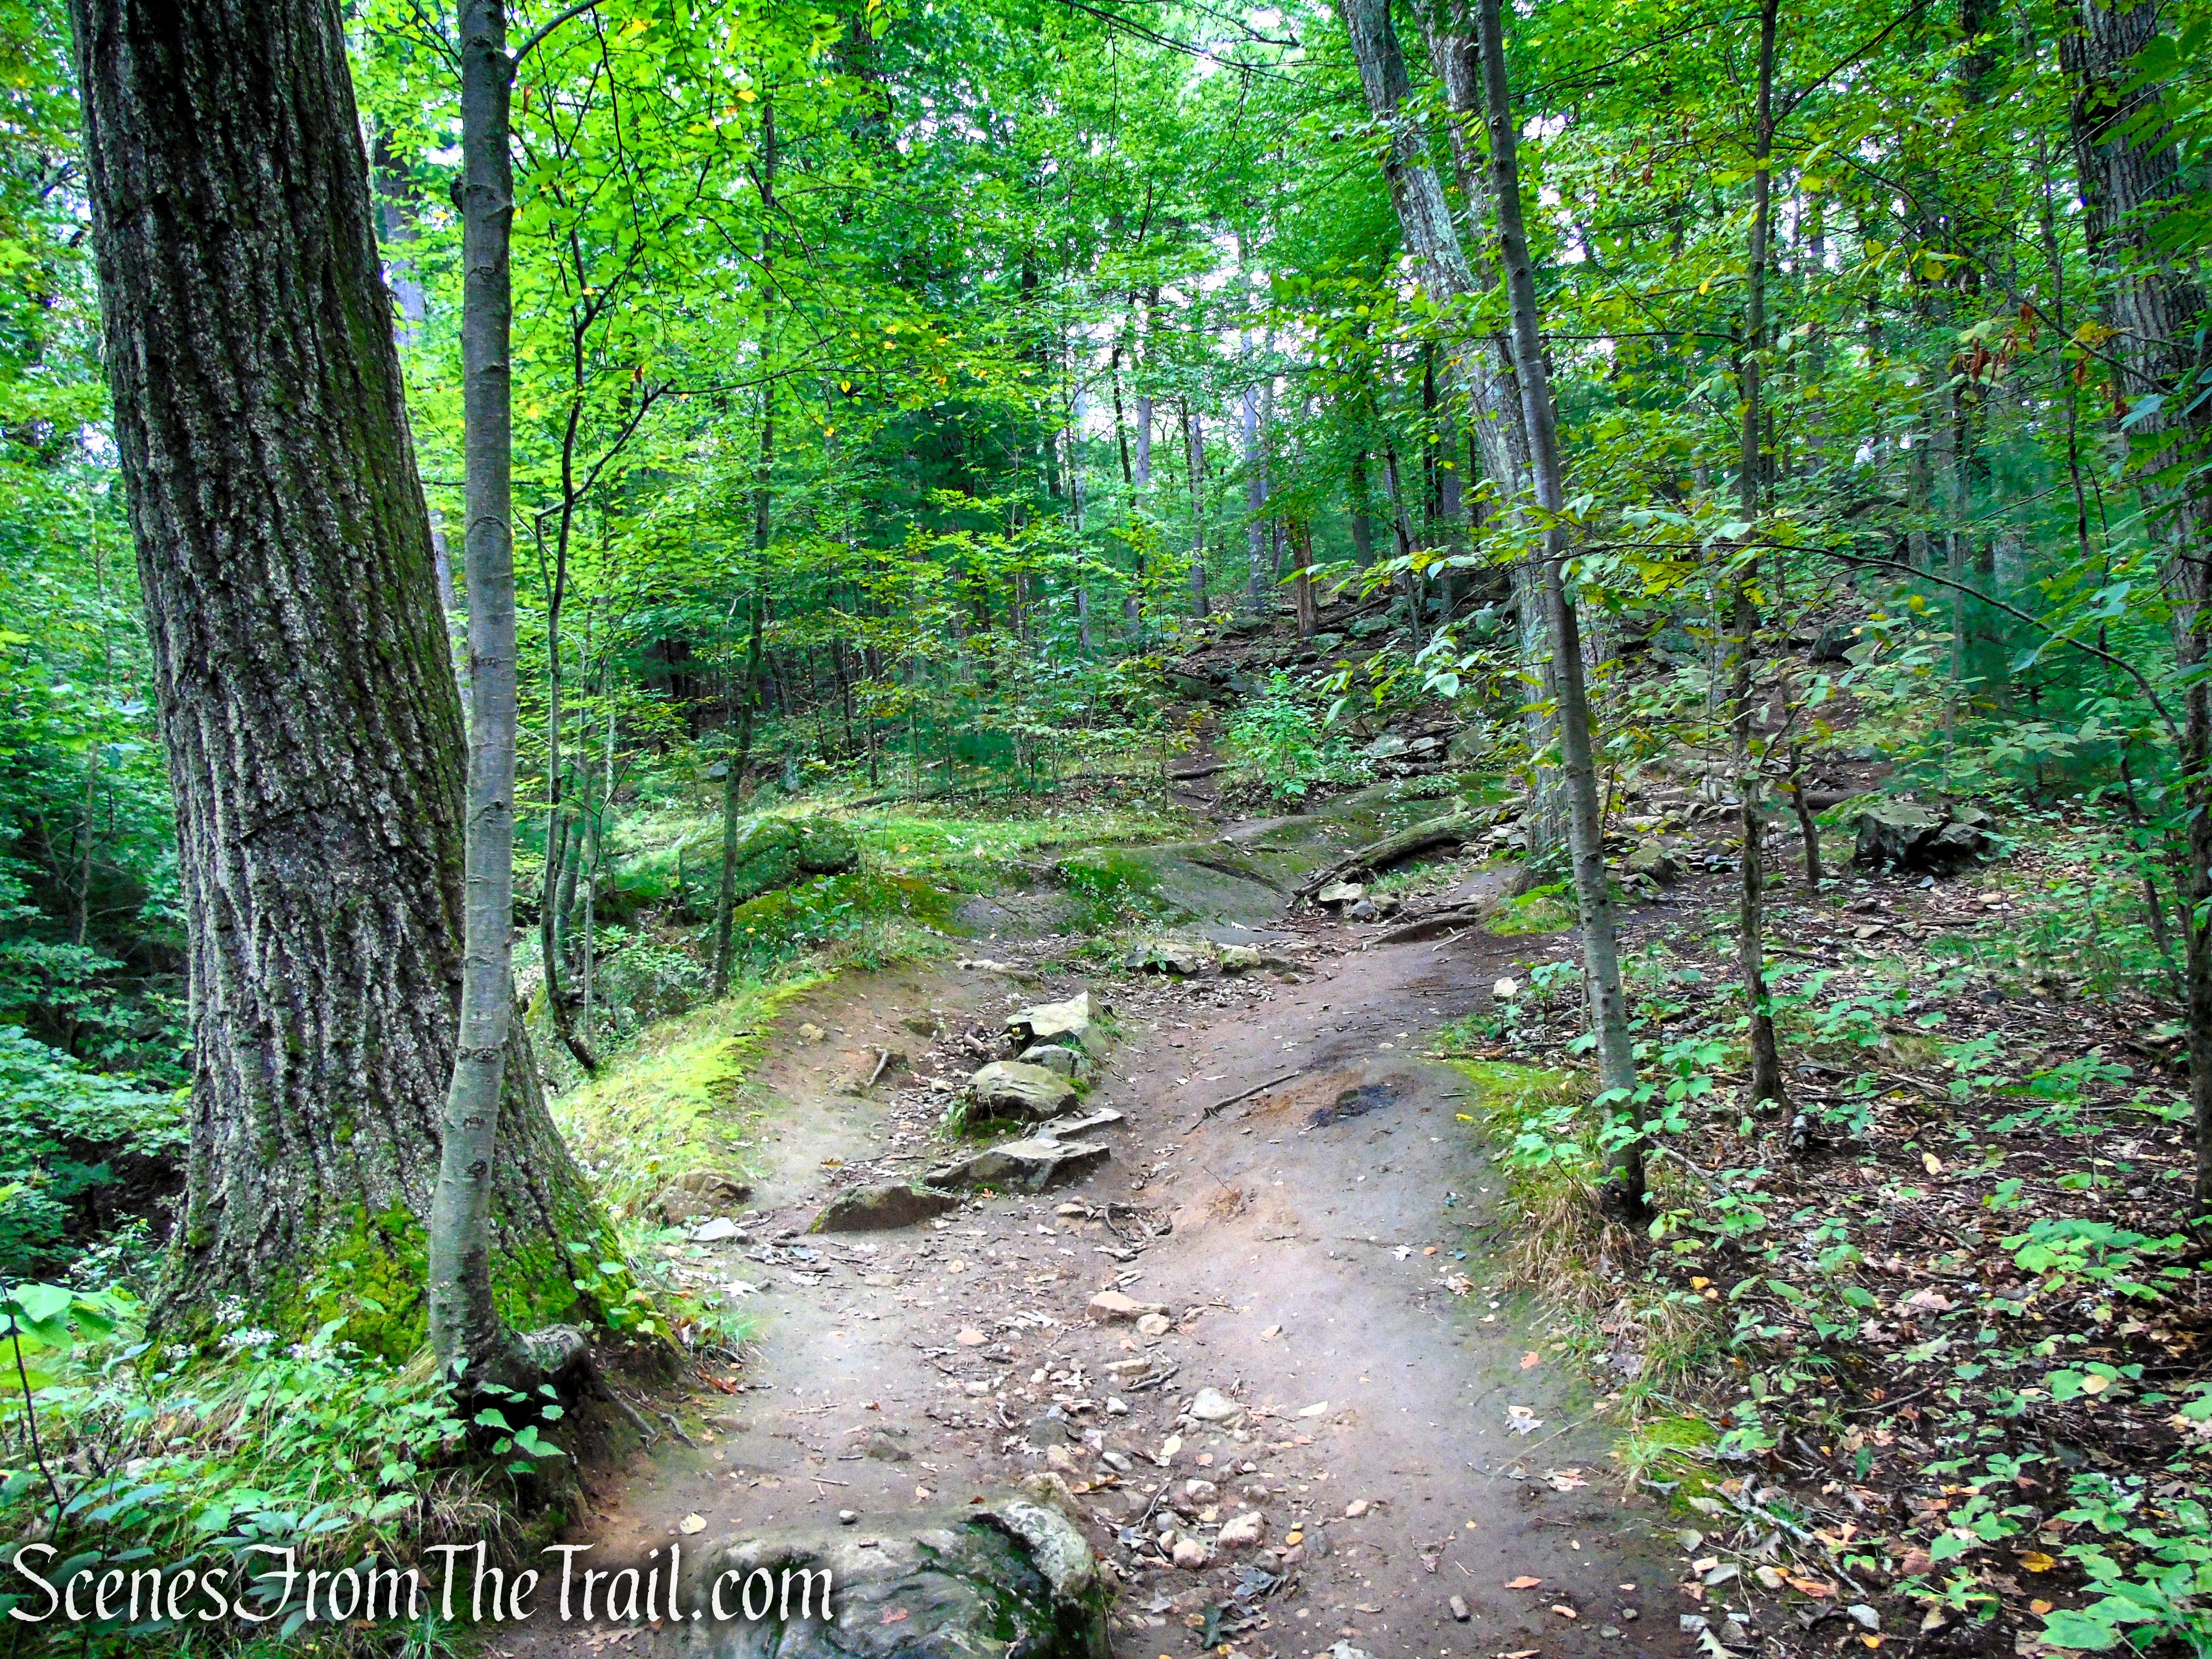
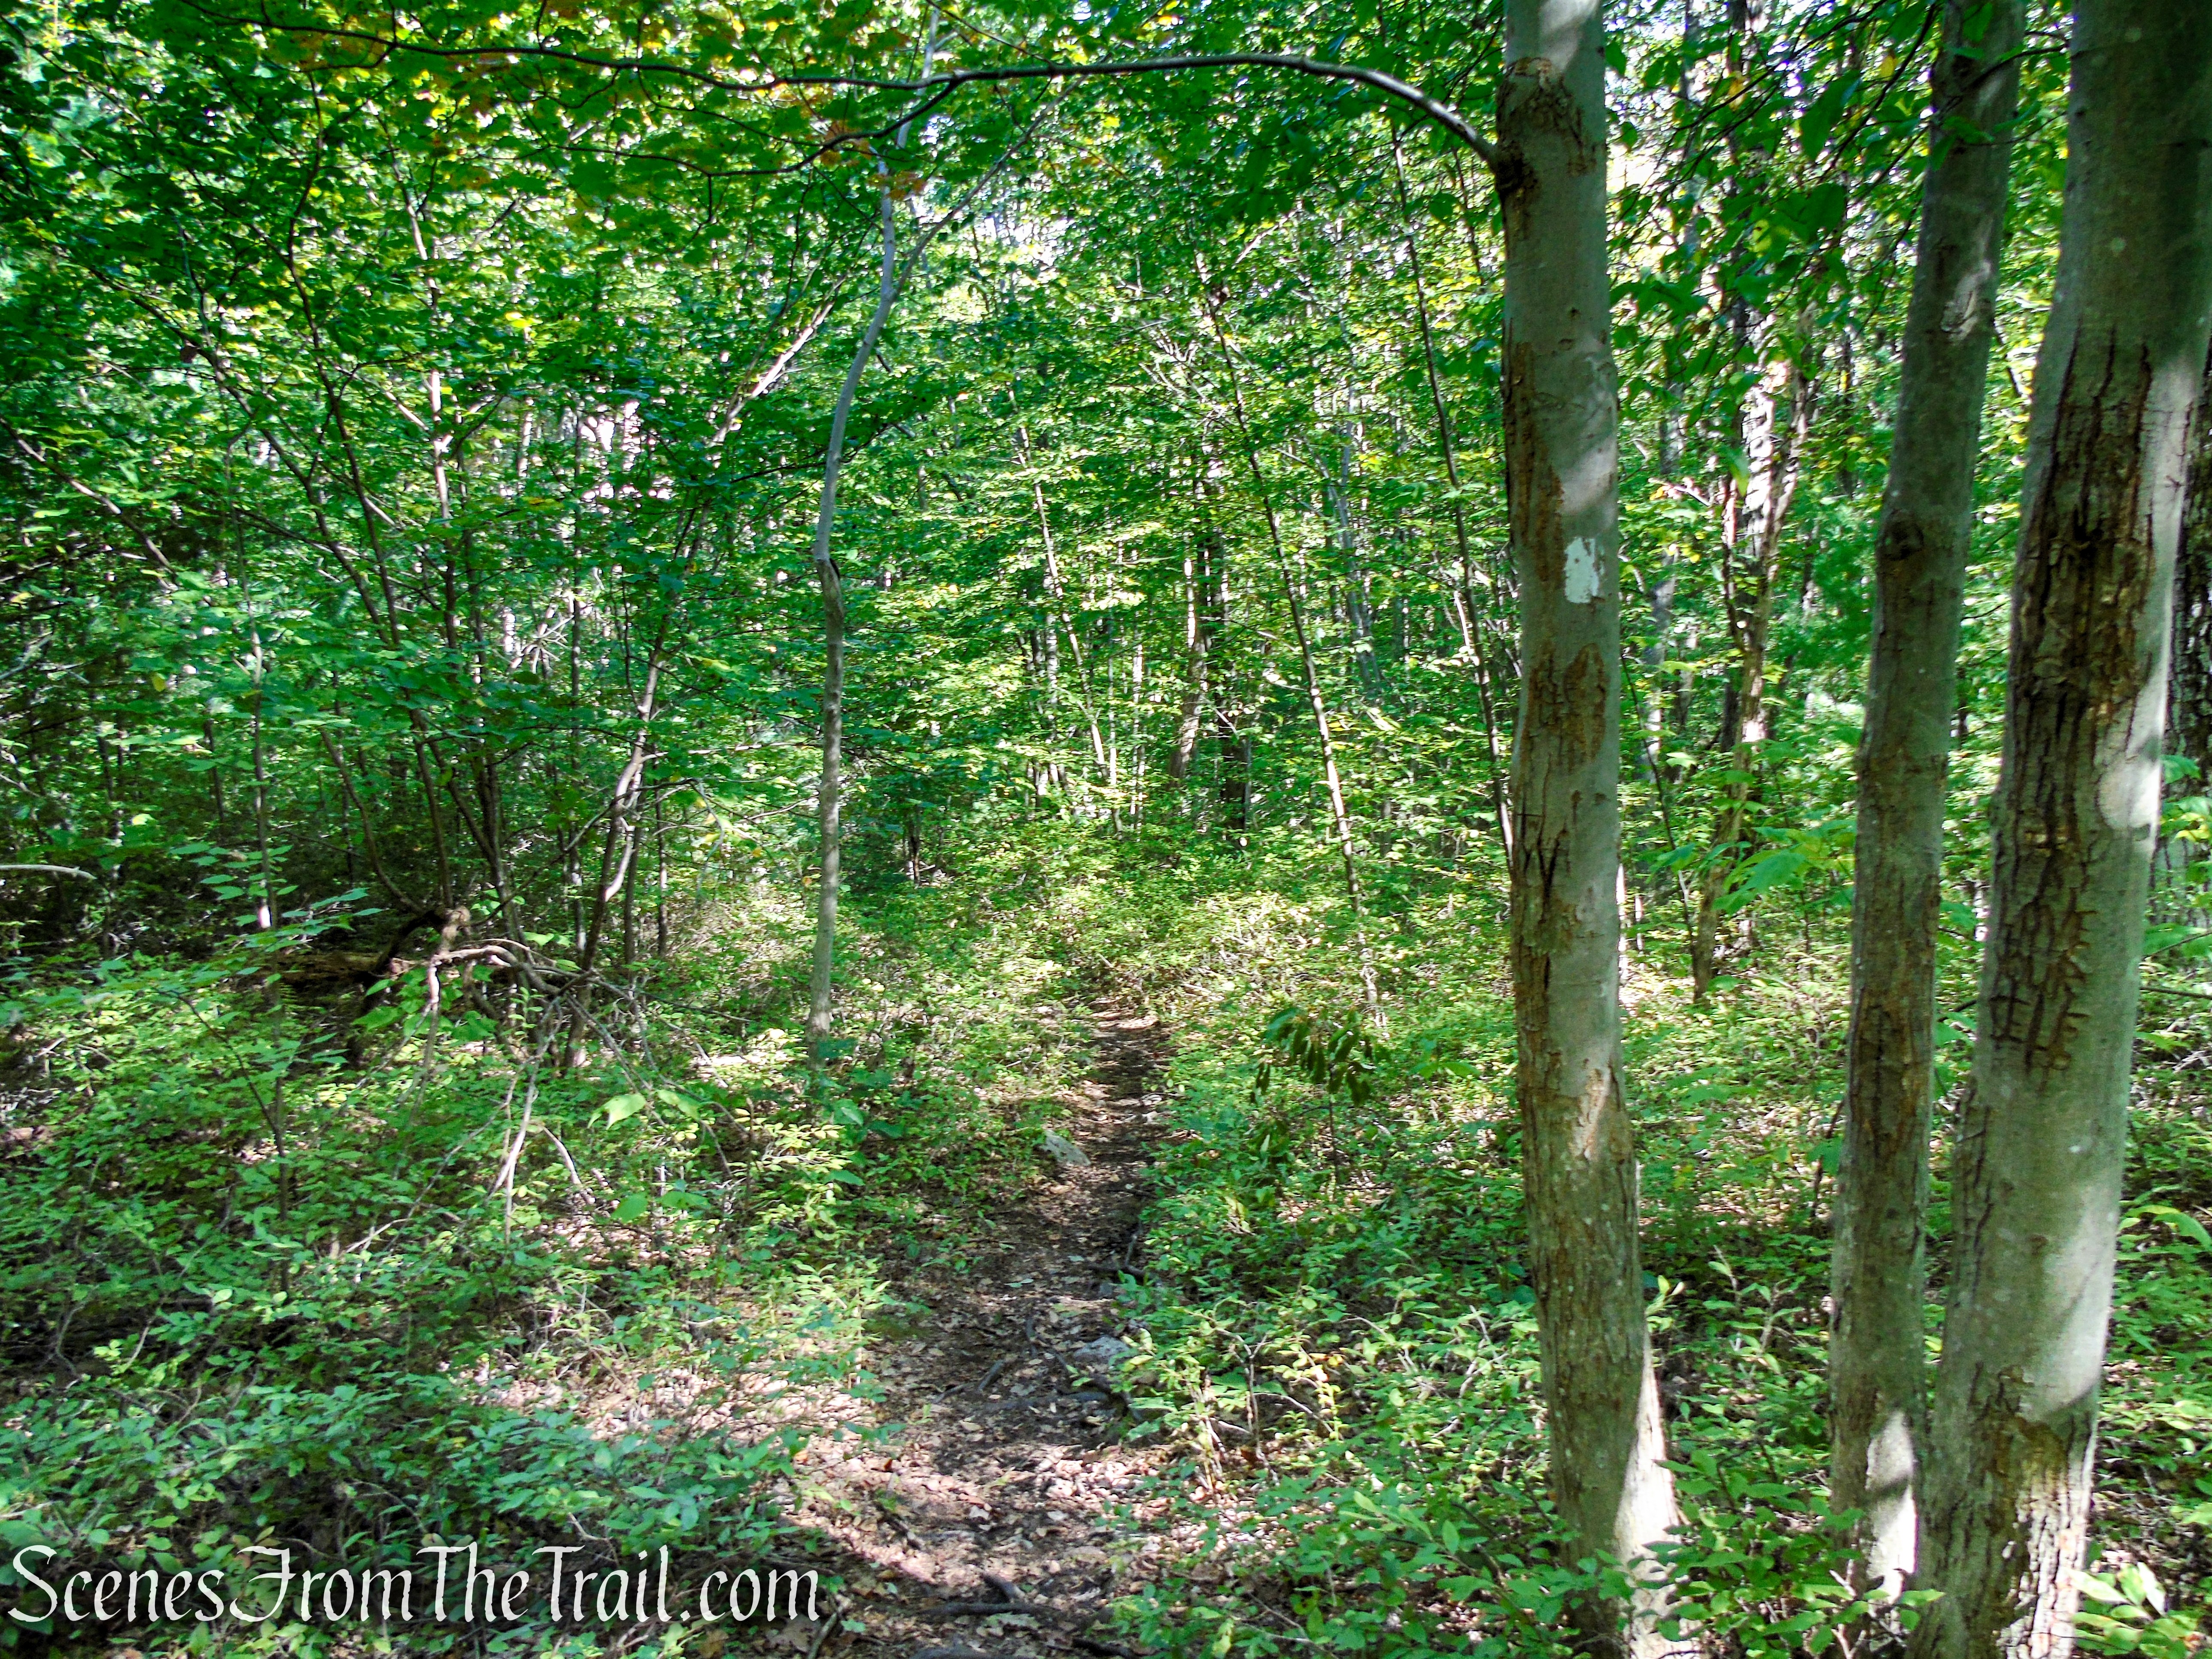
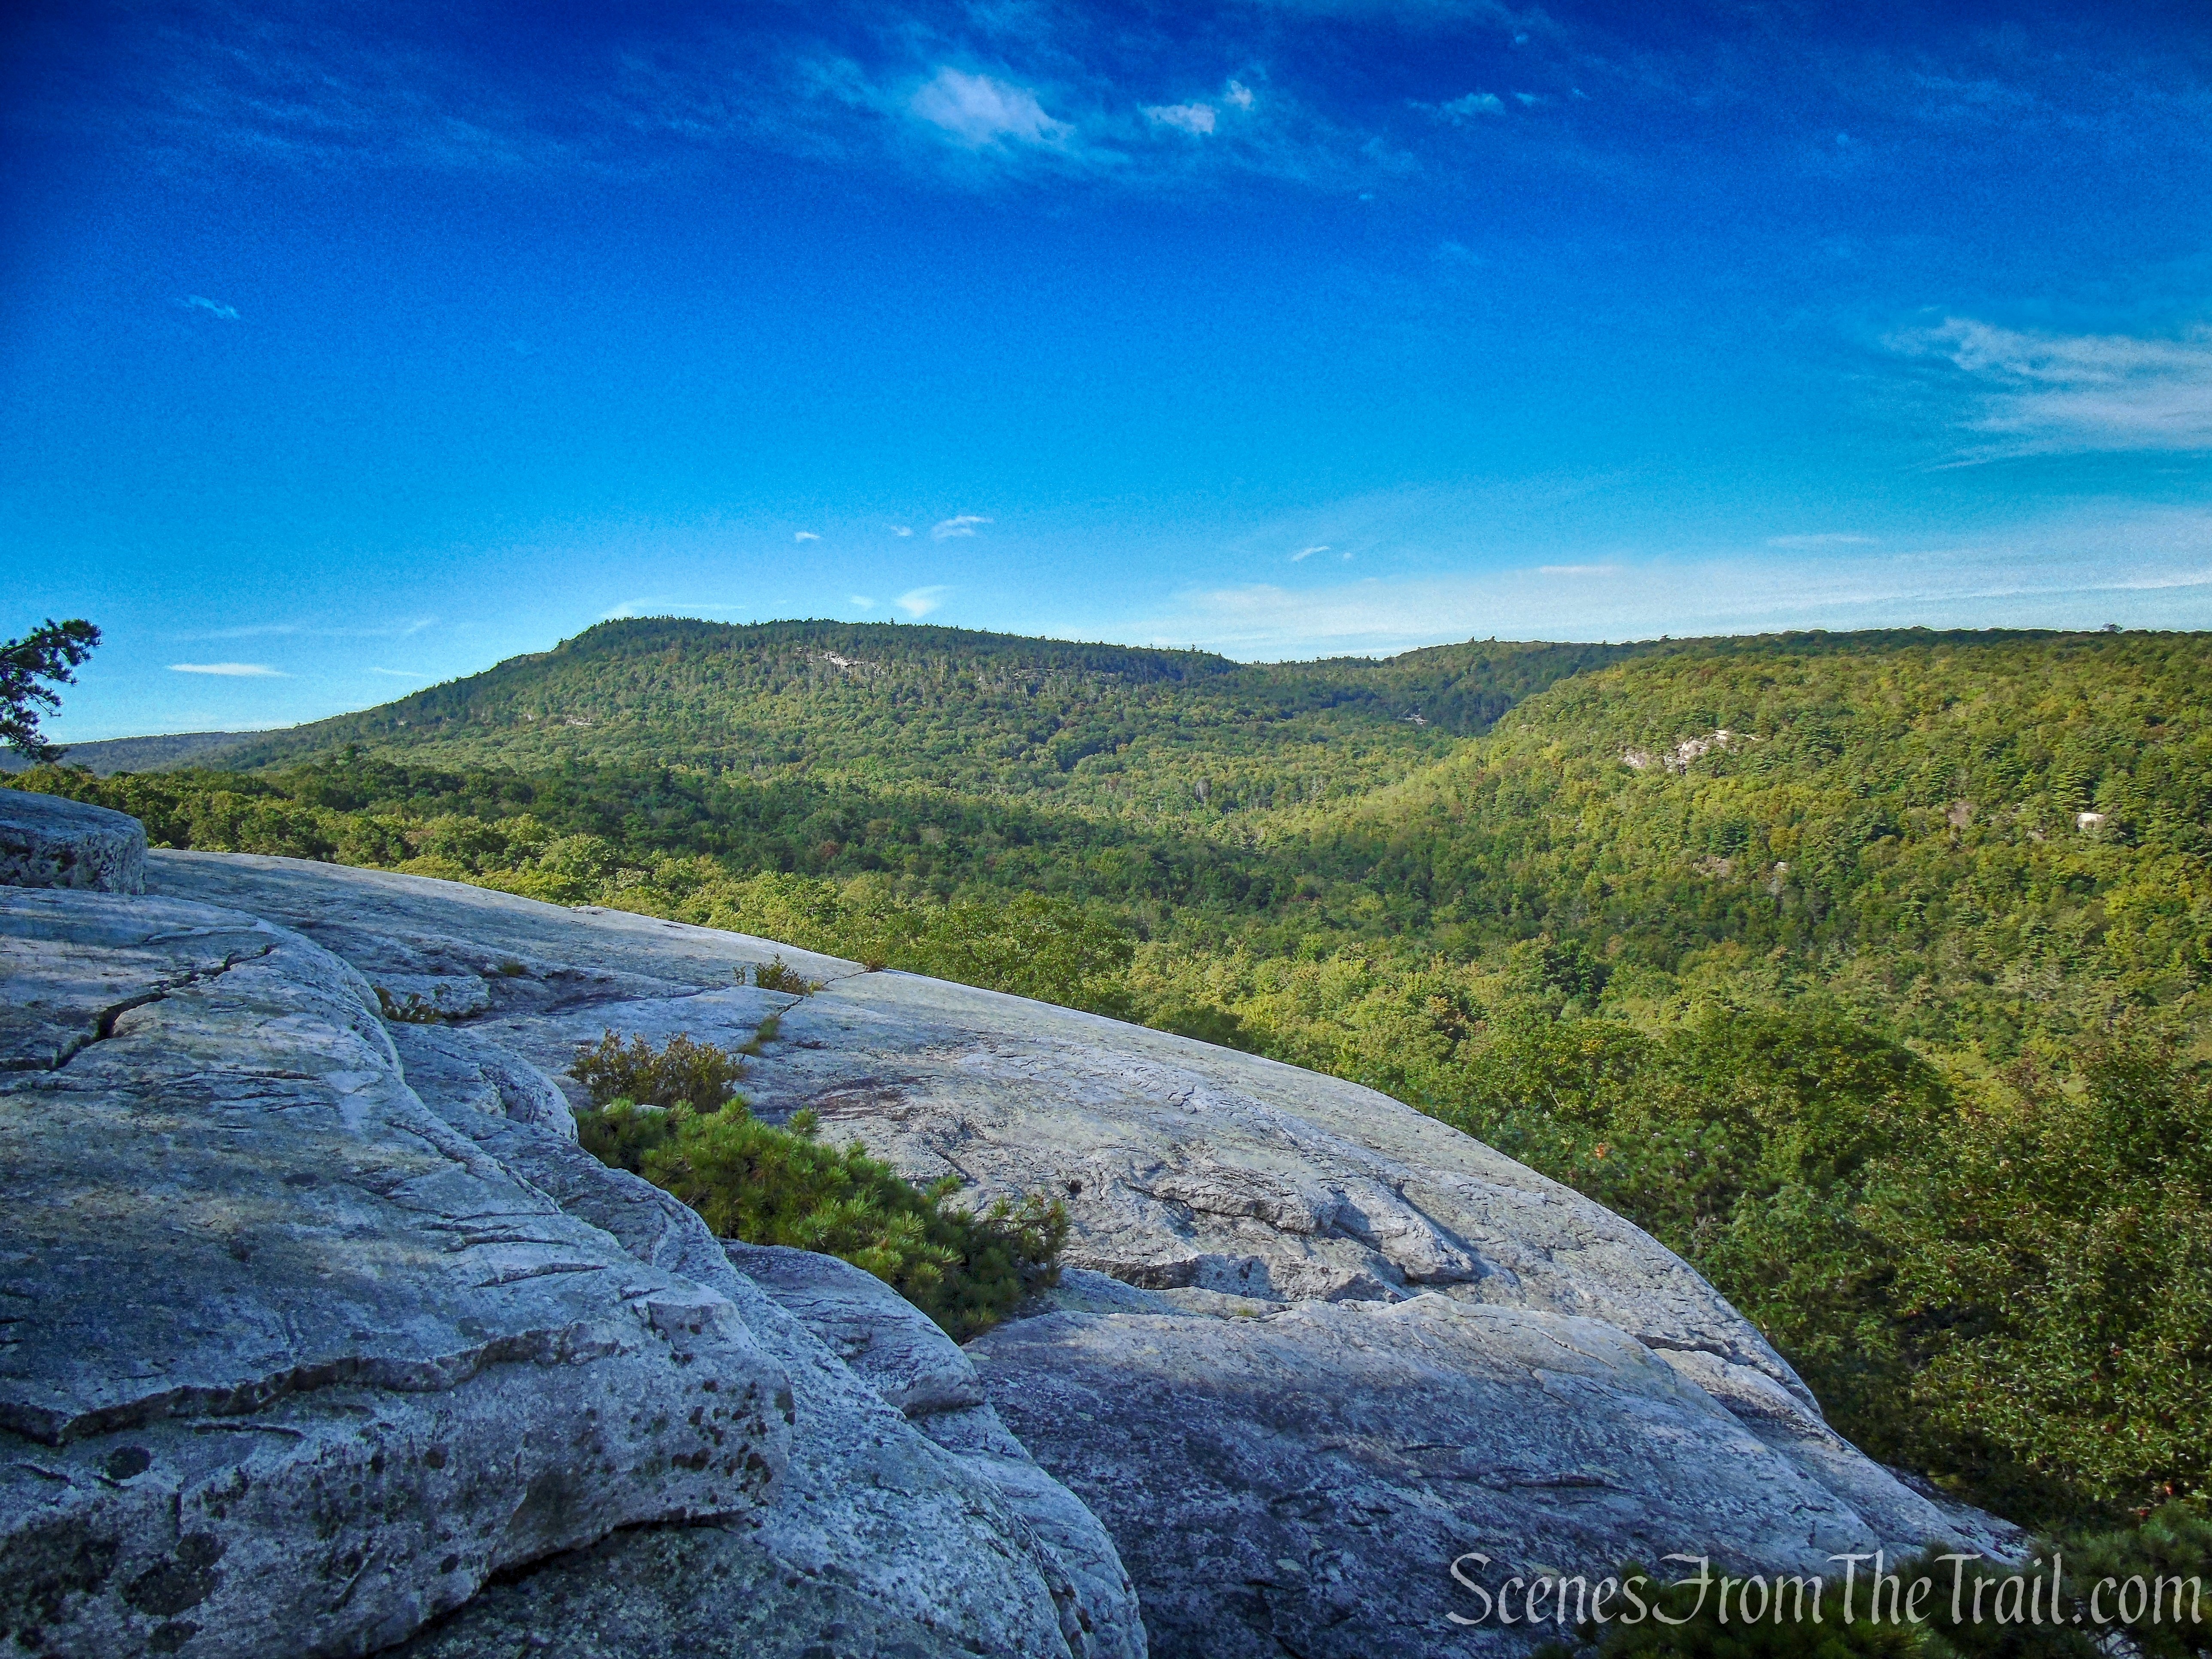
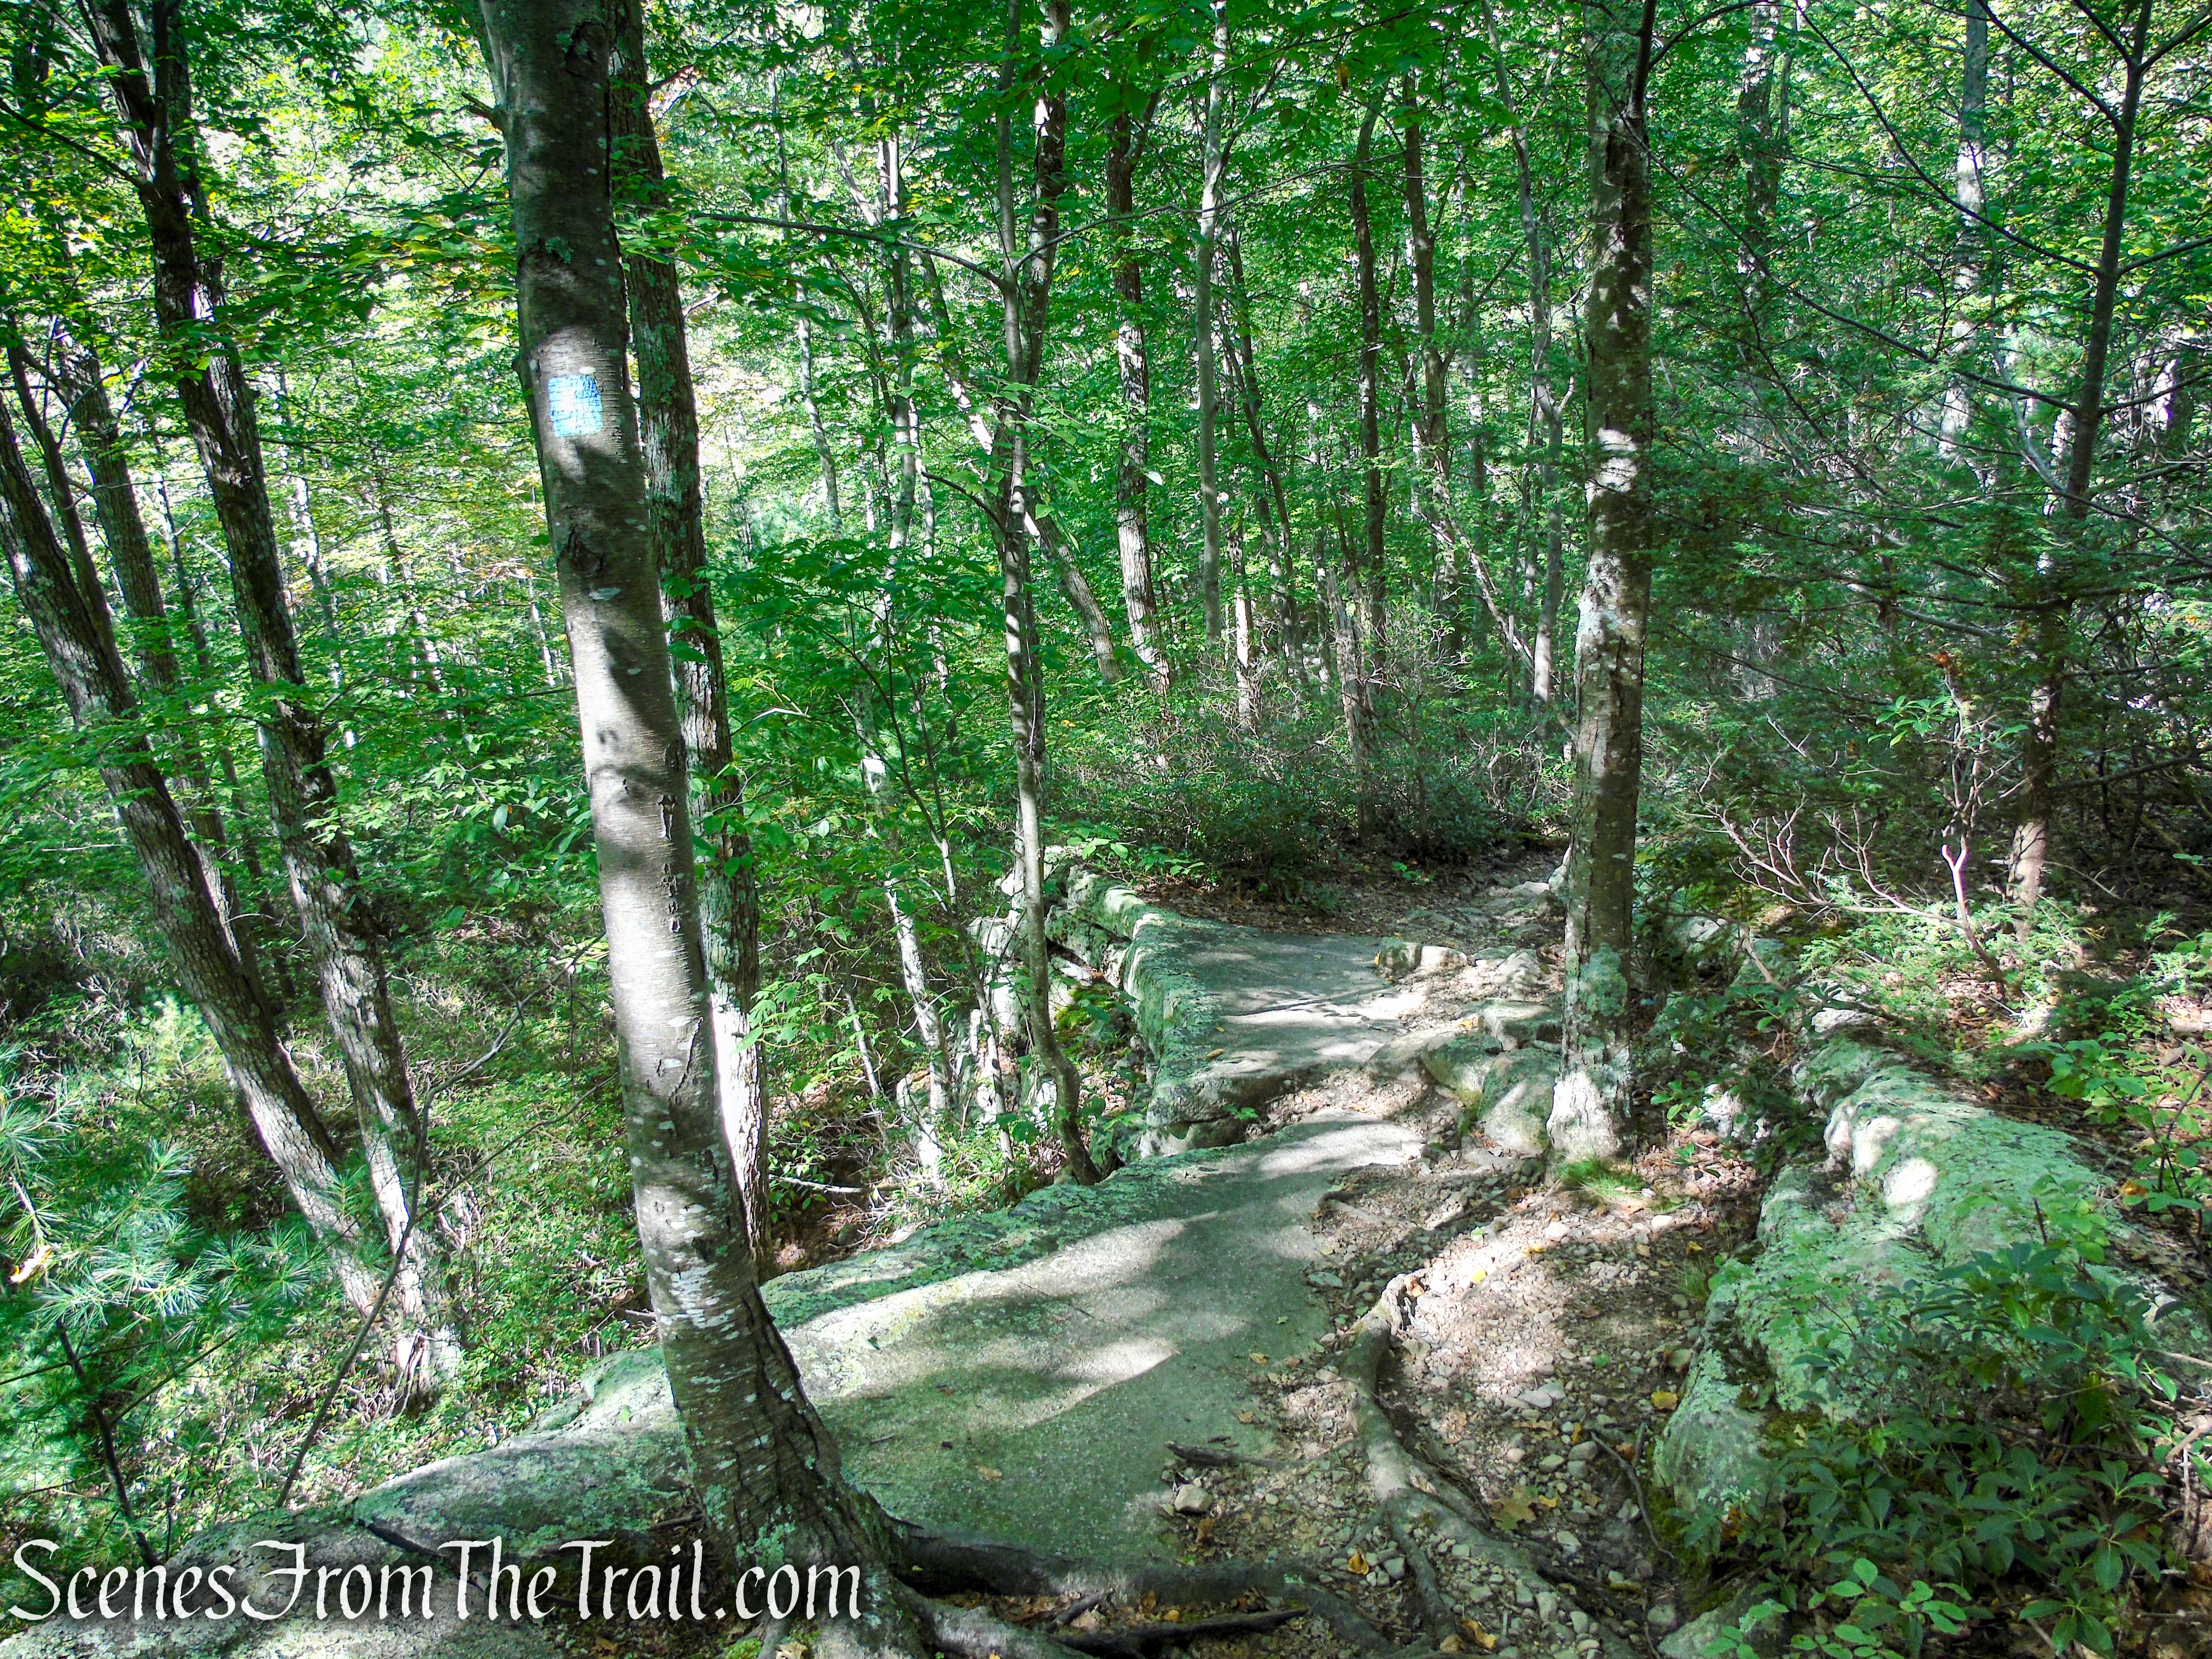
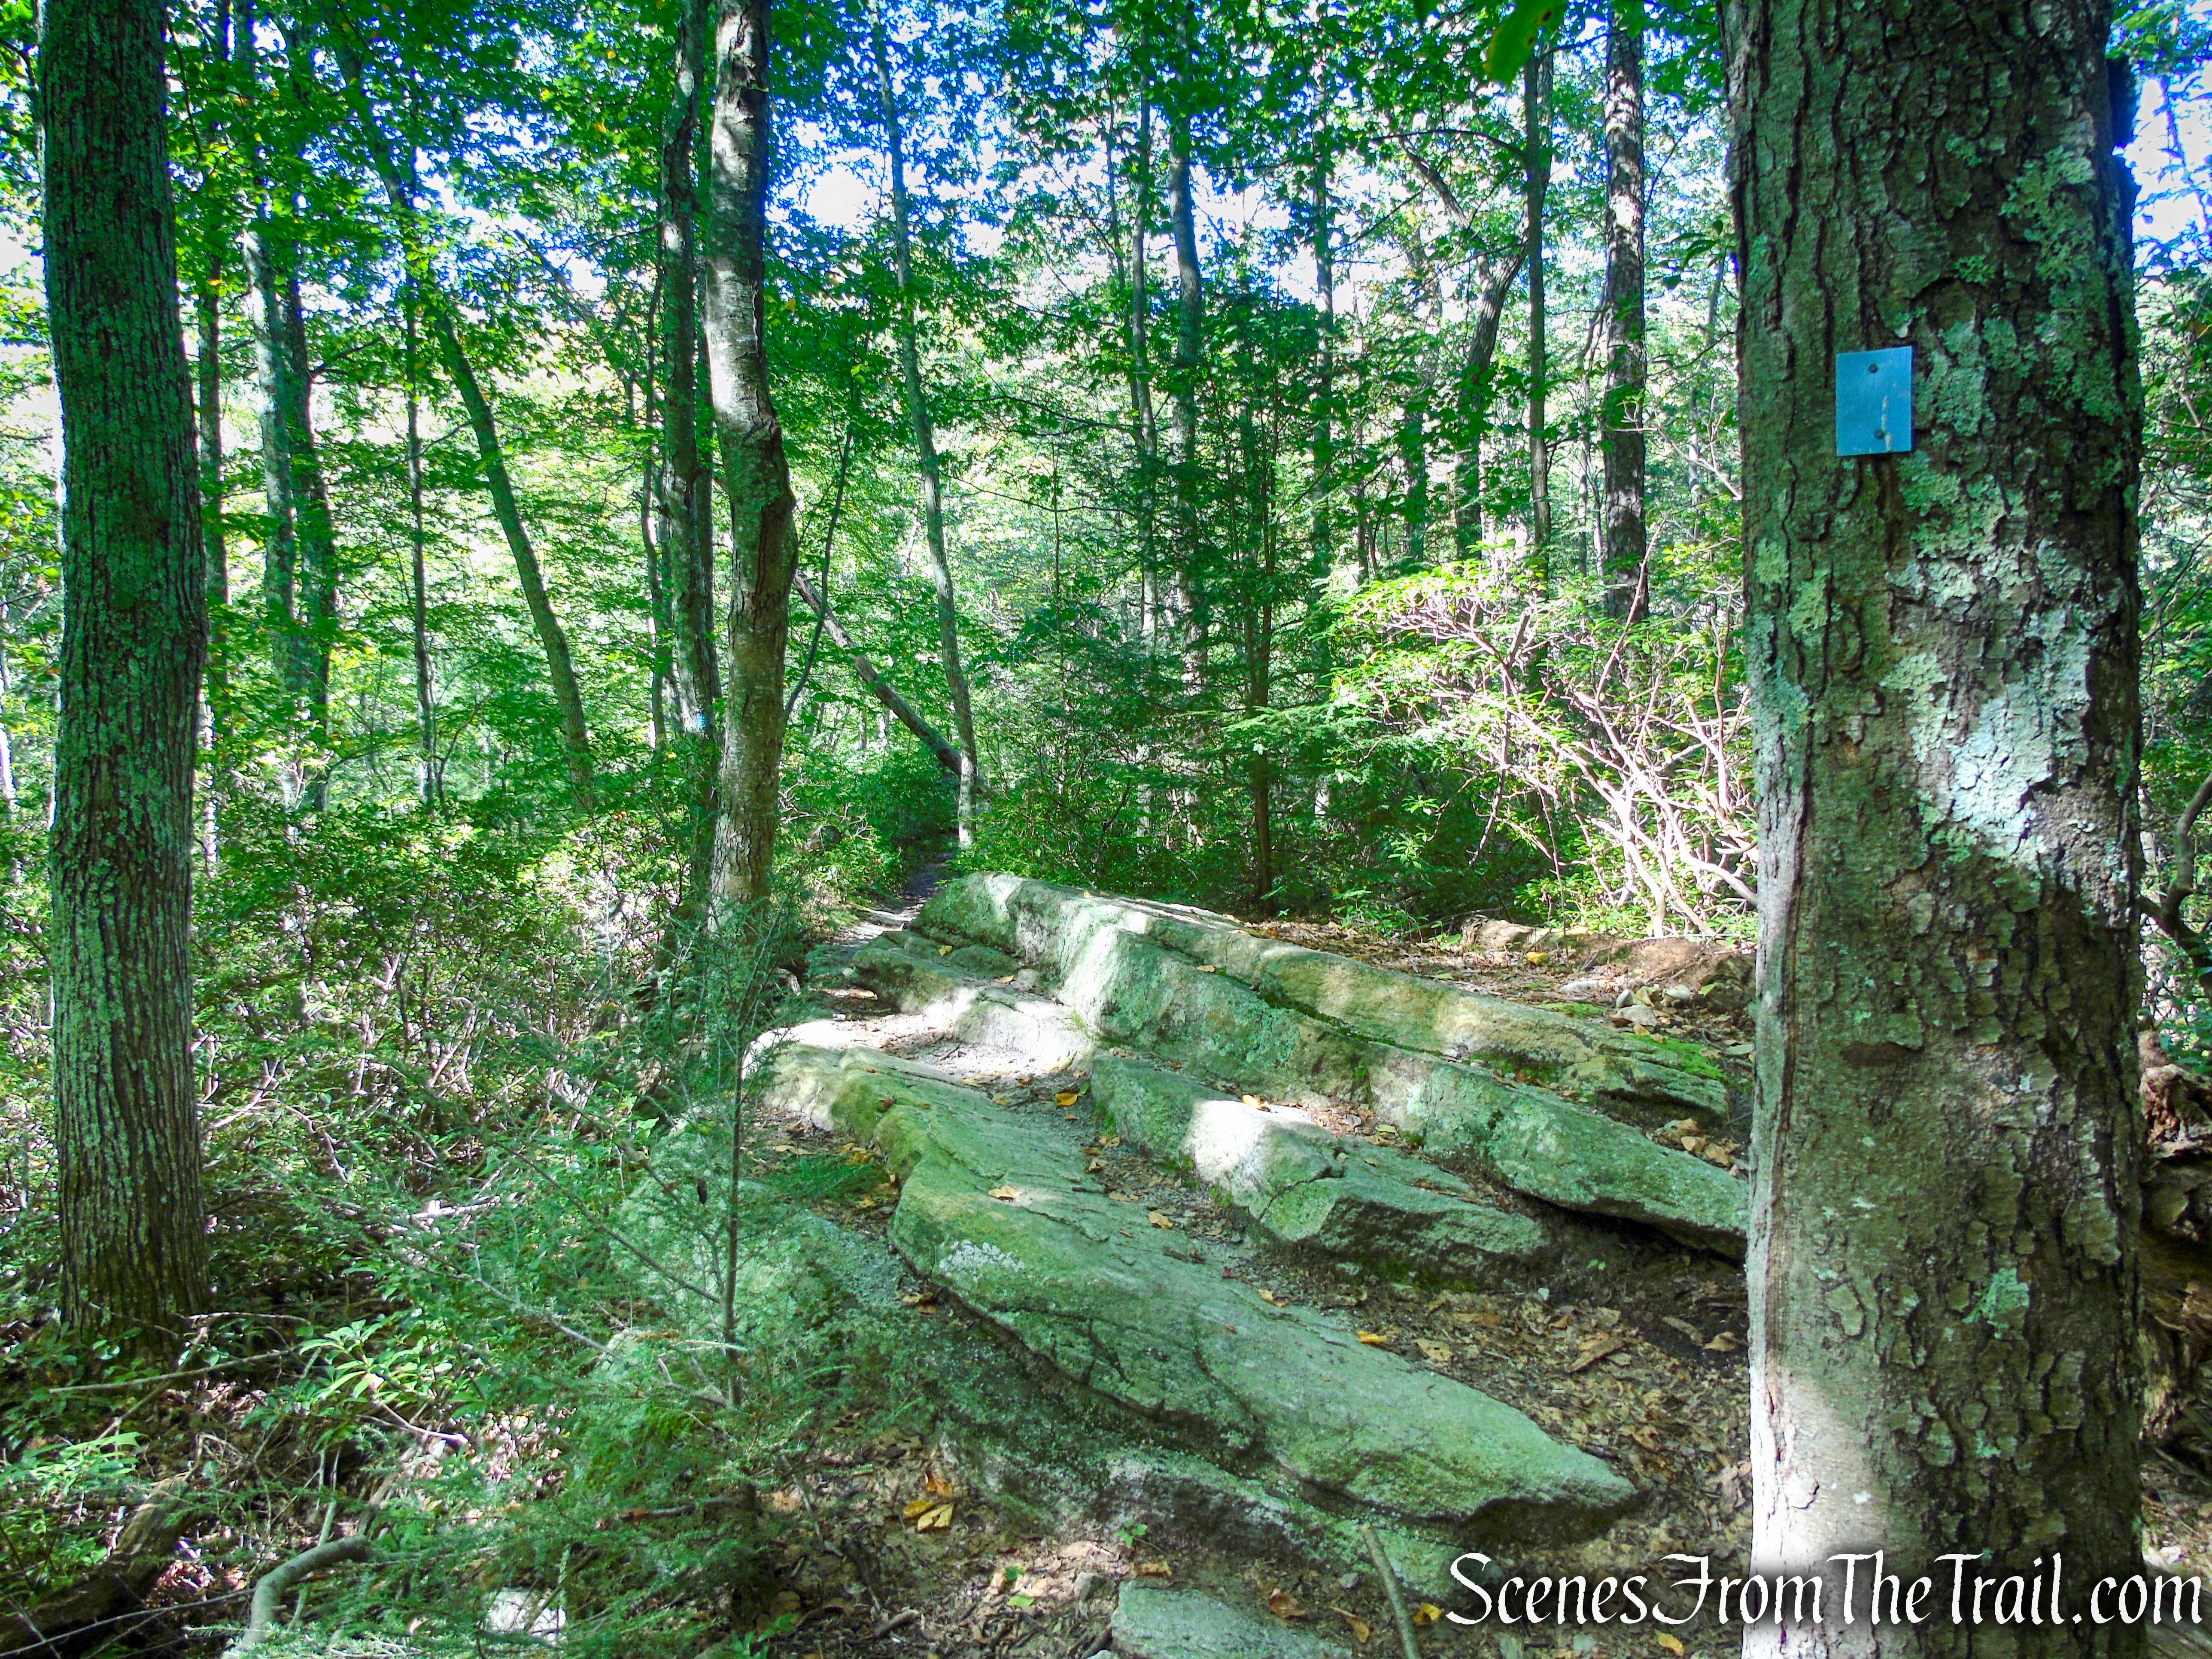
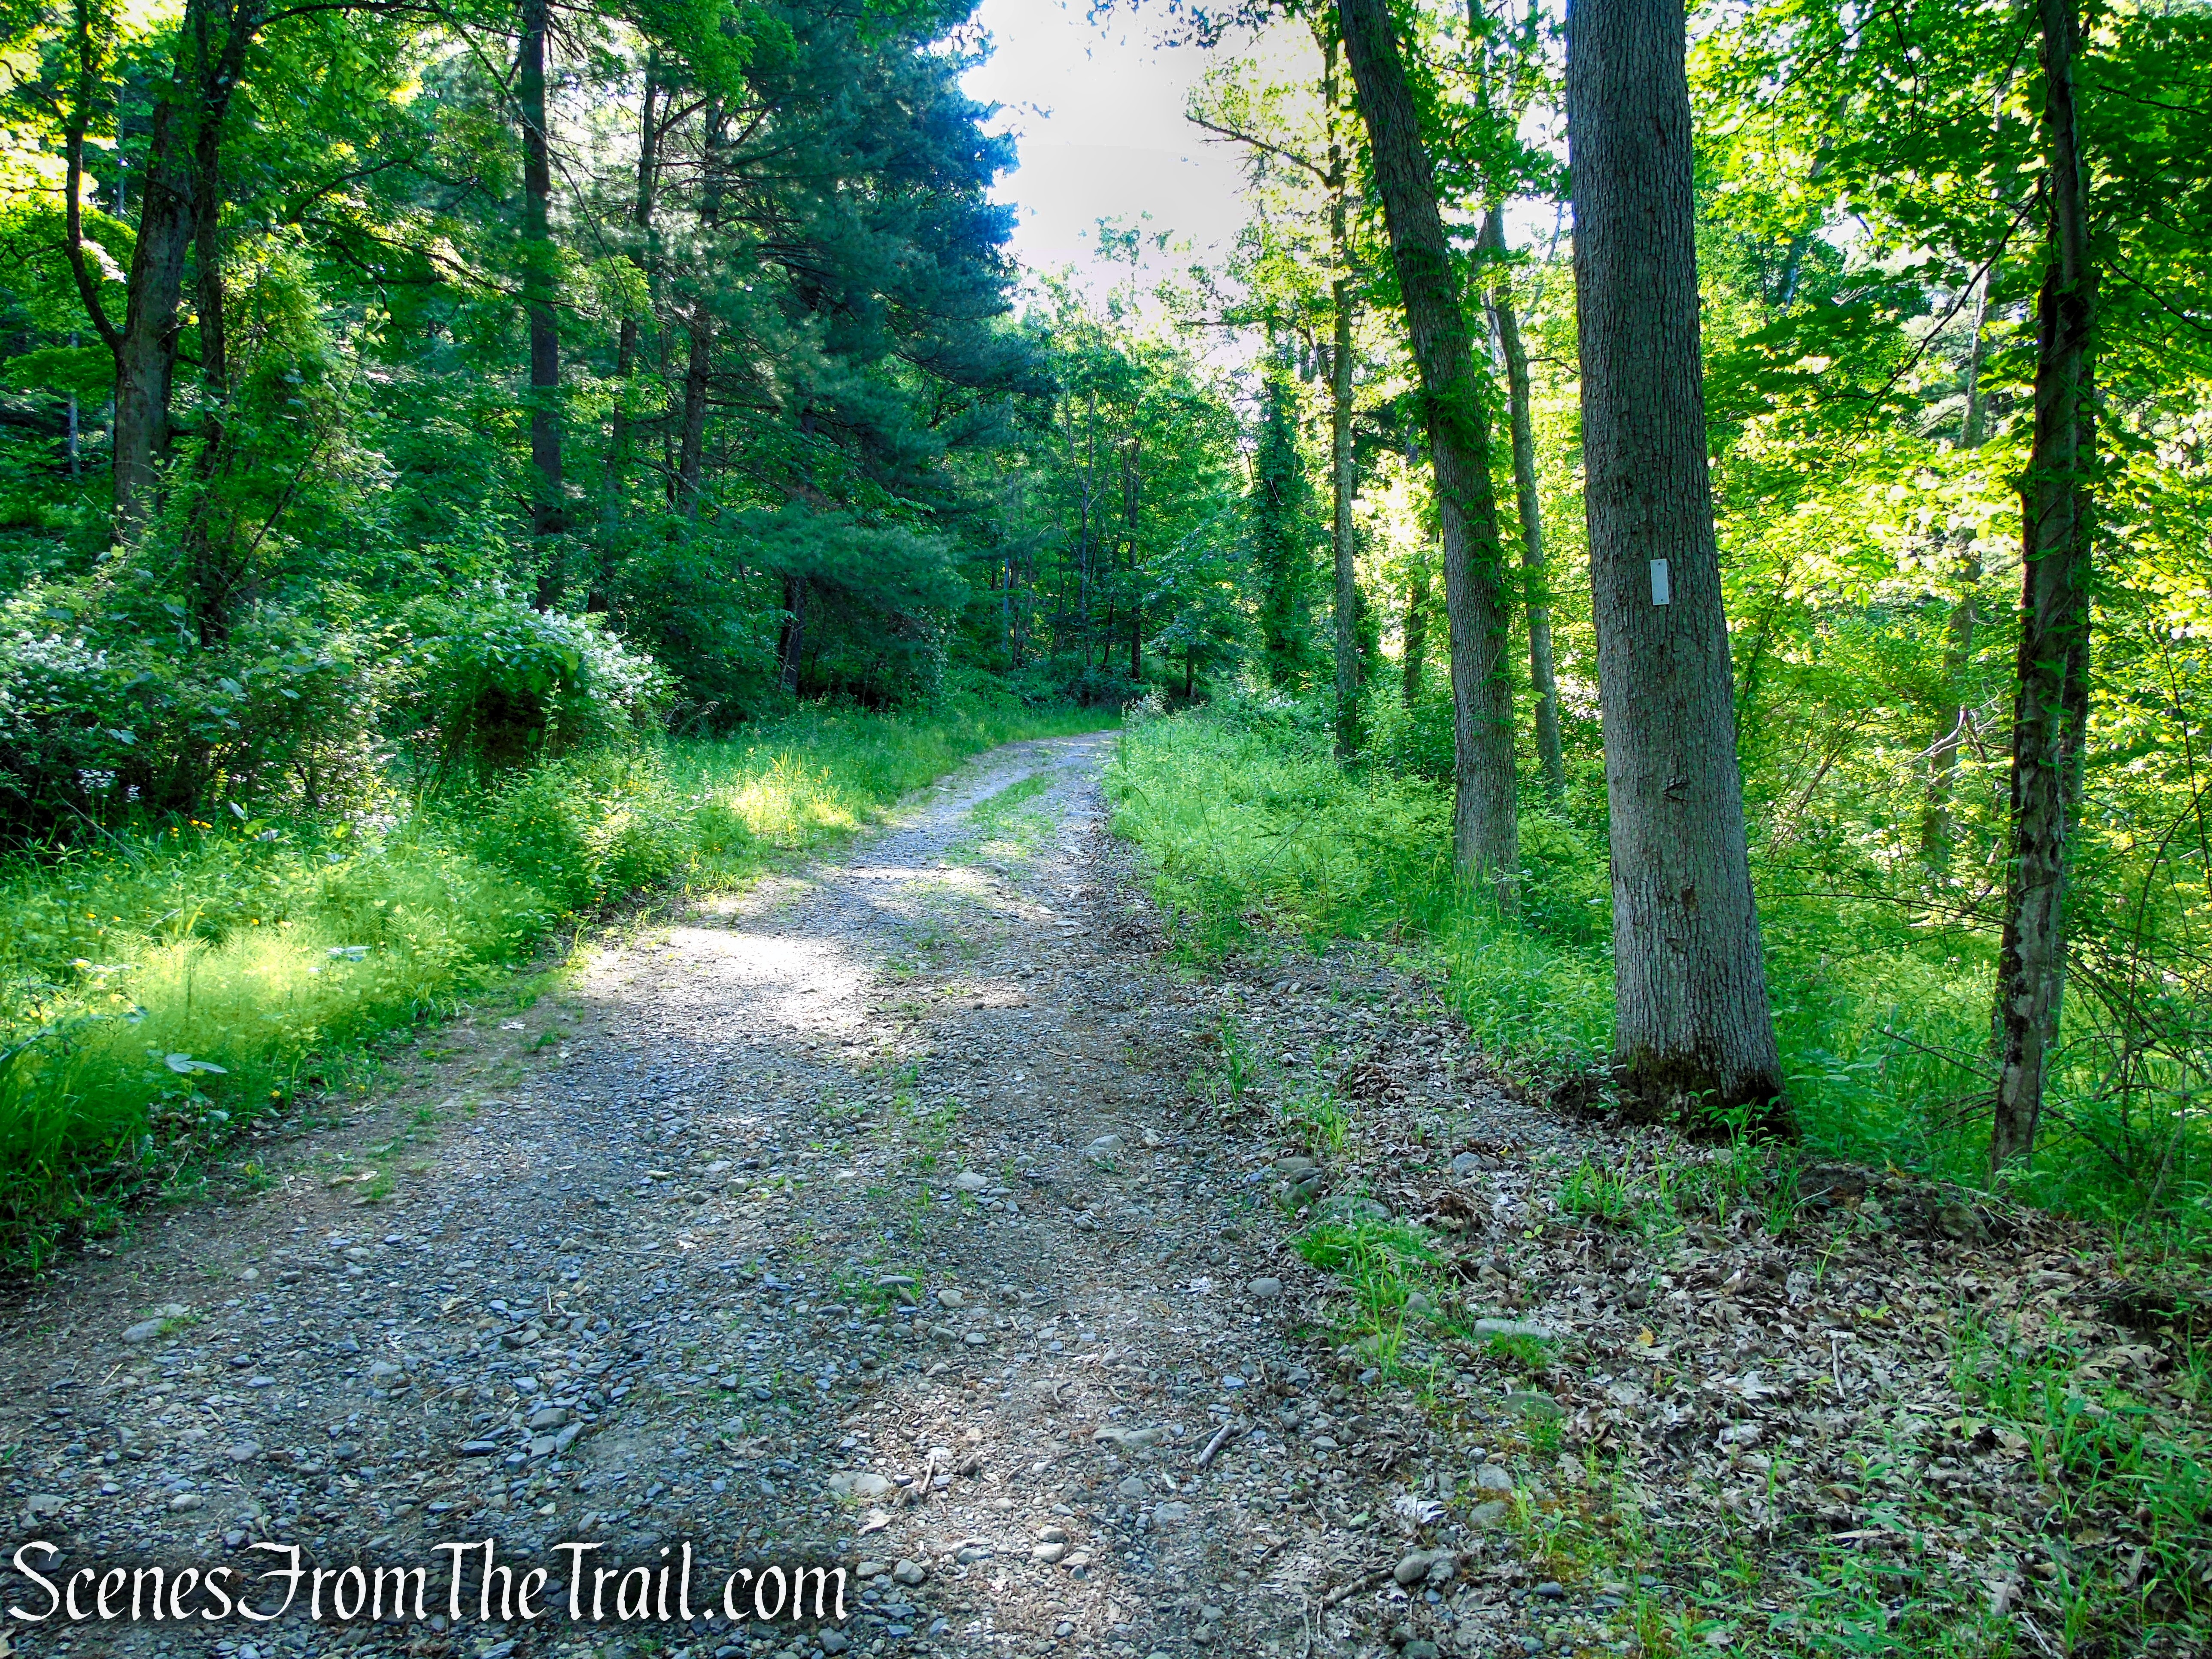
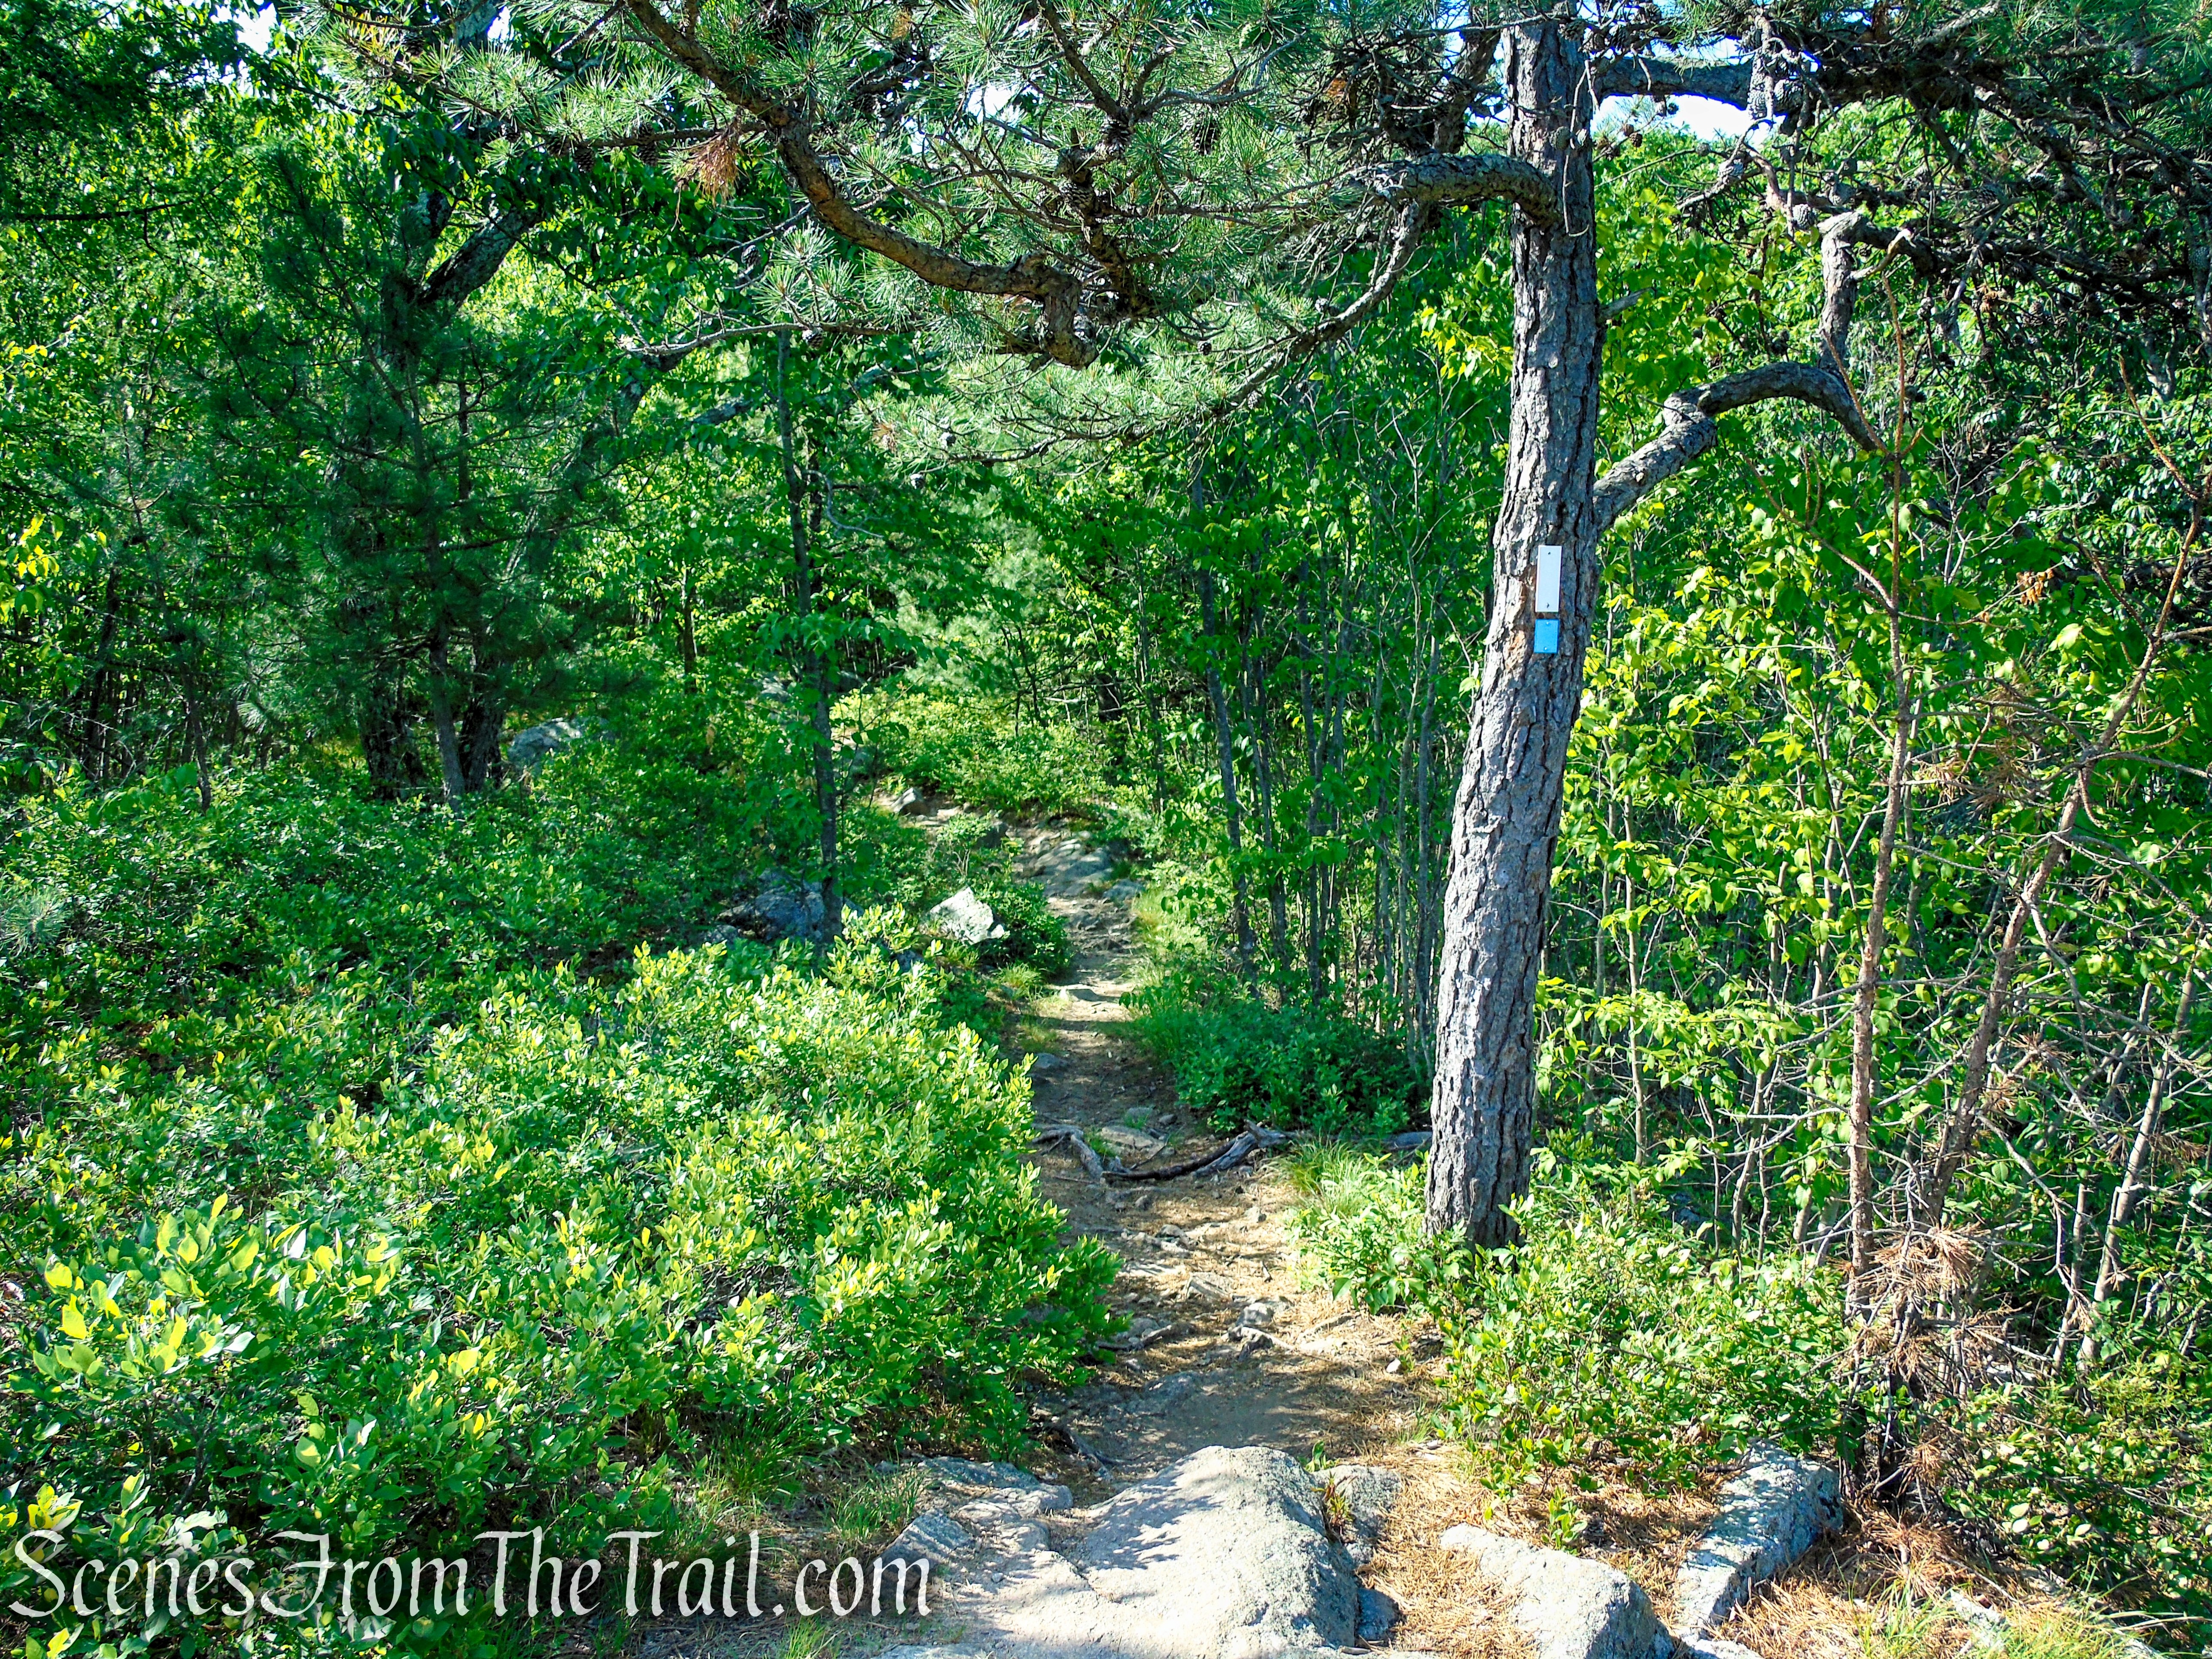
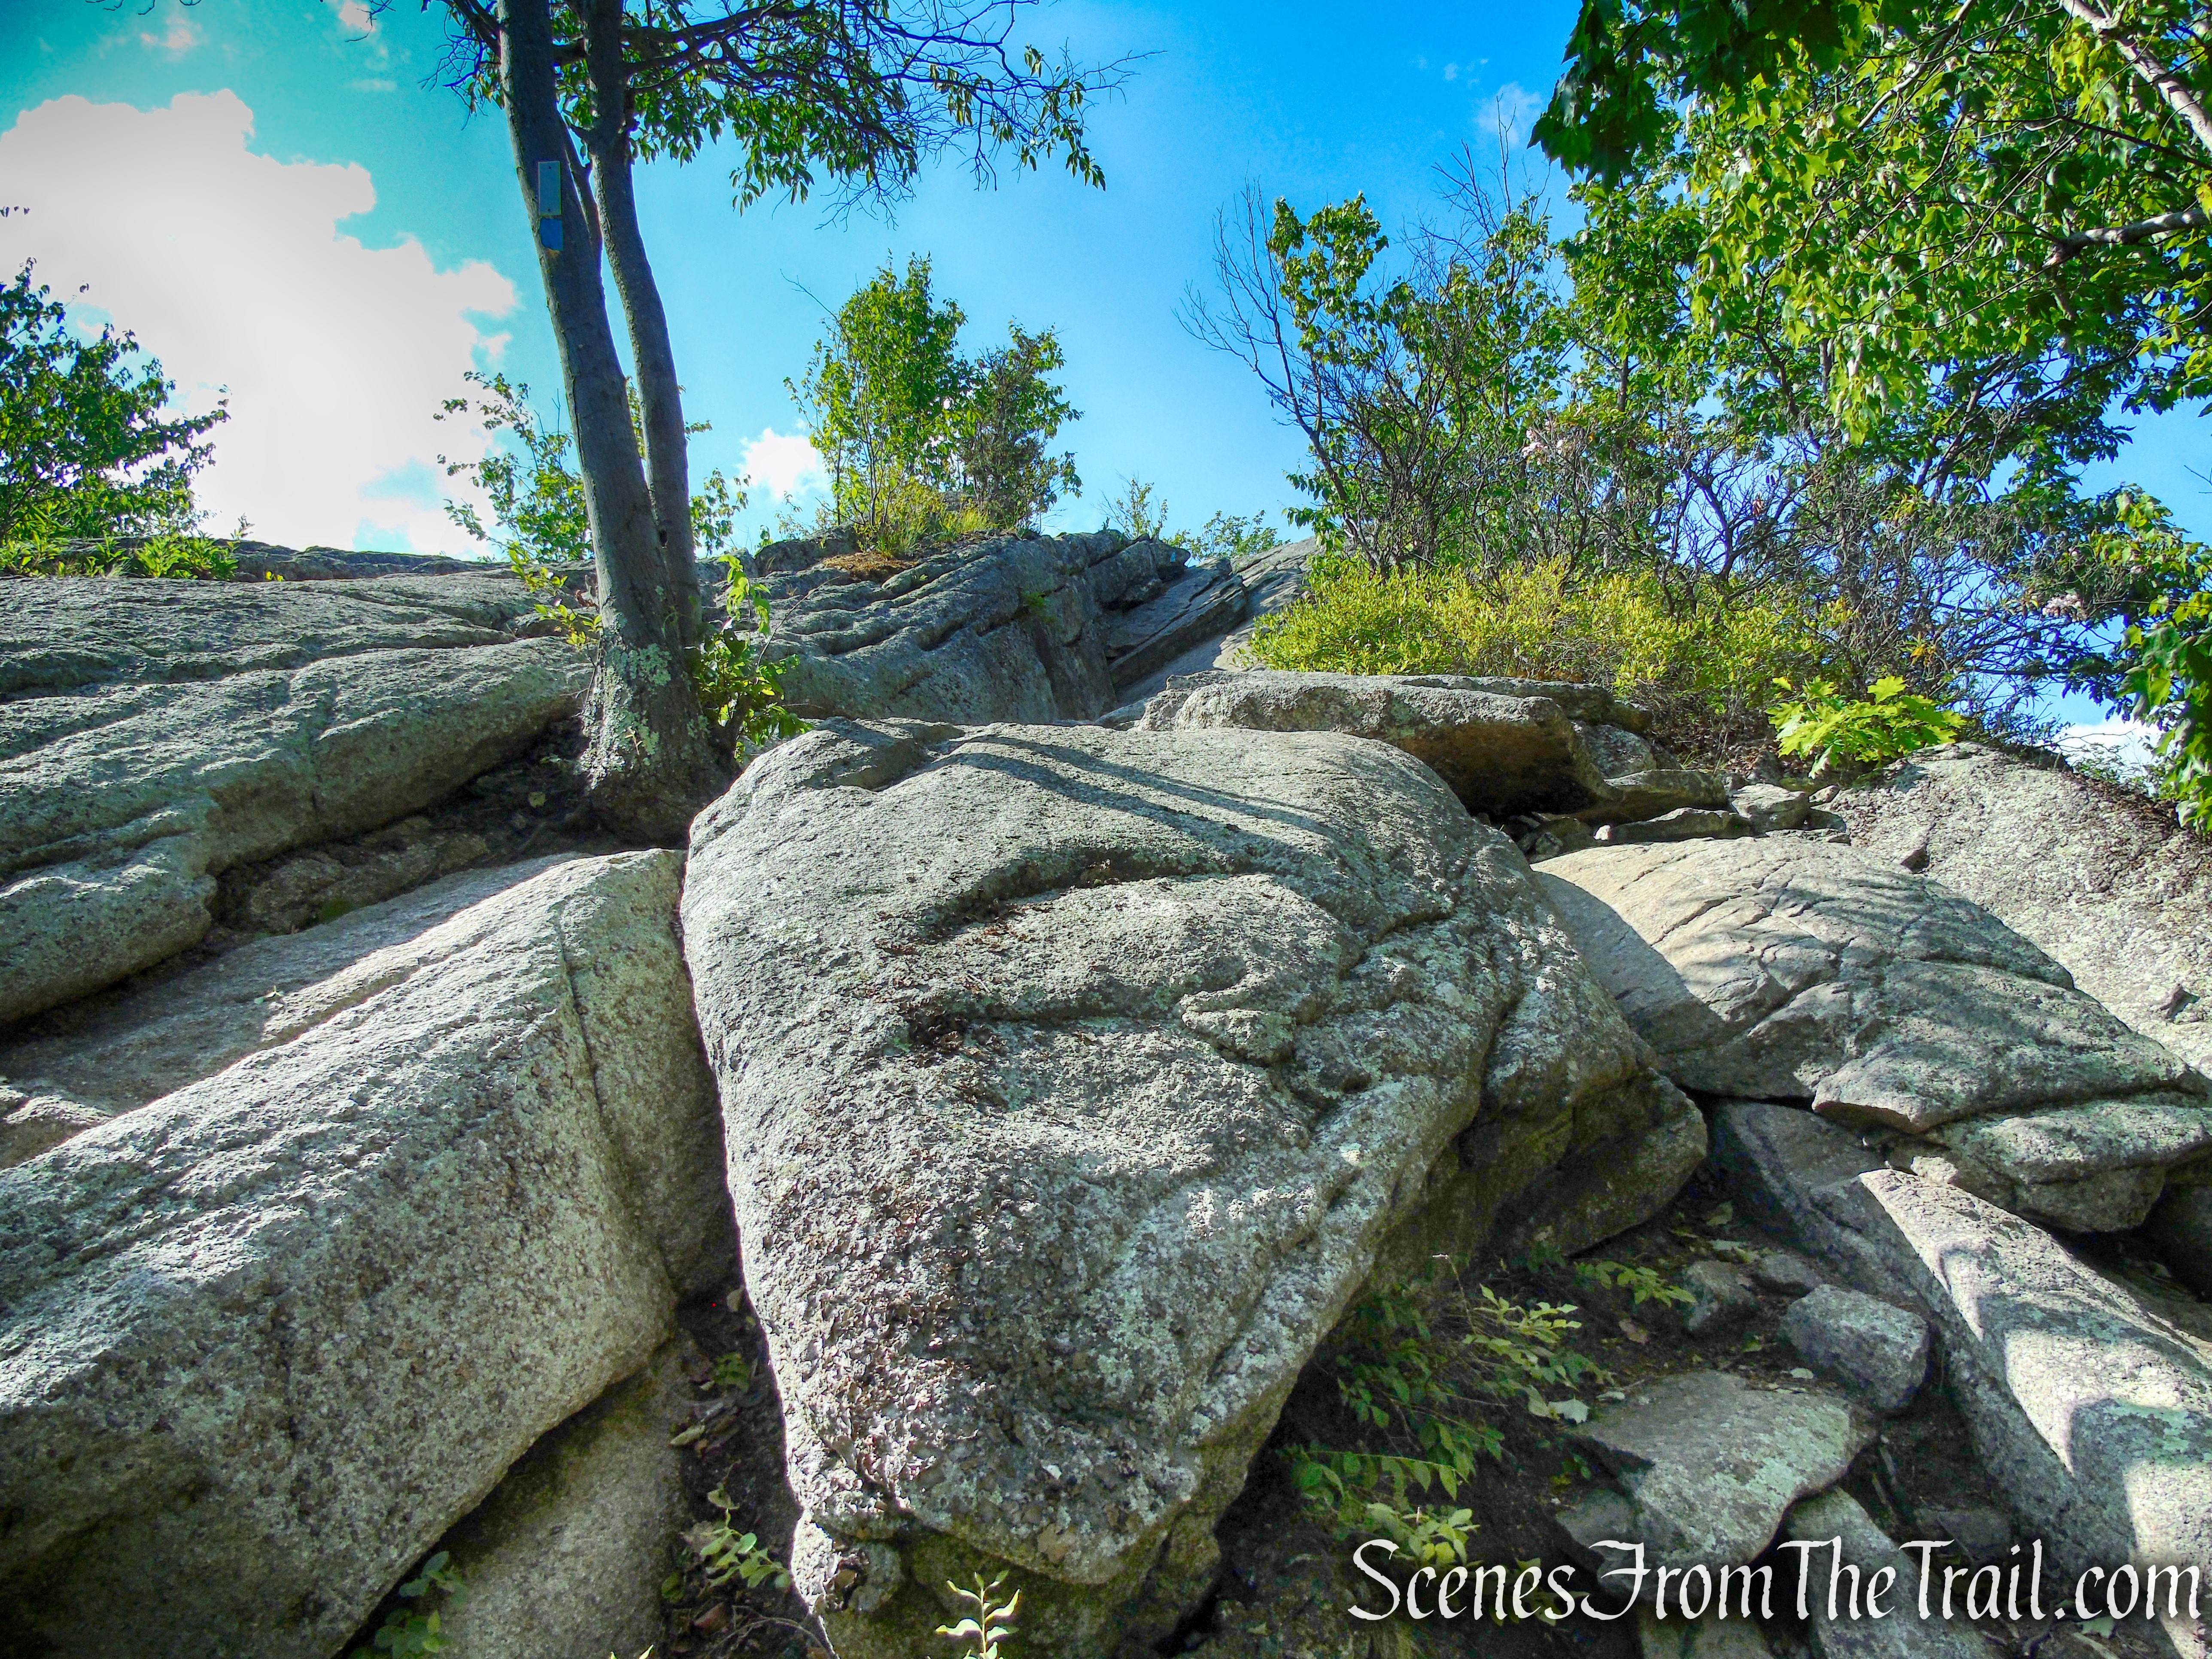
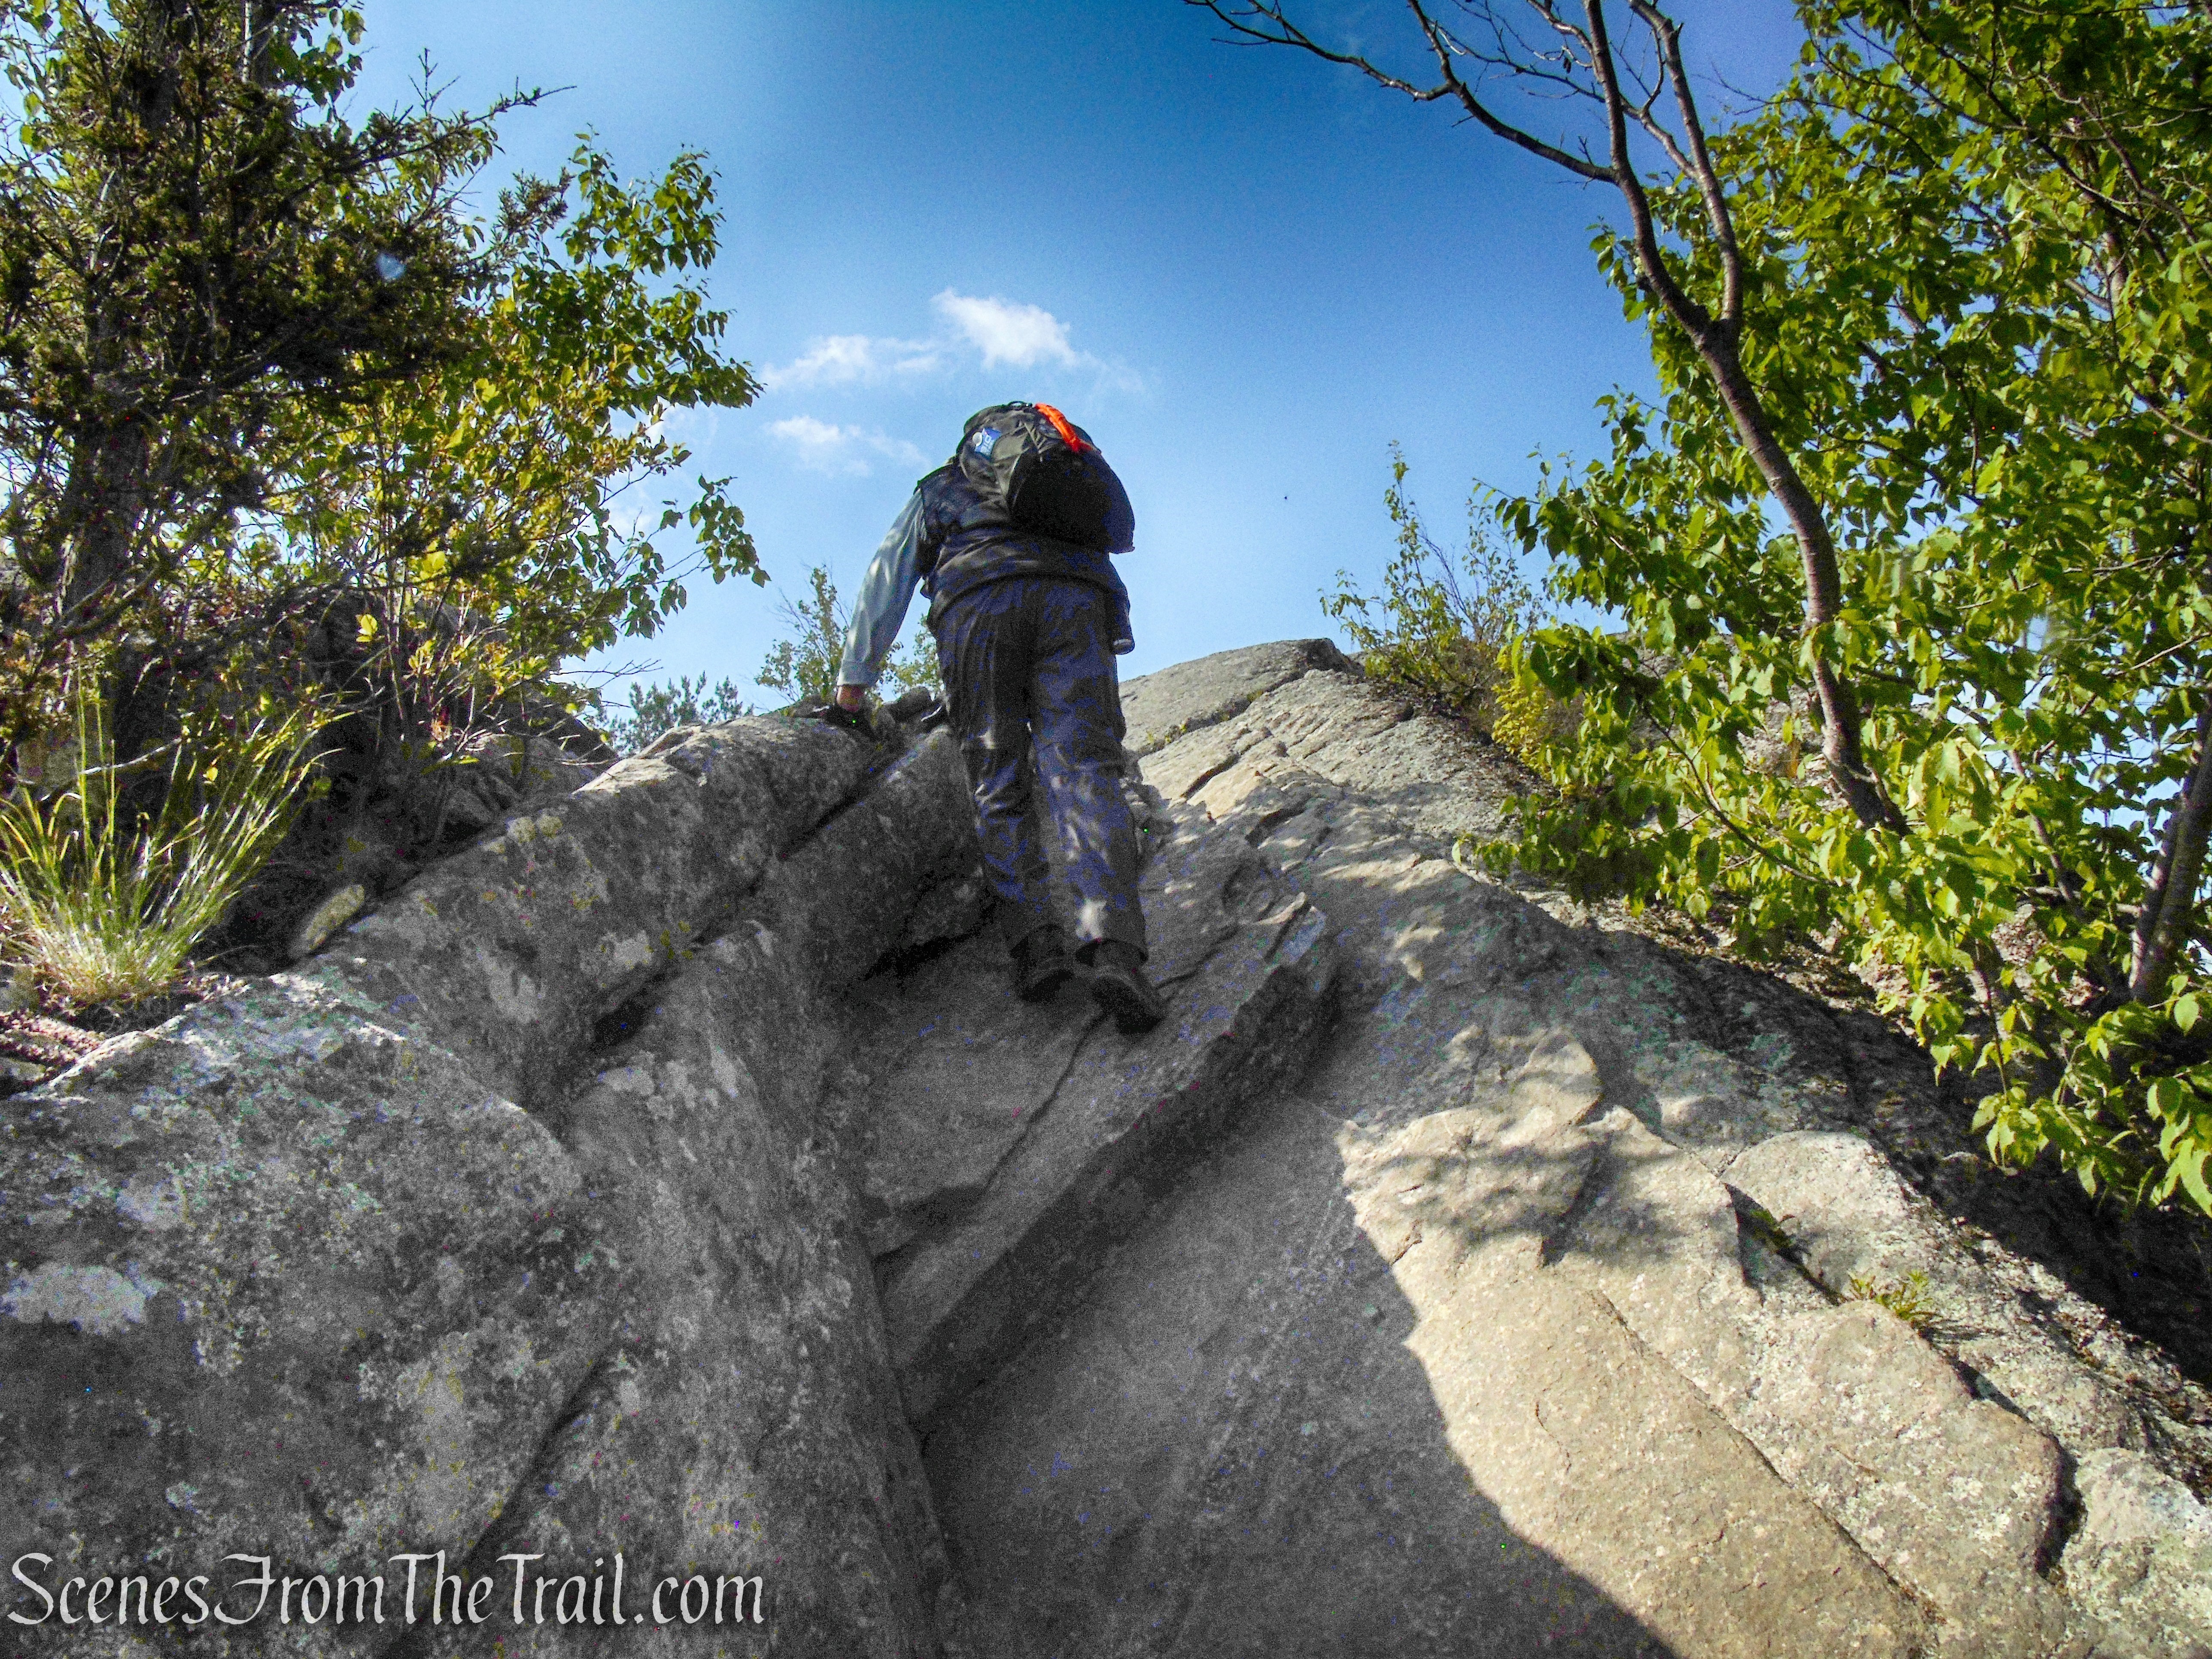
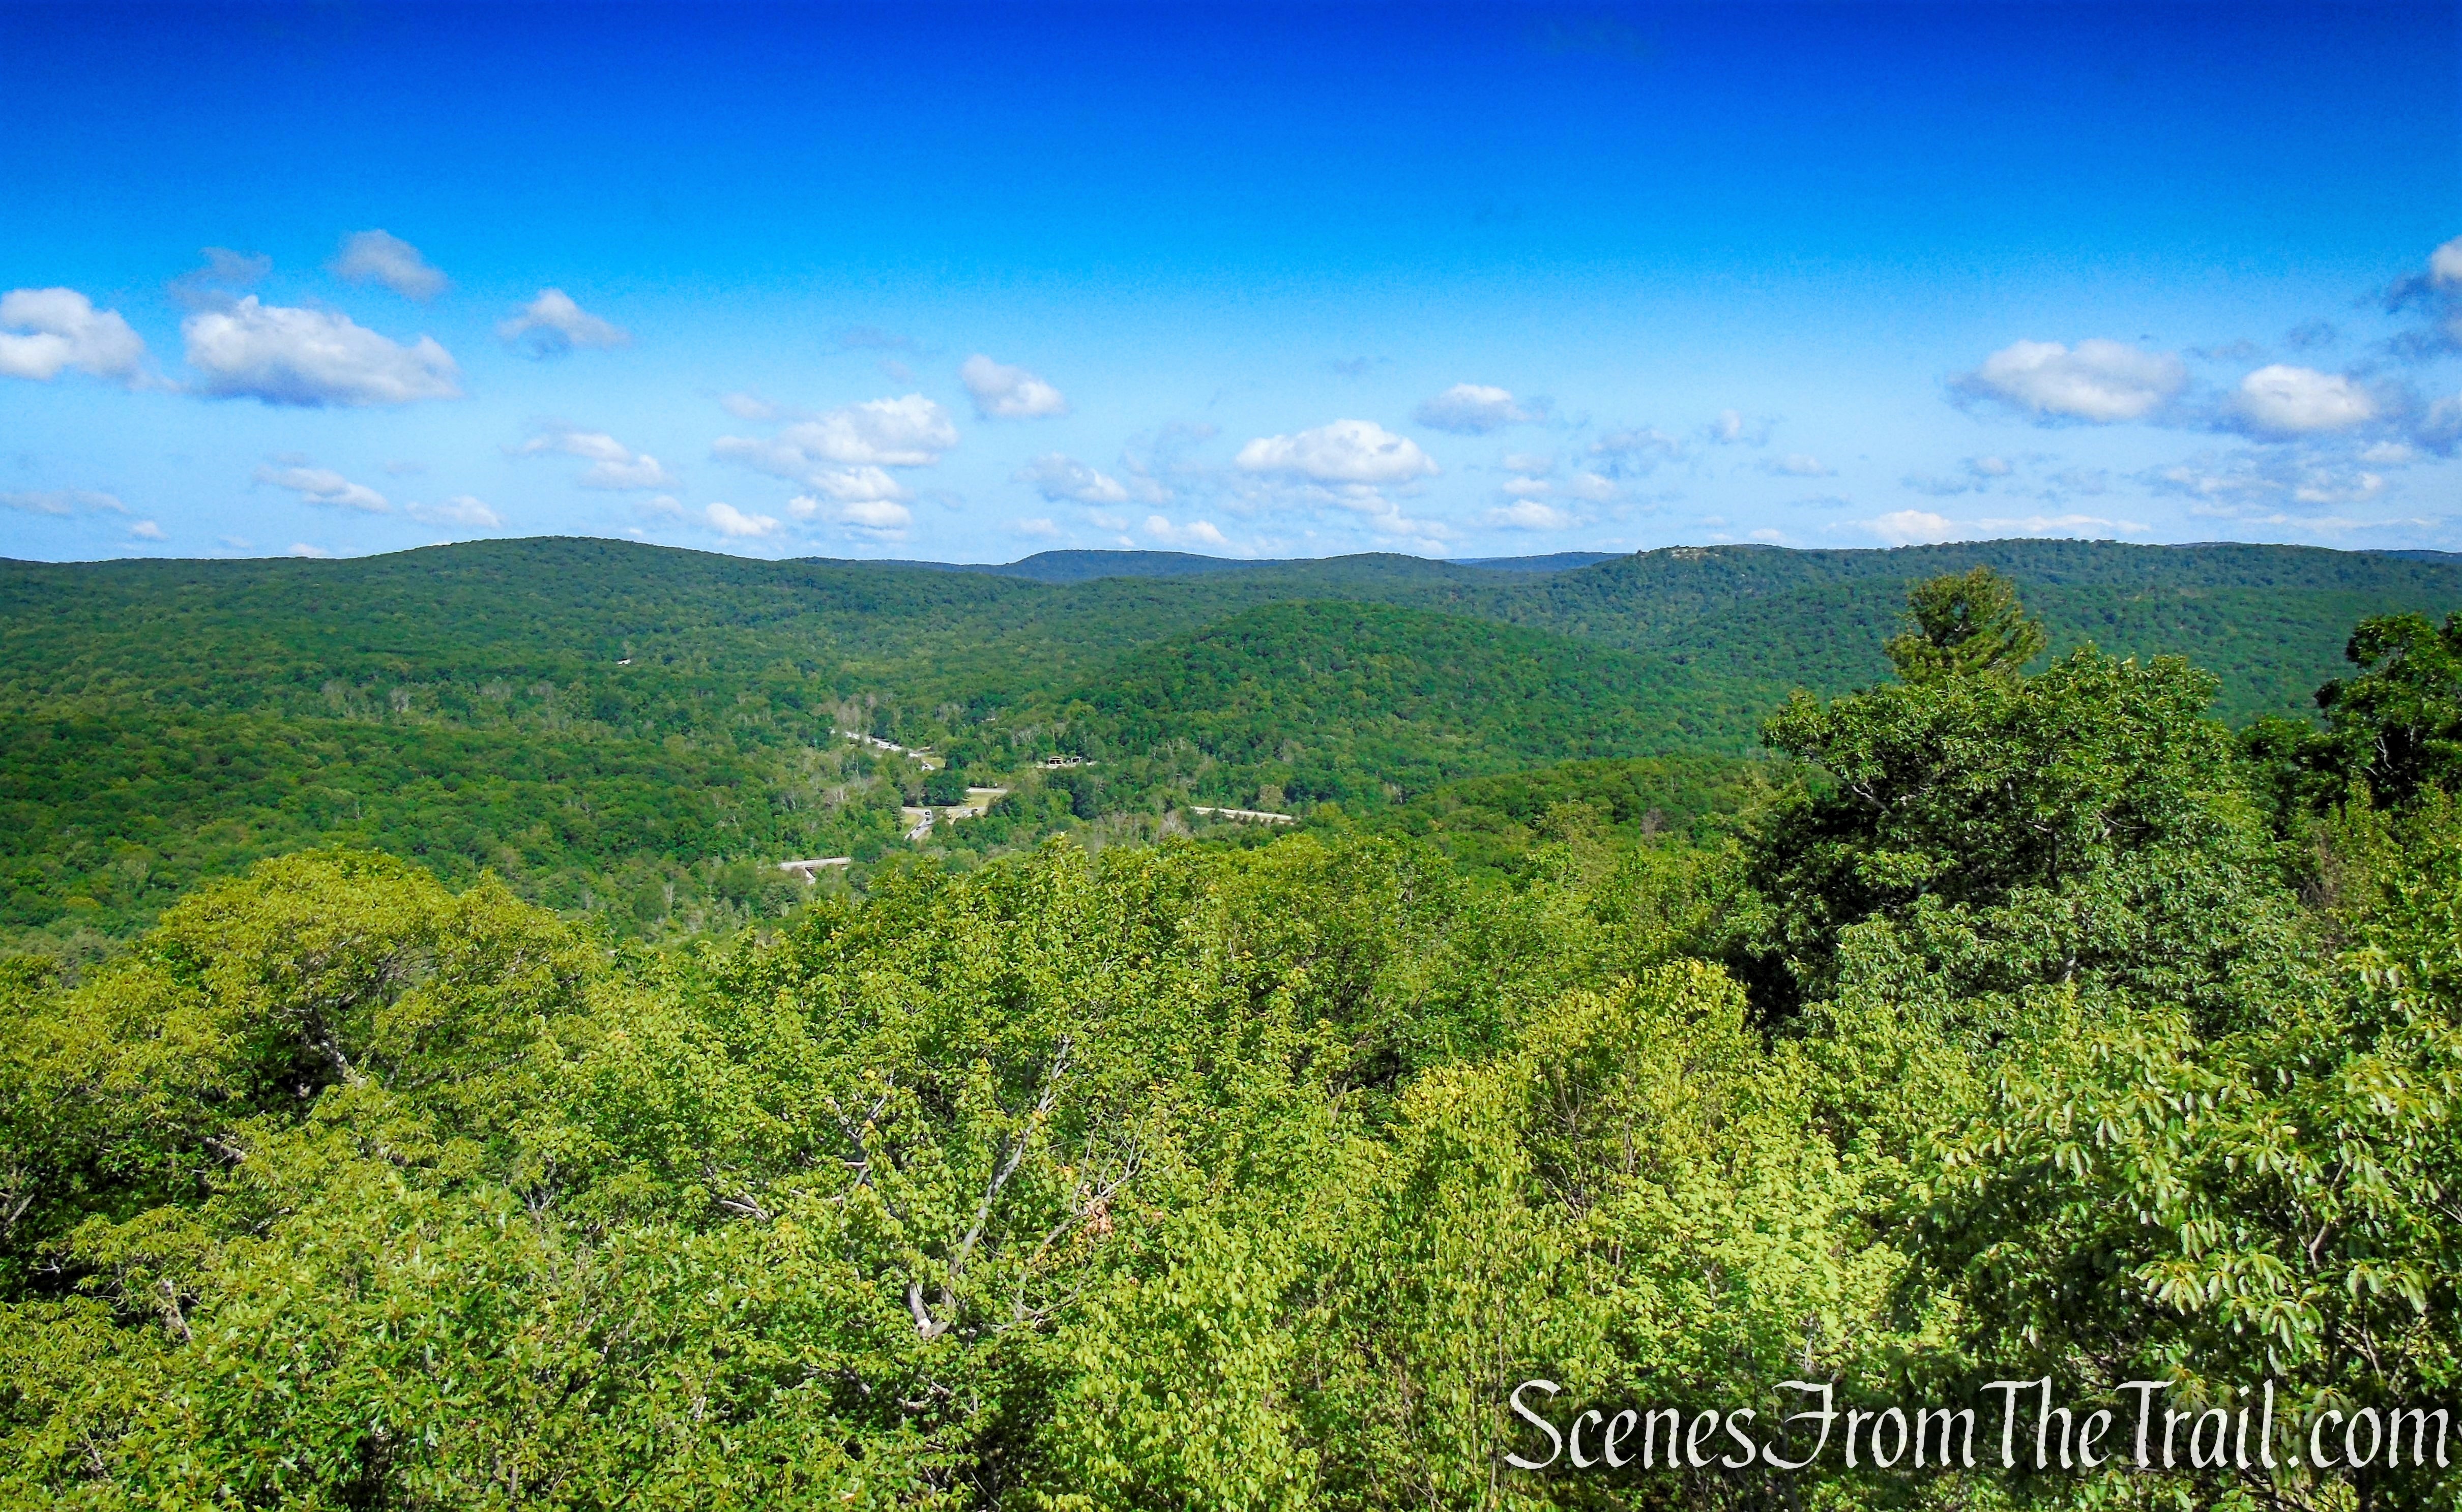
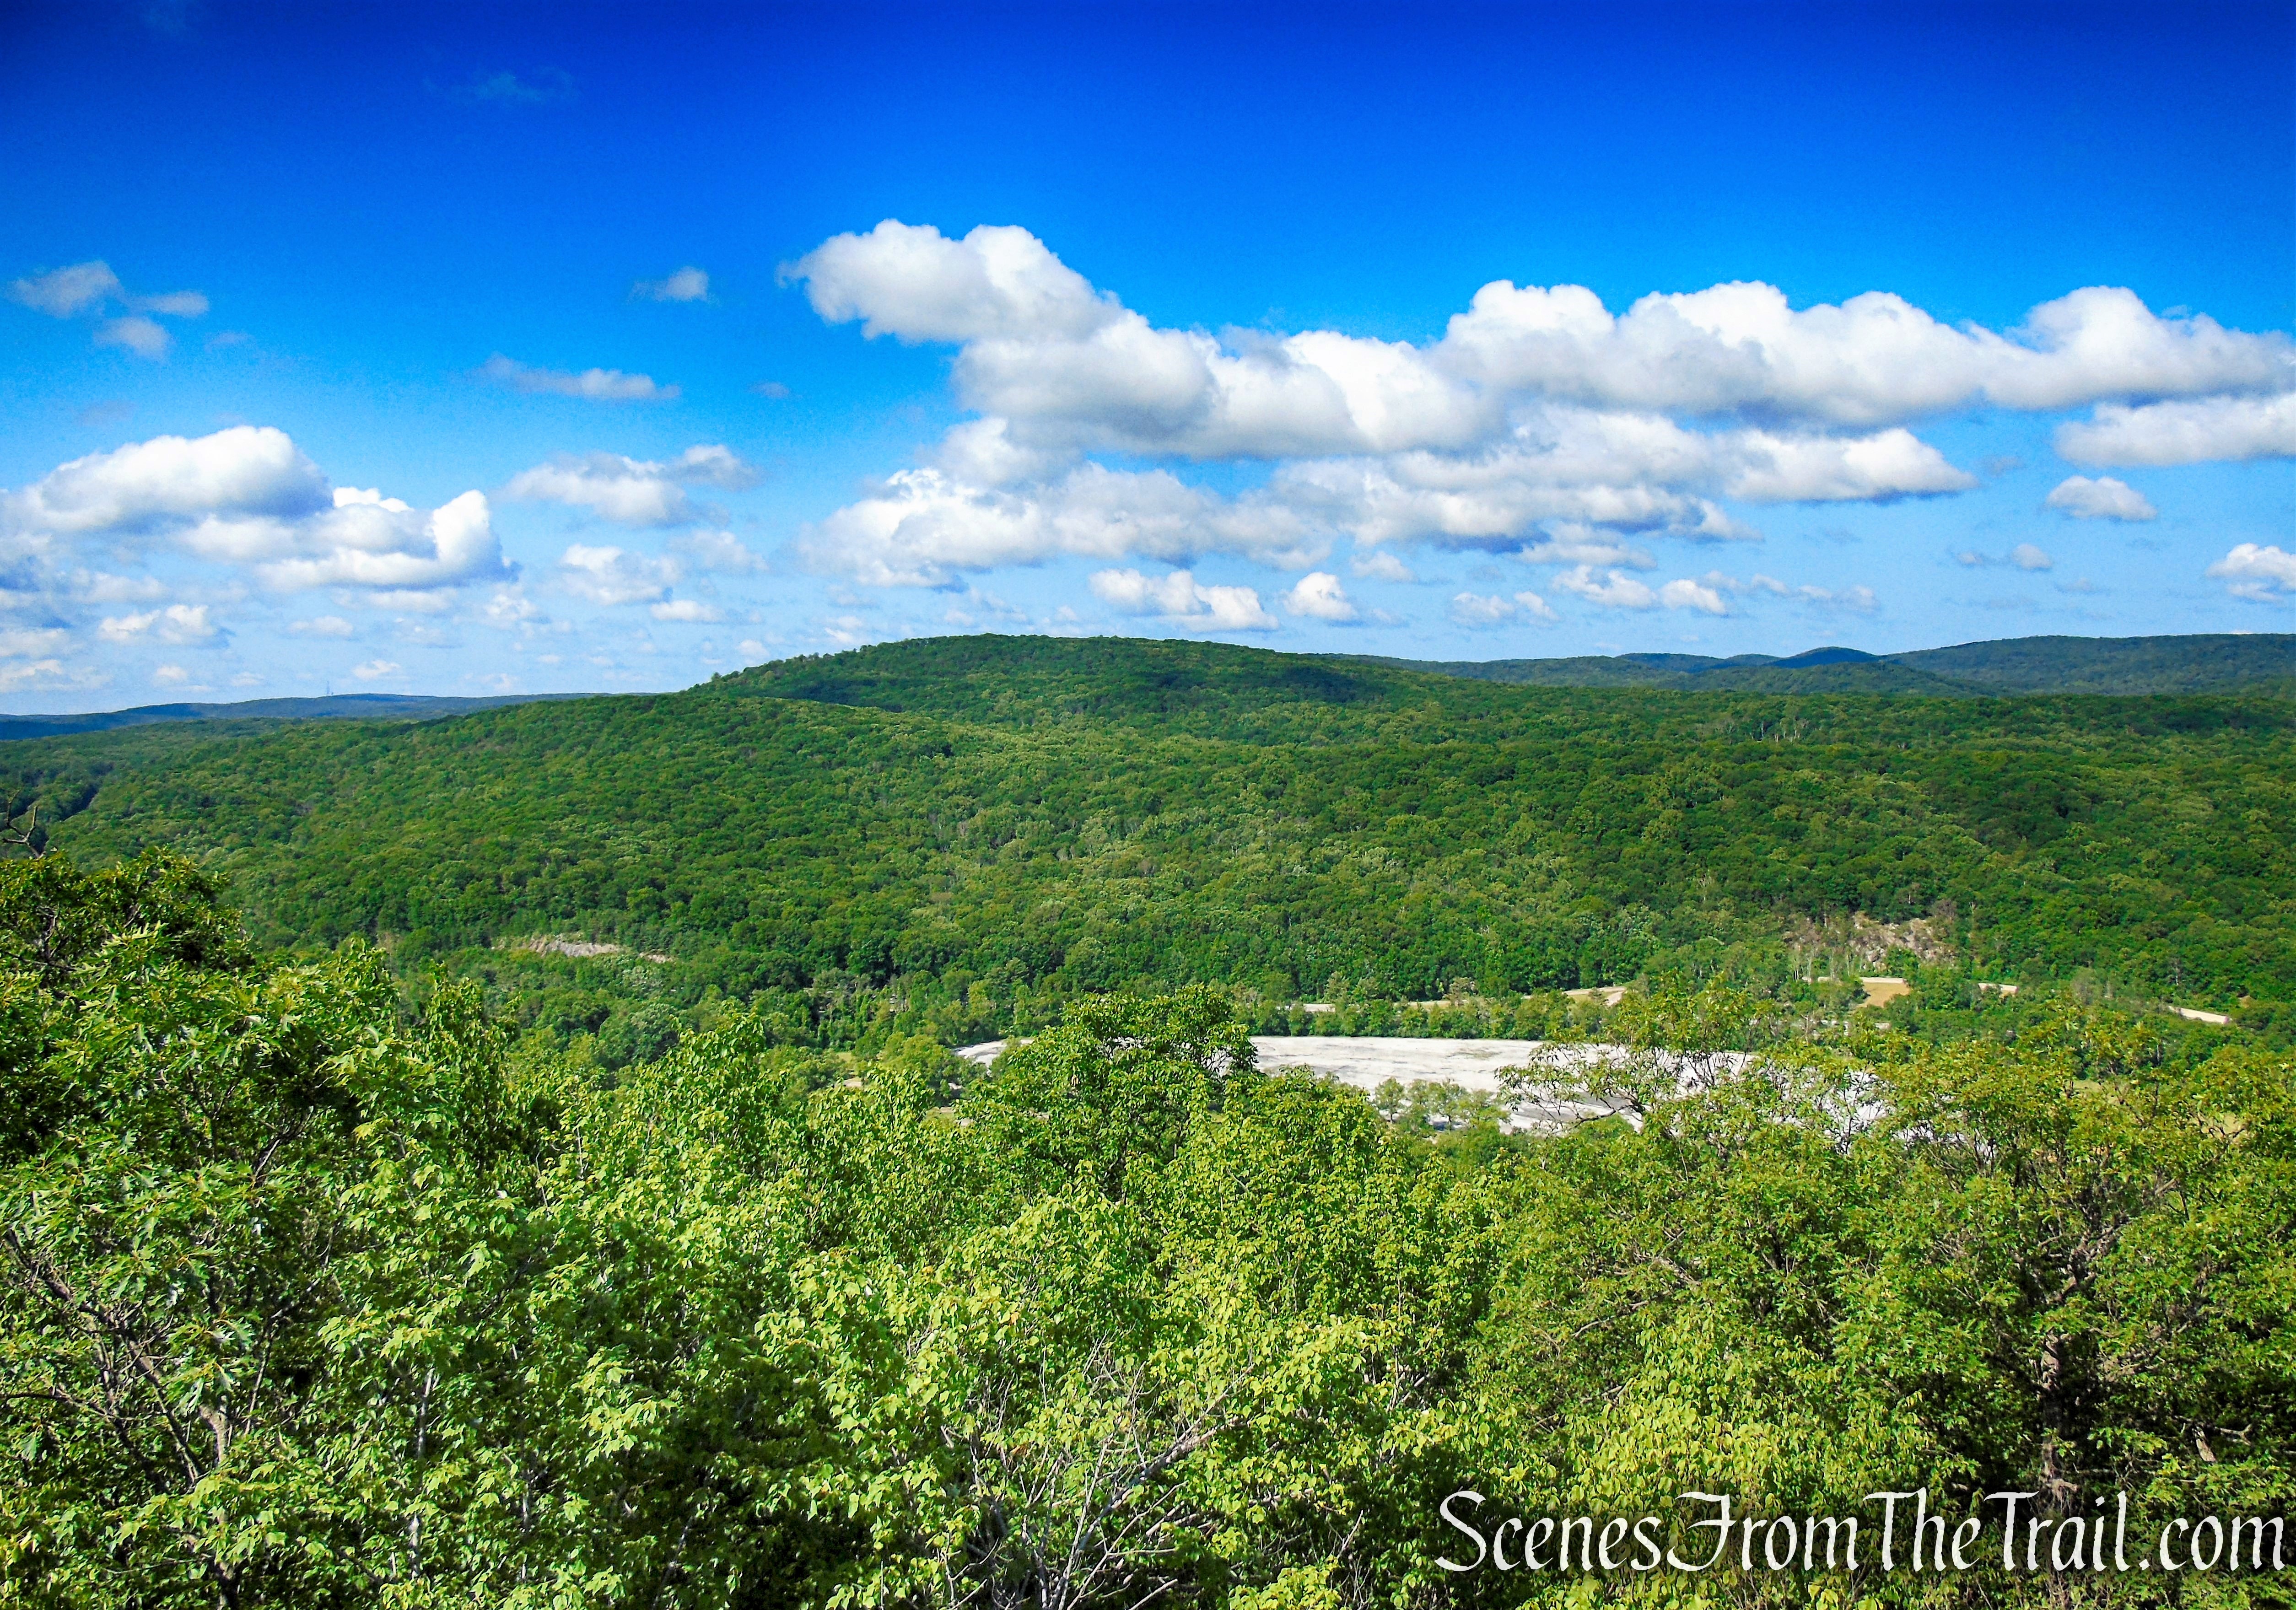
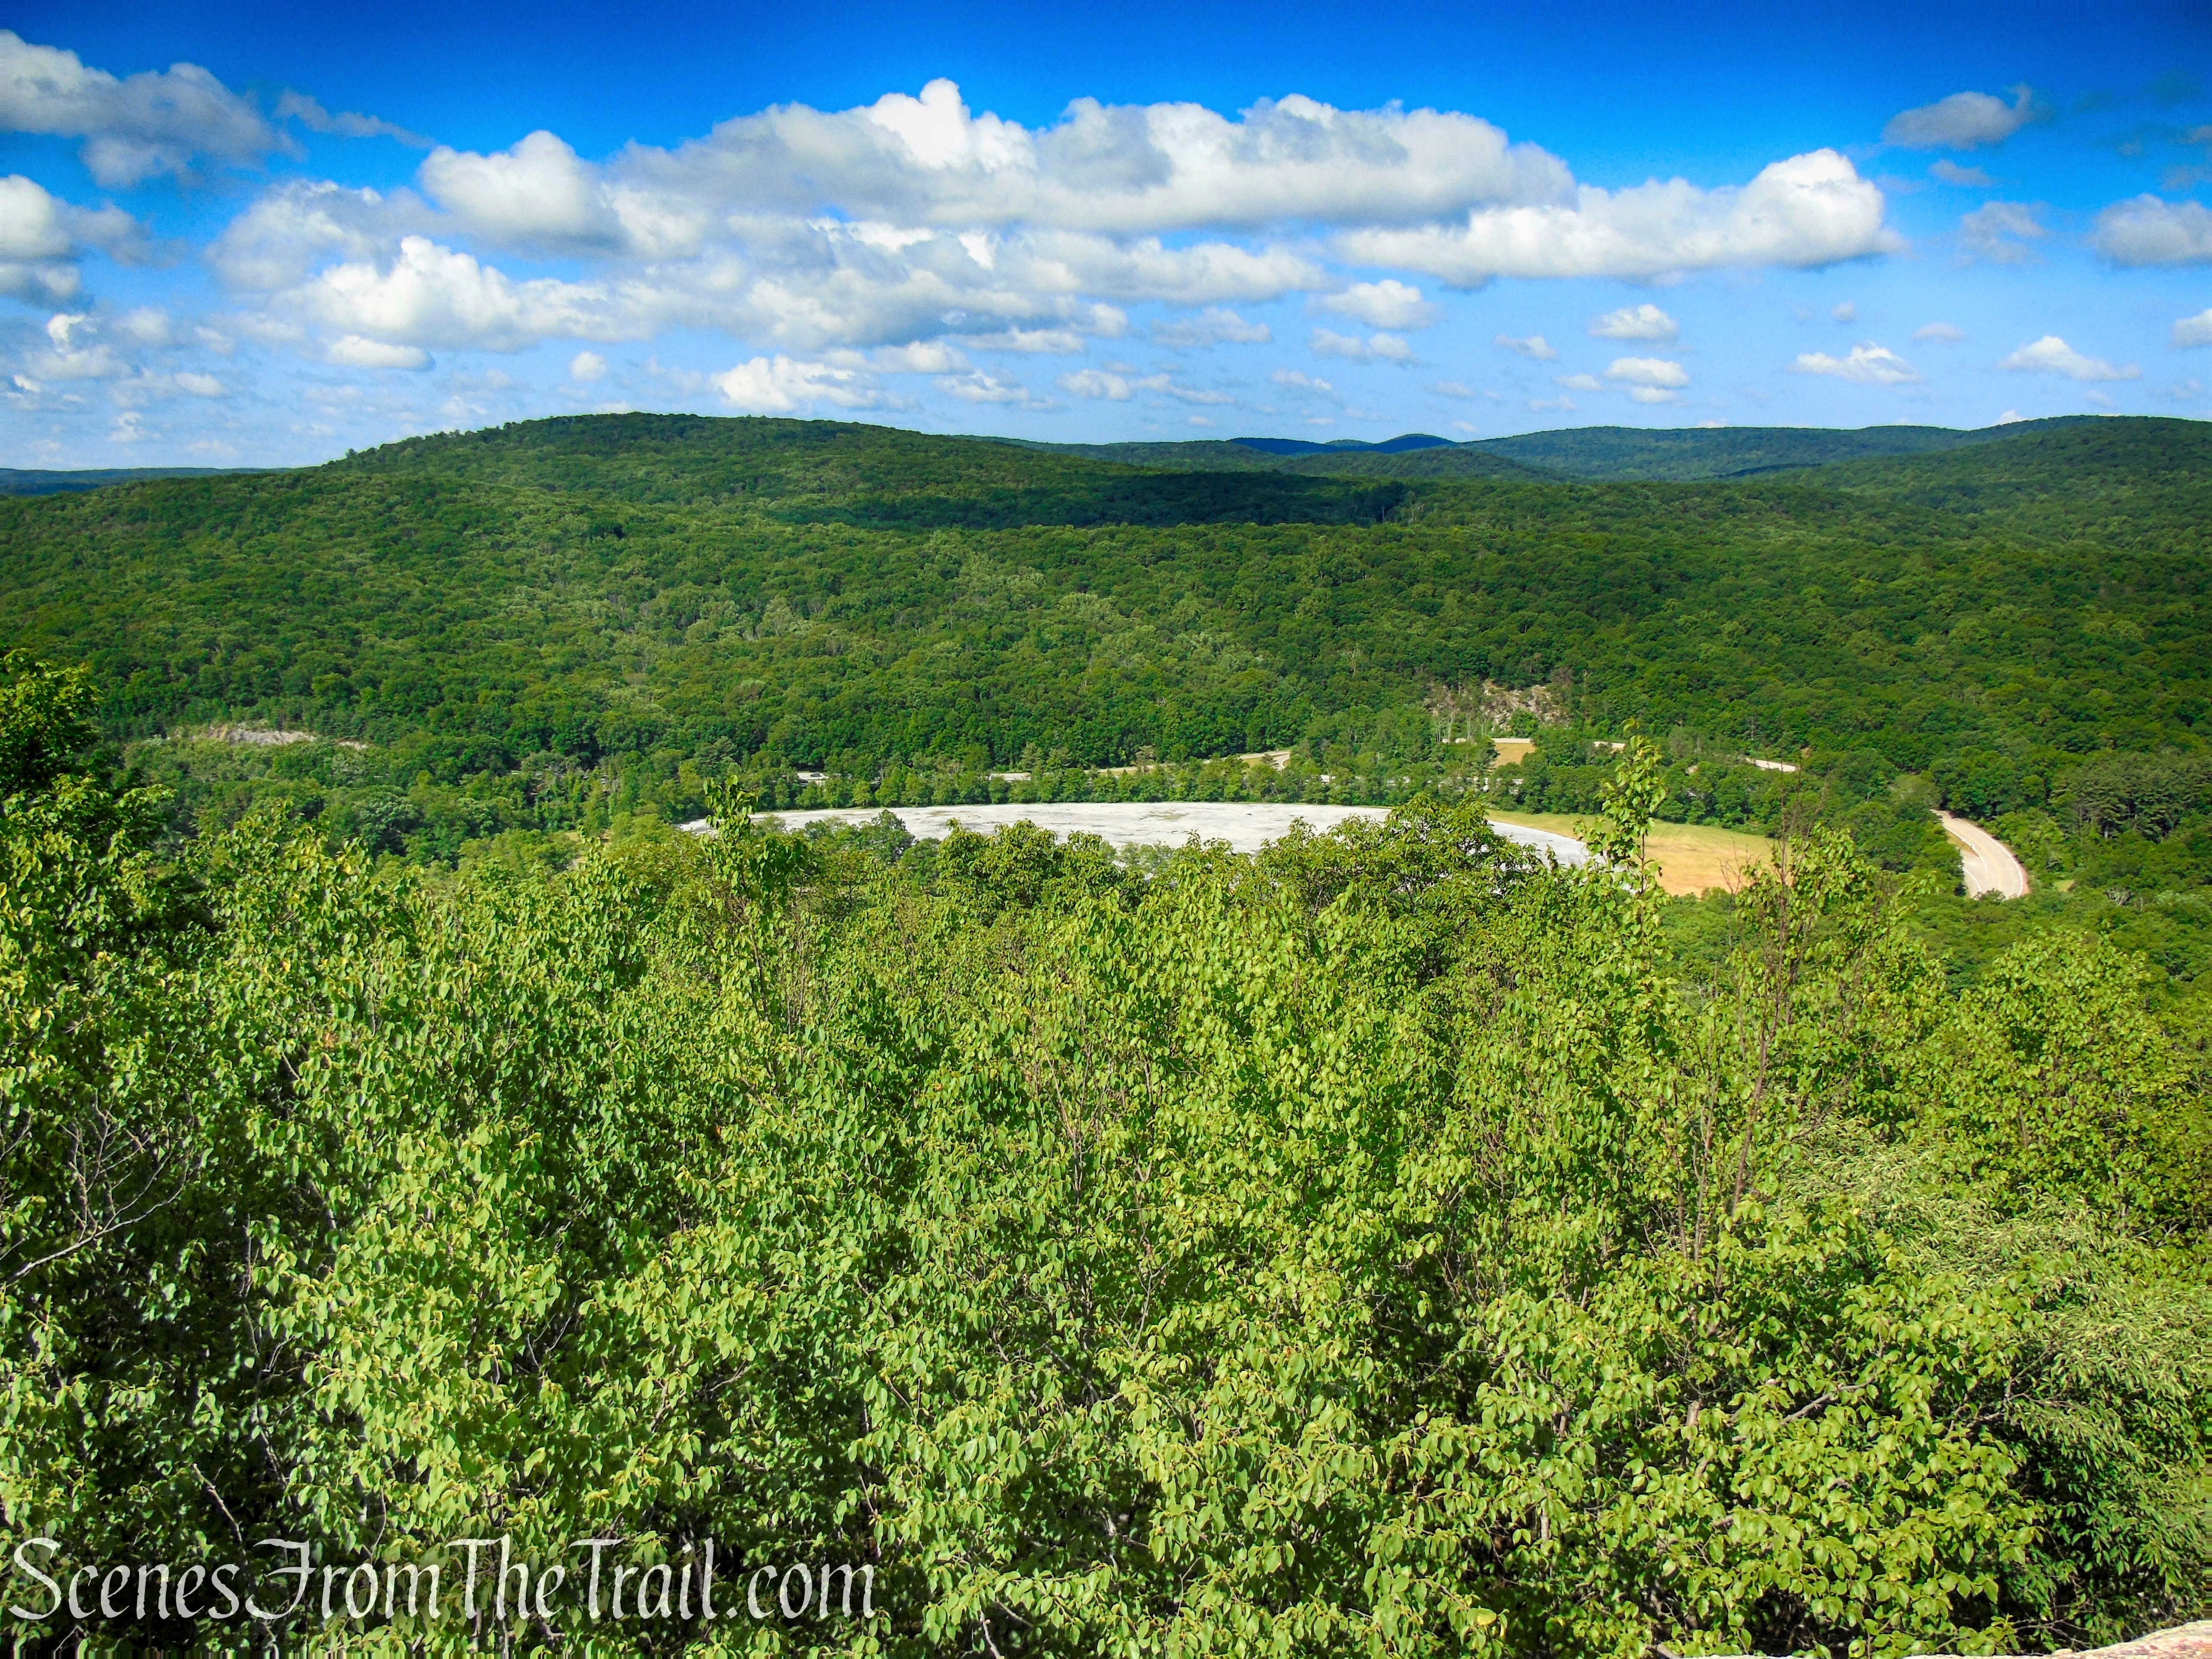
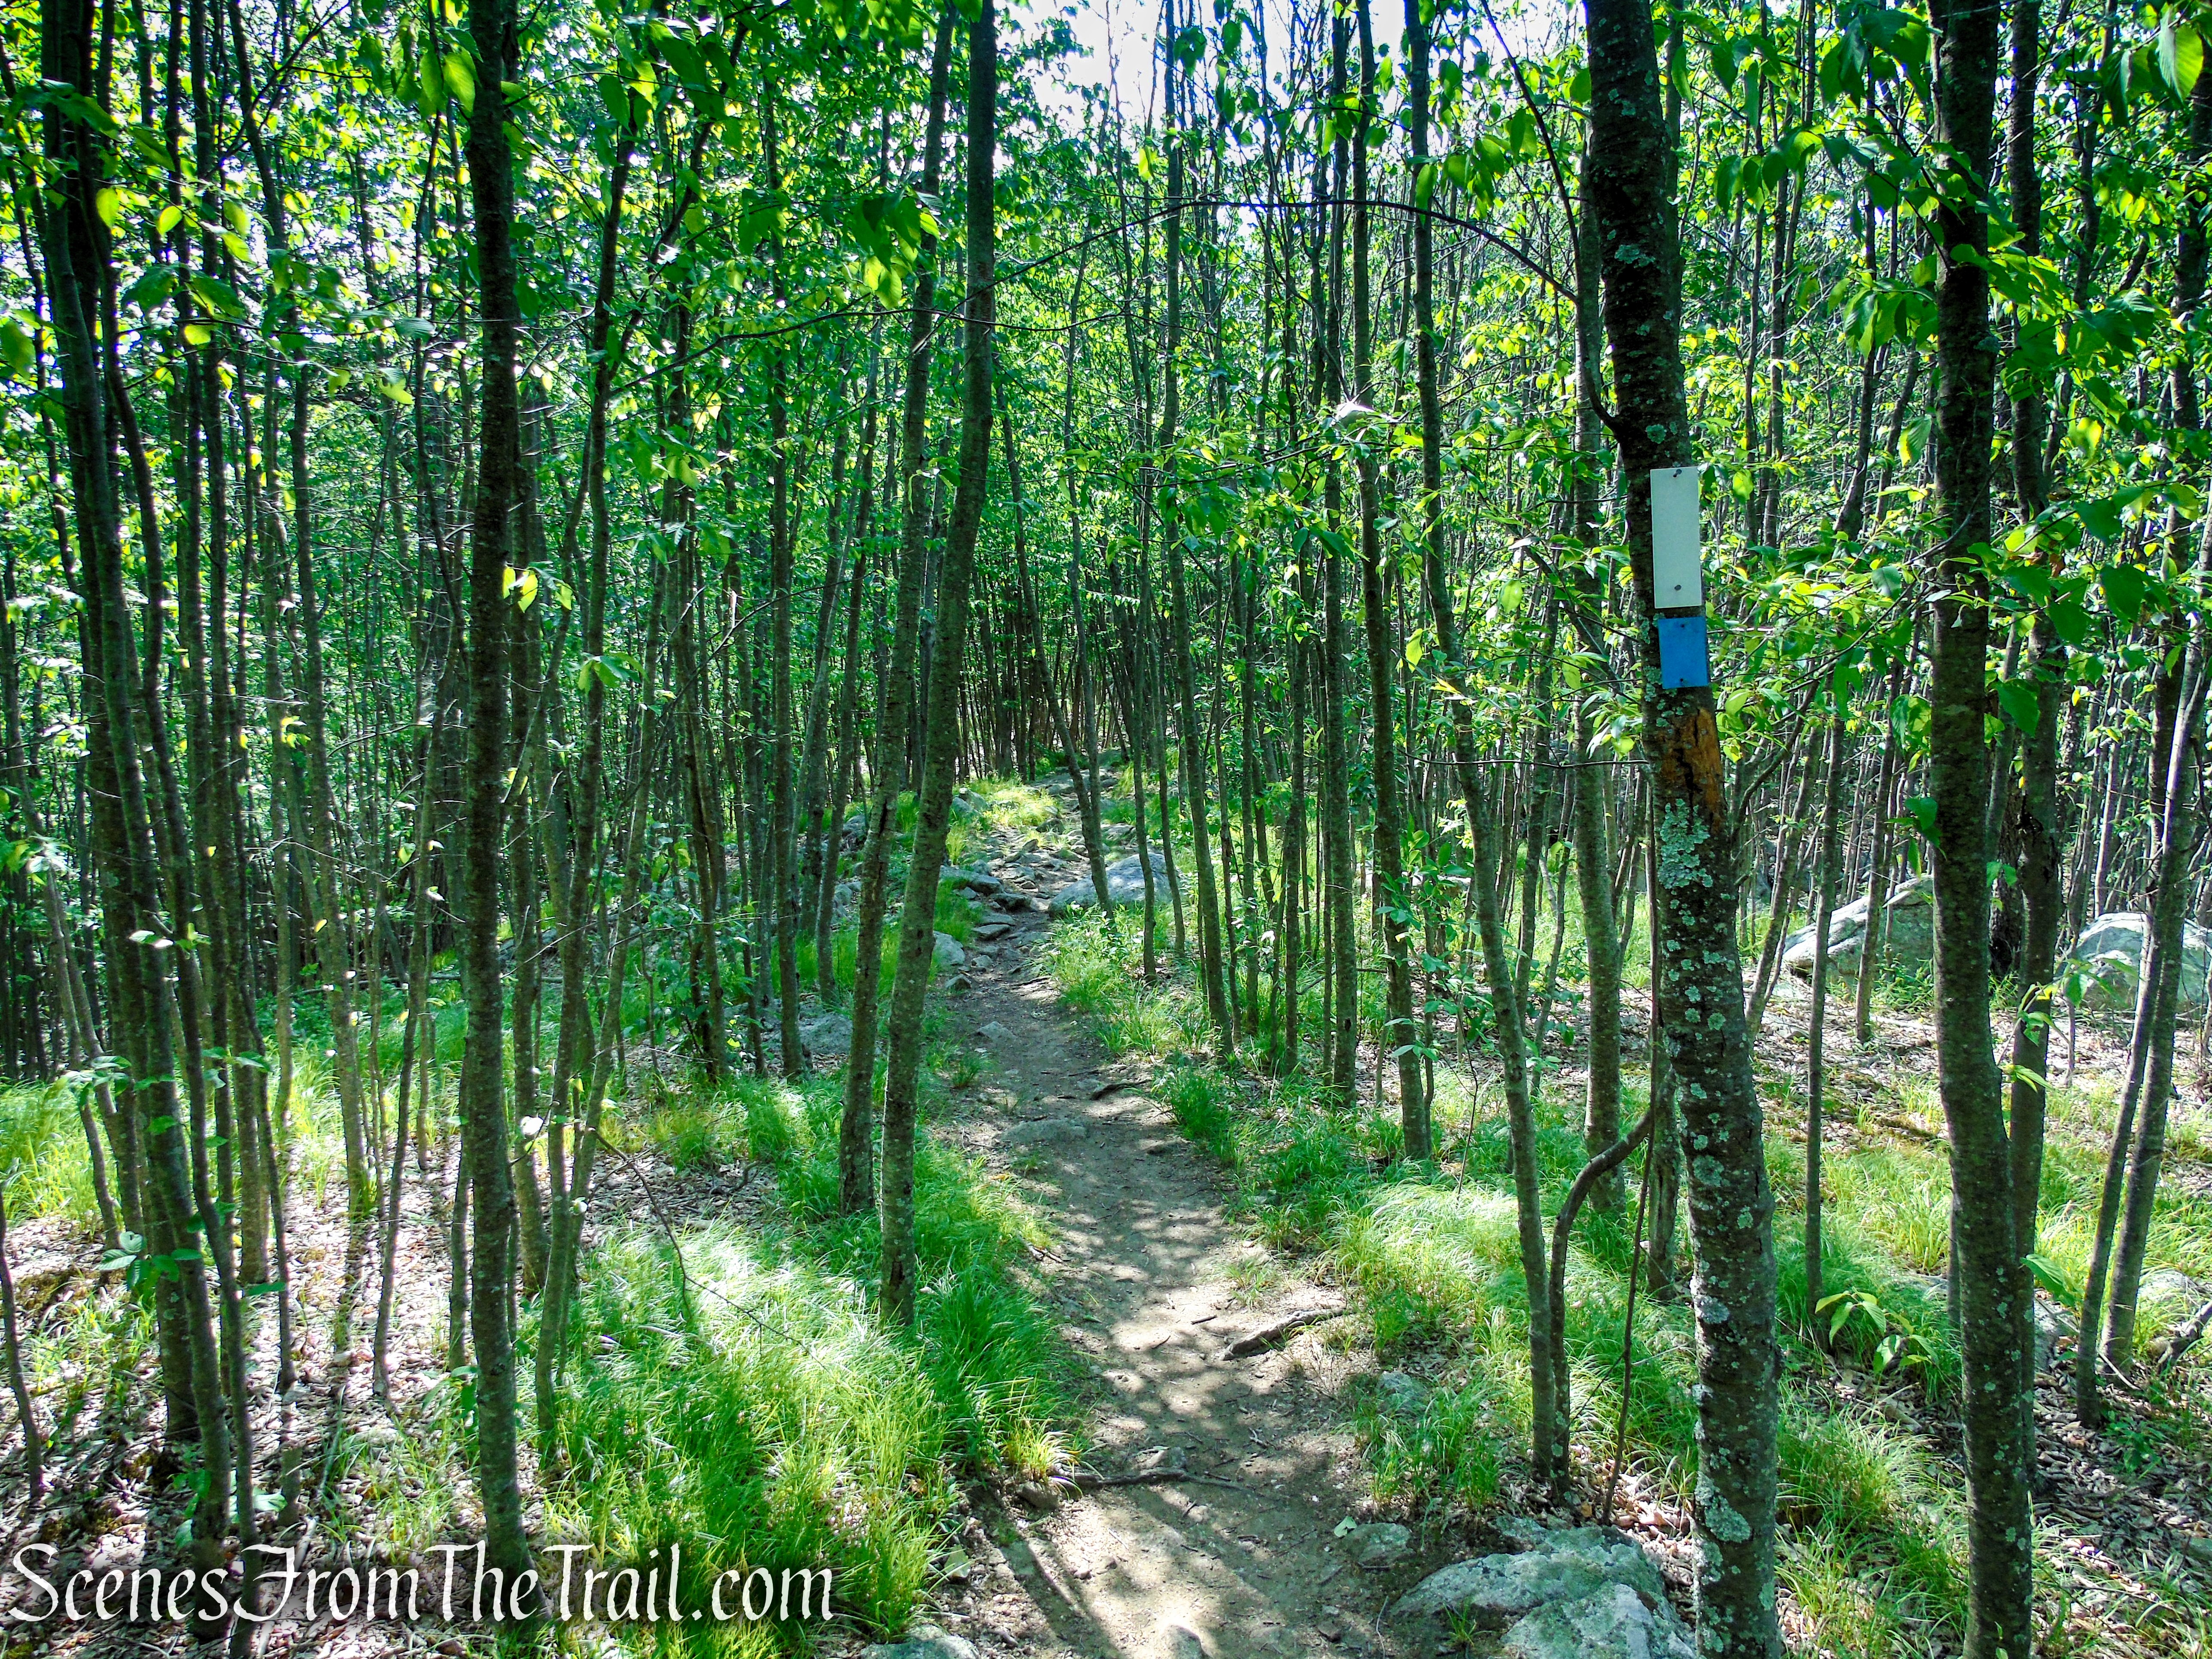
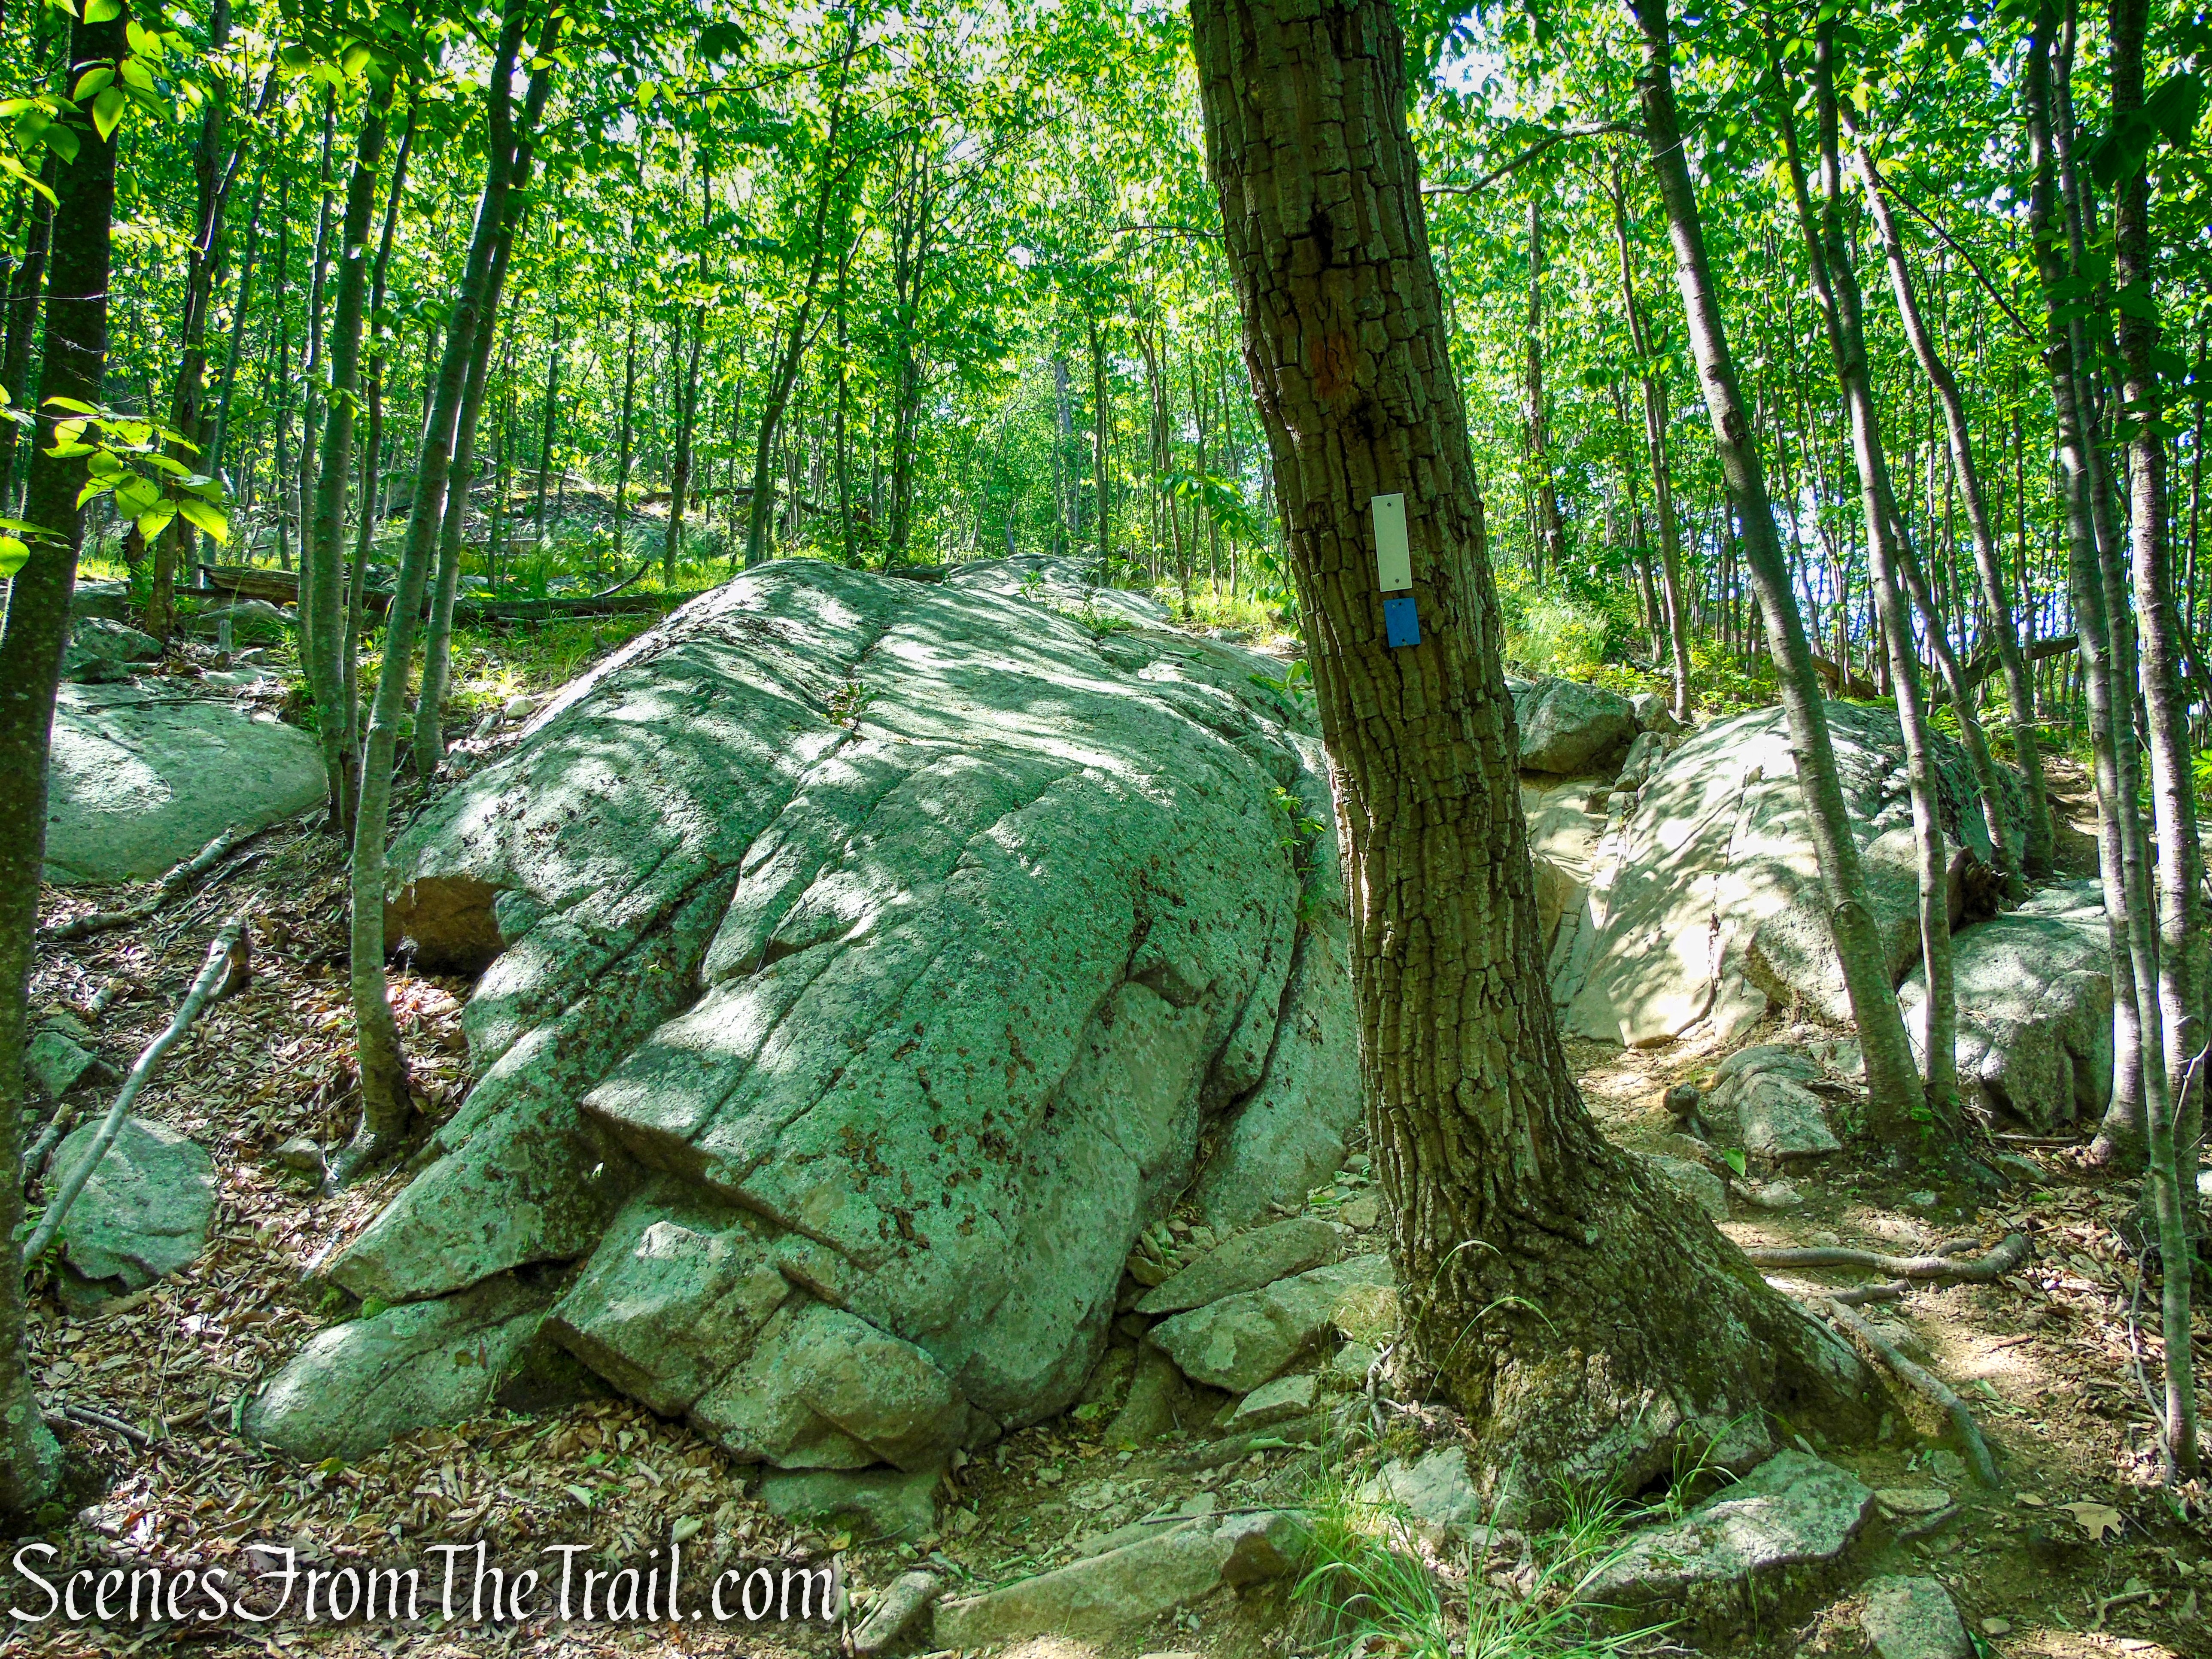
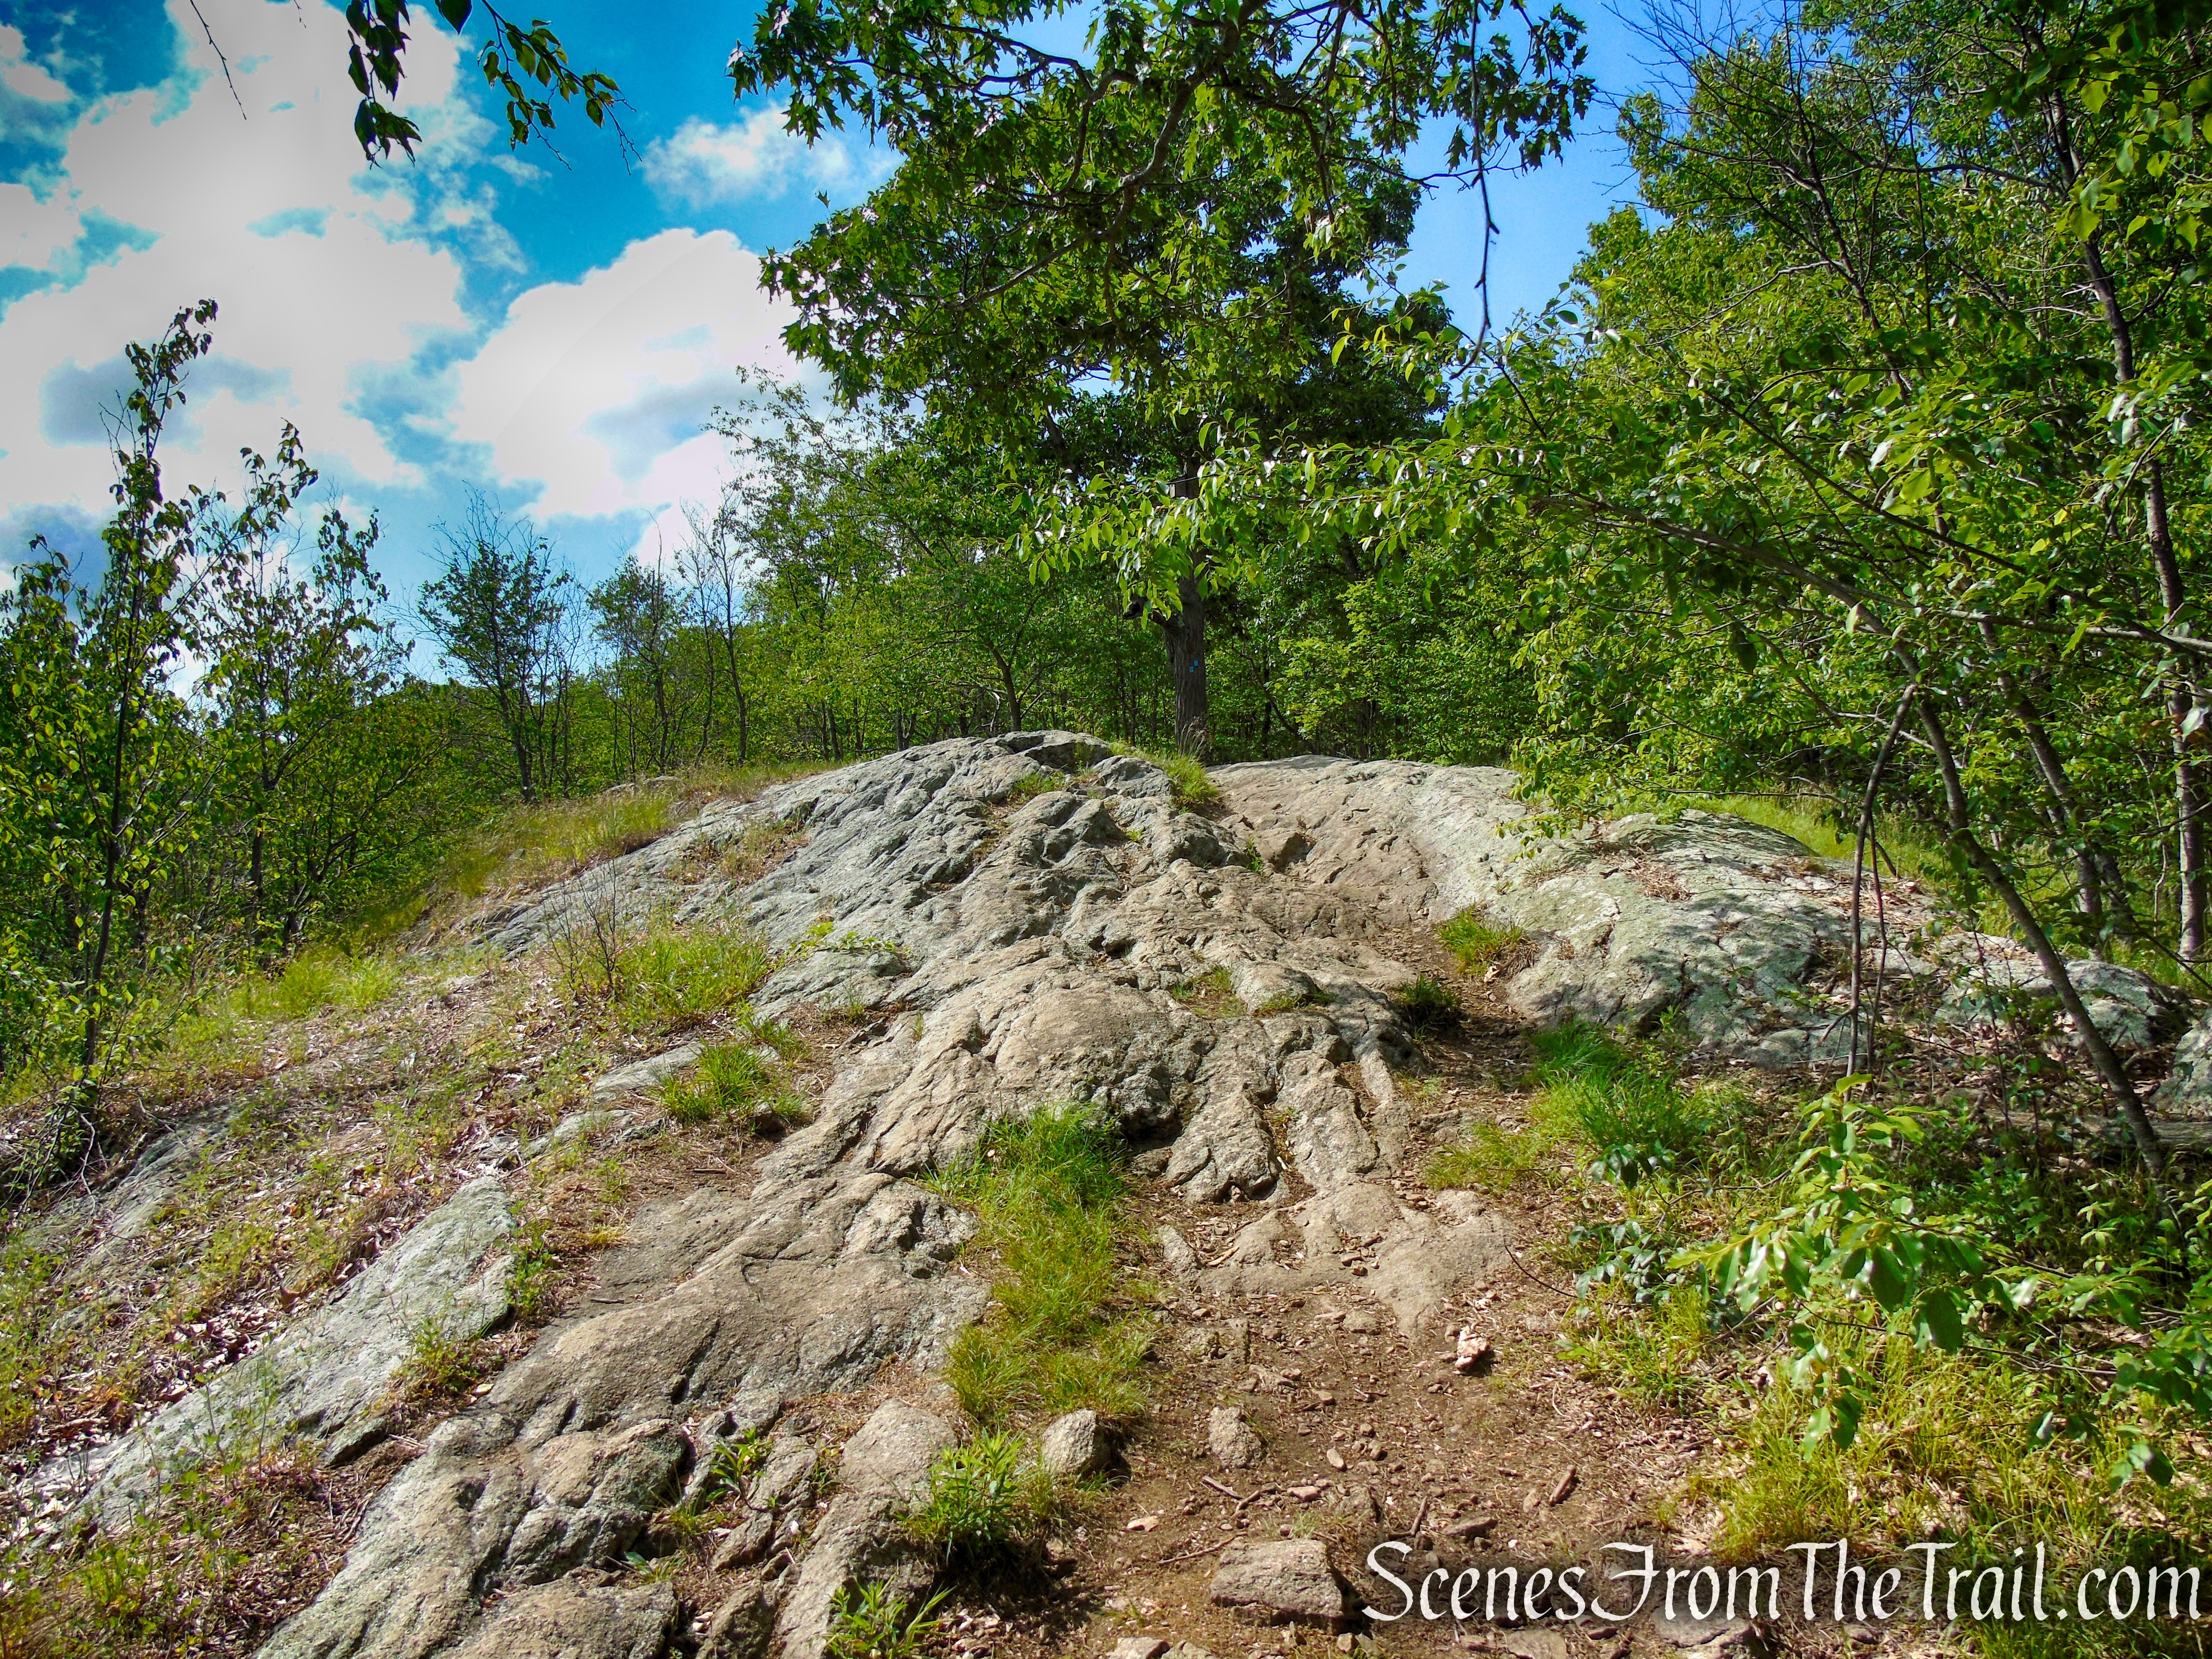
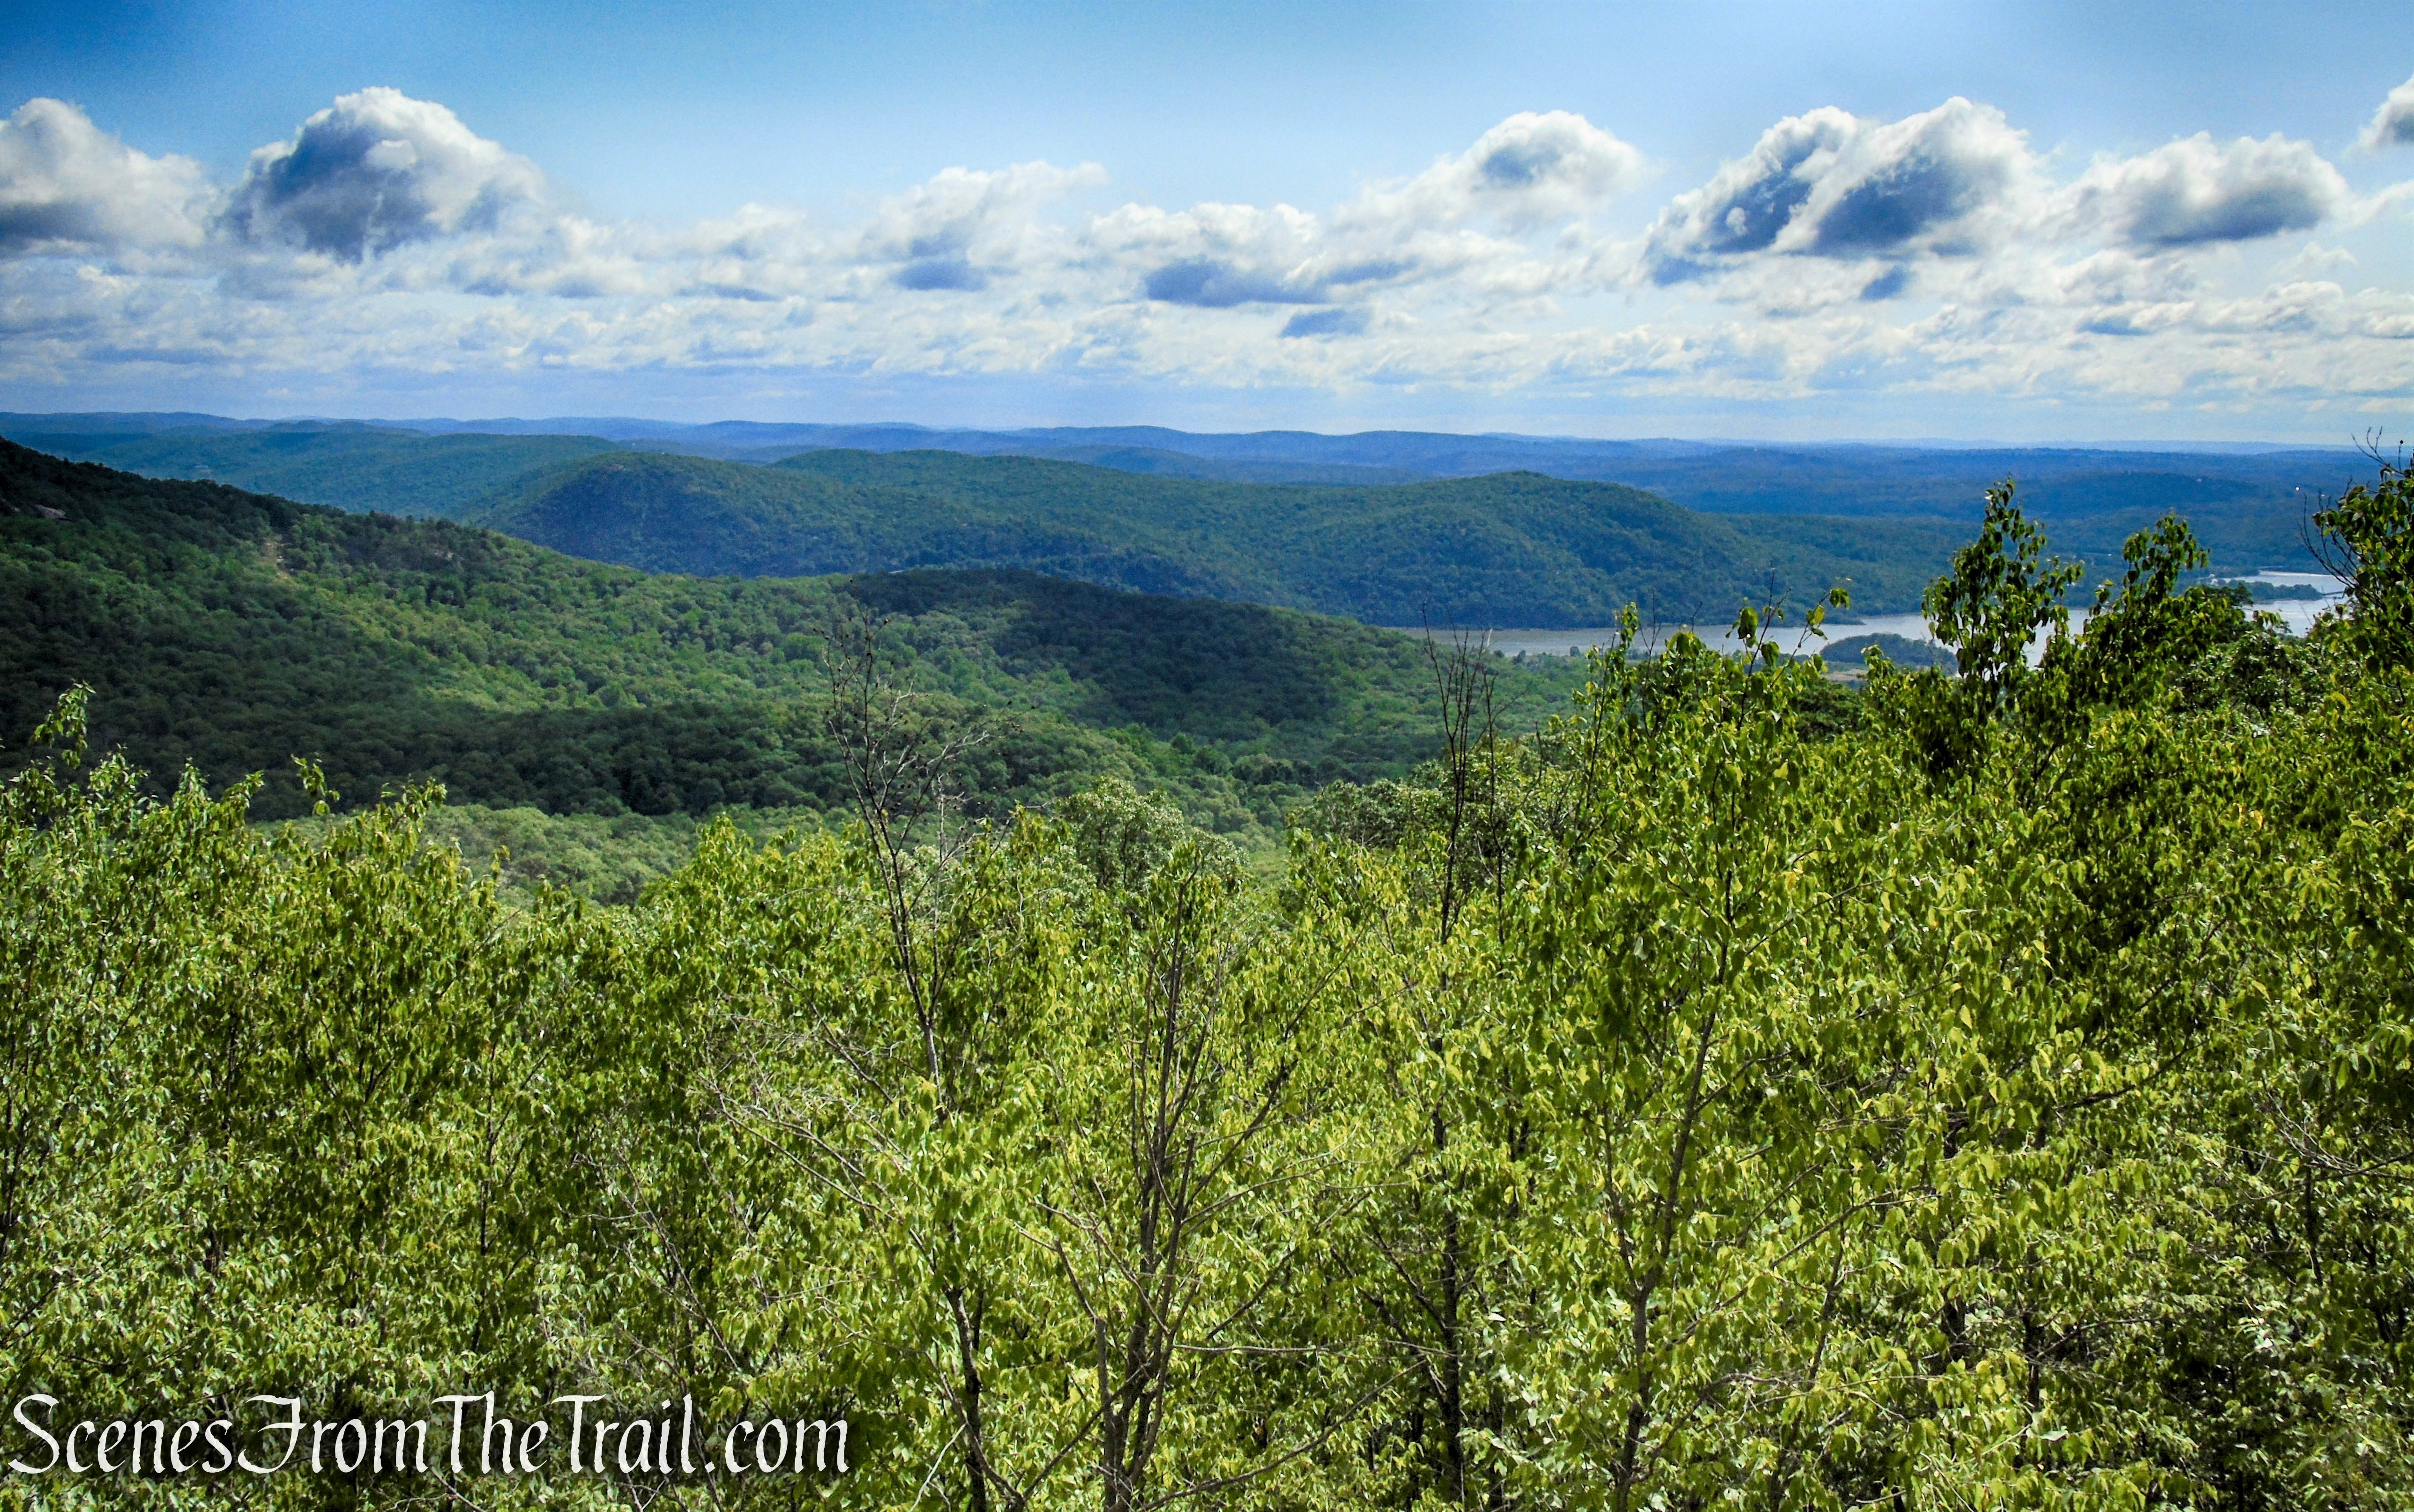
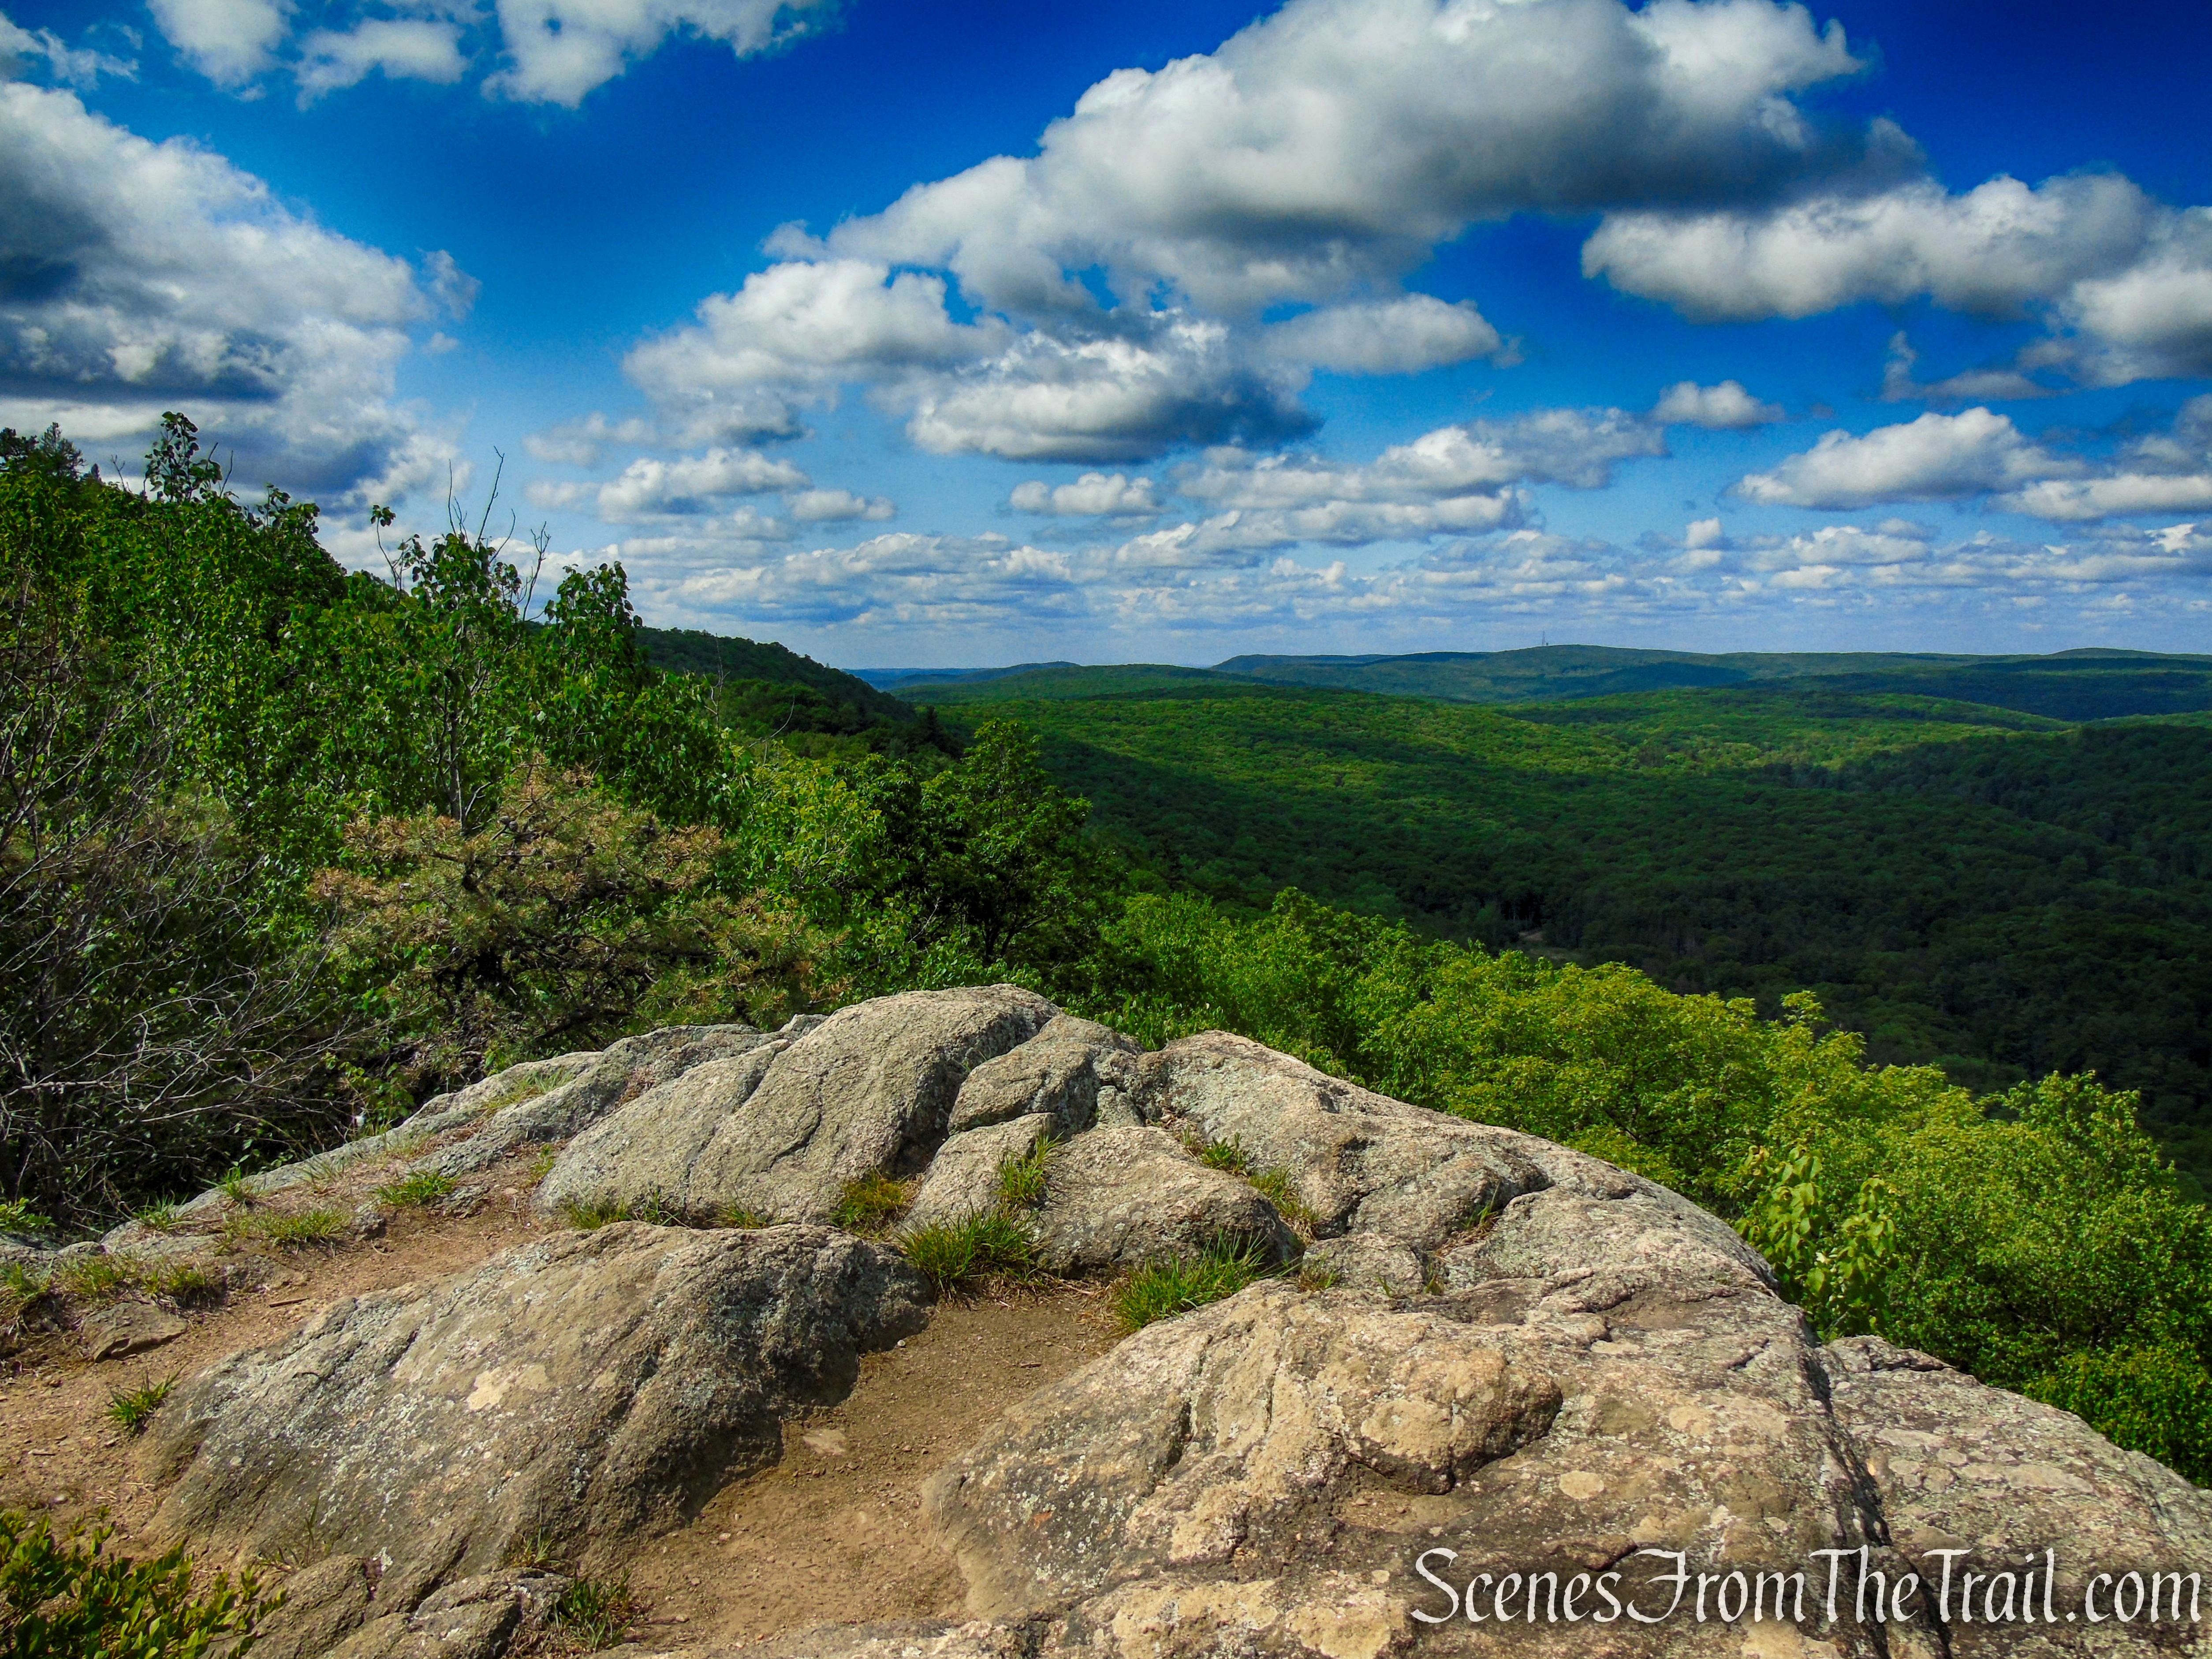
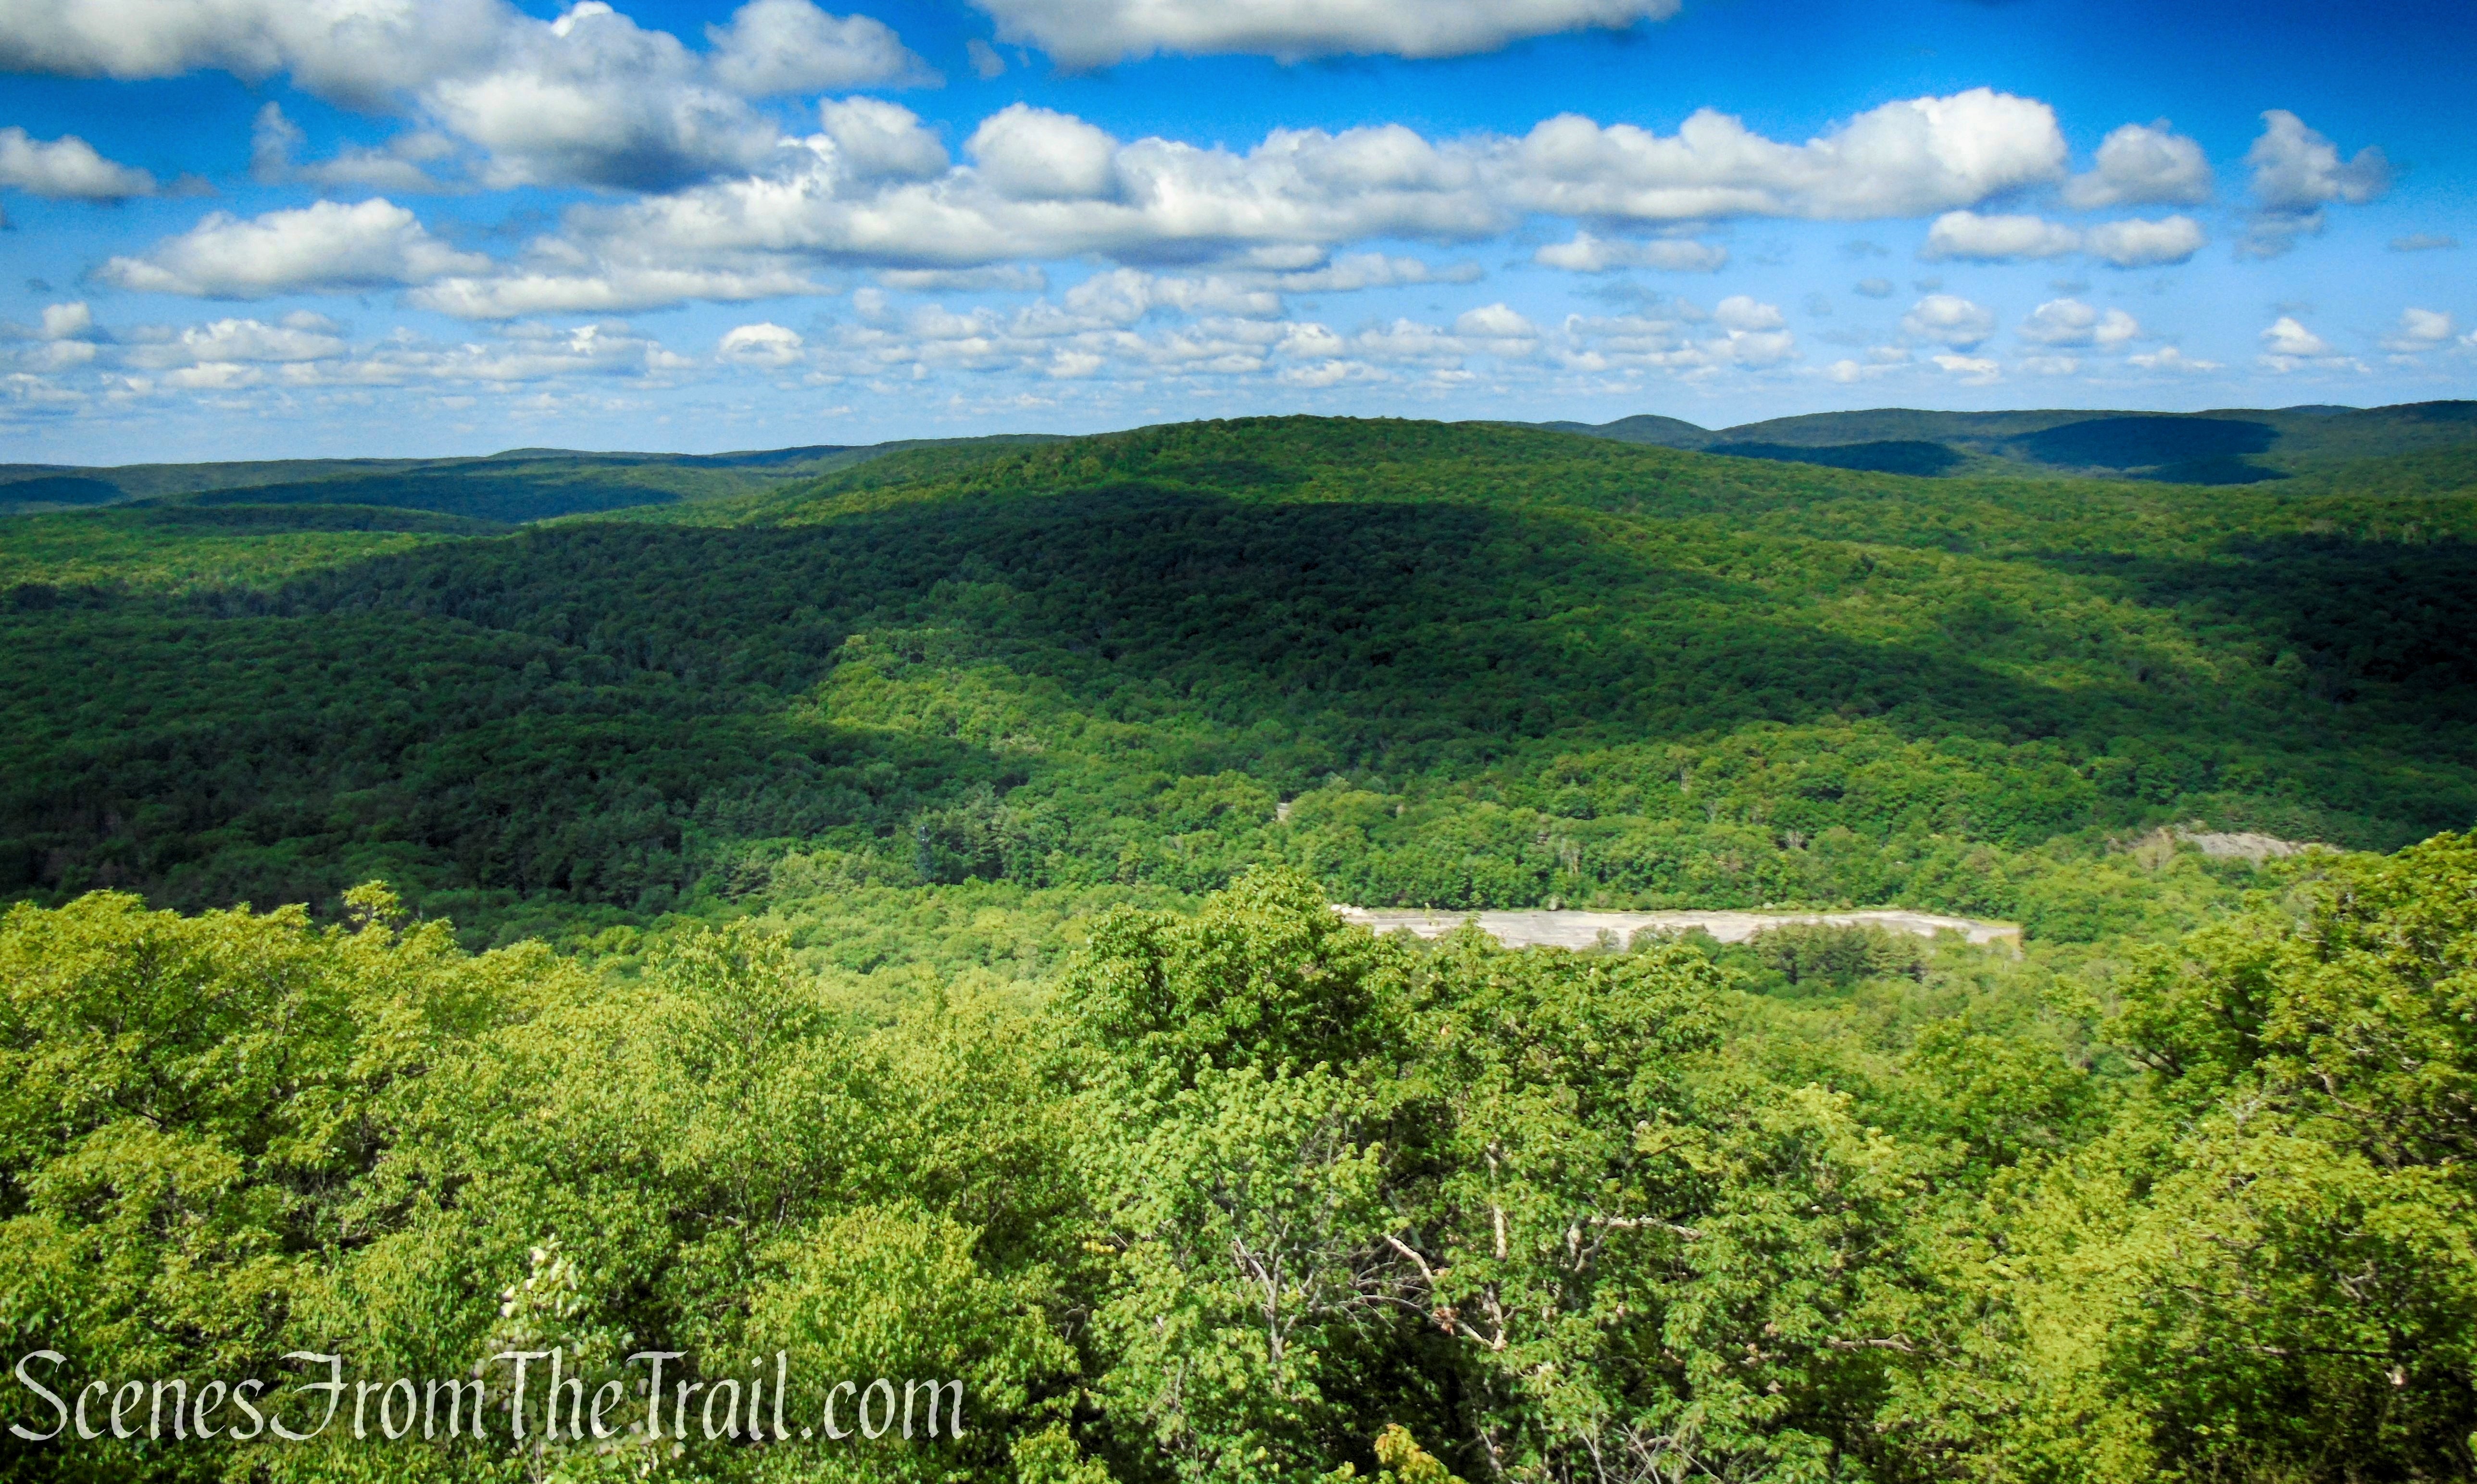
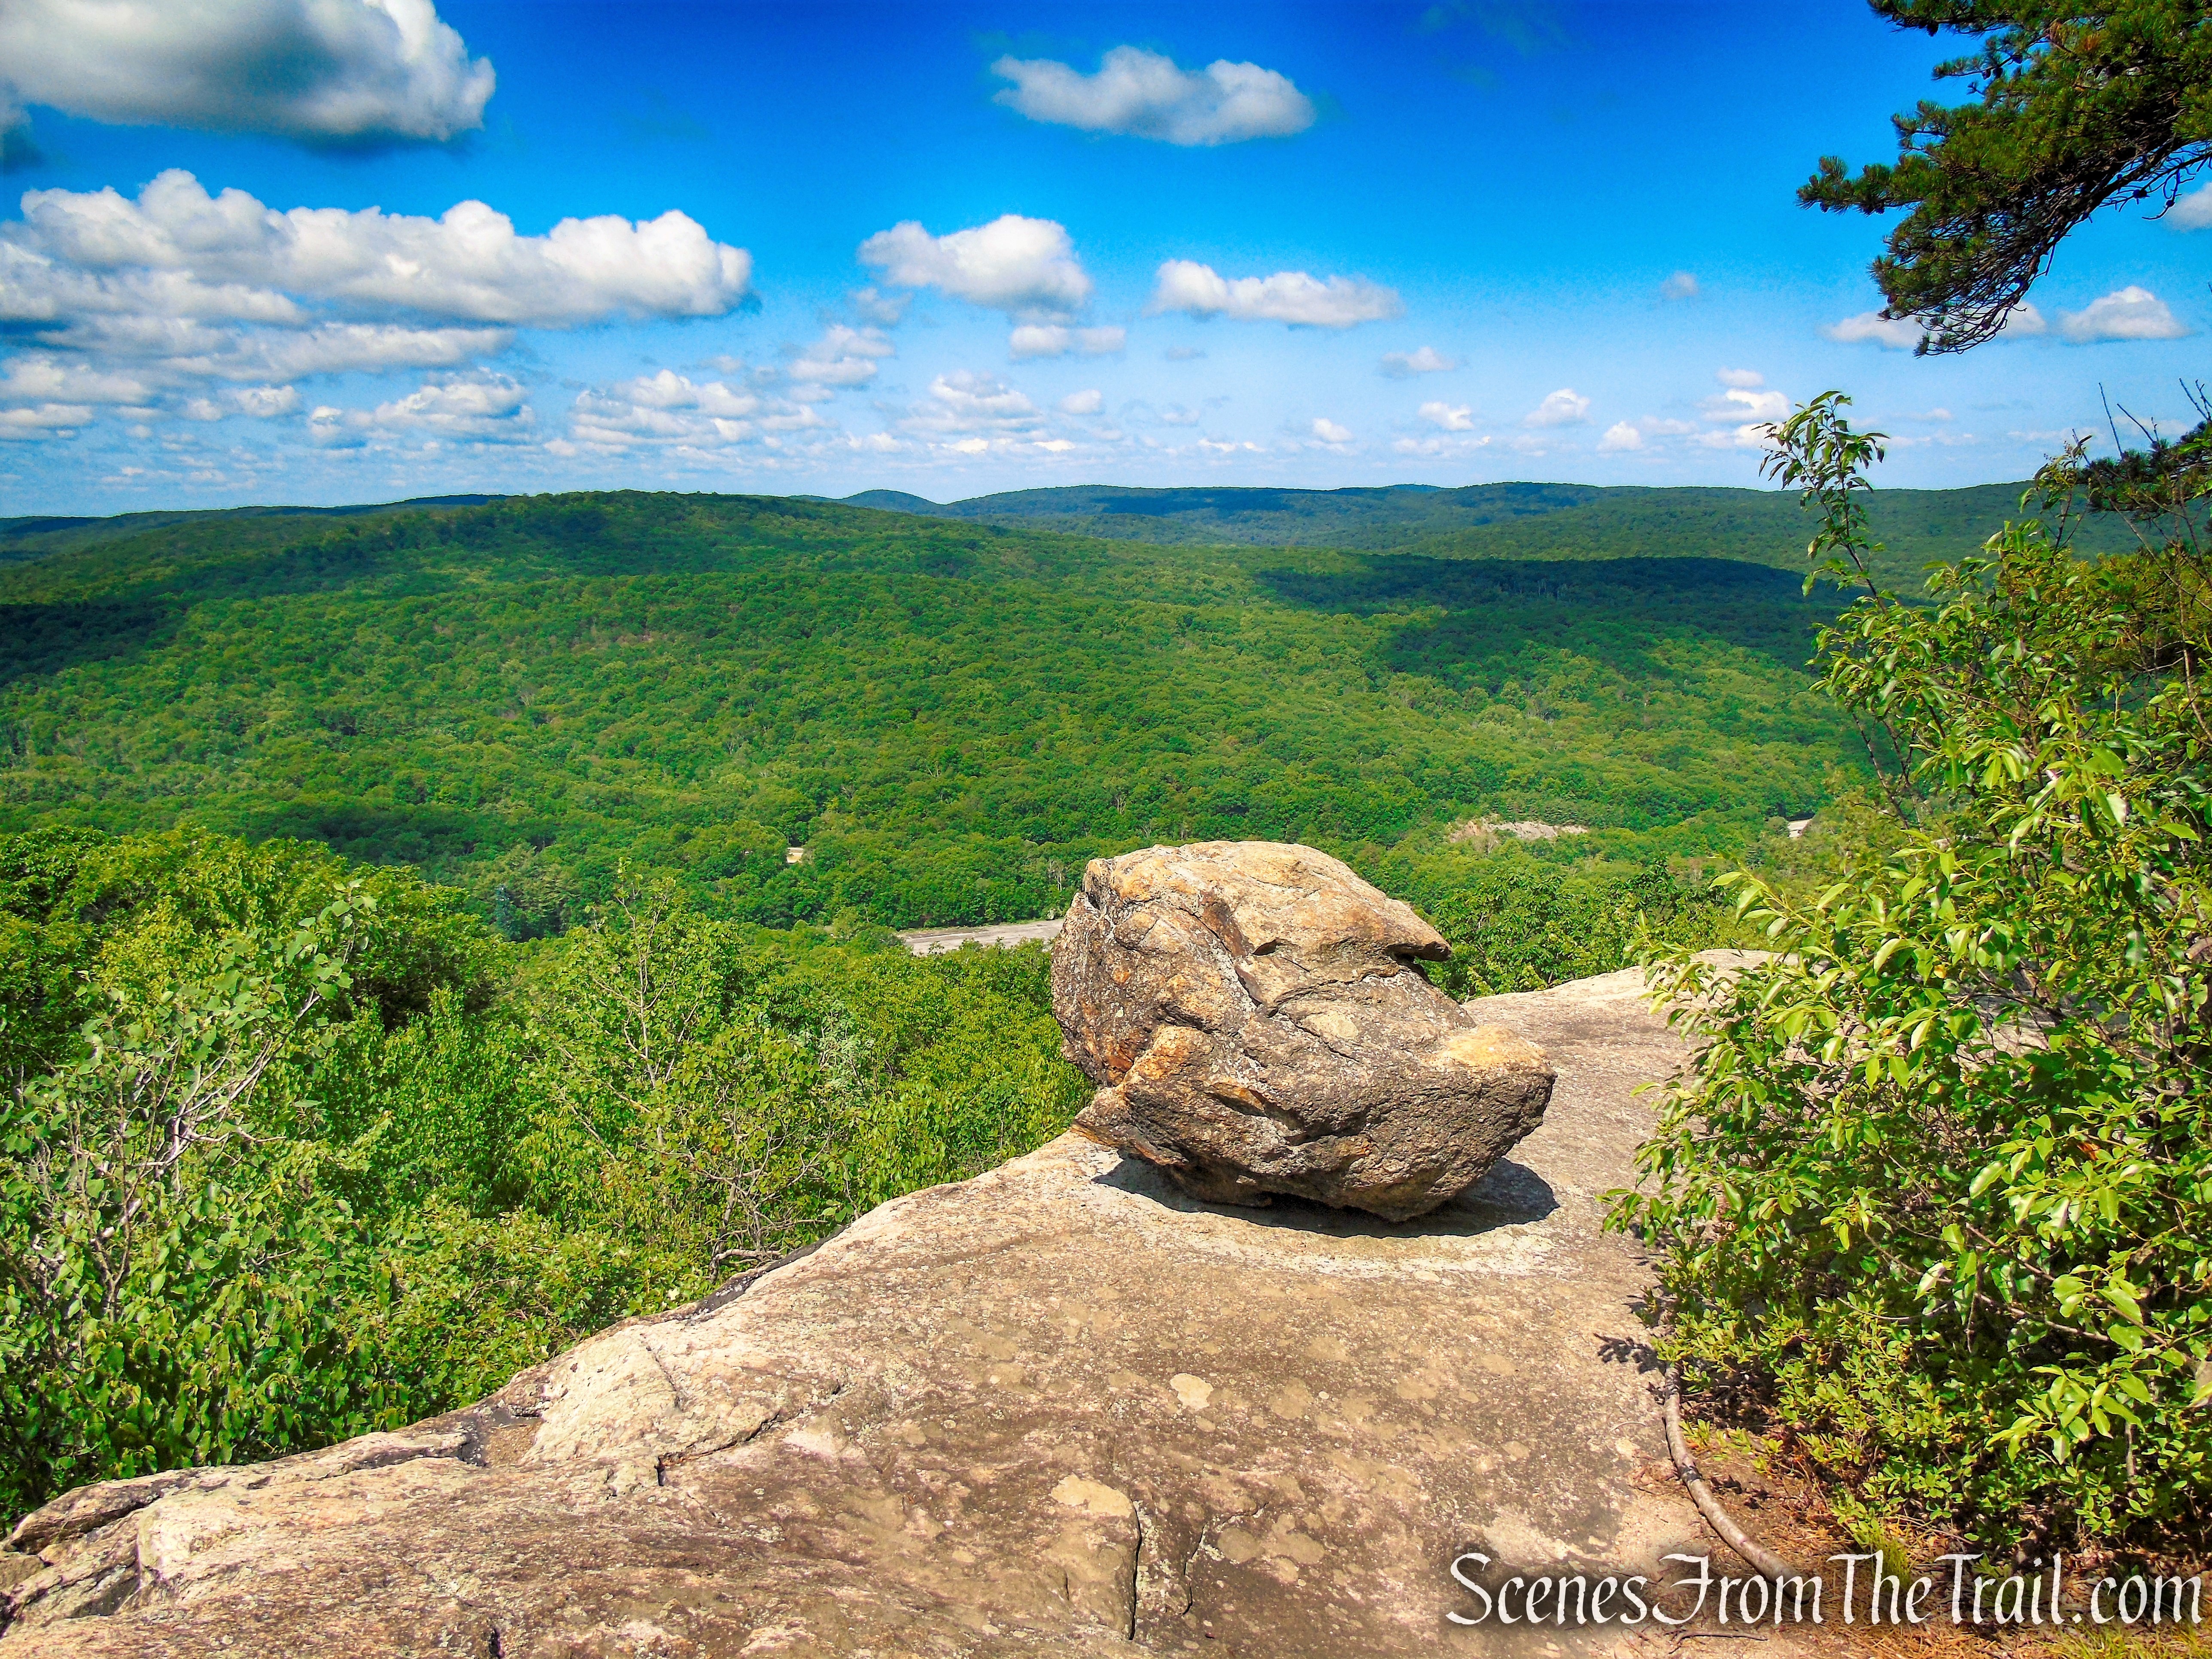
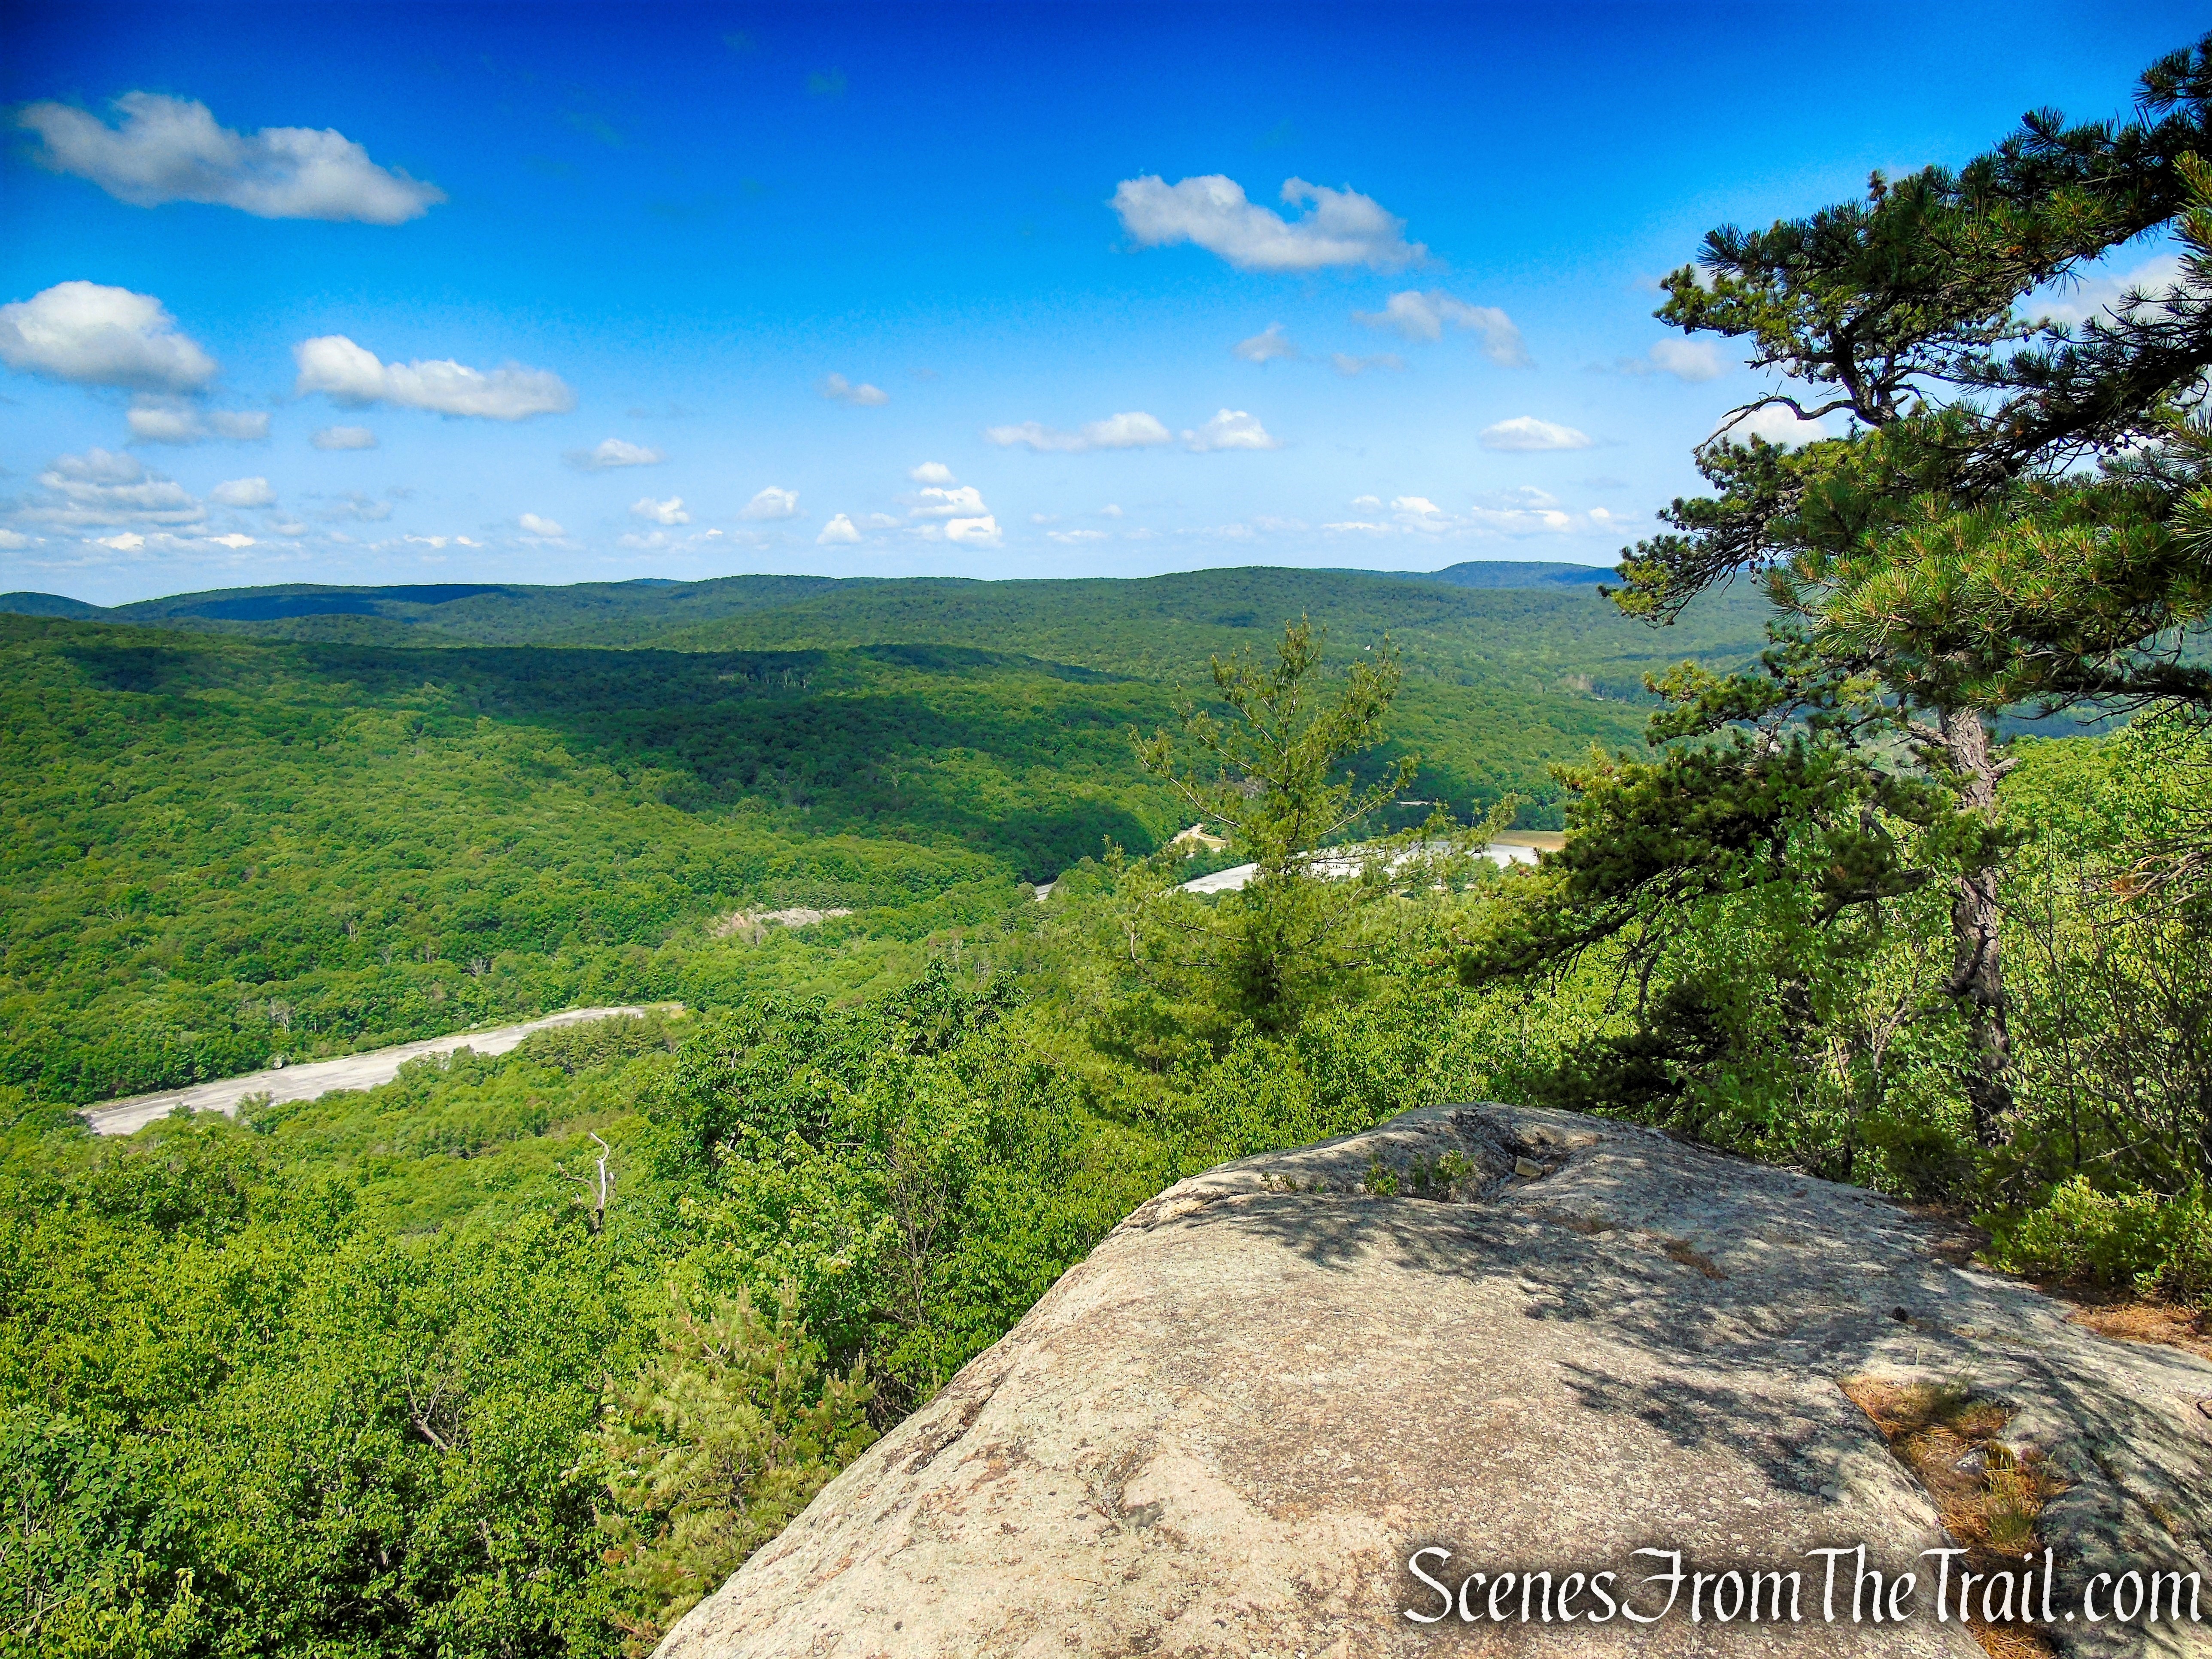
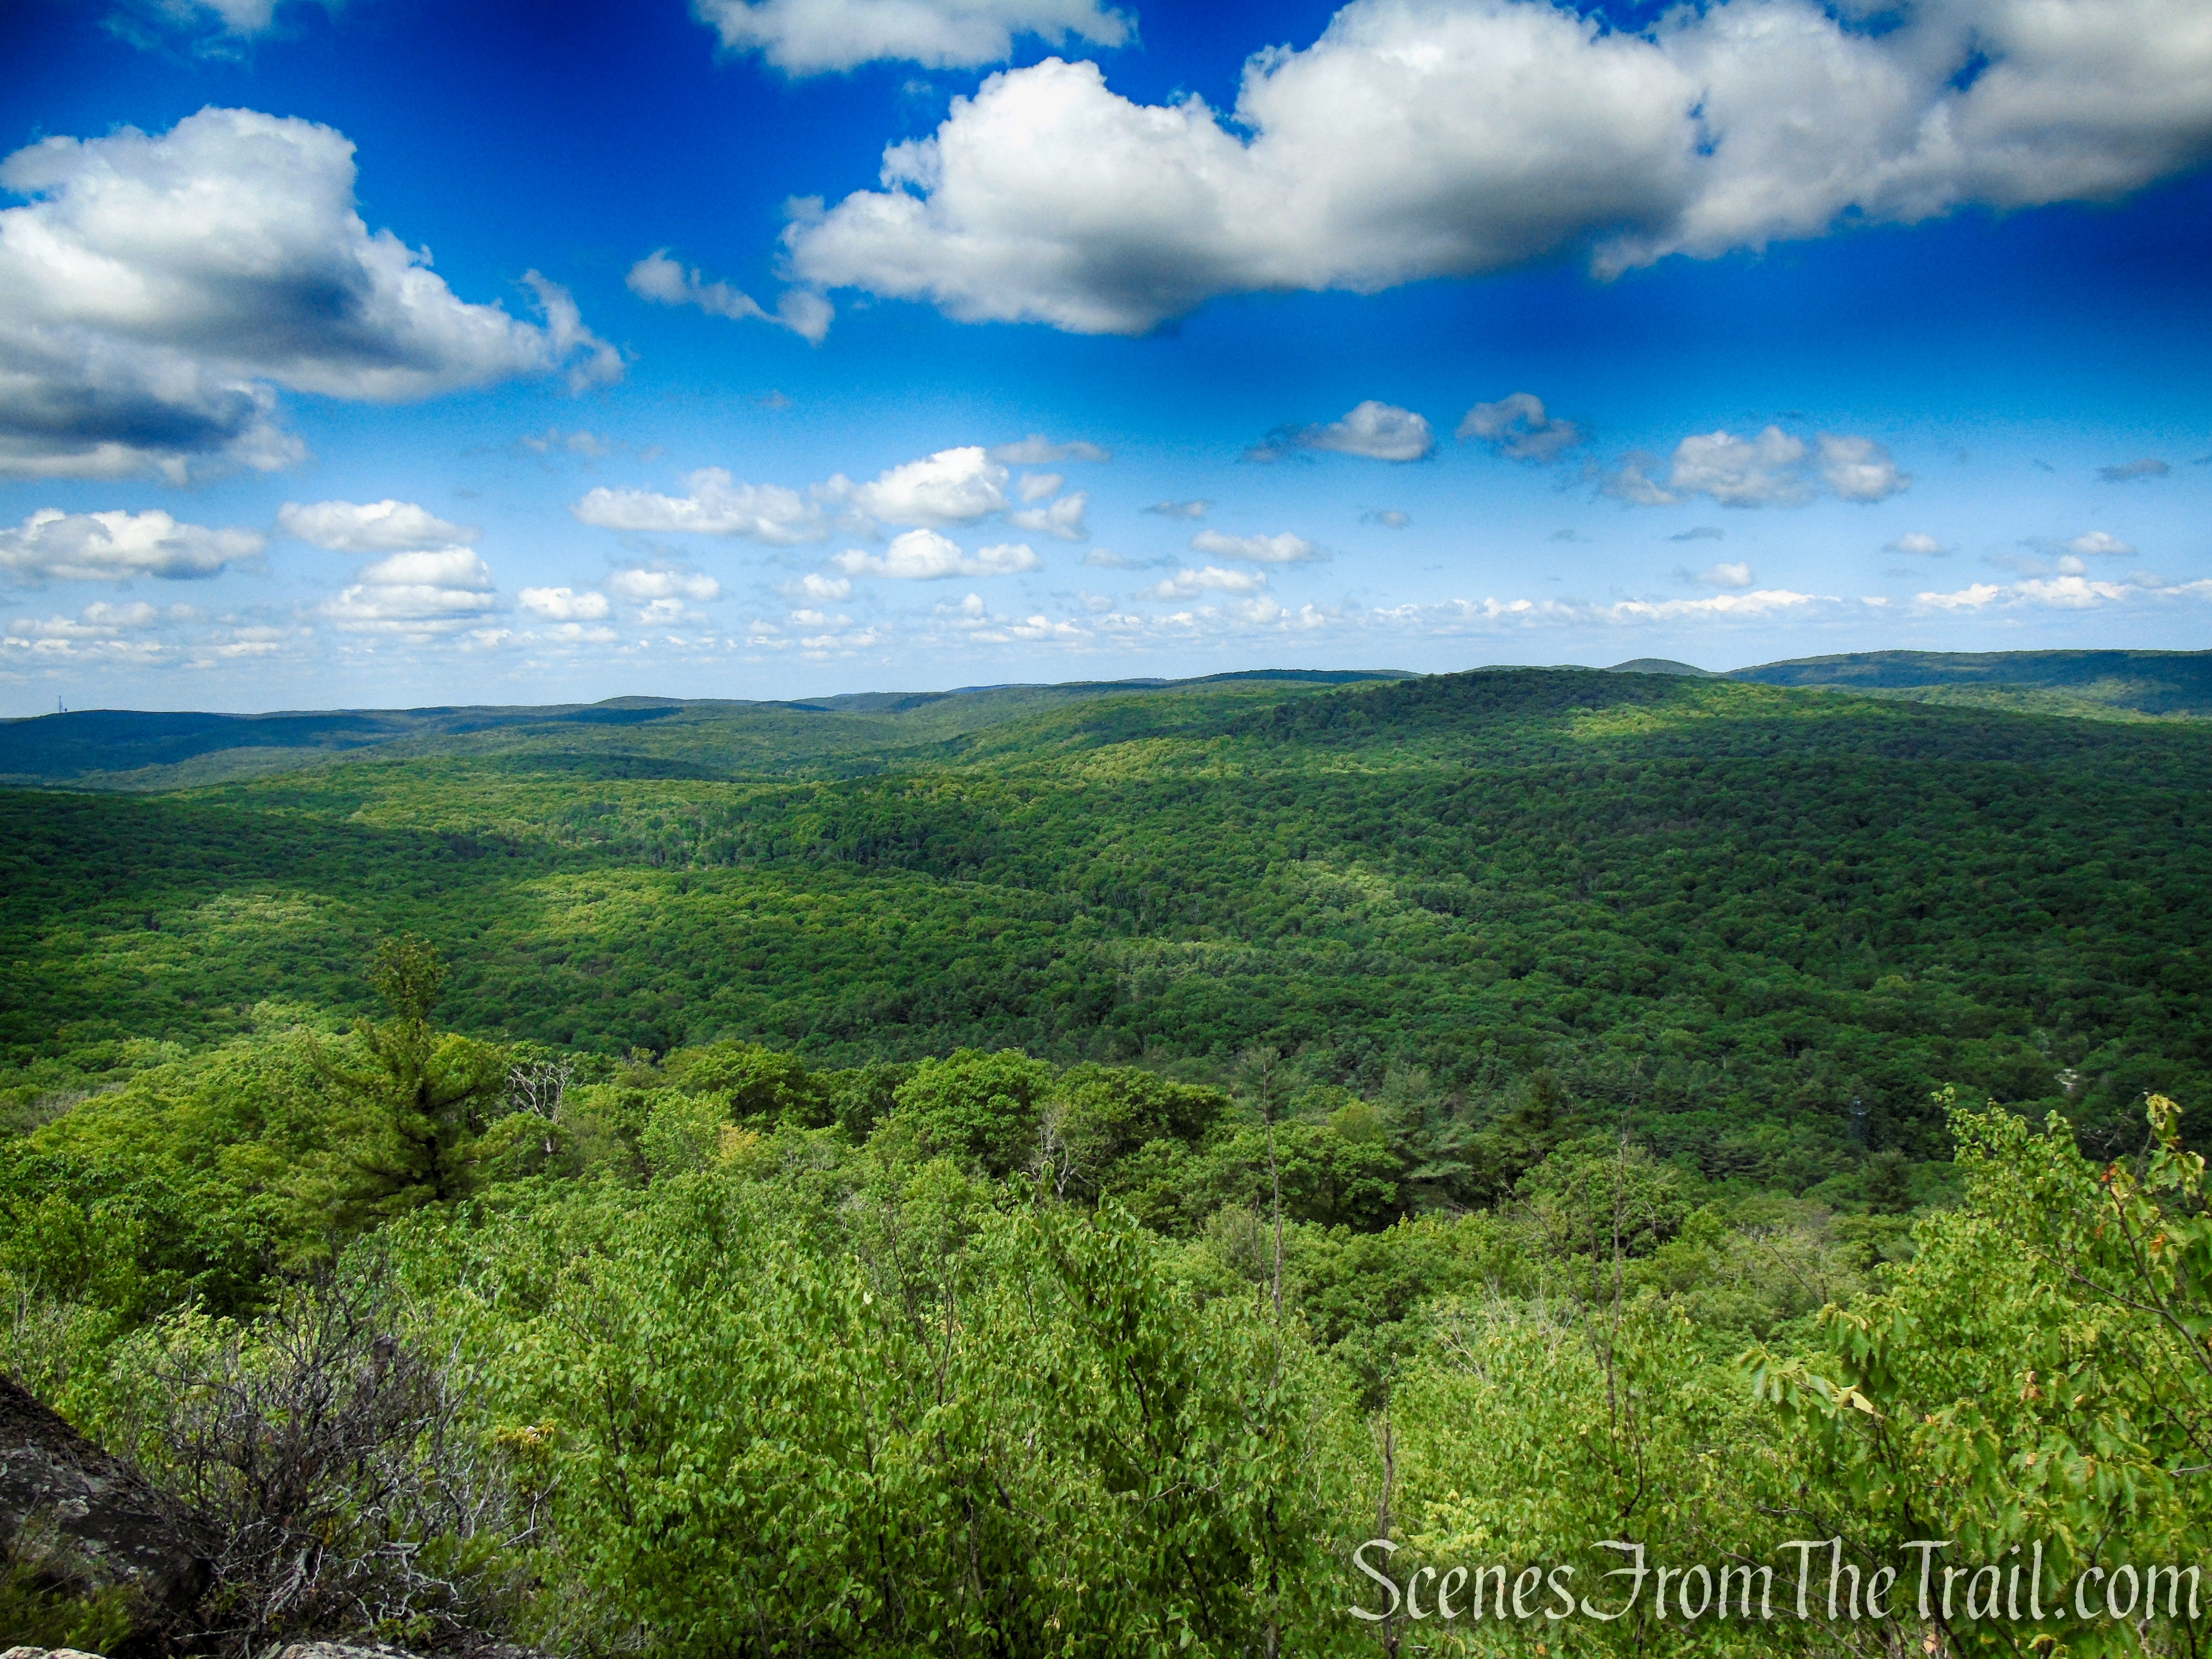
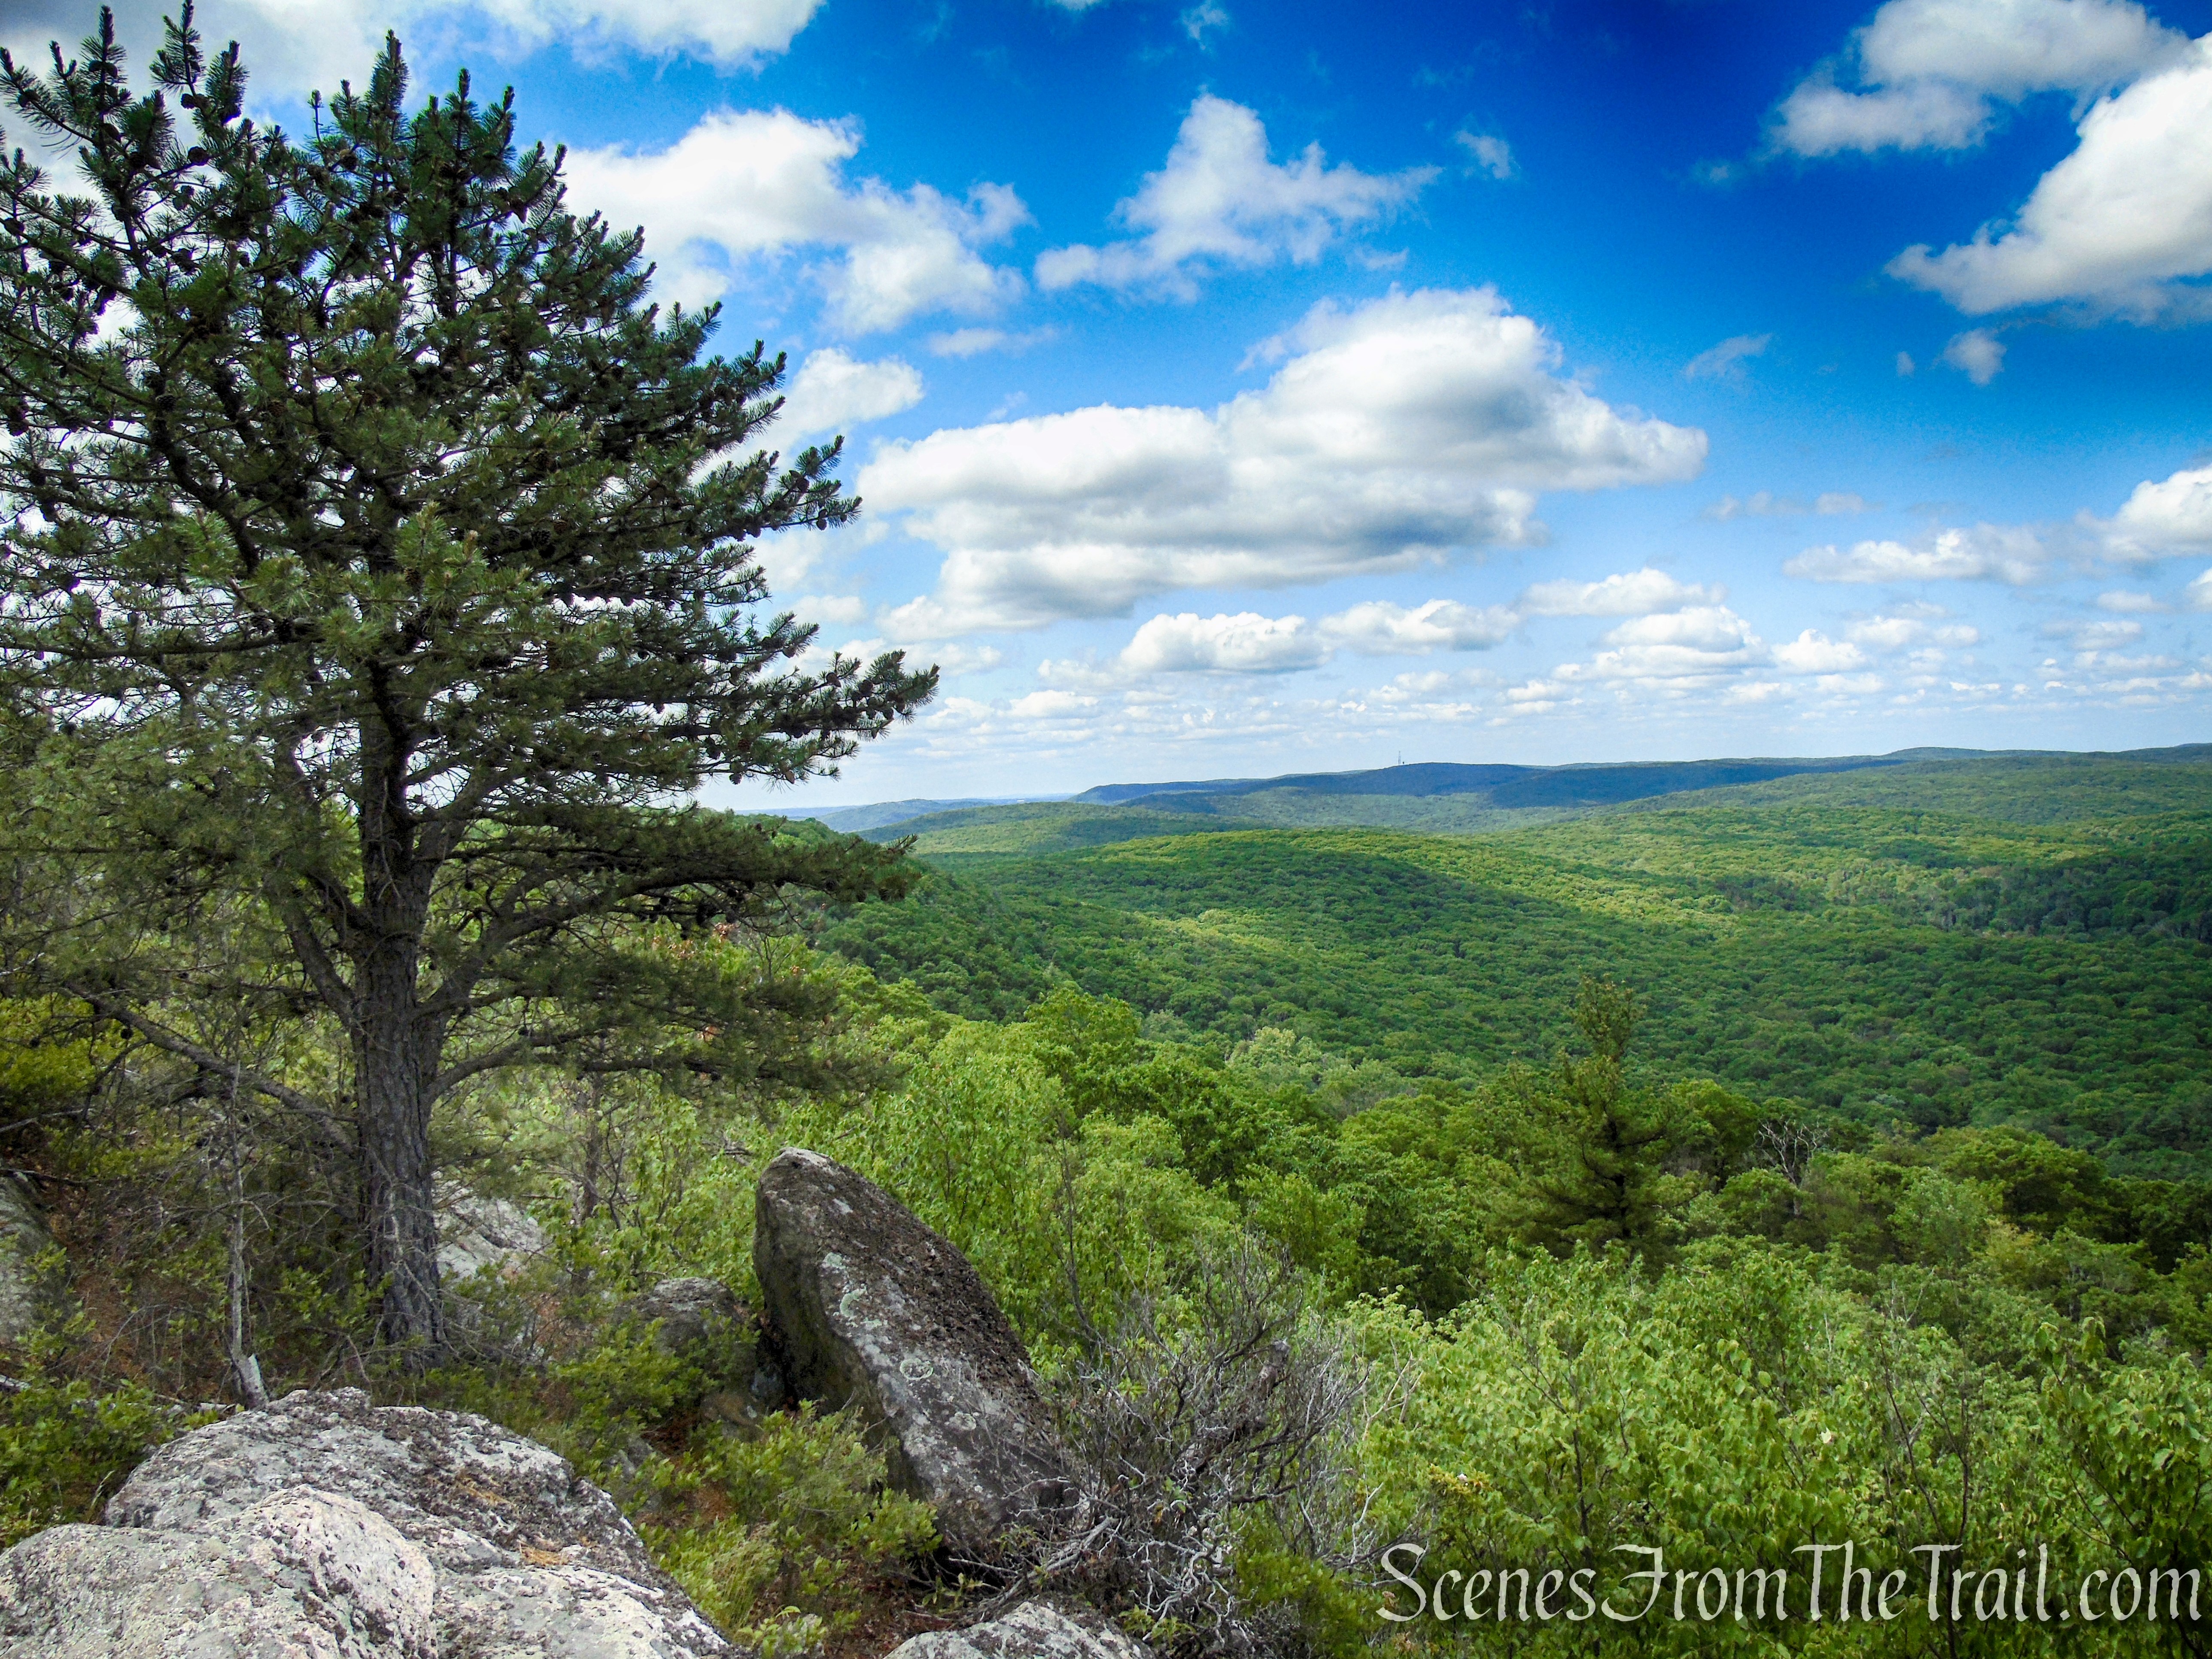
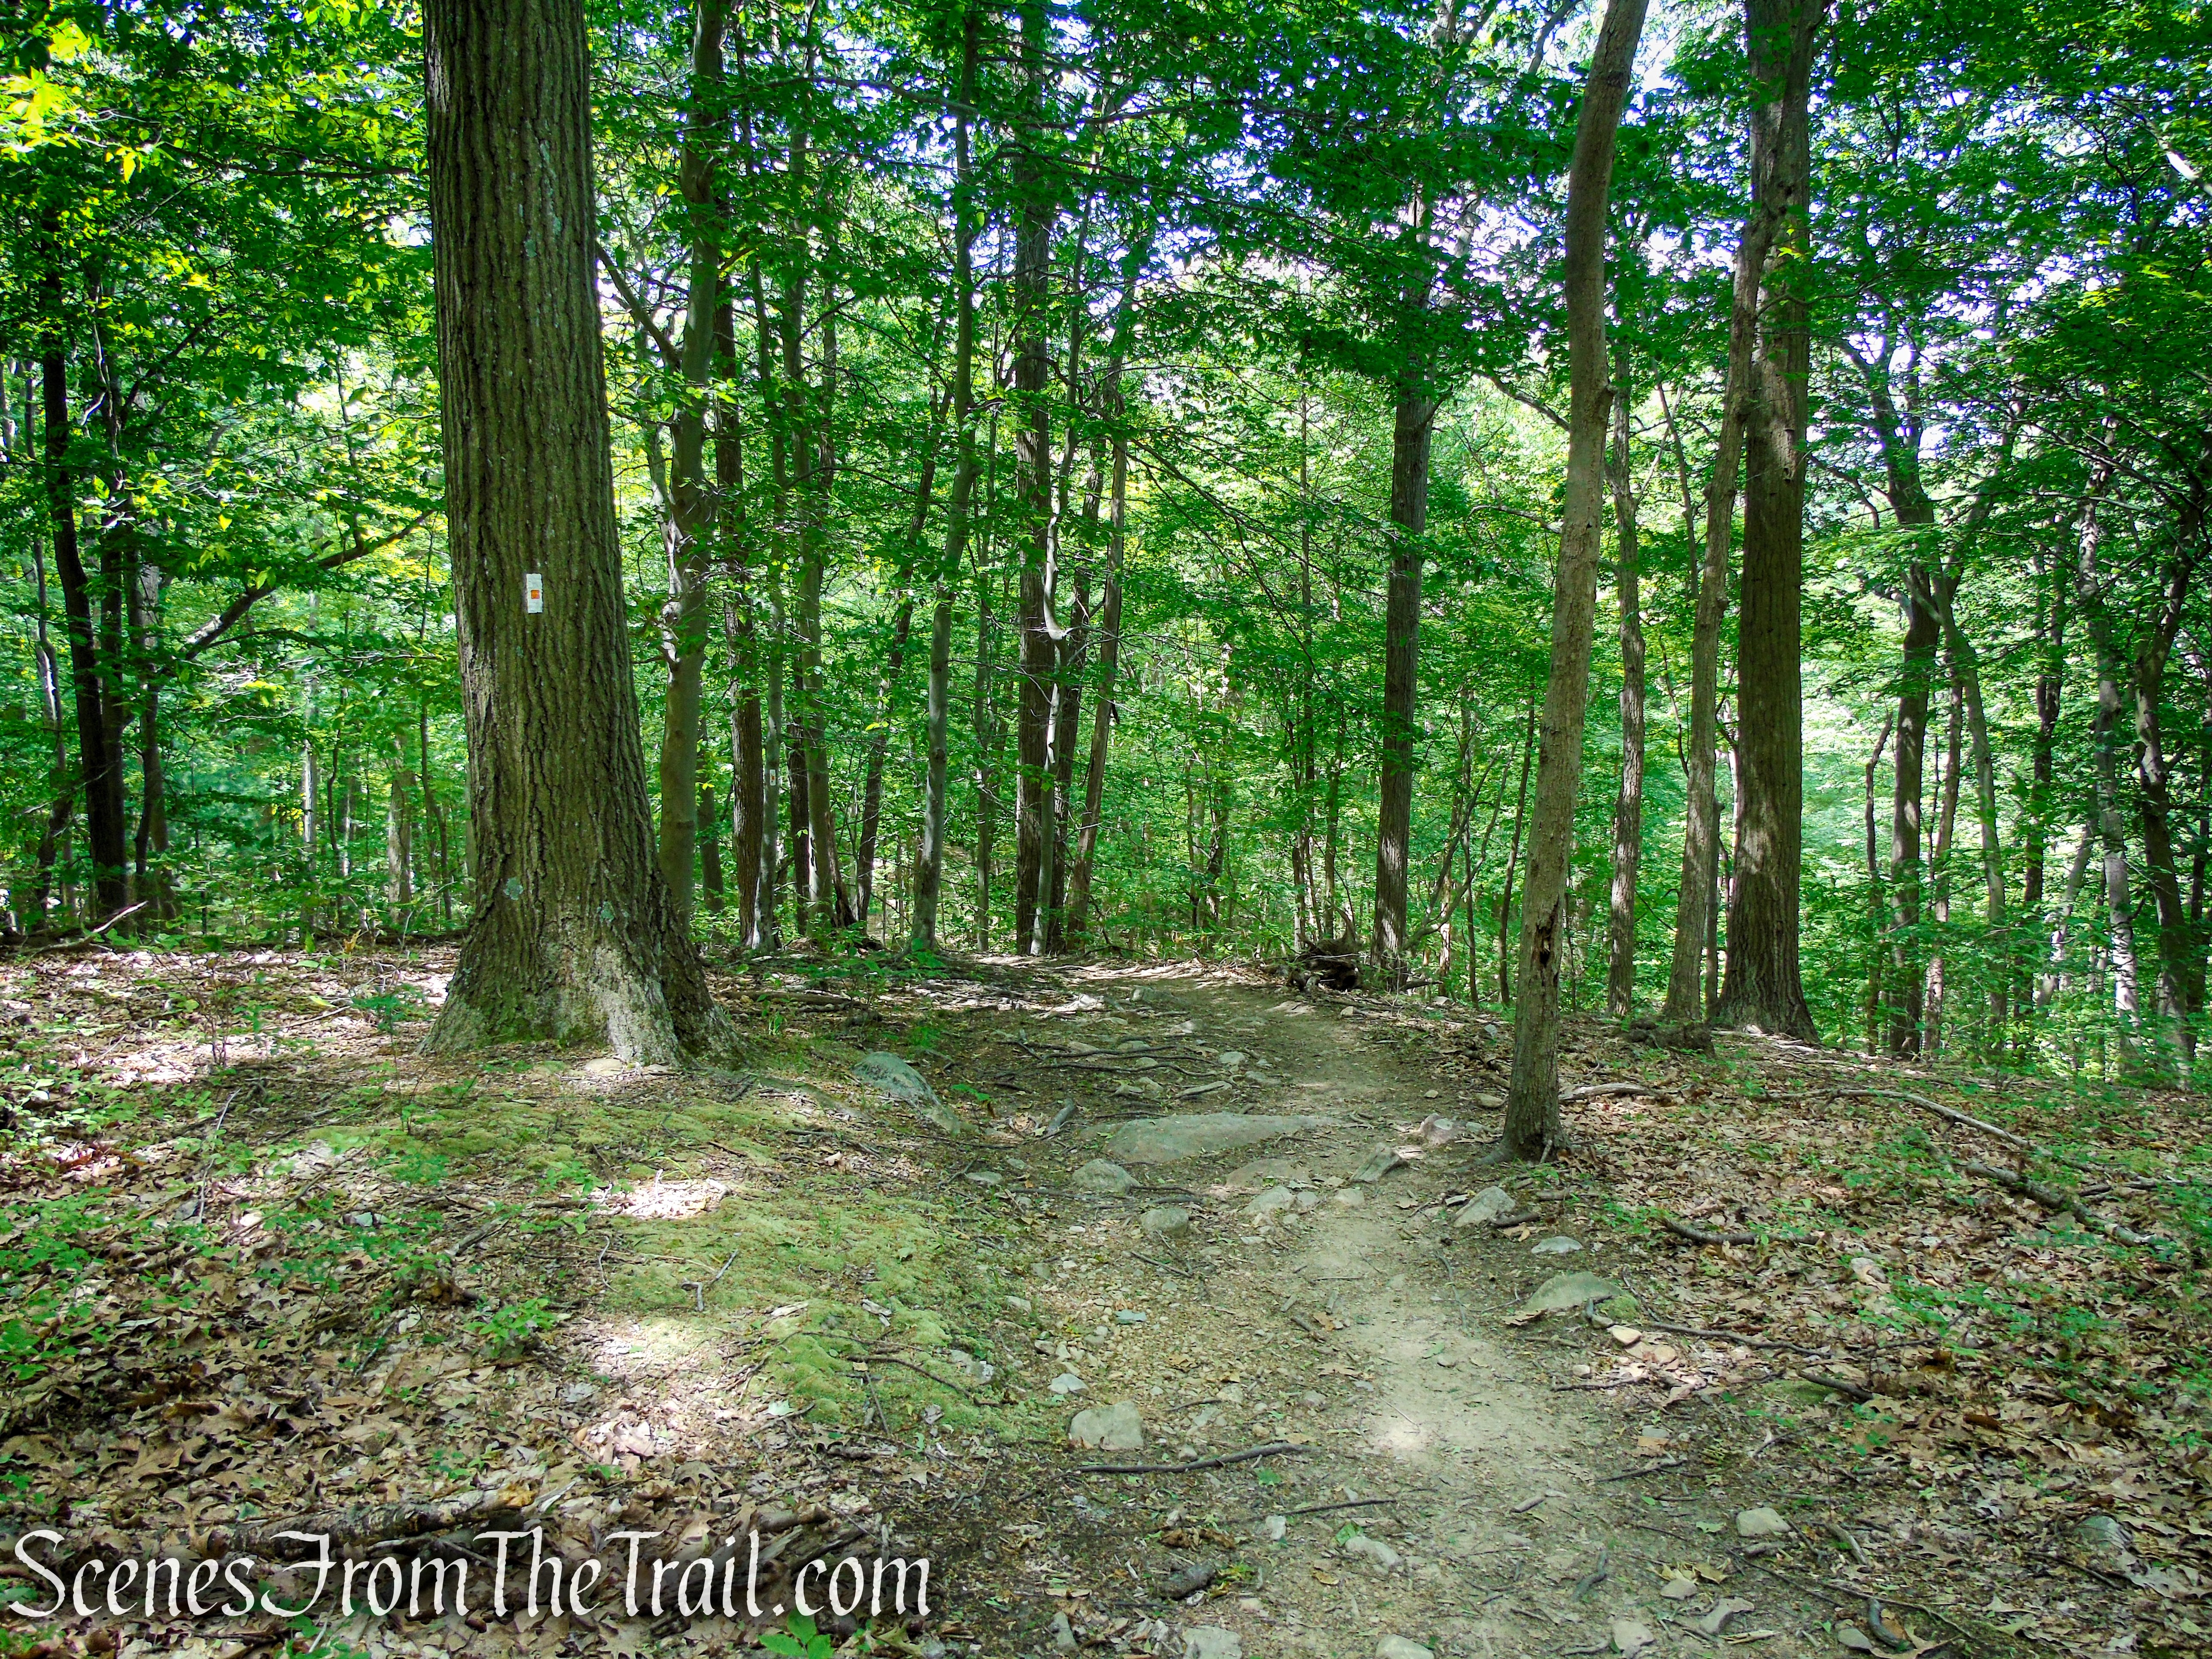
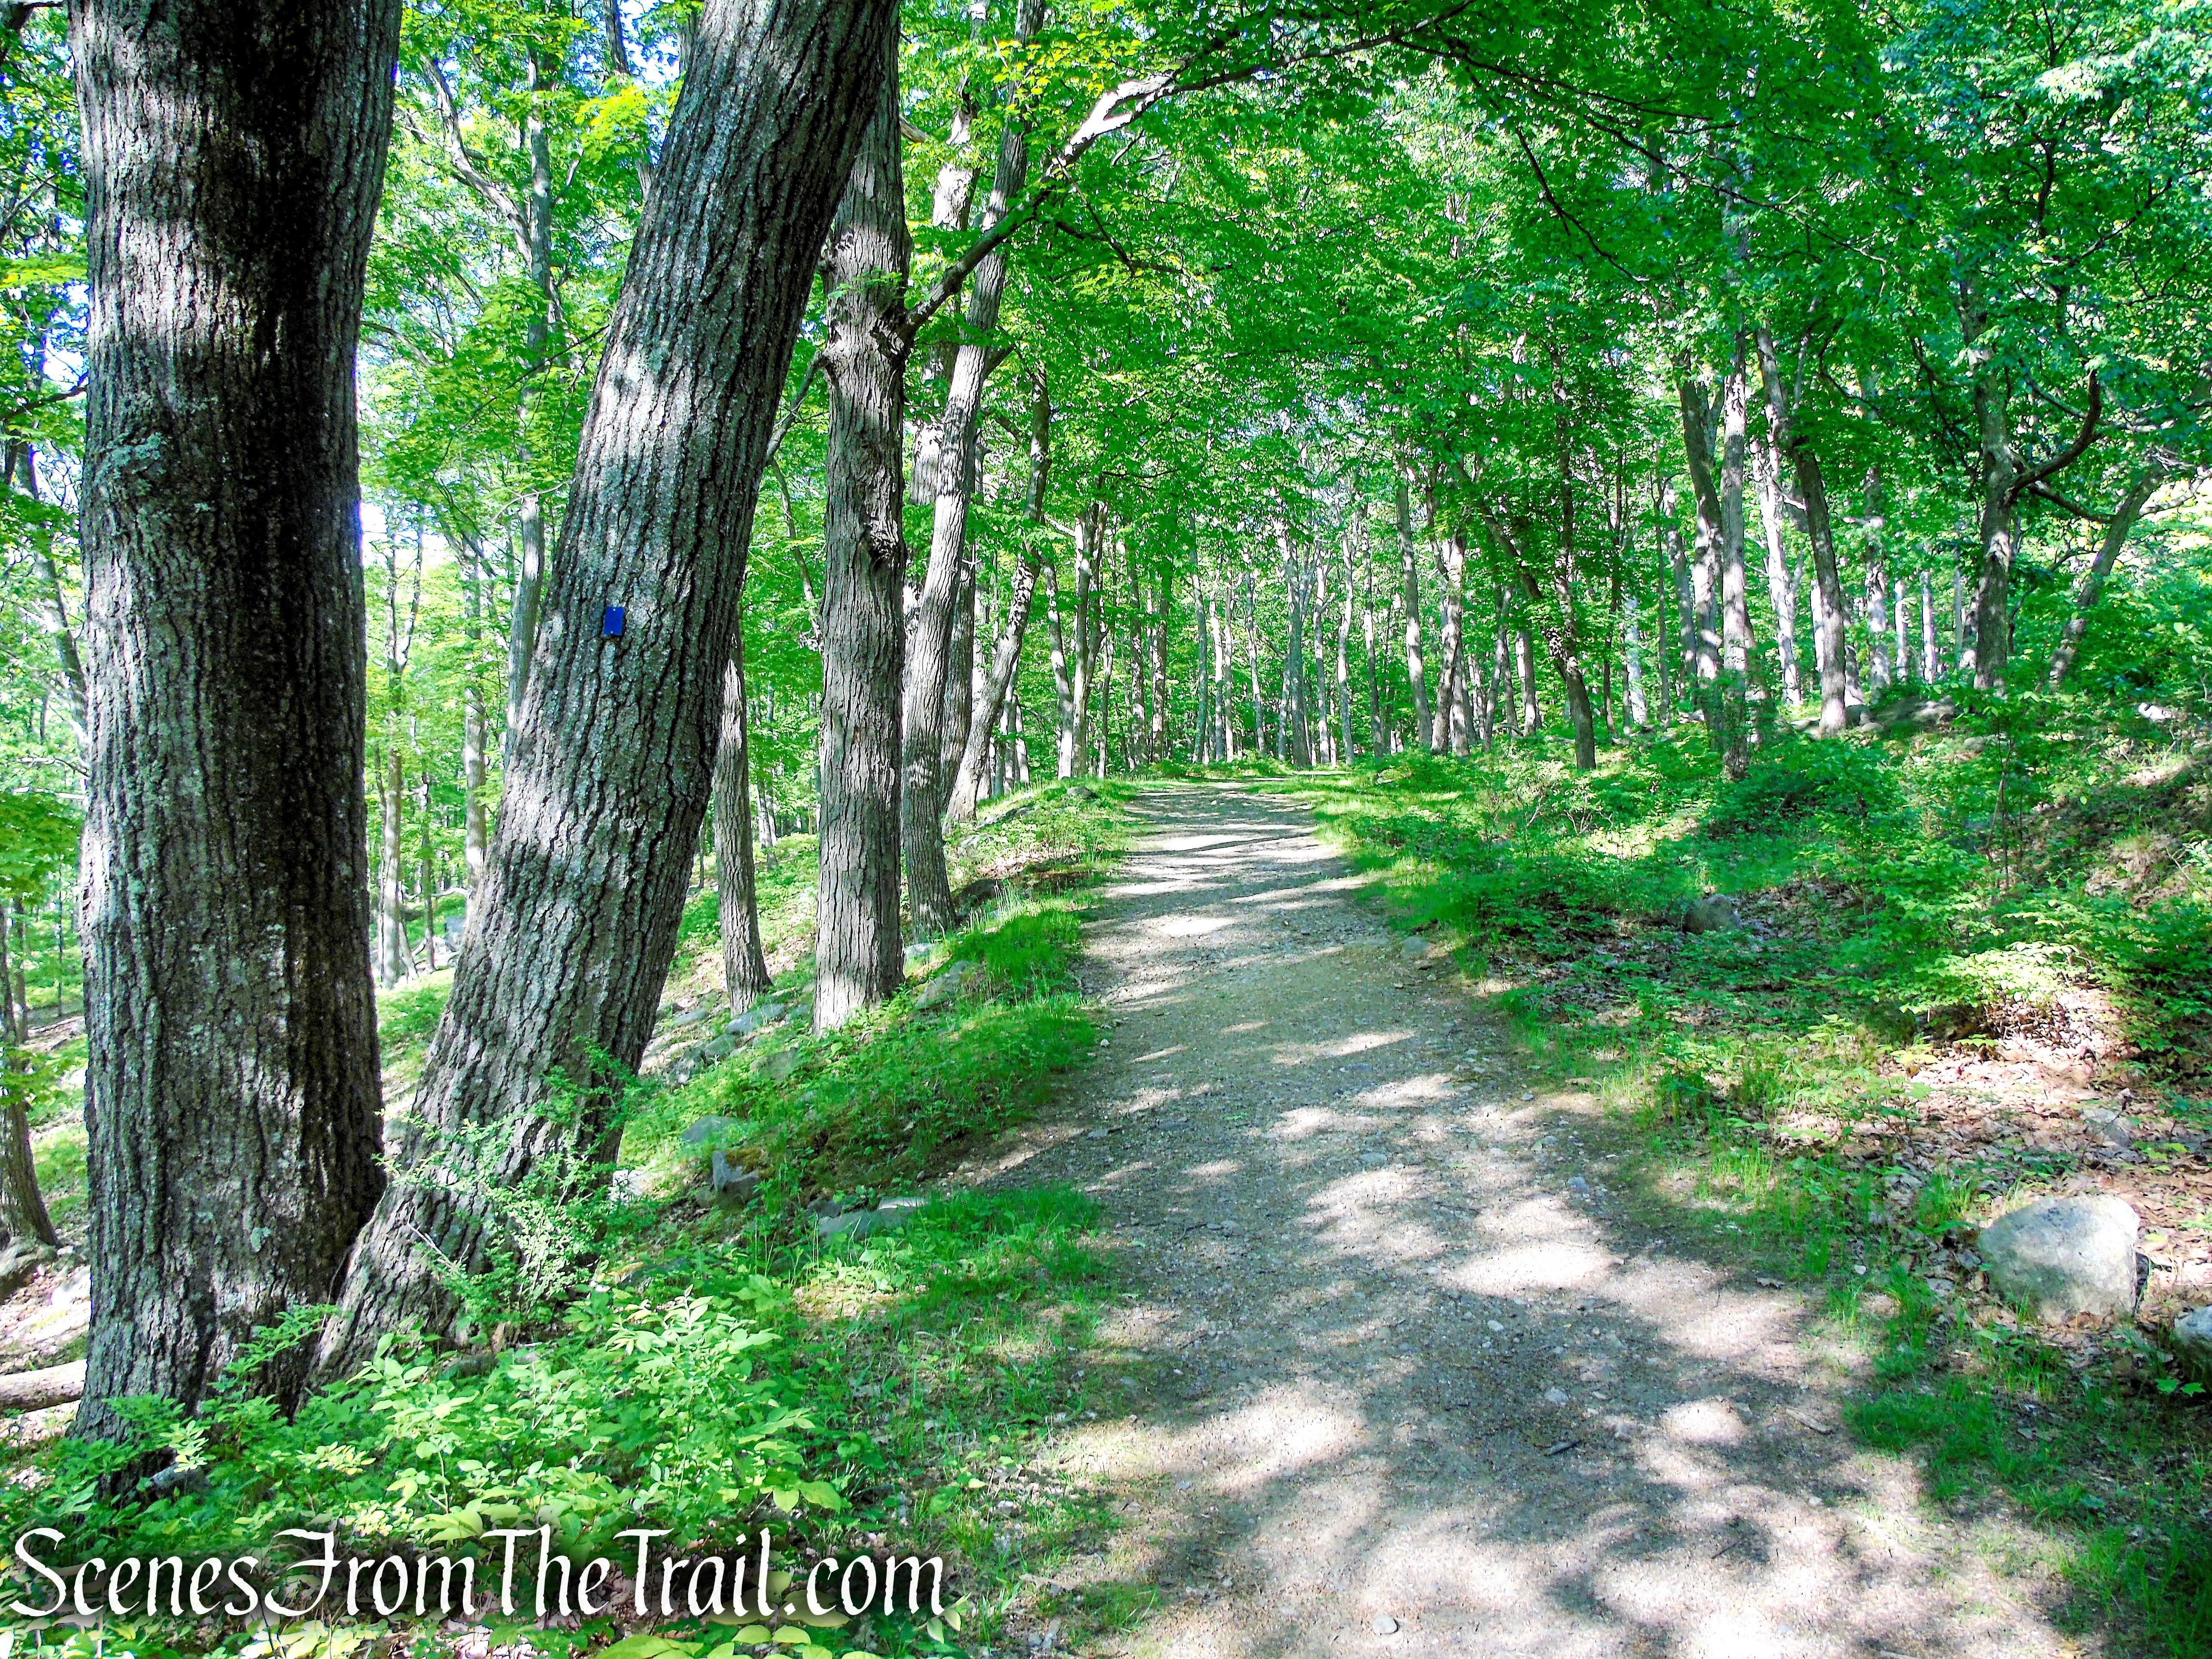
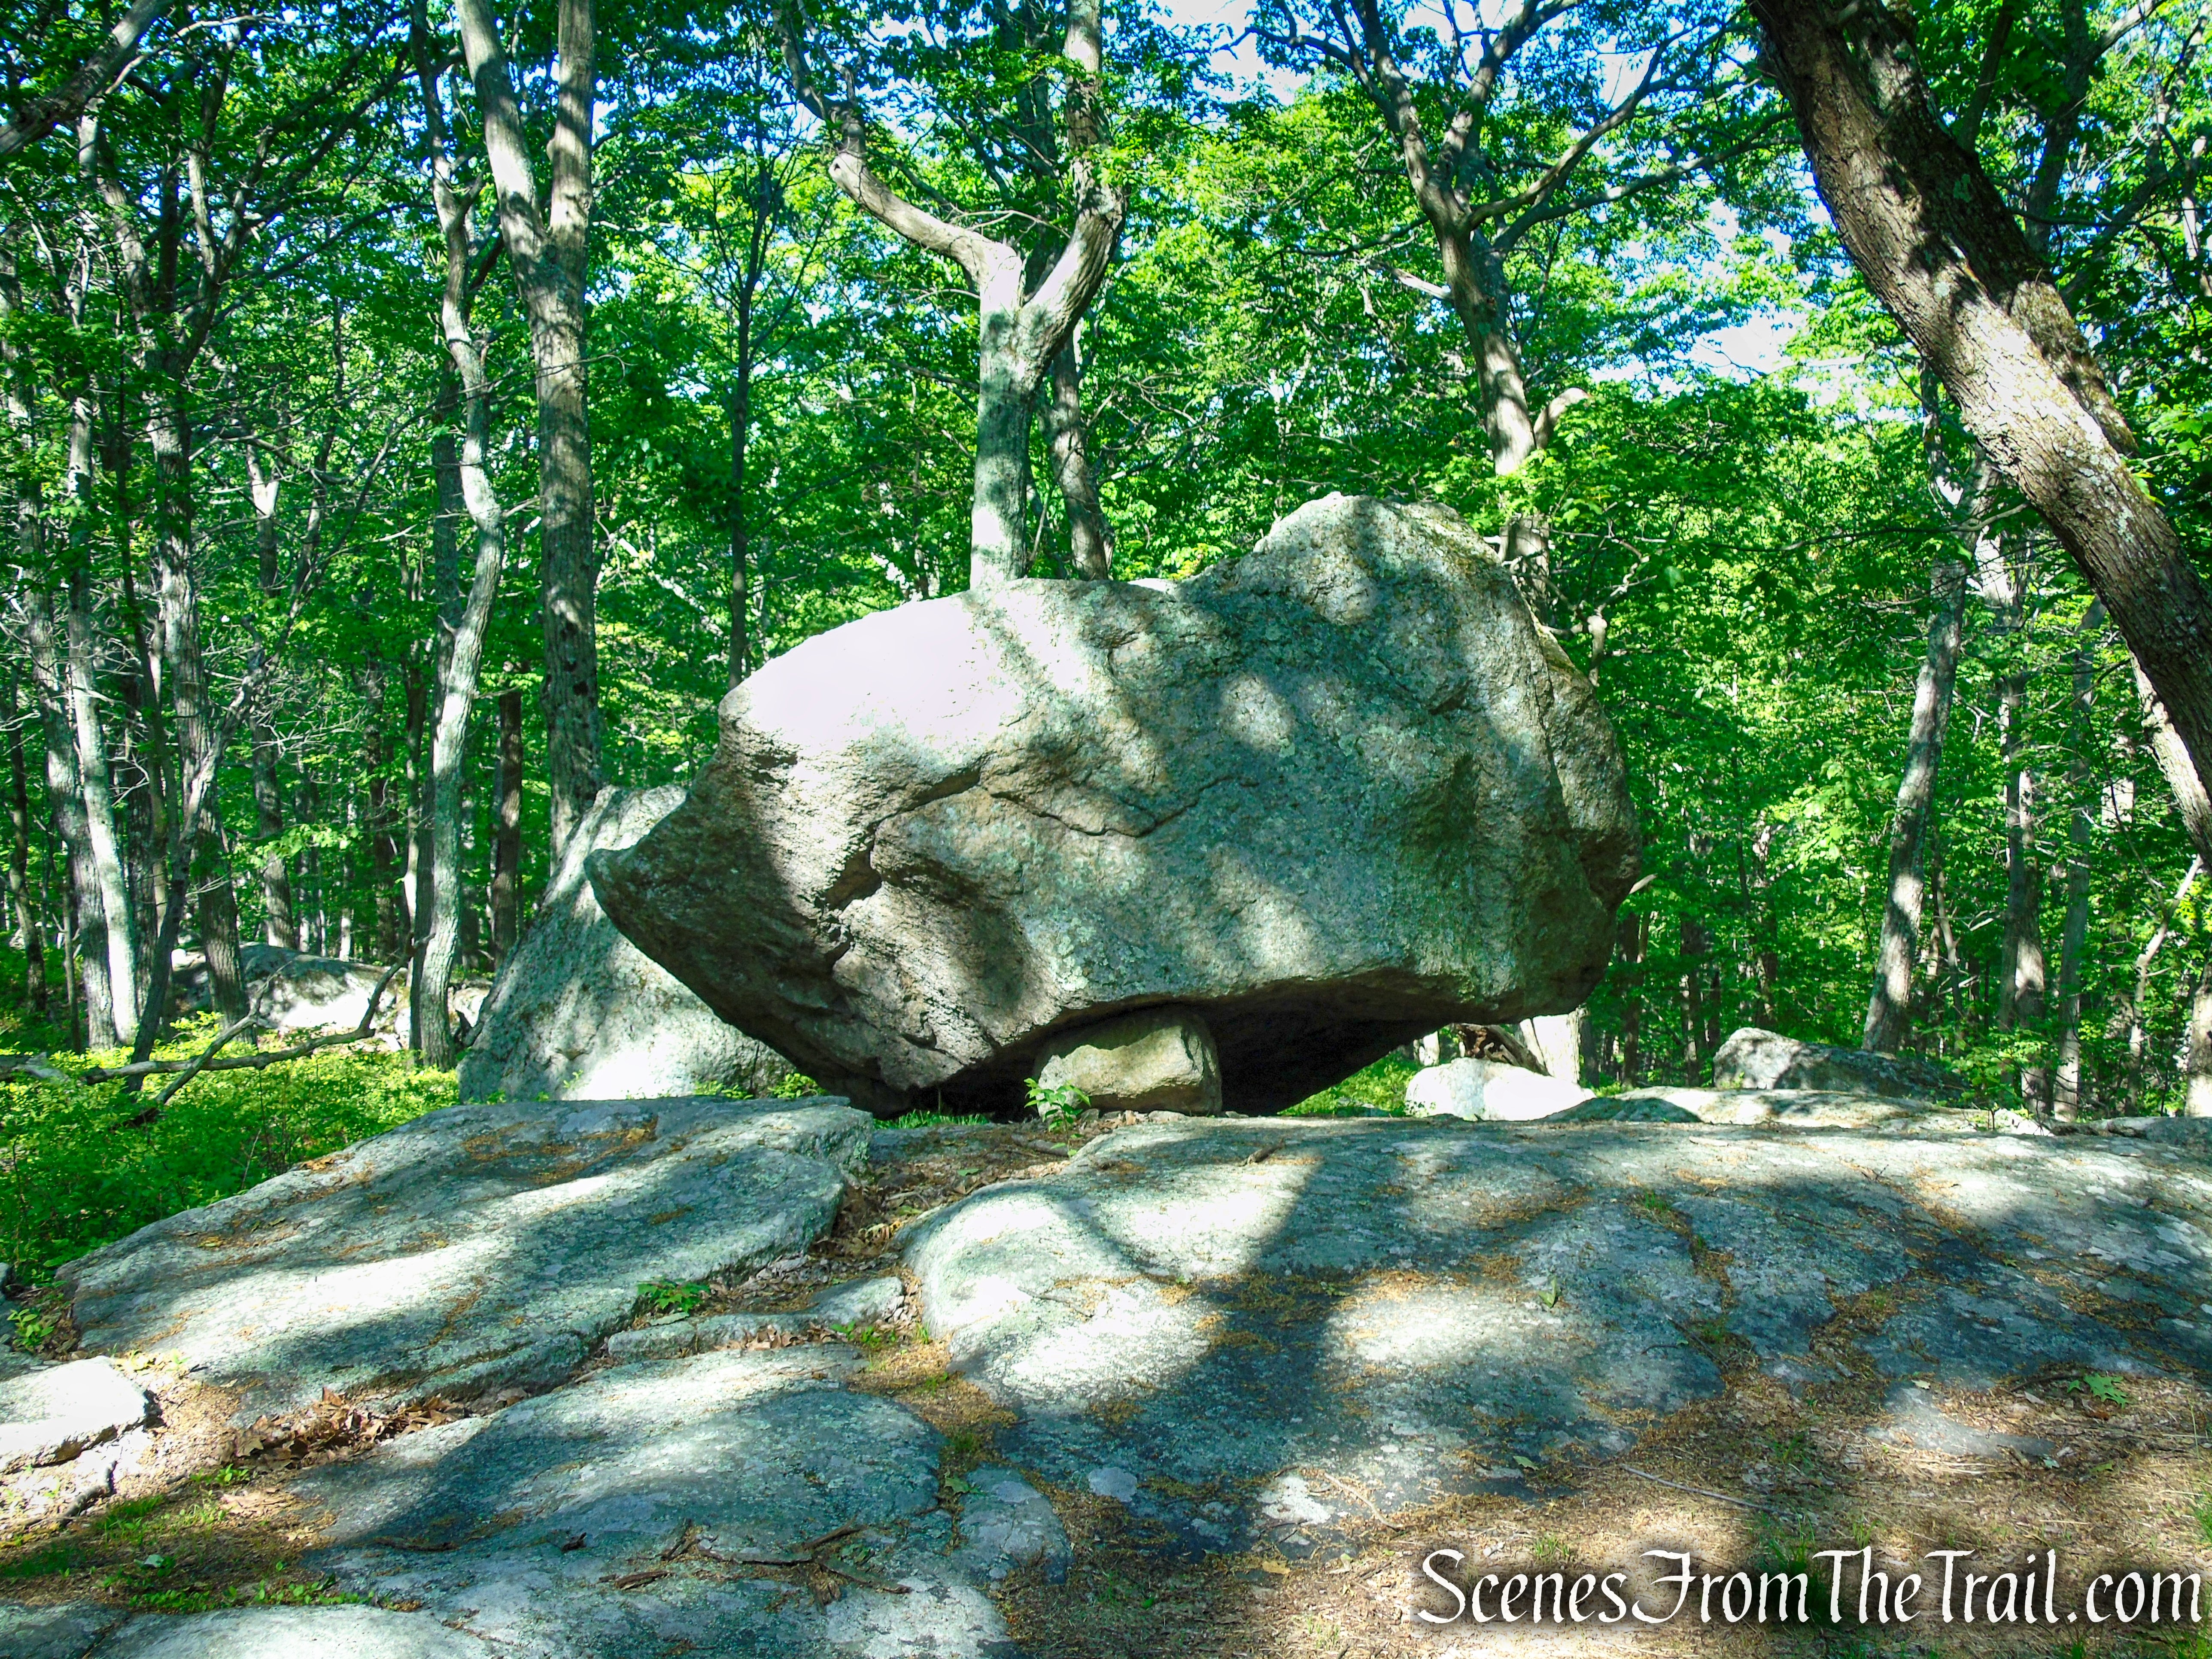
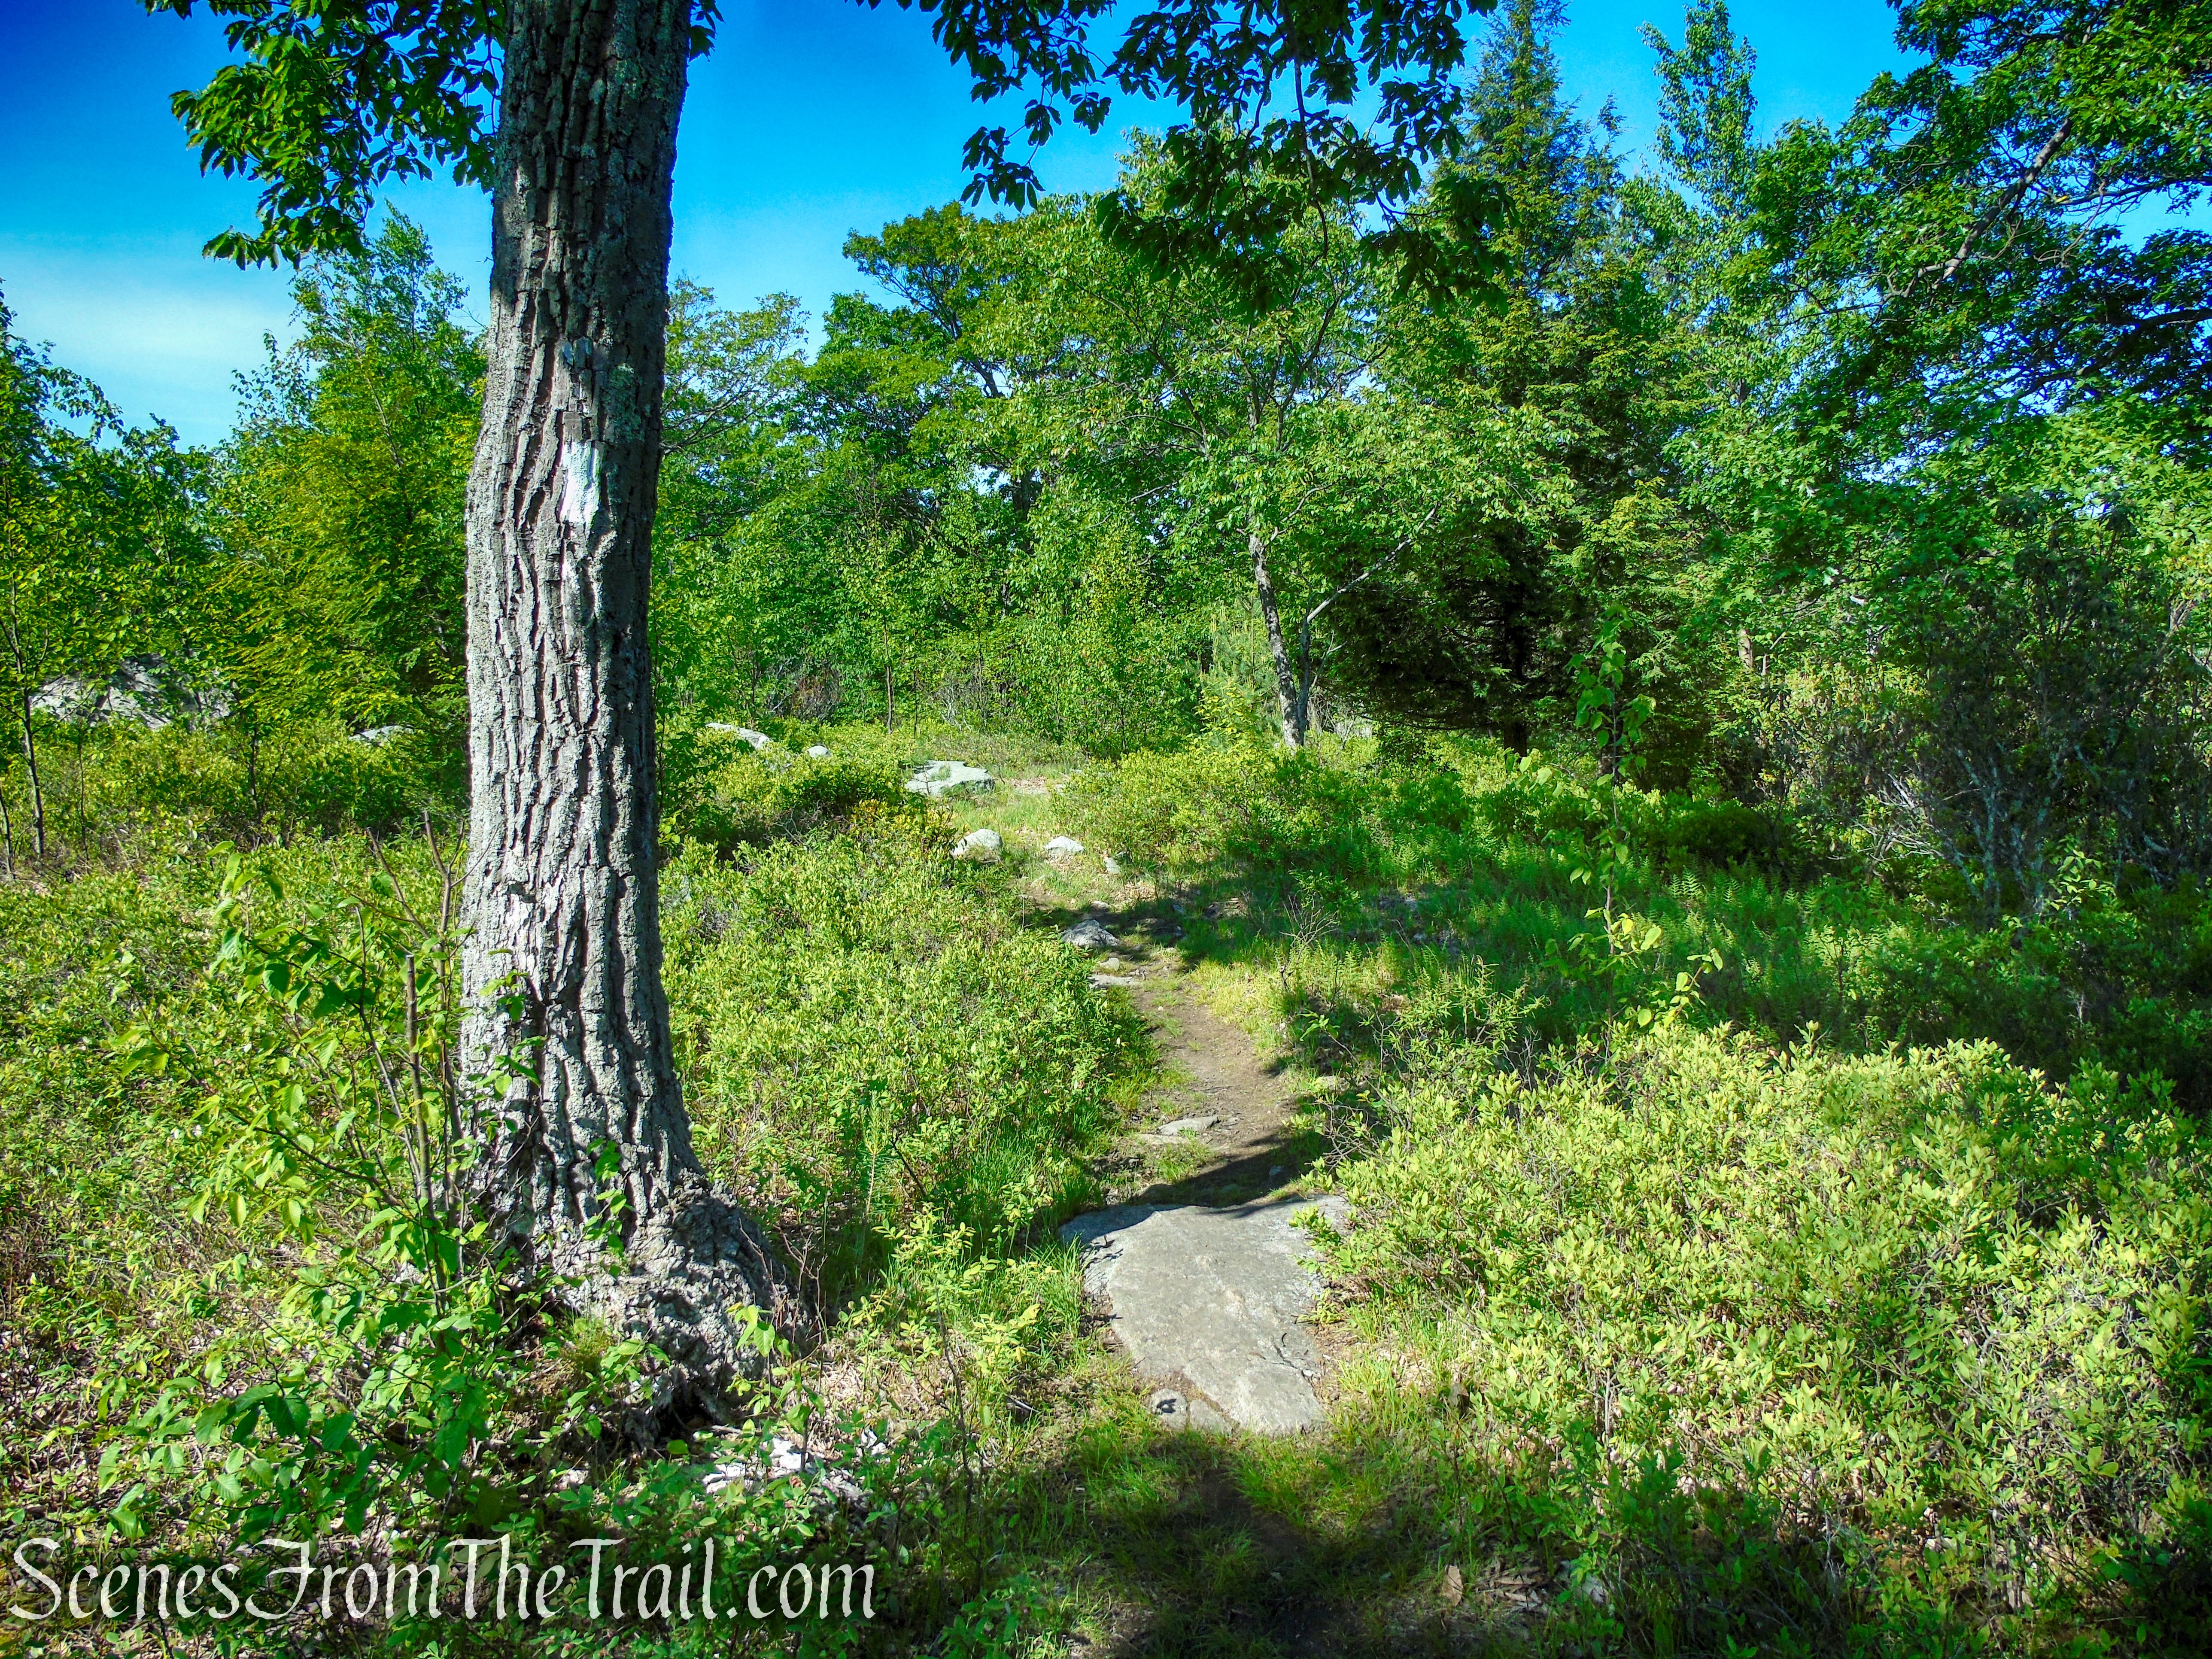
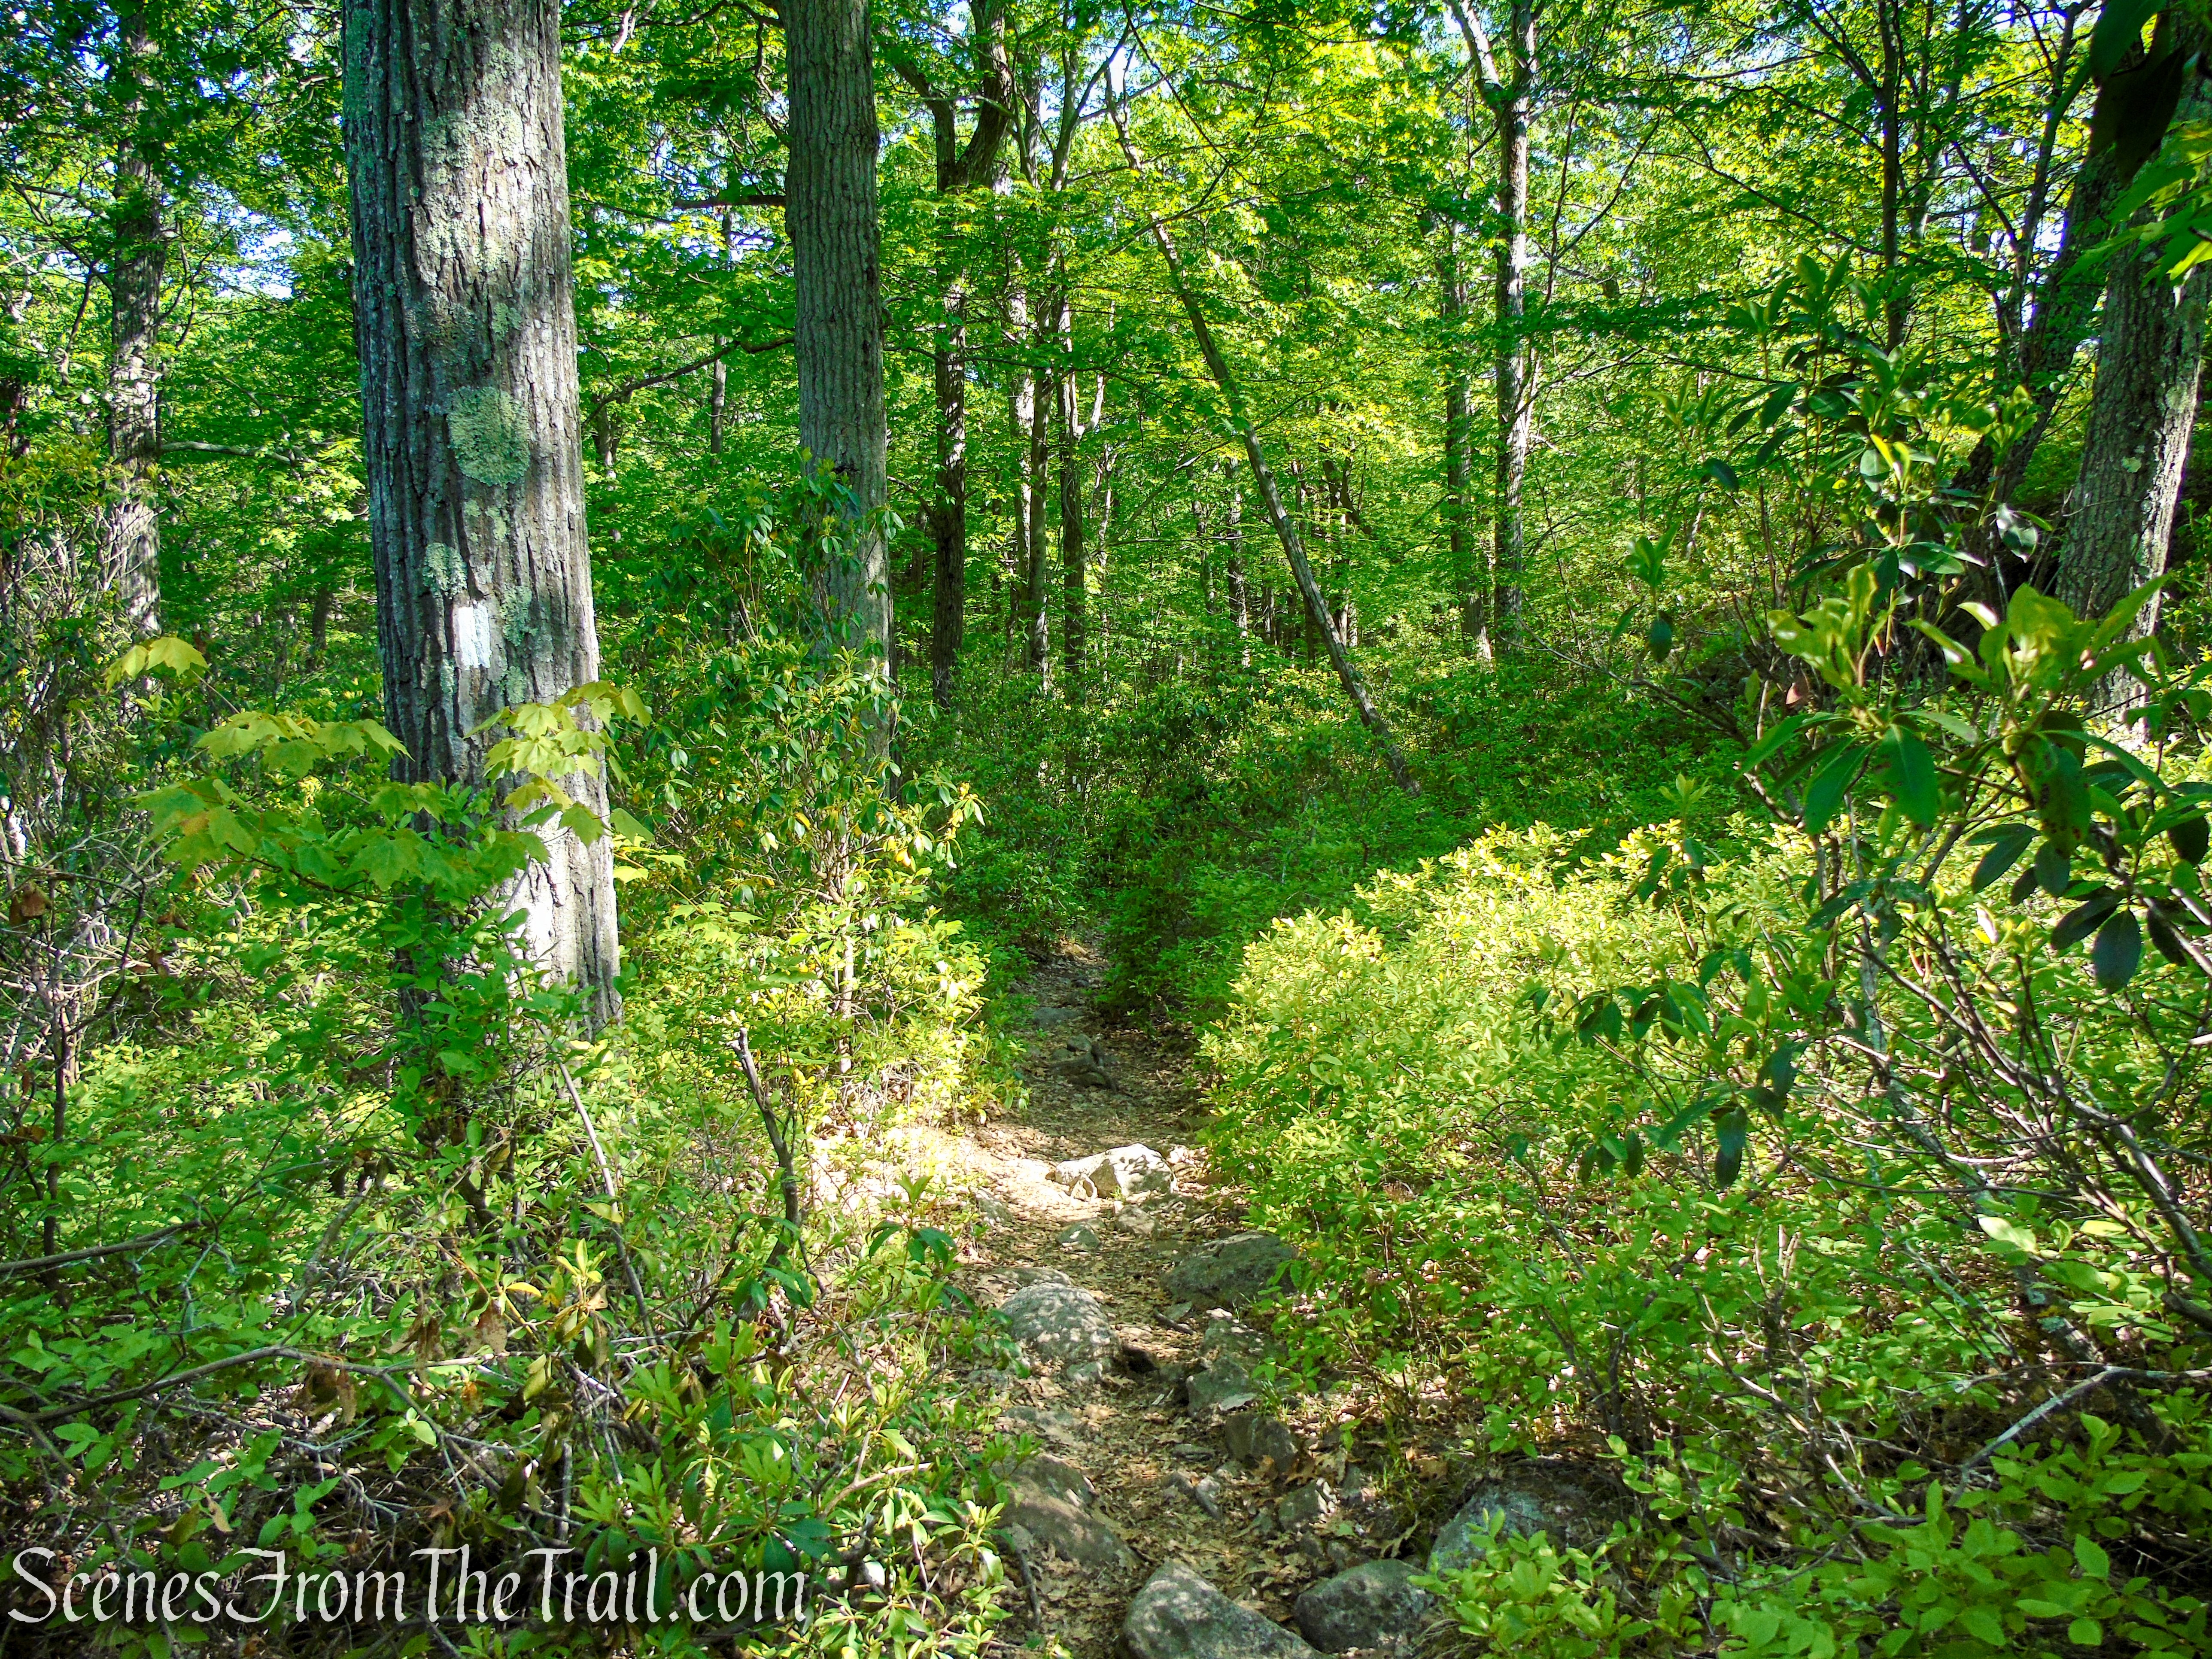
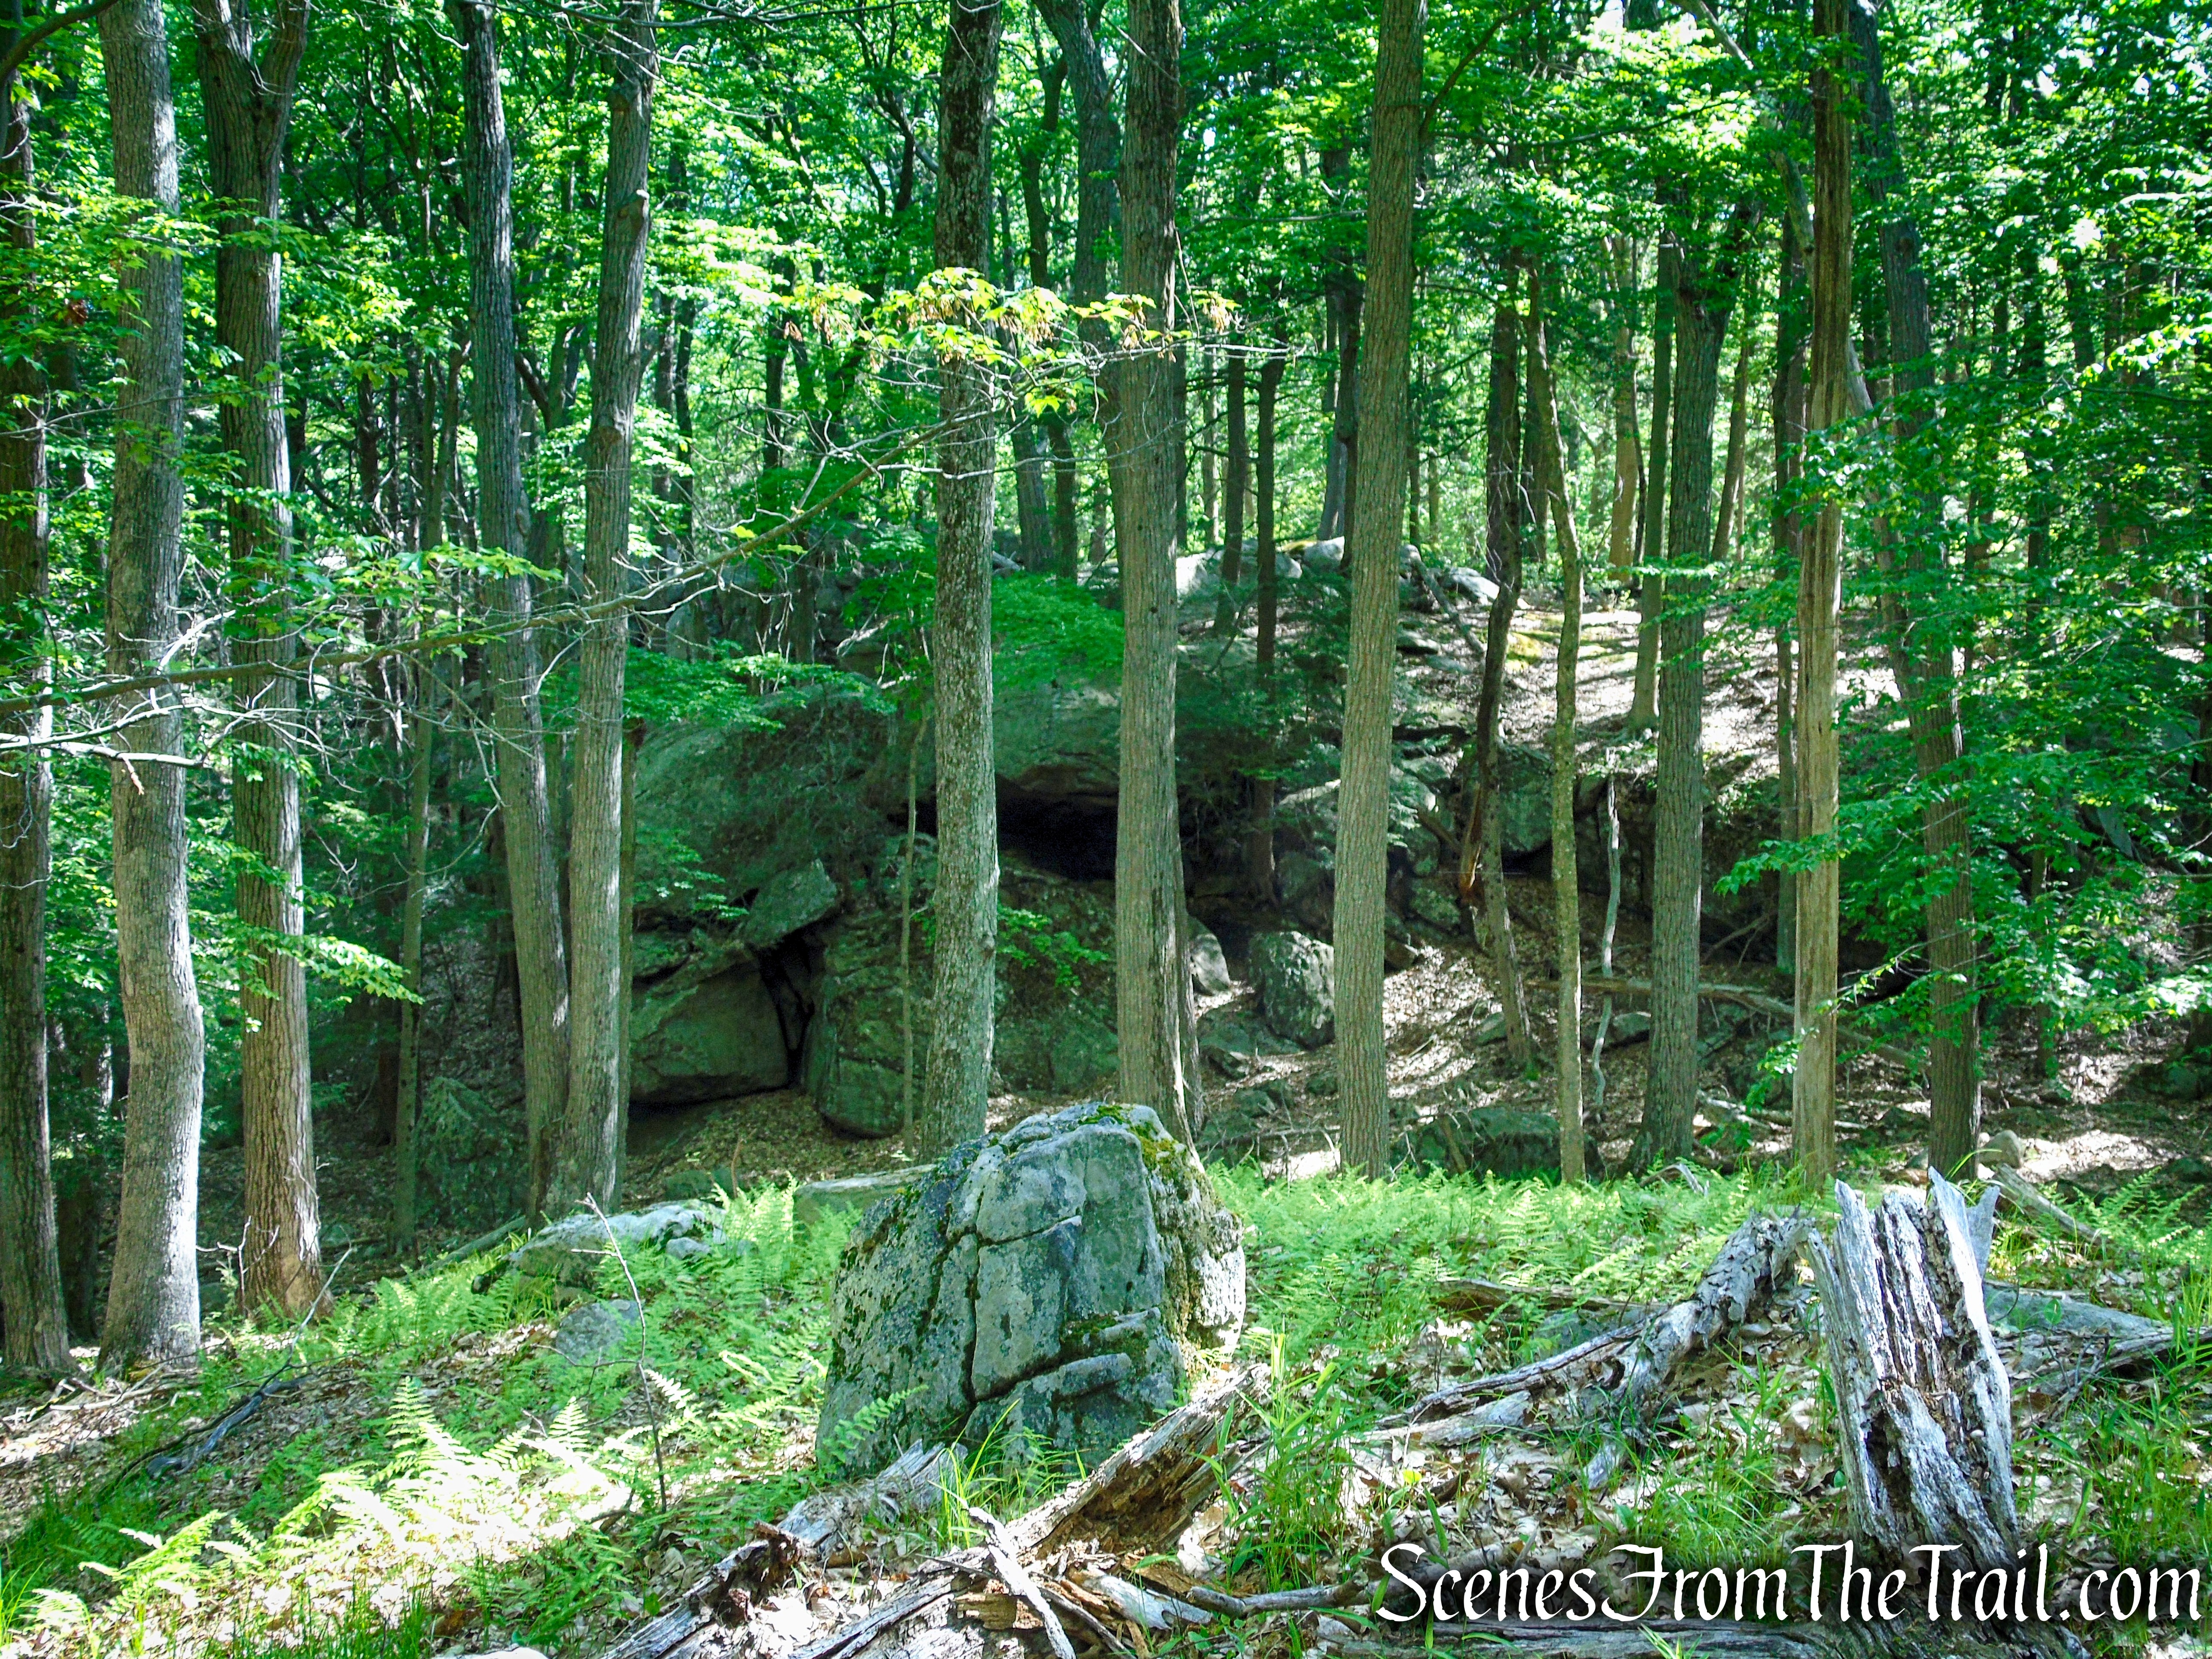
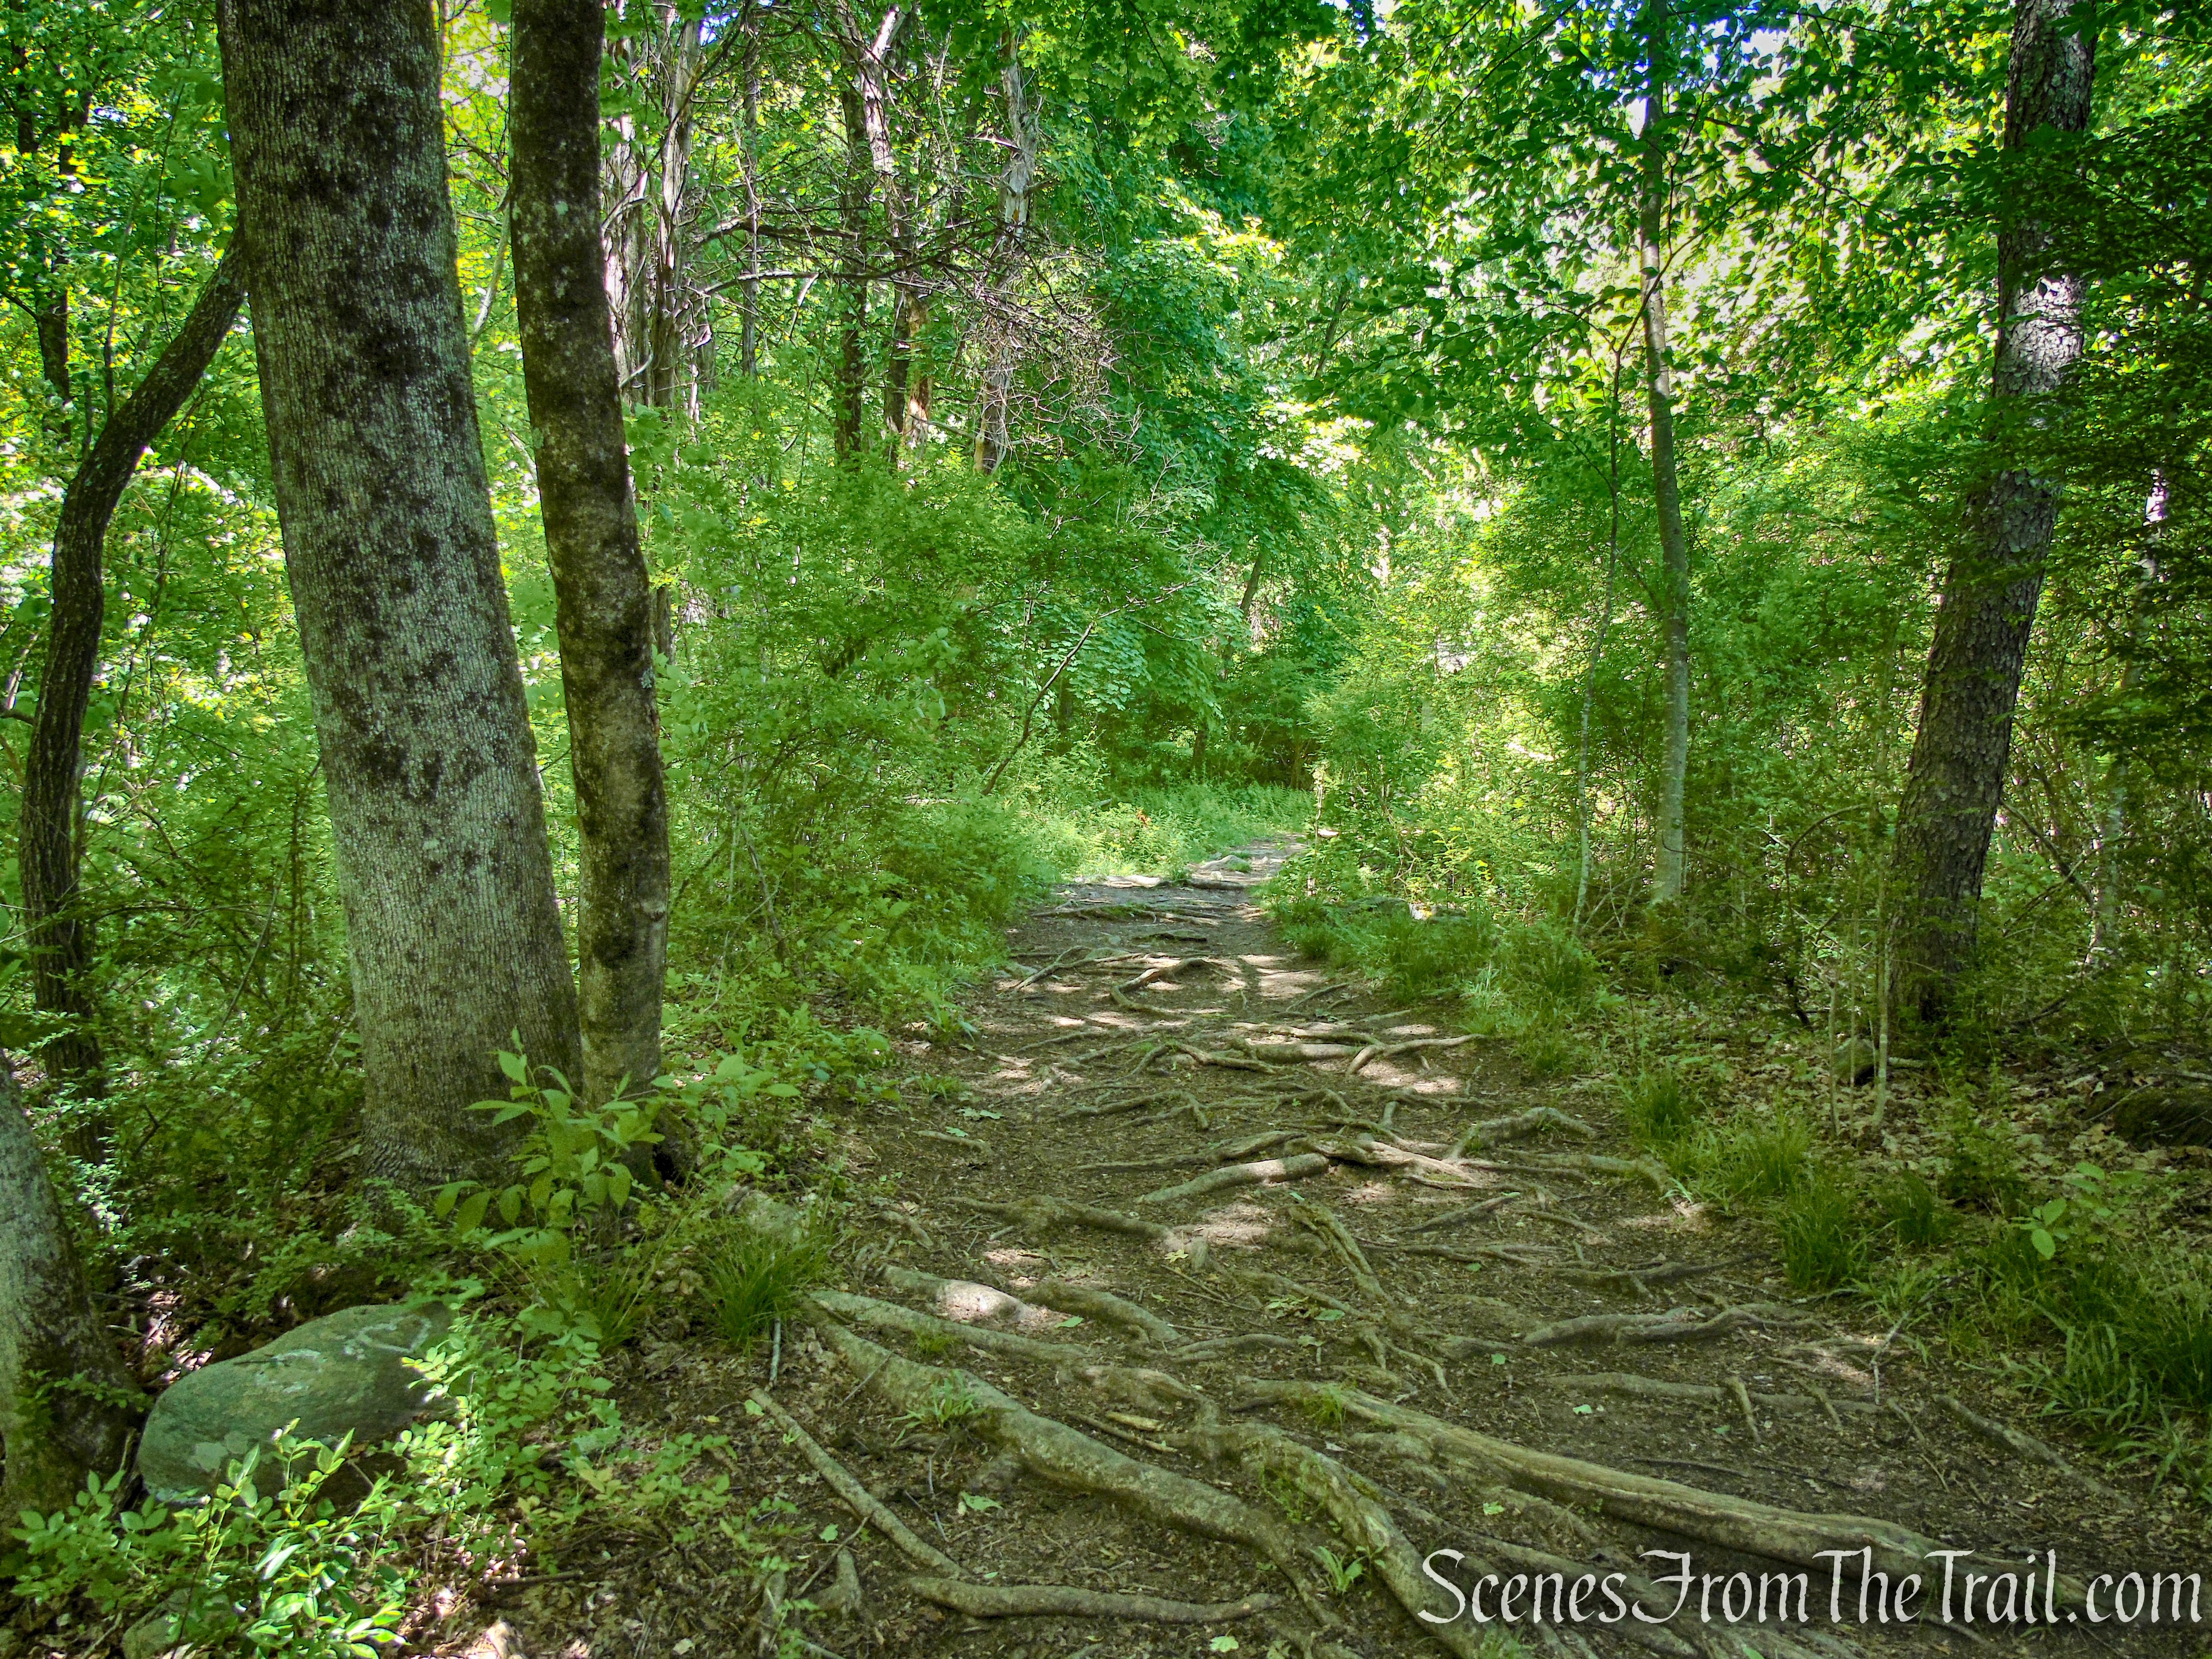
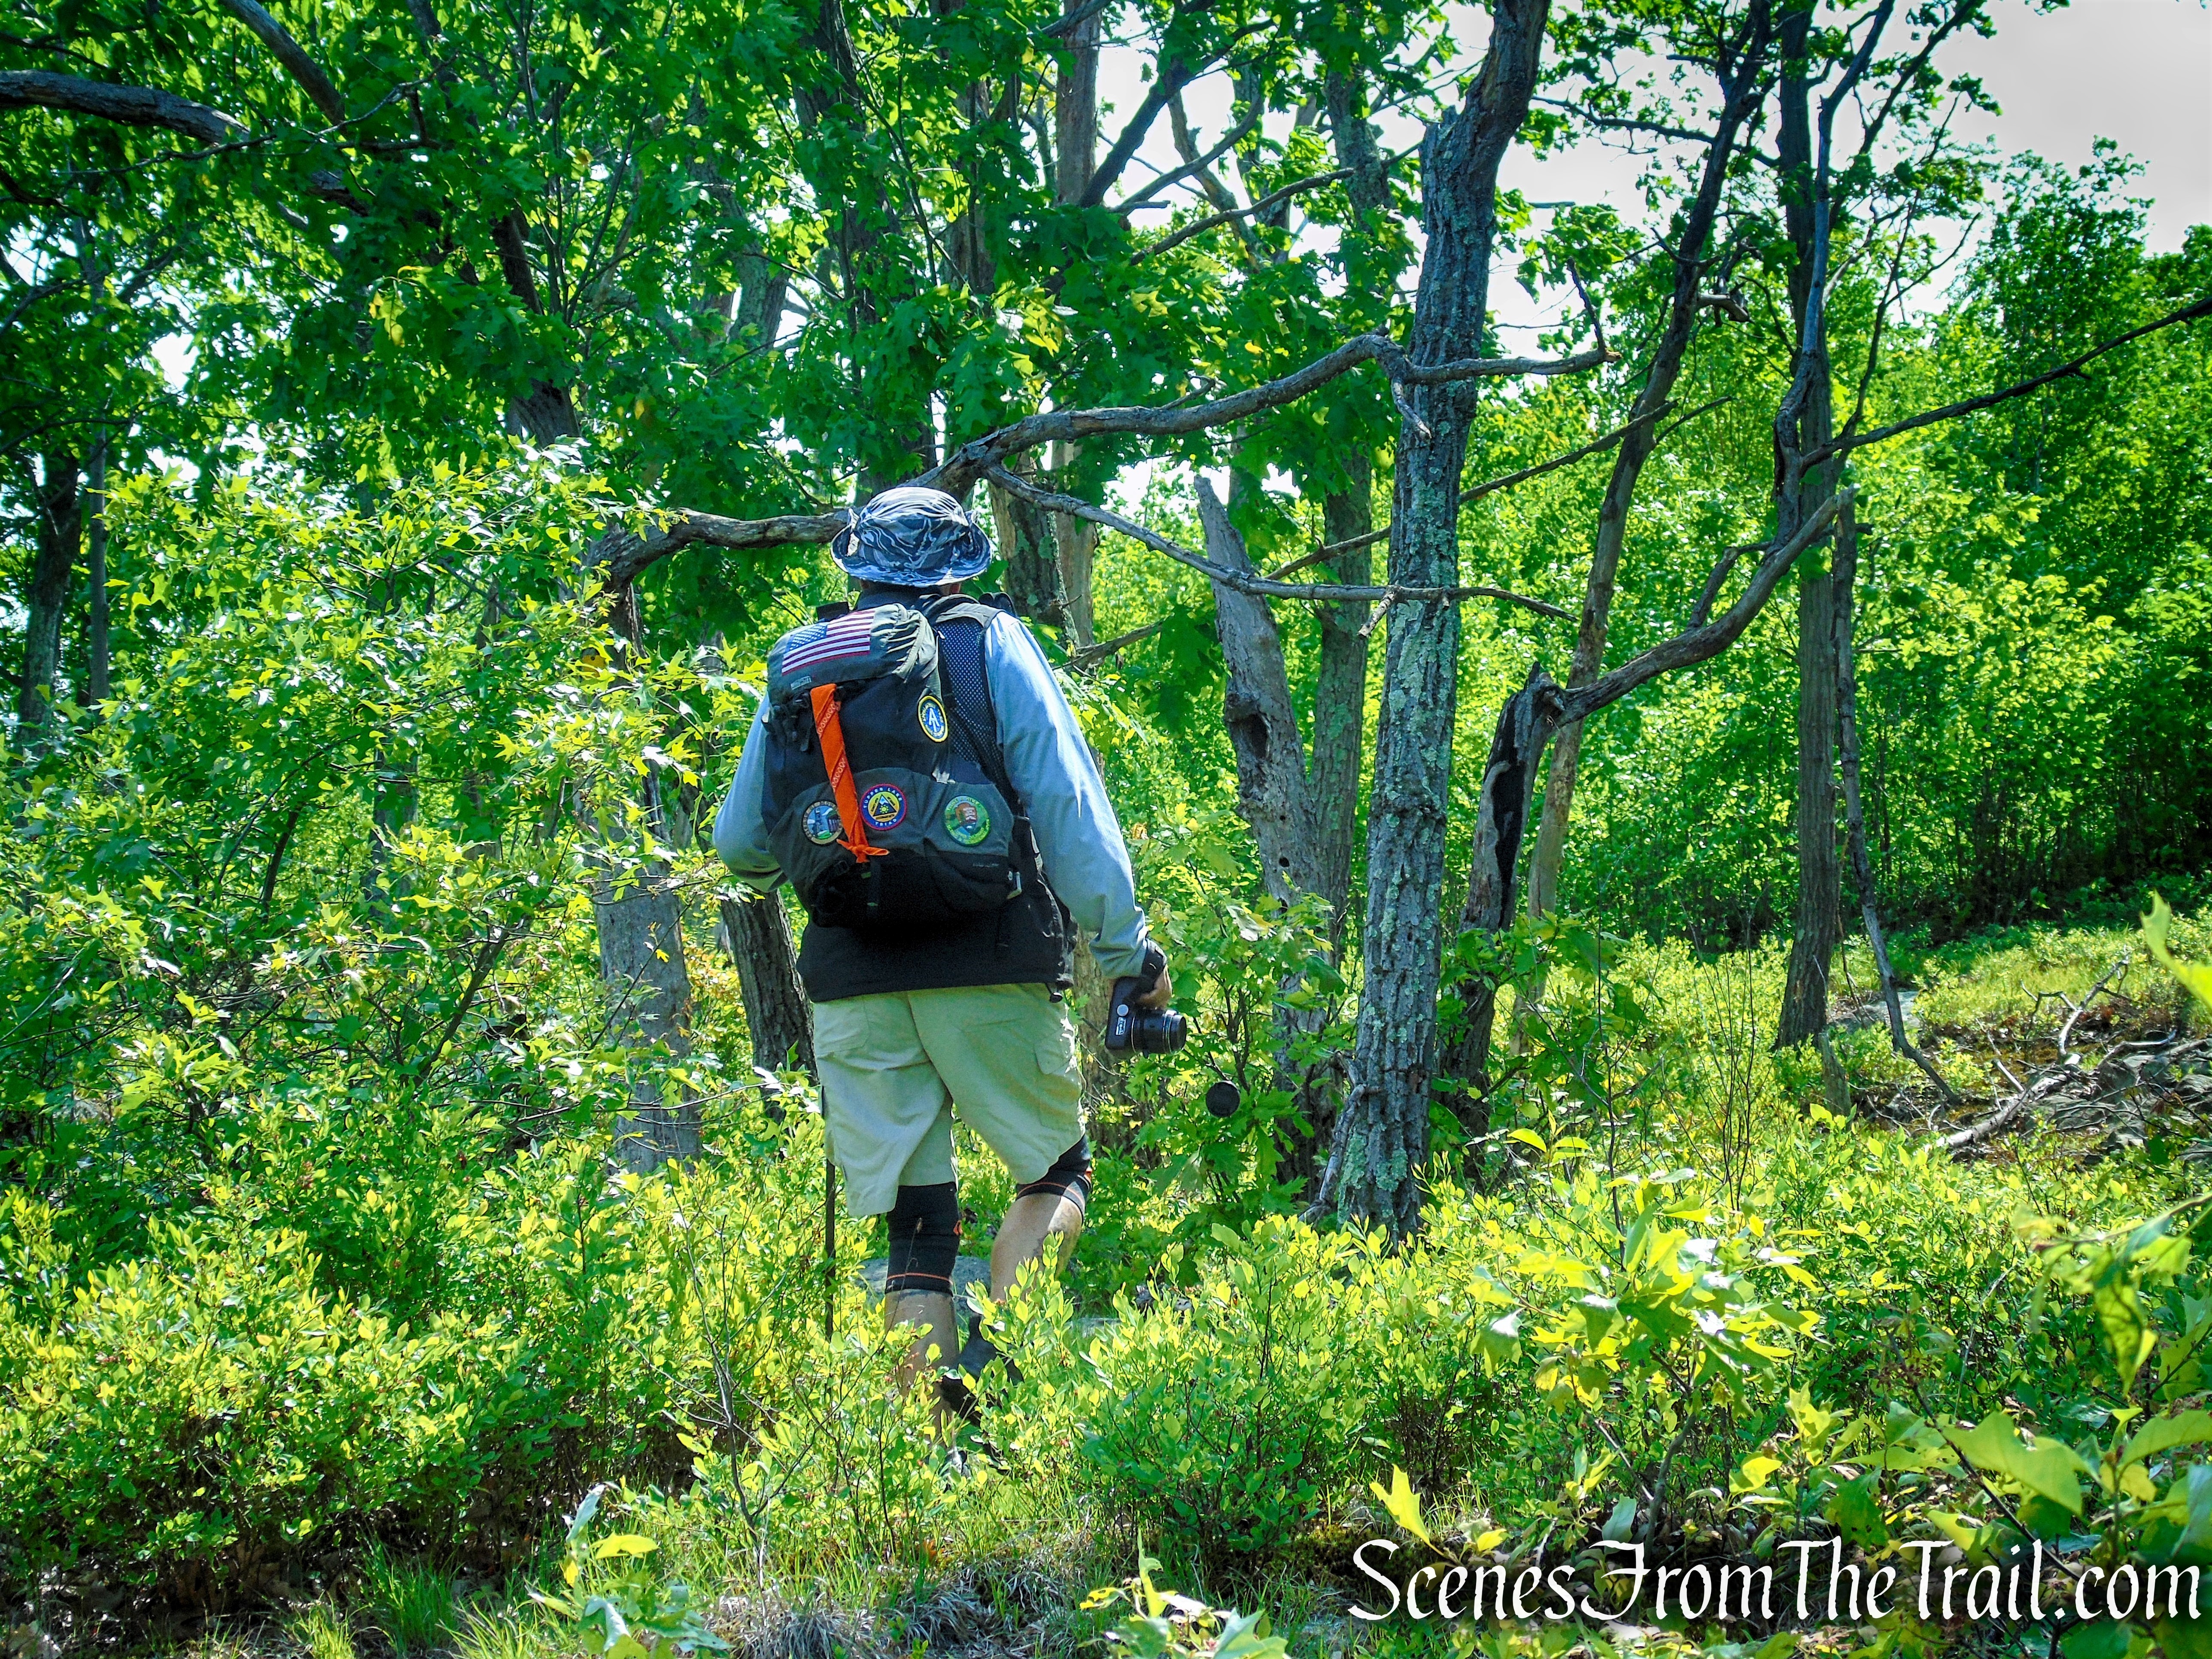
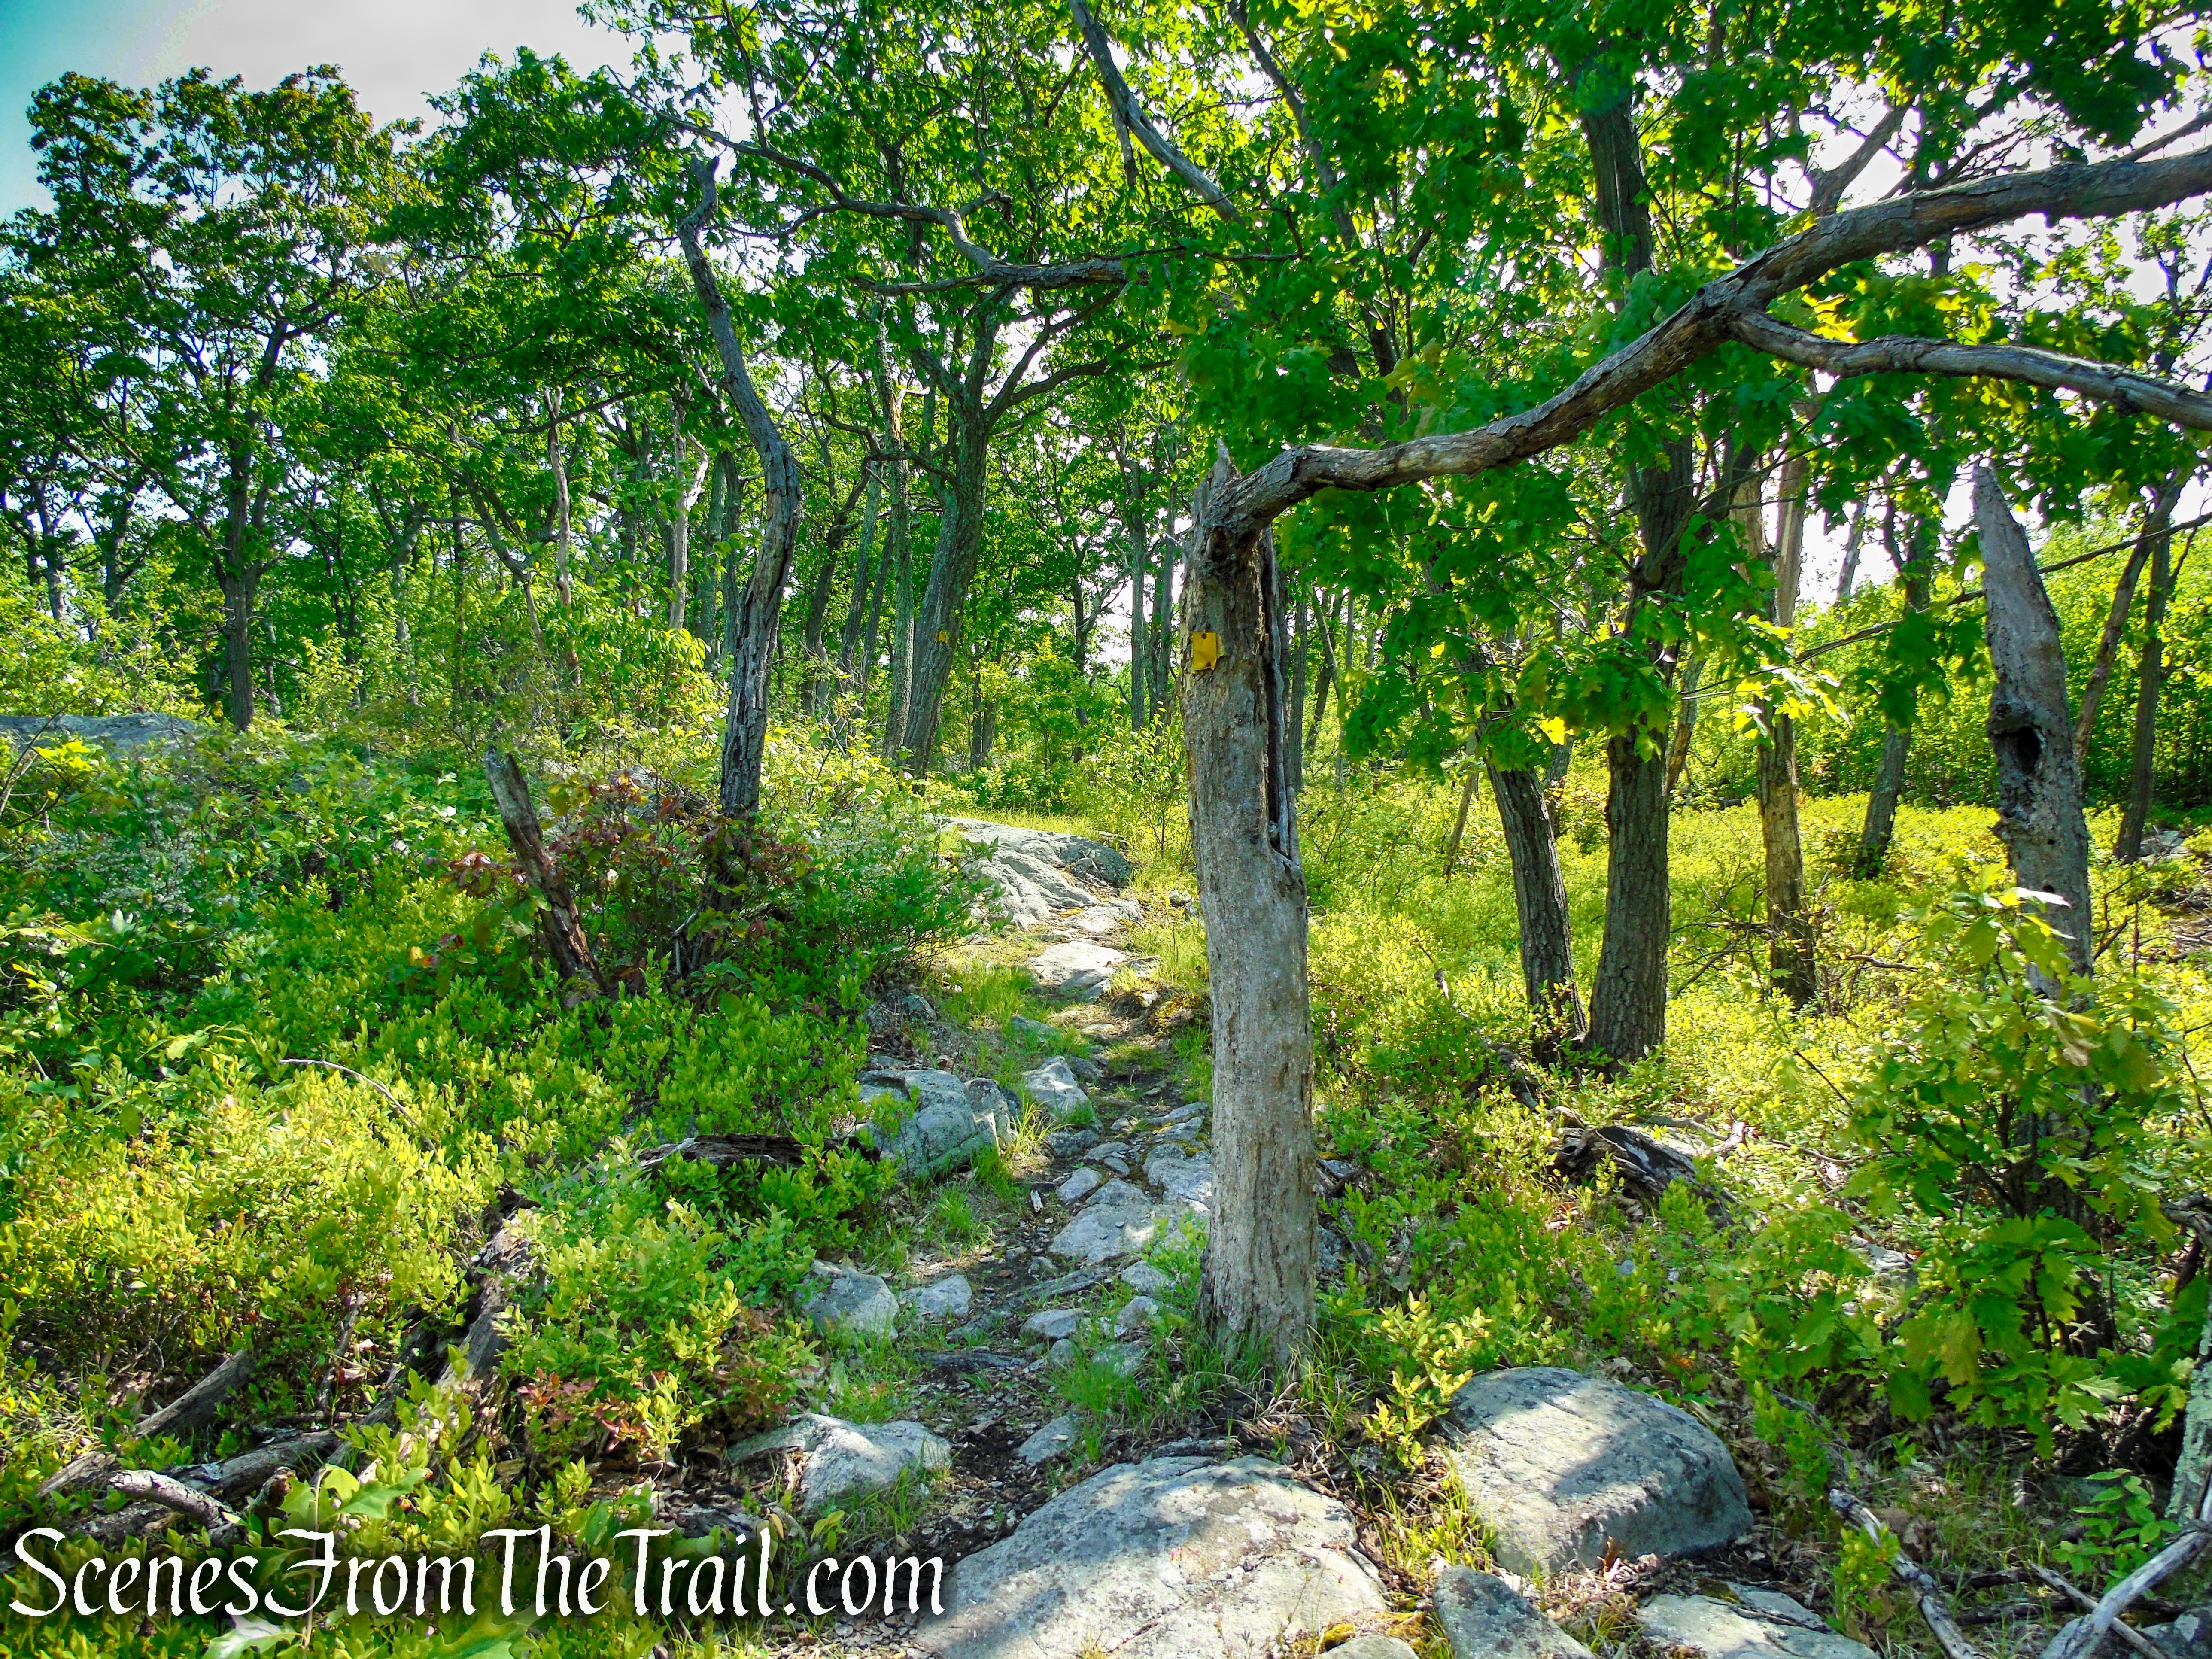
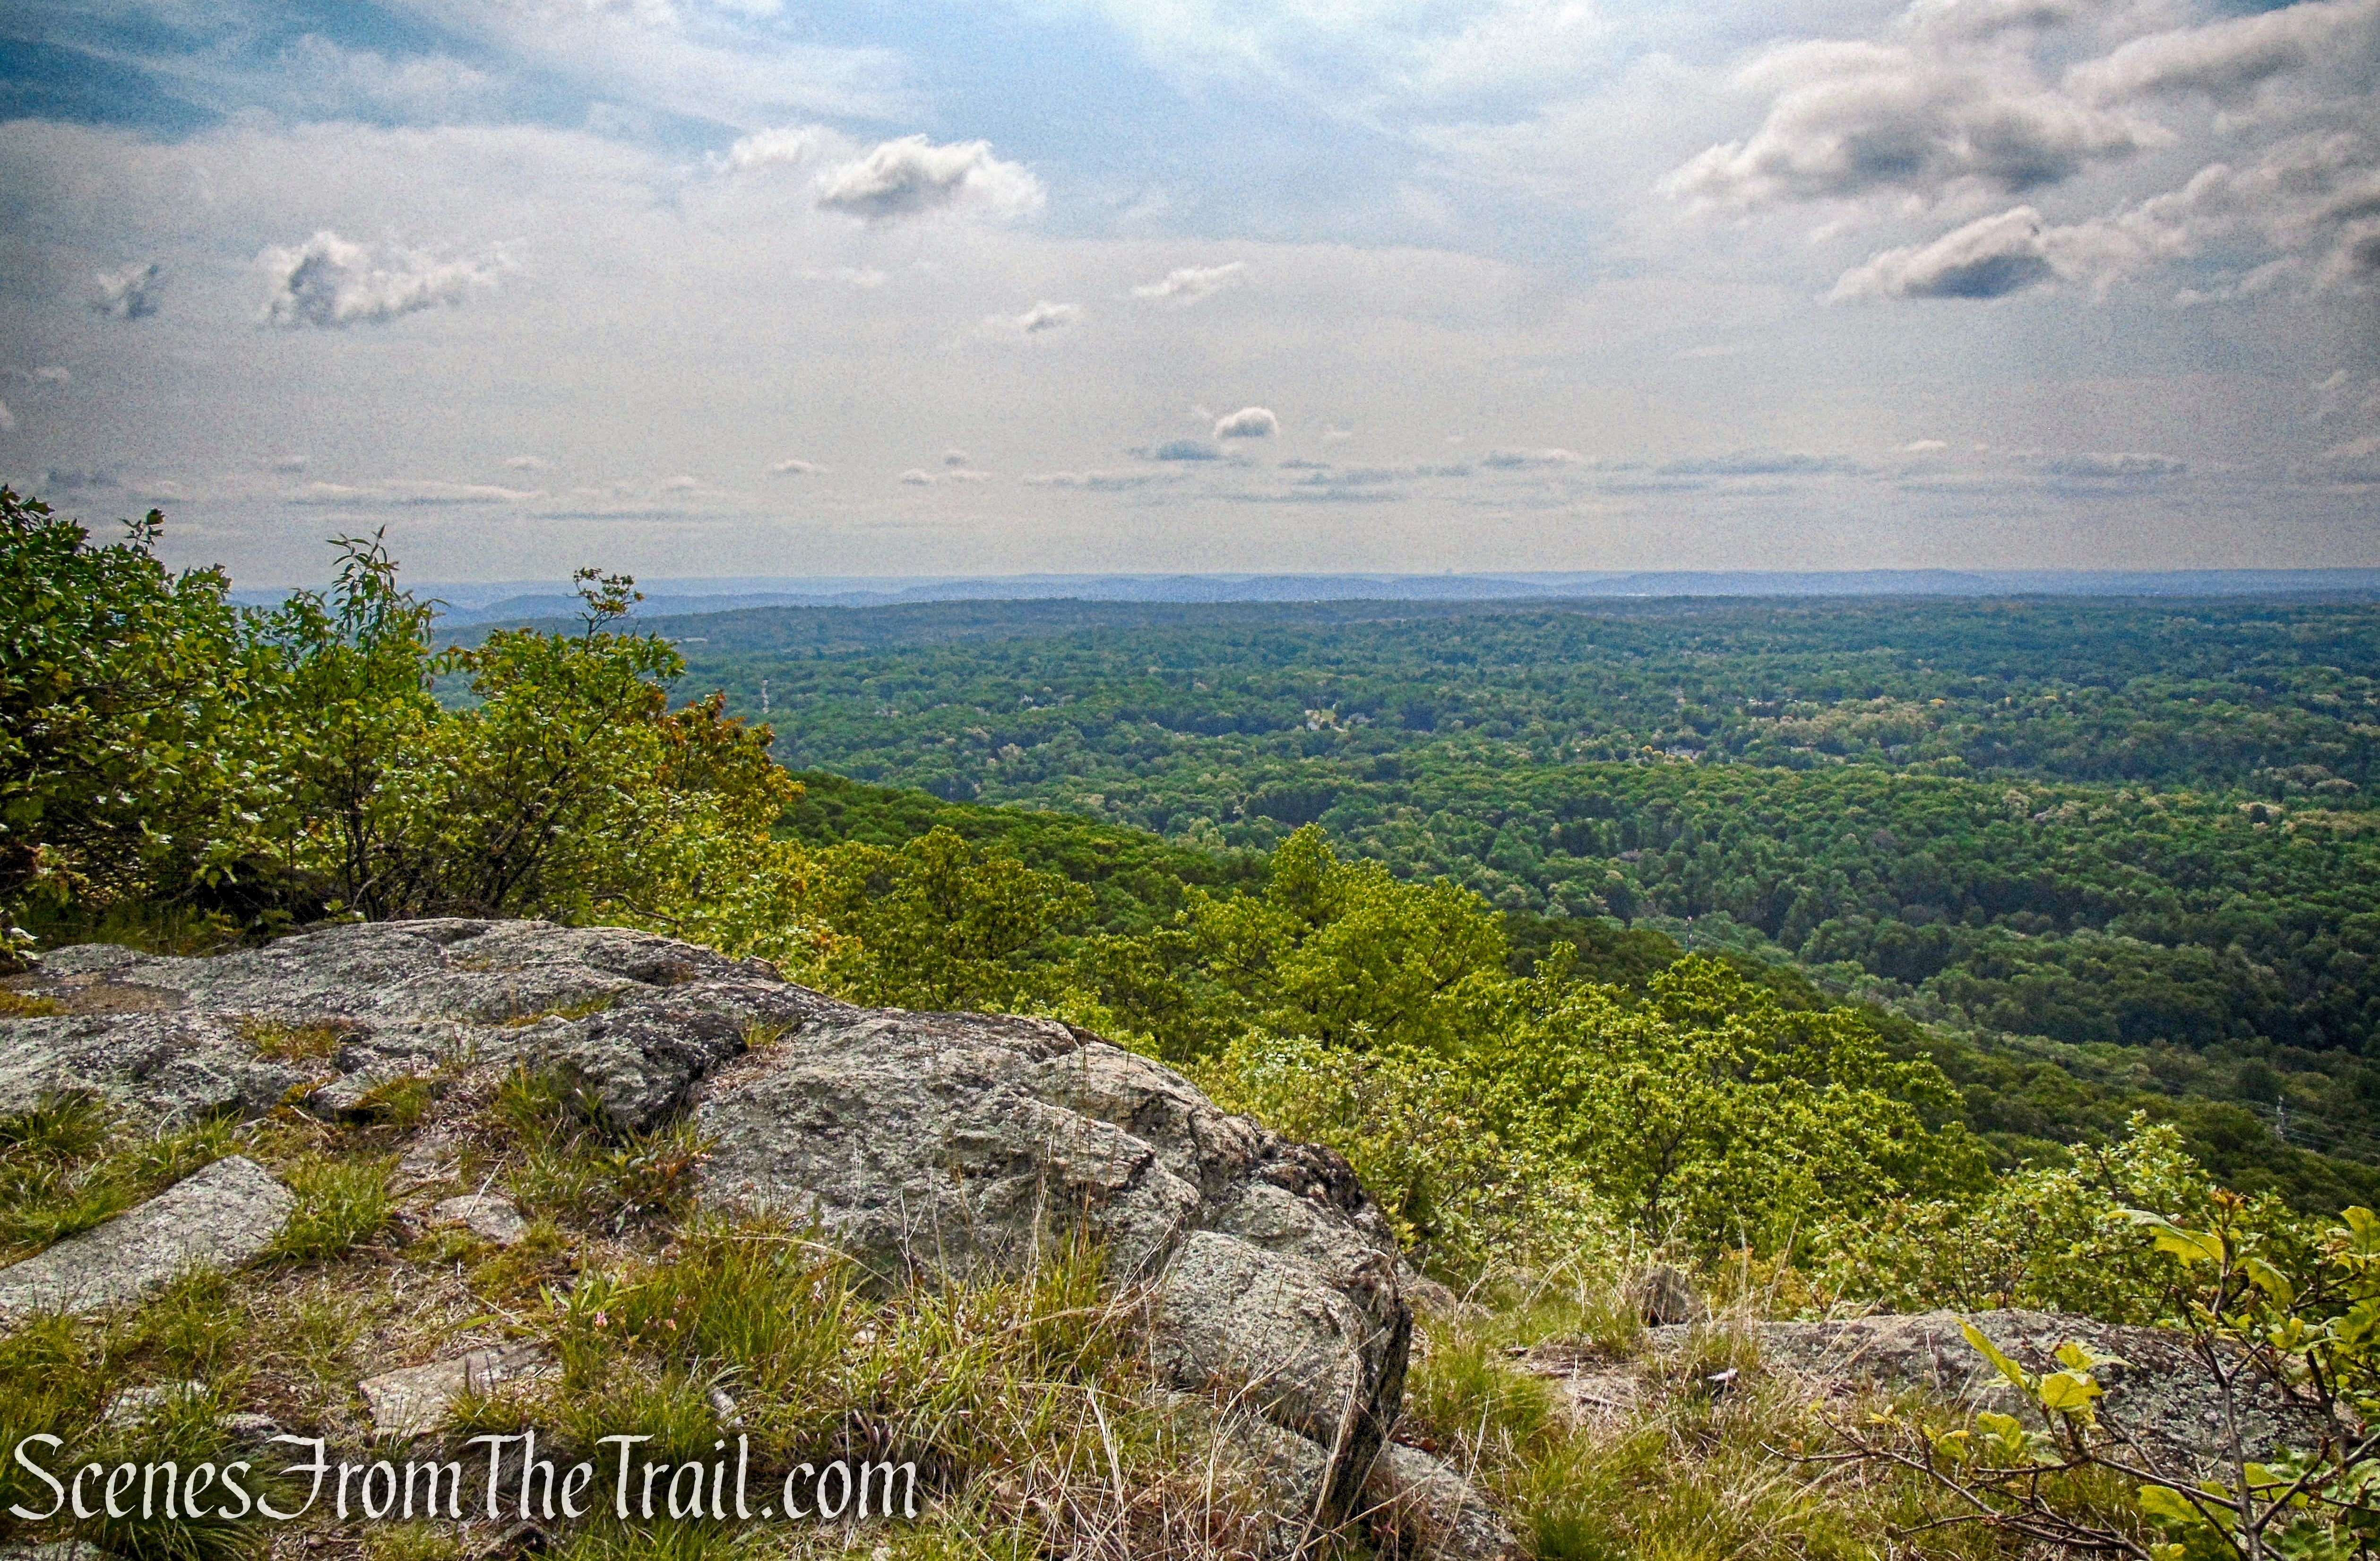
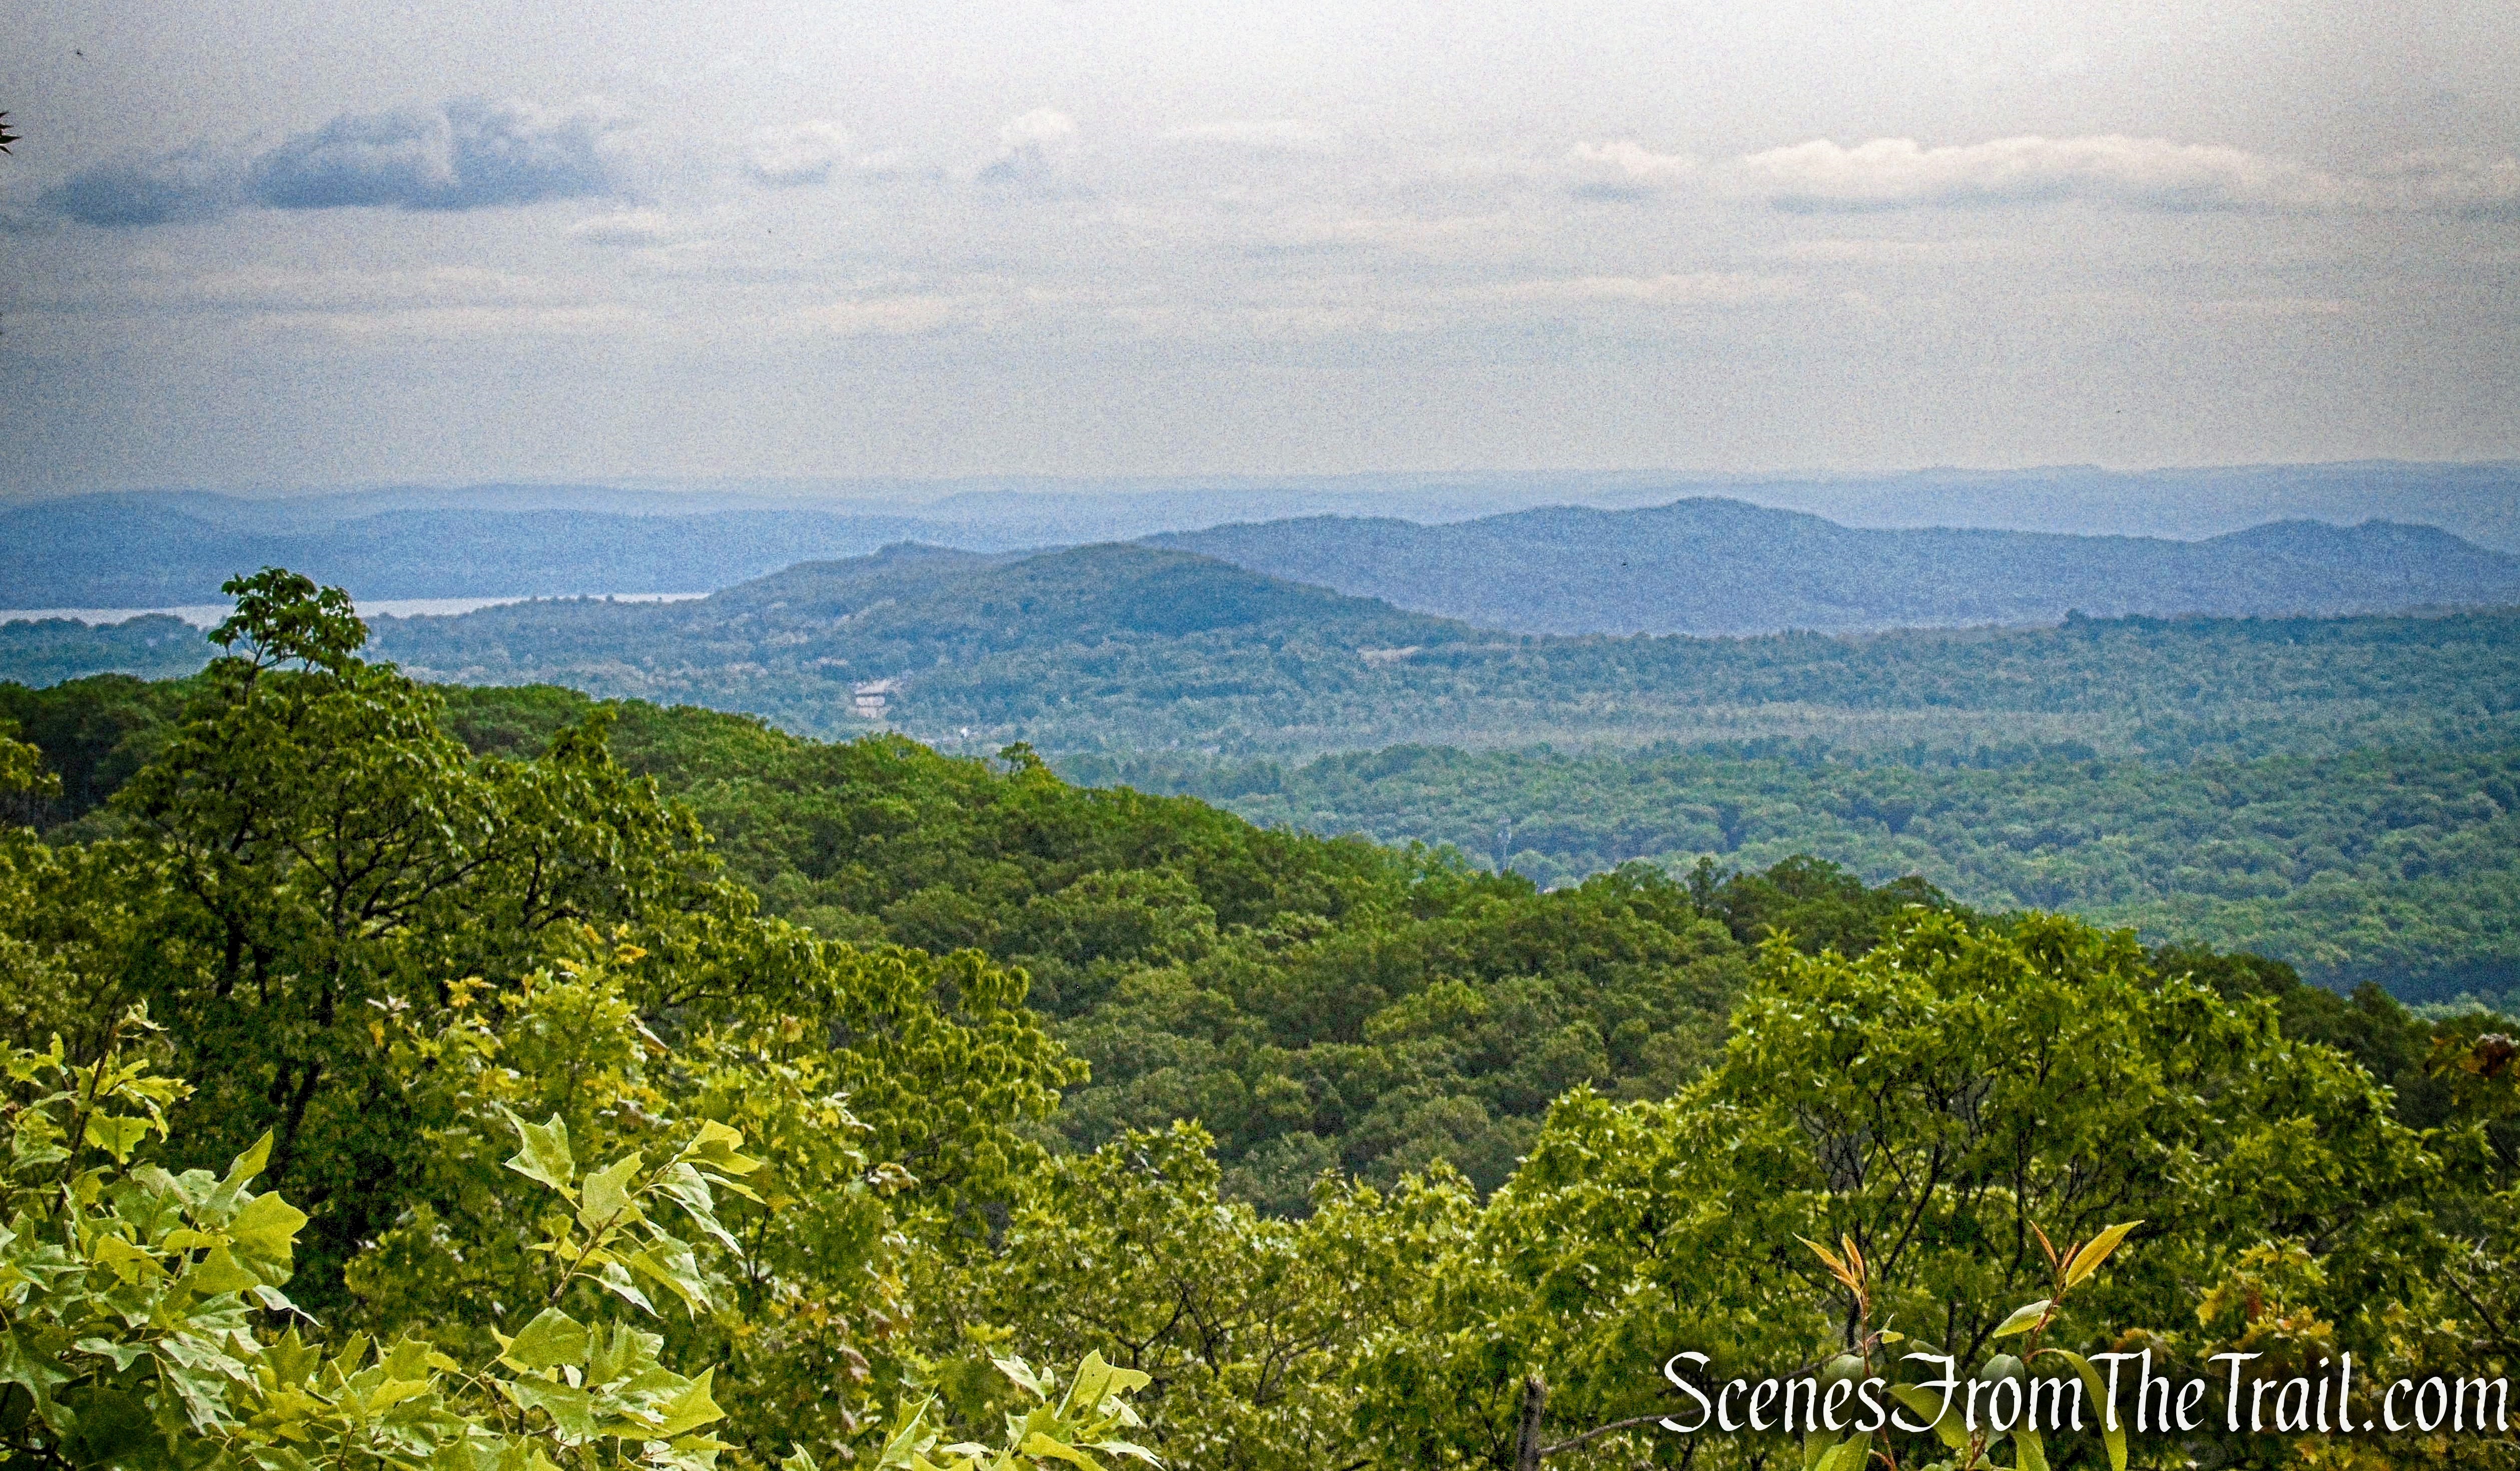
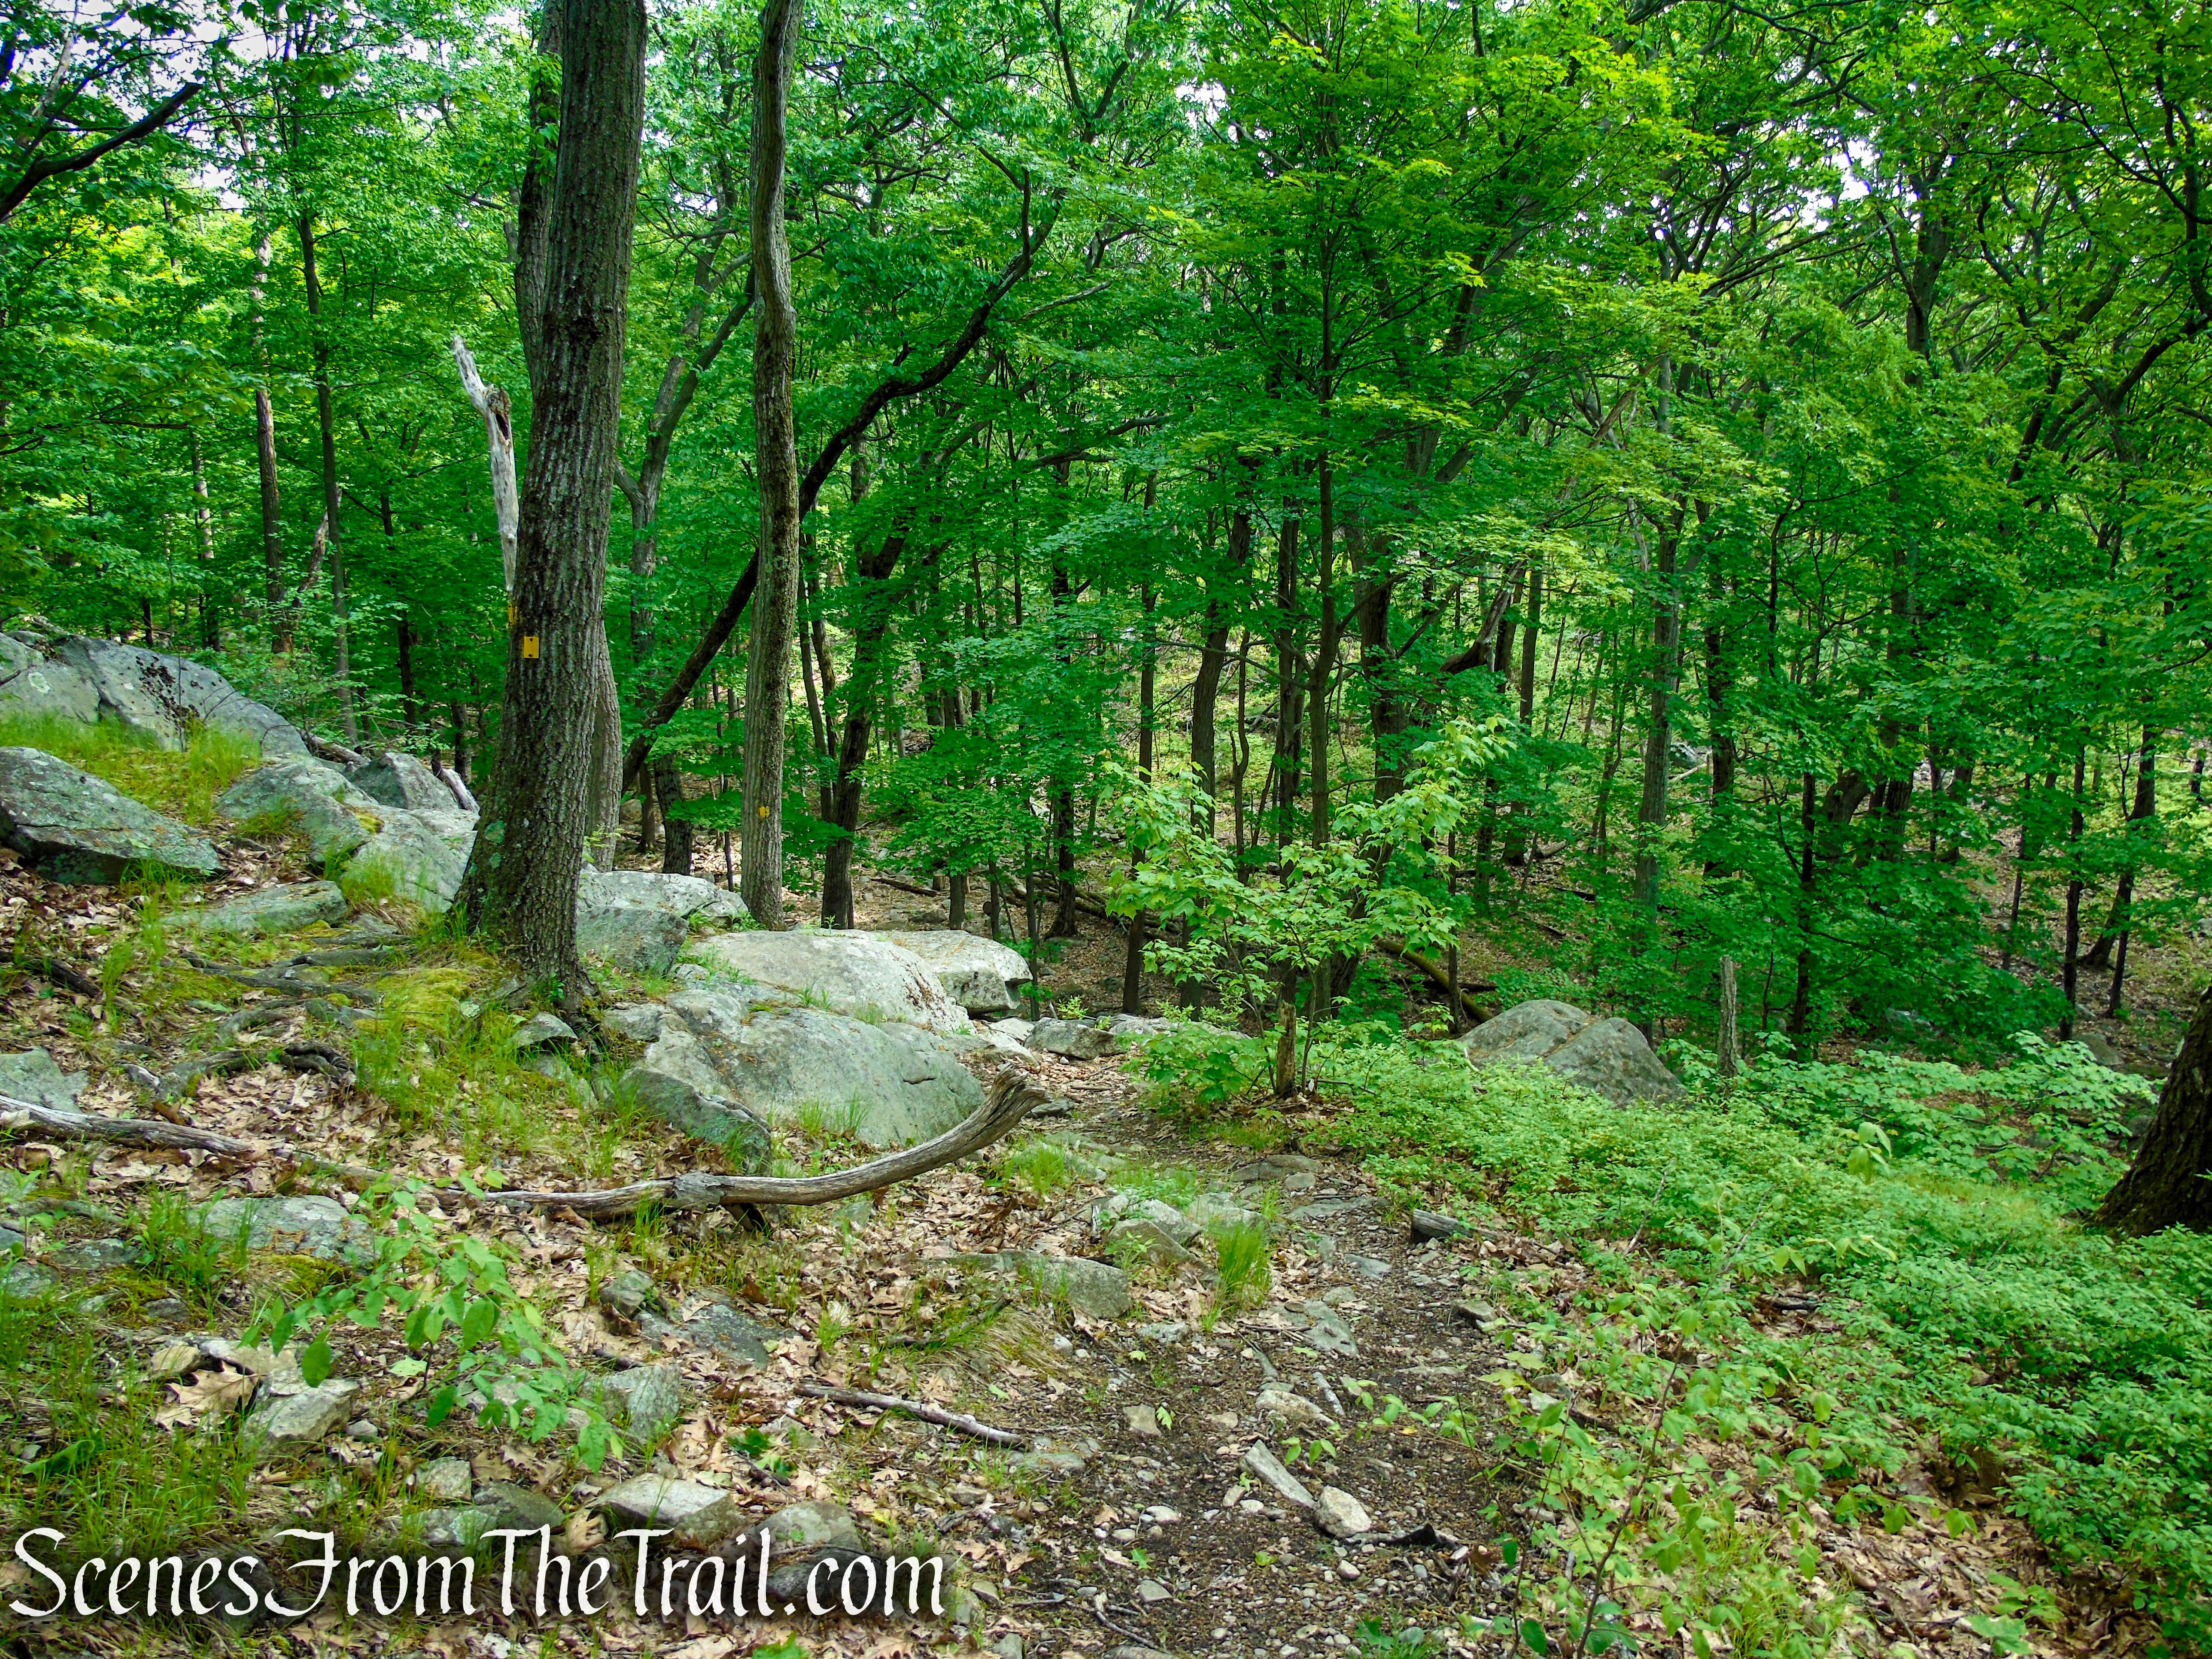
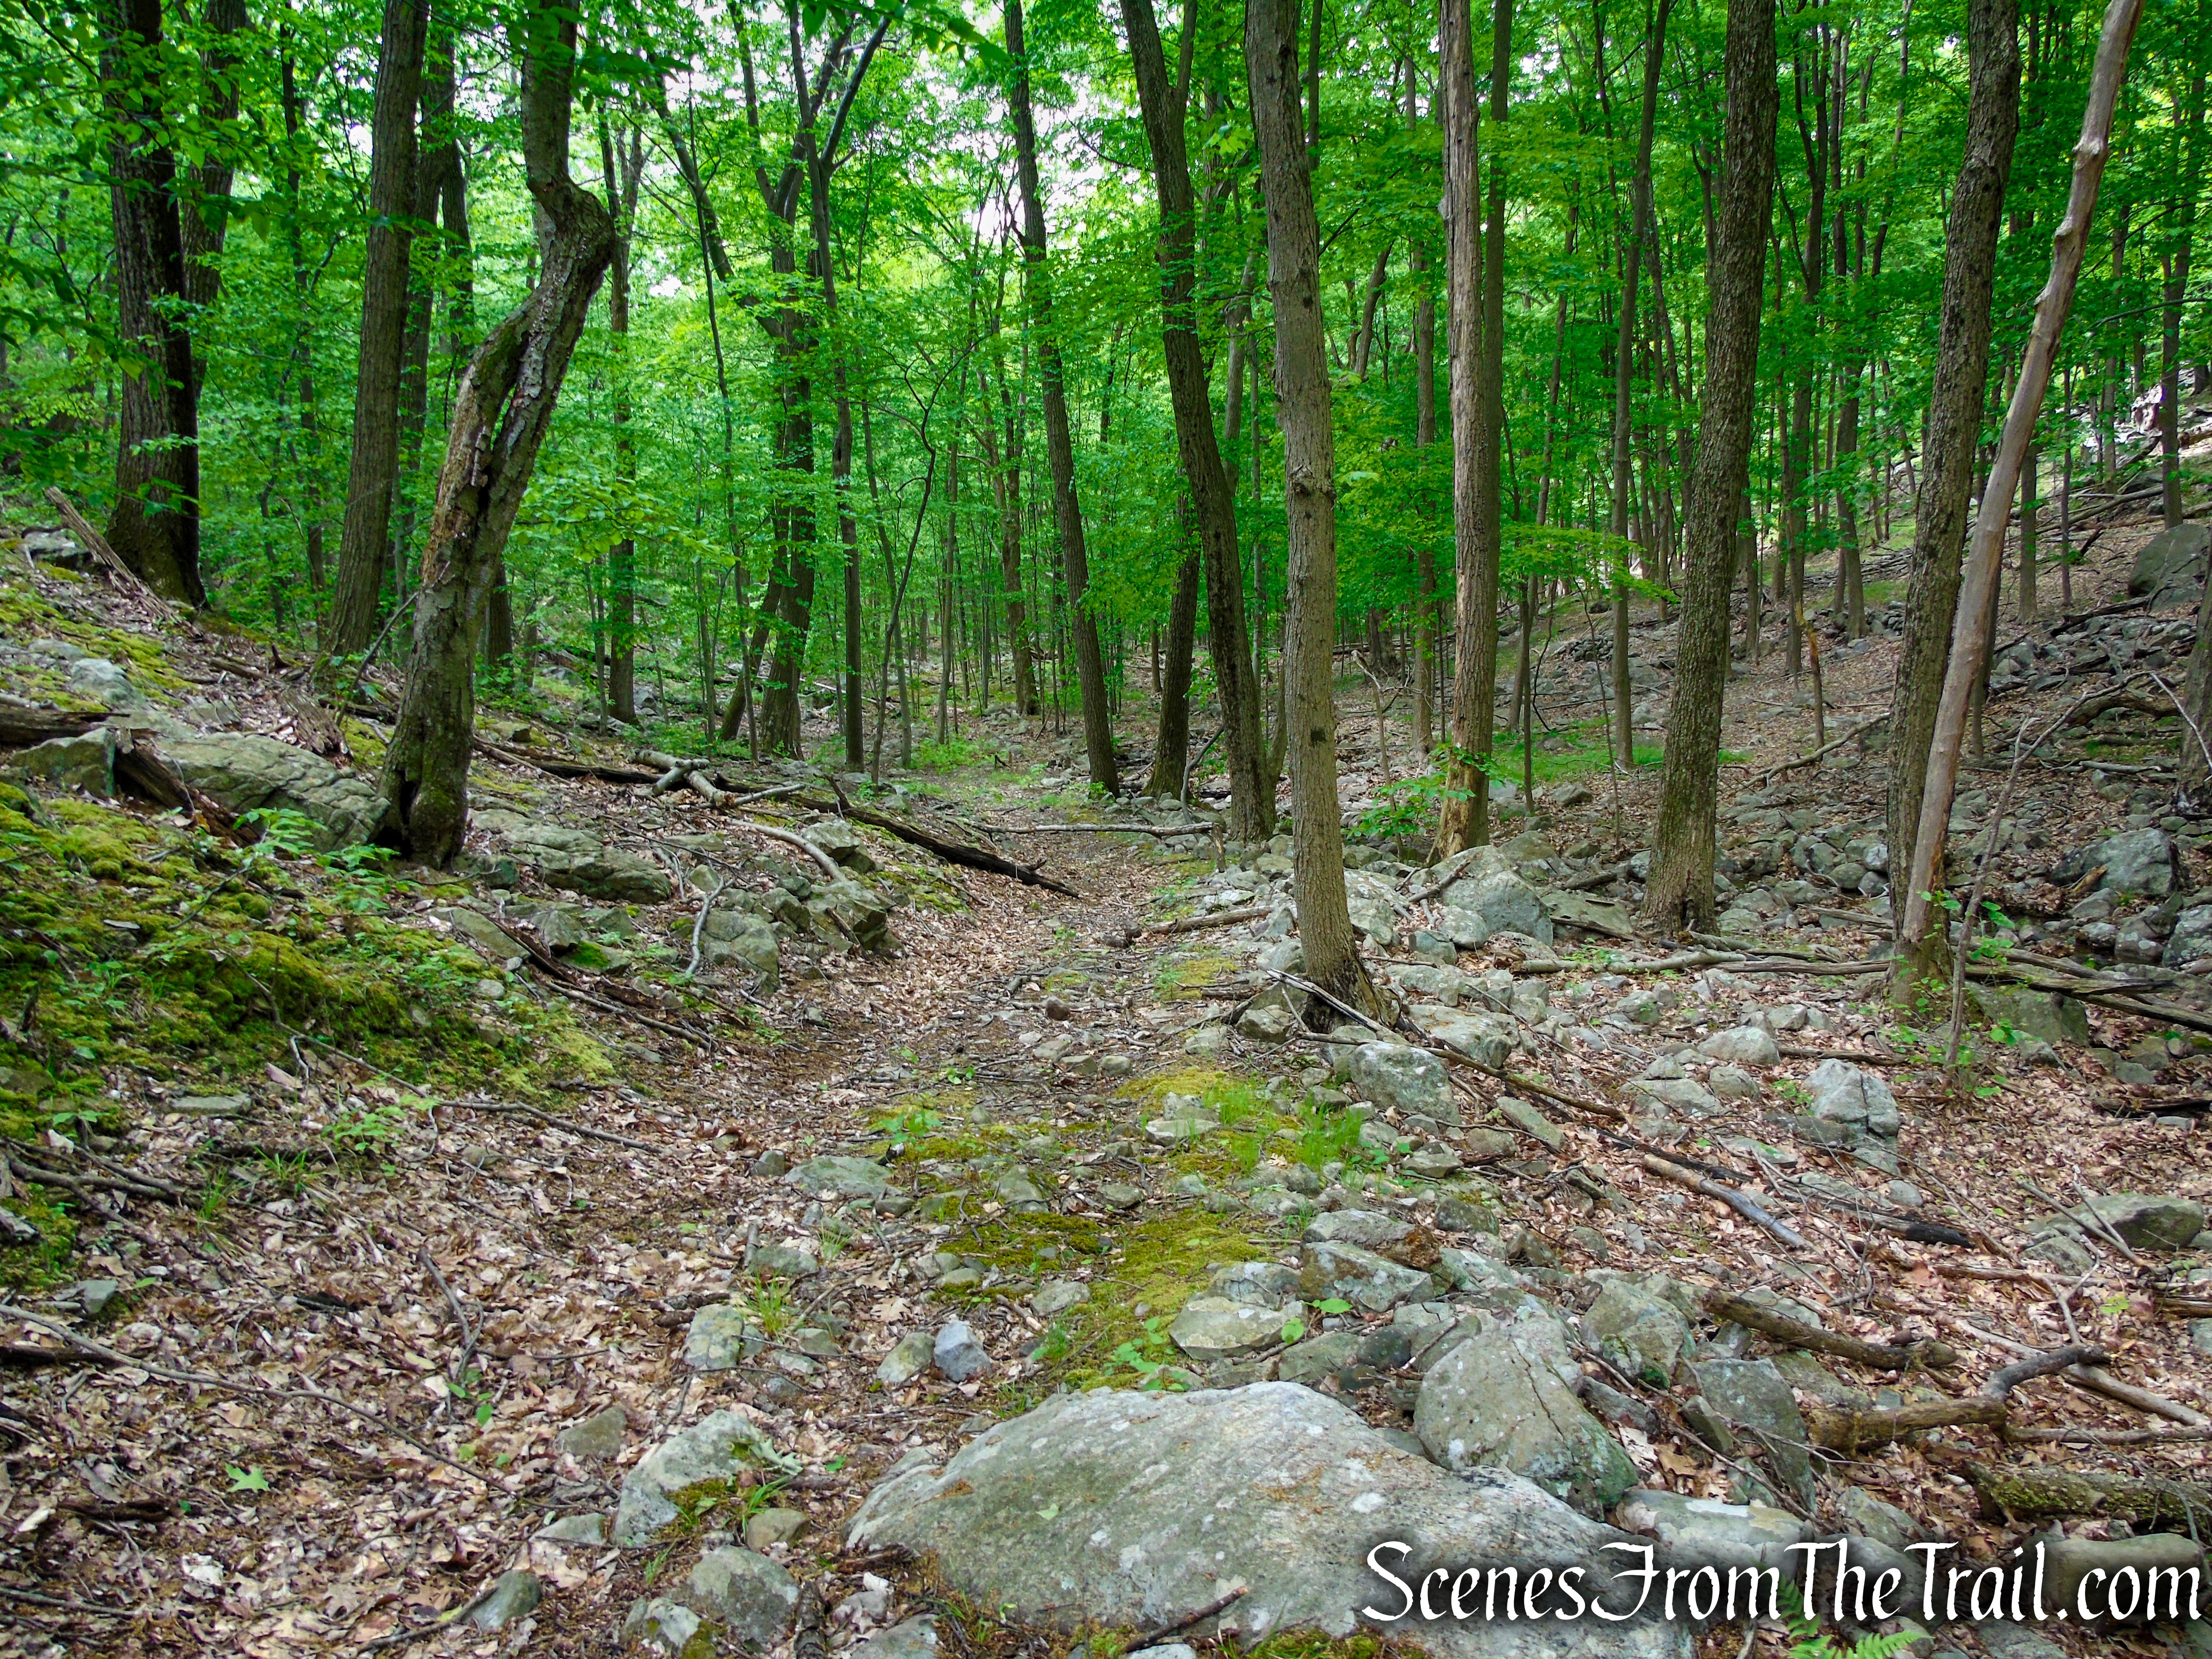
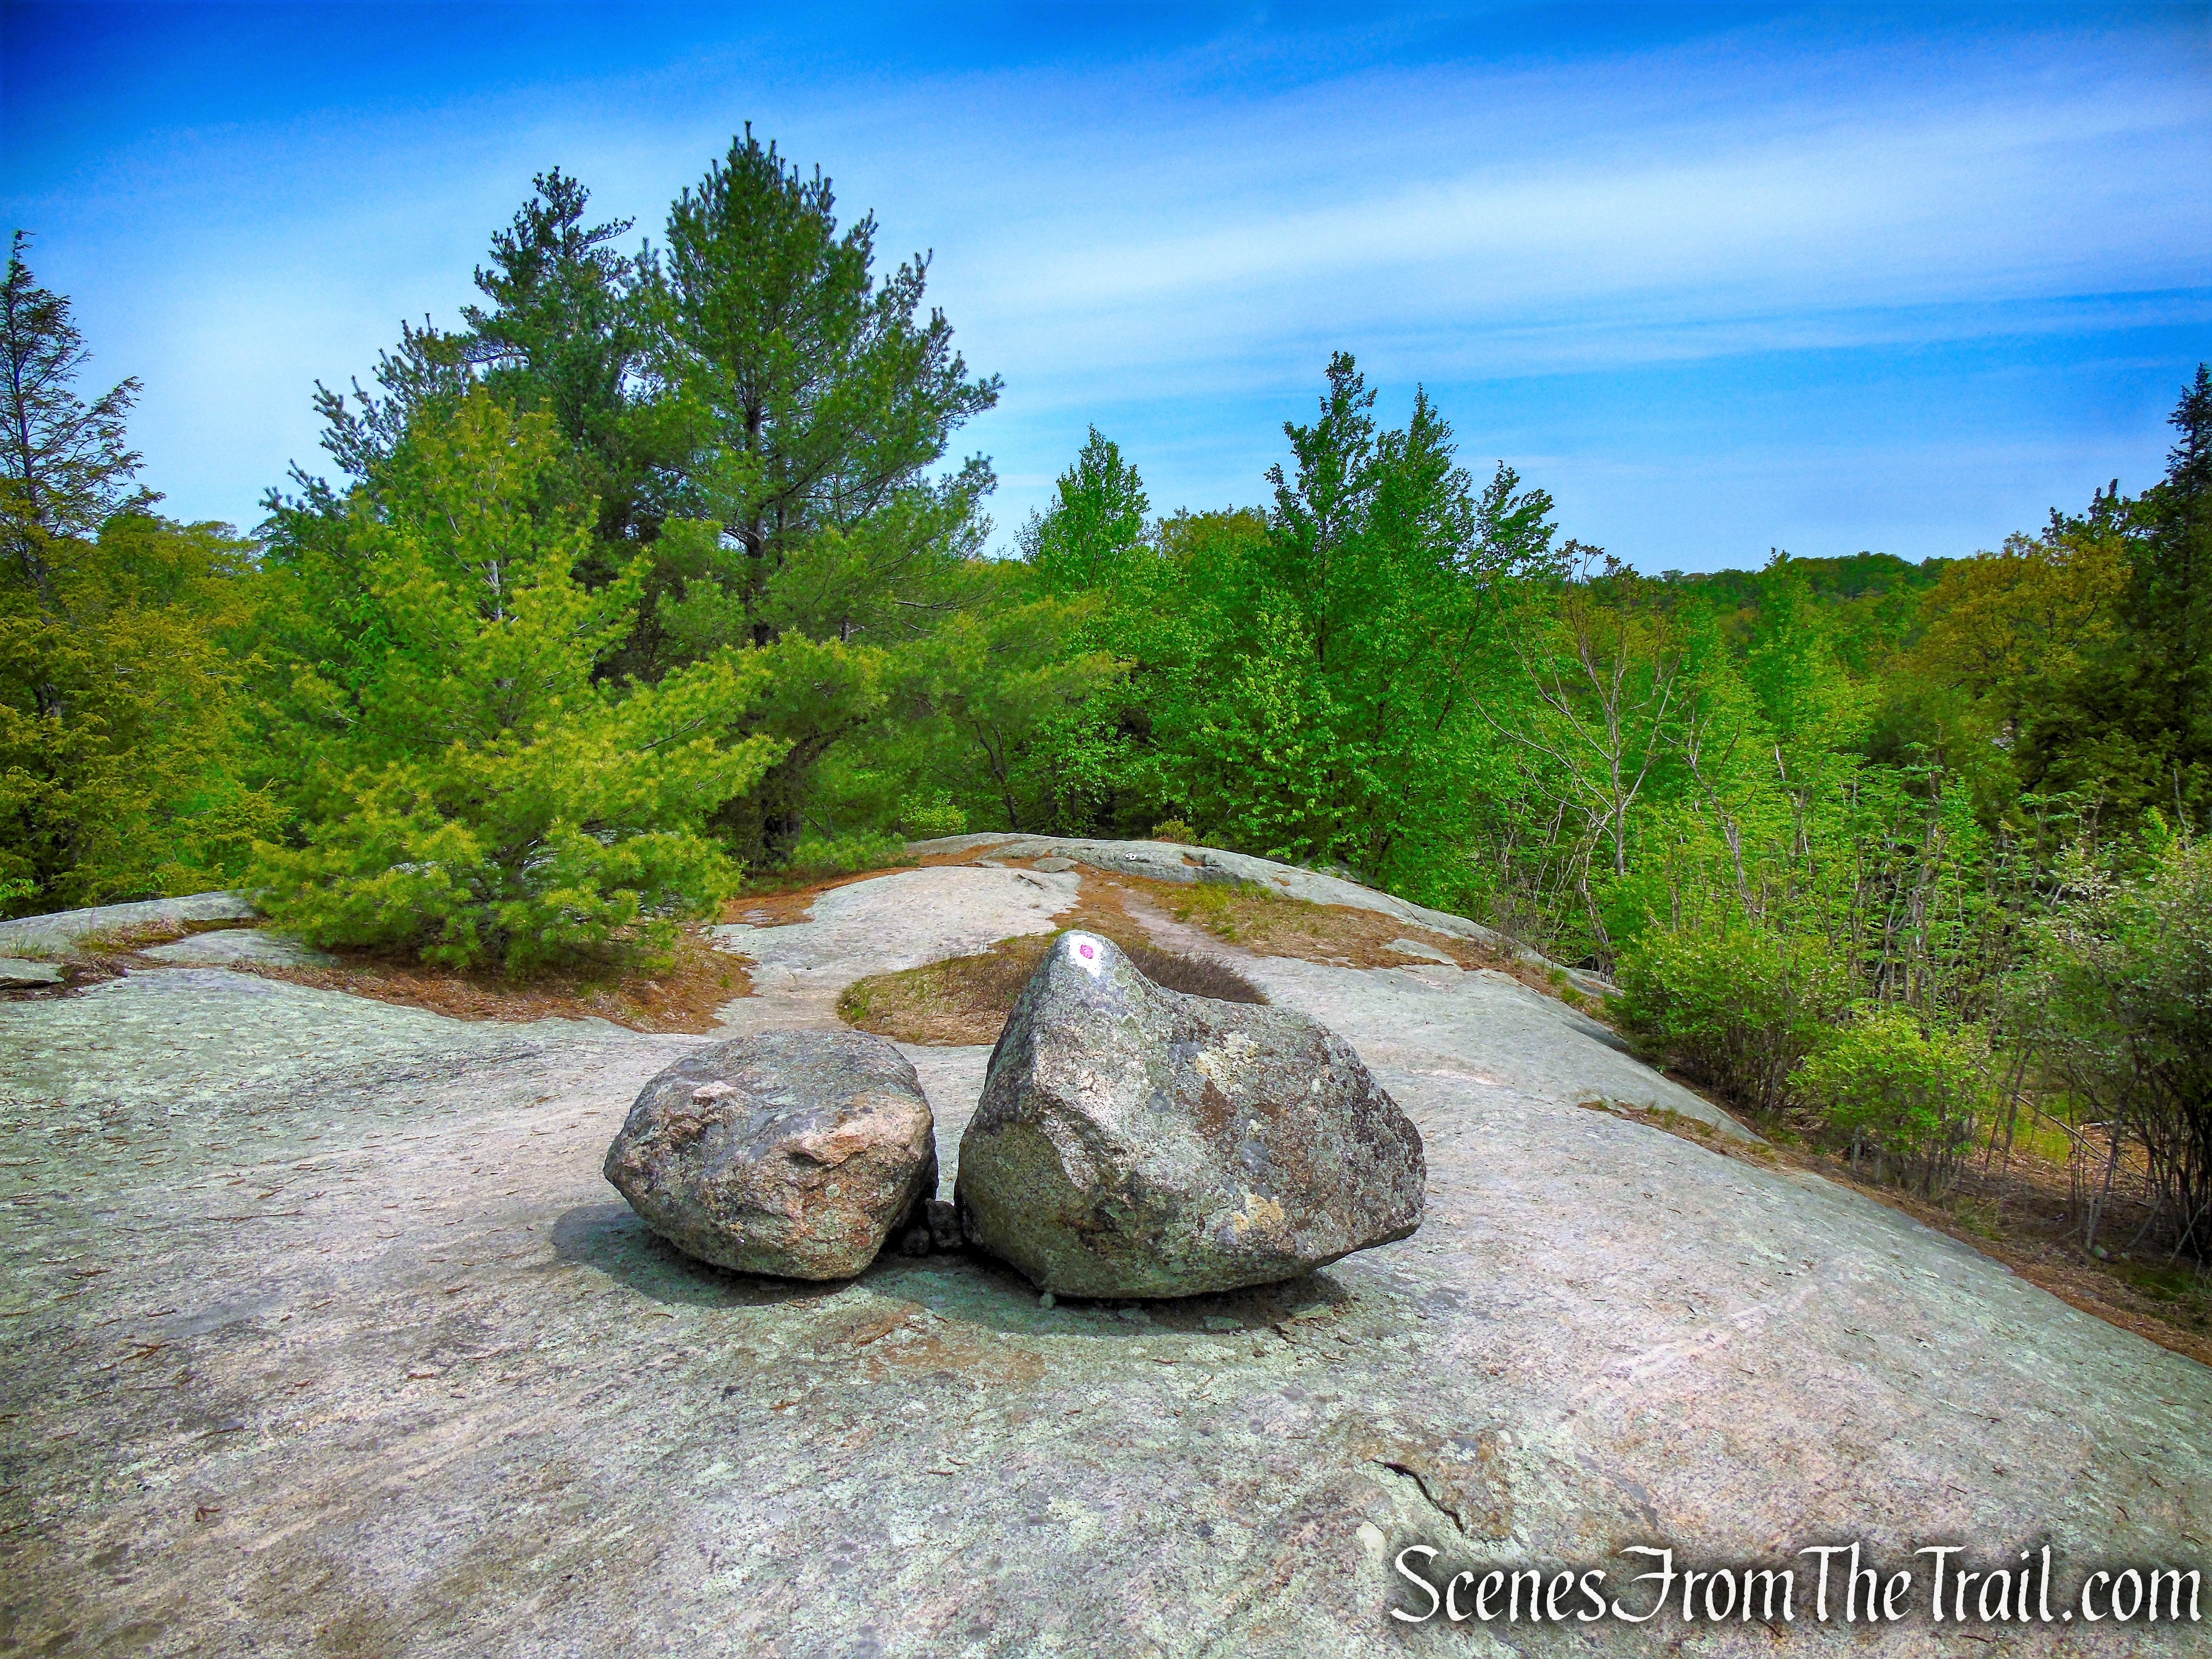
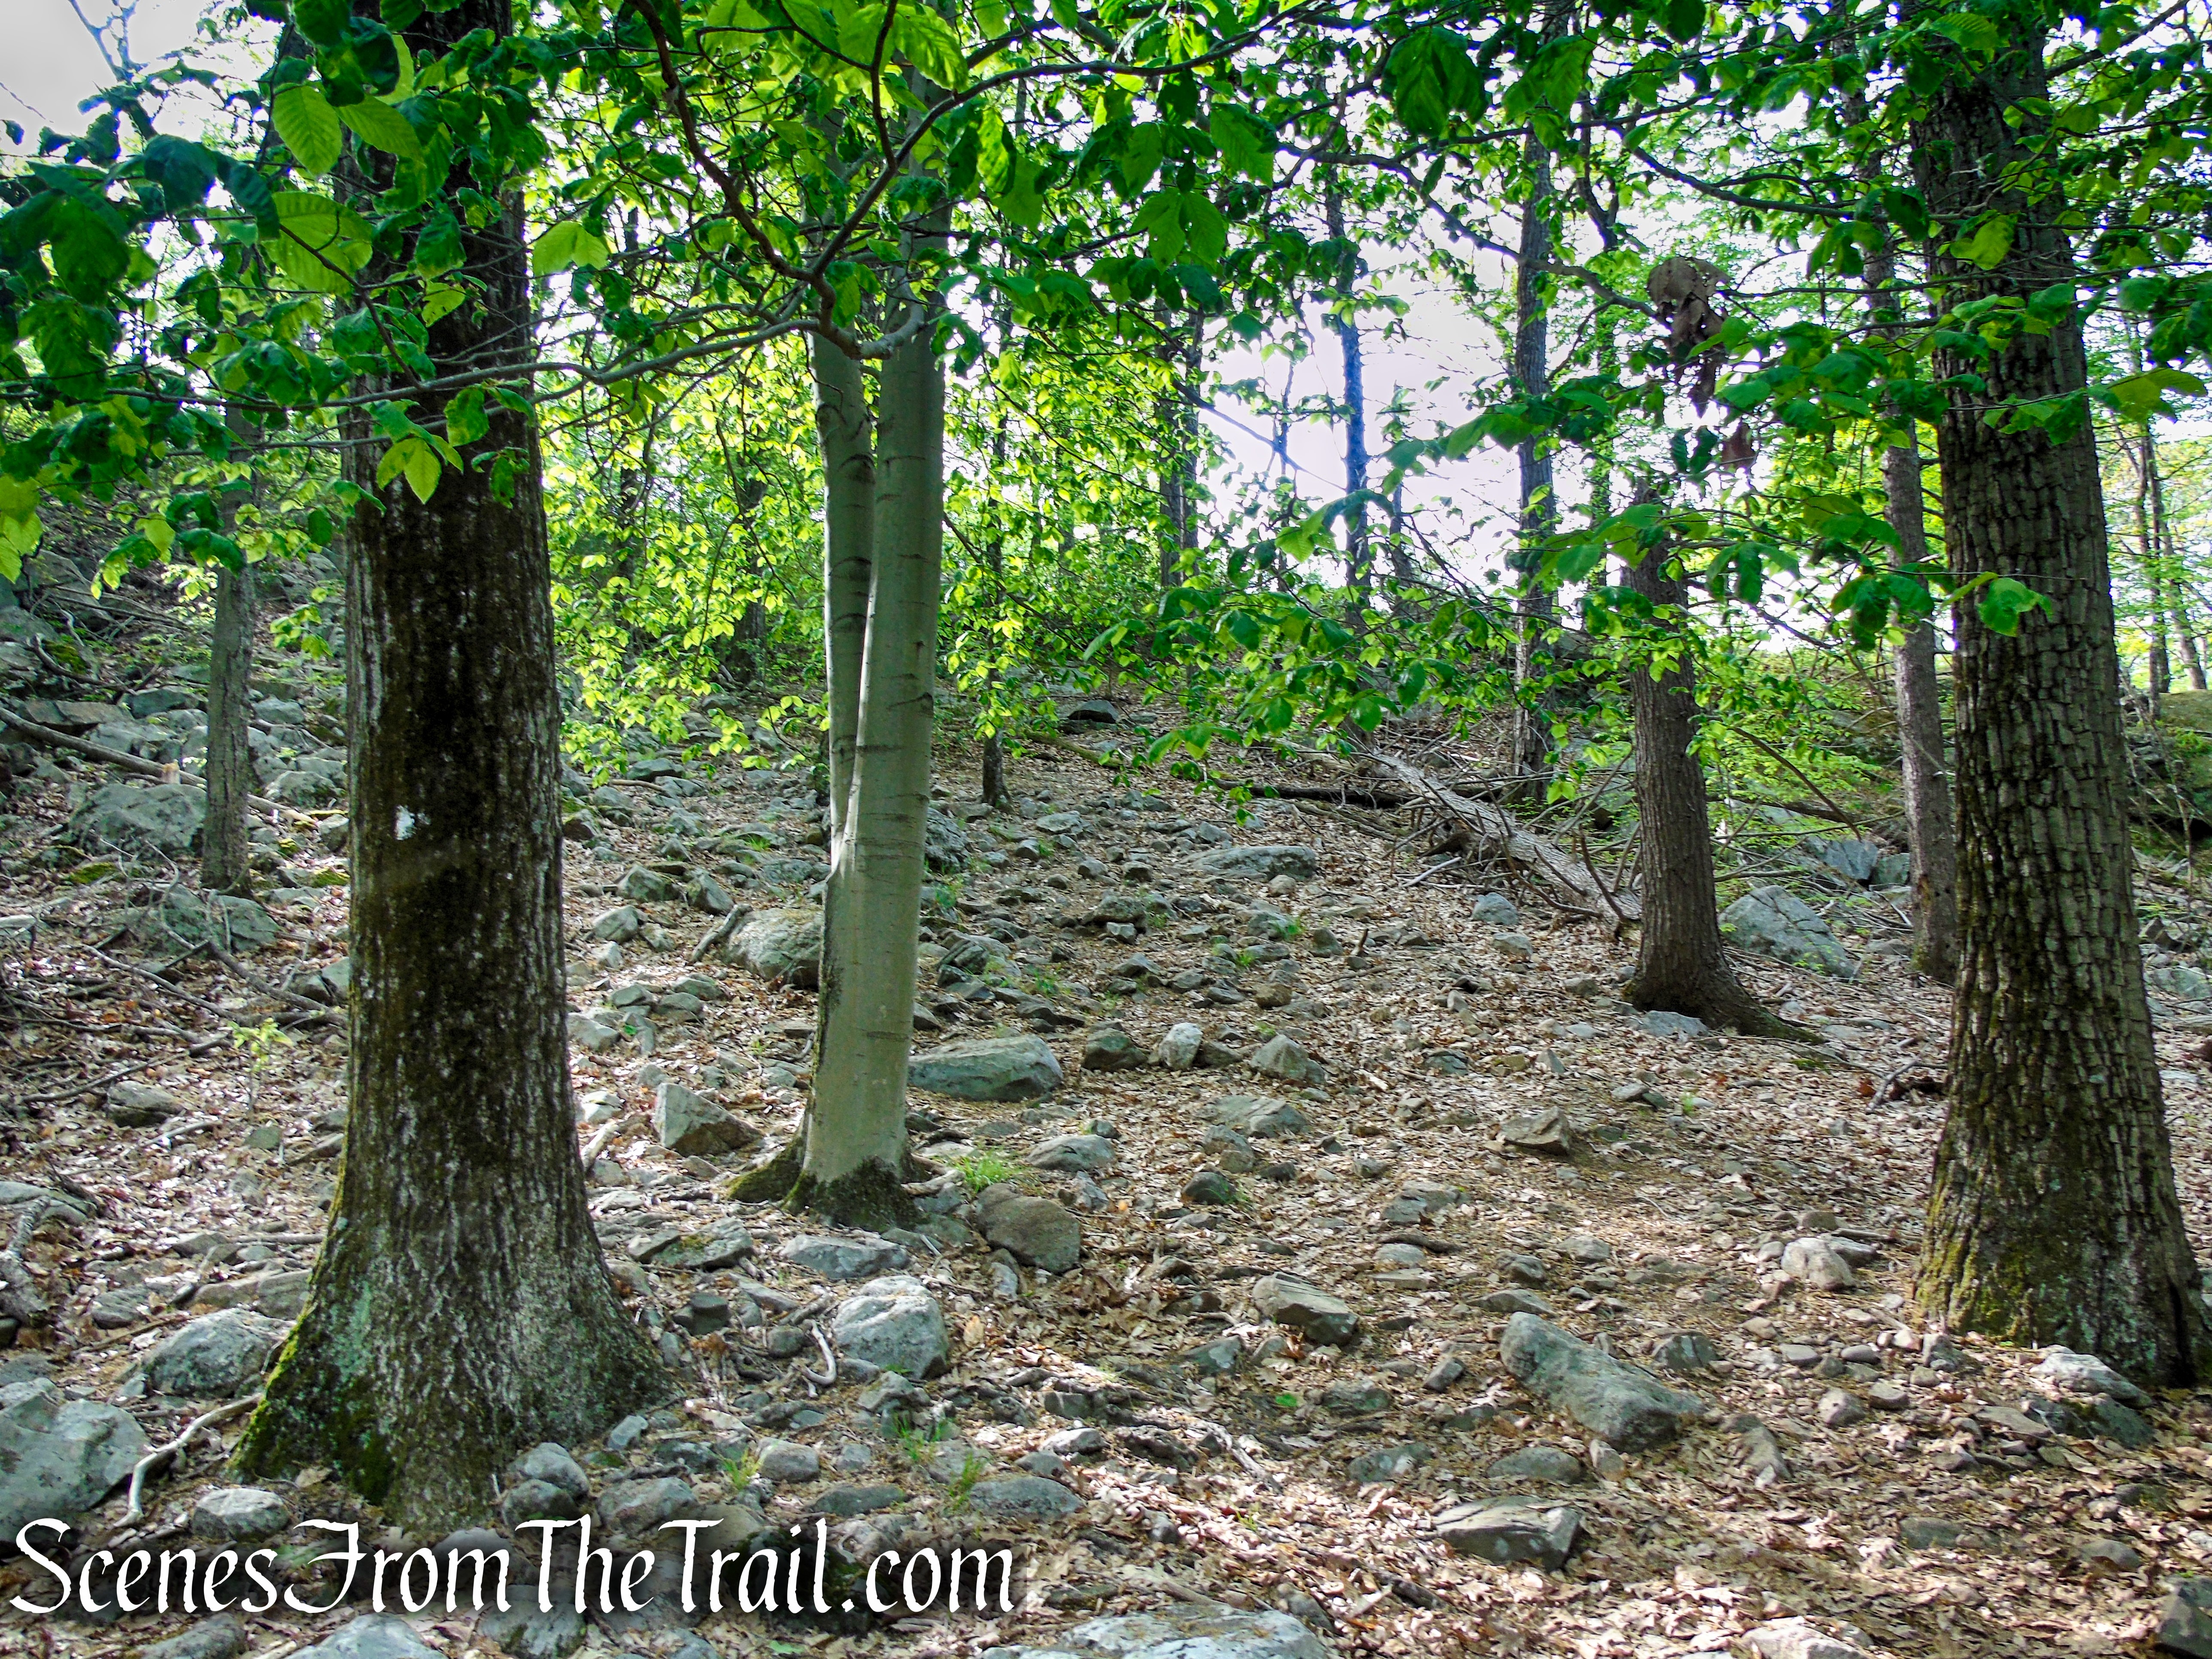
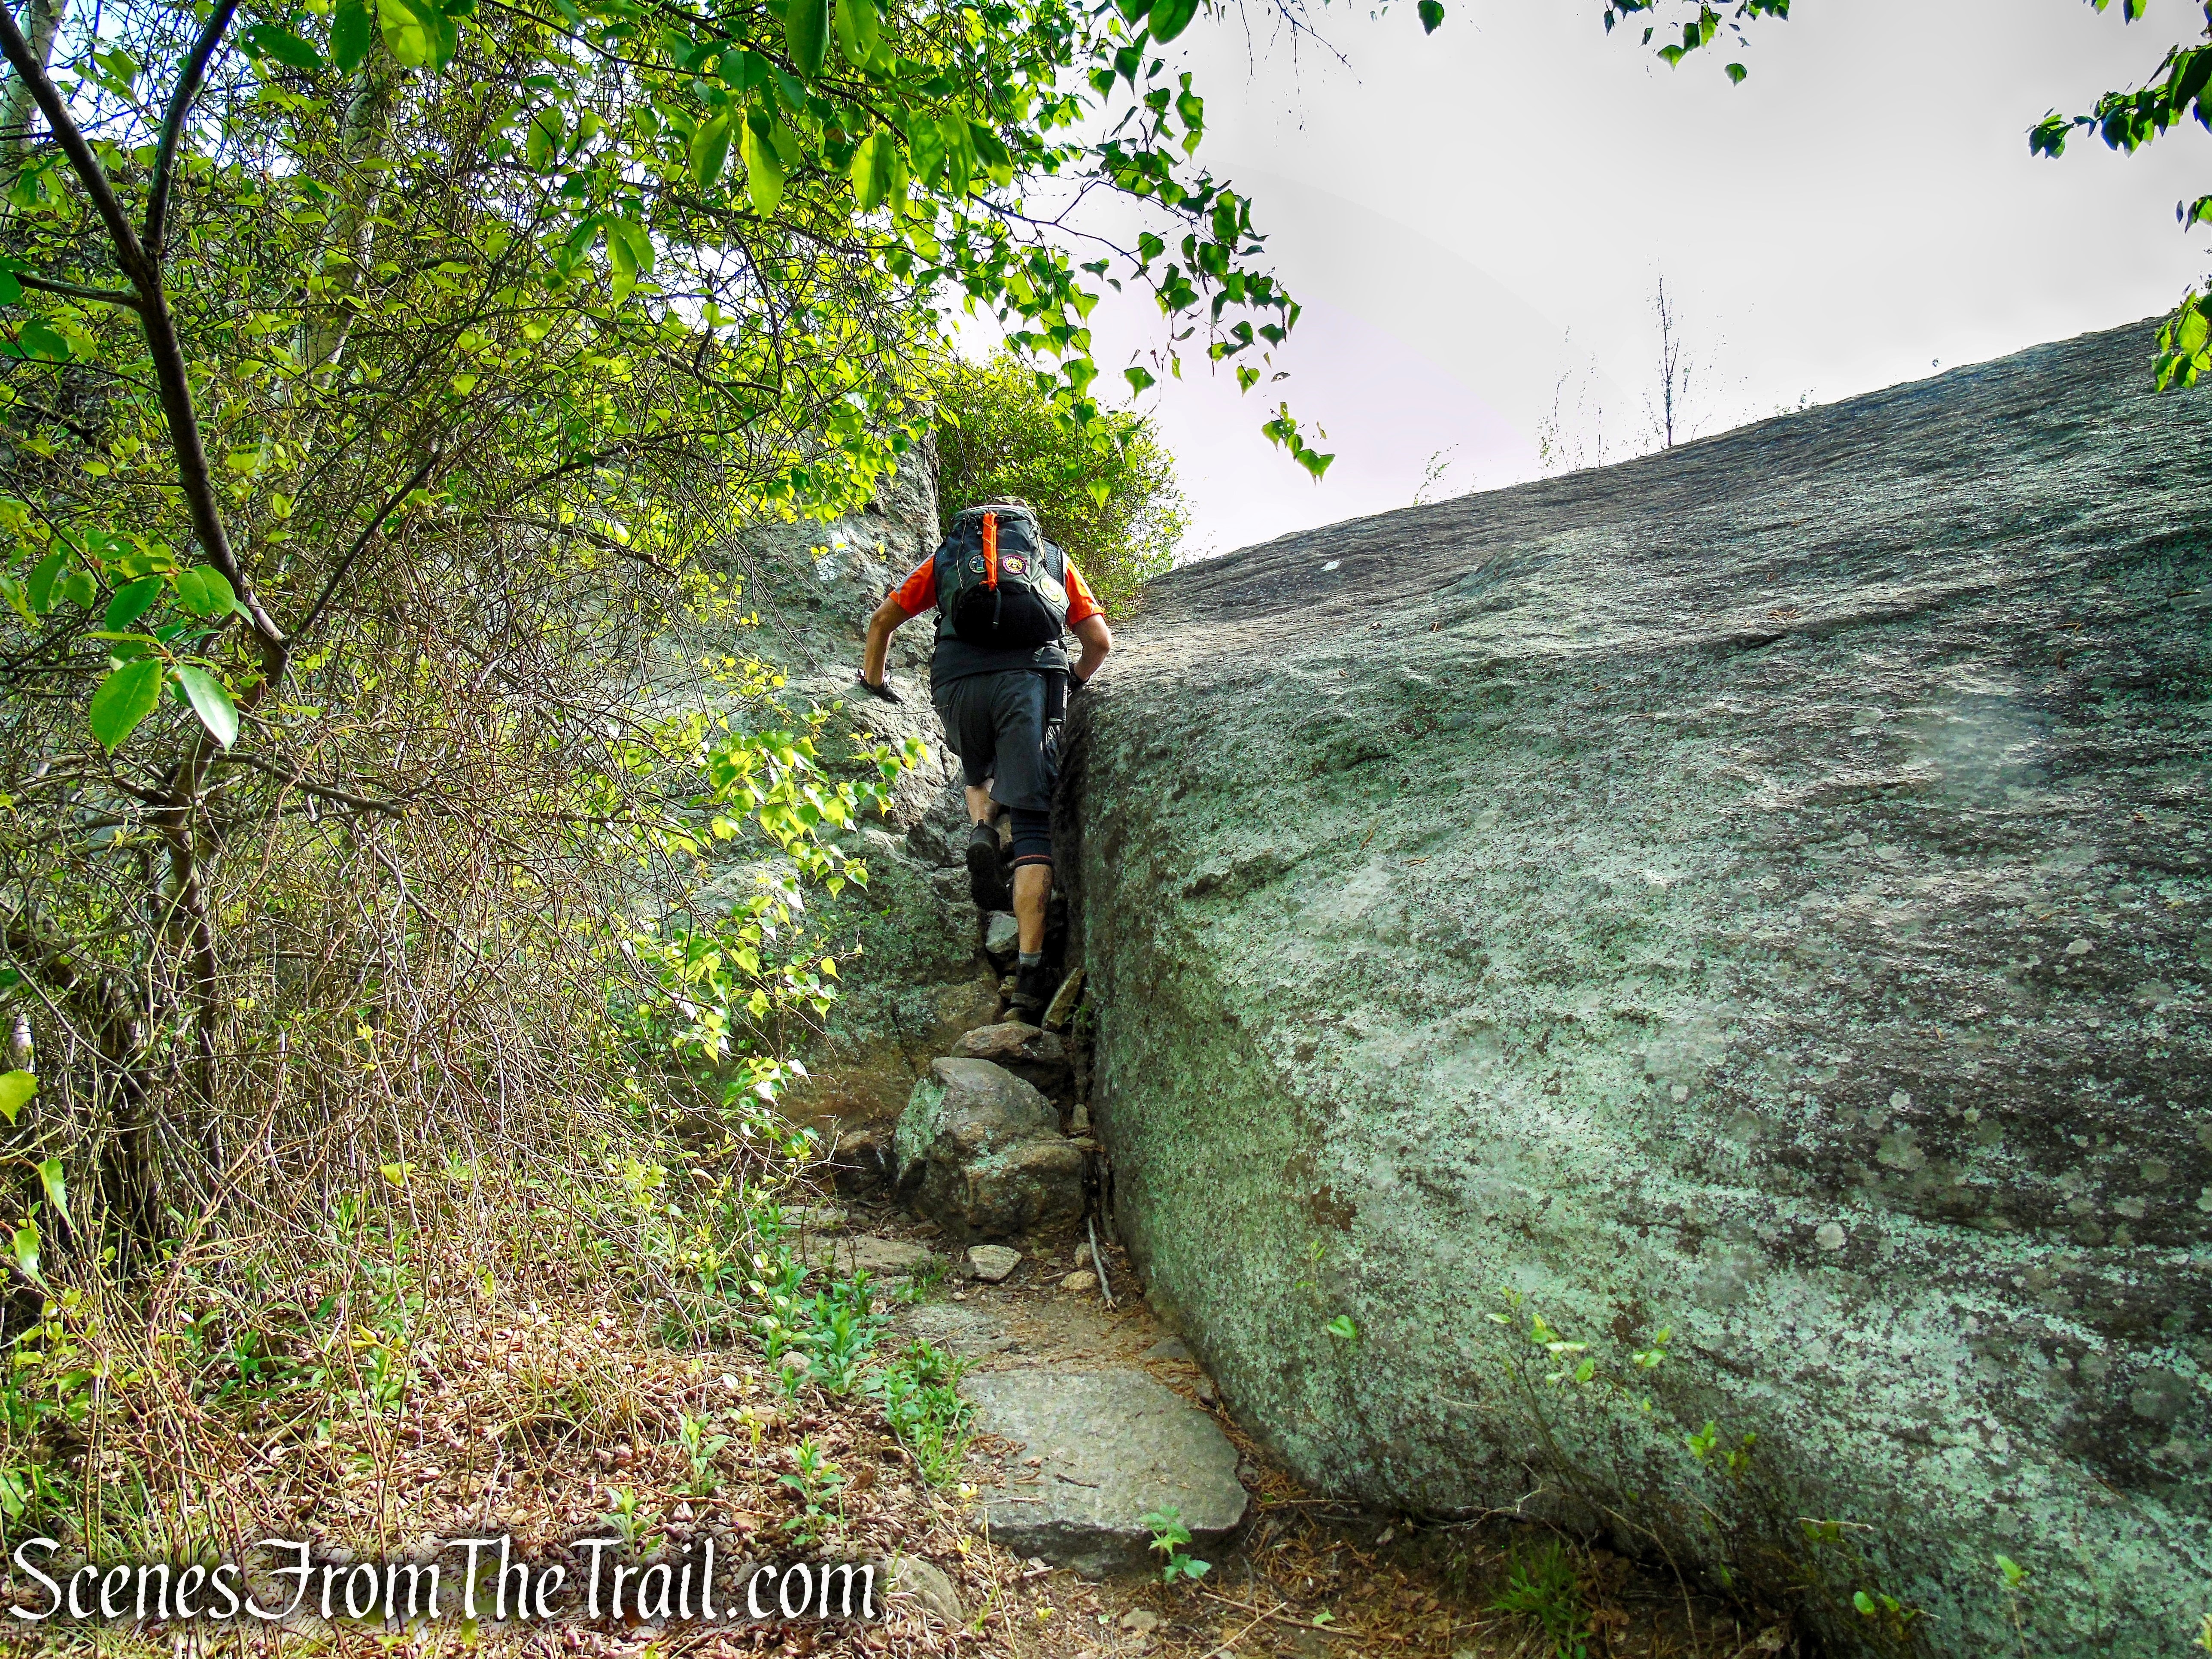
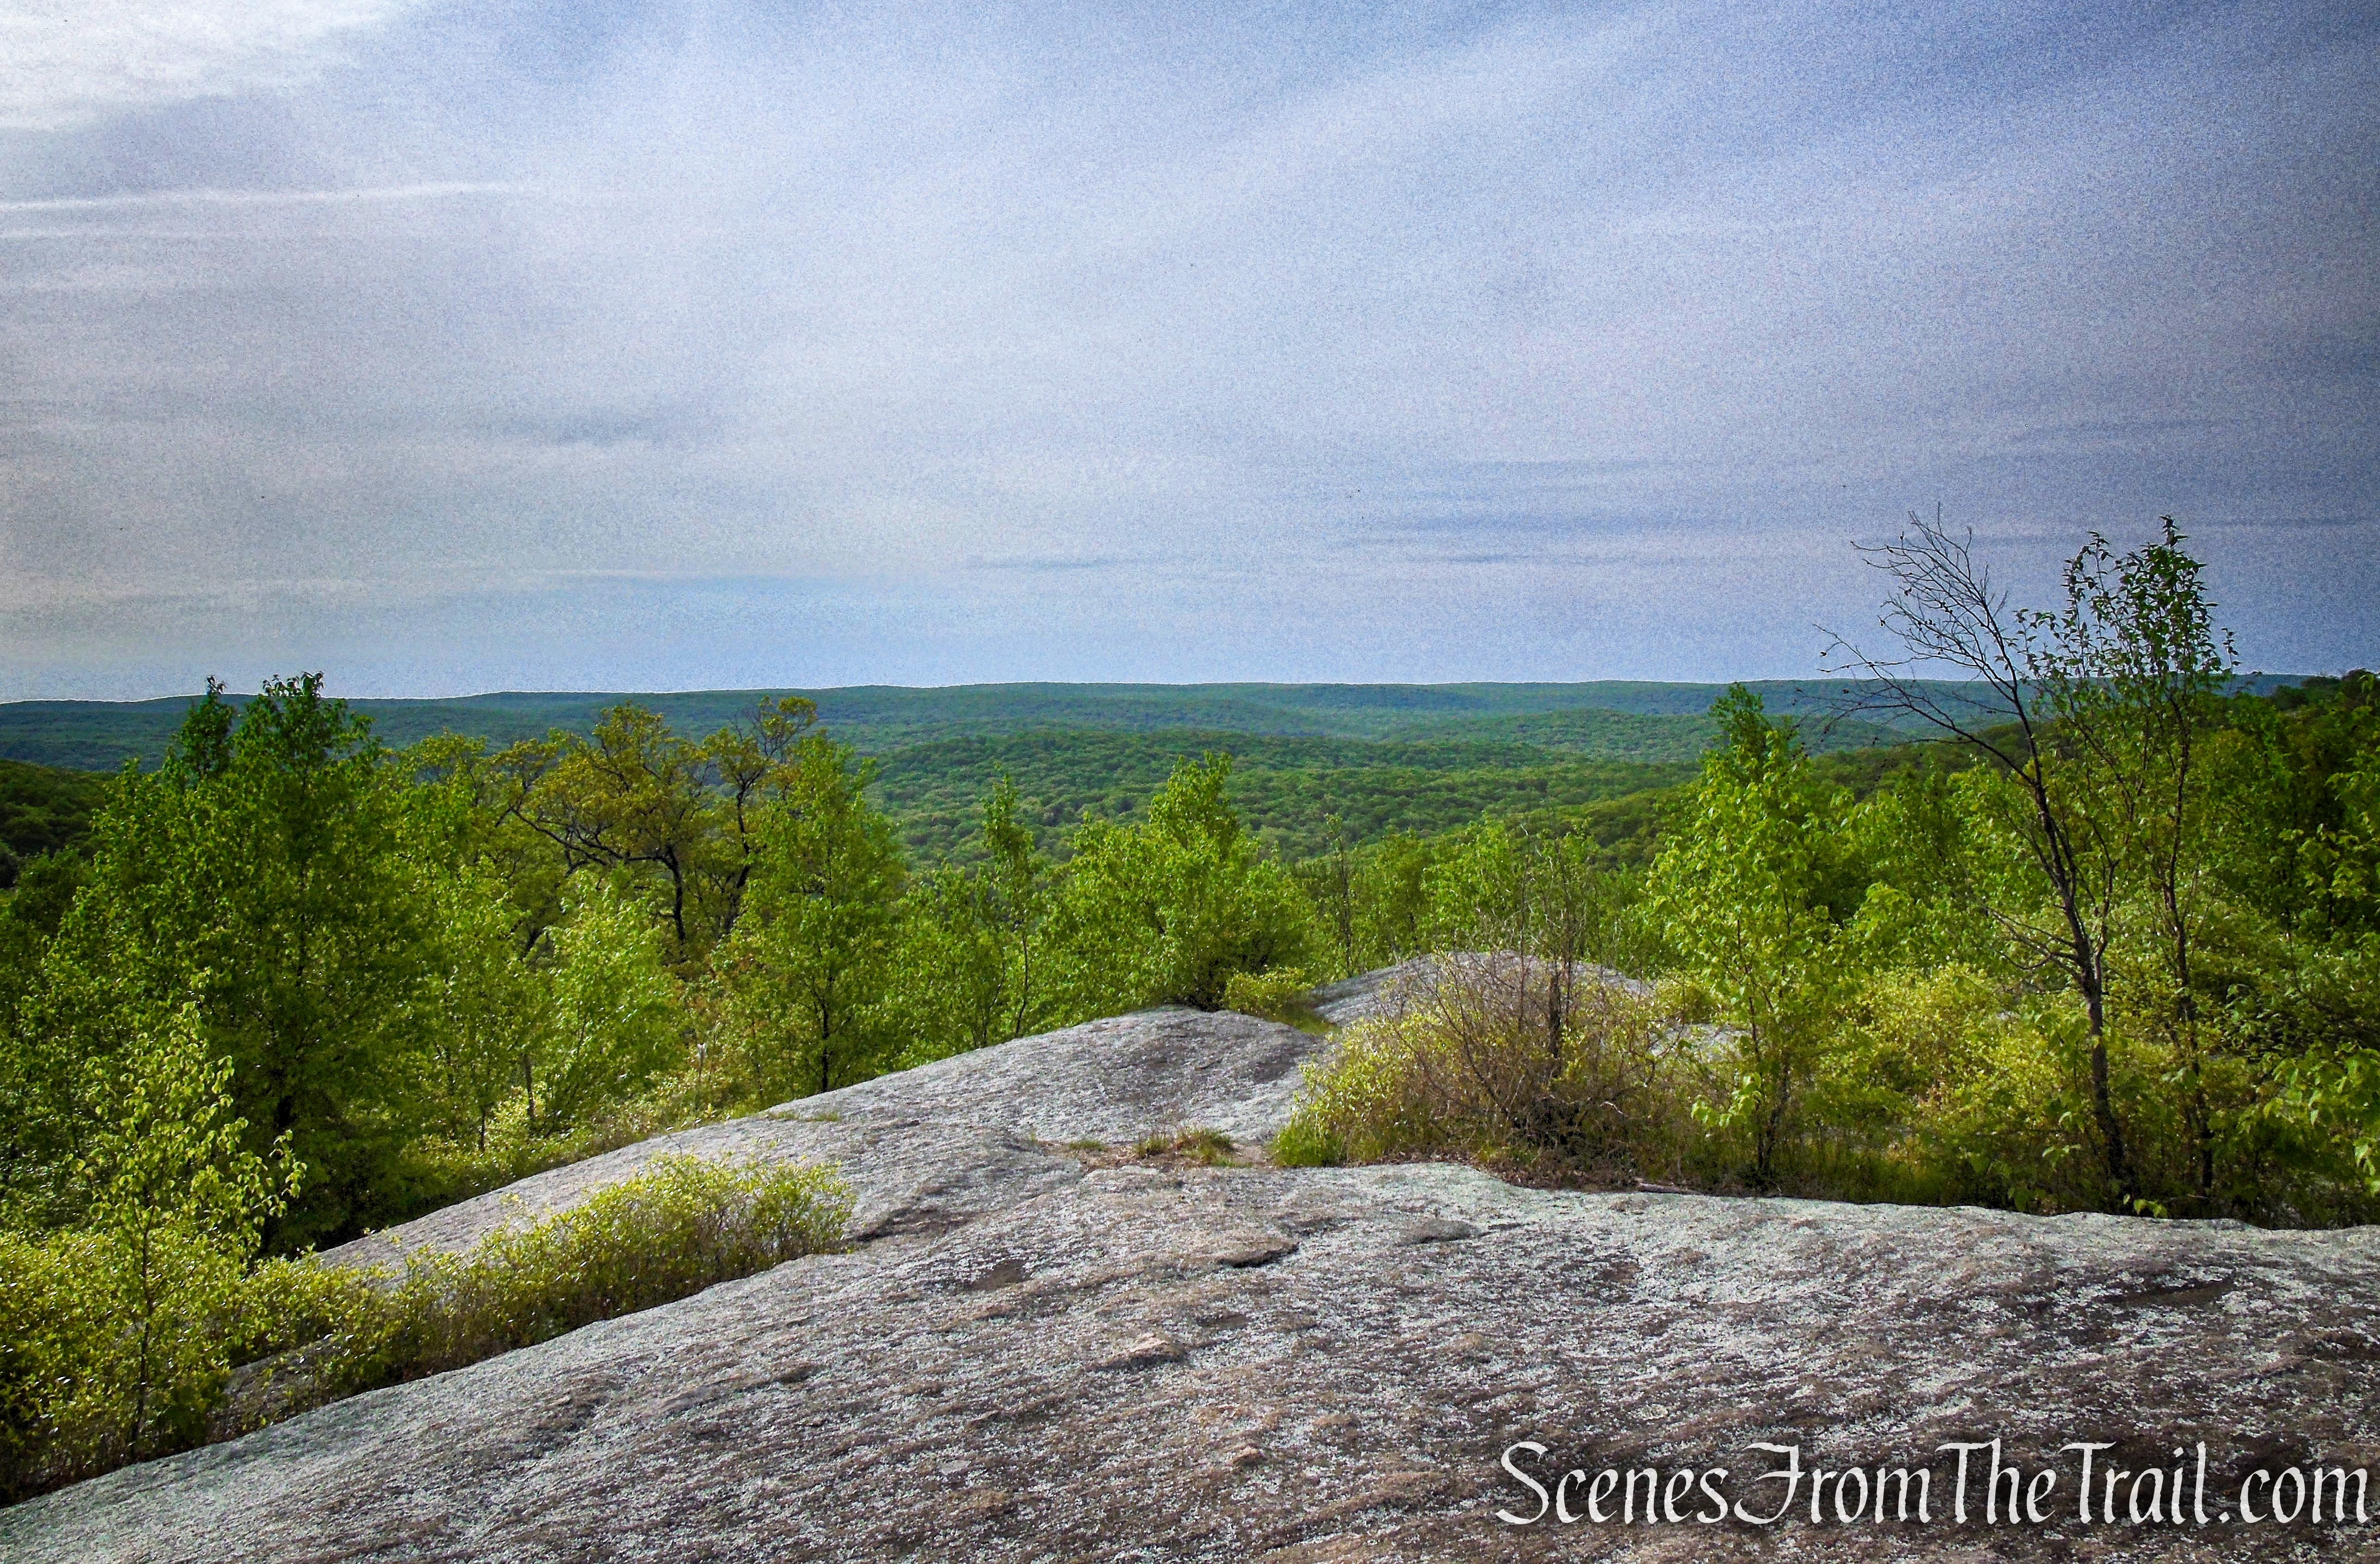
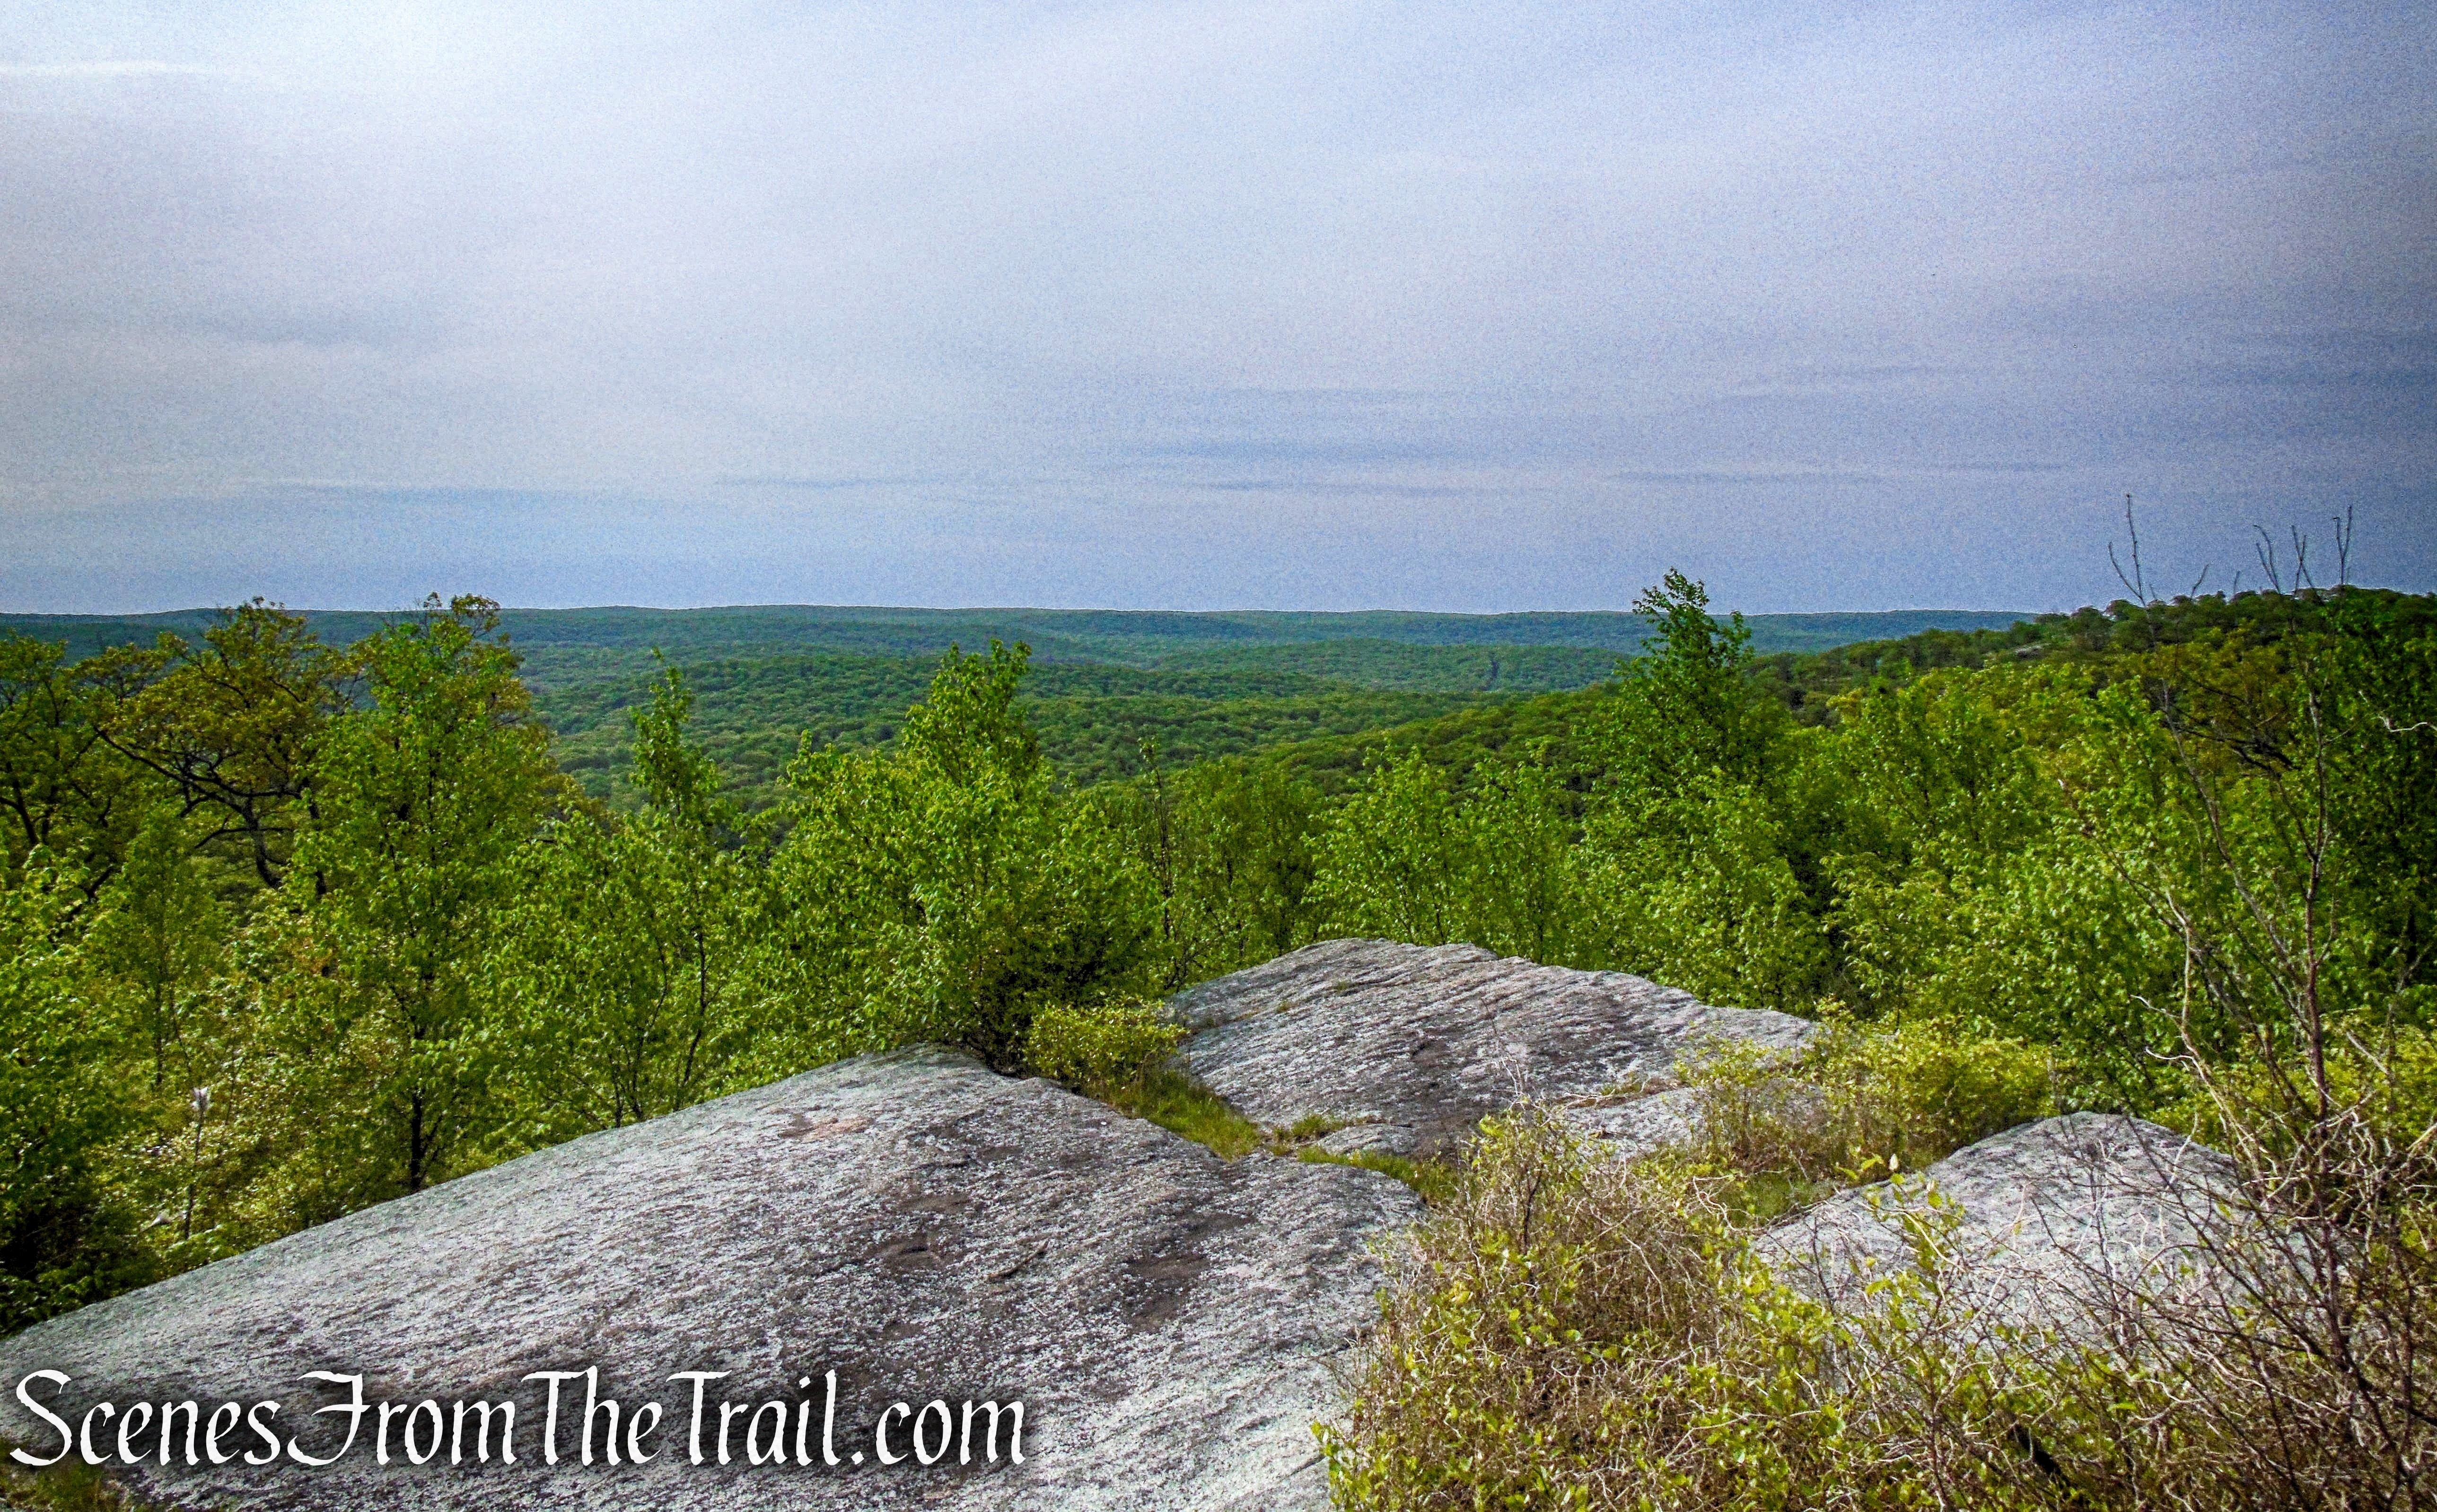
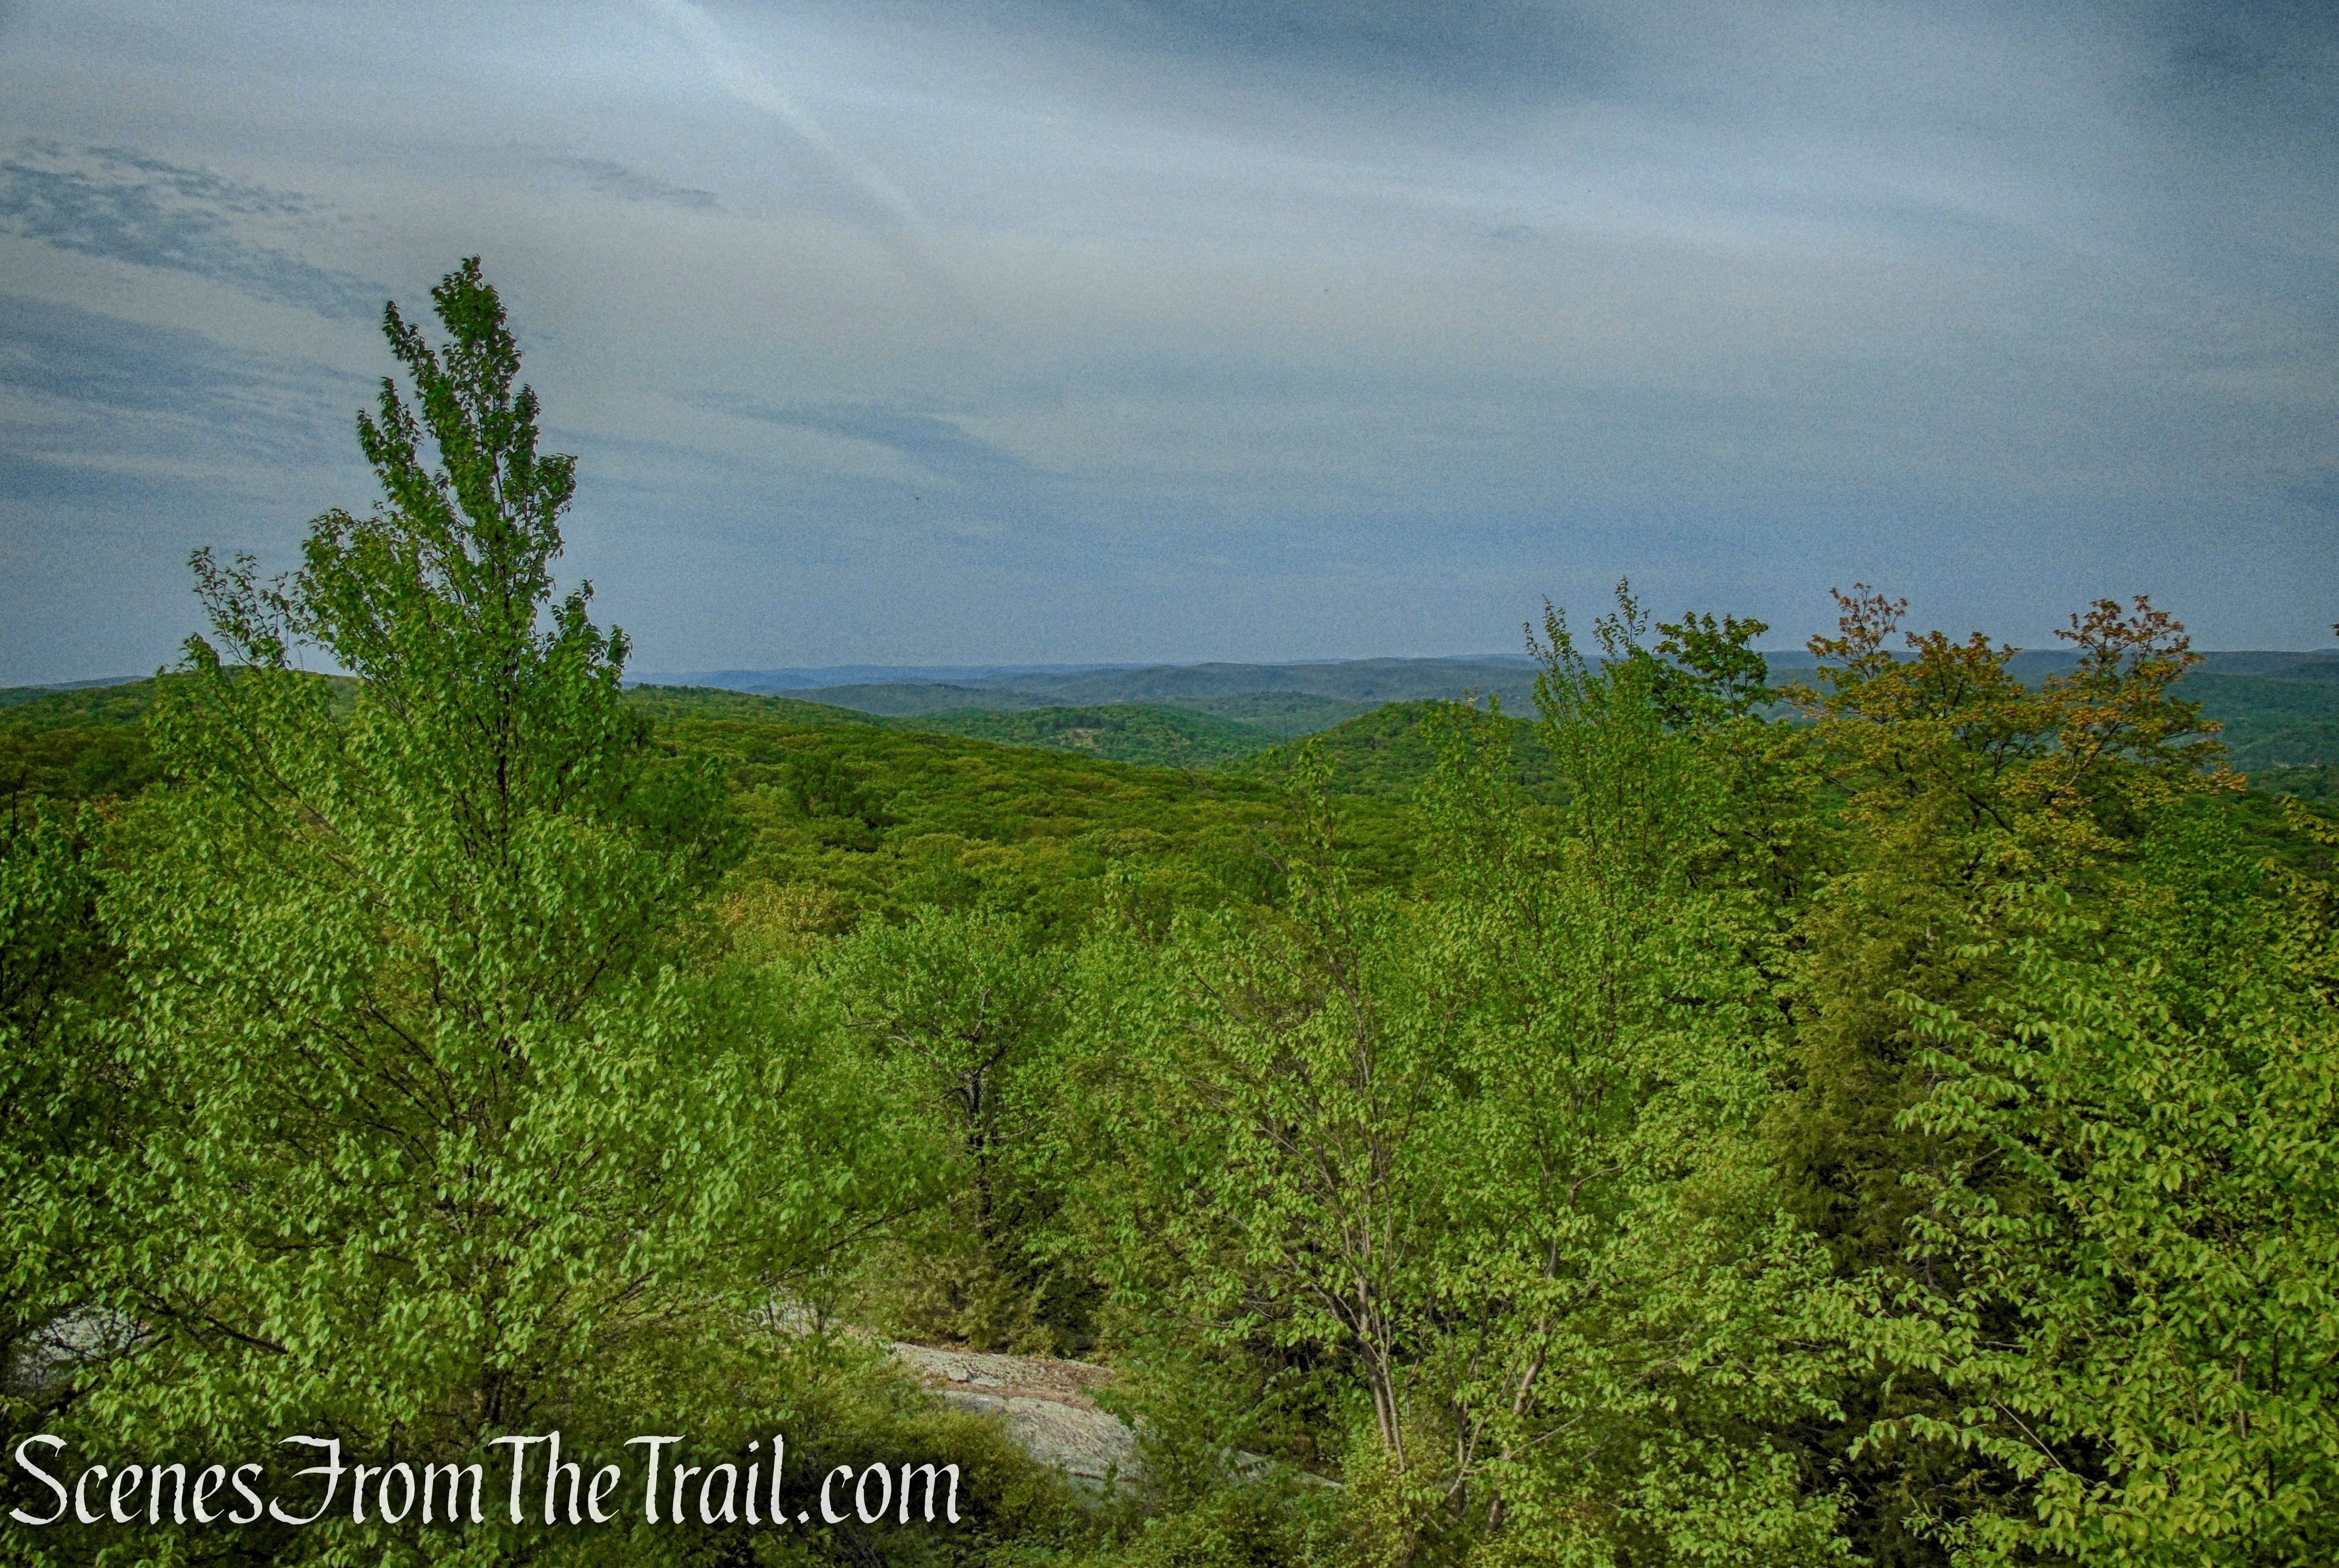
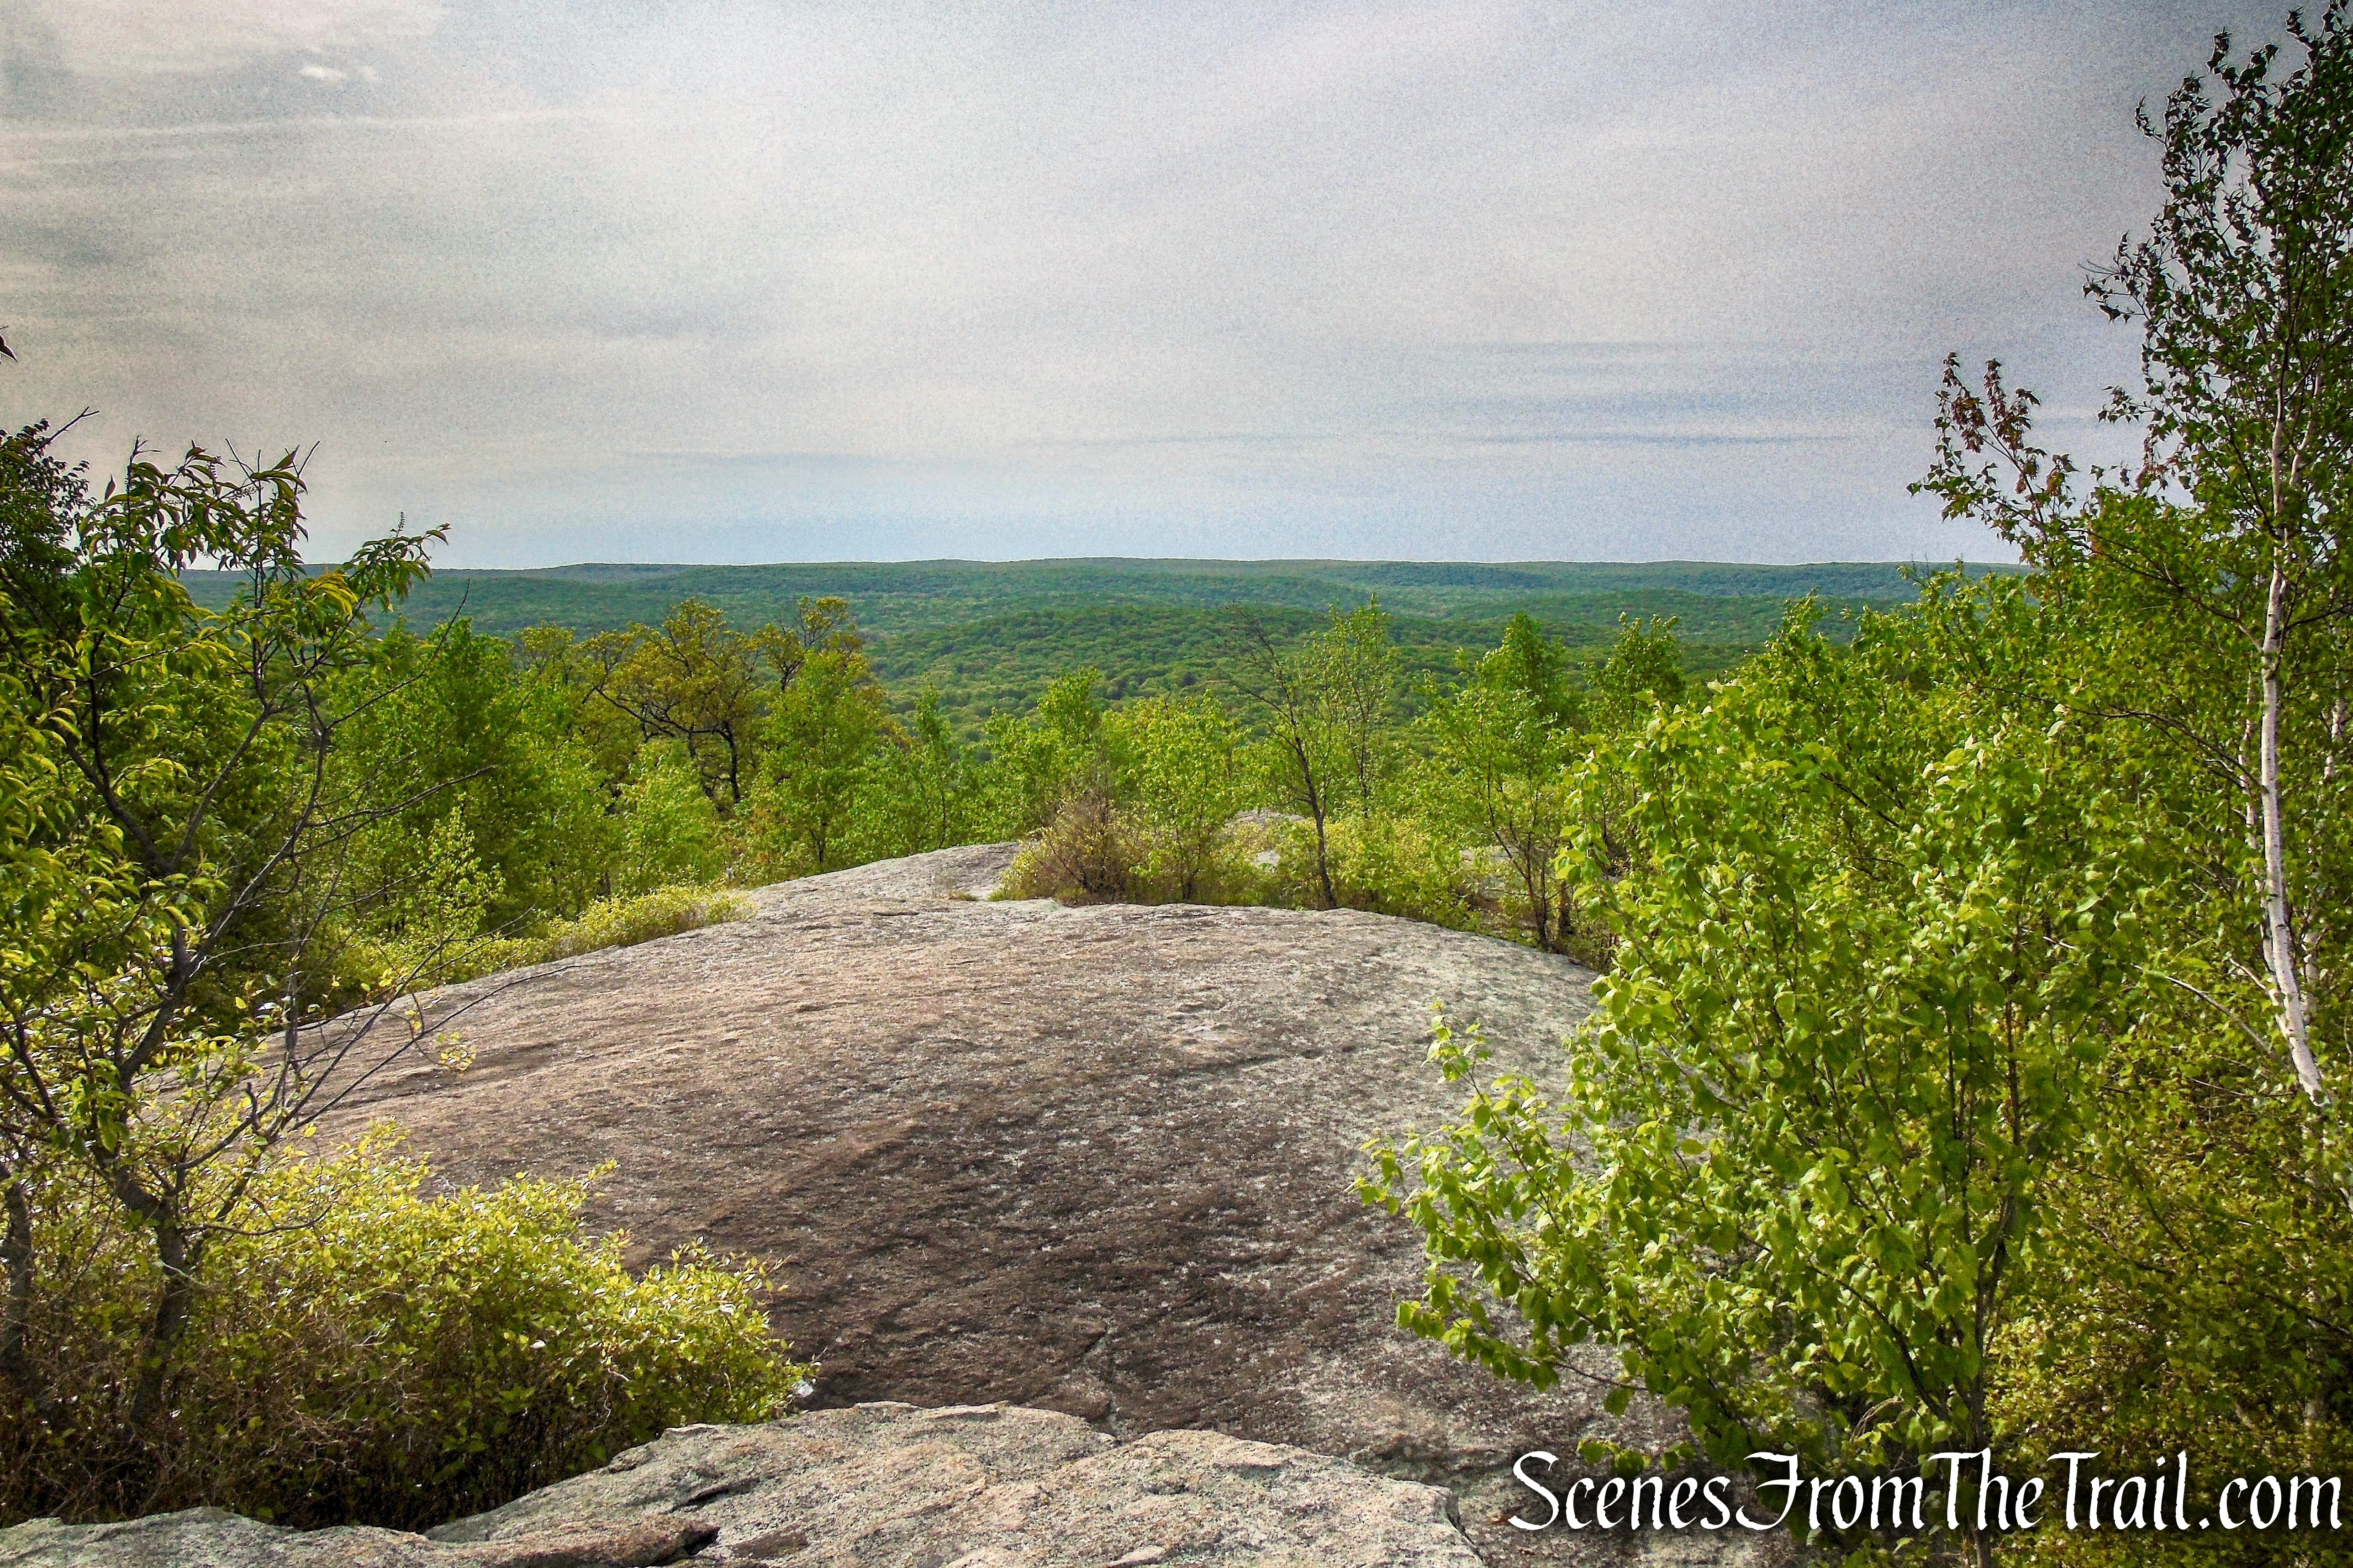
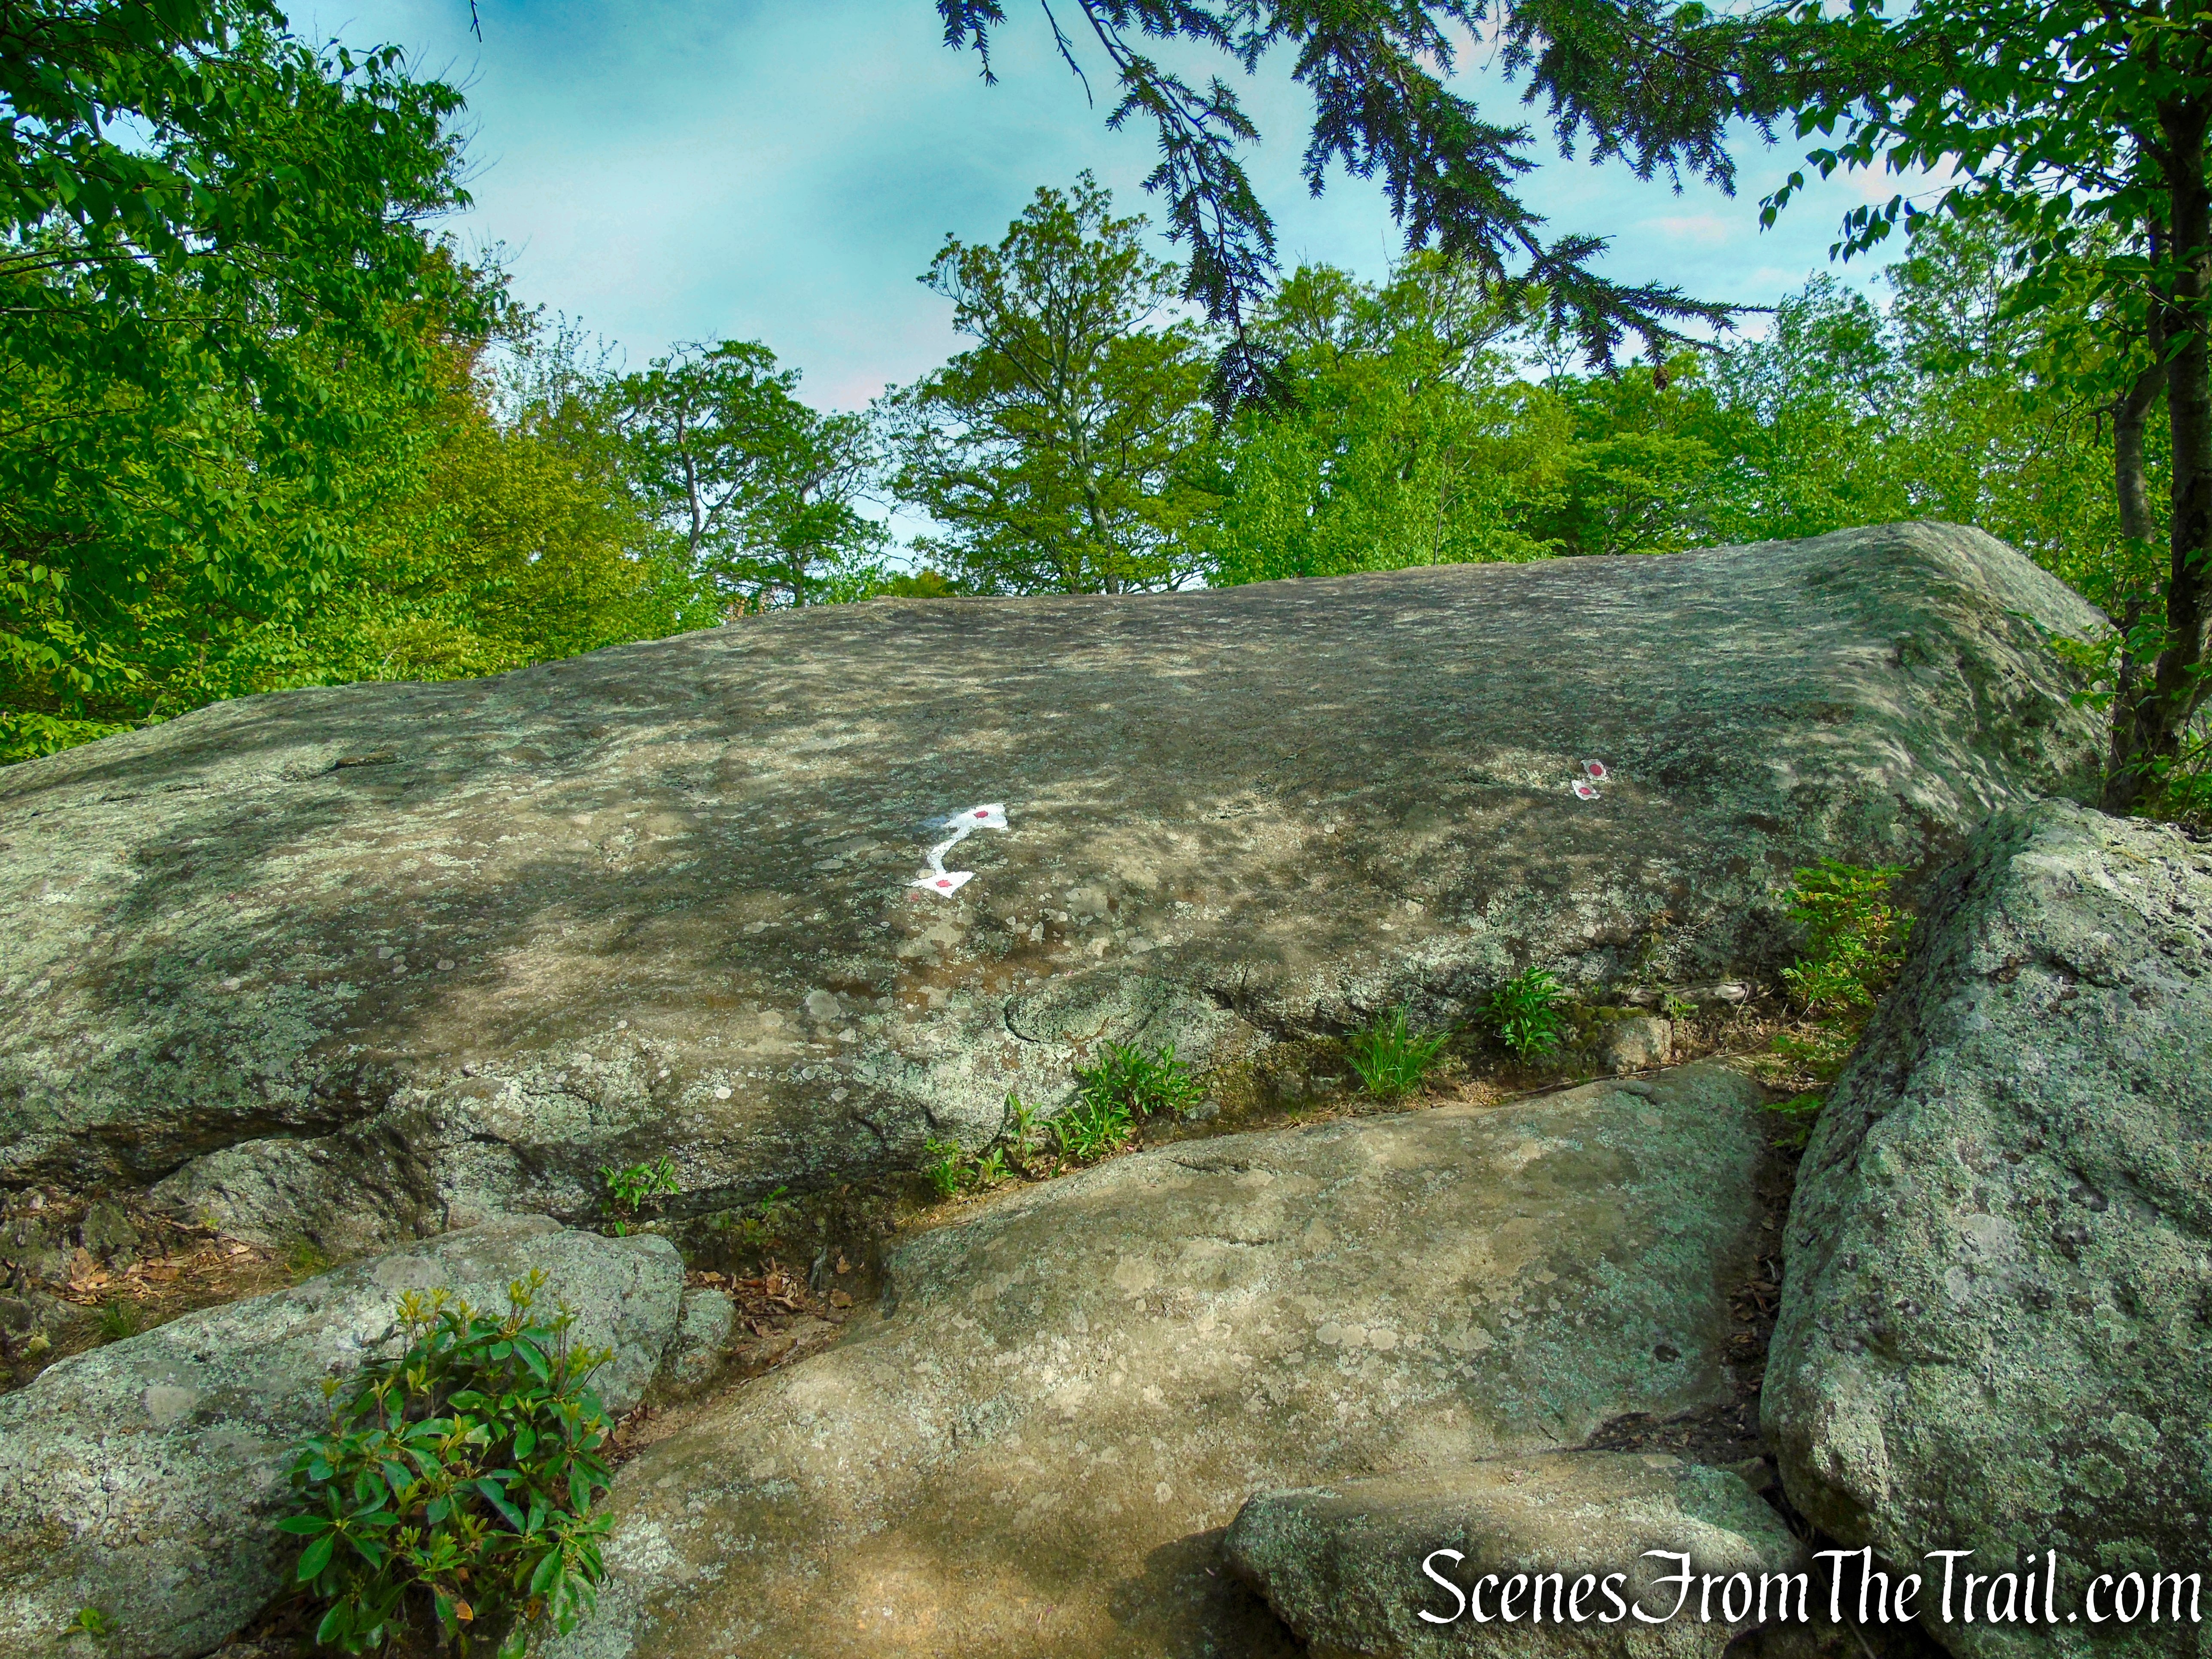
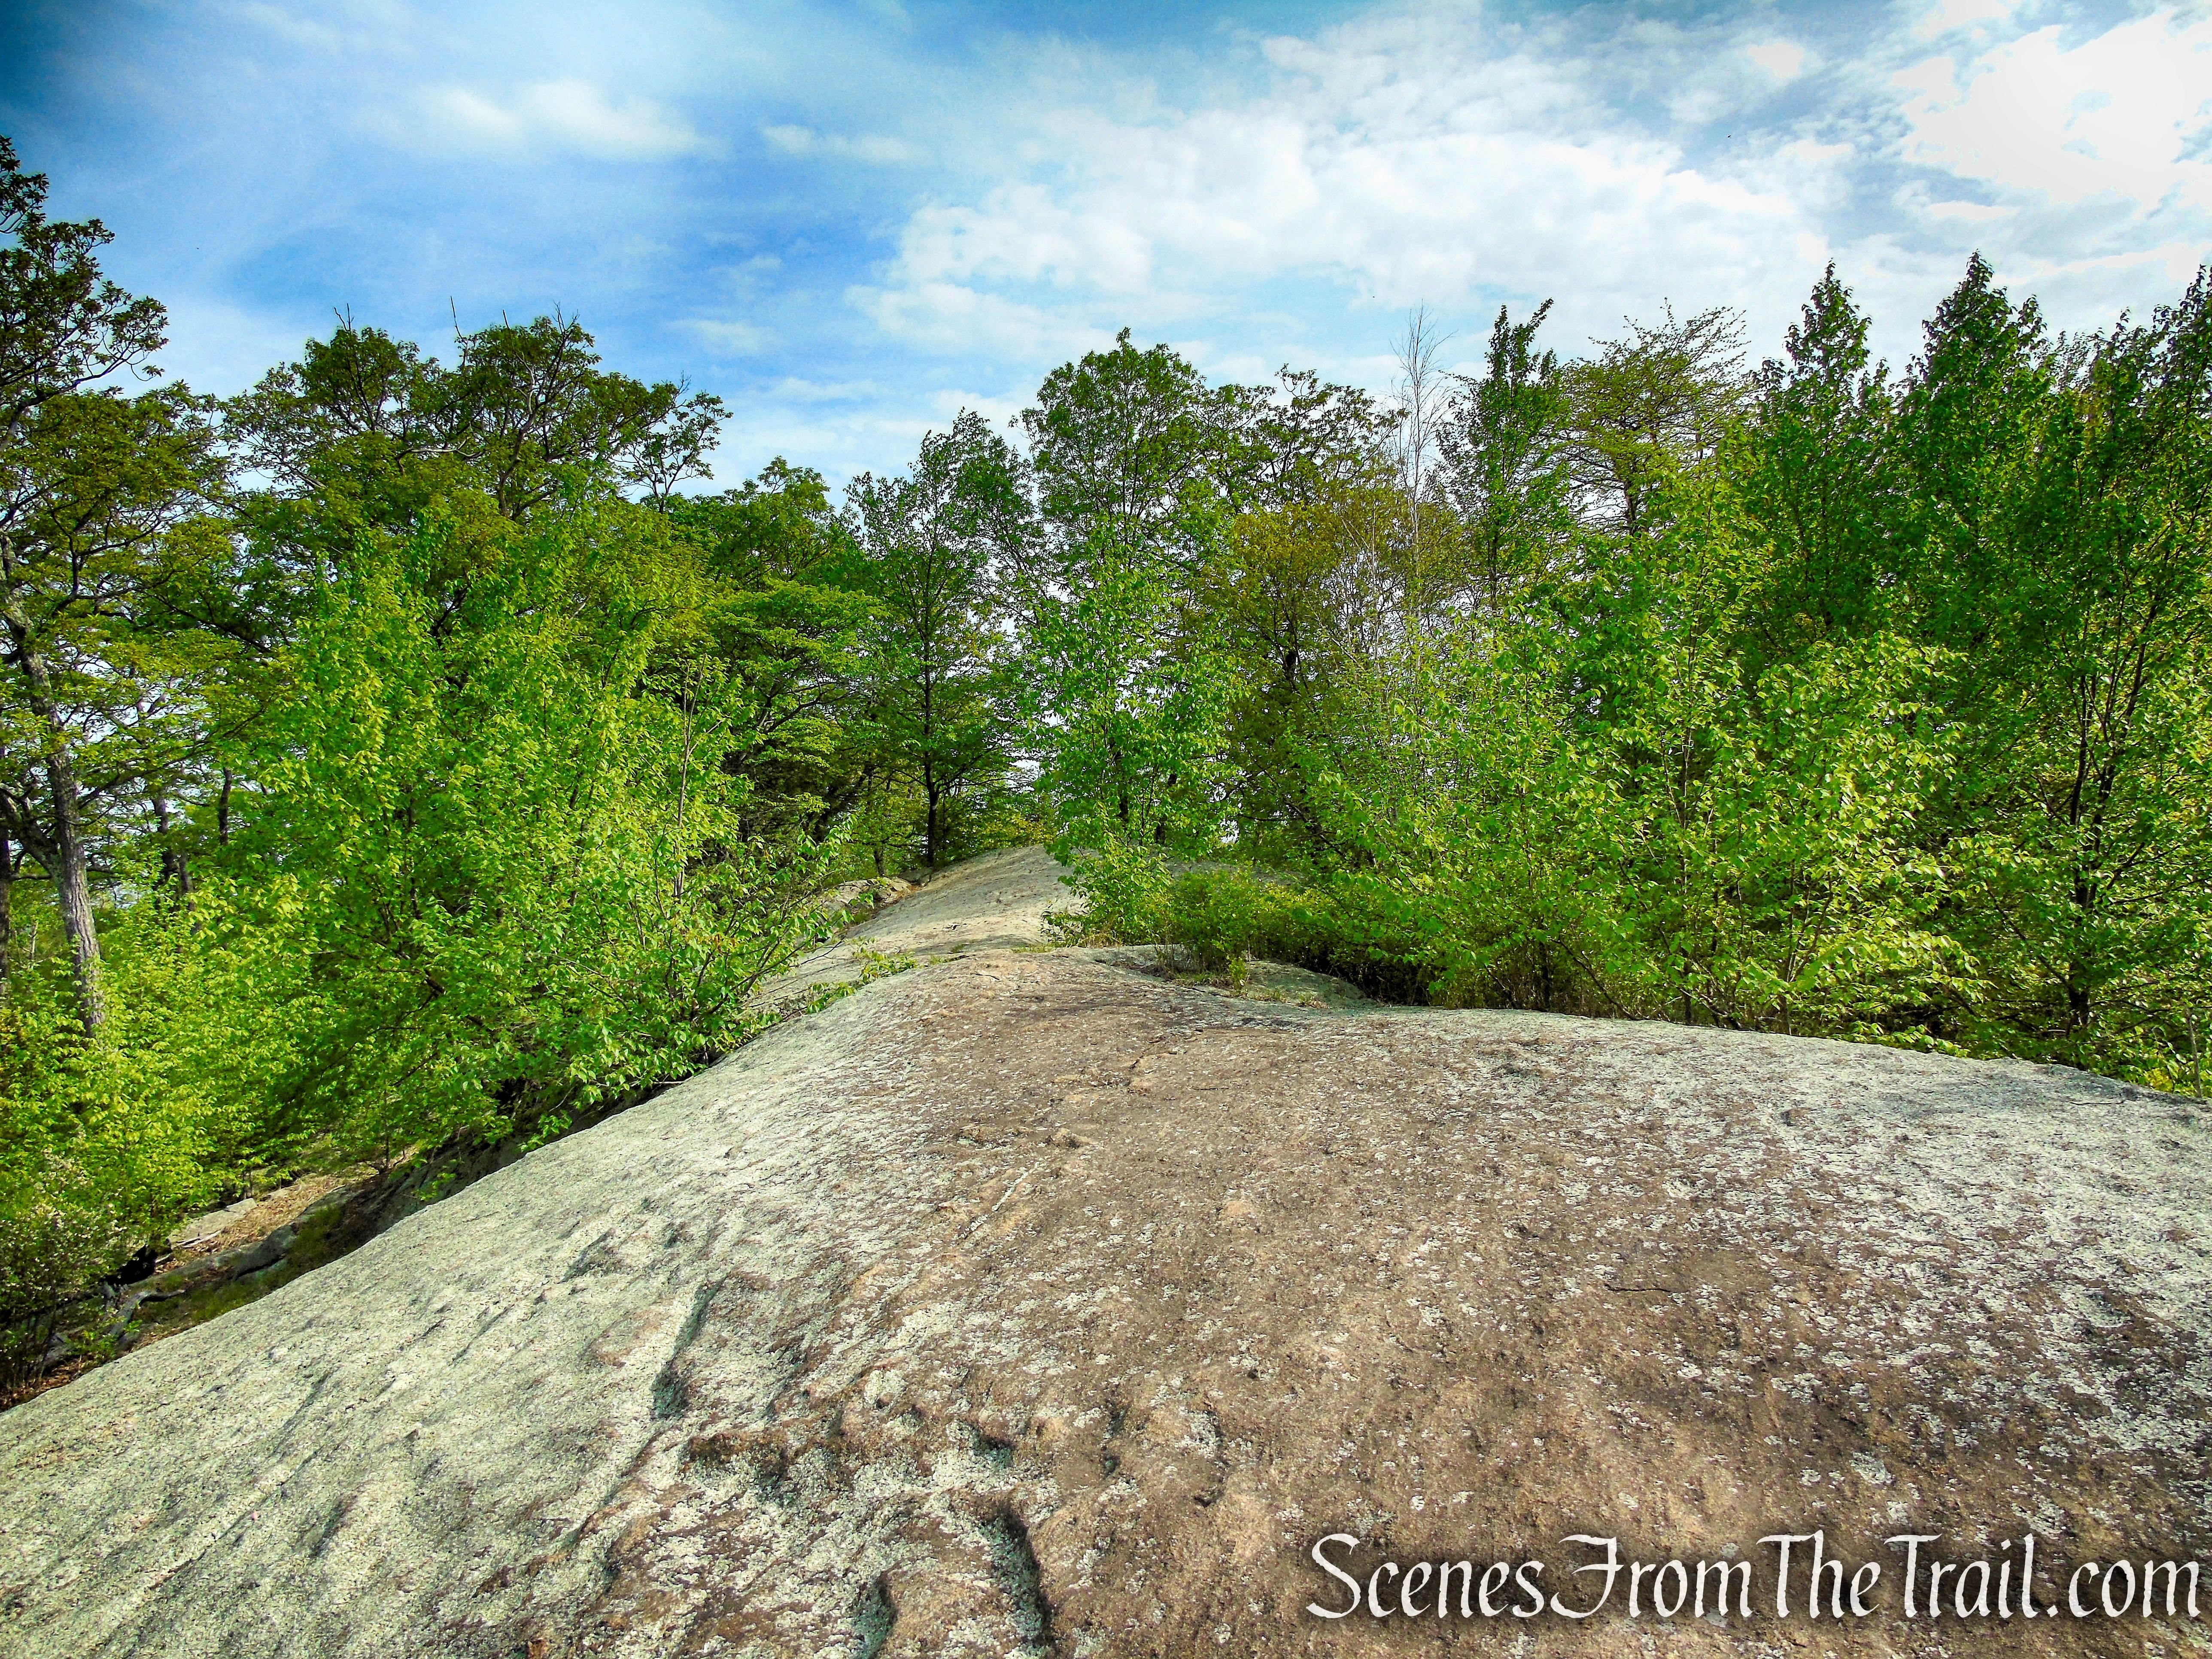
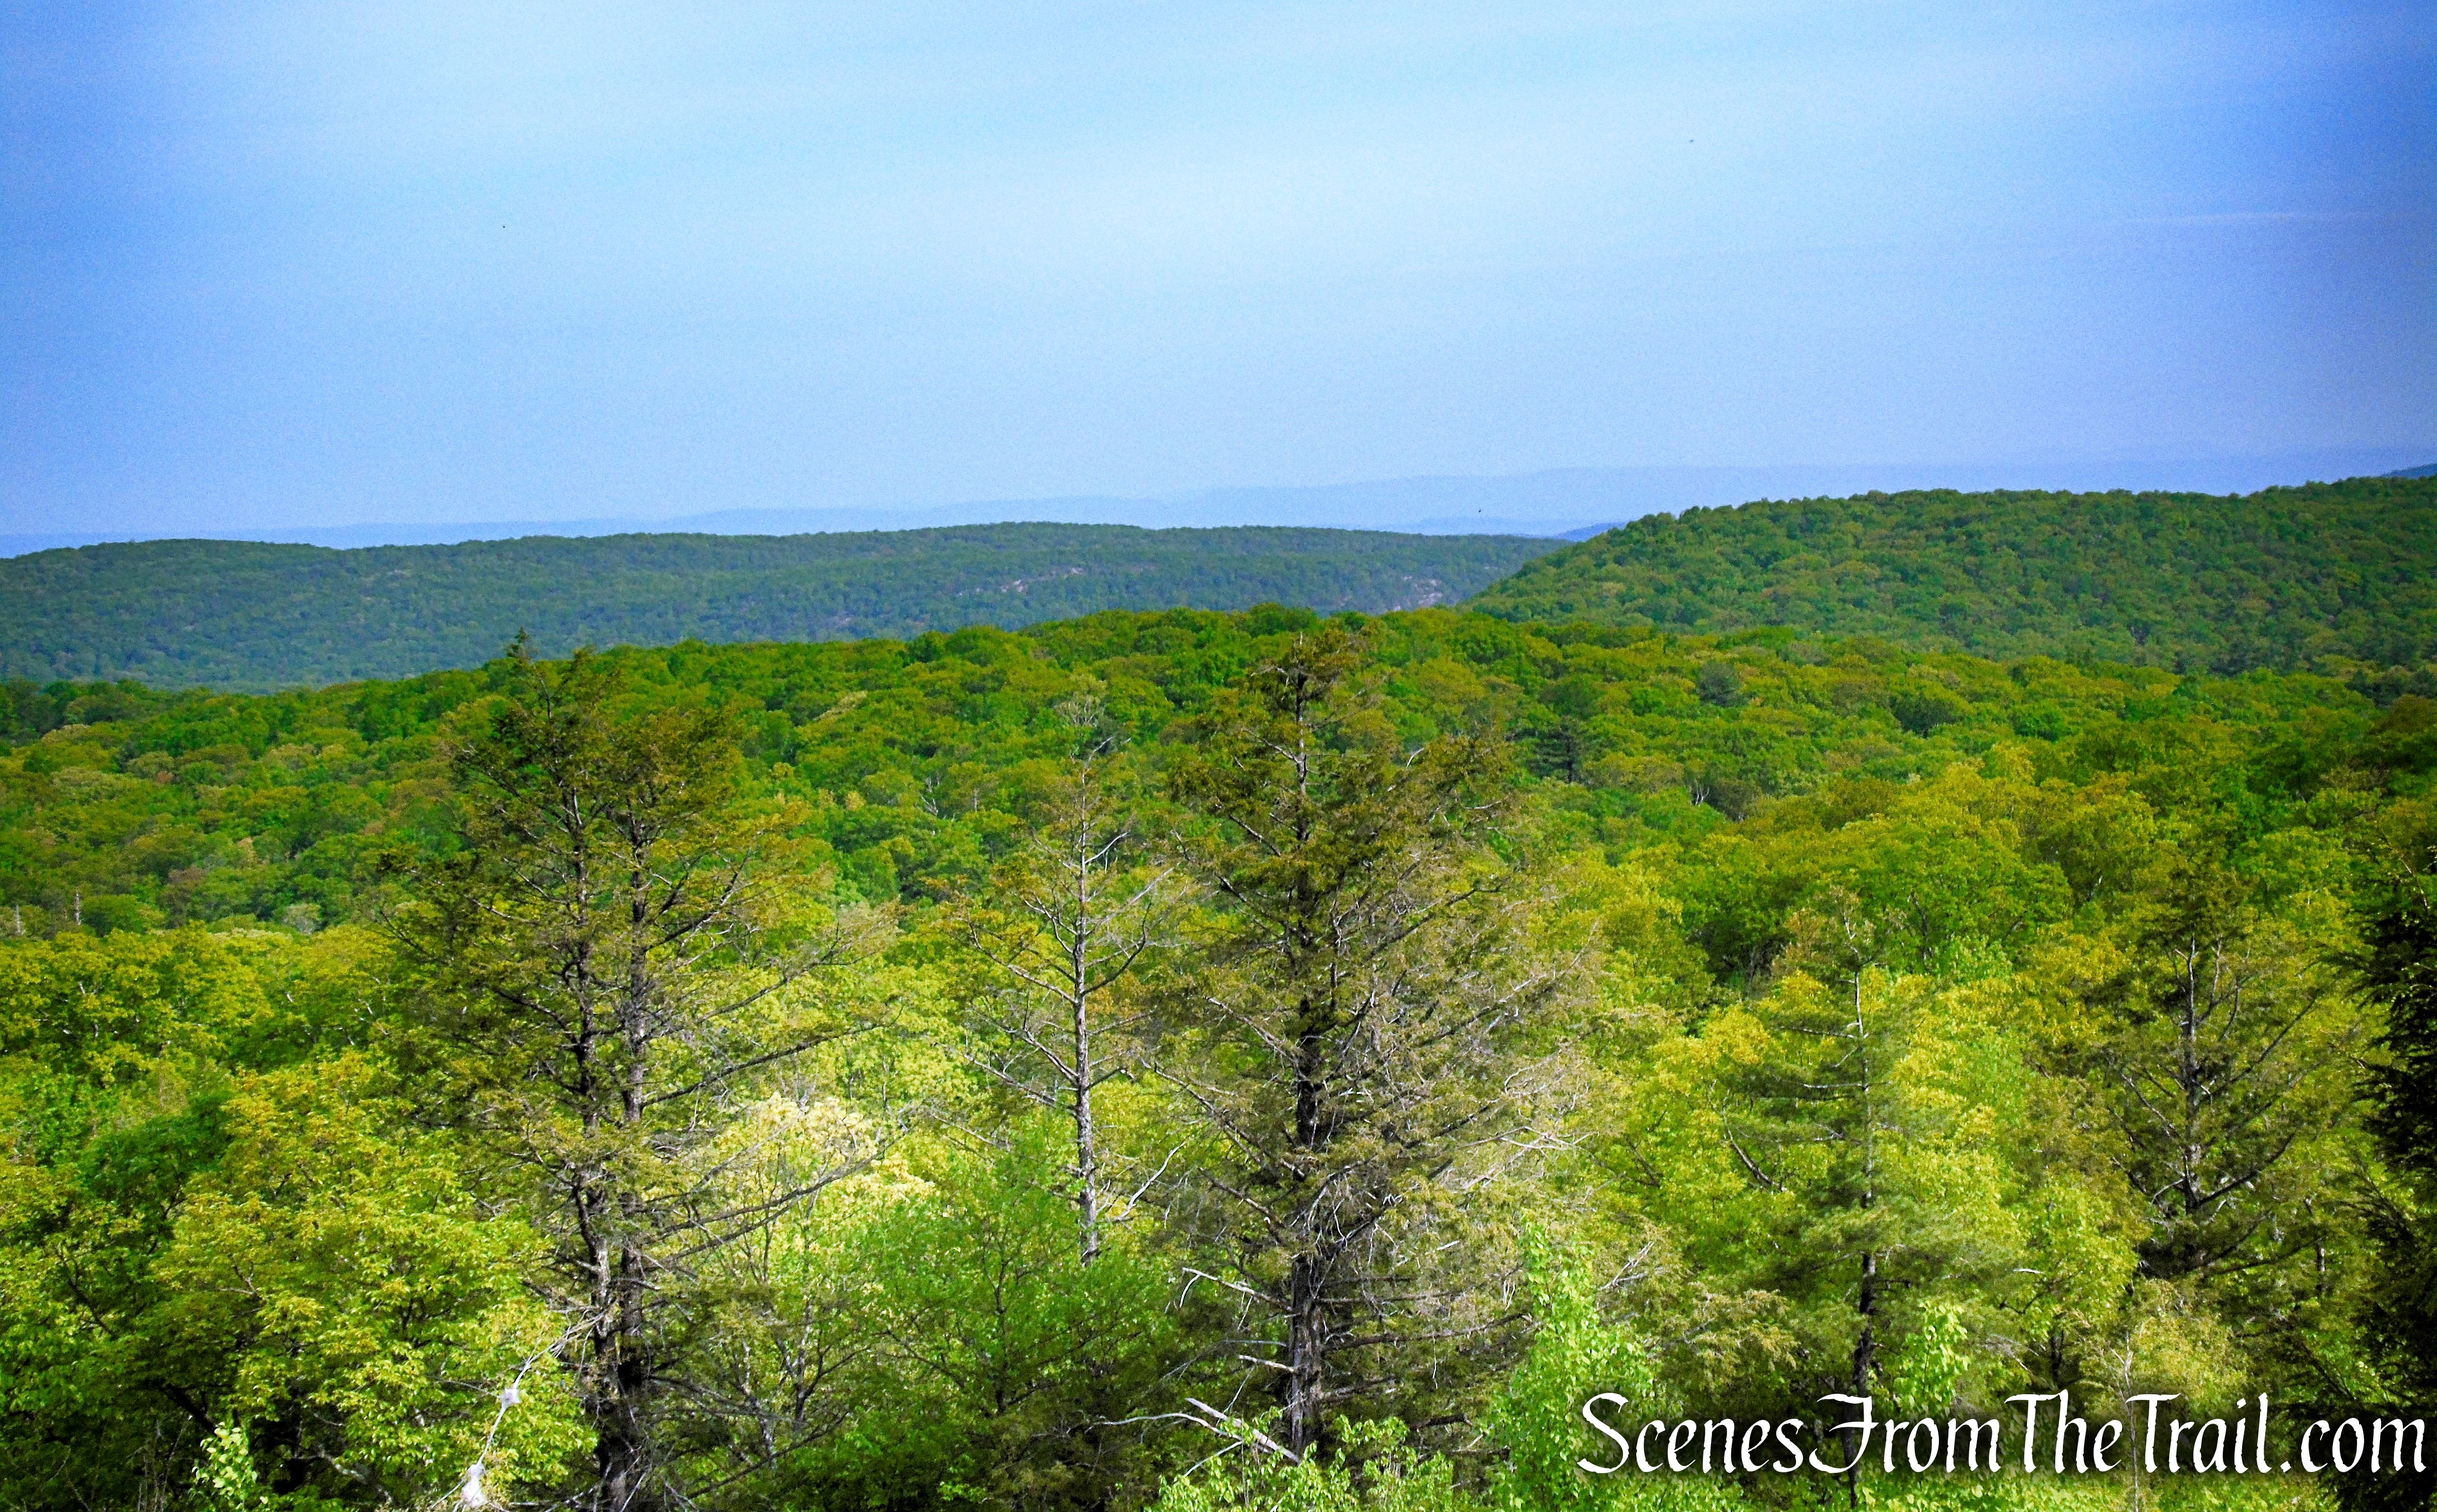
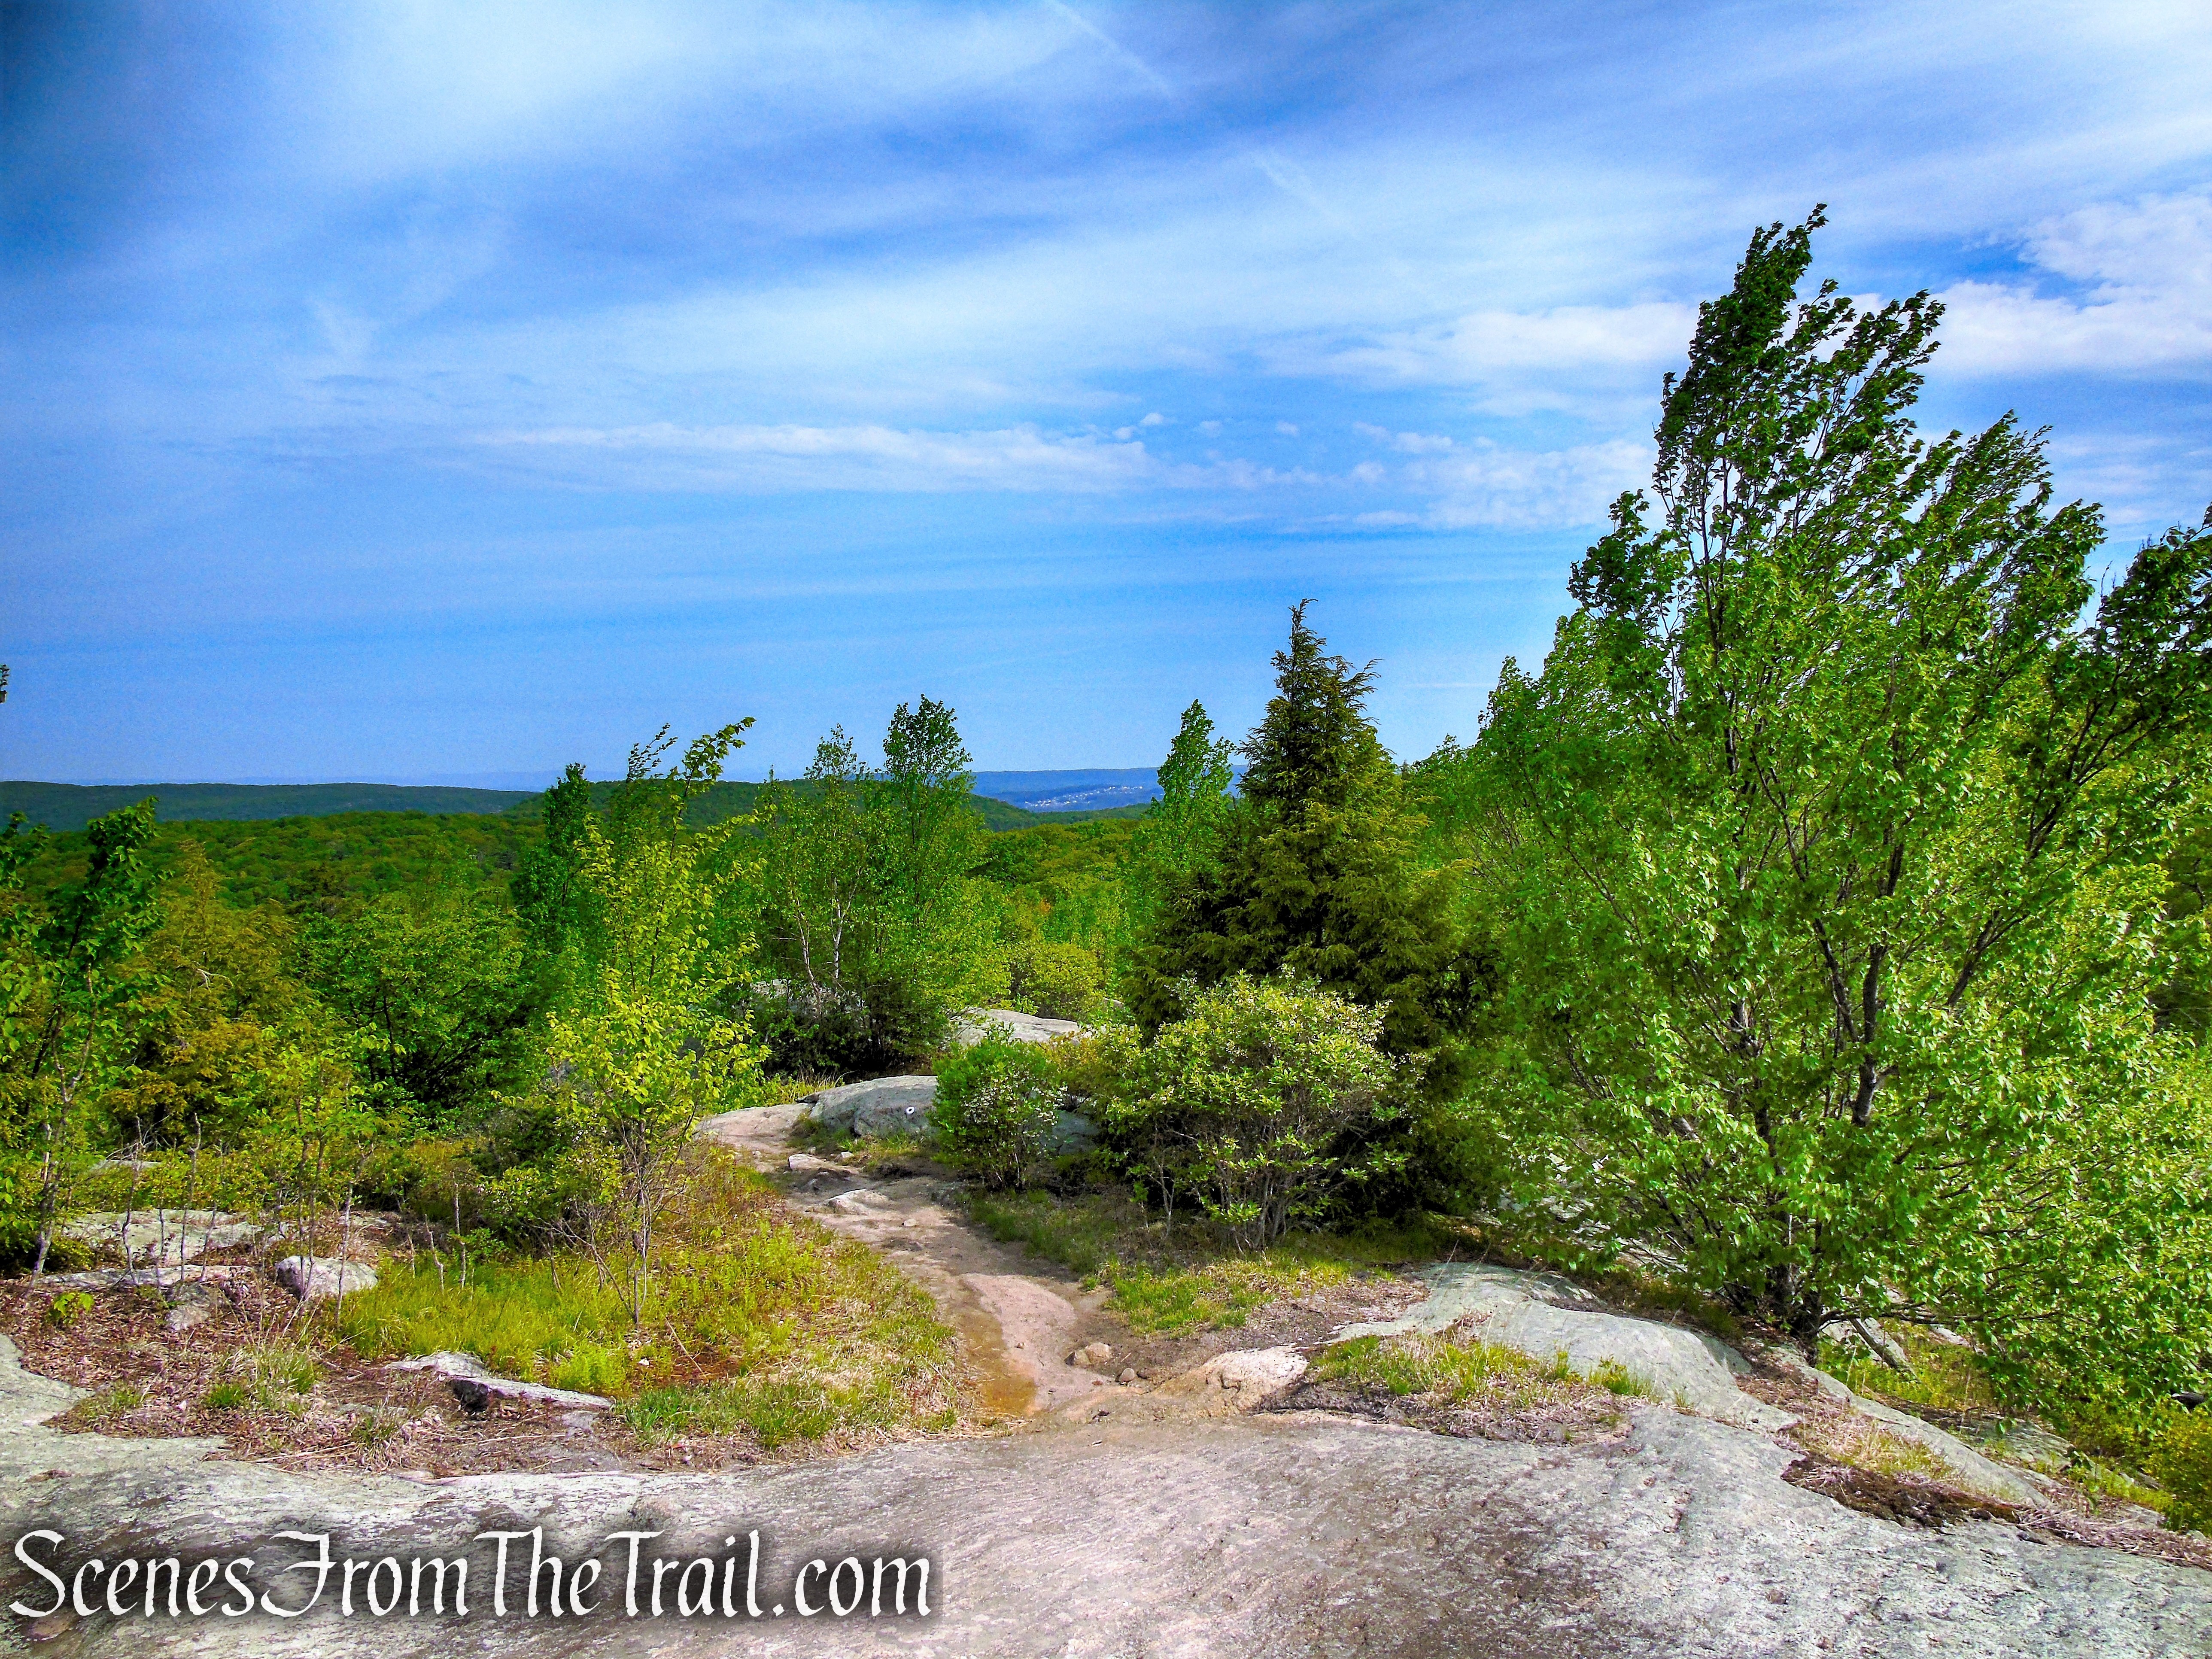
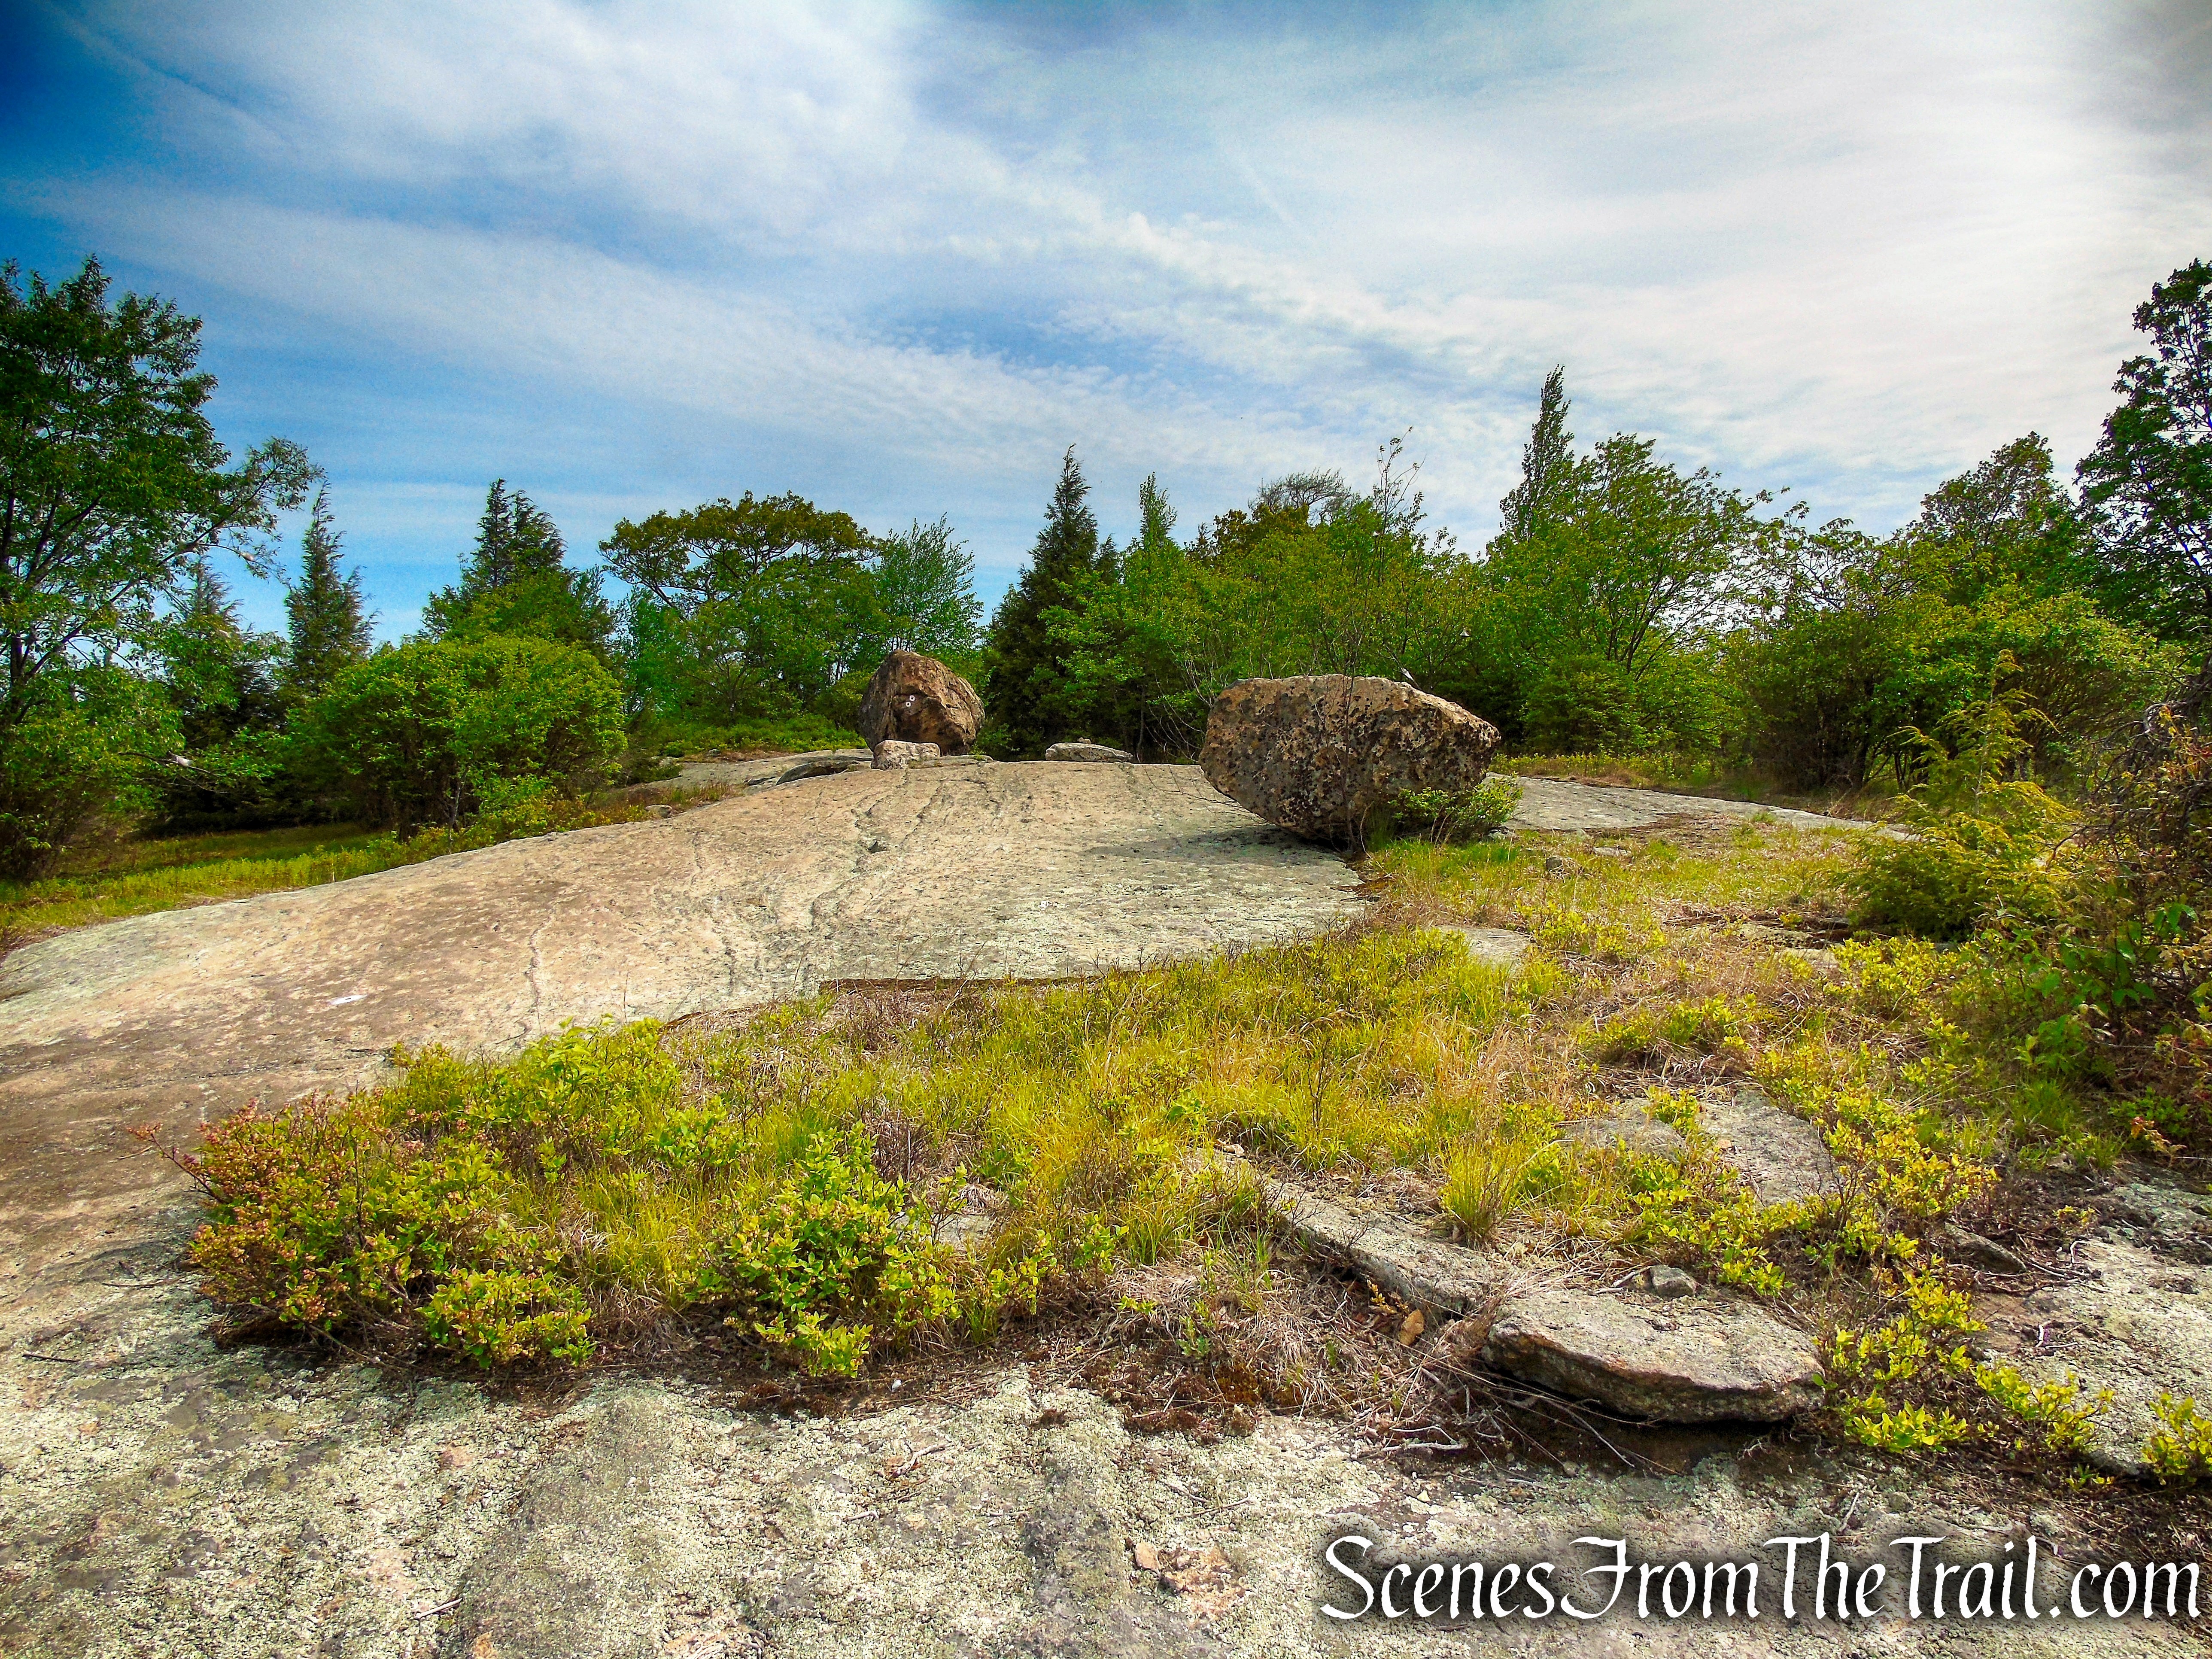
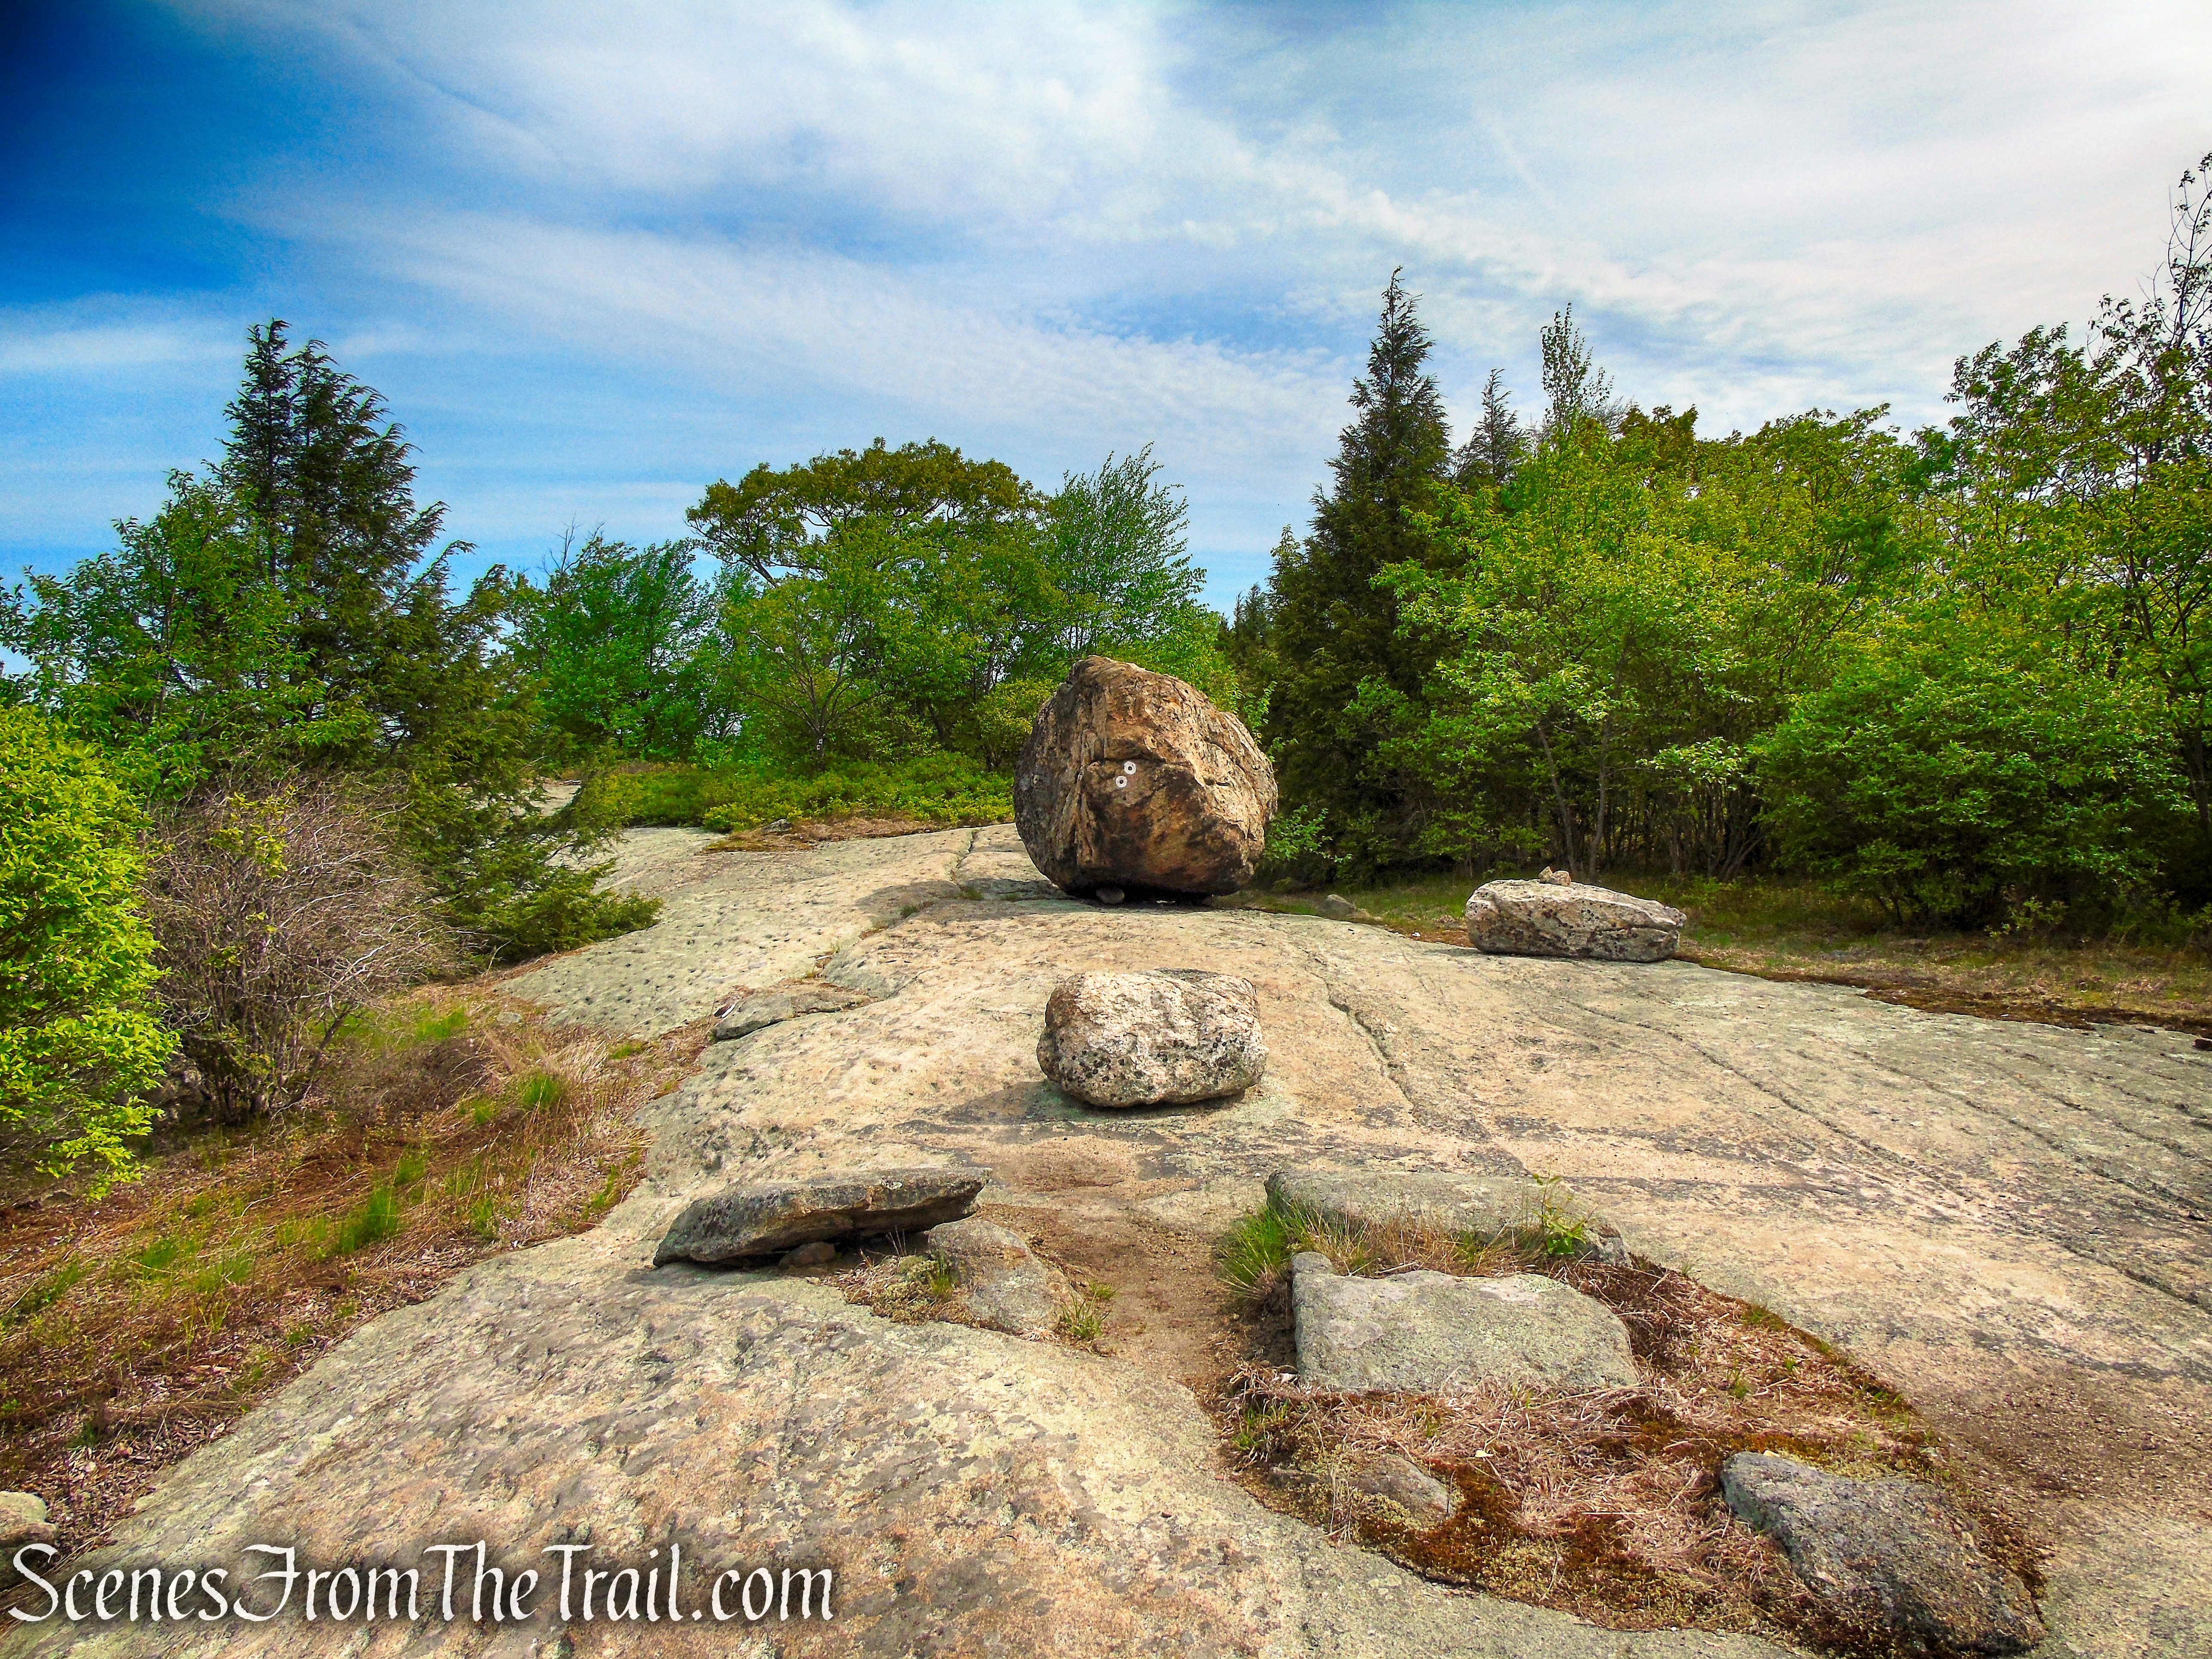
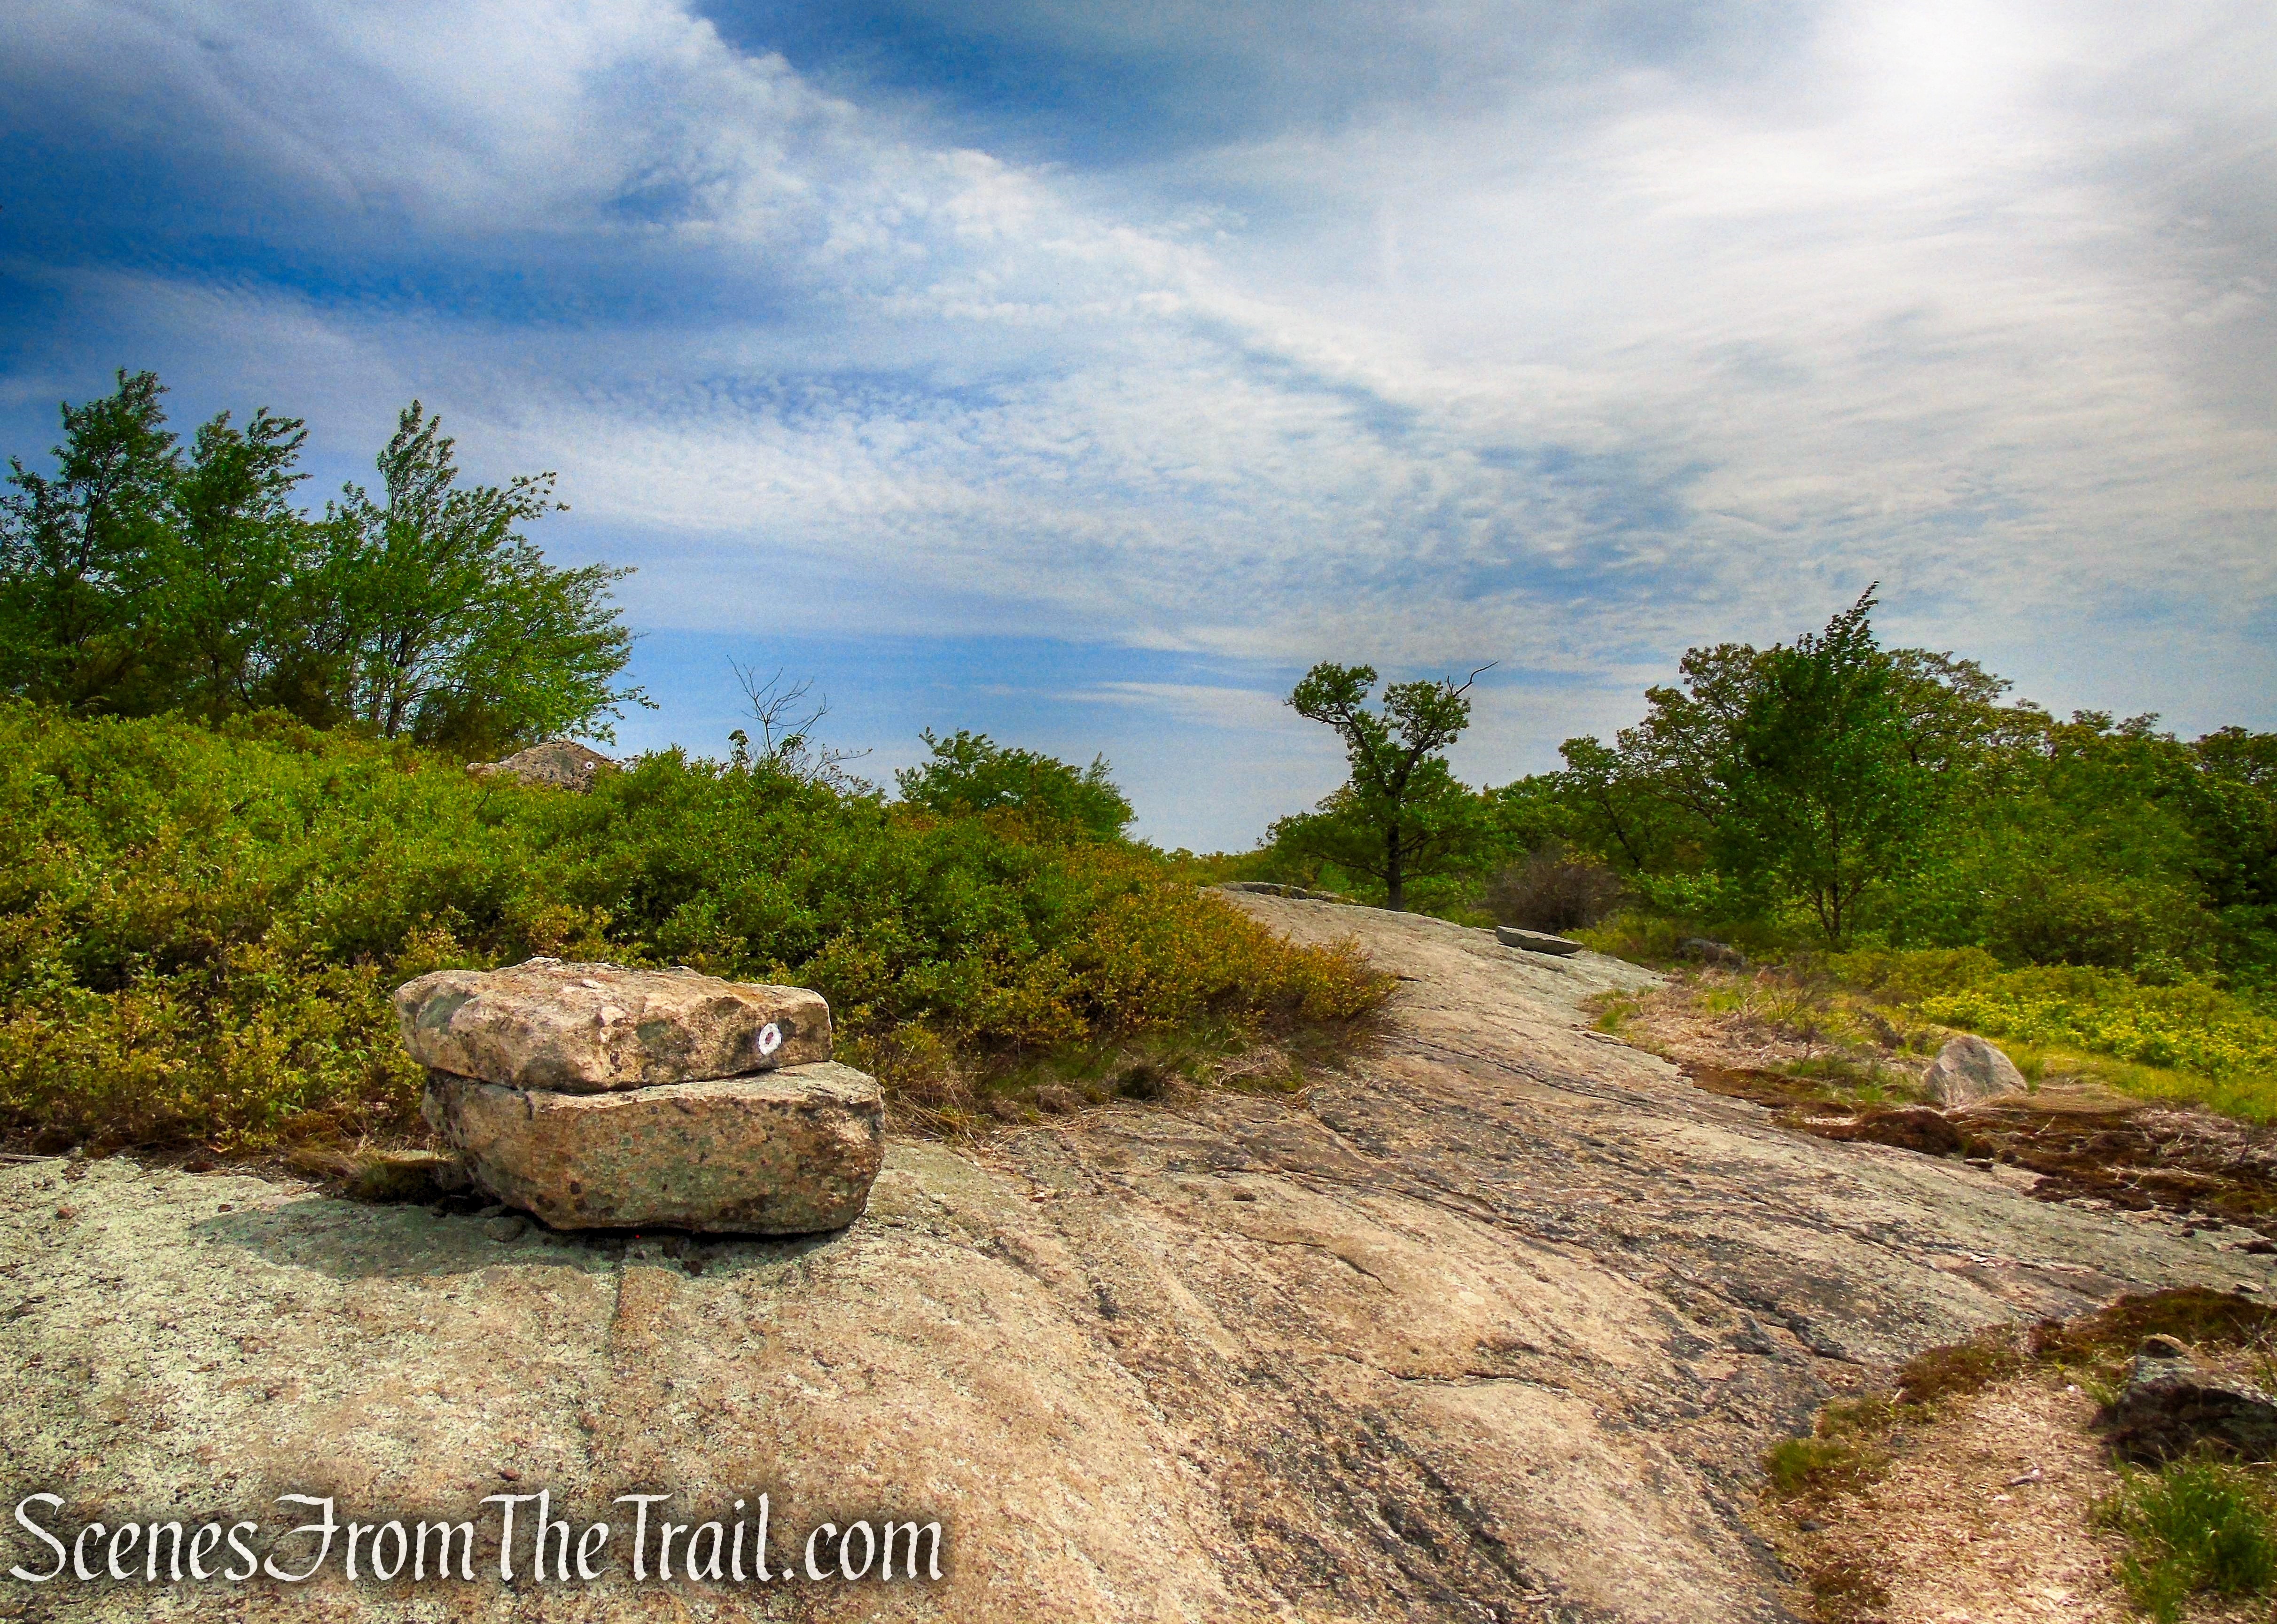
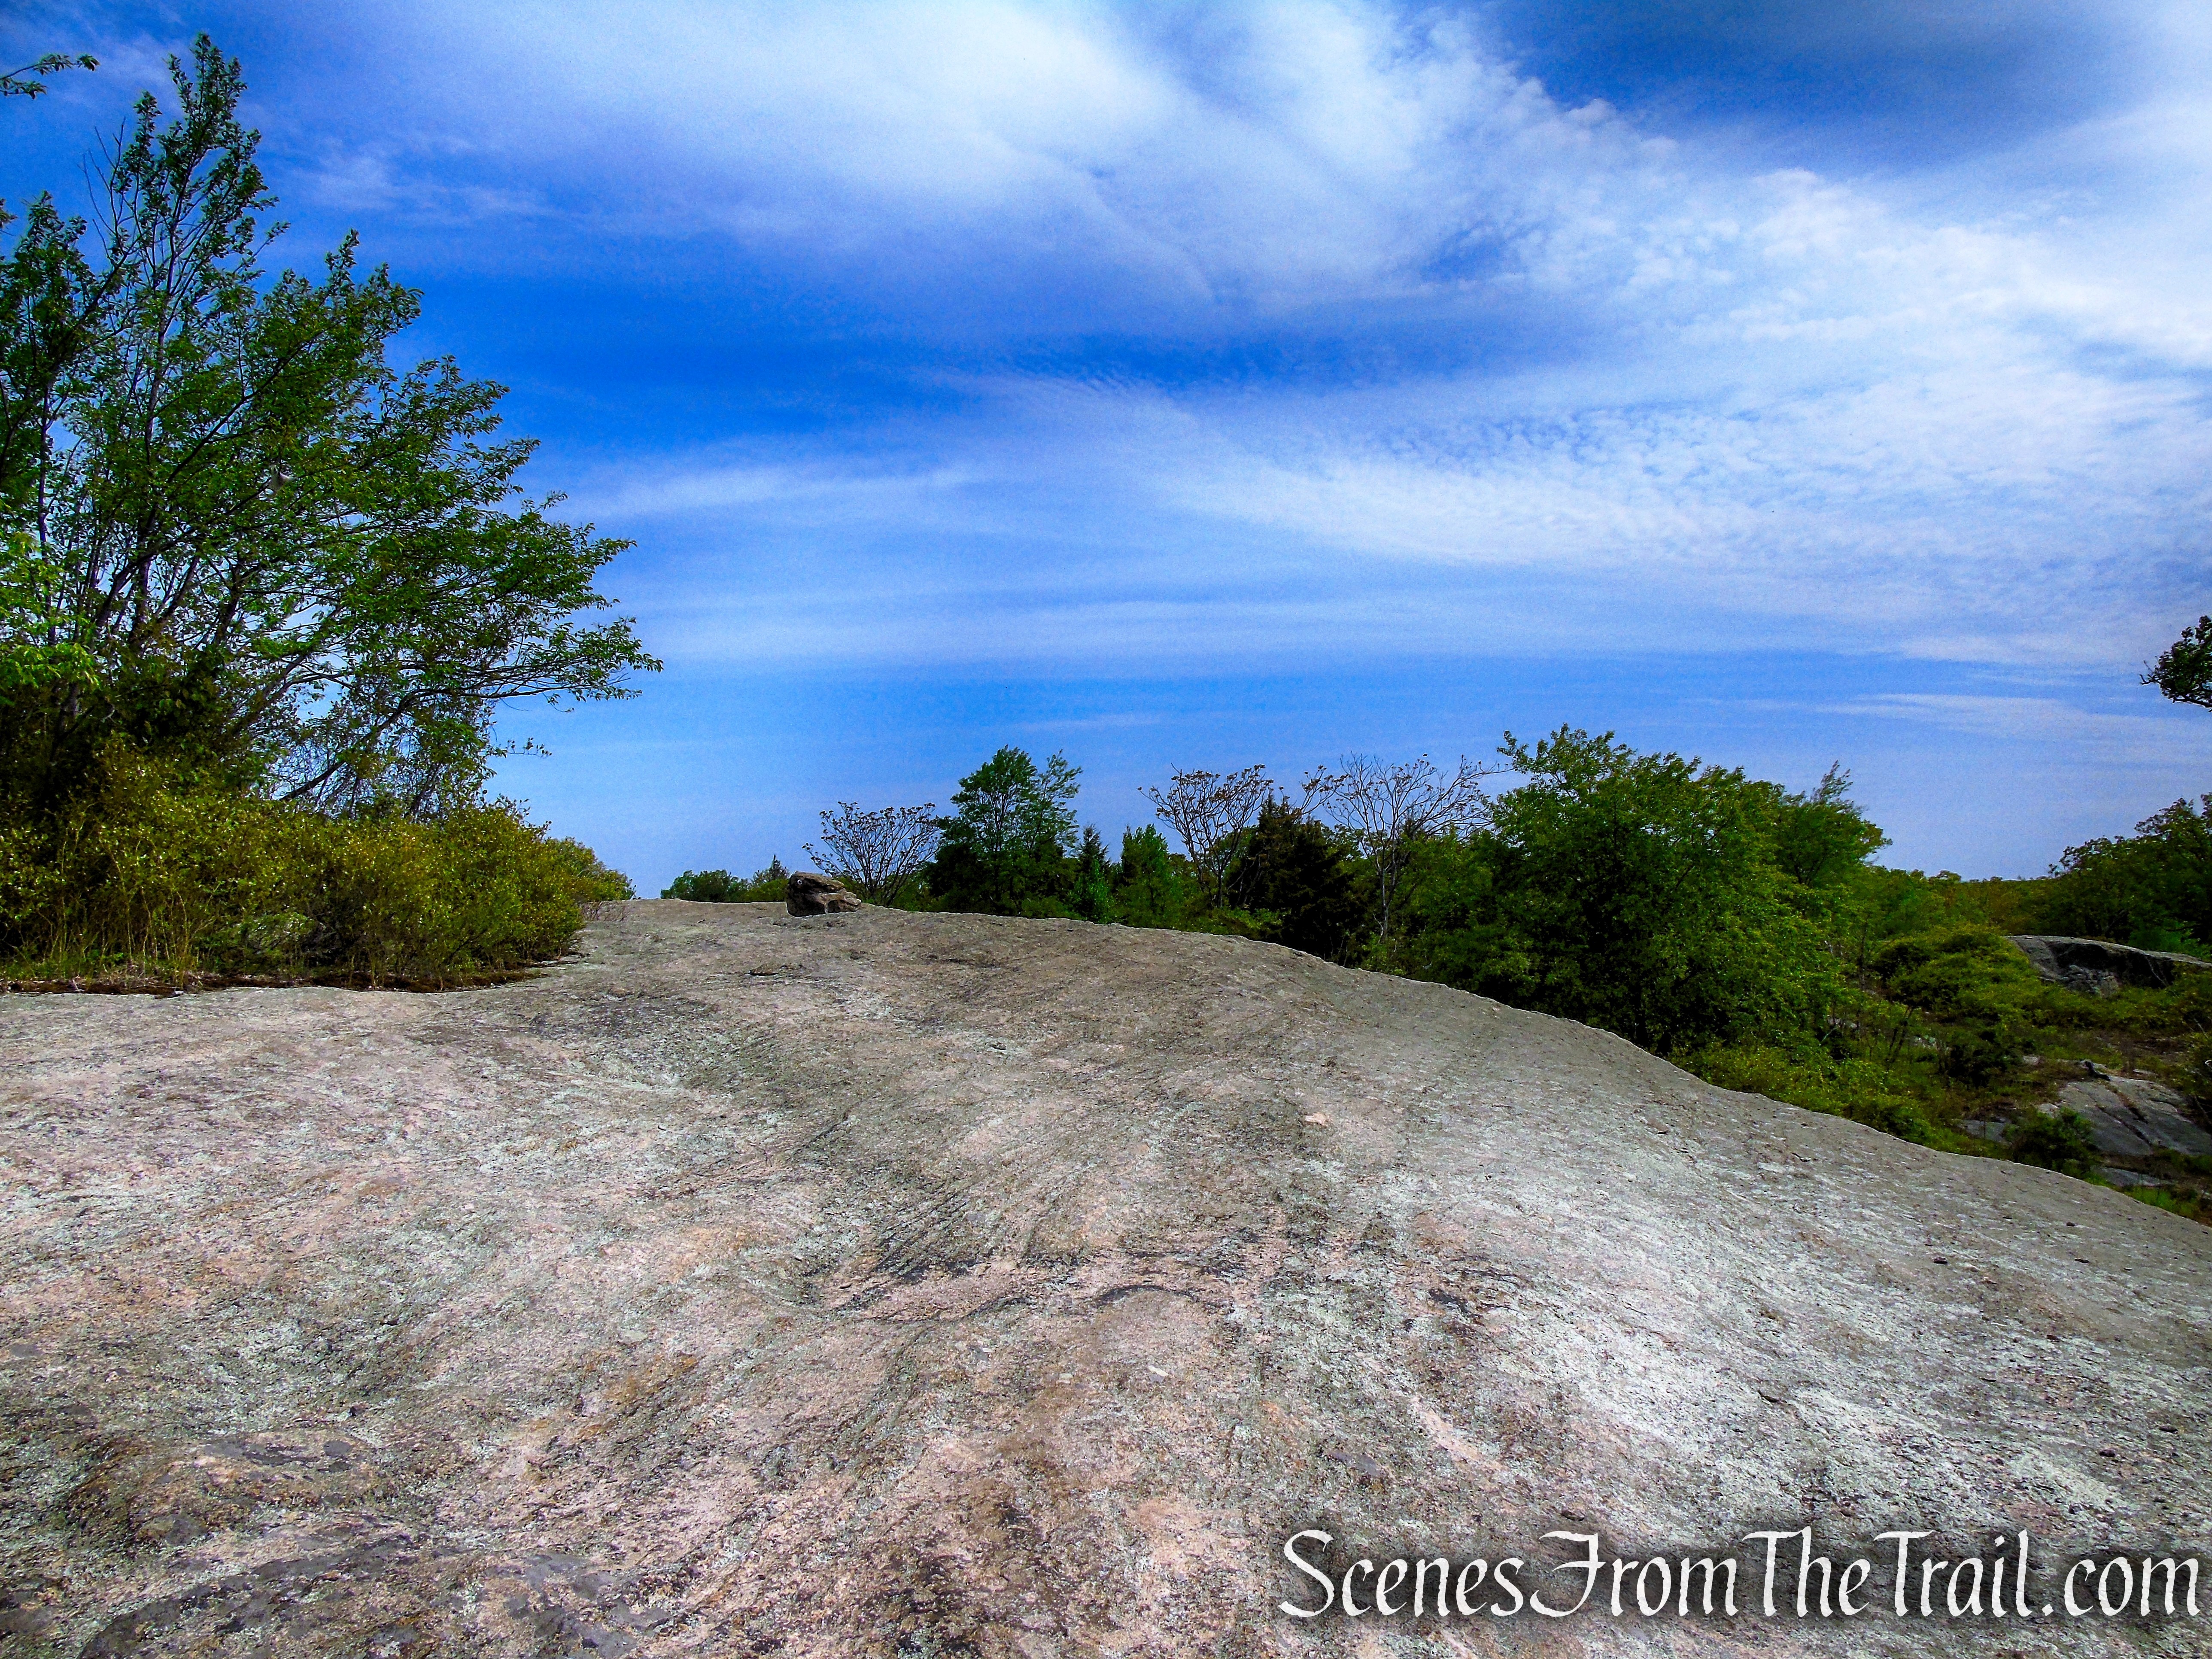
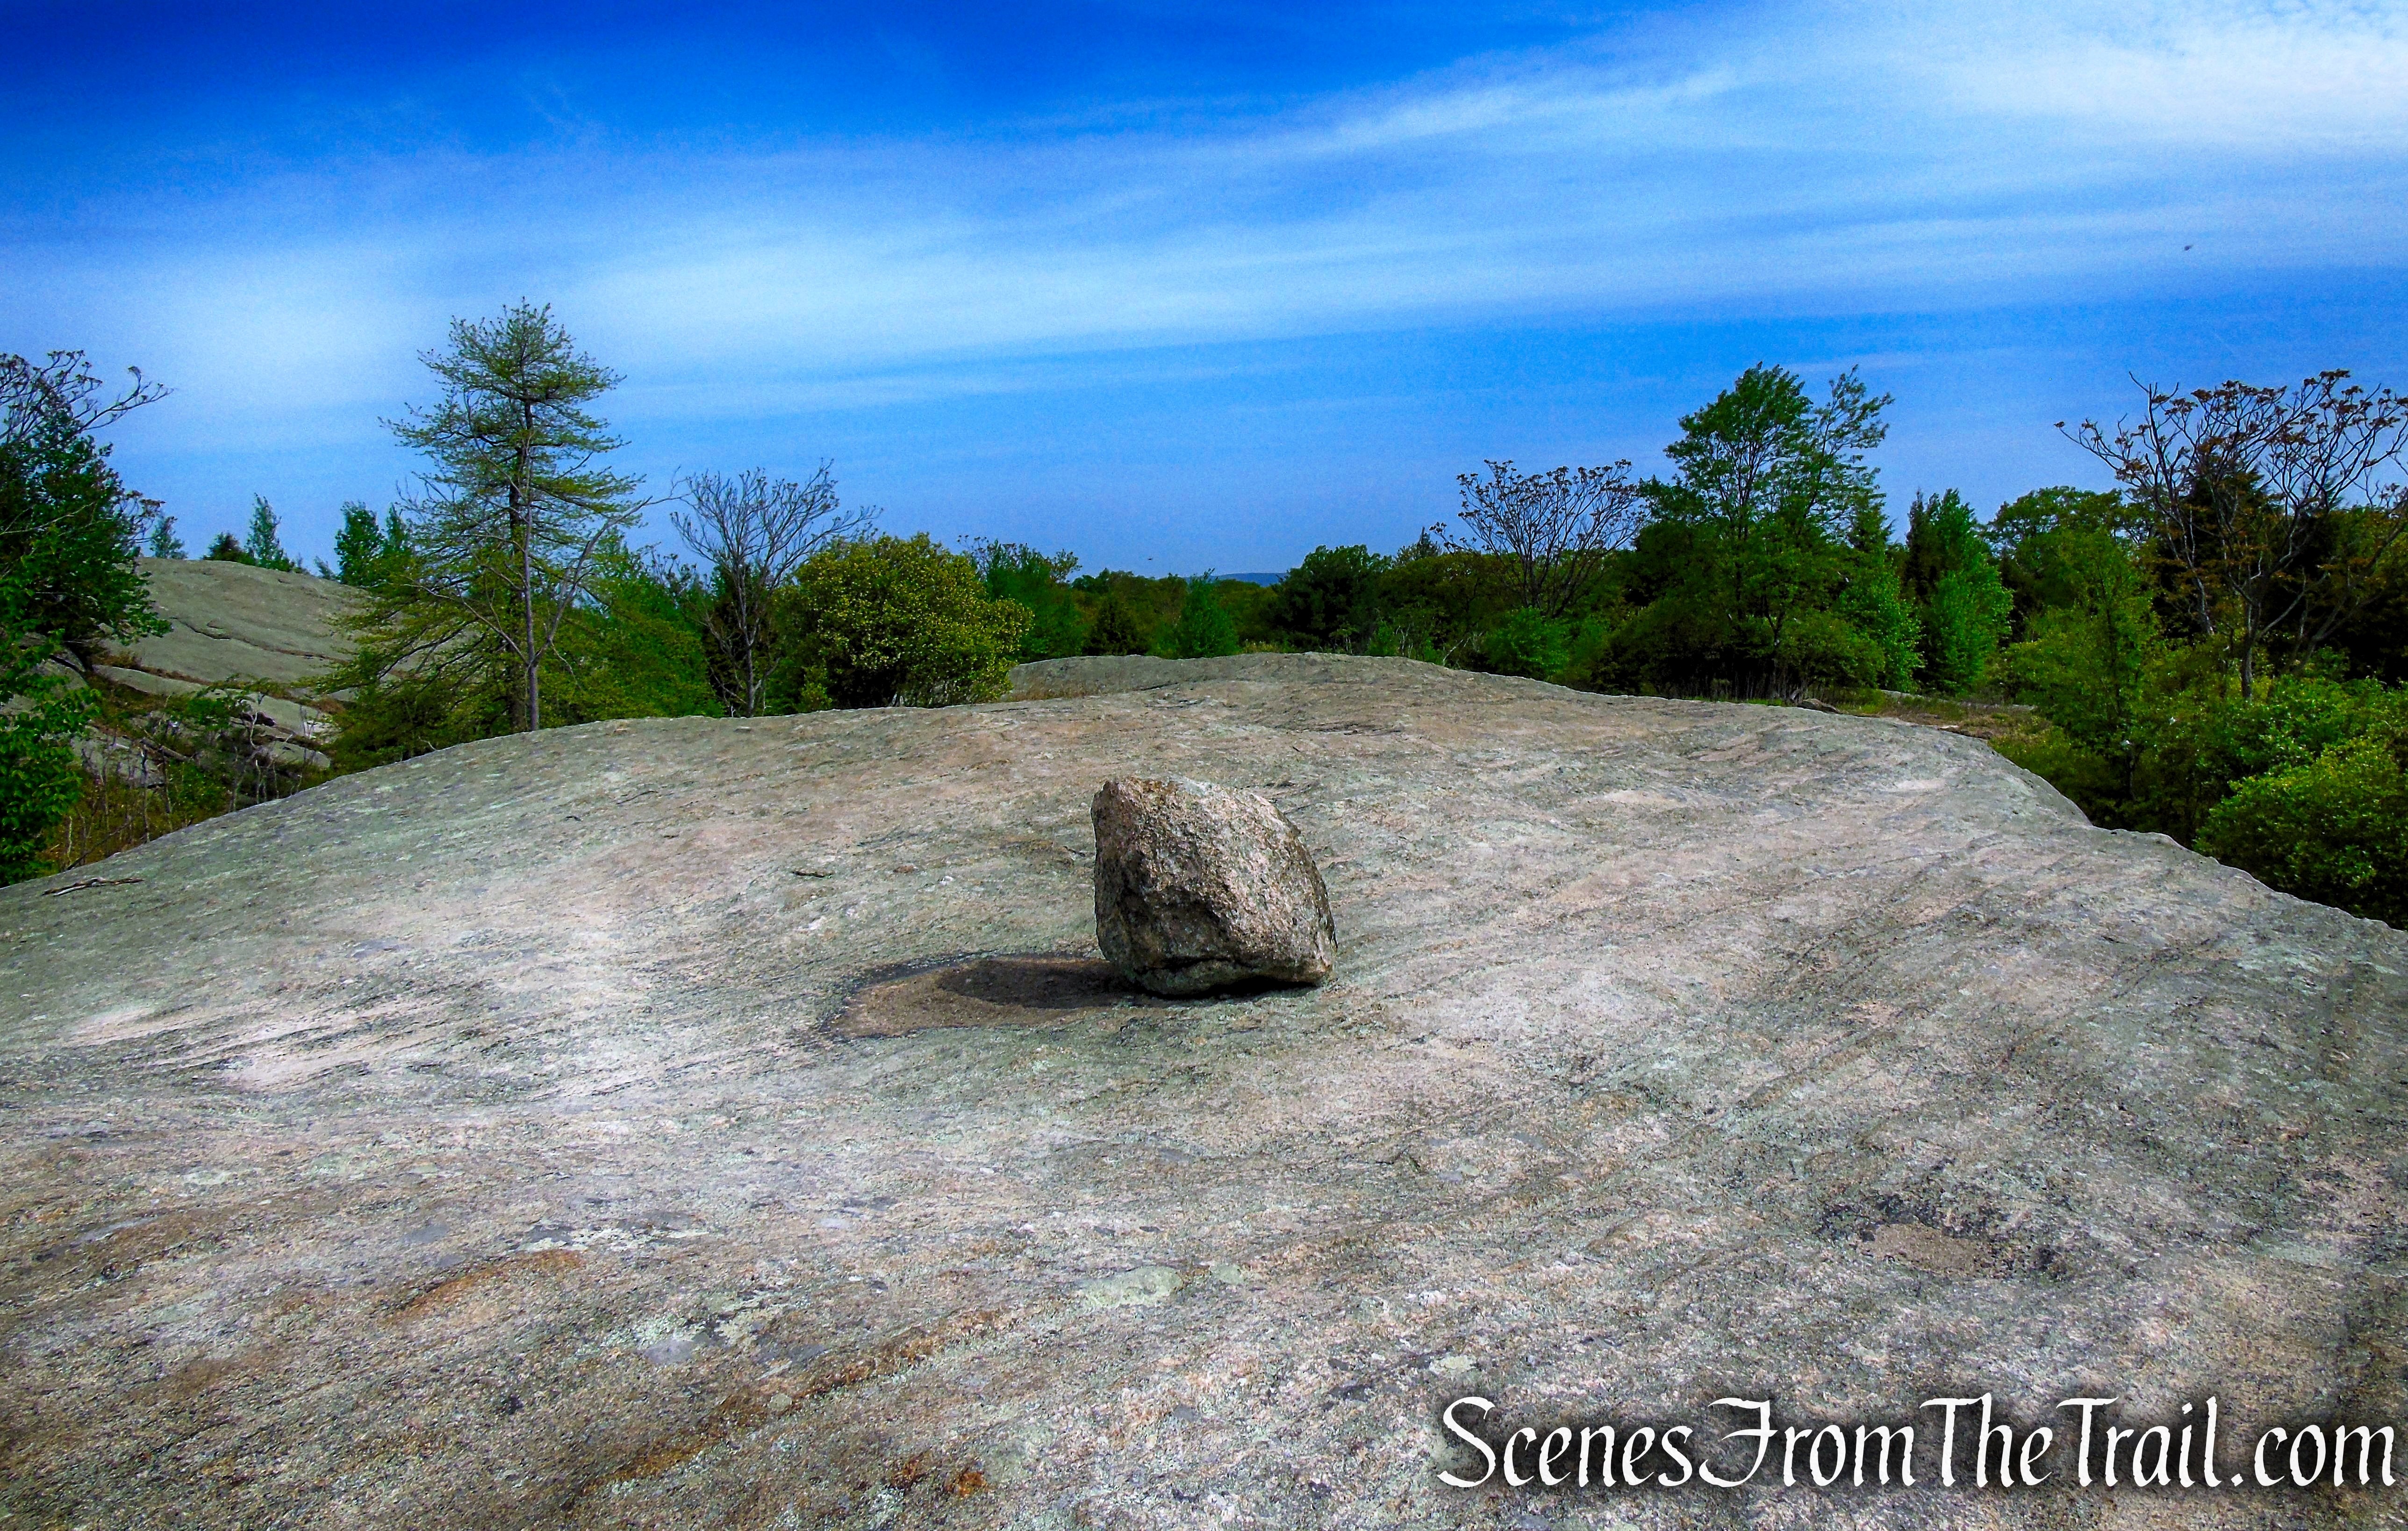
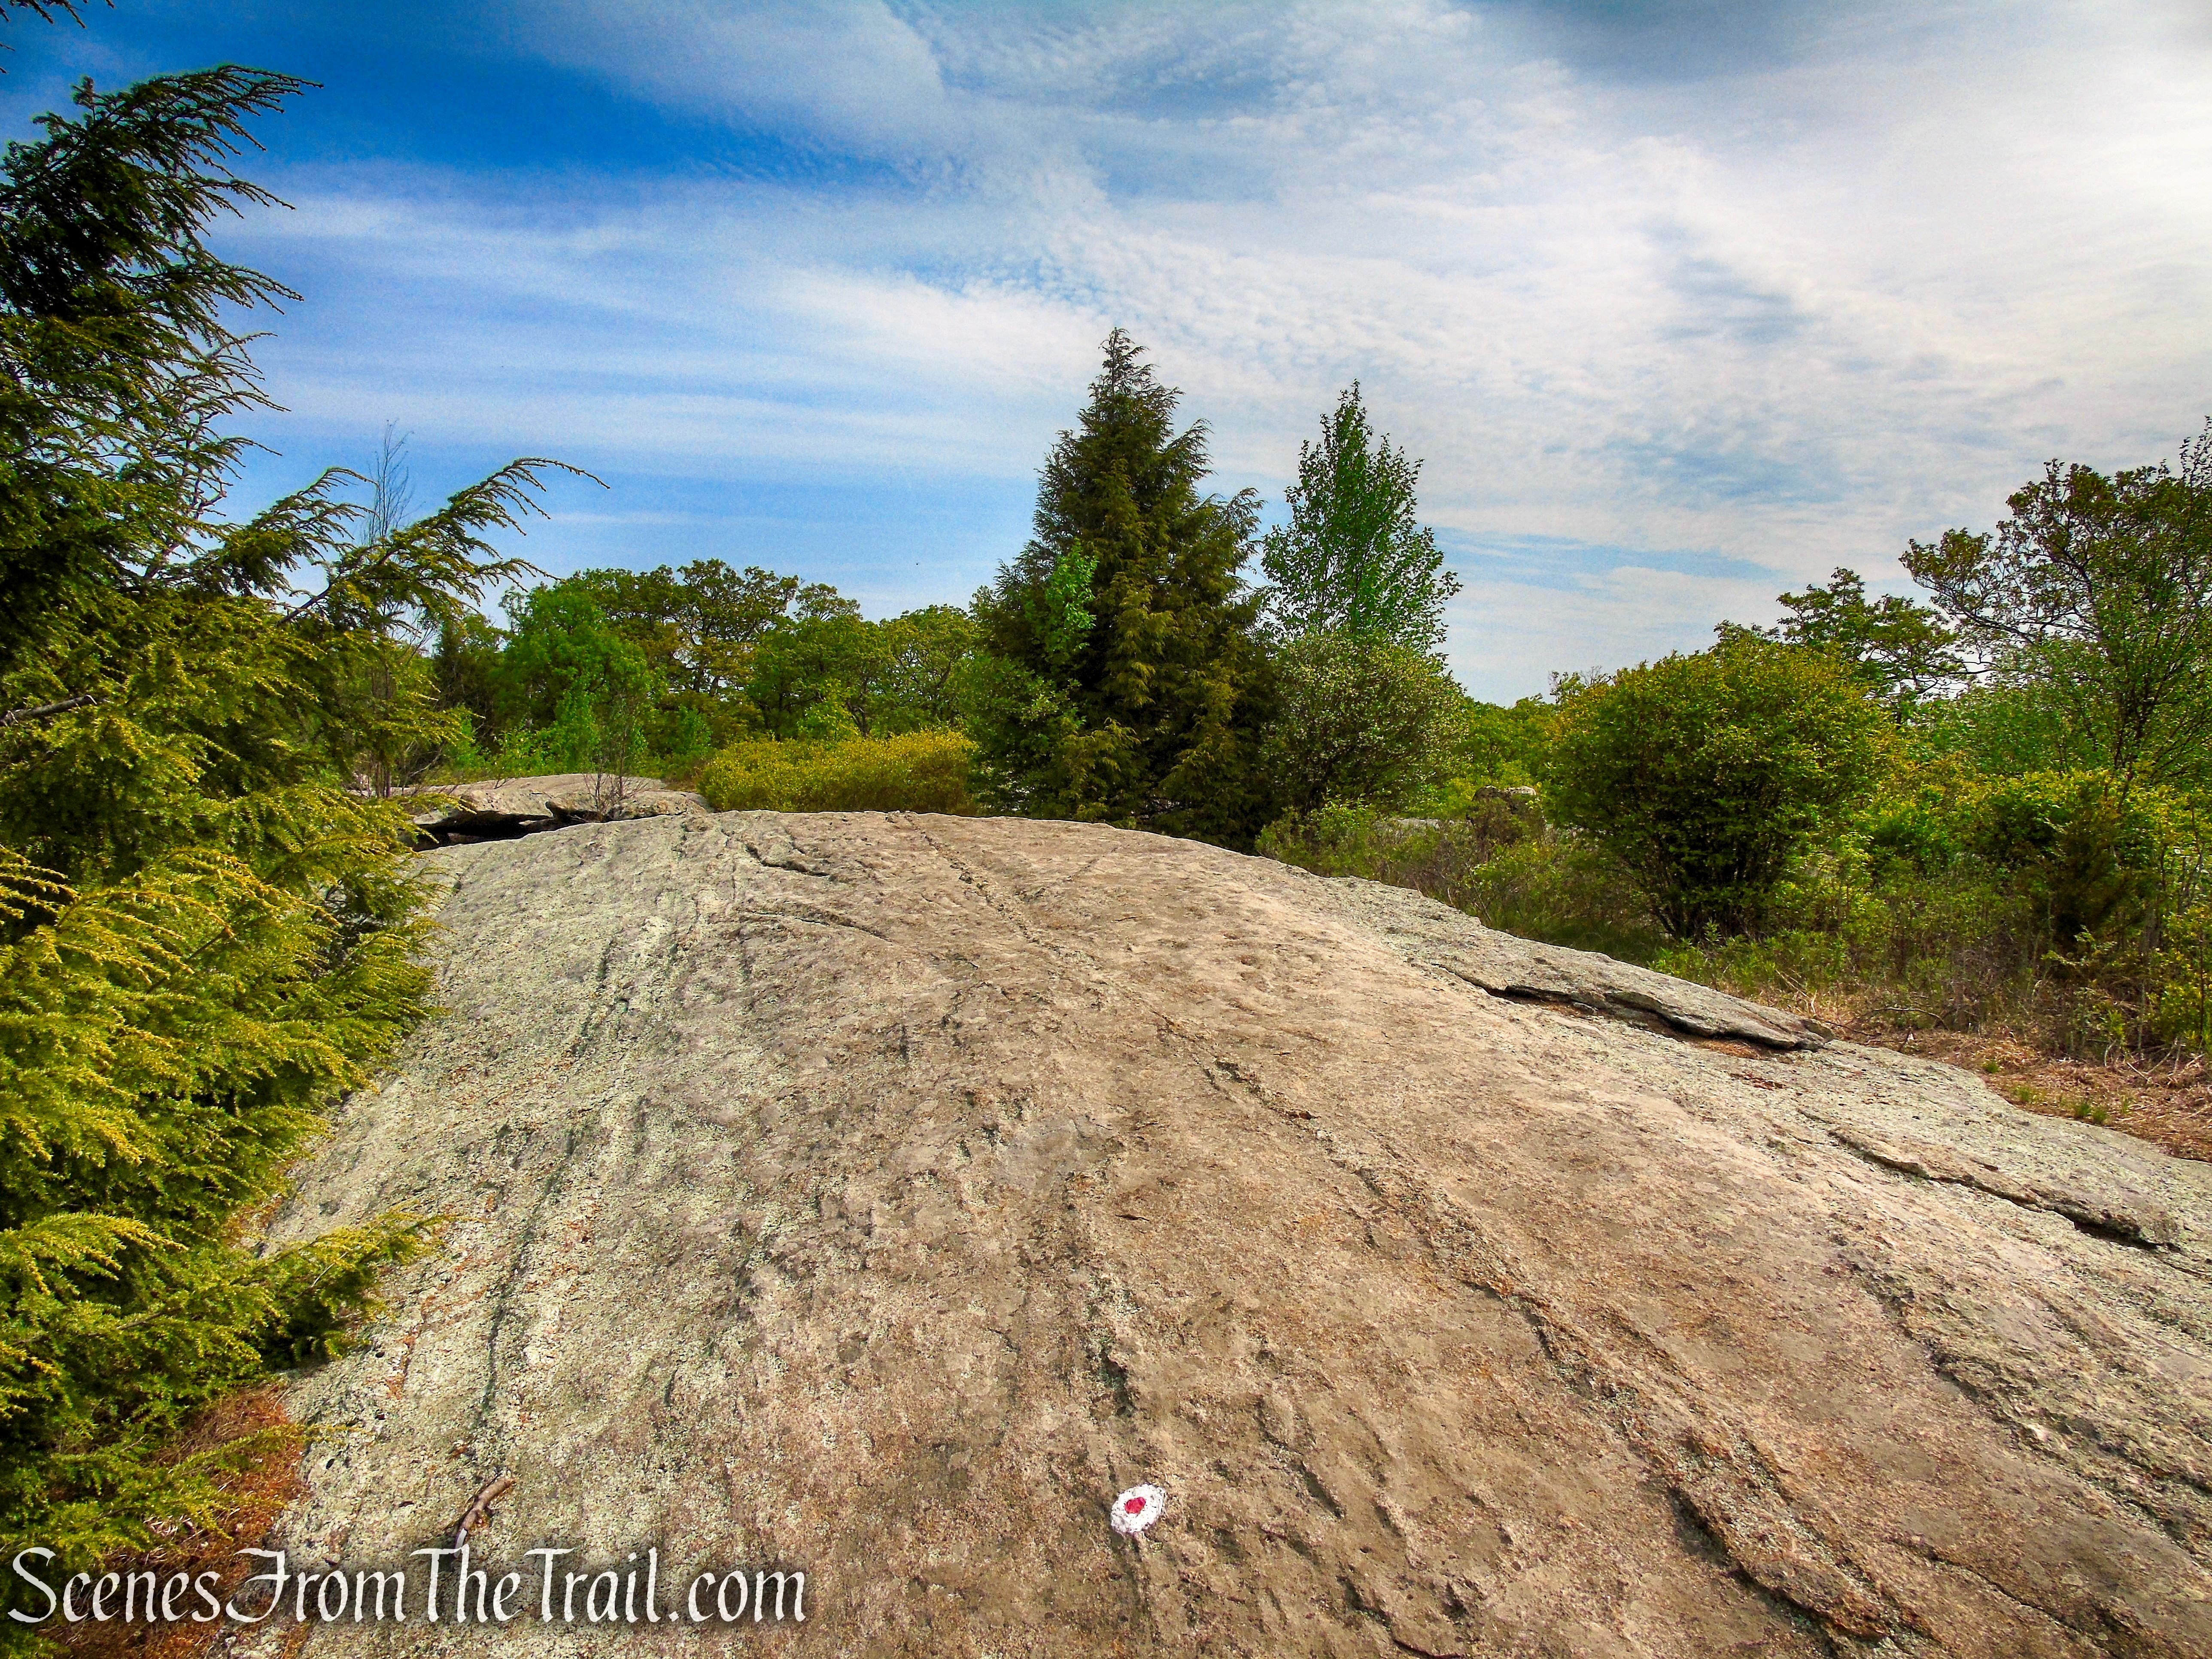
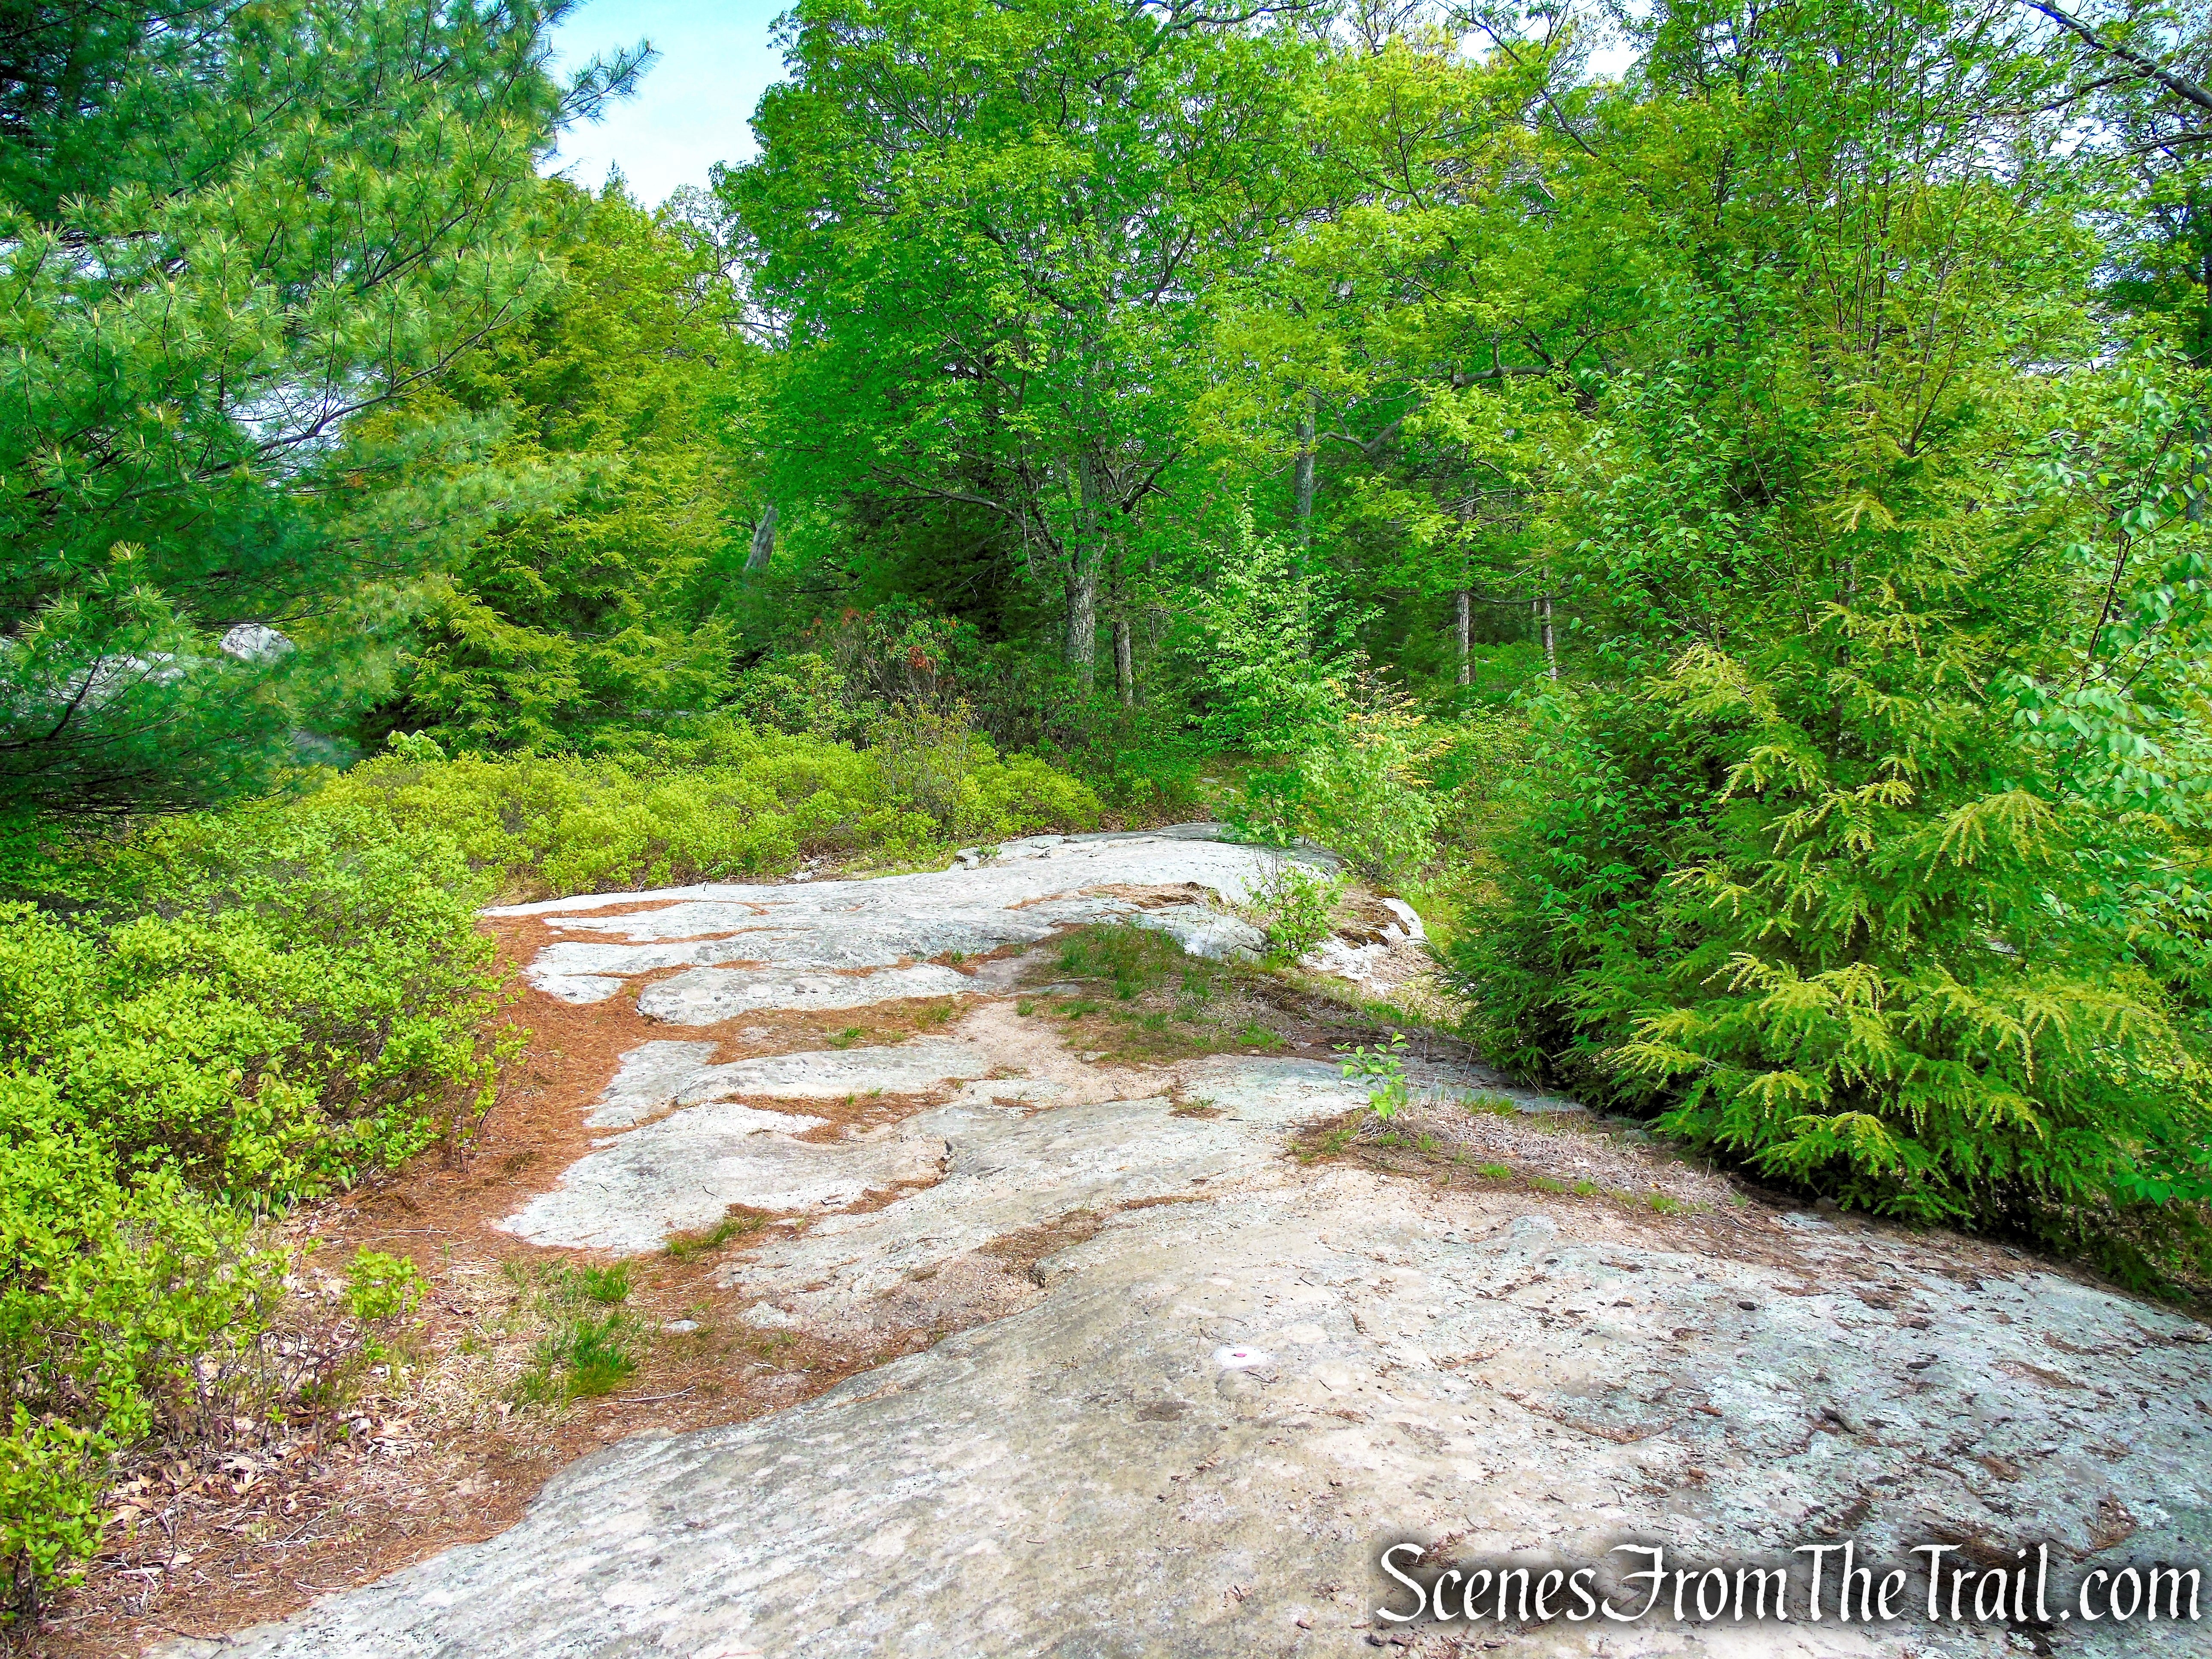
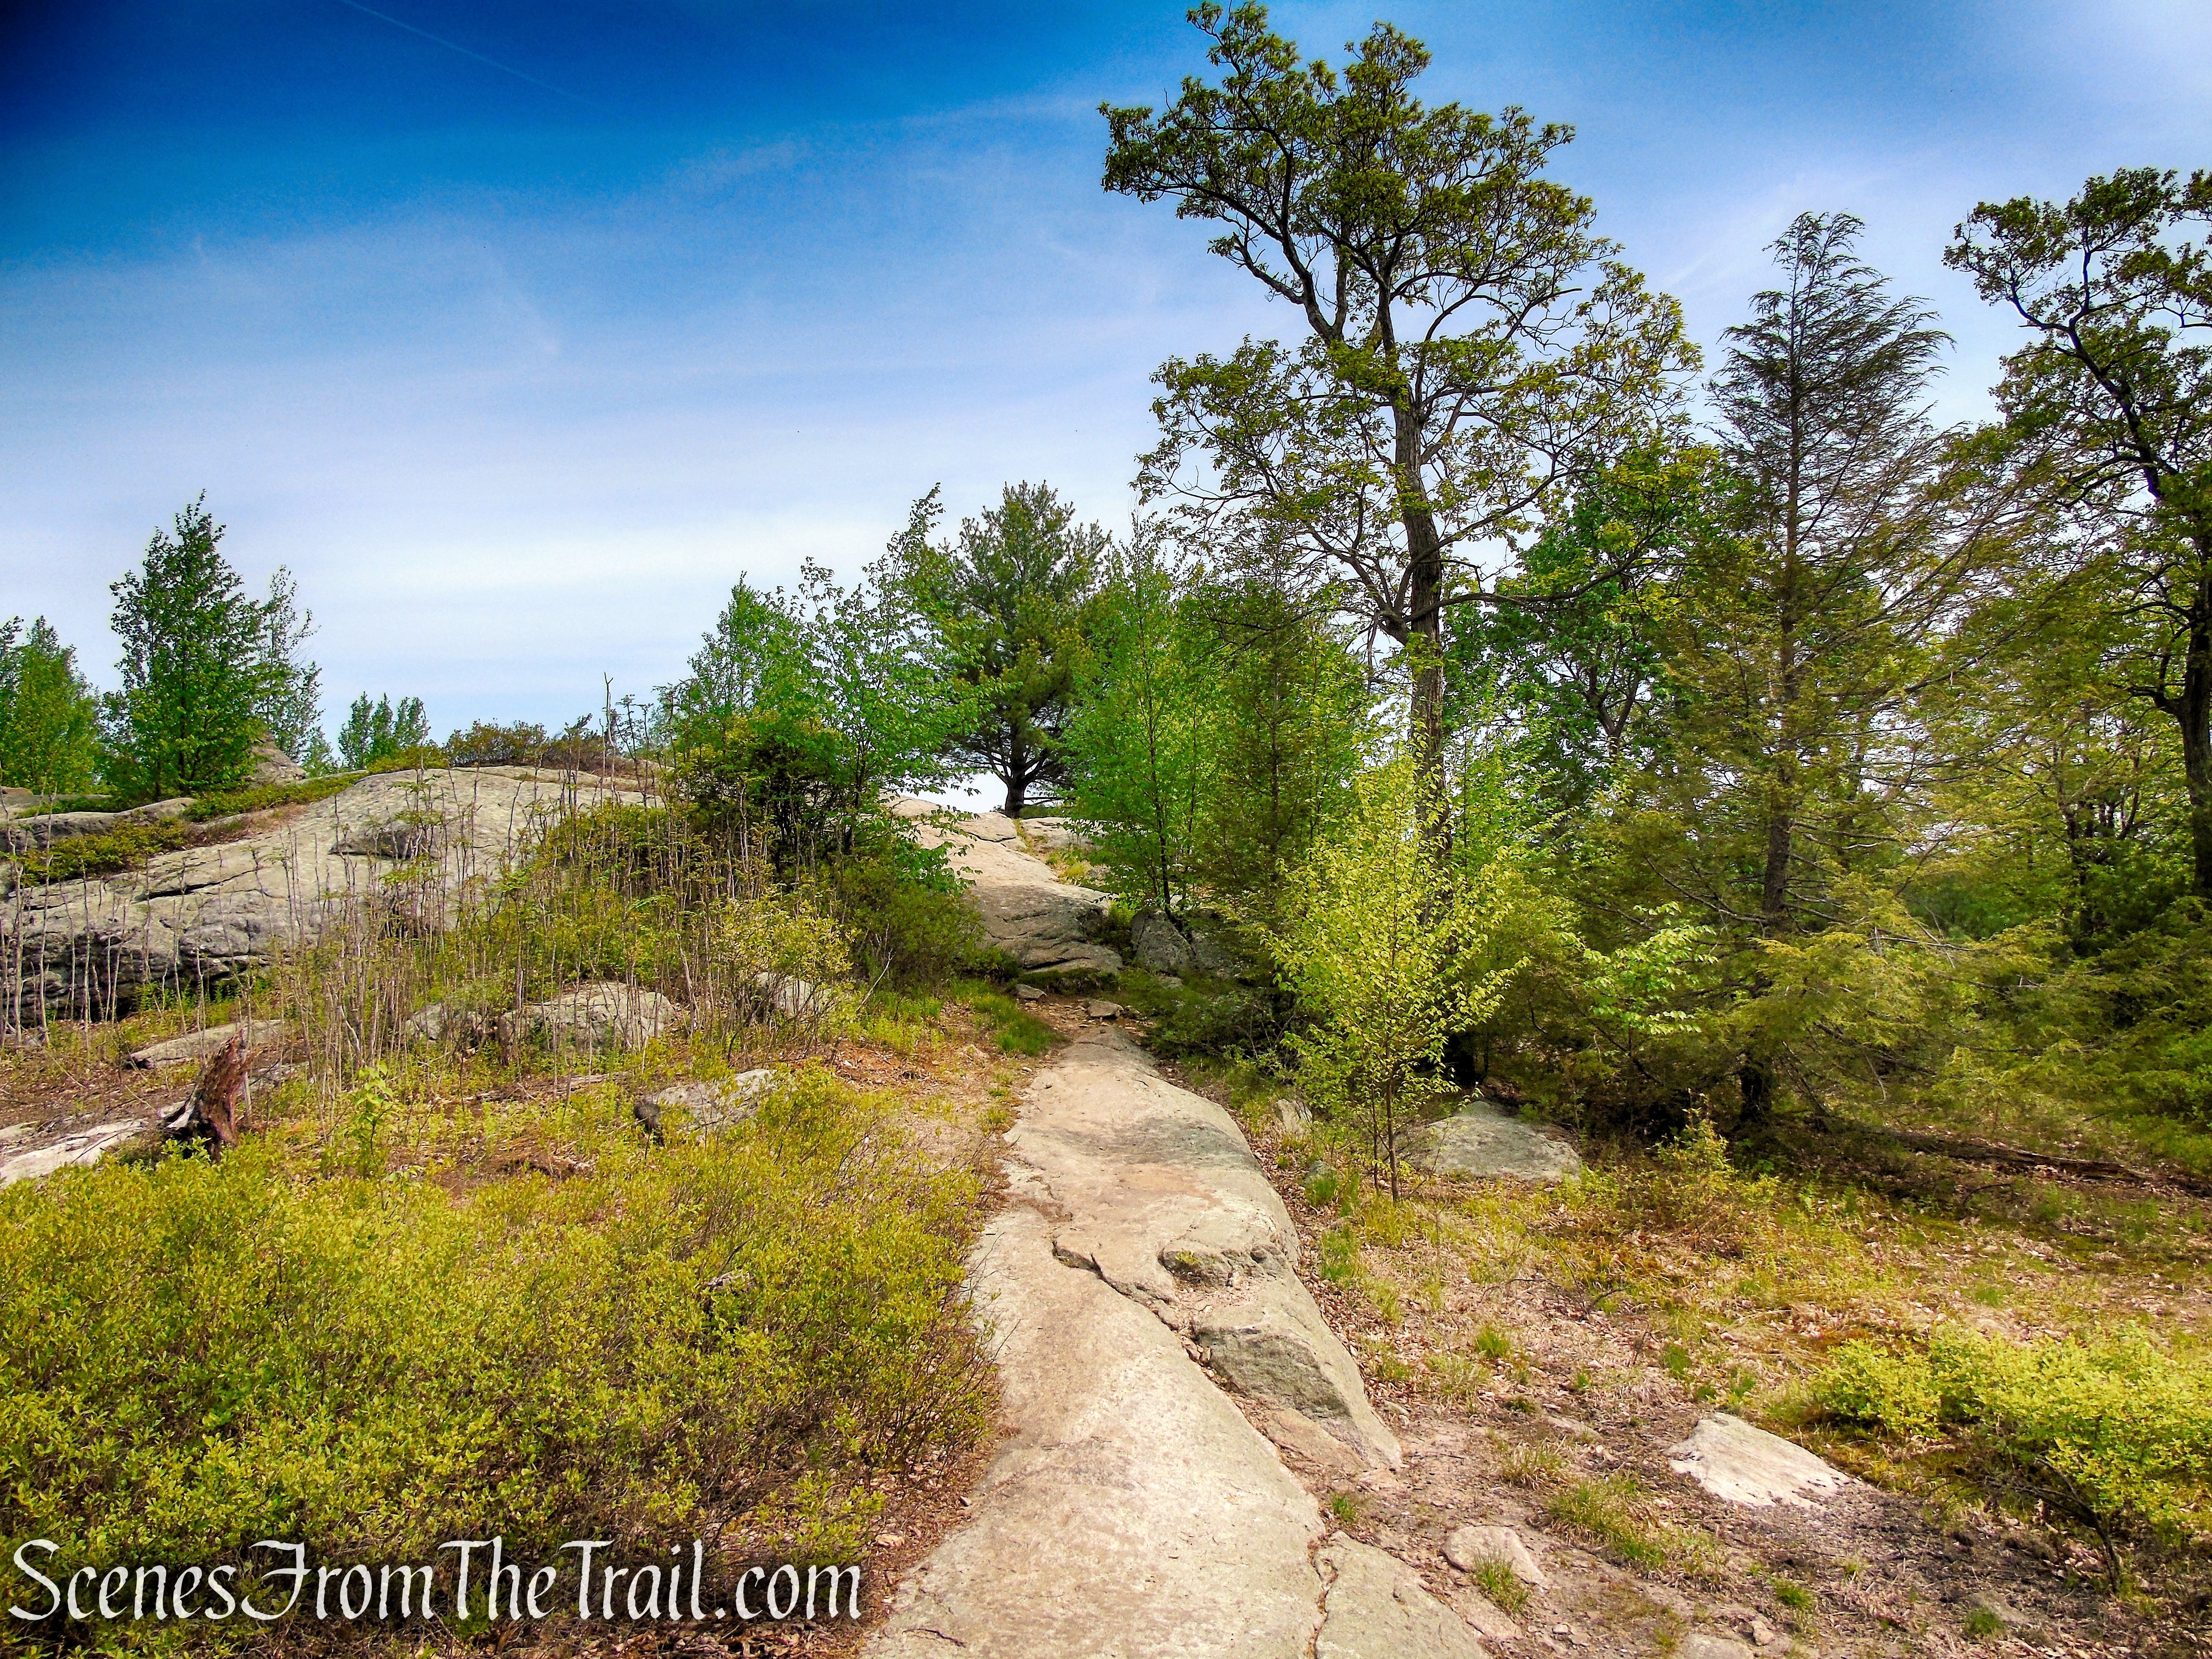
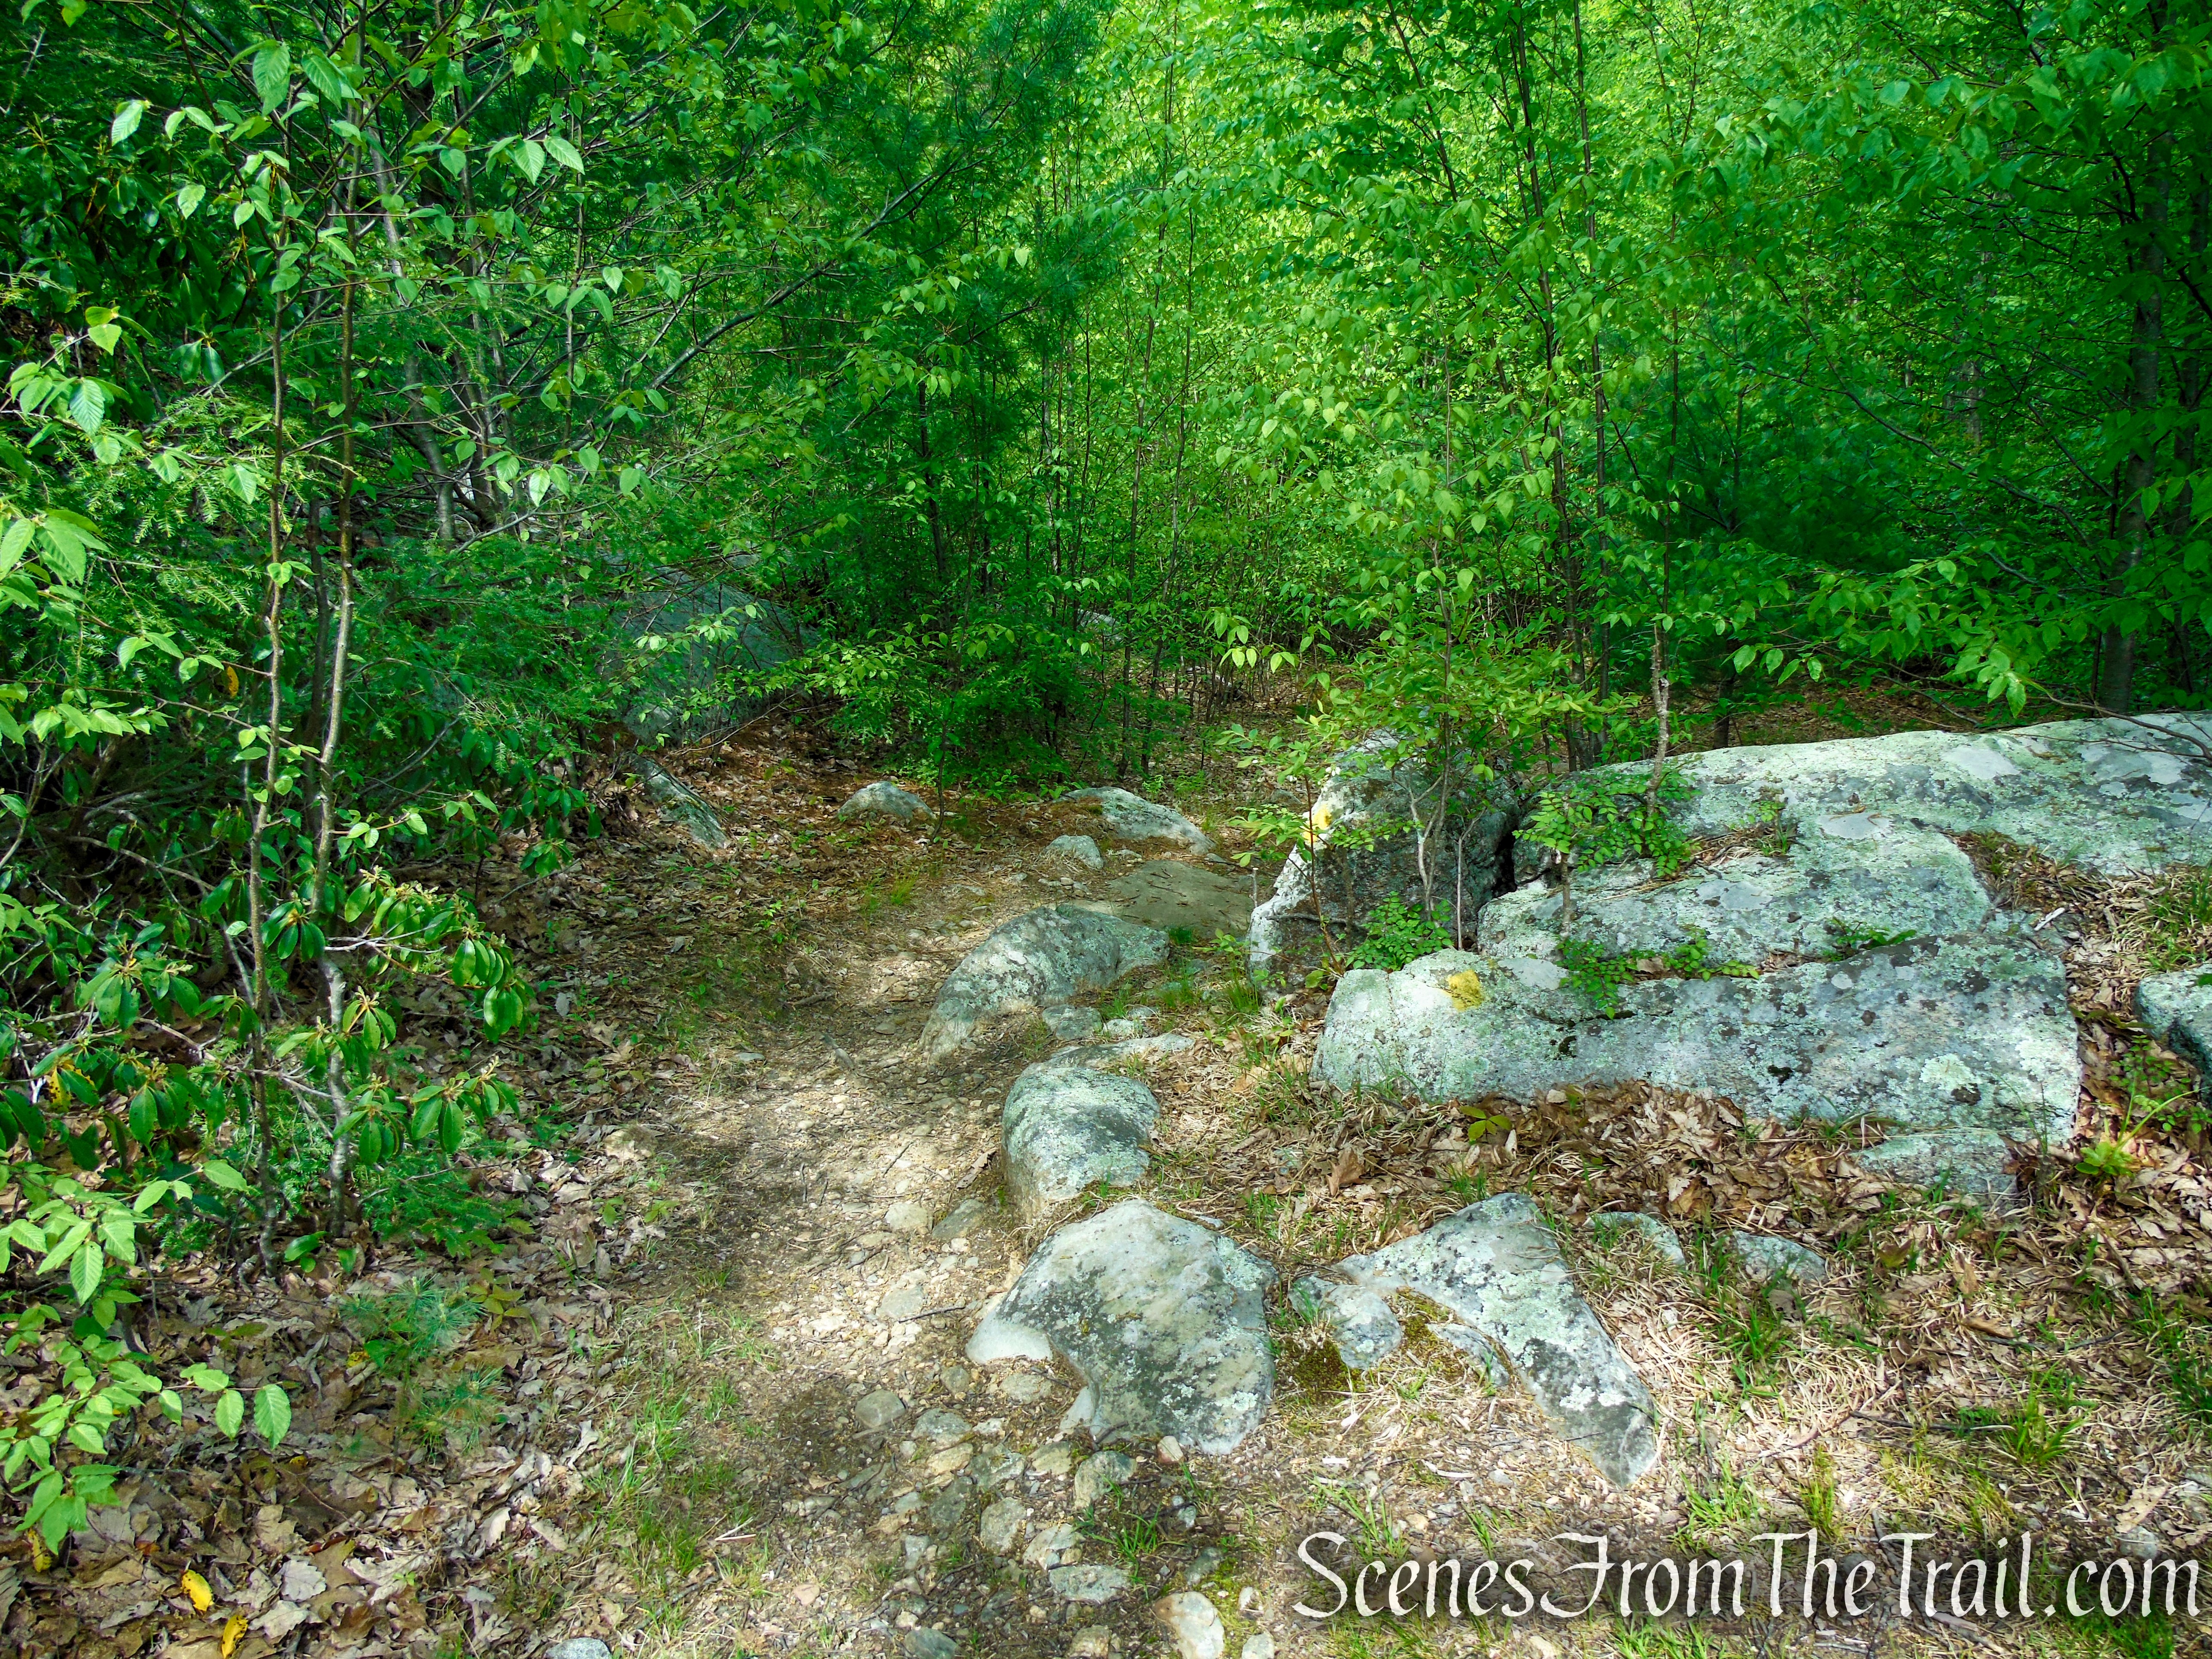
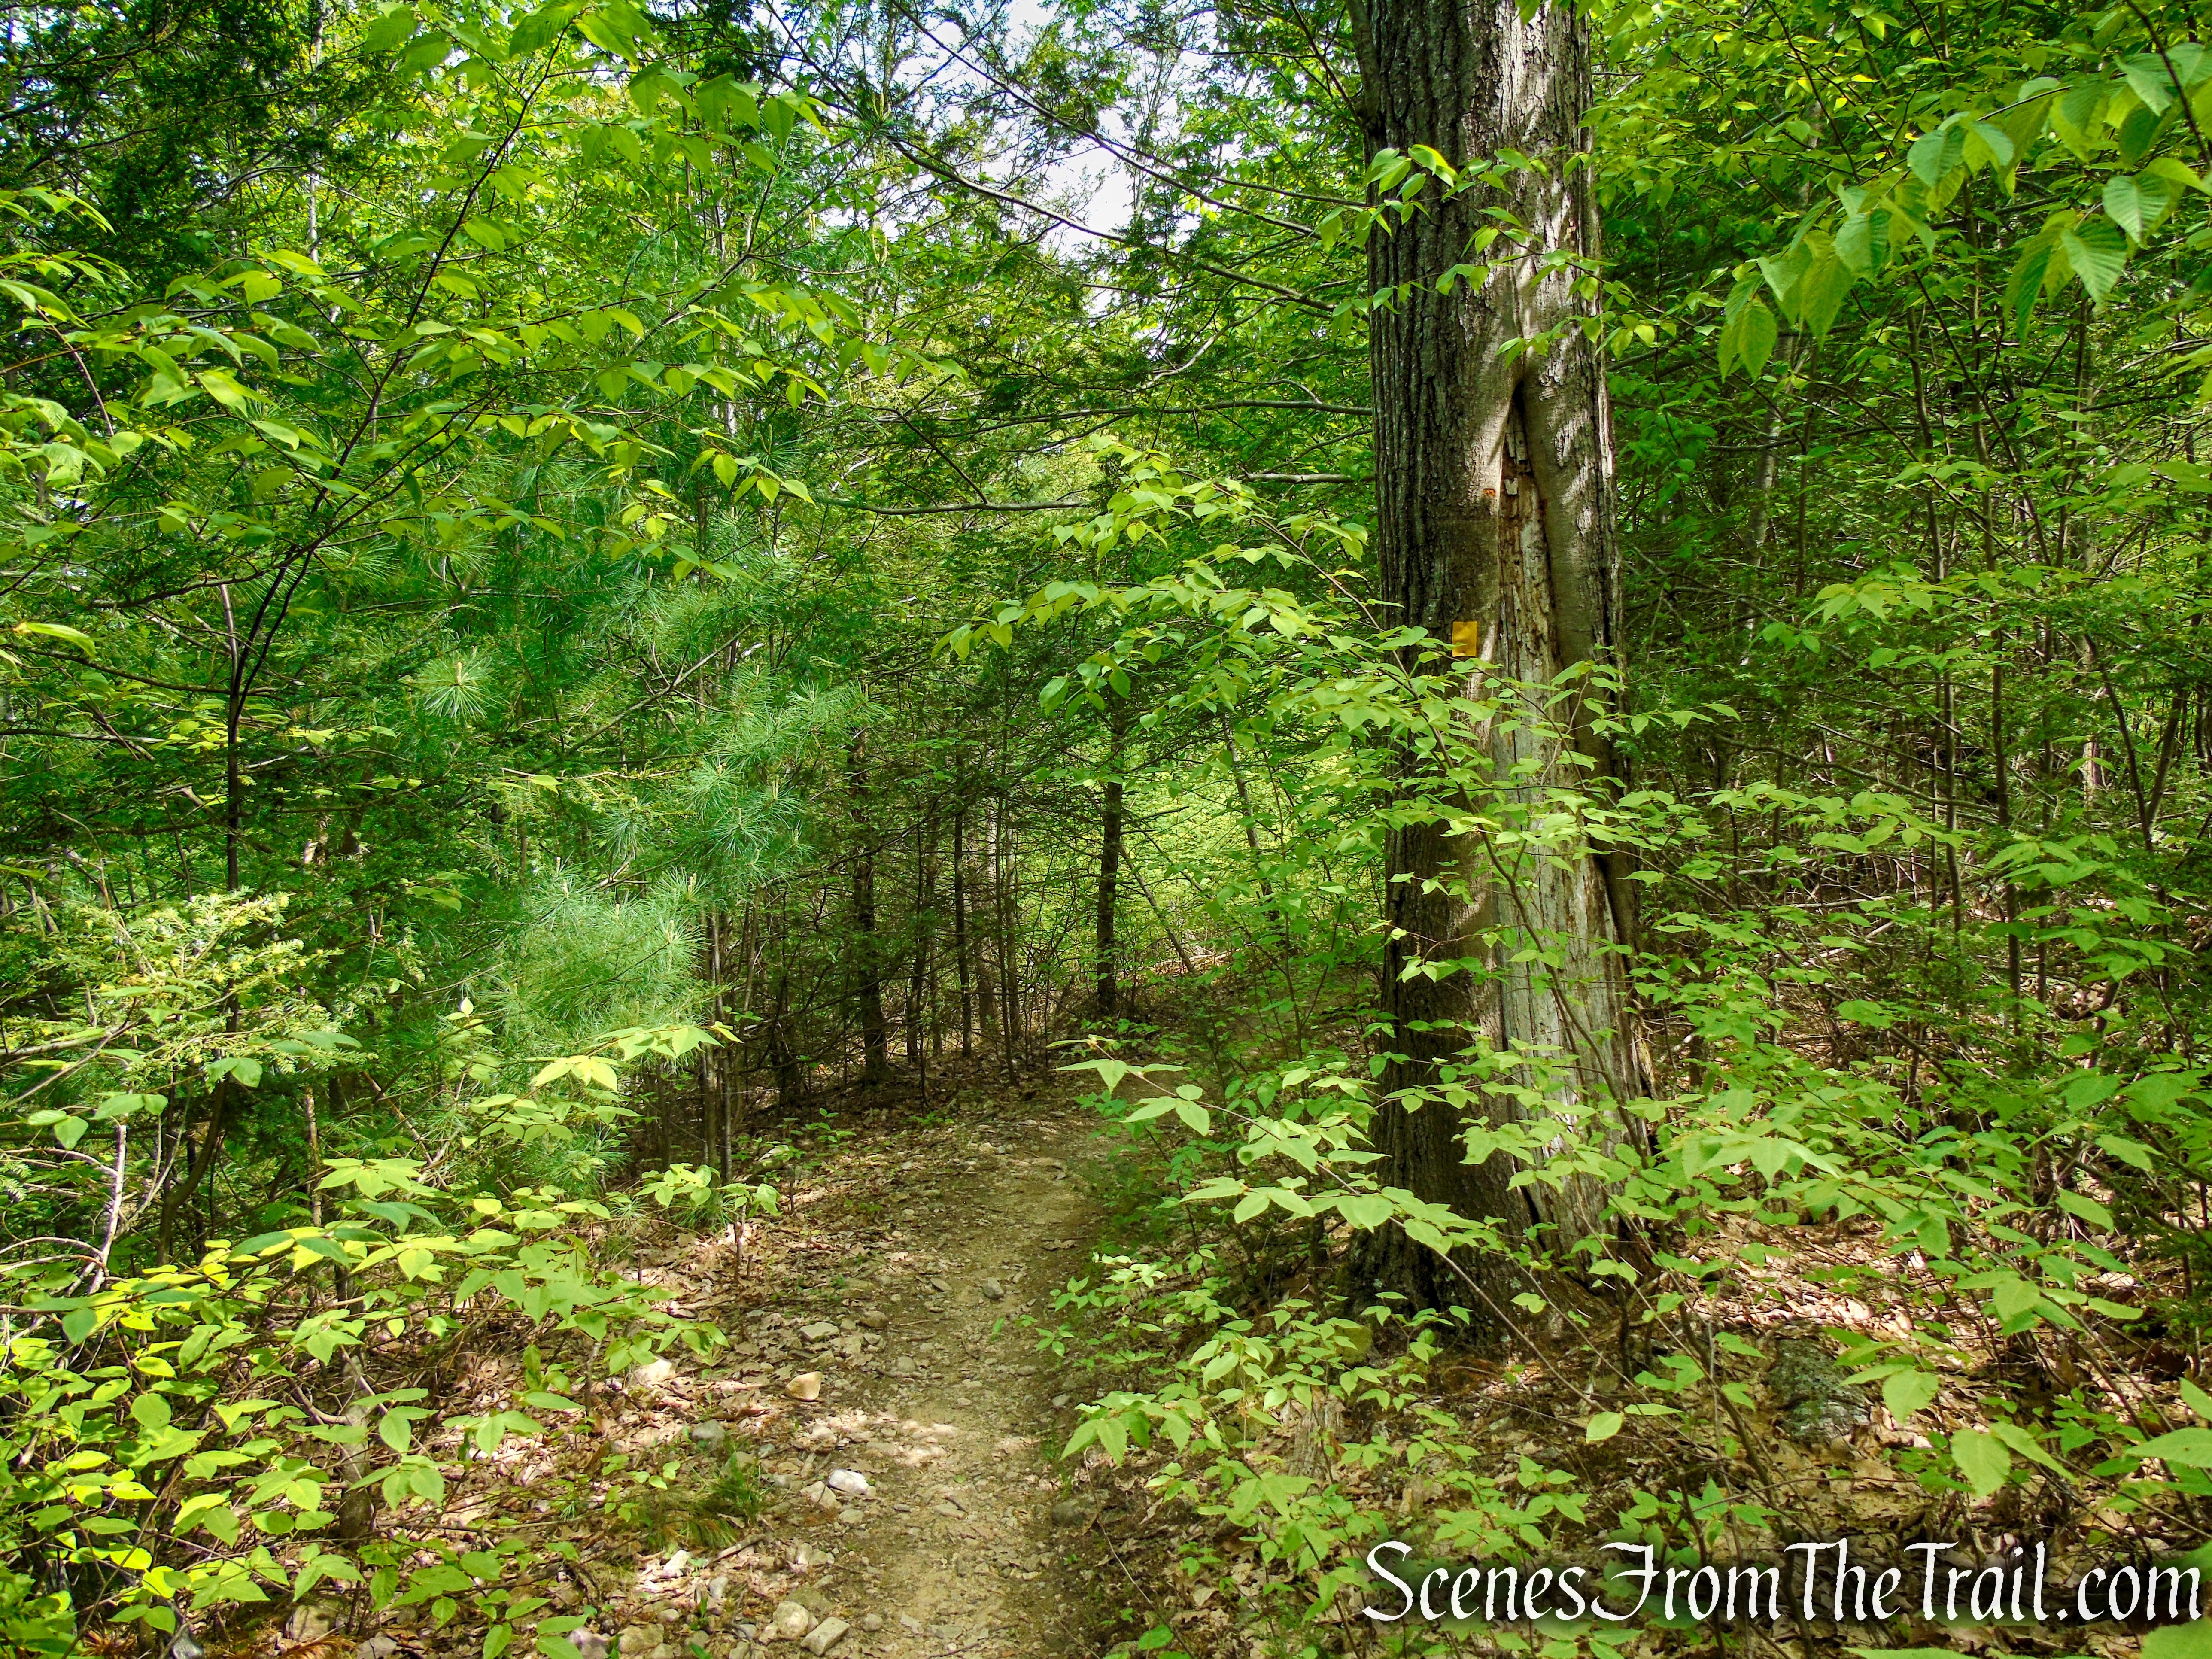
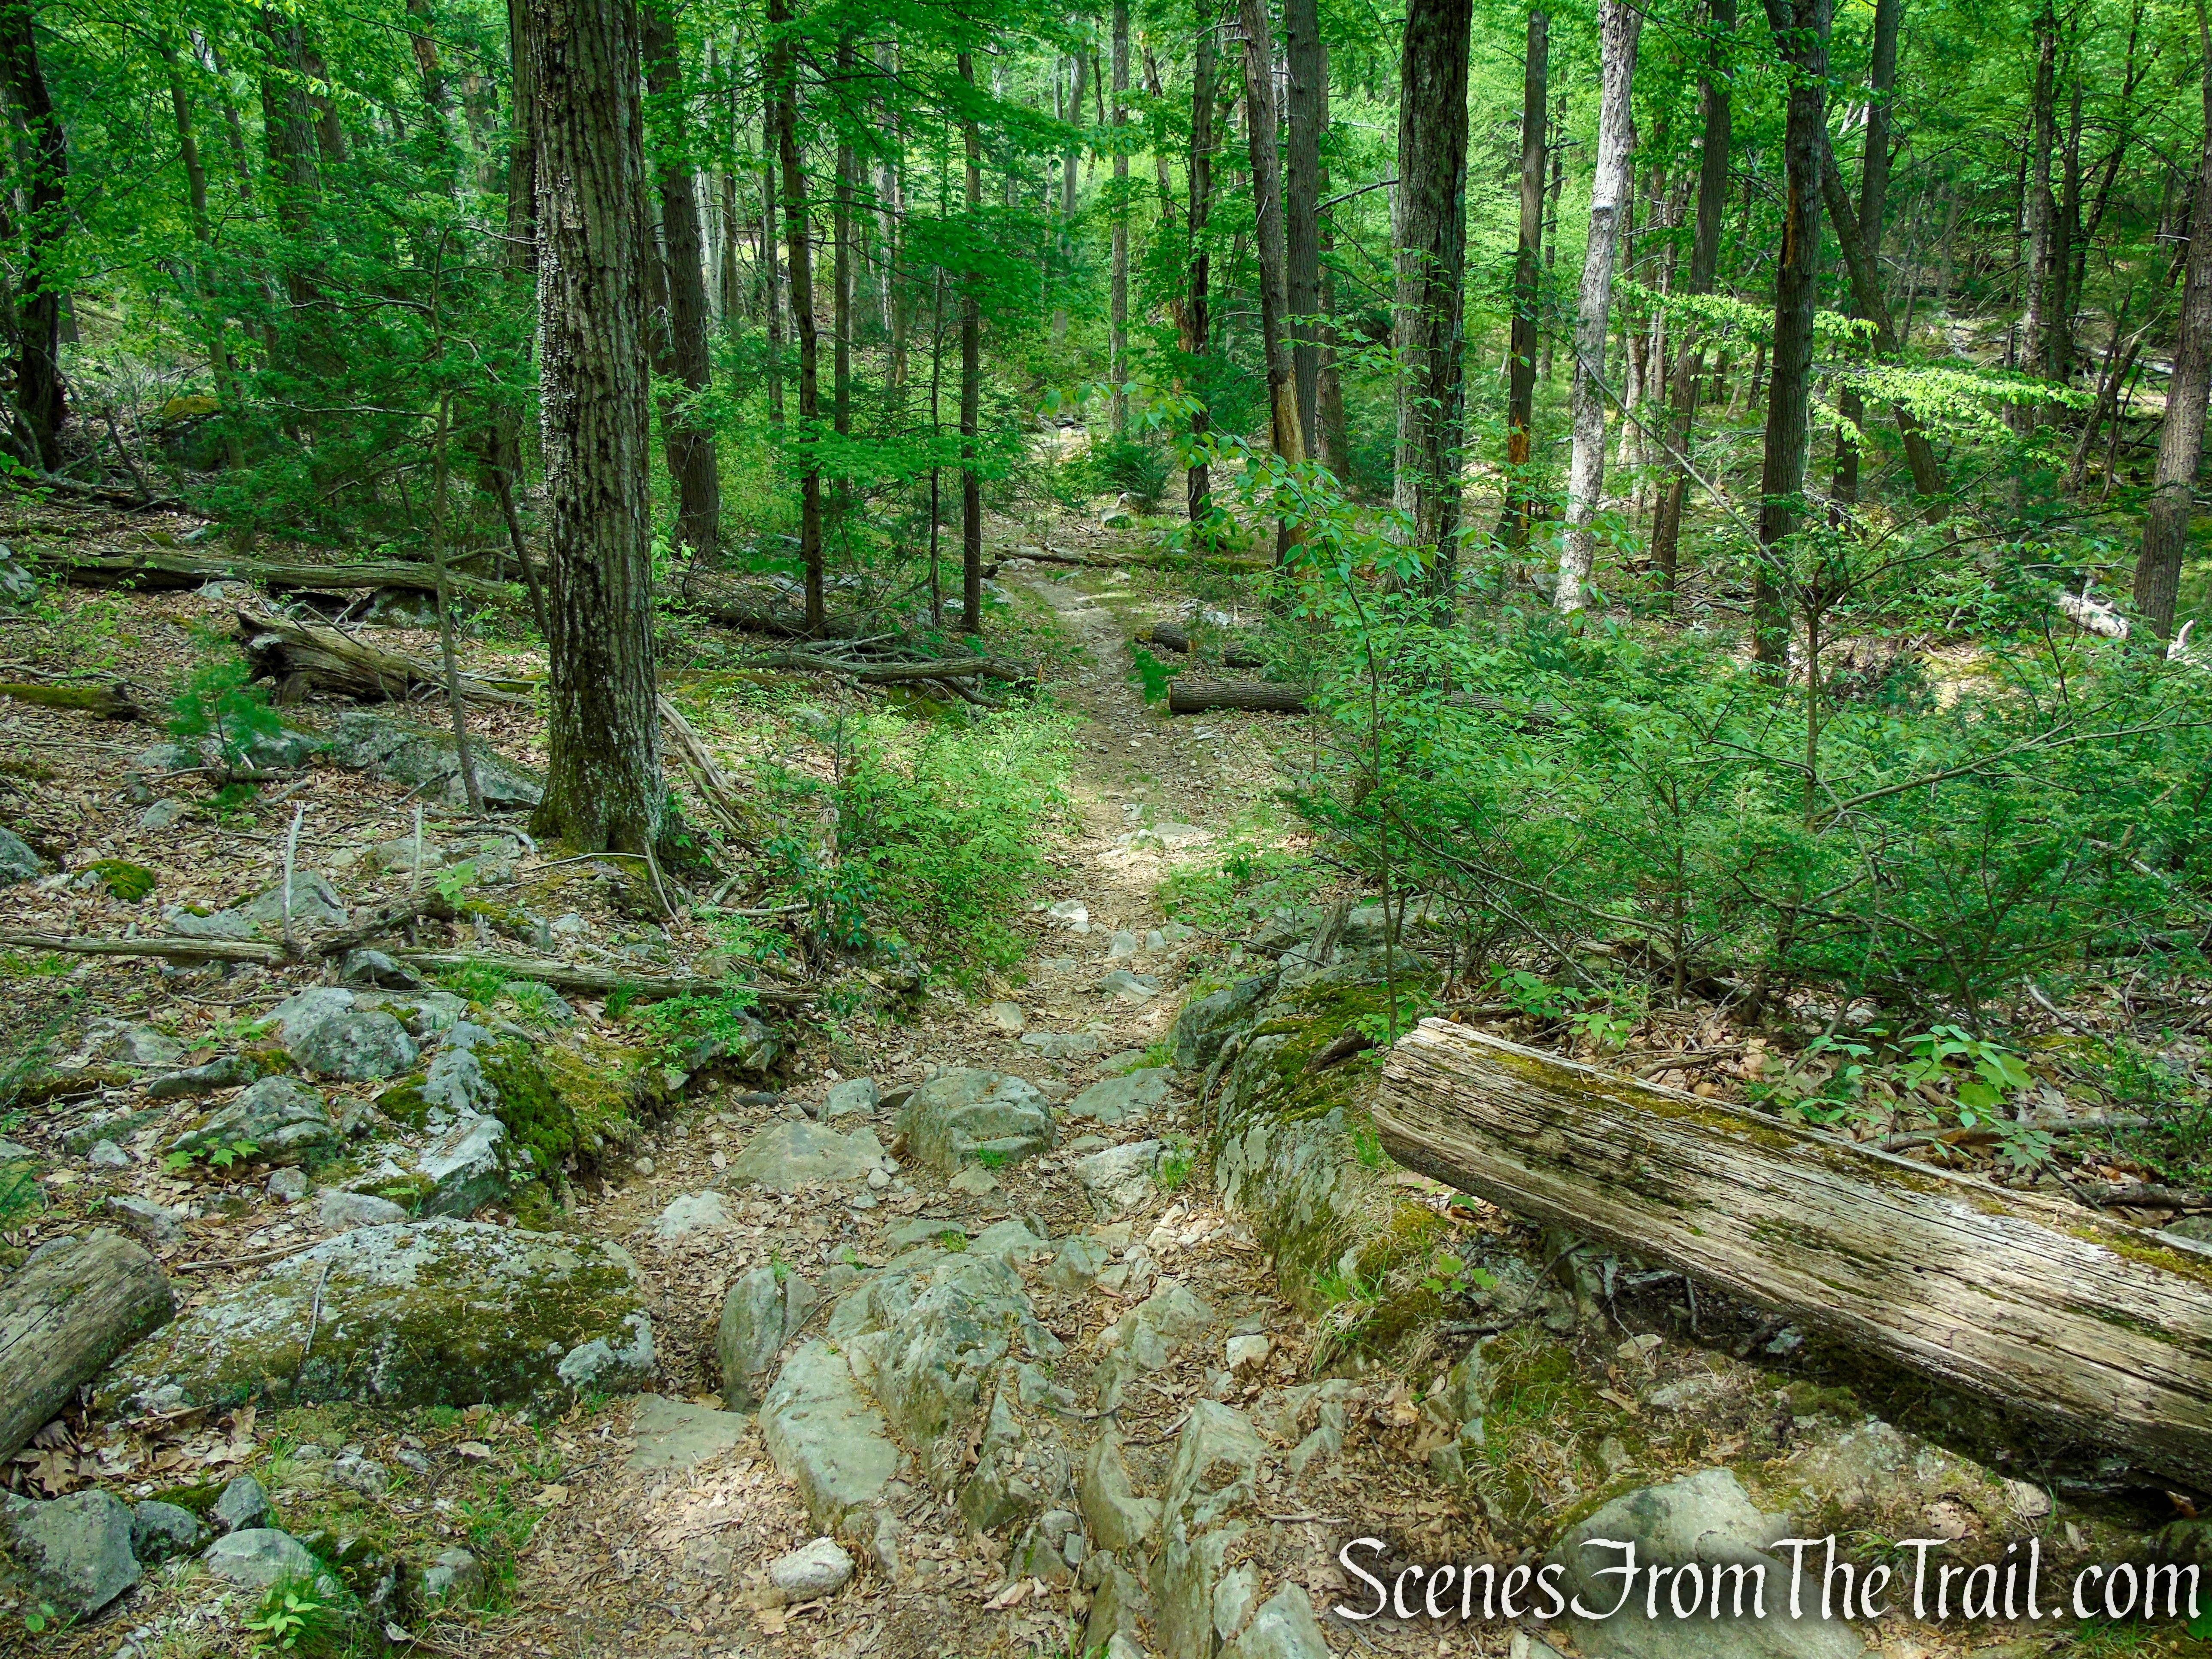
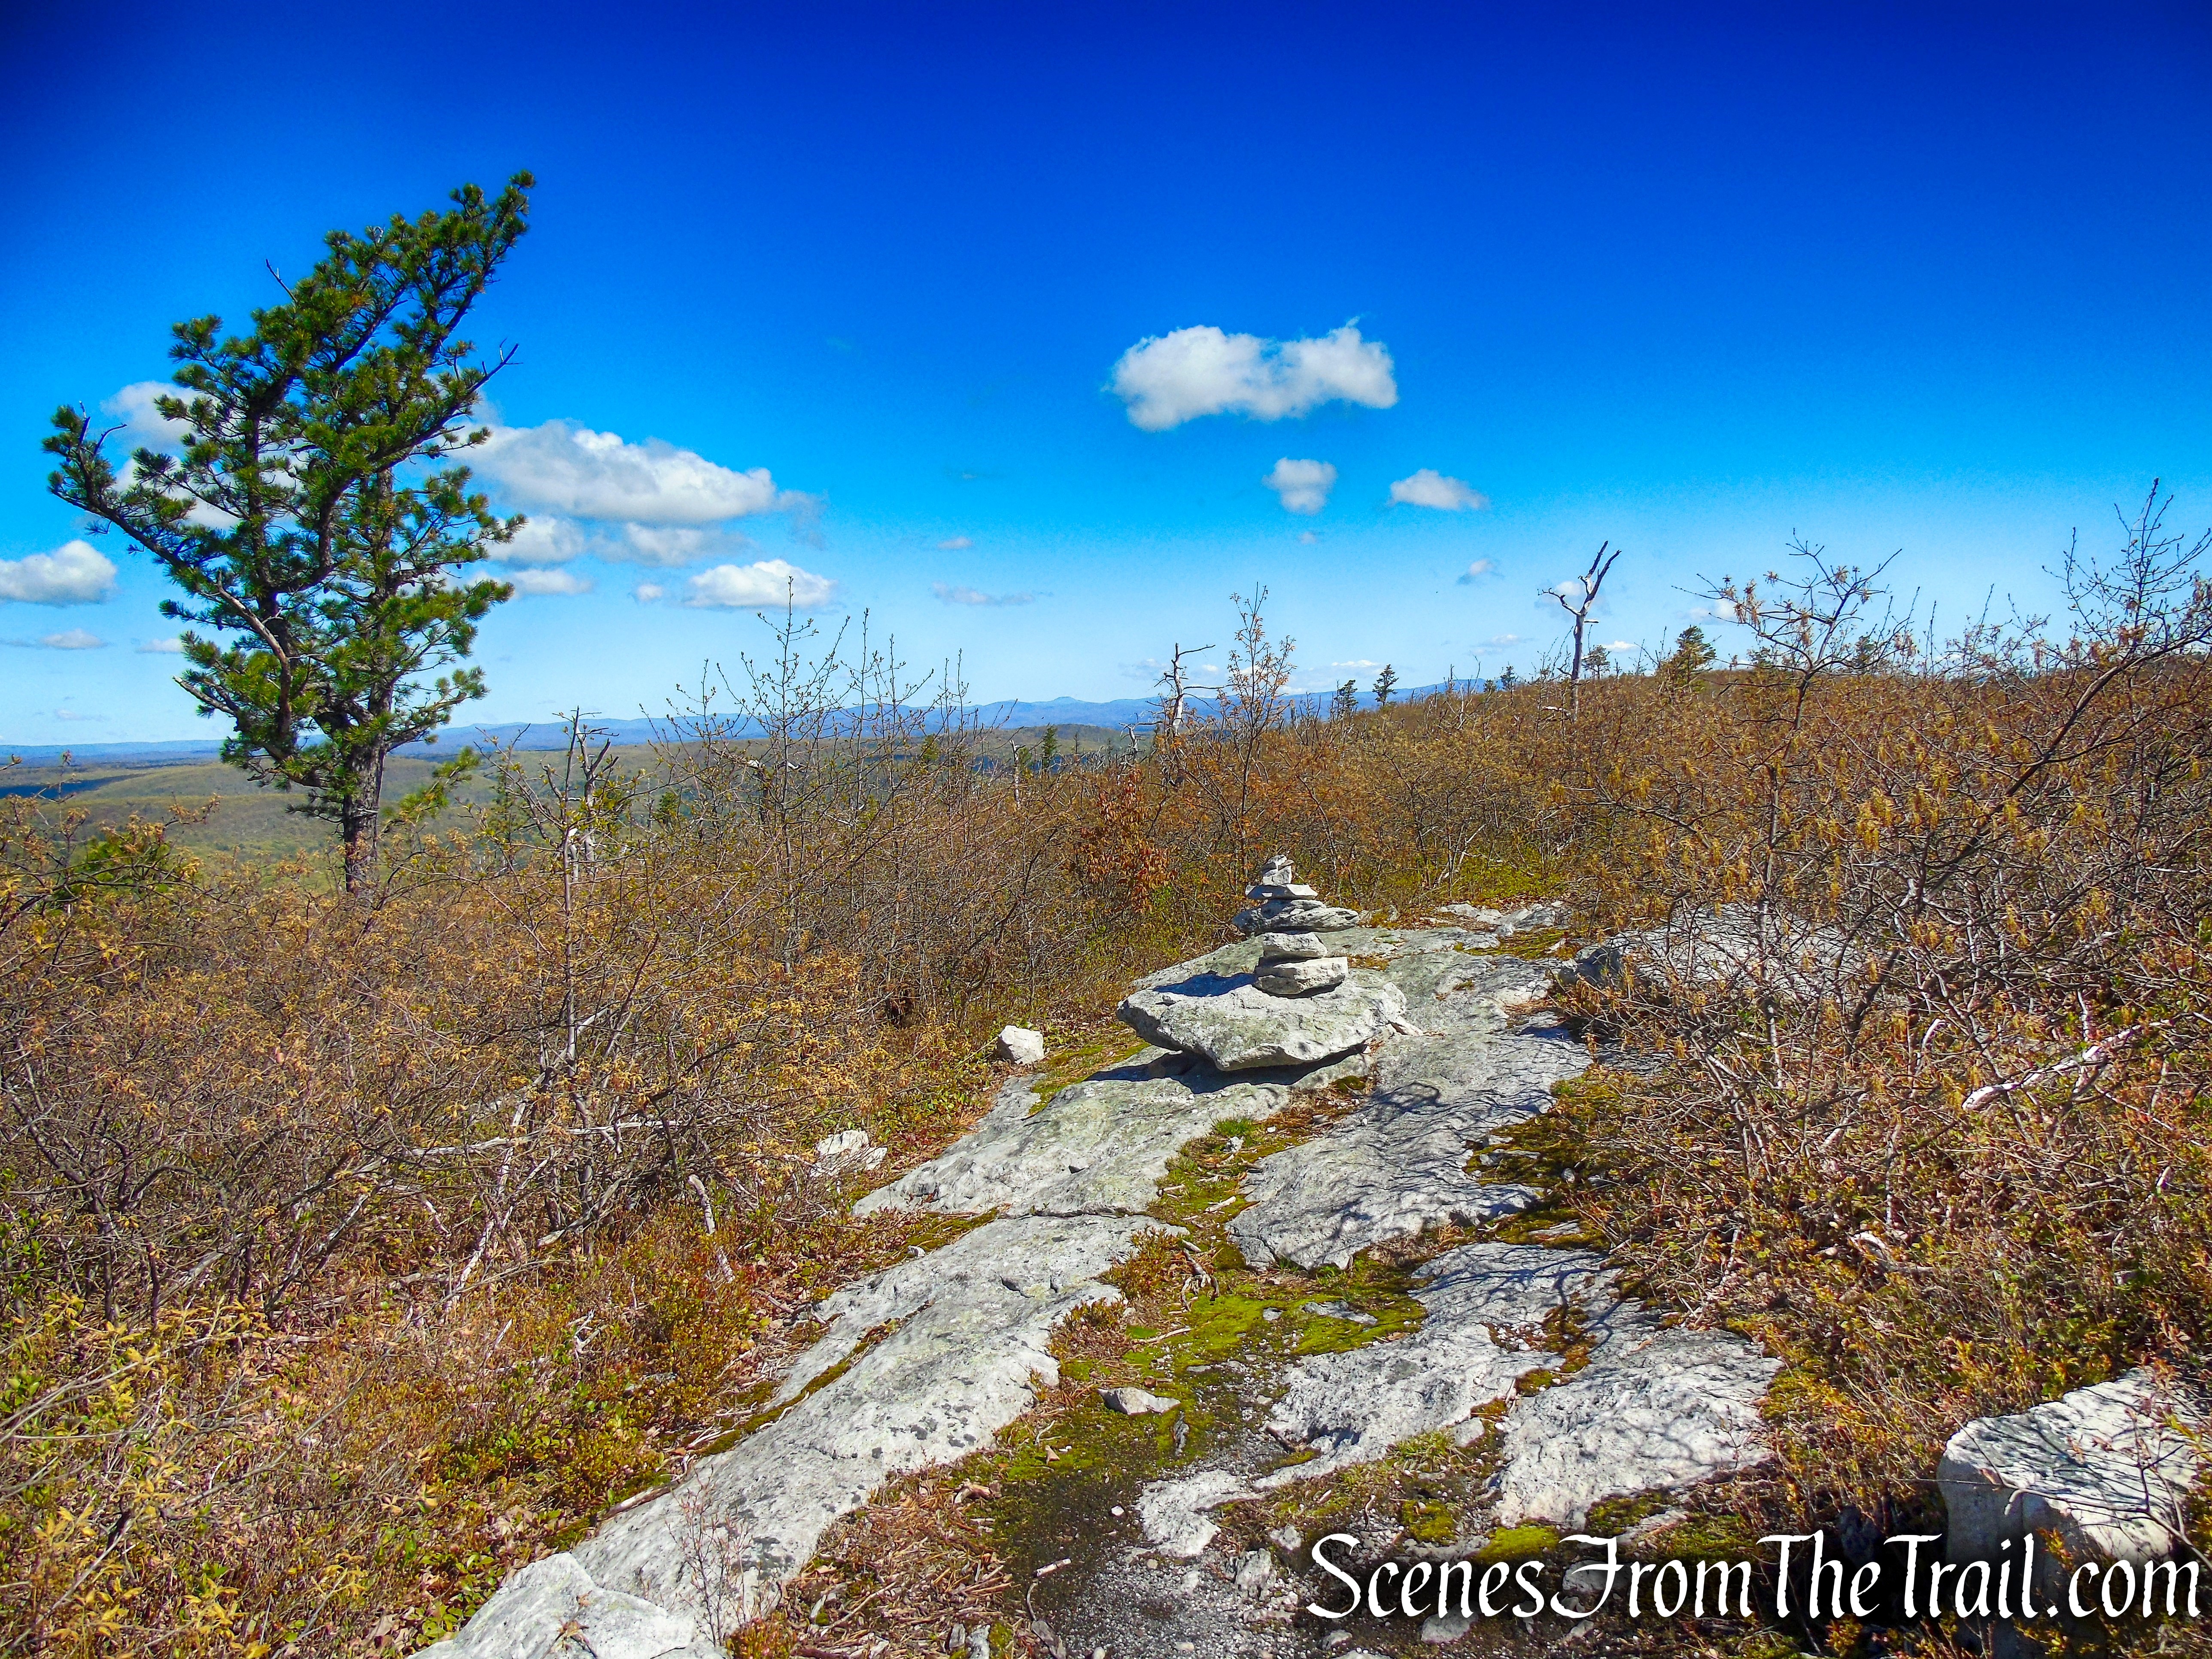
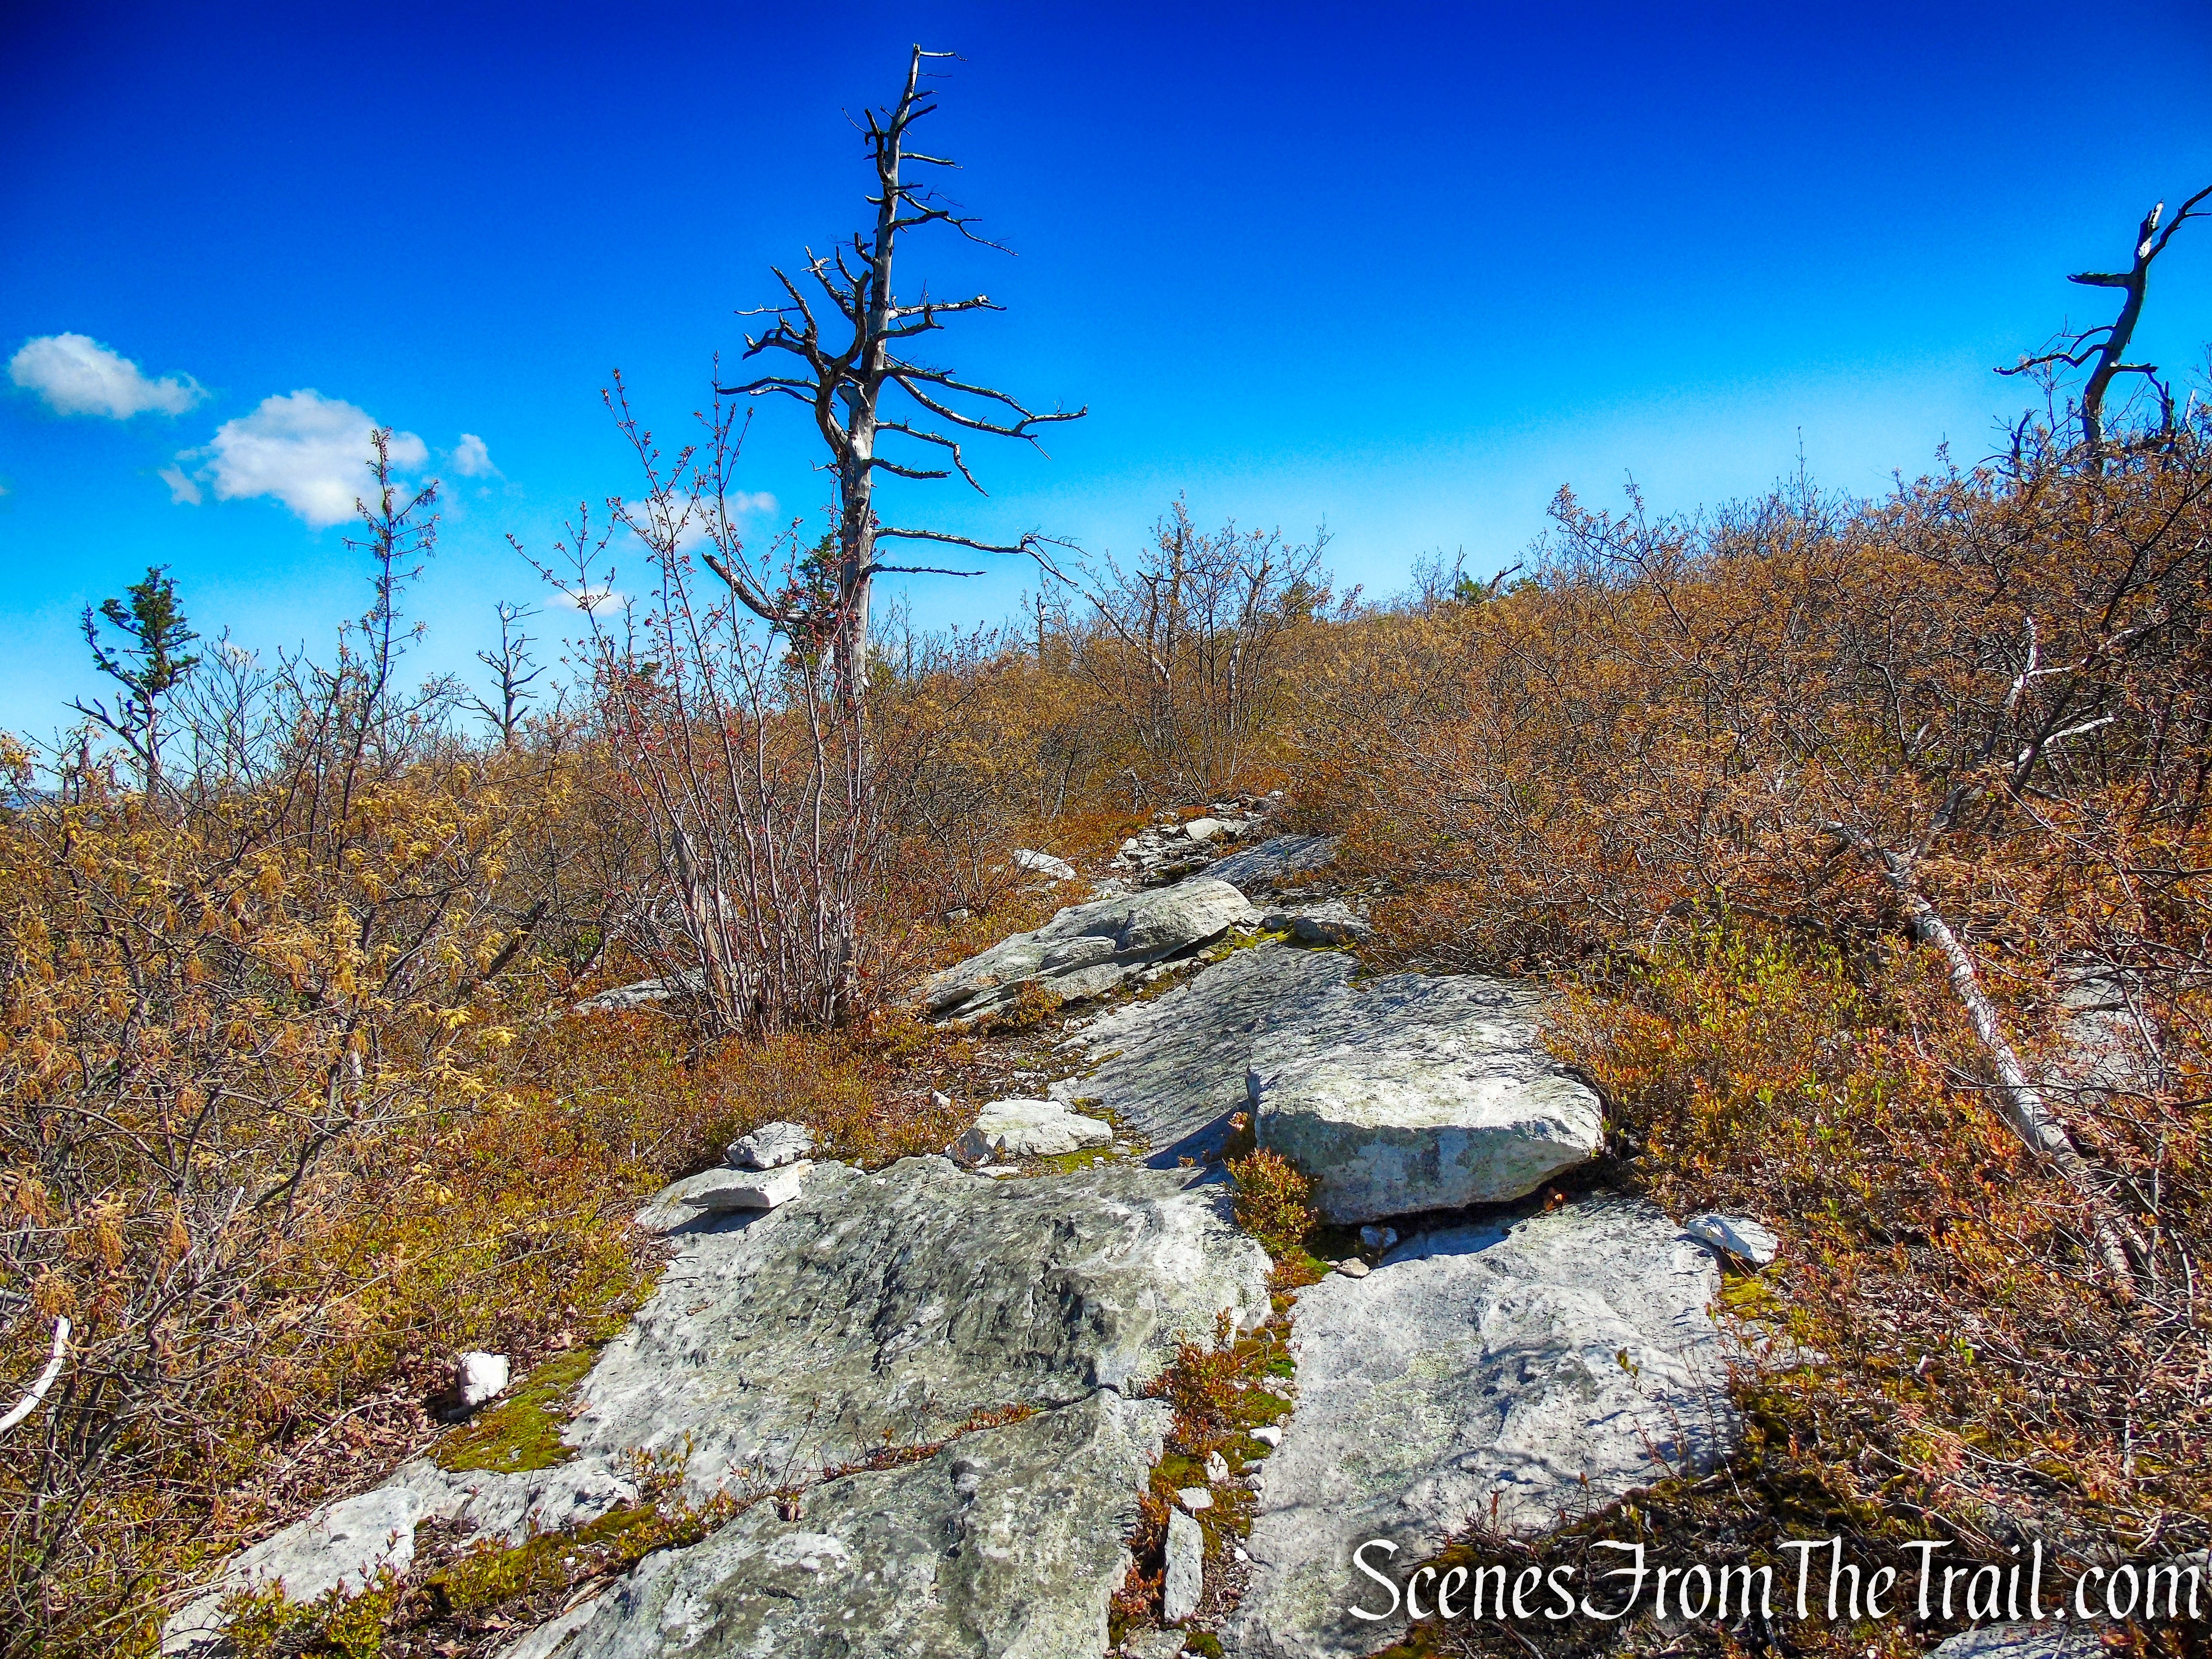
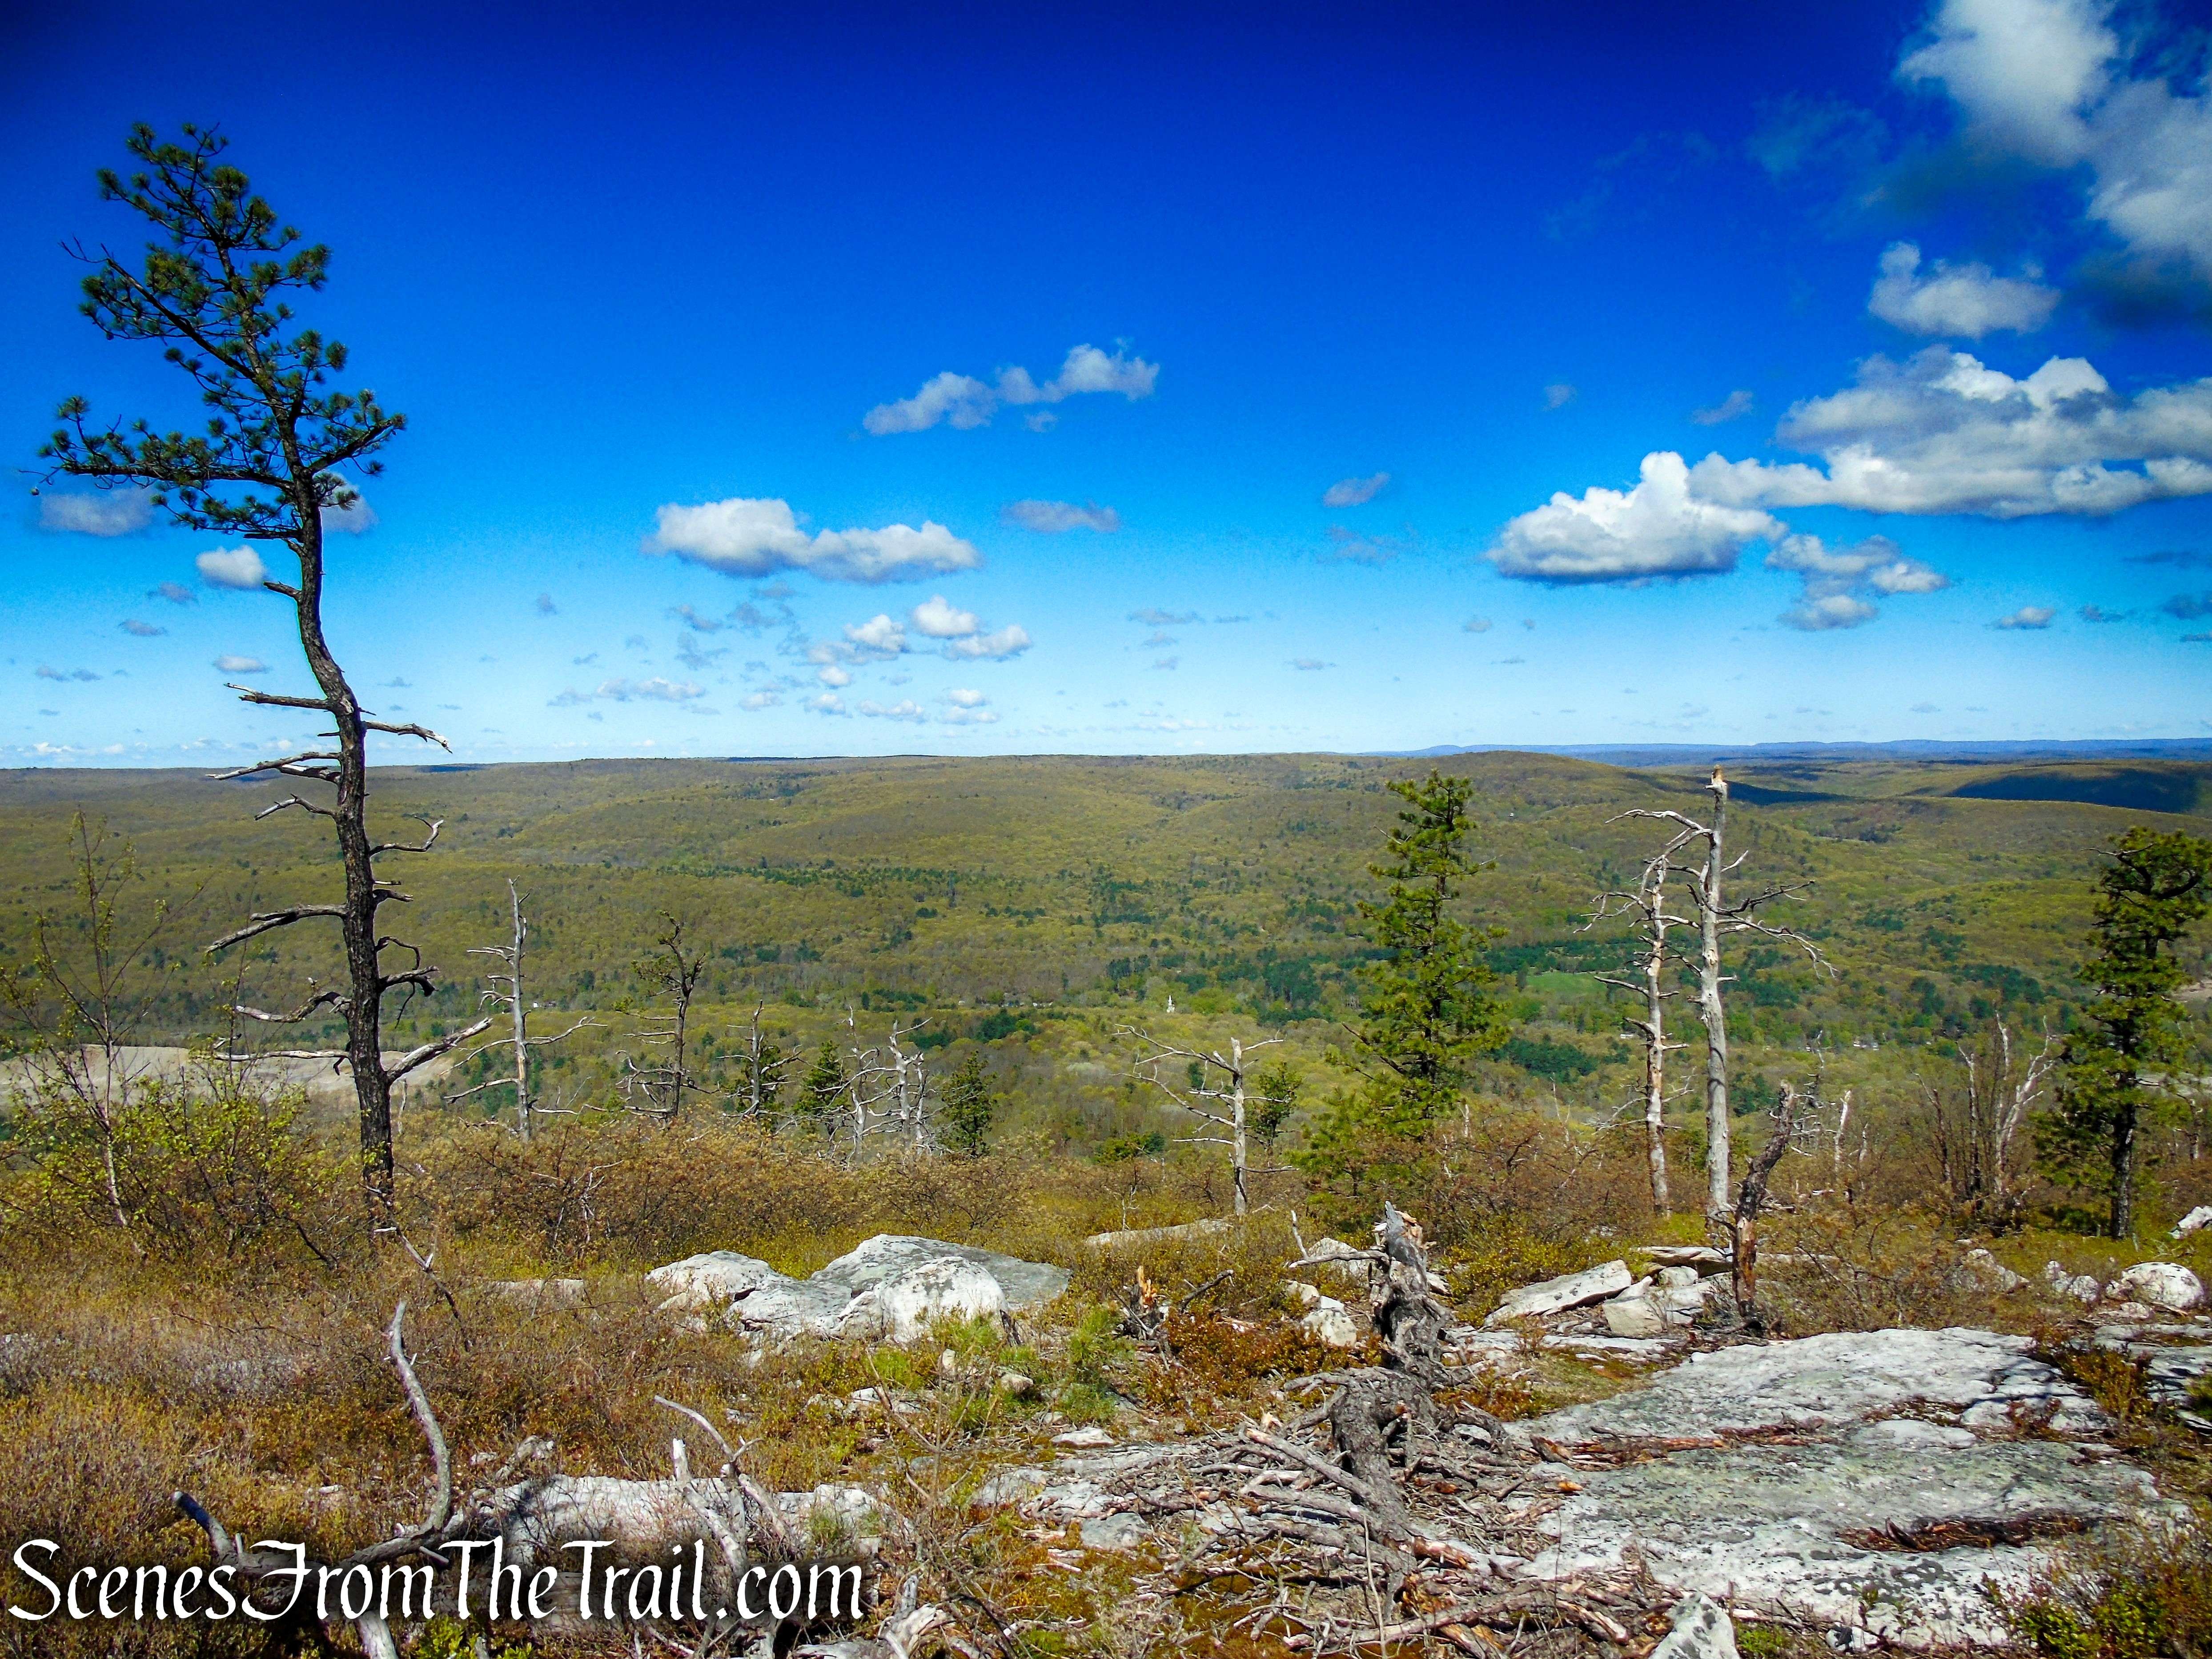
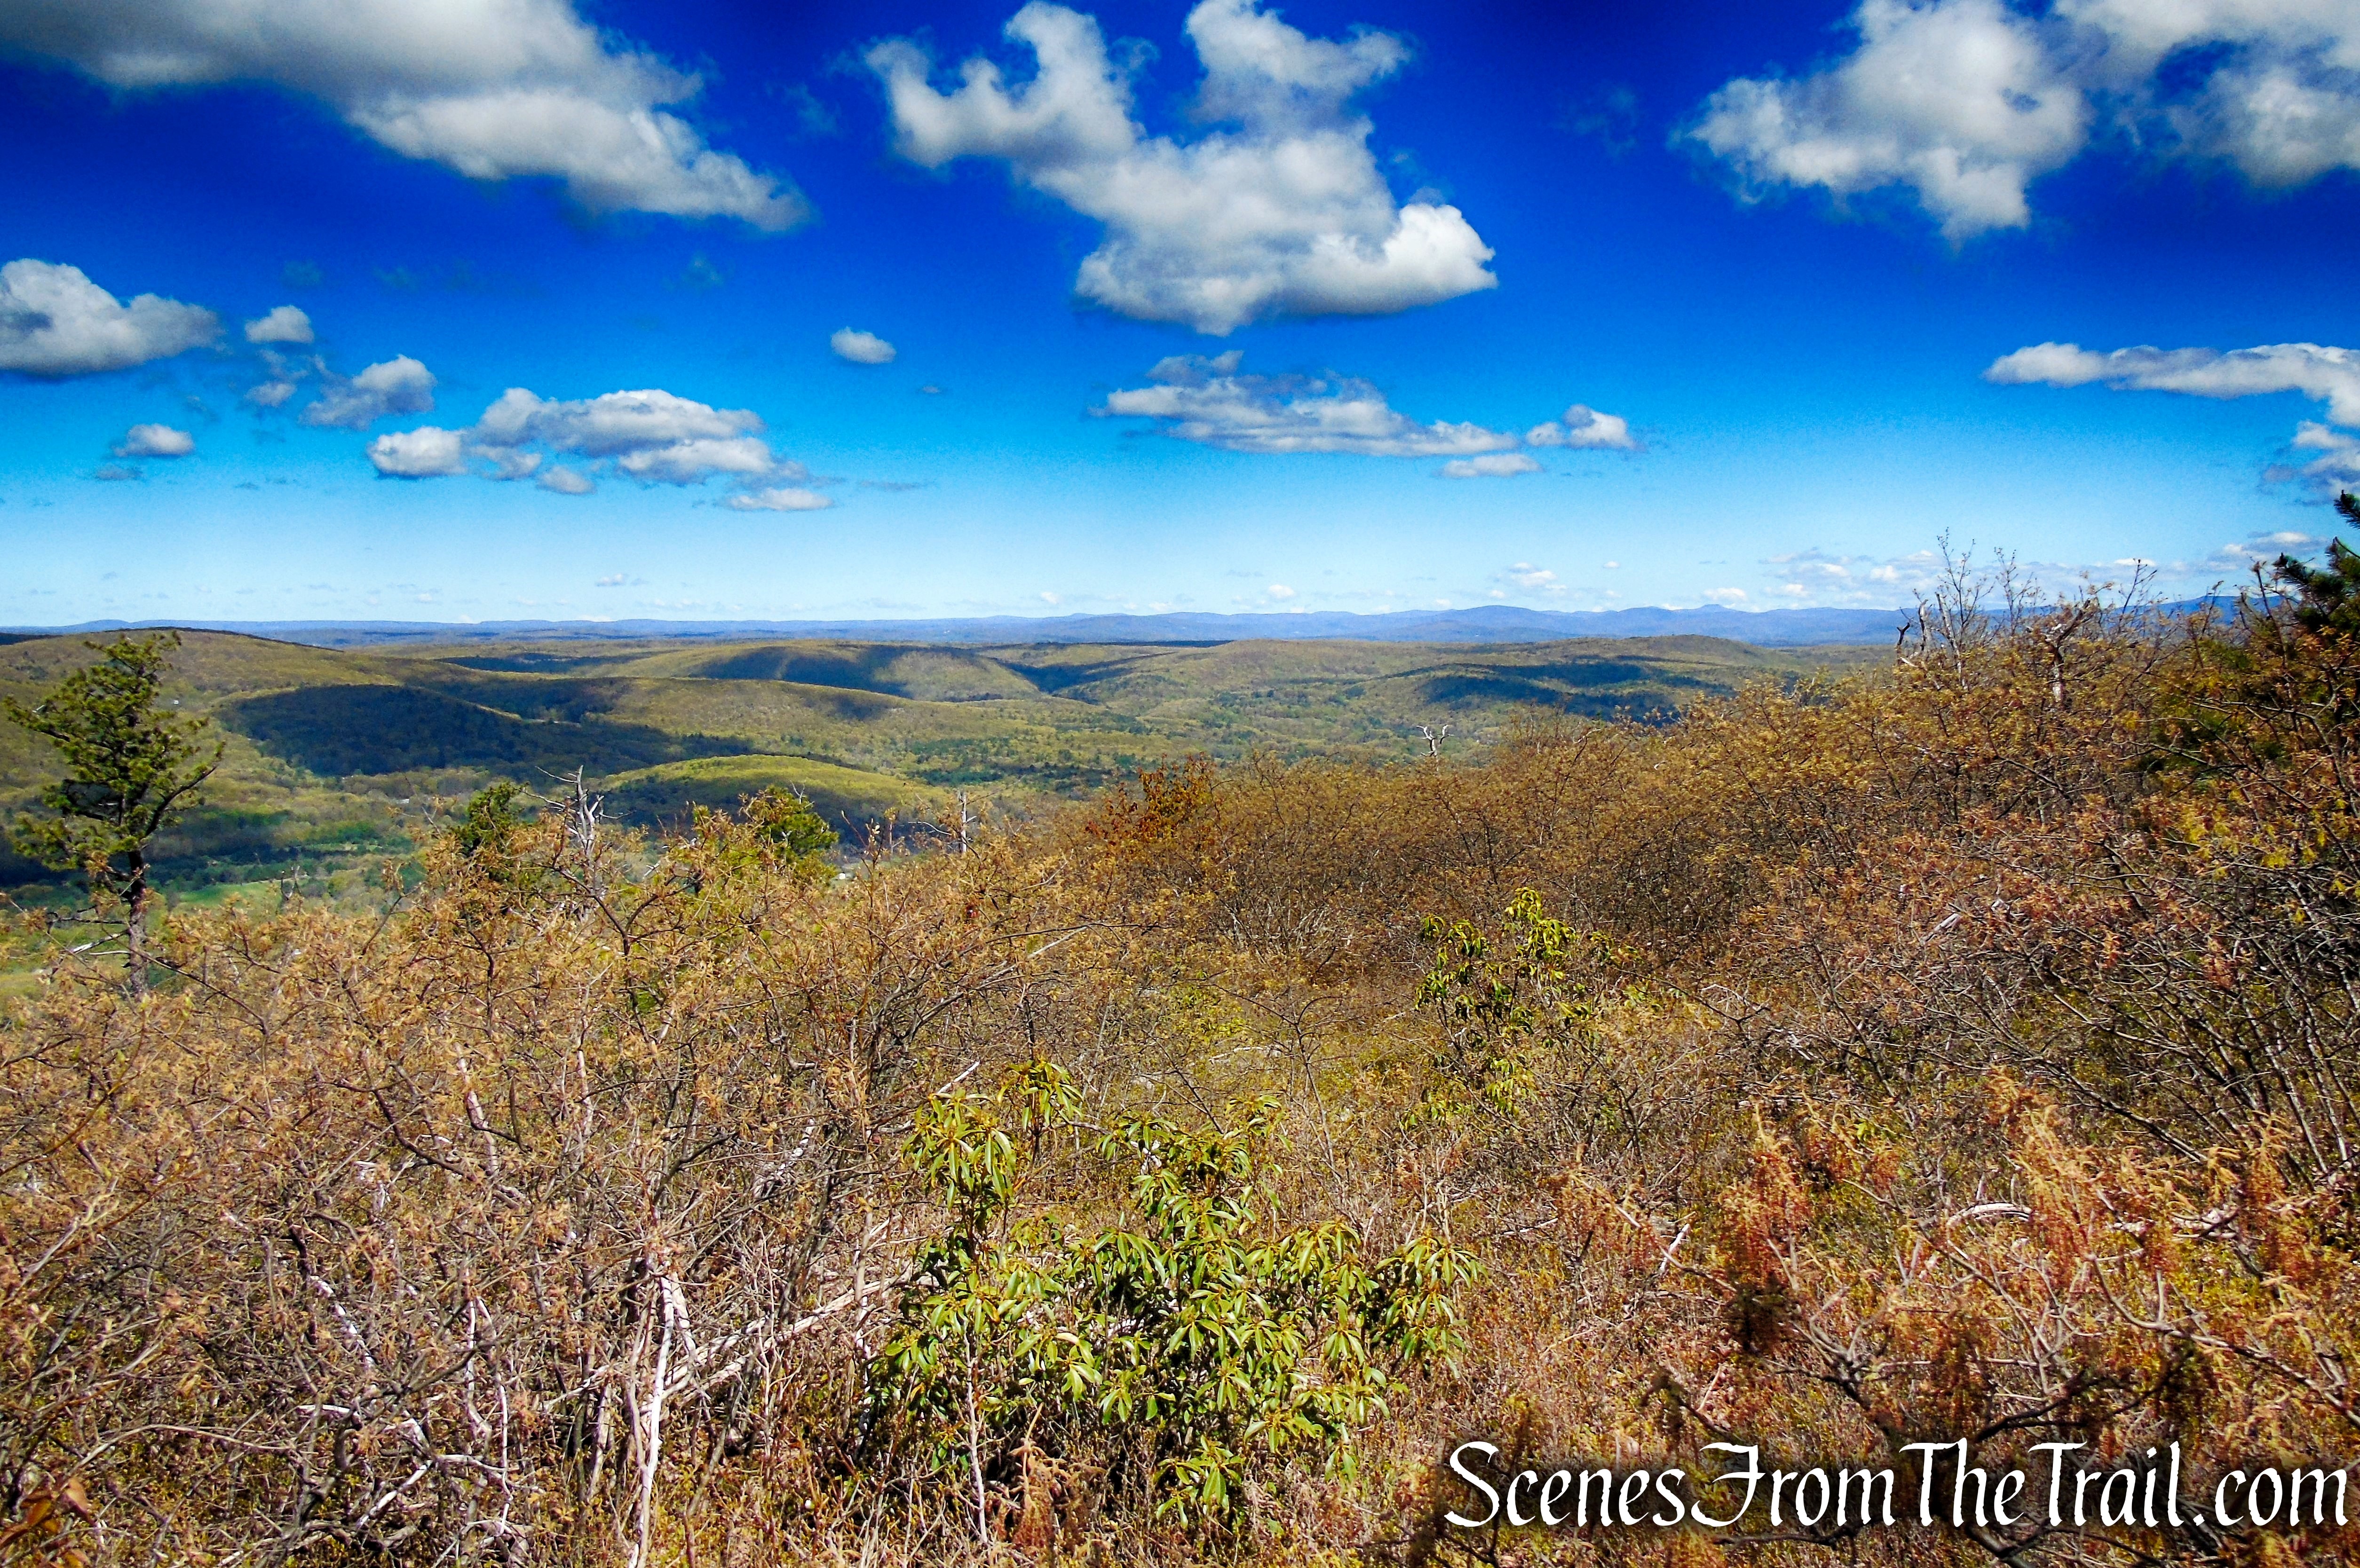
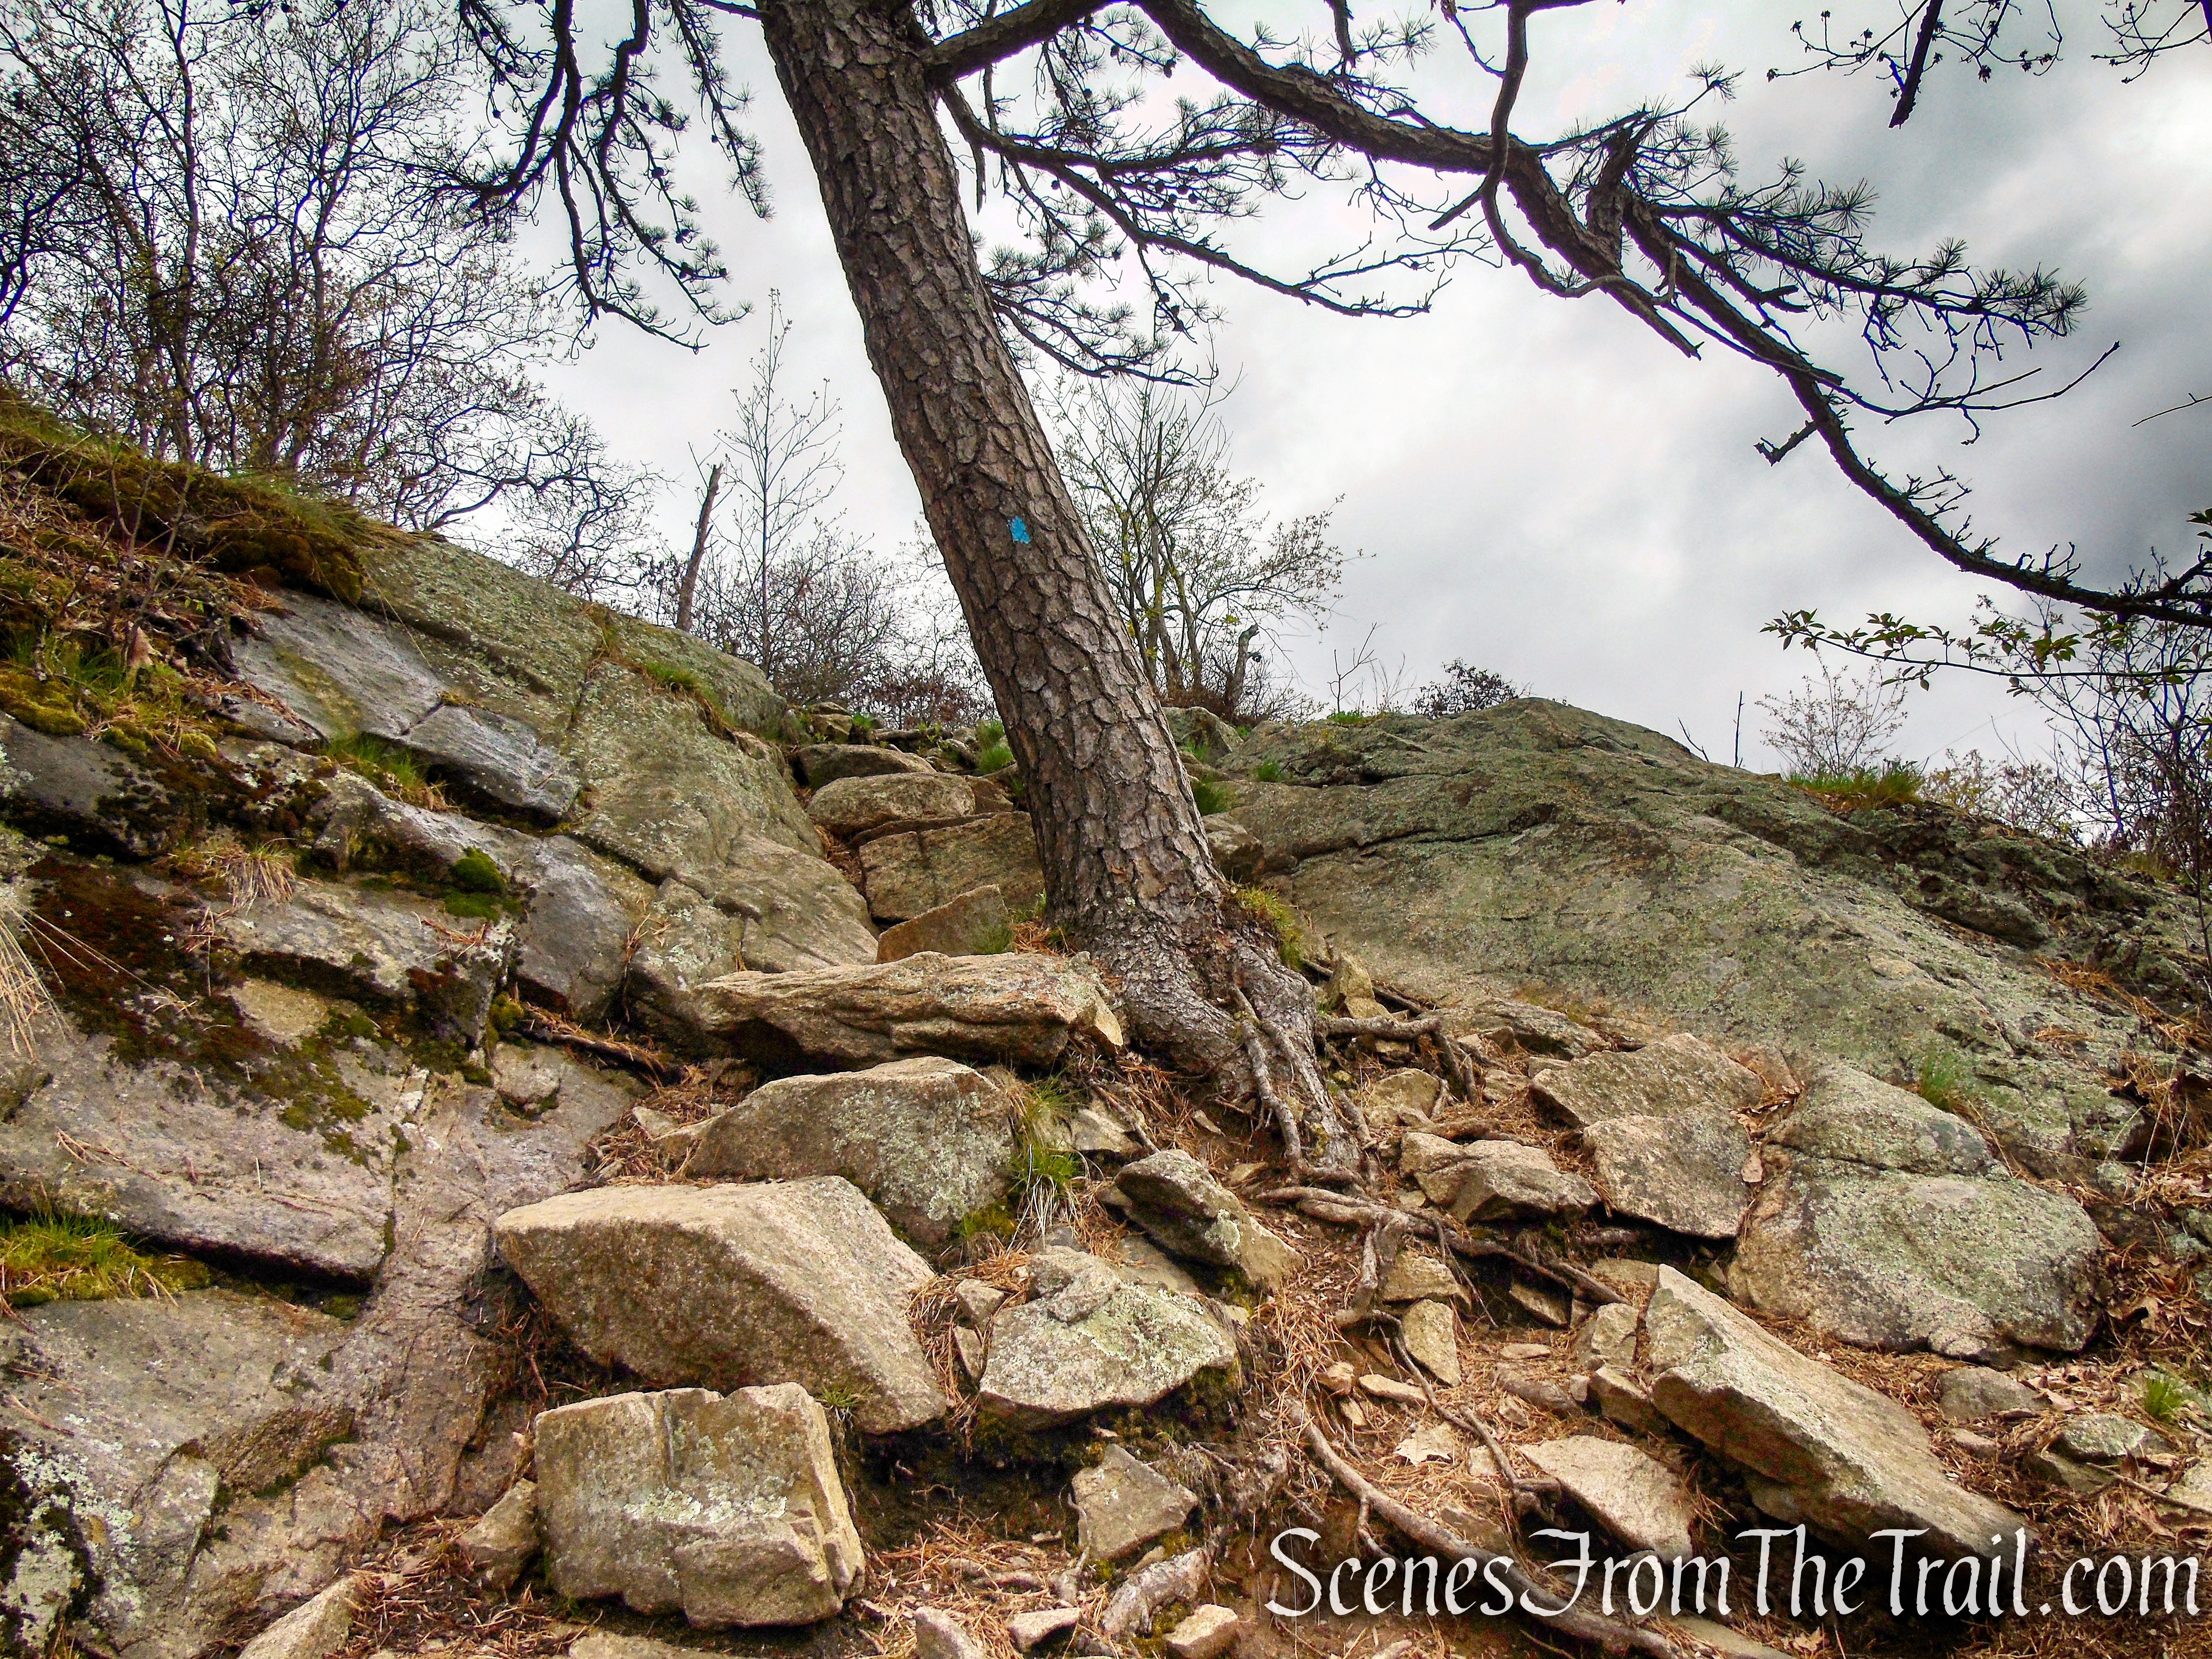
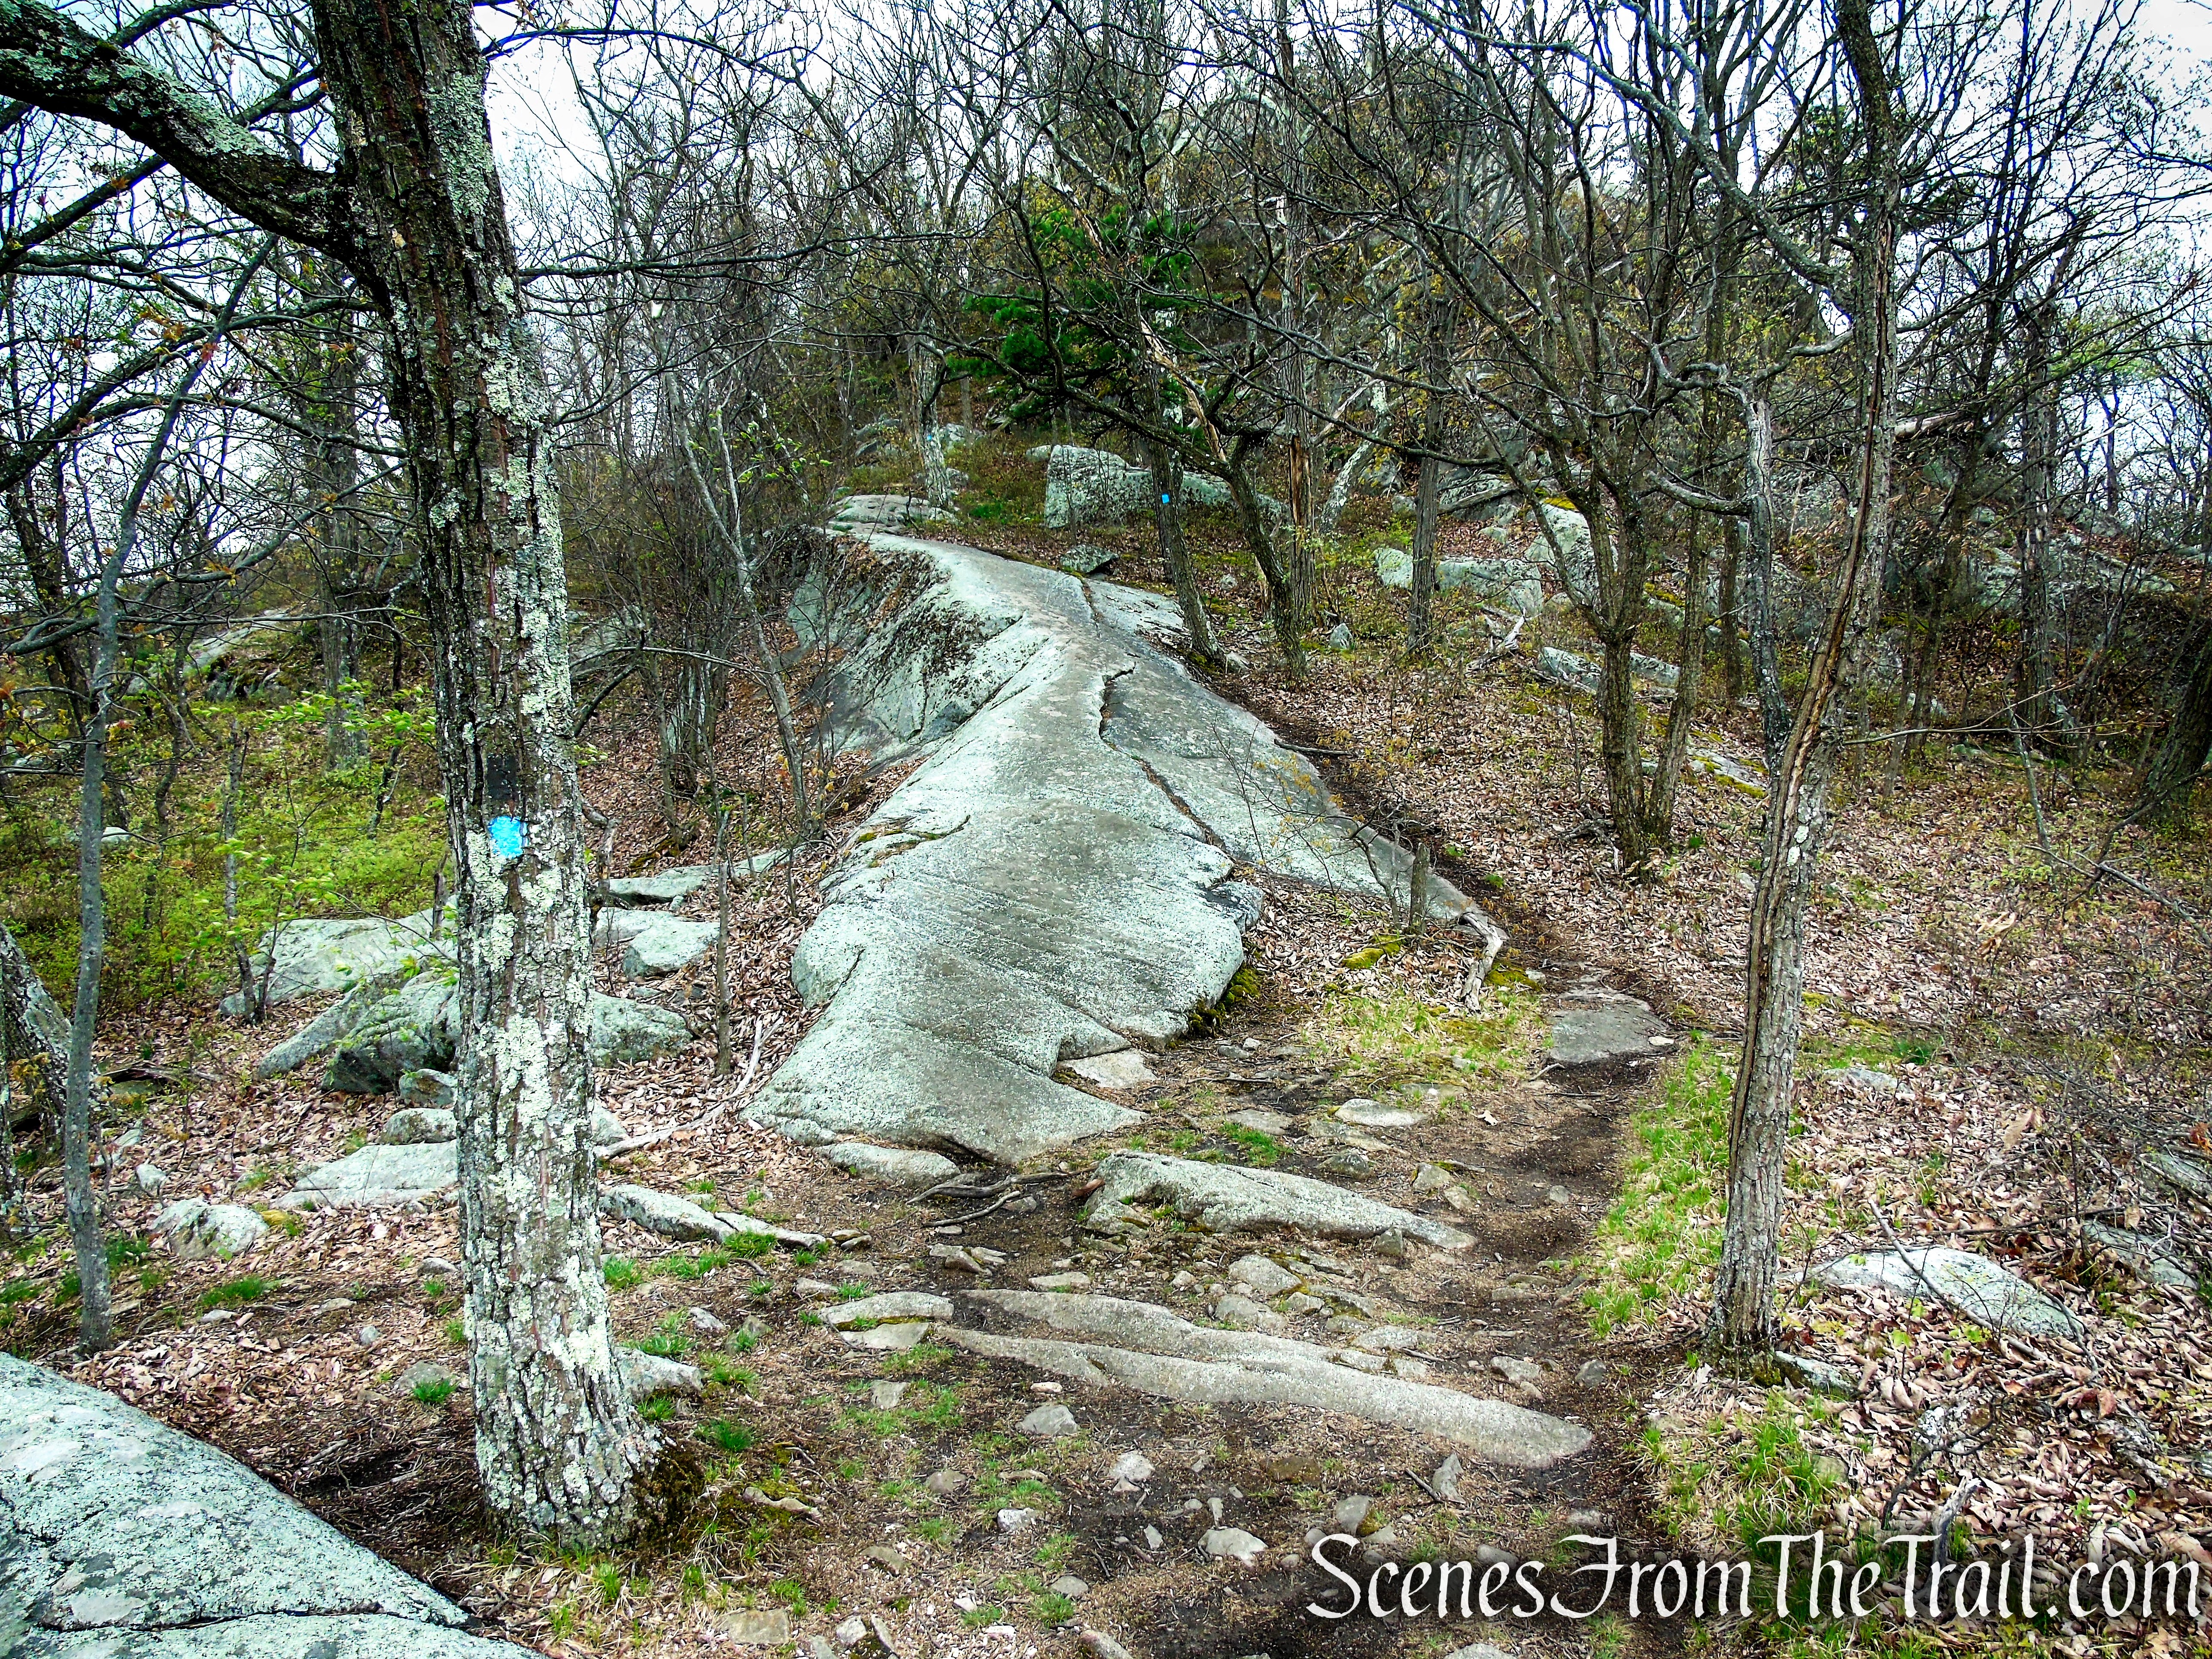
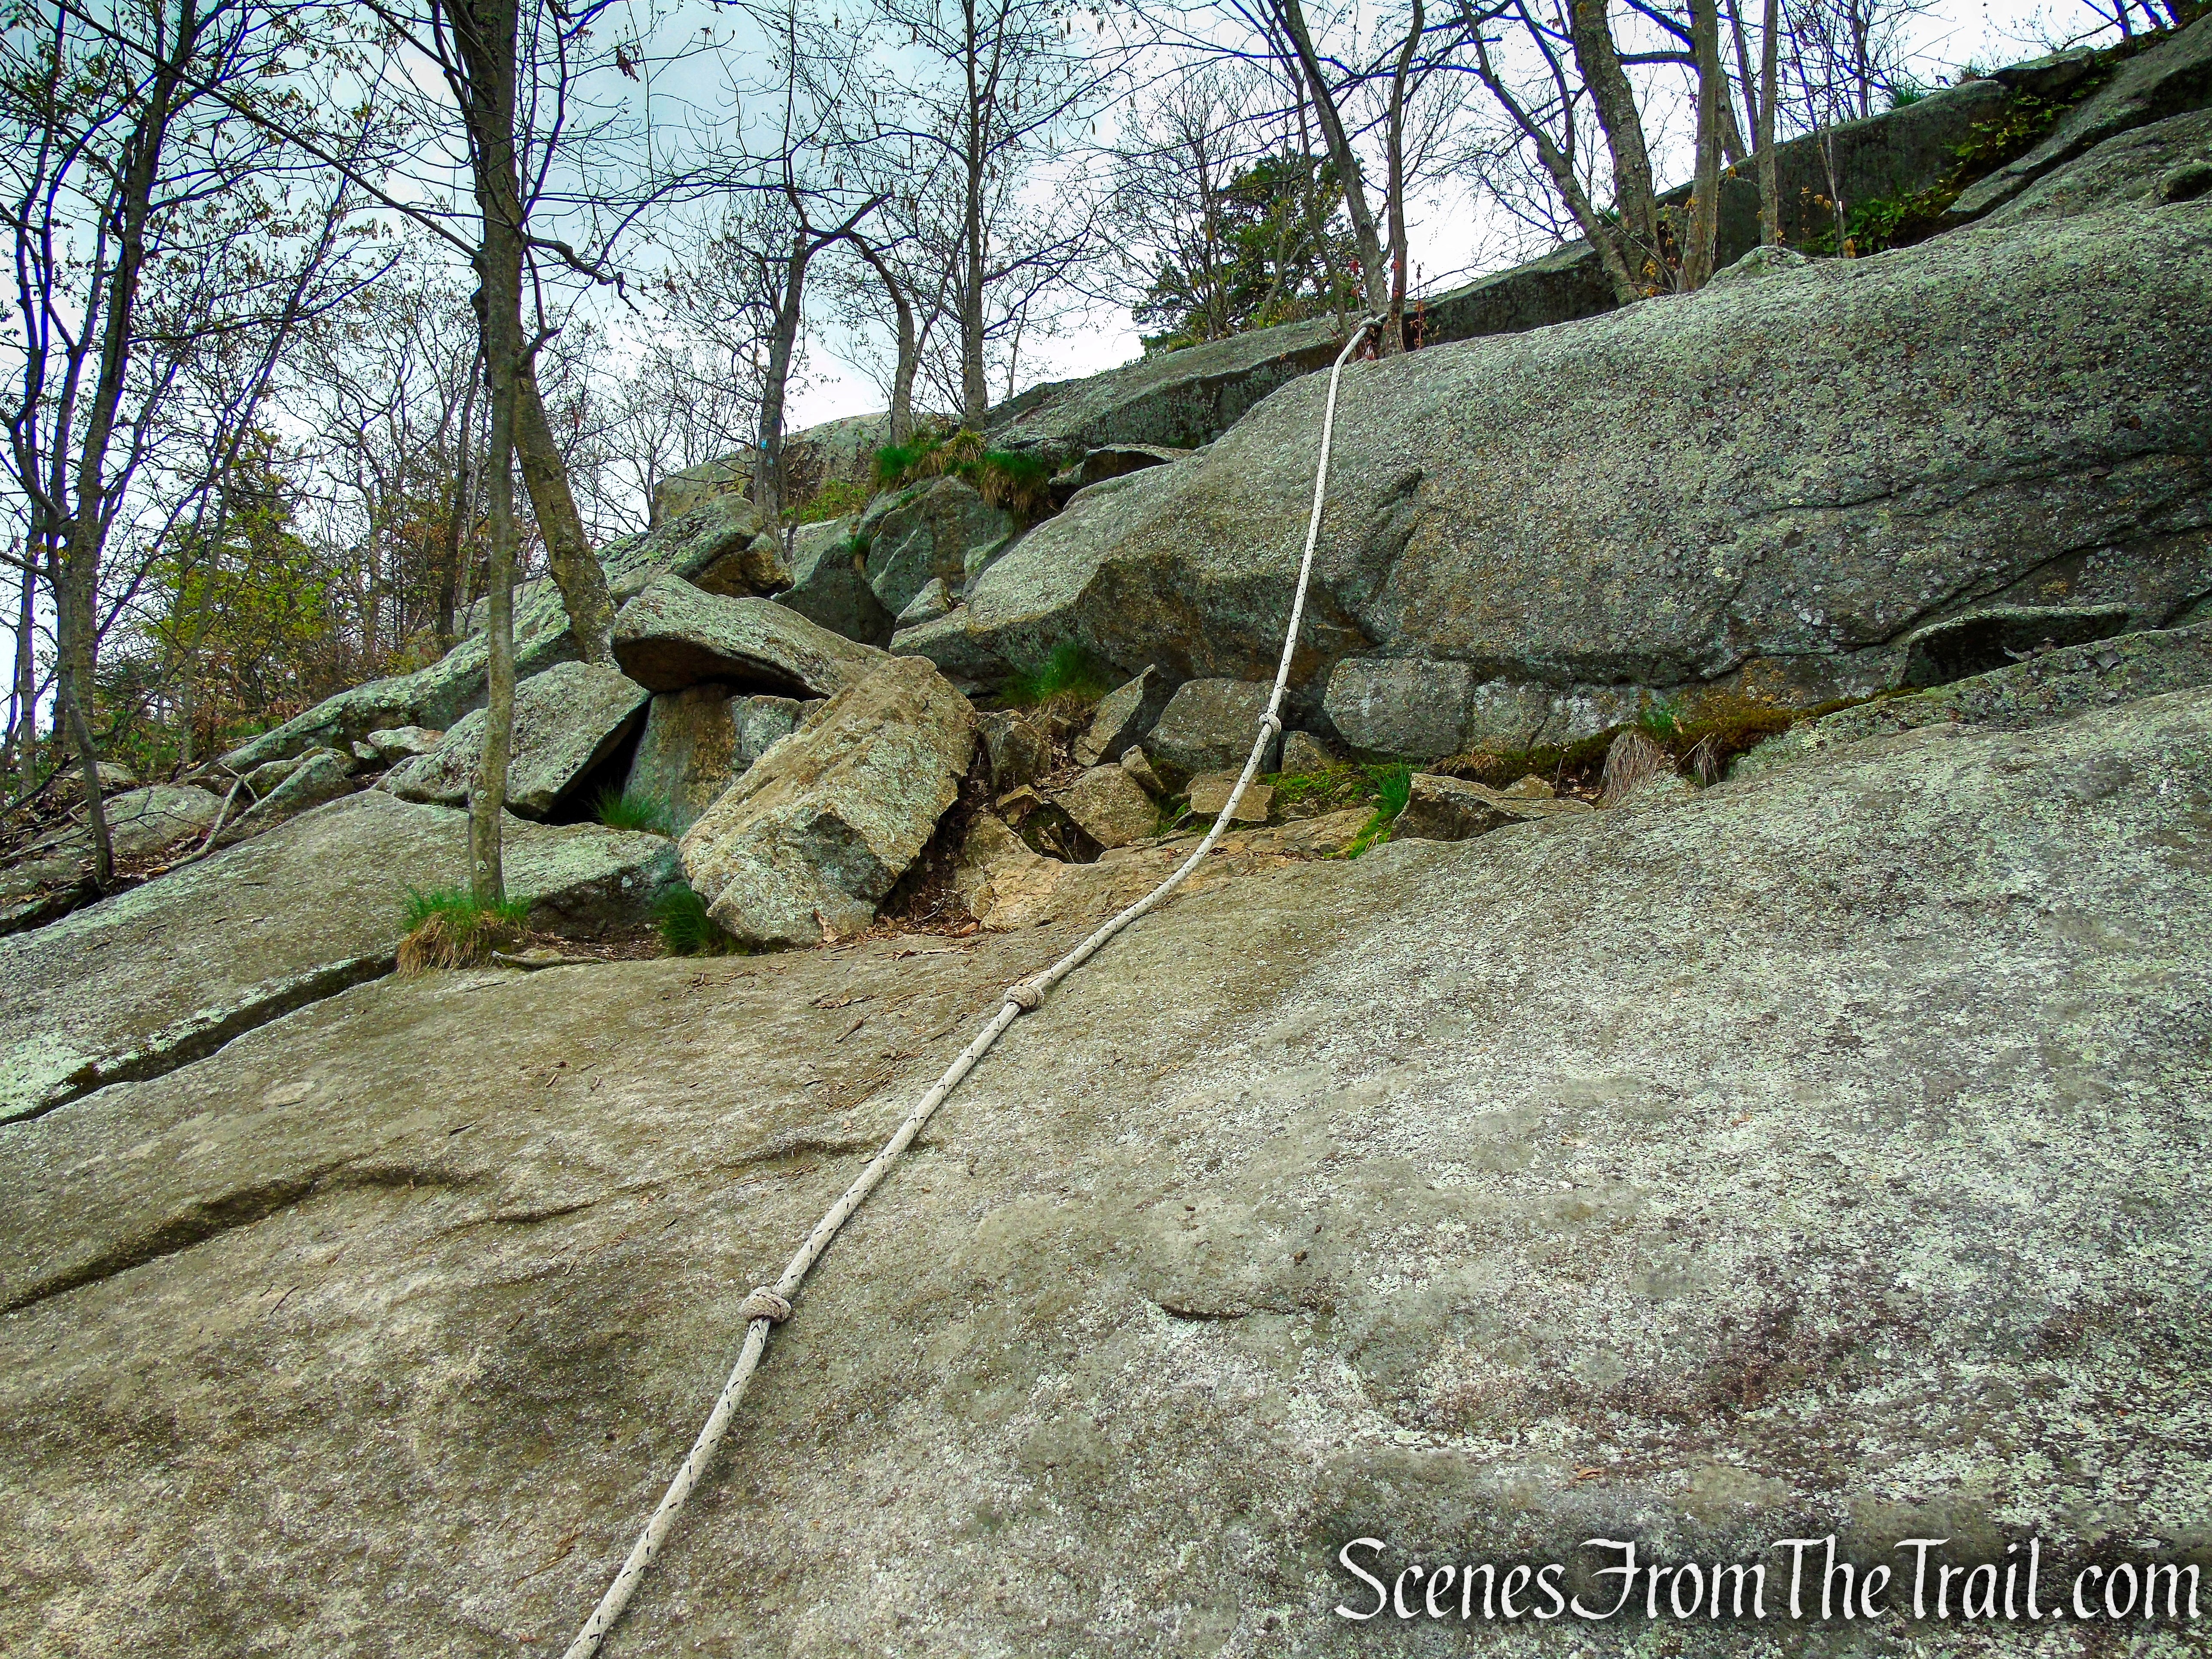
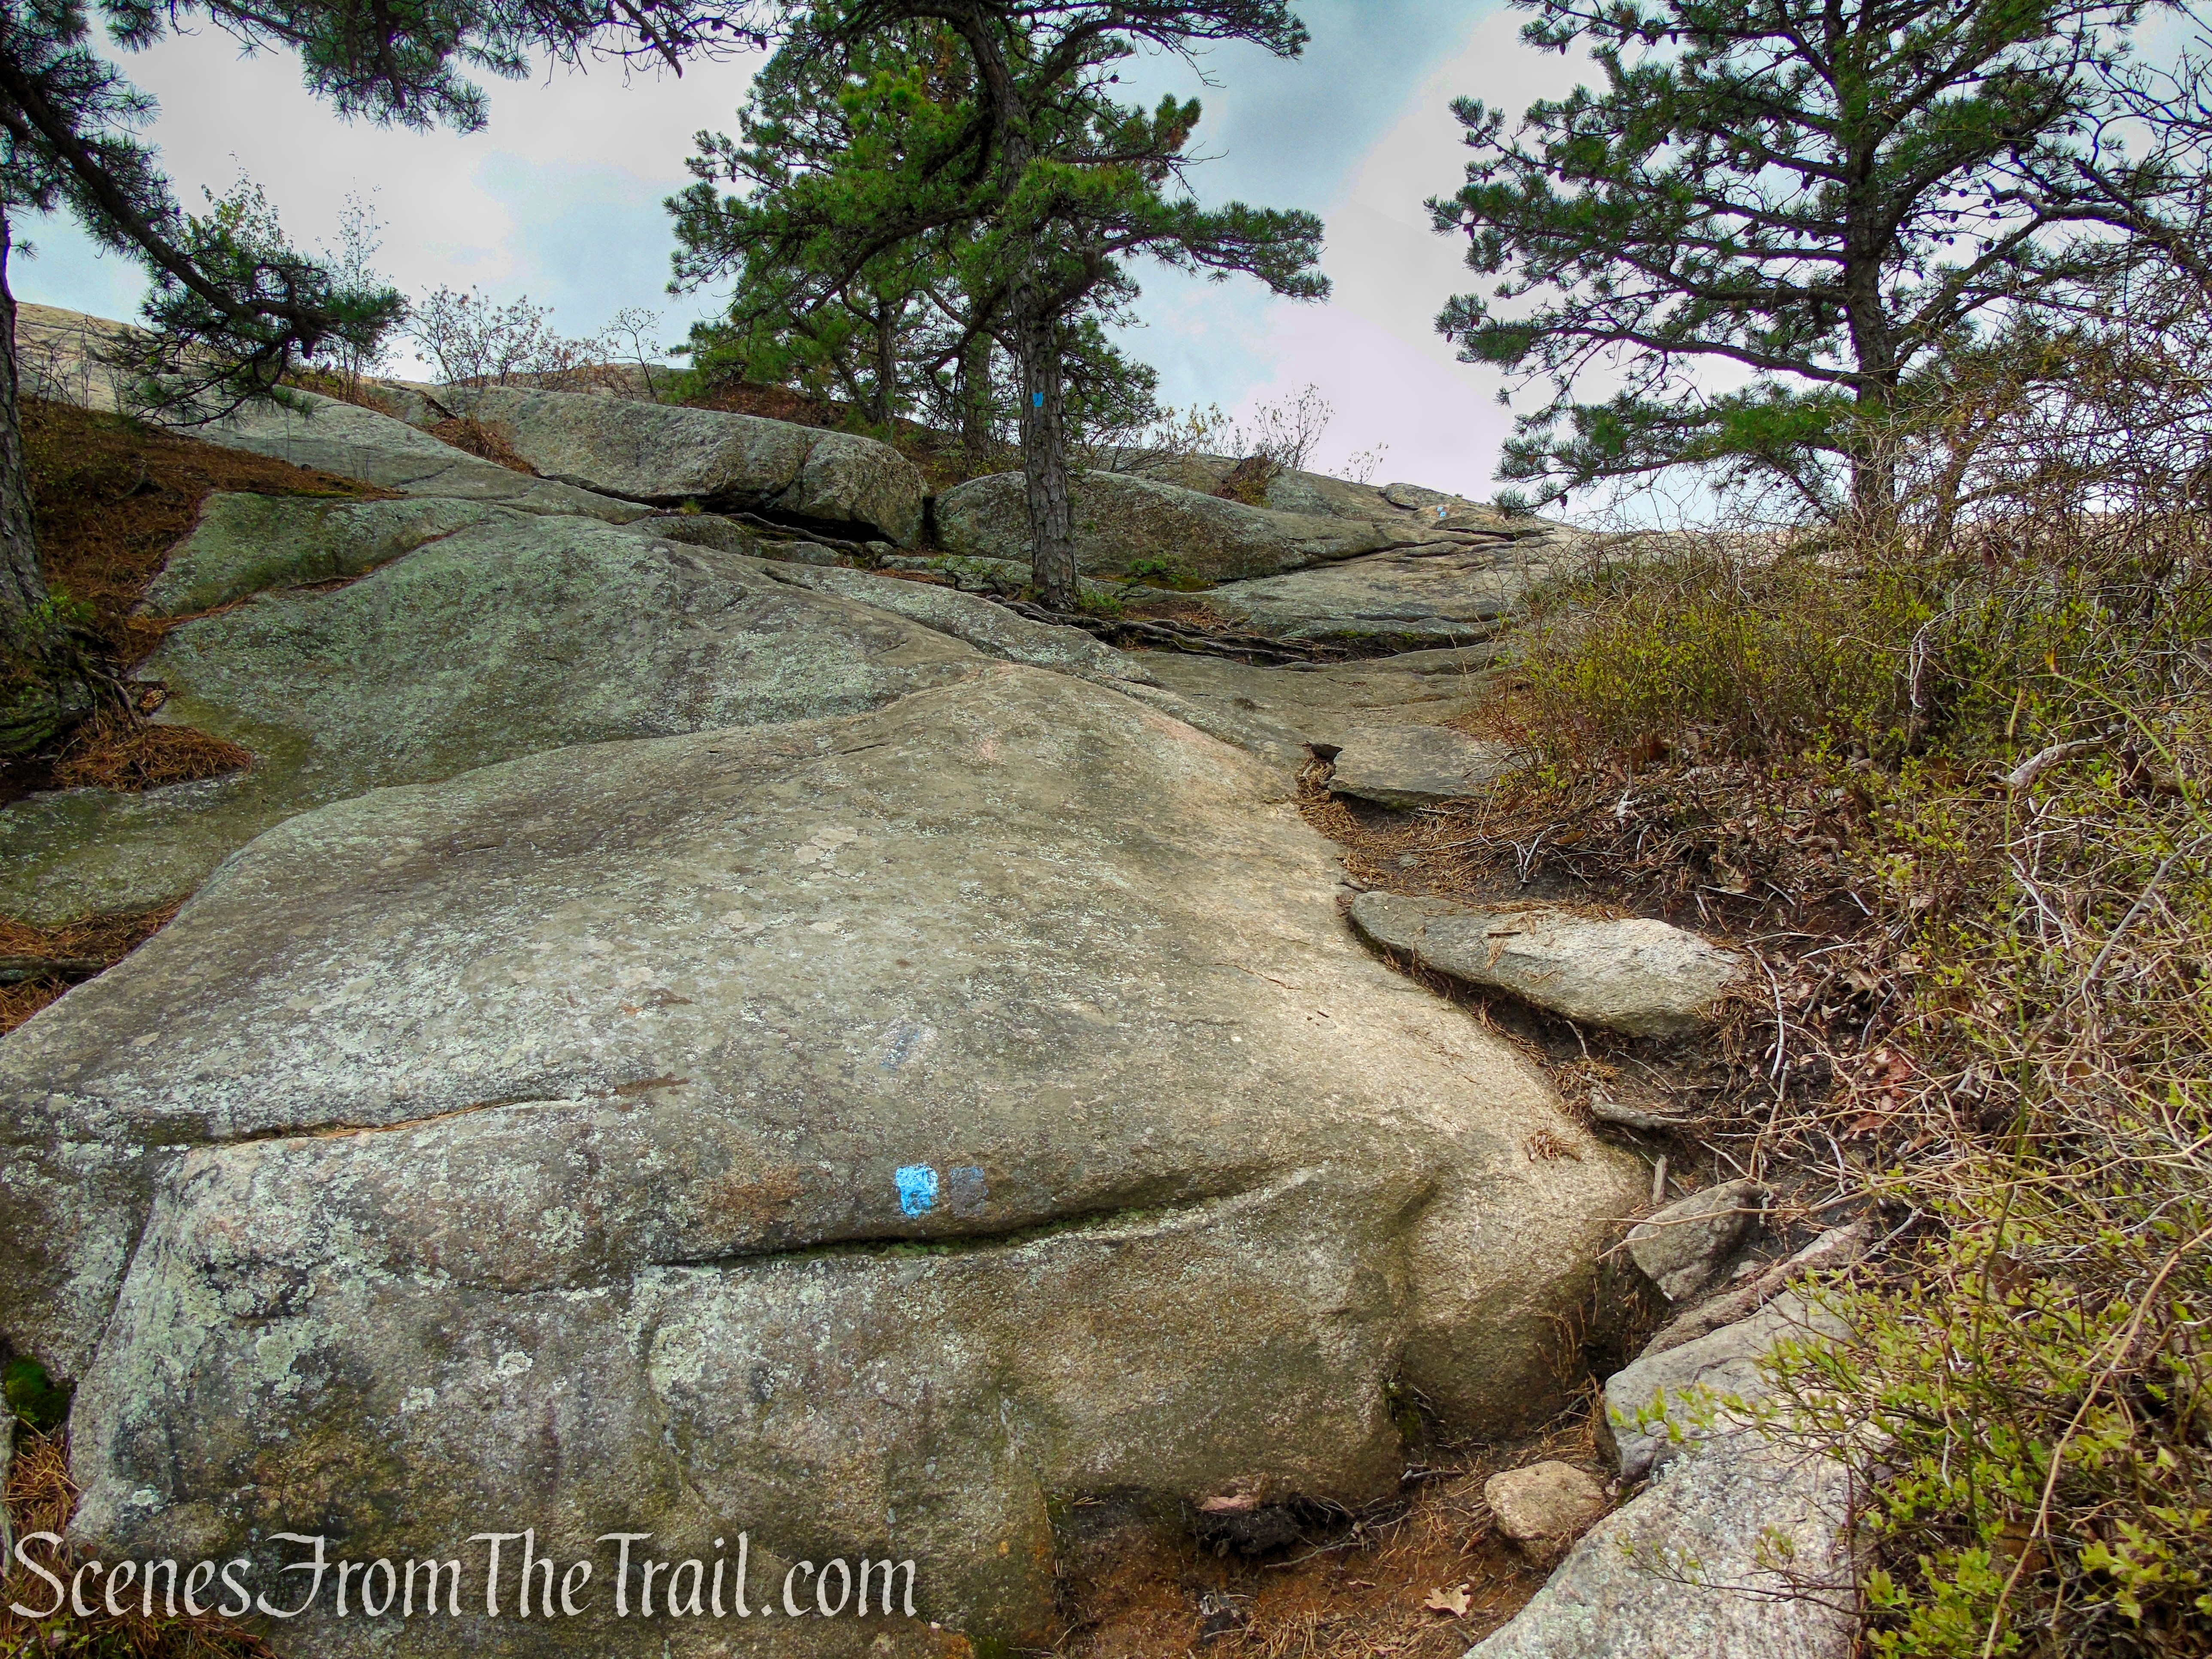
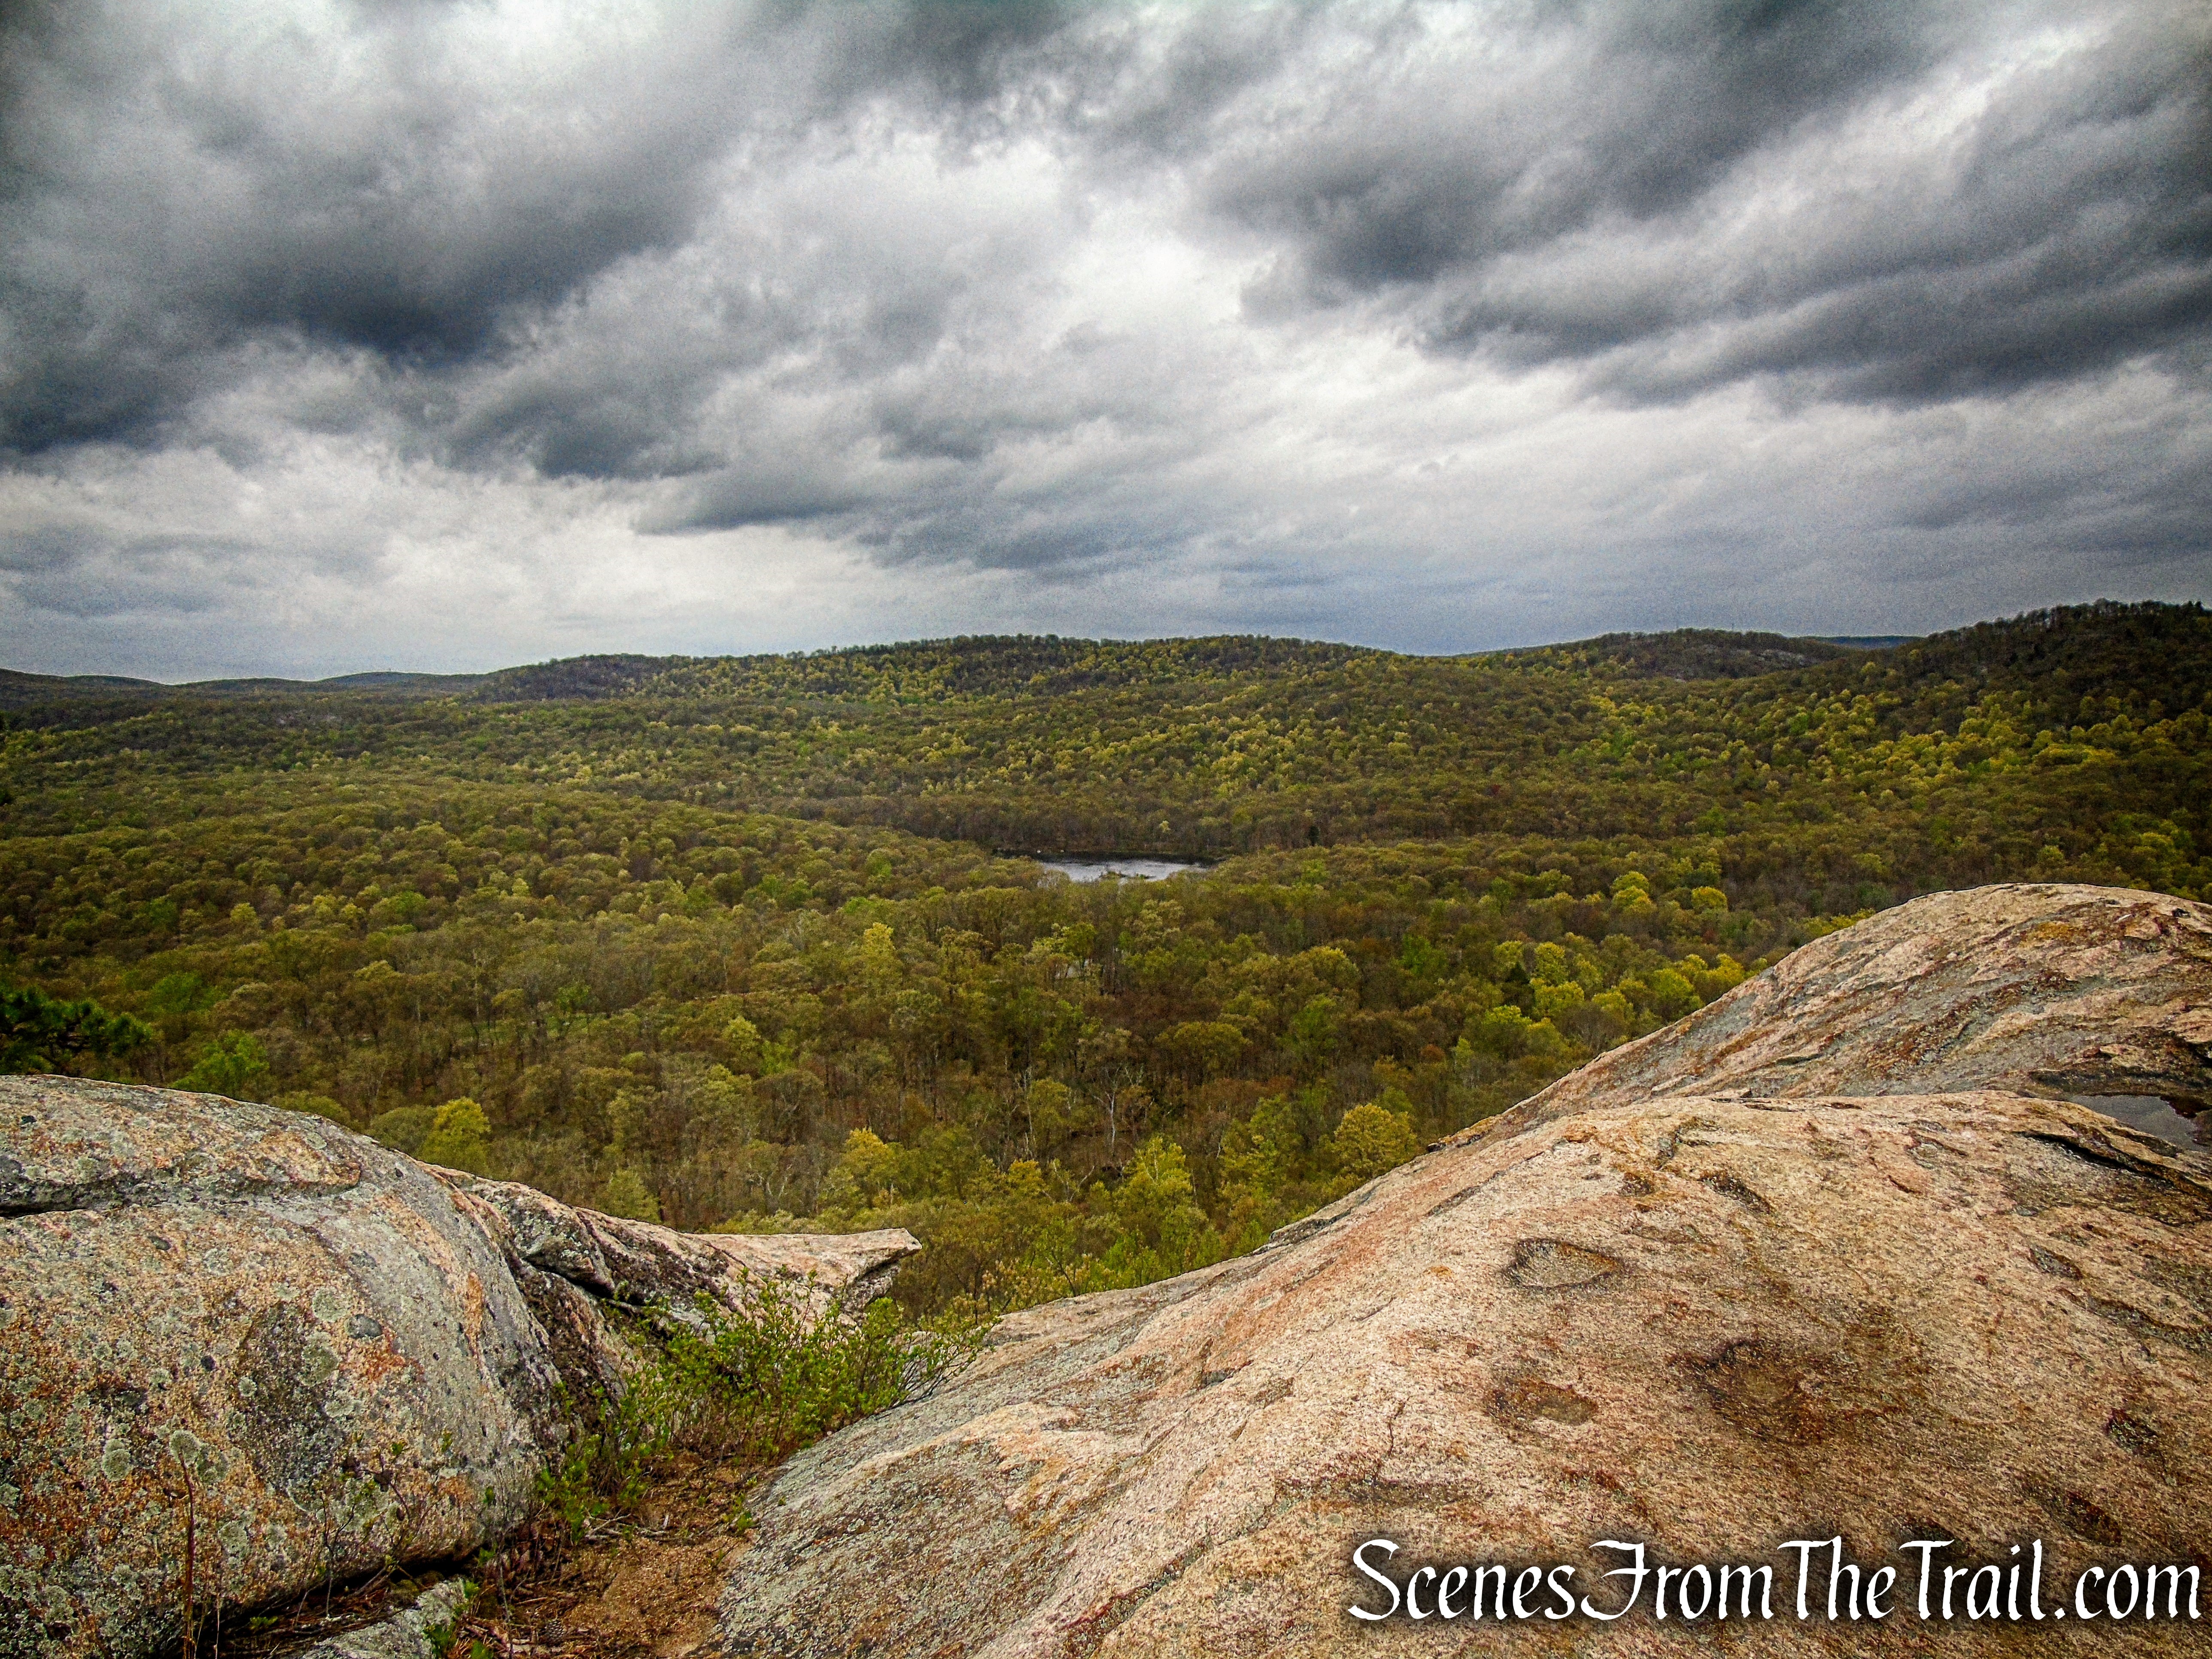
Soon, the grade moderates a little and the trail becomes less rocky, but the steep climb soon resumes. Along the way, there are limited views through the trees to the left of the trail.

Red Trail – Stissing Mountain

Red Trail – Stissing Mountain

Red Trail – Stissing Mountain

Red Trail – Stissing Mountain

Red Trail – Stissing Mountain

Red Trail – Stissing Mountain
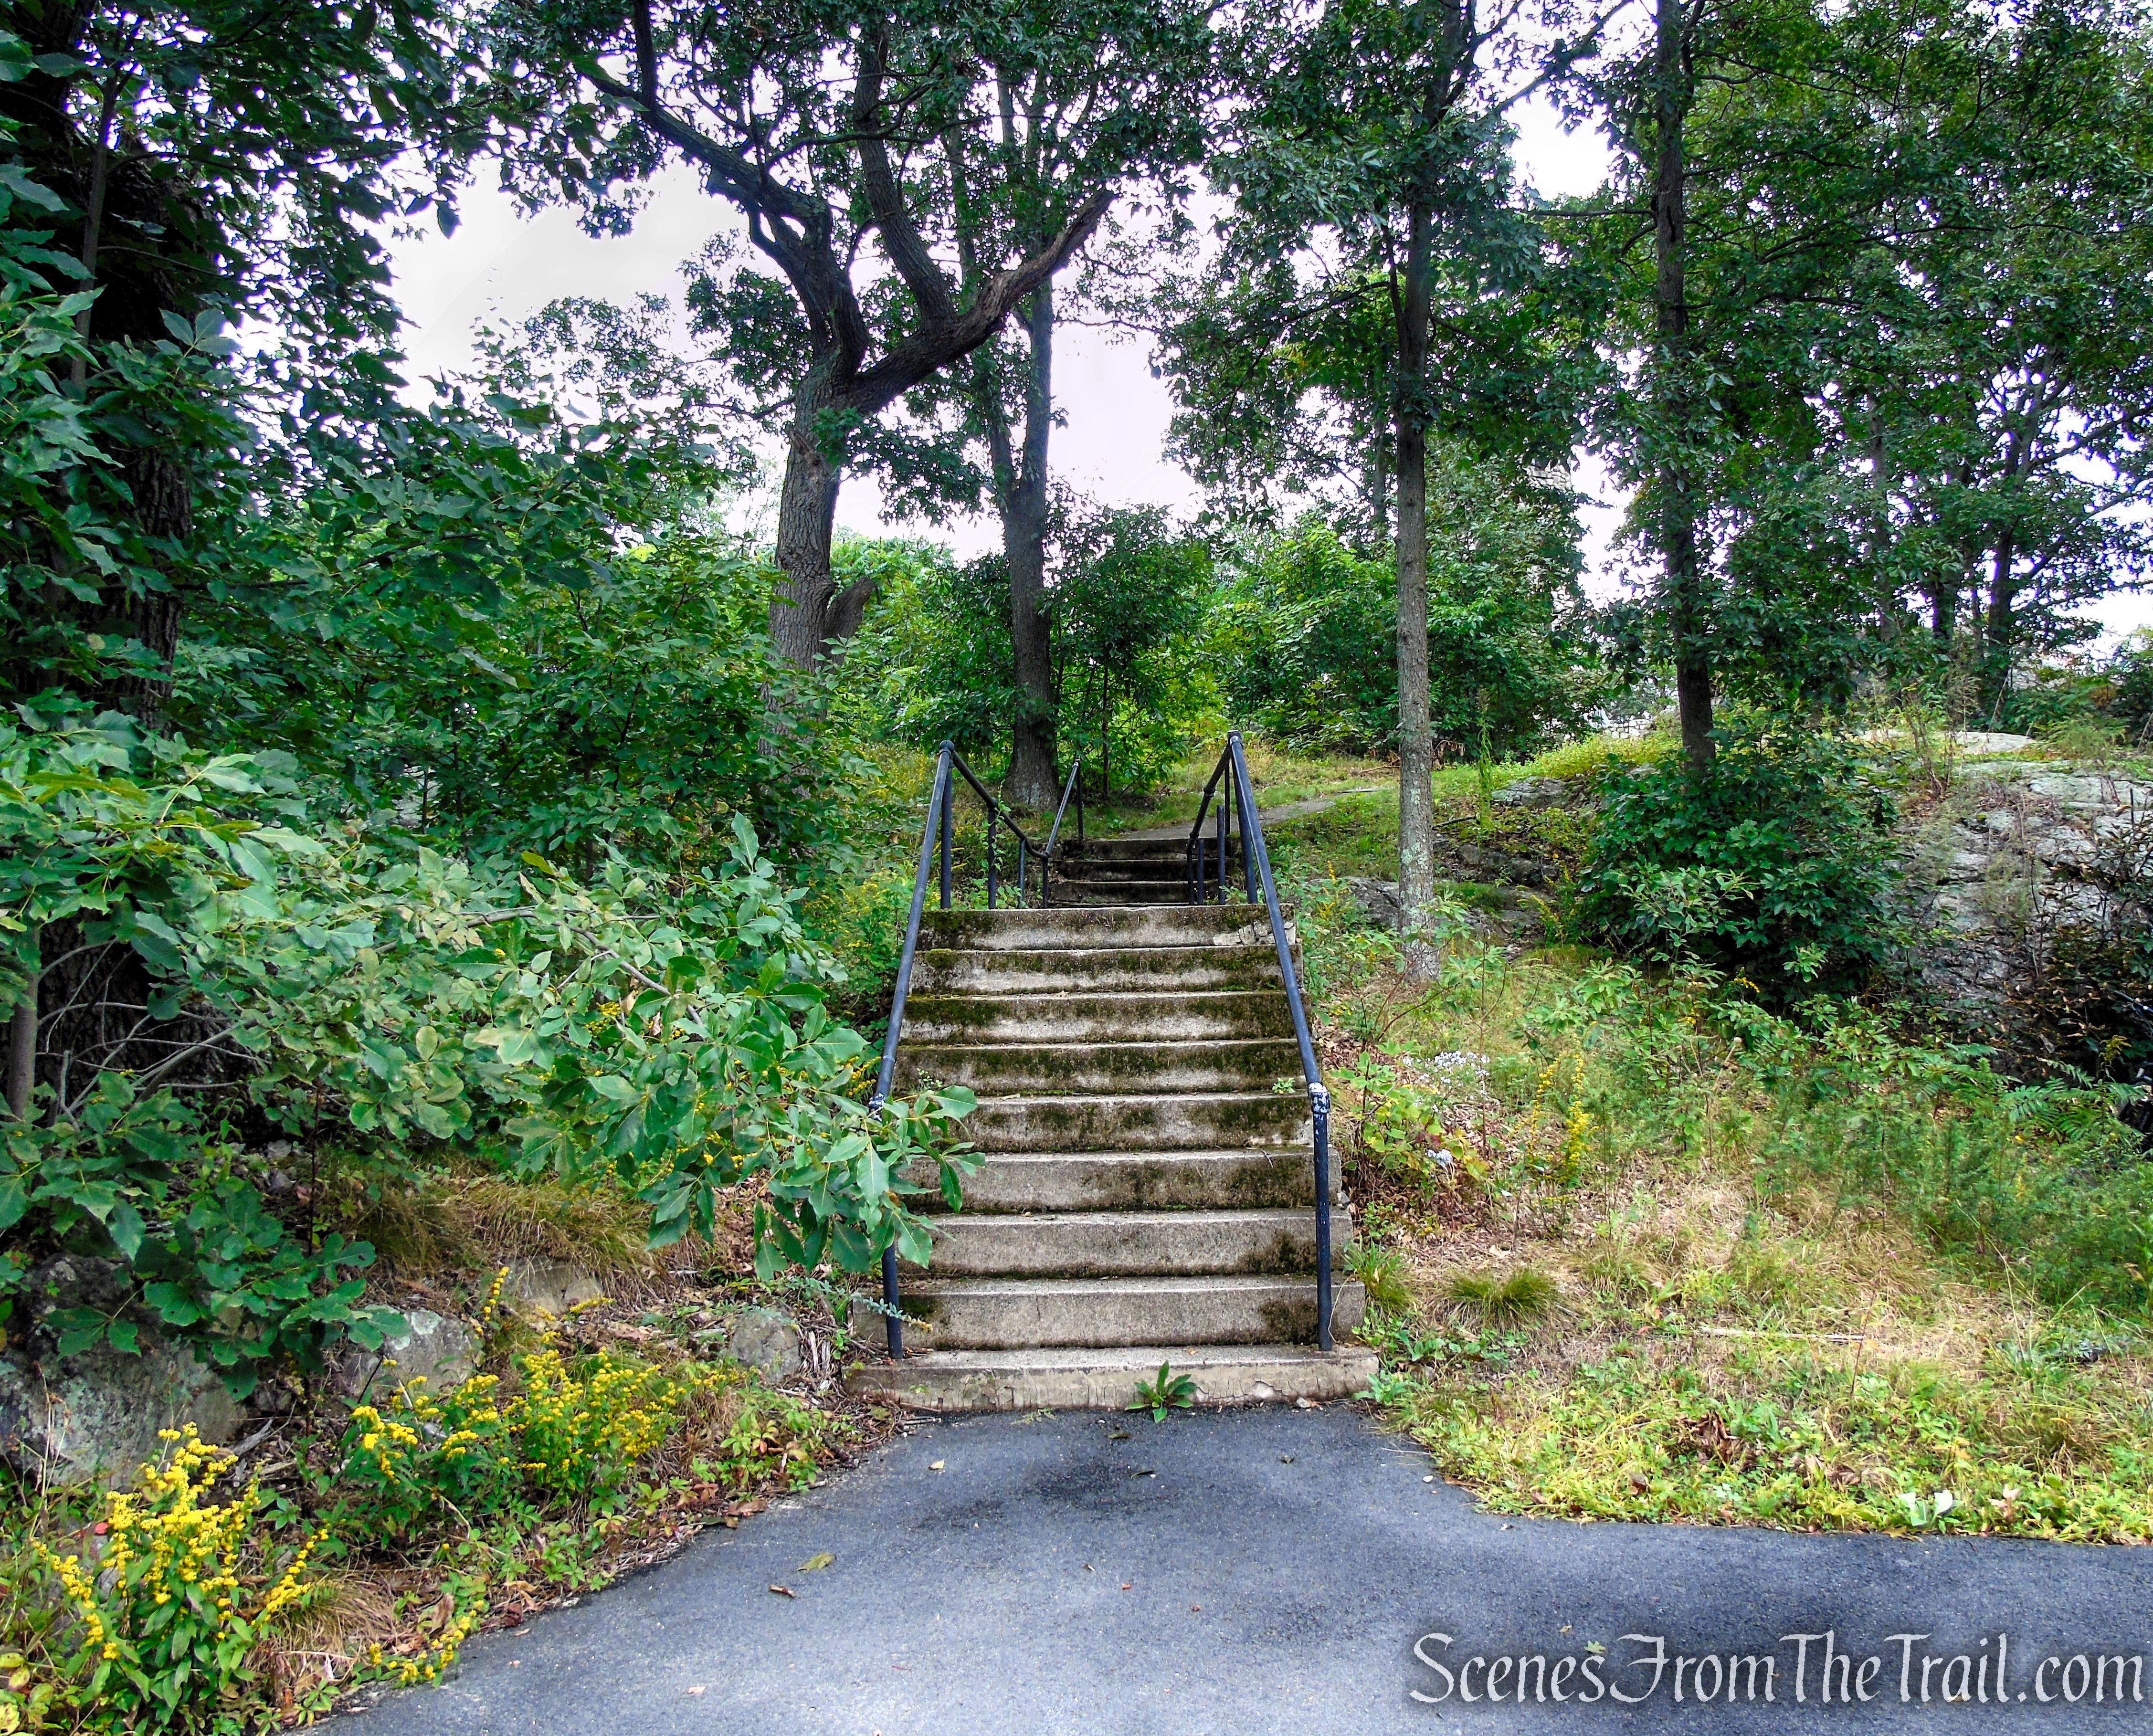
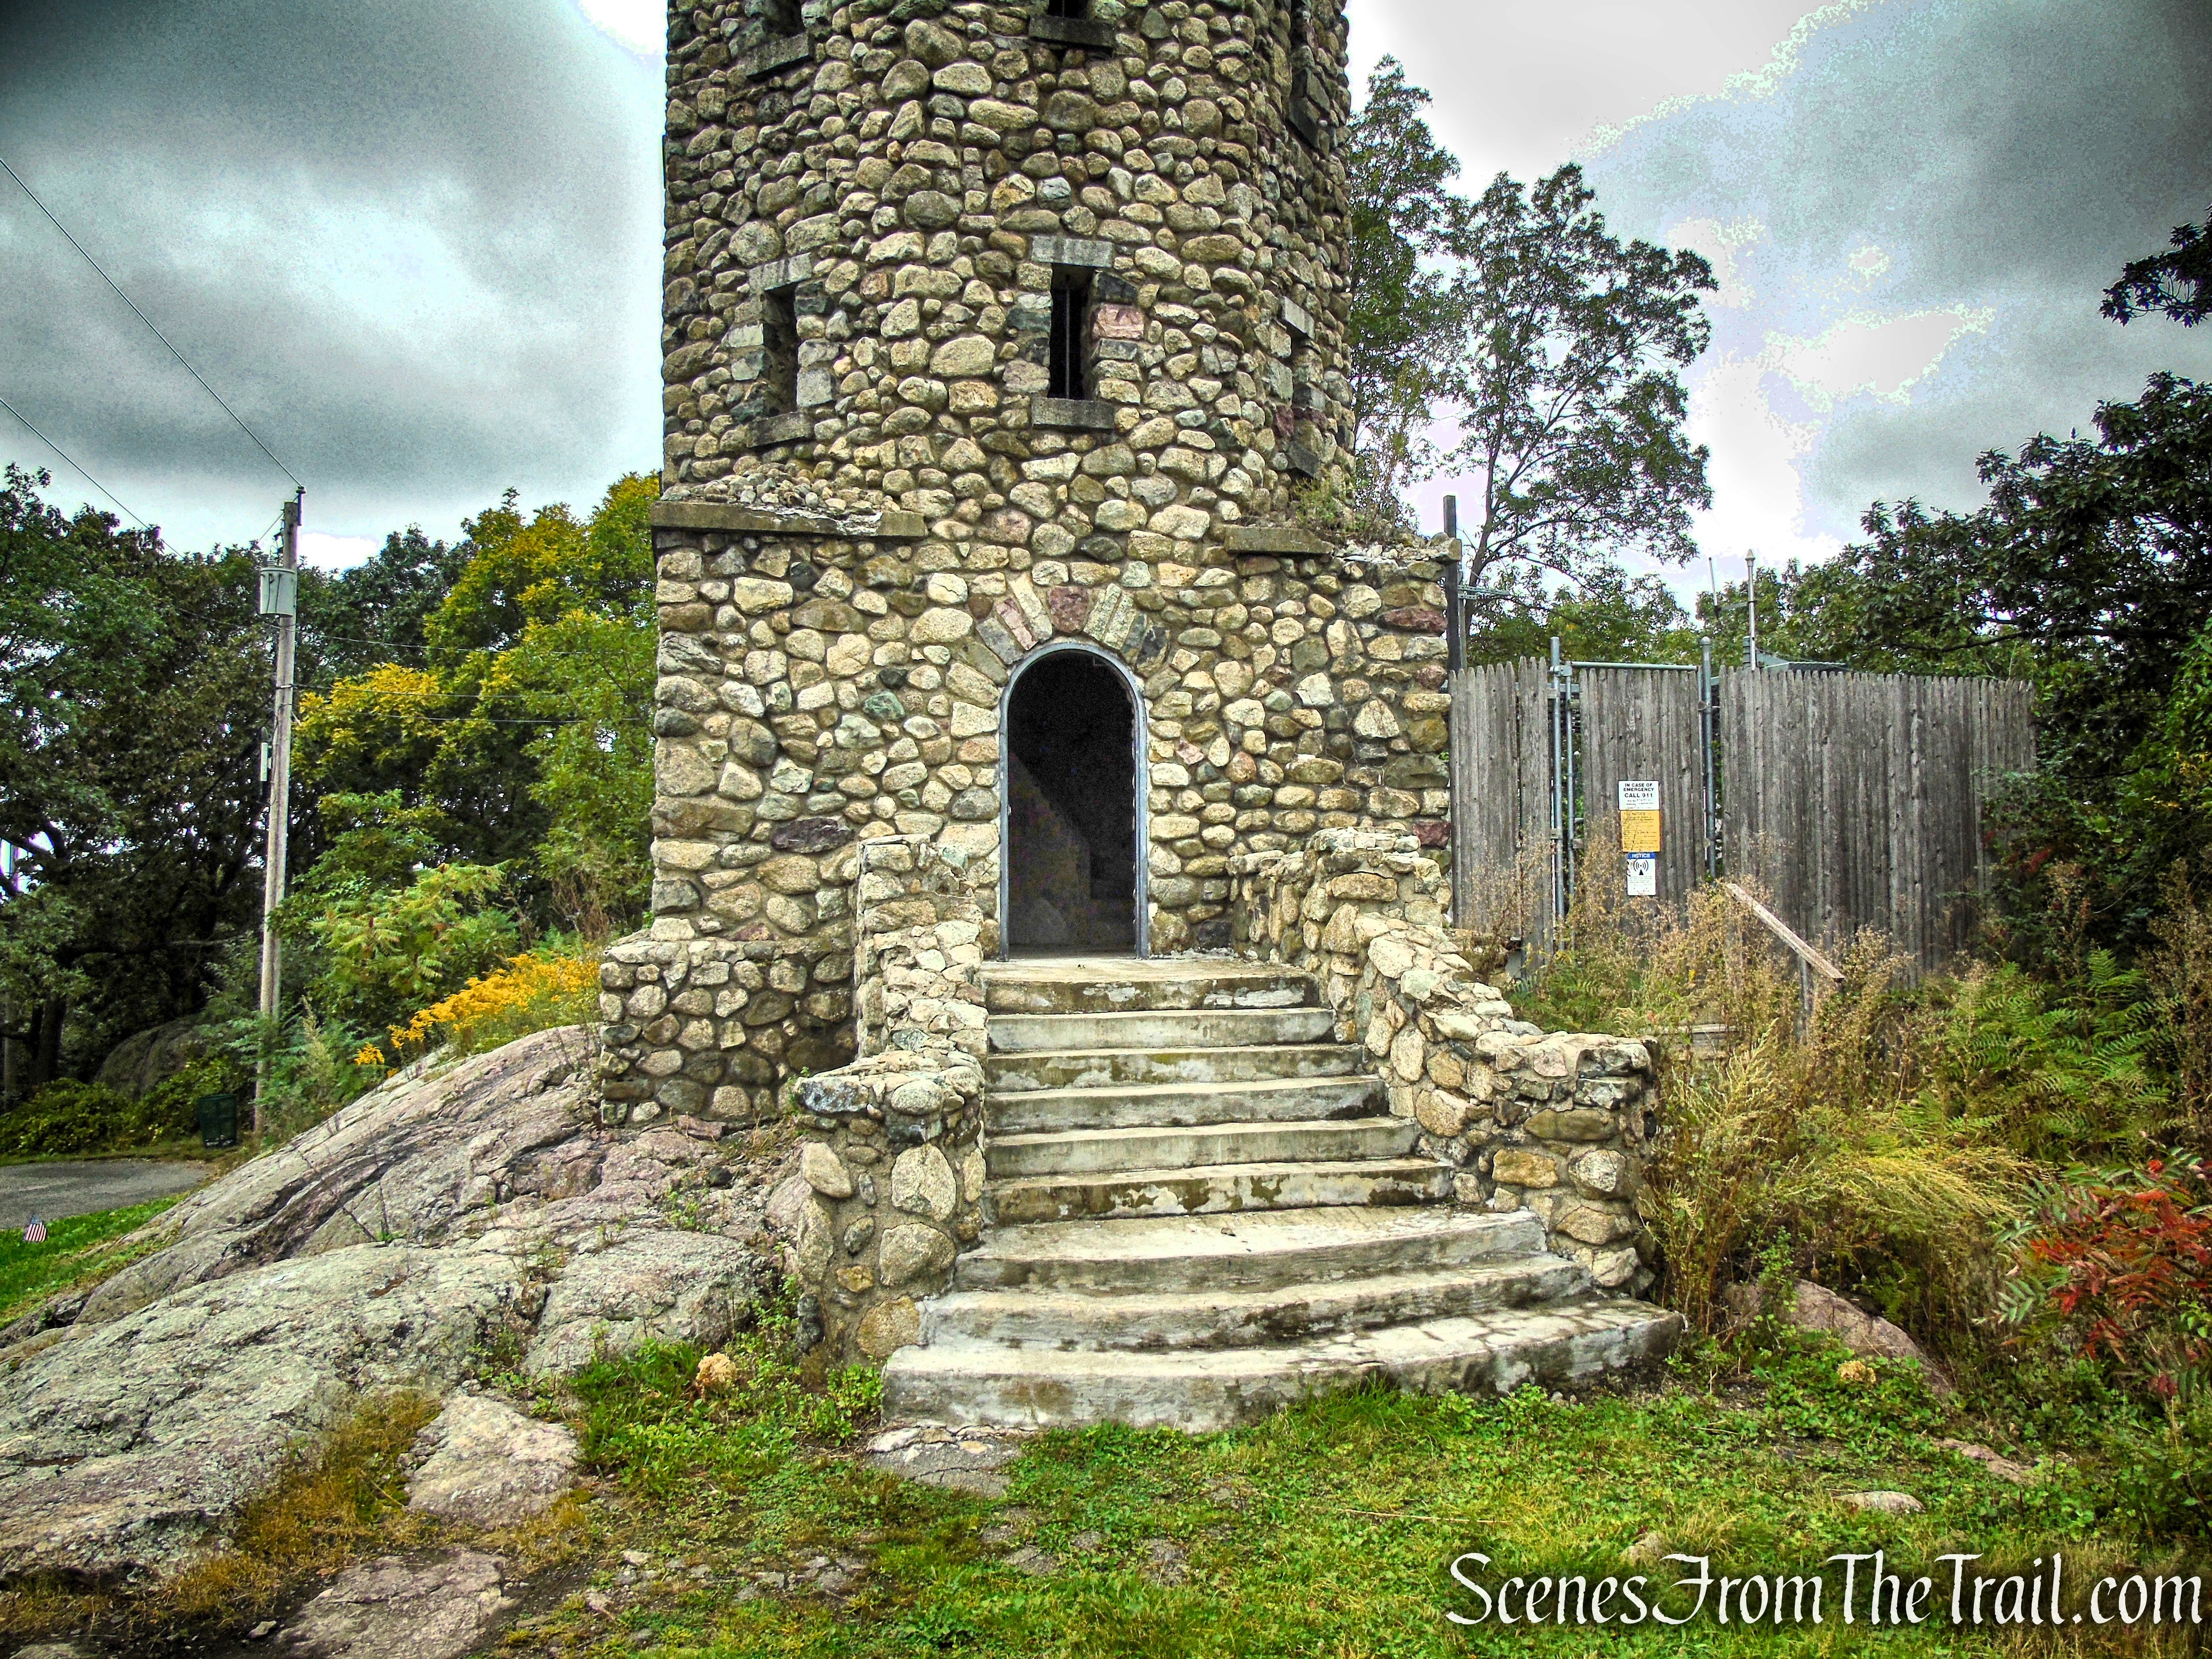
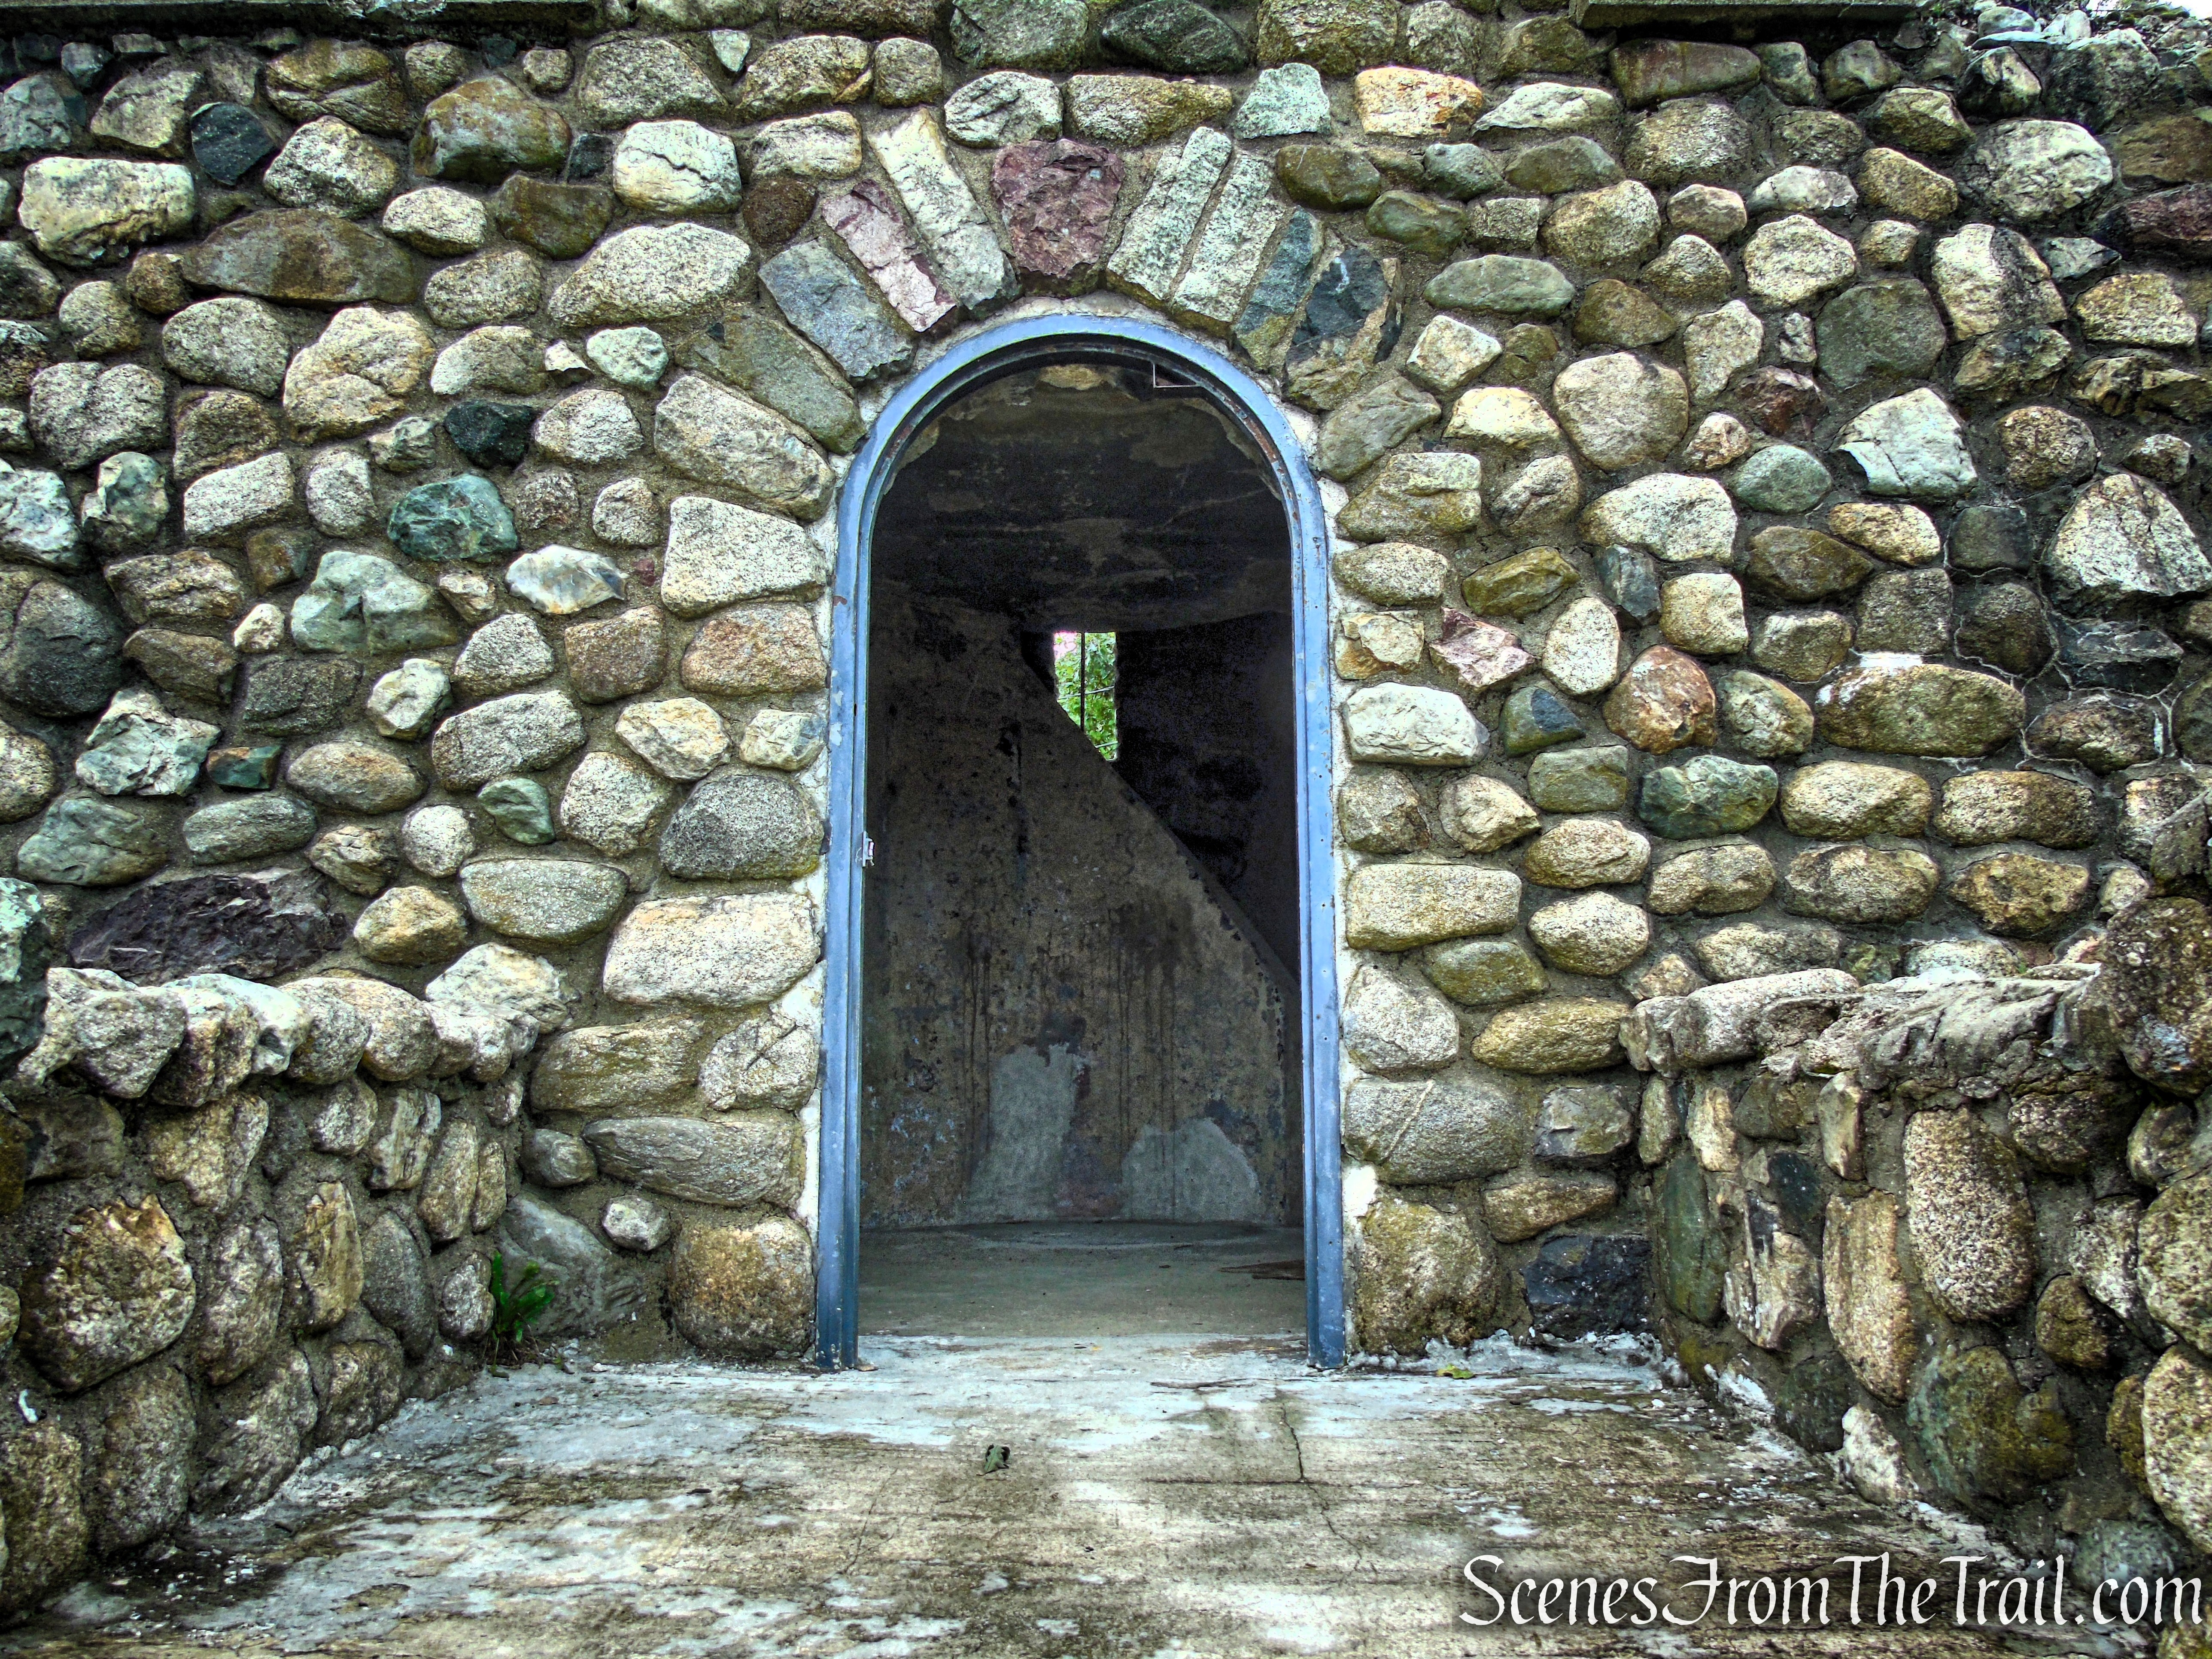
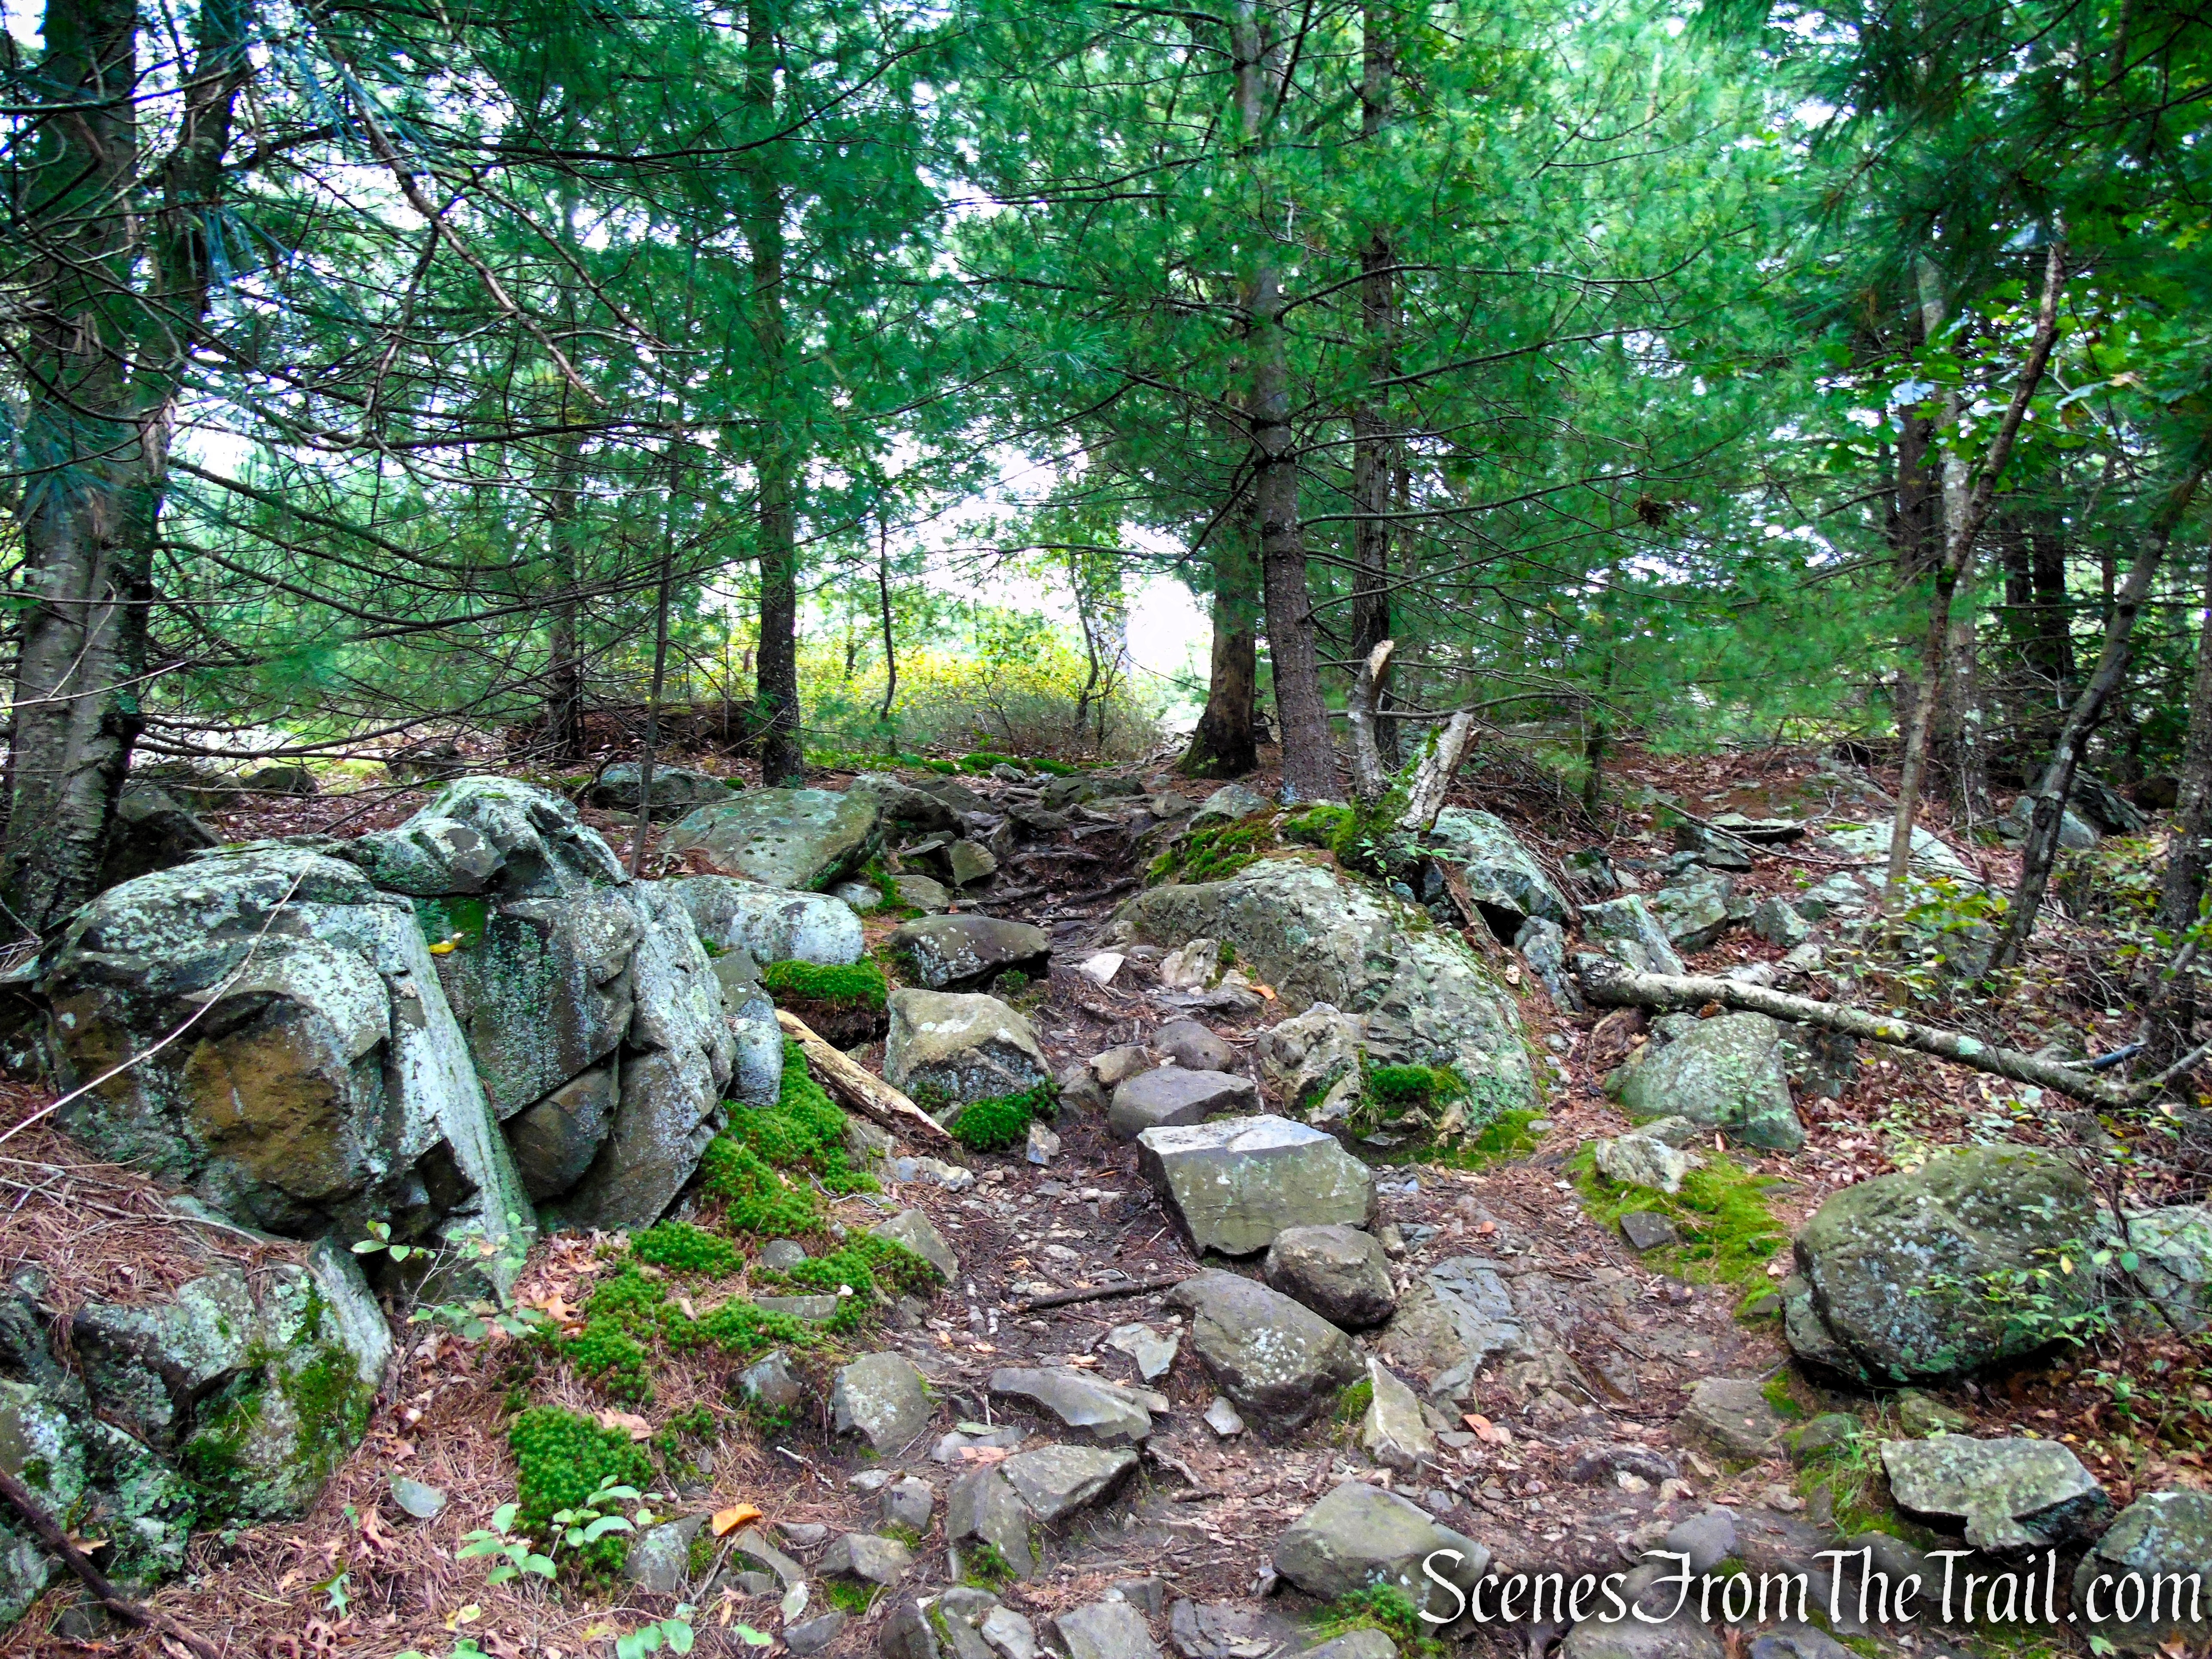
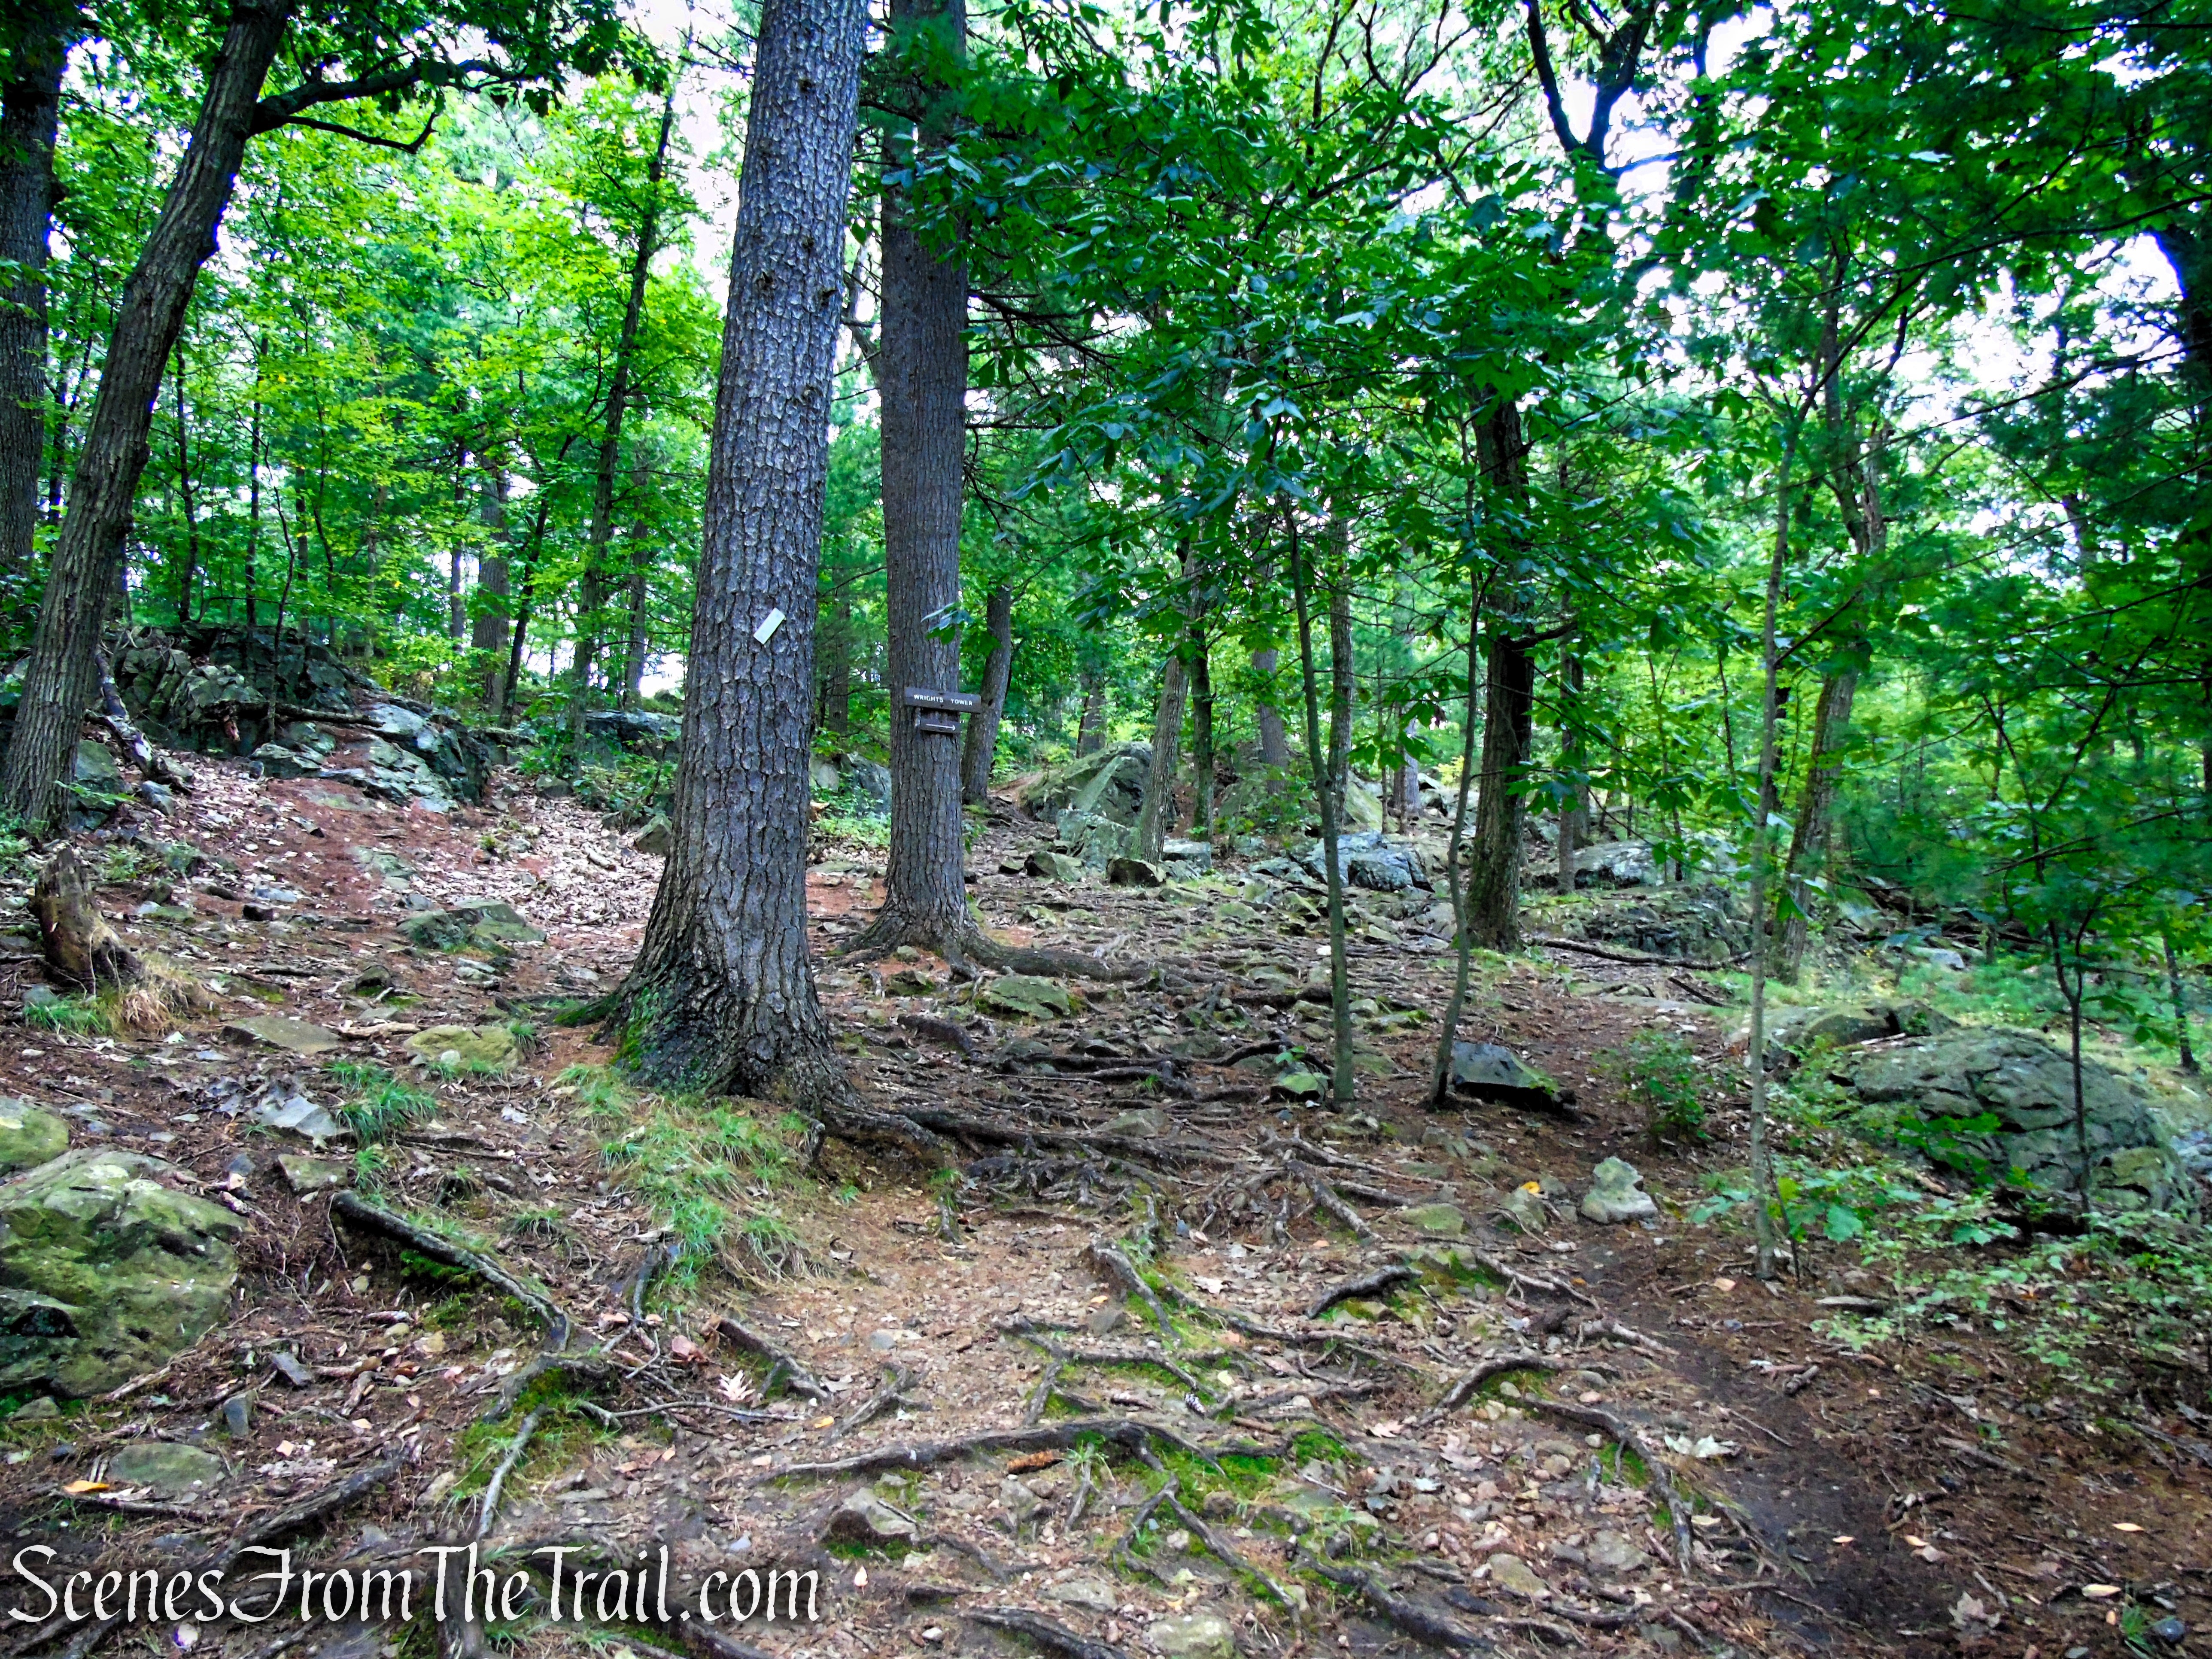
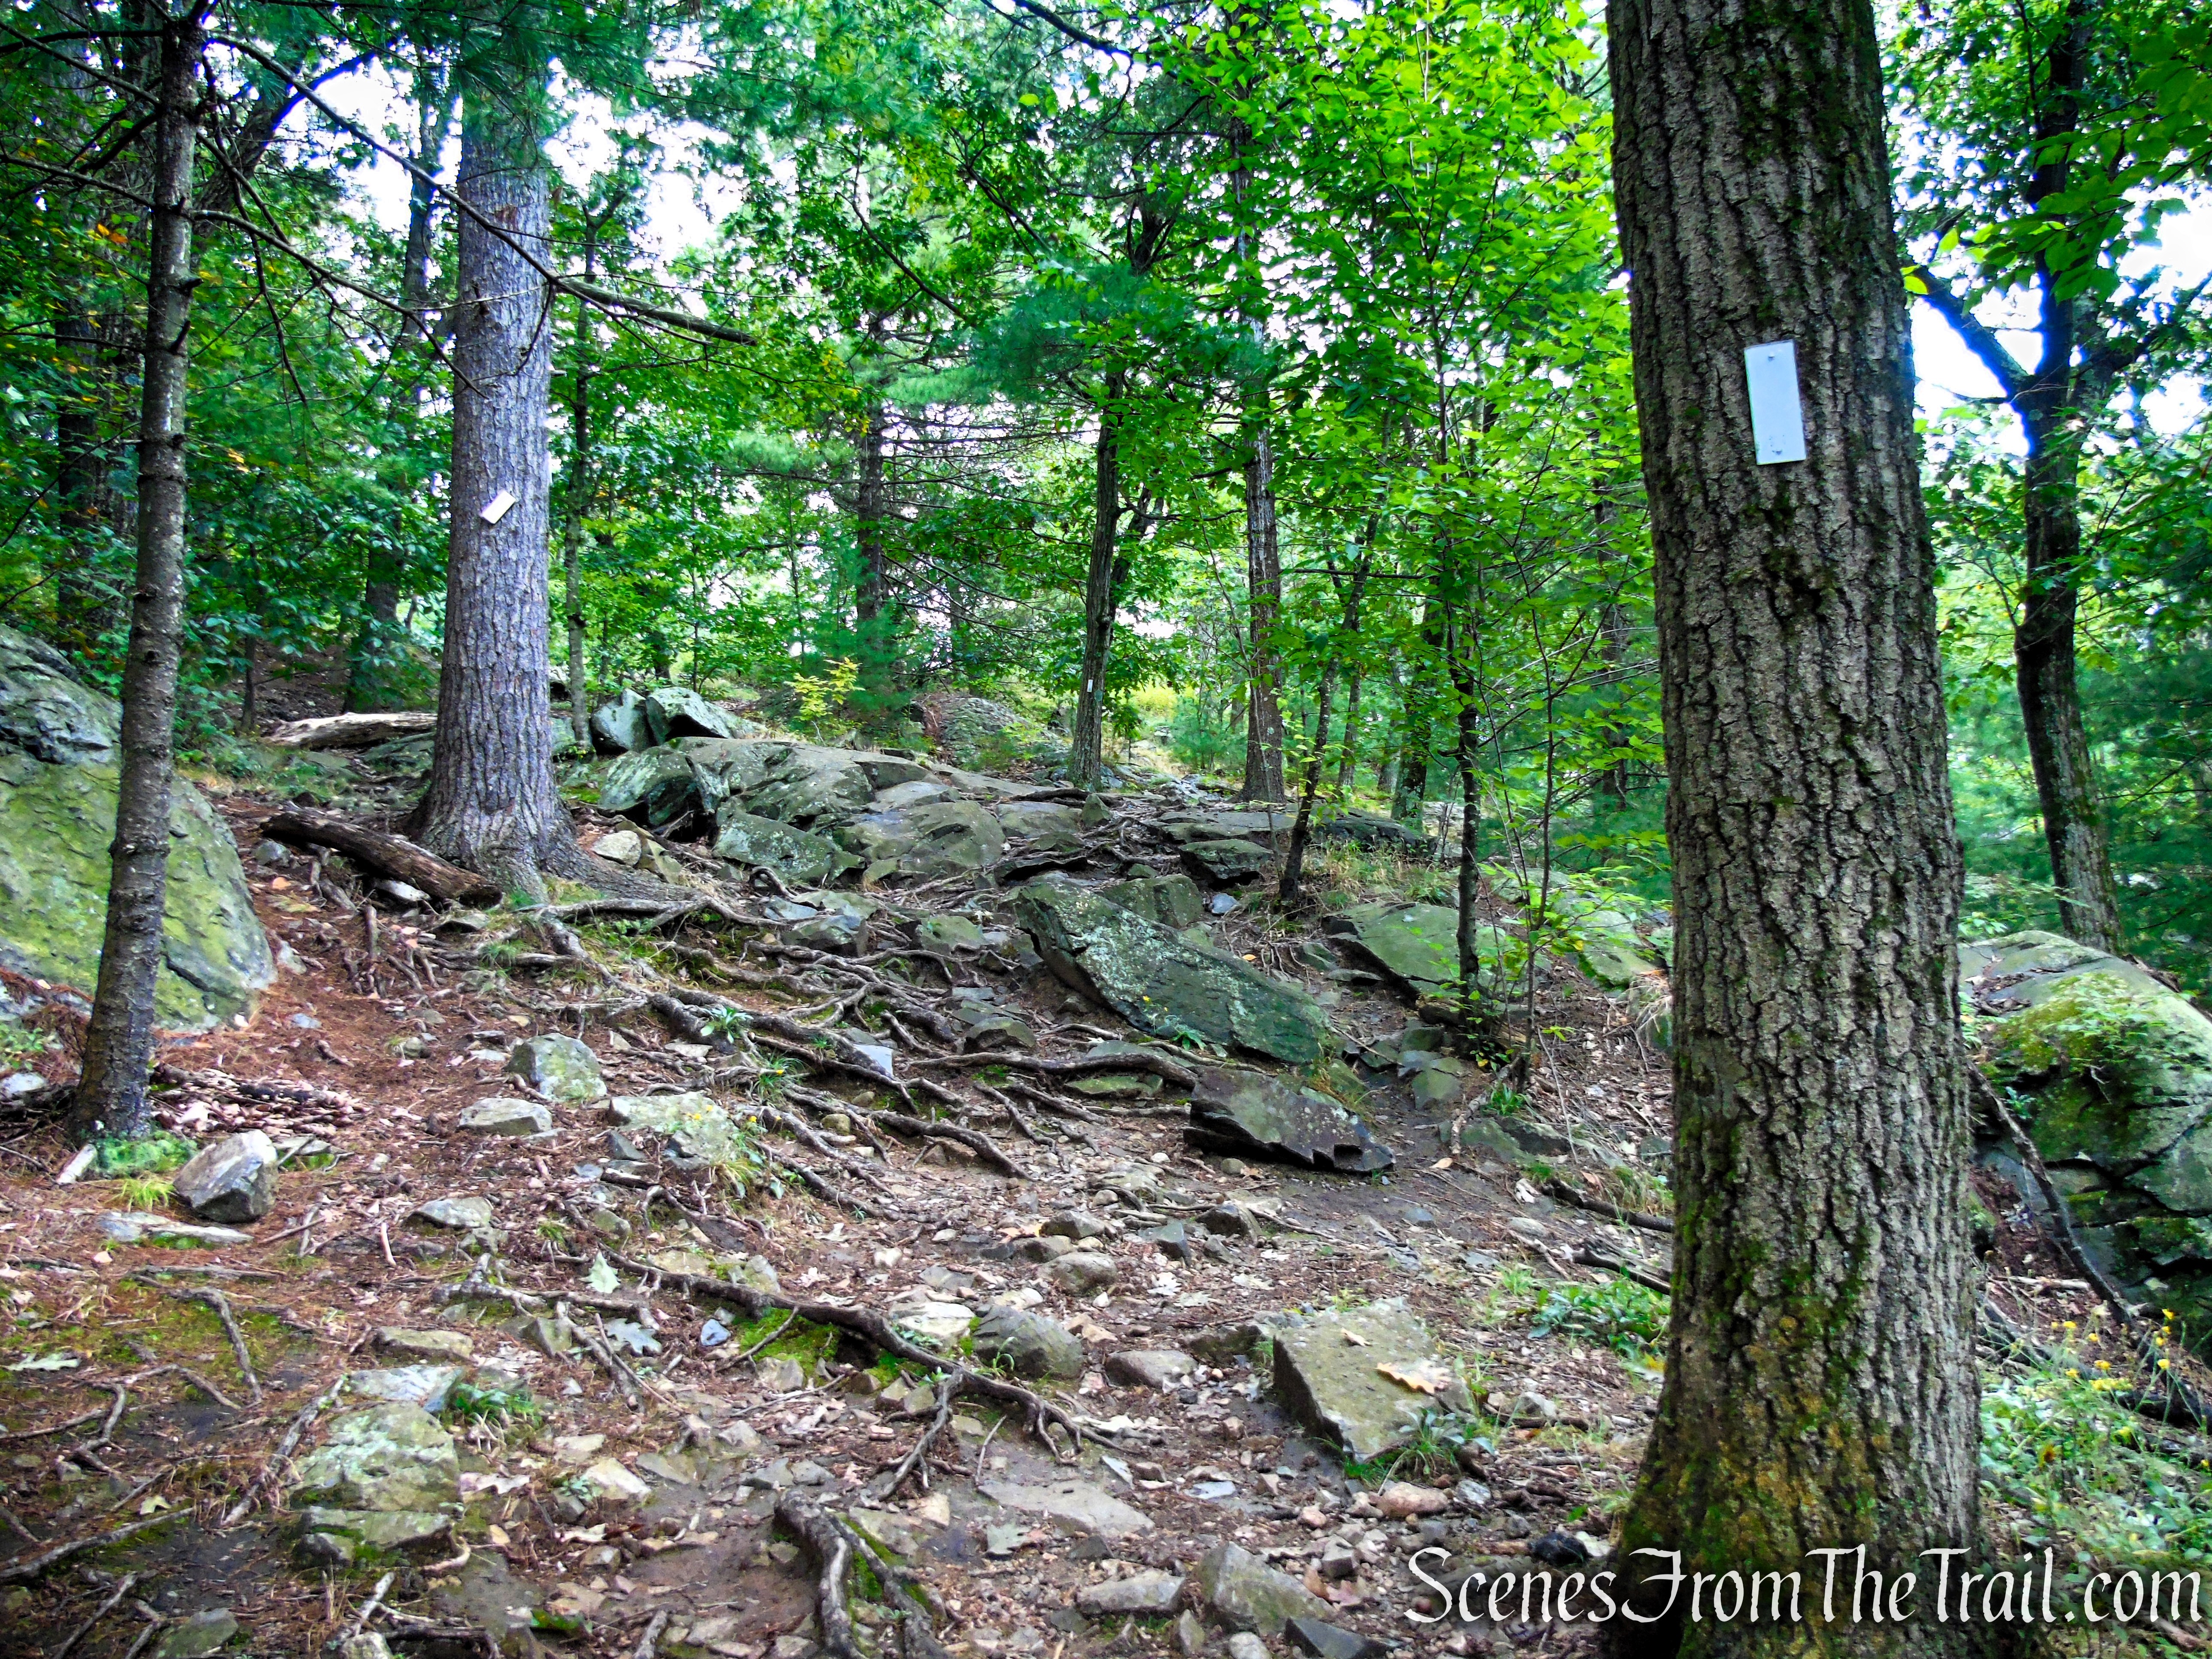
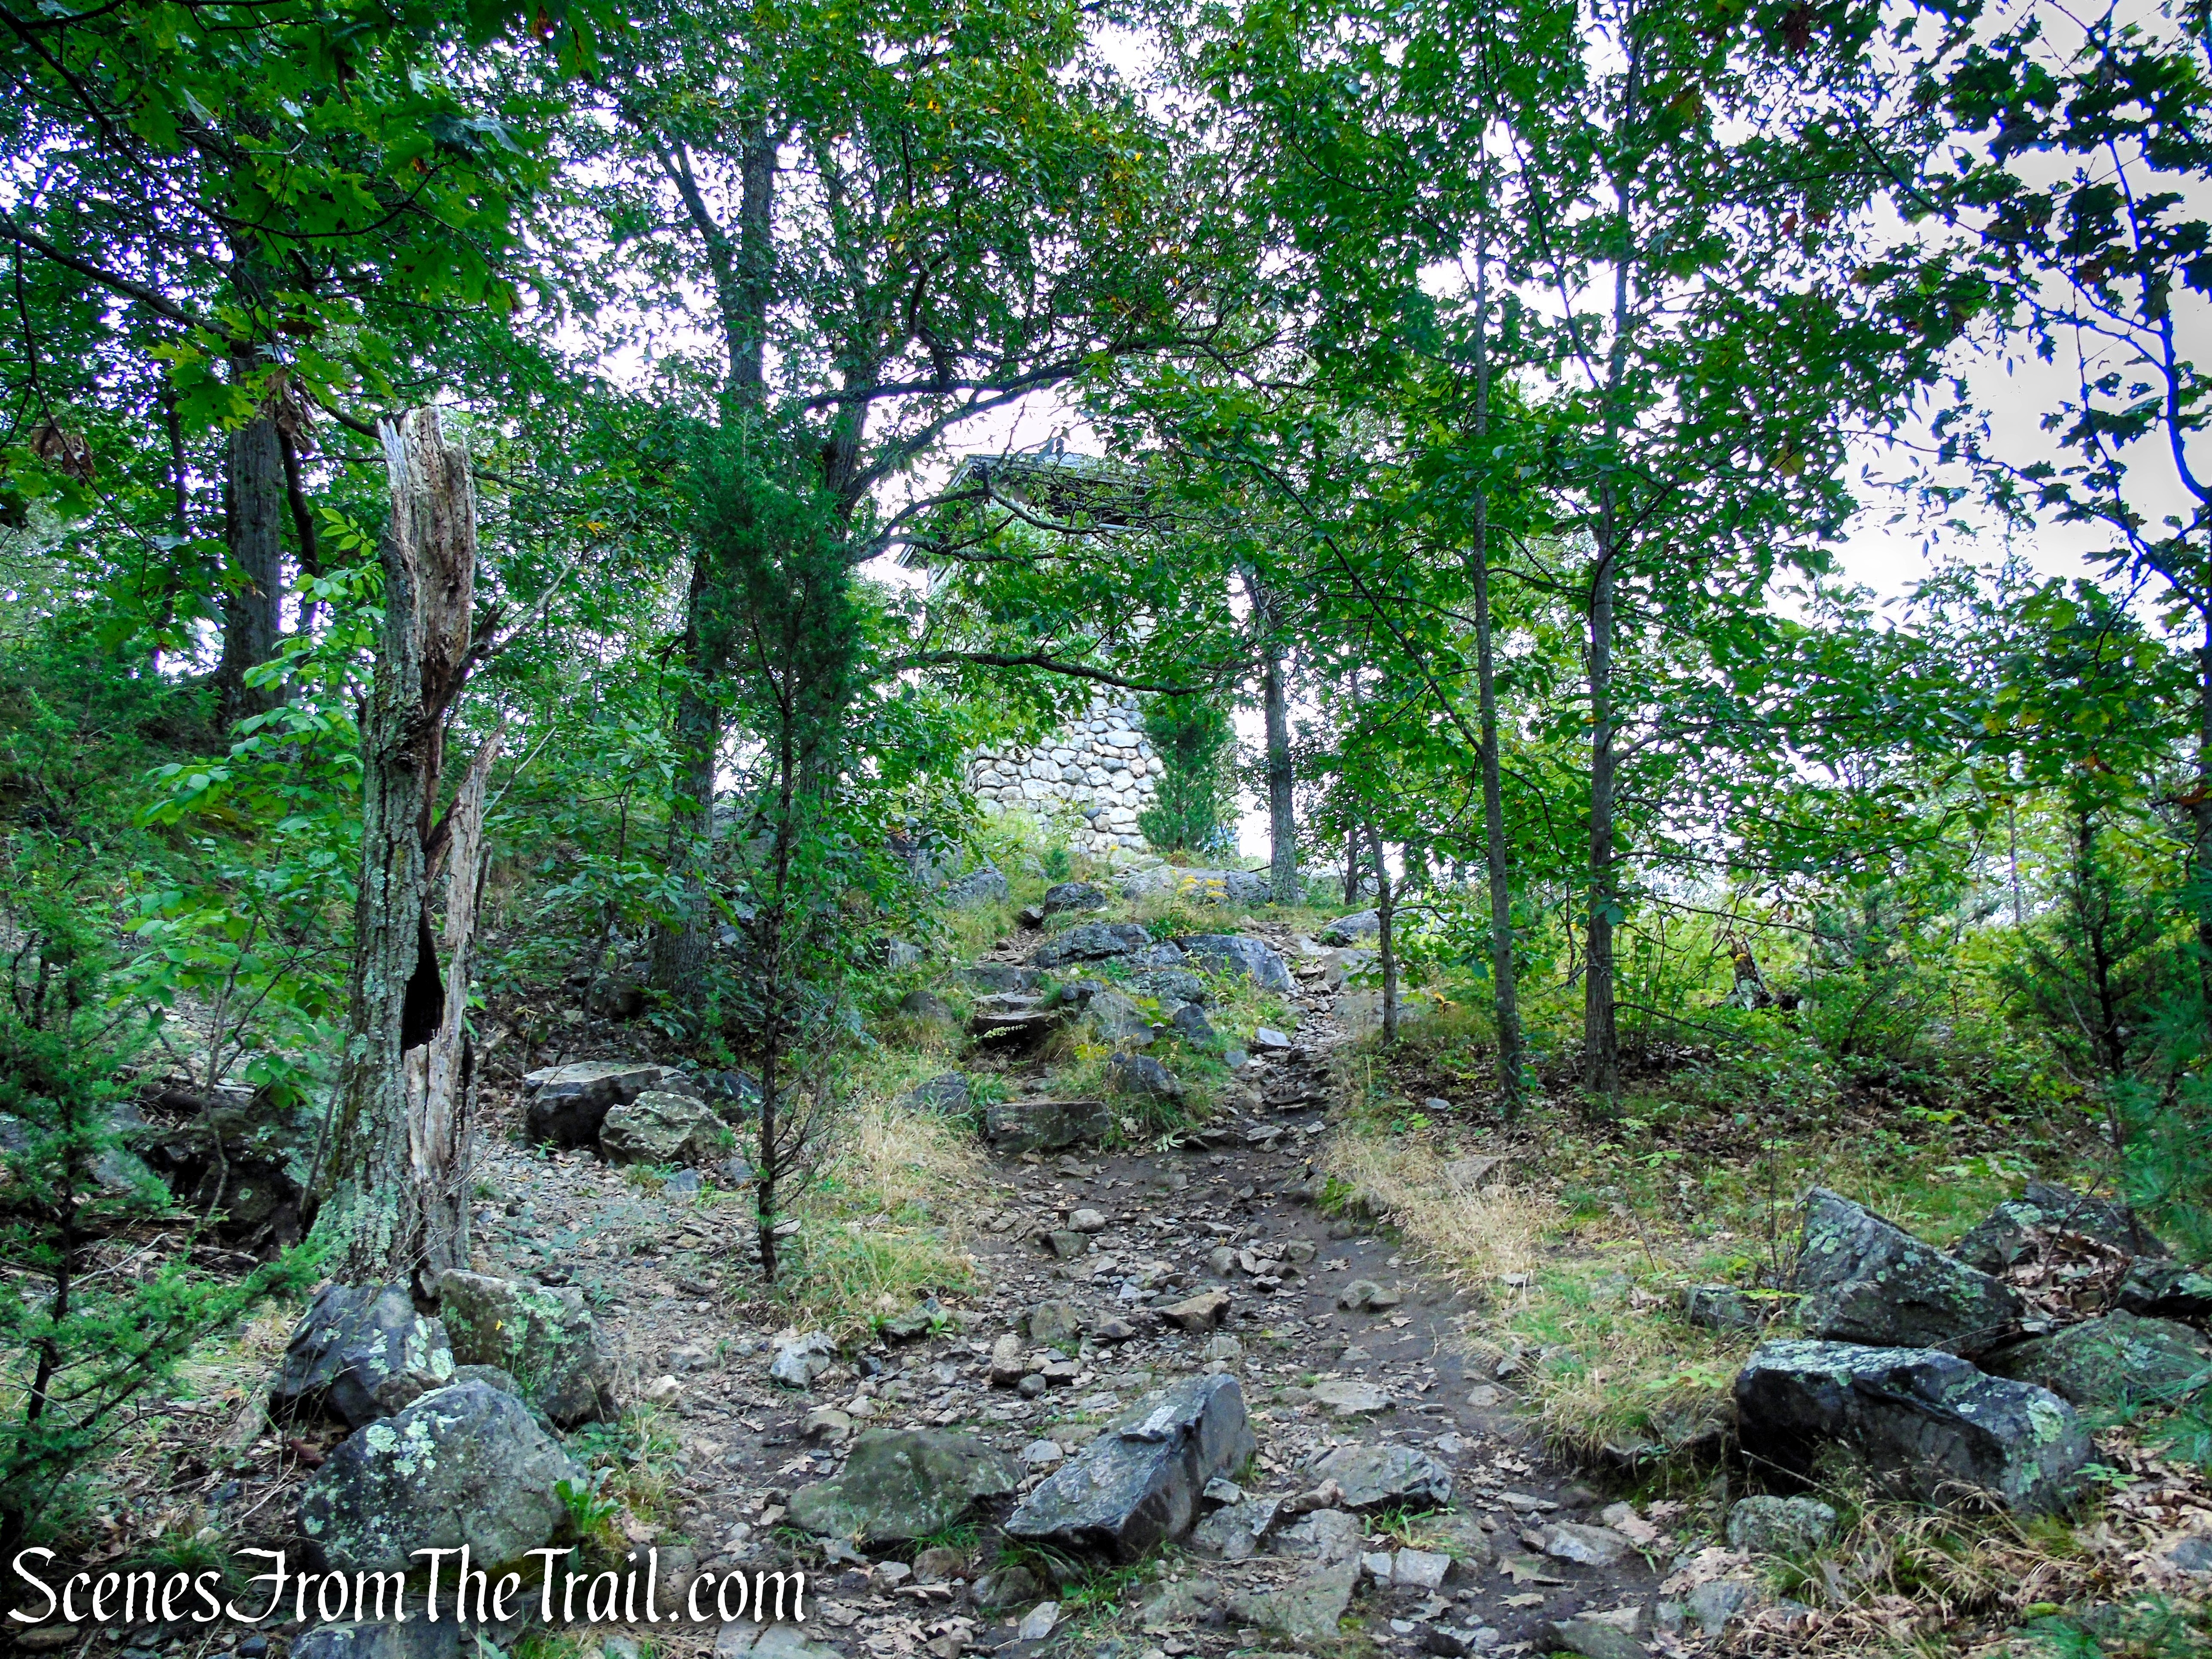
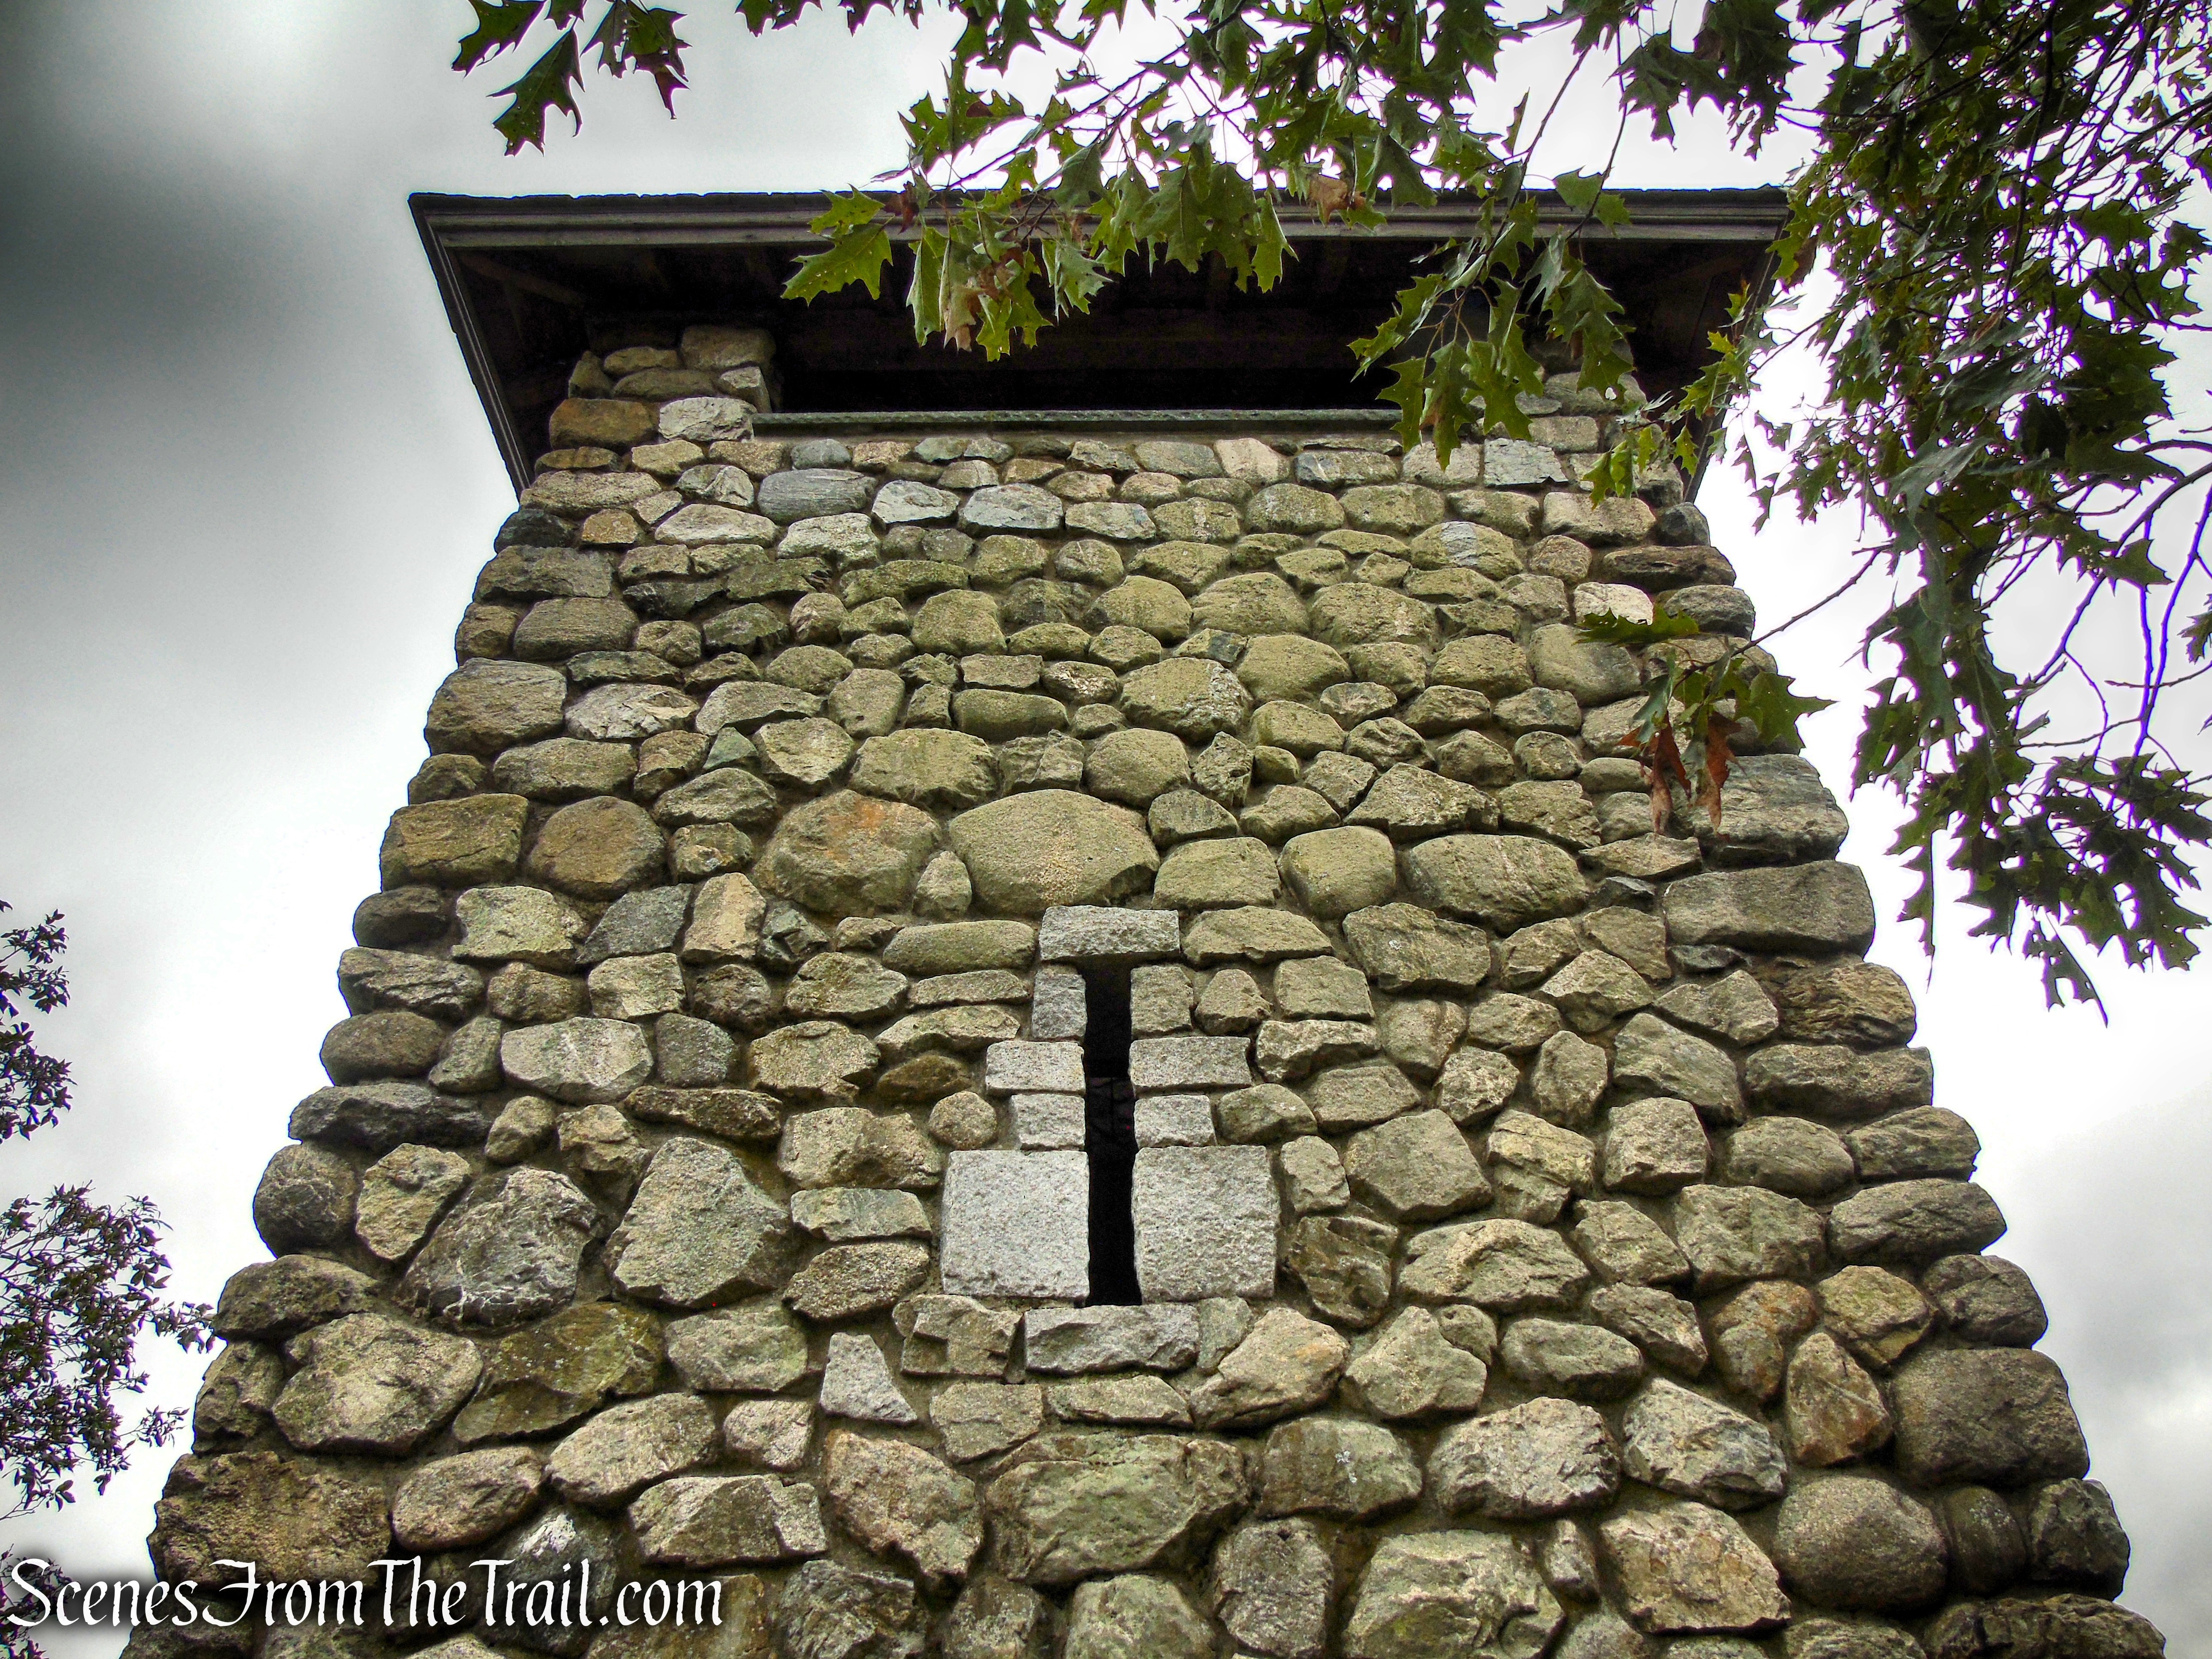
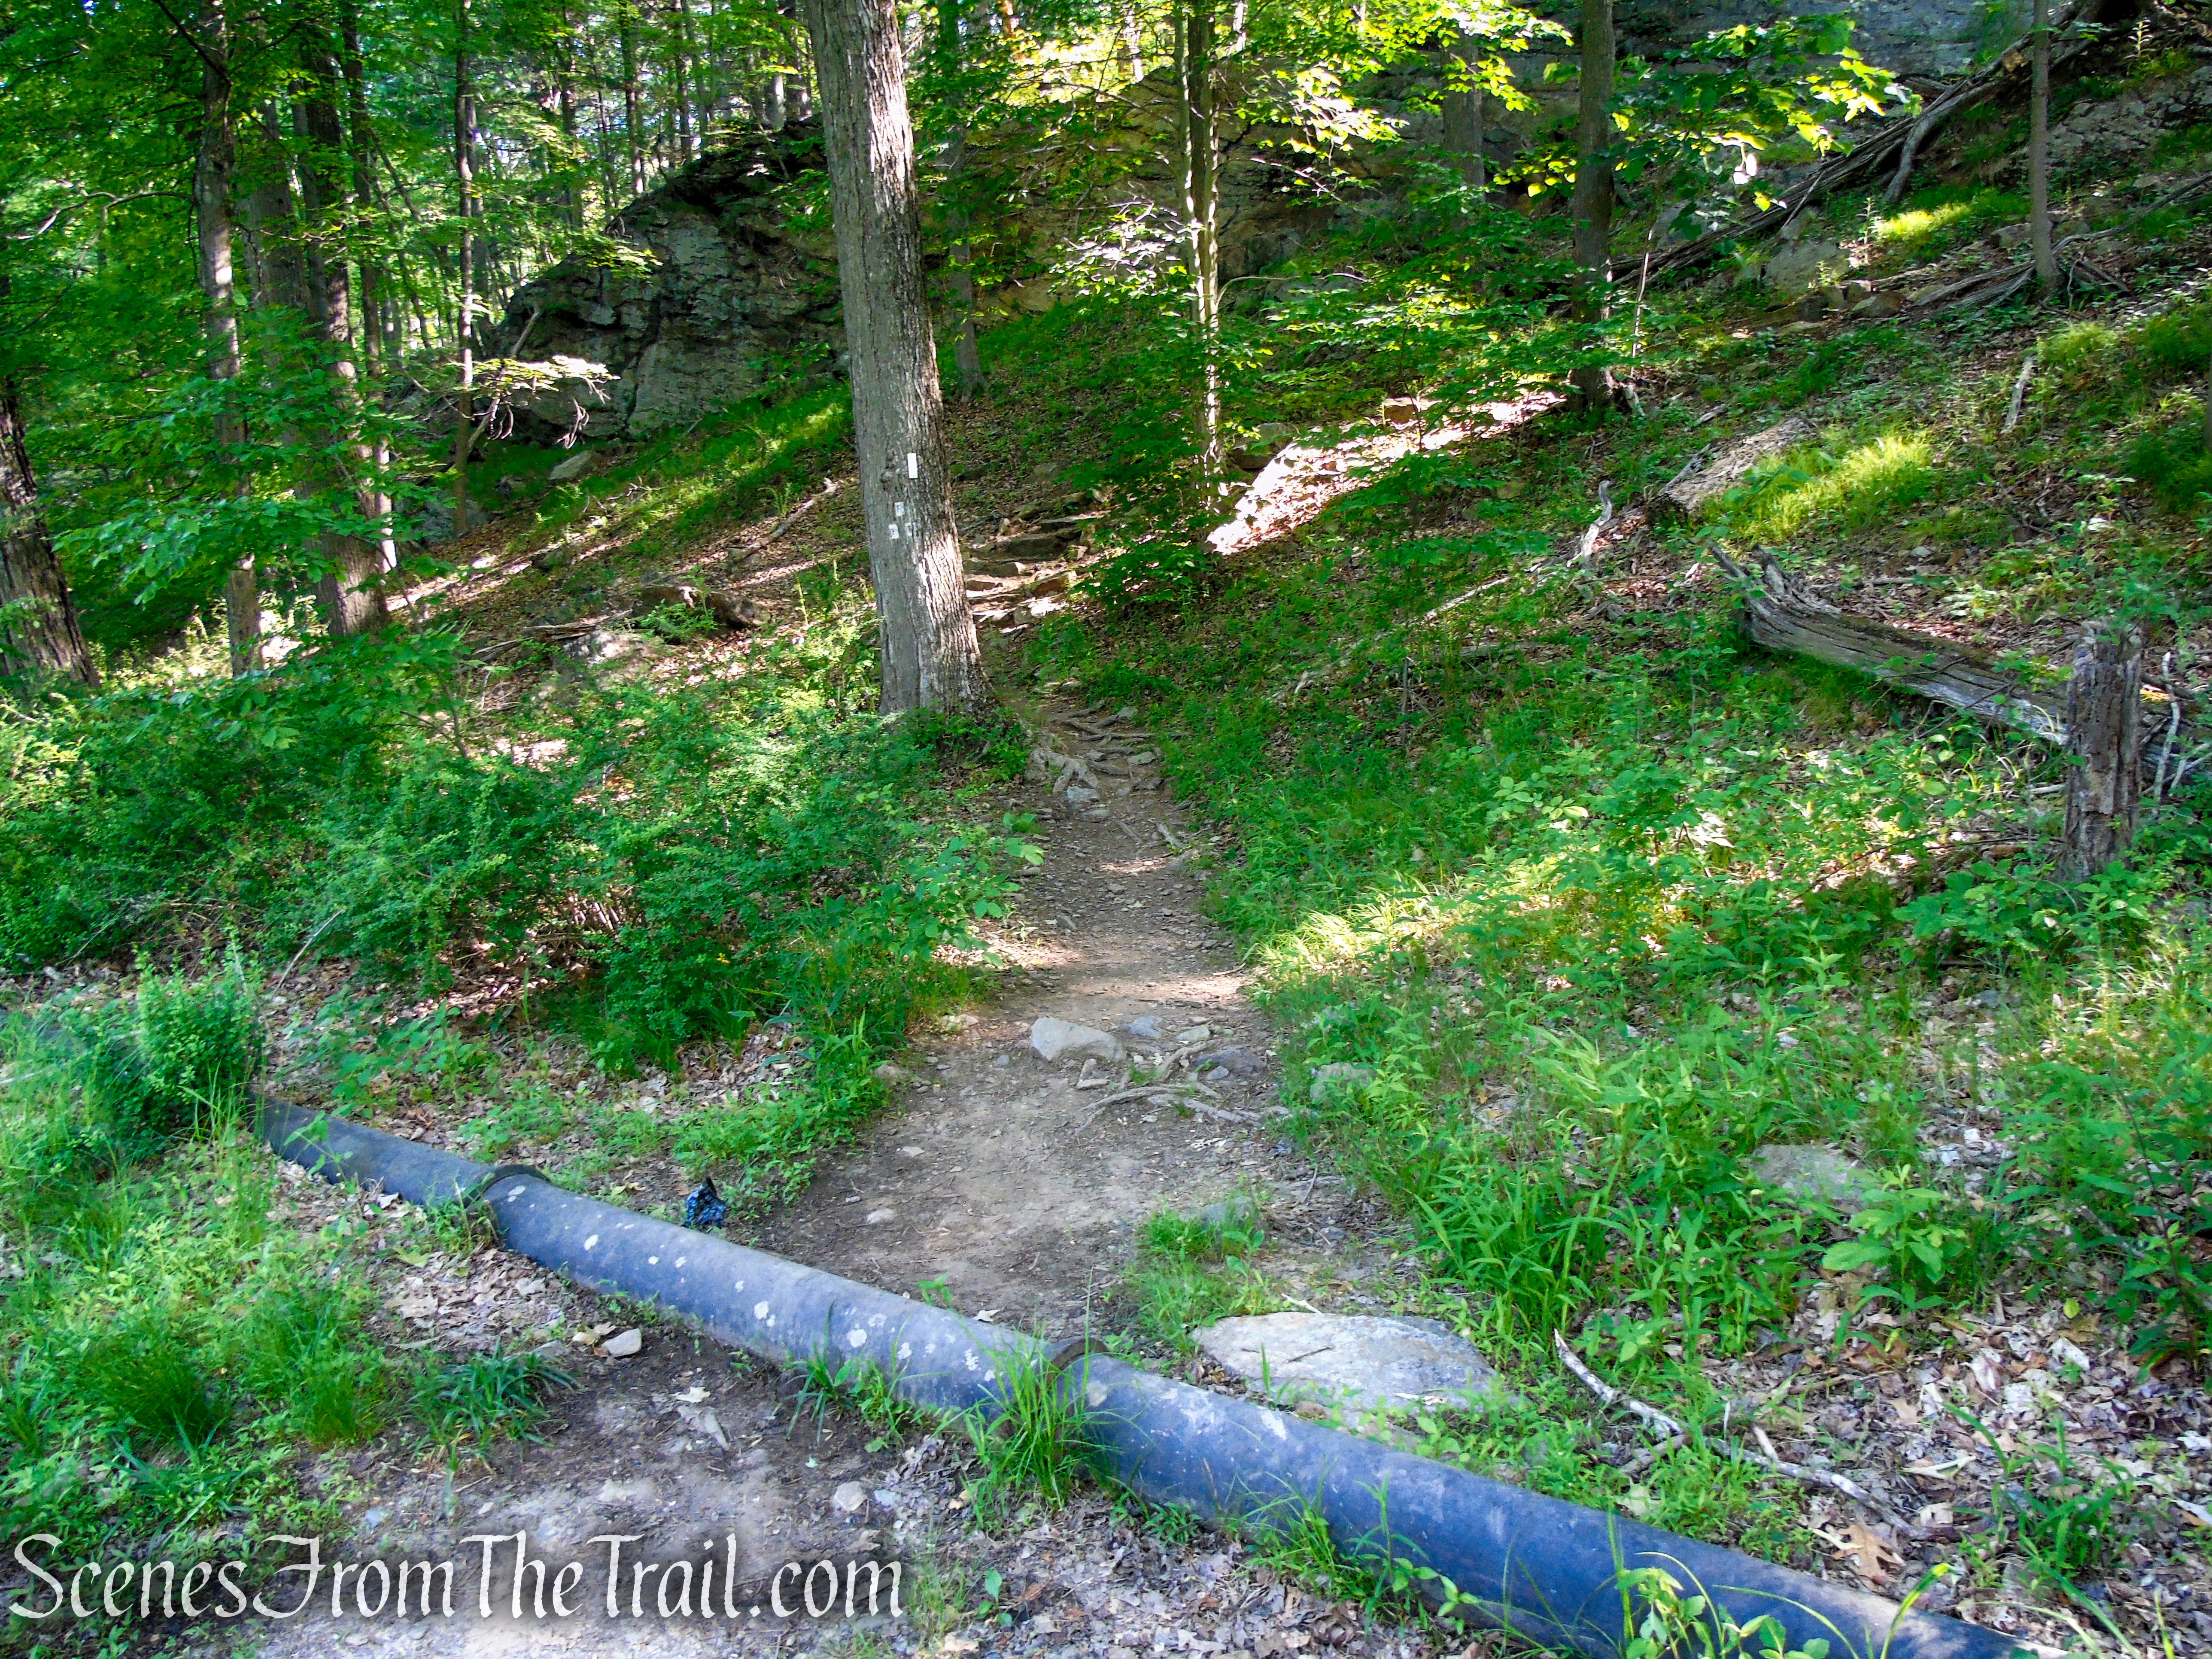
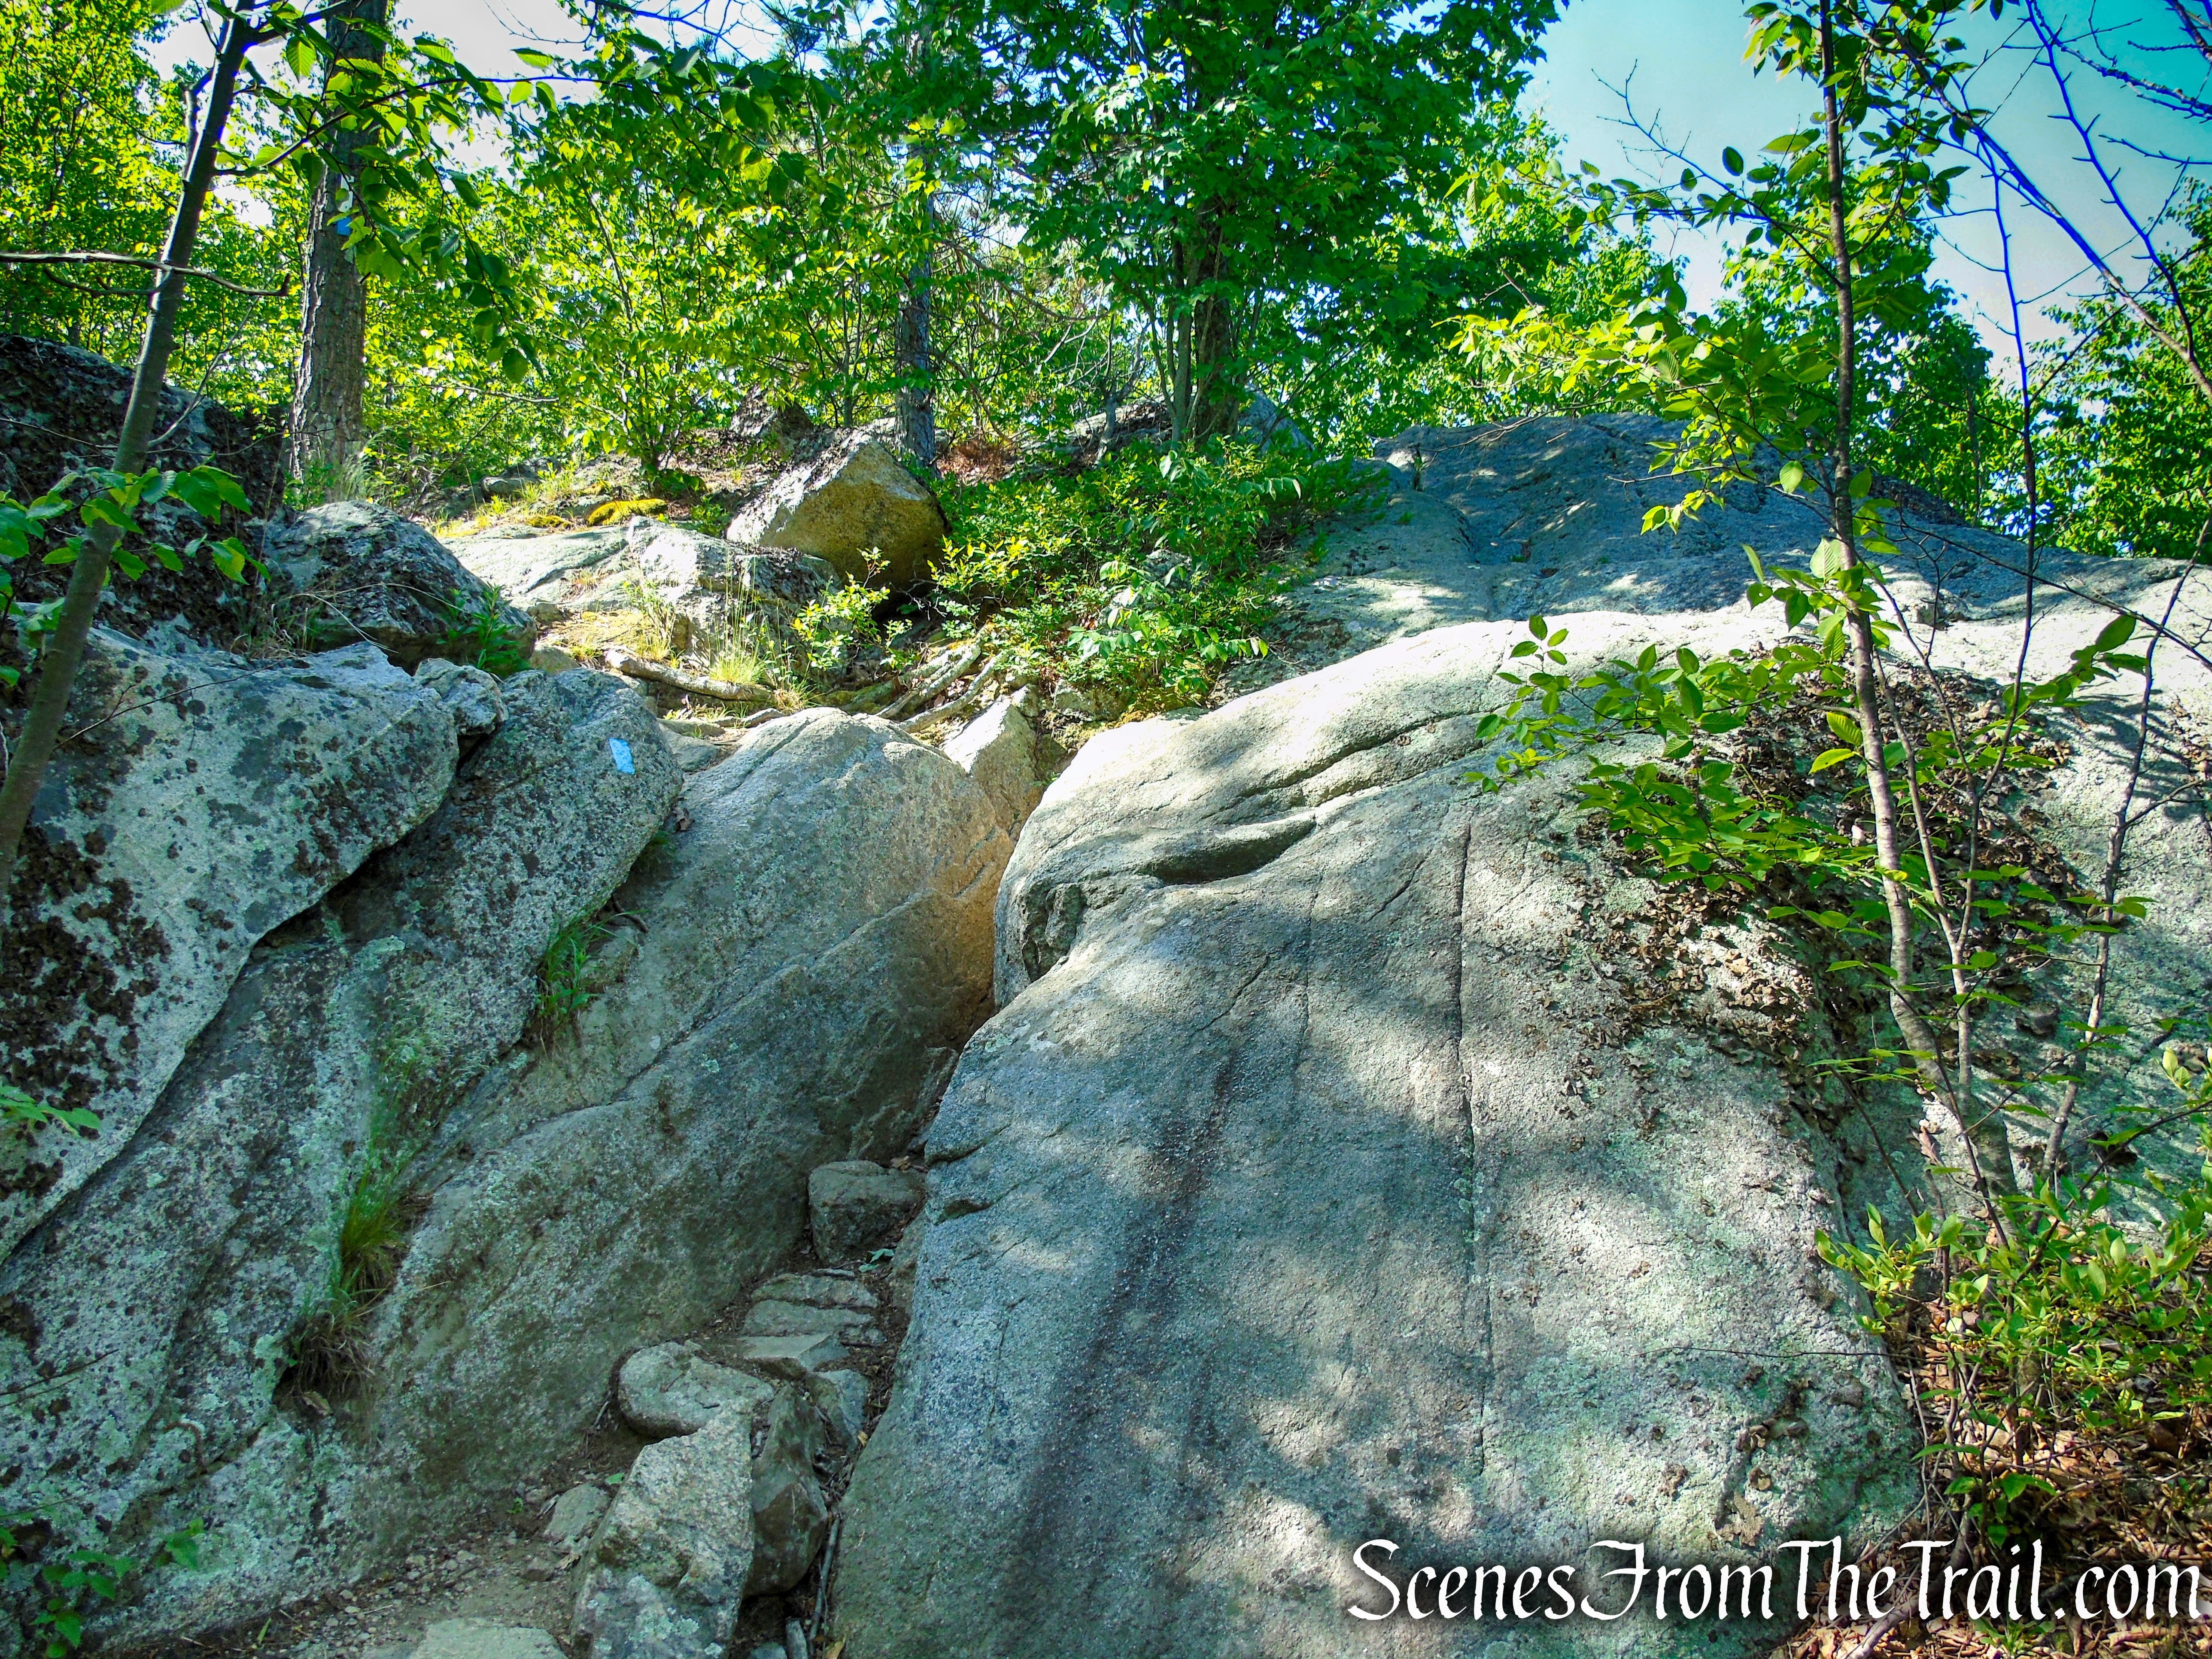
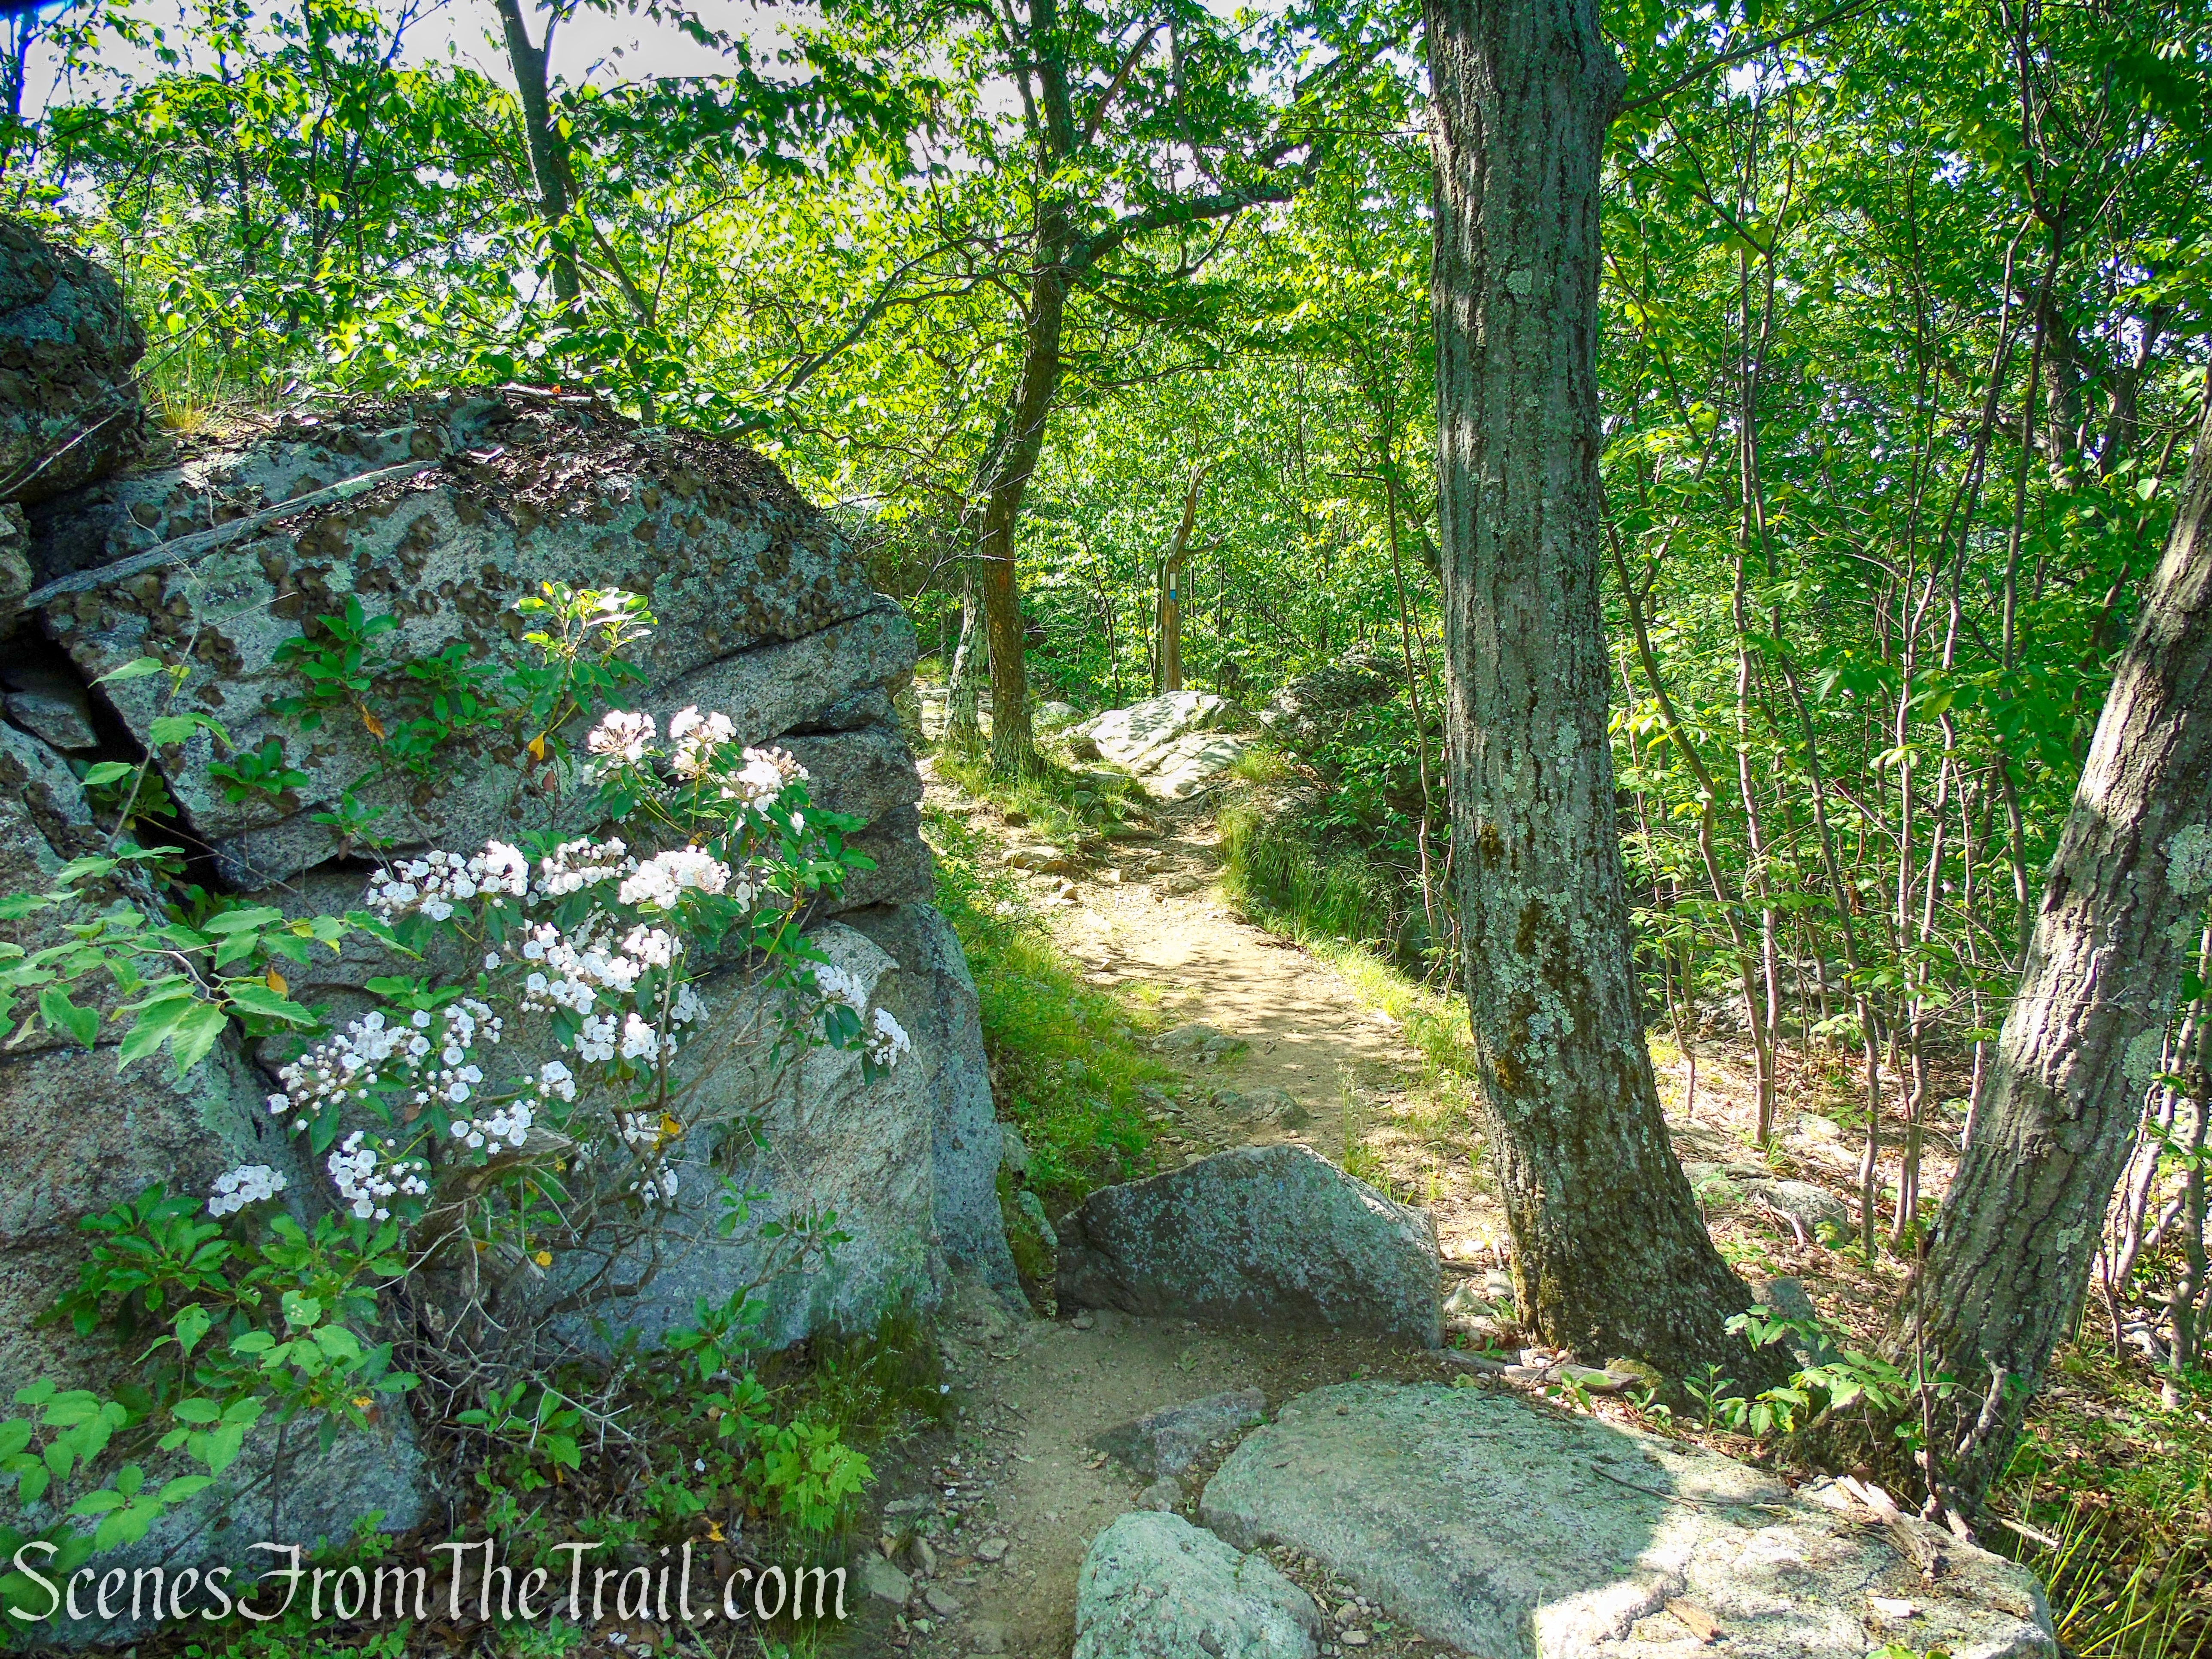
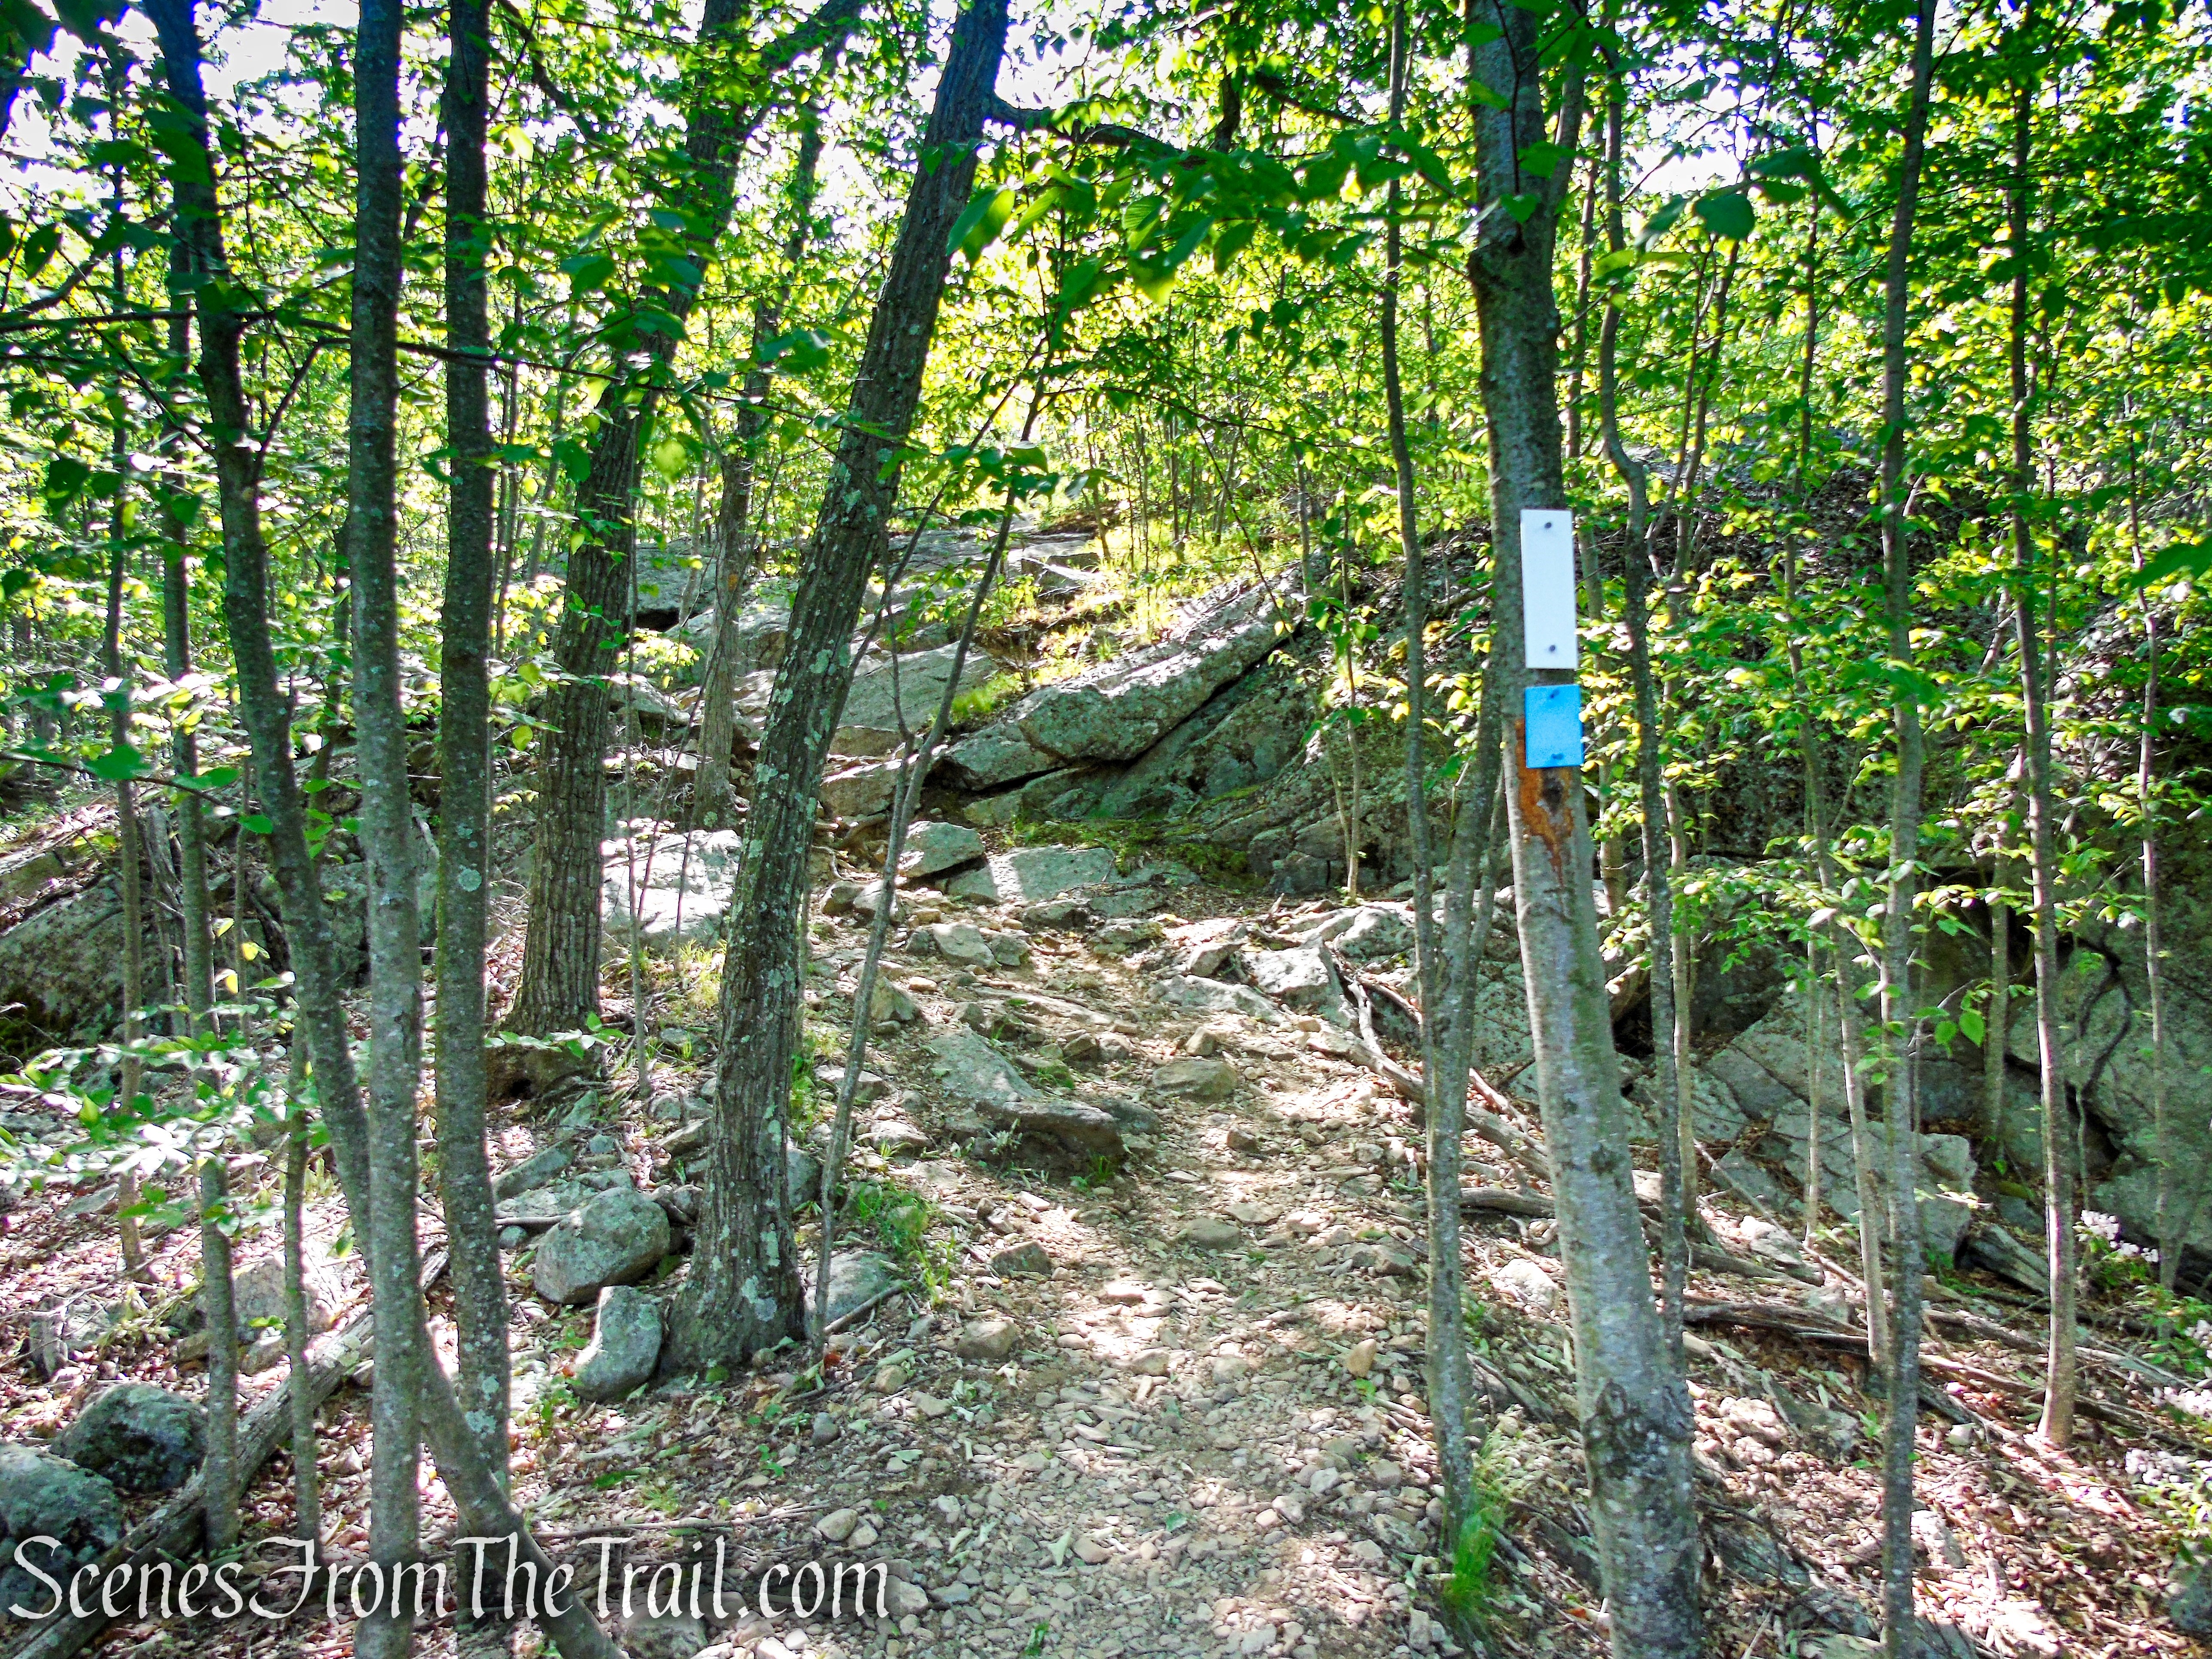
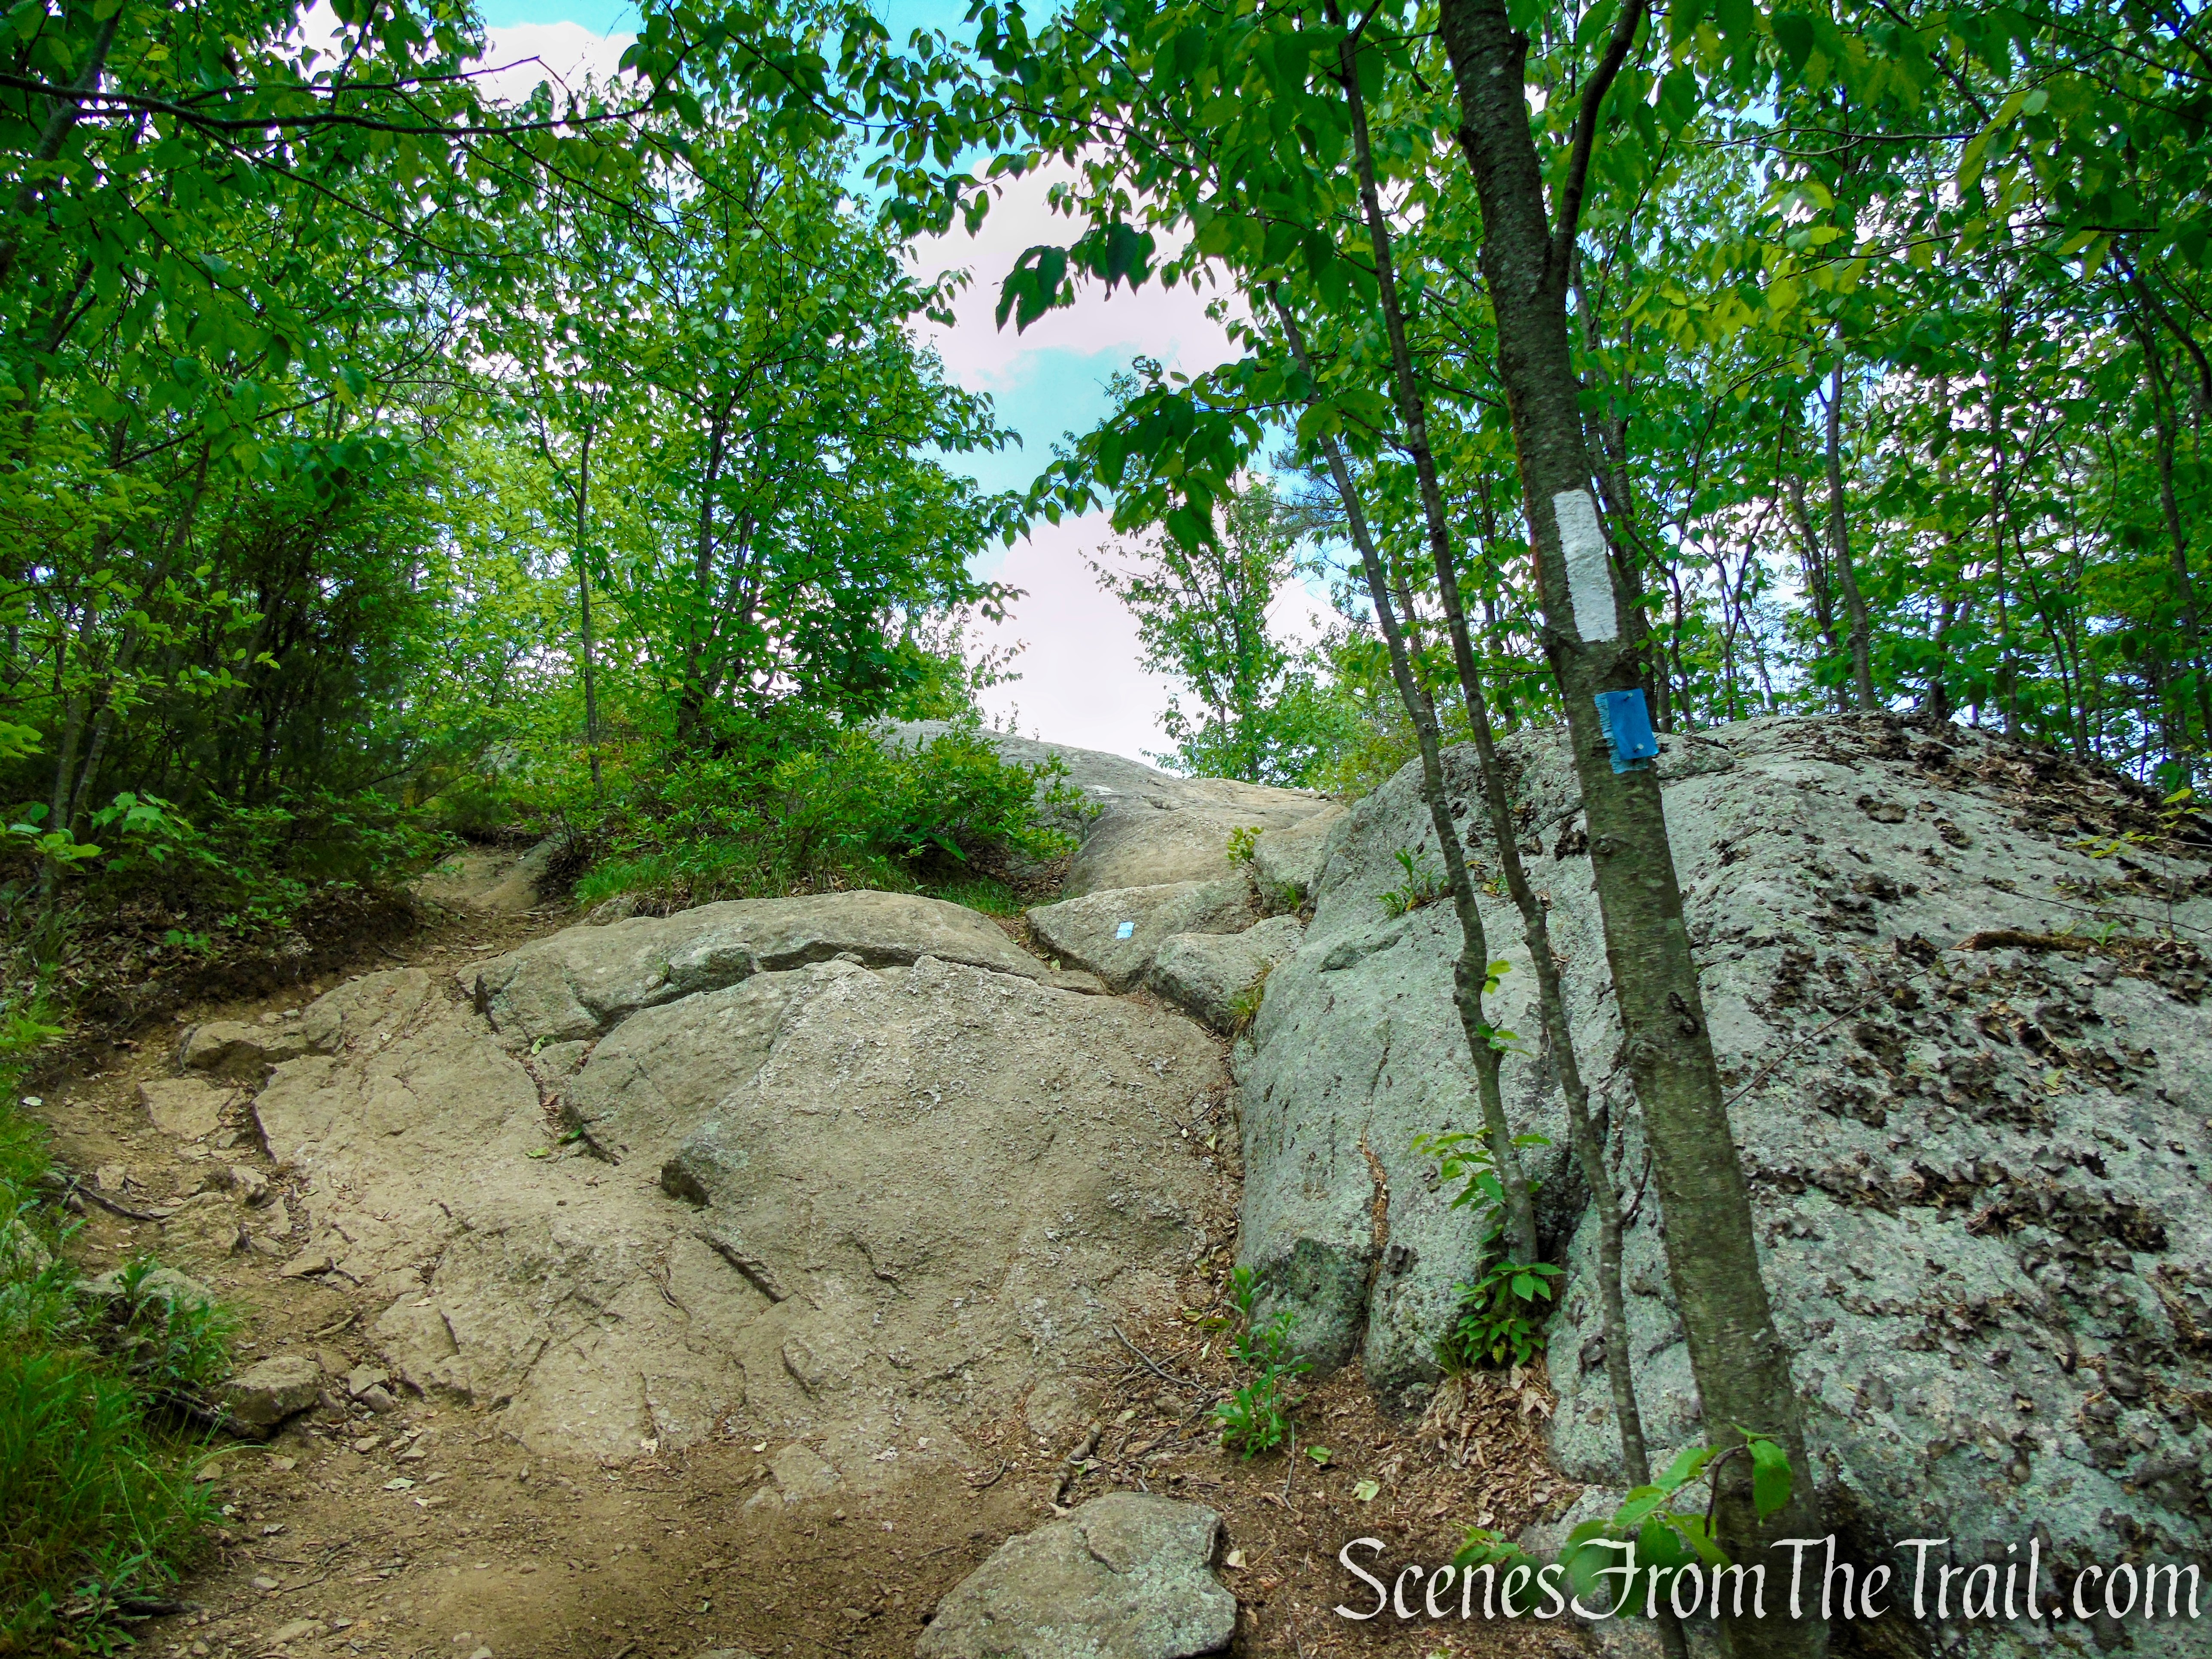
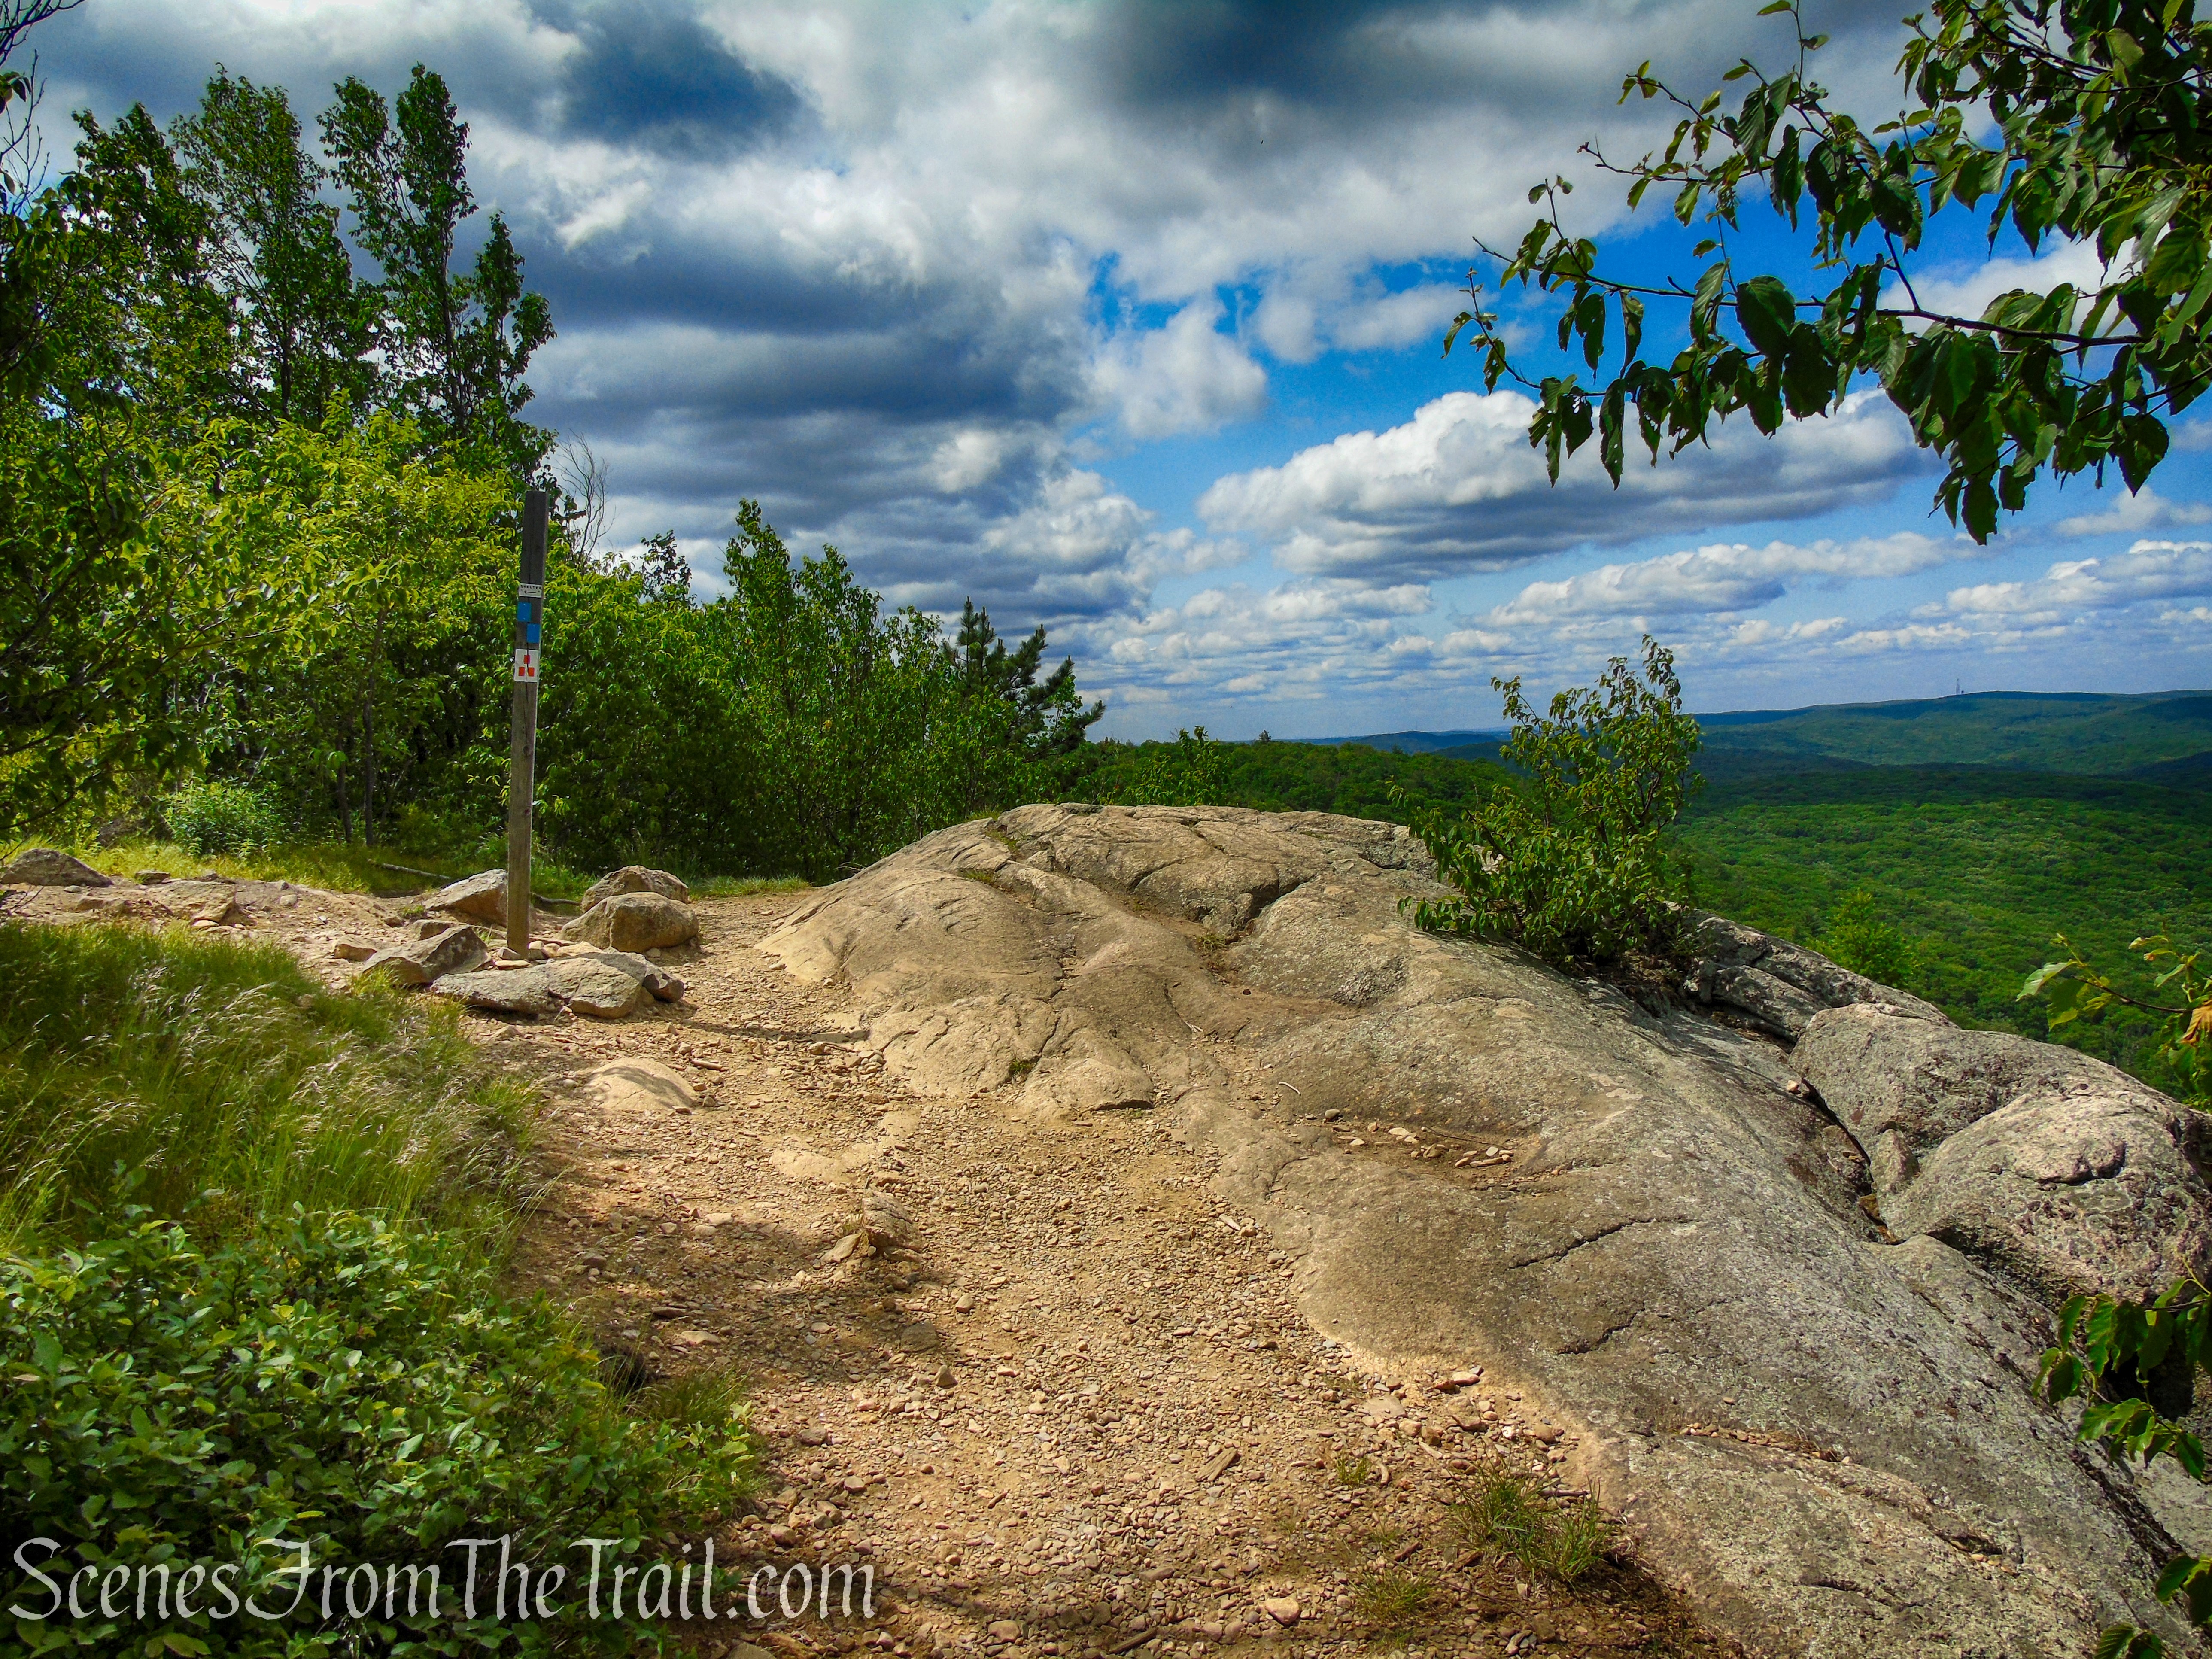
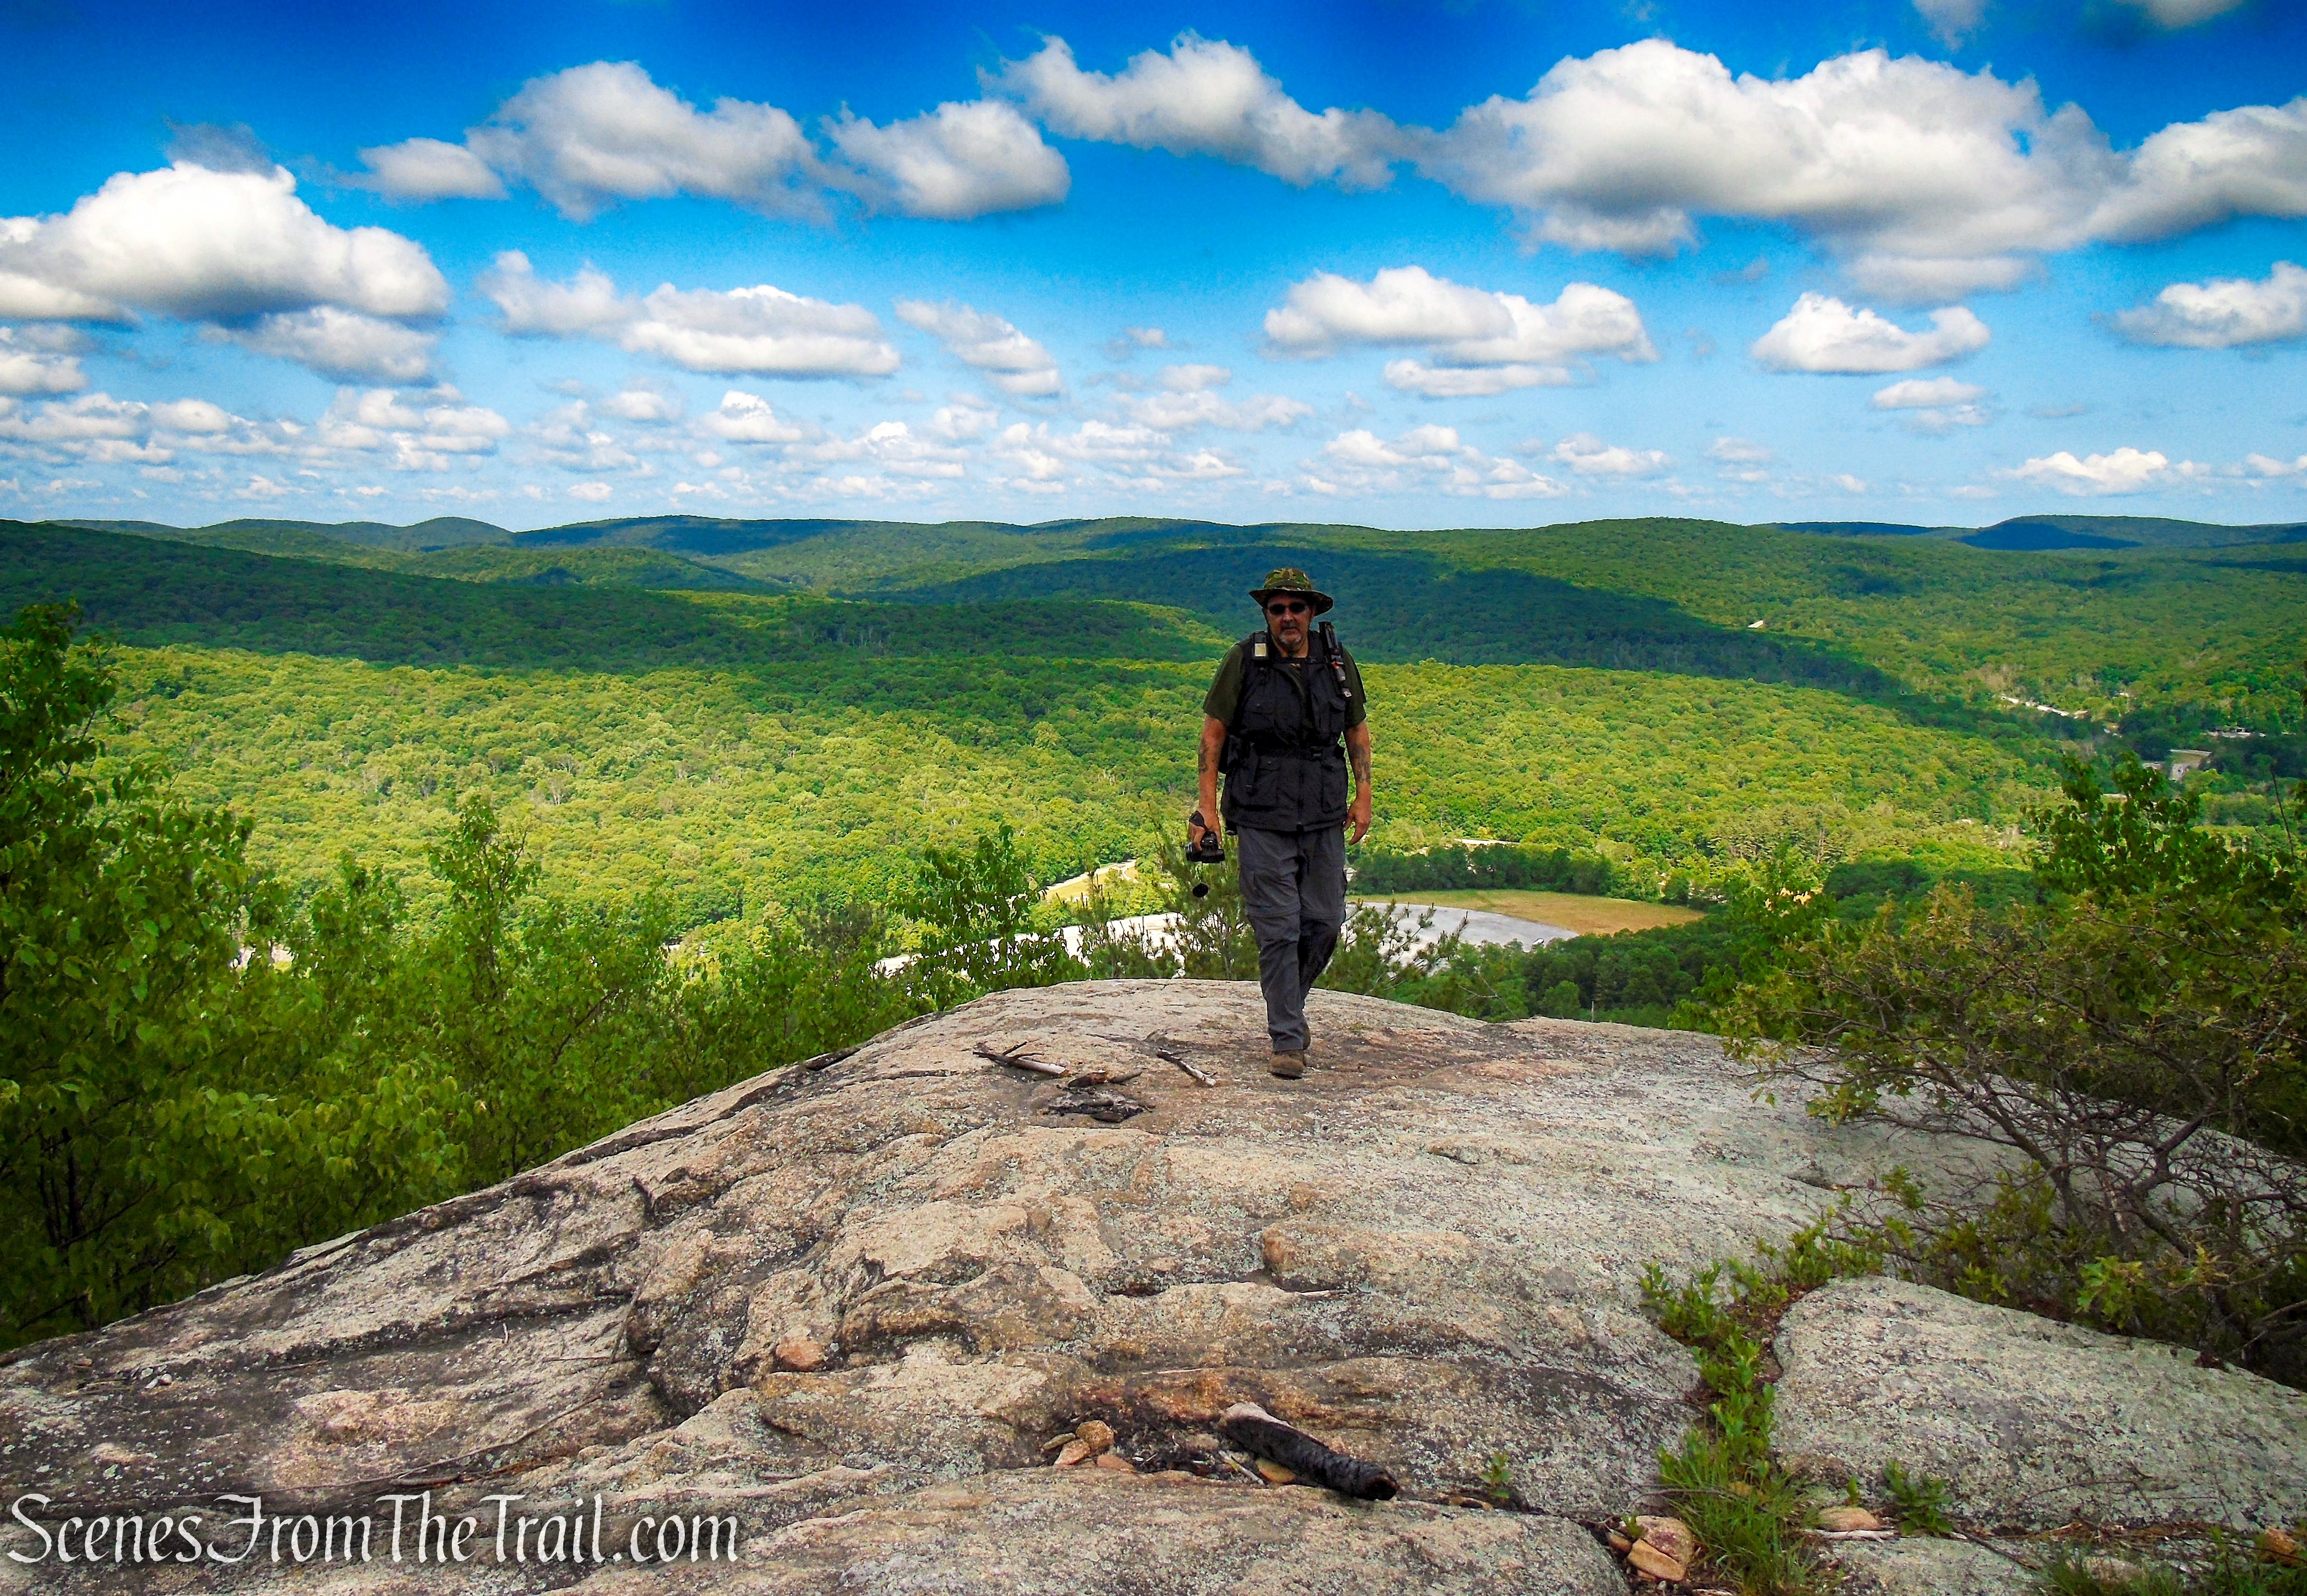
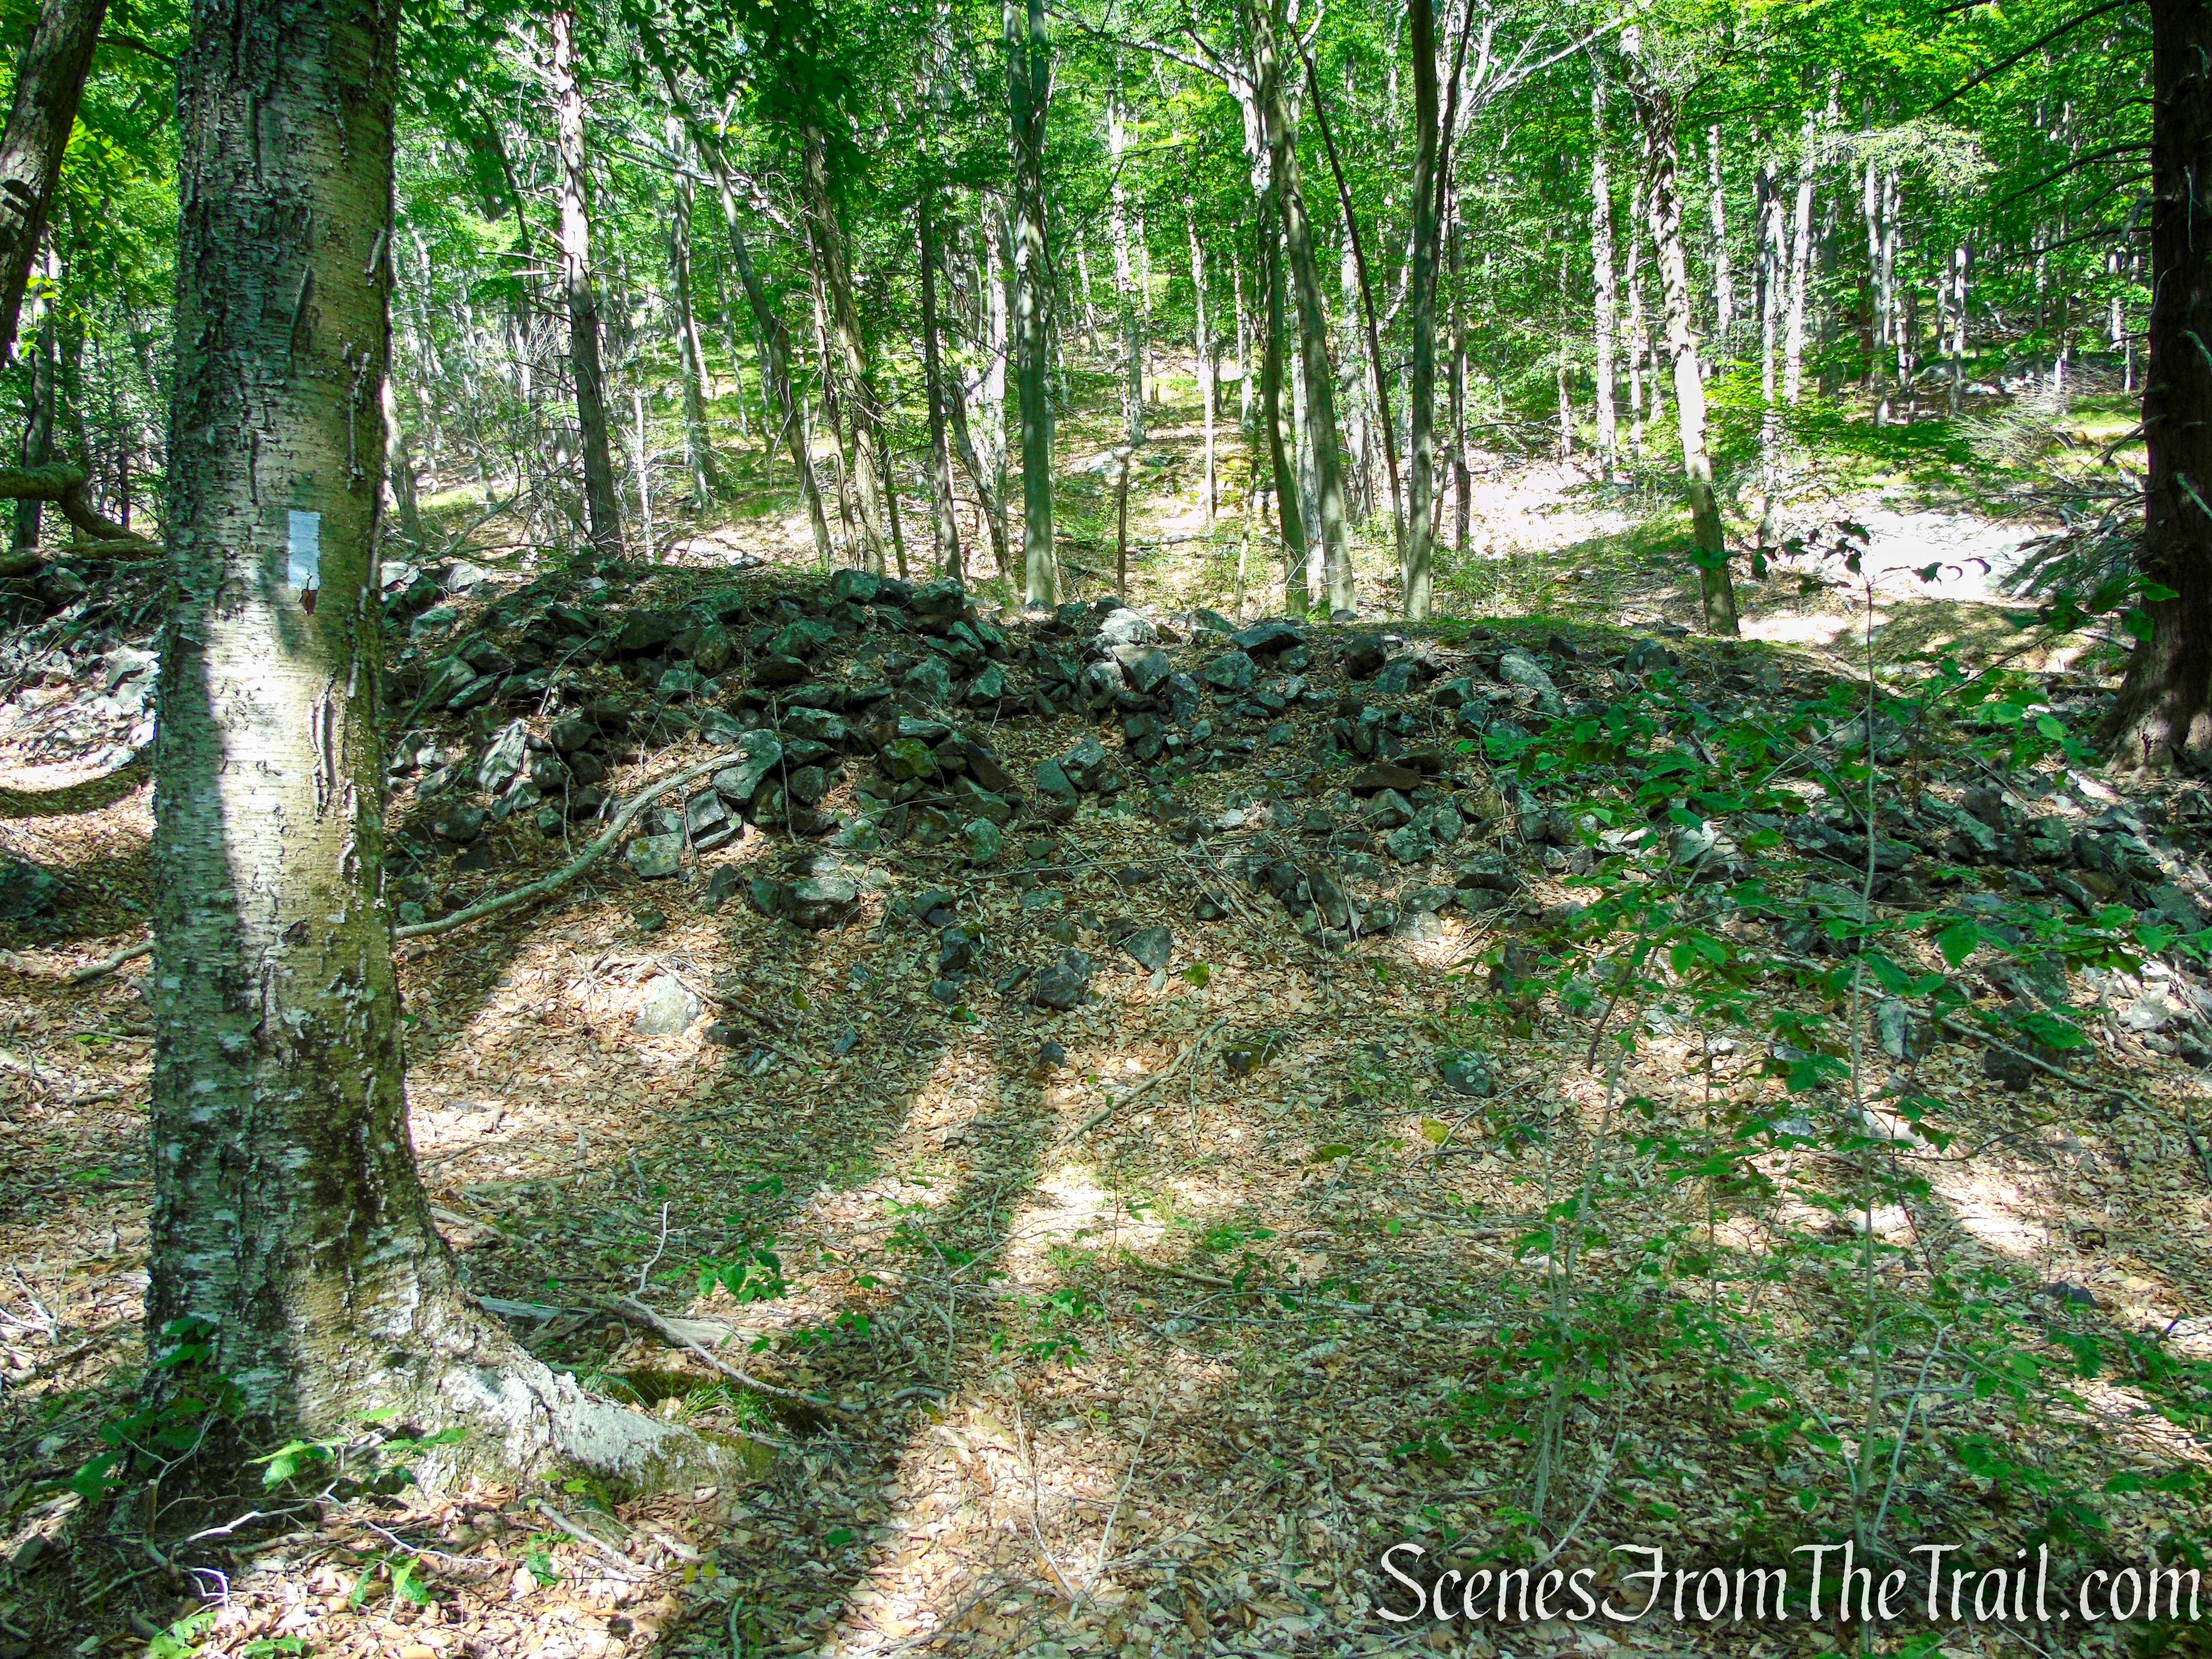
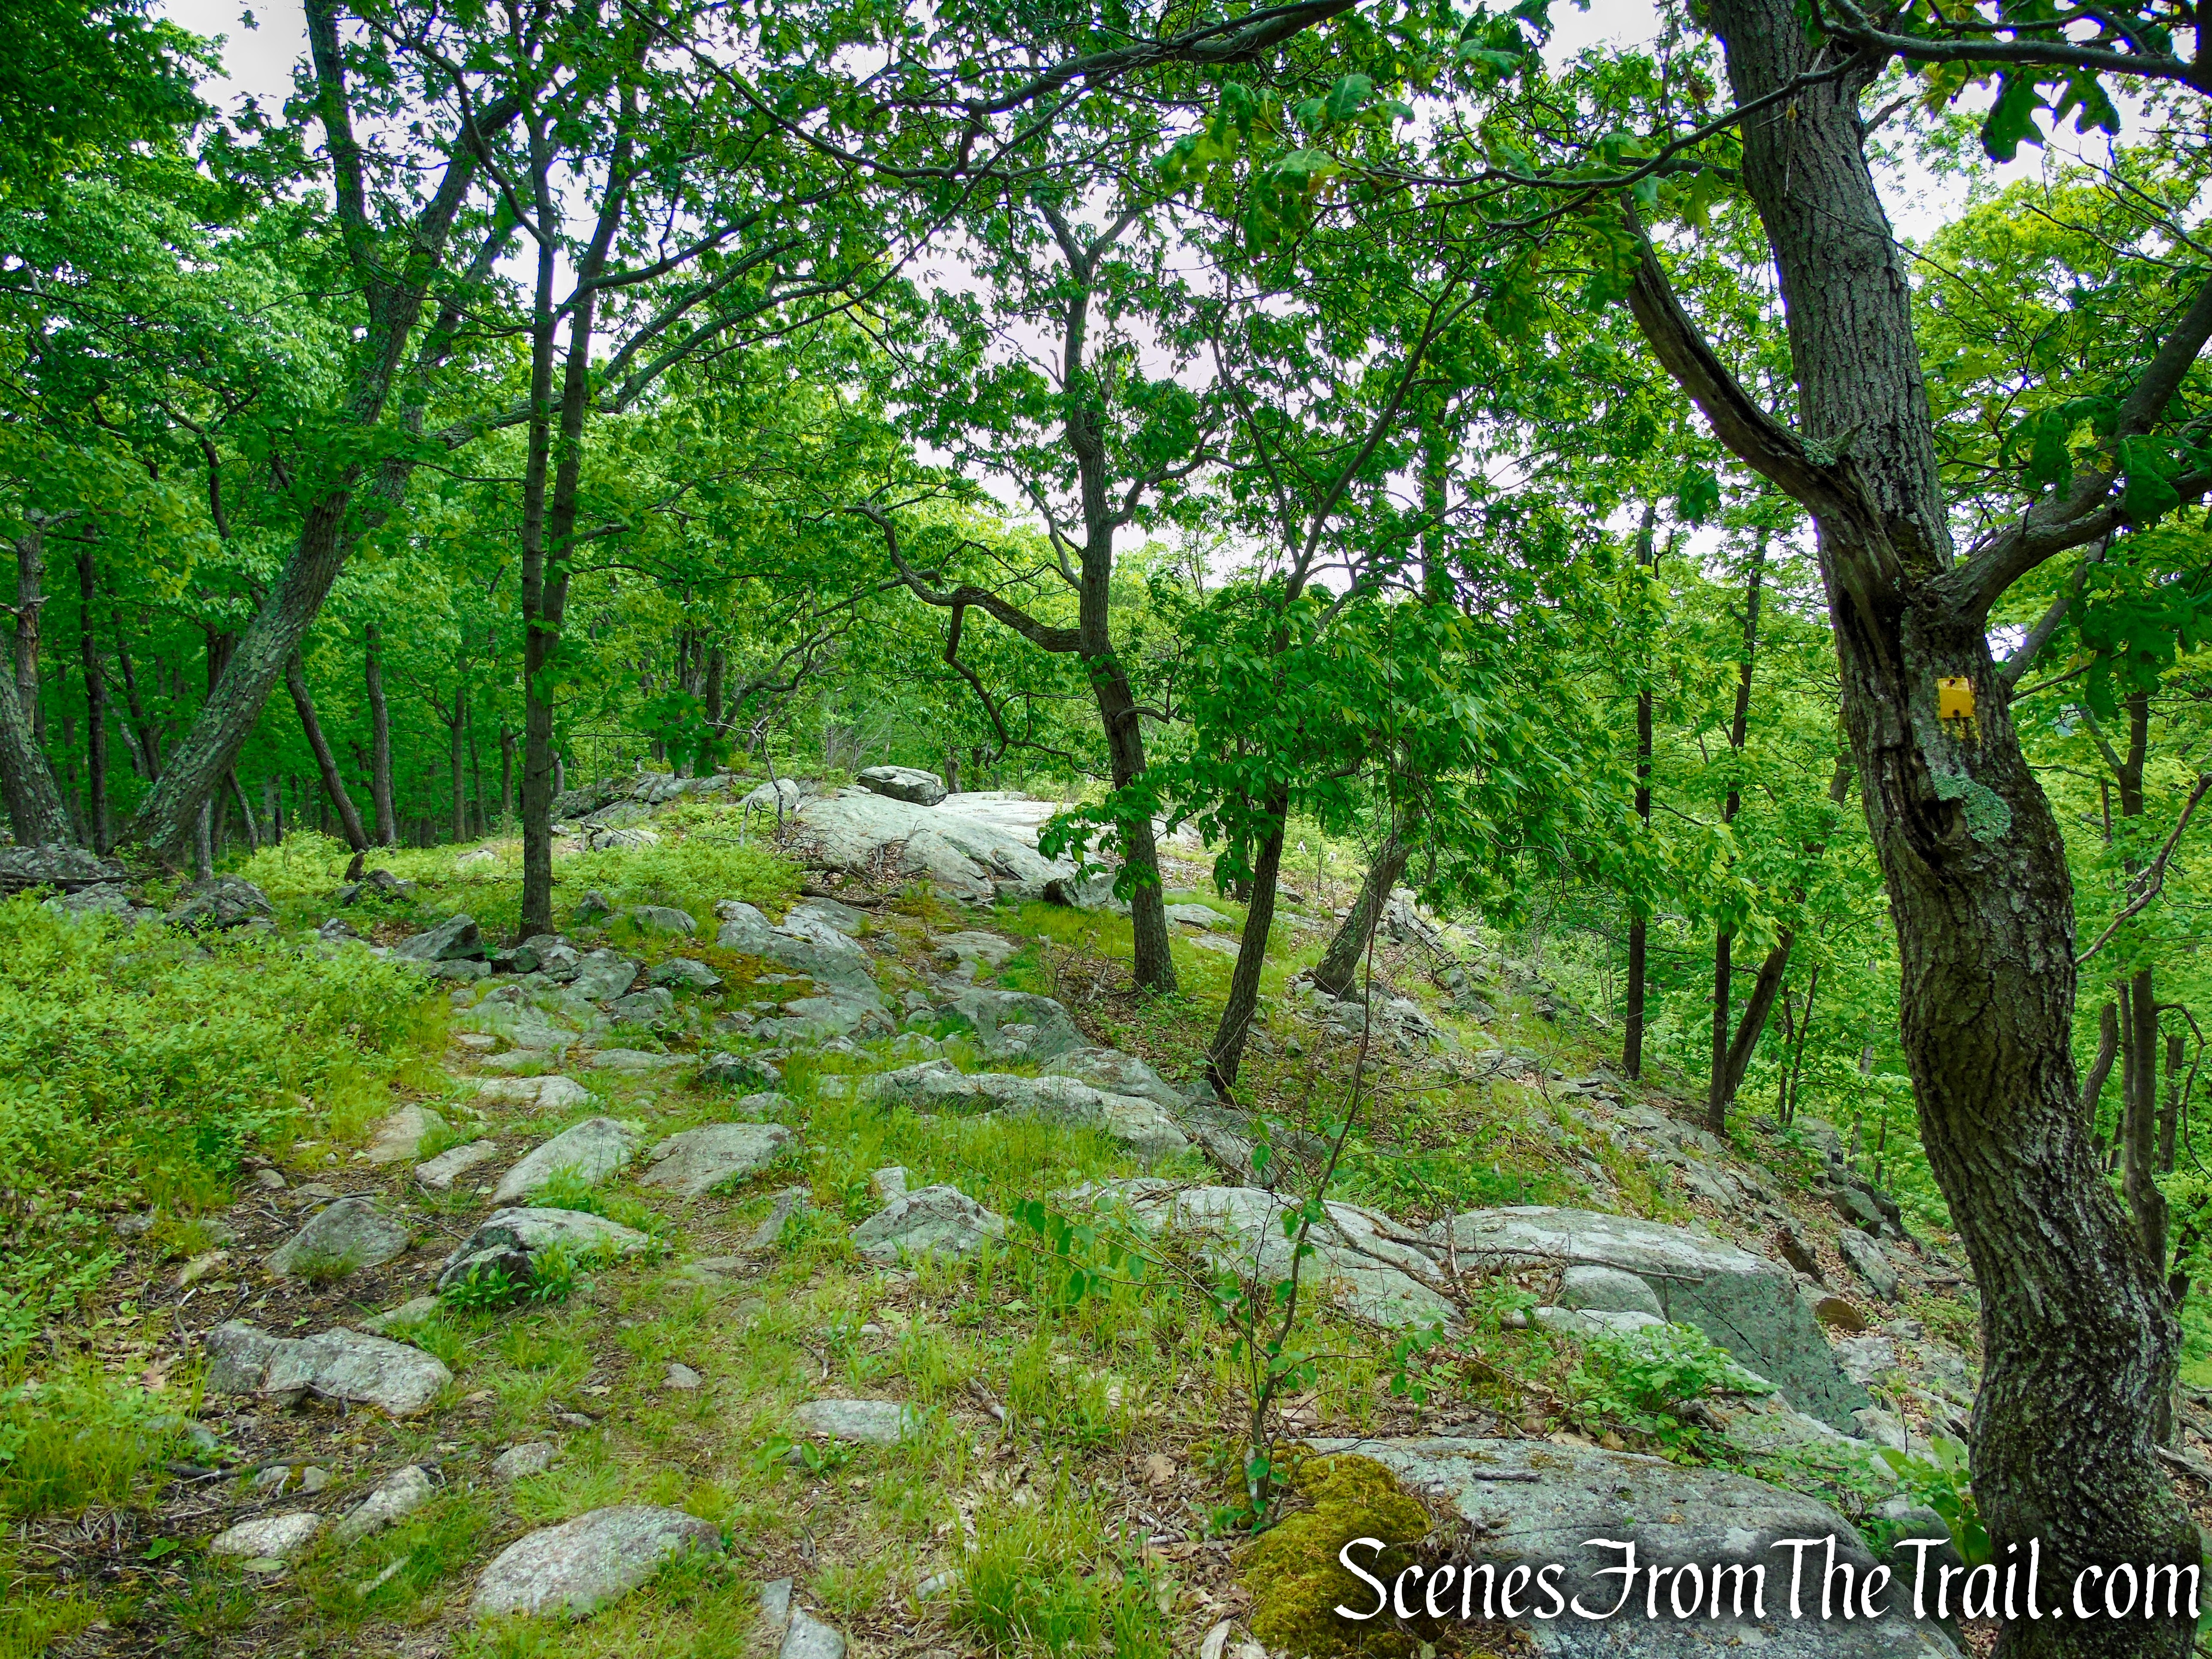
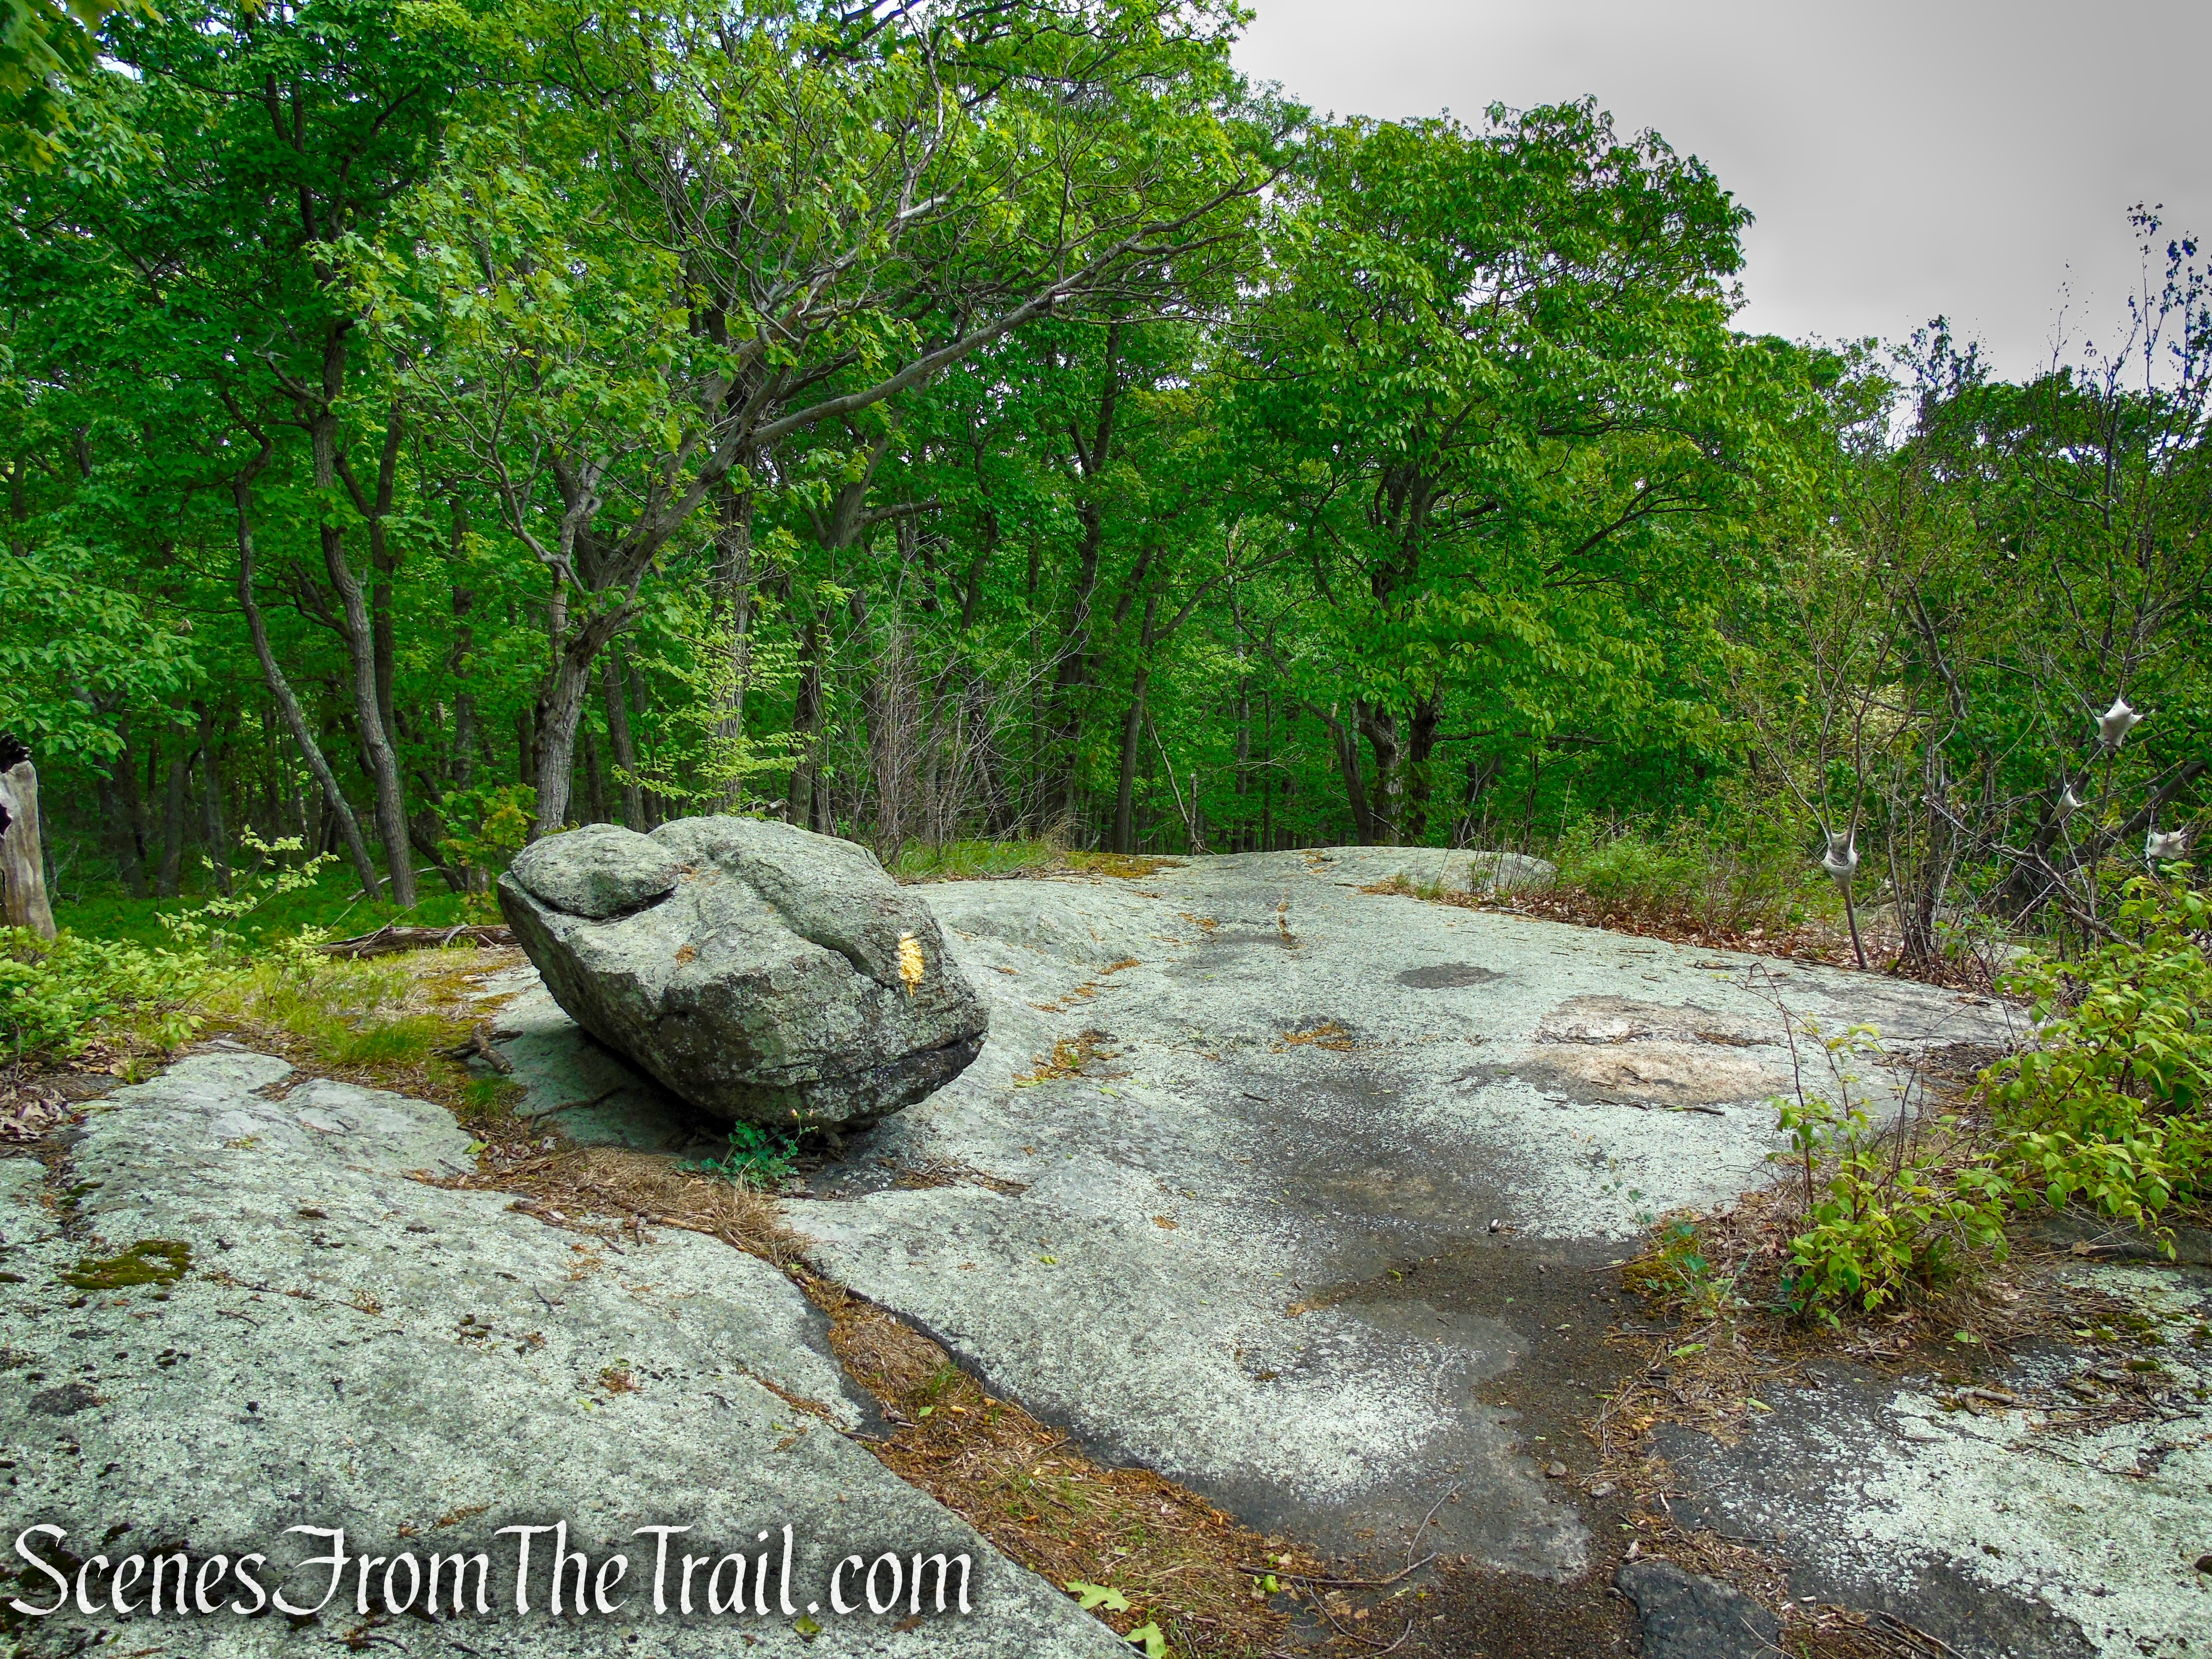
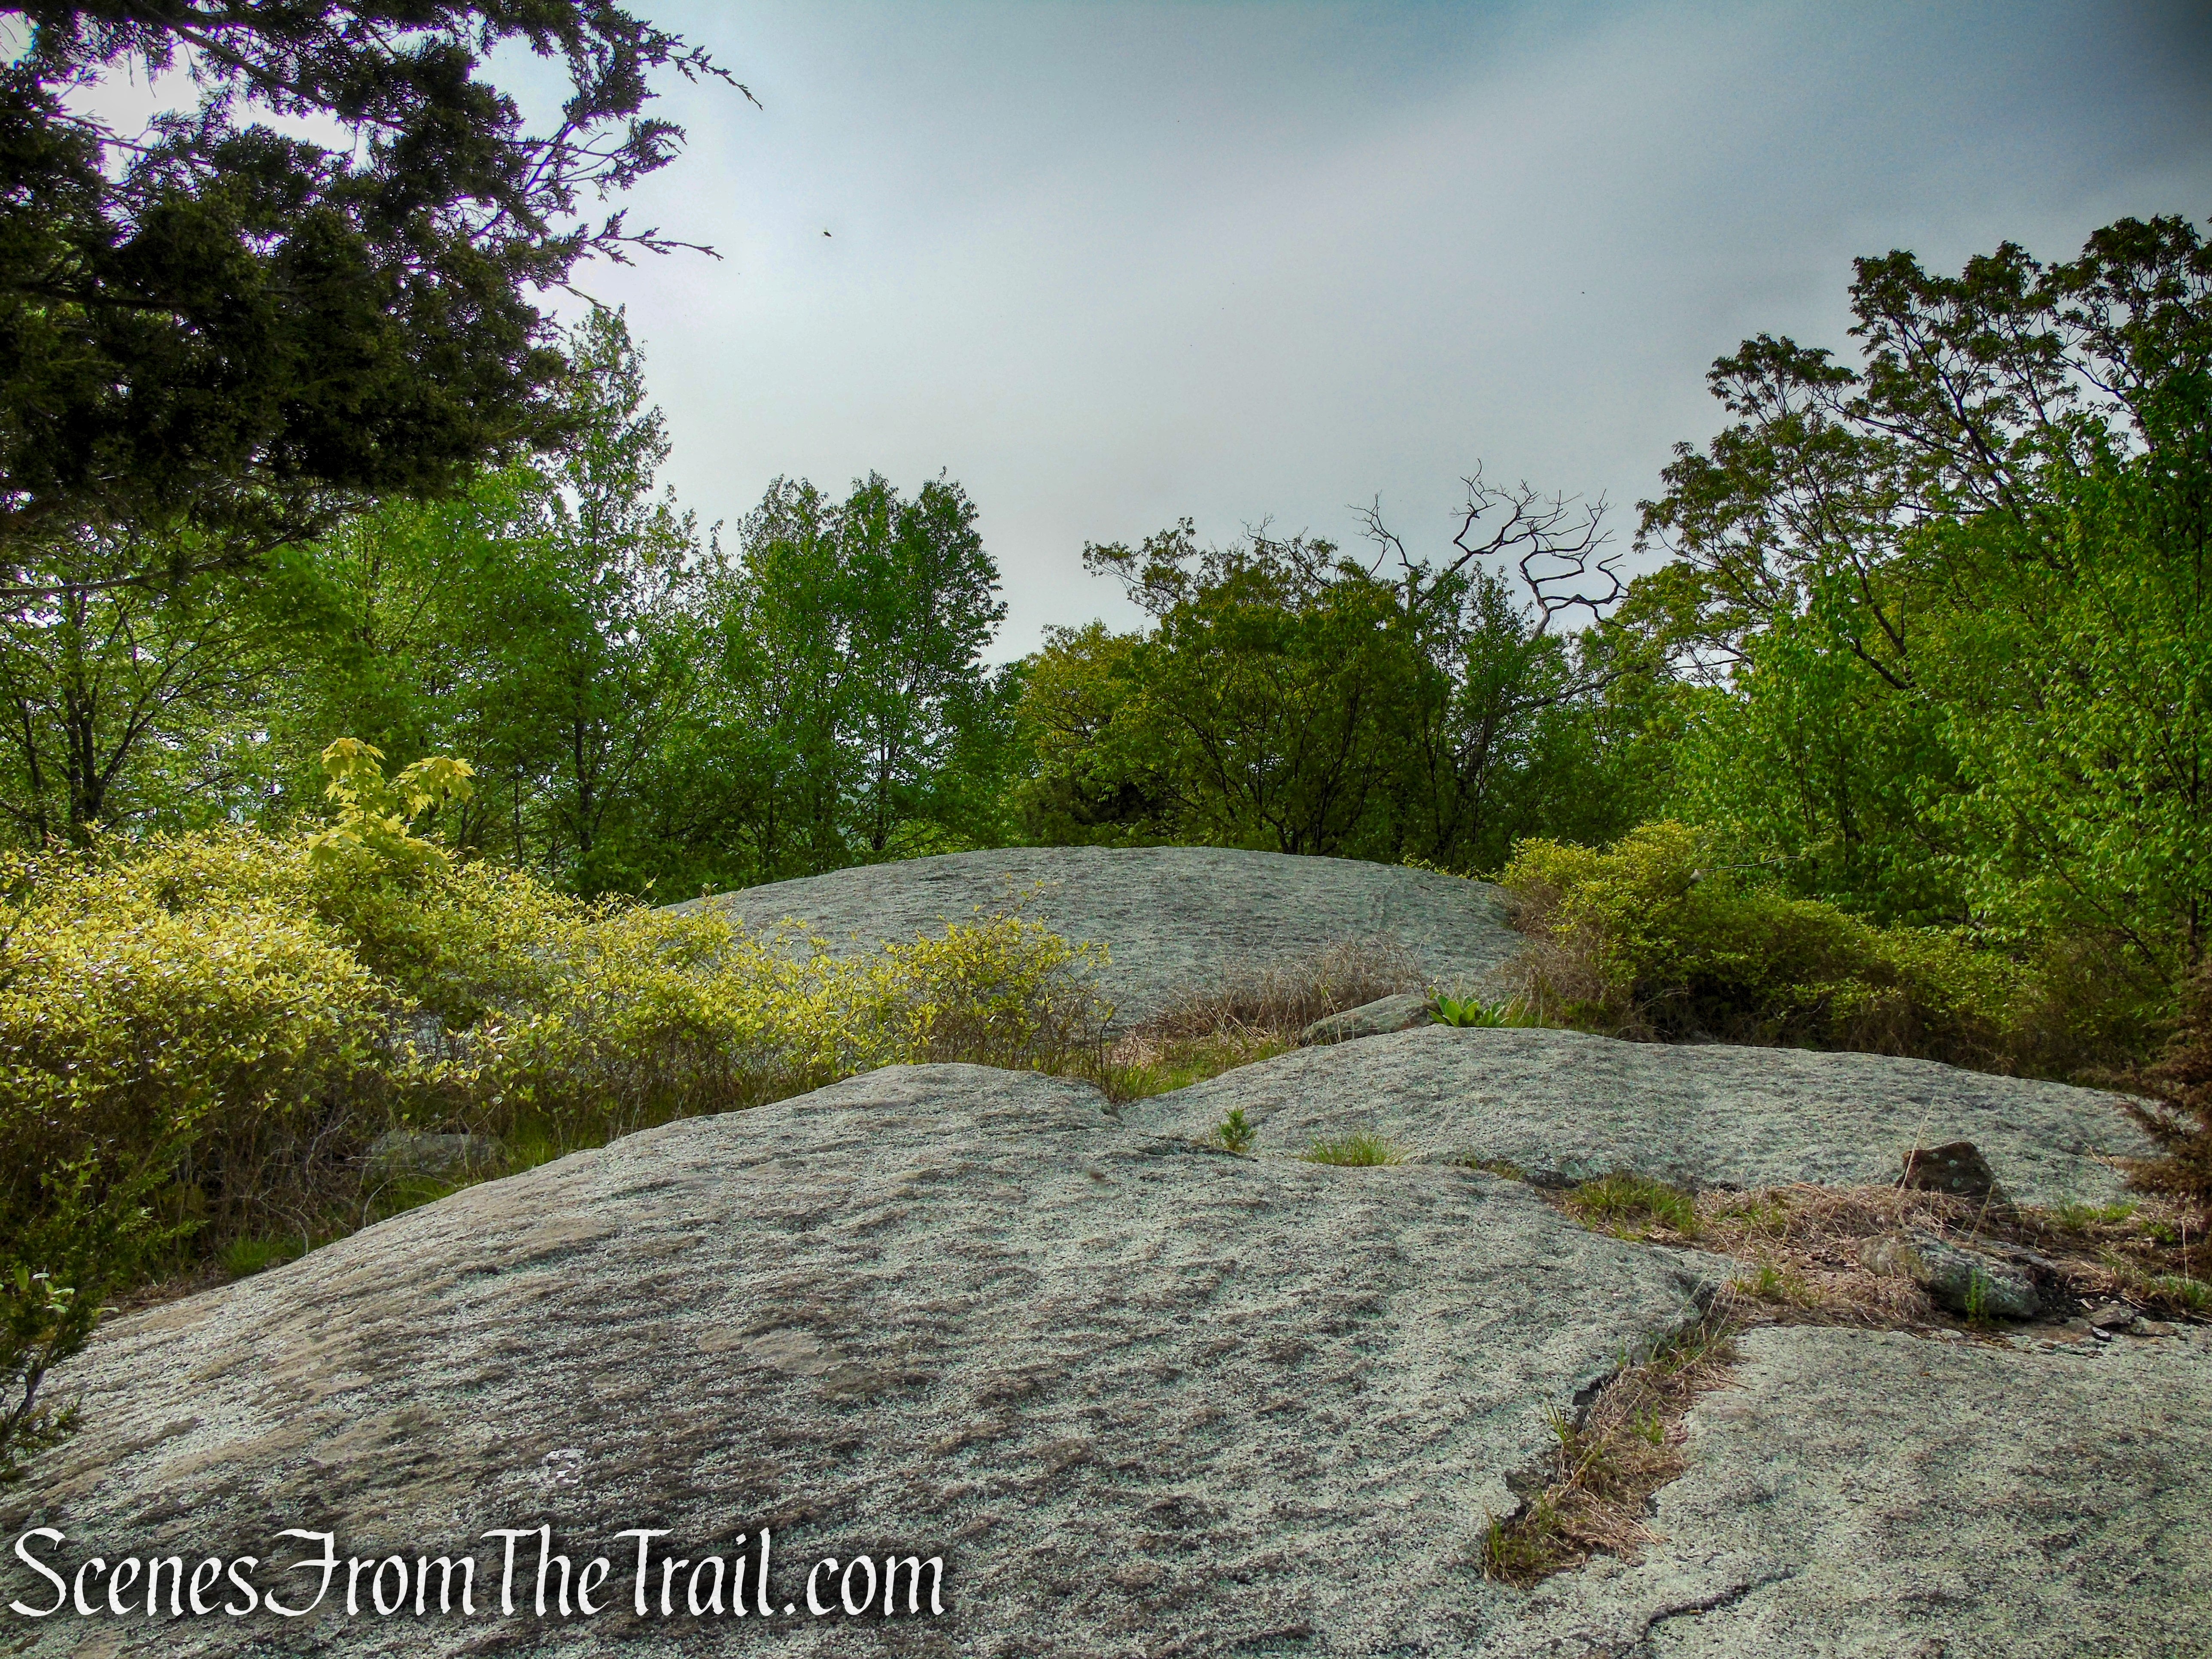
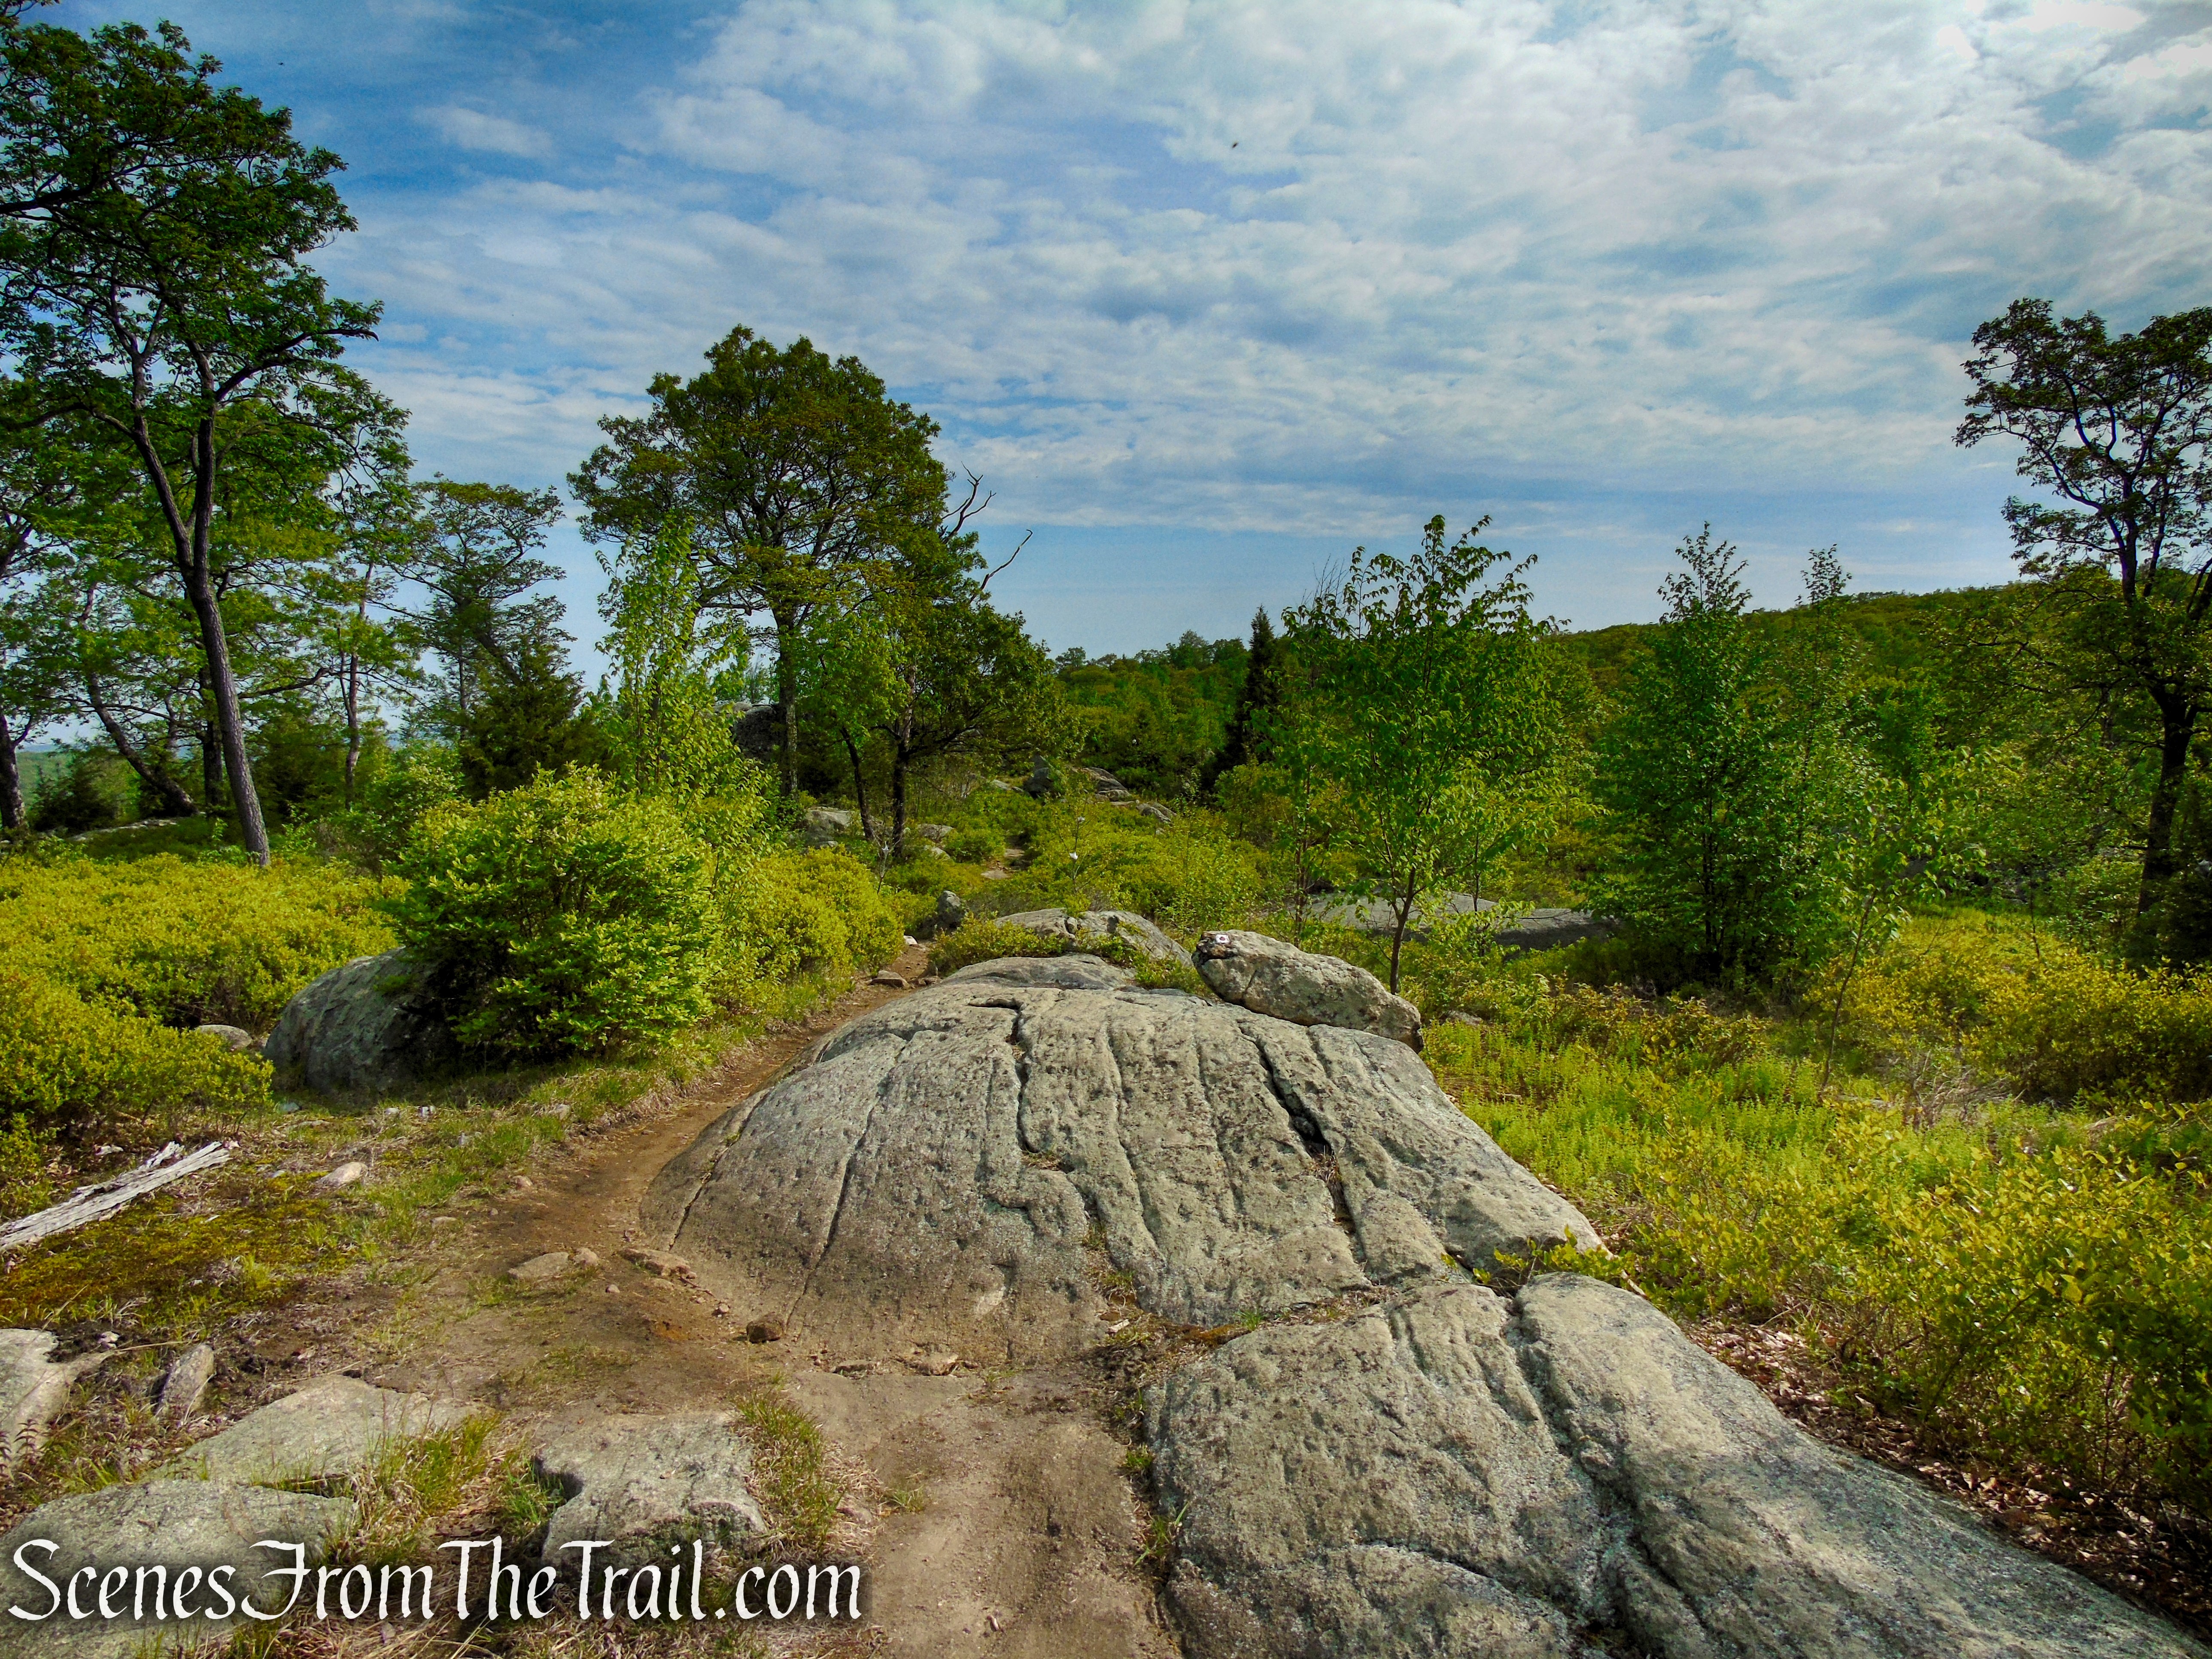
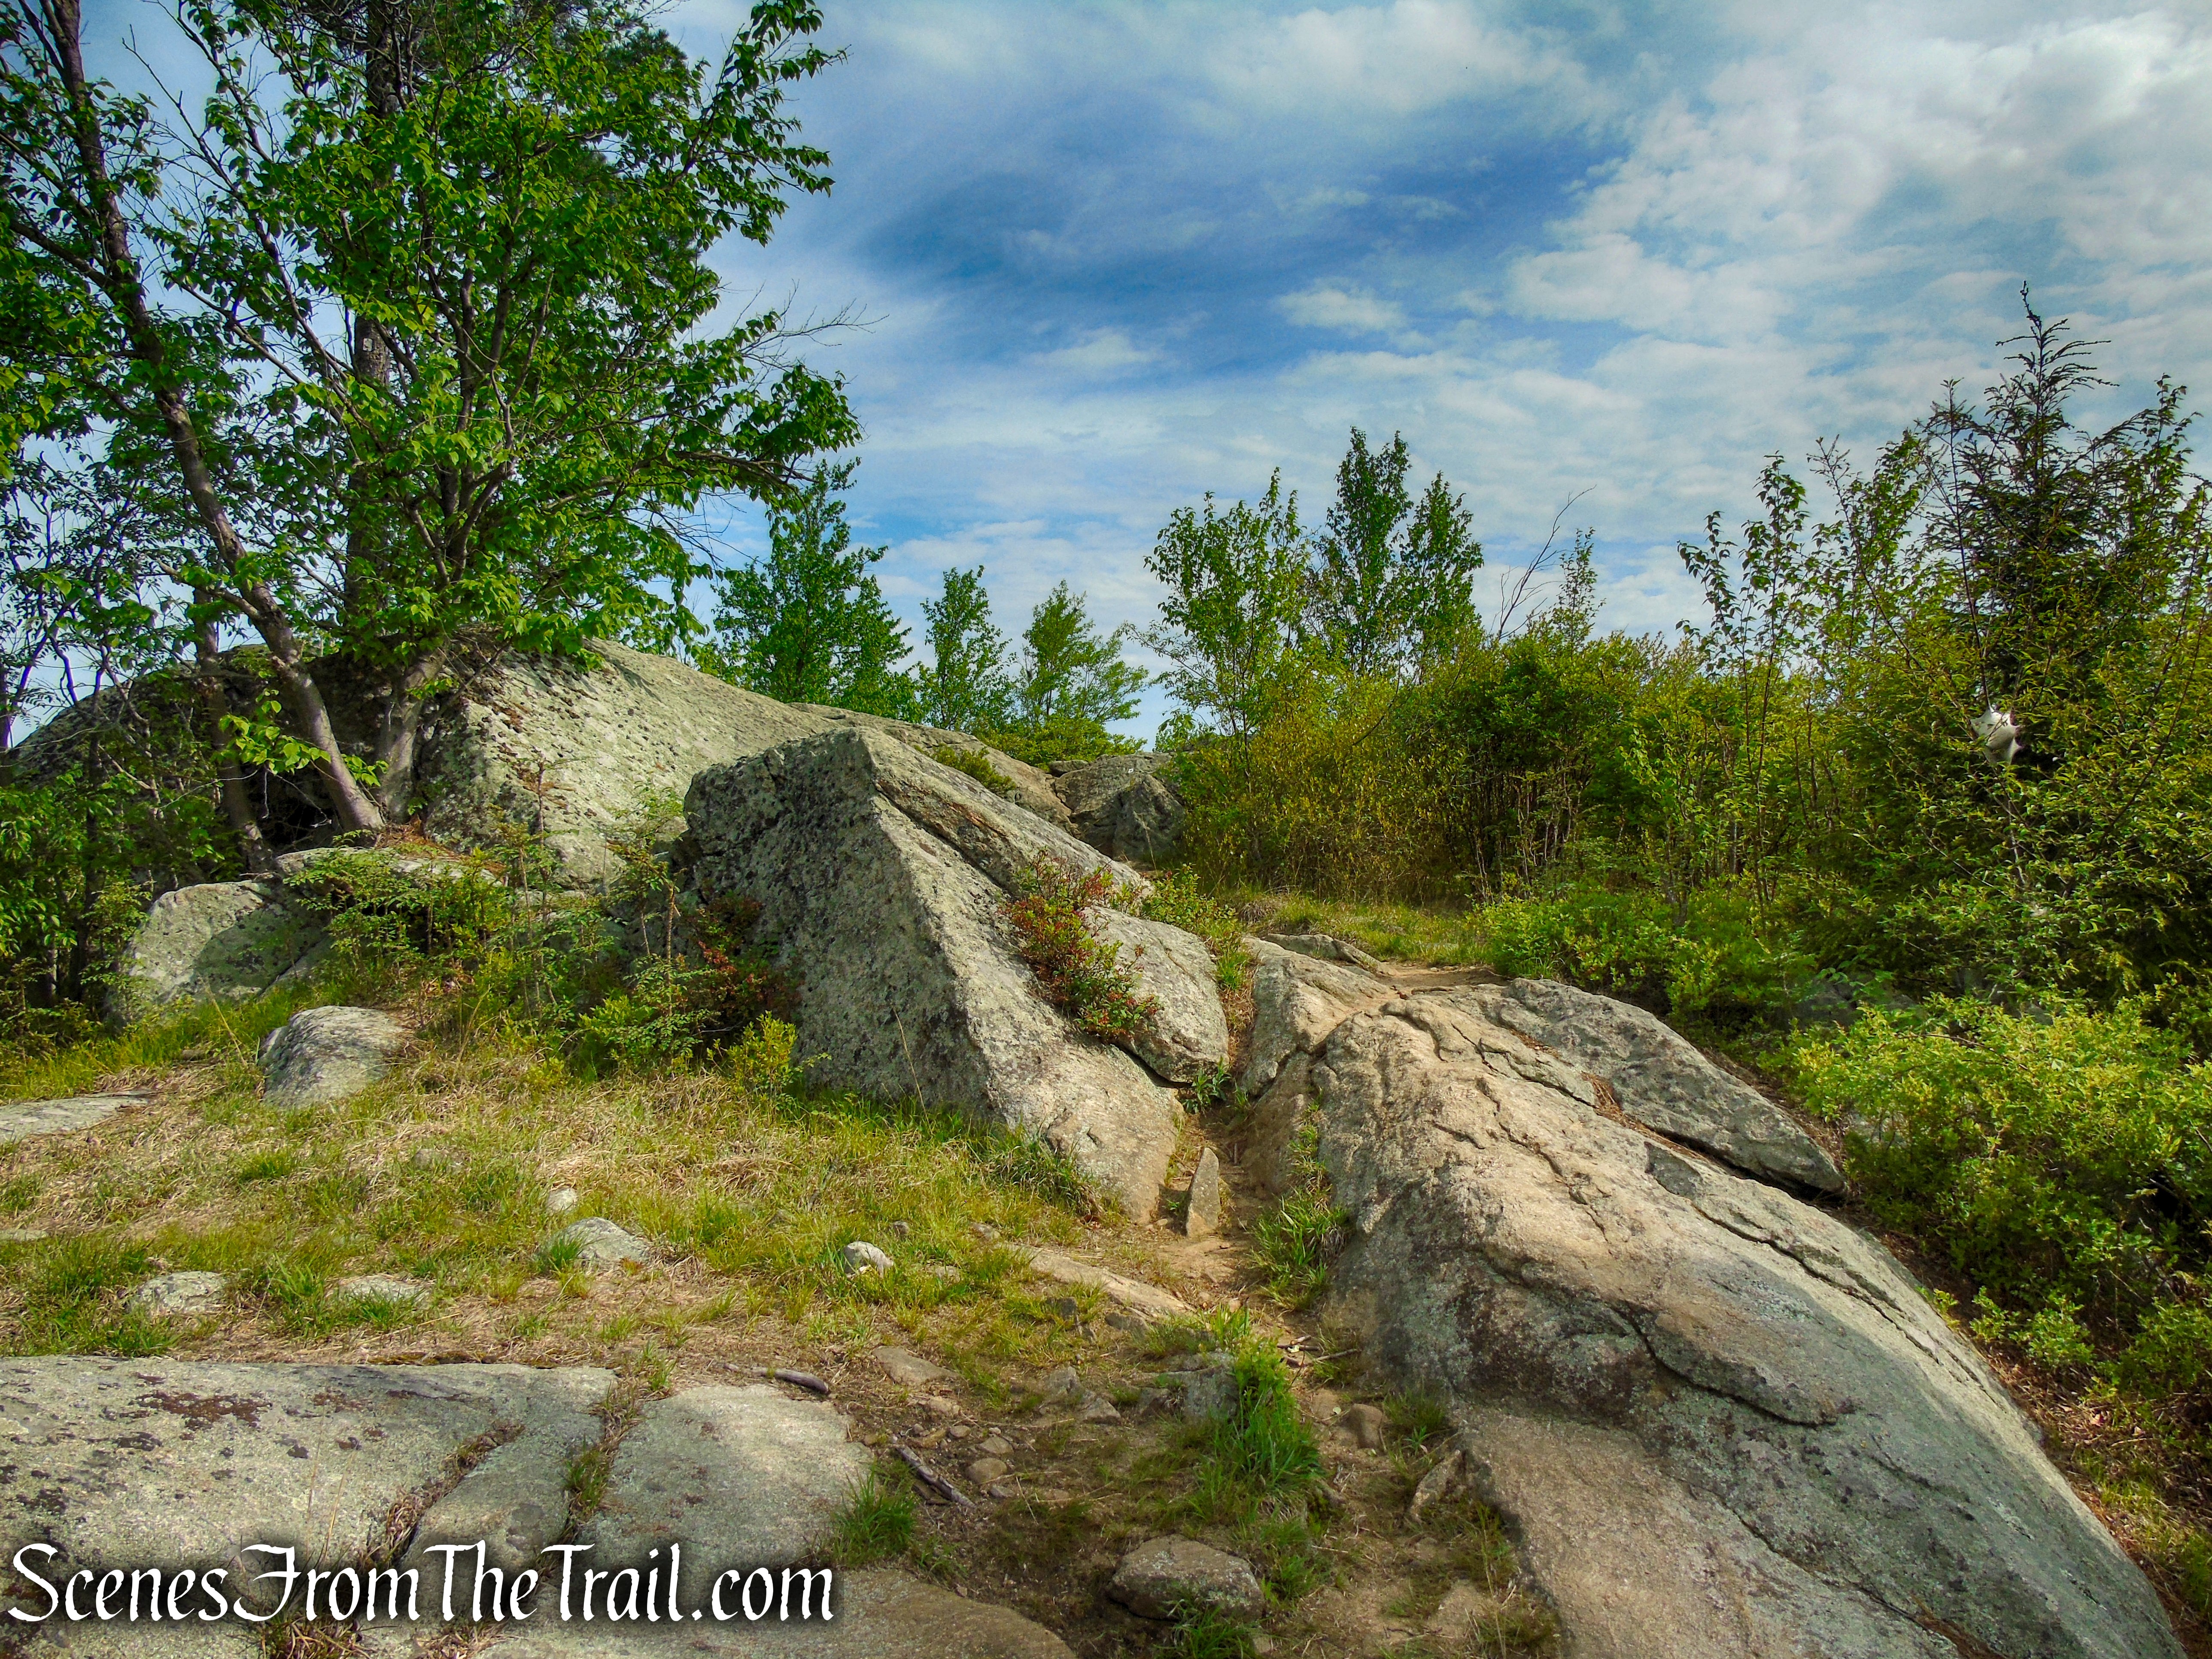
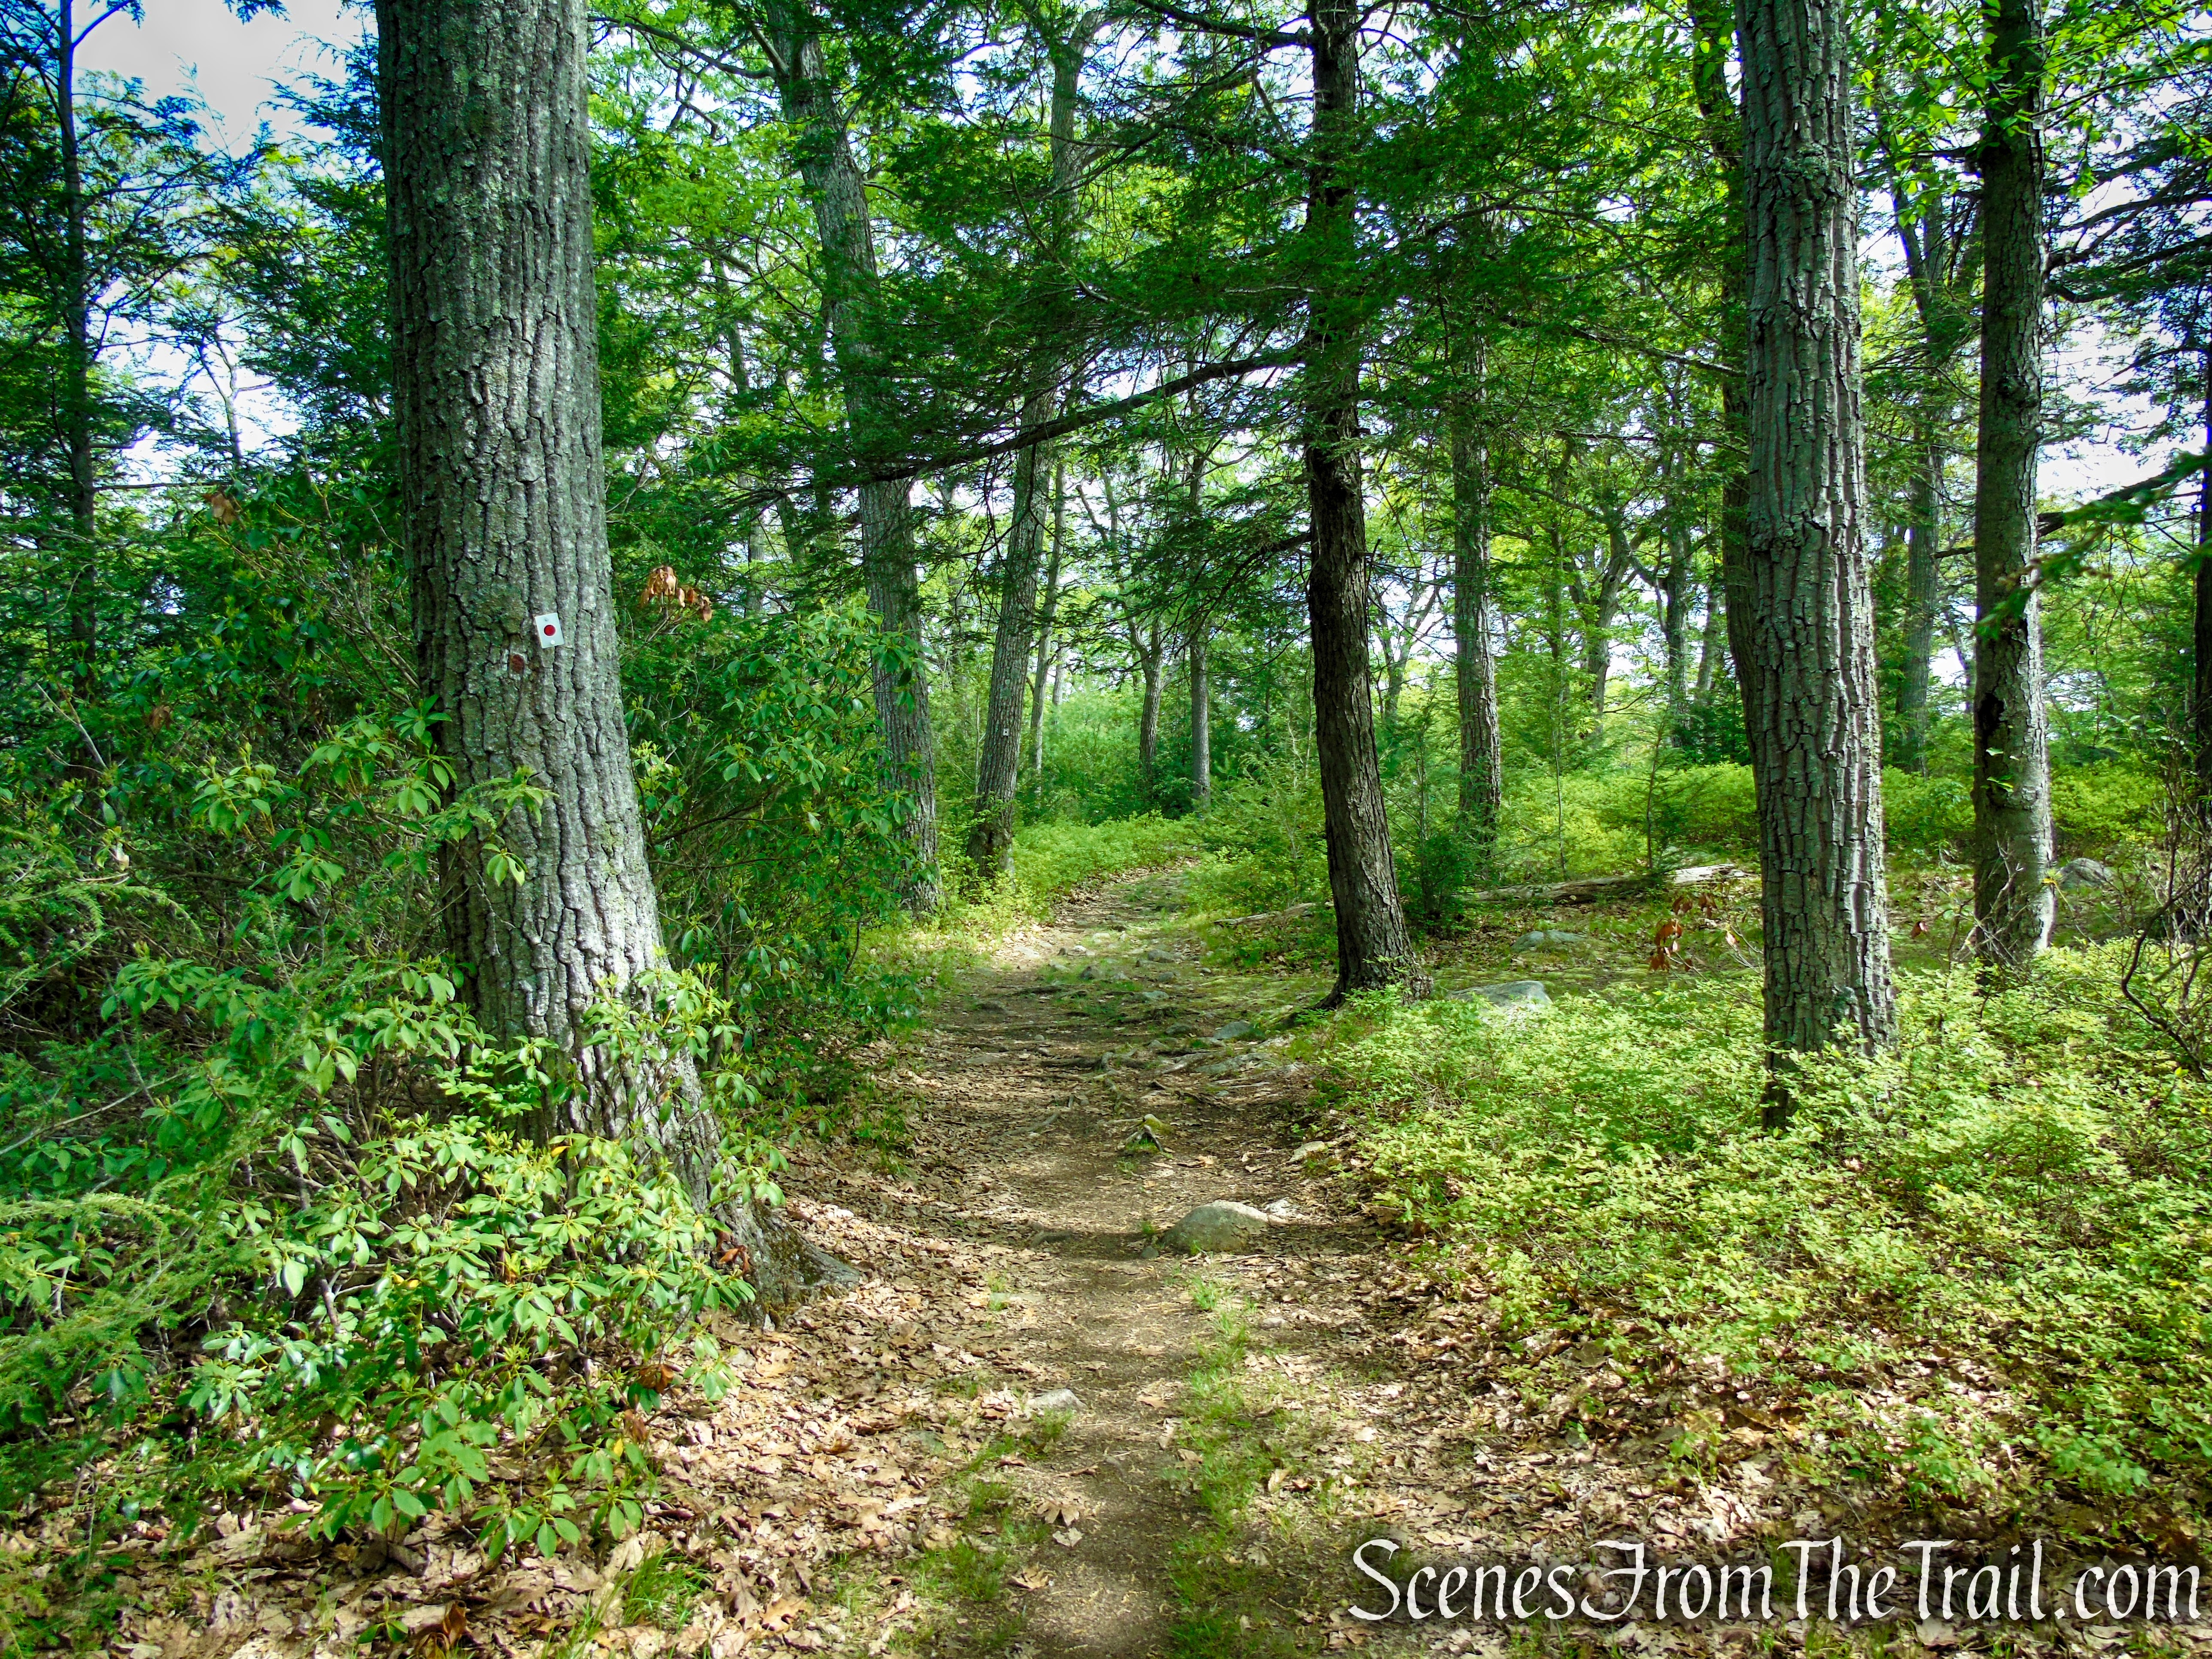
After about 0.4 mile of steep climbing (from the last intersection), you’ll pass stone steps to the right of the trail (the remains of a former ranger cabin) and reach the summit ridge. Just ahead is the fire tower. There are no views from the base of the tower, but you’ll want to climb this almost 80-foot tower to get a spectacular view of the countryside.

Red Trail – Stissing Mountain

Red Trail – Stissing Mountain

Red Trail – Stissing Mountain

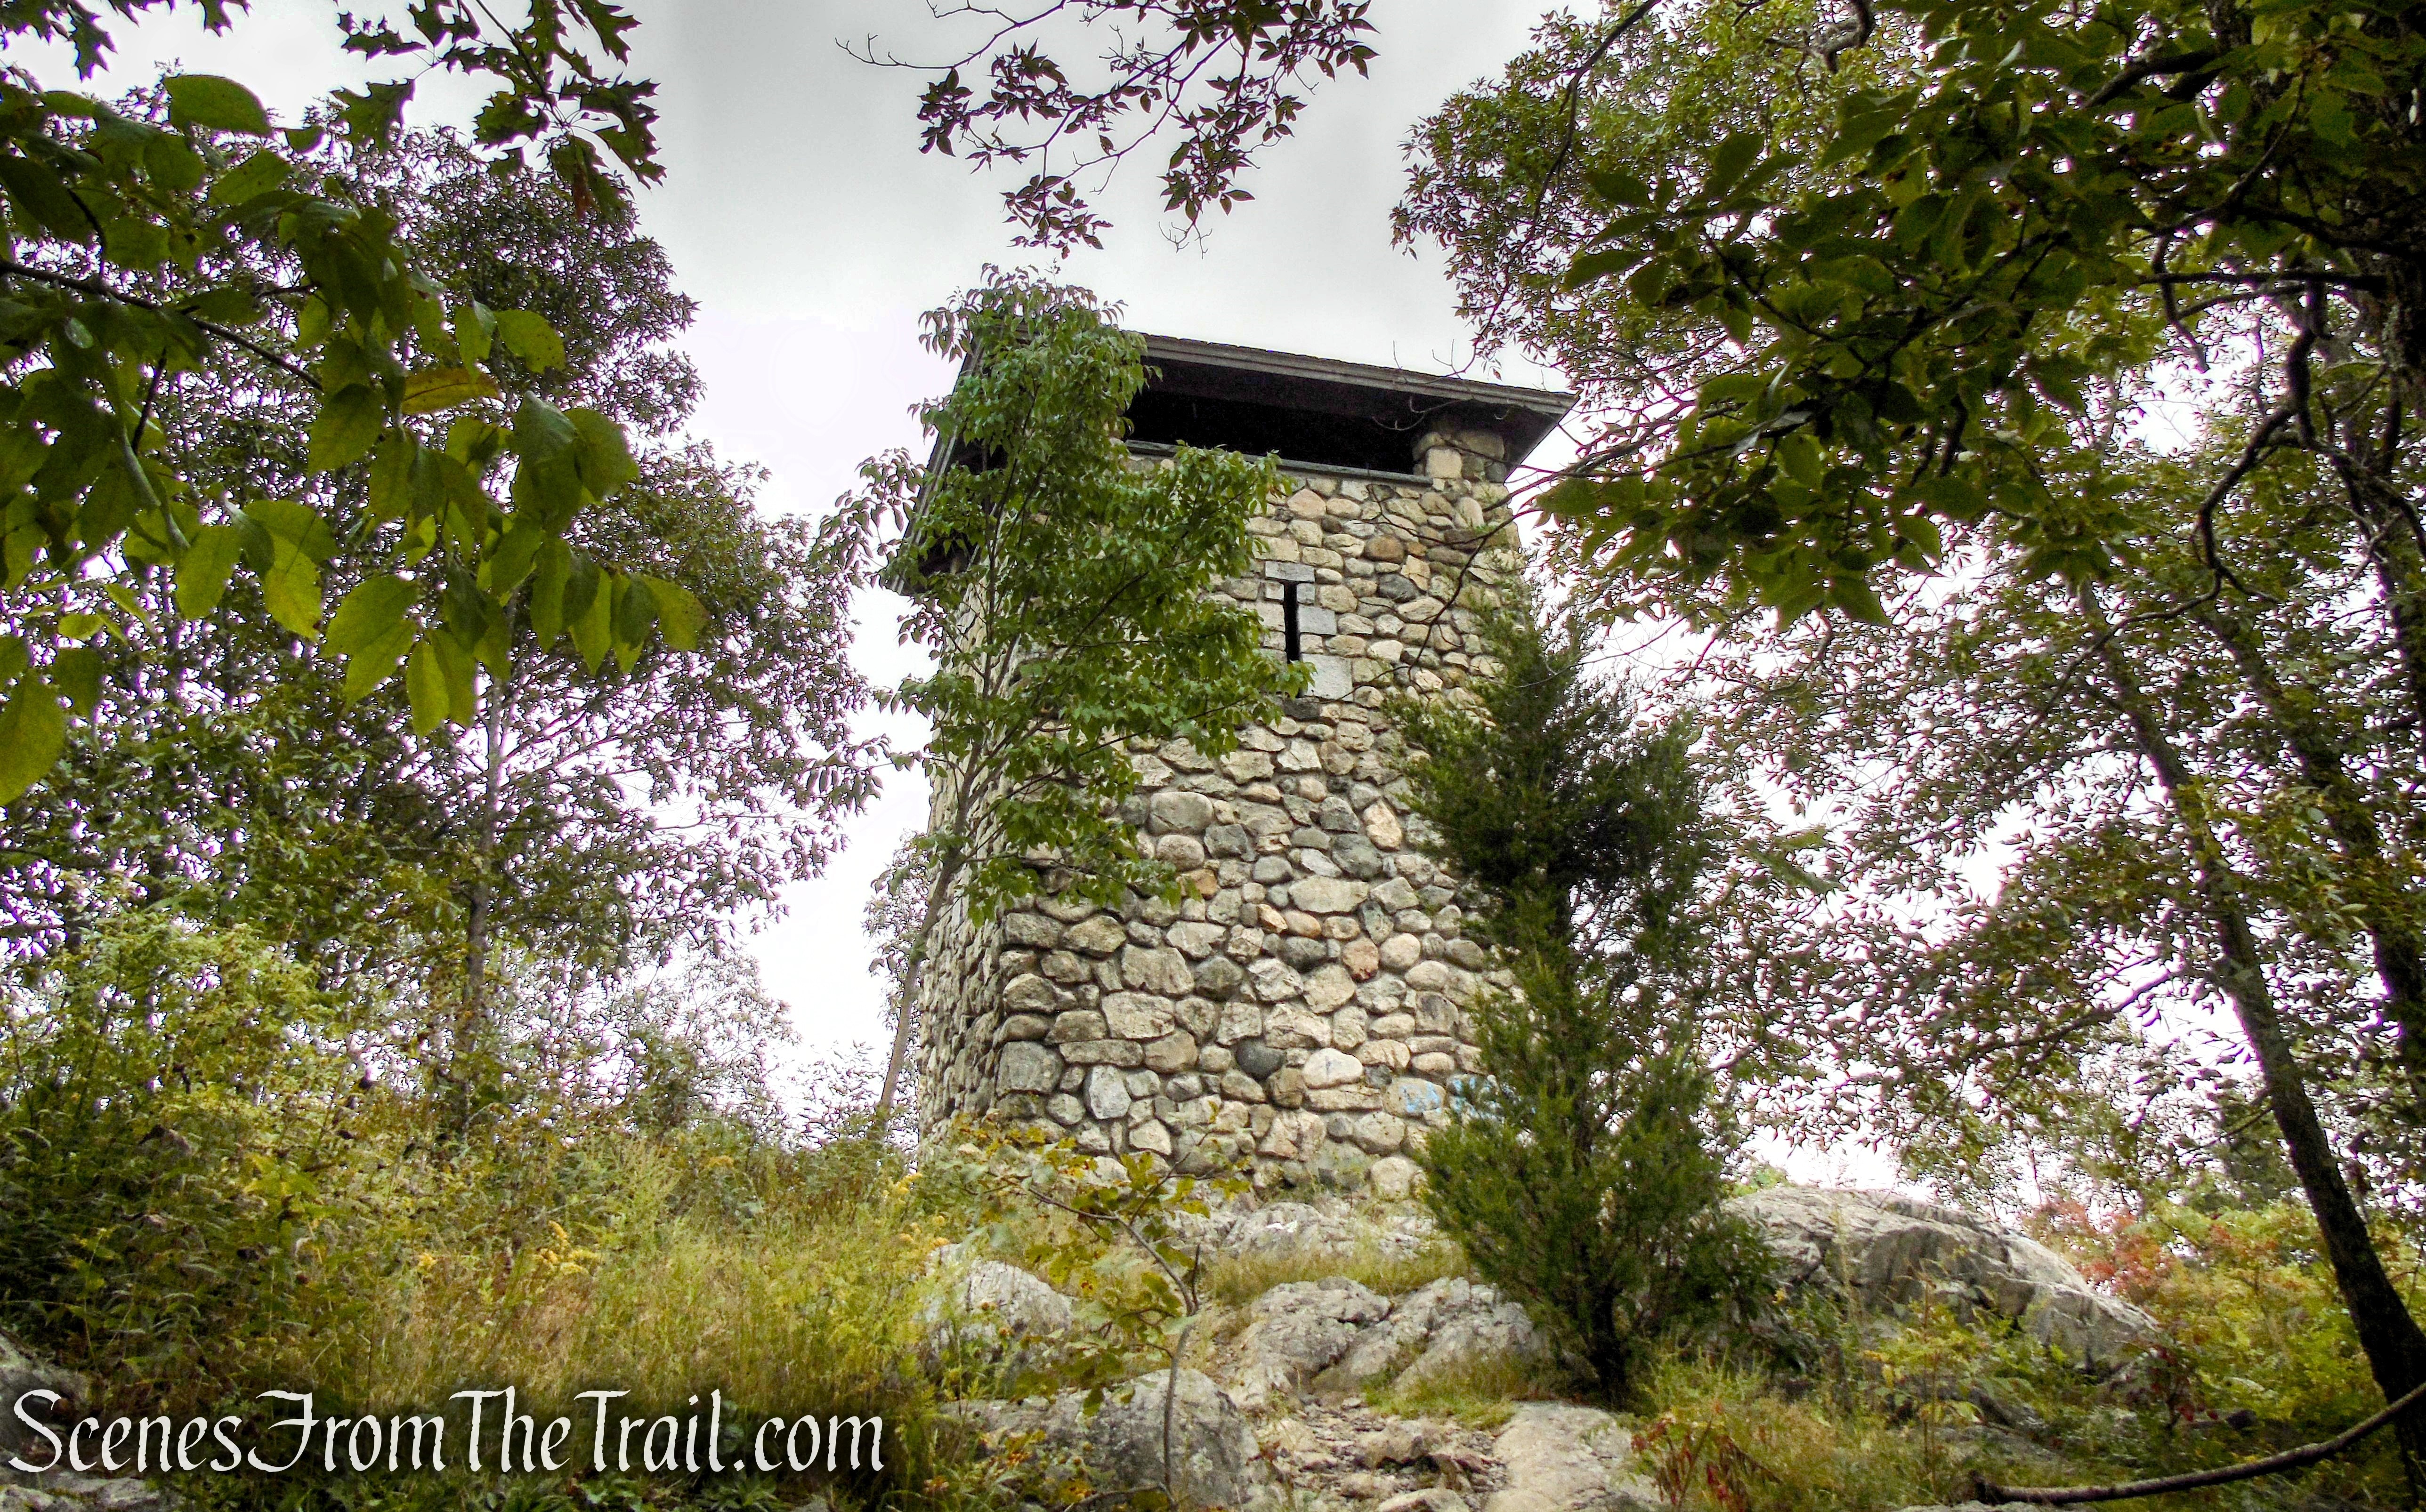
Stissing Fire Tower
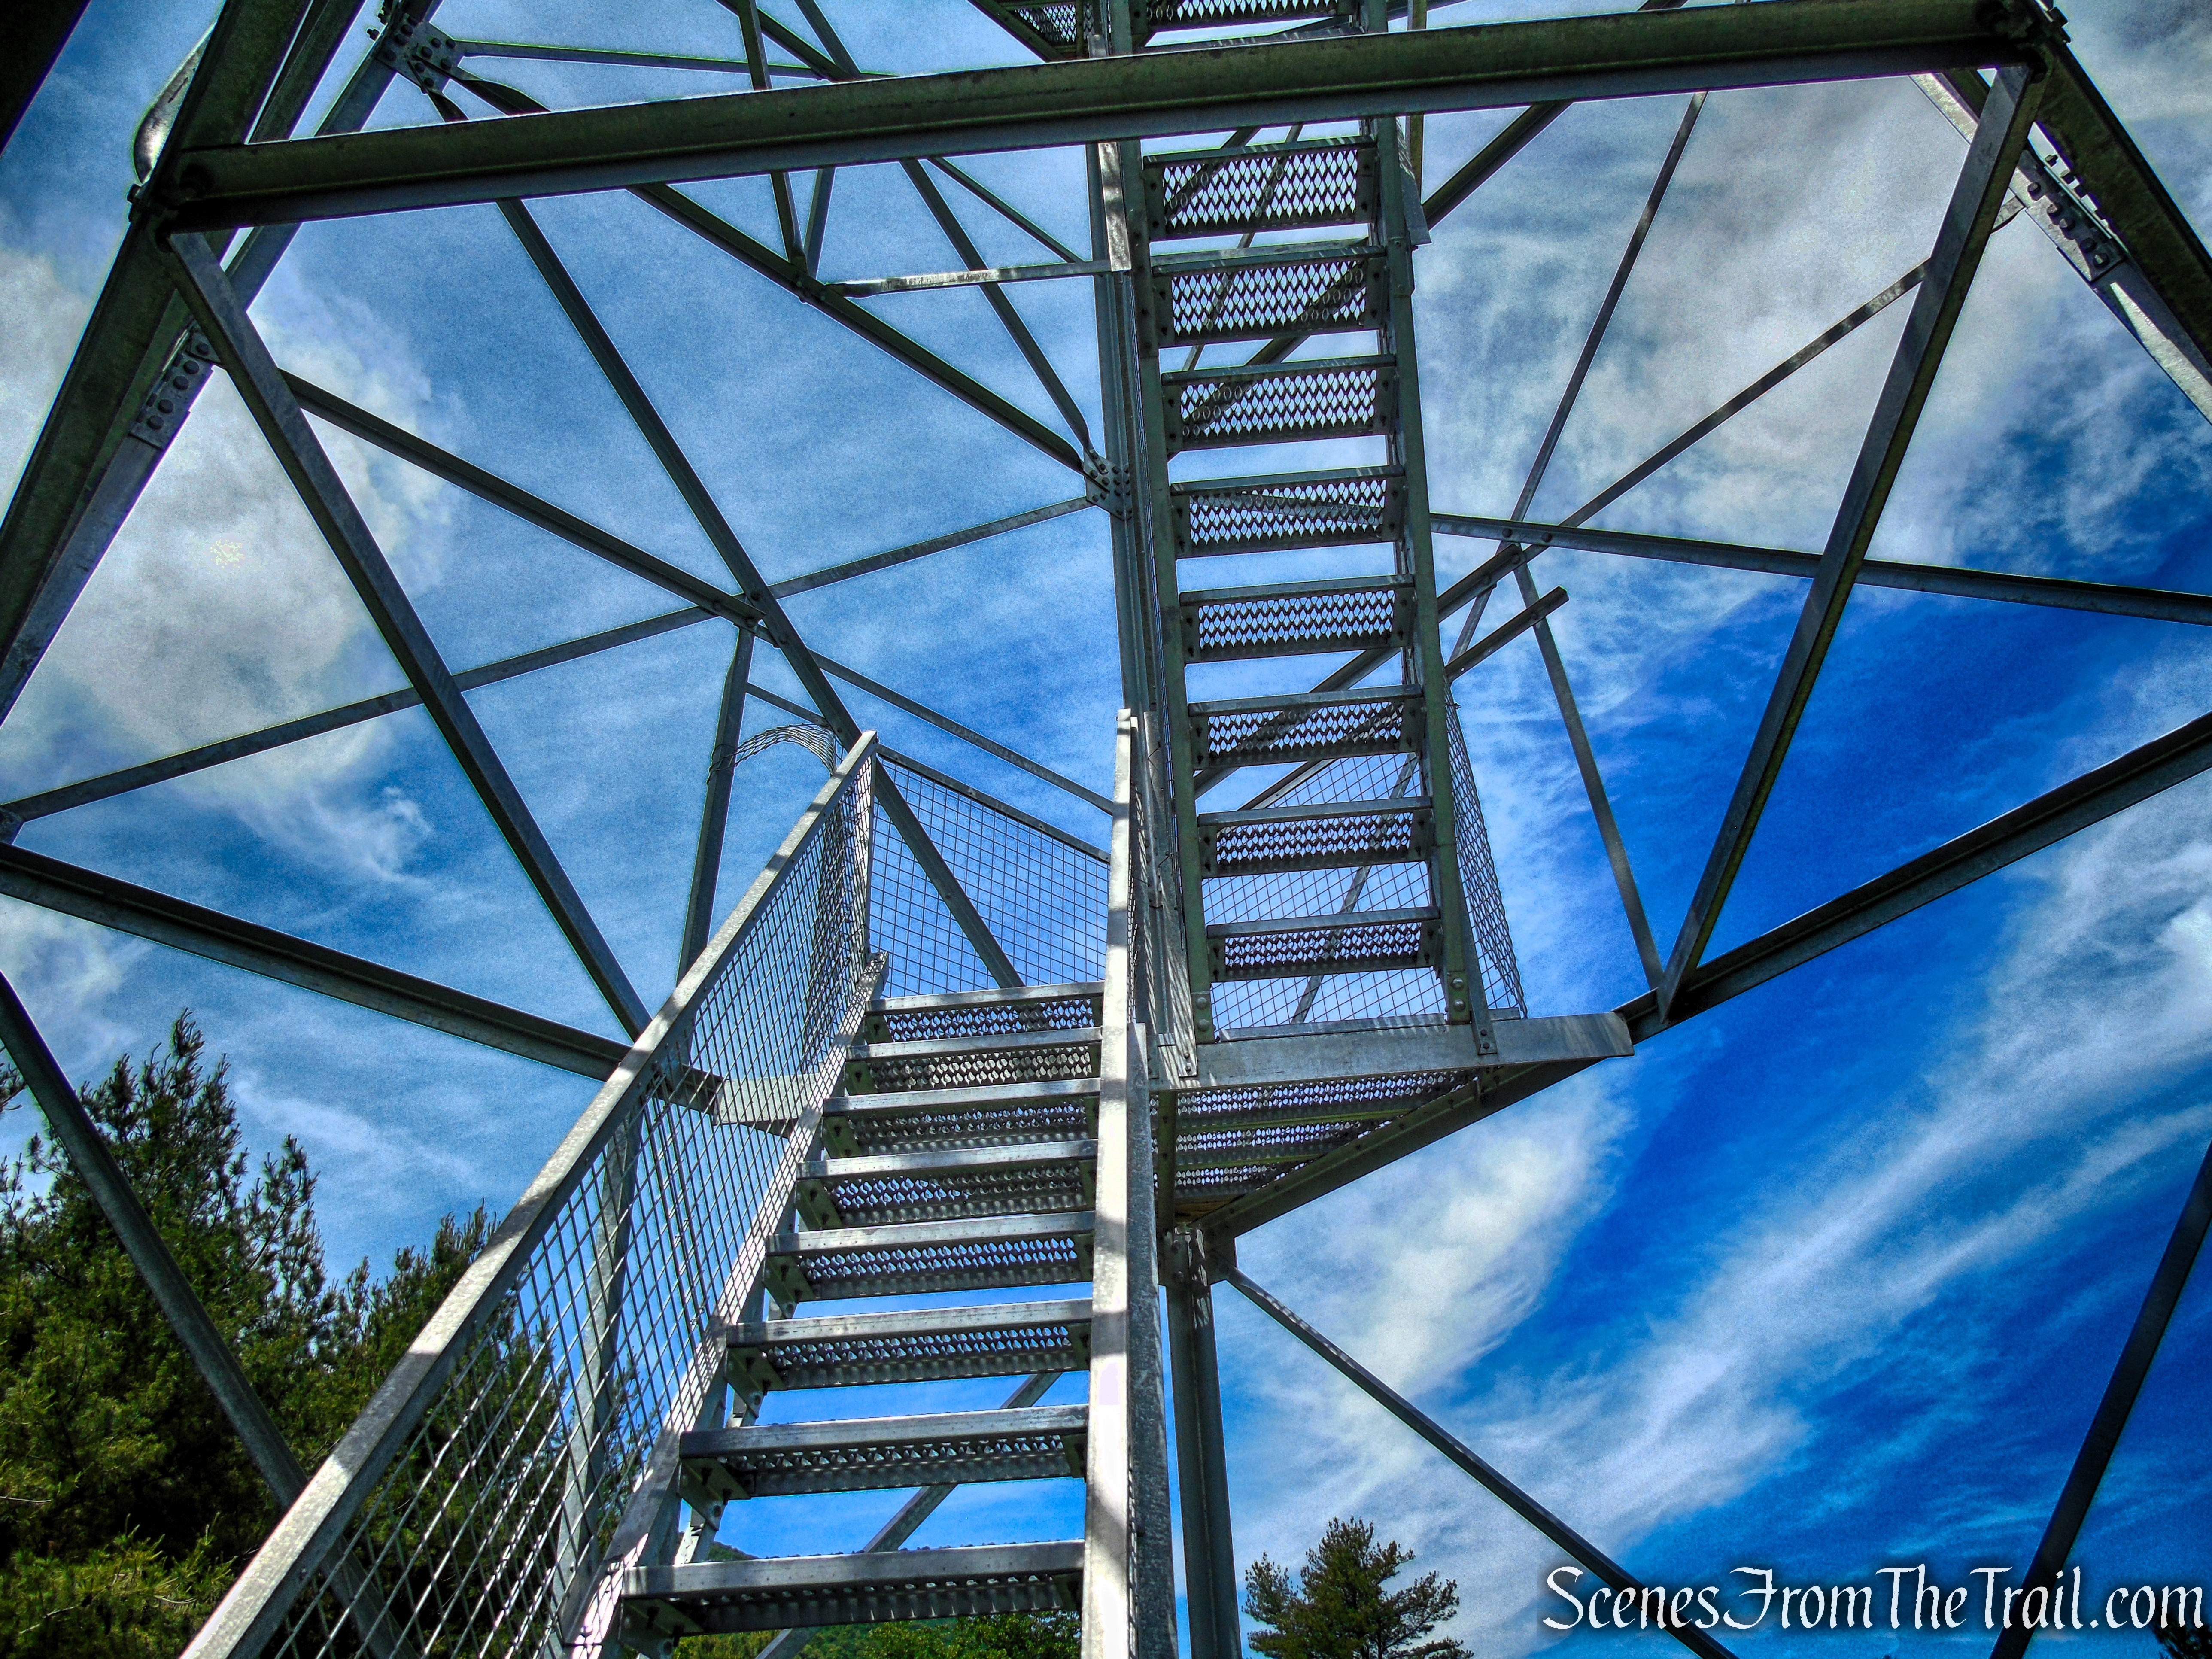
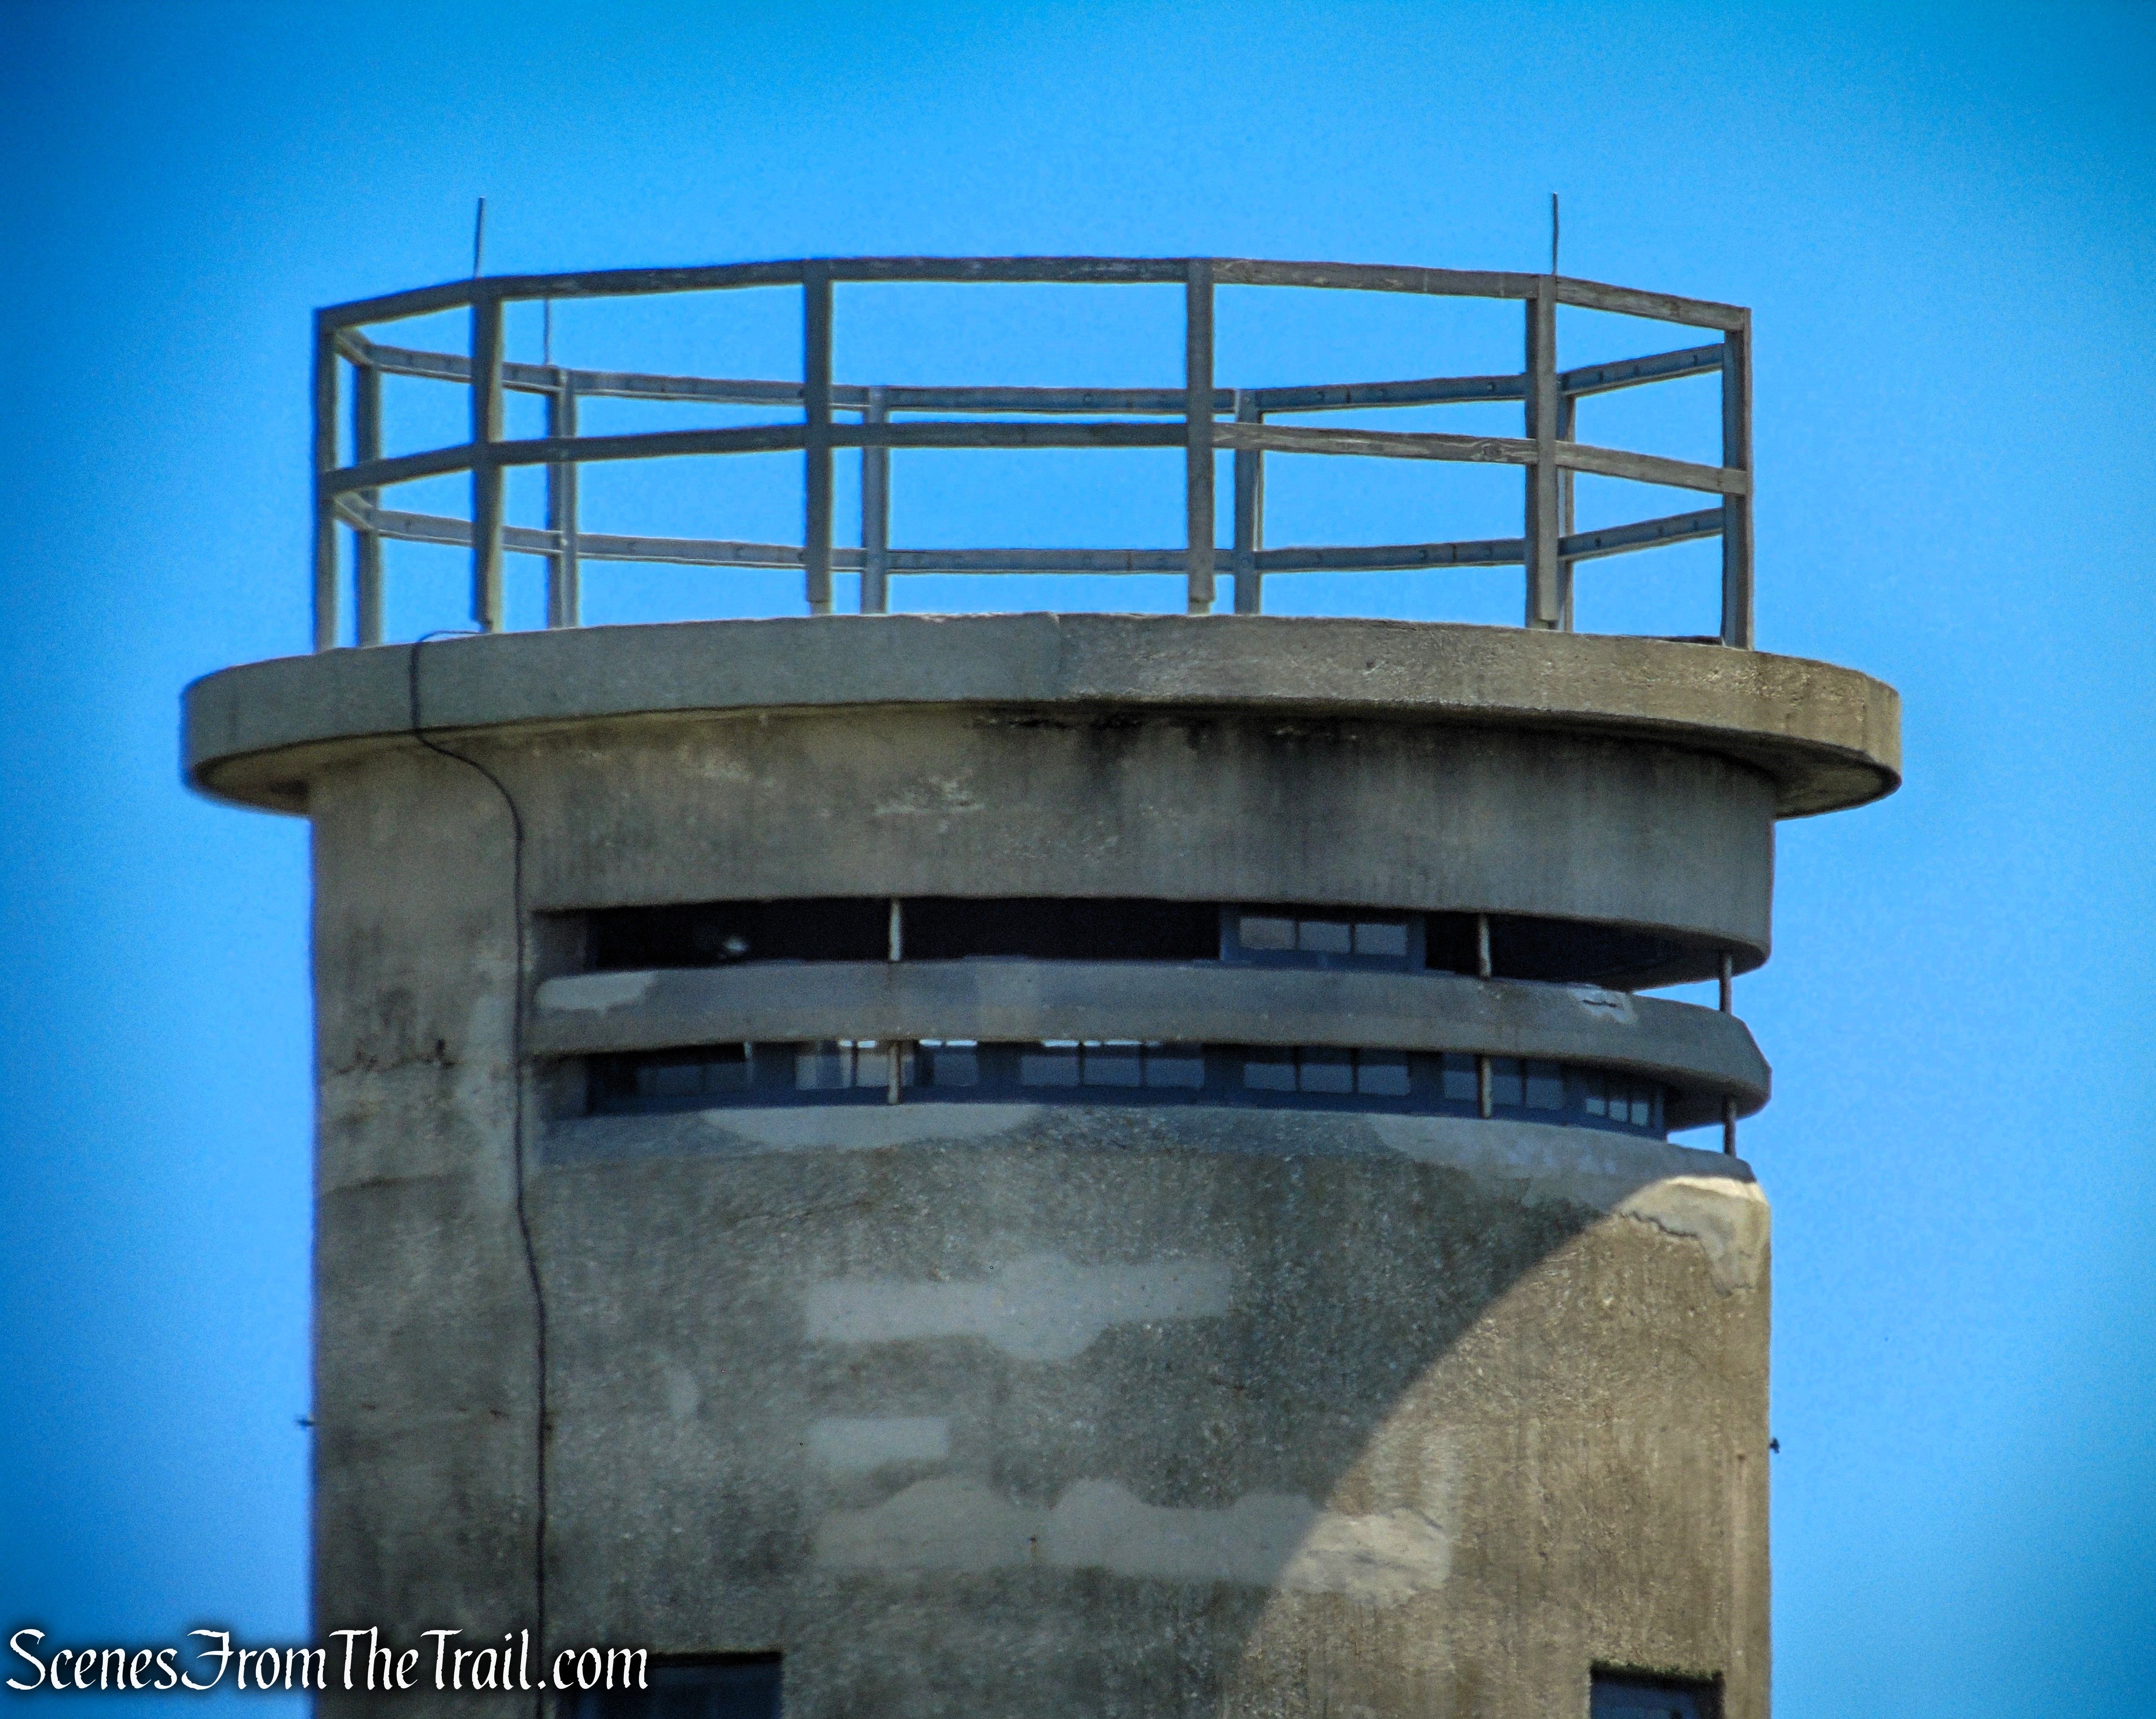
The International Derrick Model 1933 Fire Tower was developed through a cooperative effort between the Aermotor Company and the U.S. Forest service. Although it is advertised as a 90-foot tower, it’s actual height is 79′ 6″ with 8 flights and 106 steps.

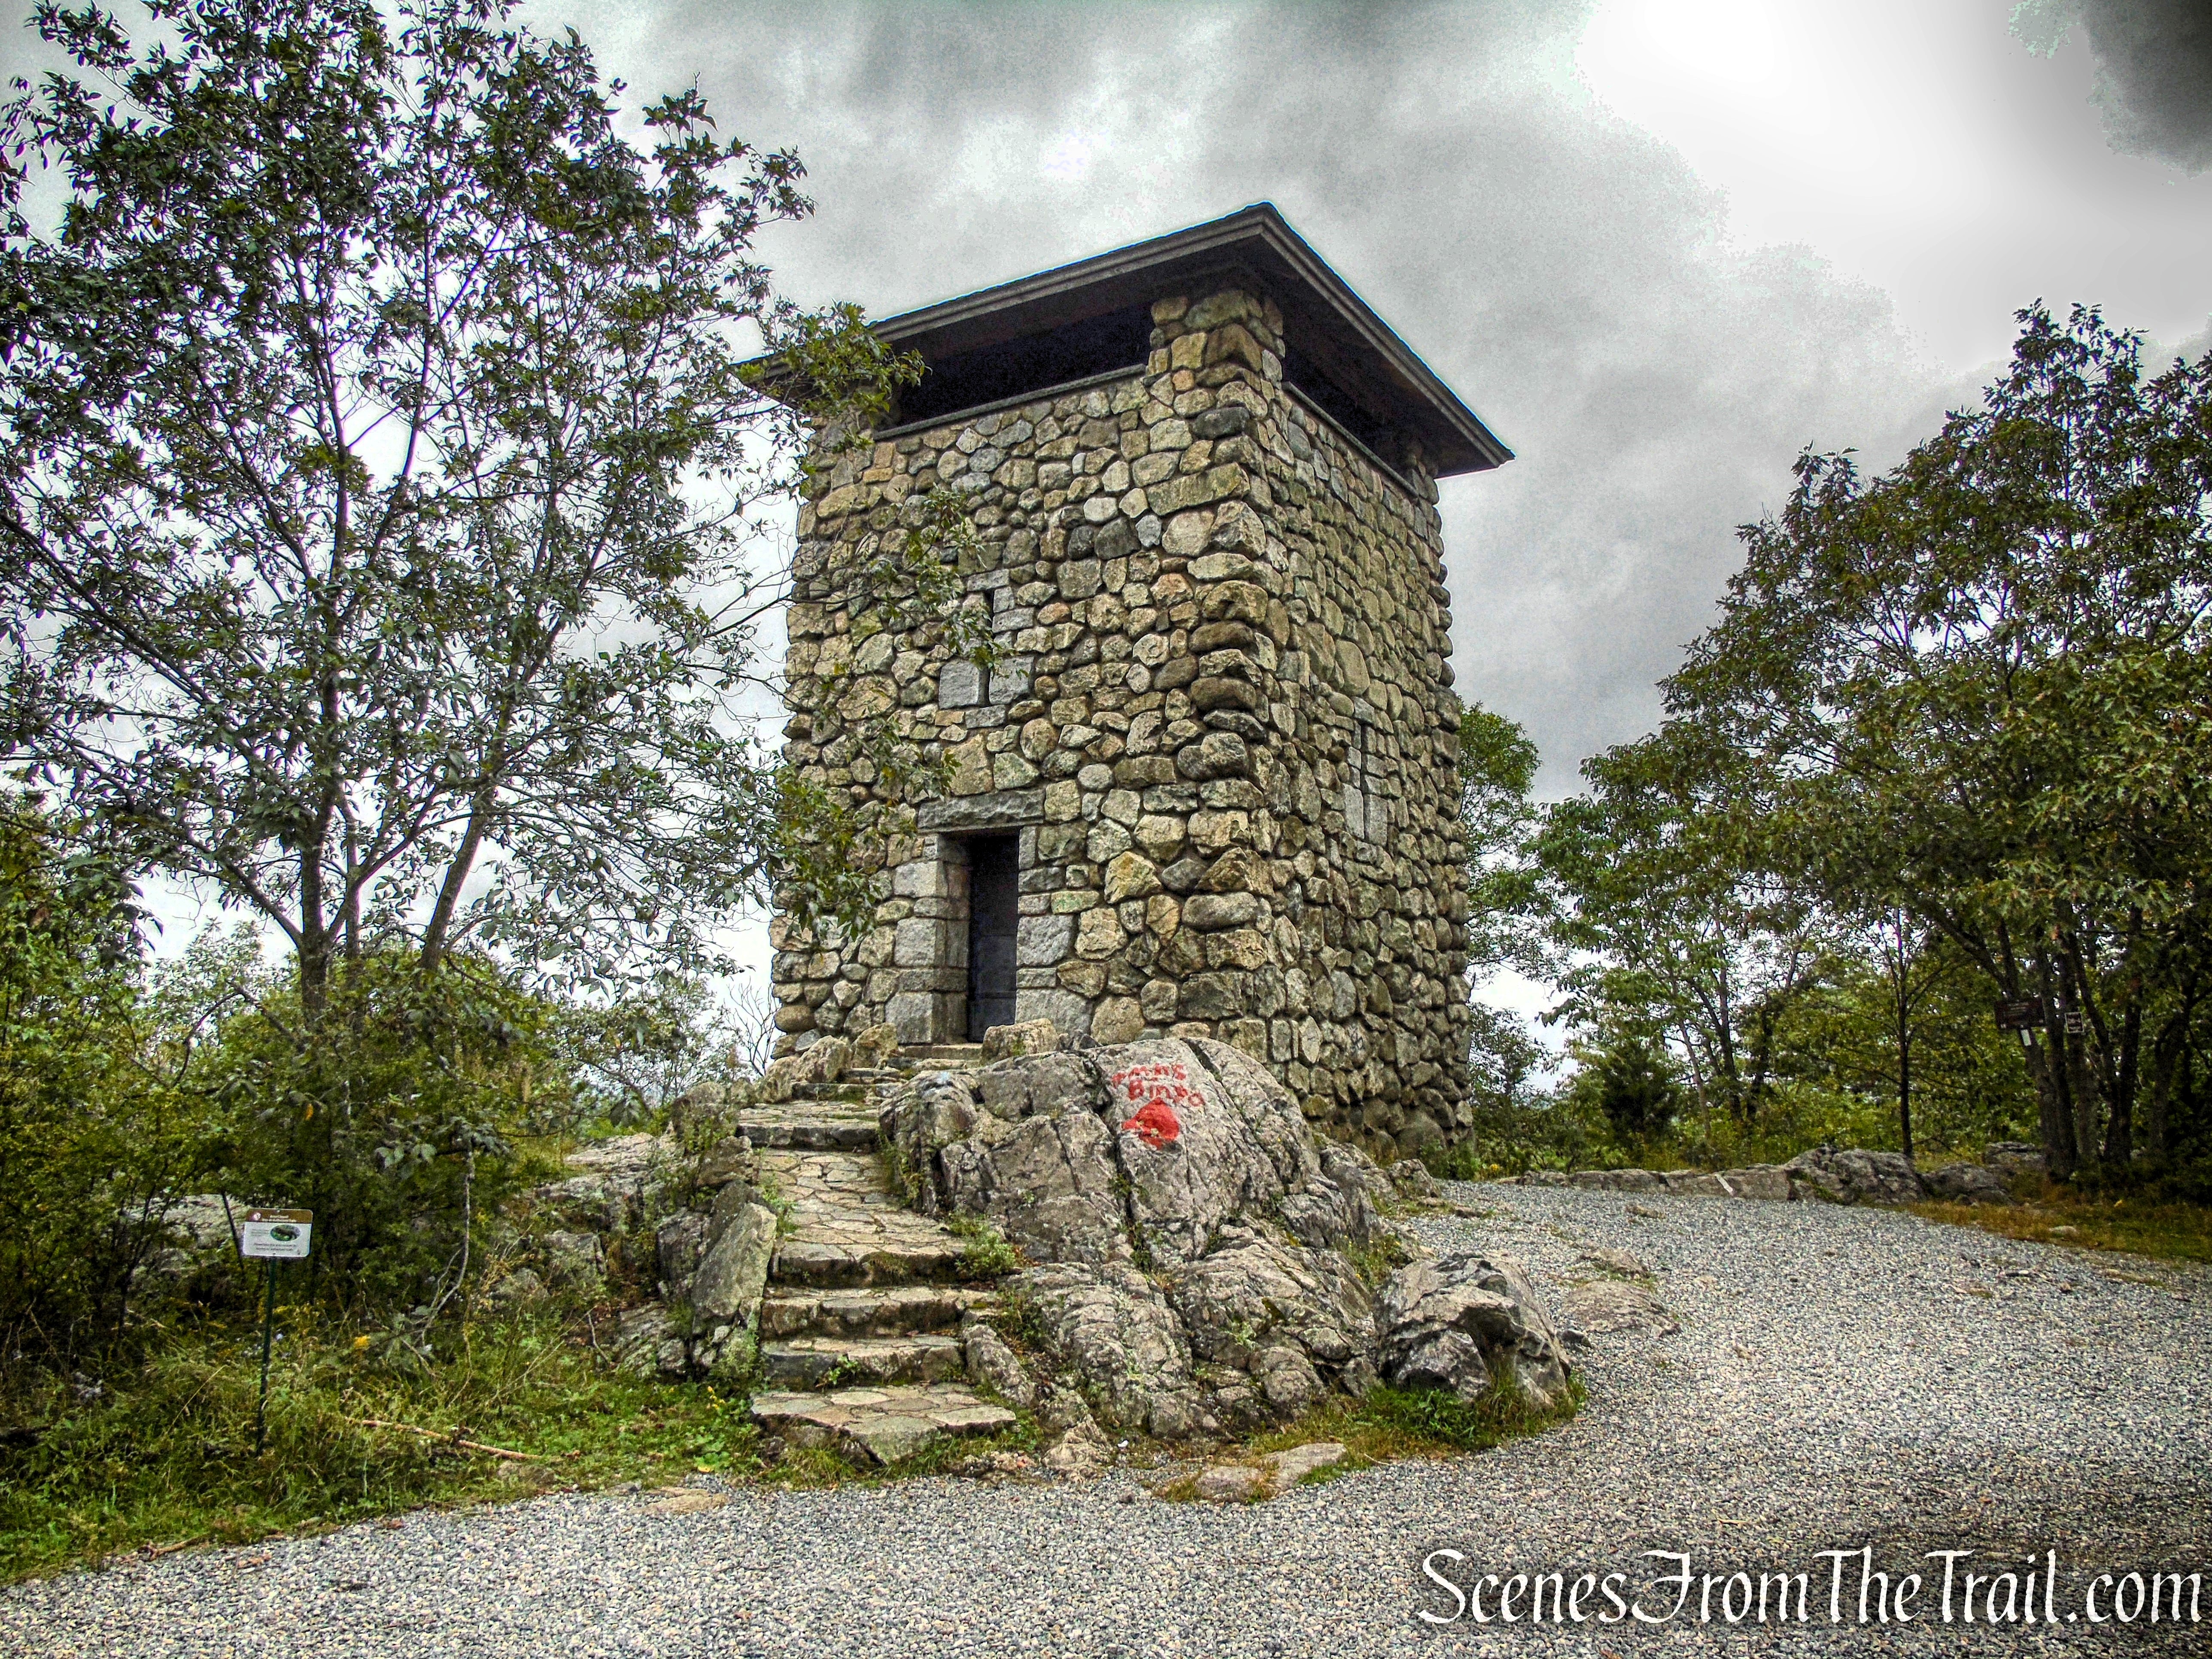
Stissing Fire Tower
The wooden plank steps and landings are reclaimed Larch and came from the old Tappan Zee Bridge pilings.

Stissing Fire Tower
You will have to climb the fire tower at least part way to enjoy the views. There are no views from the base of the tower.

Stissing Fire Tower
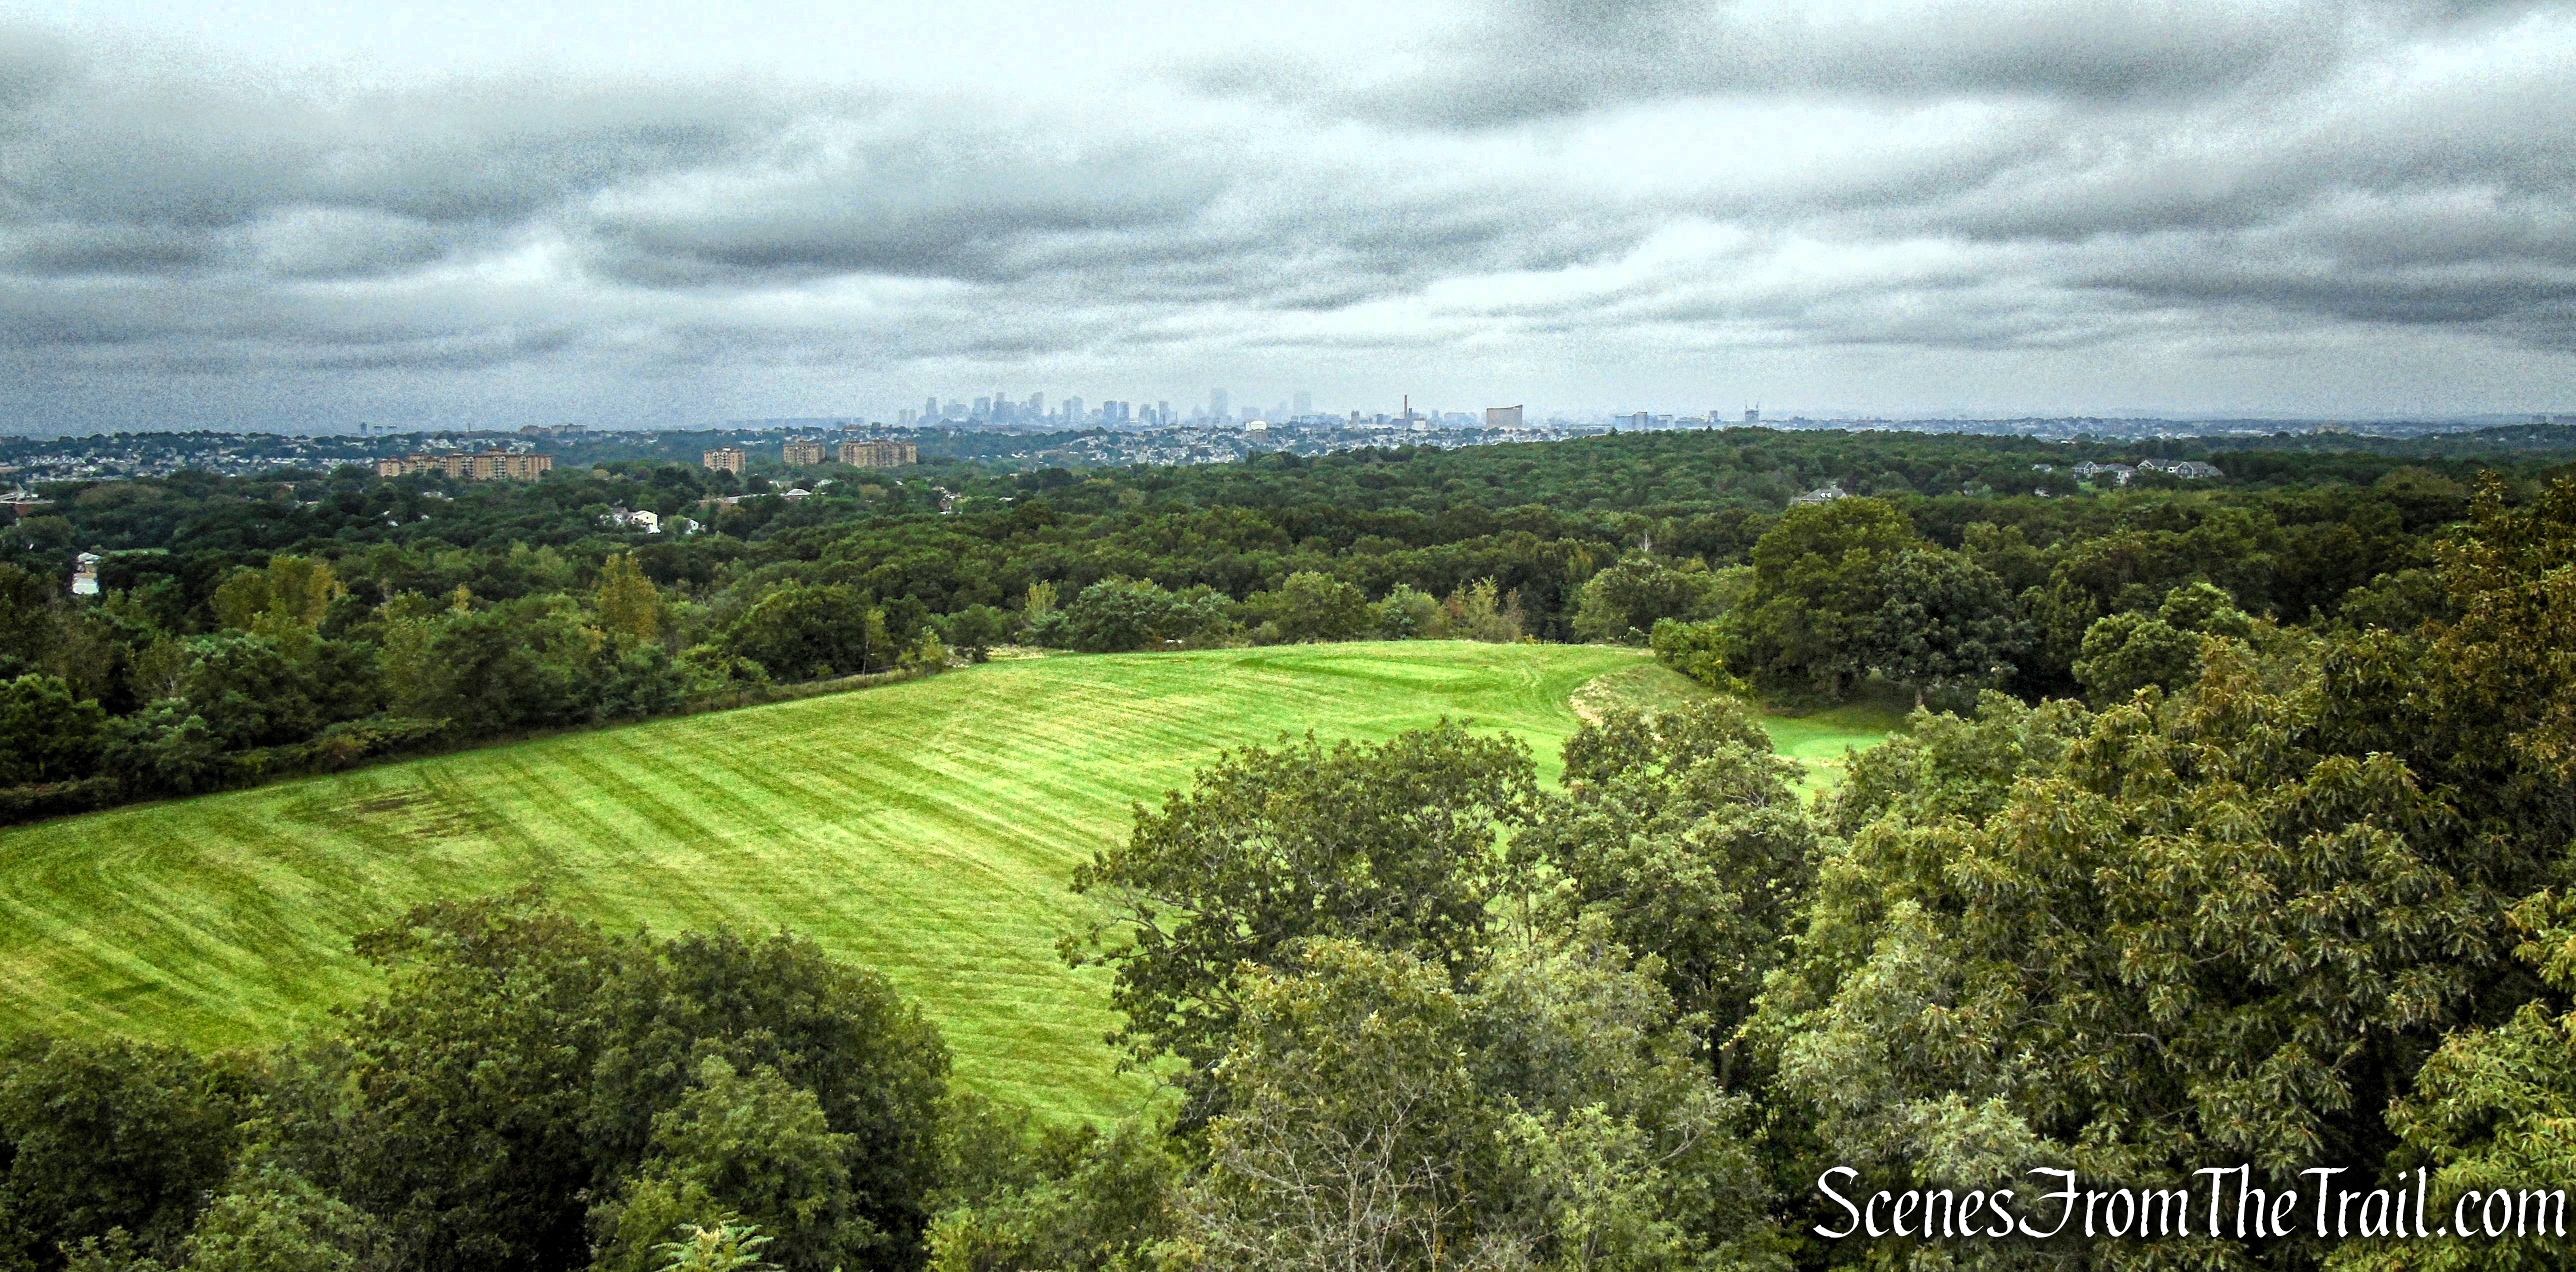
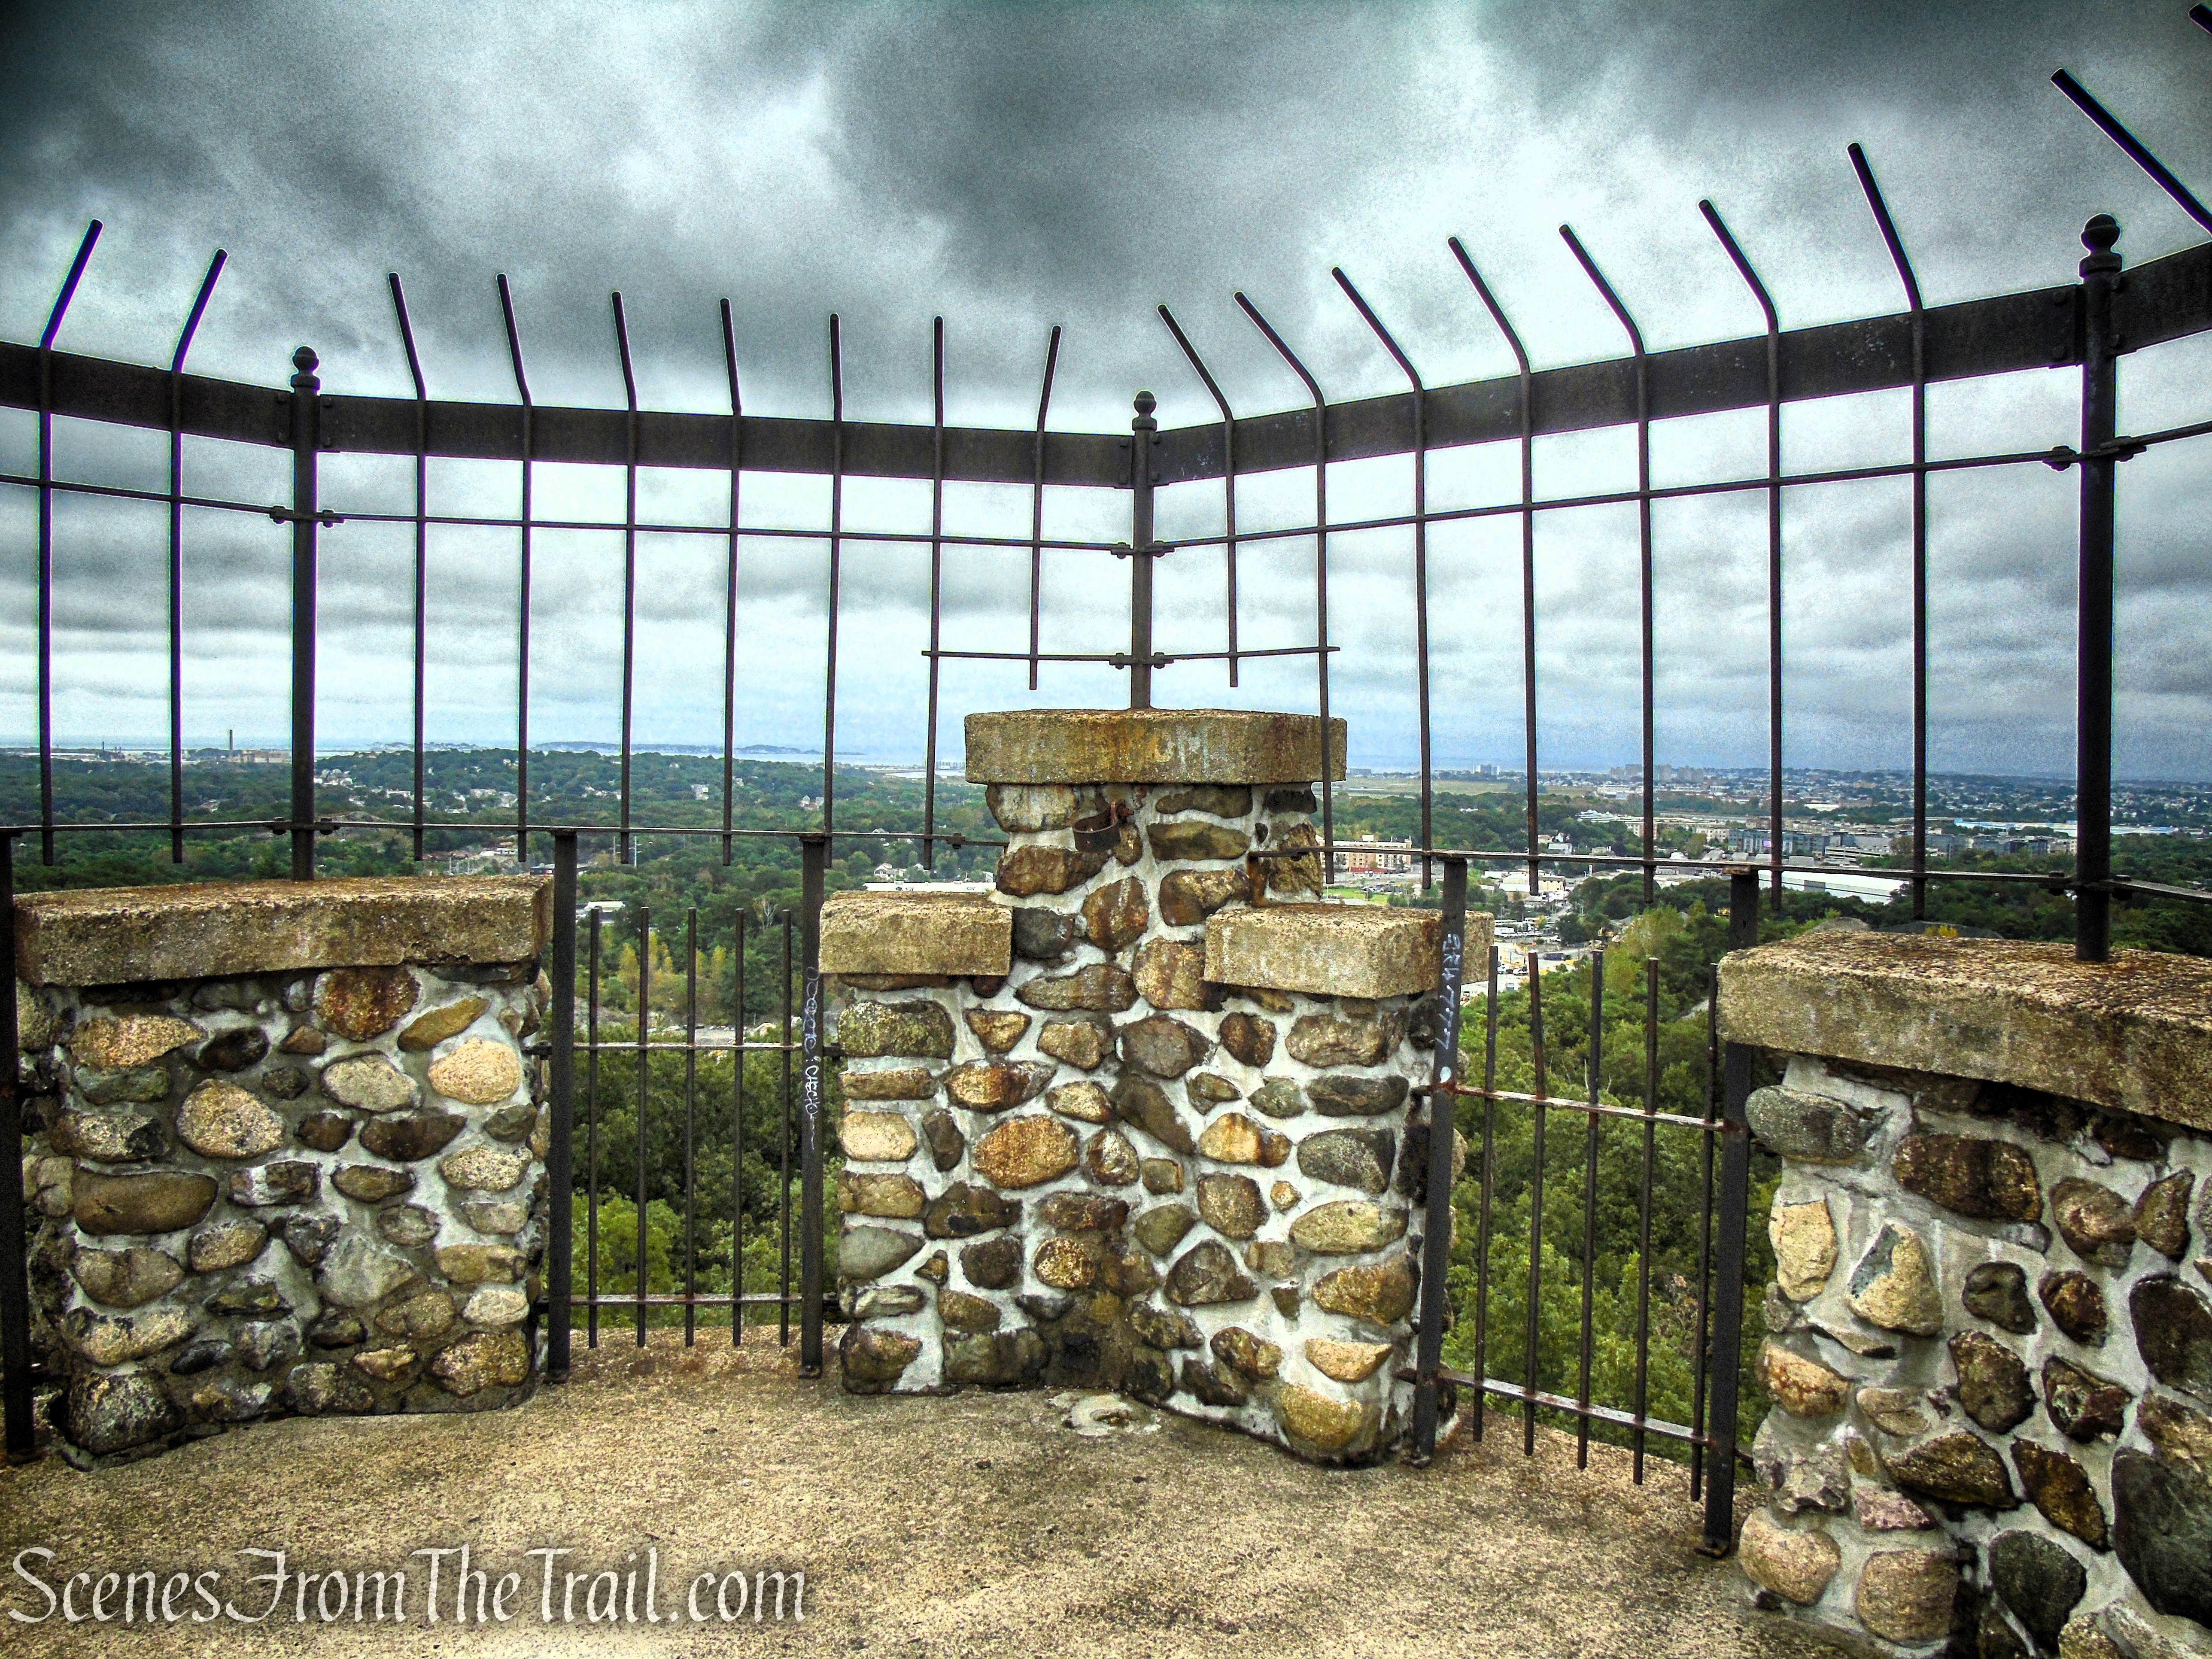
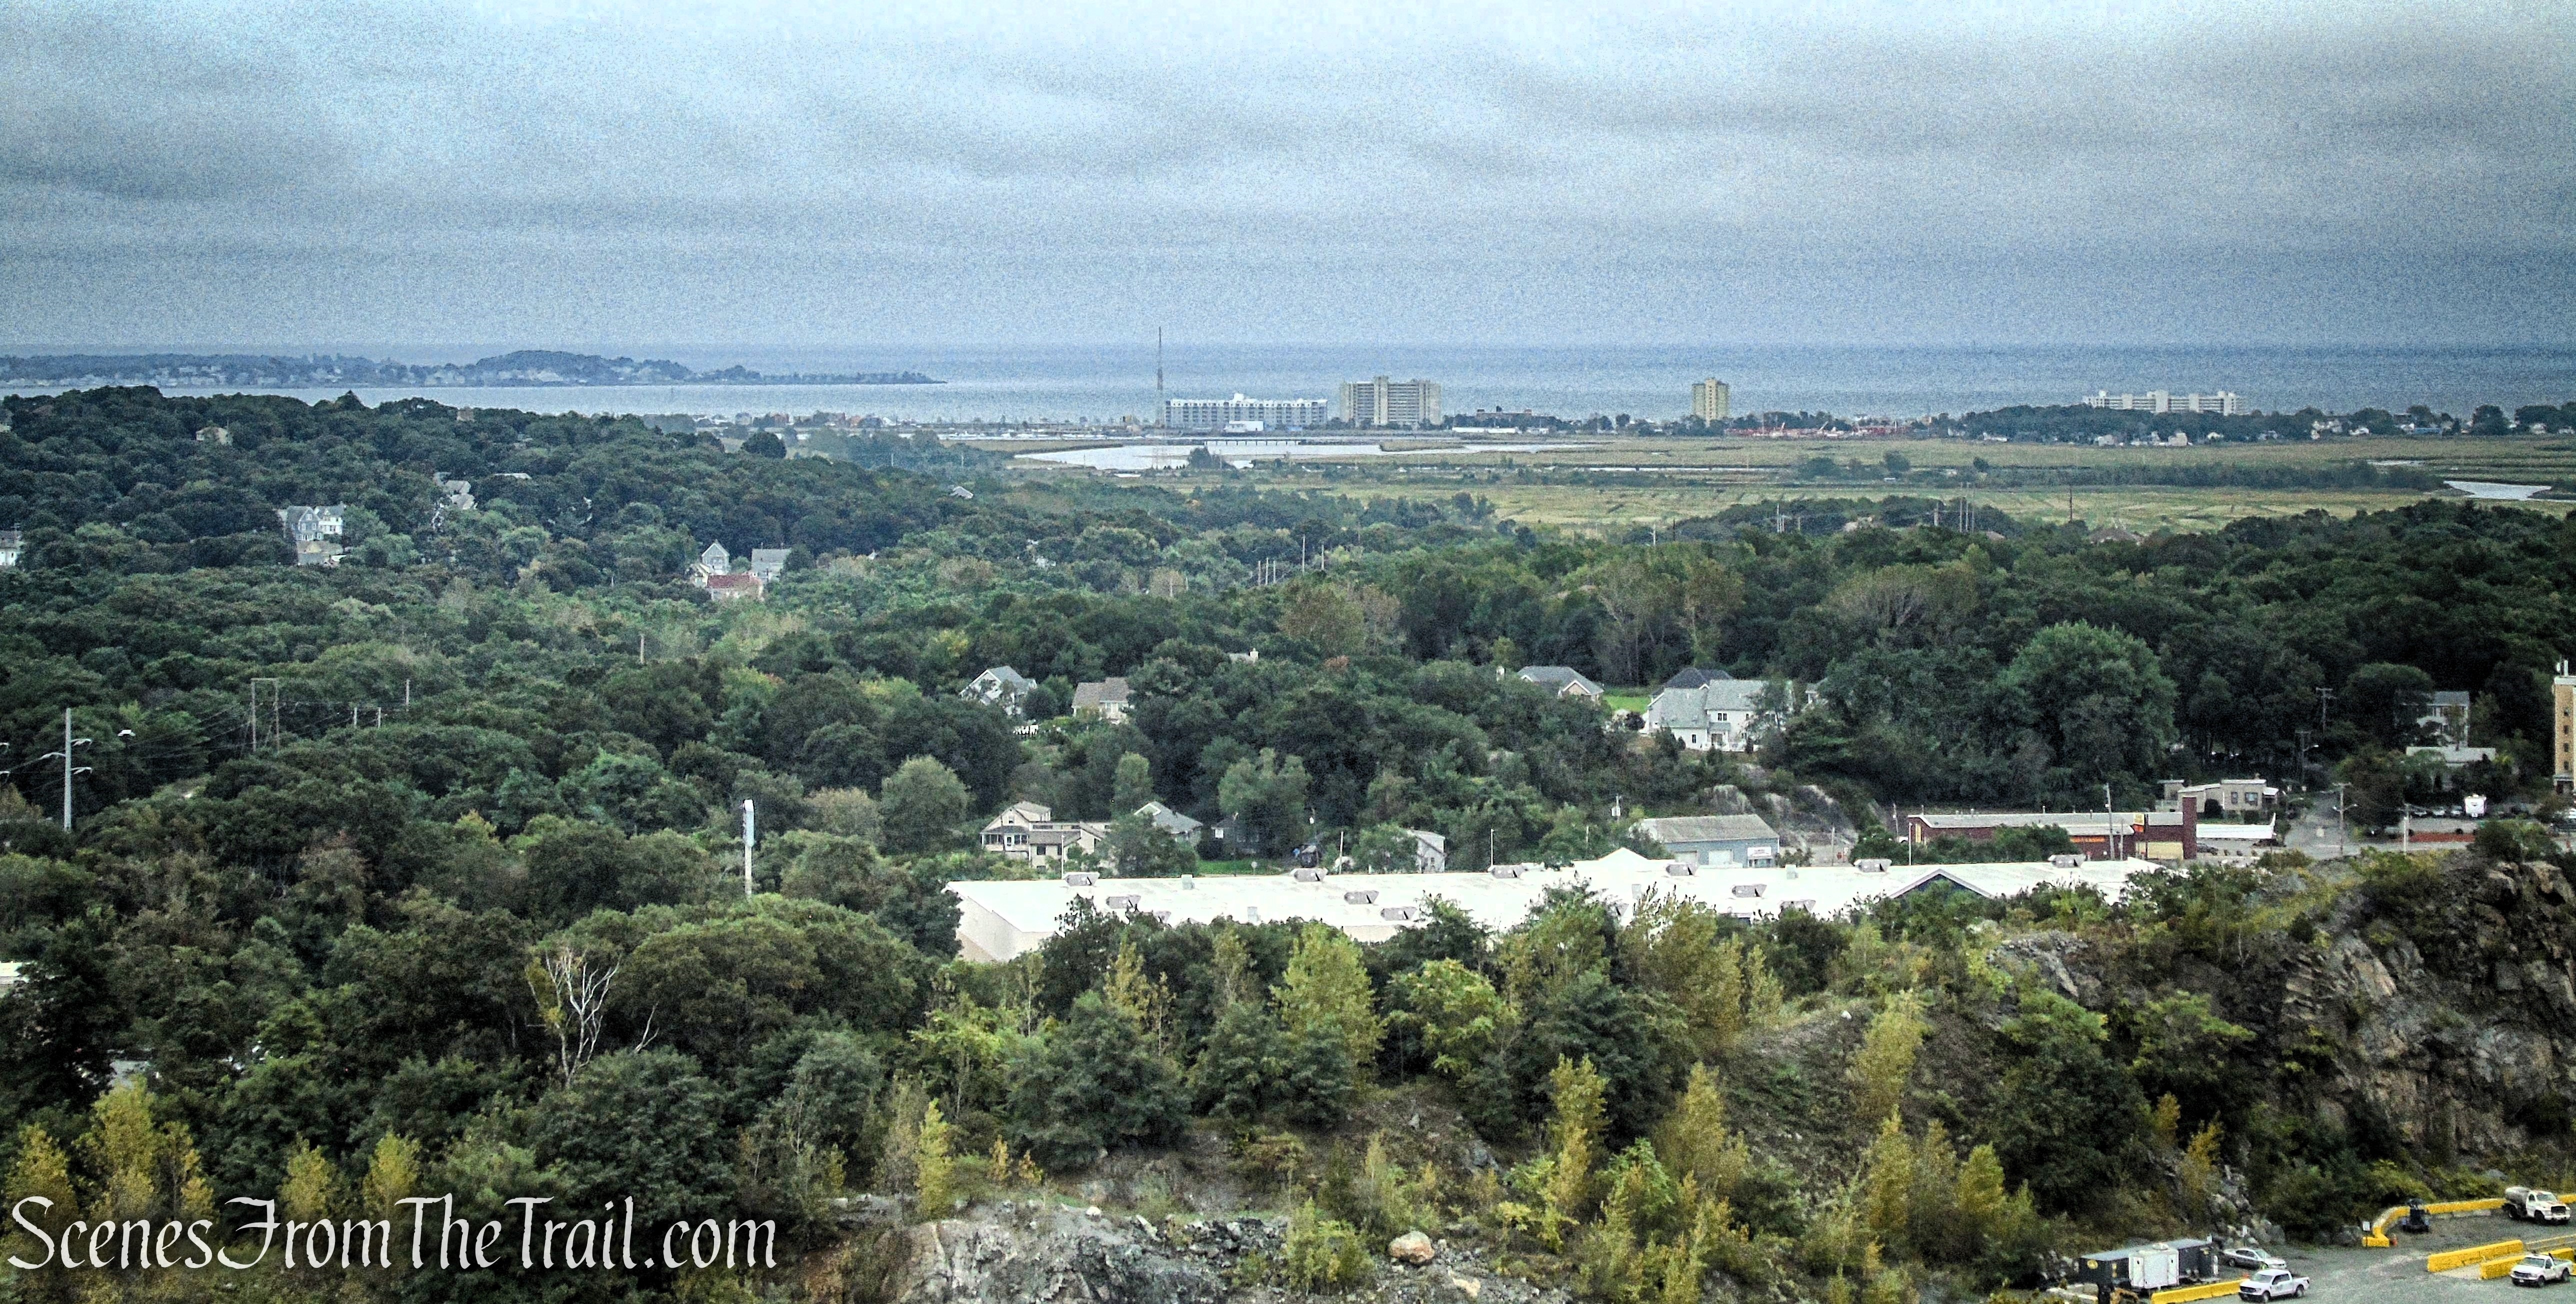
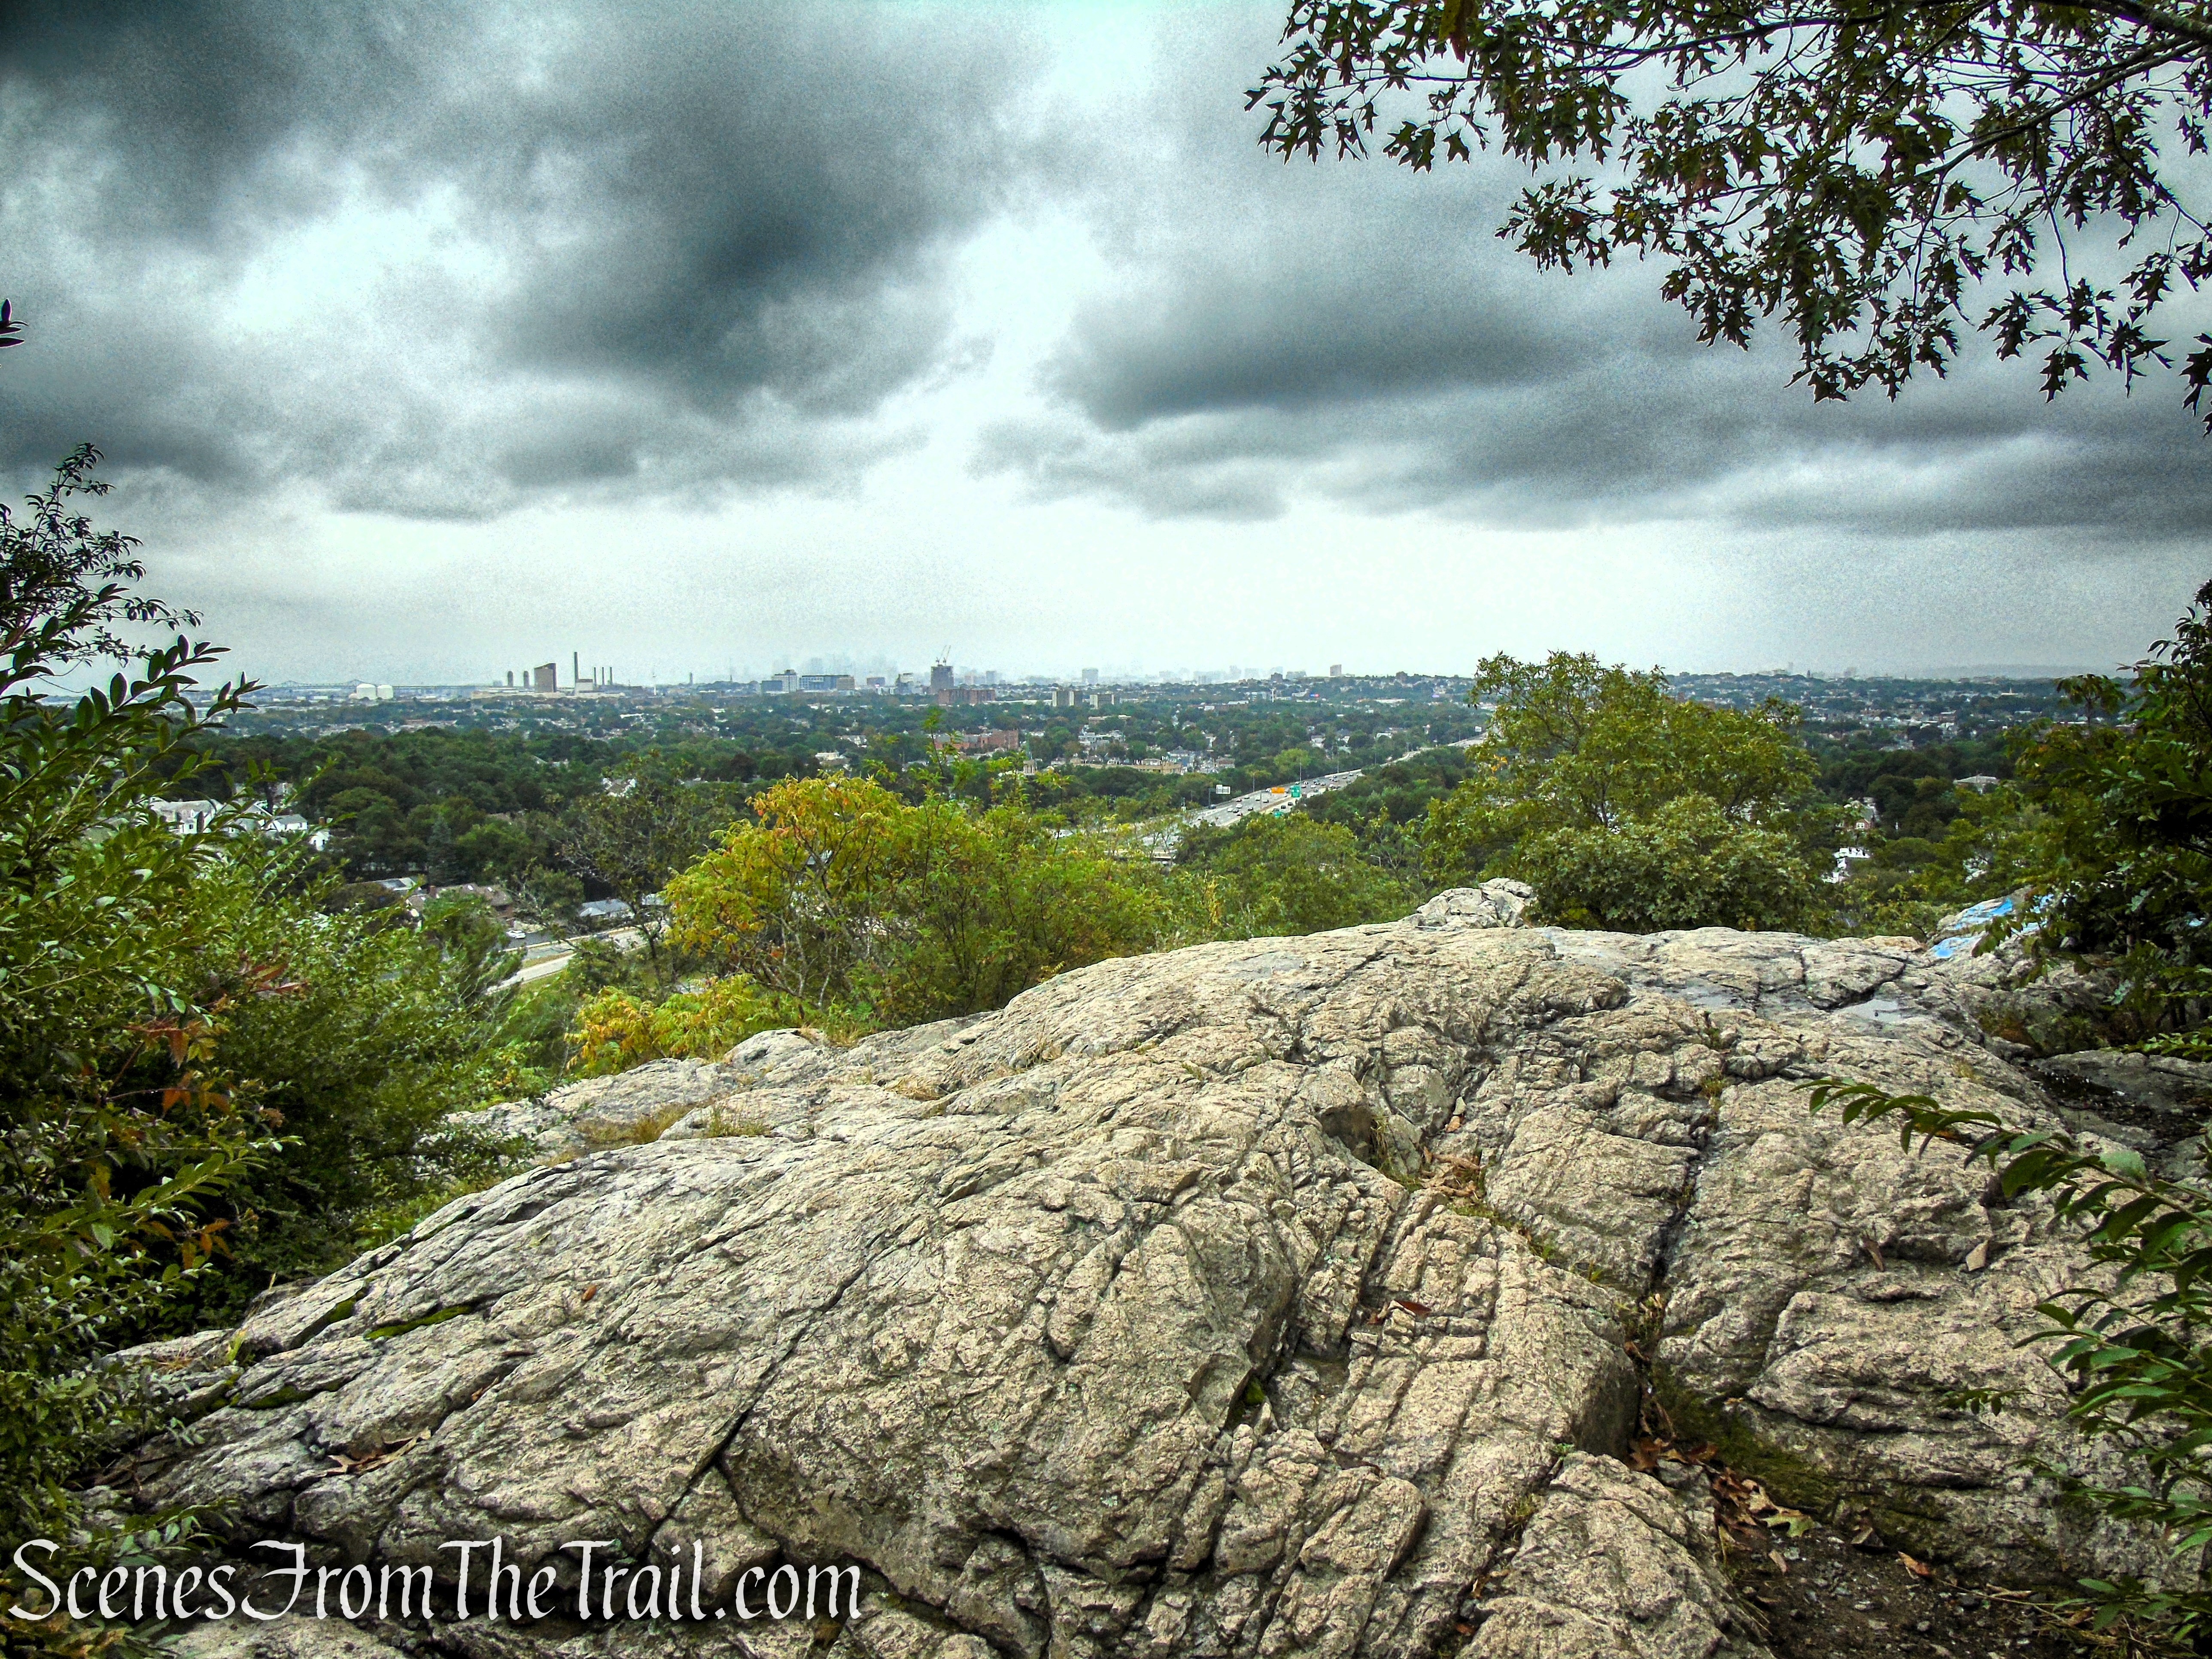
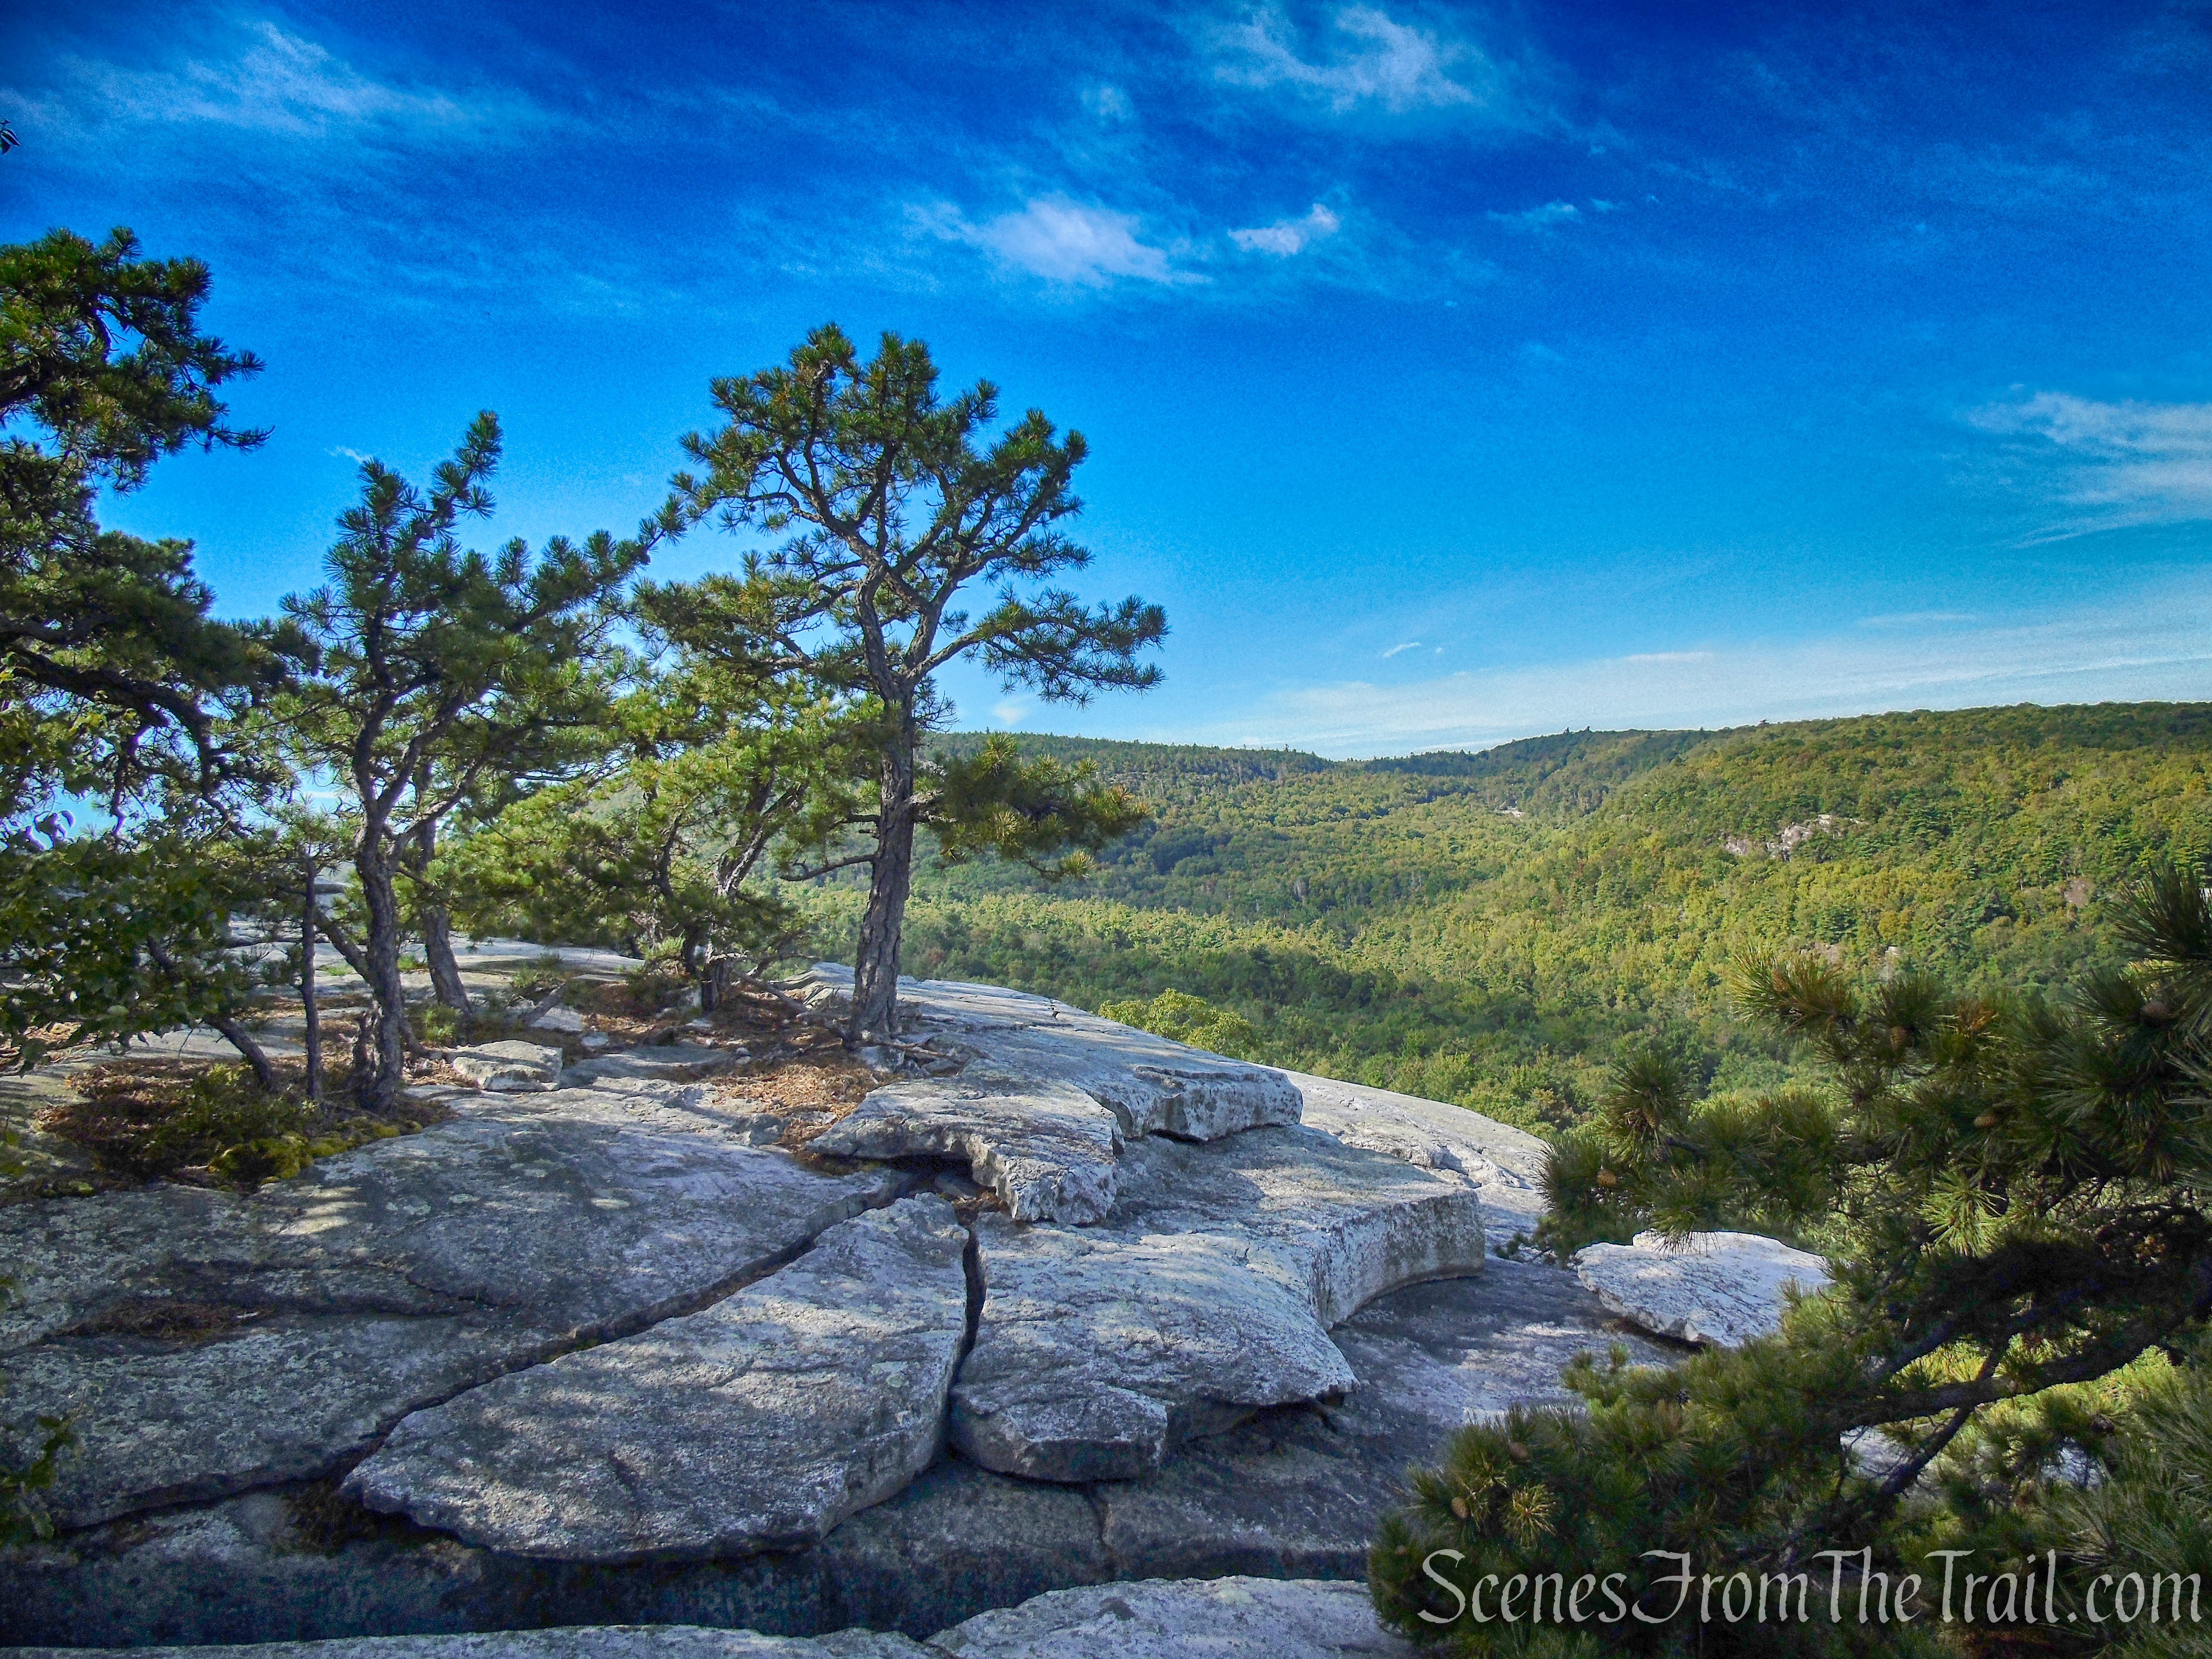
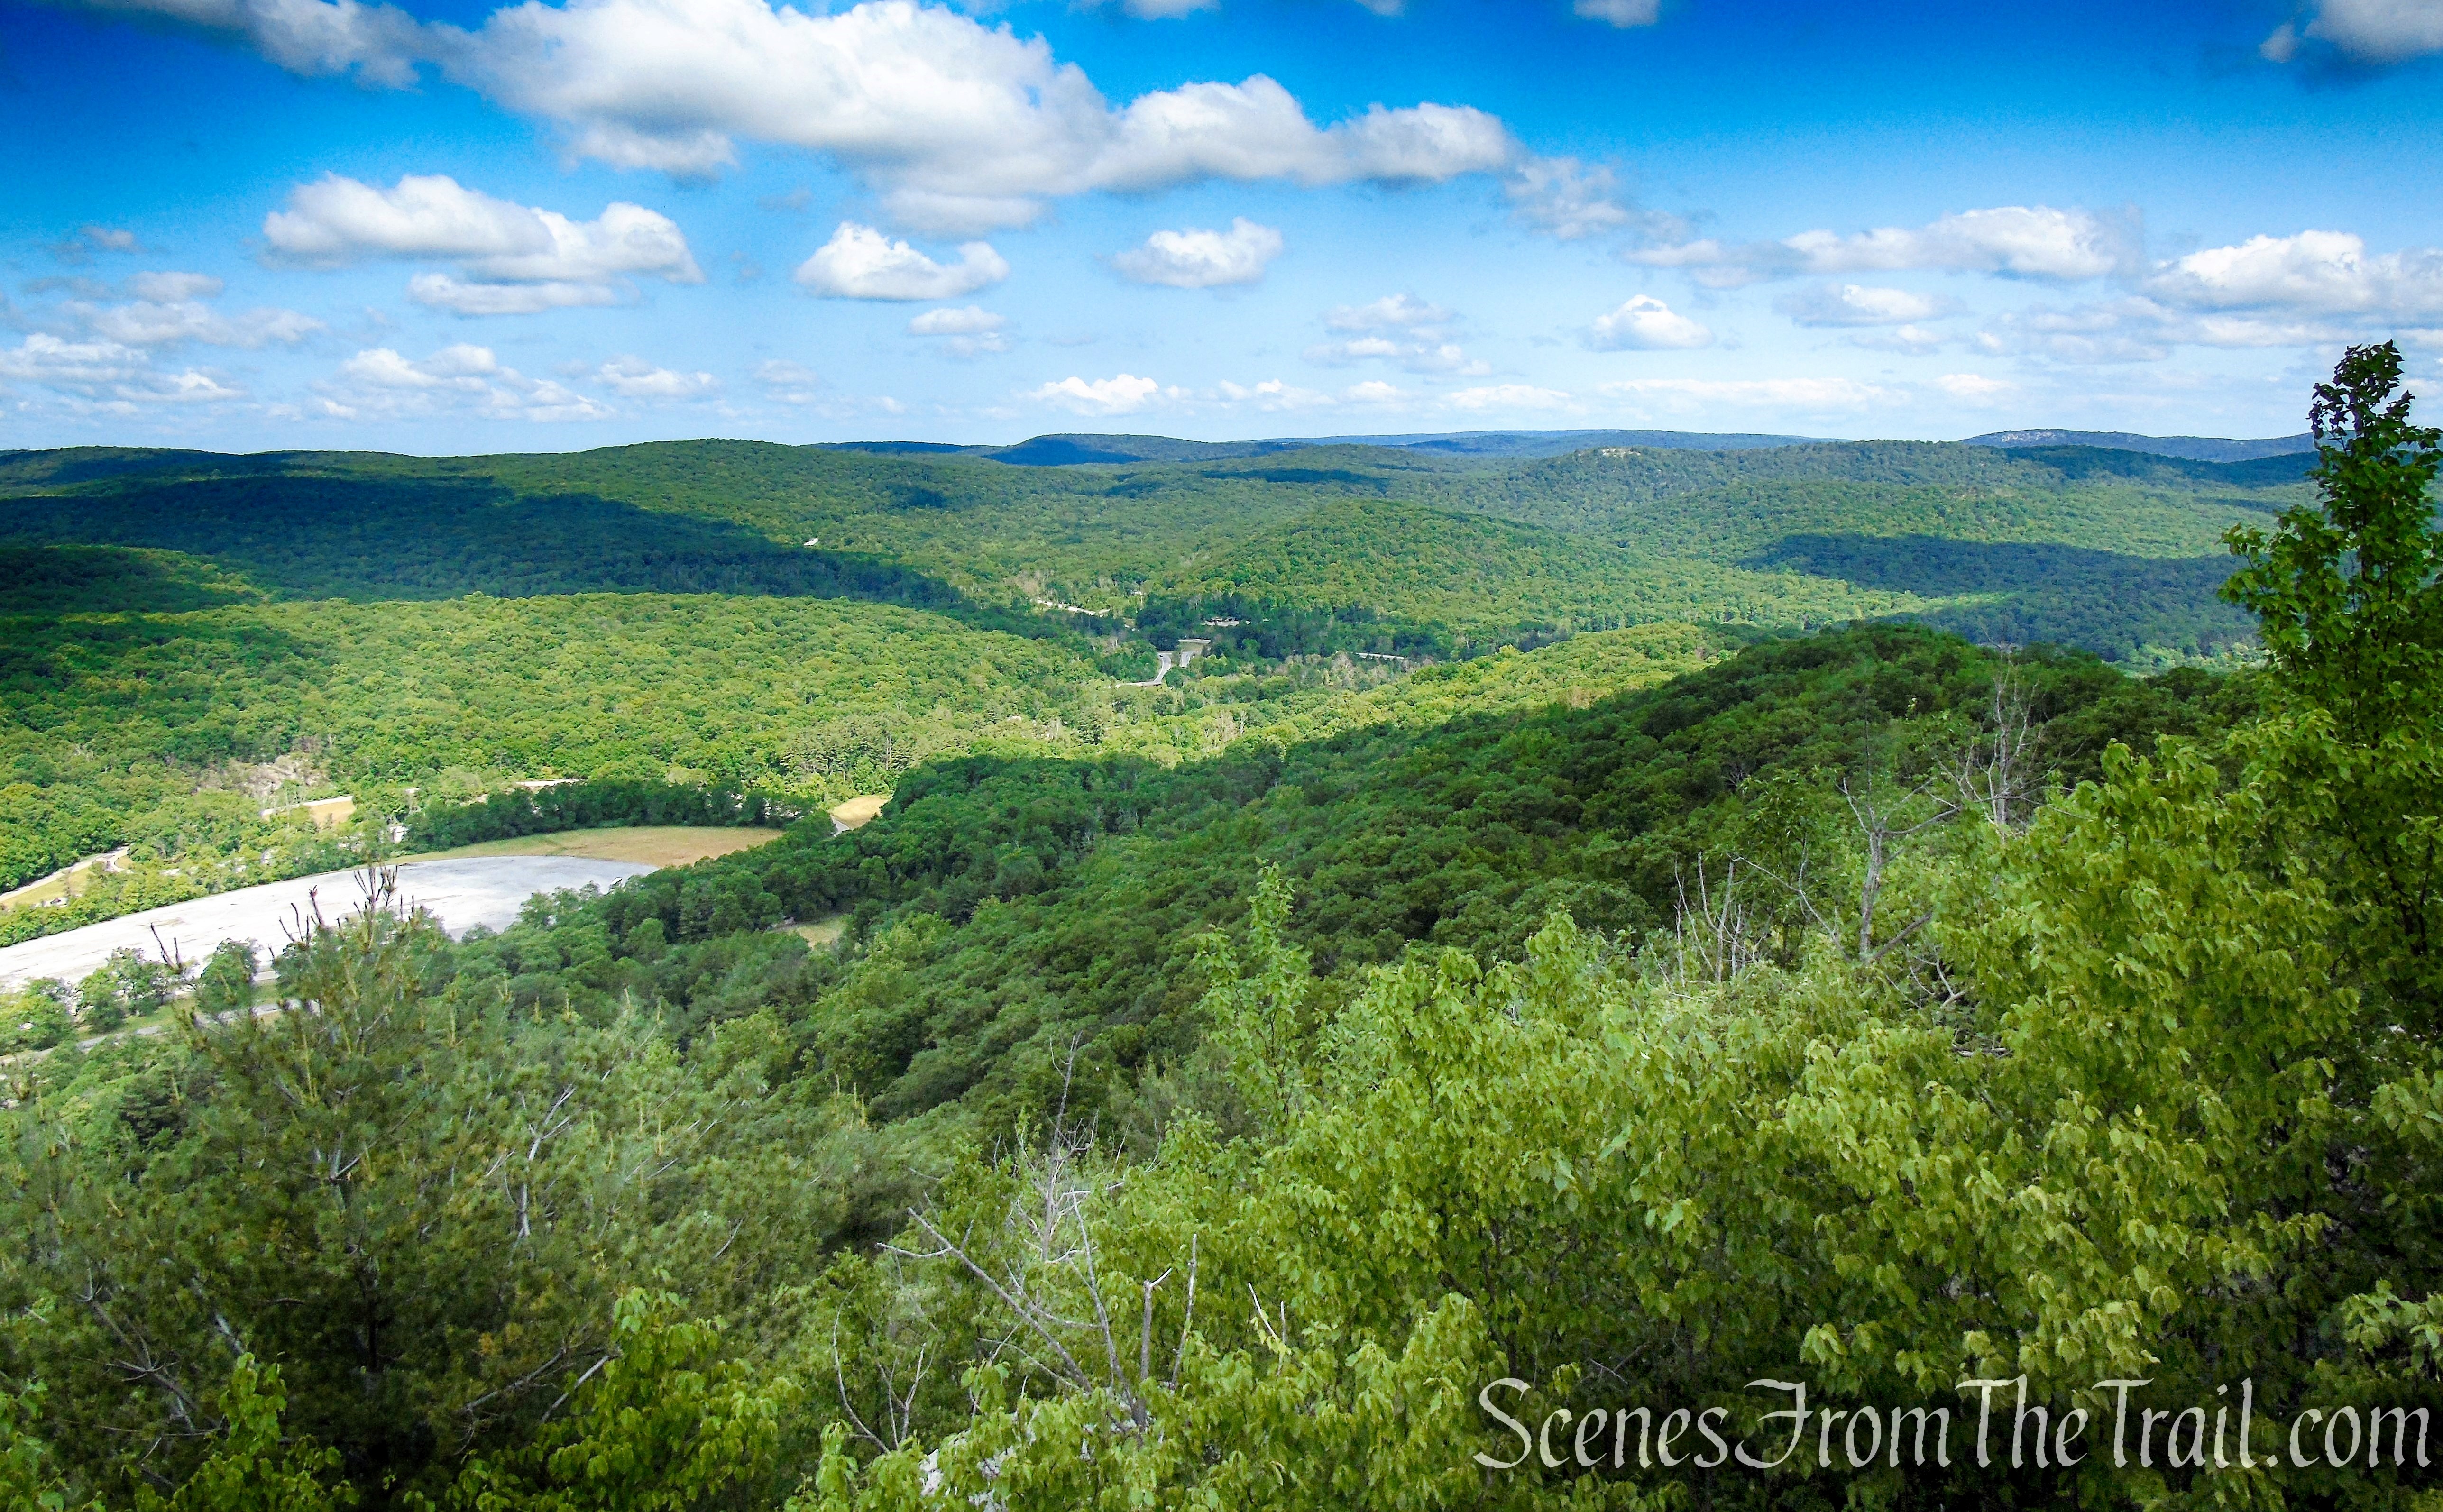
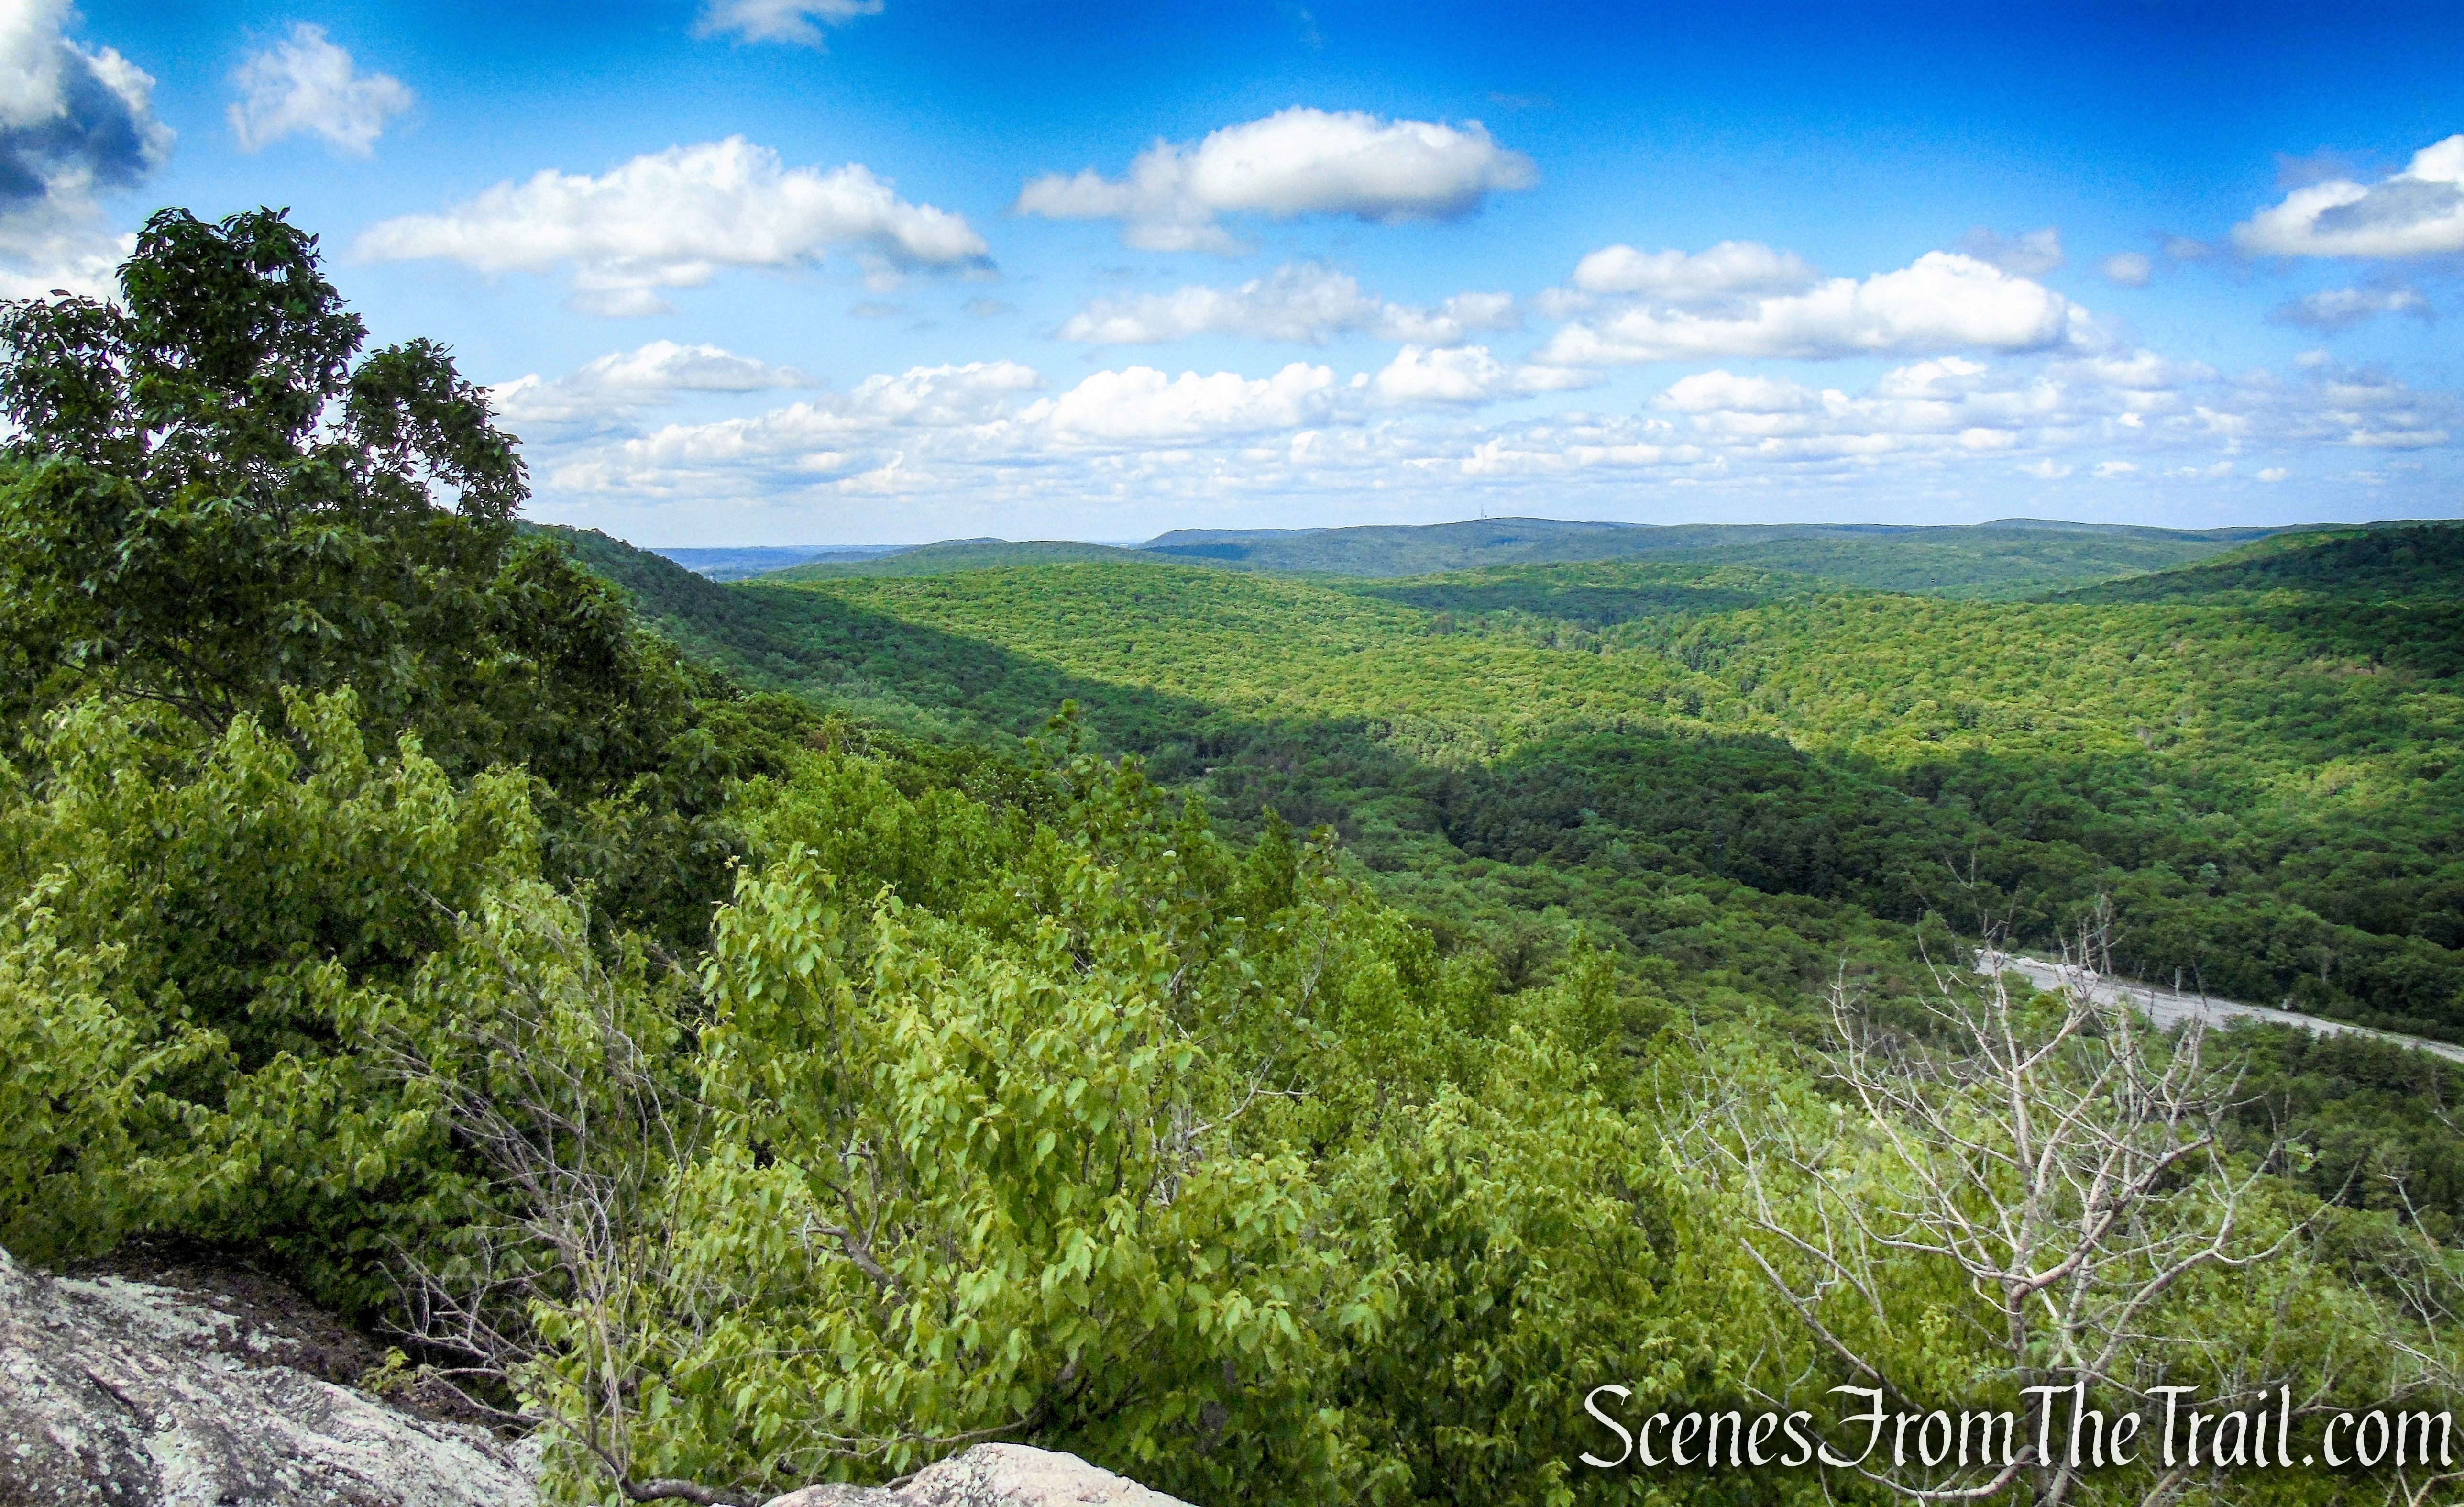
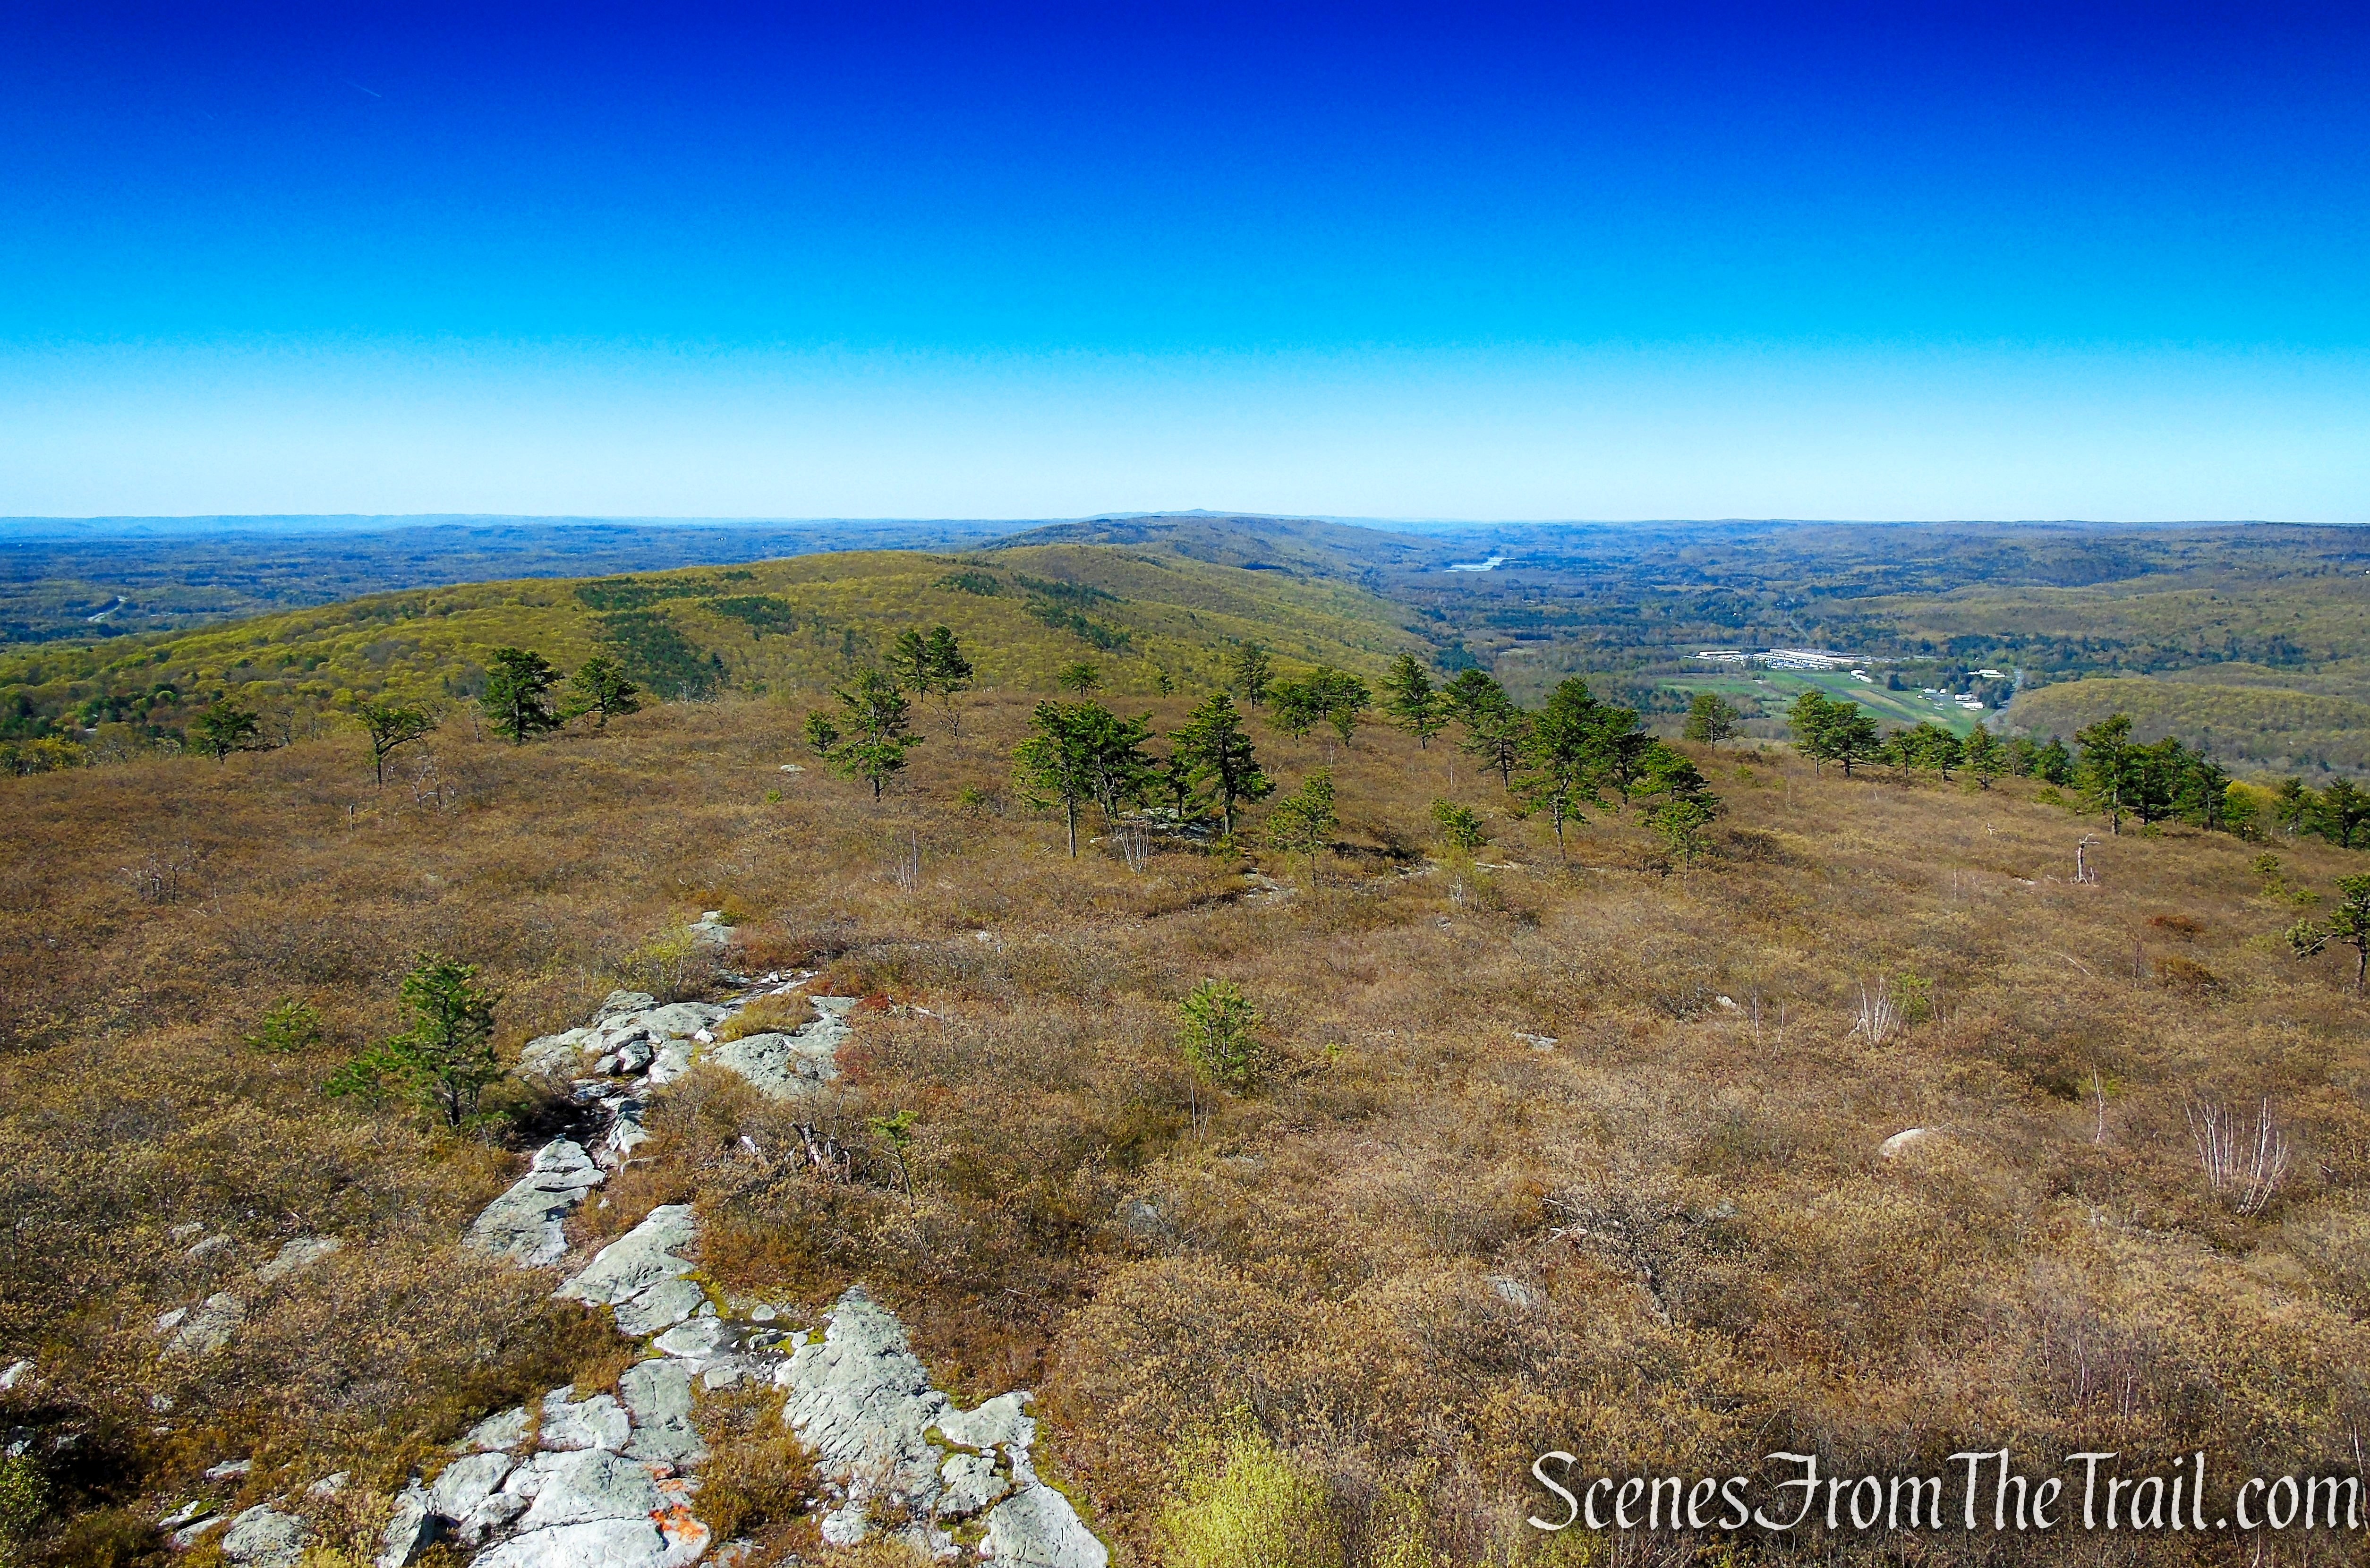
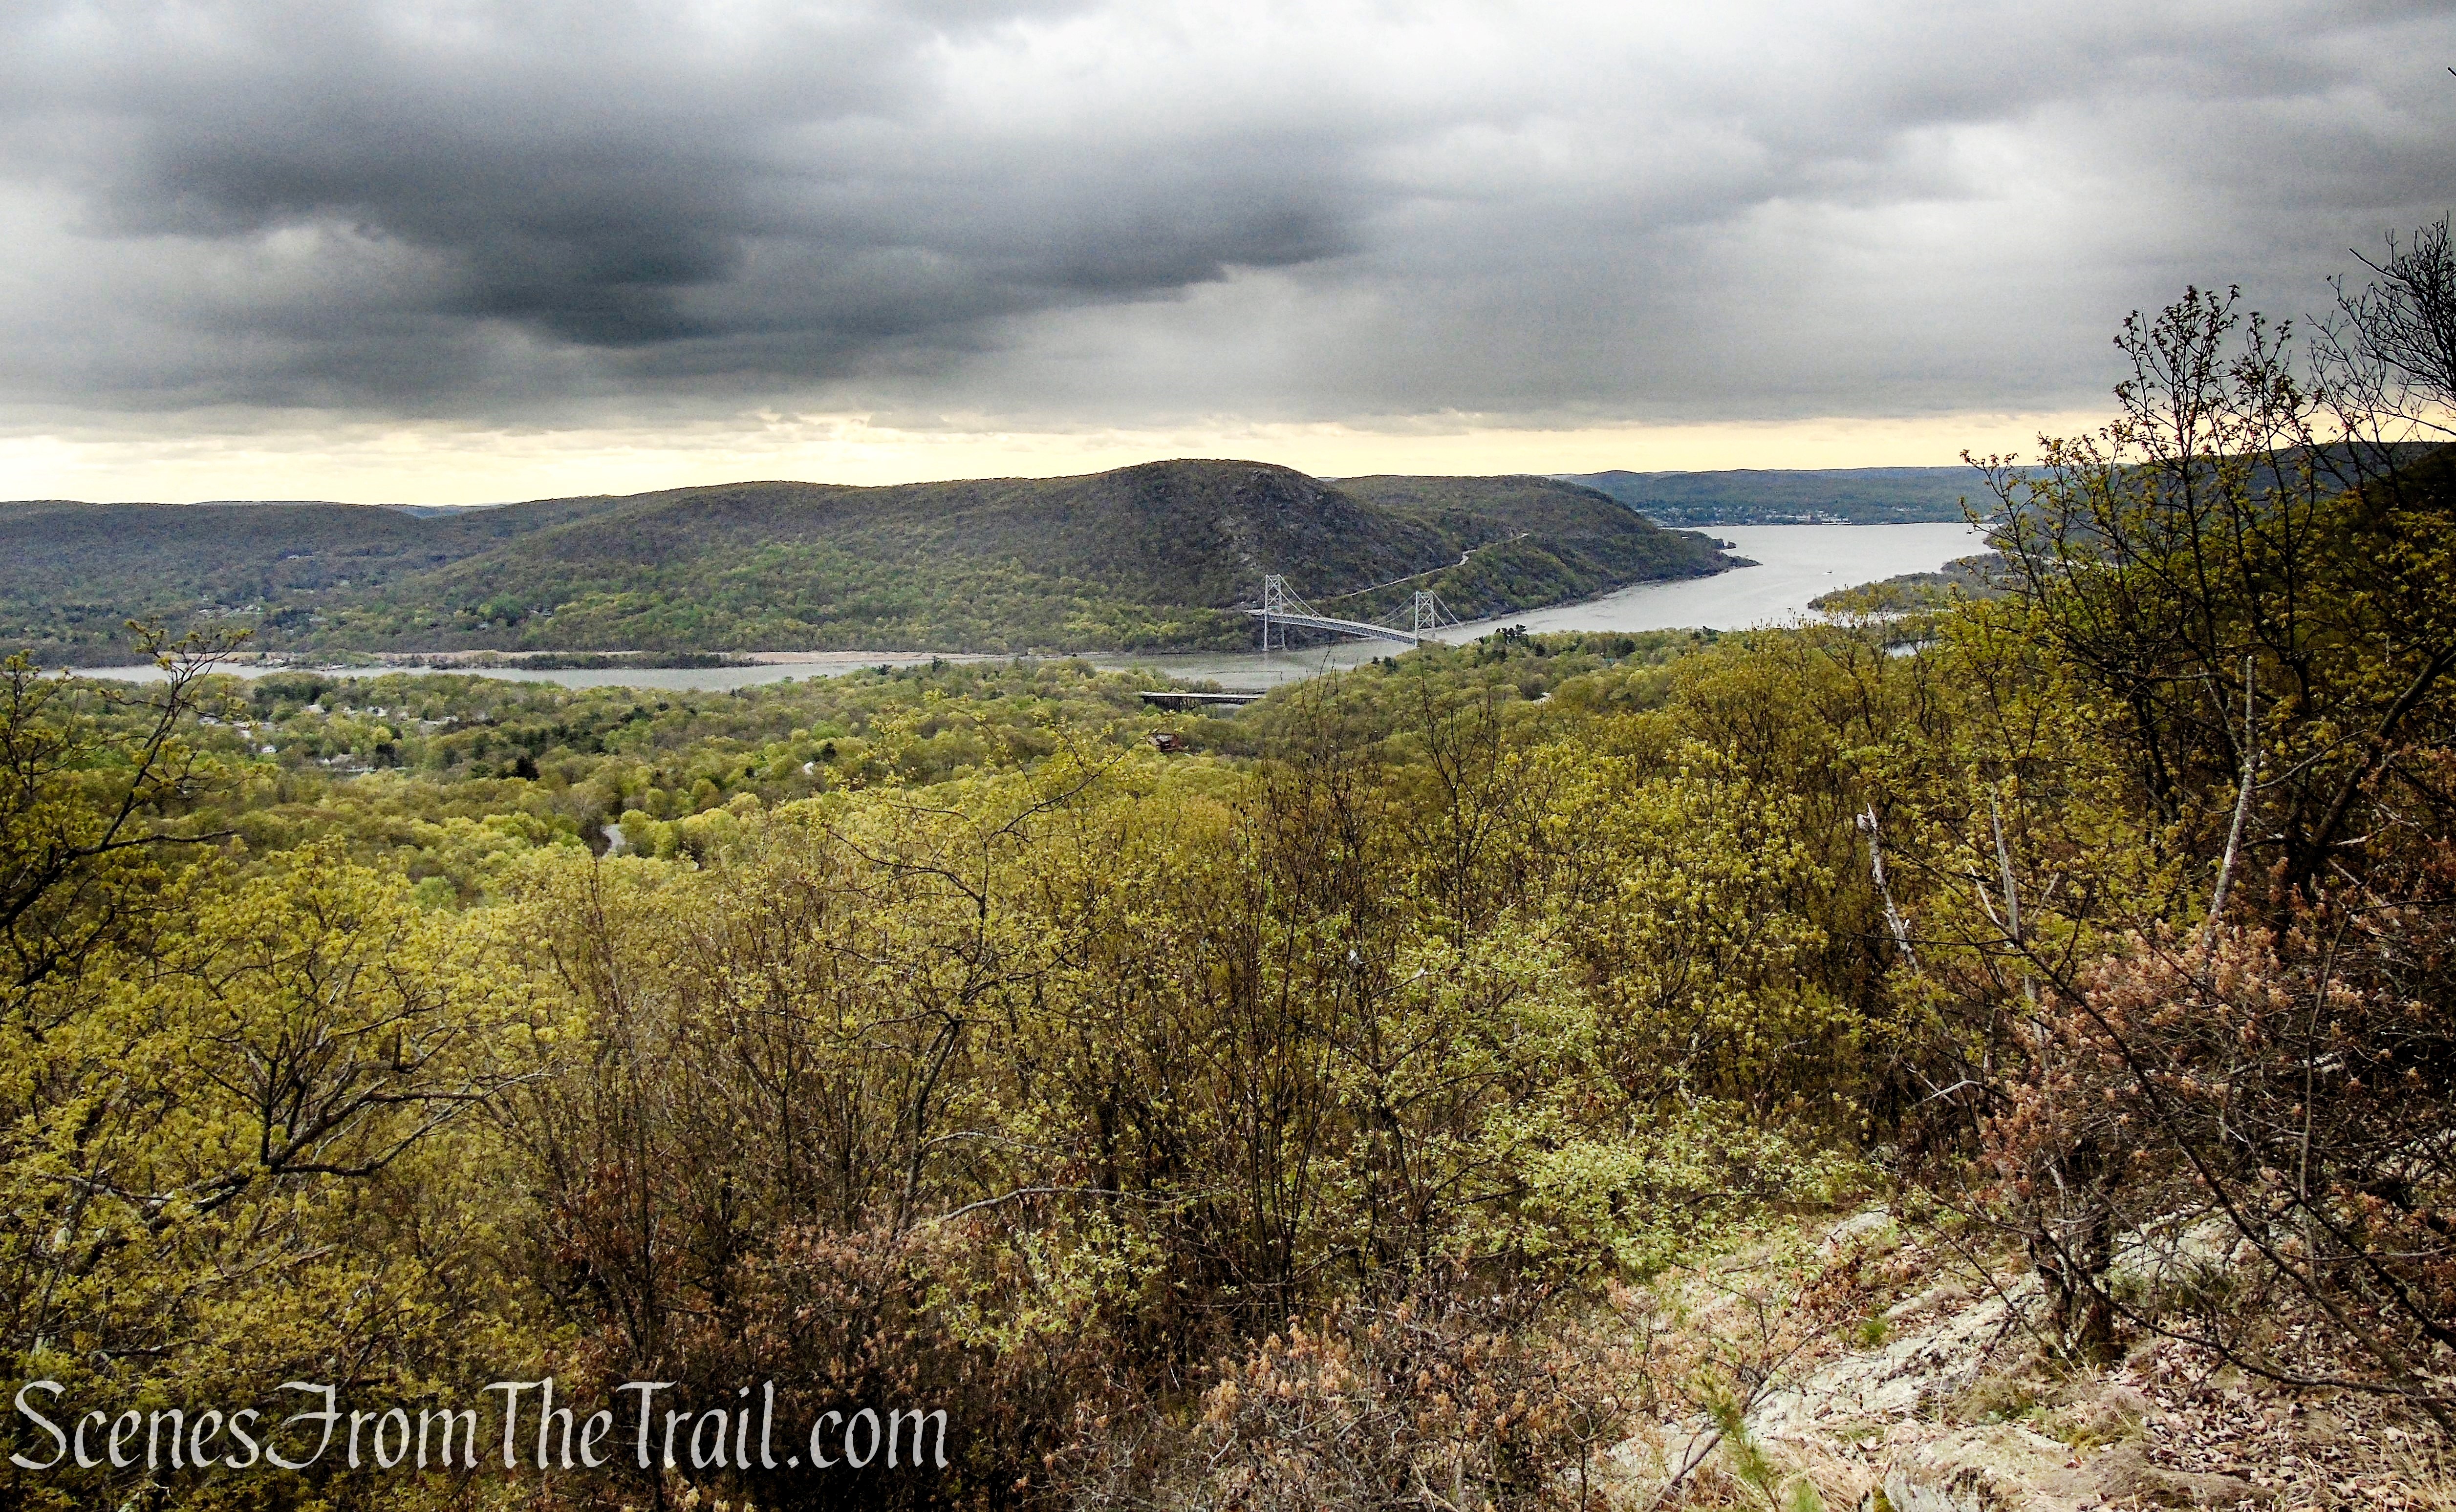
The Stissing Fire Tower provides views east to Connecticut, Massachusetts, and Vermont; Southwest to Pennsylvania and New Jersey; and North to the Empire State Plaza in Albany.
Stissing Fire Tower
Thompson Pond directly below to the east.

View east from Stissing Fire Tower
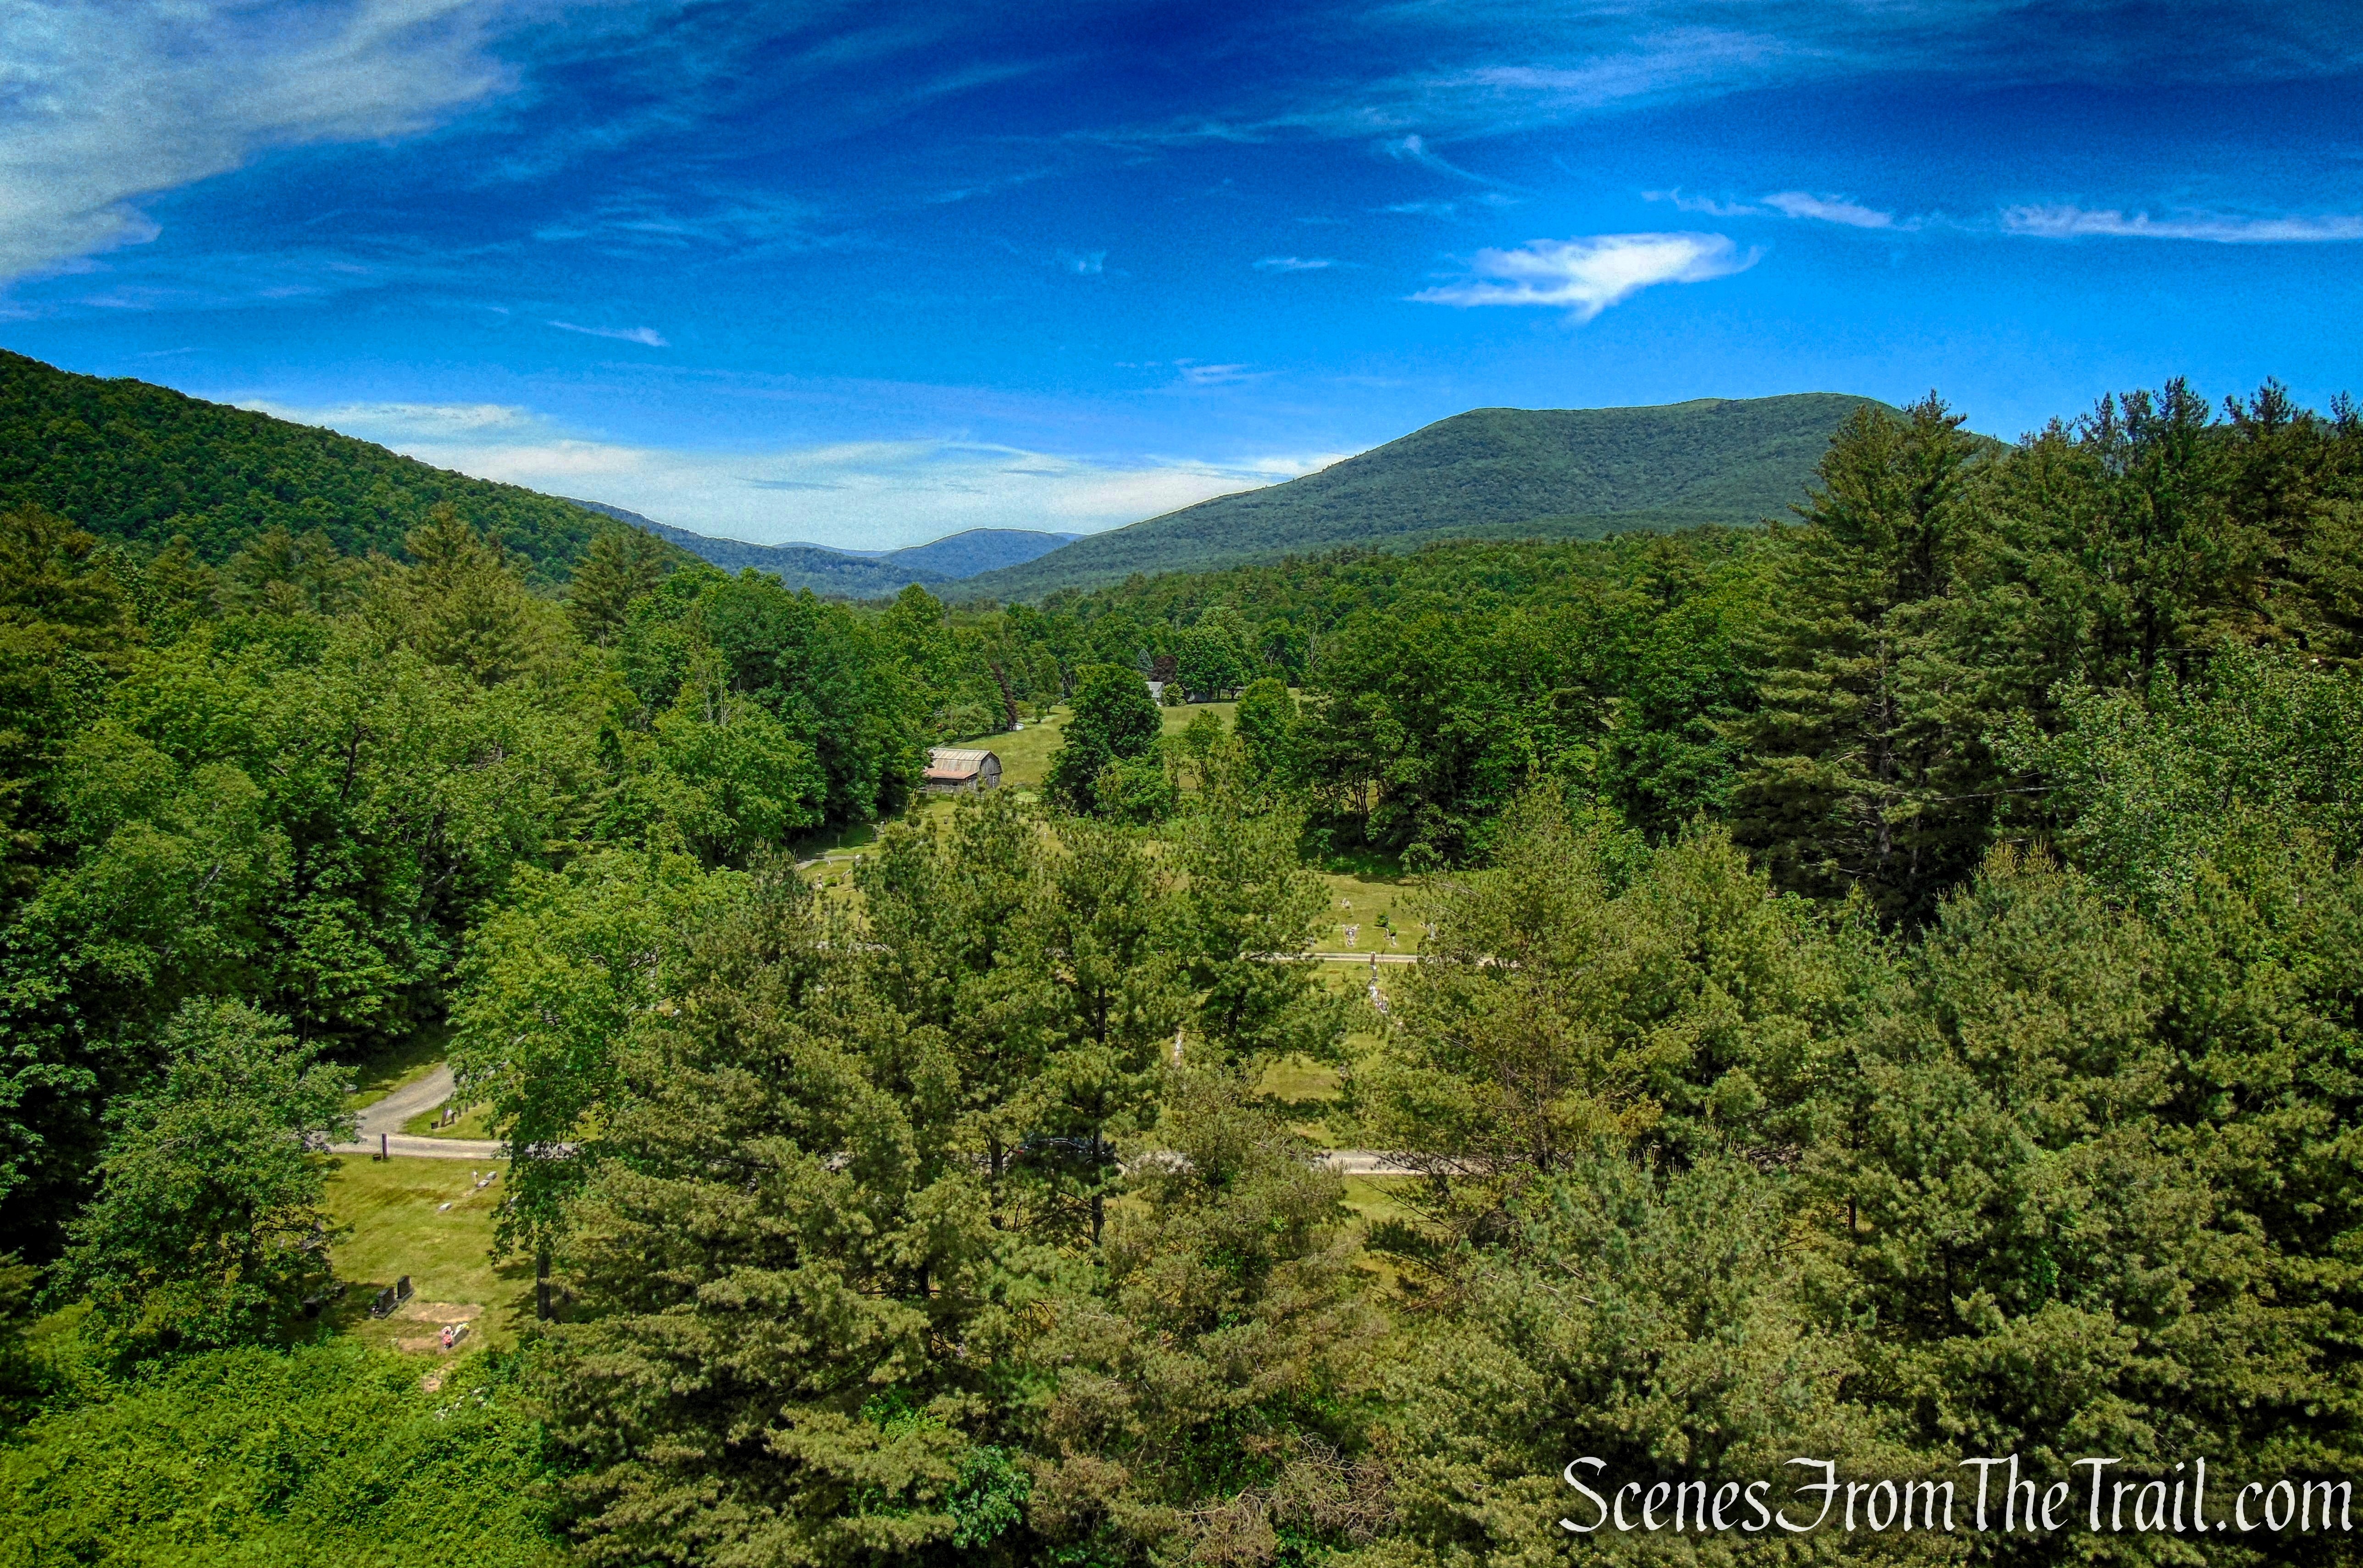
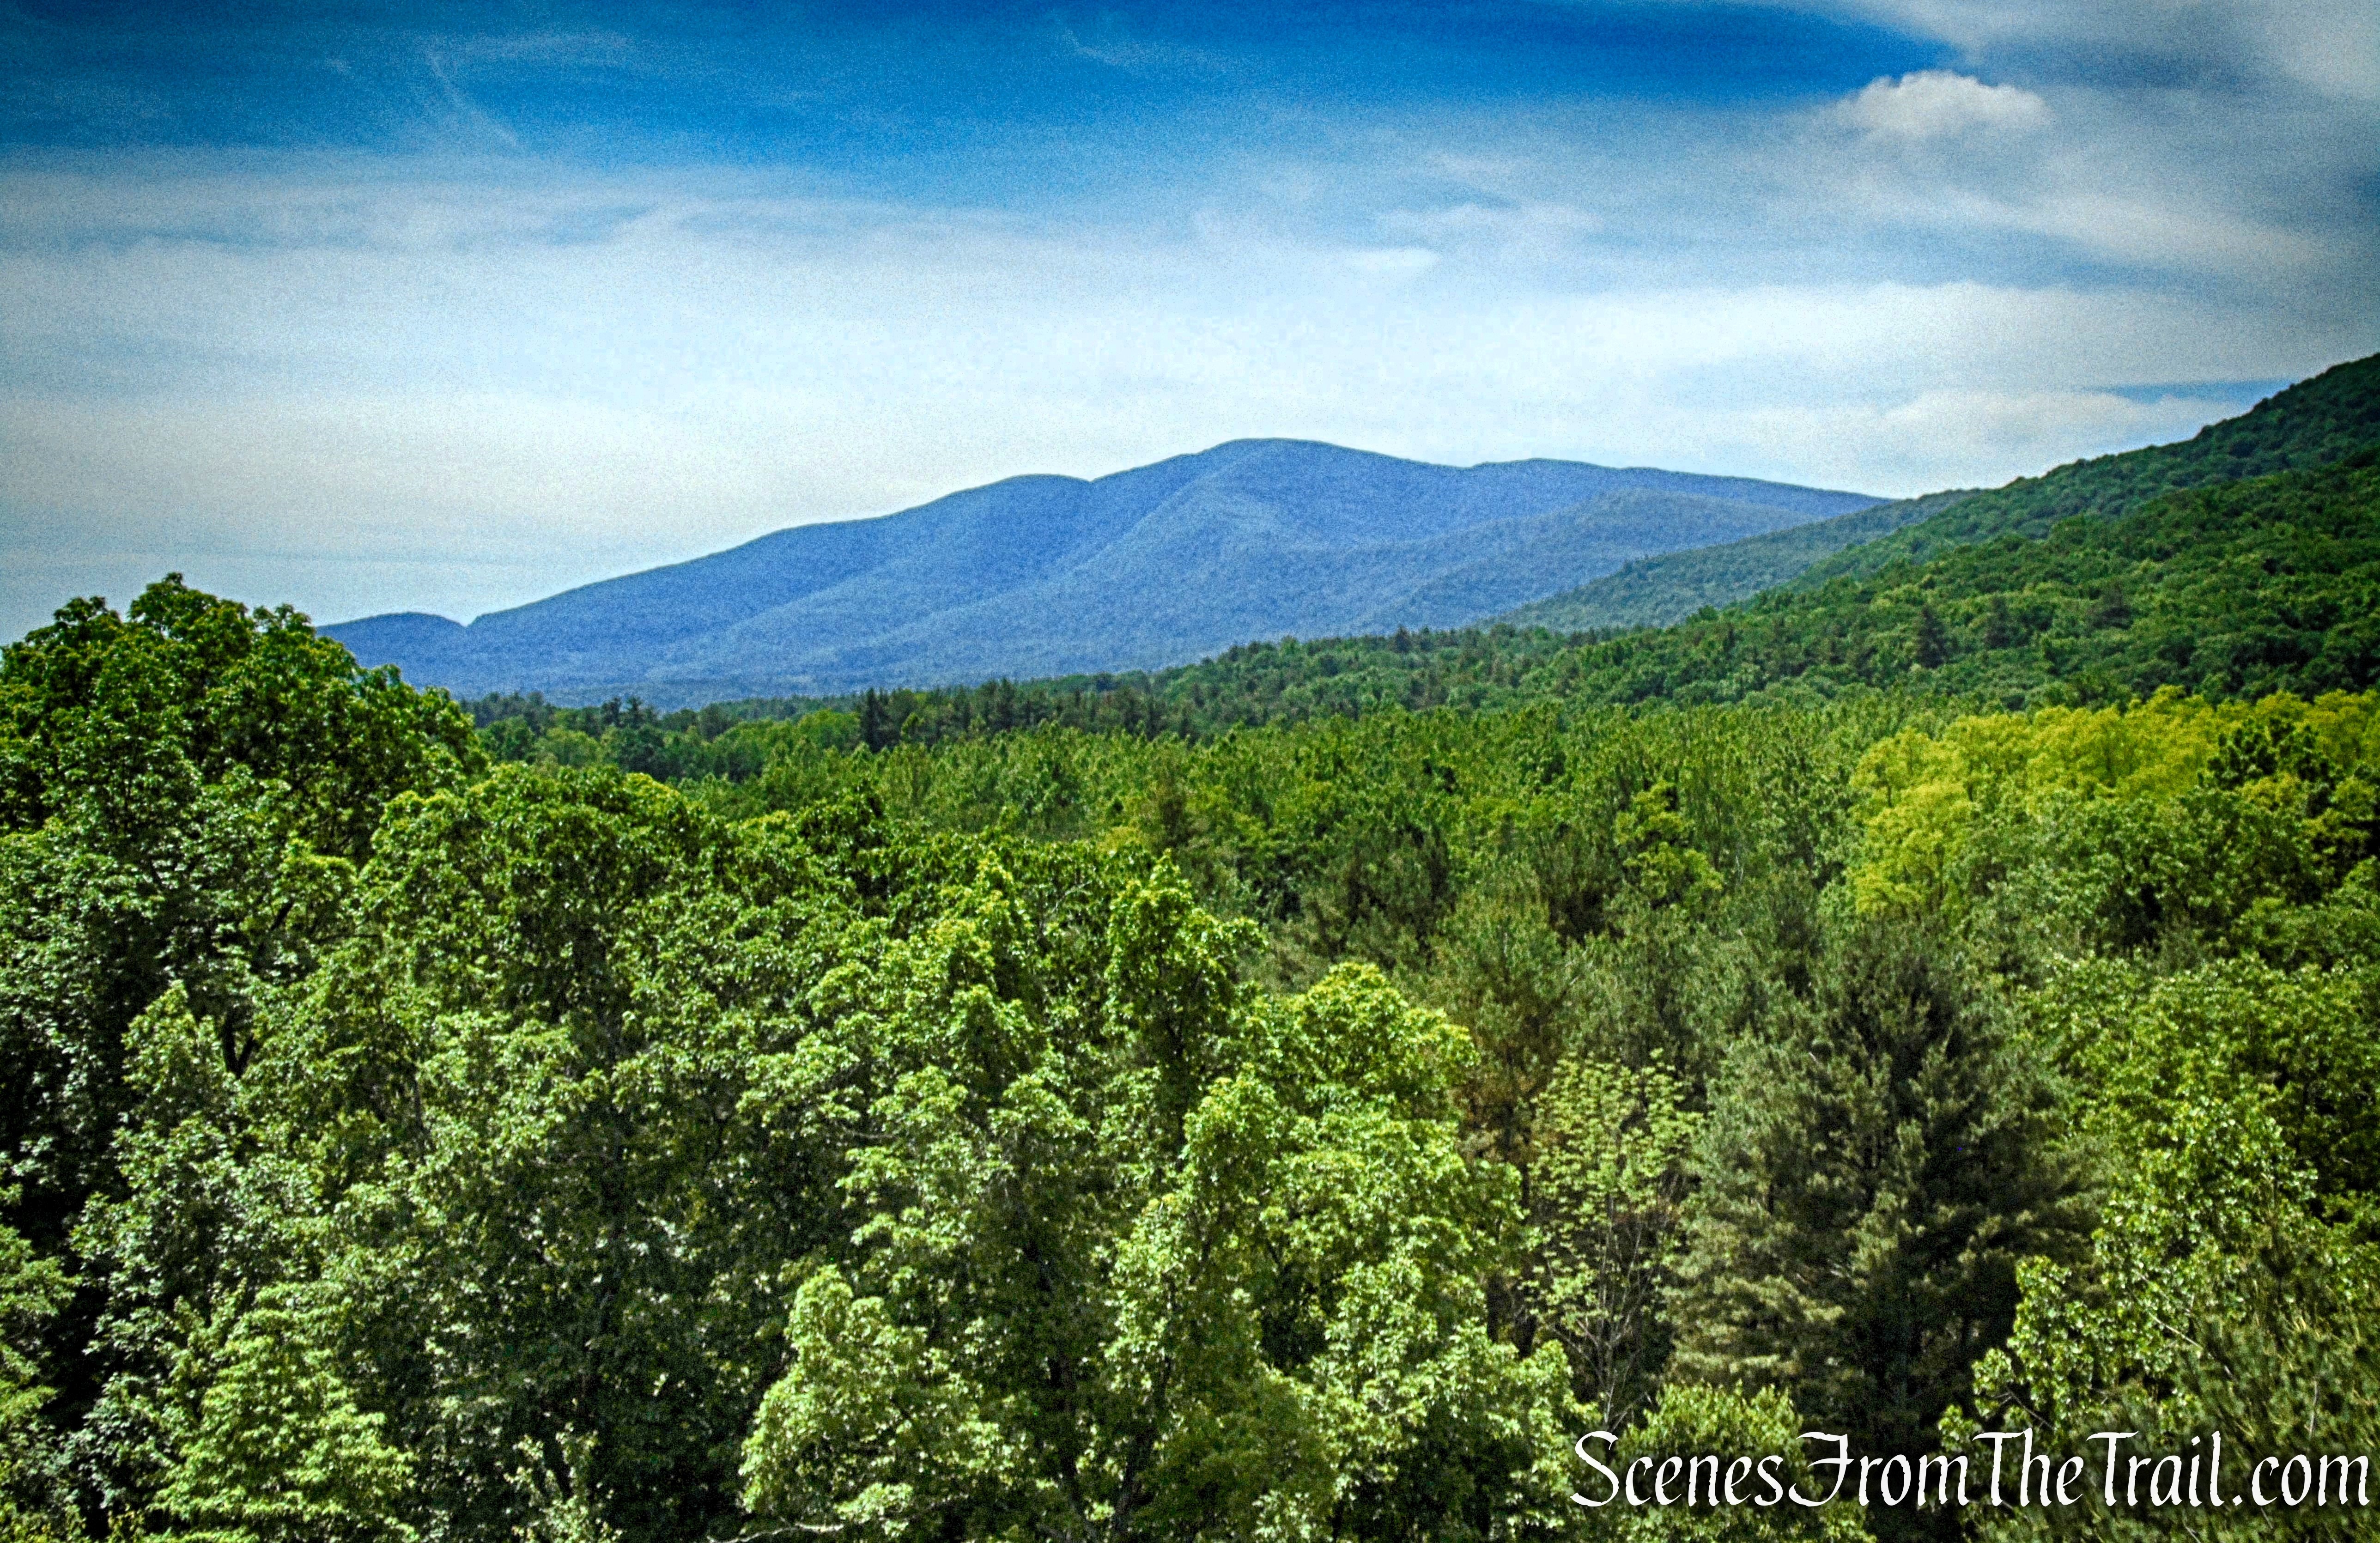
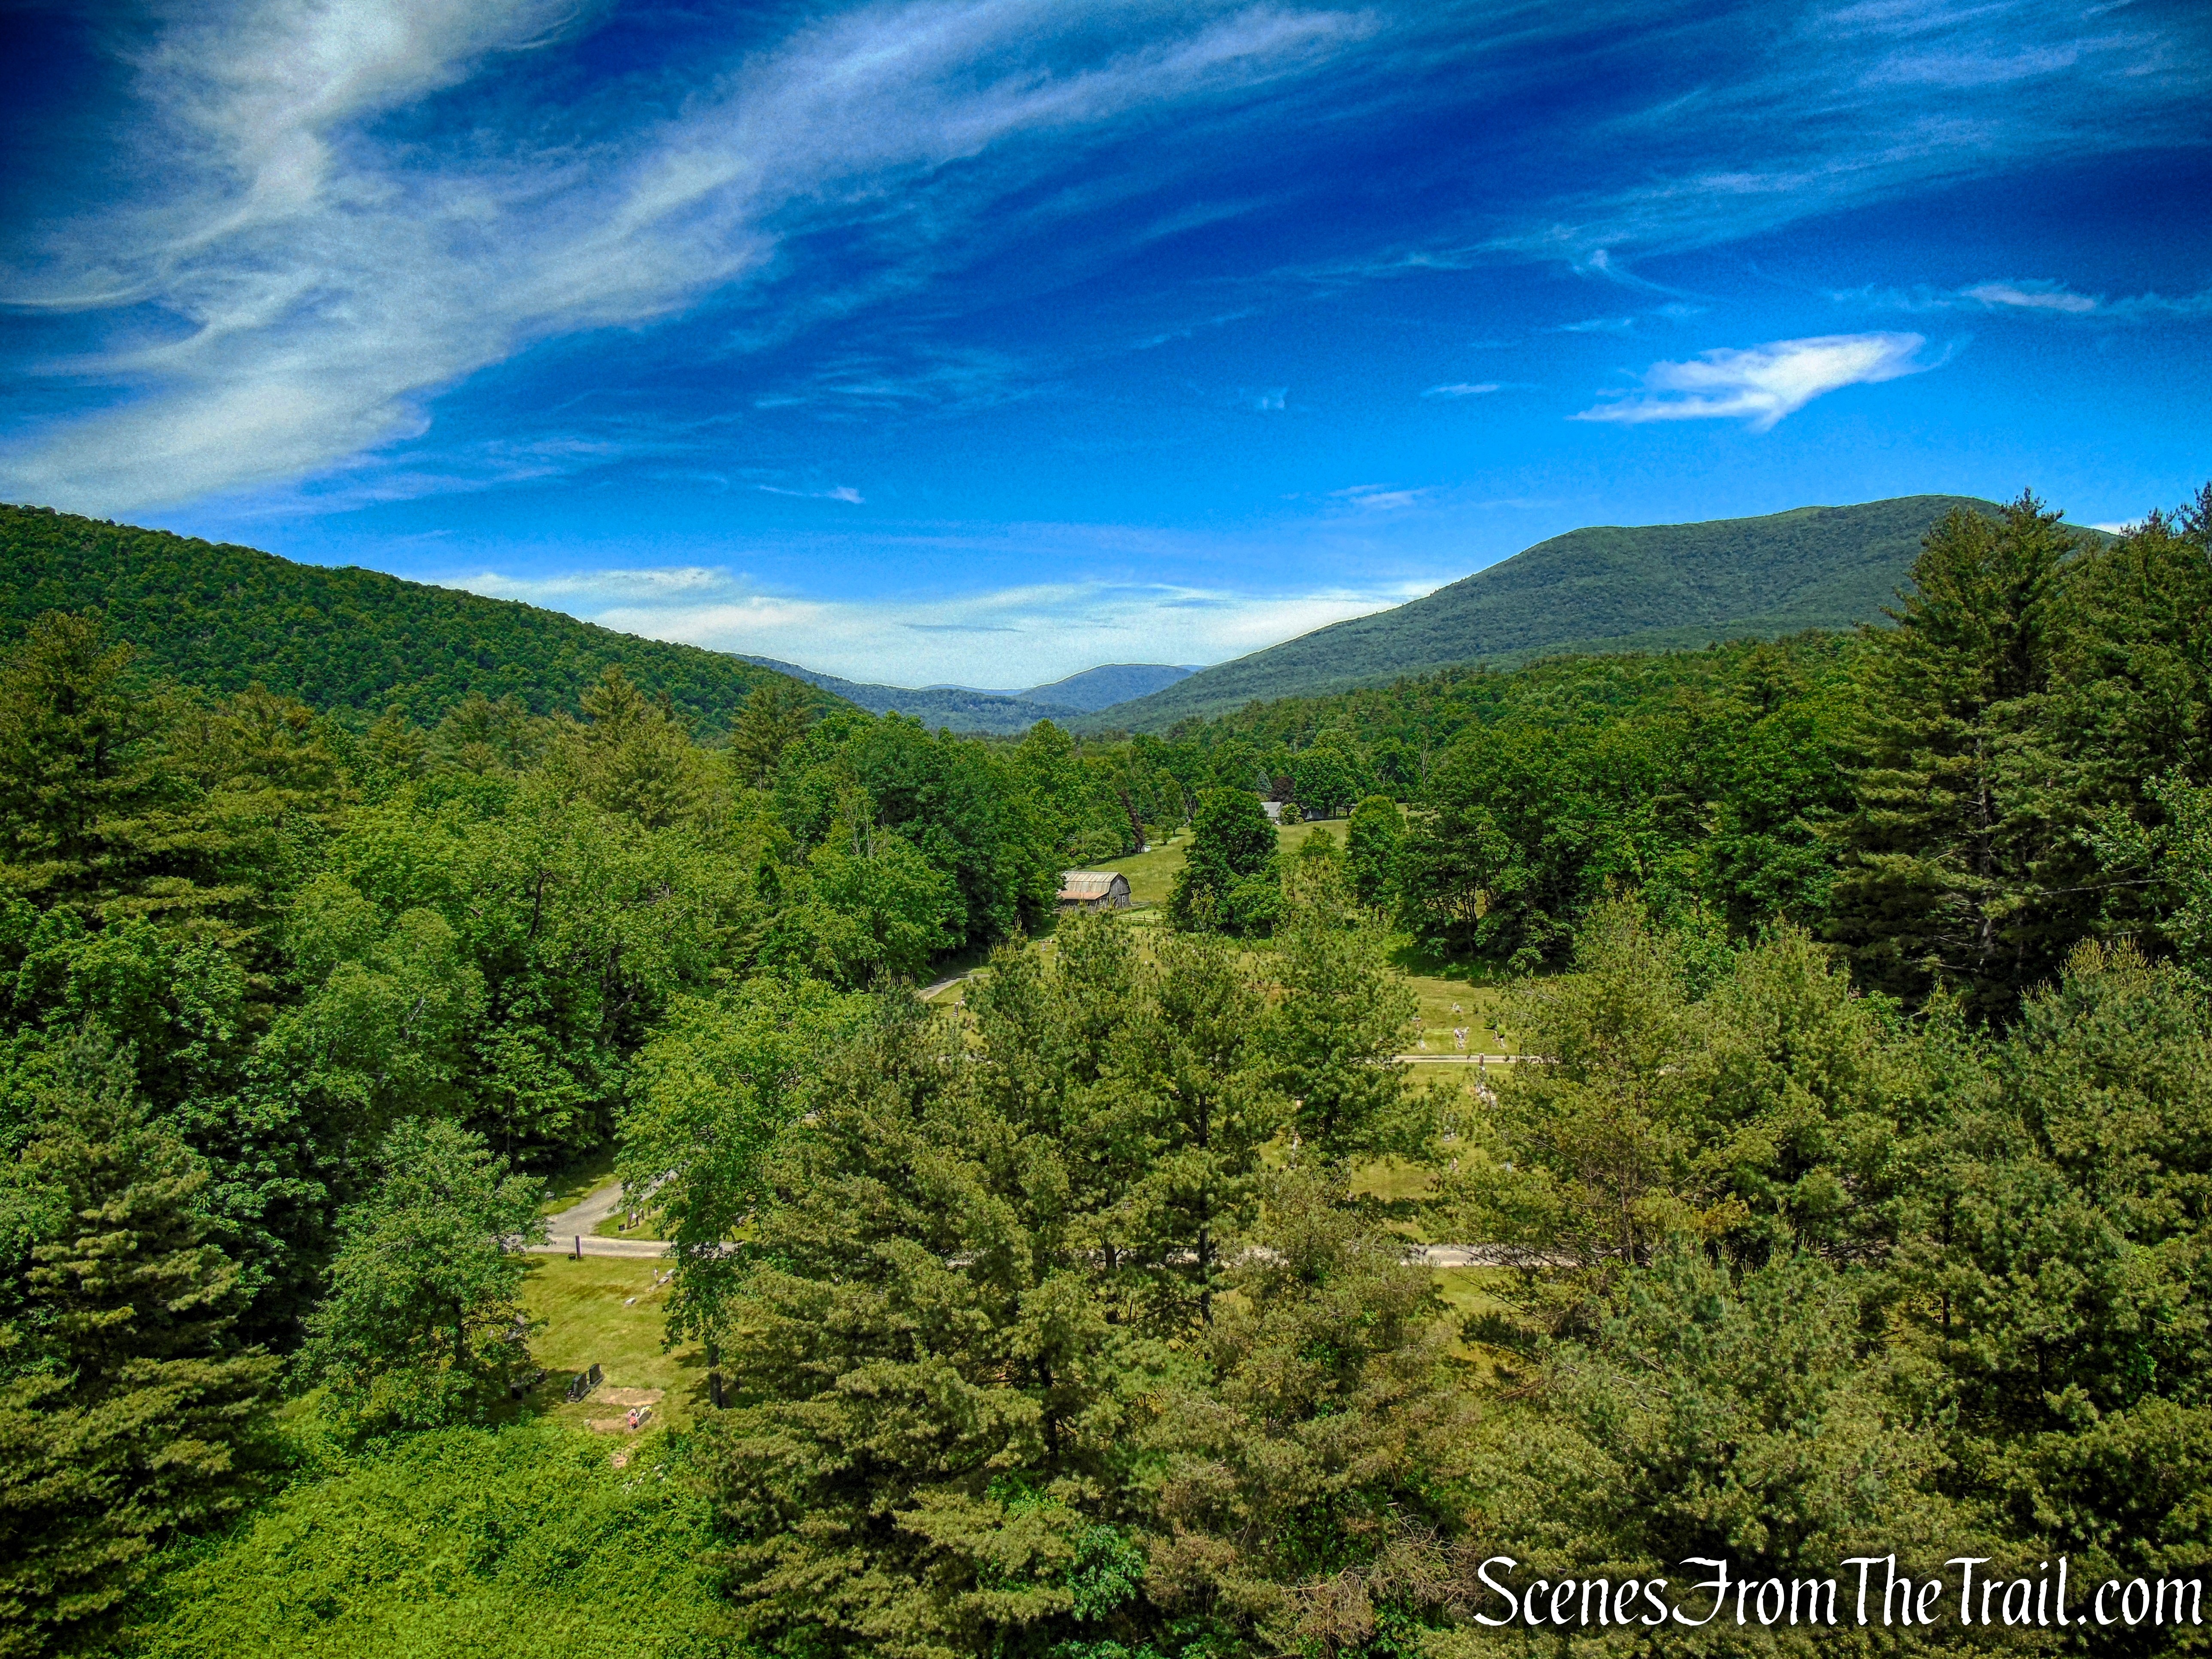
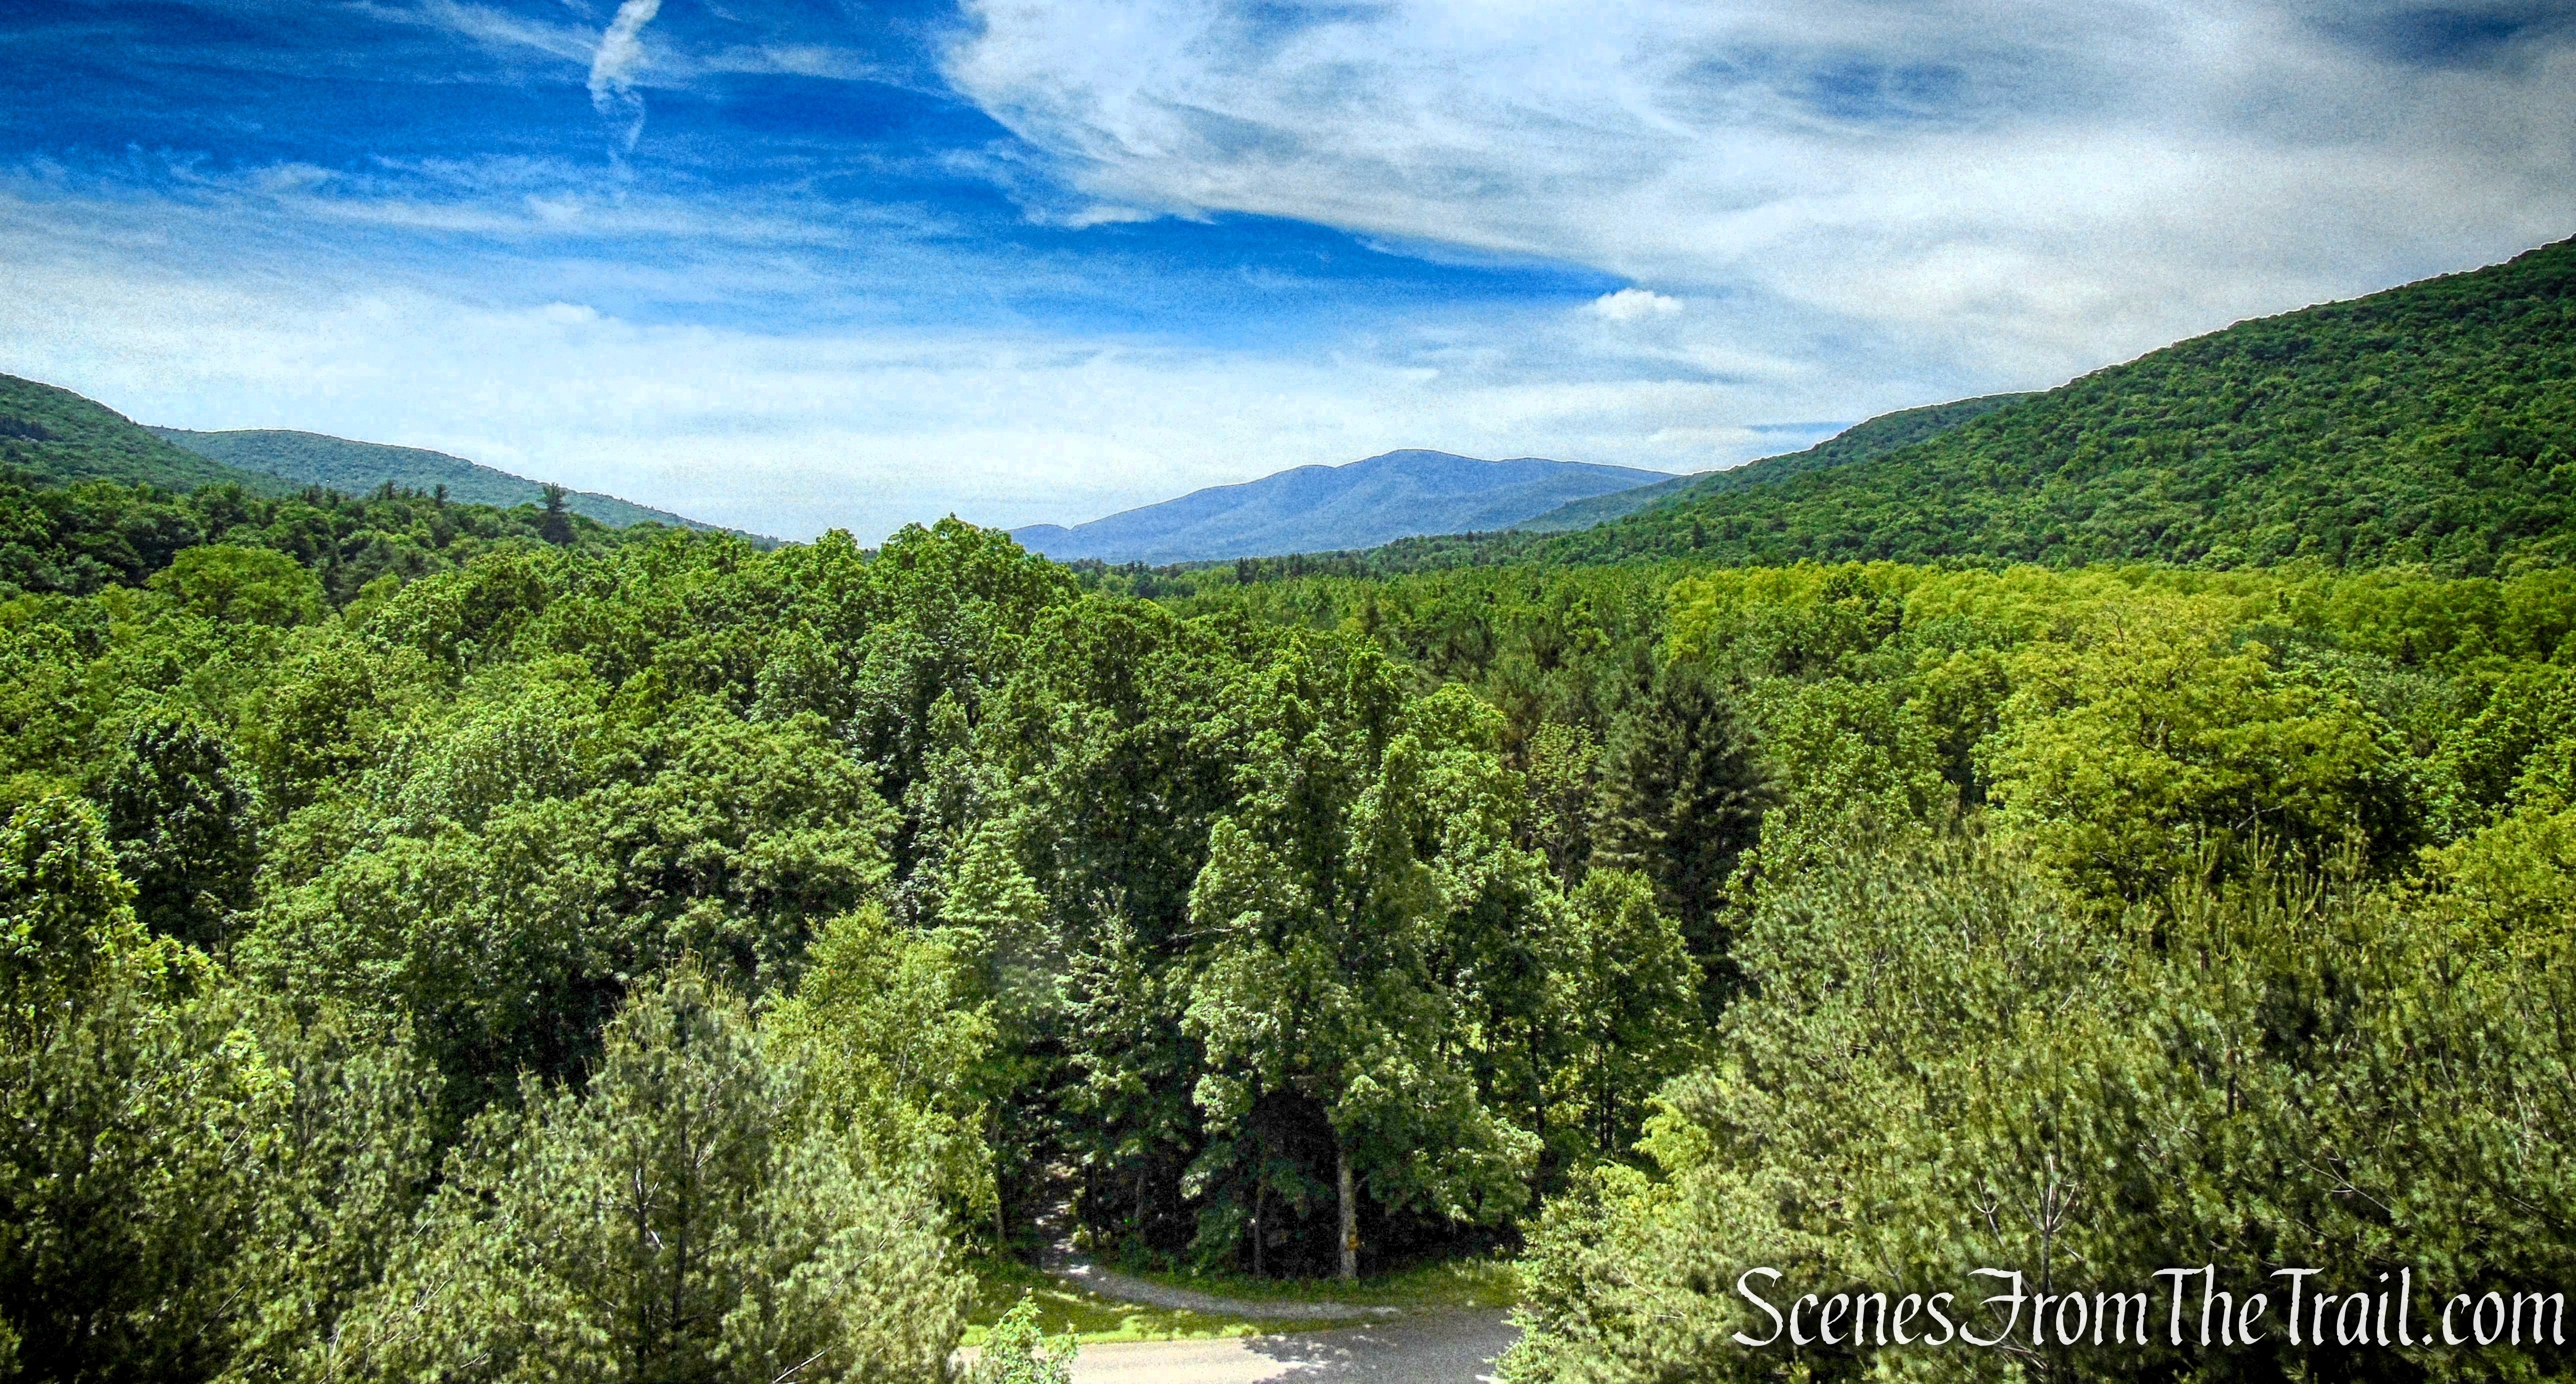
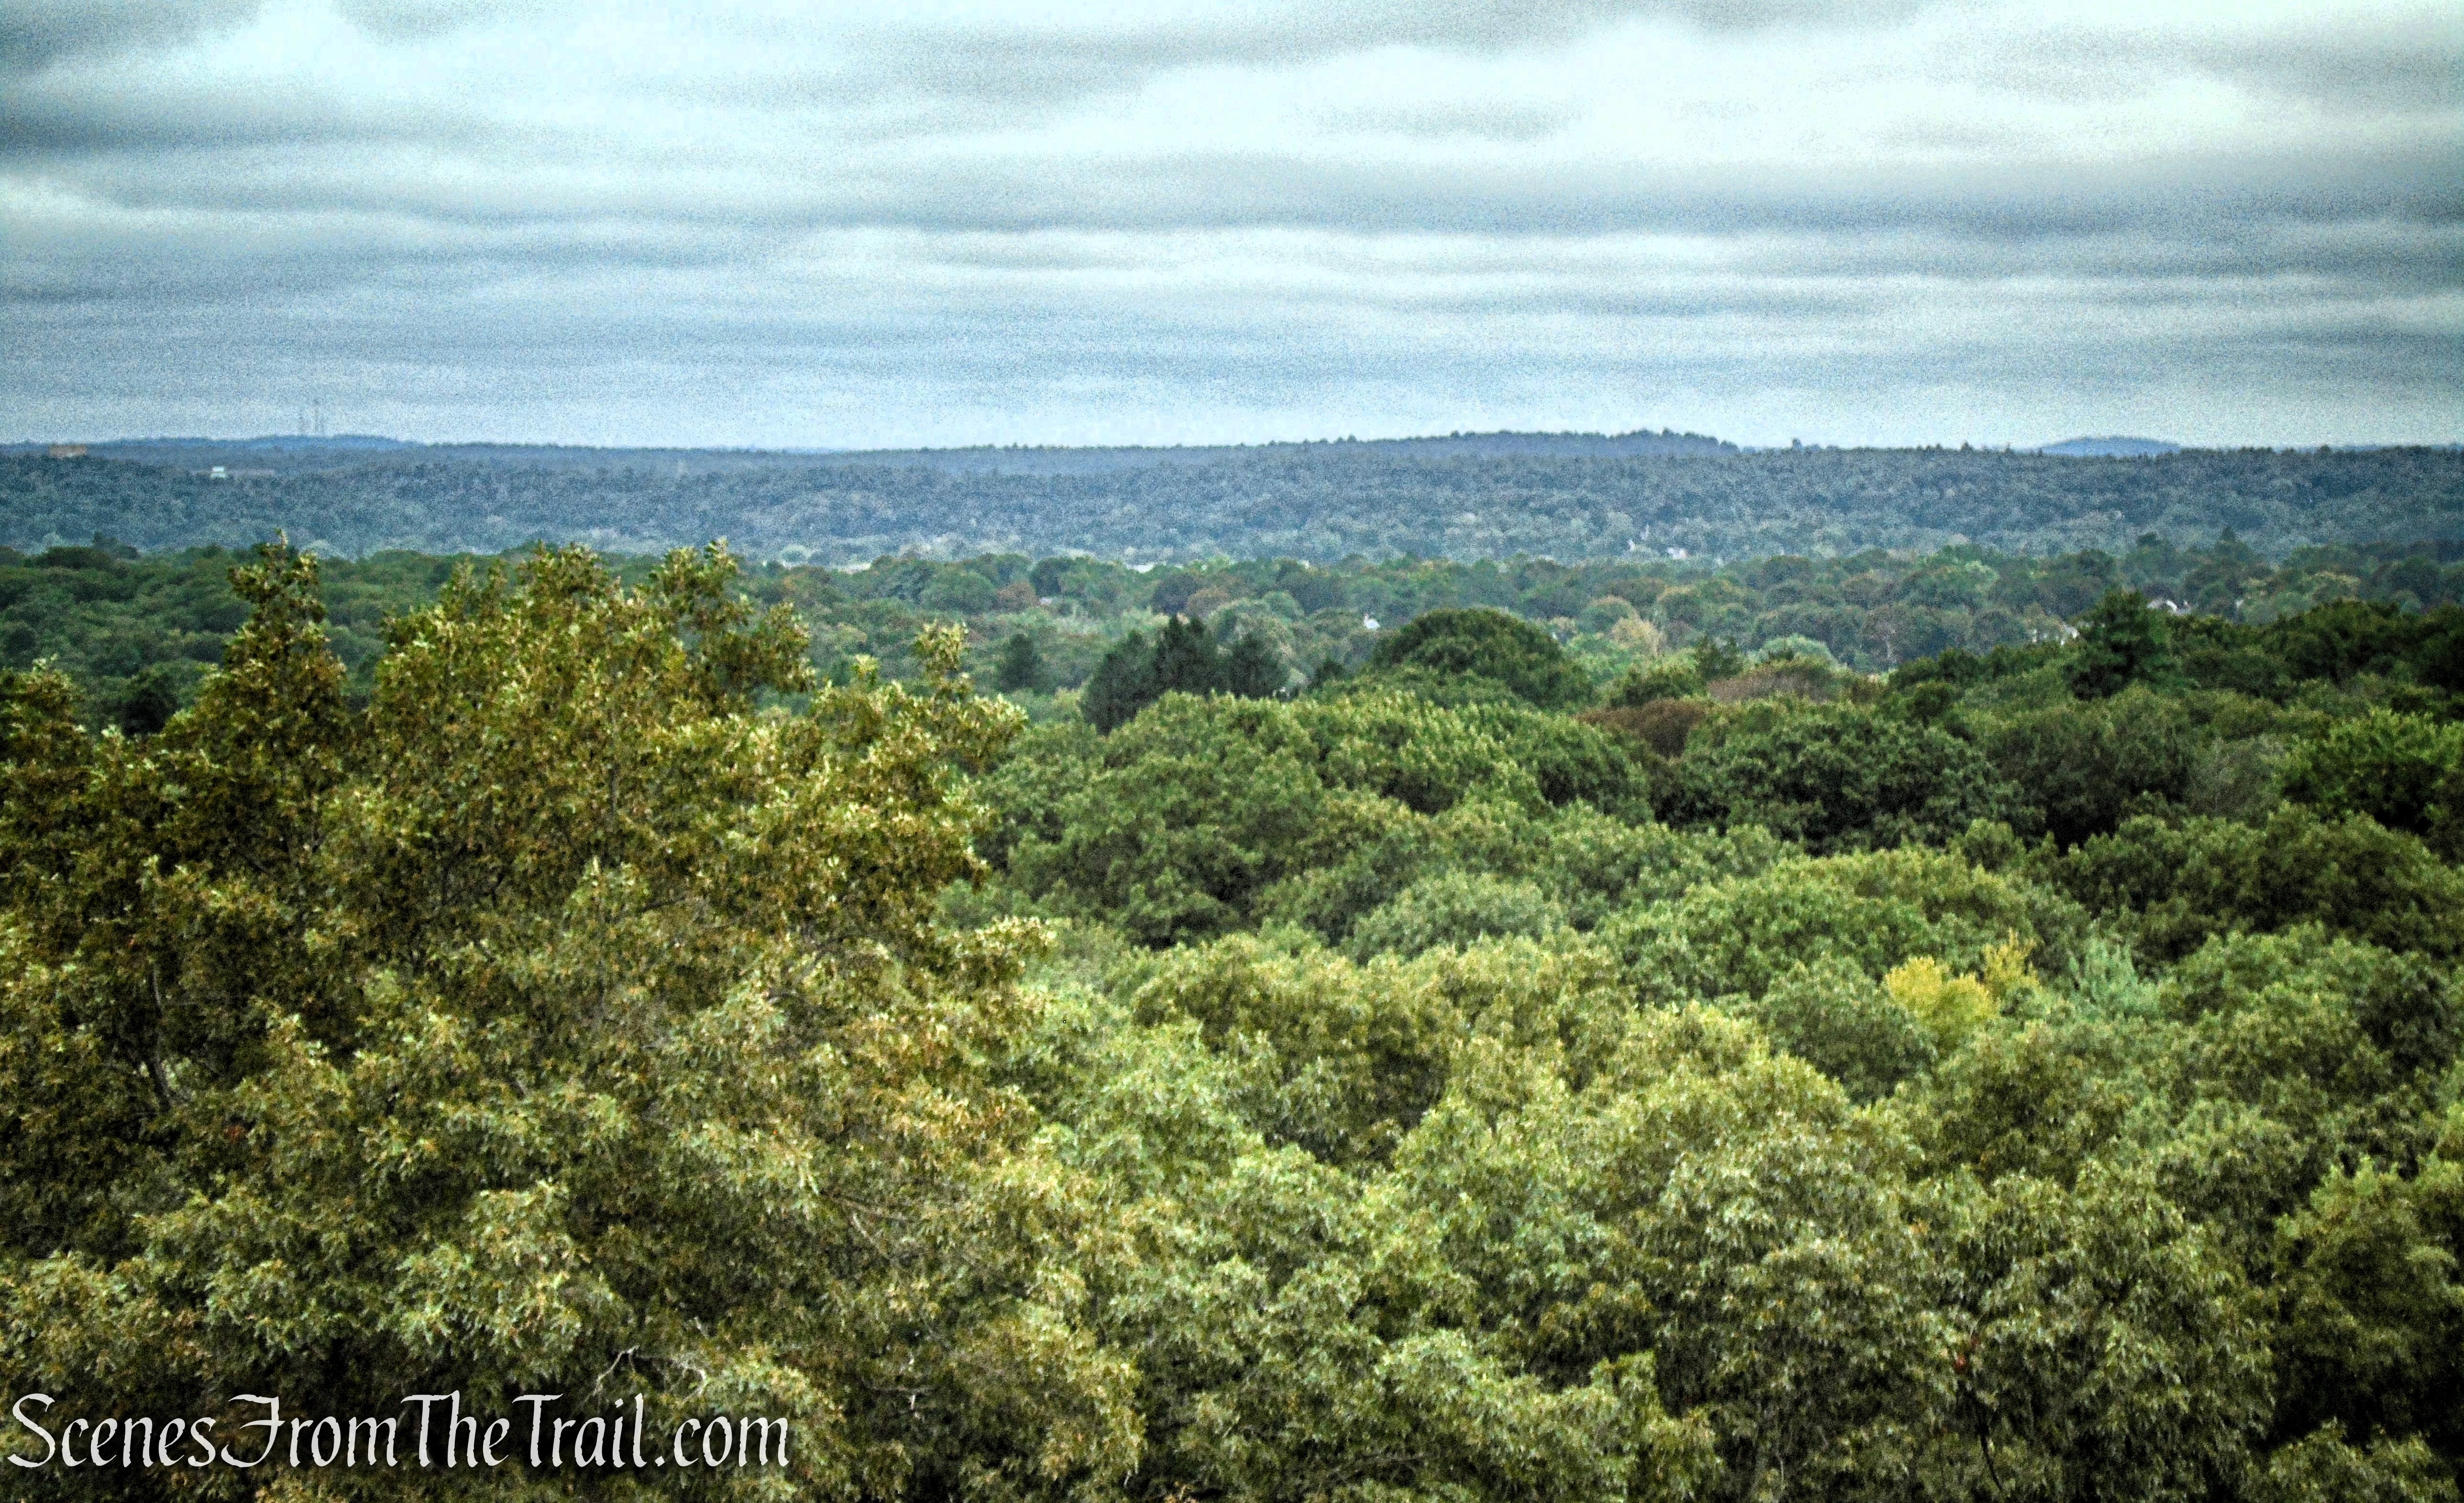
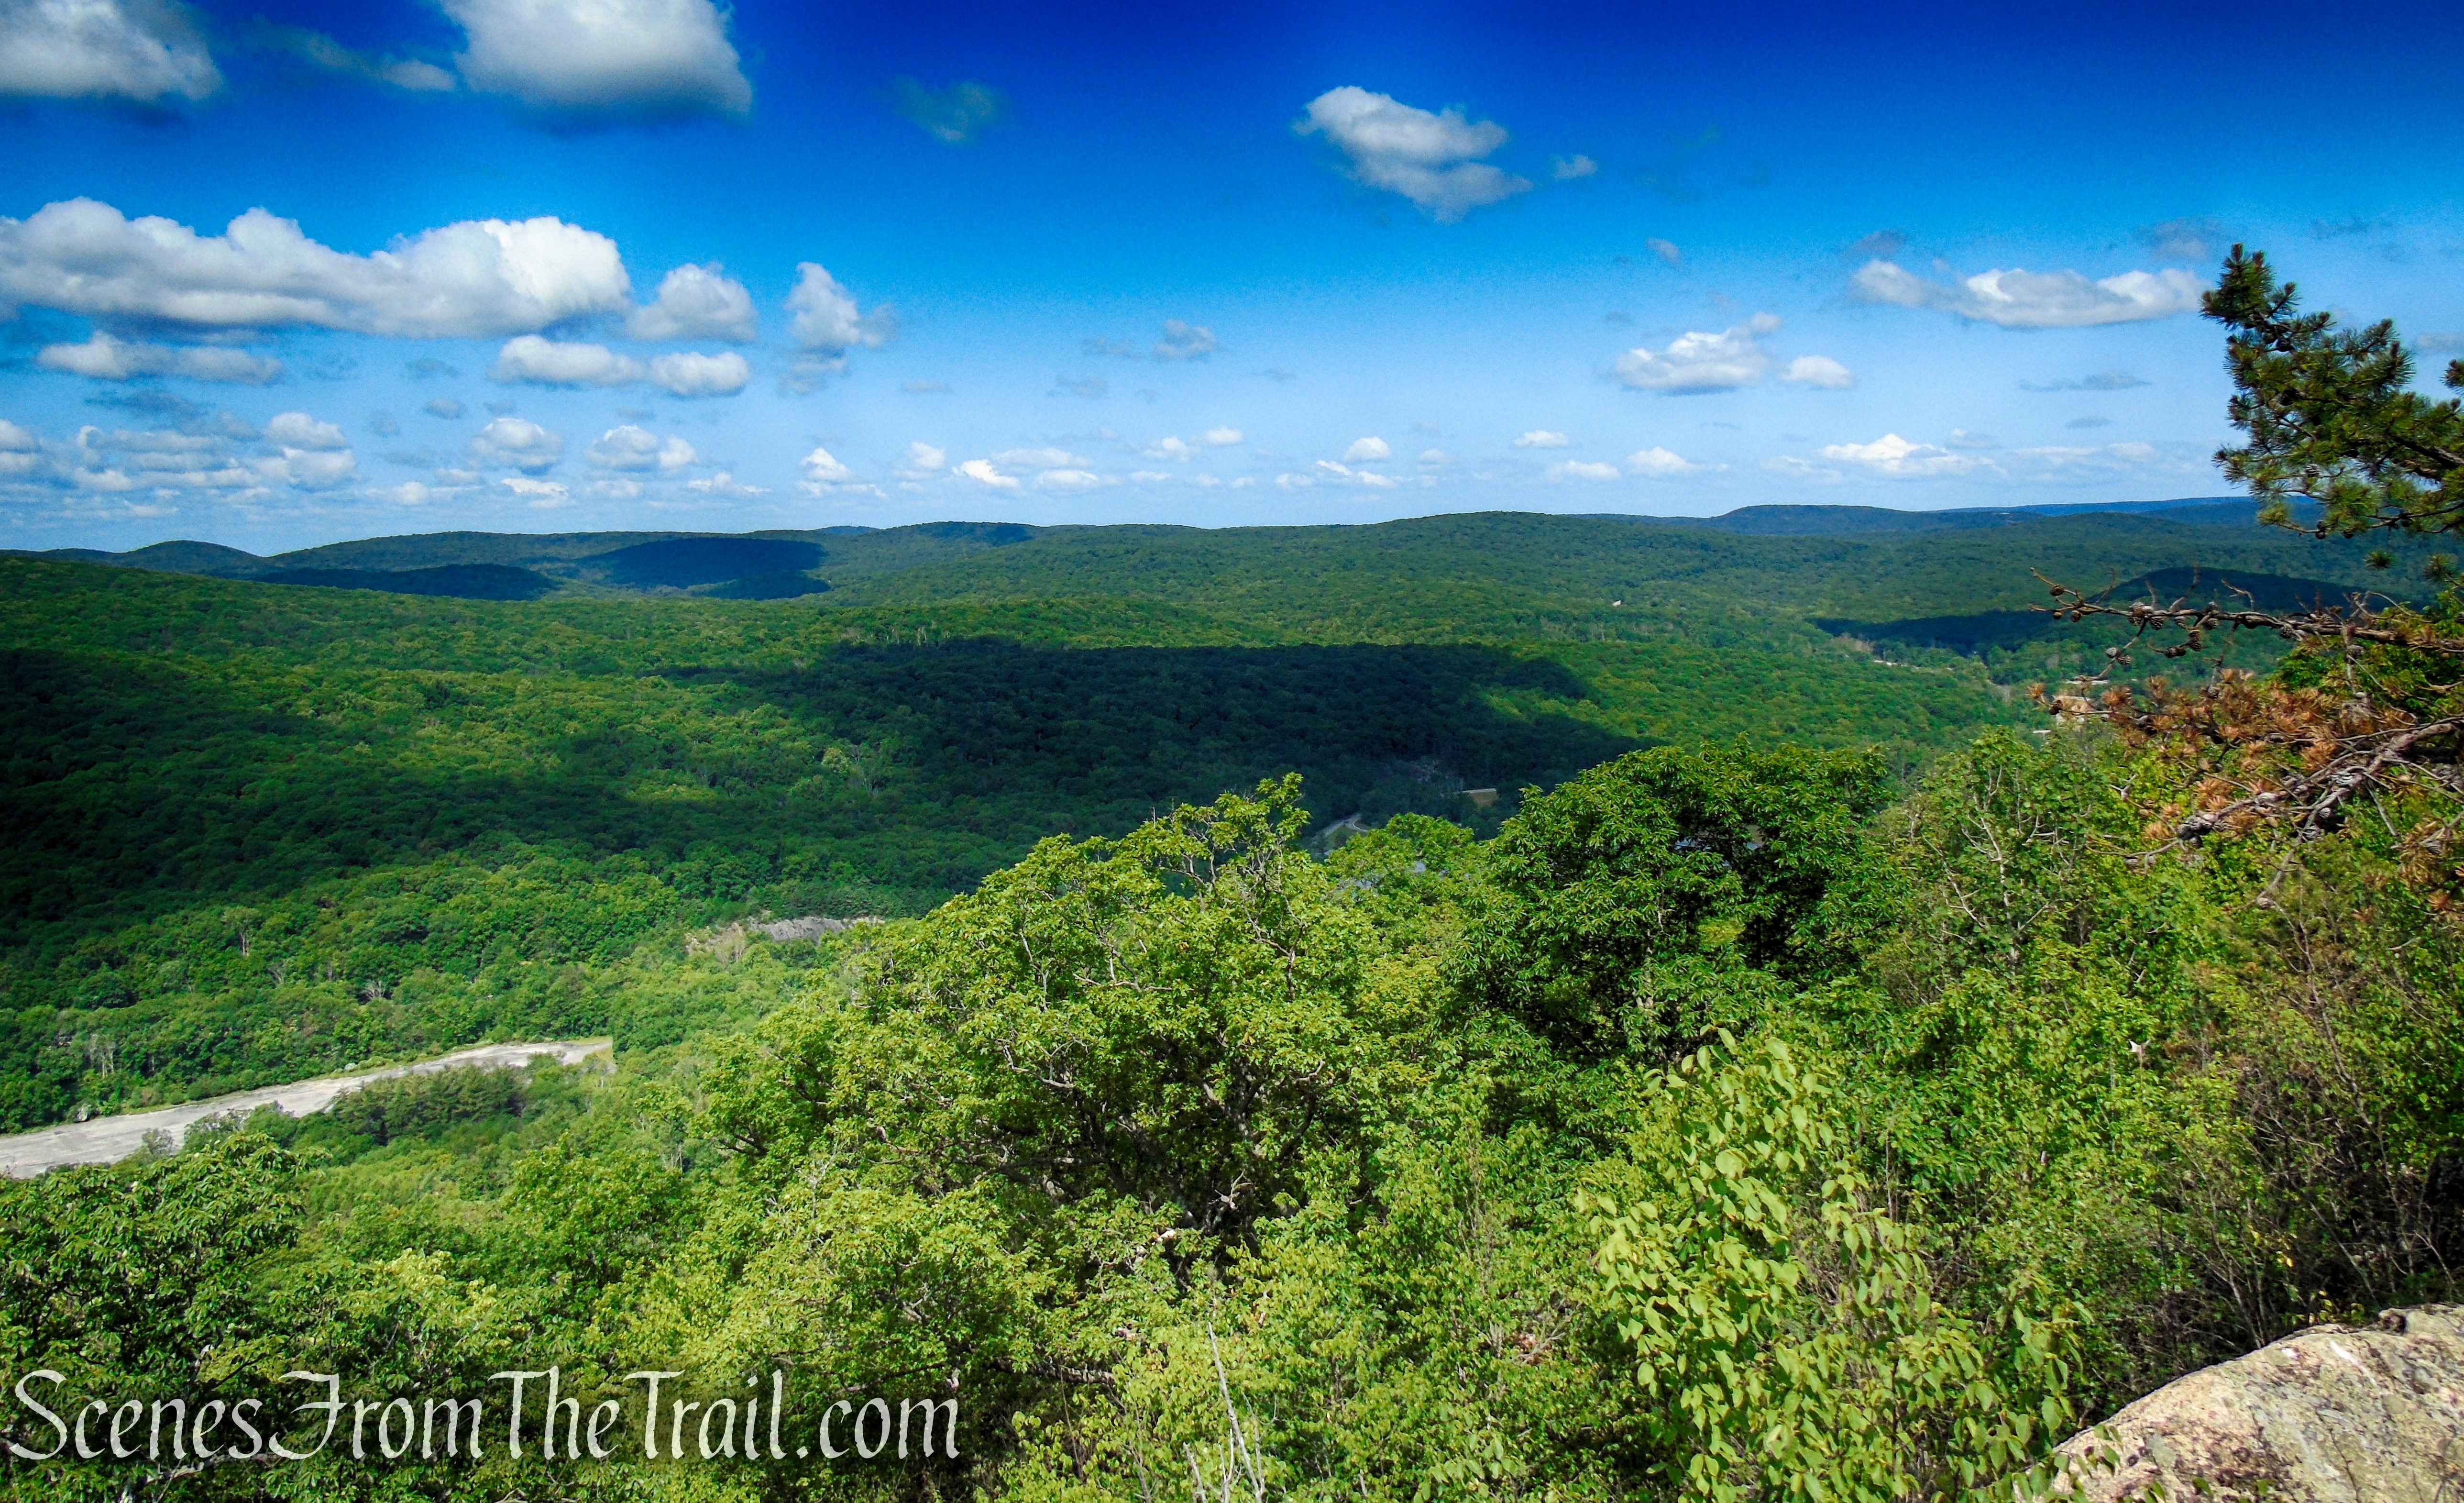
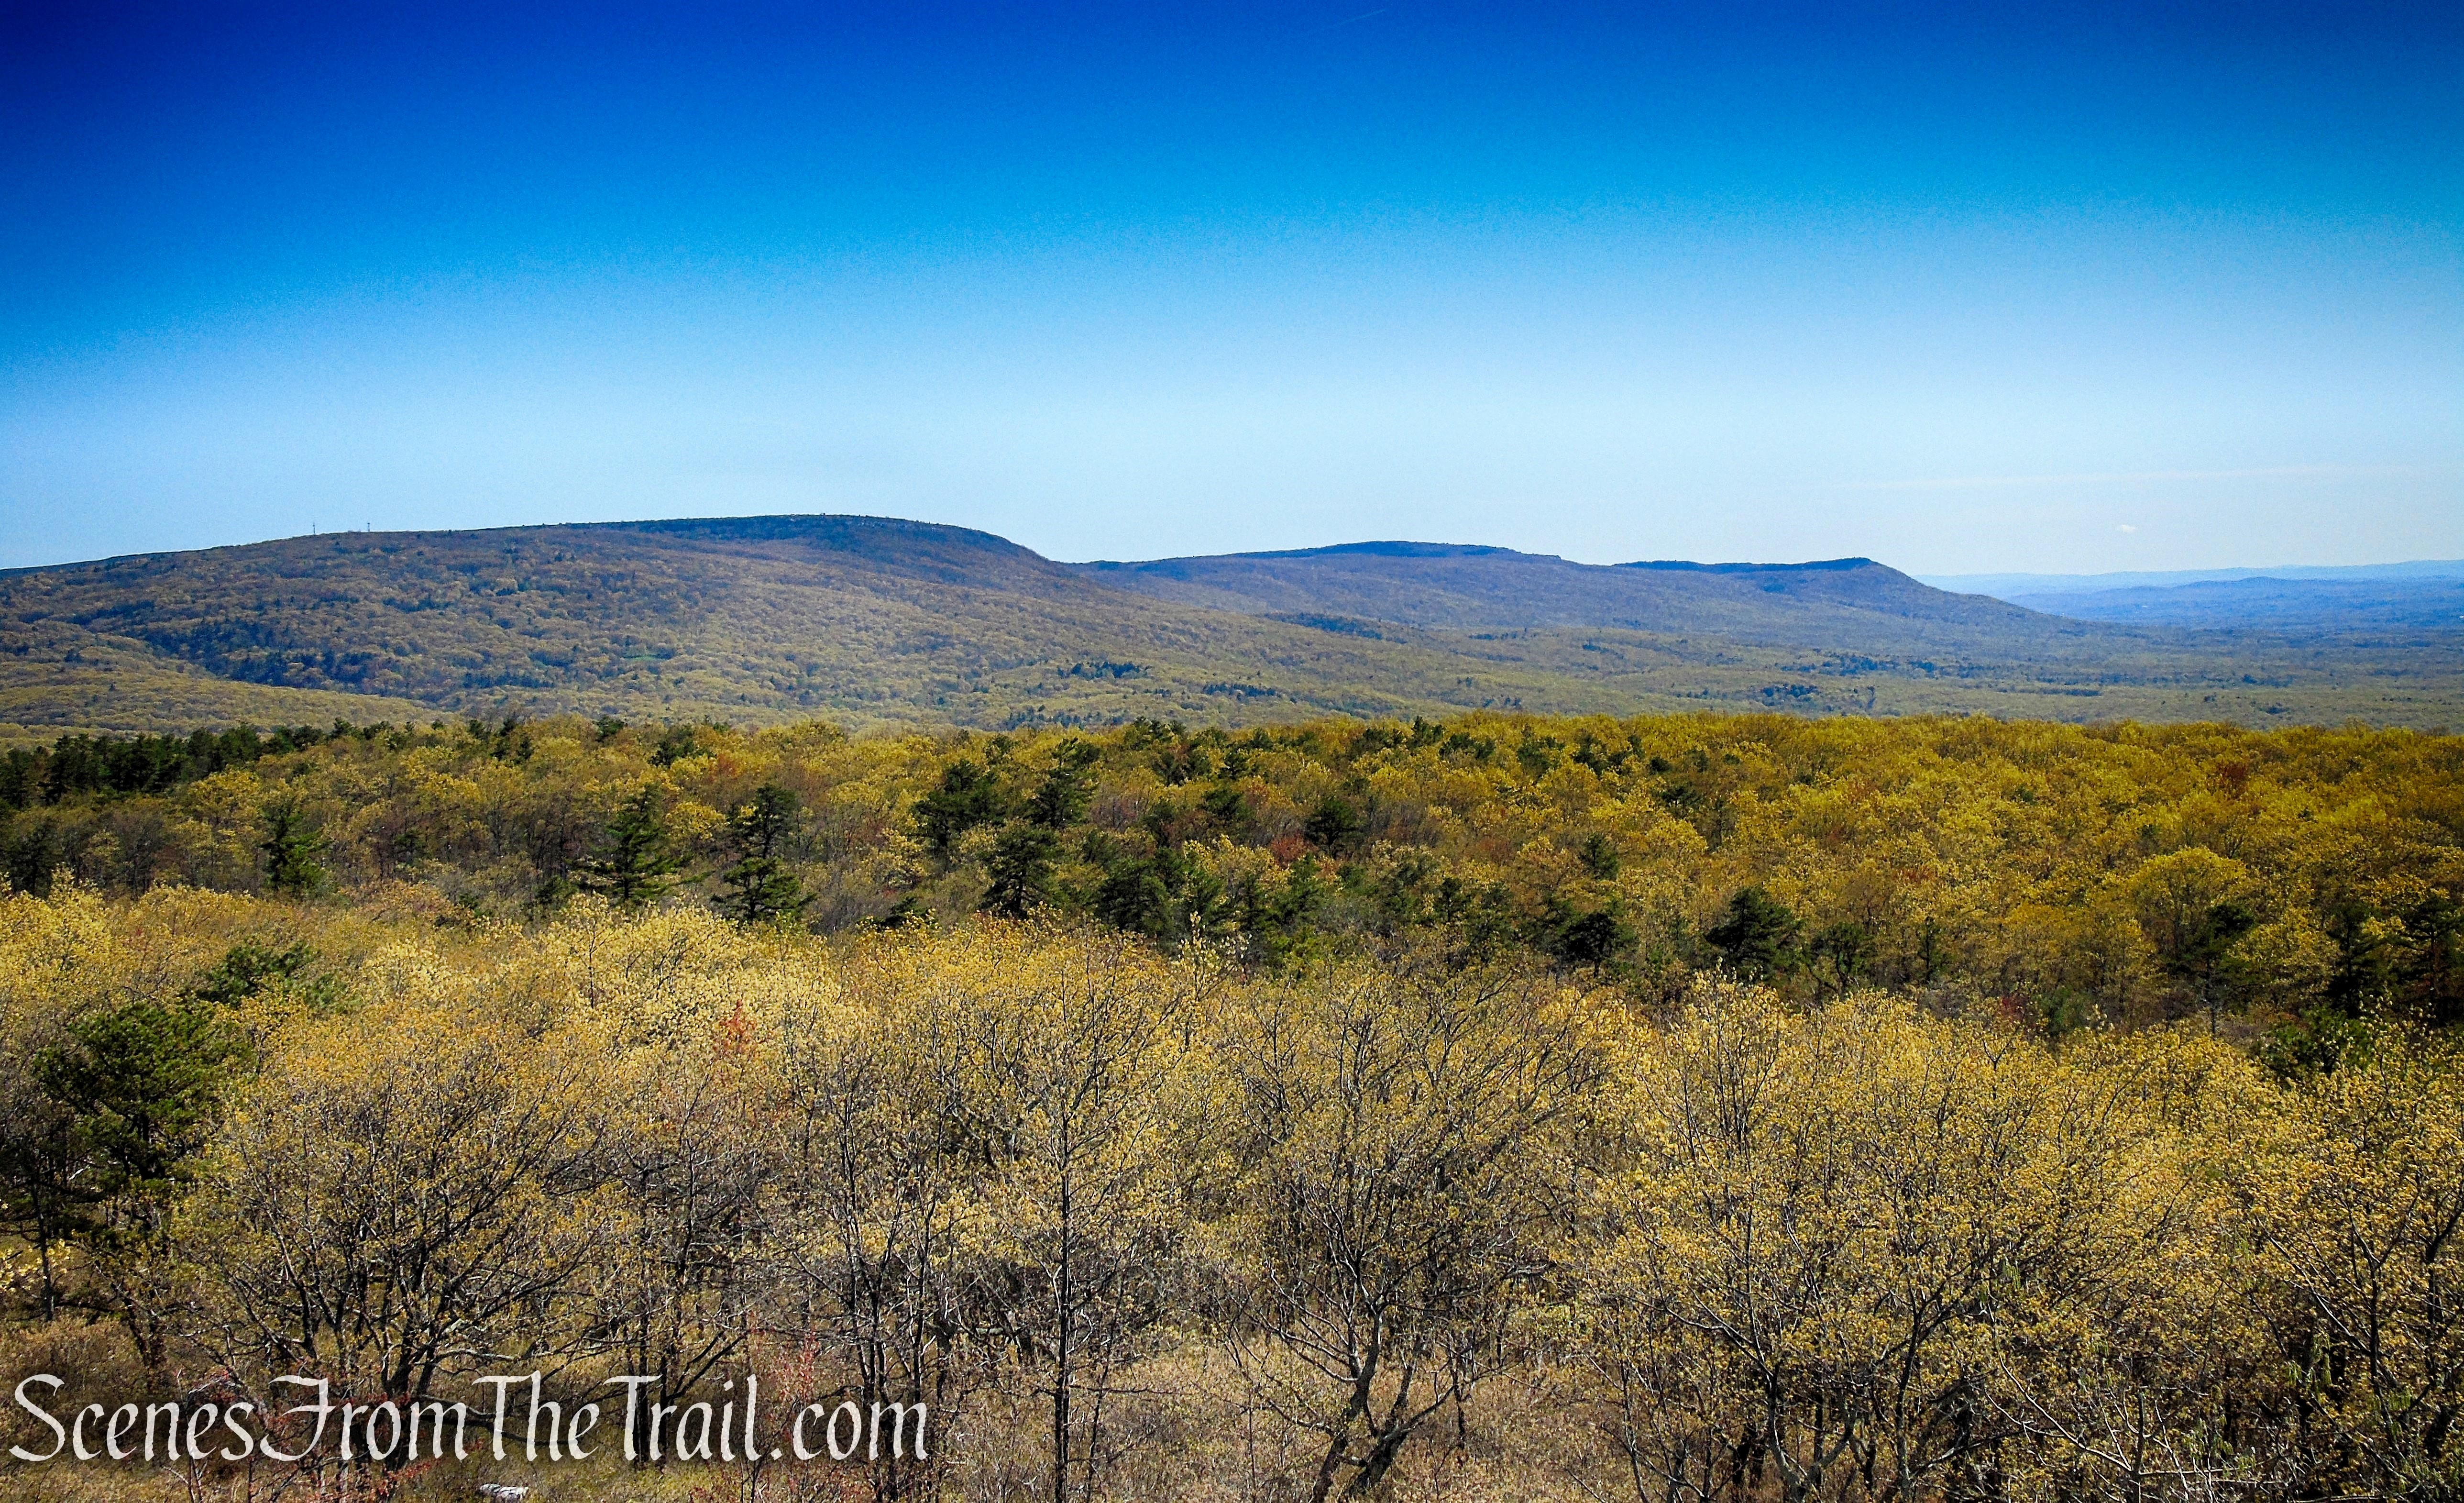
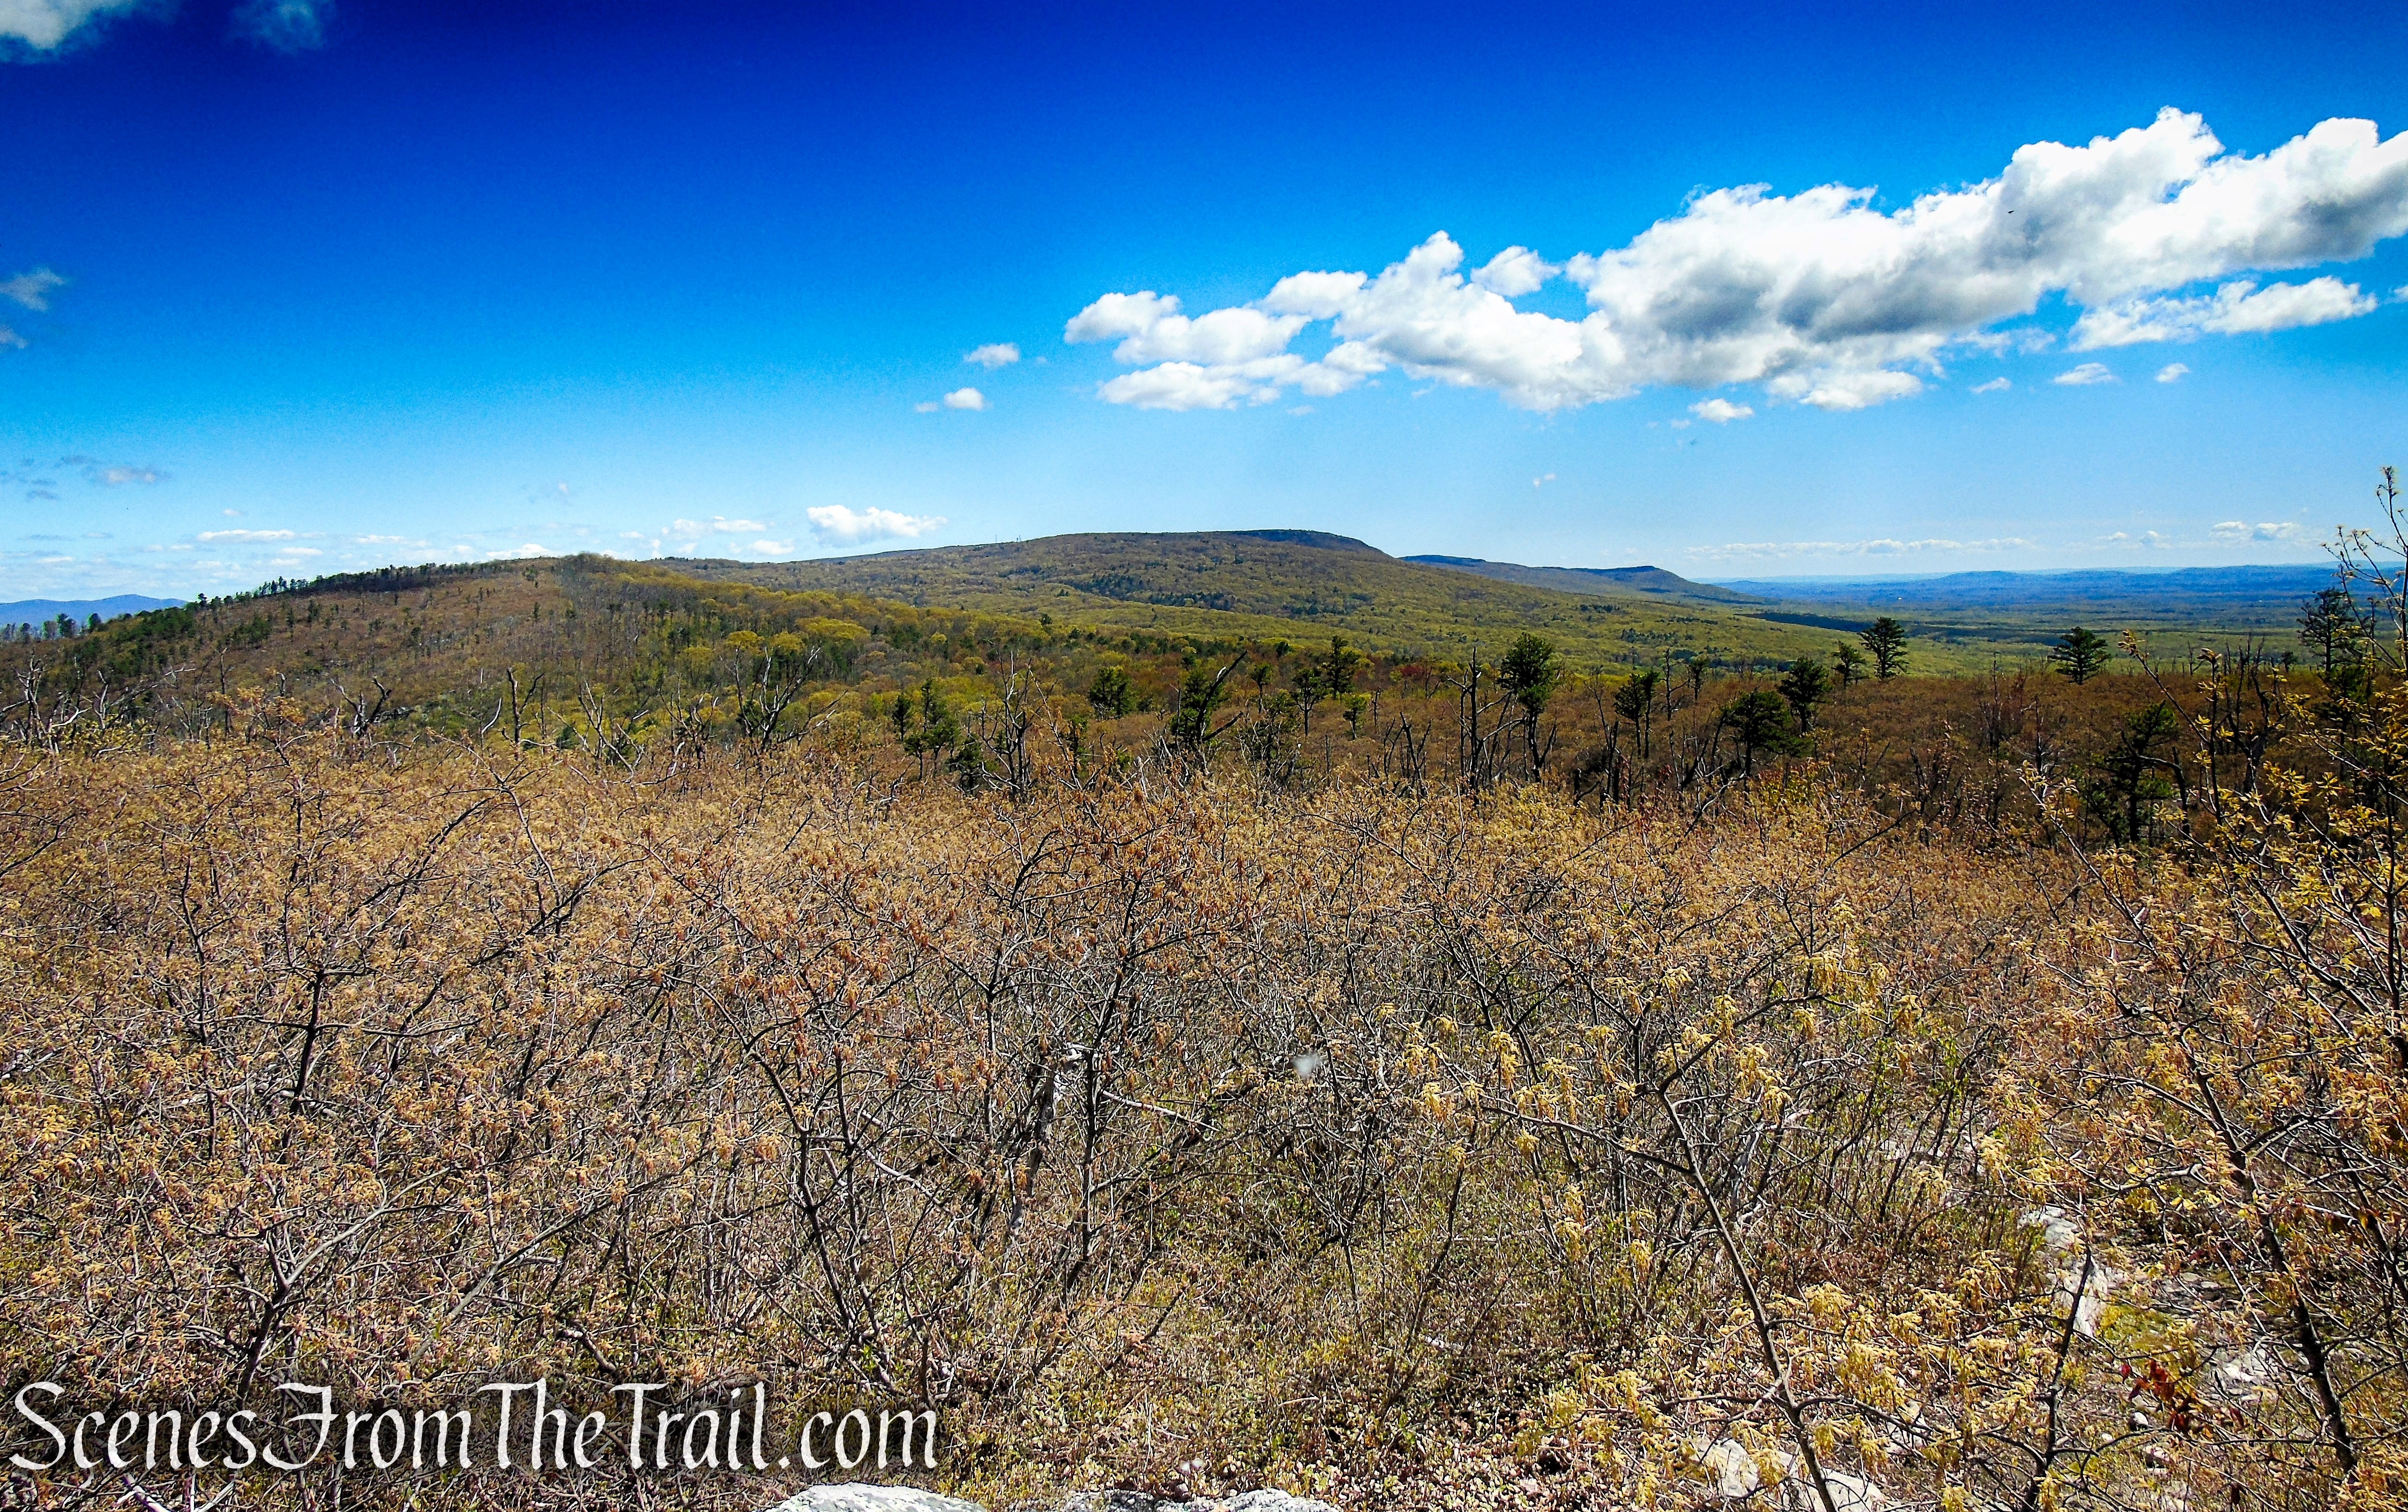
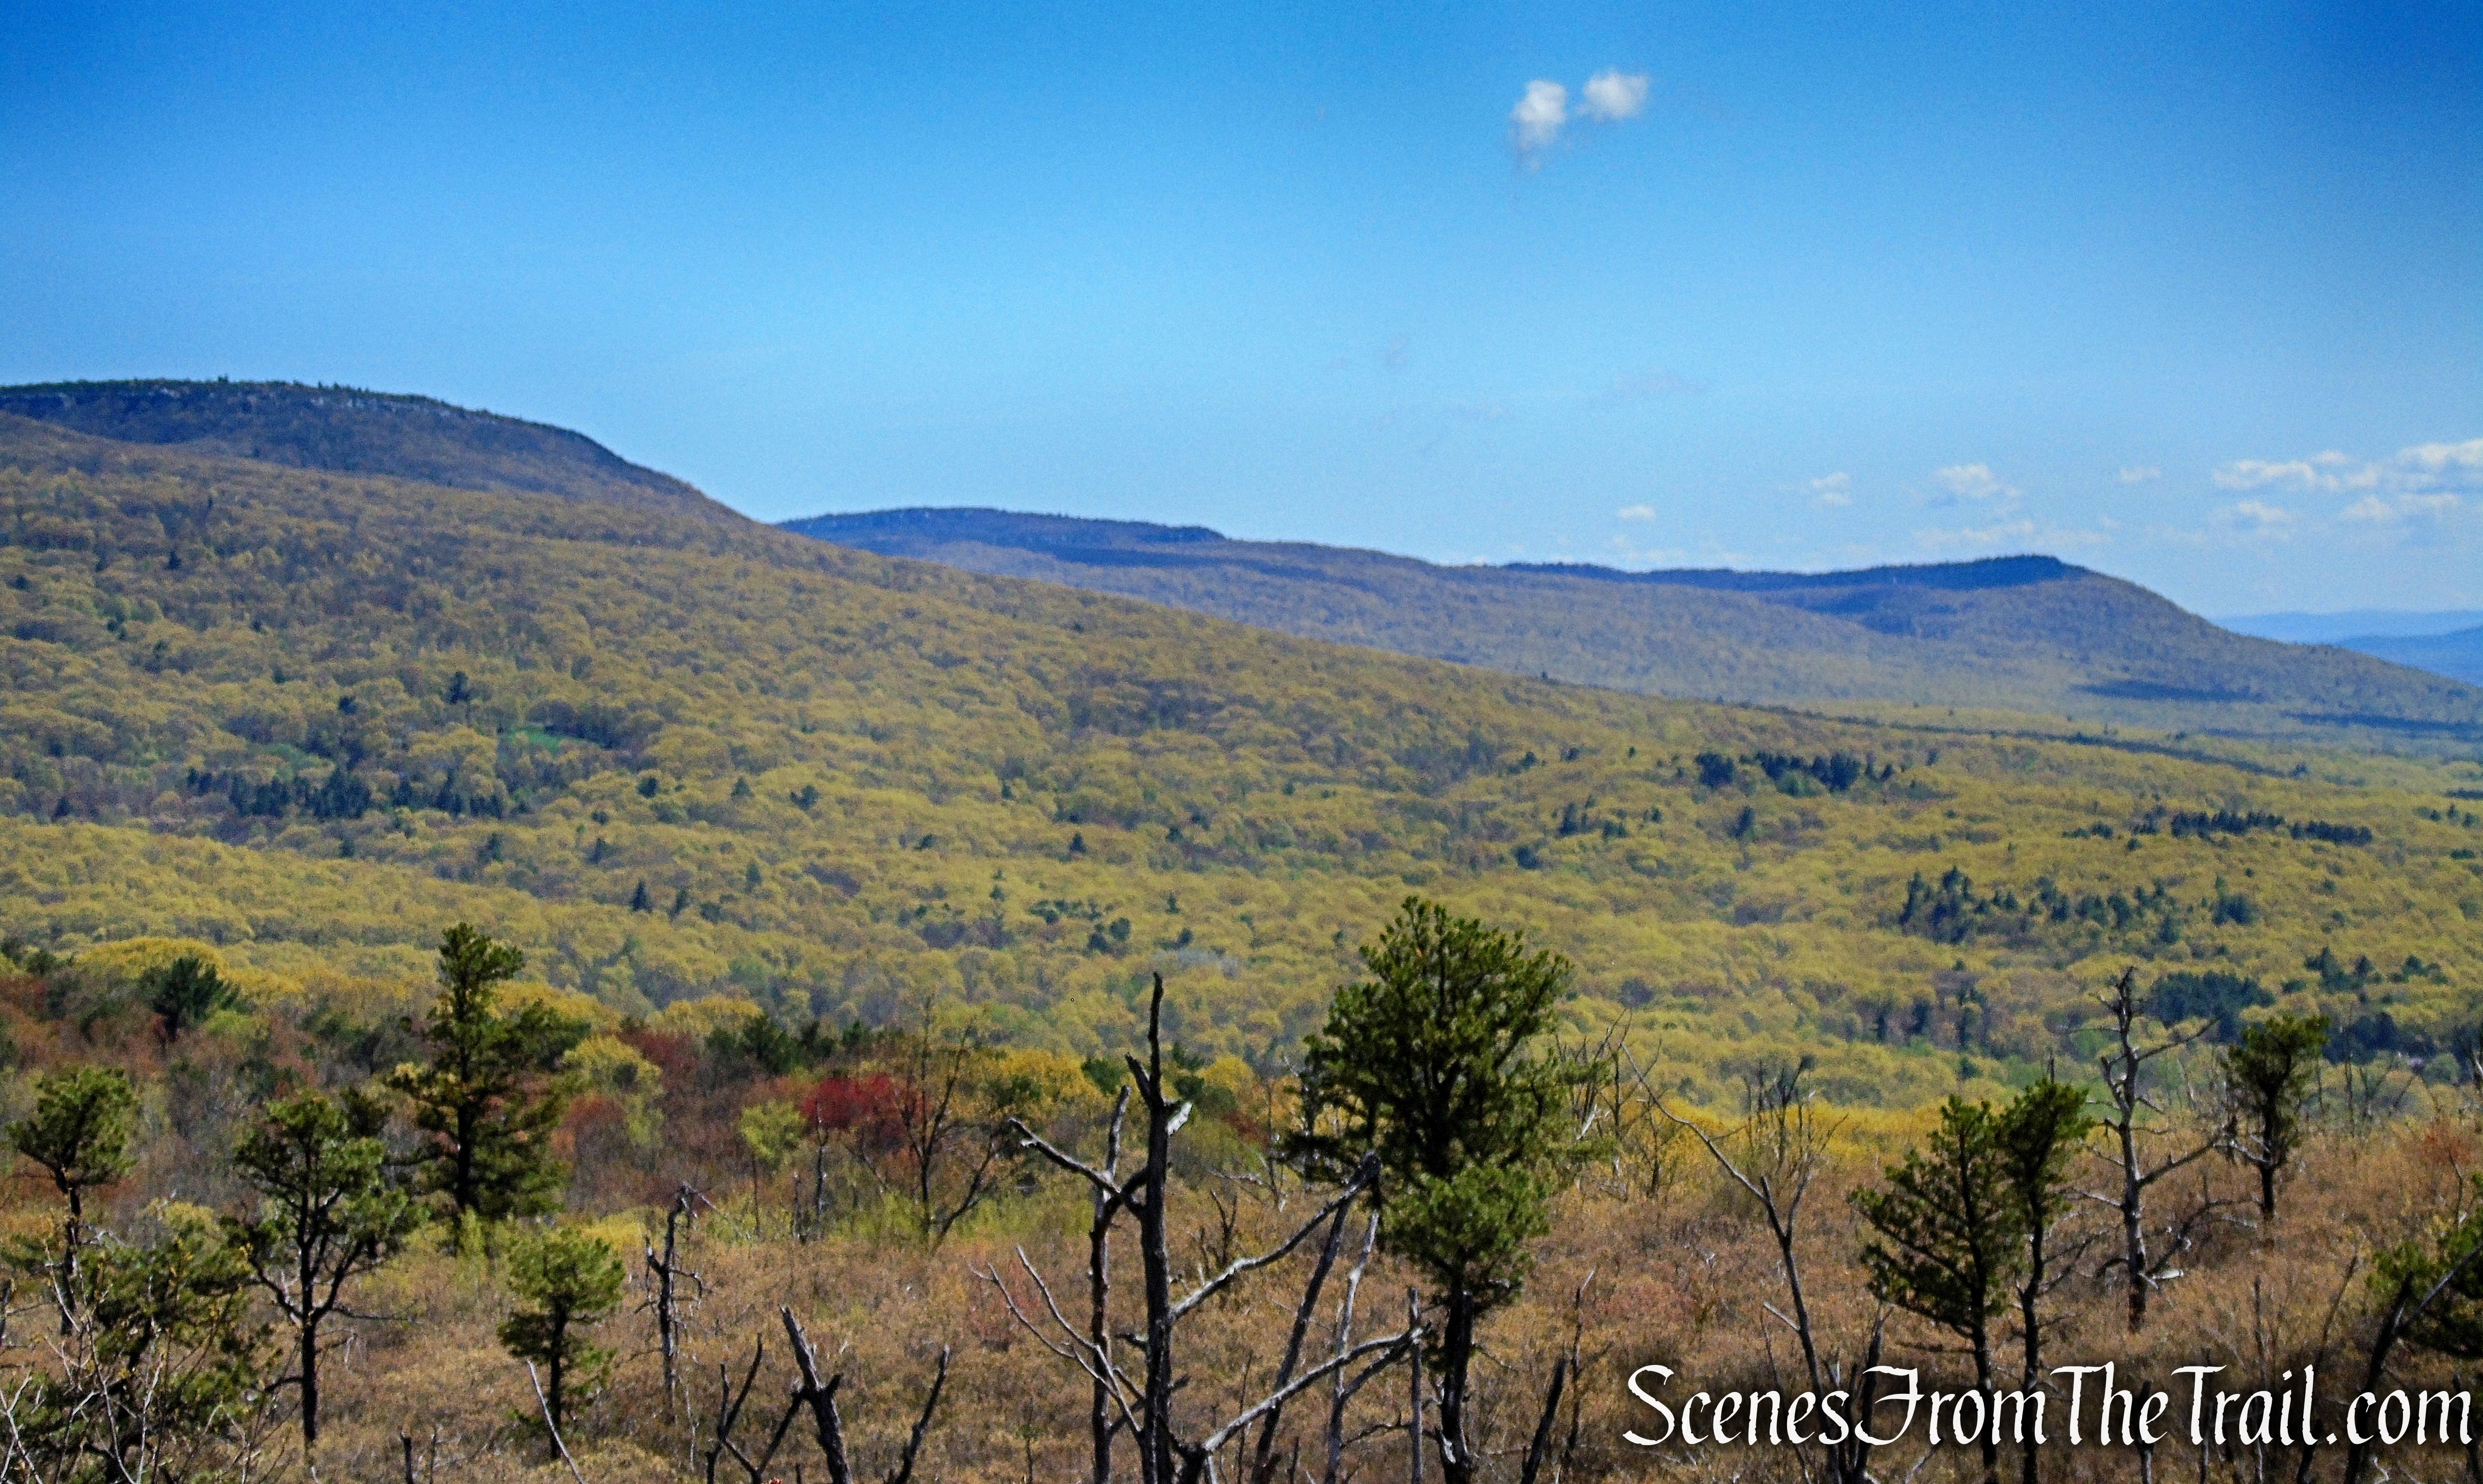
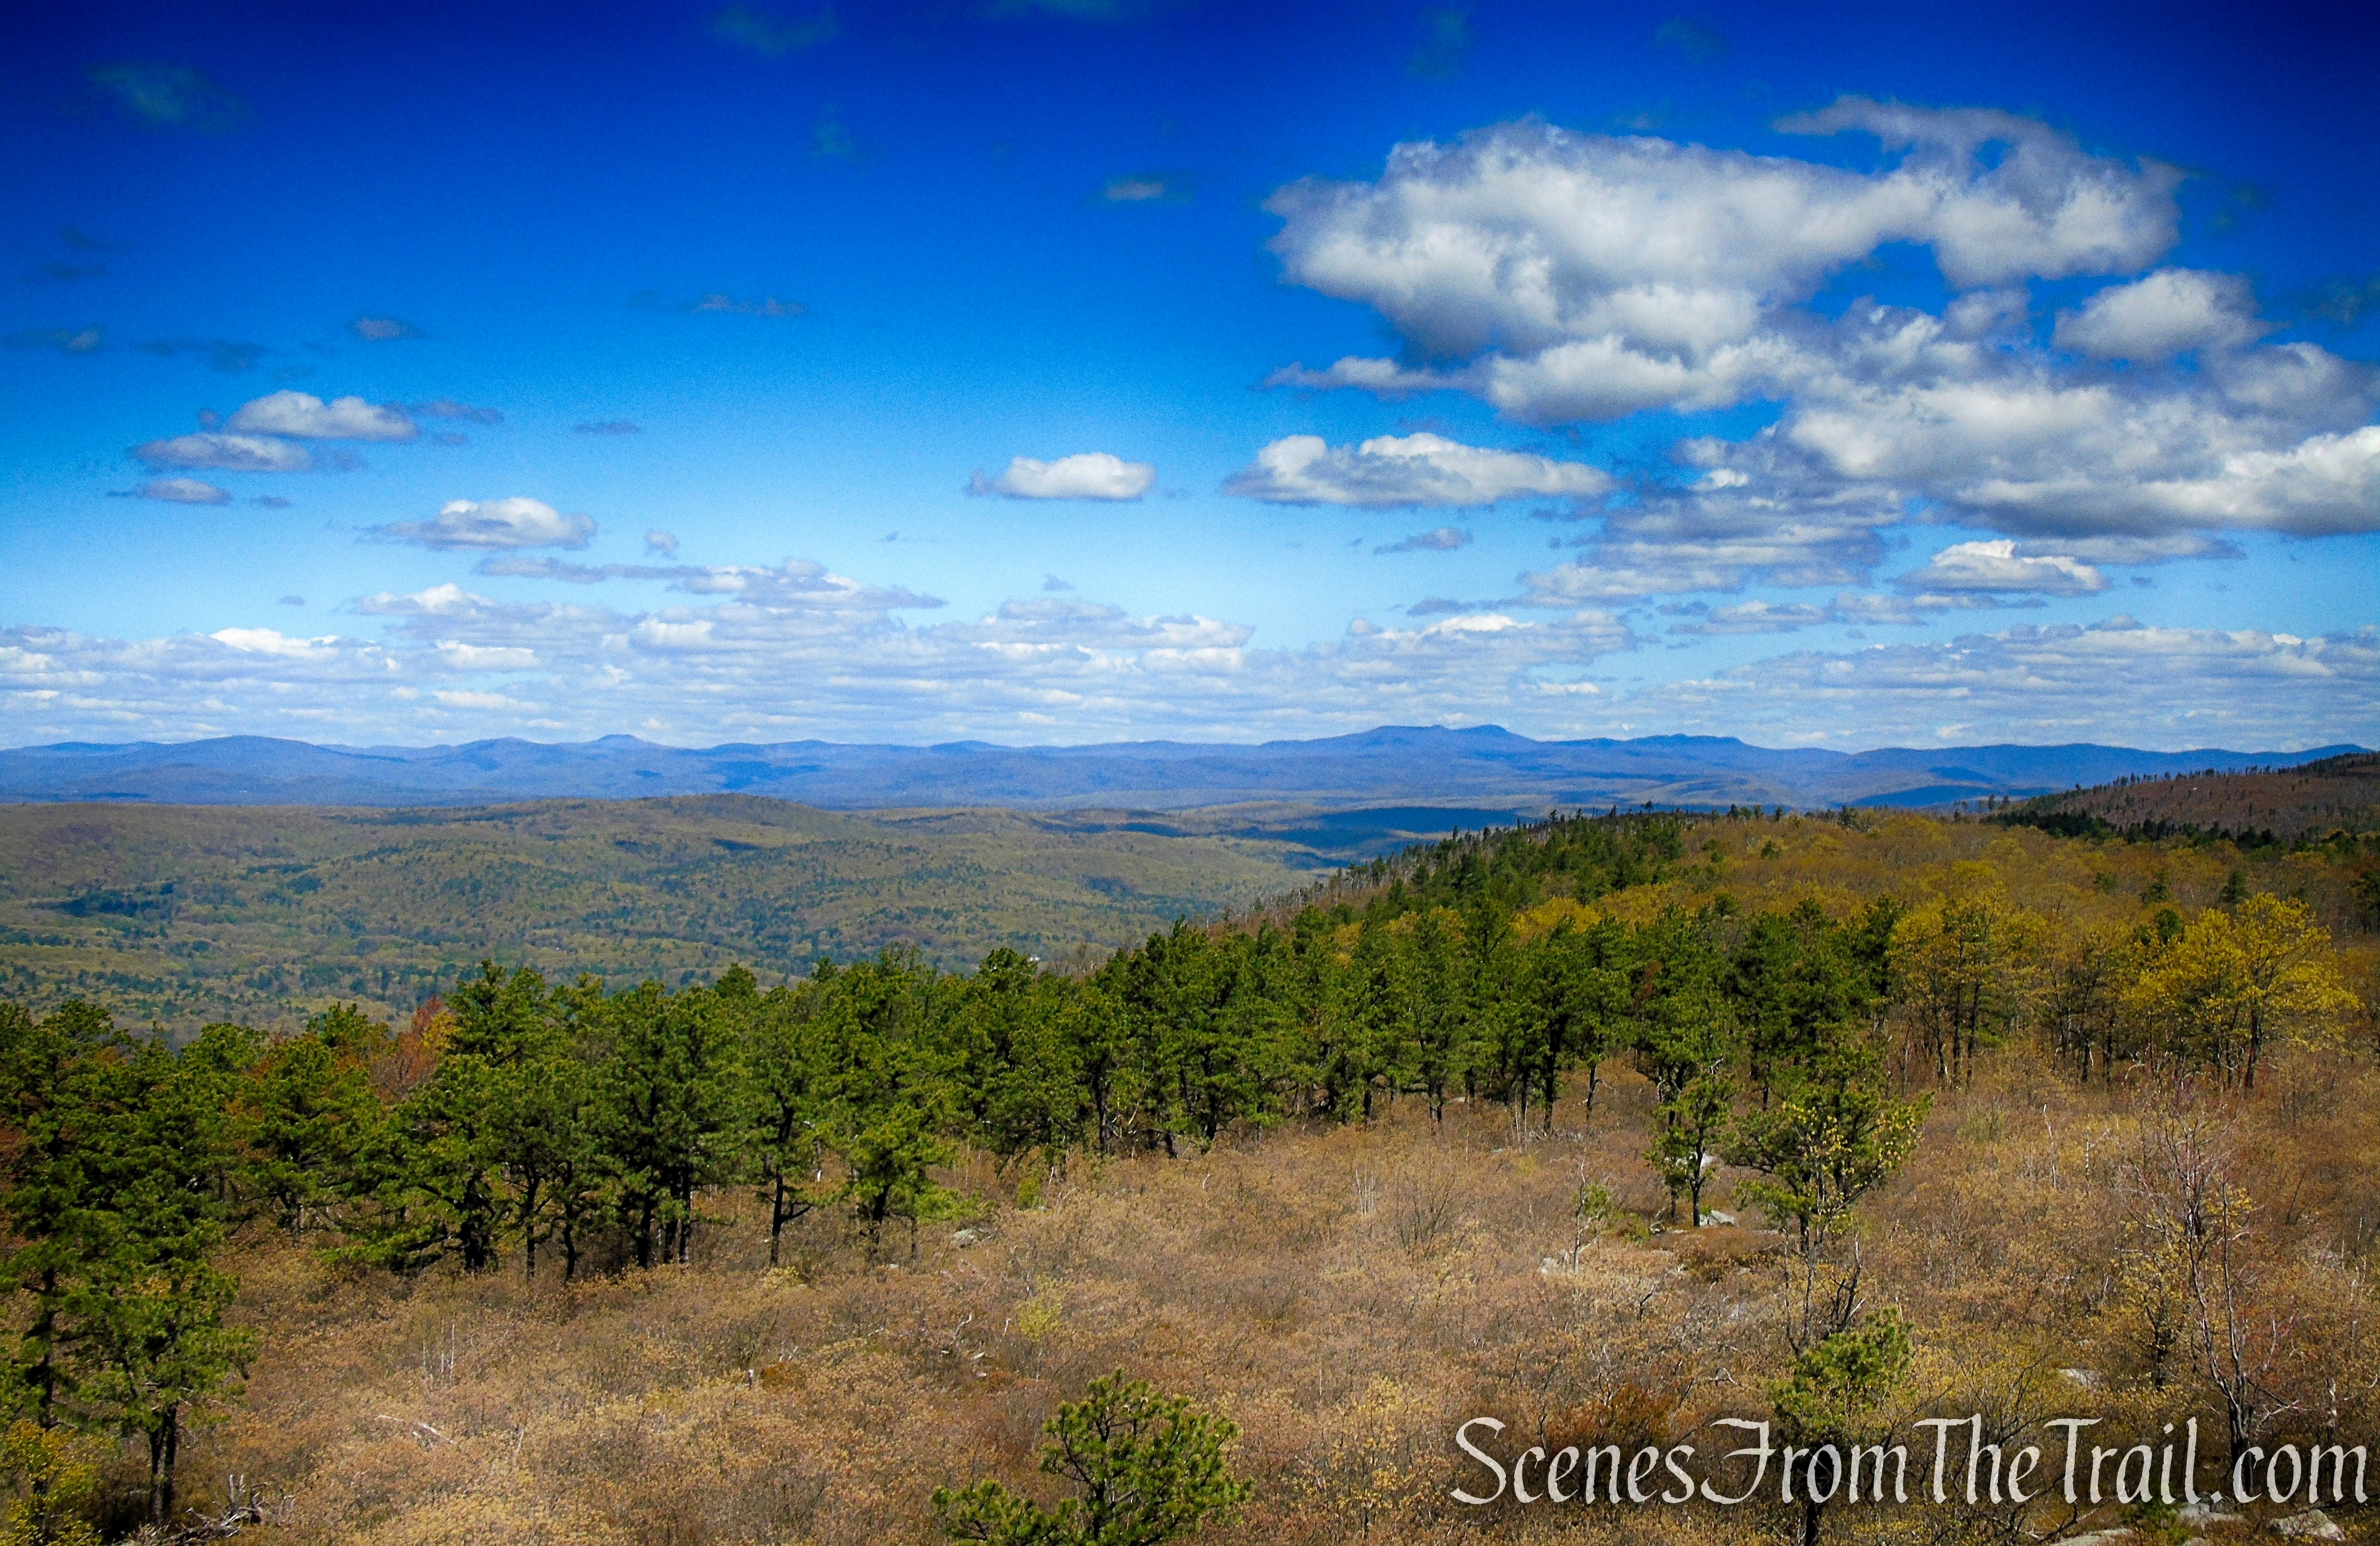
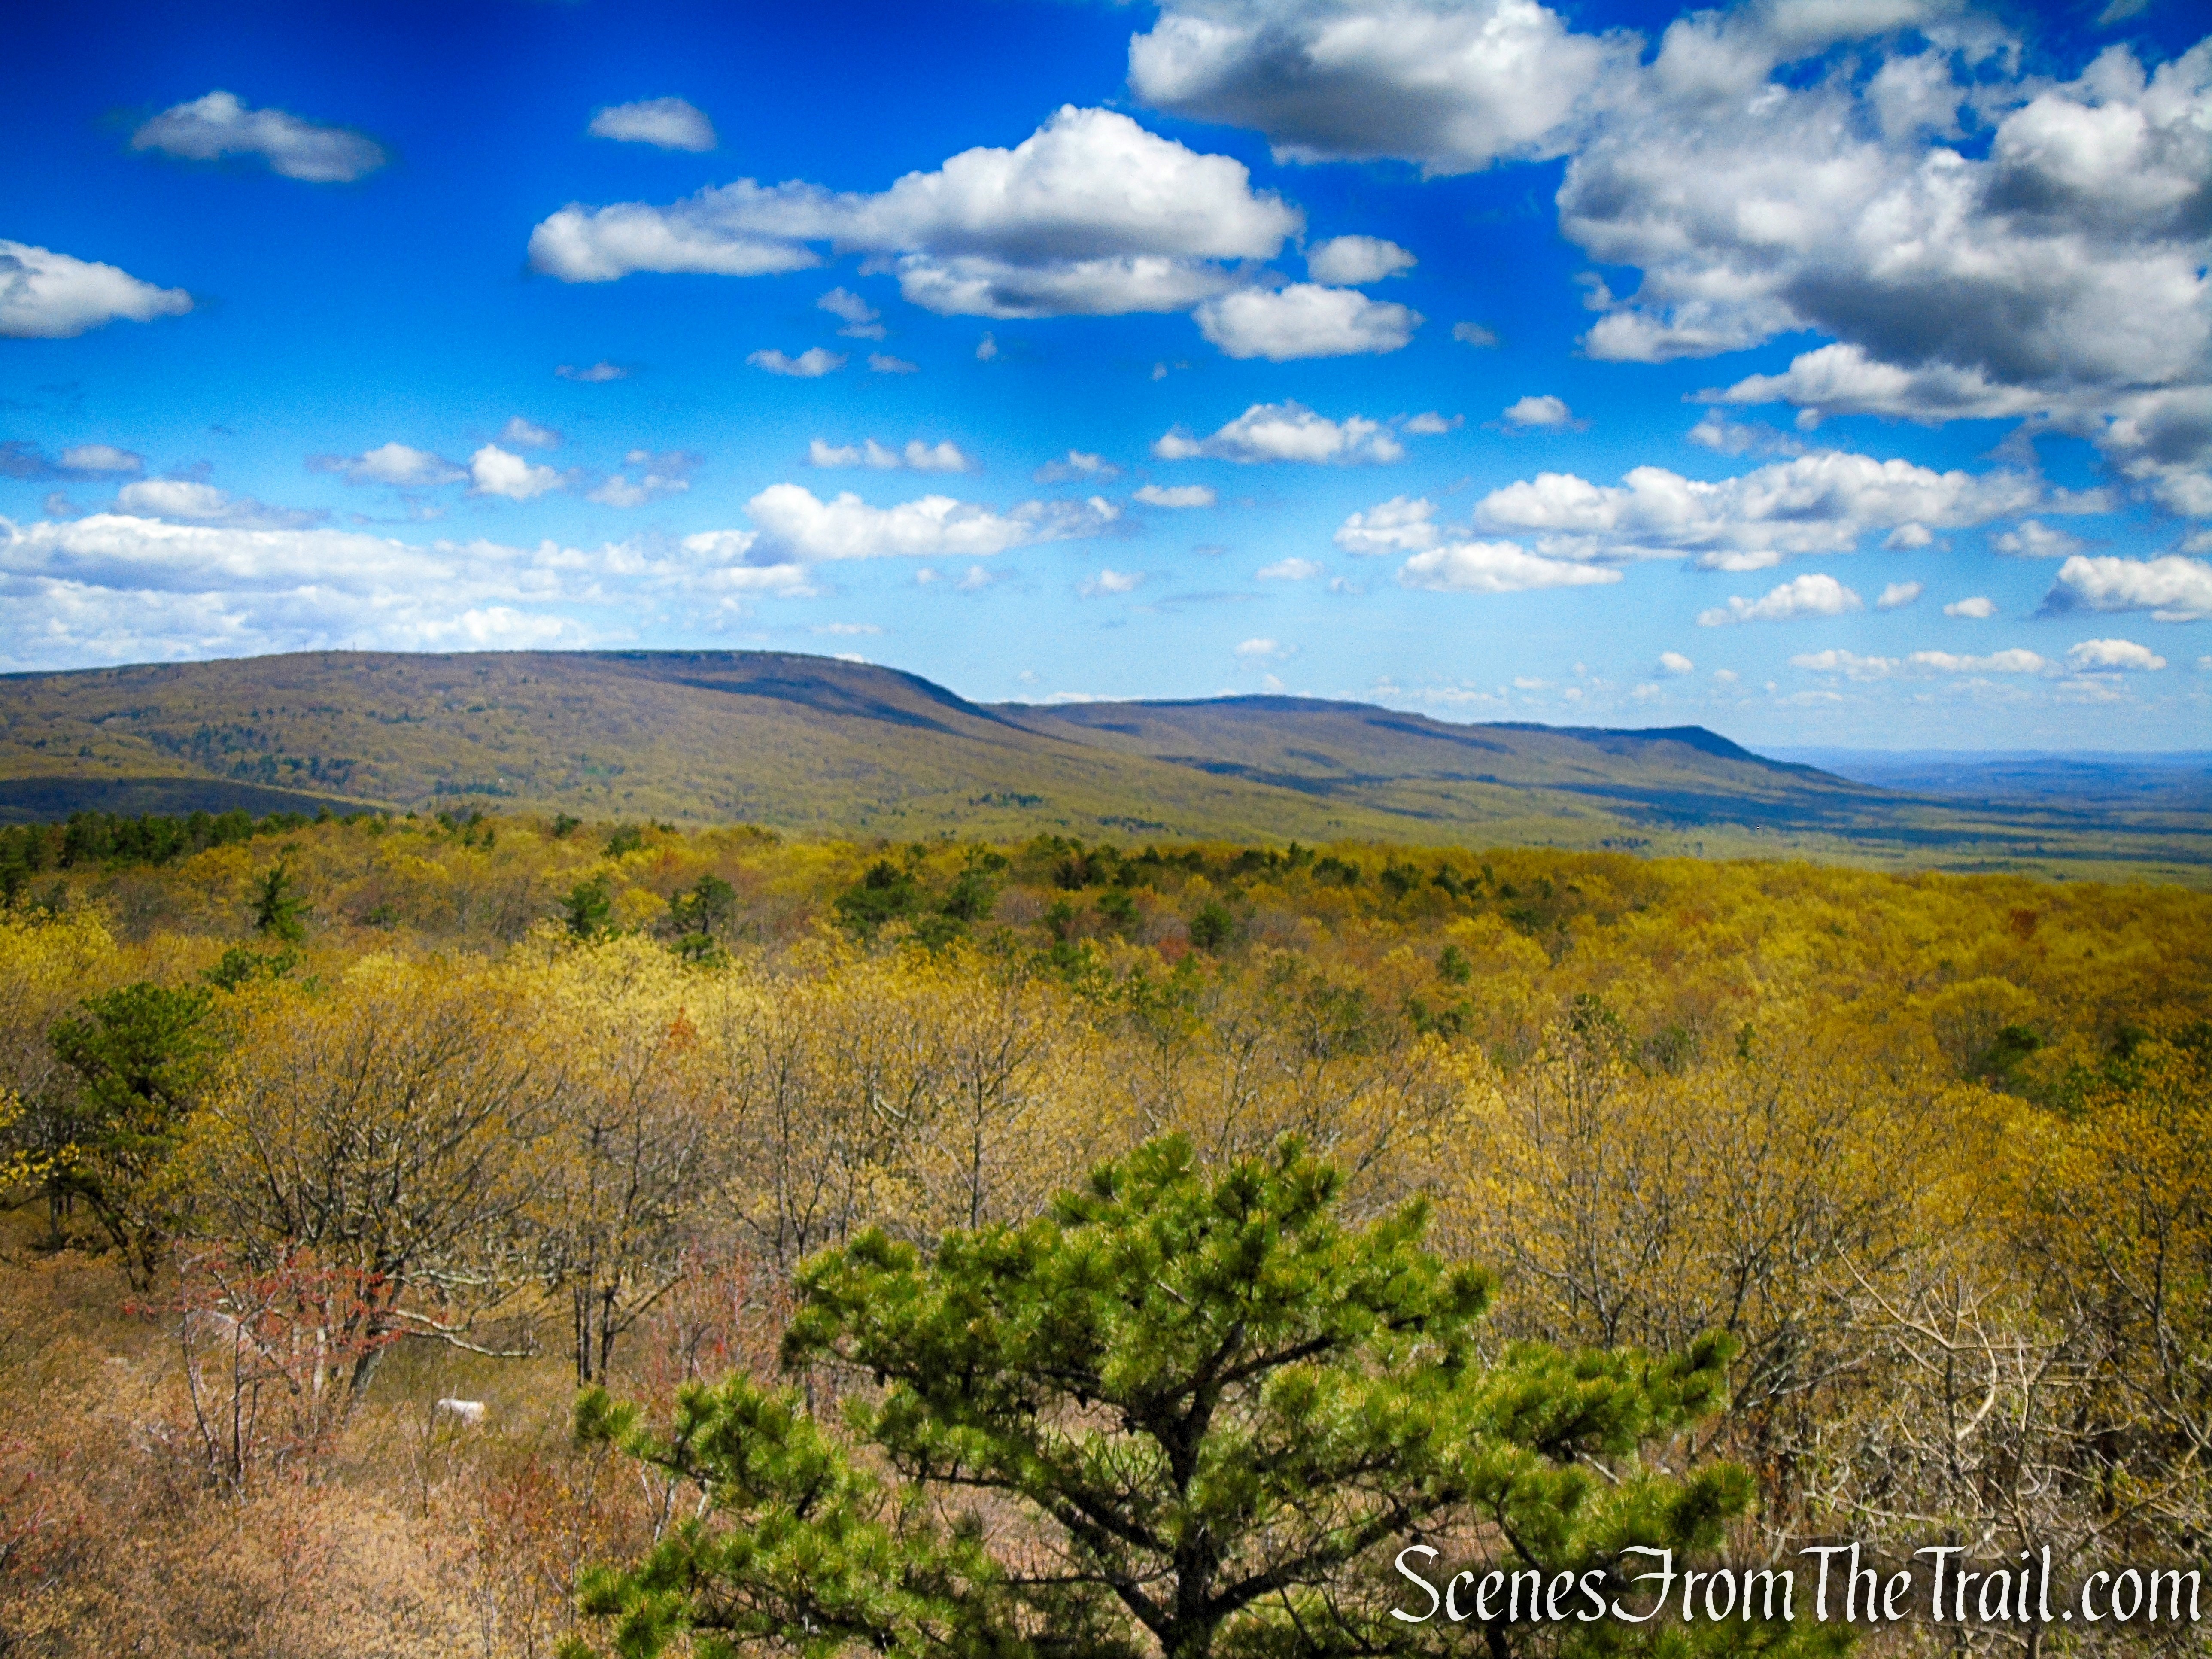
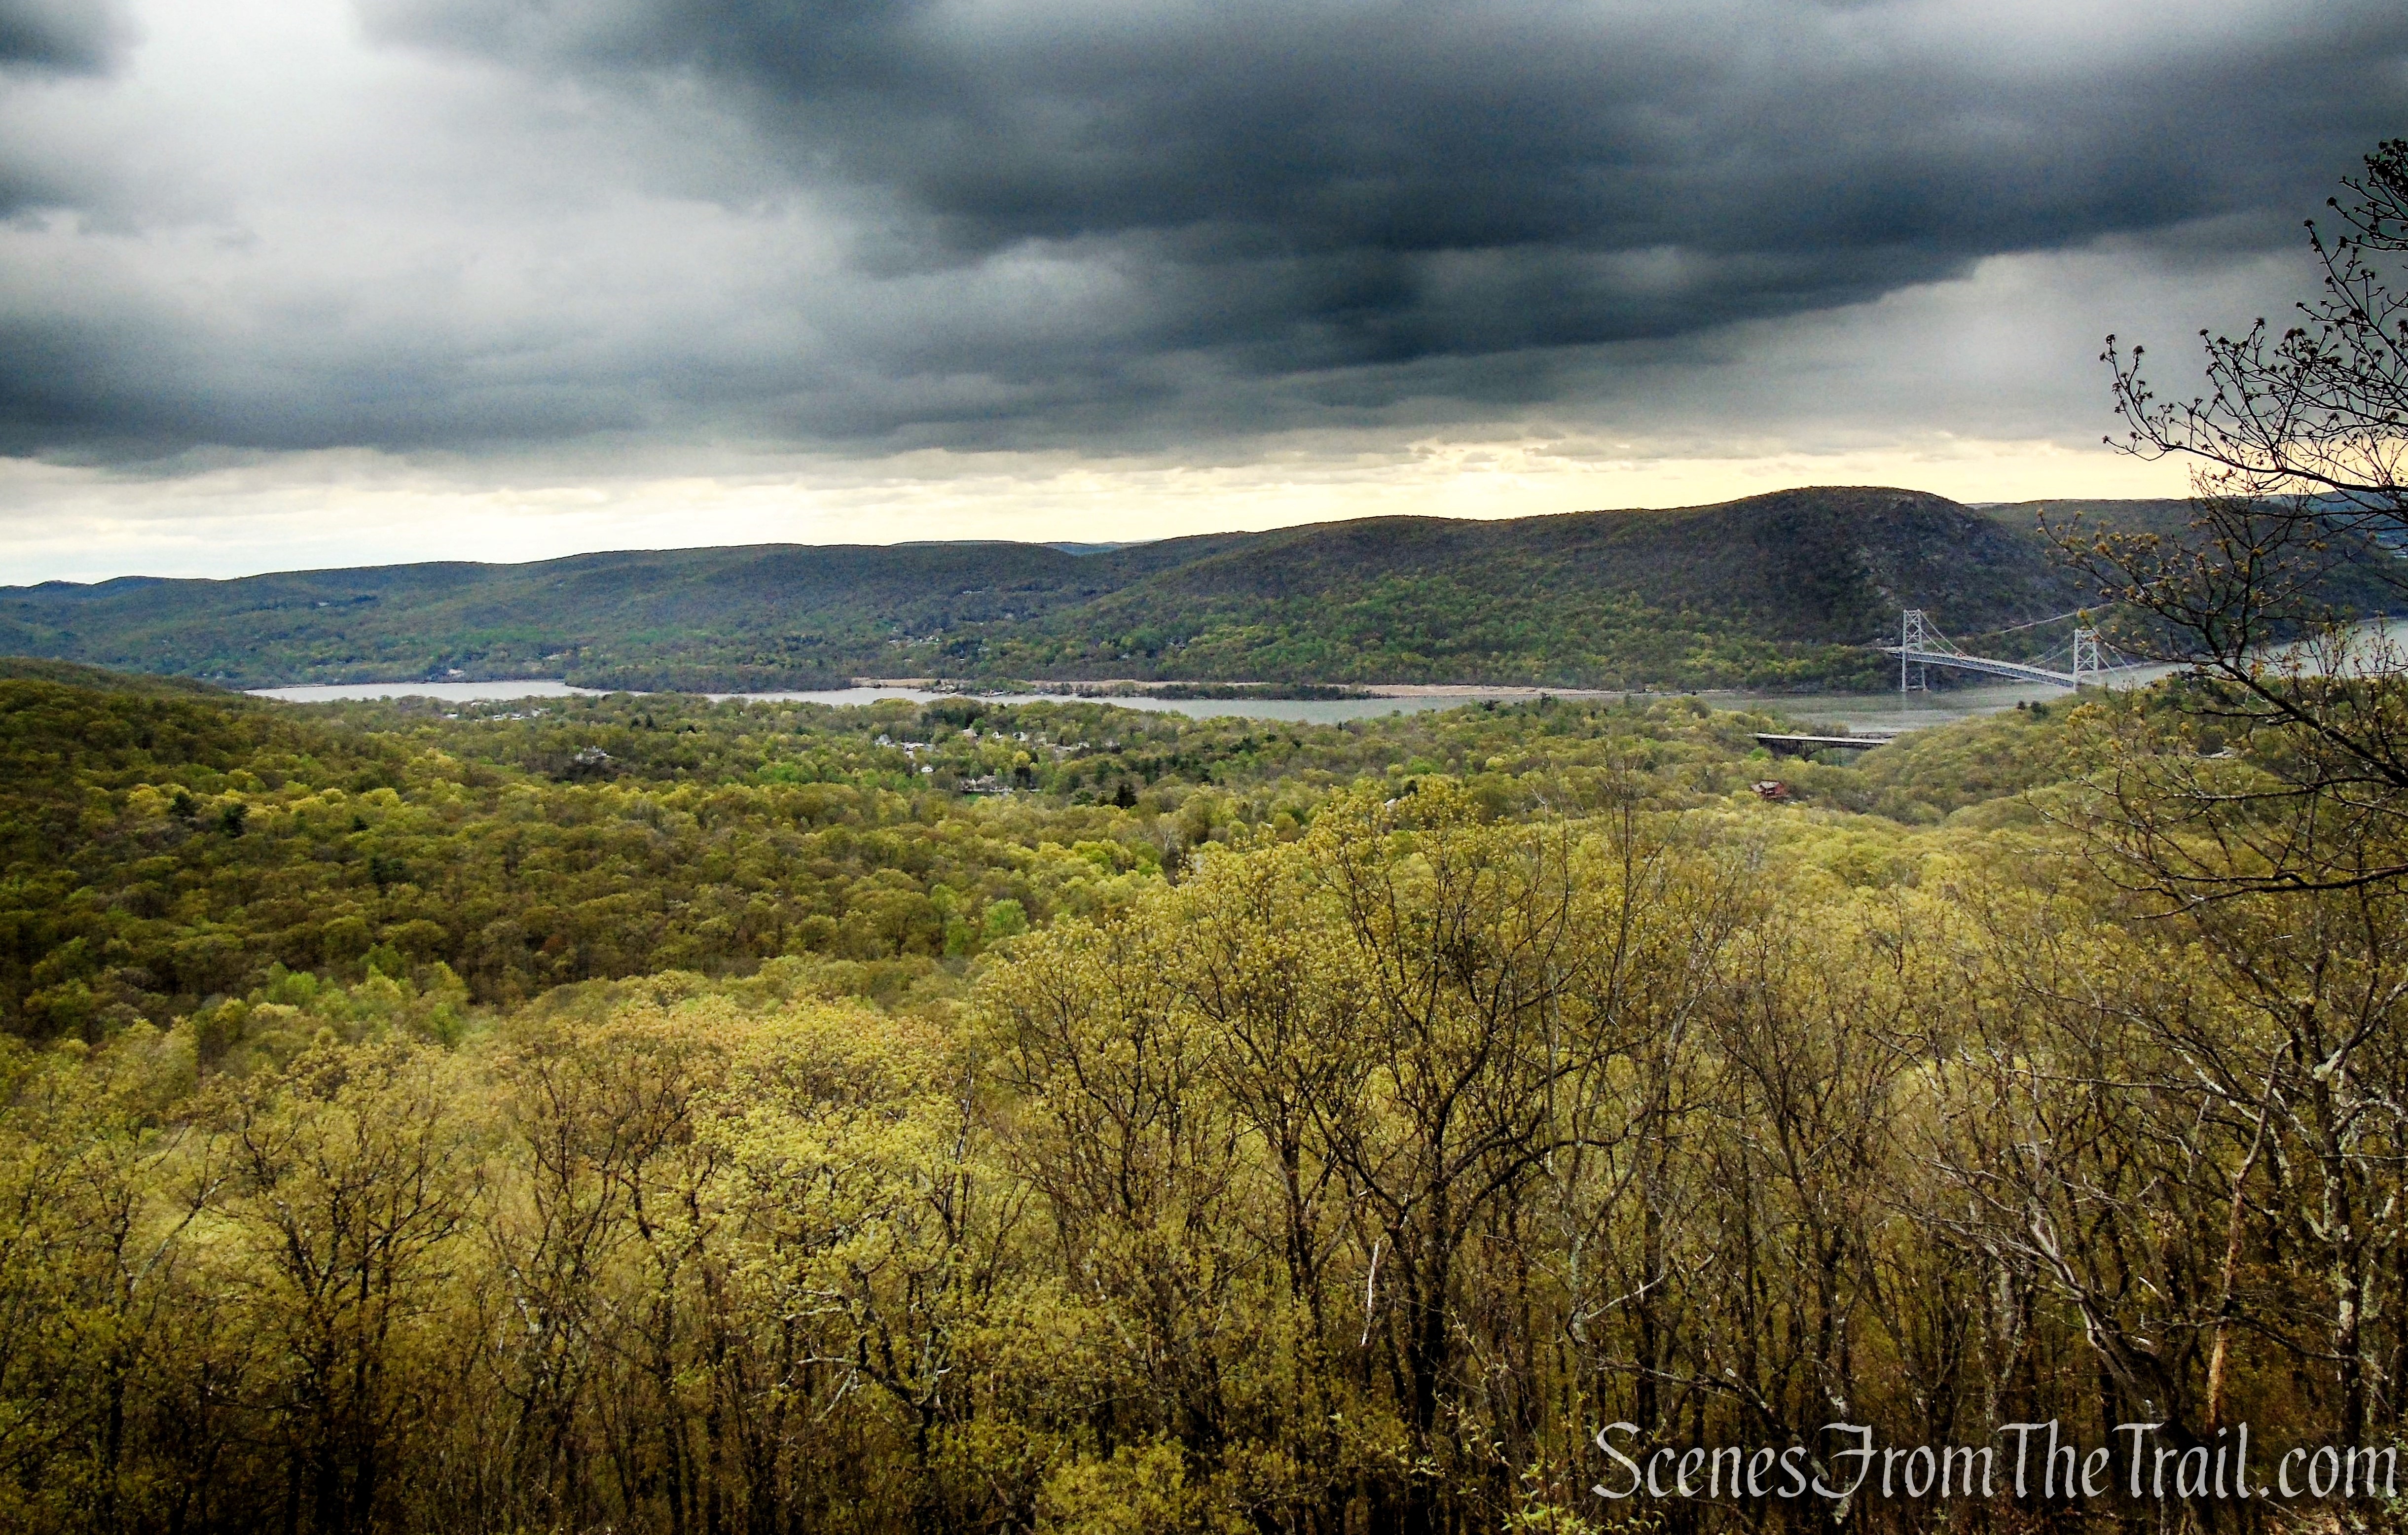
View west with the Catskill Mountains visible in the distance.

View west from Stissing Fire Tower
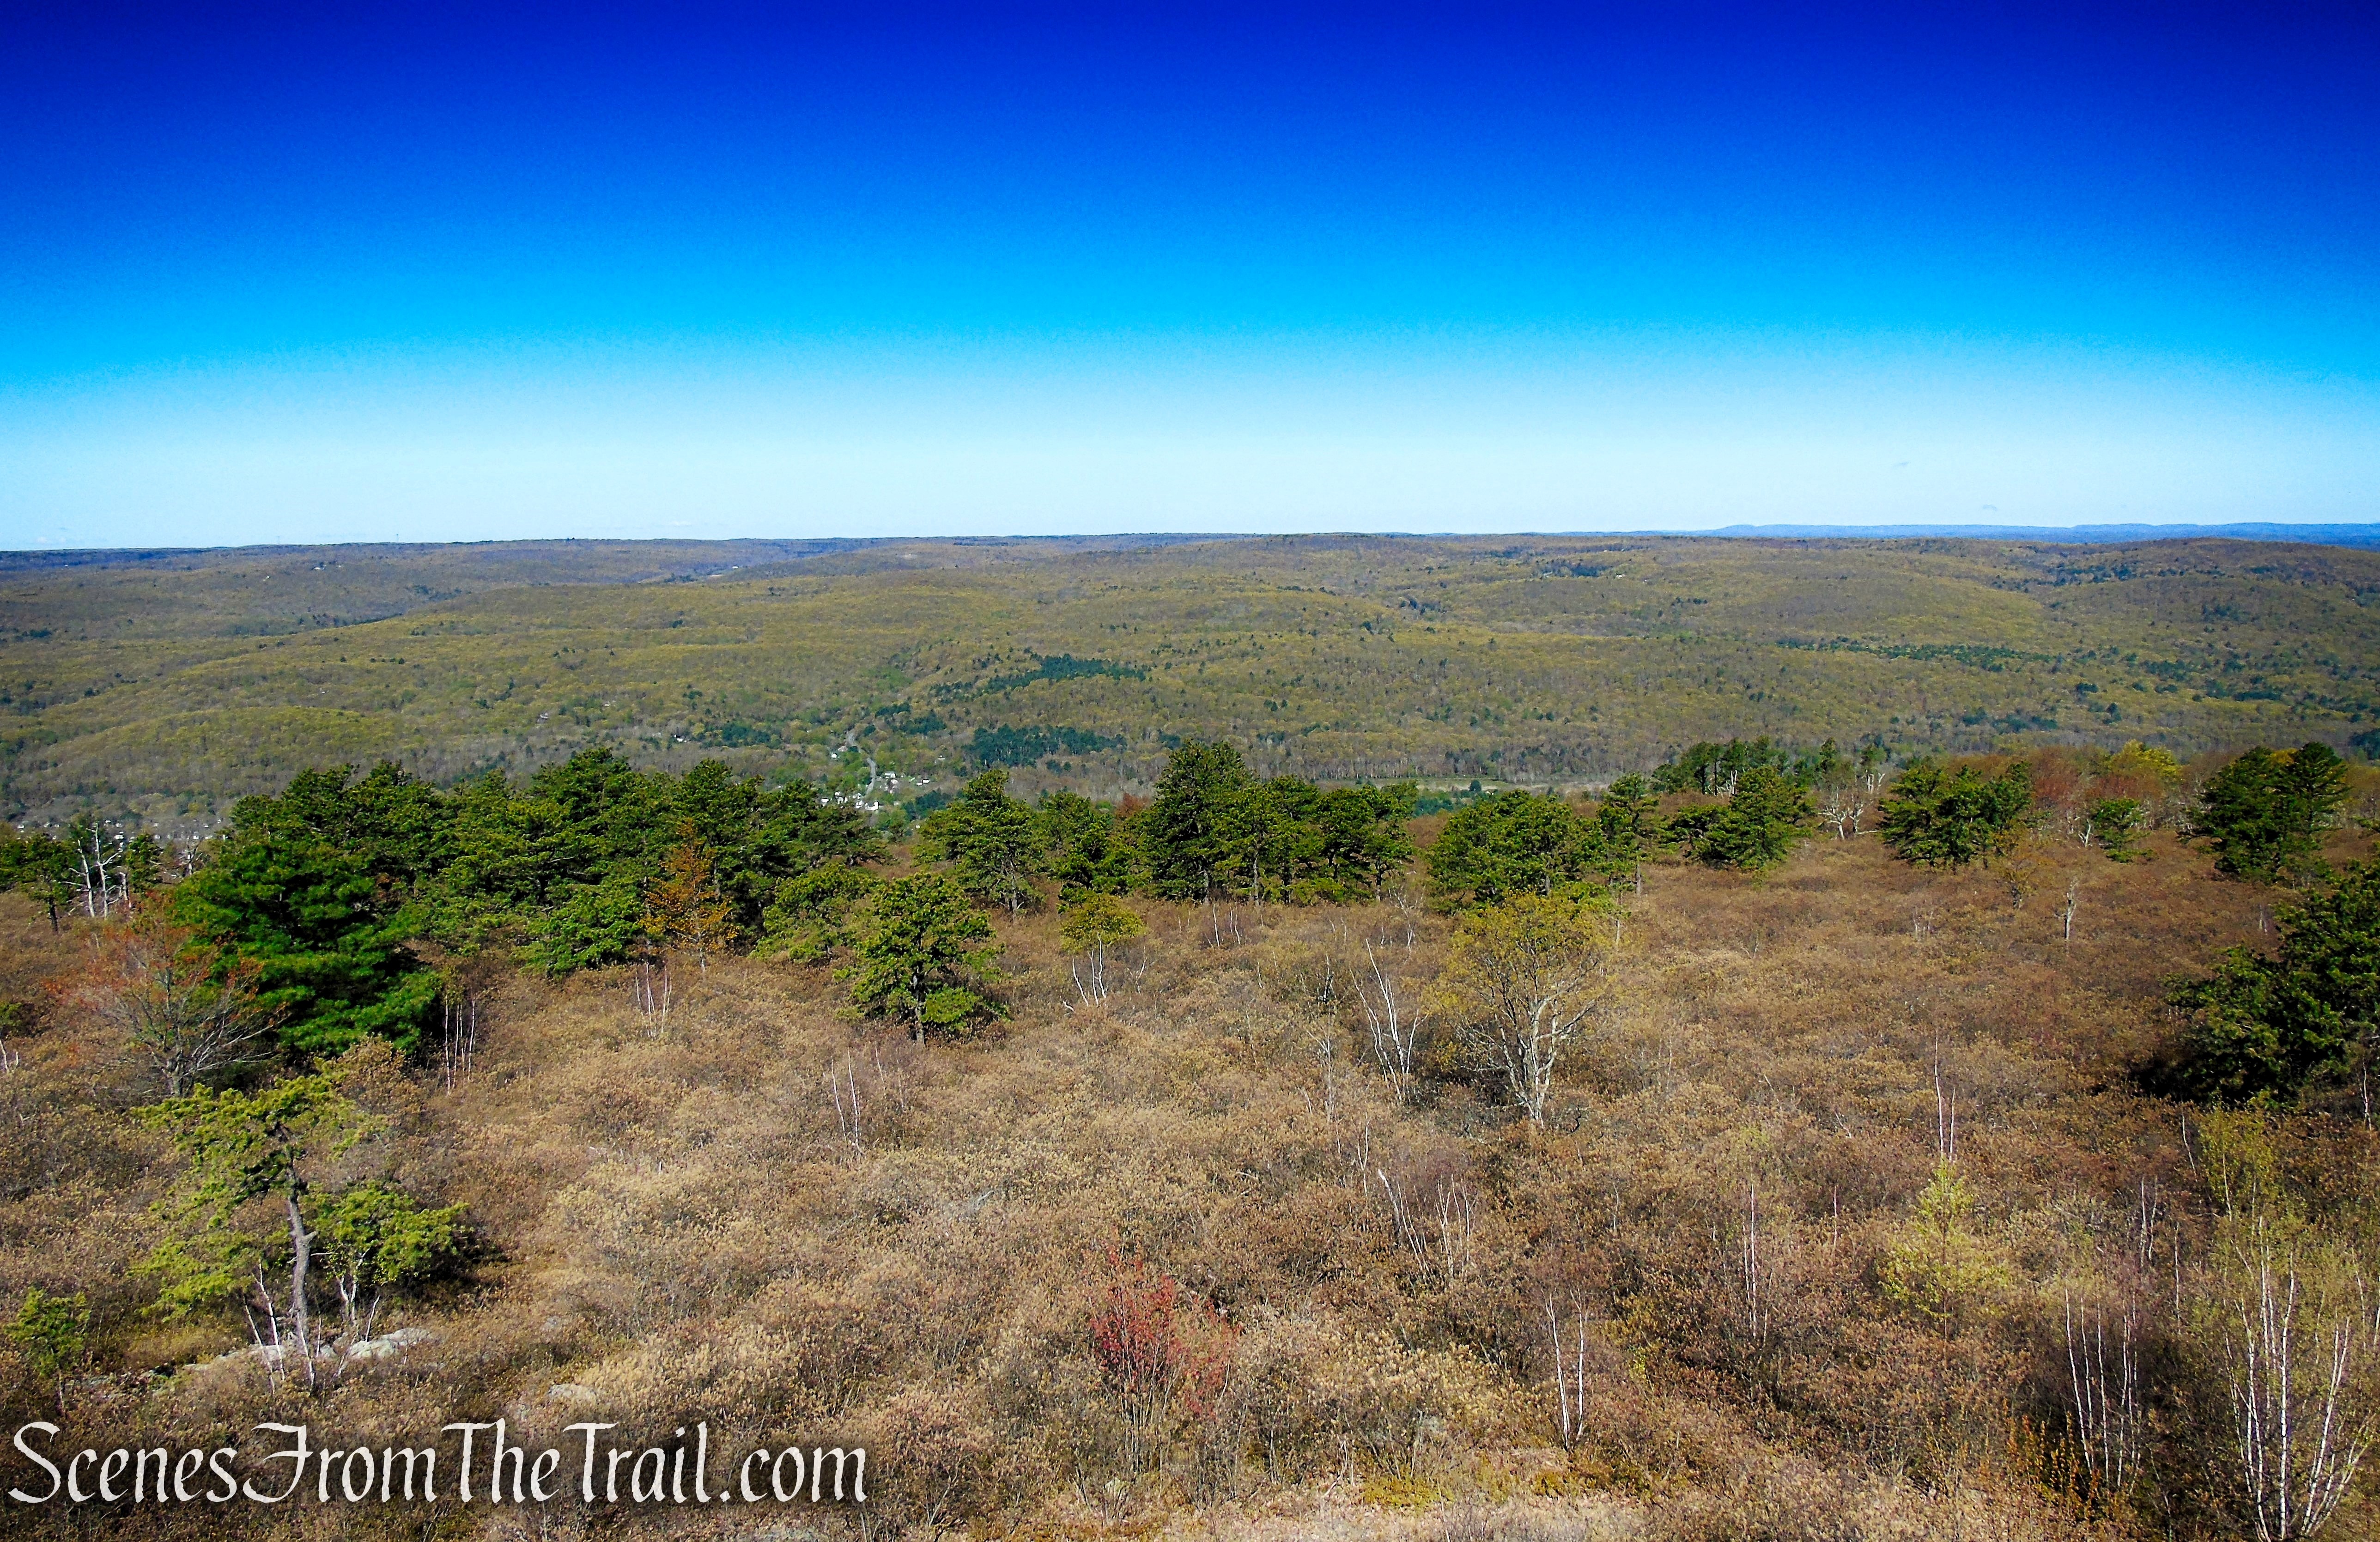
Little Stissing Mountain is the peak immediately north. Looking northeast – Twin Island Lake (upper left), Stissing Pond (right of center). The Taconic Mountains in the distance, with the states of Vermont and Massachusetts behind them.

View northeast from Stissing Fire Tower
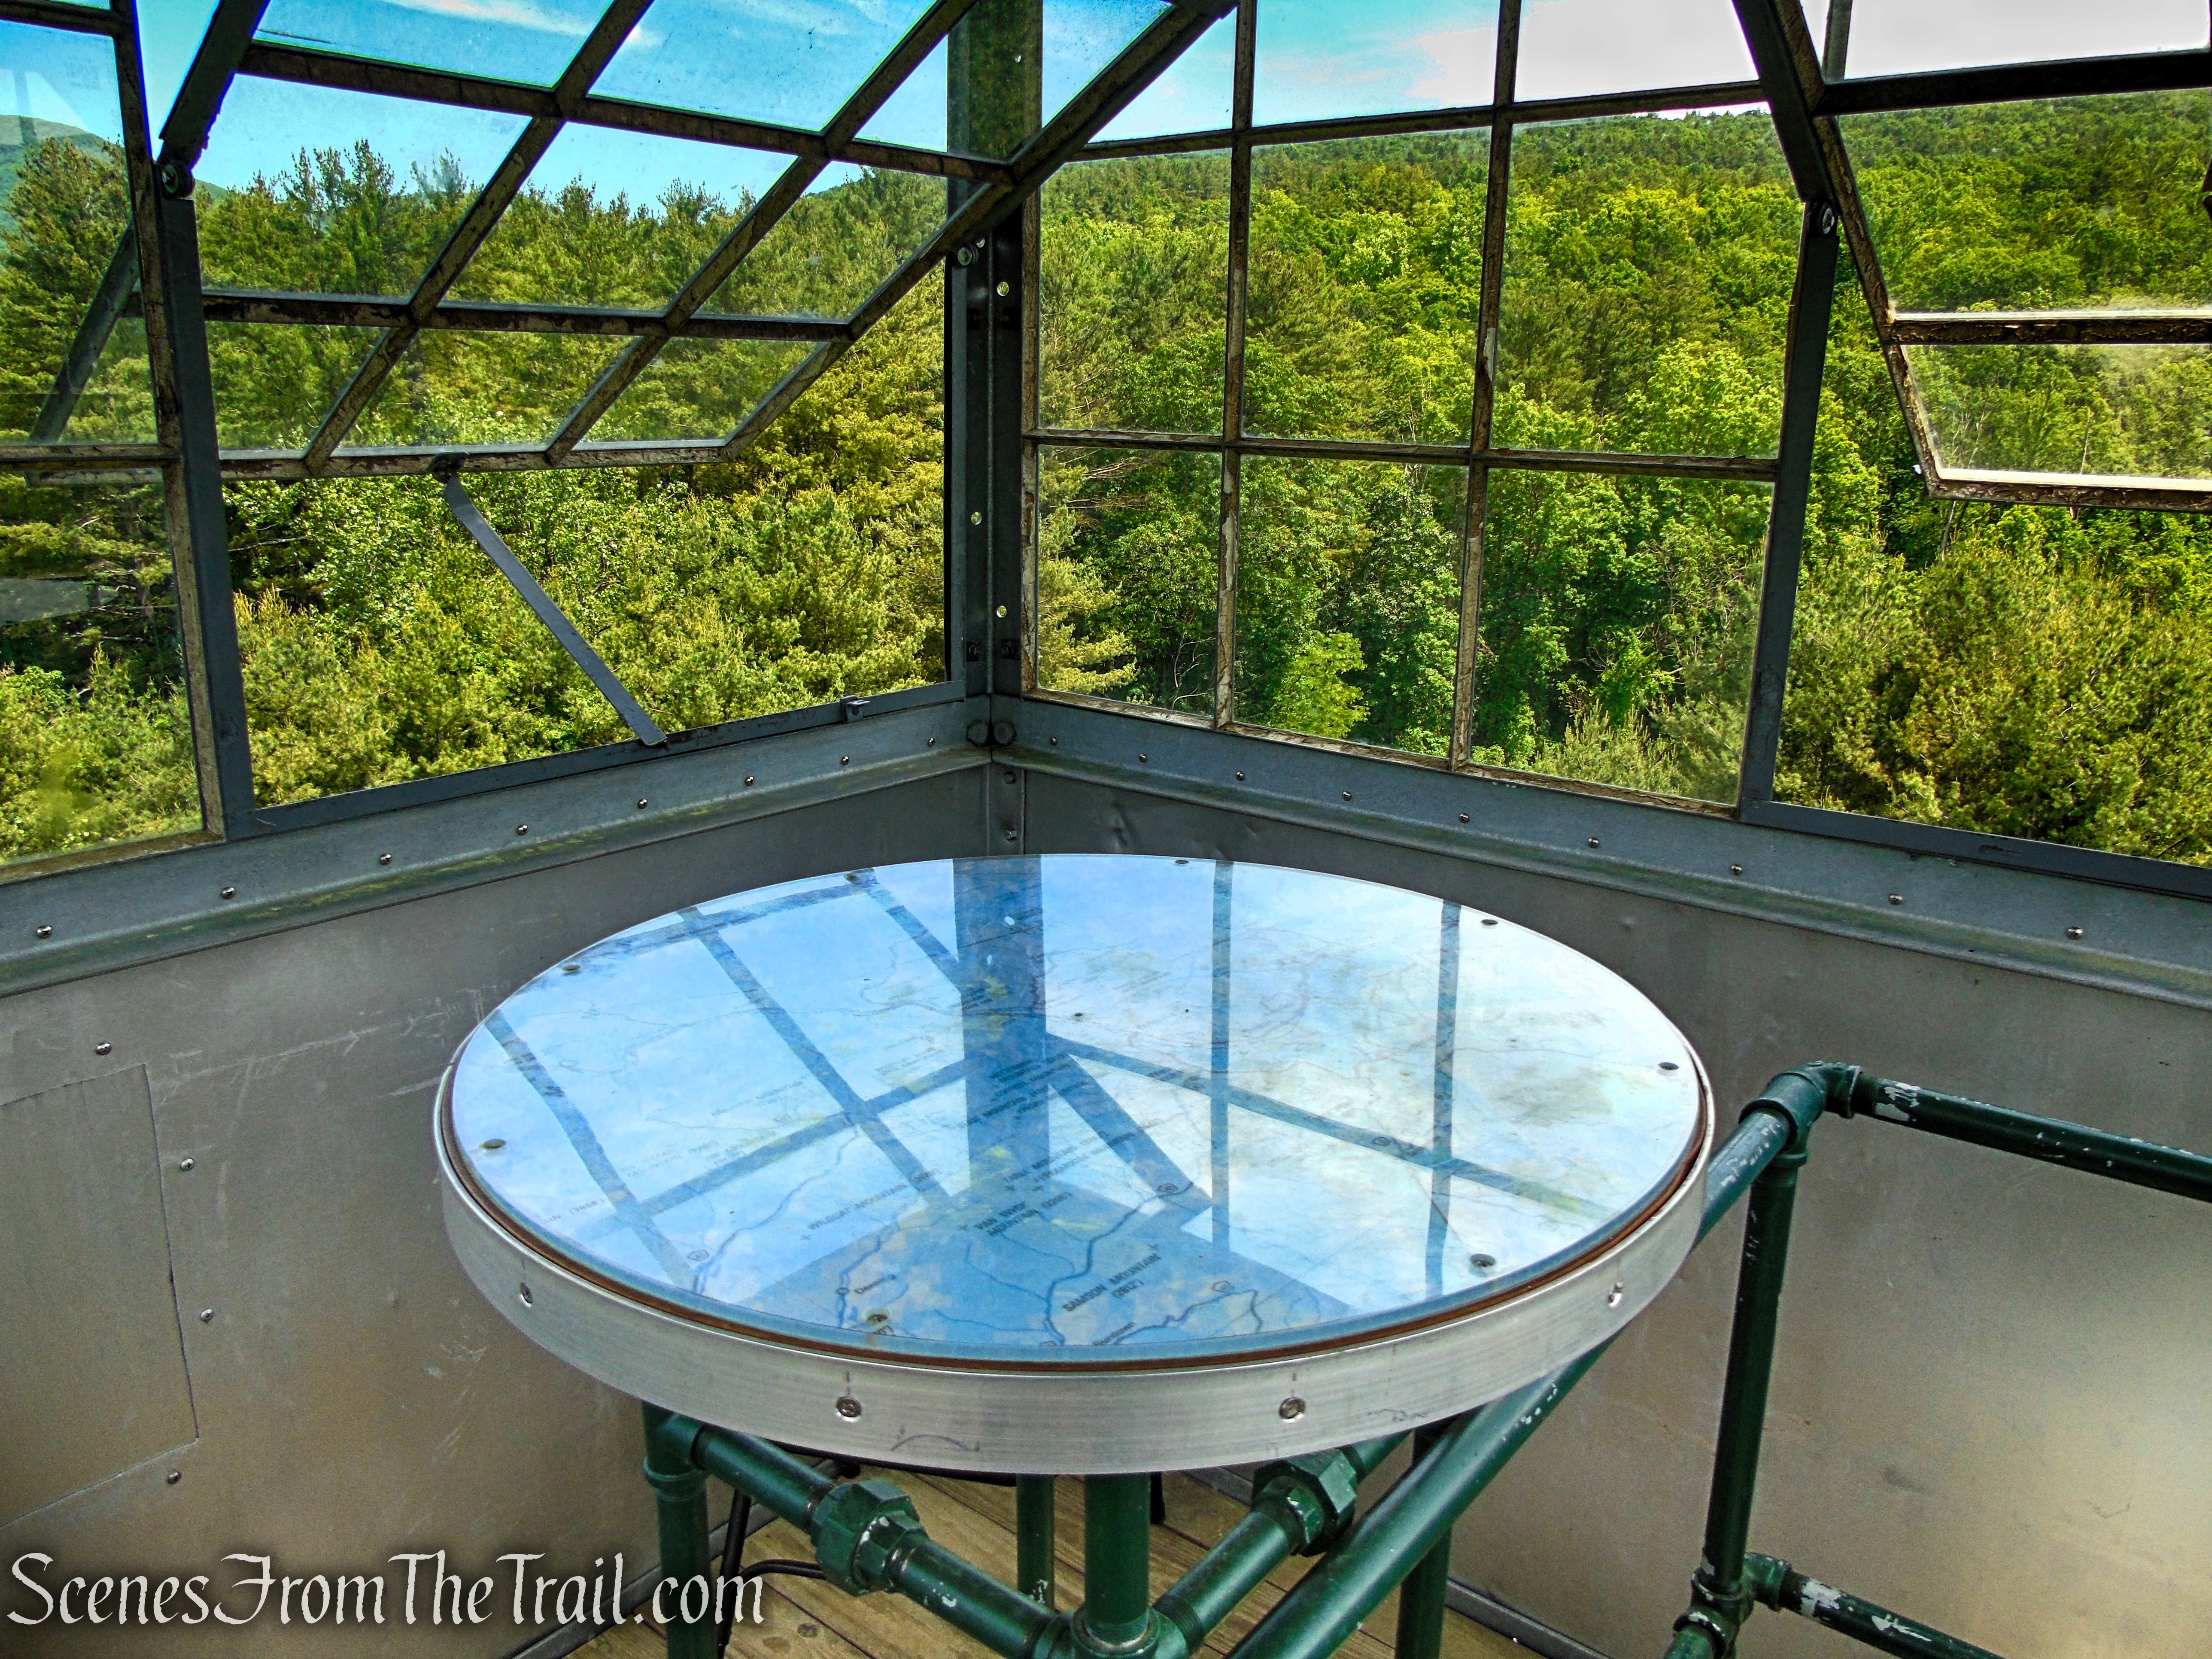
A peek through the windows of the 7×7-foot metal cab.

View southeast from Stissing Fire Tower
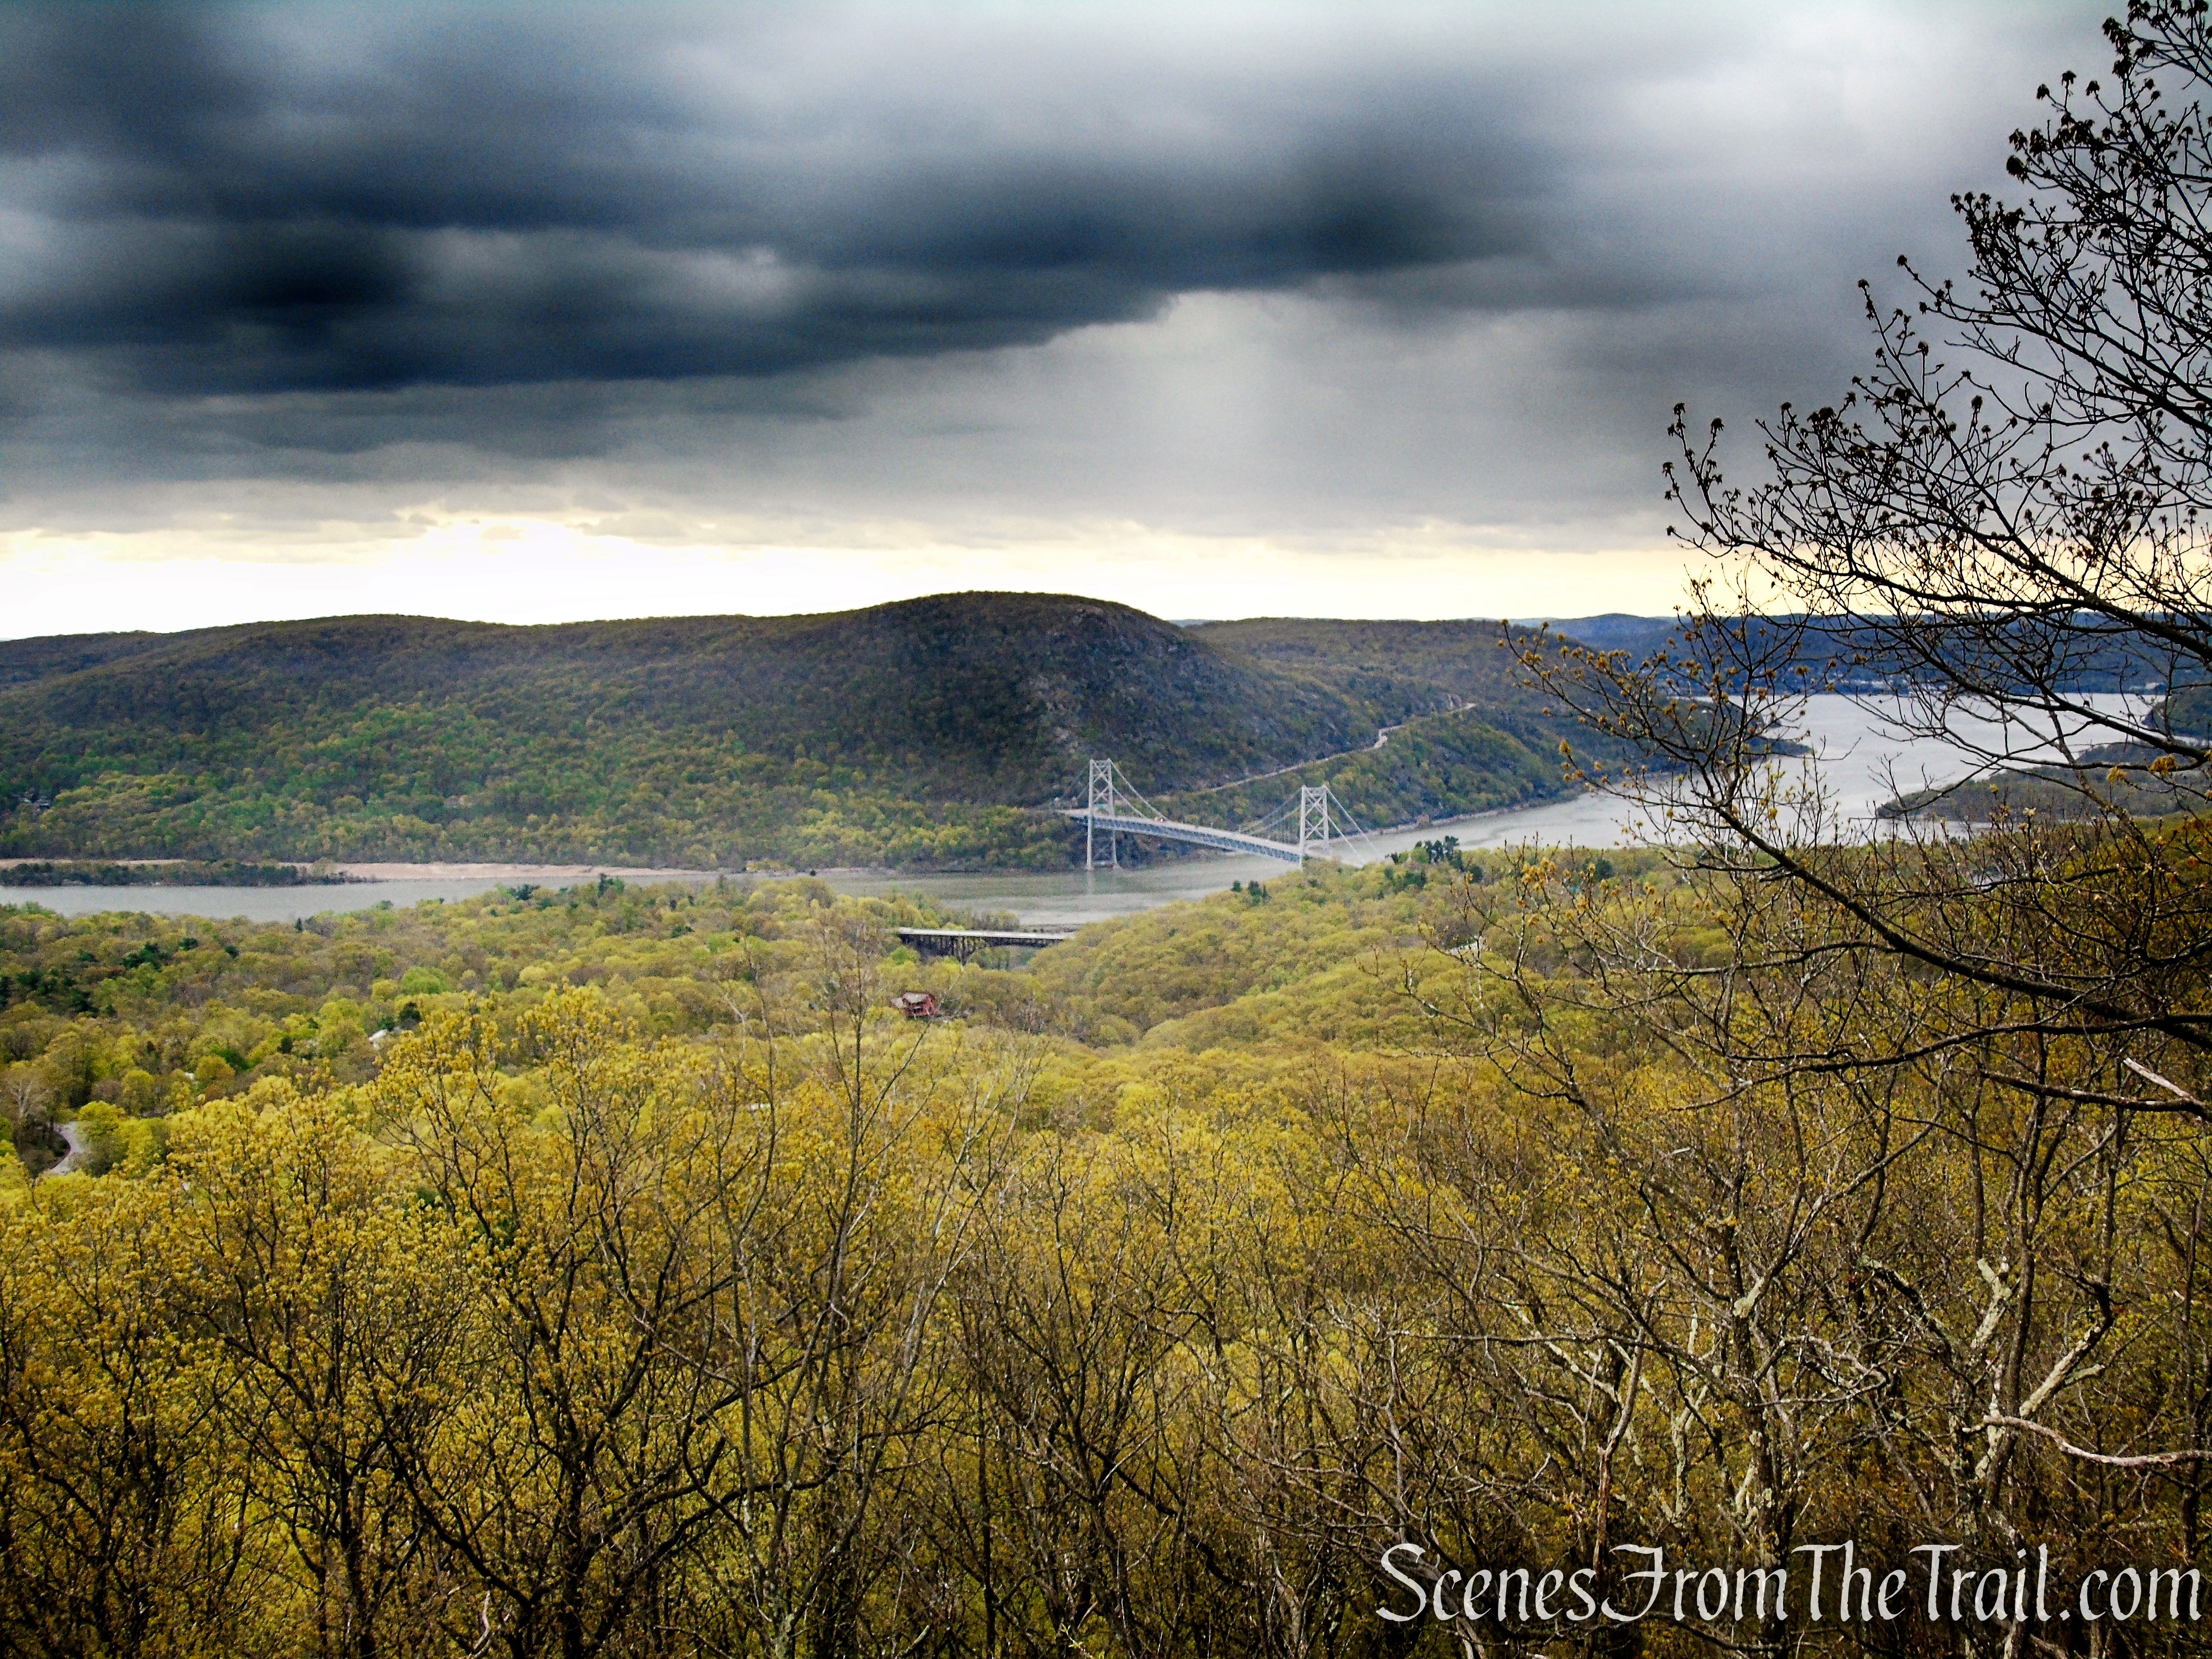
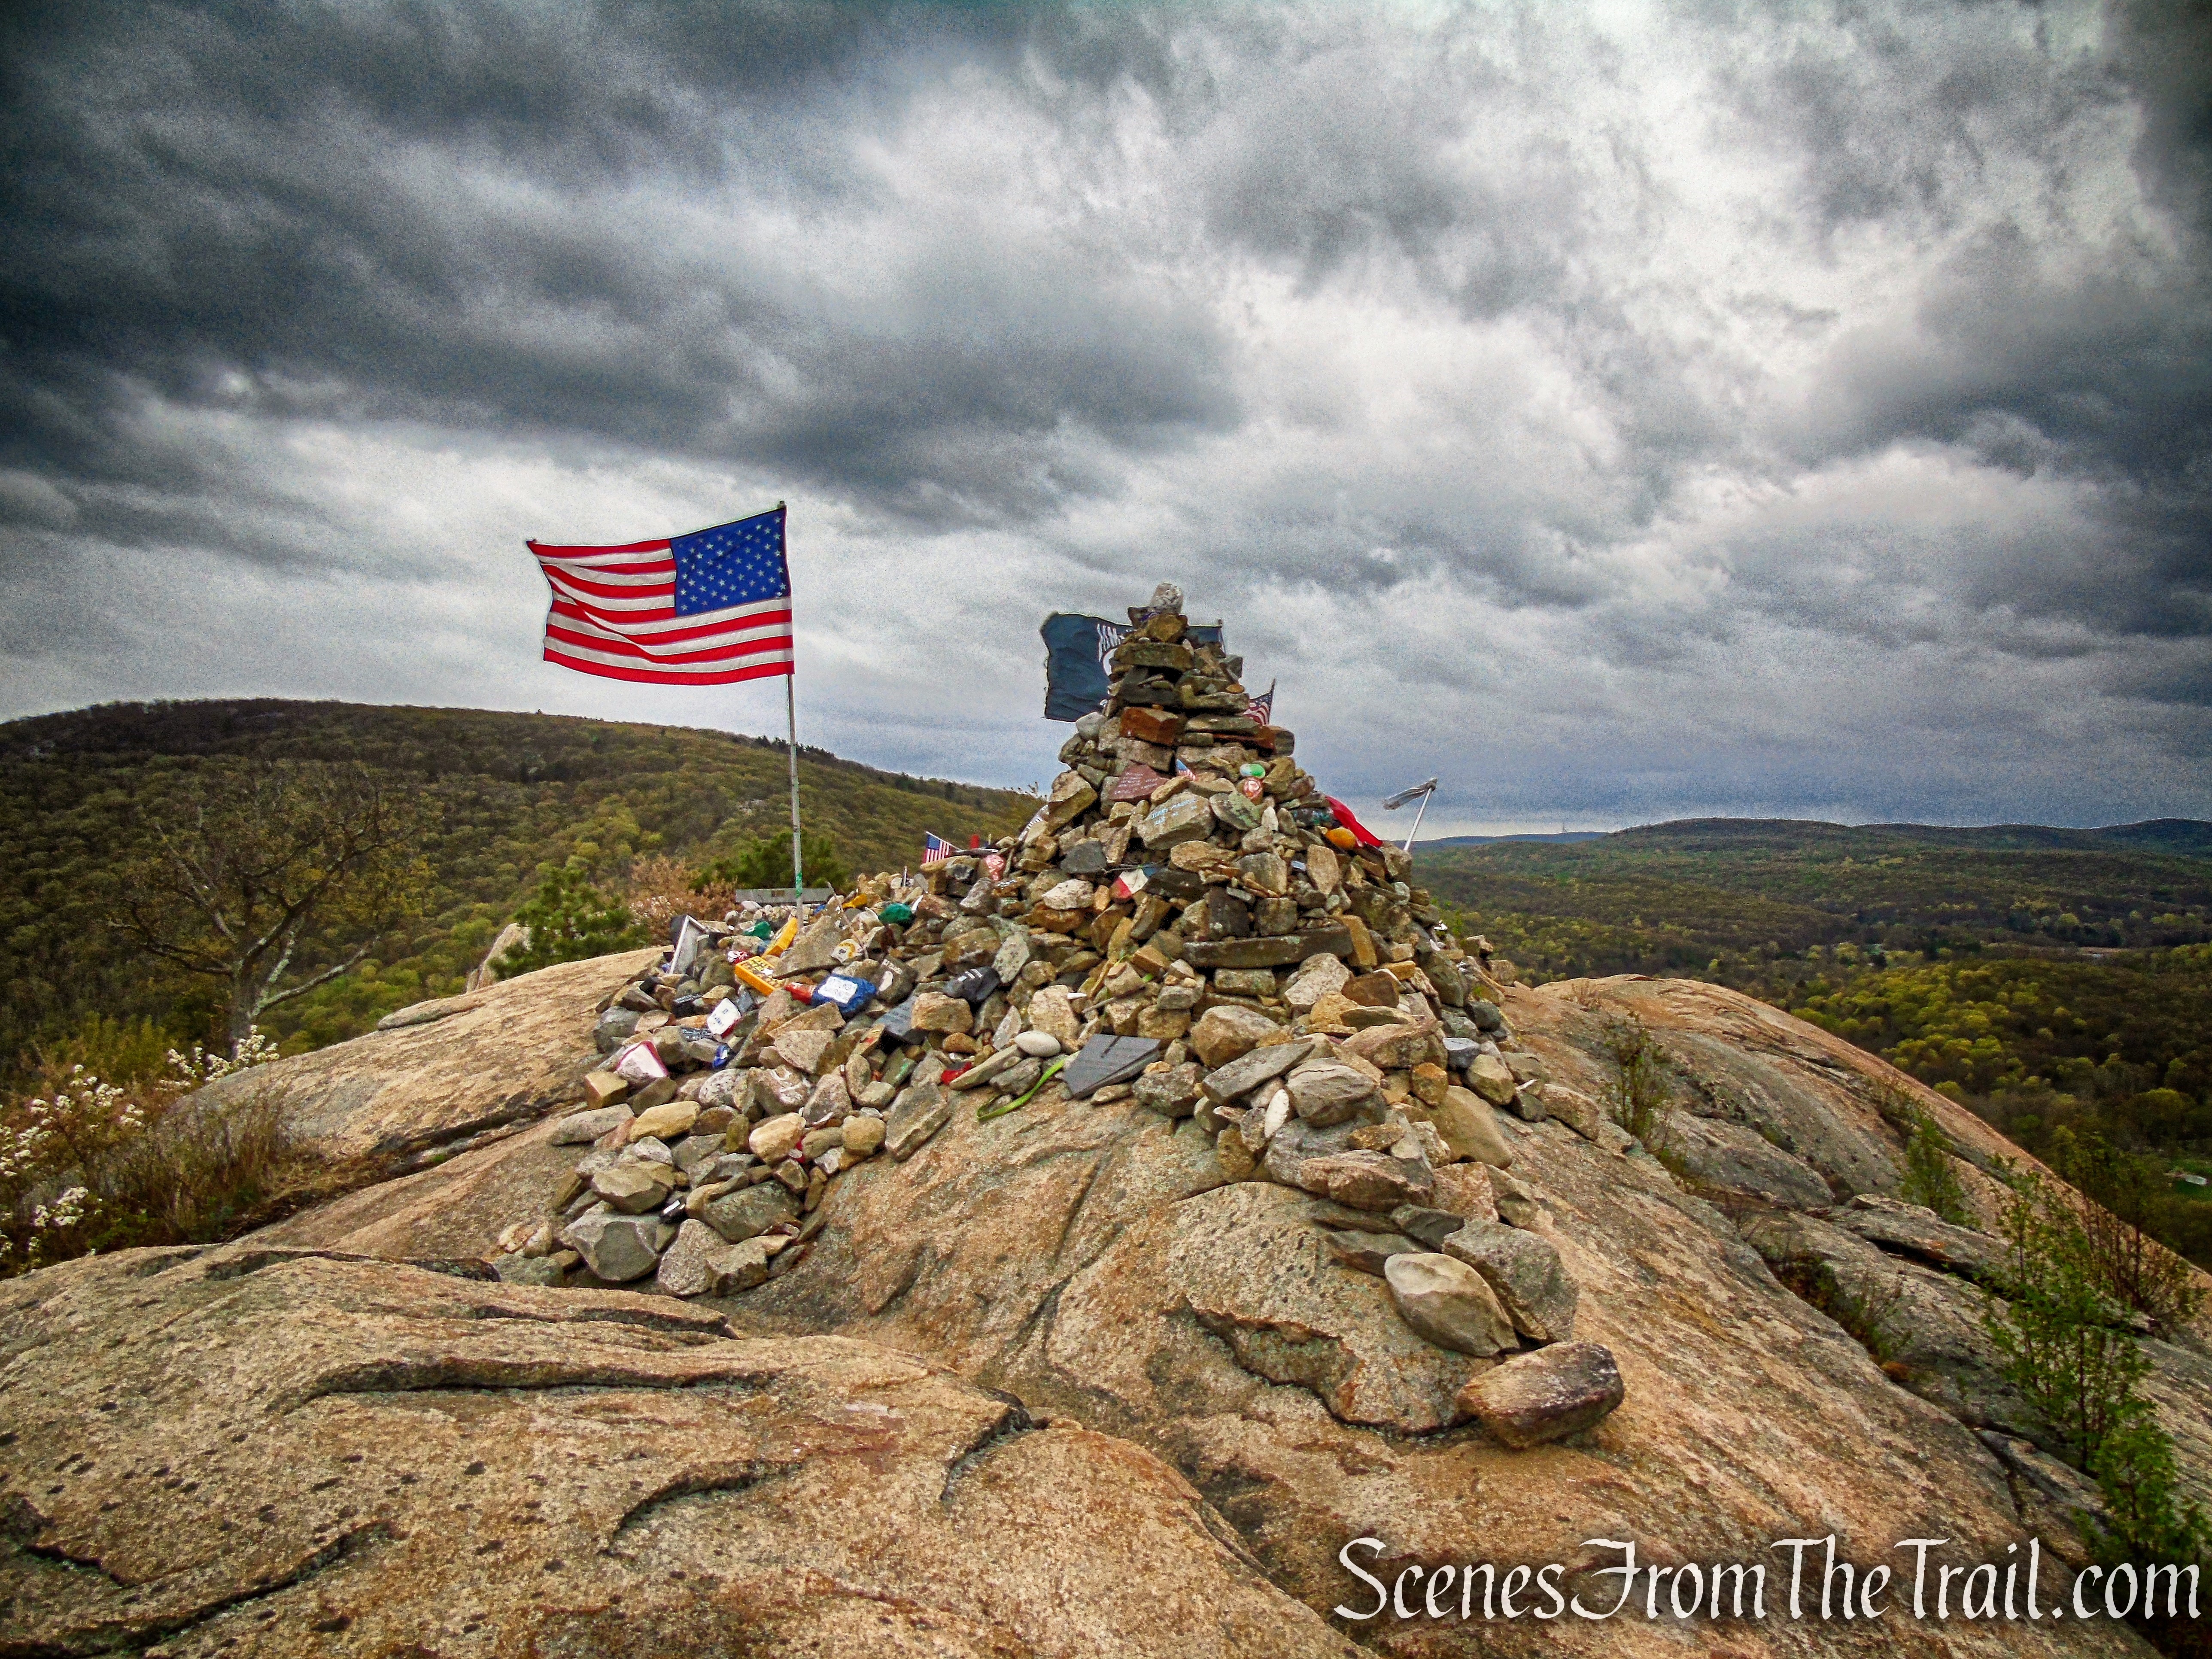
View southeast with the true summit of Stissing Mountain in the foreground.

View southeast from Stissing Fire Tower
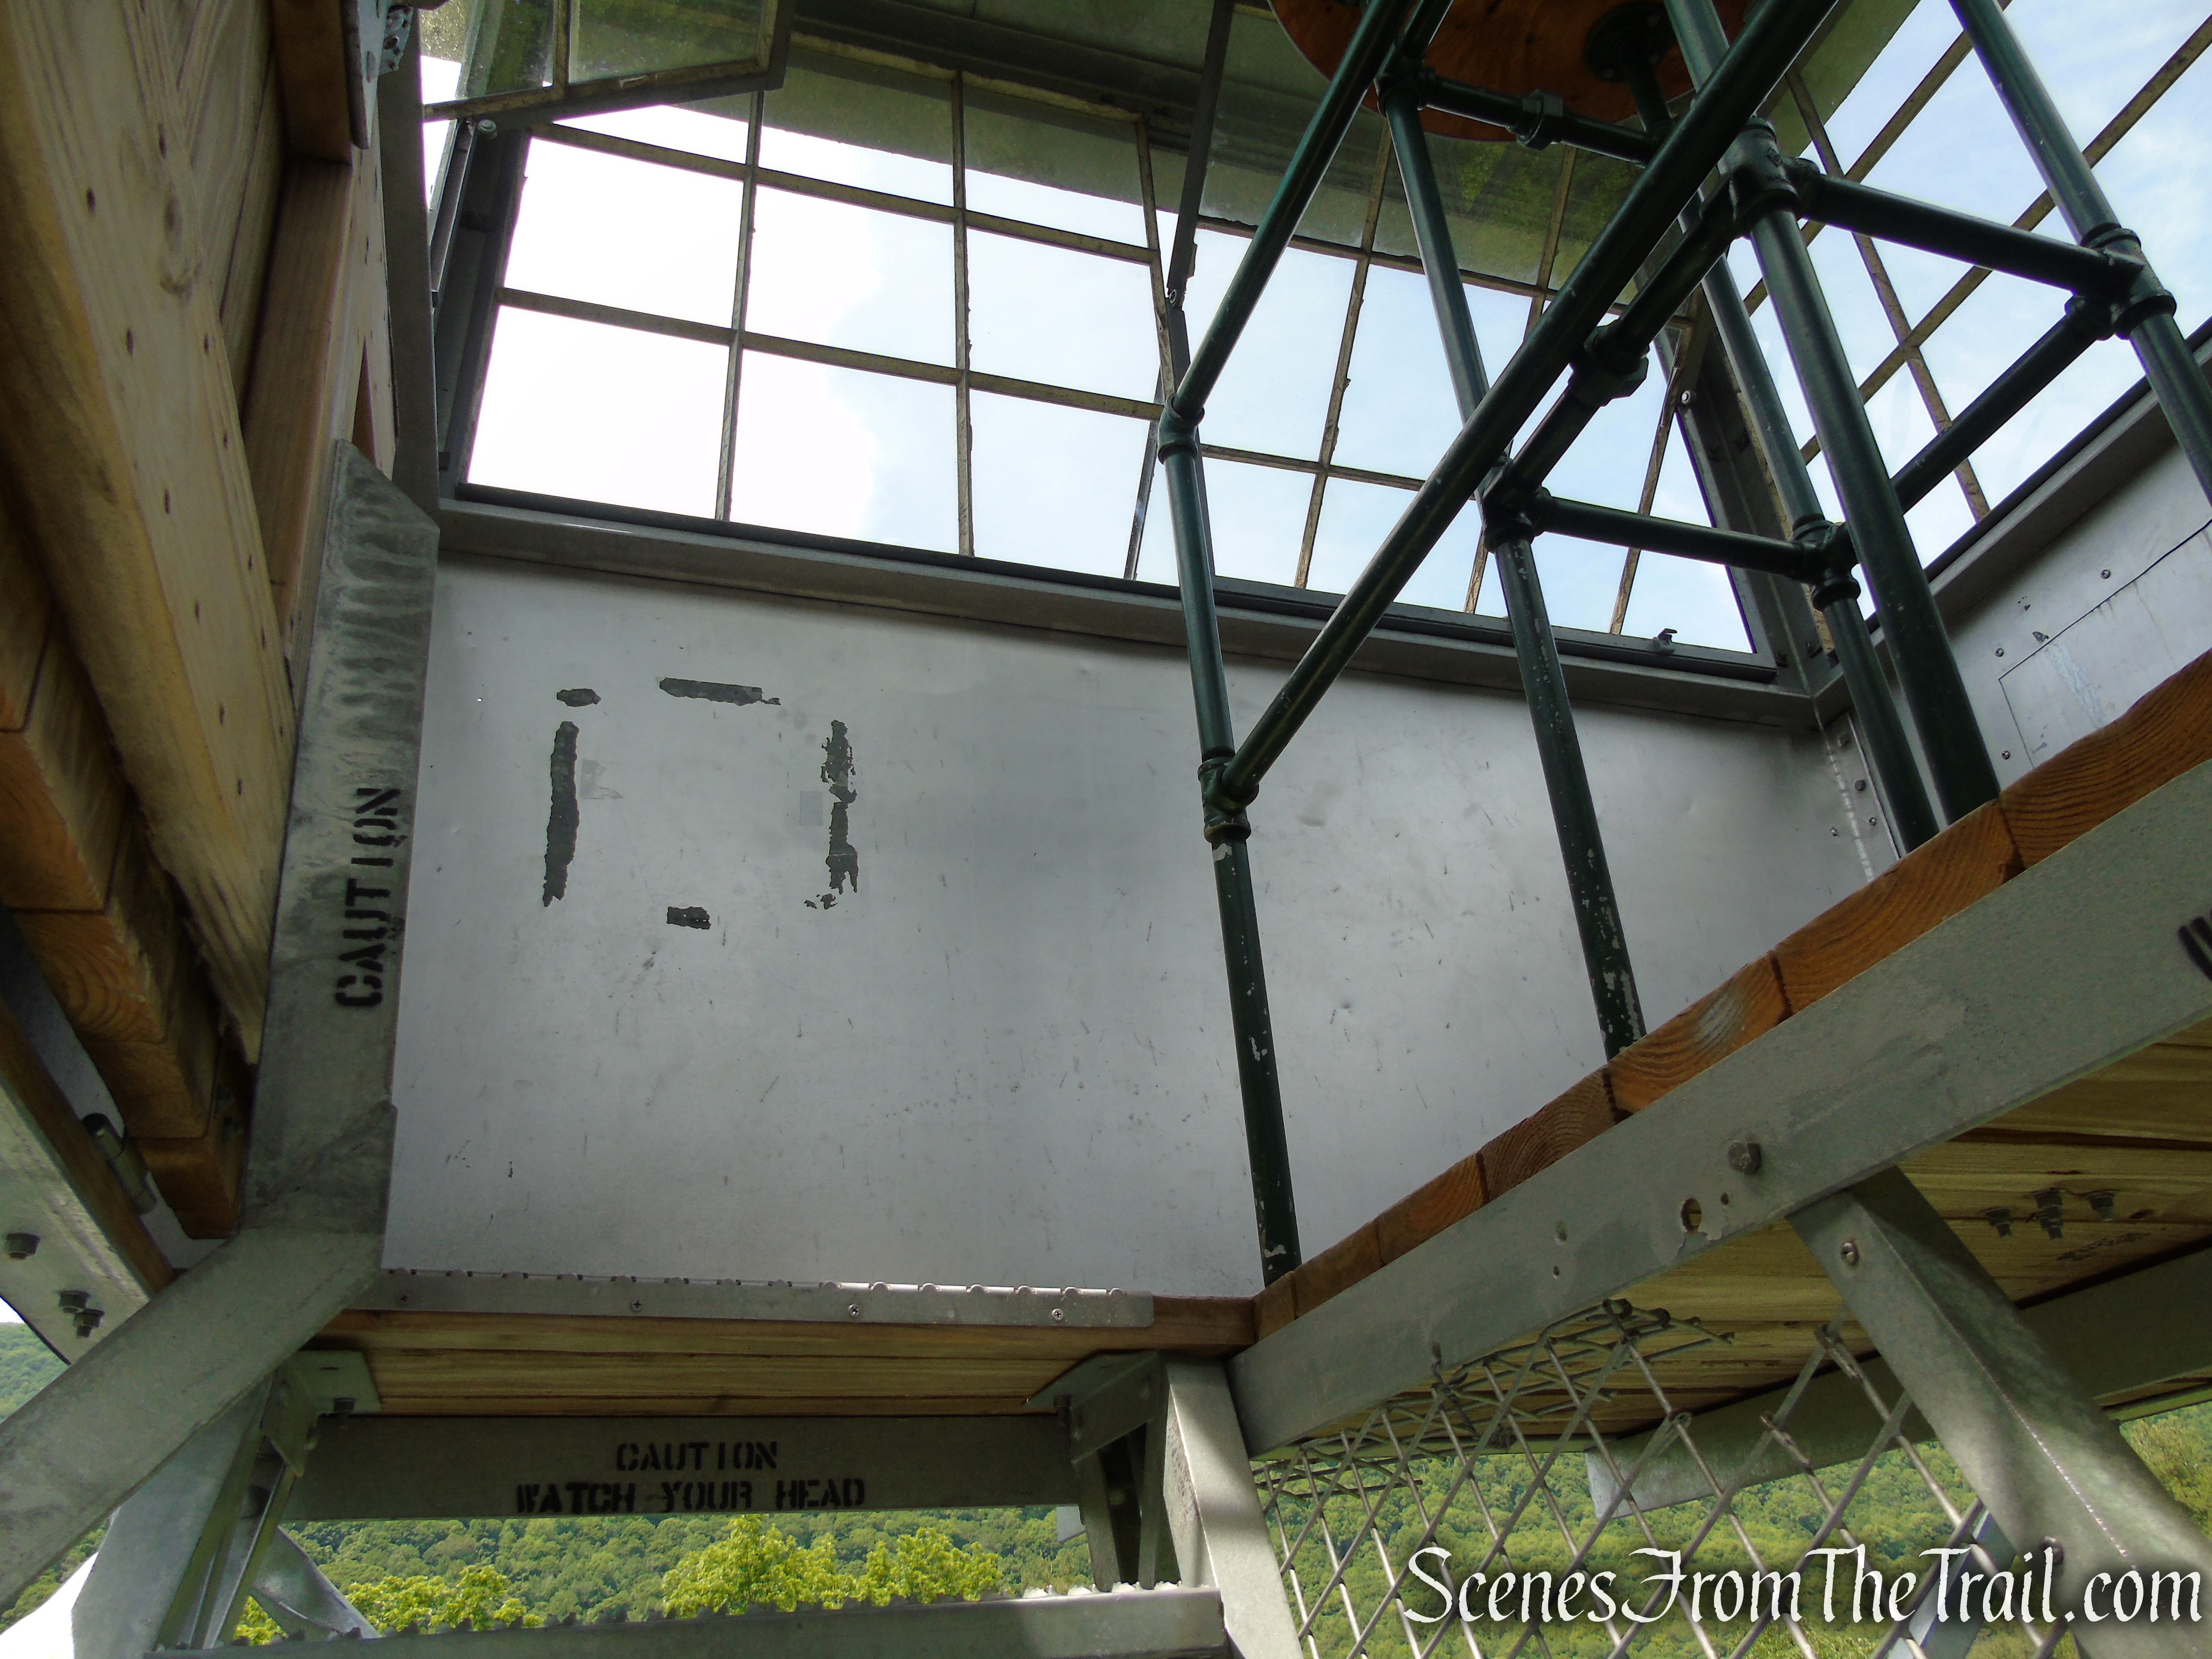
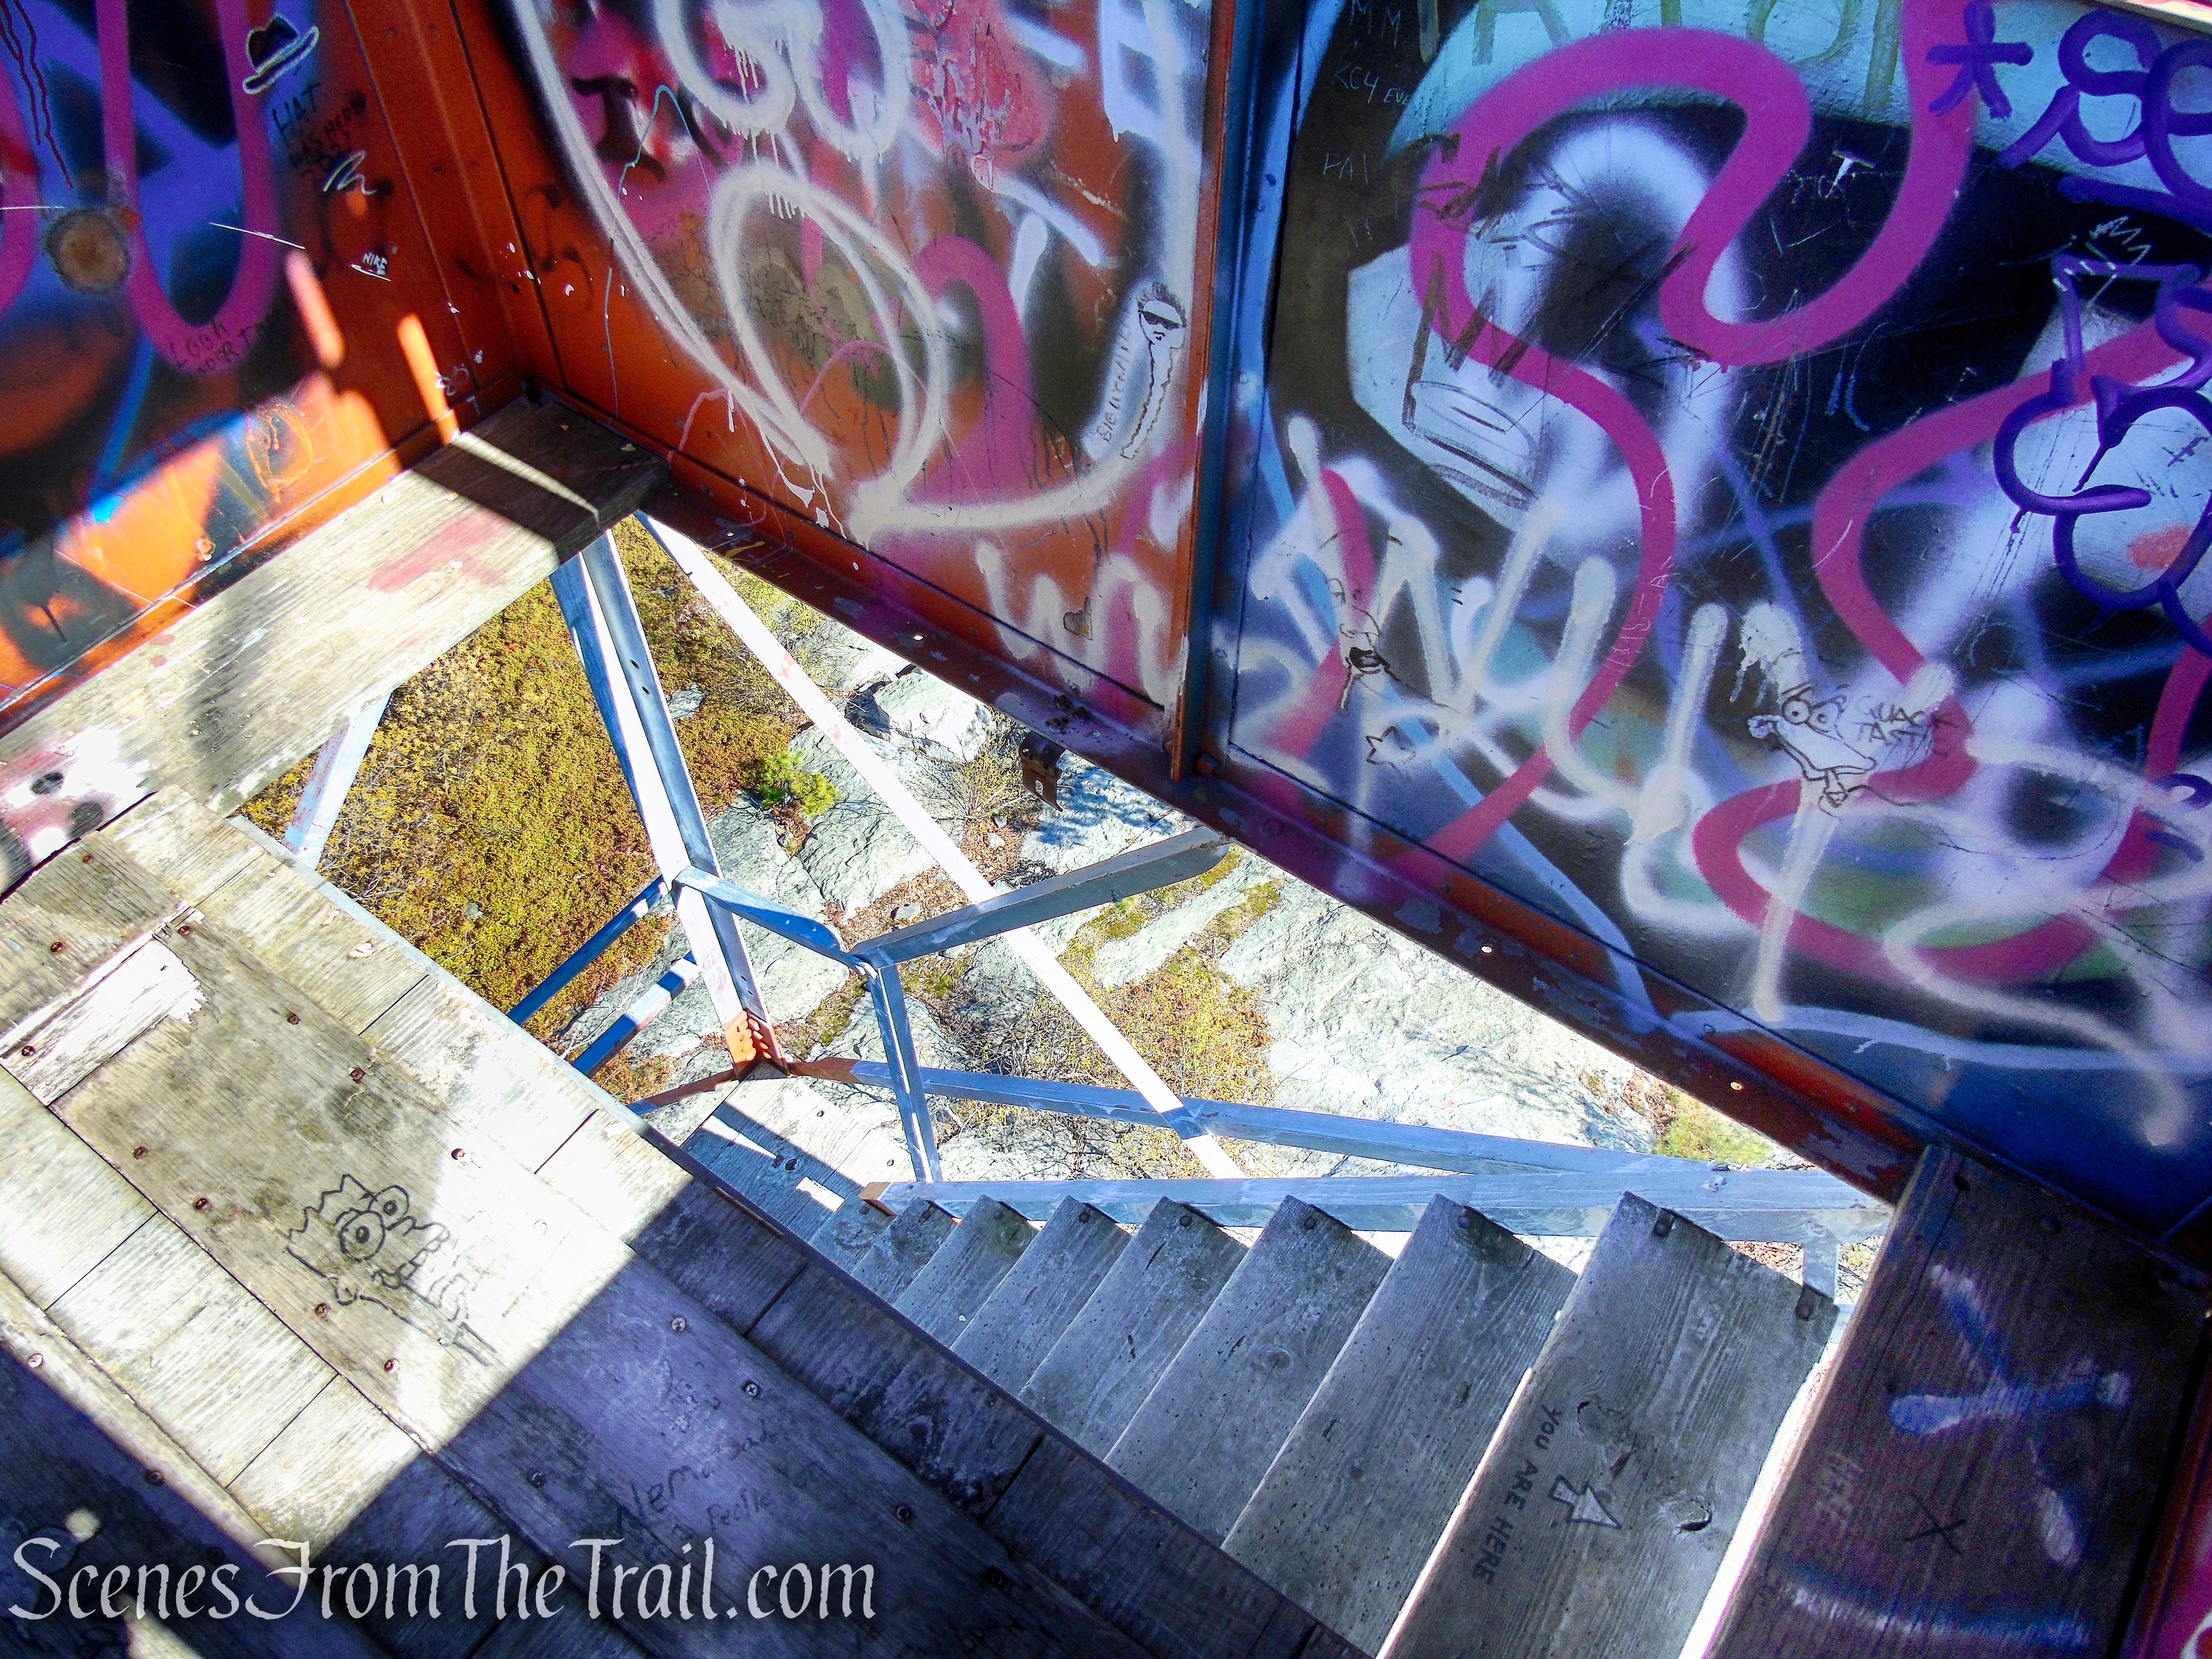
After taking in the panoramic views from the cab of the tower, descend the tower carefully, and watch your head as you leave the cab.

Stissing Fire Tower
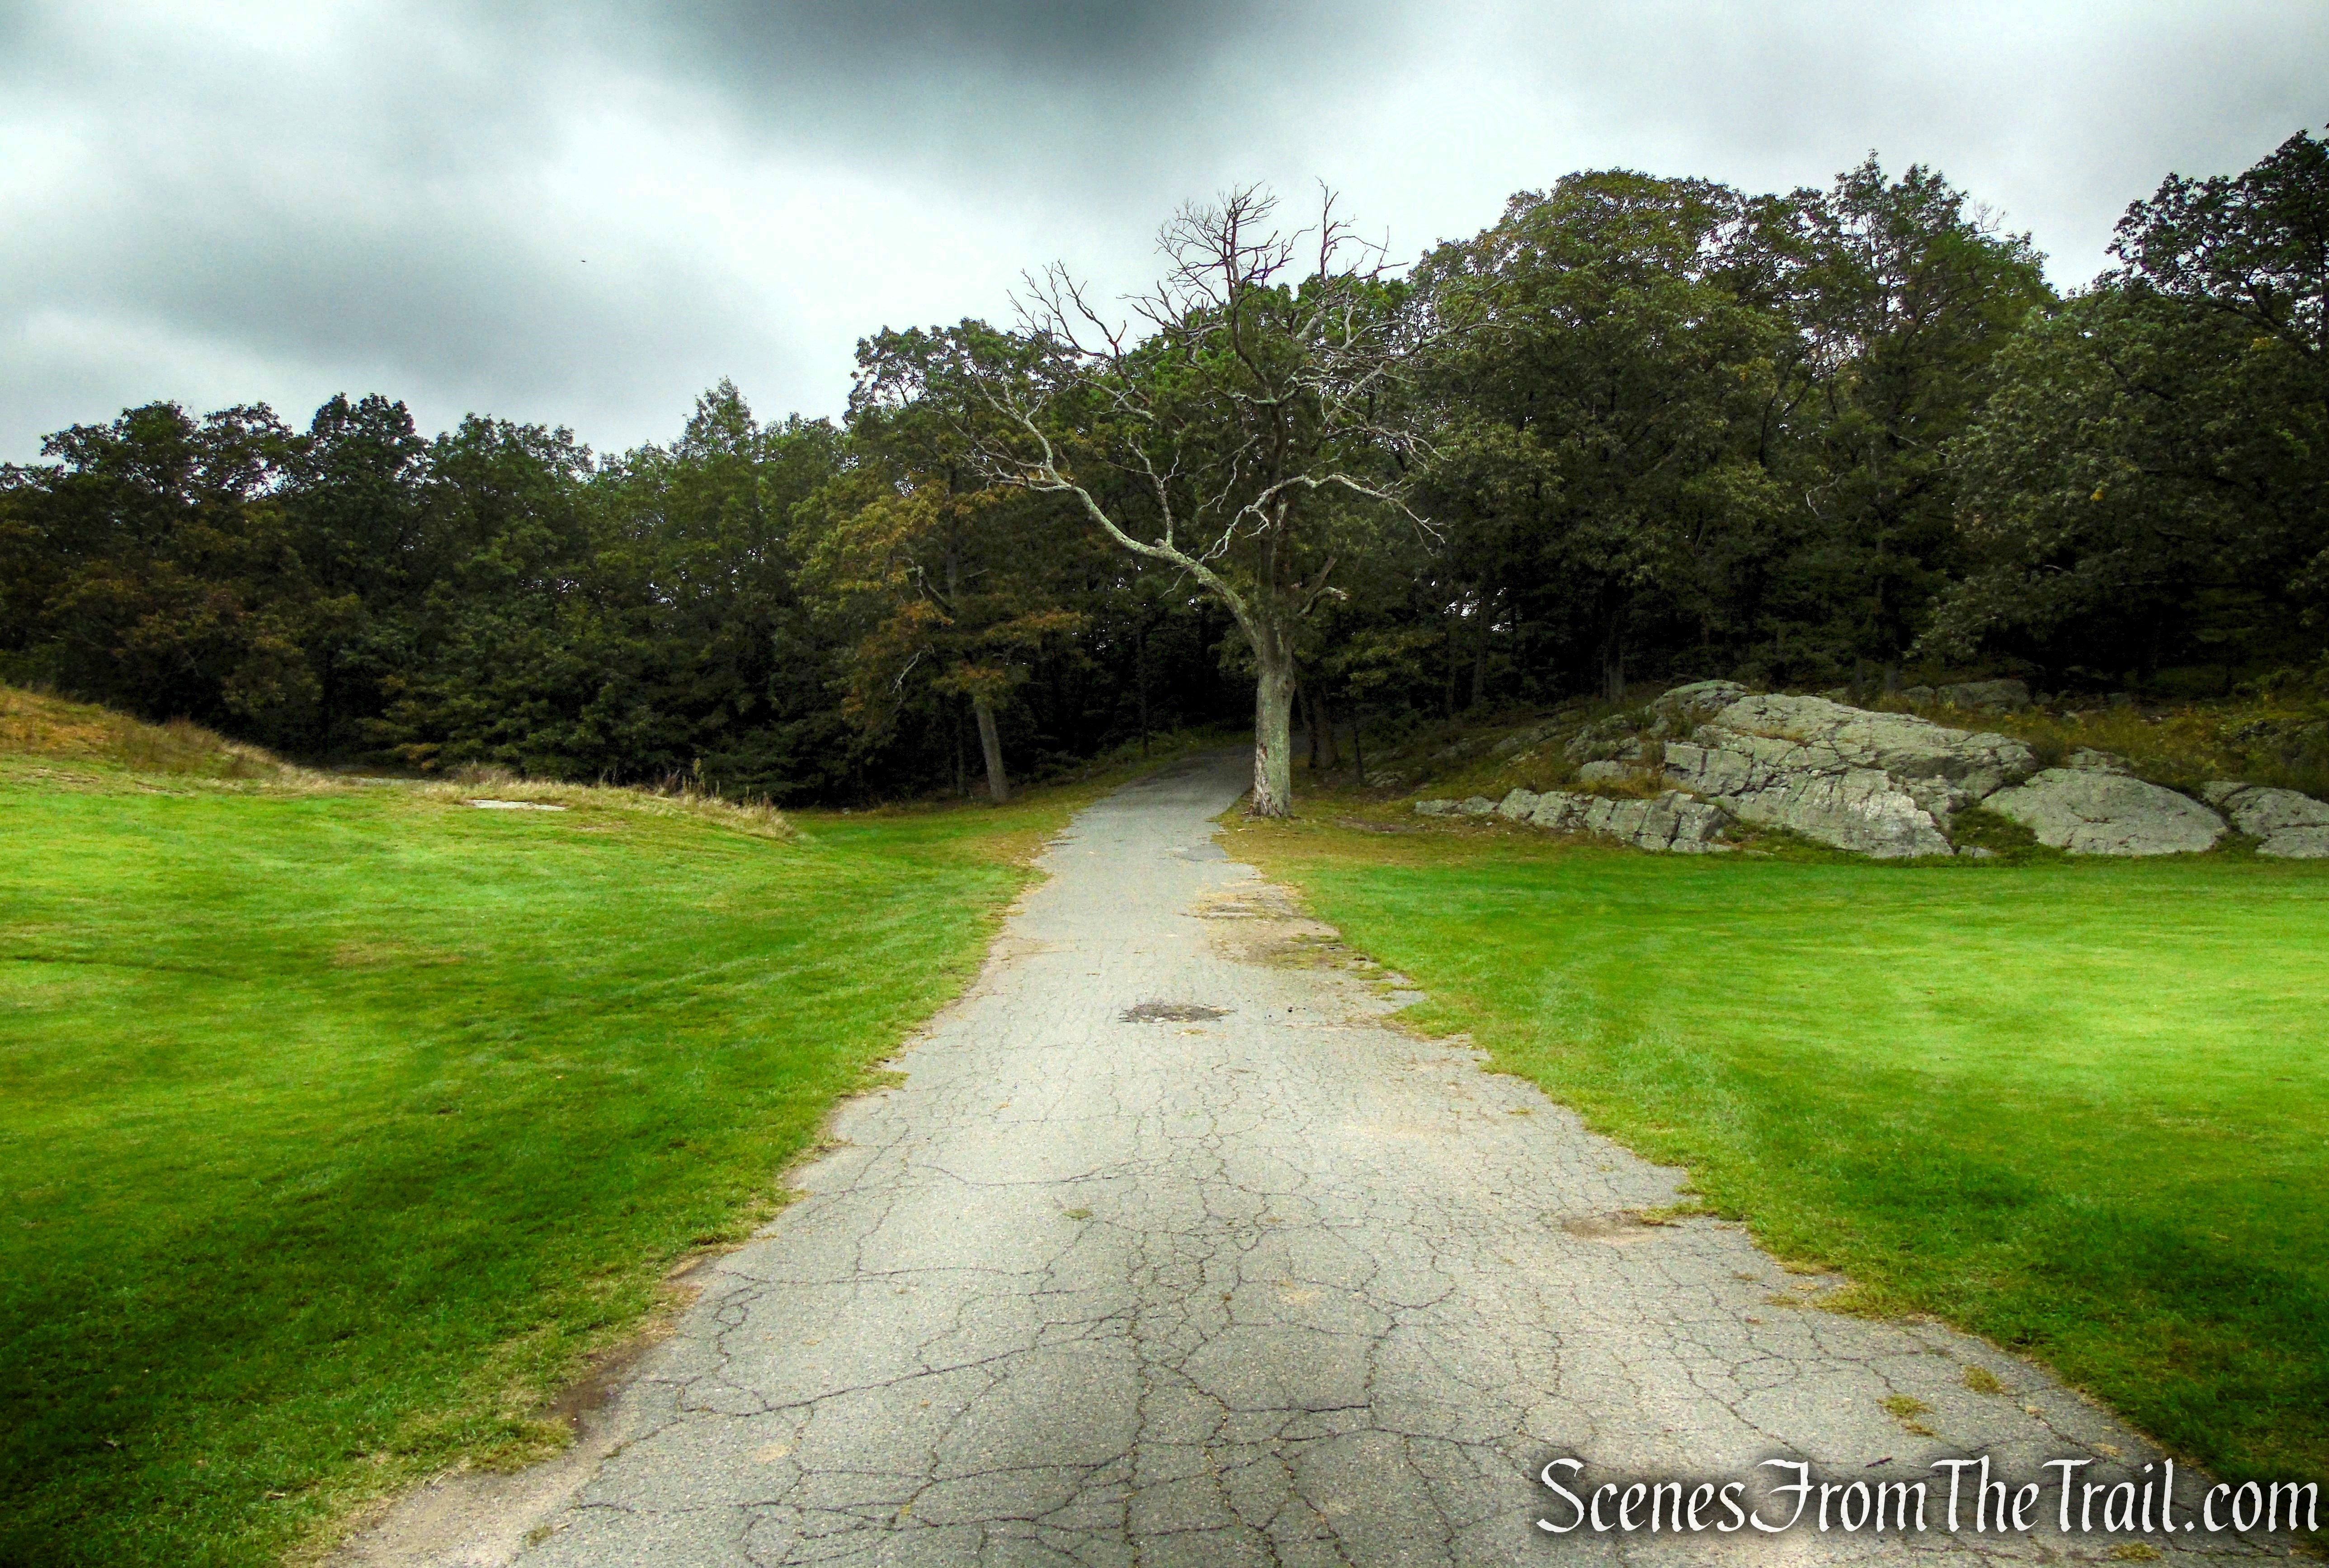
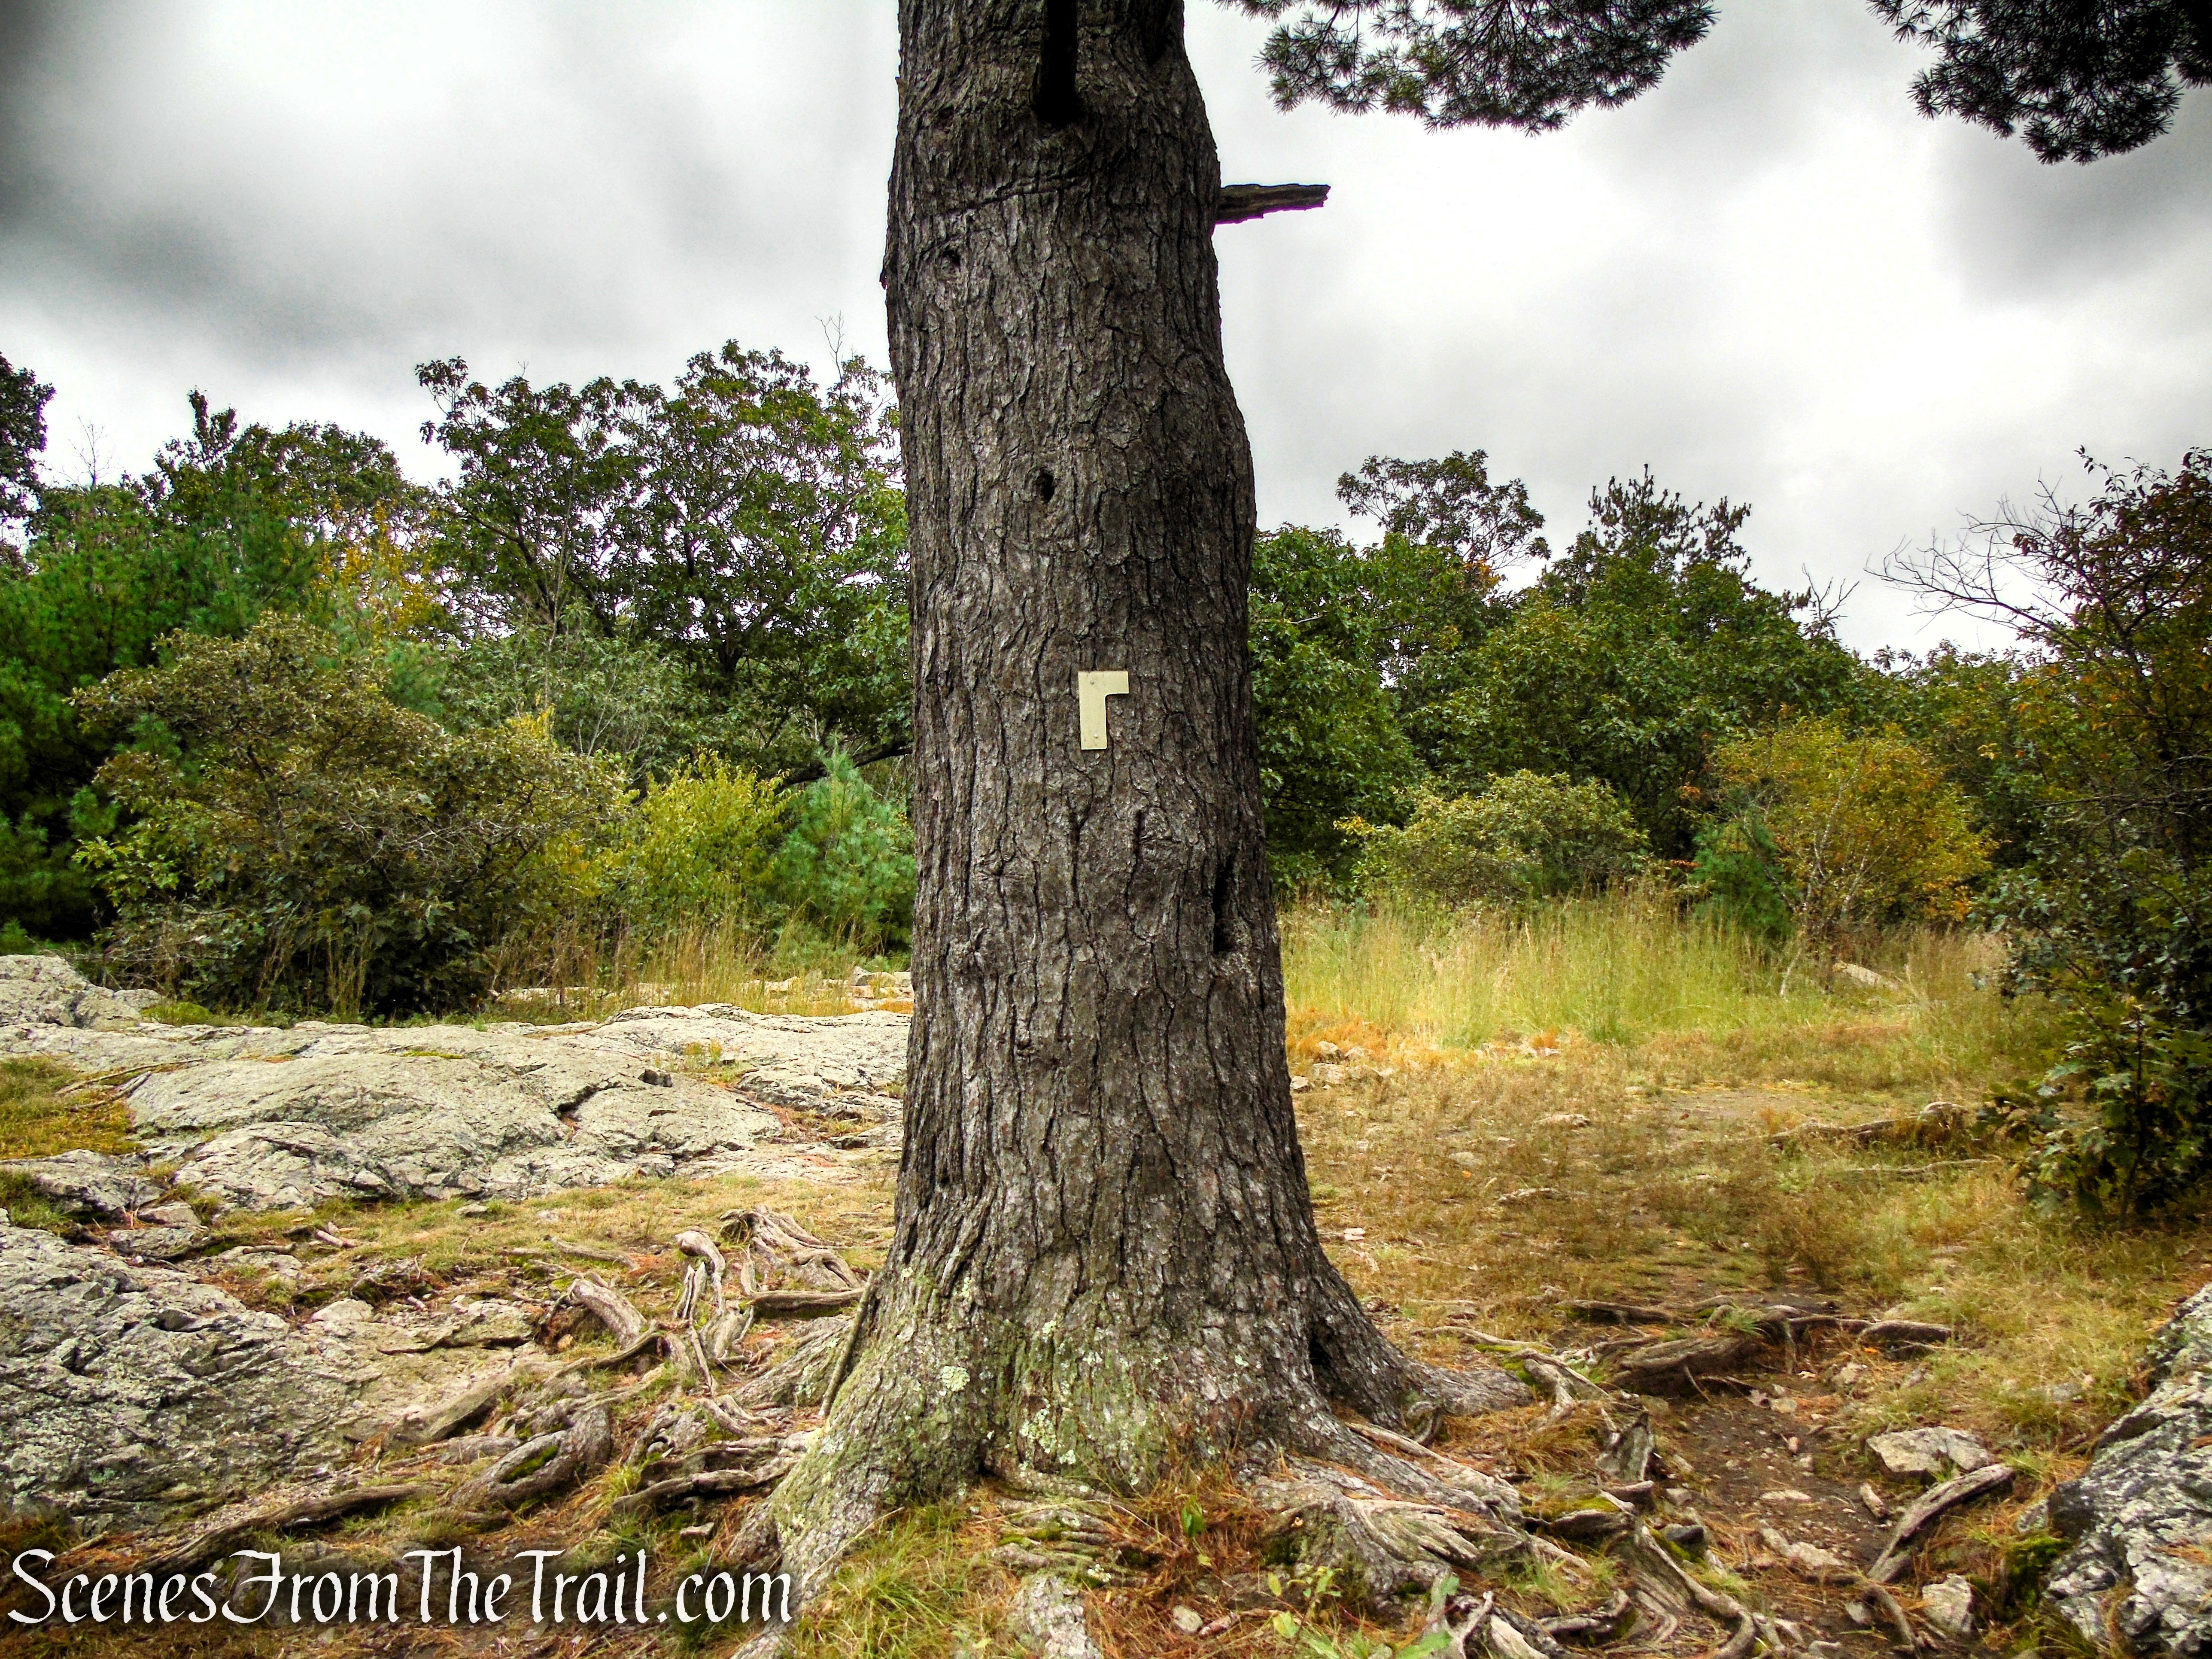
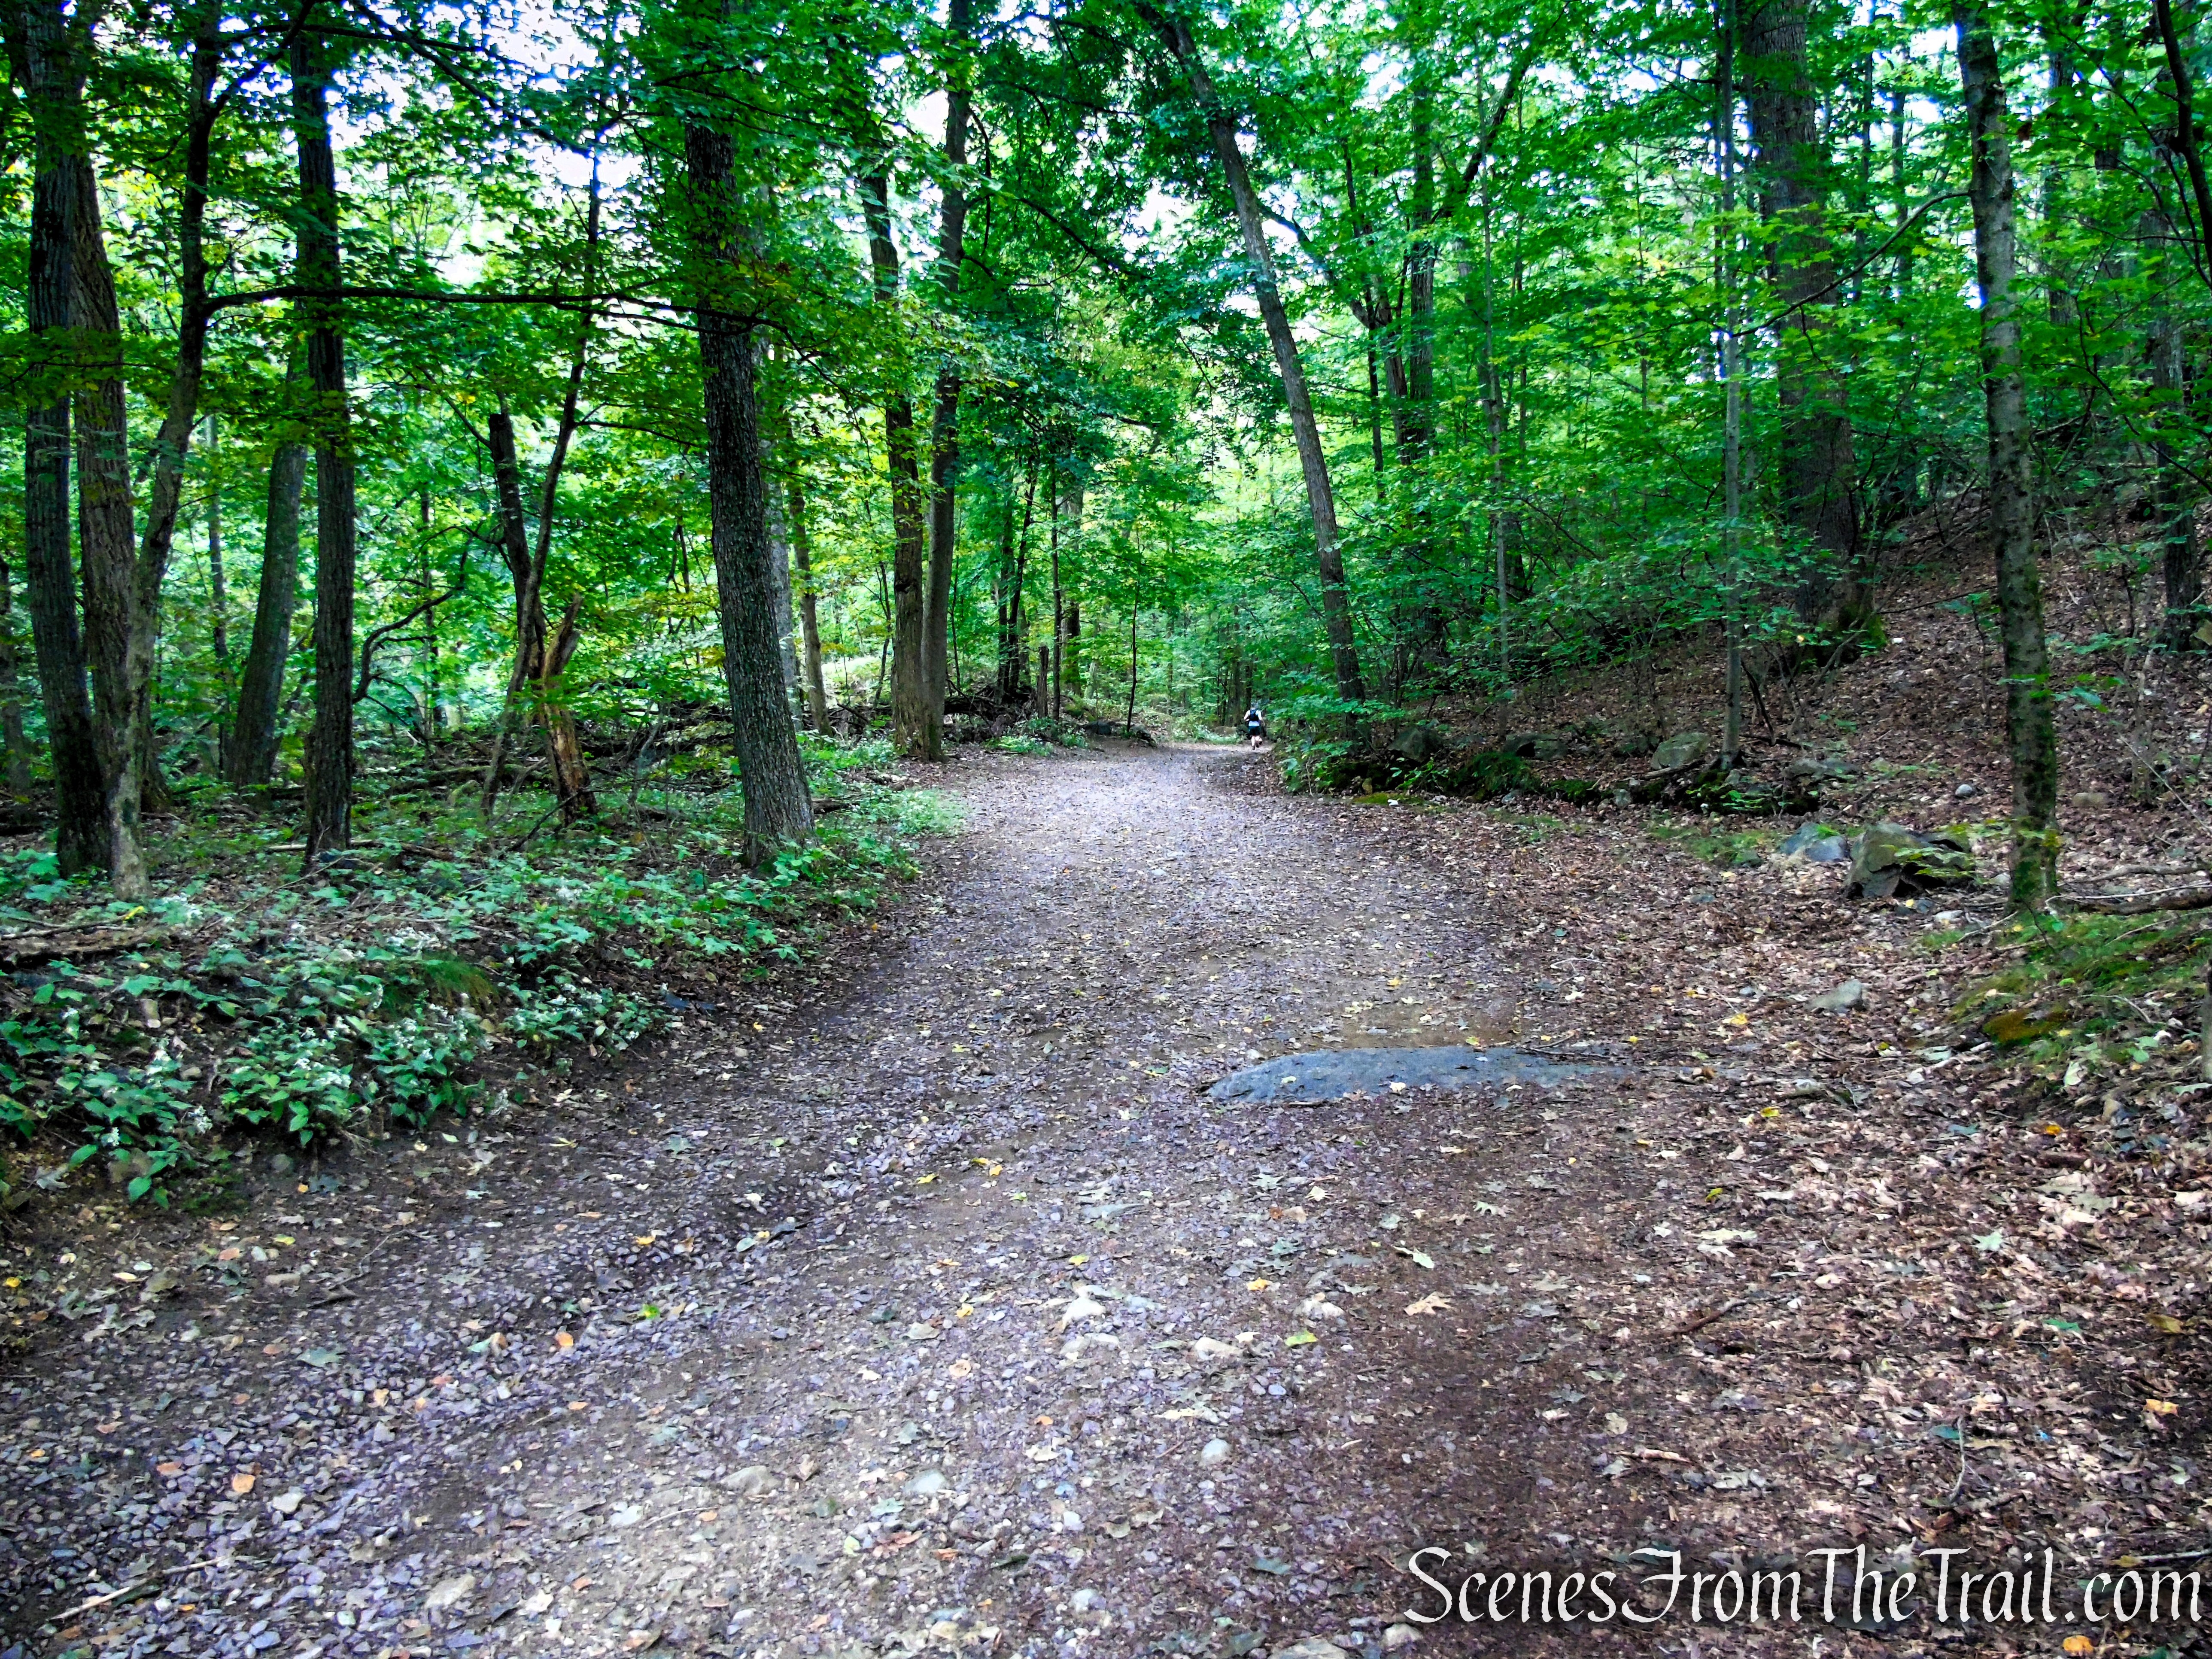
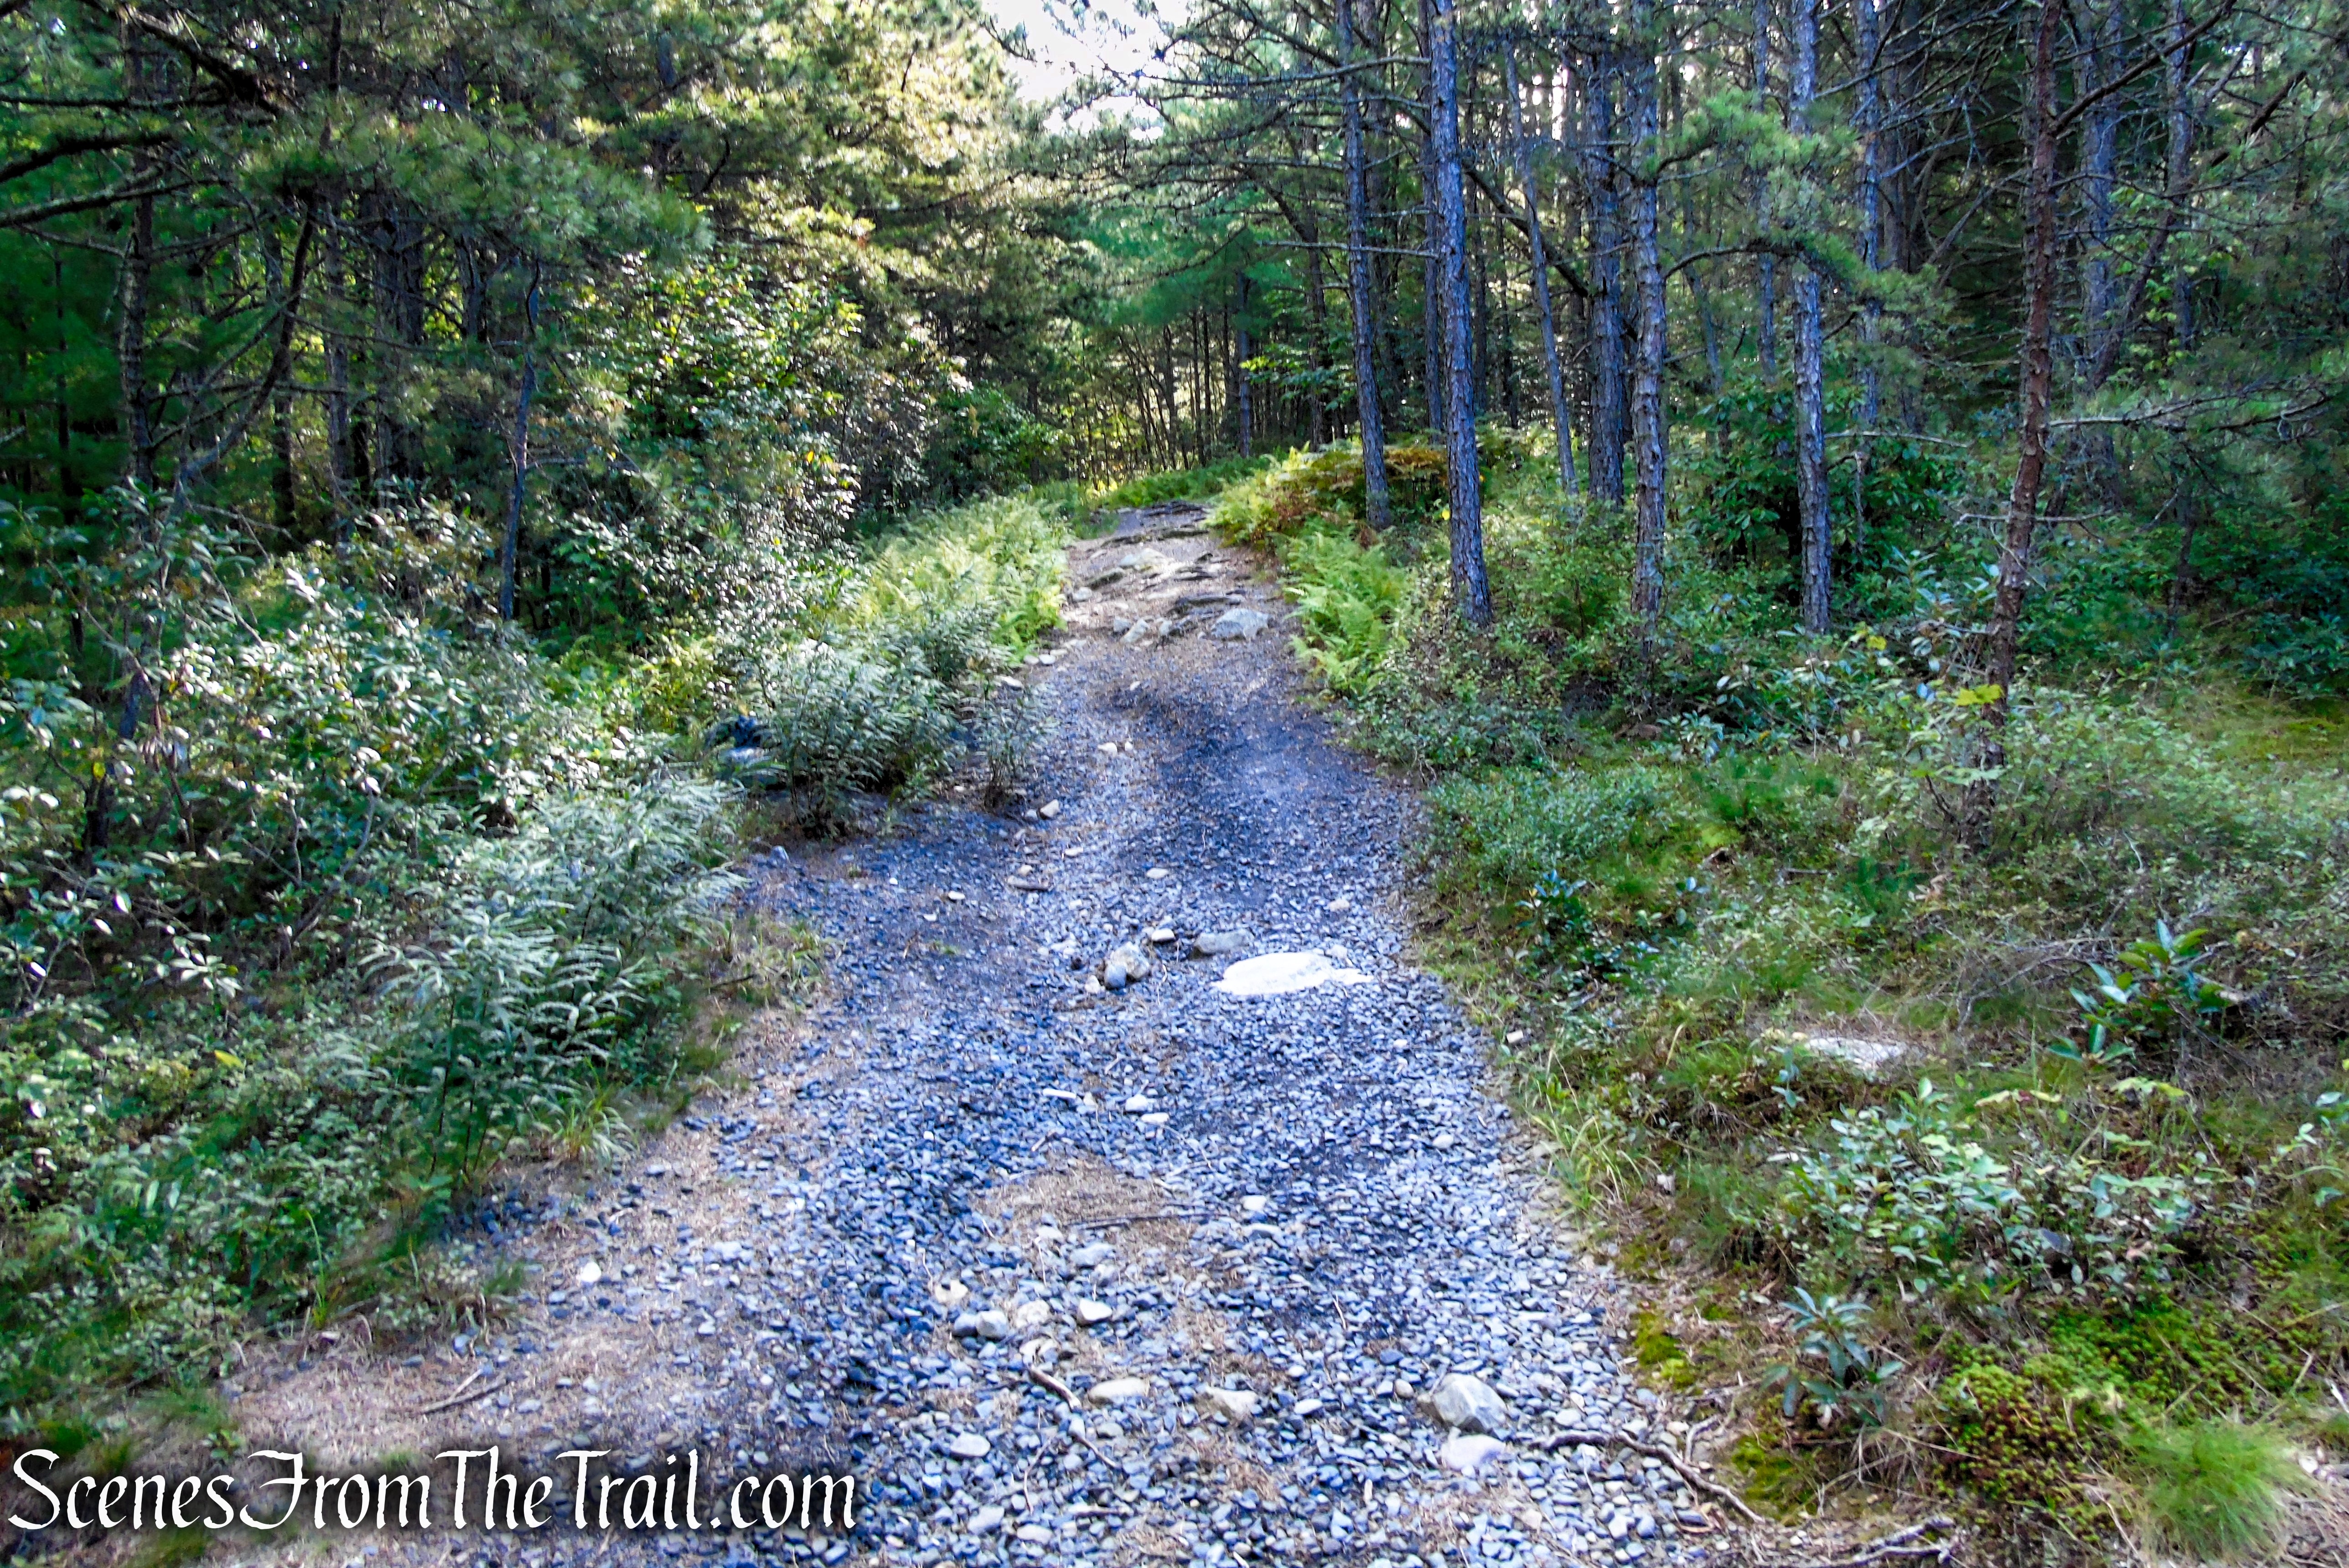
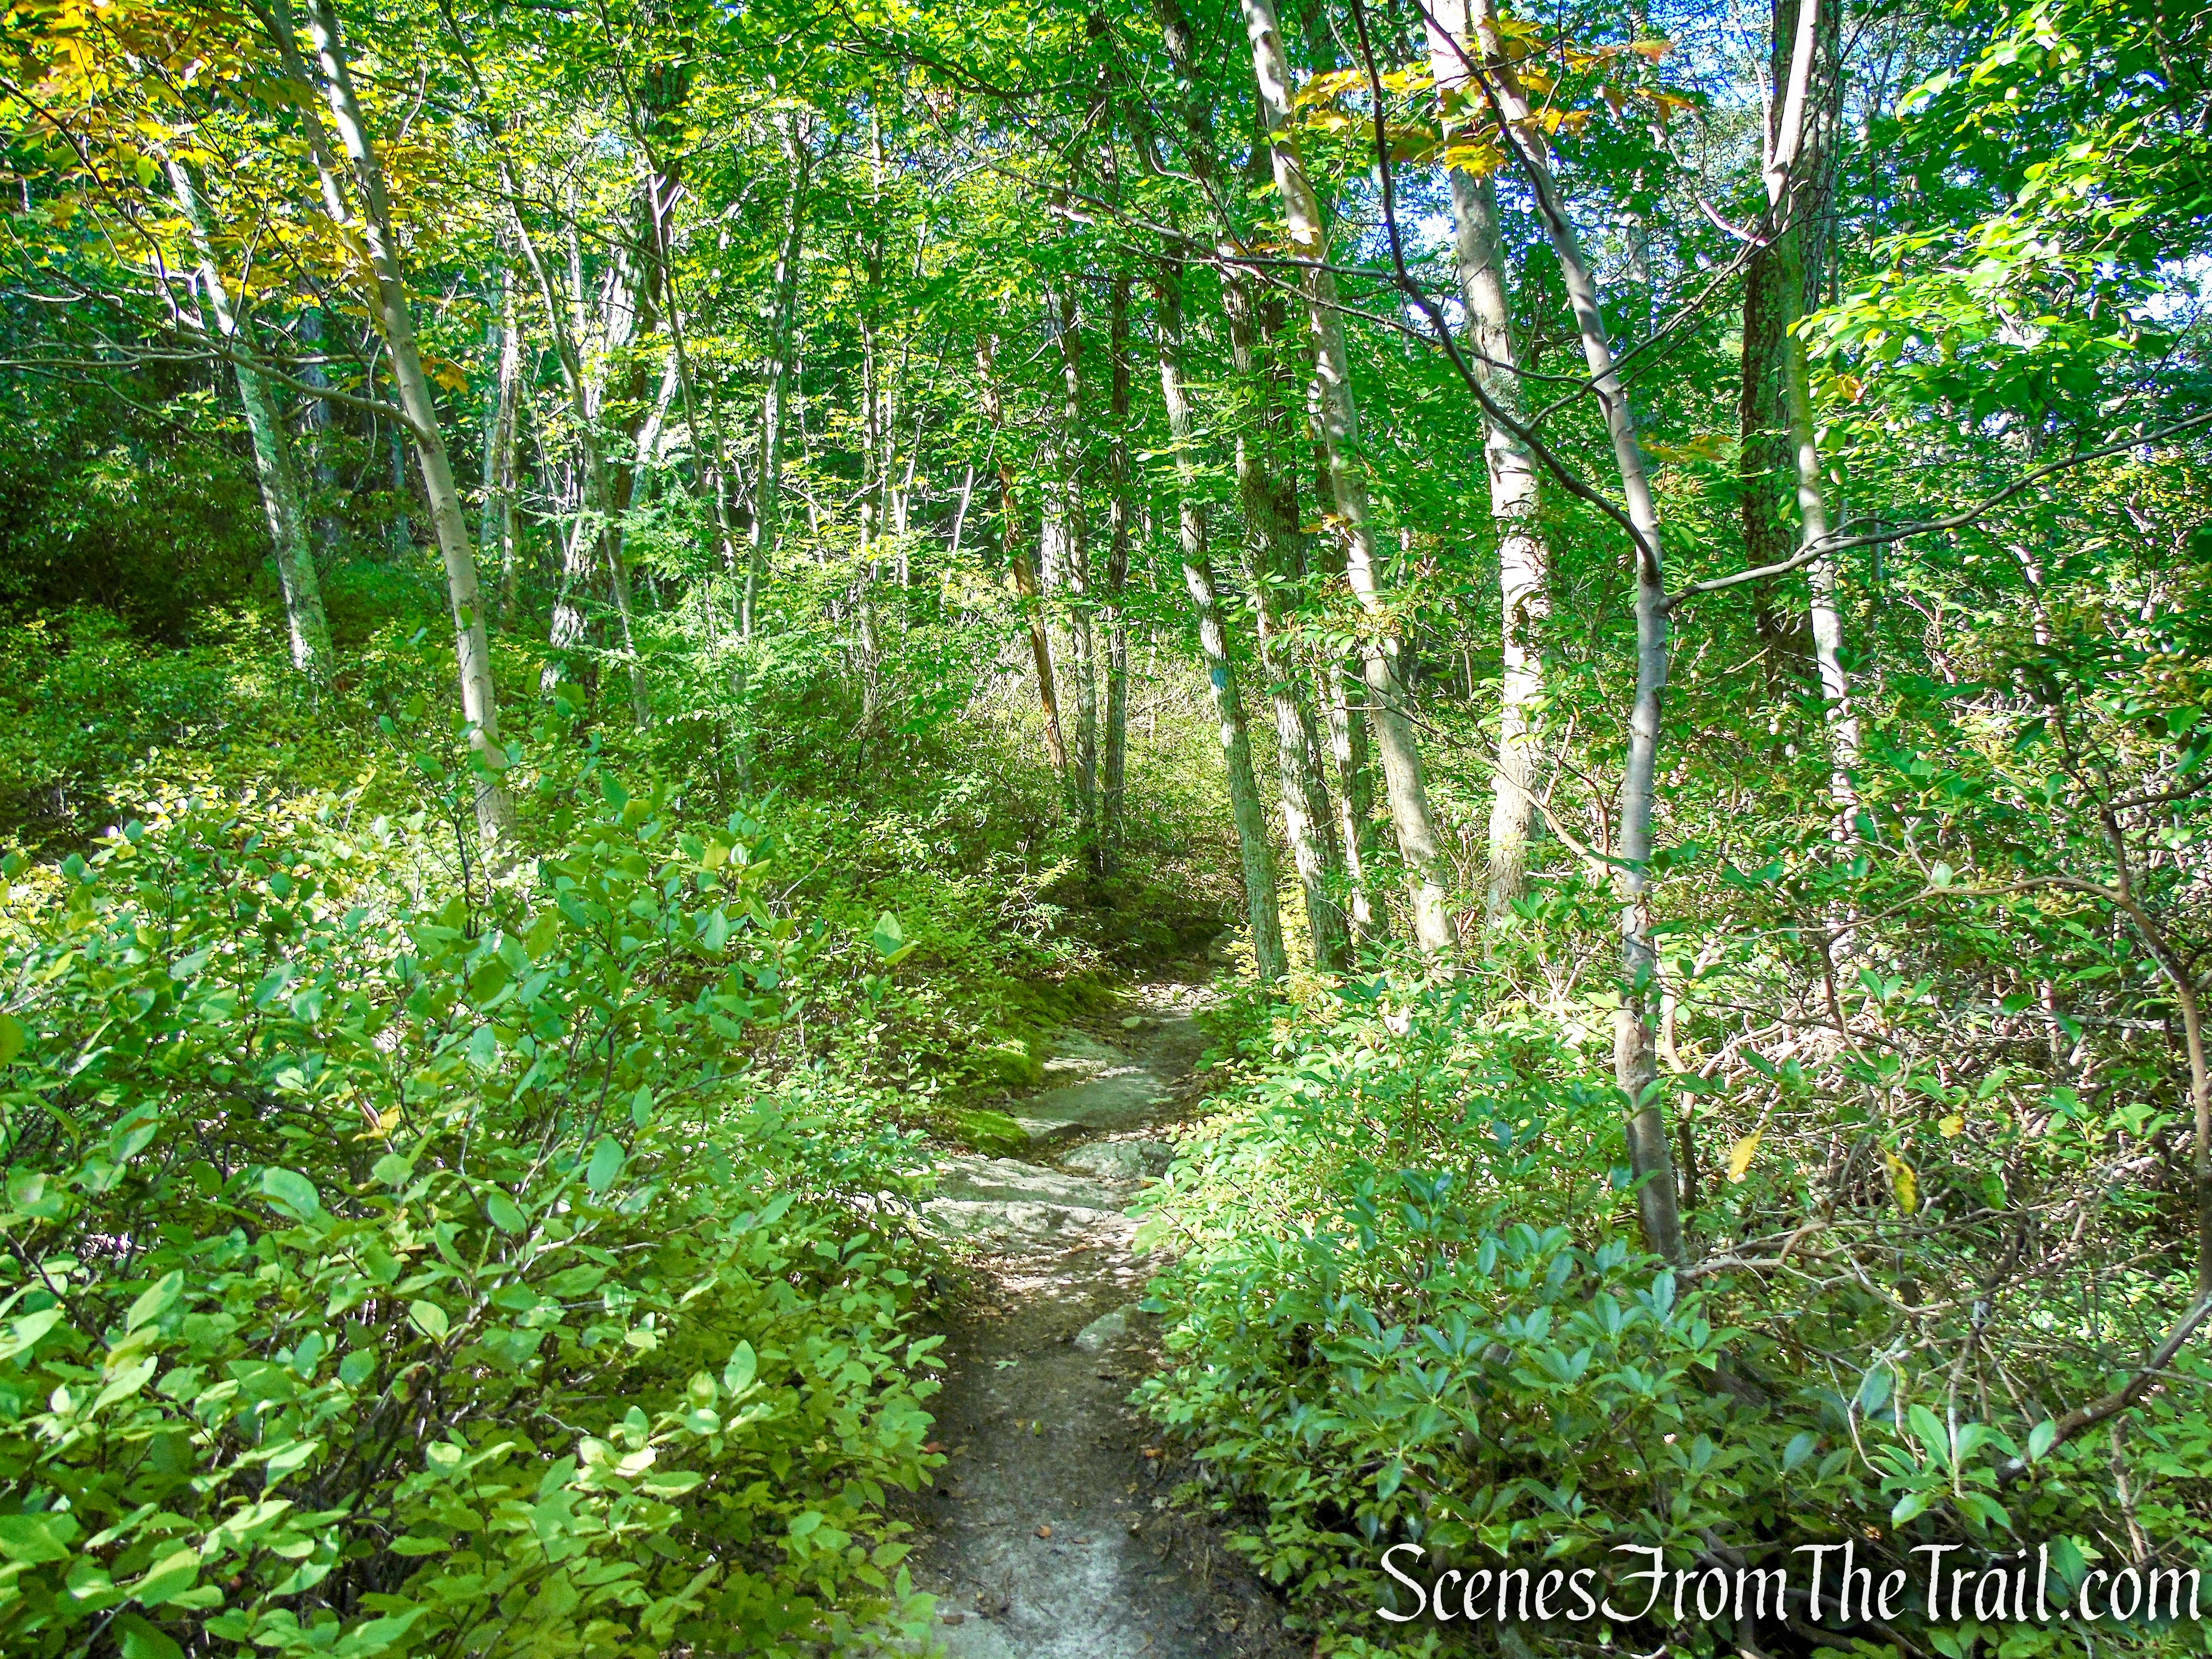
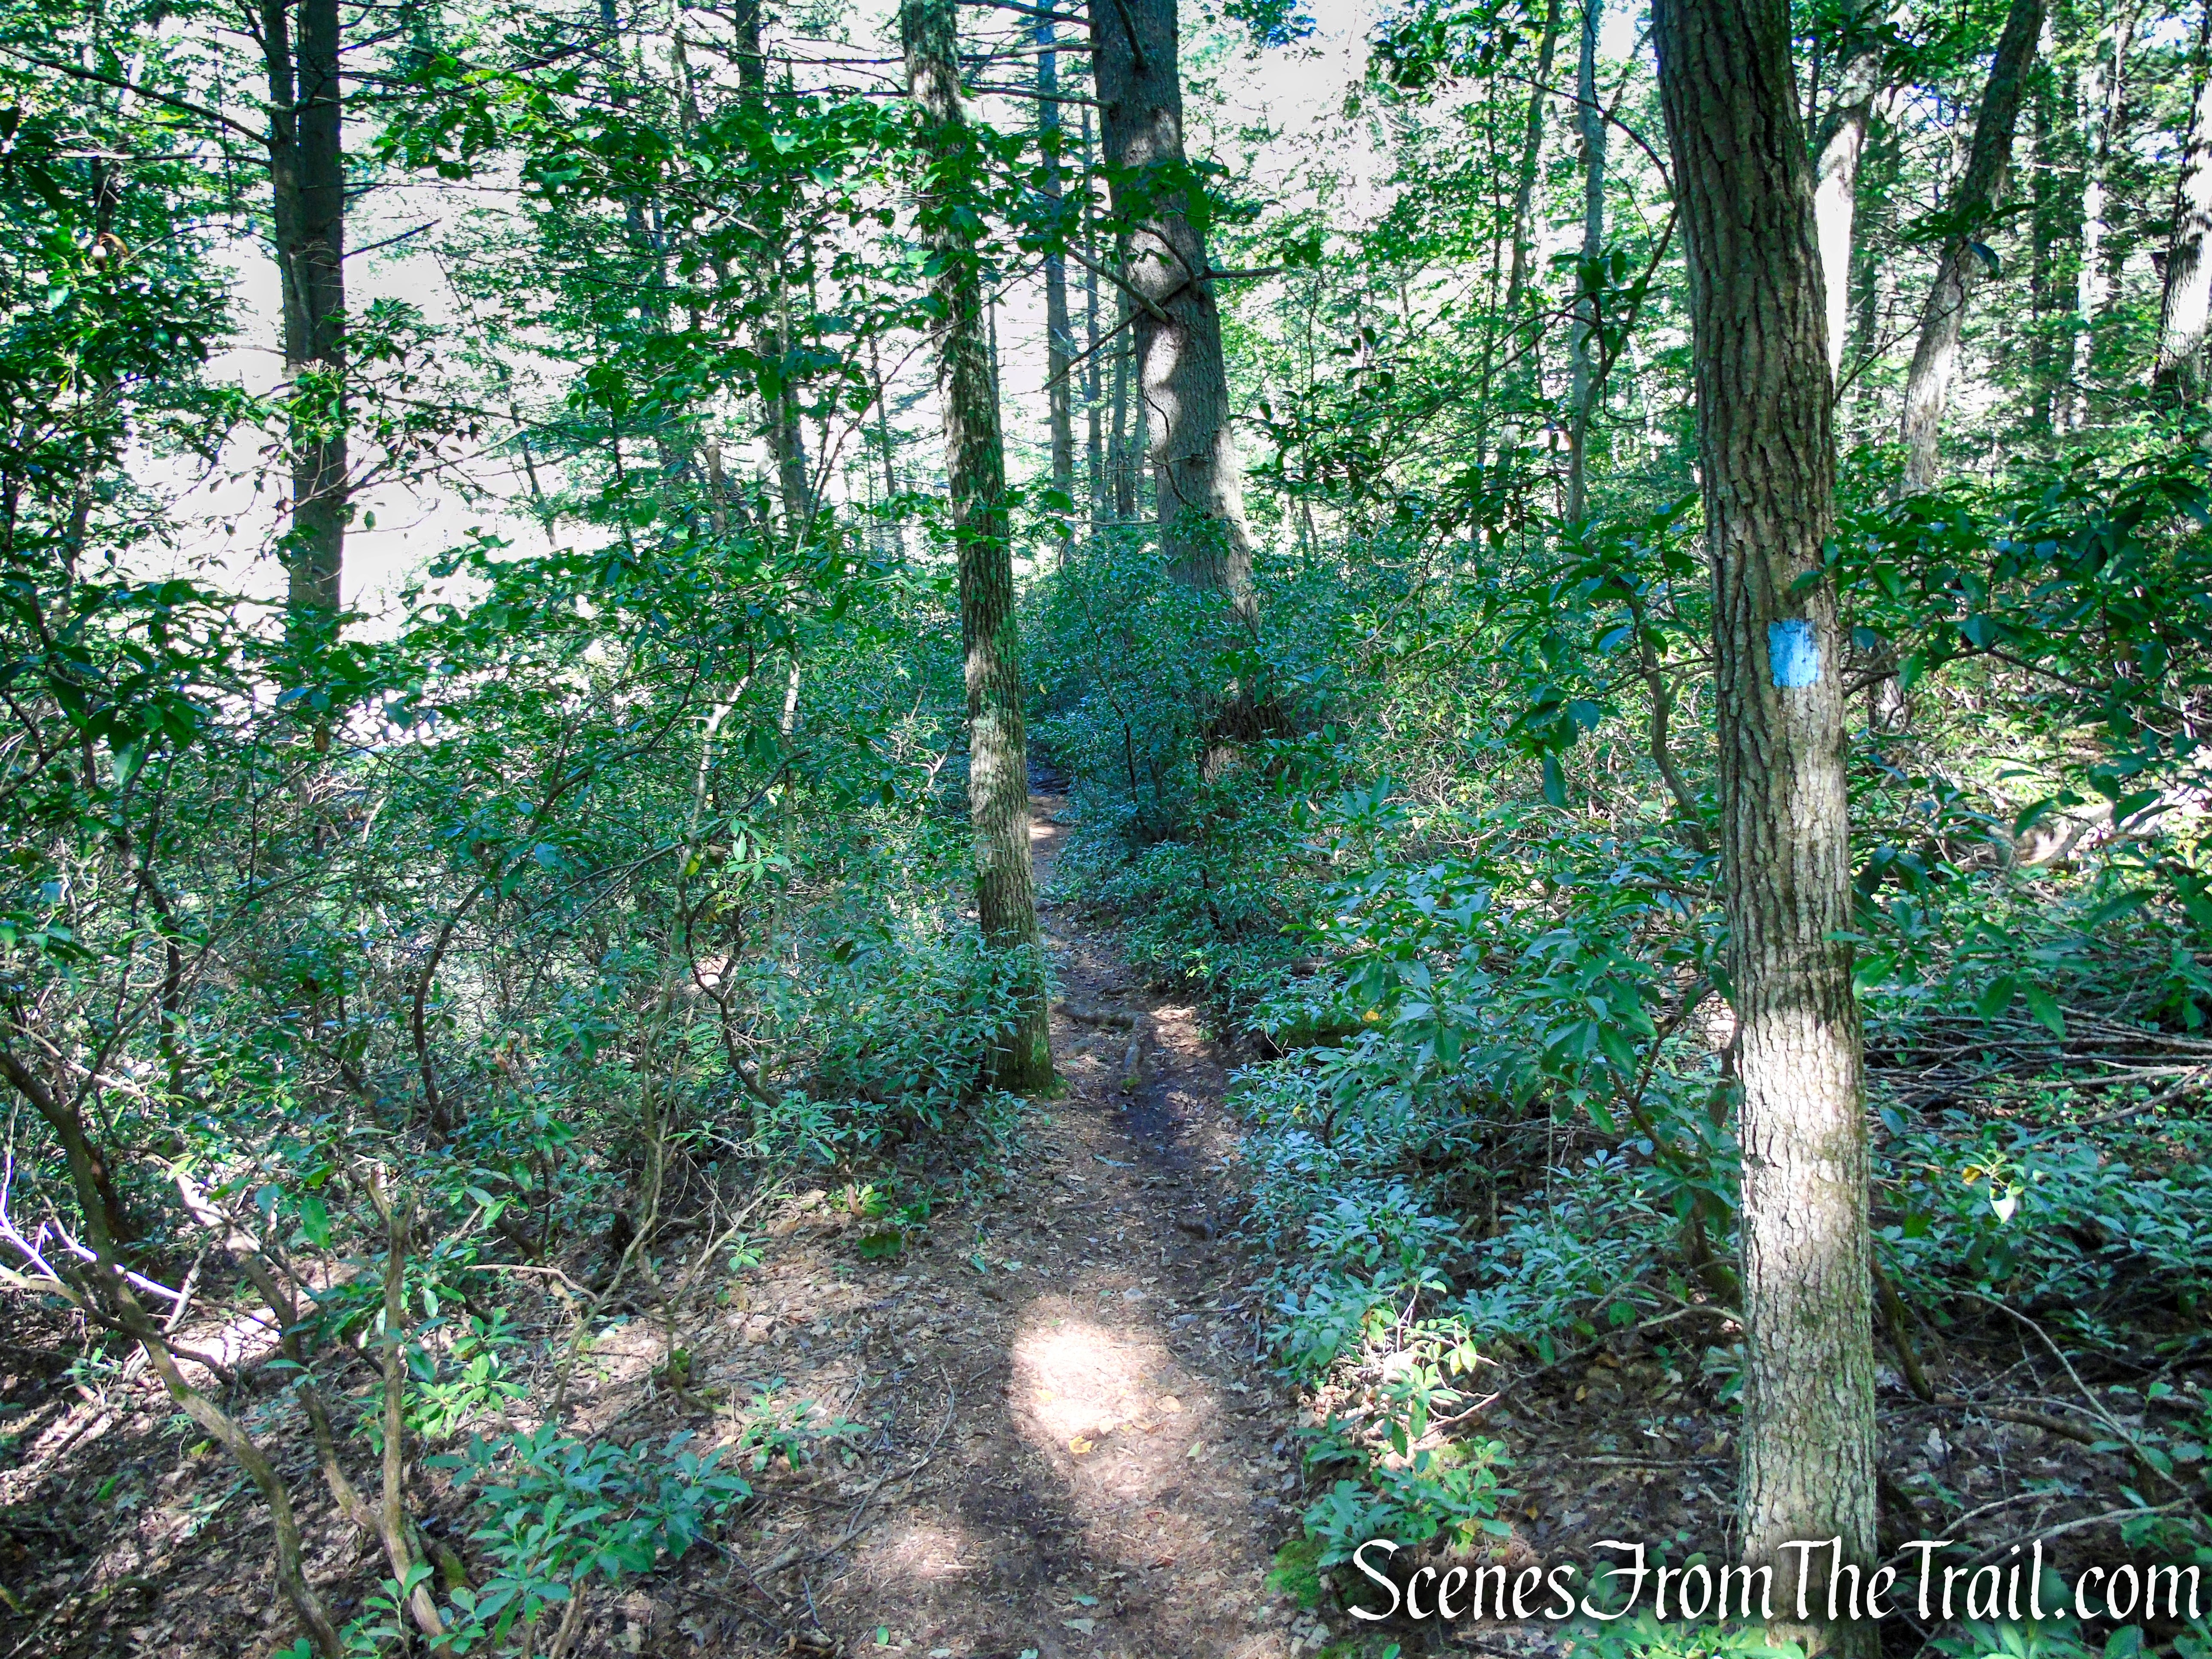
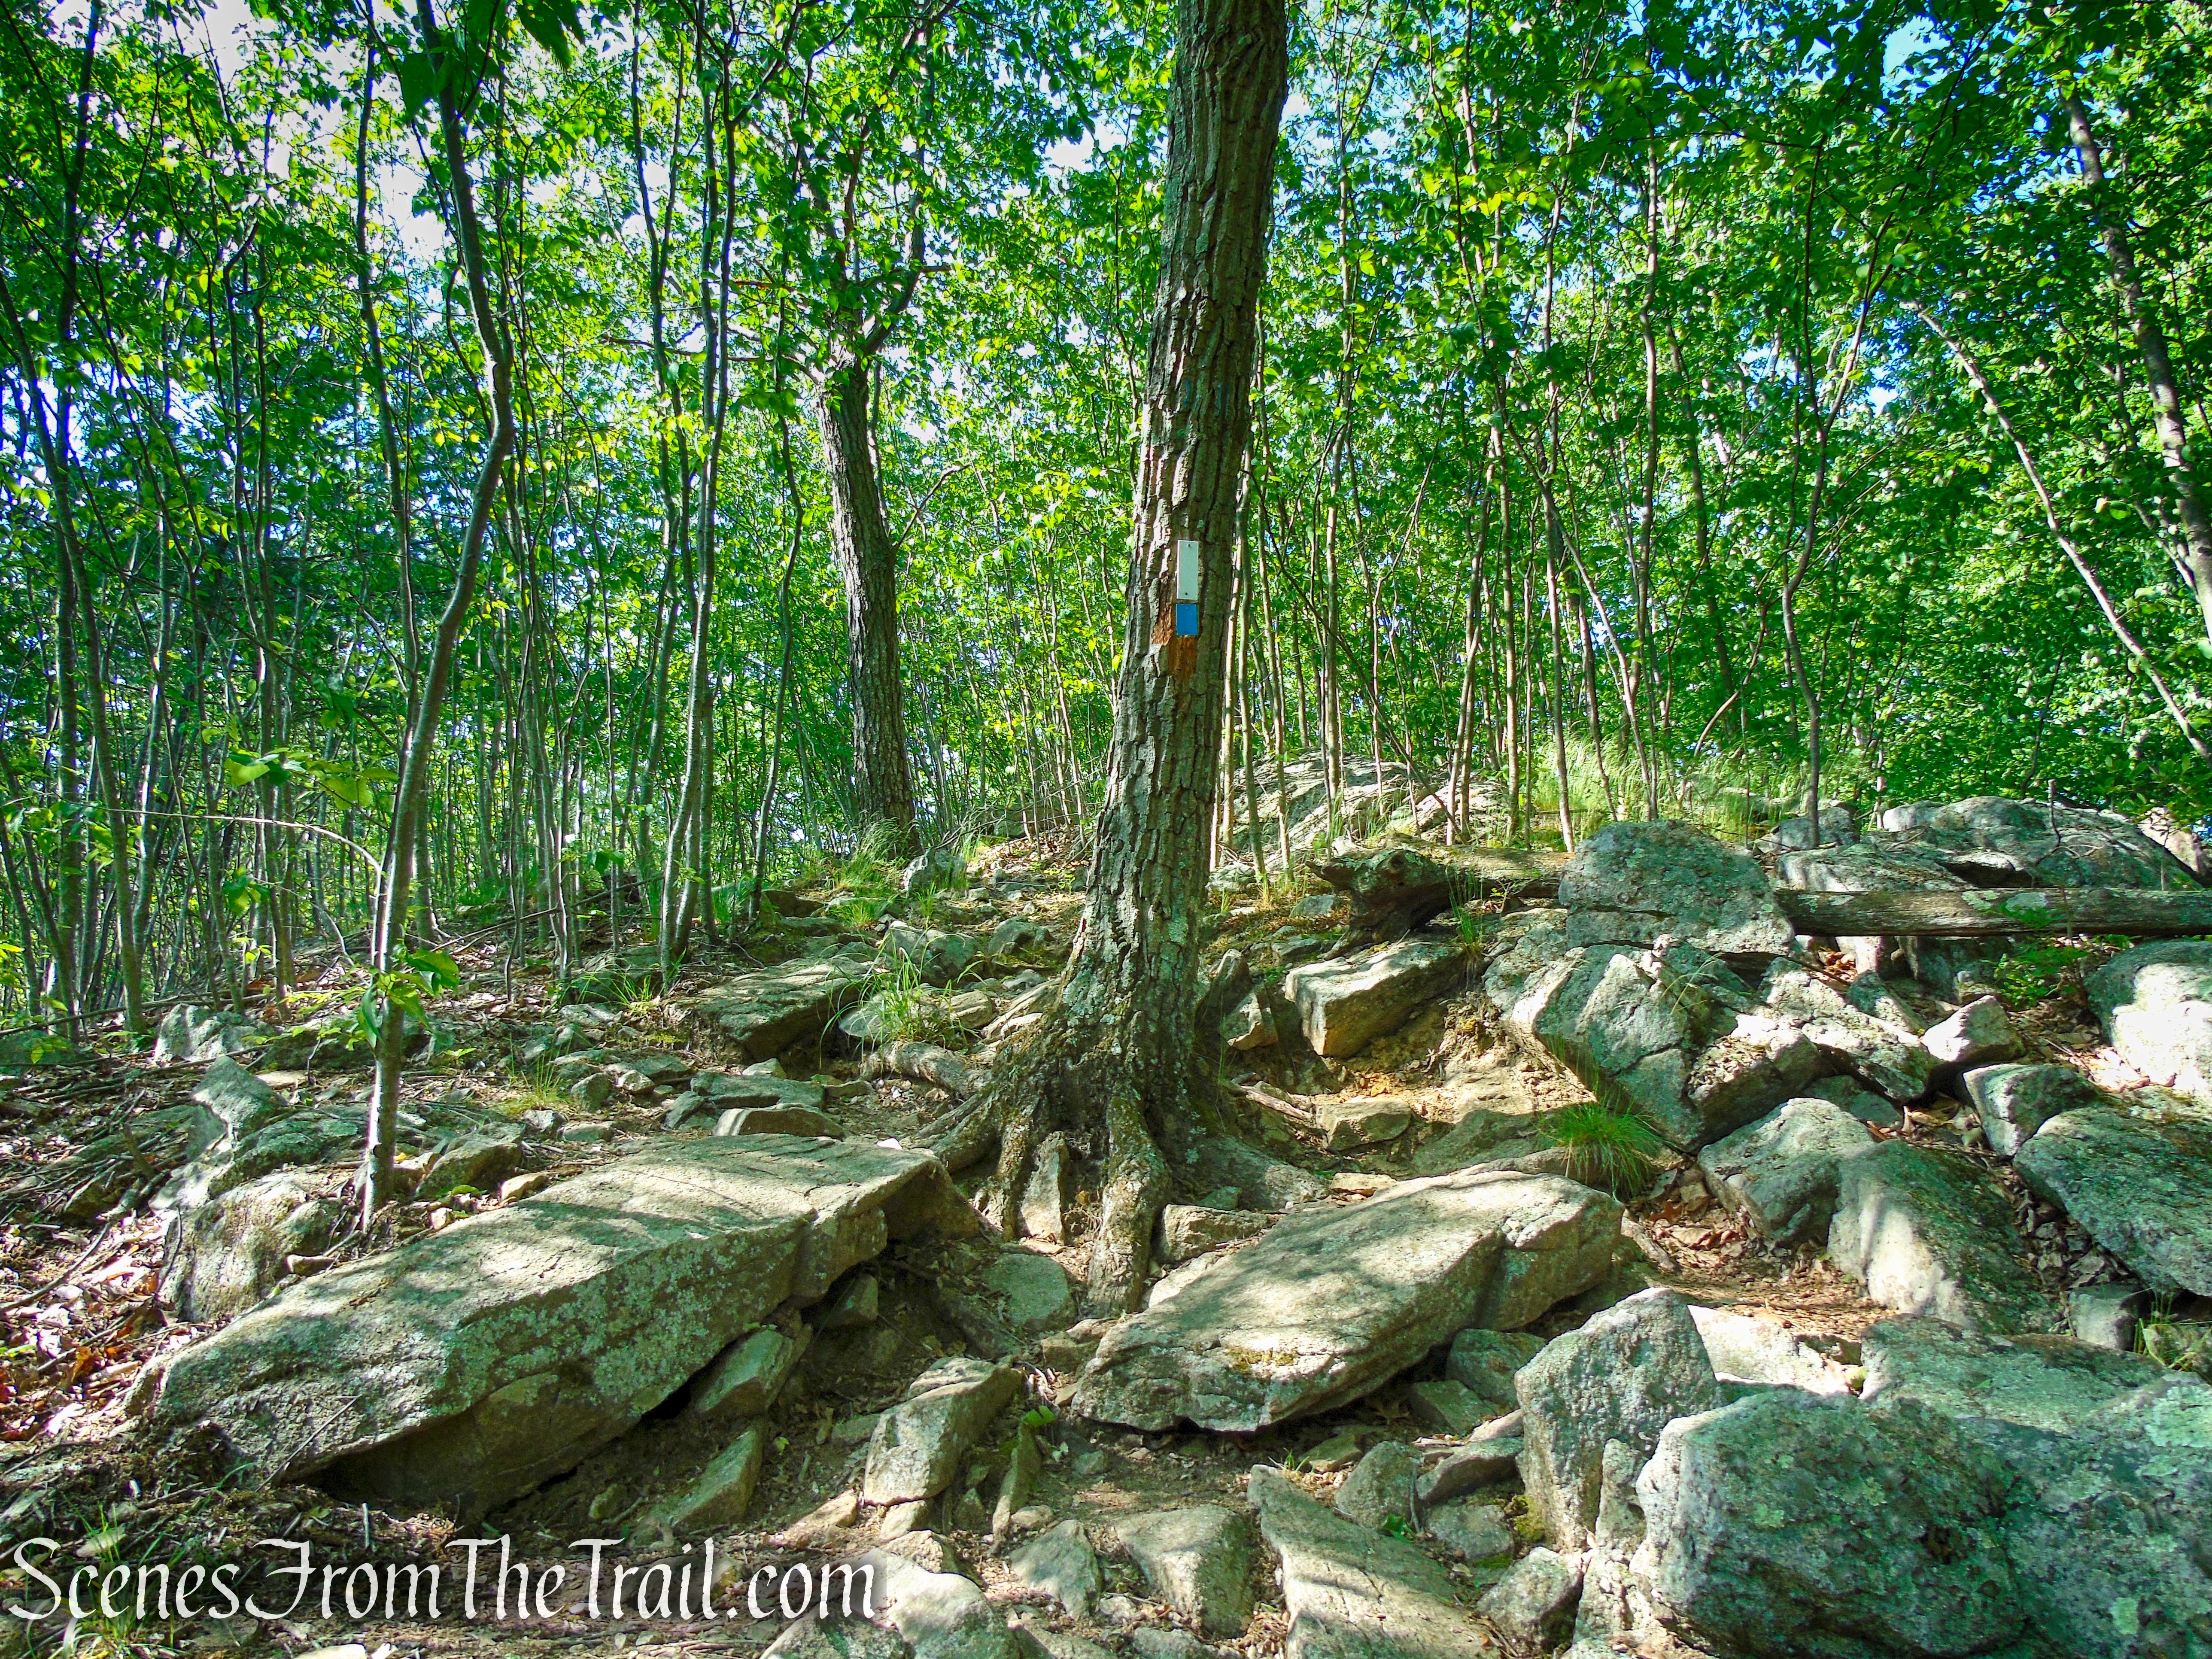
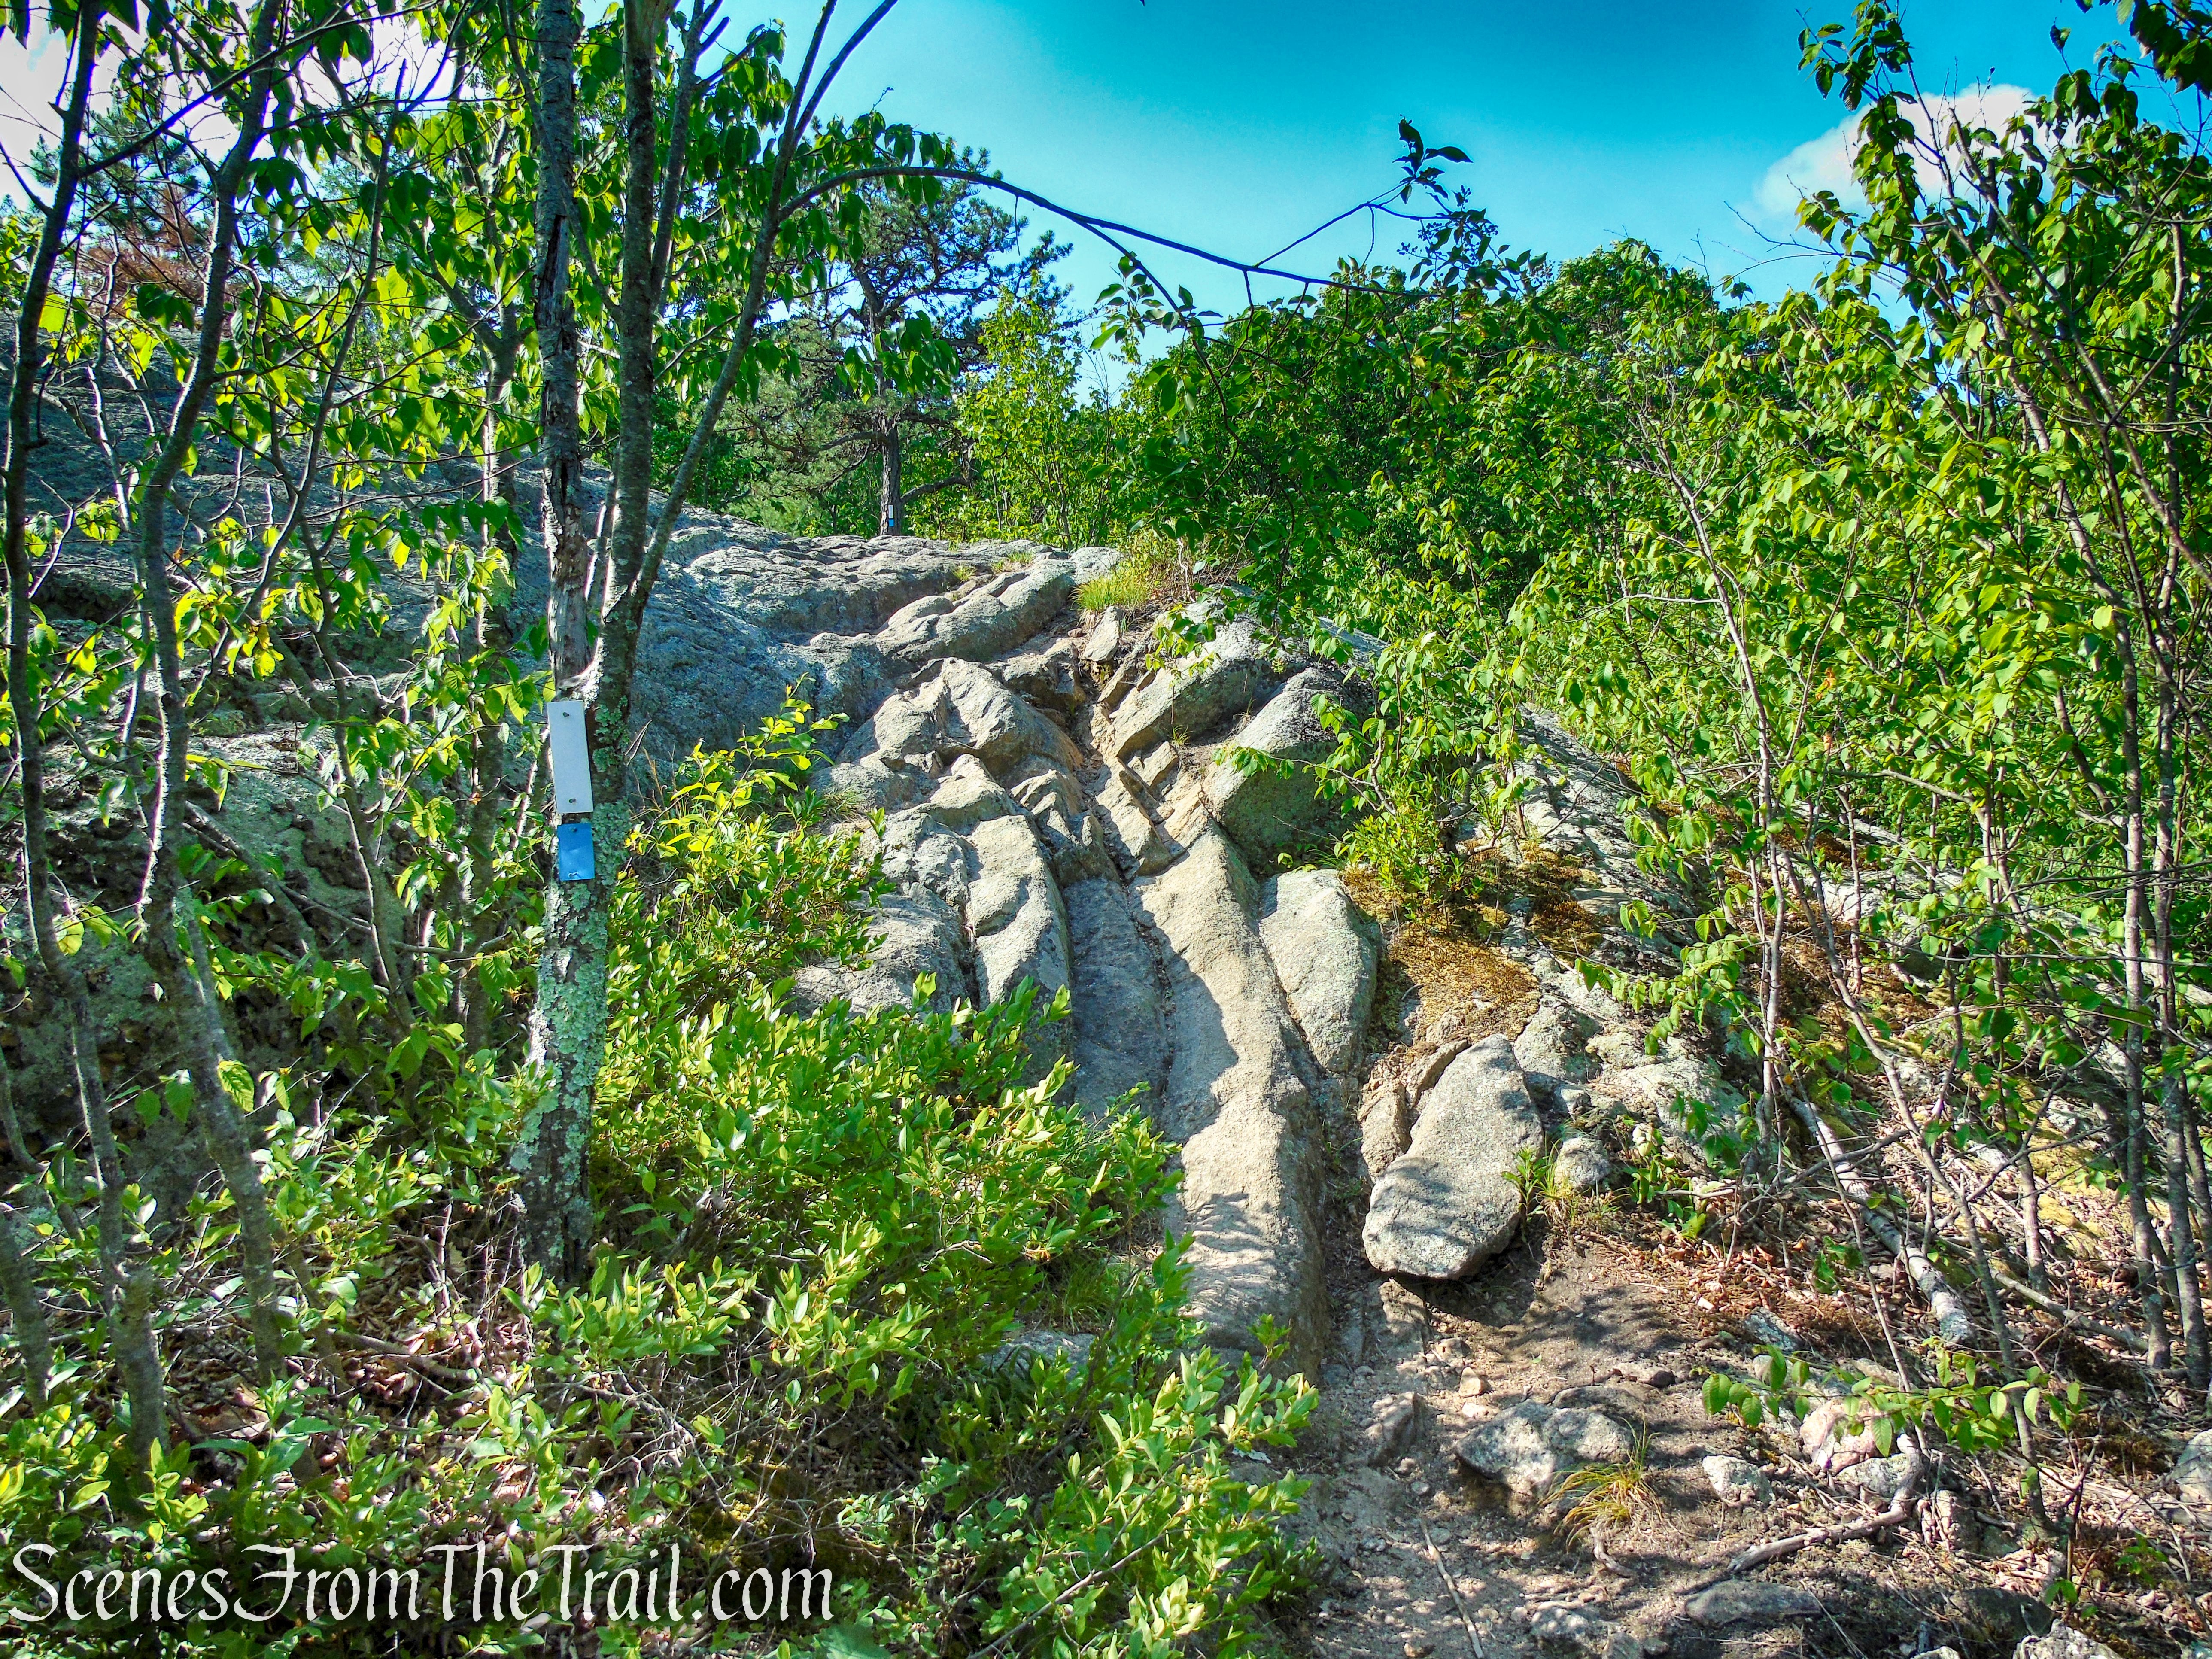
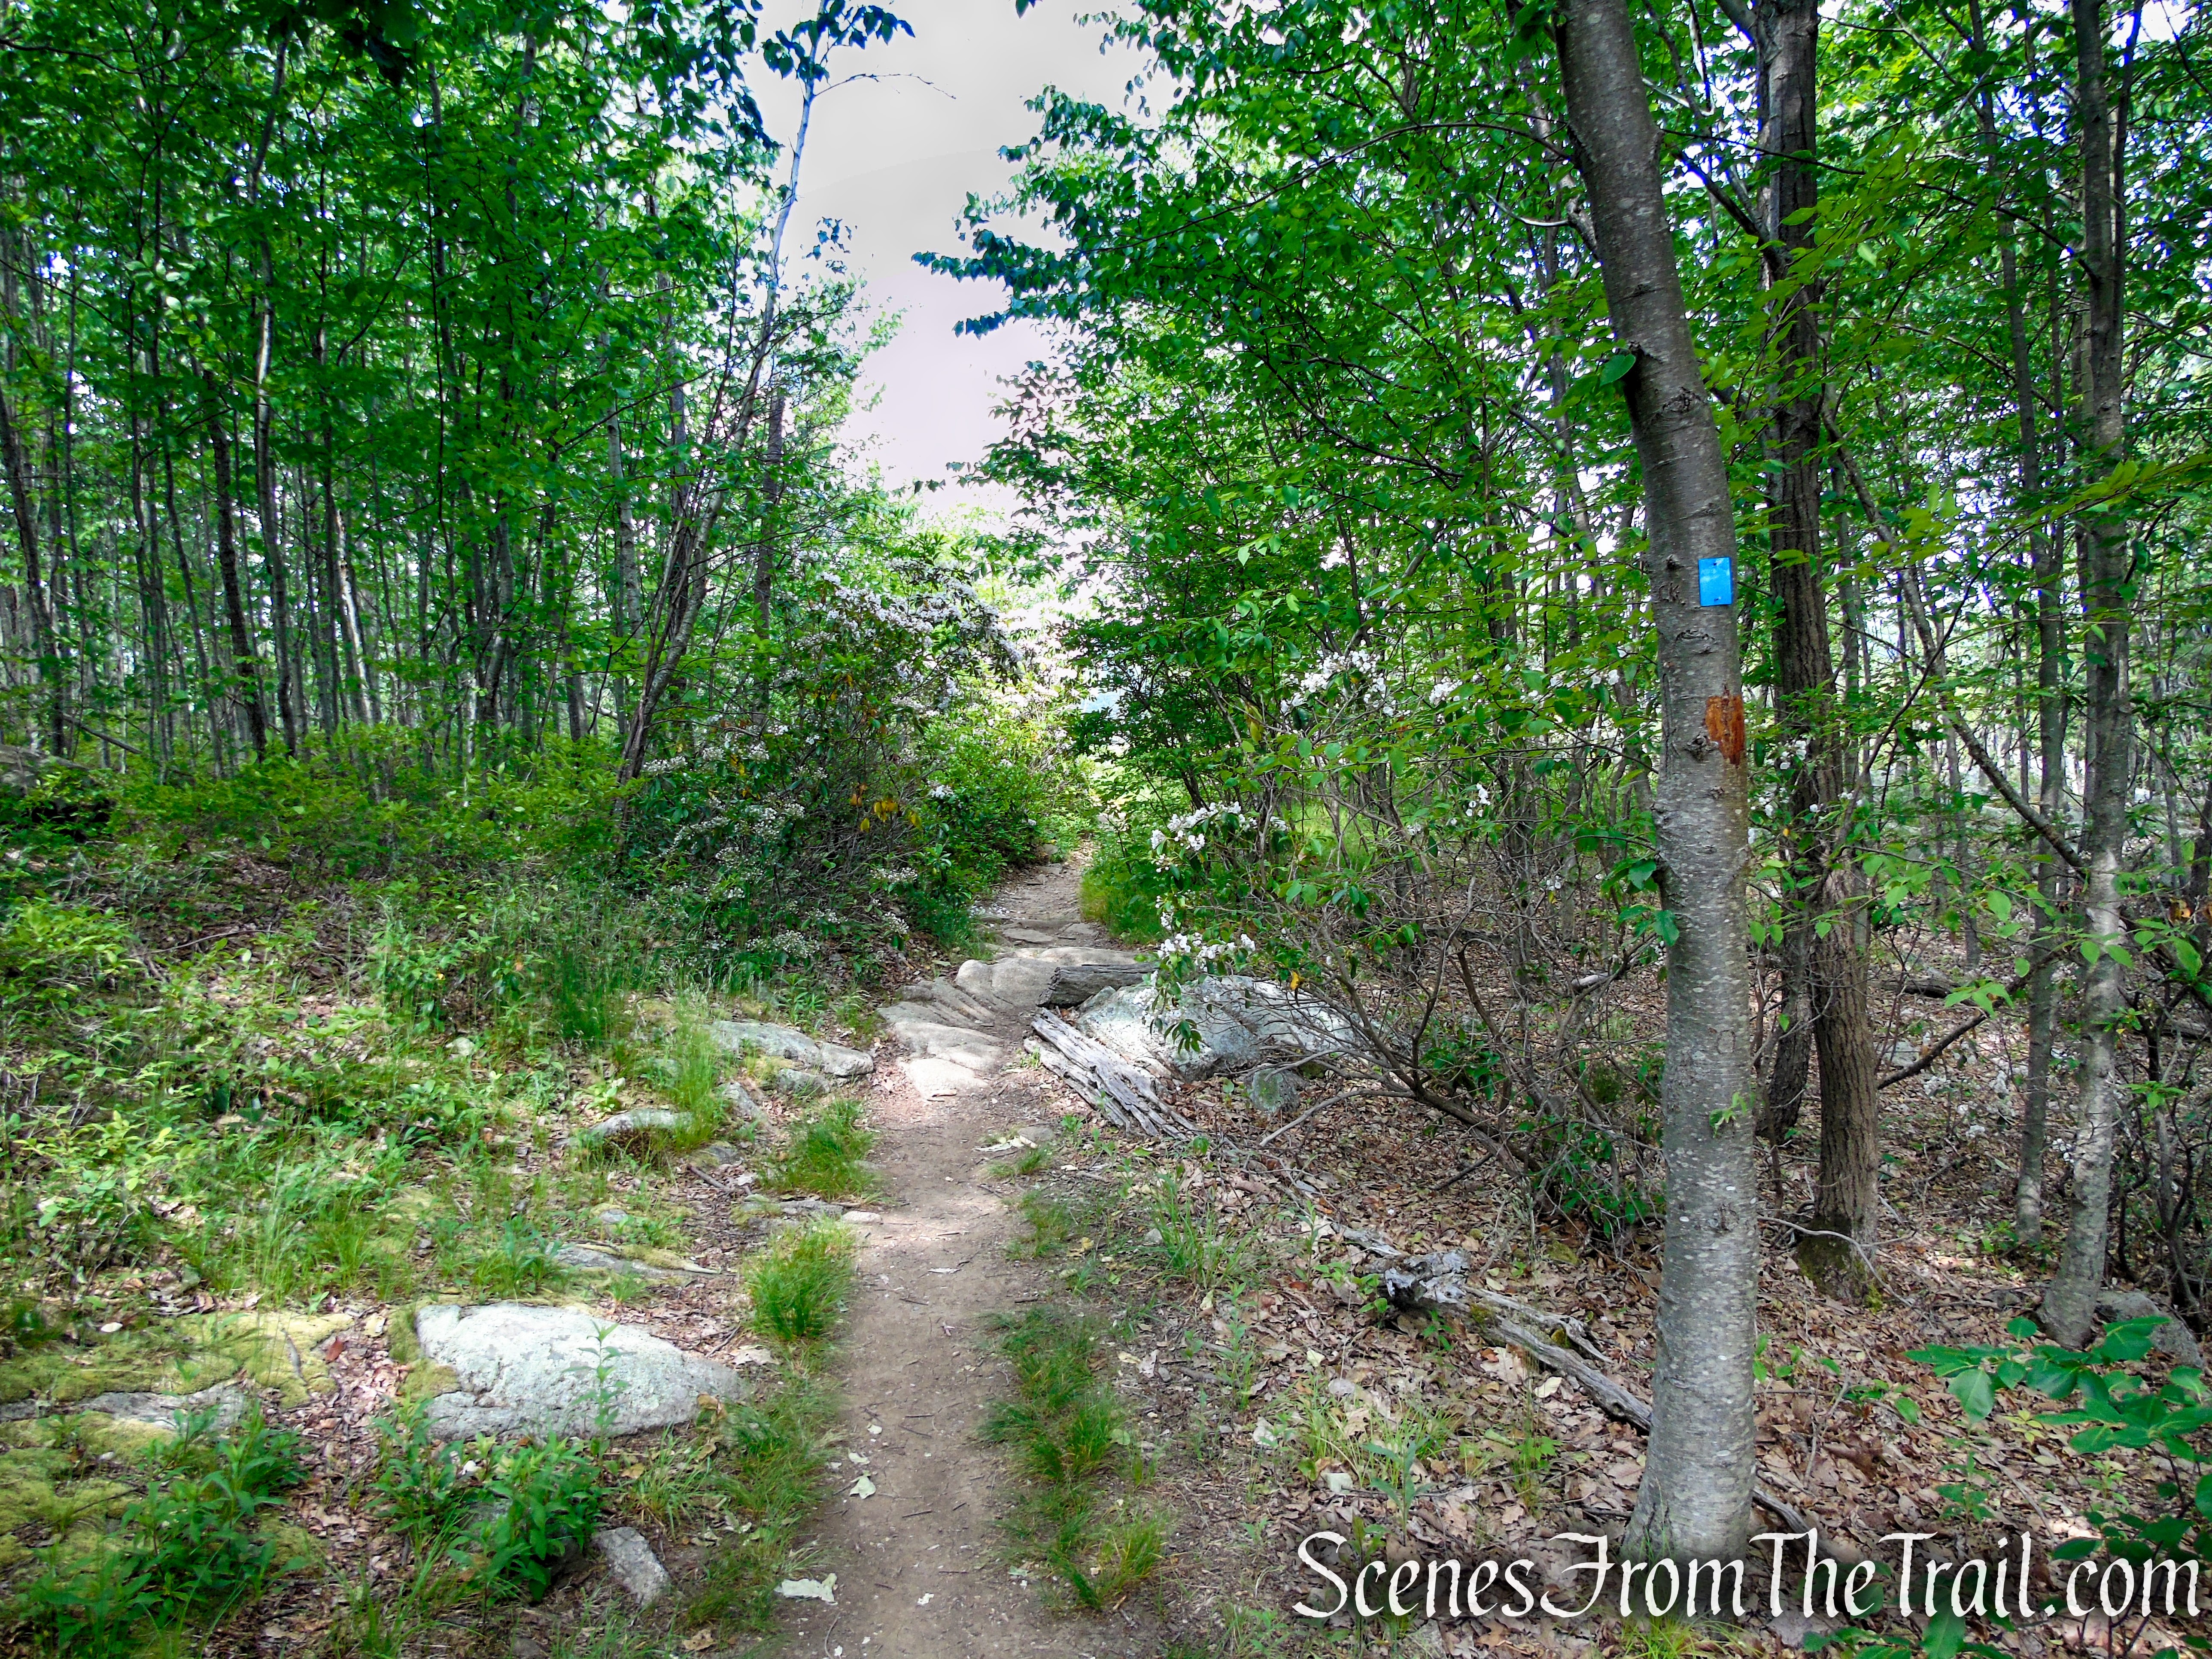
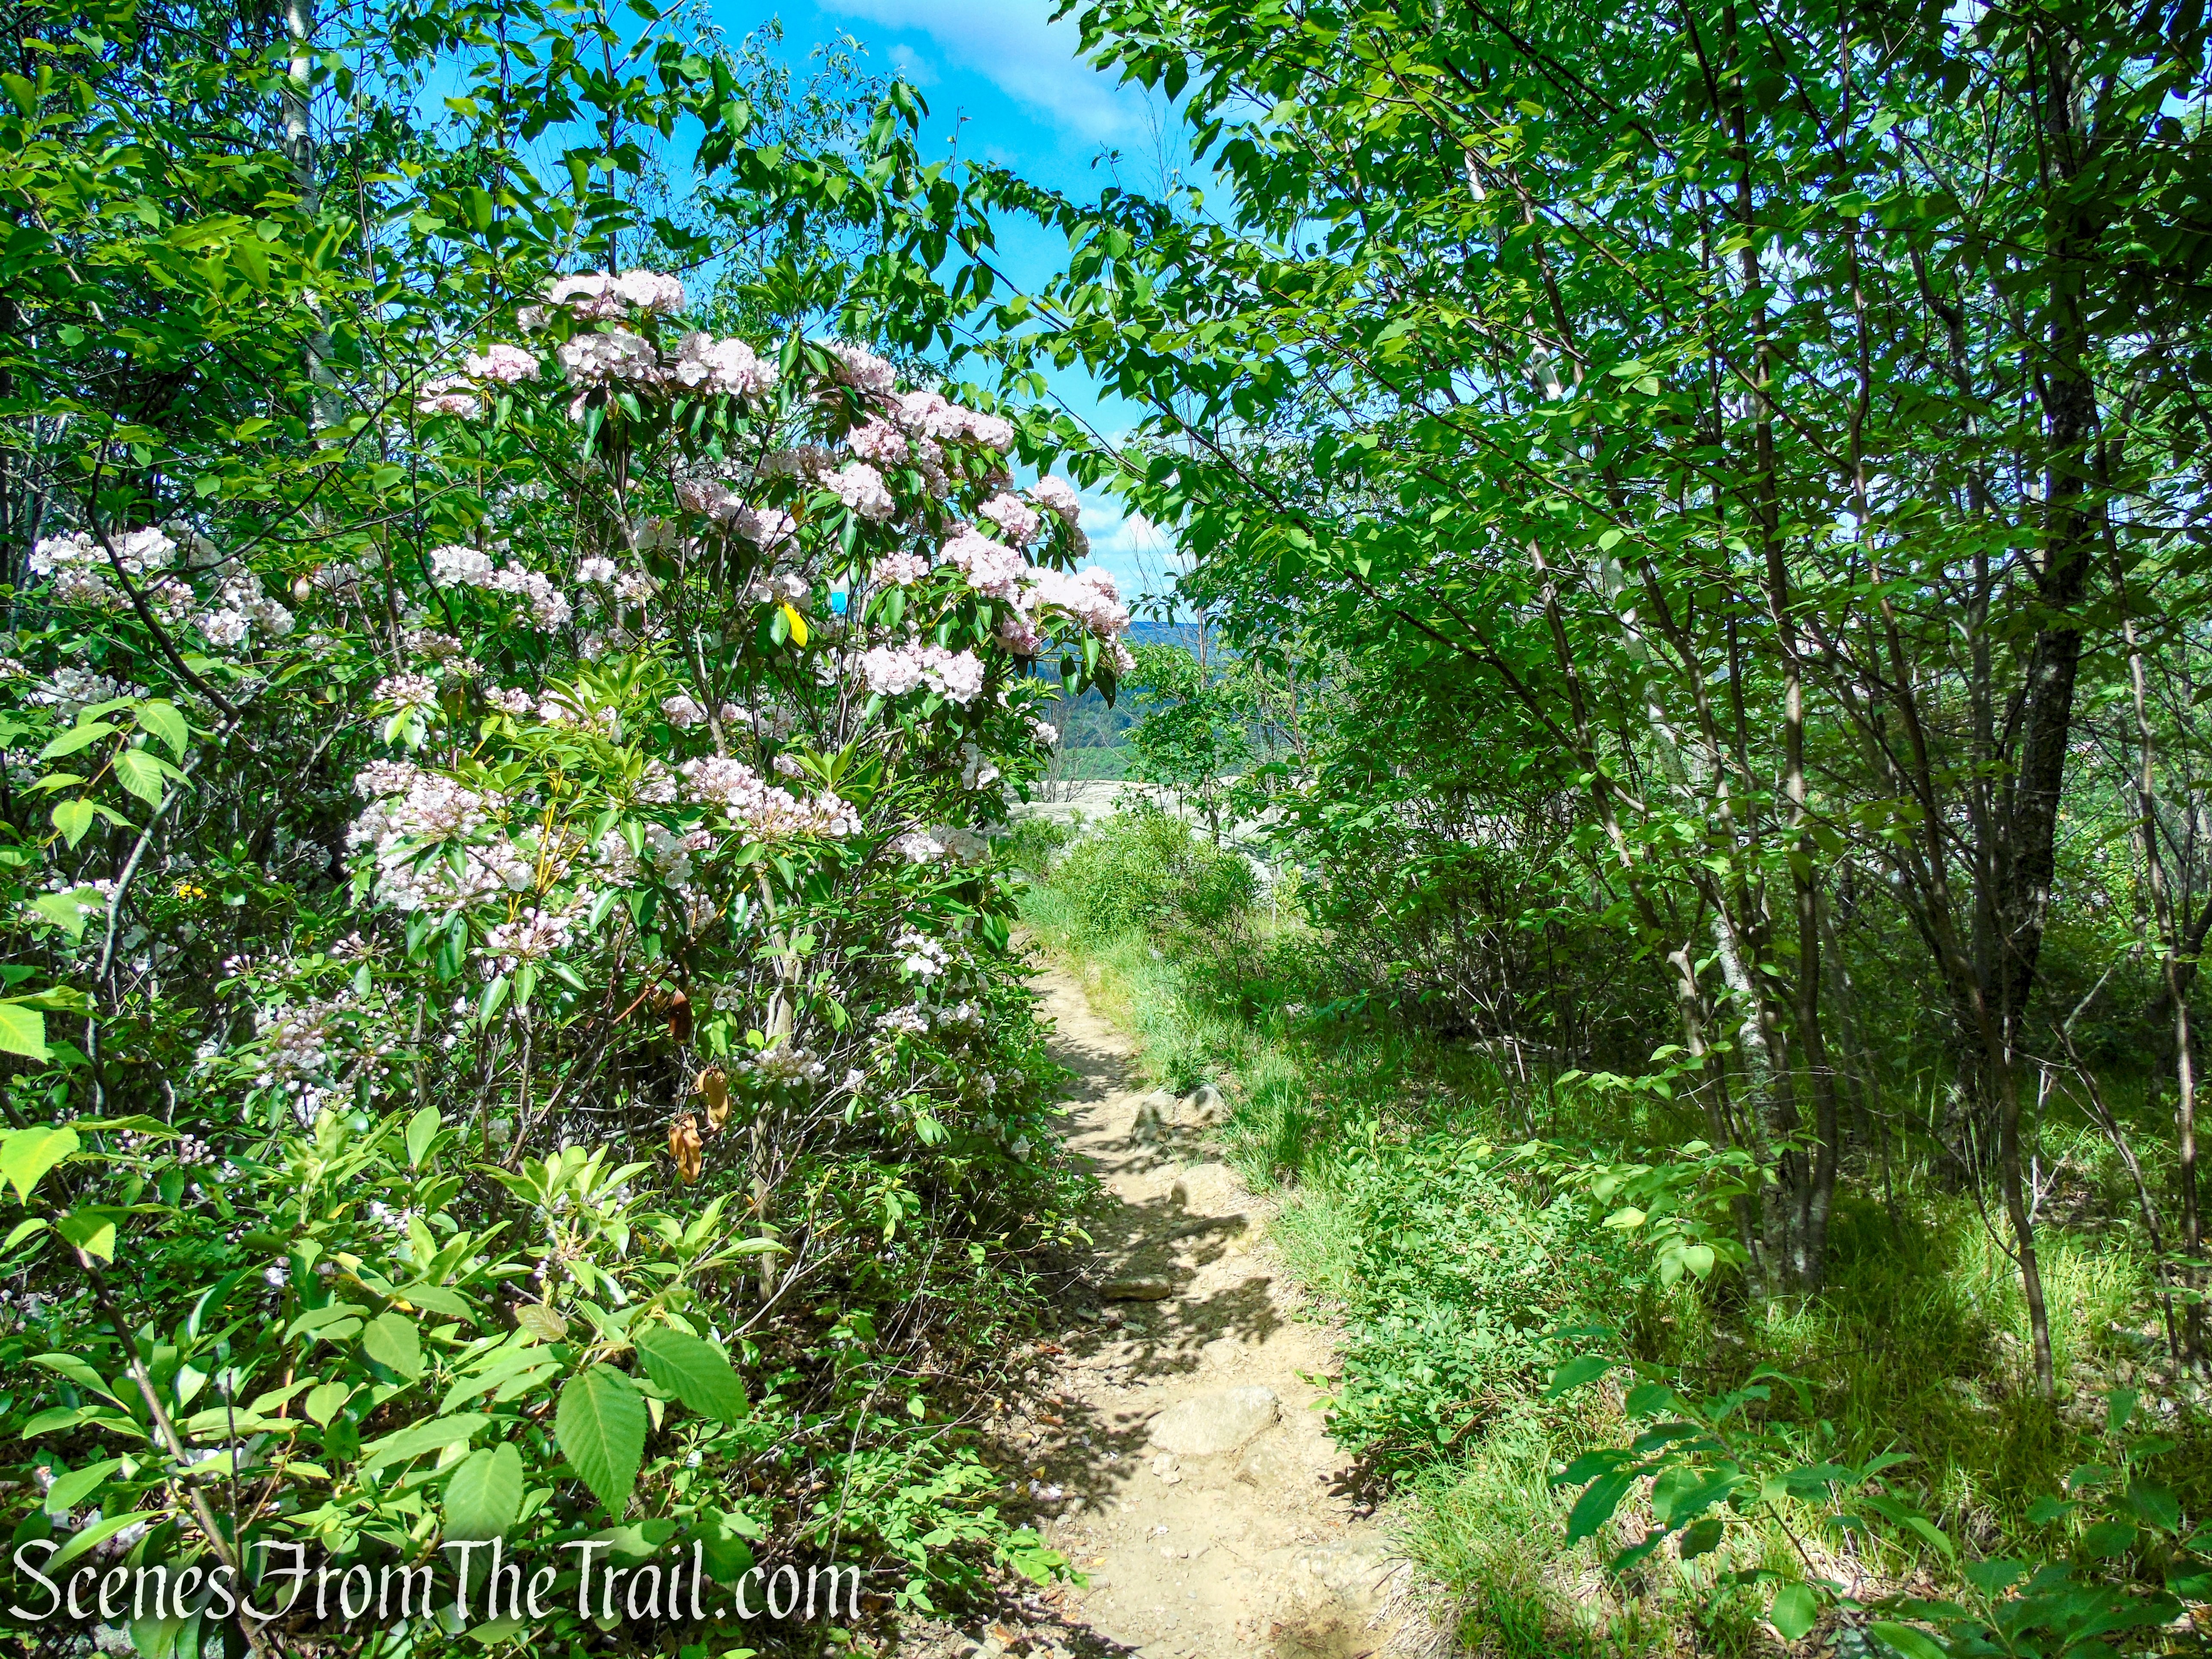
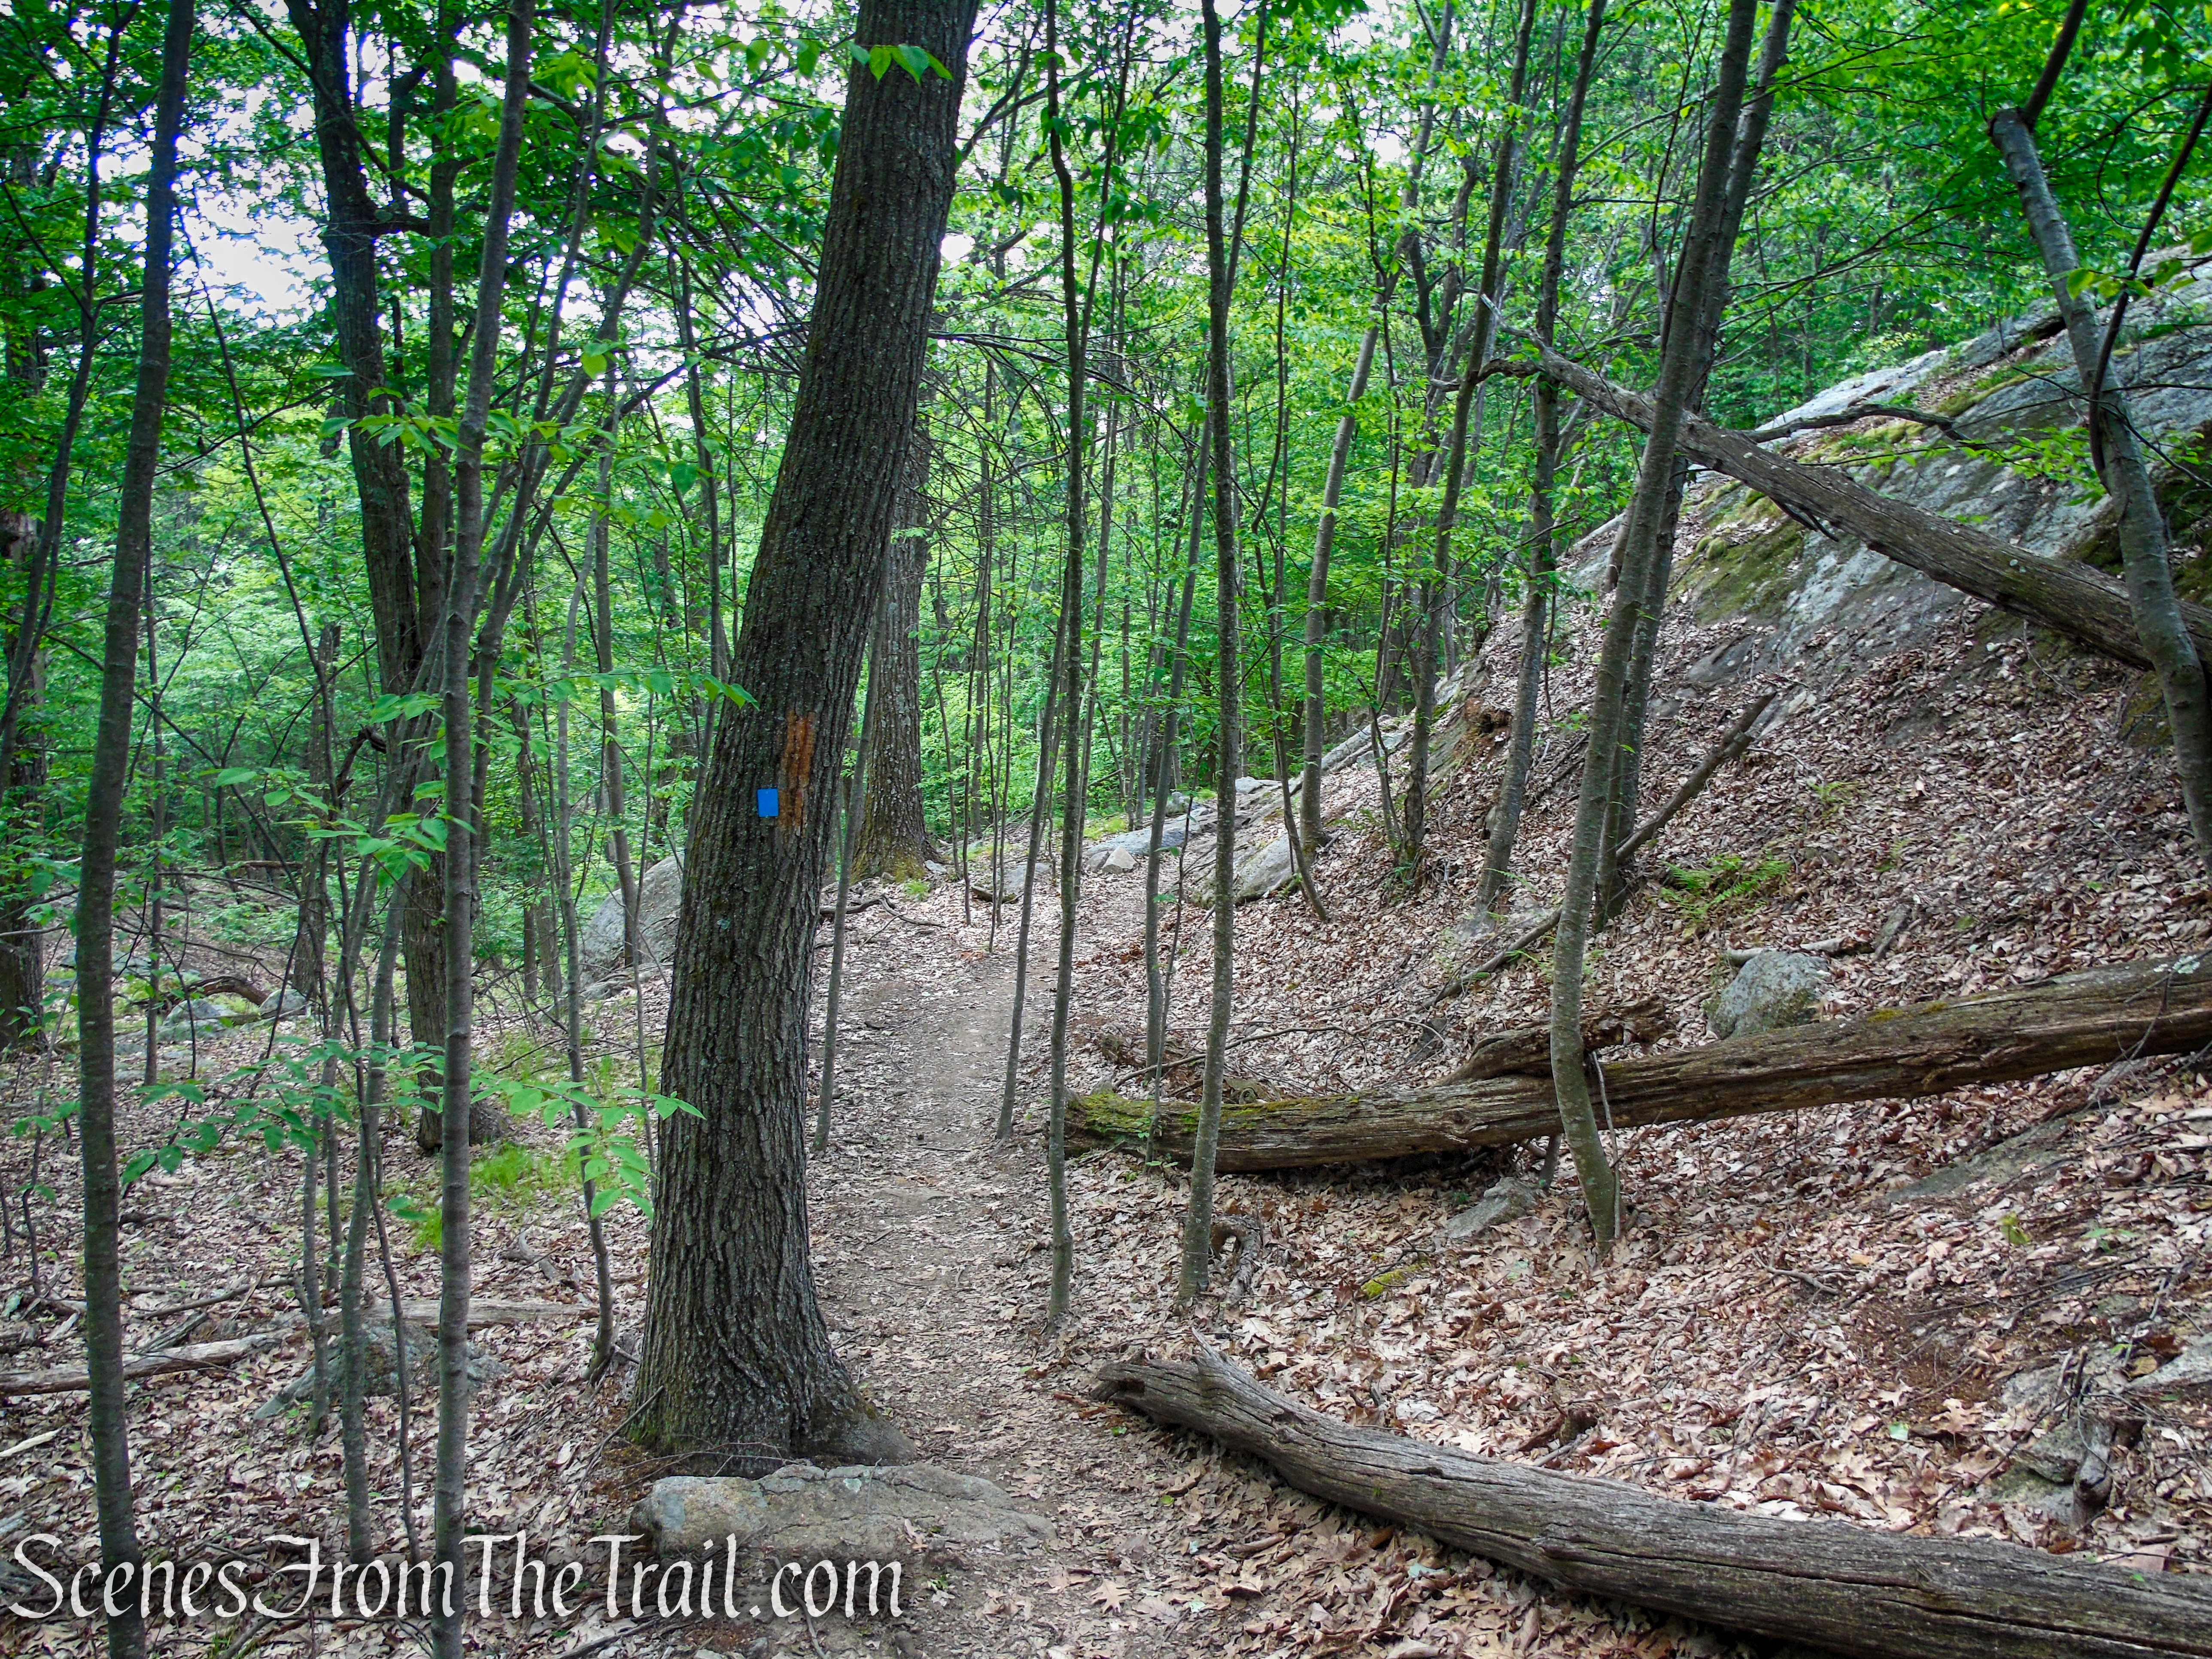
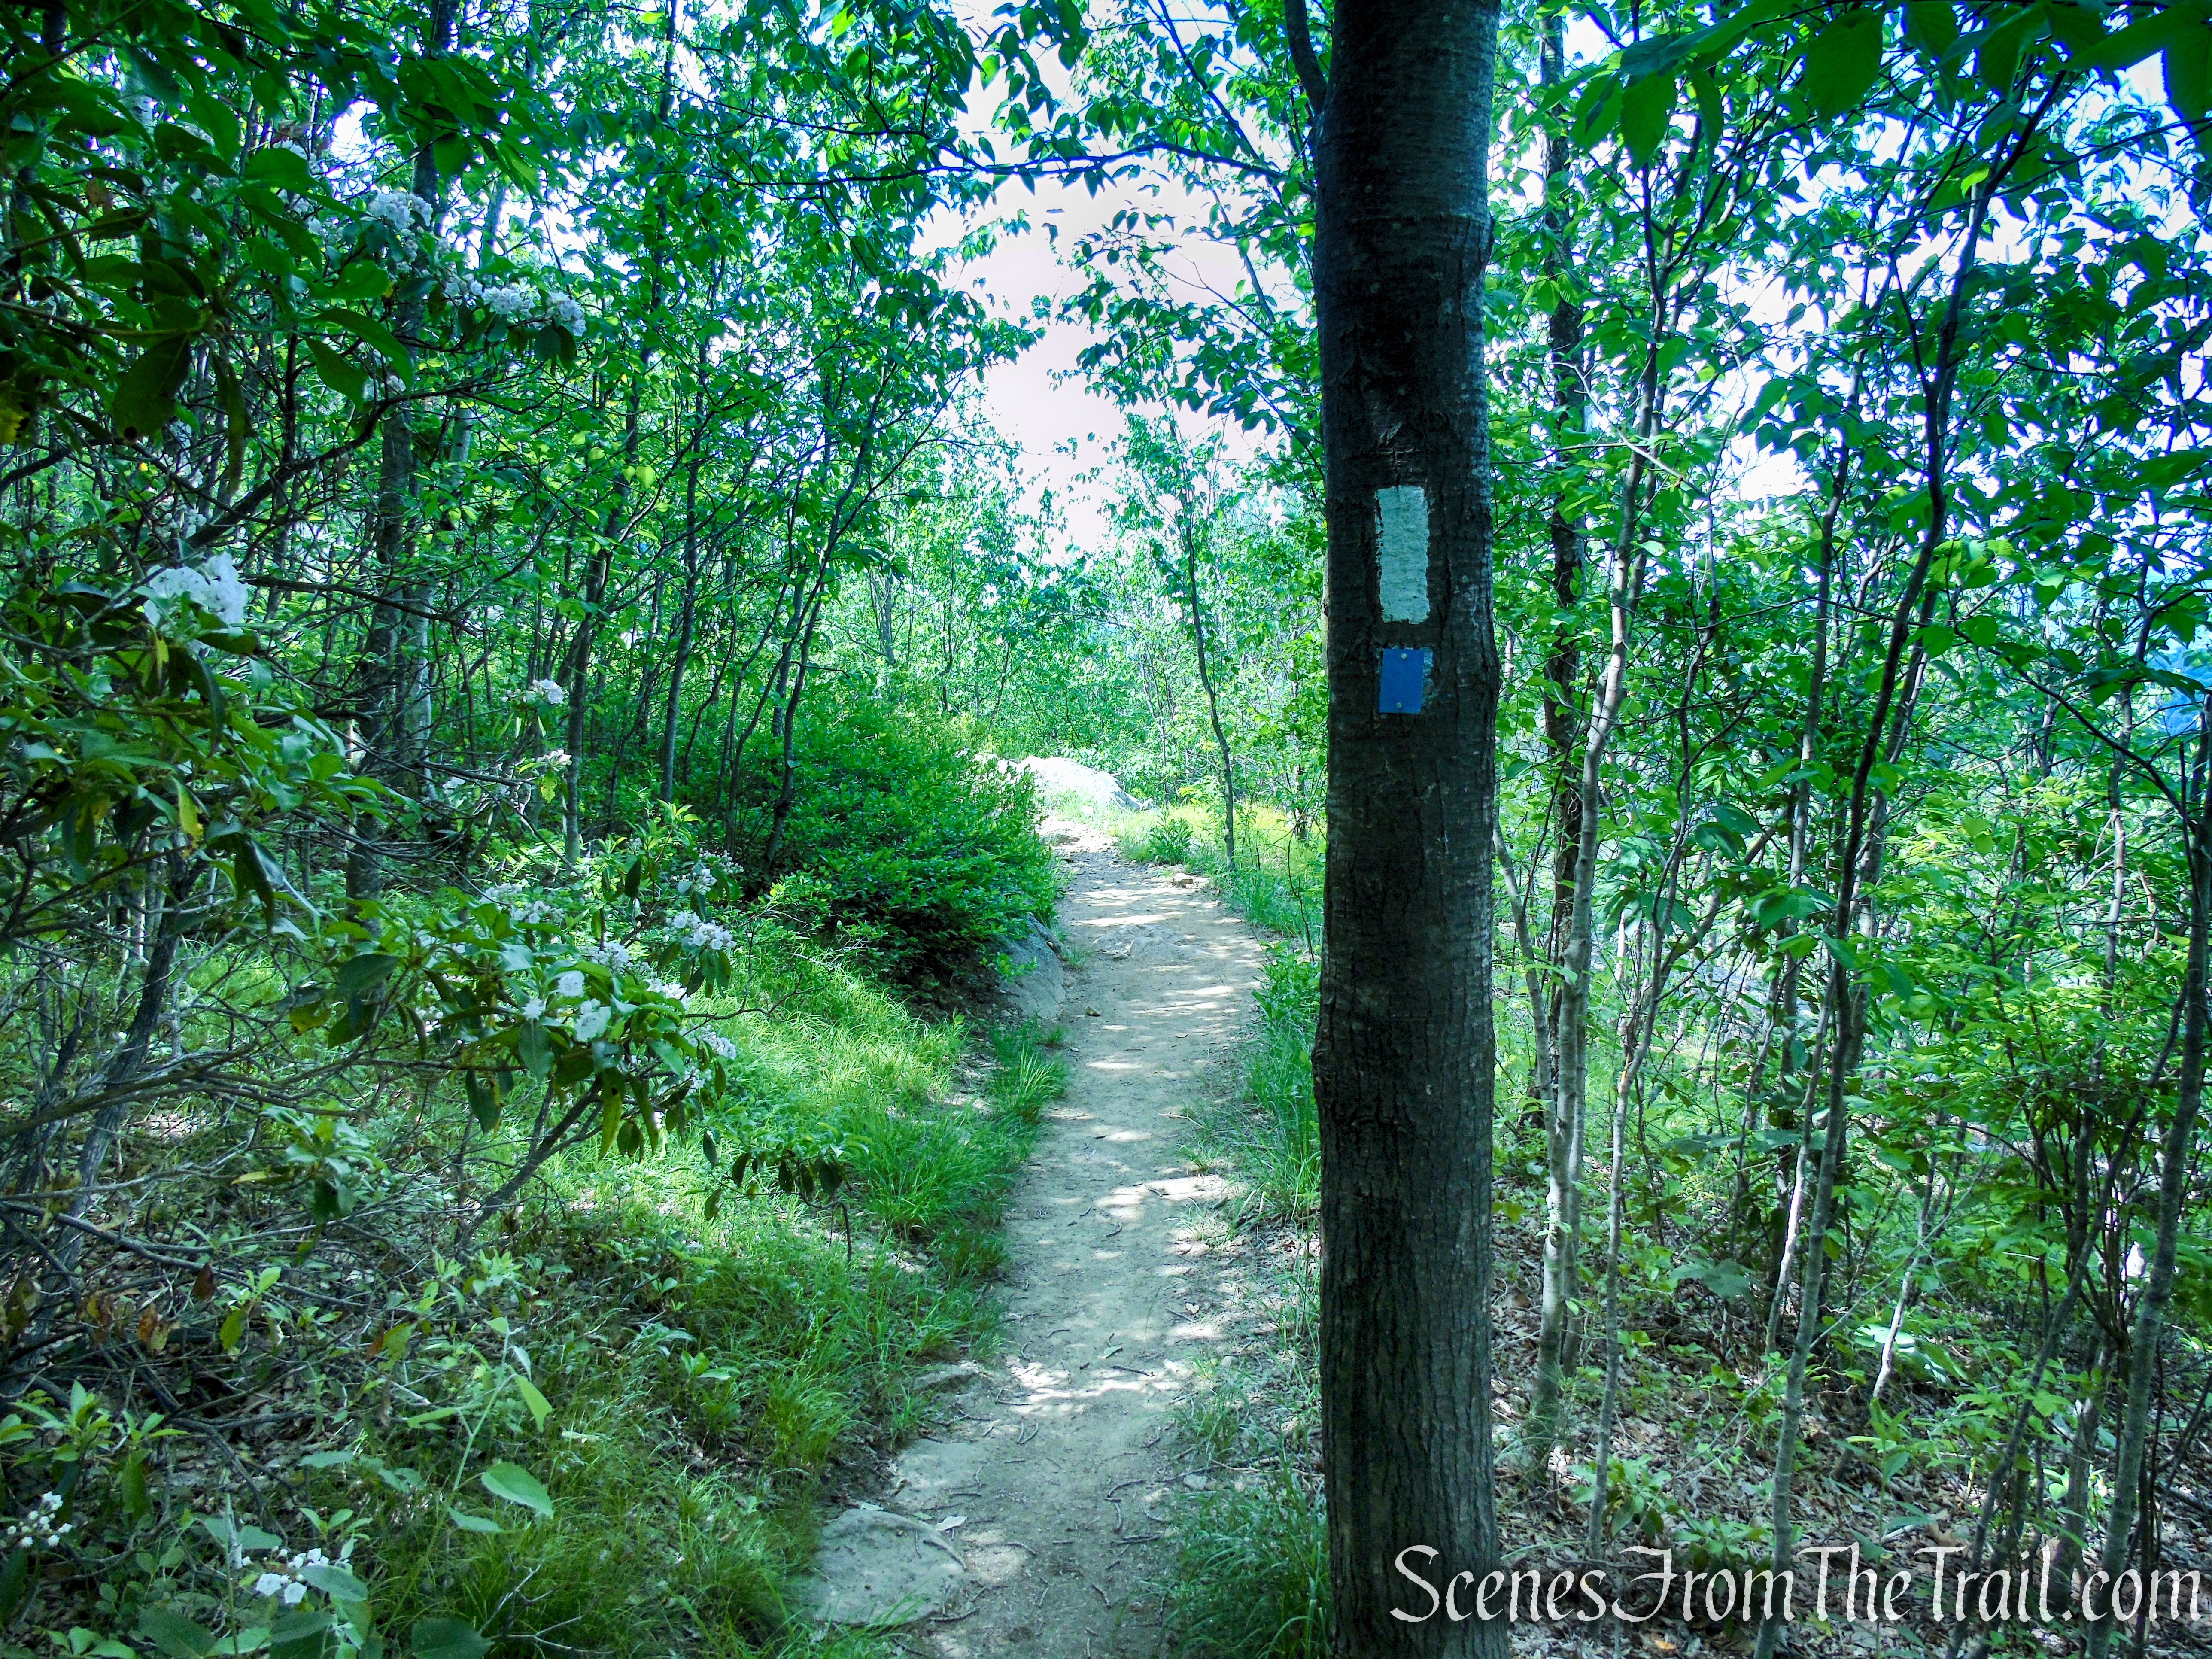
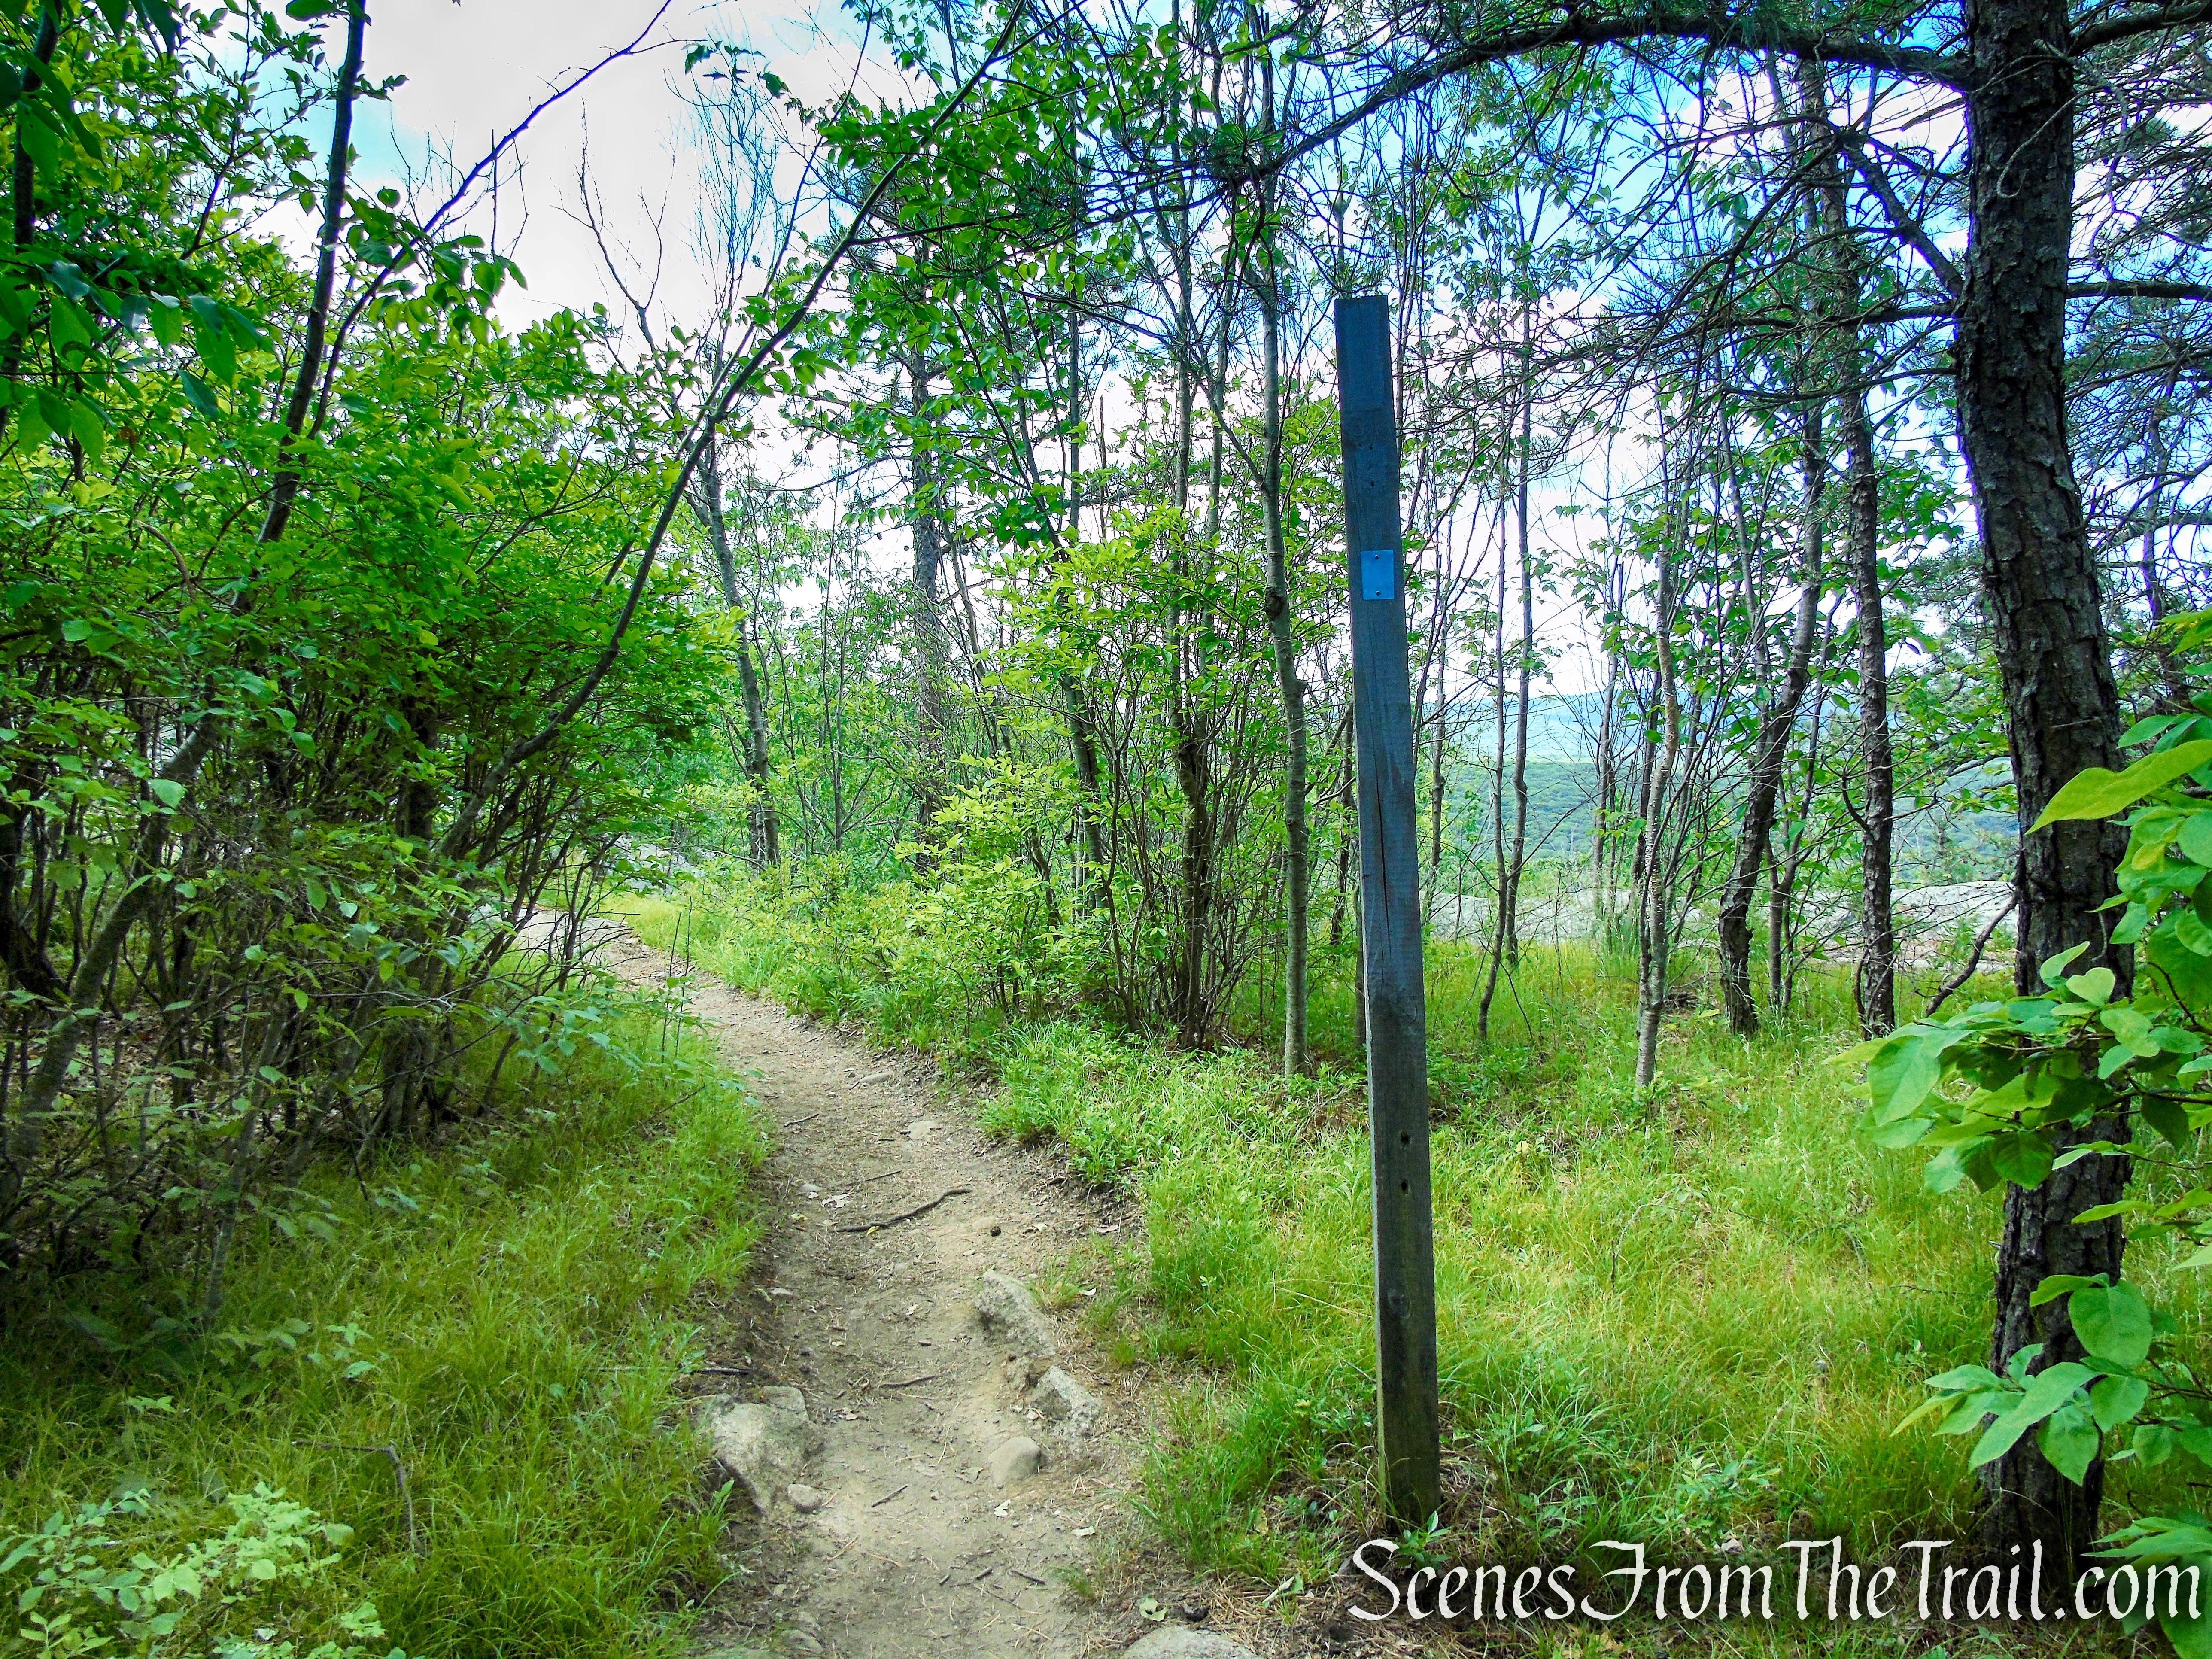
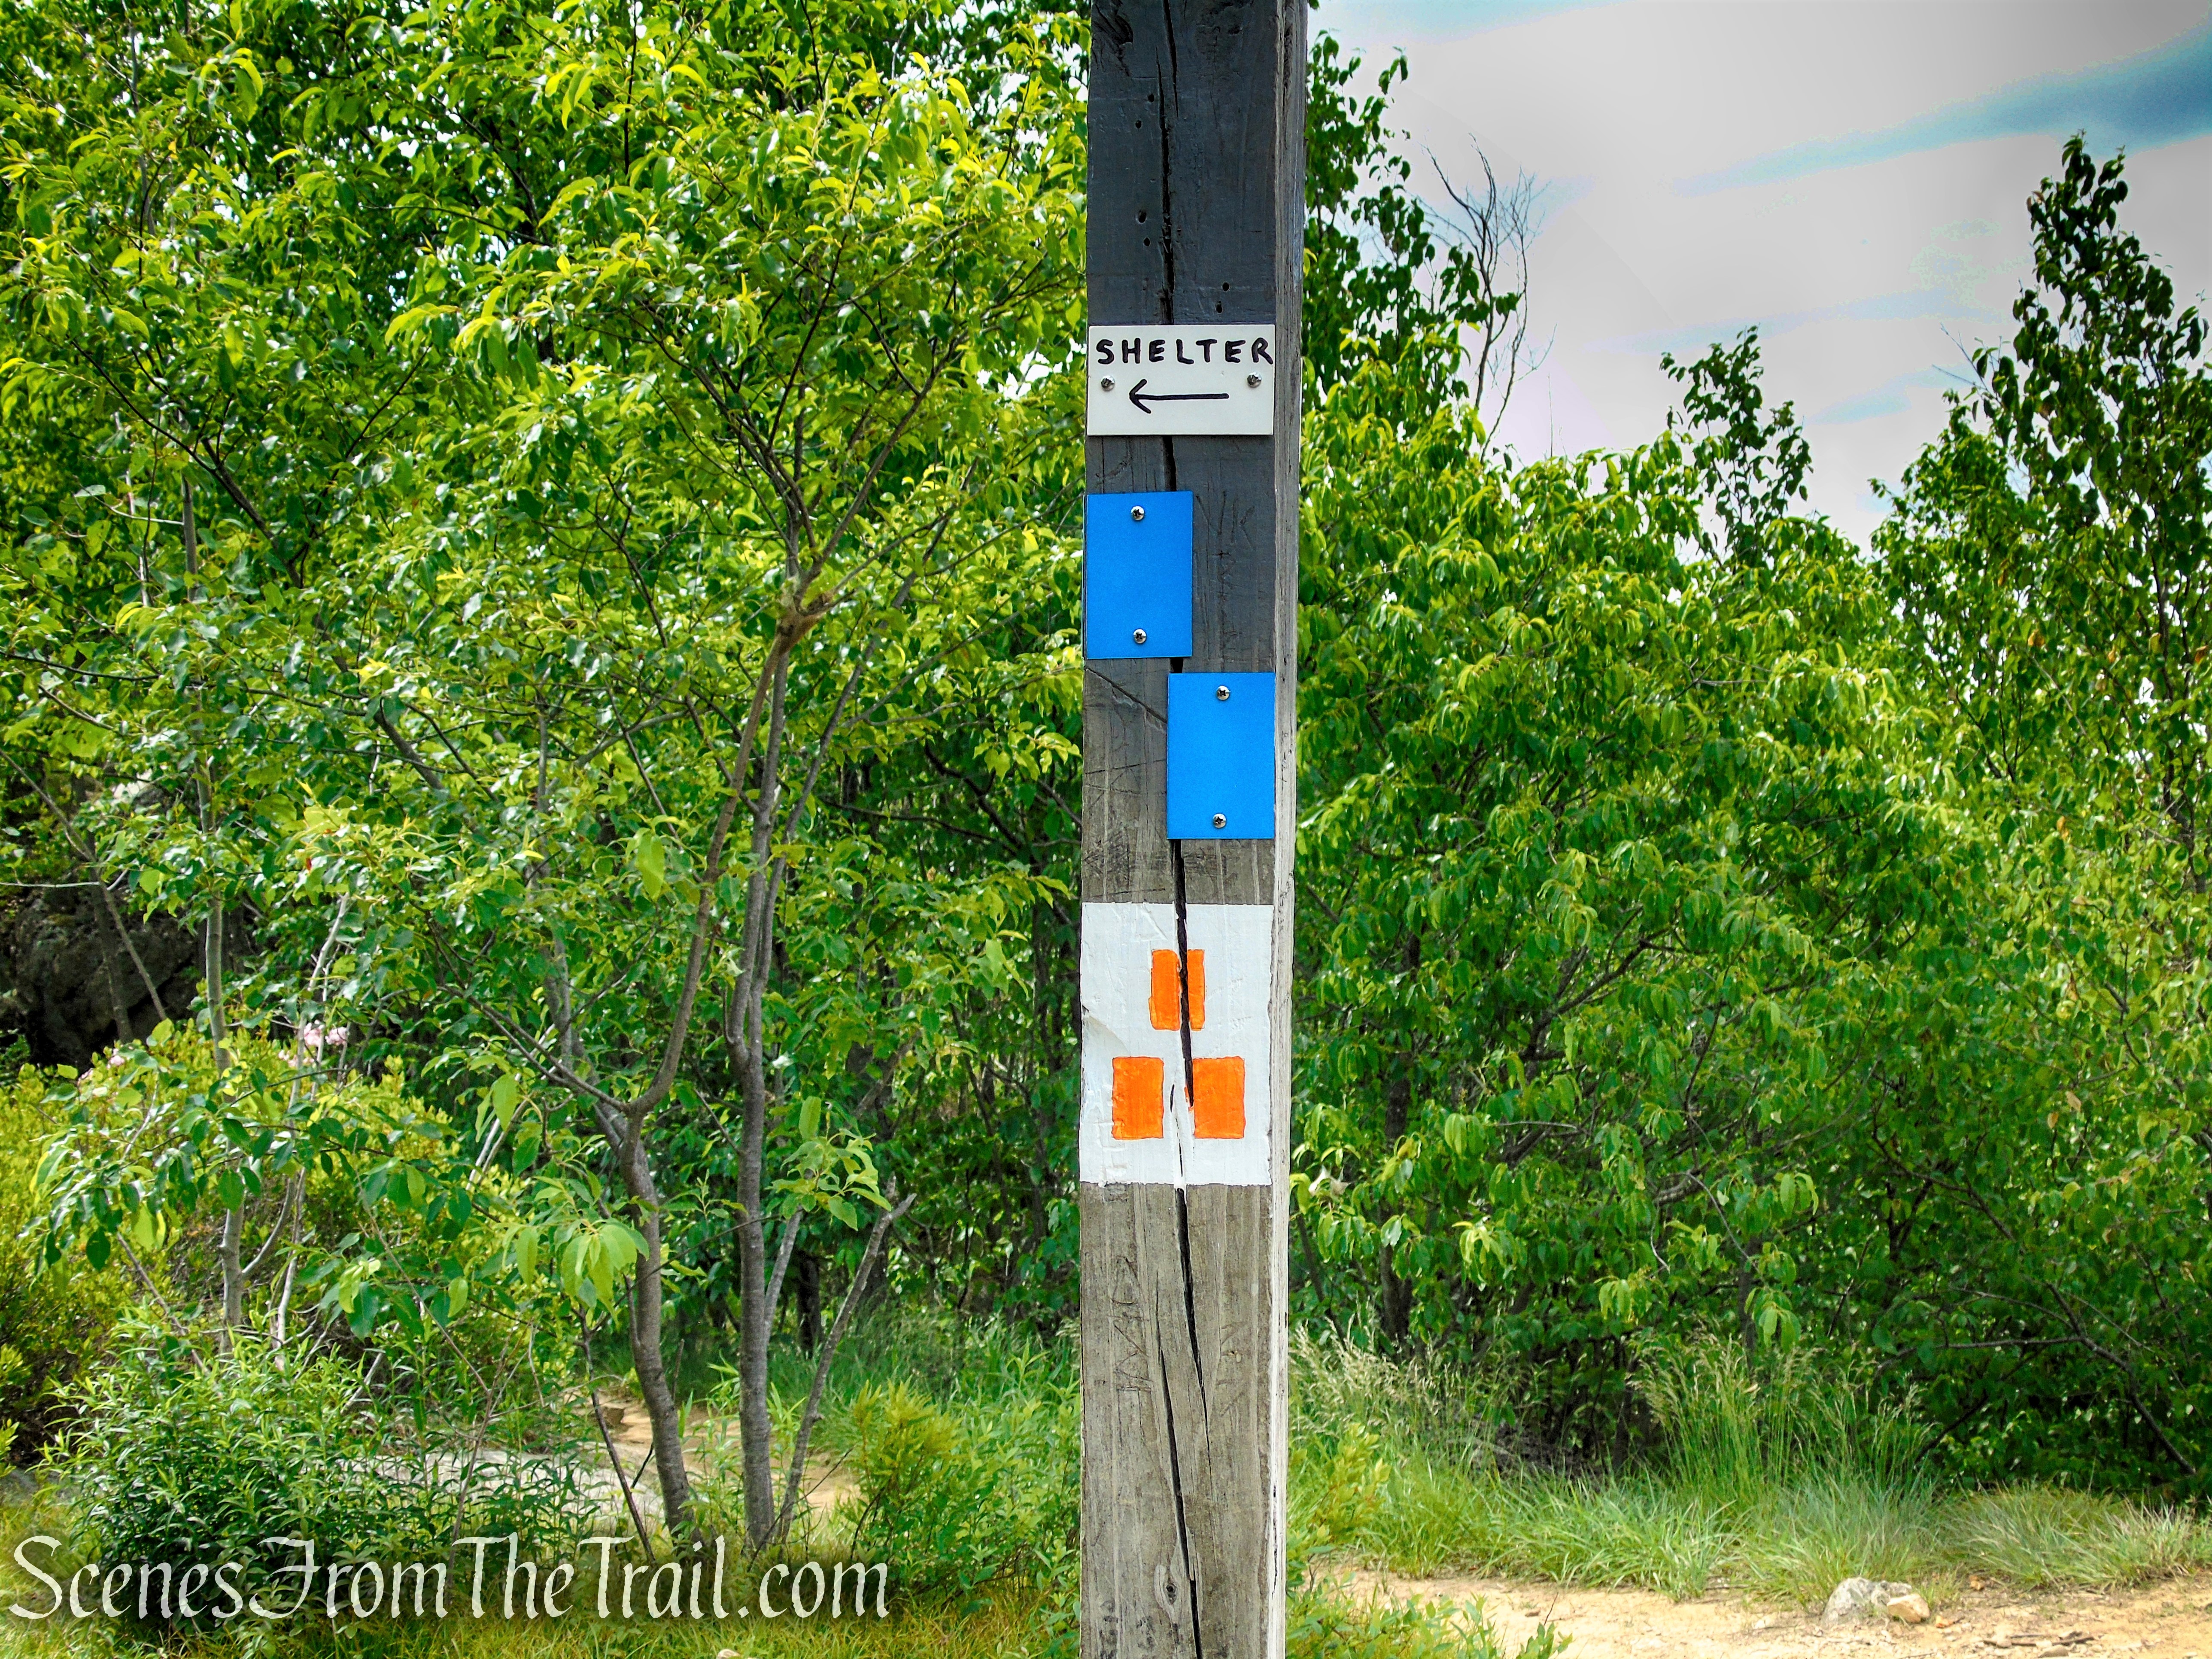
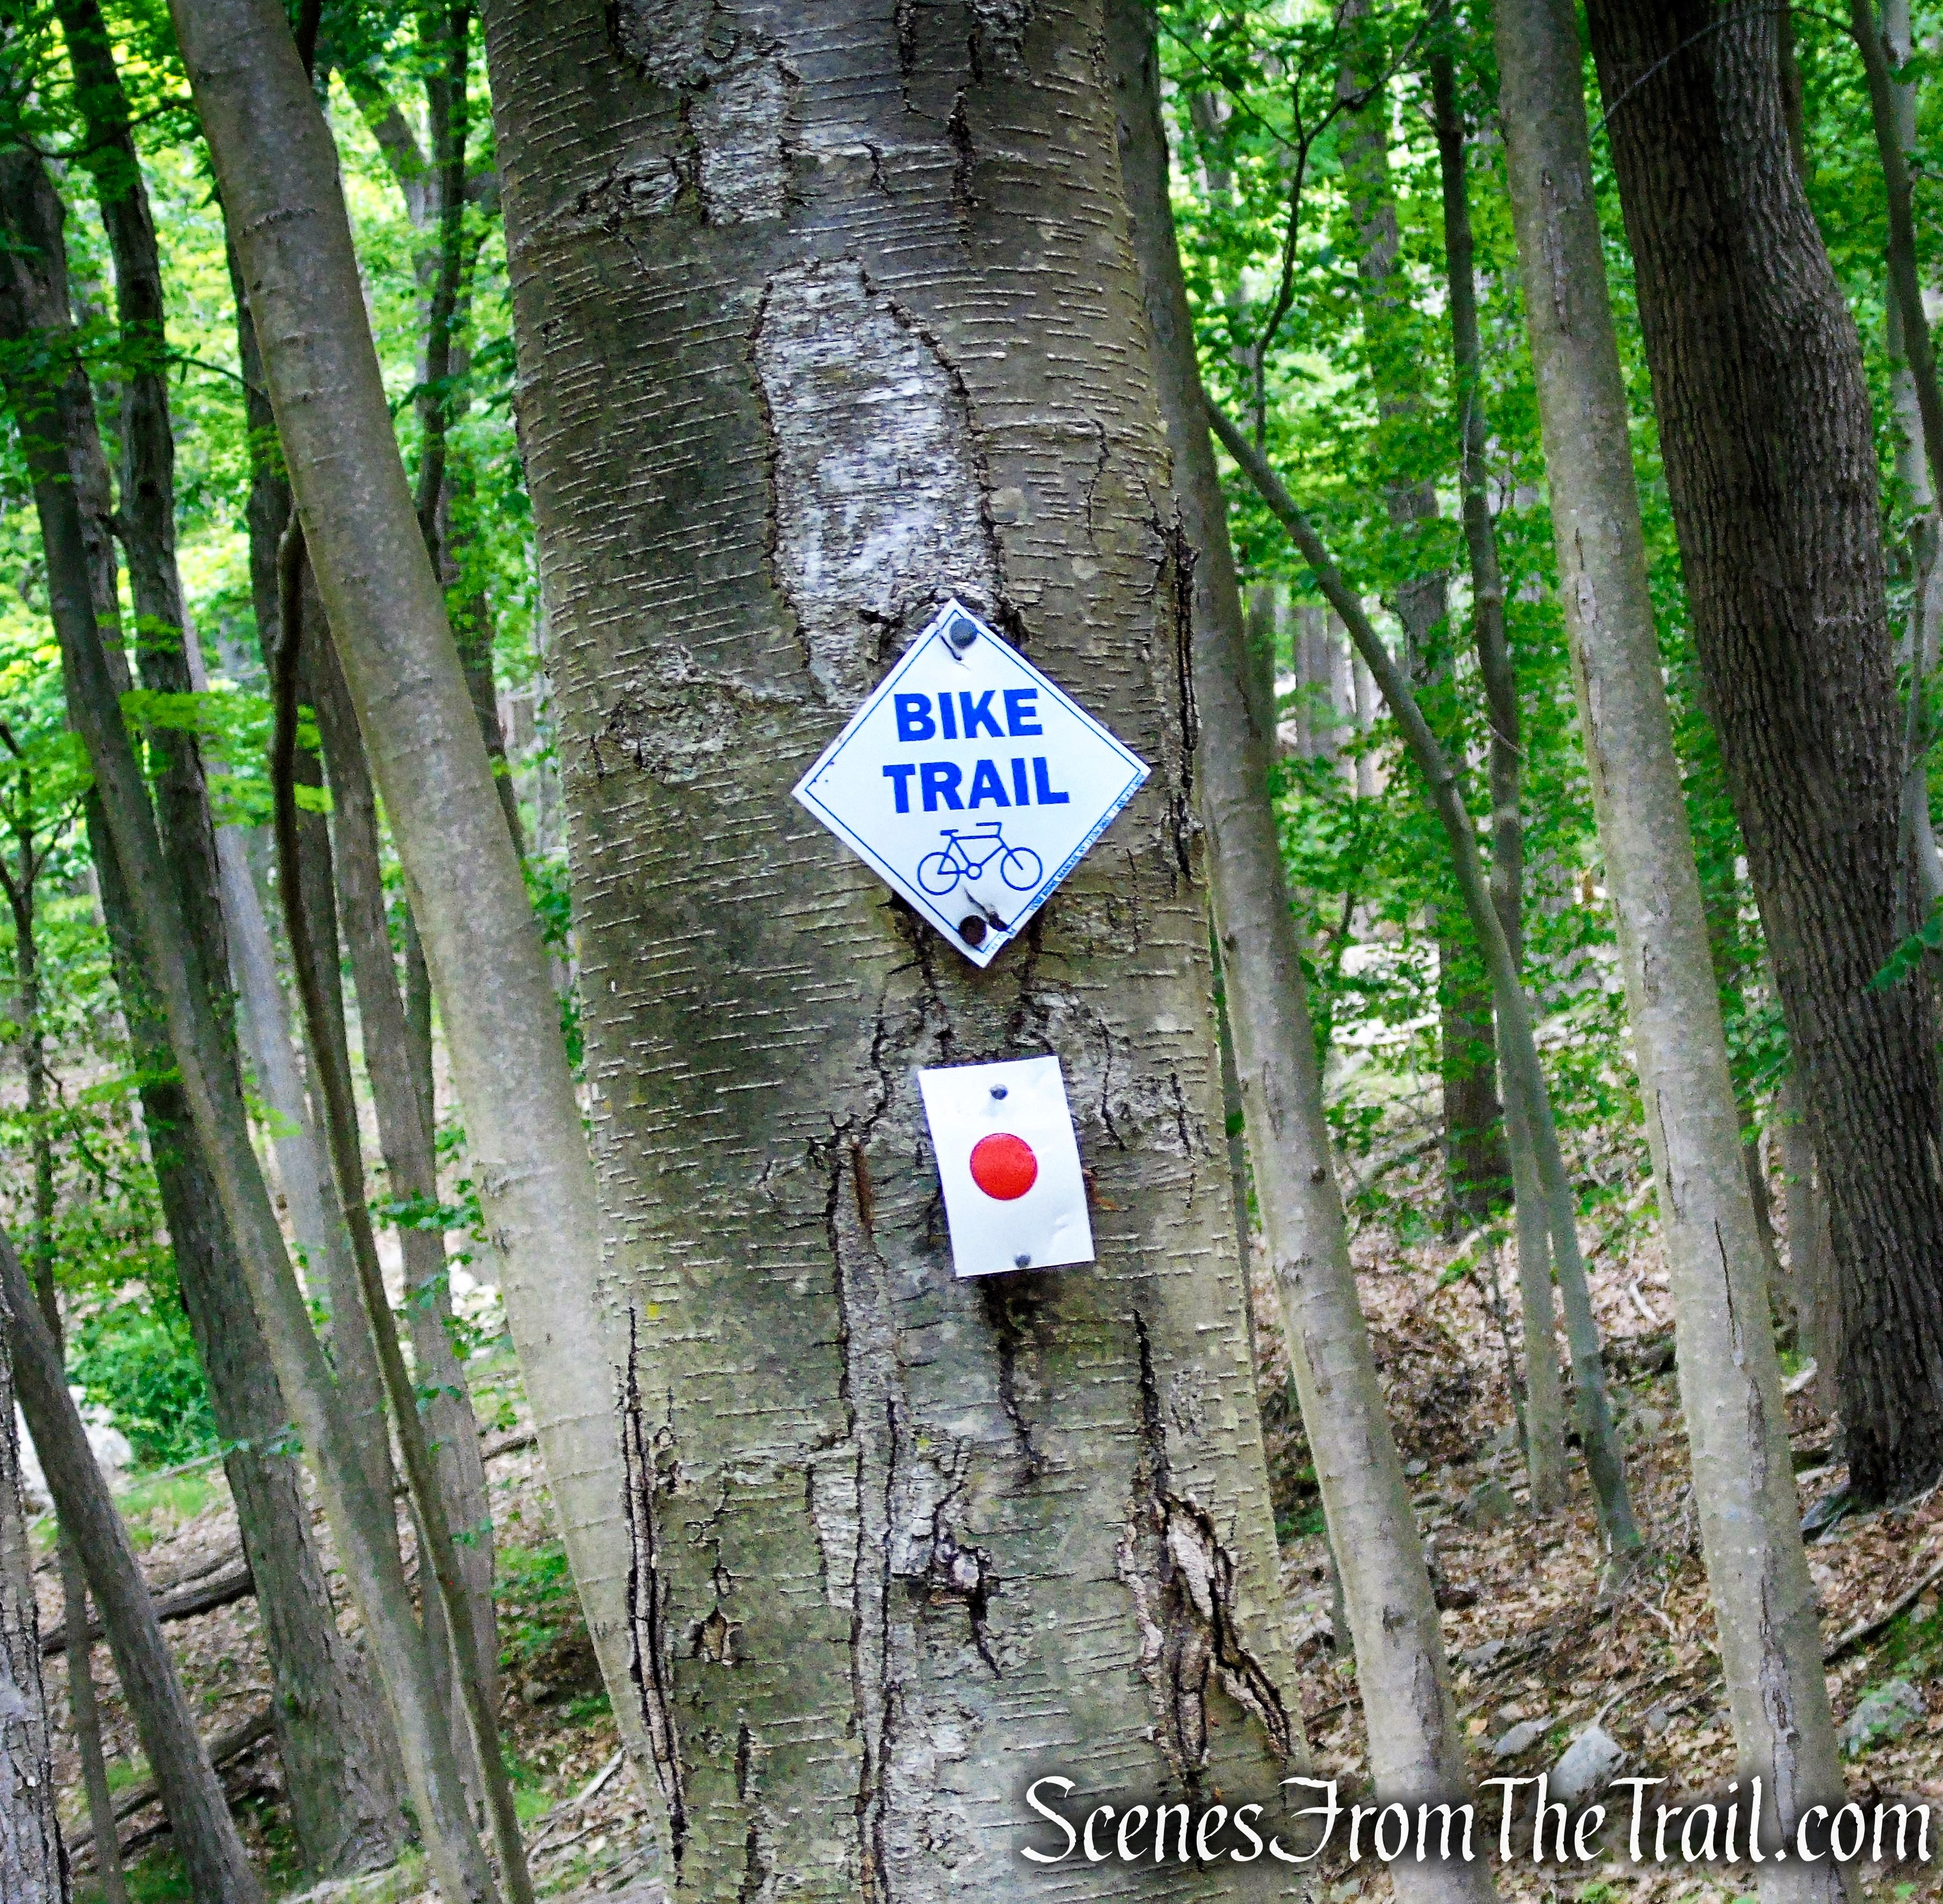
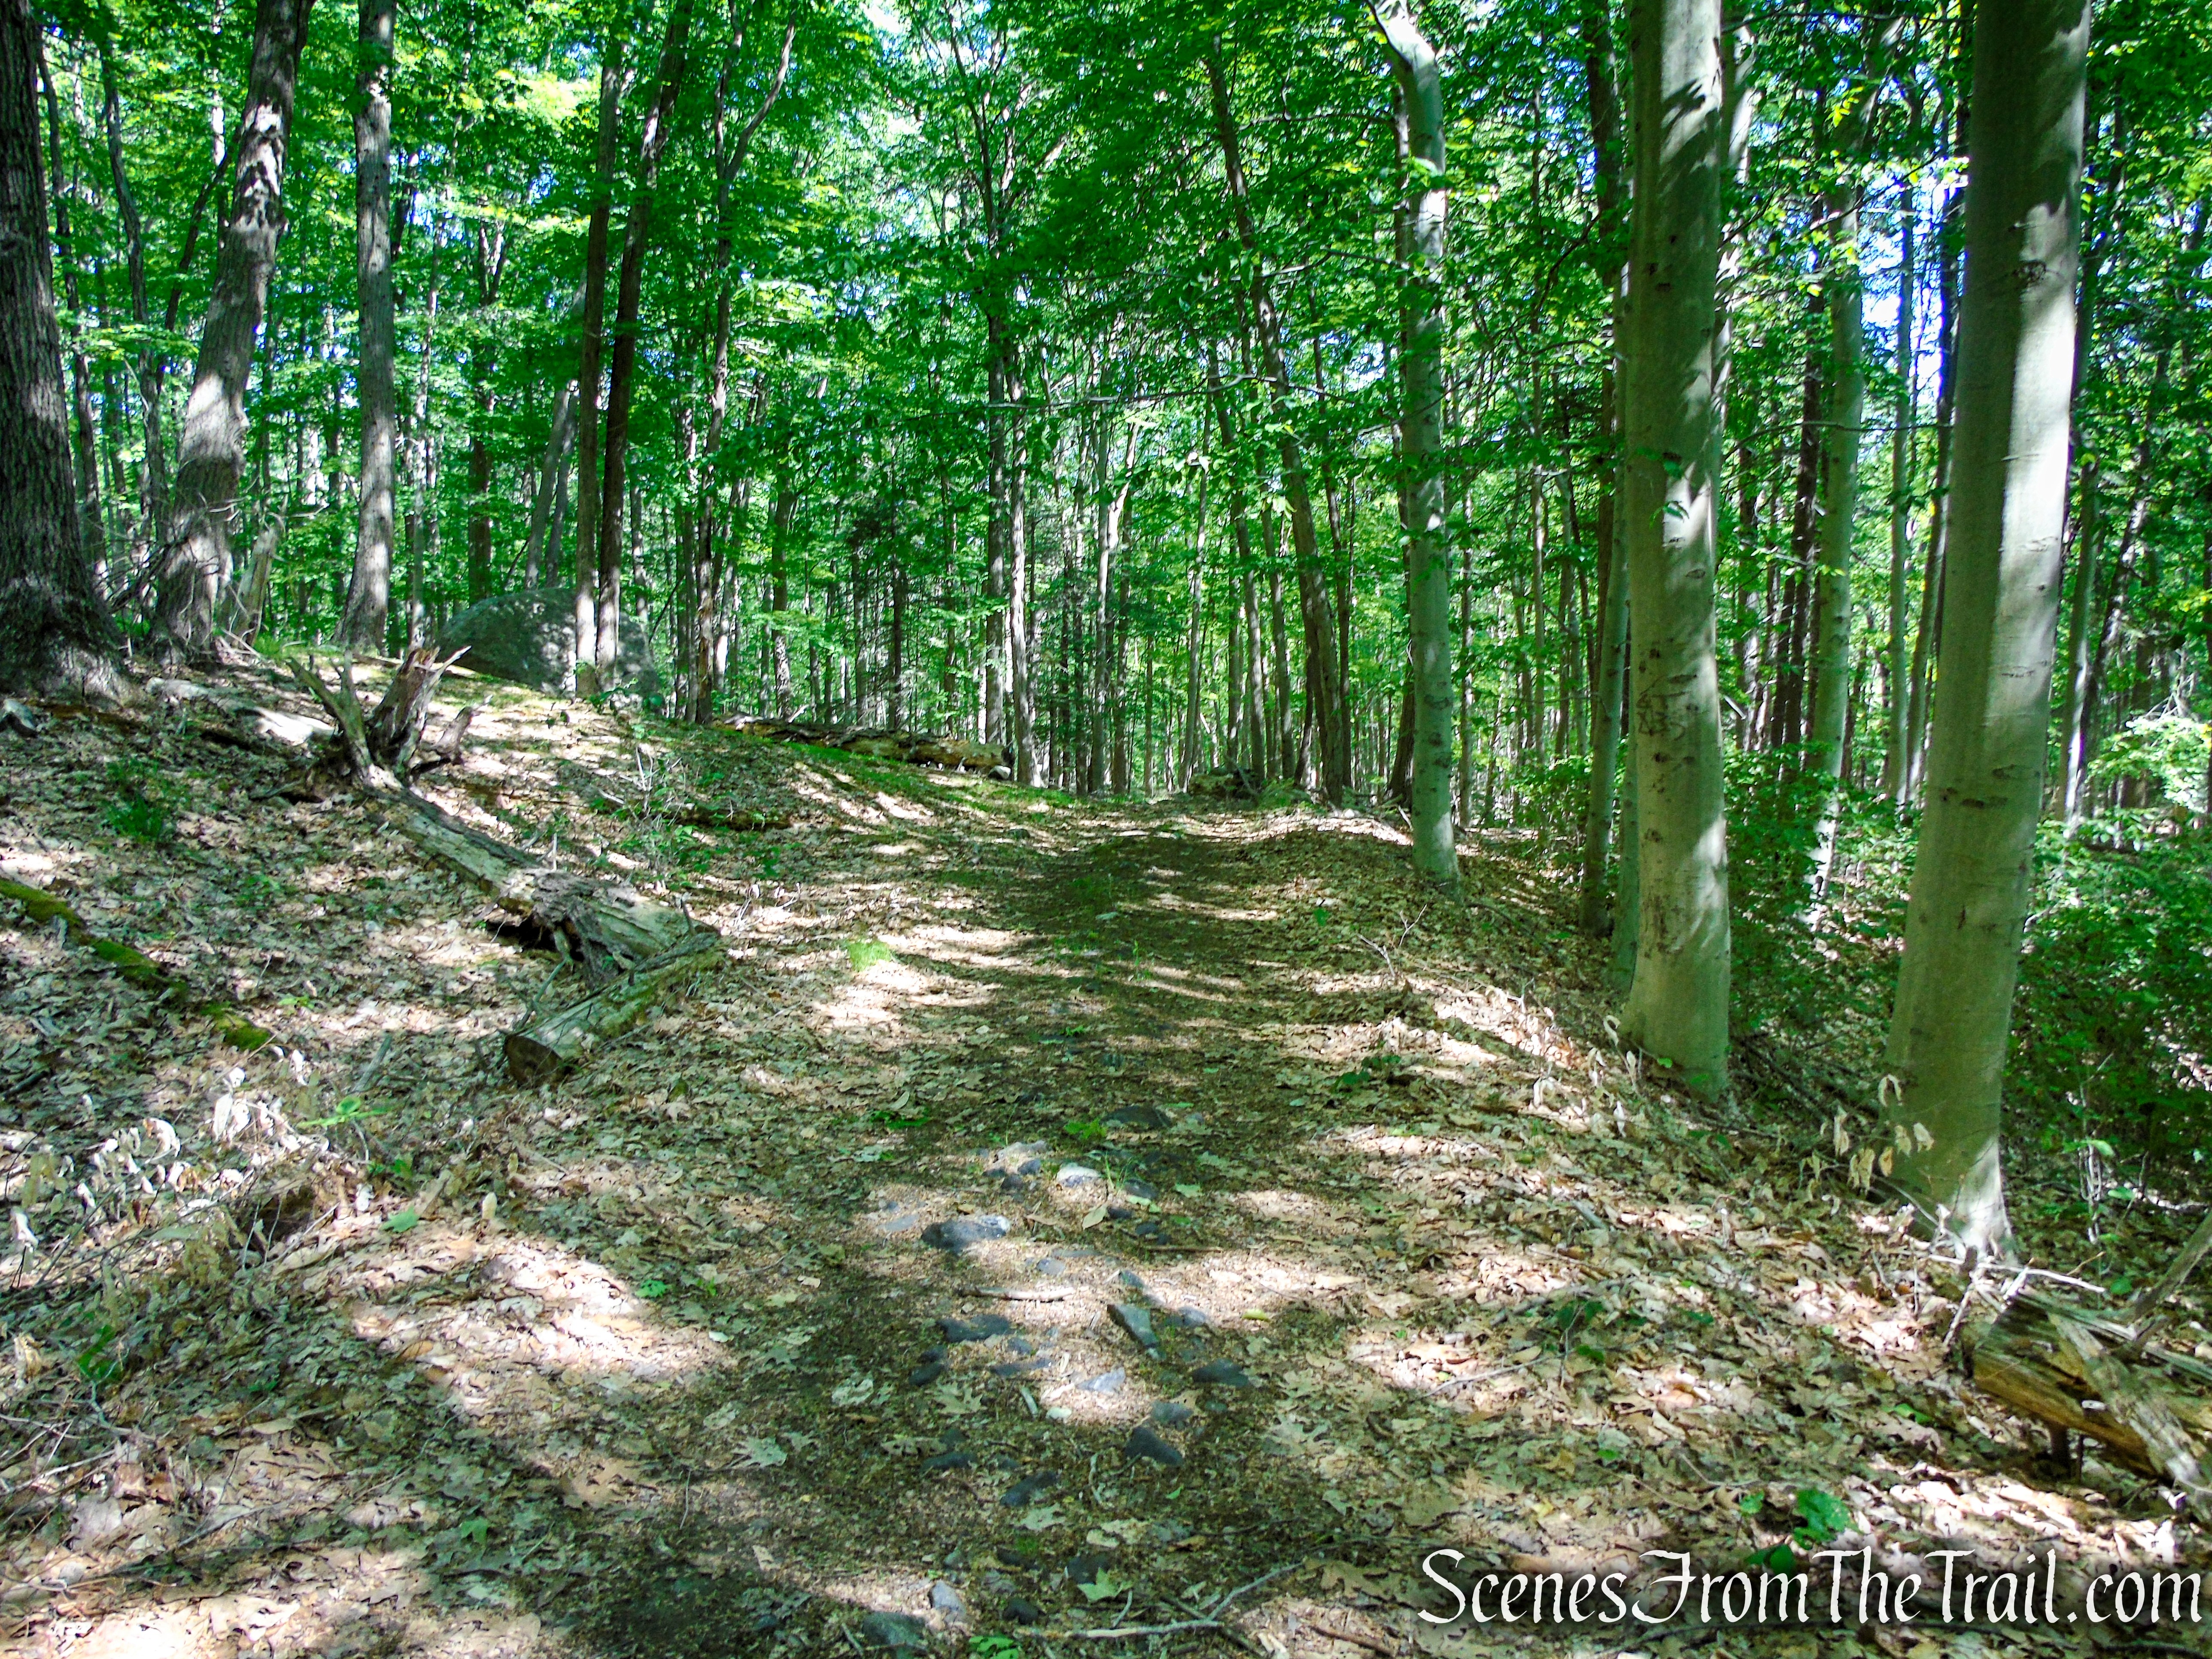
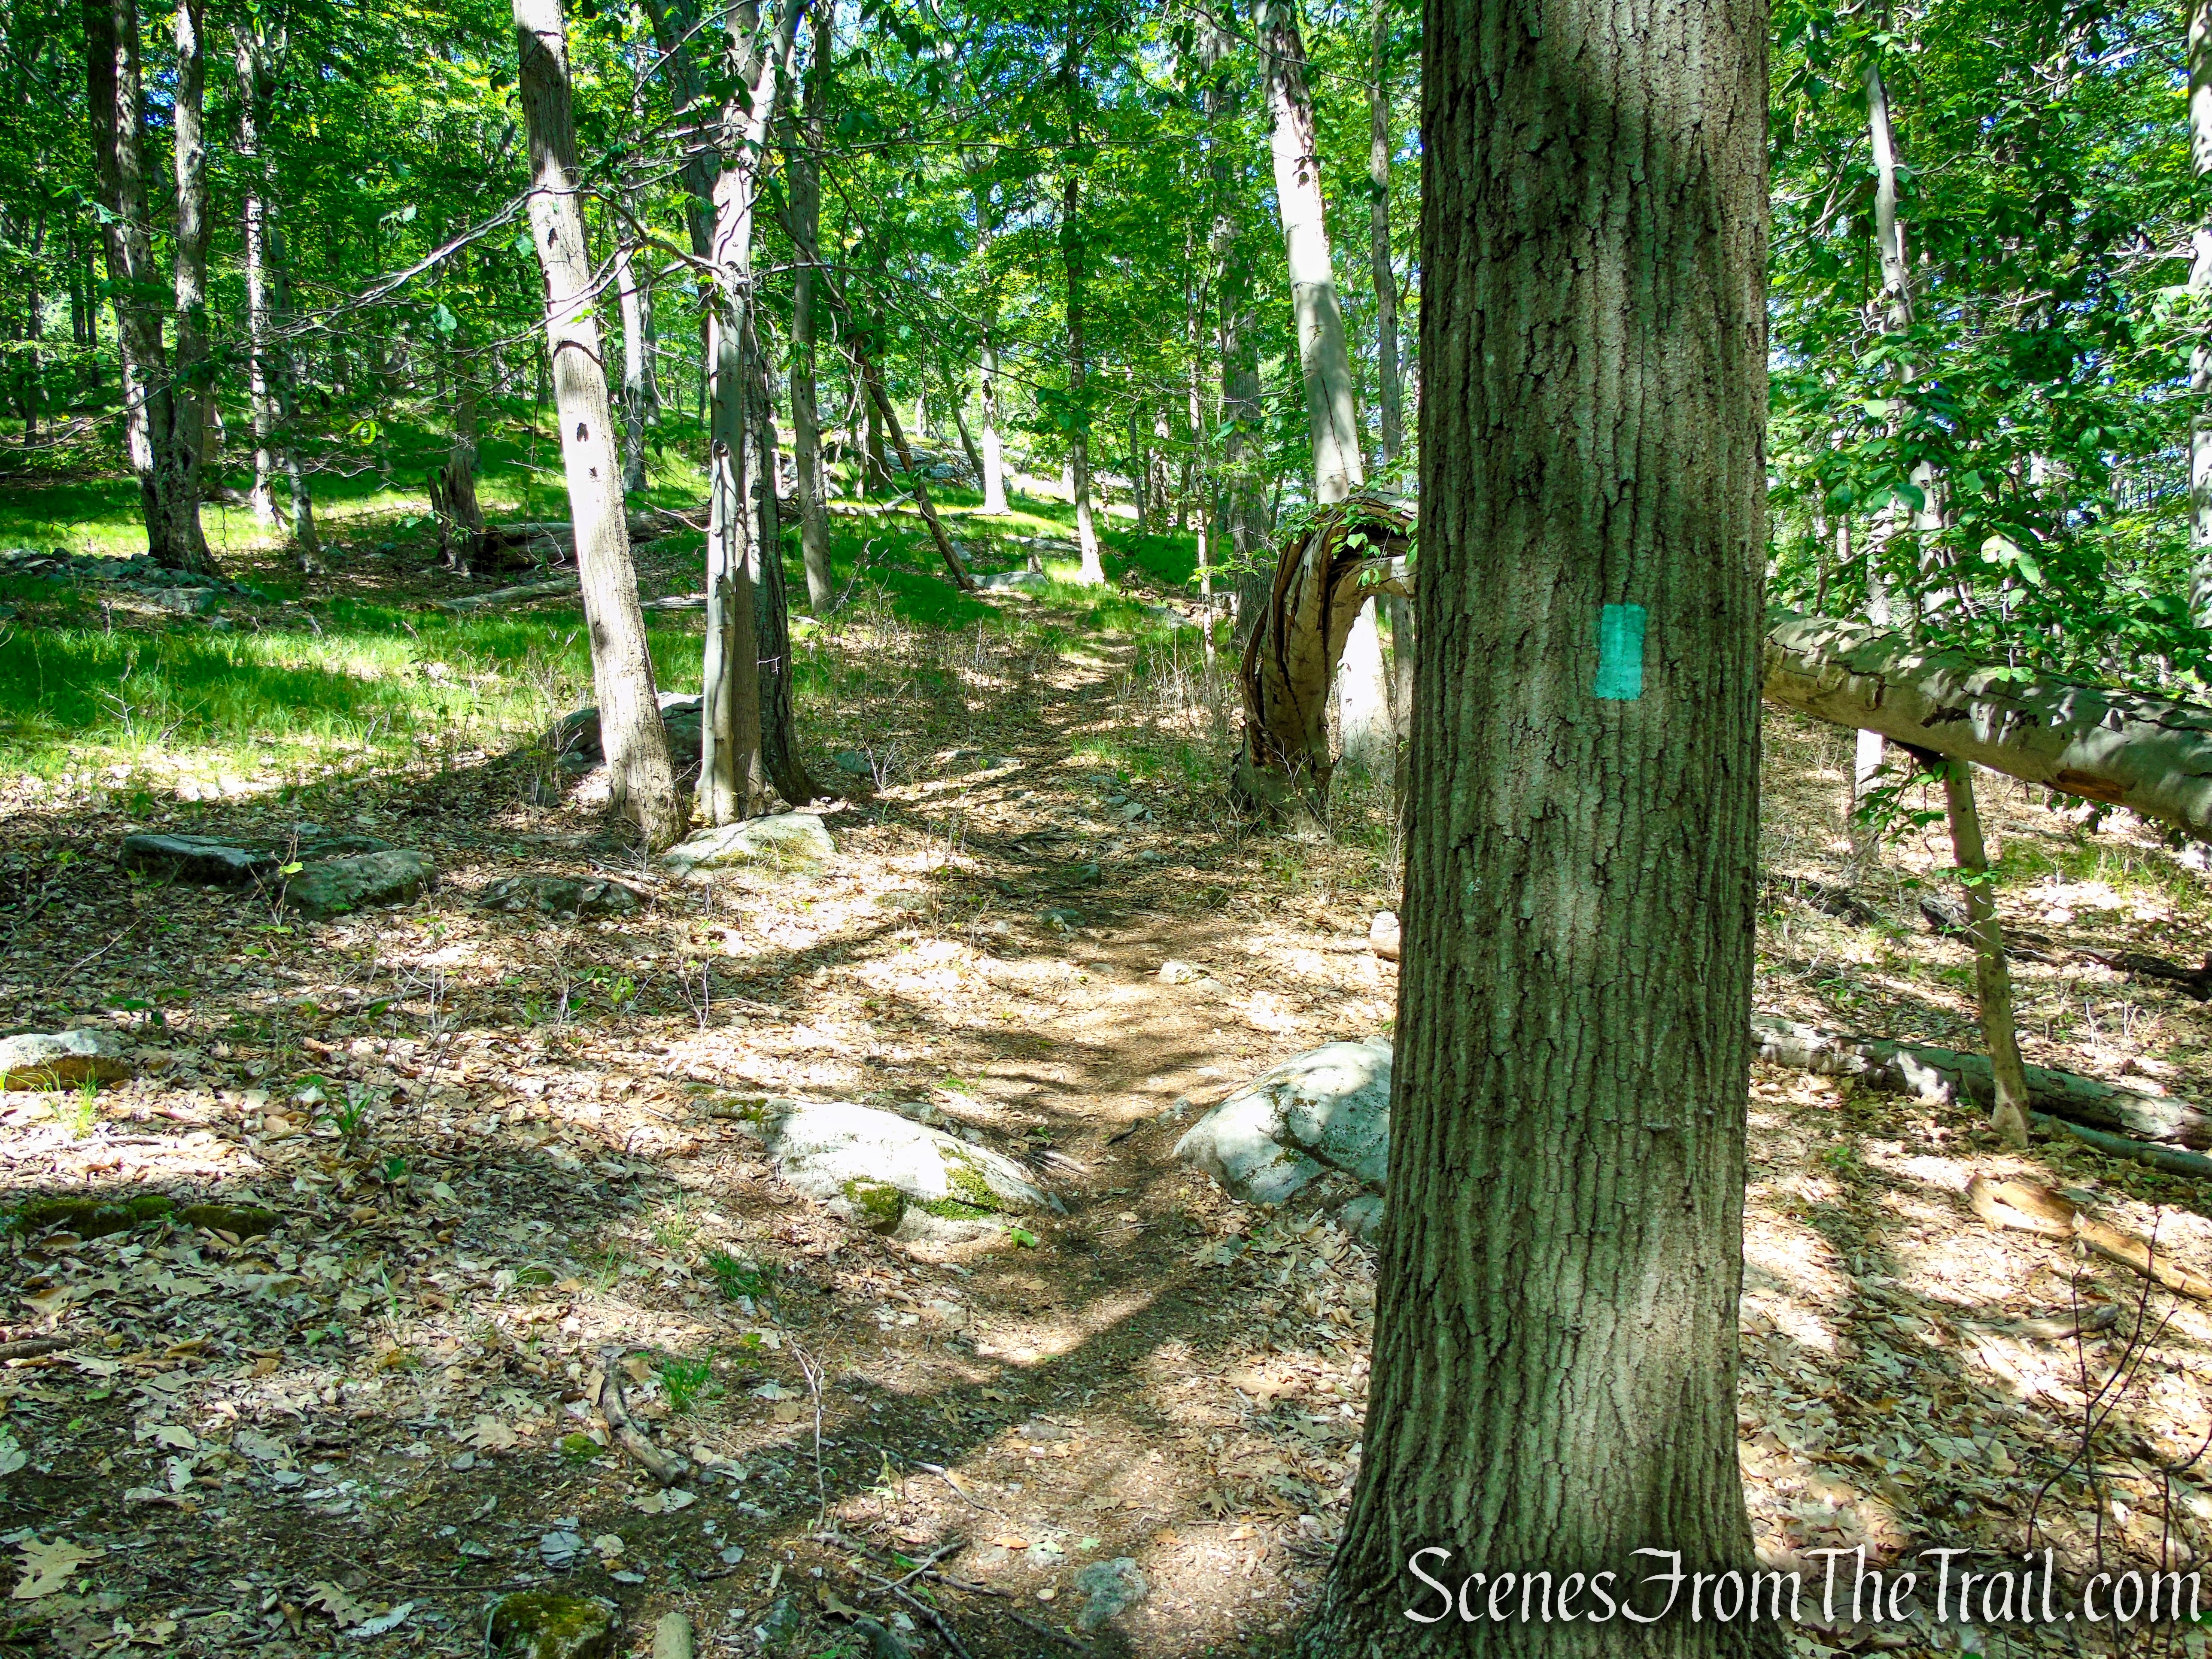
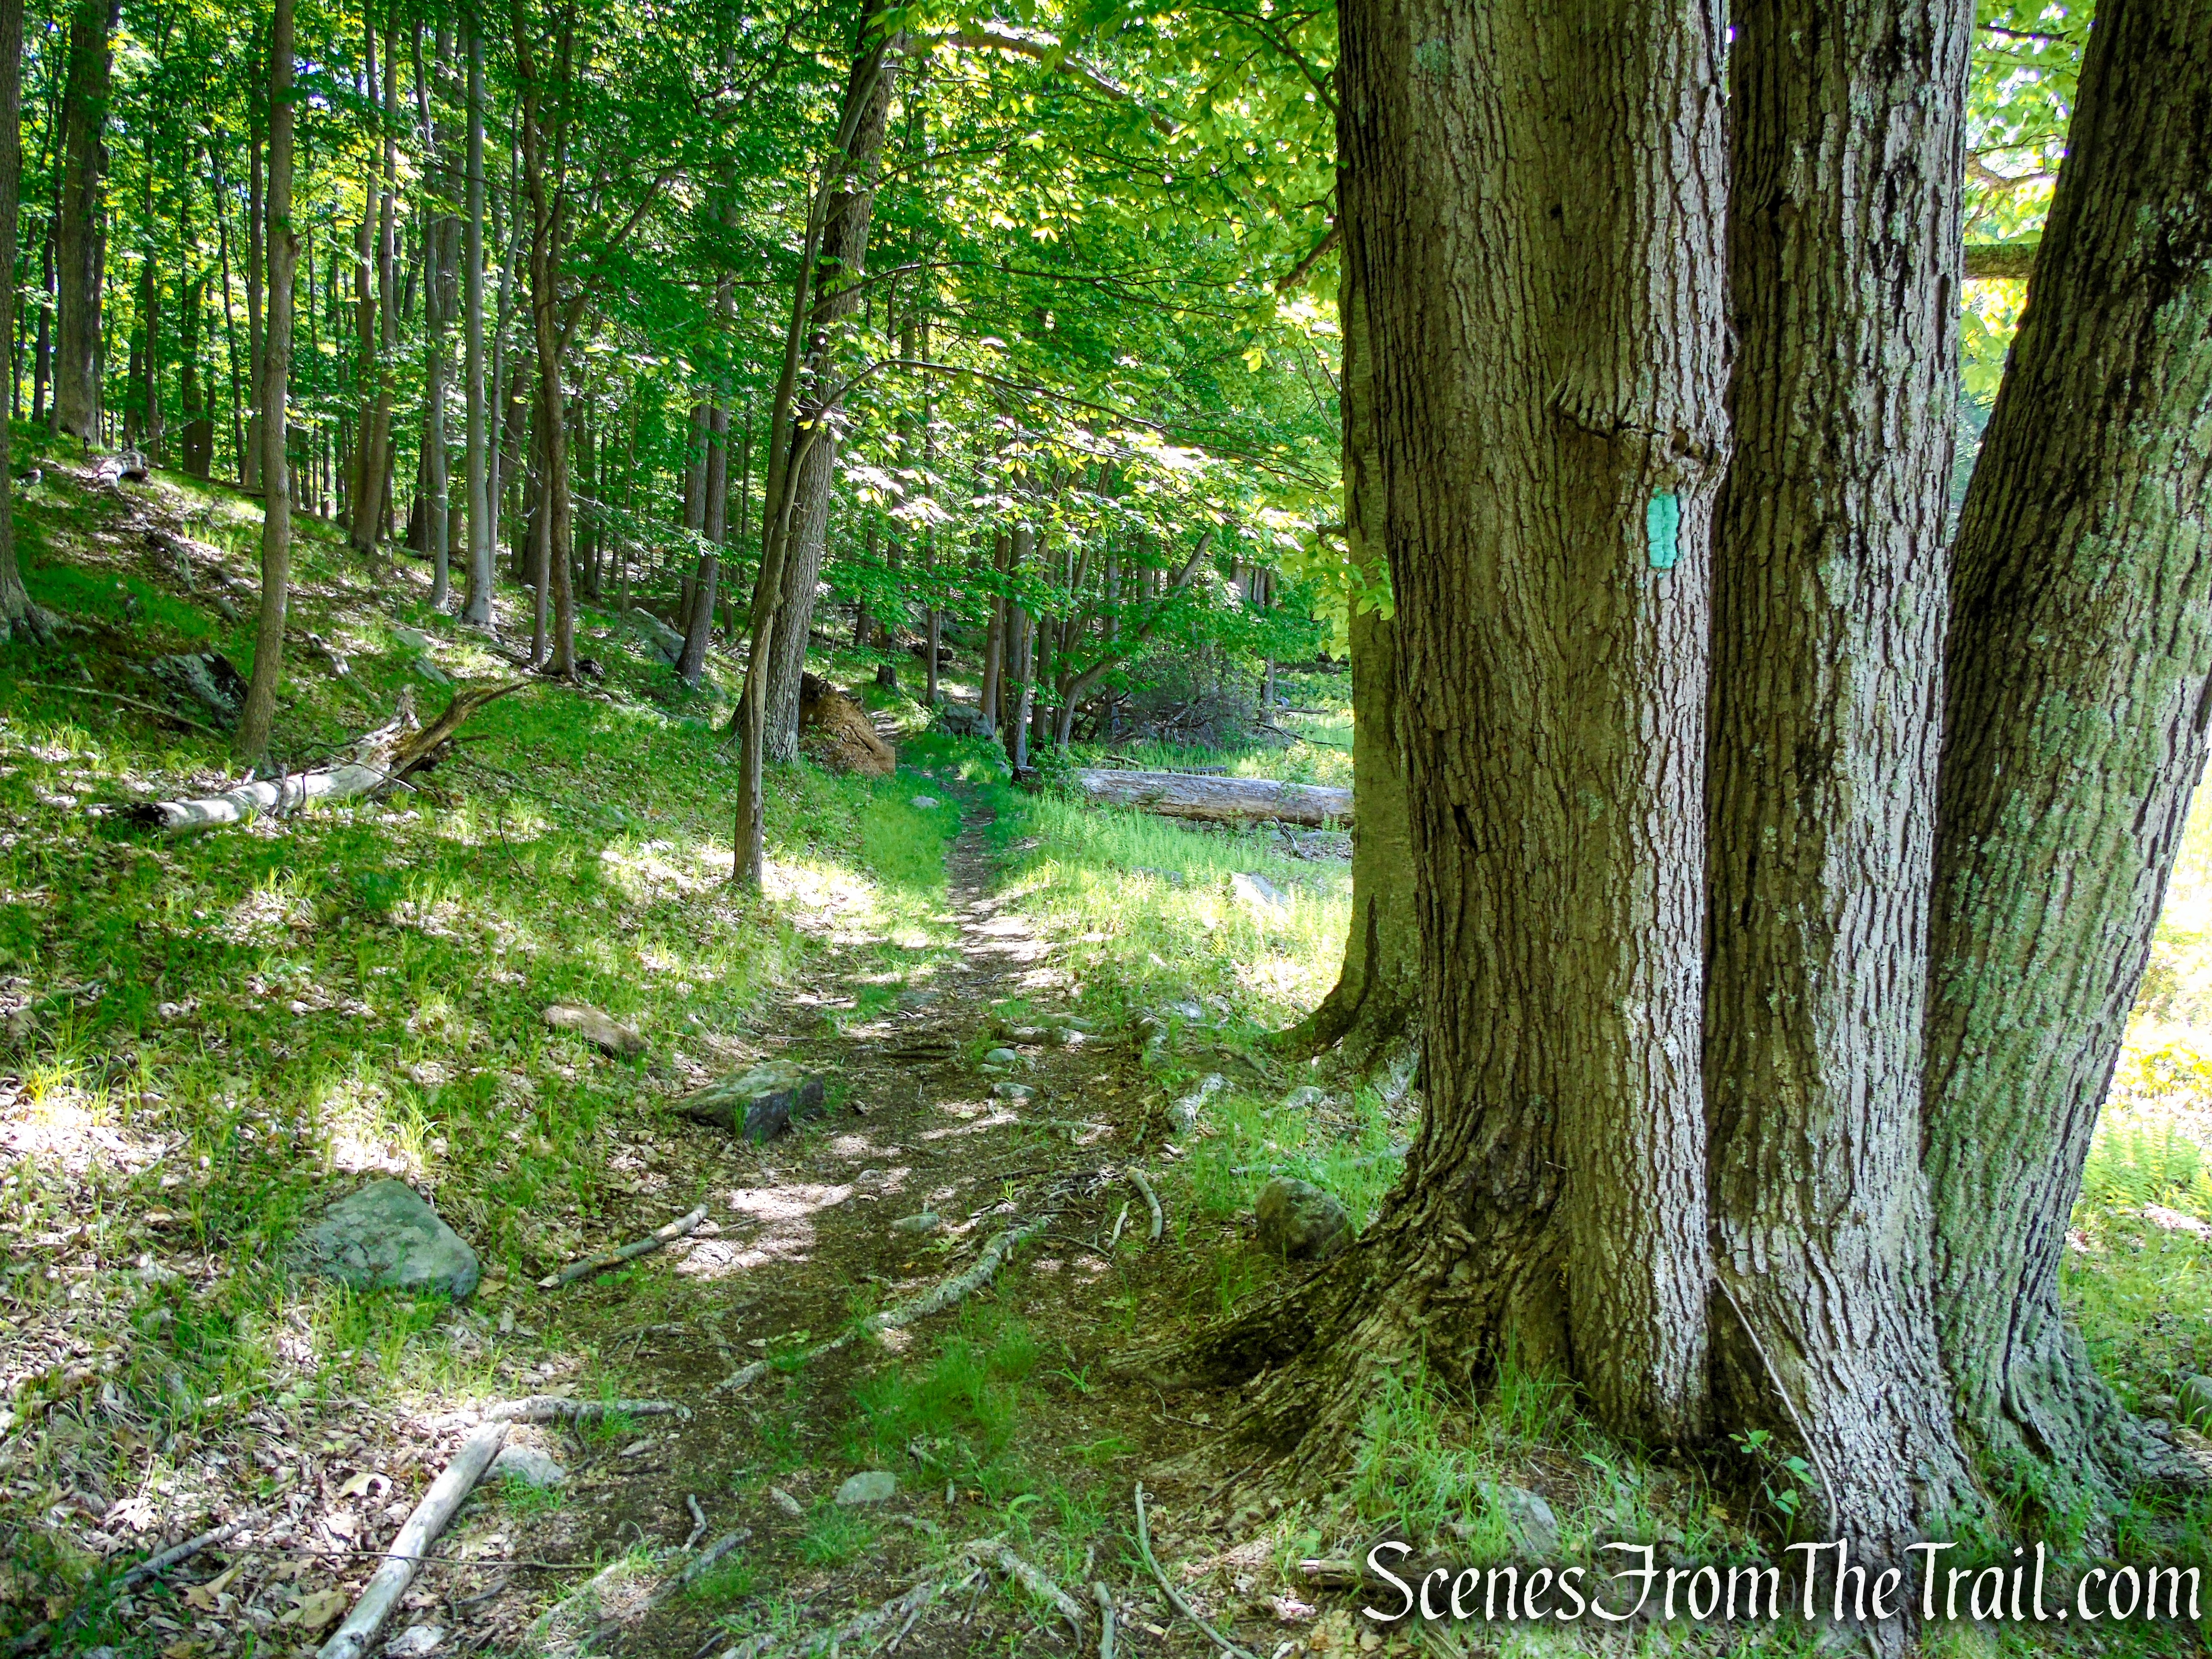
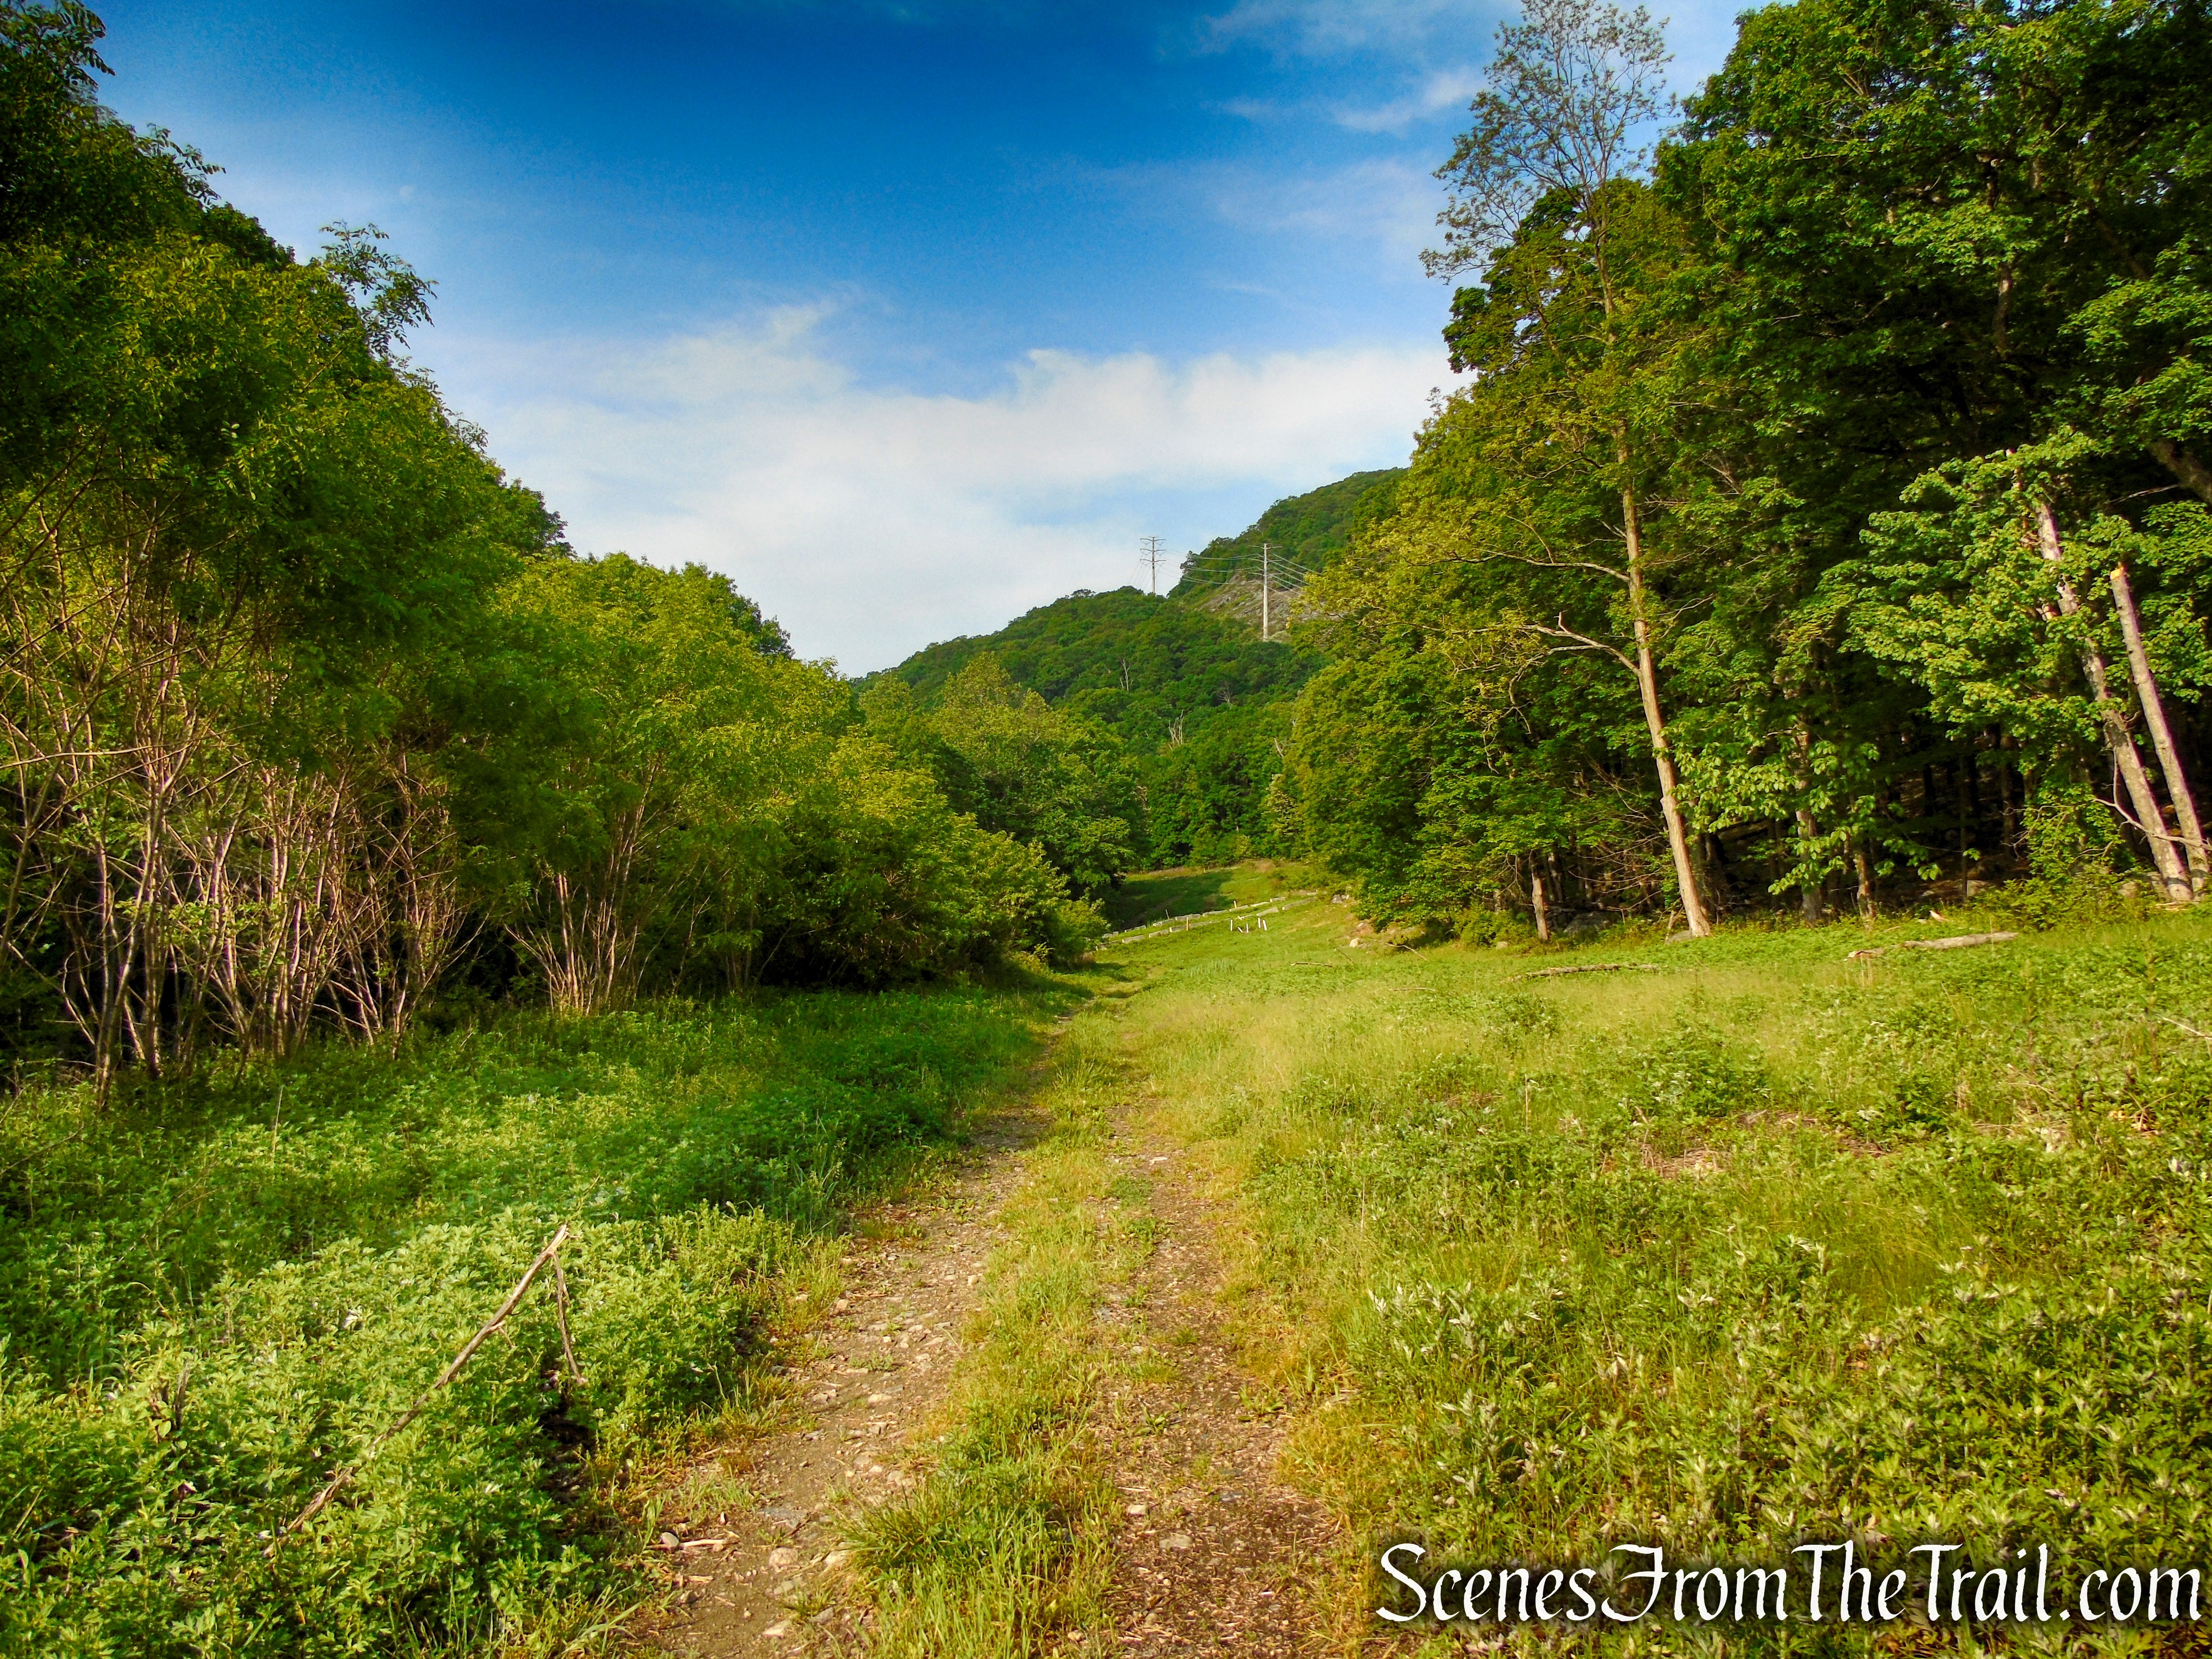
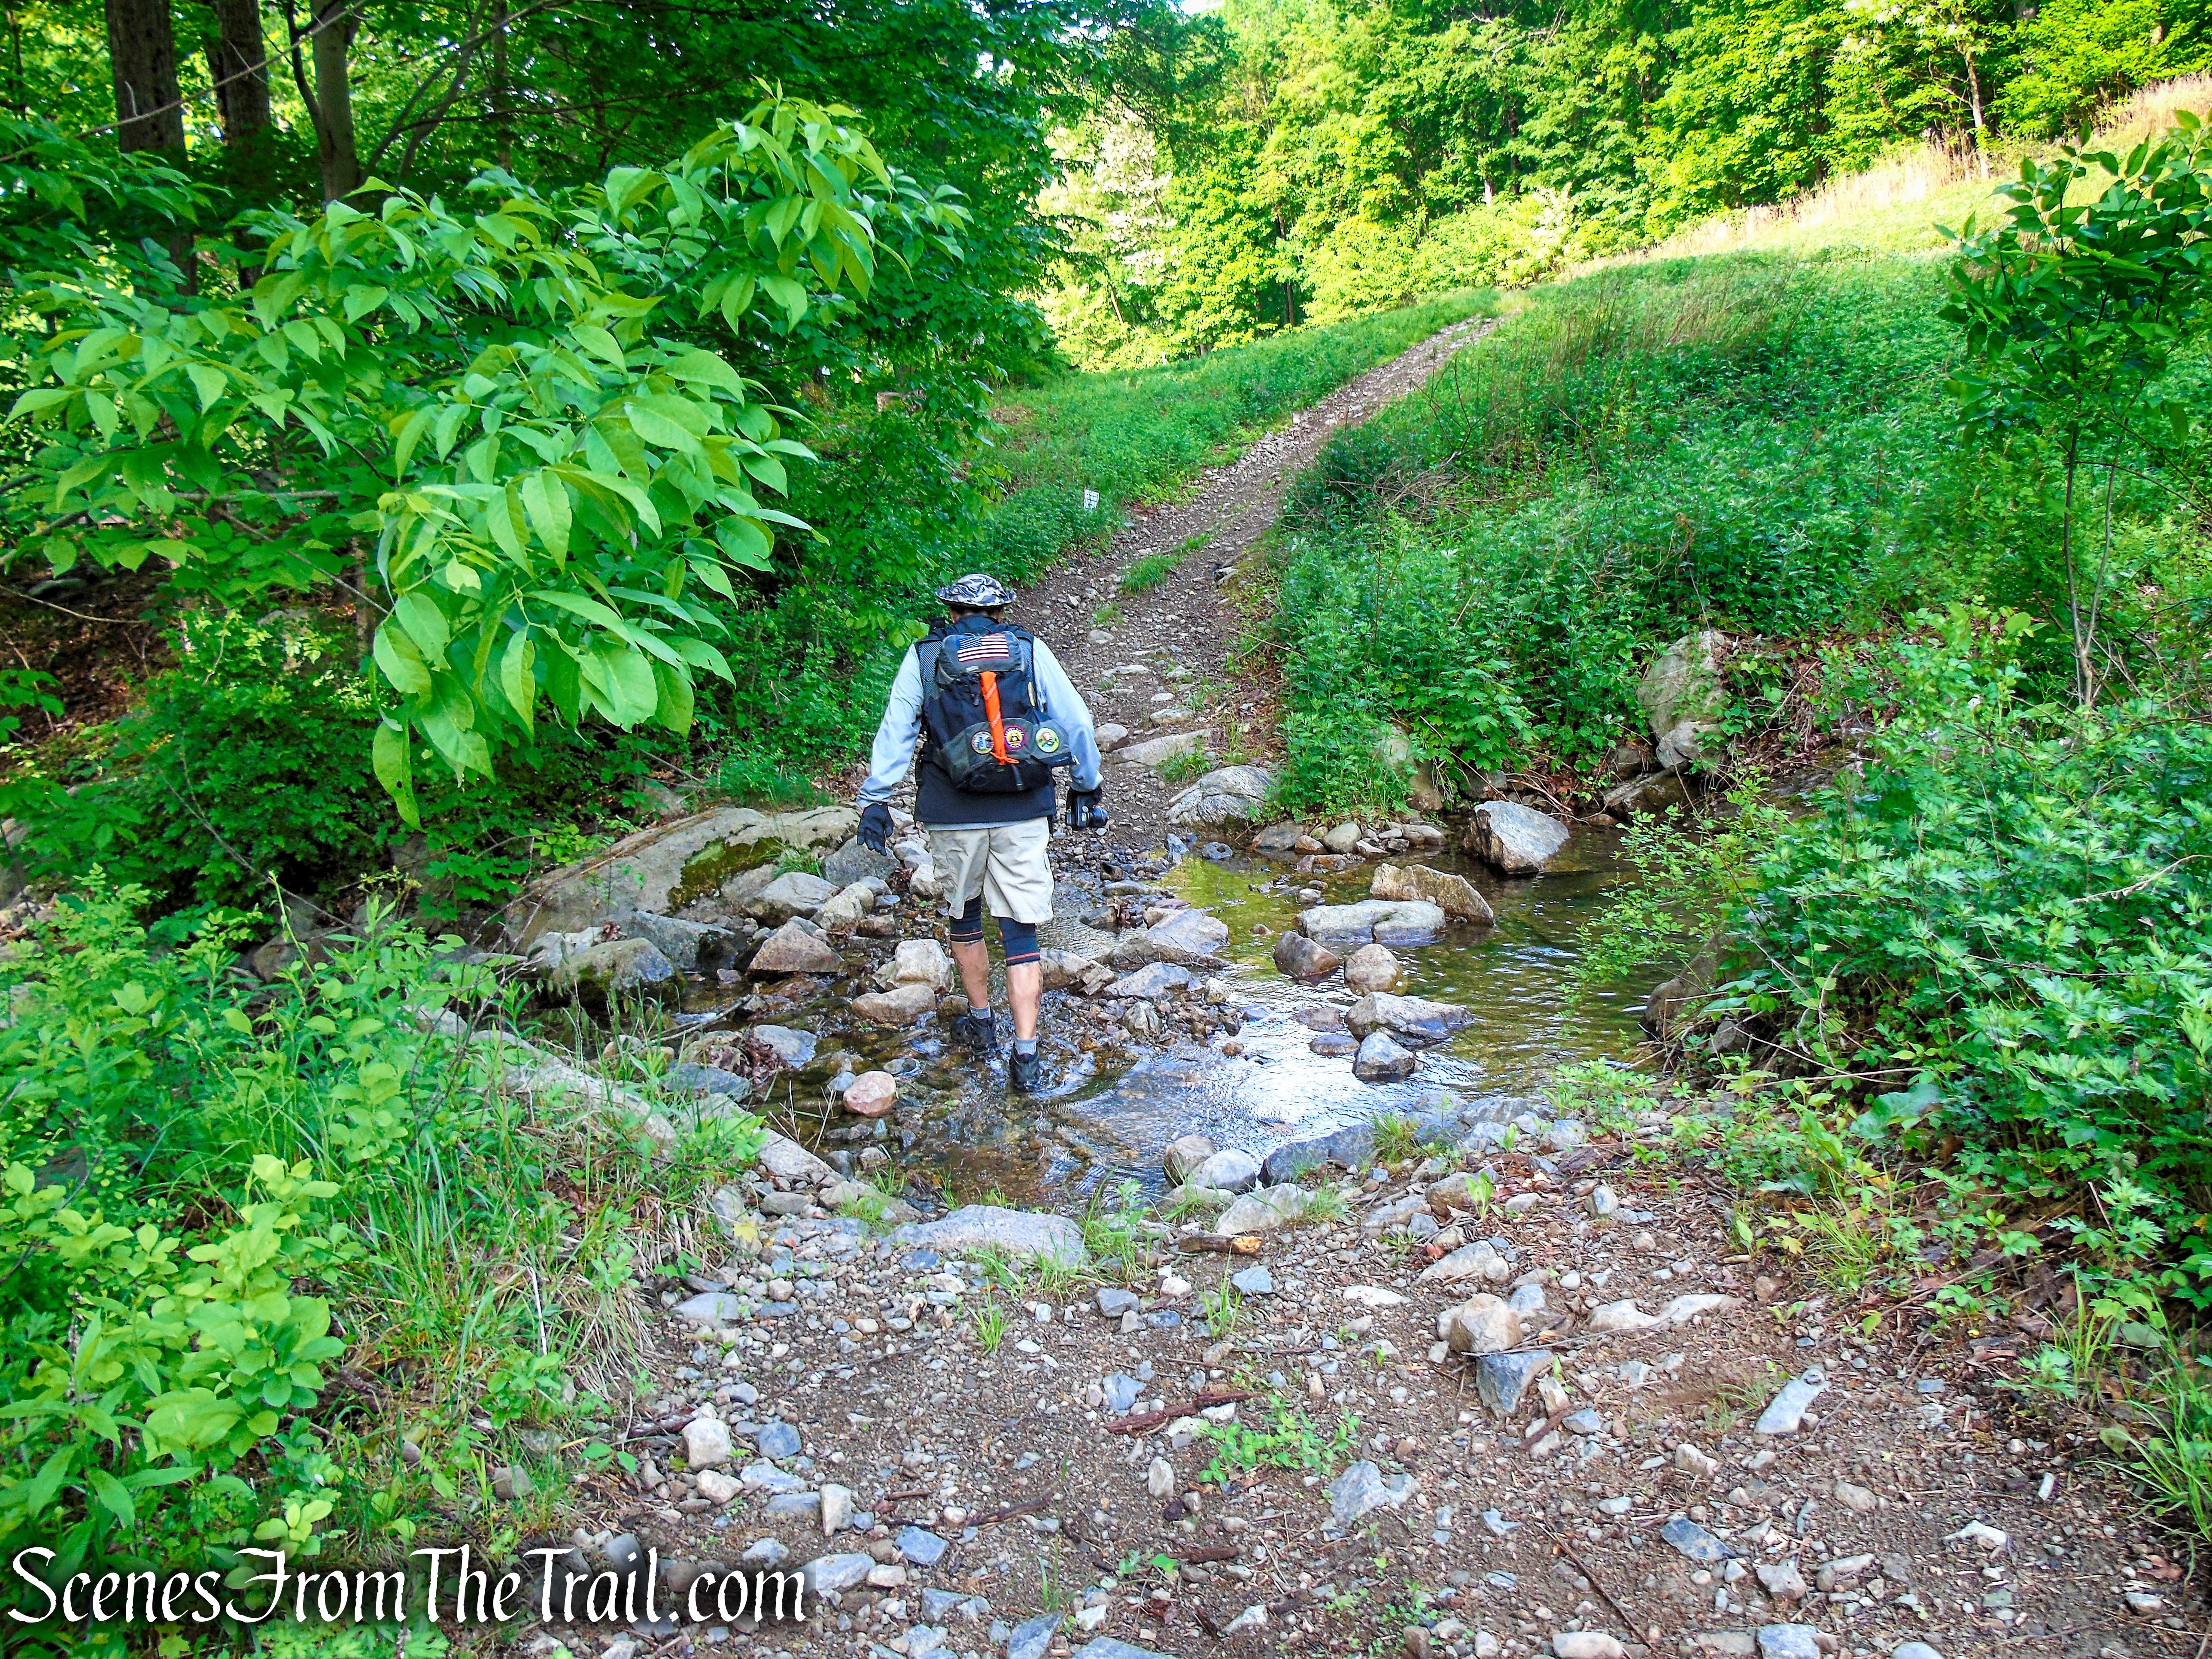
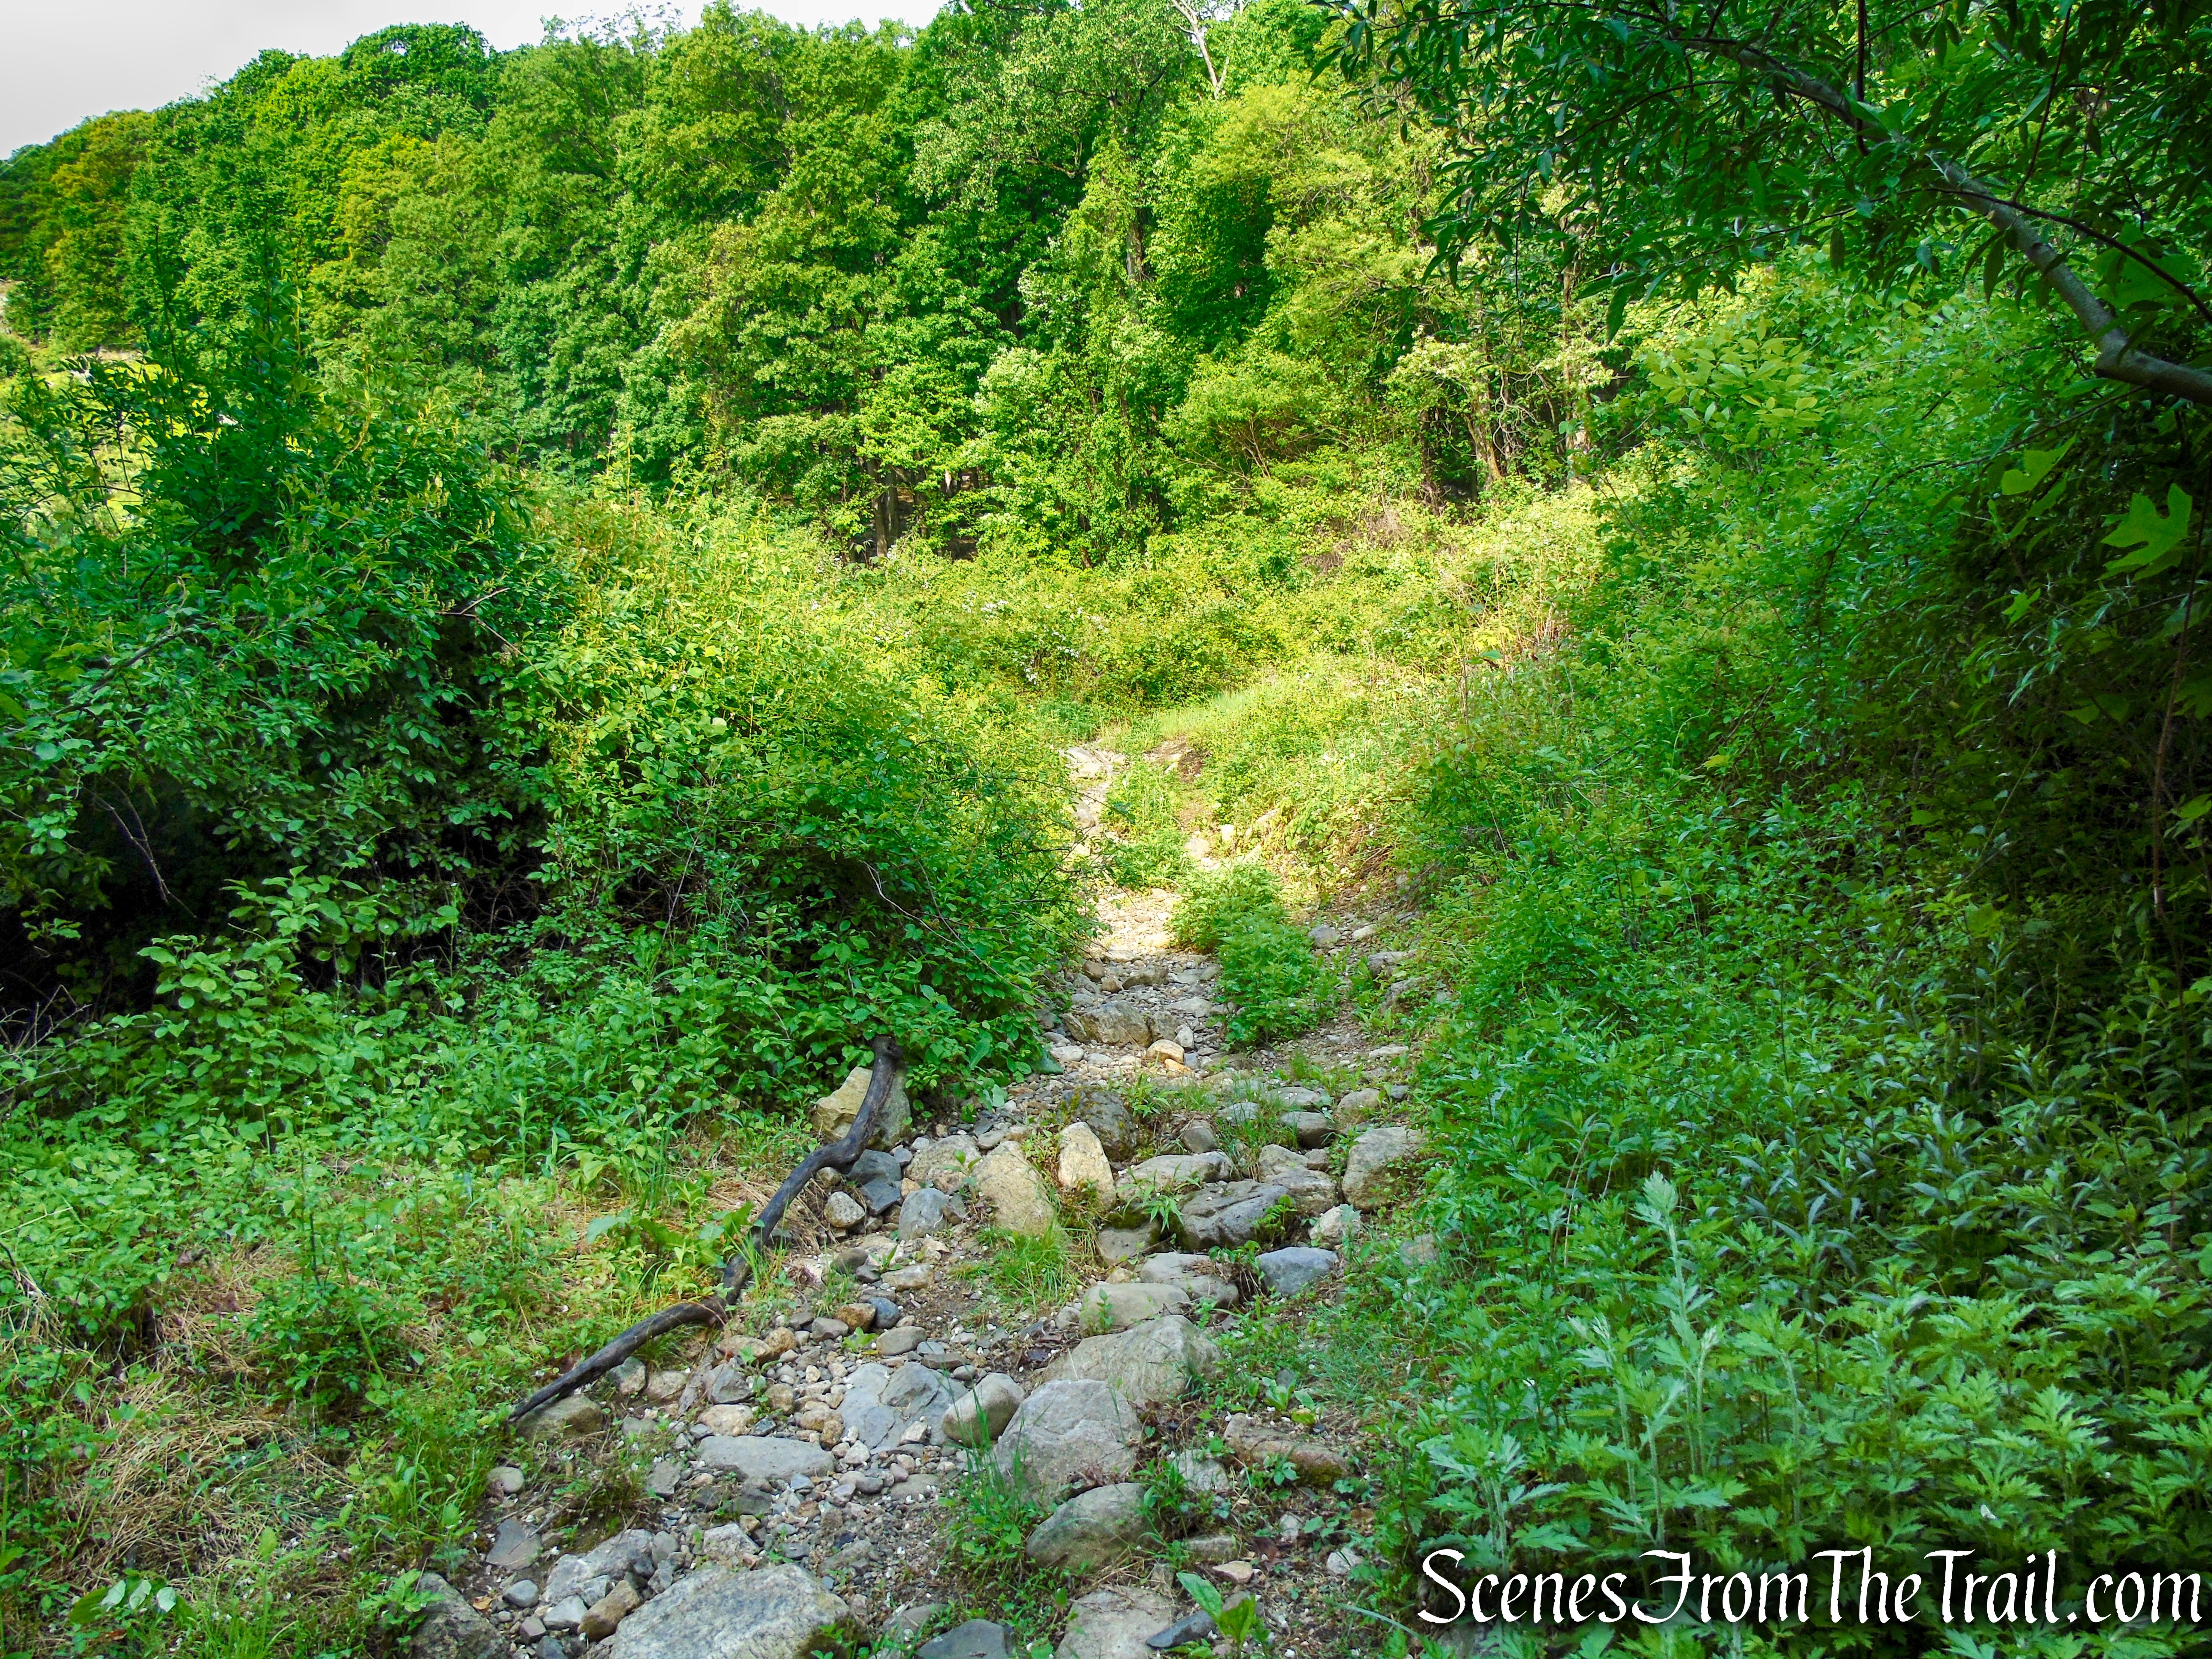
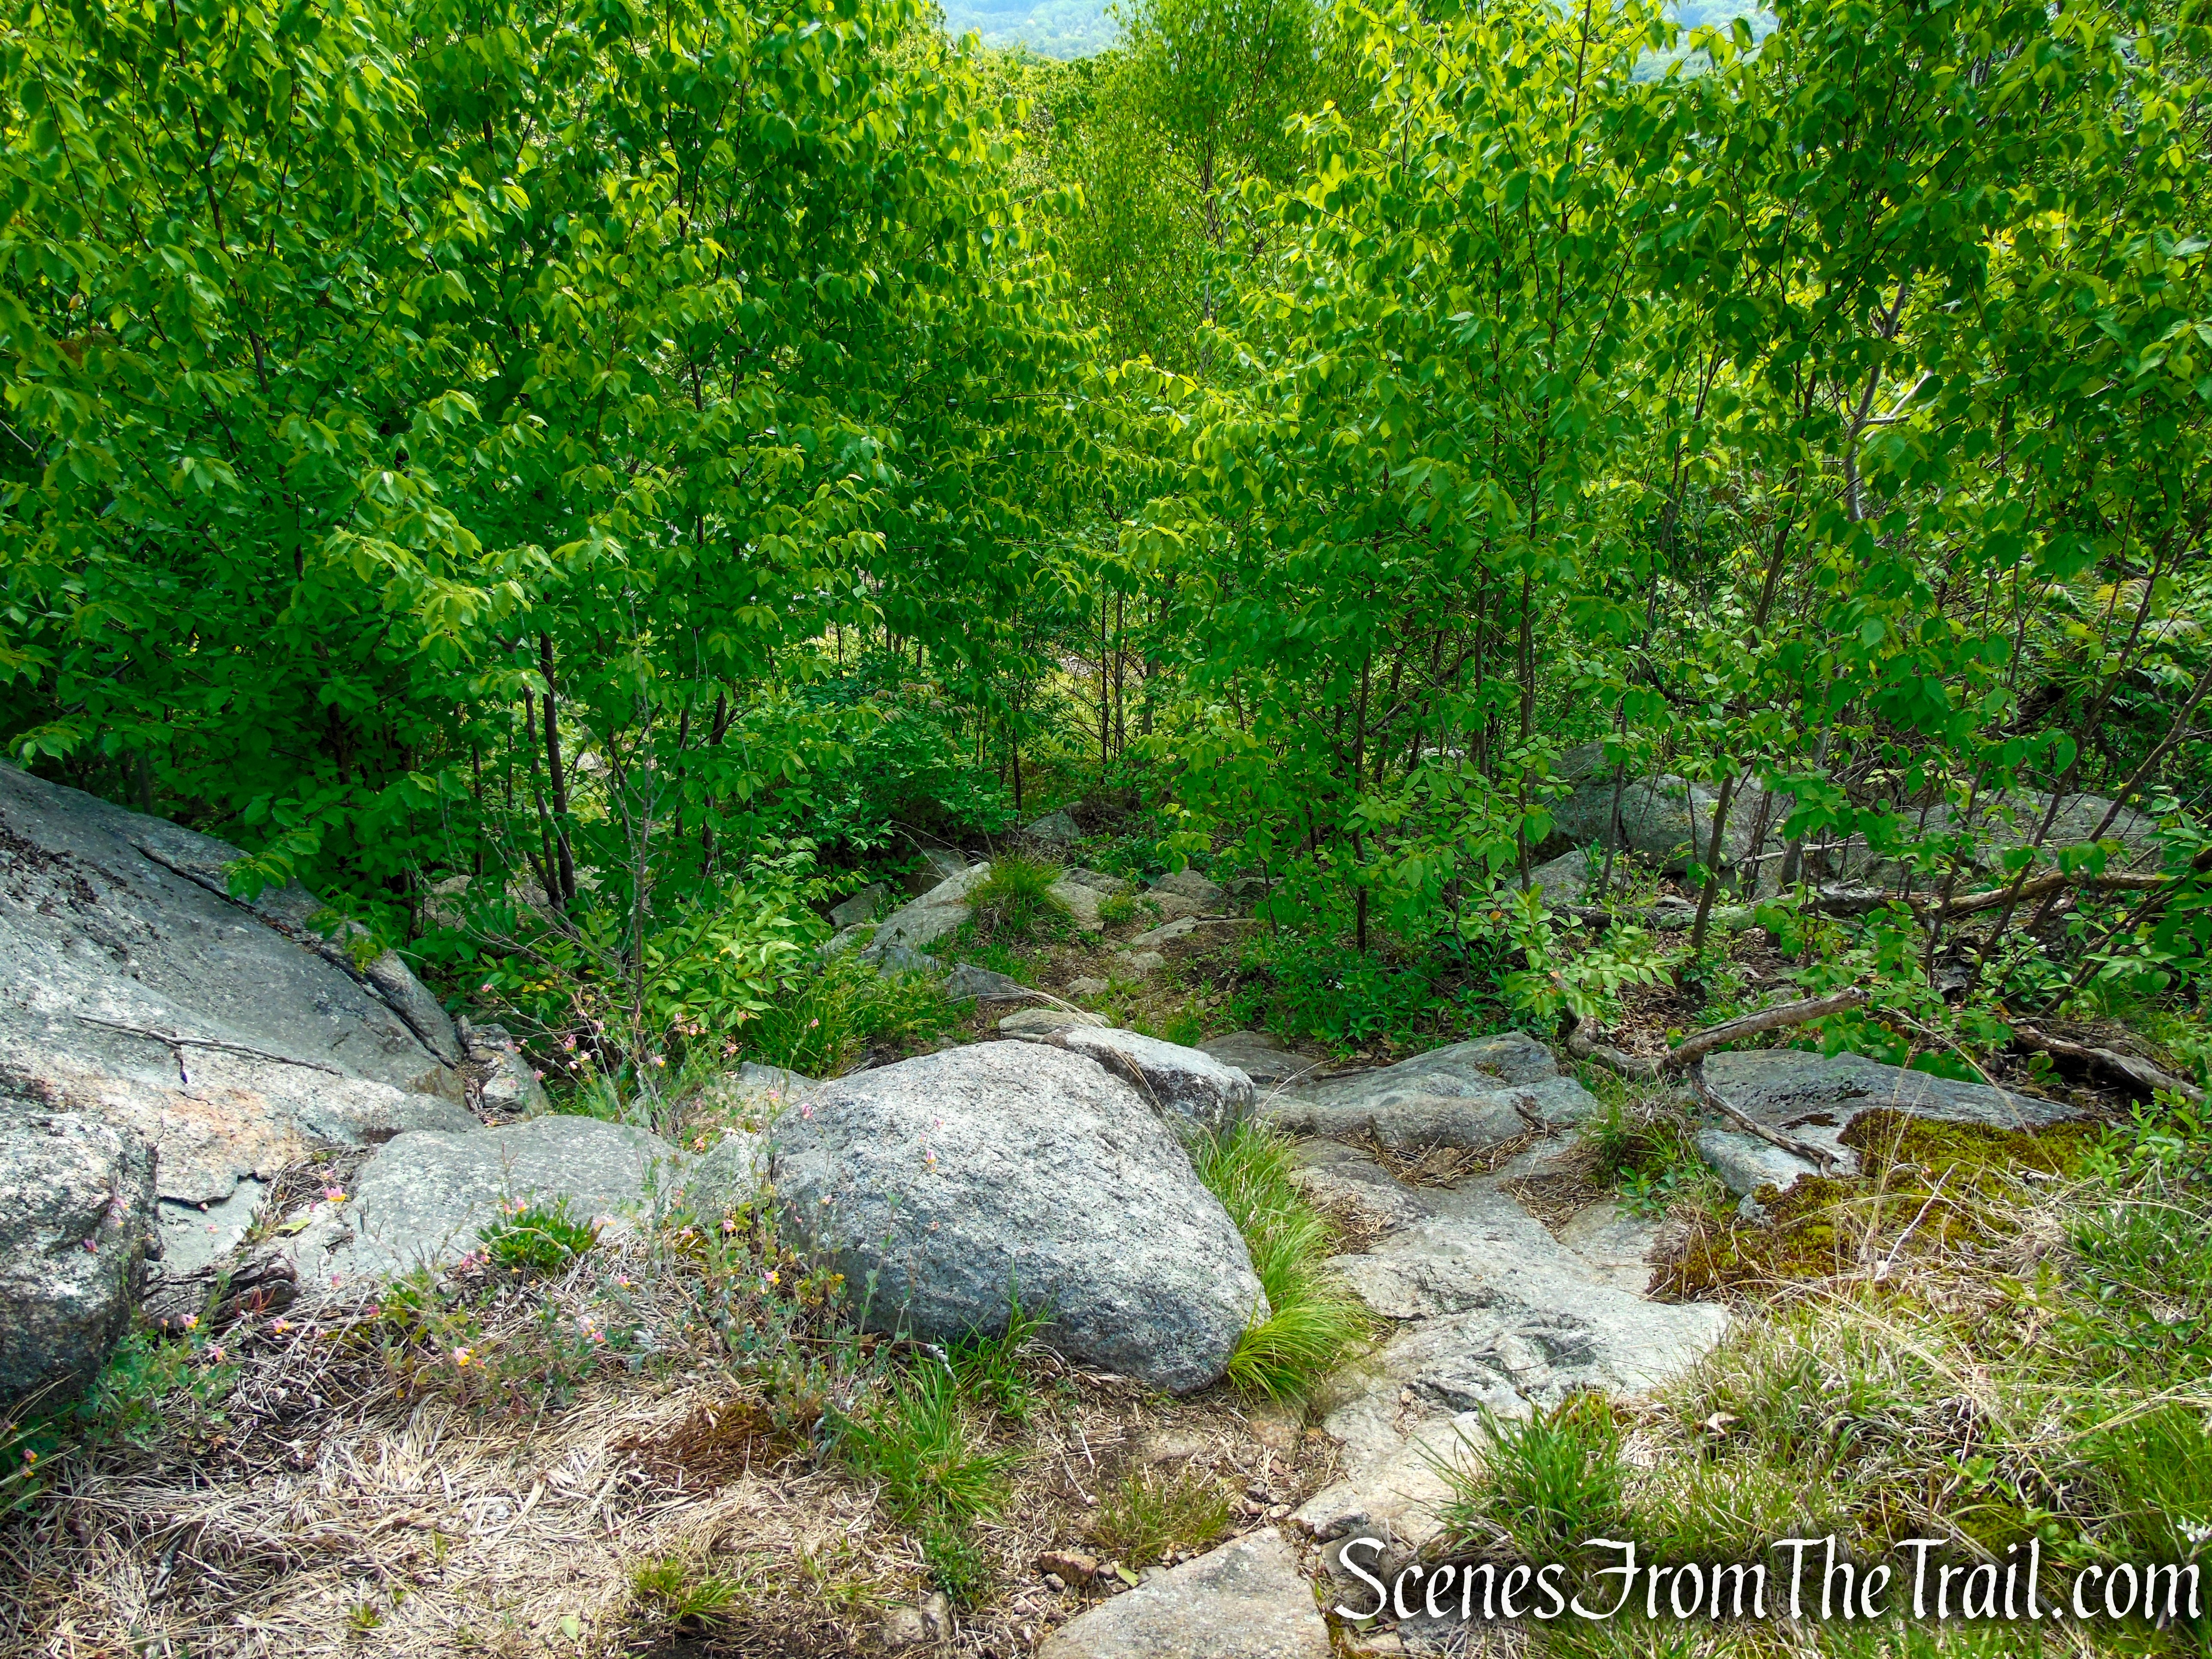
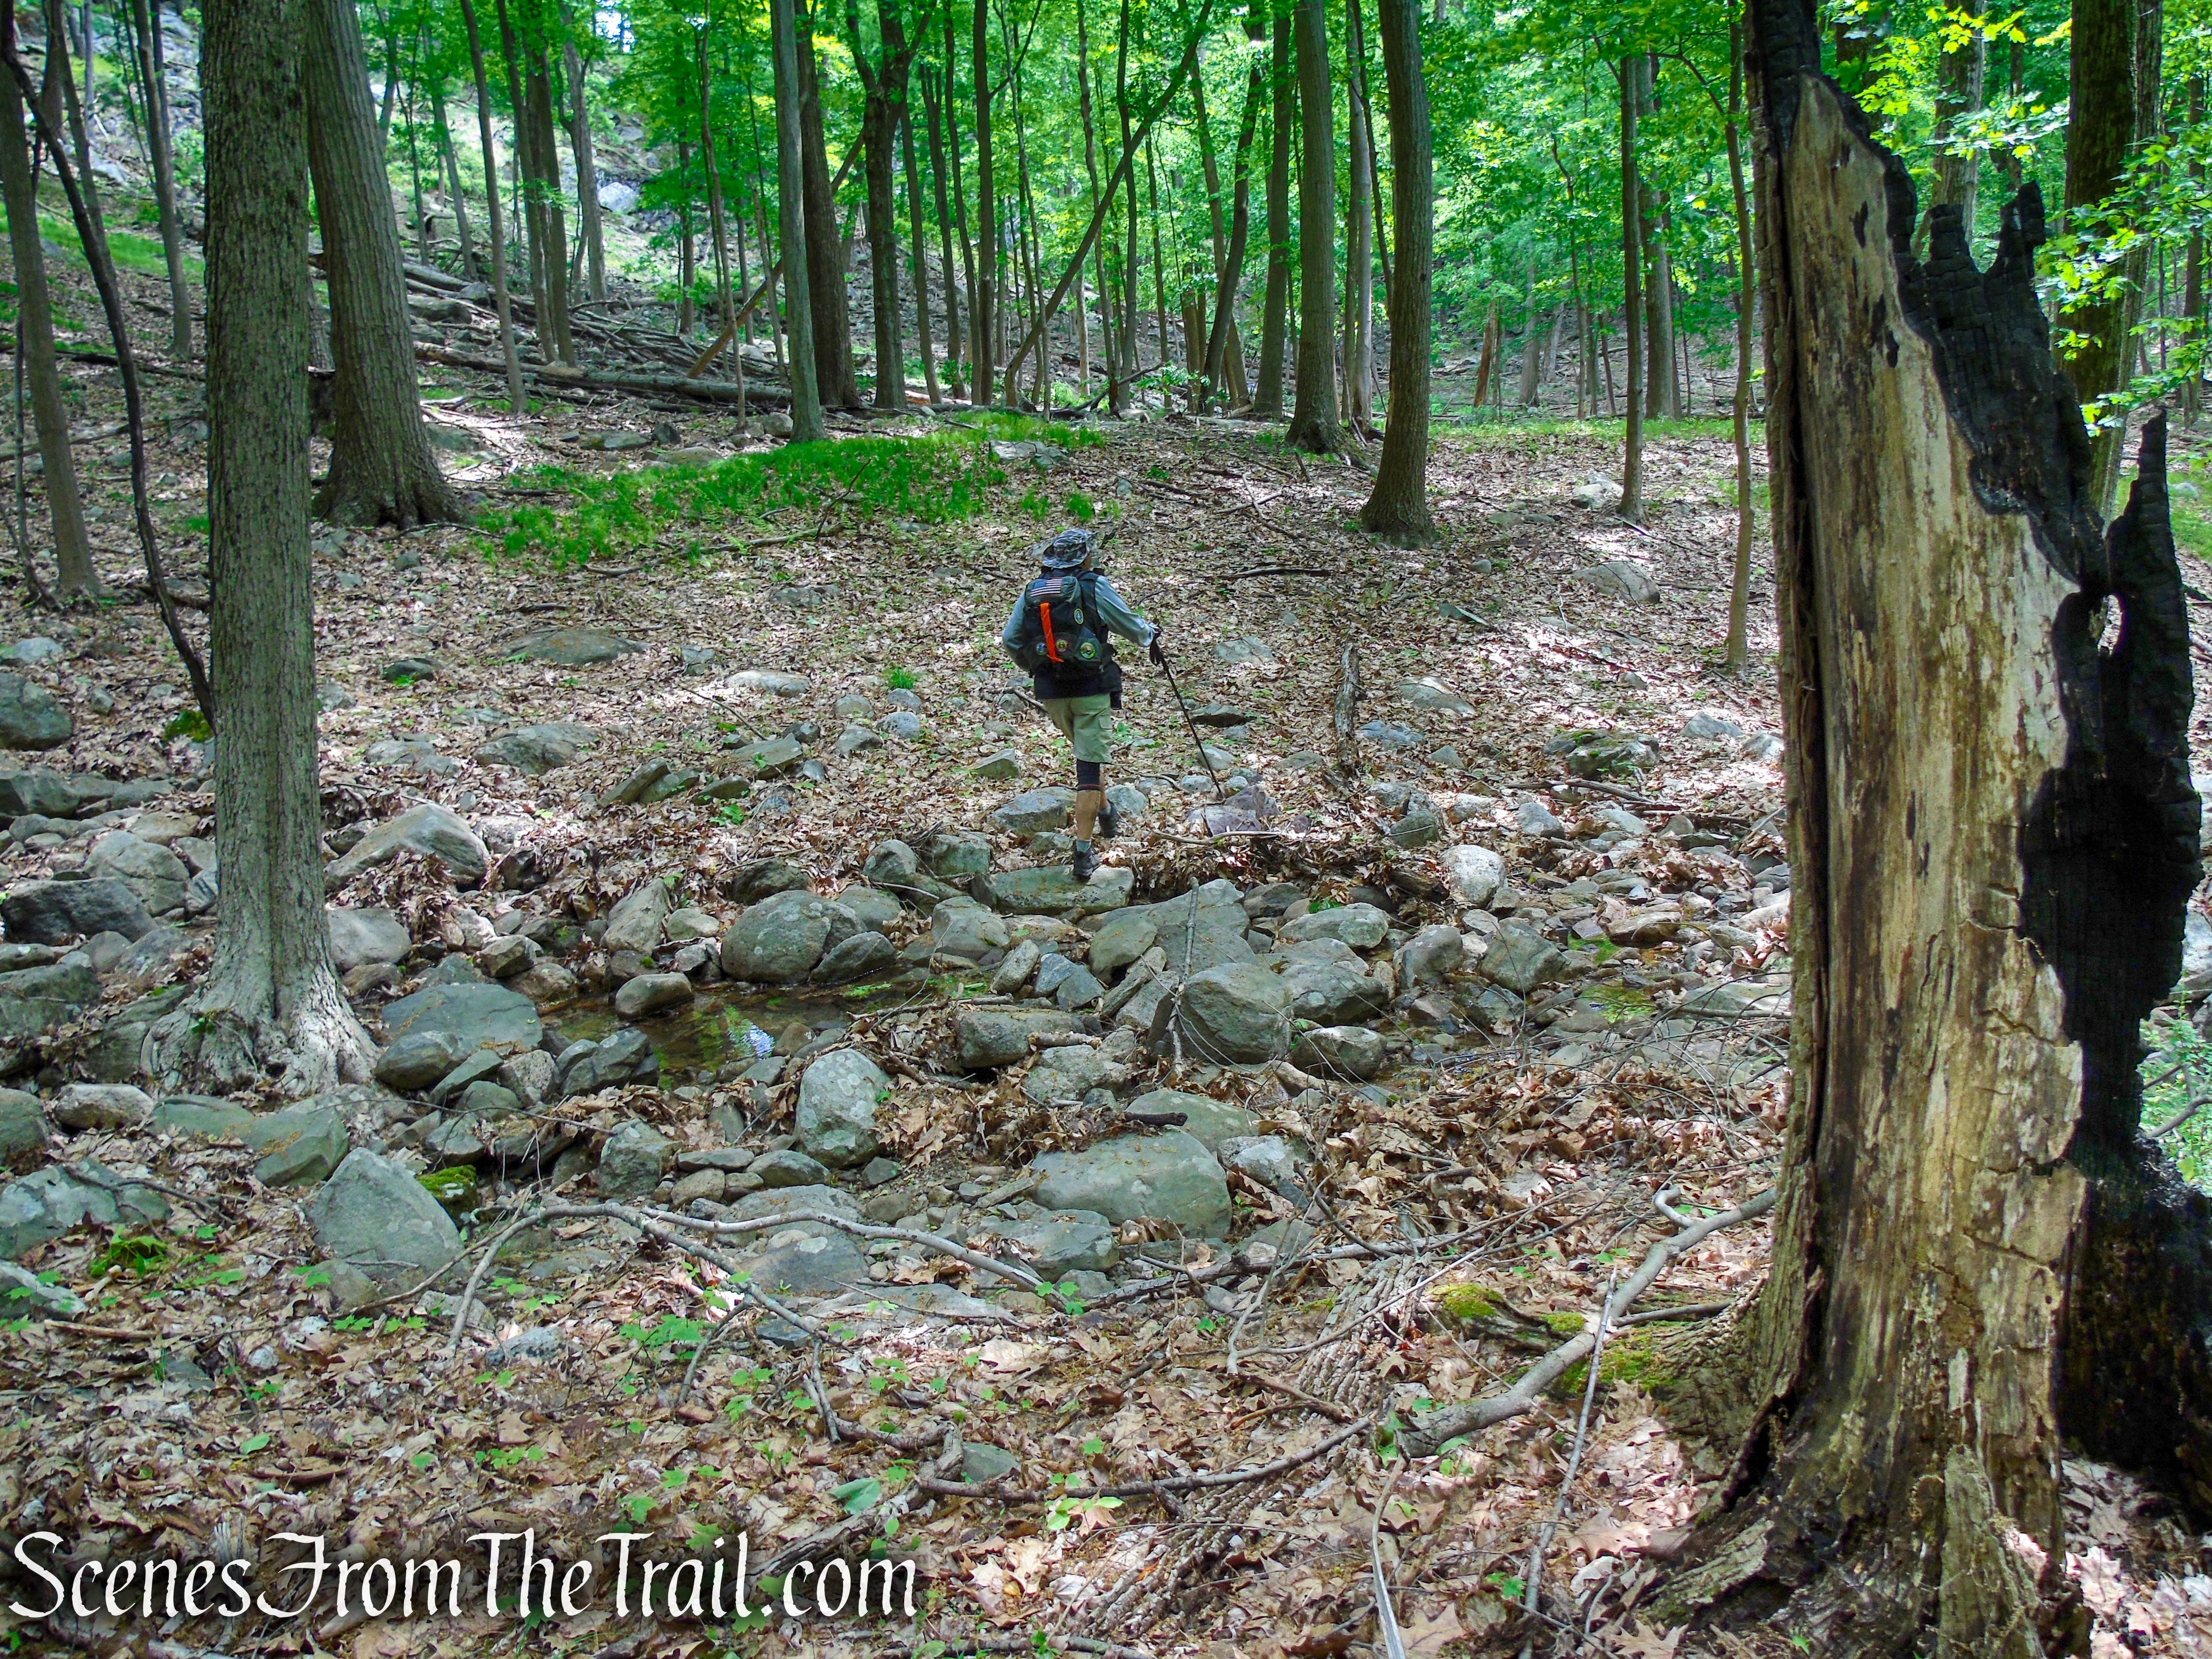
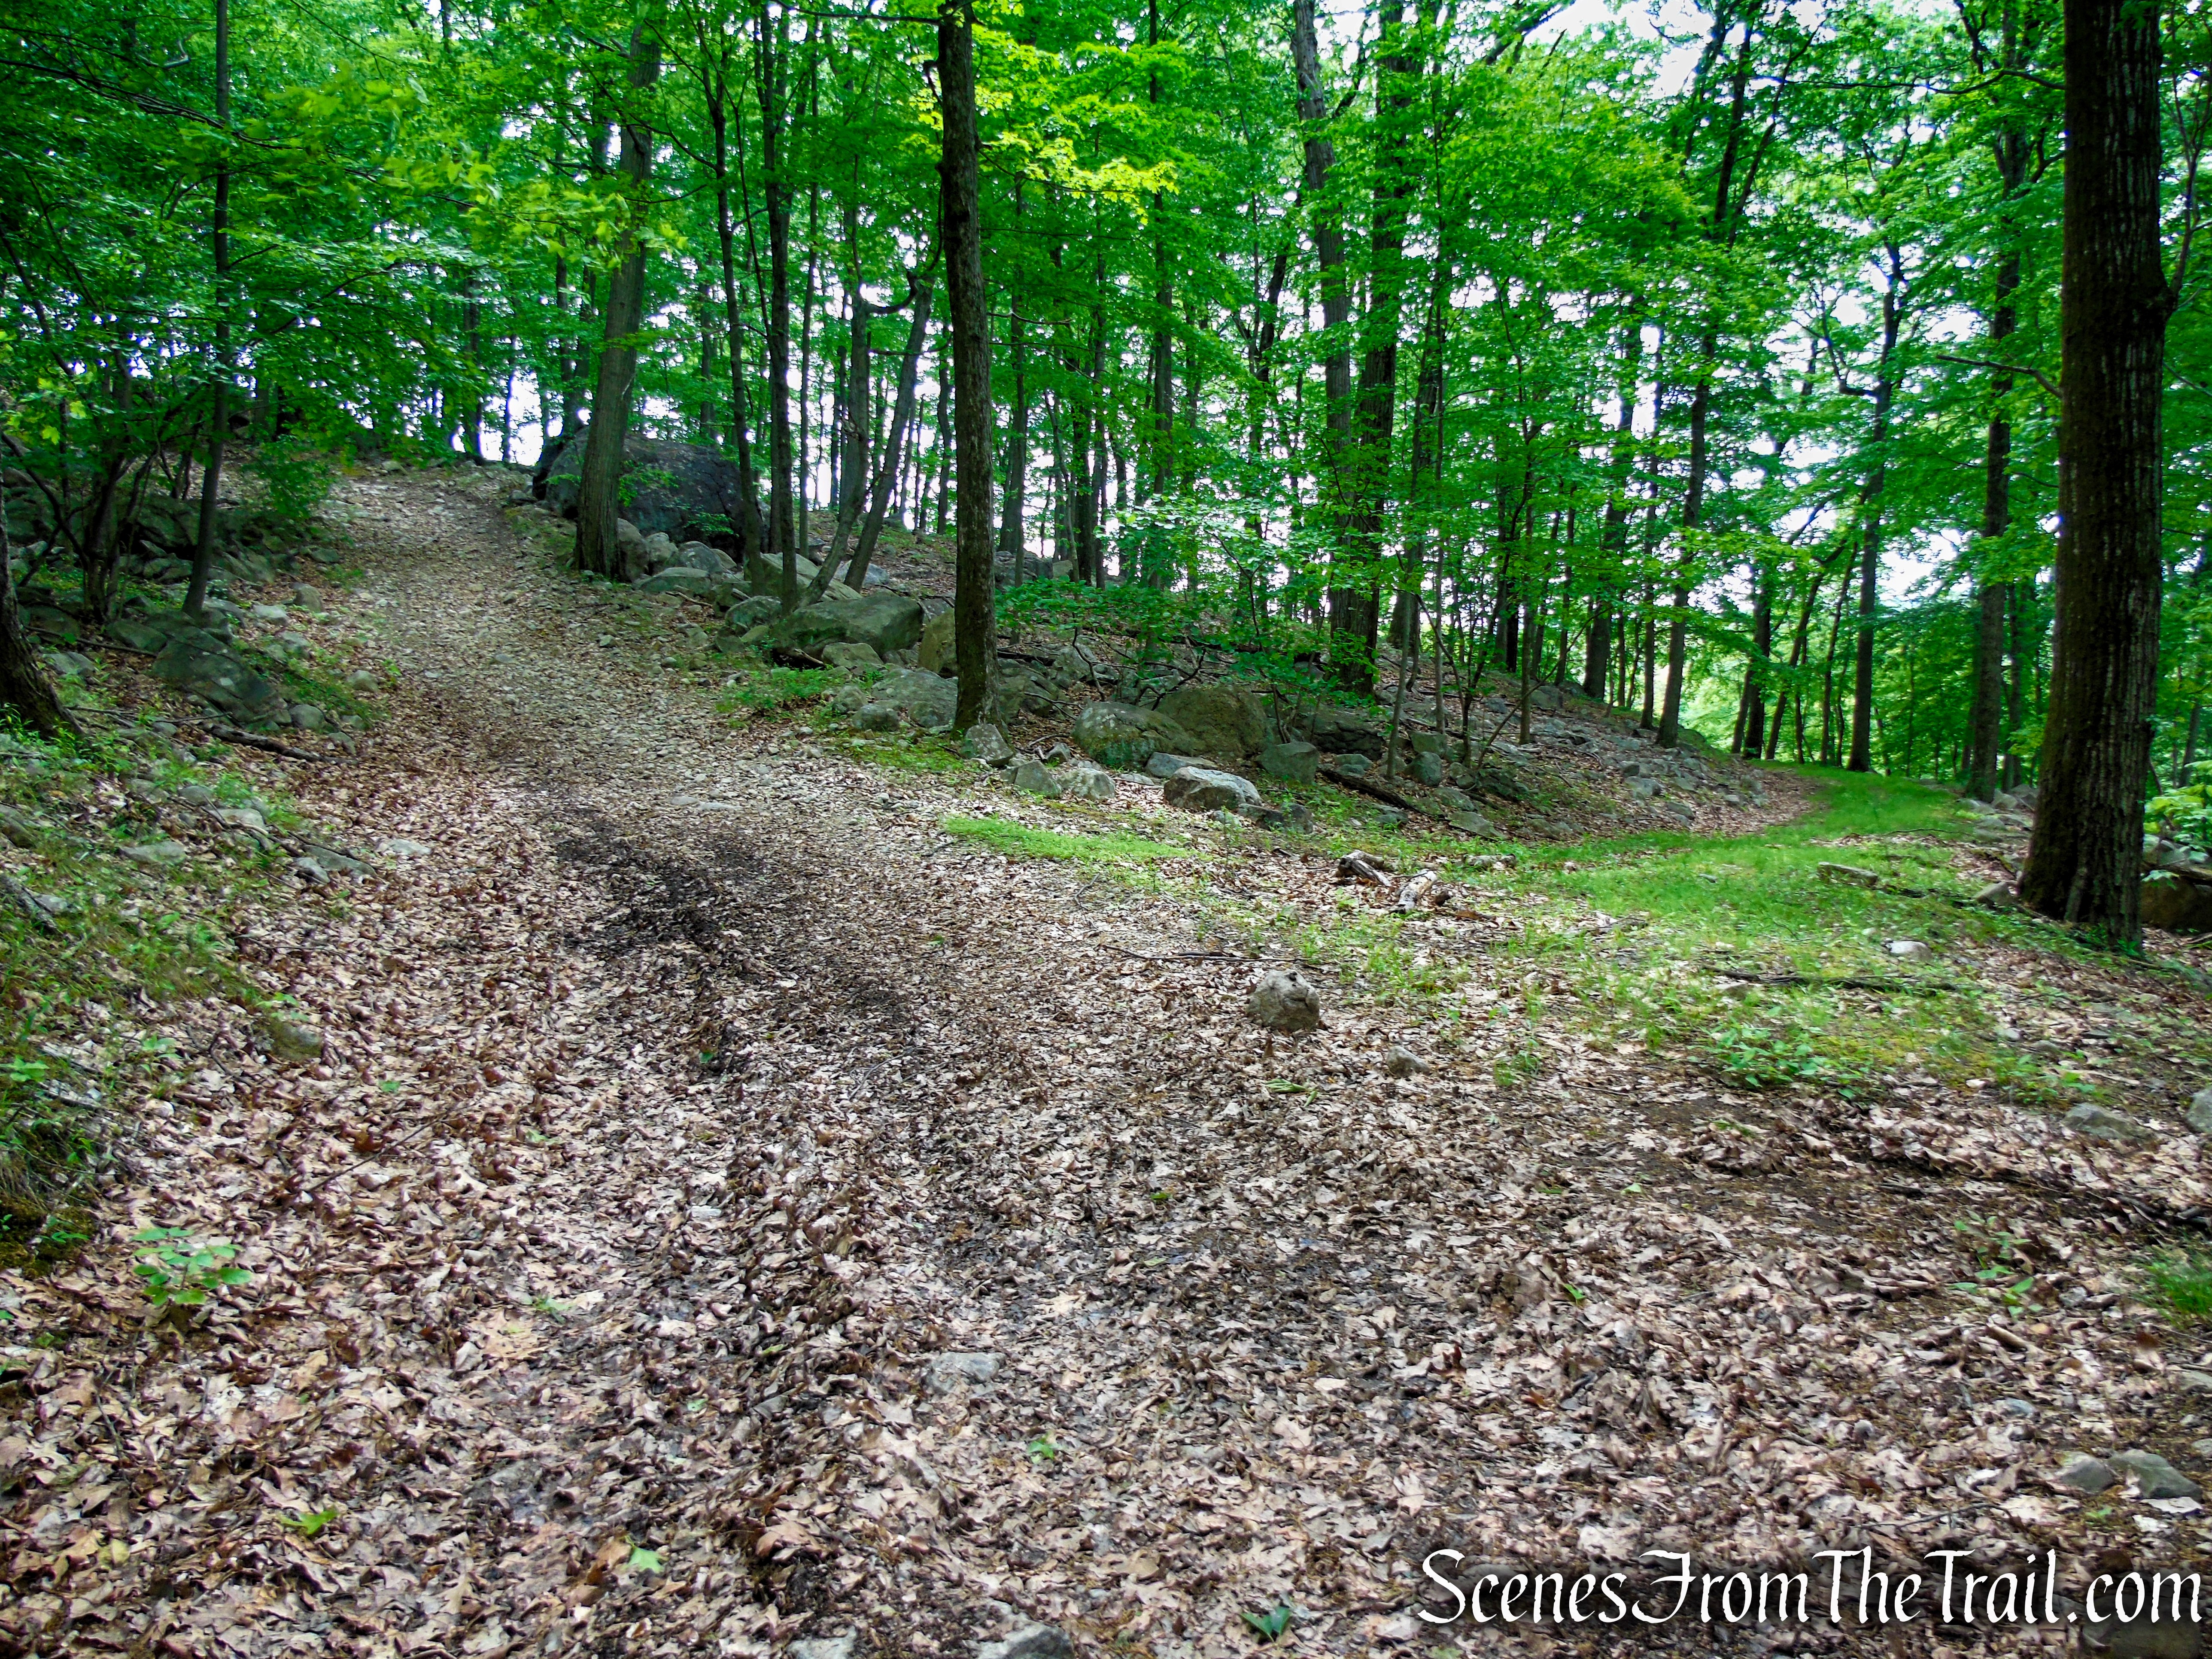
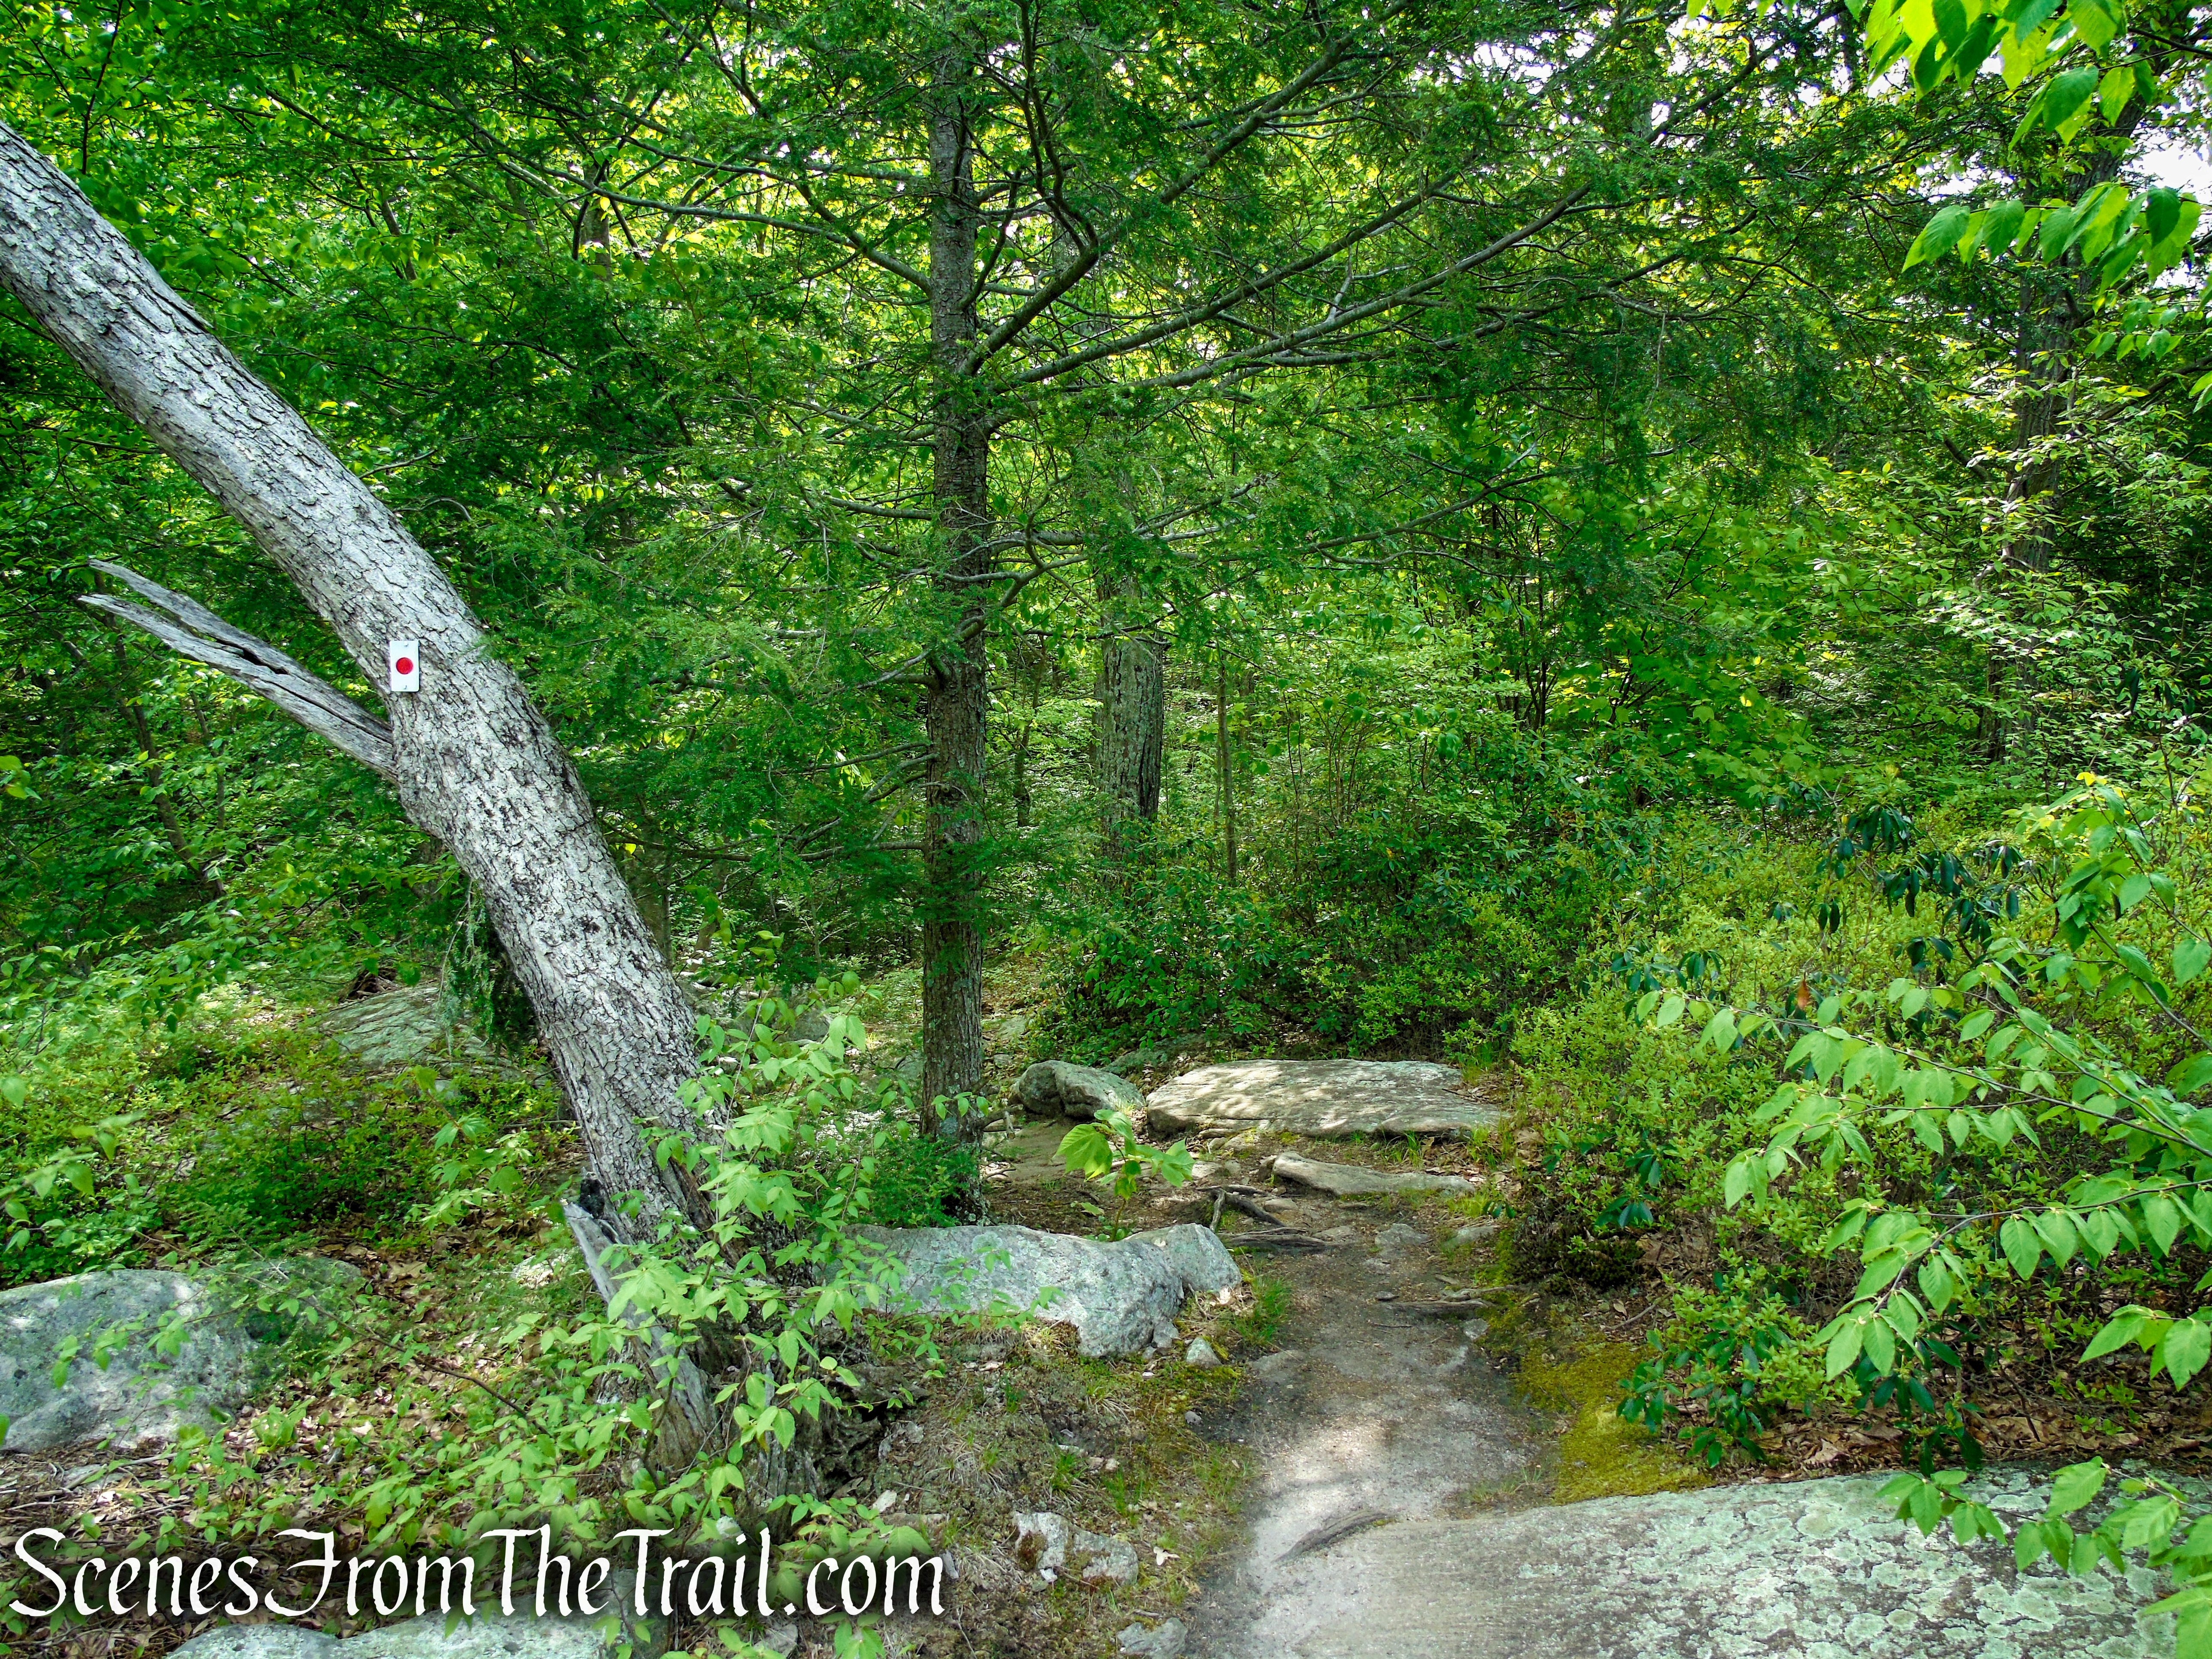
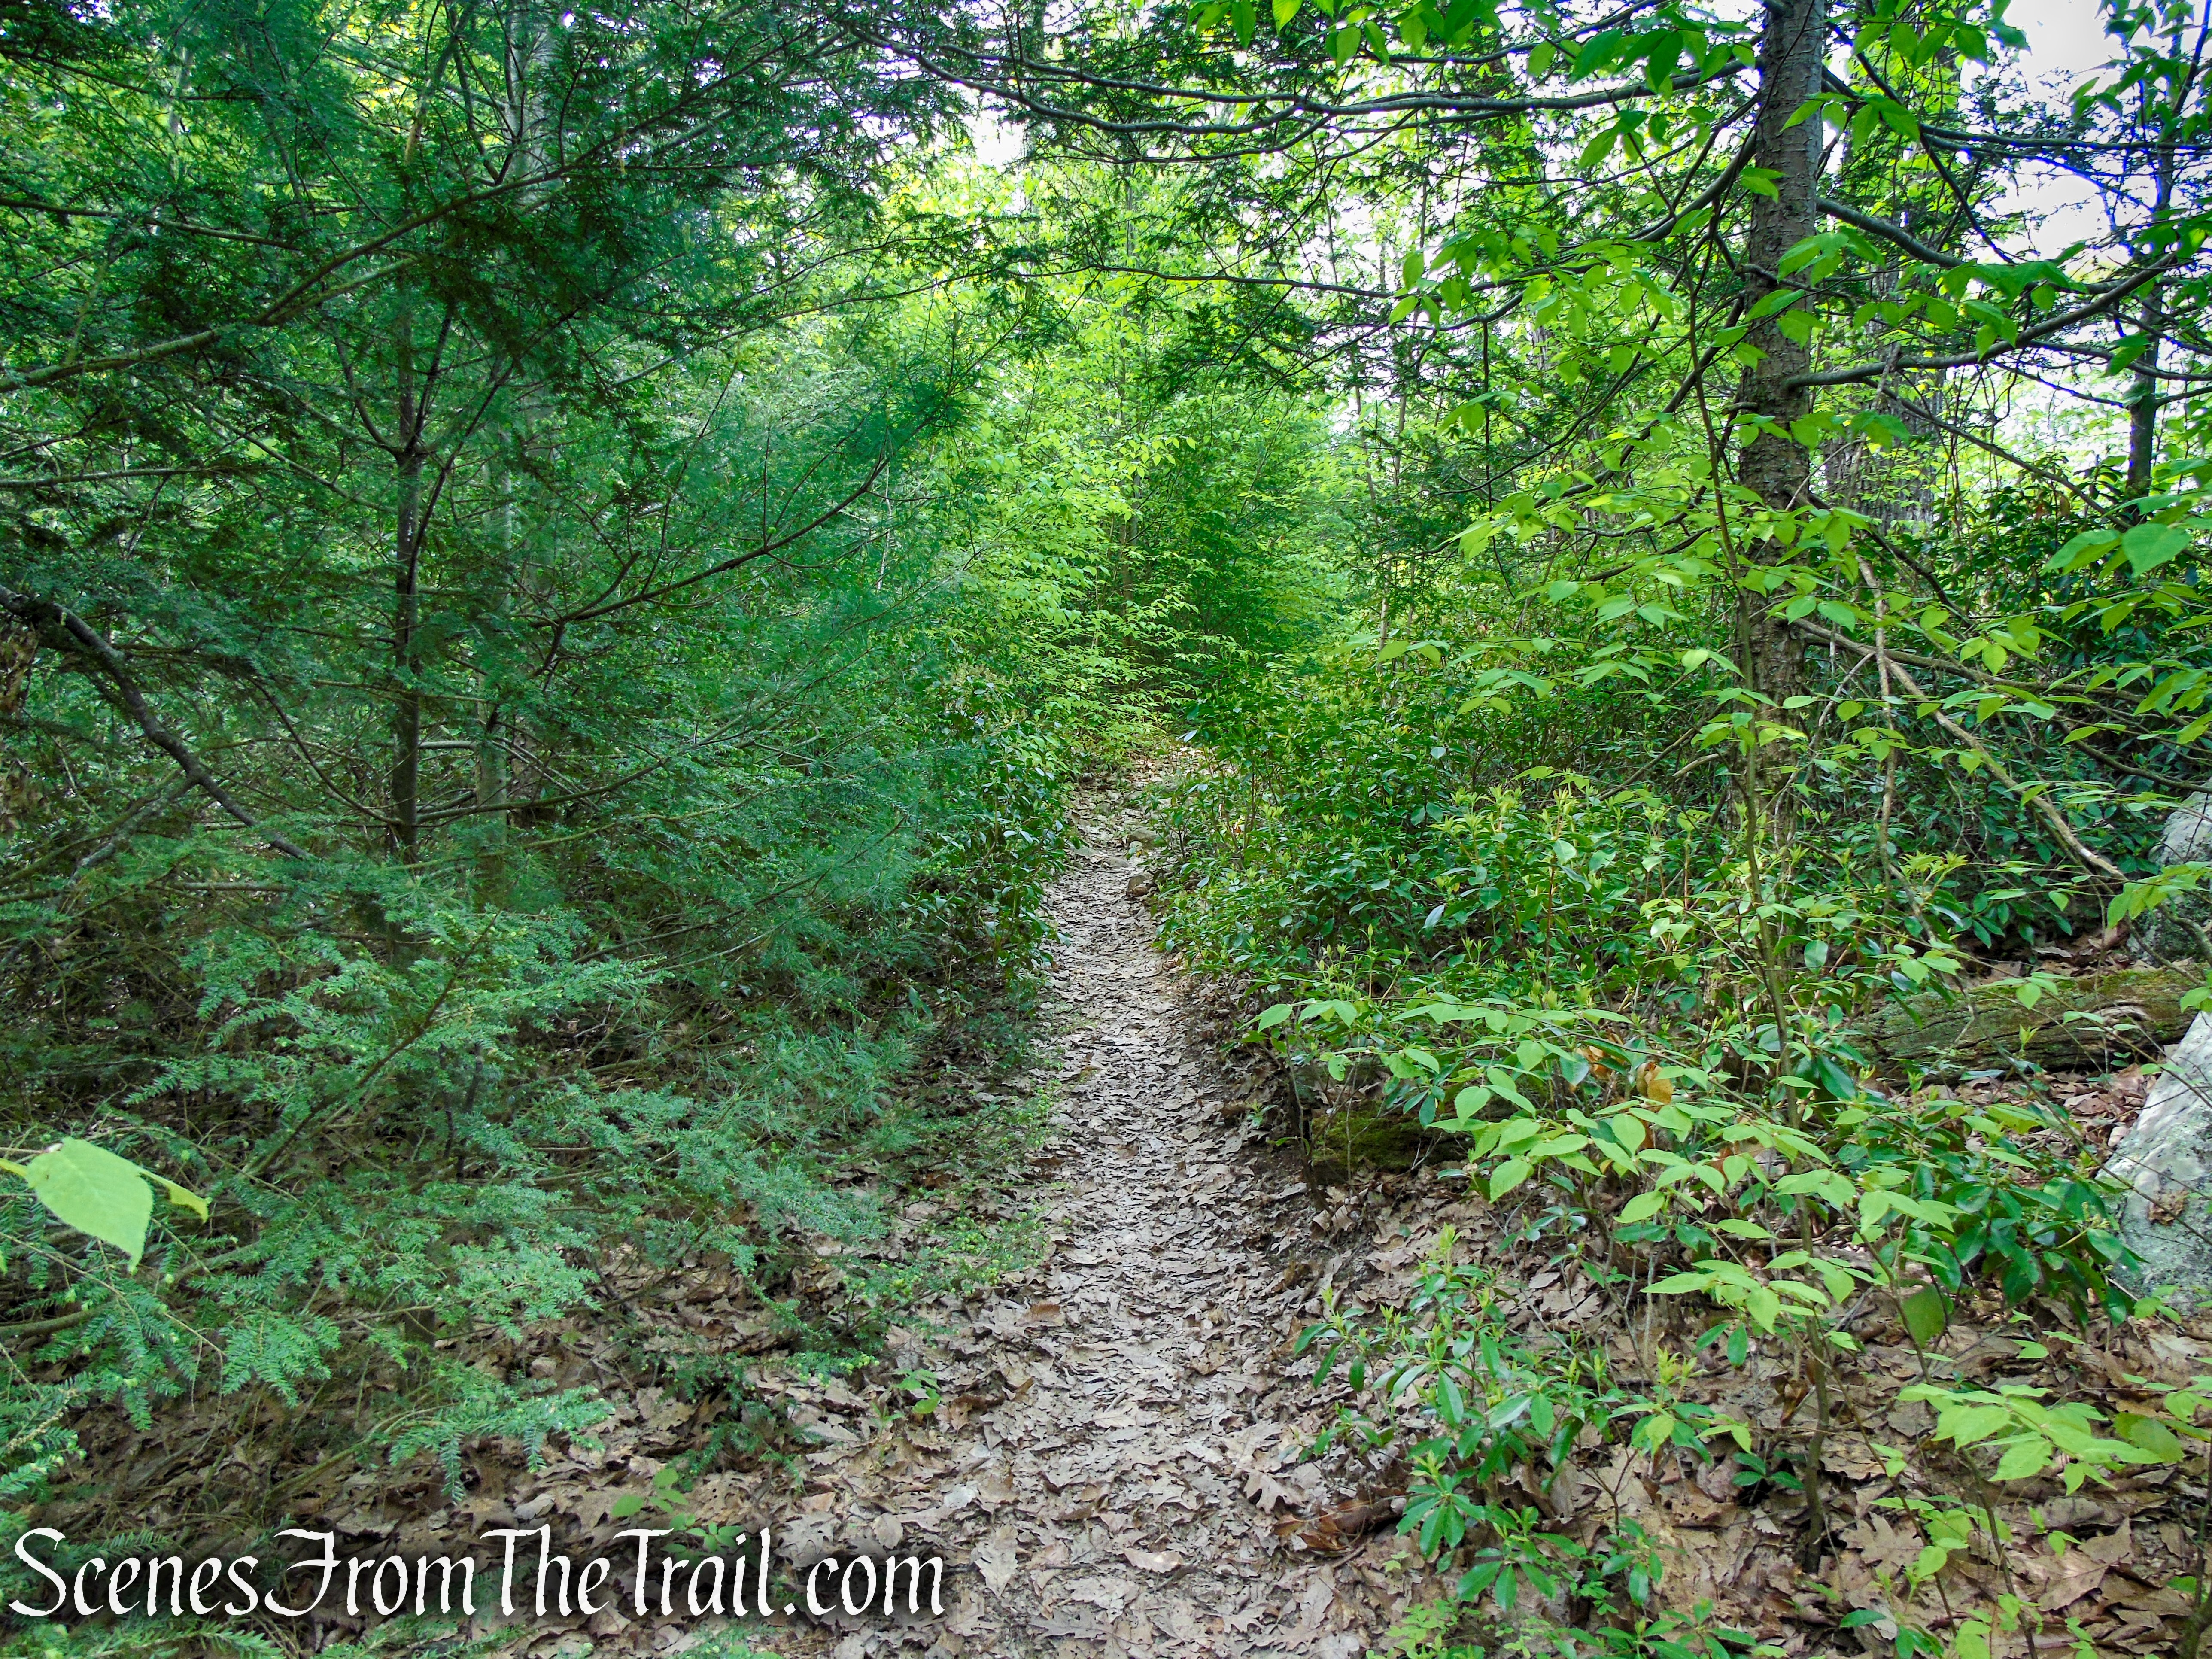
At the bottom of the steps, look straight ahead looking for blue blazes on a tree. Follow the blue blazes as they first turn left and descend on a narrow footpath, soon the Blue Trail curves to the right and descends to a woods road. Follow the blue blazes on this rocky road, which descends steeply.

Blue Trail – Stissing Mountain

Blue Trail – Stissing Mountain

Blue Trail – Stissing Mountain
Blue Trail – Stissing Mountain

Blue Trail – Stissing Mountain
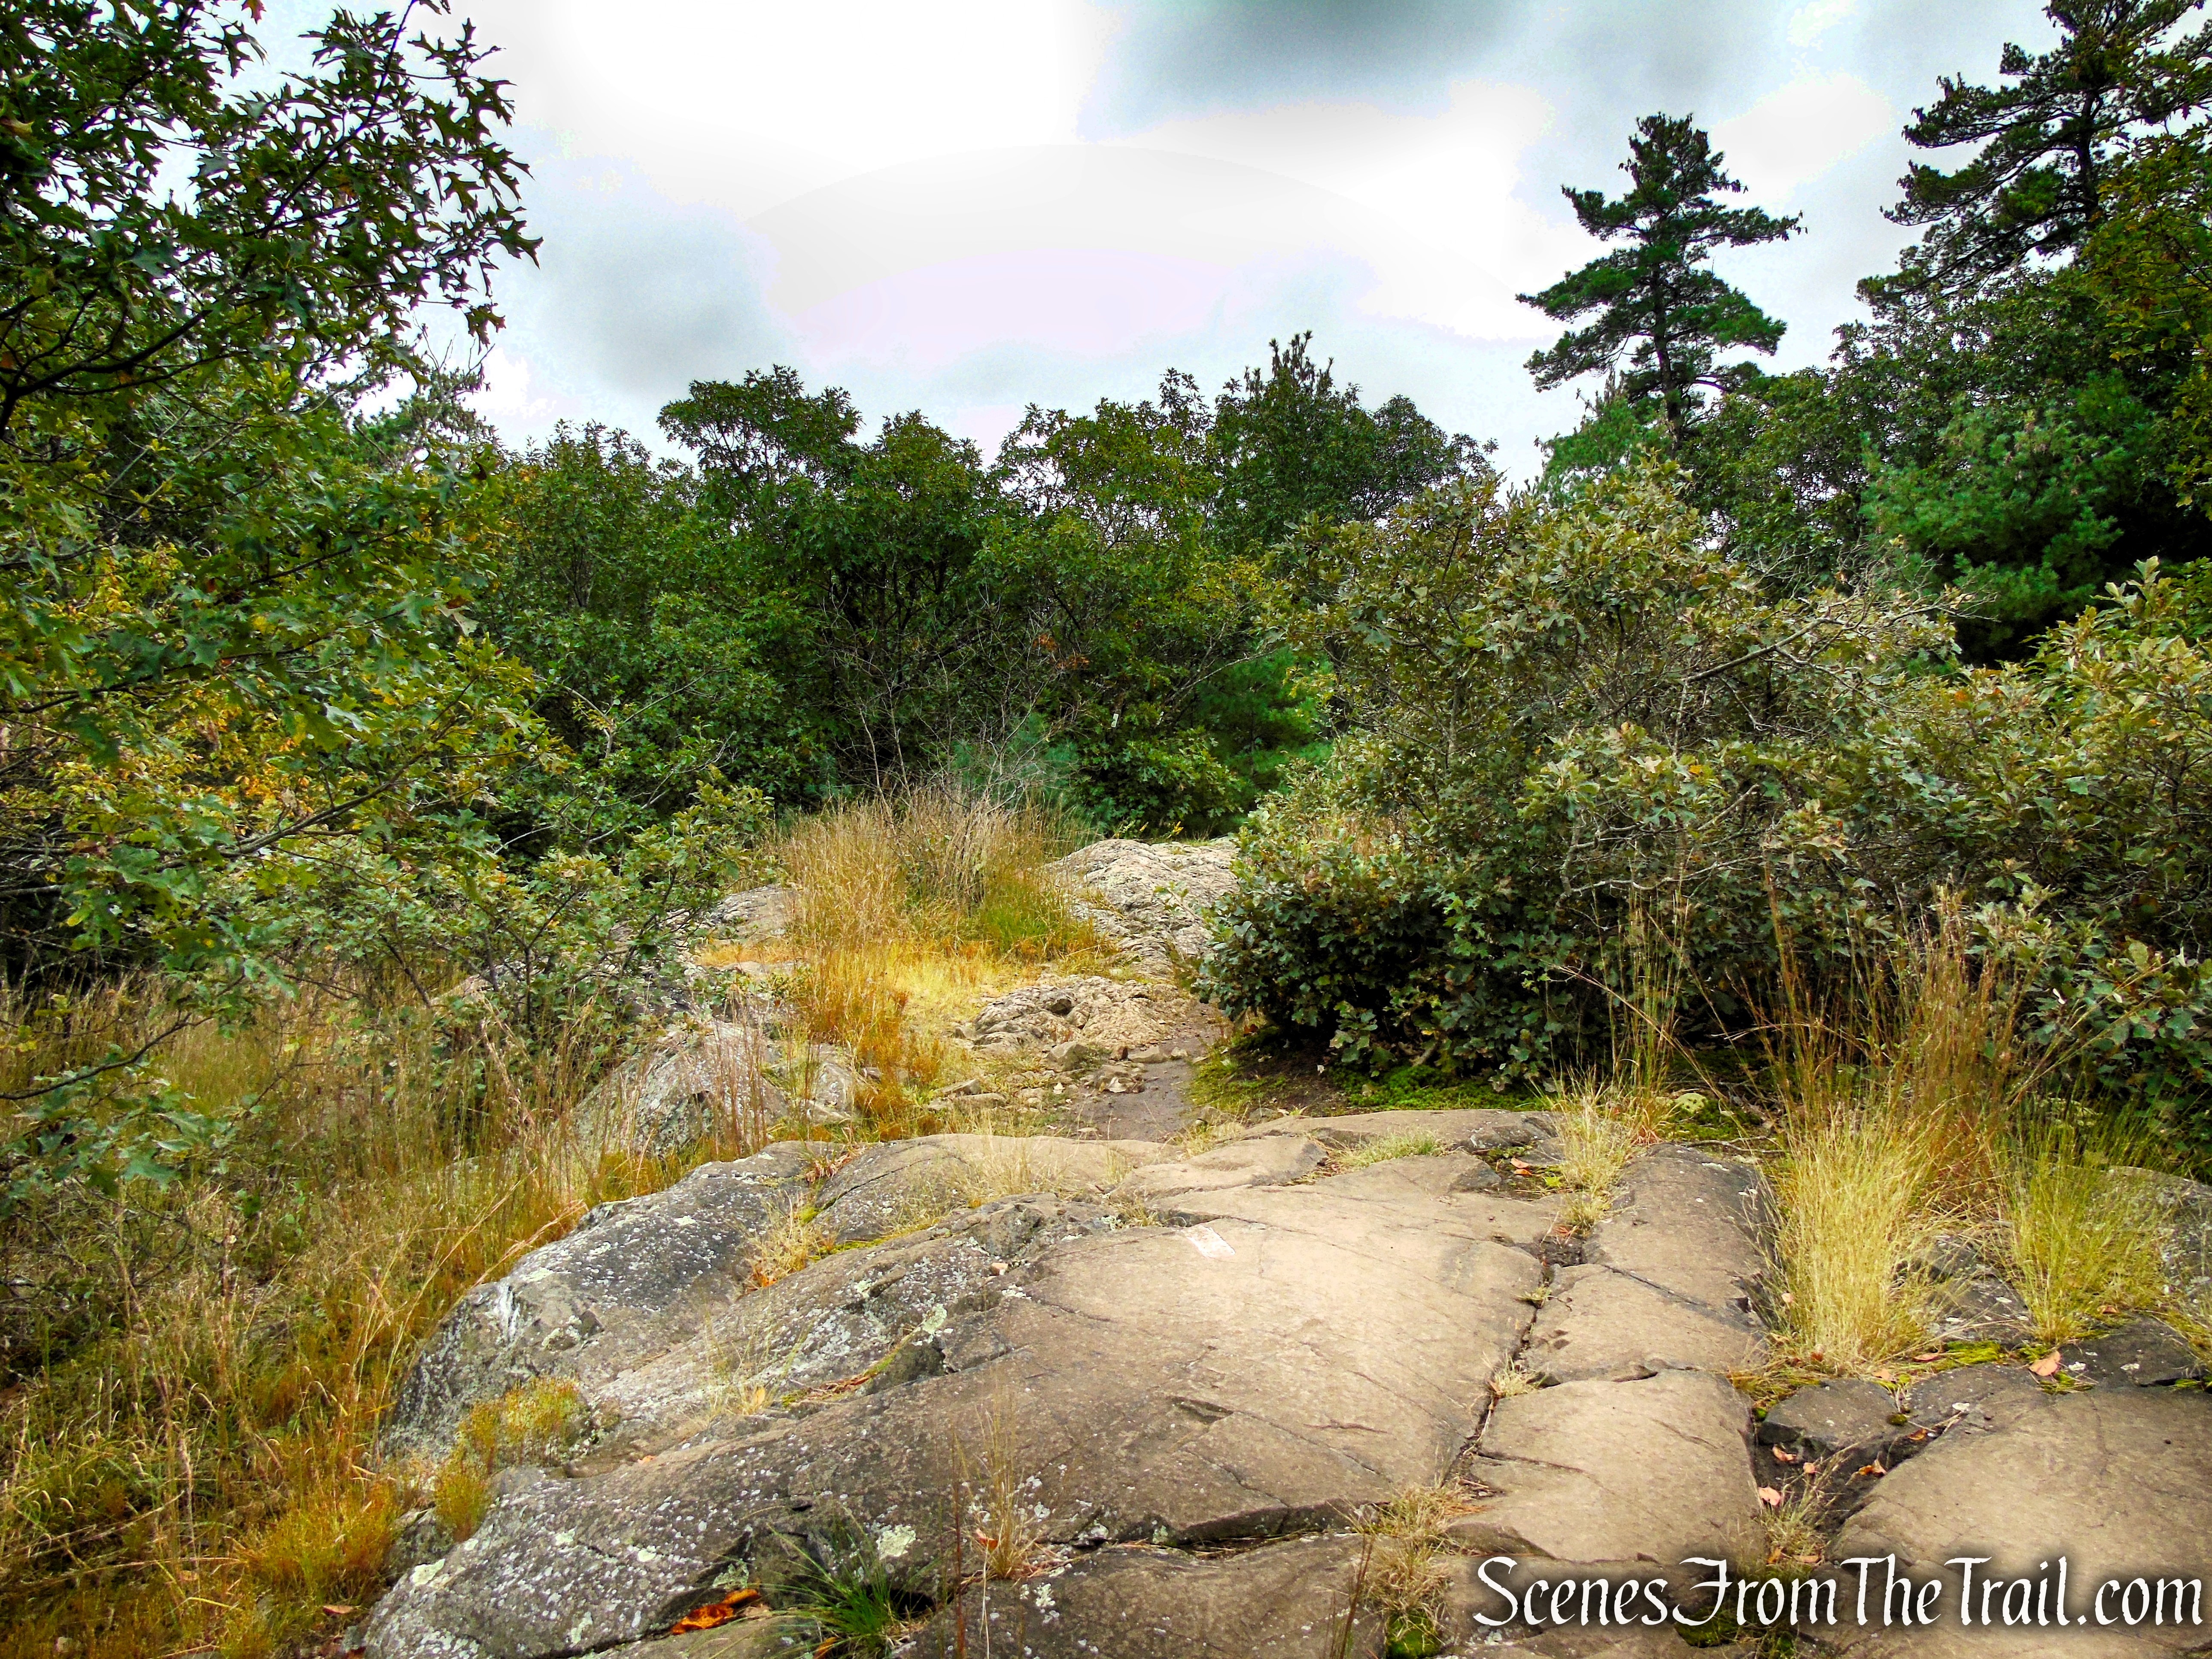
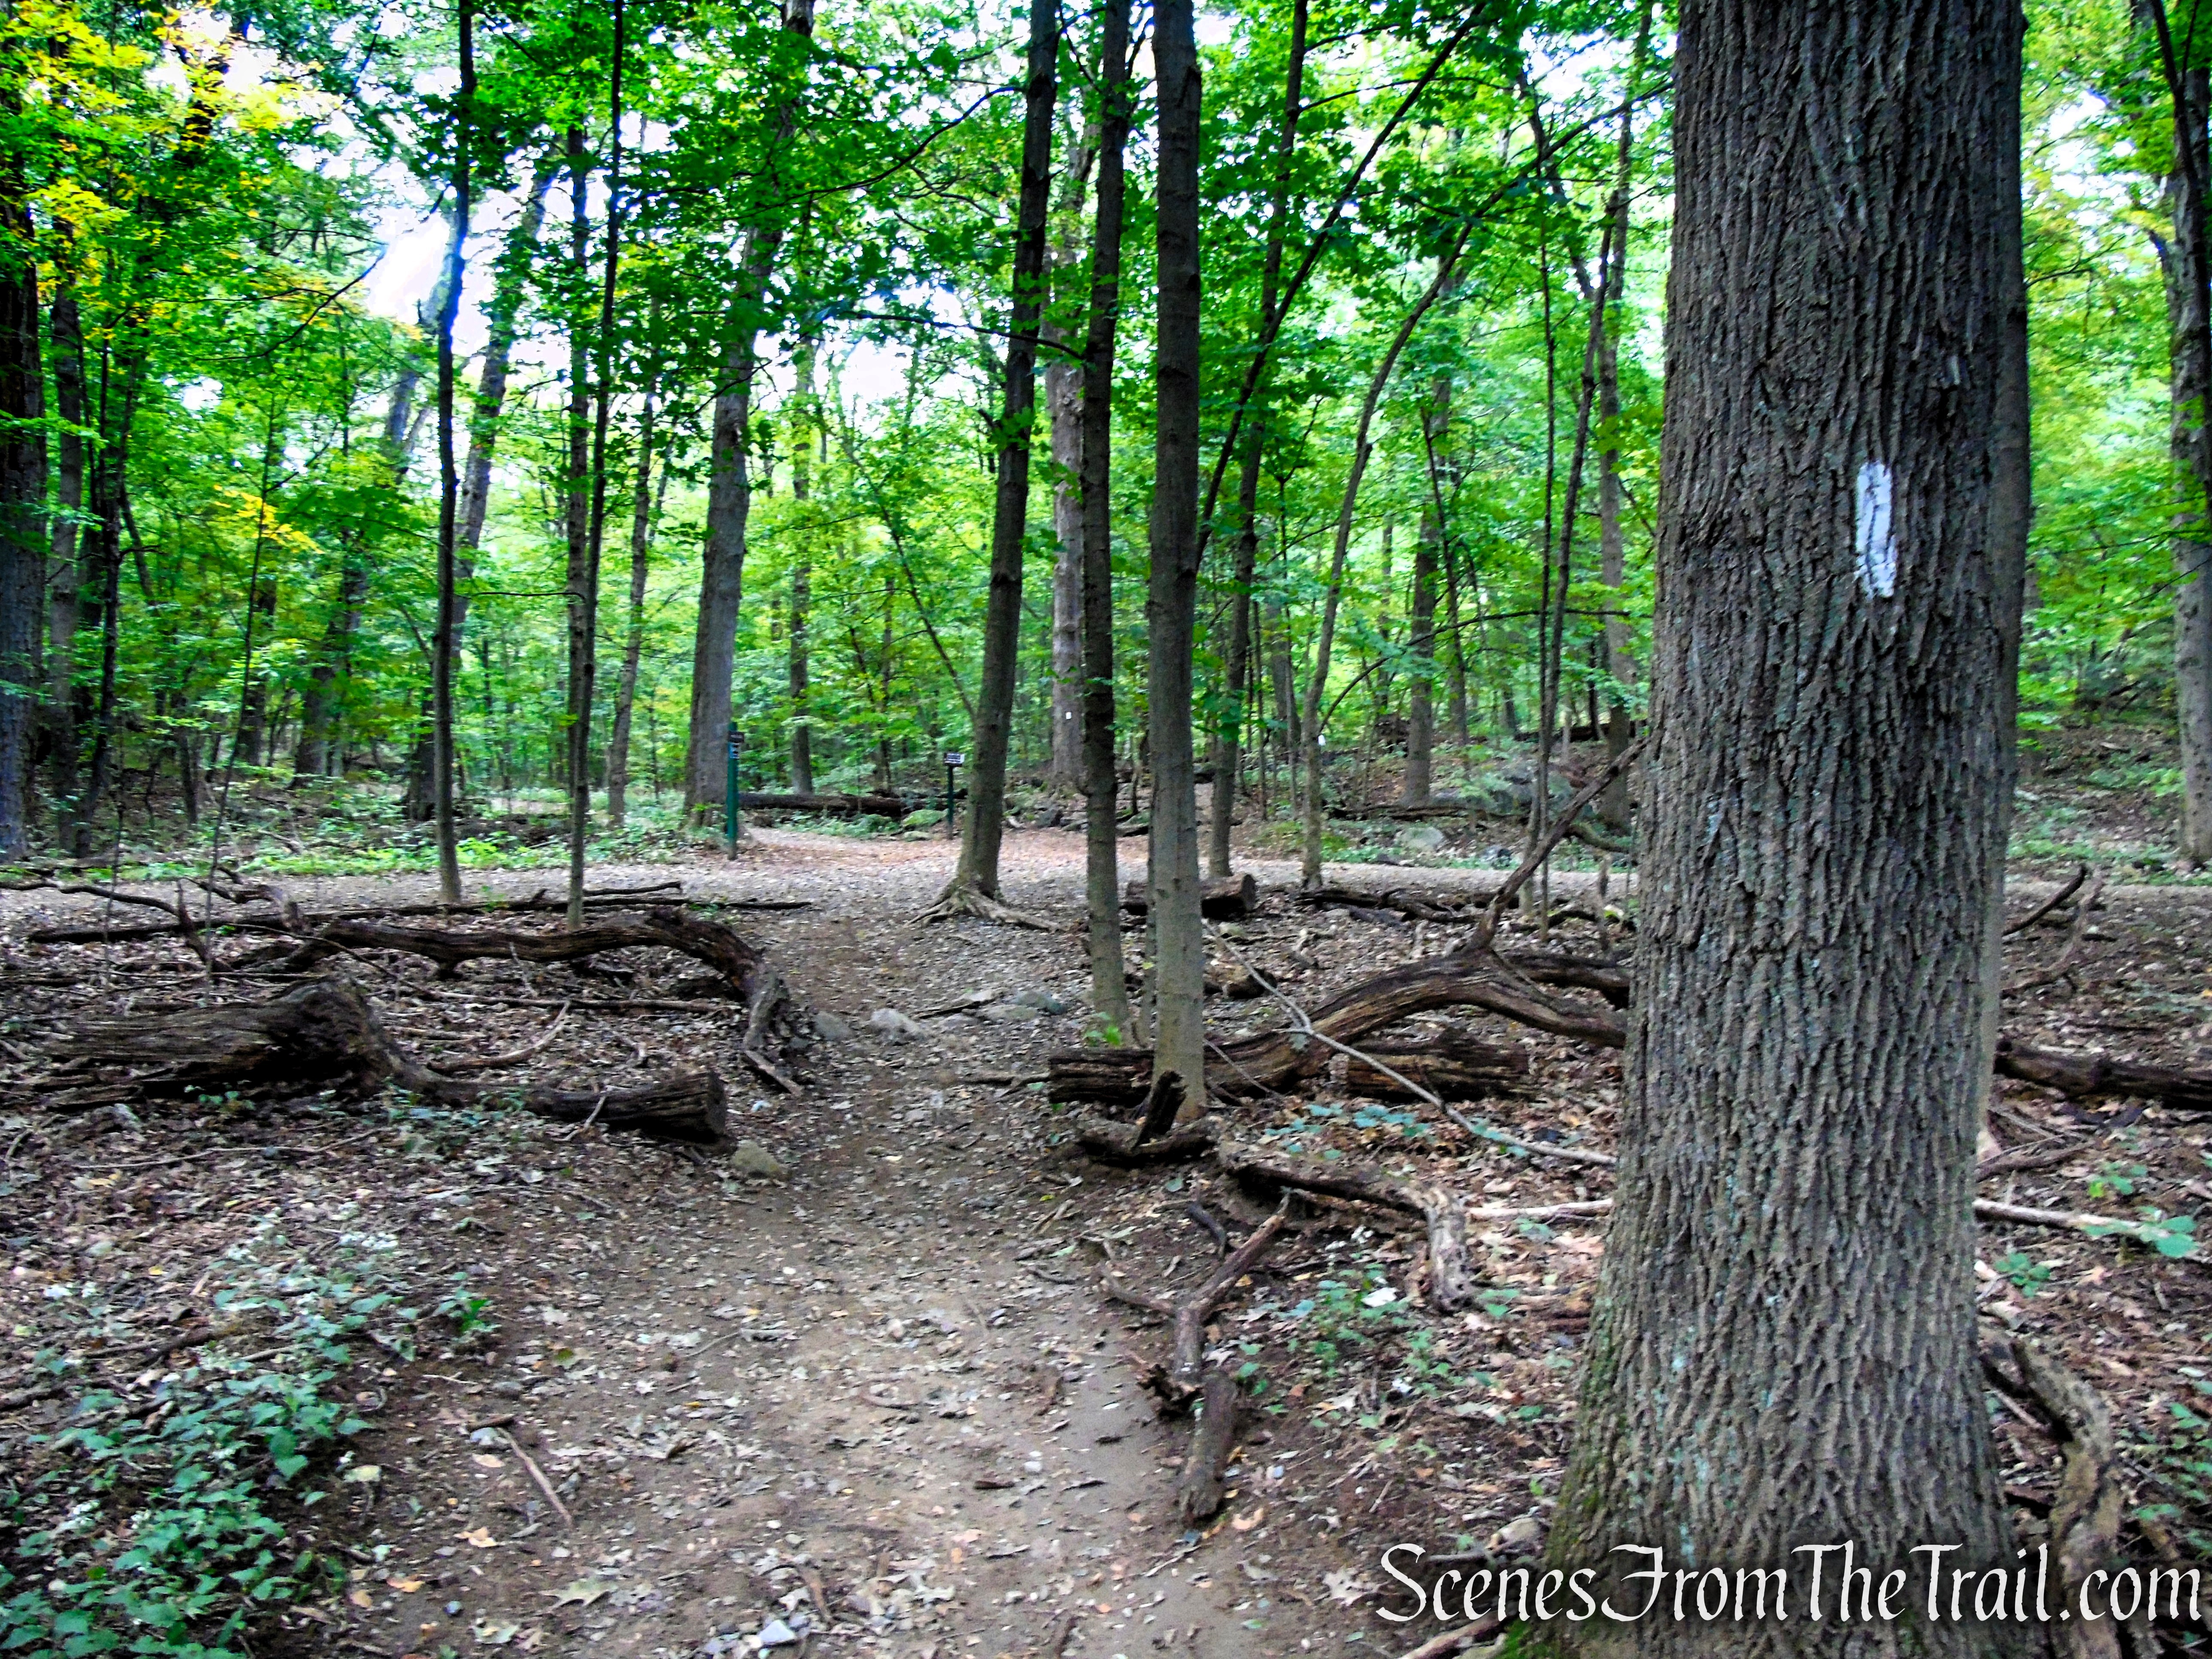
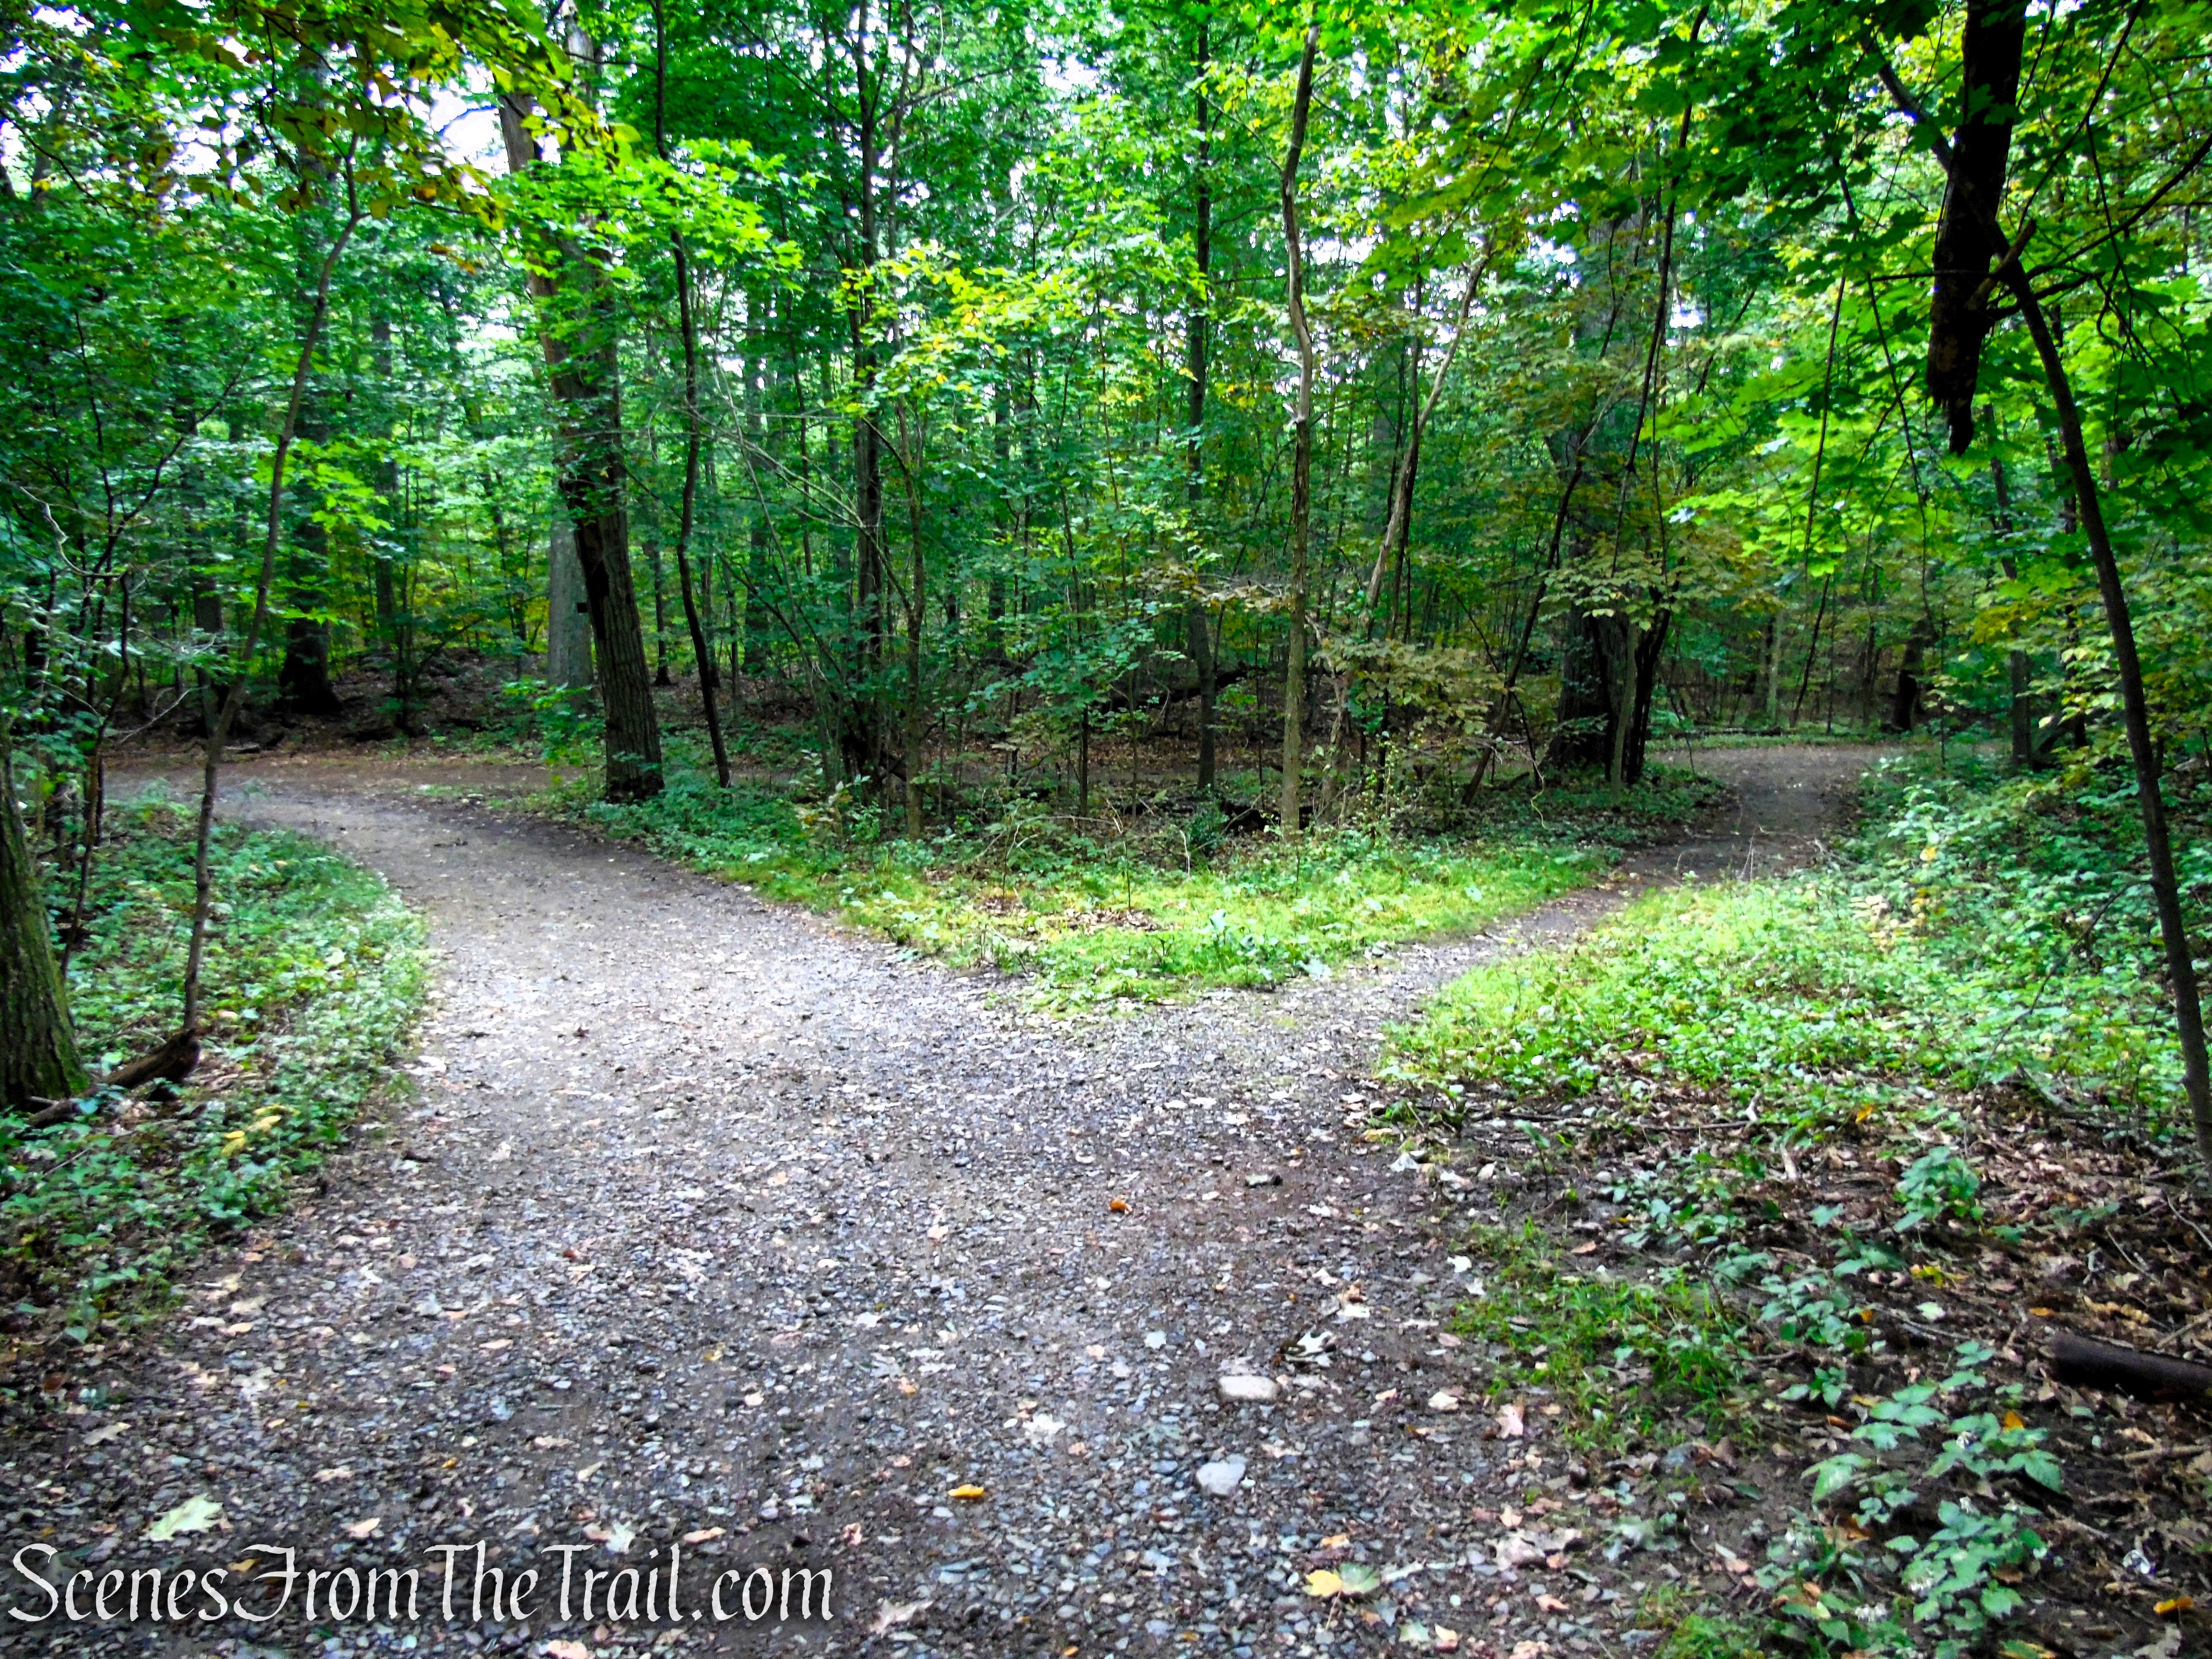
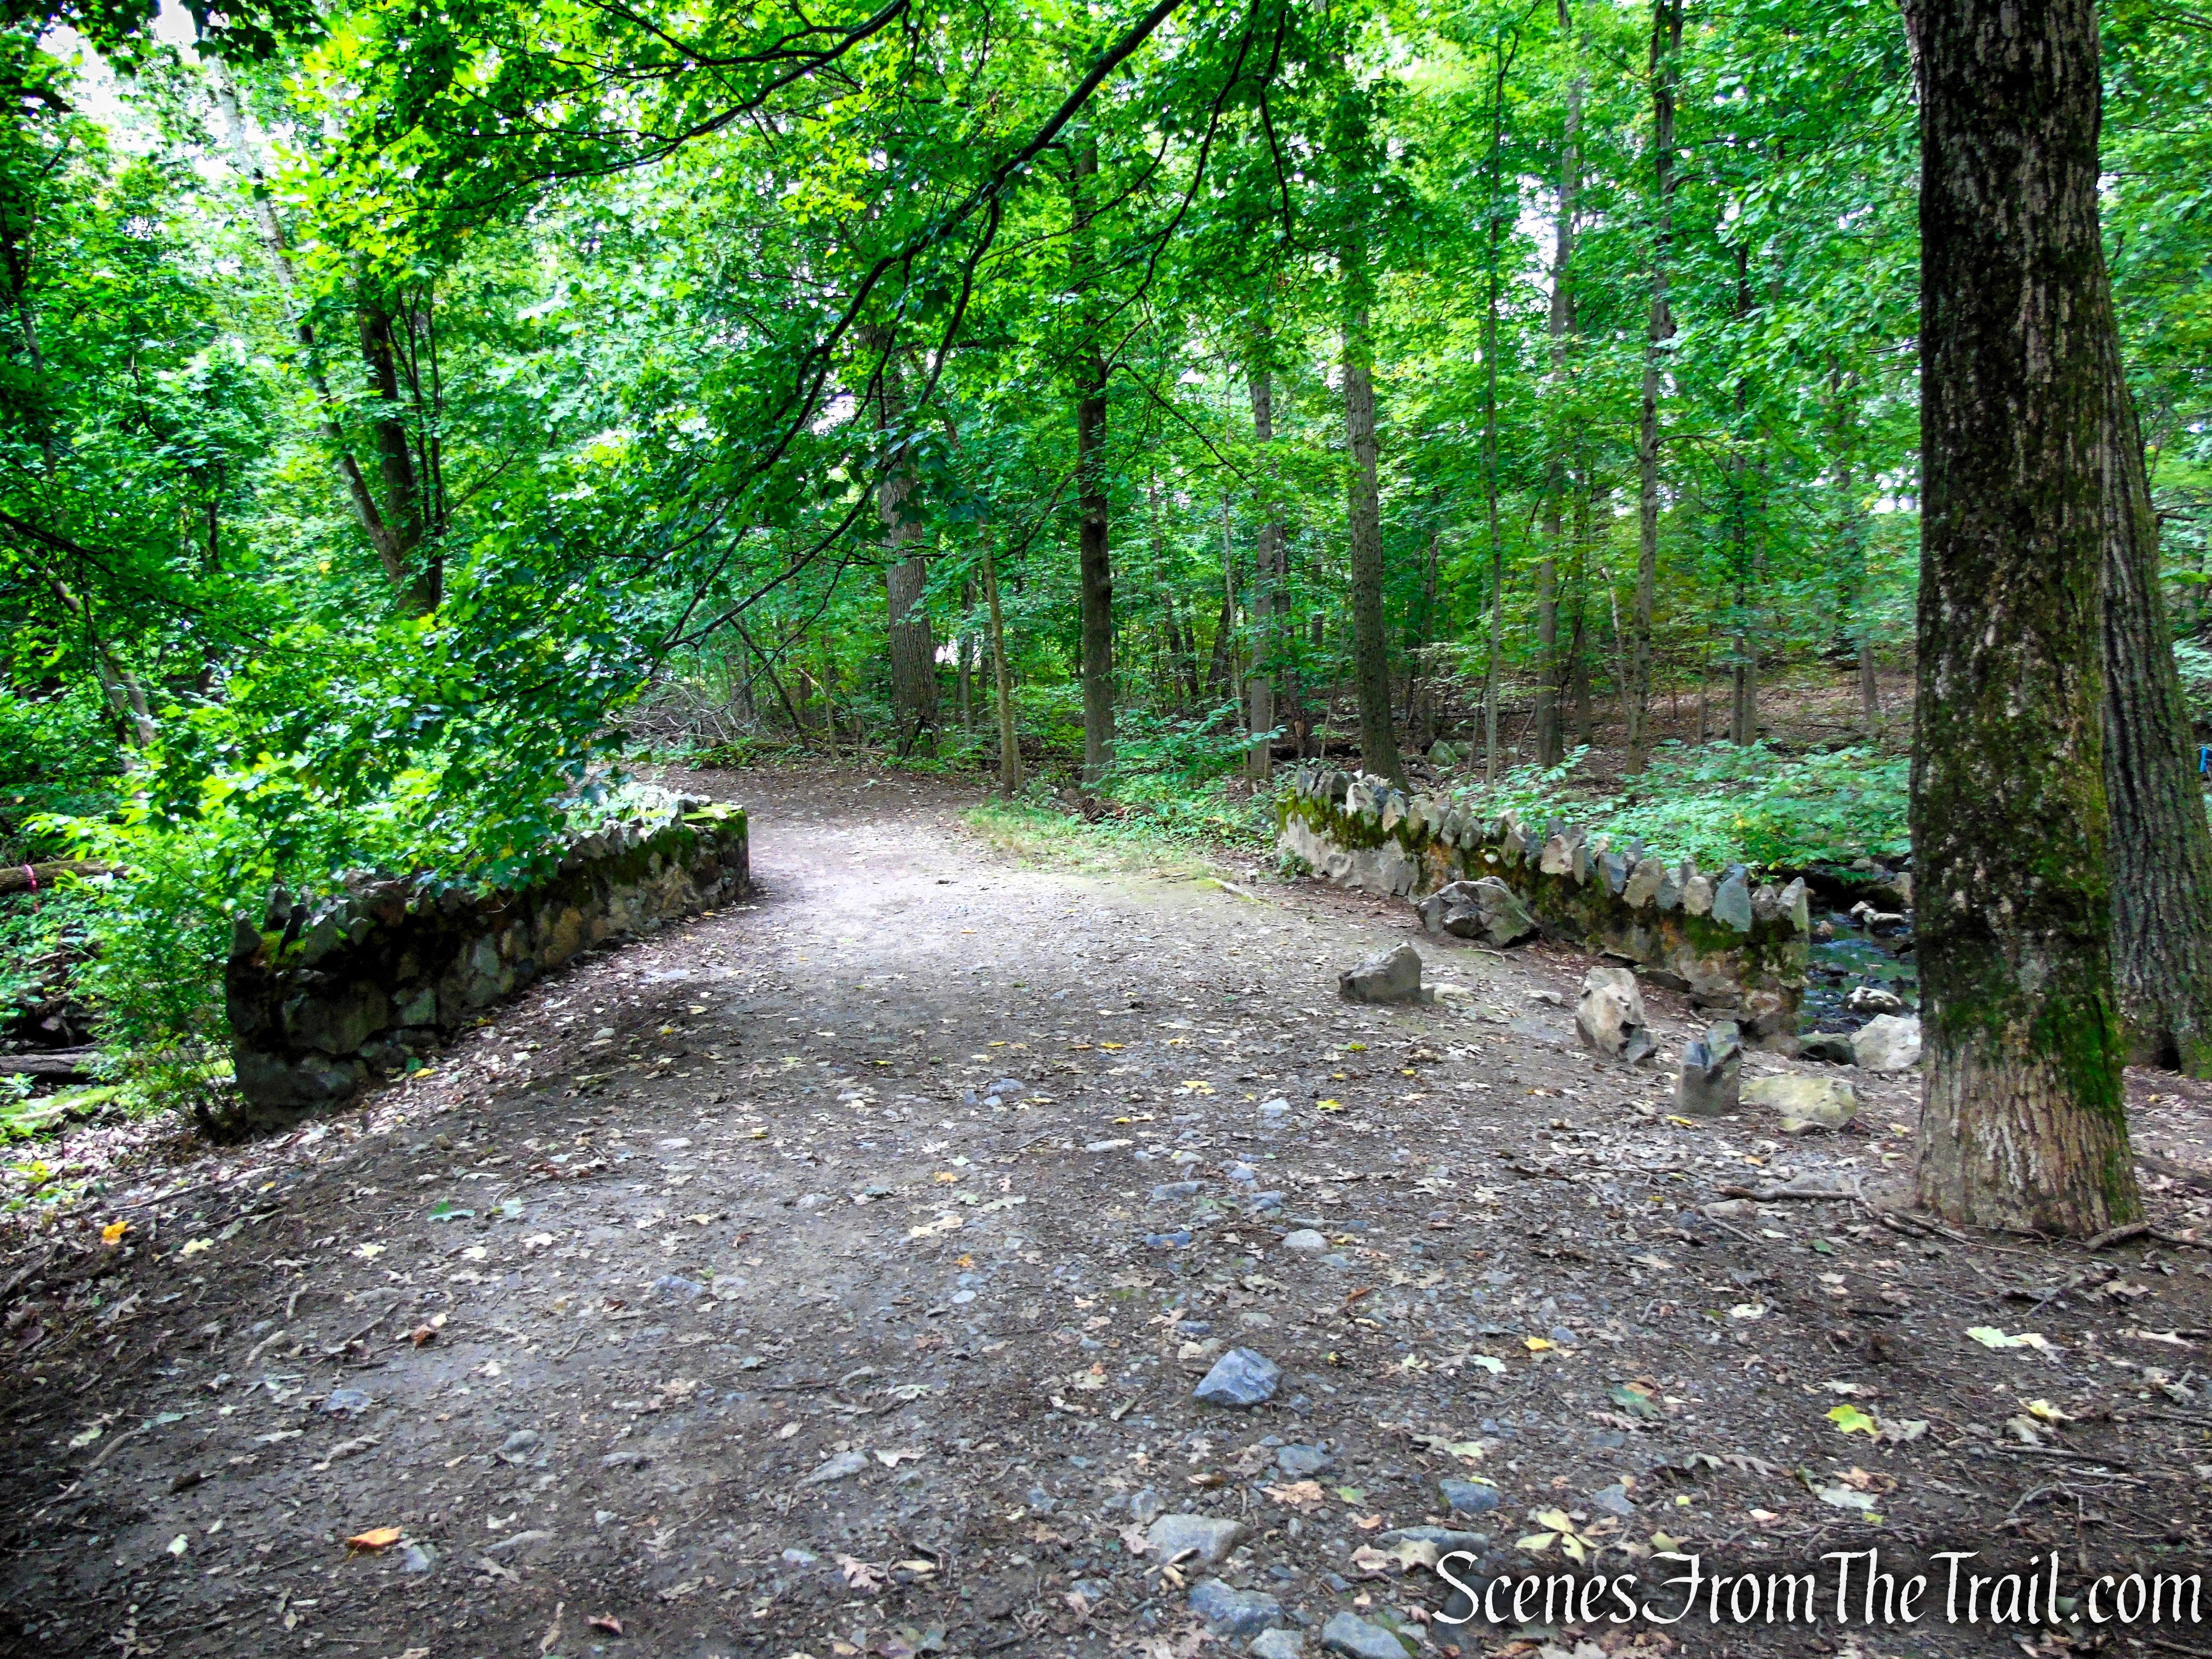
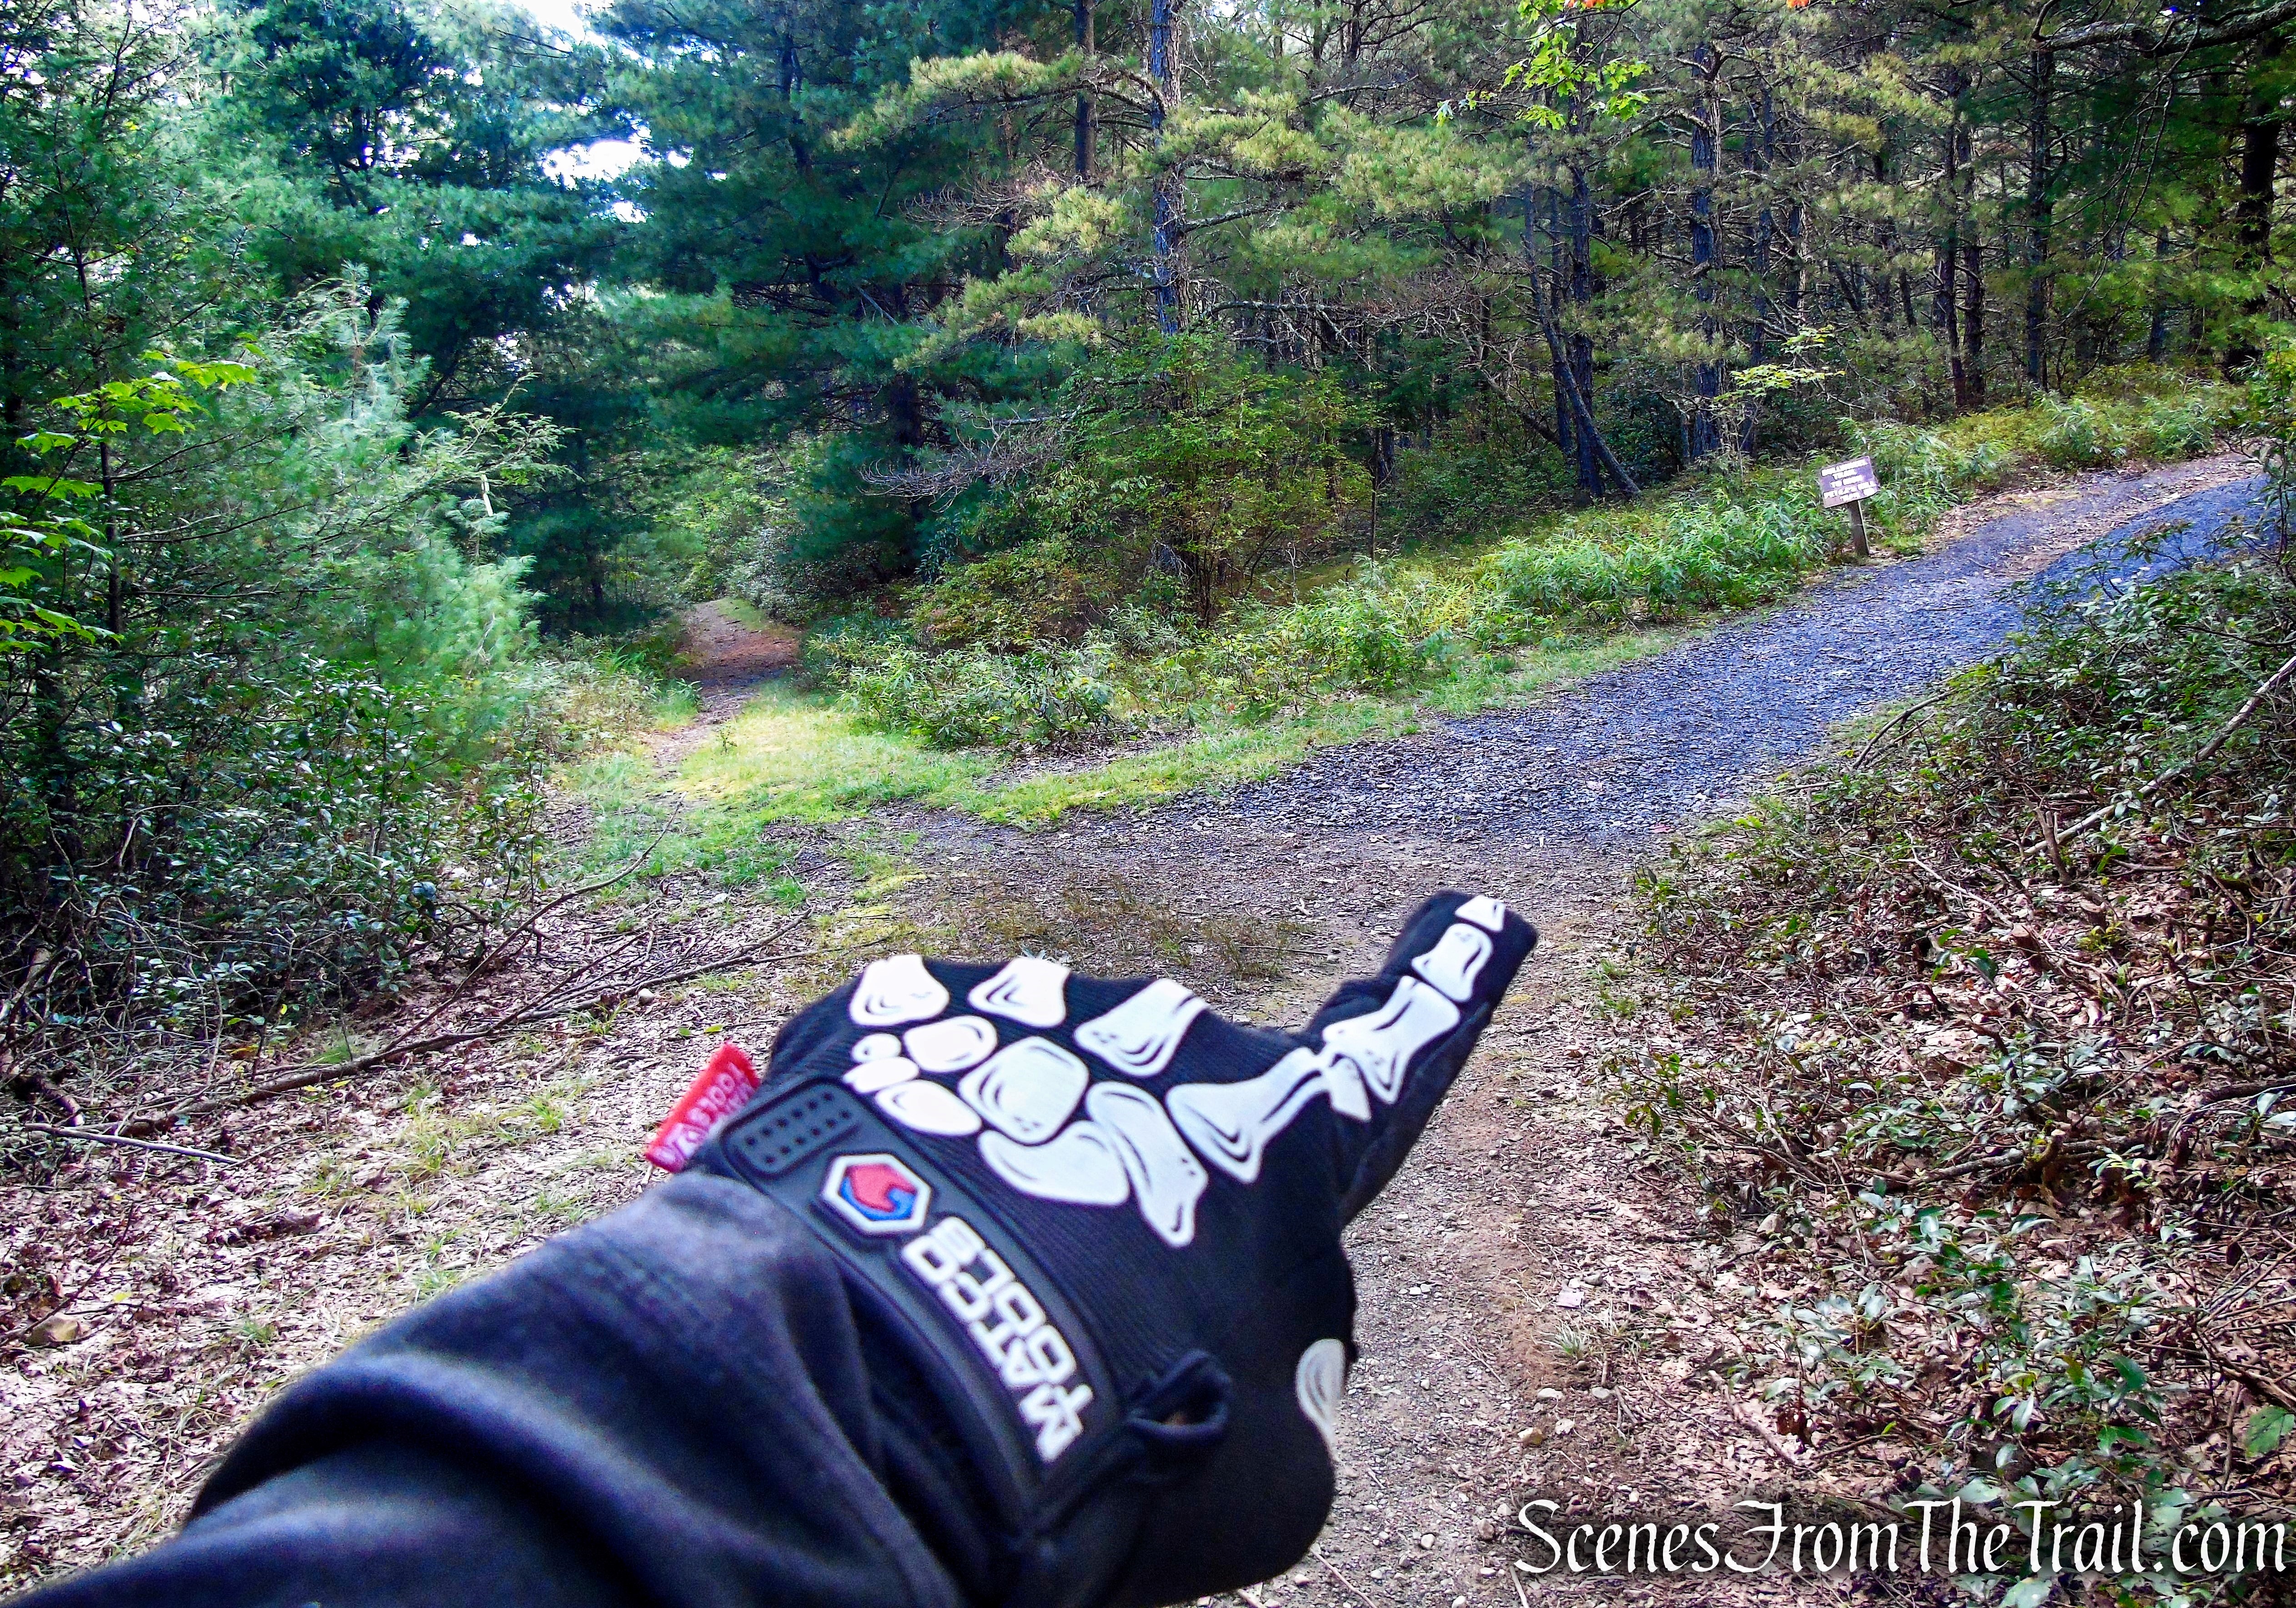
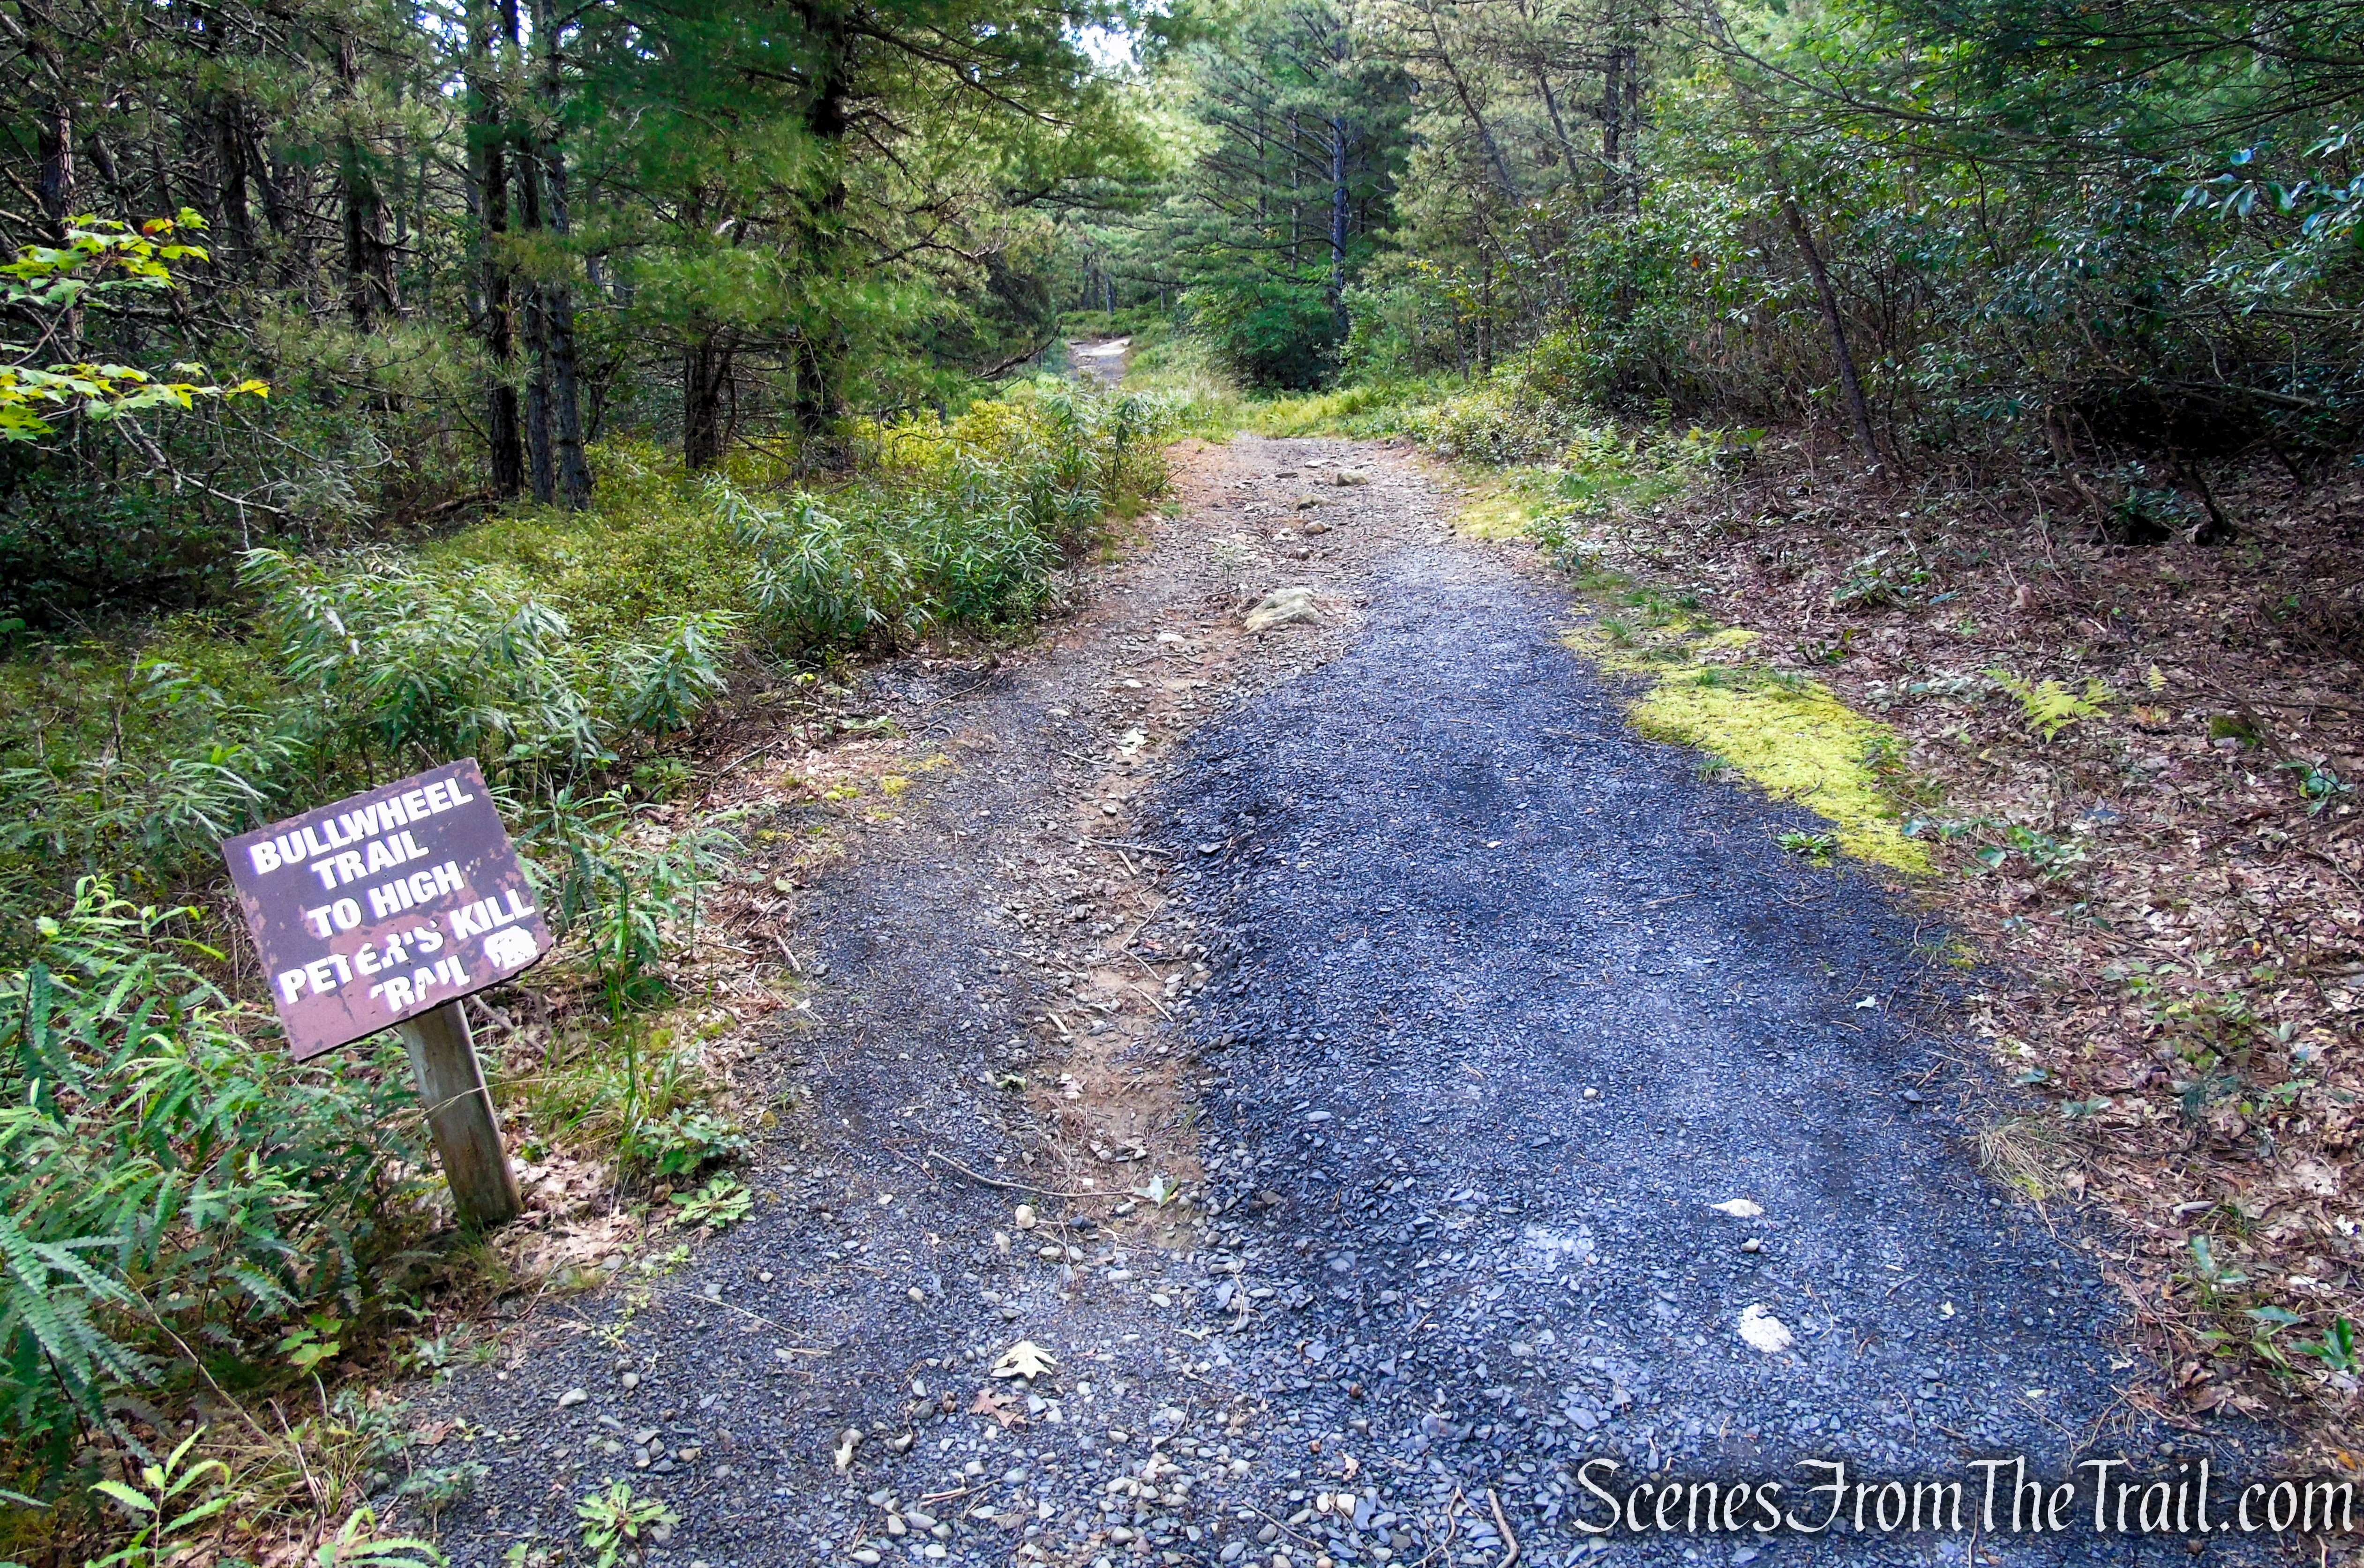
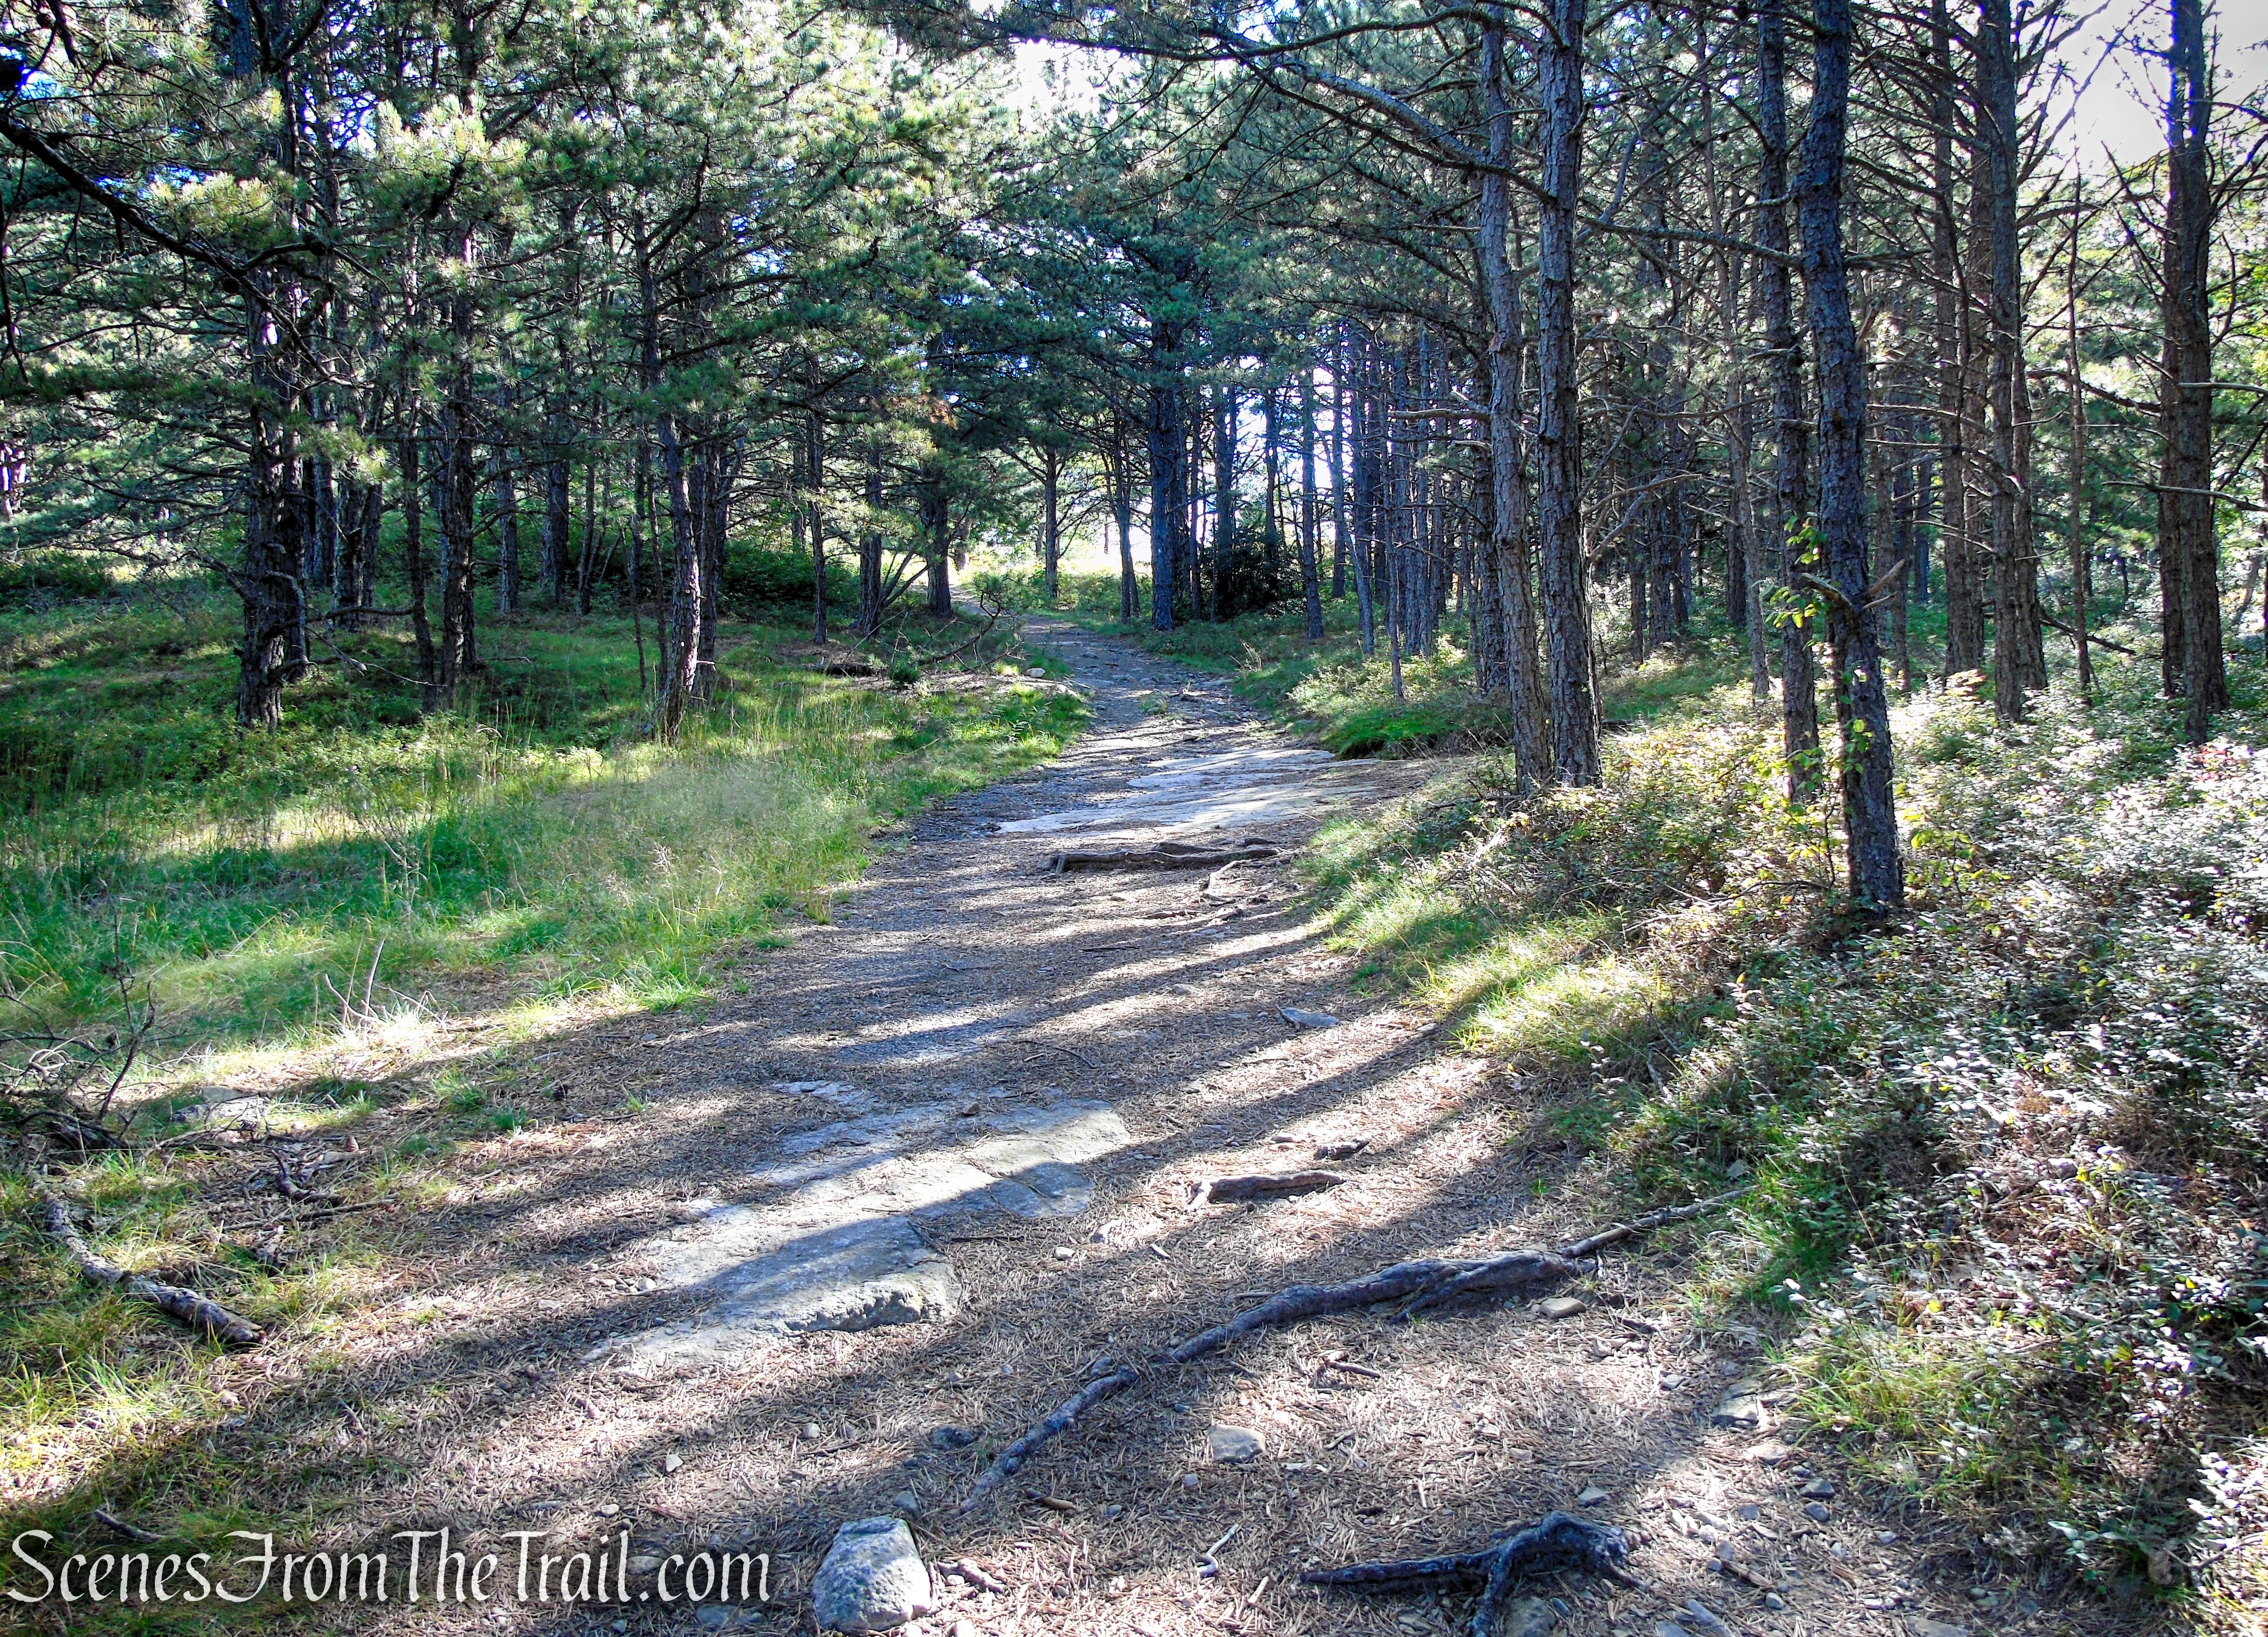
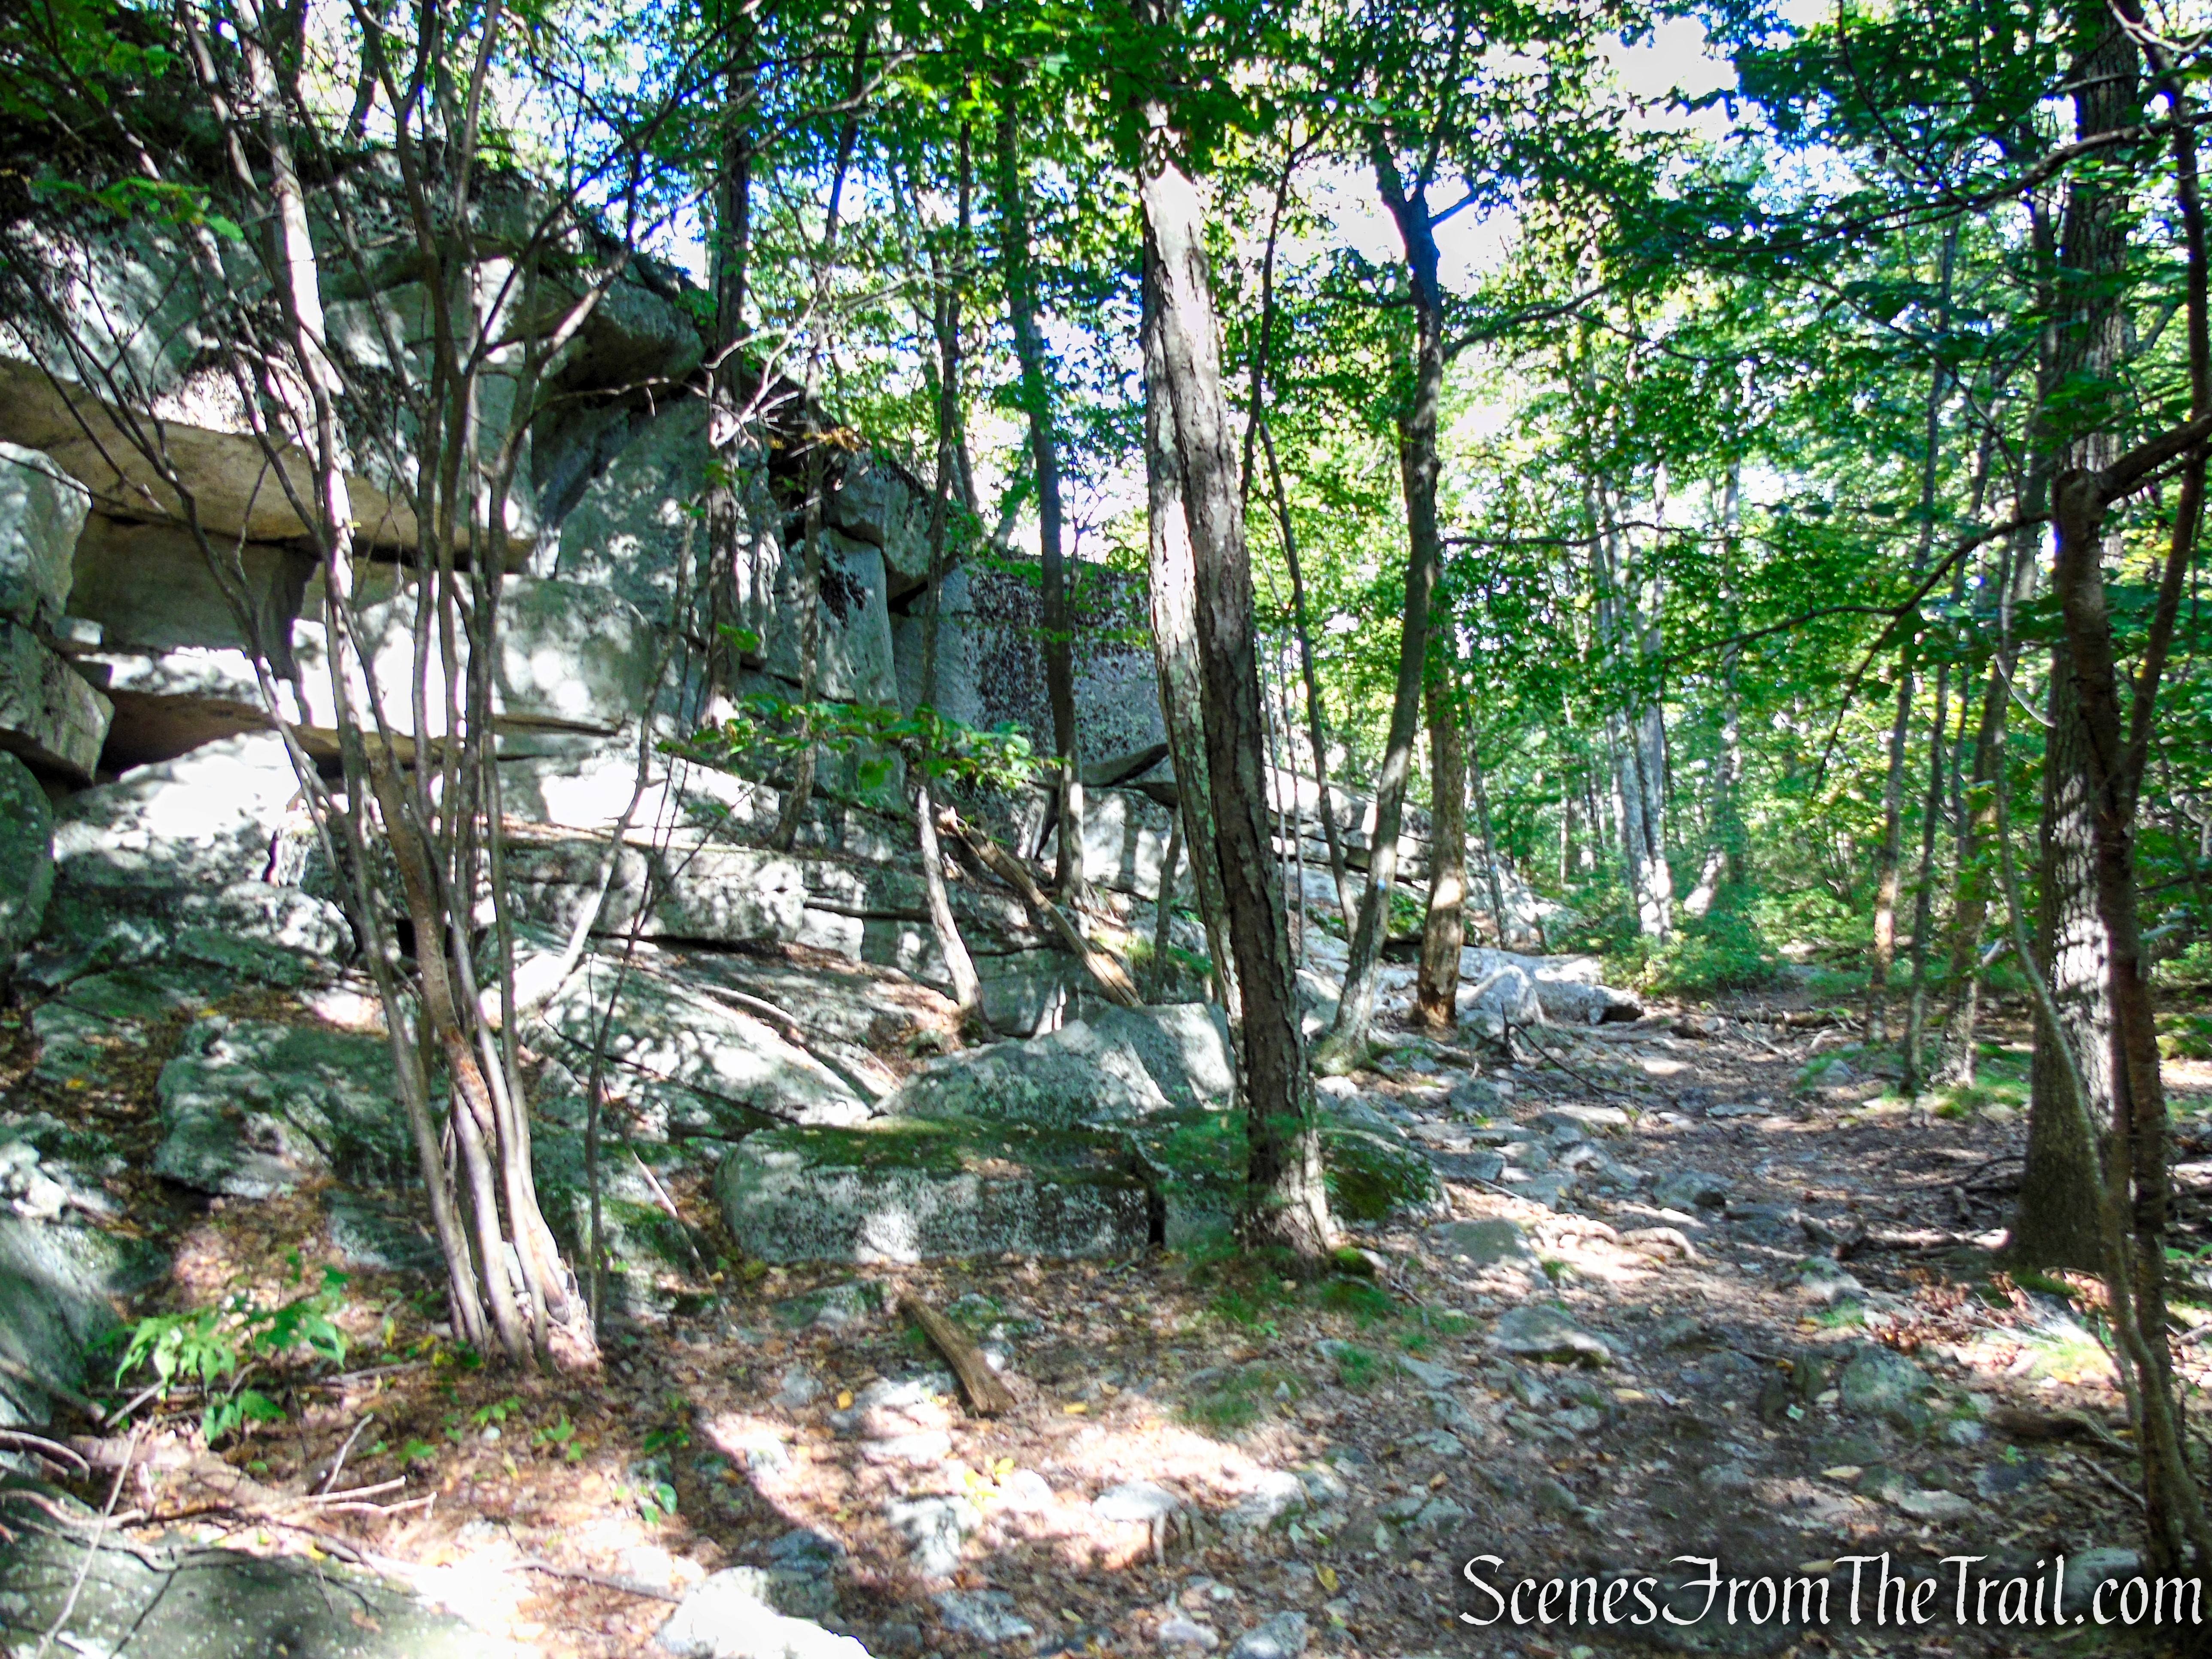
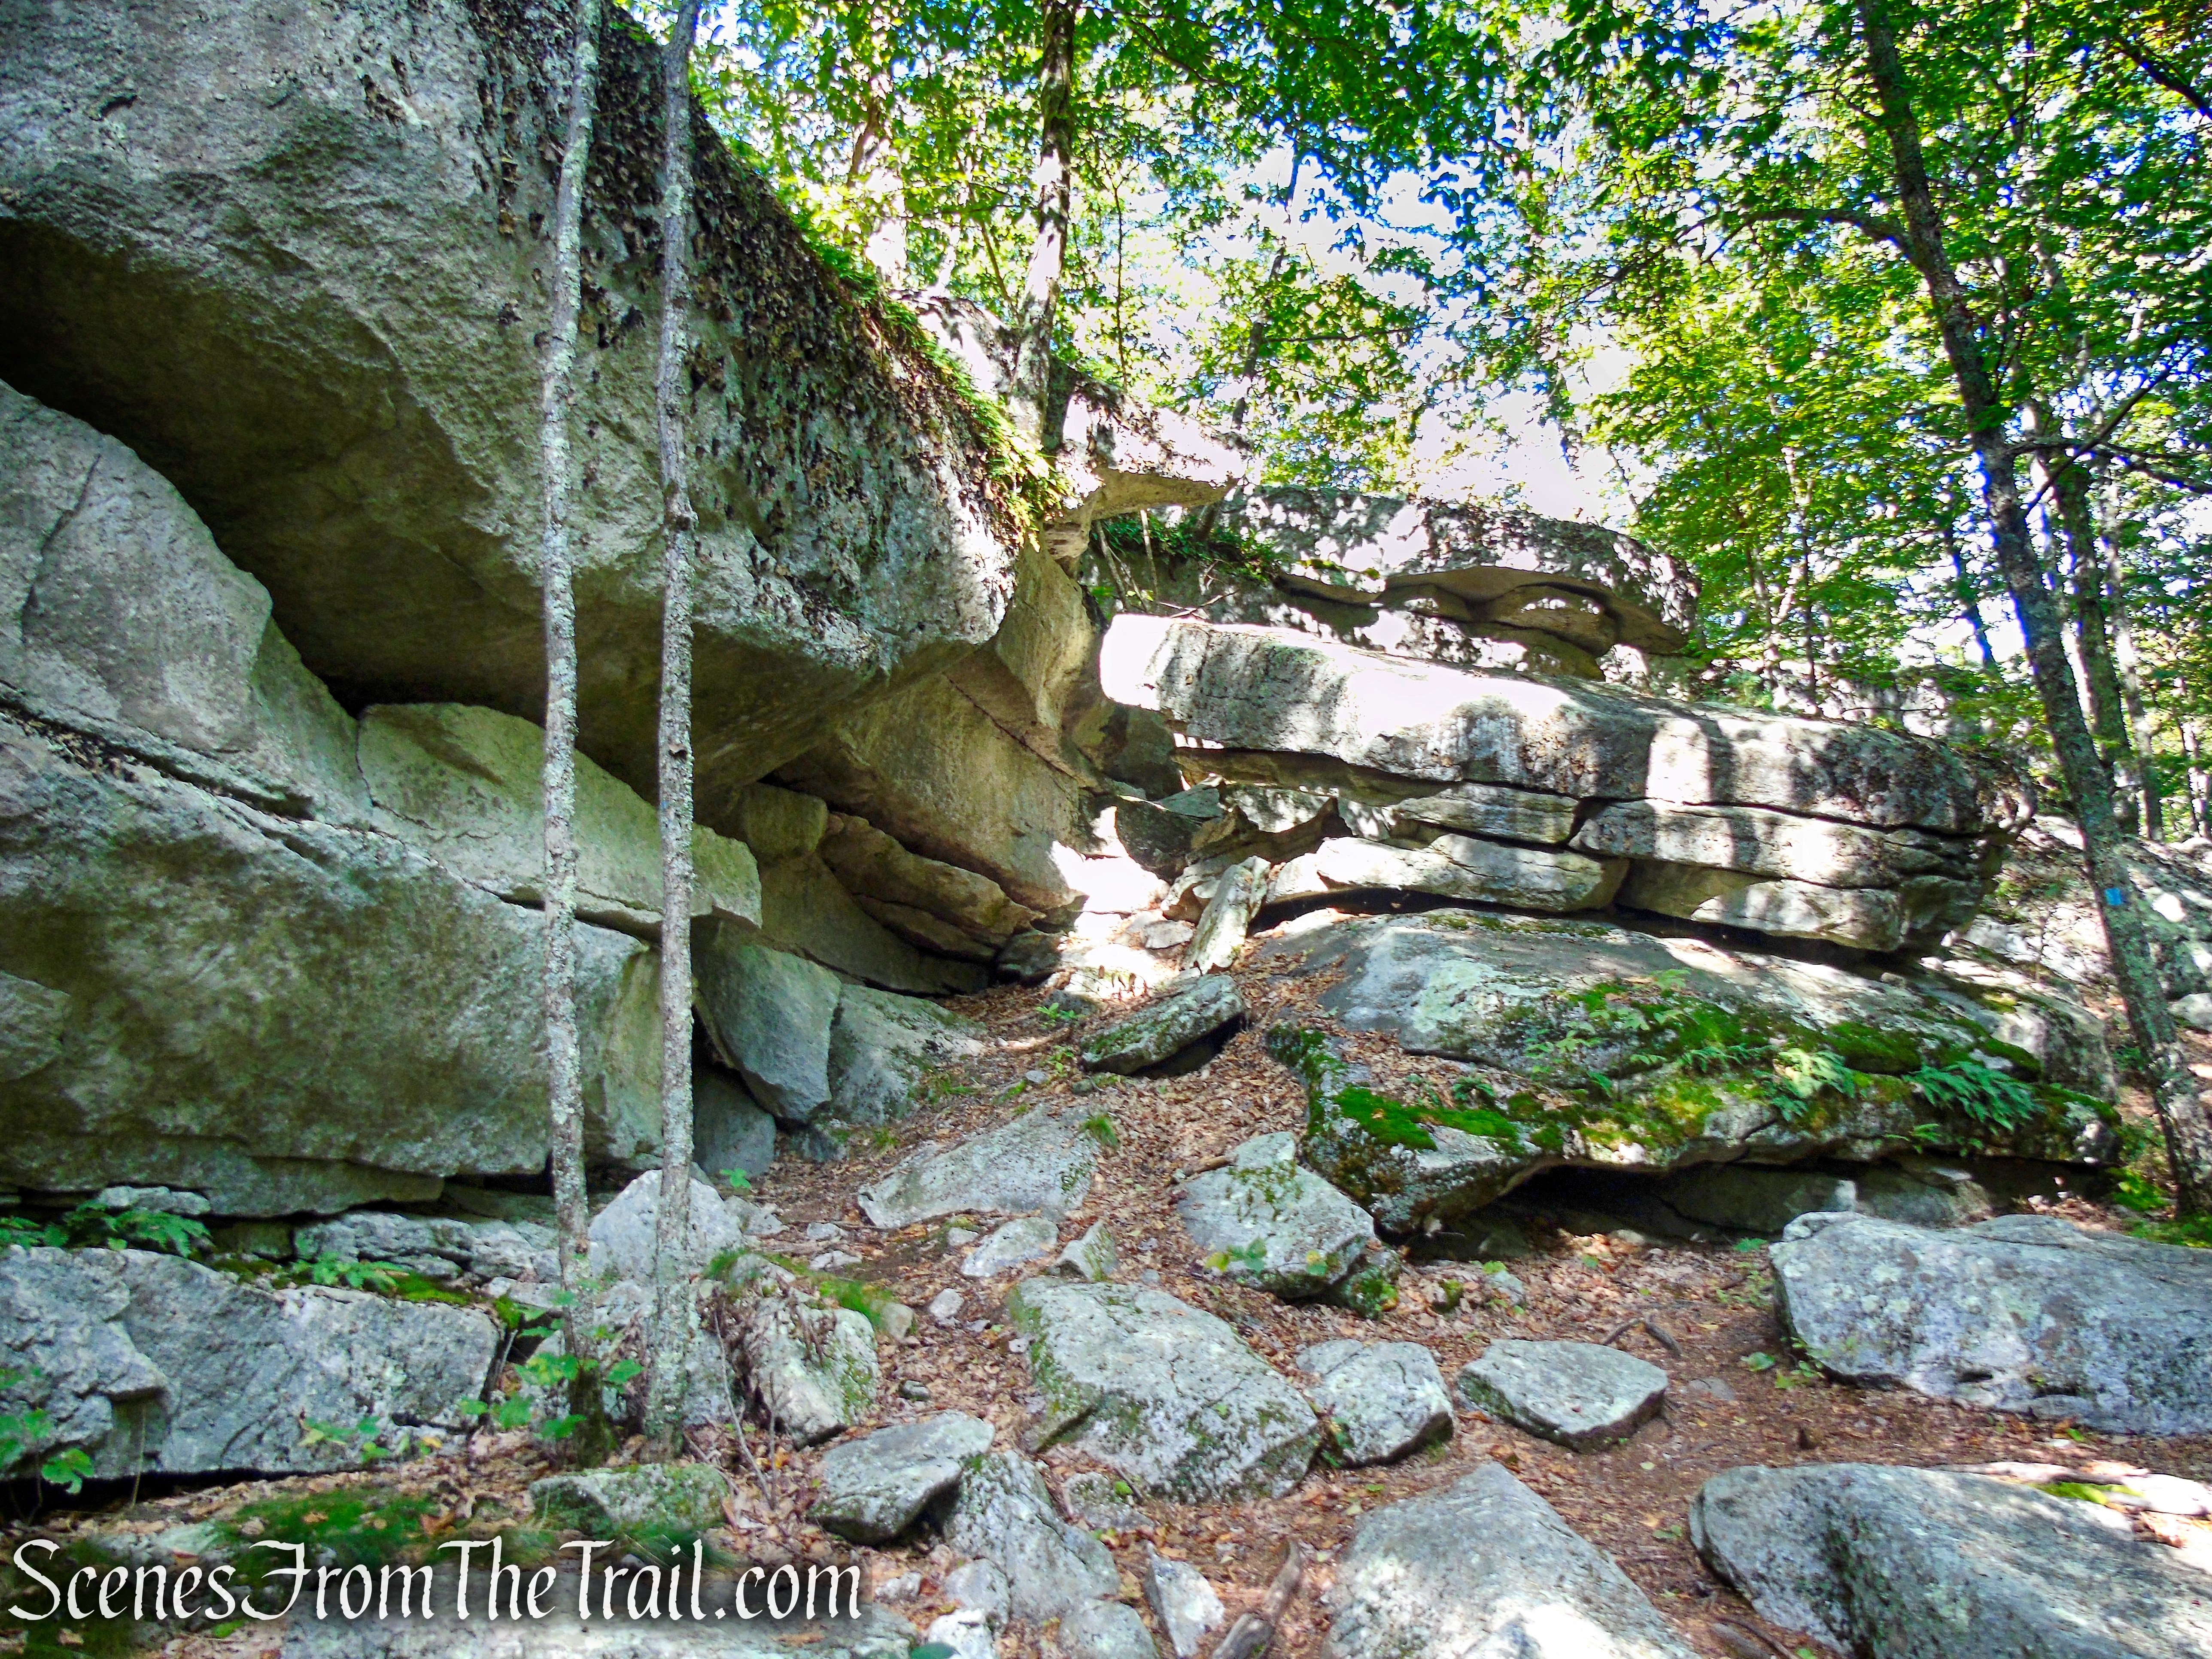
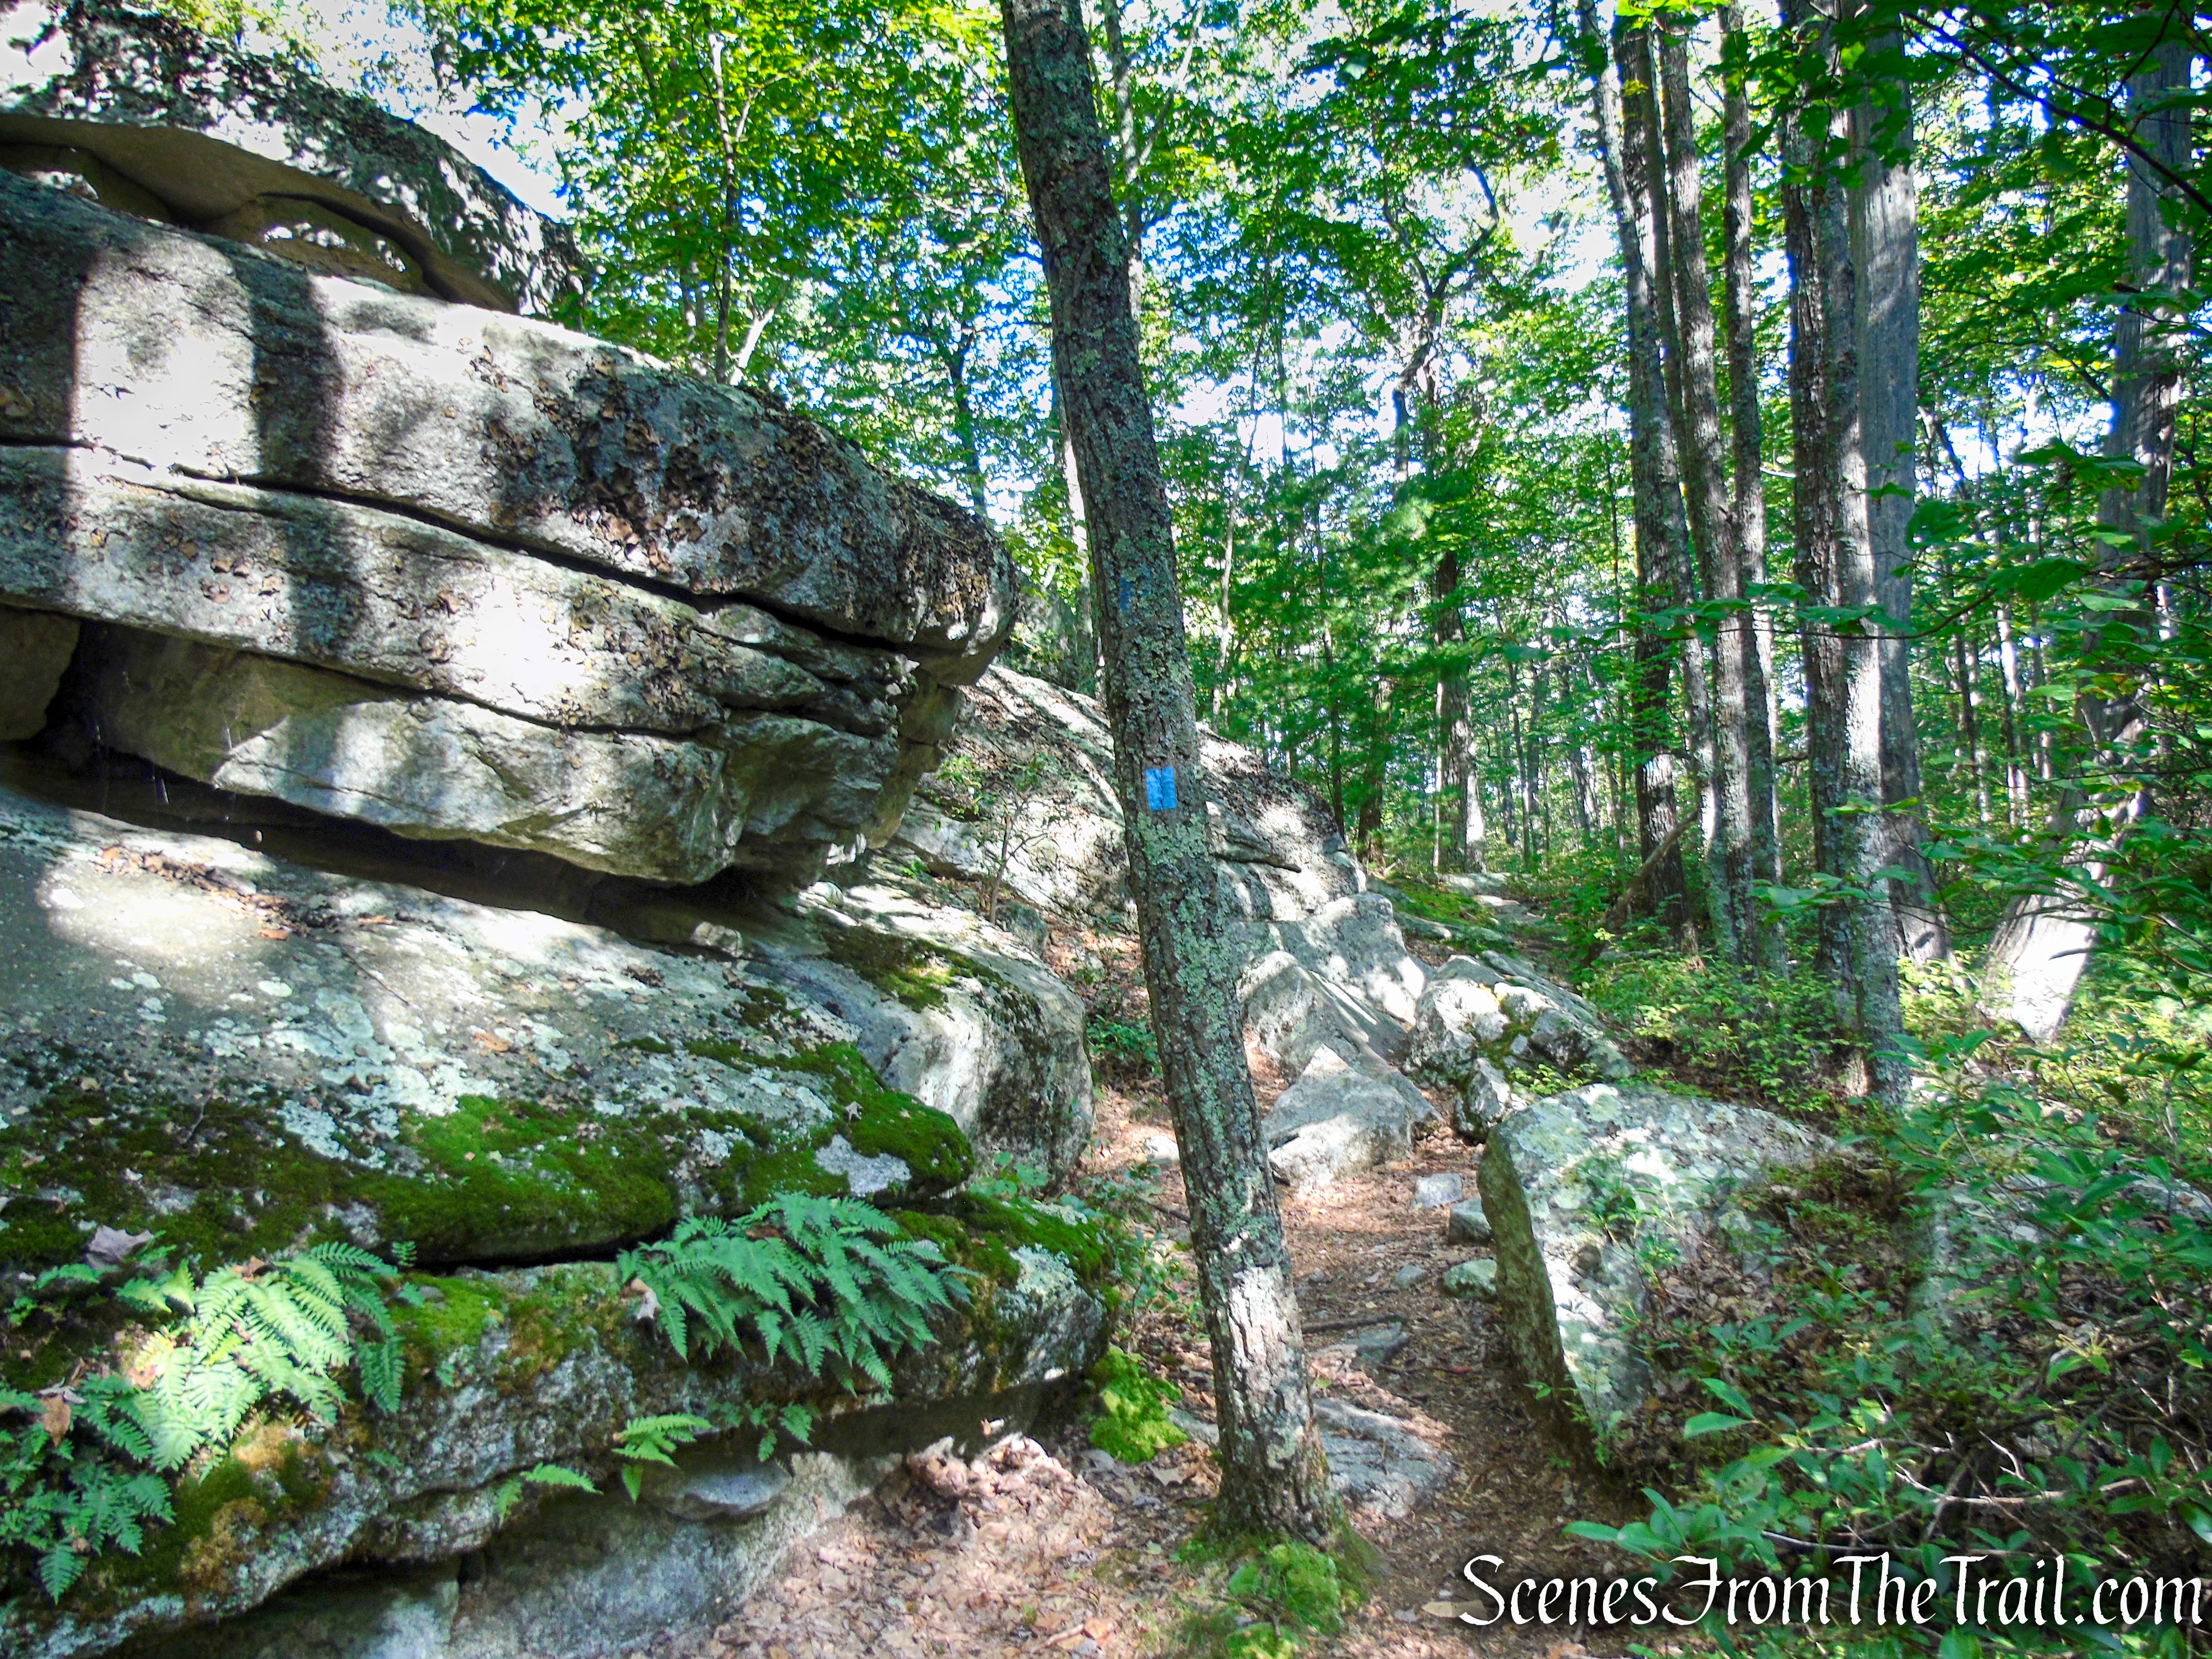
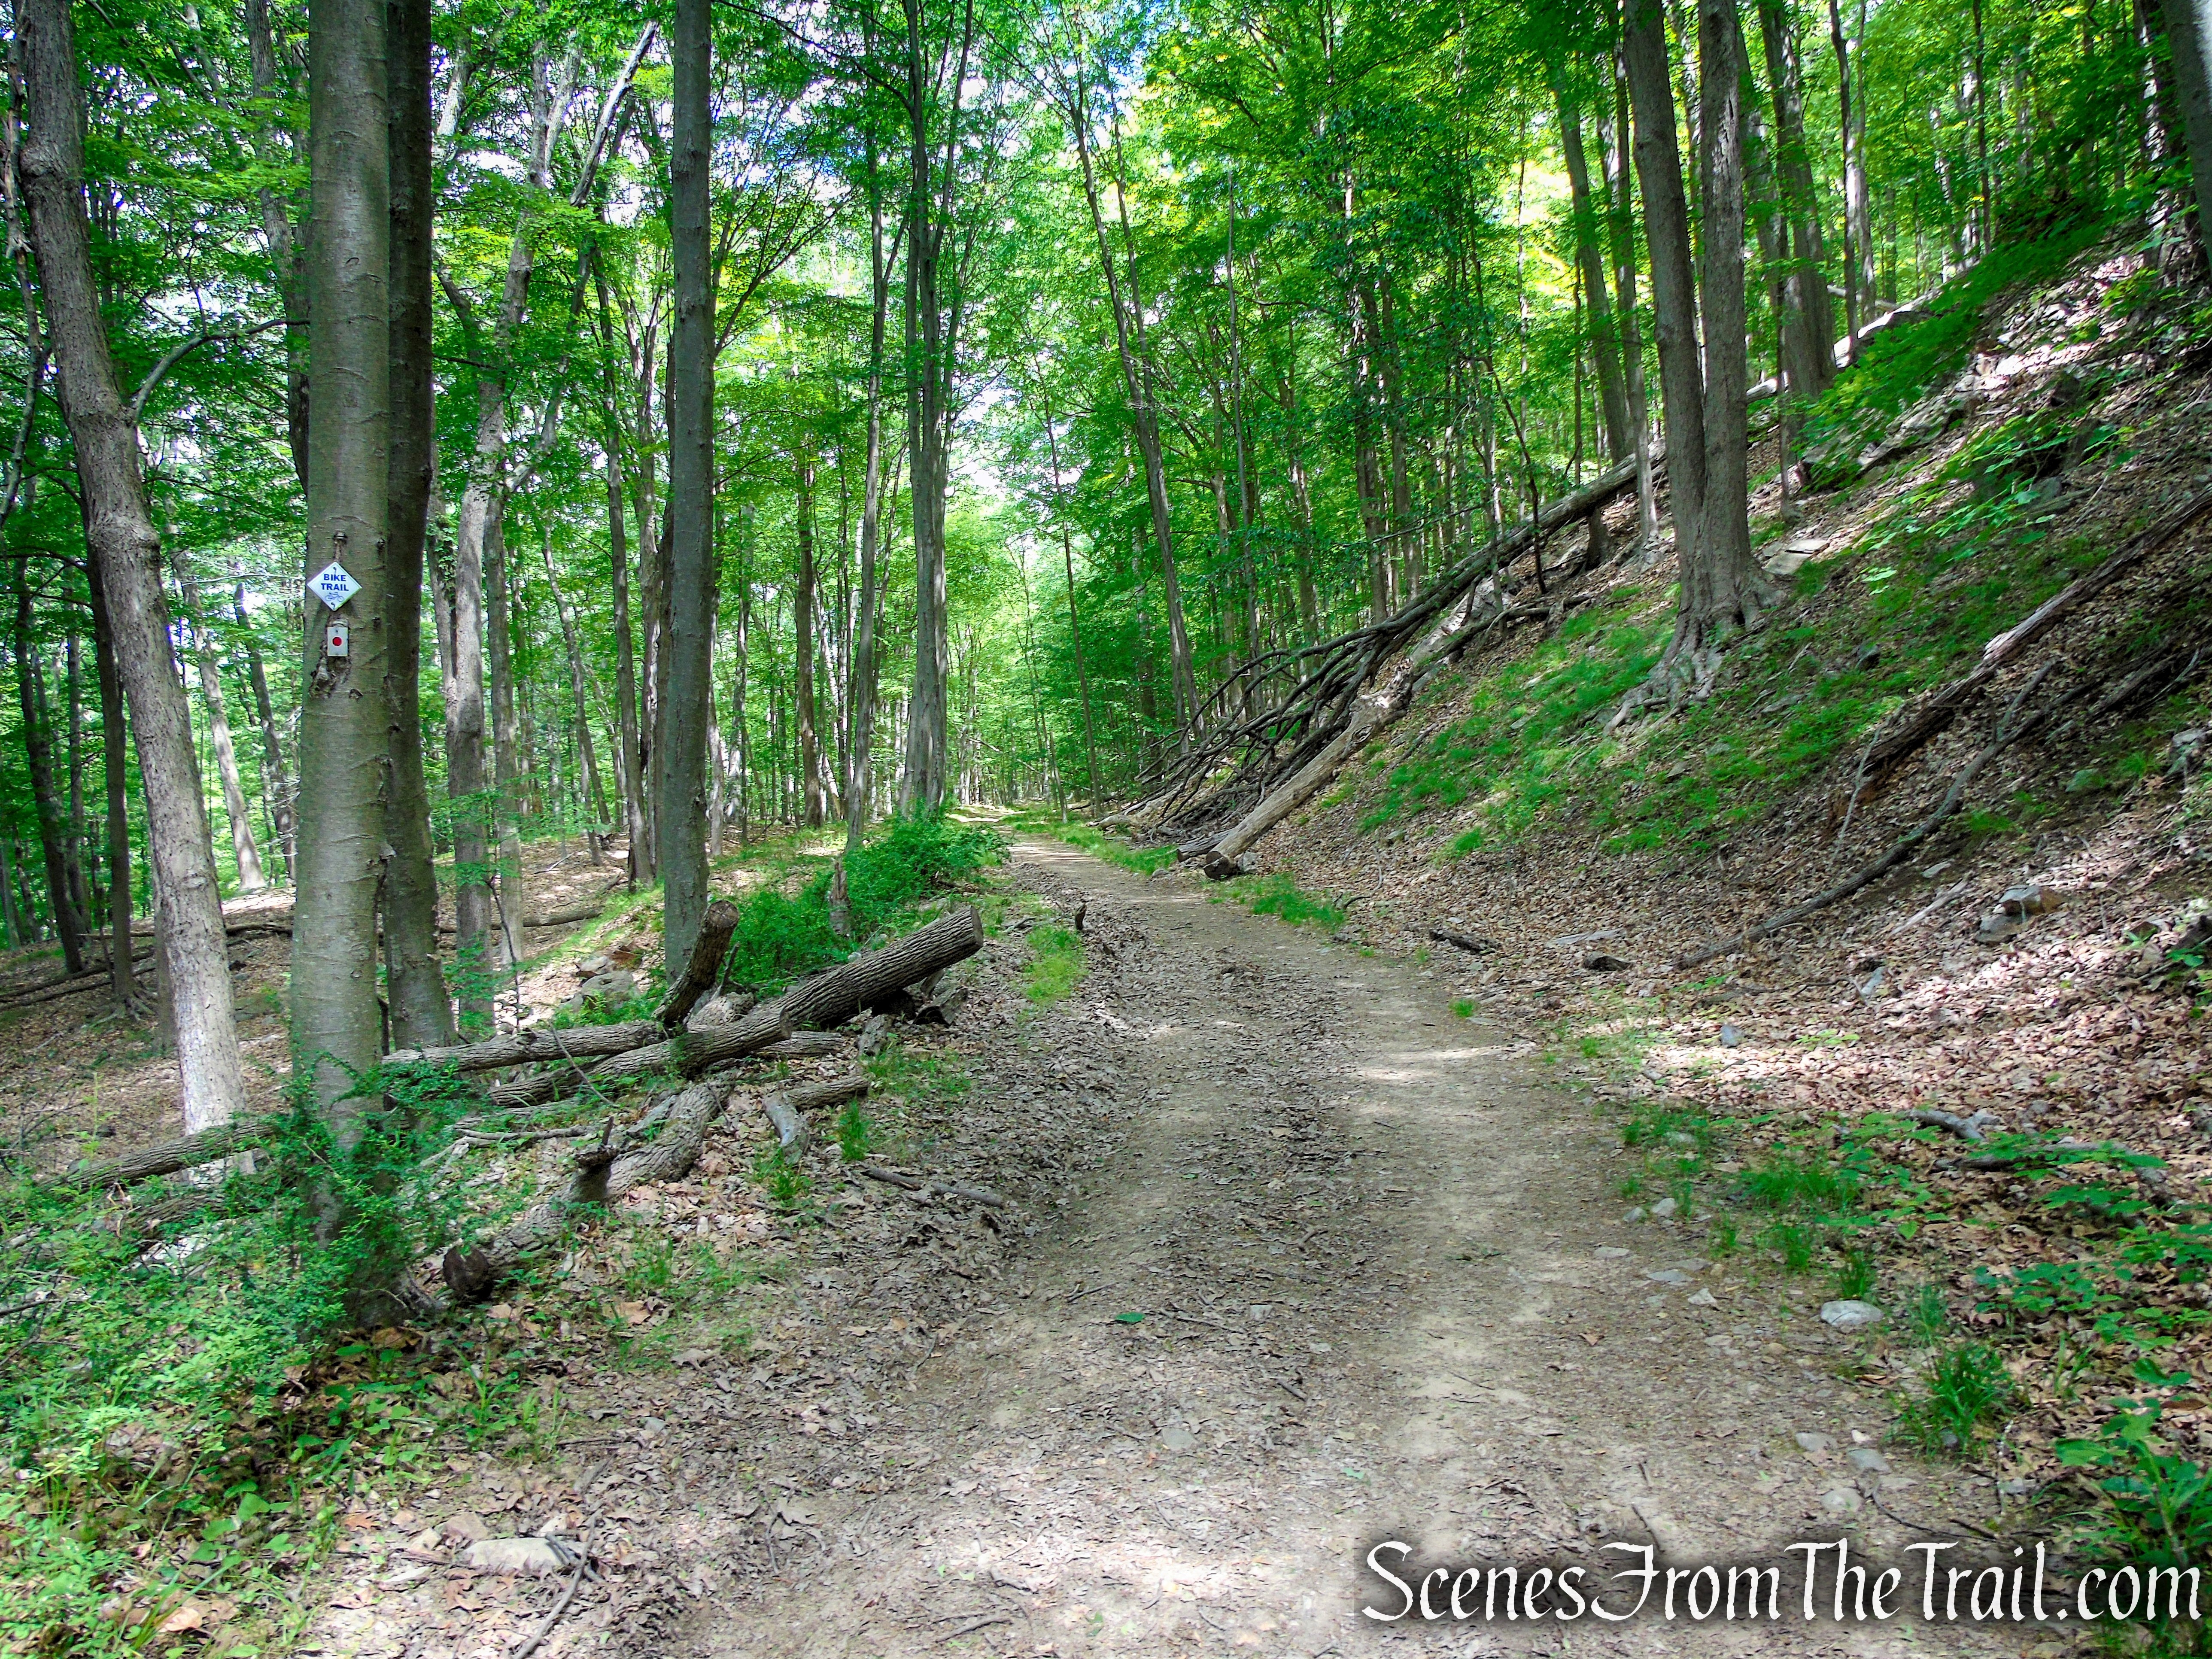
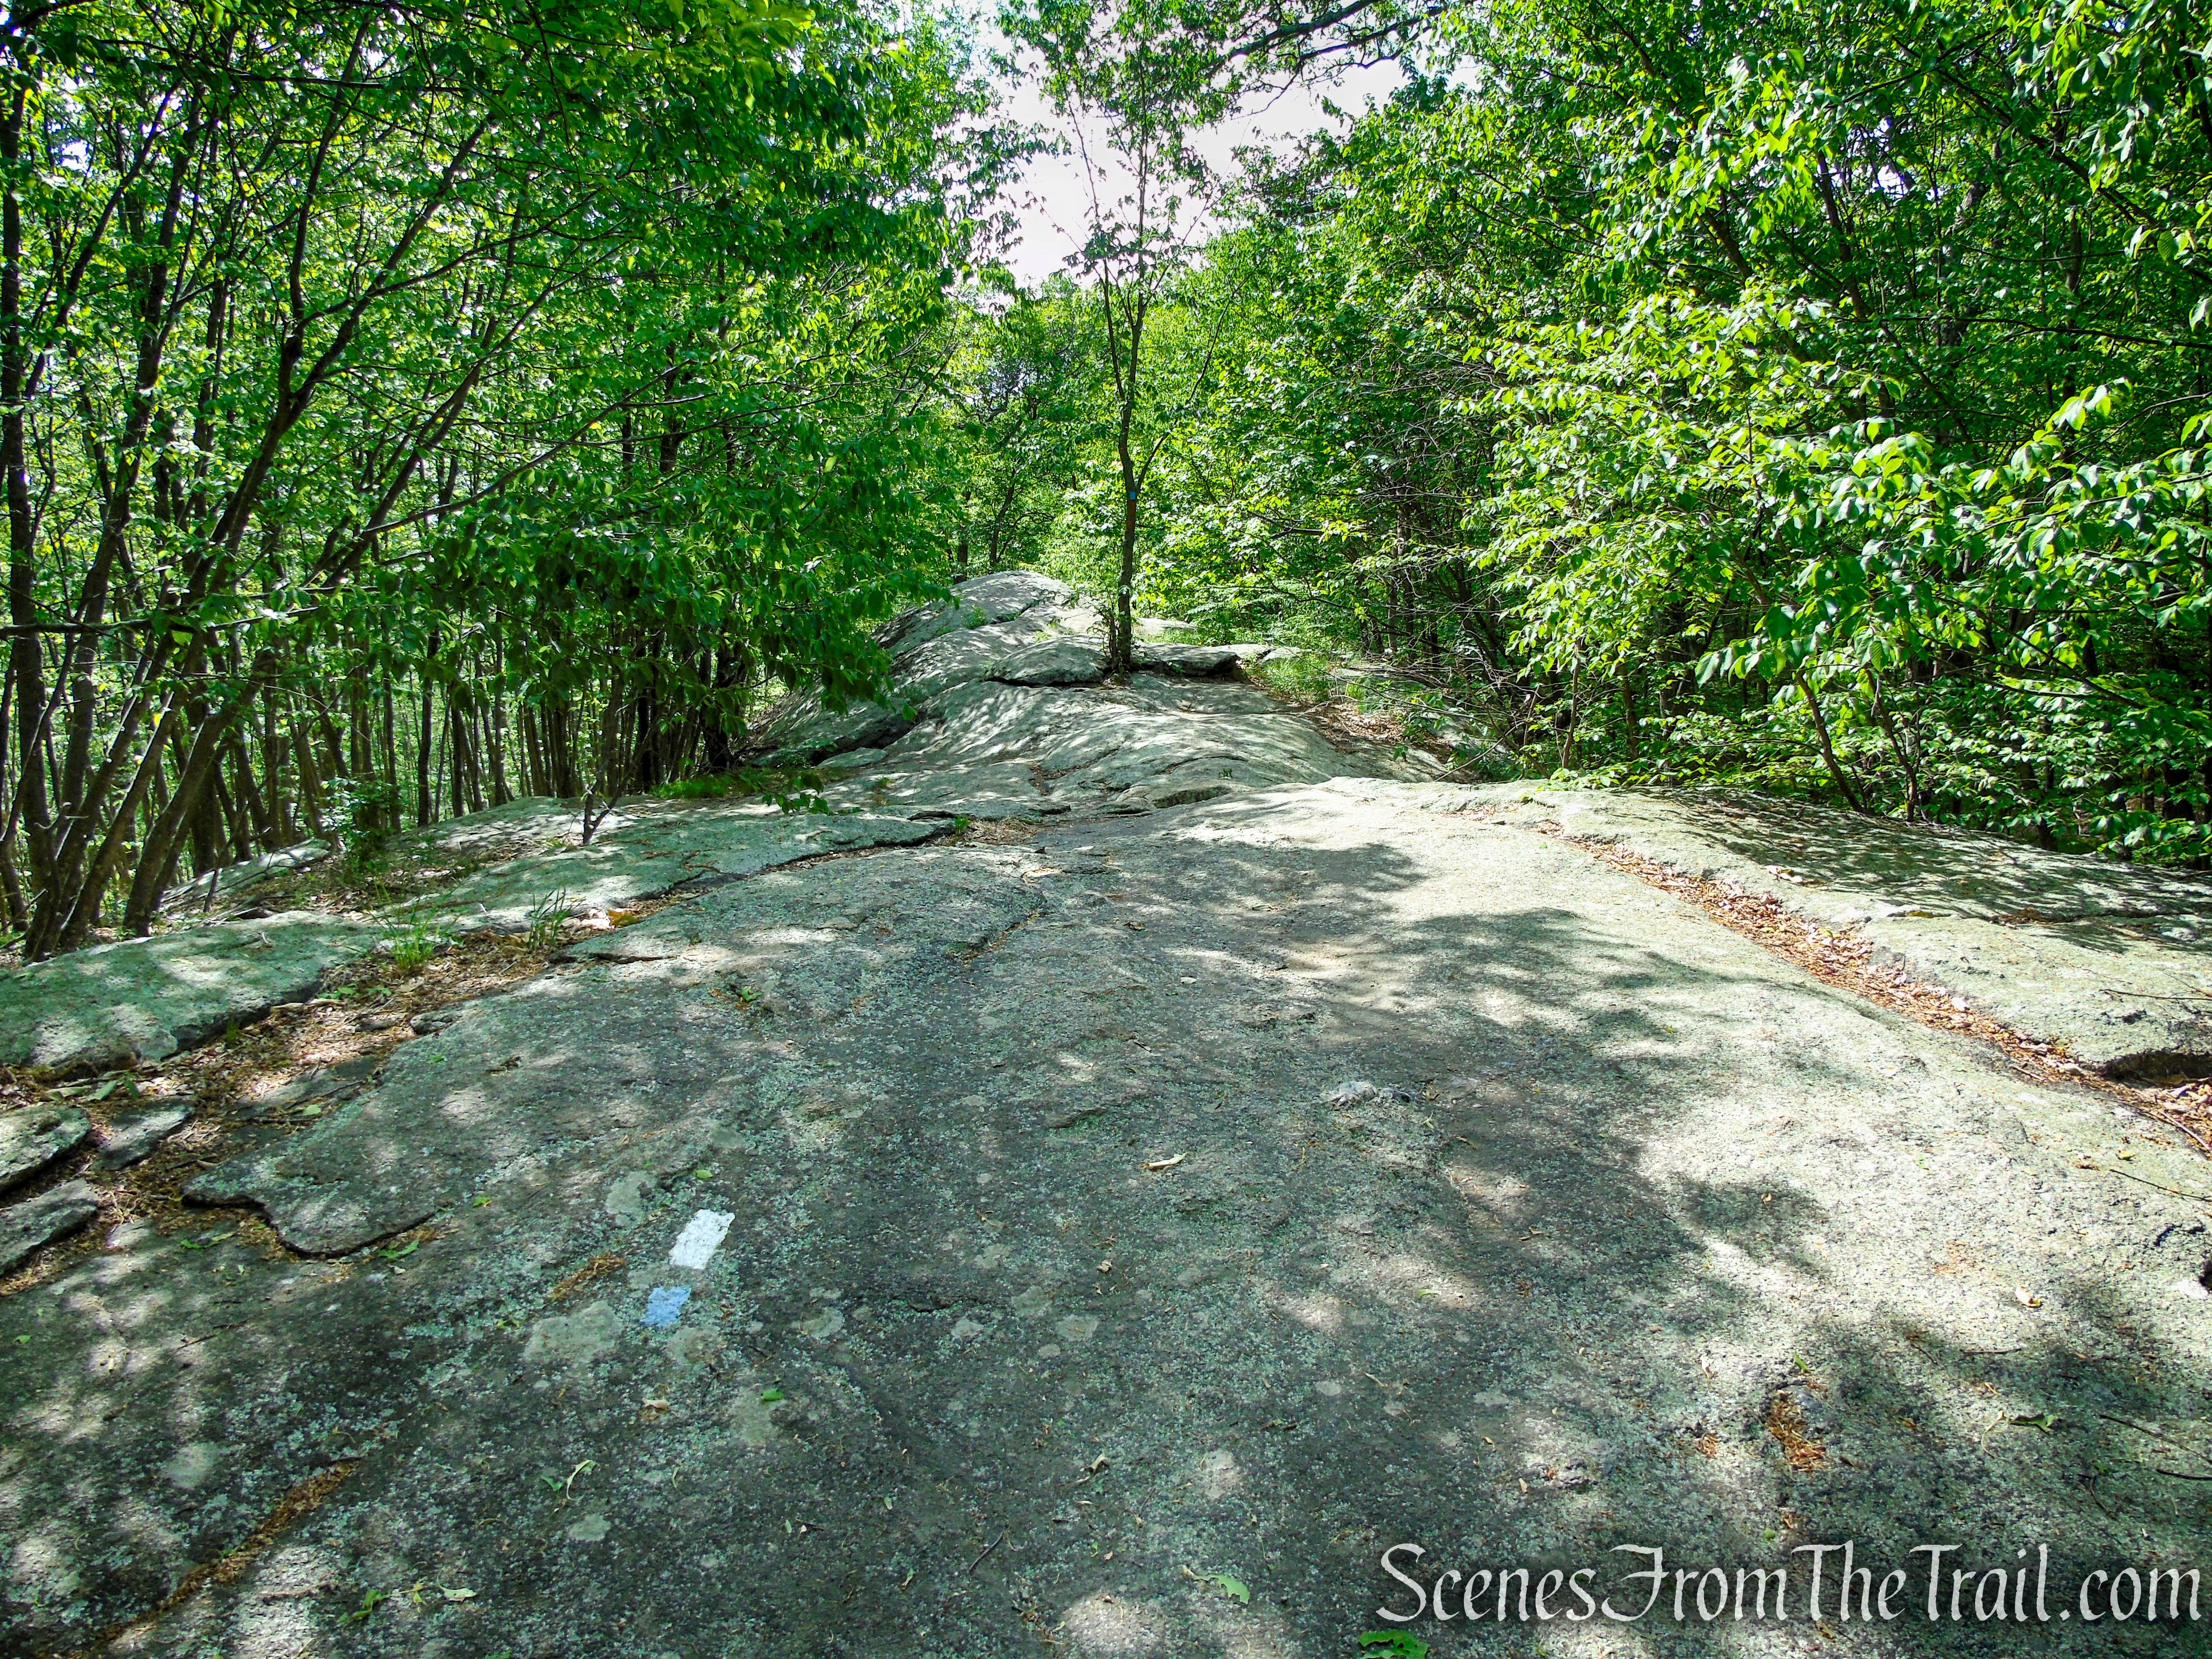
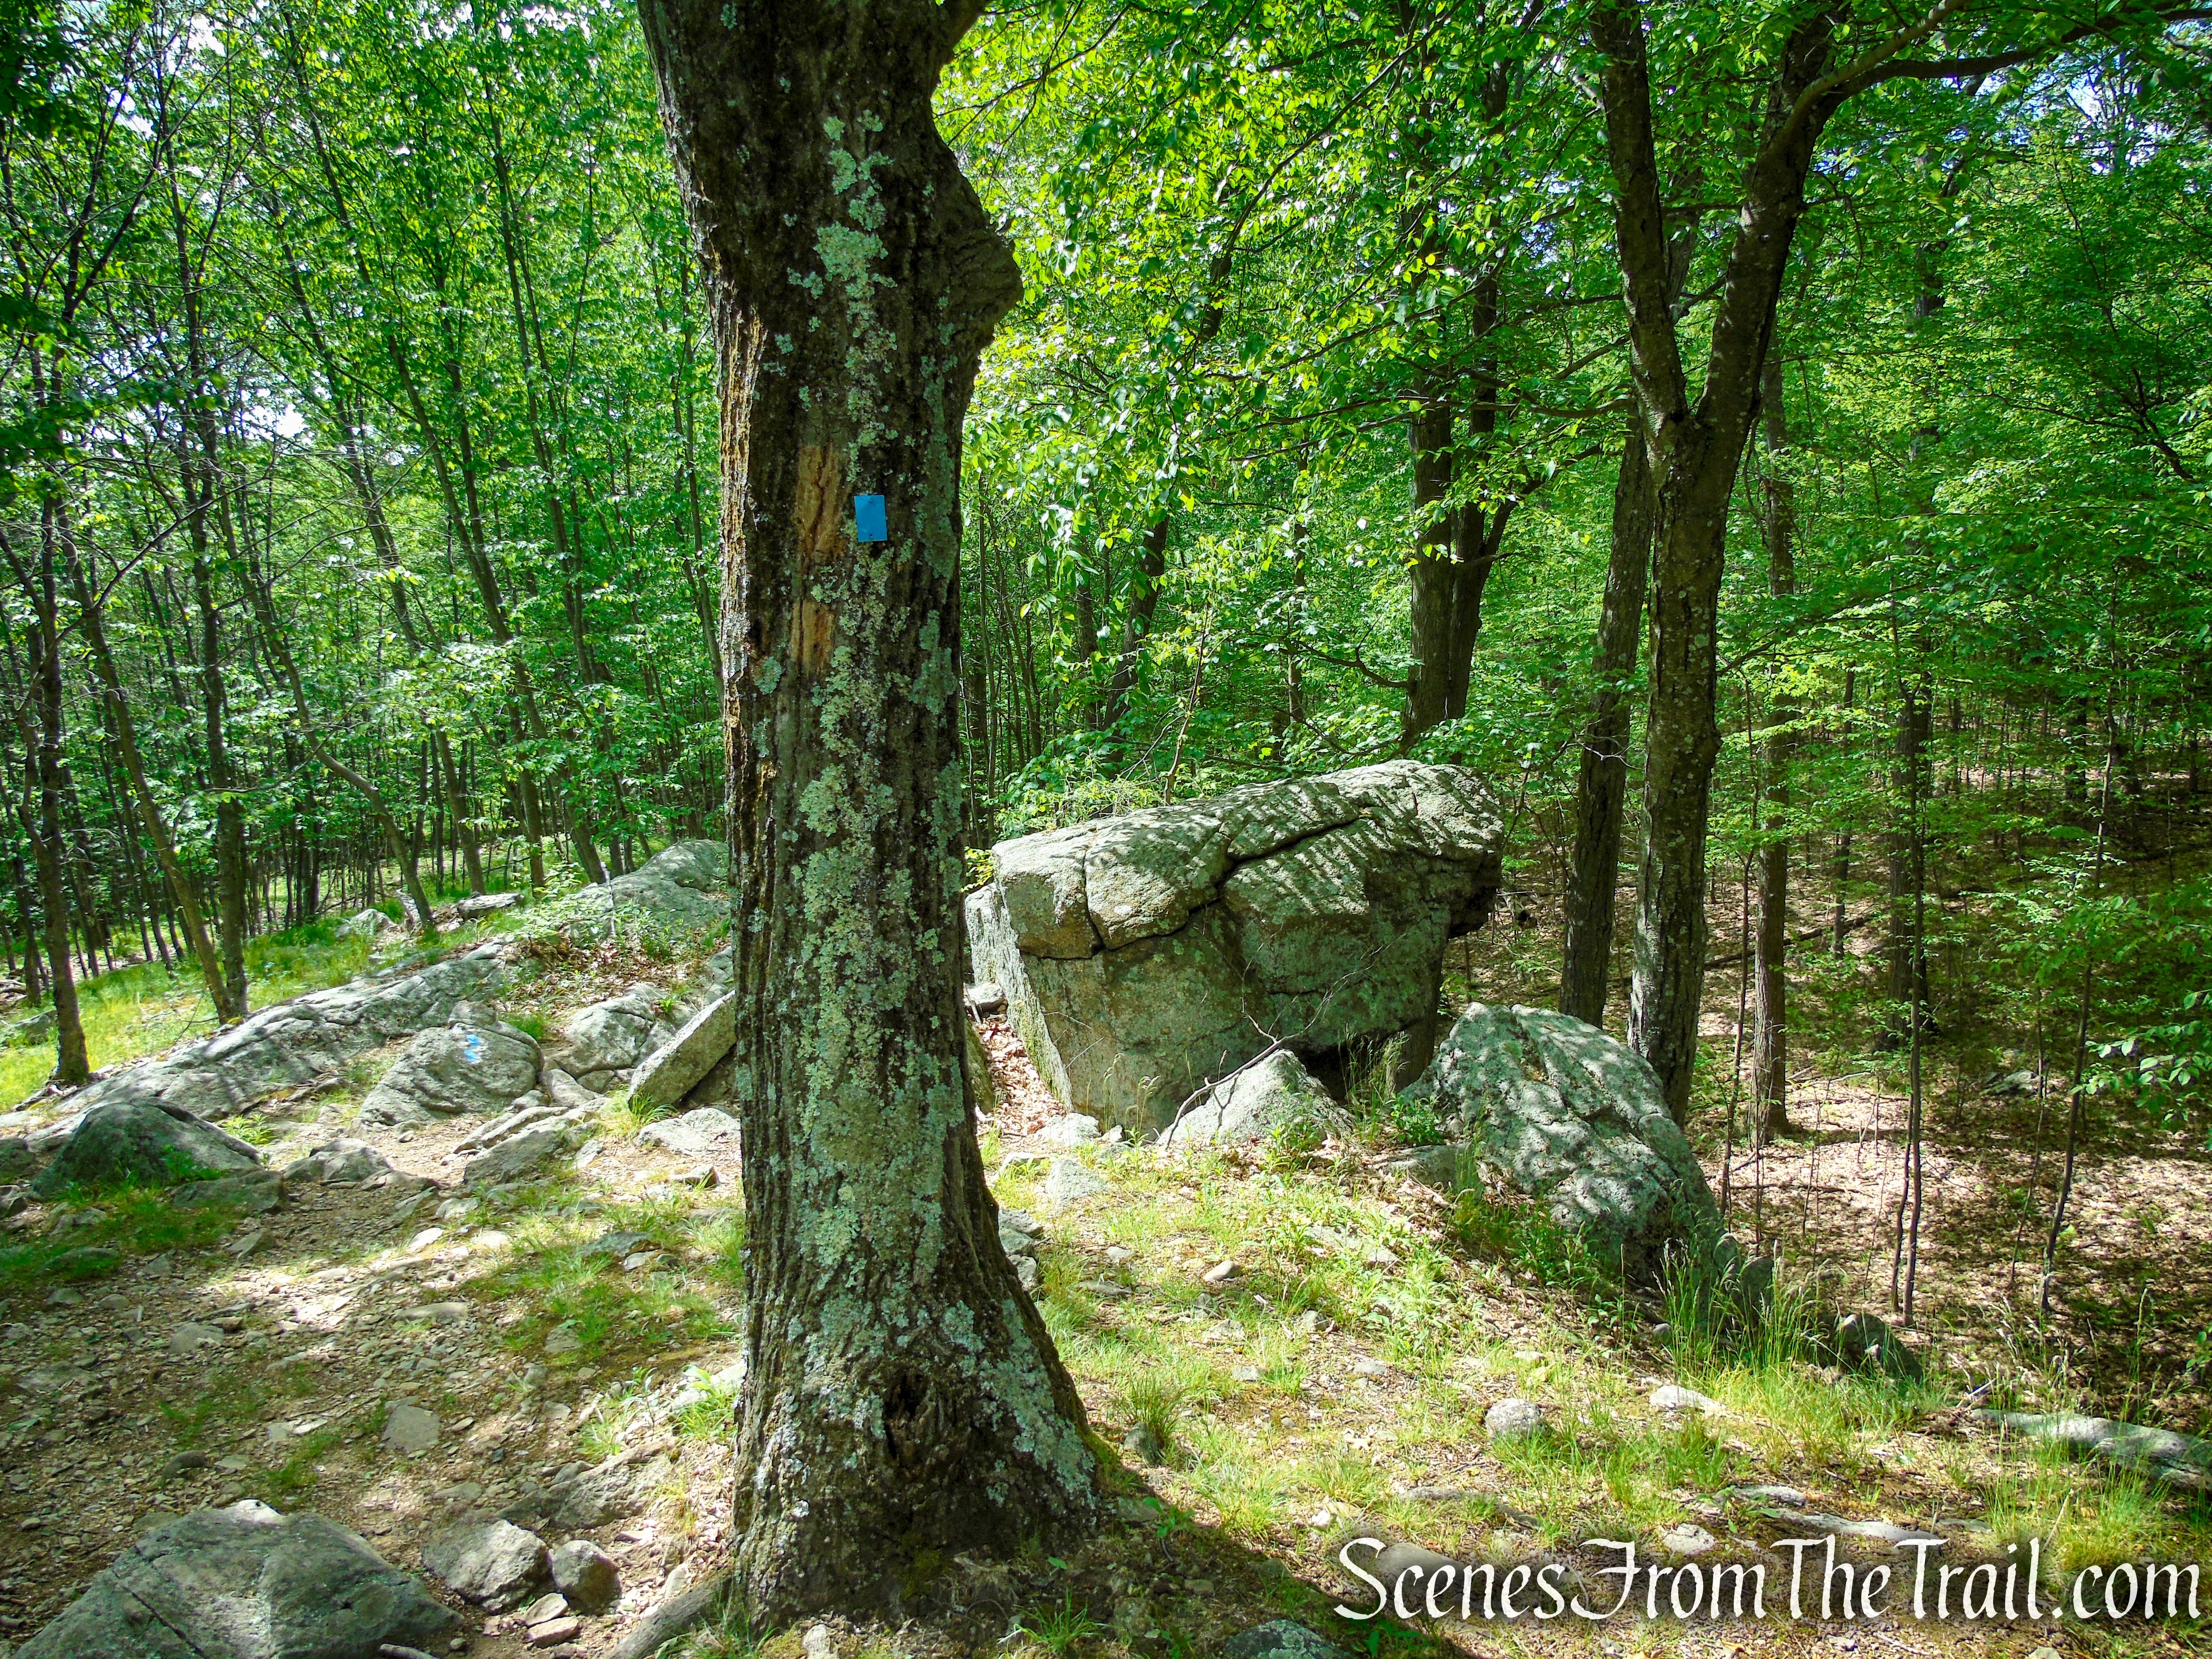
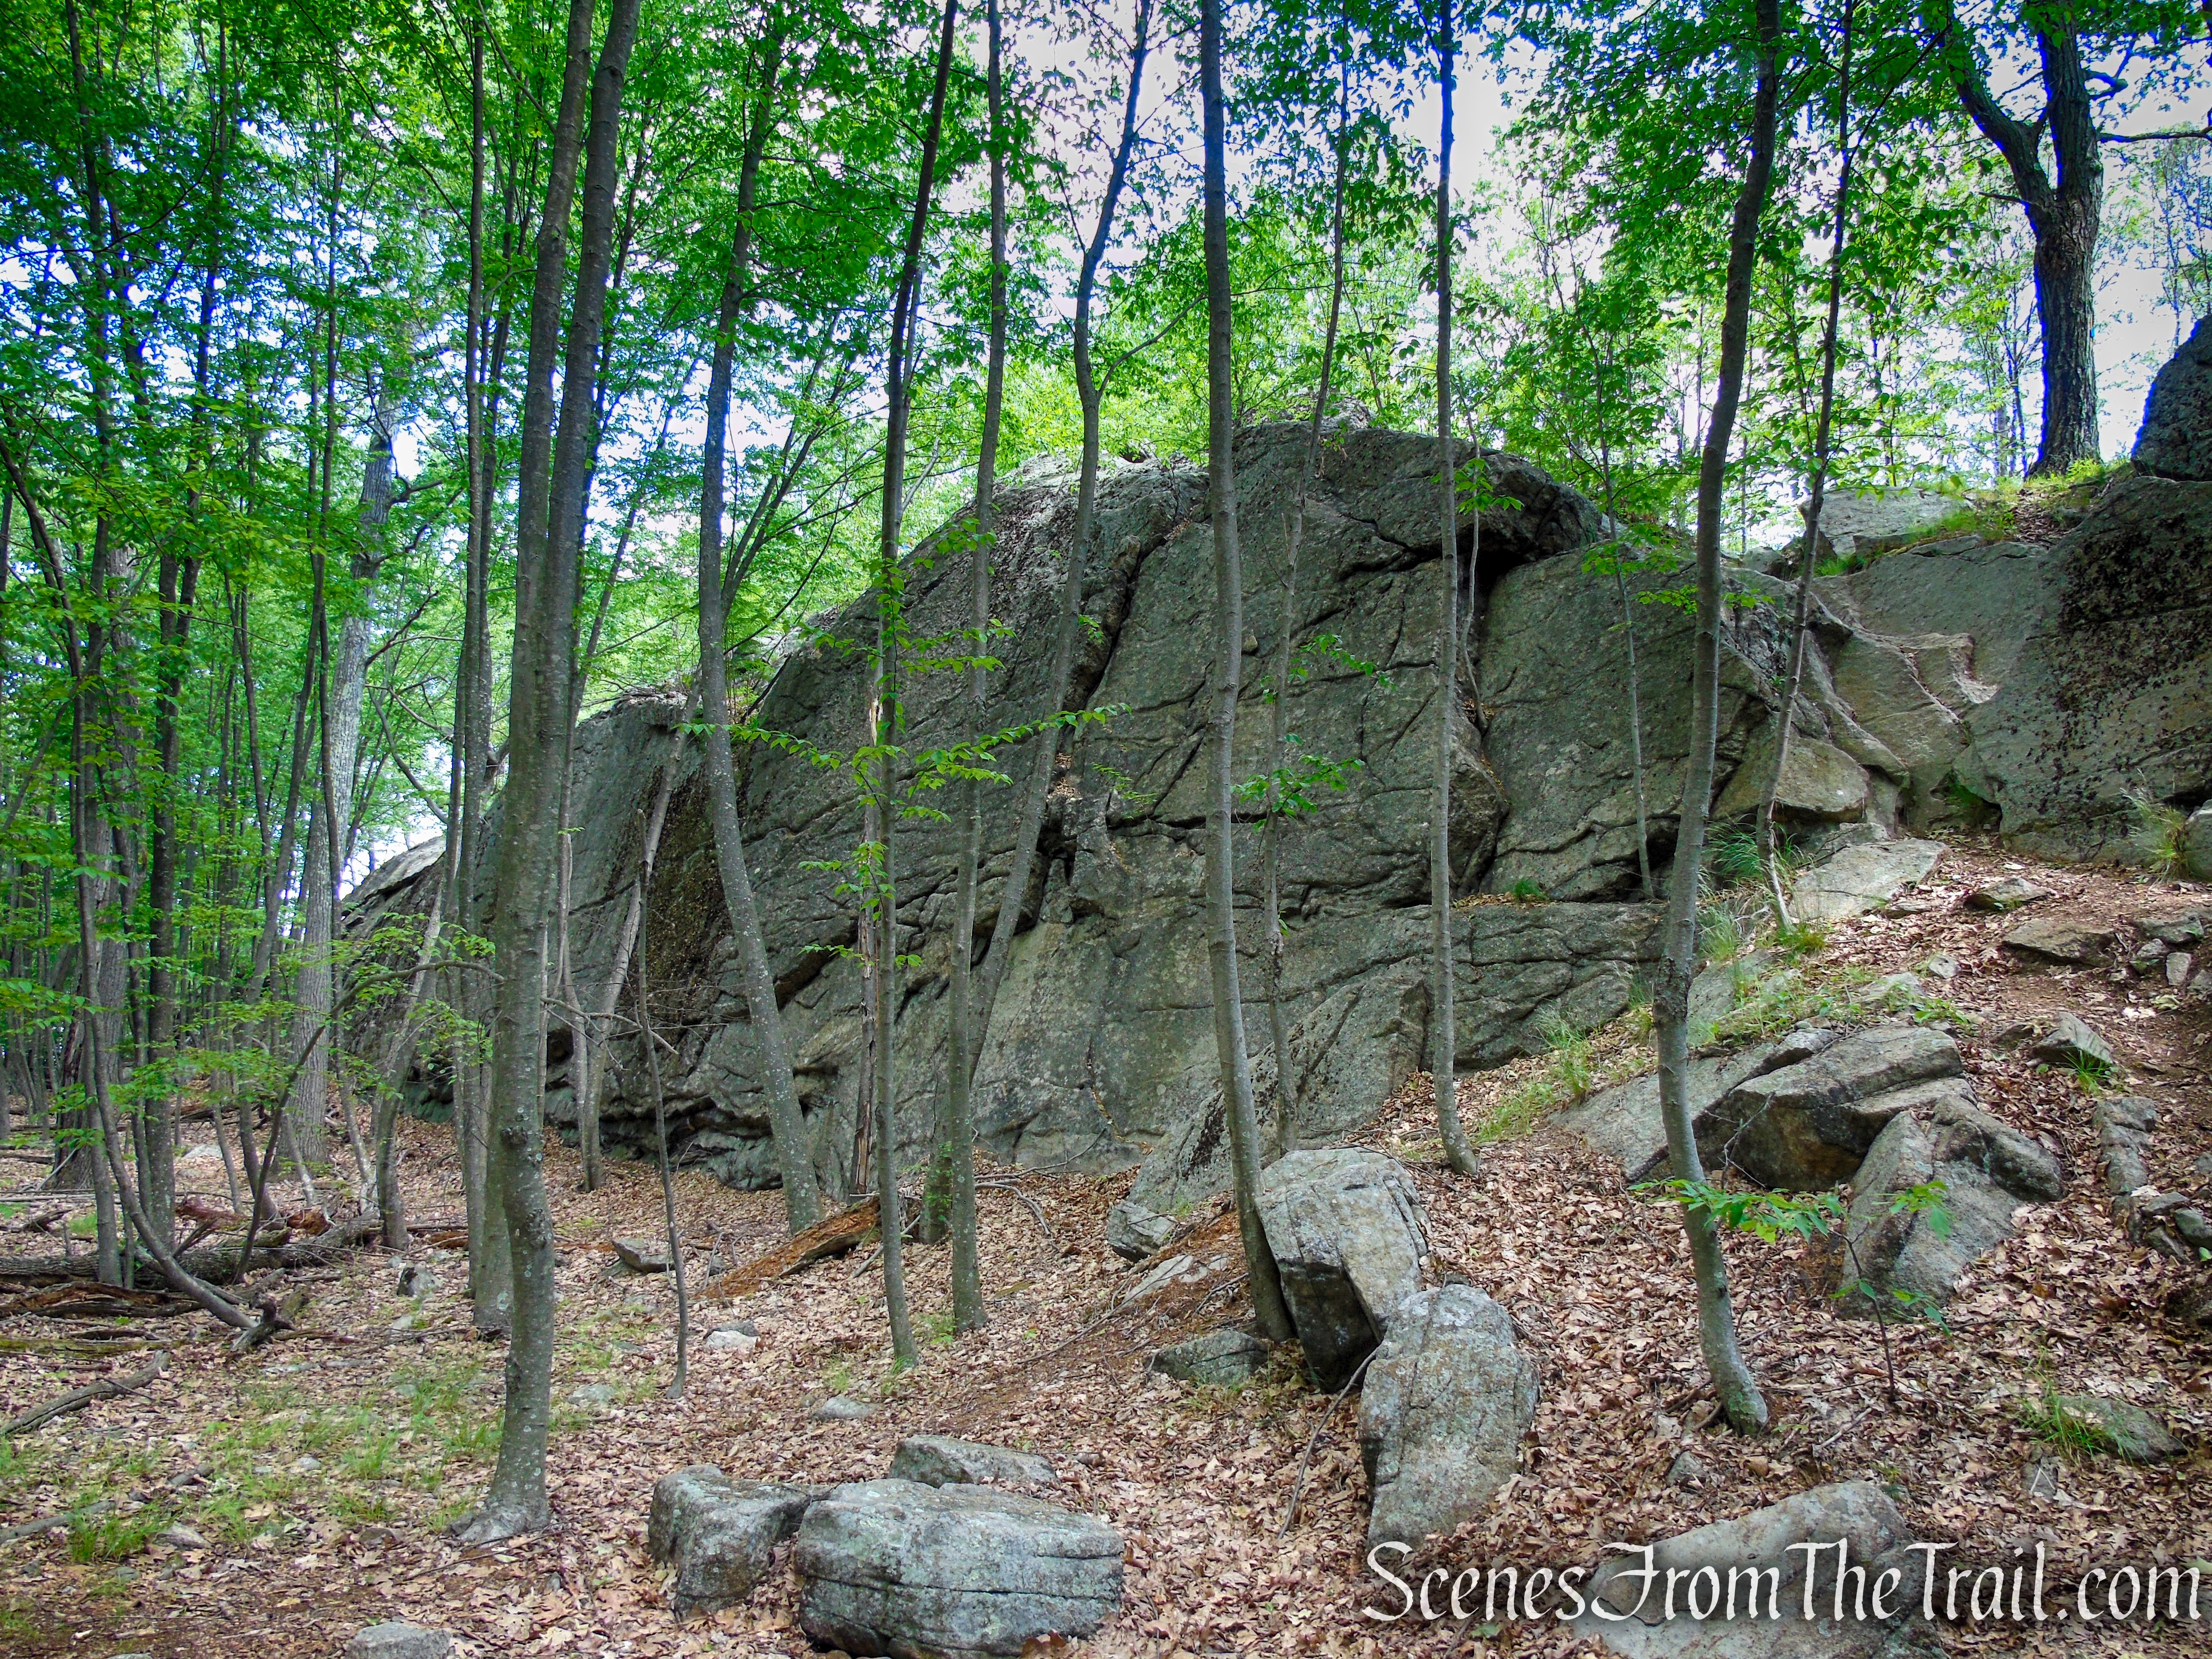
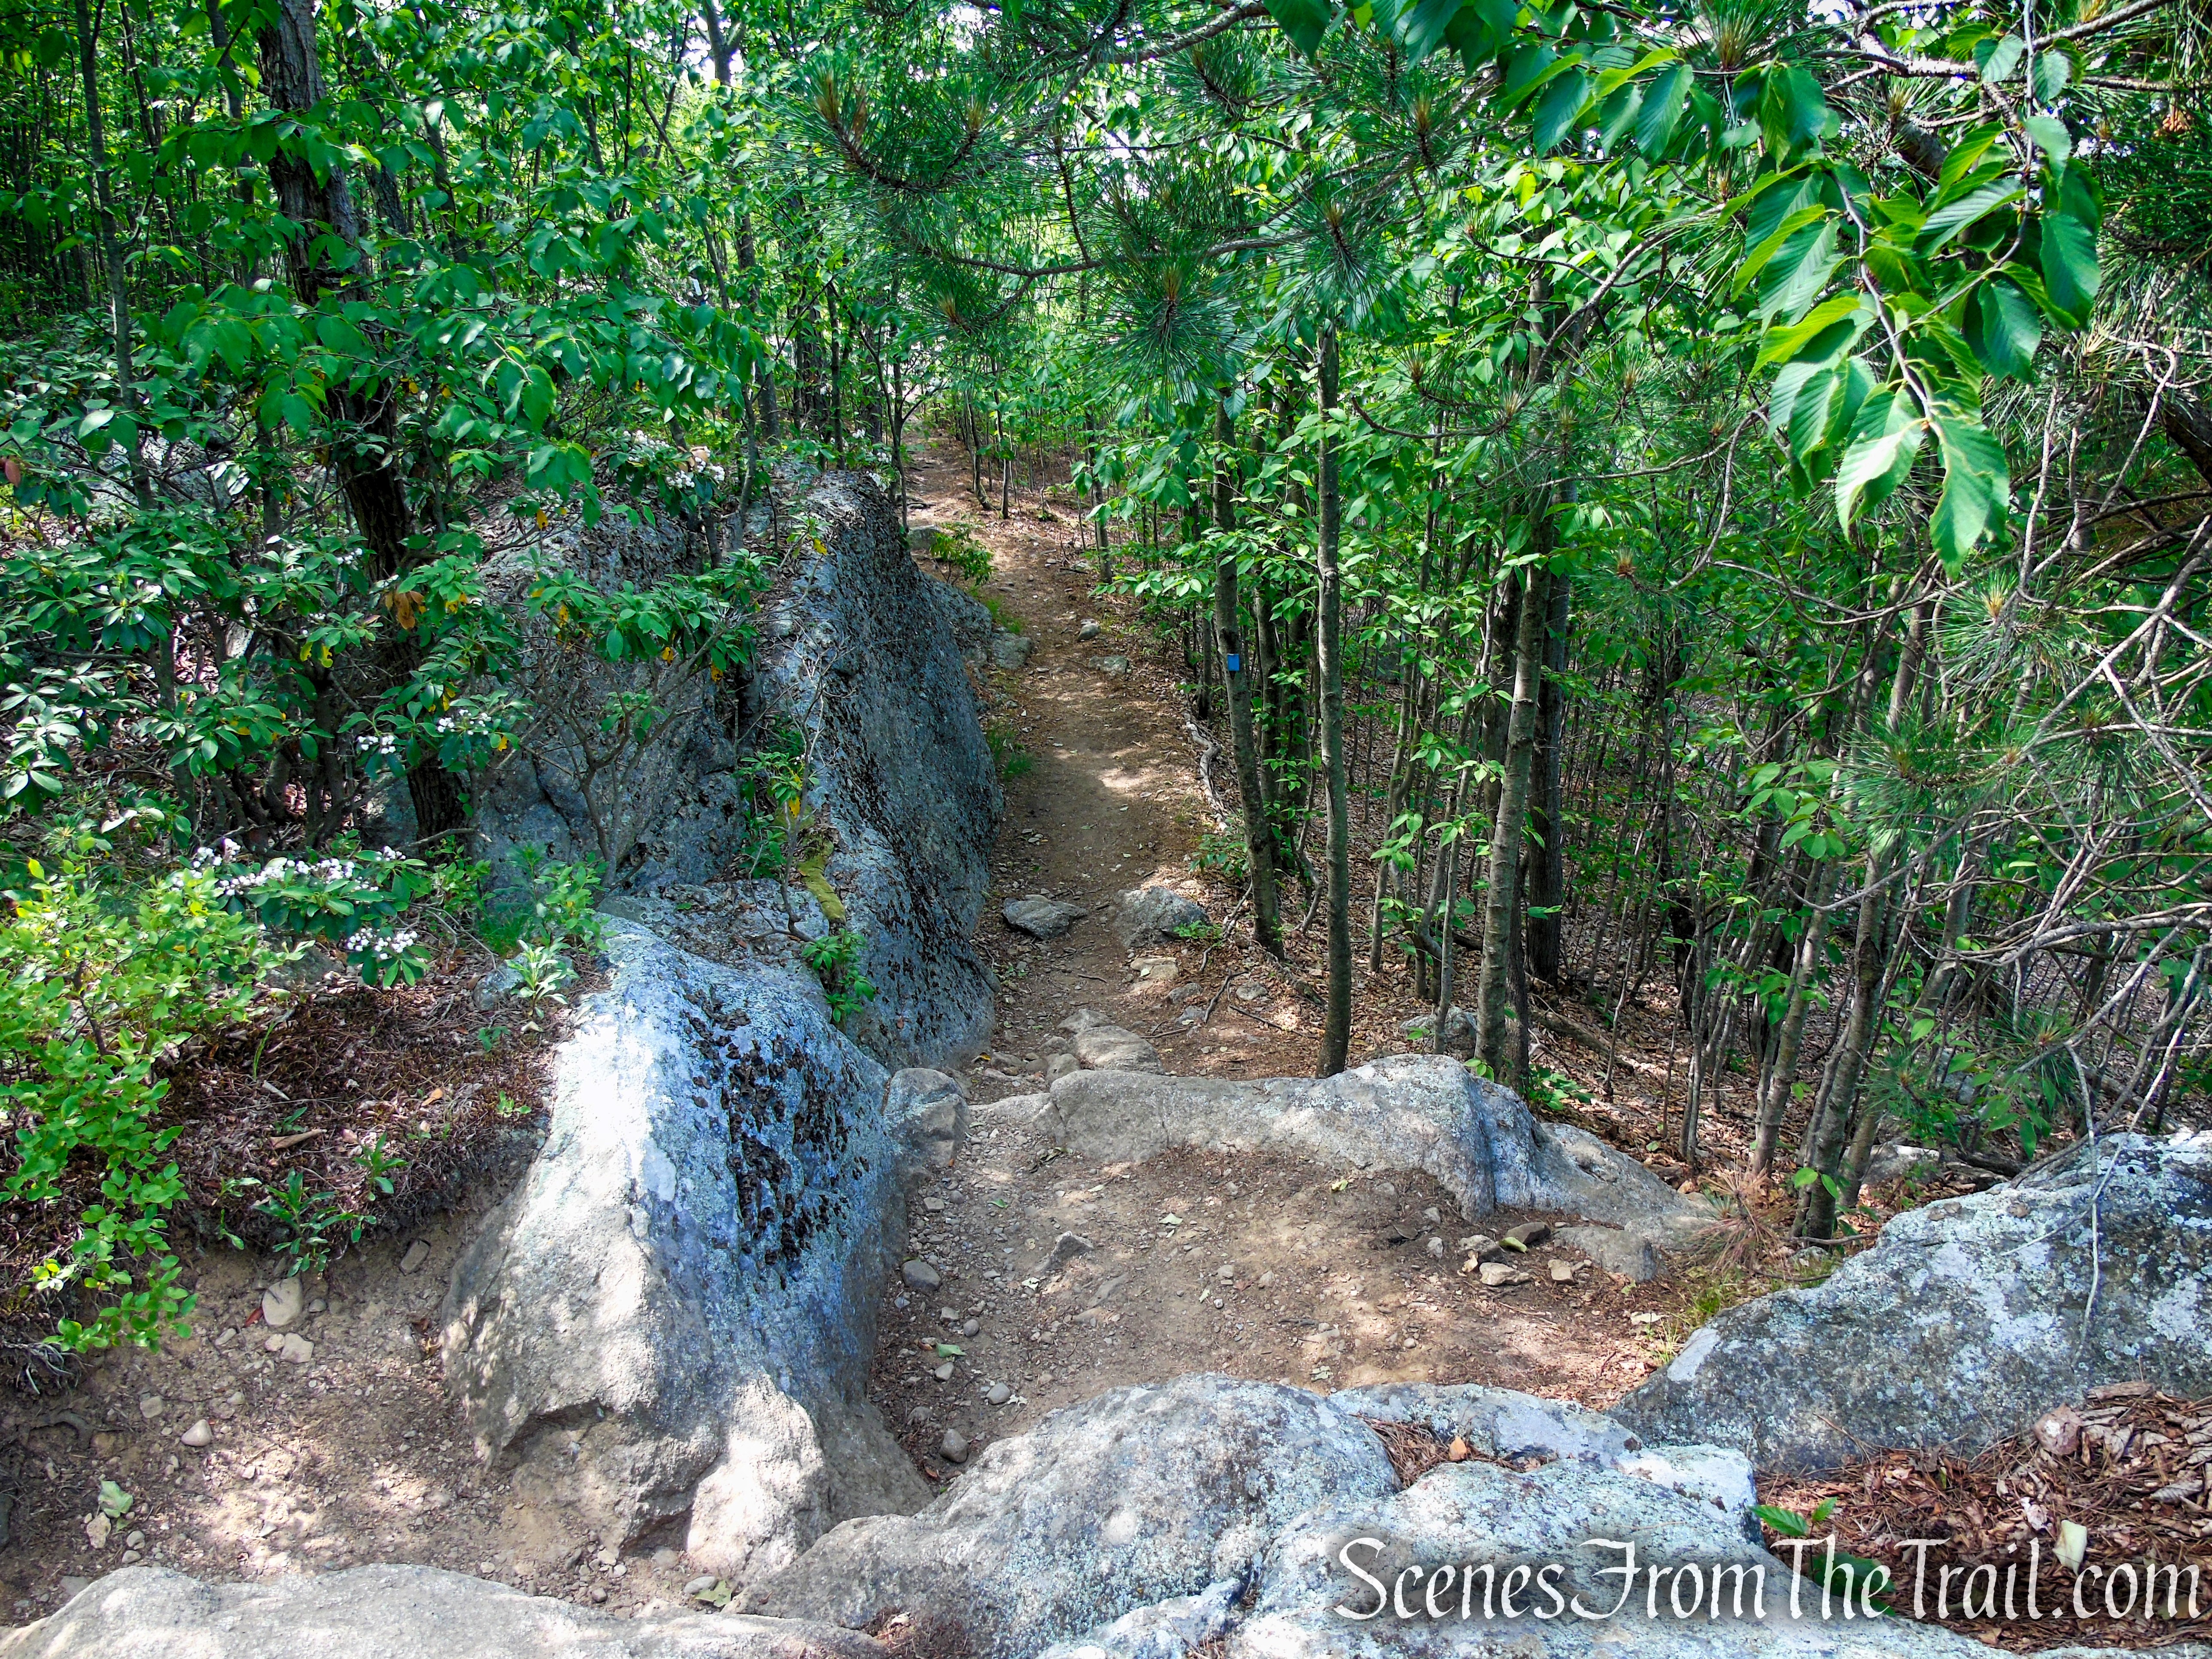
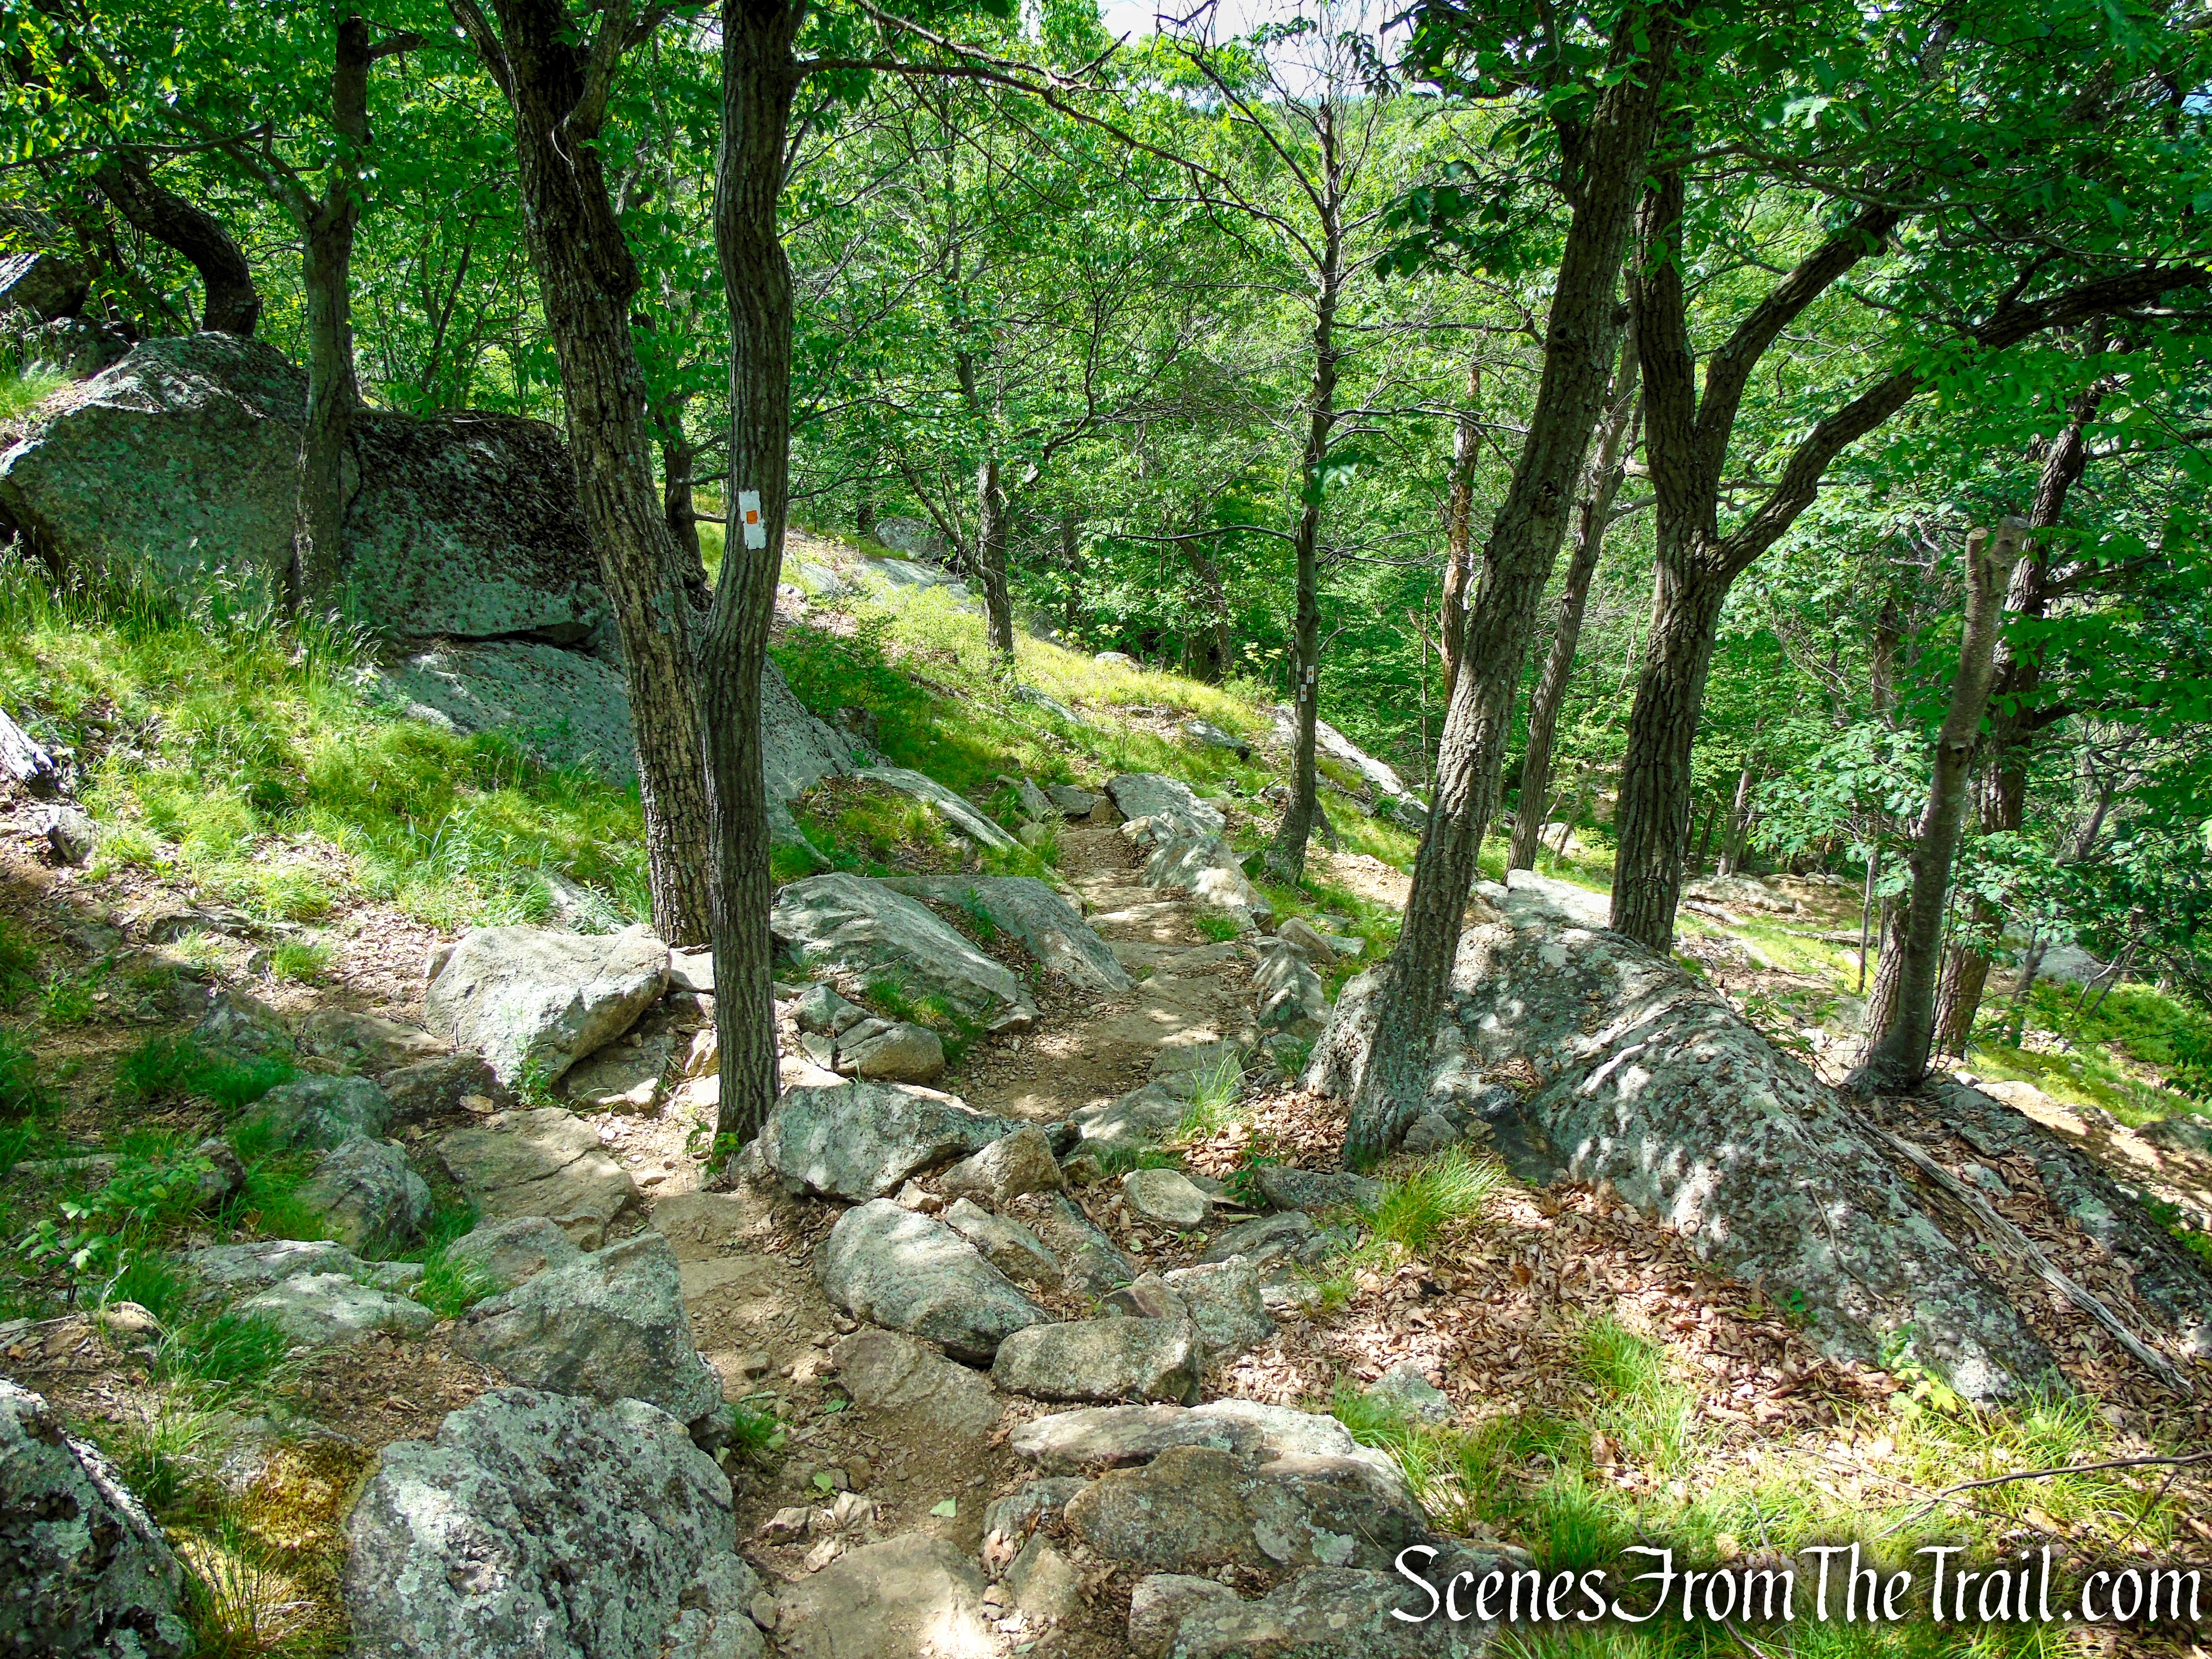
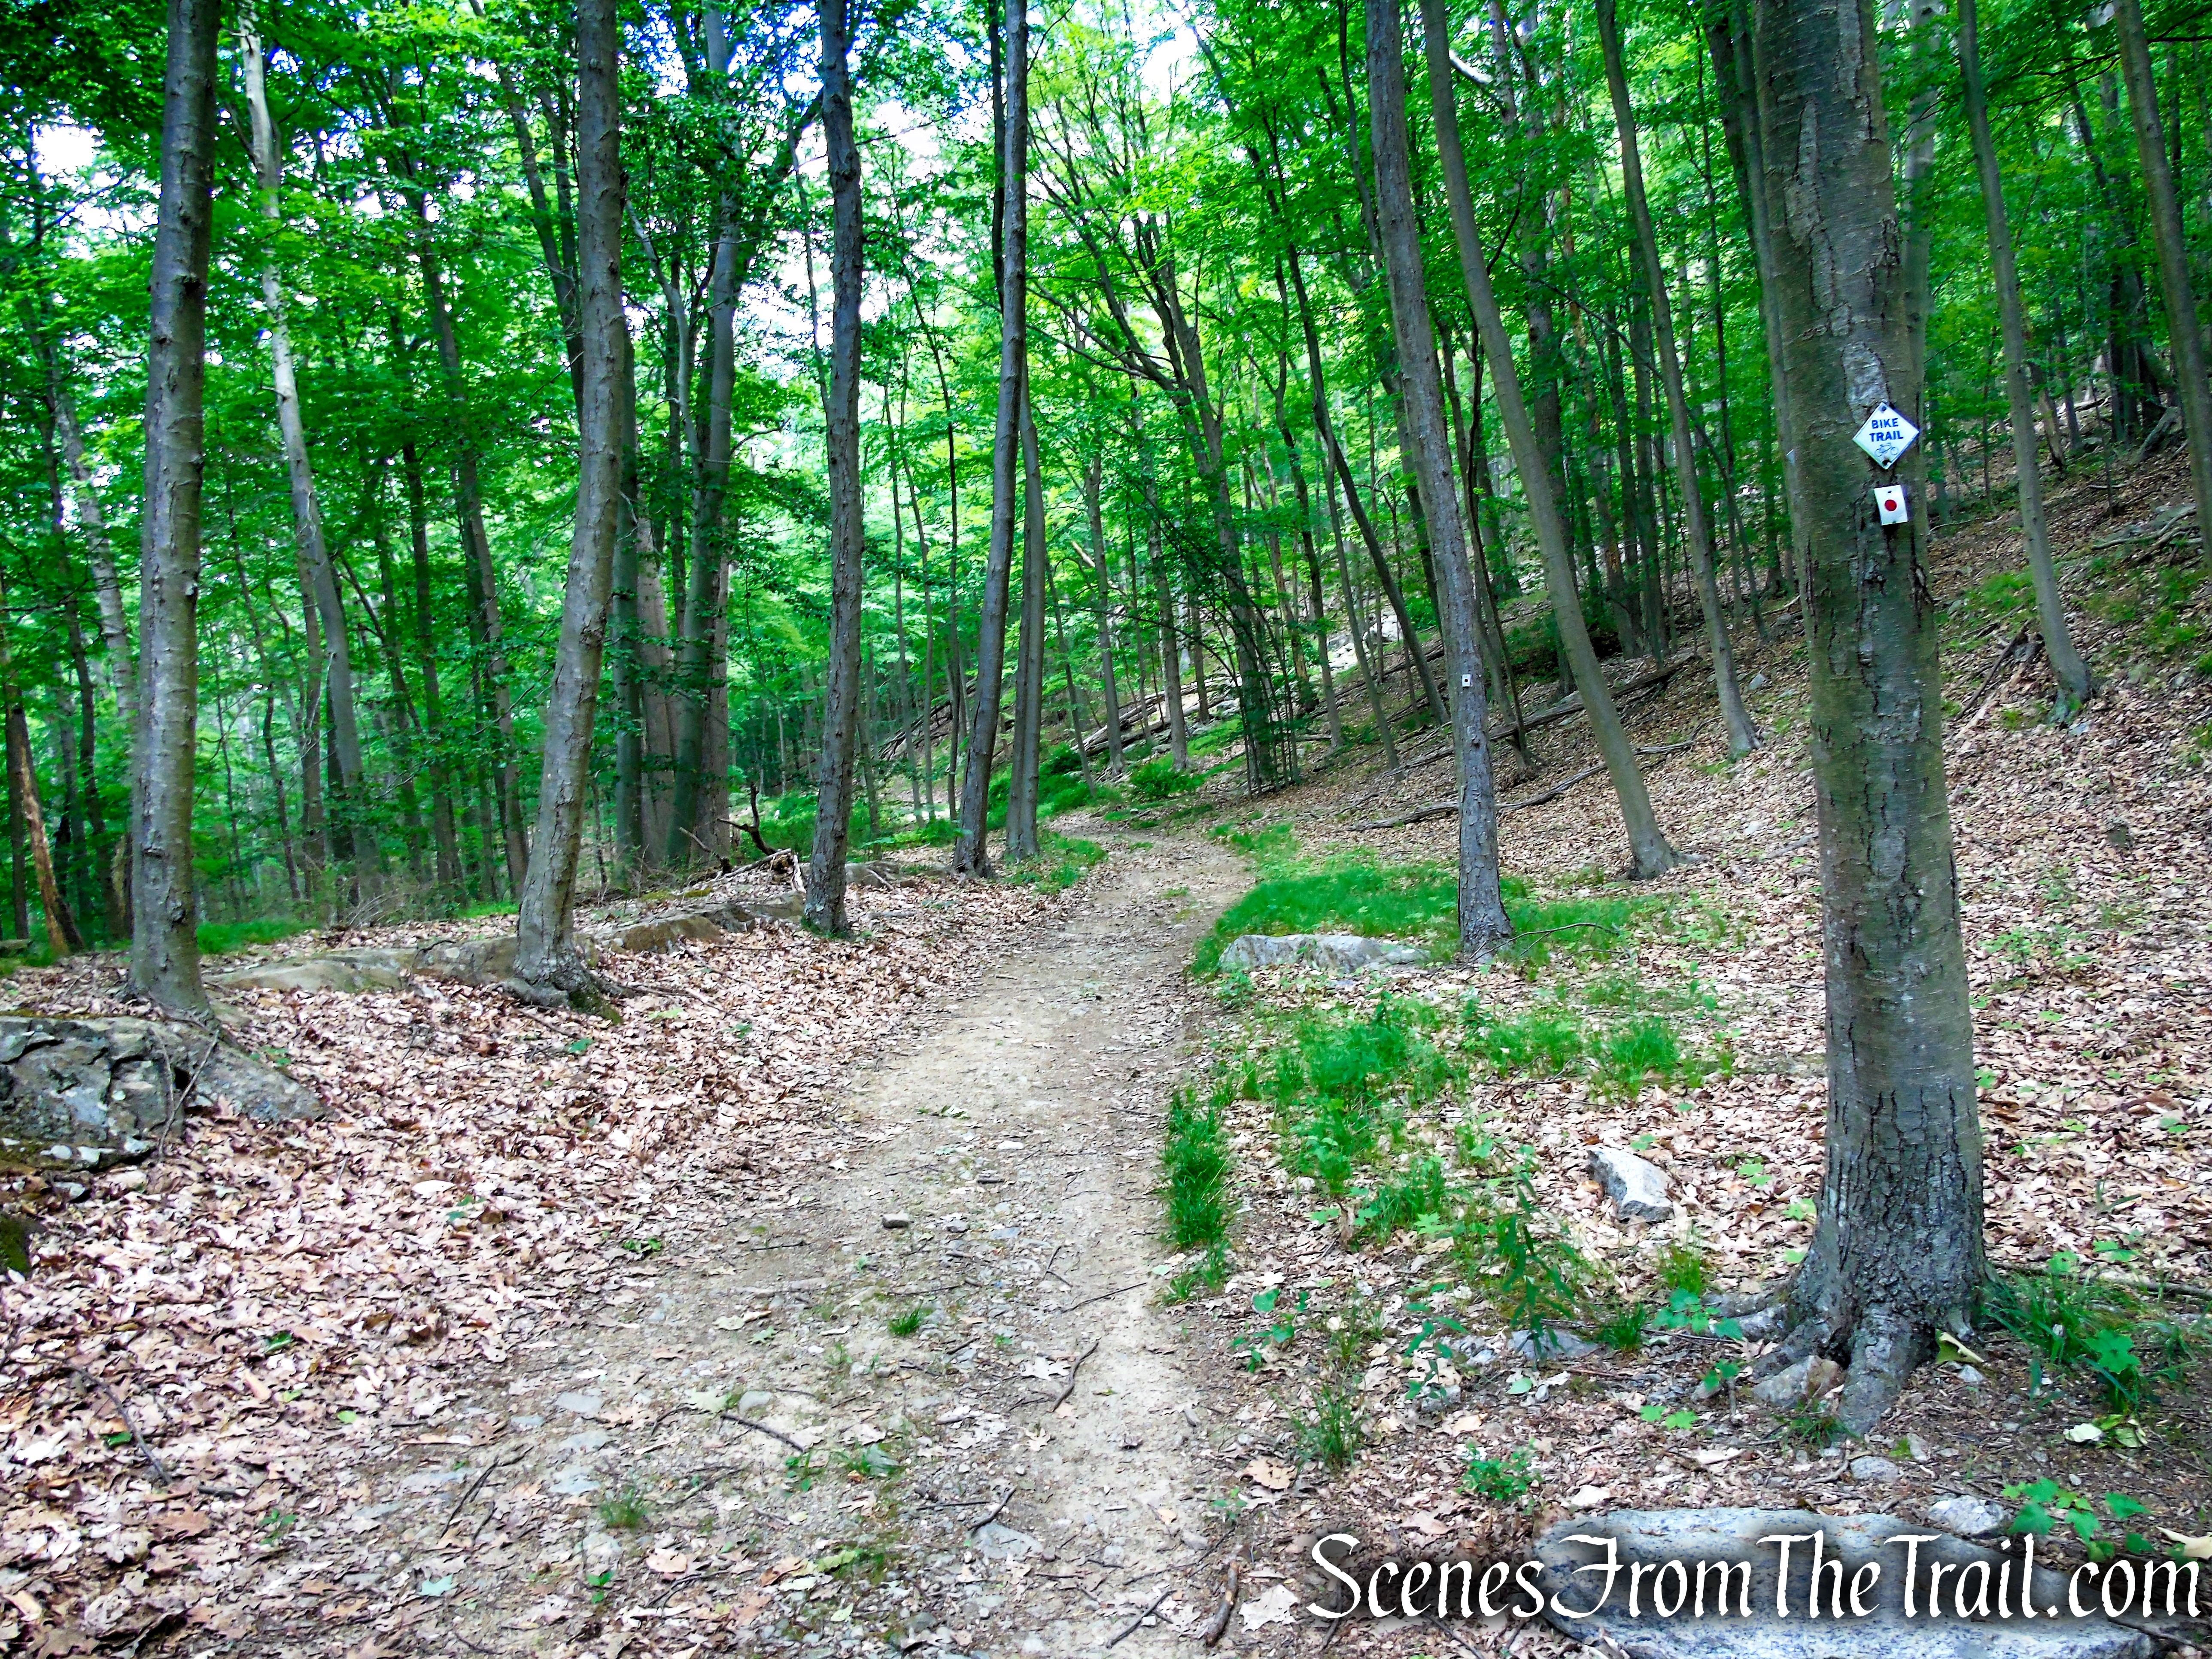
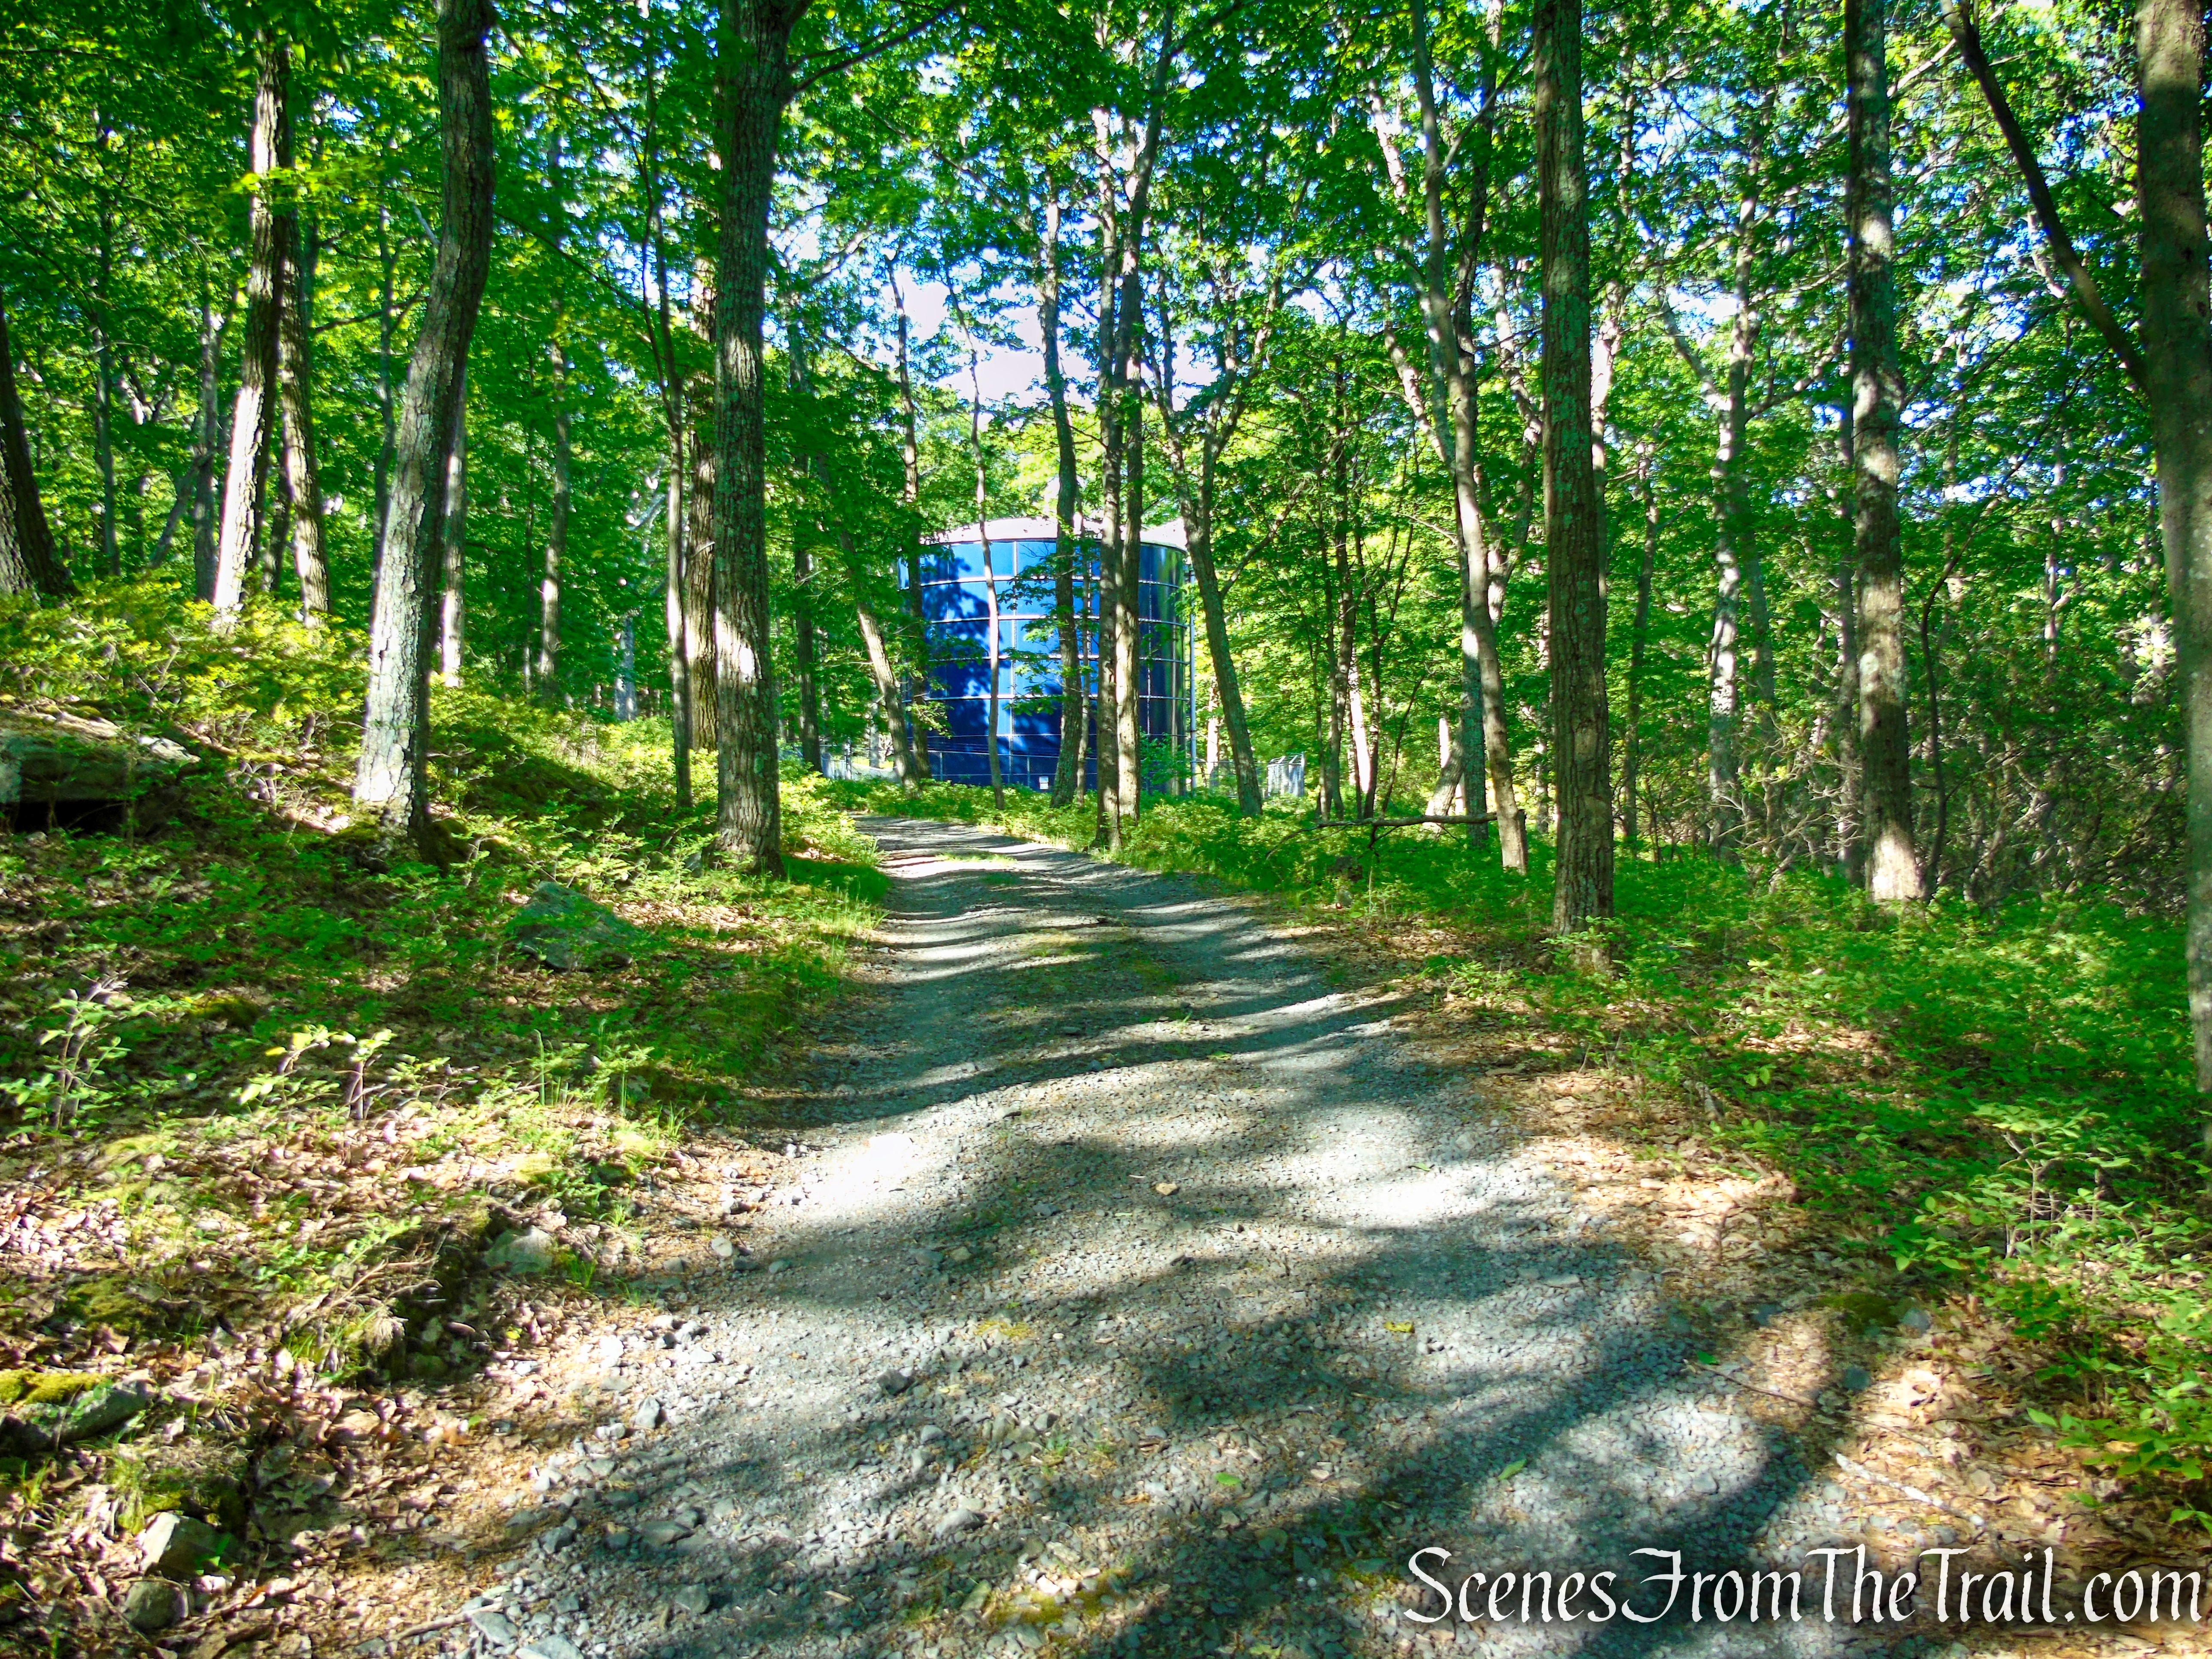
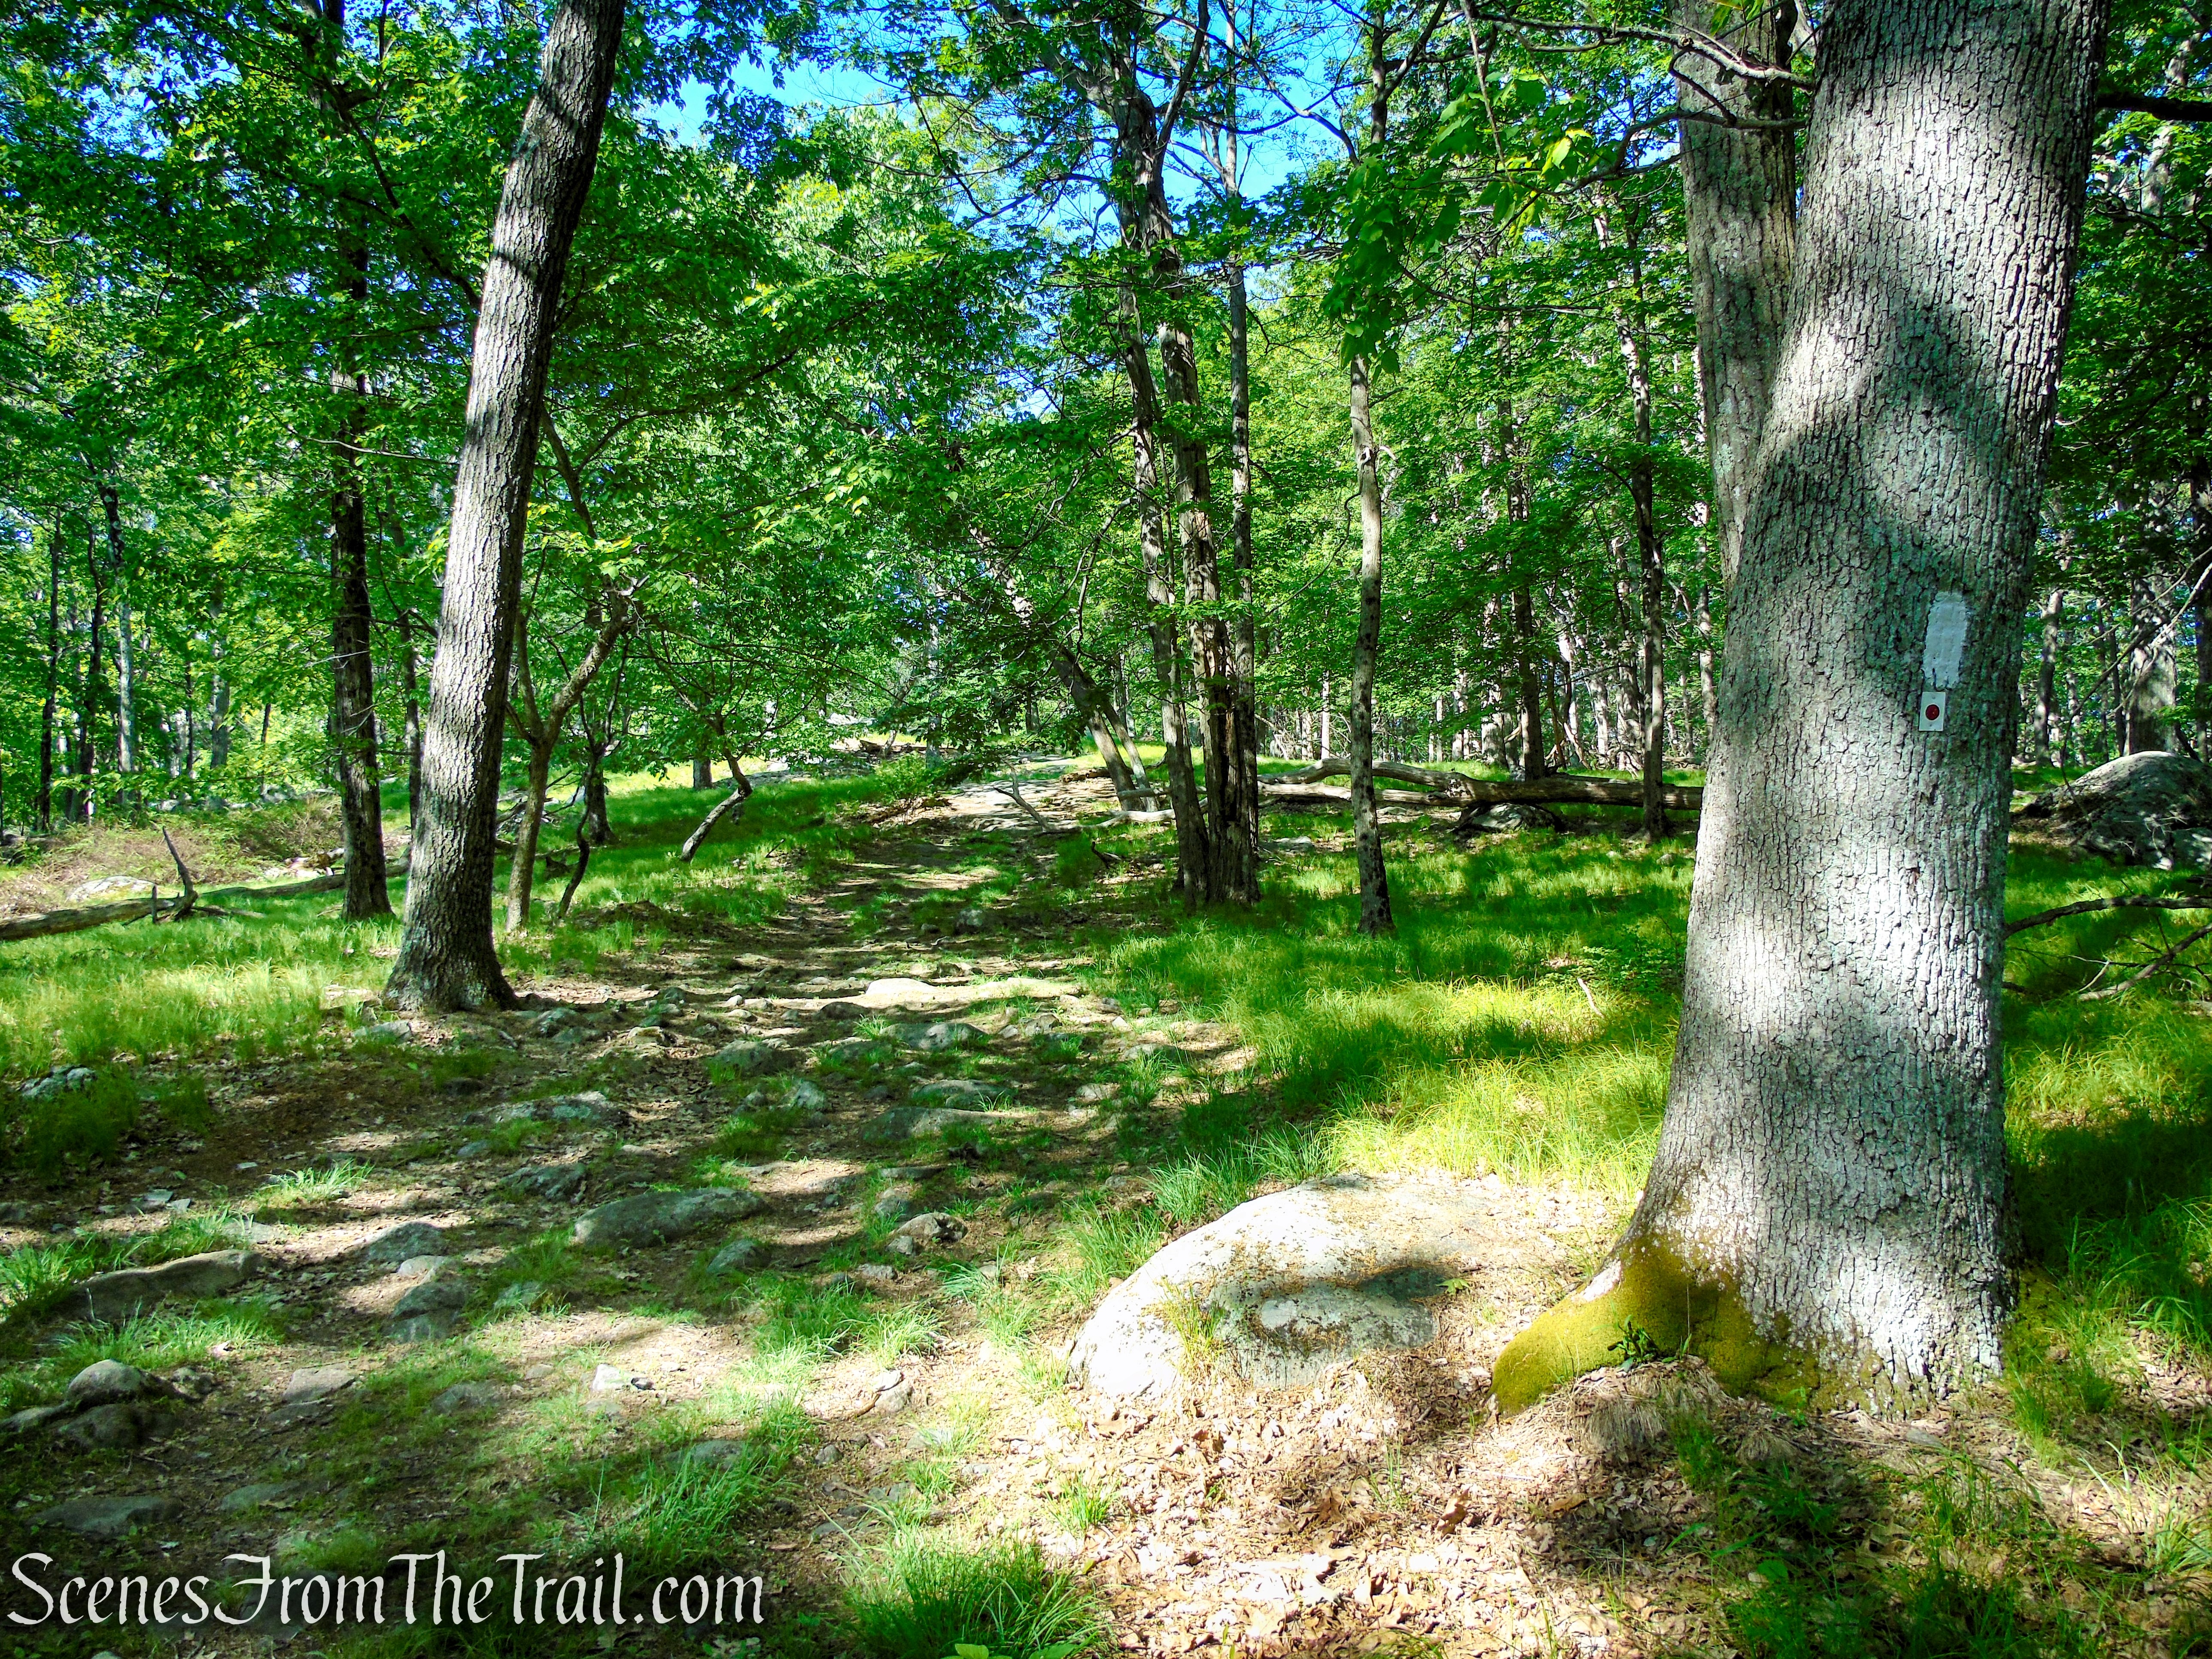
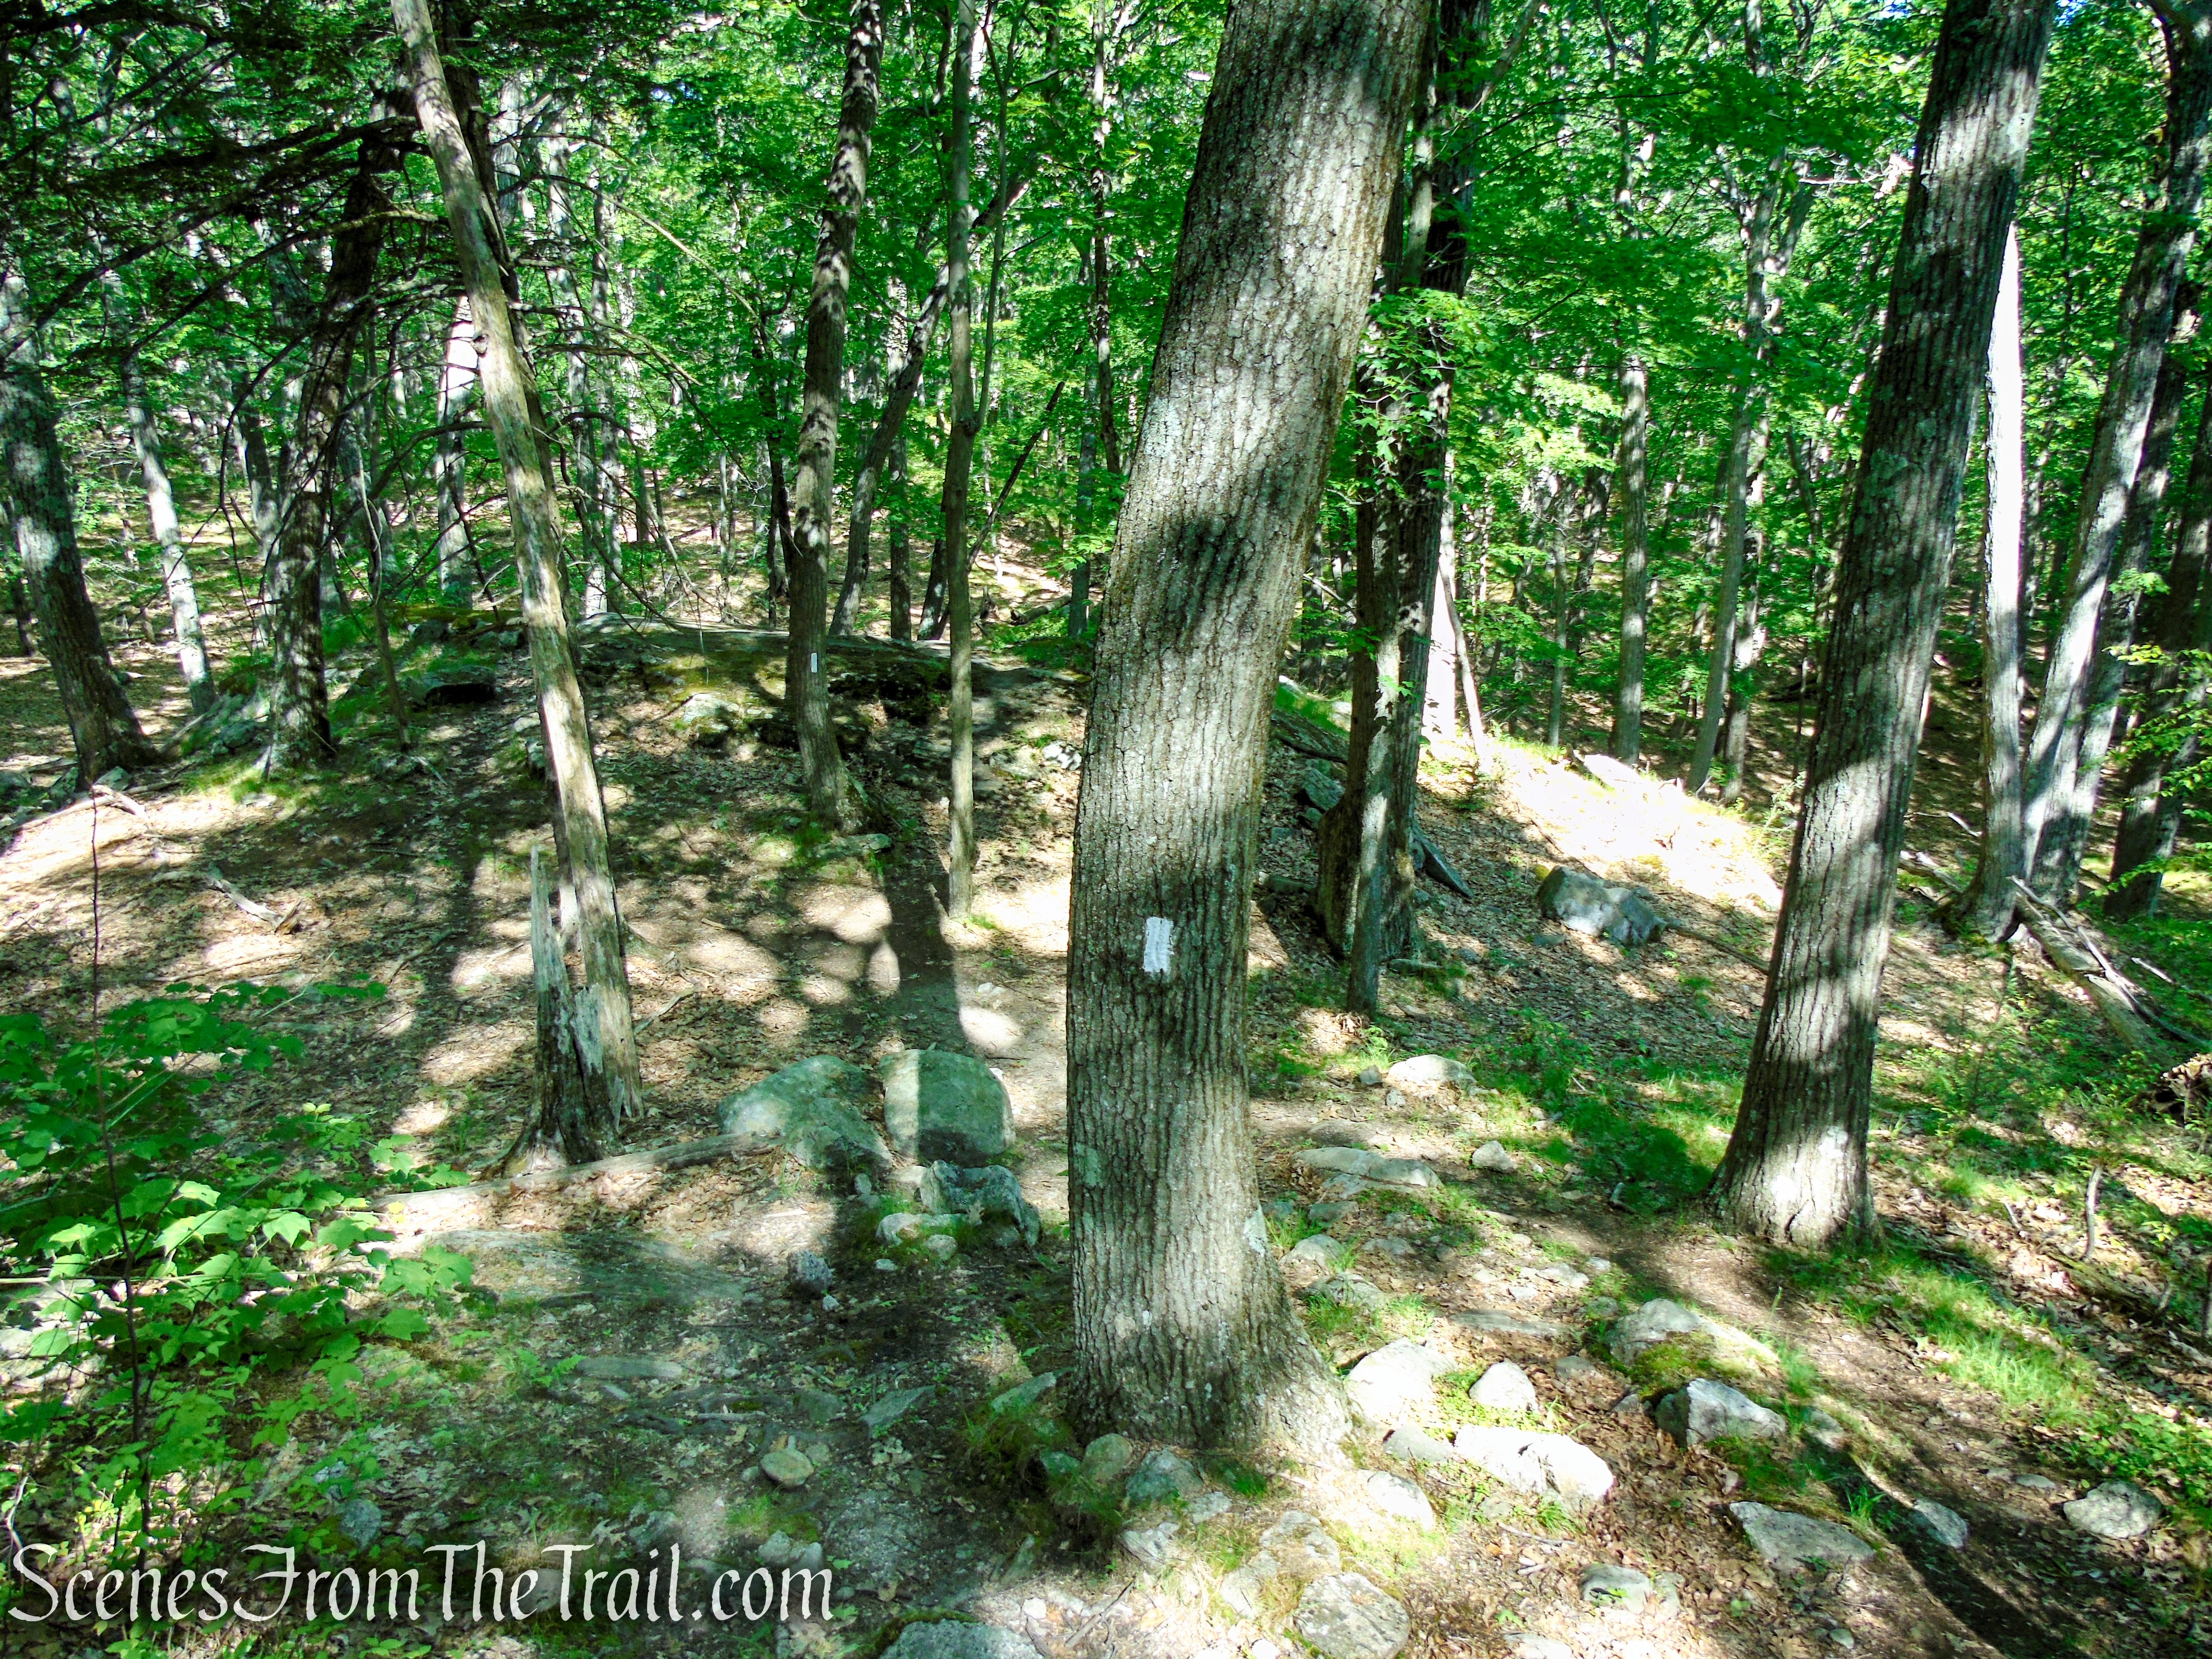
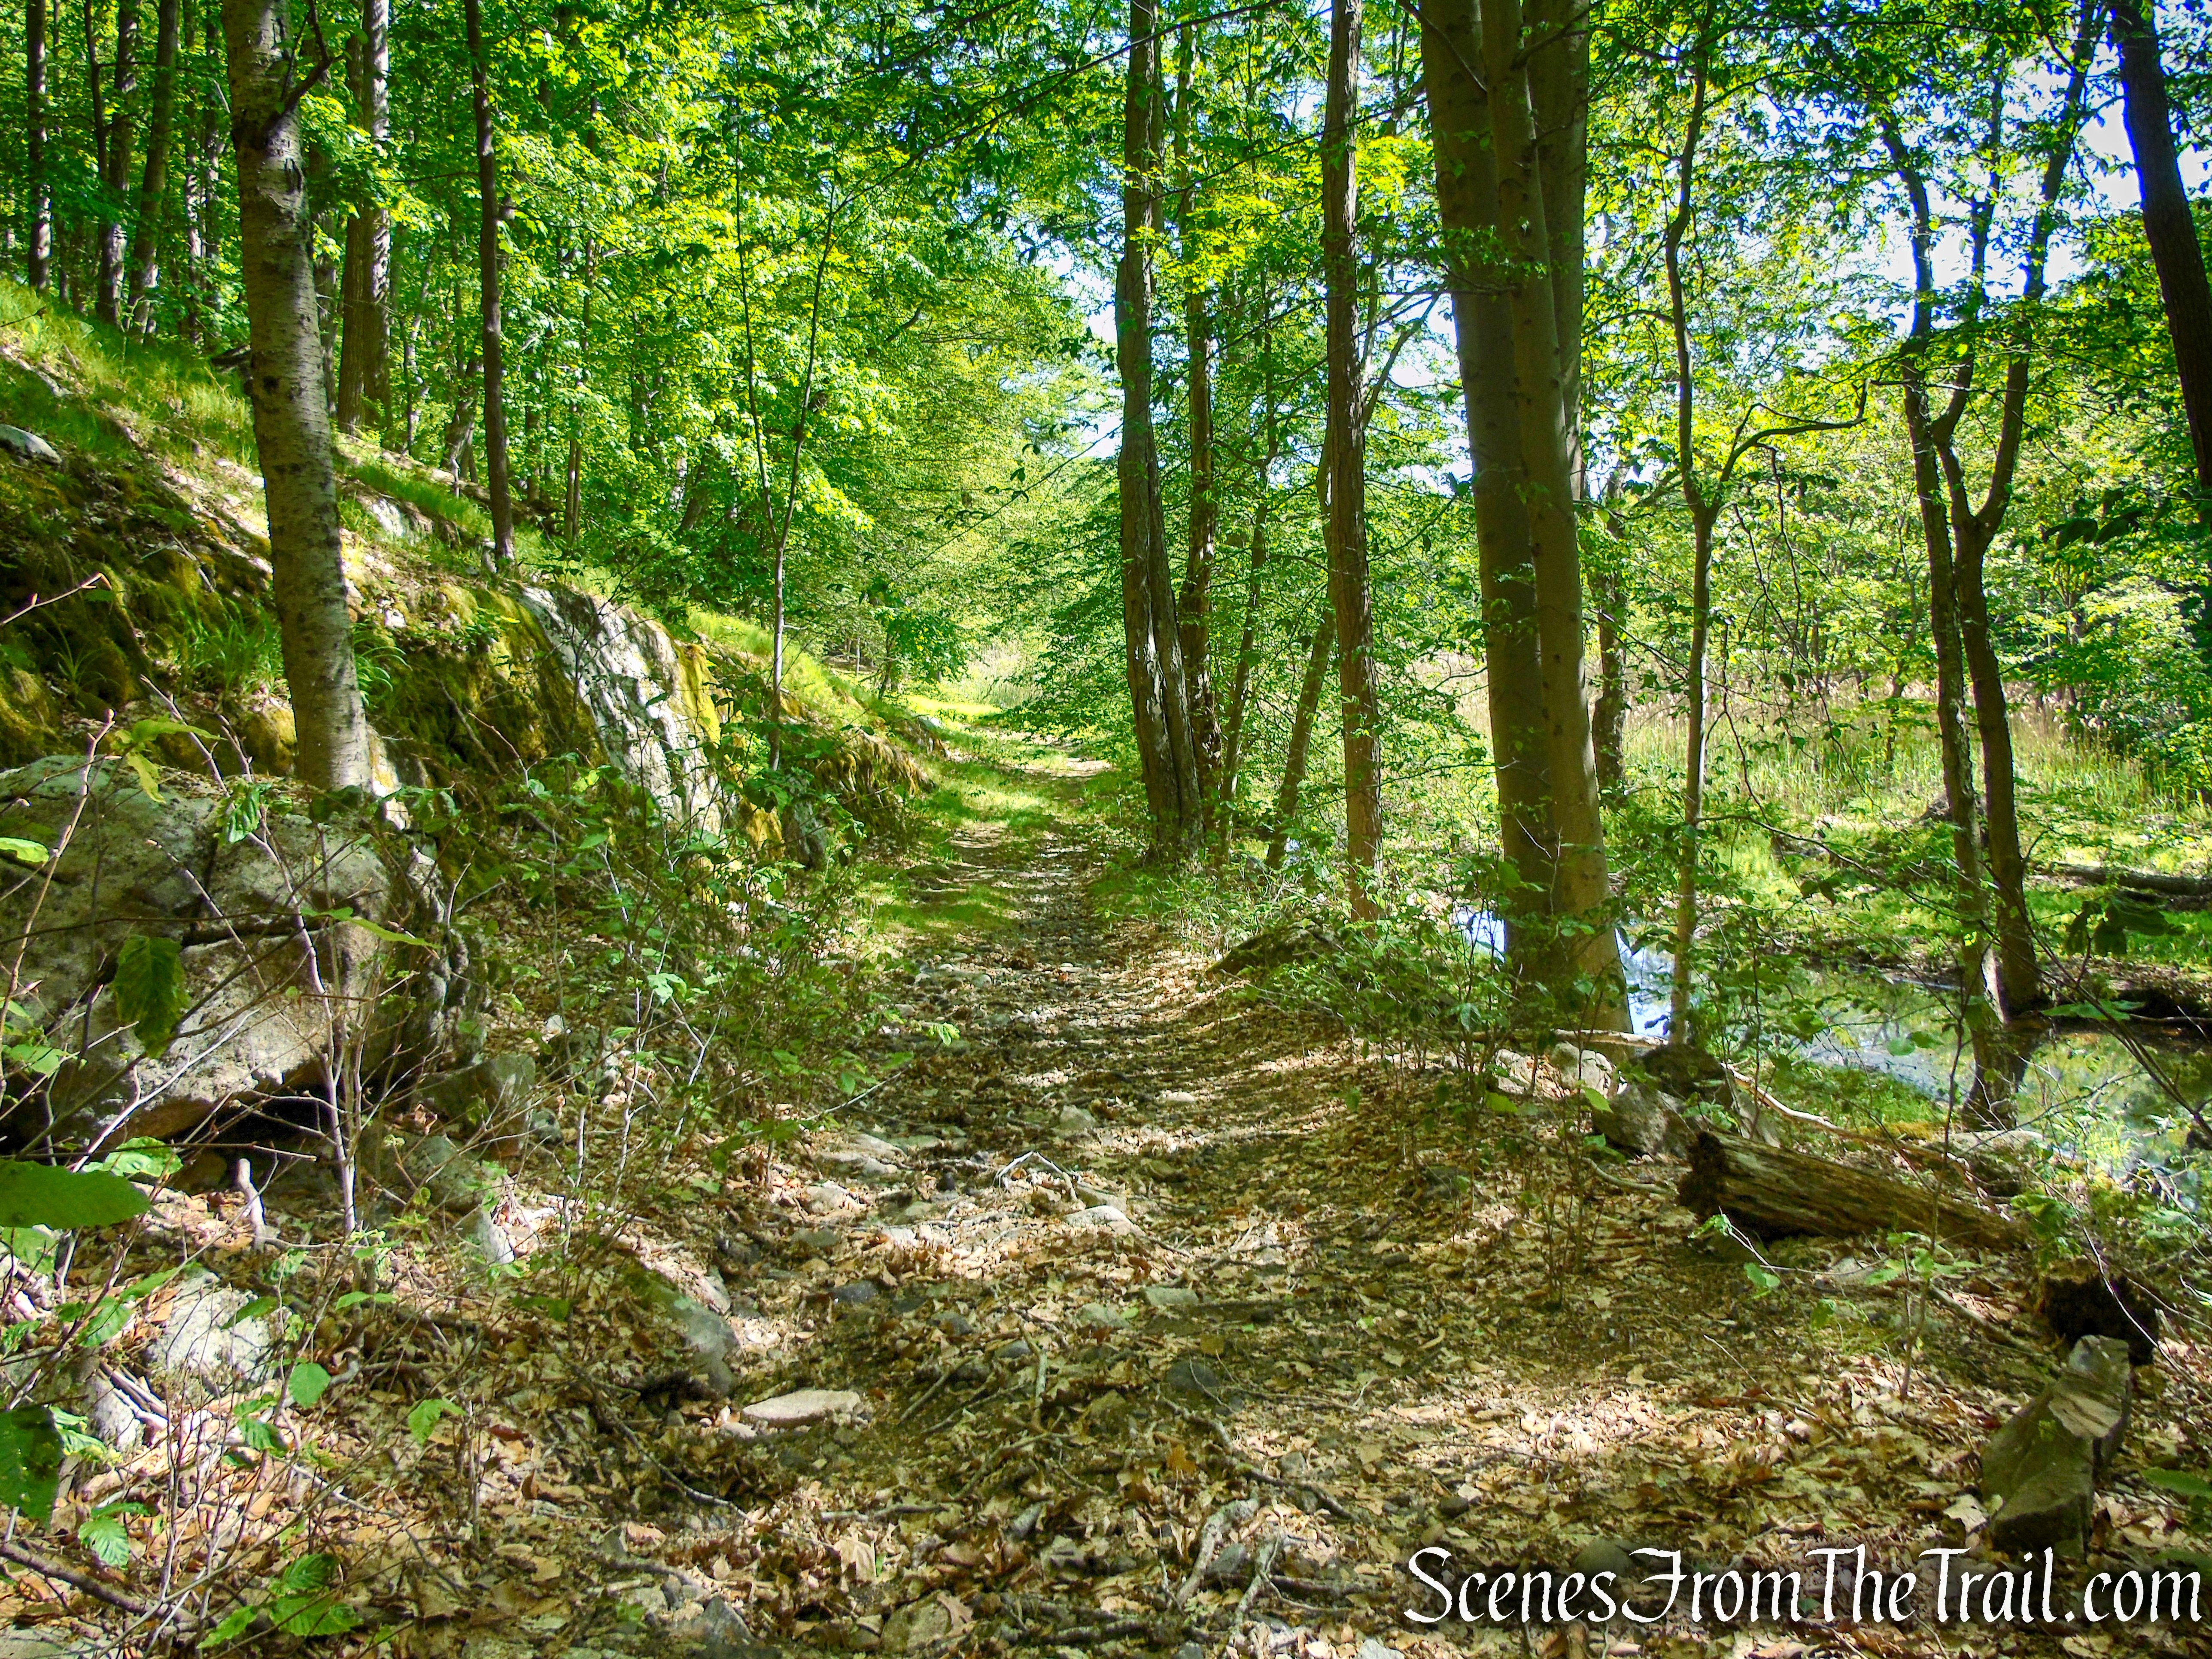
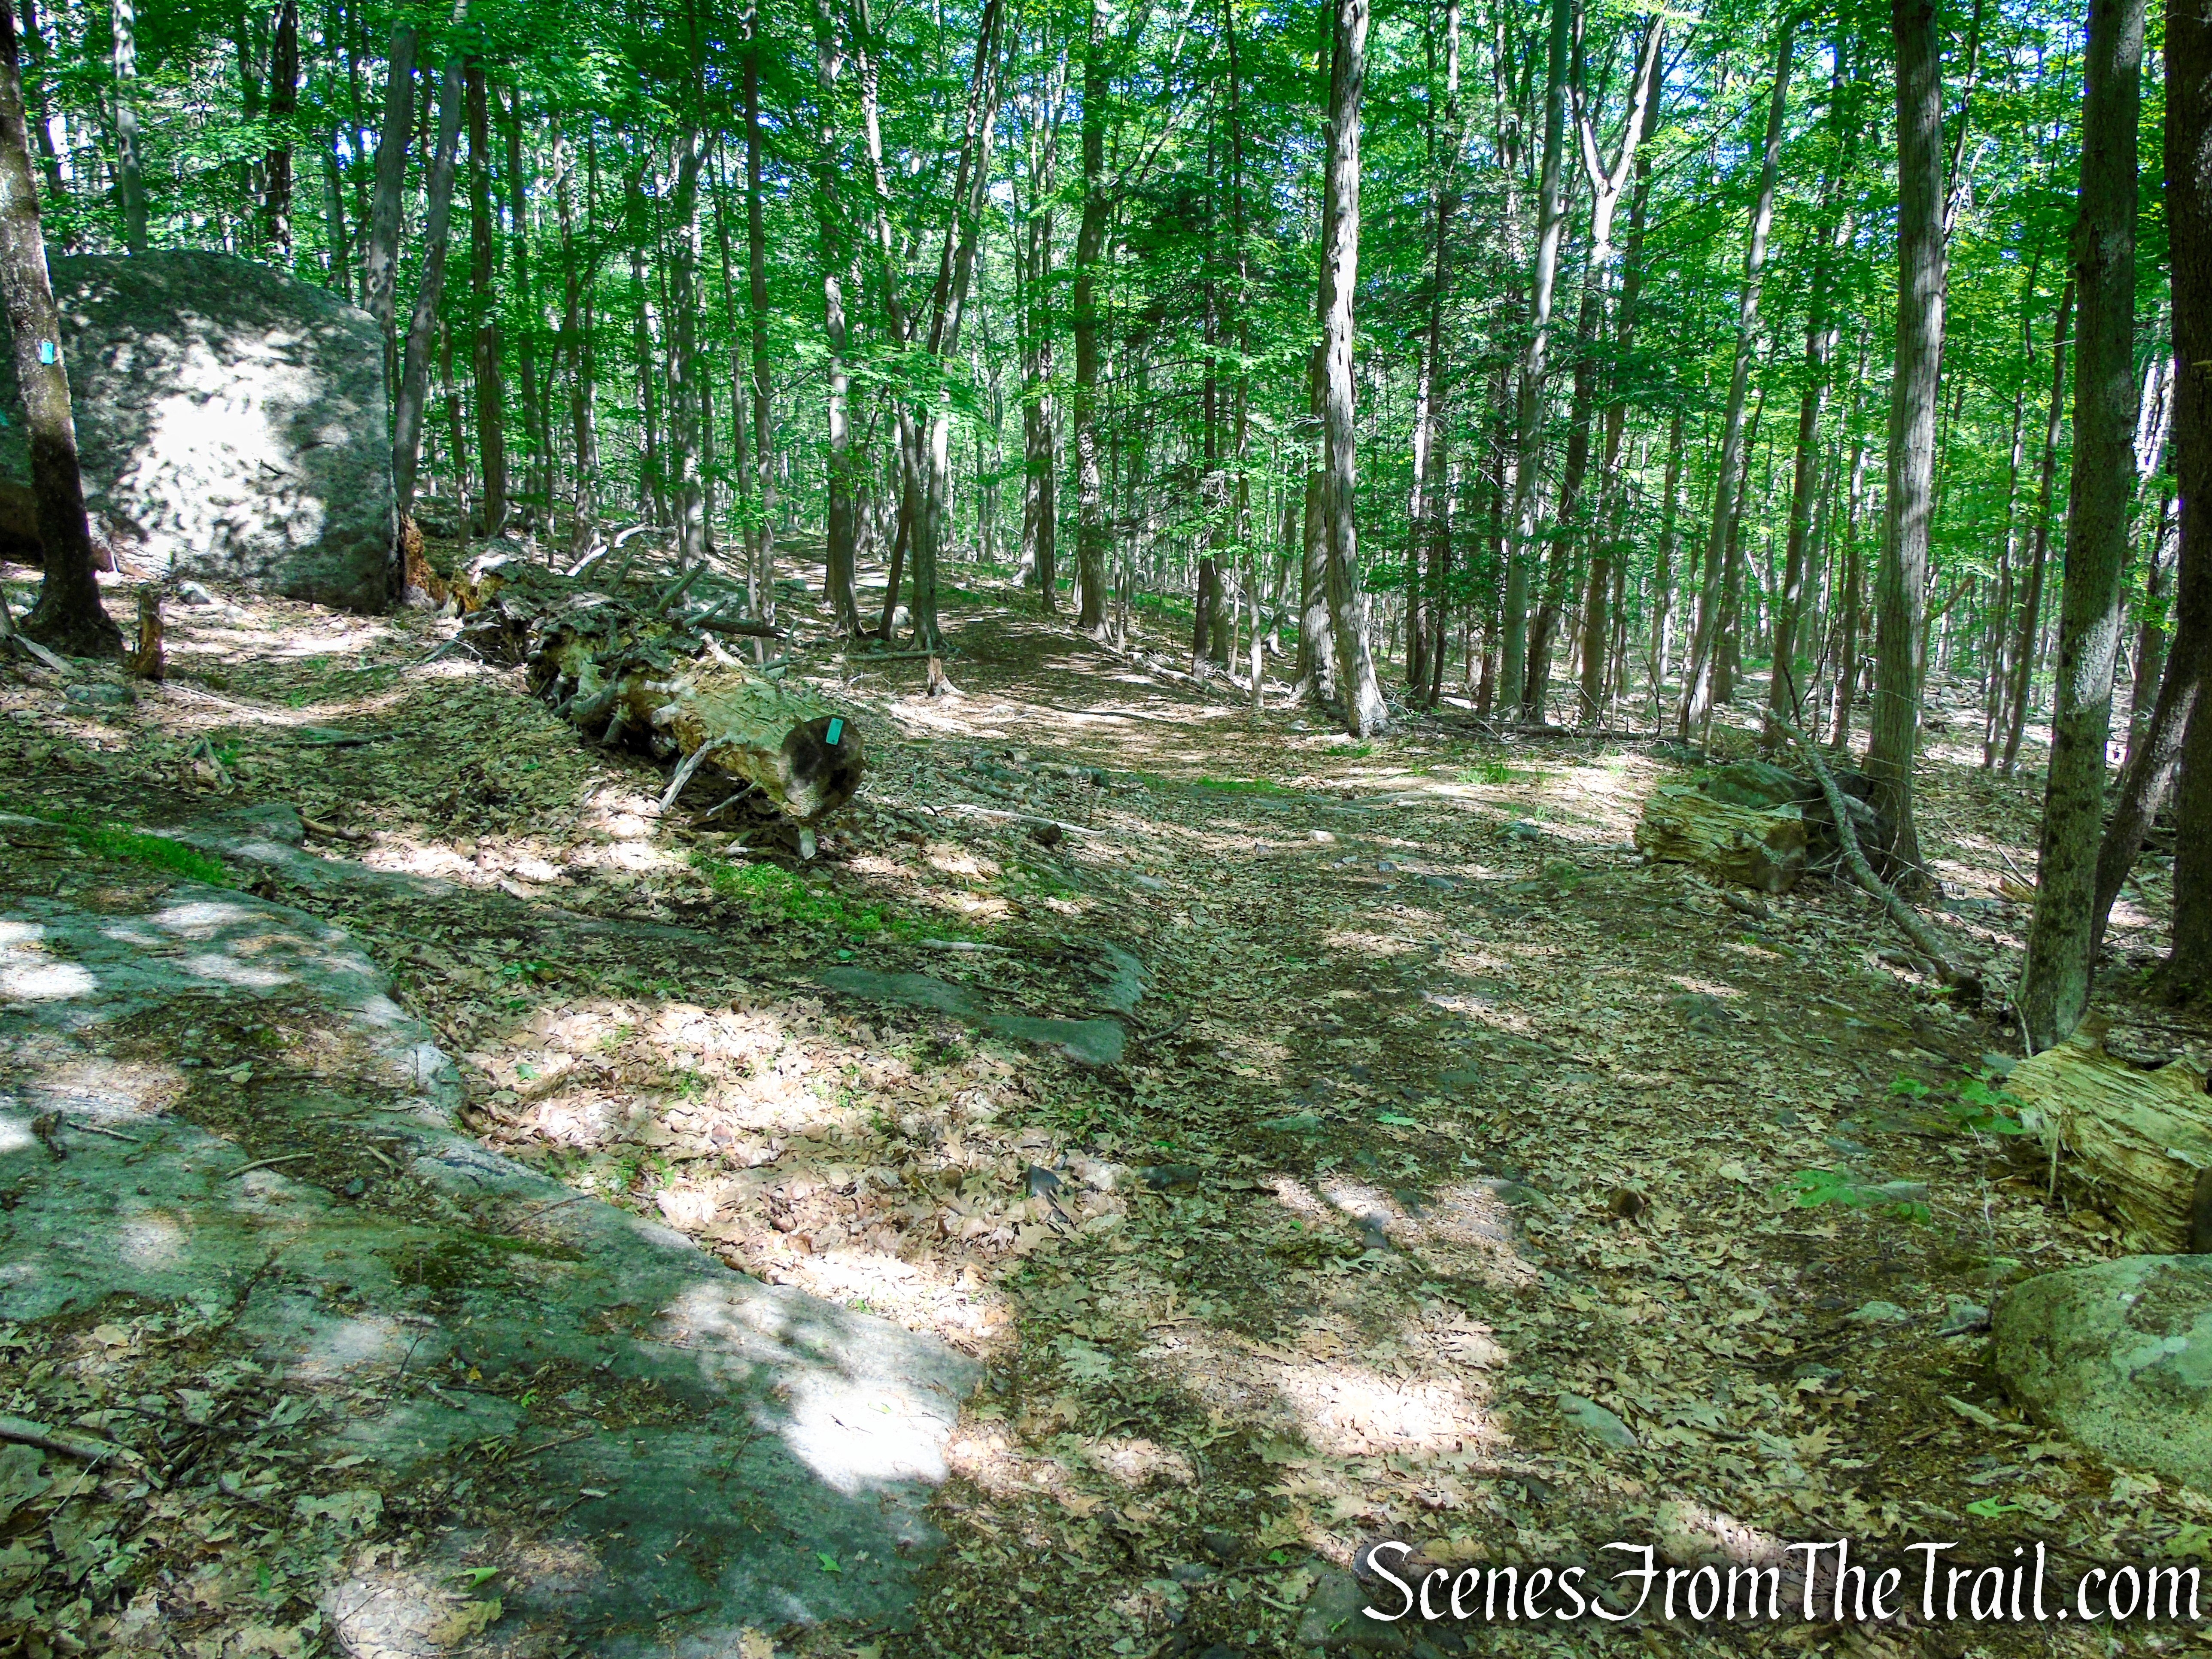
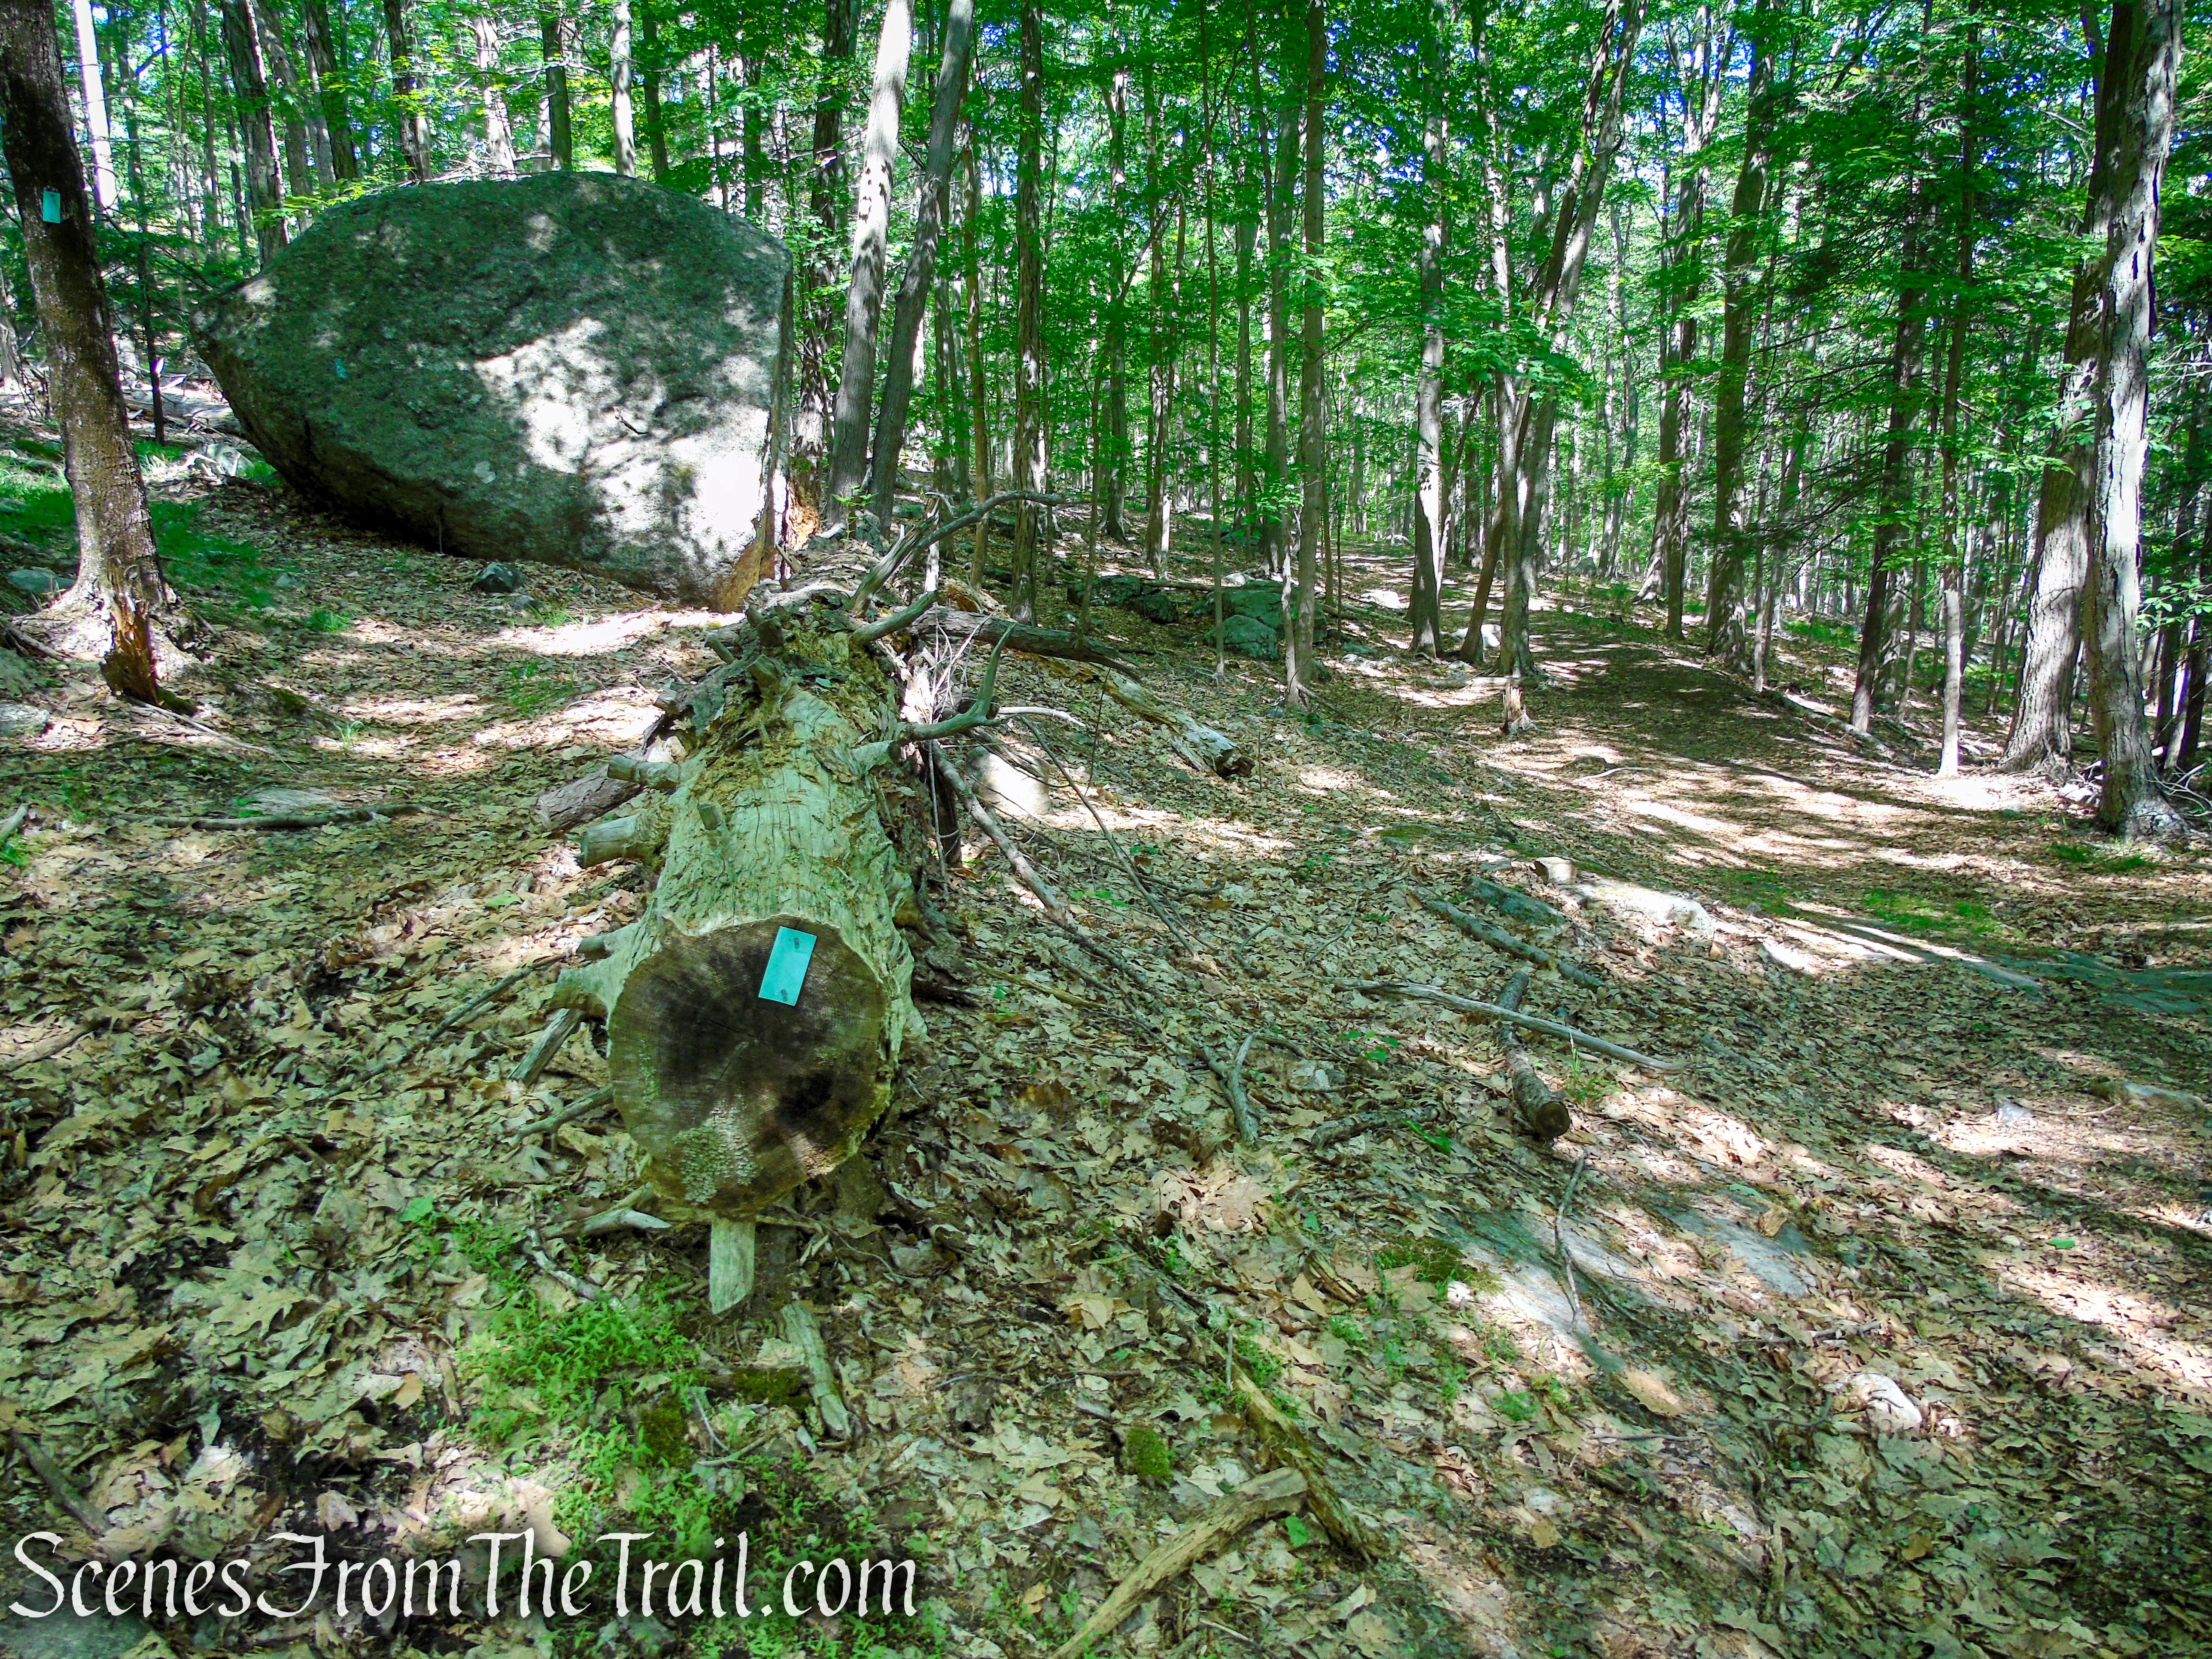
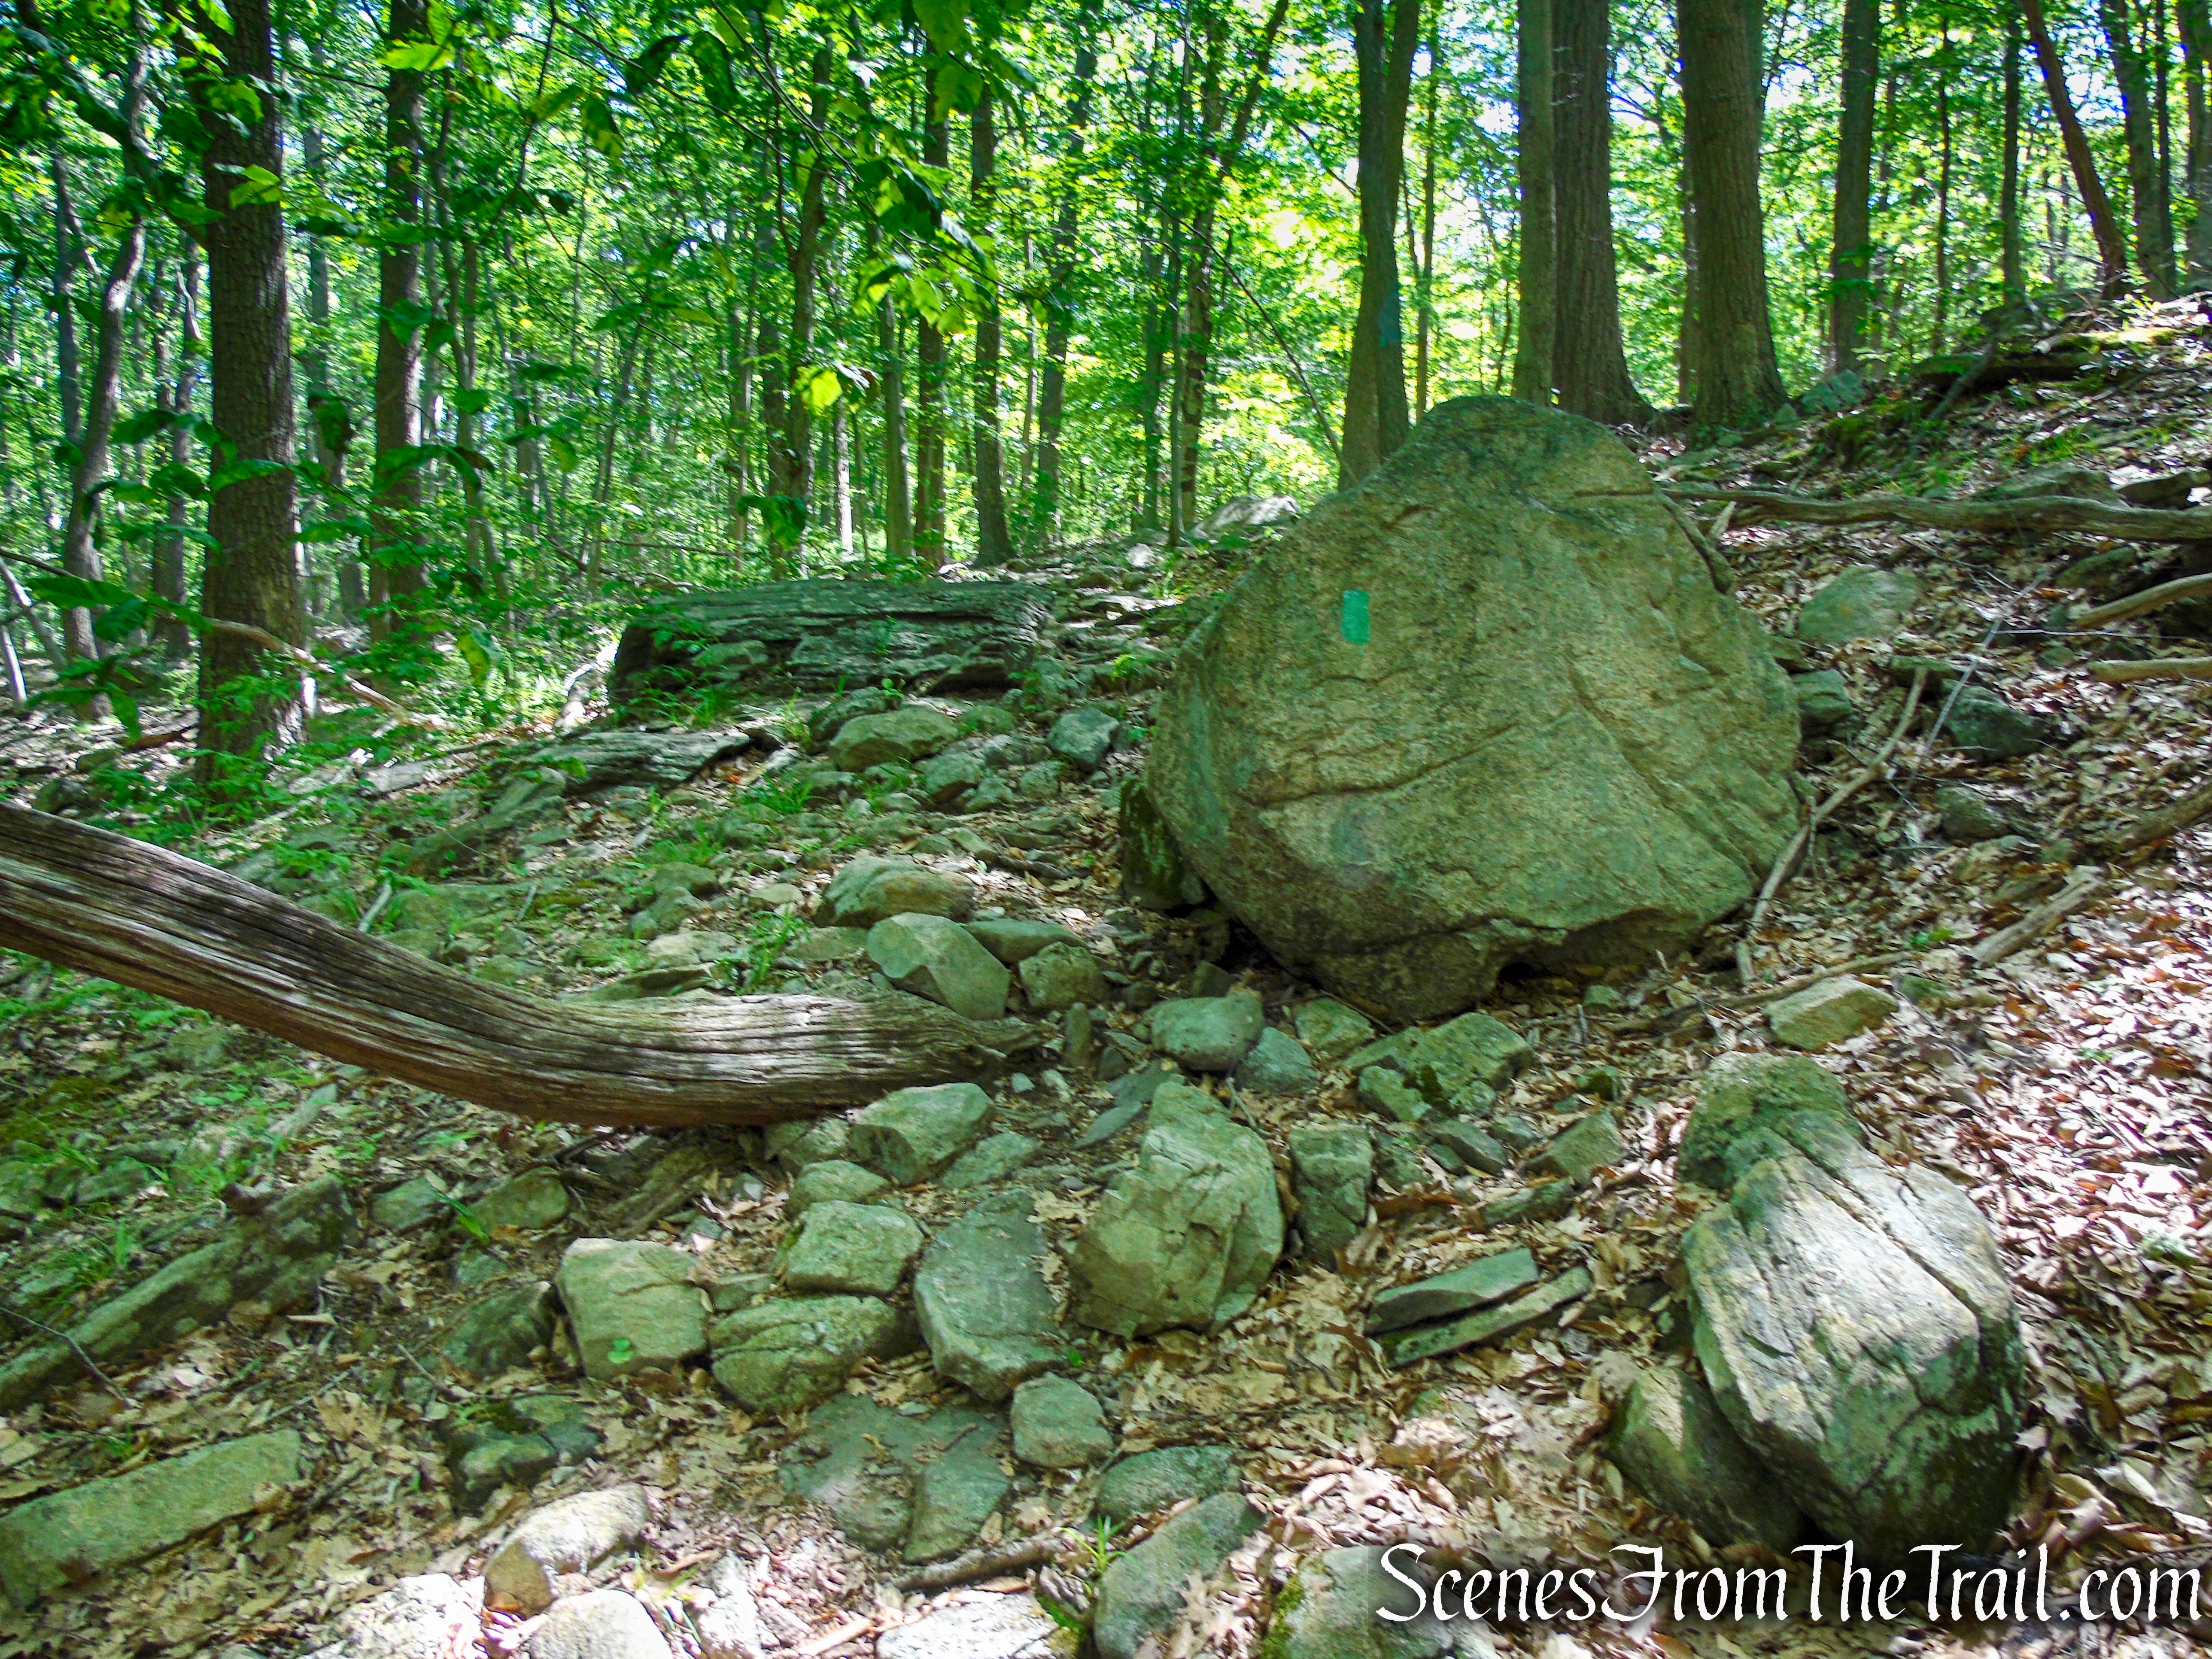
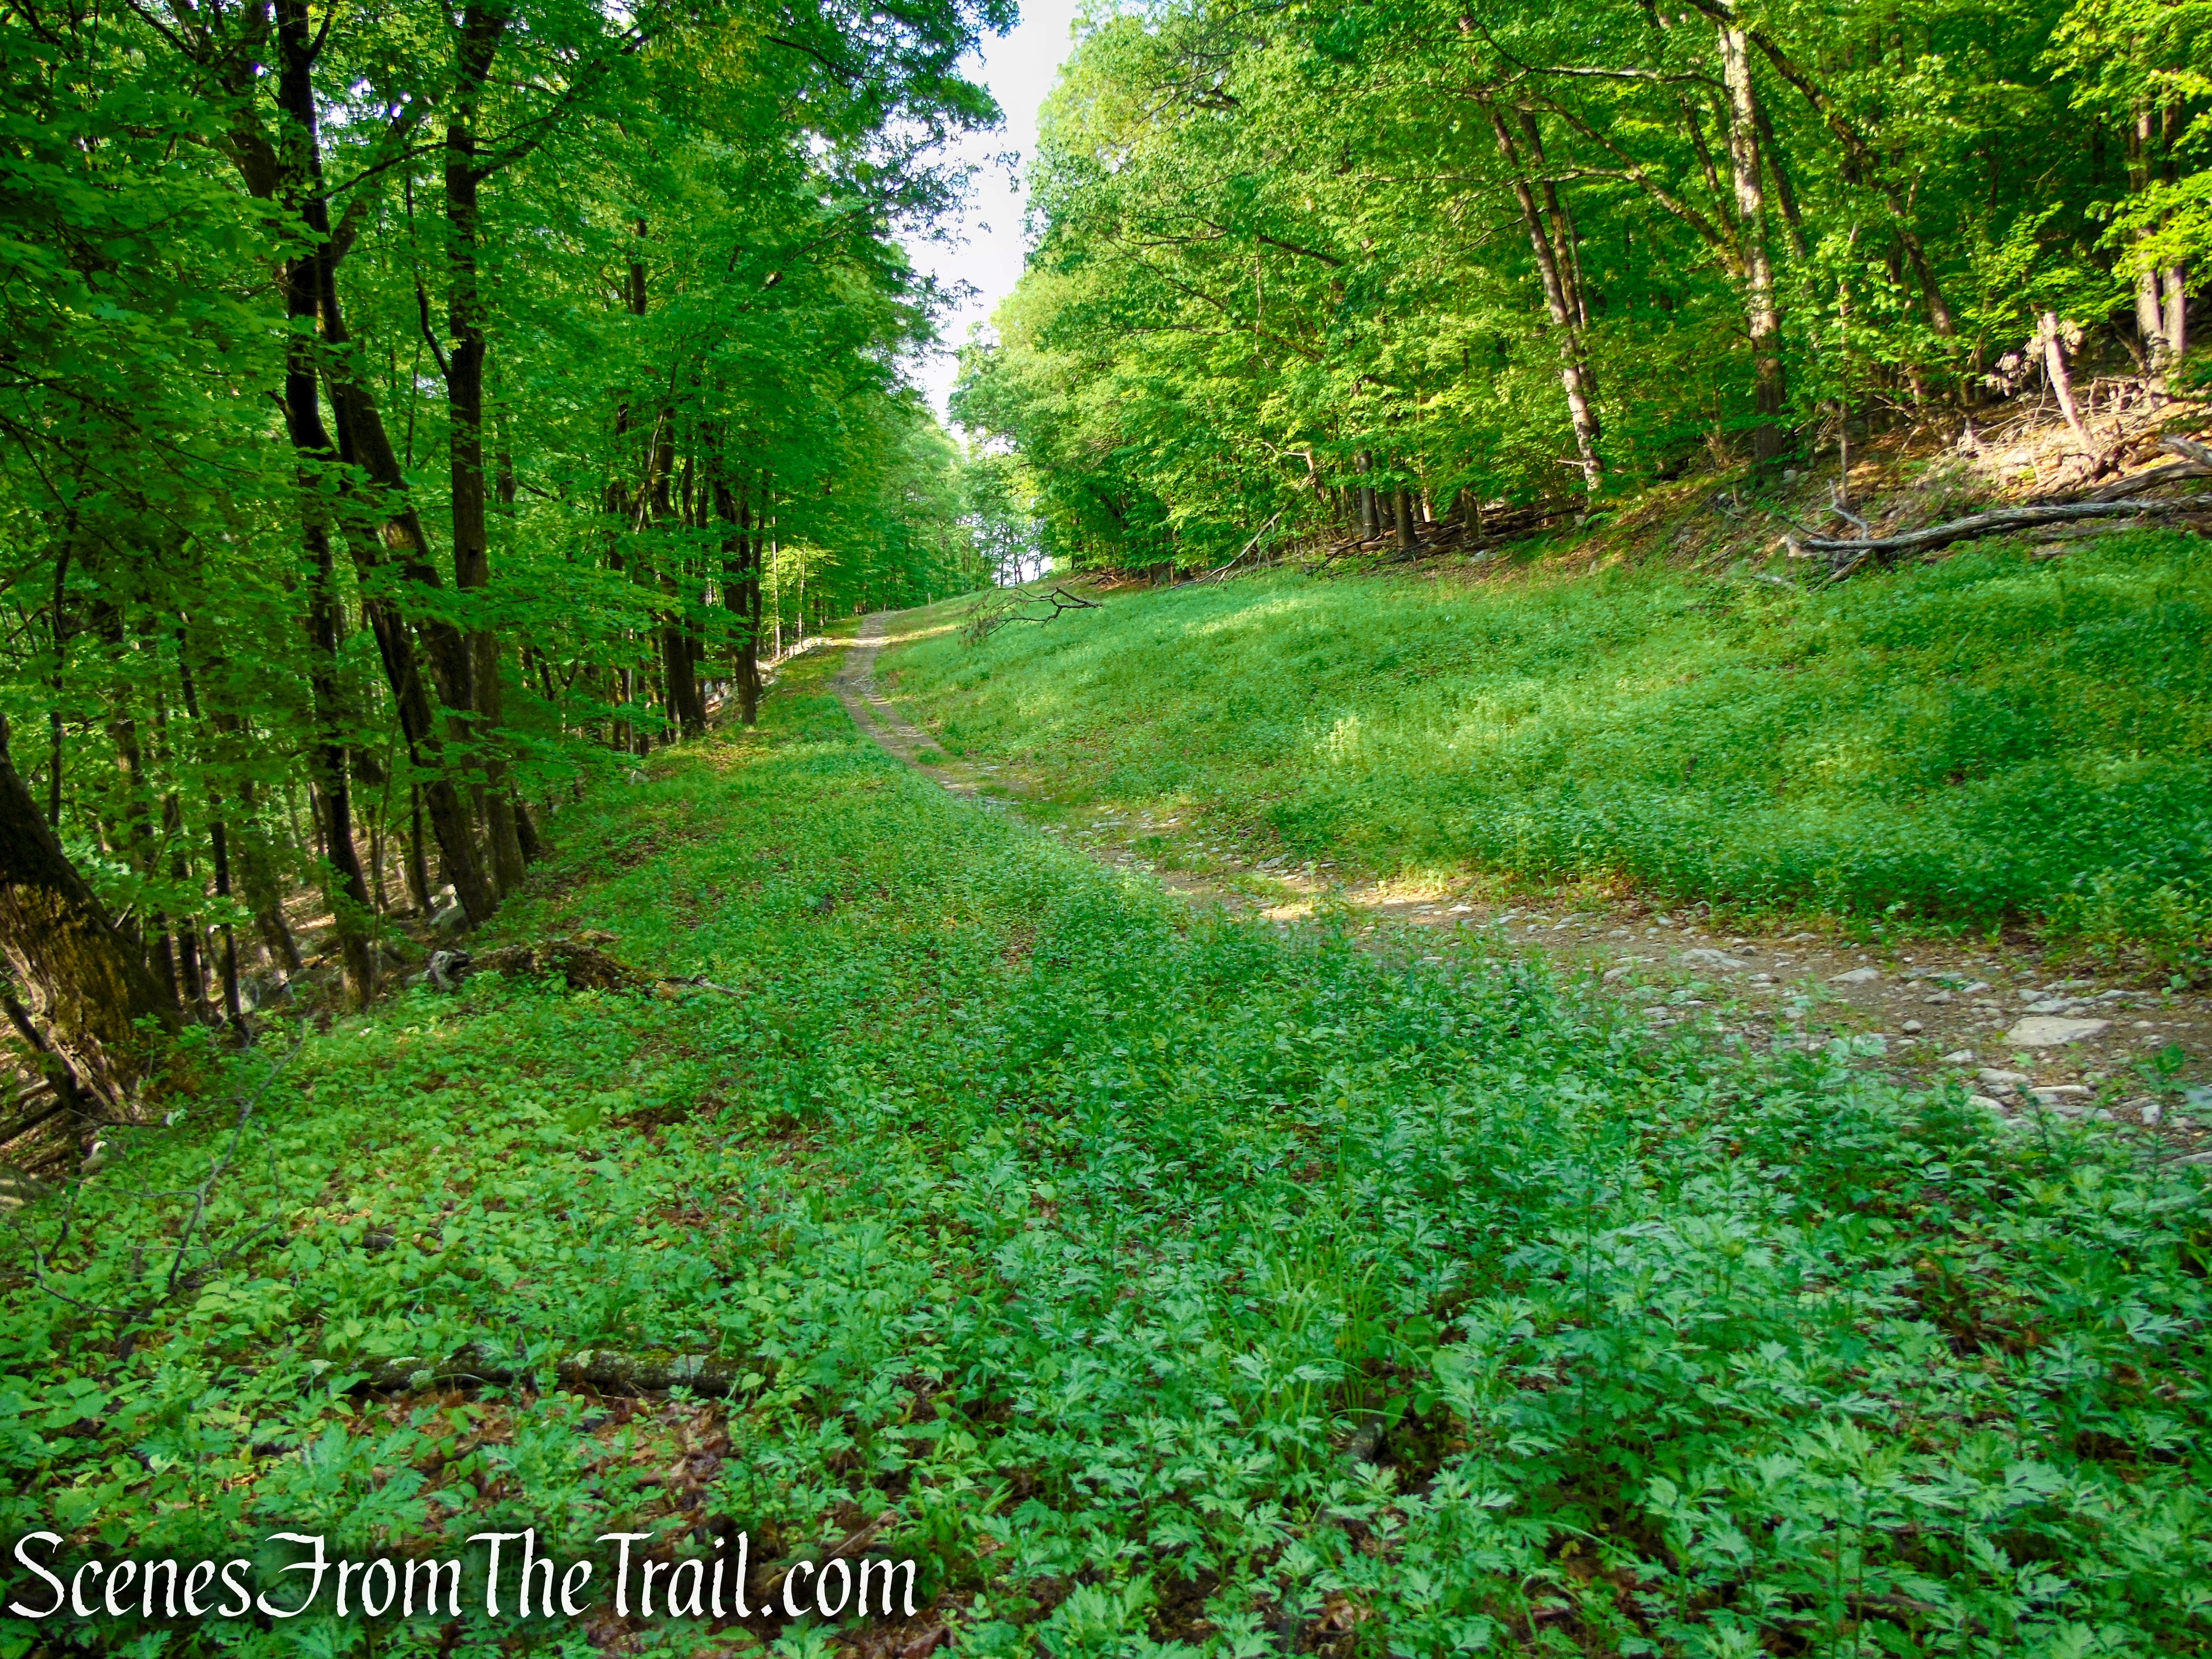
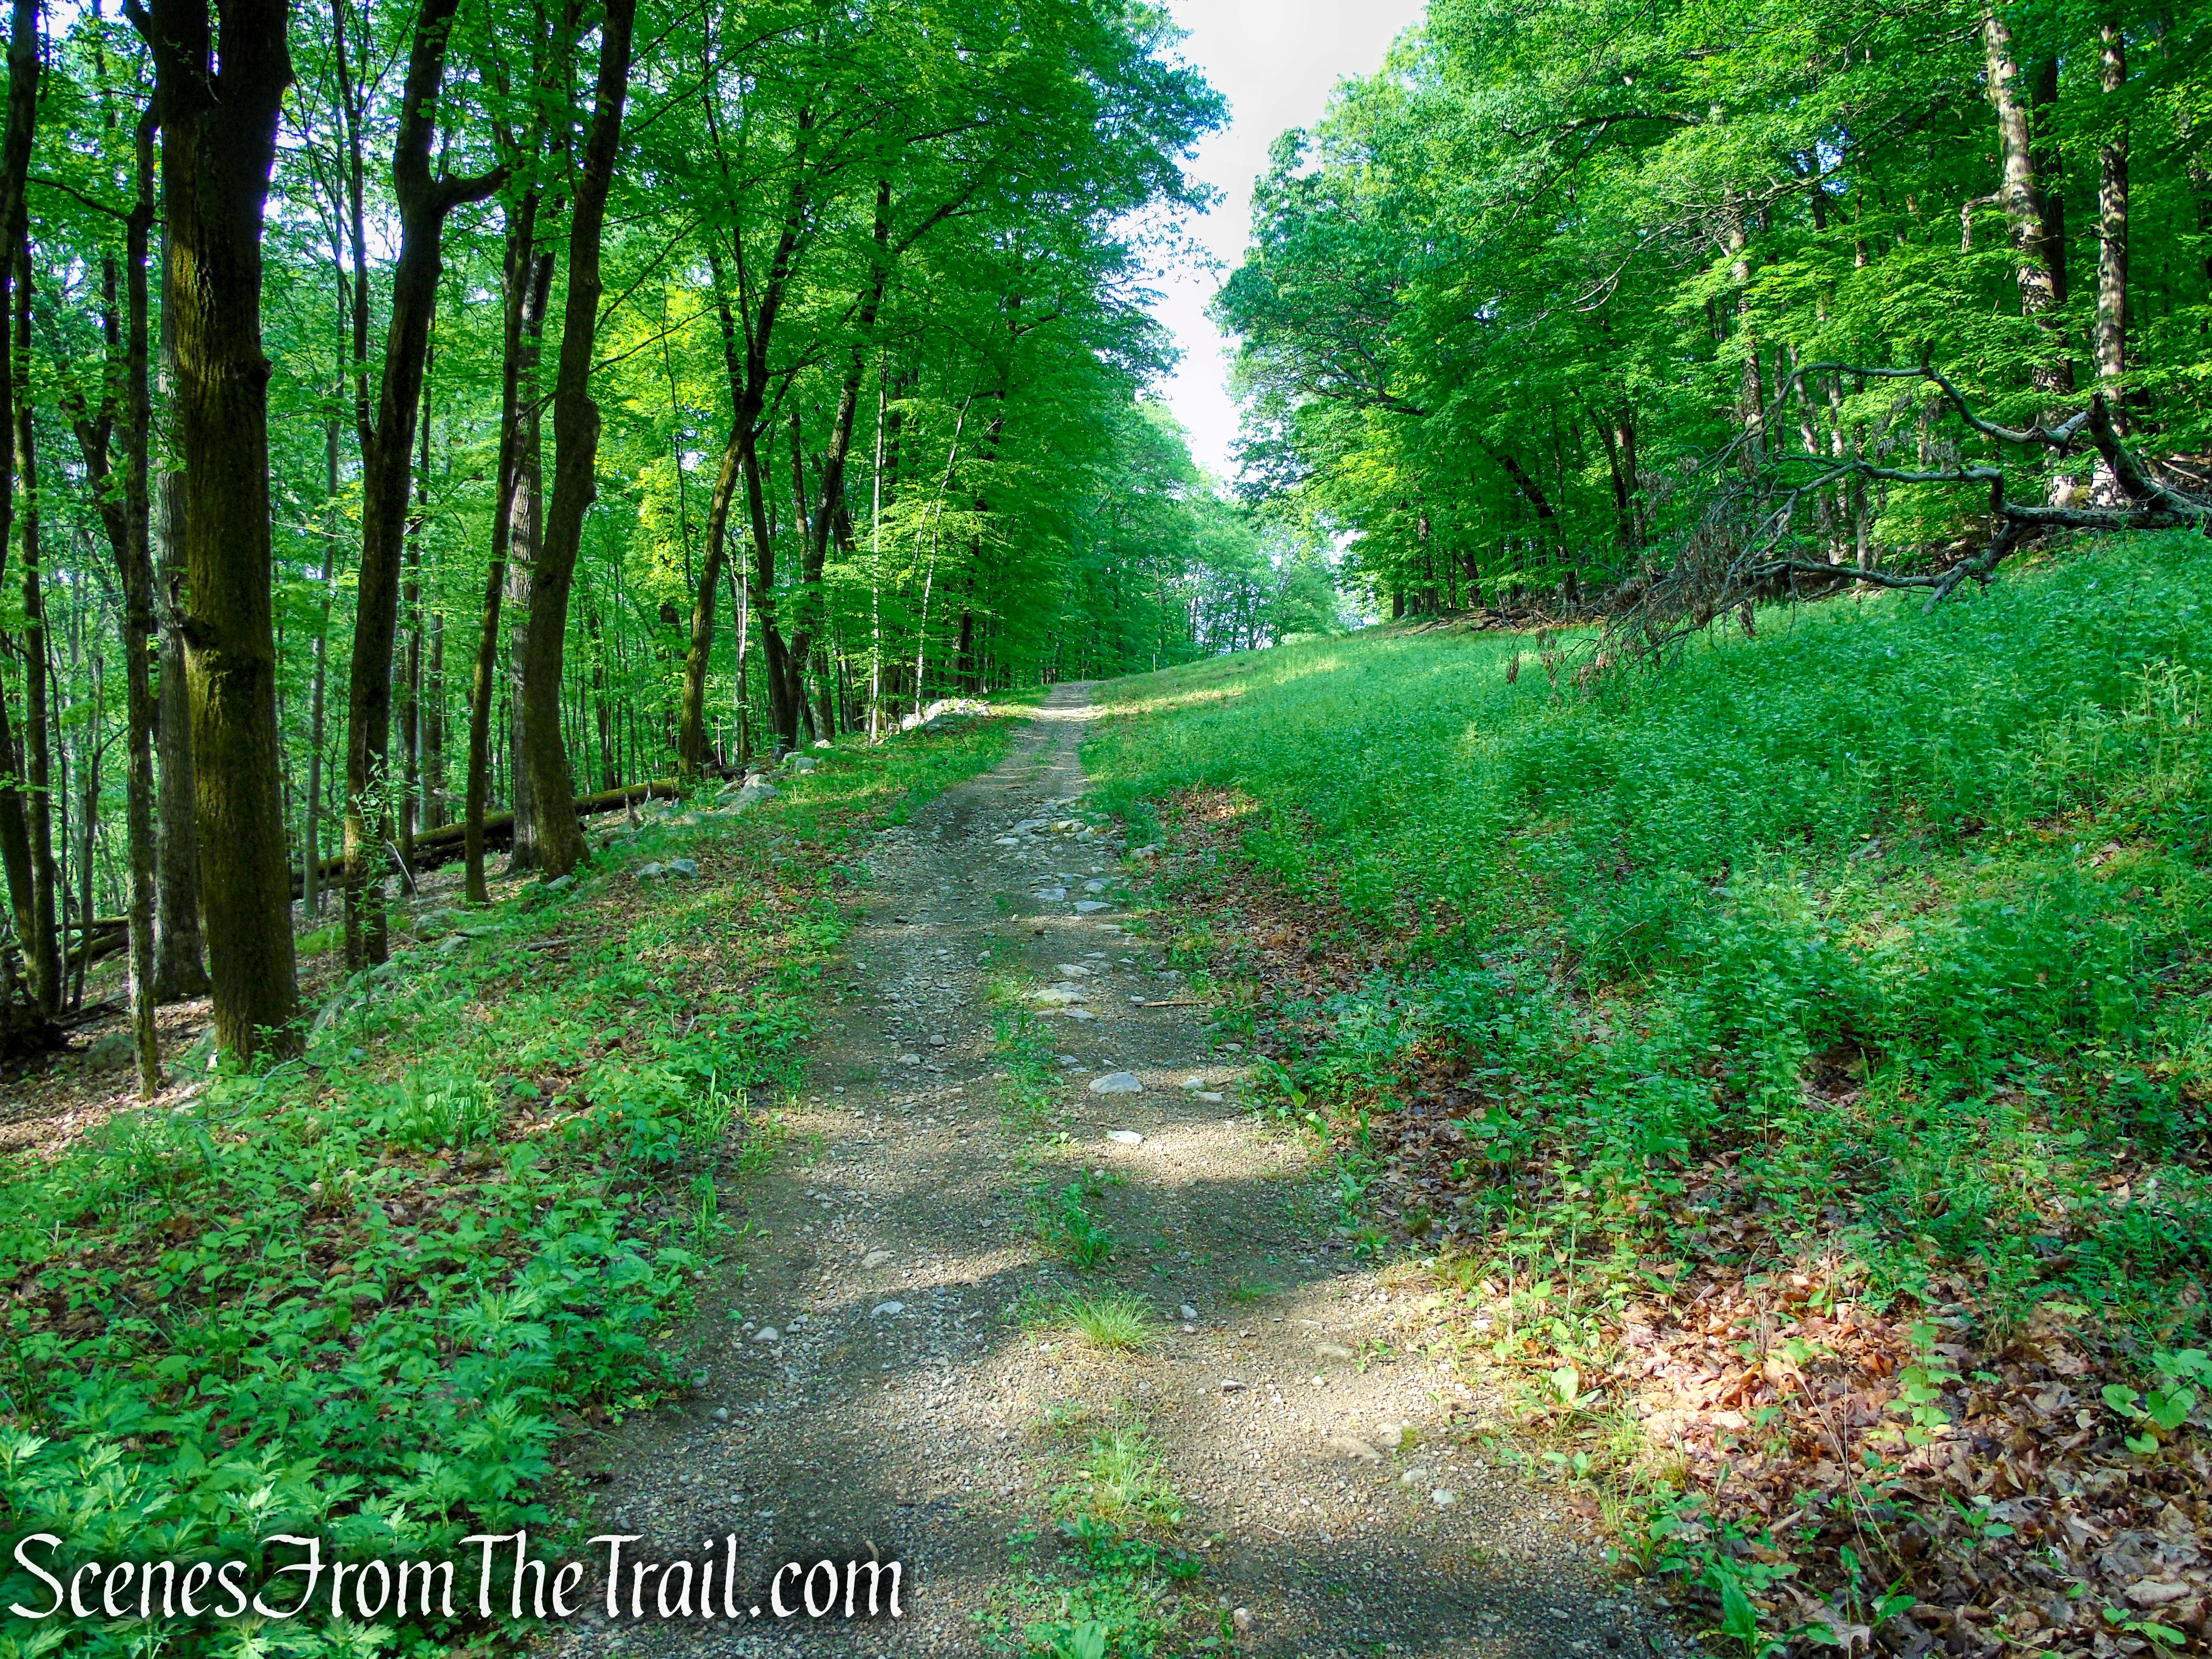
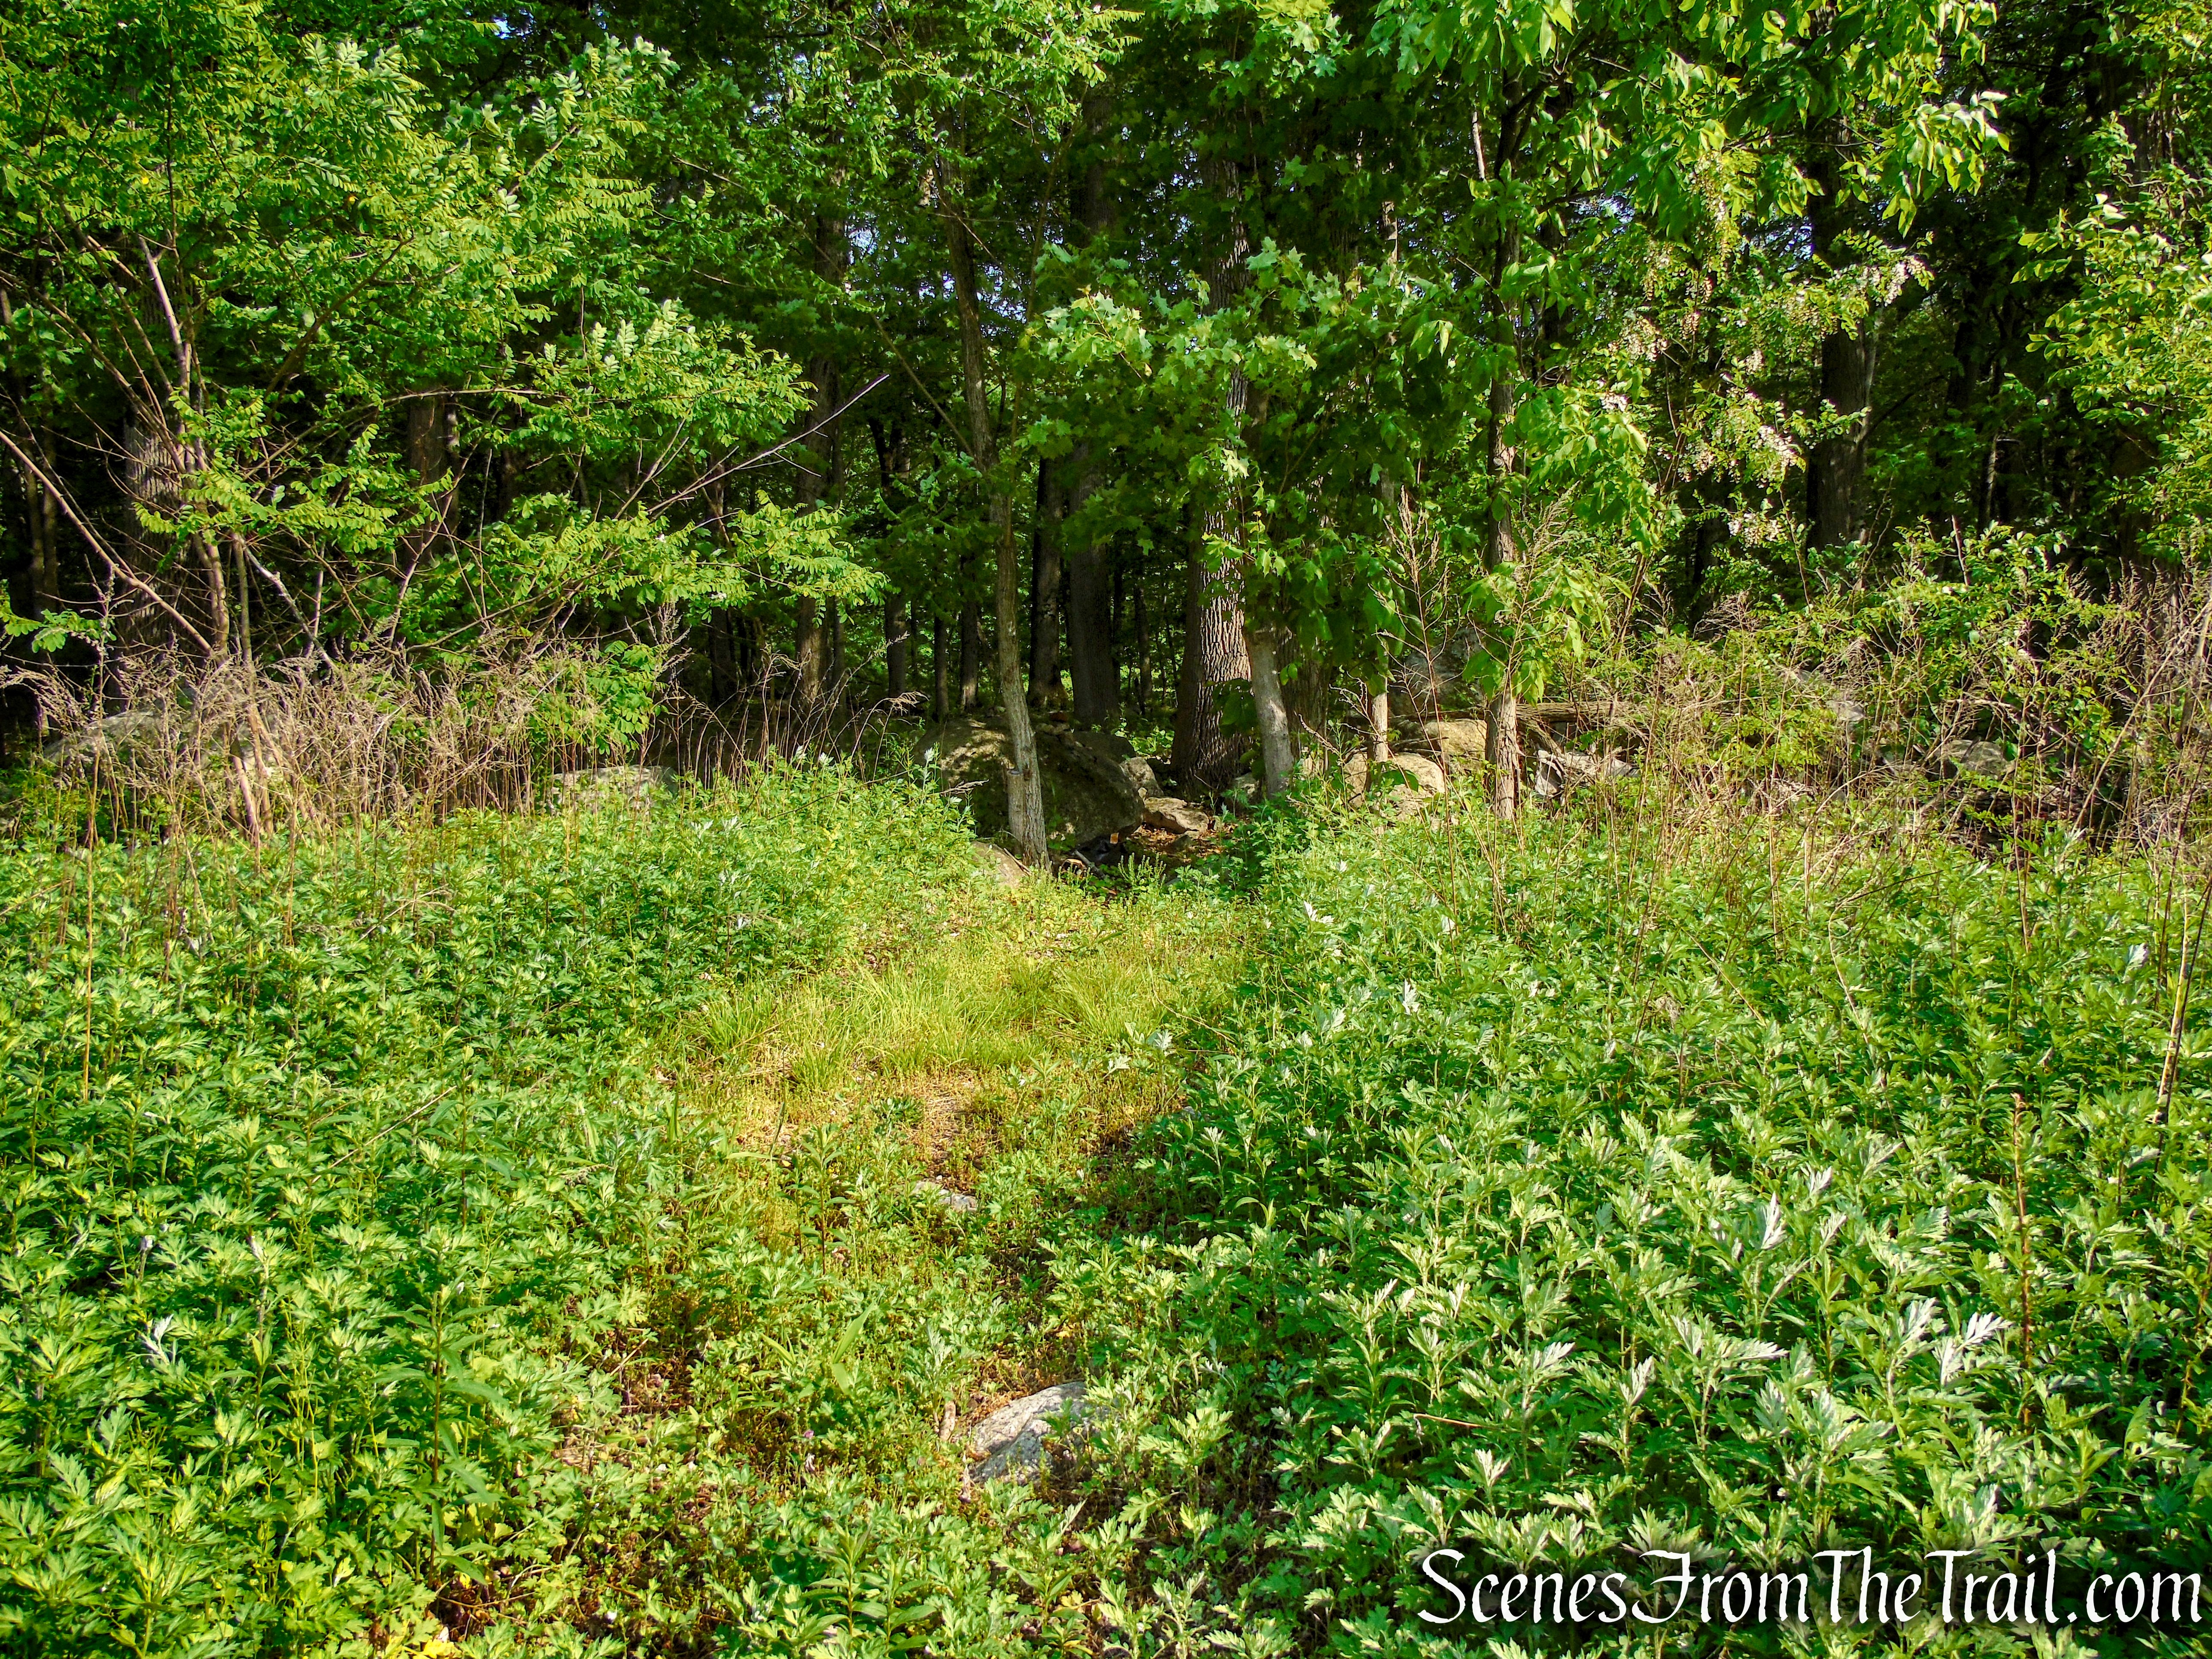
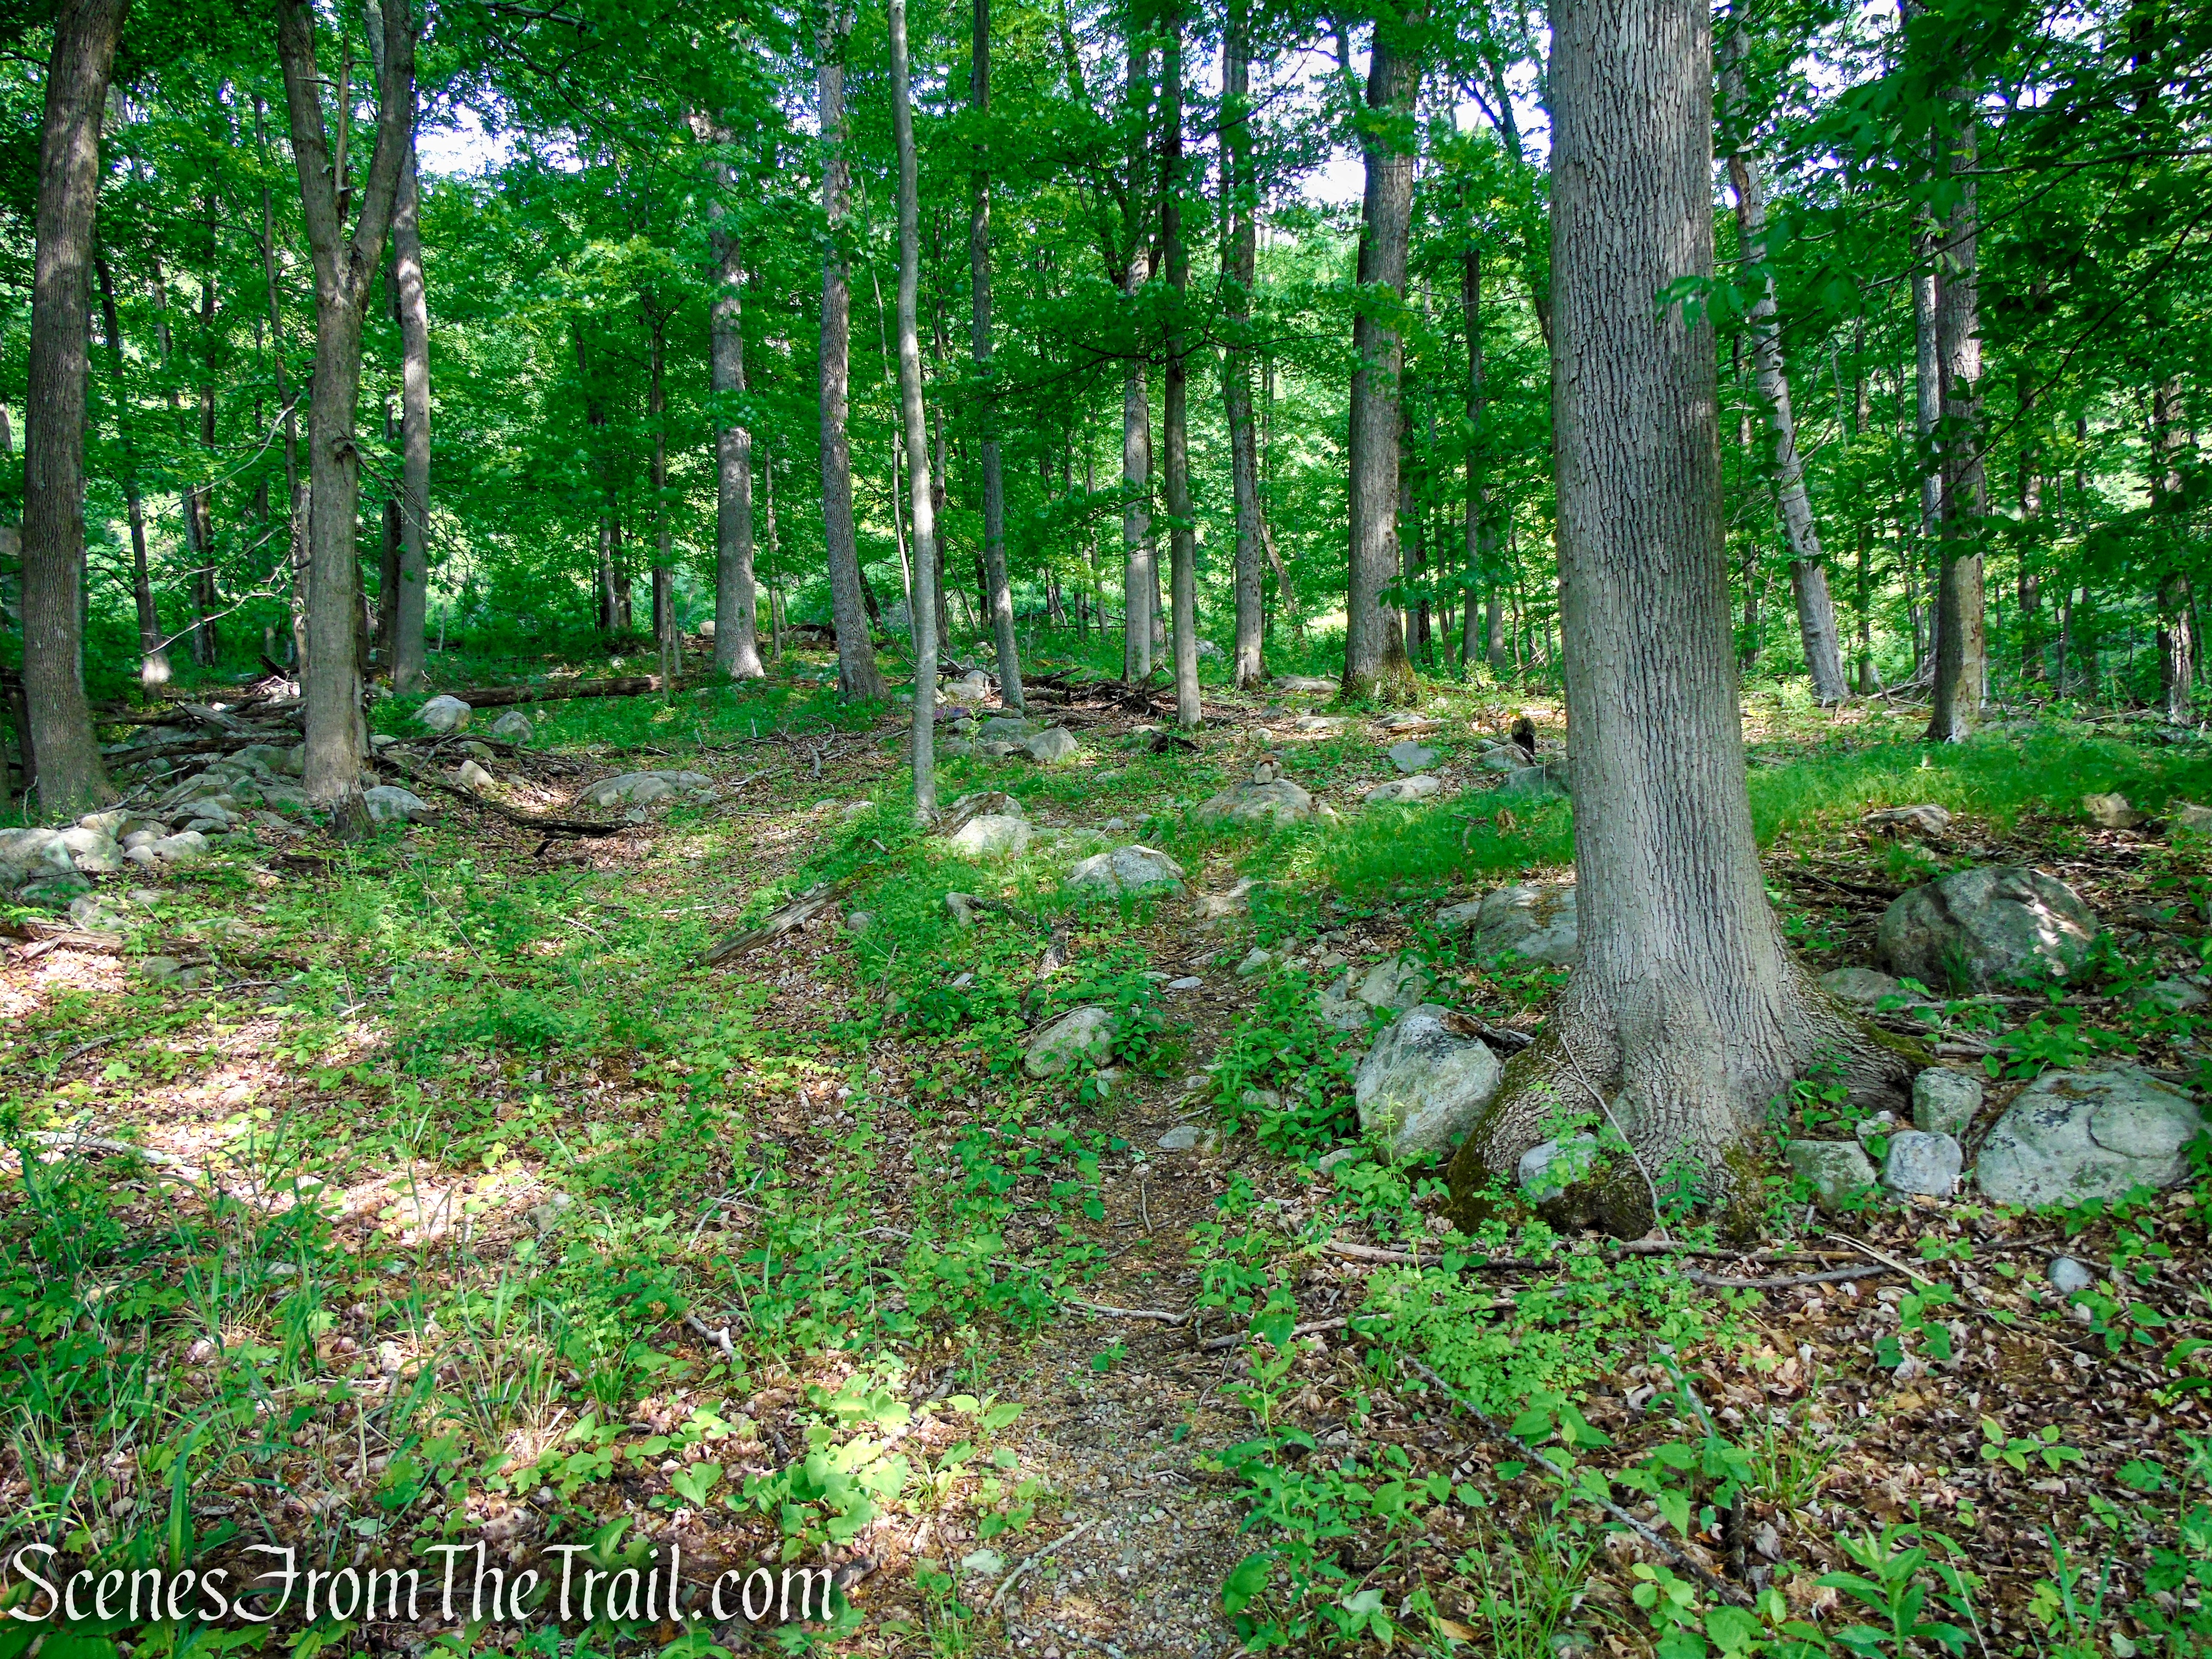
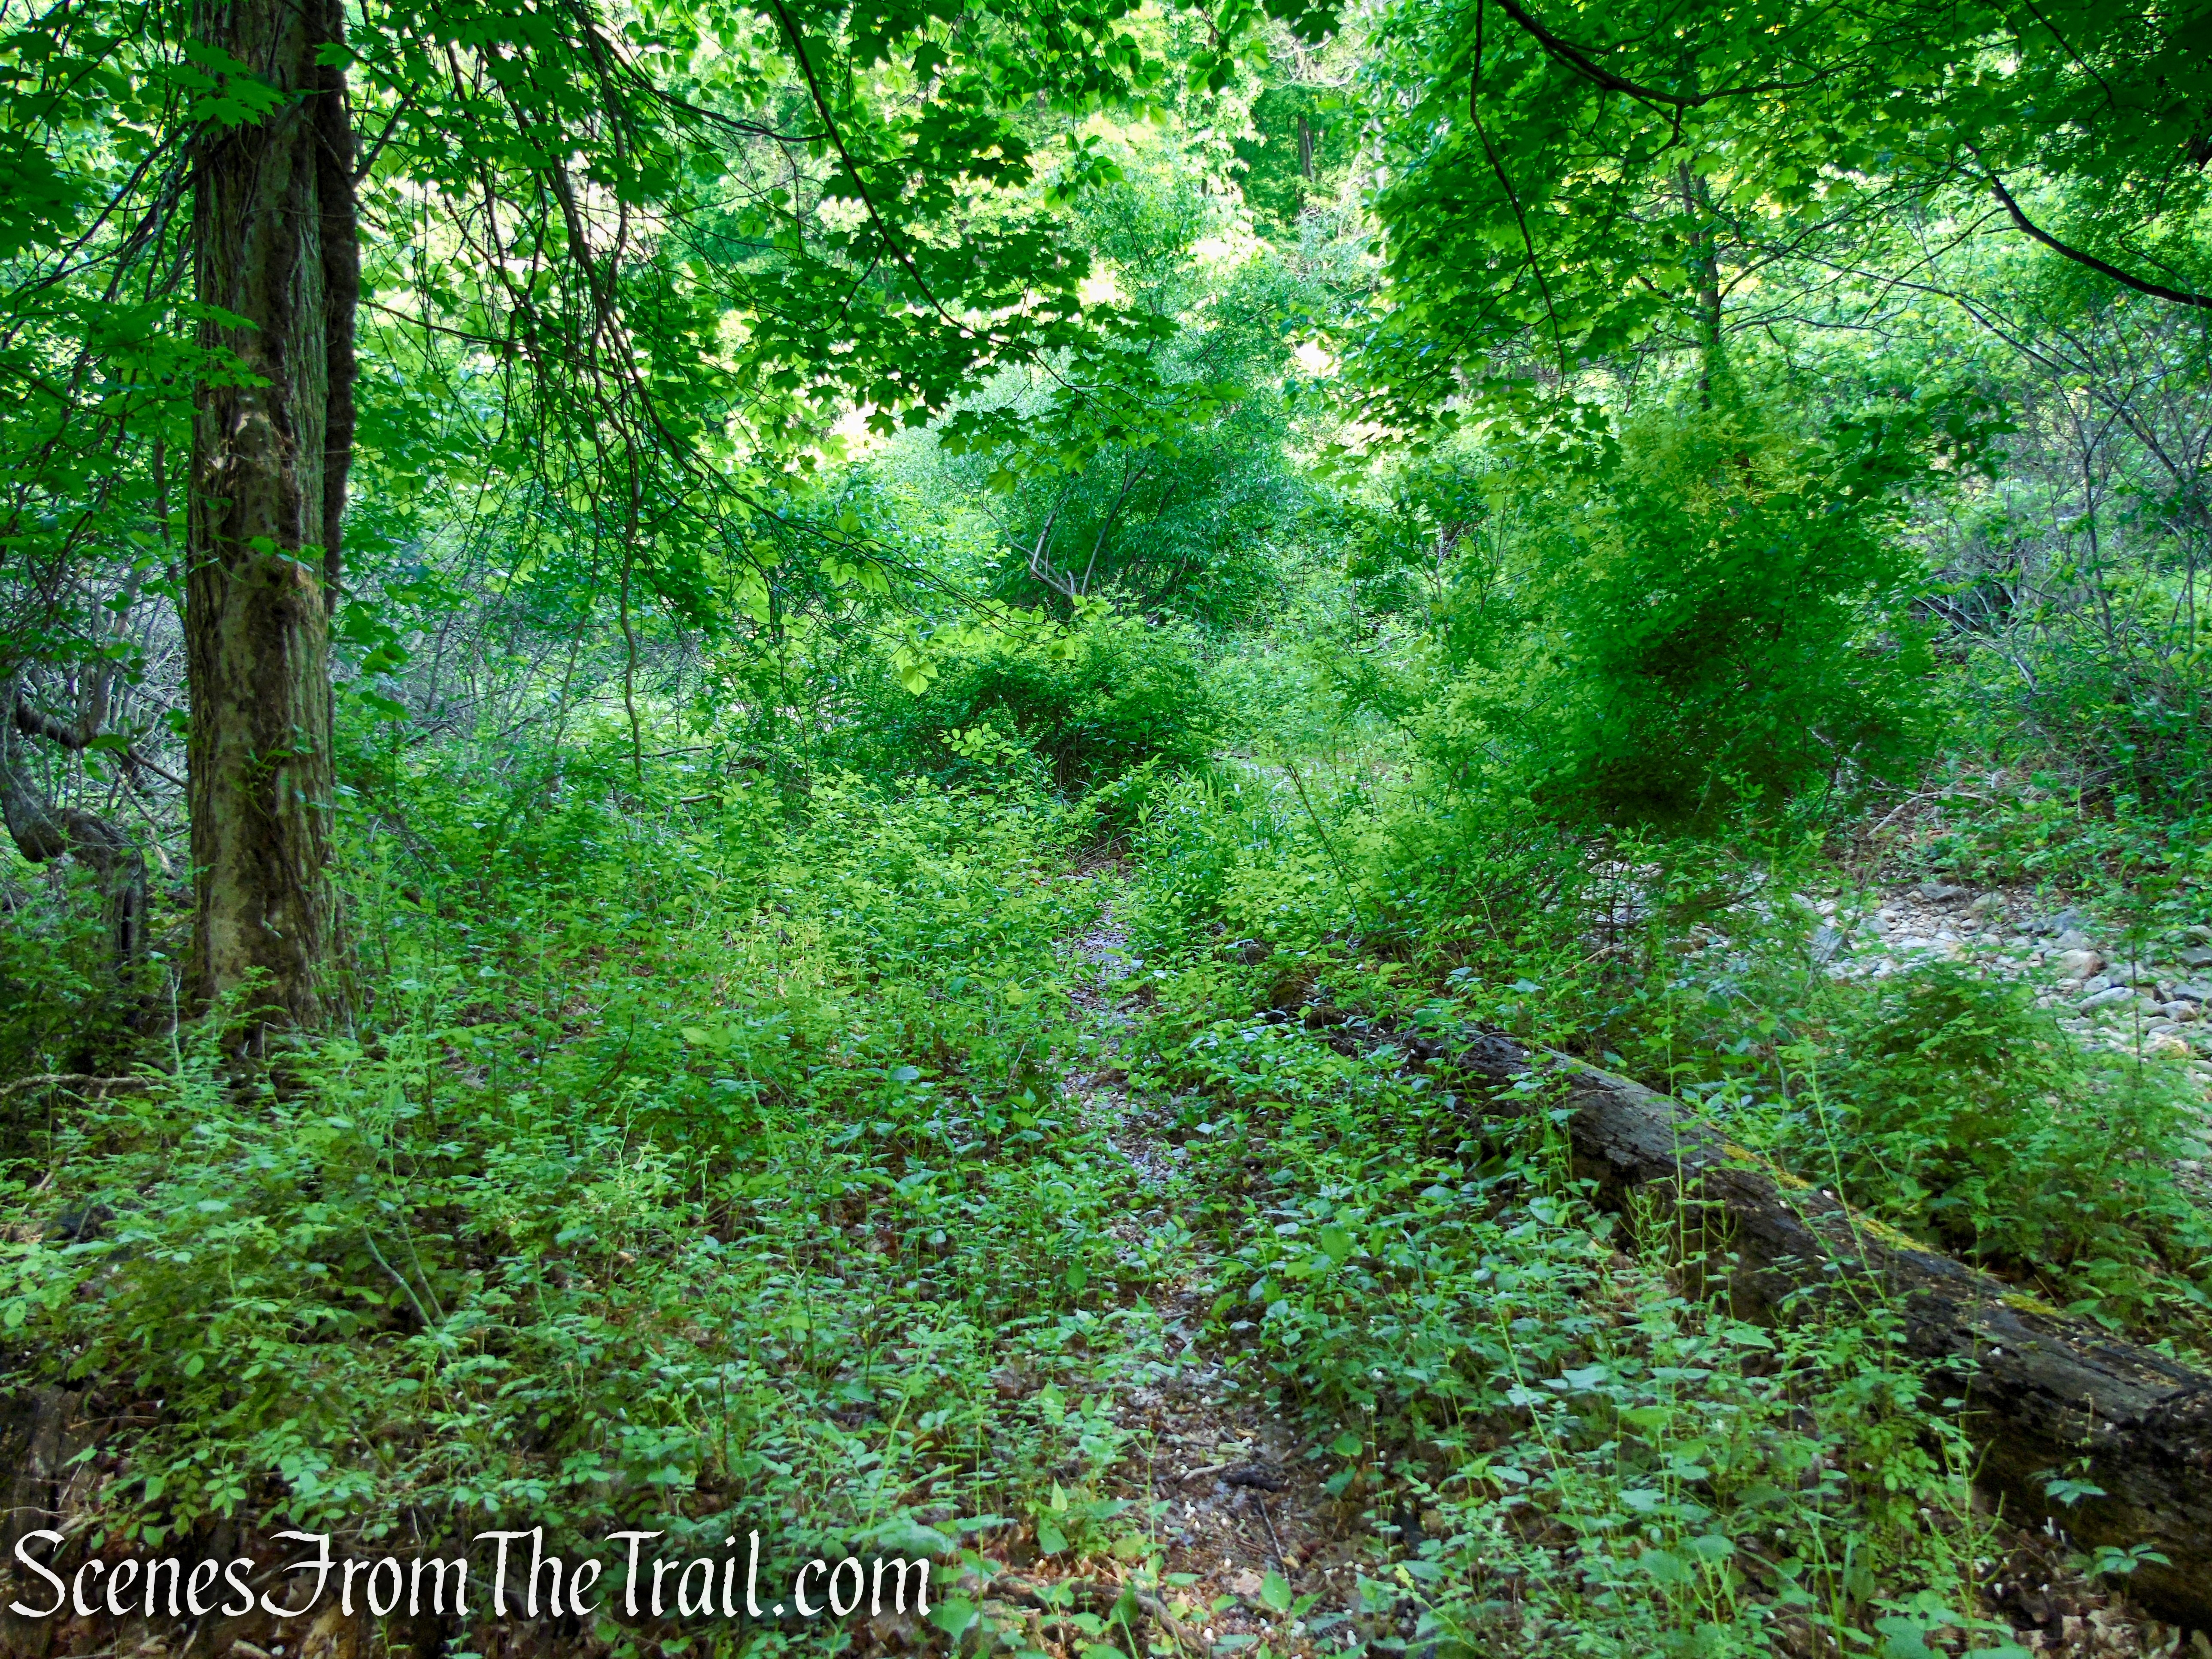
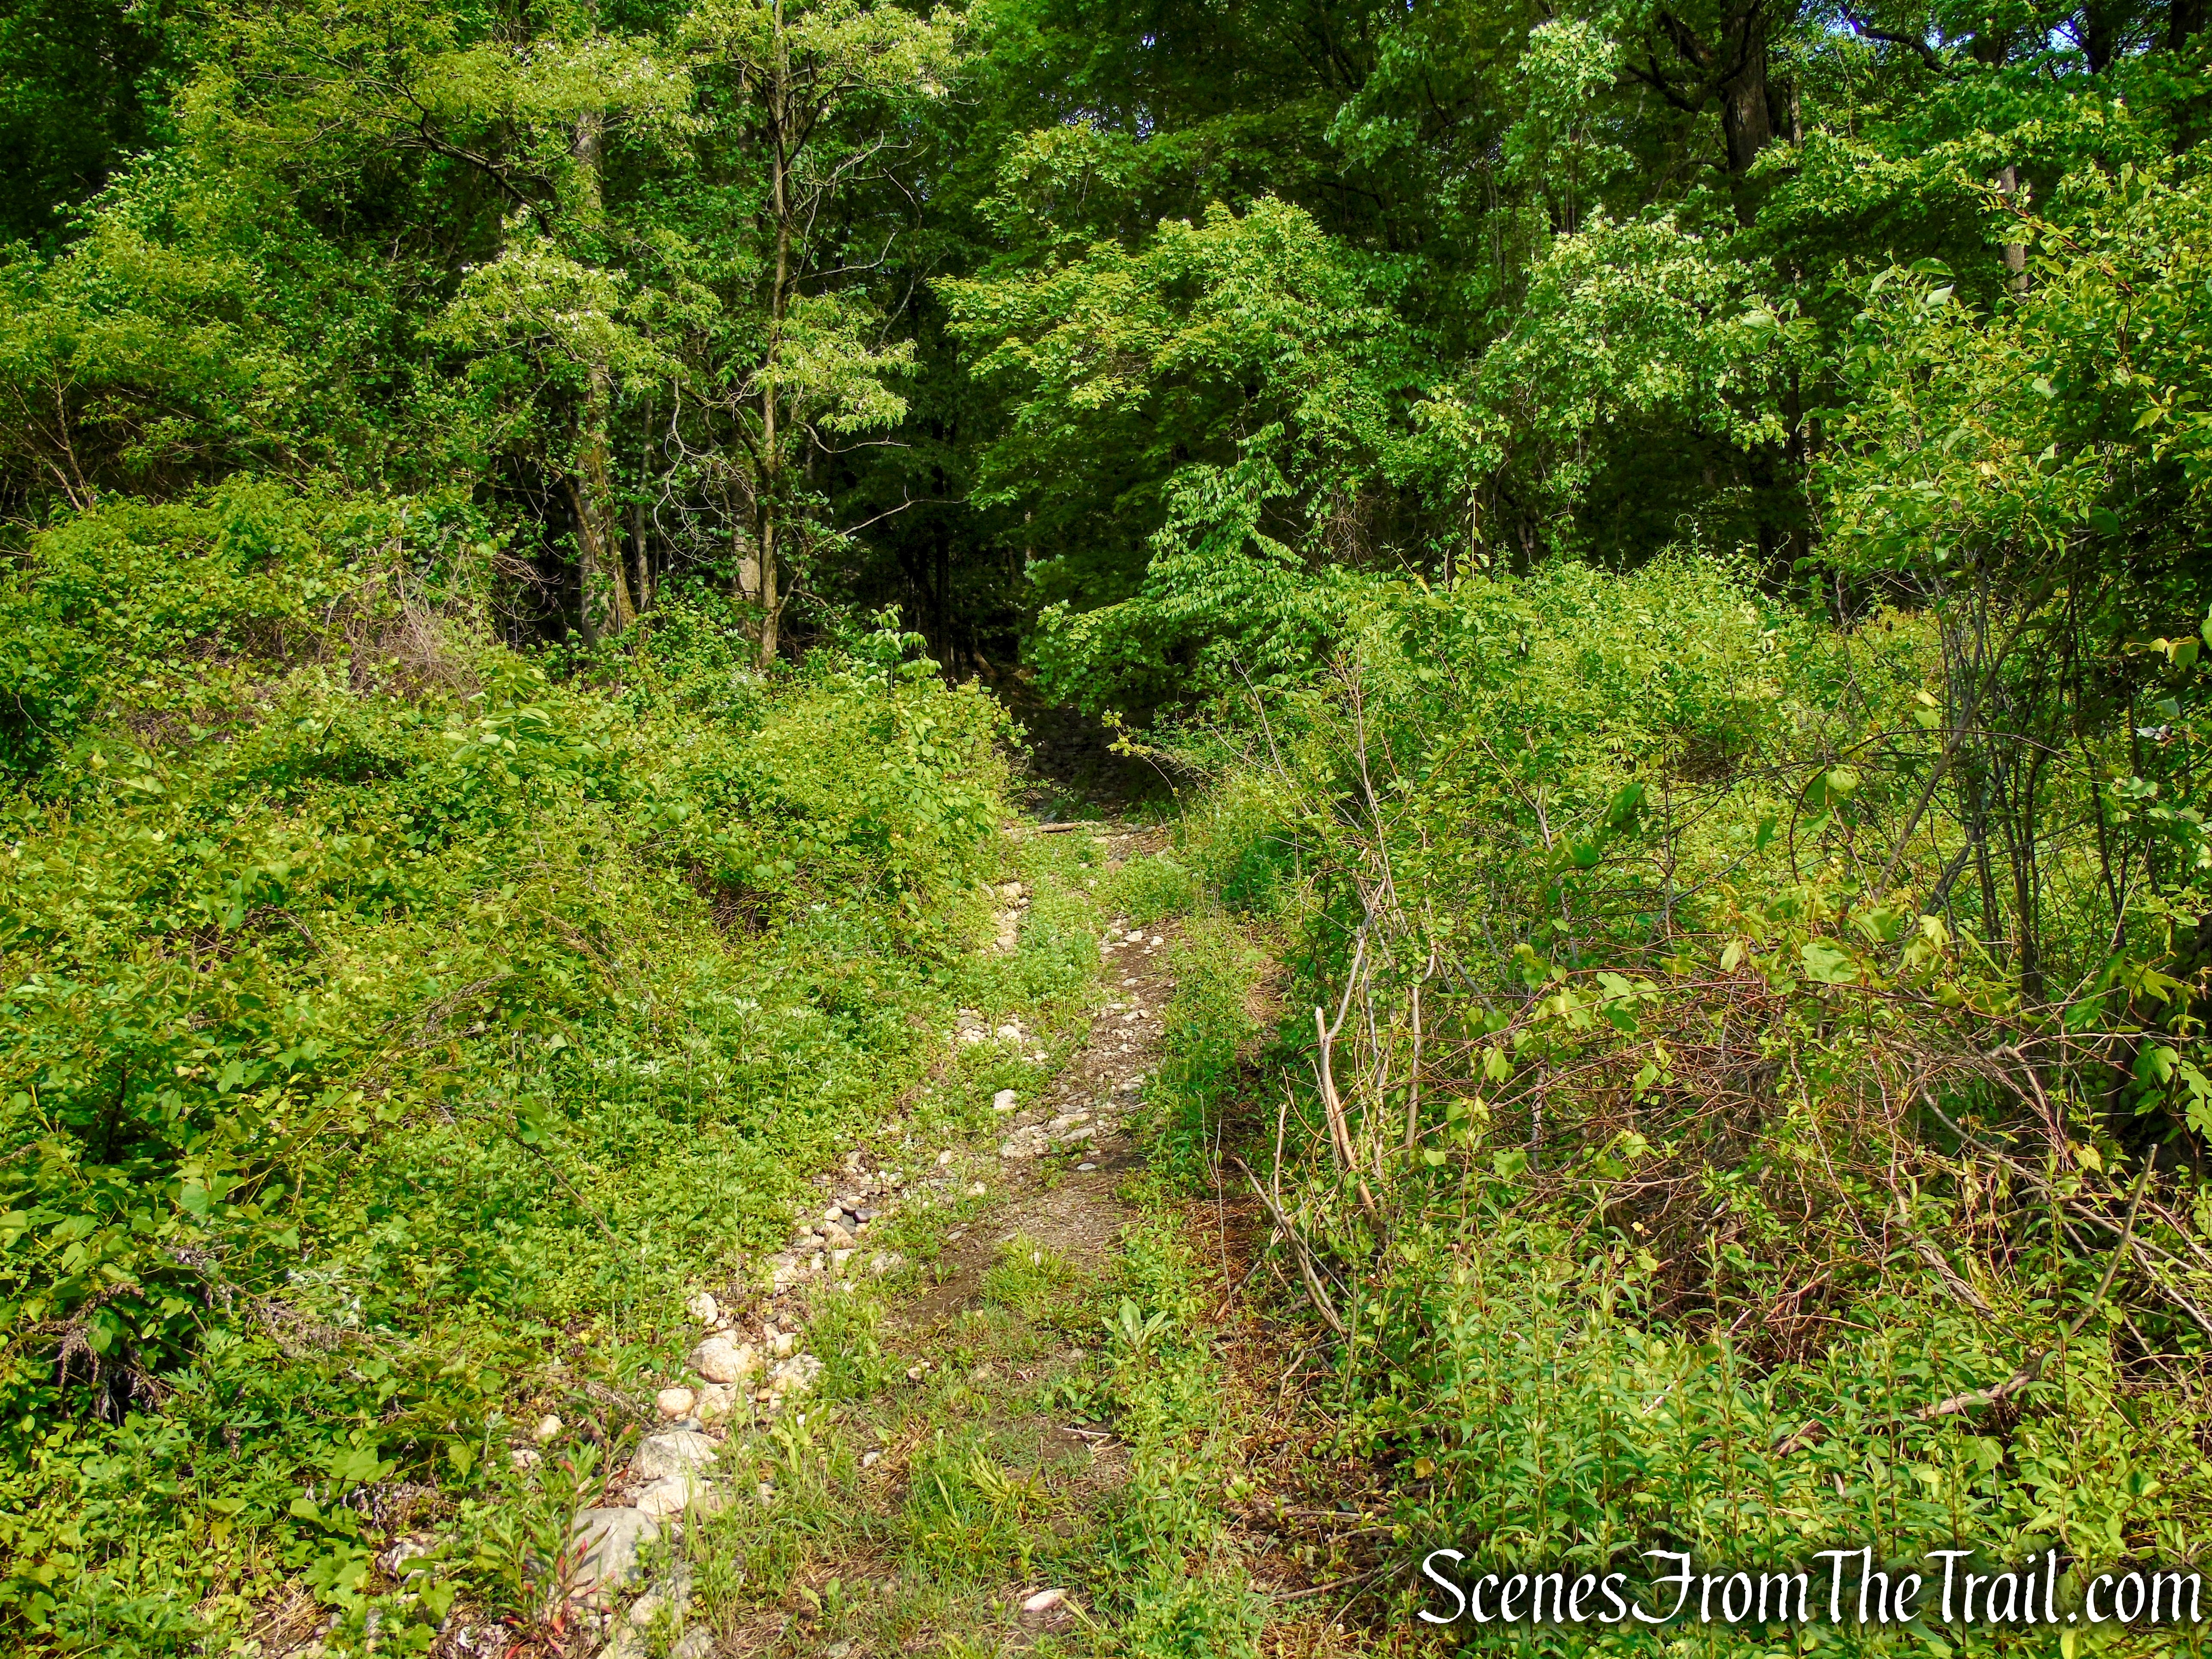
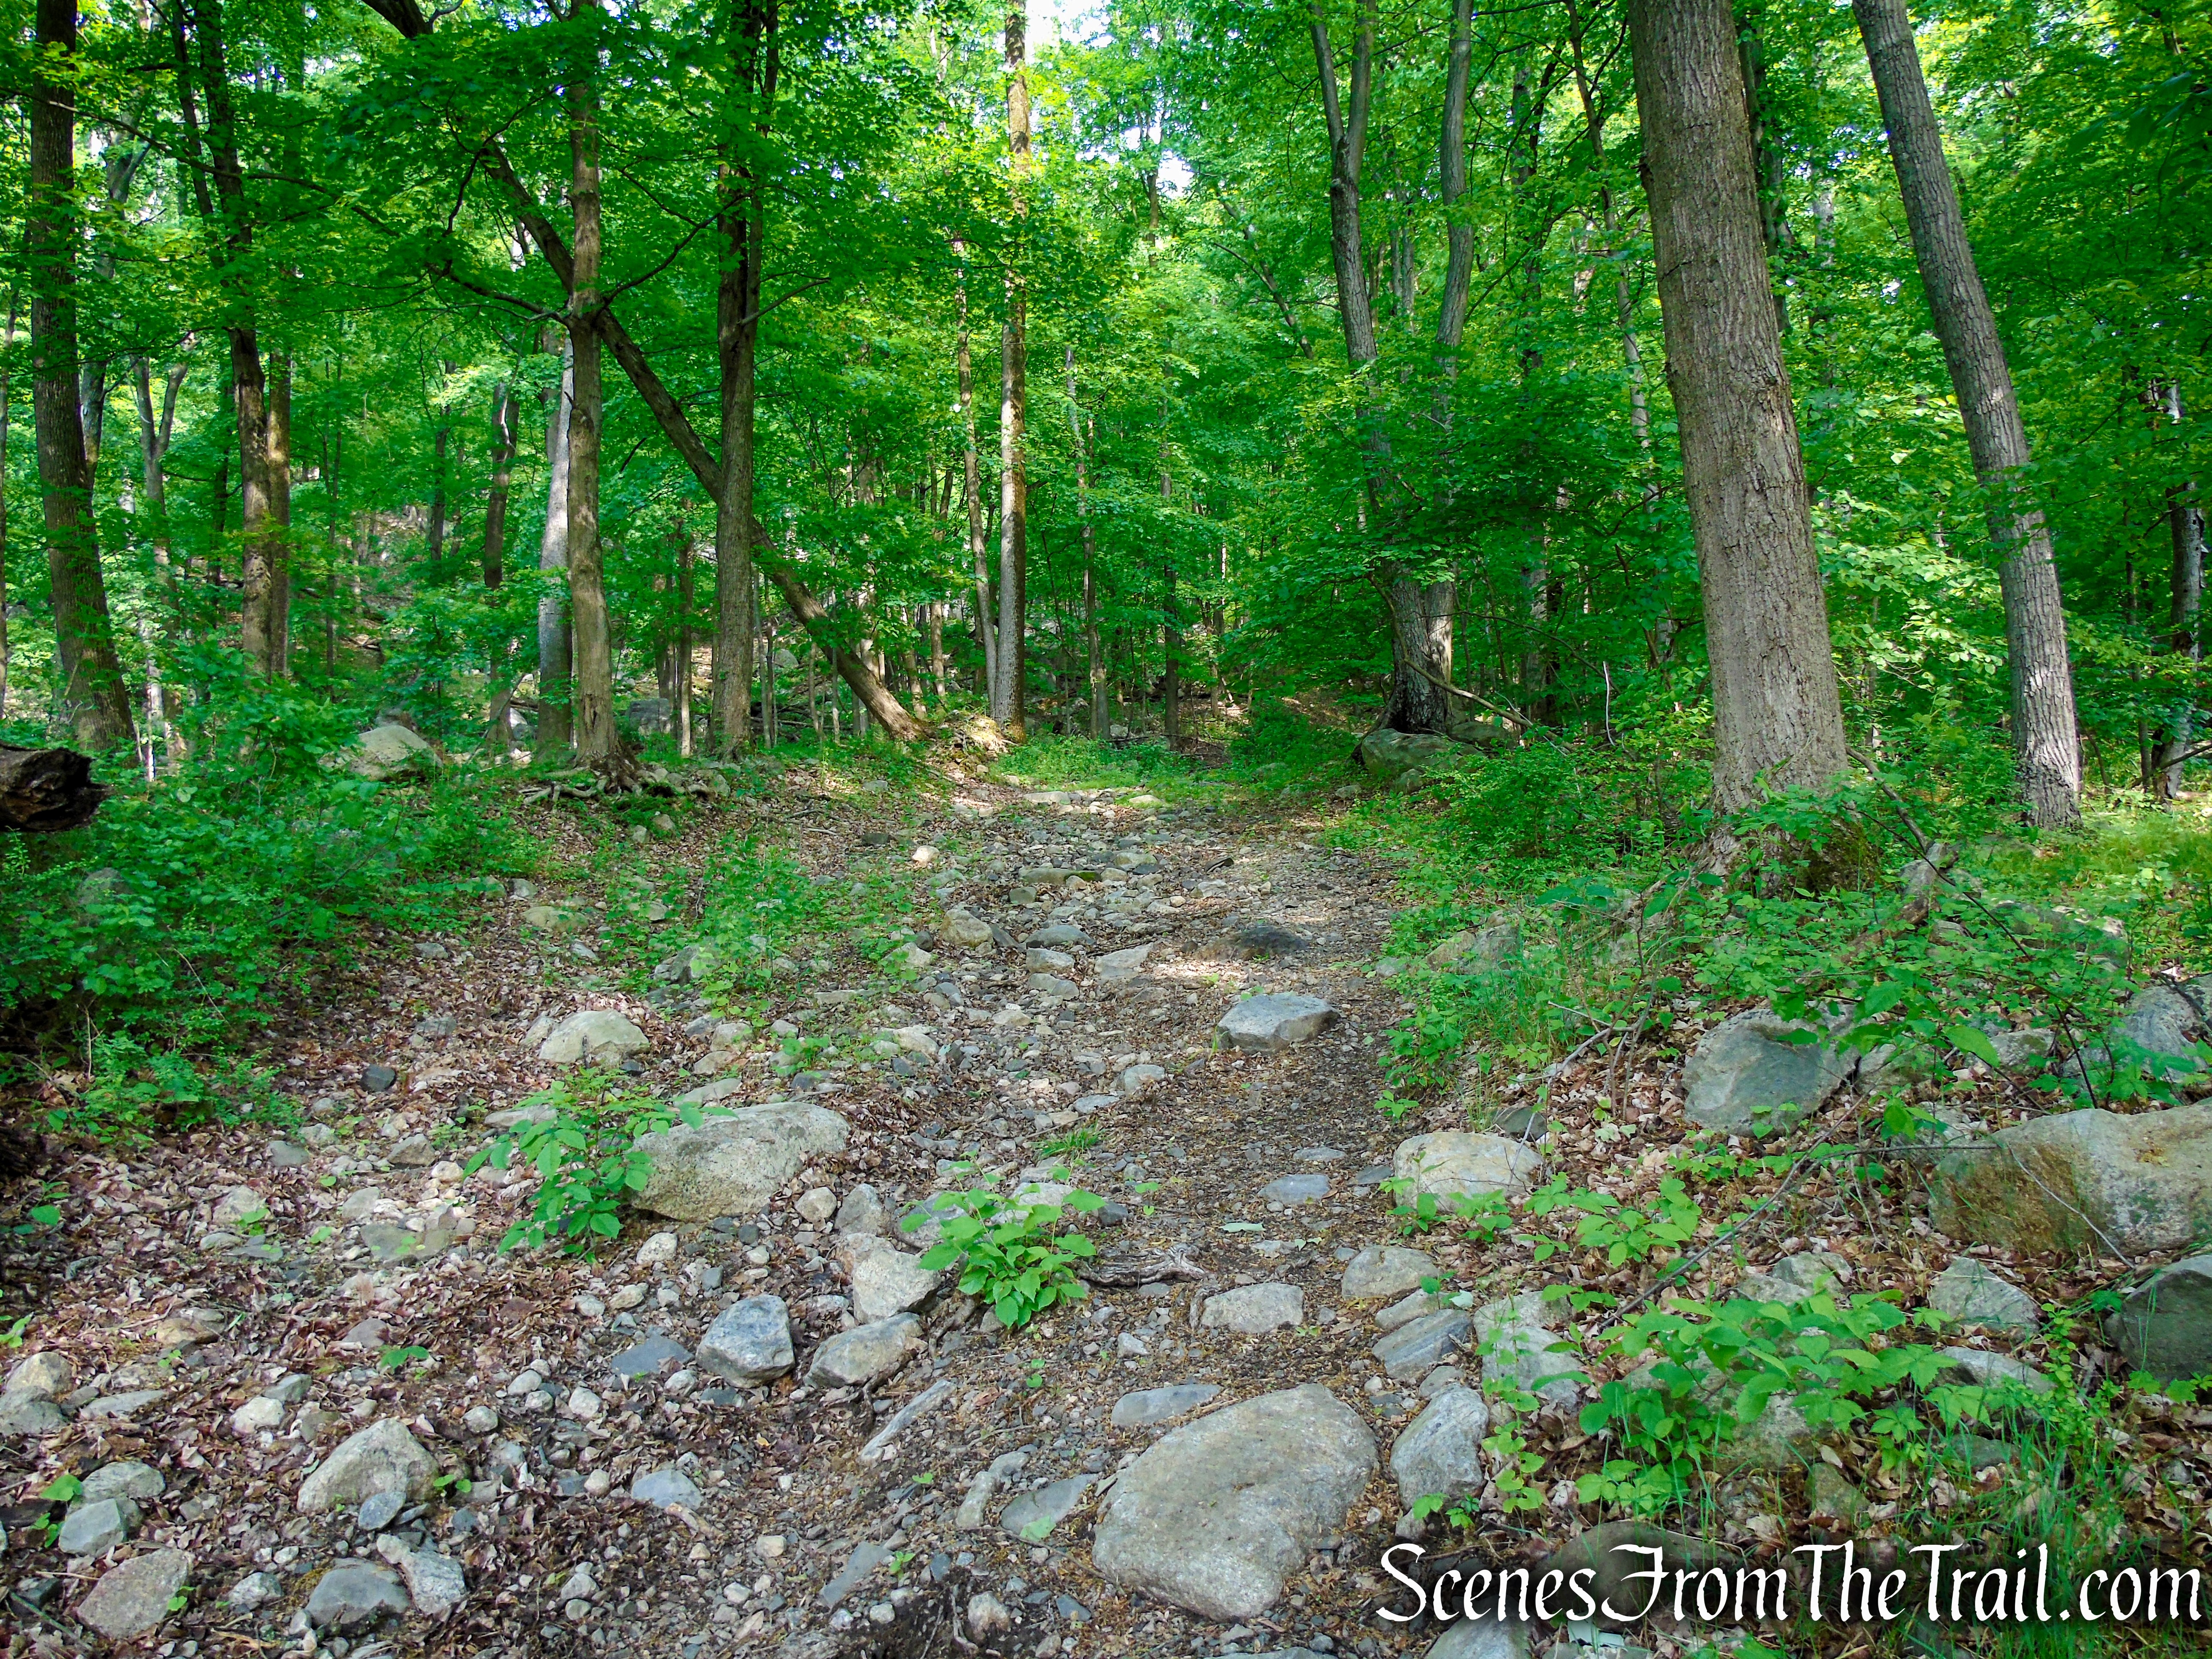
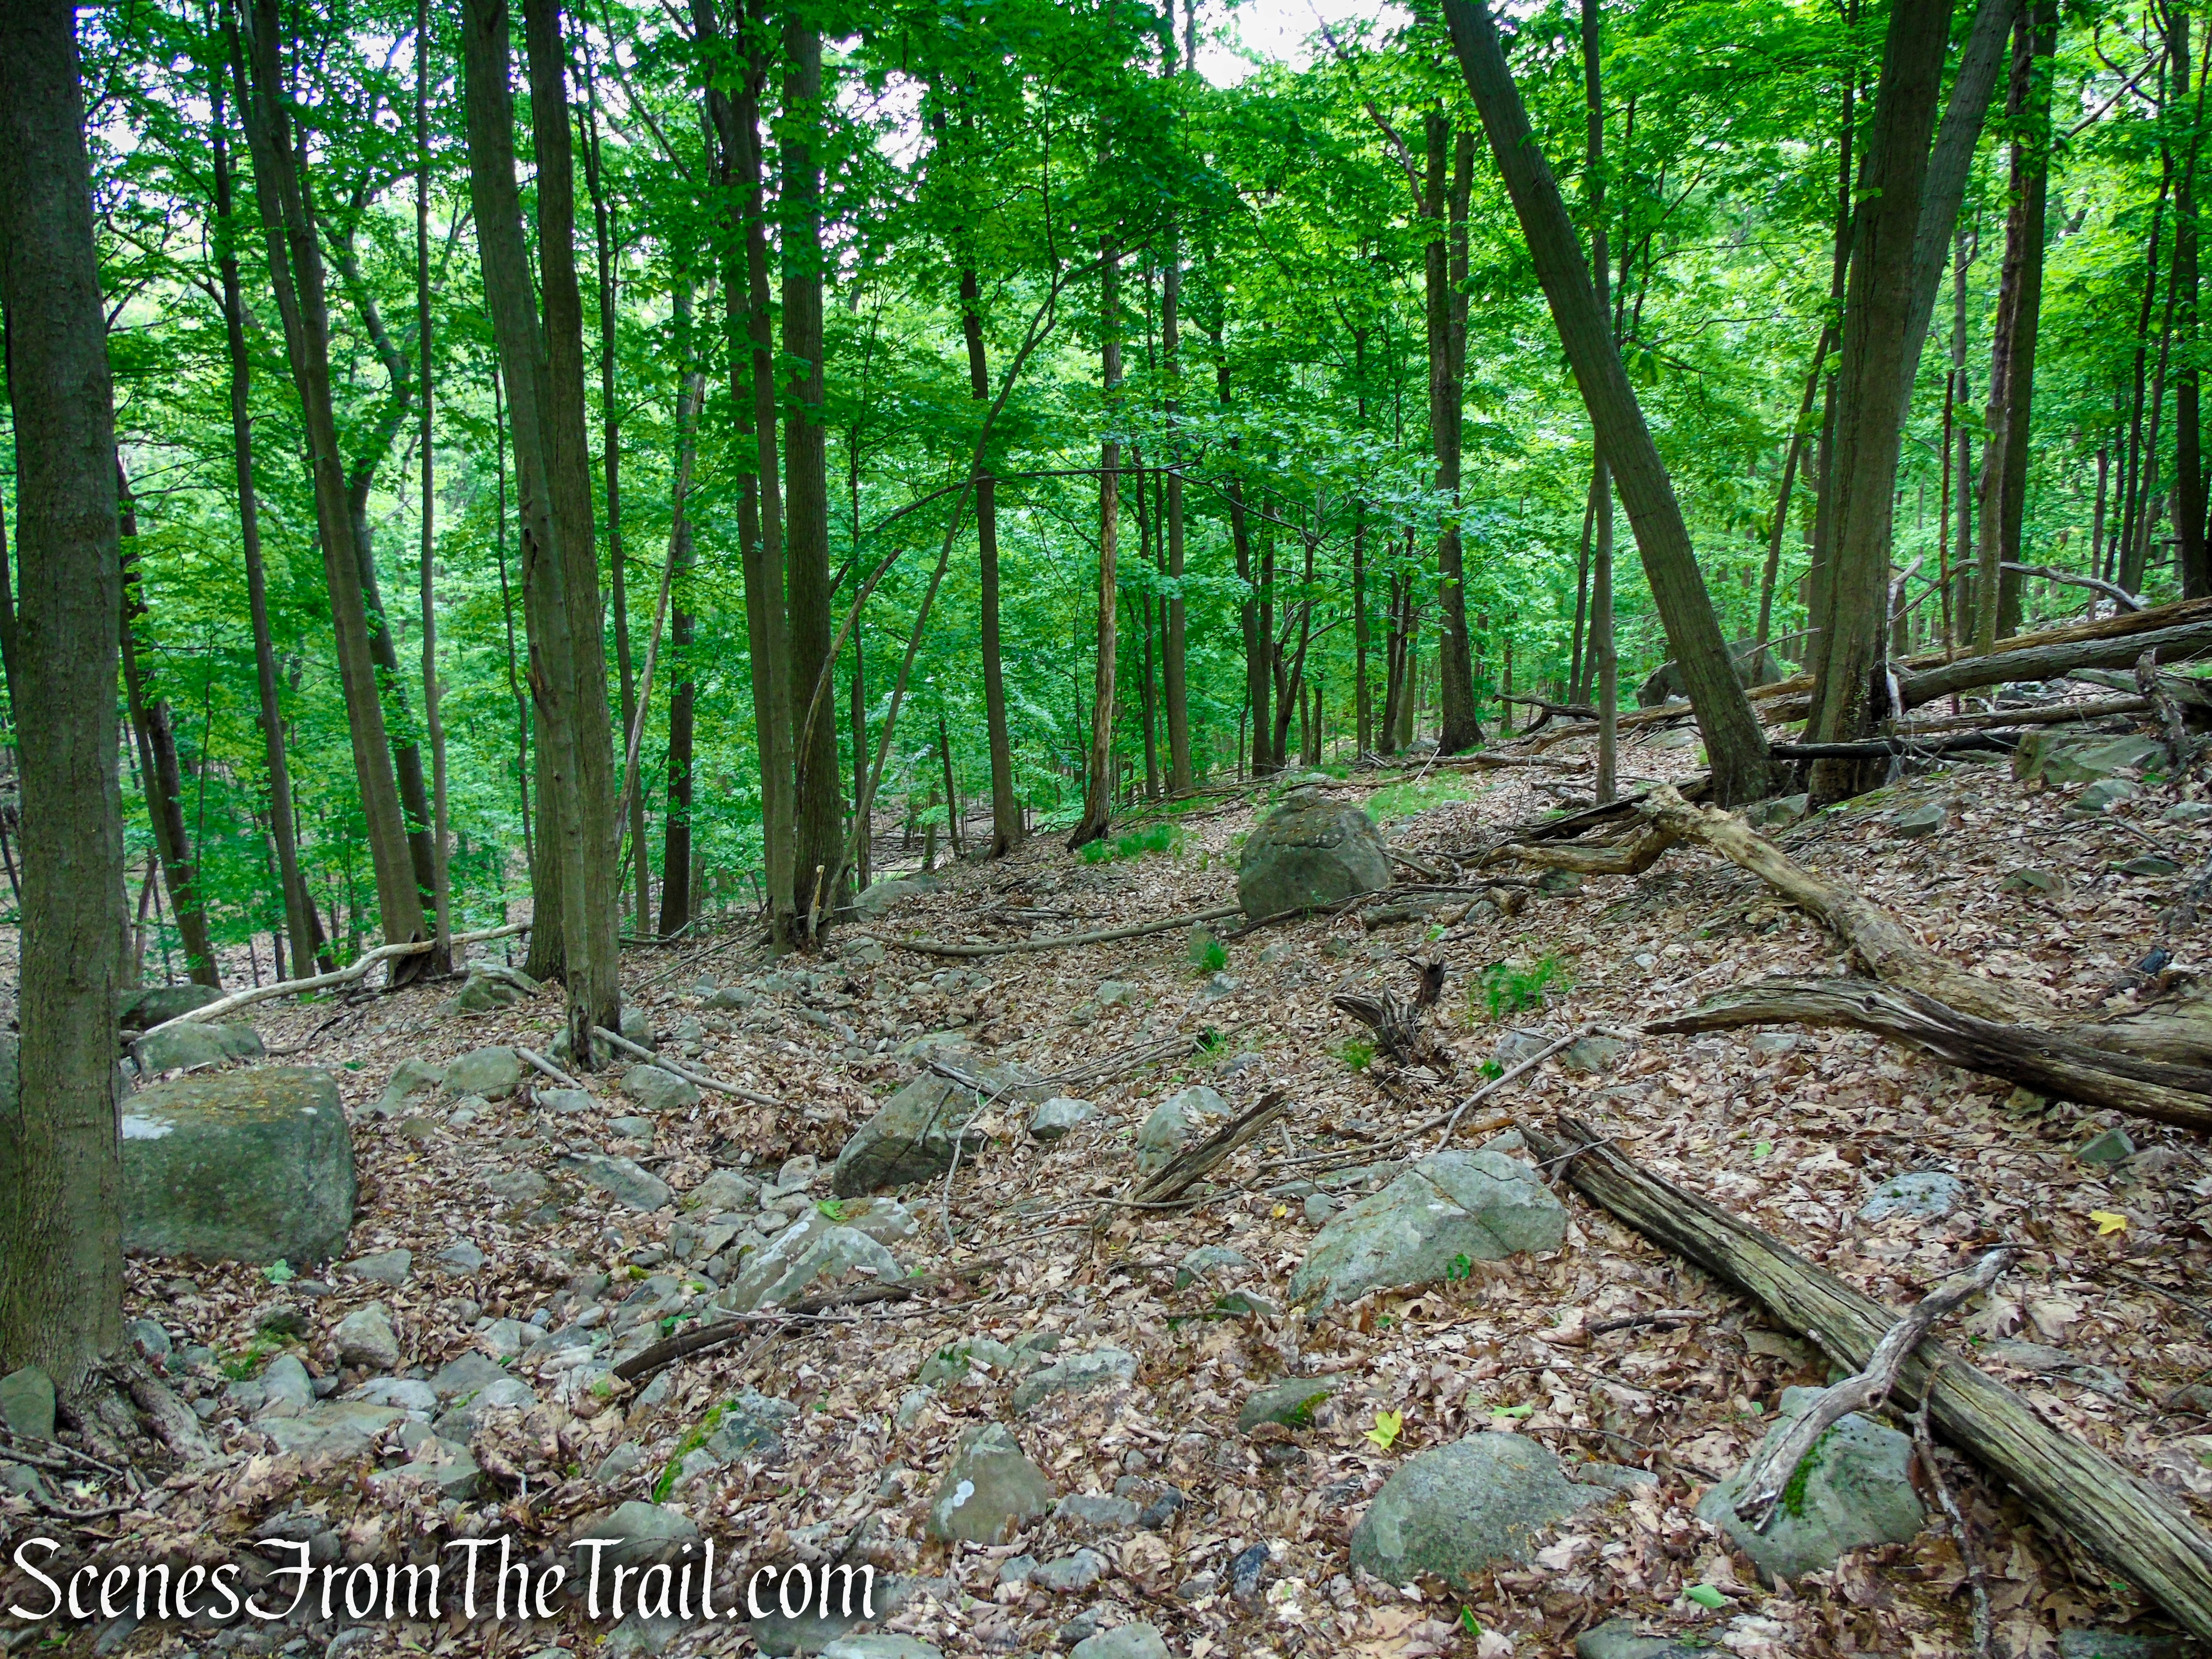
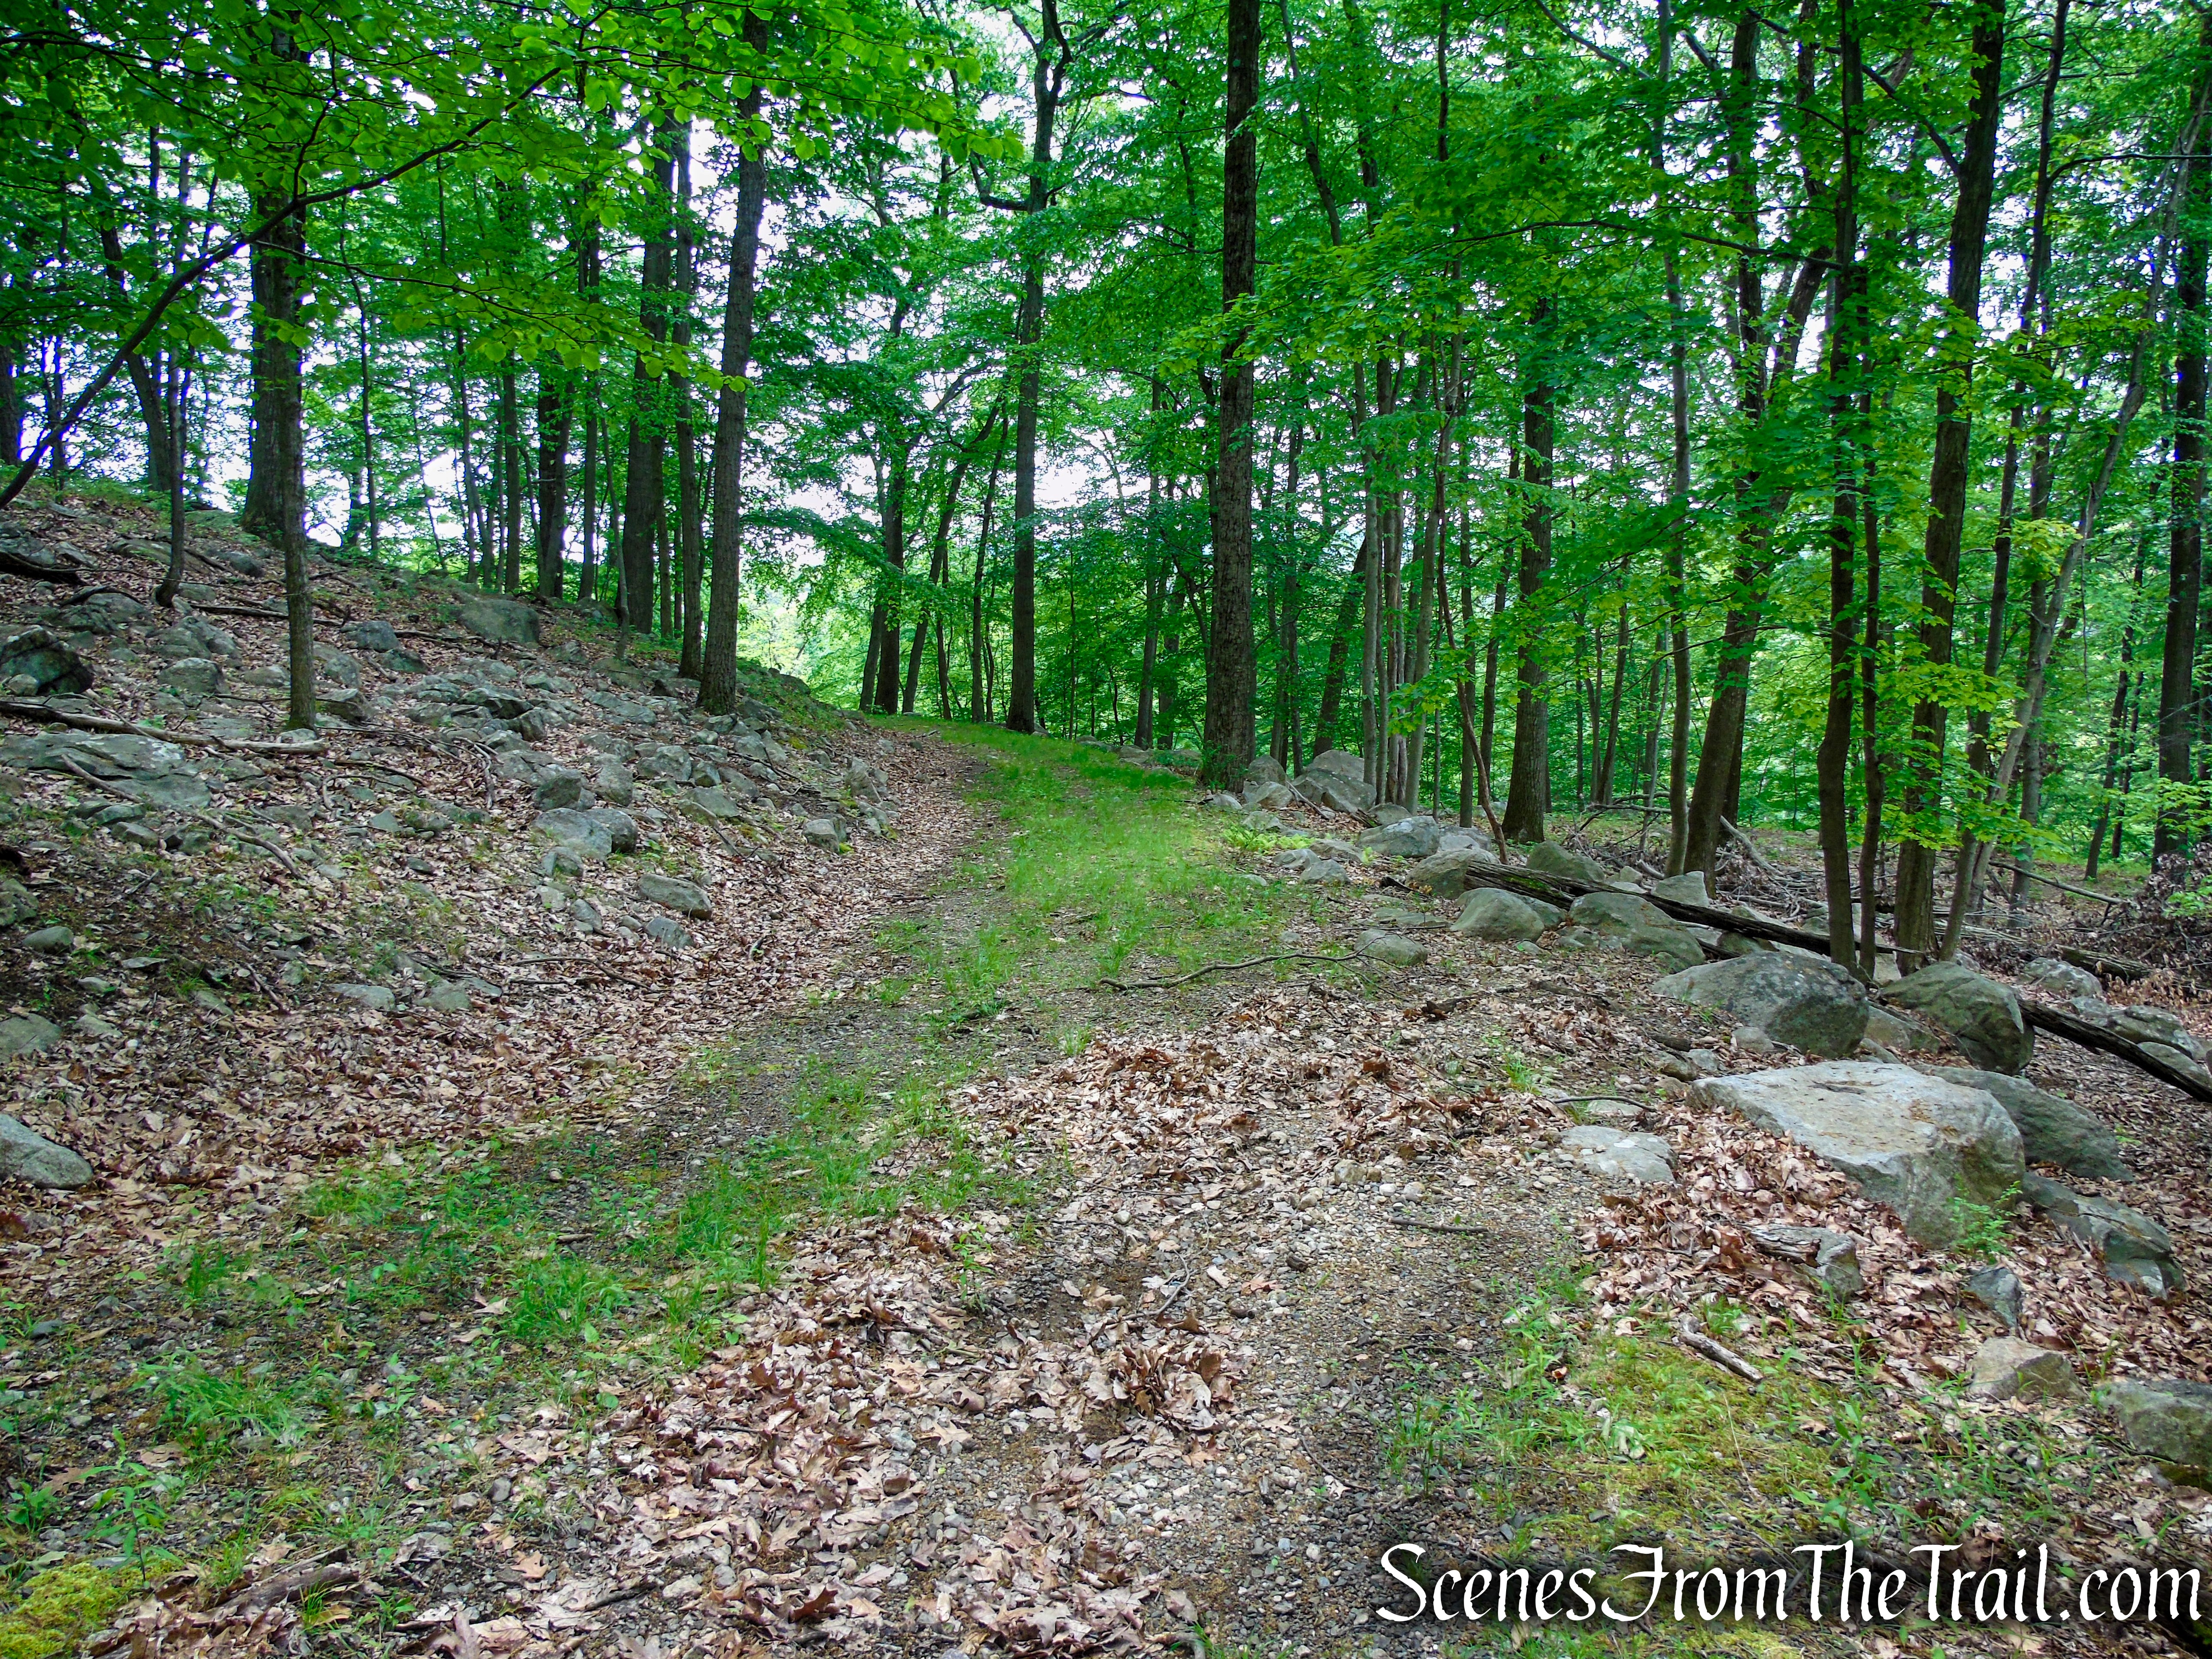
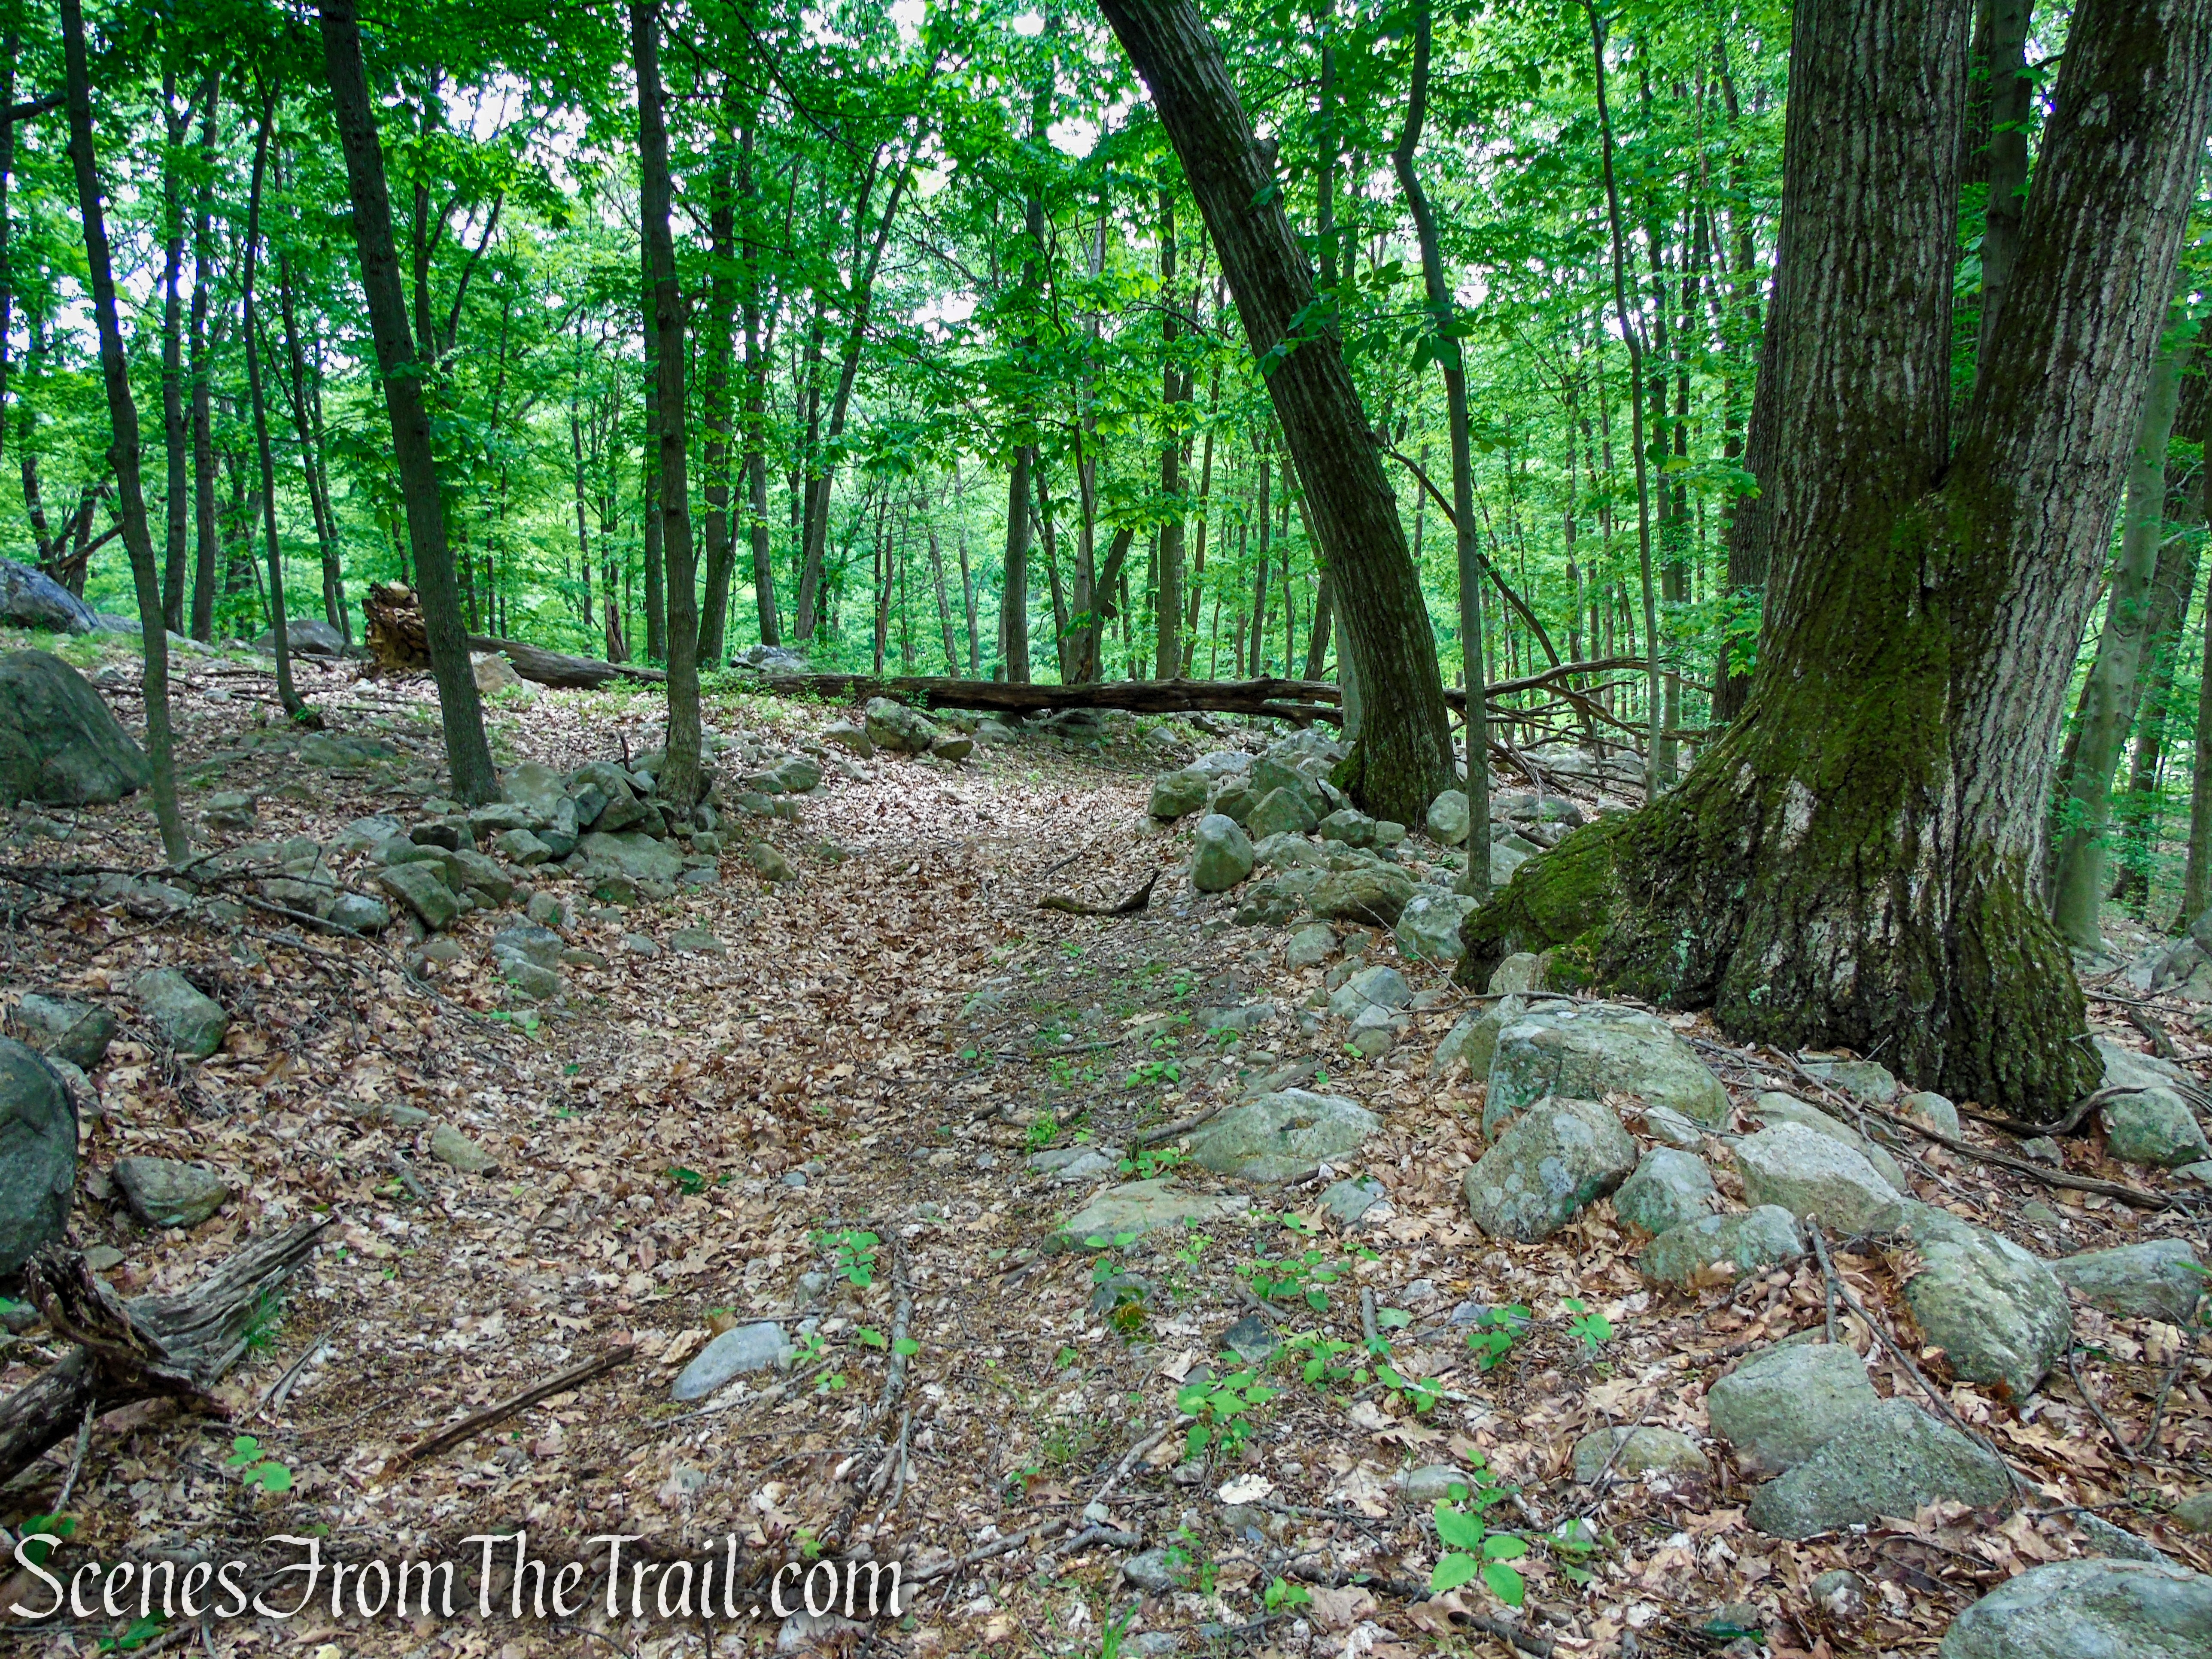
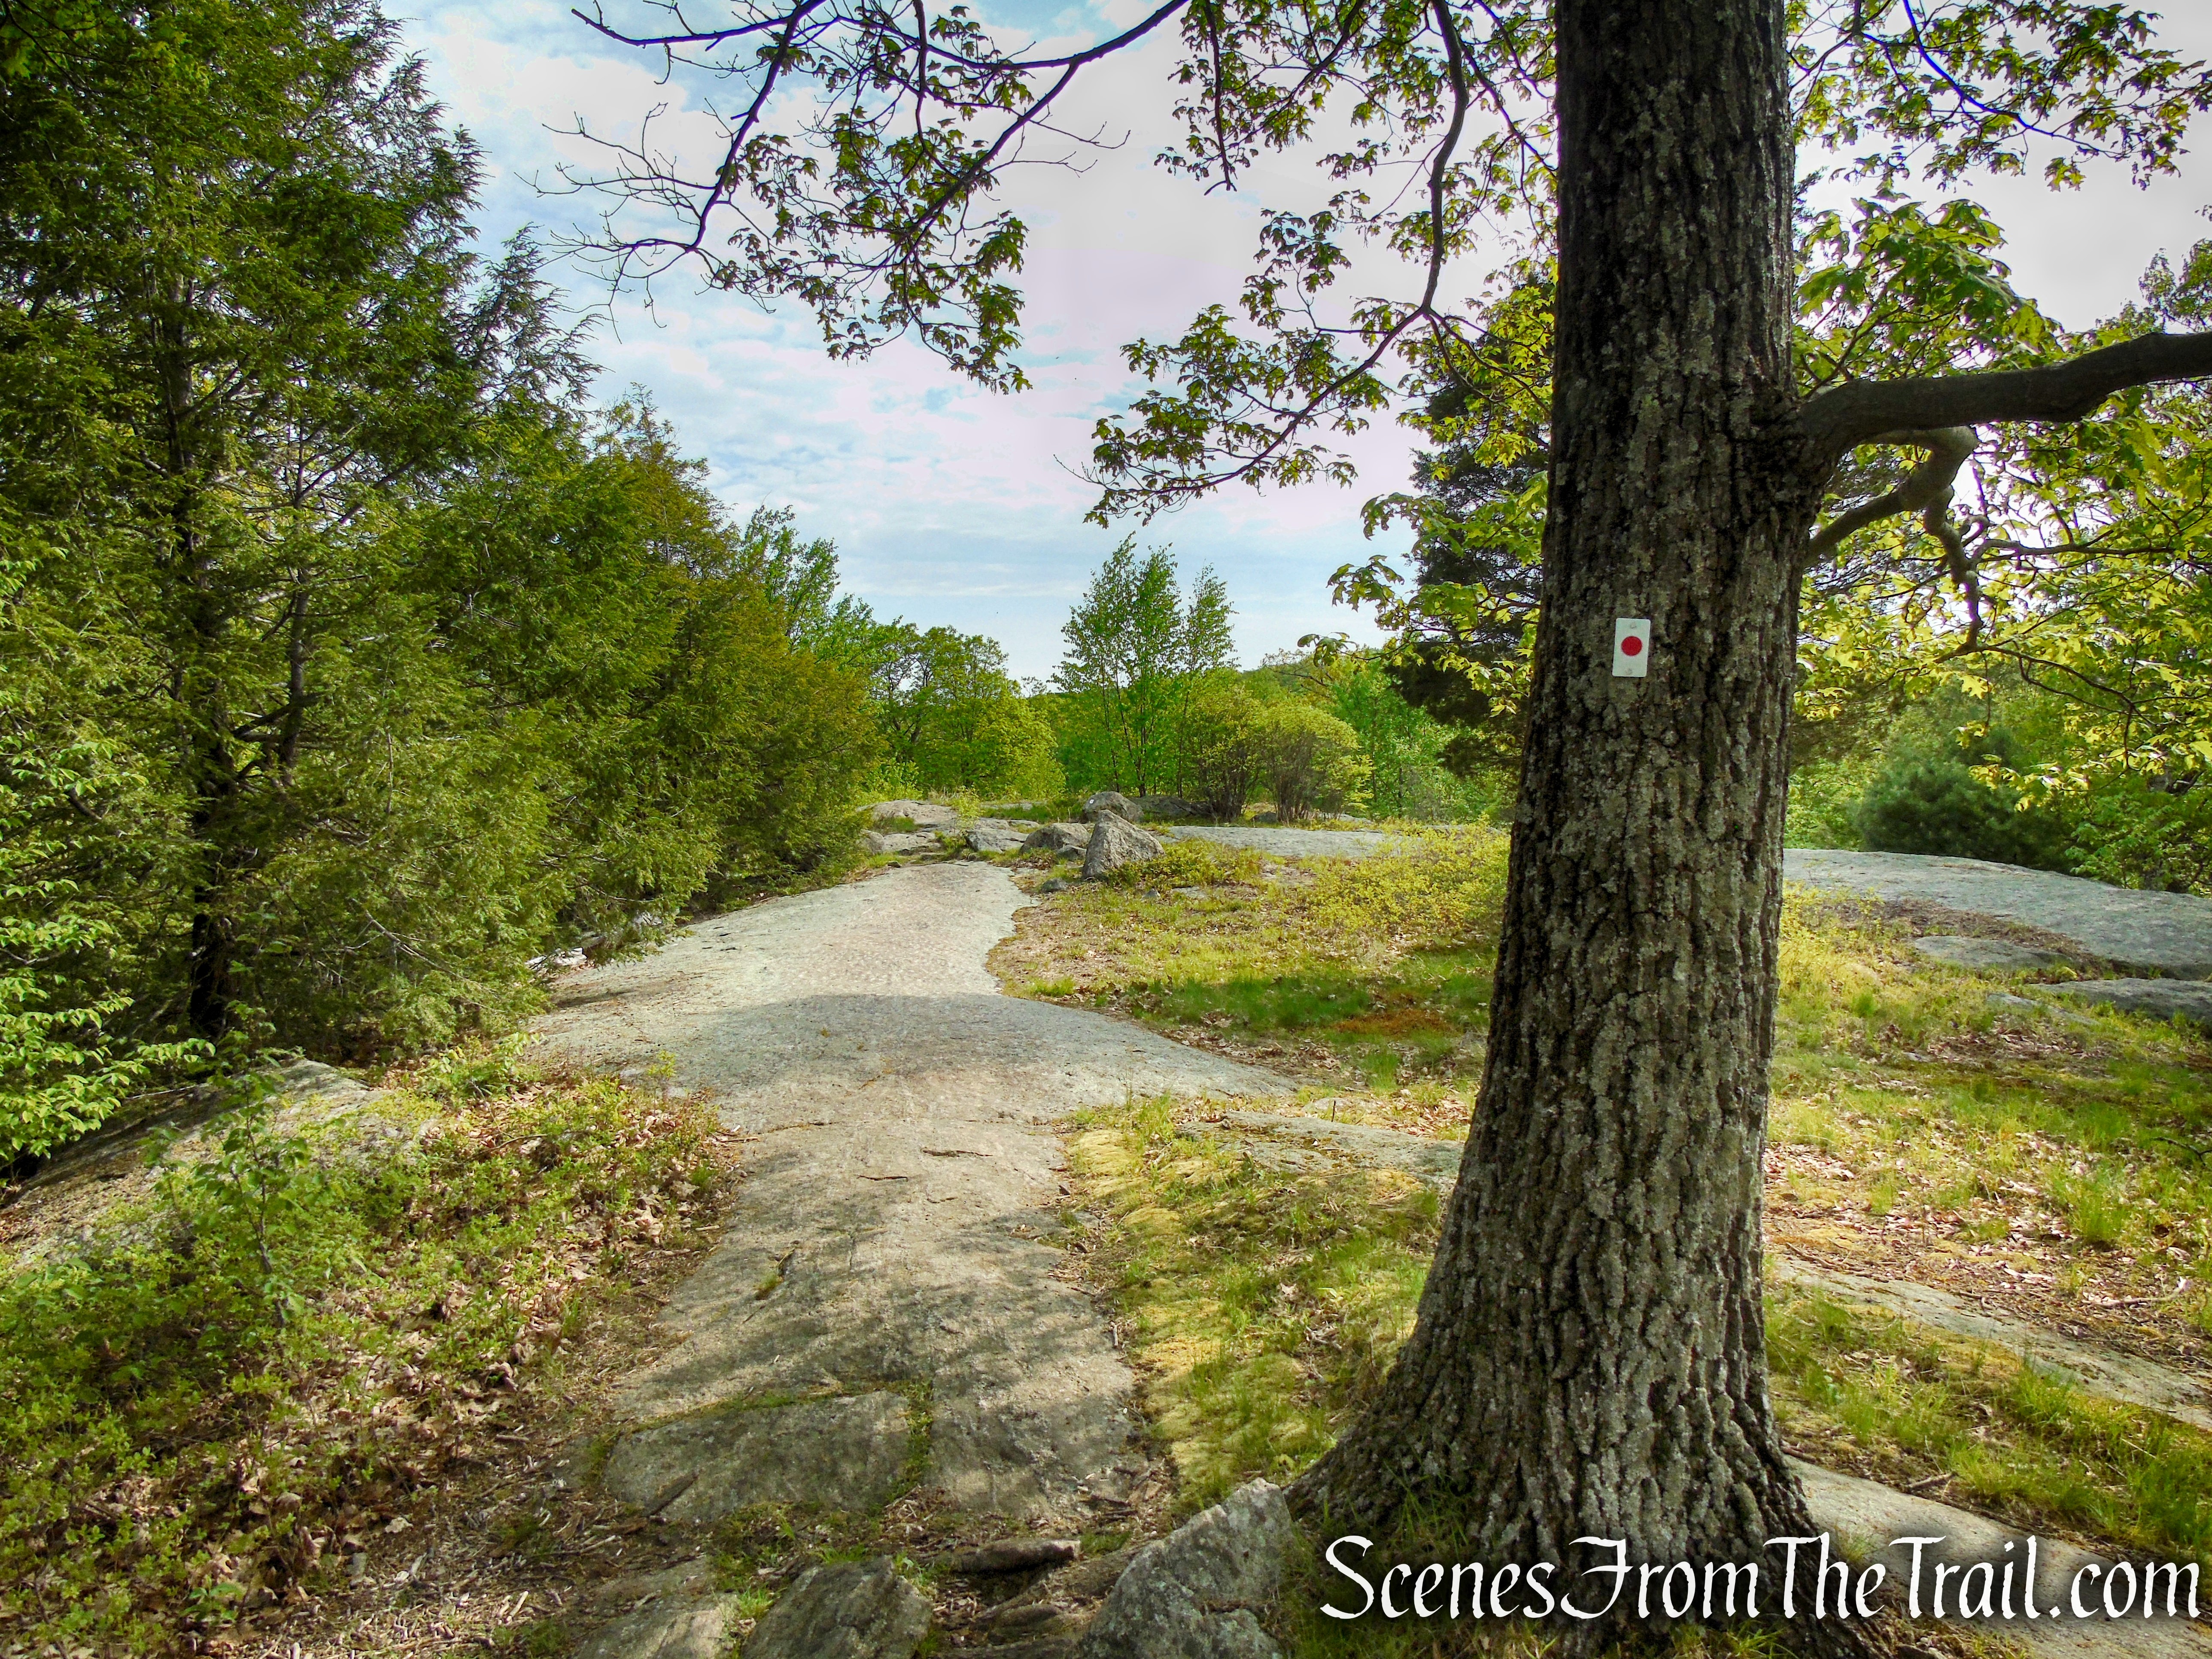
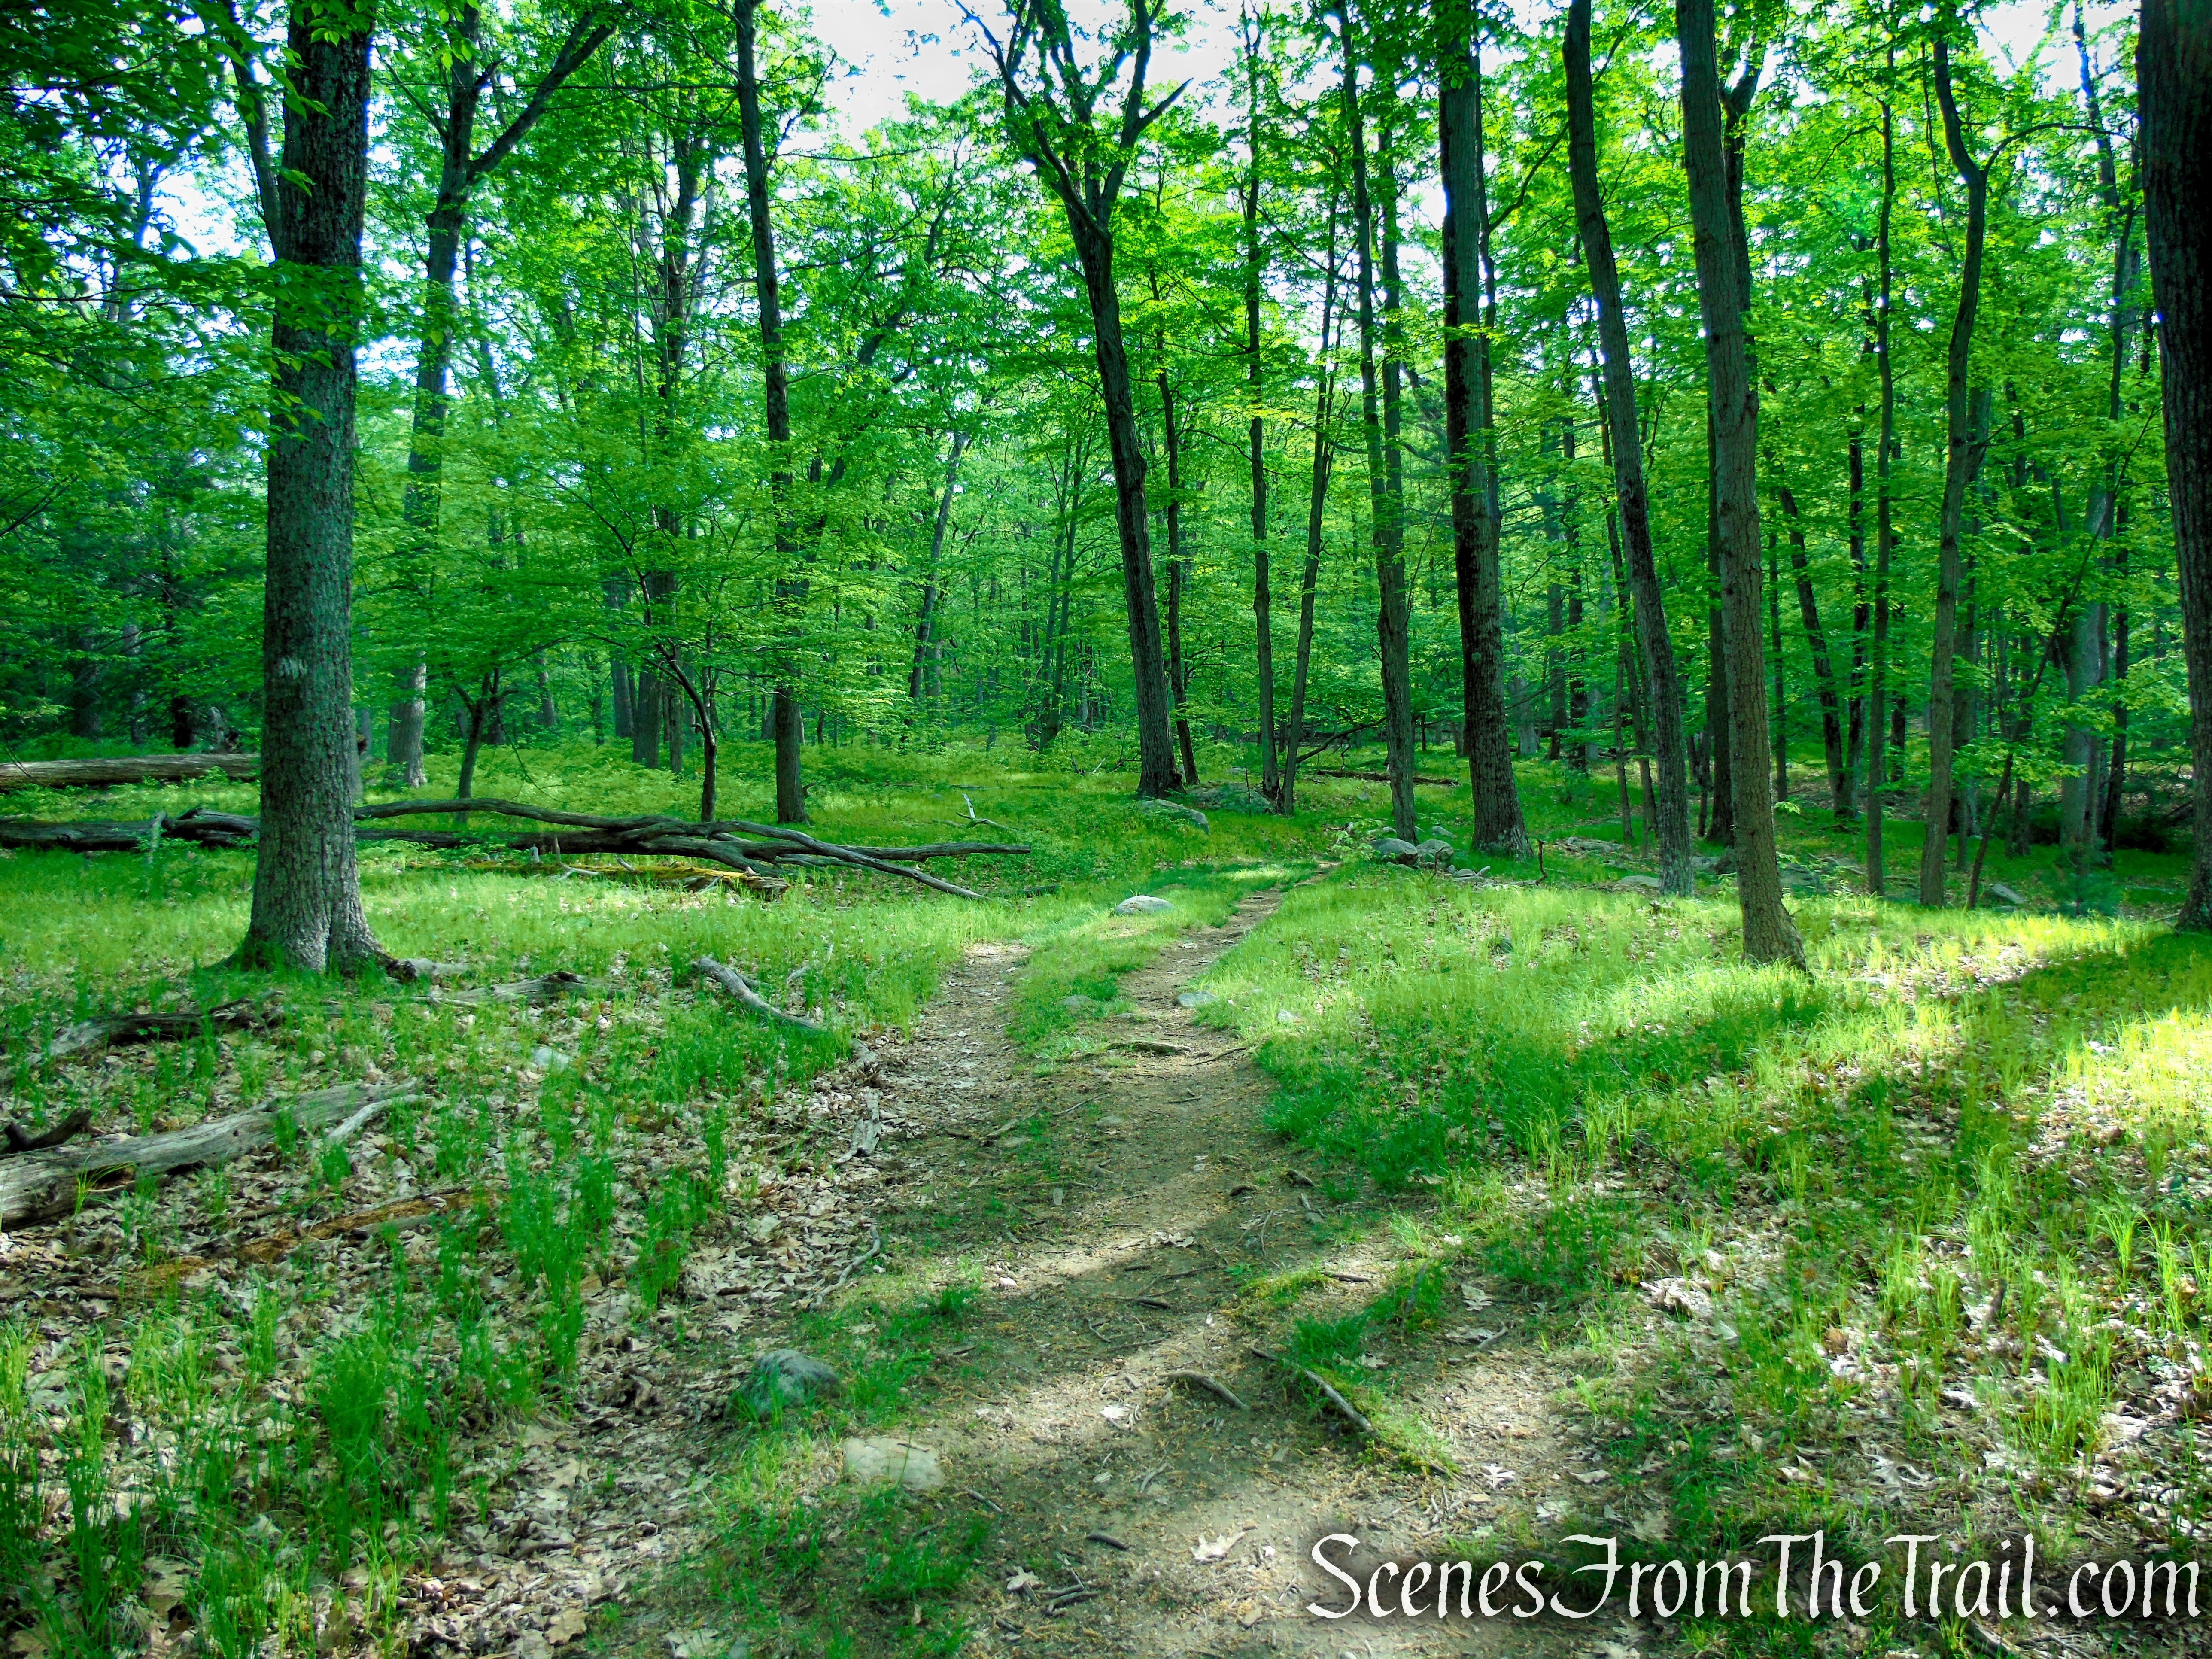
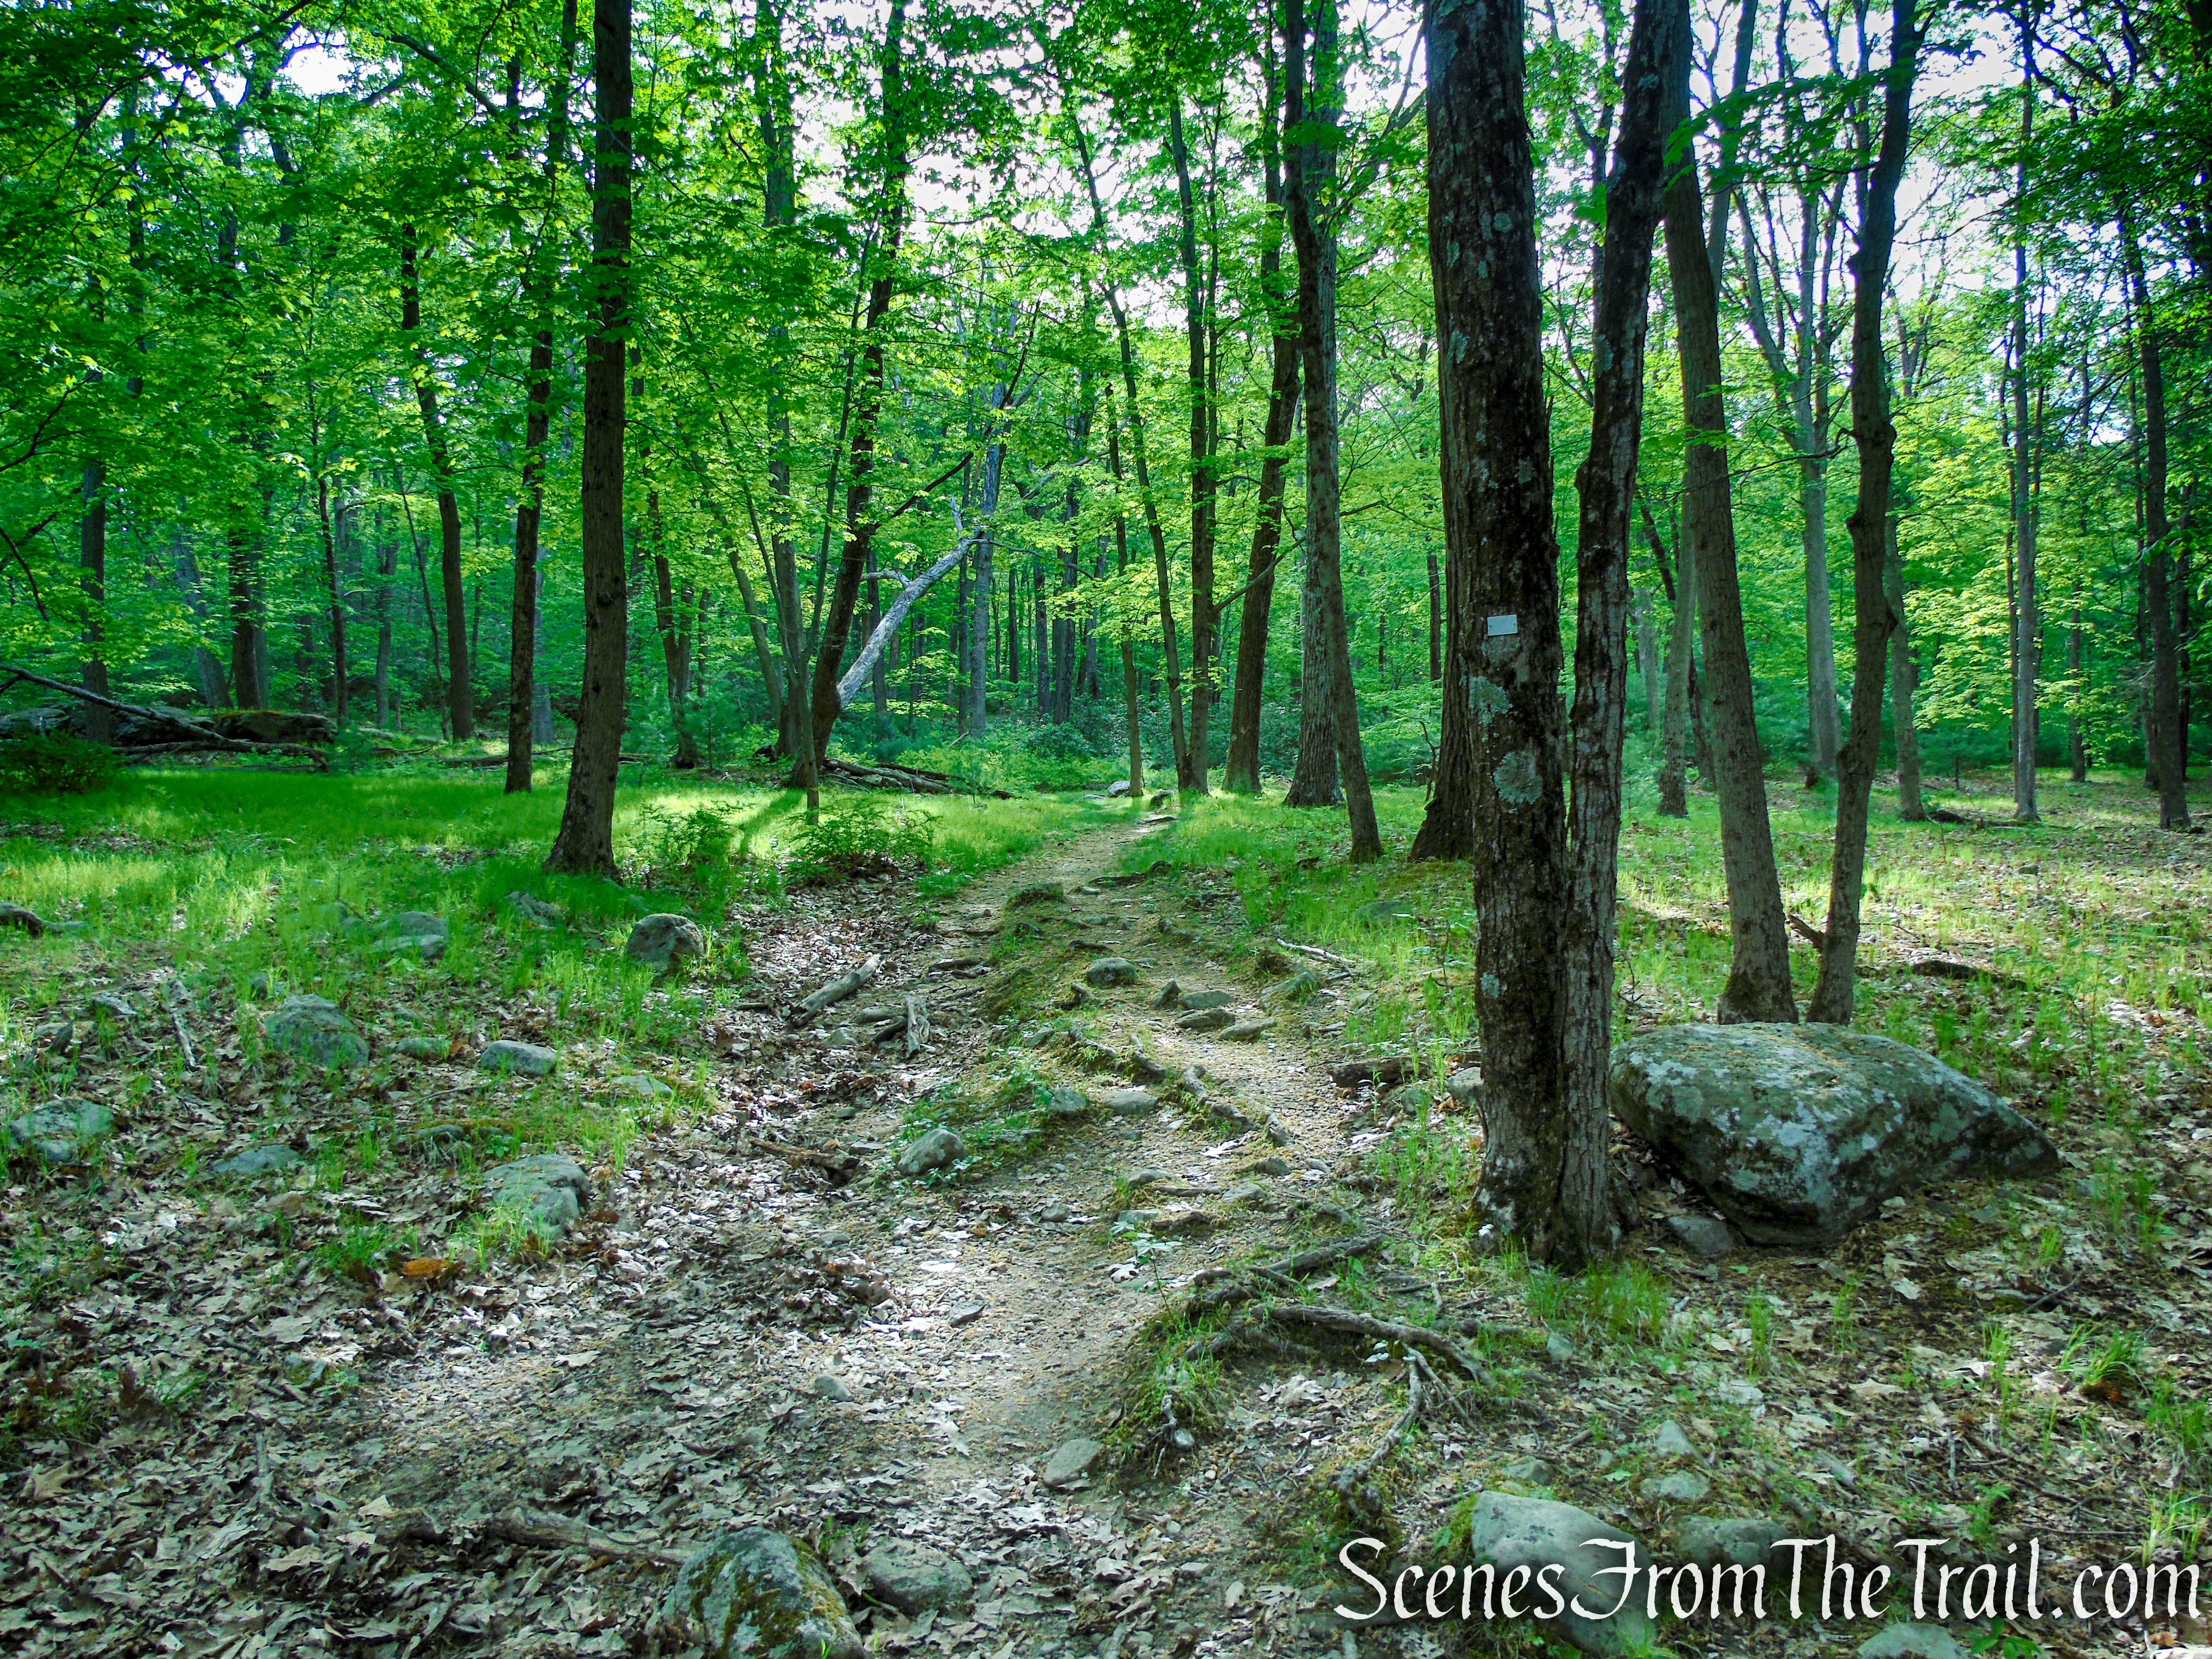
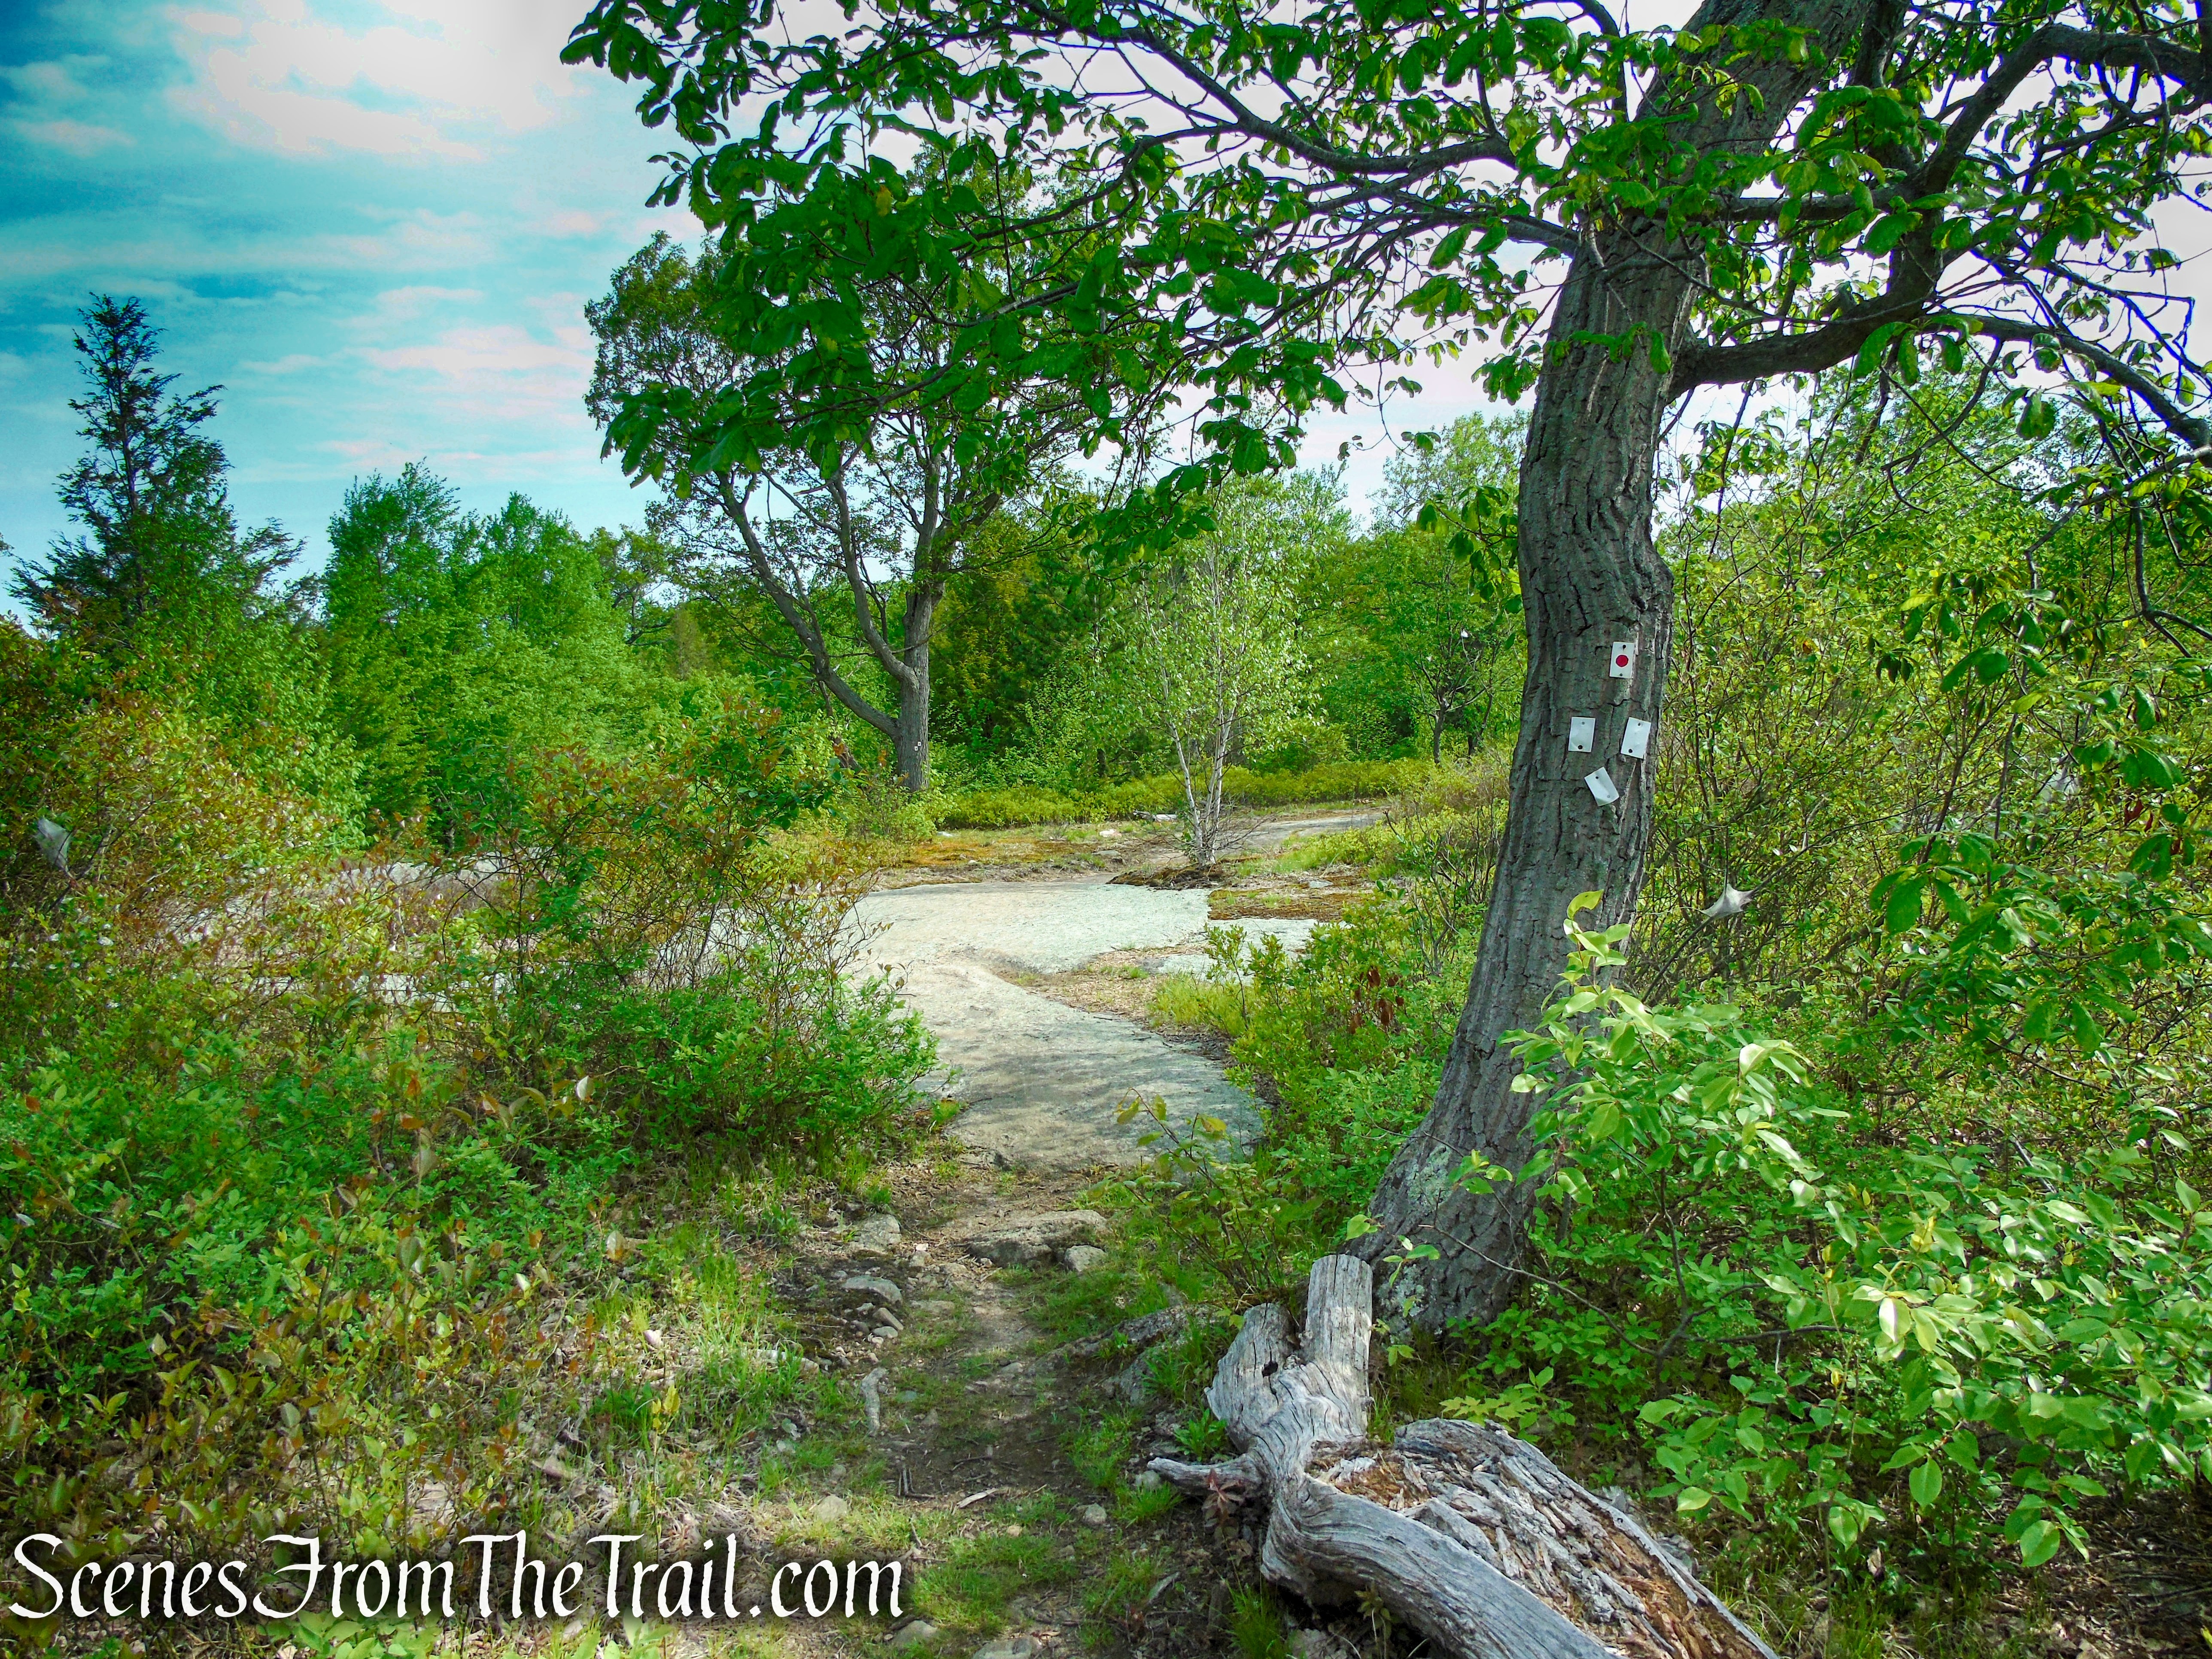
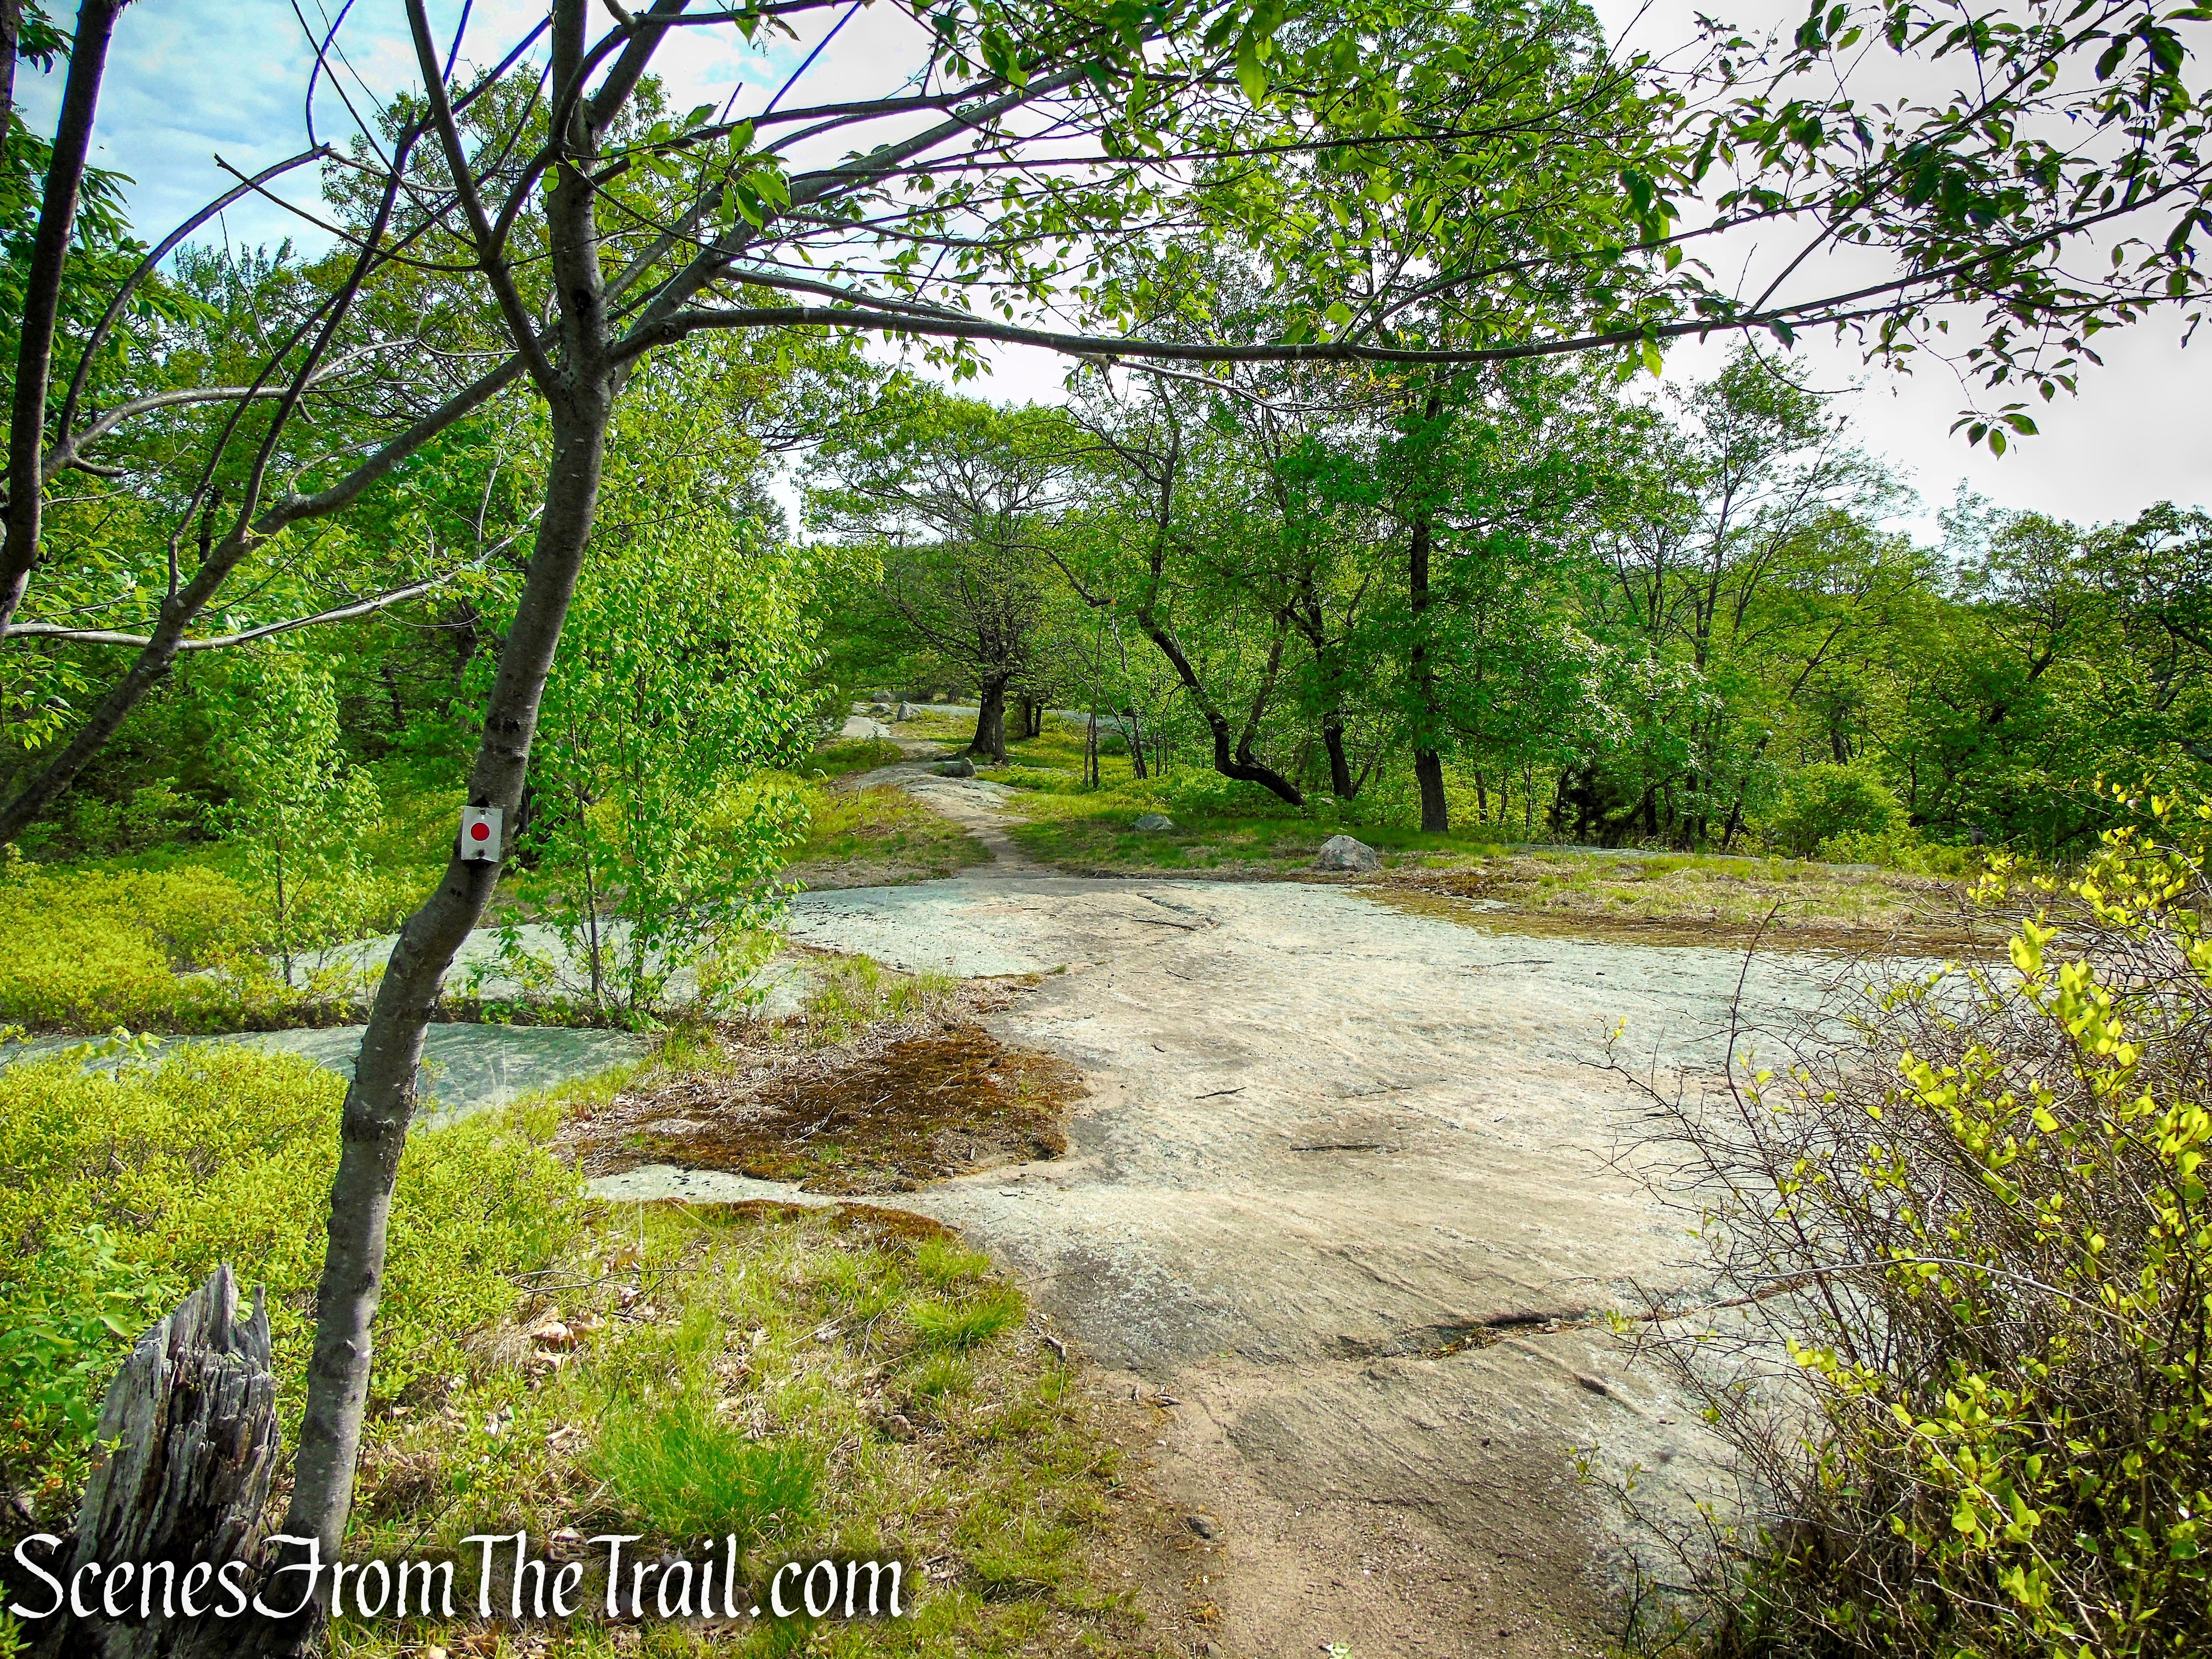
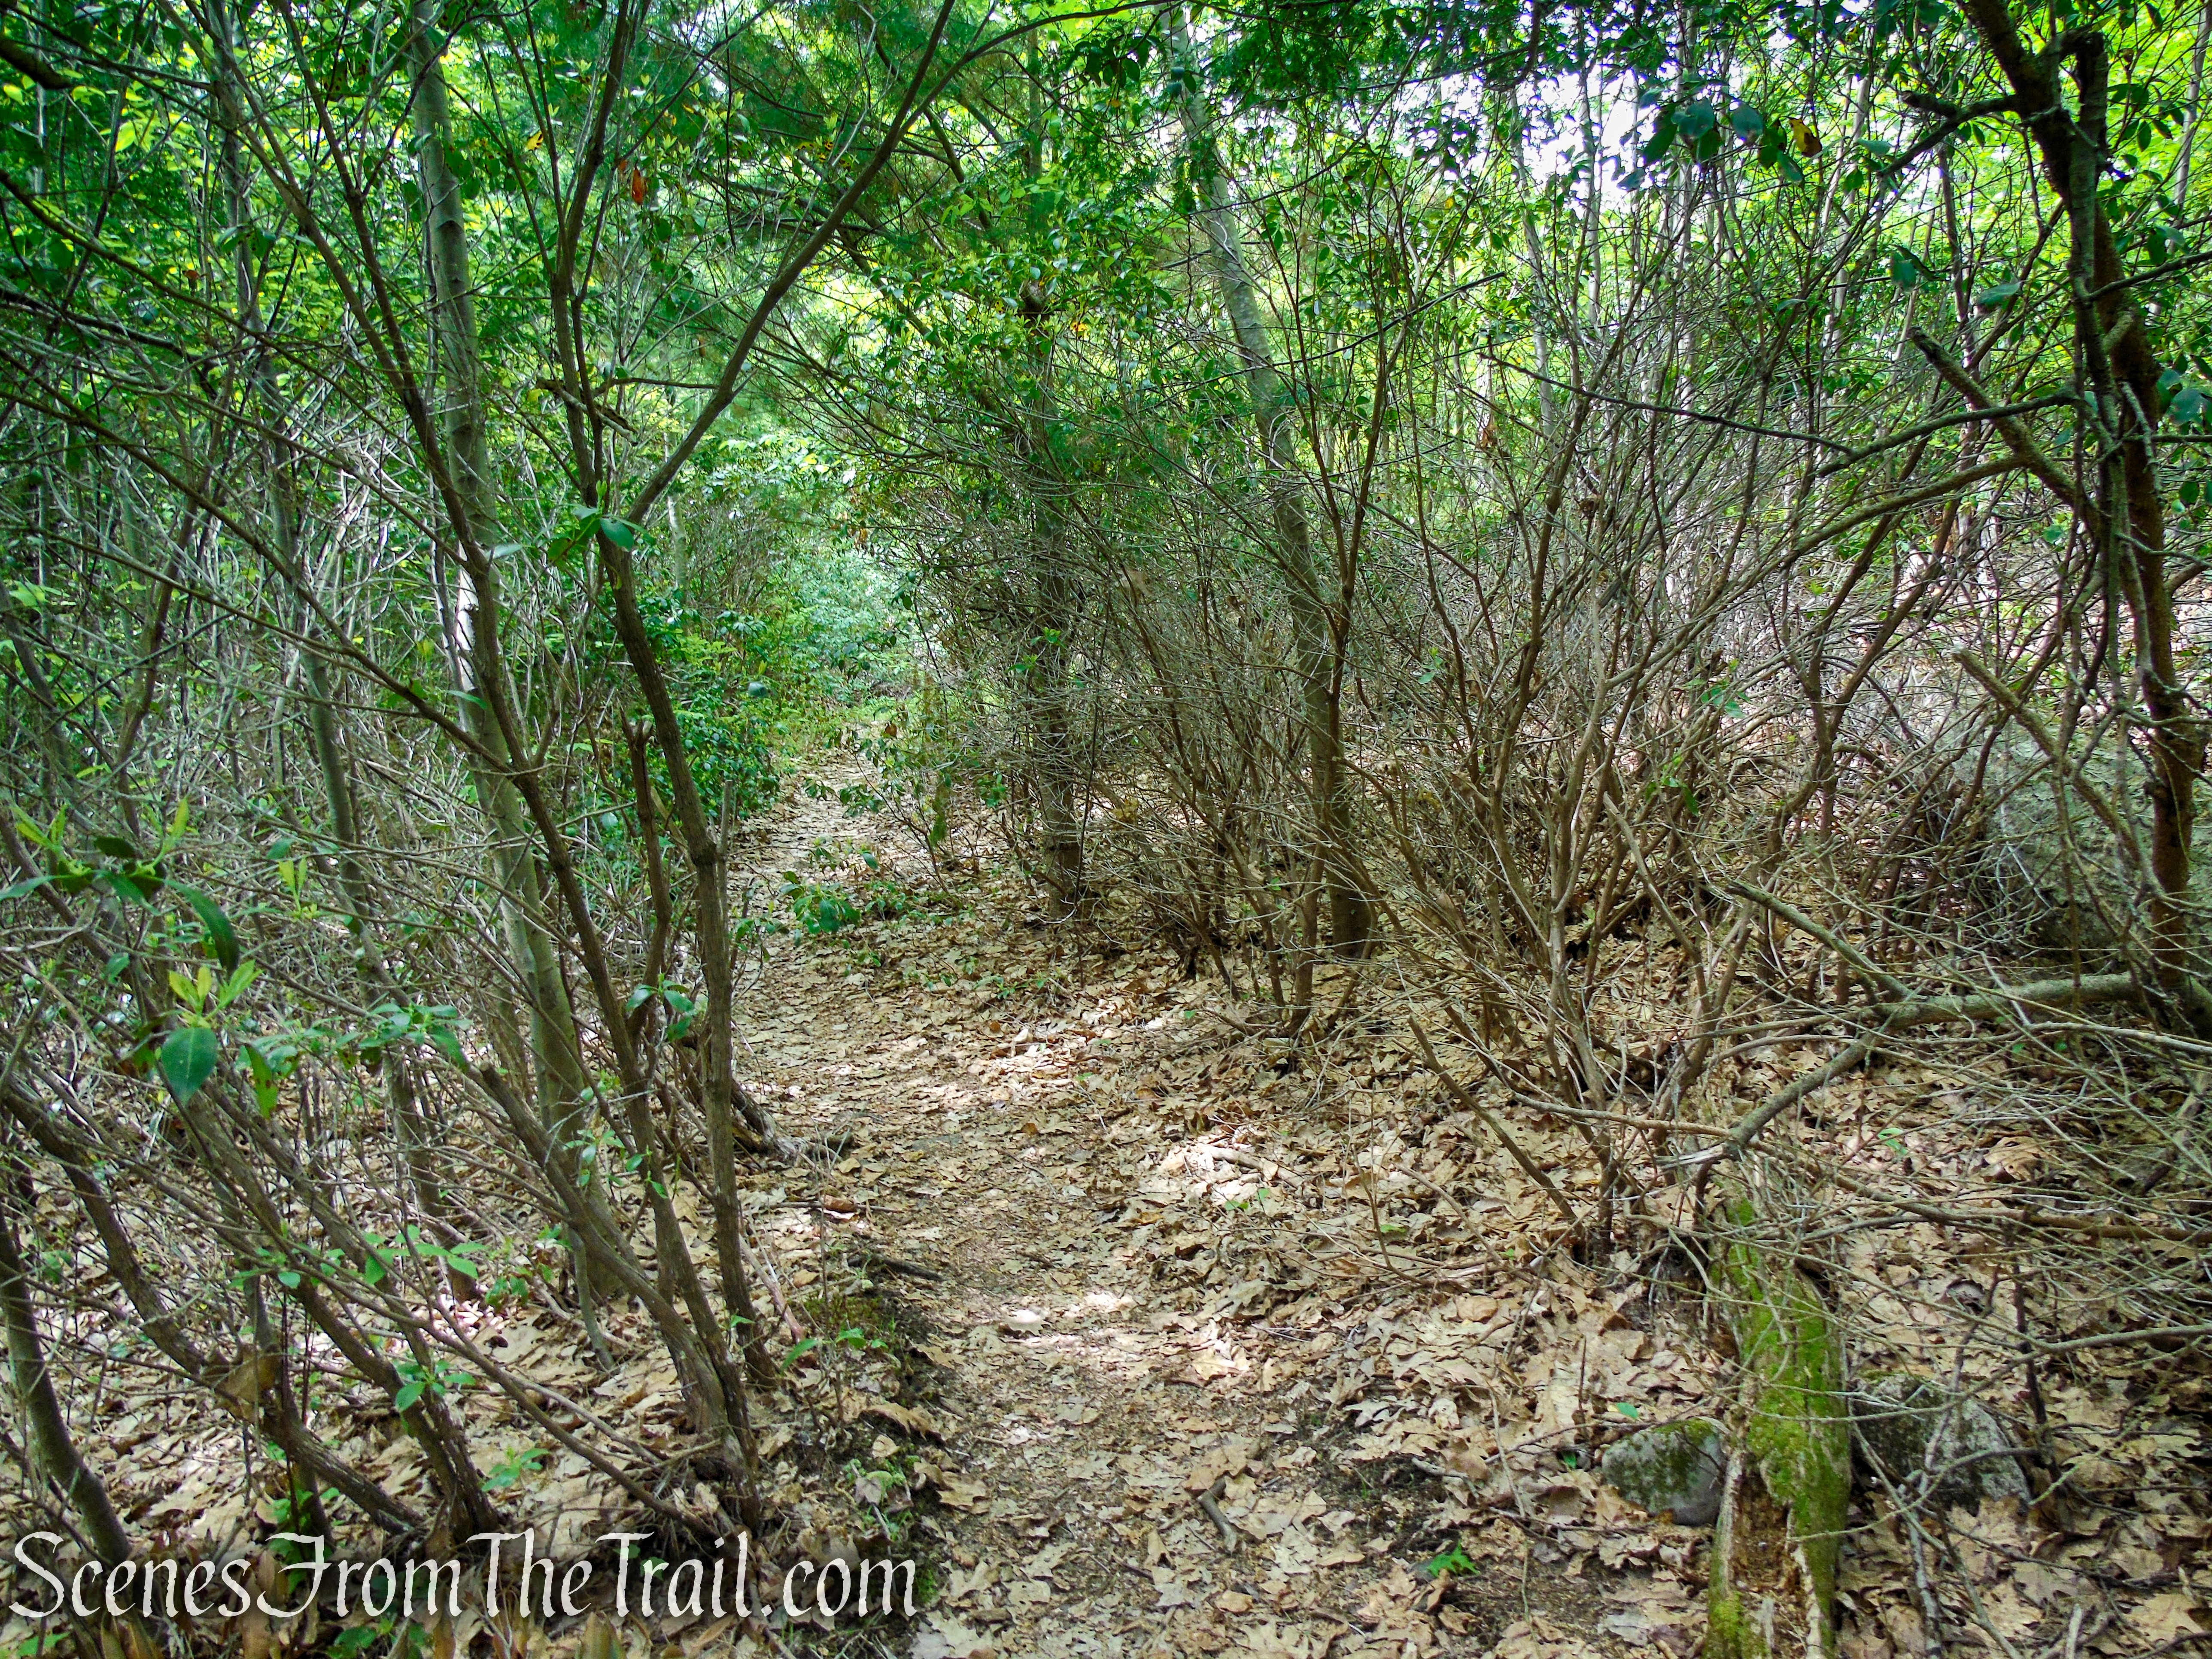
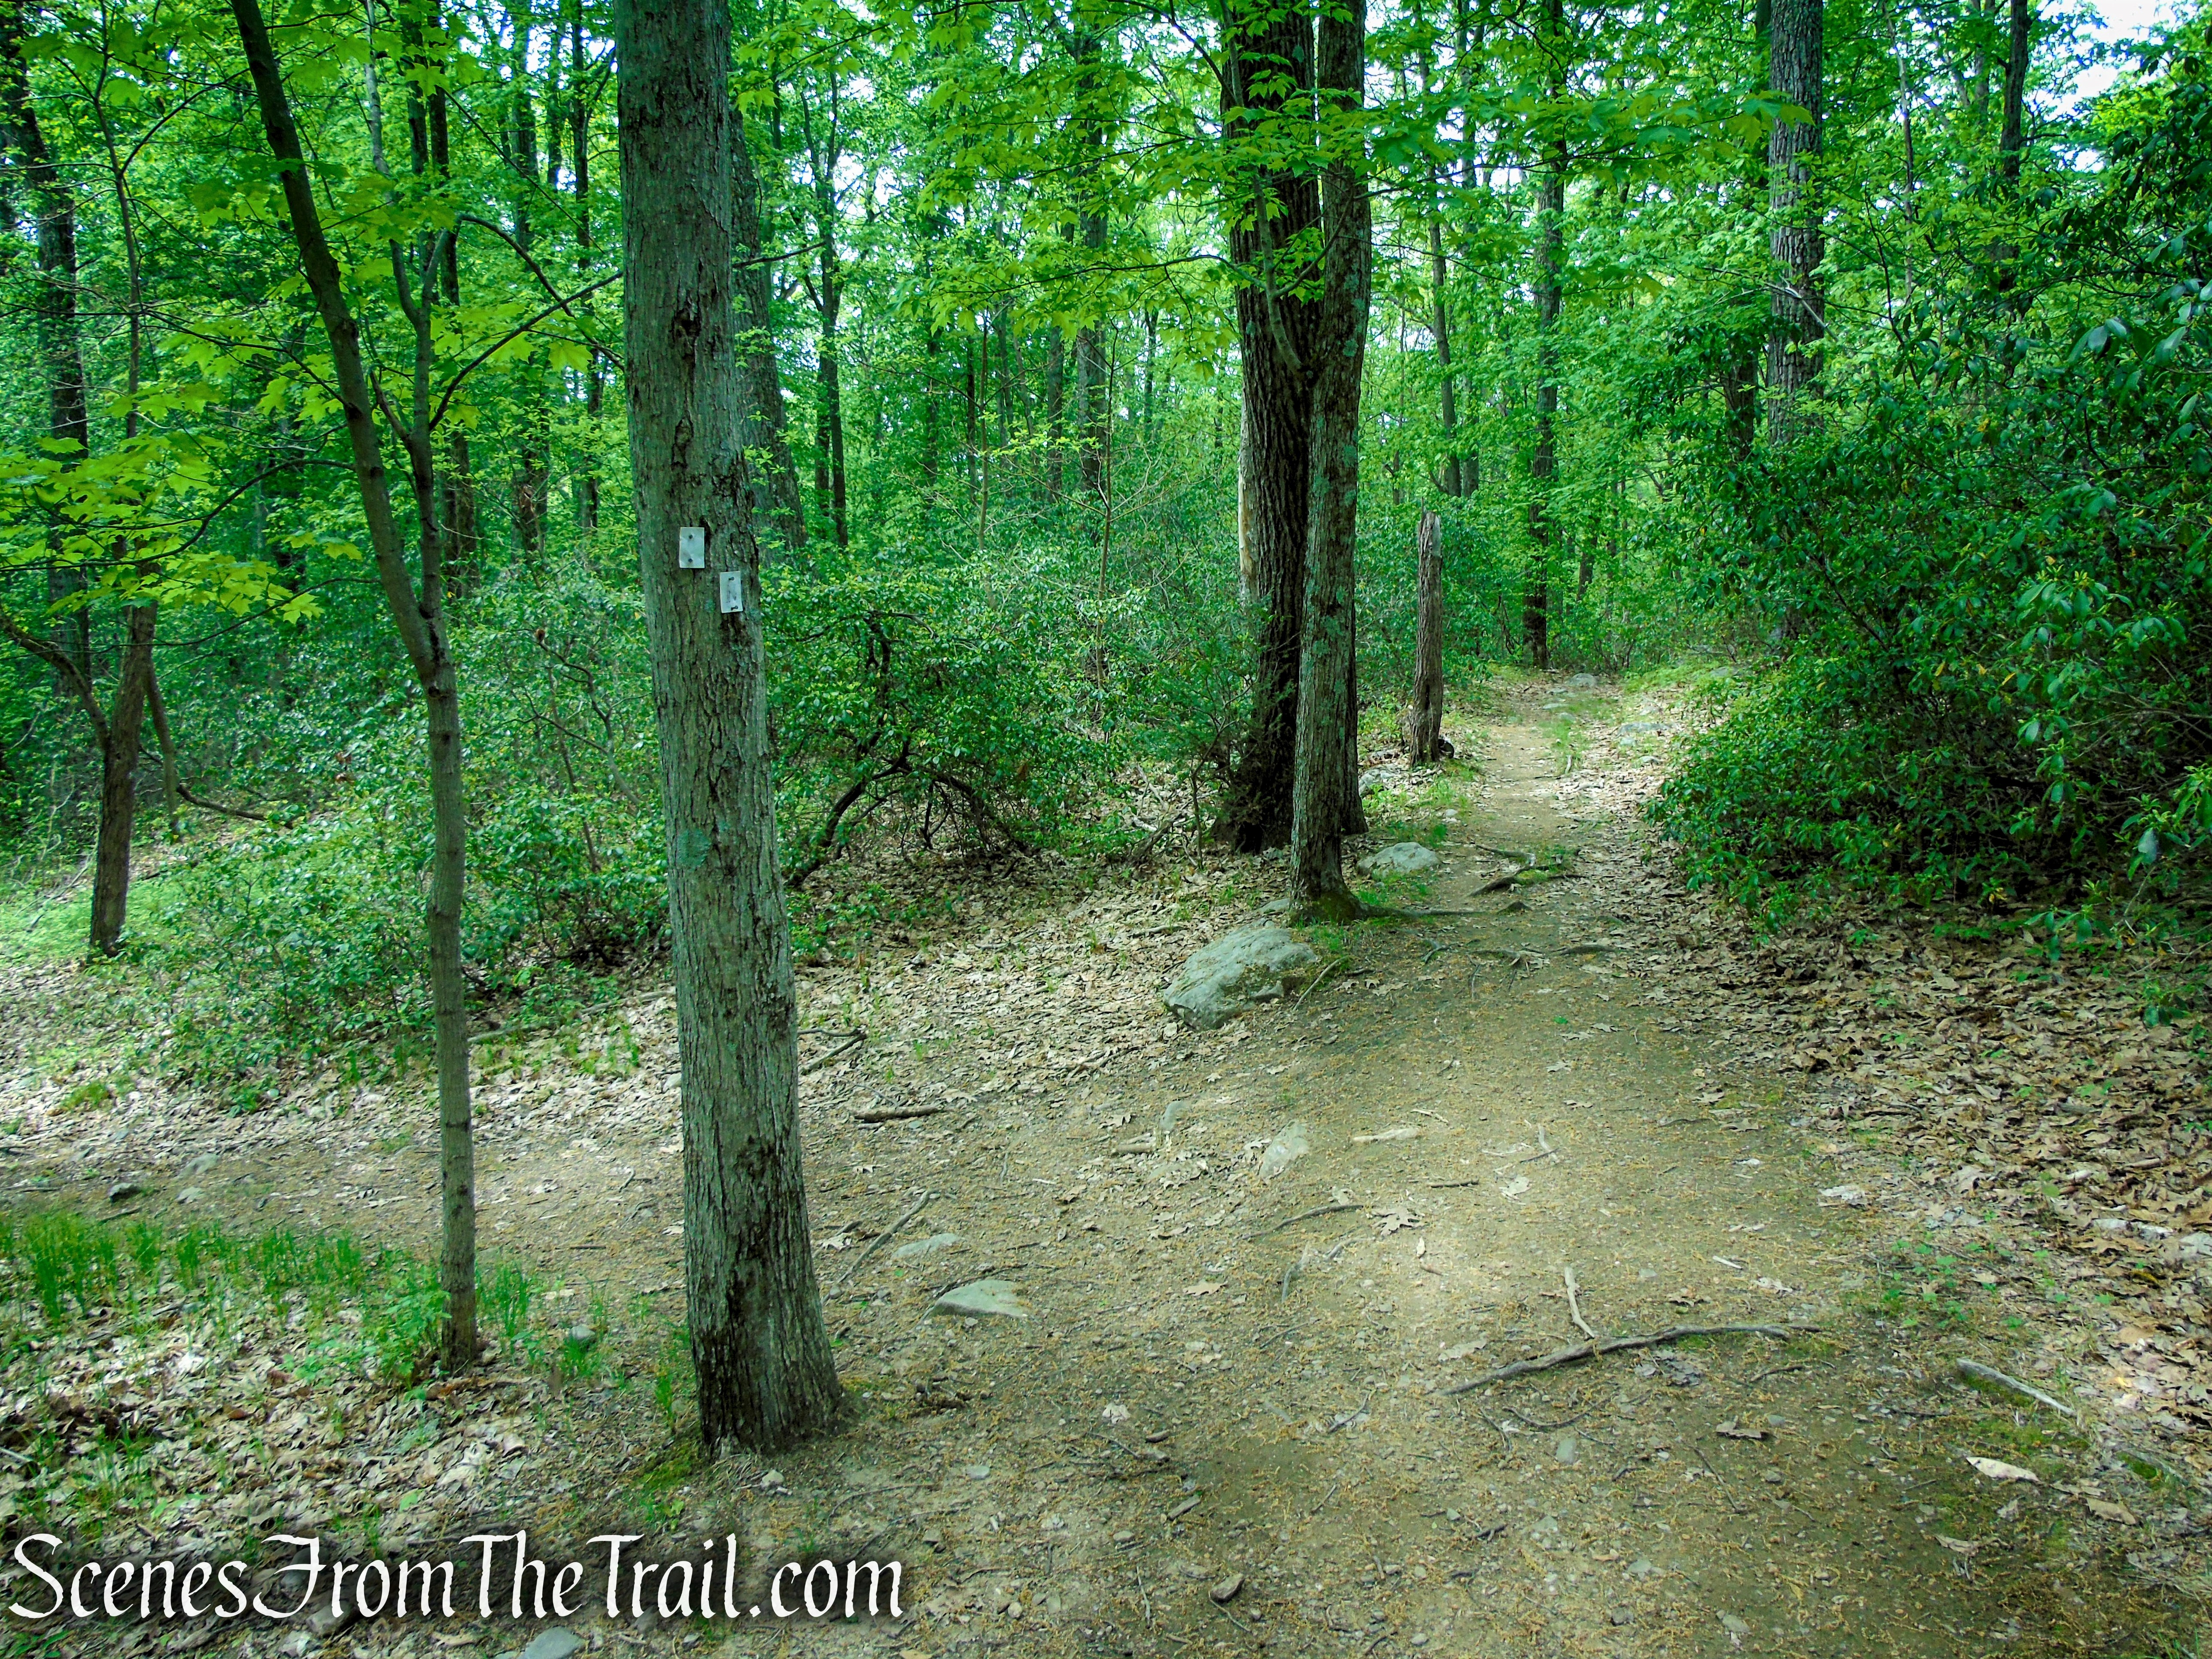
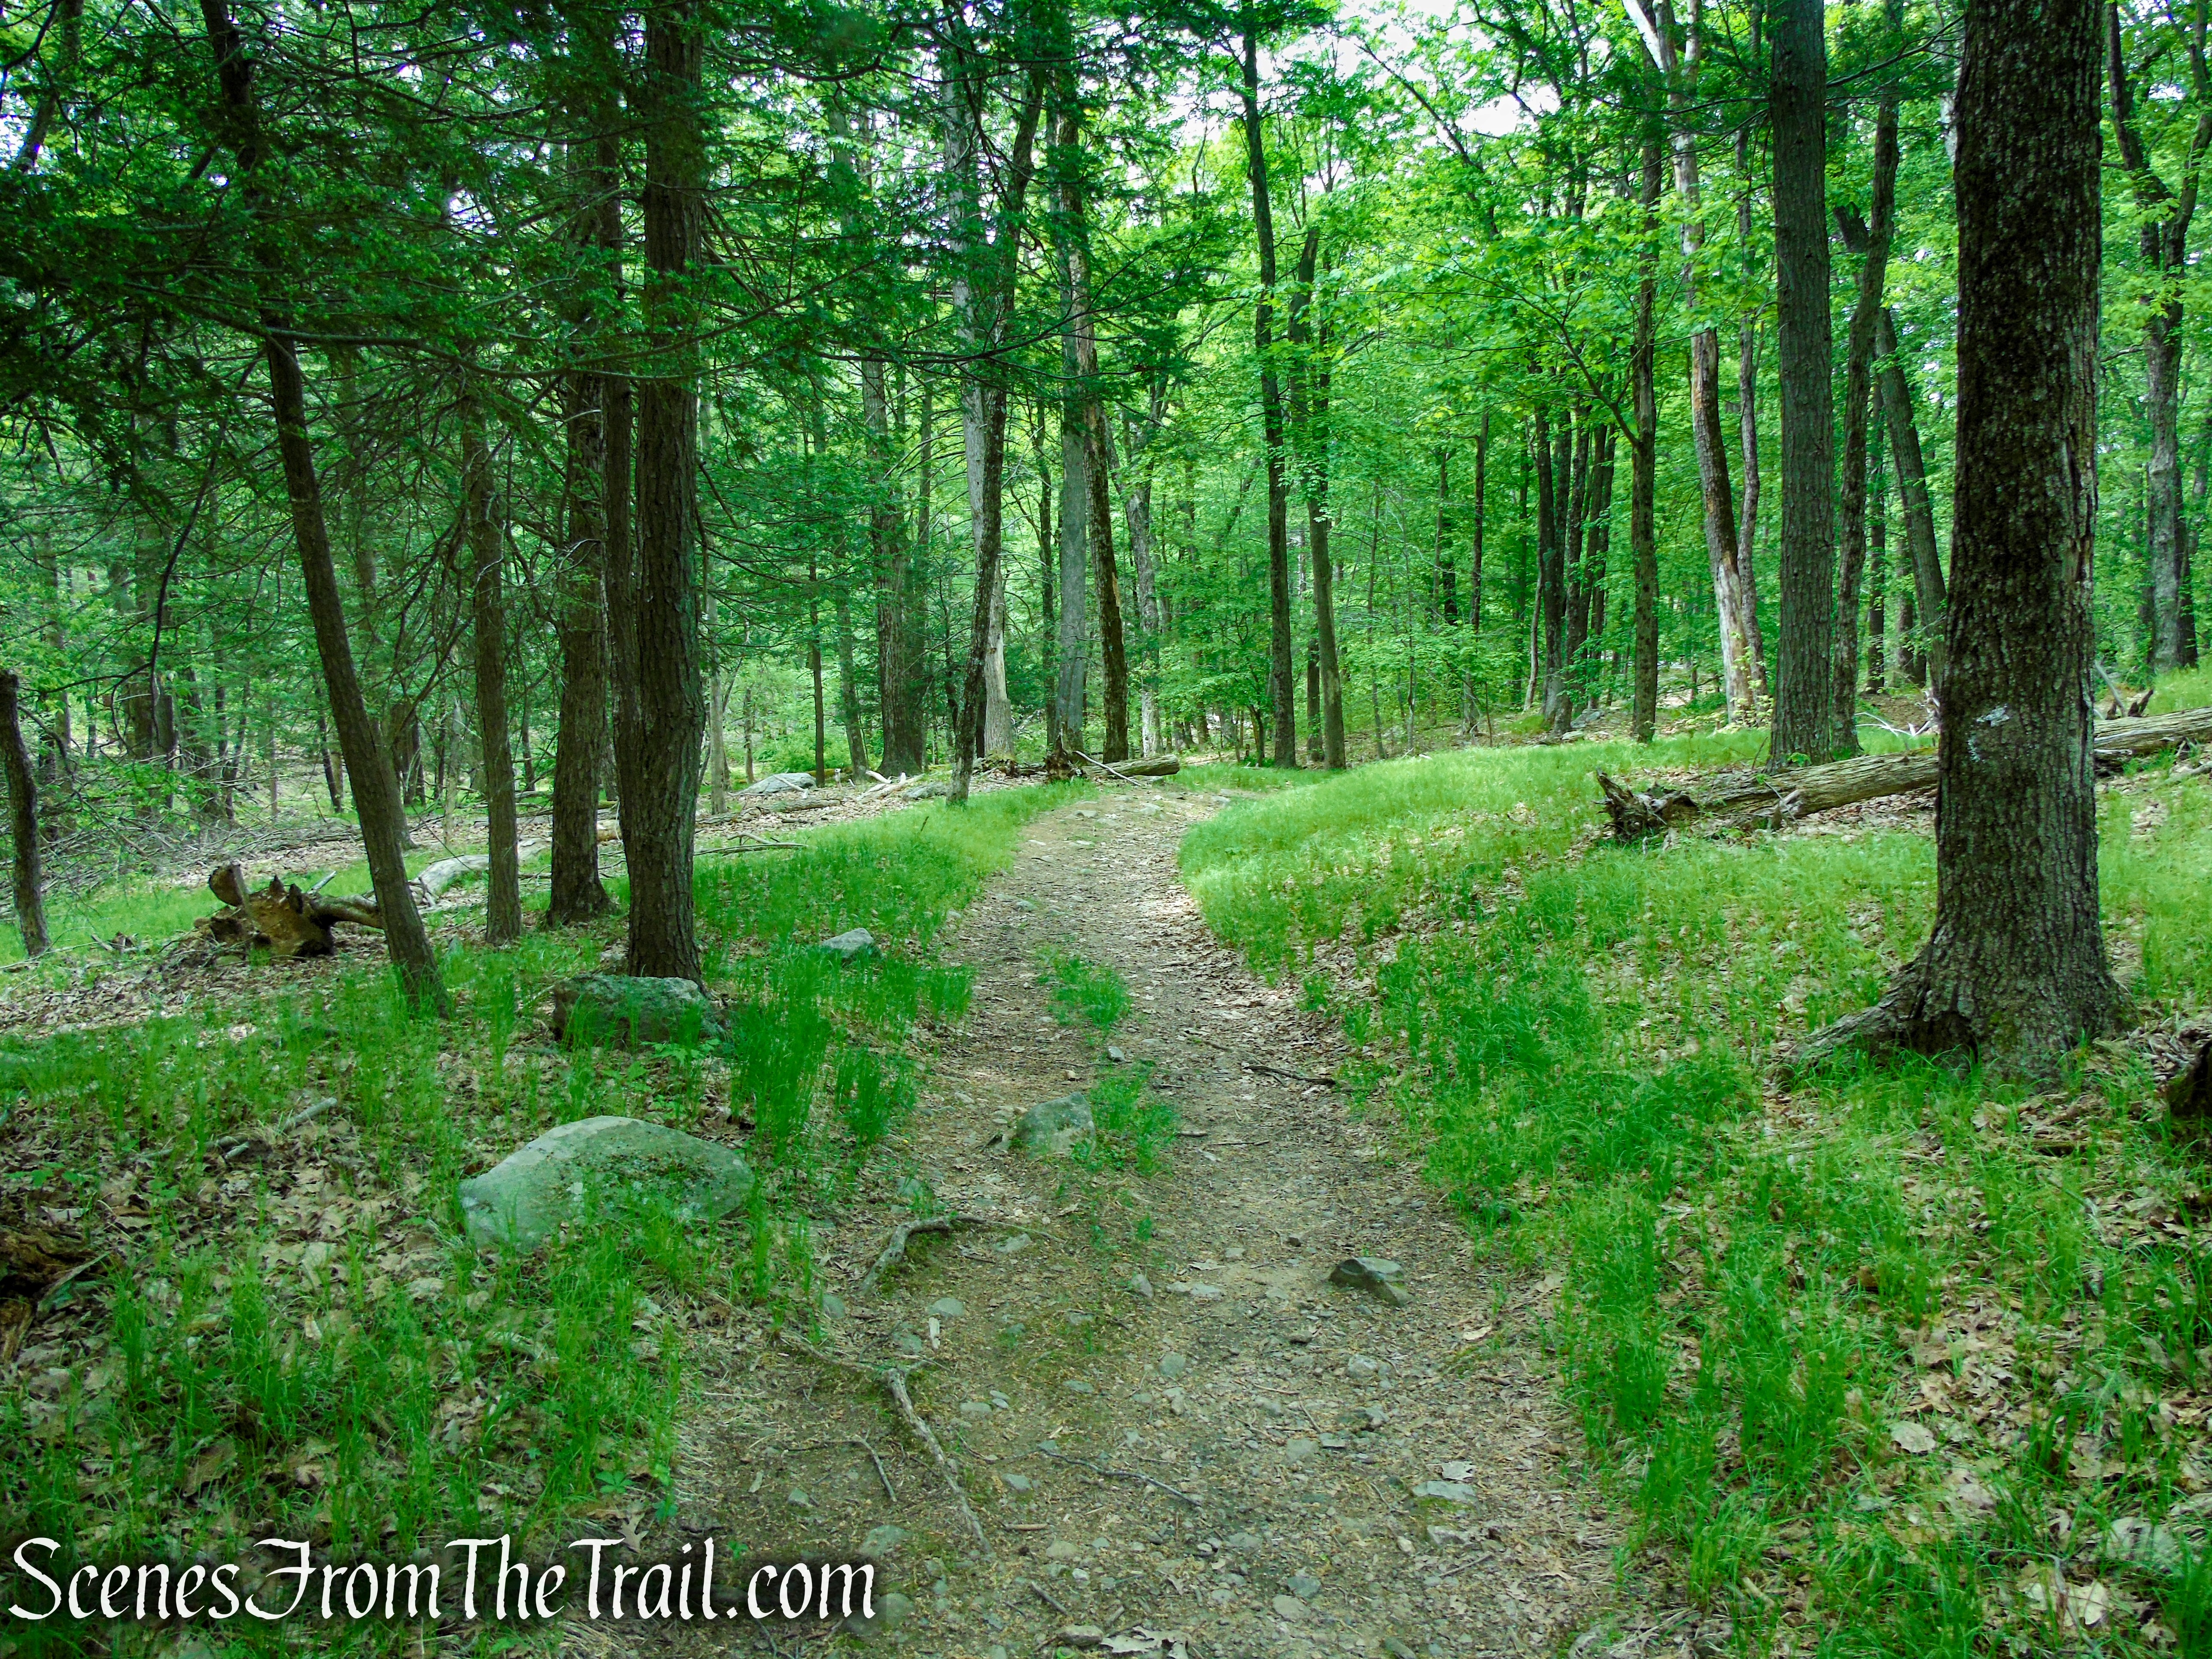
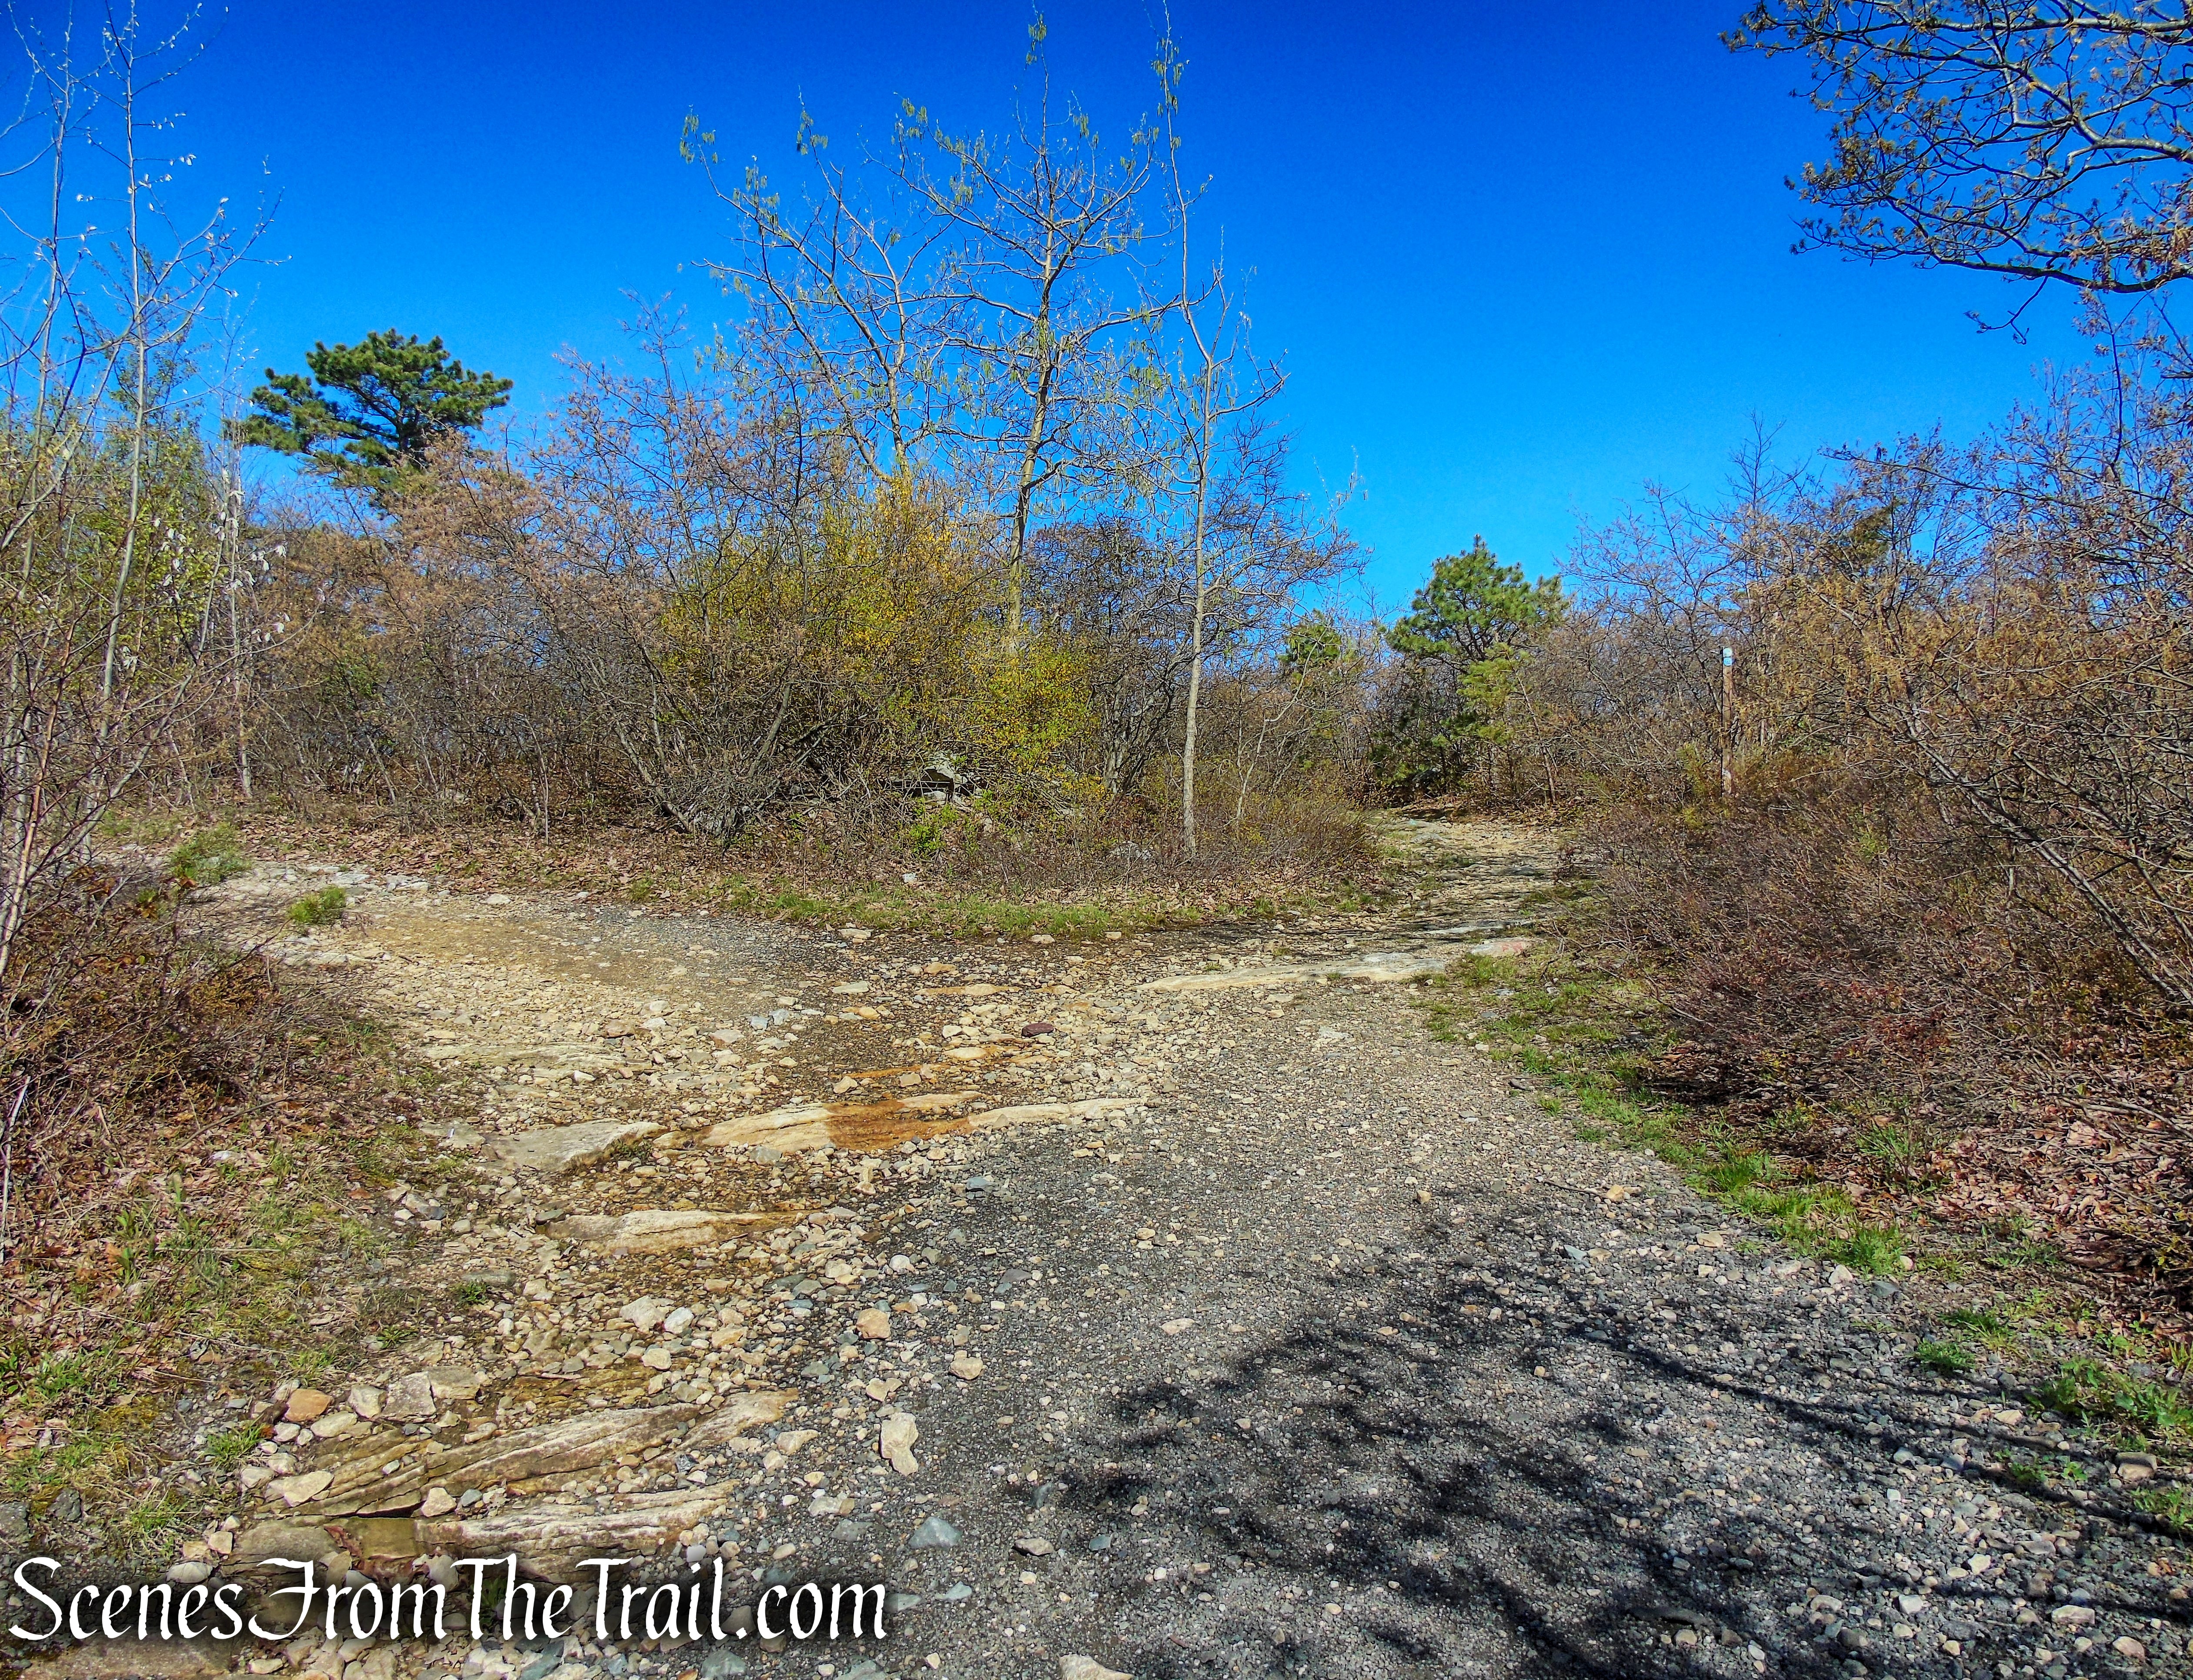
After a while, the road bears right, passes rock ledges on the right, and continues to descend more gradually on a less rocky route. You’ll come to a number of forks and intersections; in each case, bear right and stay on the woods road, following the blazes, continuing to descend gradually.

Blue Trail – Stissing Mountain

Blue Trail – Stissing Mountain

Blue Trail – Stissing Mountain

Blue Trail – Stissing Mountain
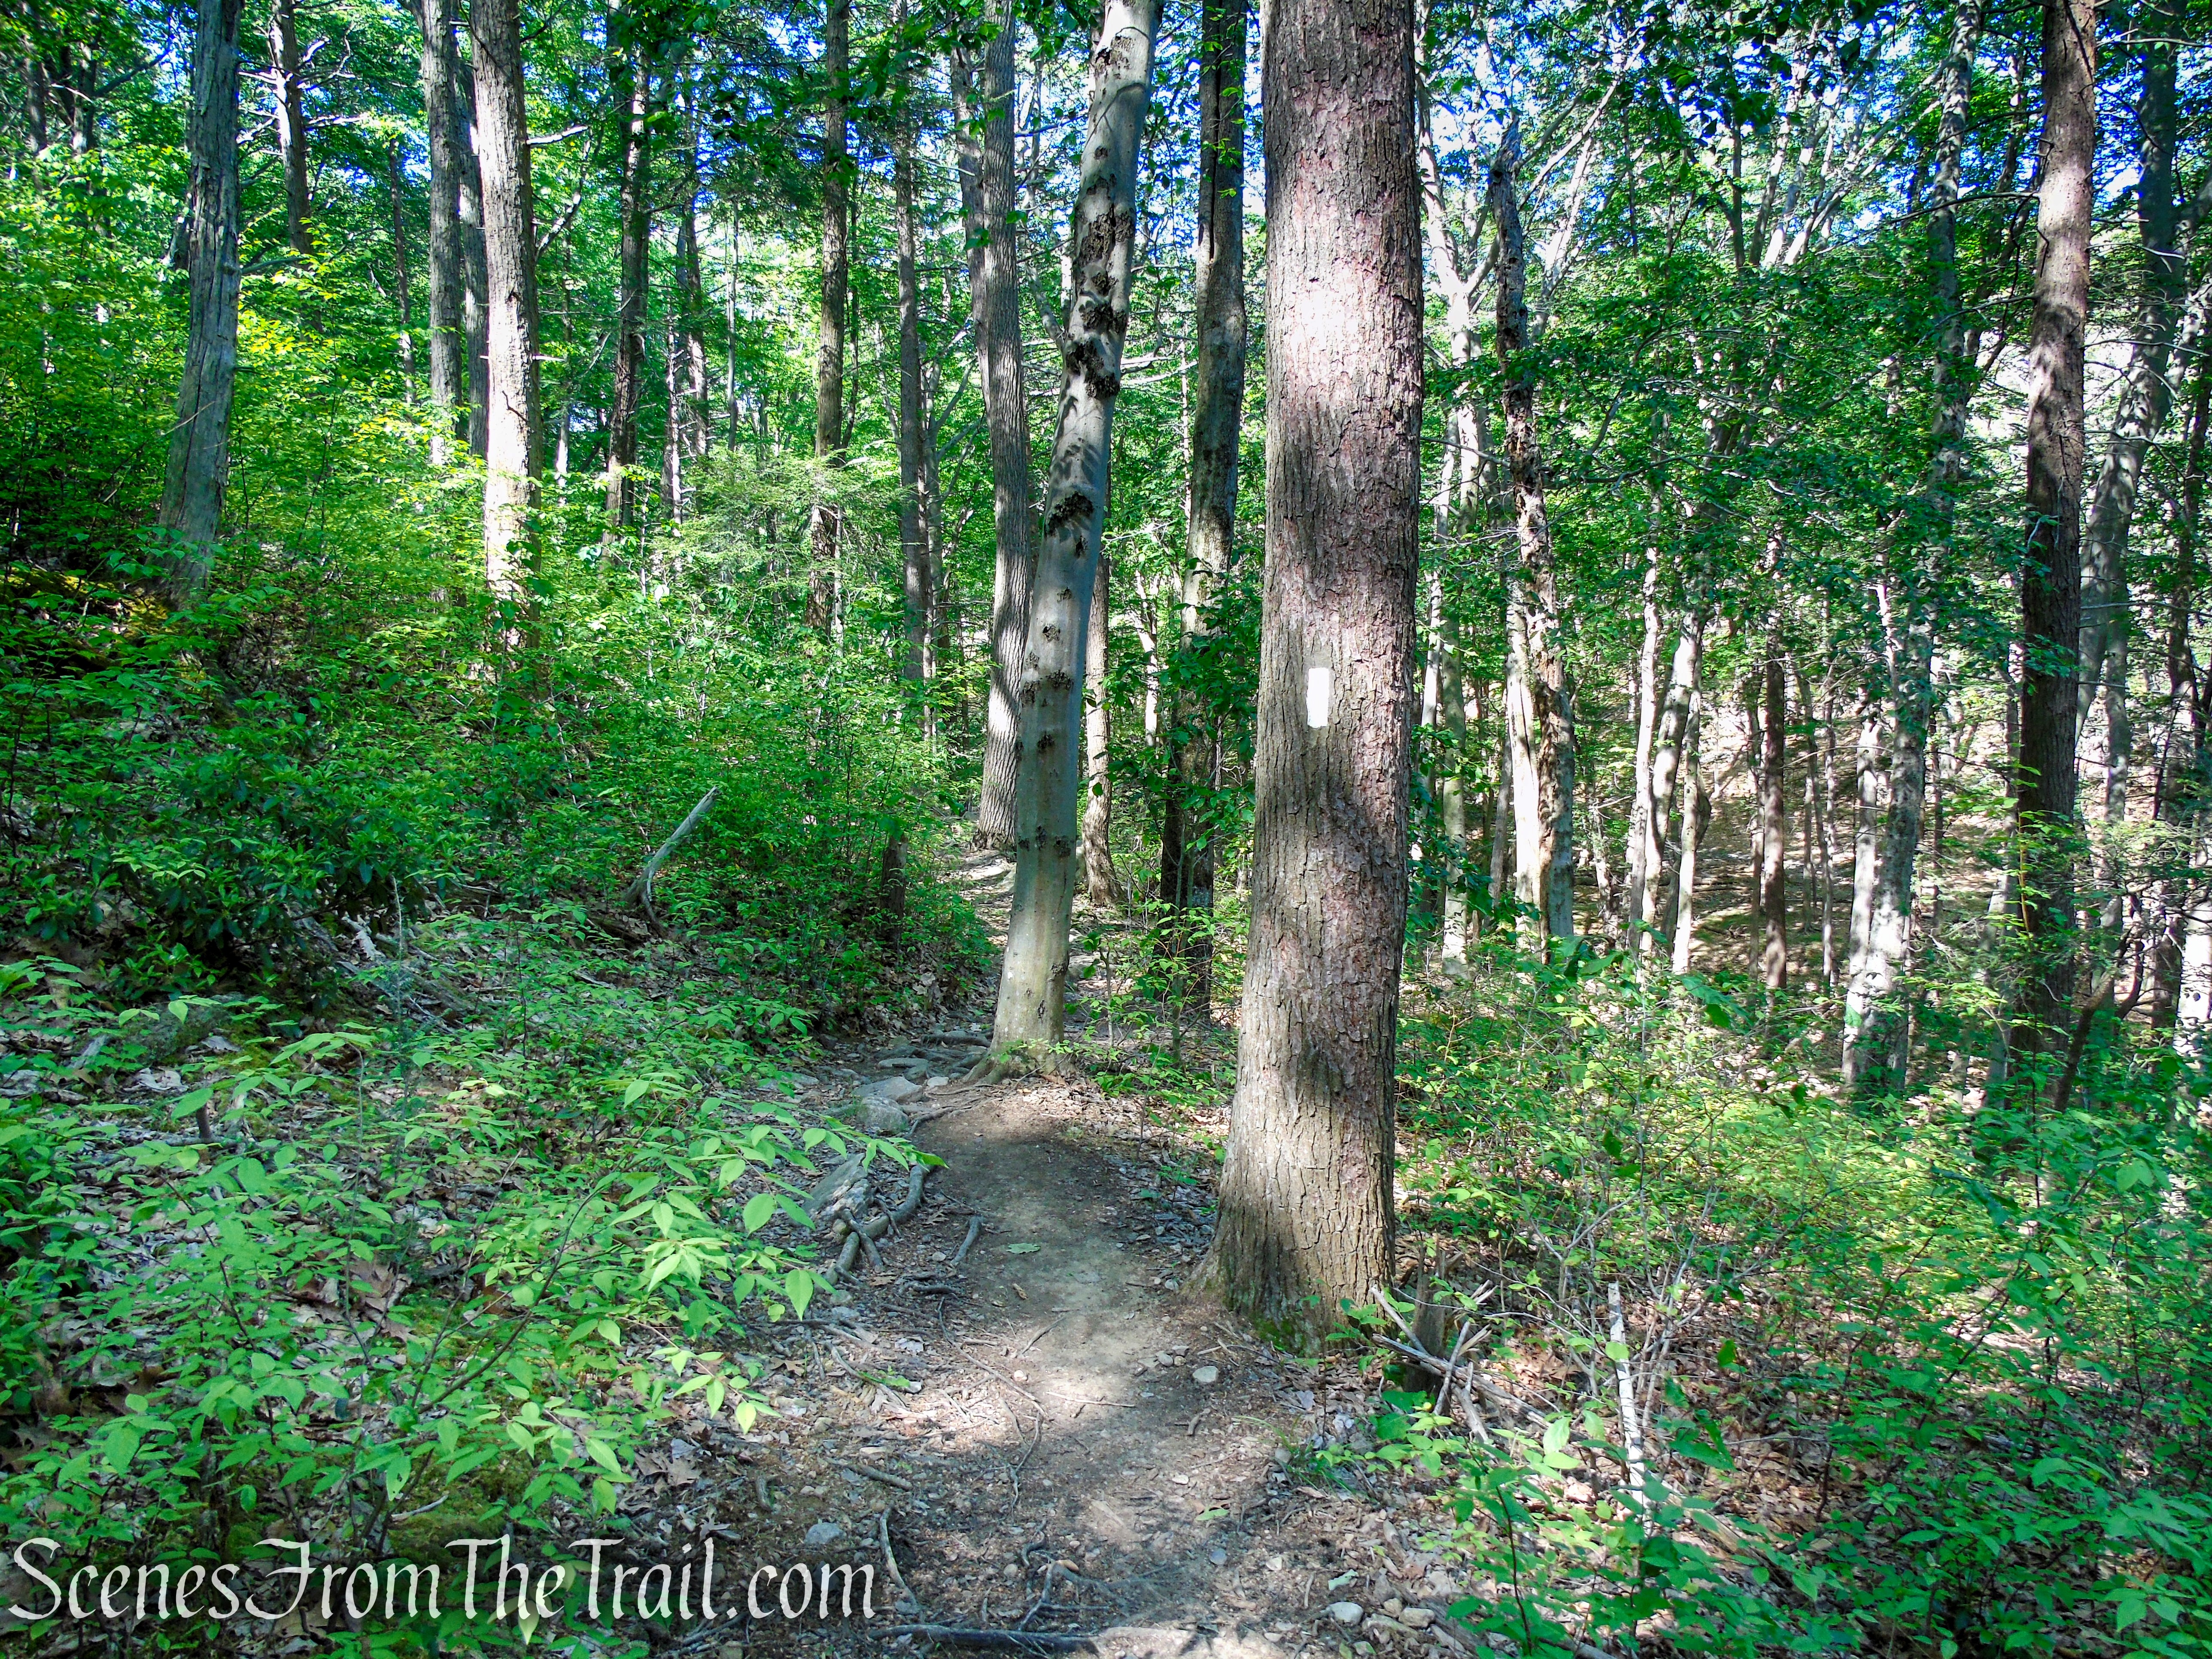
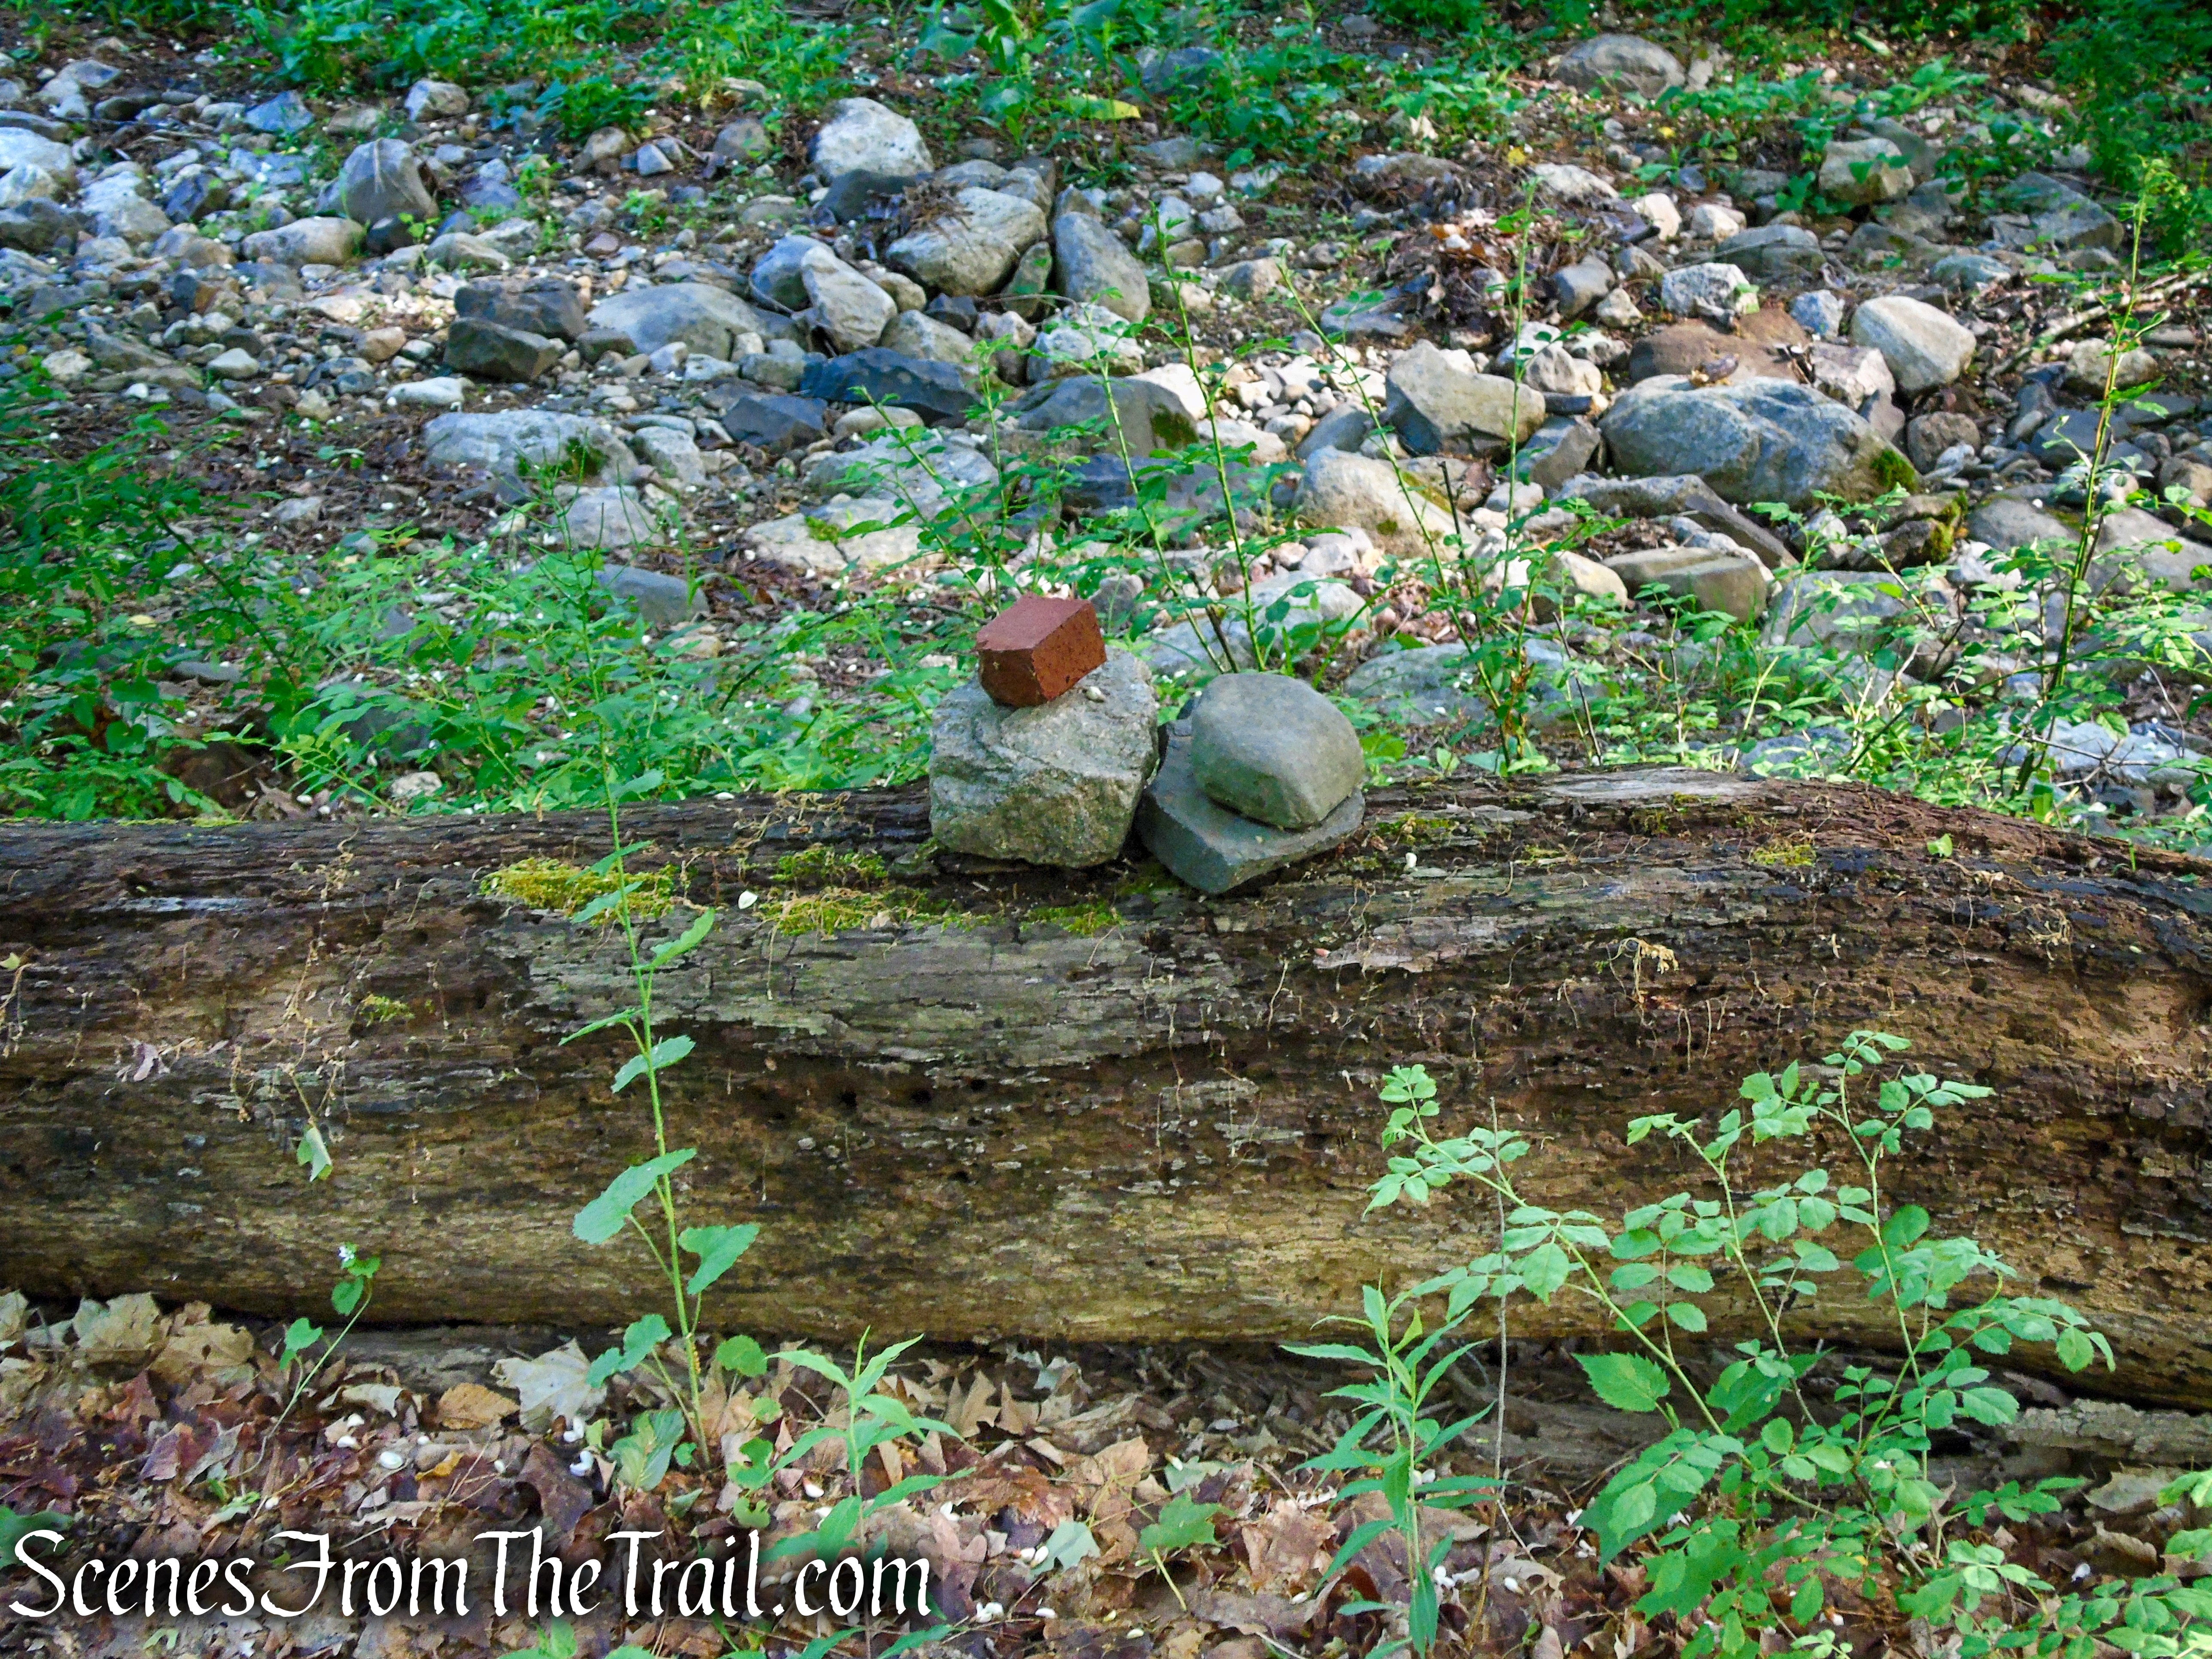
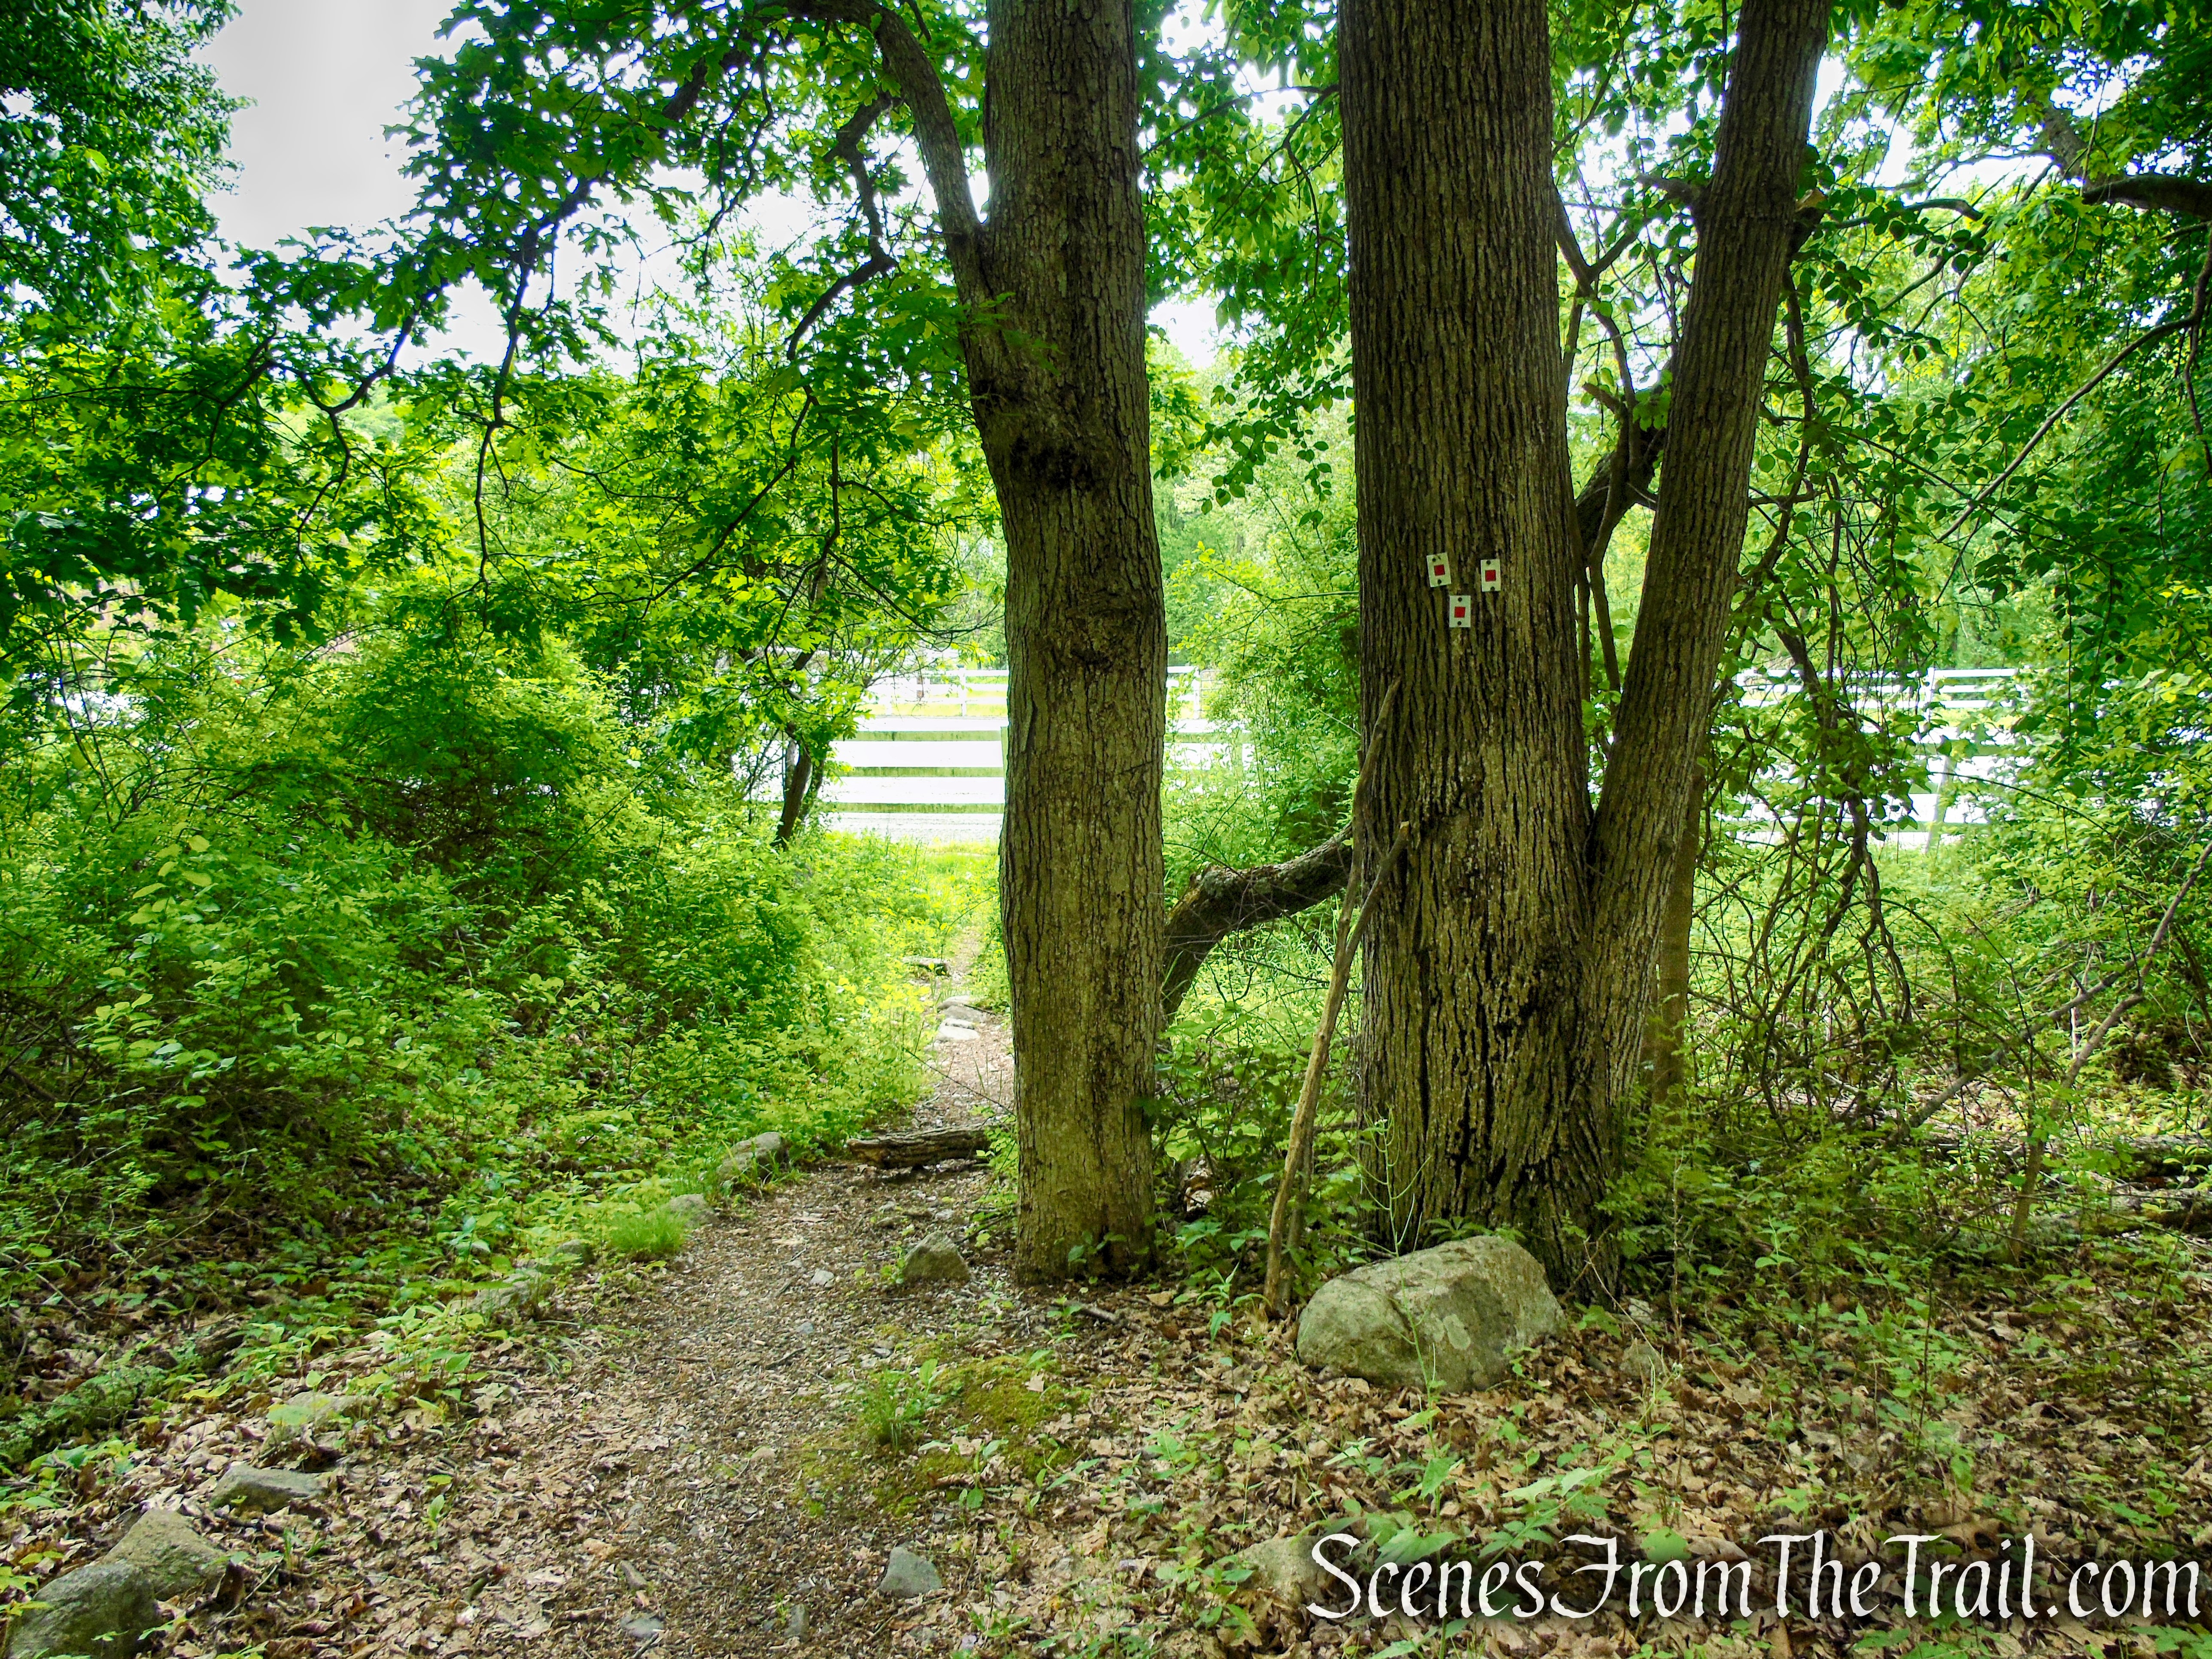
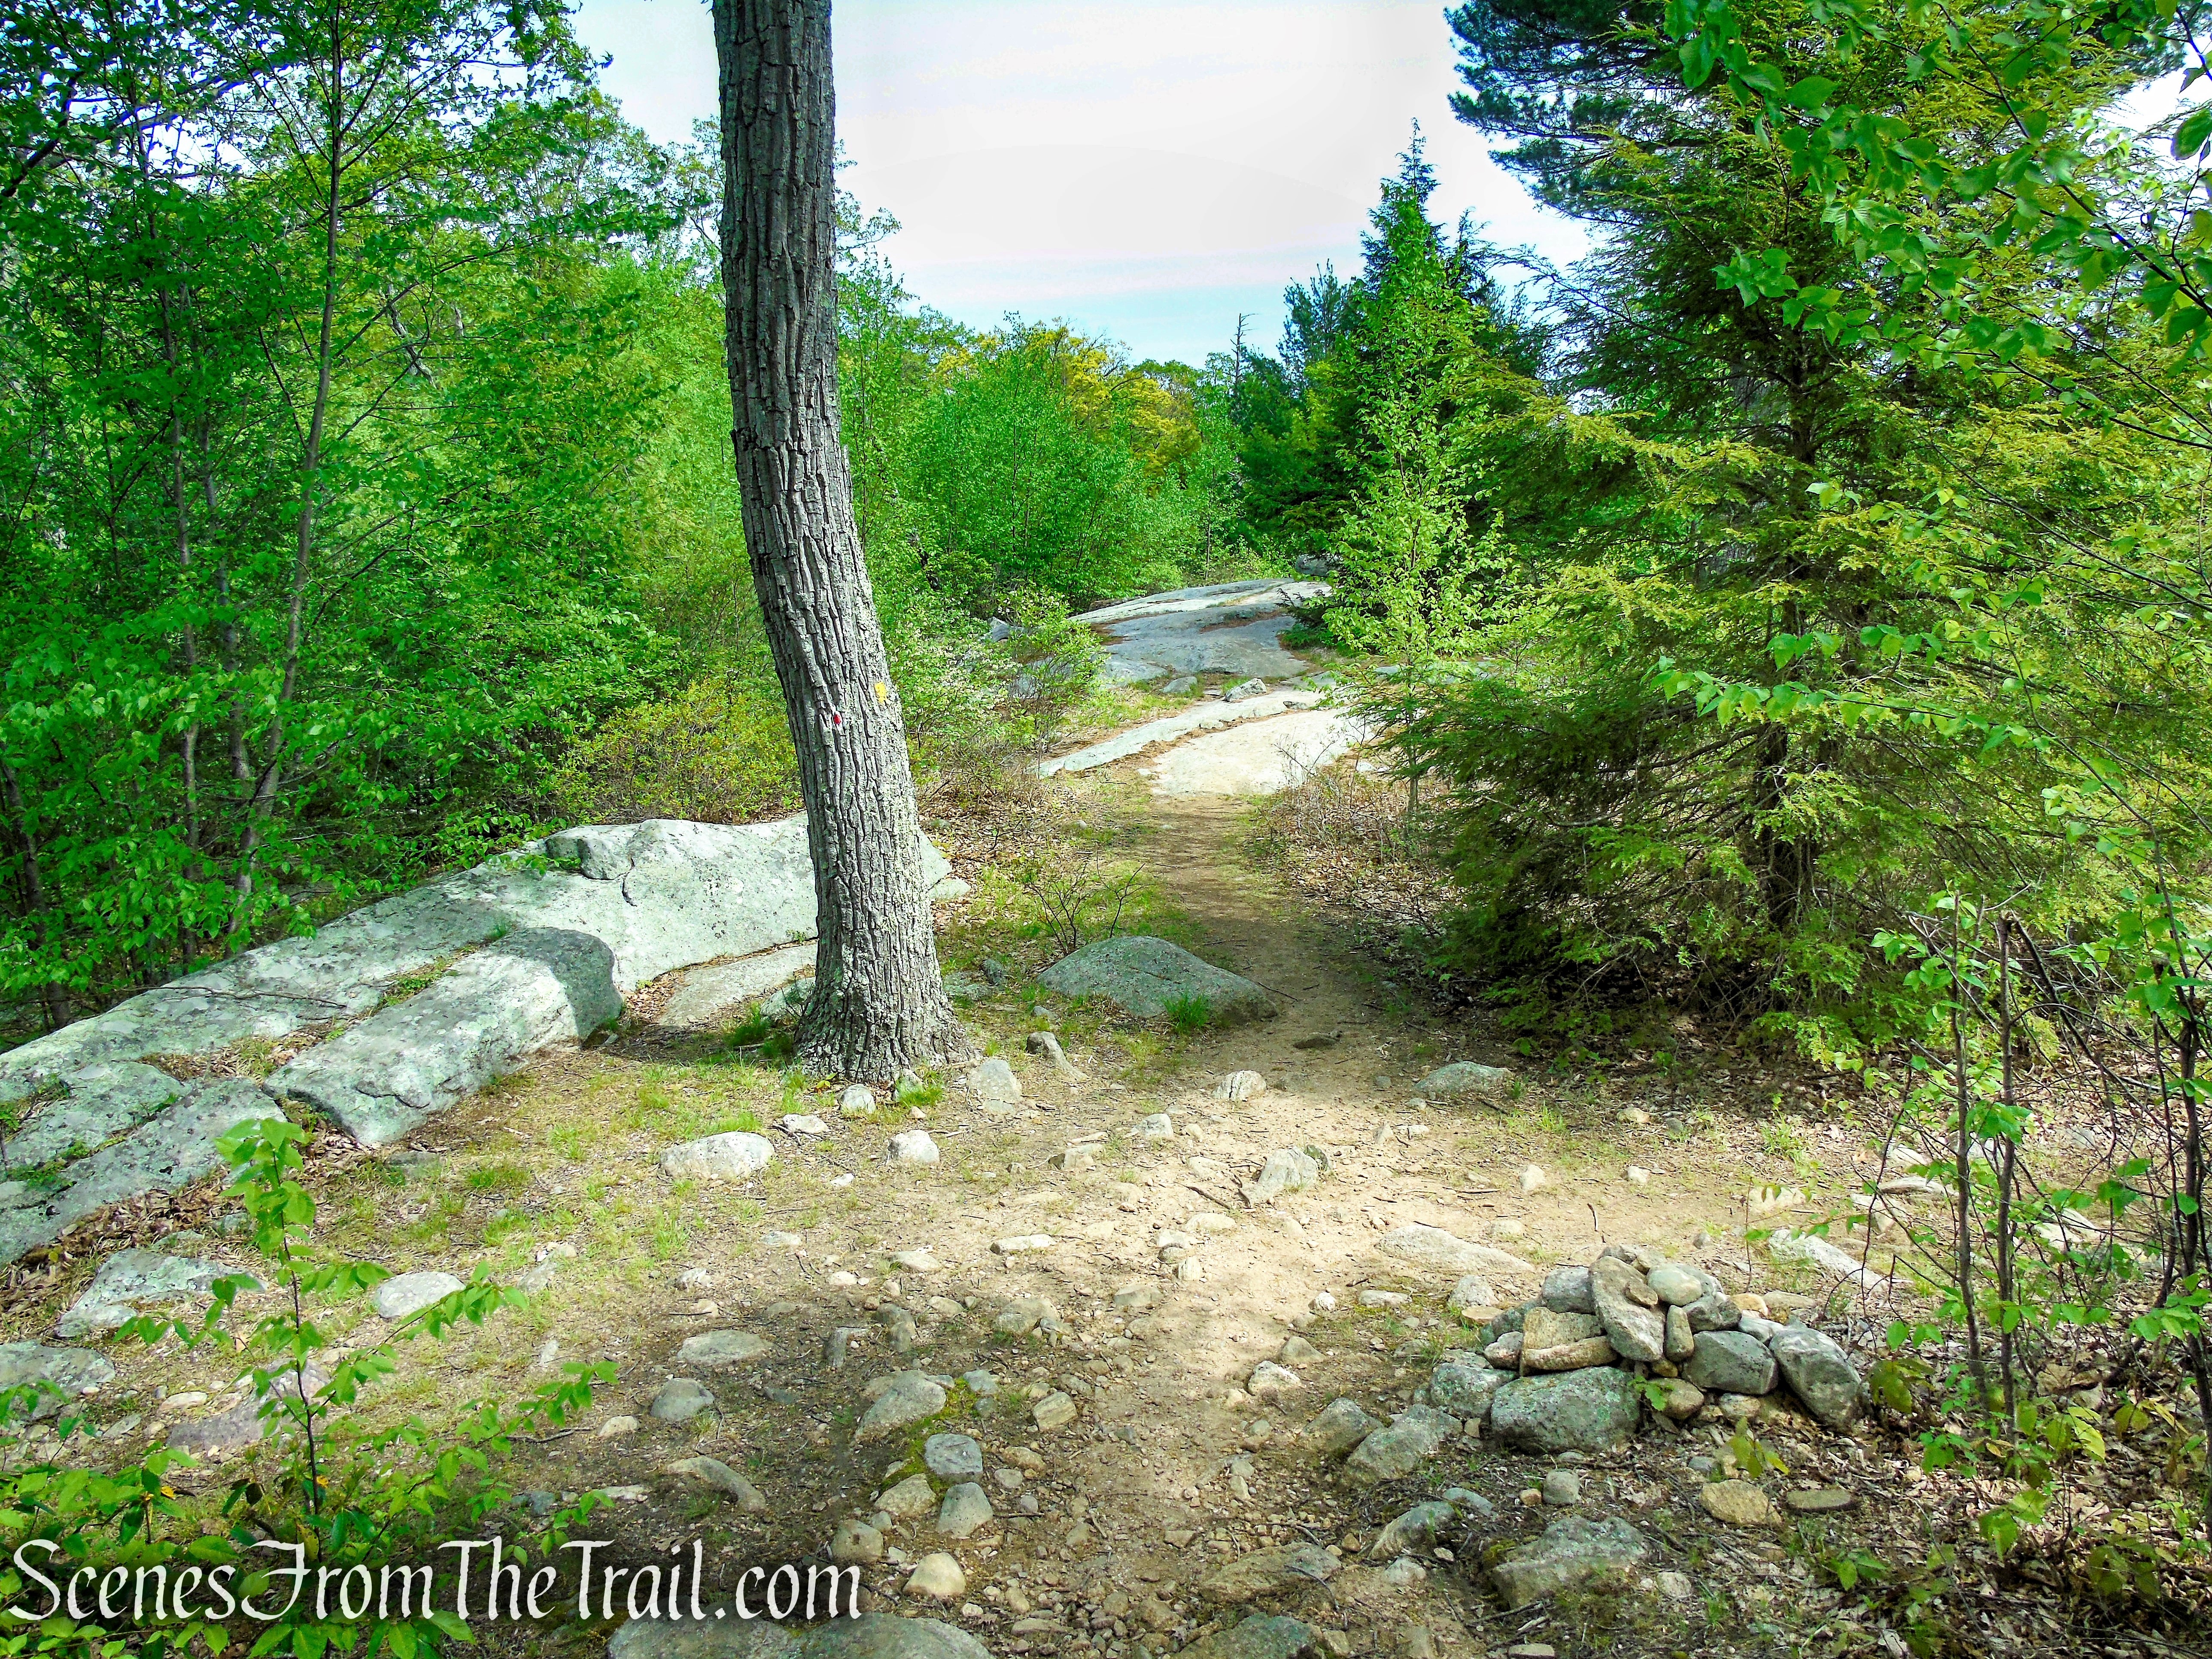
About 0.7 mile from the start of the Blue Trail, near the base of the fire tower, you’ll come to the fork you passed on the climb up the mountain, with the tree in the middle and rocks piled up in front of it. Turn left here, now retracing your steps on the Red Trail. Follow the red blazes and descend the final pitch to Lake Road, where the hike began.

Terminus of Blue Trail – Stissing Mountain

Red Trail – Stissing Mountain

Lake Road Trailhead – Stissing Mountain
Review:
A very enjoyable hike with the payoff being the marvelous views from the top of the fire tower. Not many people on the trails either time that I visited. The trails are well marked and easy to follow. I would definitely do this hike again.
Pros:
Stissing Mountain Fire Tower, 360° views from the tower, scenic landscape, relatively quiet area.
Cons:
An updated trail map would be nice.
Take a hike!

Stissing Fire Tower Loop
Sources: