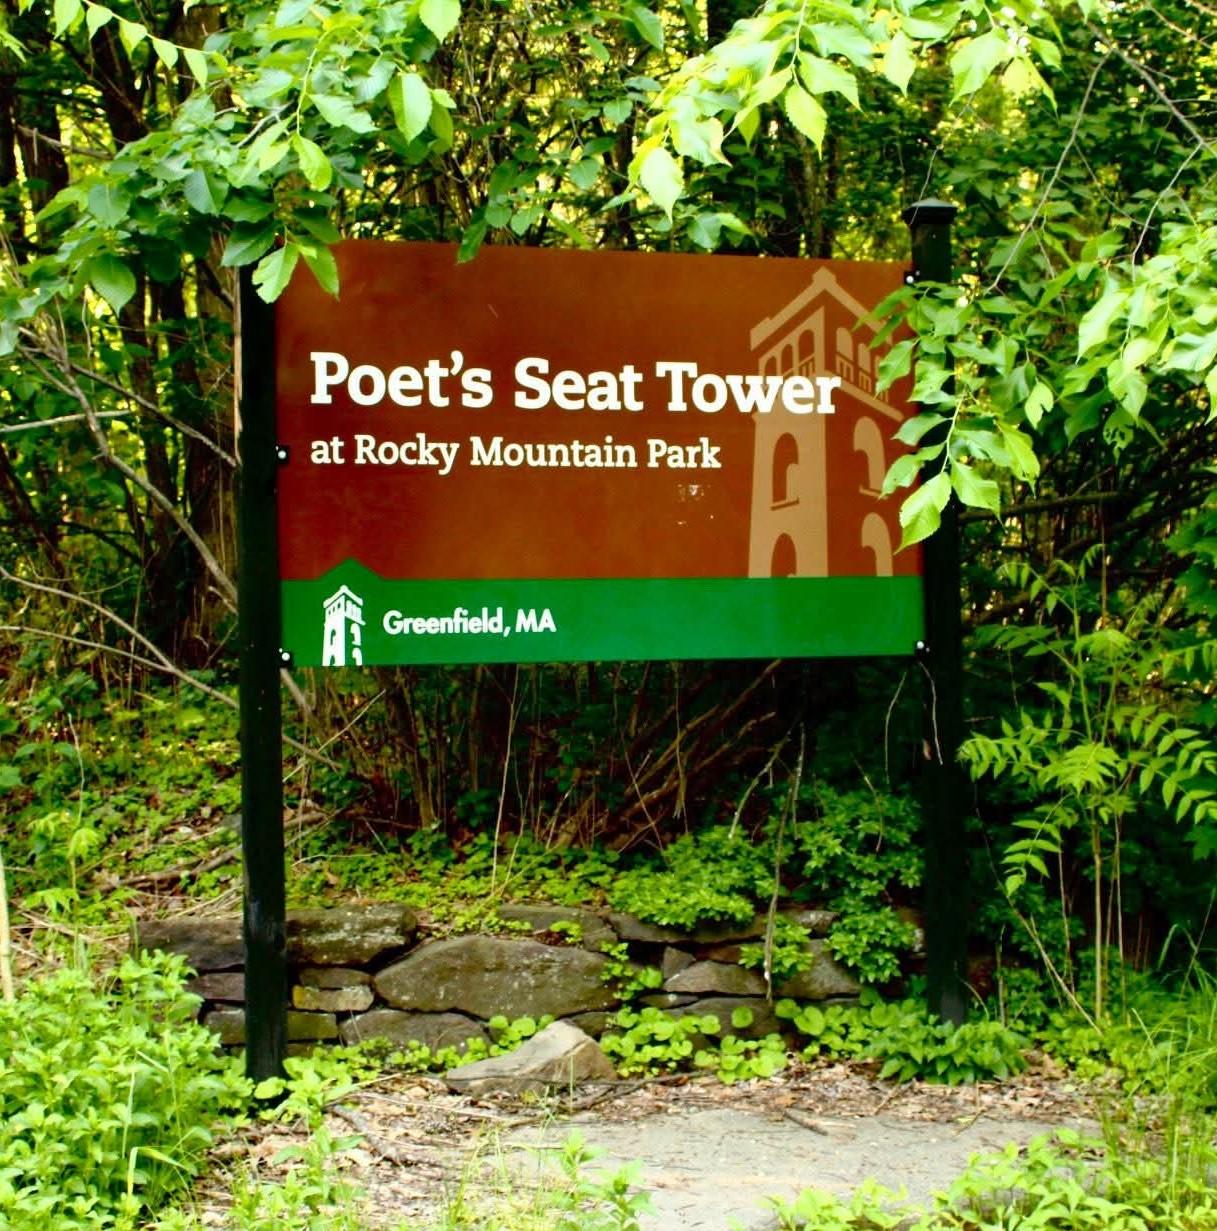
March 15, 2026 – Blauvelt, NY
Difficulty: Moderate
Length: Approximately 4.5 miles
Max elevation: 682 ft. – total elevation gain approximately 550 ft.
Route type: Circuit
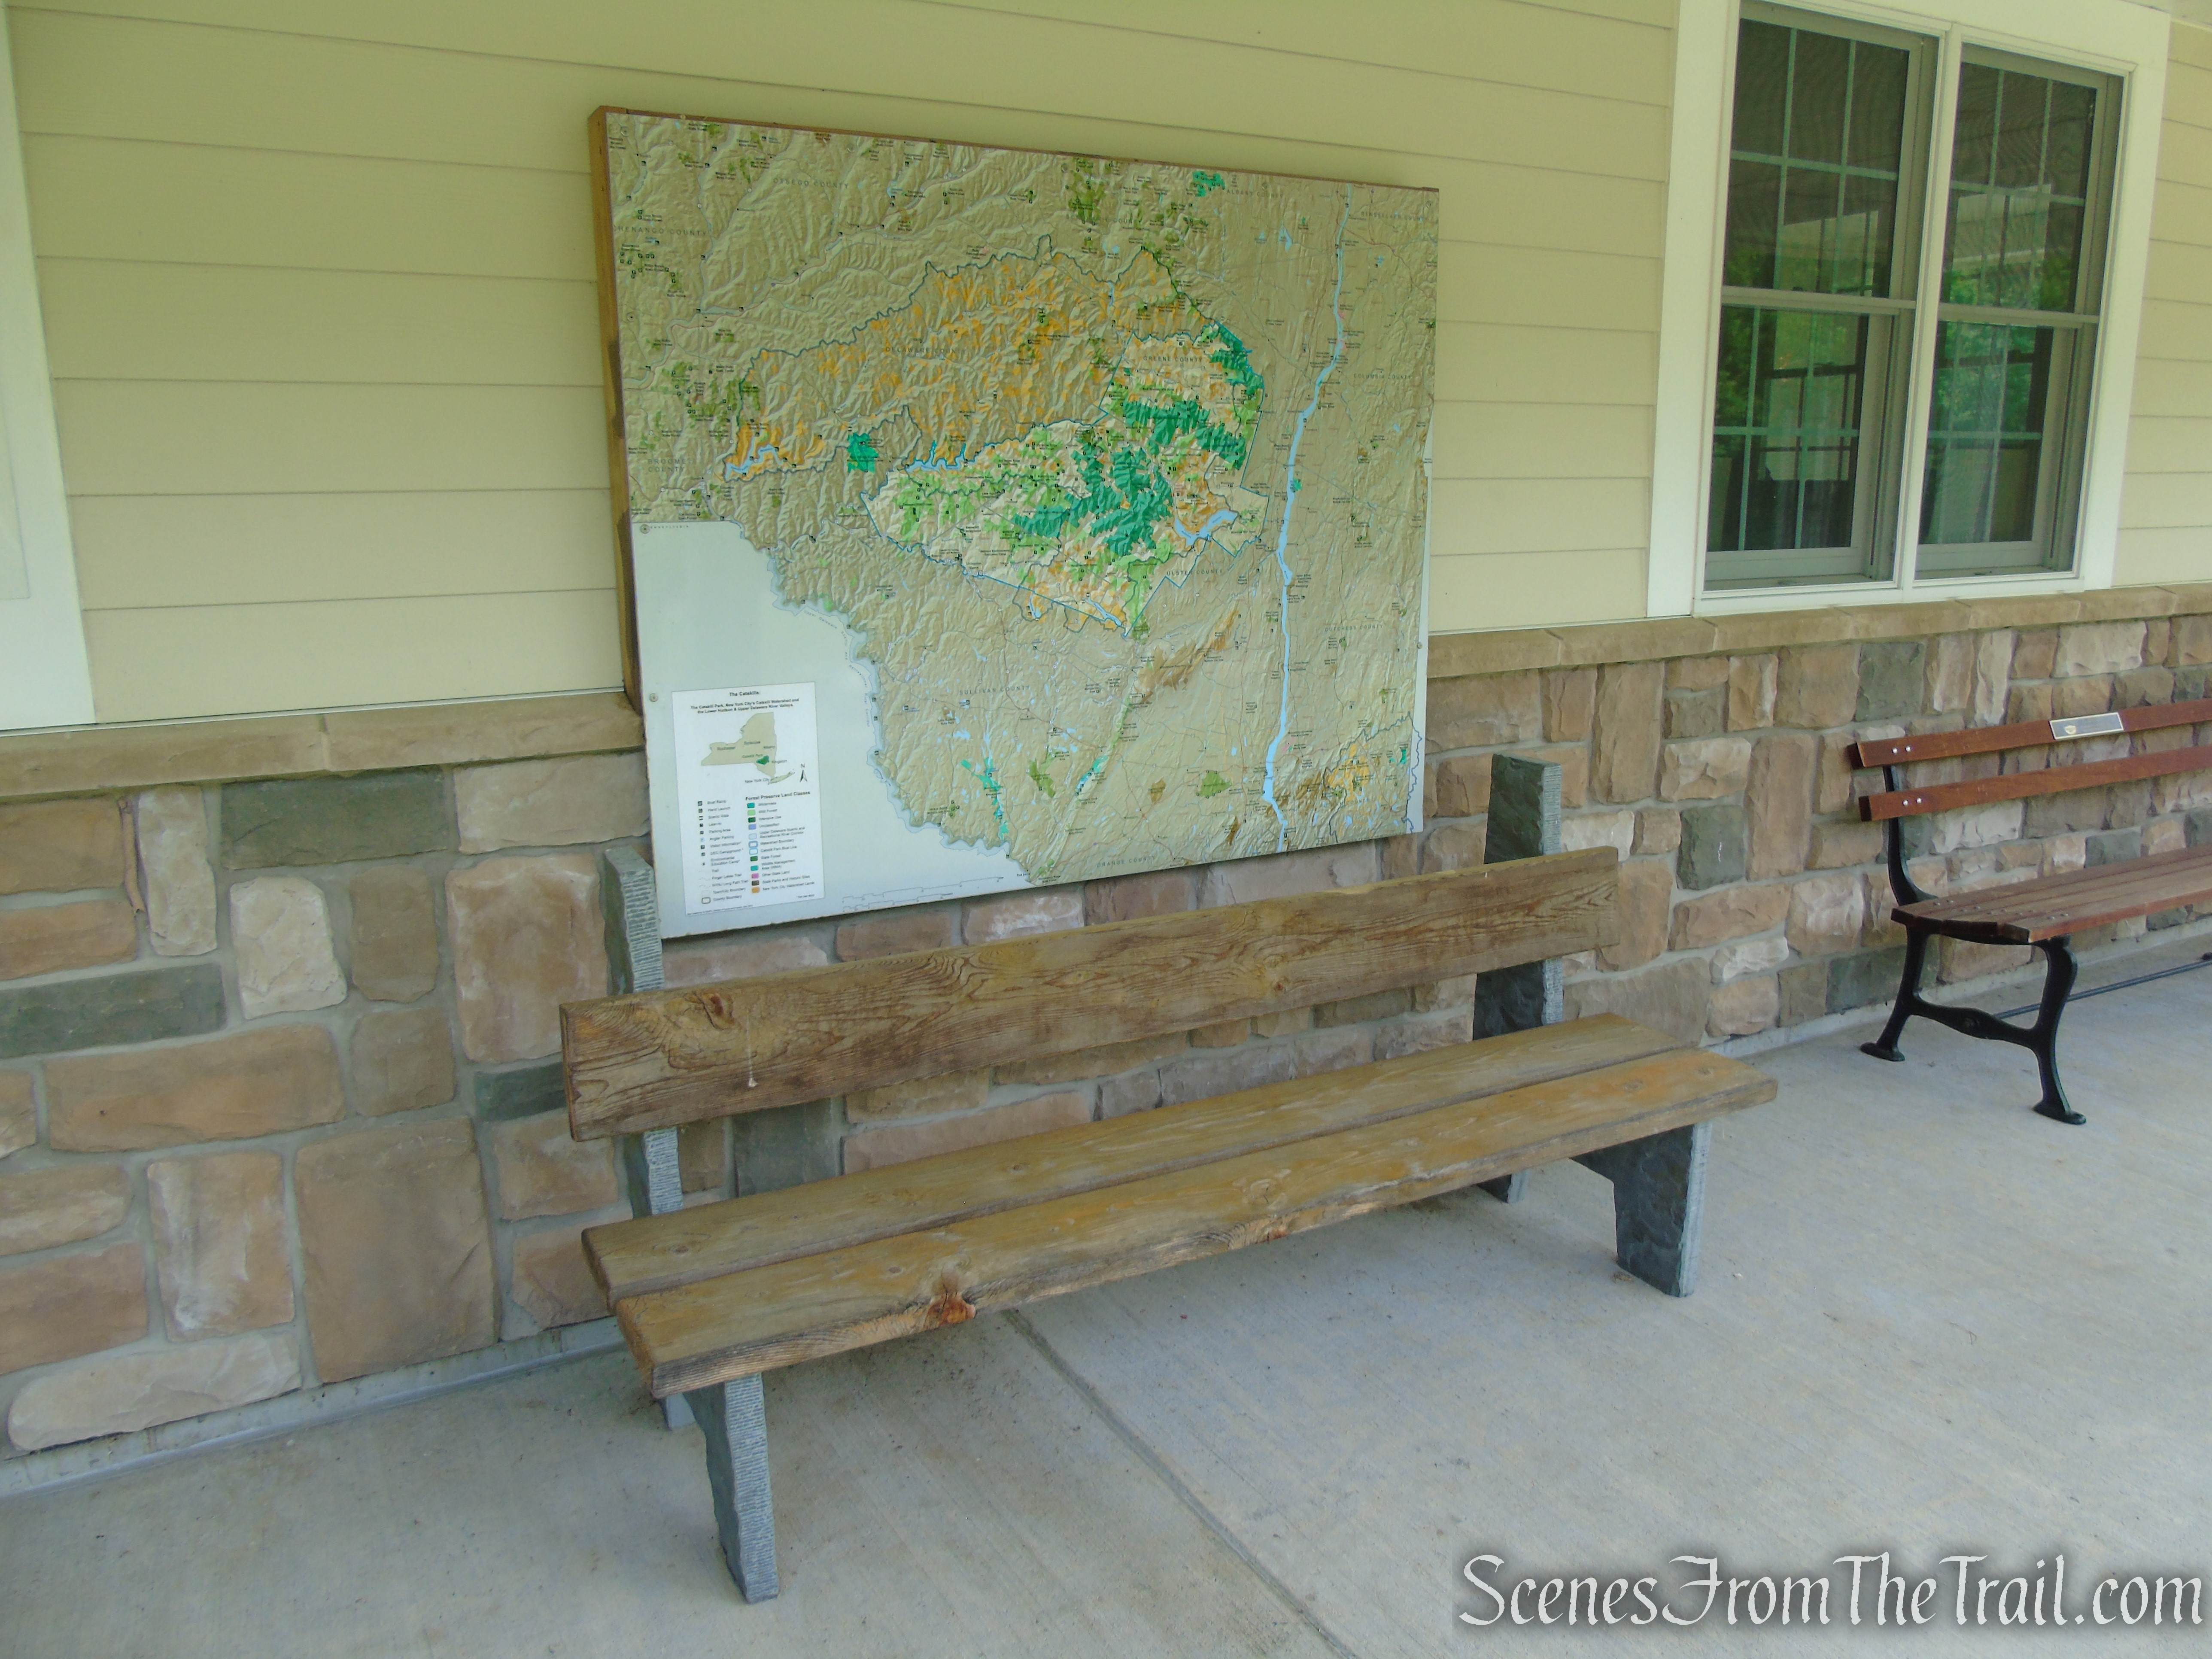
Map: Hudson Palisades Trails Map #109 – Clausland Mountain County Park Map
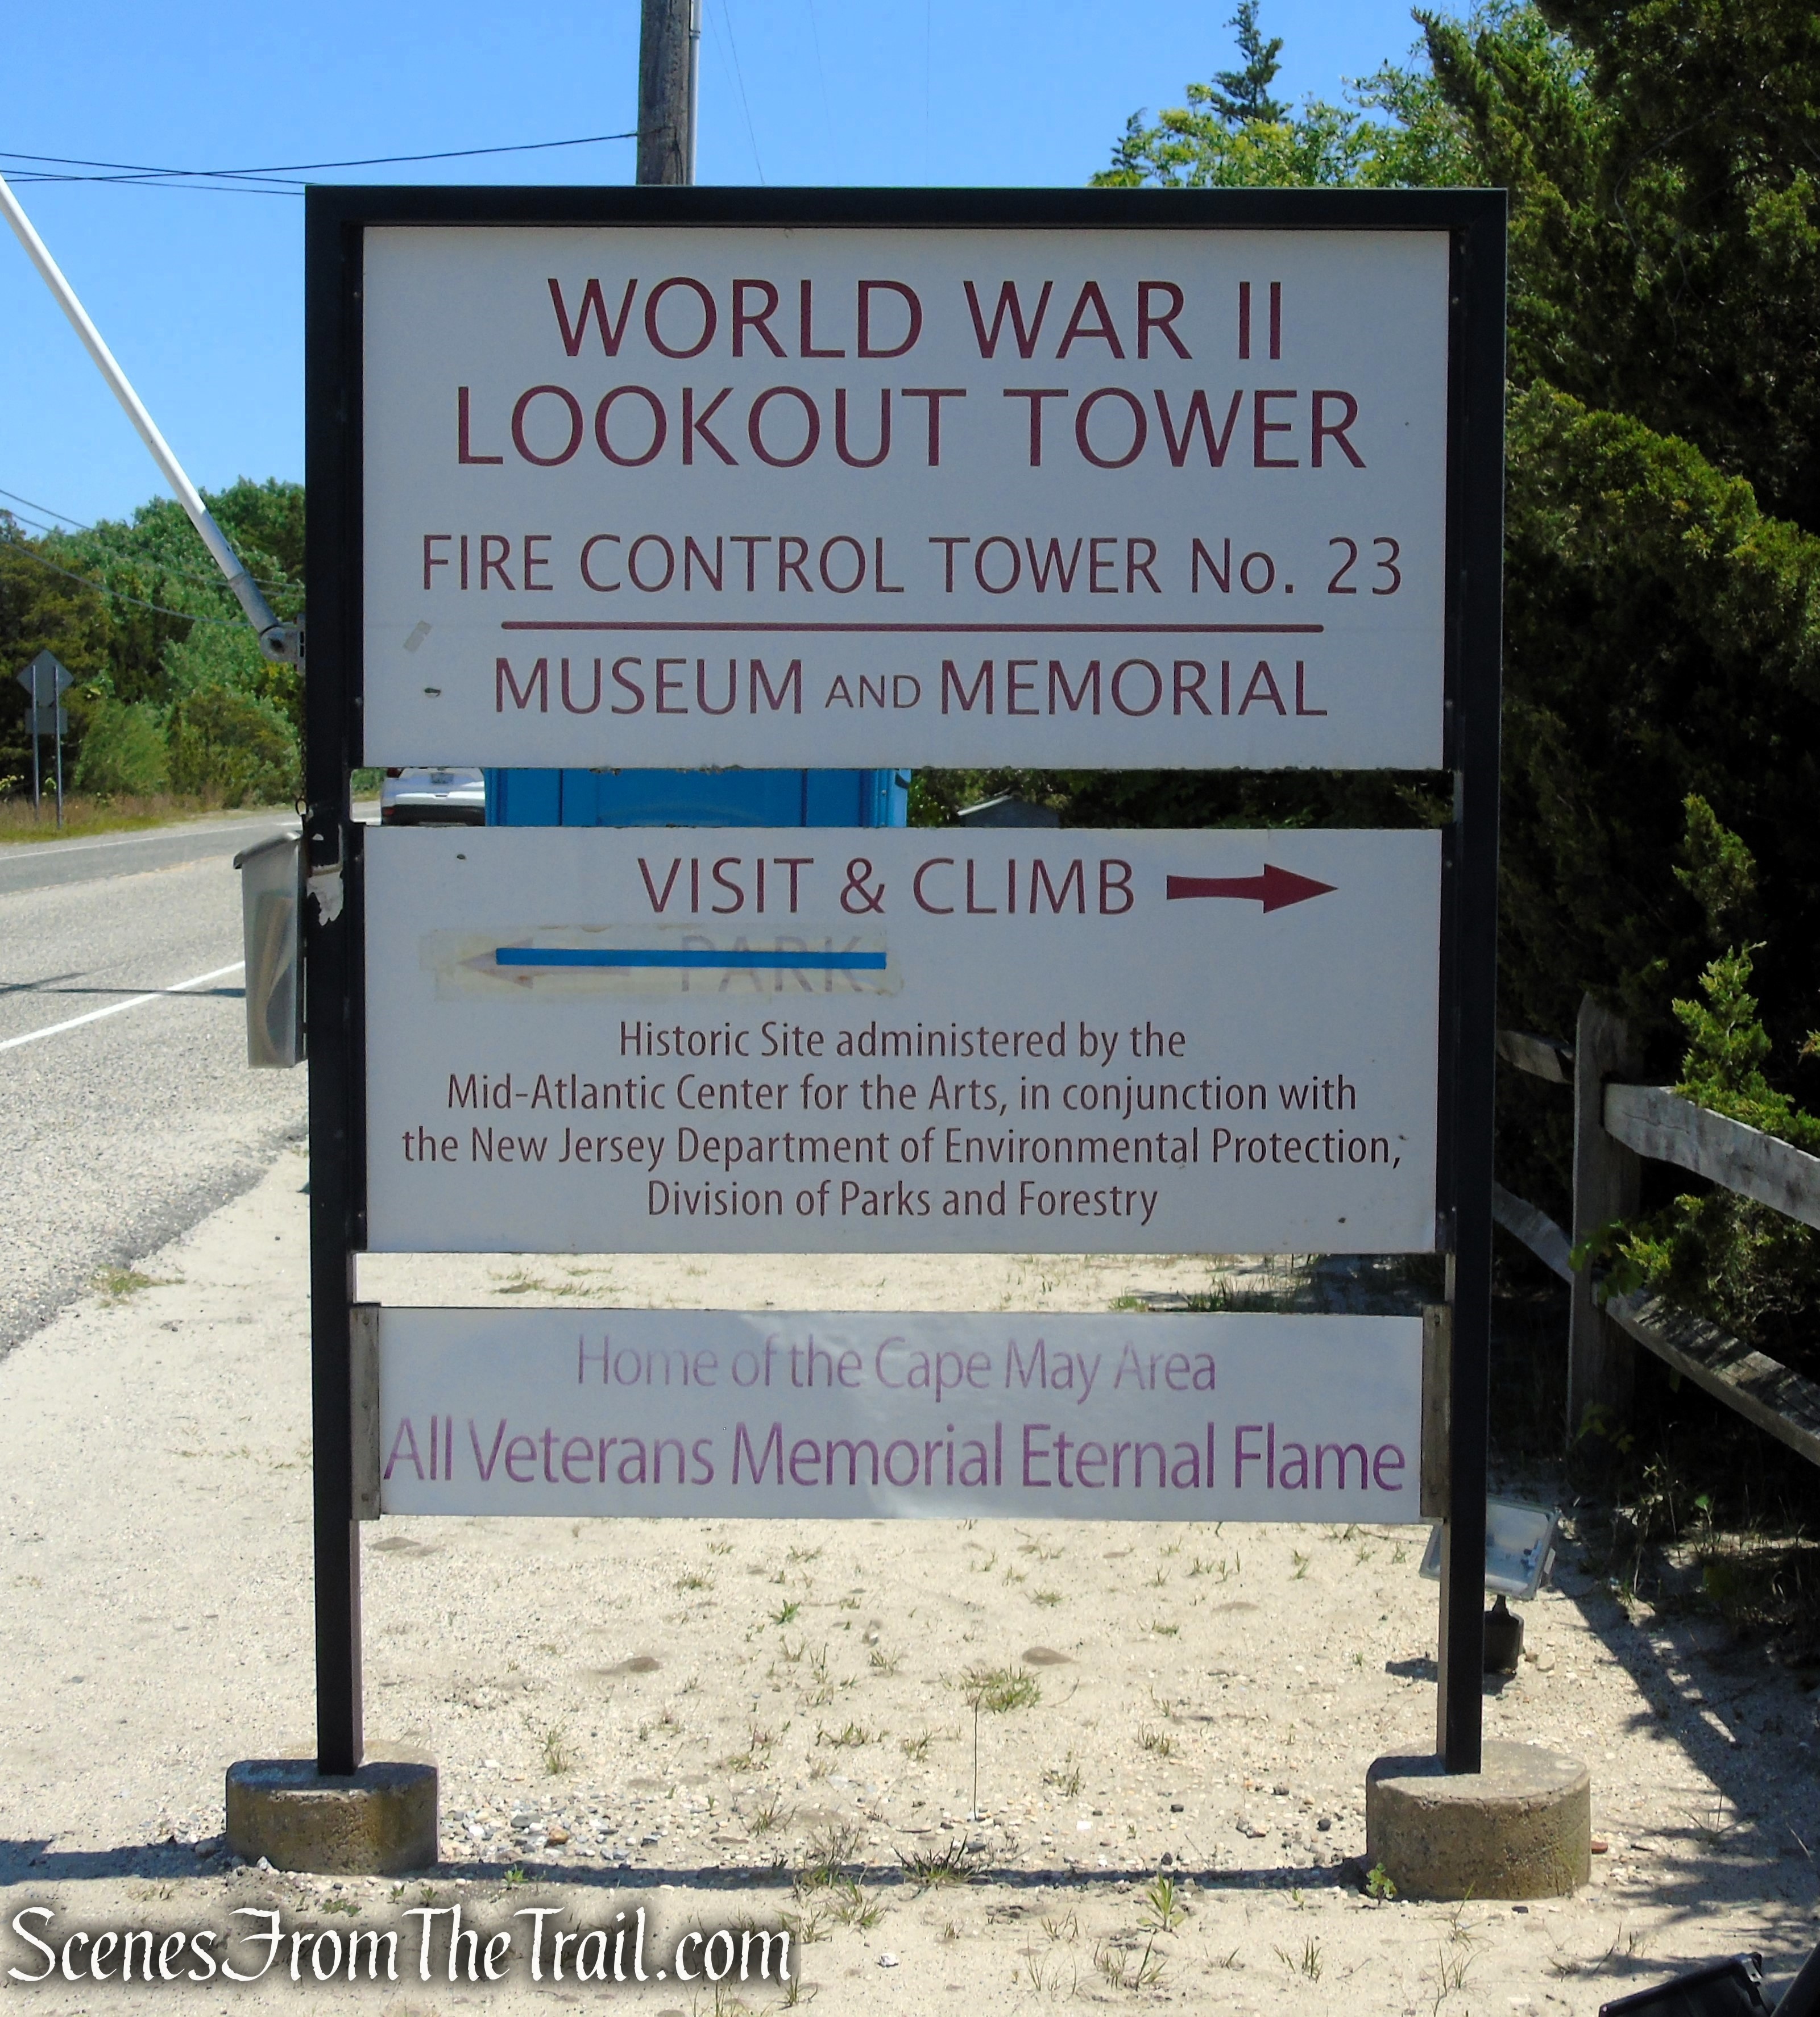
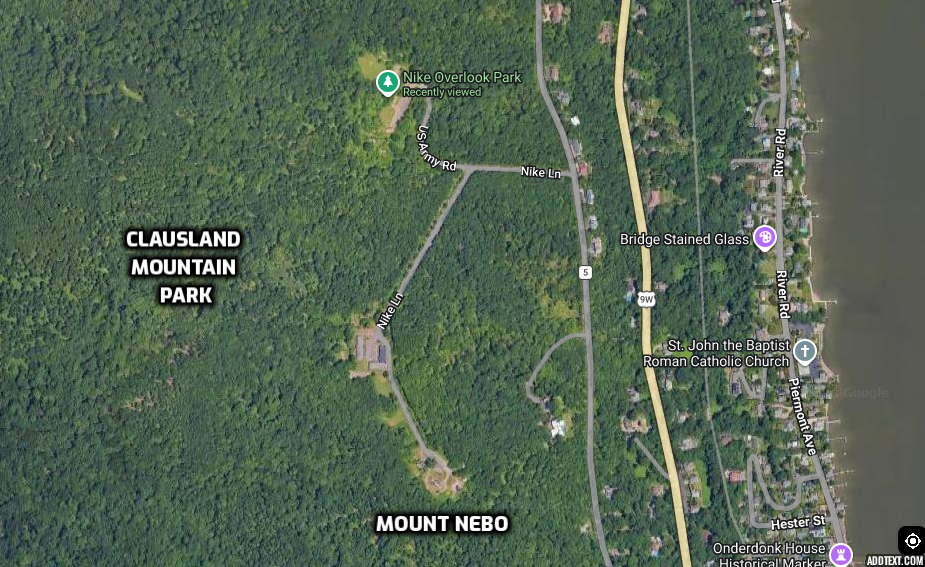
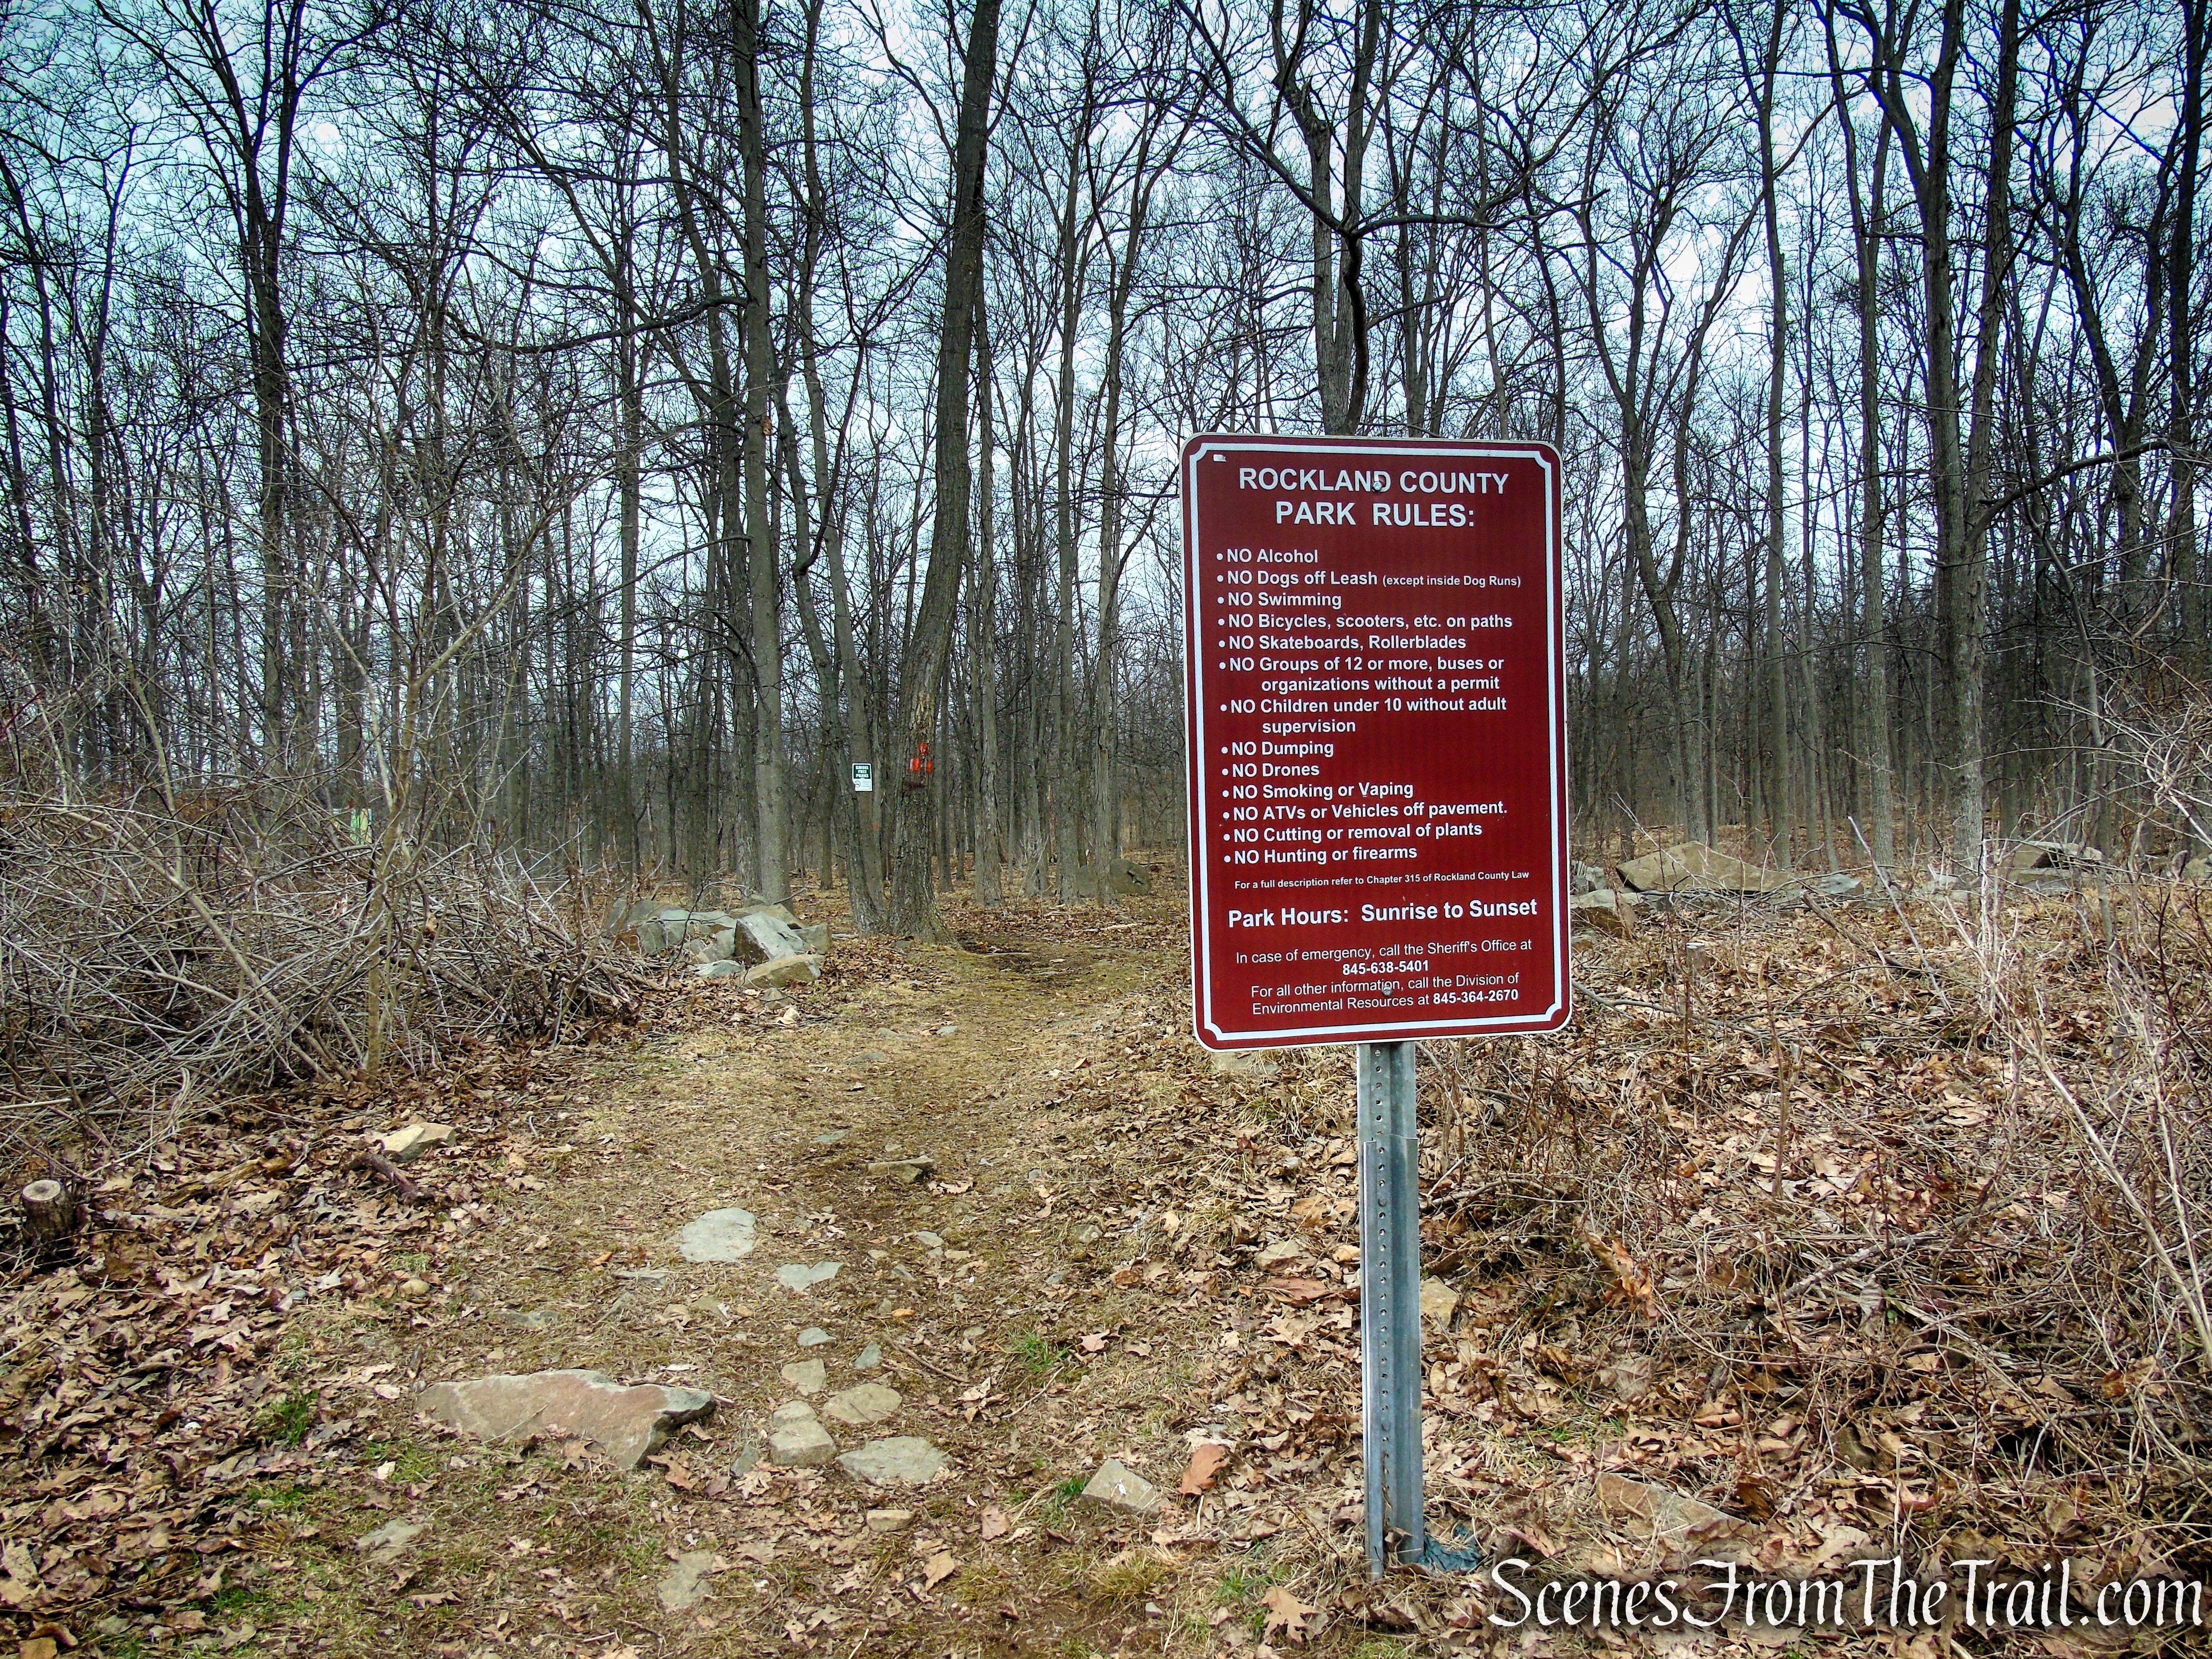
Trailhead parking: 68 Clausland Mountain Rd, Blauvelt, NY 10913
Paved parking lot – No restrooms on site
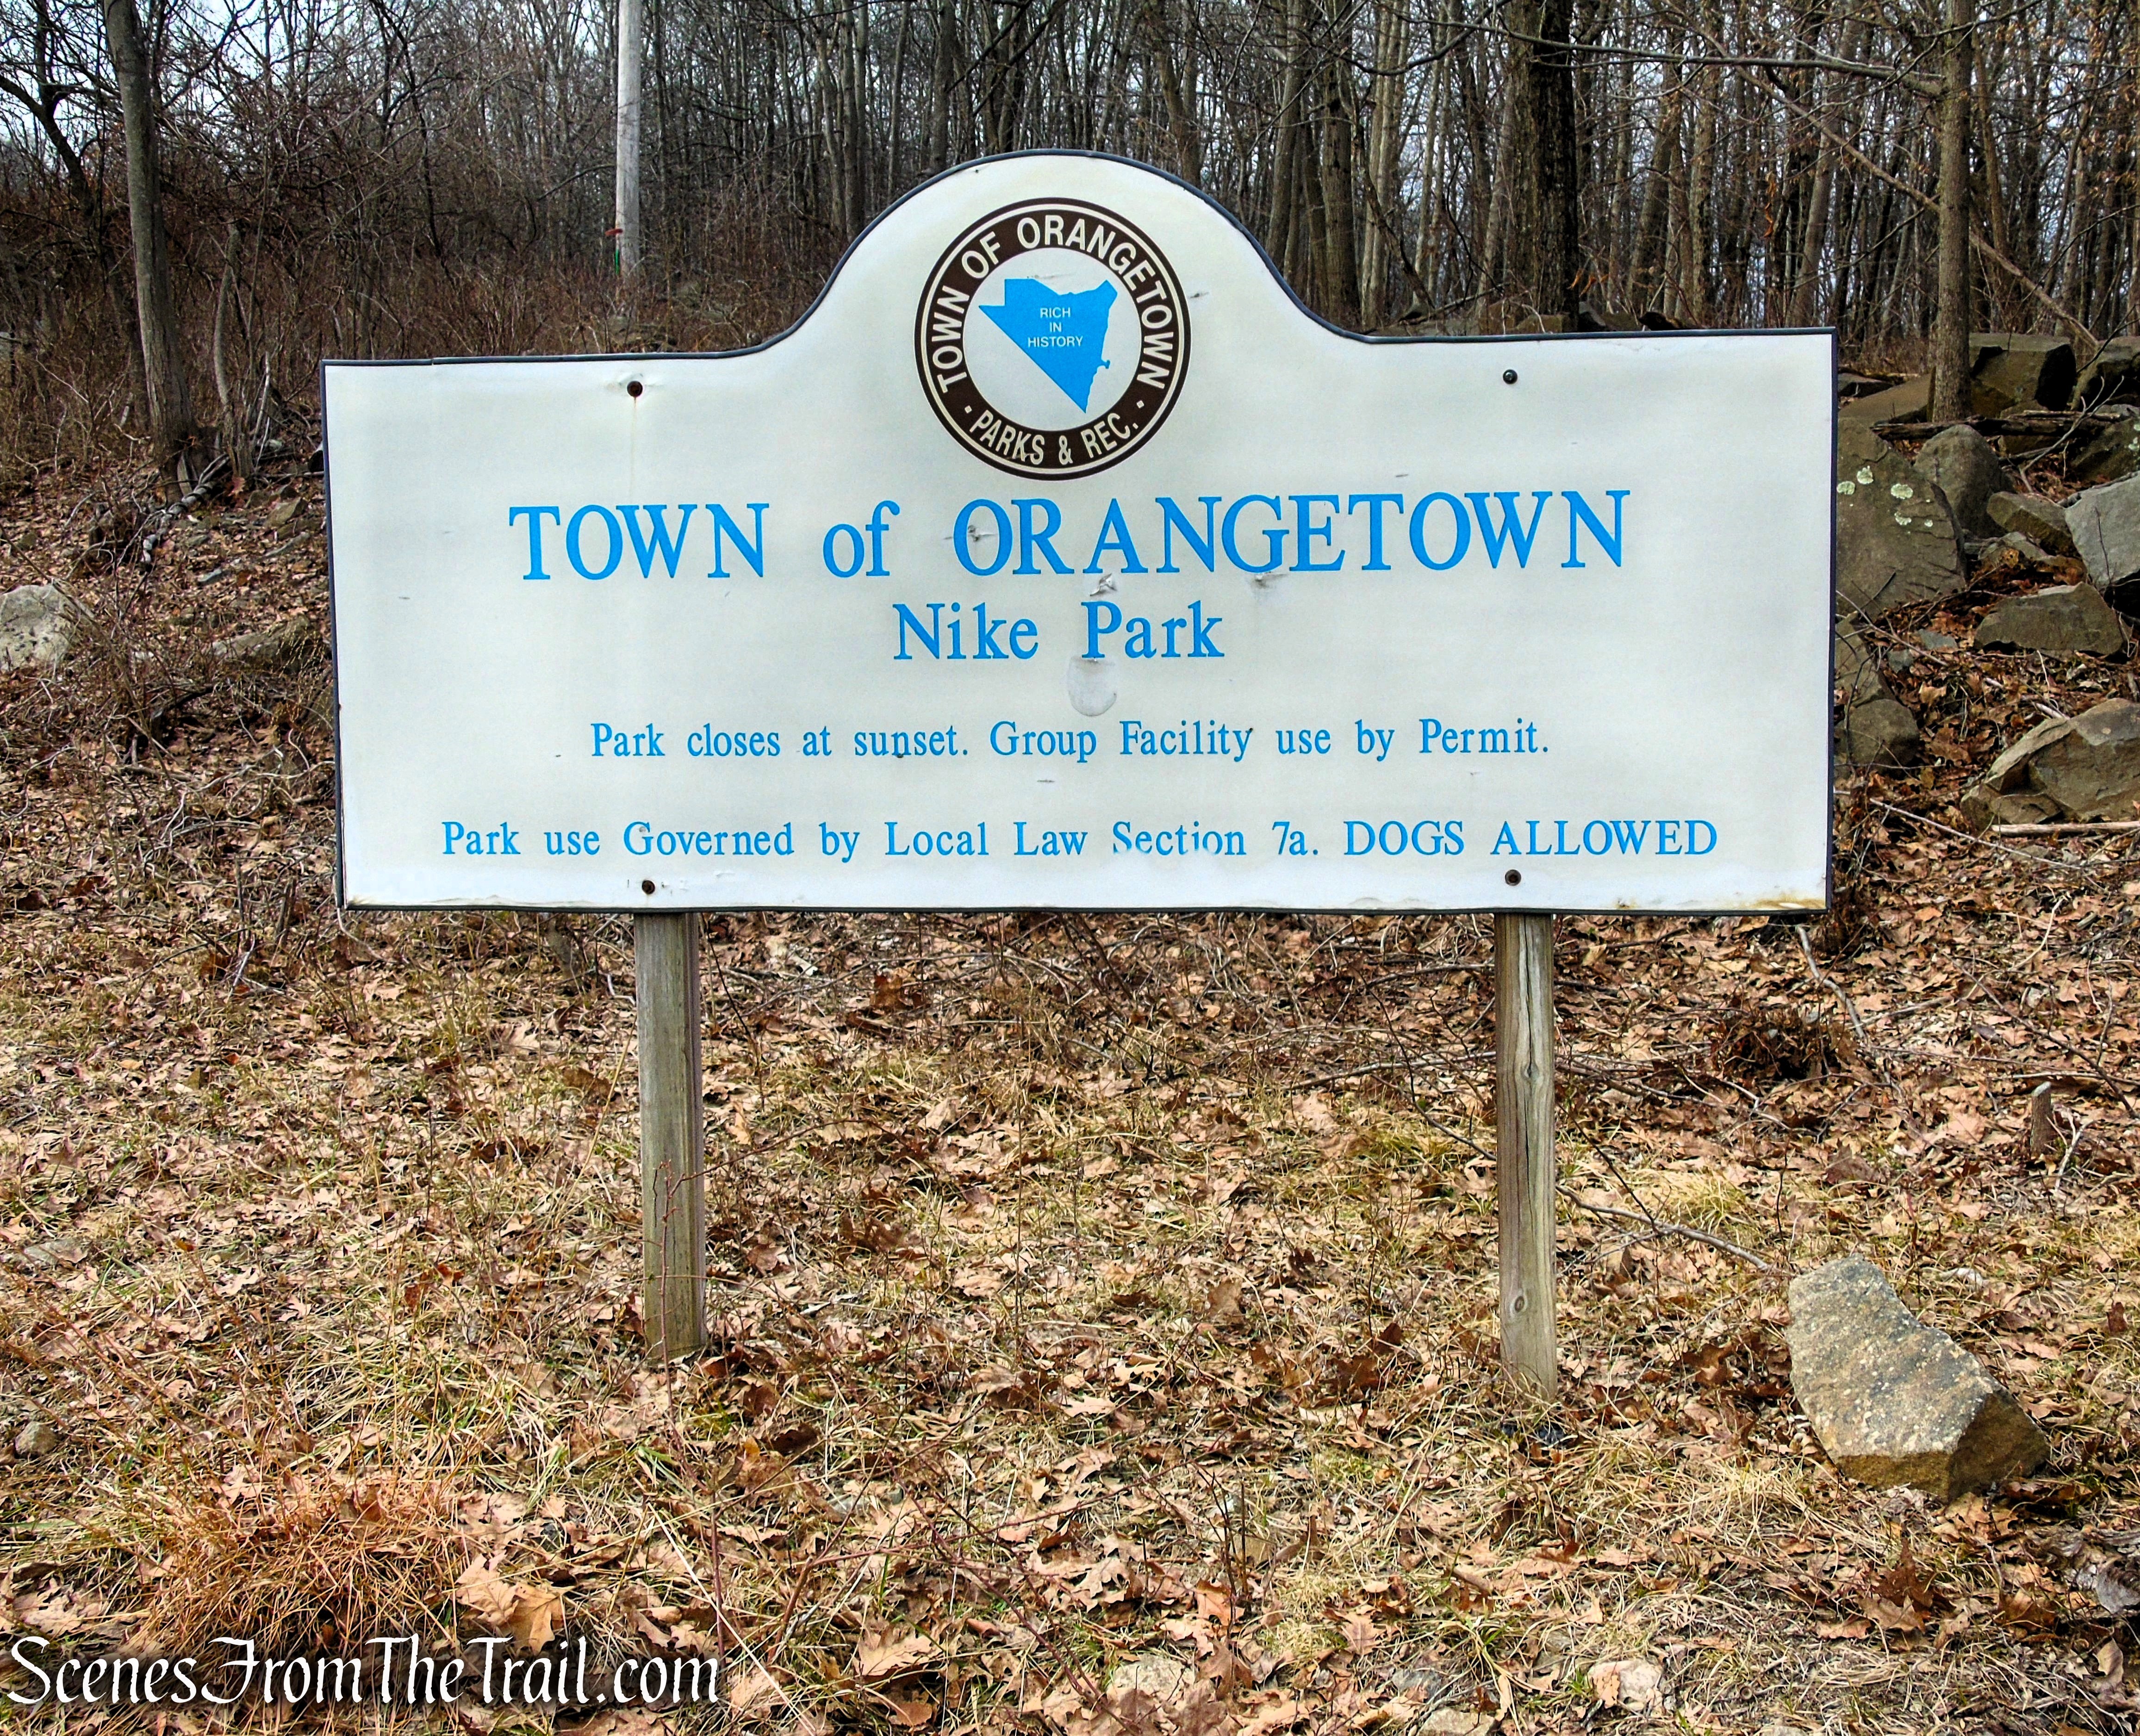
Hours: Open Daily, Sunrise – Sunset
Overview:
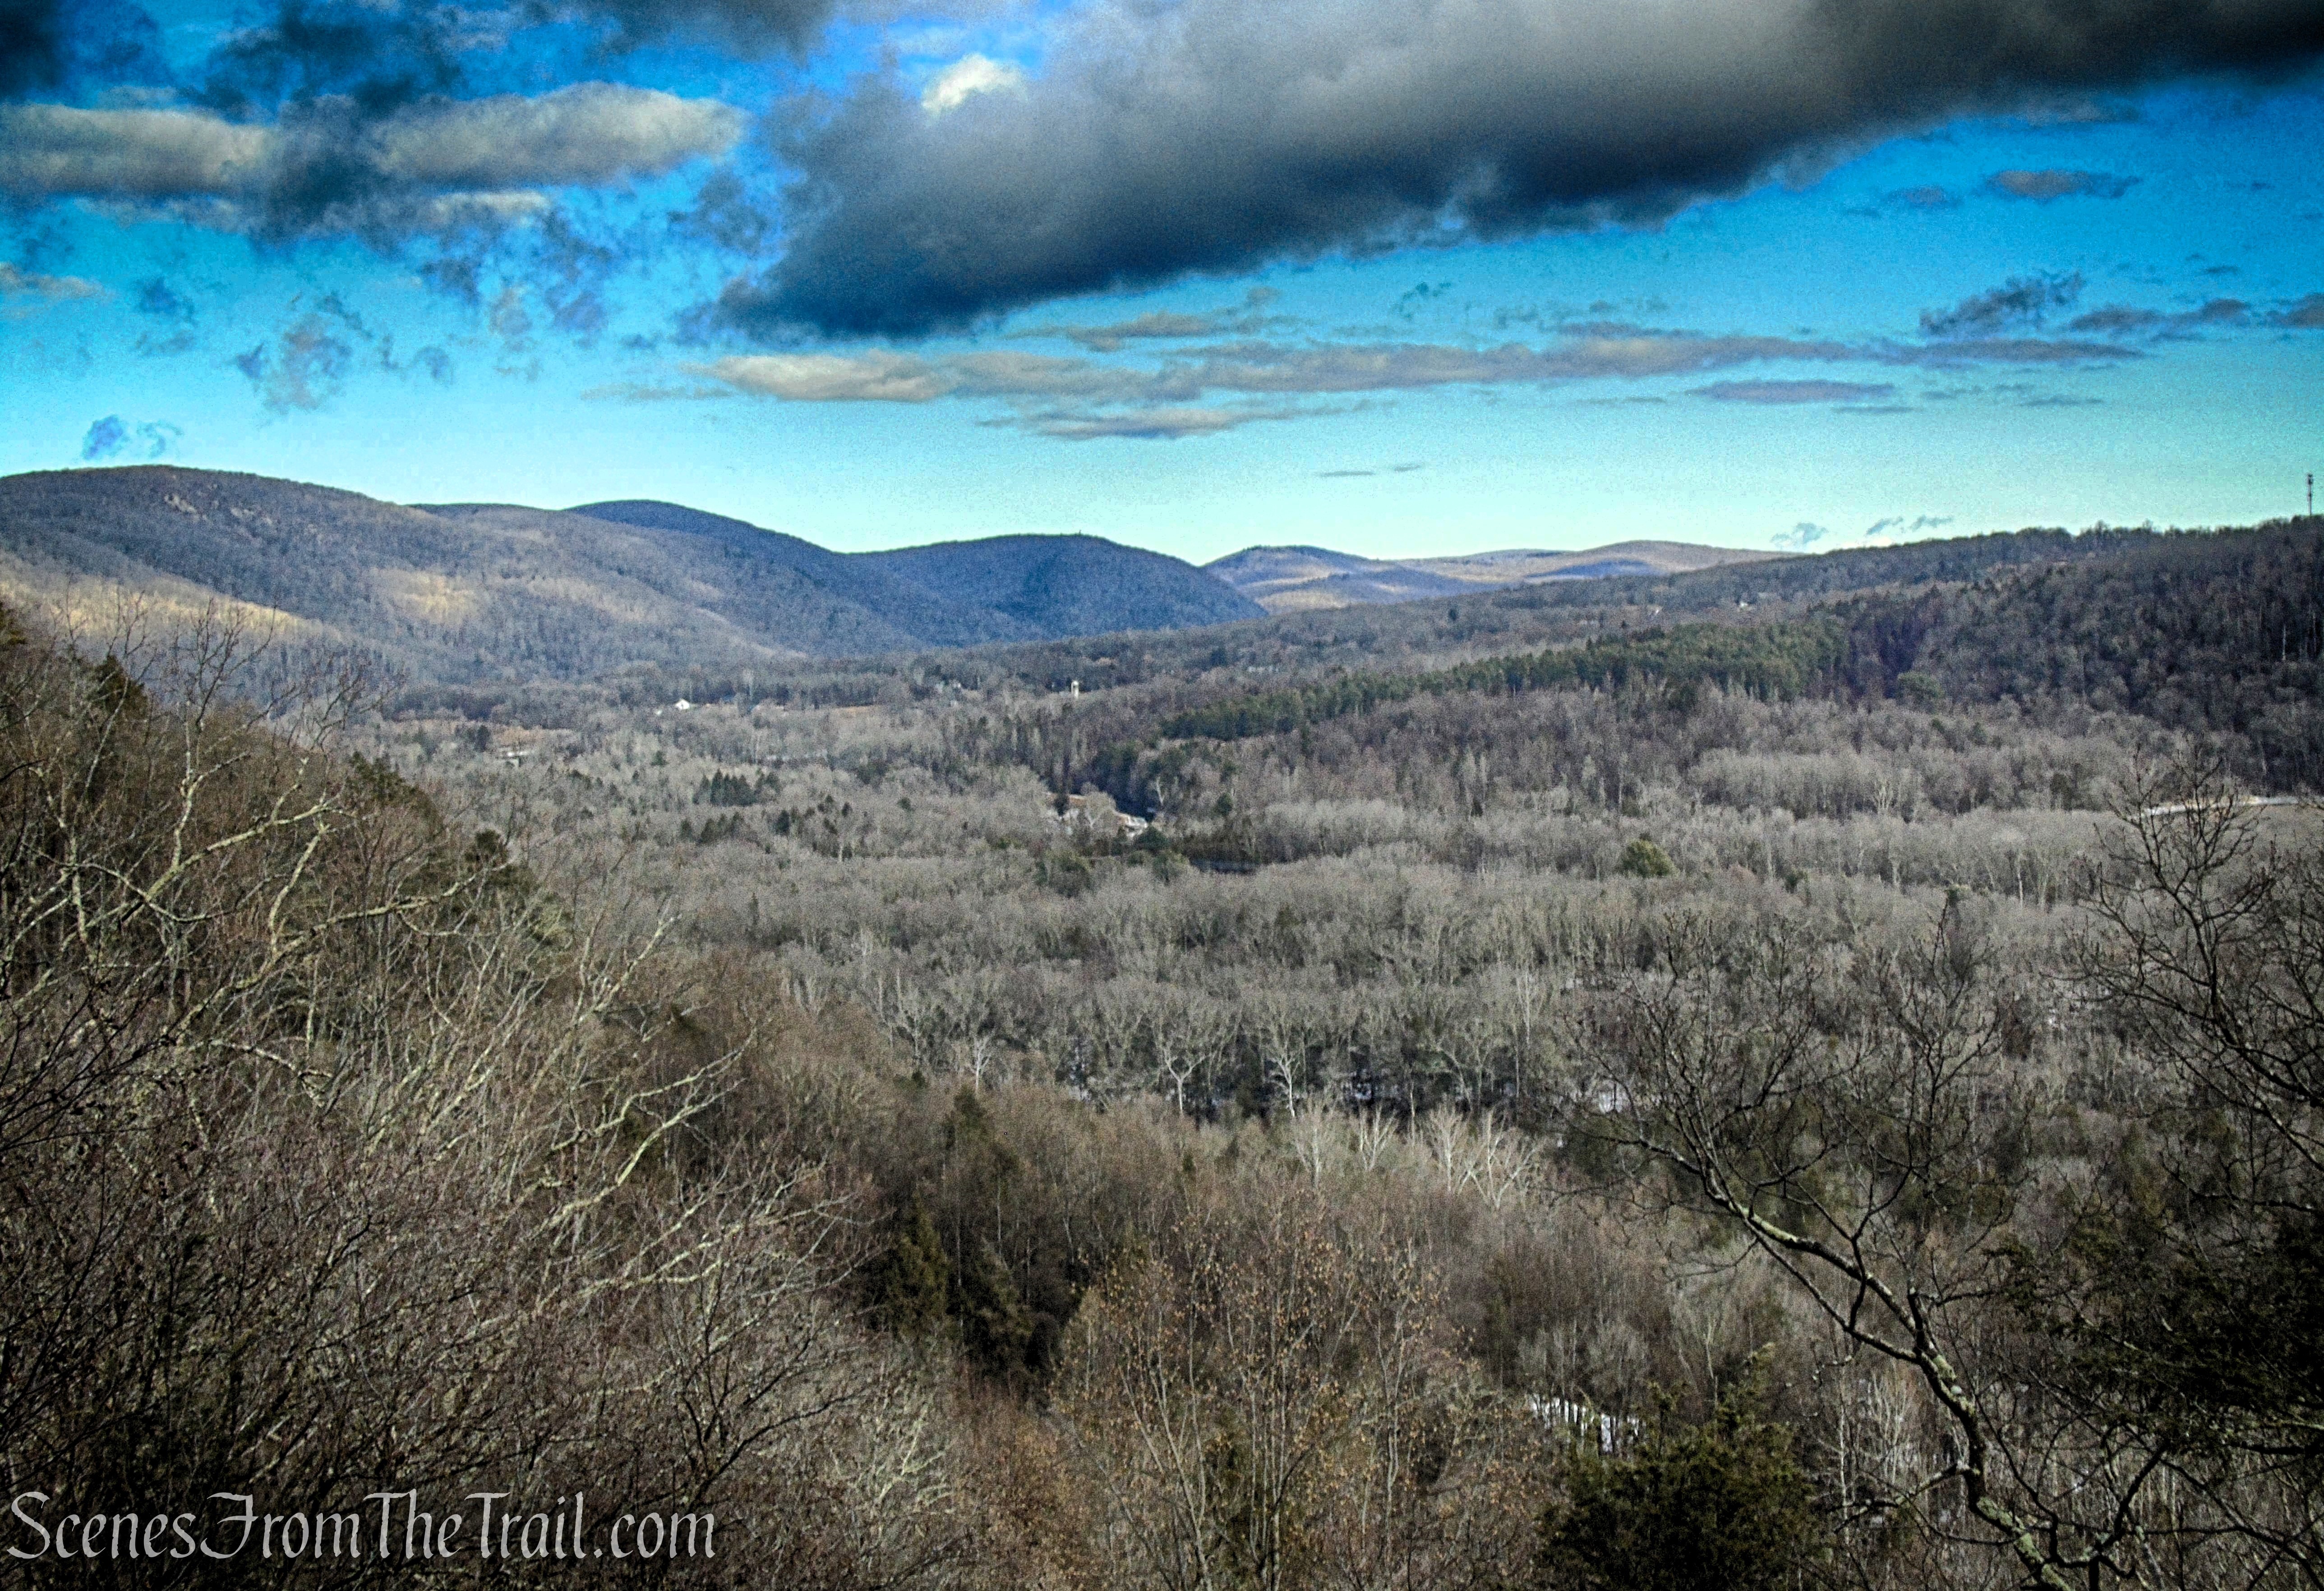
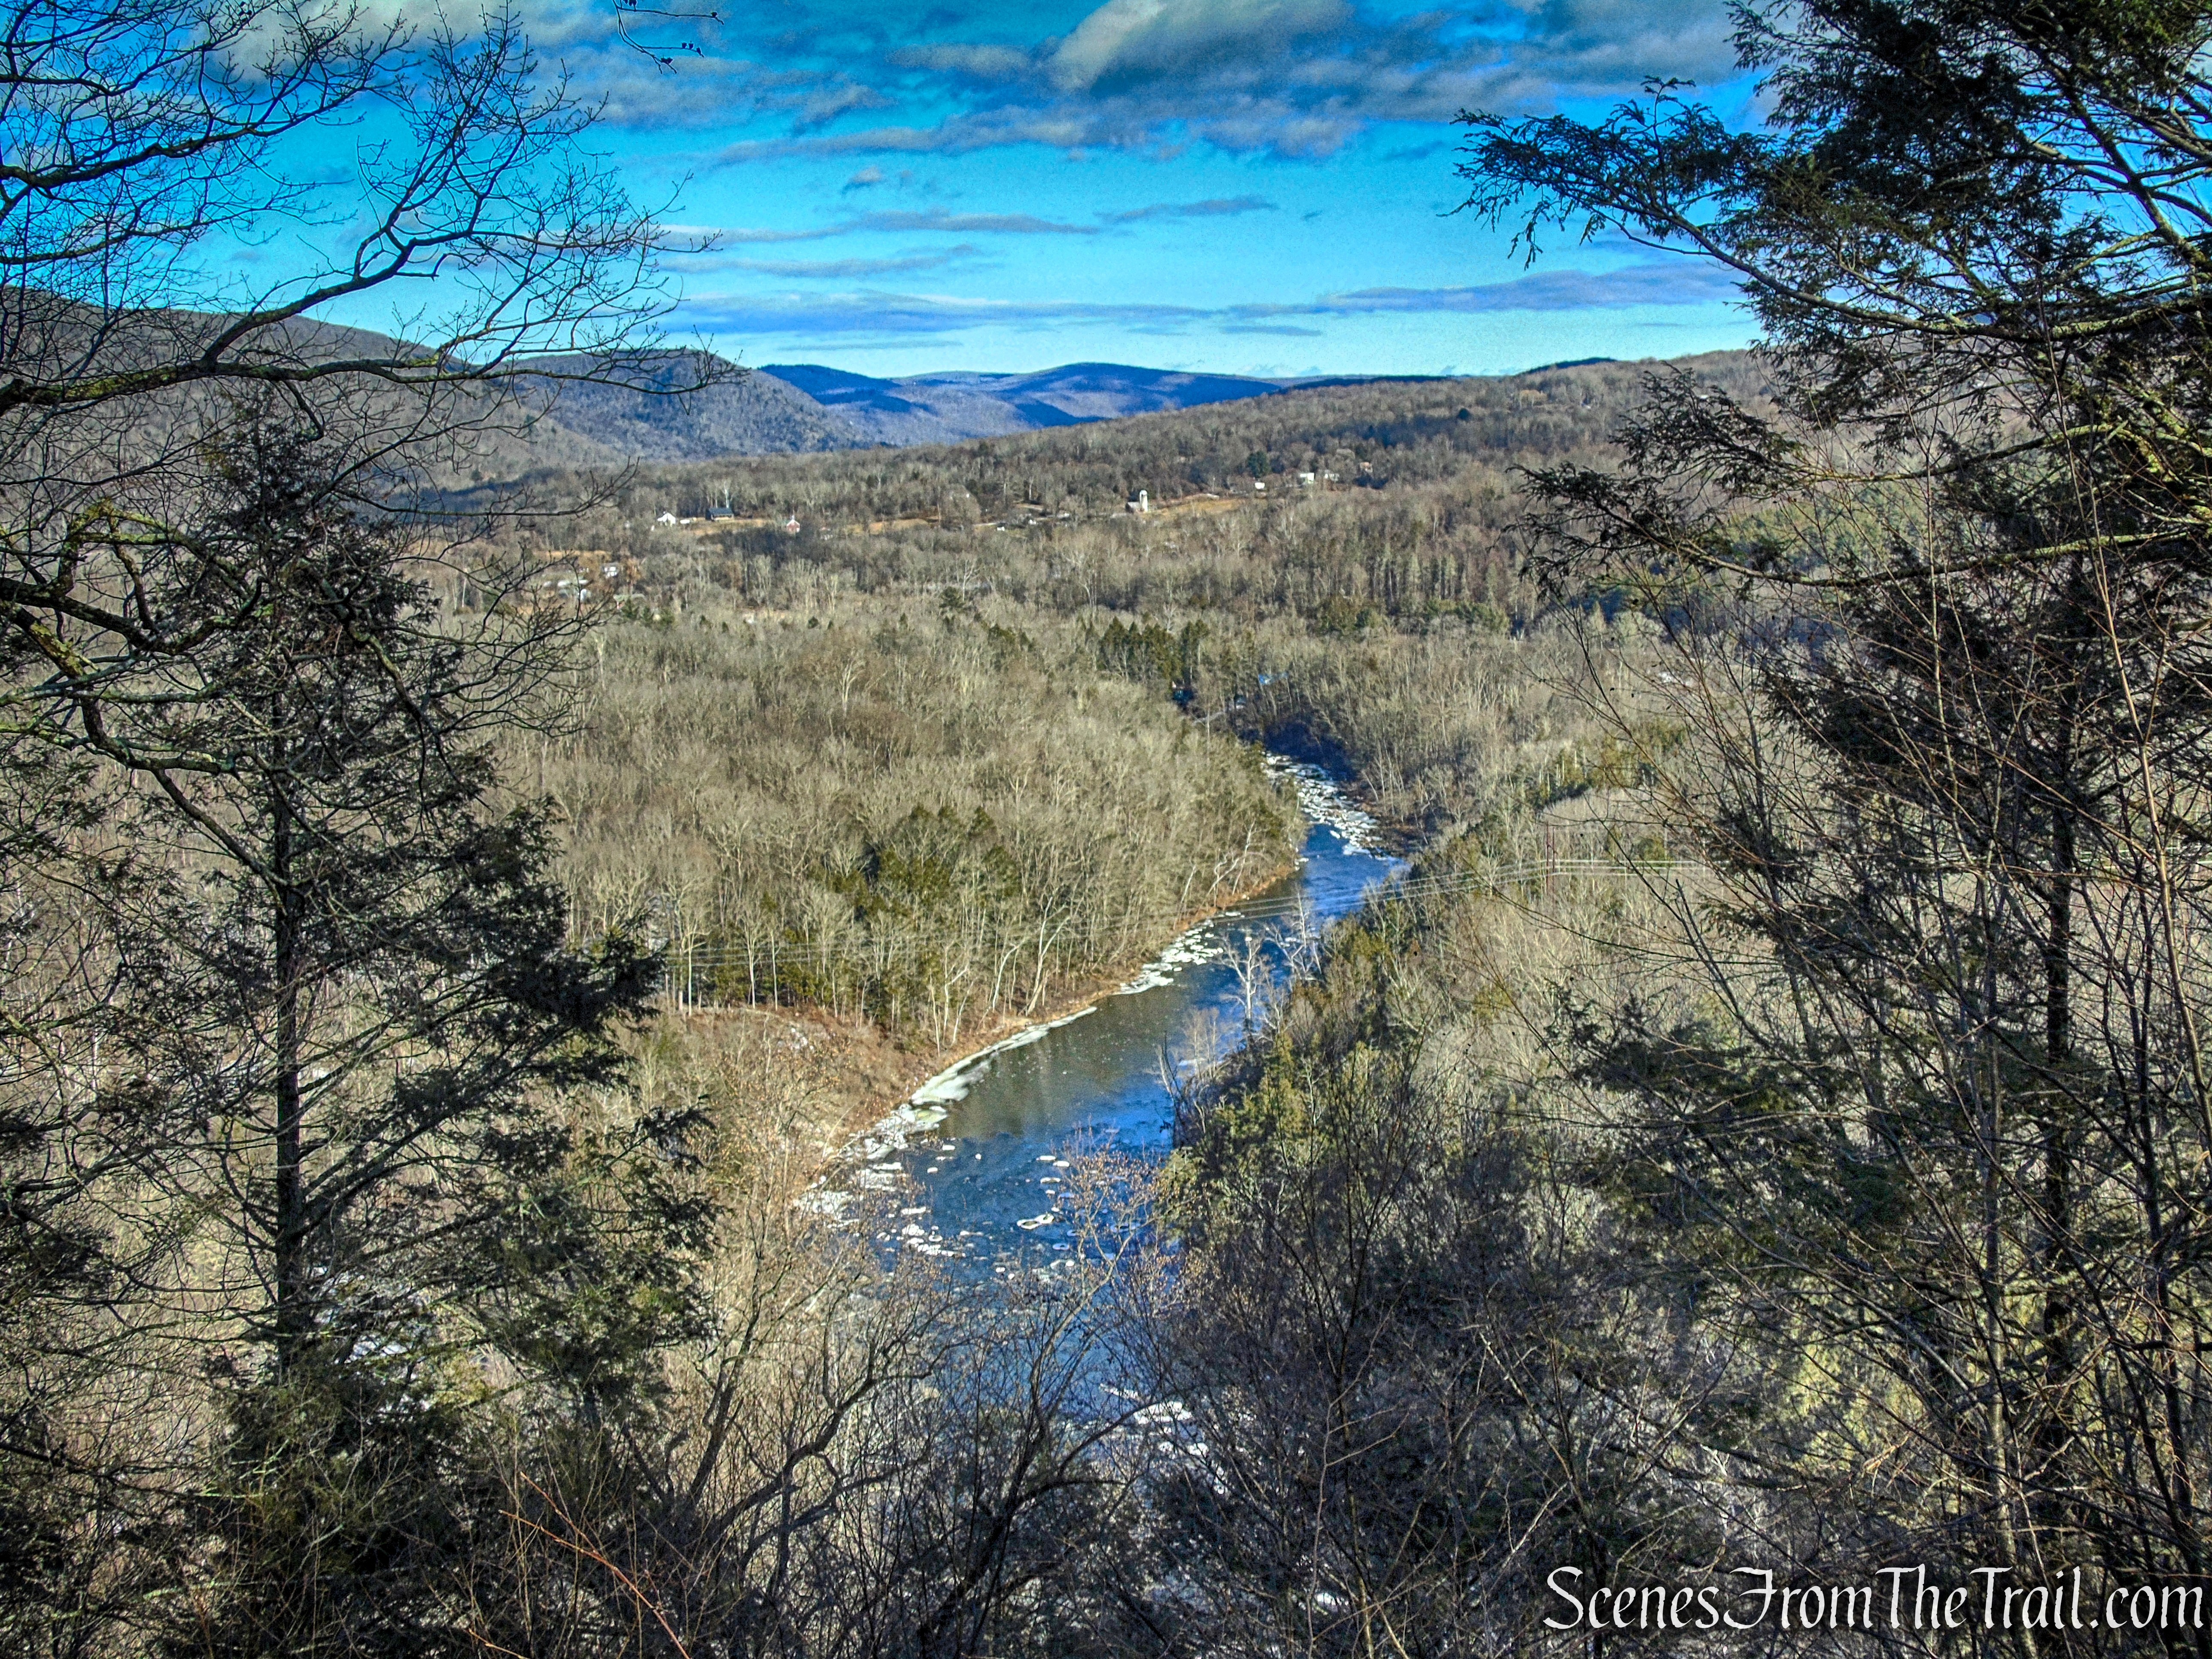
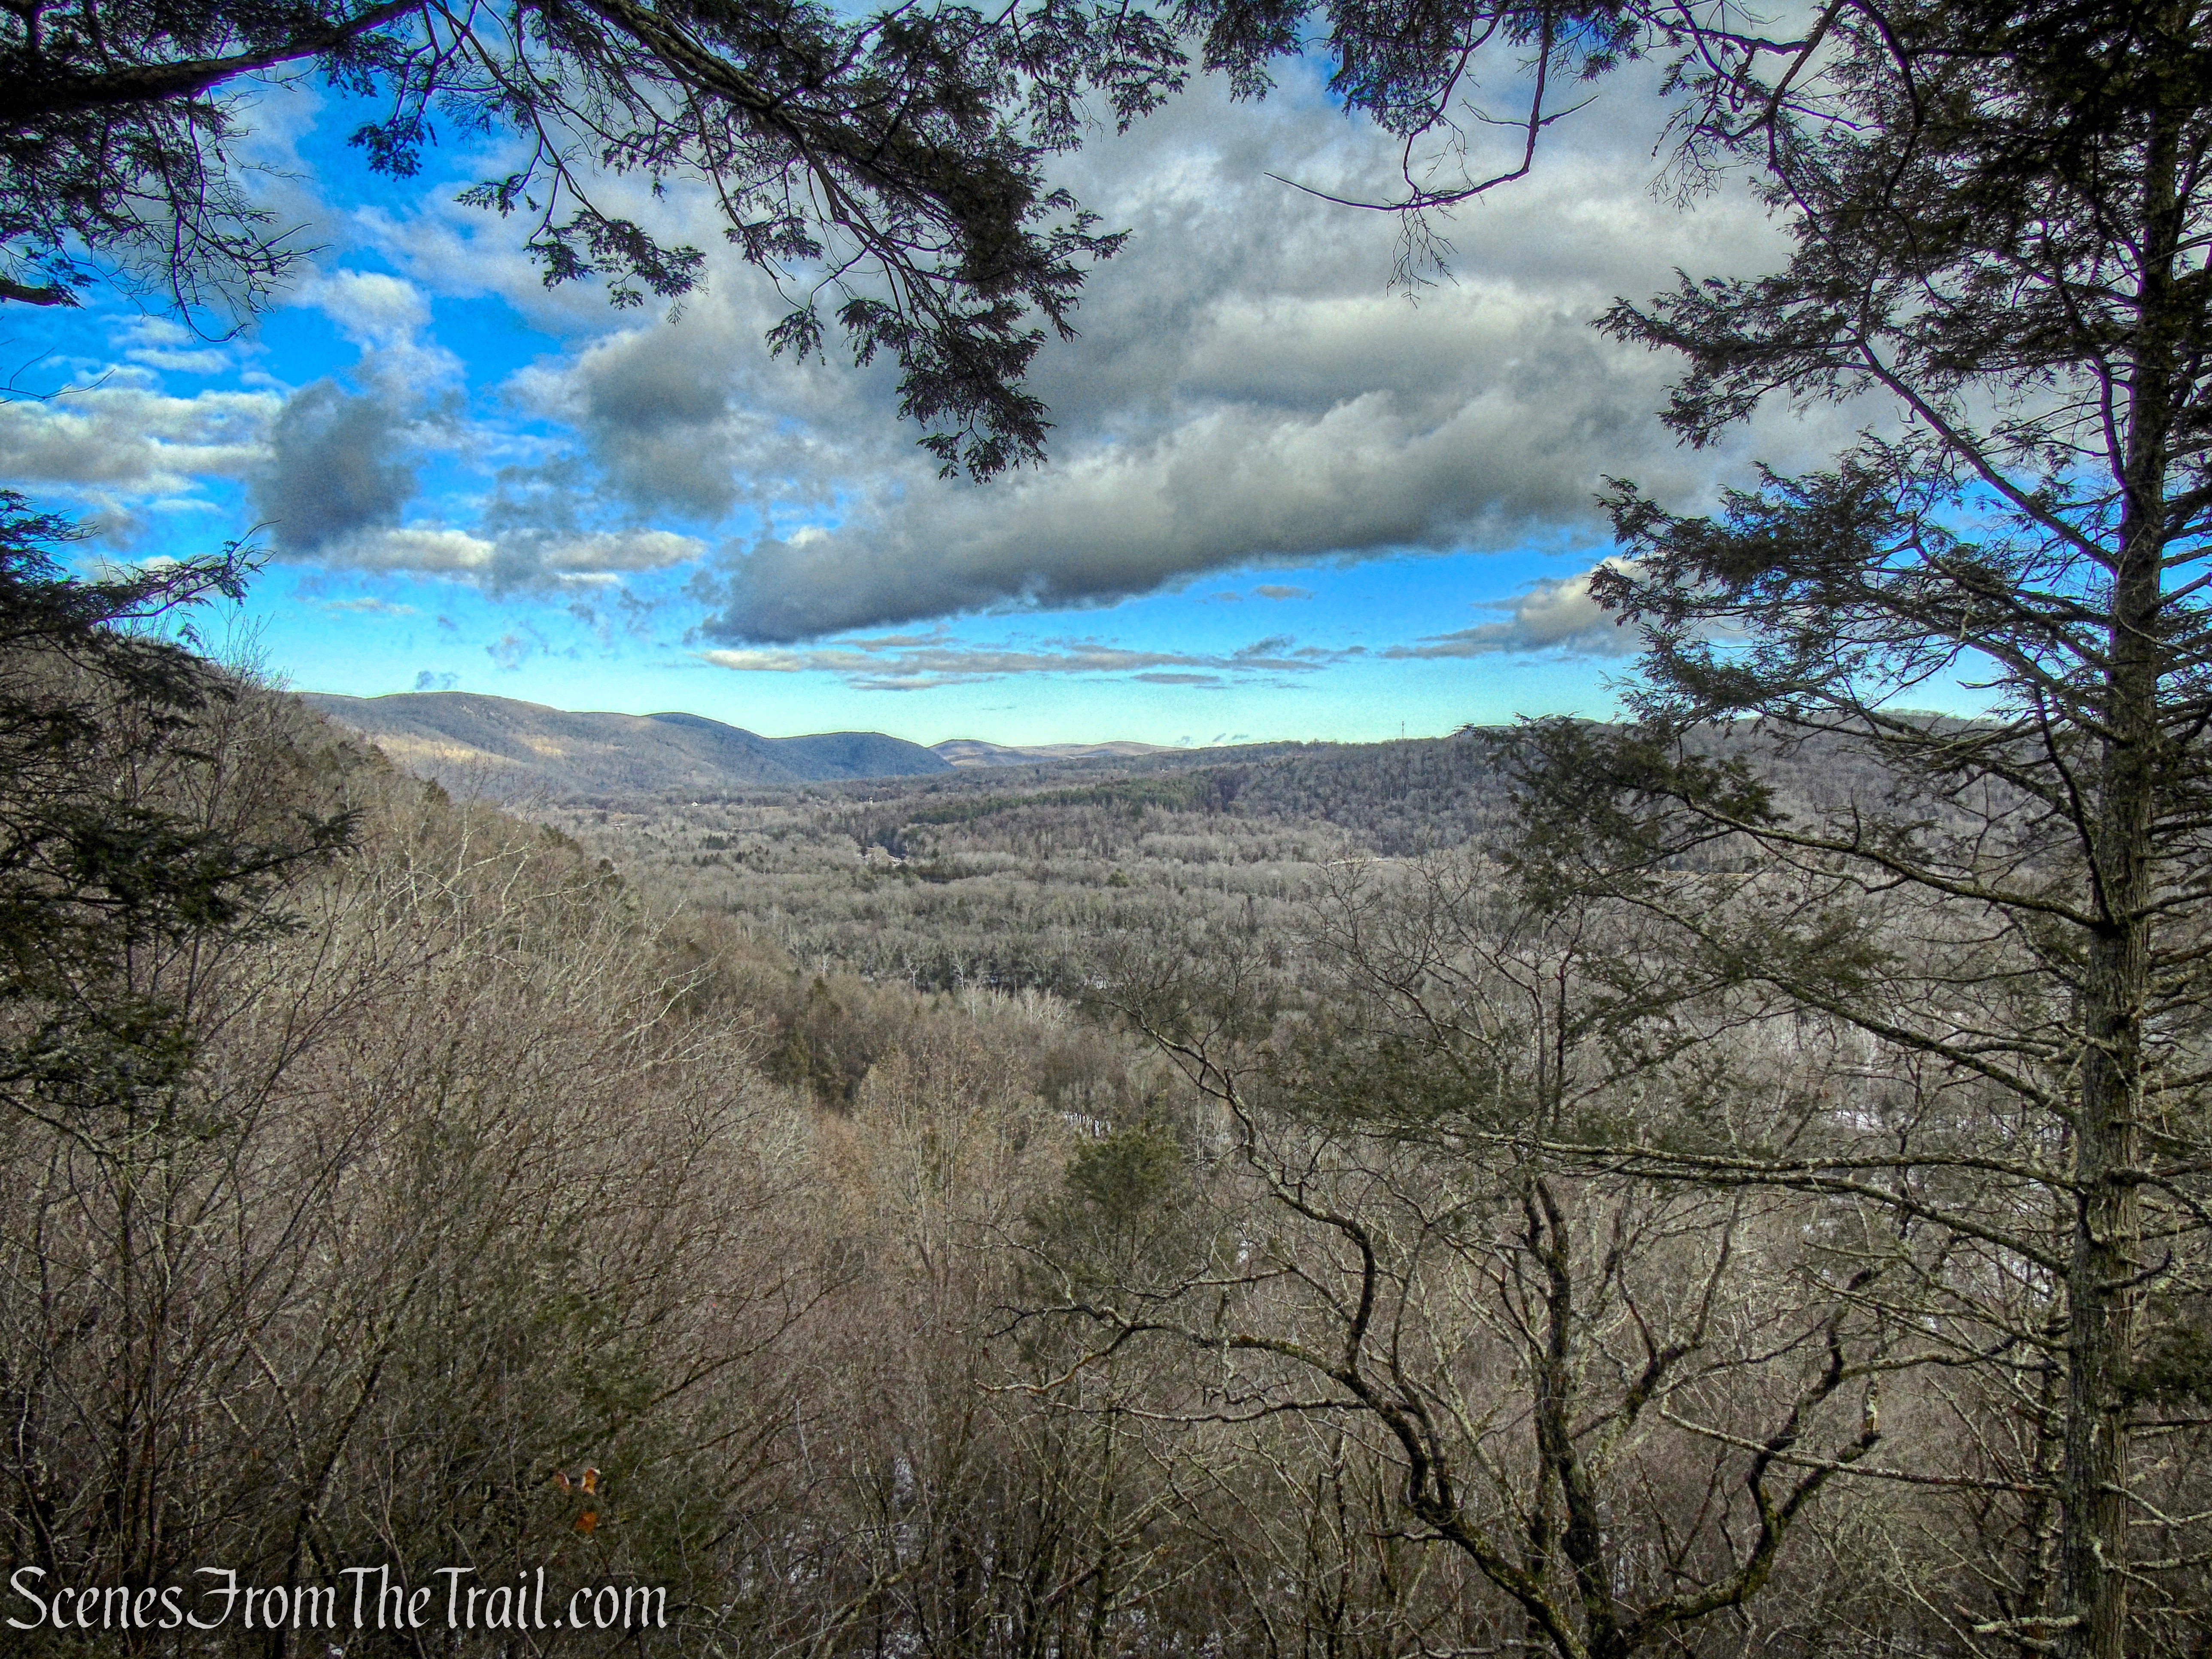
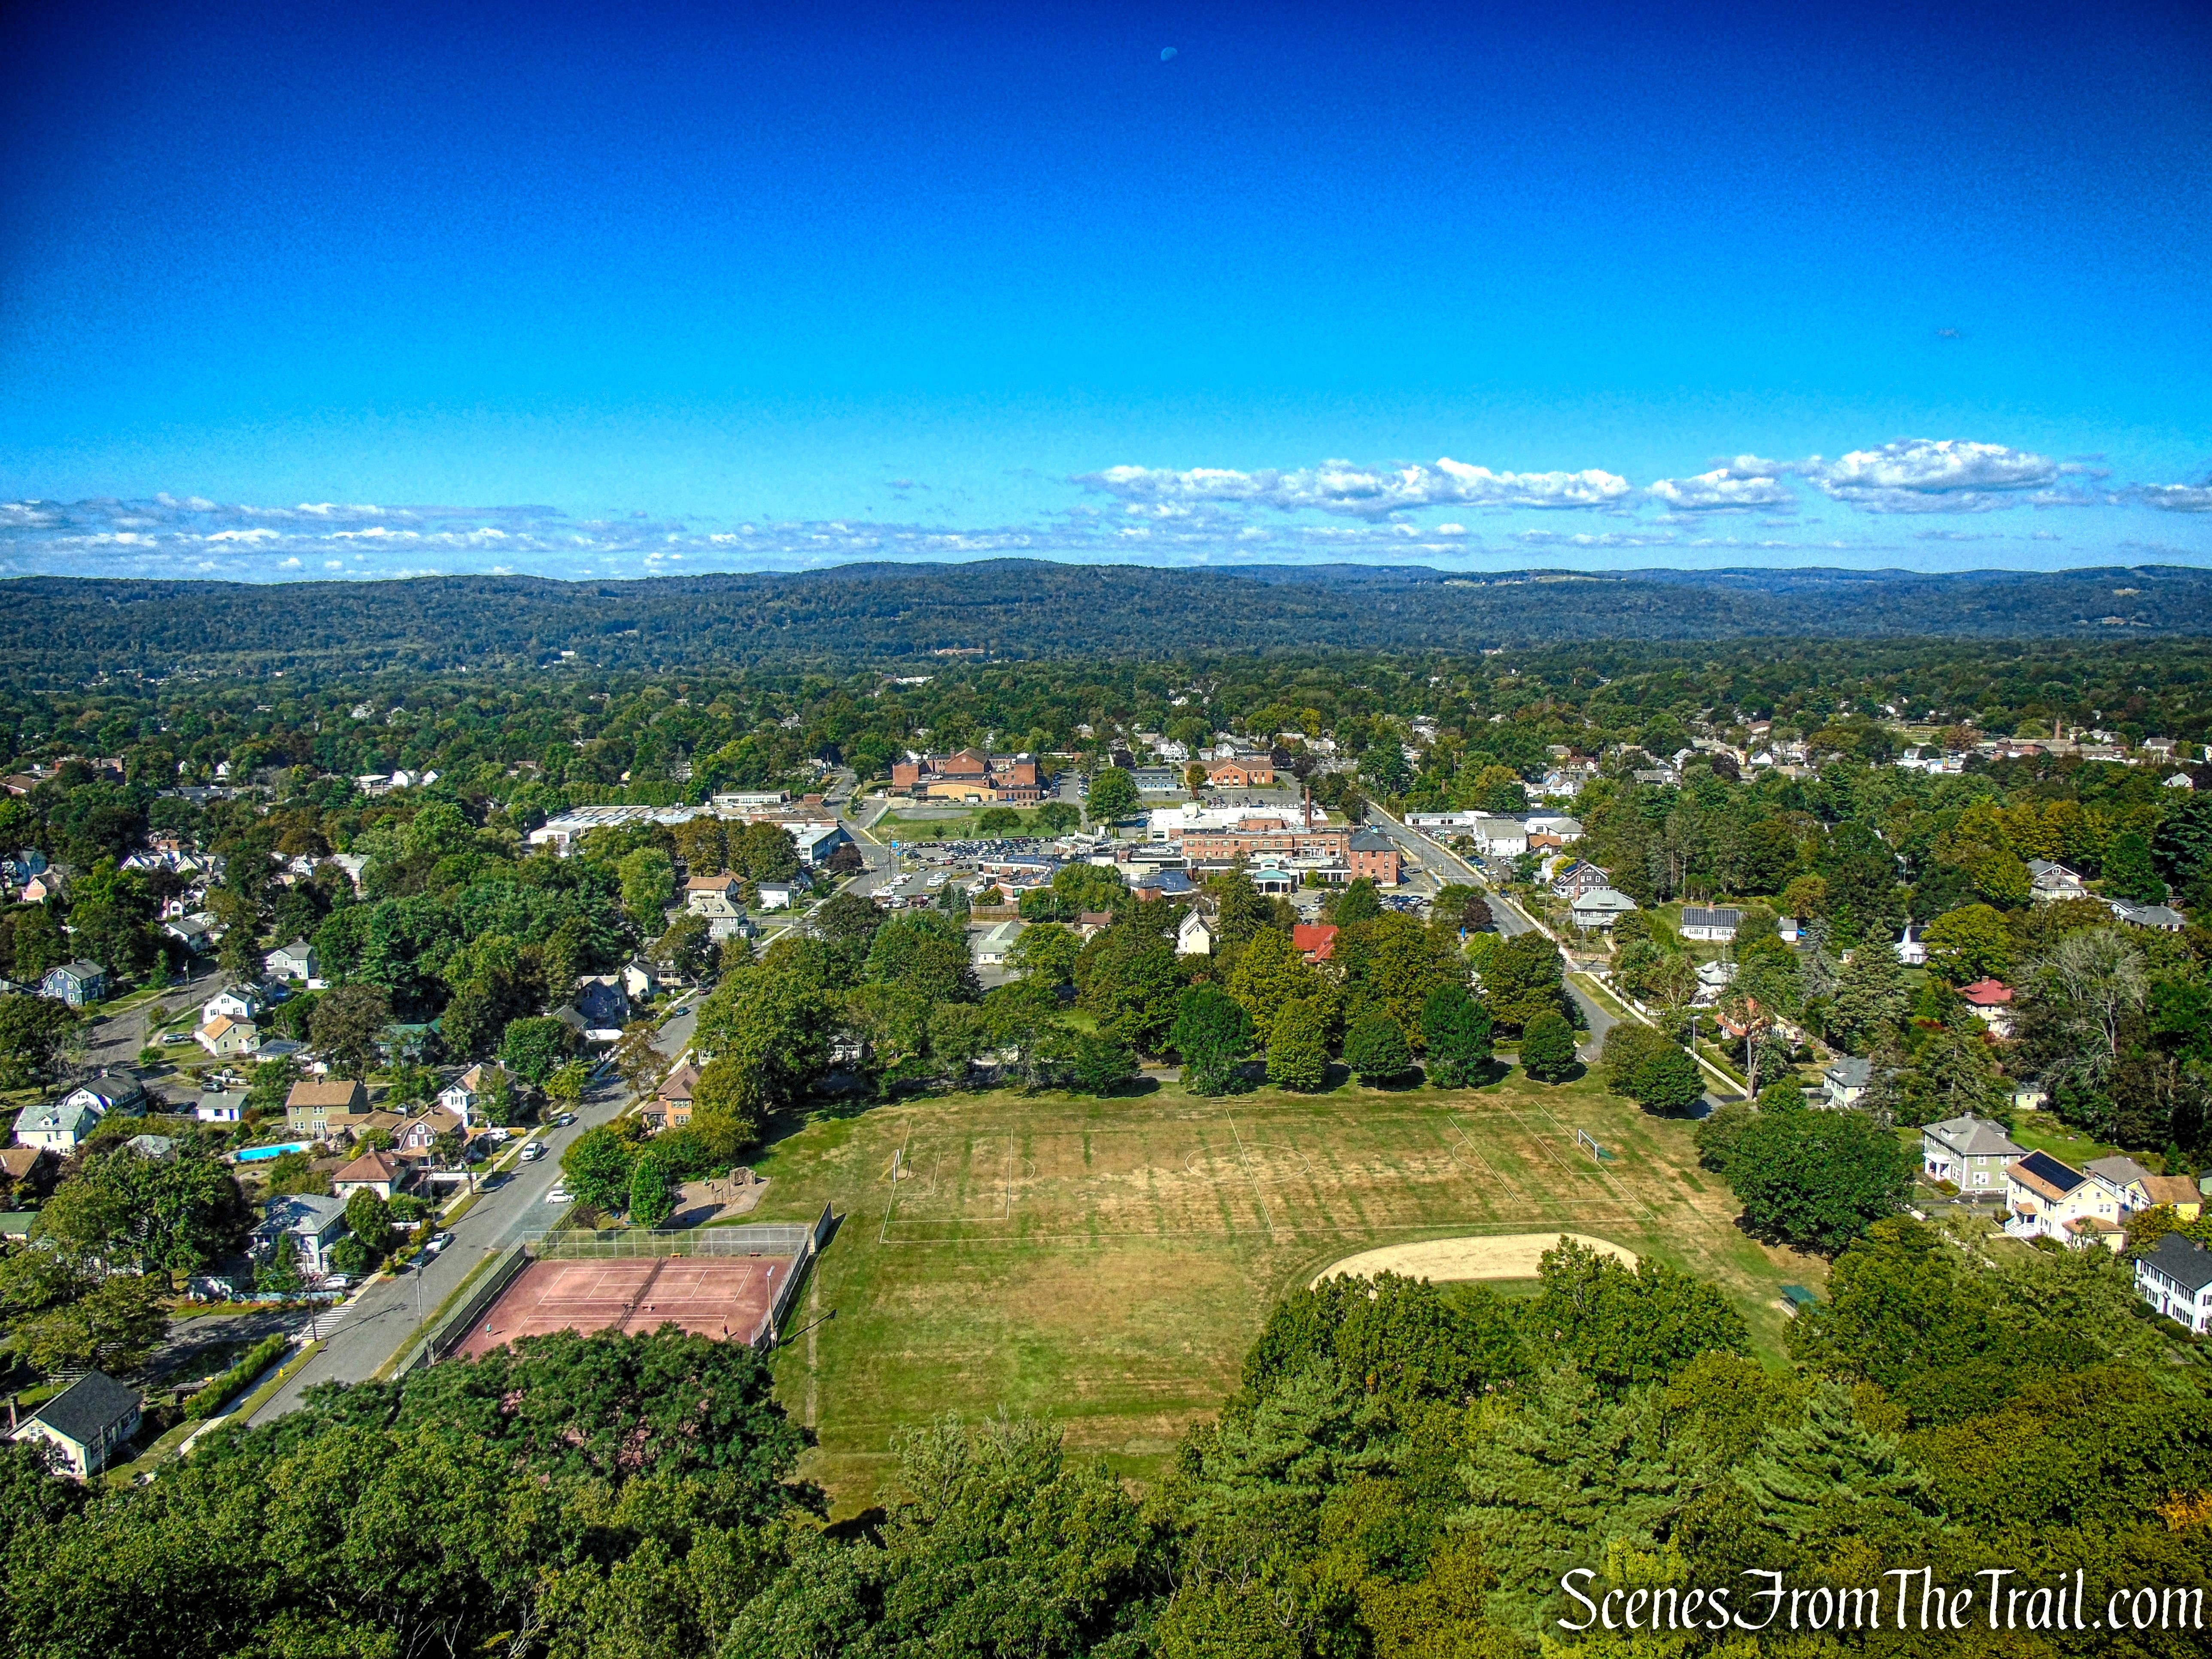
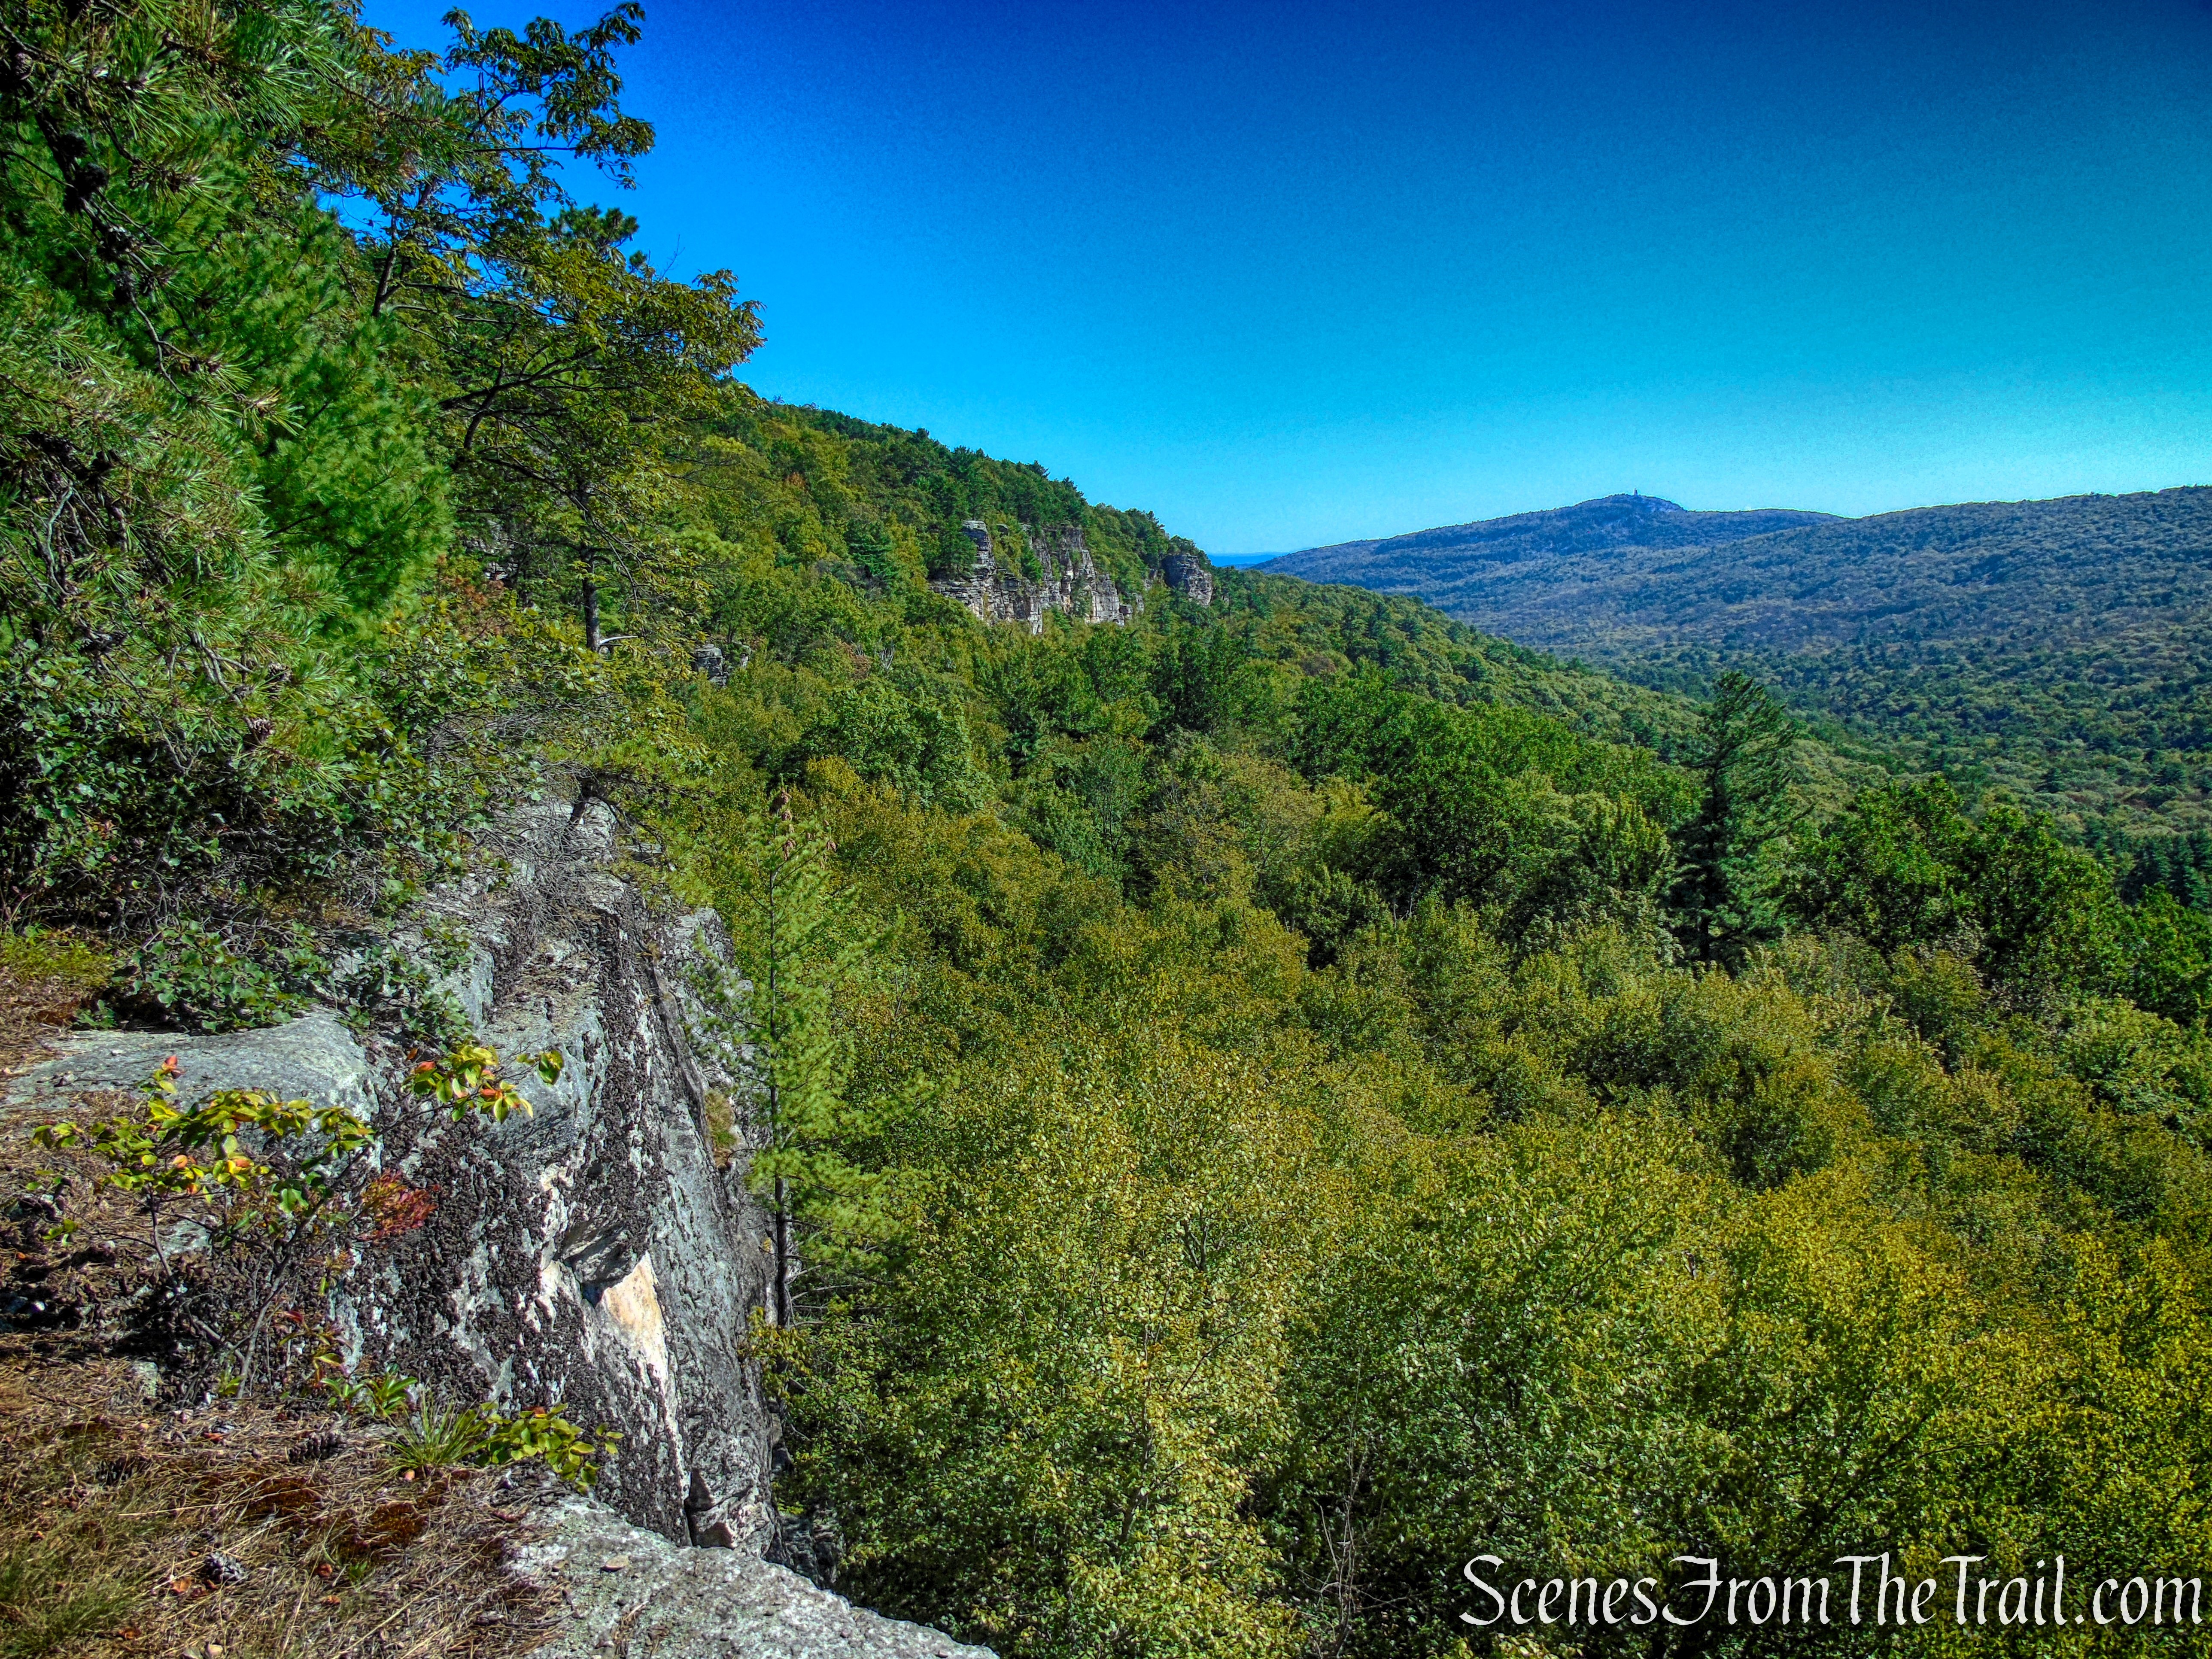
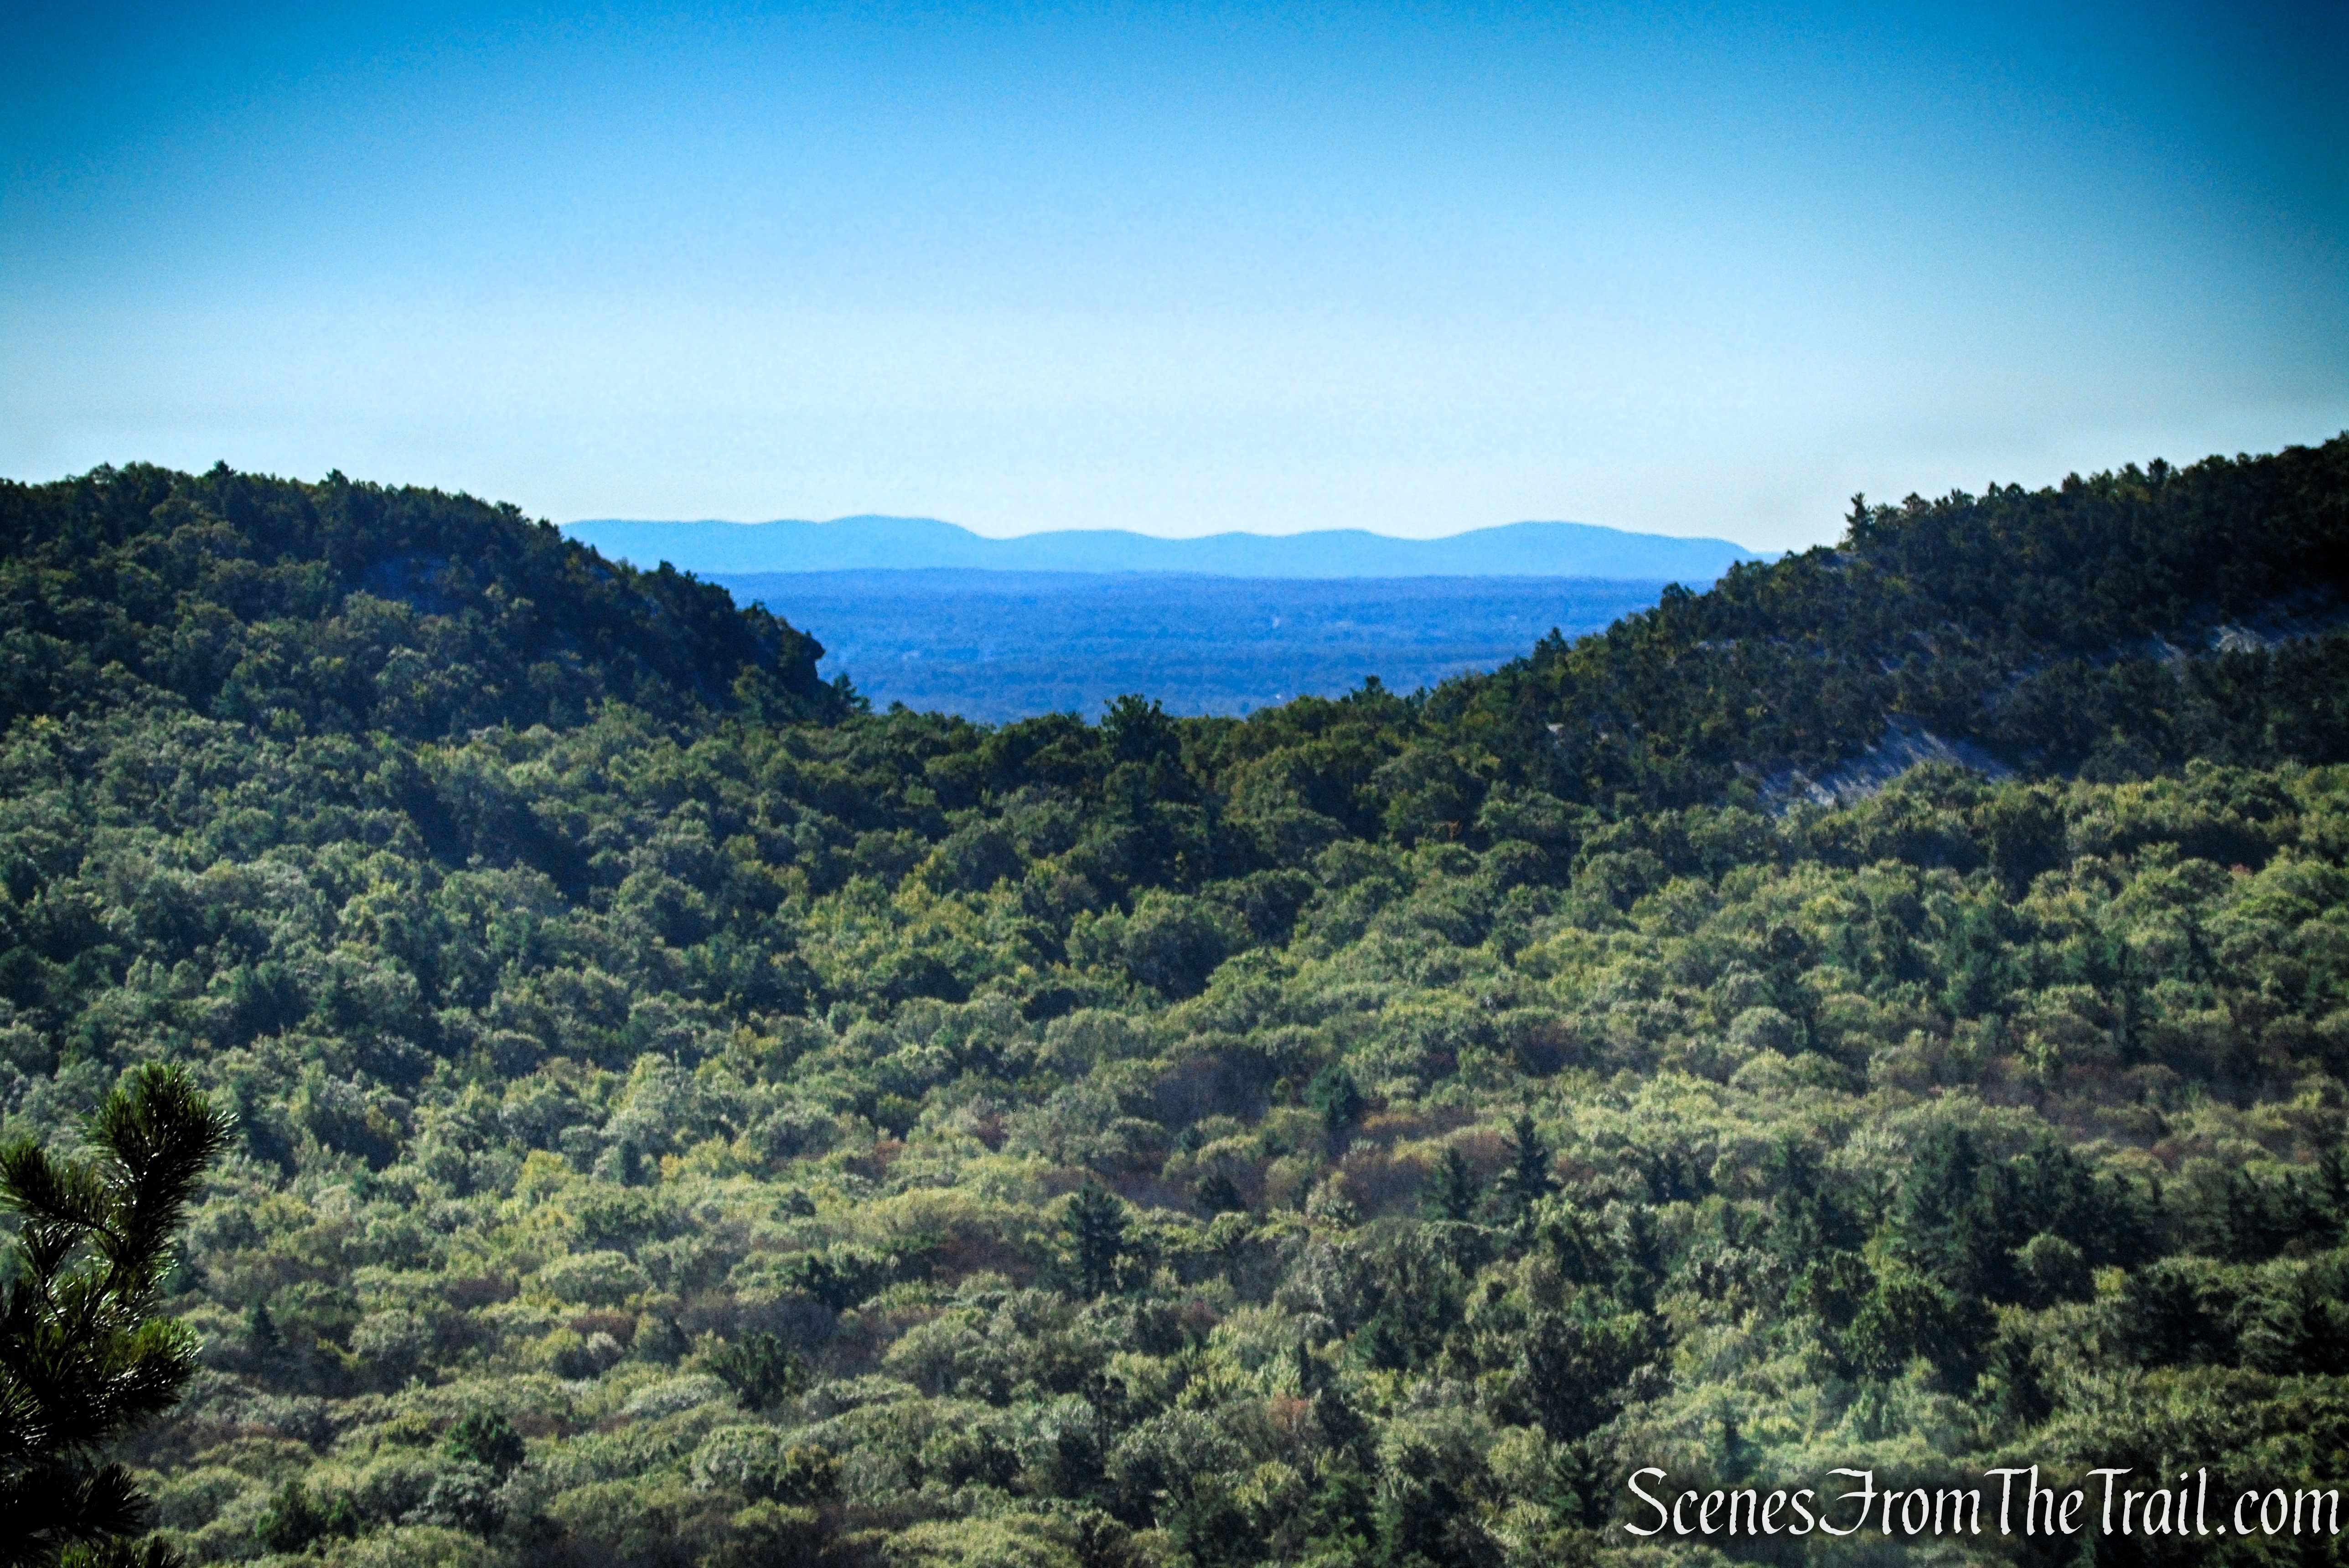
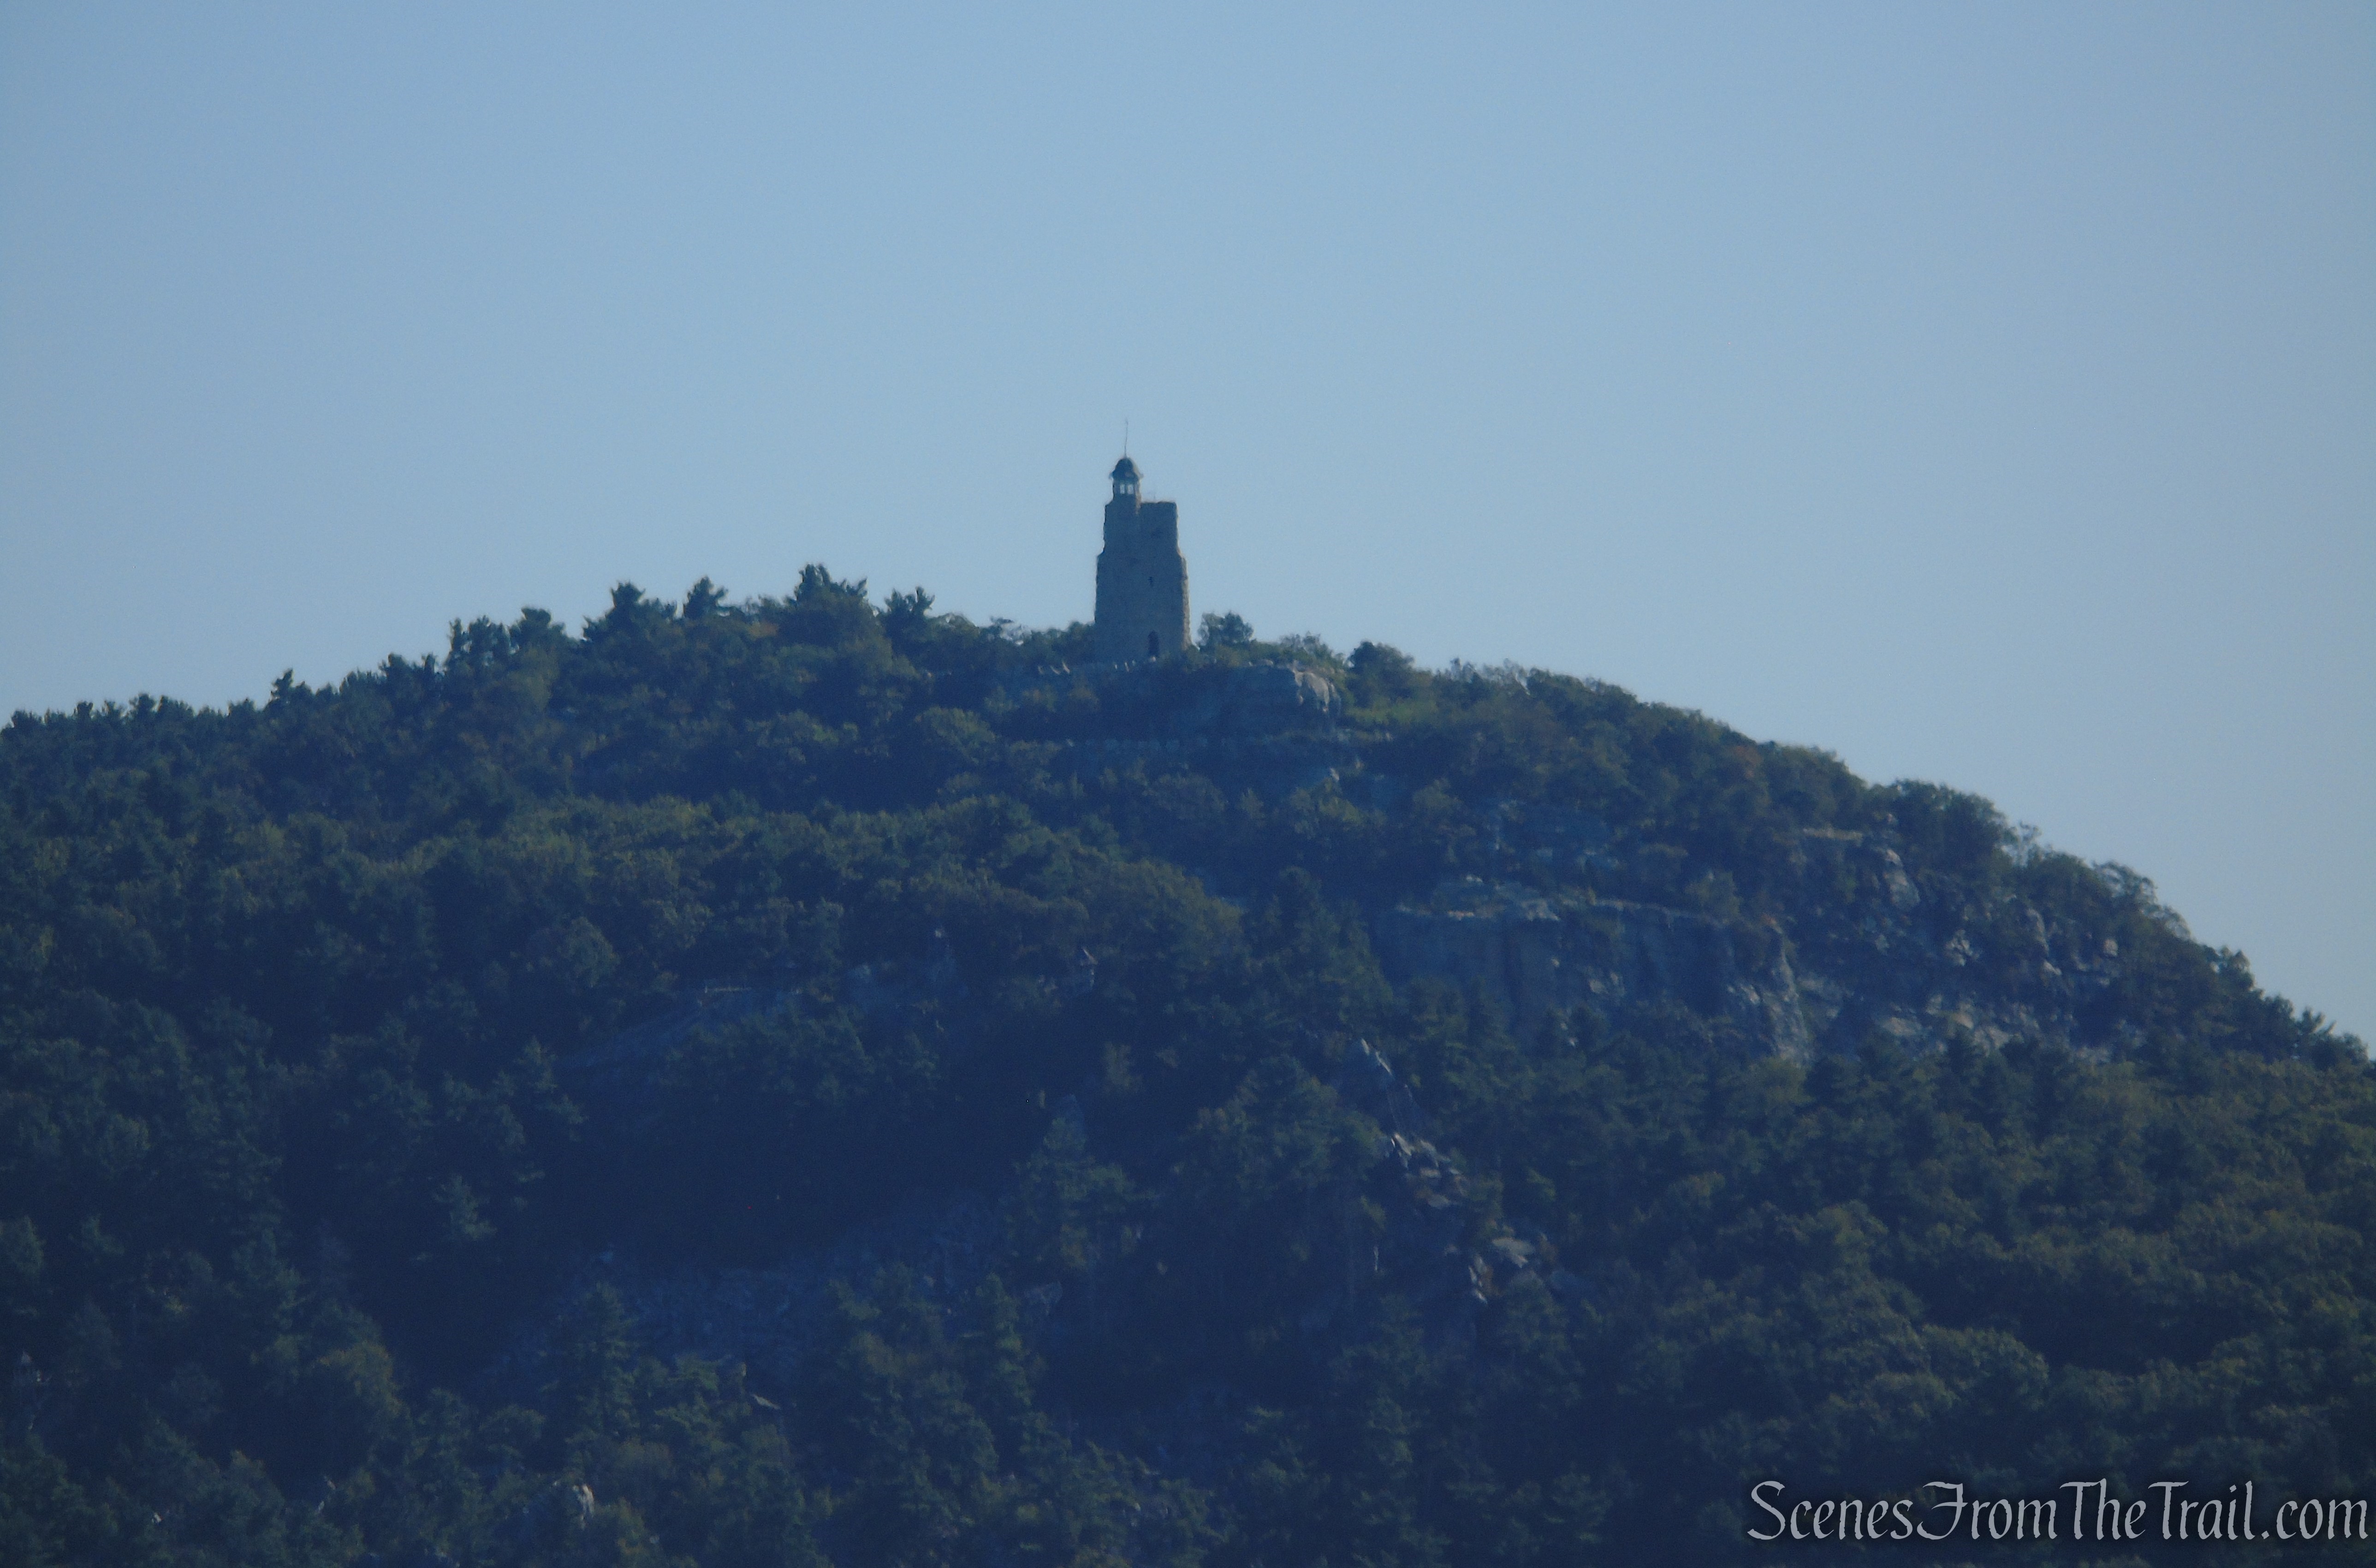
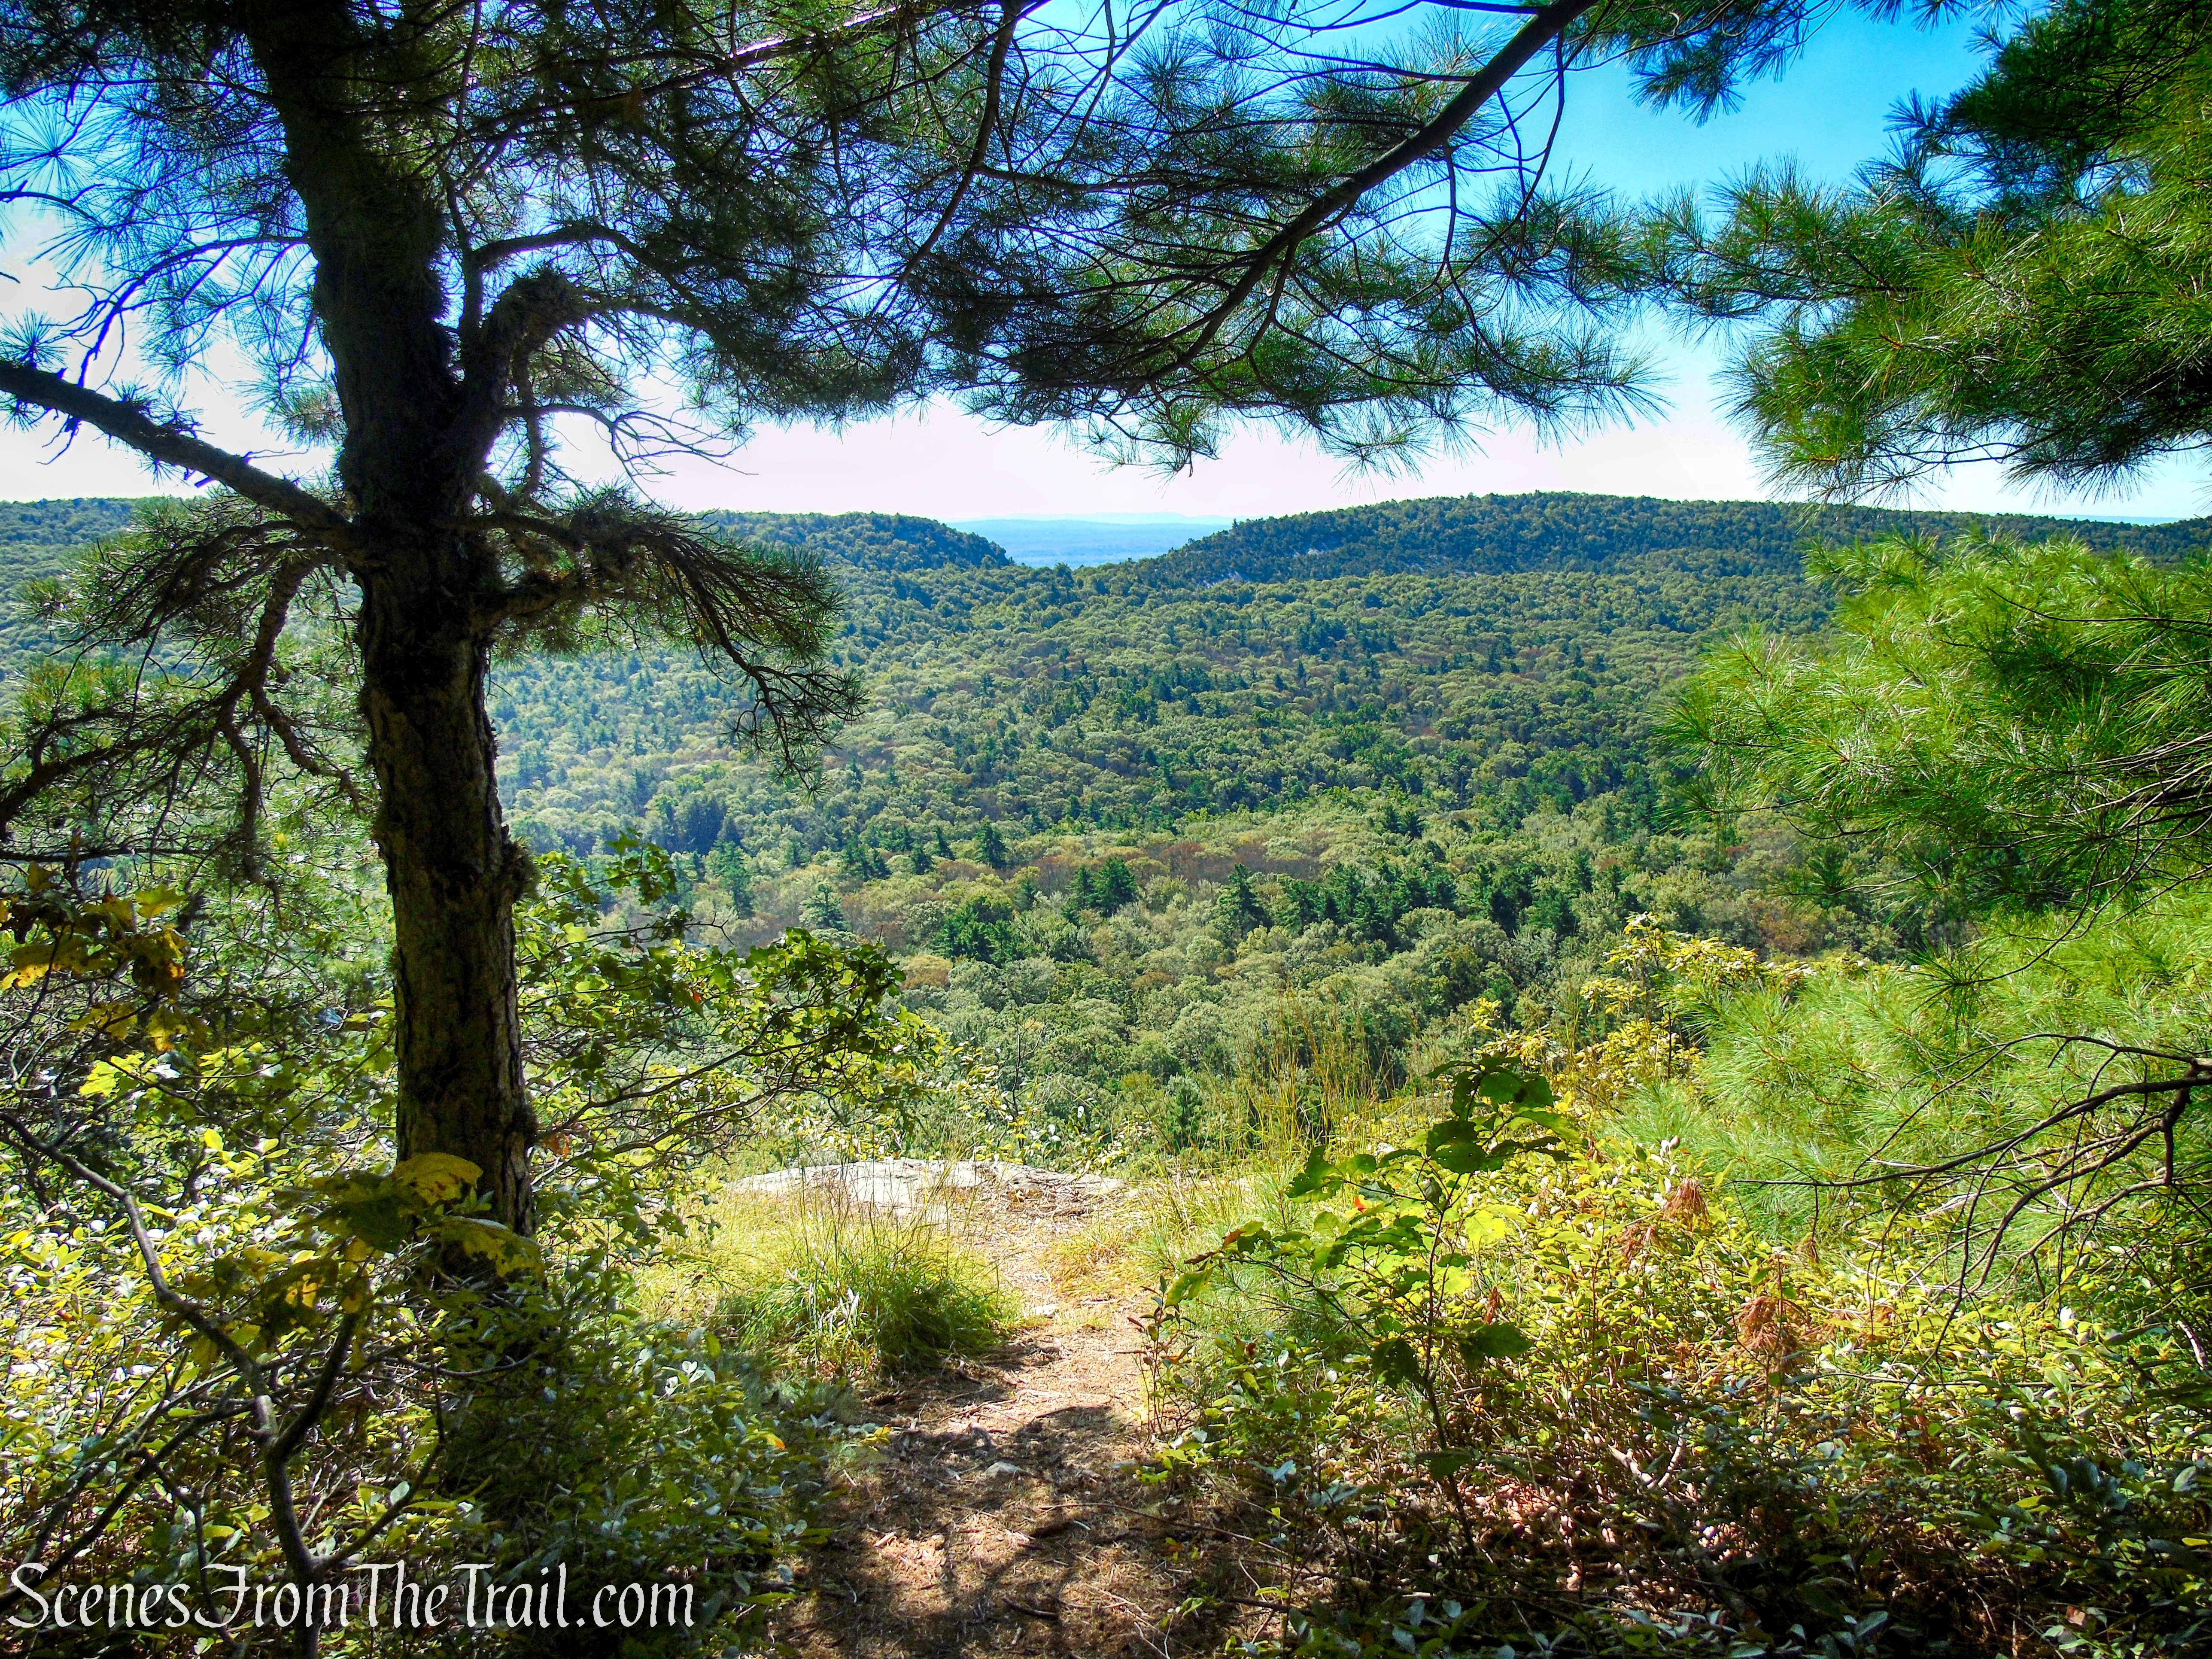
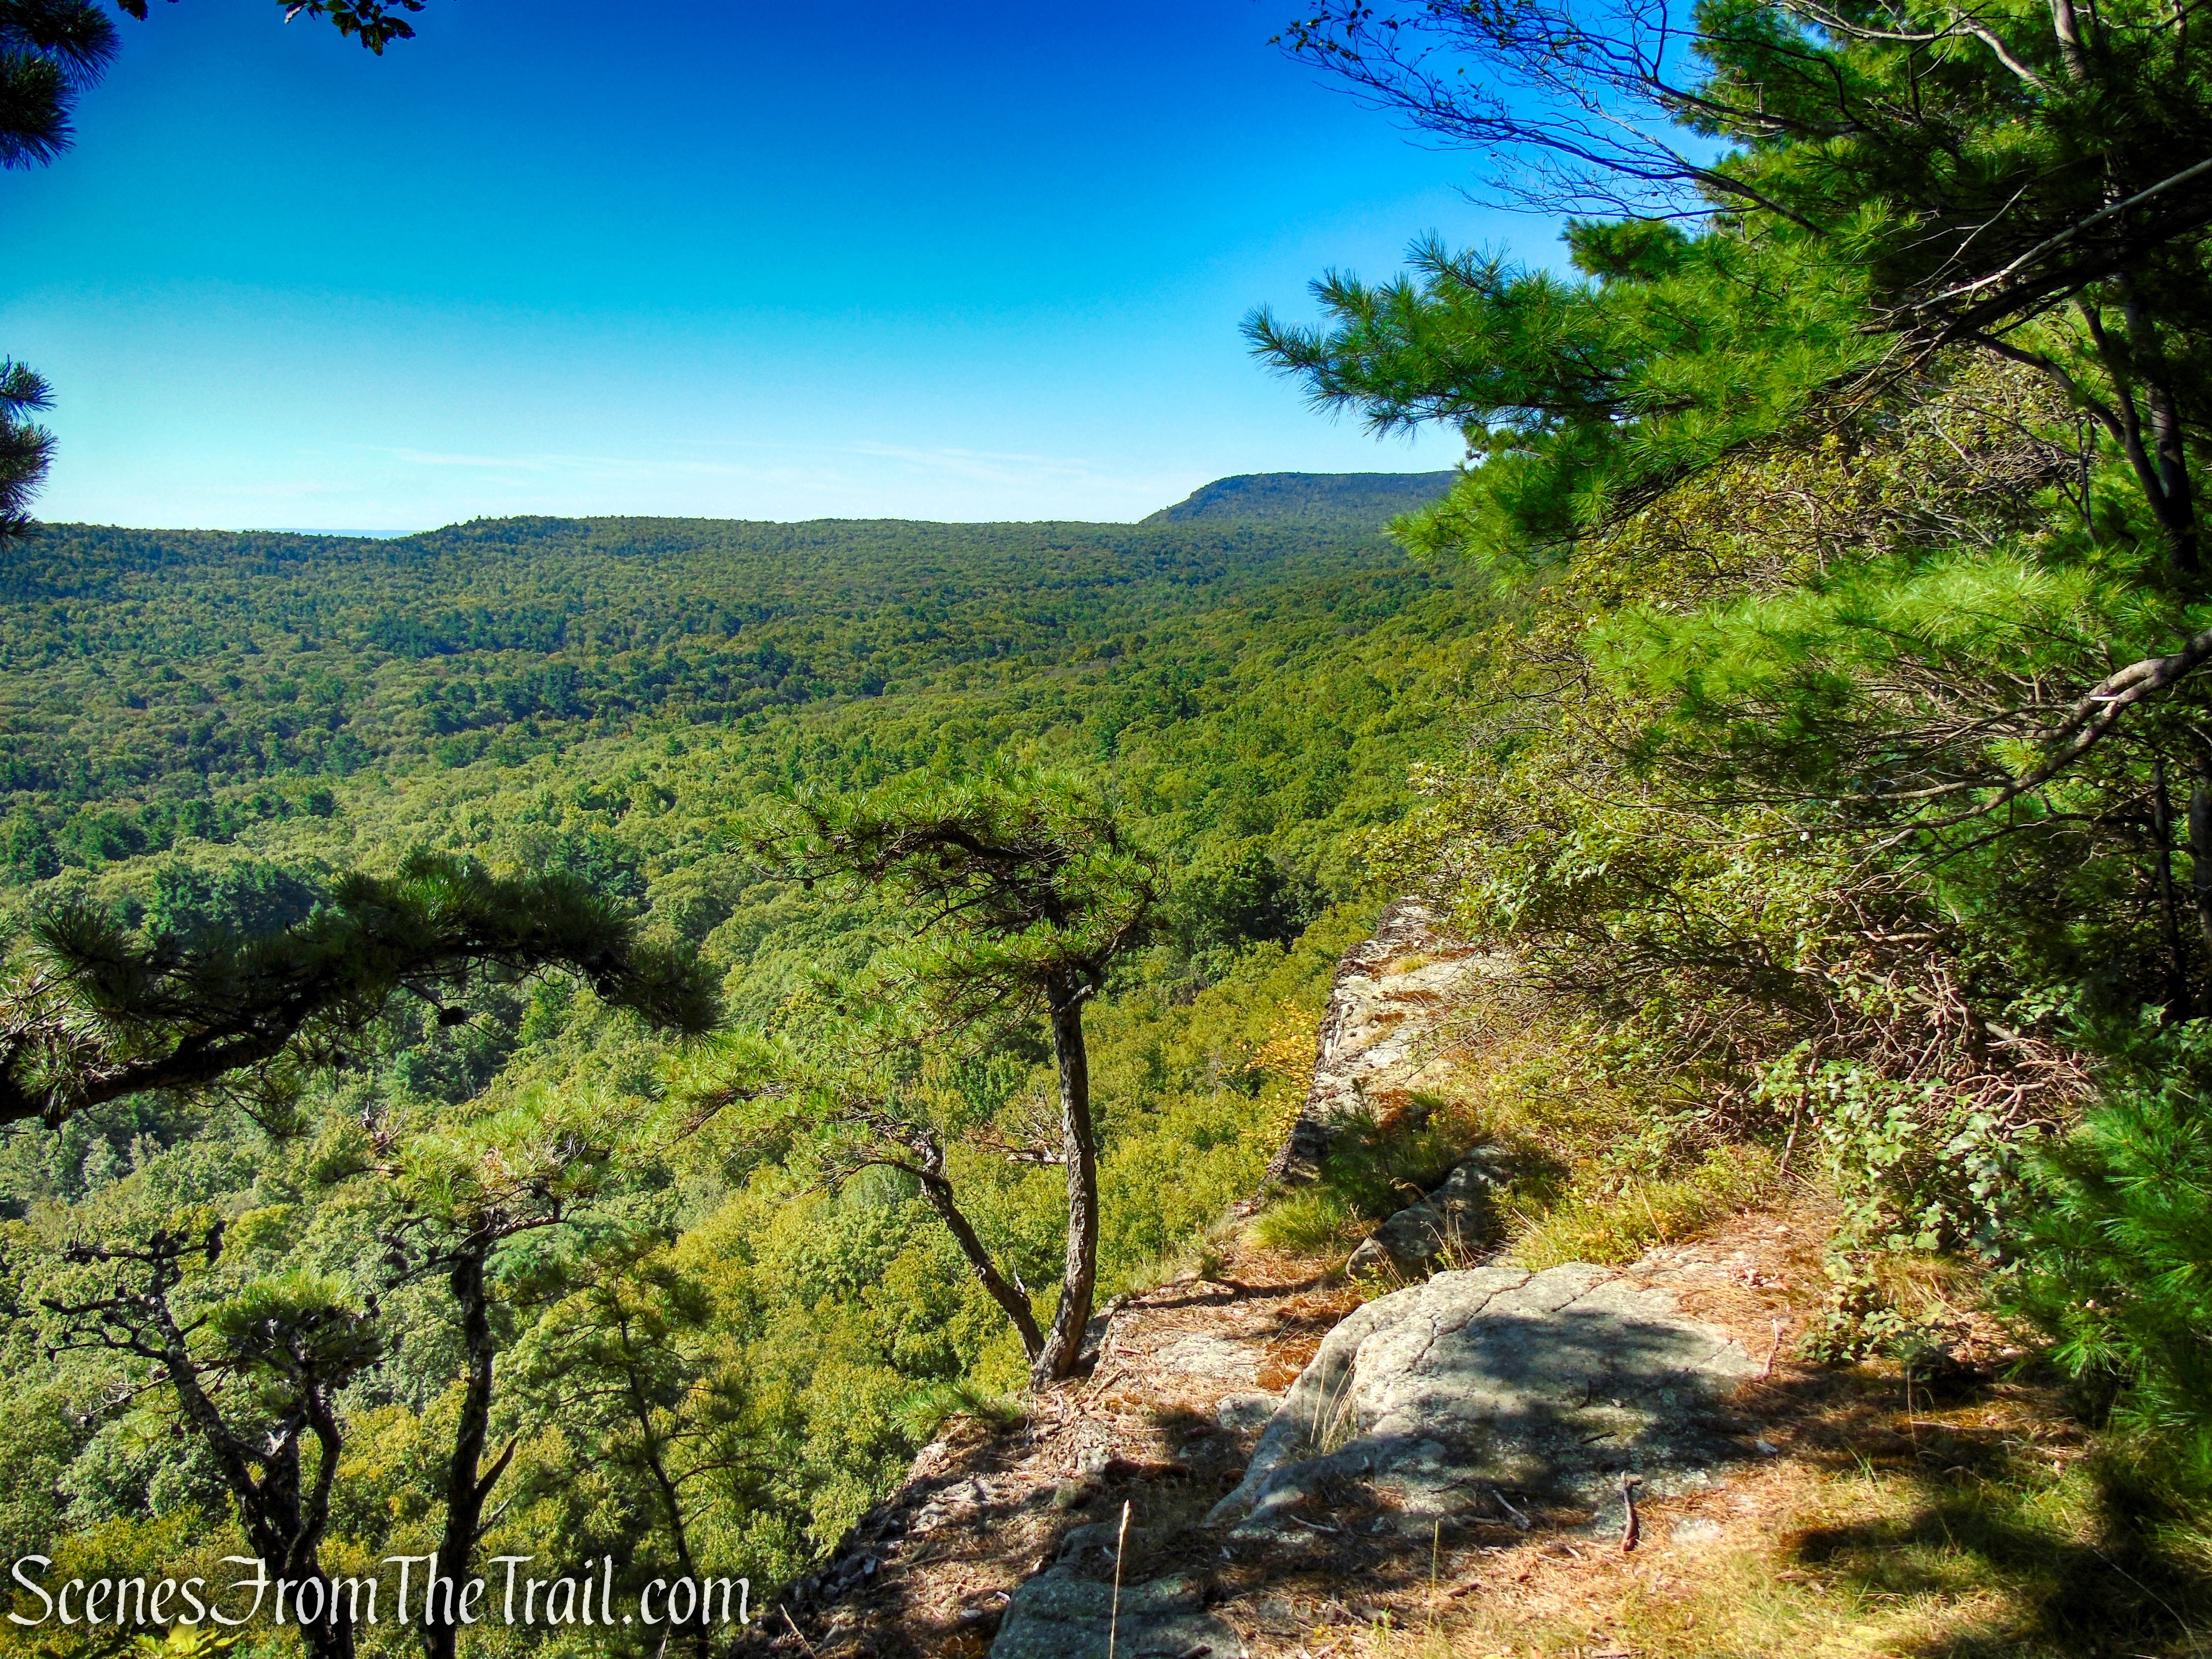
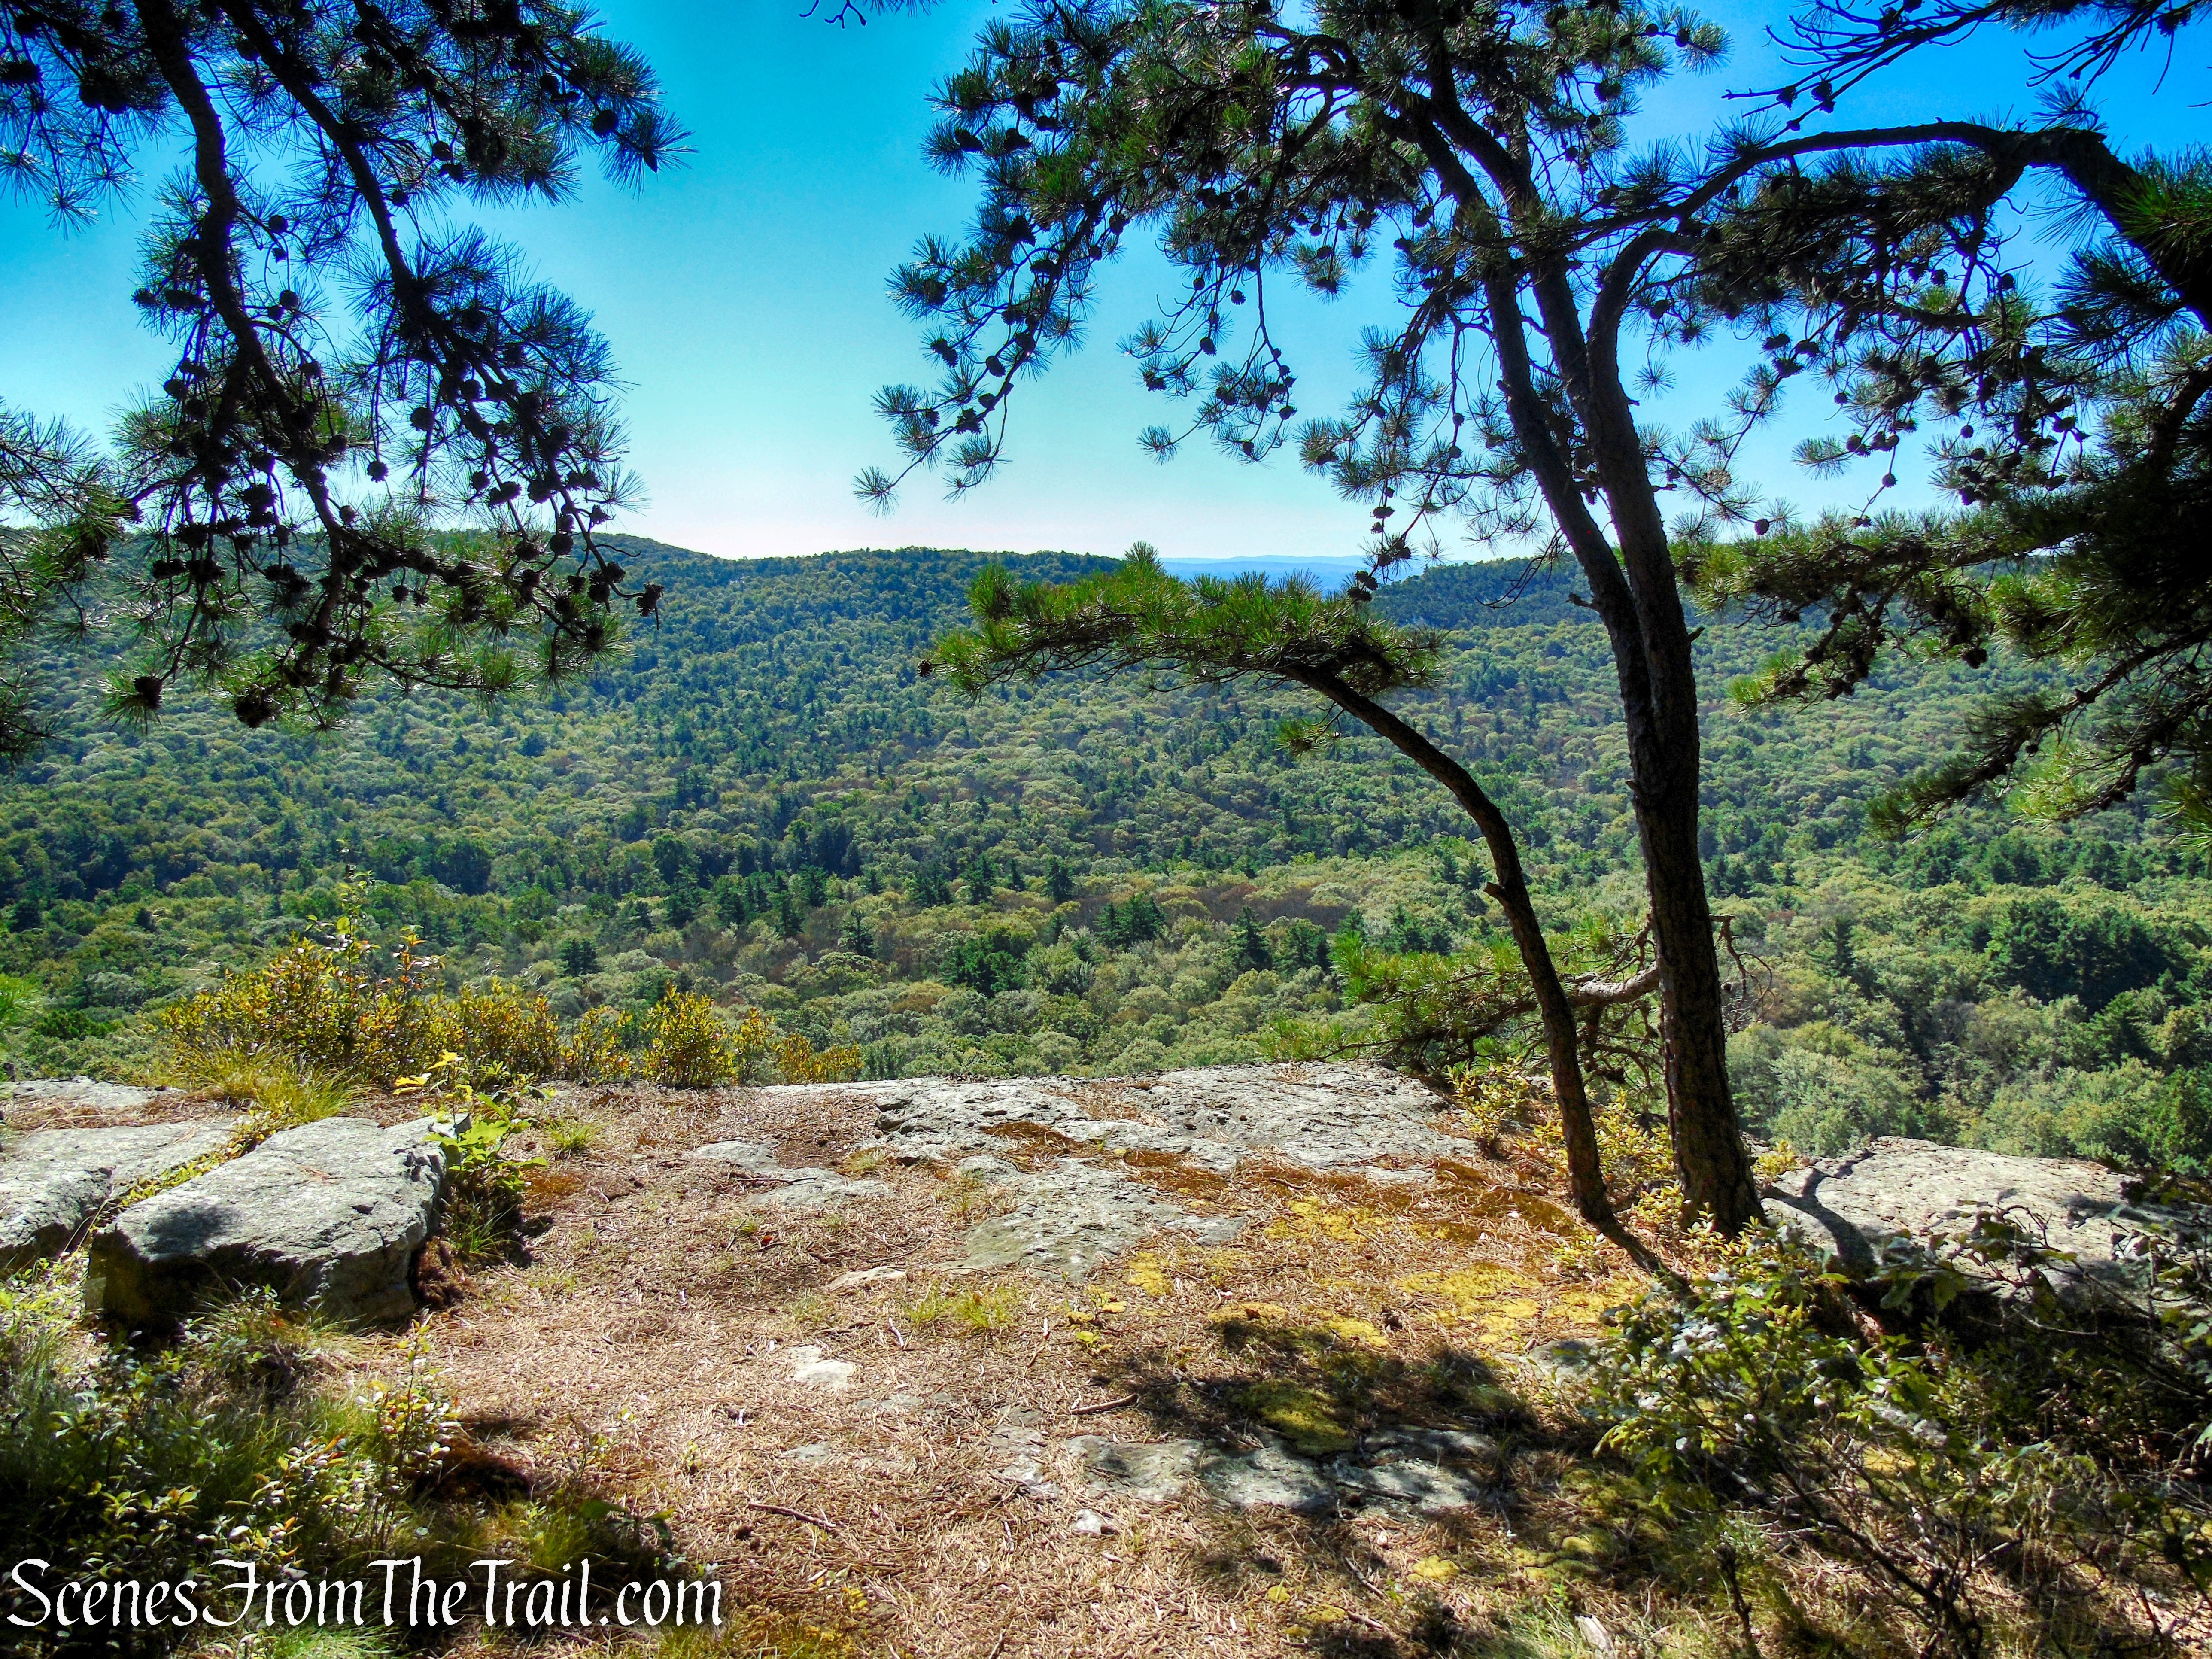
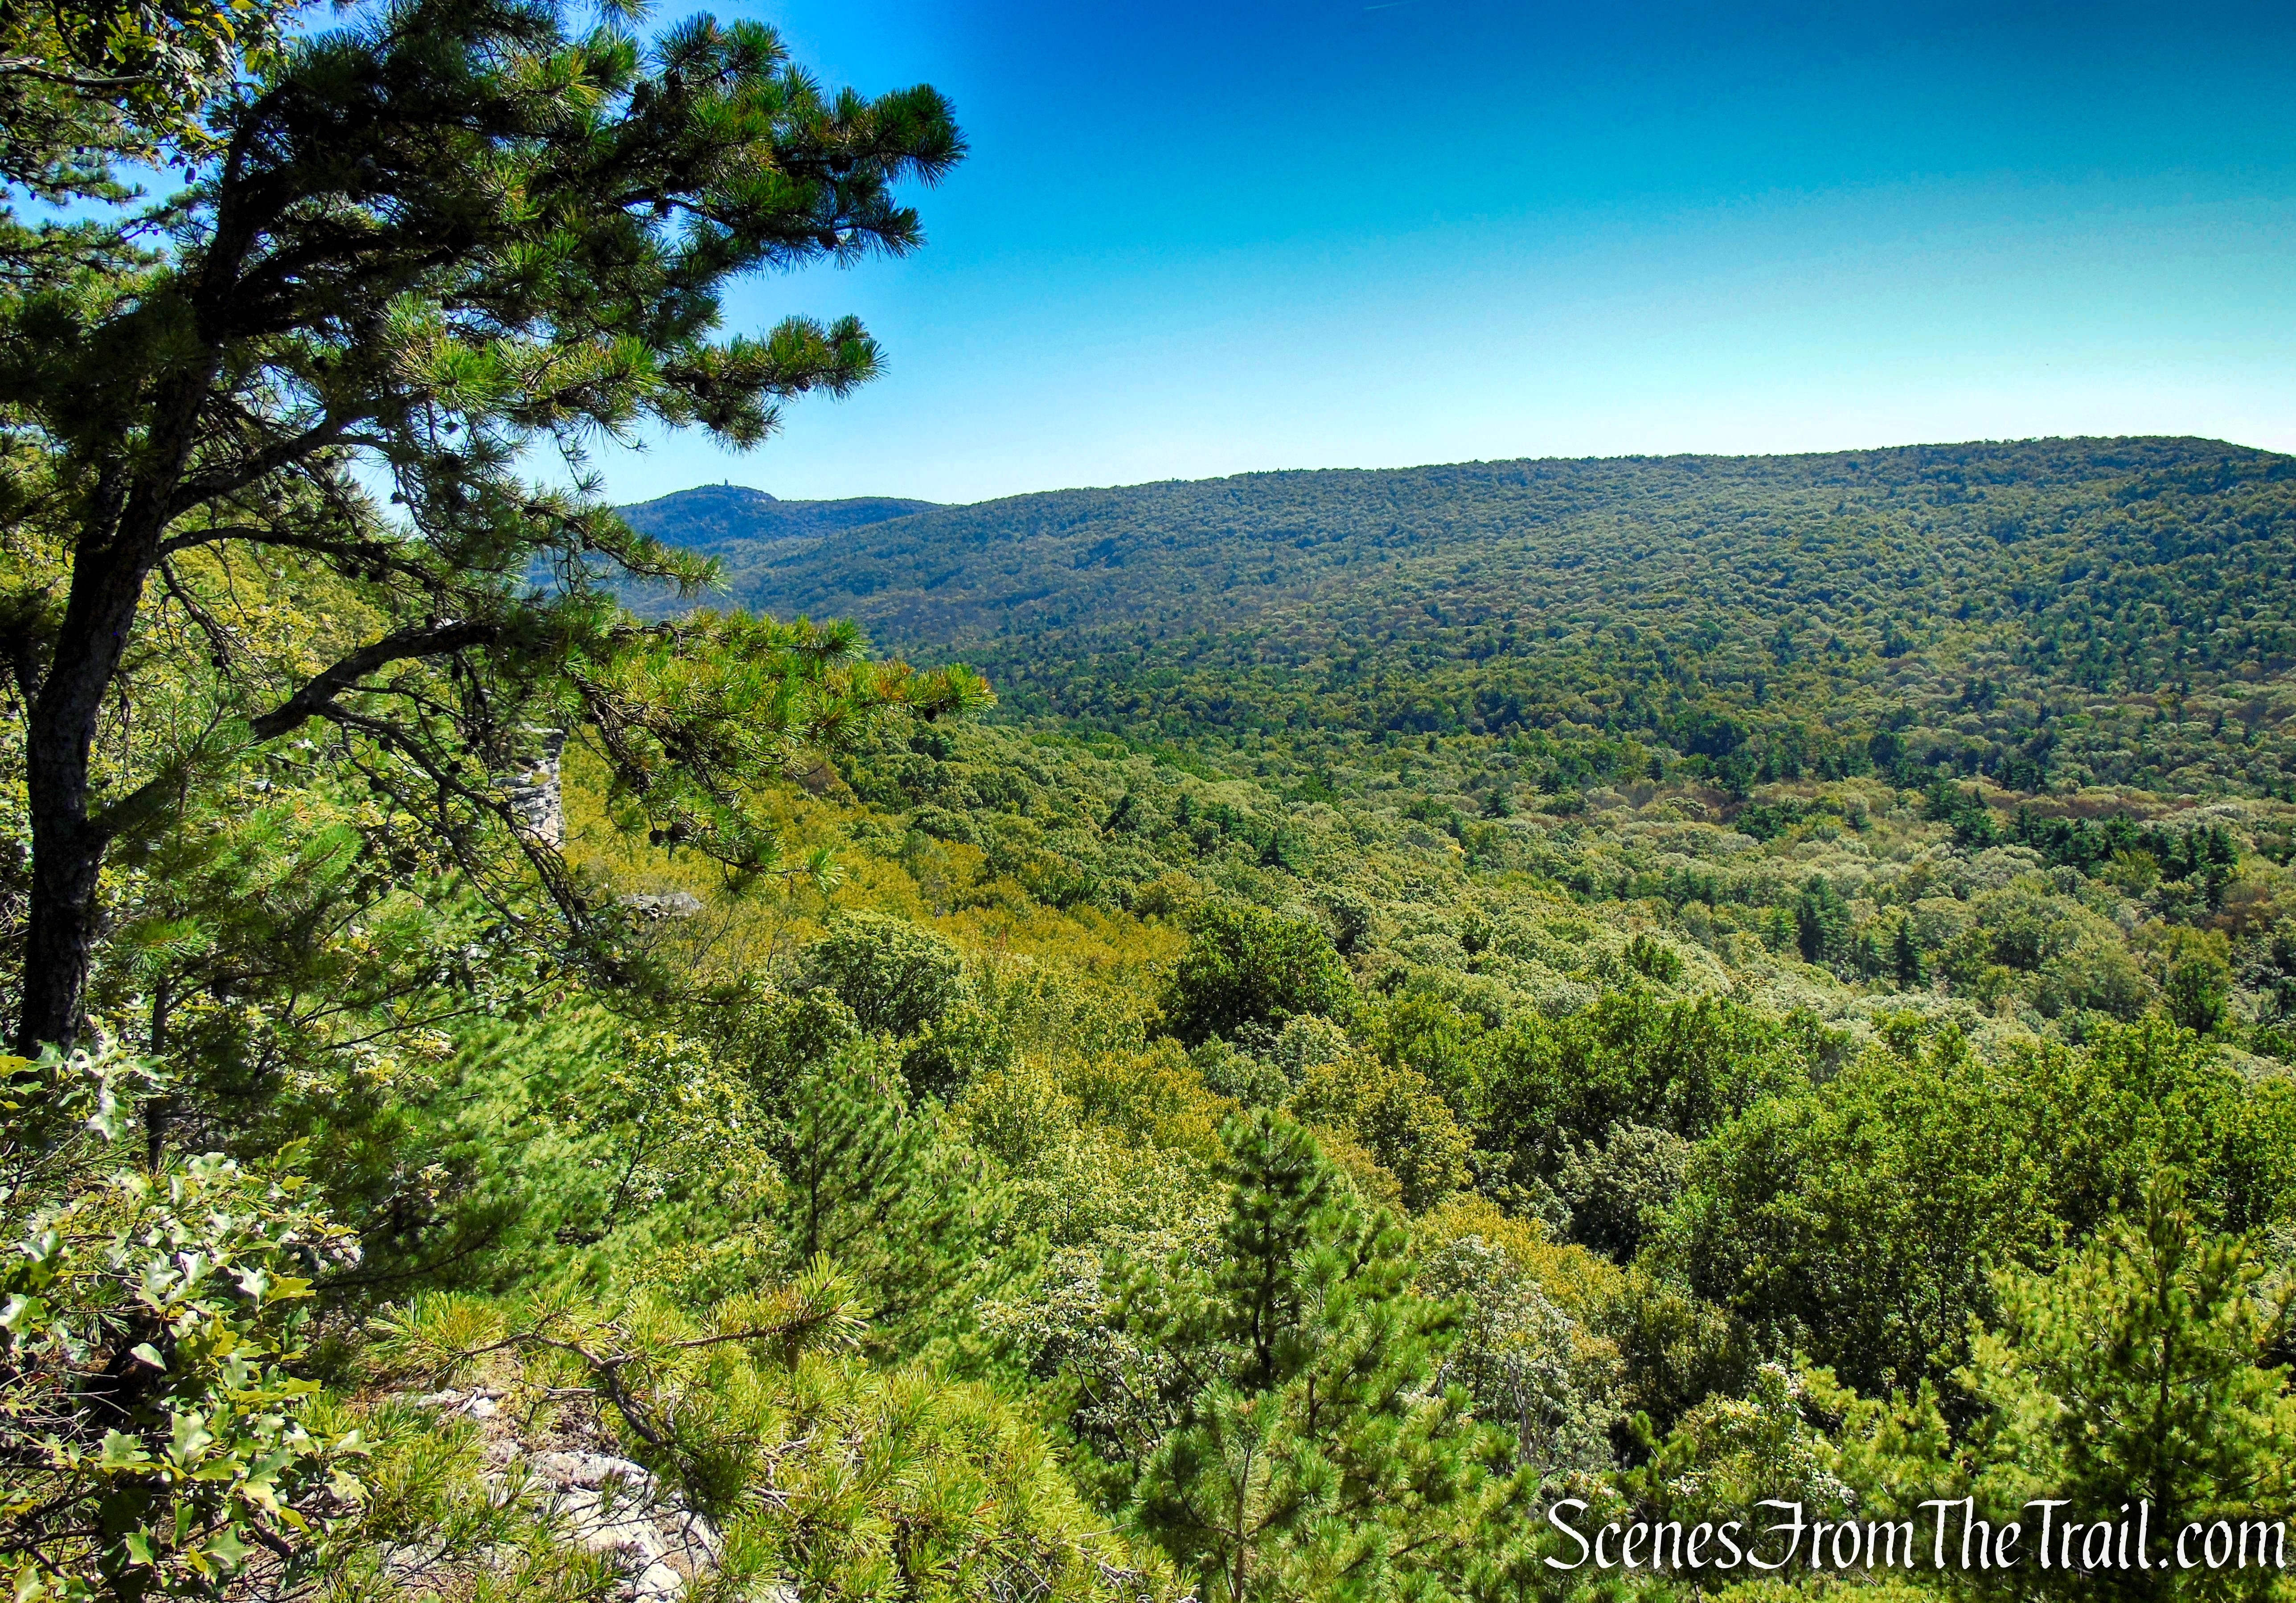
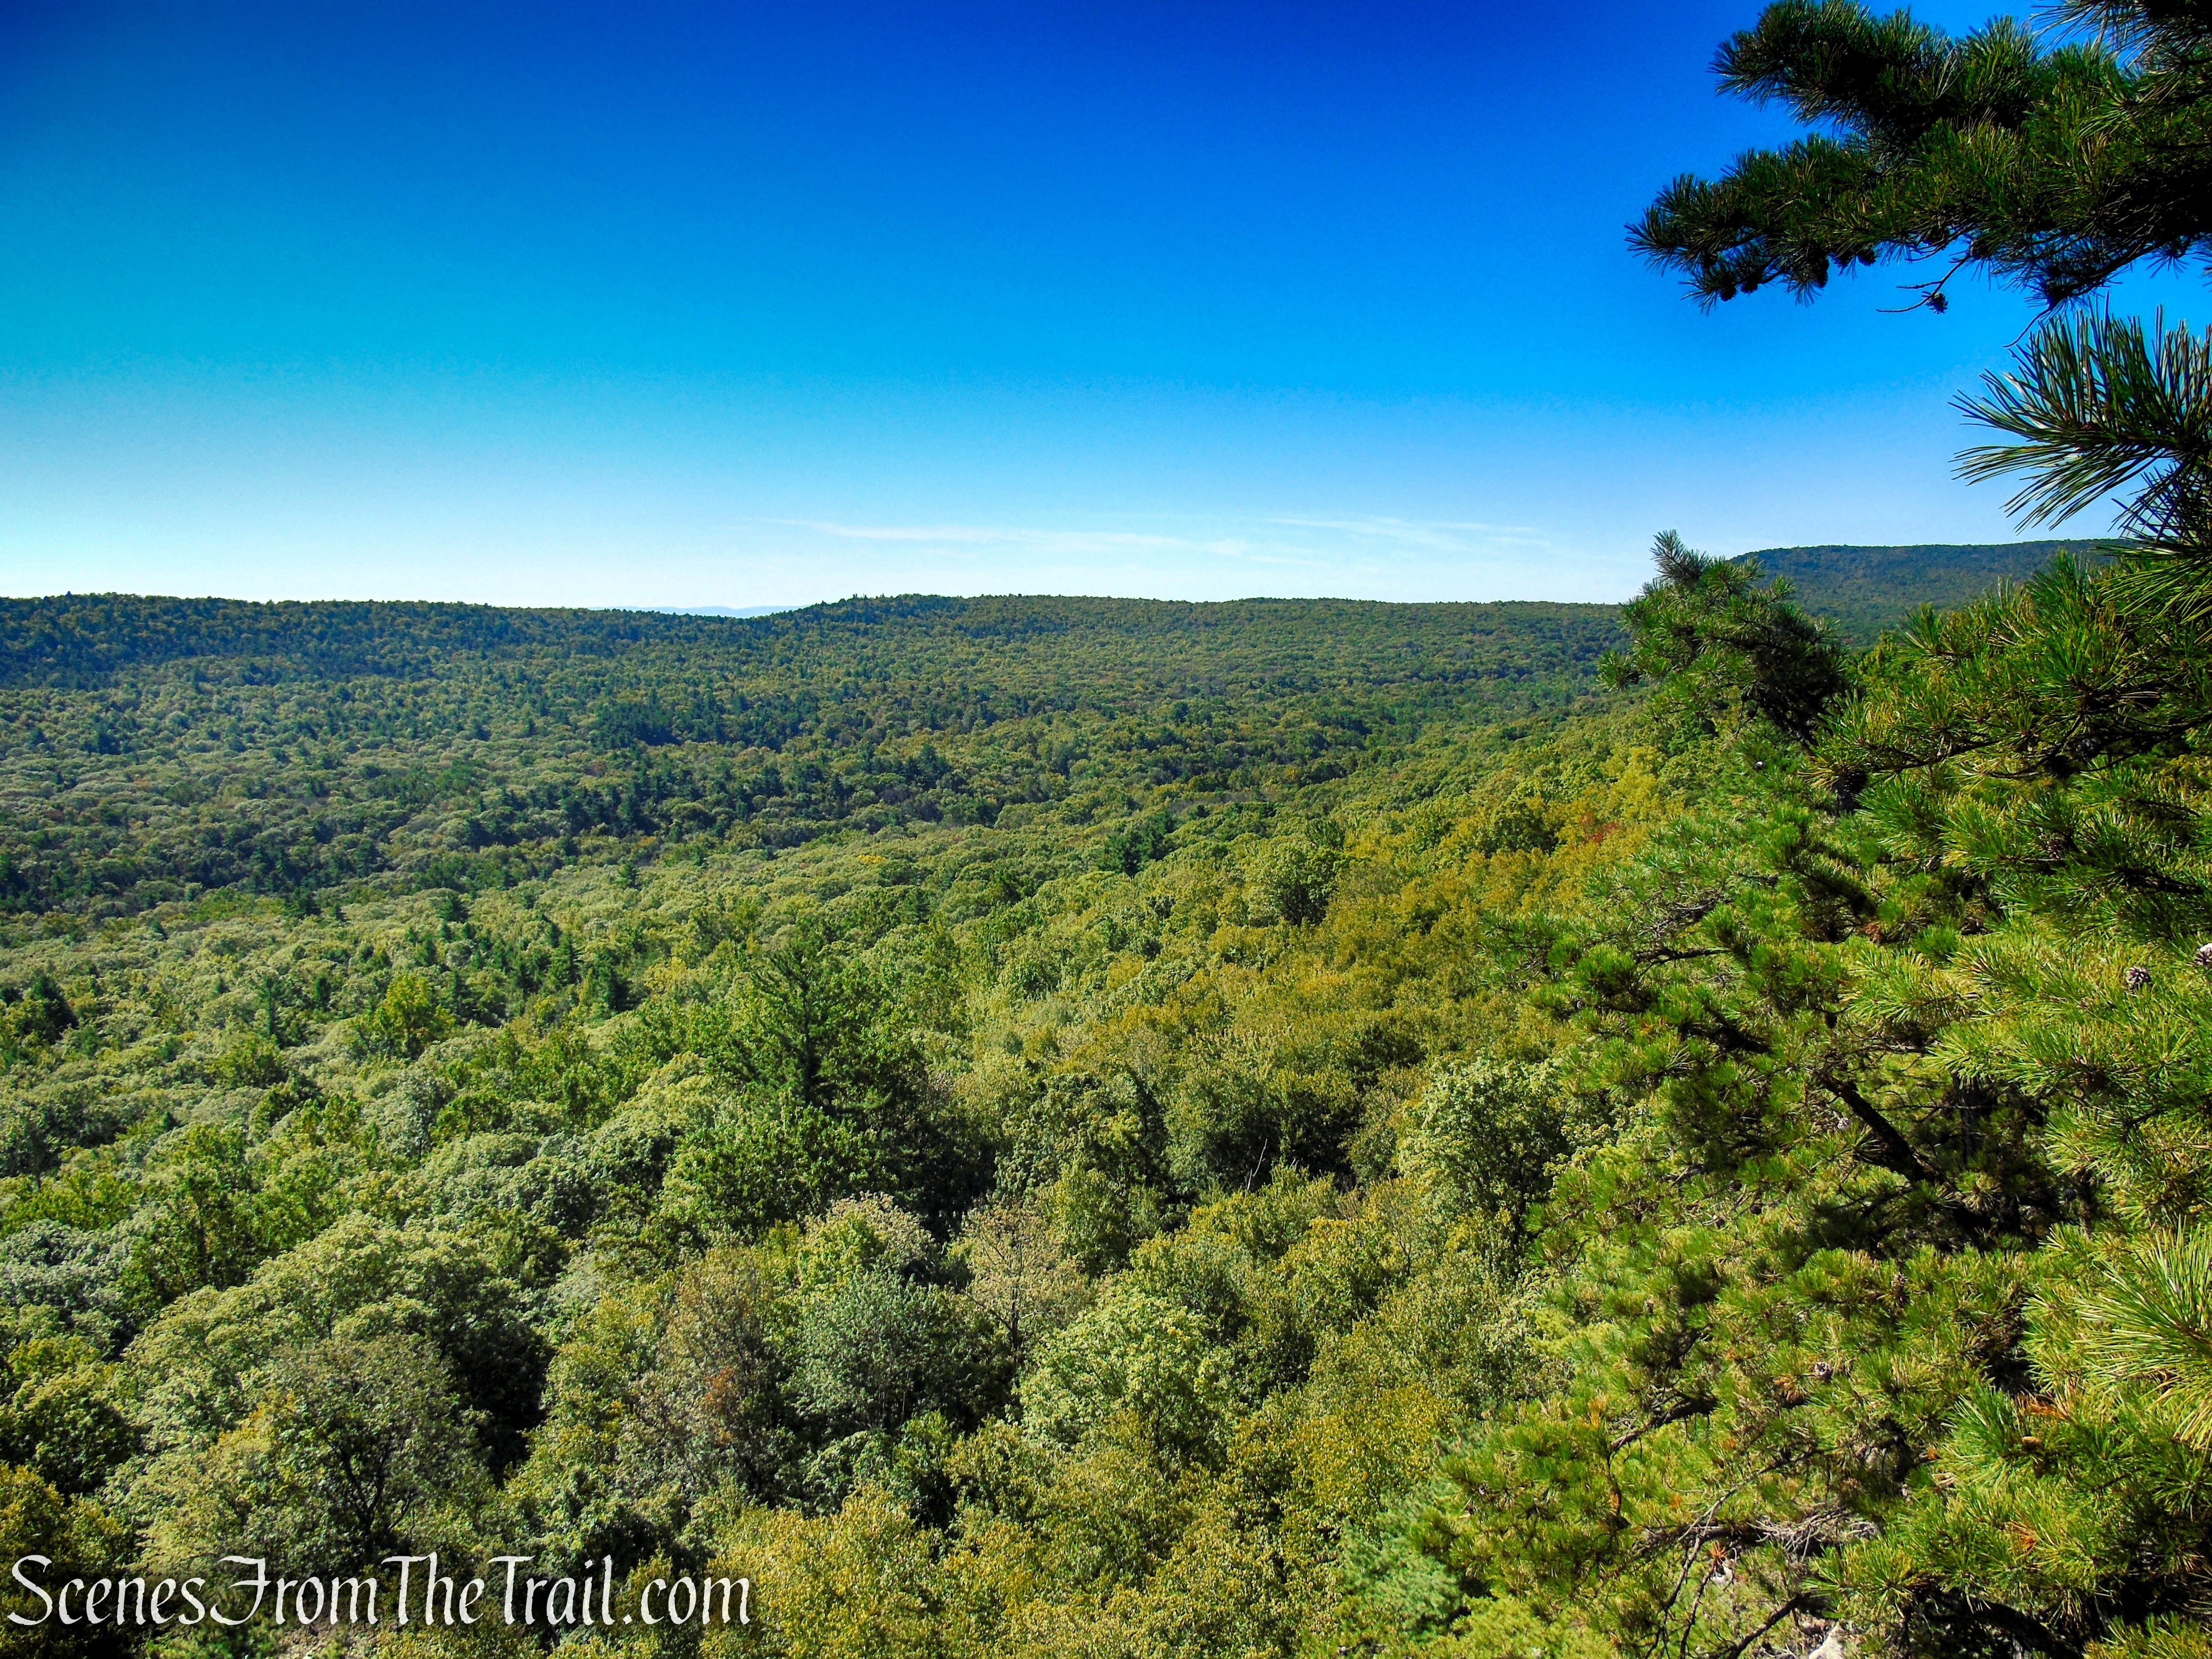
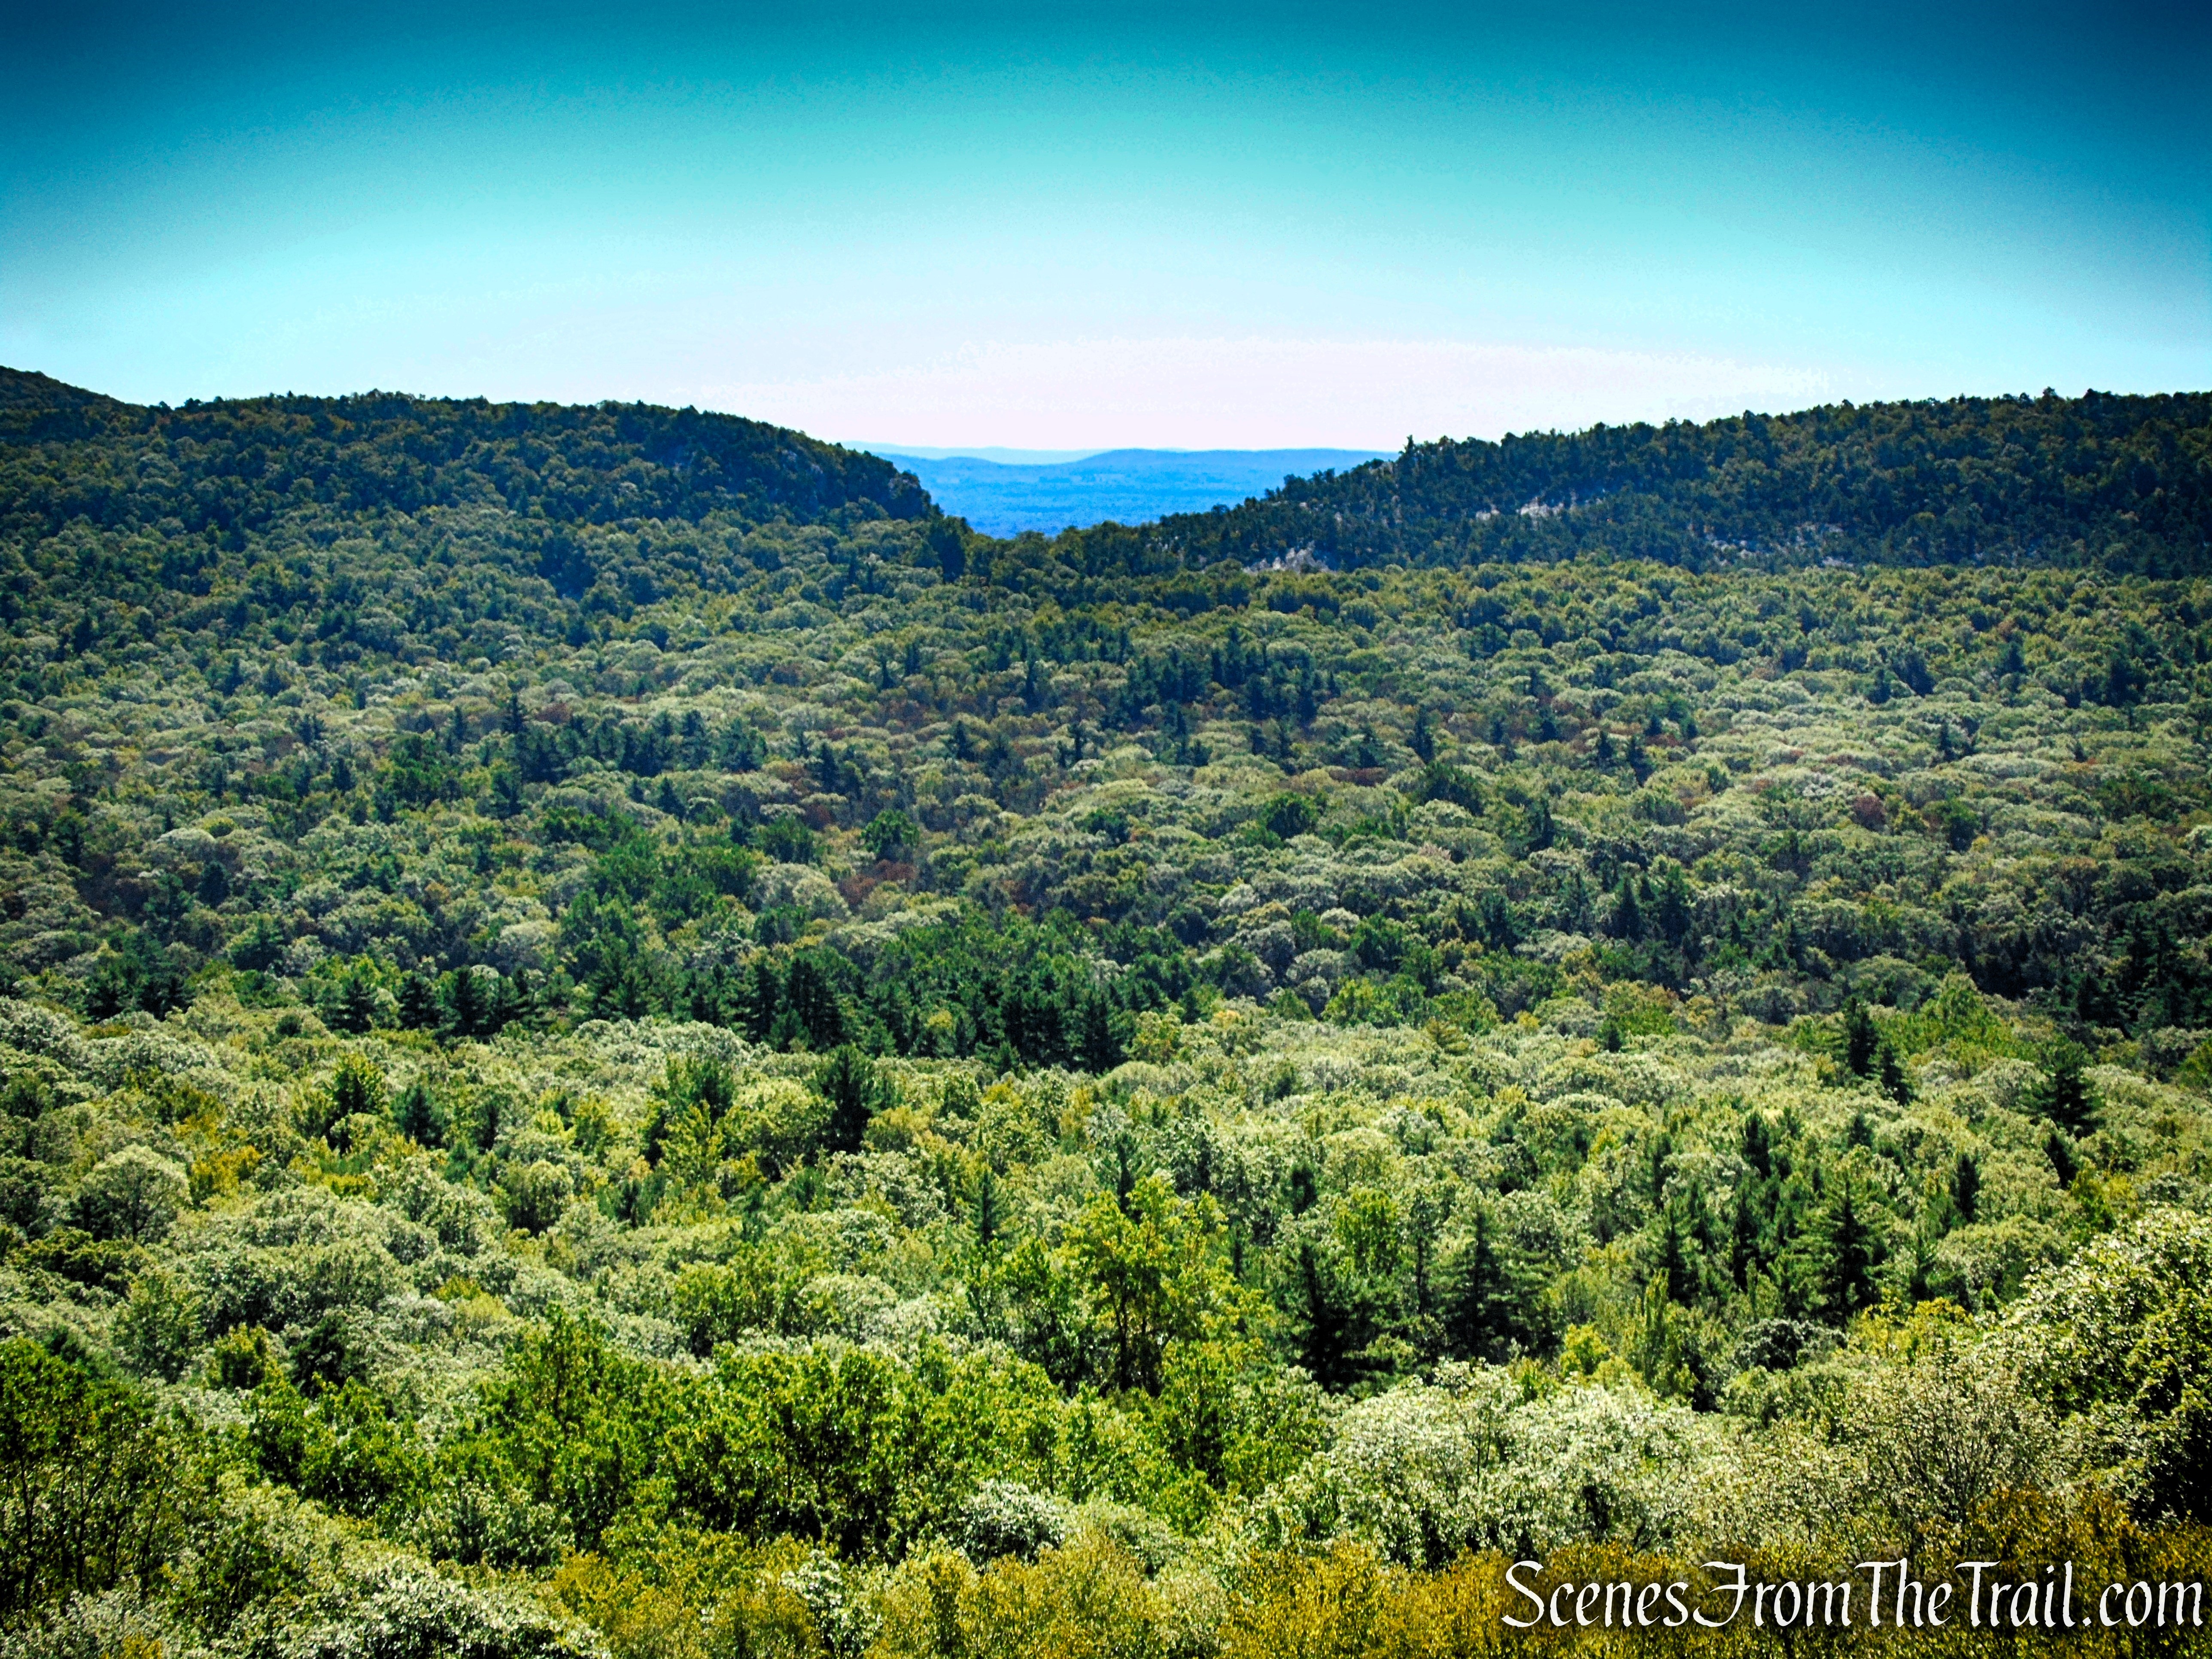
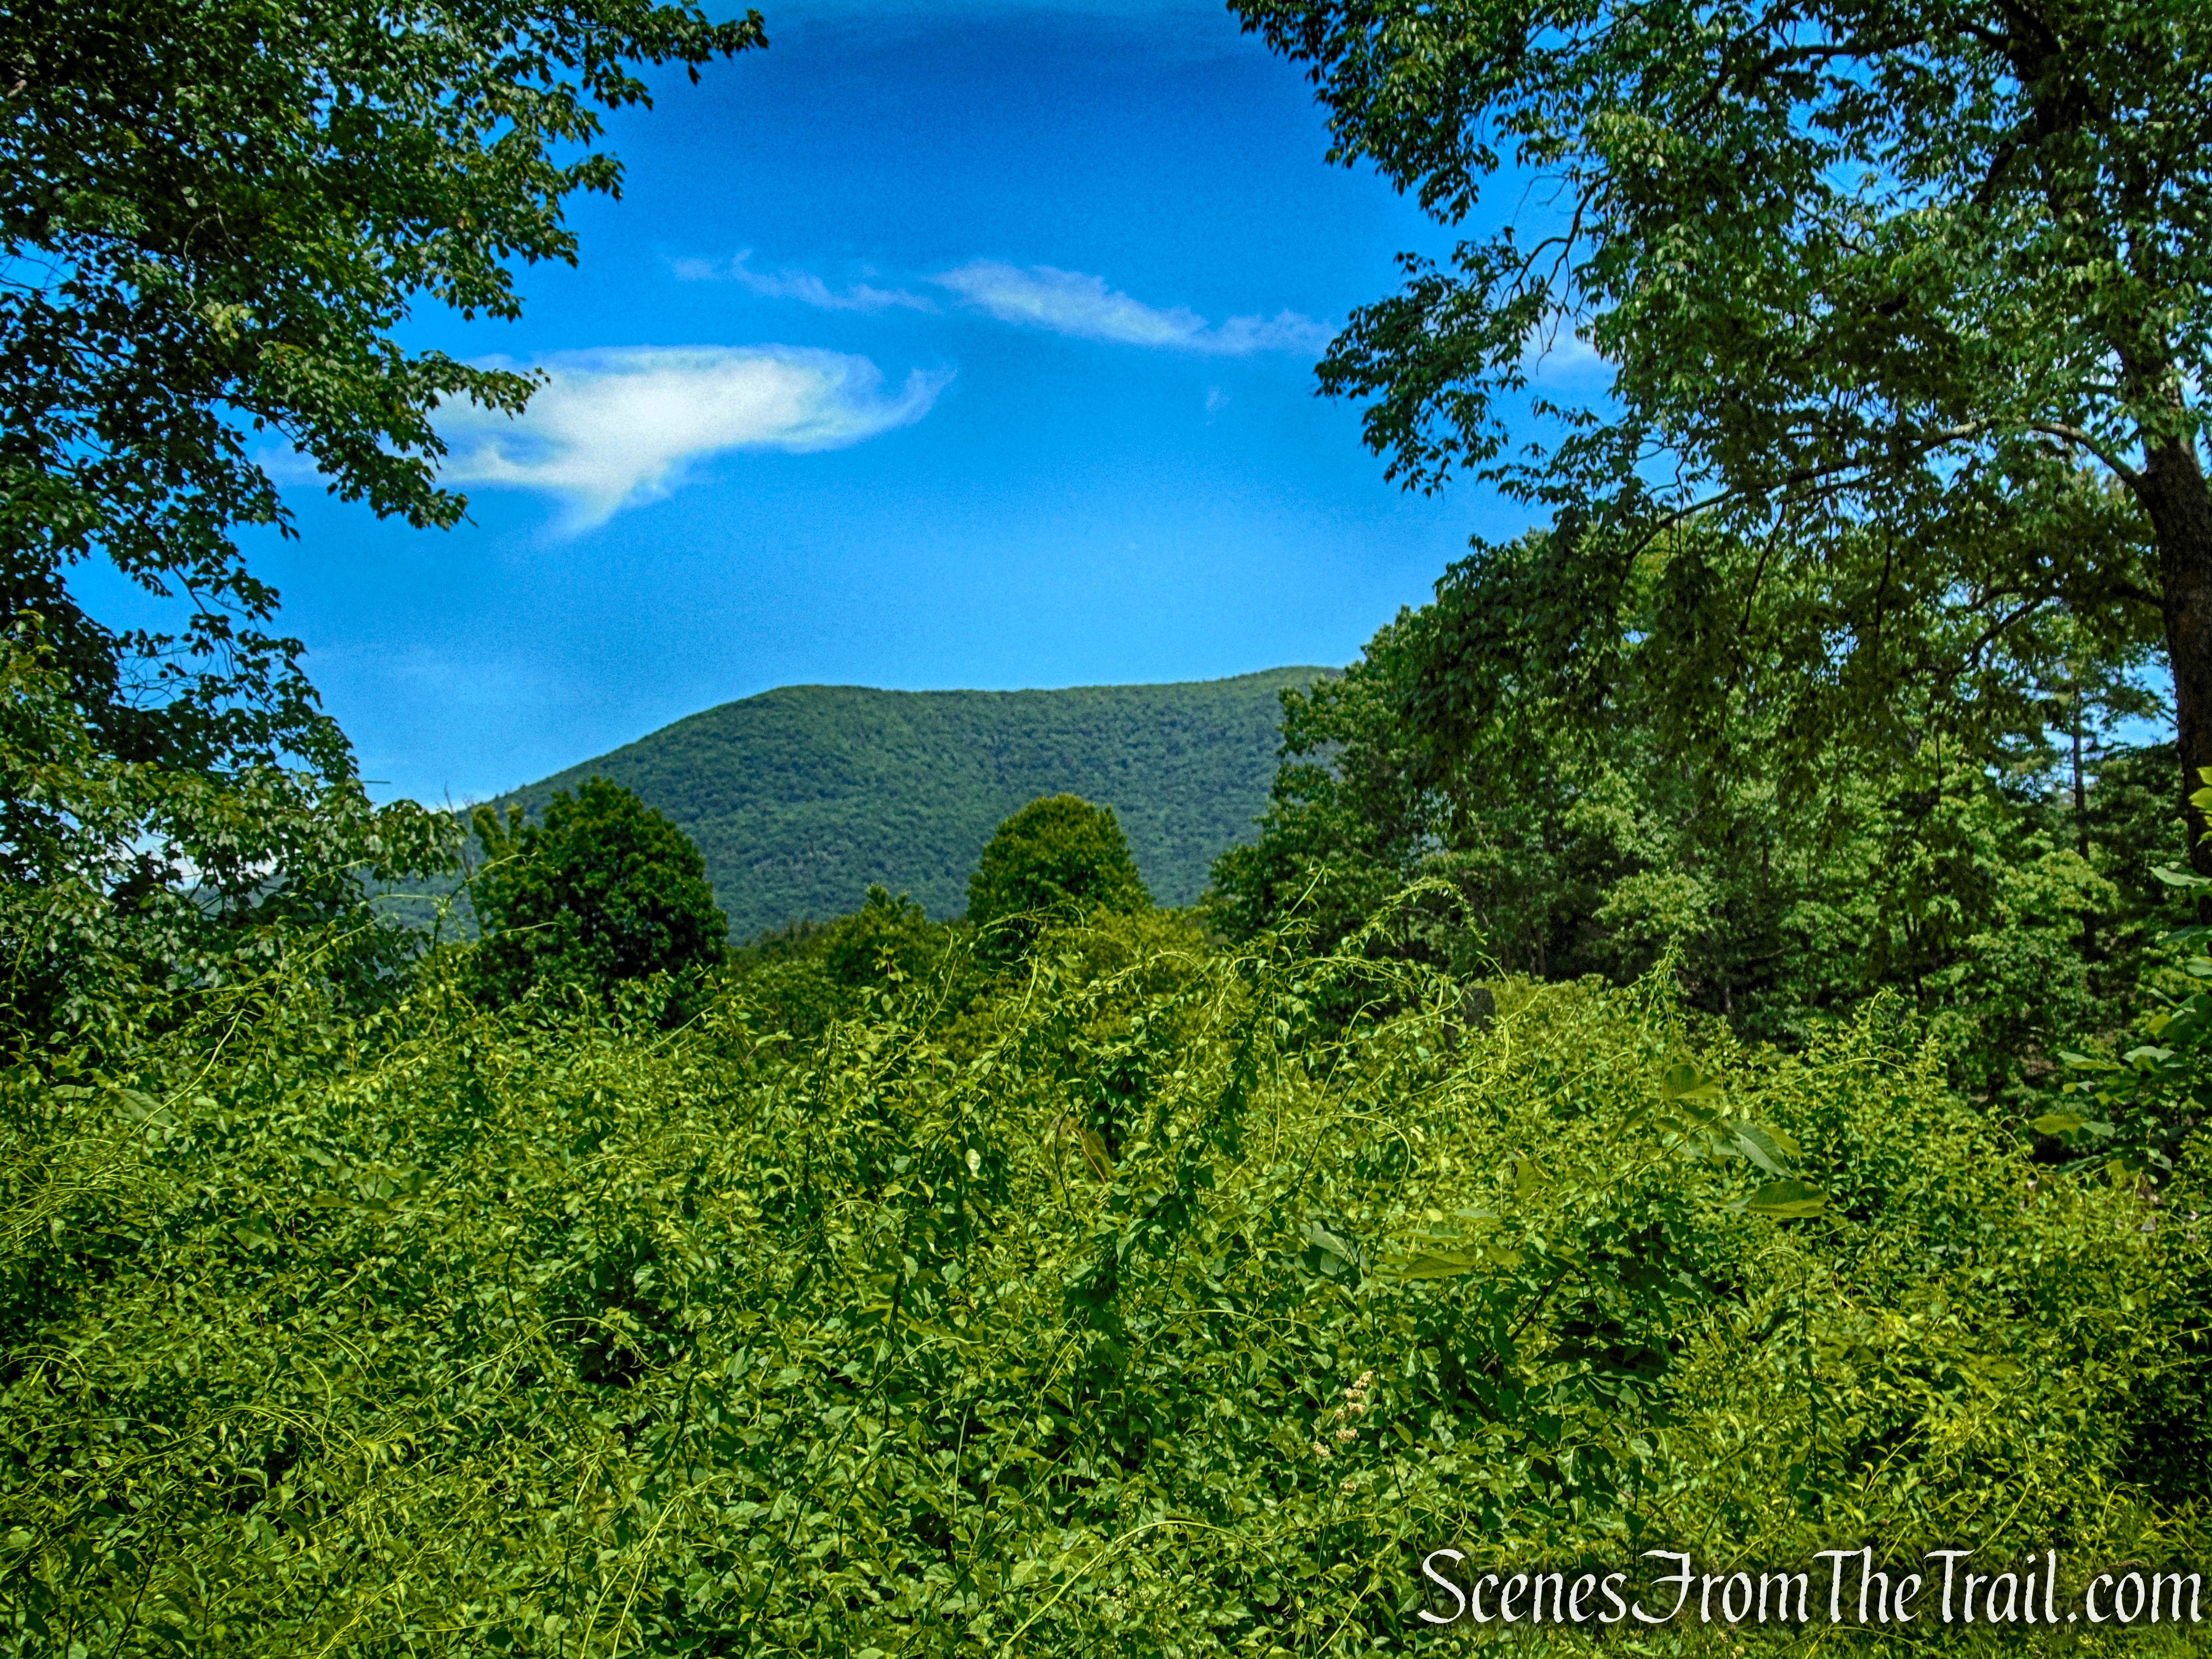
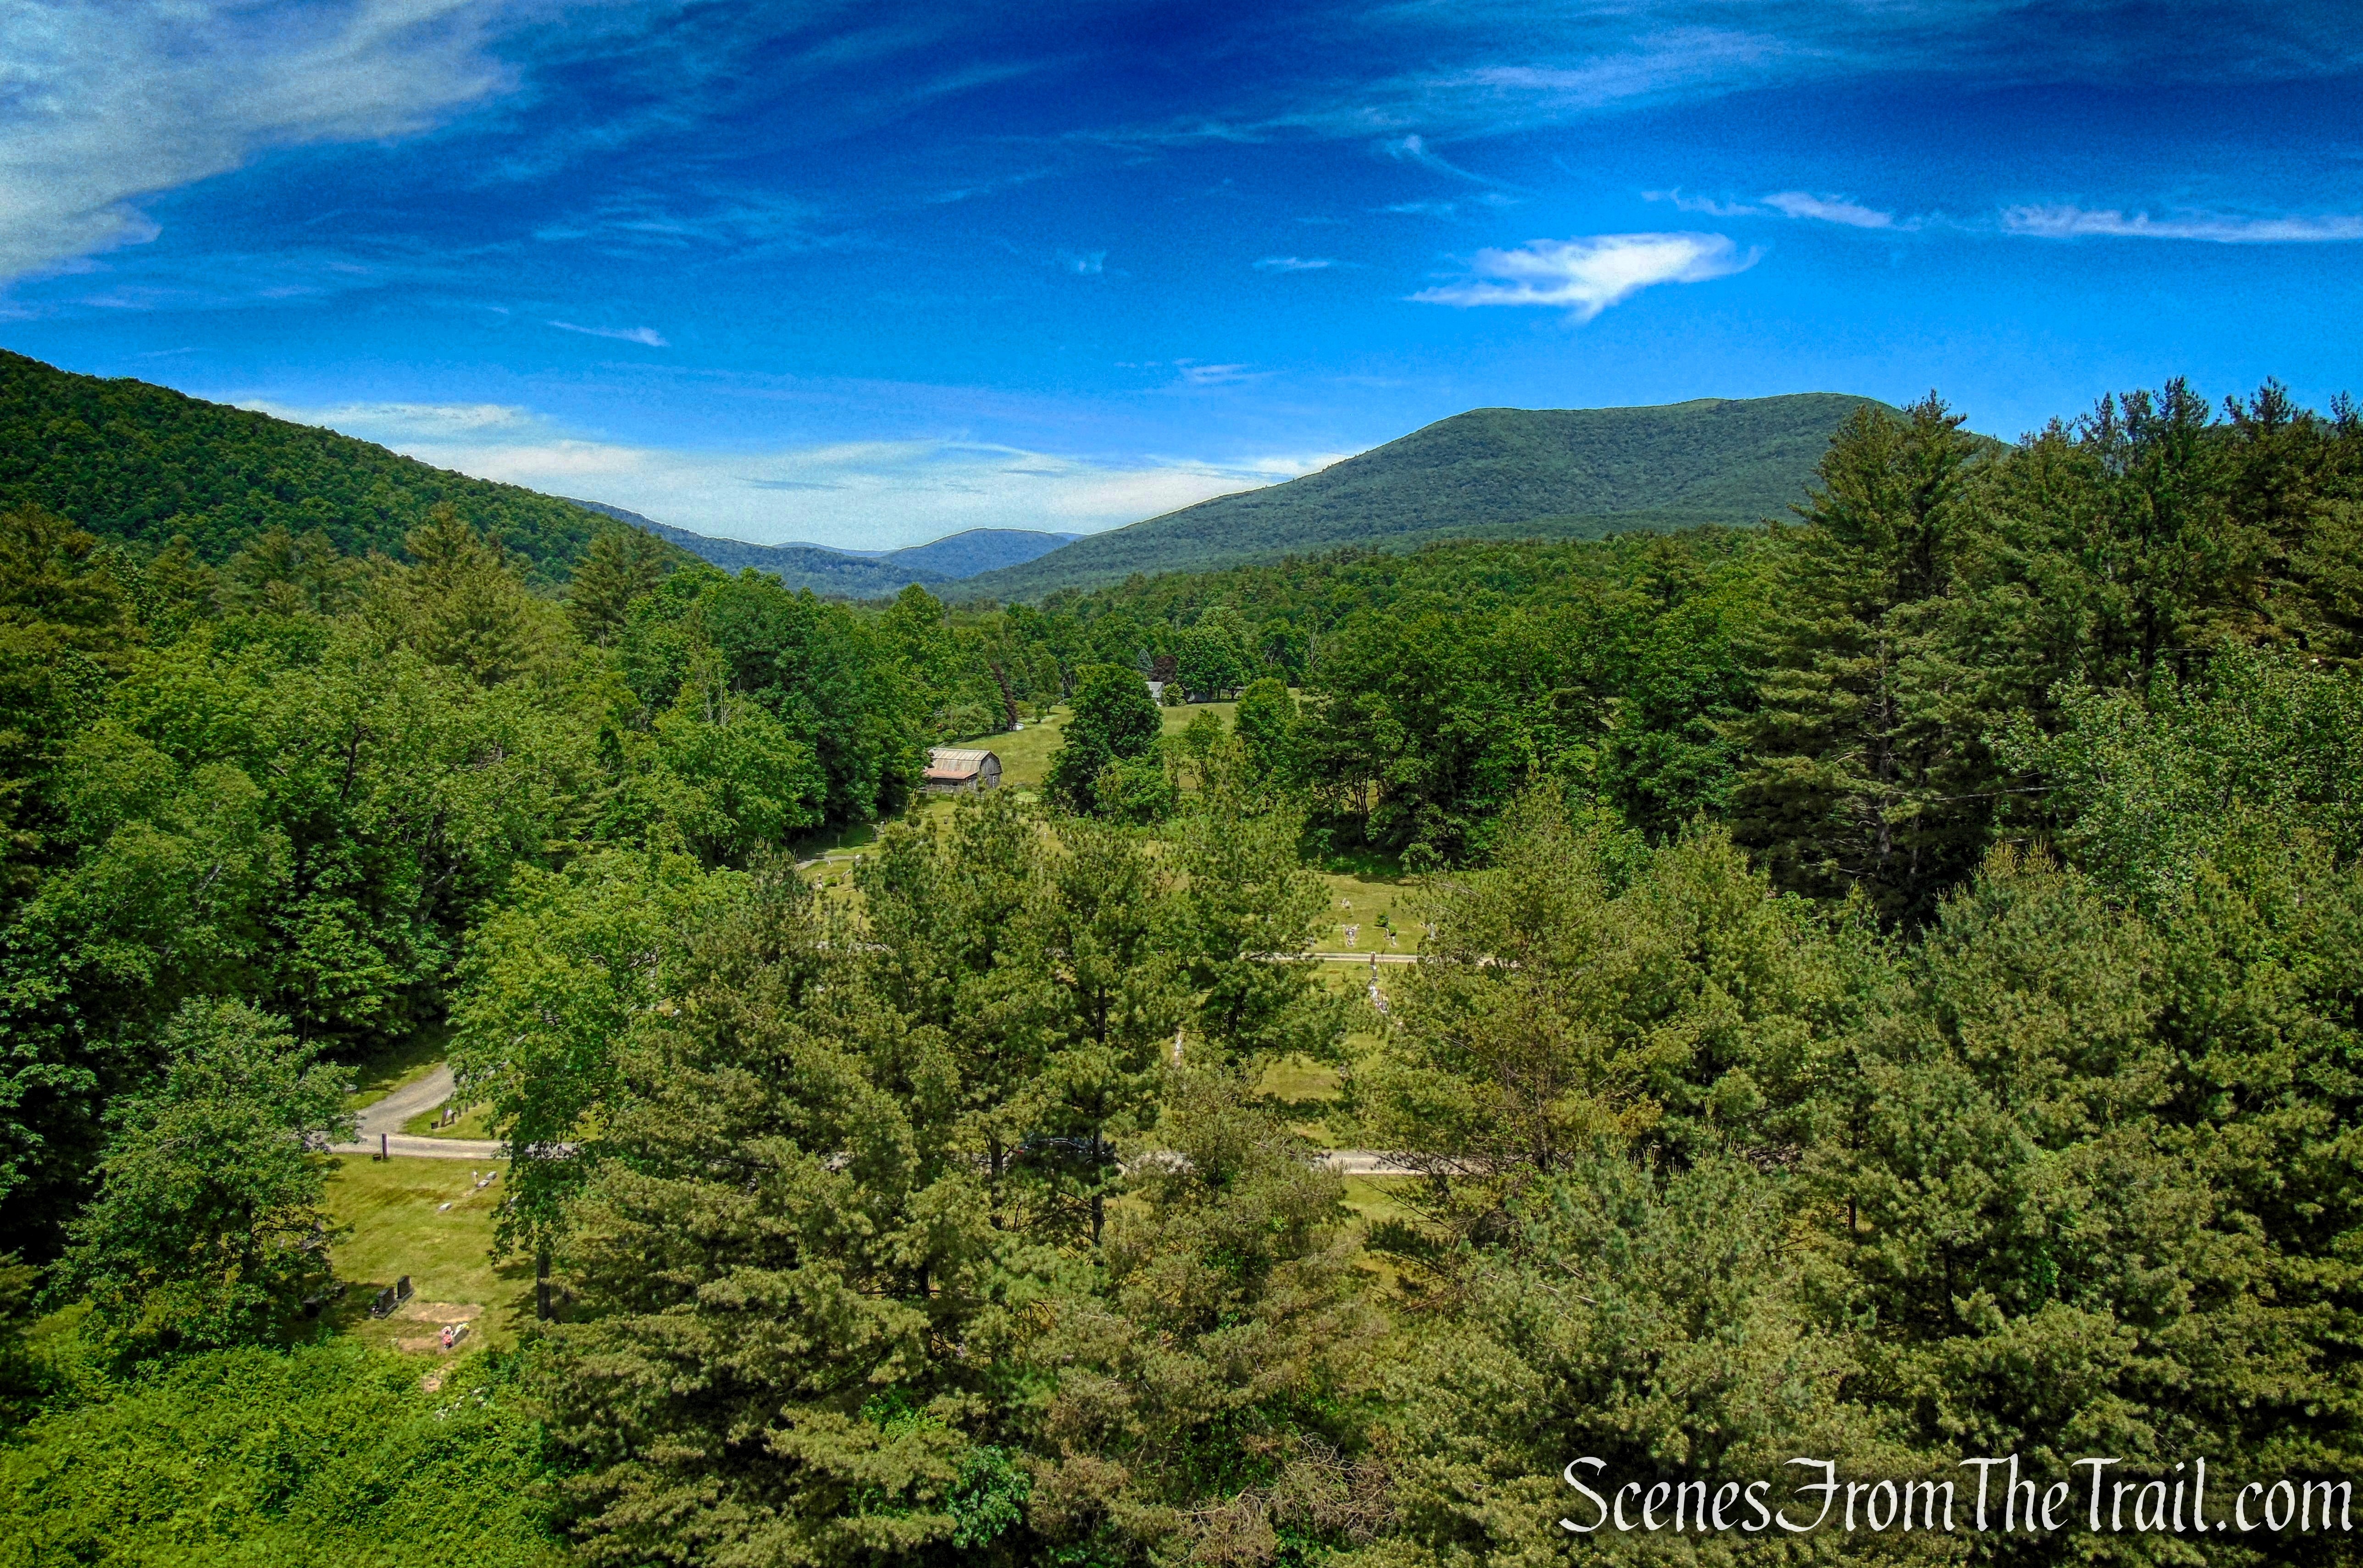
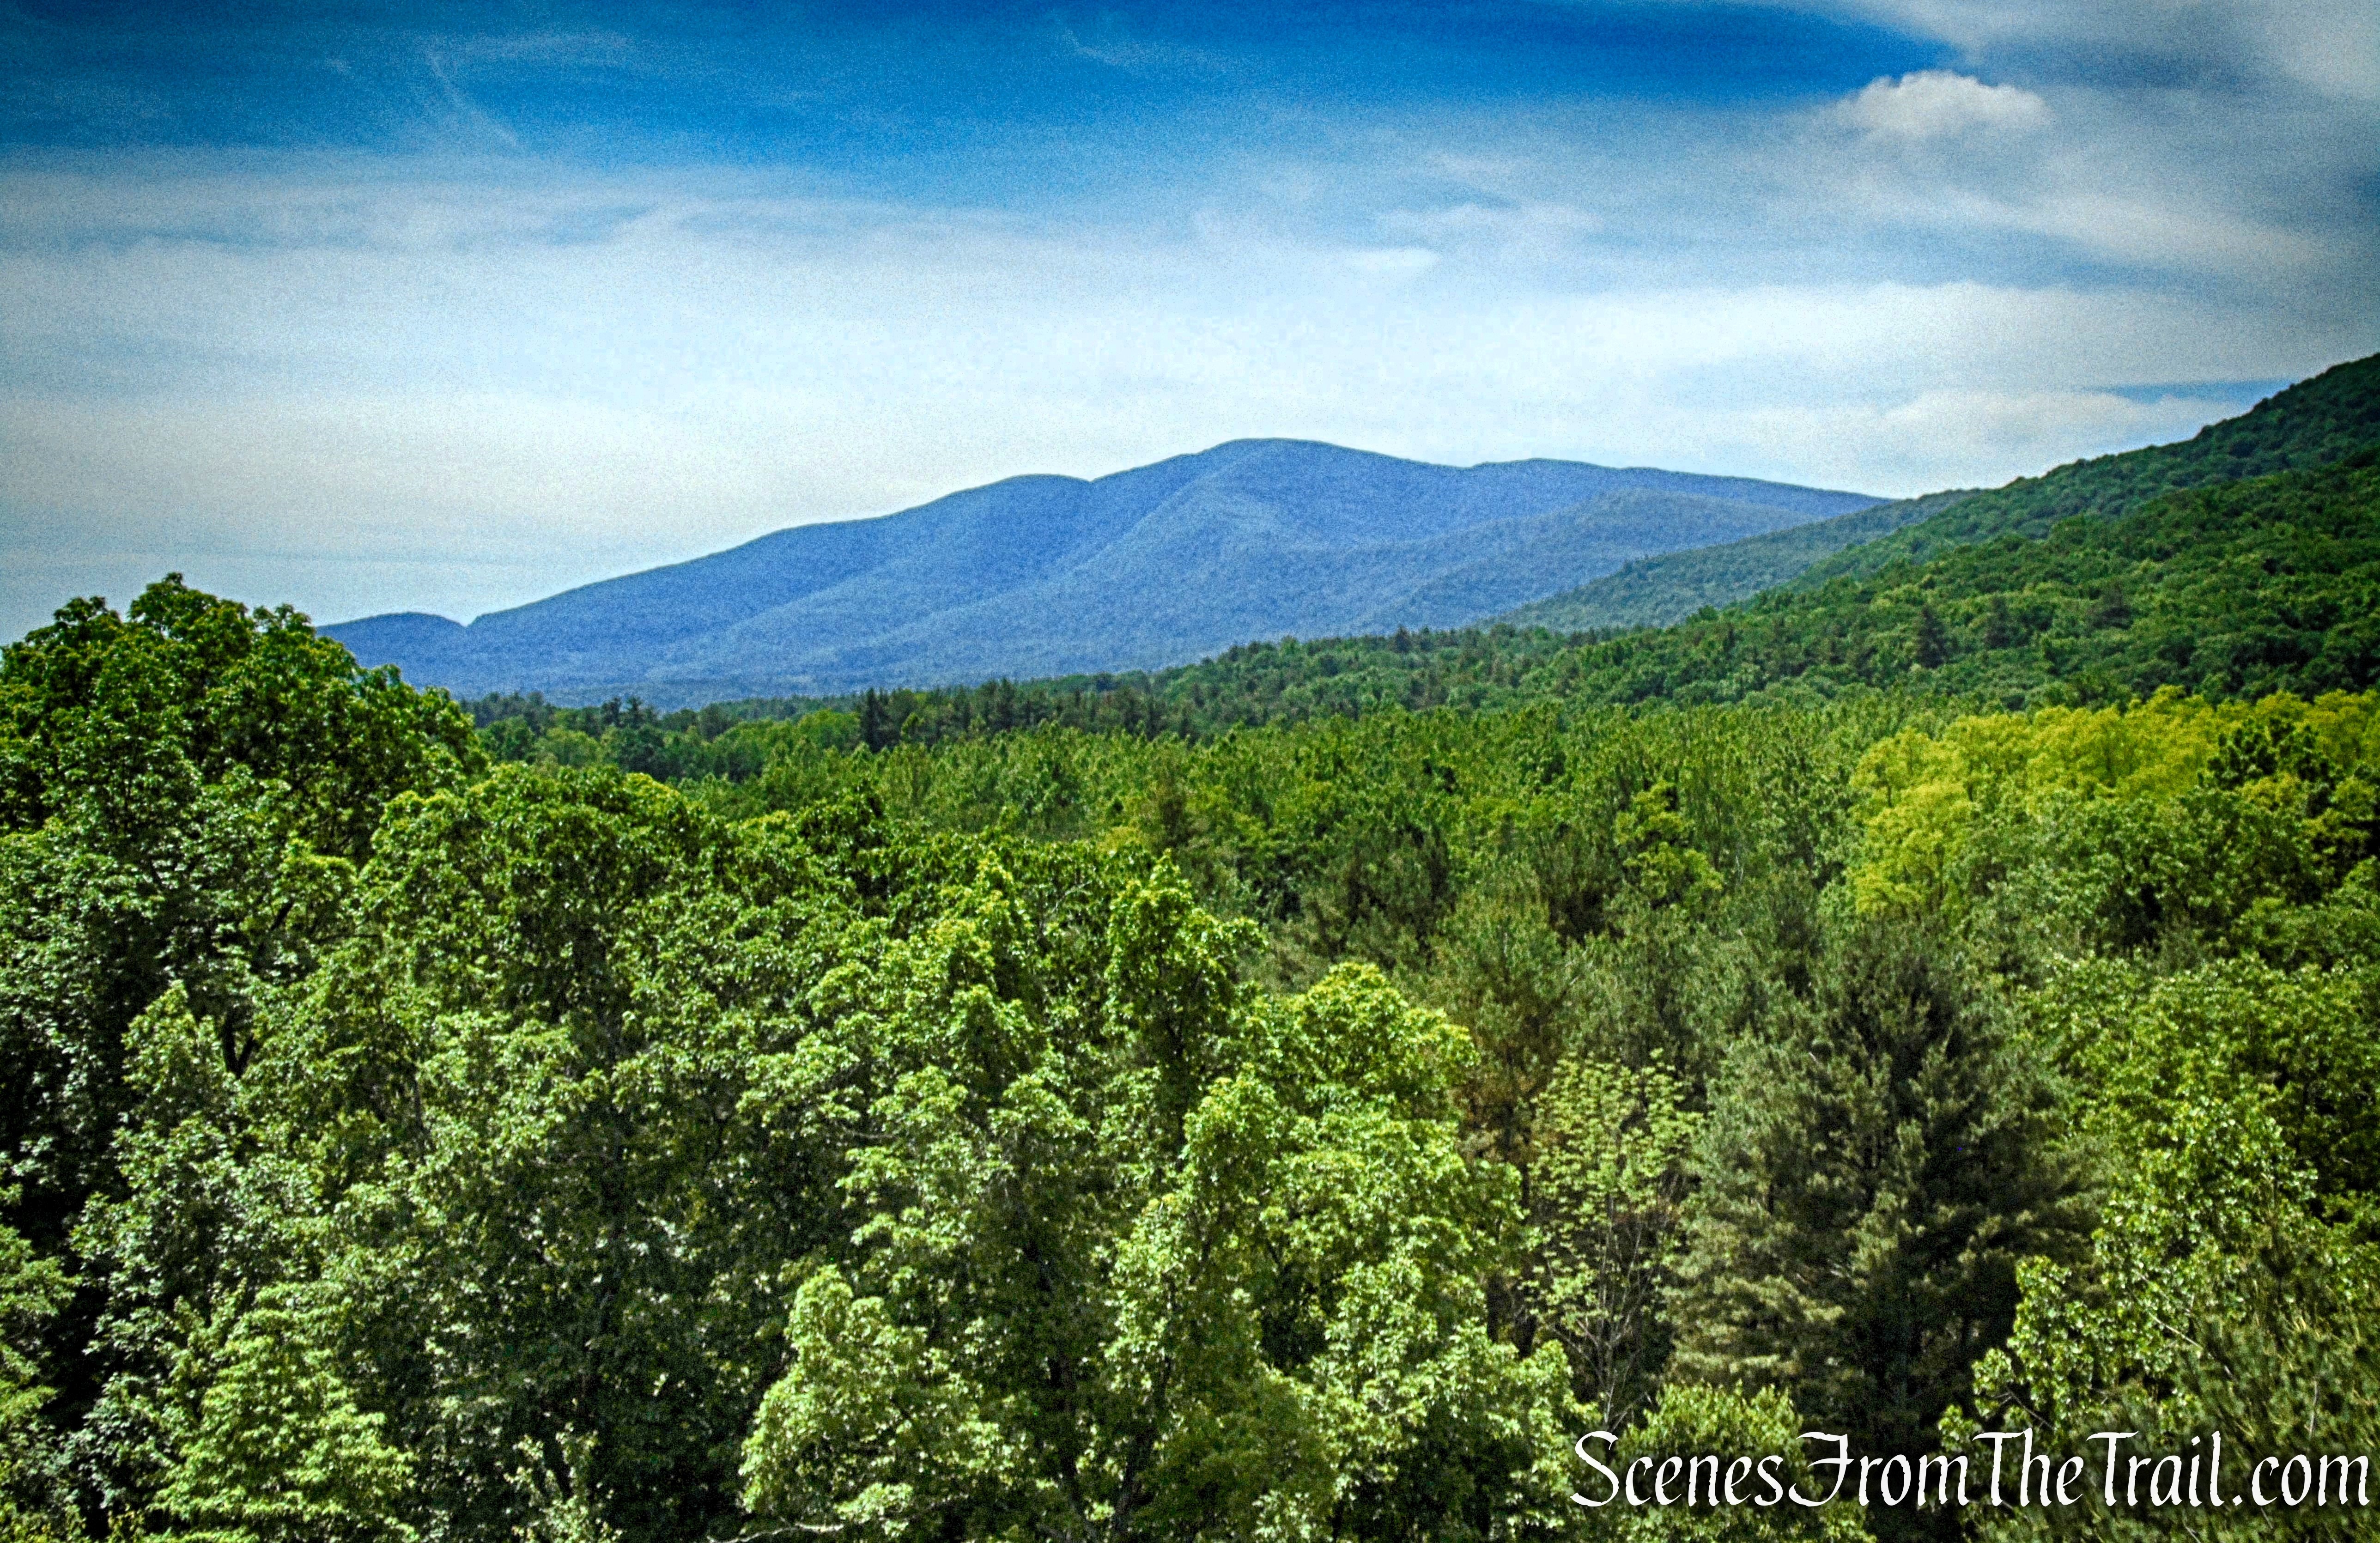
Rising to 682 feet above sea level, Mount Nebo sits along the western edge of the Hudson Valley, not far from the Hudson River and the village of Nyack. The terrain here is classic lower Hudson Highlands: rolling ridges, pockets of dense hardwood forest, and seasonal views that open up through the trees. Depending on your route, you might catch glimpses of the Hudson, nearby towns, or the undulating ridgelines stretching north and south.
Mount Nebo
But what really sets Mount Nebo apart is its past. During the height of the Cold War, the summit area was home to a Nike missile defense installation, part of a nationwide network designed to protect major metropolitan areas like New York City.

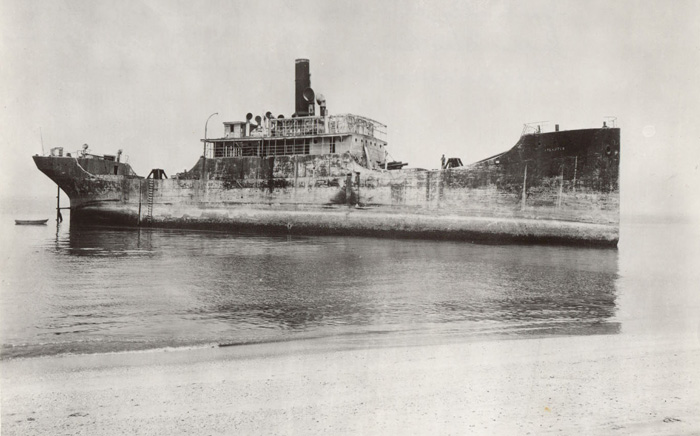
Nike Ajax Missile
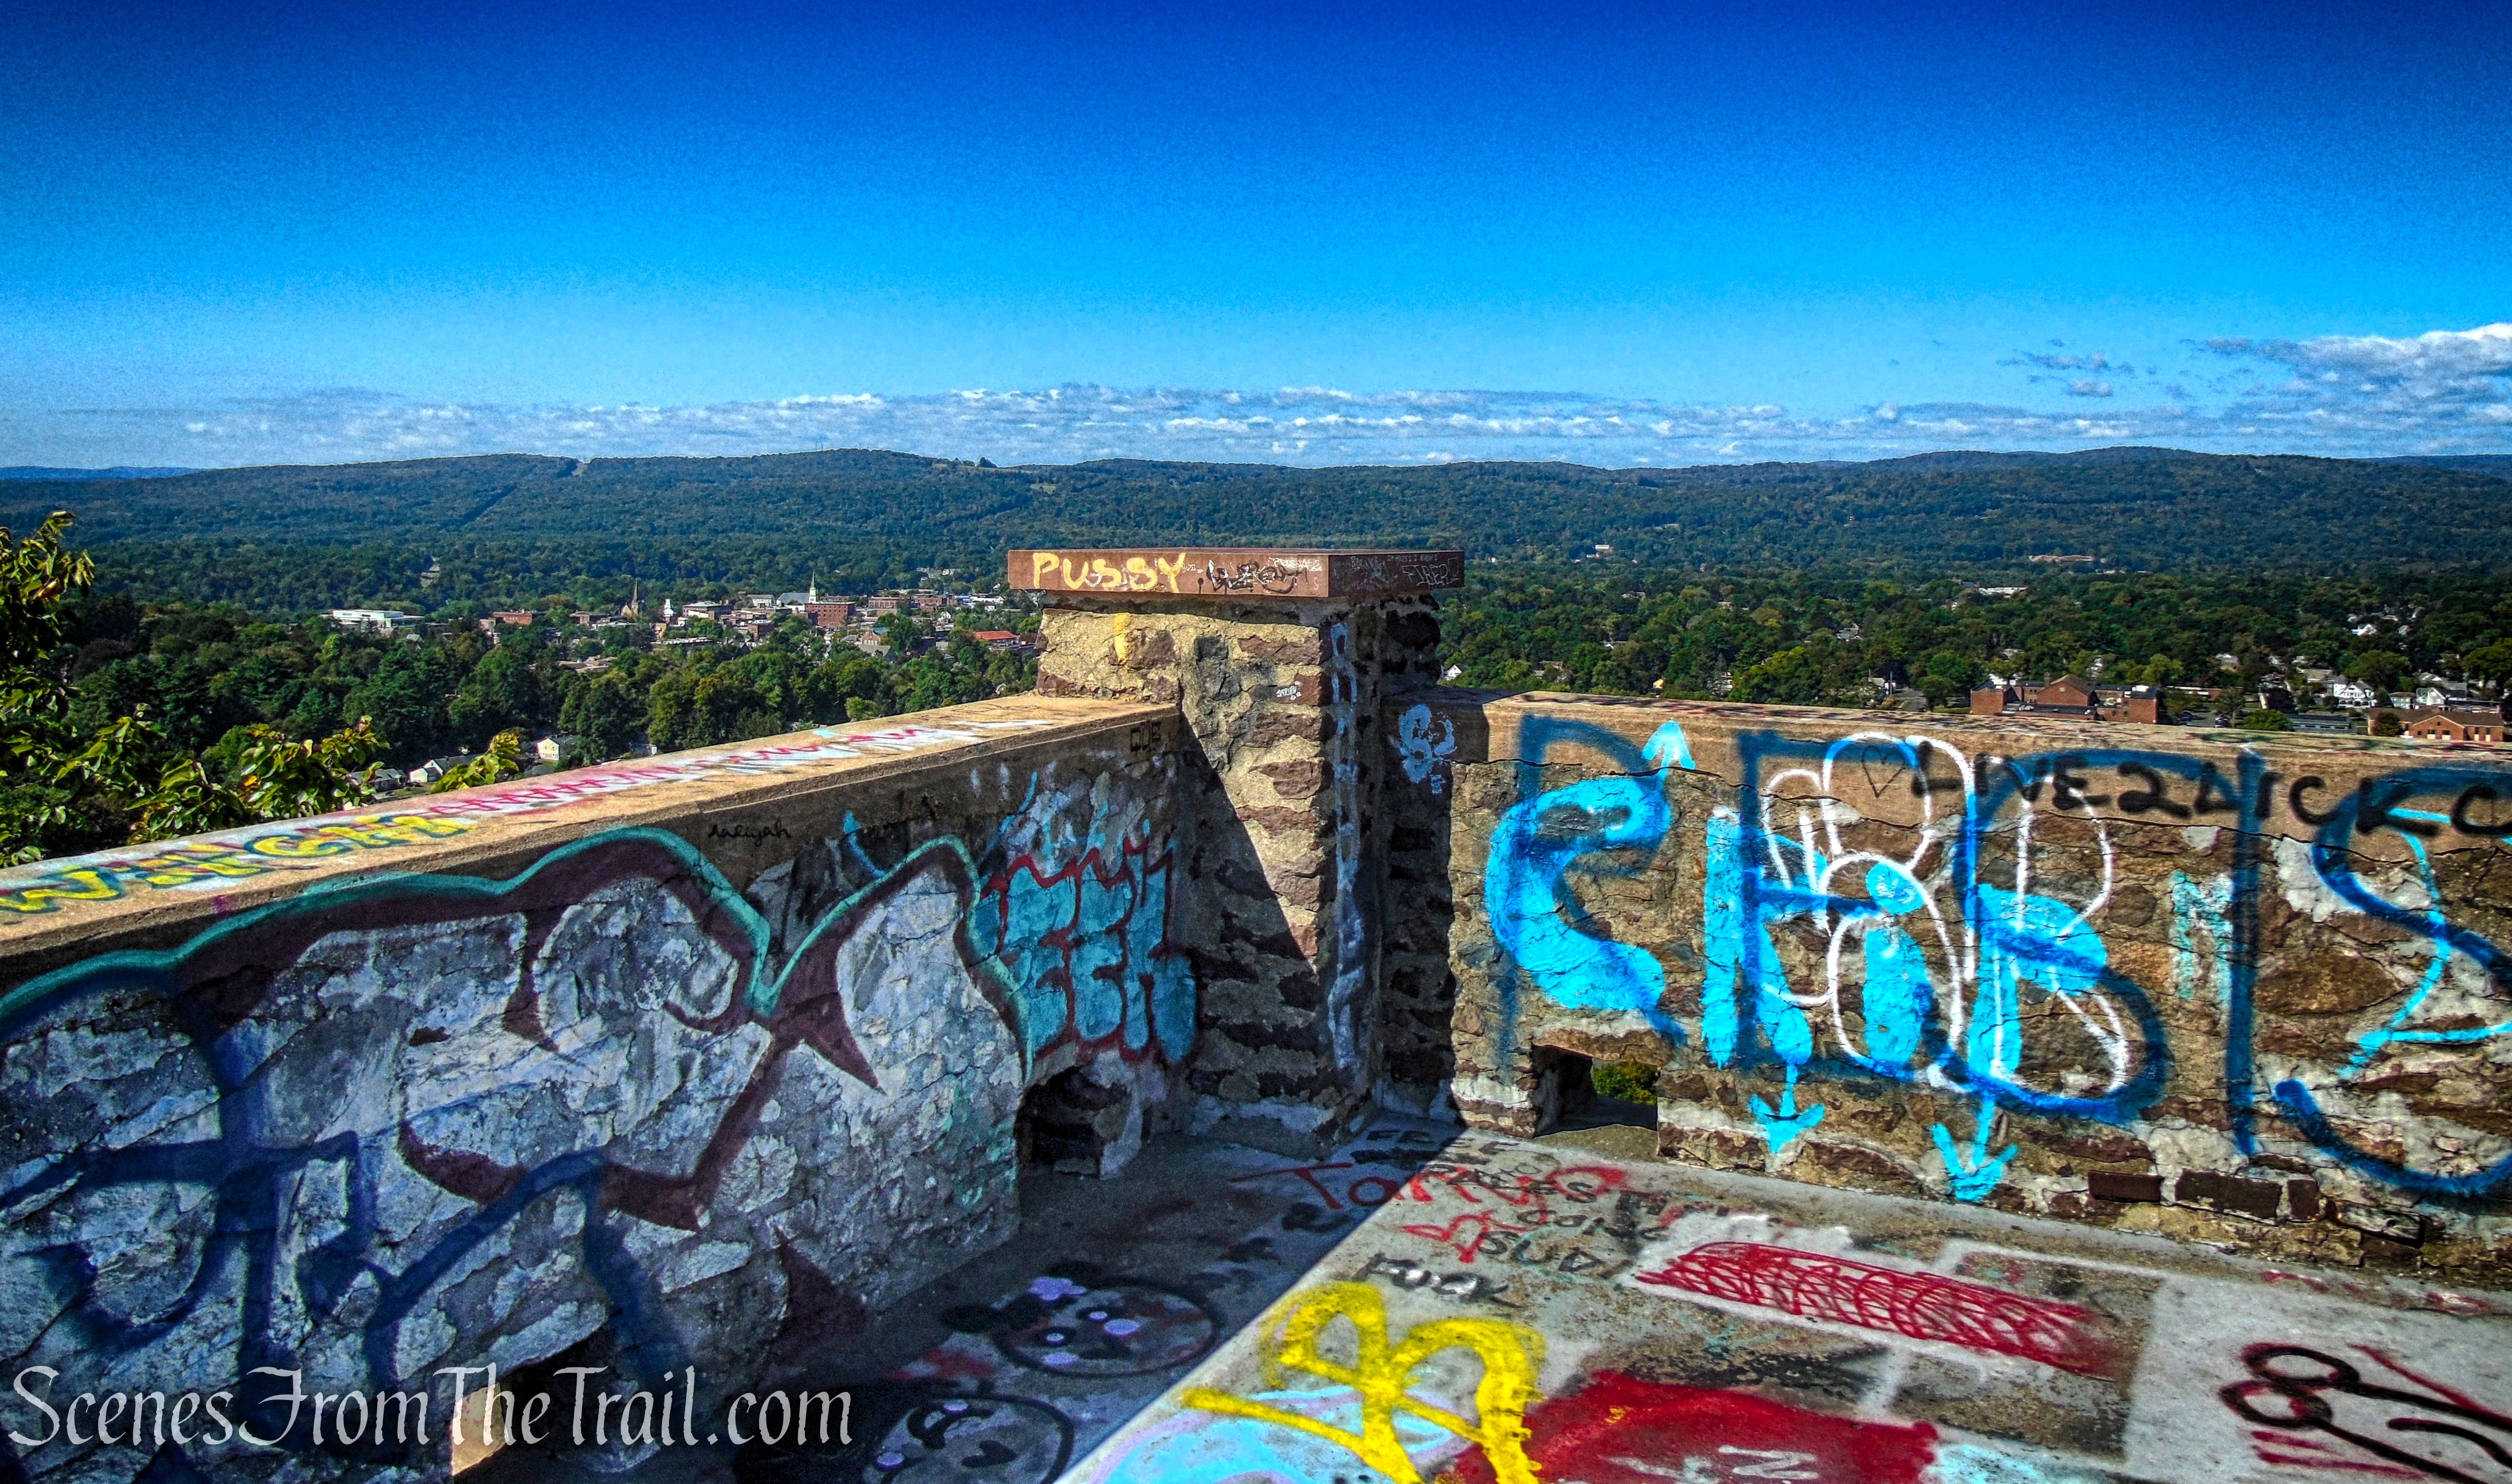
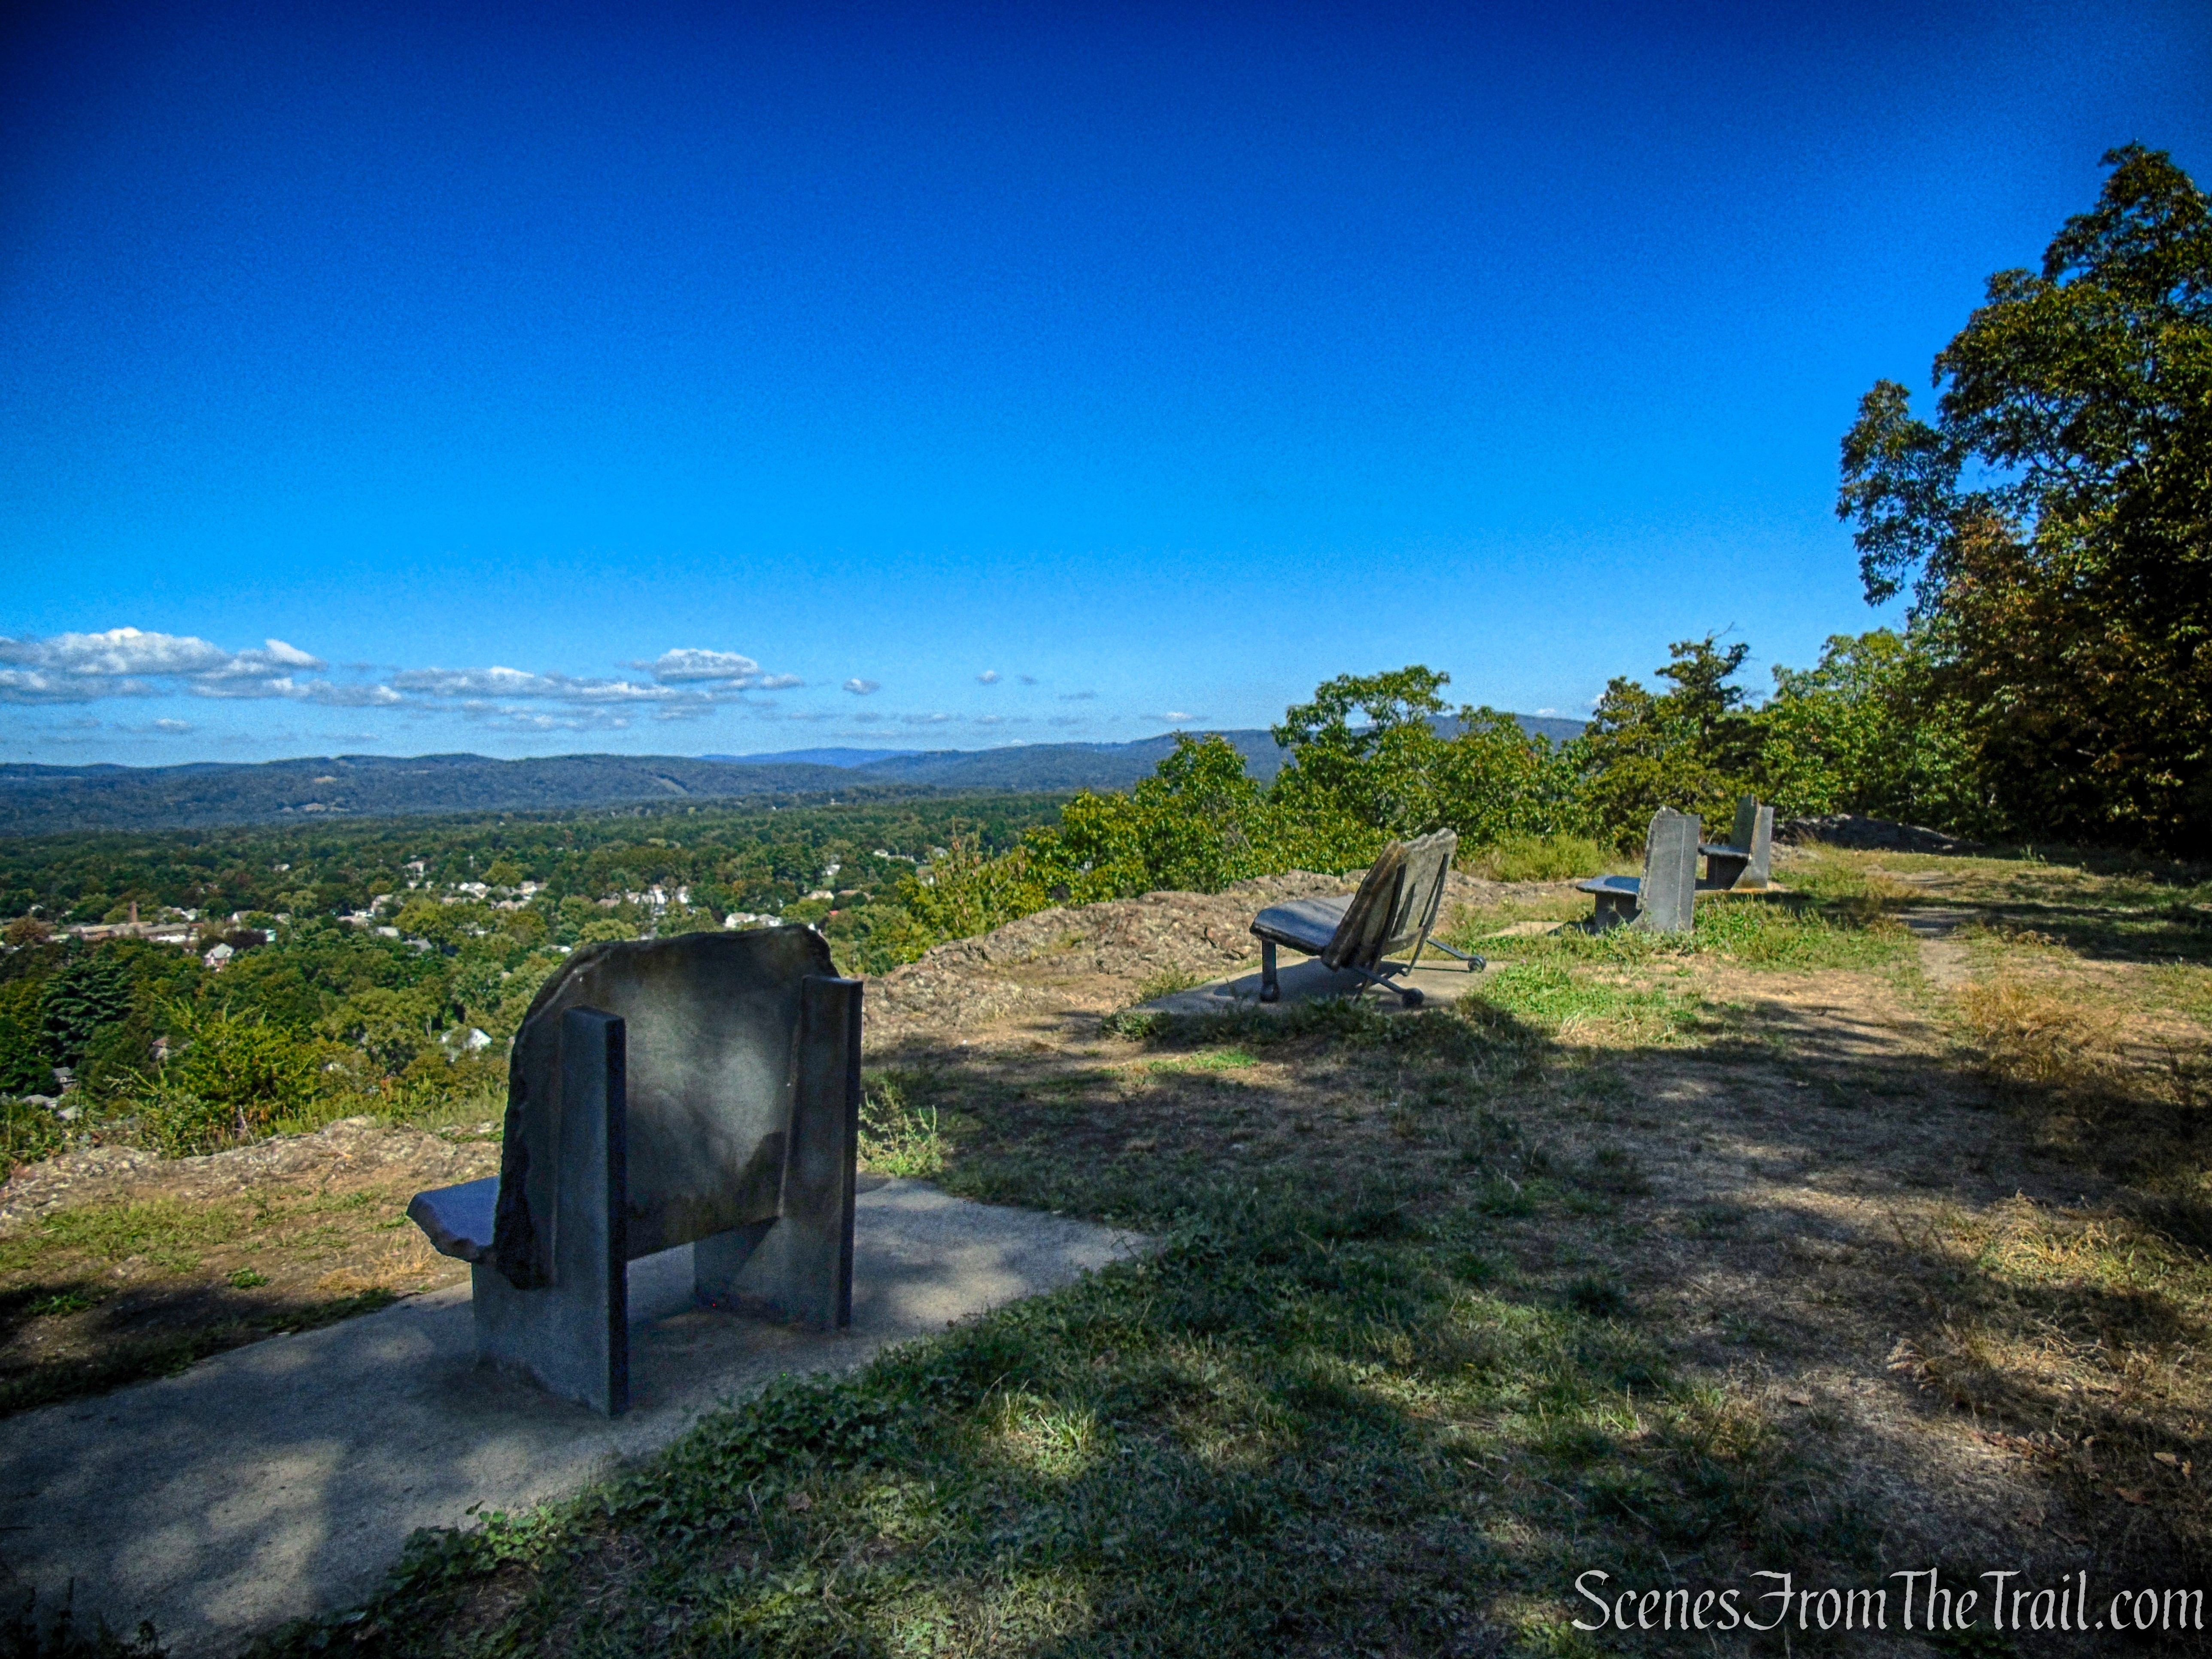
Today, Nike Overlook Park sits atop the summit of Mount Nebo, offering limited views of the Hudson River Valley. Scattered concrete foundations, rusted fencing, graded clearings, and old access roads hint at its Cold War past, when this quiet mountaintop was part of a highly secured missile defense site. Now, it stands as an off-the-beaten-path destination where woodland solitude meets a subtle reminder of global tensions.
Nike Overlook Park
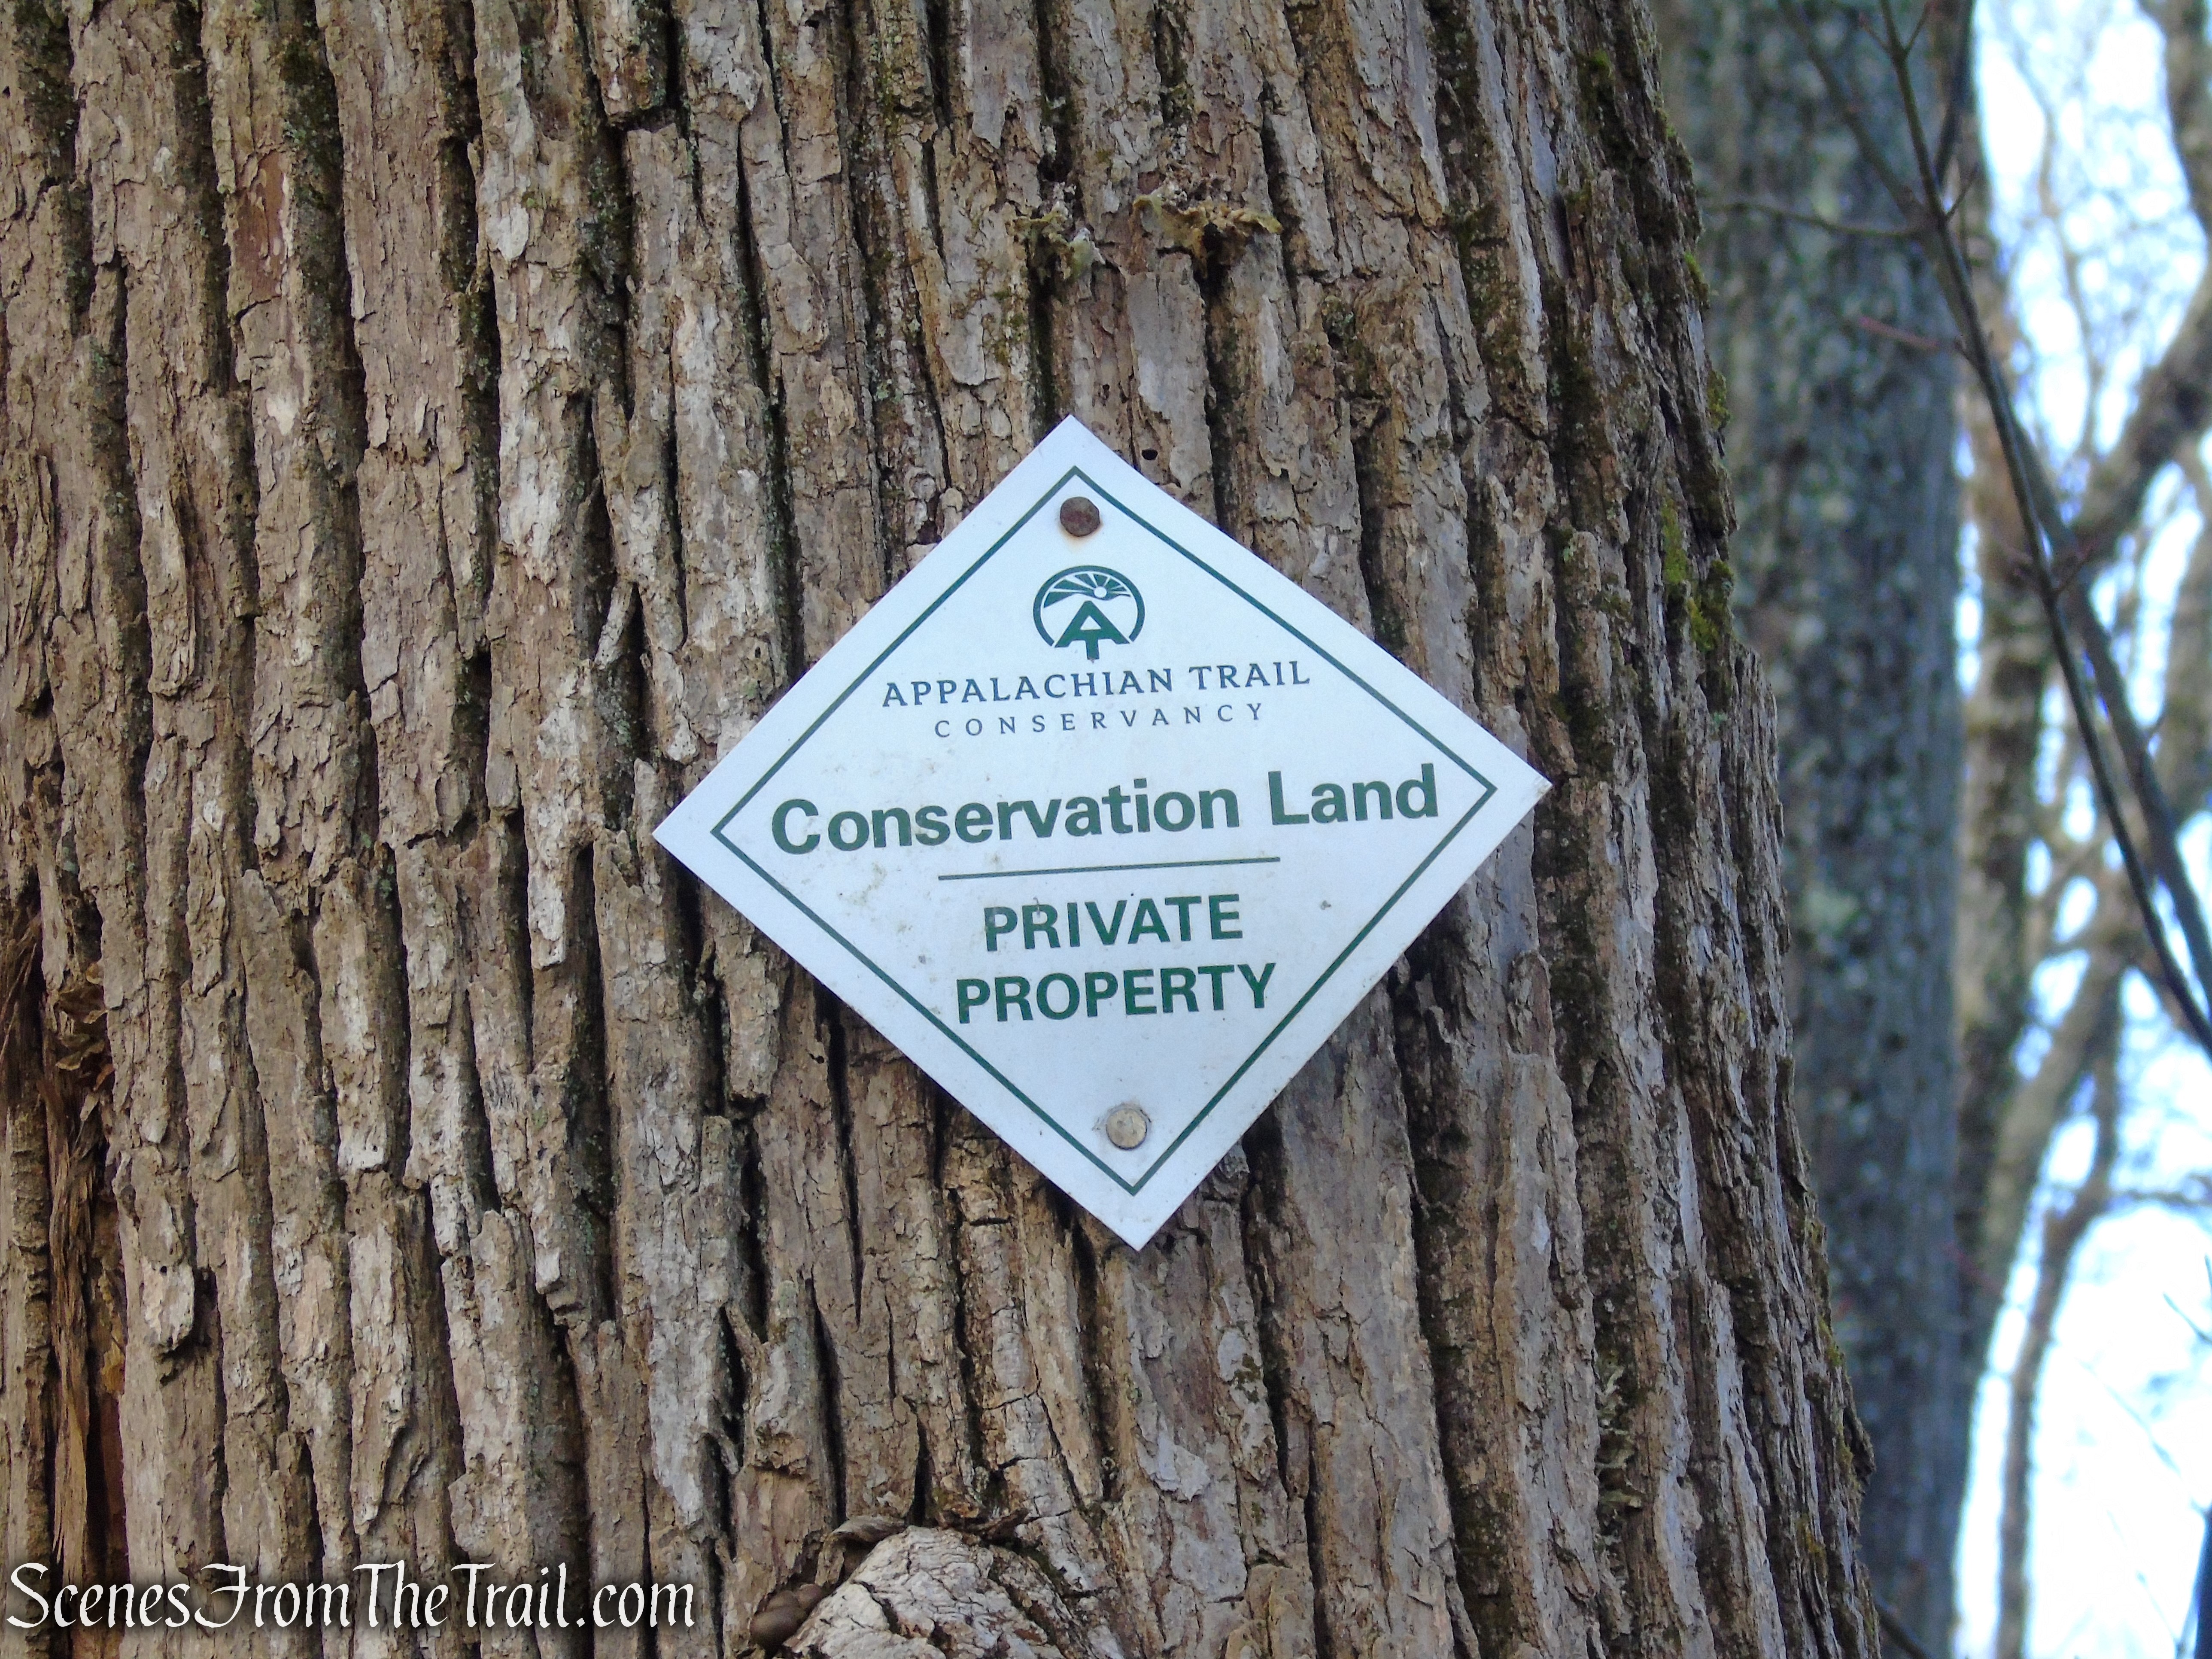
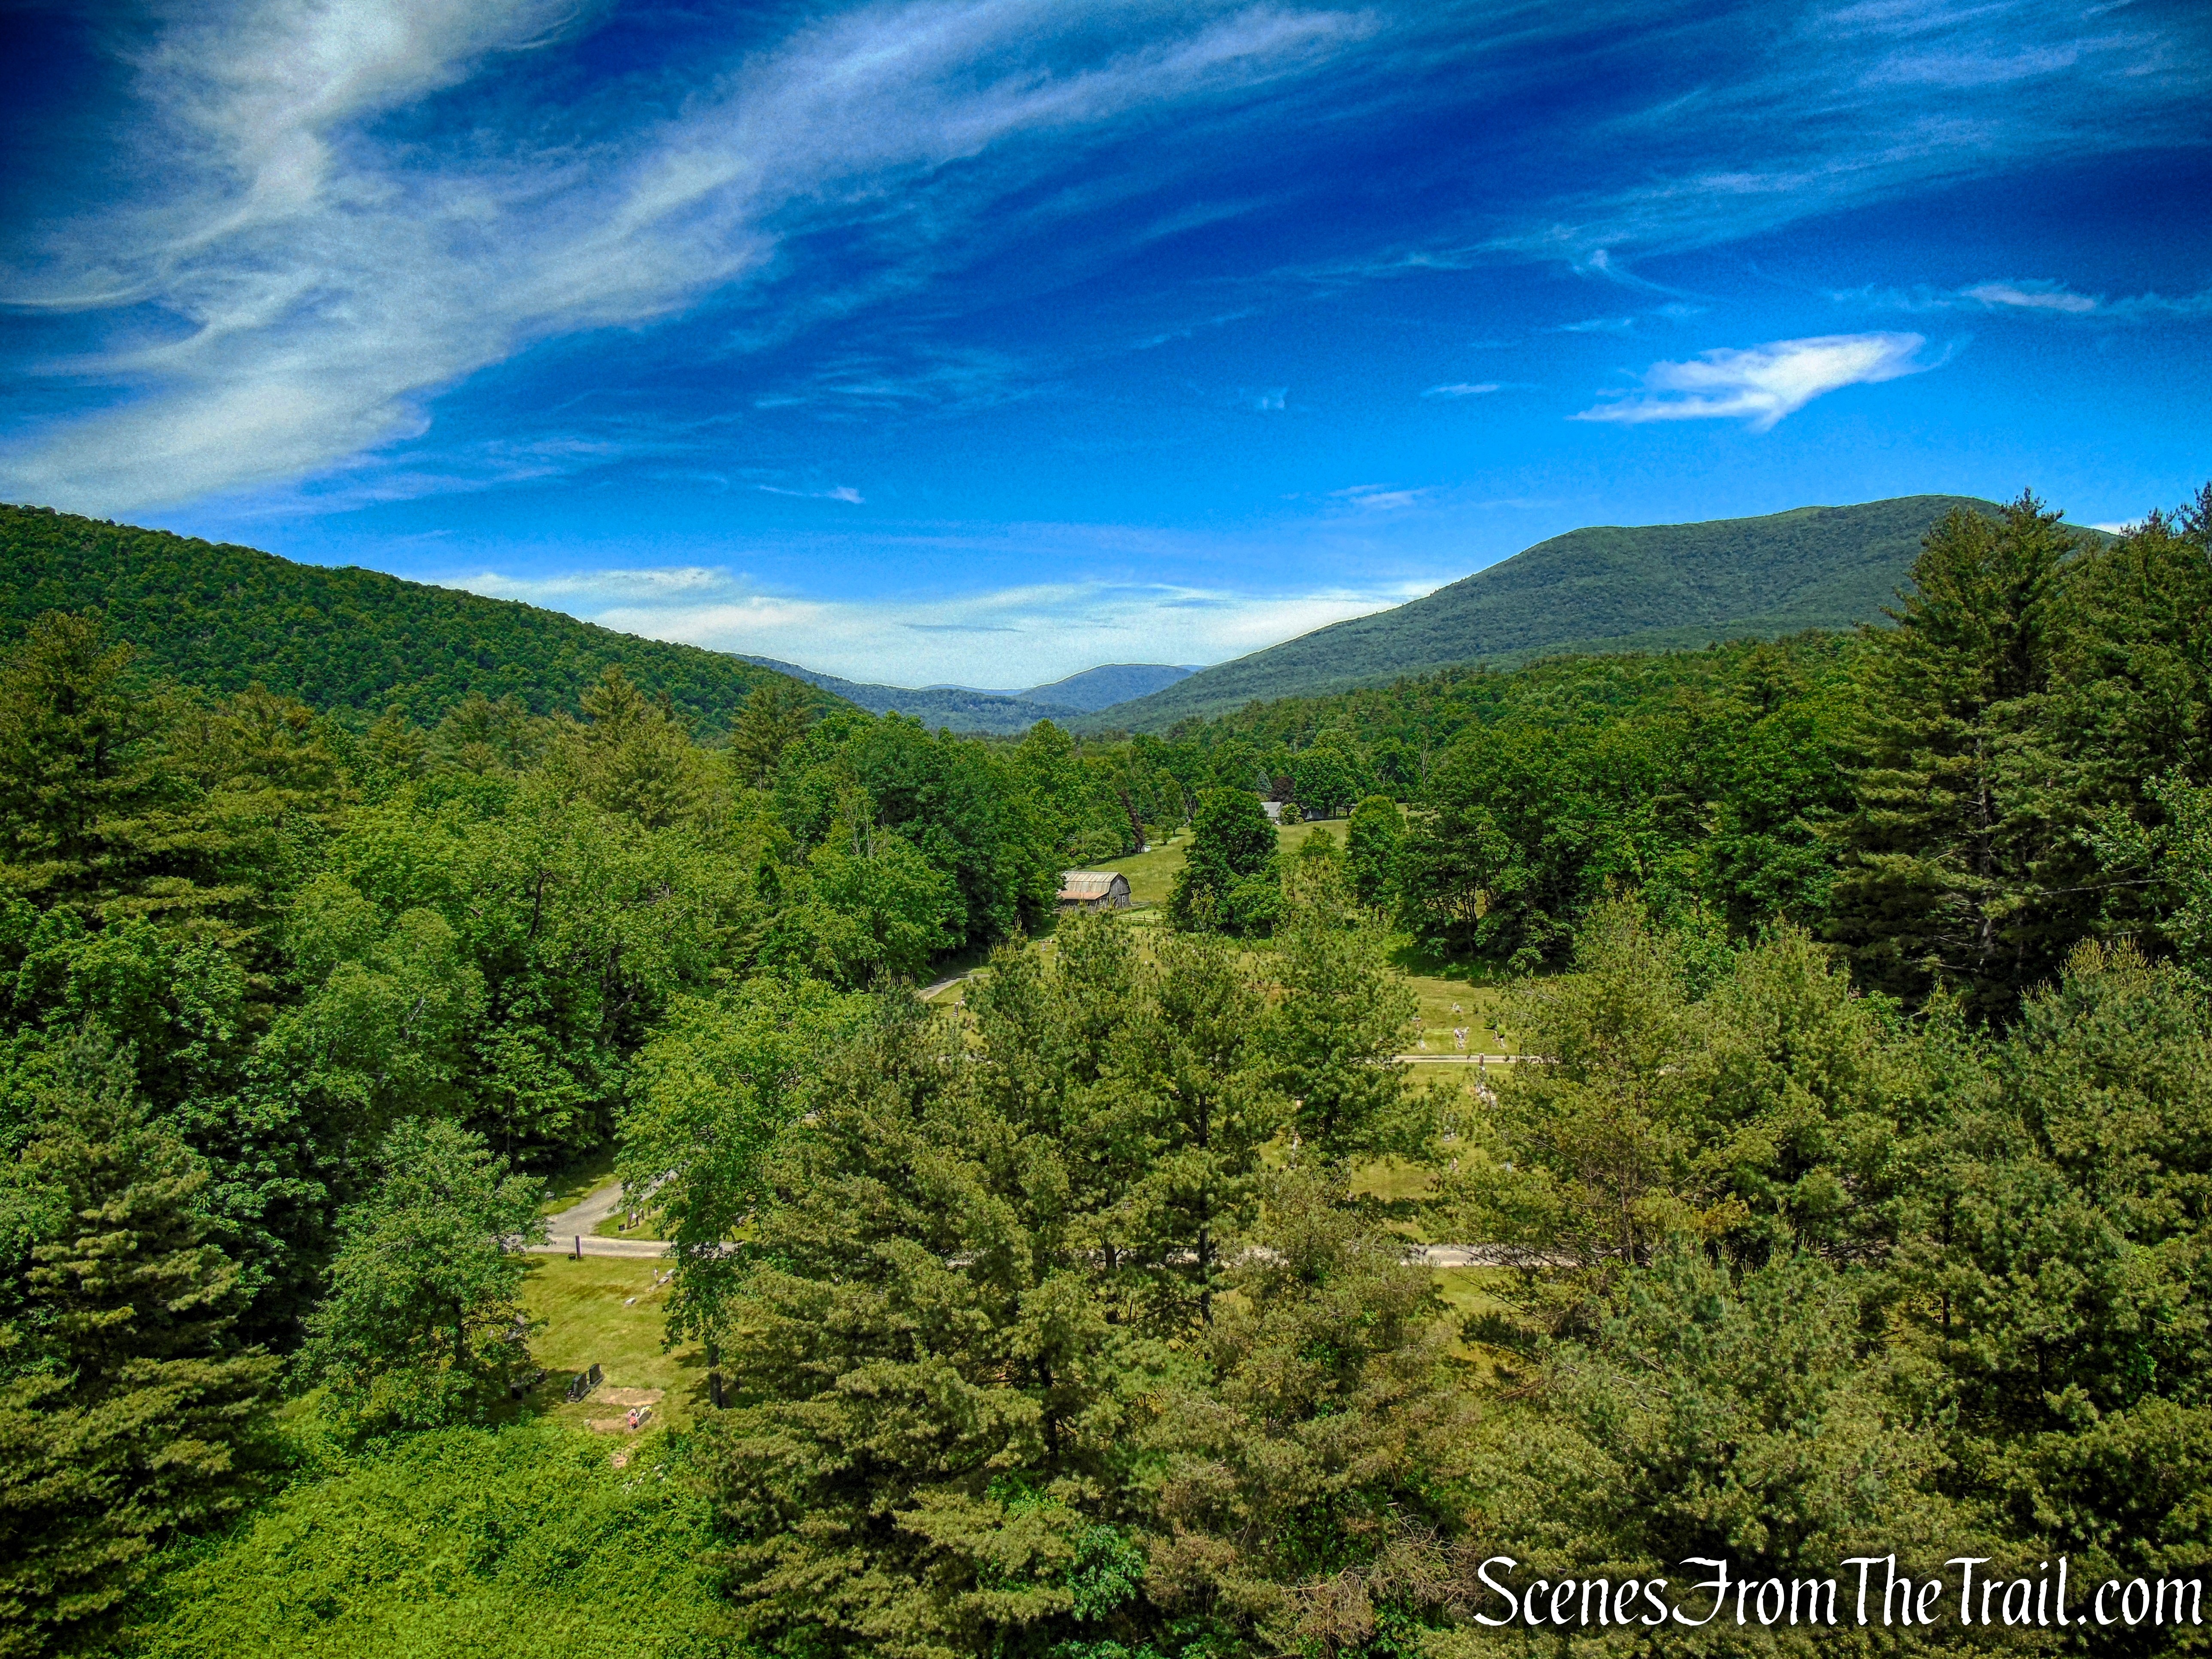
Surrounding Mount Nebo is a surprisingly rich patchwork of parkland that turns this modest summit into something much bigger than a single destination. What makes the area special isn’t just the mountain itself—it’s how seamlessly it connects to neighboring preserves, creating miles of continuous woods, ridgelines, and trail options across southern Rockland County.
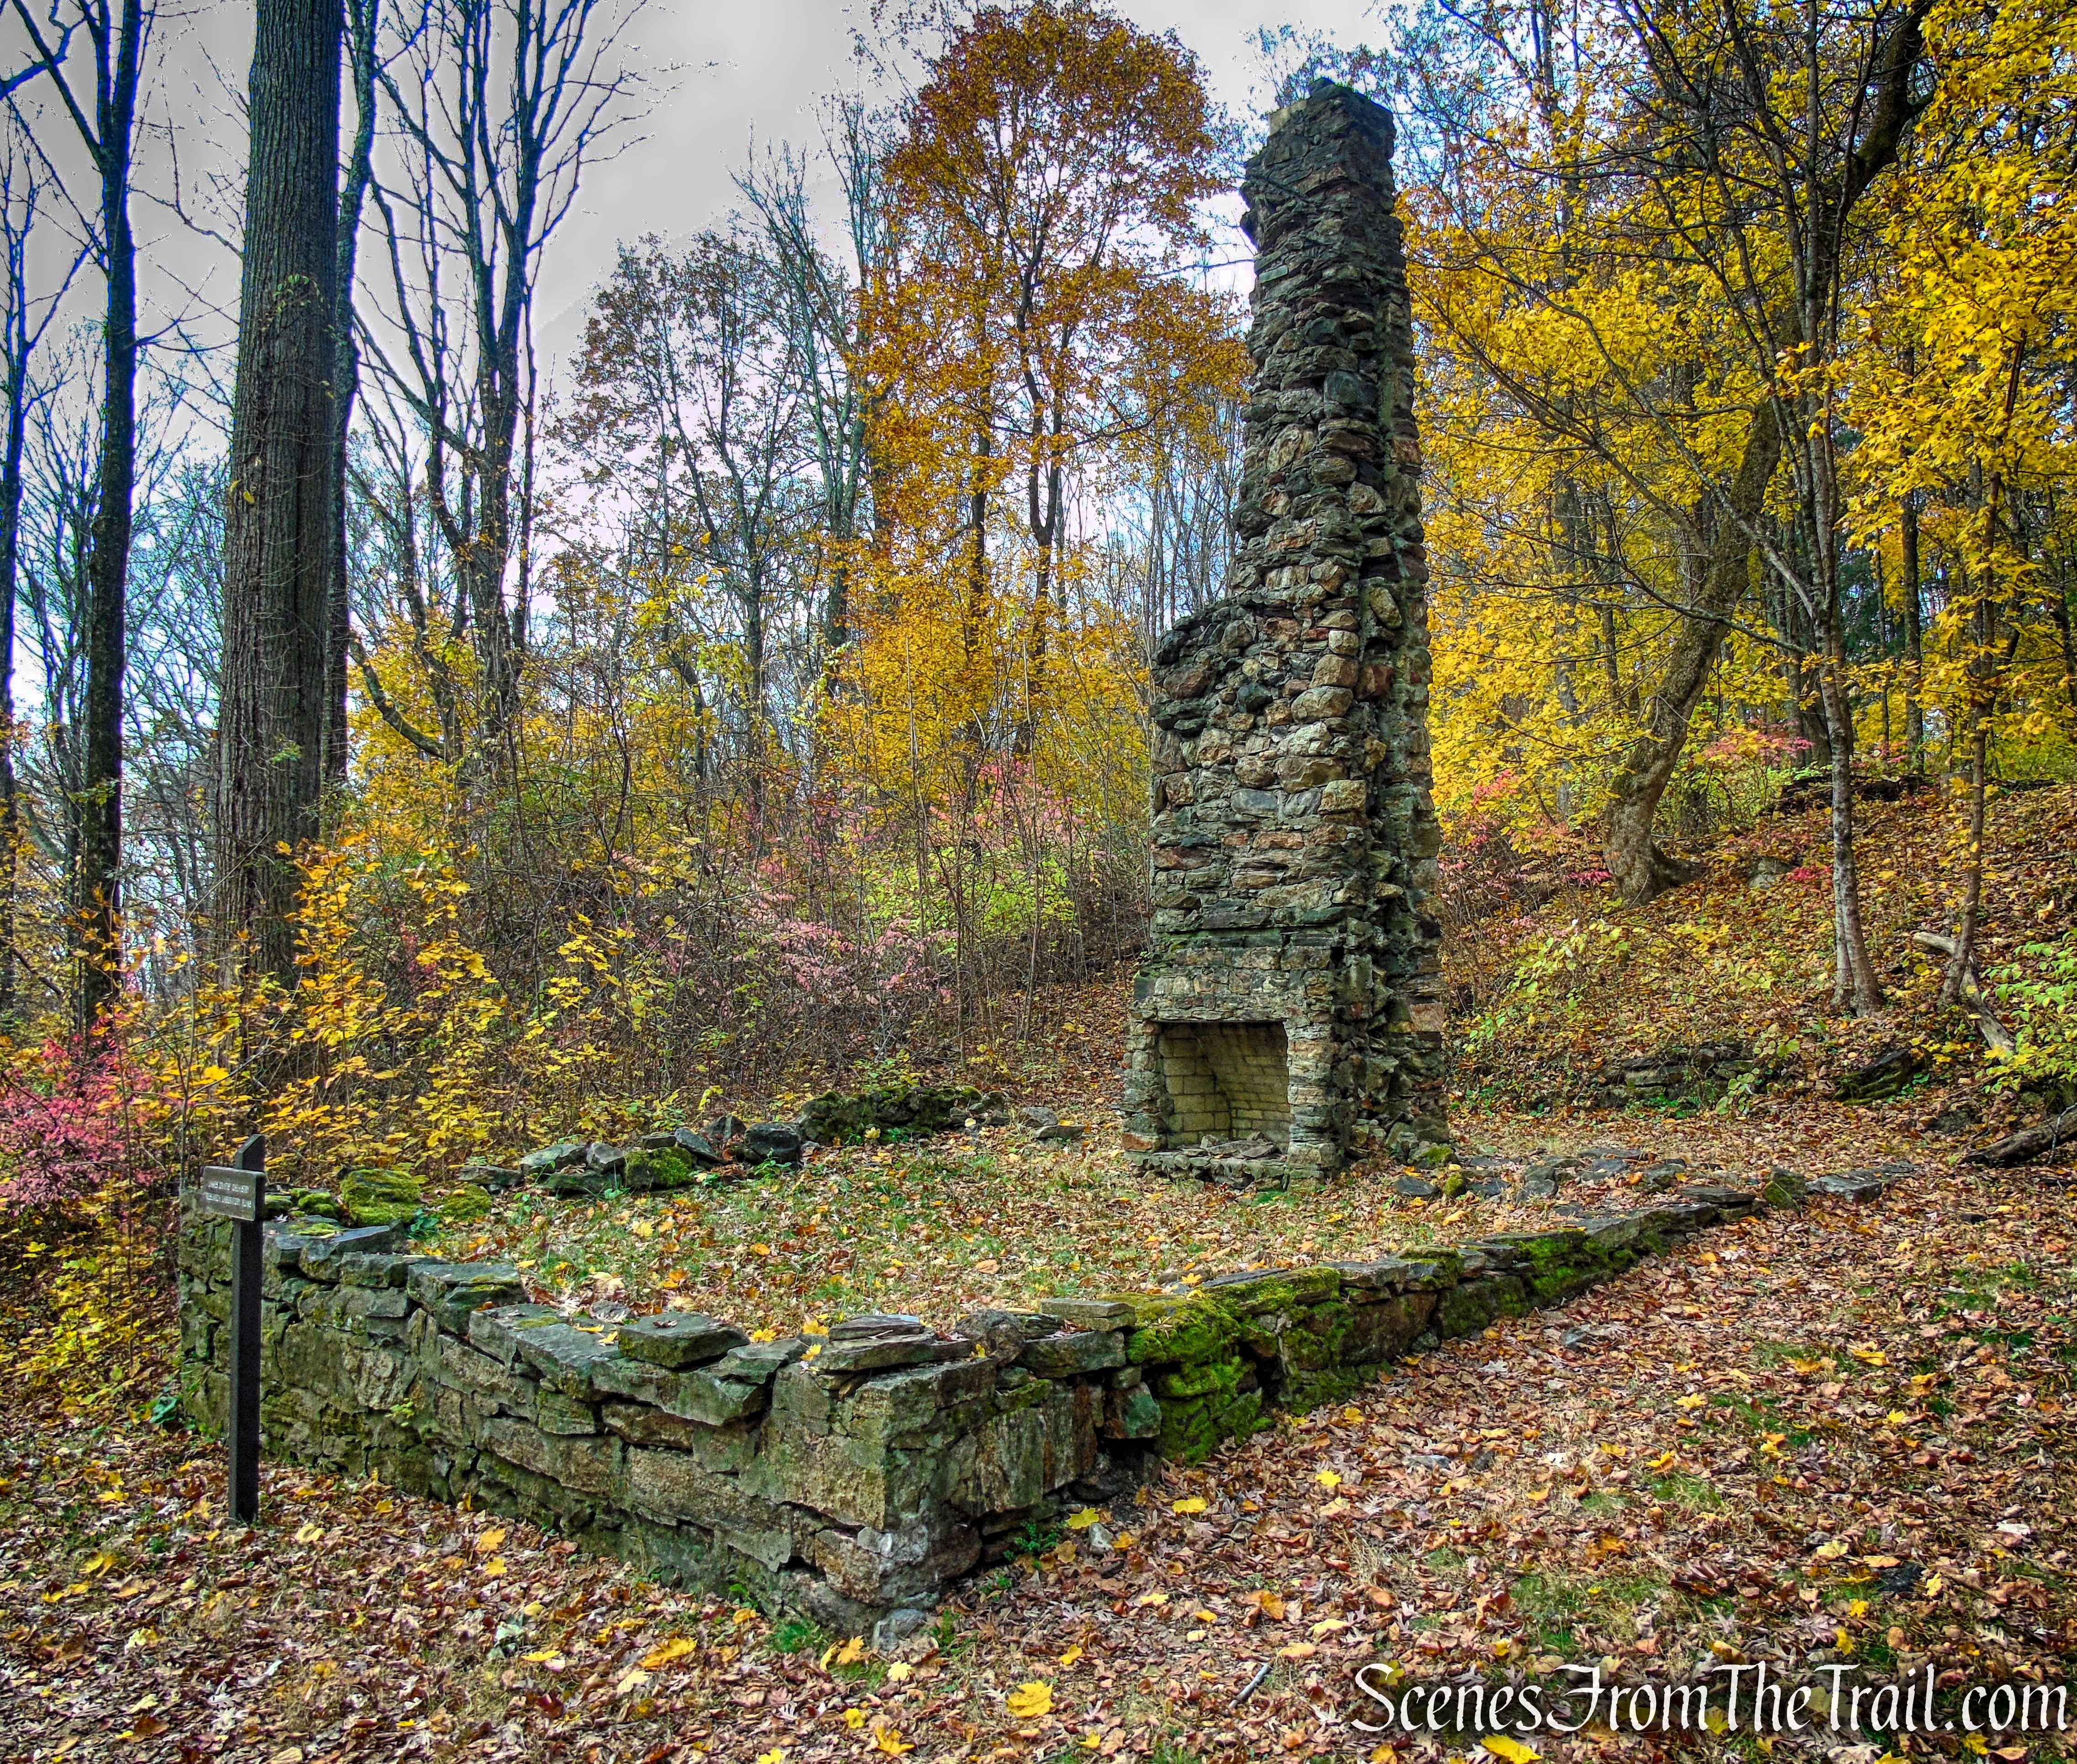
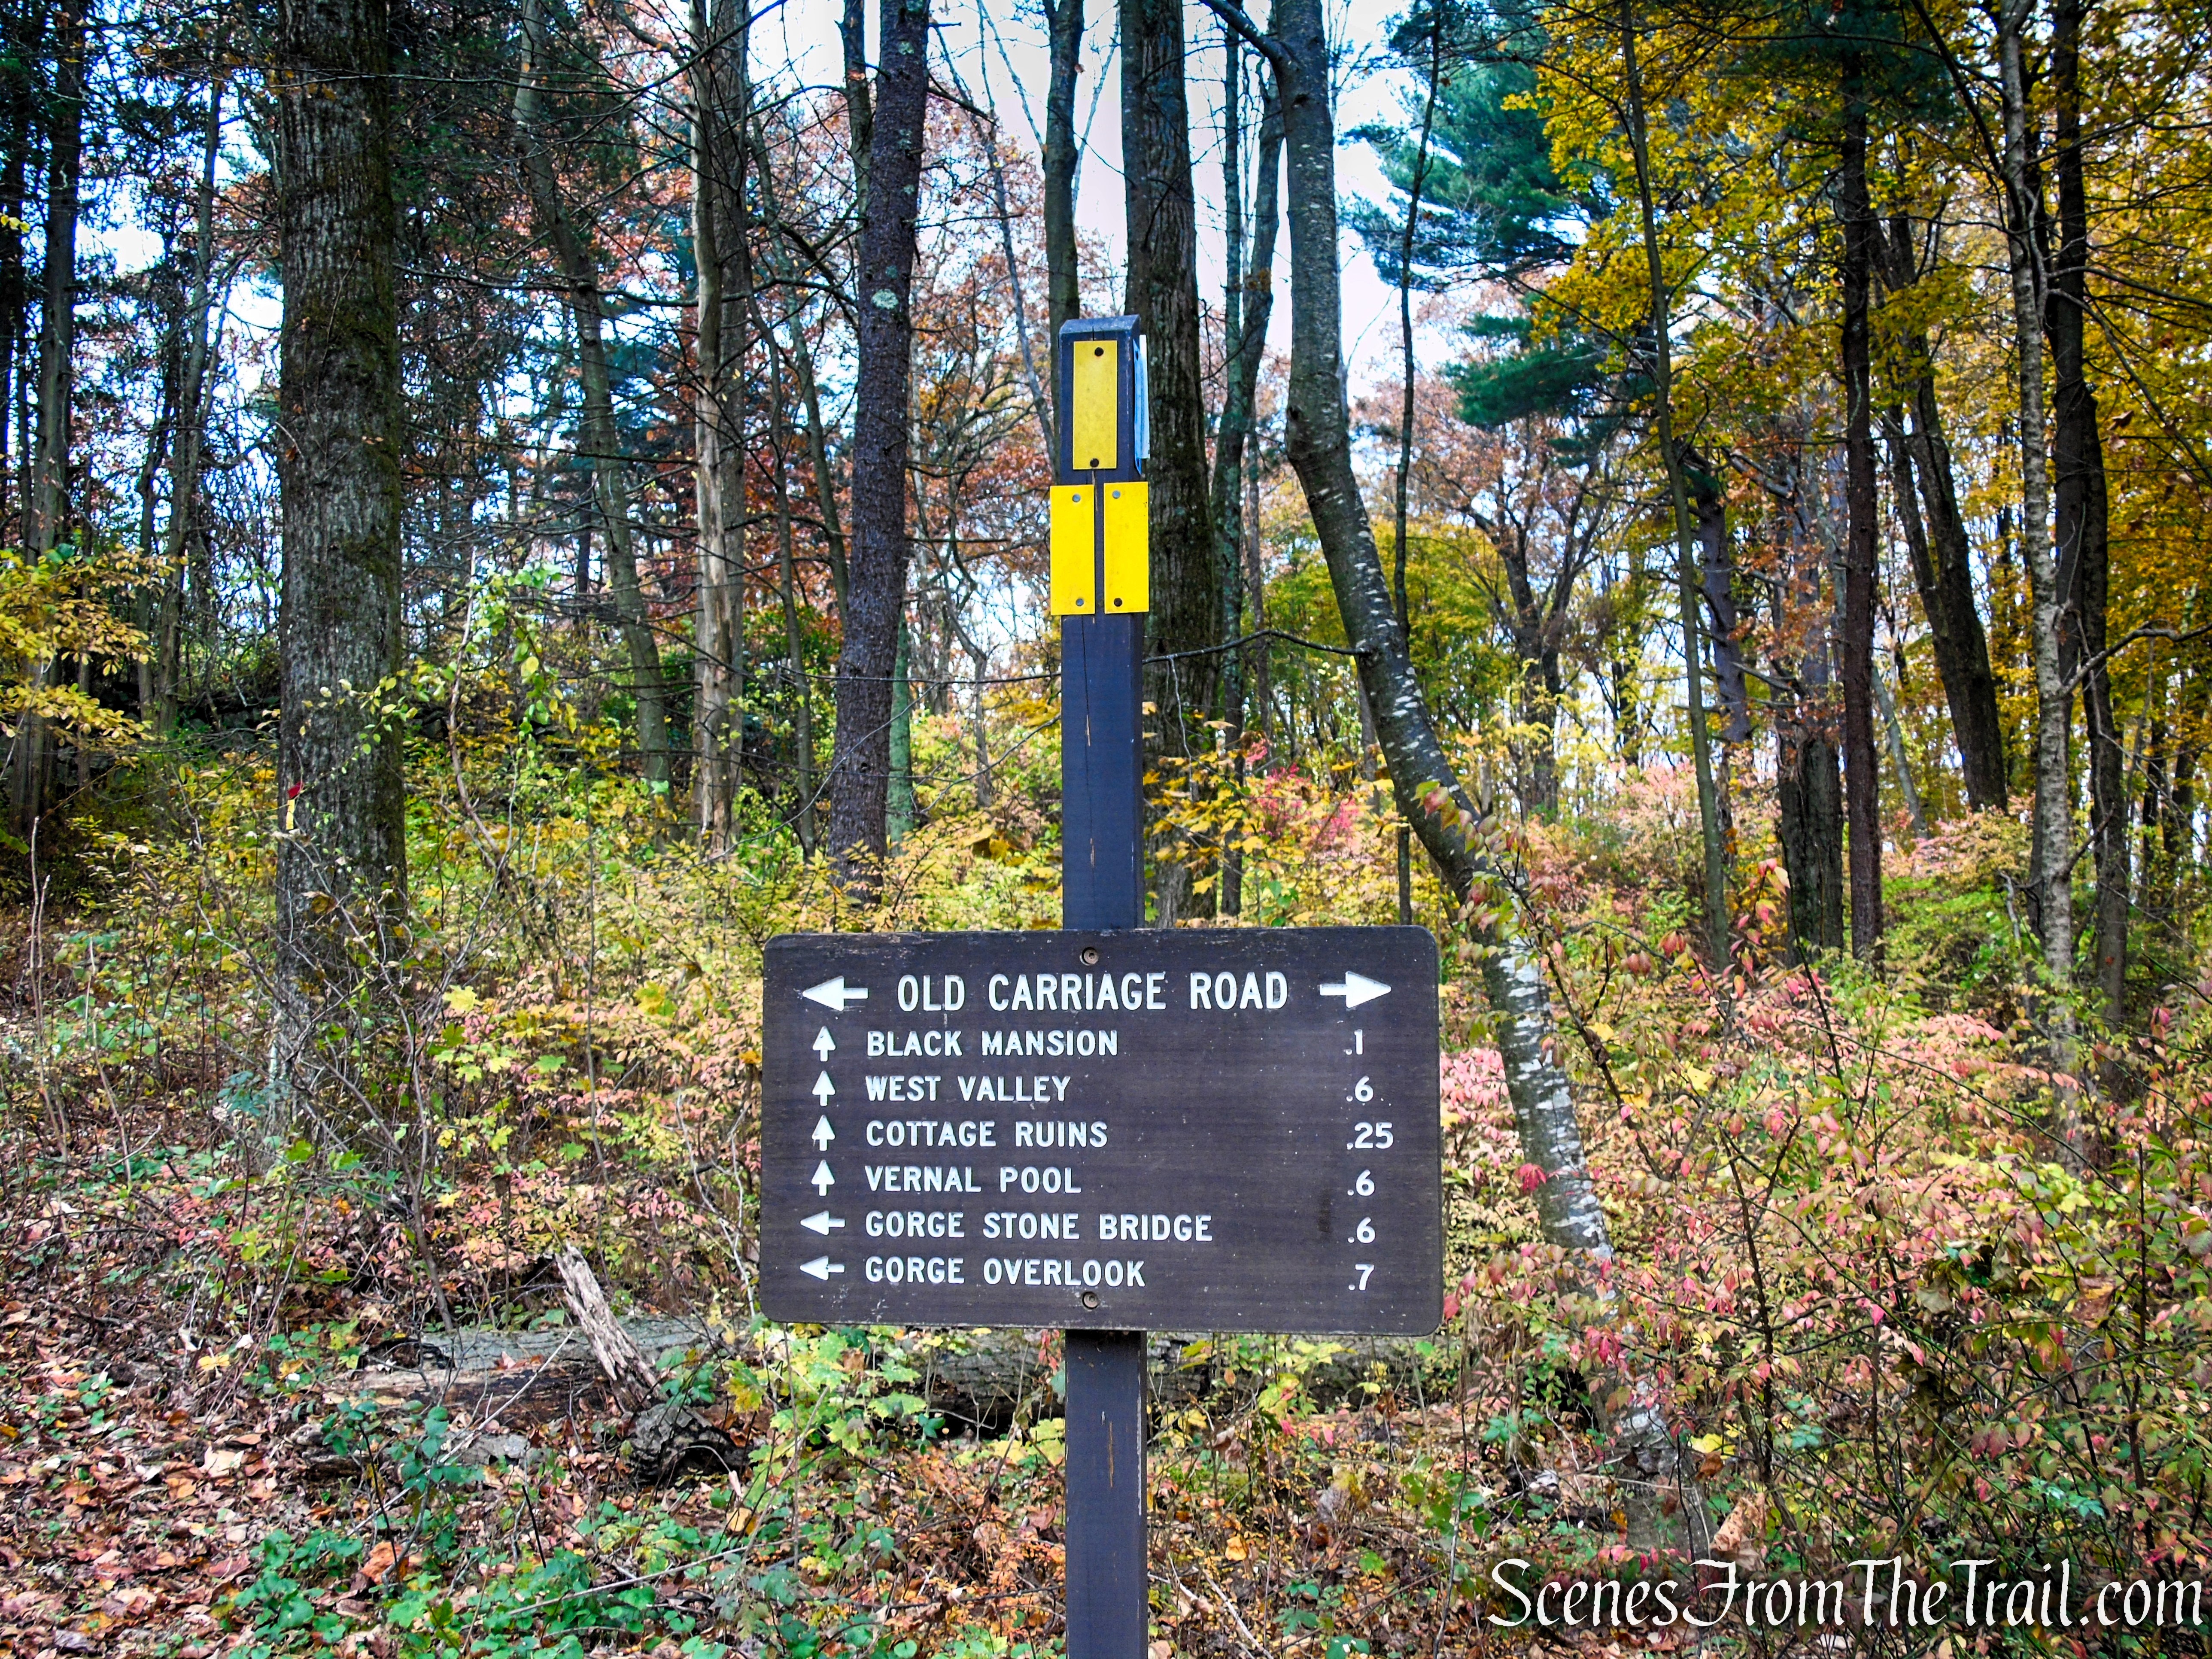
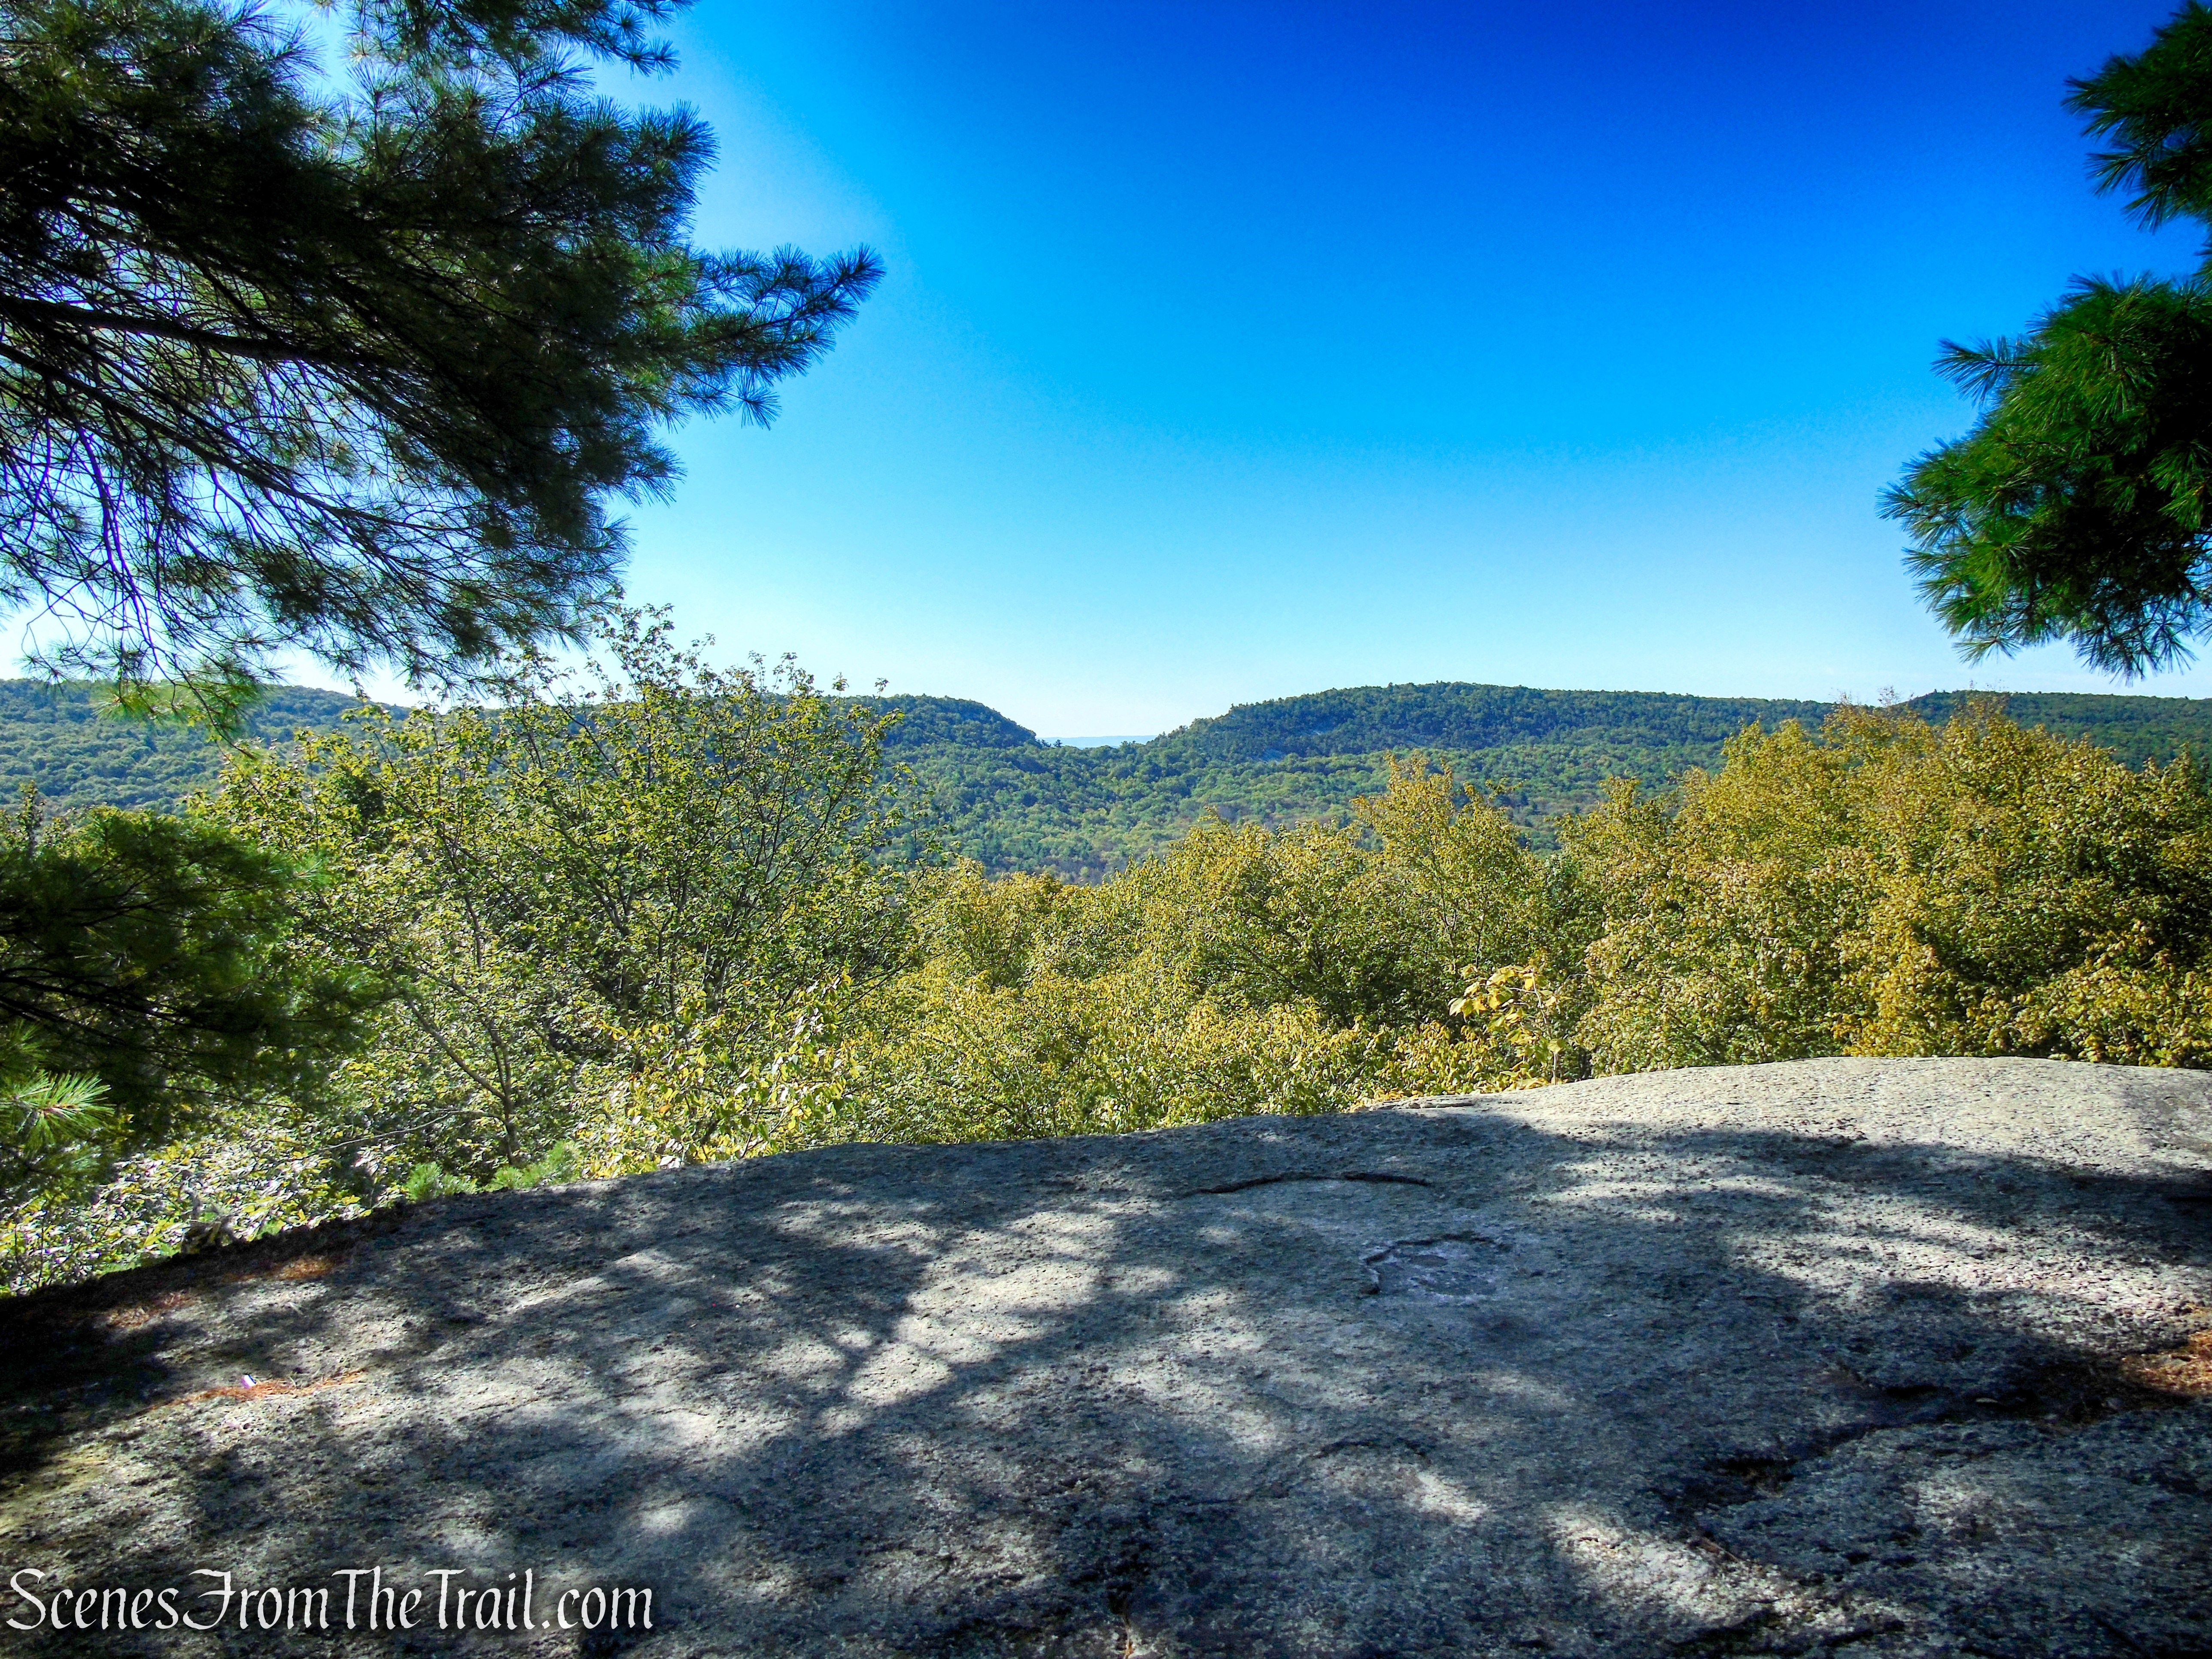
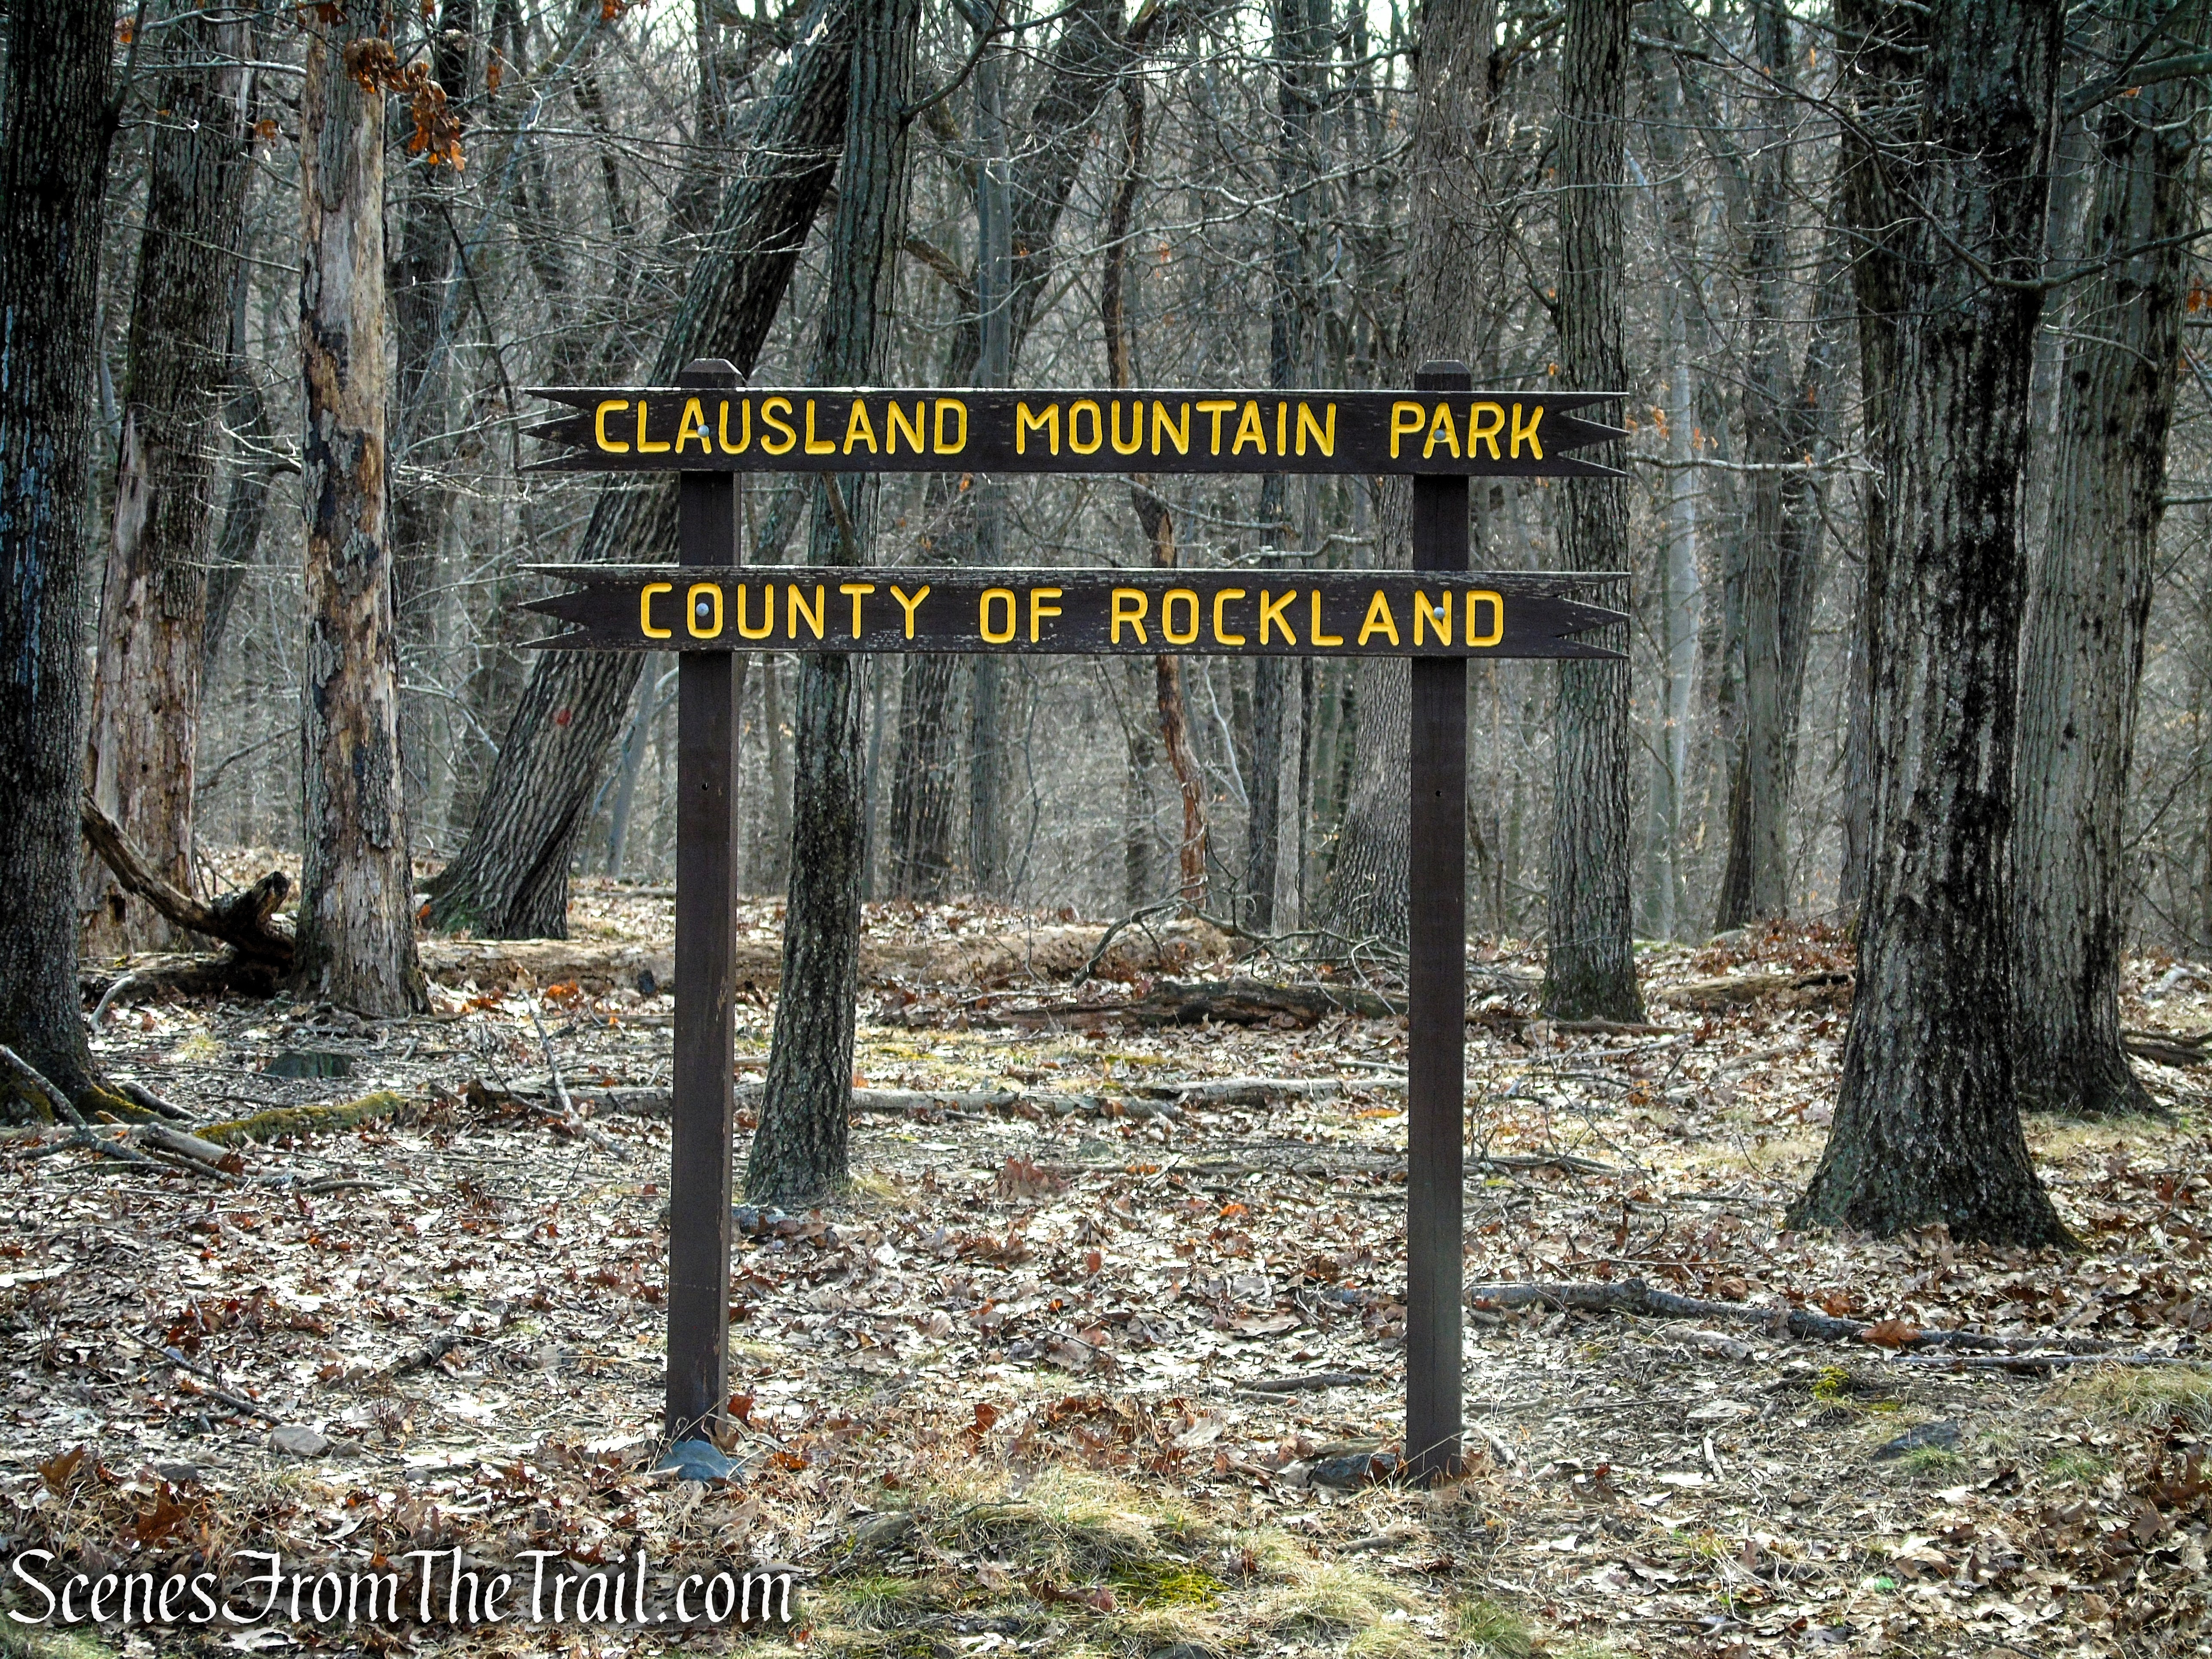
Adjacent to Mount Nebo, you’ll find a network of local and county parks that feel more intimate but no less rewarding. Clausland Mountain County Park sits just to the north and west, offering rolling terrain, rocky outcrops, and a maze of intersecting trails. It’s a favorite for loop hikes, with gradual climbs and the occasional overlook that hints at the broader landscape beyond the trees.
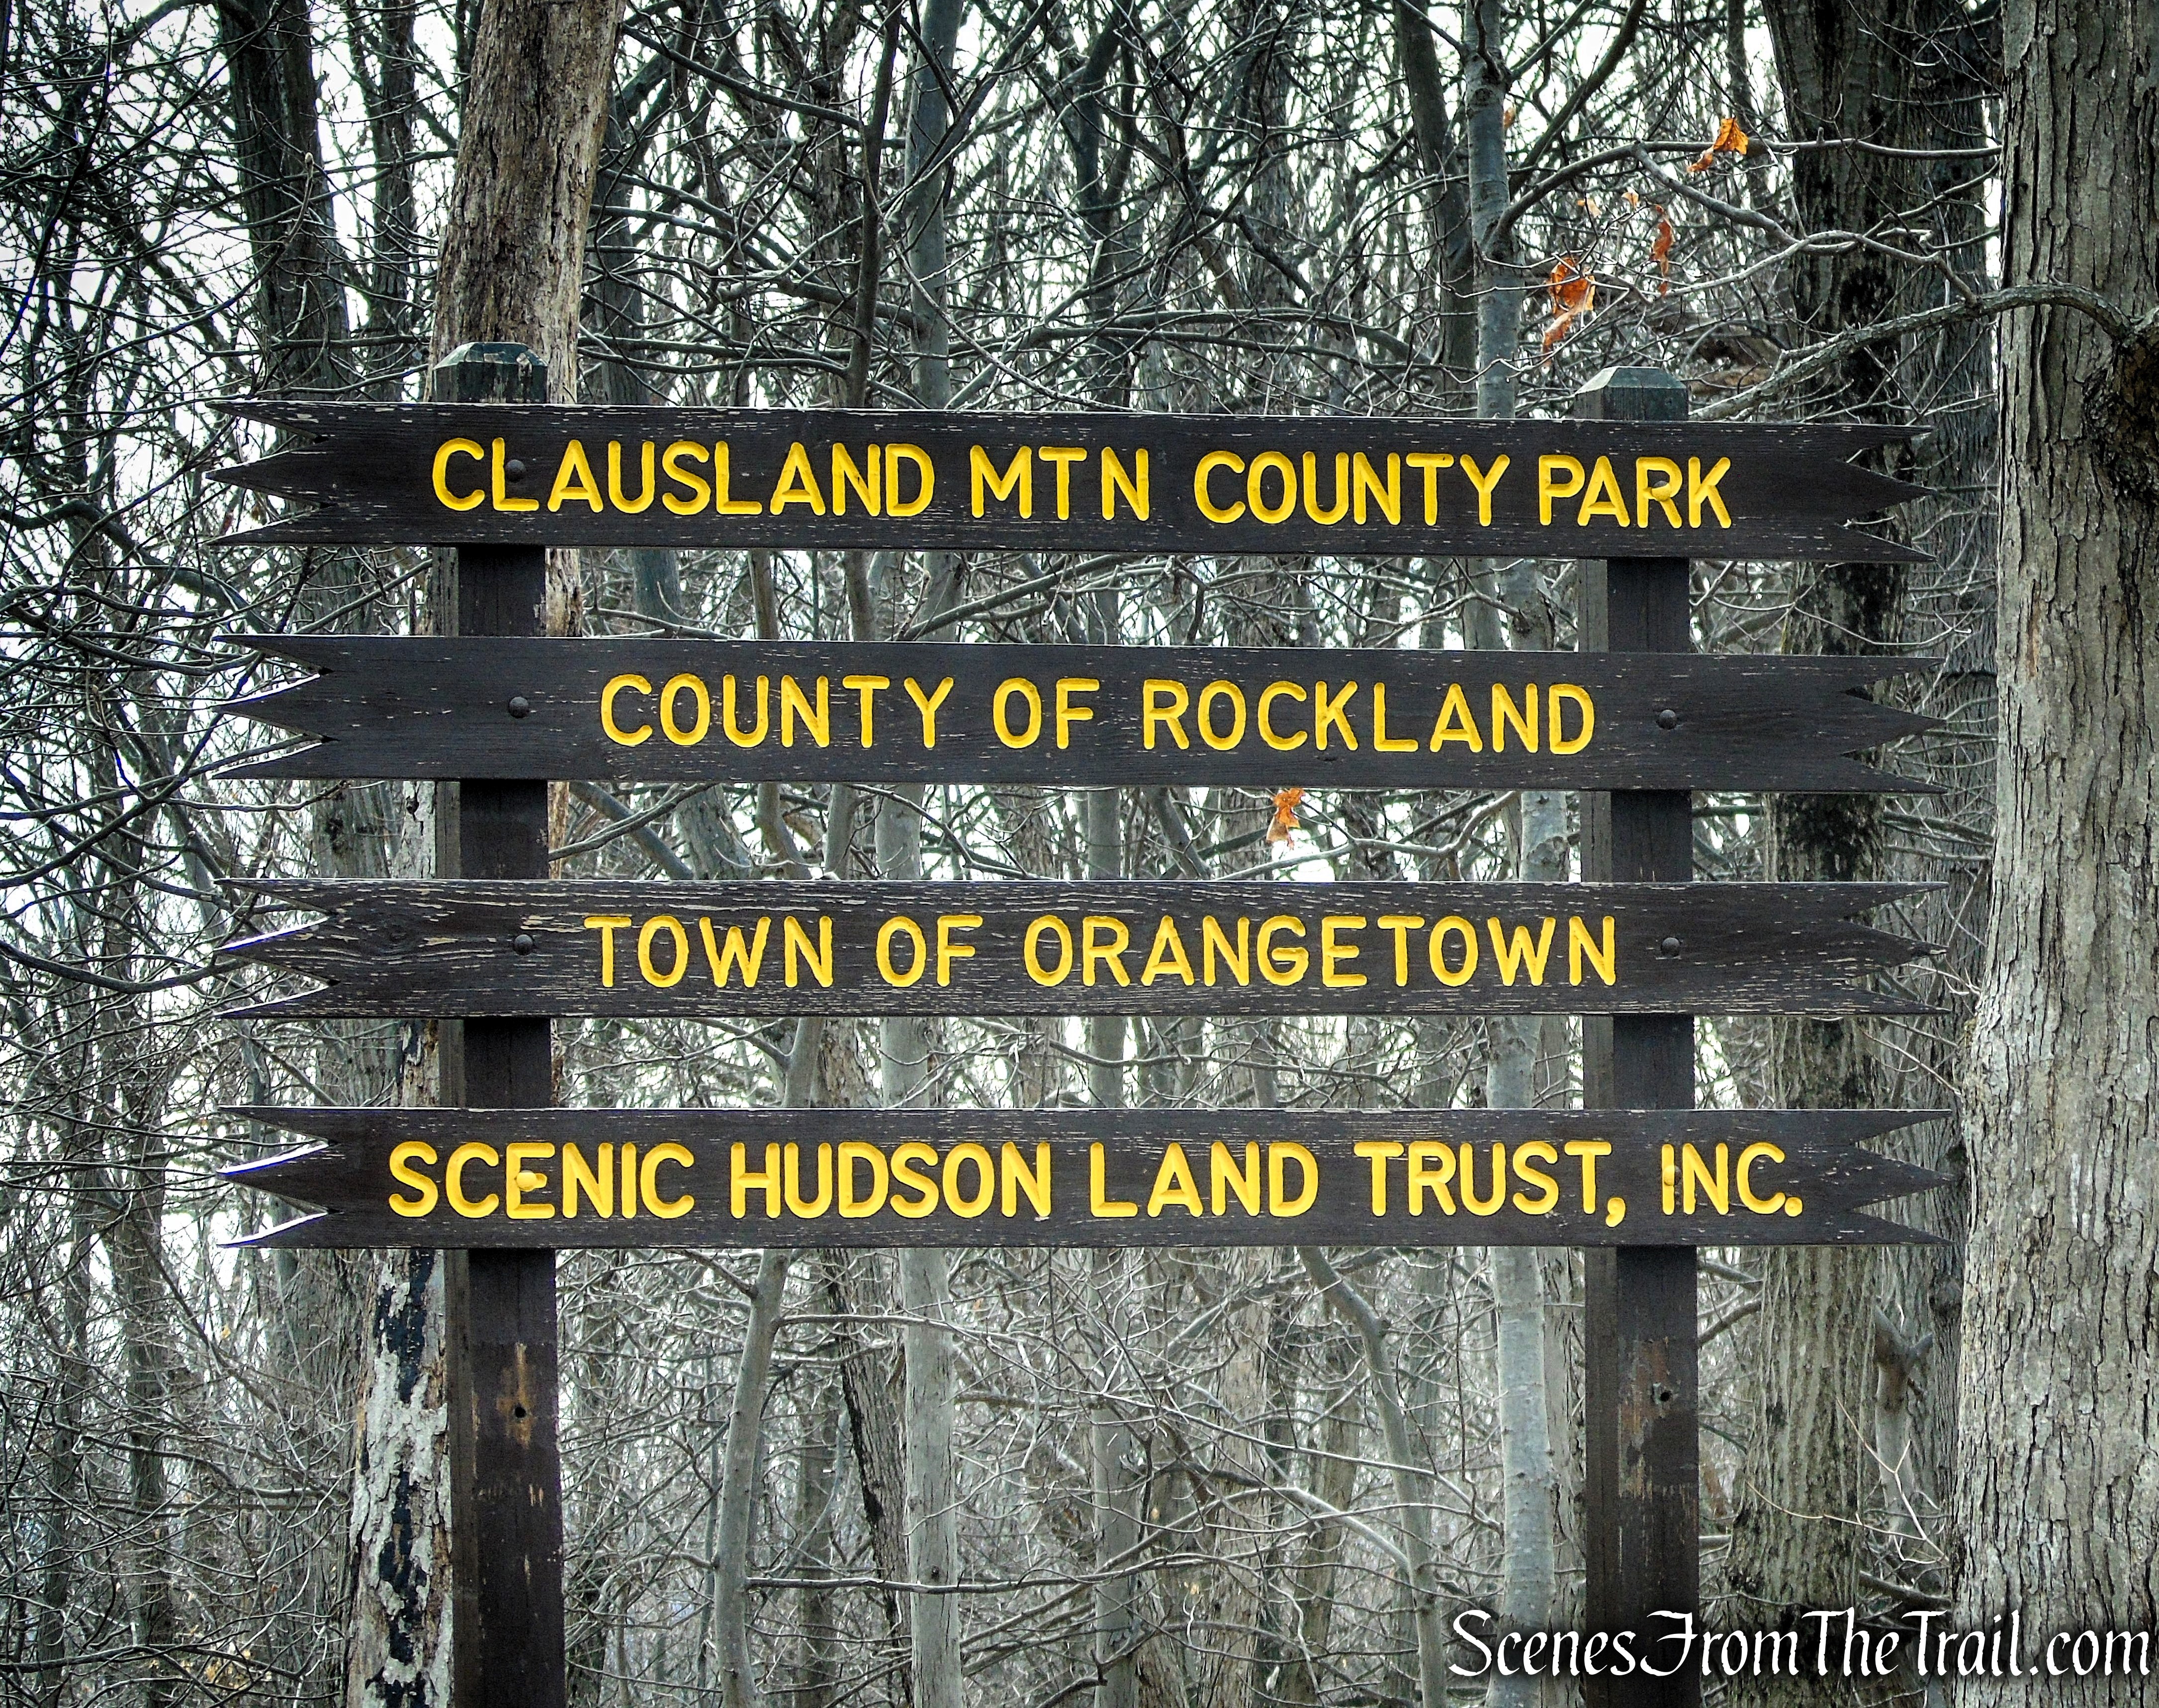
Clausland Mountain Park
Just to the west, Tackamack Park provides a quieter, often overlooked complement to the surrounding lands. With its mix of wooded trails, small ponds, and local-use paths, it offers a more relaxed, neighborhood feel while still connecting into the broader trail network. It’s the kind of place where a short walk can easily turn into a longer wander as you link into adjacent public lands.
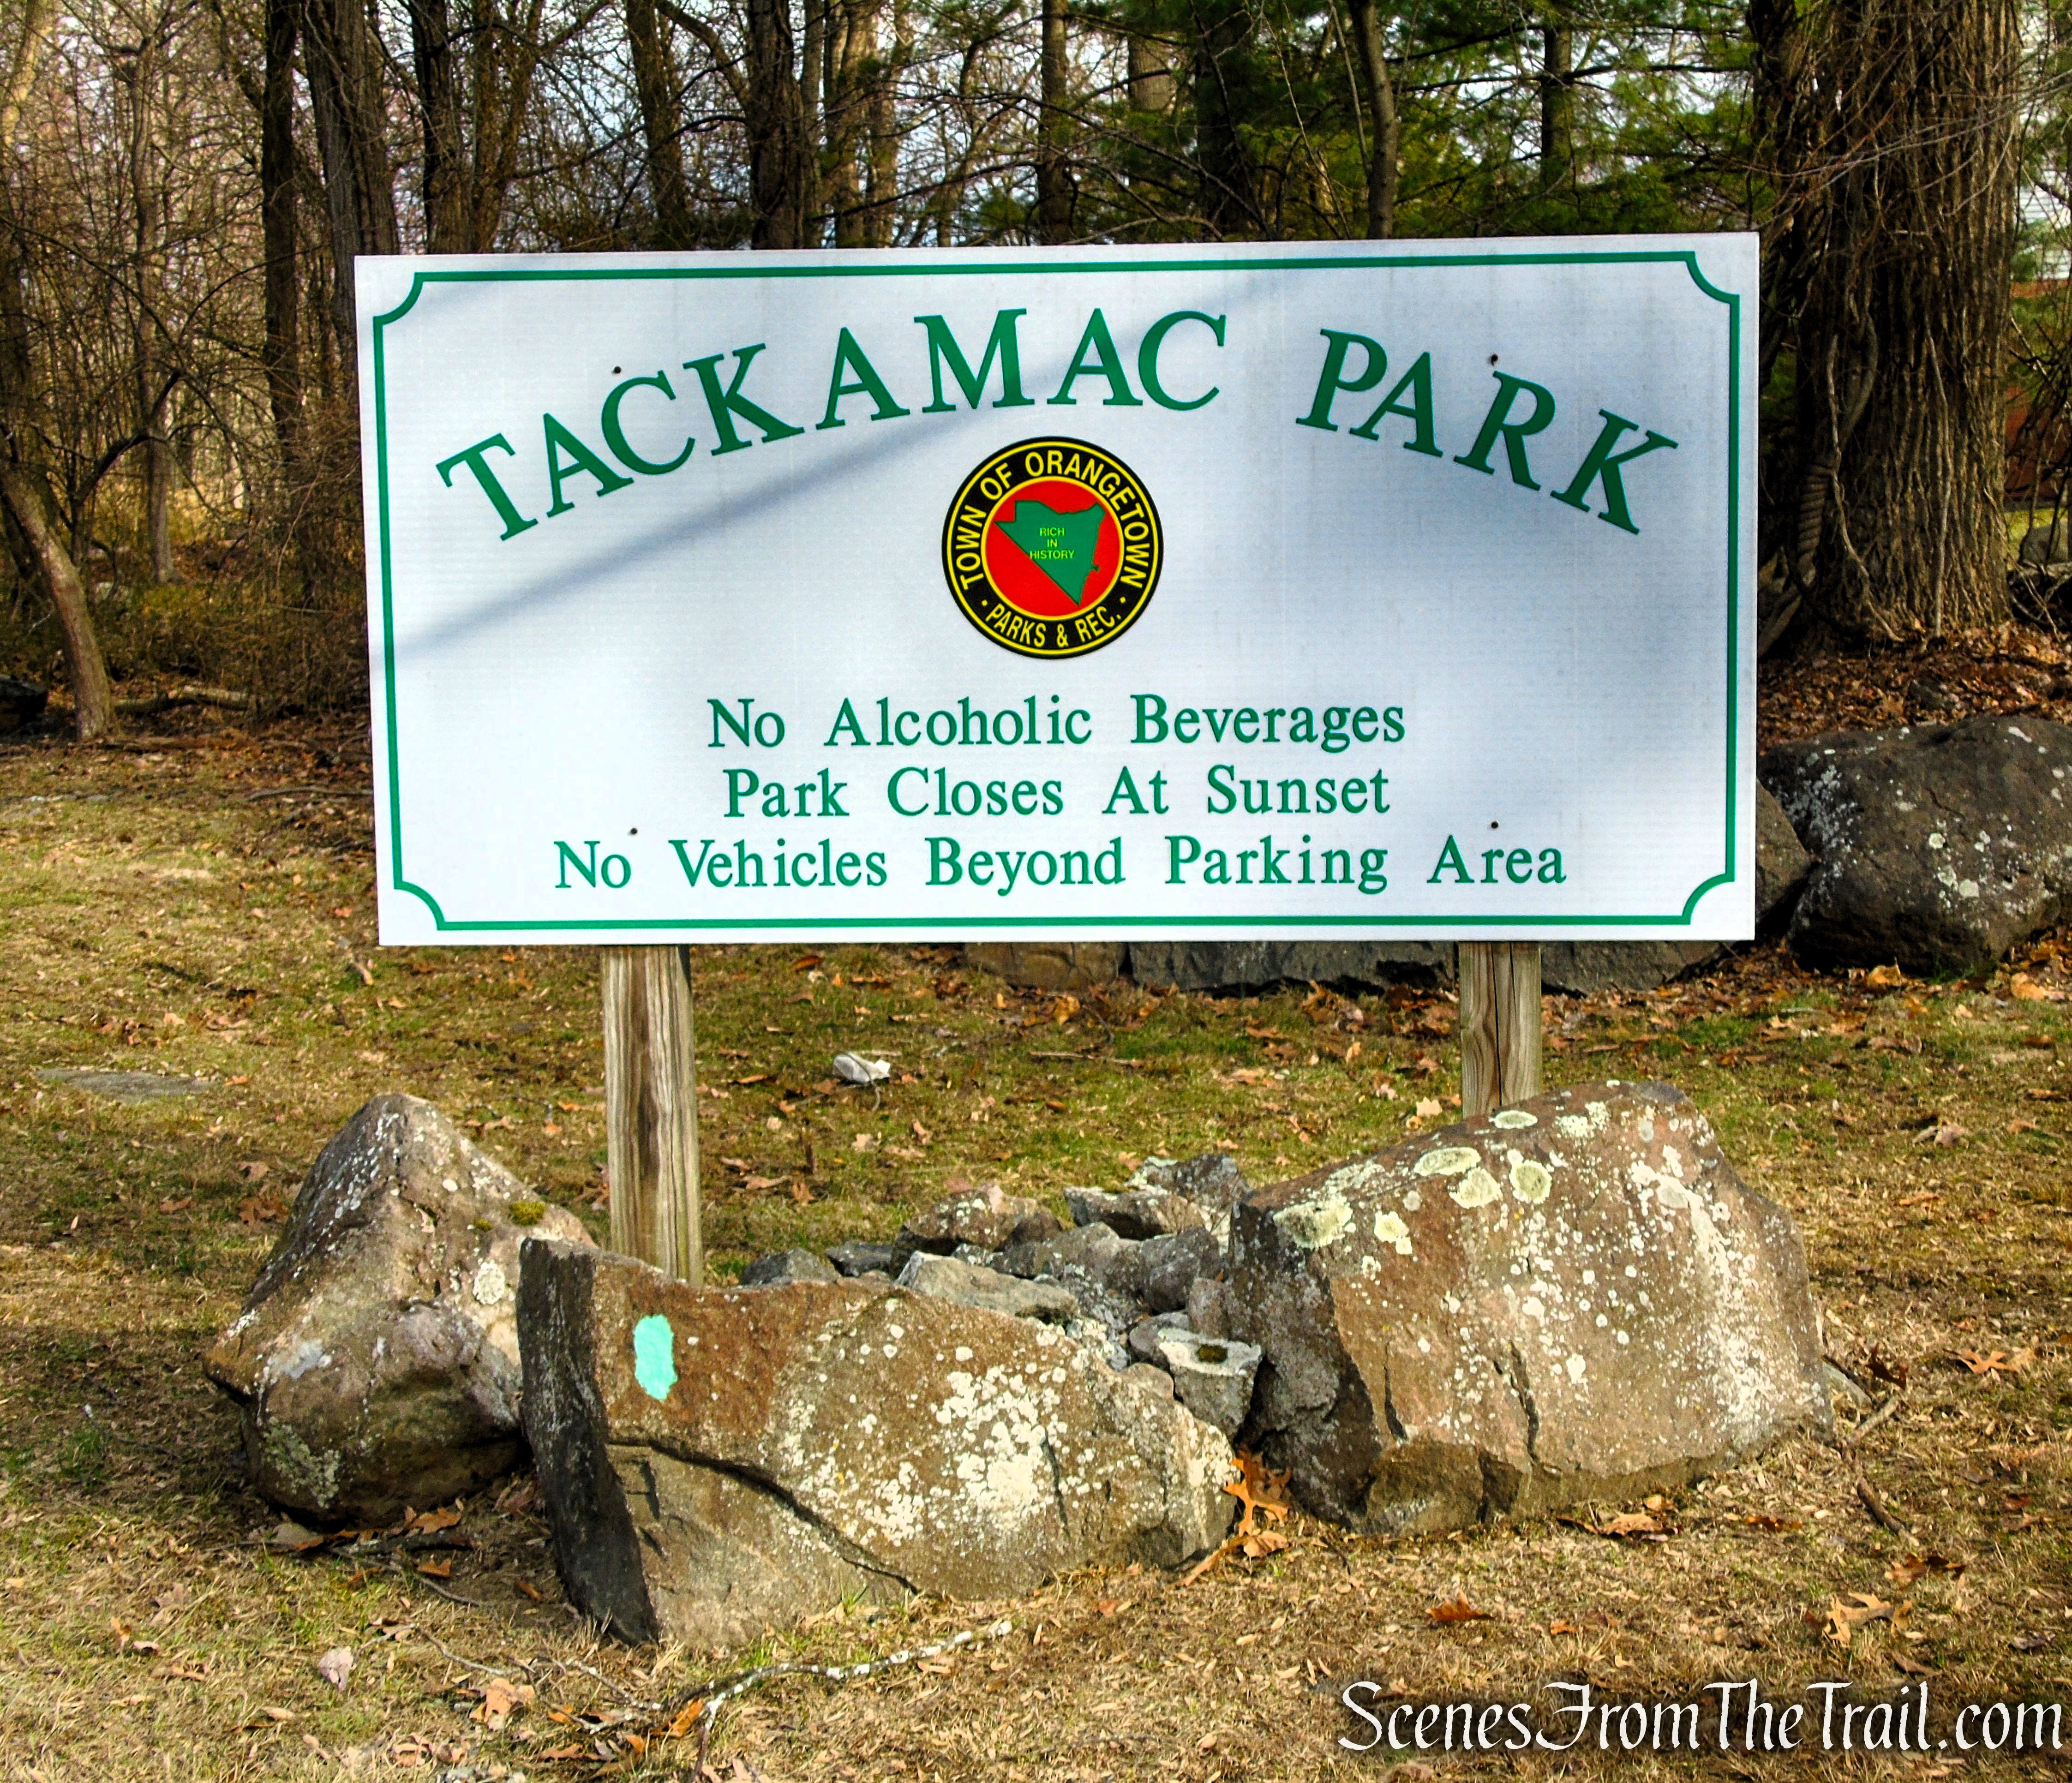
Tackamack Park
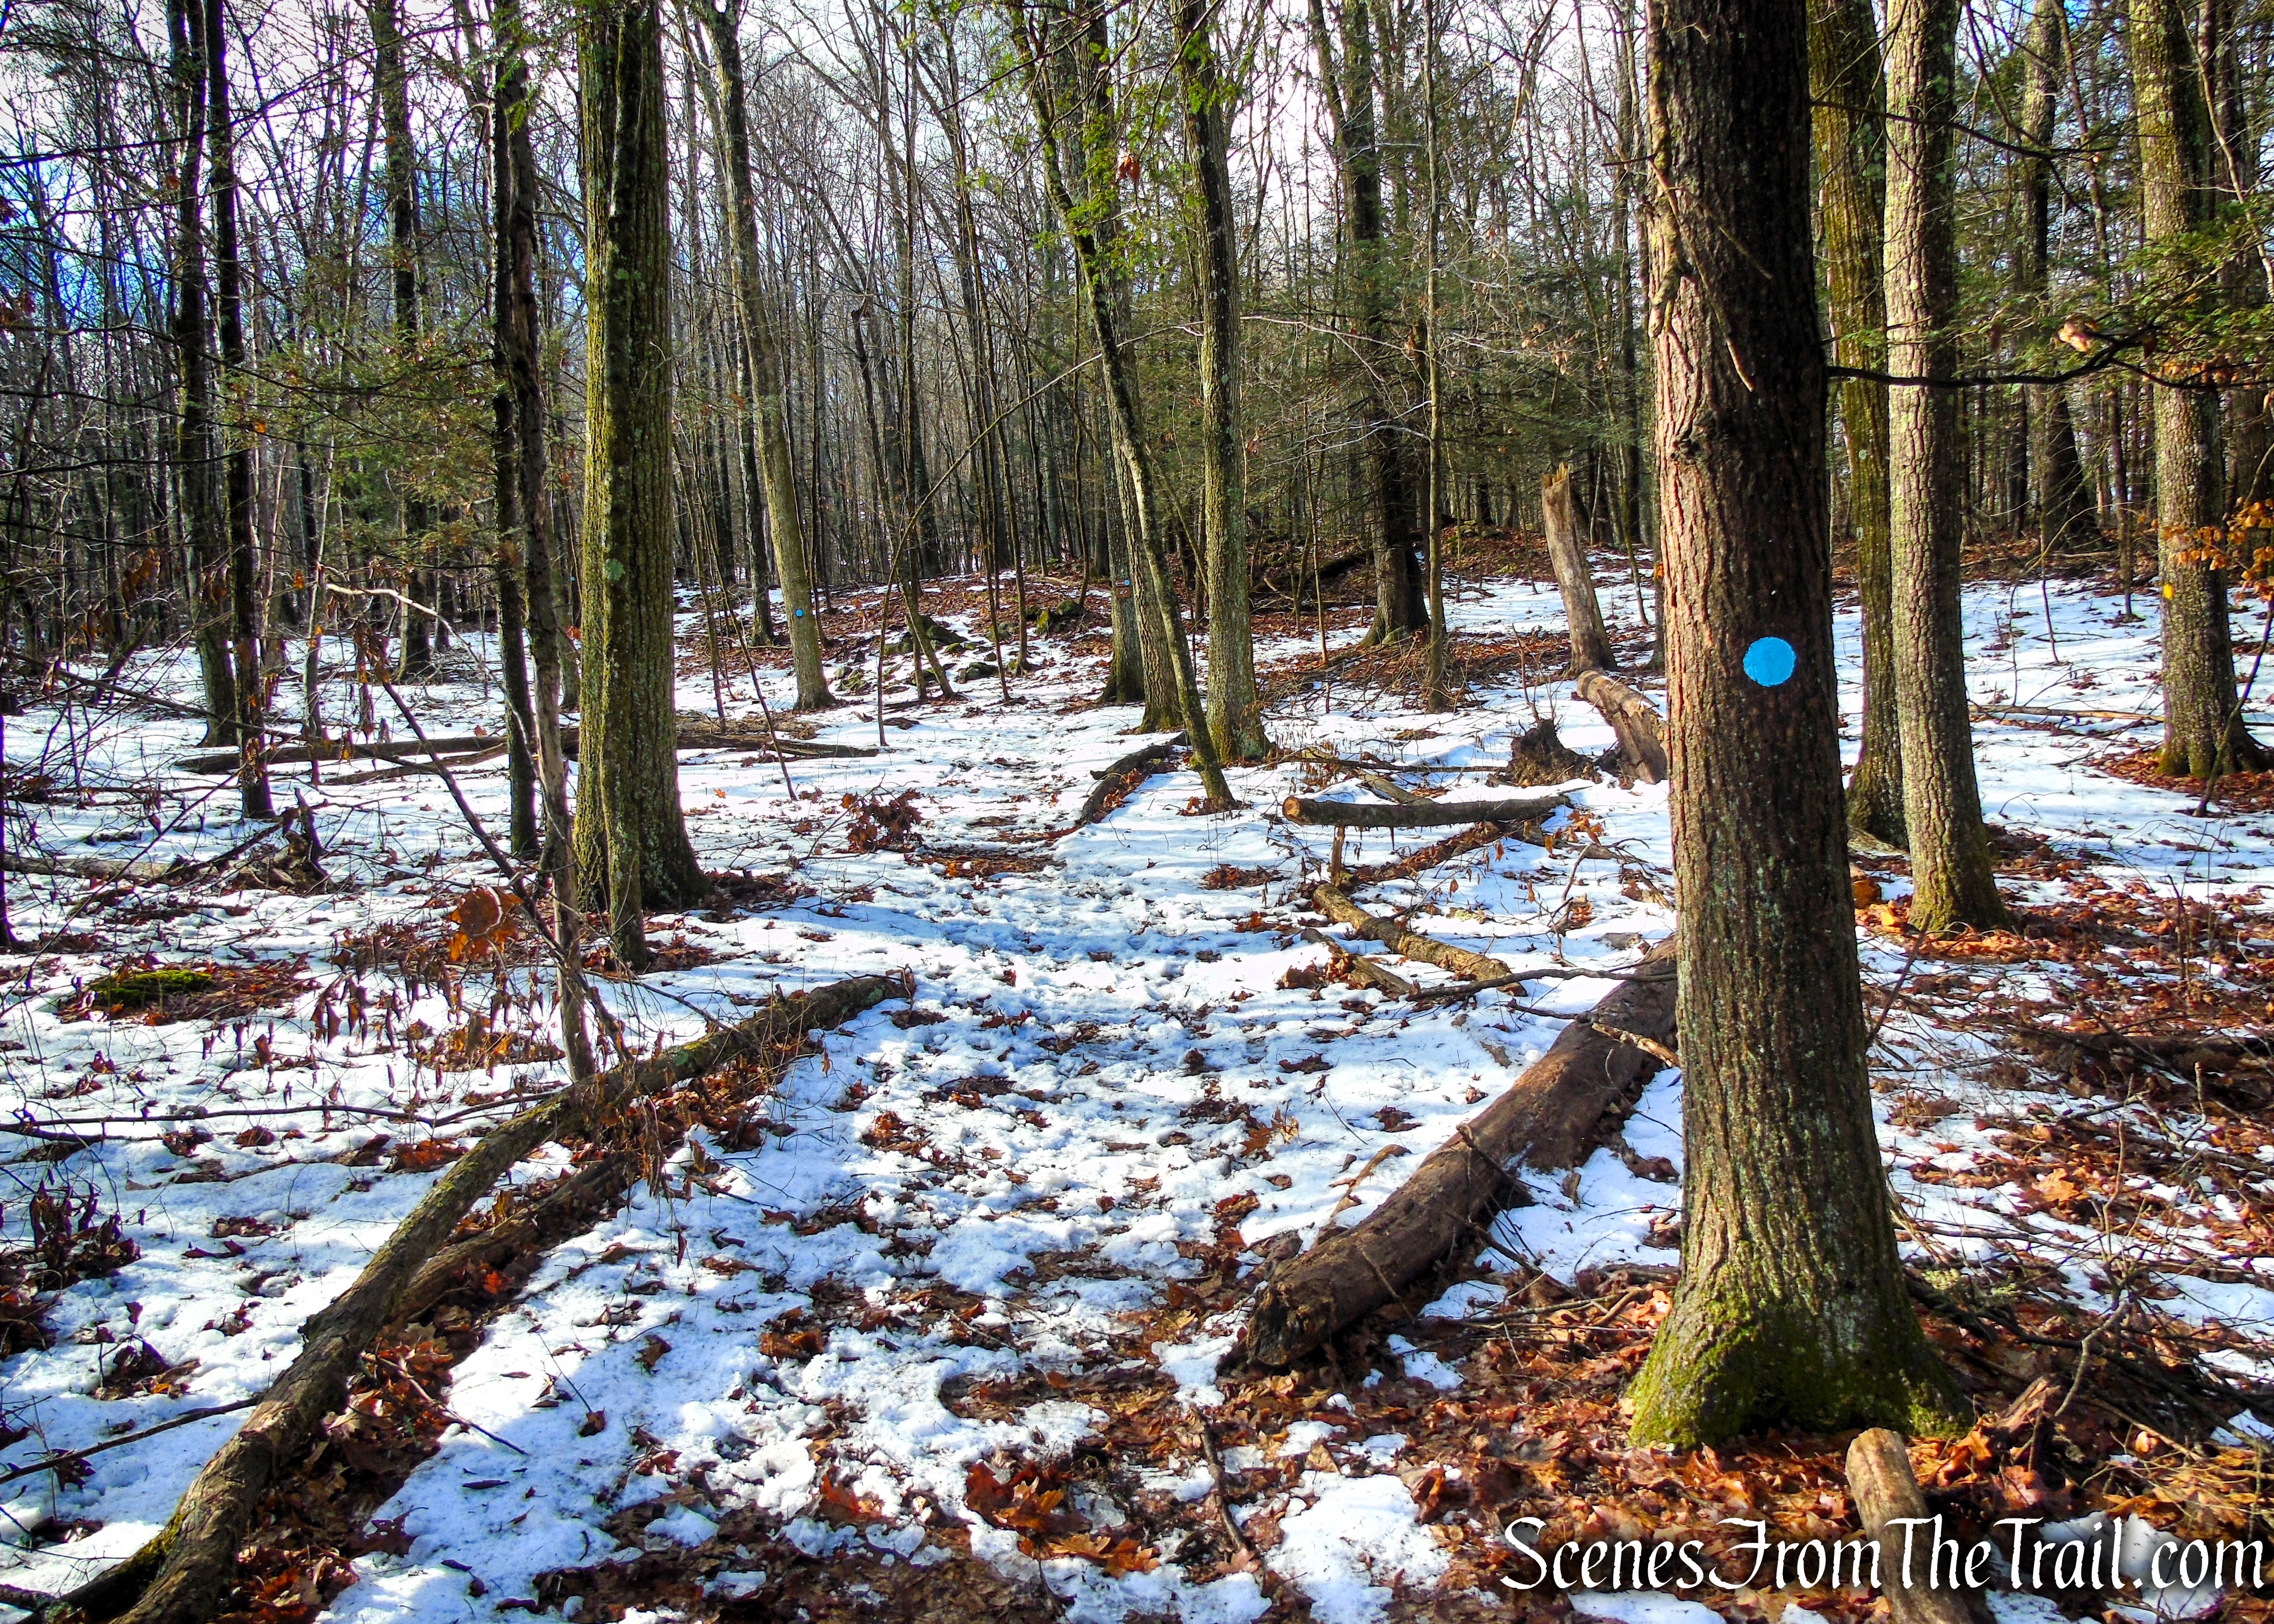
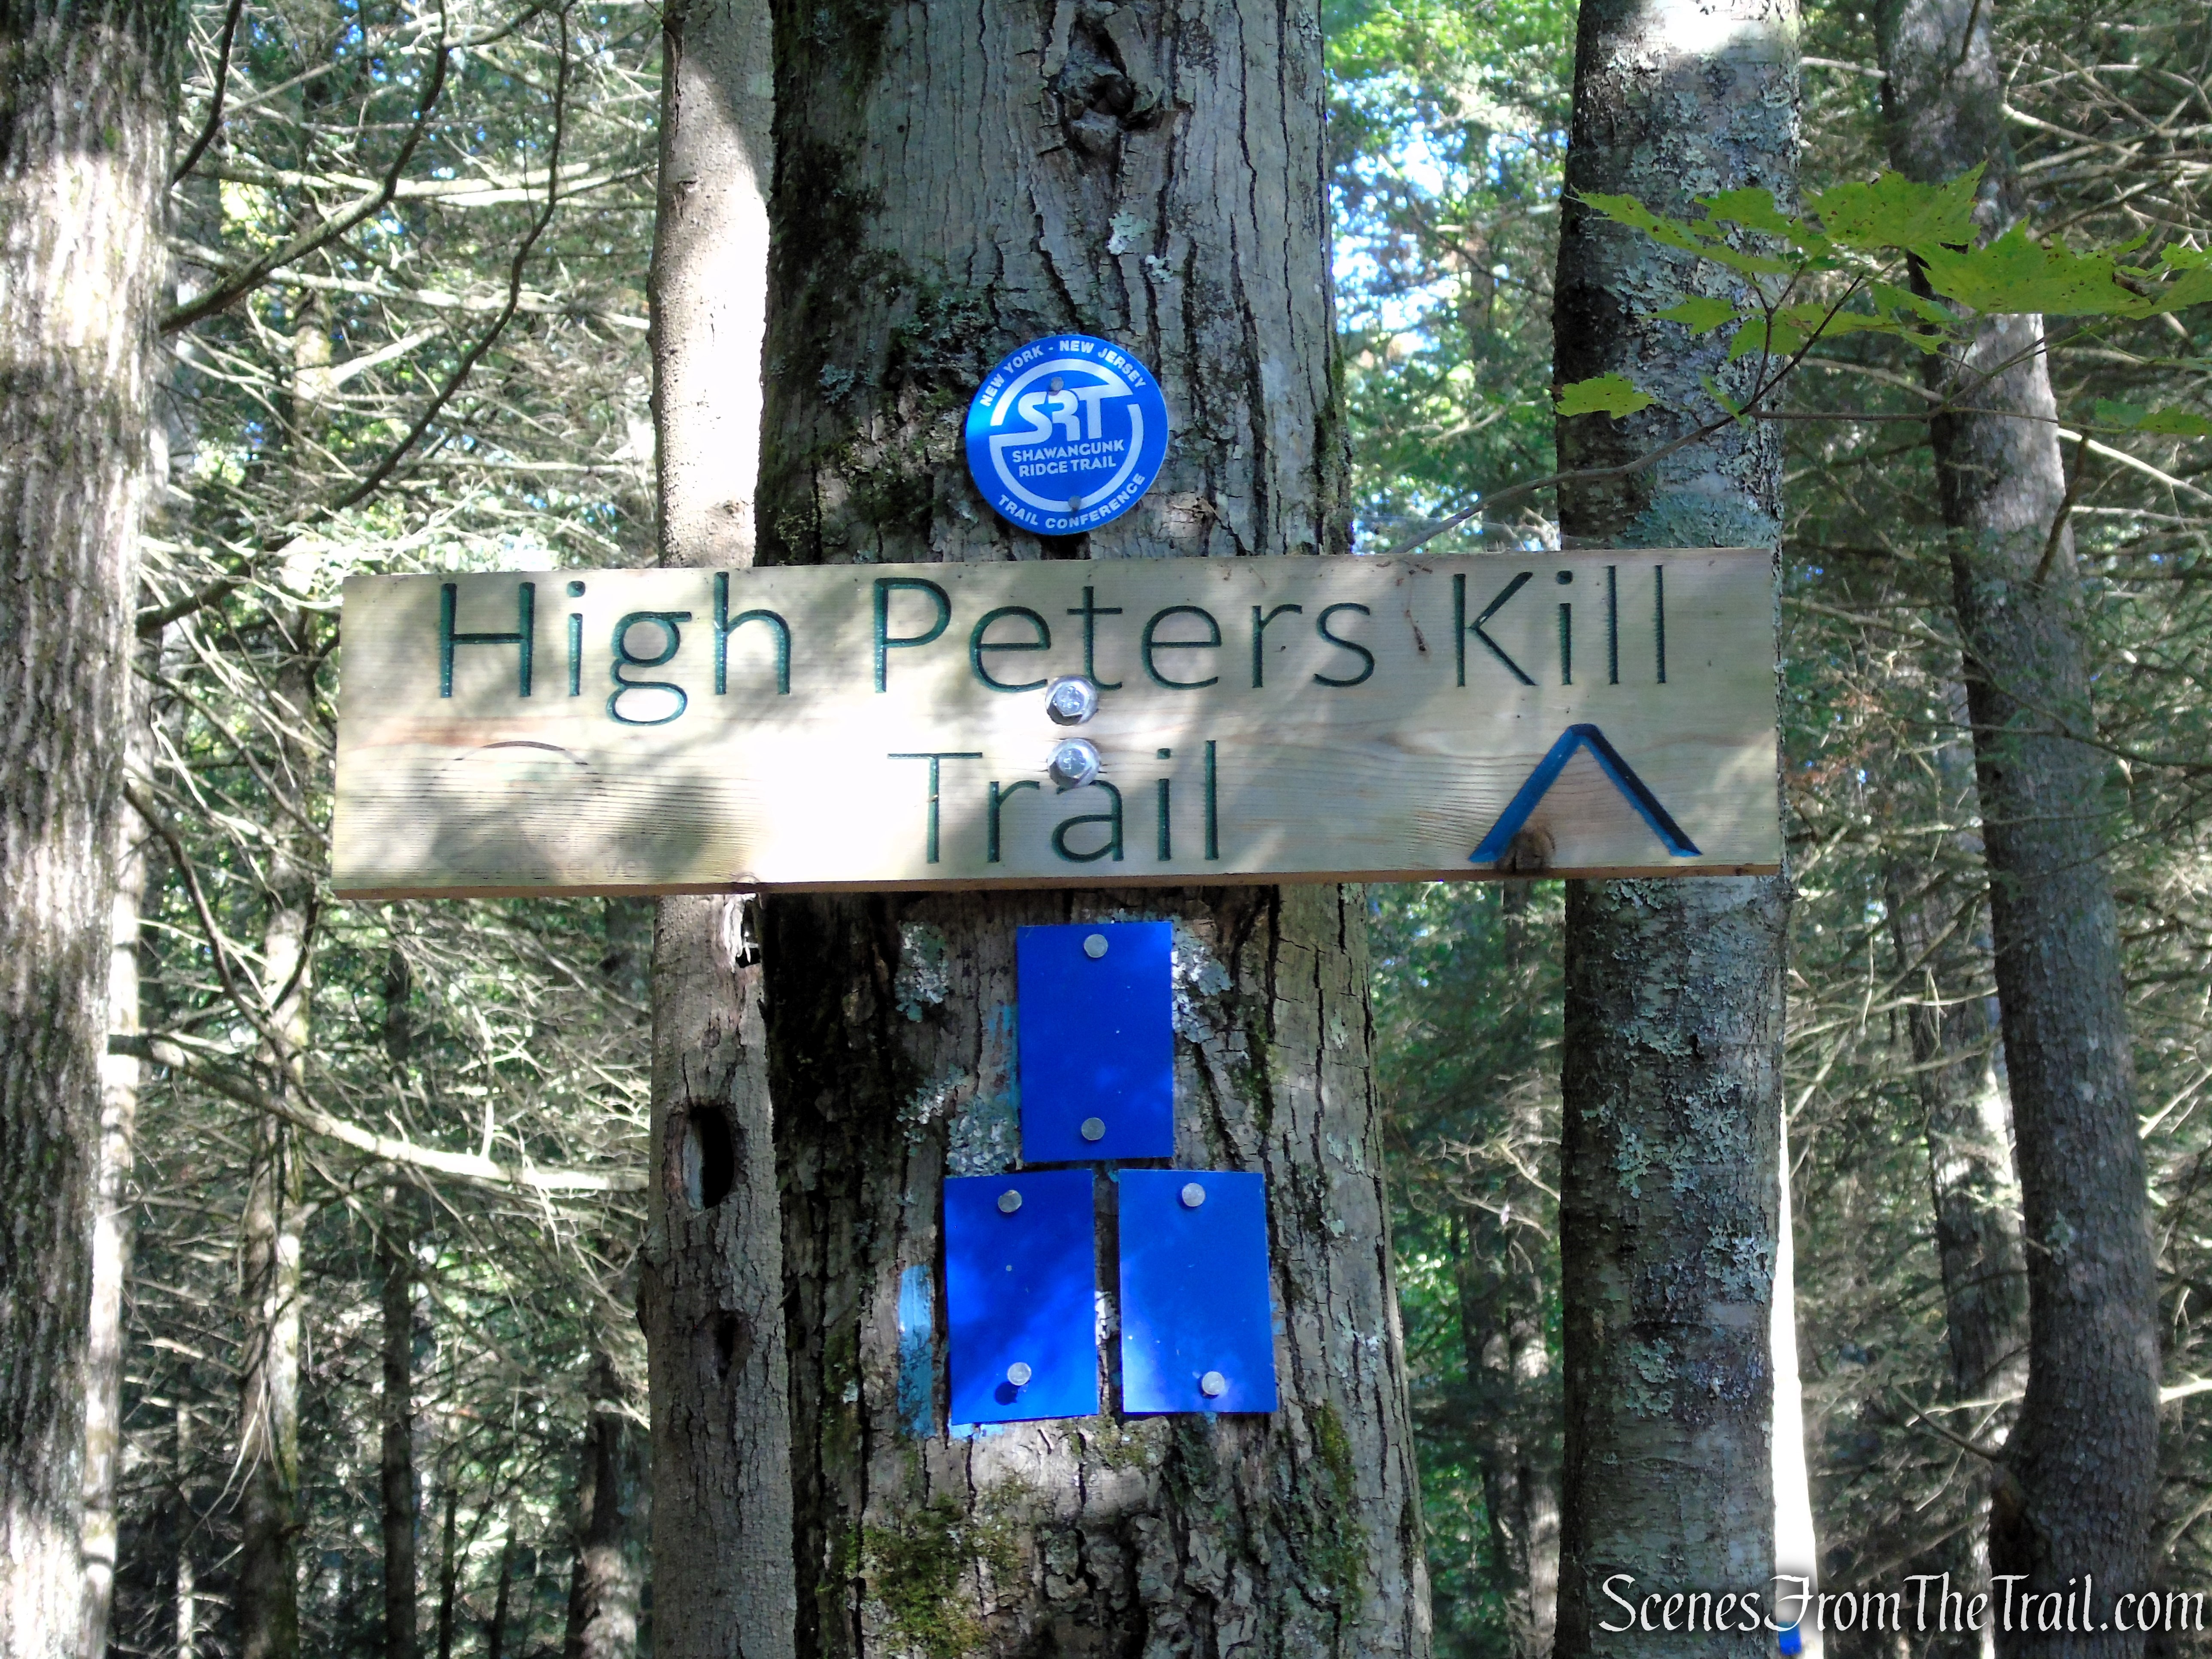
Threading through much of this terrain is the Long Path, an aqua-blazed long-distance trail that links these parks into a continuous hiking corridor stretching far beyond Rockland County. Across Mount Nebo and its neighboring lands, the Long Path acts as both a guide and a backbone, connecting high points, wooded valleys, and historical sites into a cohesive journey.

Long Path – Clausland Mountain Park
Together, these adjacent lands create a landscape that feels expansive without ever being overwhelming. You can keep things simple with a short out-and-back, or wander for miles across park boundaries without realizing where one ends and another begins. It’s this quiet continuity—where places like Mount Nebo, Clausland Mountain, and Tackamack Park blend together—that gives the area its unique character and lasting appeal.
History:
Nike Missile Site – NY-03/04 –
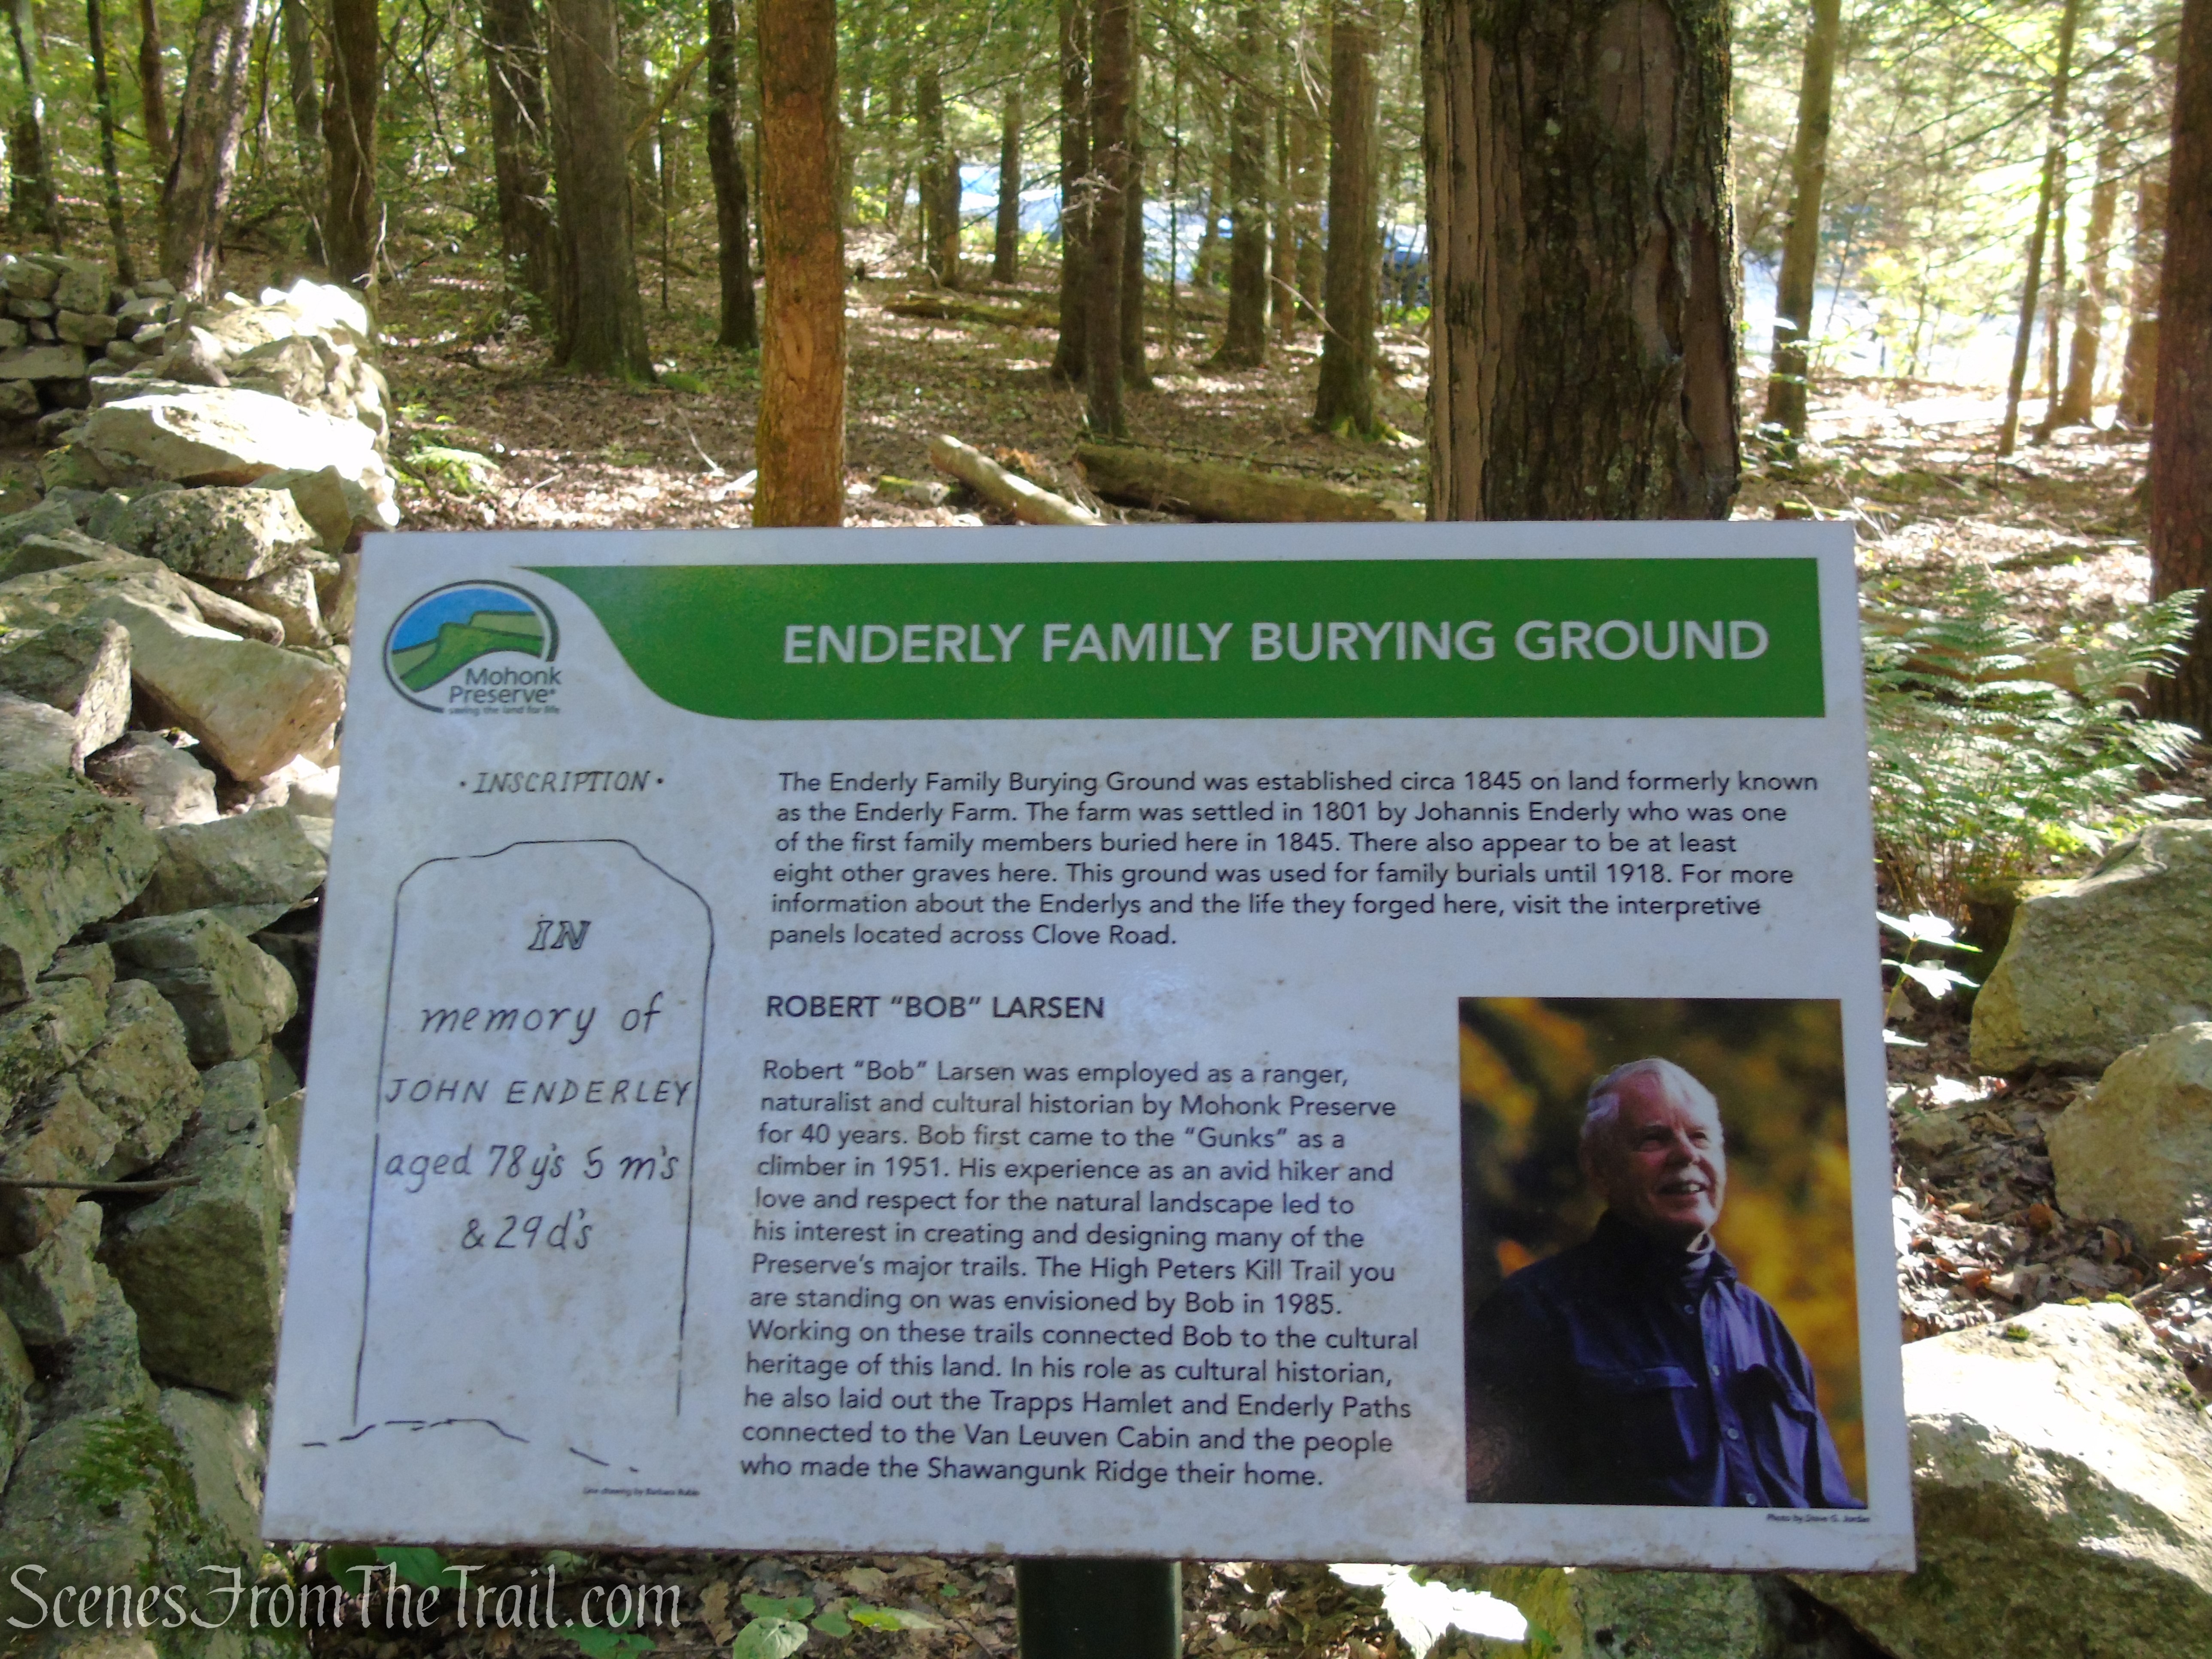
Mount Nebo (today’s Nike Overlook Park) was NOT the missile launch site—it was the brains of the system, controlling missiles that were to be launched from a separate location.
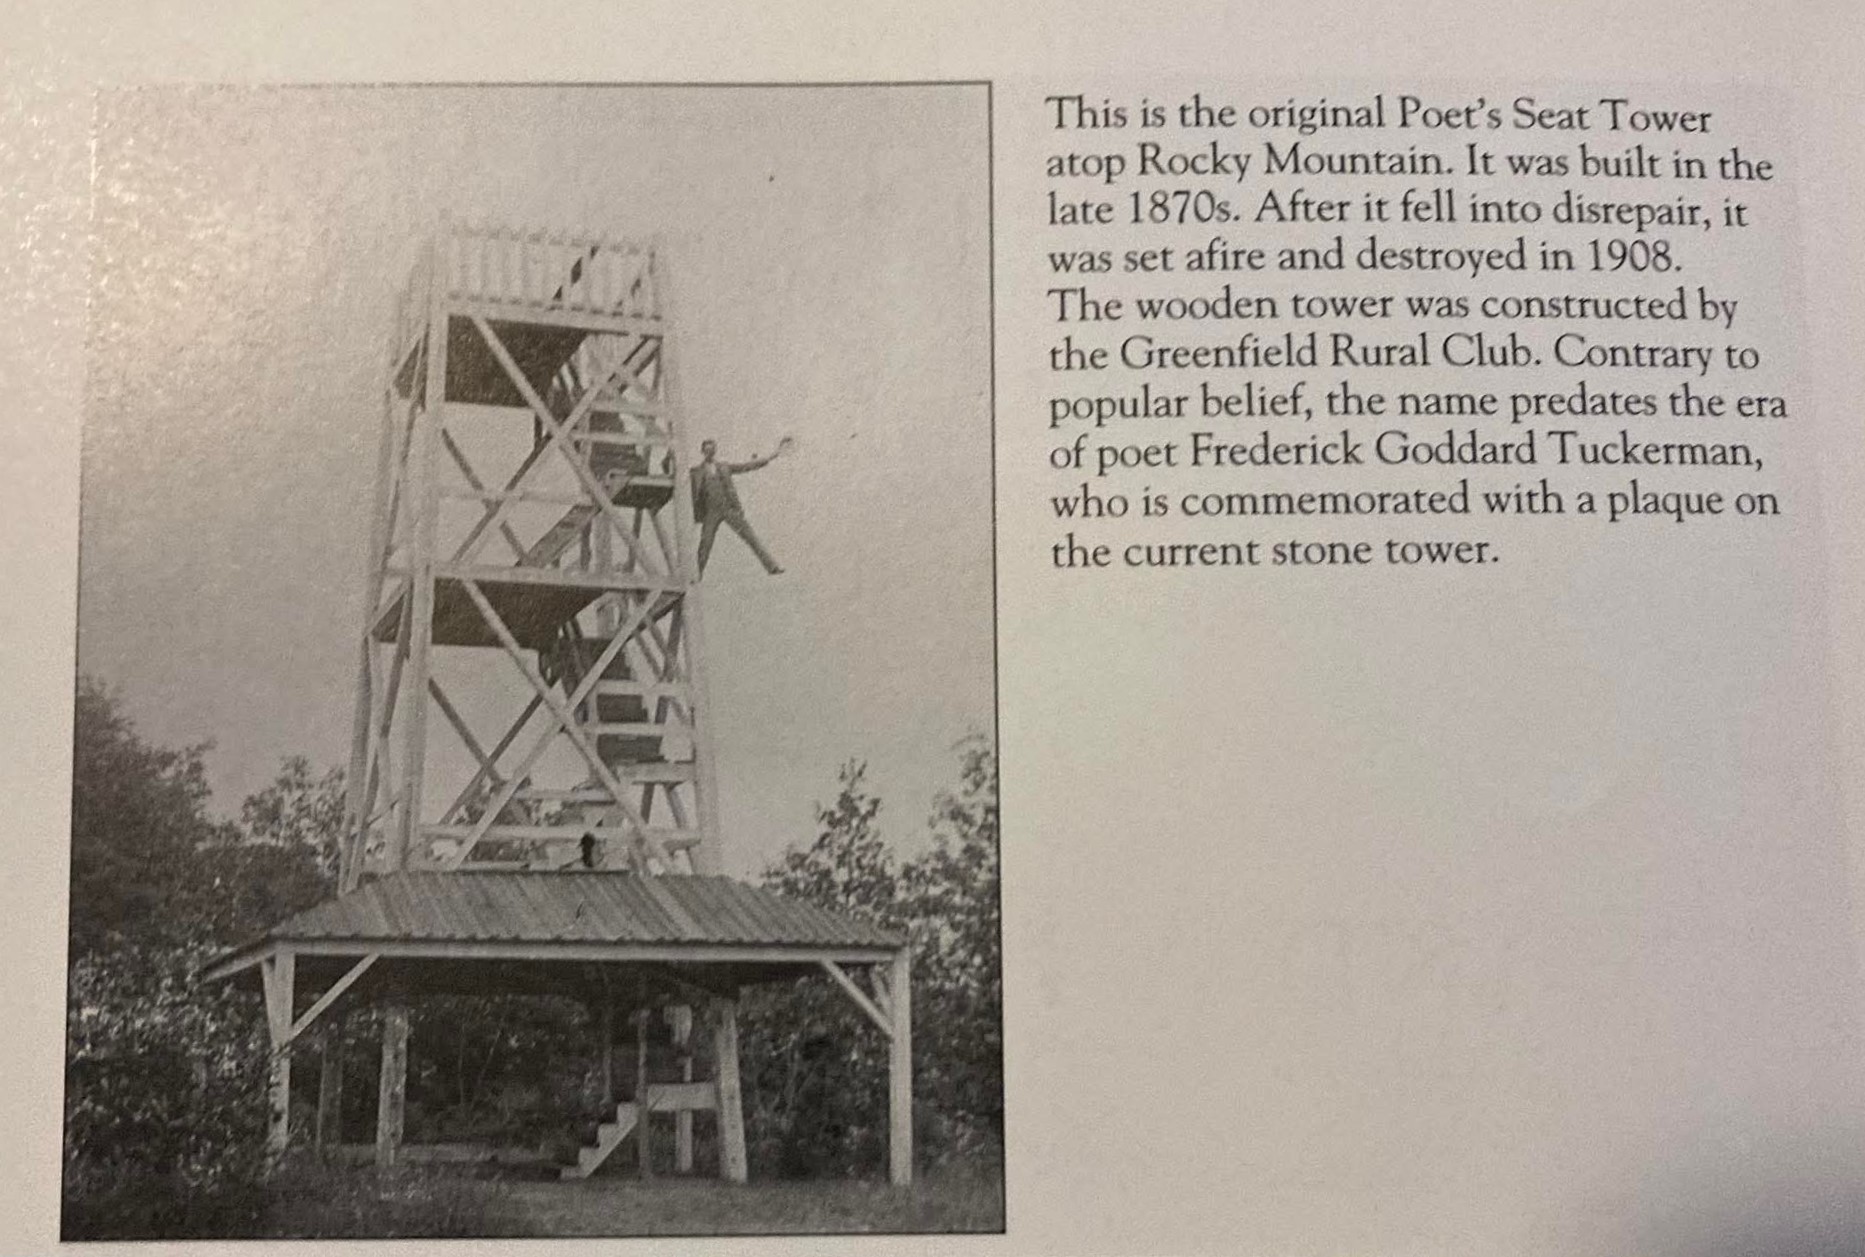
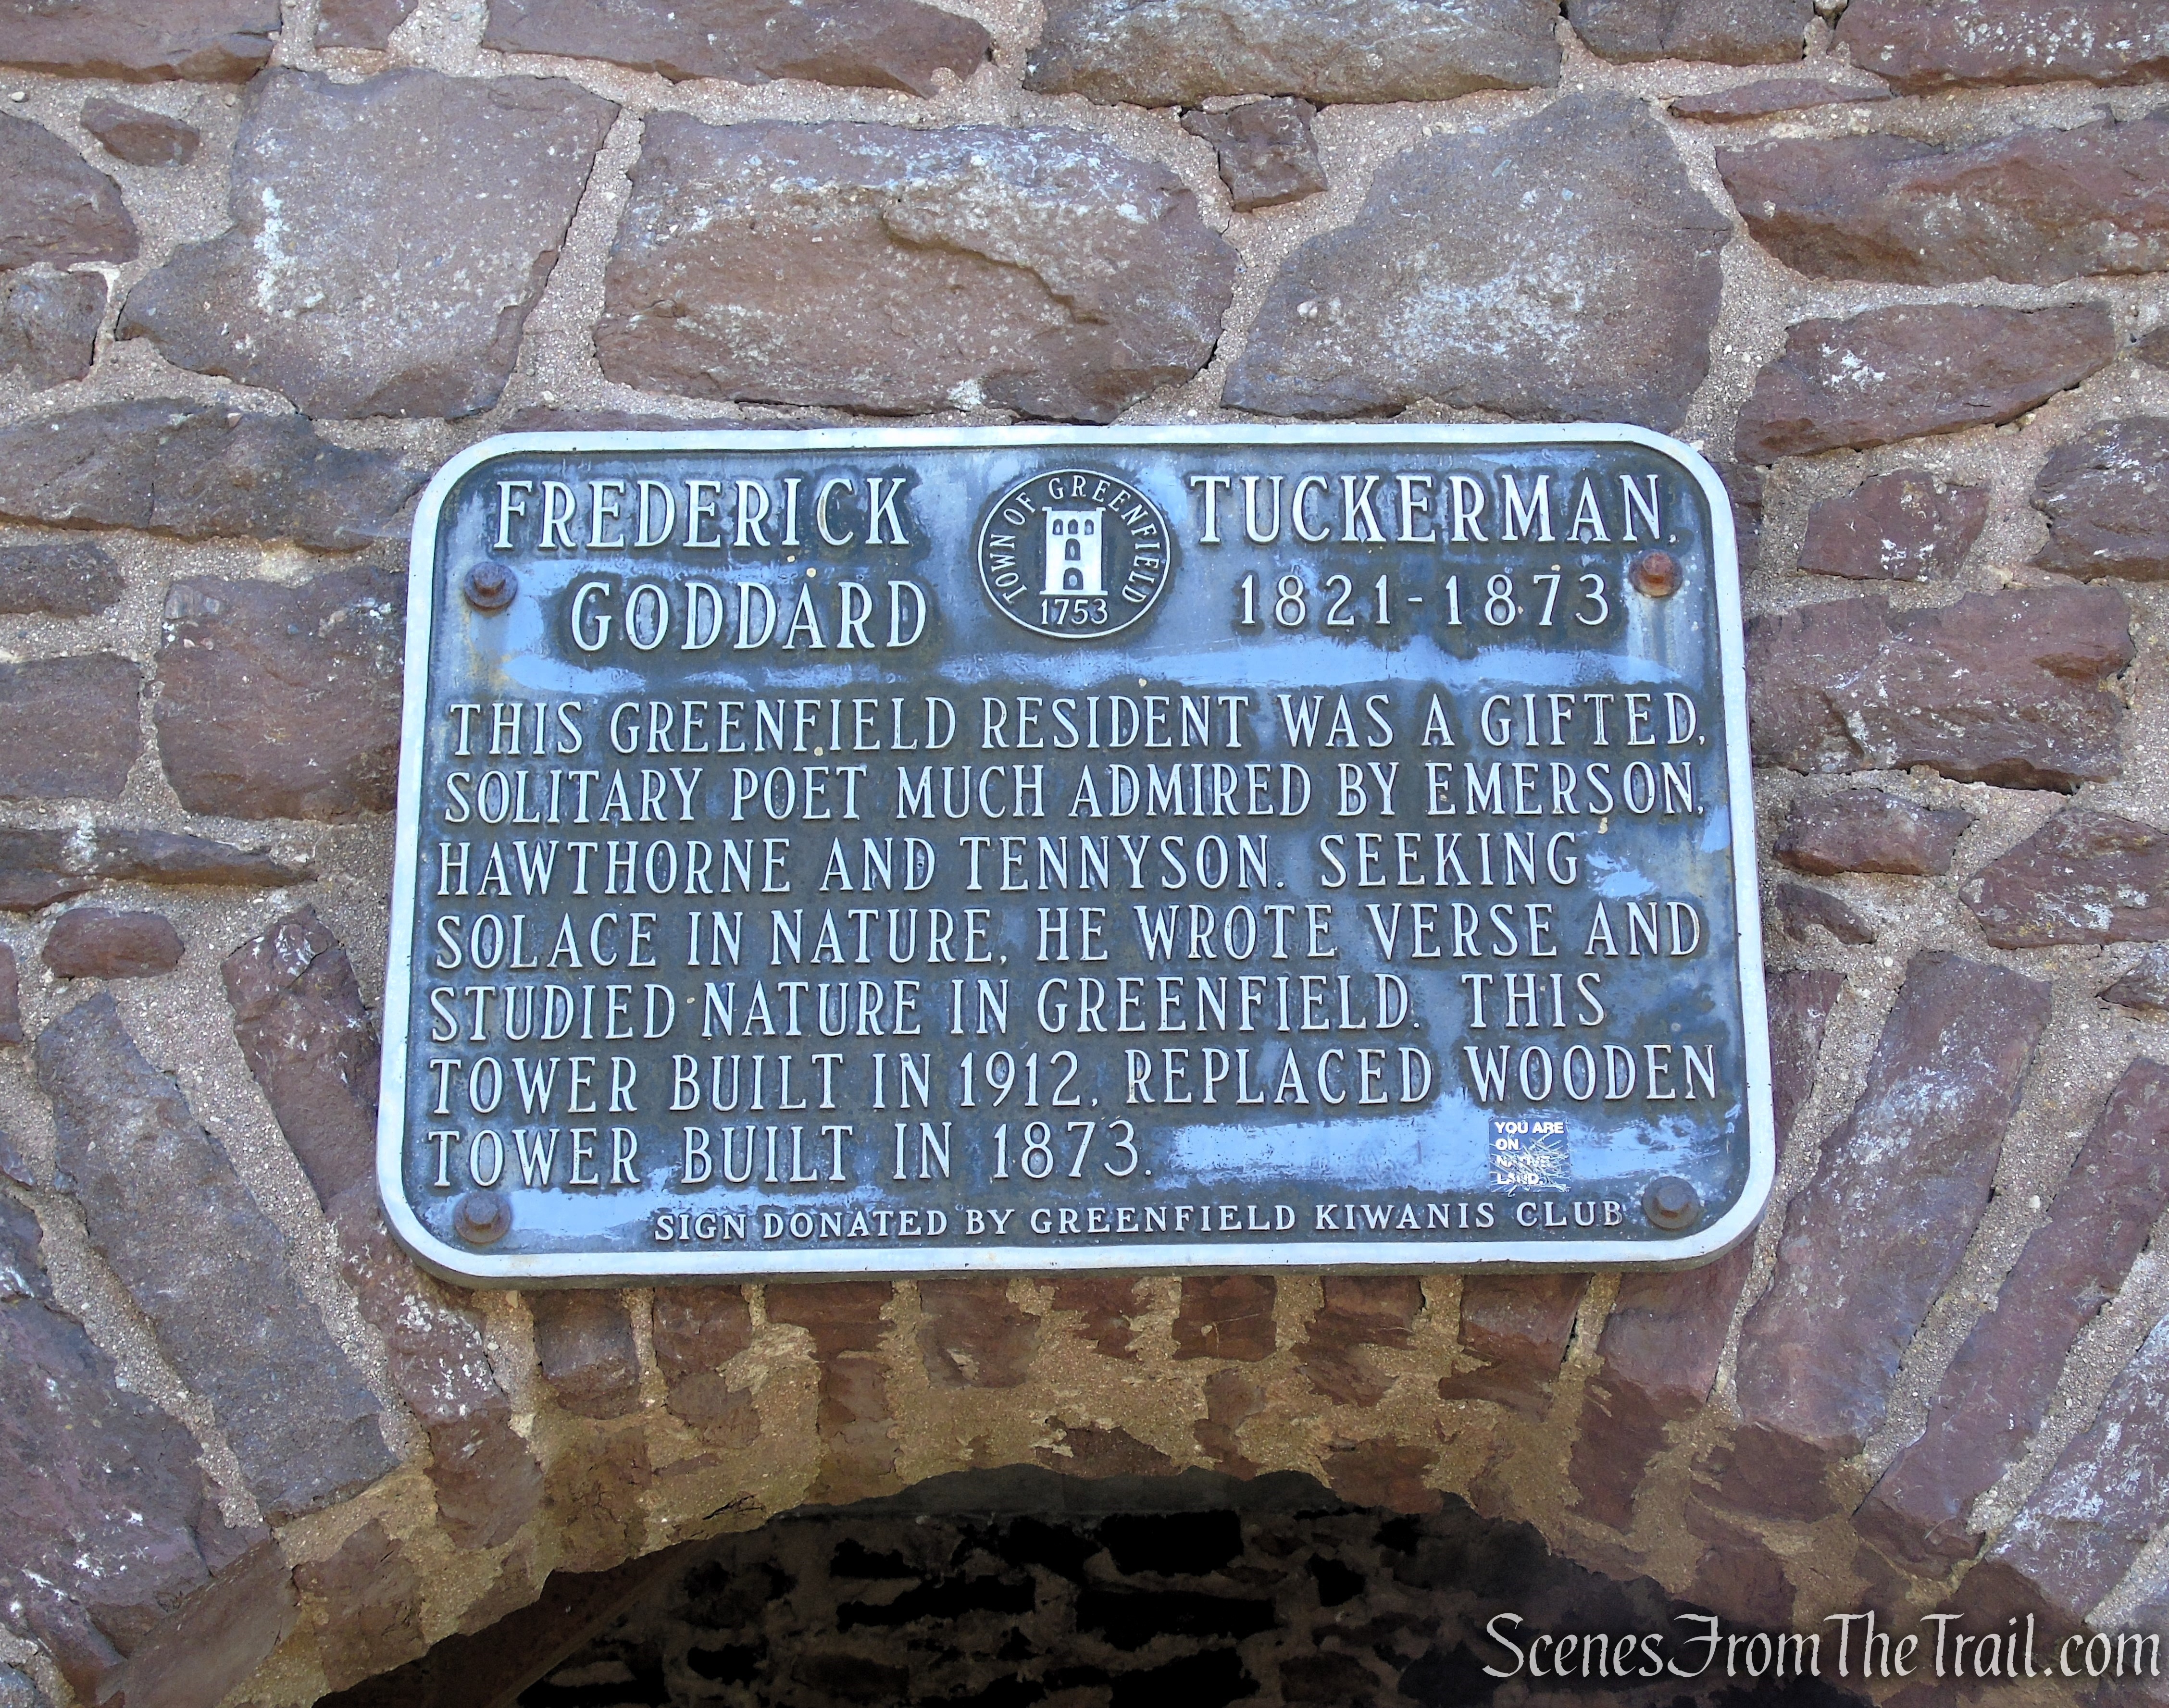
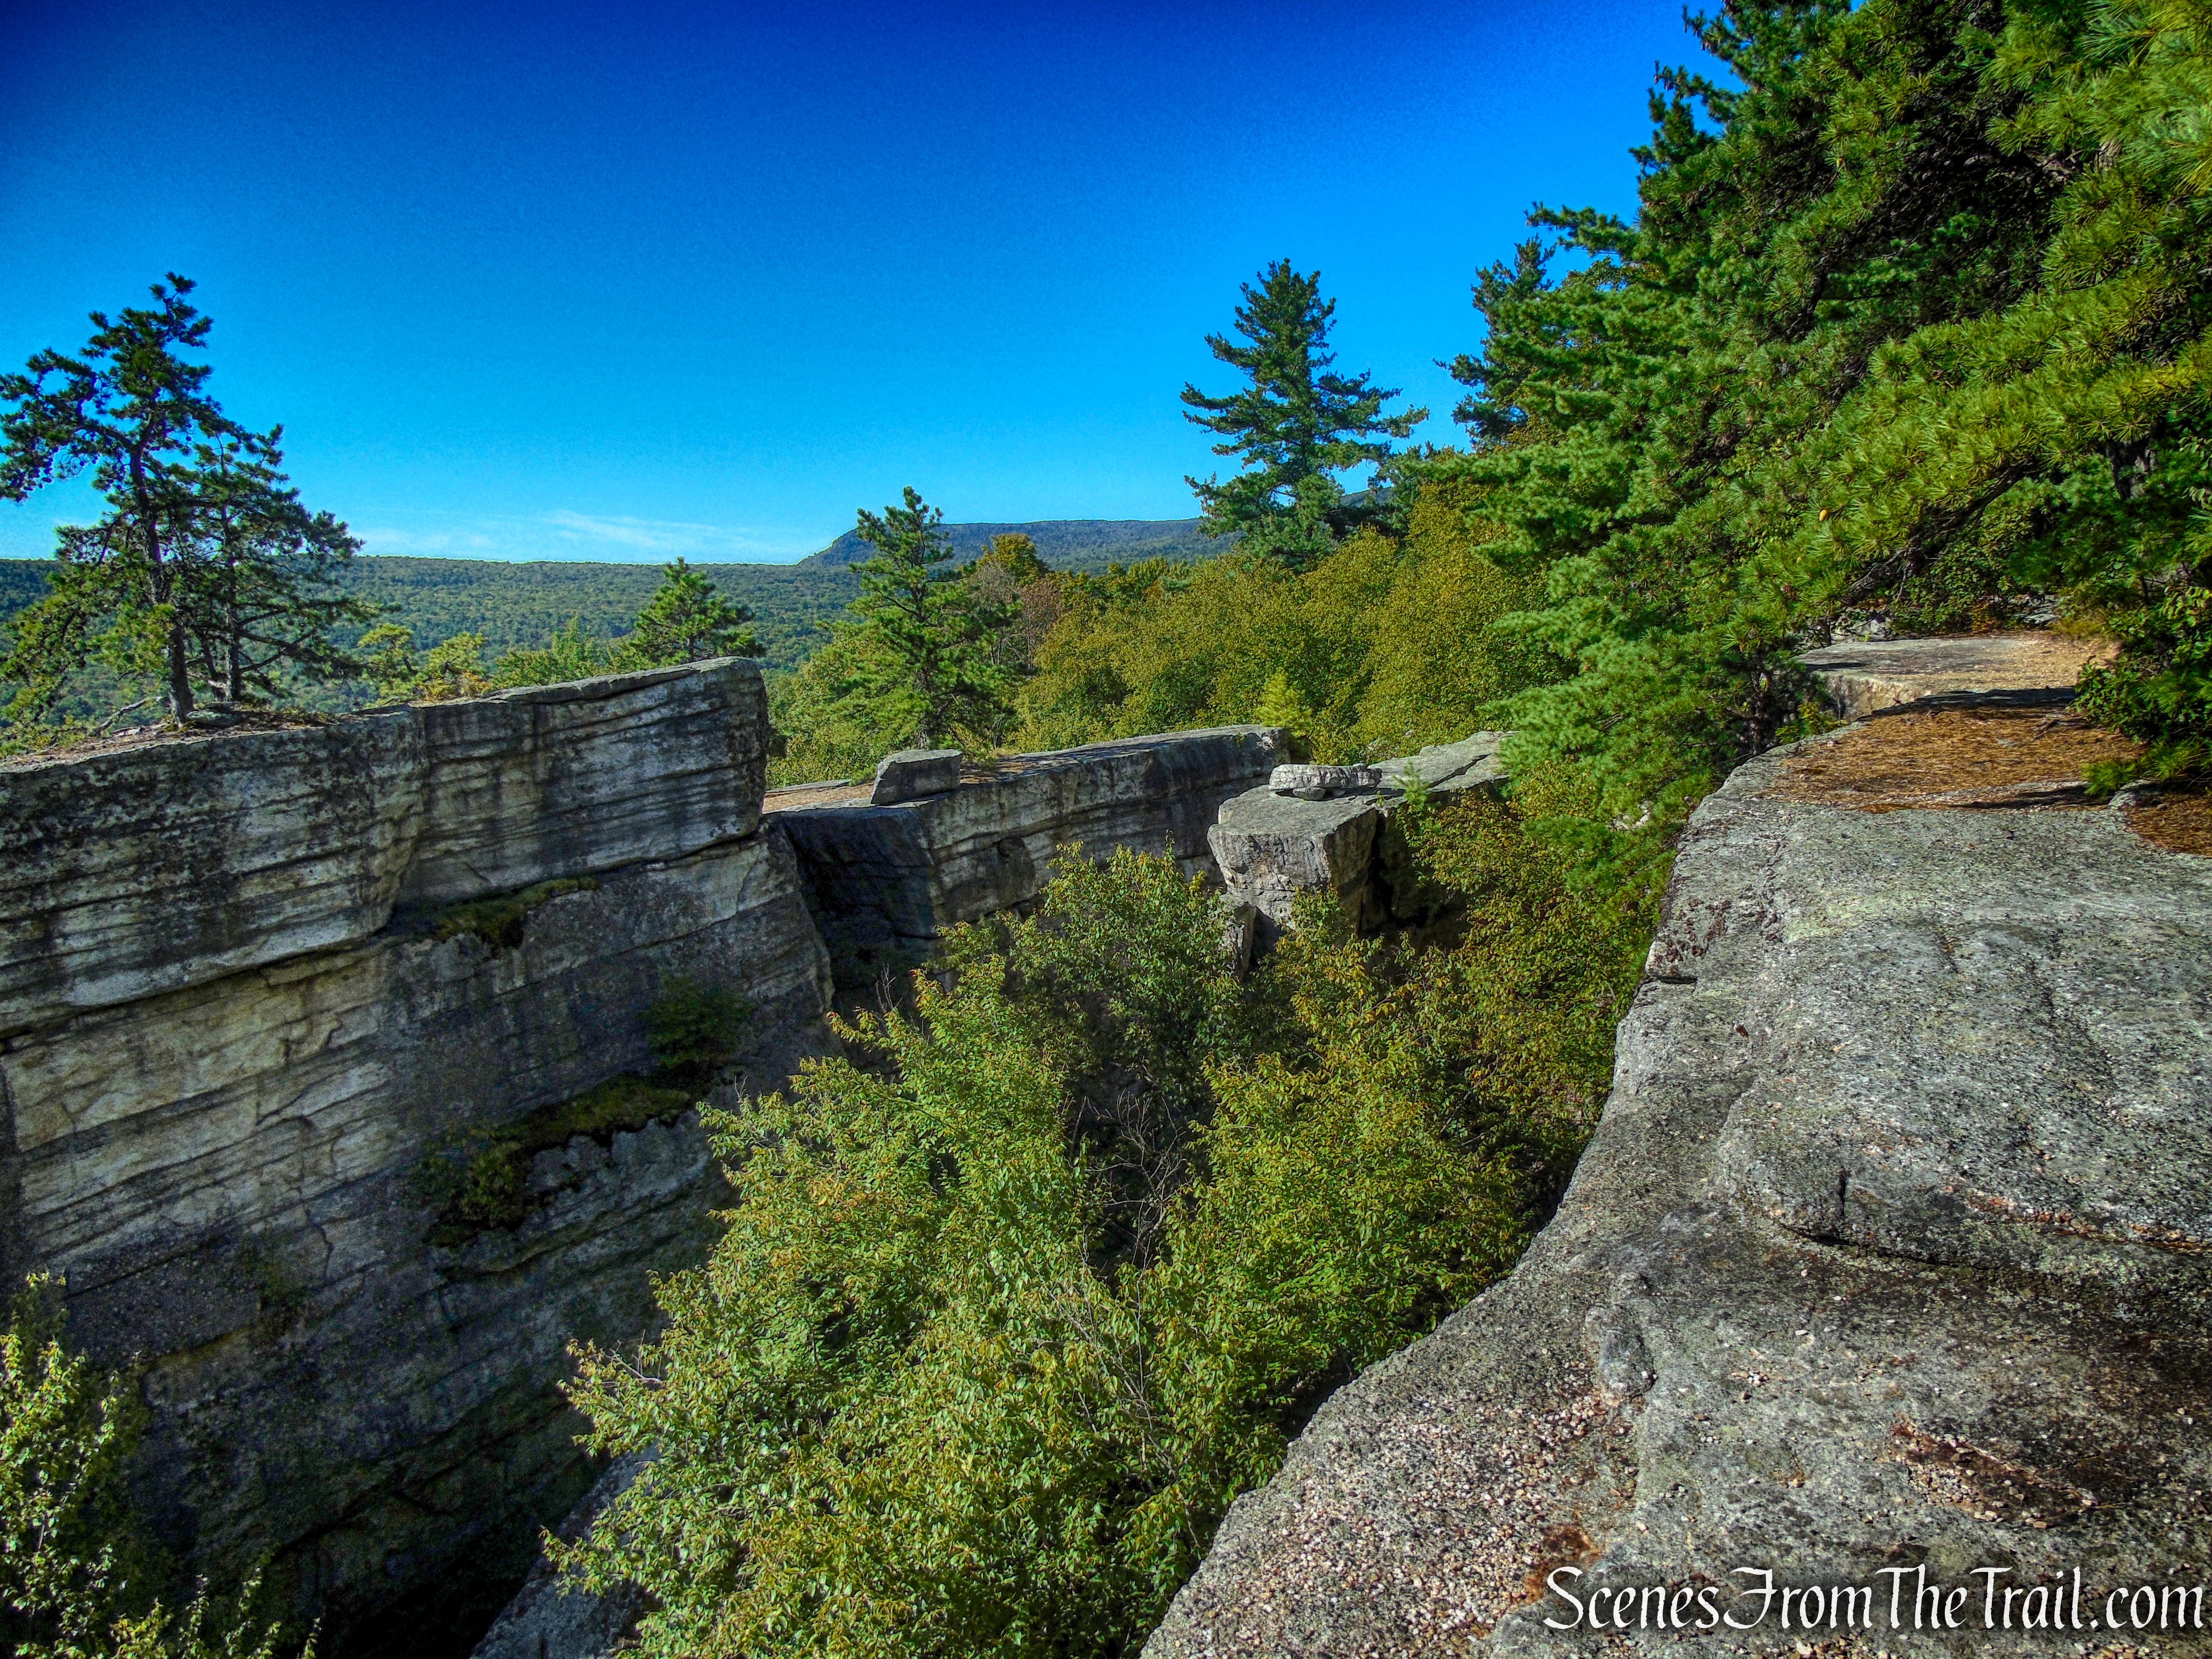
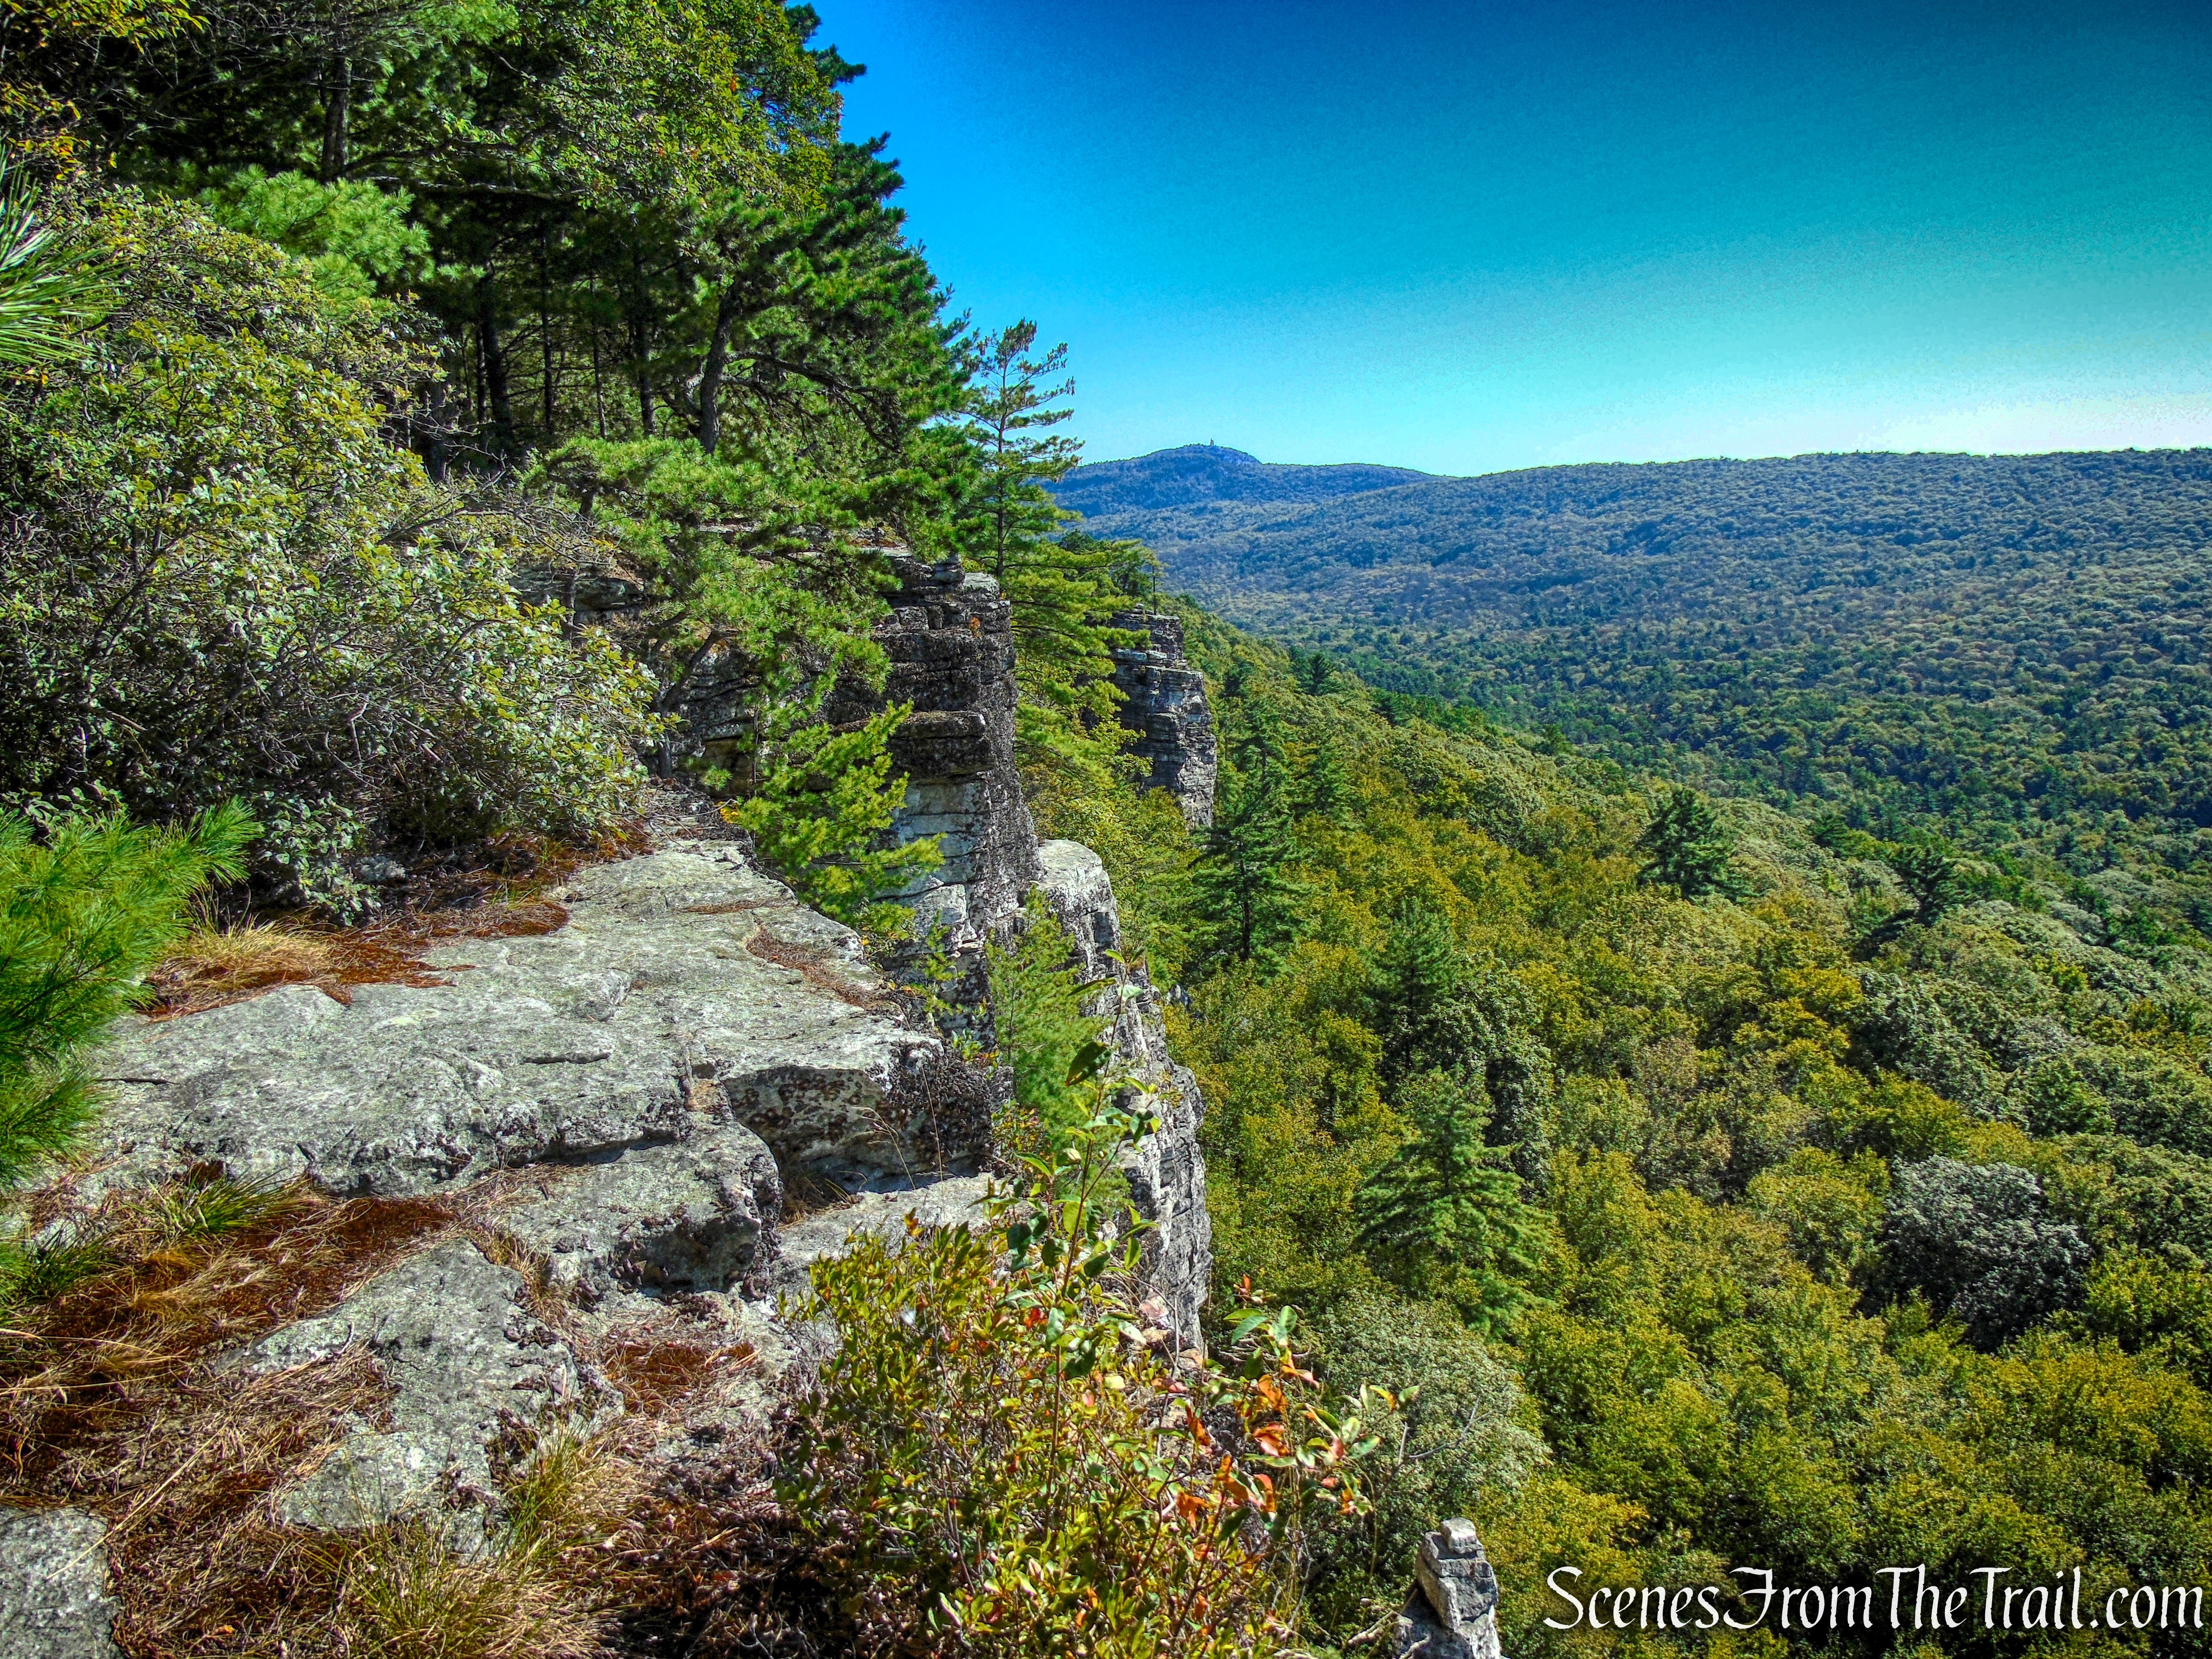
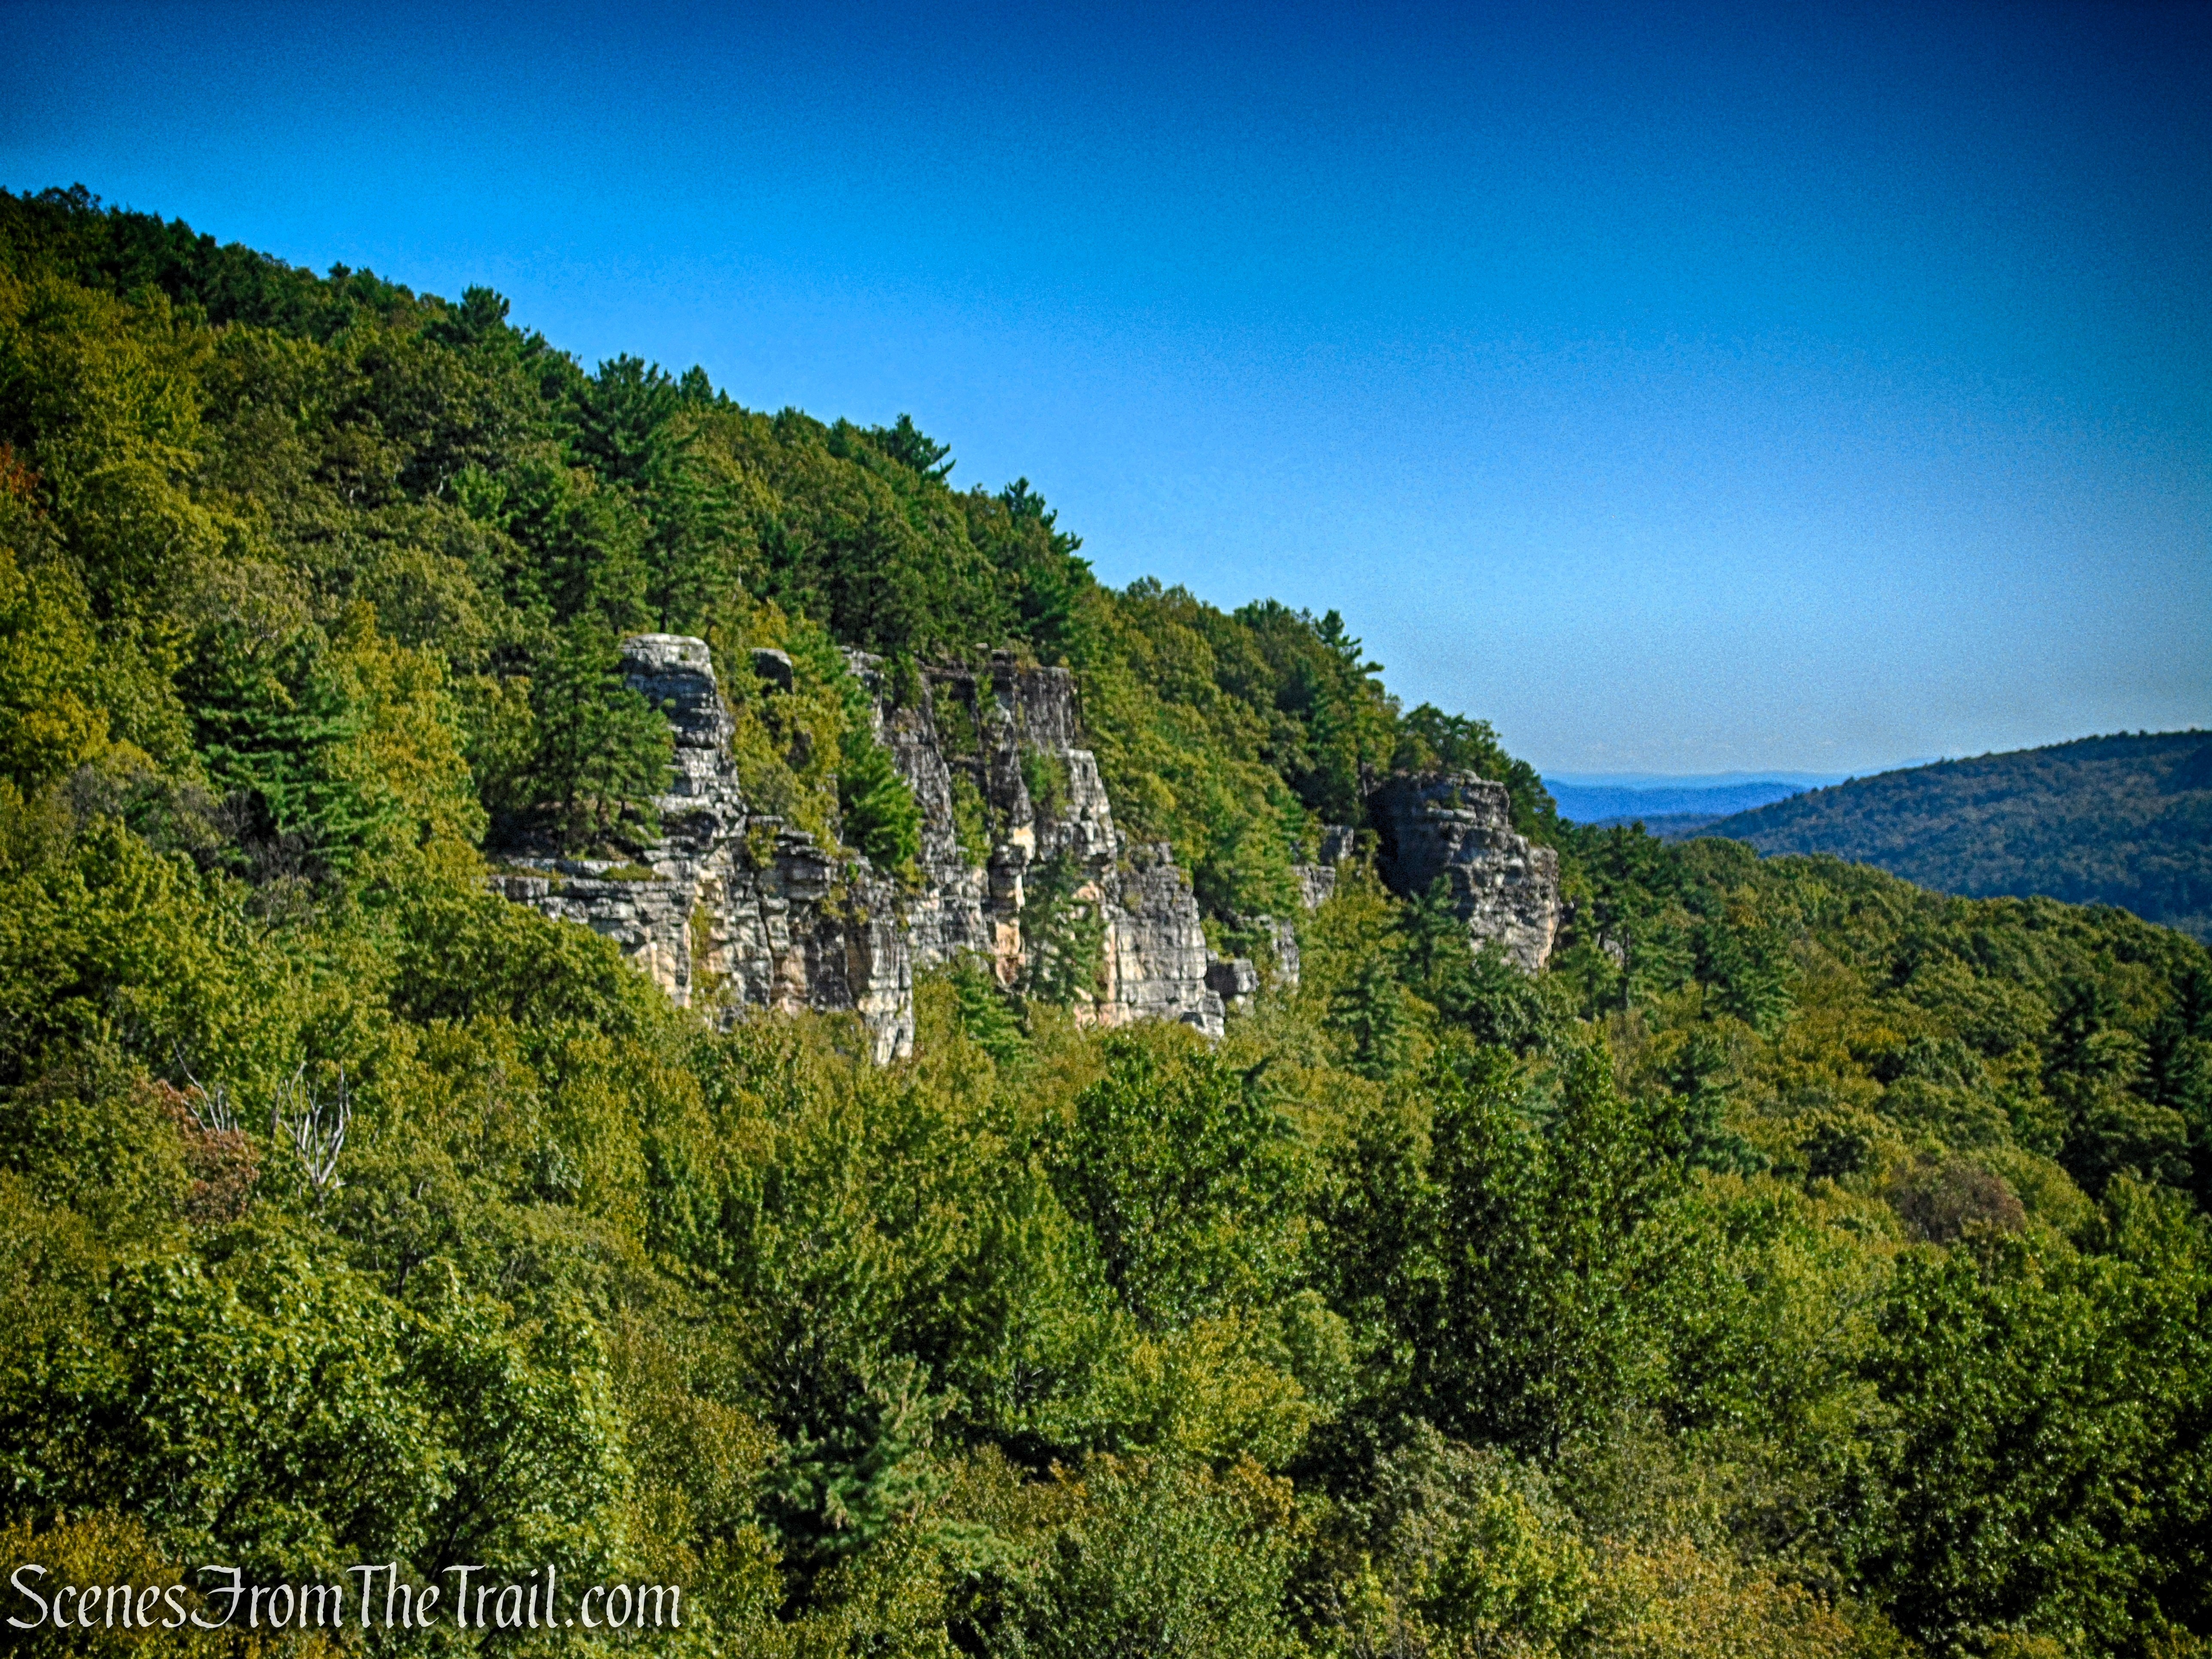
Clausland Mountain is composed not of a single mountain but a chain of hilltops along the Palisades between Piermont and S. Nyack. The tallest hilltop, nearly 700 feet, is Mount Nebo at the southern end overlooking Rockland Cemetery and Piermont. The name comes from a biblical reference to a mountain from which Moses saw the Promised Land and upon which he died. The name appears irregularly on maps of the past, so it is unclear who named it or when it was named. Trees obscure the view most of the year. Stone outcroppings show that the soil is thin and not suitable for farming. There is no indication on maps that anyone lived nearby.
The US Army already owned the Mount Nebo site from WW II, and it was a perfect place to house an observation post once again, this time with radar. A command center was constructed on the 15-acre site along with a huge golf ball shaped radar dome whose foundation can still be found there. Below the mountain at the northwest intersection of the Palisades Parkway and Rt. 303 was the missile launch site. Missiles were kept in silos until there was need for launch.
From 1954 to 1974, during the height of the Cold War, a ring of Nike missile sites protected the New York metropolitan area, including installations on Mount Nebo. Designed to intercept incoming Soviet long-range bombers—such as the Tu-95 “Bear”—these missiles could engage threats before they reached the mainland. In total, nineteen Nike sites formed a defensive perimeter around New York City.
In 1954, the U.S. Army deployed the world’s first operational guided surface-to-air missile system: the Nike Ajax. Originally conceived near the end of World War II and developed in the early Cold War years, the system was fast-tracked into service in response to growing fears of Soviet air attack. Nike Ajax batteries were strategically placed to defend major urban, and industrial centers across the country.
Each Nike missile site was organized into three main components: the administrative area, the Integrated Fire Control area (IFC), and the launch area. The administrative section—often located within or near the other two—contained barracks, a mess hall, and support buildings, typically simple one-story cinder block structures. It also included vehicle maintenance facilities and fuel storage.
The IFC served as the technological heart of the operation. It housed radar systems used to detect and track incoming aircraft, along with control trailers, power equipment, and communications infrastructure. Positioned at least 1,000 yards—and often more than a mile—from the launch area, the IFC maintained a direct visual line of sight to coordinate targeting and engagement.
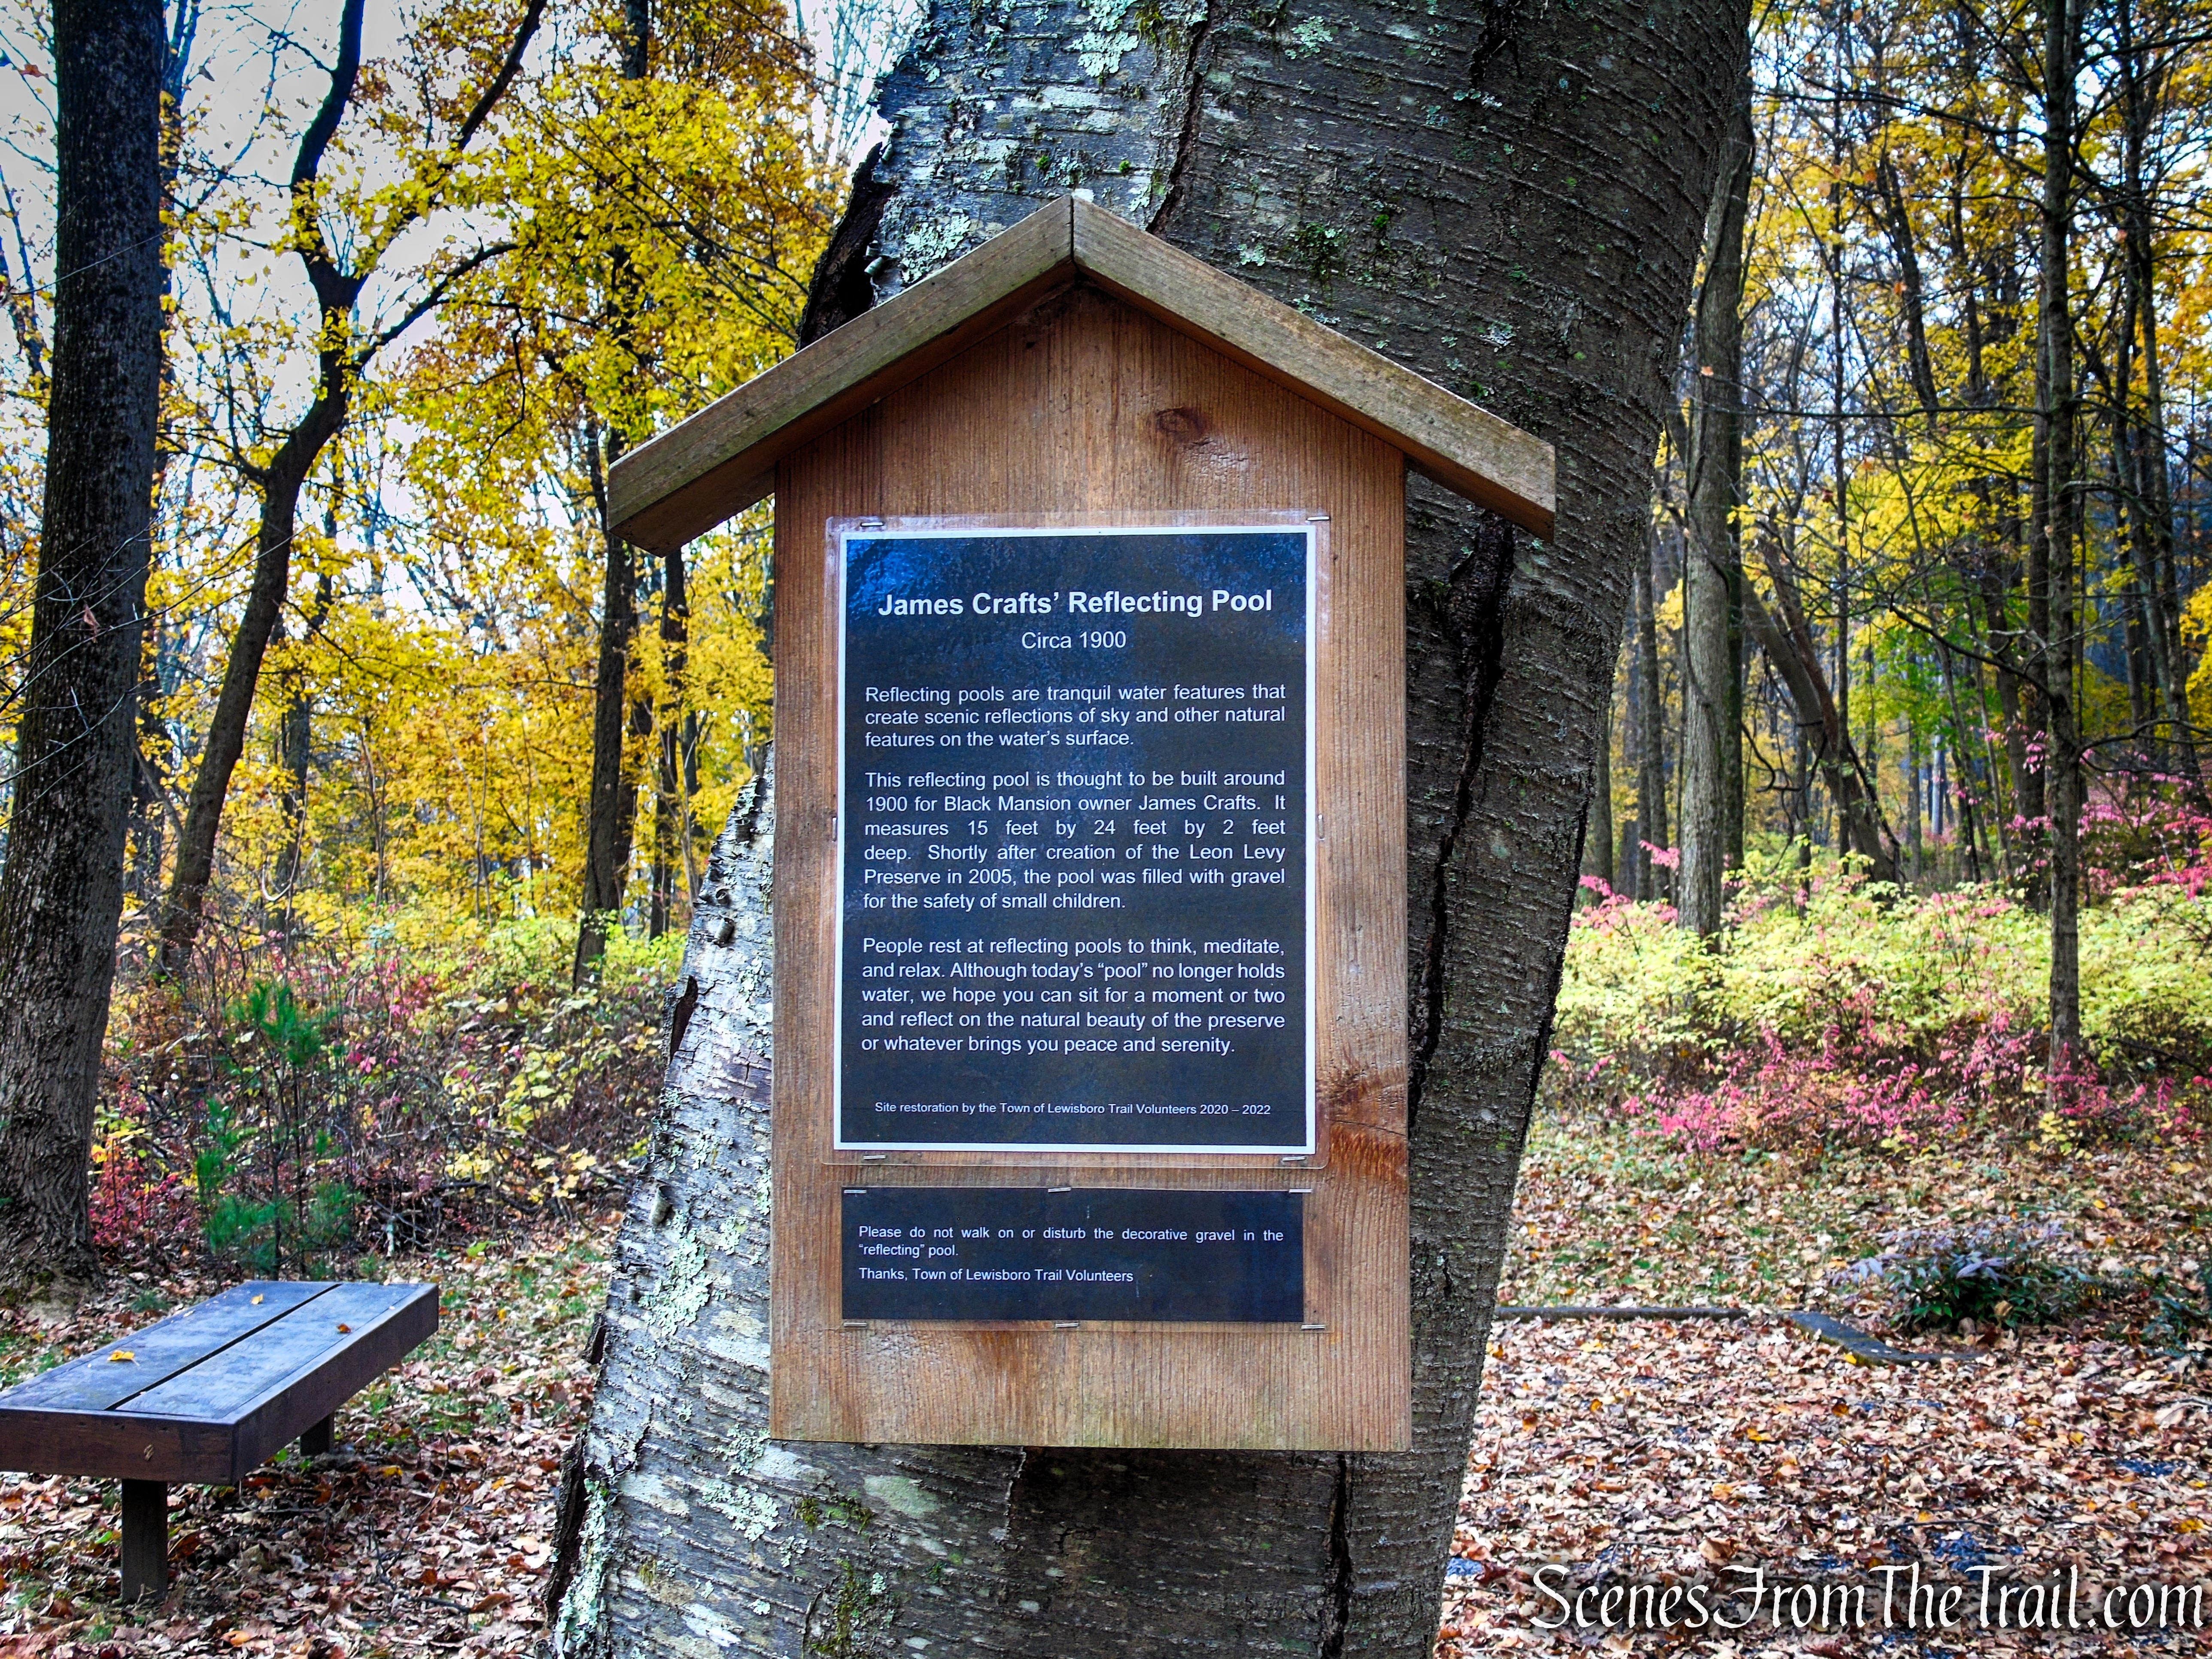
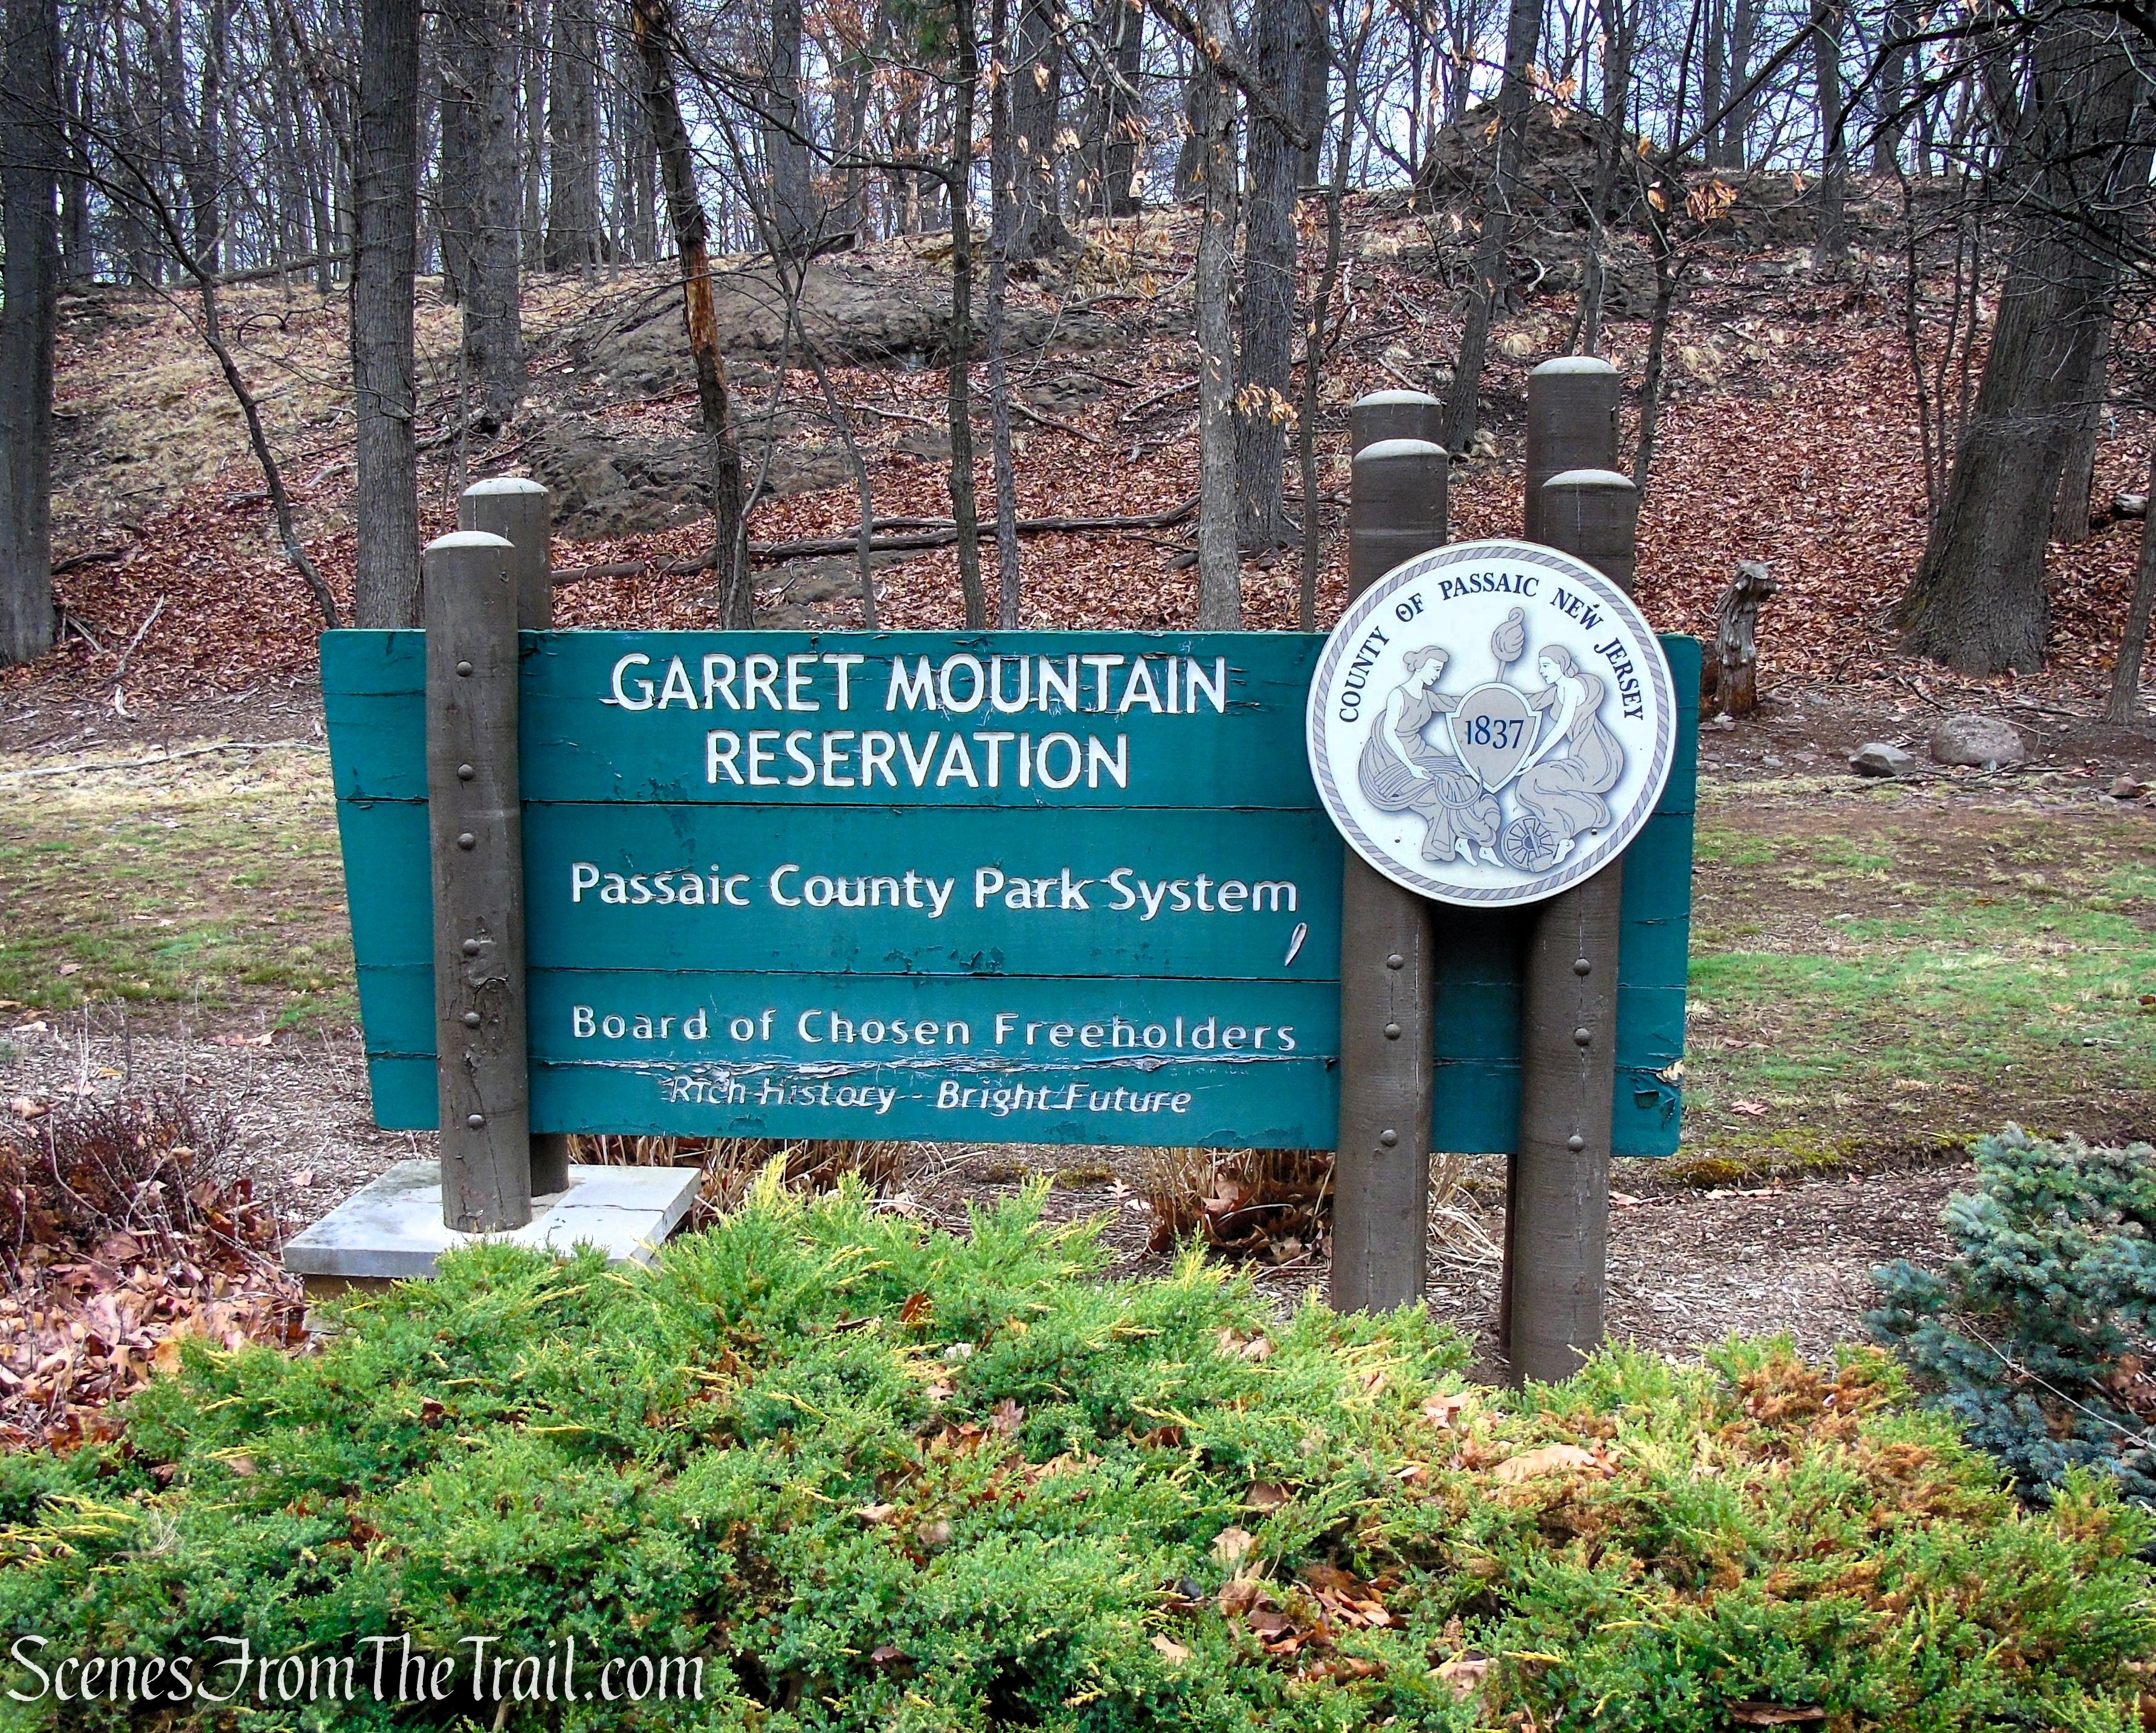
Nike Overlook Park –
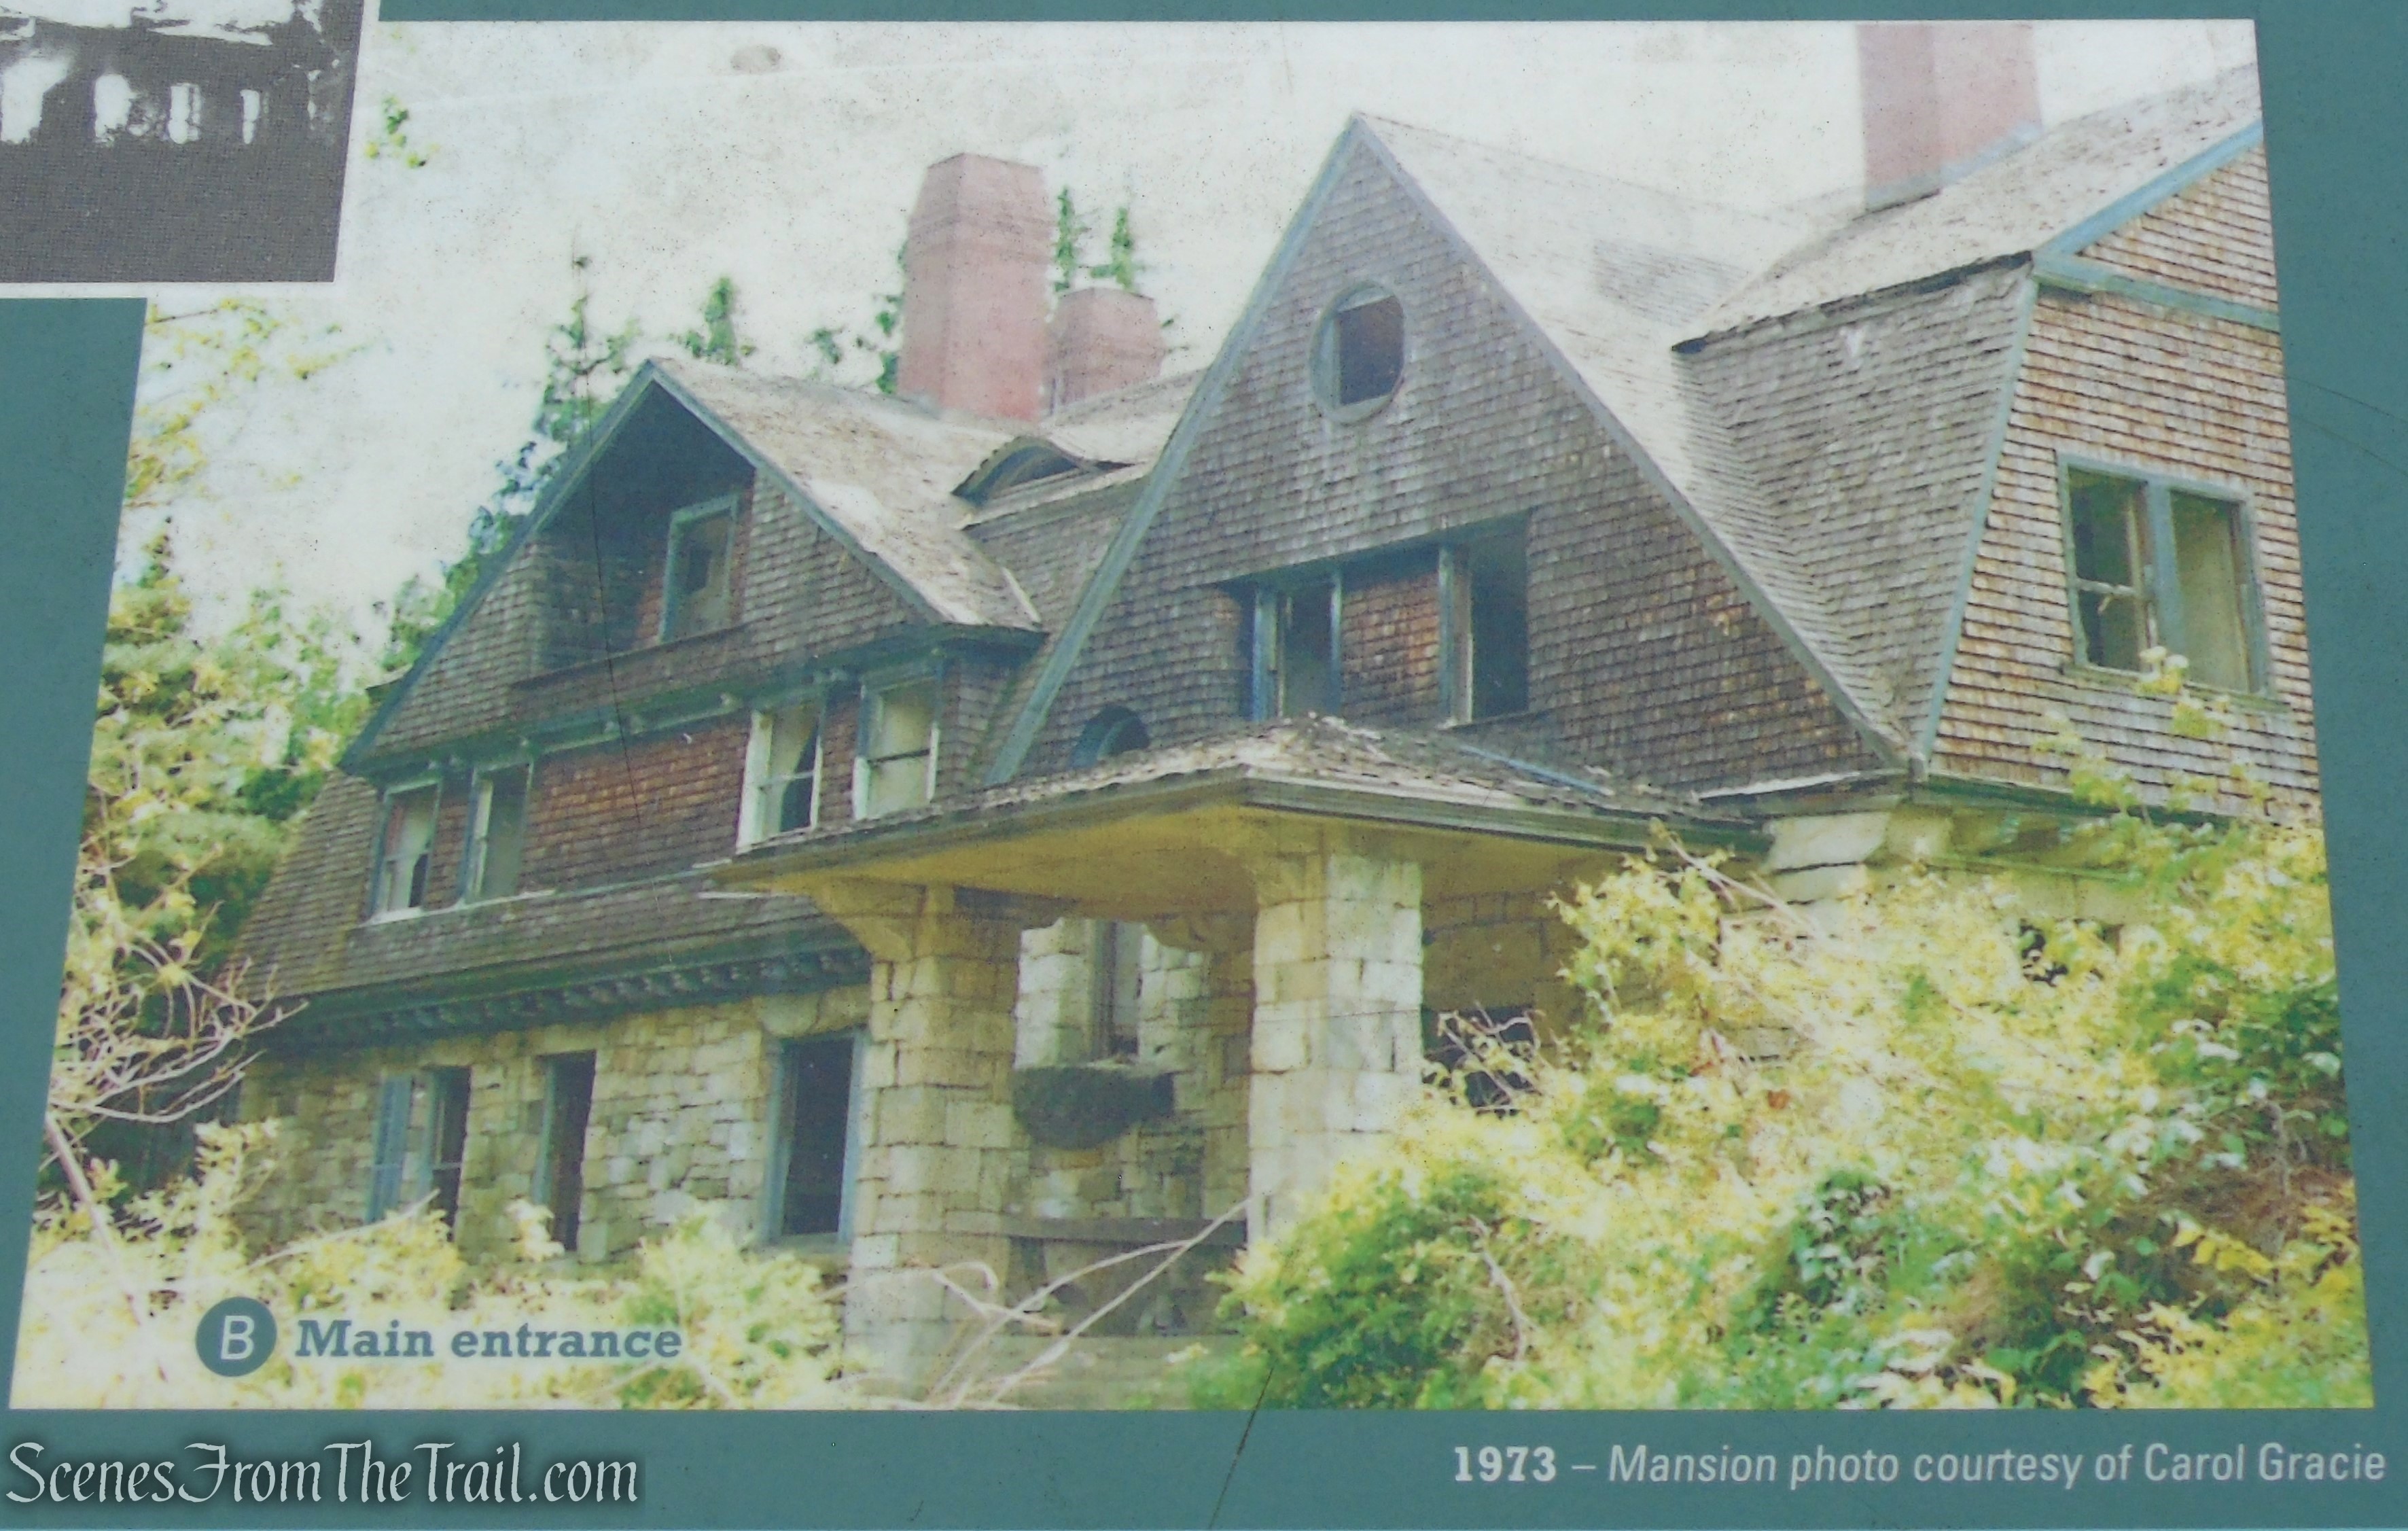
In 1976, Orangetown purchased the IFC (Integrated Fire Control) site on Mount Nebo for $10,000. The town made a few improvements and Nike Overlook Park was born. A pool was planned but never built. In 1995, the Upper Grandview Association made the suggestion that the park buildings be preserved as a Cold War museum, but nothing came of it. The name preserves its Cold War past, while the land itself has been reclaimed for recreation and open space.
Trails Overview:
The trail network around Mount Nebo offers a surprisingly diverse mix of terrain, difficulty, and connectivity, making it easy to tailor a hike to just about any pace or experience level. Rather than a single defined route, the area is best understood as an interconnected system of trails that weave through multiple parks and preserves.
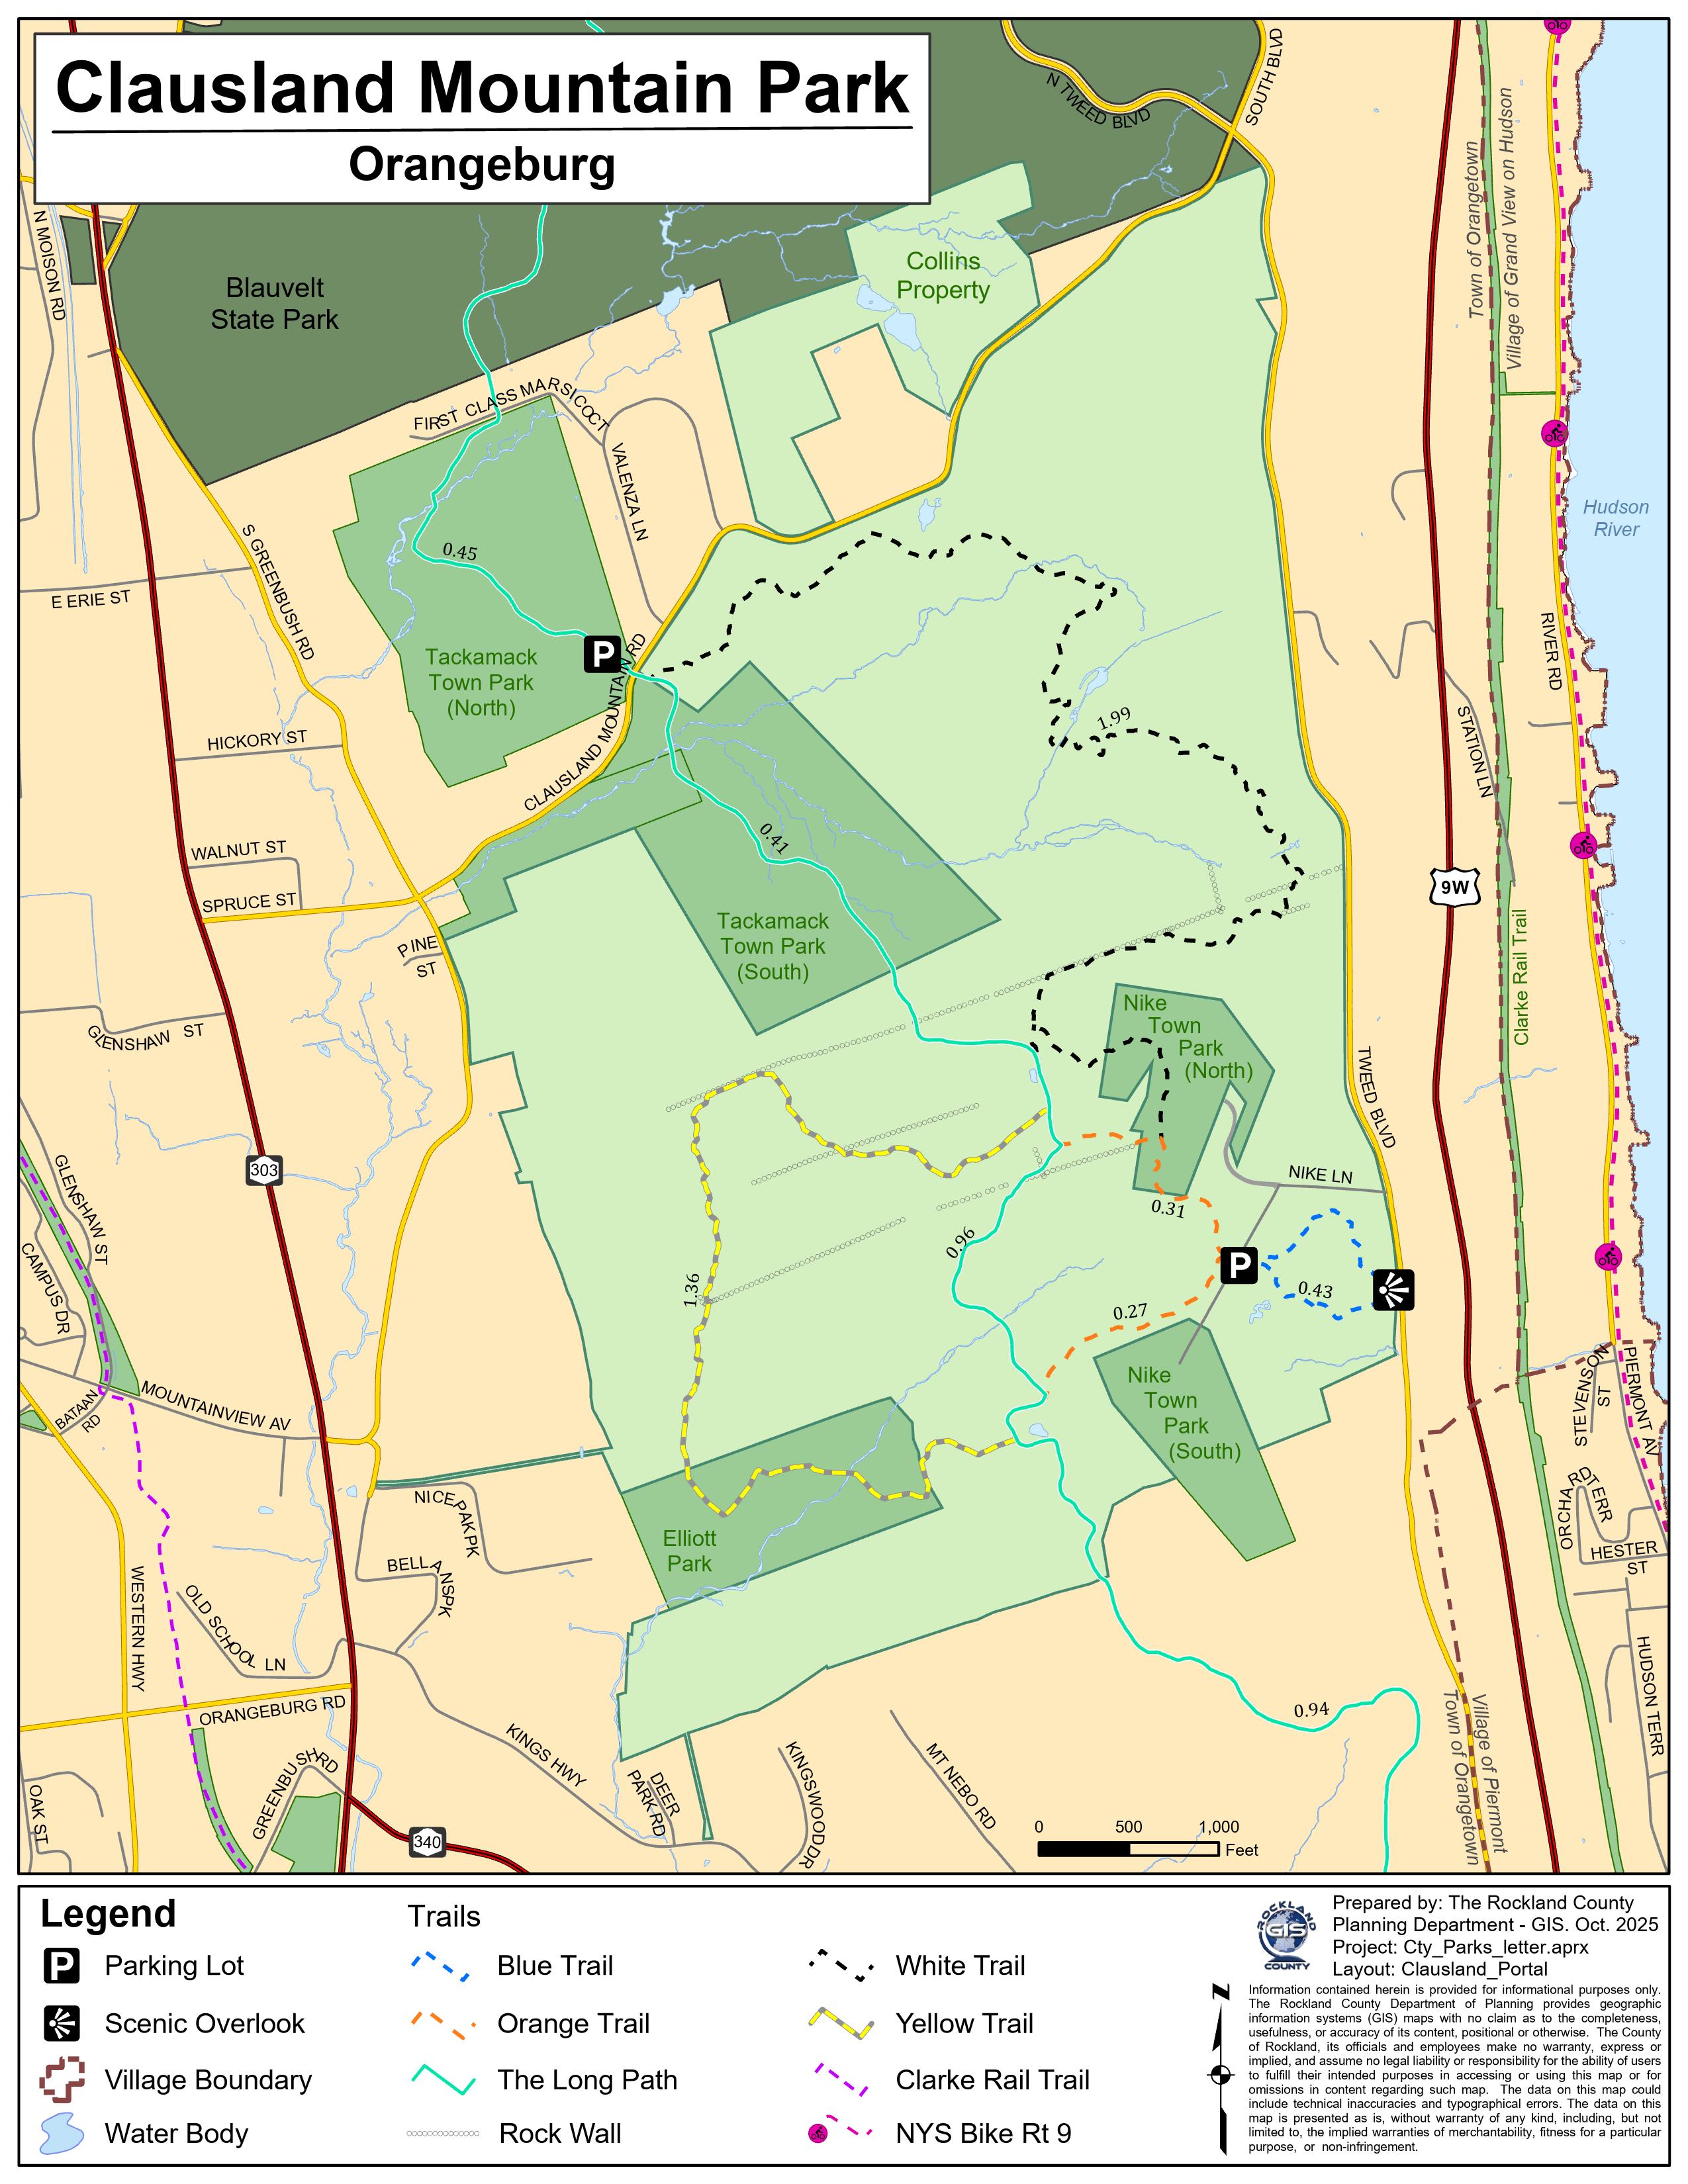
Clausland Mountain Park Map
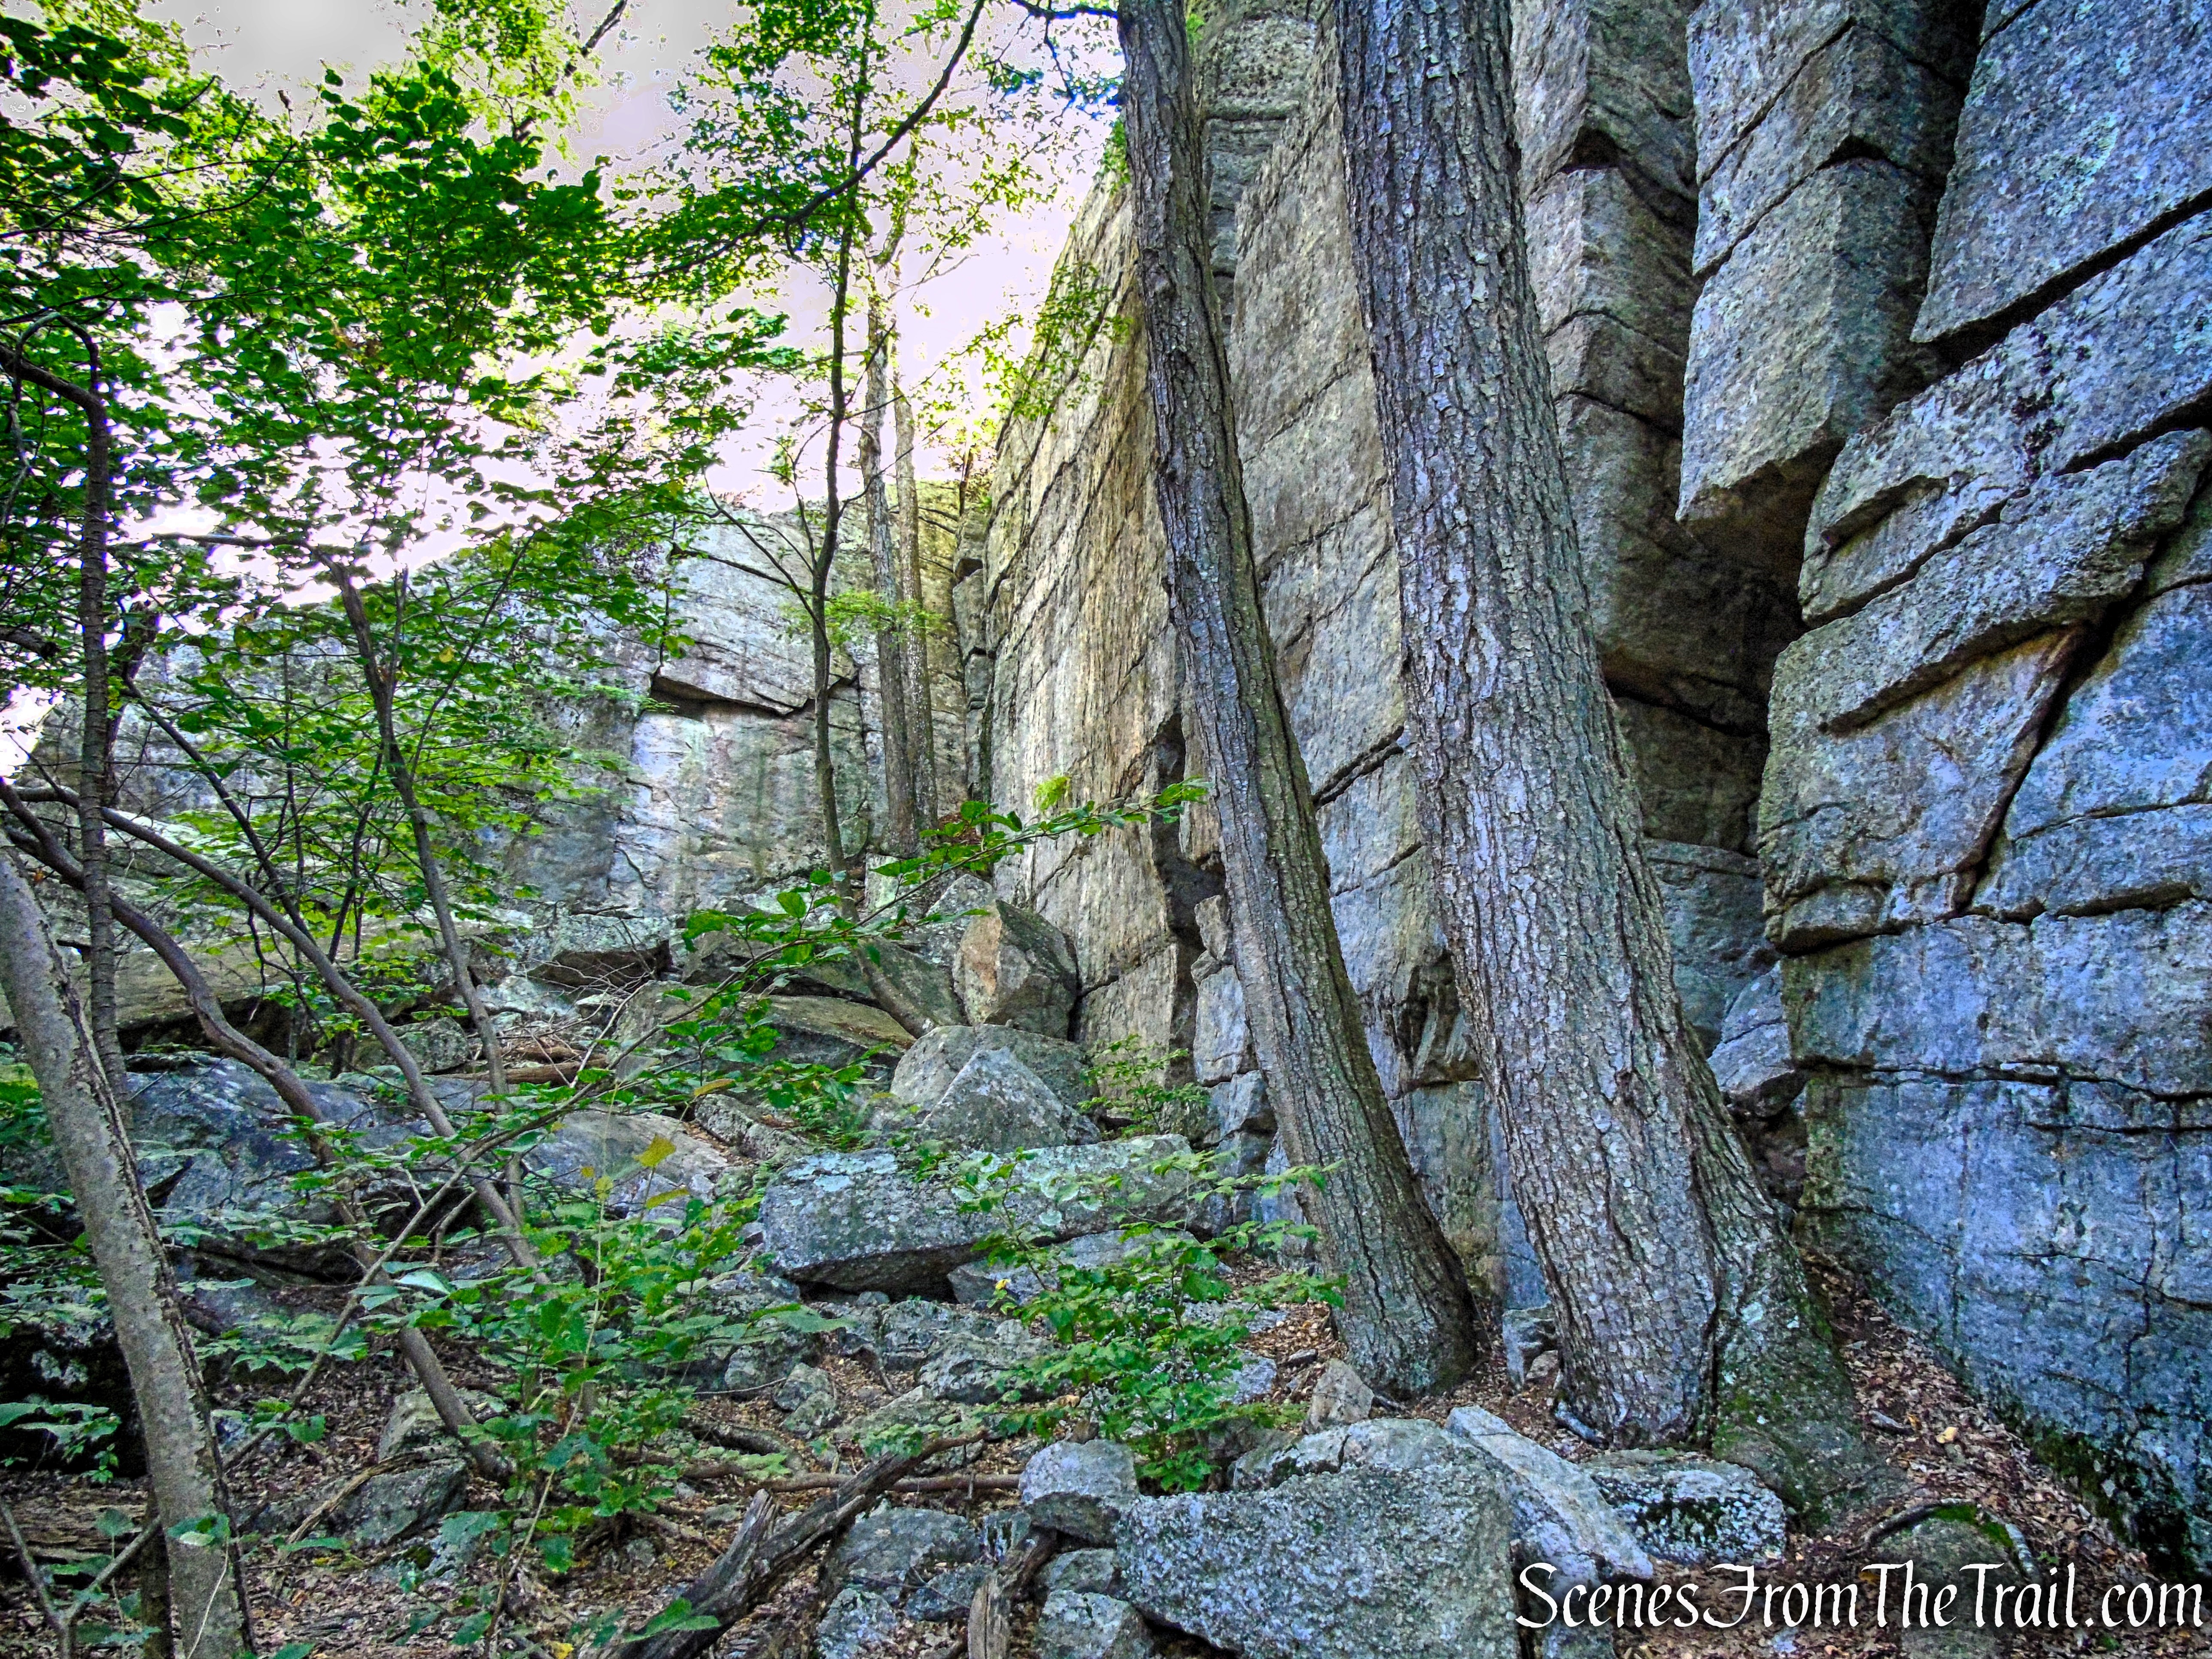
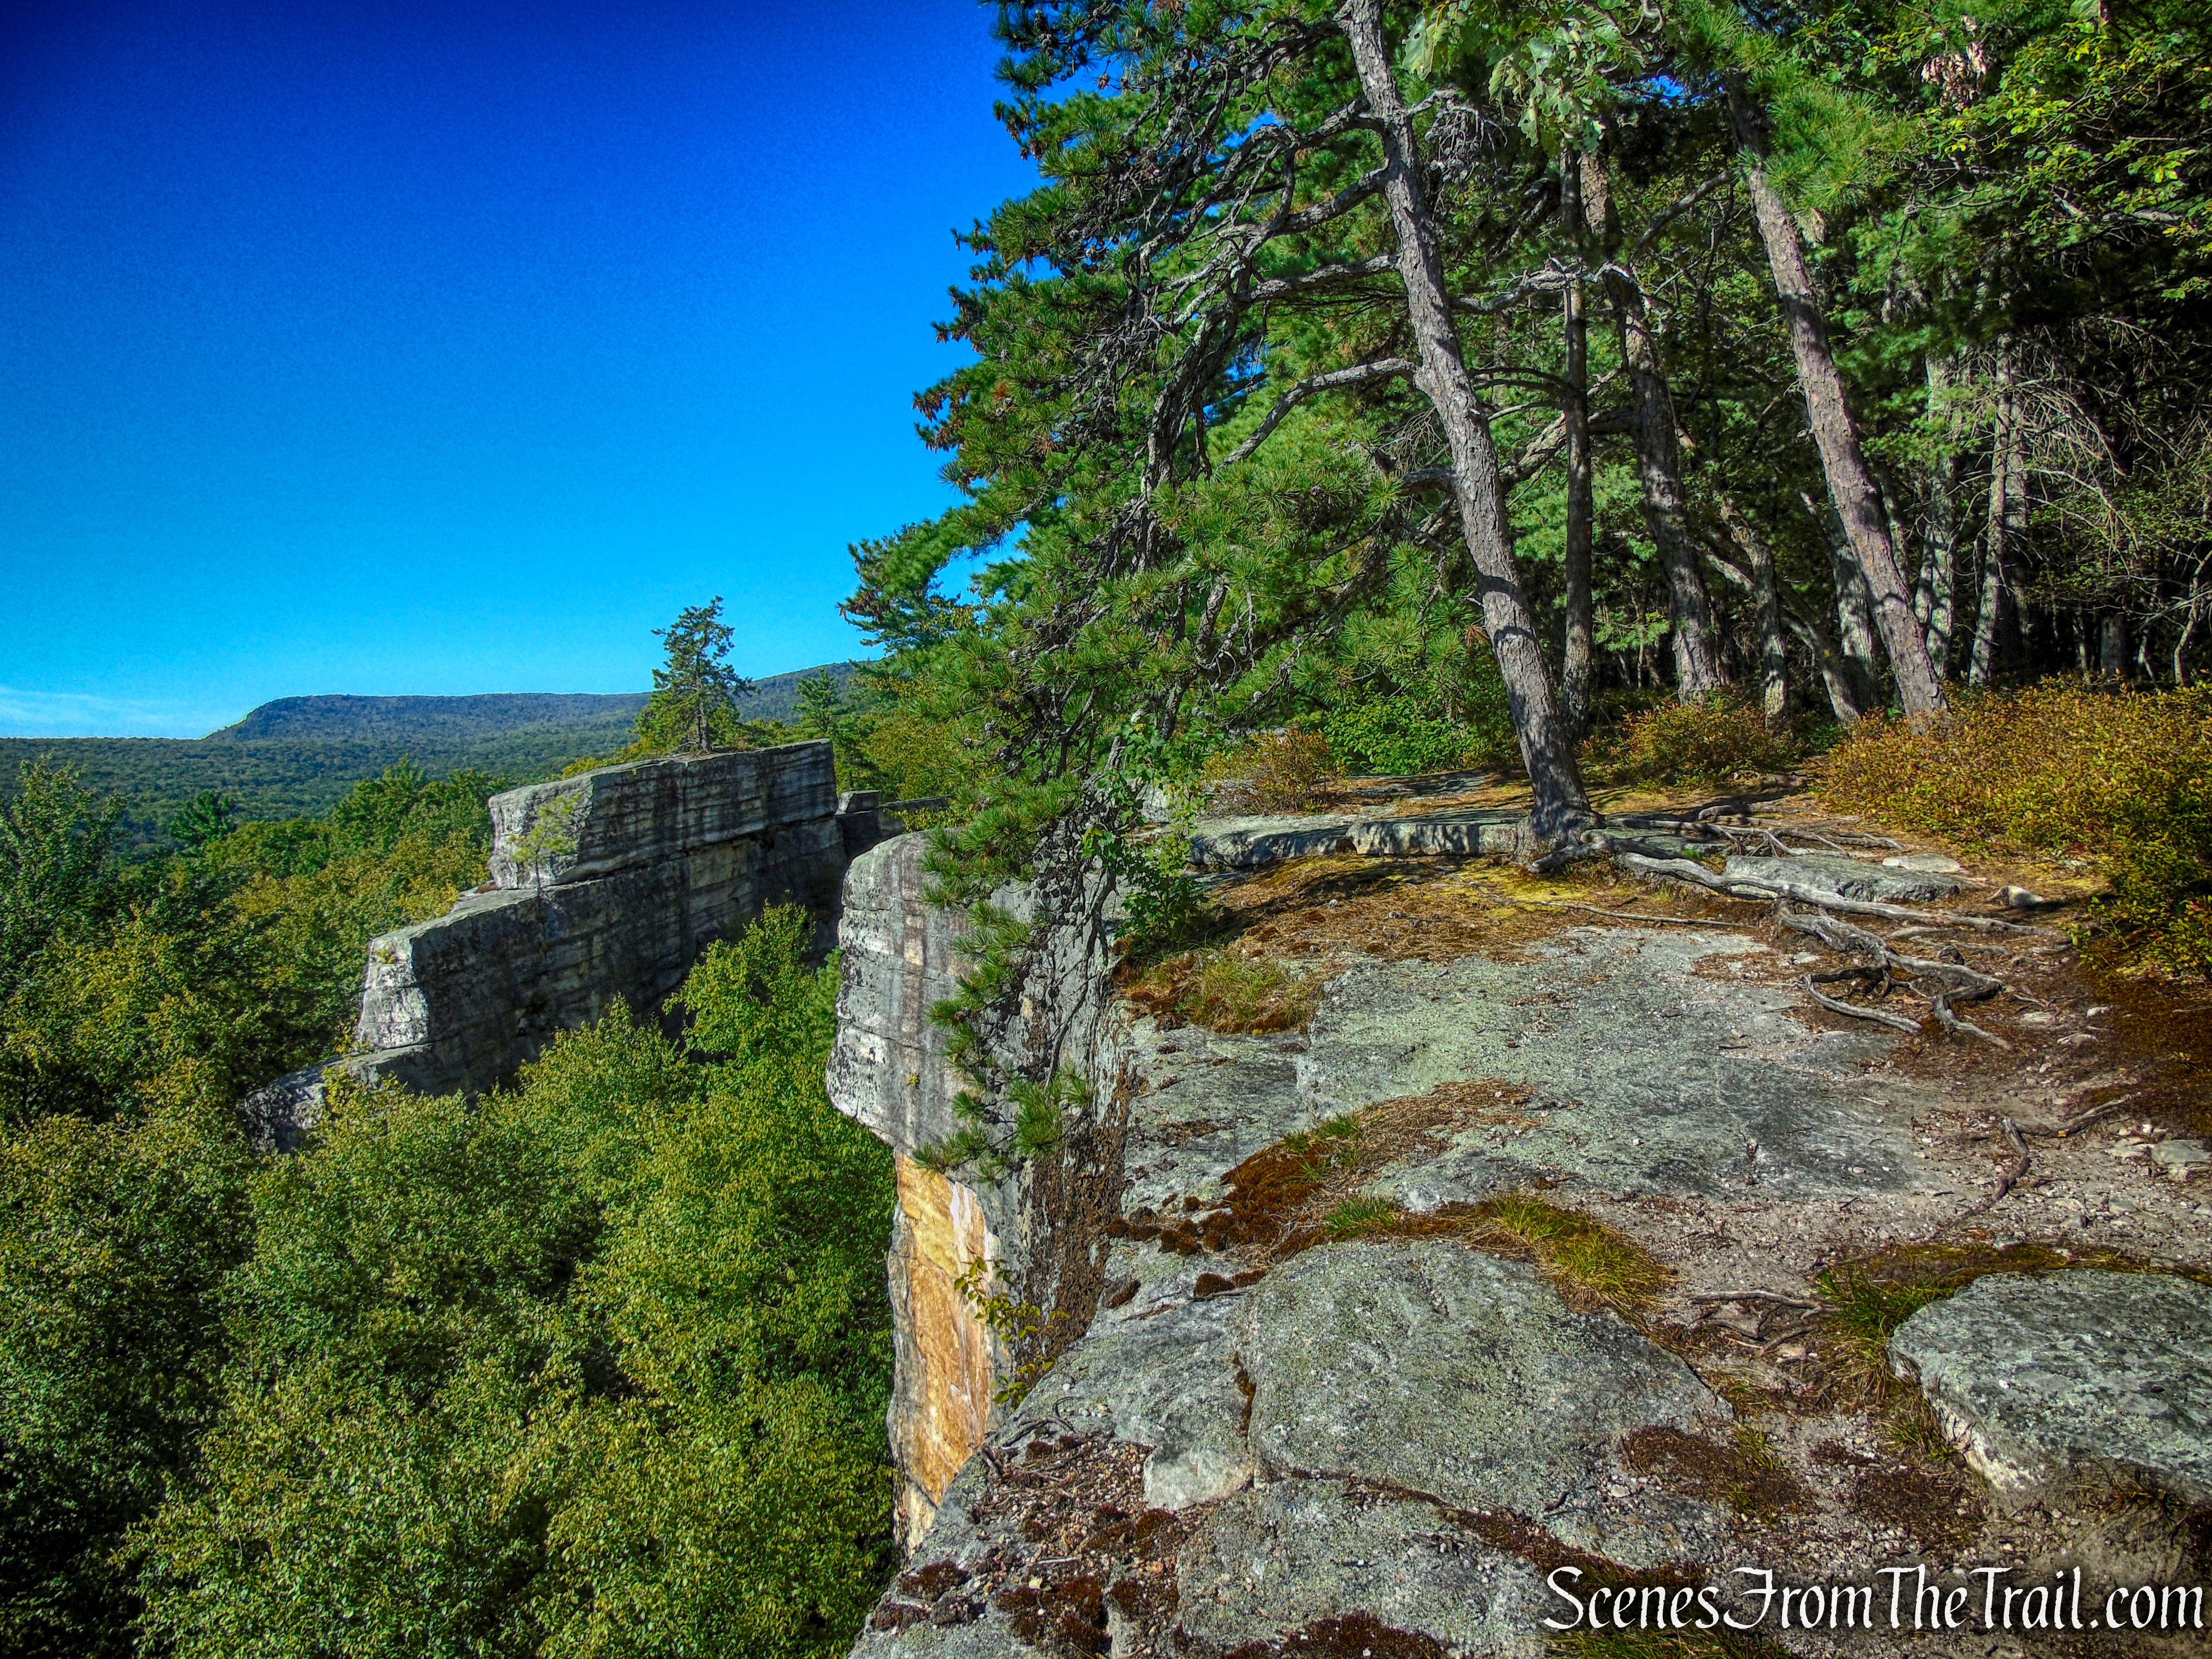
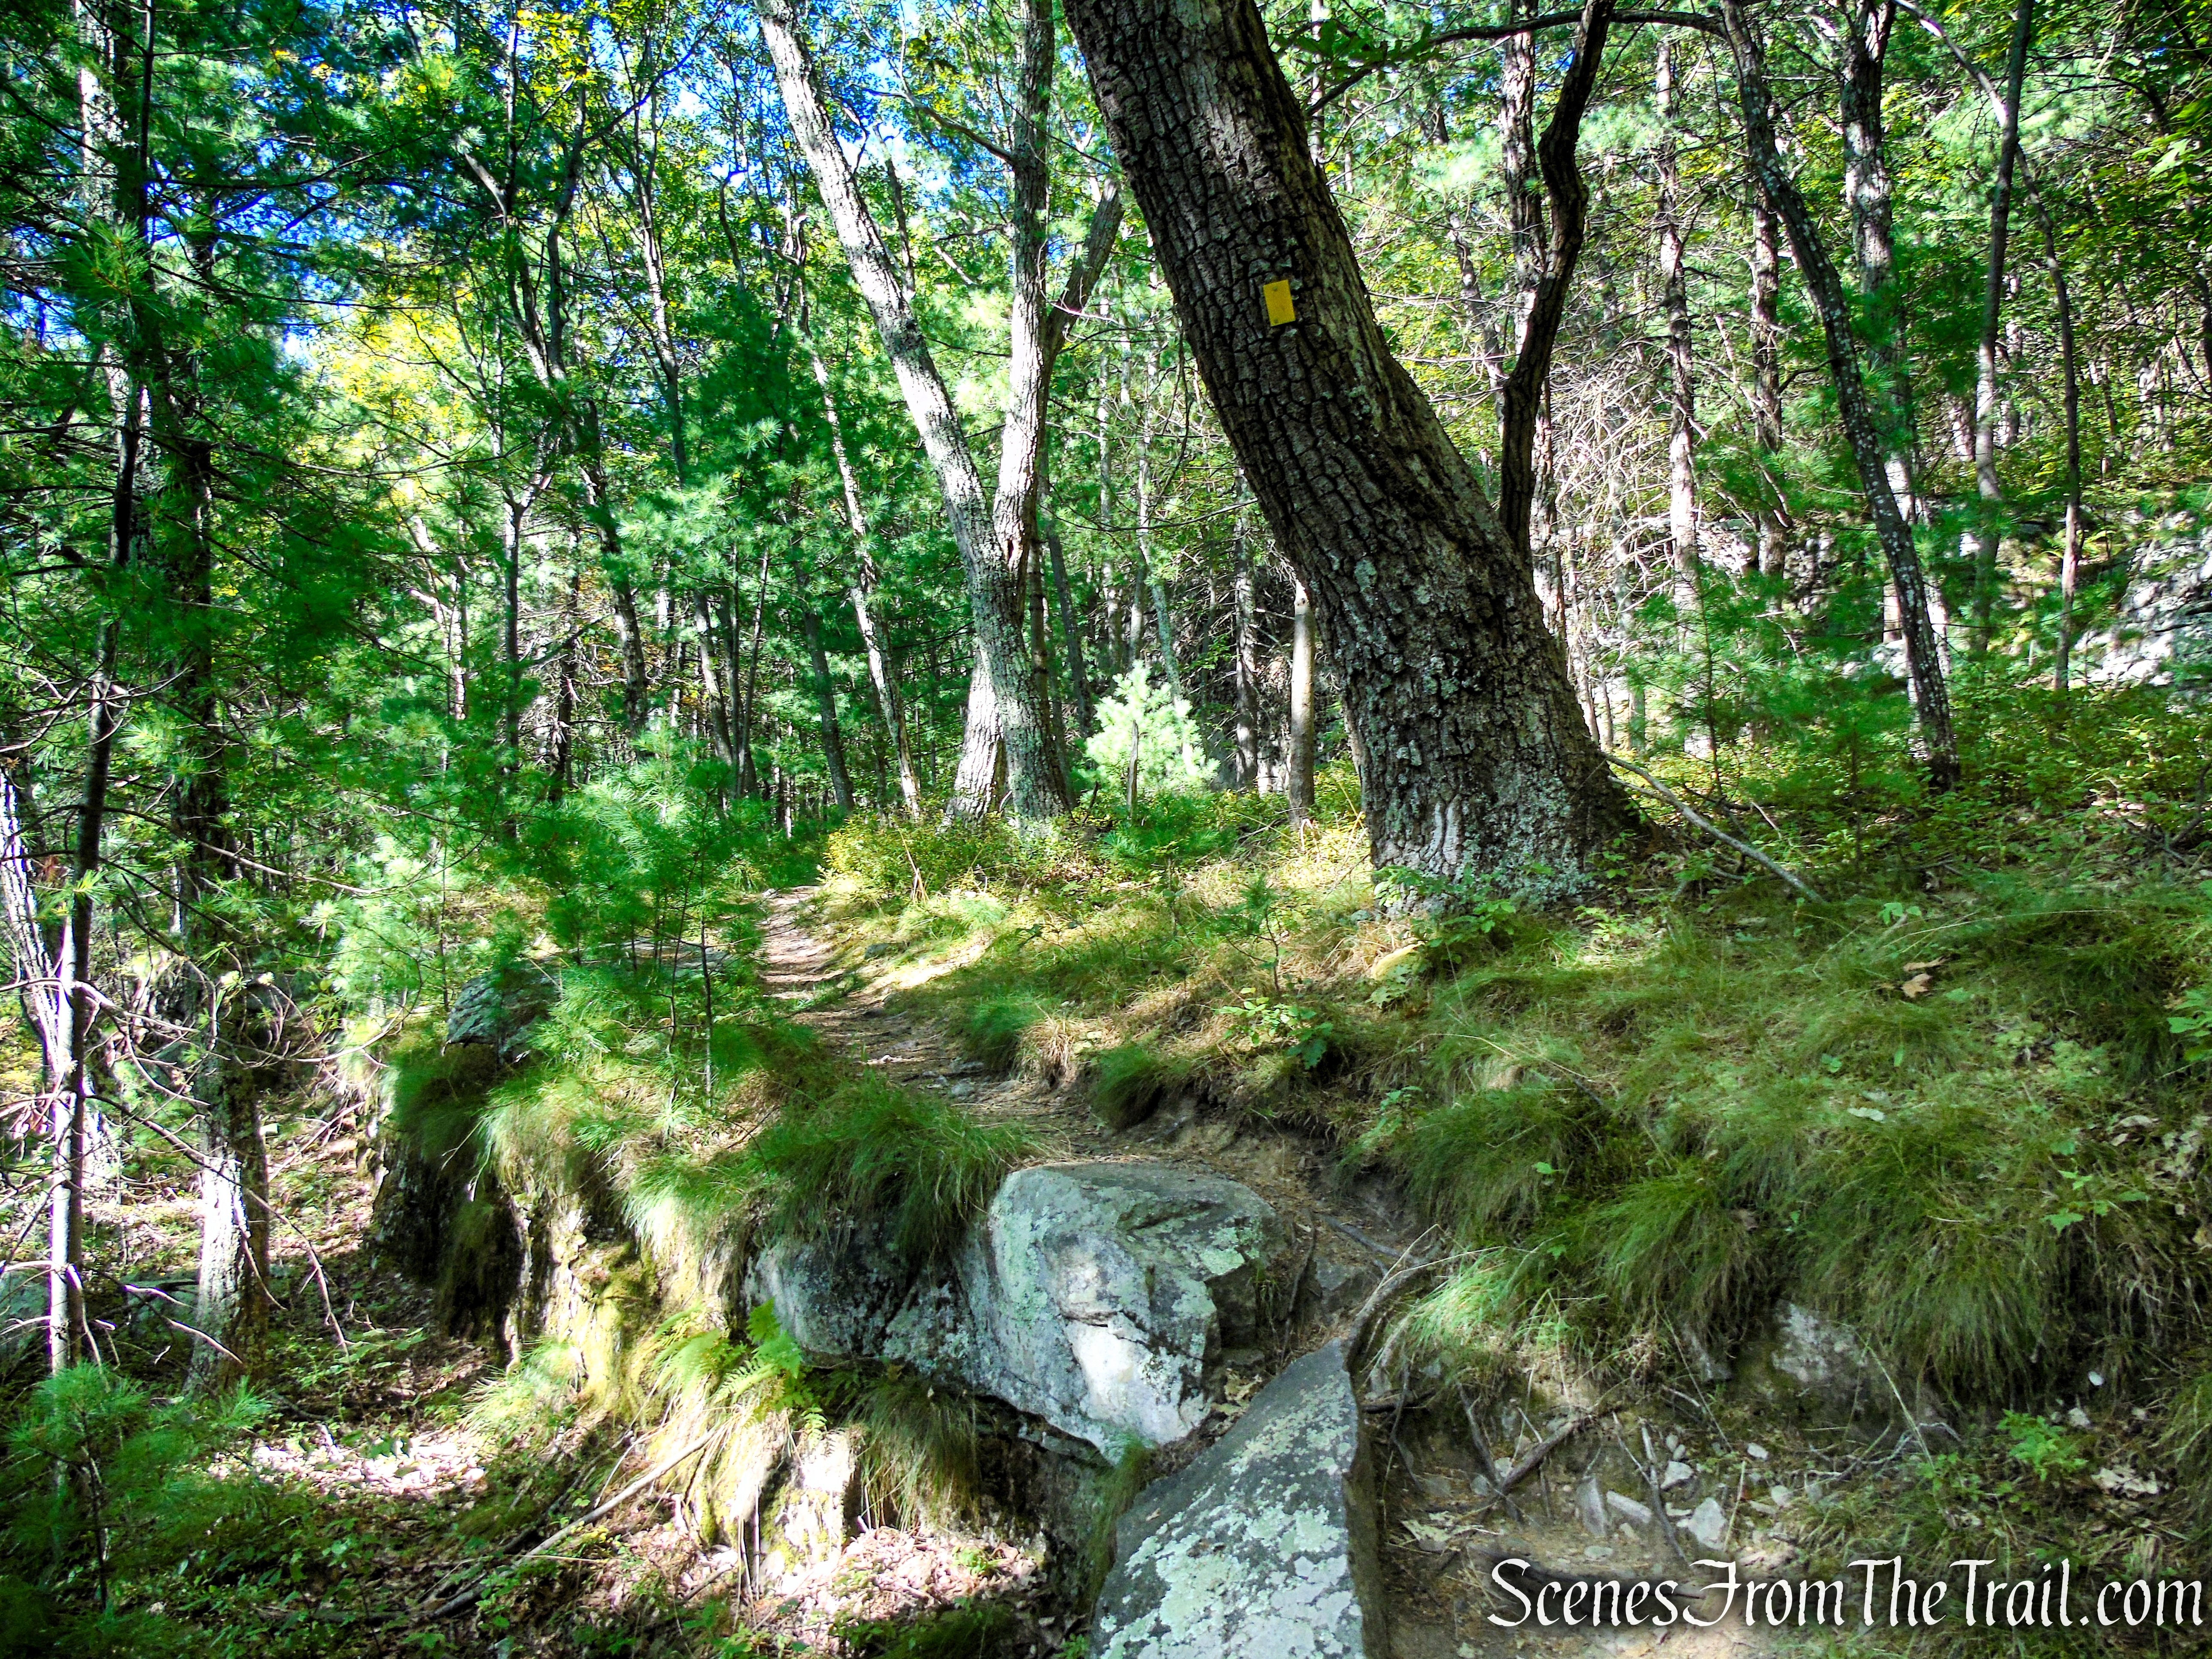
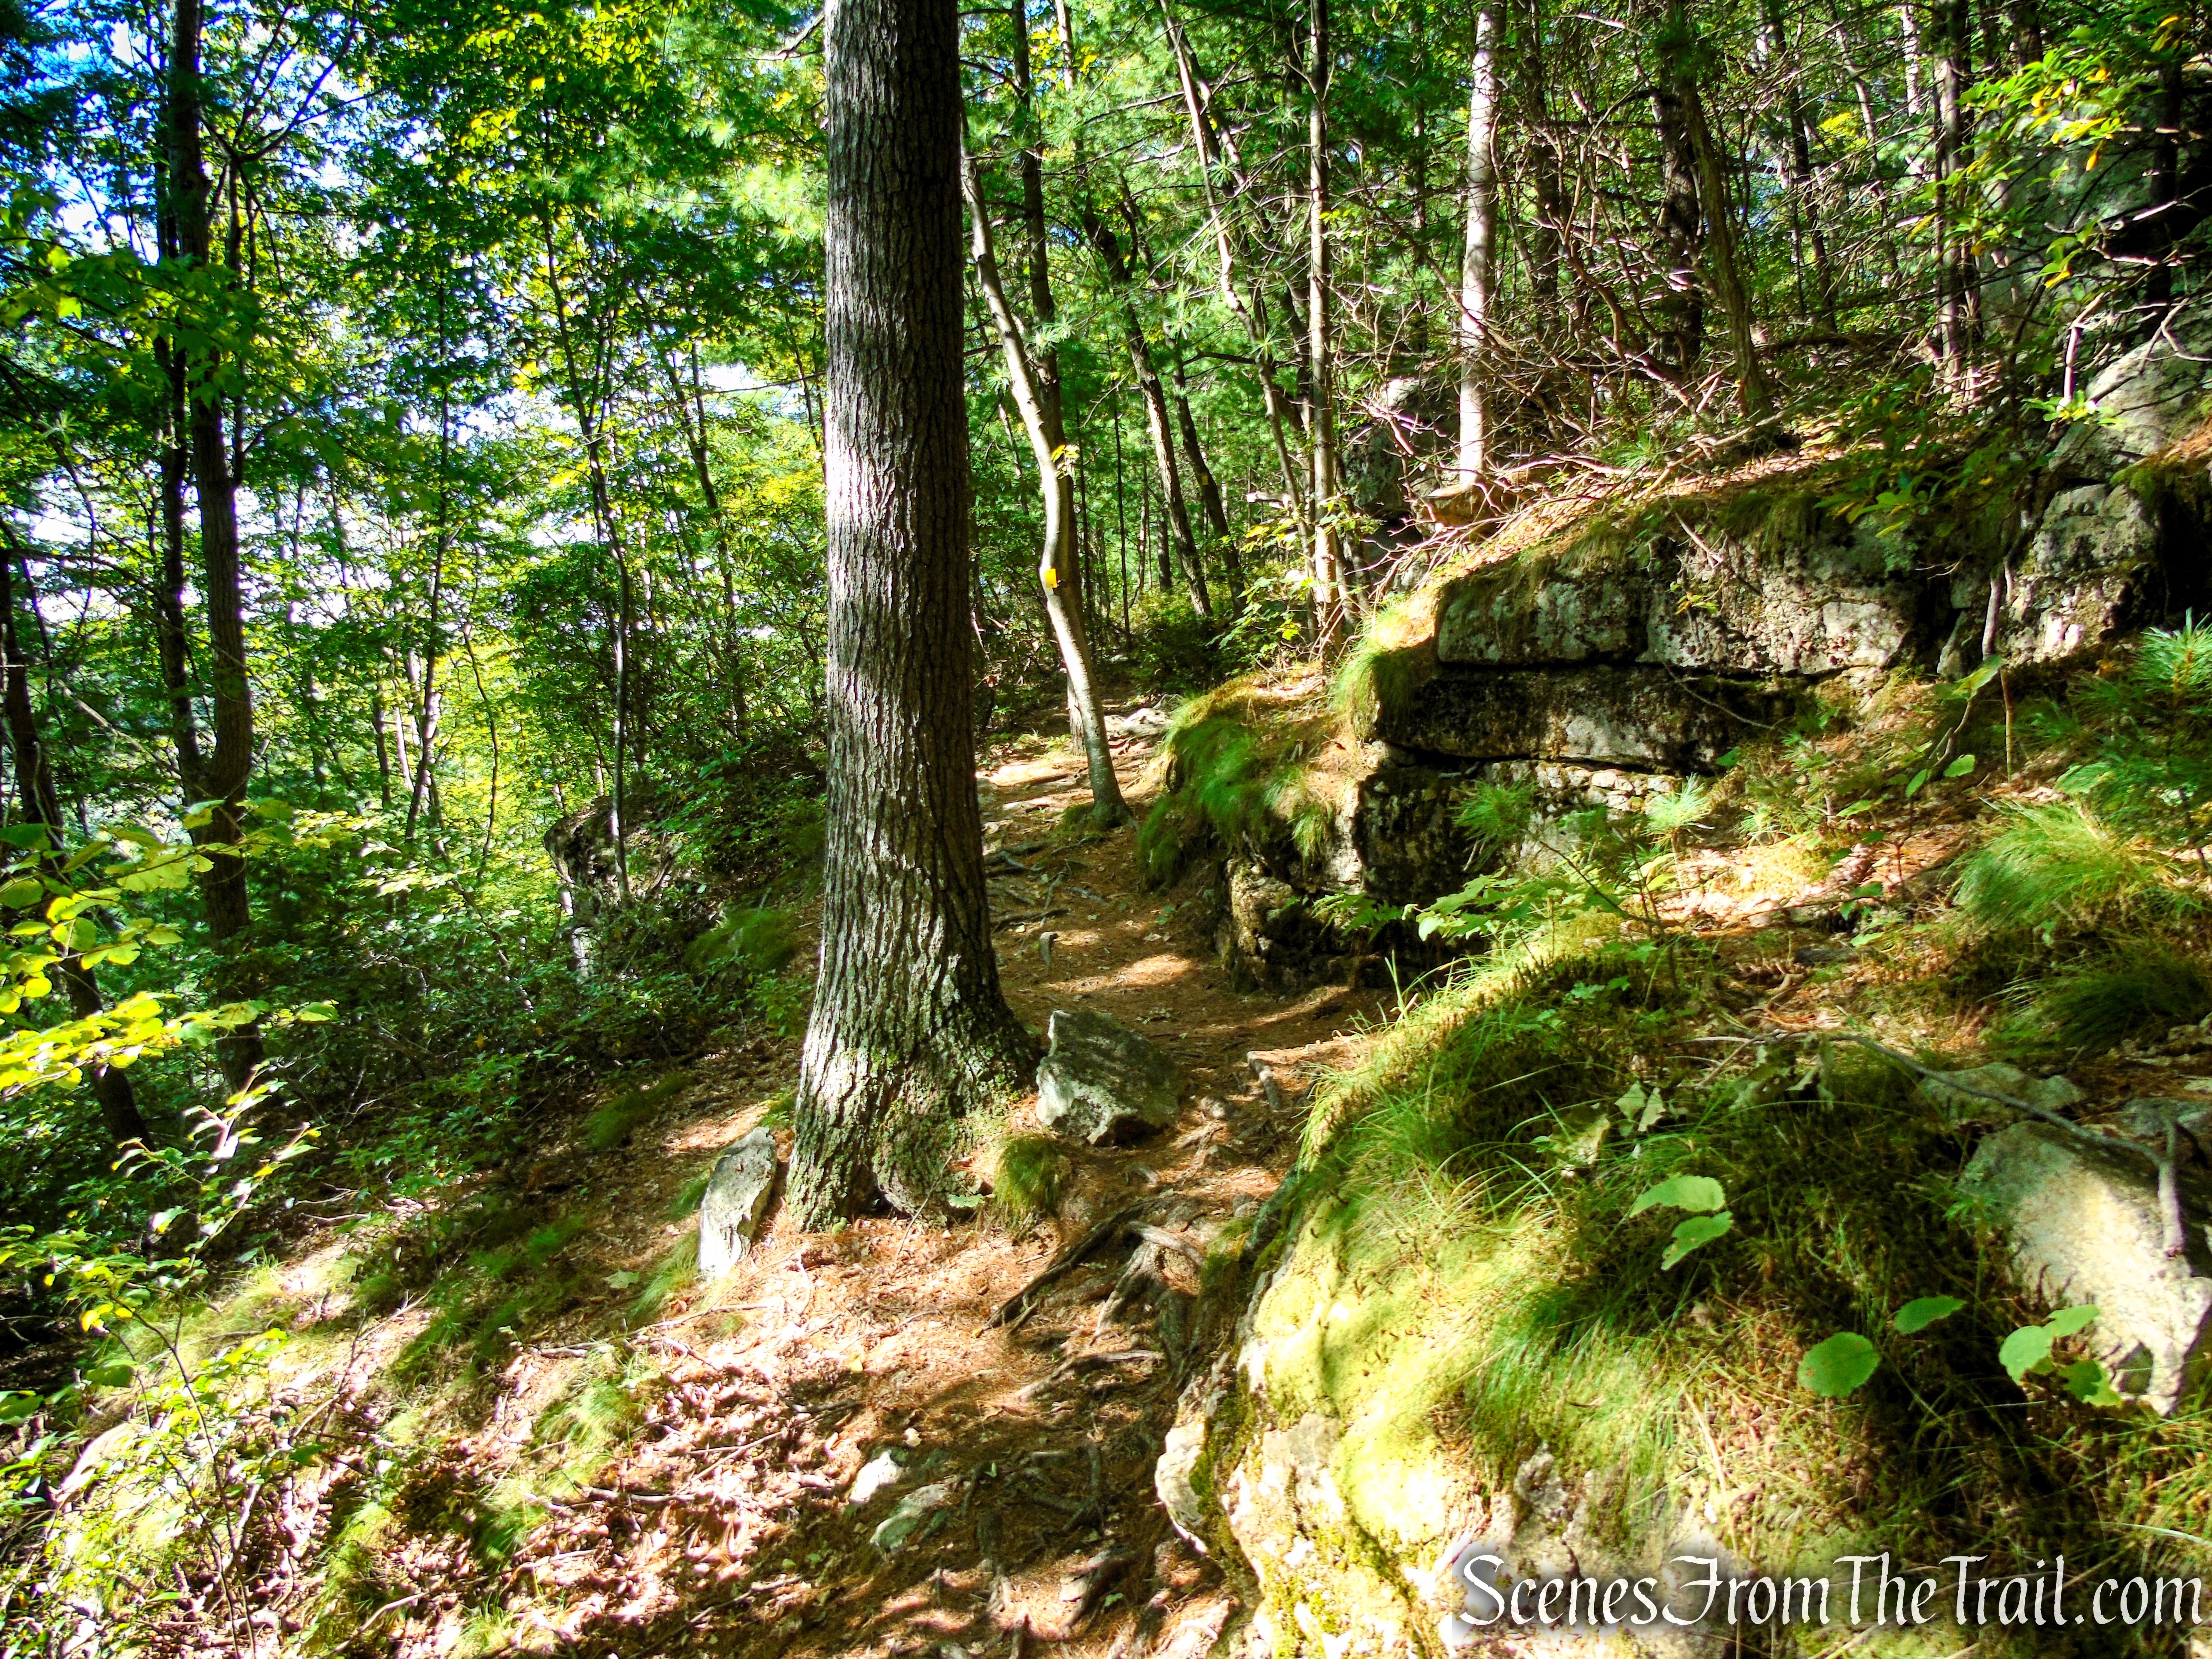
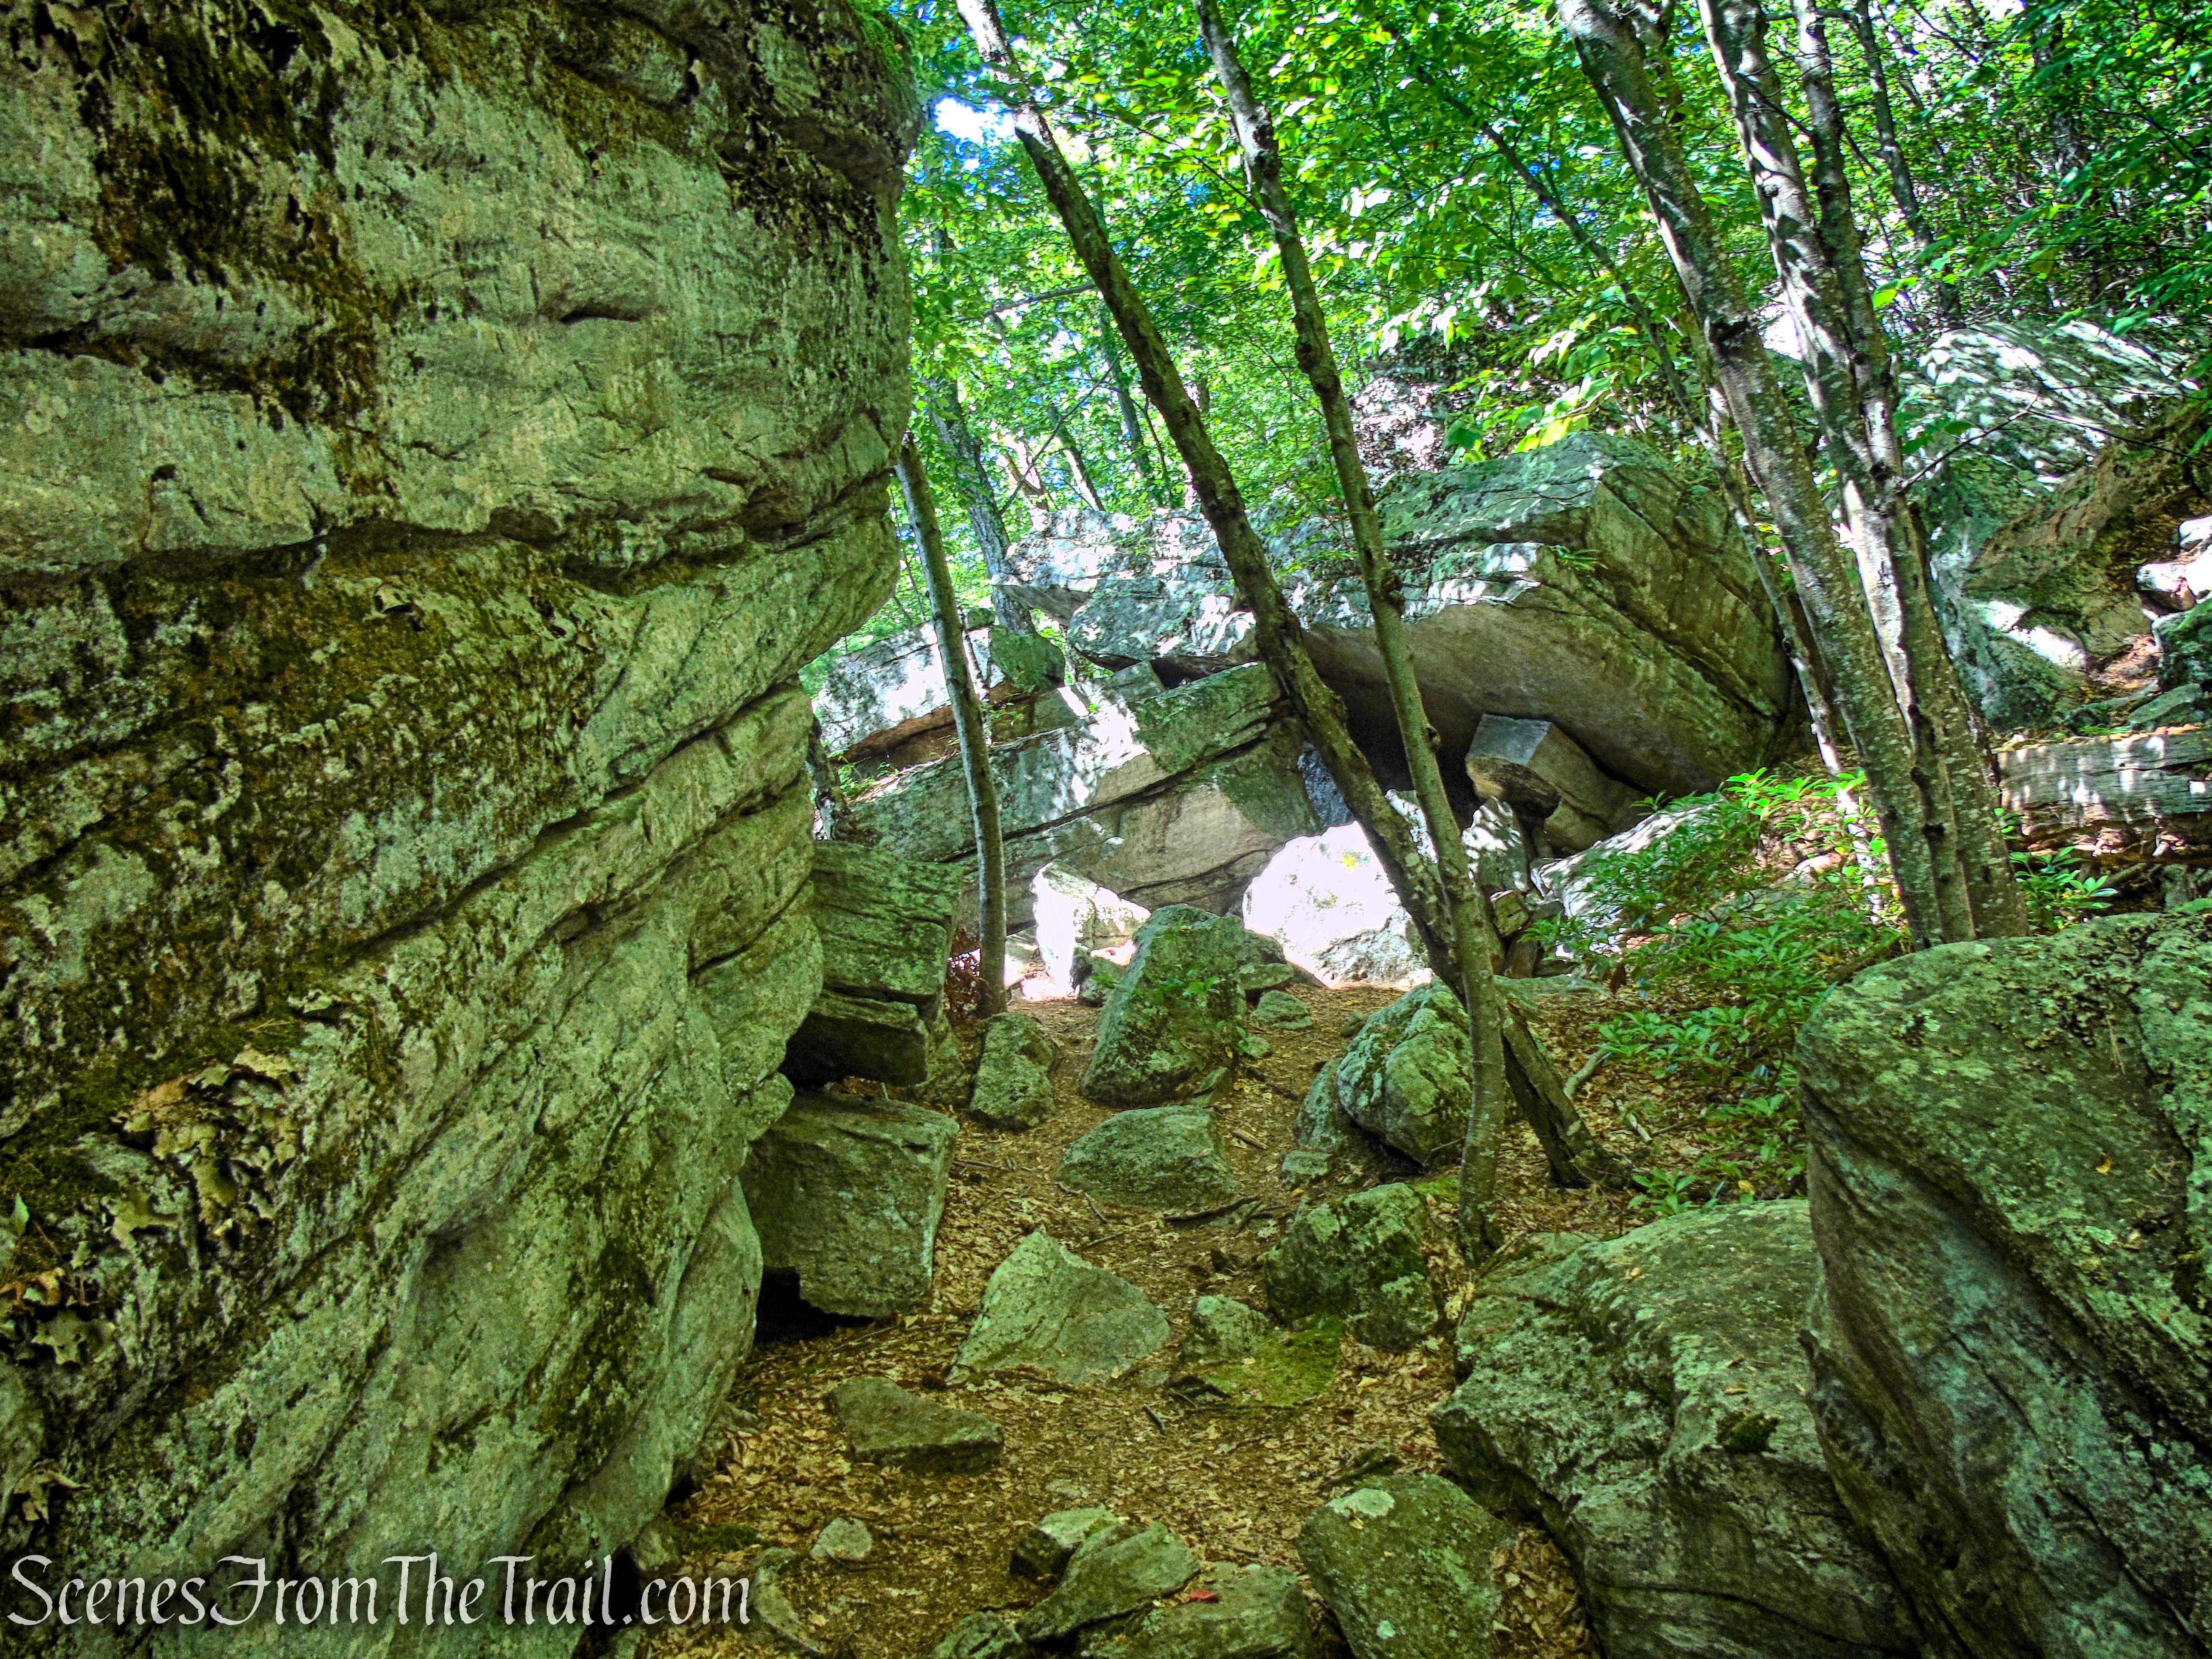
Branching off from the Long Path are a number of local trails—many unblazed or marked with standard colors that create loop opportunities through adjacent lands. In Clausland Mountain County Park, trails wind over rolling hills and rocky outcrops, offering moderate elevation changes and occasional viewpoints. These paths are well-suited for building longer loops or exploring less-traveled sections of the forest.
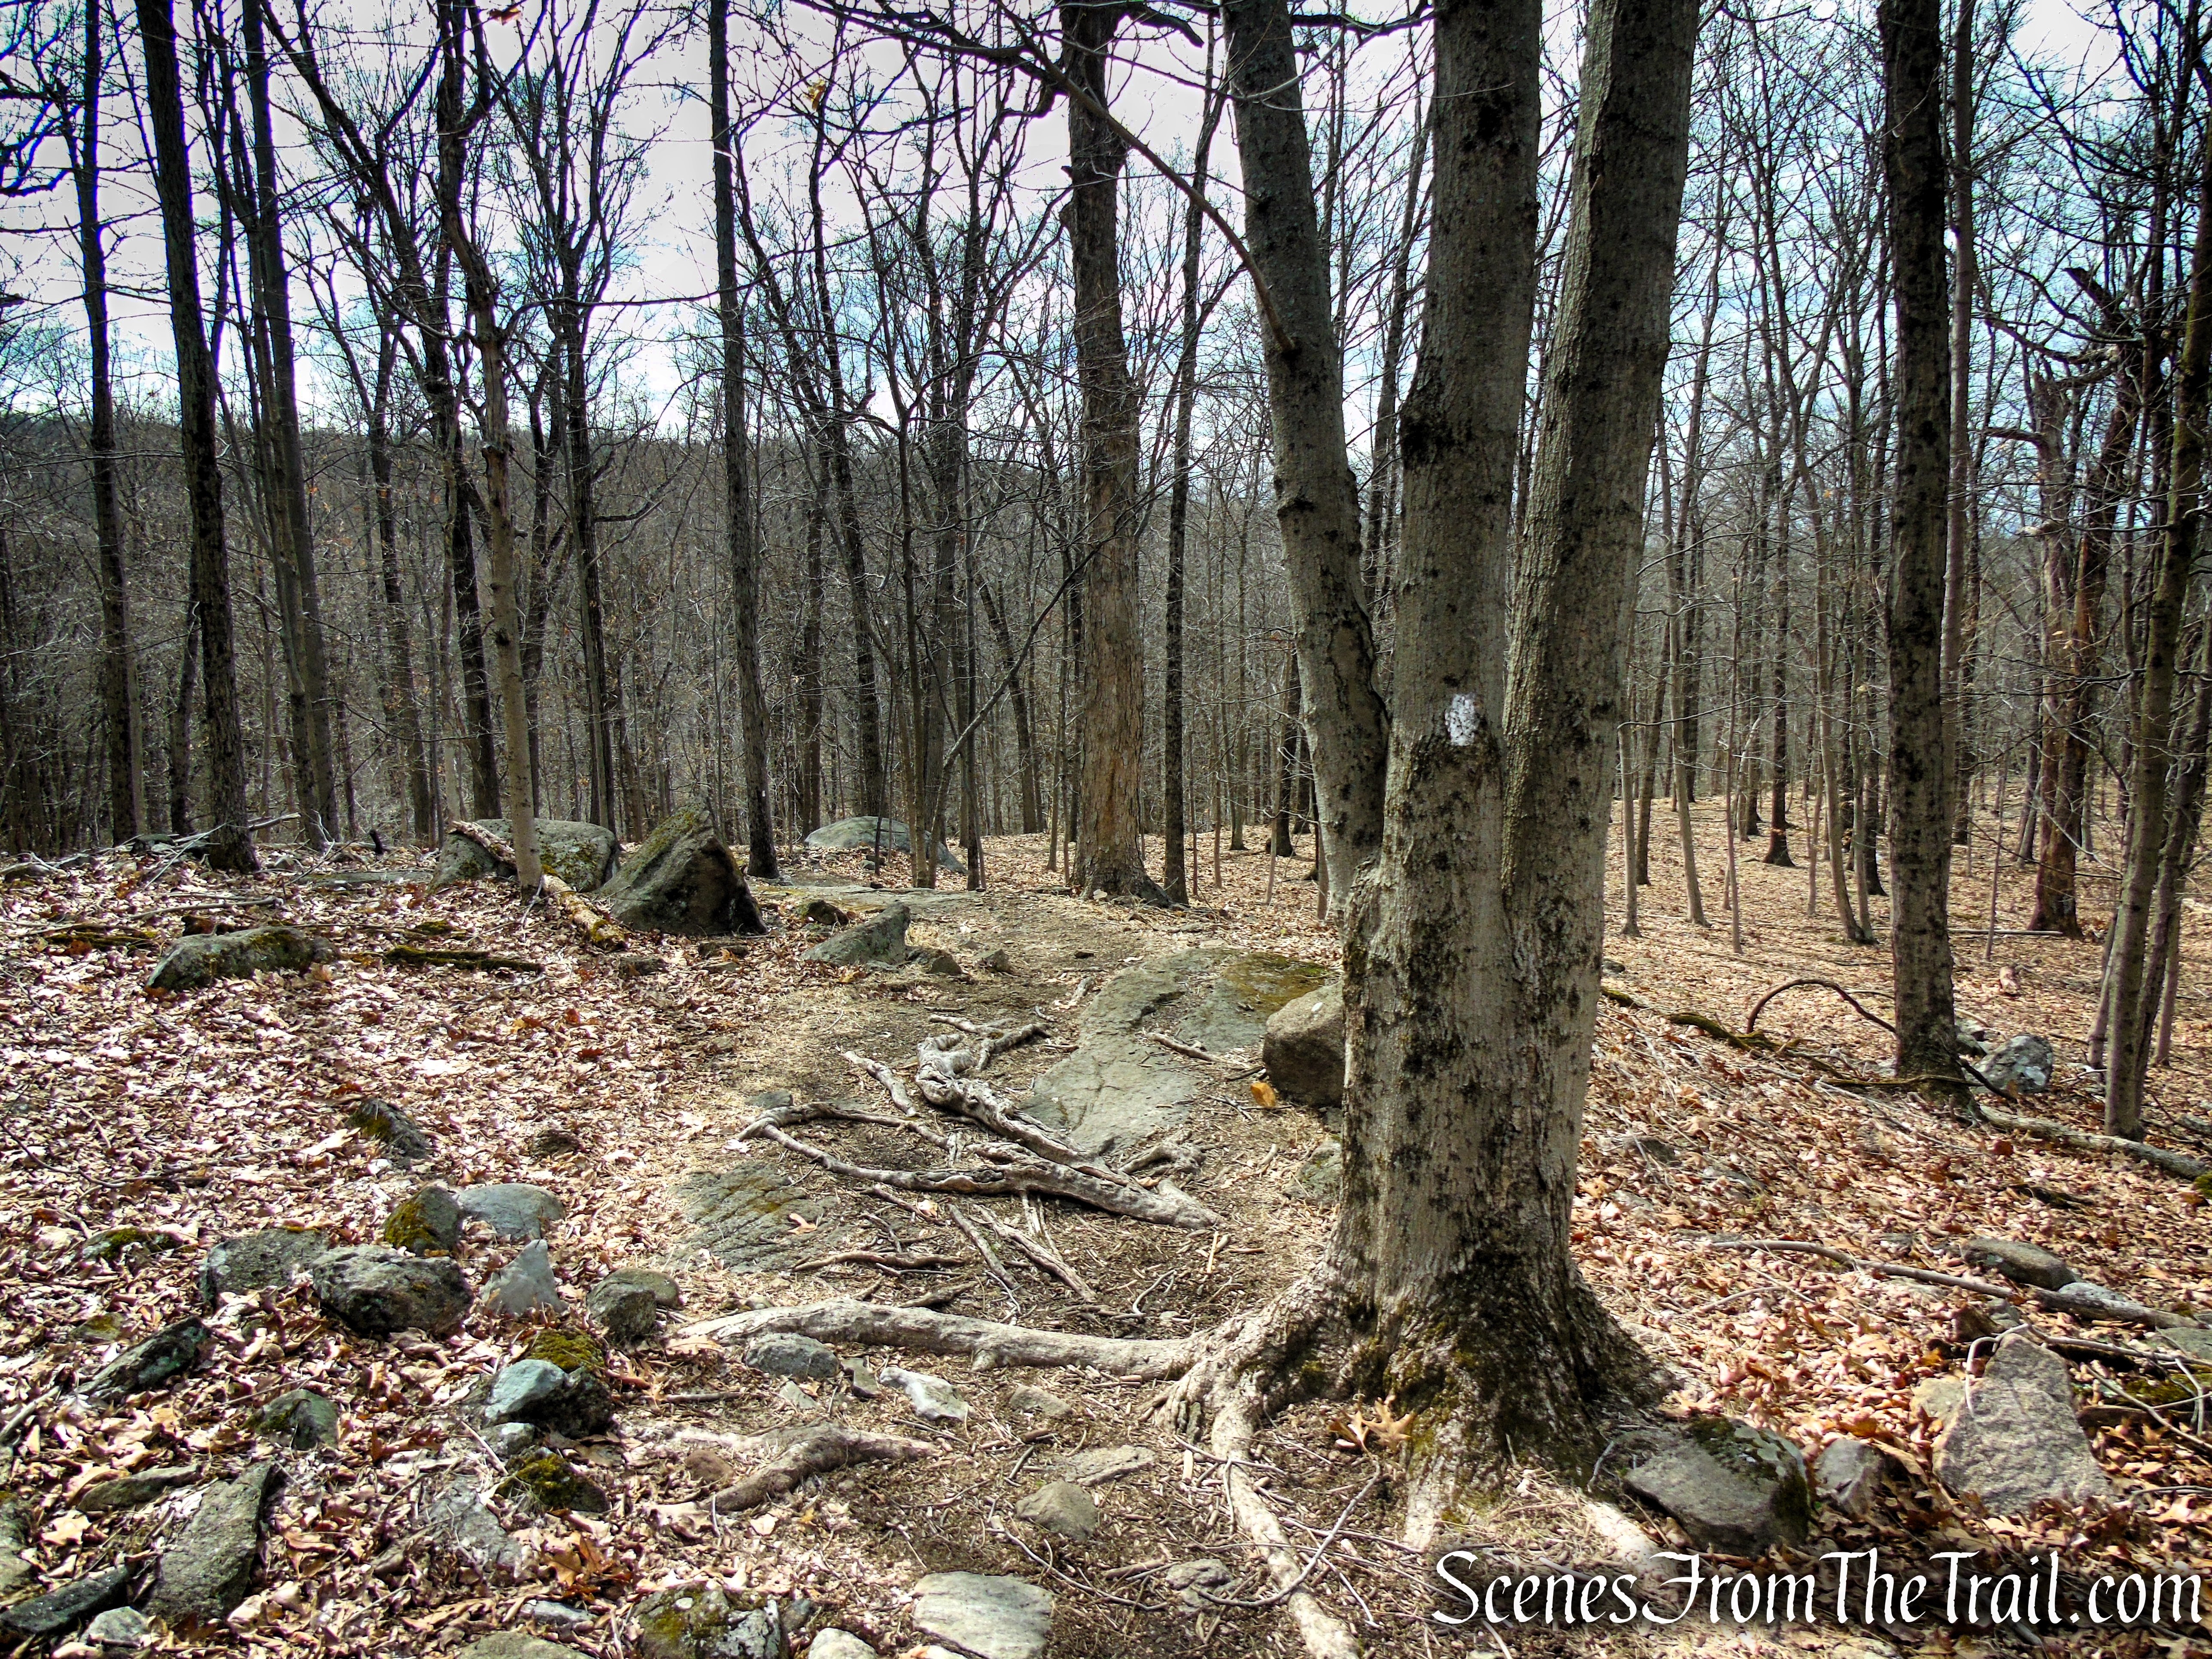
White Trail – Clausland Mountain Park
Overall, the Mount Nebo trail system is defined by its flexibility. Short out-and-back walks, moderate loops, and multi-park traverses are all possible without ever straying far from the core network. It’s a place where navigation can be as simple or as exploratory as you want it to be—rewarding both casual walkers and more seasoned hikers looking to piece together their own route.
Hike Overview:
I visited Mount Nebo in the summer of 2017. We tried to do a loop back then, similar to the one described here. The White Trail was not marked back then and we lost the trail, causing us to bushwack through a maze of downed trees. Now, although the trails in the area are well marked, one should pay attention while on the White Trail due to the constant switchbacks and sharp turns that the trail takes.
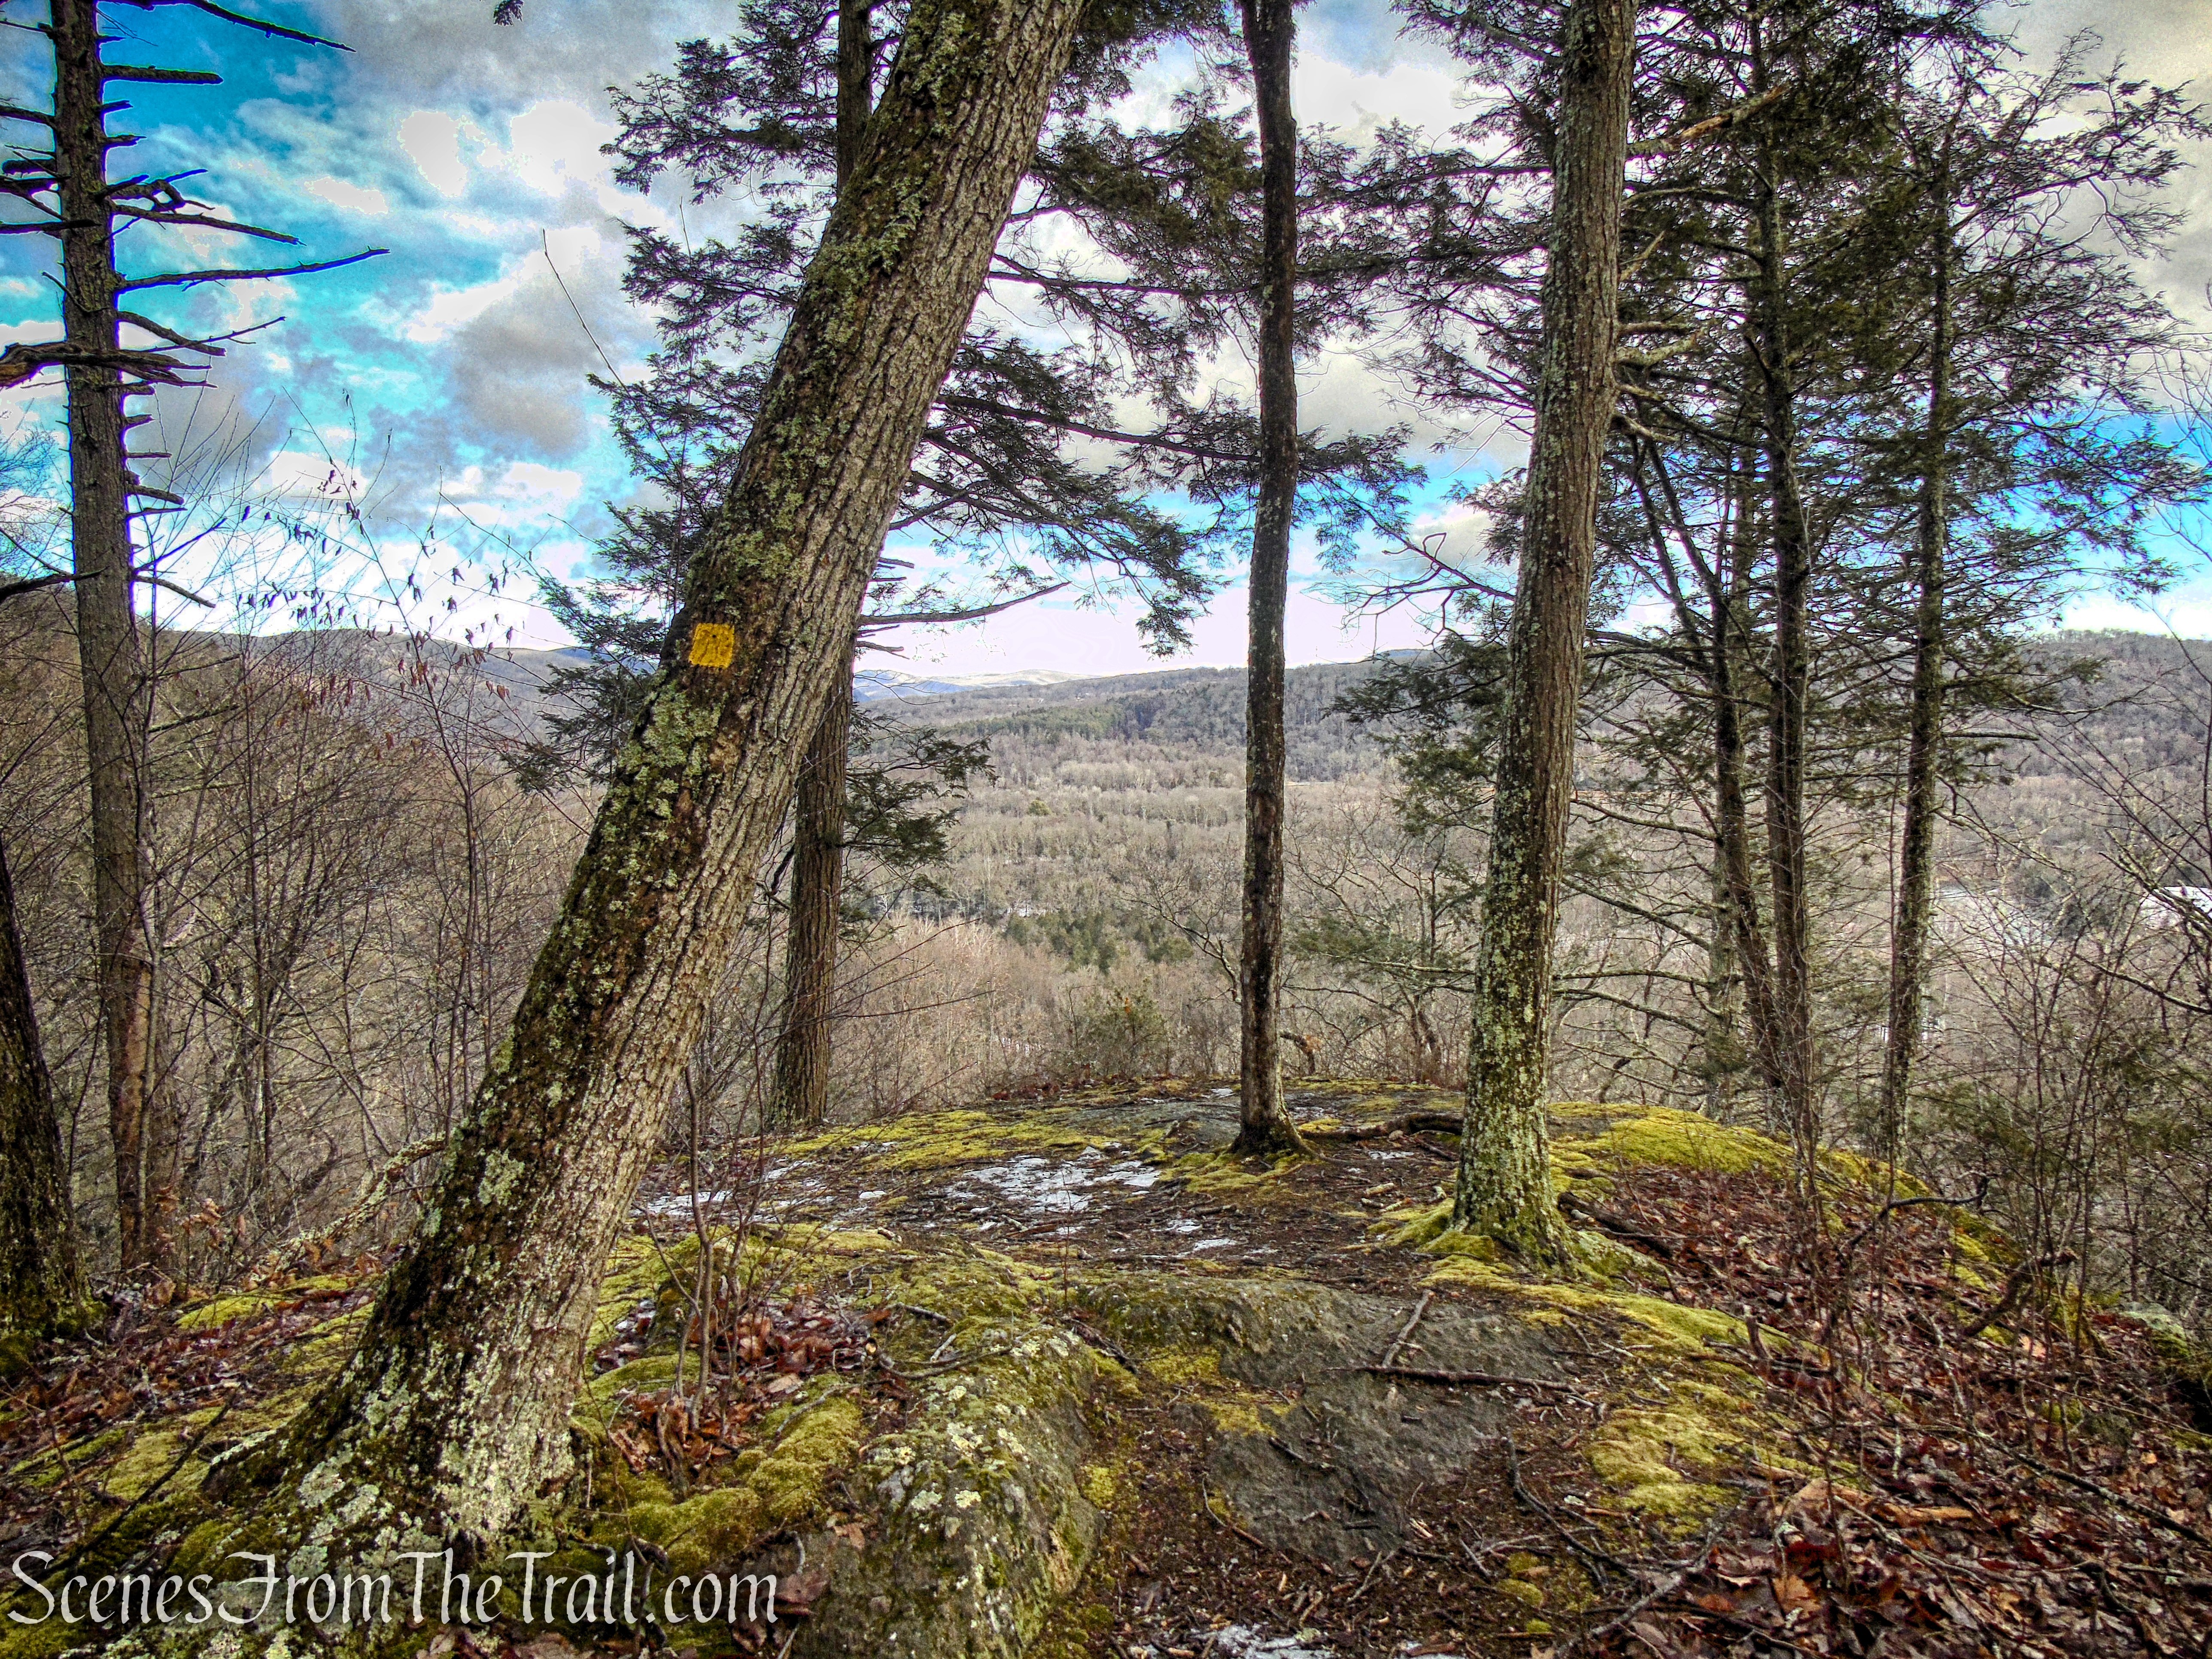
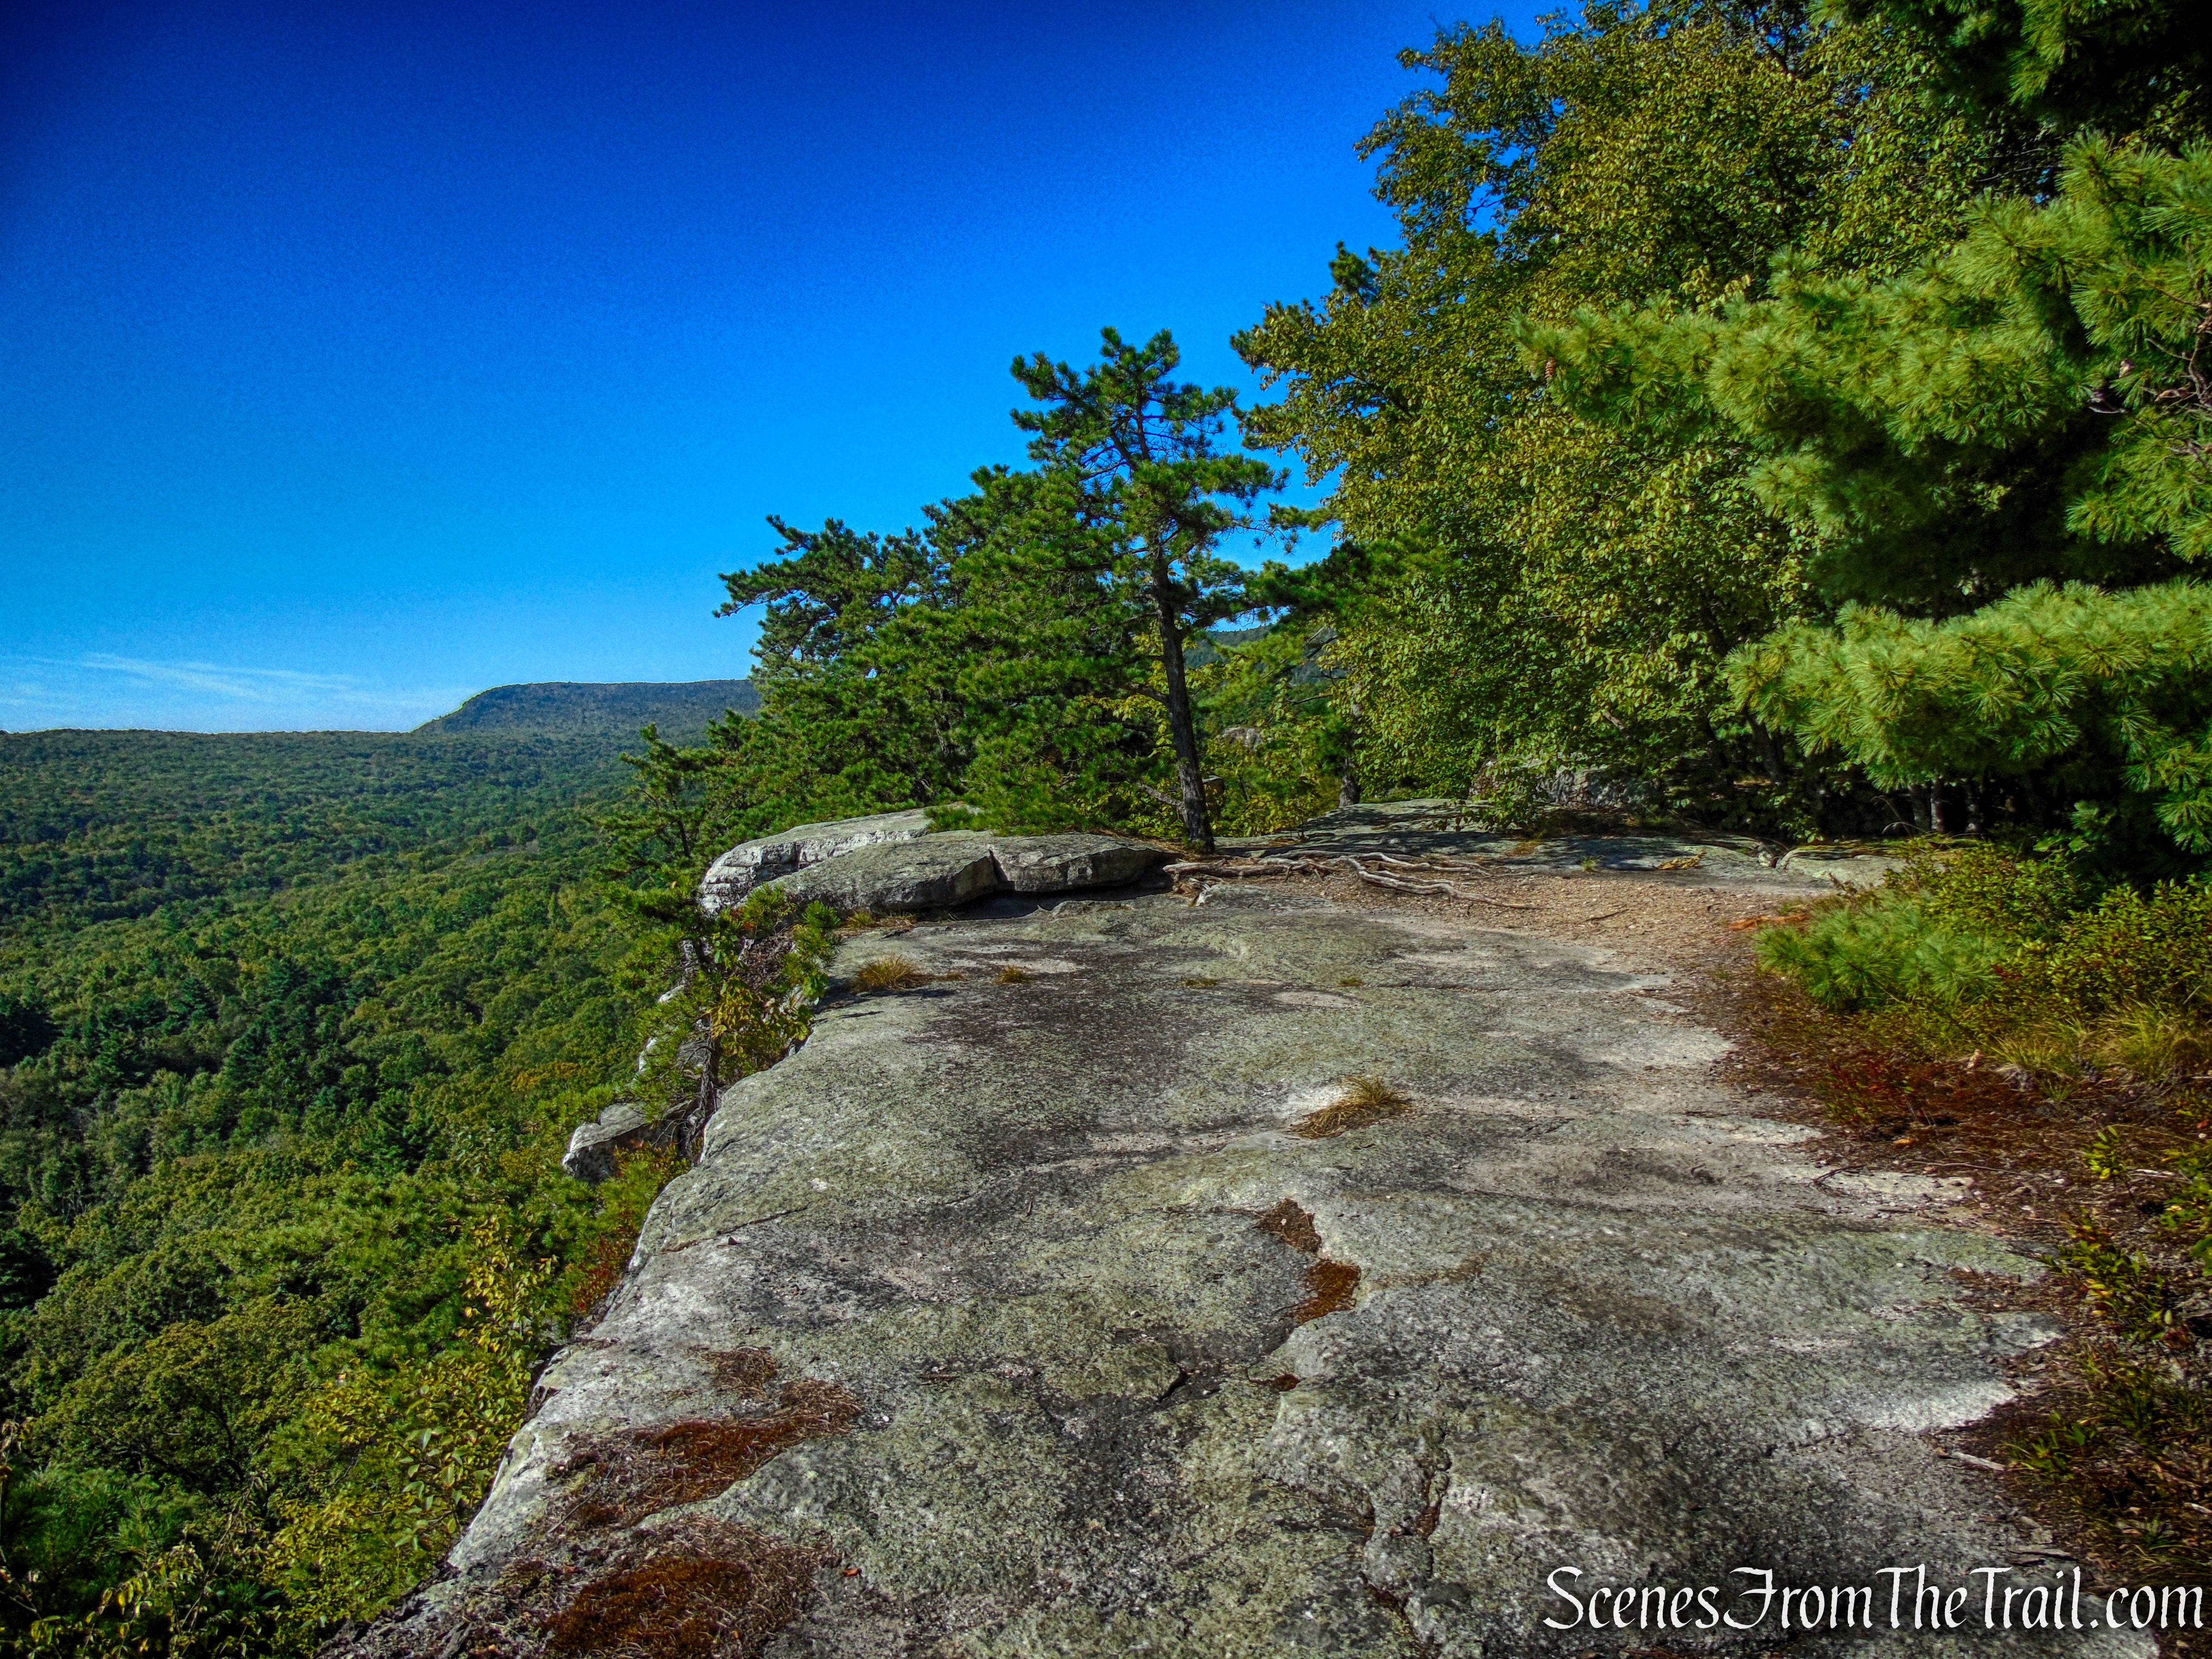
This is a pleasant hike through a quiet area. There are no sweeping views here, and the remnants of the Nike Missile Site atop Mount Nebo aren’t especially remarkable. But if you’re looking to explore a quieter stretch of trail with minimal foot traffic, and appreciate a bit of Cold War history tucked away in the woods, this hike offers a peaceful, off-the-beaten-path experience.
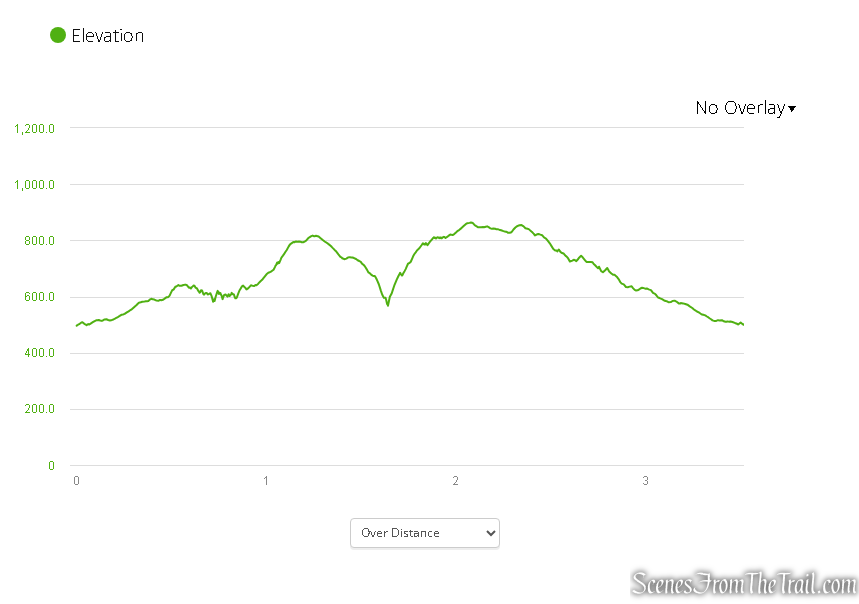
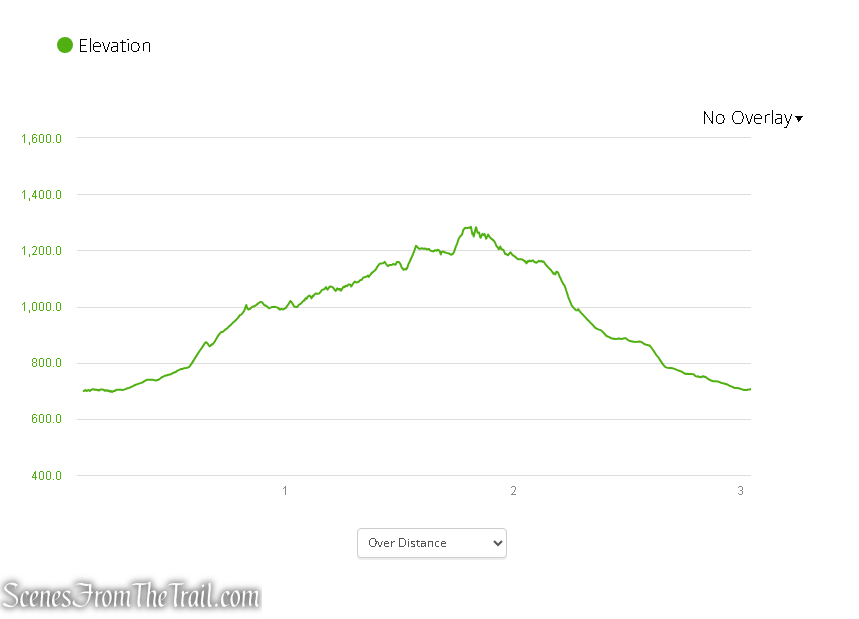
This hike covers roughly 4.5 miles, with about 550 feet of elevation gain.
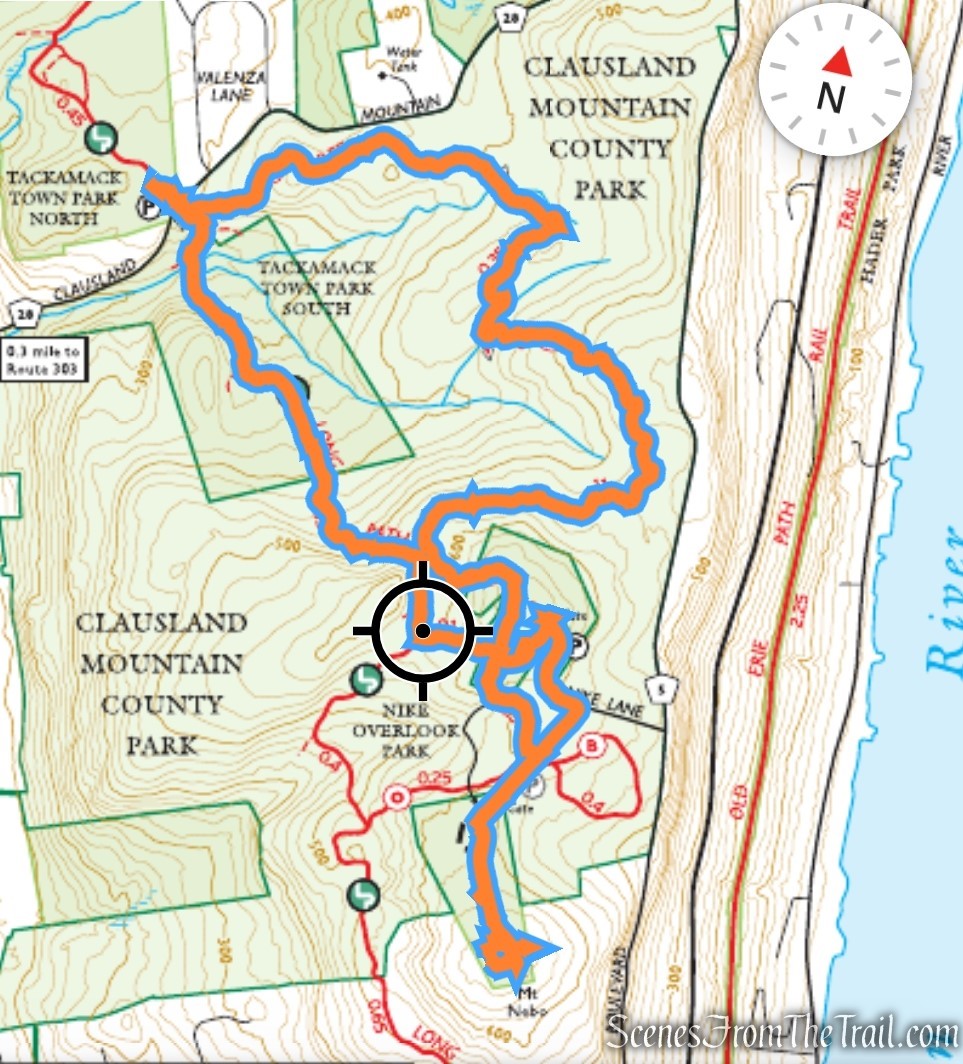
Mt. Nebo Loop from Tackamack Park
As the elevation profile below shows, this hike features plenty of minor ups and downs.
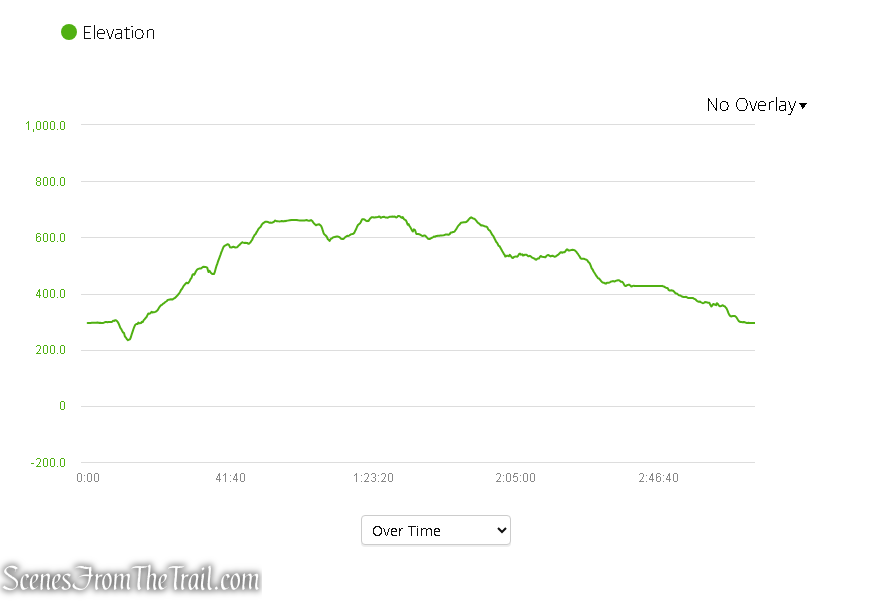
Elevation gain – Mt. Nebo Loop
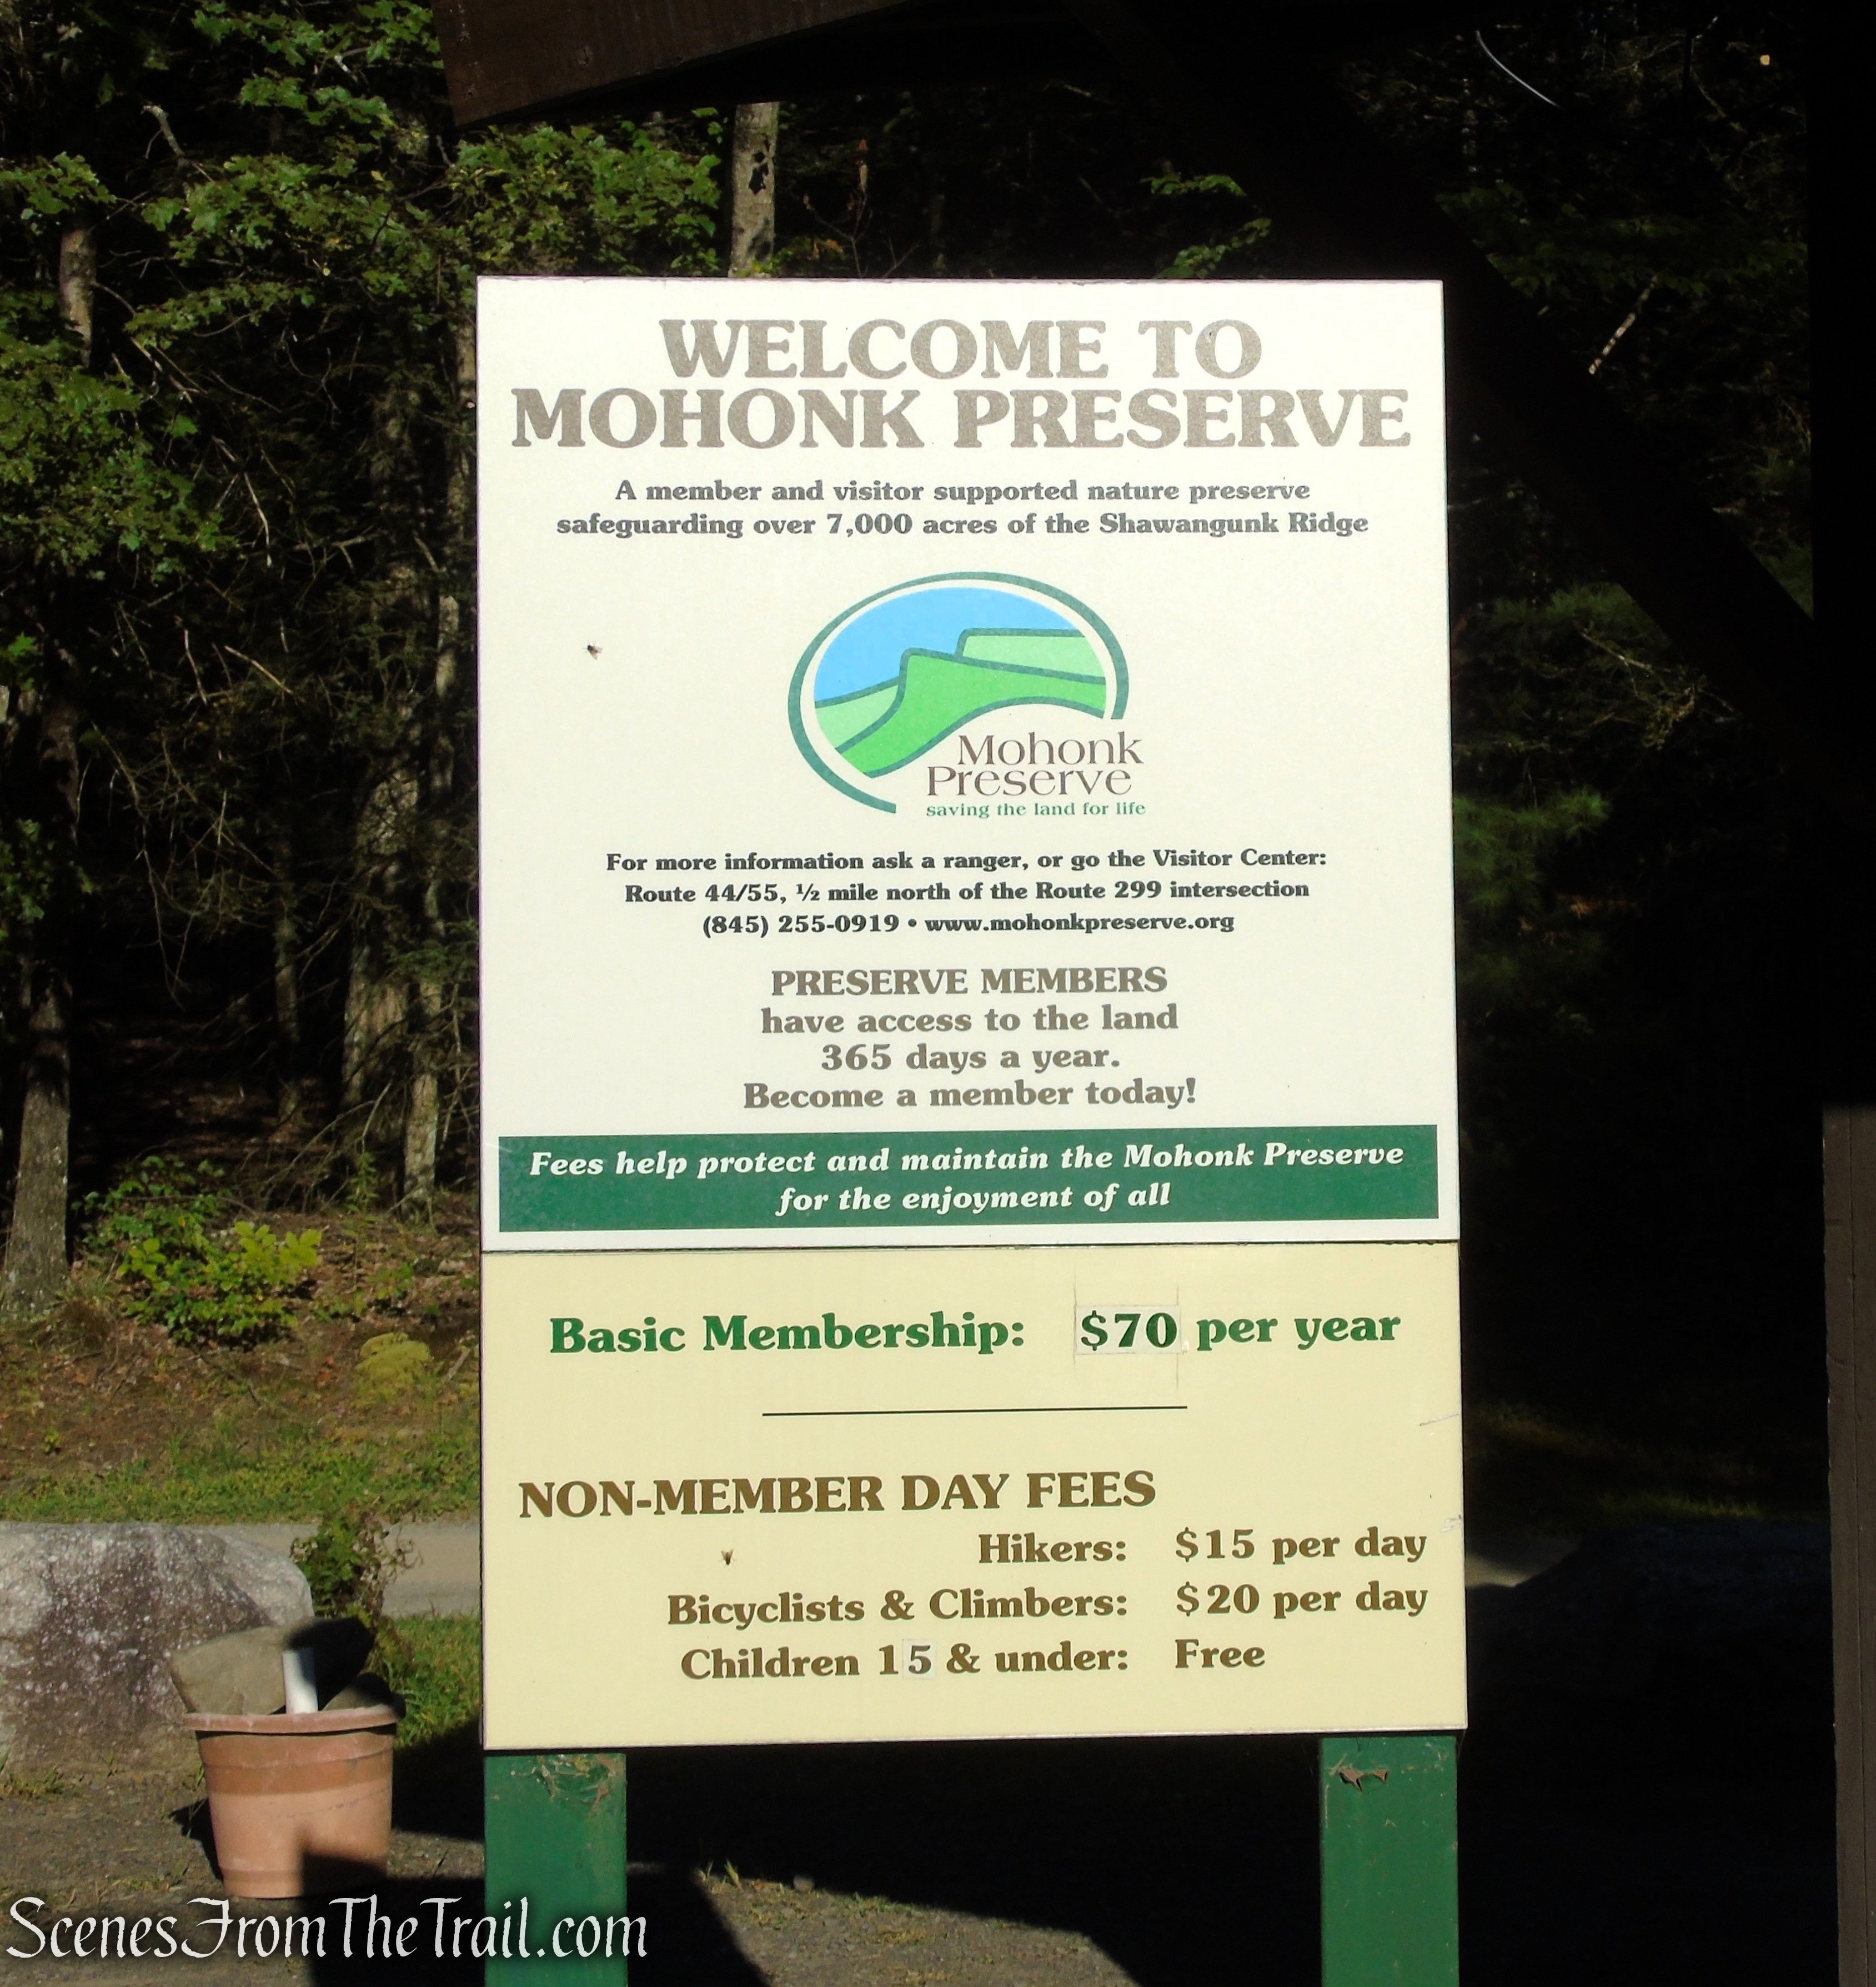
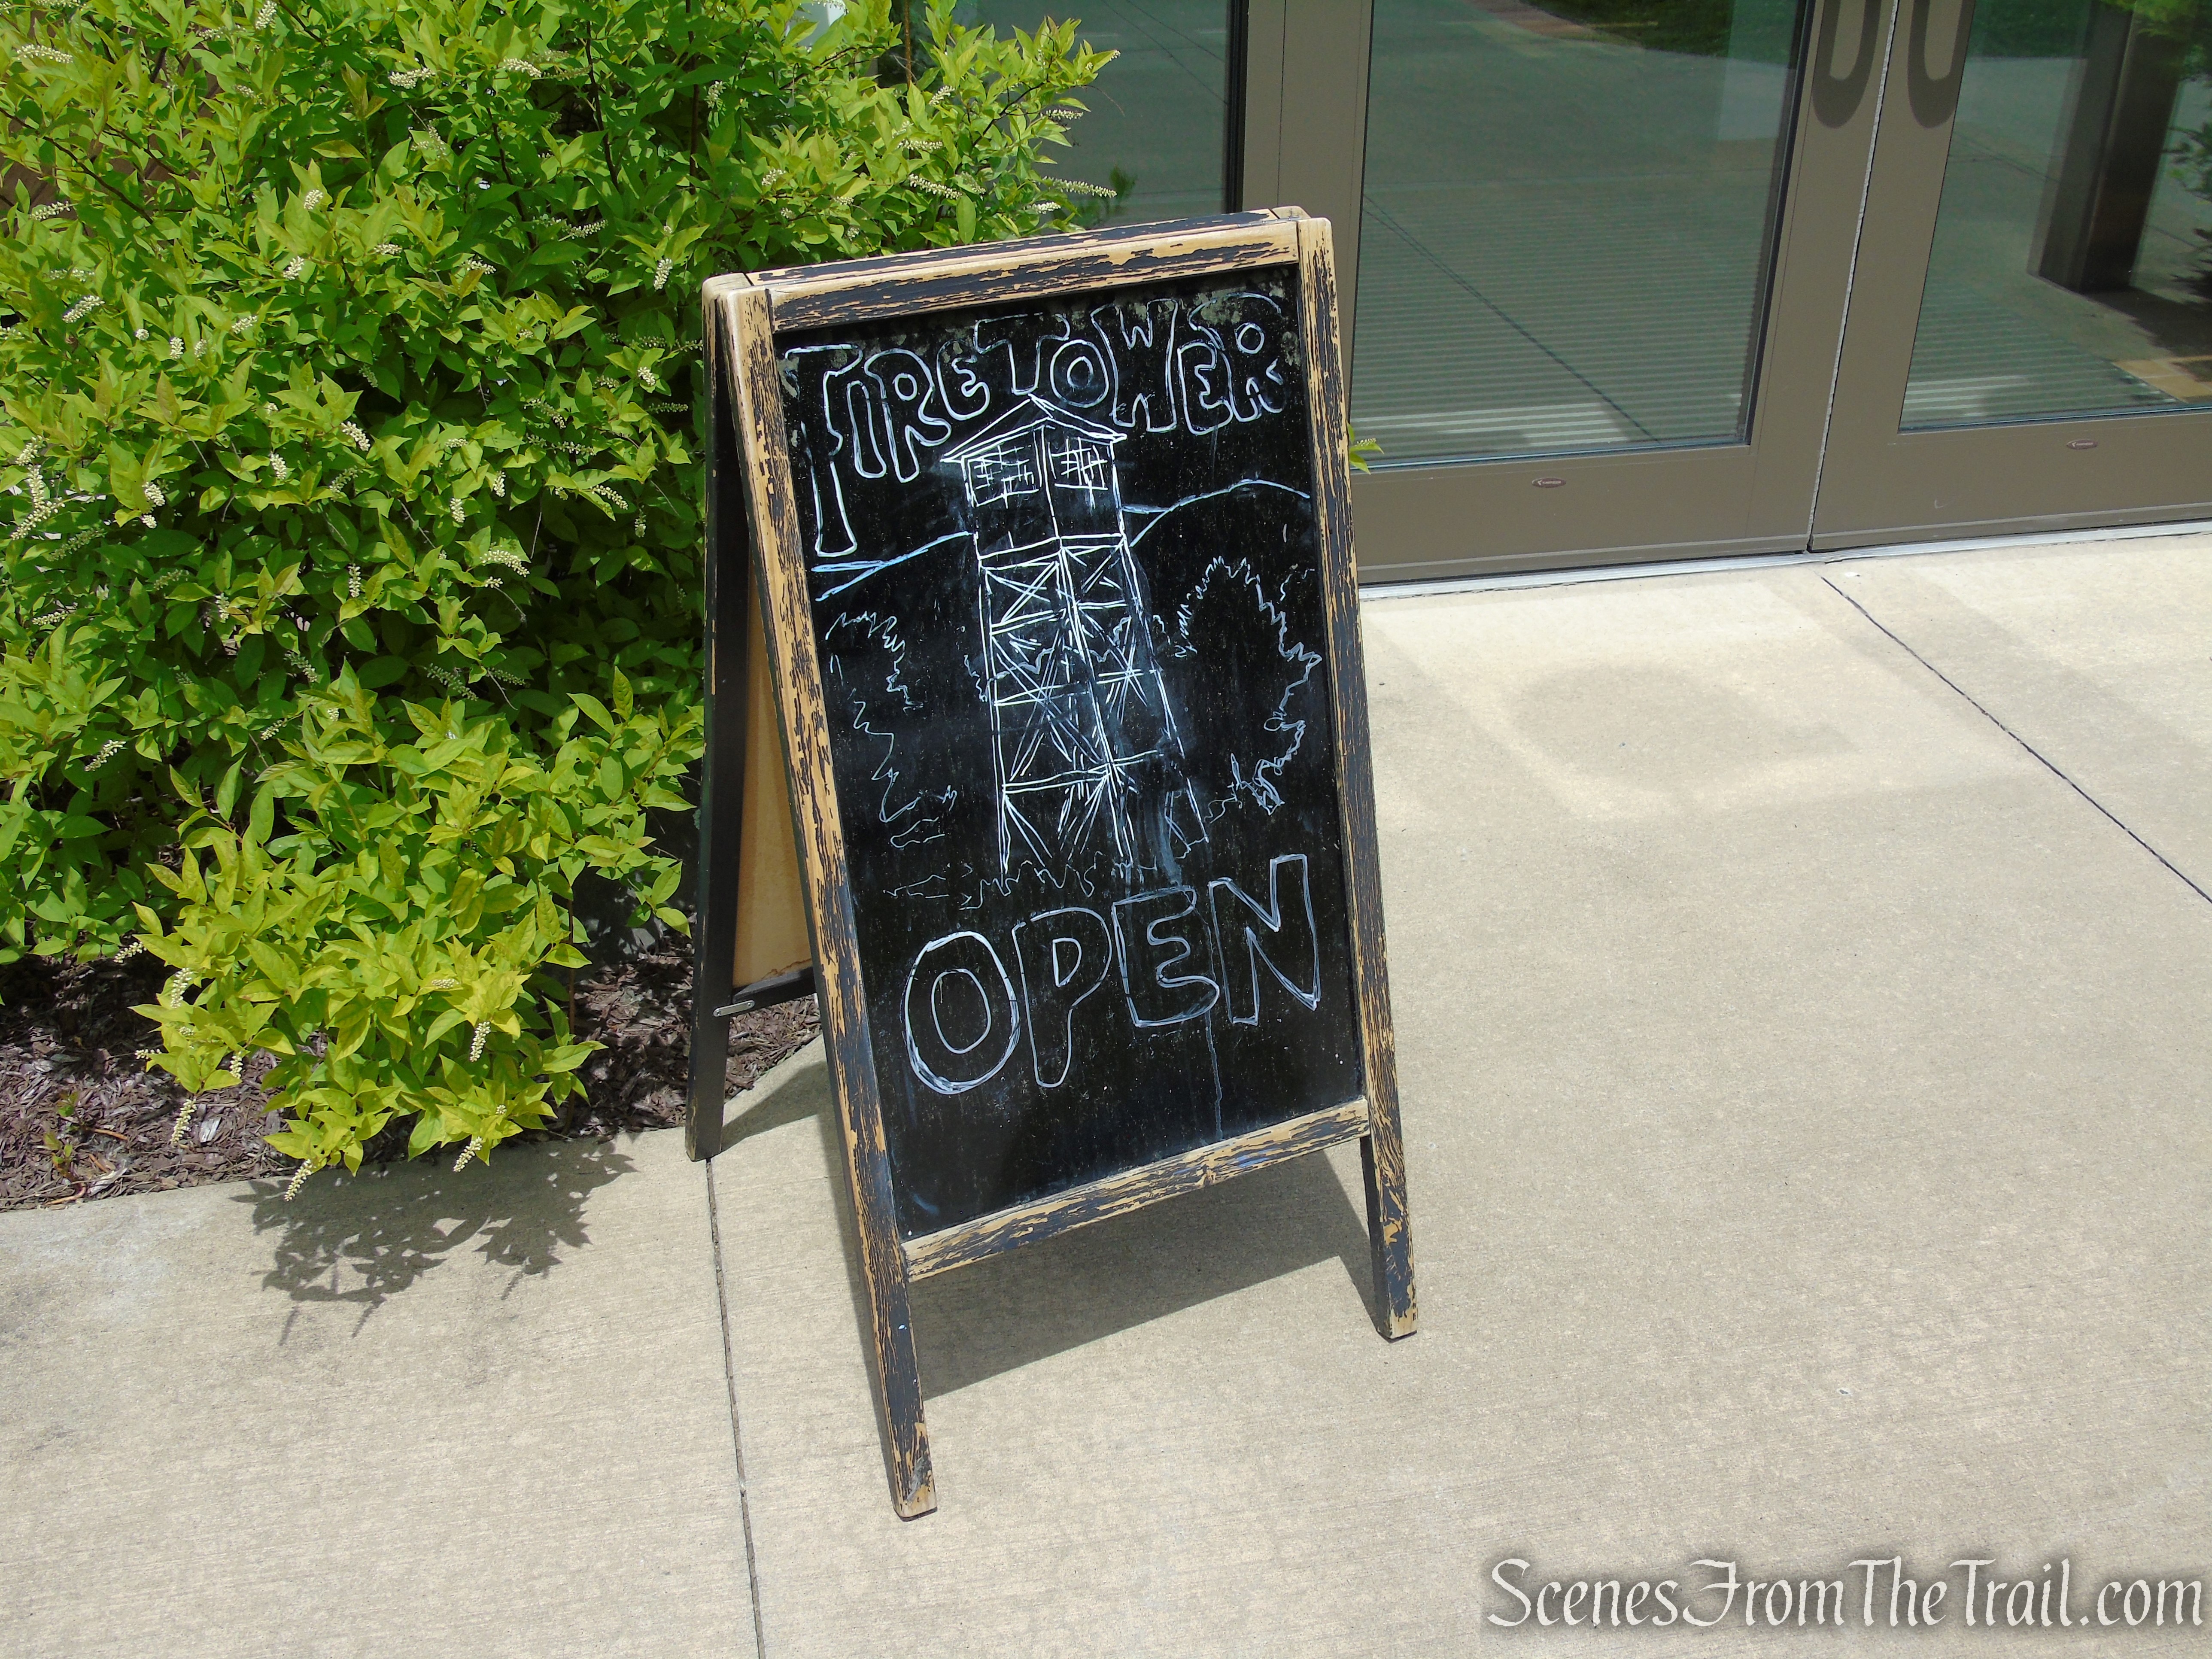
Parking:
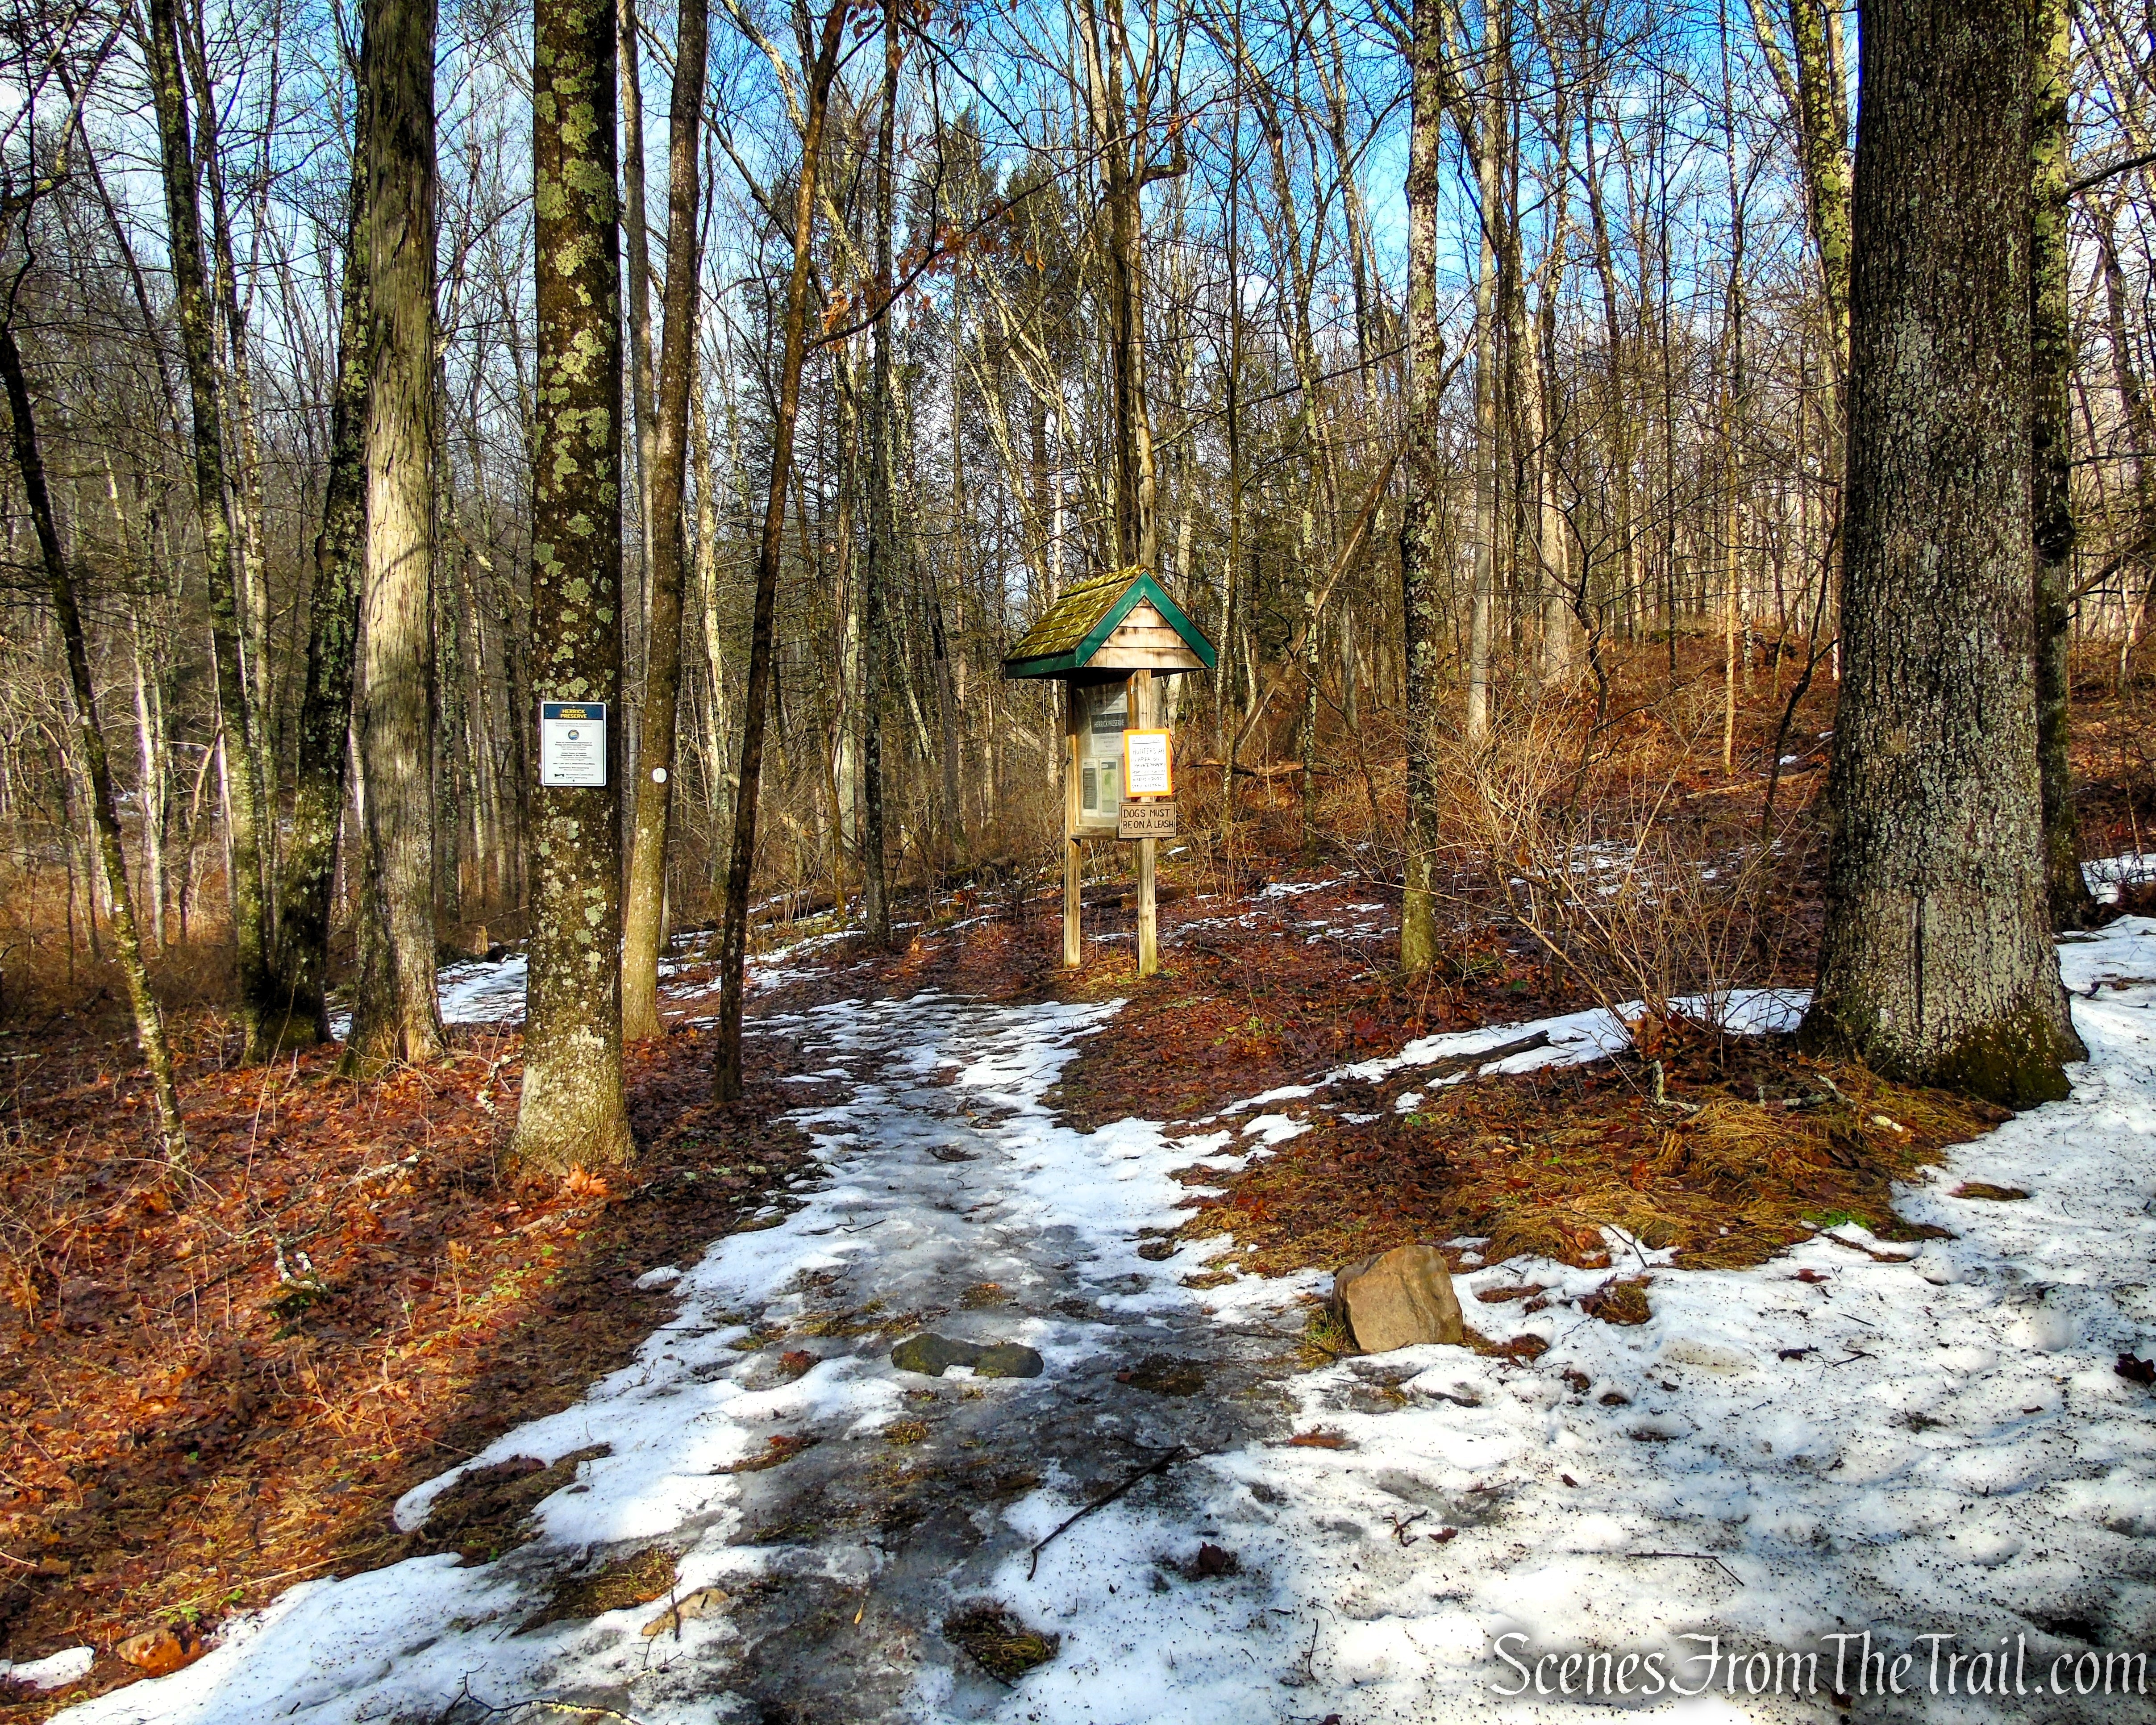
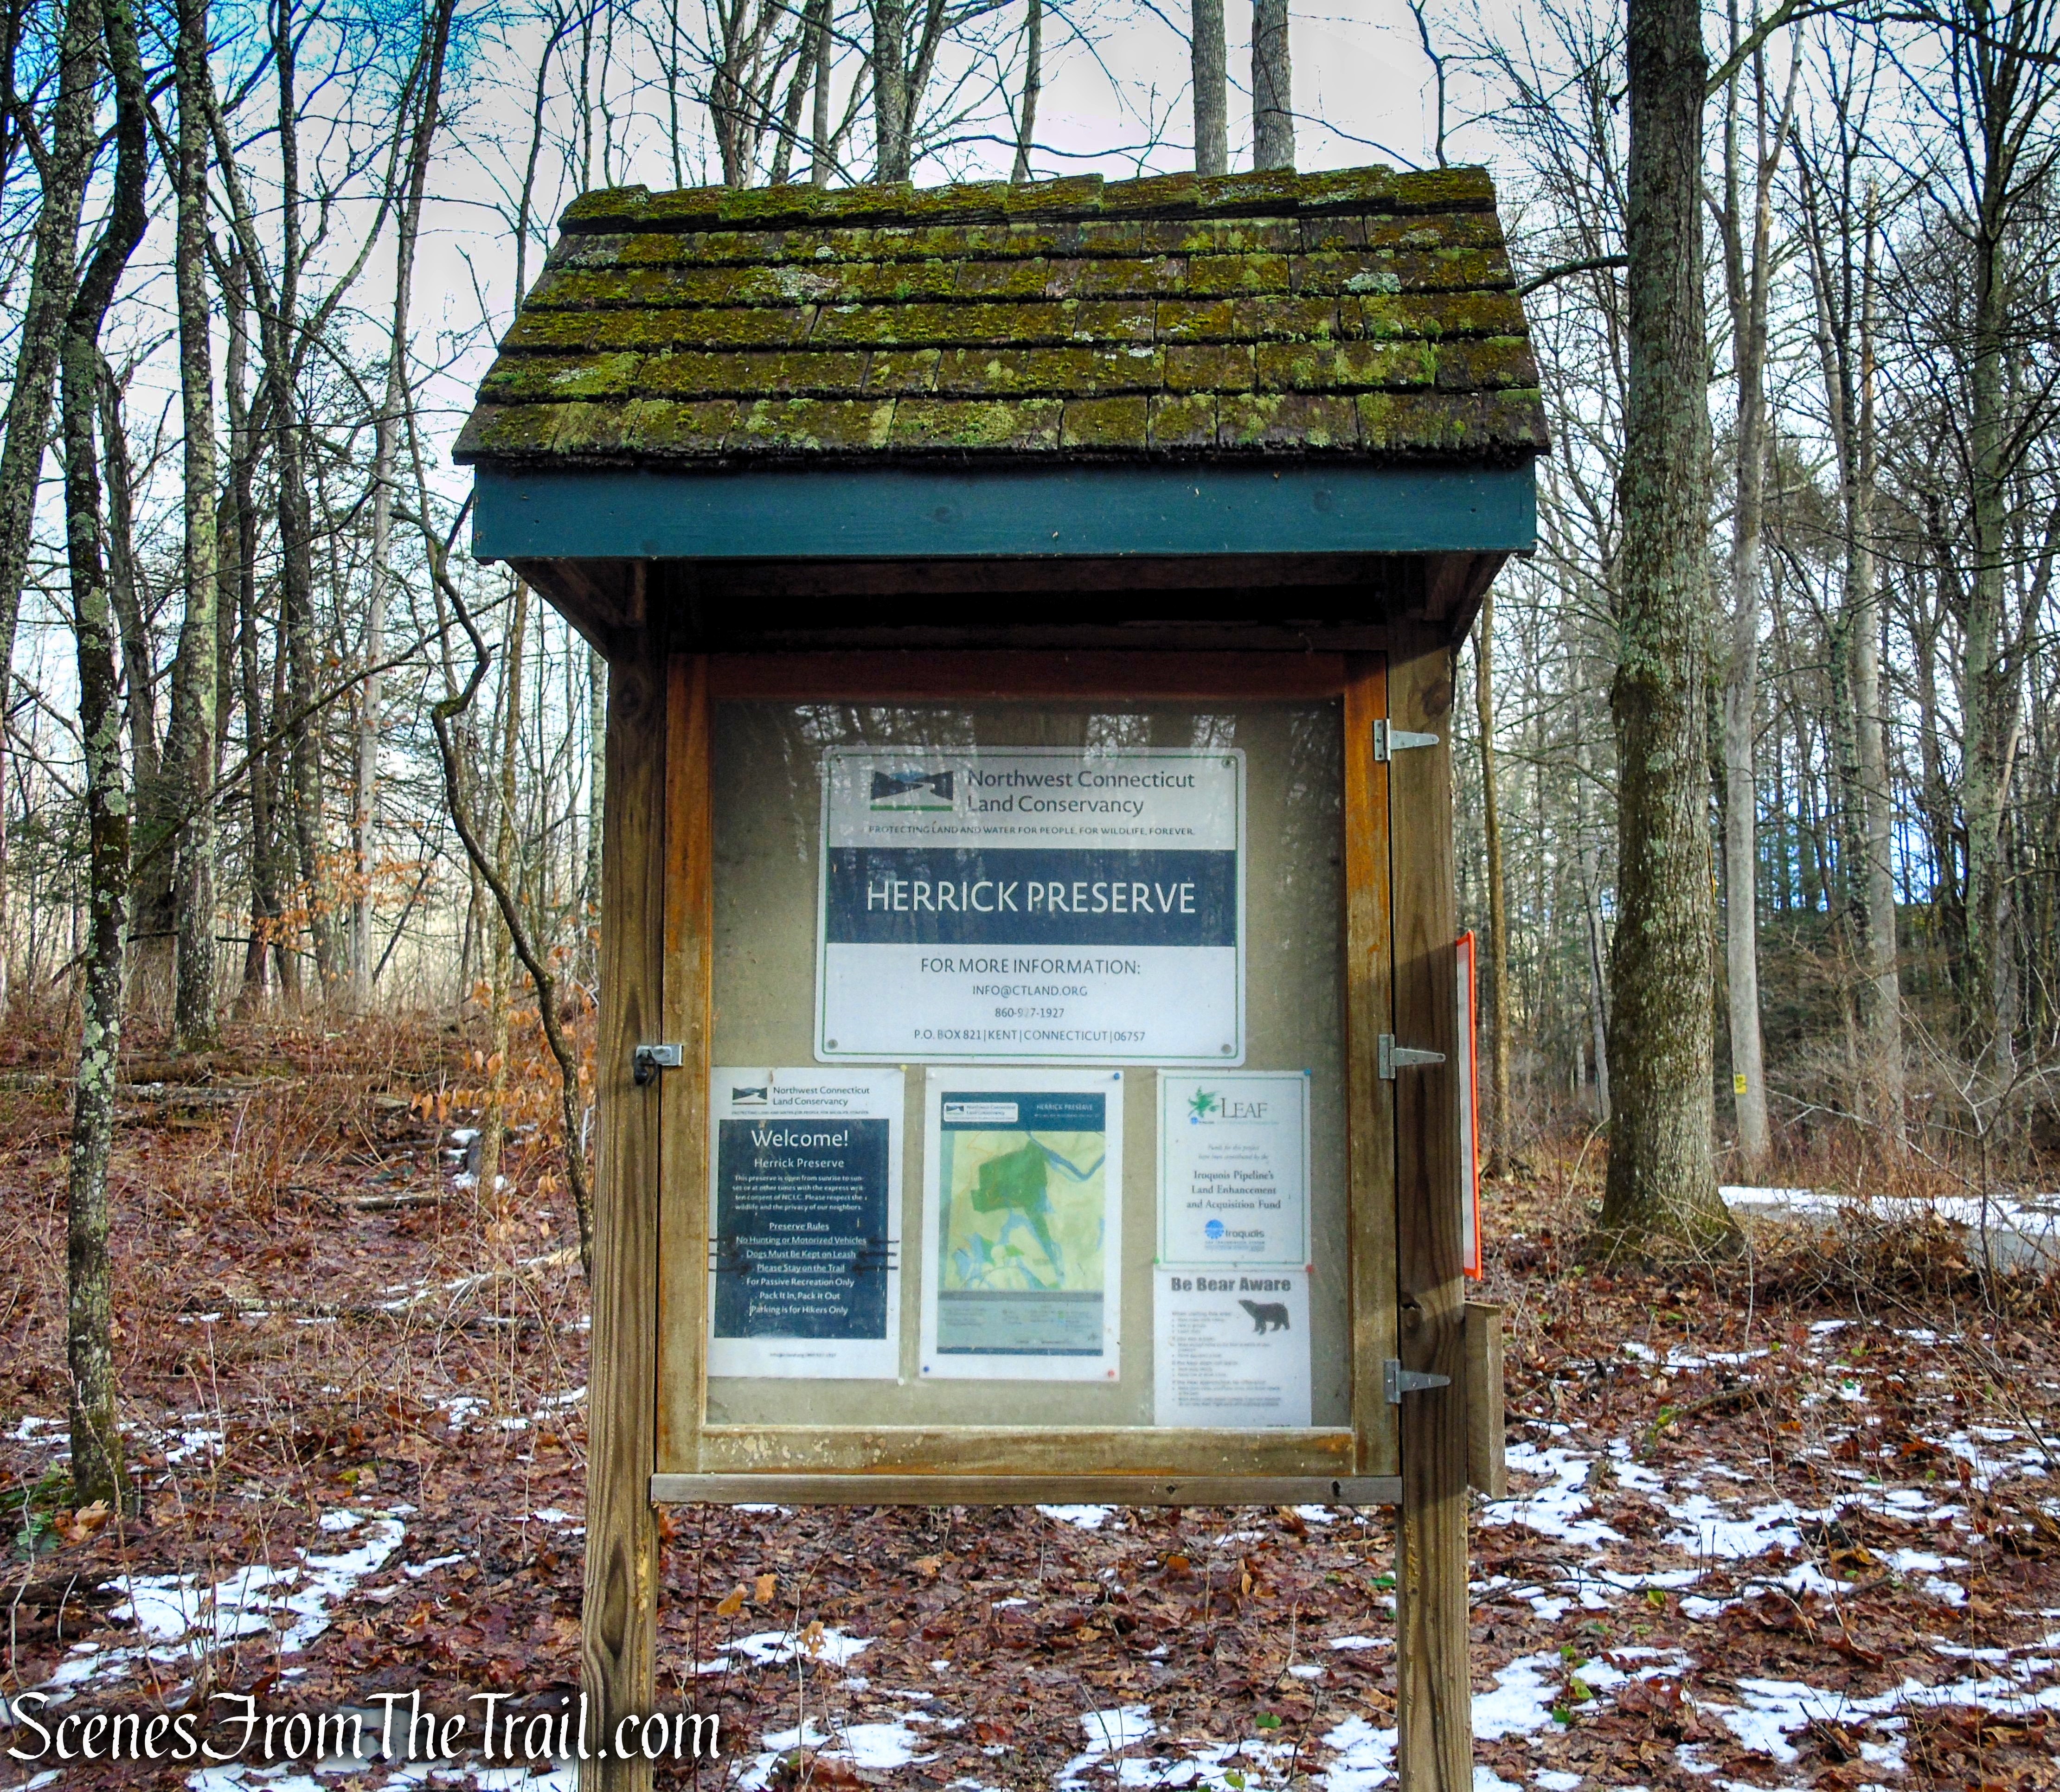
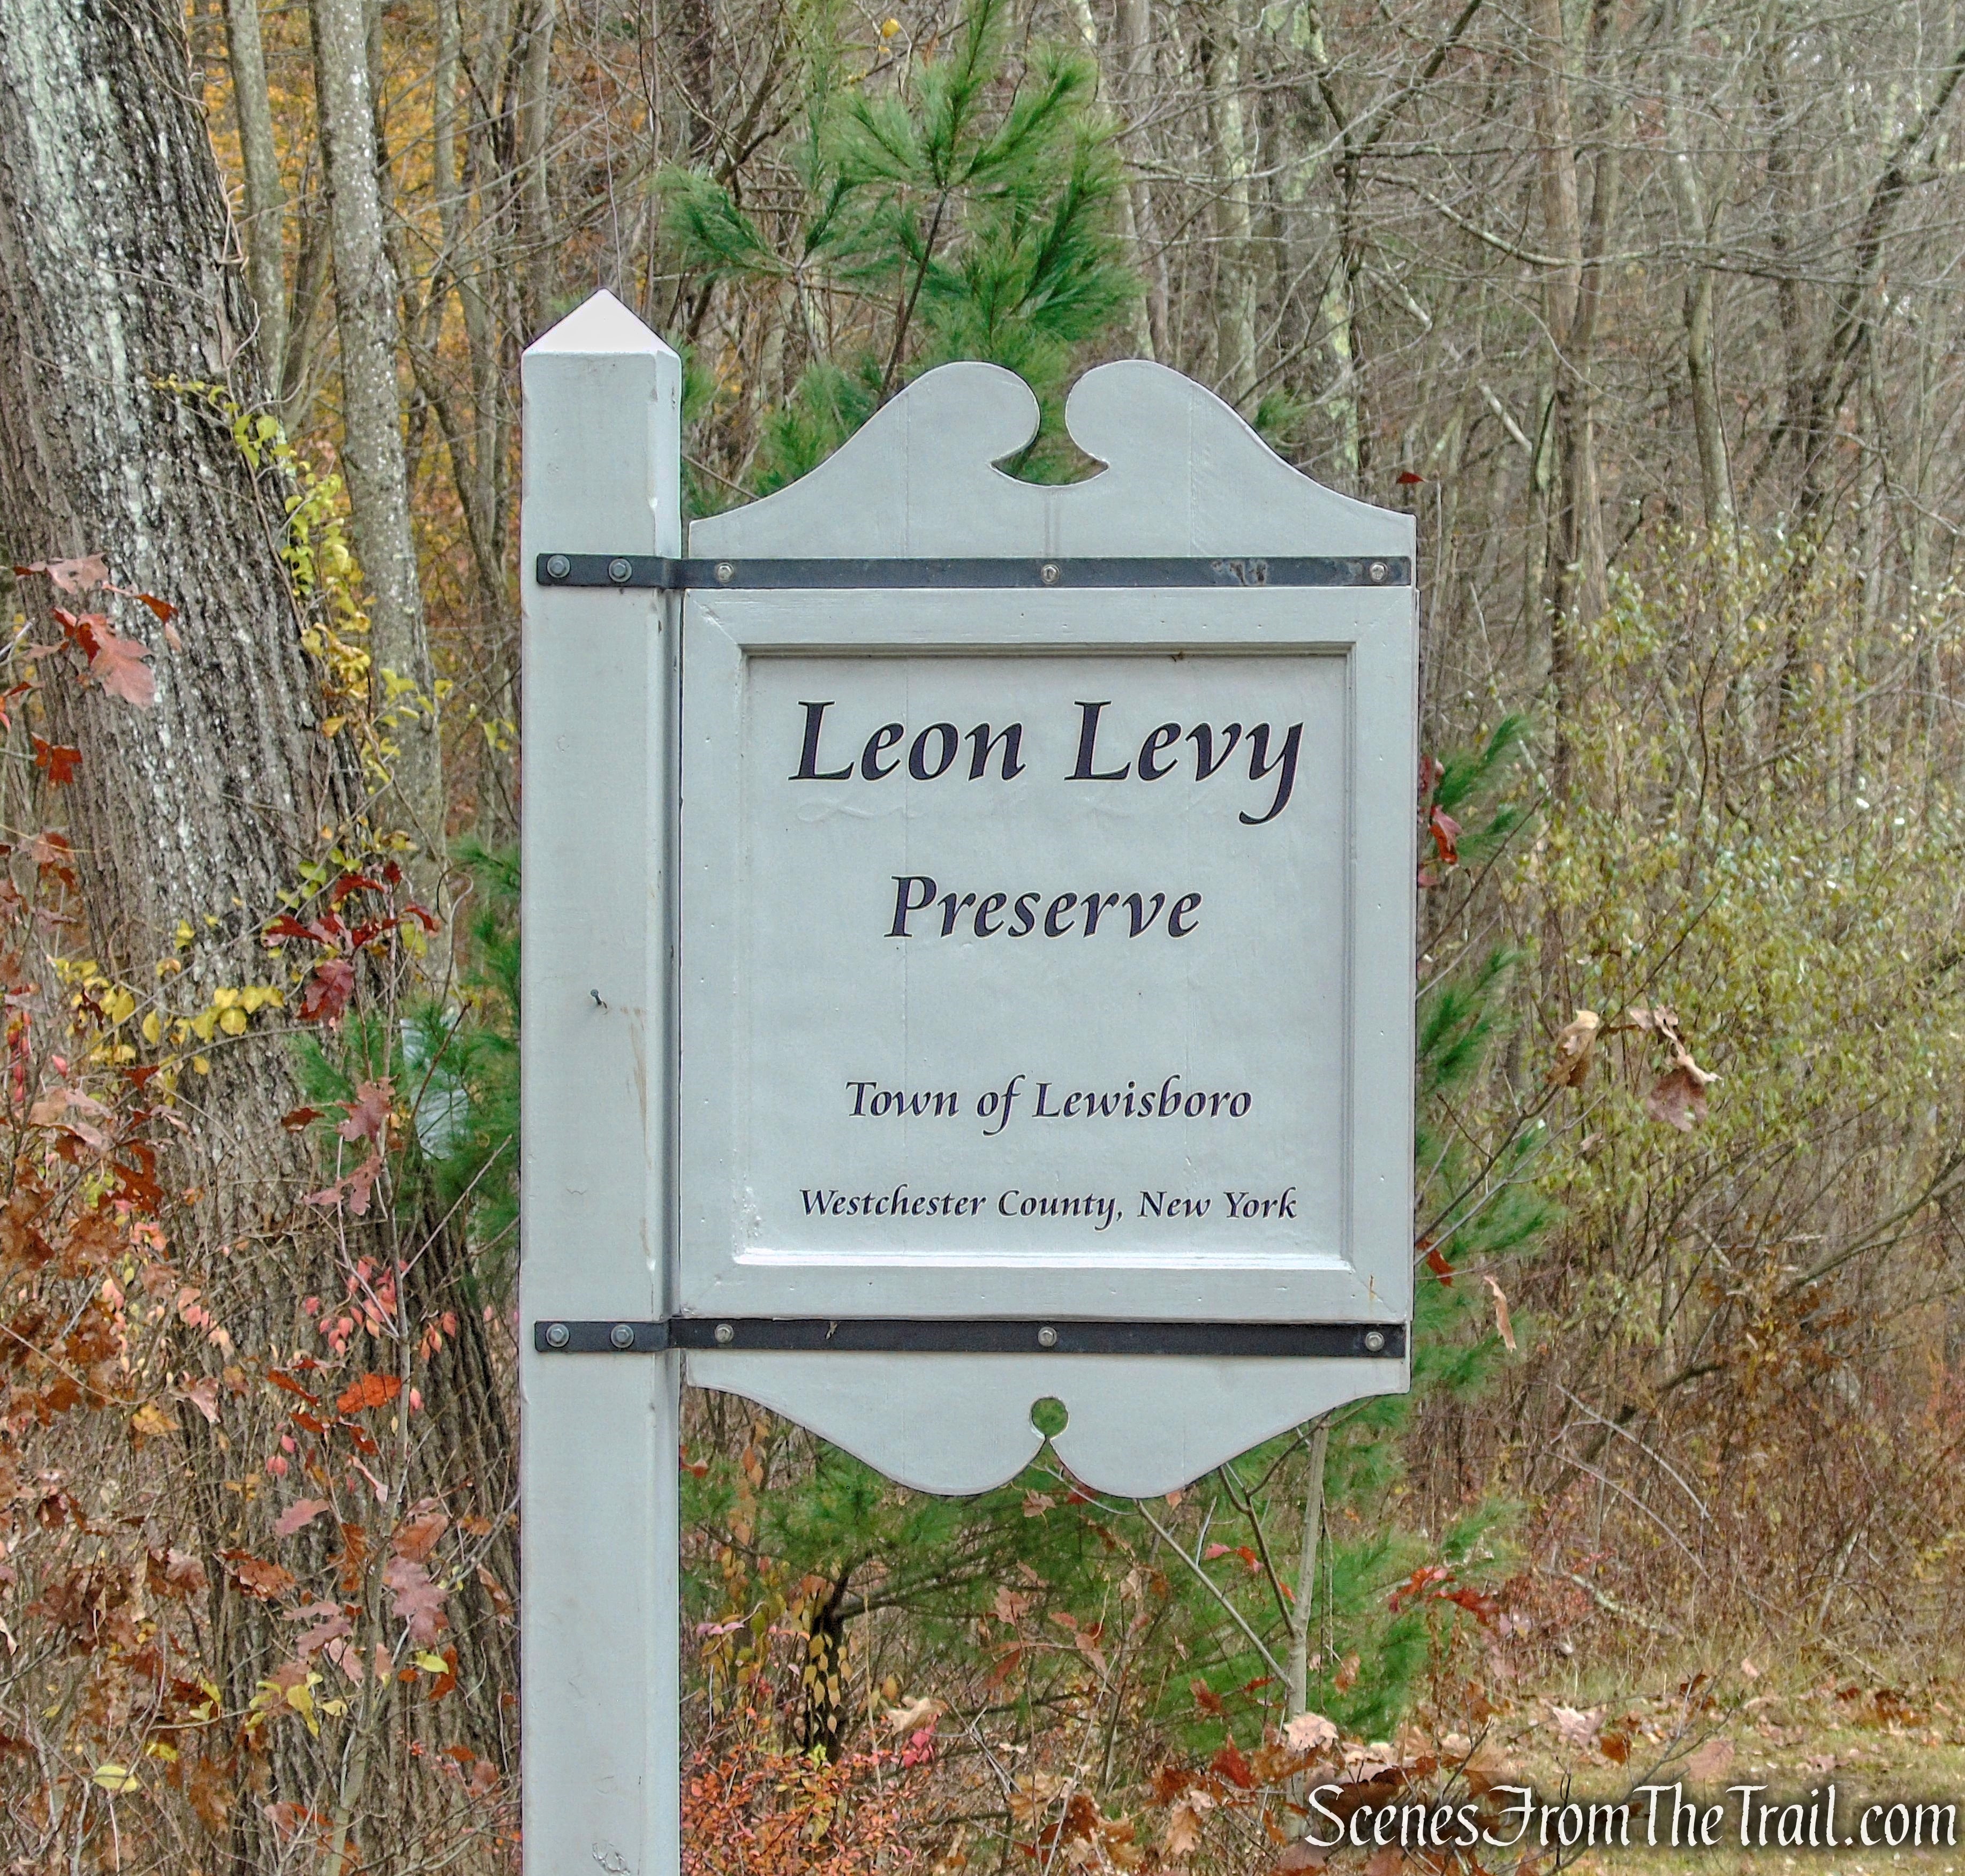
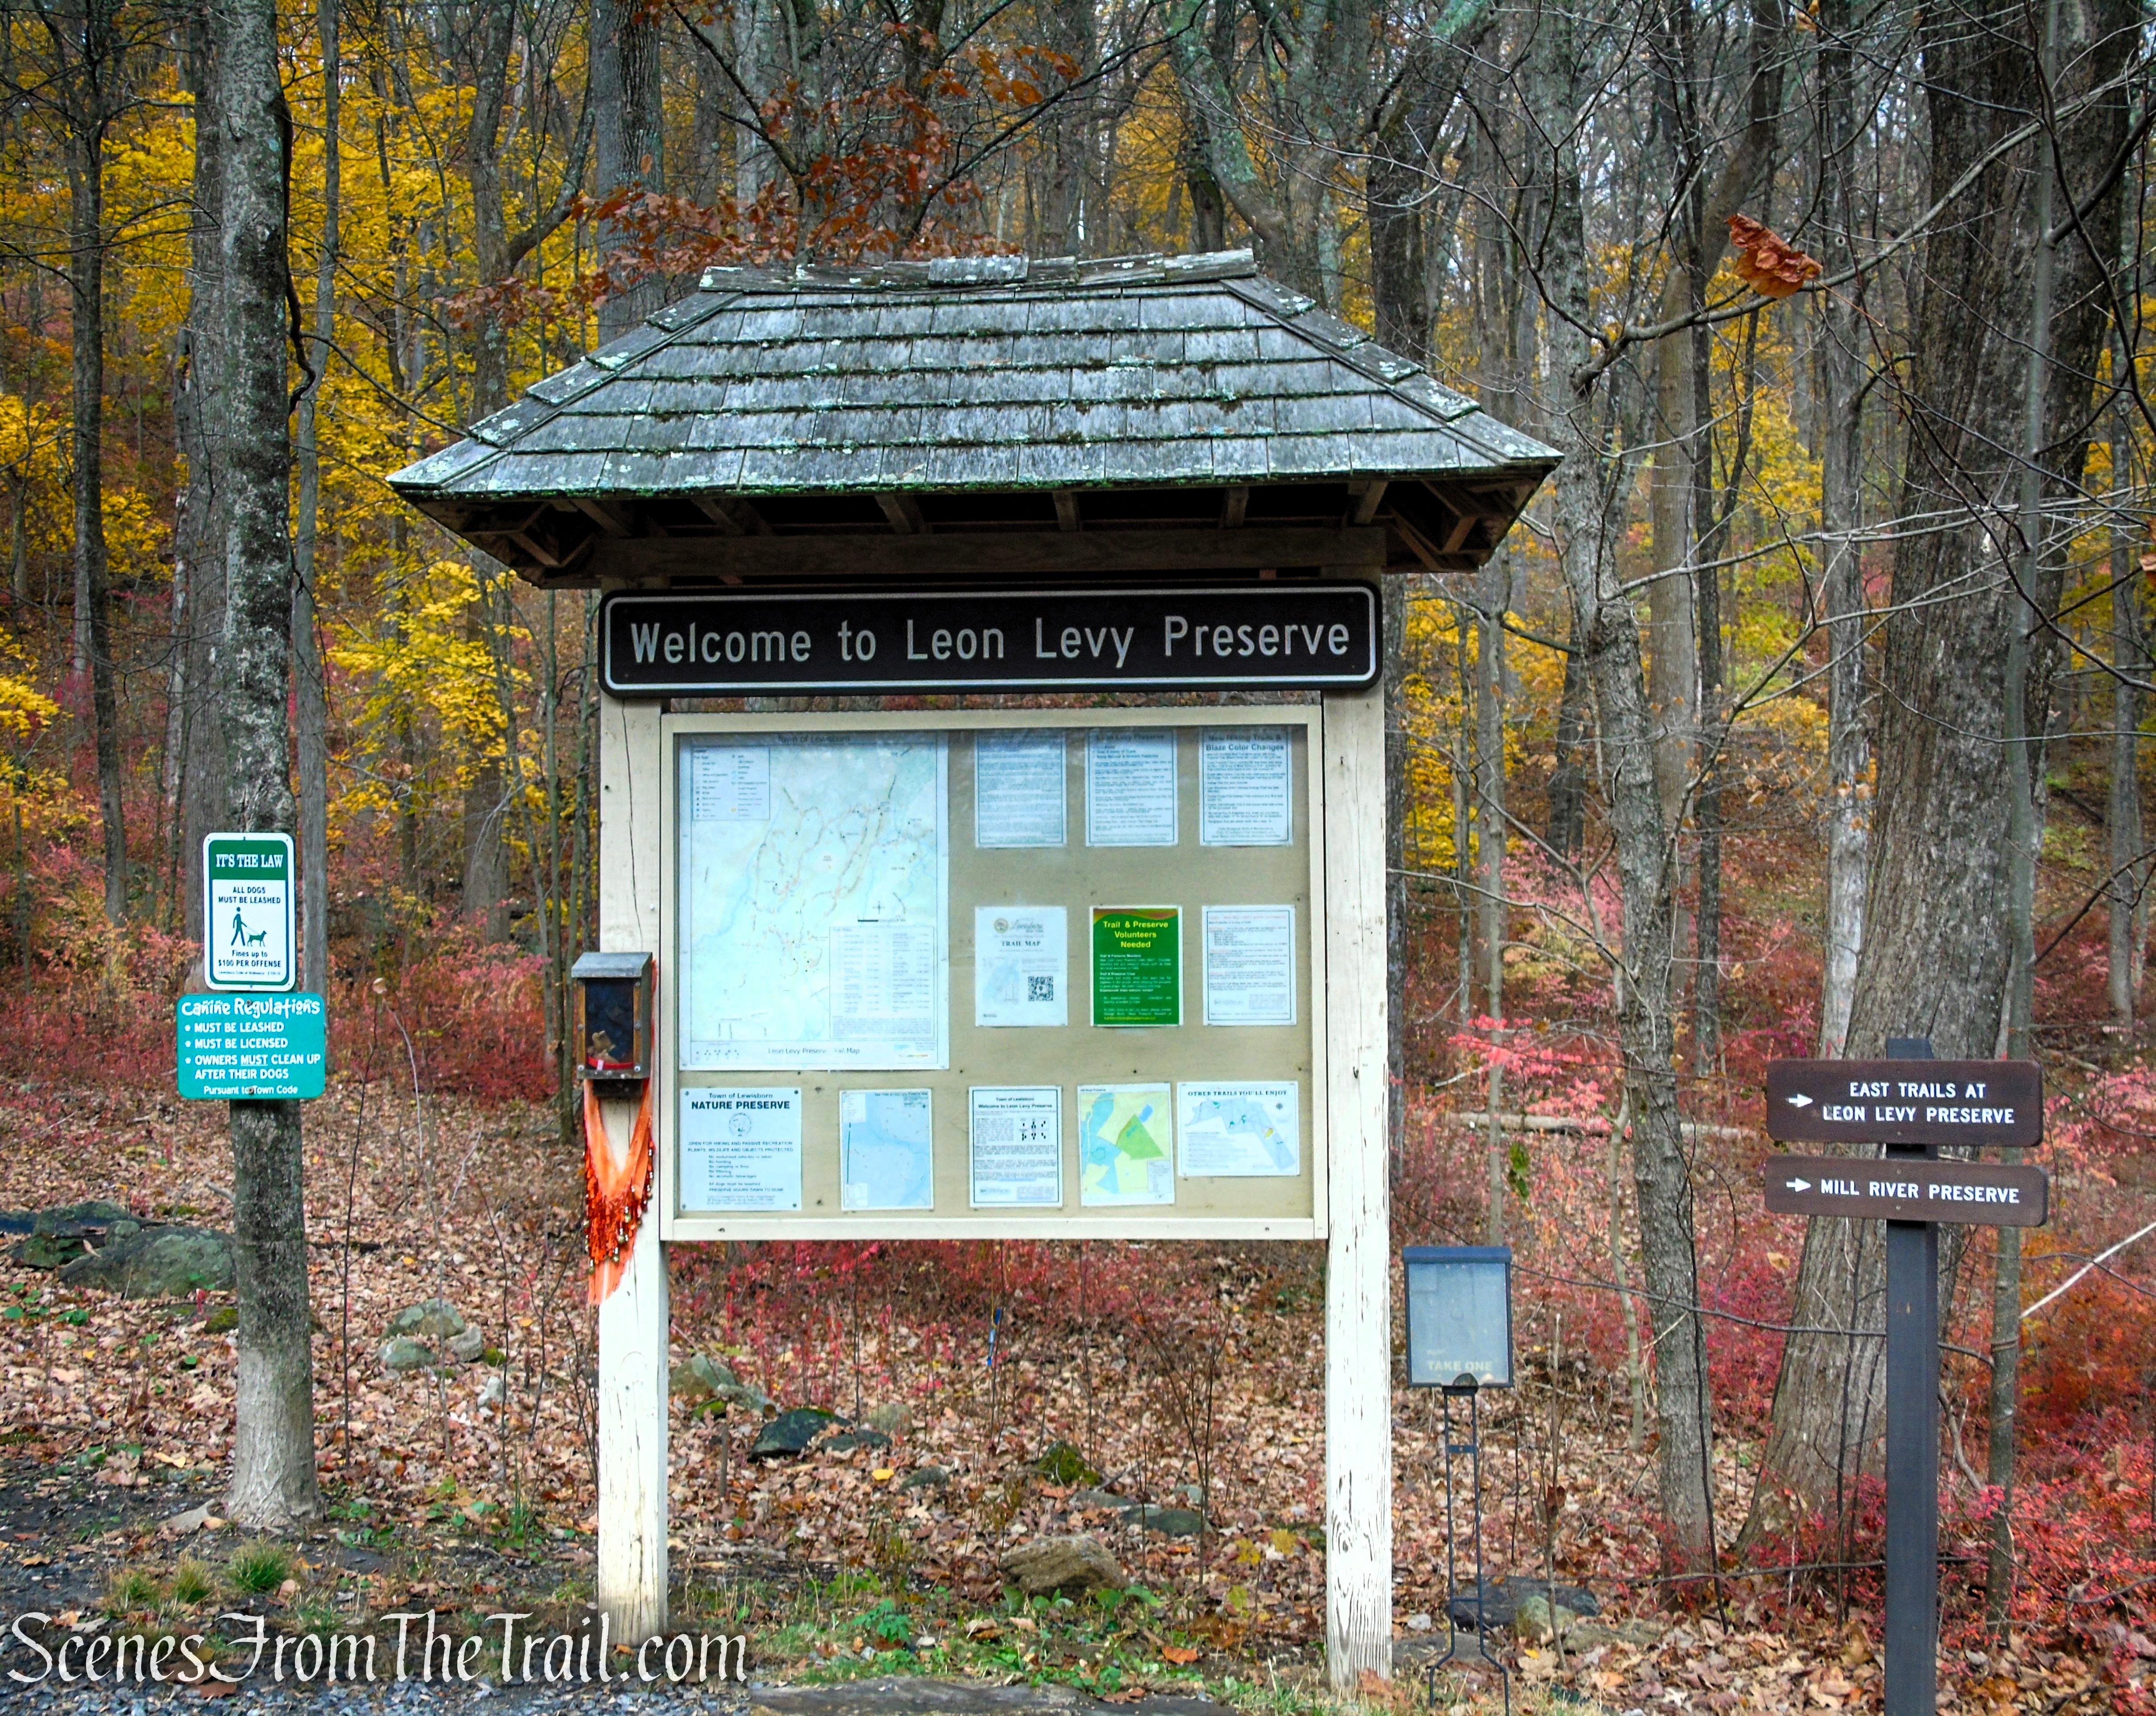
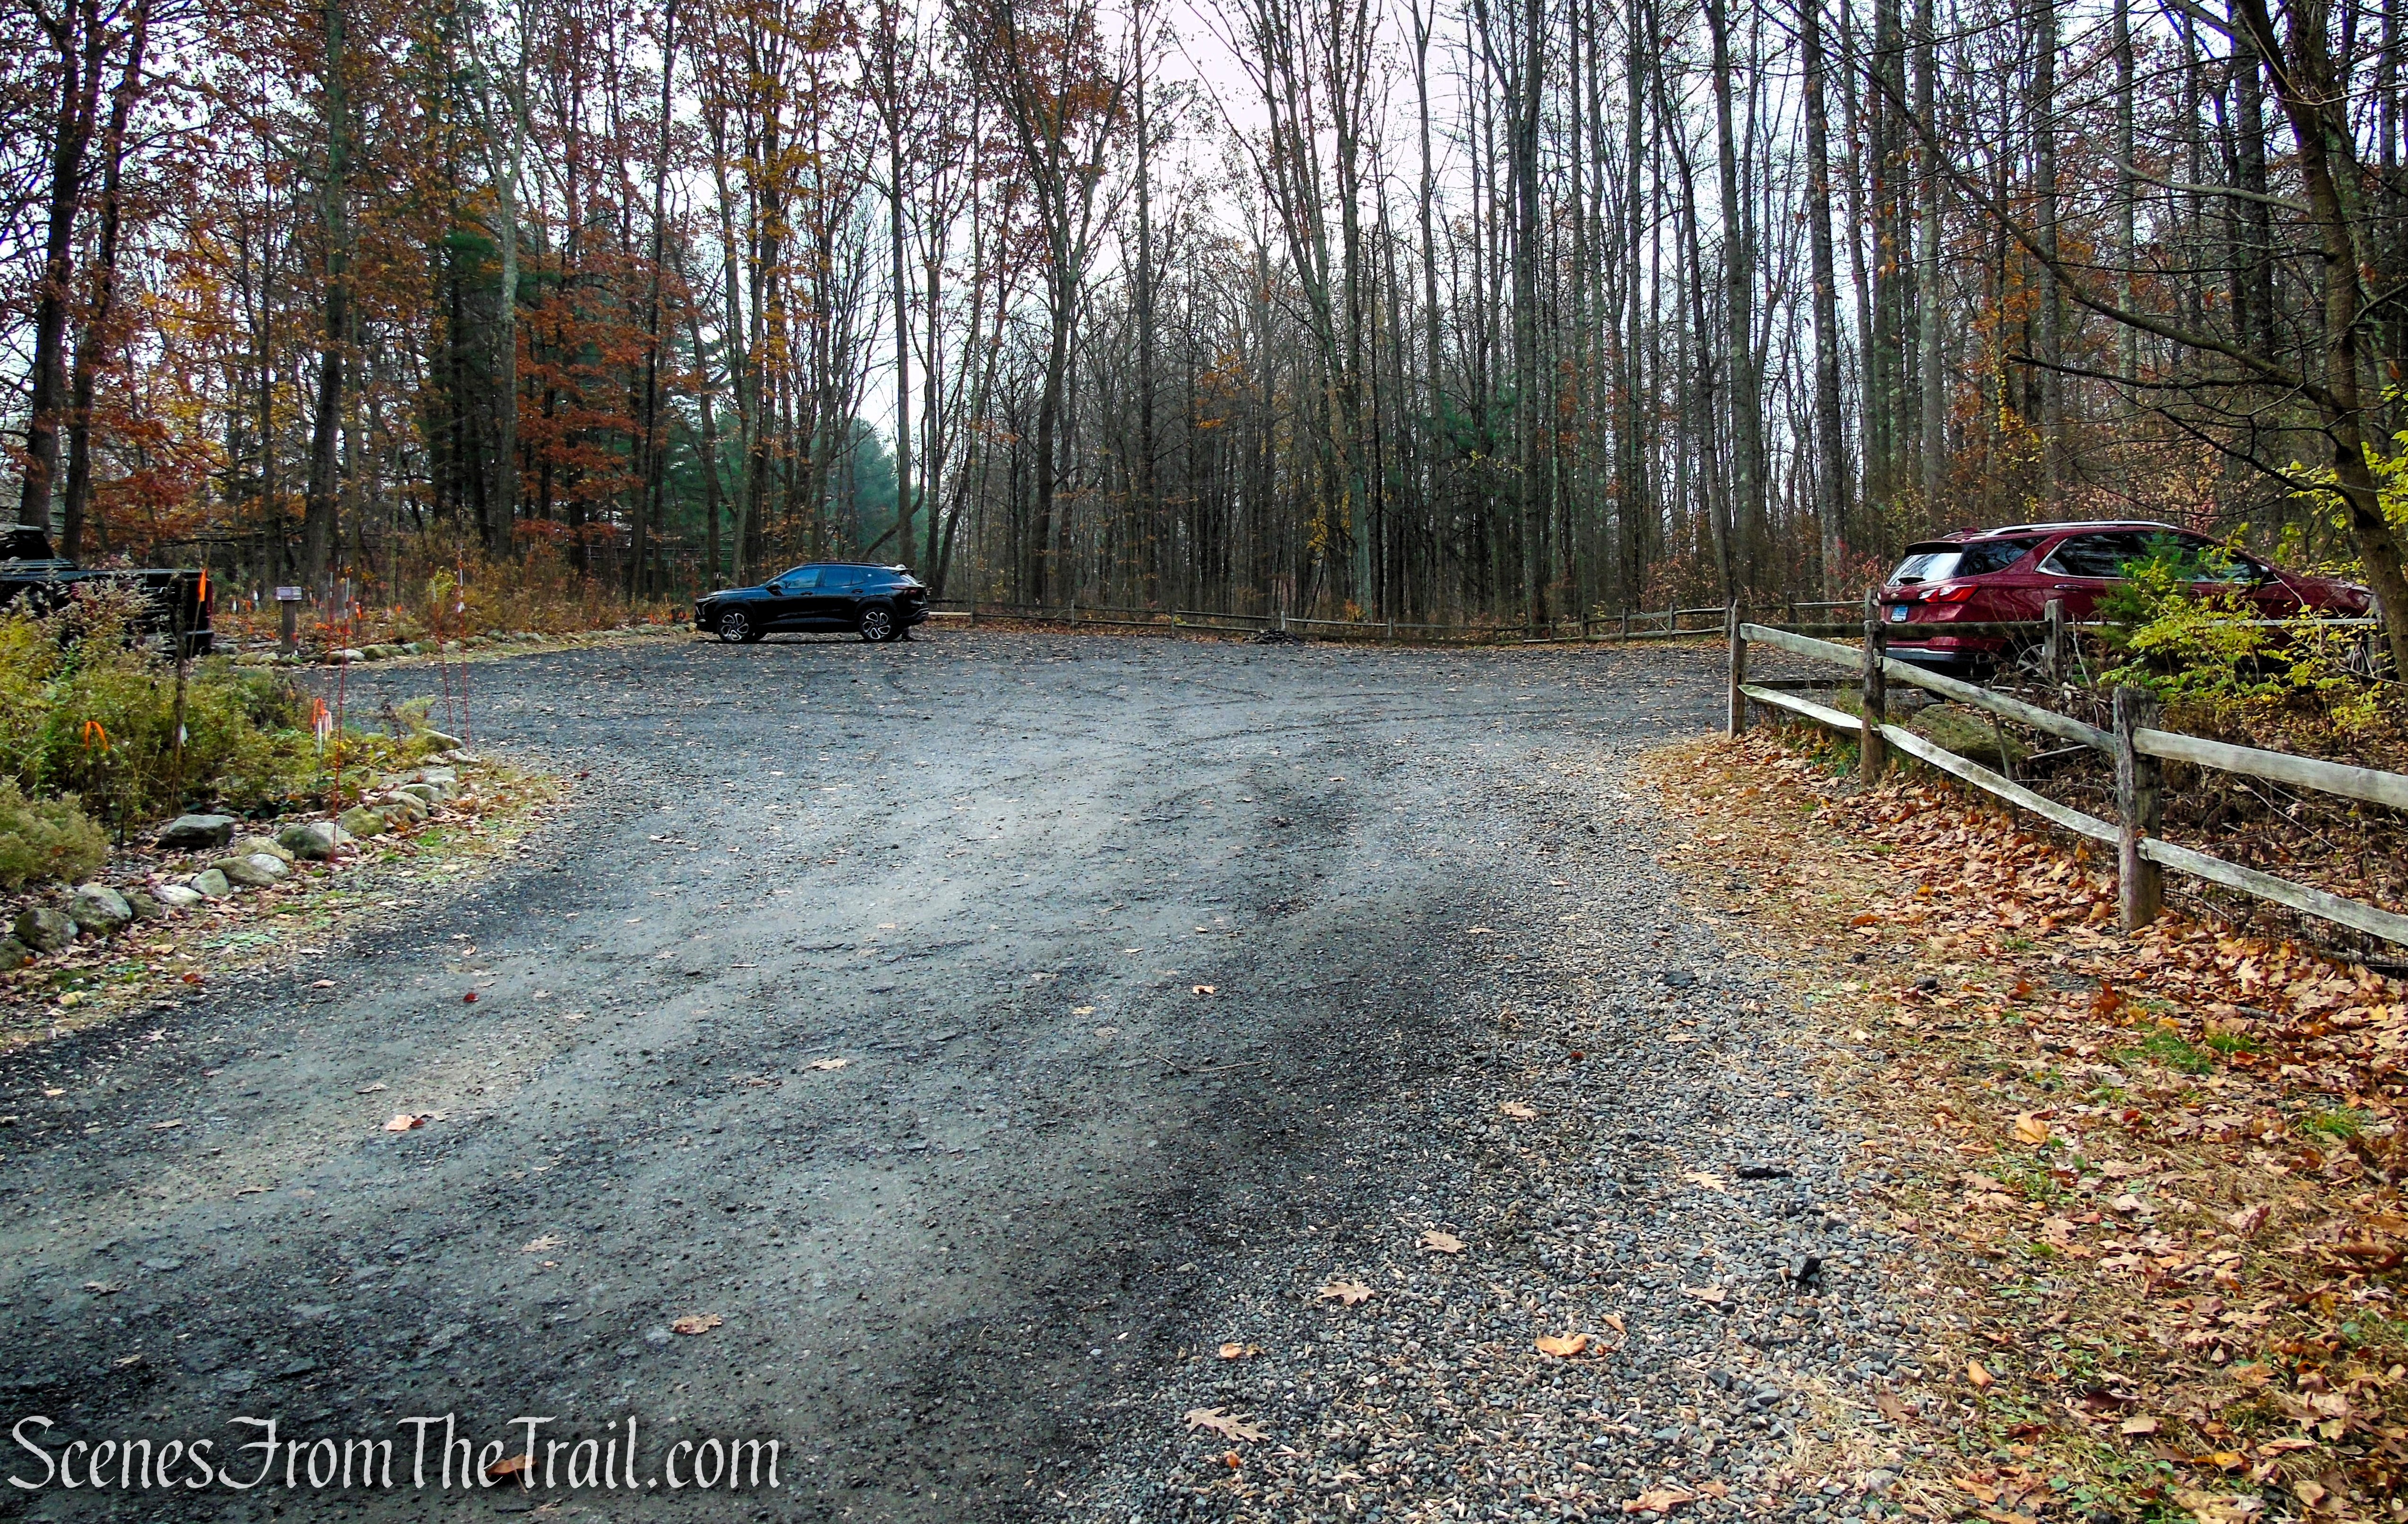
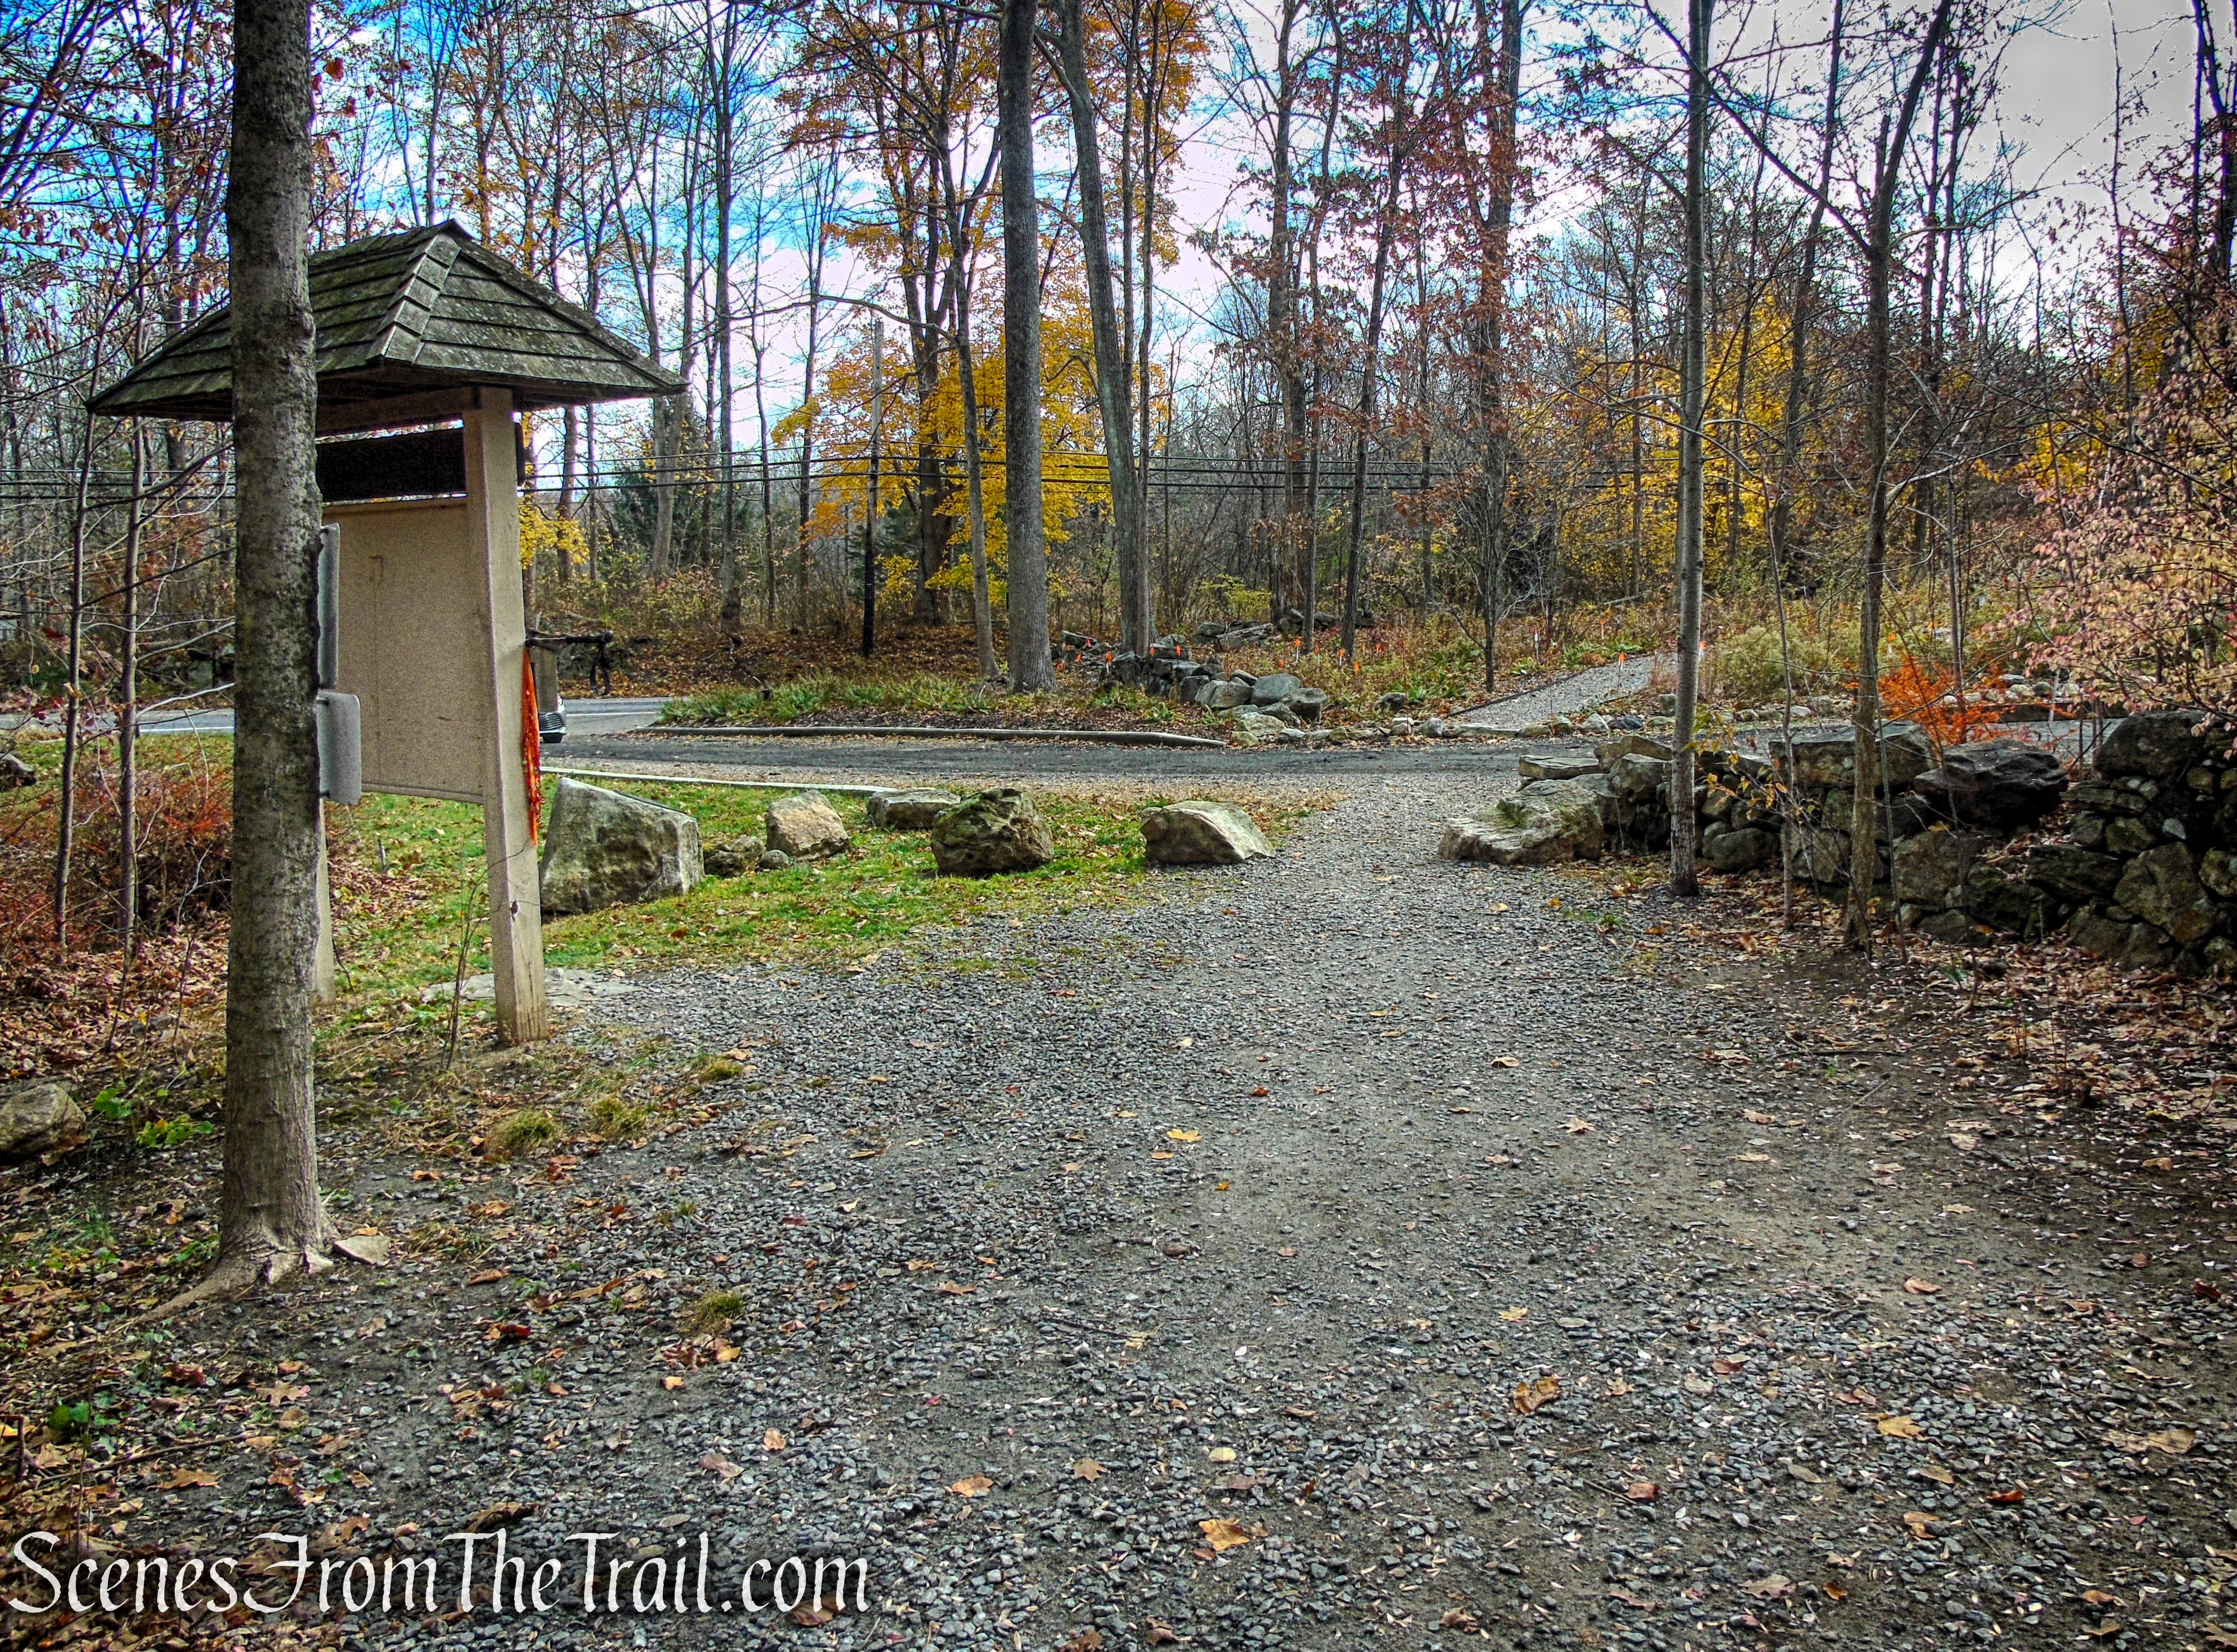
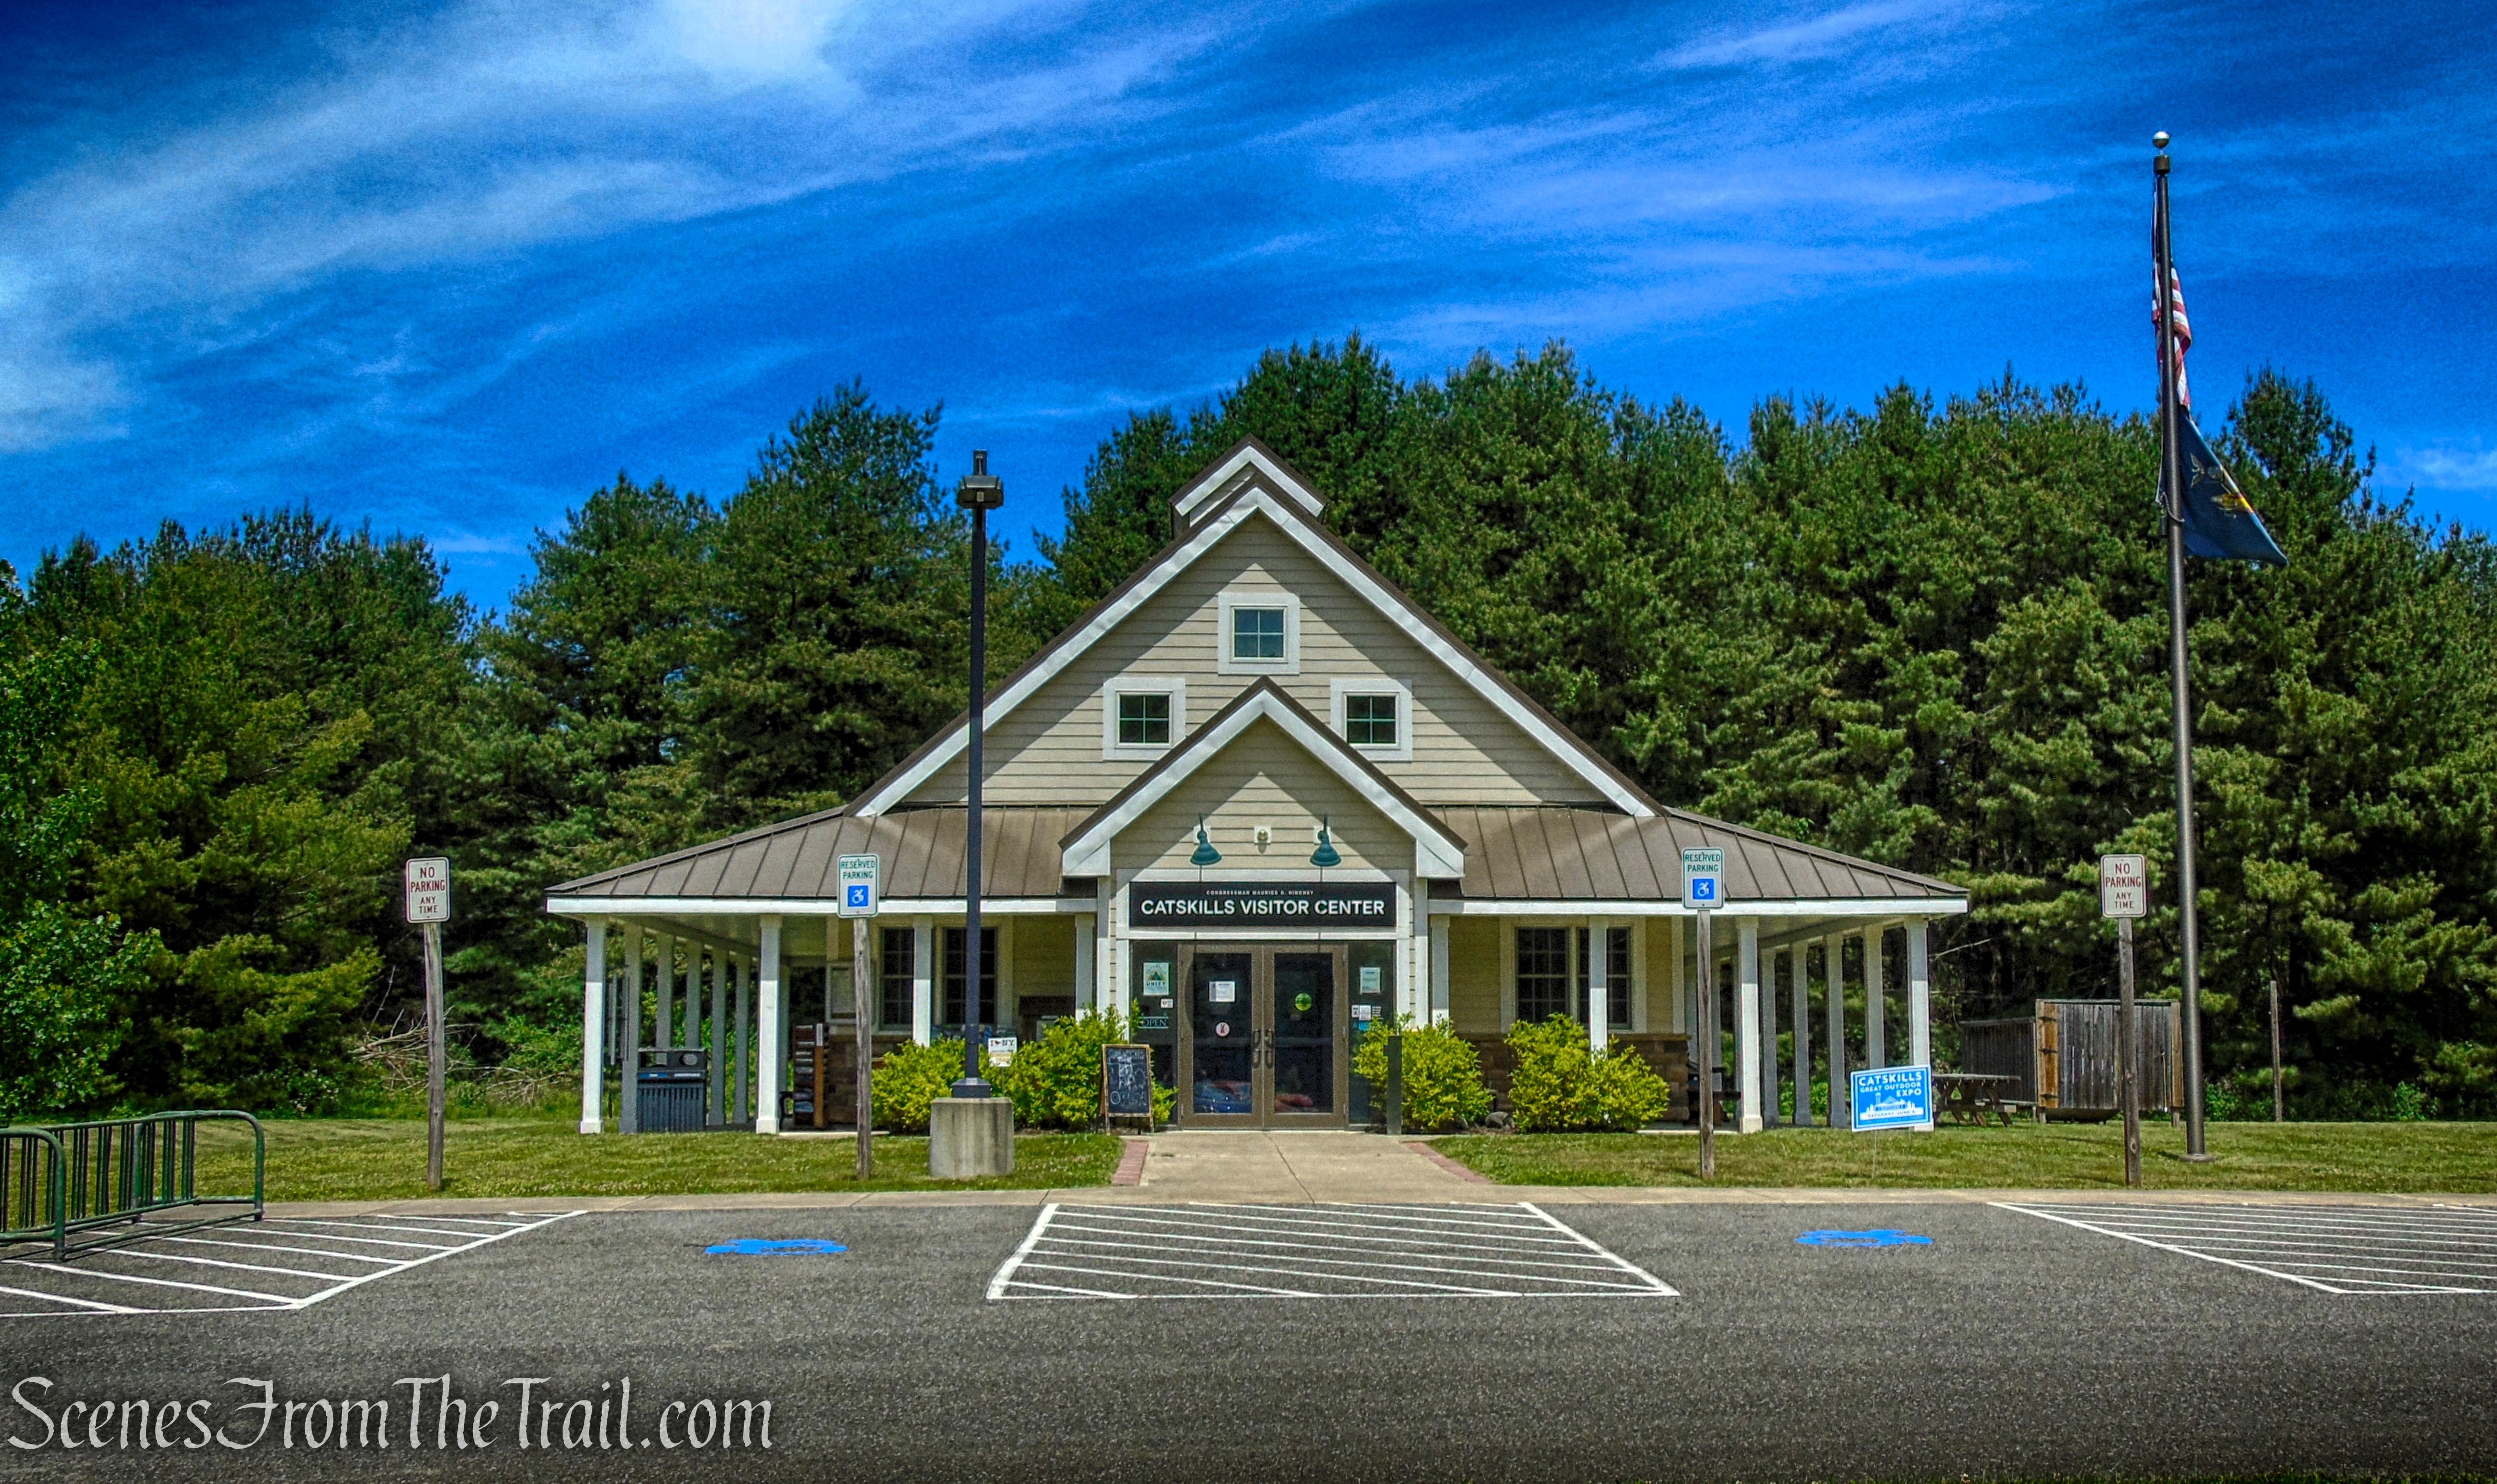
The main lot for Tackamack Park sits directly on Clausland Mountain Road, making it an easy and obvious trailhead for accessing both Tackamack and the surrounding trail network. Parking is free and open daily, with no formal gates or restricted hours in most cases. From the lot, you can immediately connect to local trails and also link into Blauvelt State Park and Clausland Mountain County Park, making it a useful starting point for longer hikes.
Tackamack Park
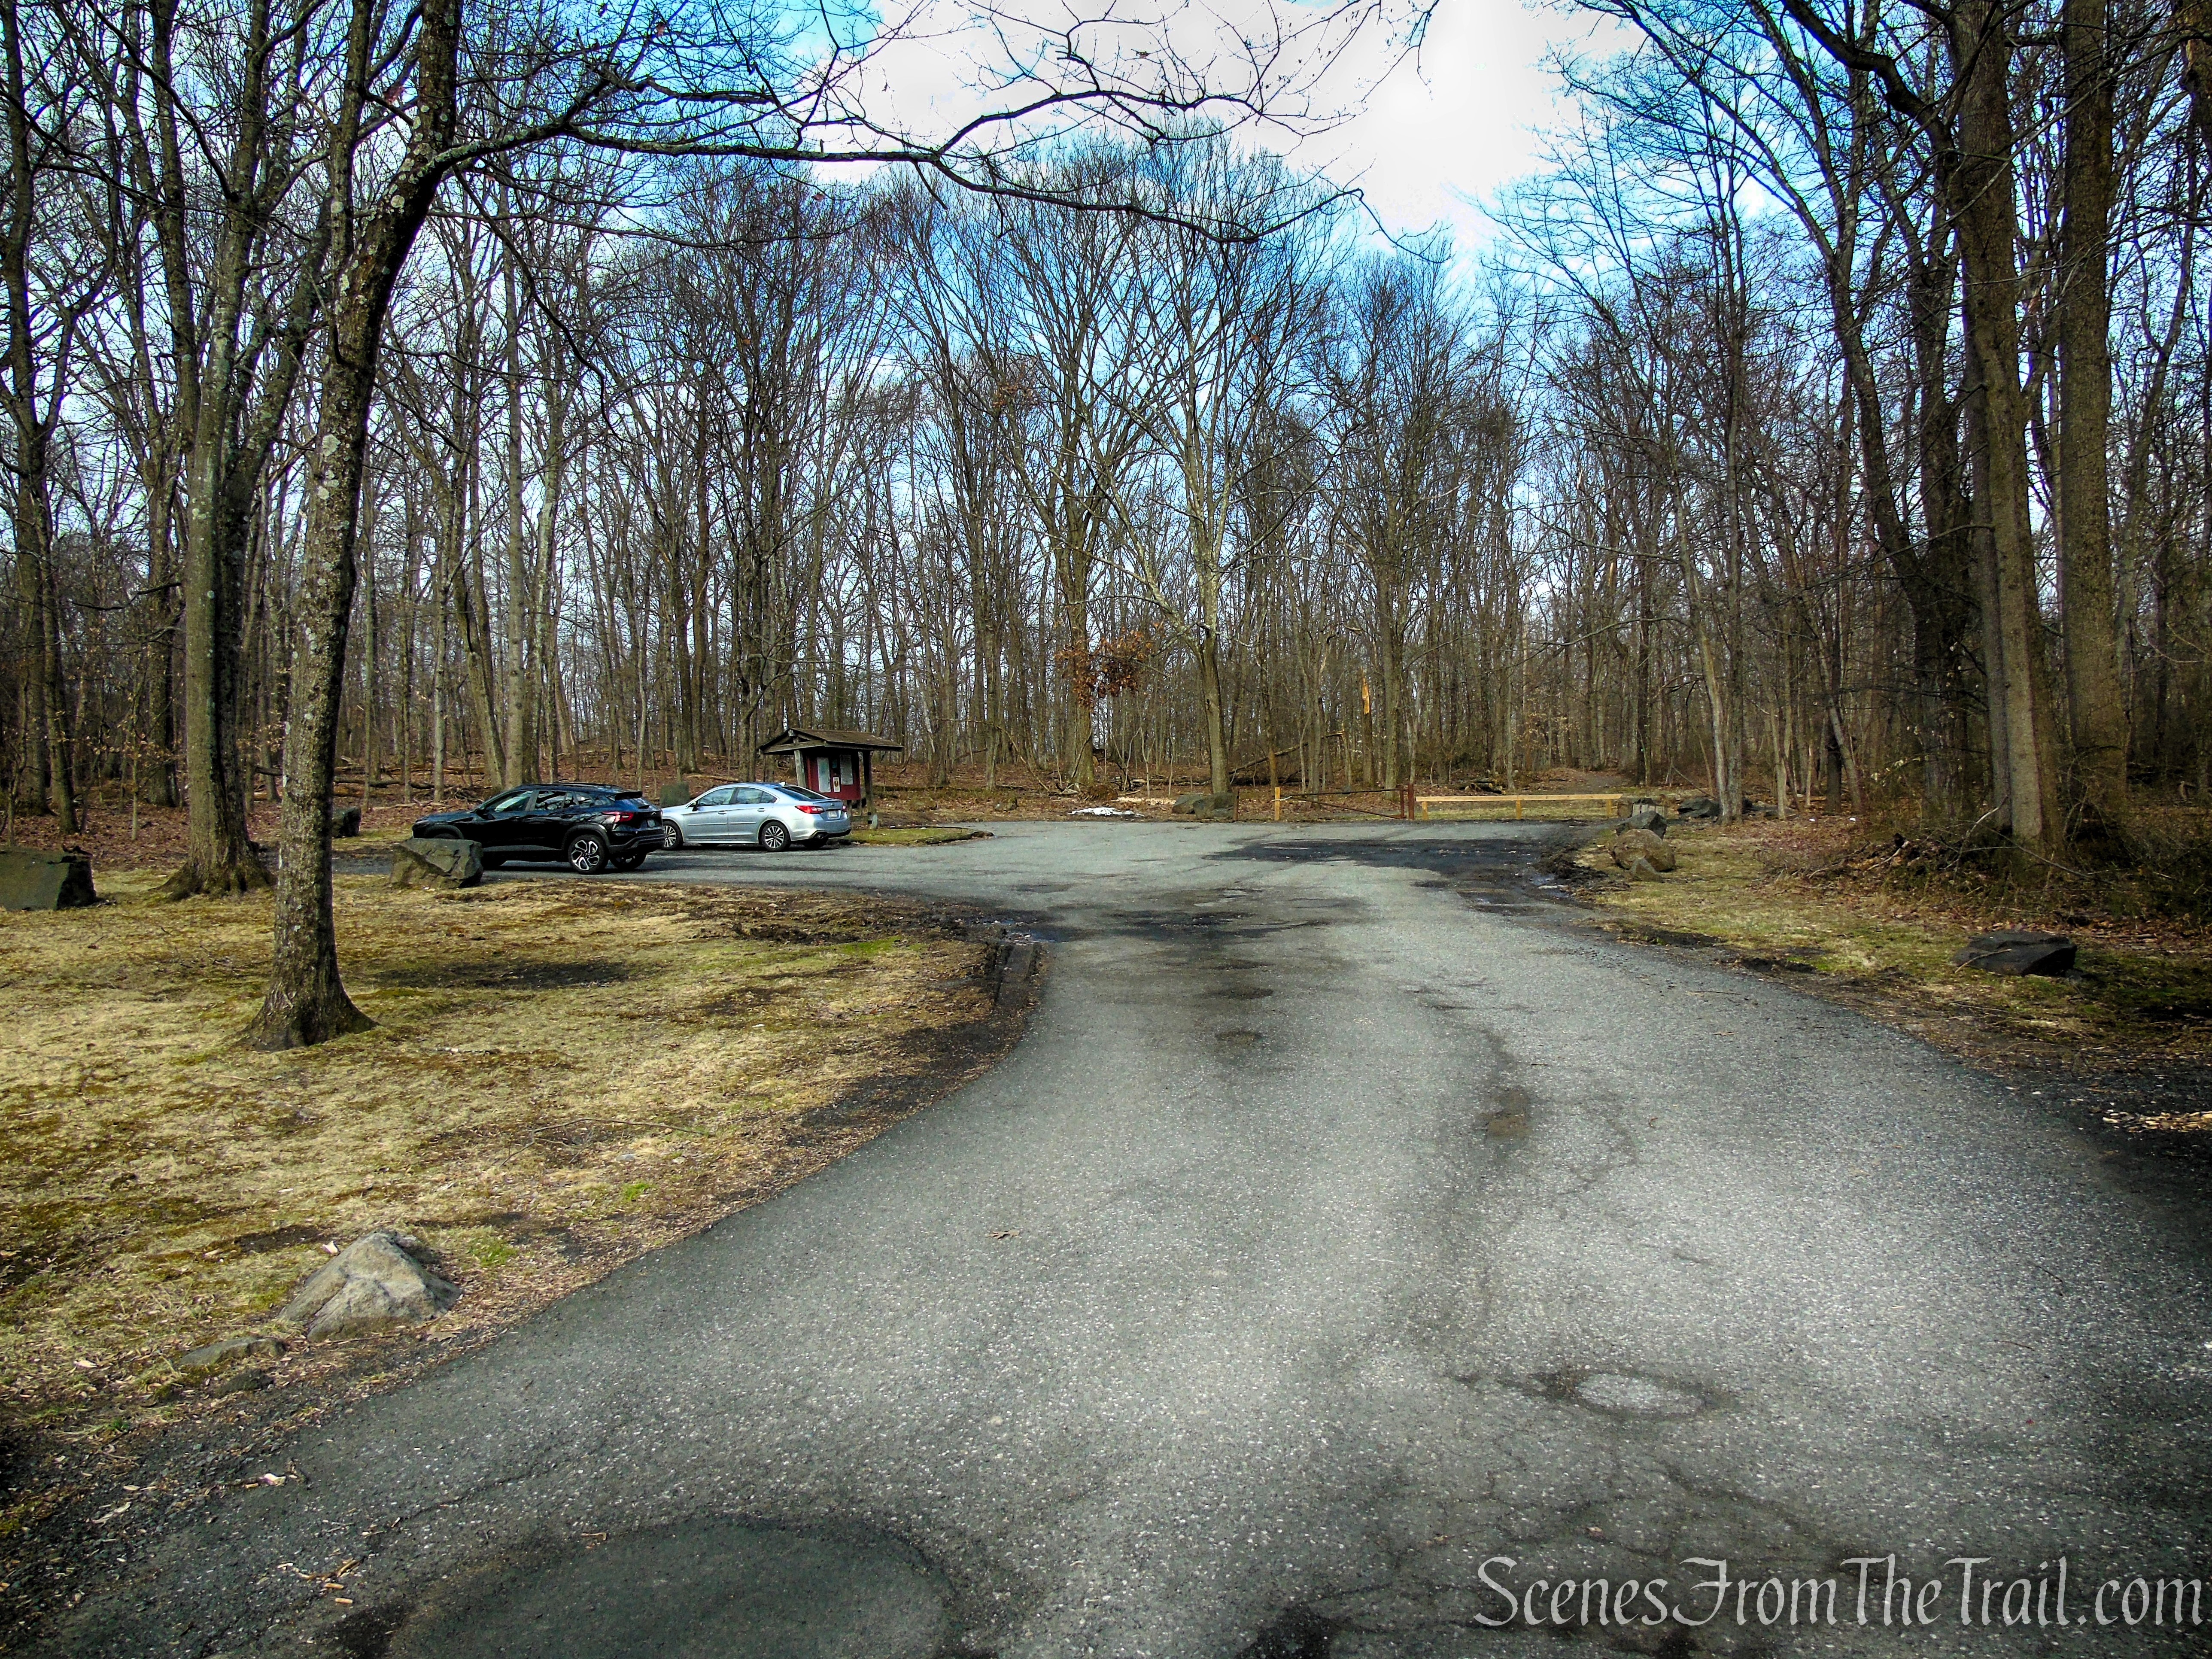
Tackamack Park trailhead
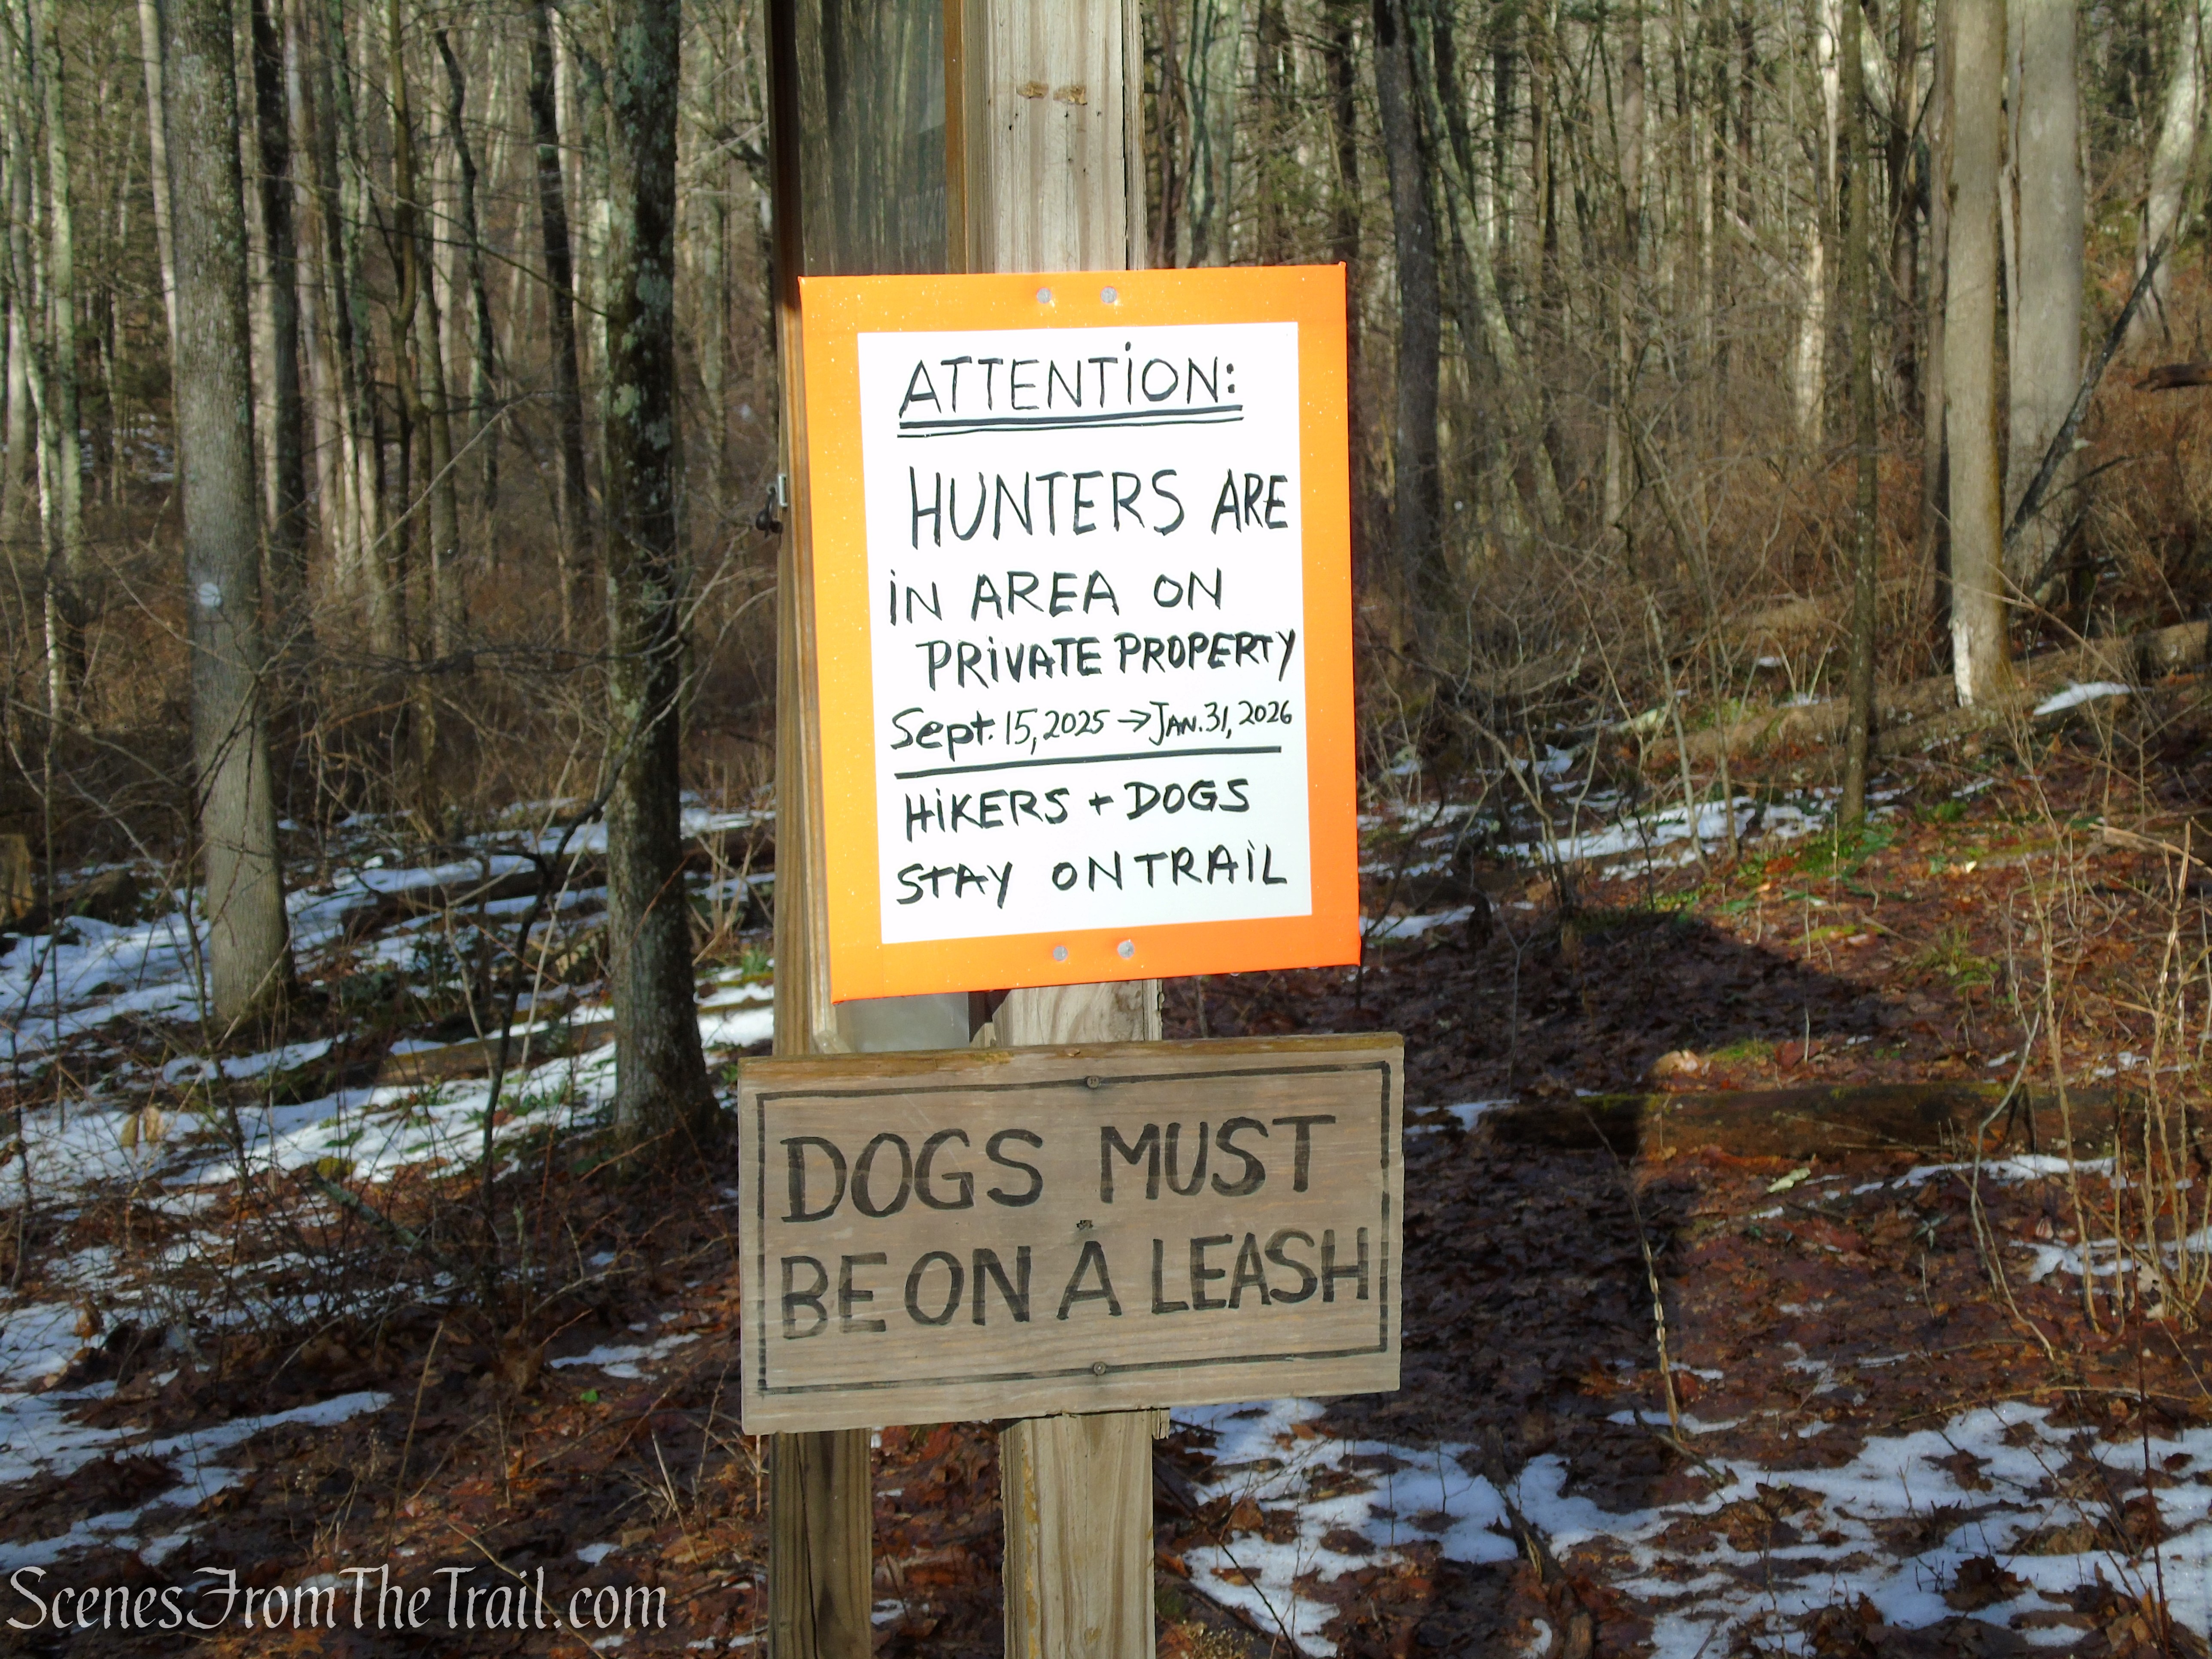
The Long Path passes directly through the parking area at Tackamack Park, making it one of the more convenient access points to this section of the trail.
The Hike:
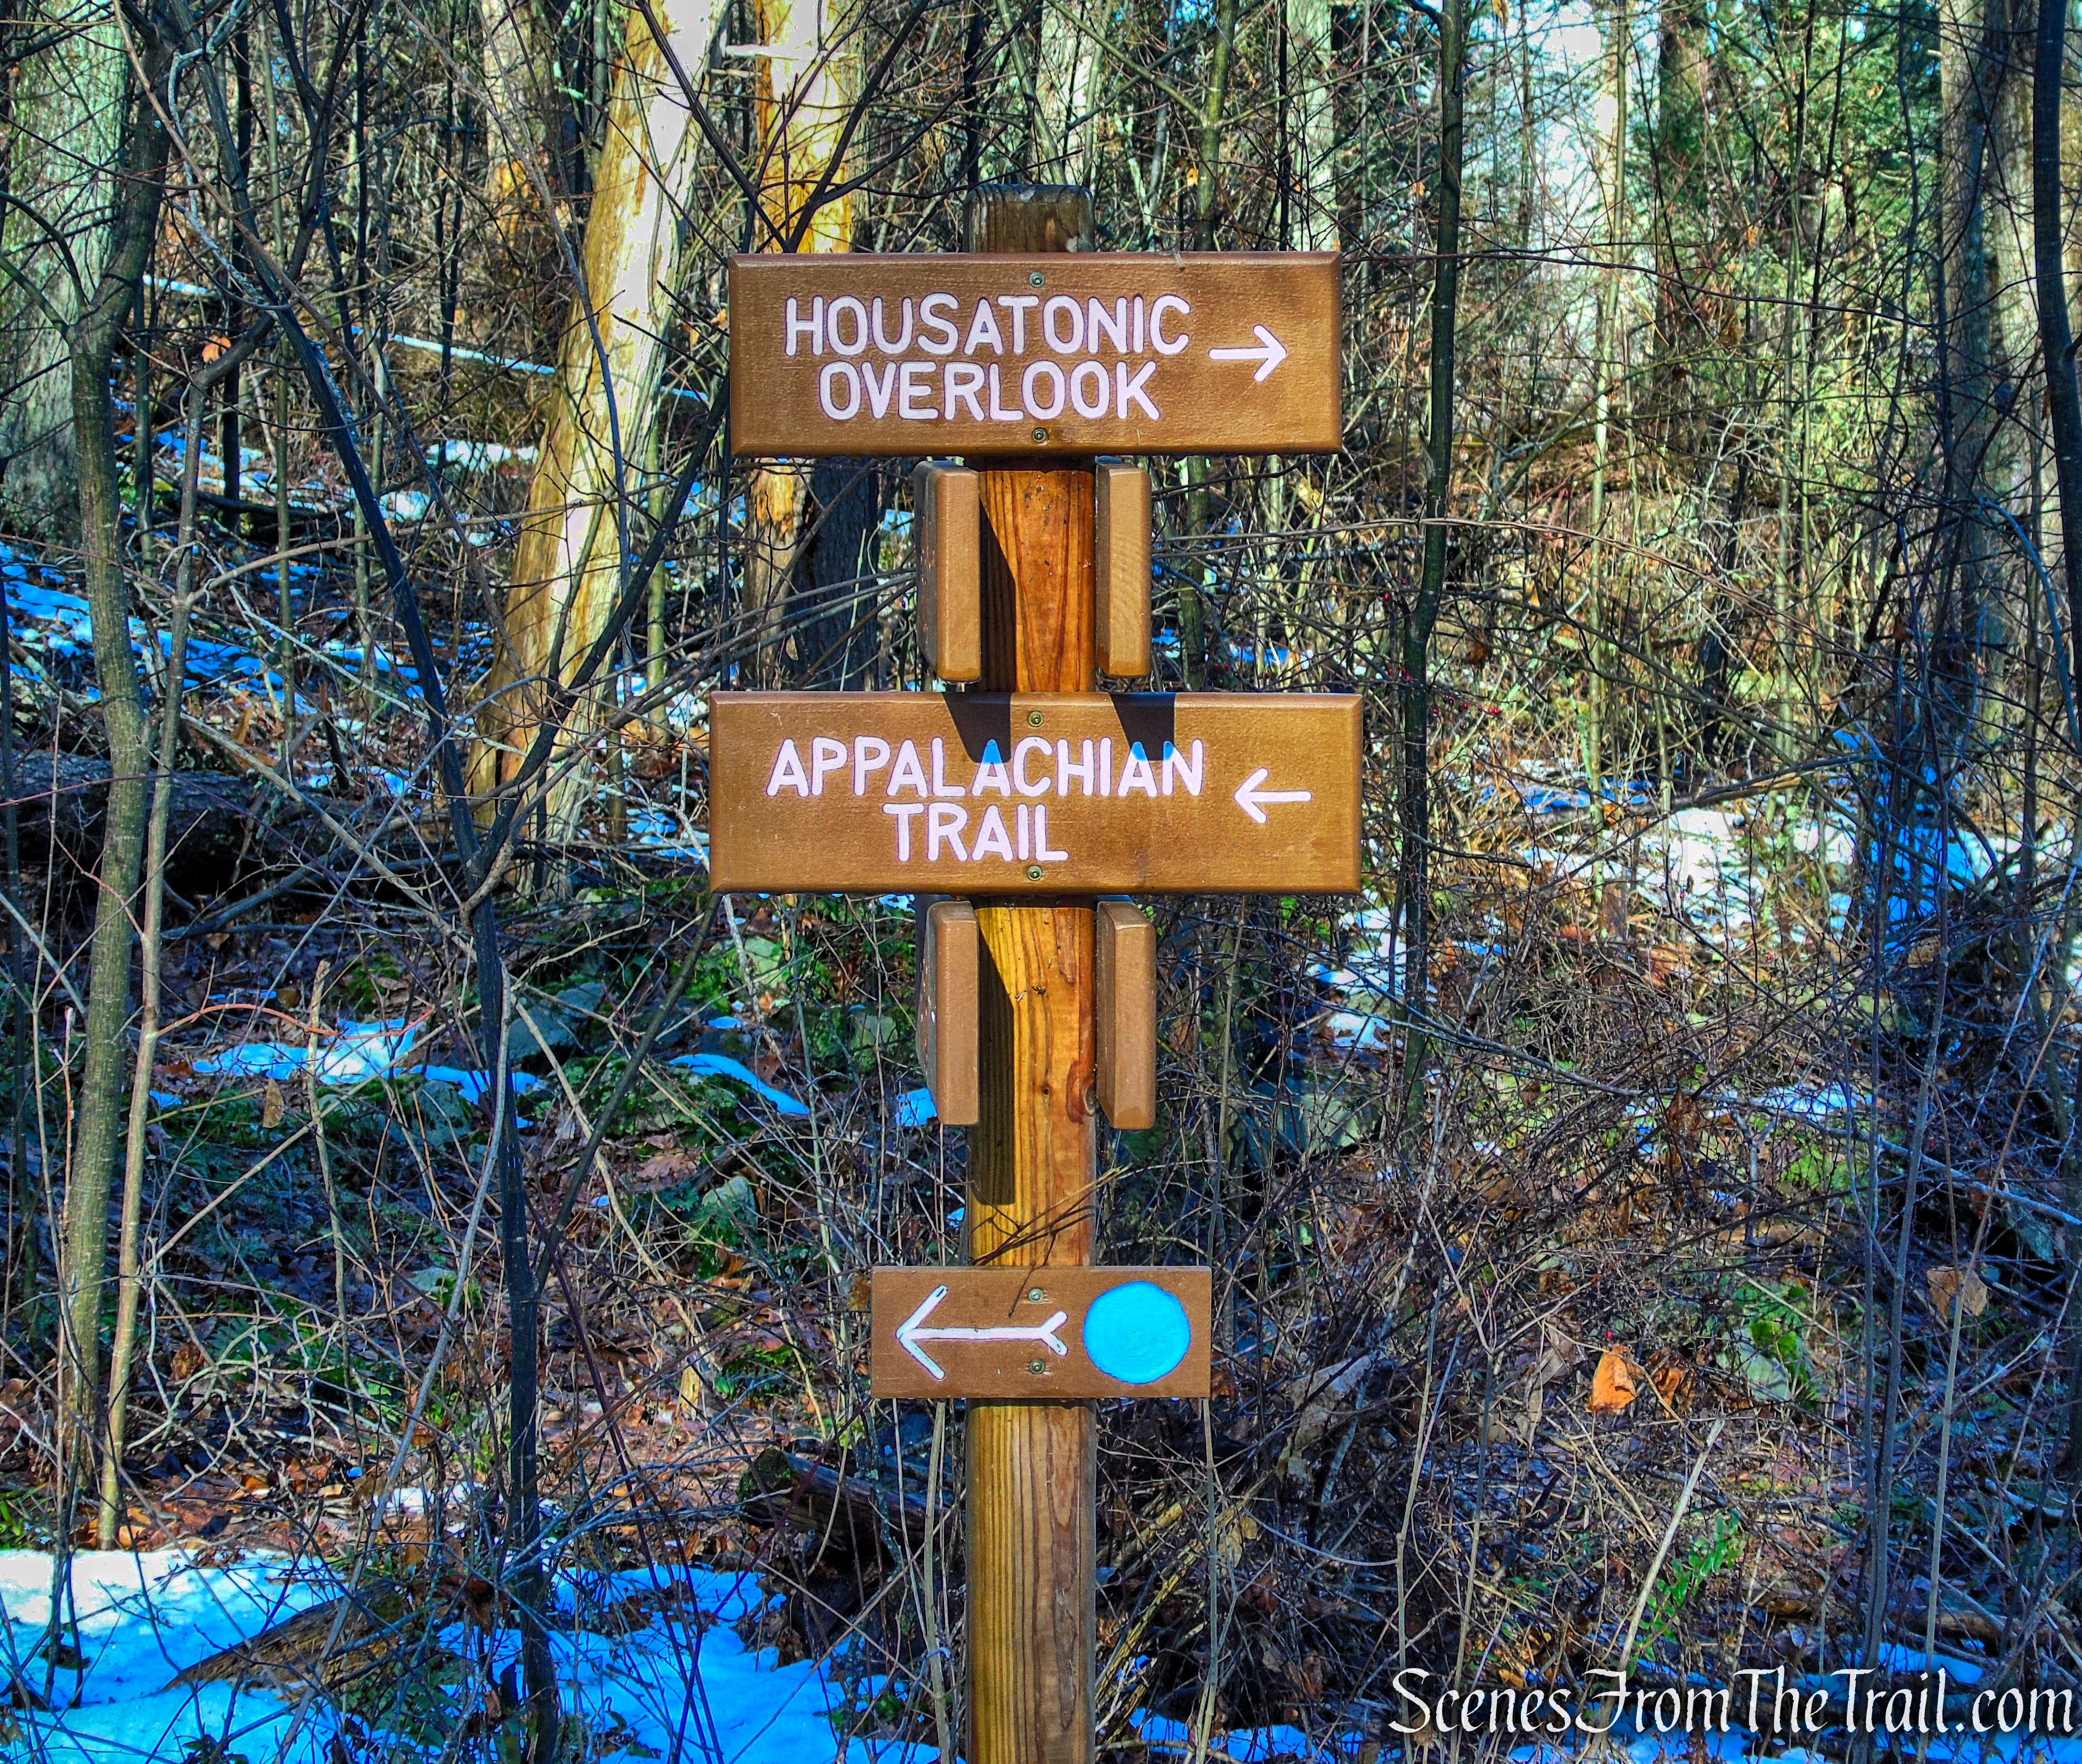
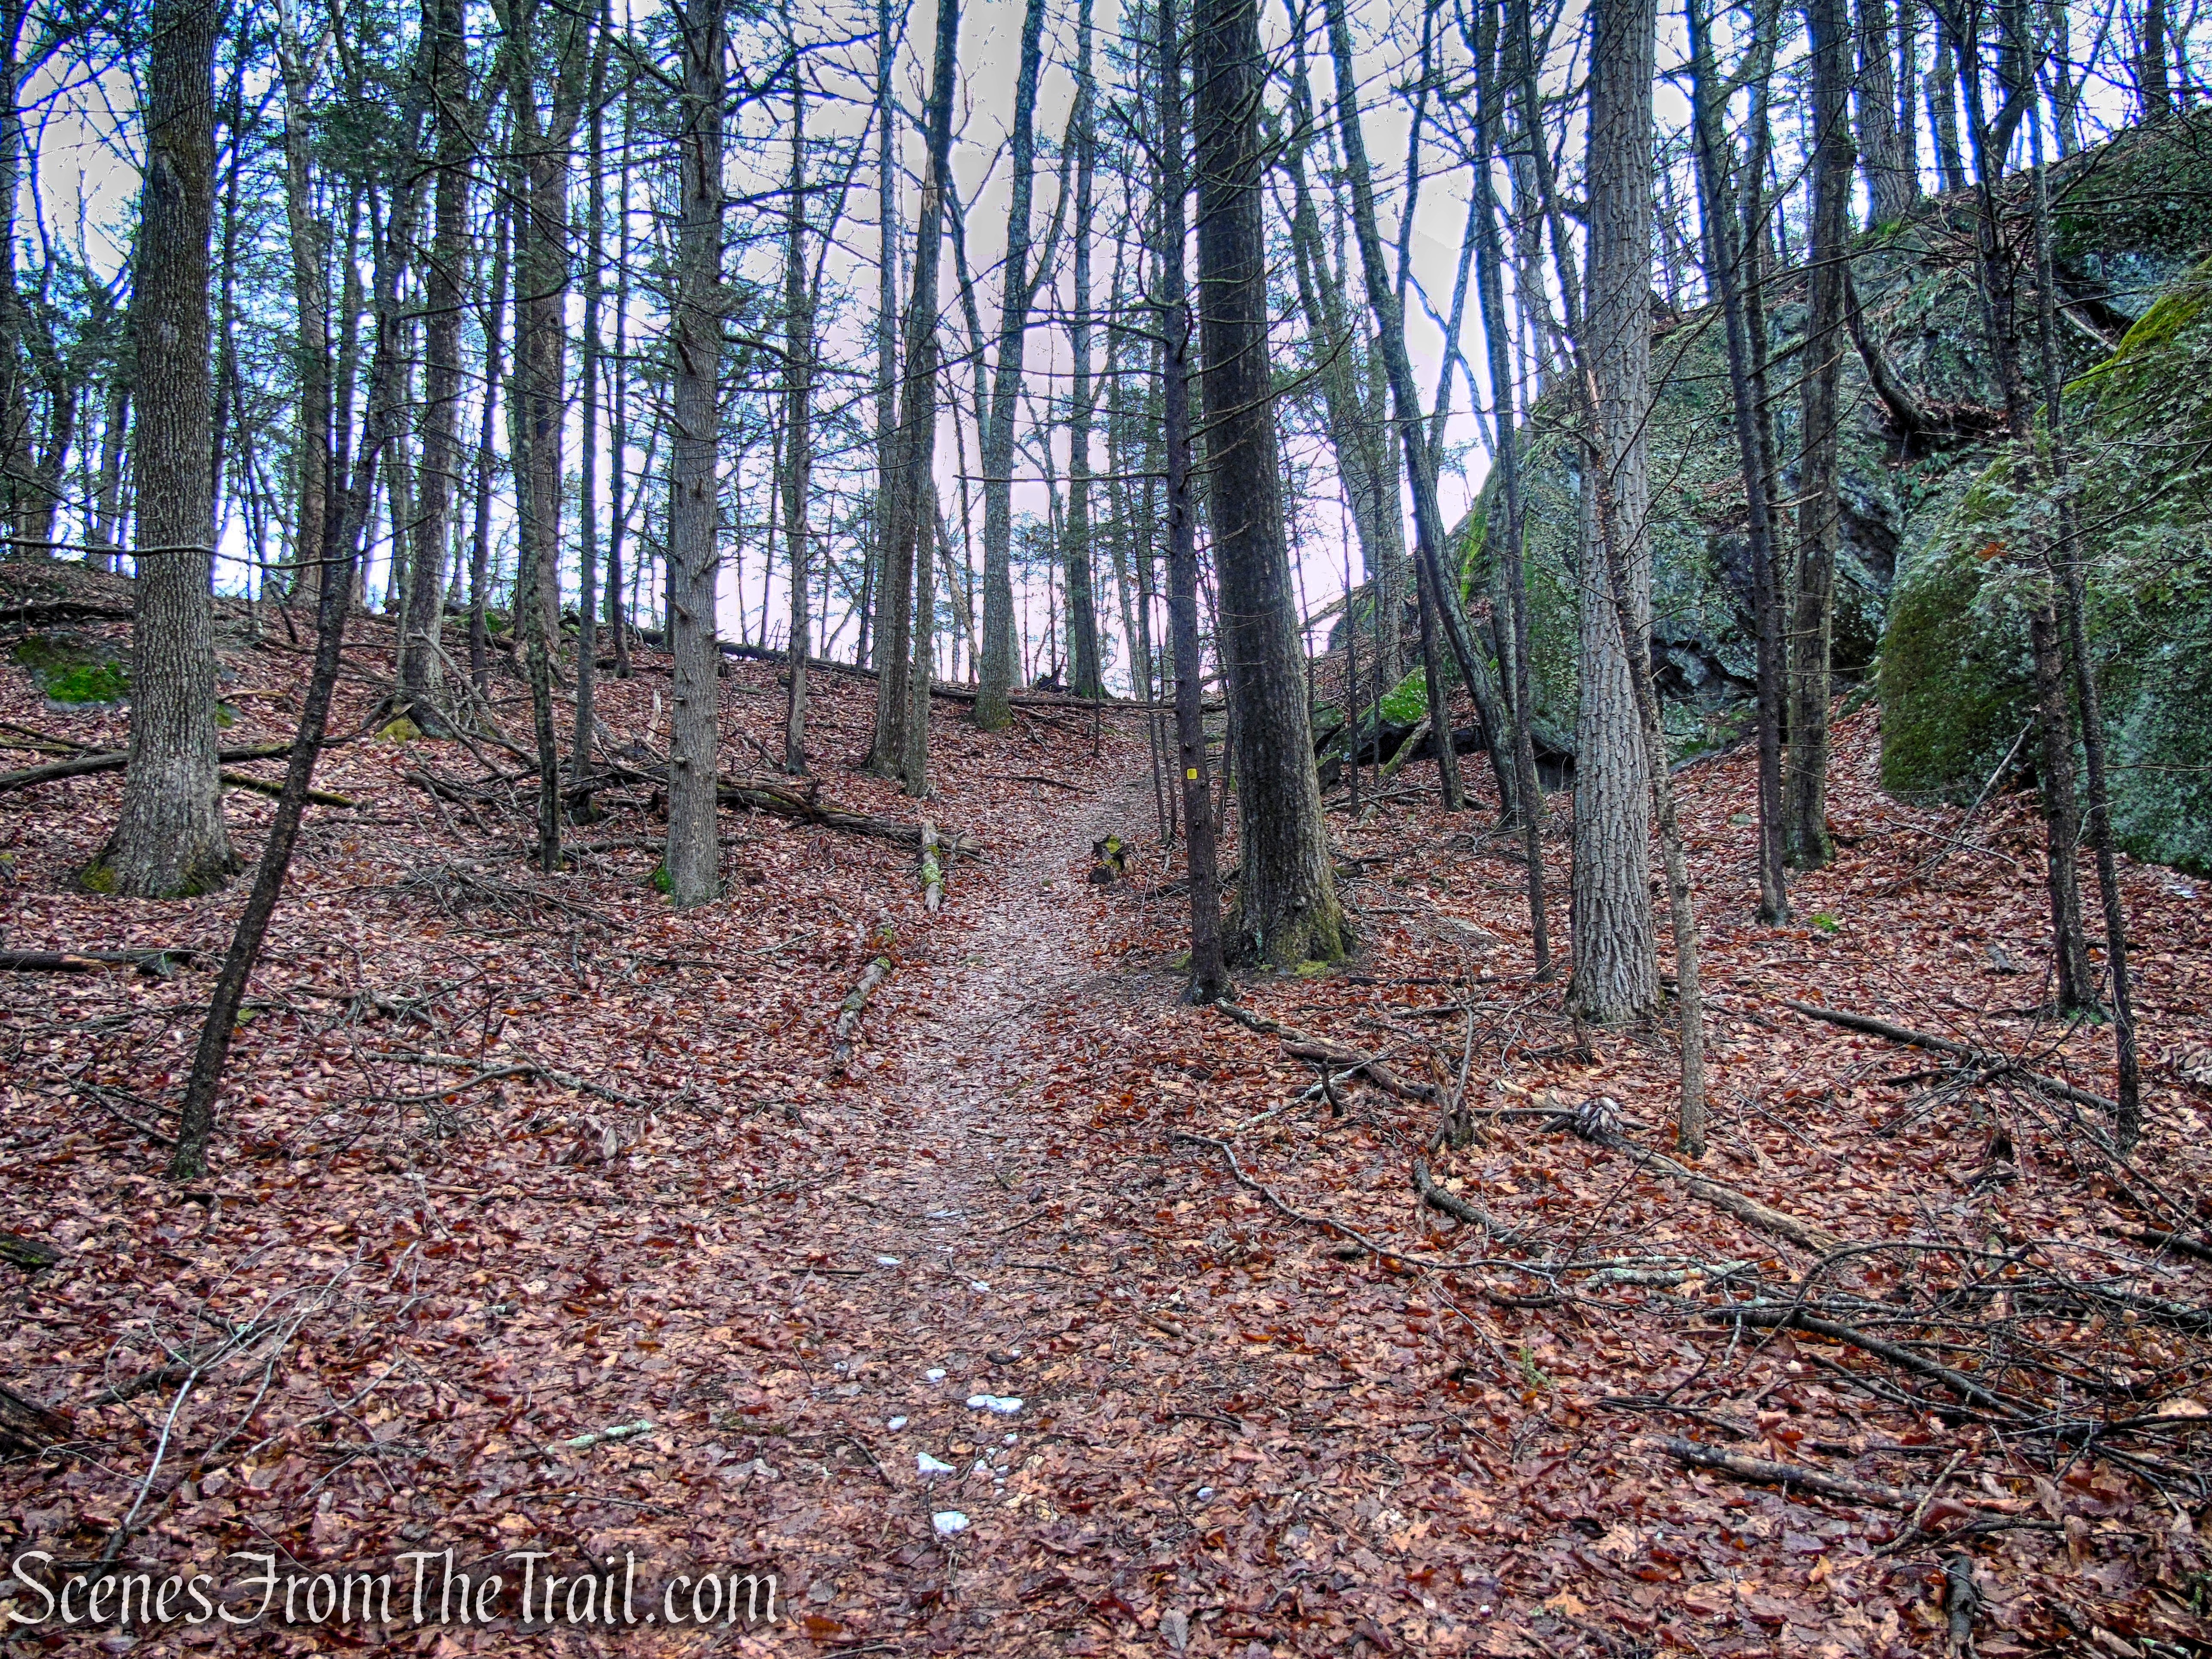
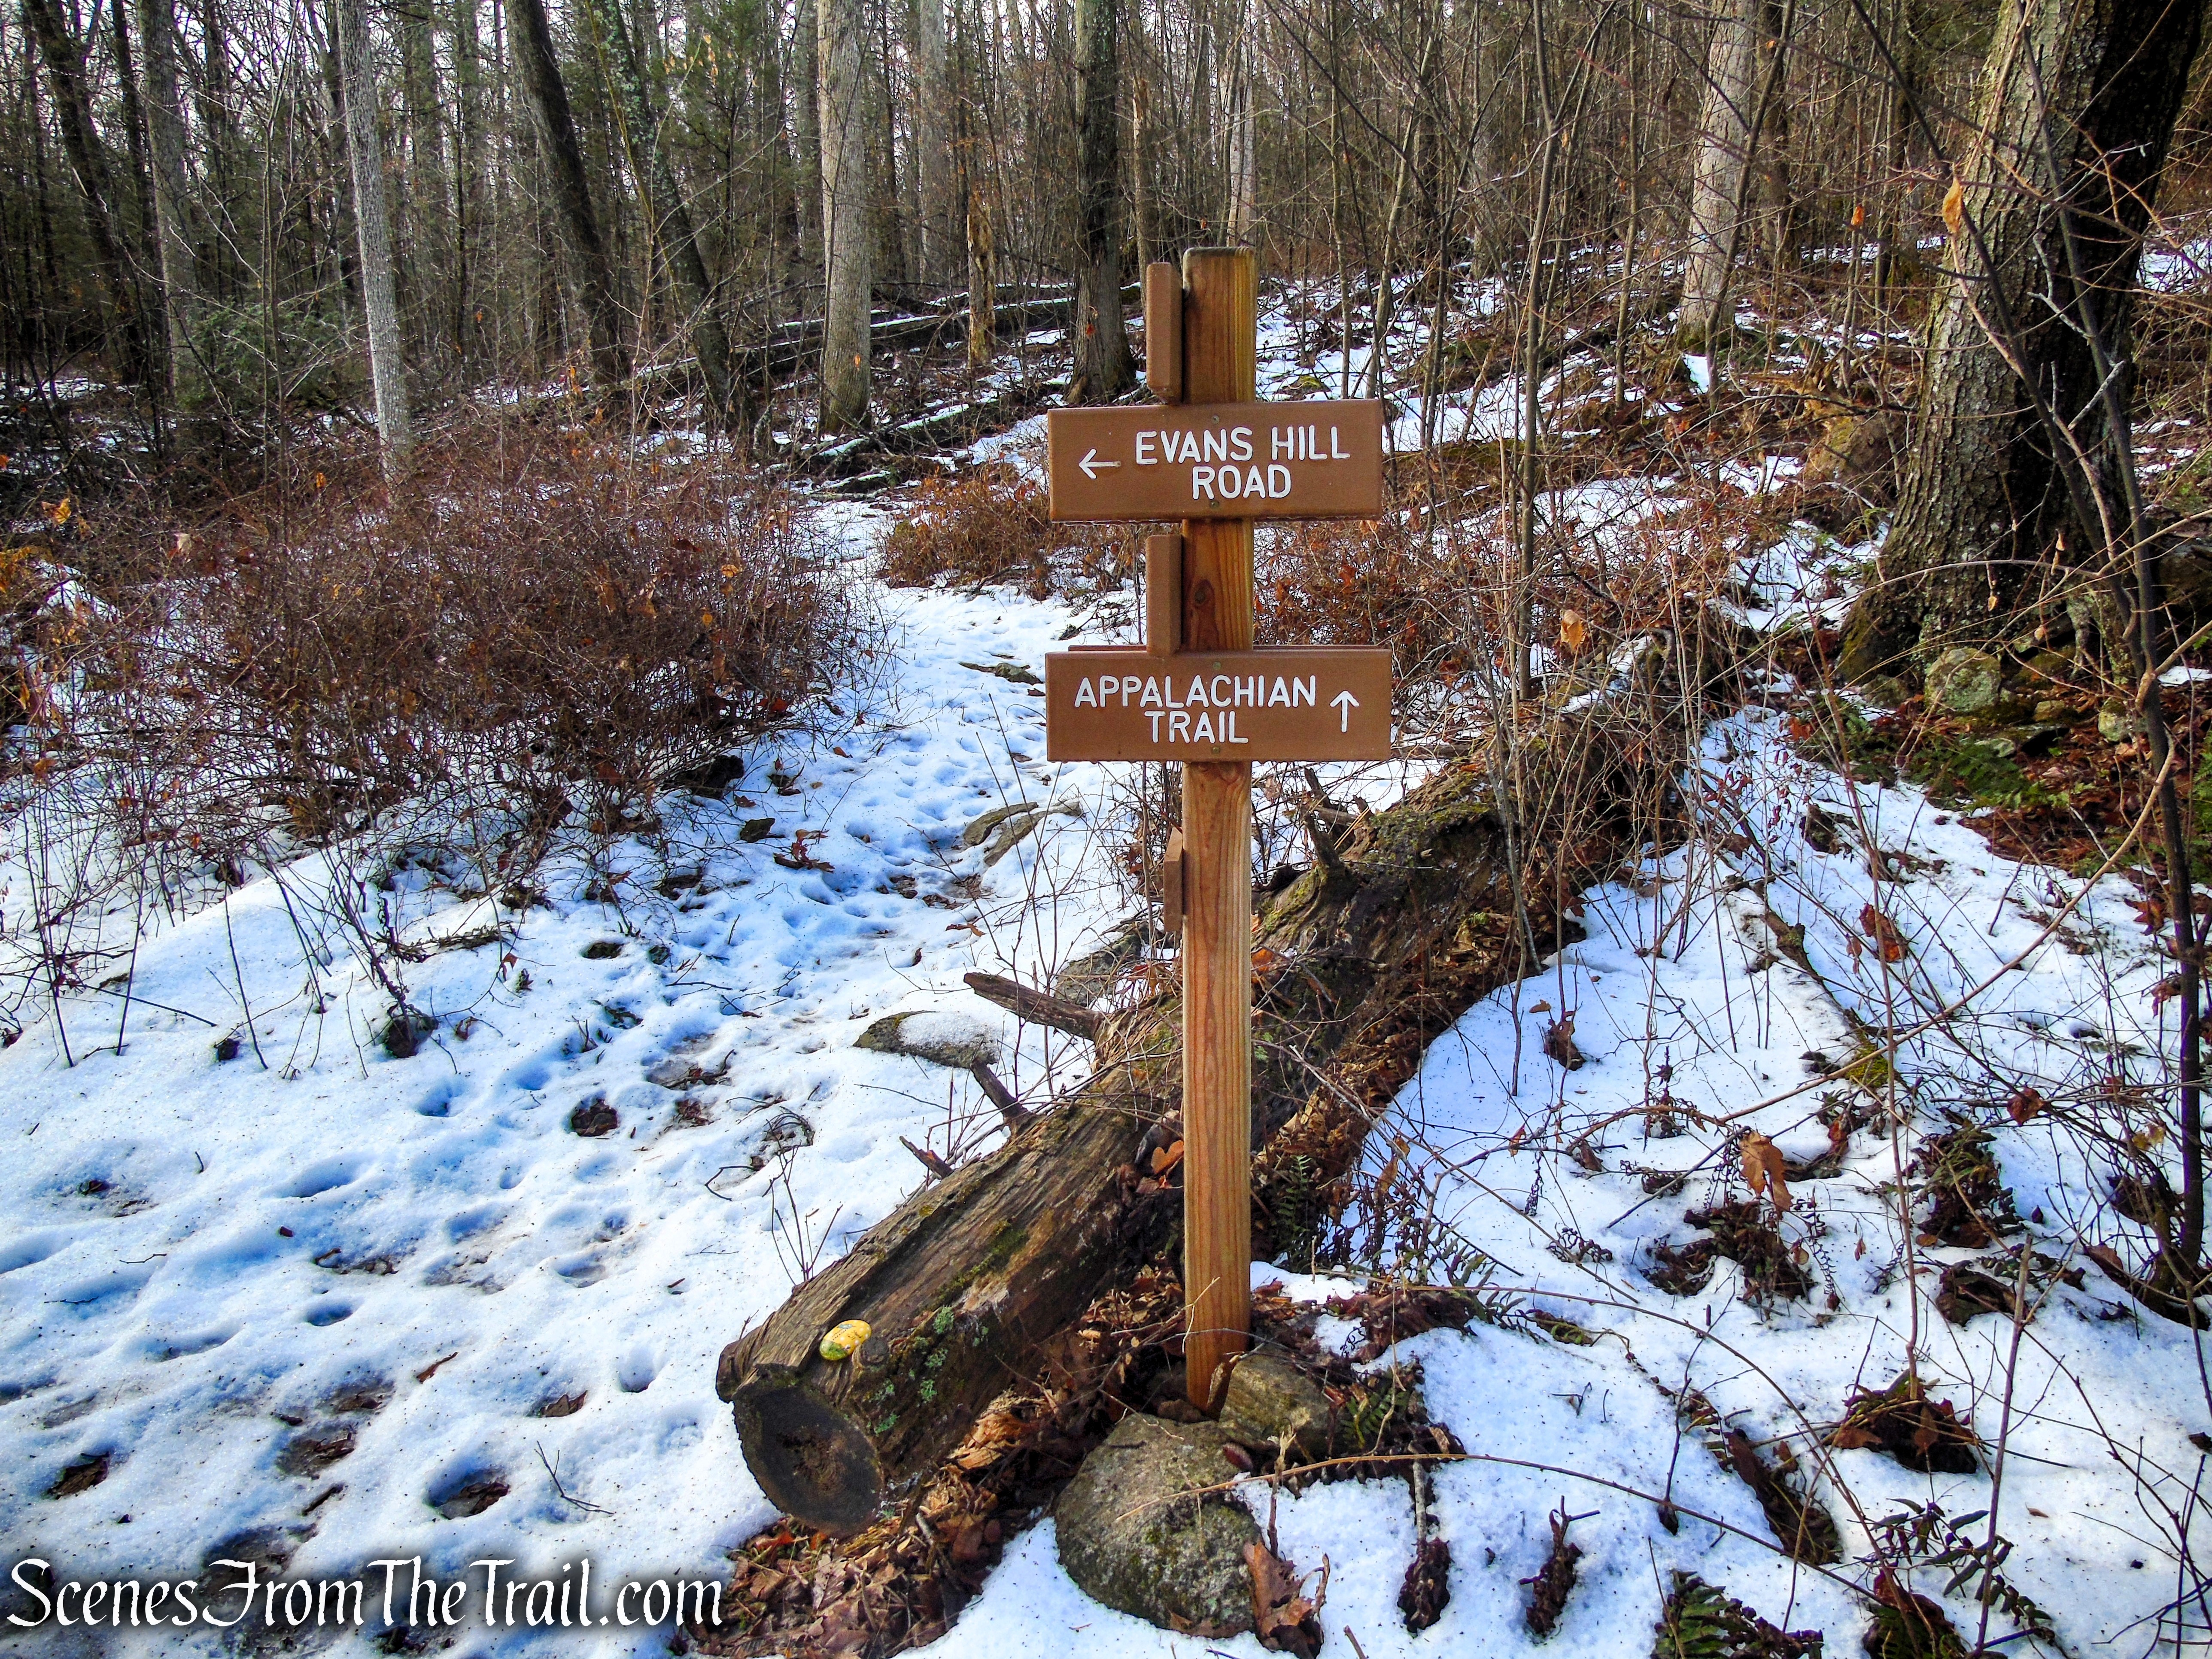
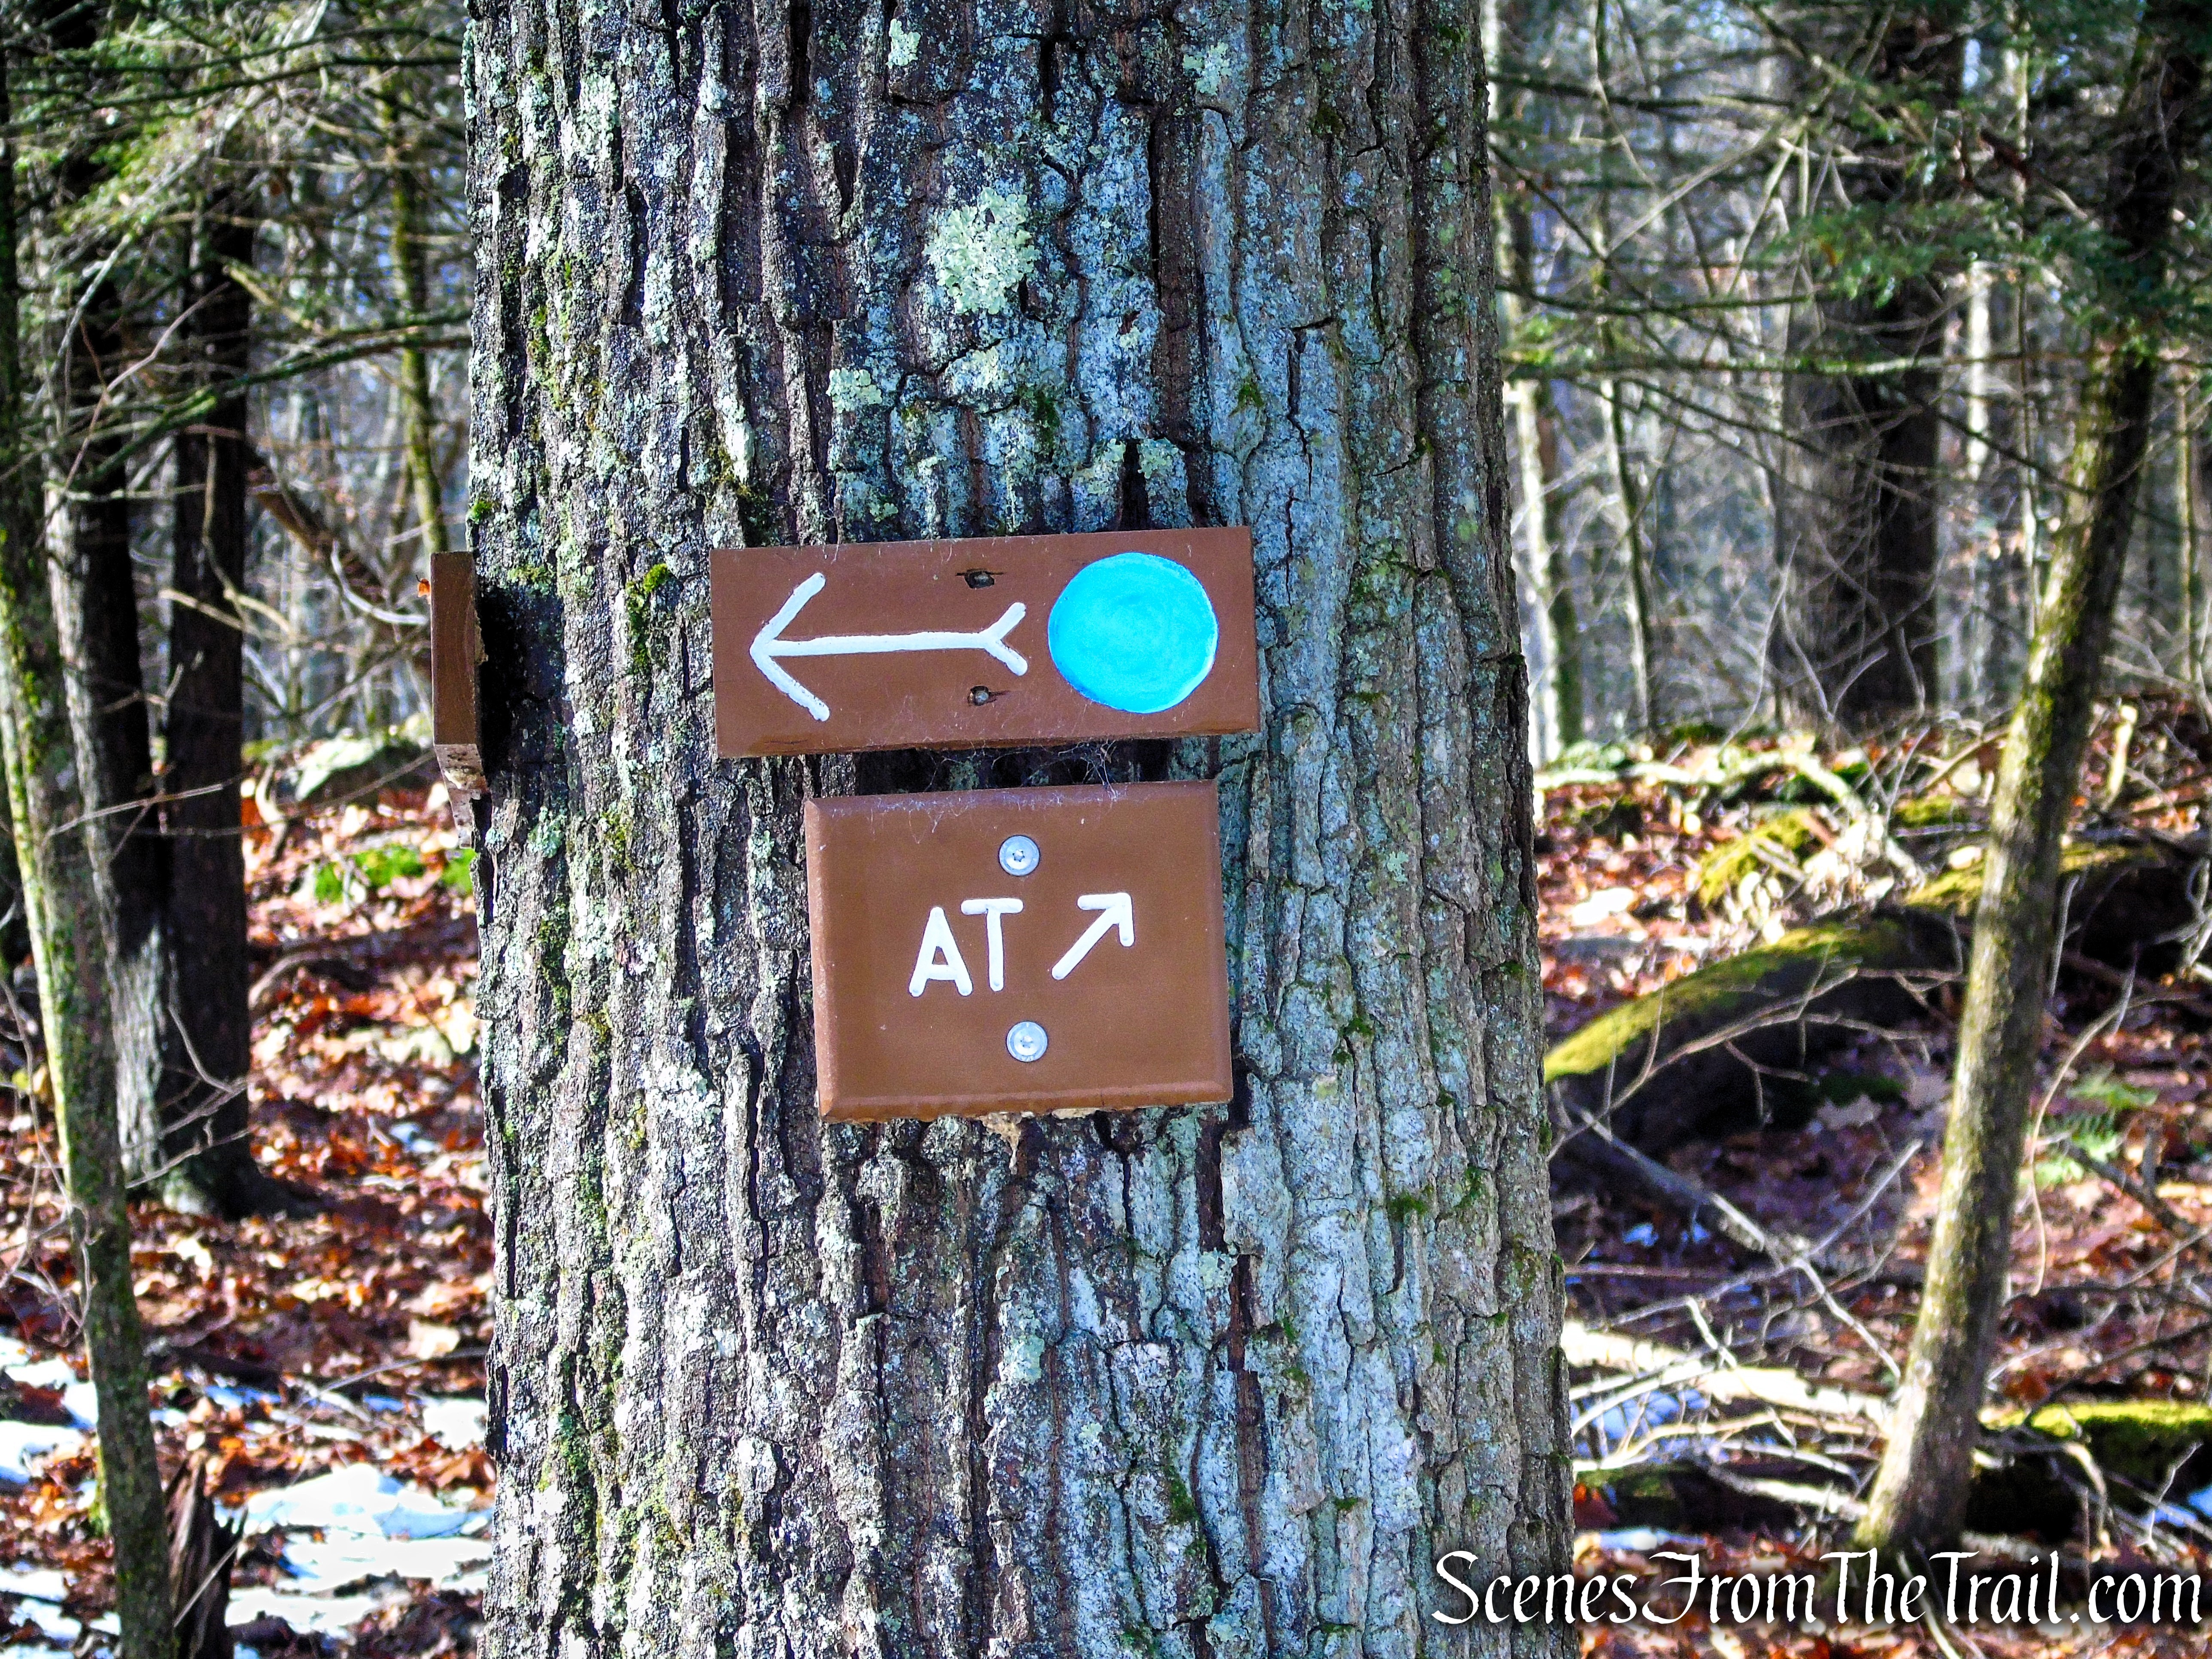
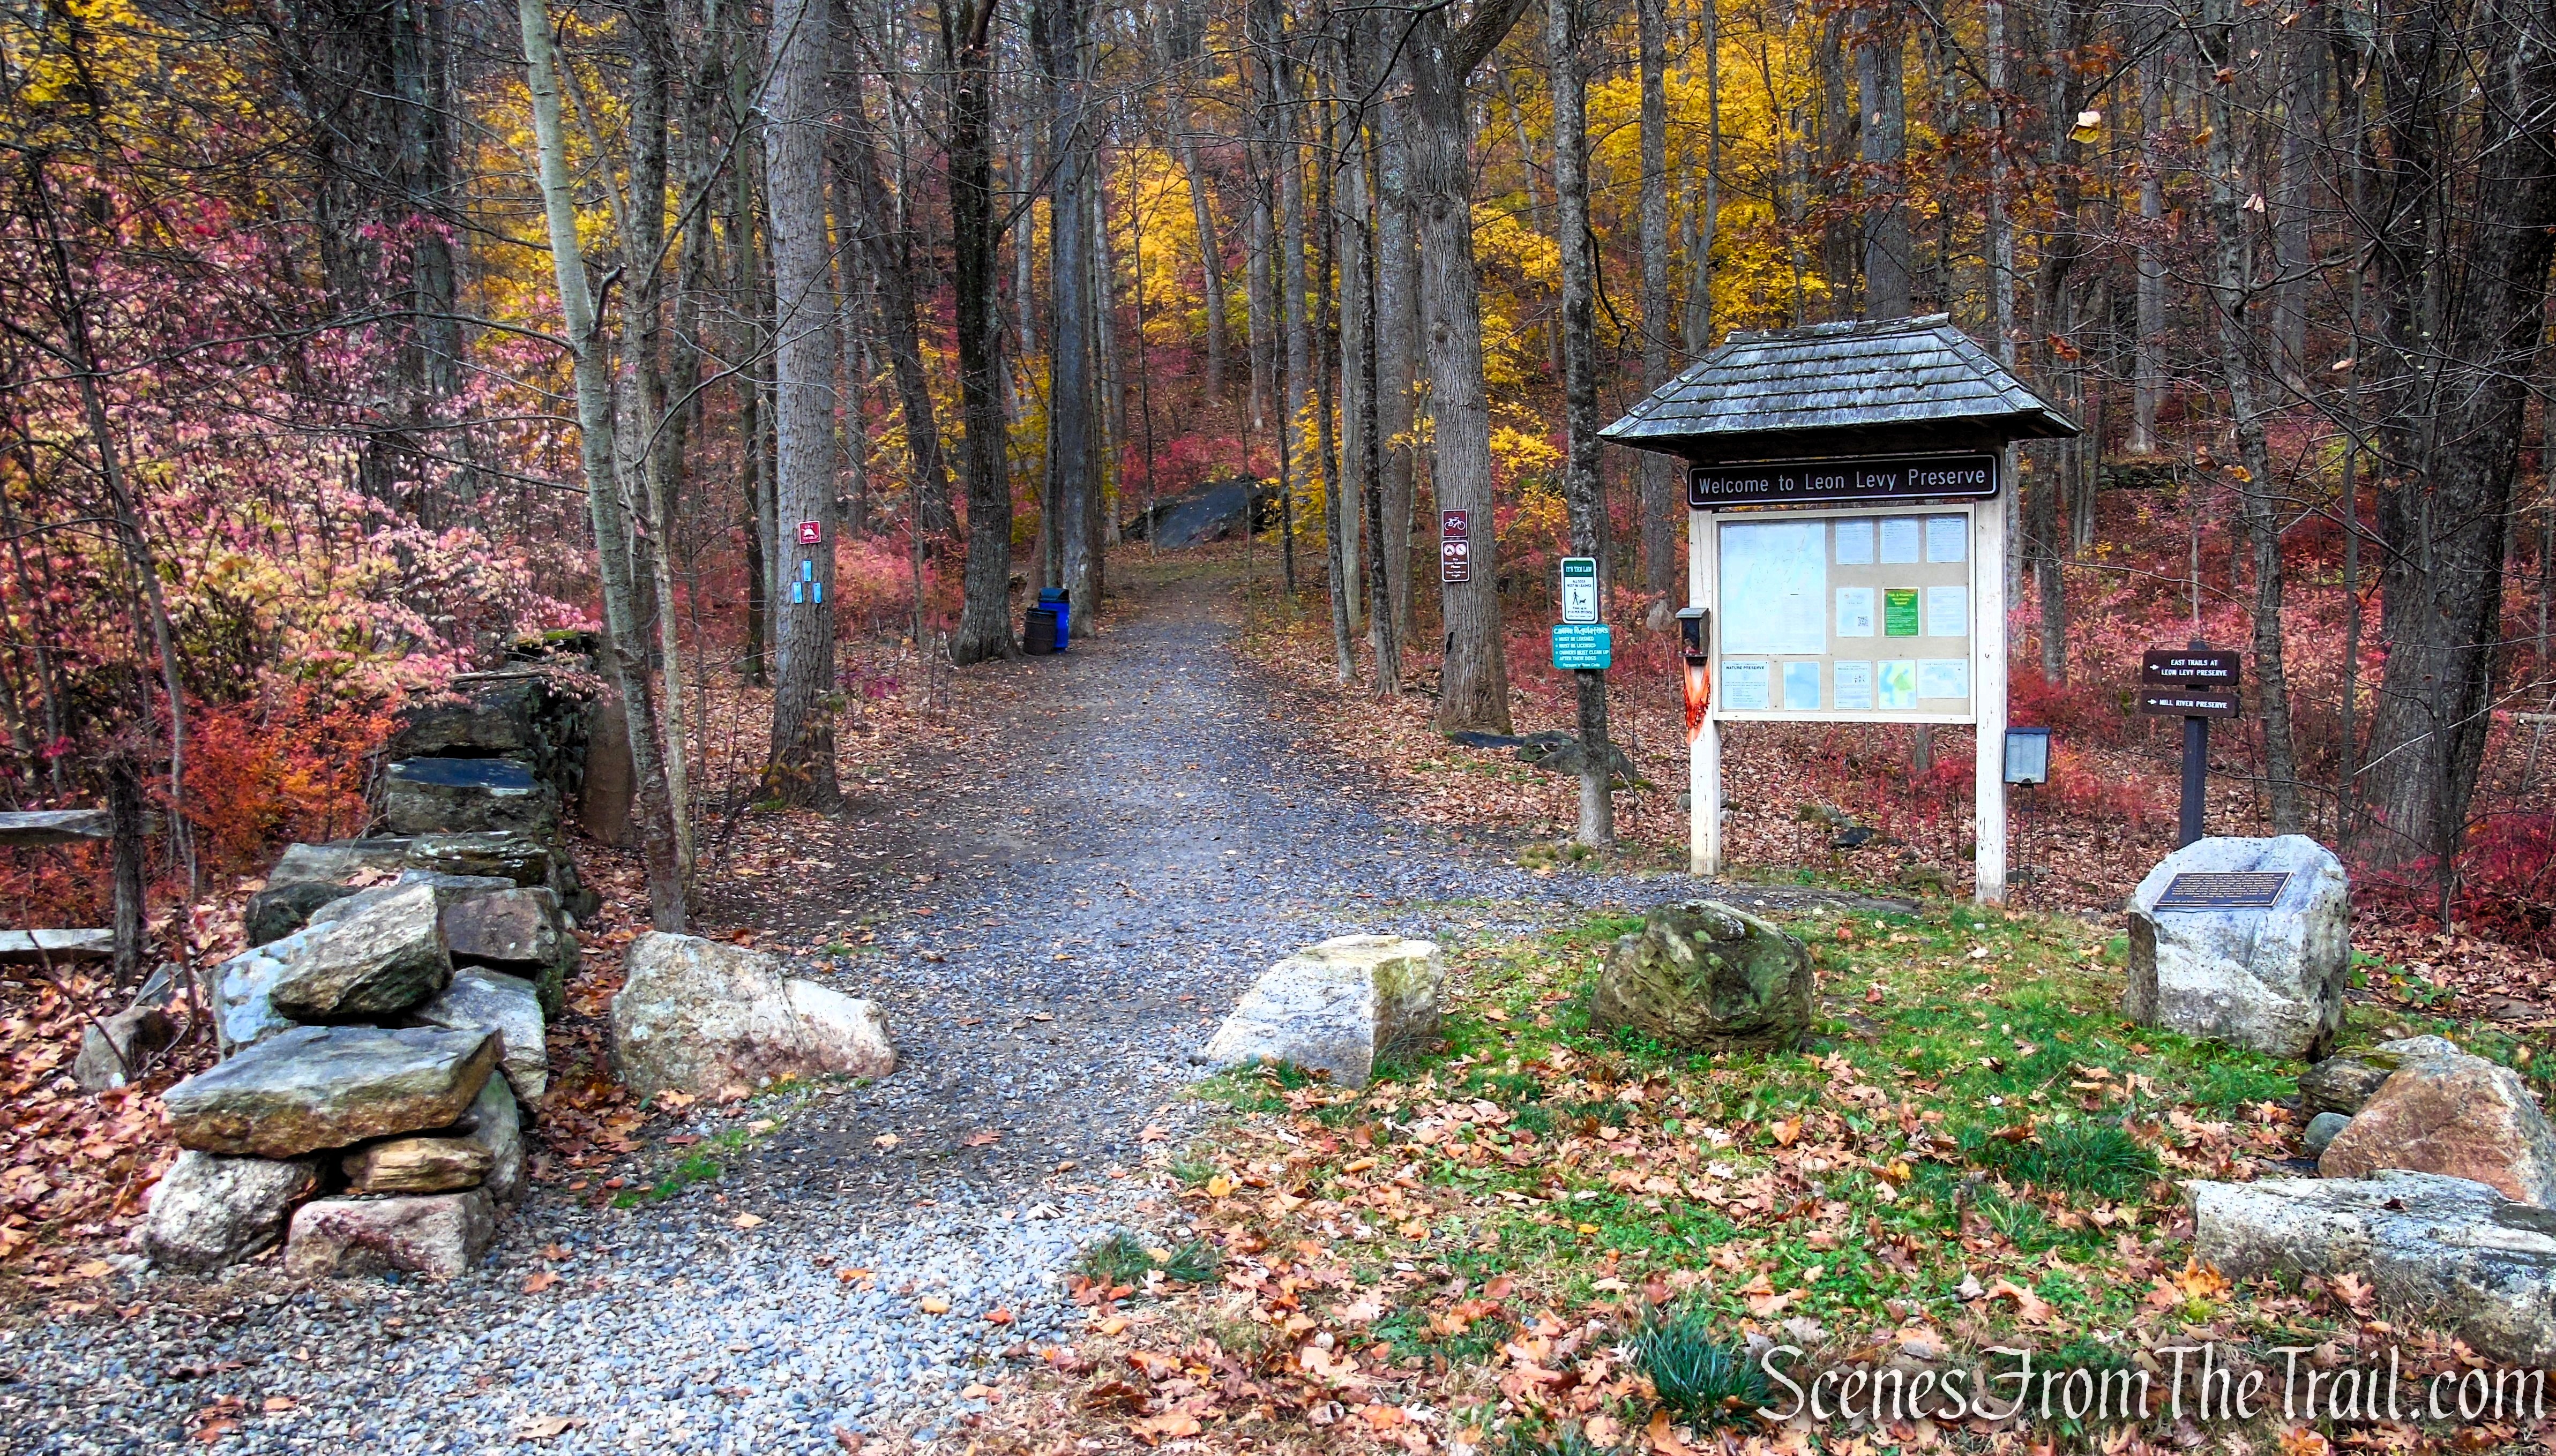
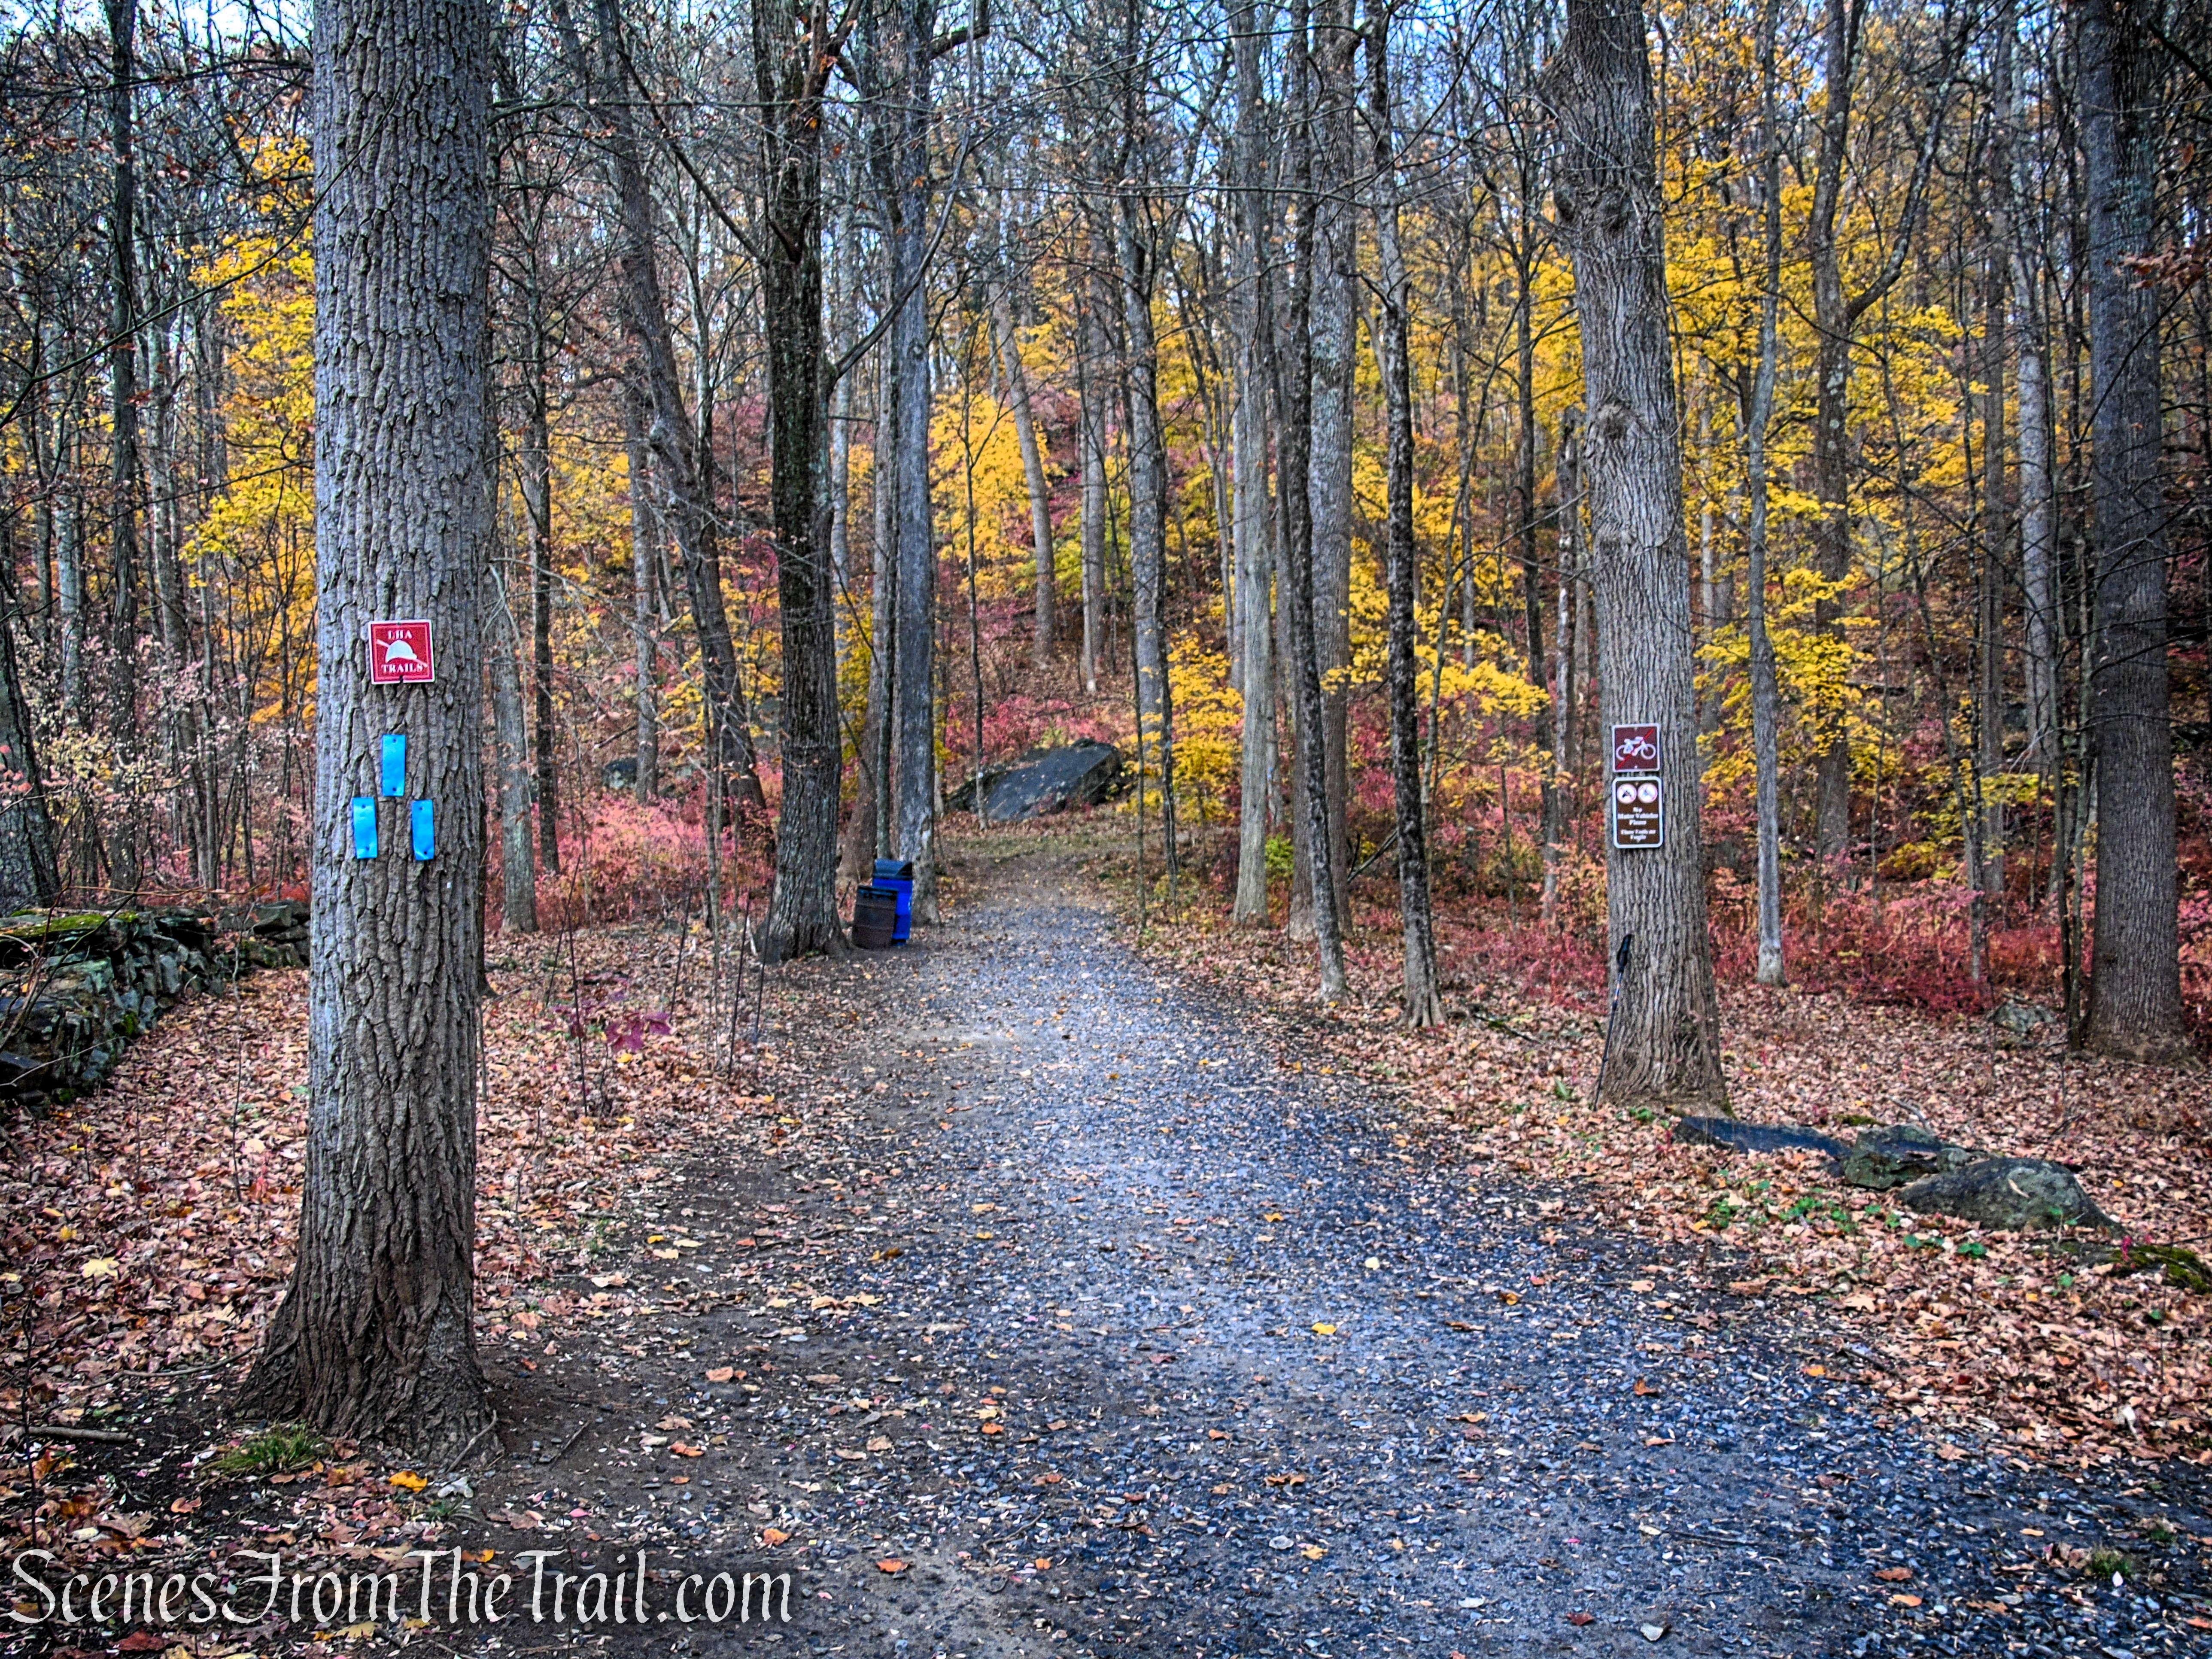
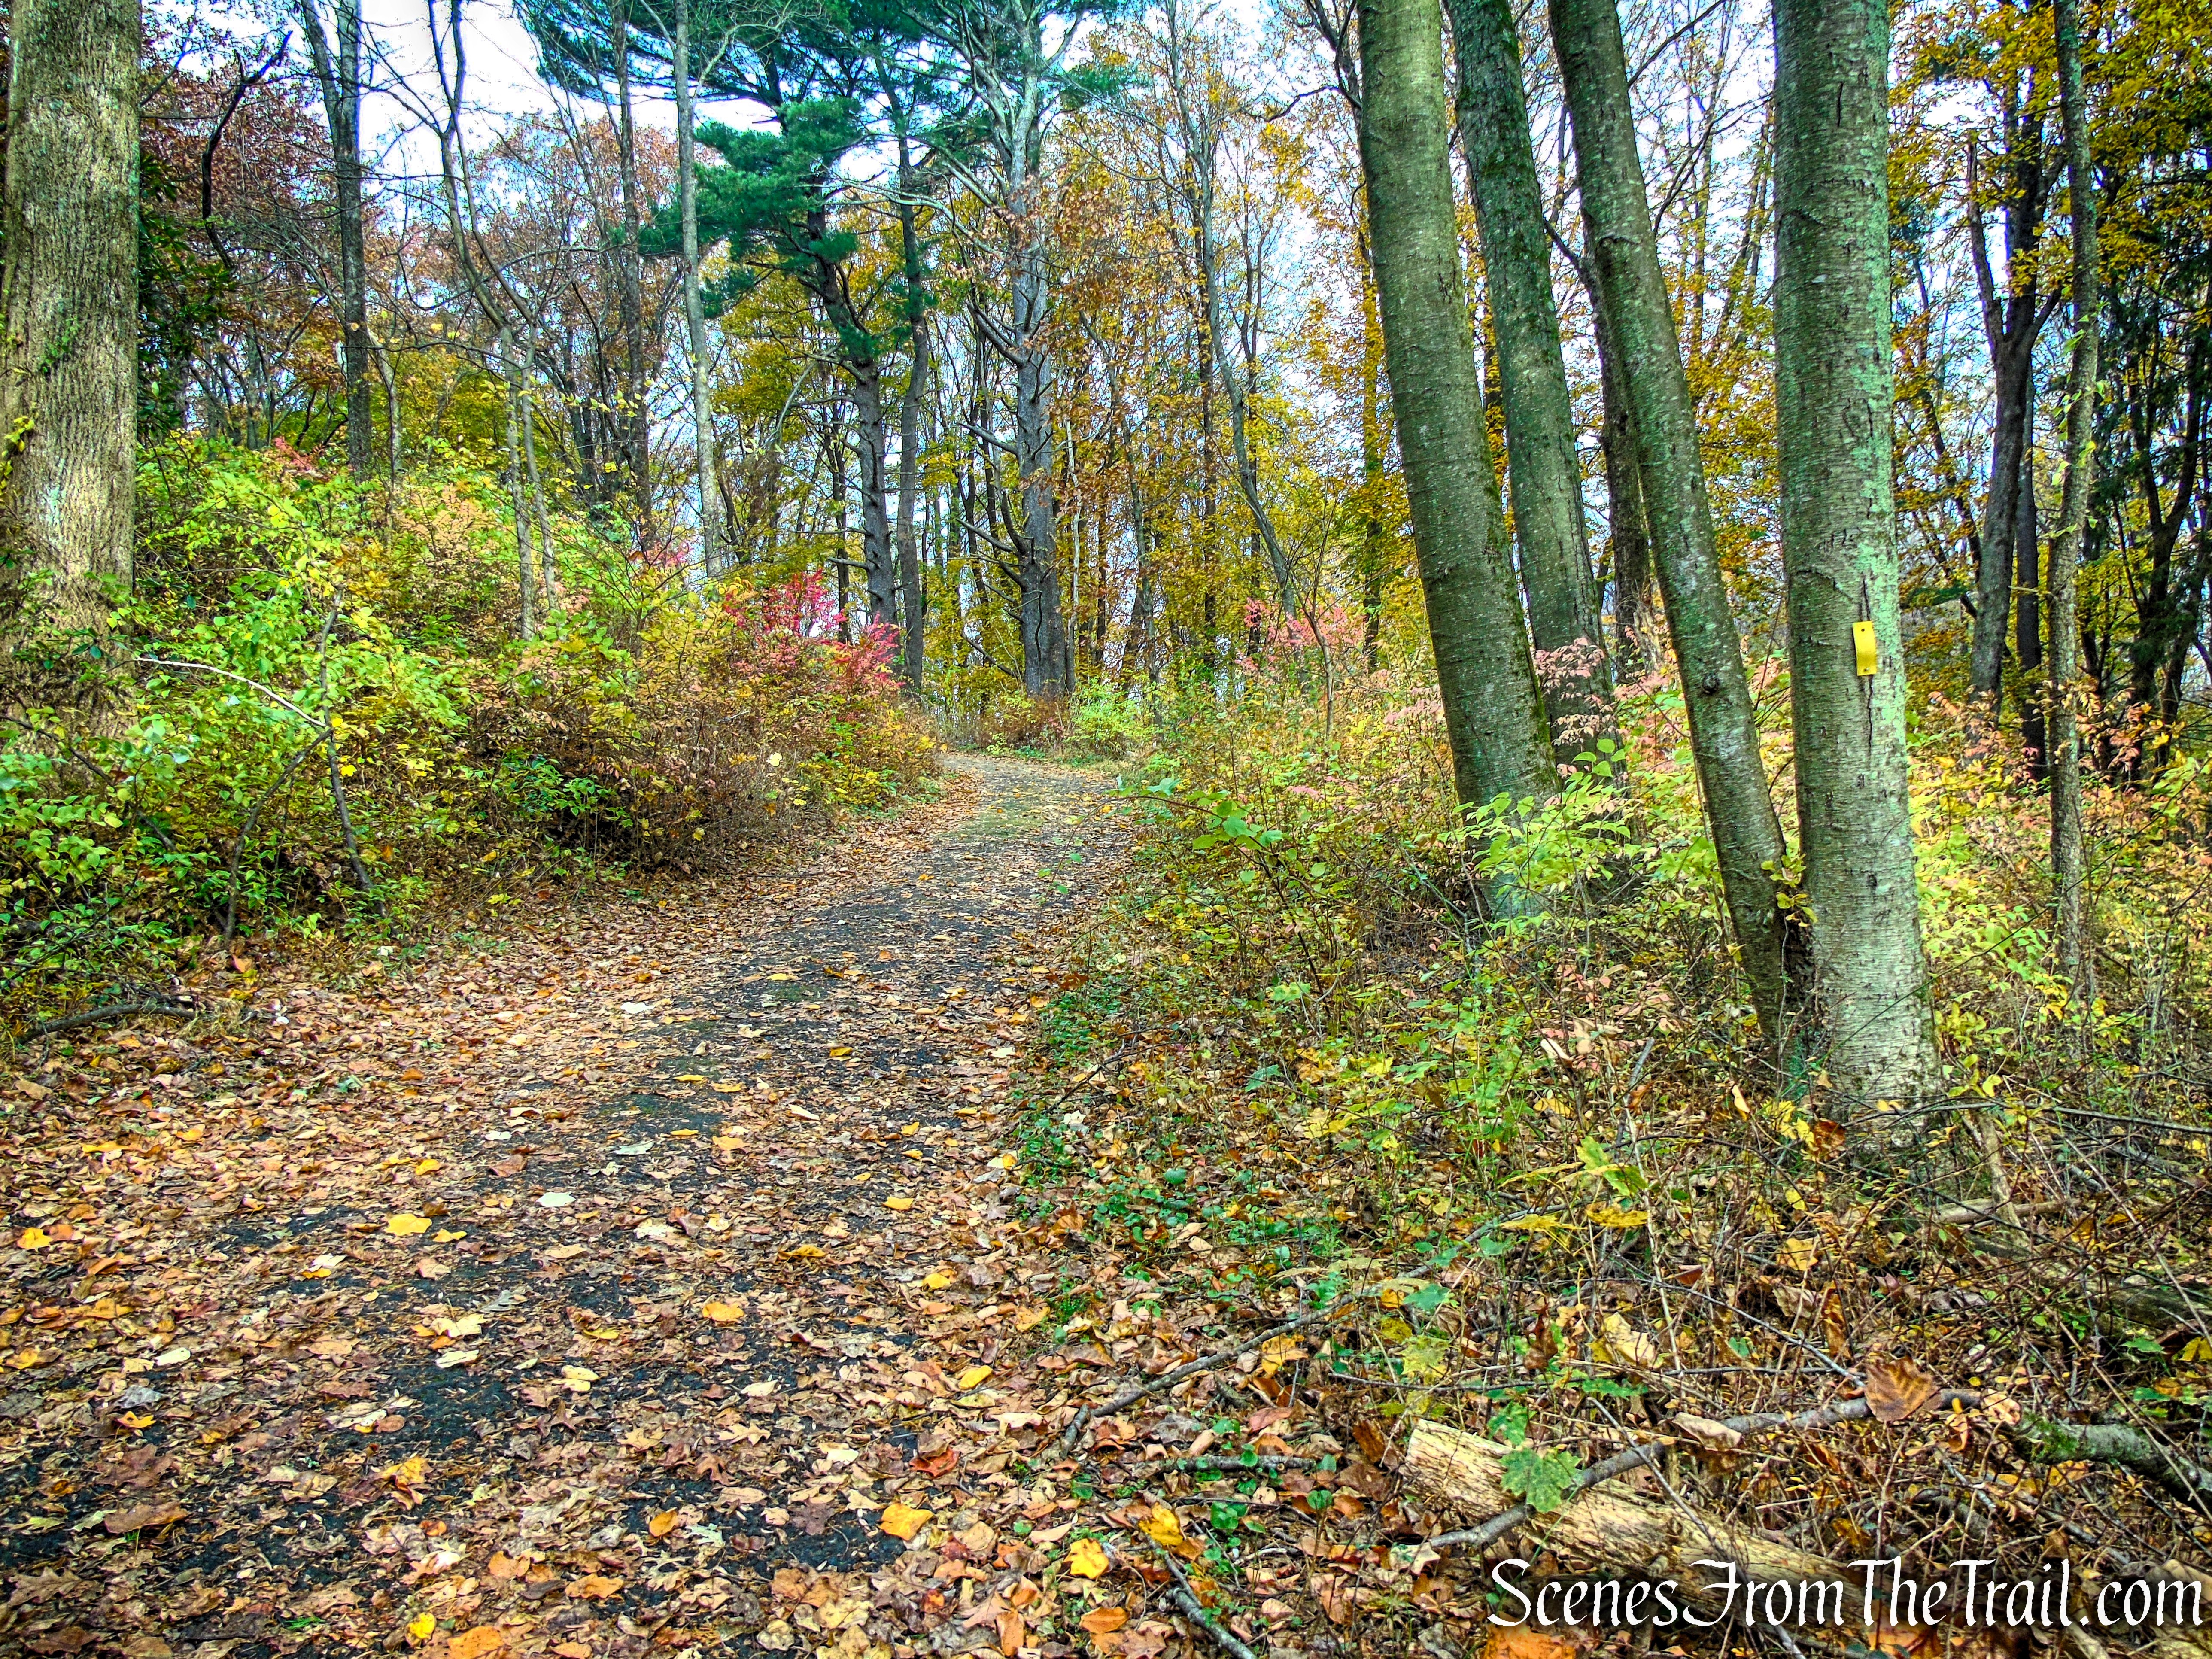
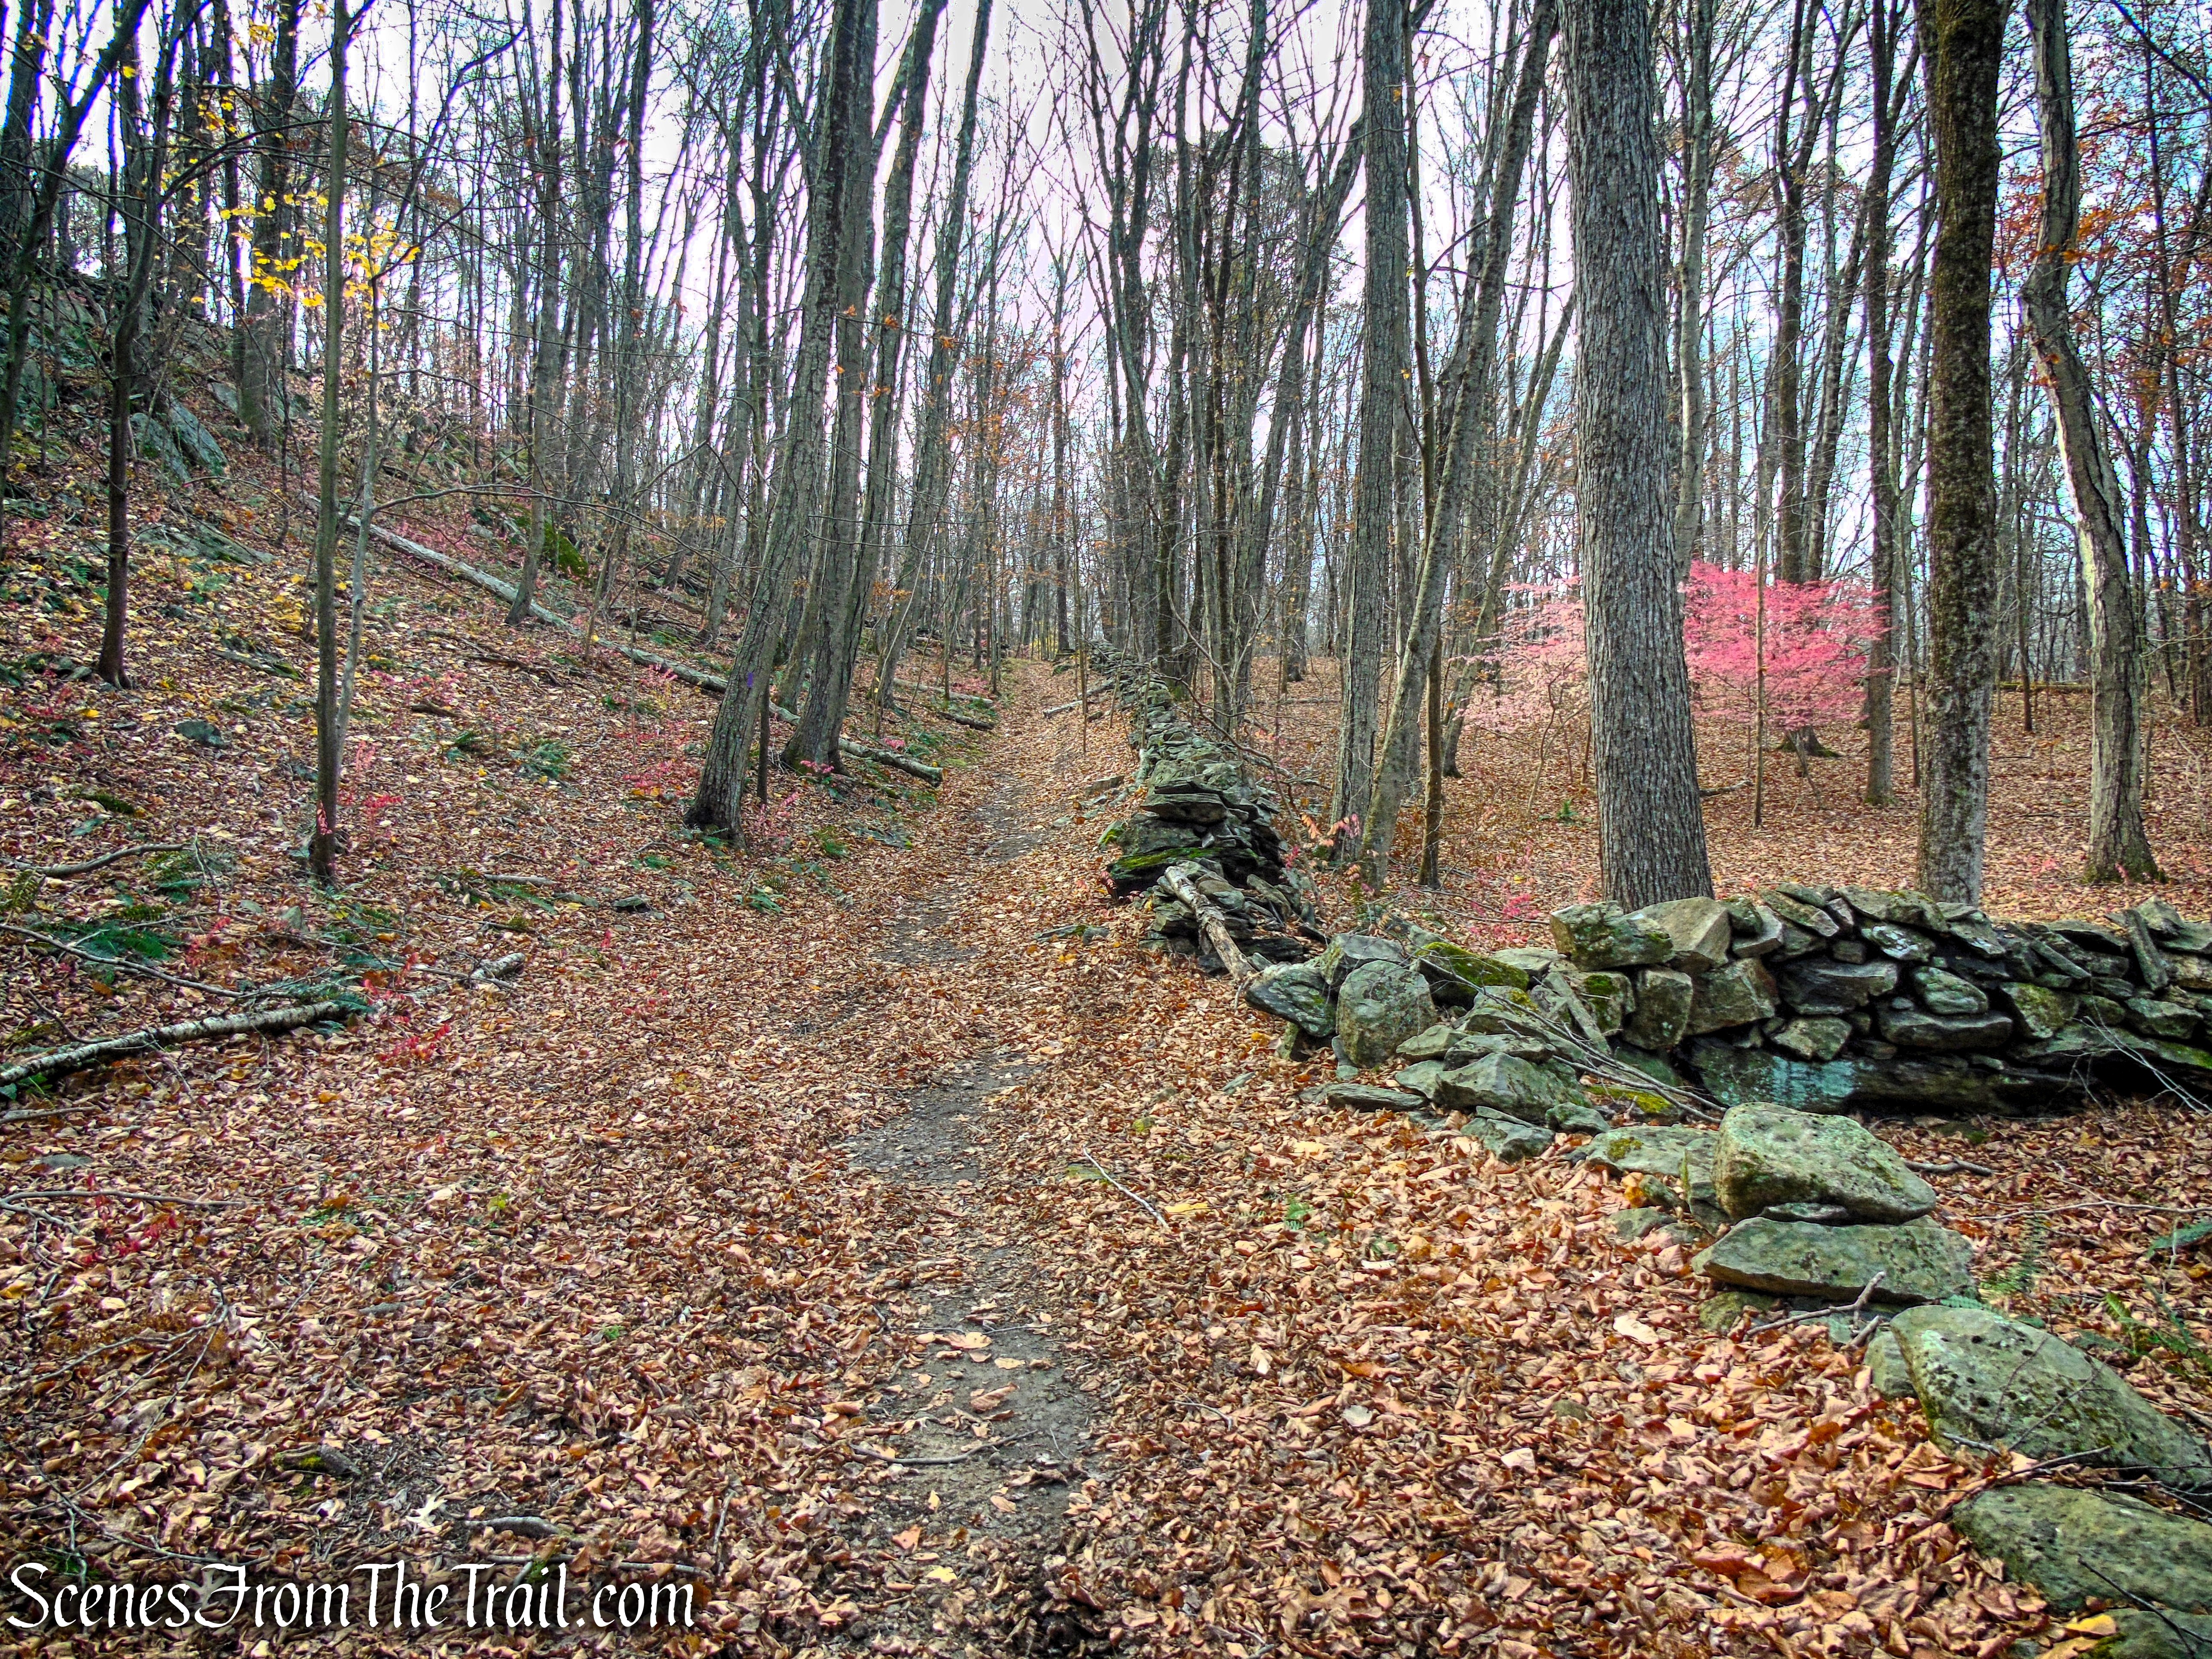
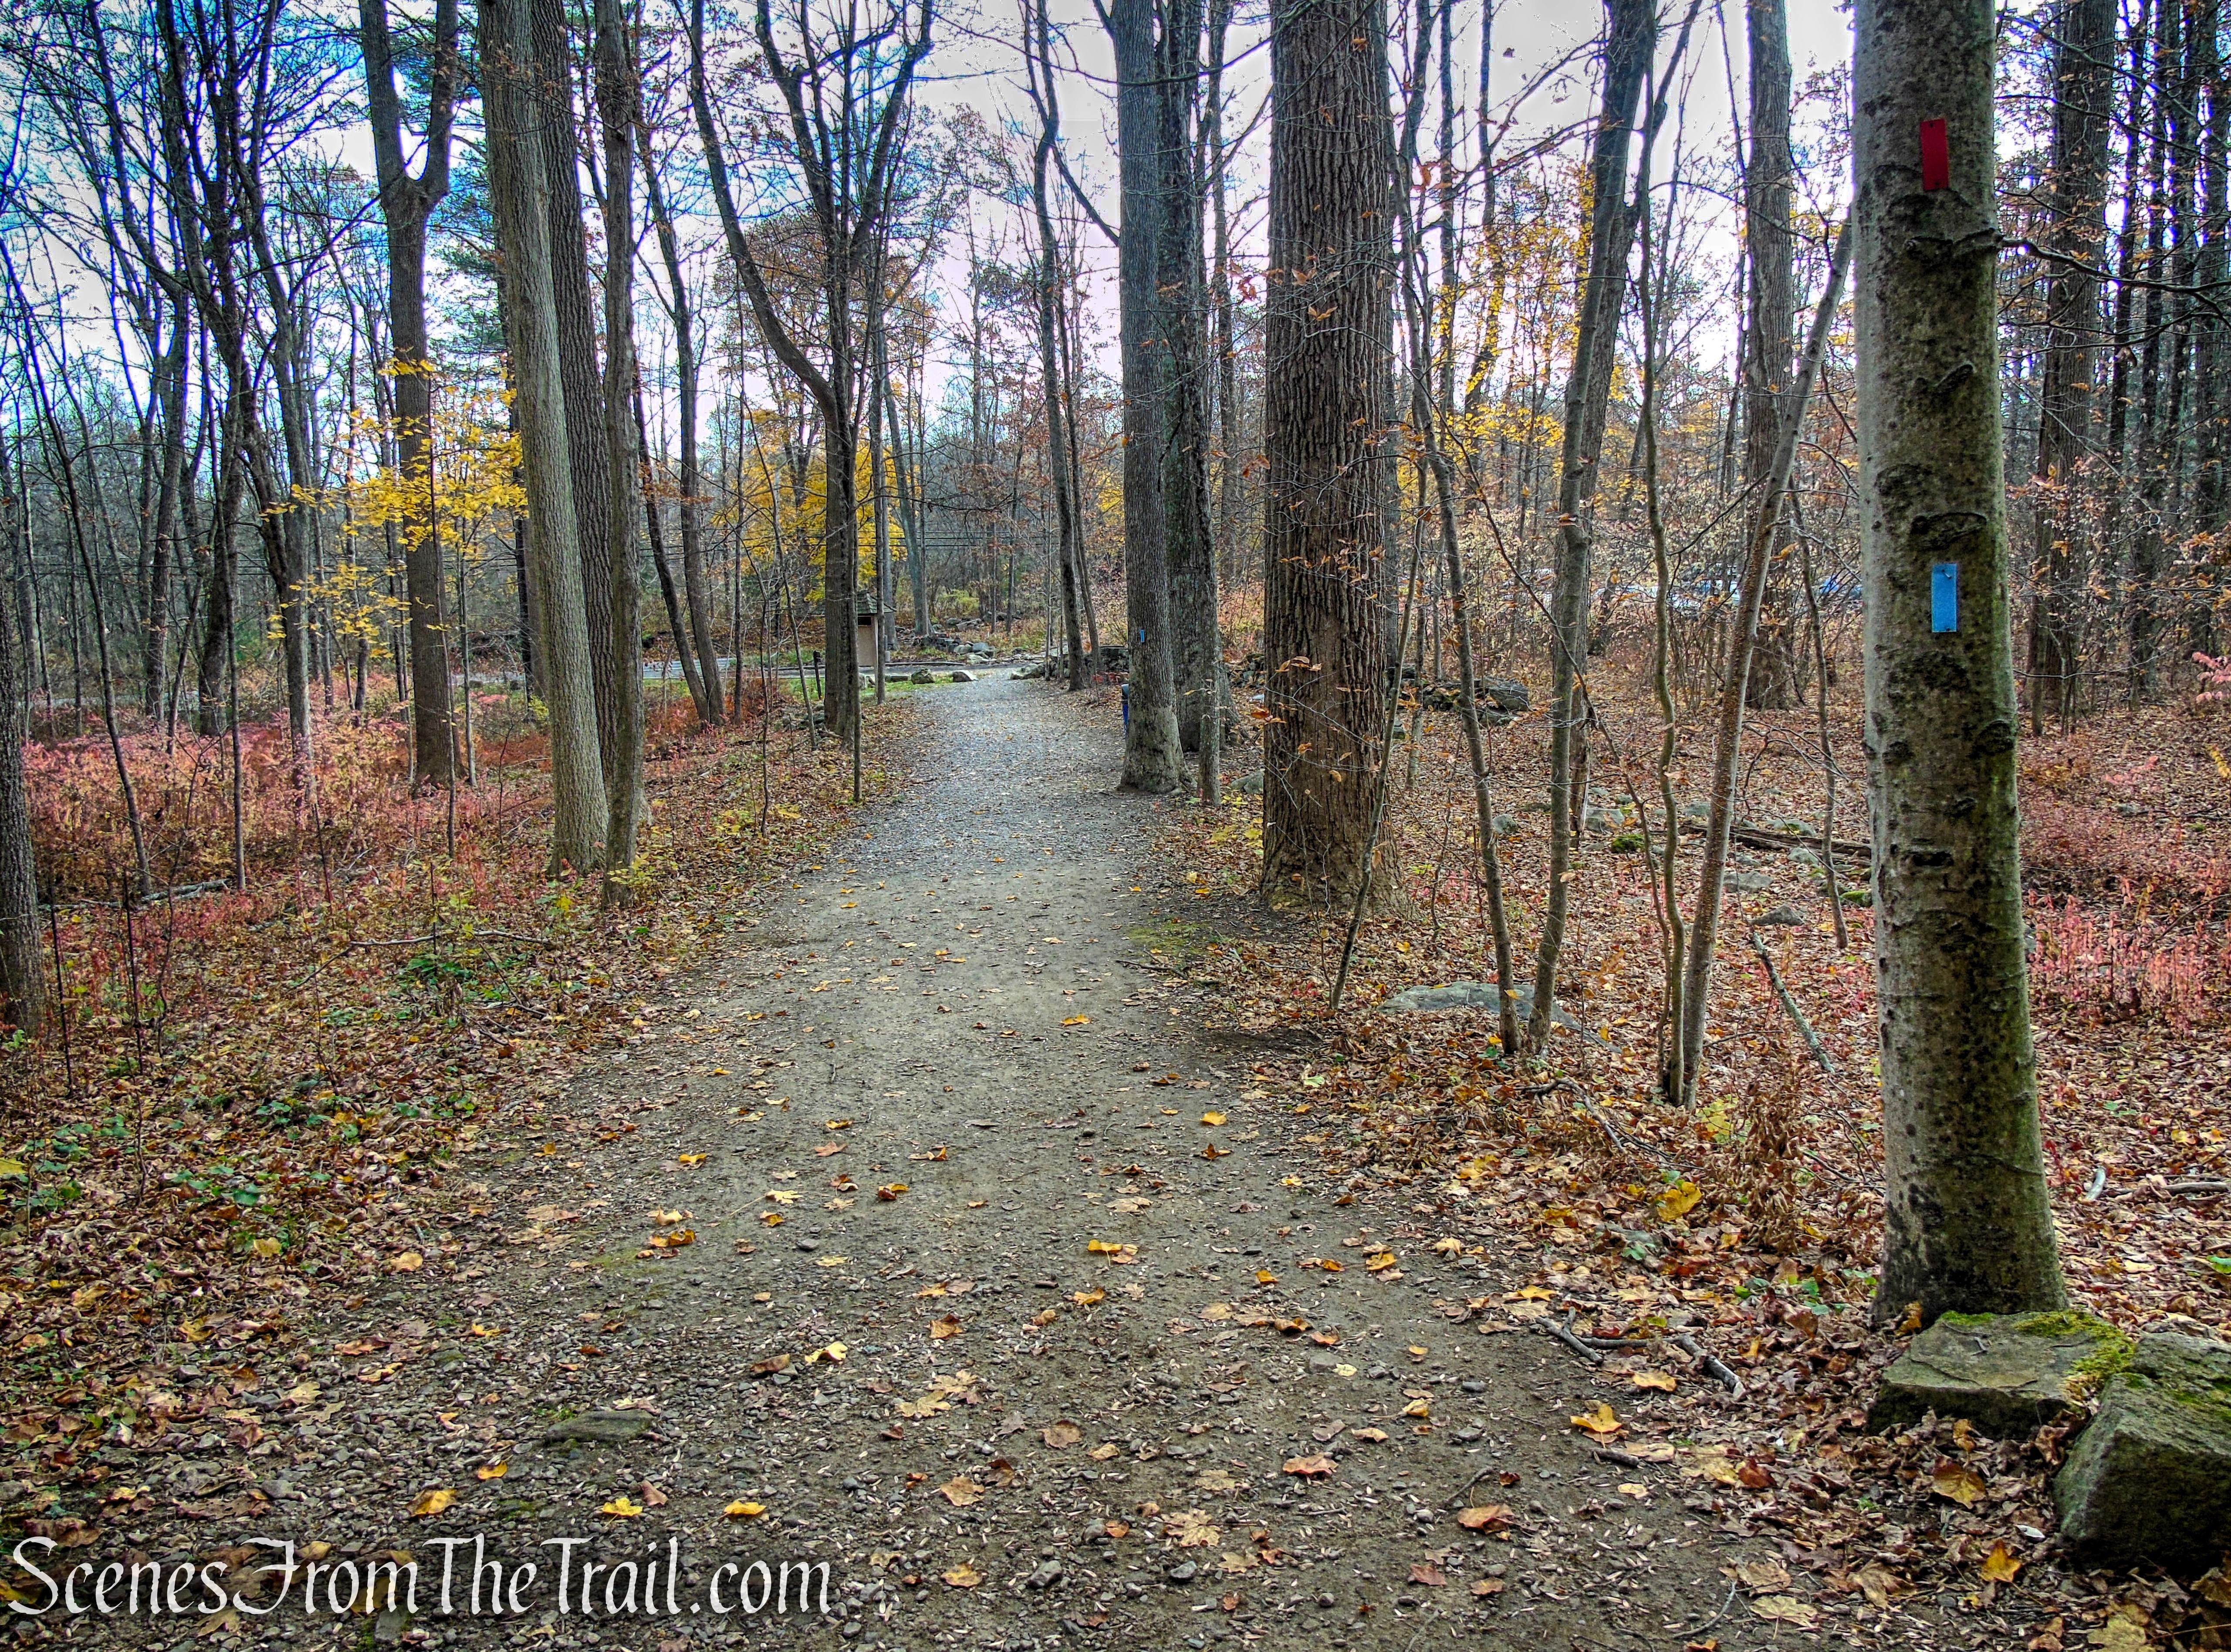
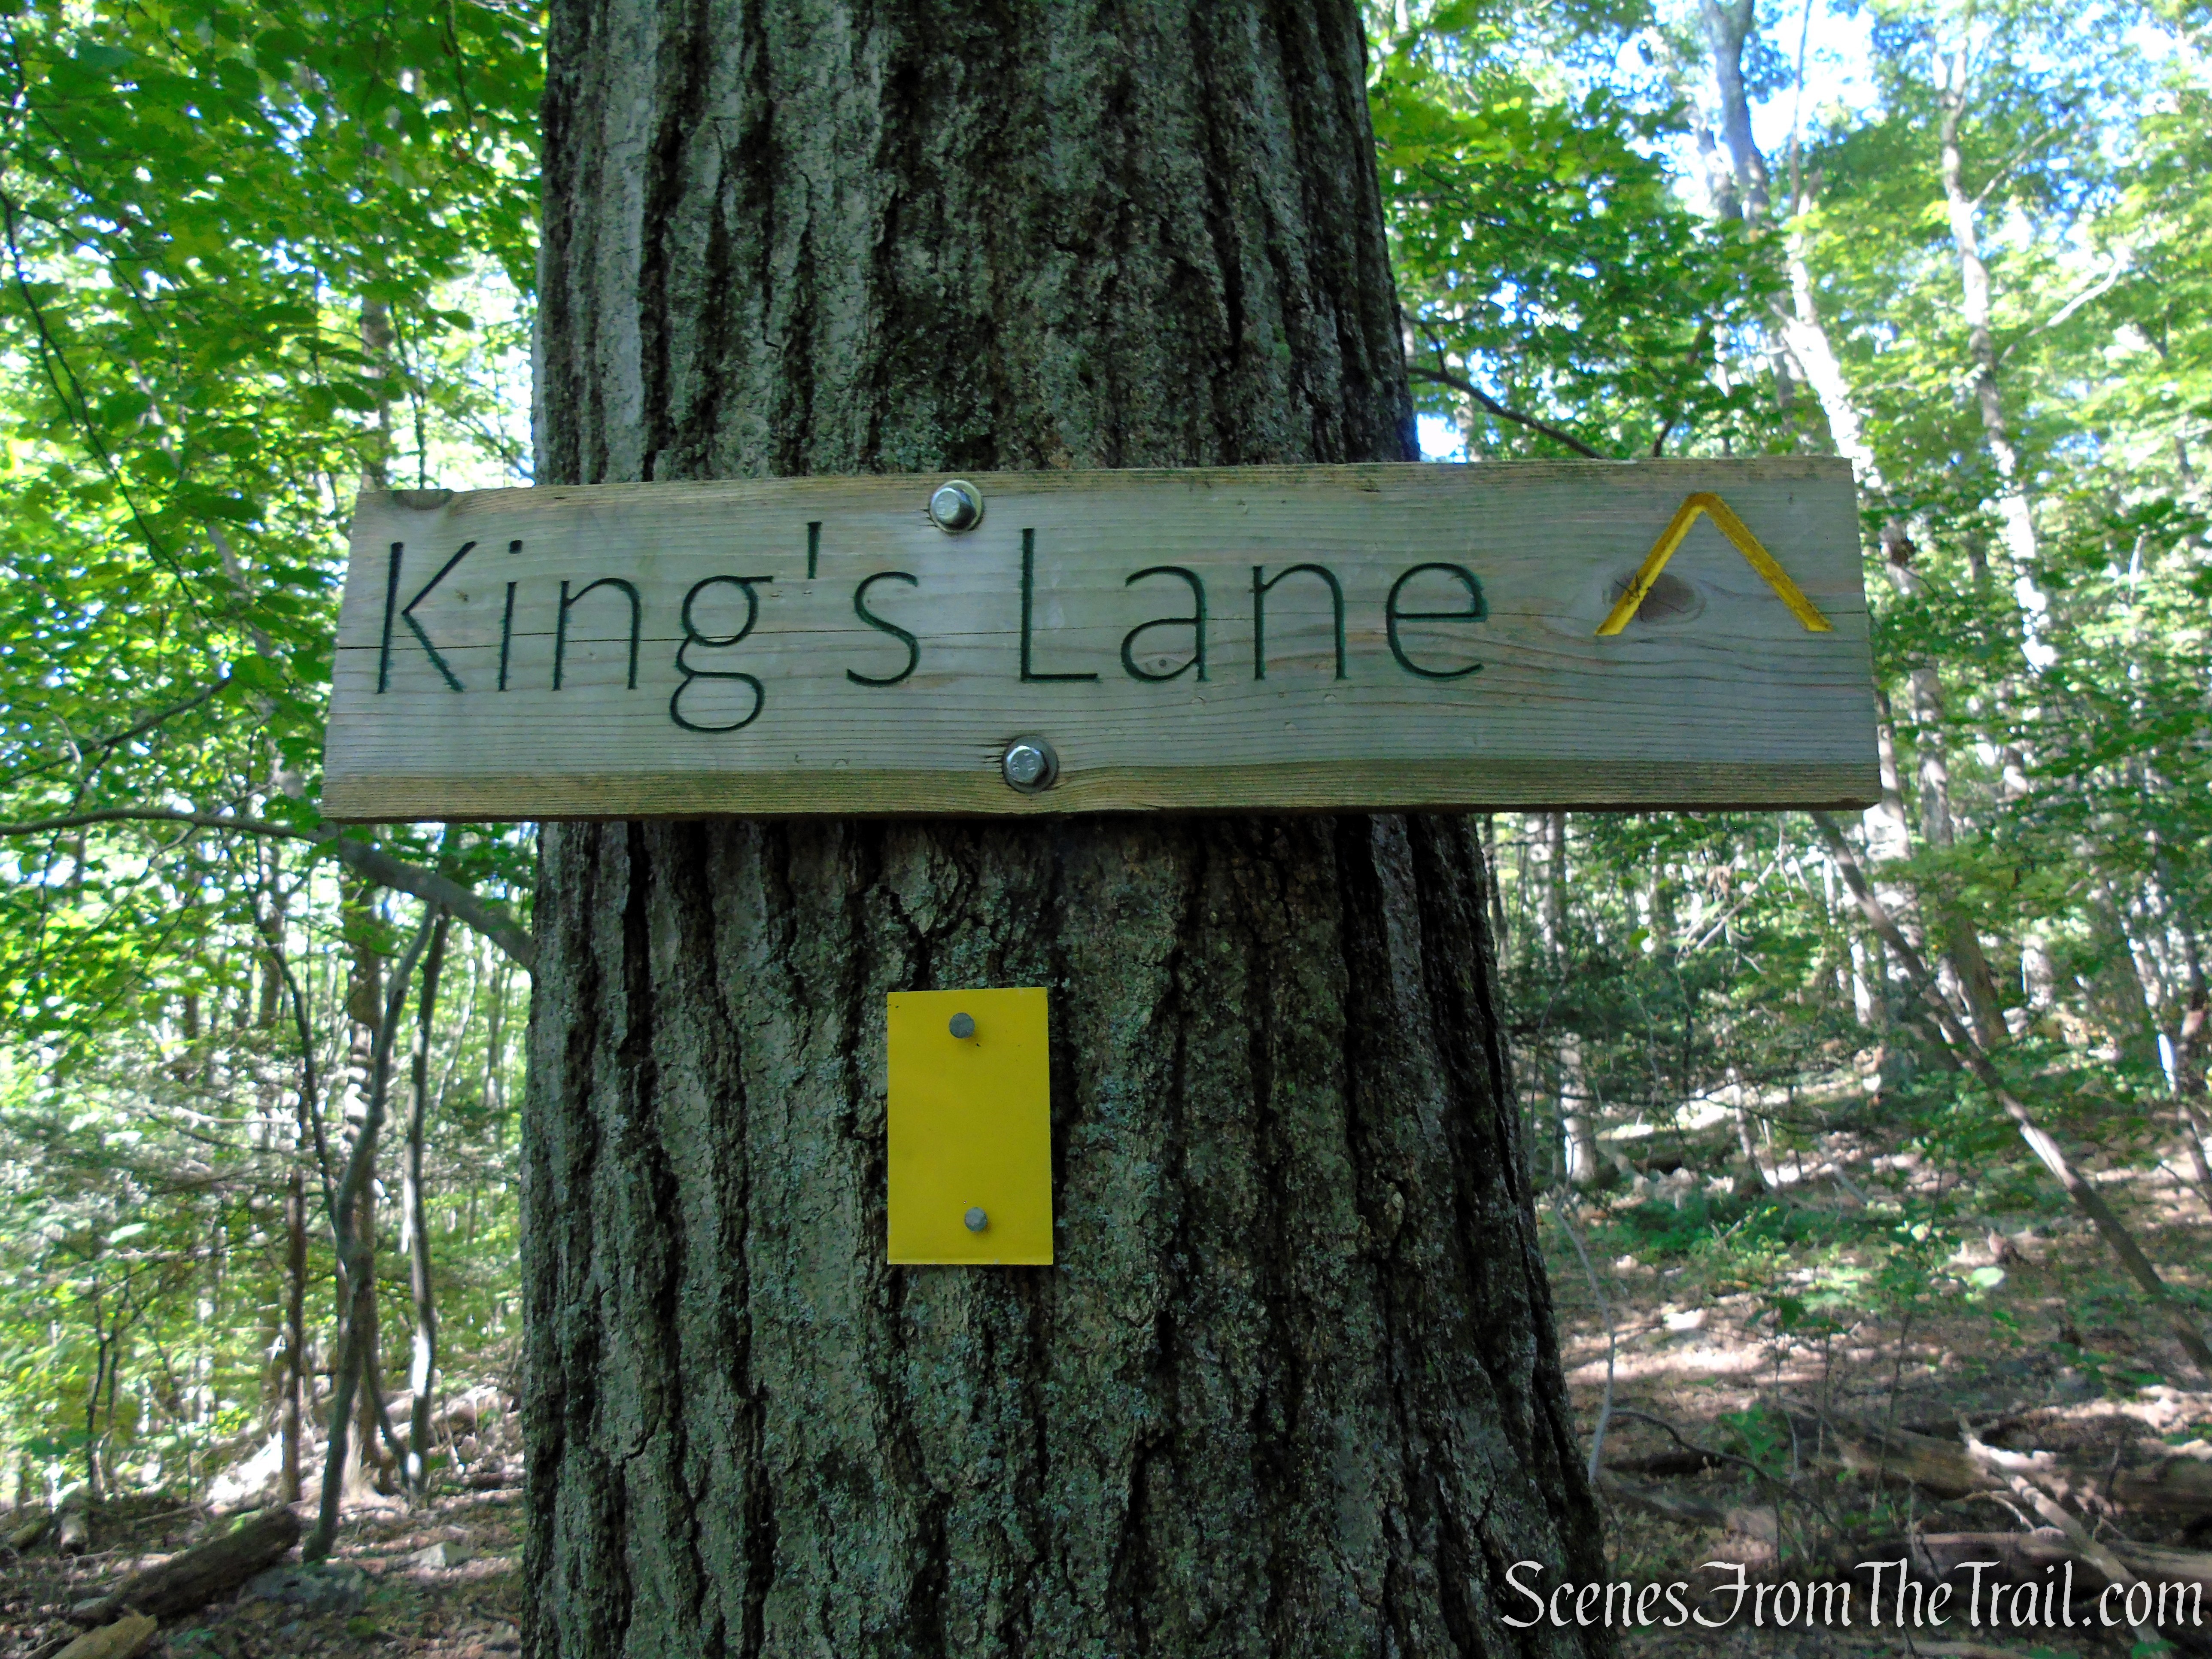
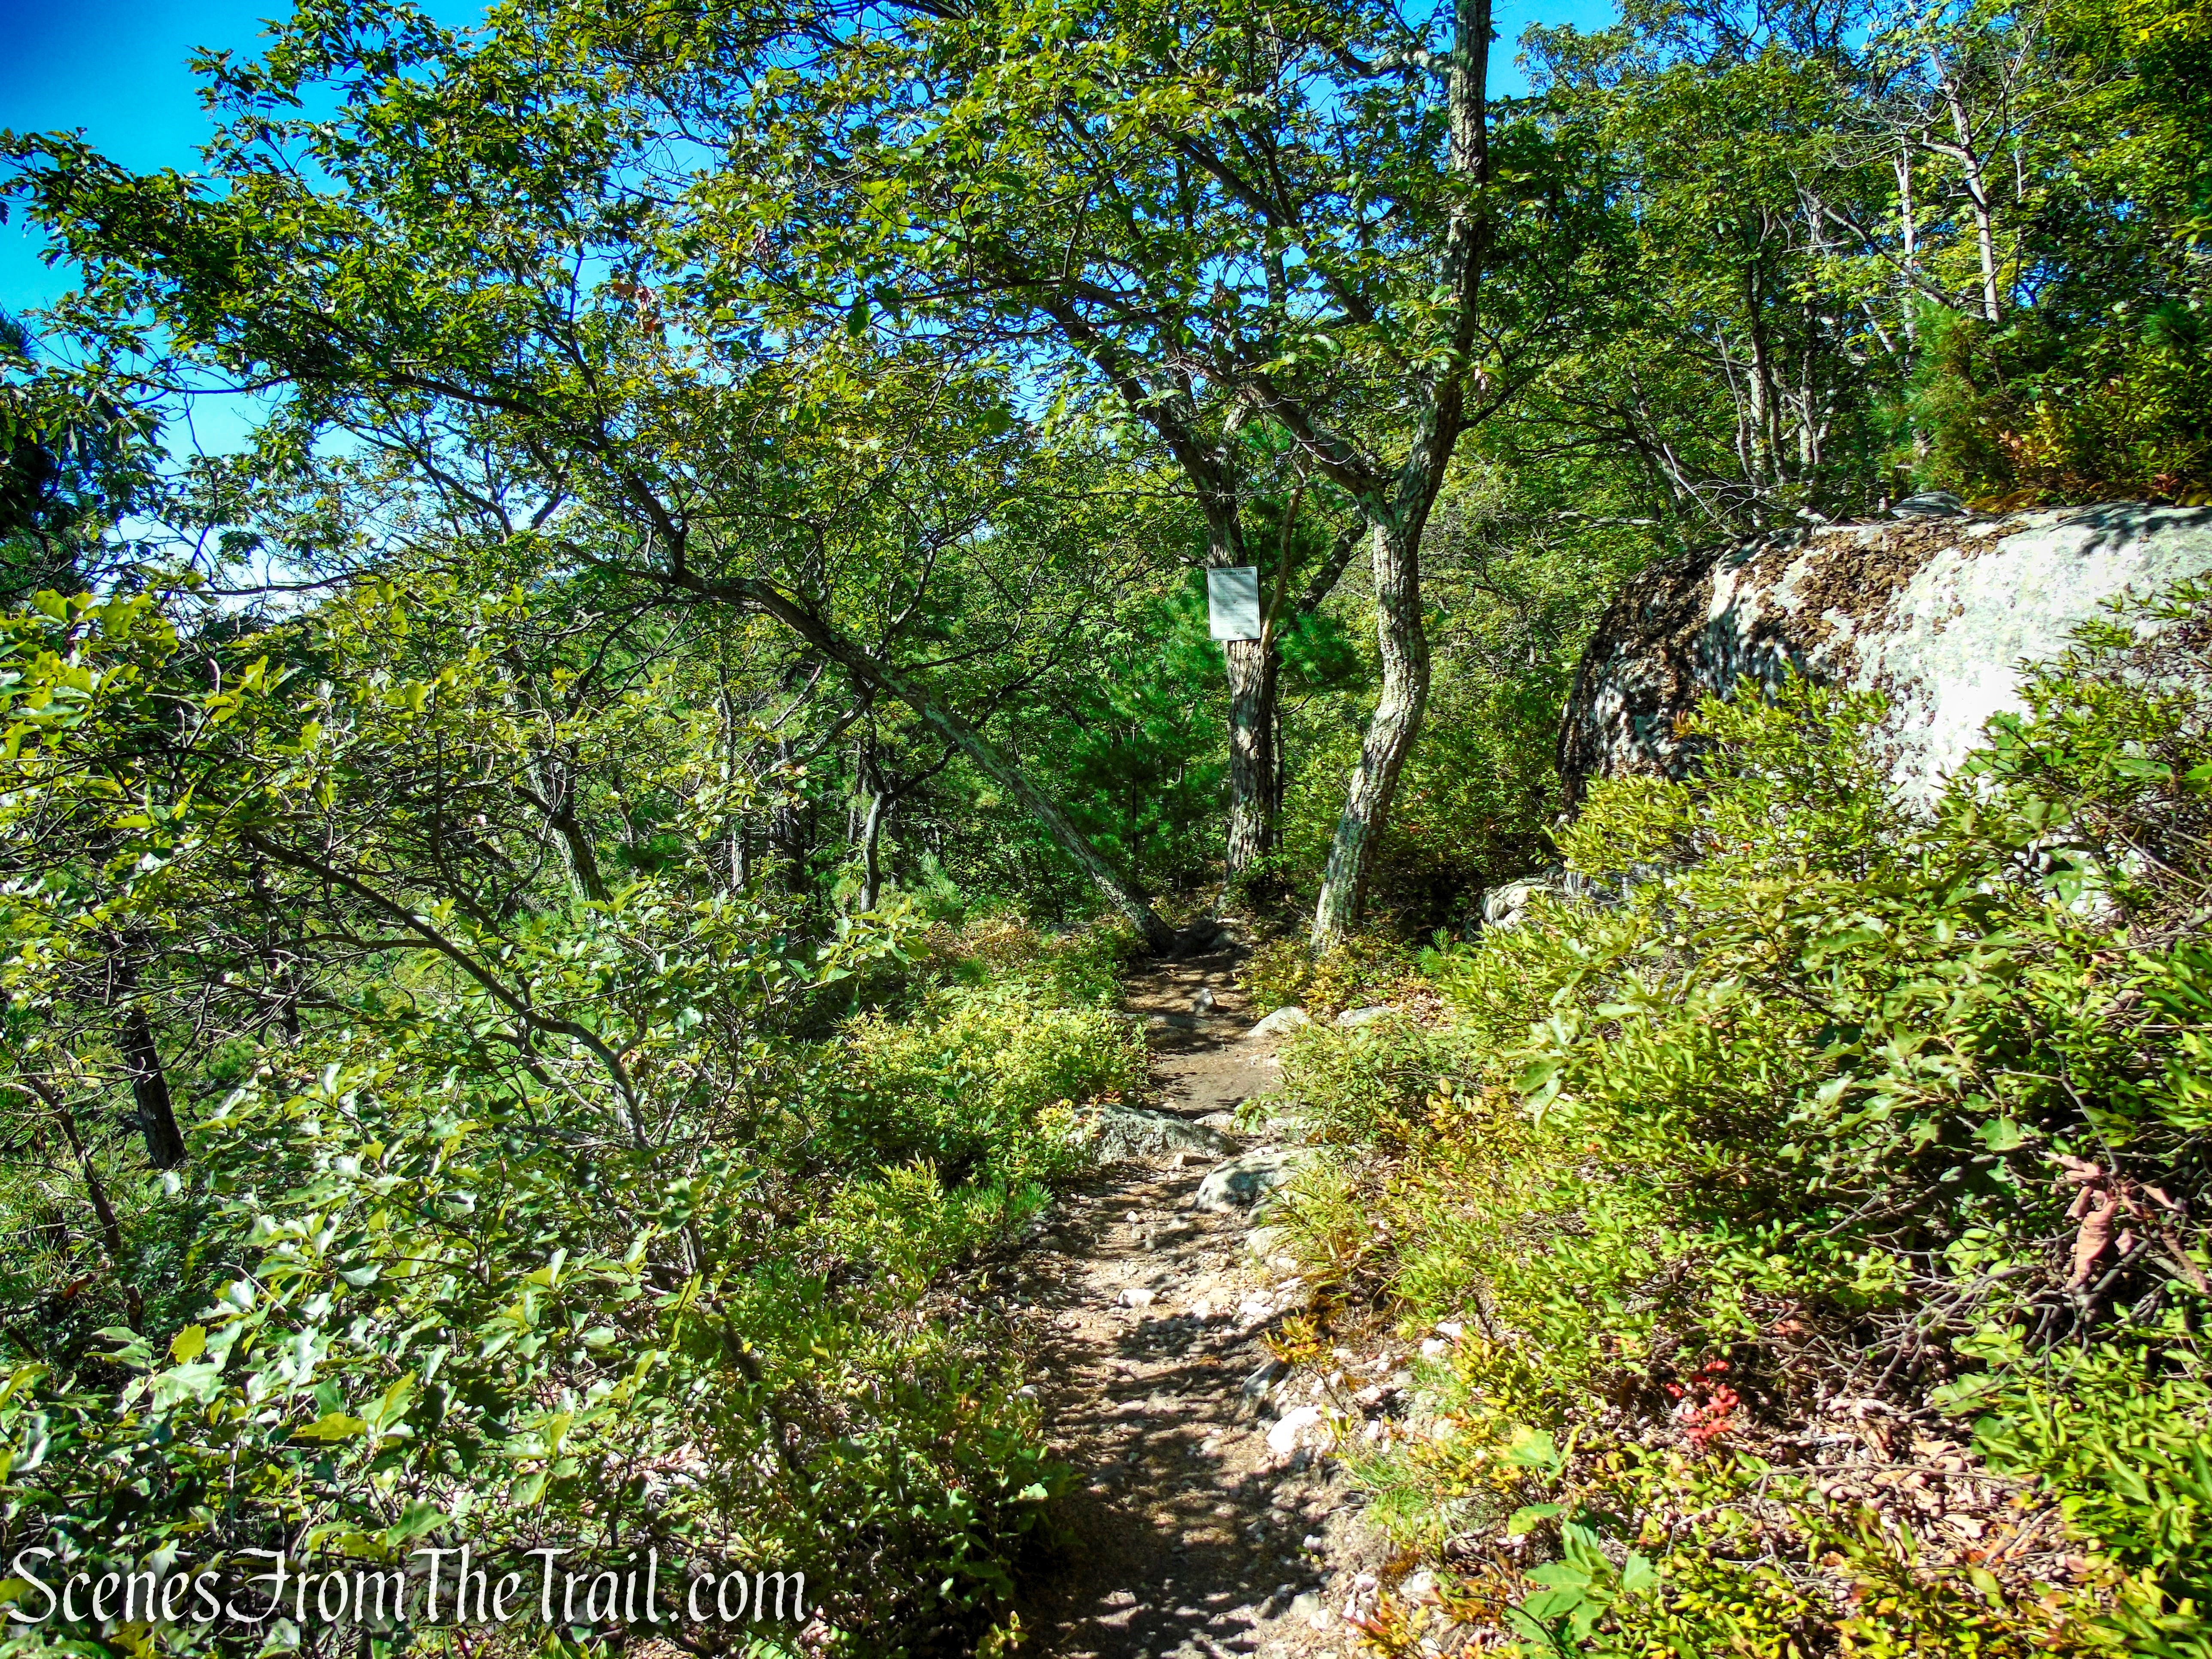
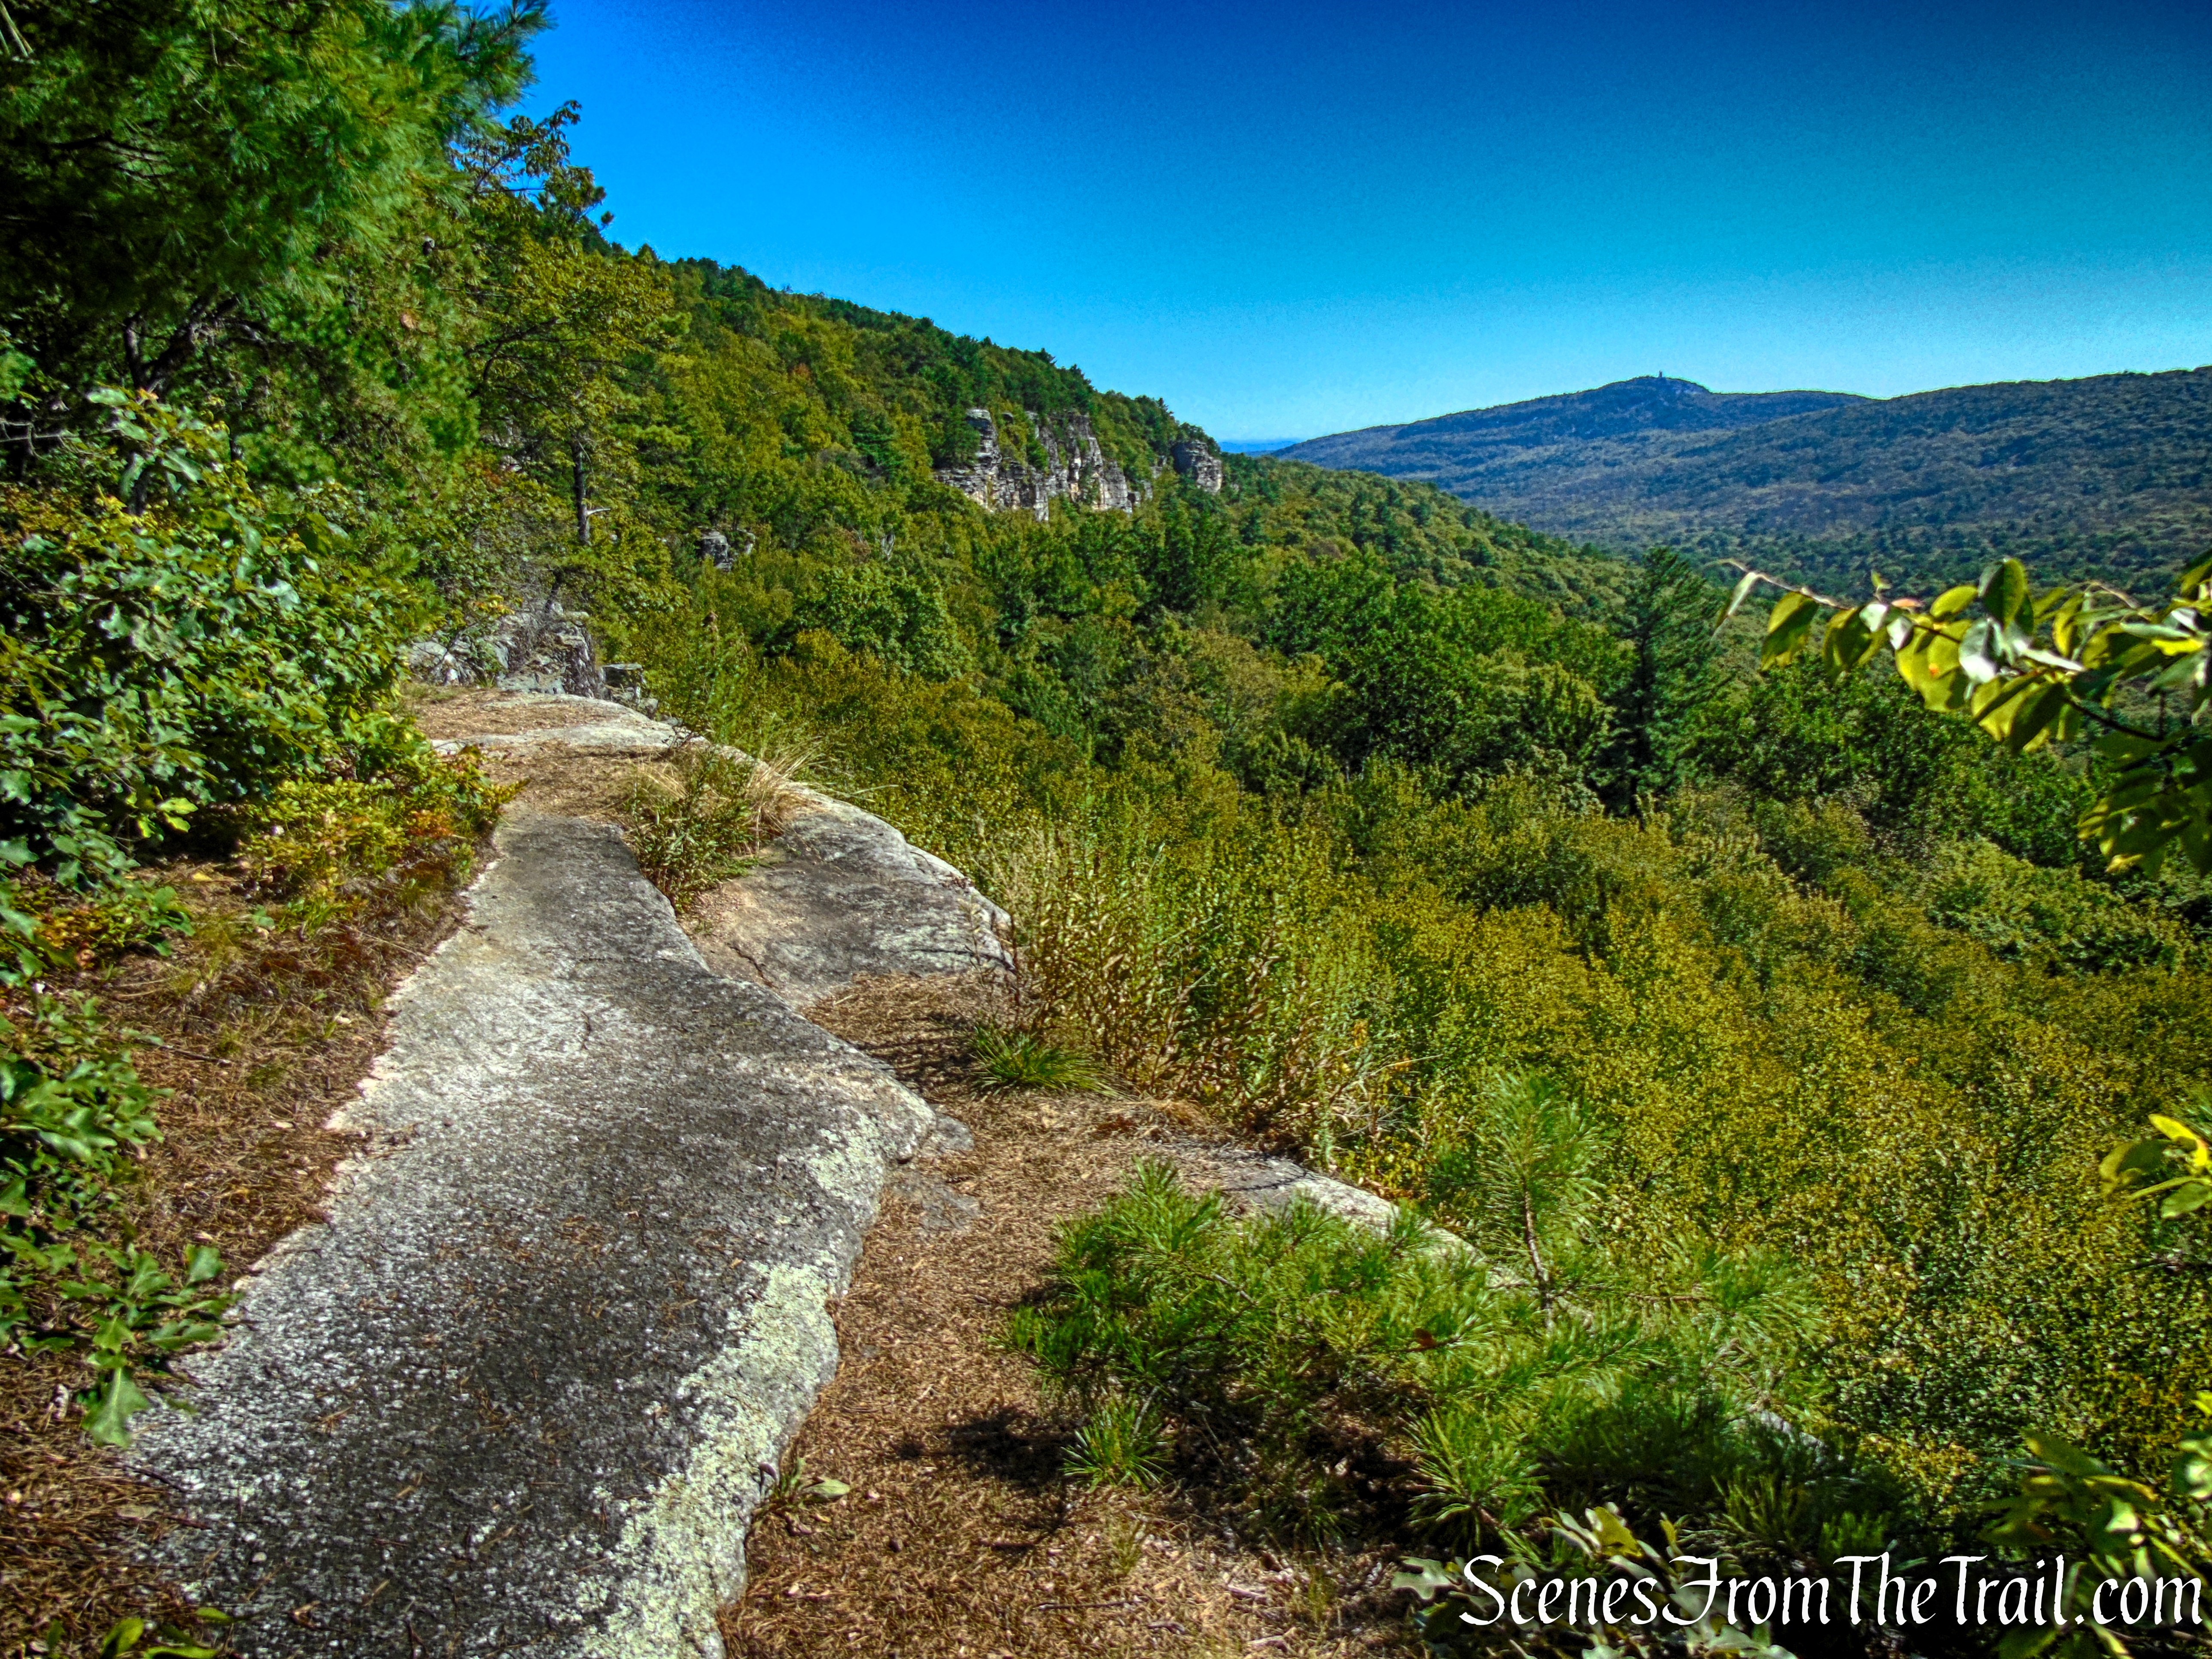
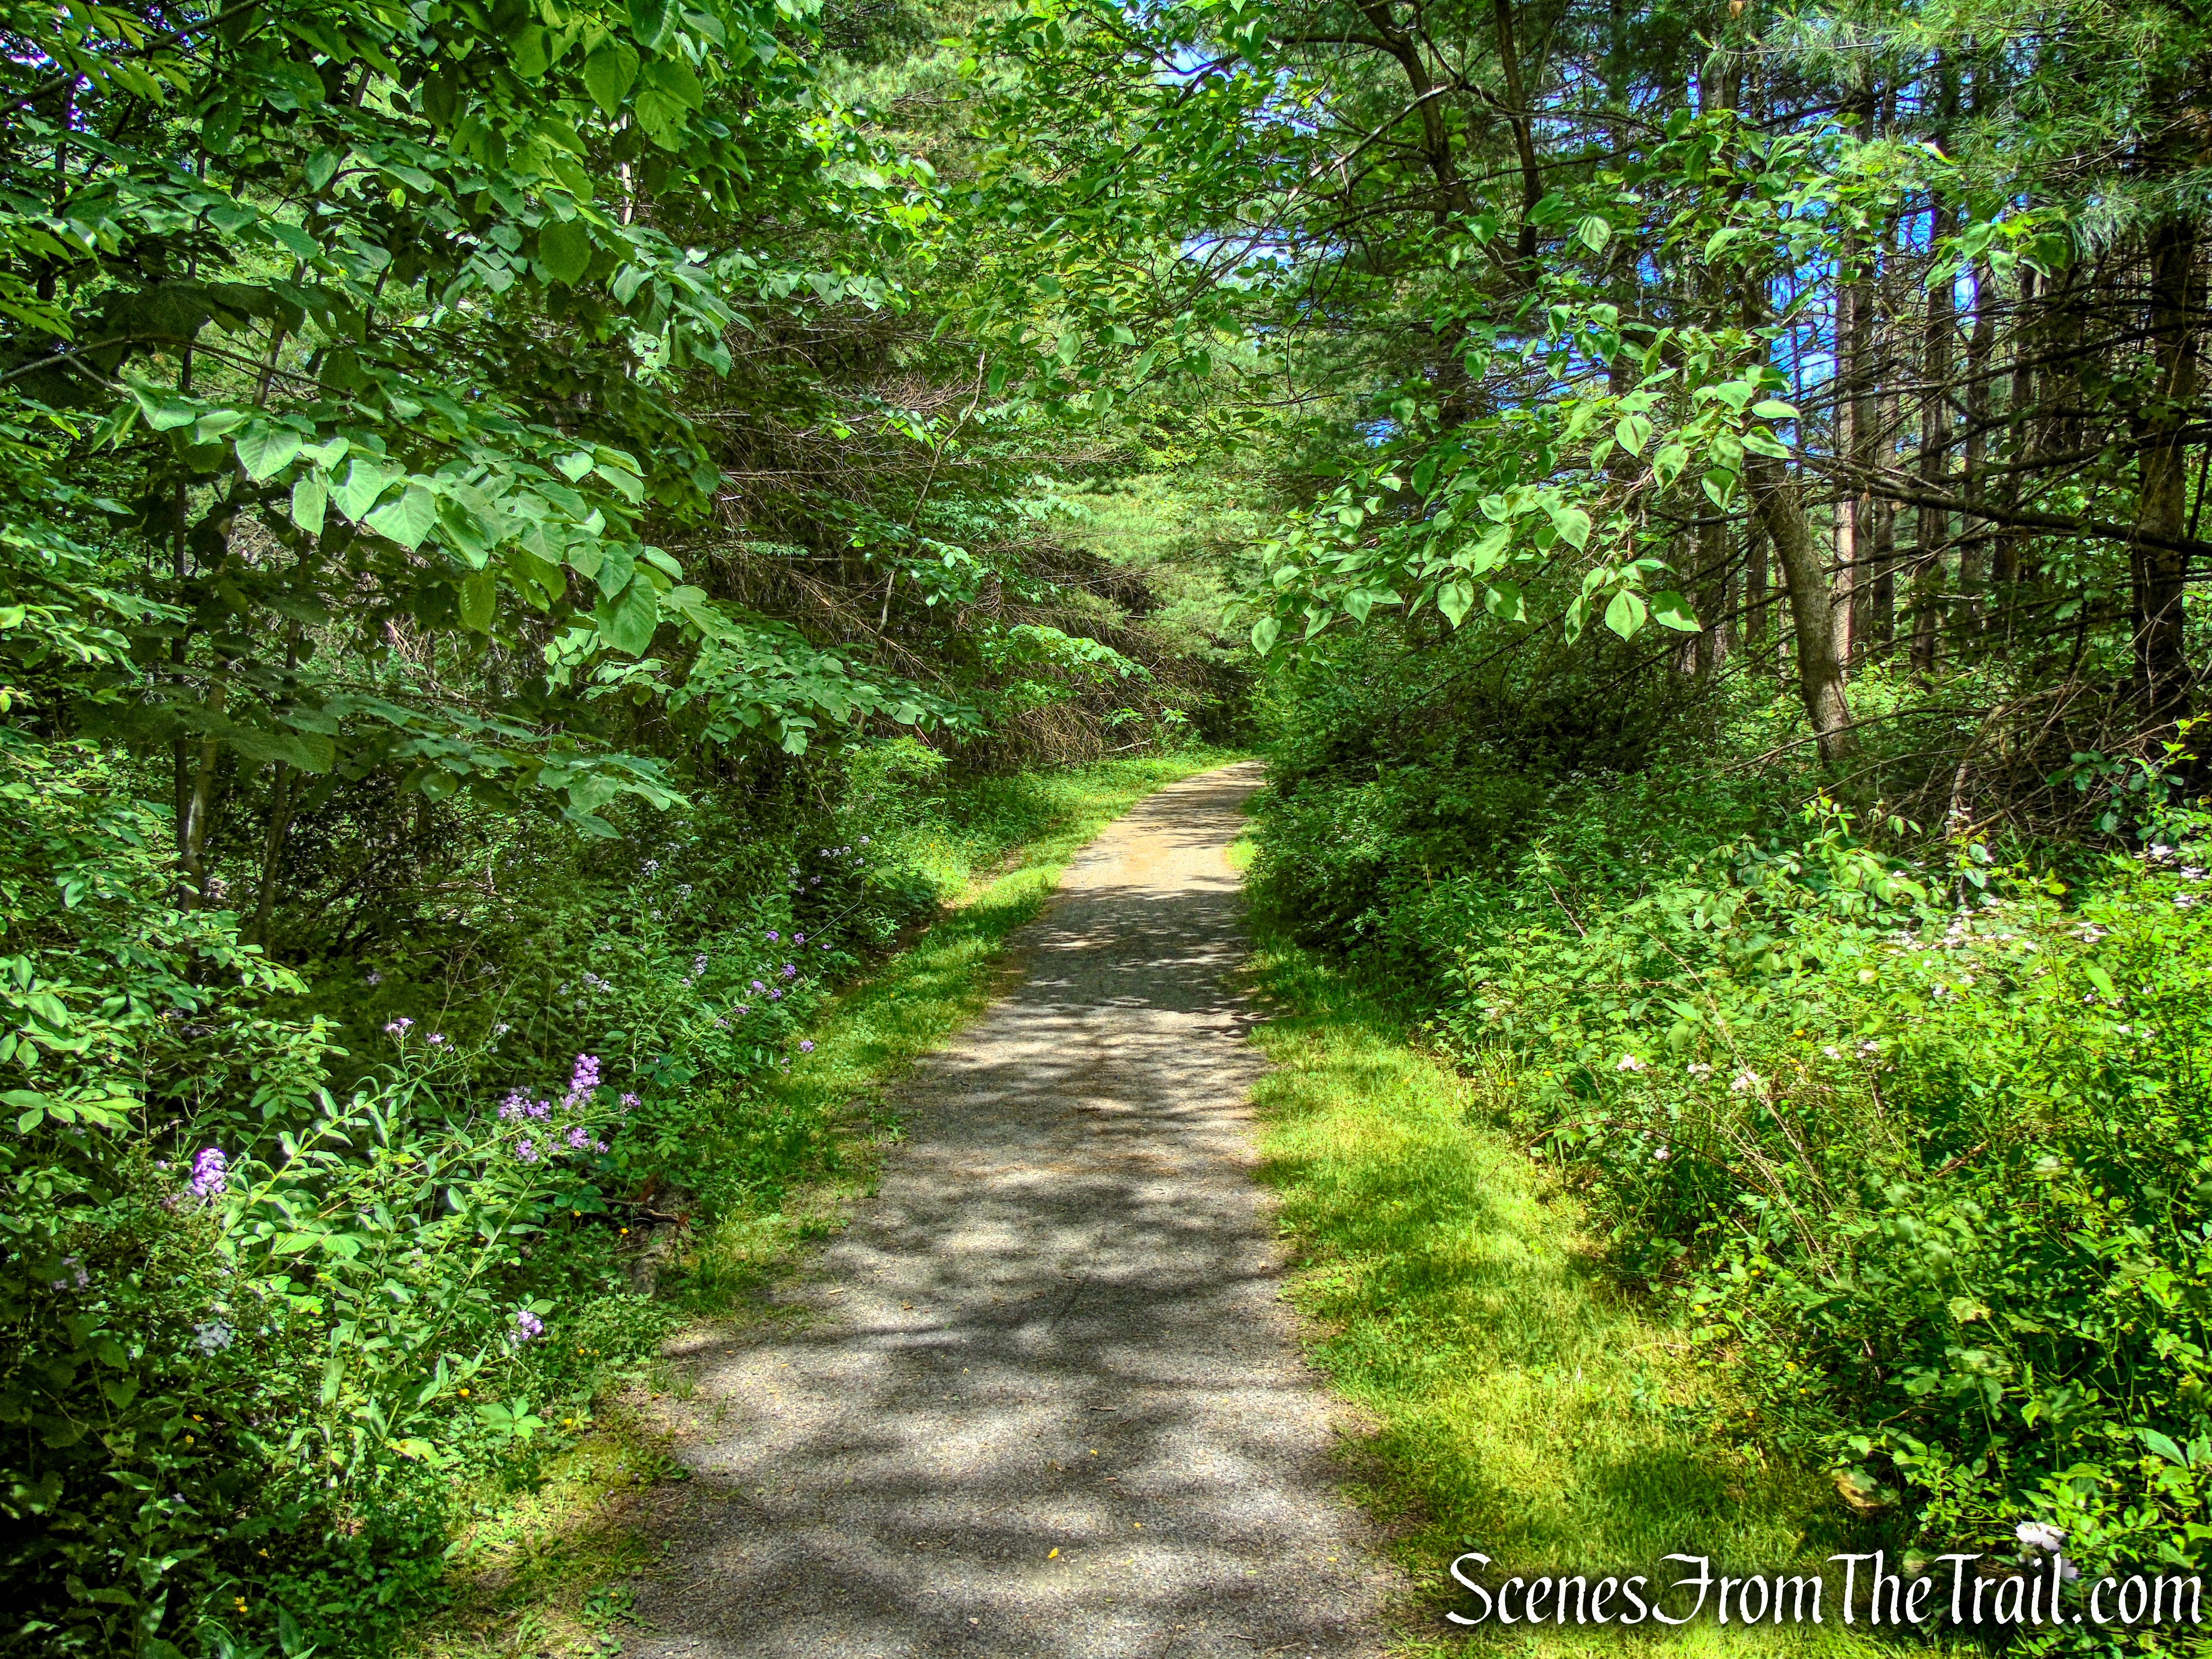
From the Tackamack Park parking area, head out to Clausland Mountain Road and follow the aqua-blazed Long Path east. After crossing the road and entering the woods, you’ll notice a white-blazed trail on the left—this will be your return route. For now, continue straight, following the aqua blazes.
Clausland Mountain Park

Long Path – Clausland Mountain Park
Long Path – Clausland Mountain Park
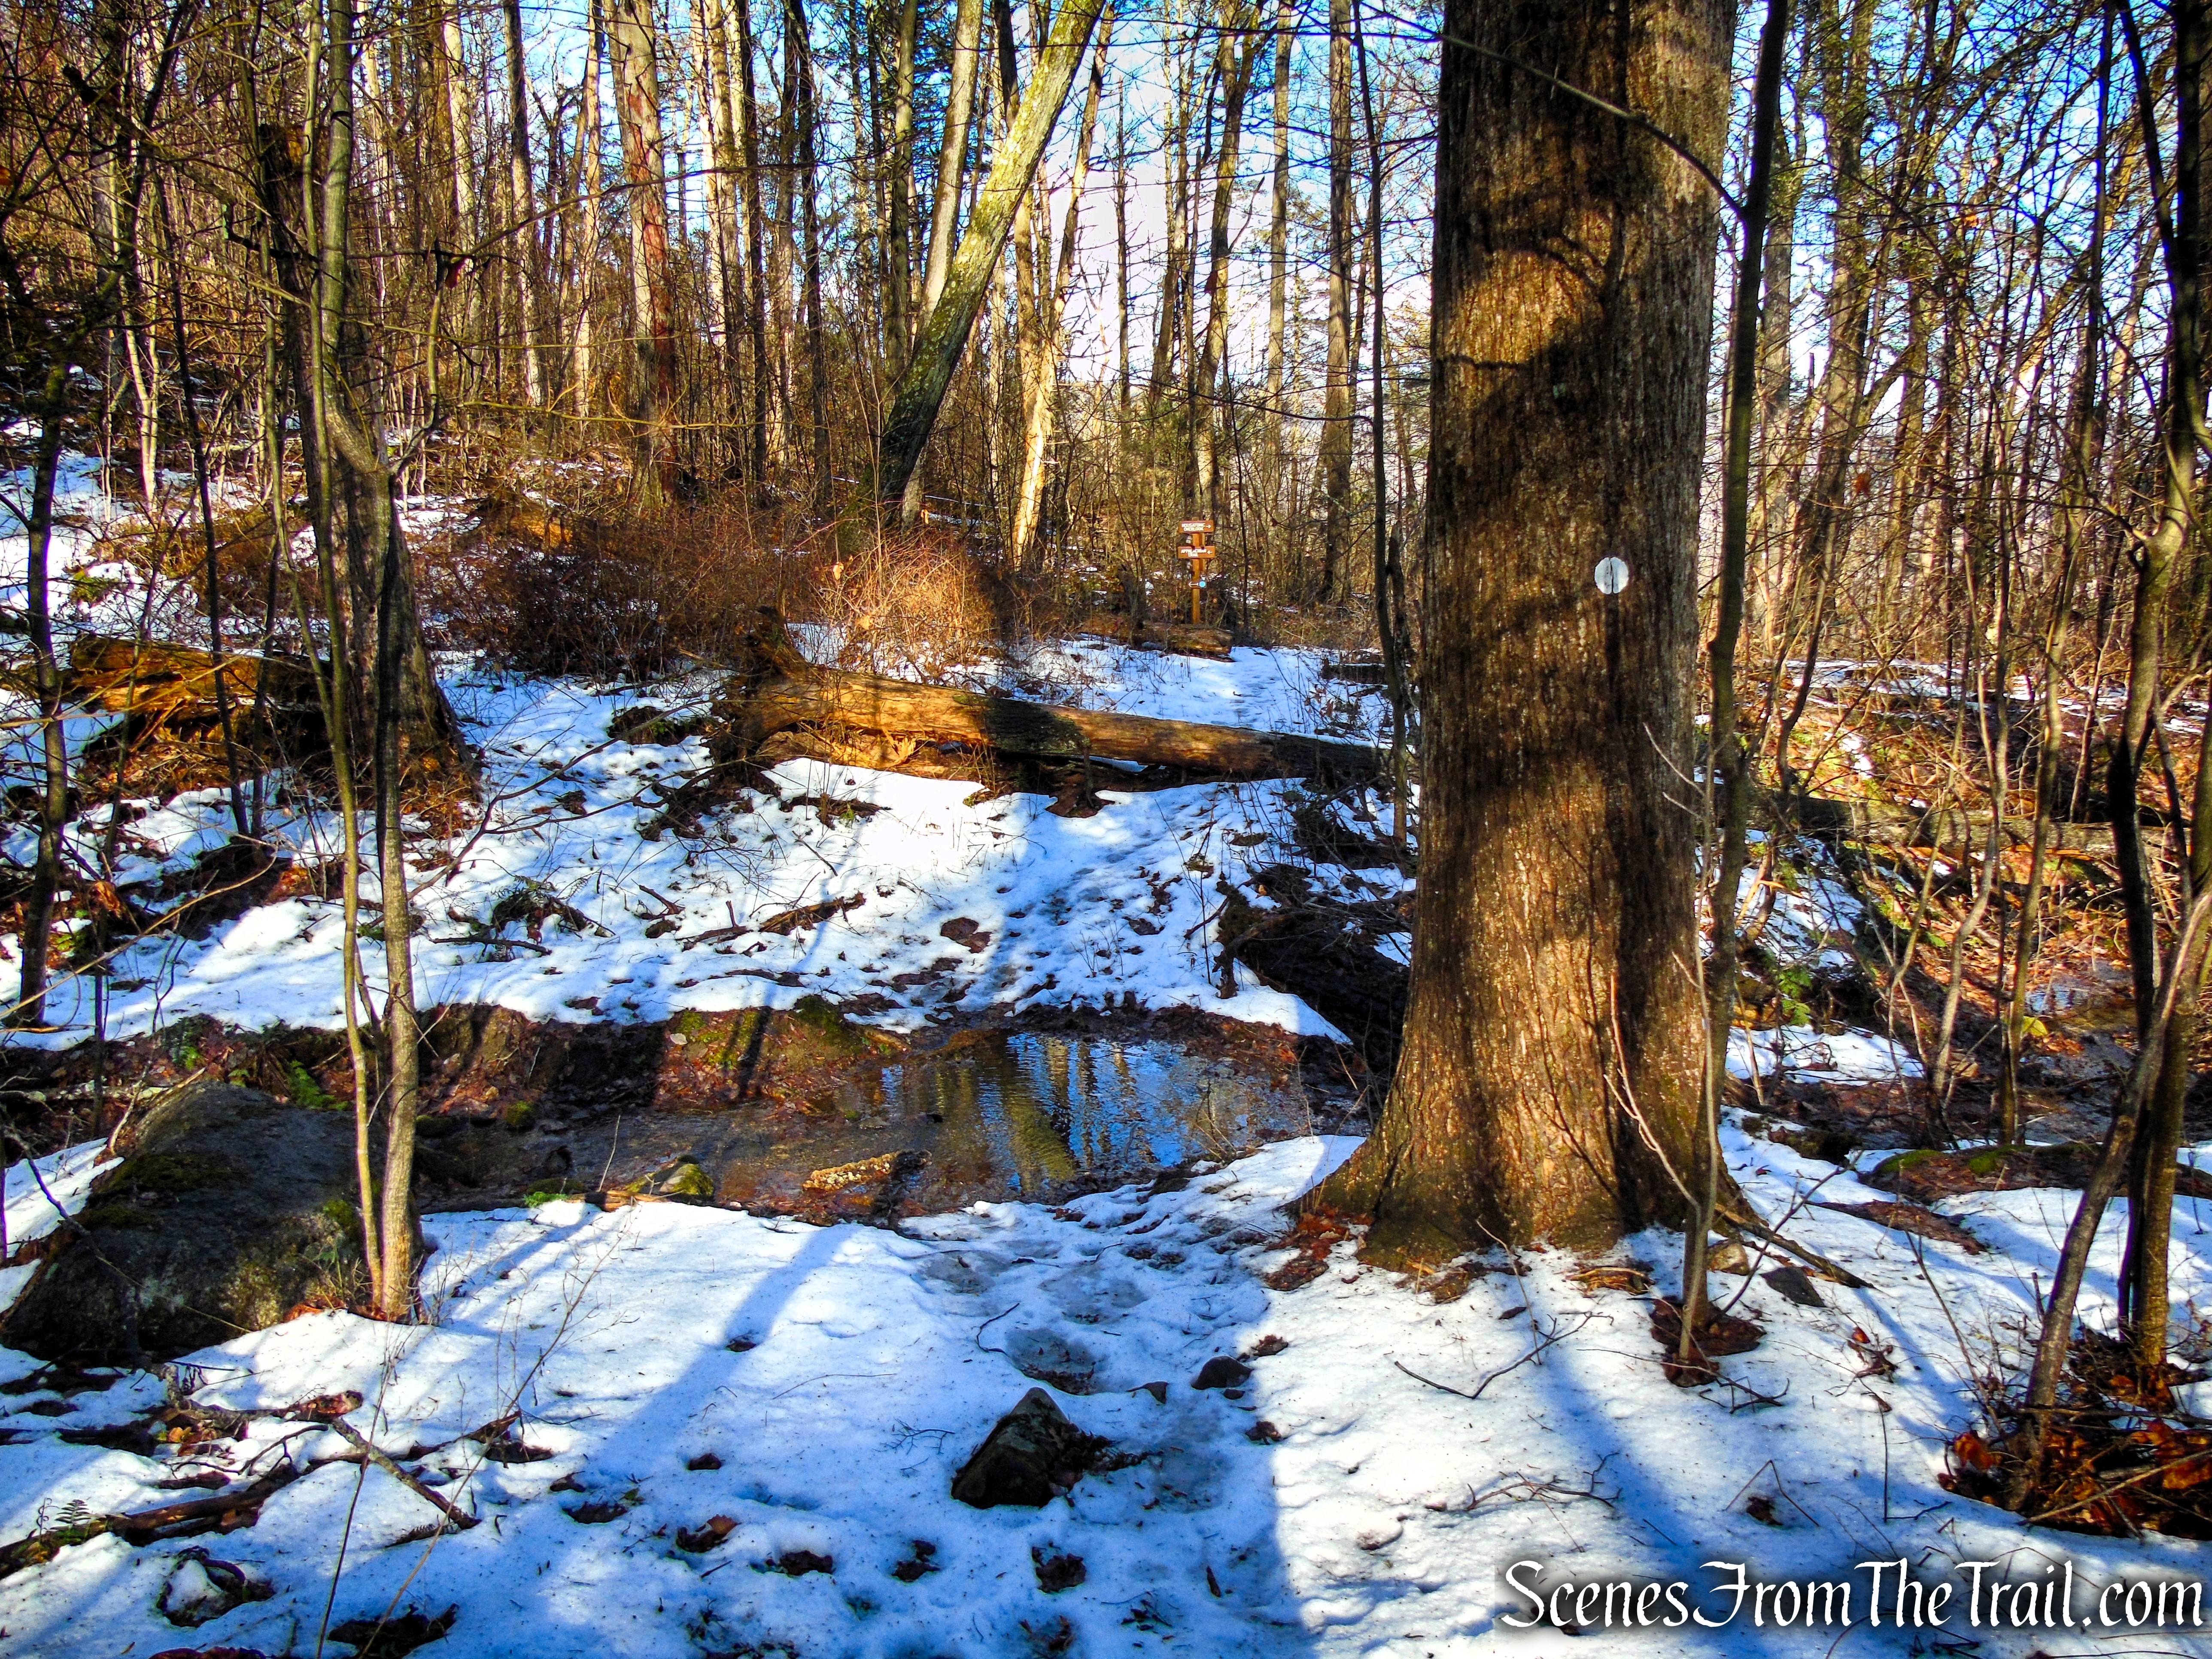
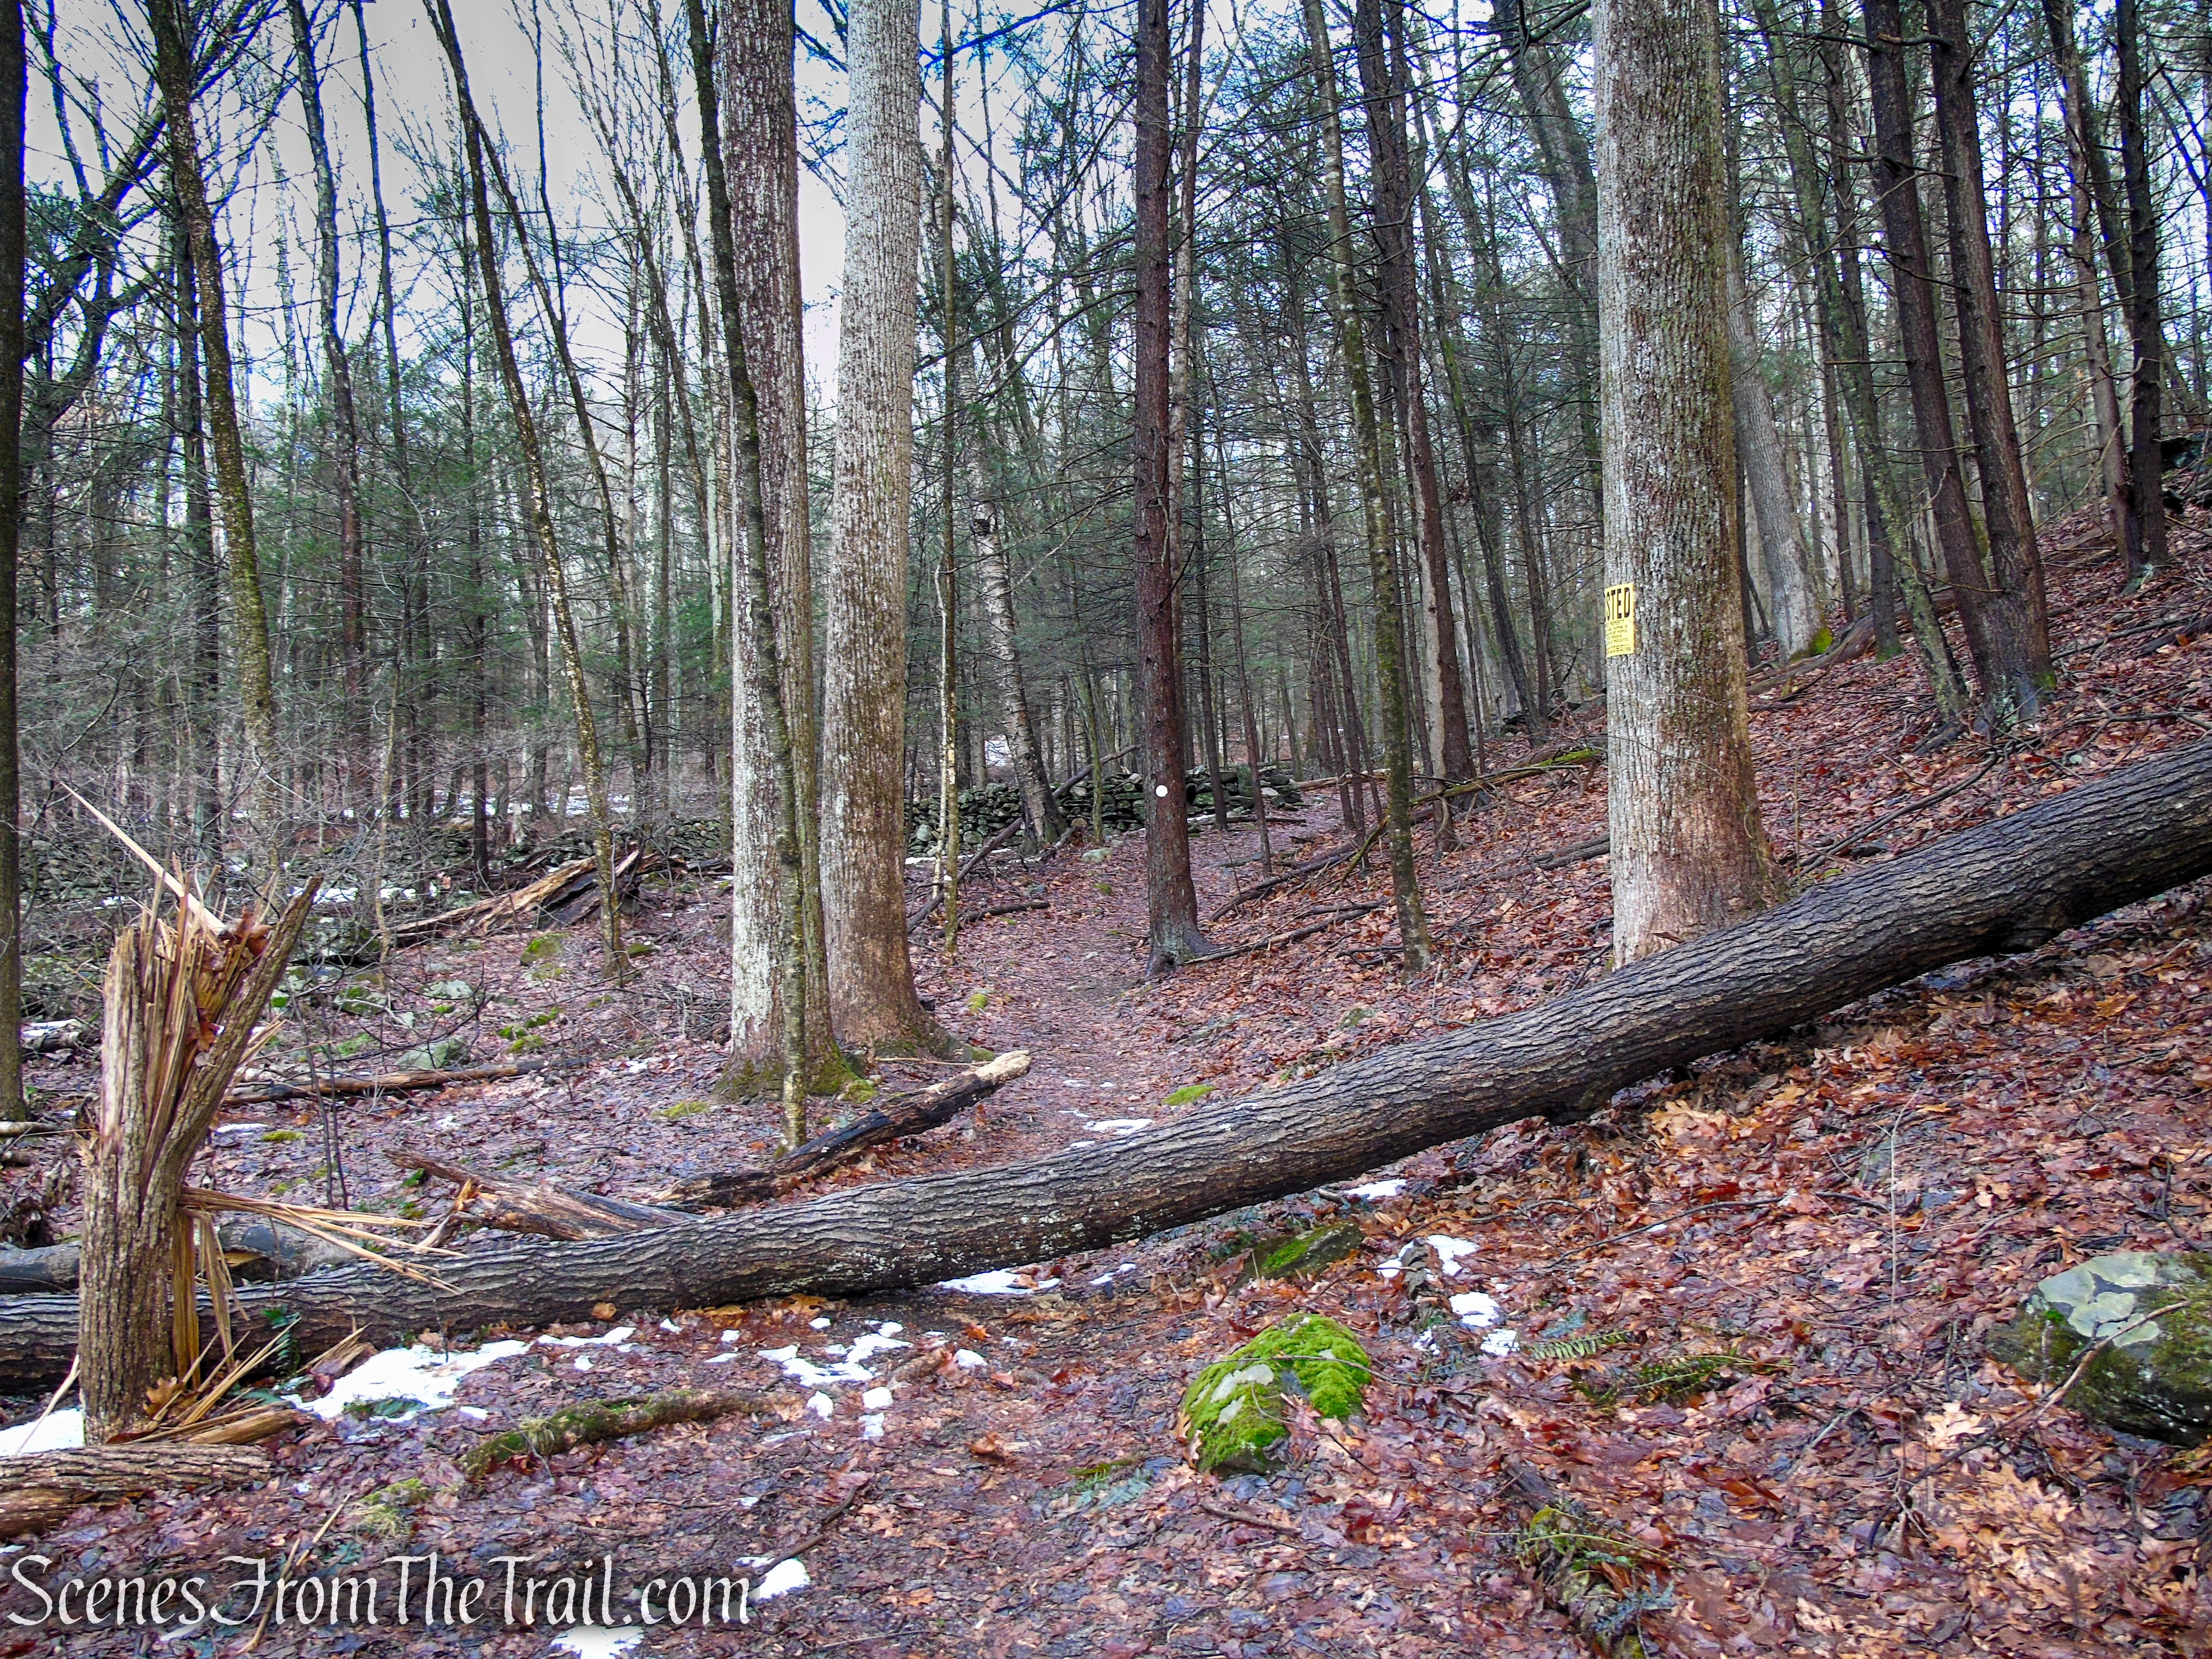
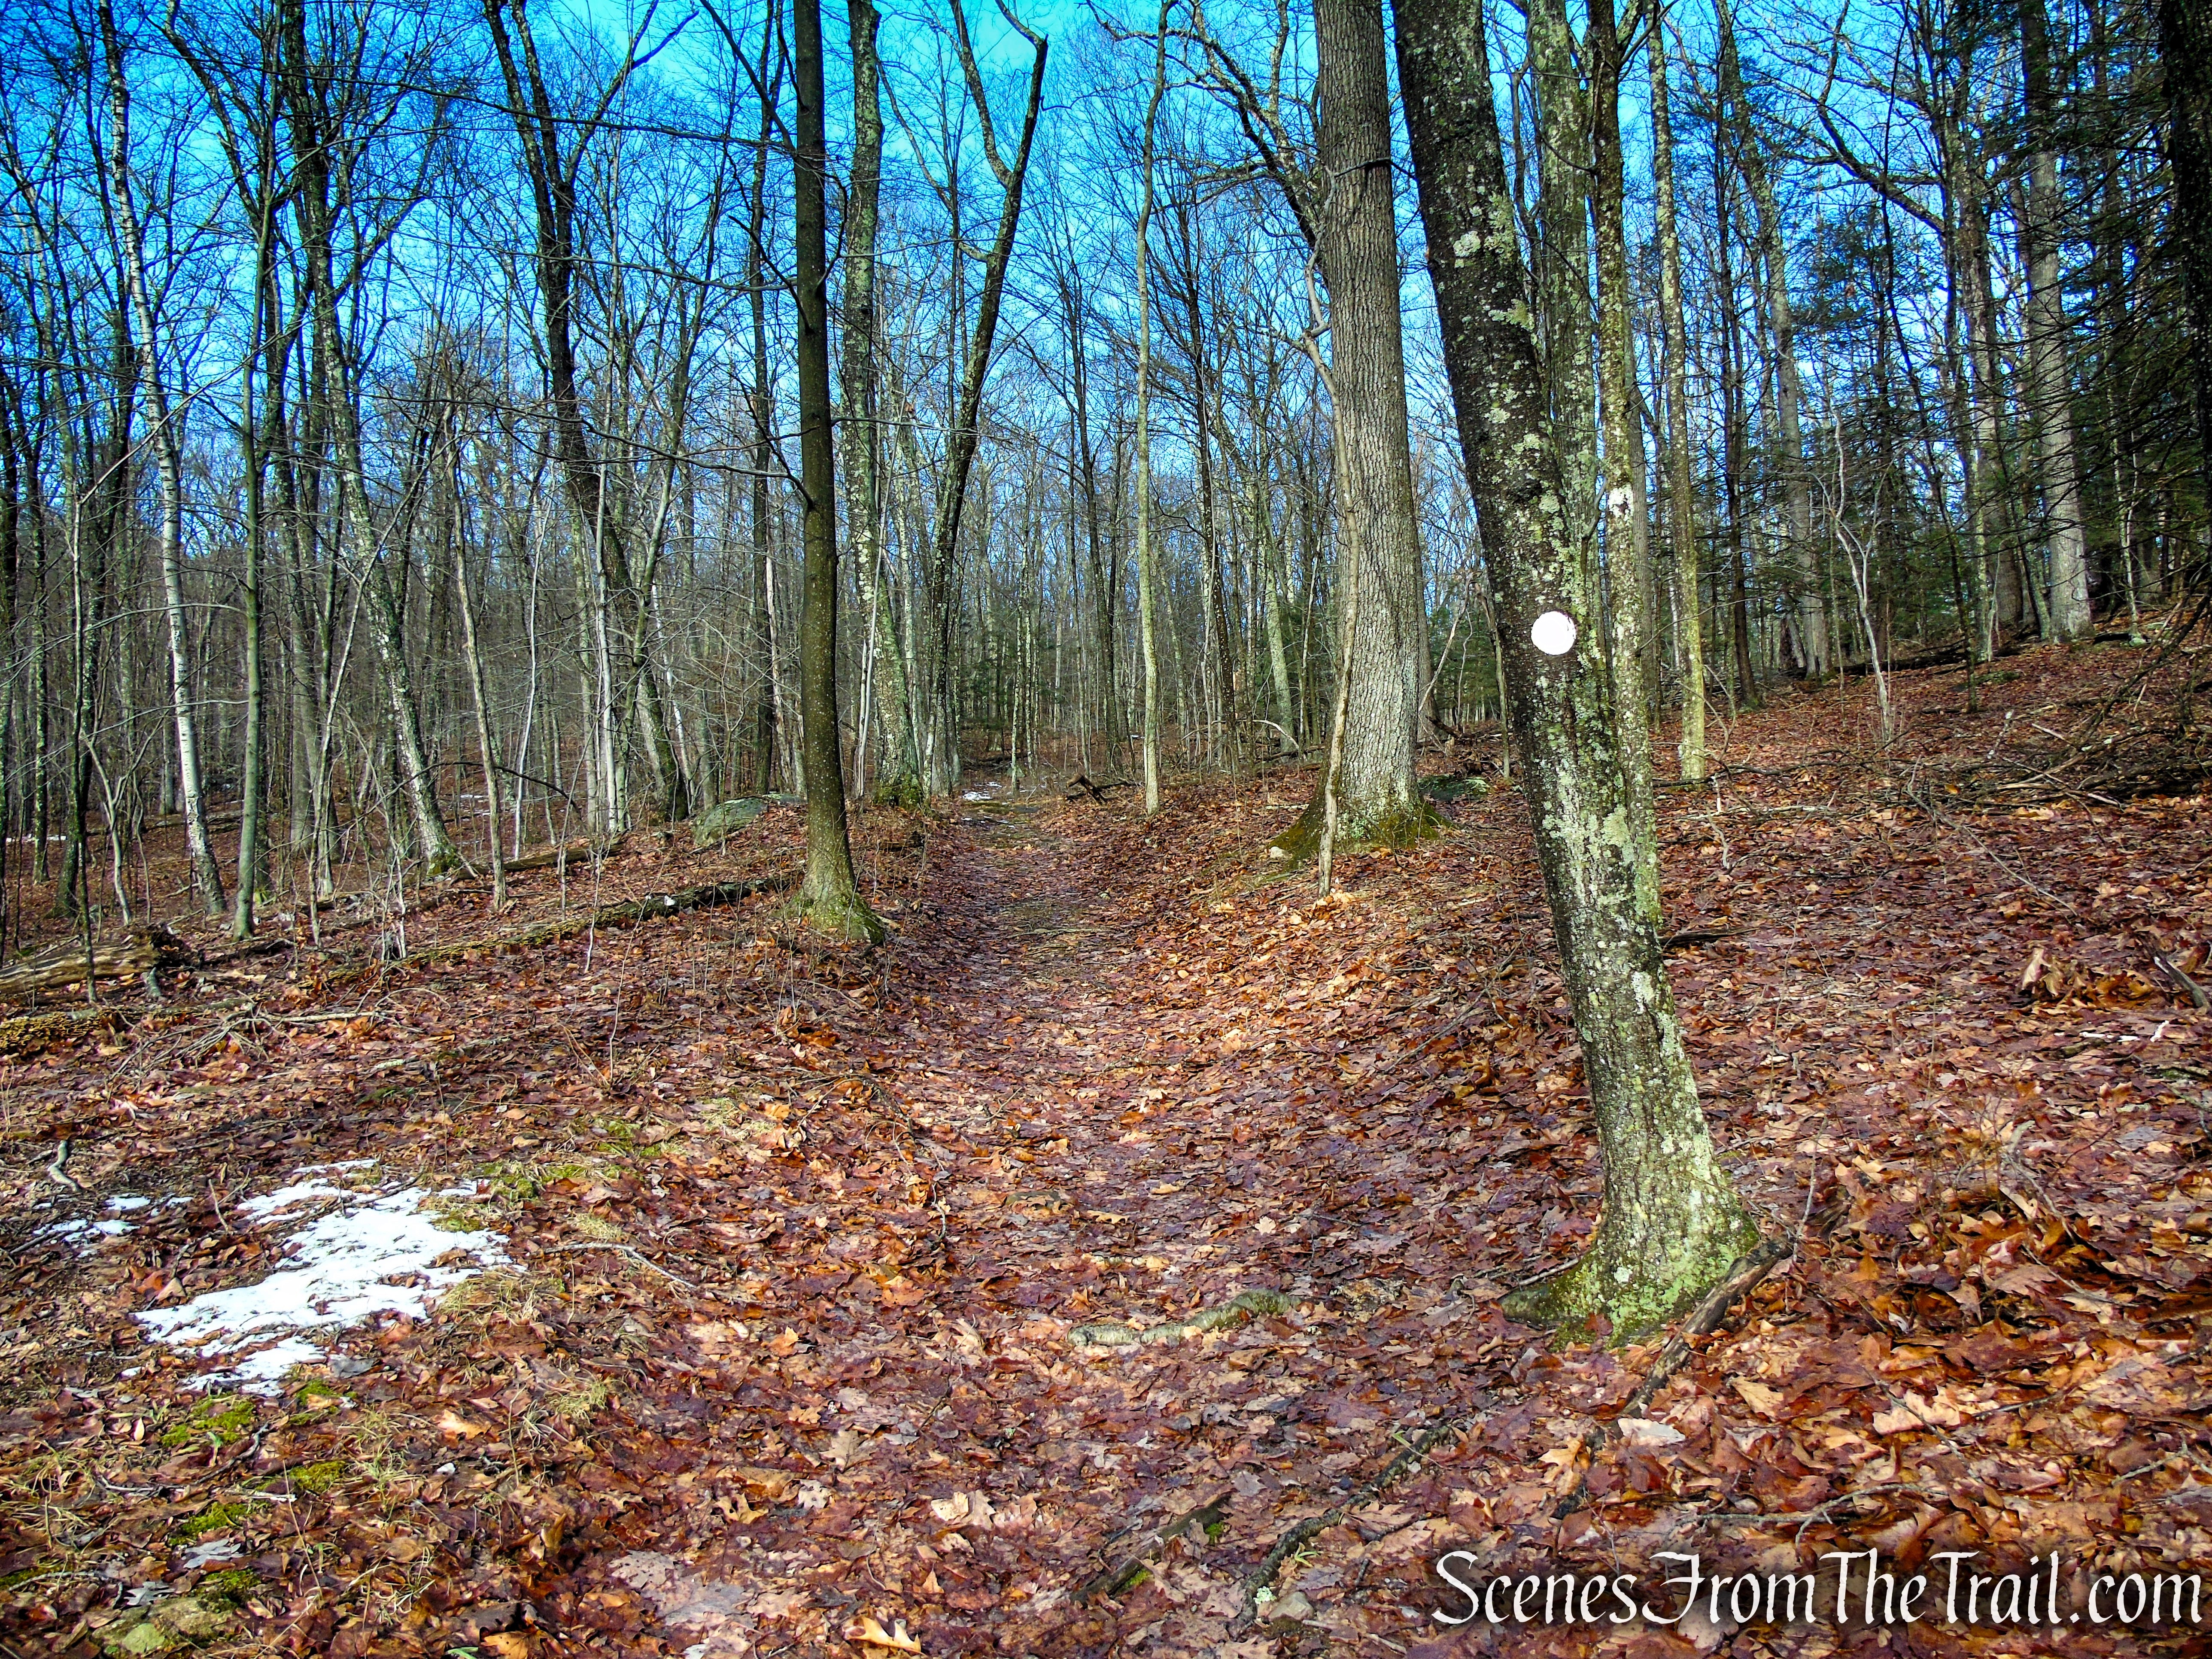
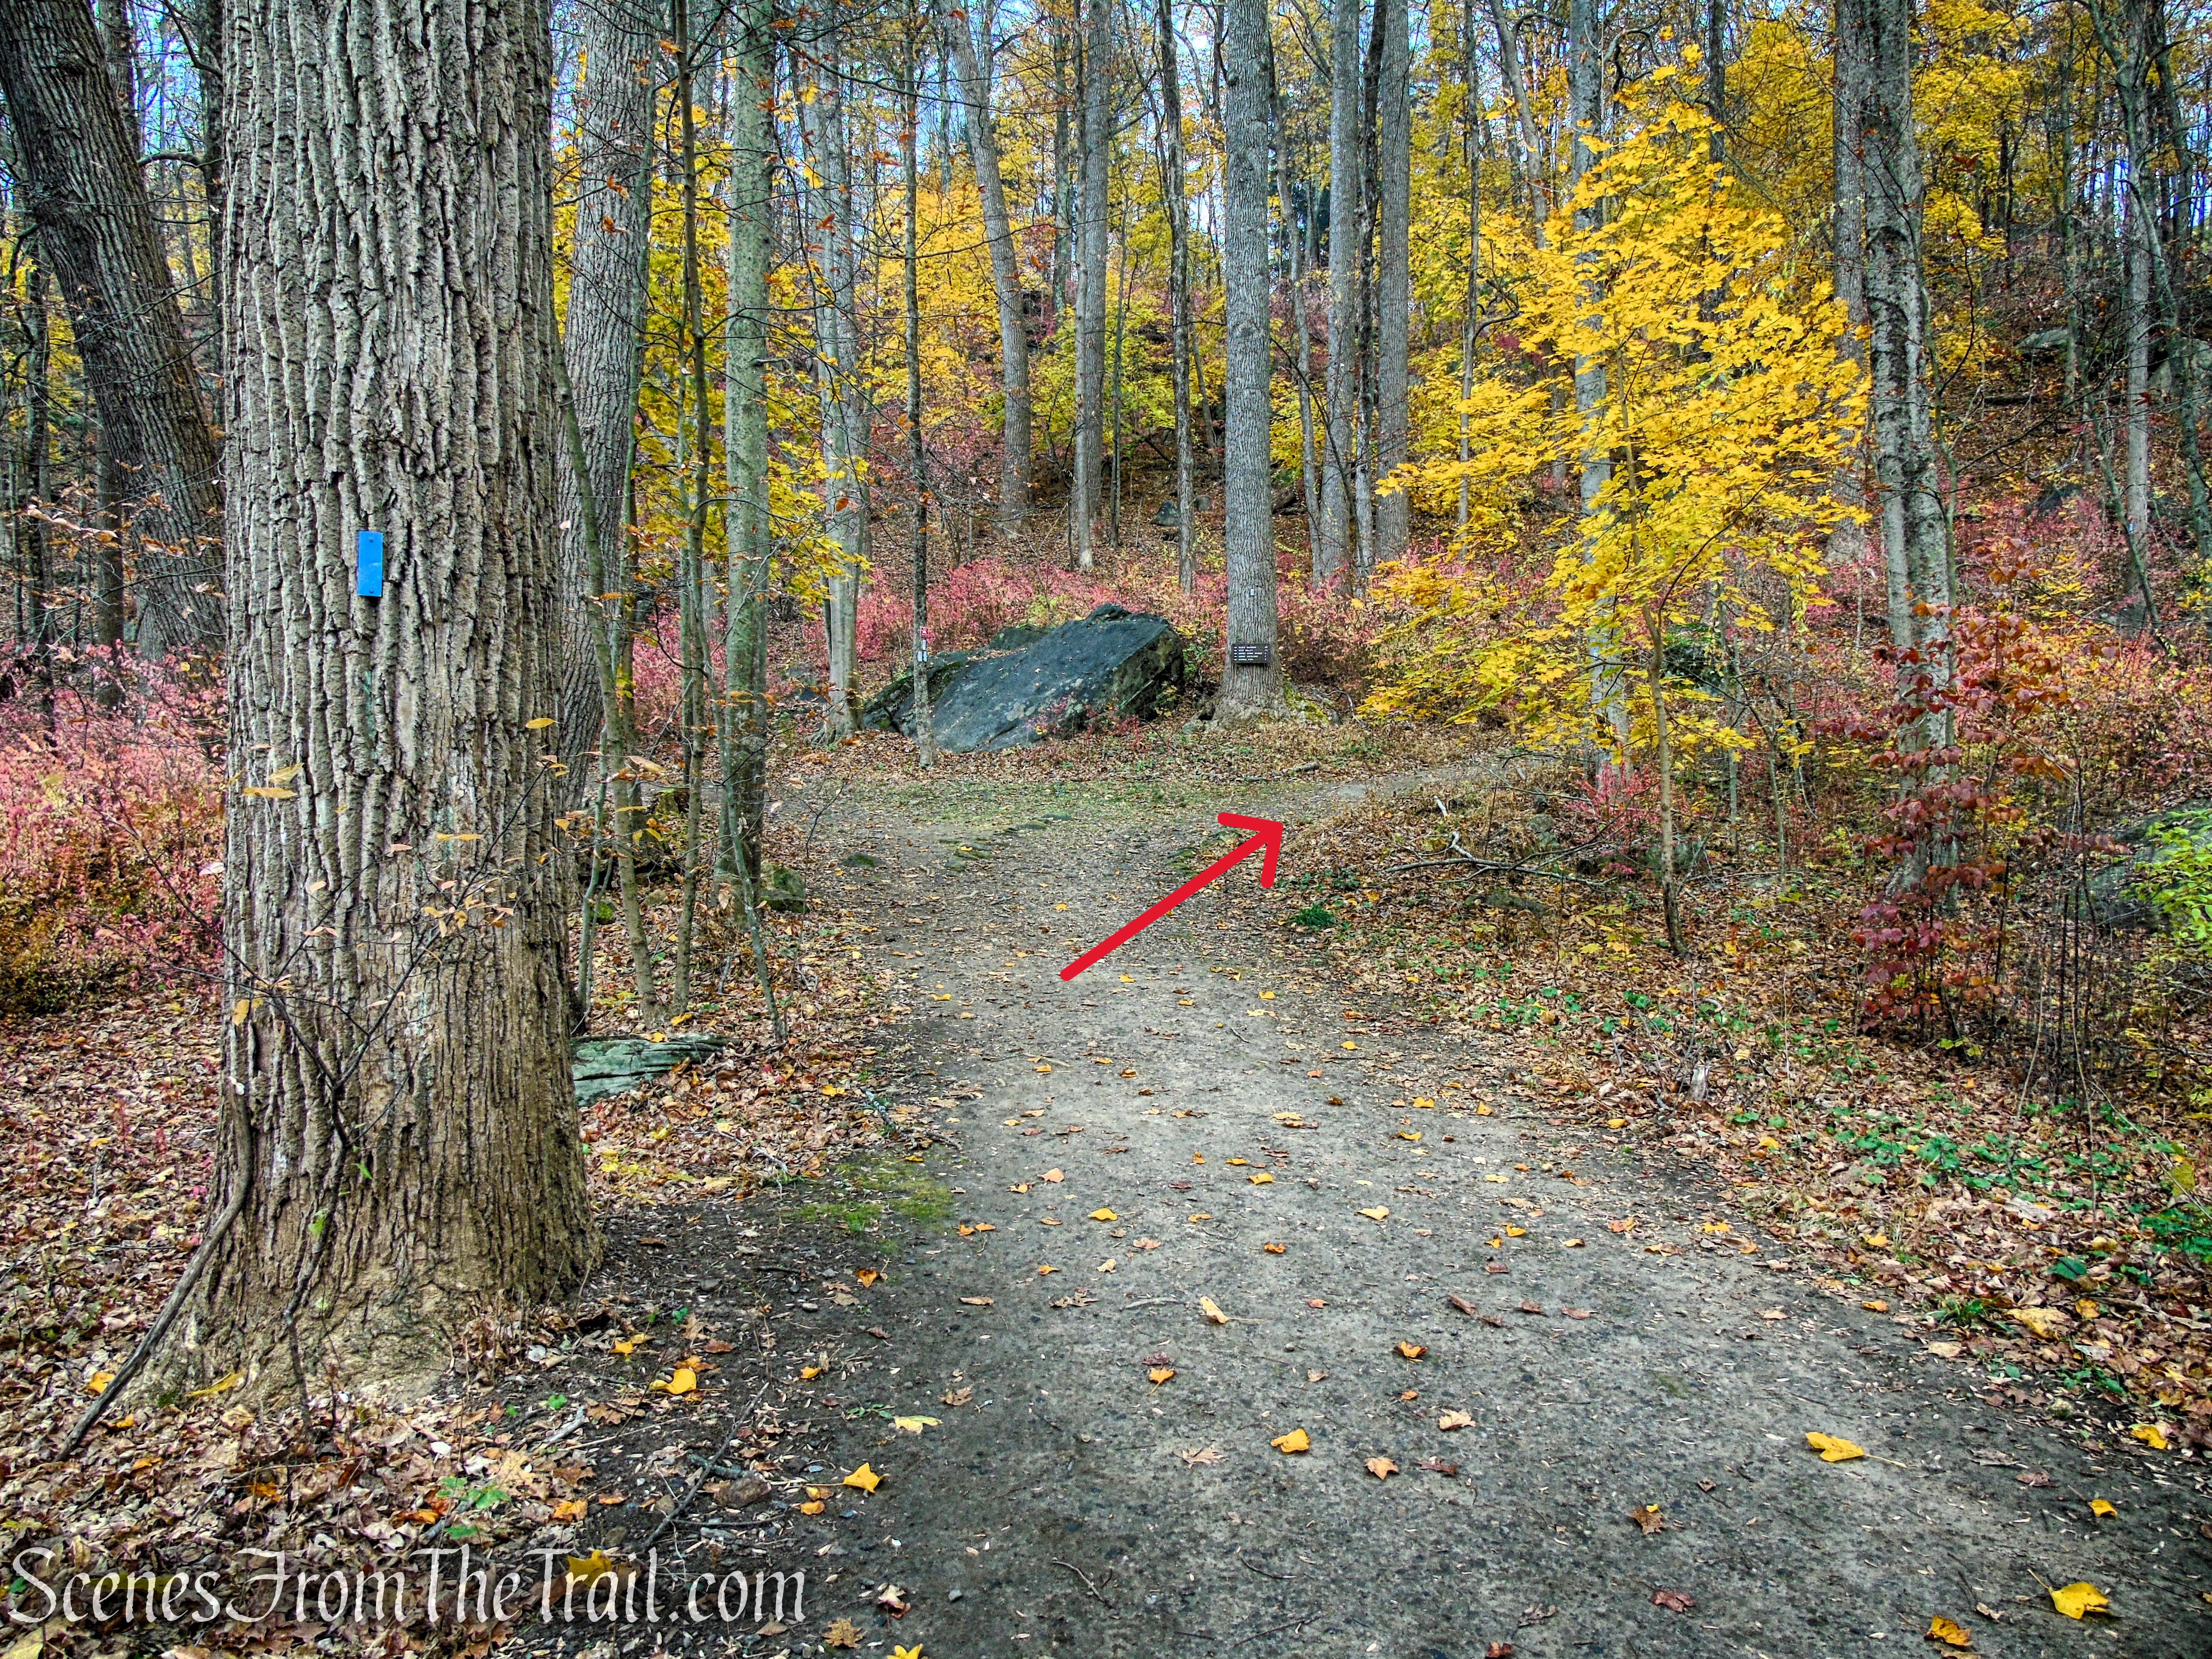
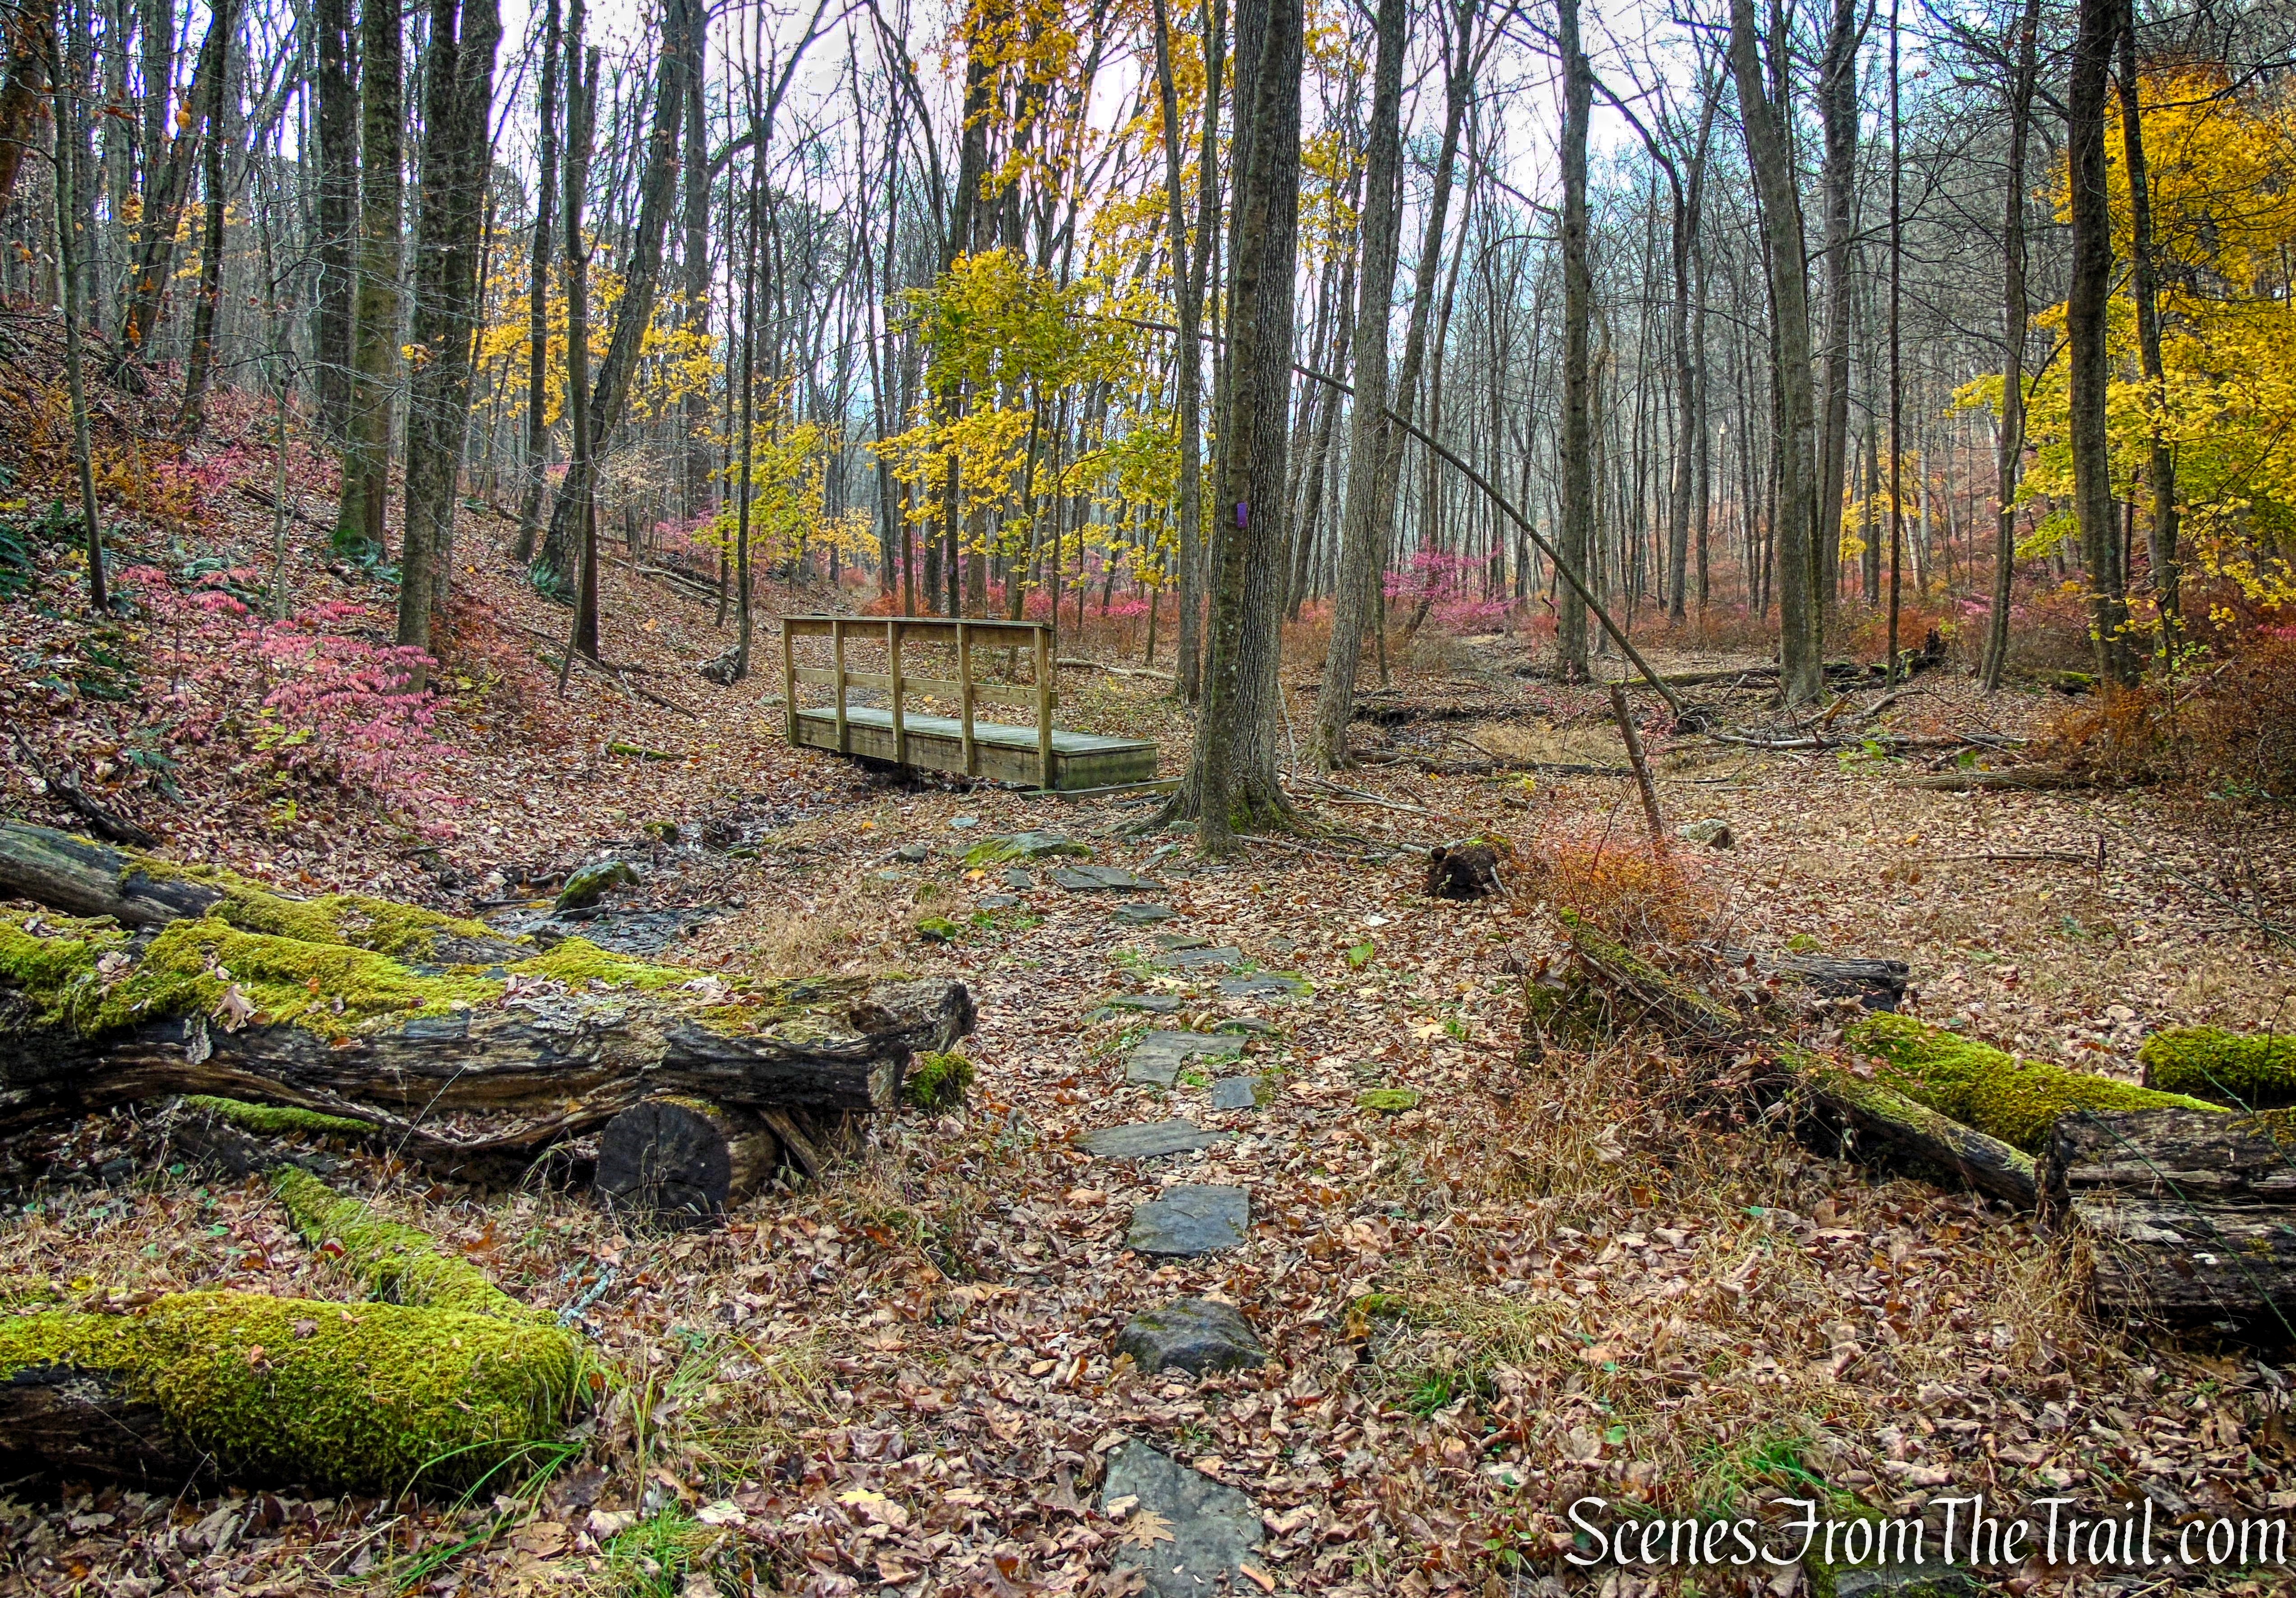
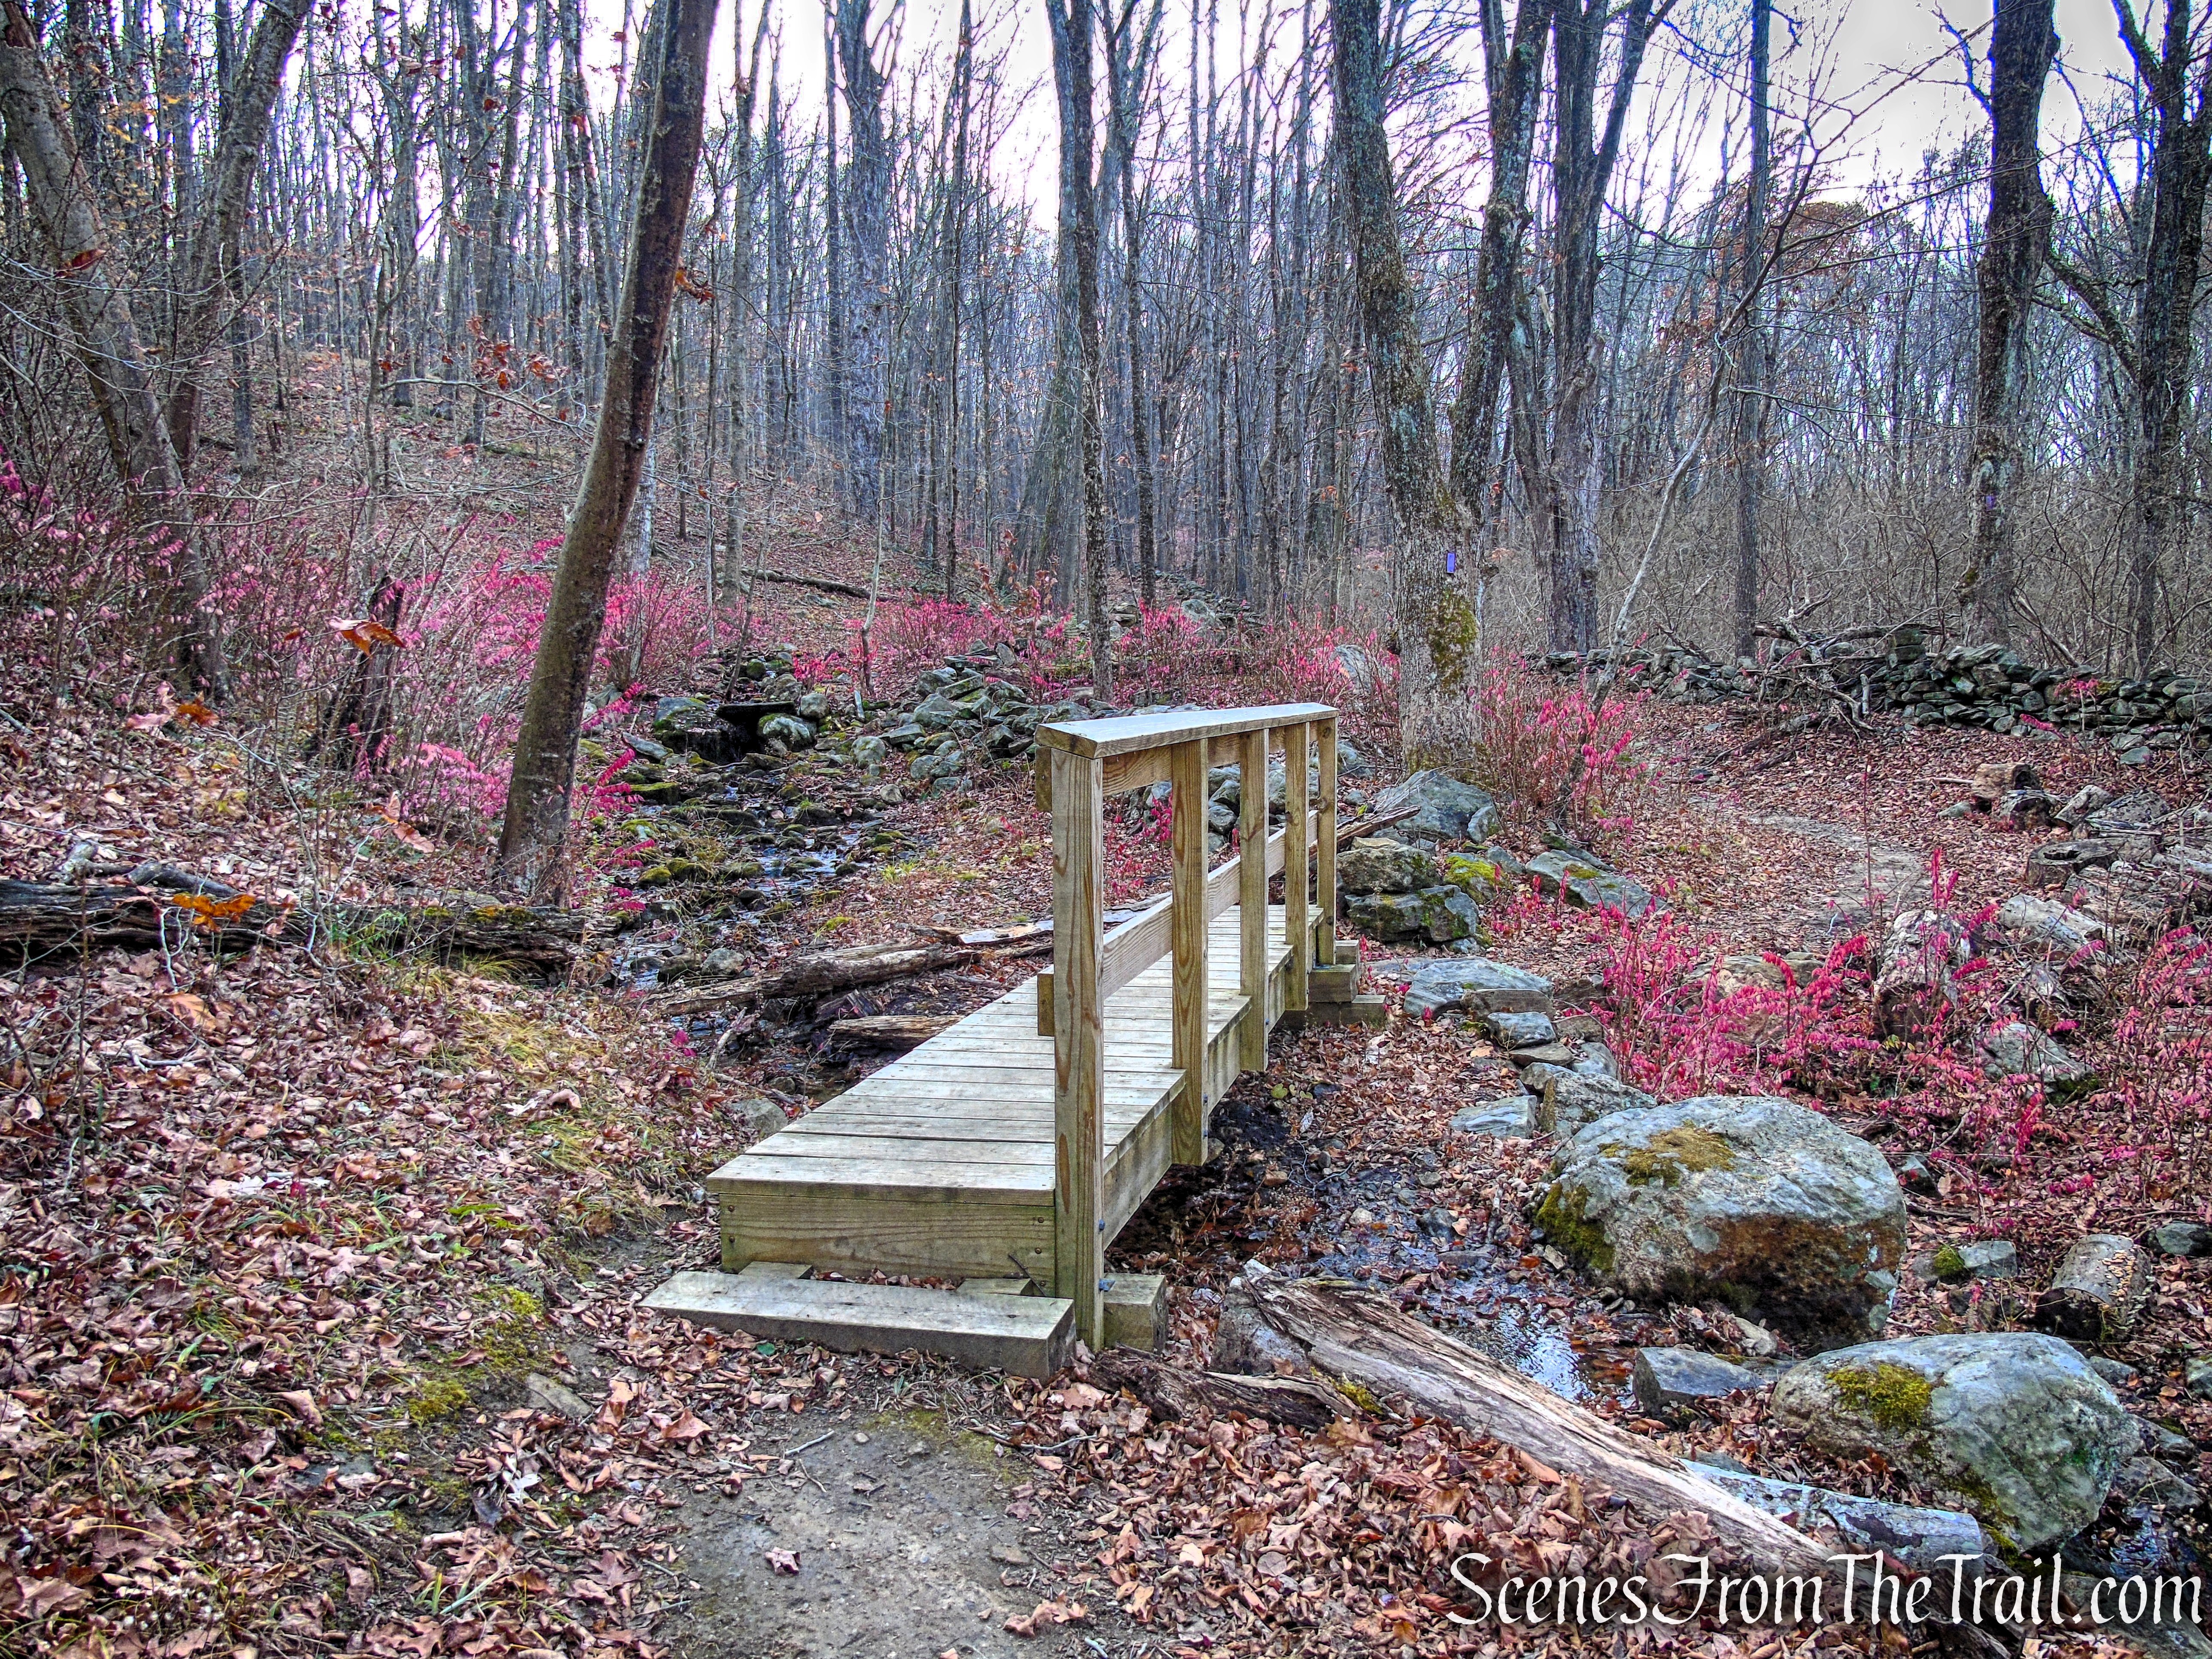
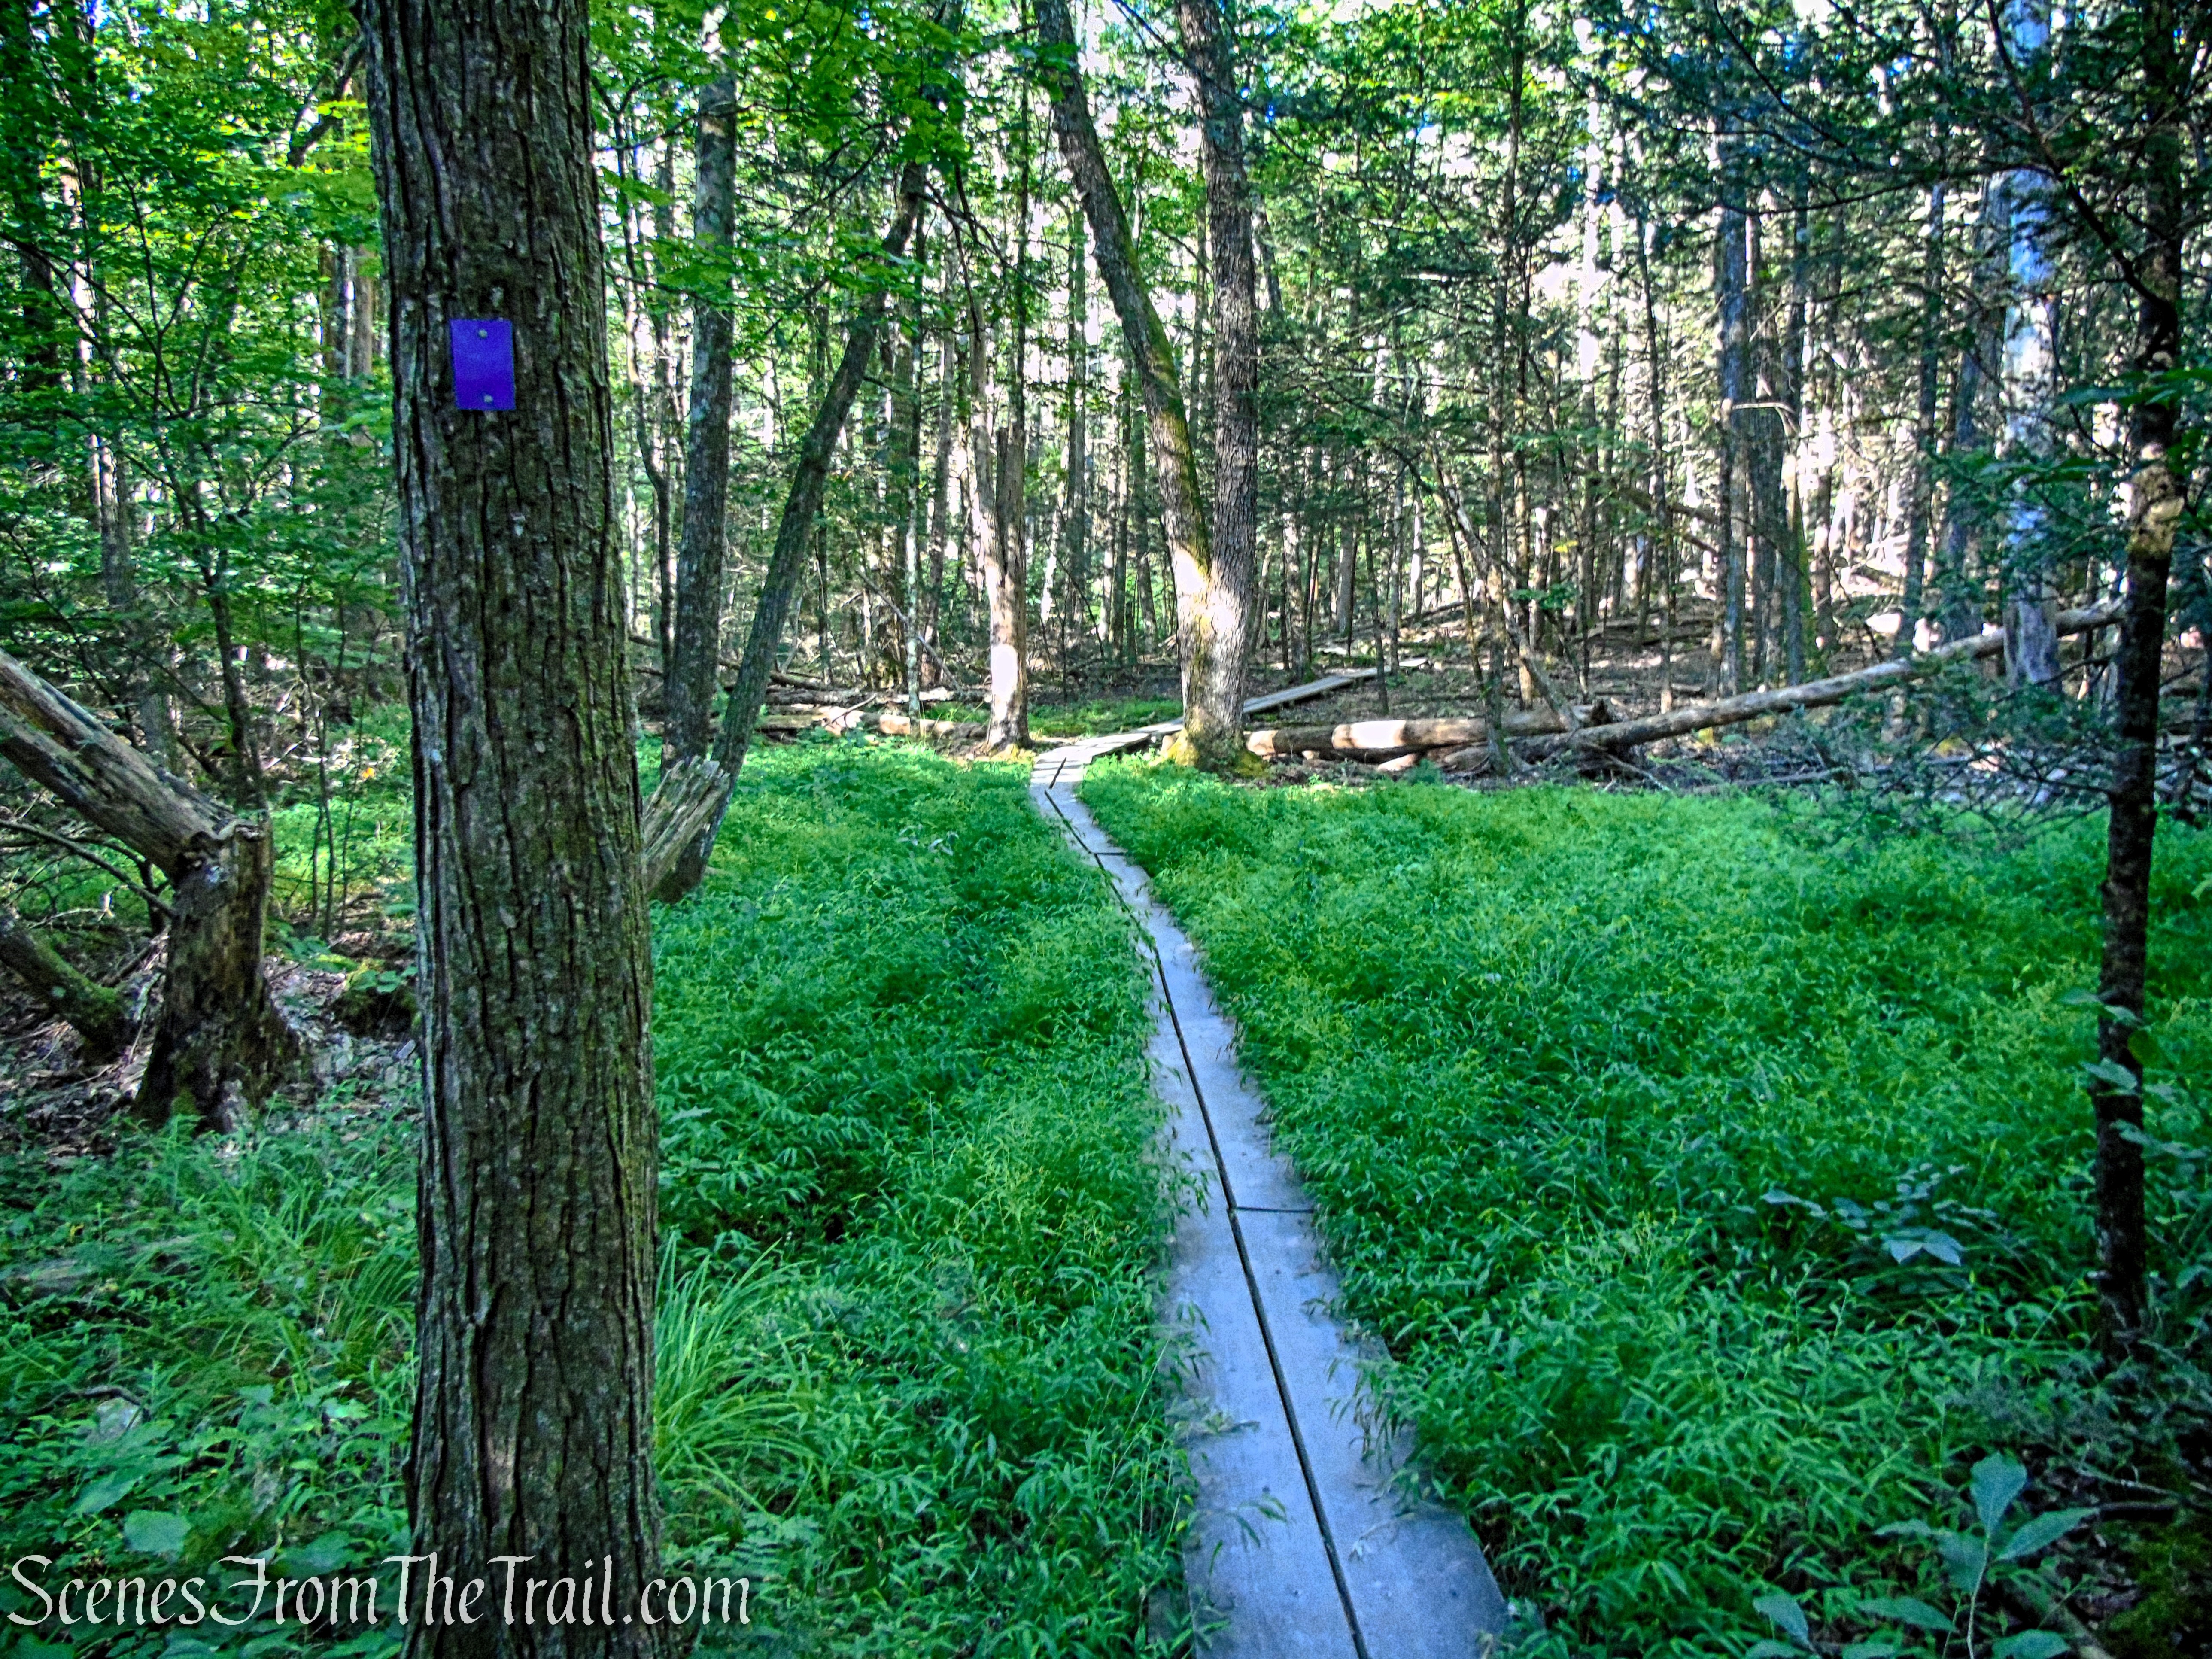
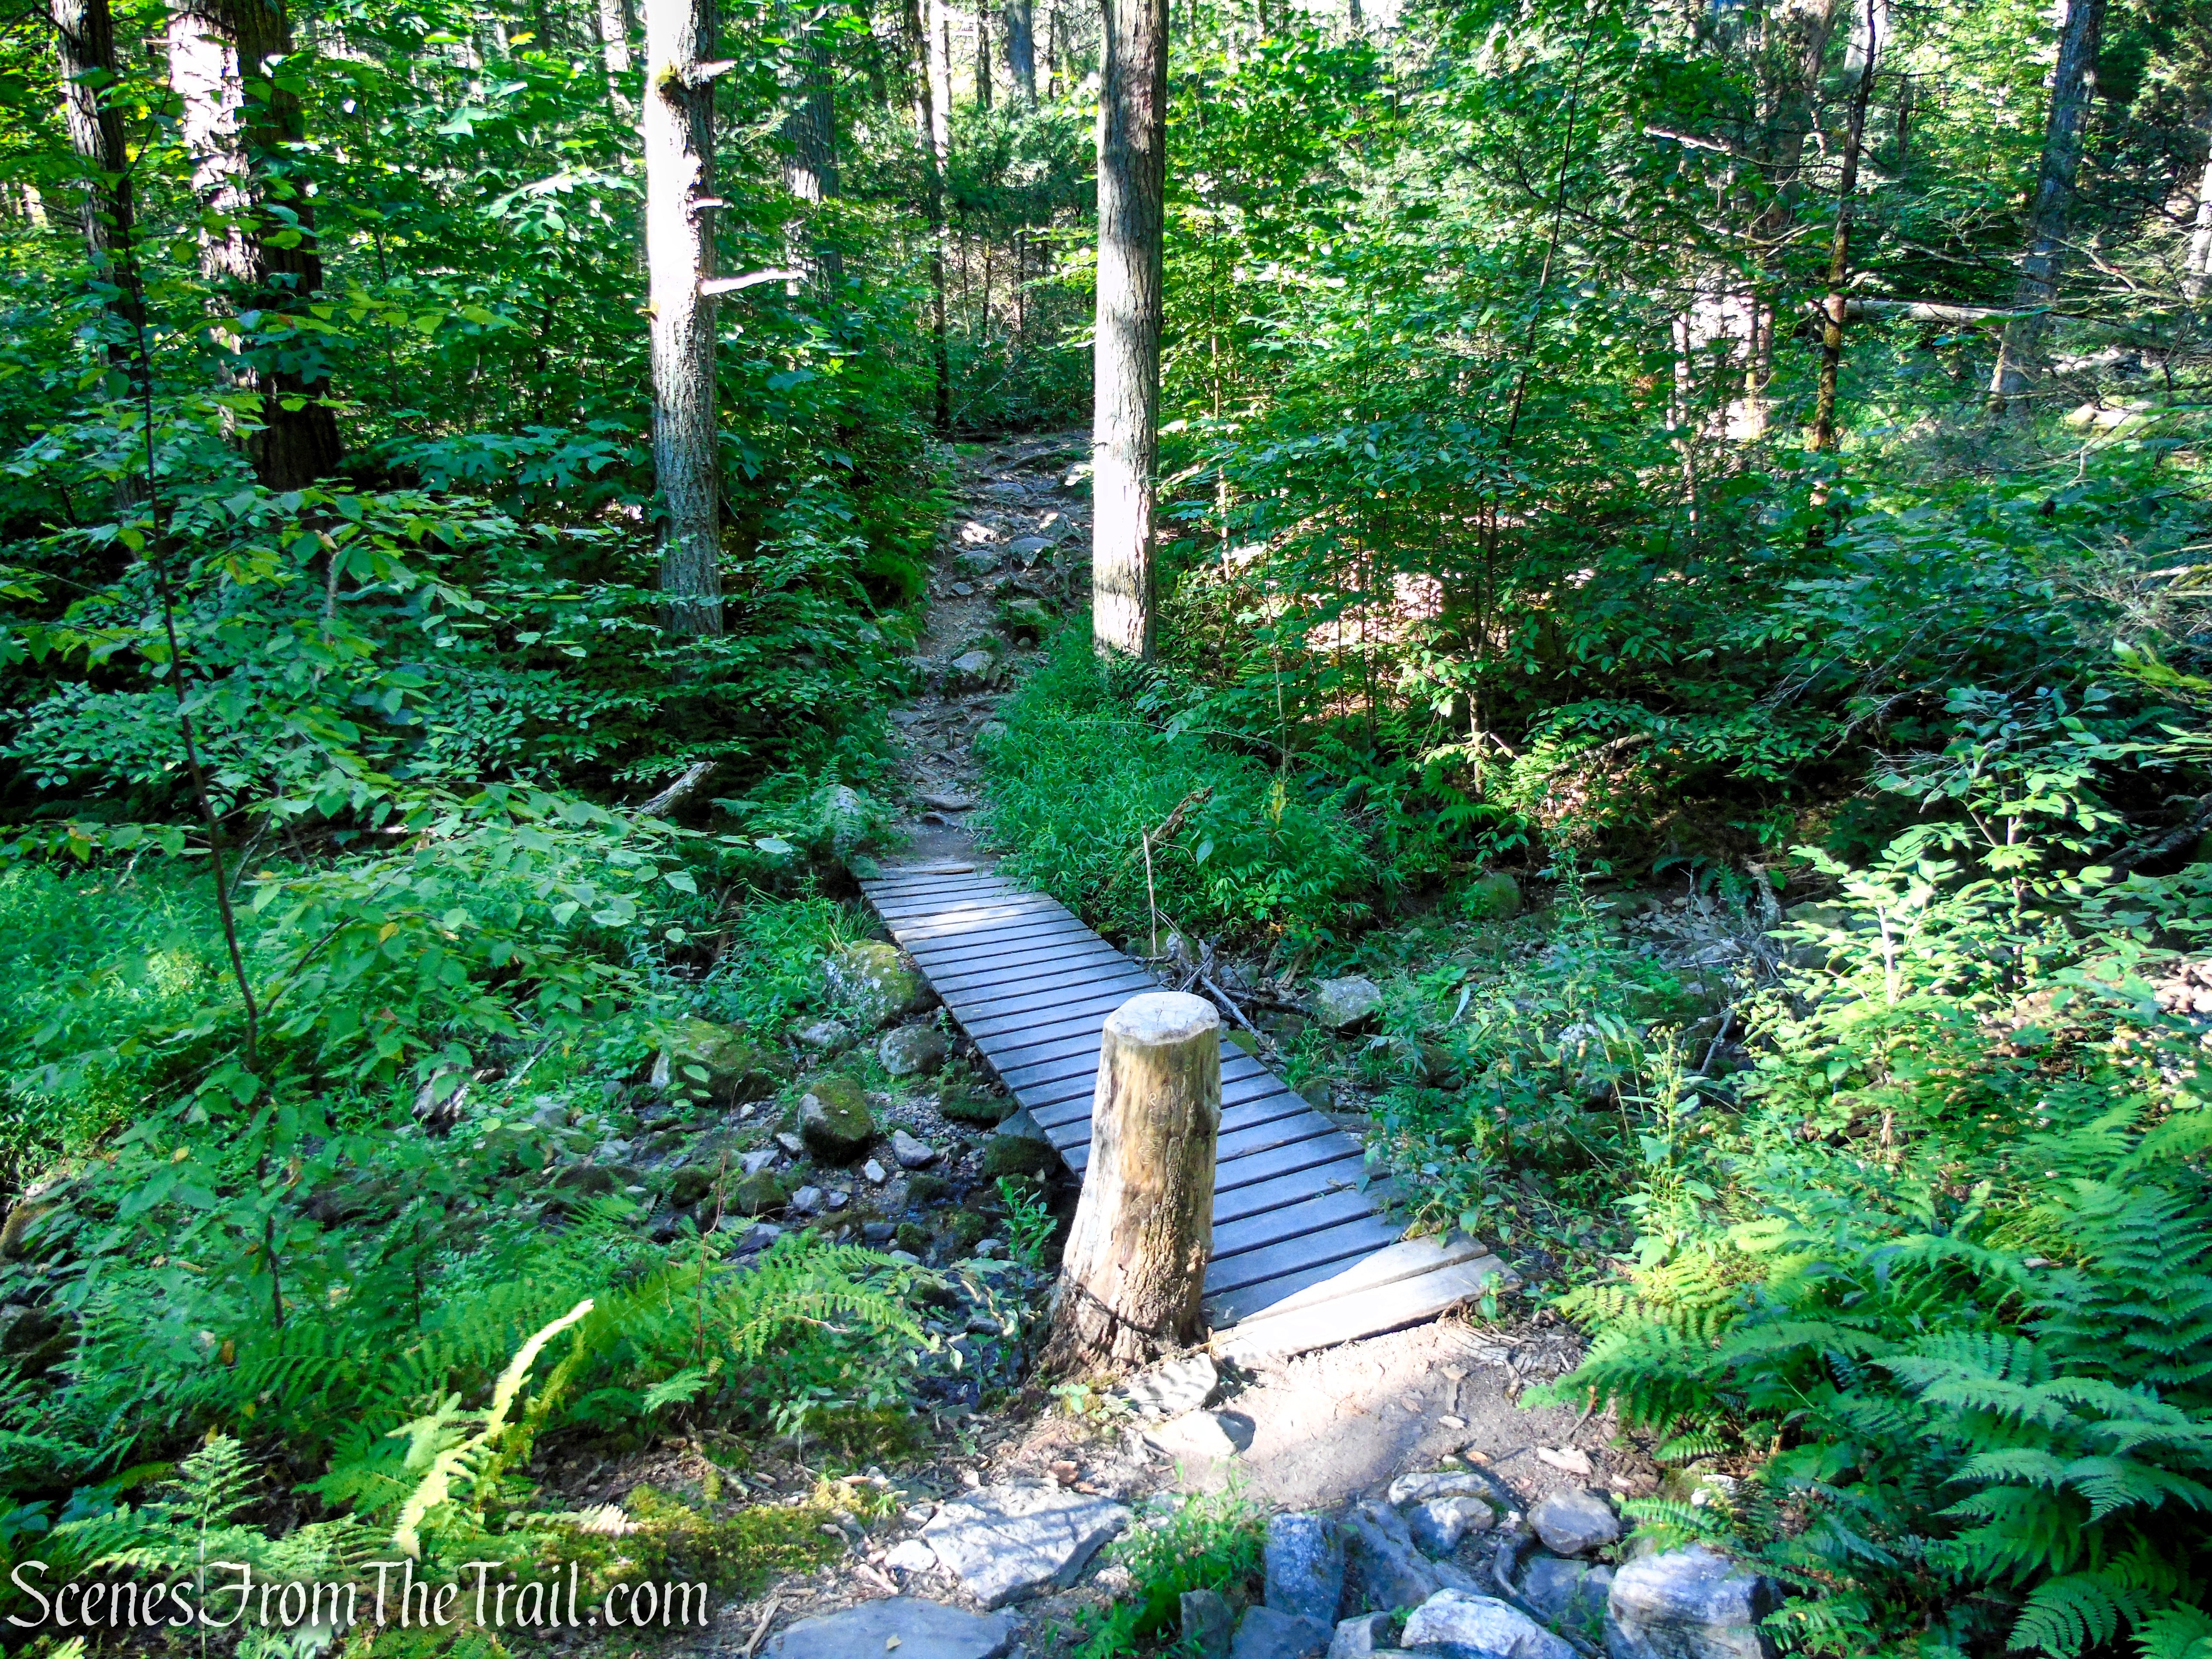
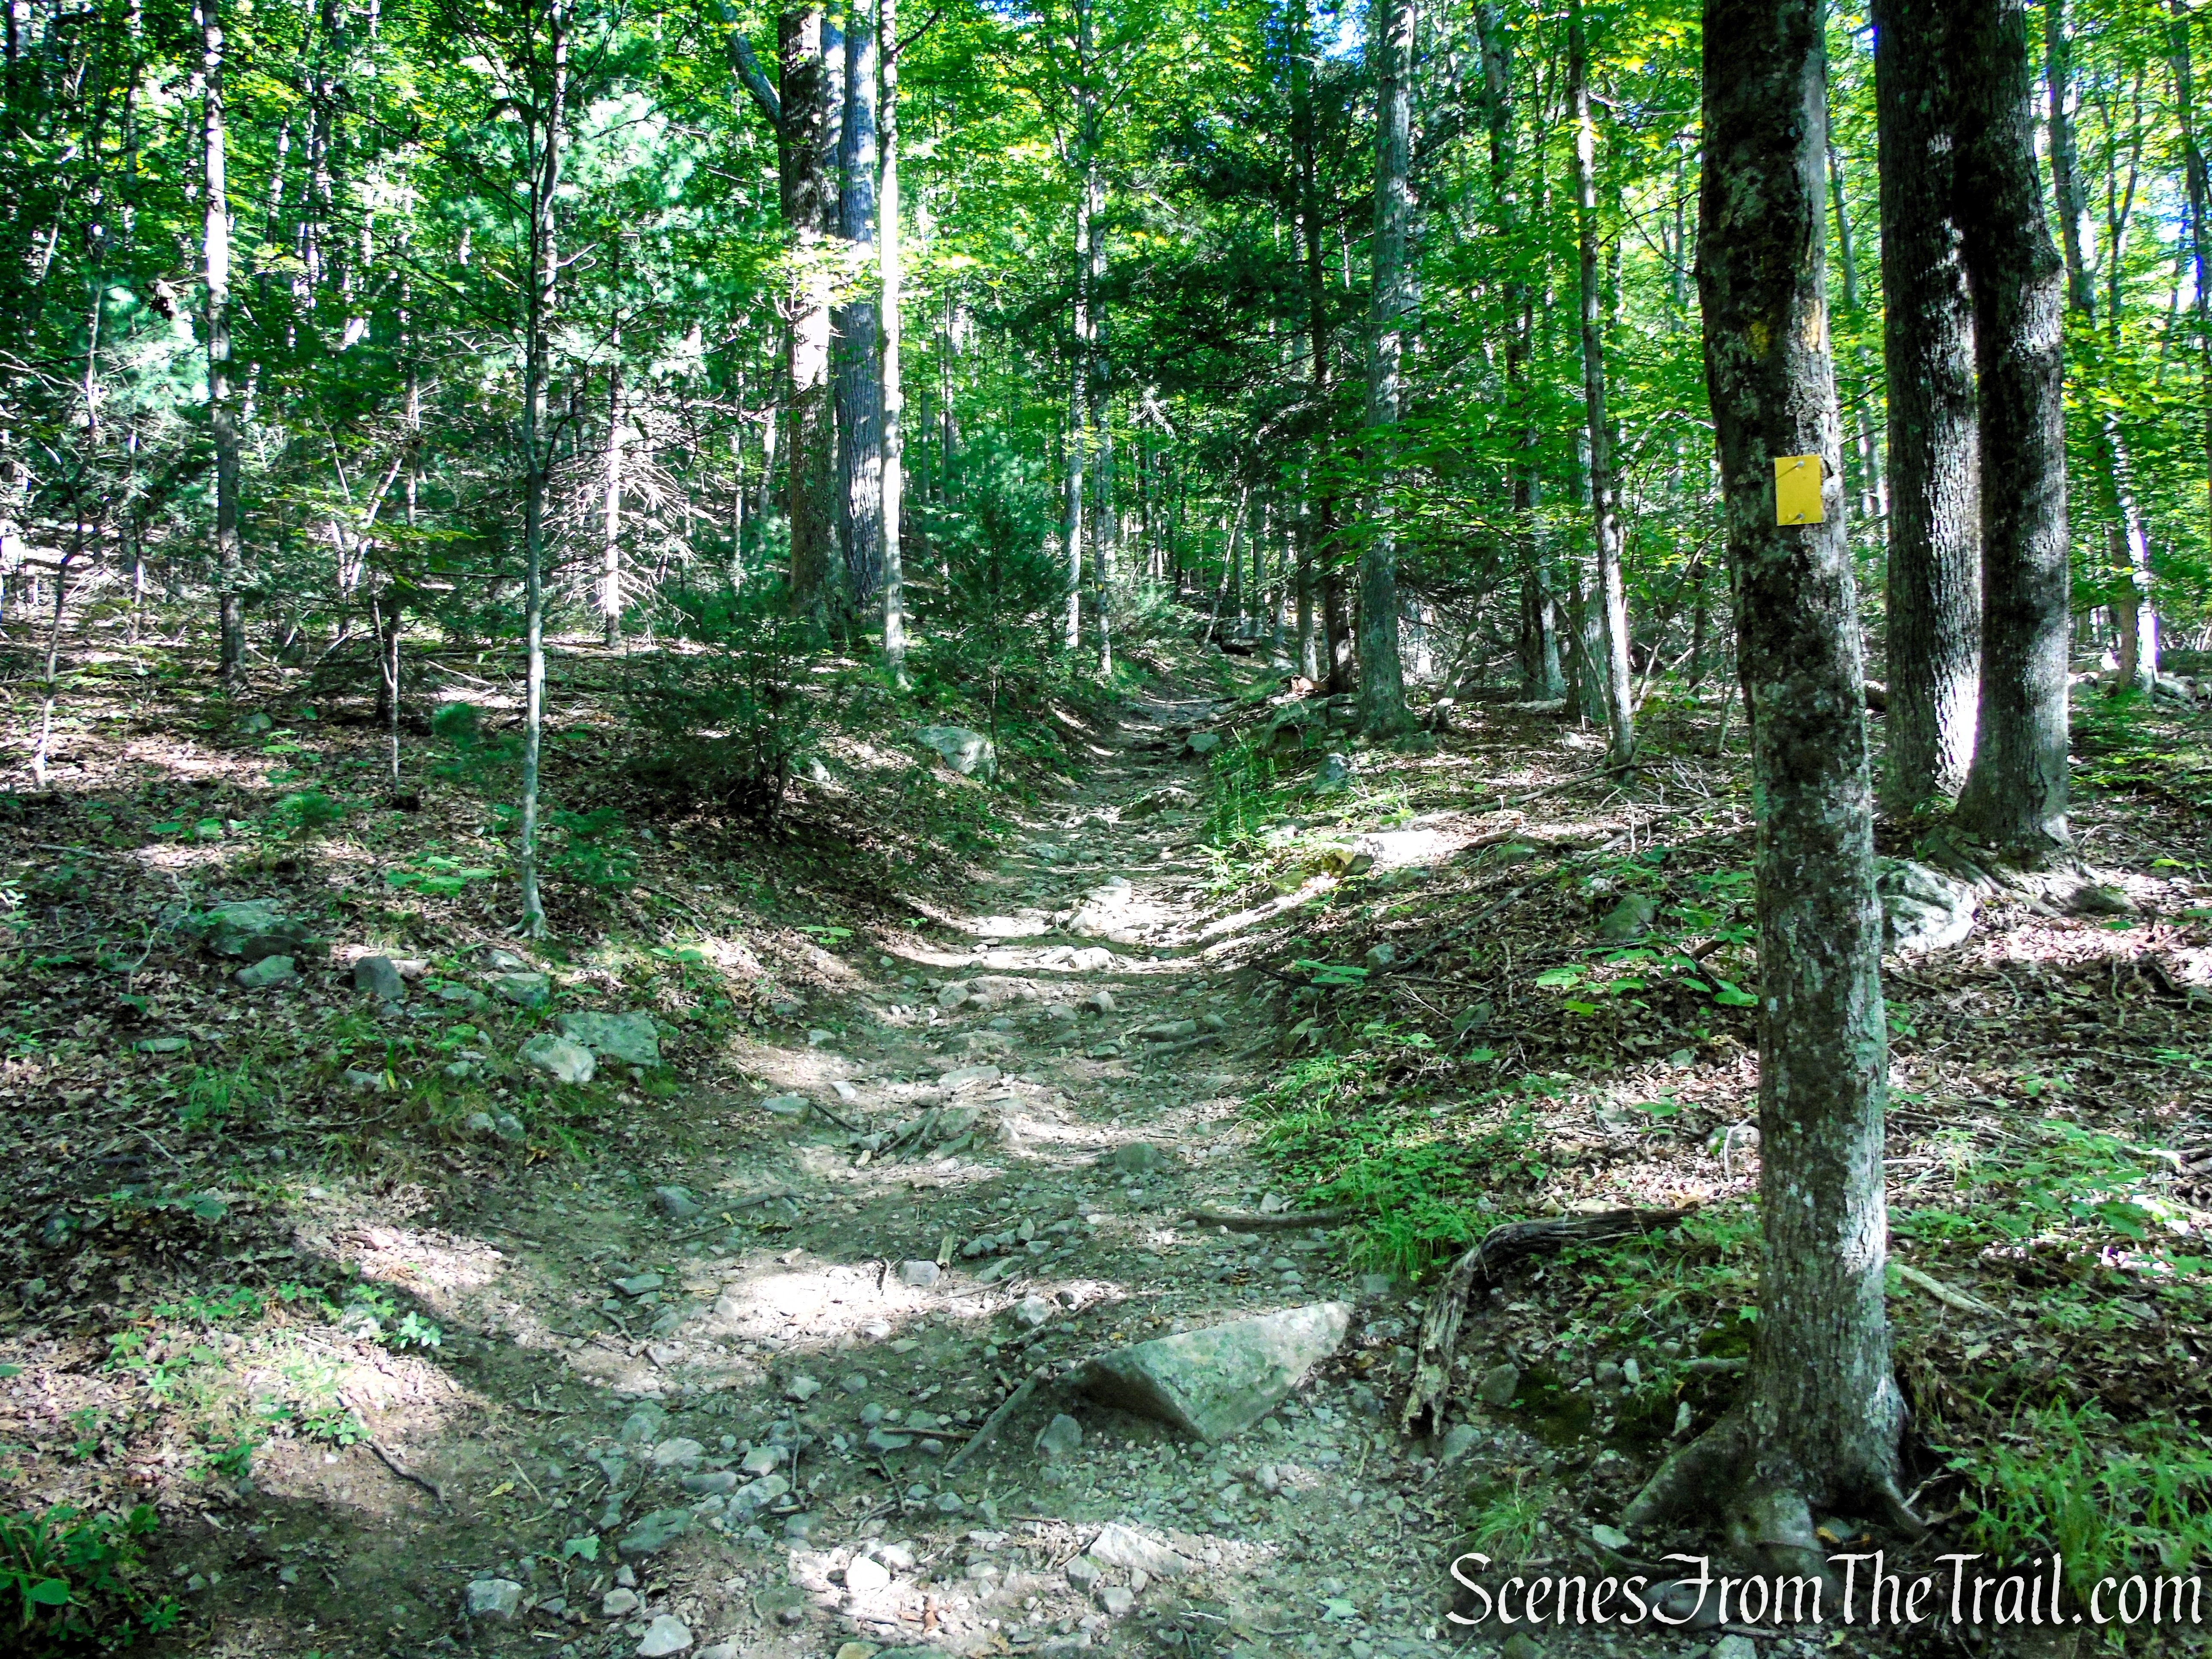
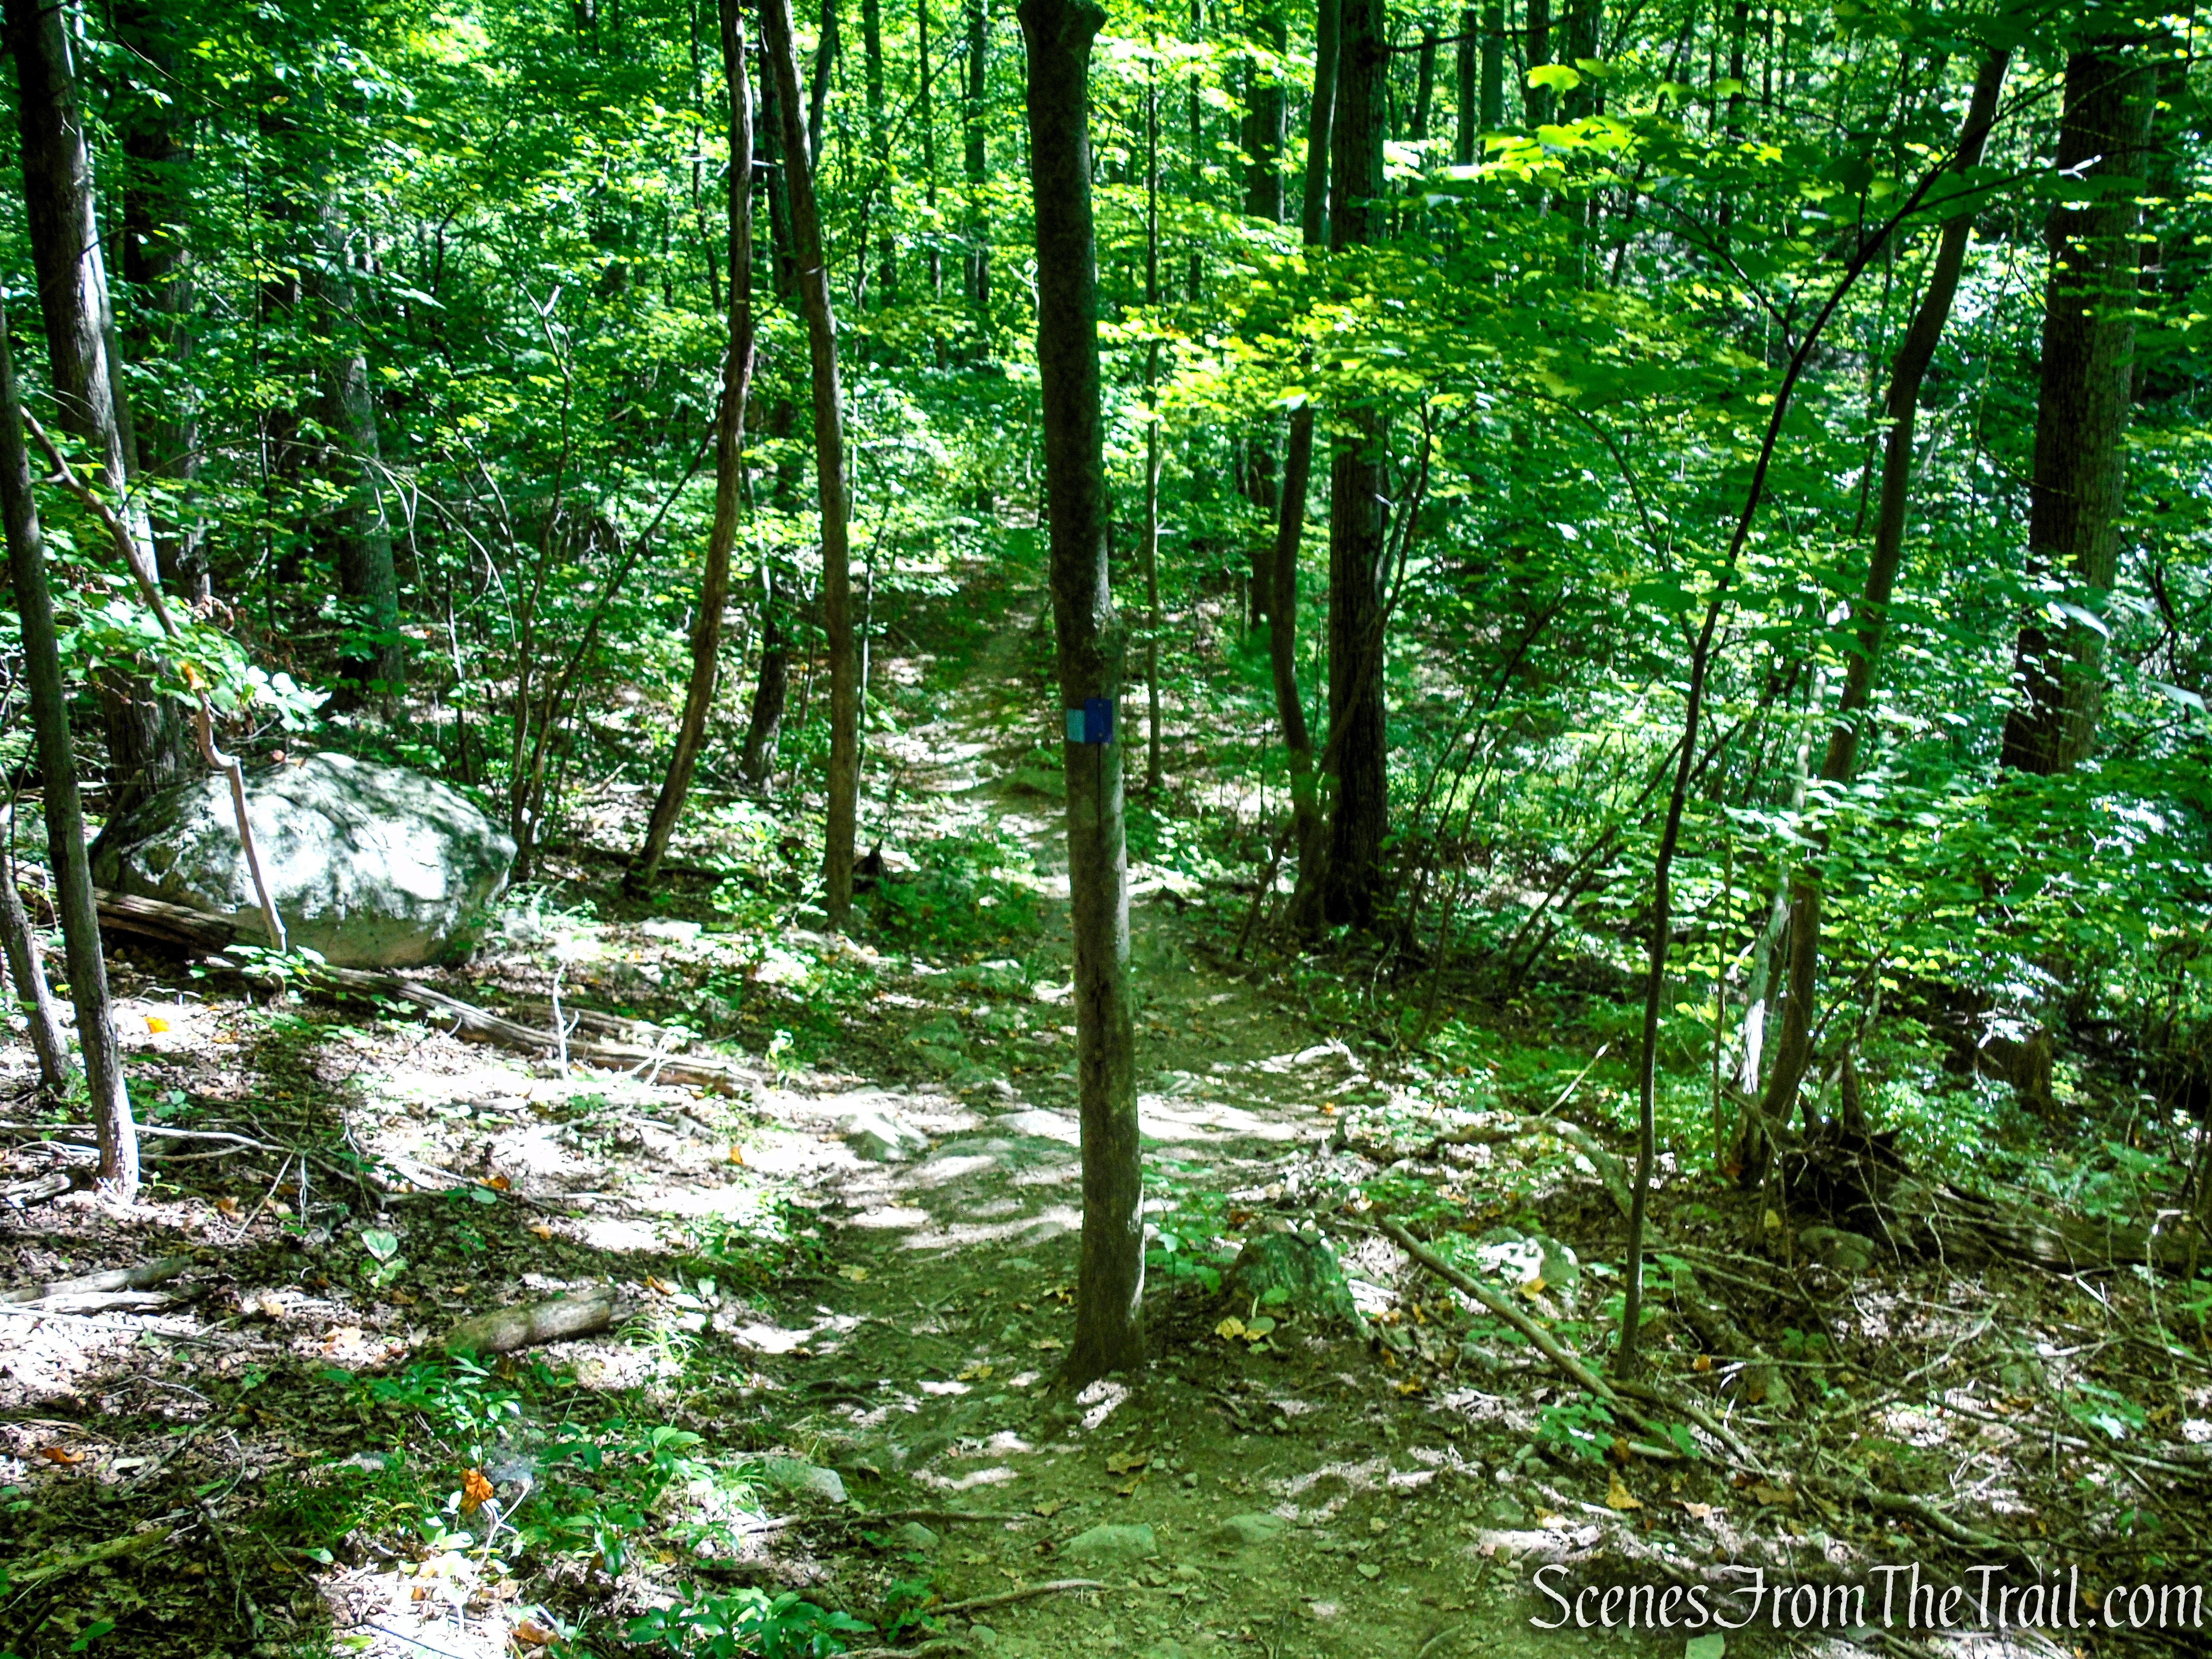
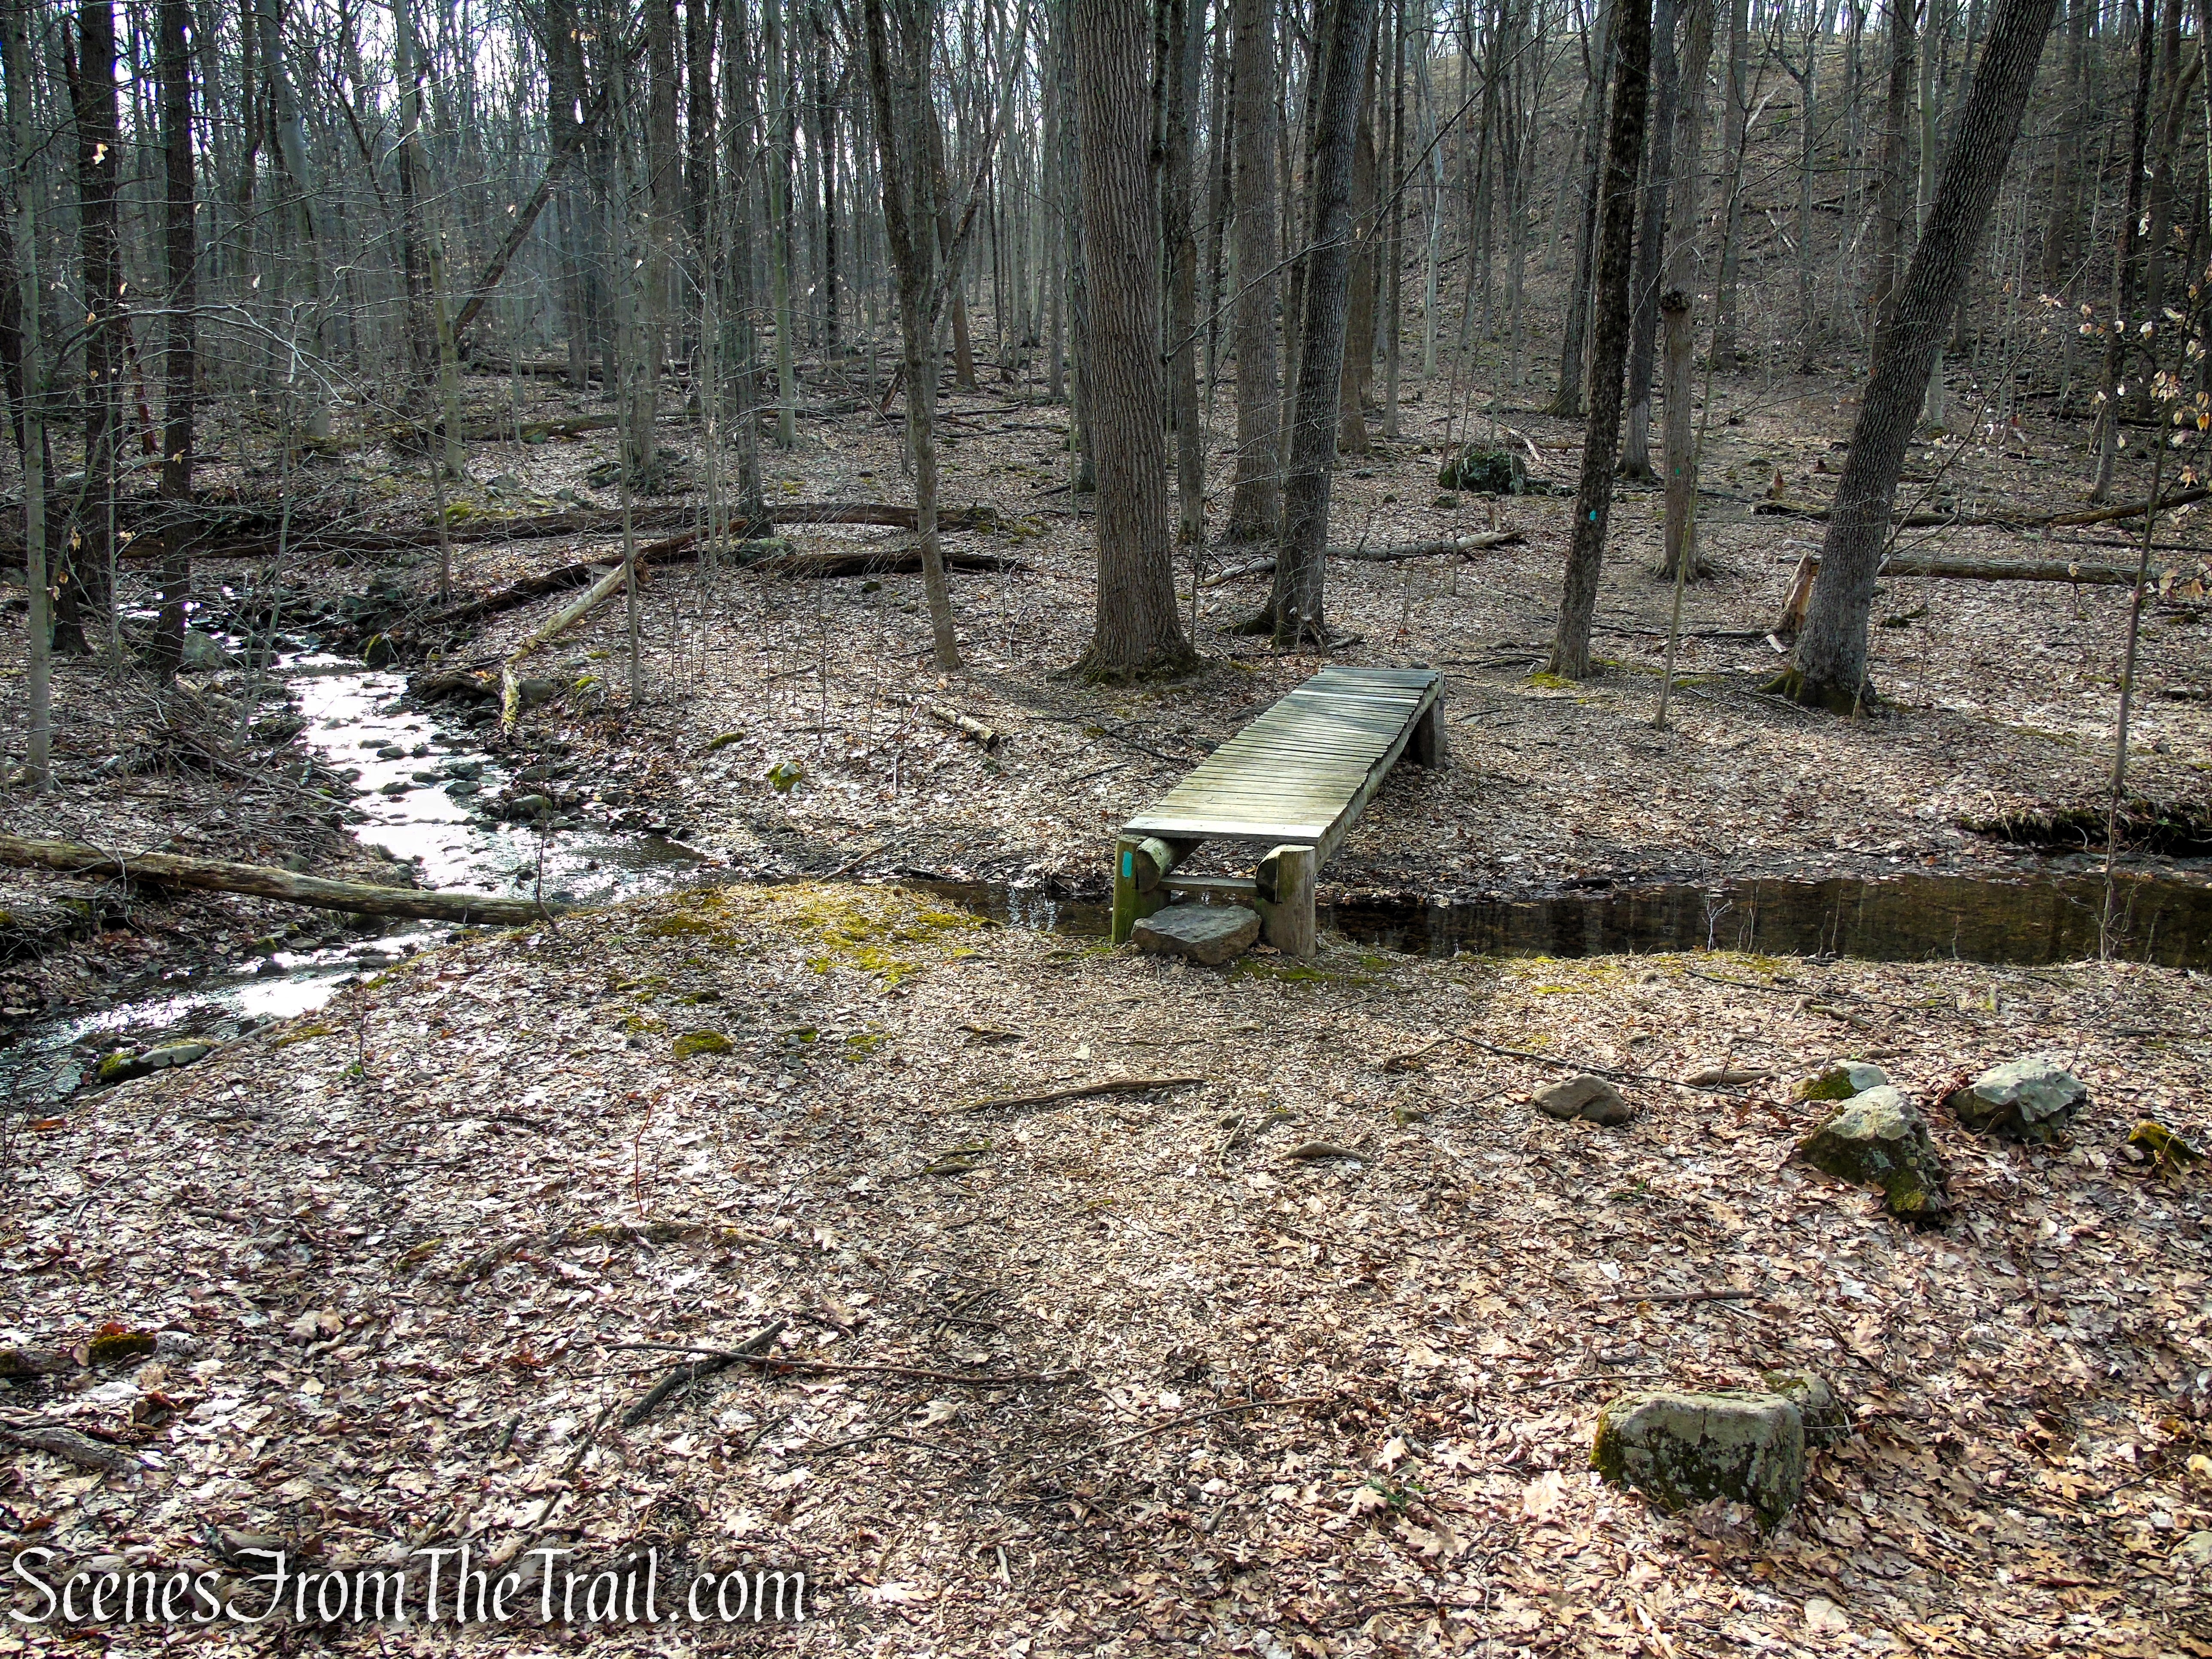
After a short distance, the trail reaches a wooden footbridge spanning a small, often gently flowing stream. Cross the bridge and continue ahead as the path begins a steady, gradual climb through the surrounding woods, gaining elevation without ever becoming too steep.
Long Path – Clausland Mountain Park
Long Path – Clausland Mountain Park

Long Path – Clausland Mountain Park
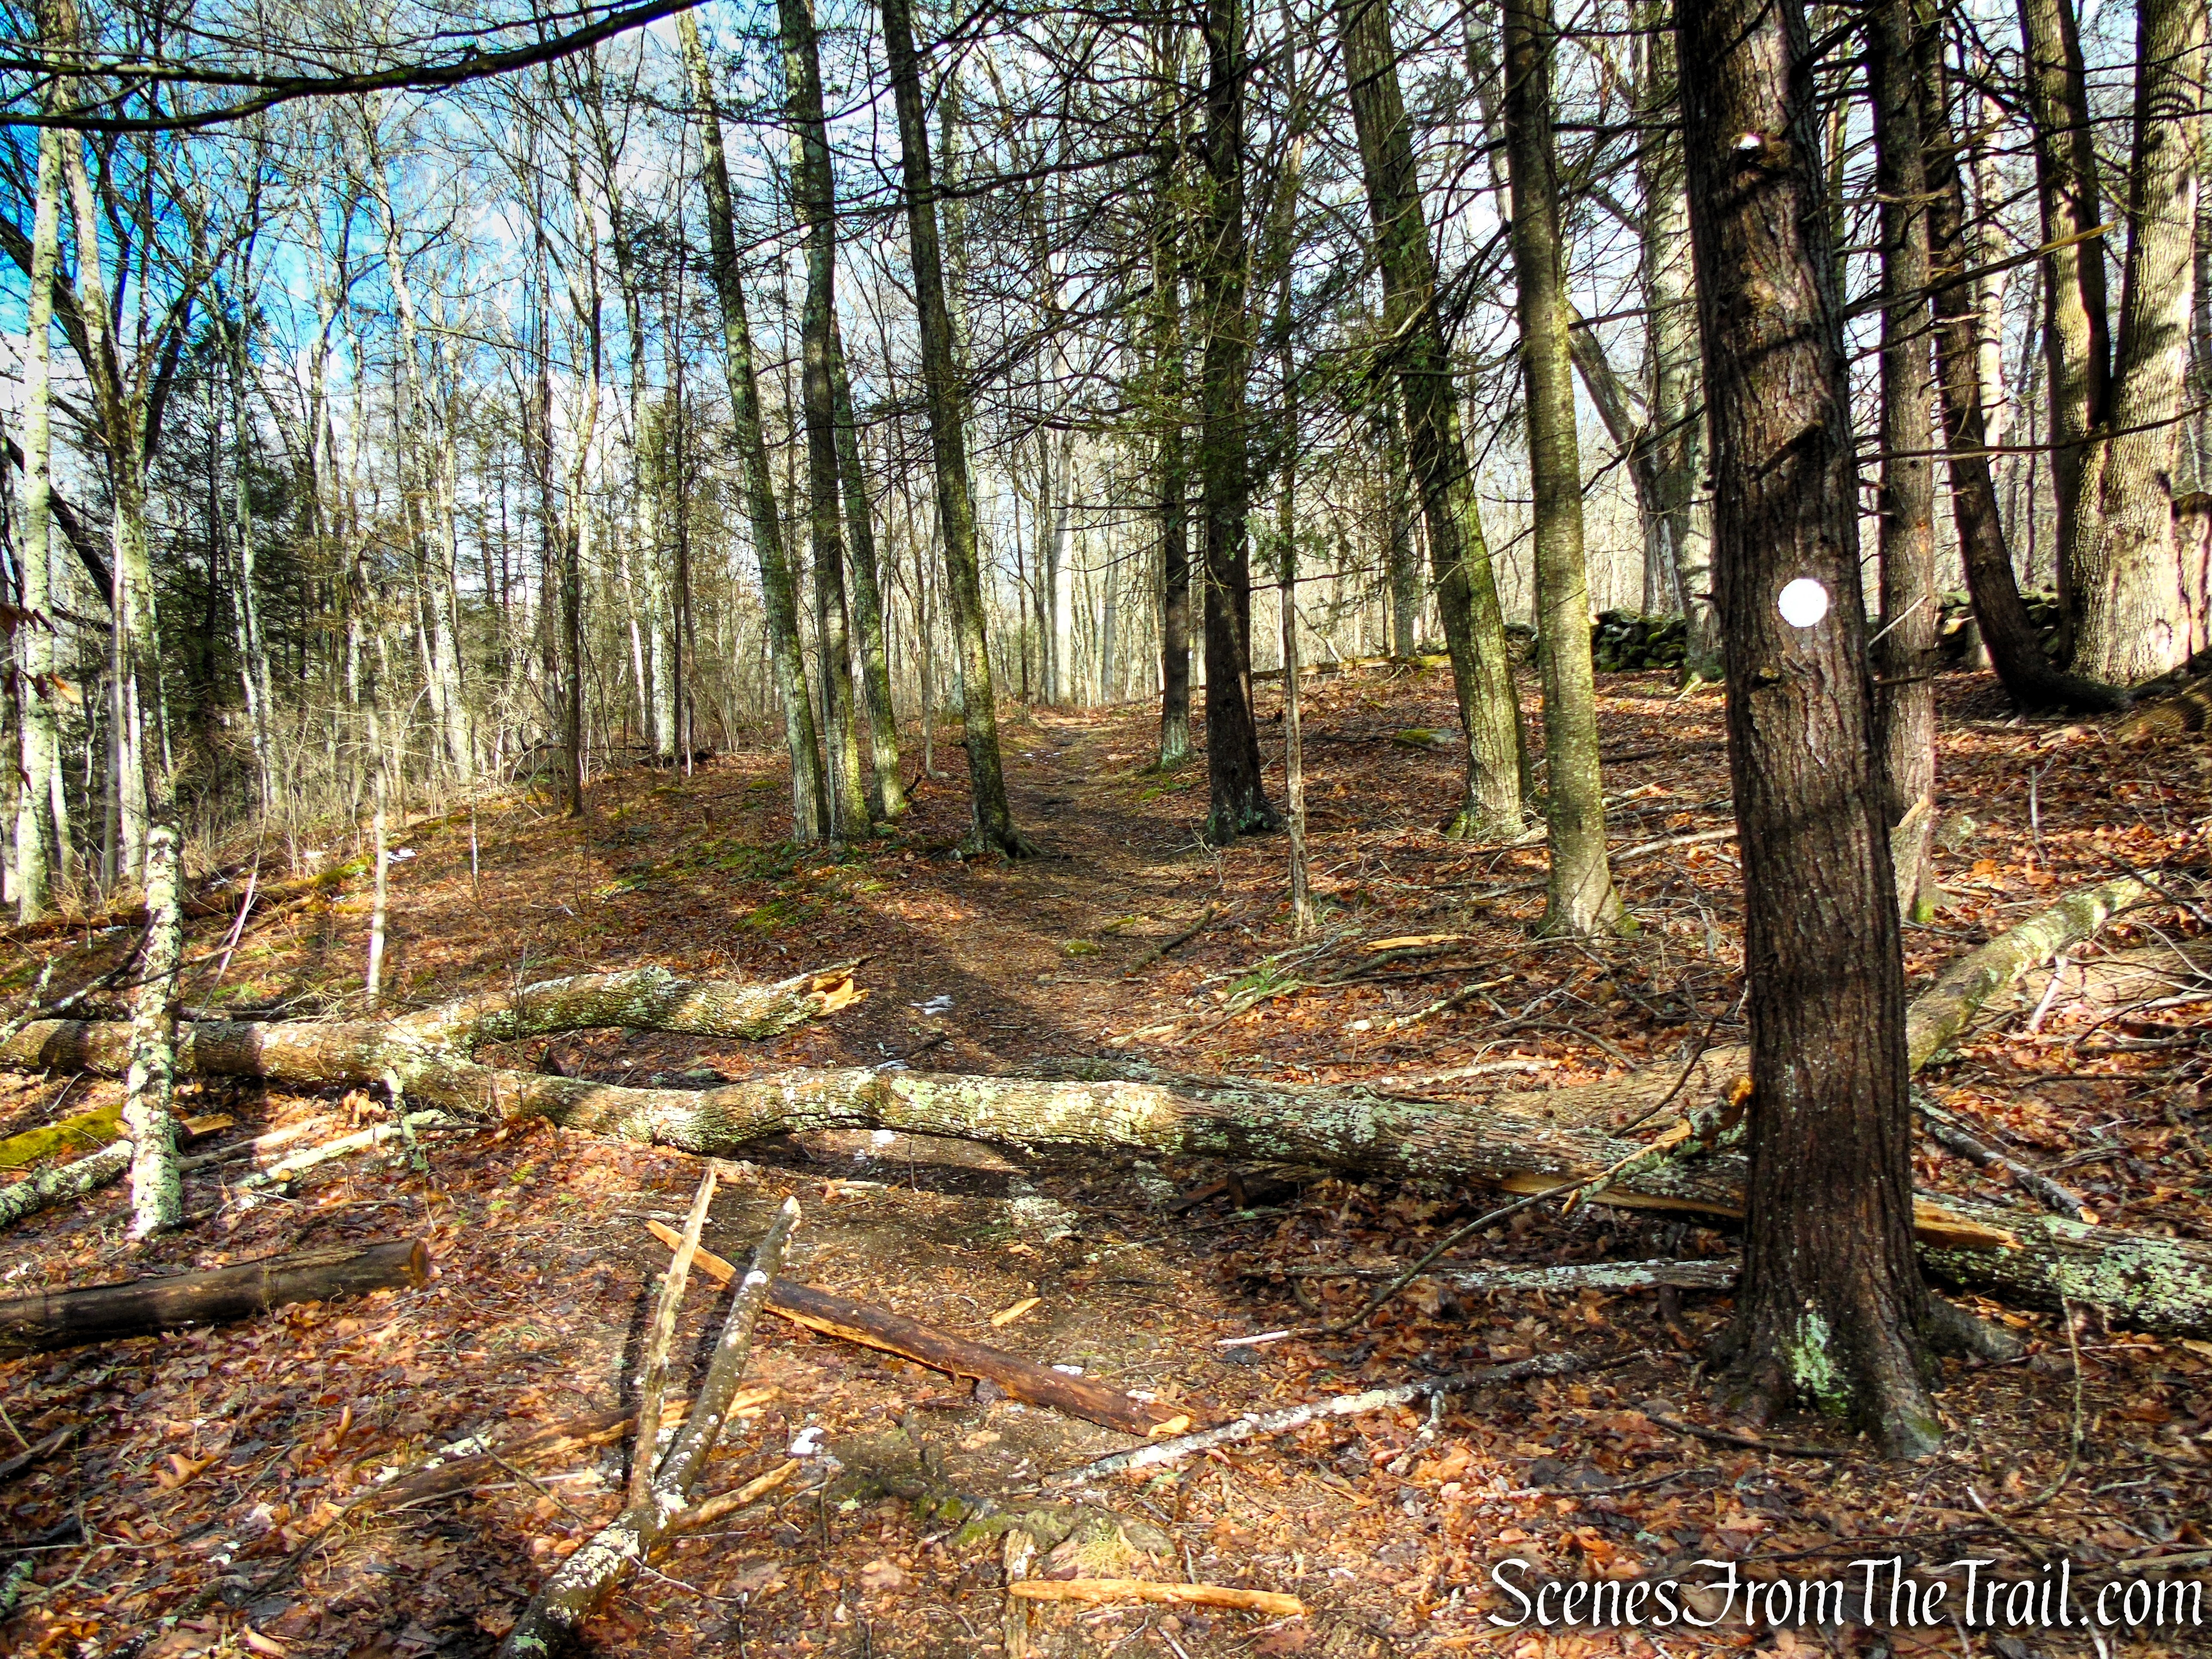
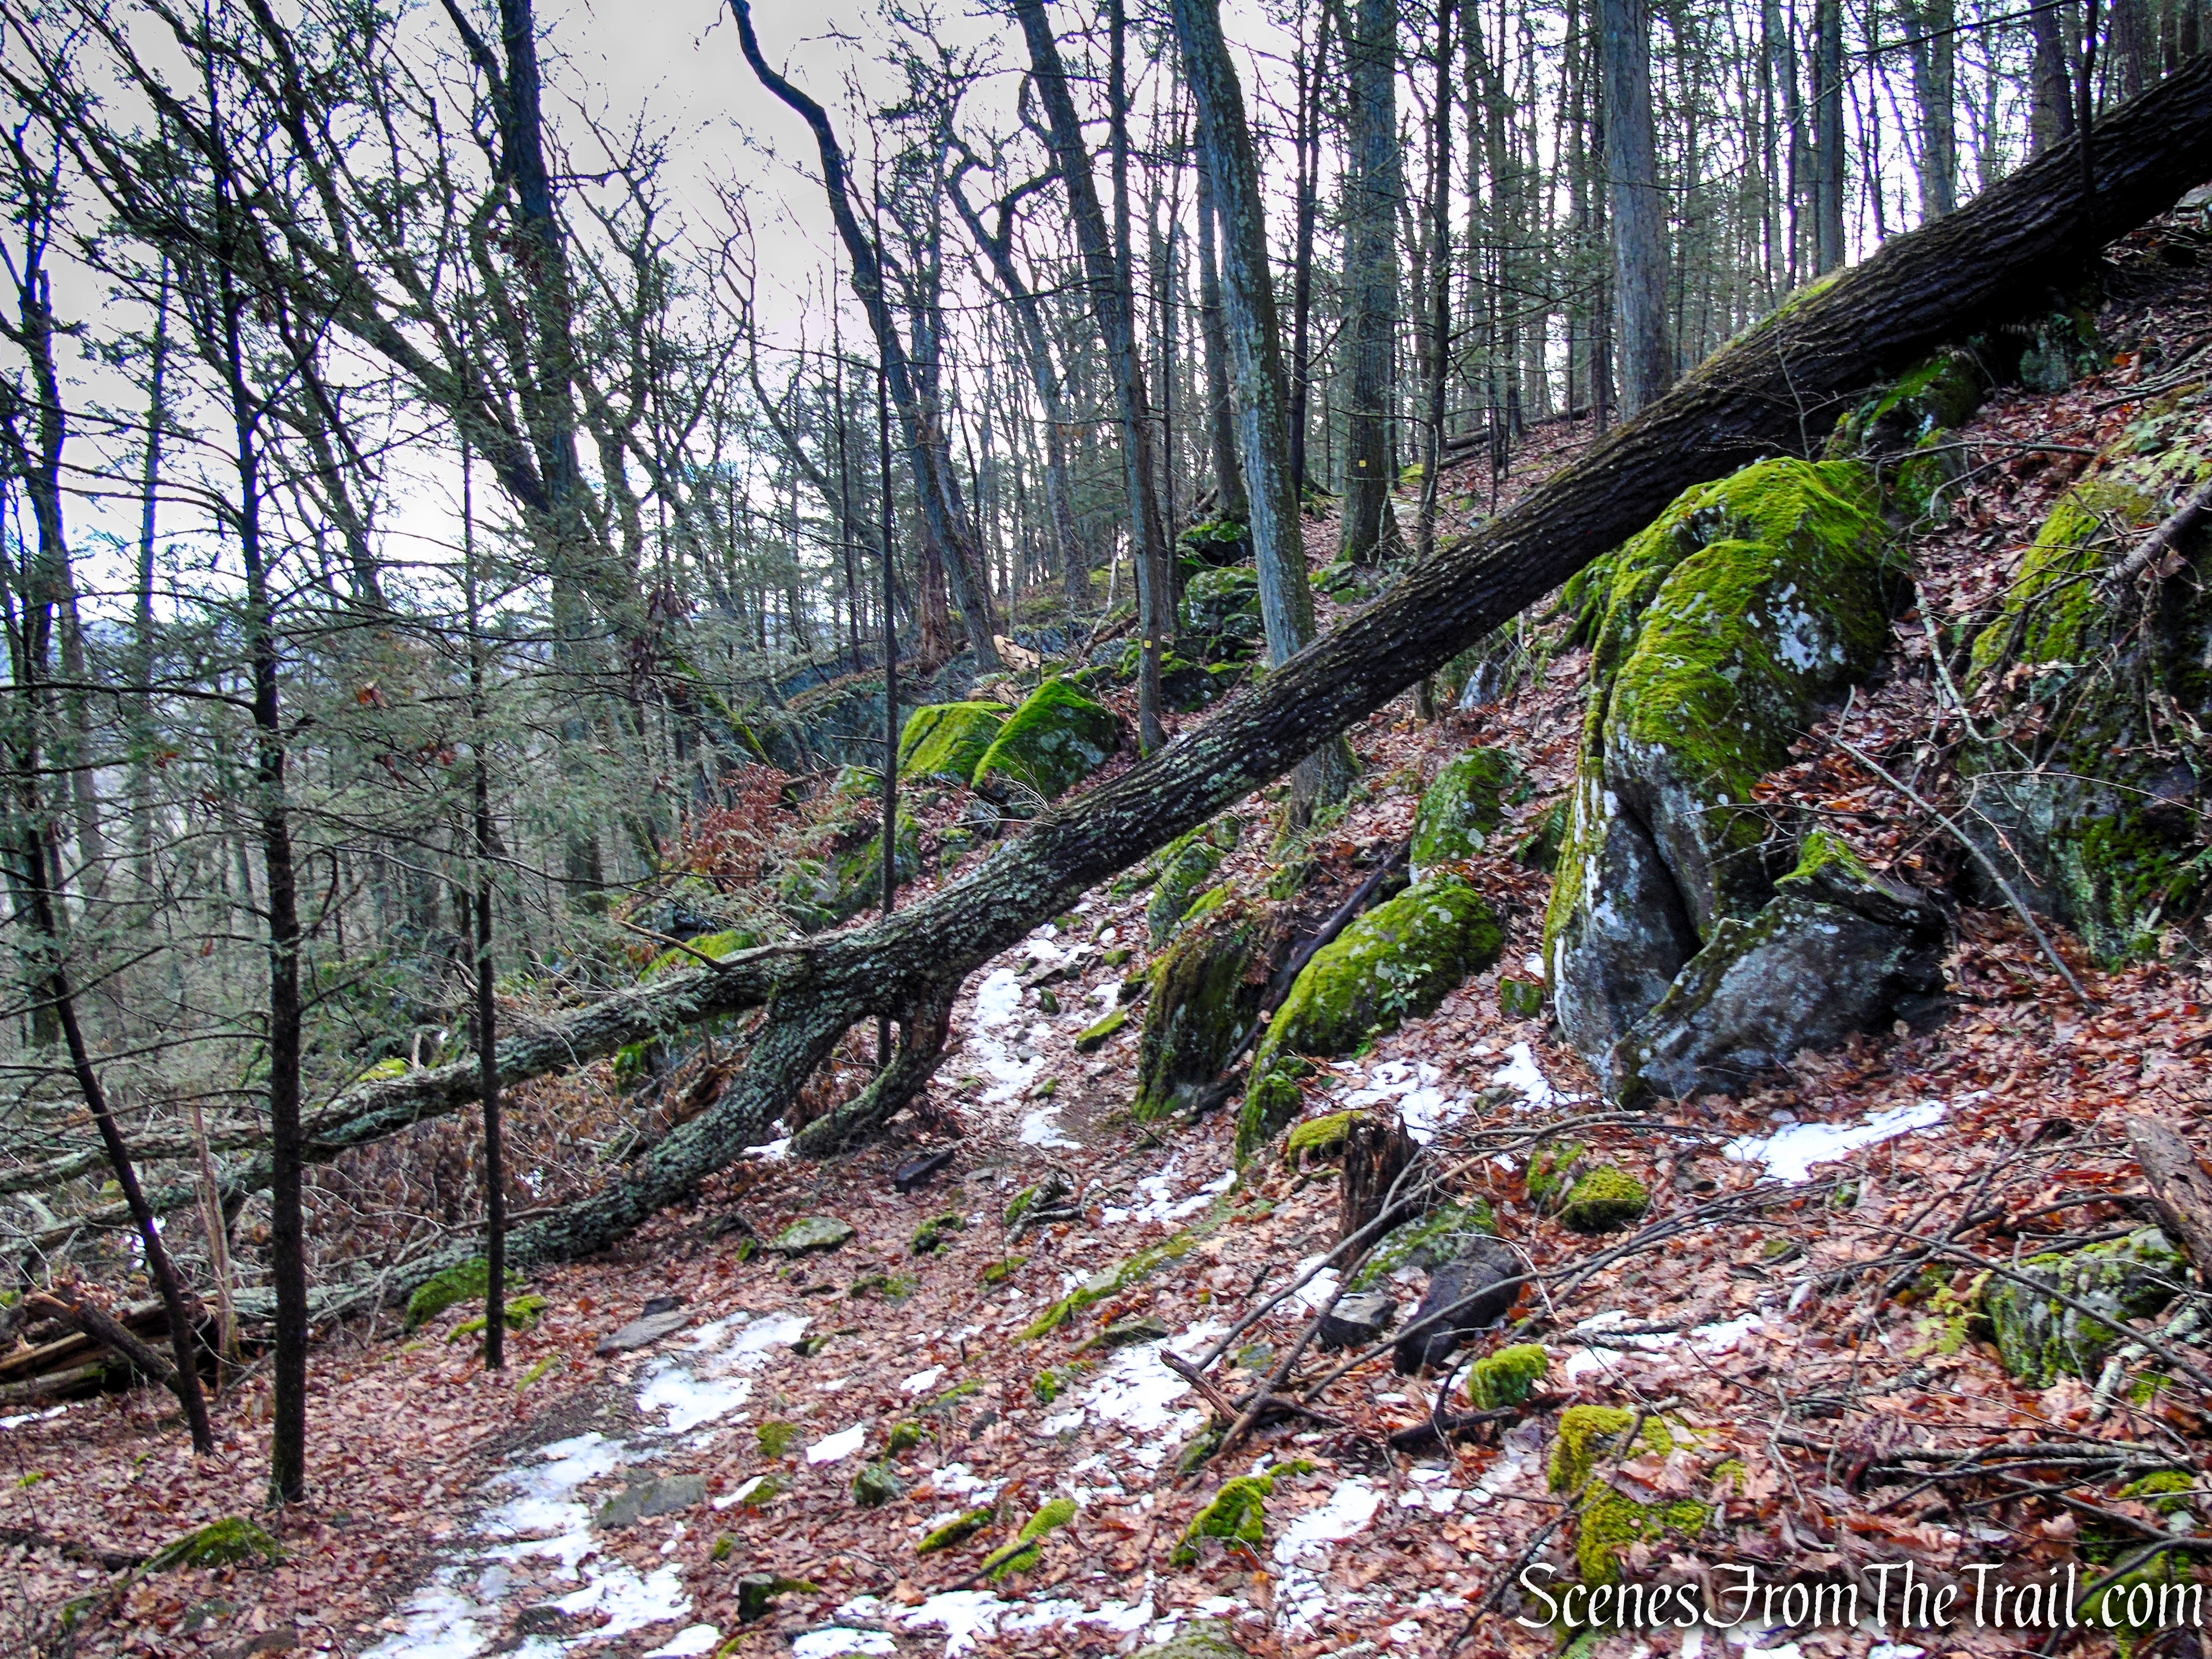
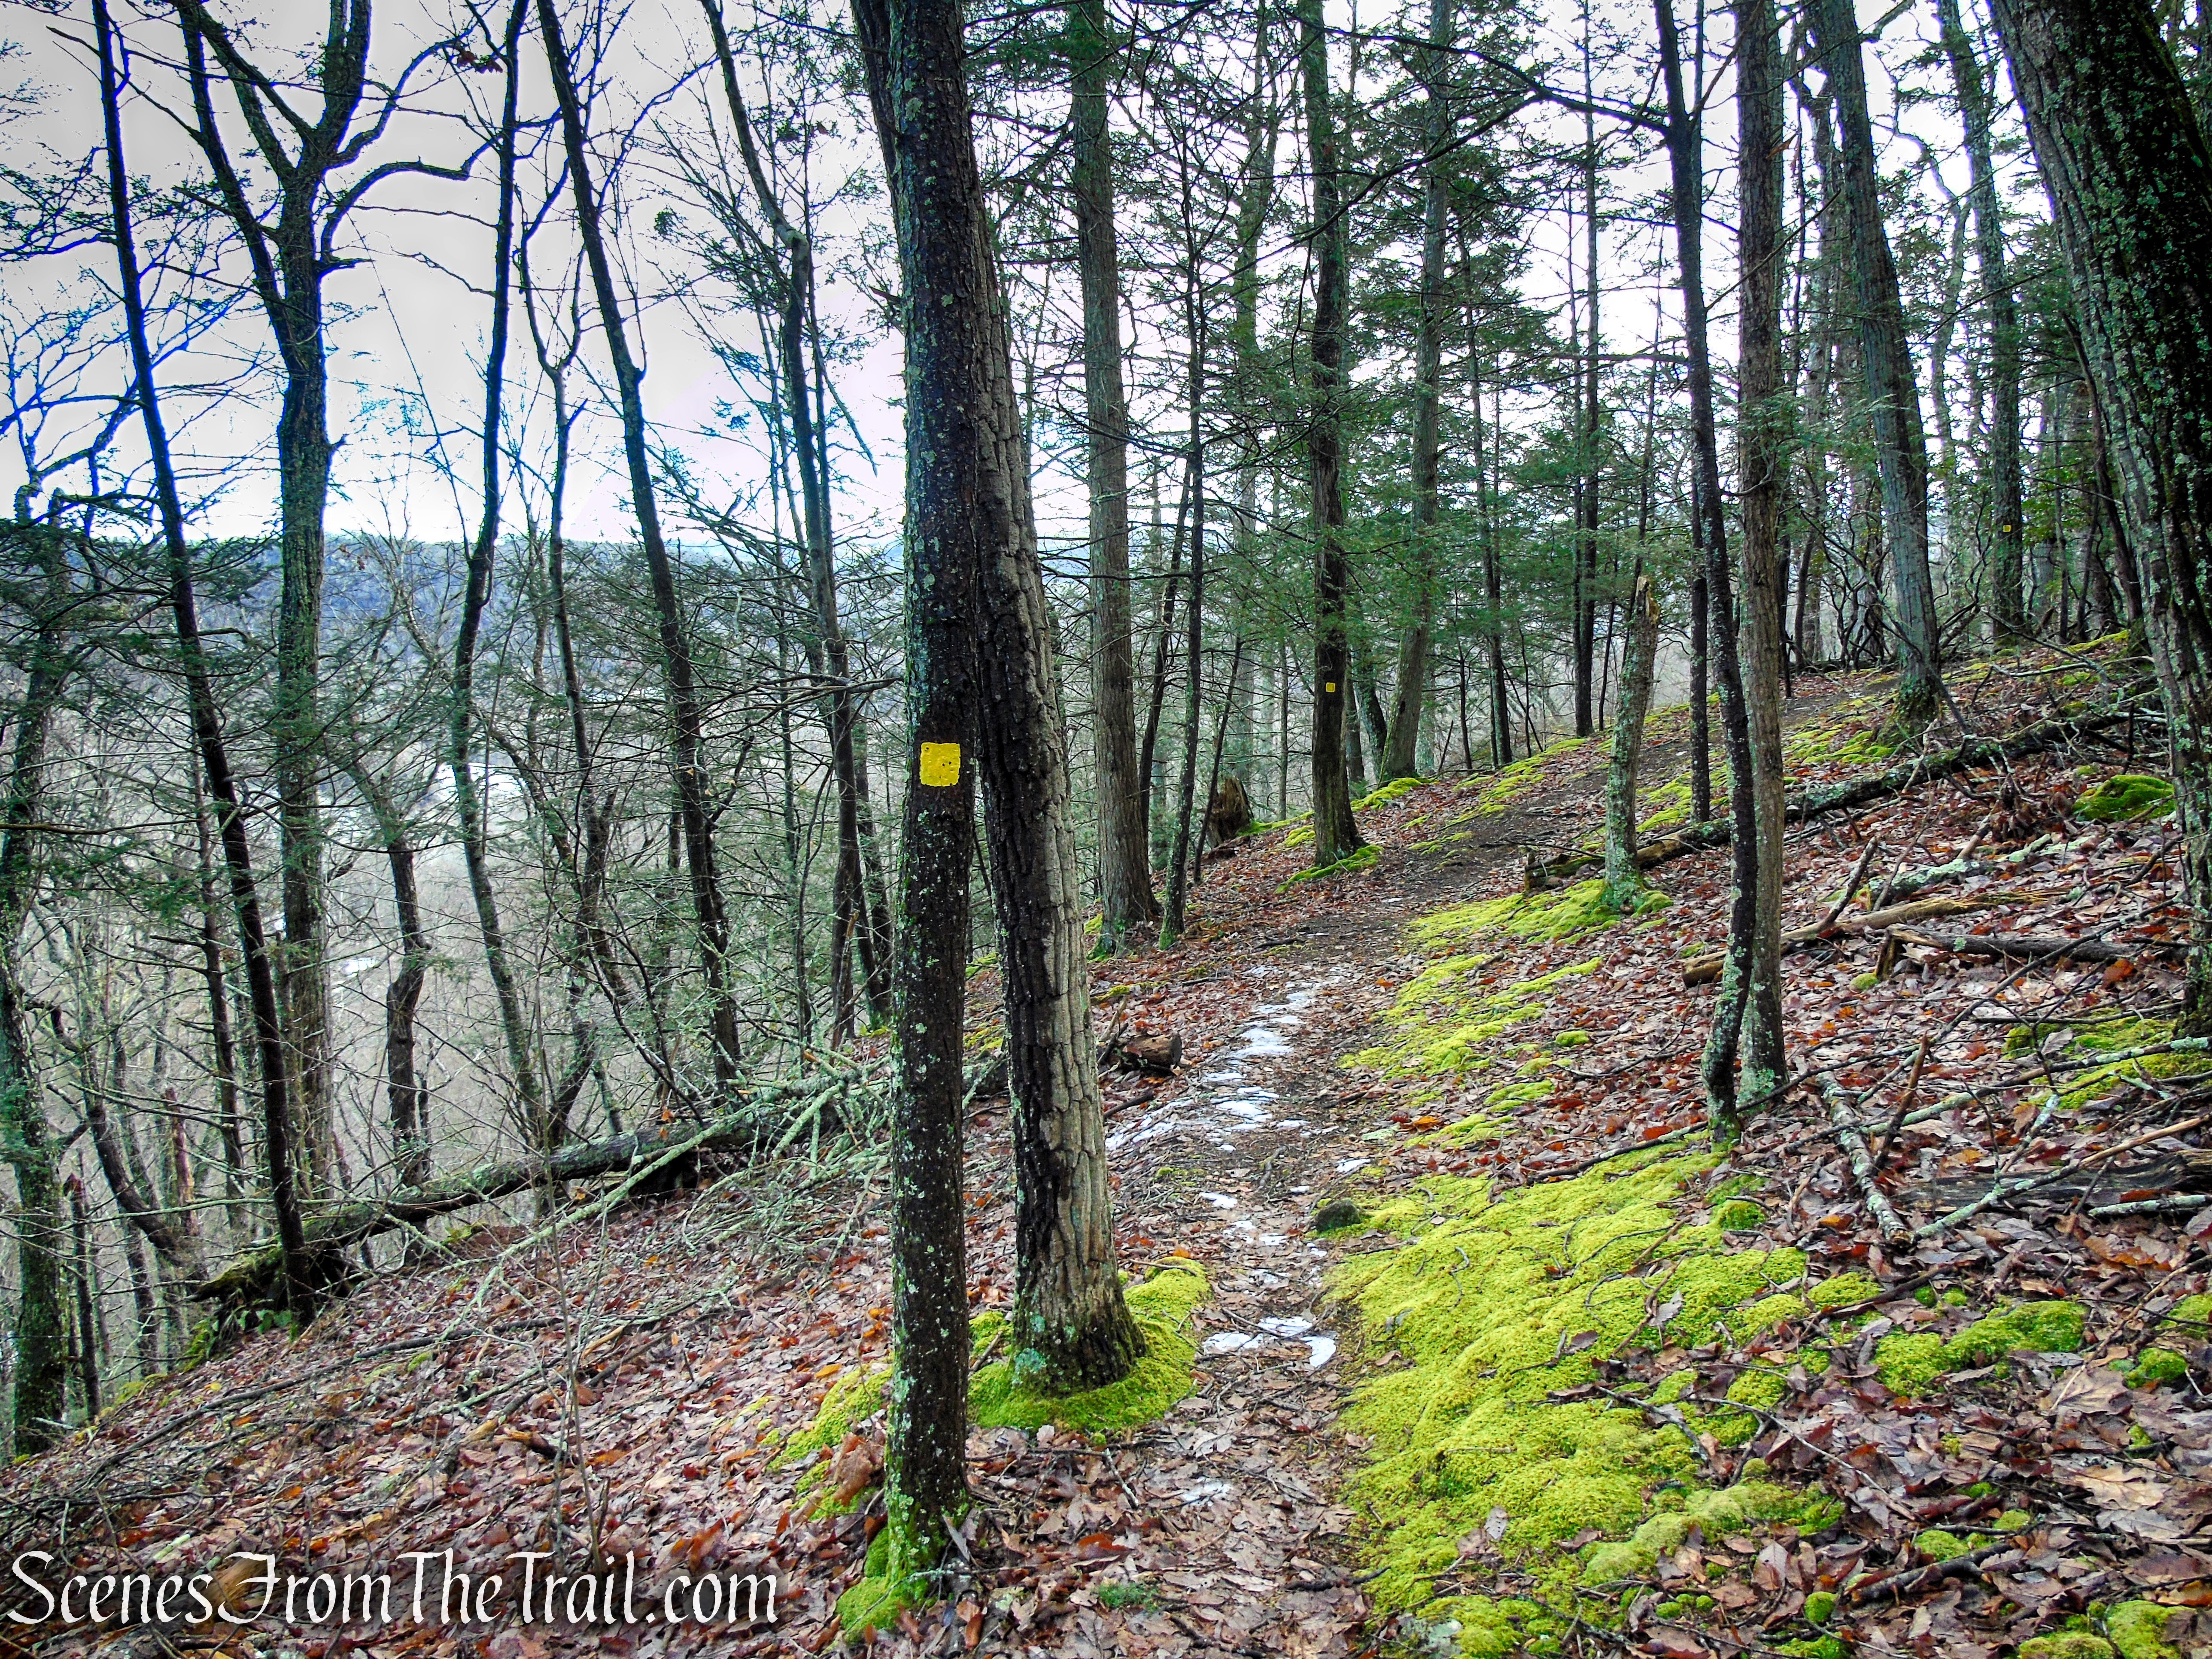
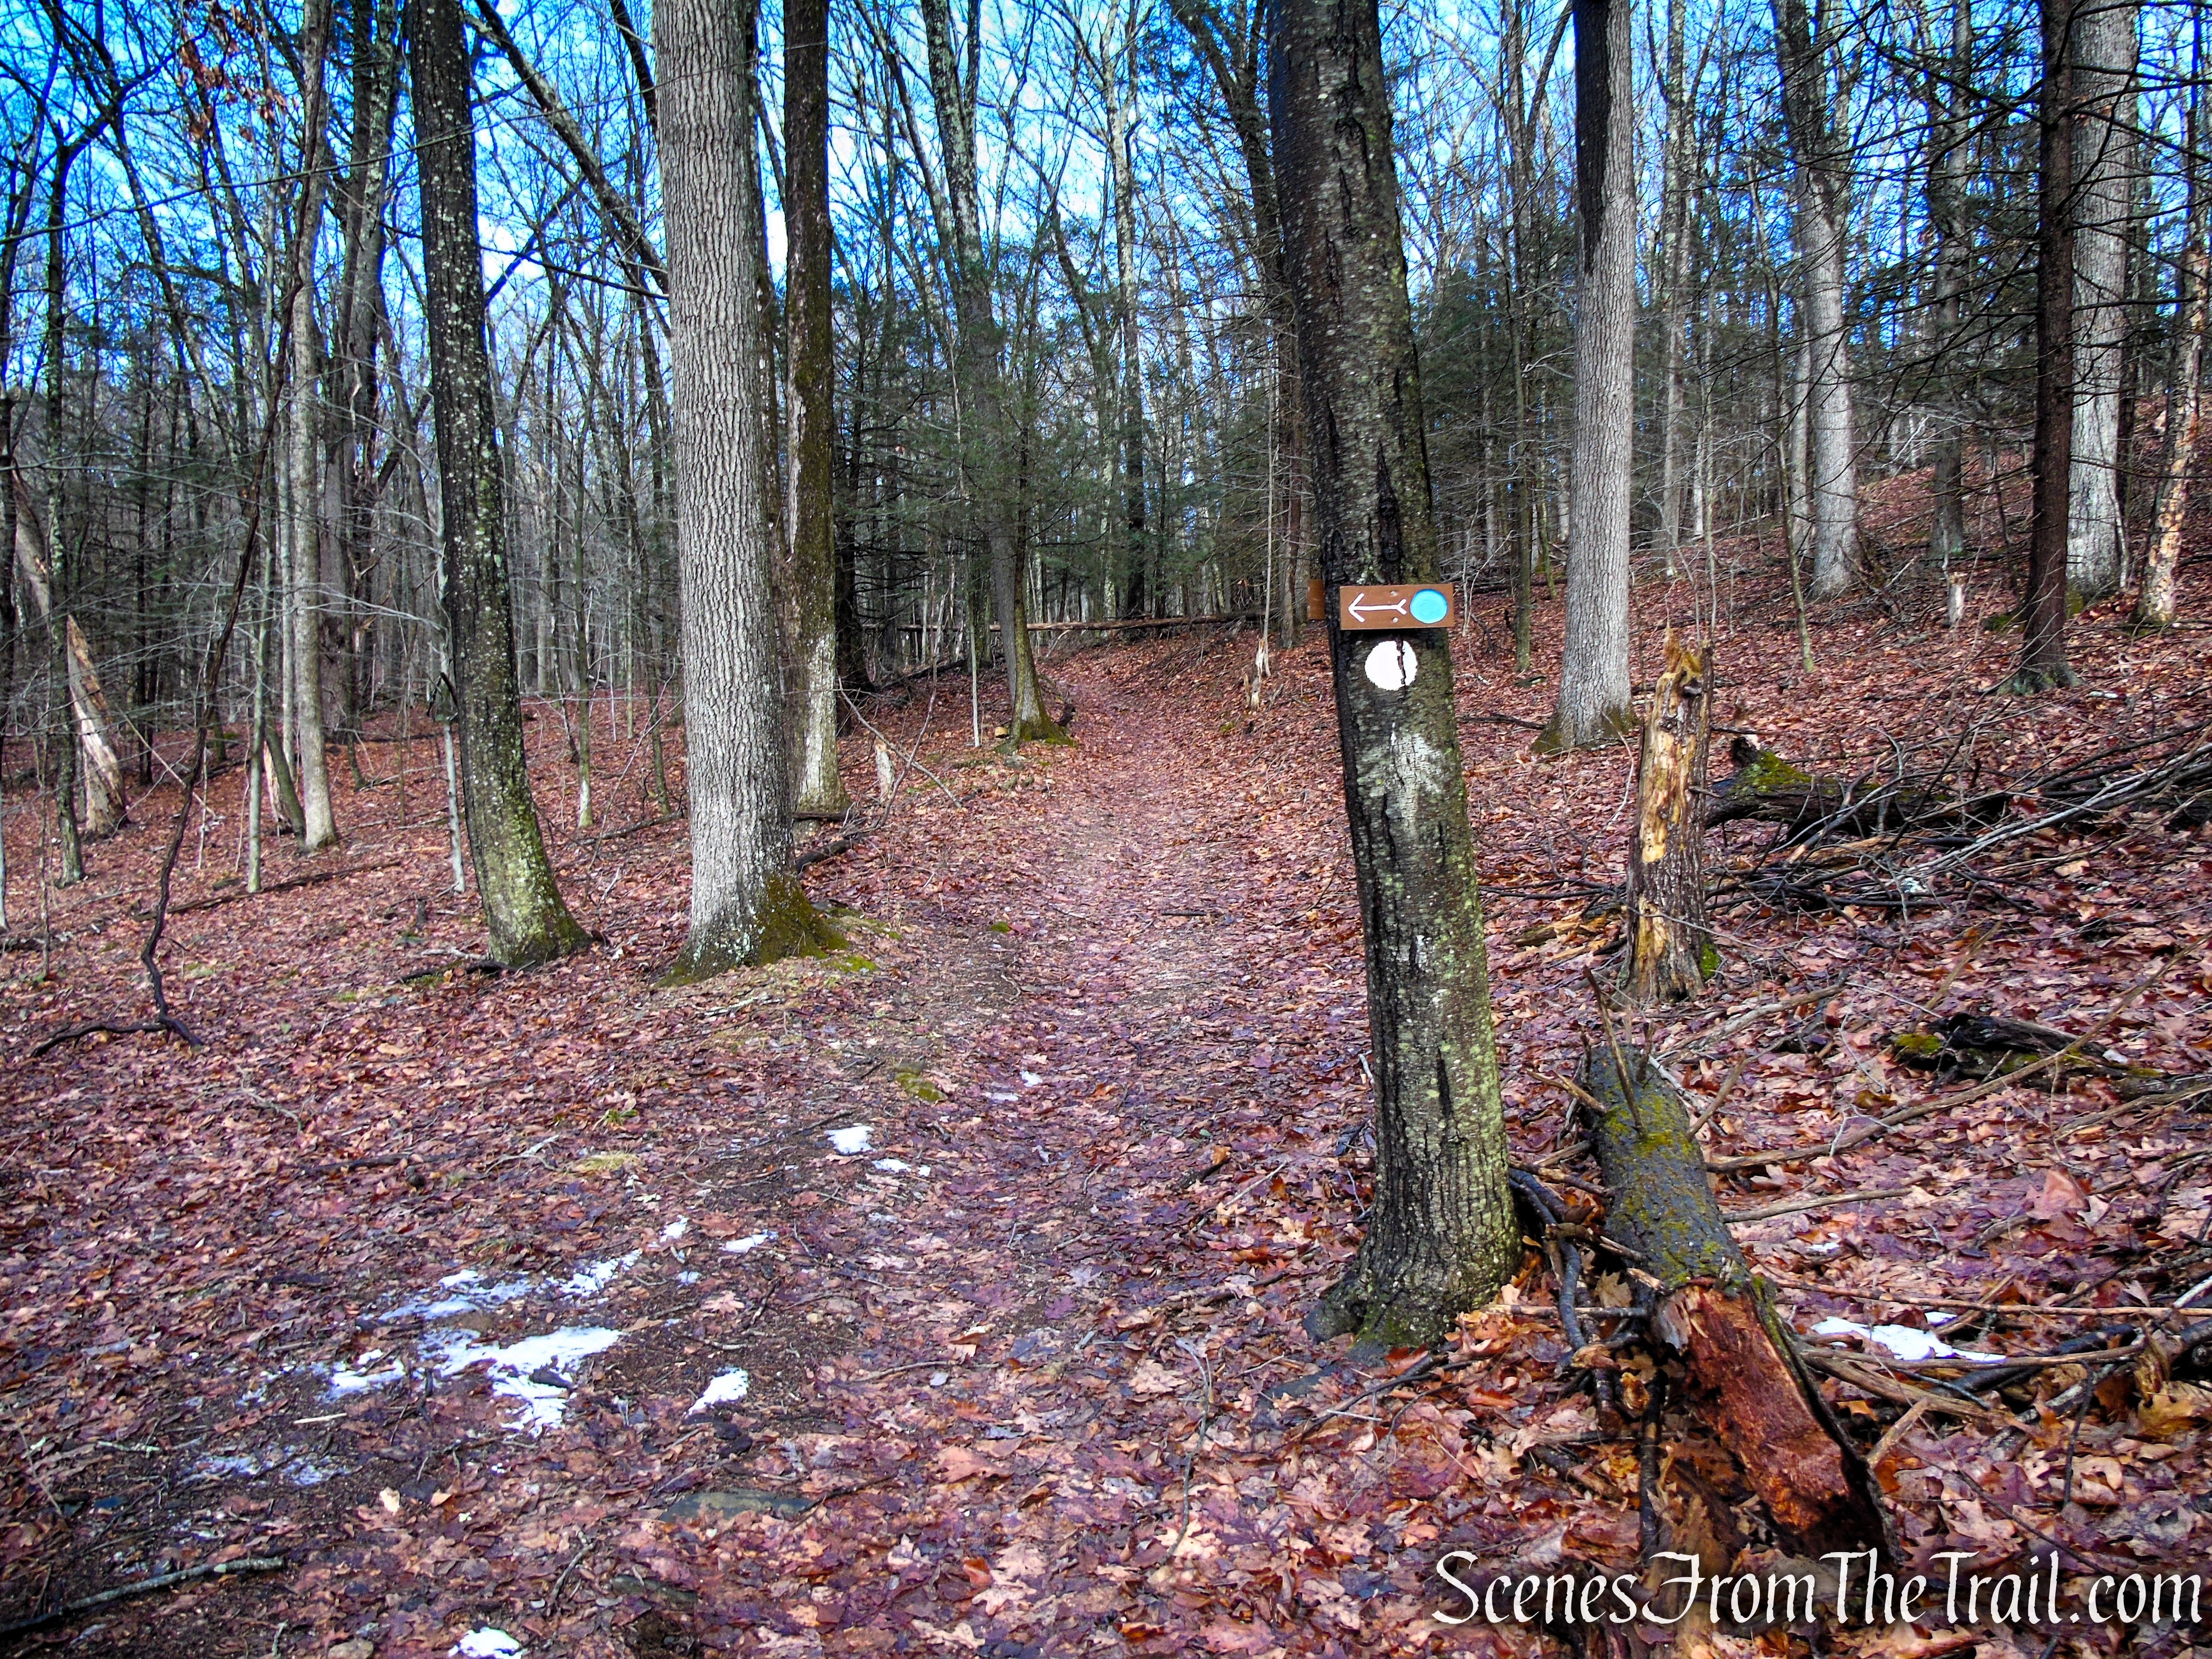
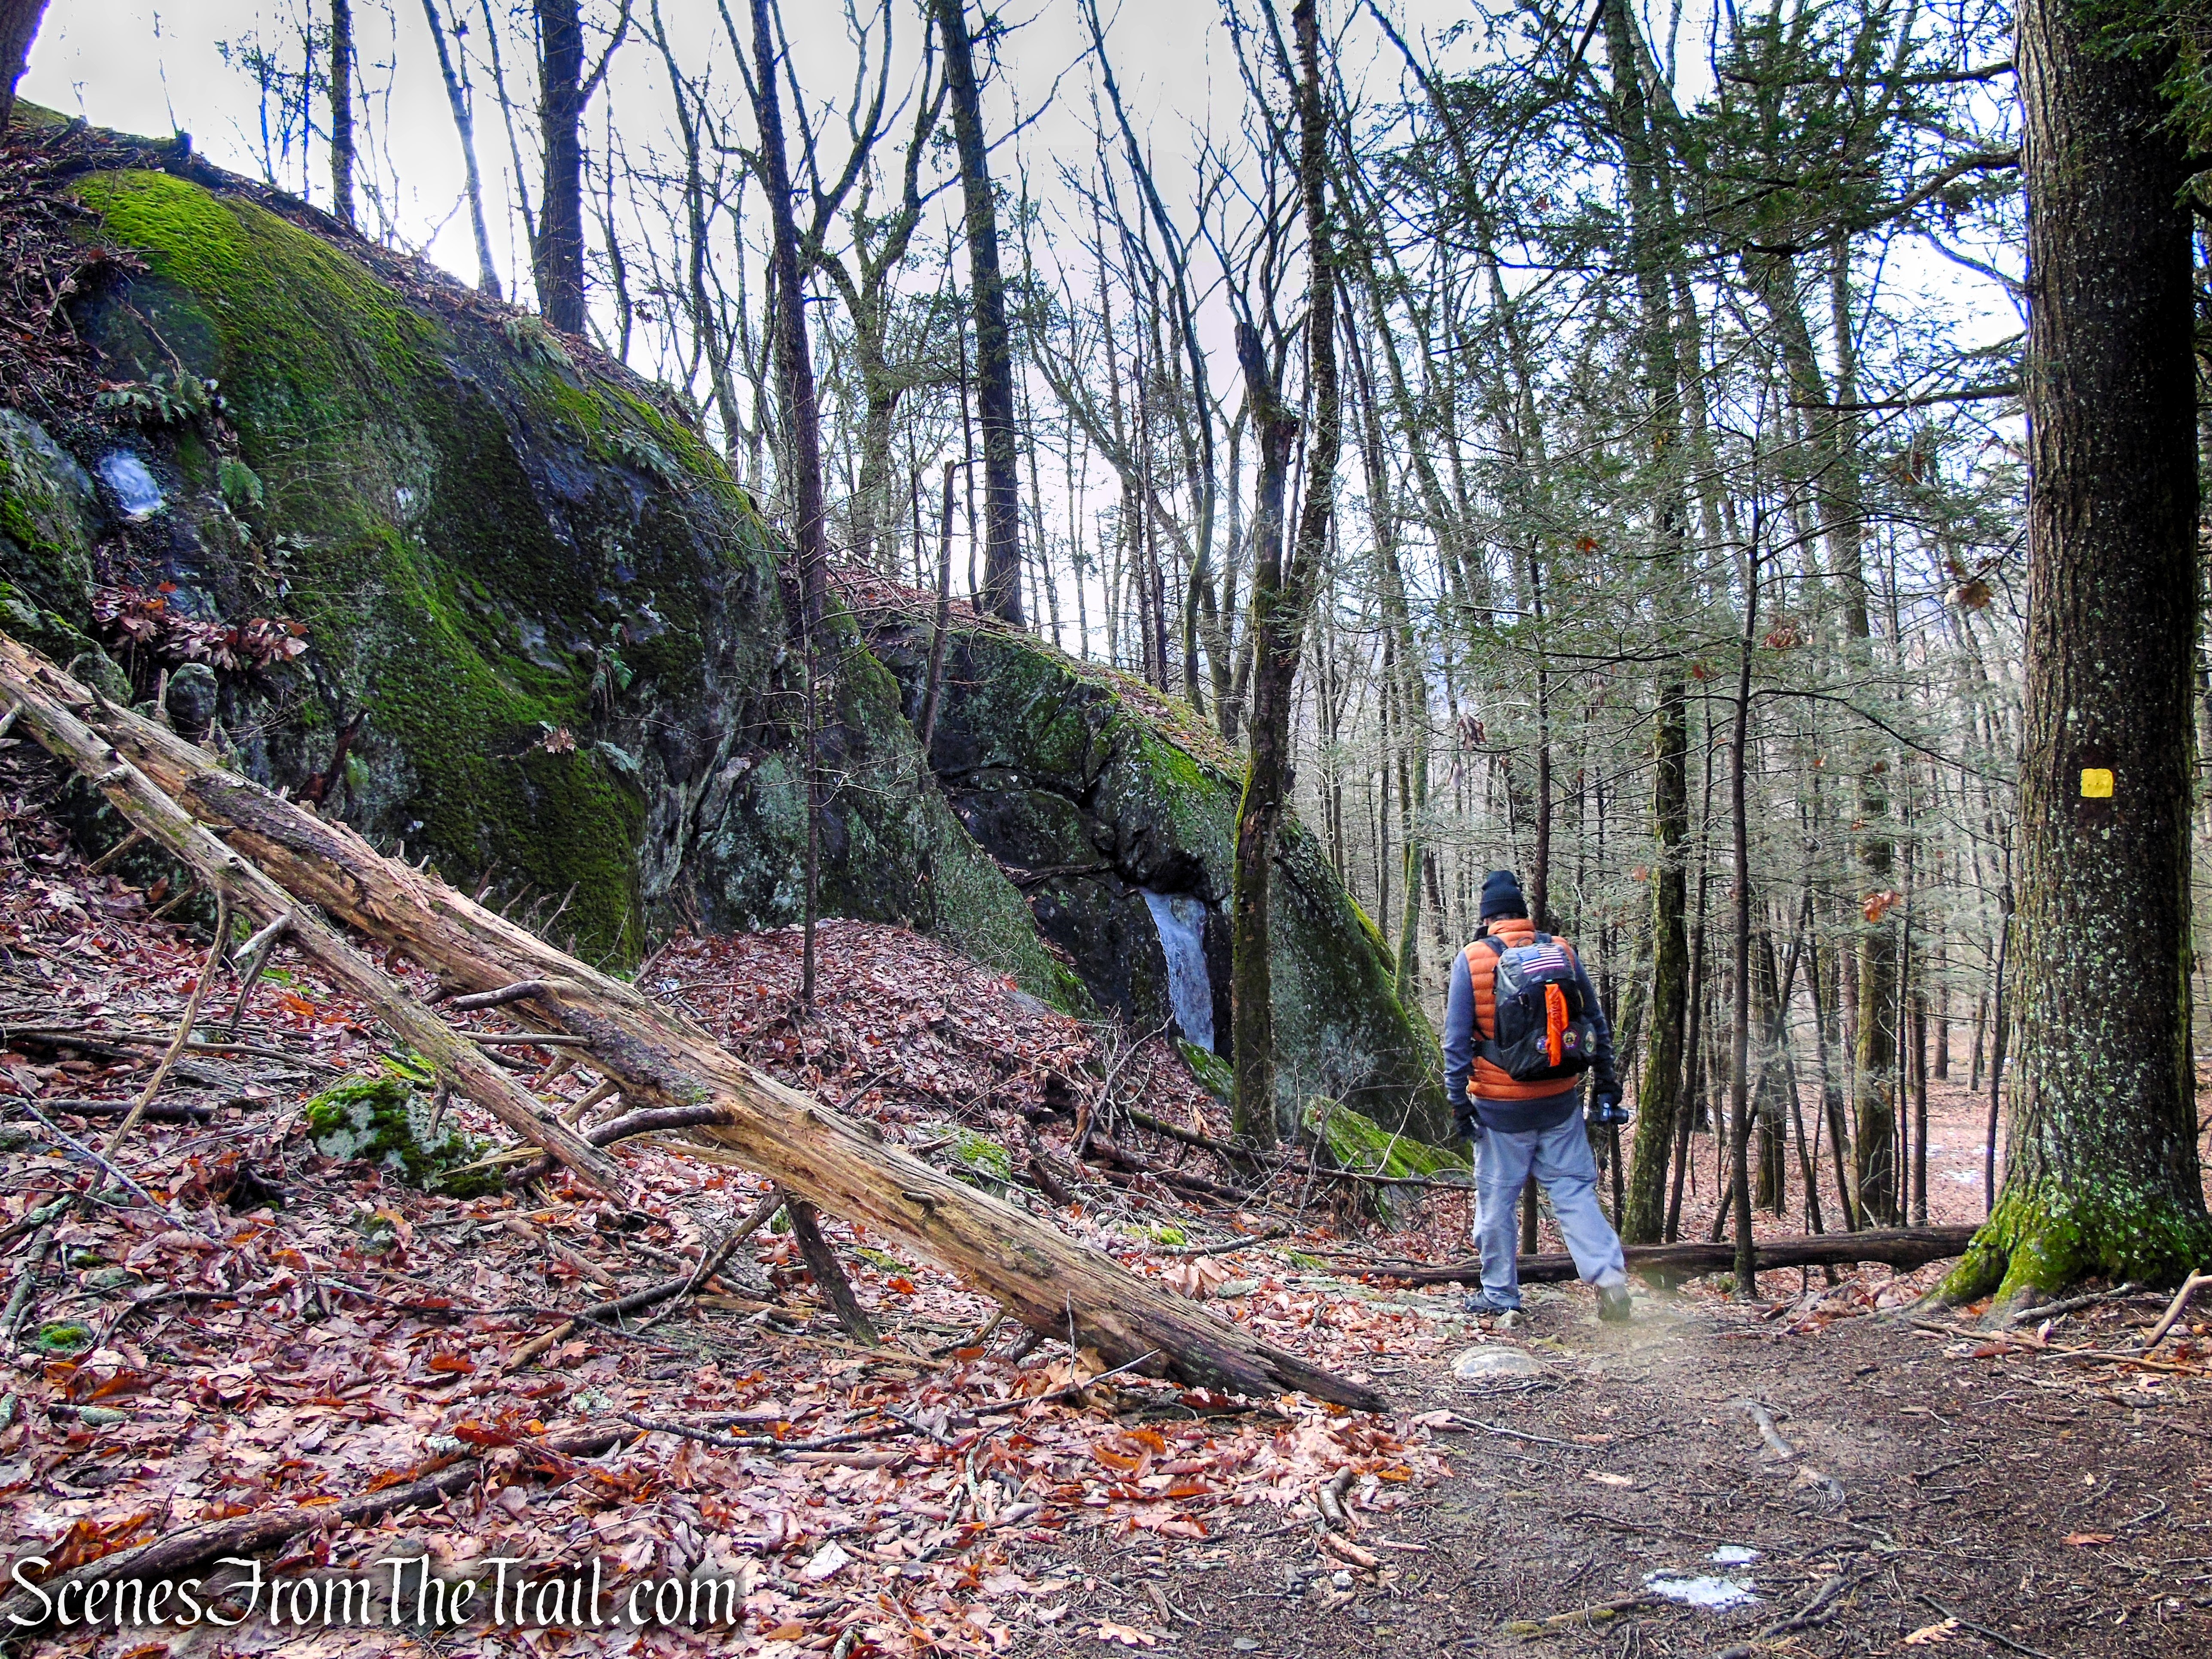
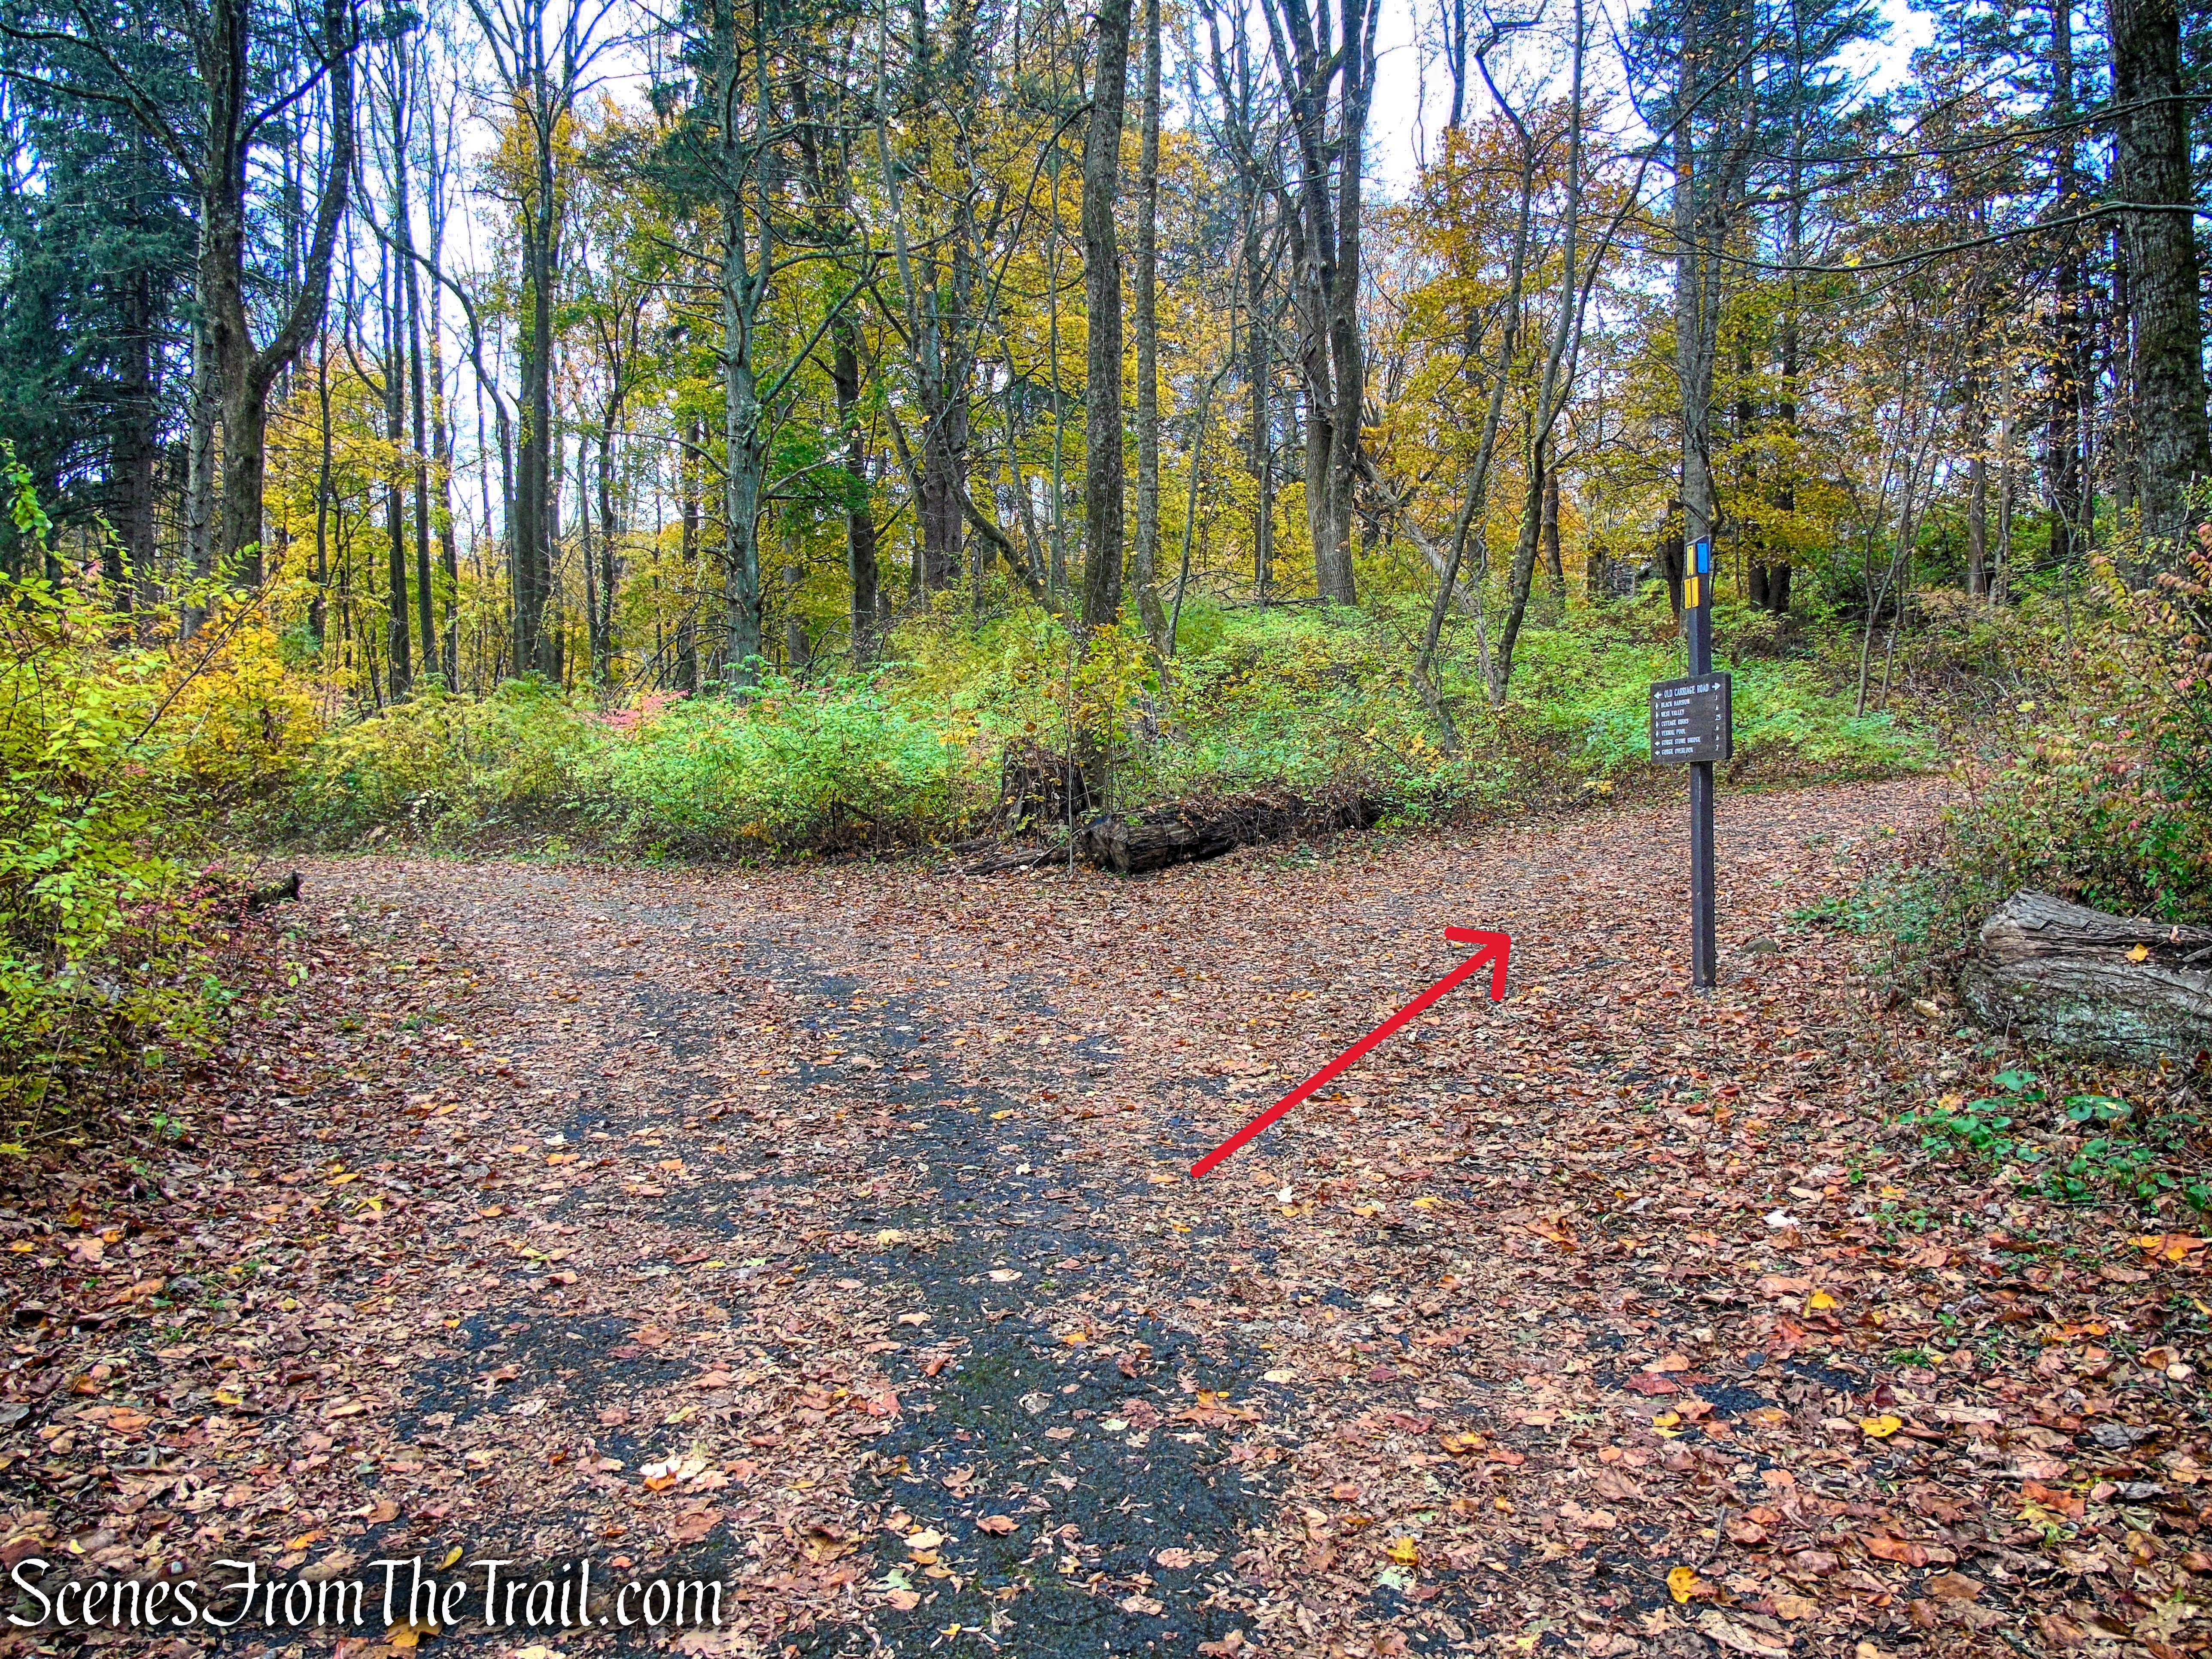
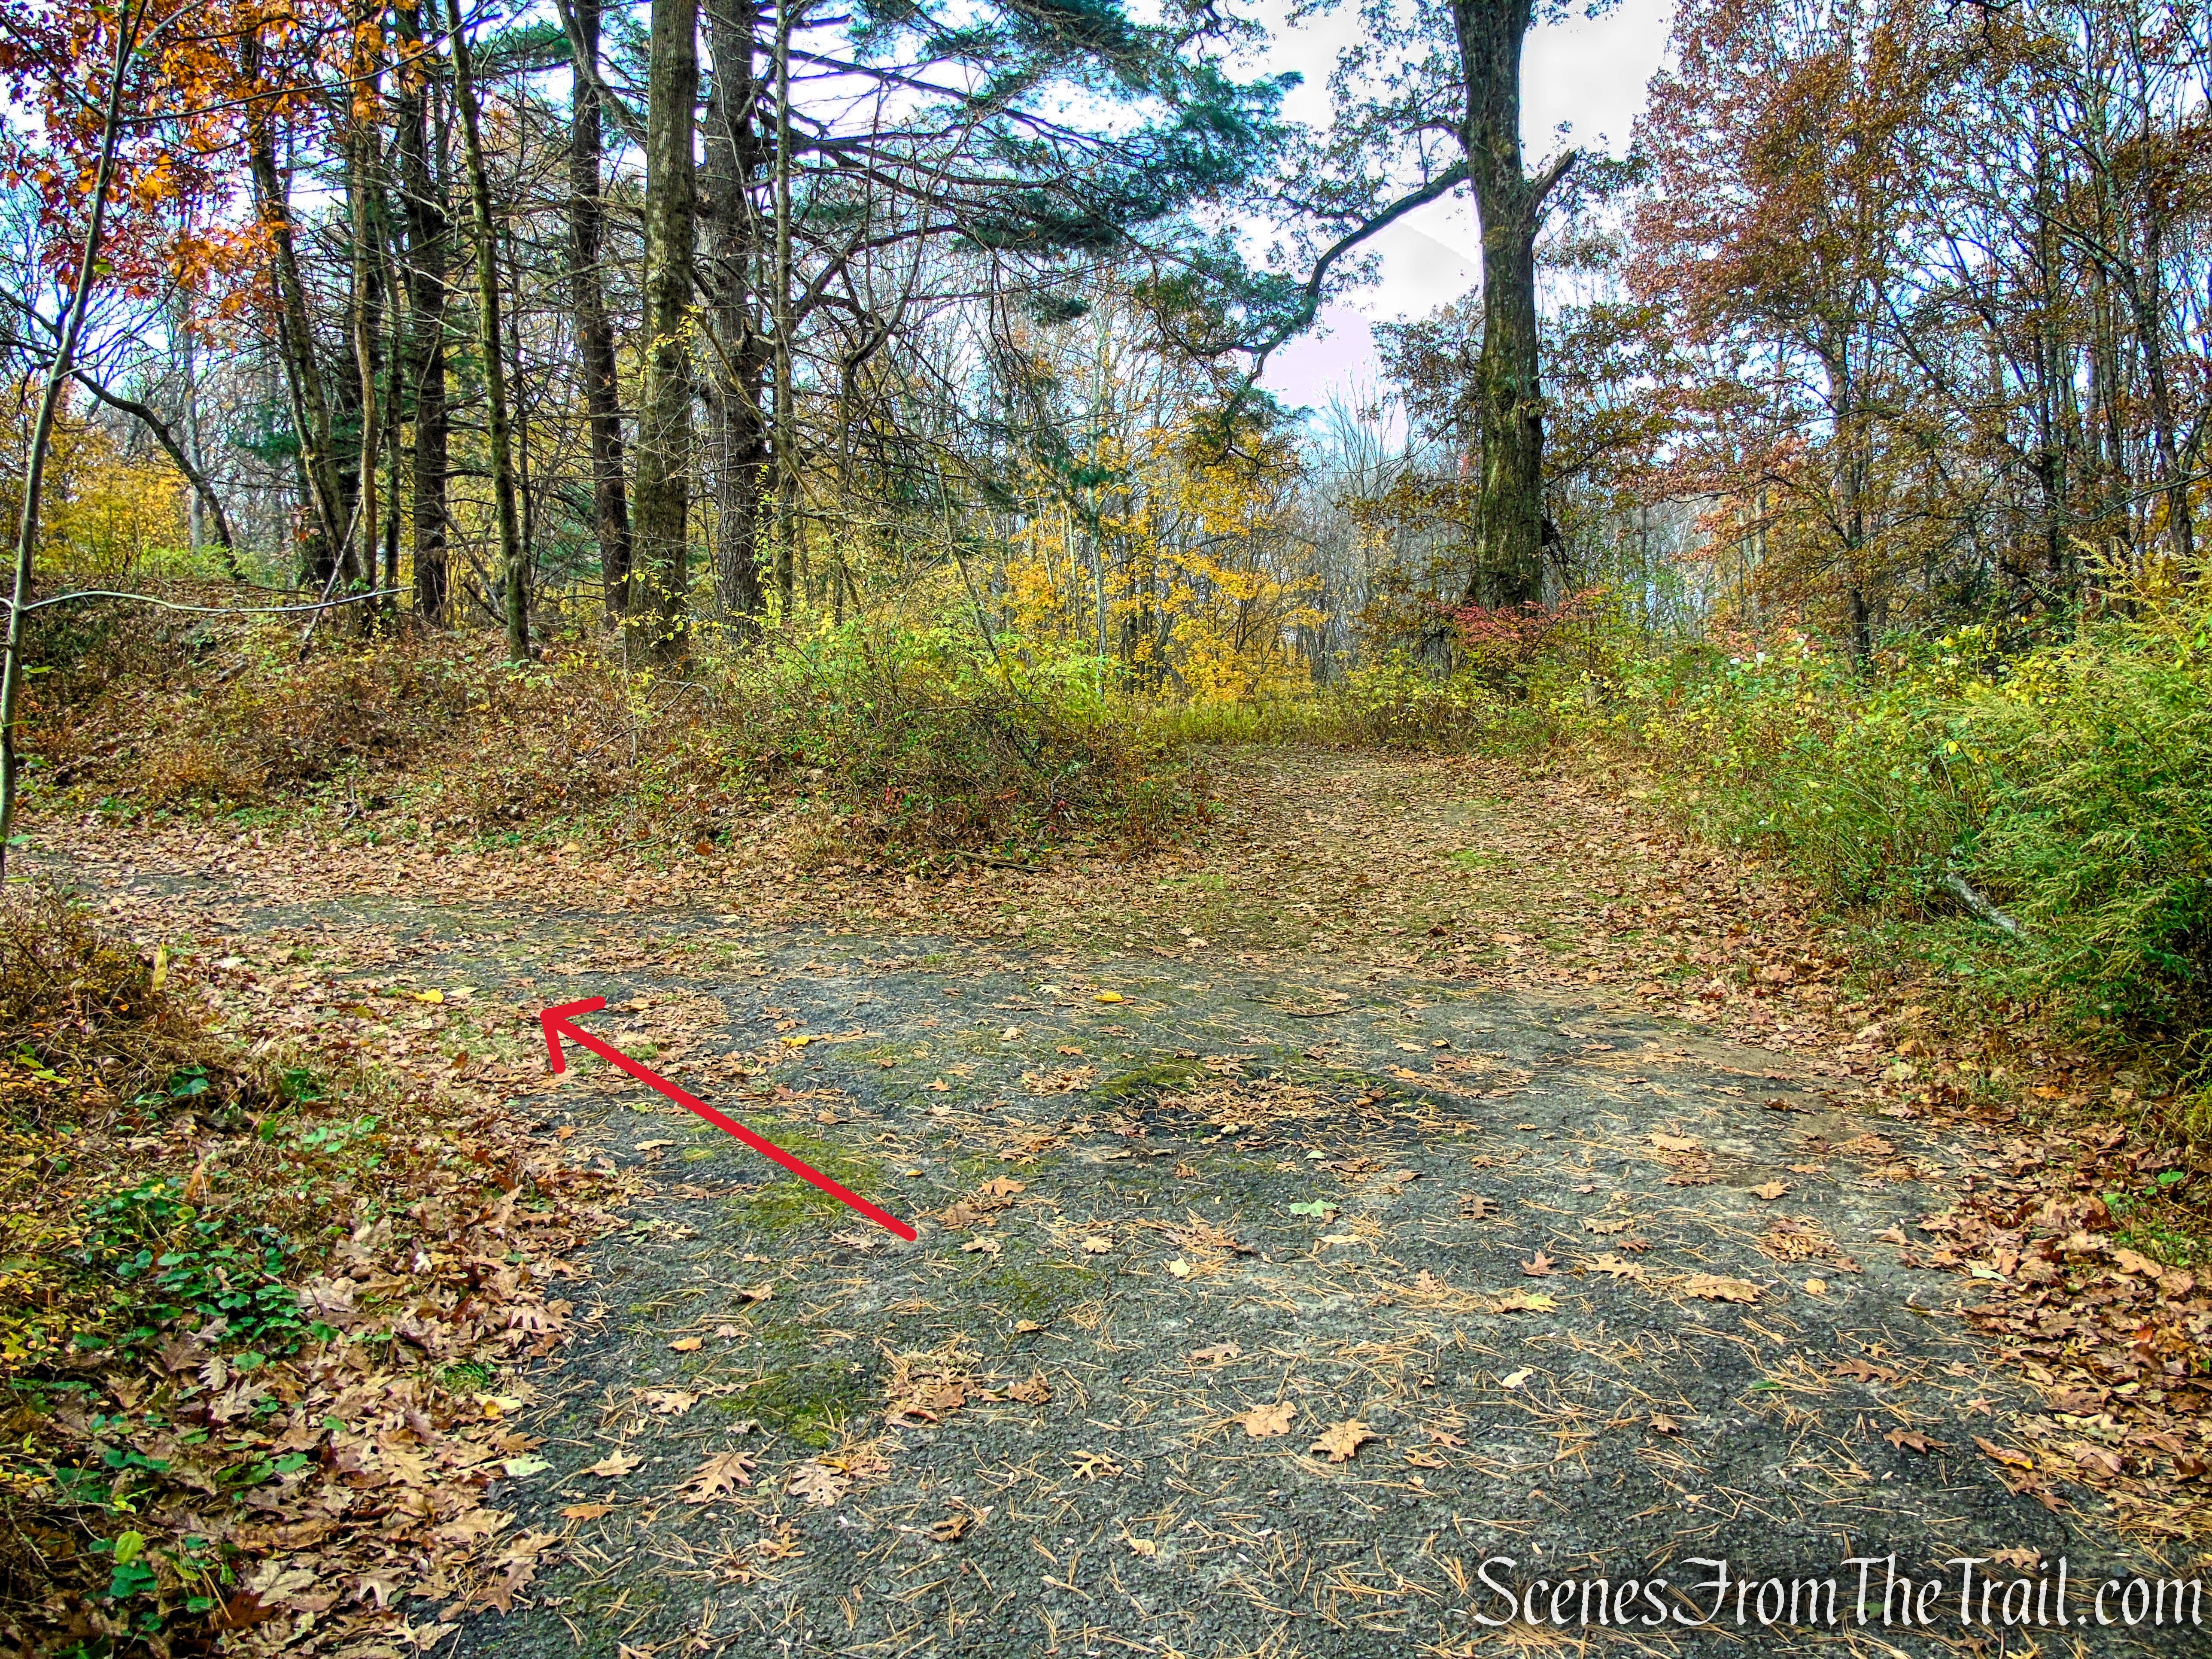
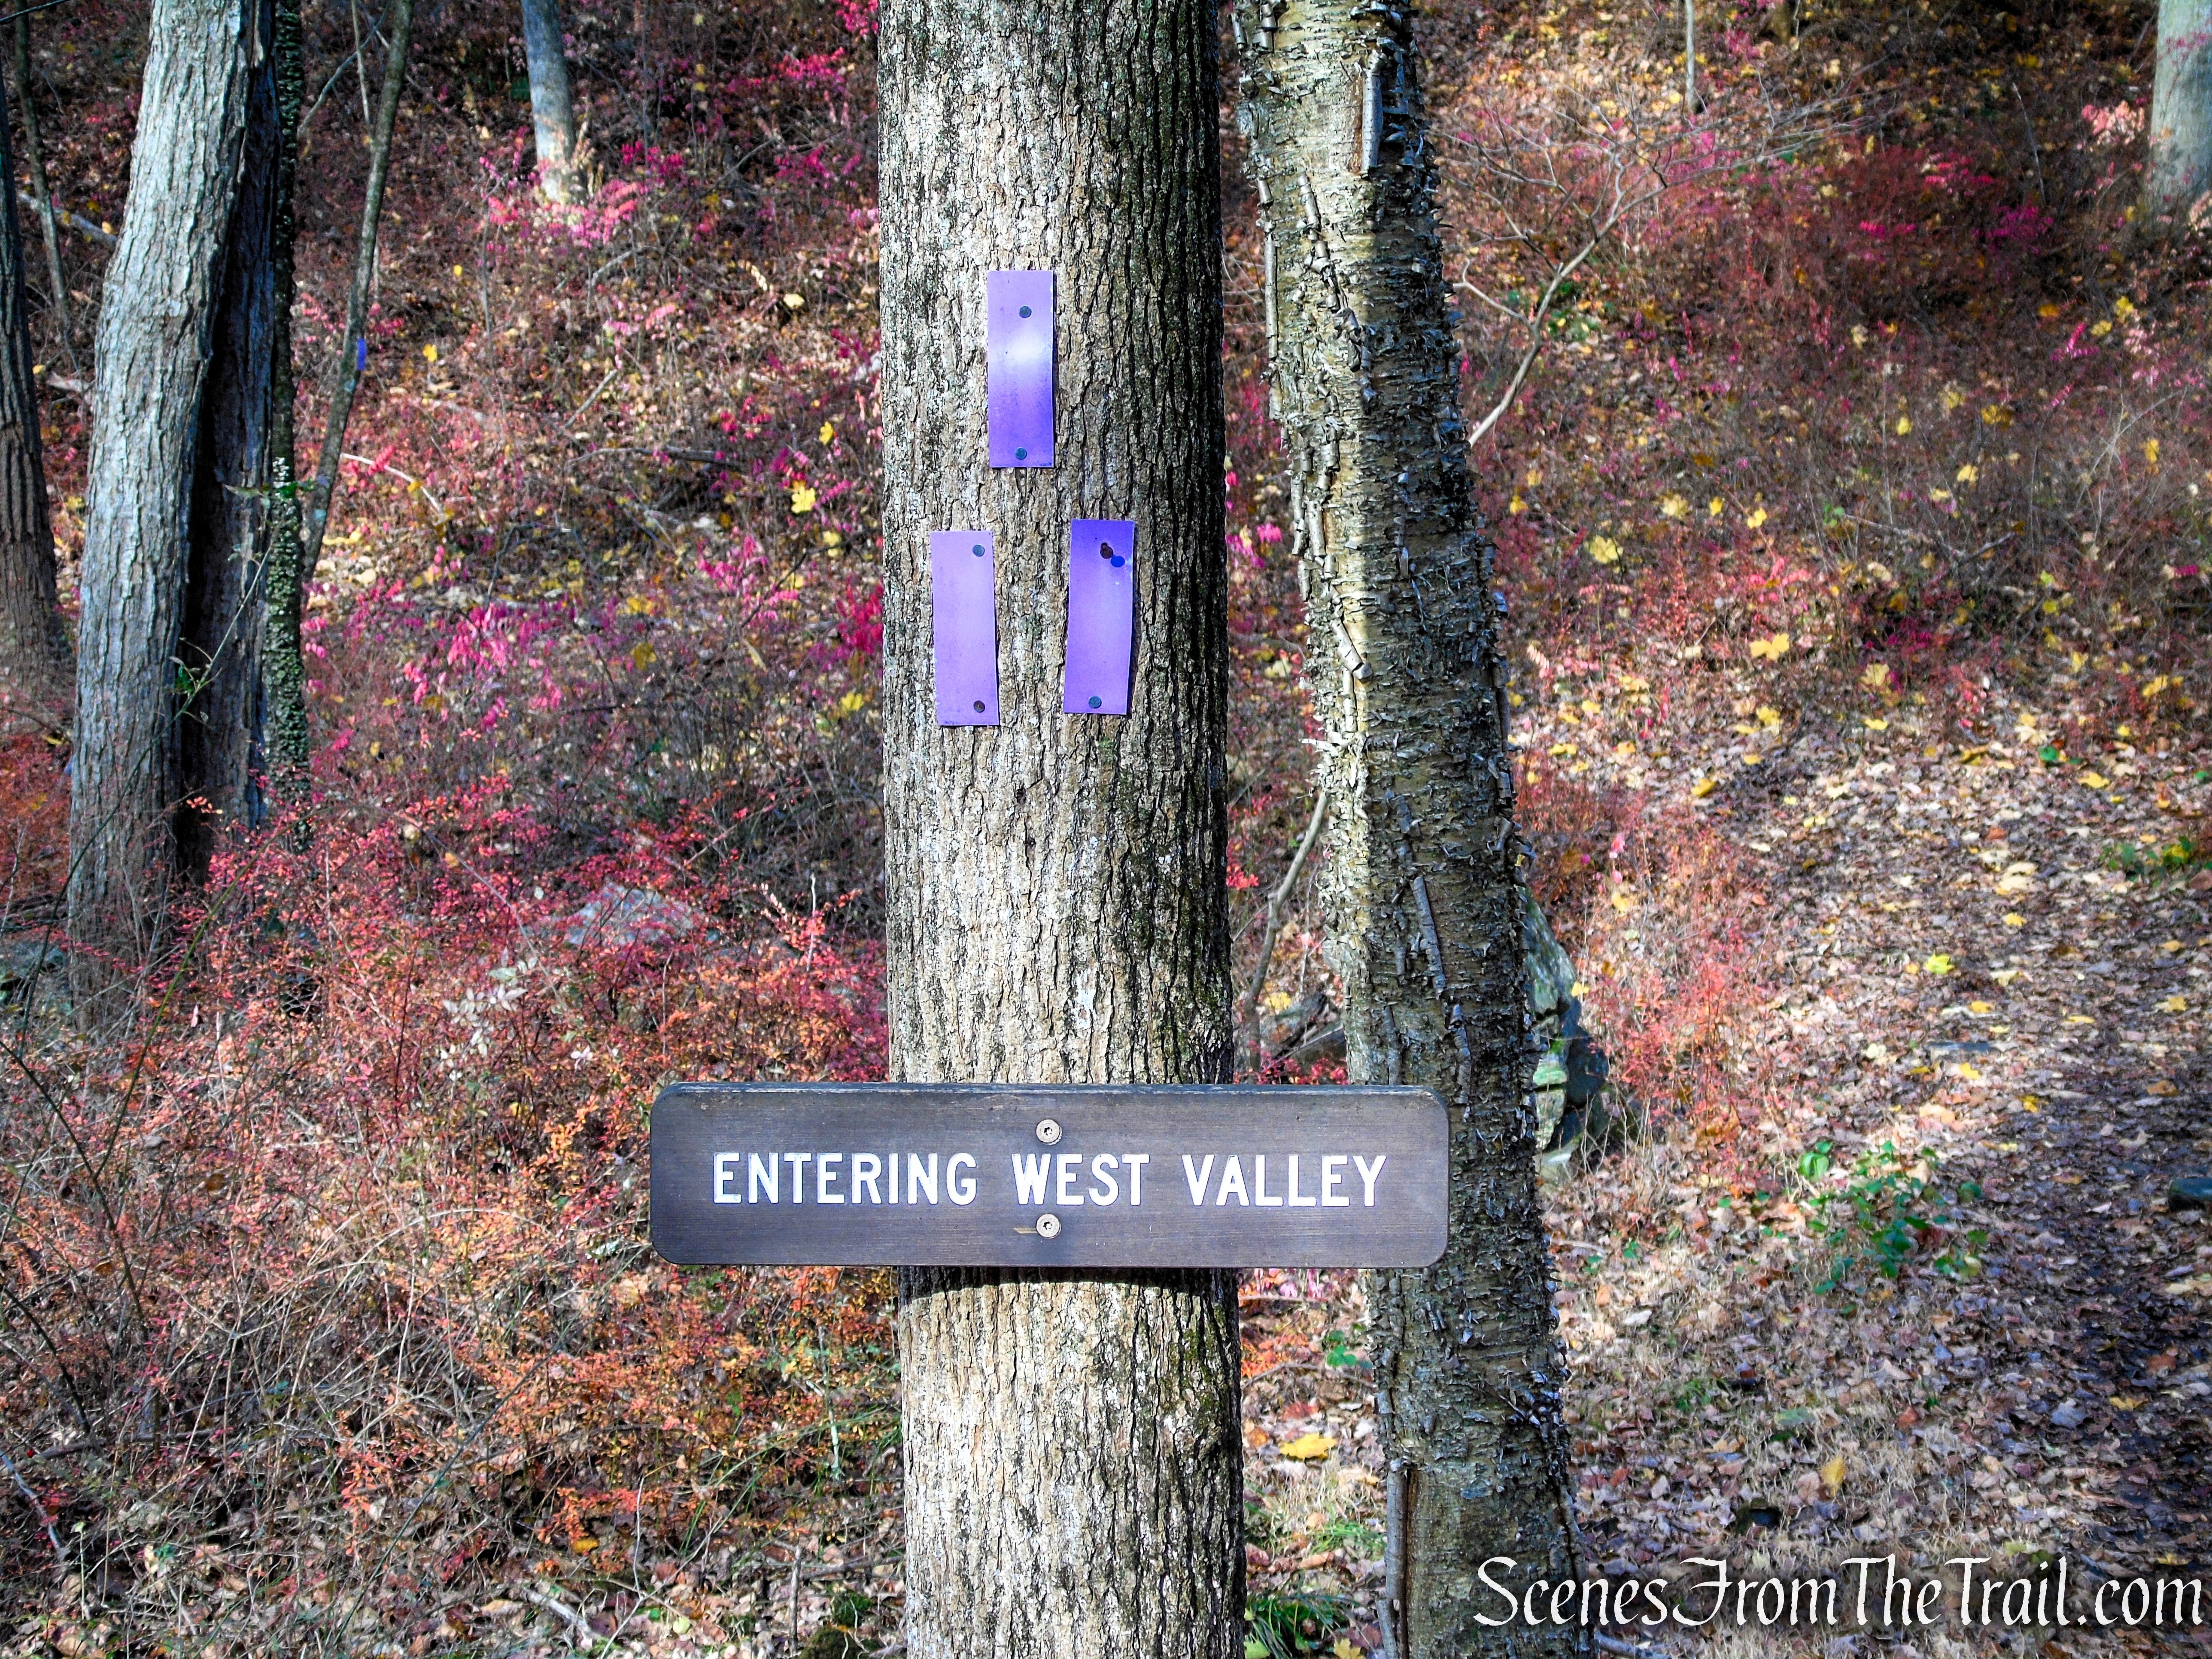
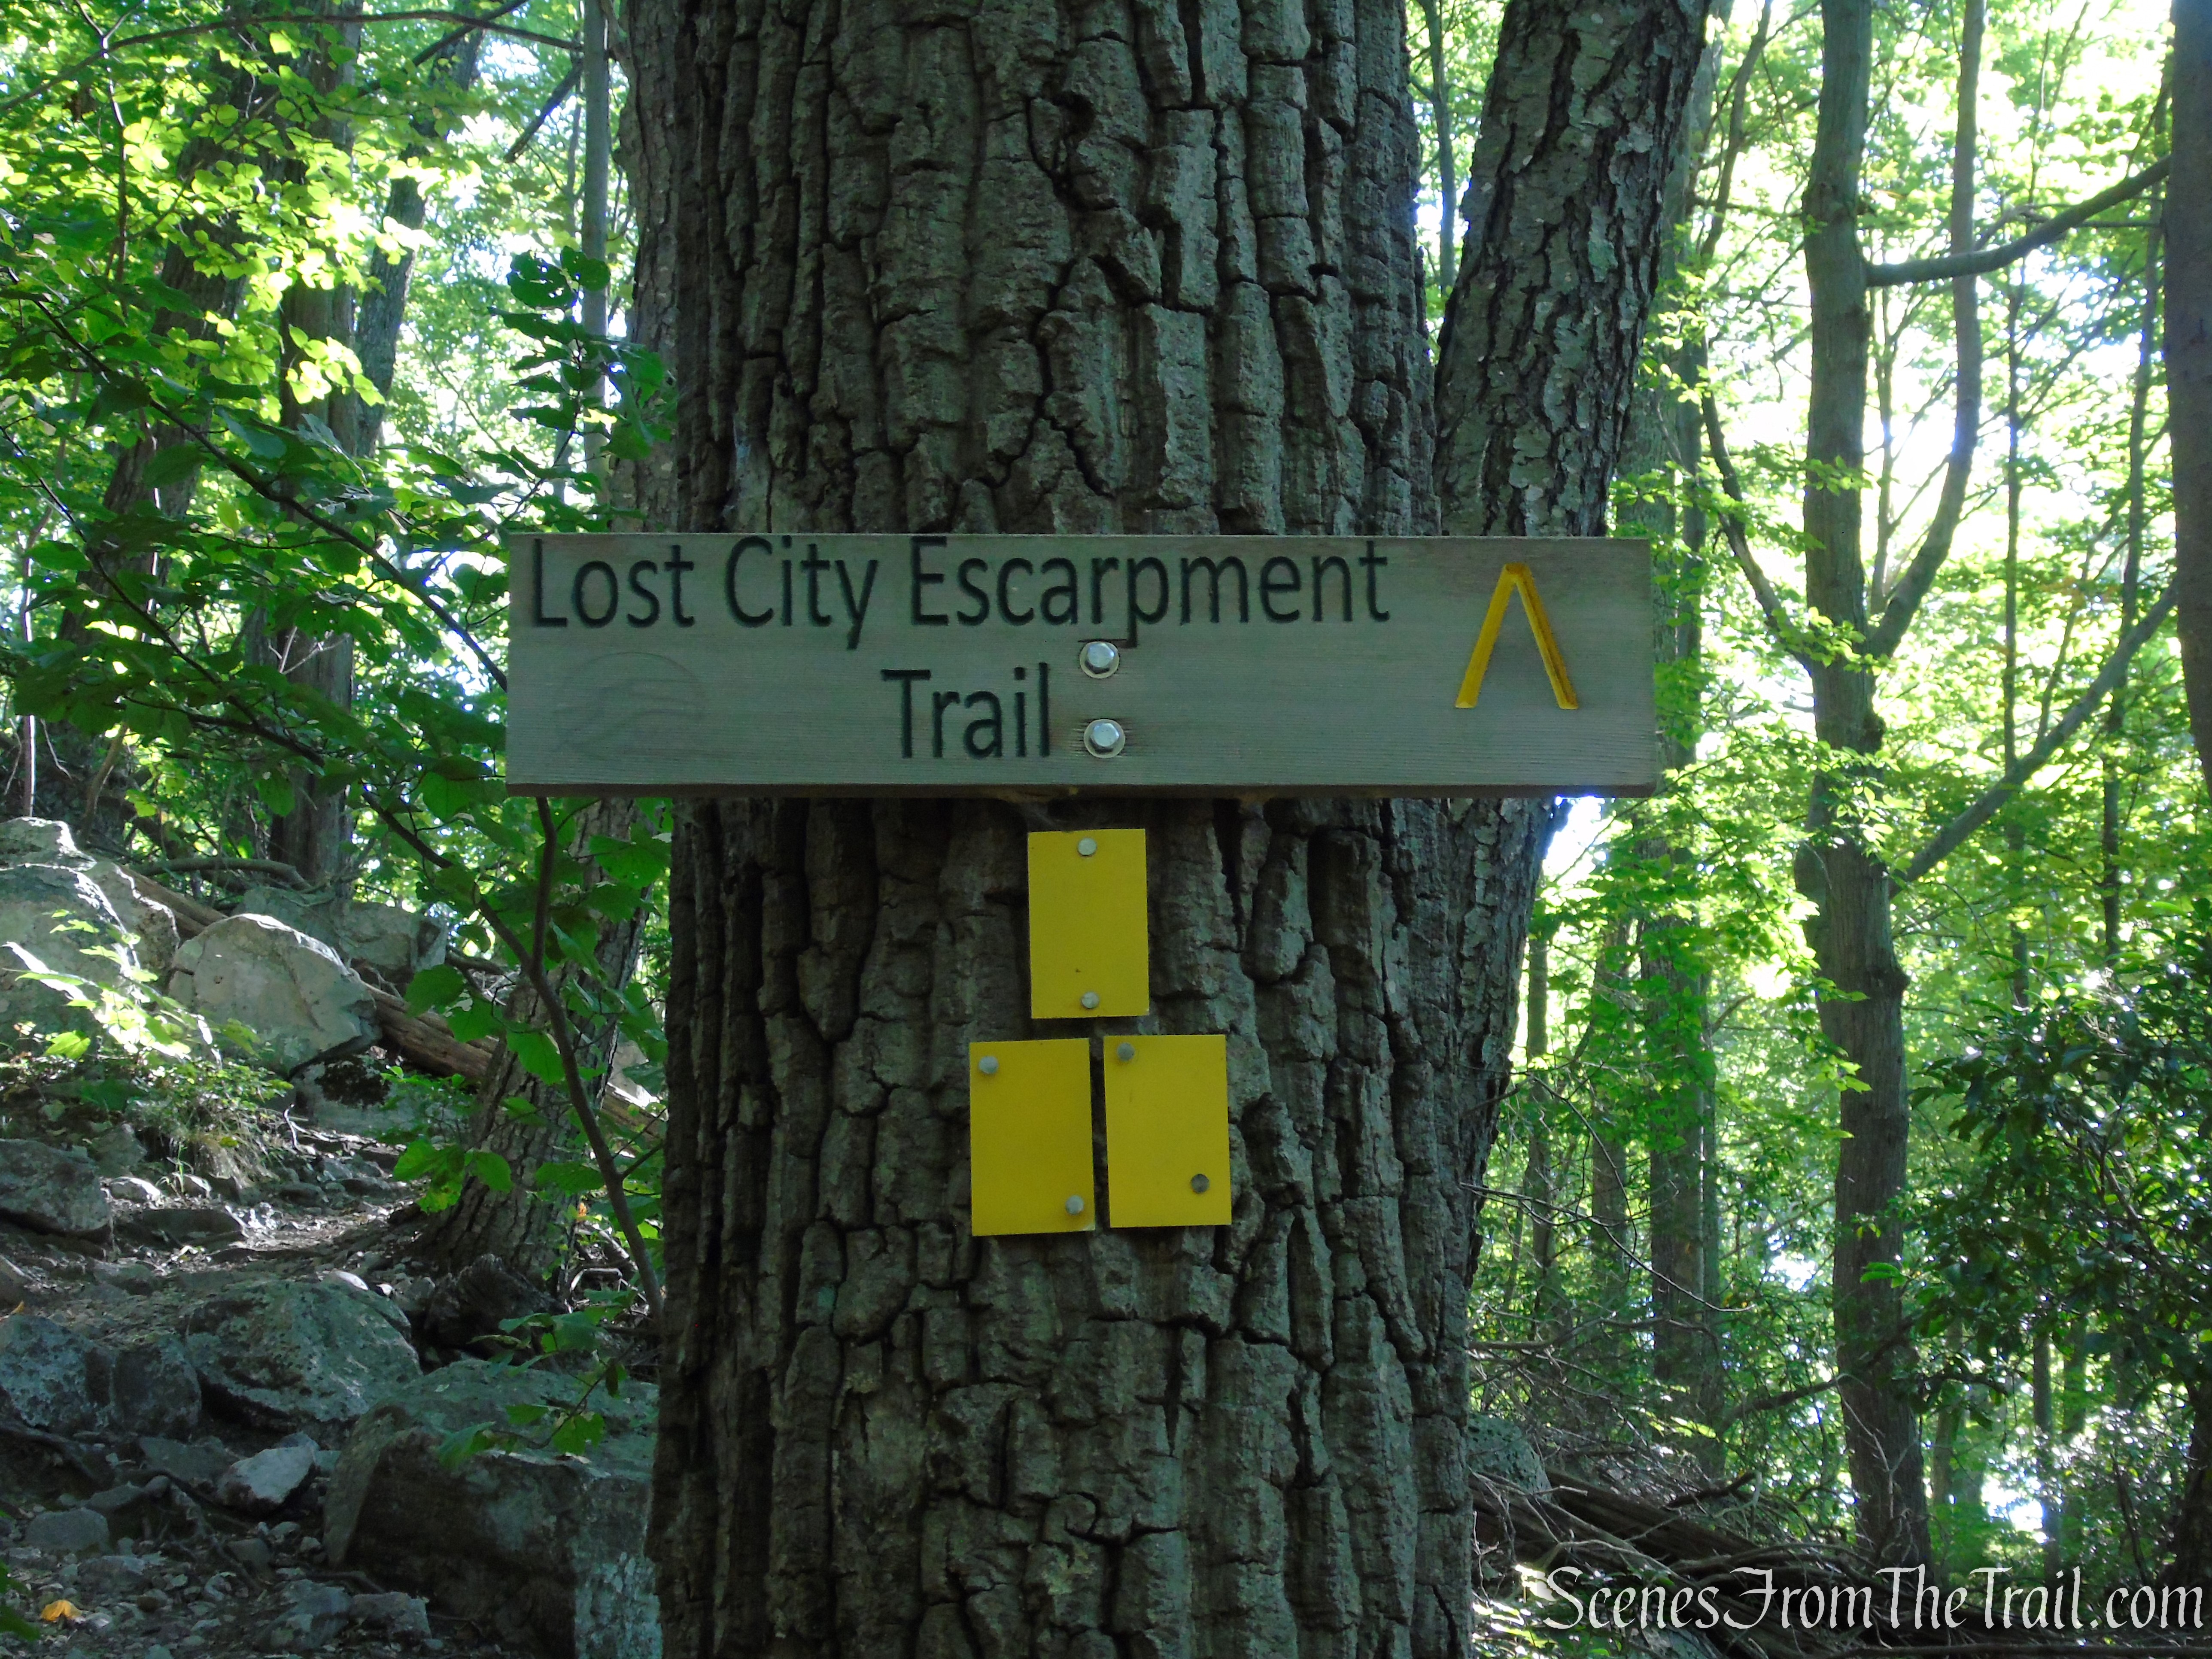
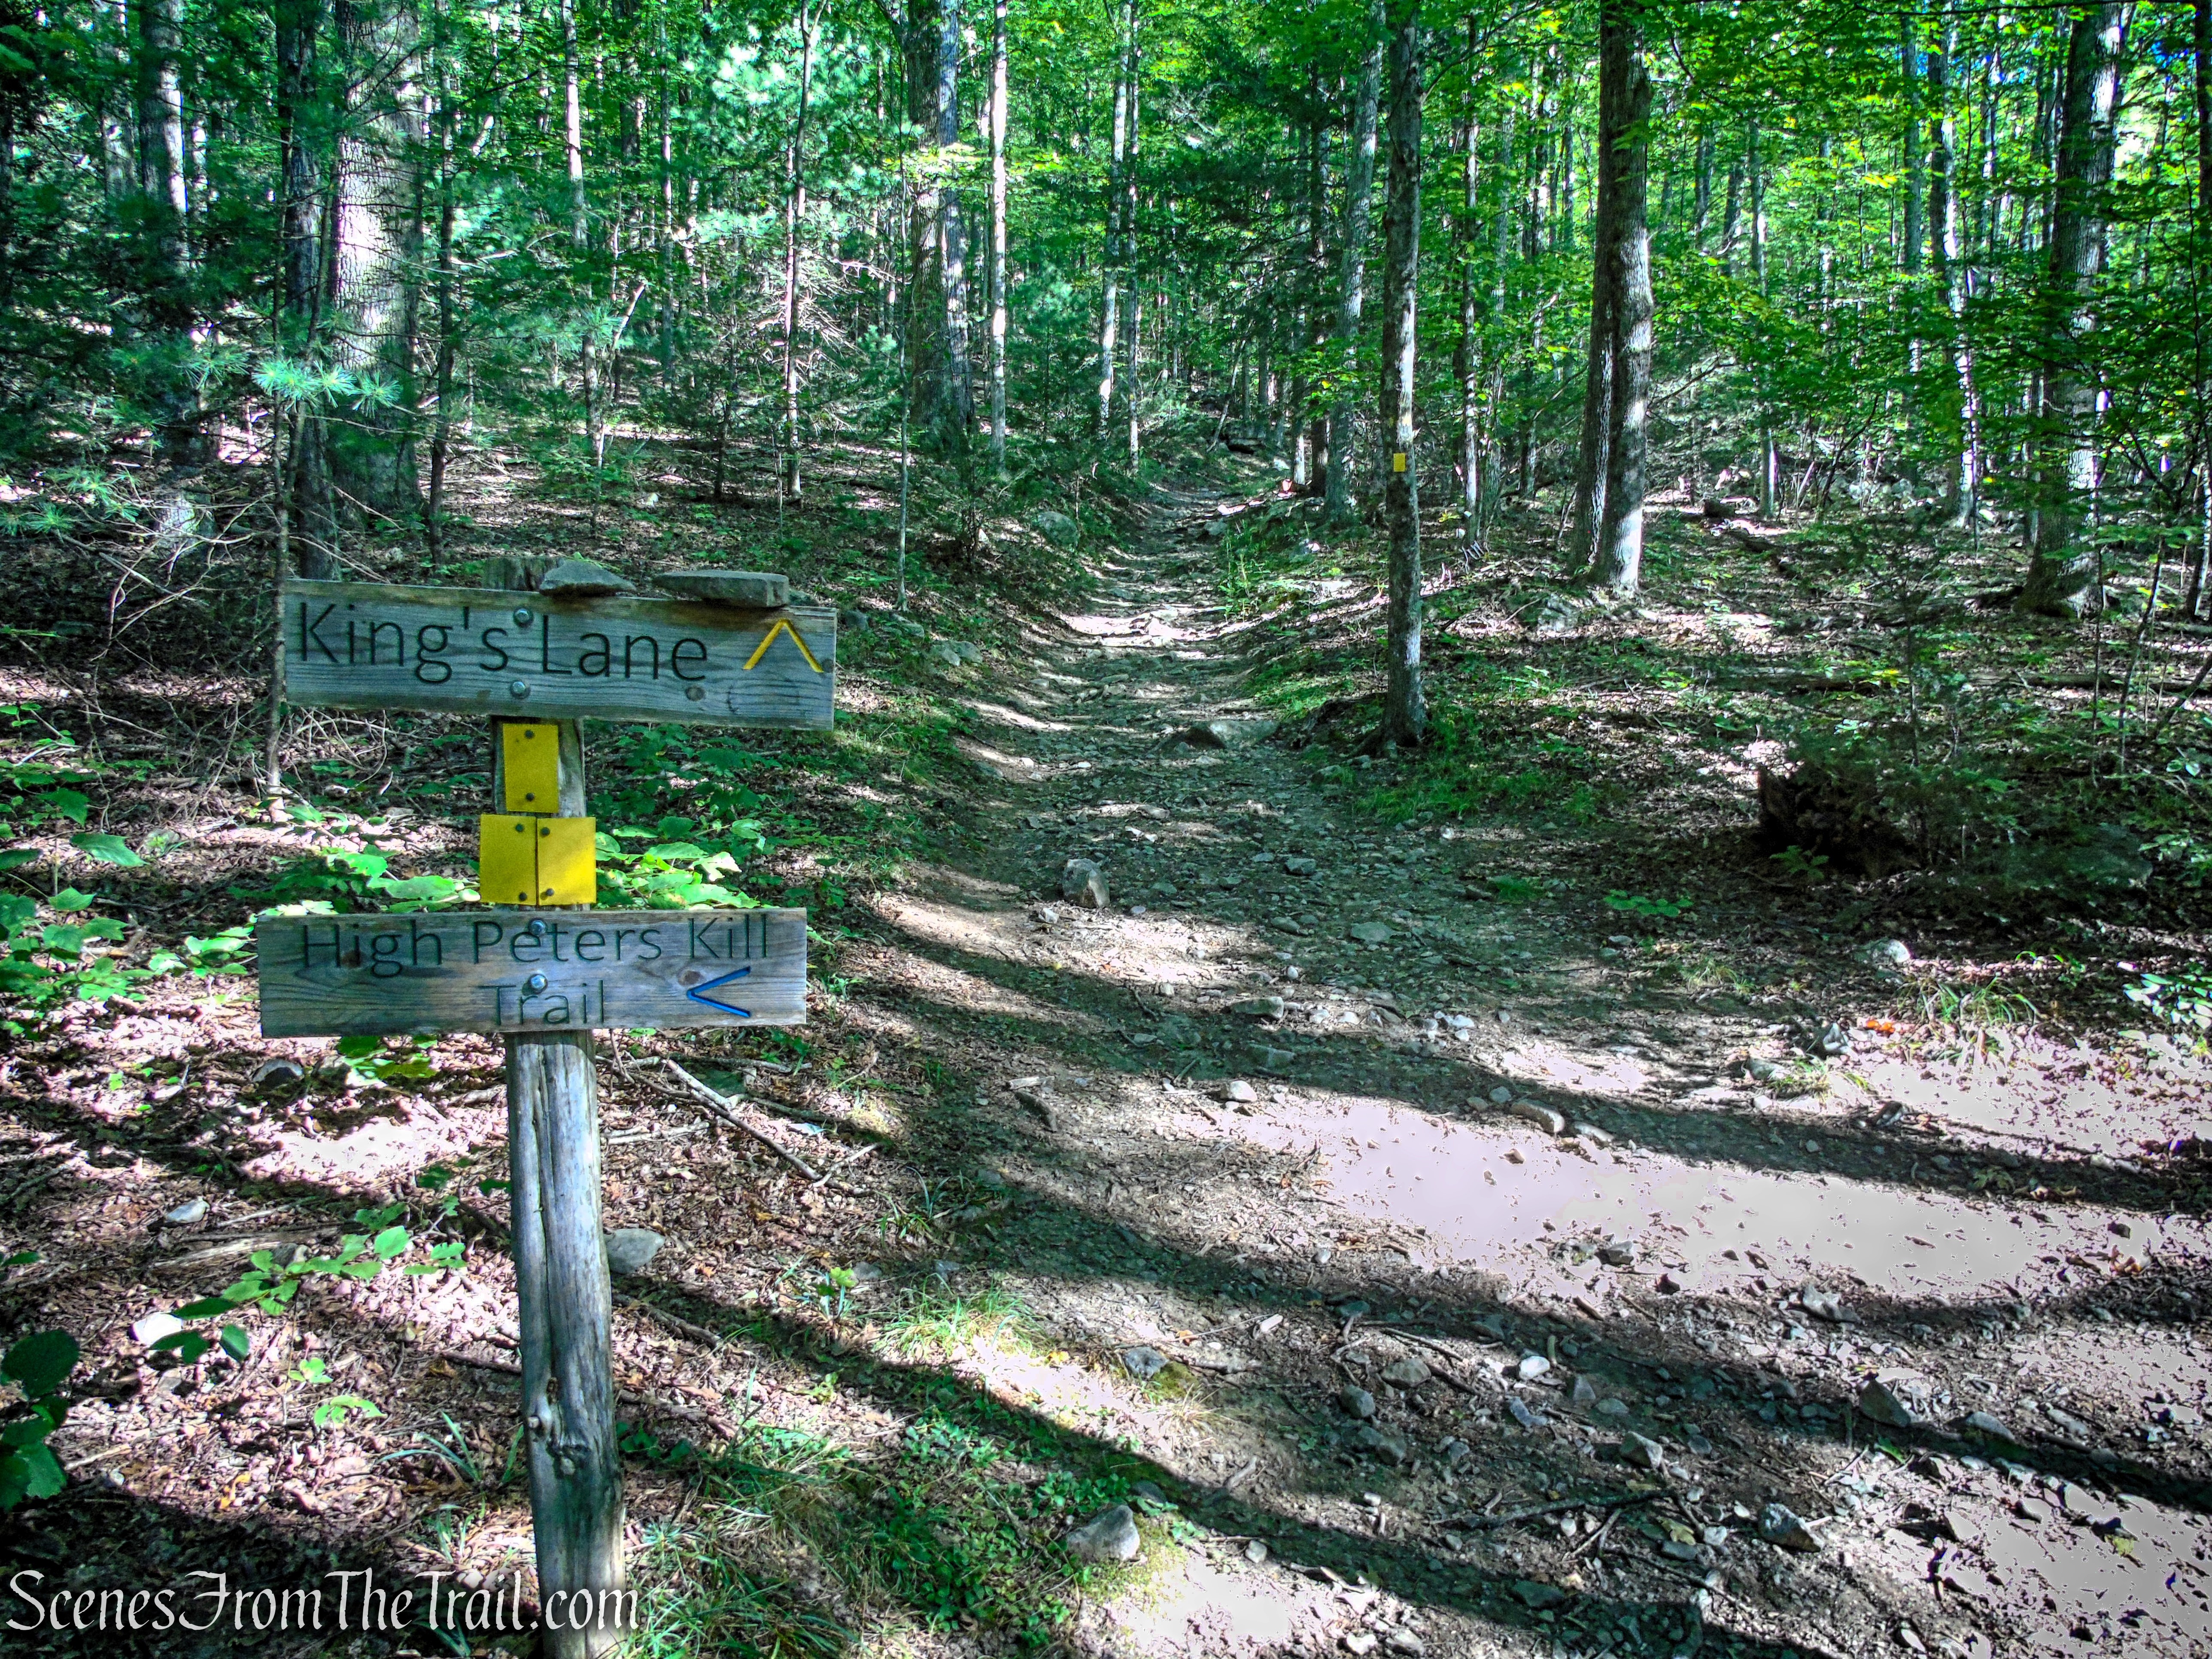
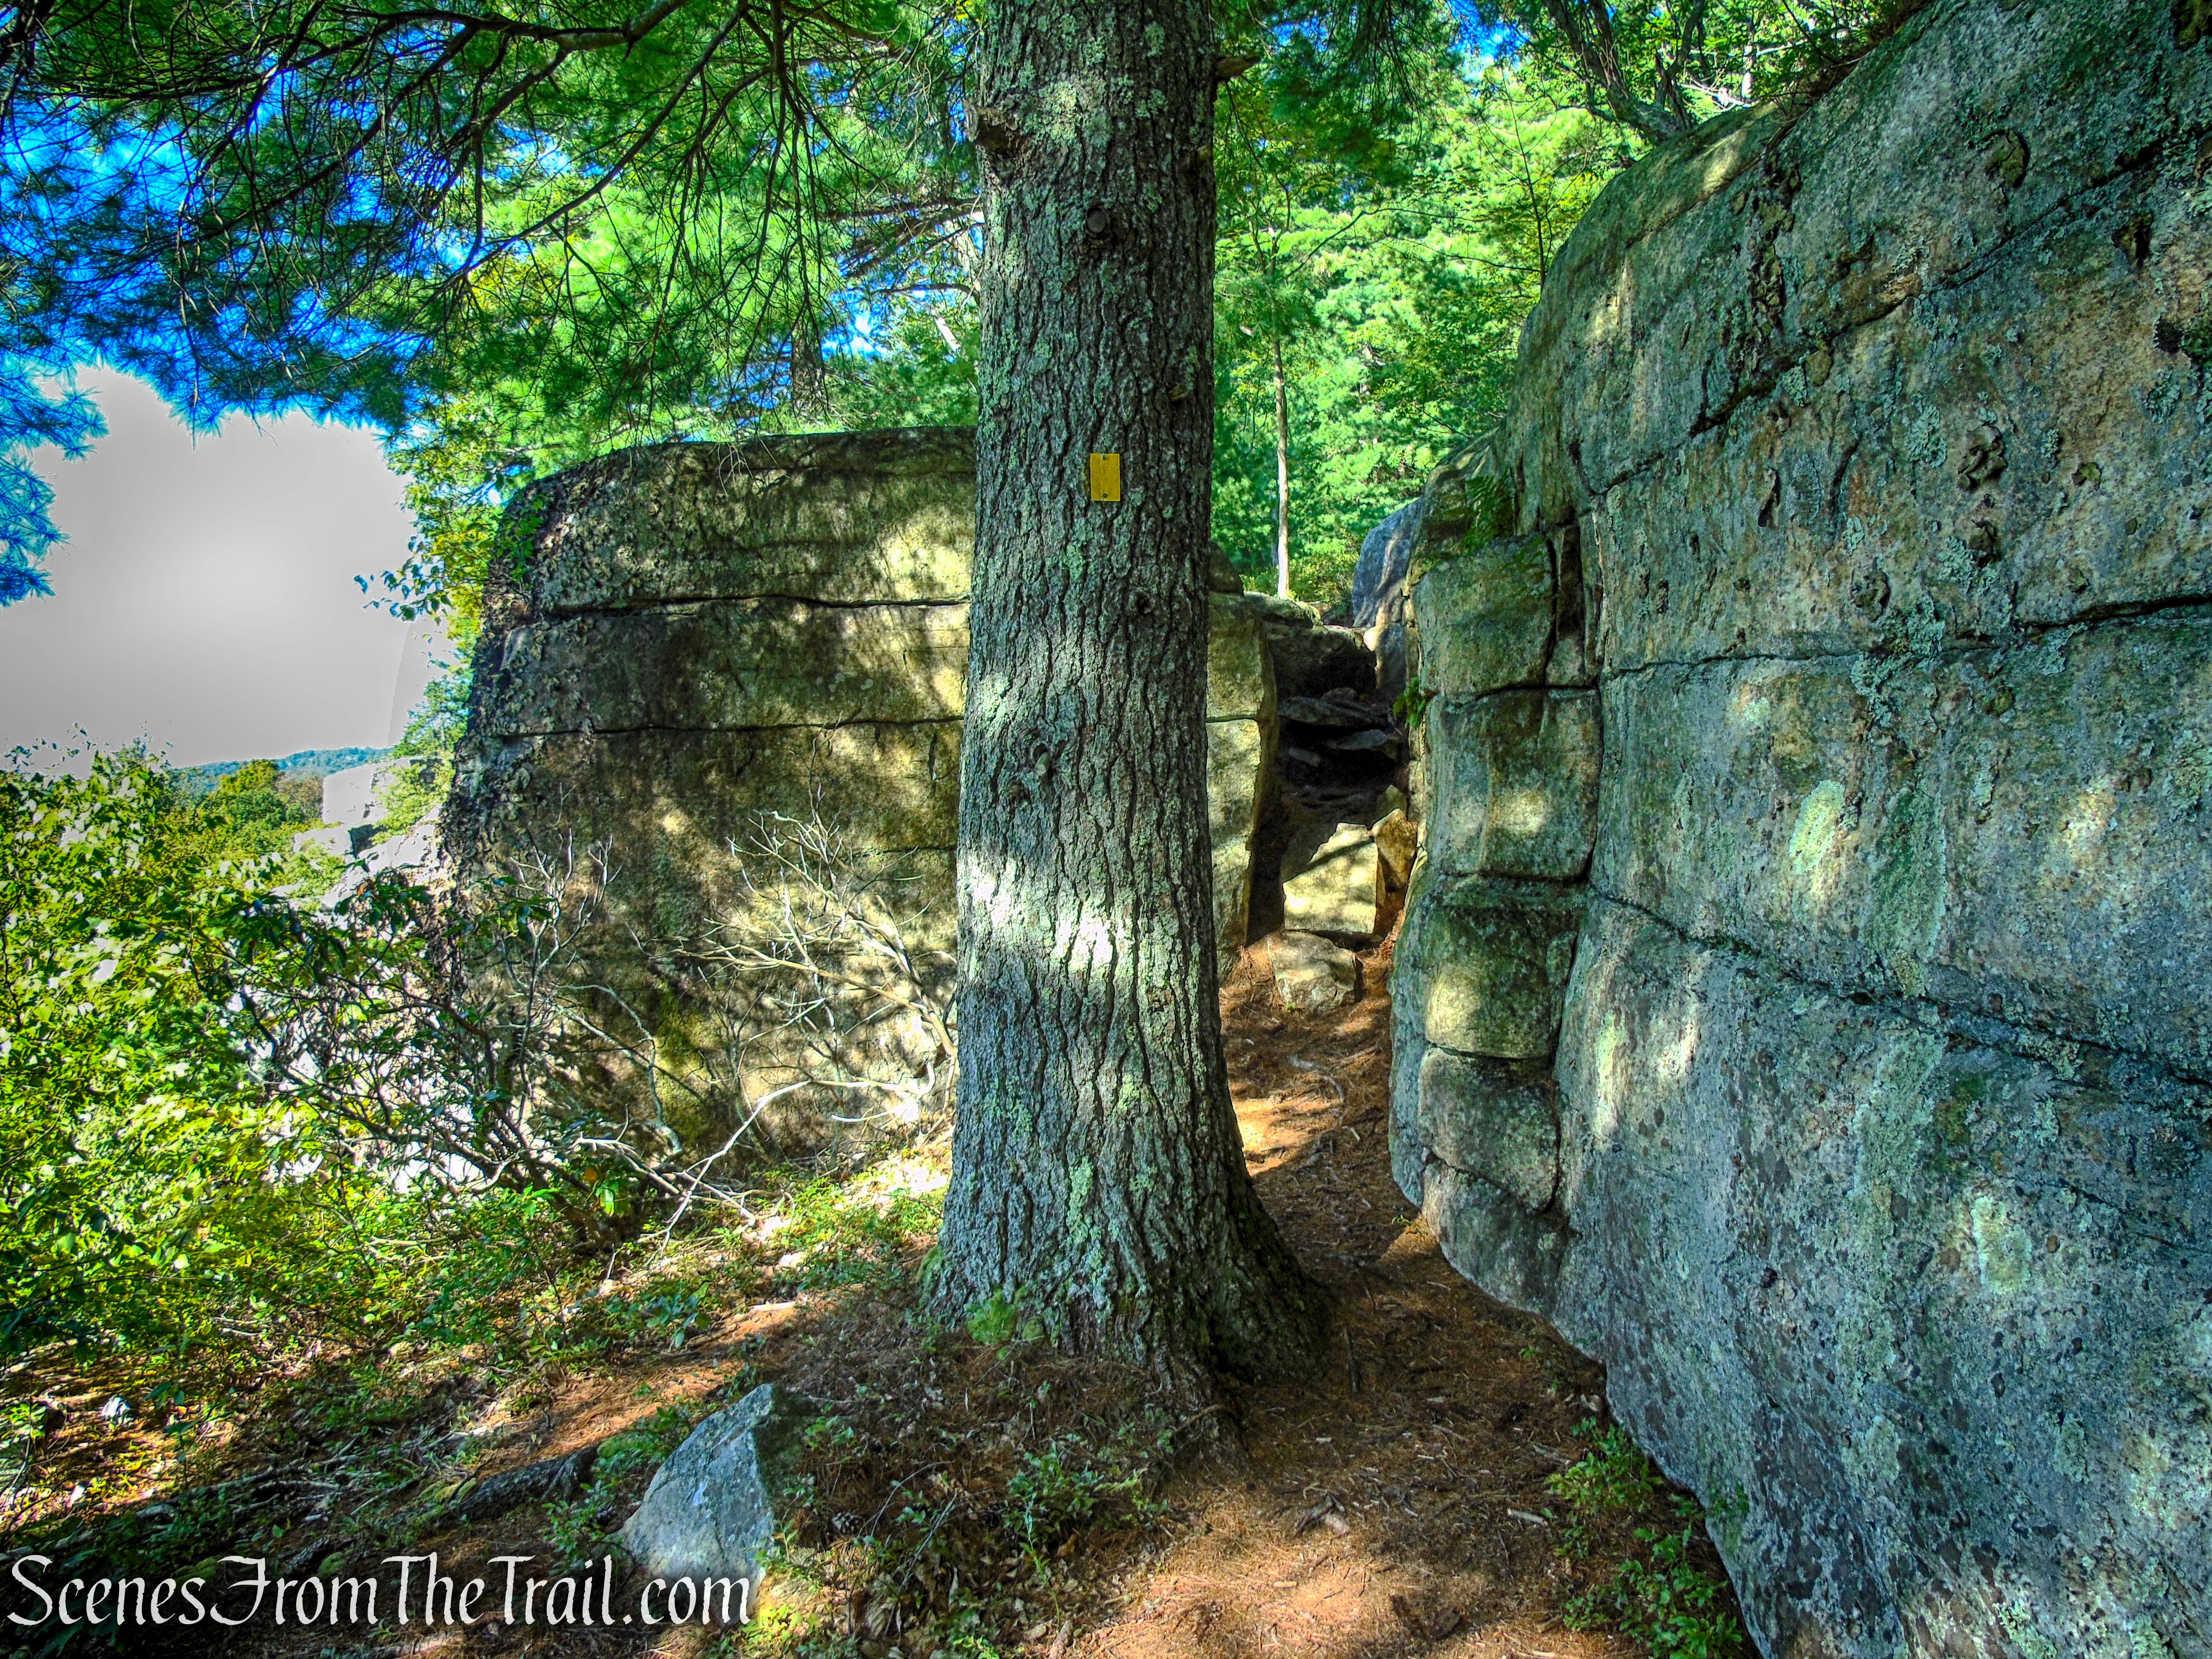
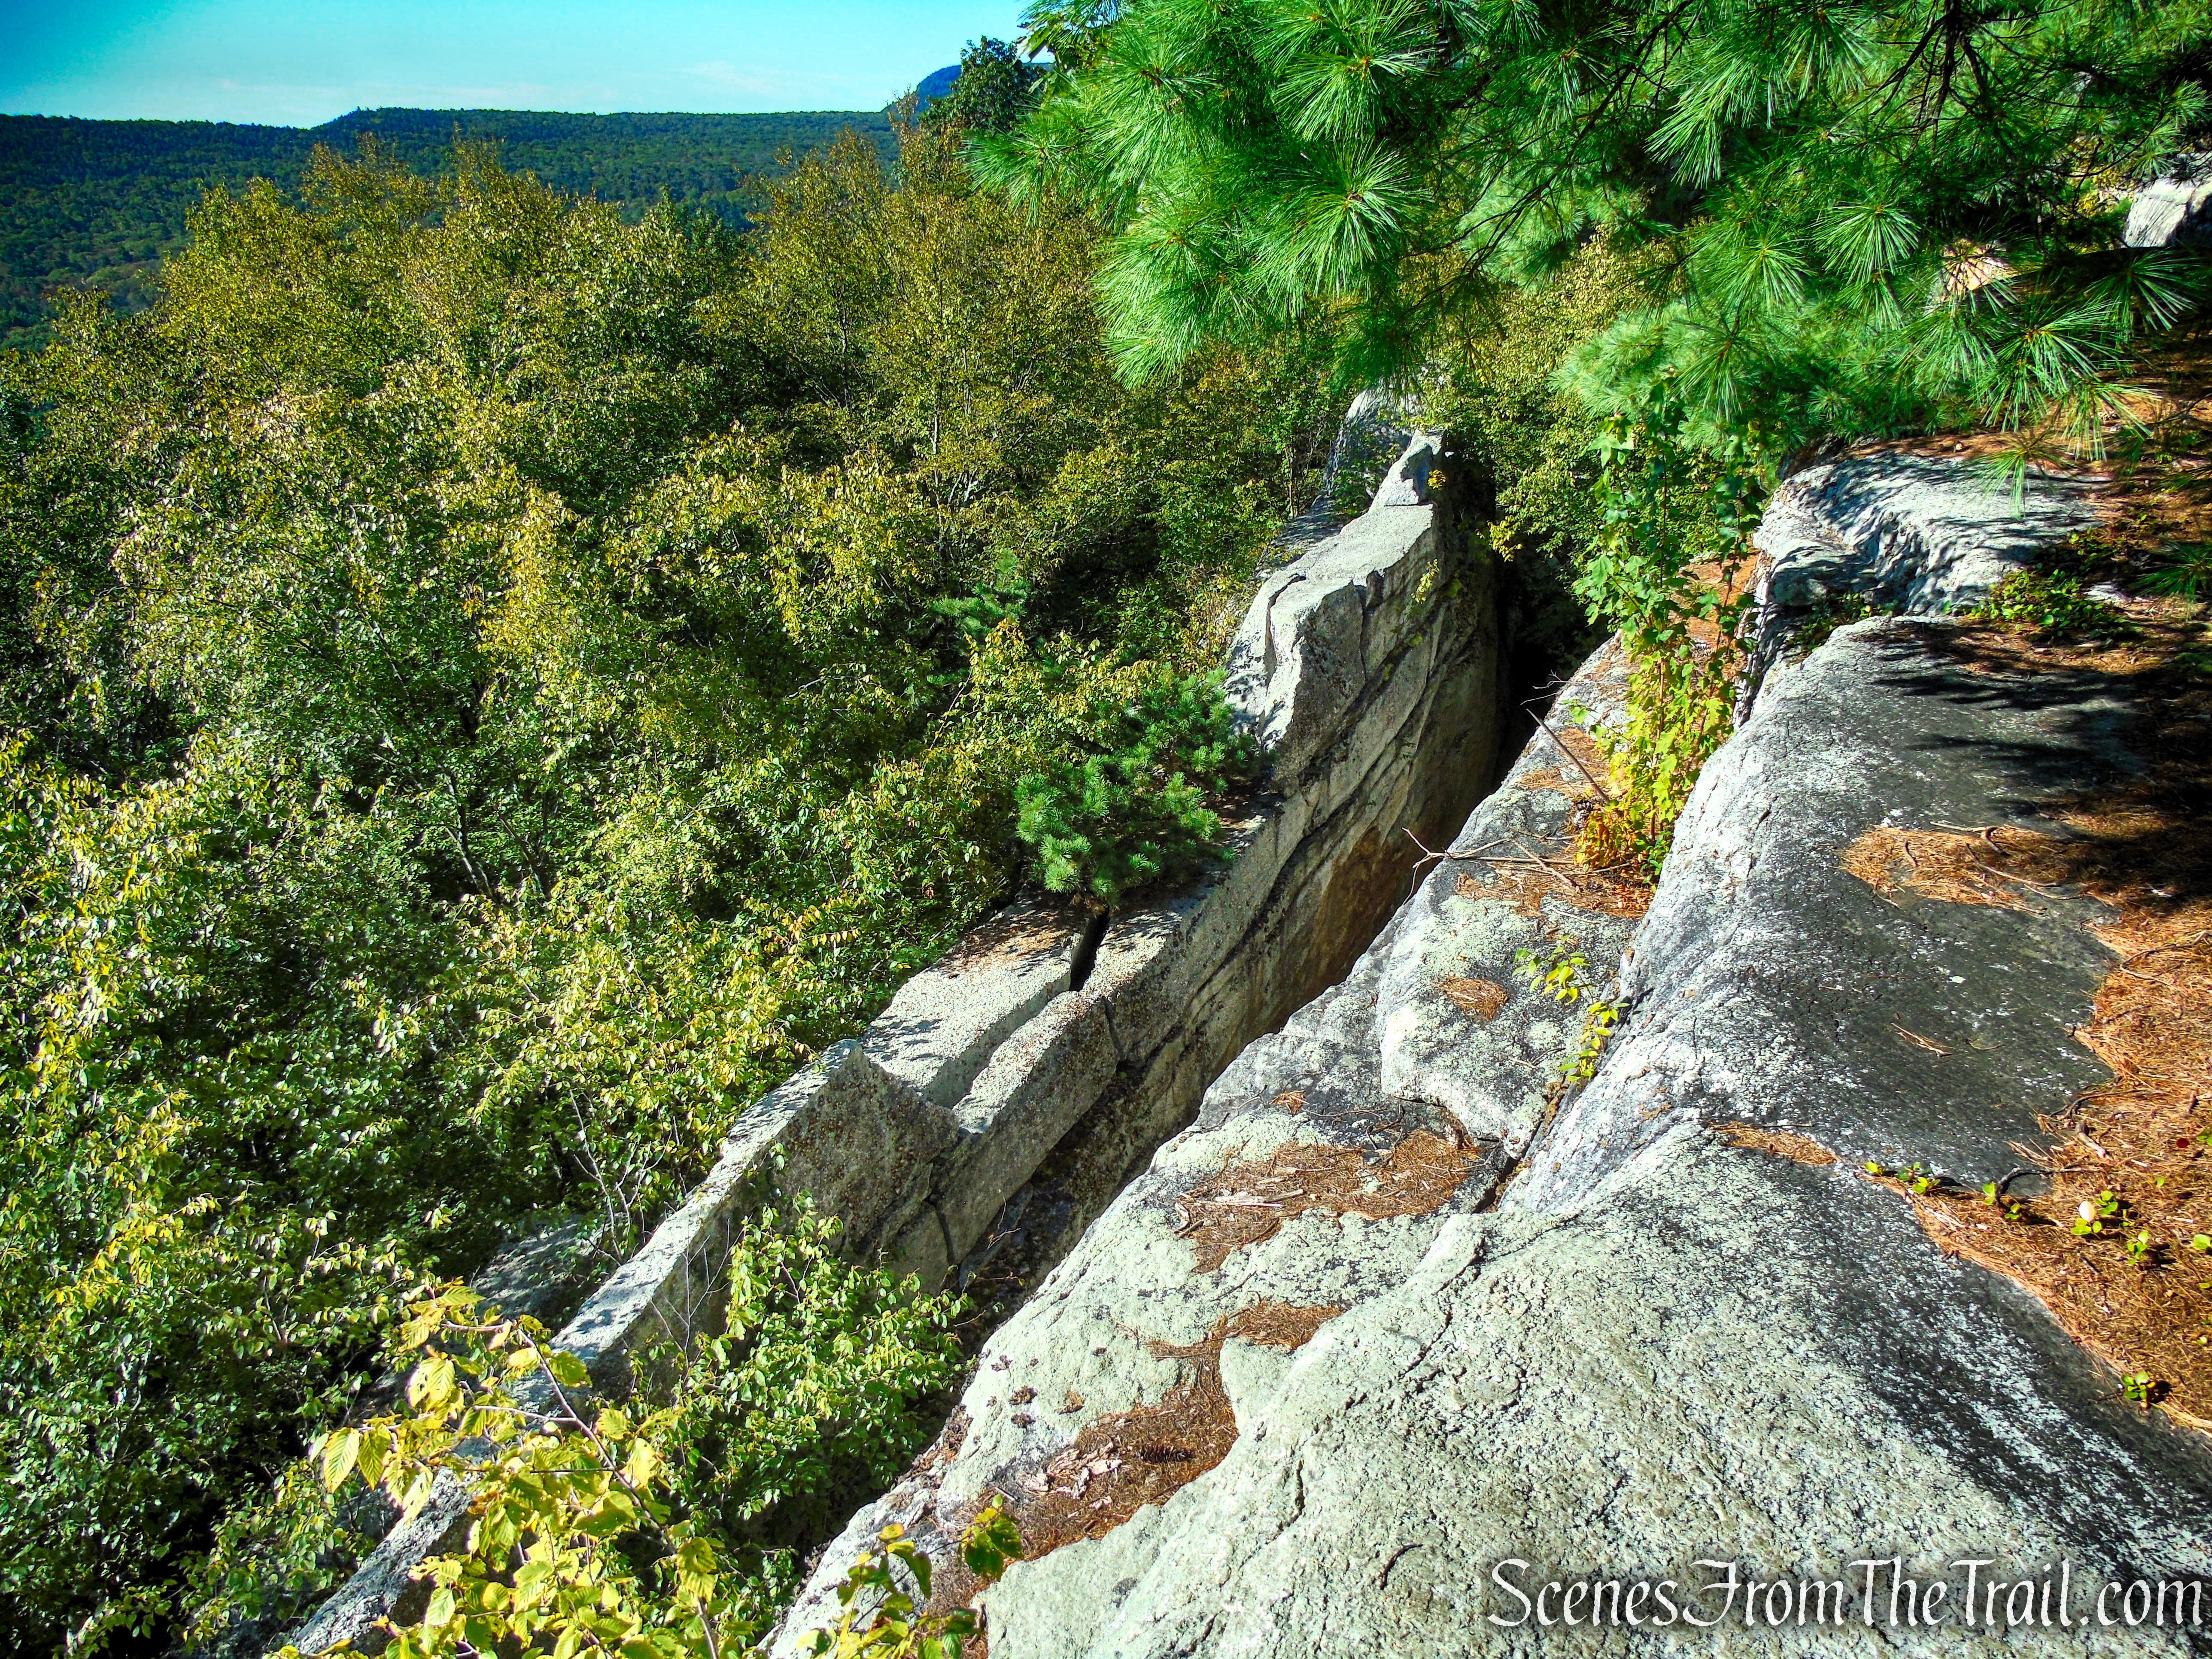
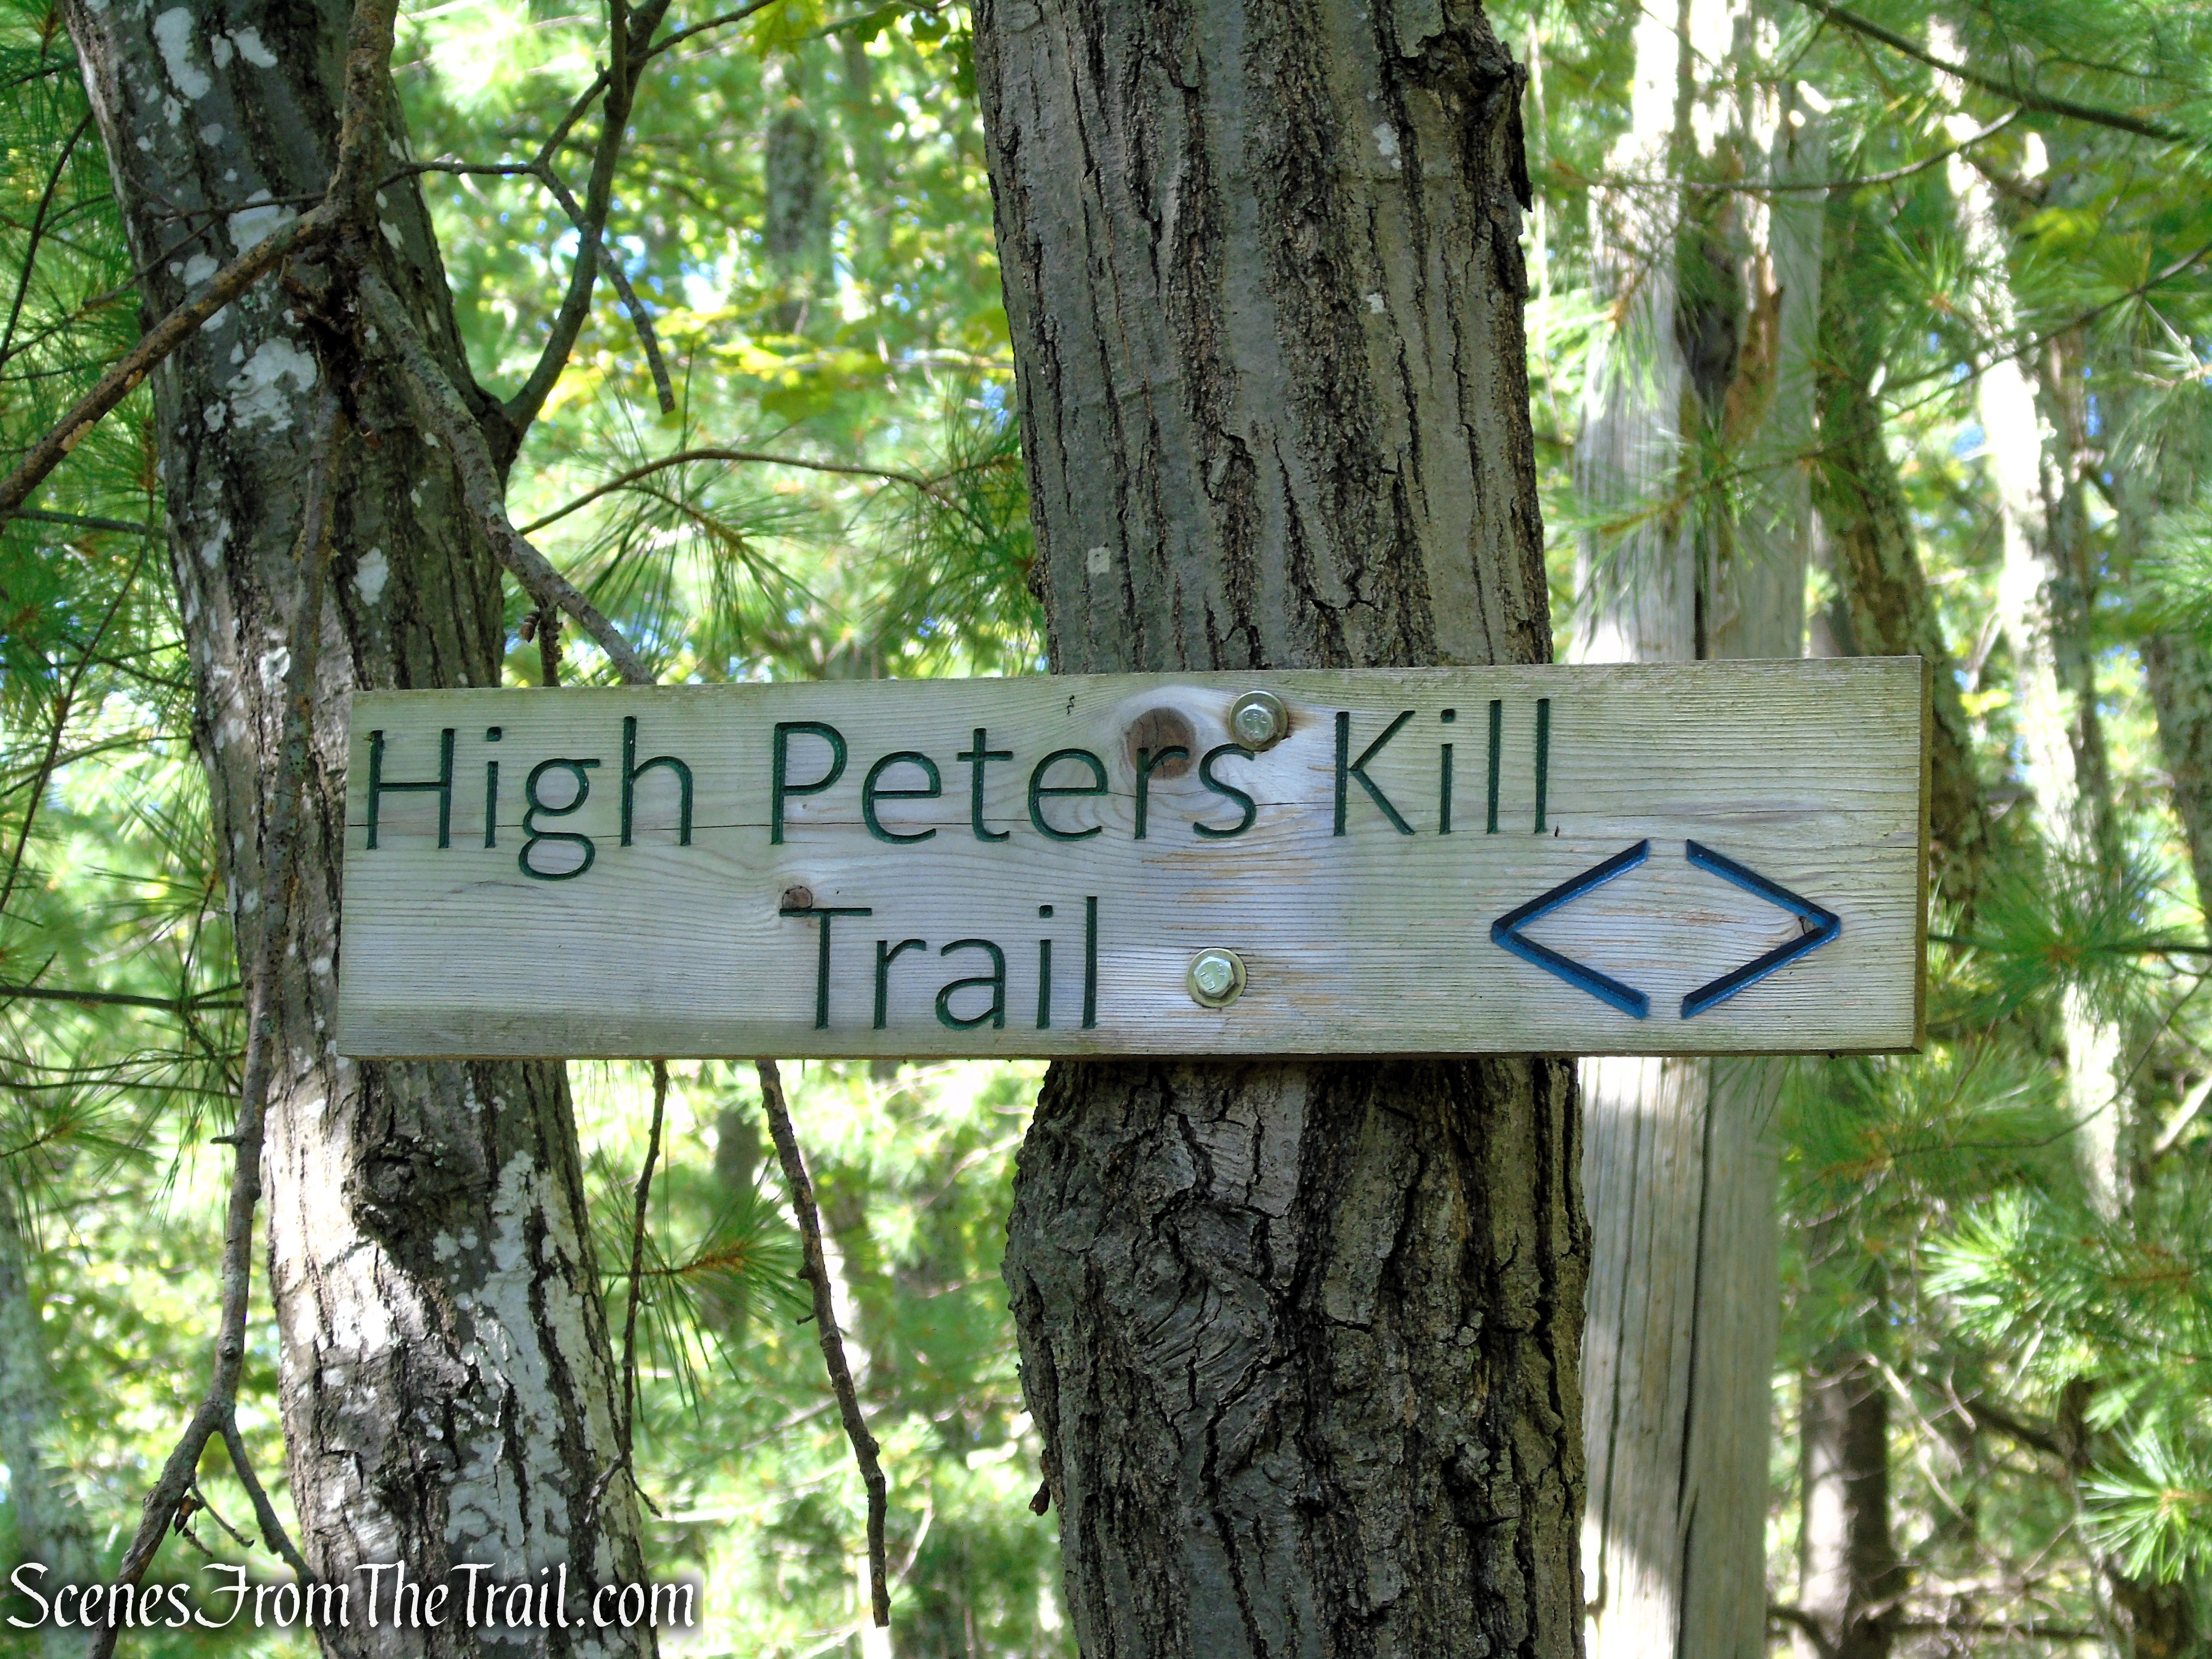
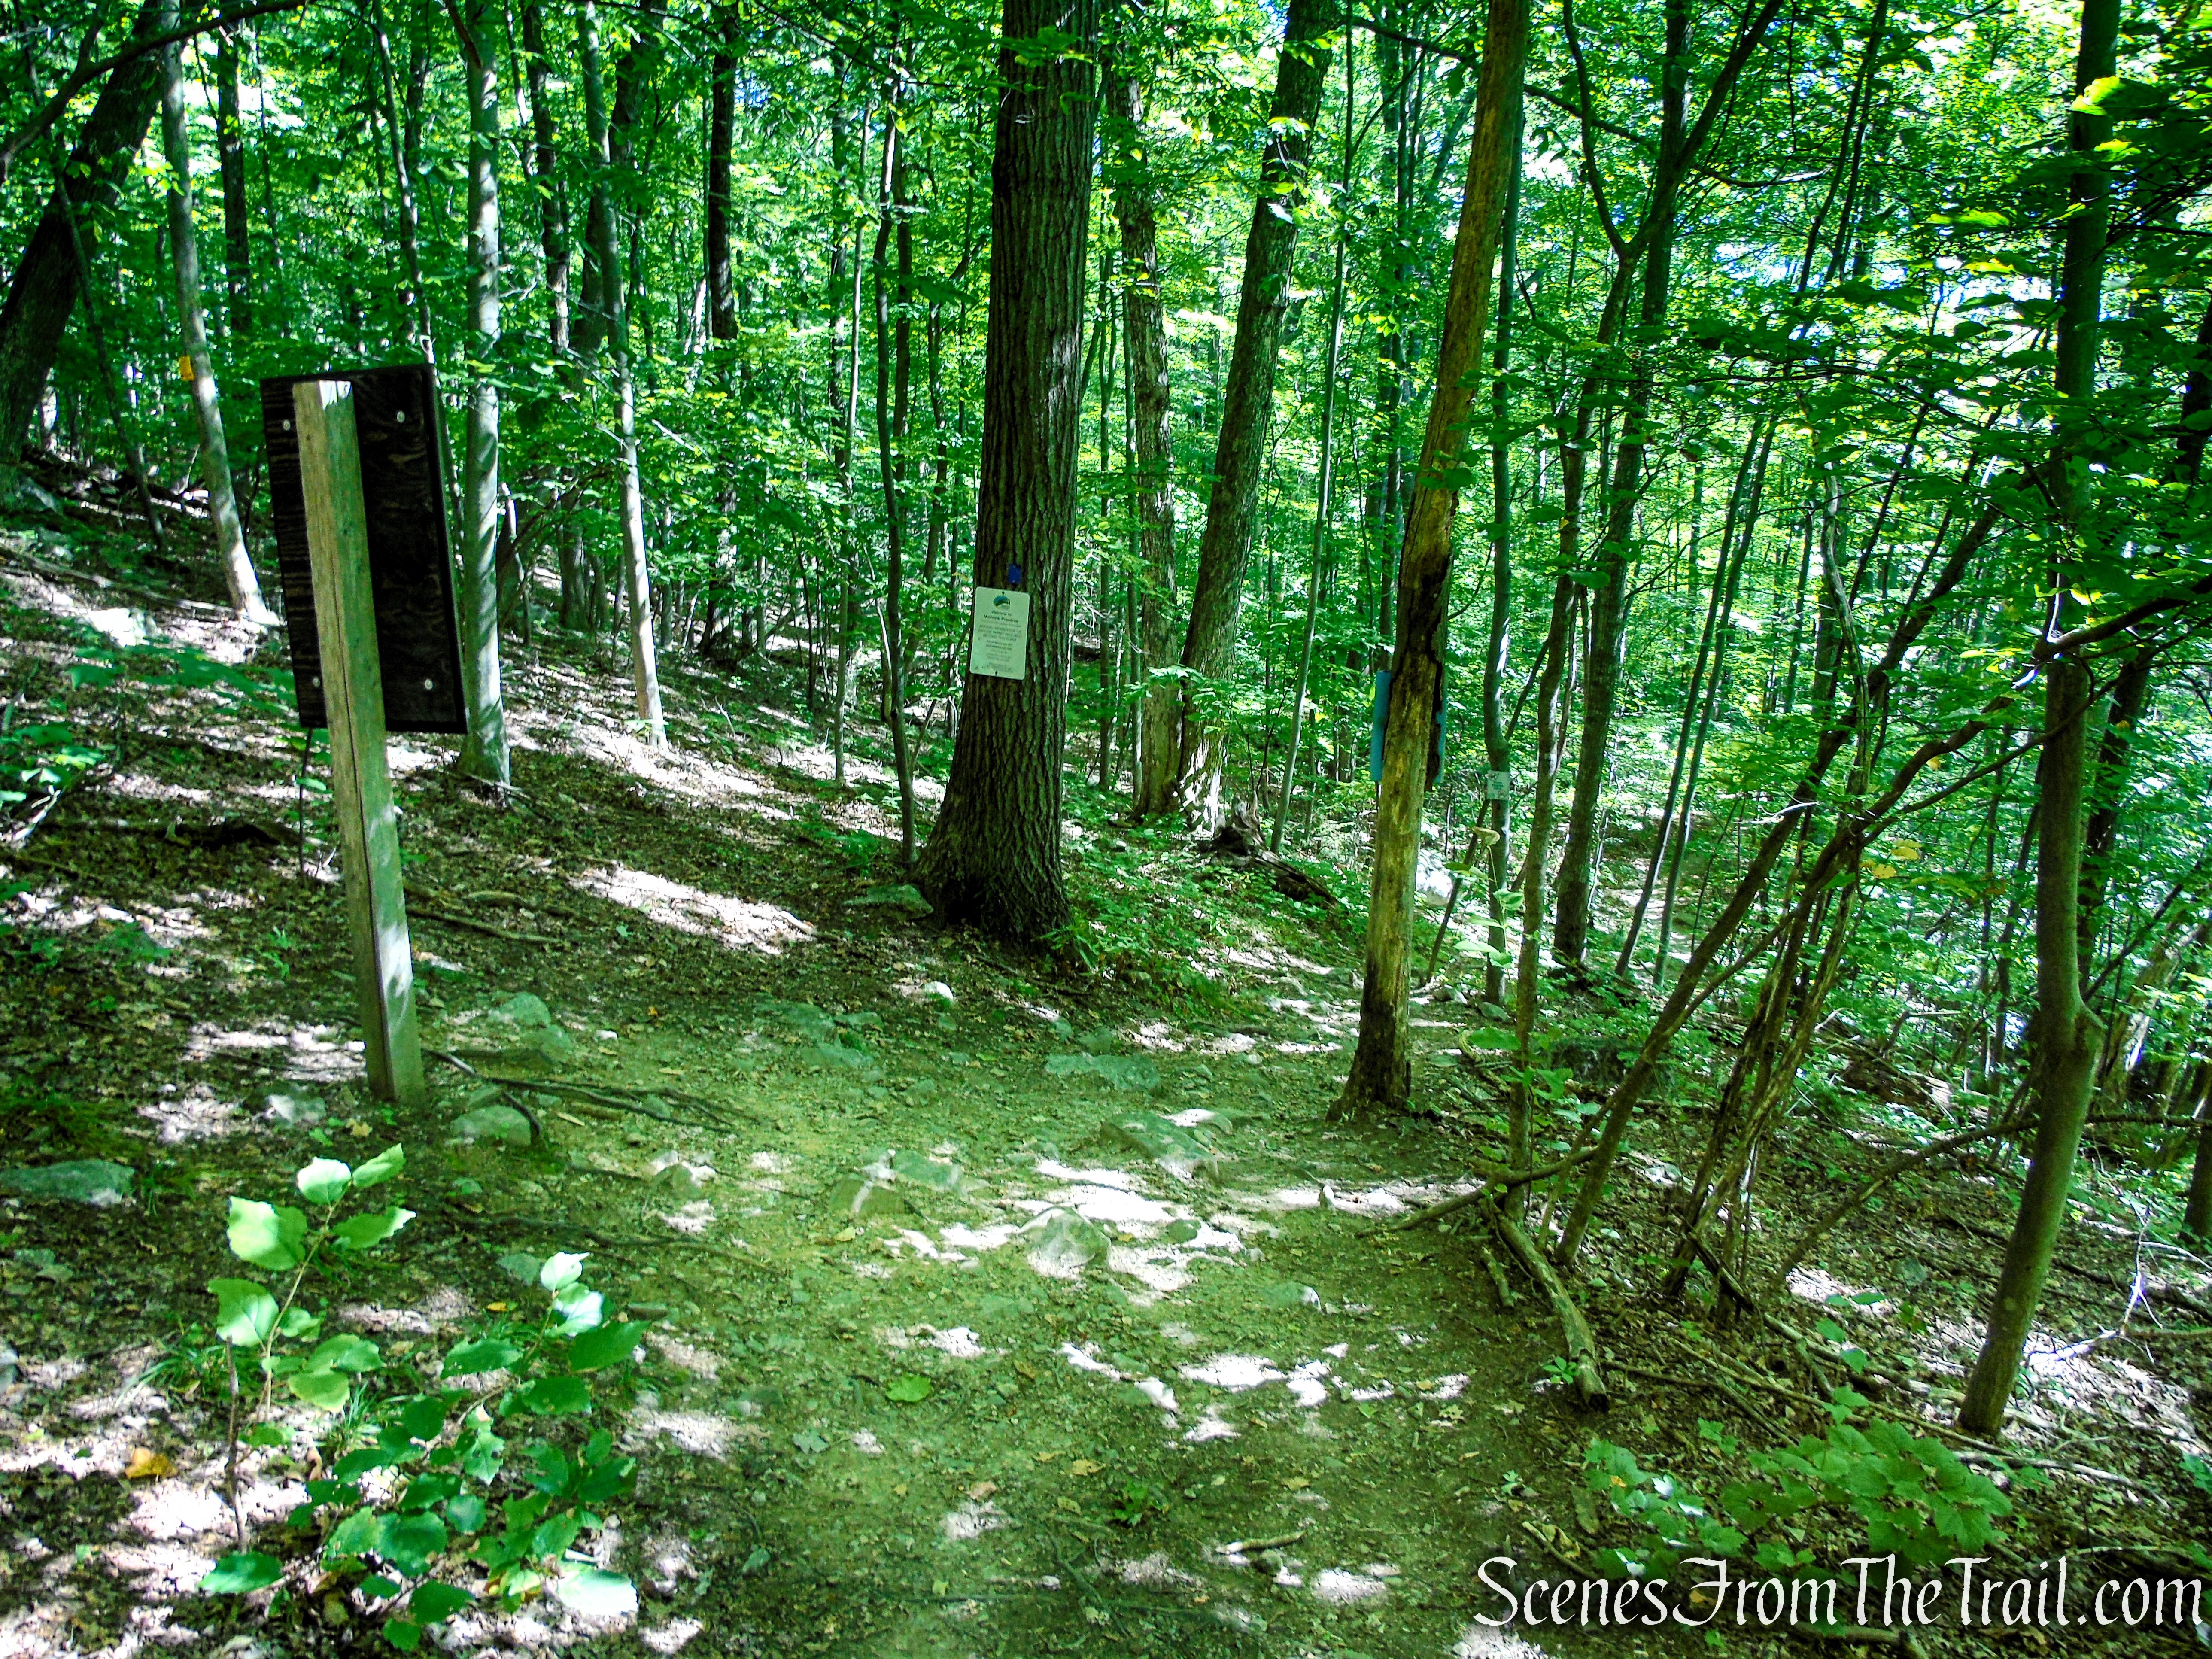
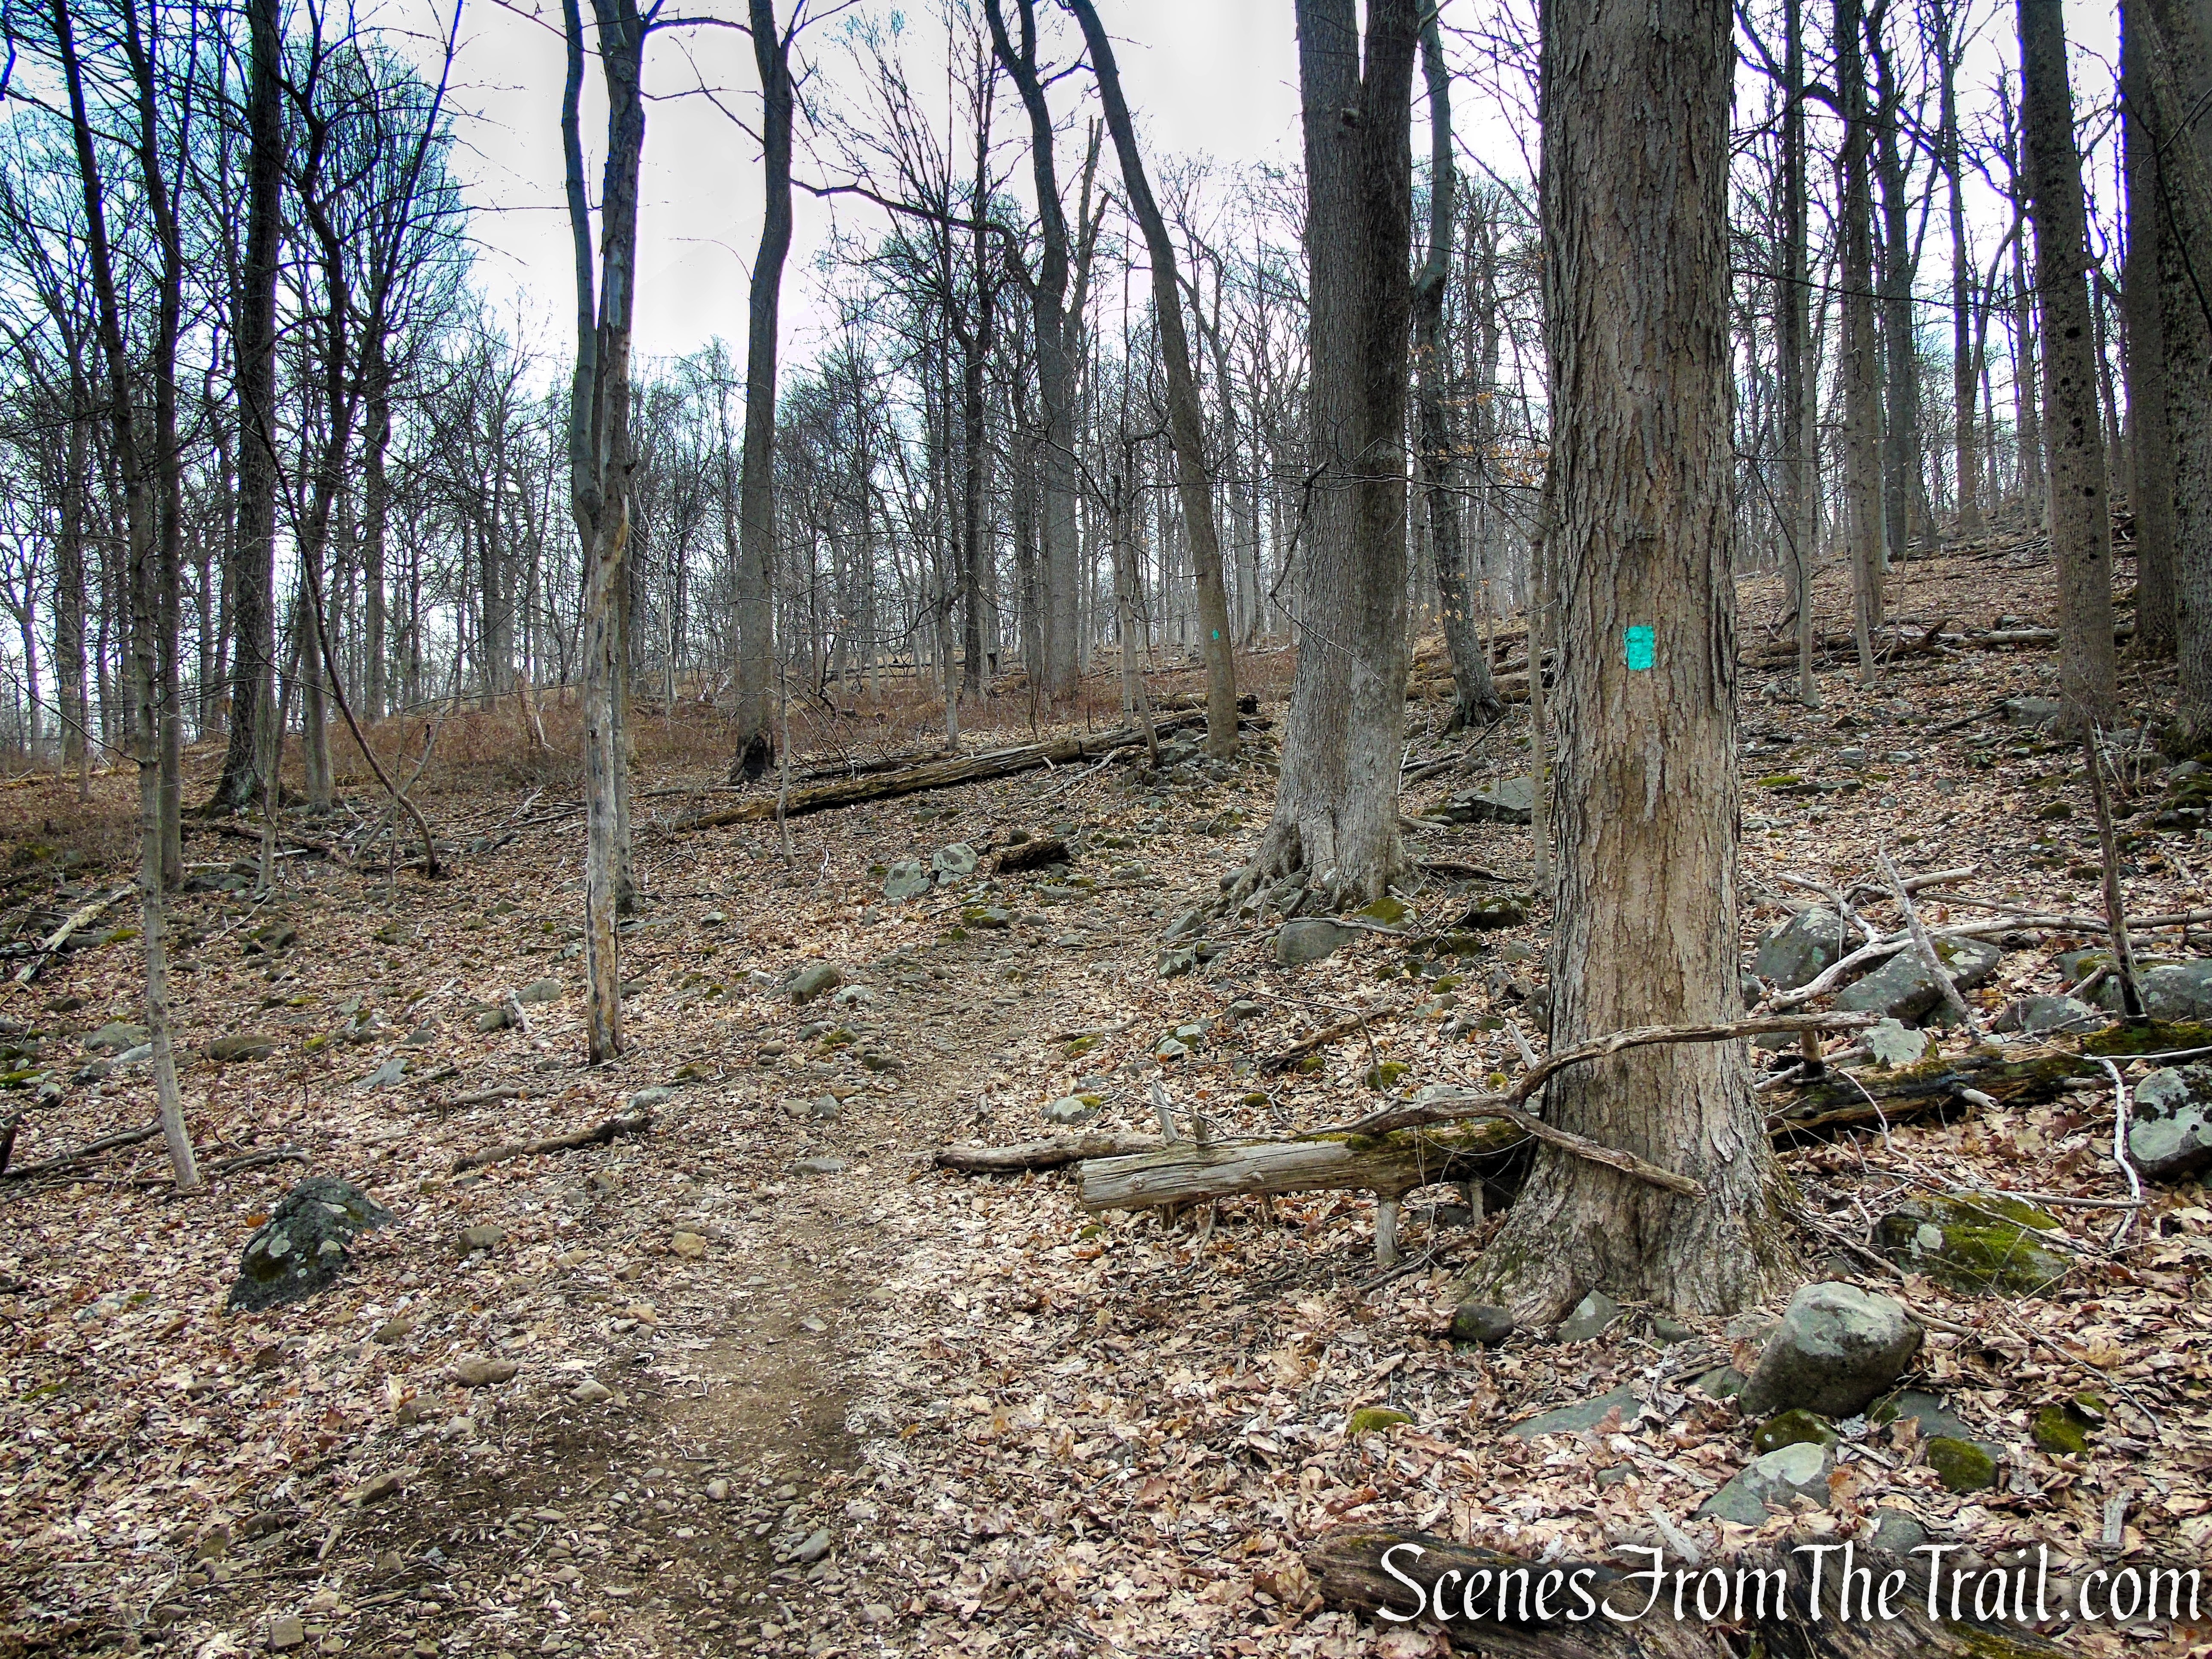
Eventually, the trail steepens as it climbs through Clausland Mountain Park. About a mile from the start, the Long Path makes a sharp right turn. Right at this bend, look for a tree marked with three orange blazes on the left. Turn left here and follow the trail uphill.
Long Path – Clausland Mountain Park
Orange Trail – Clausland Mountain Park

Orange Trail – Clausland Mountain Park
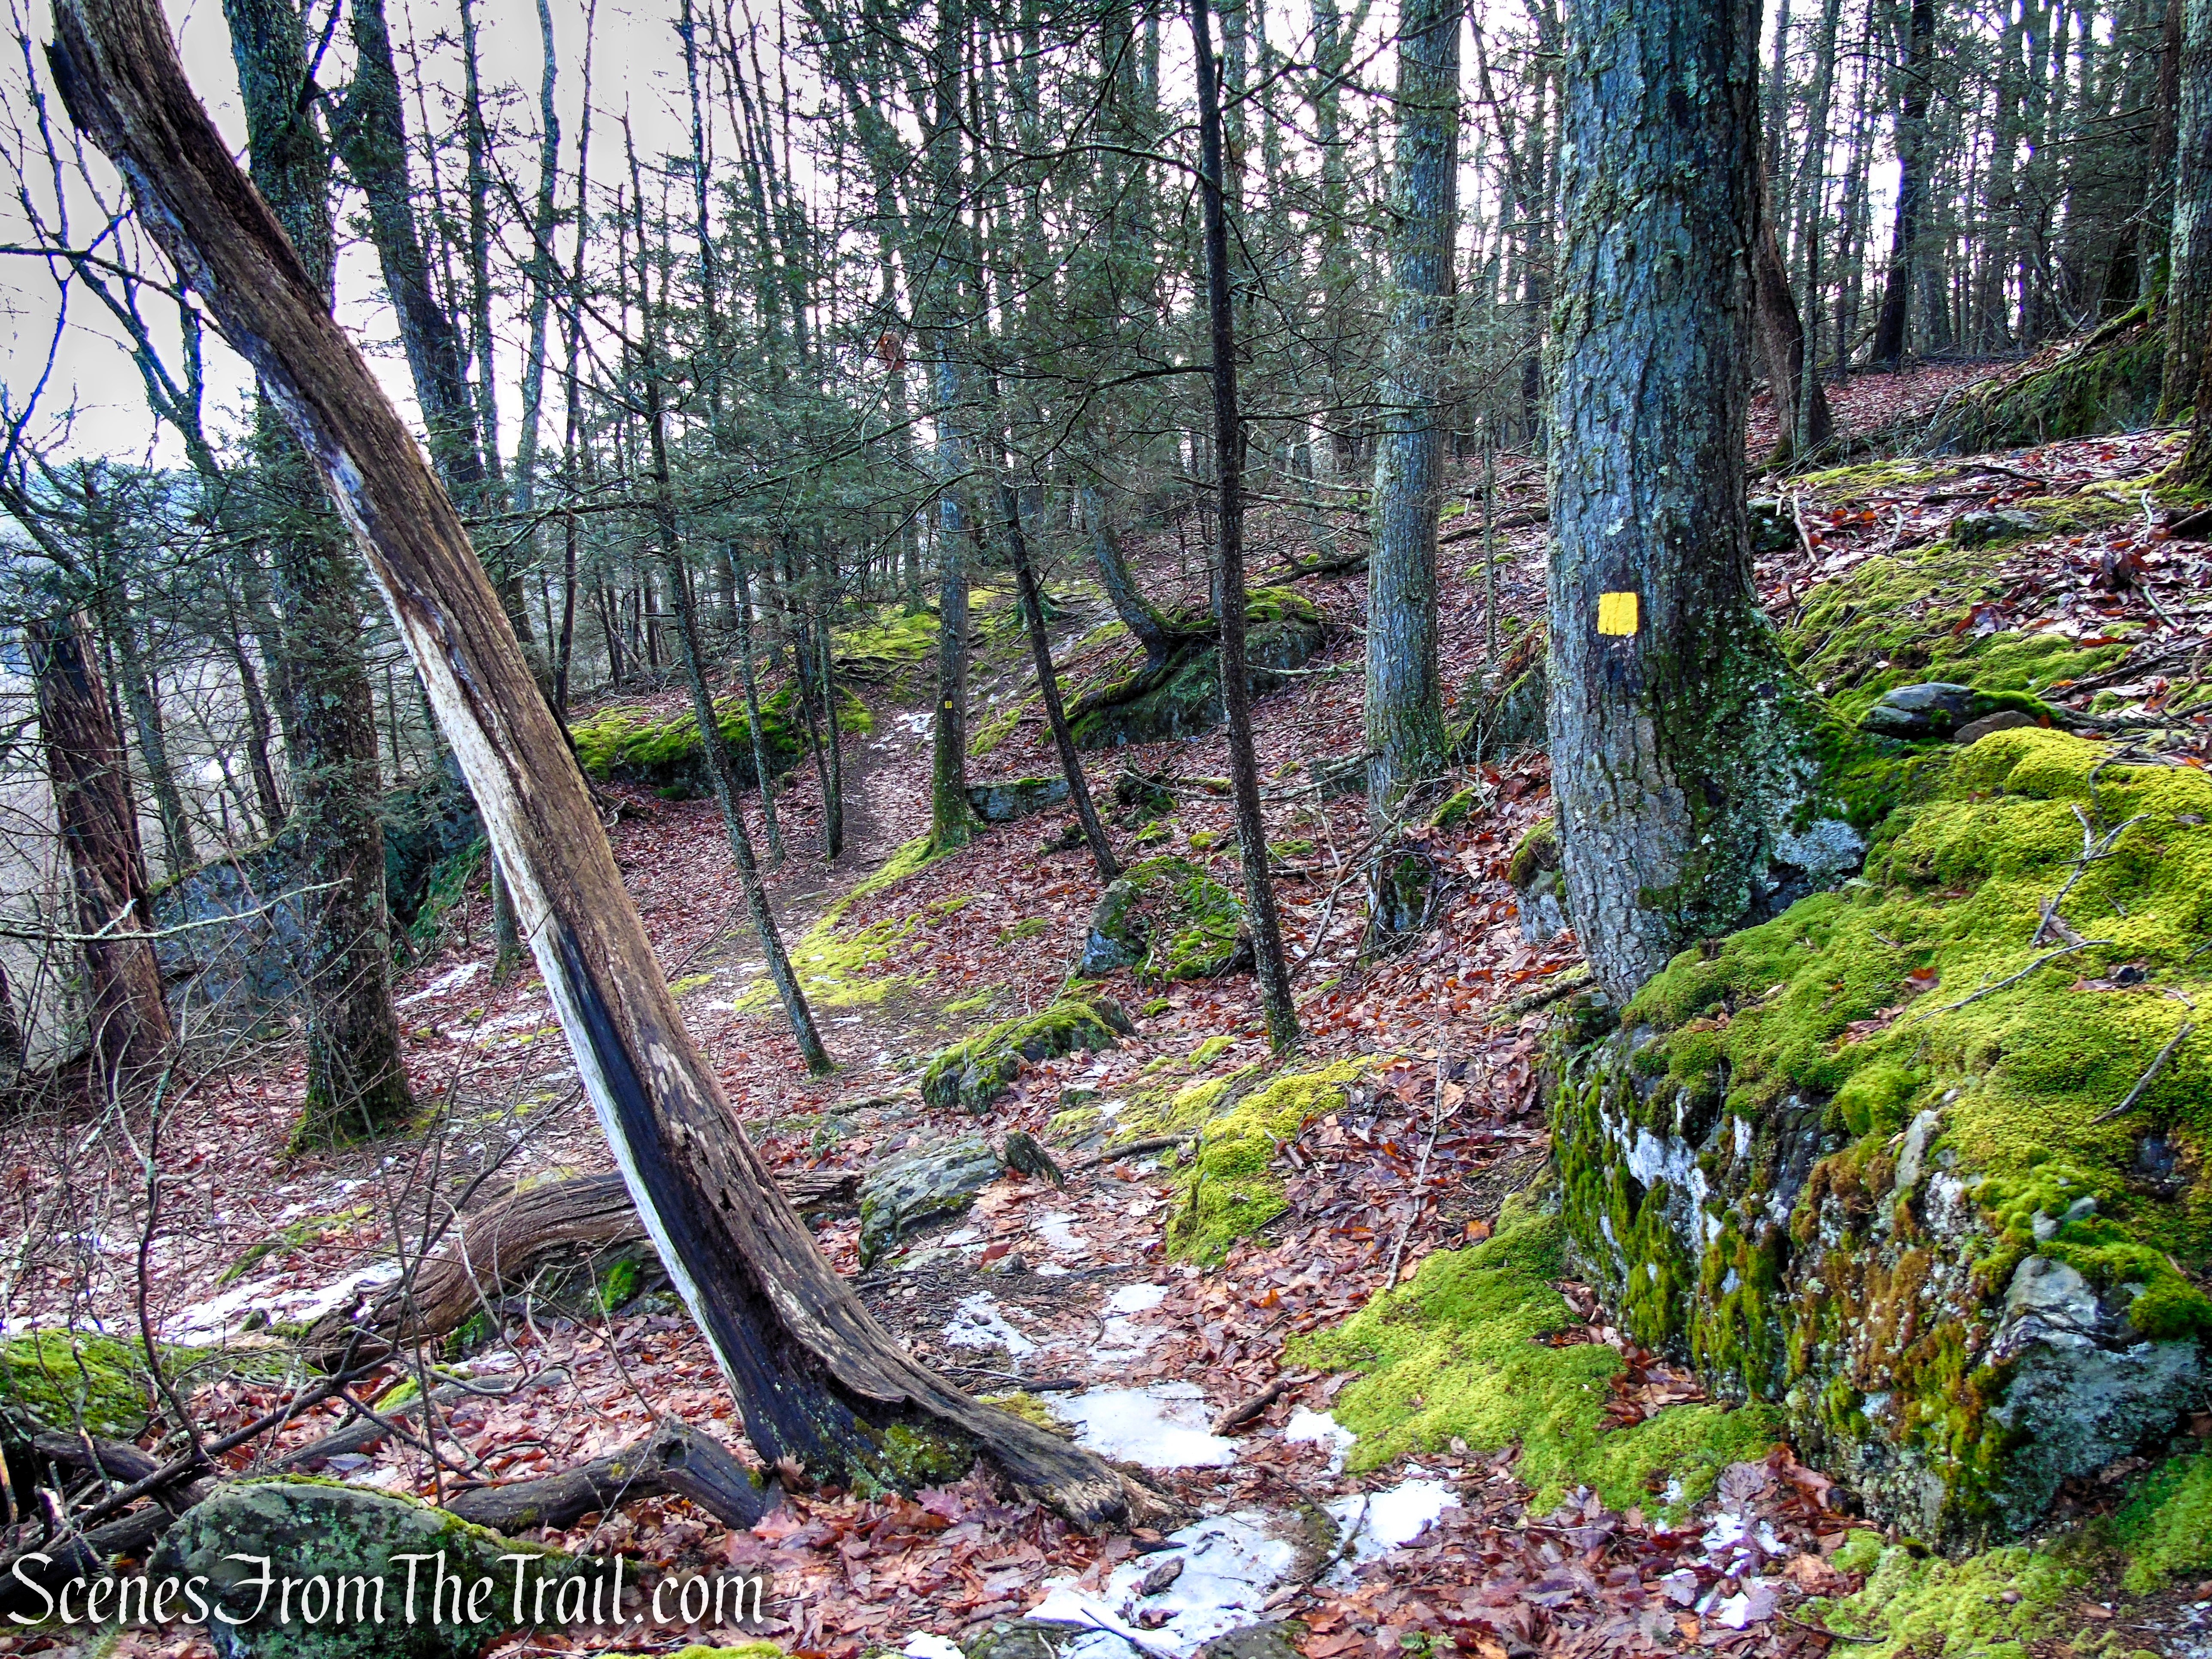
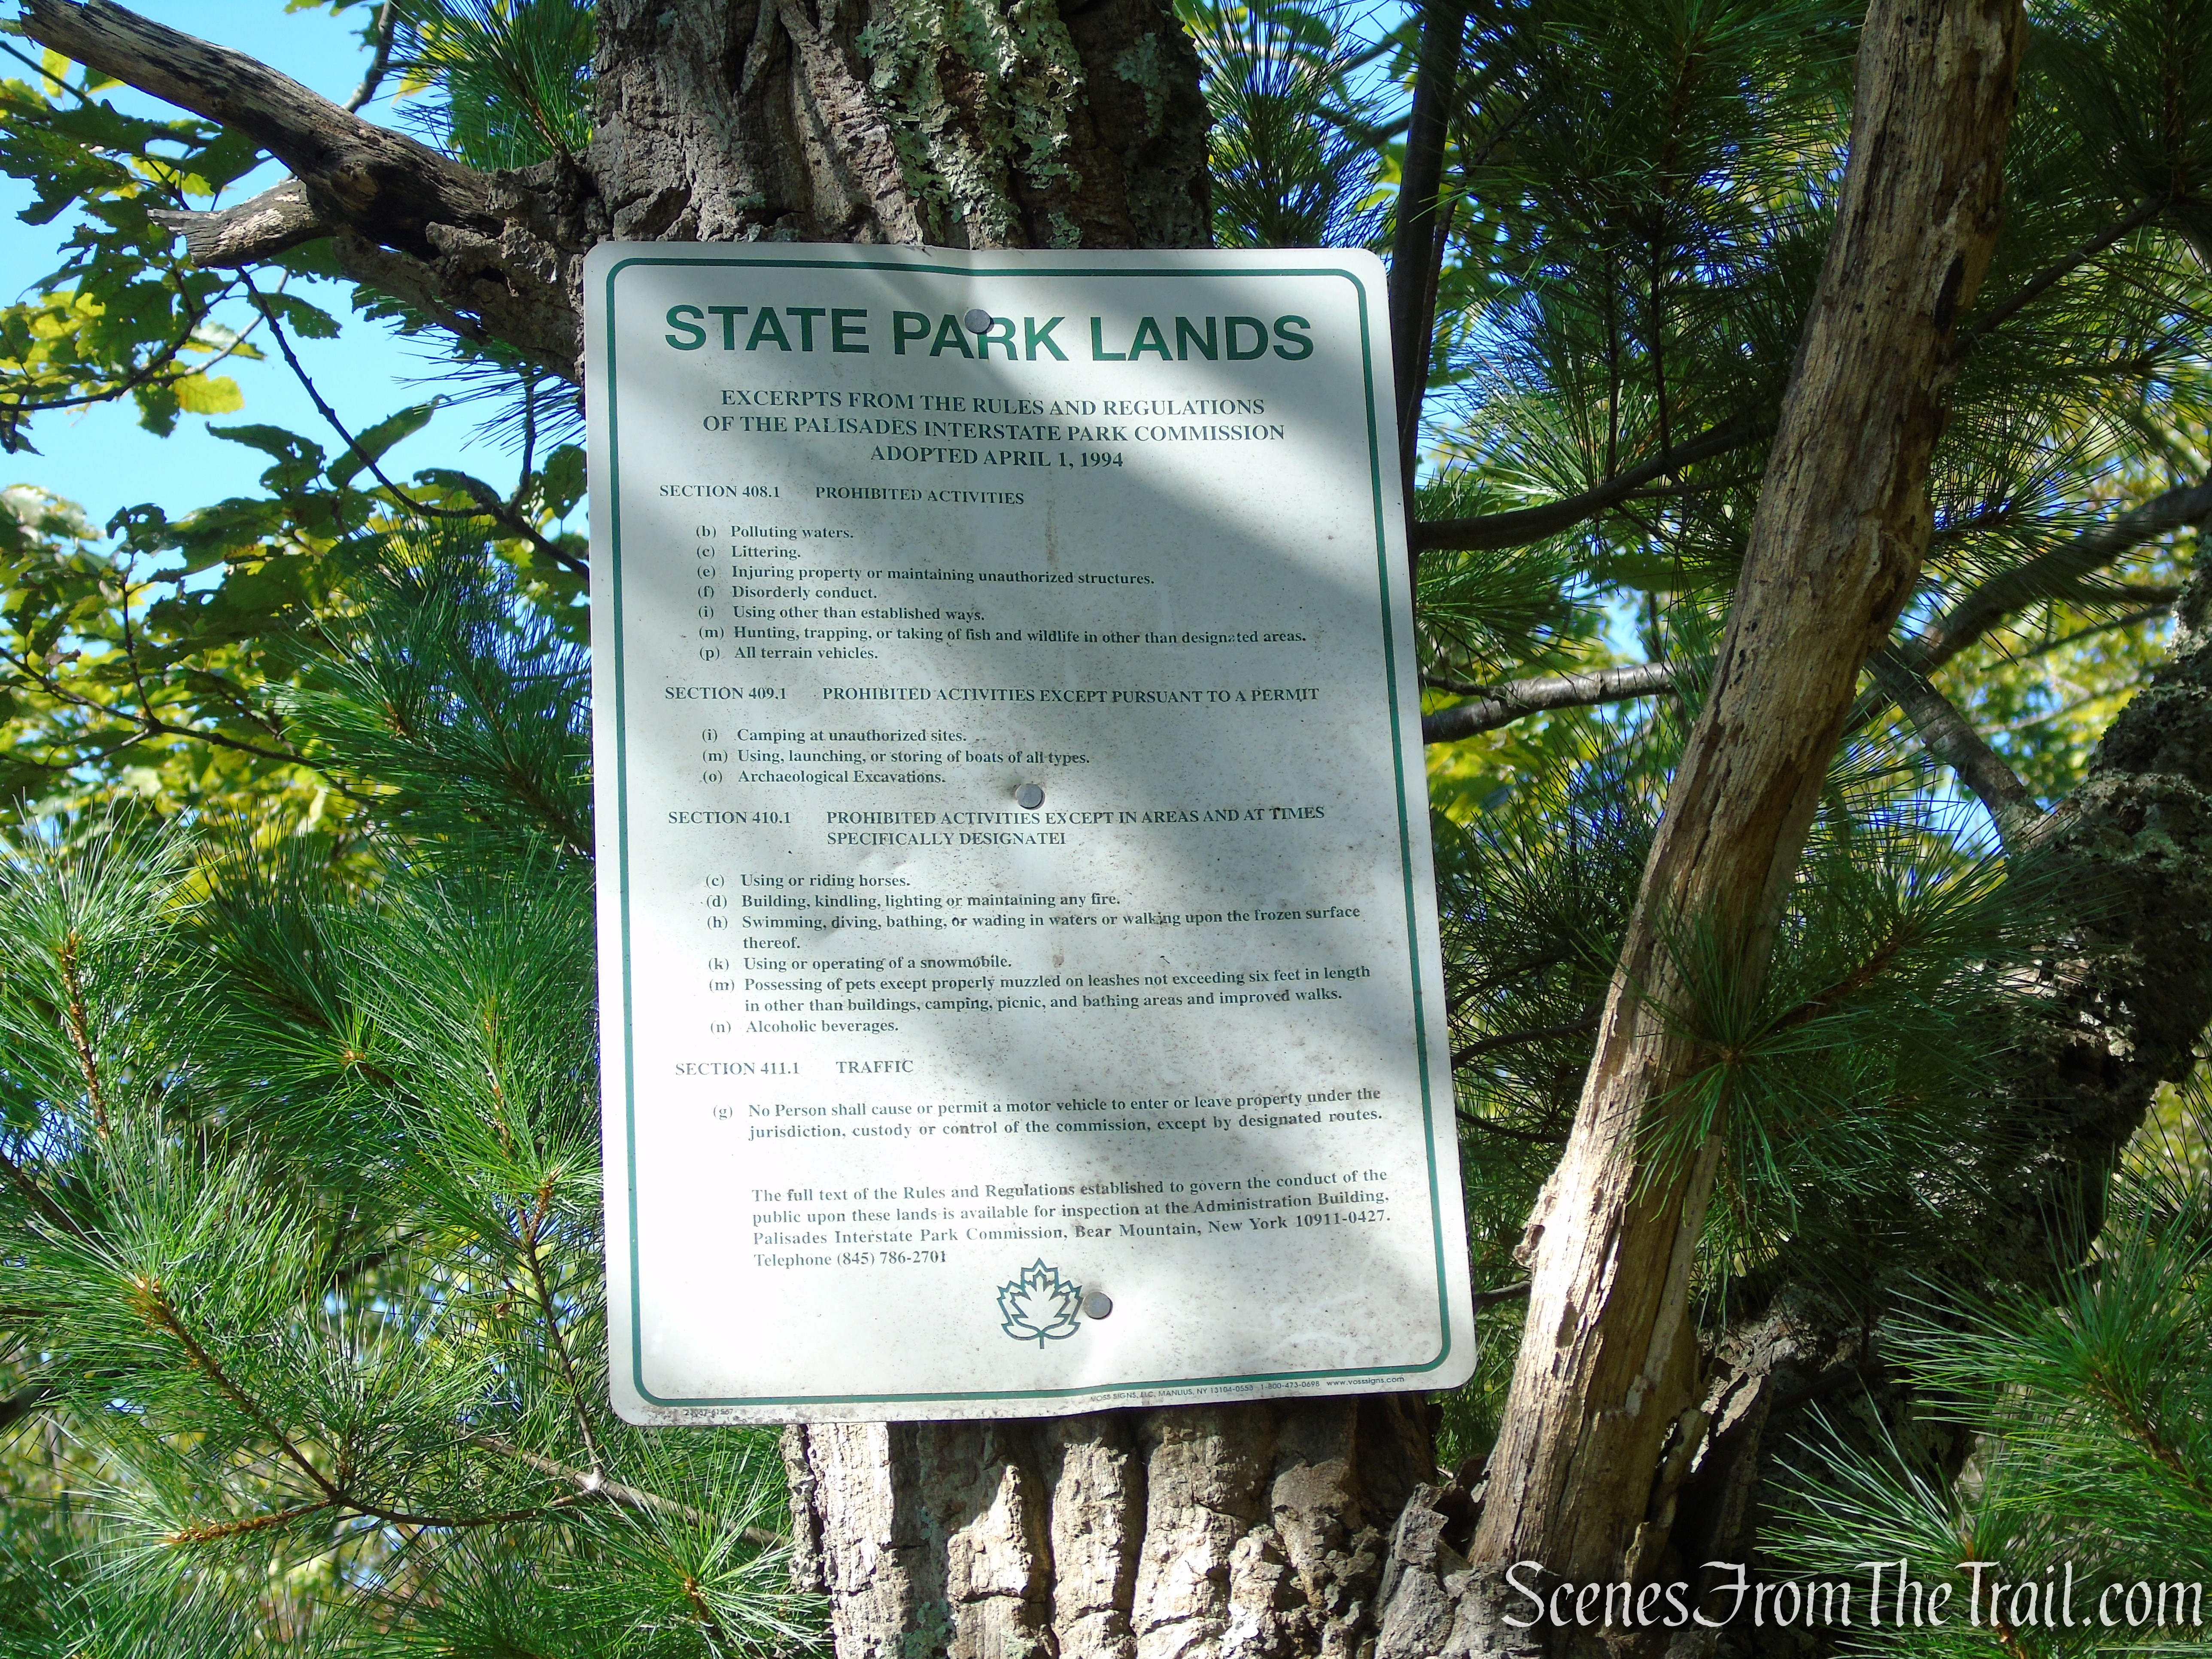
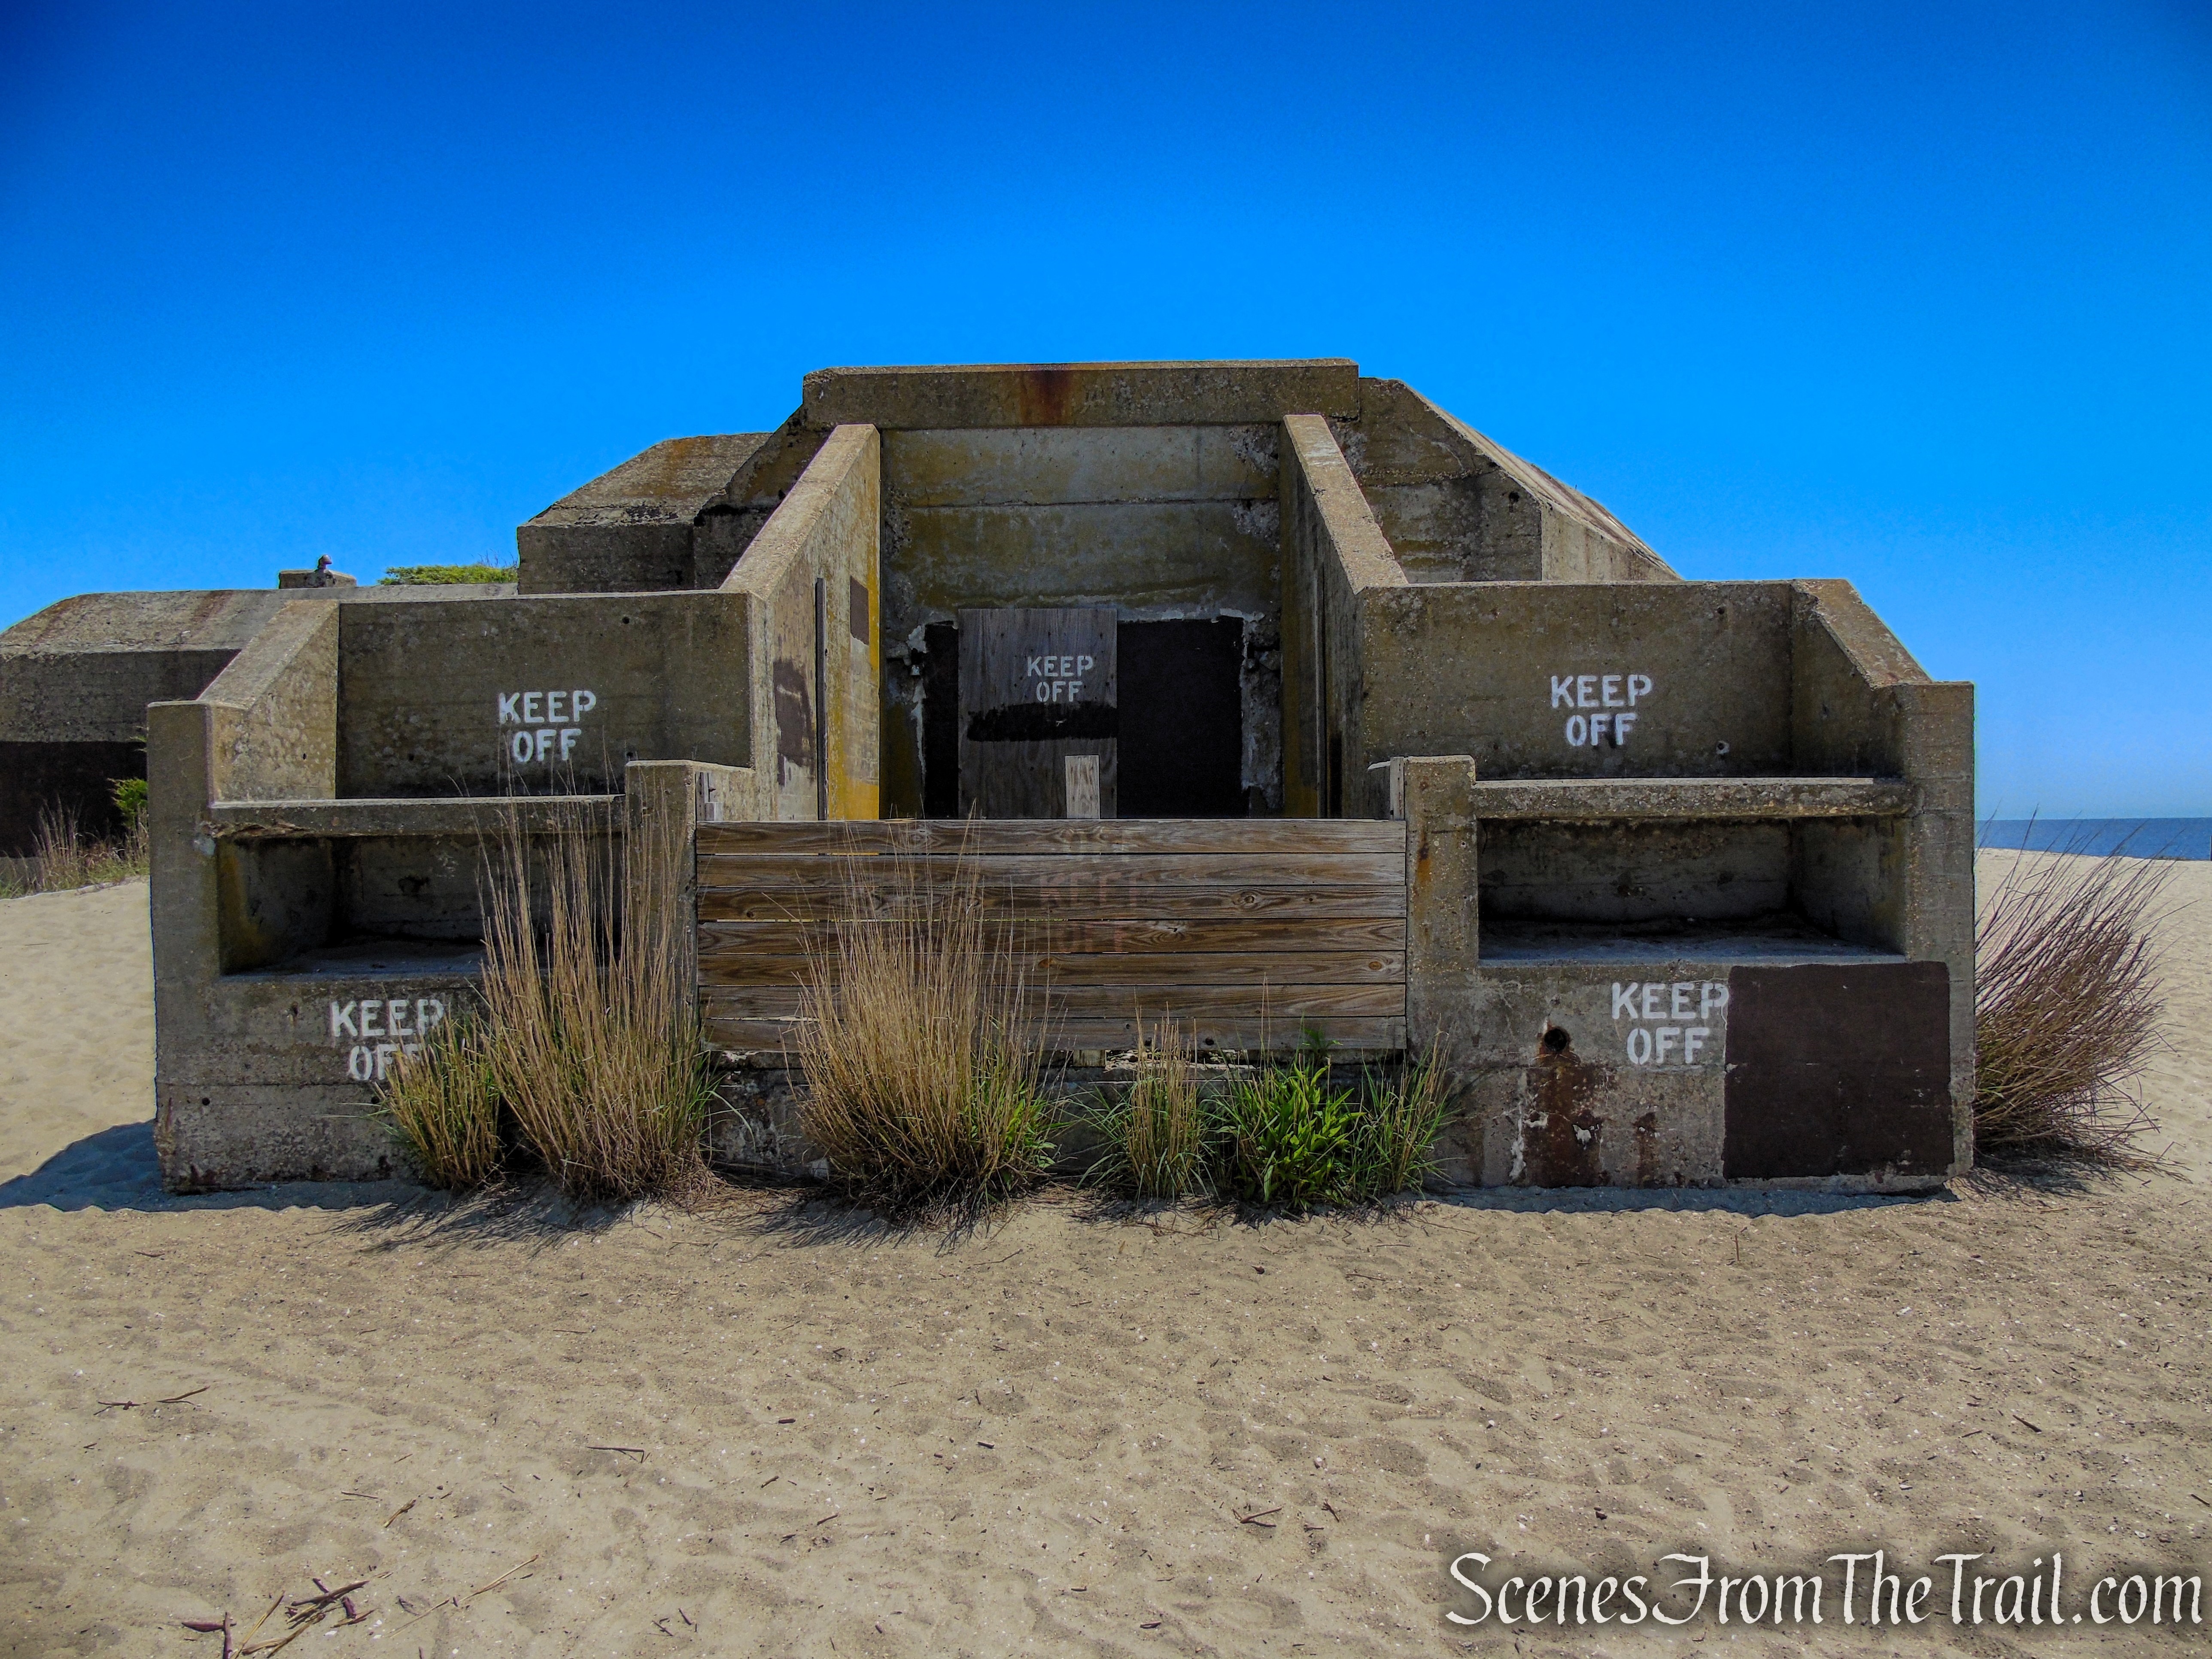
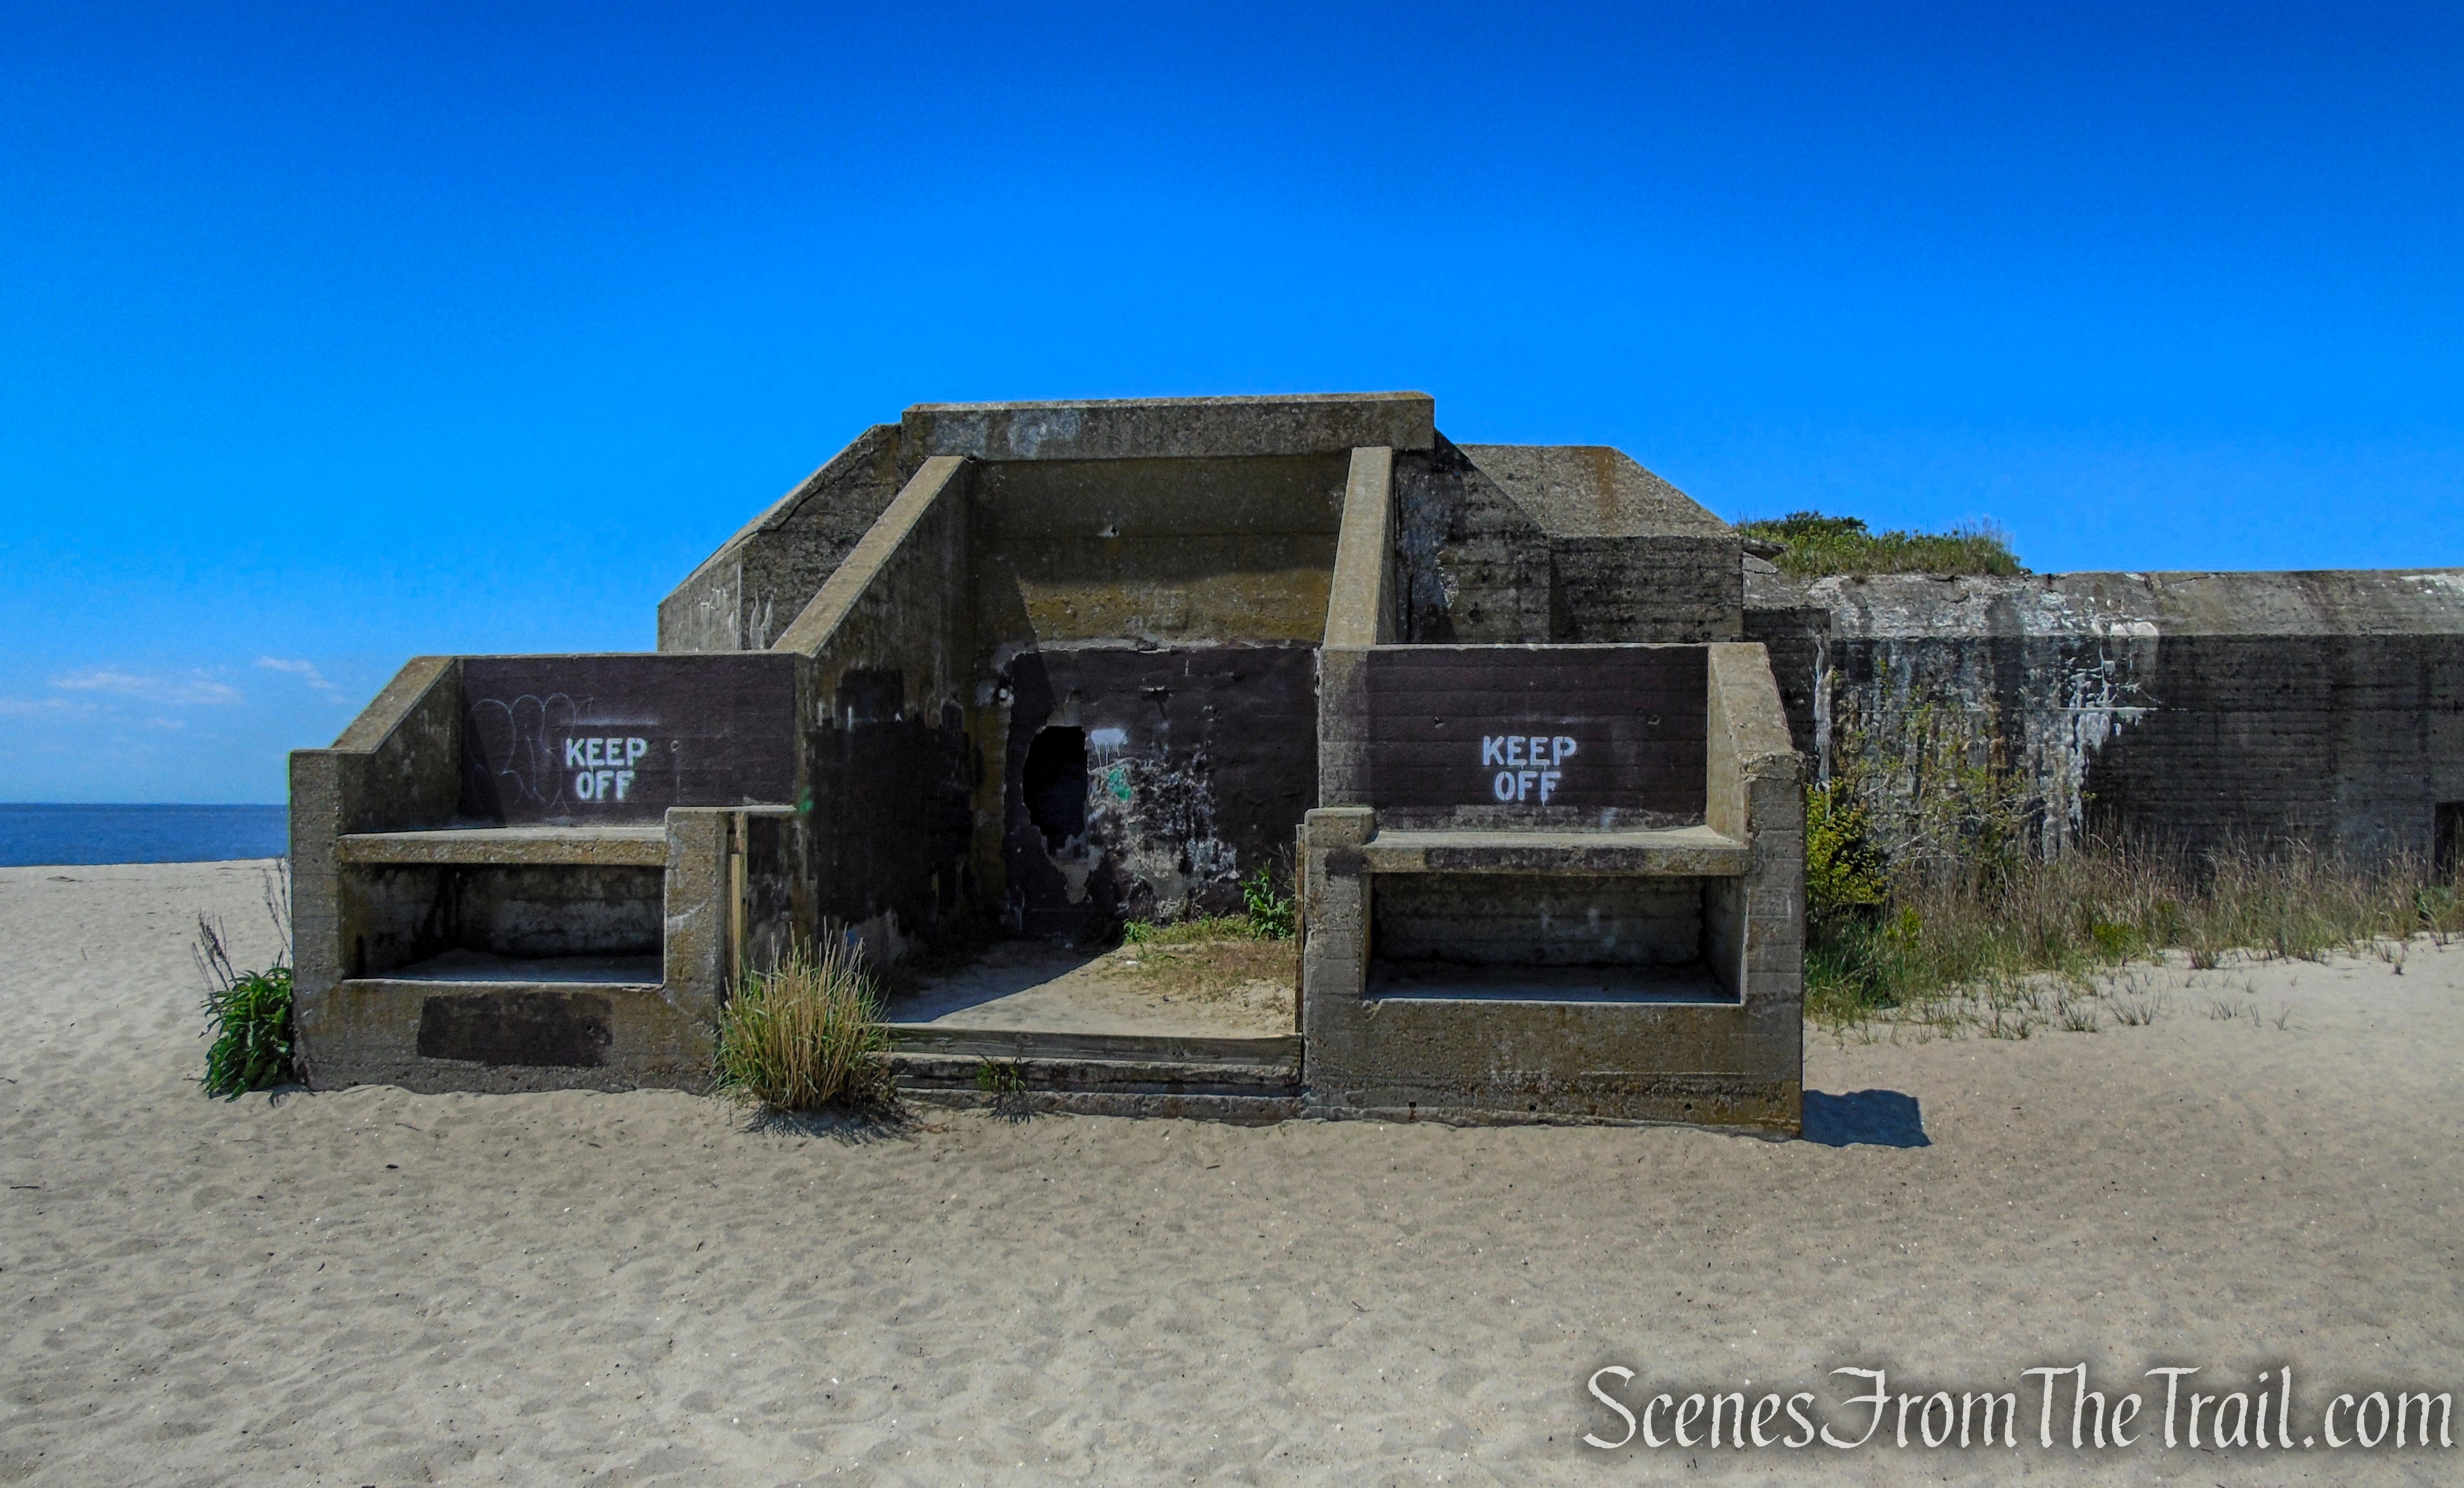
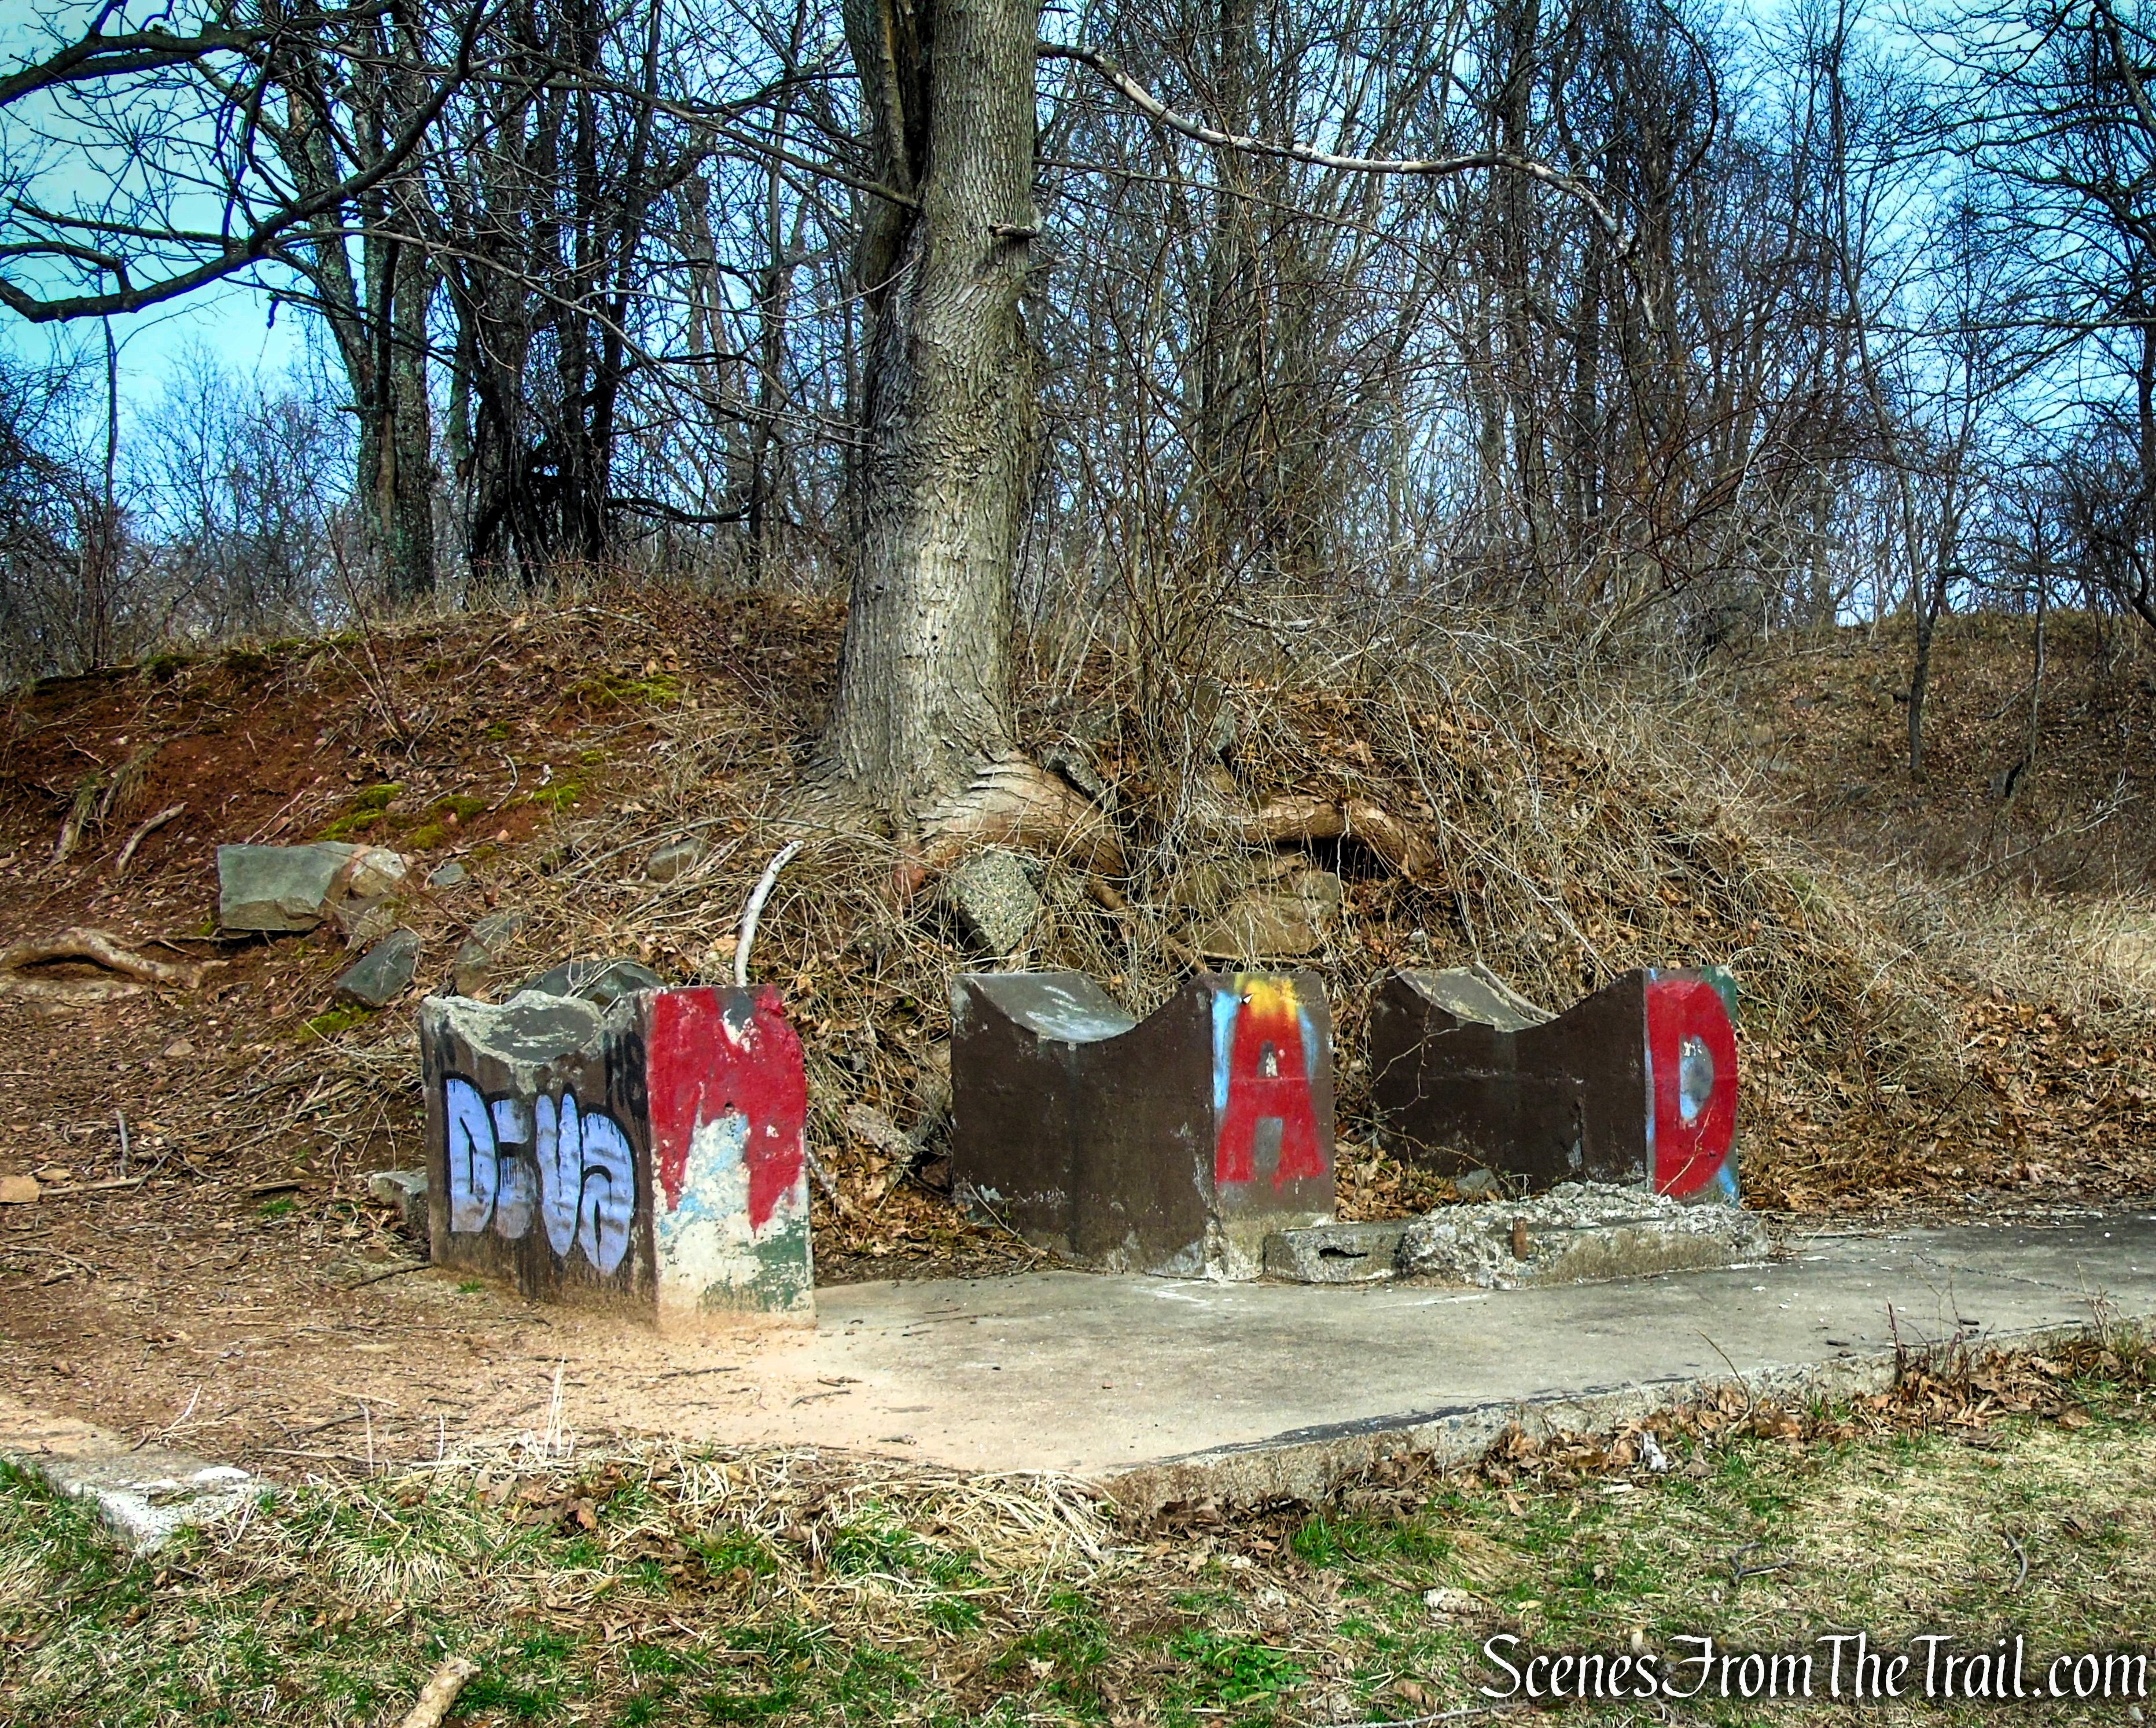
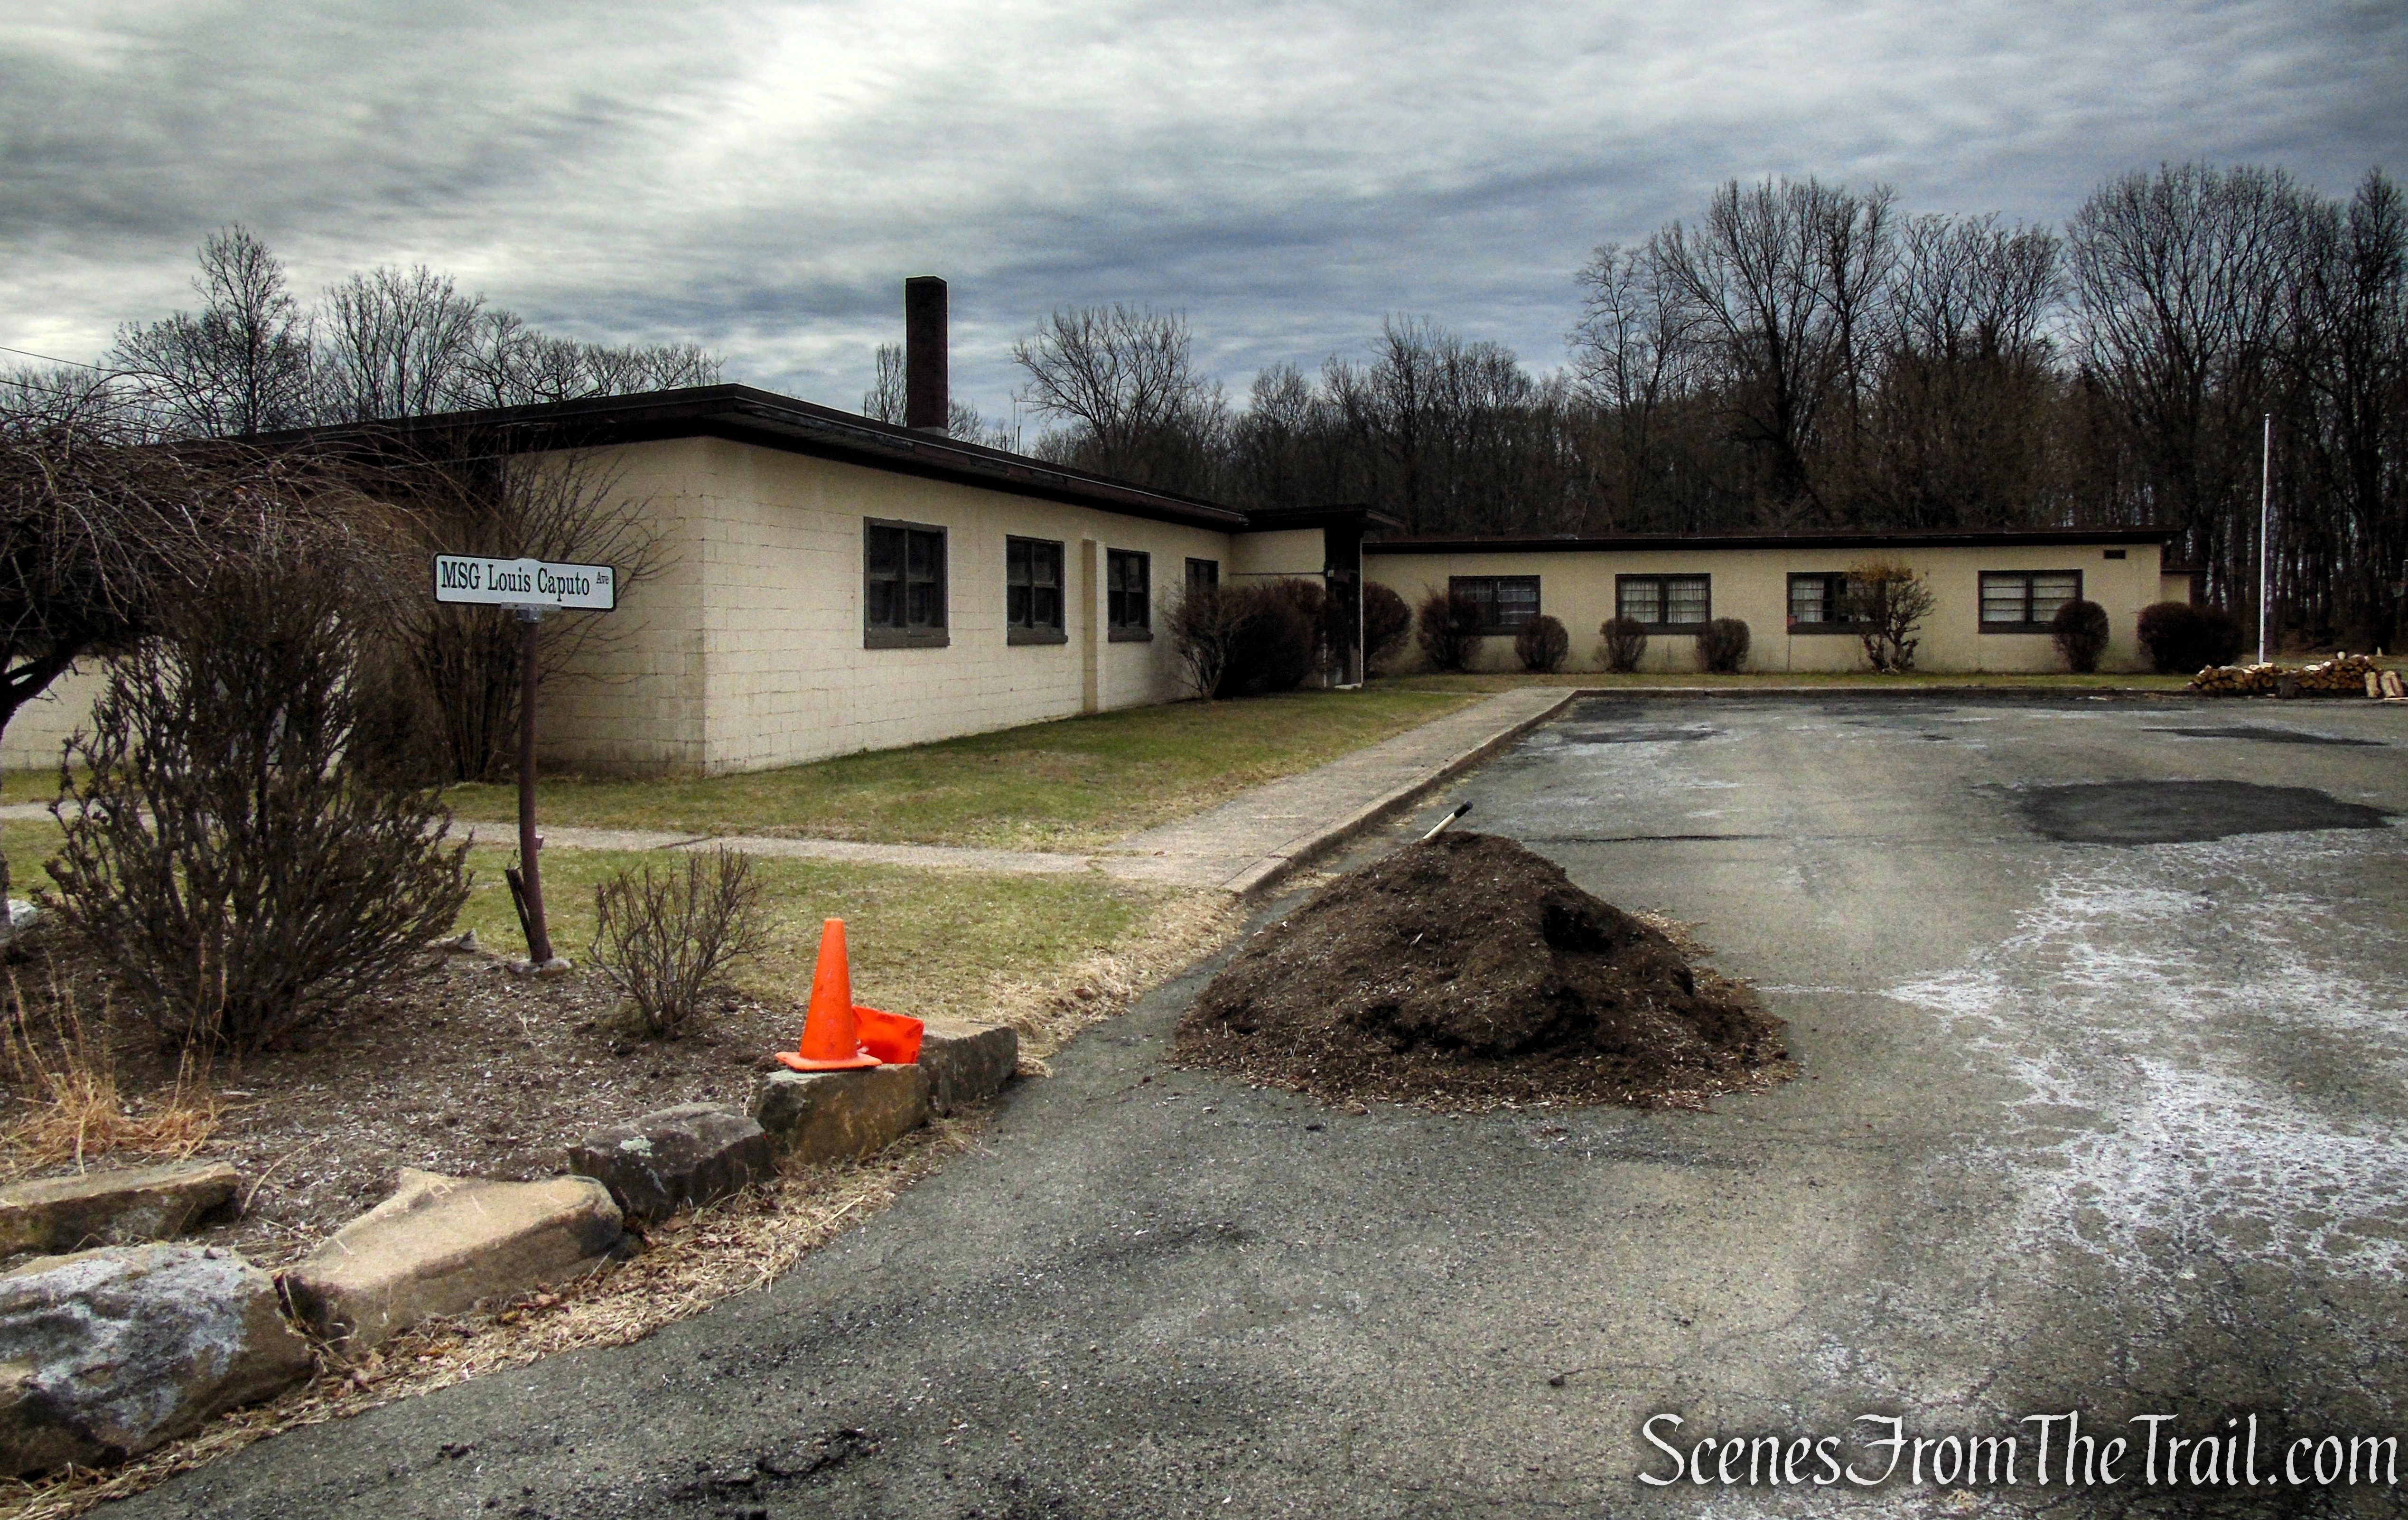
In a short distance, you’ll pass the back of a sign, and just beyond it, an old, rusted chain-link fence comes into view—marking the boundary of Nike Overlook Park.

Orange Trail – Nike Overlook Park
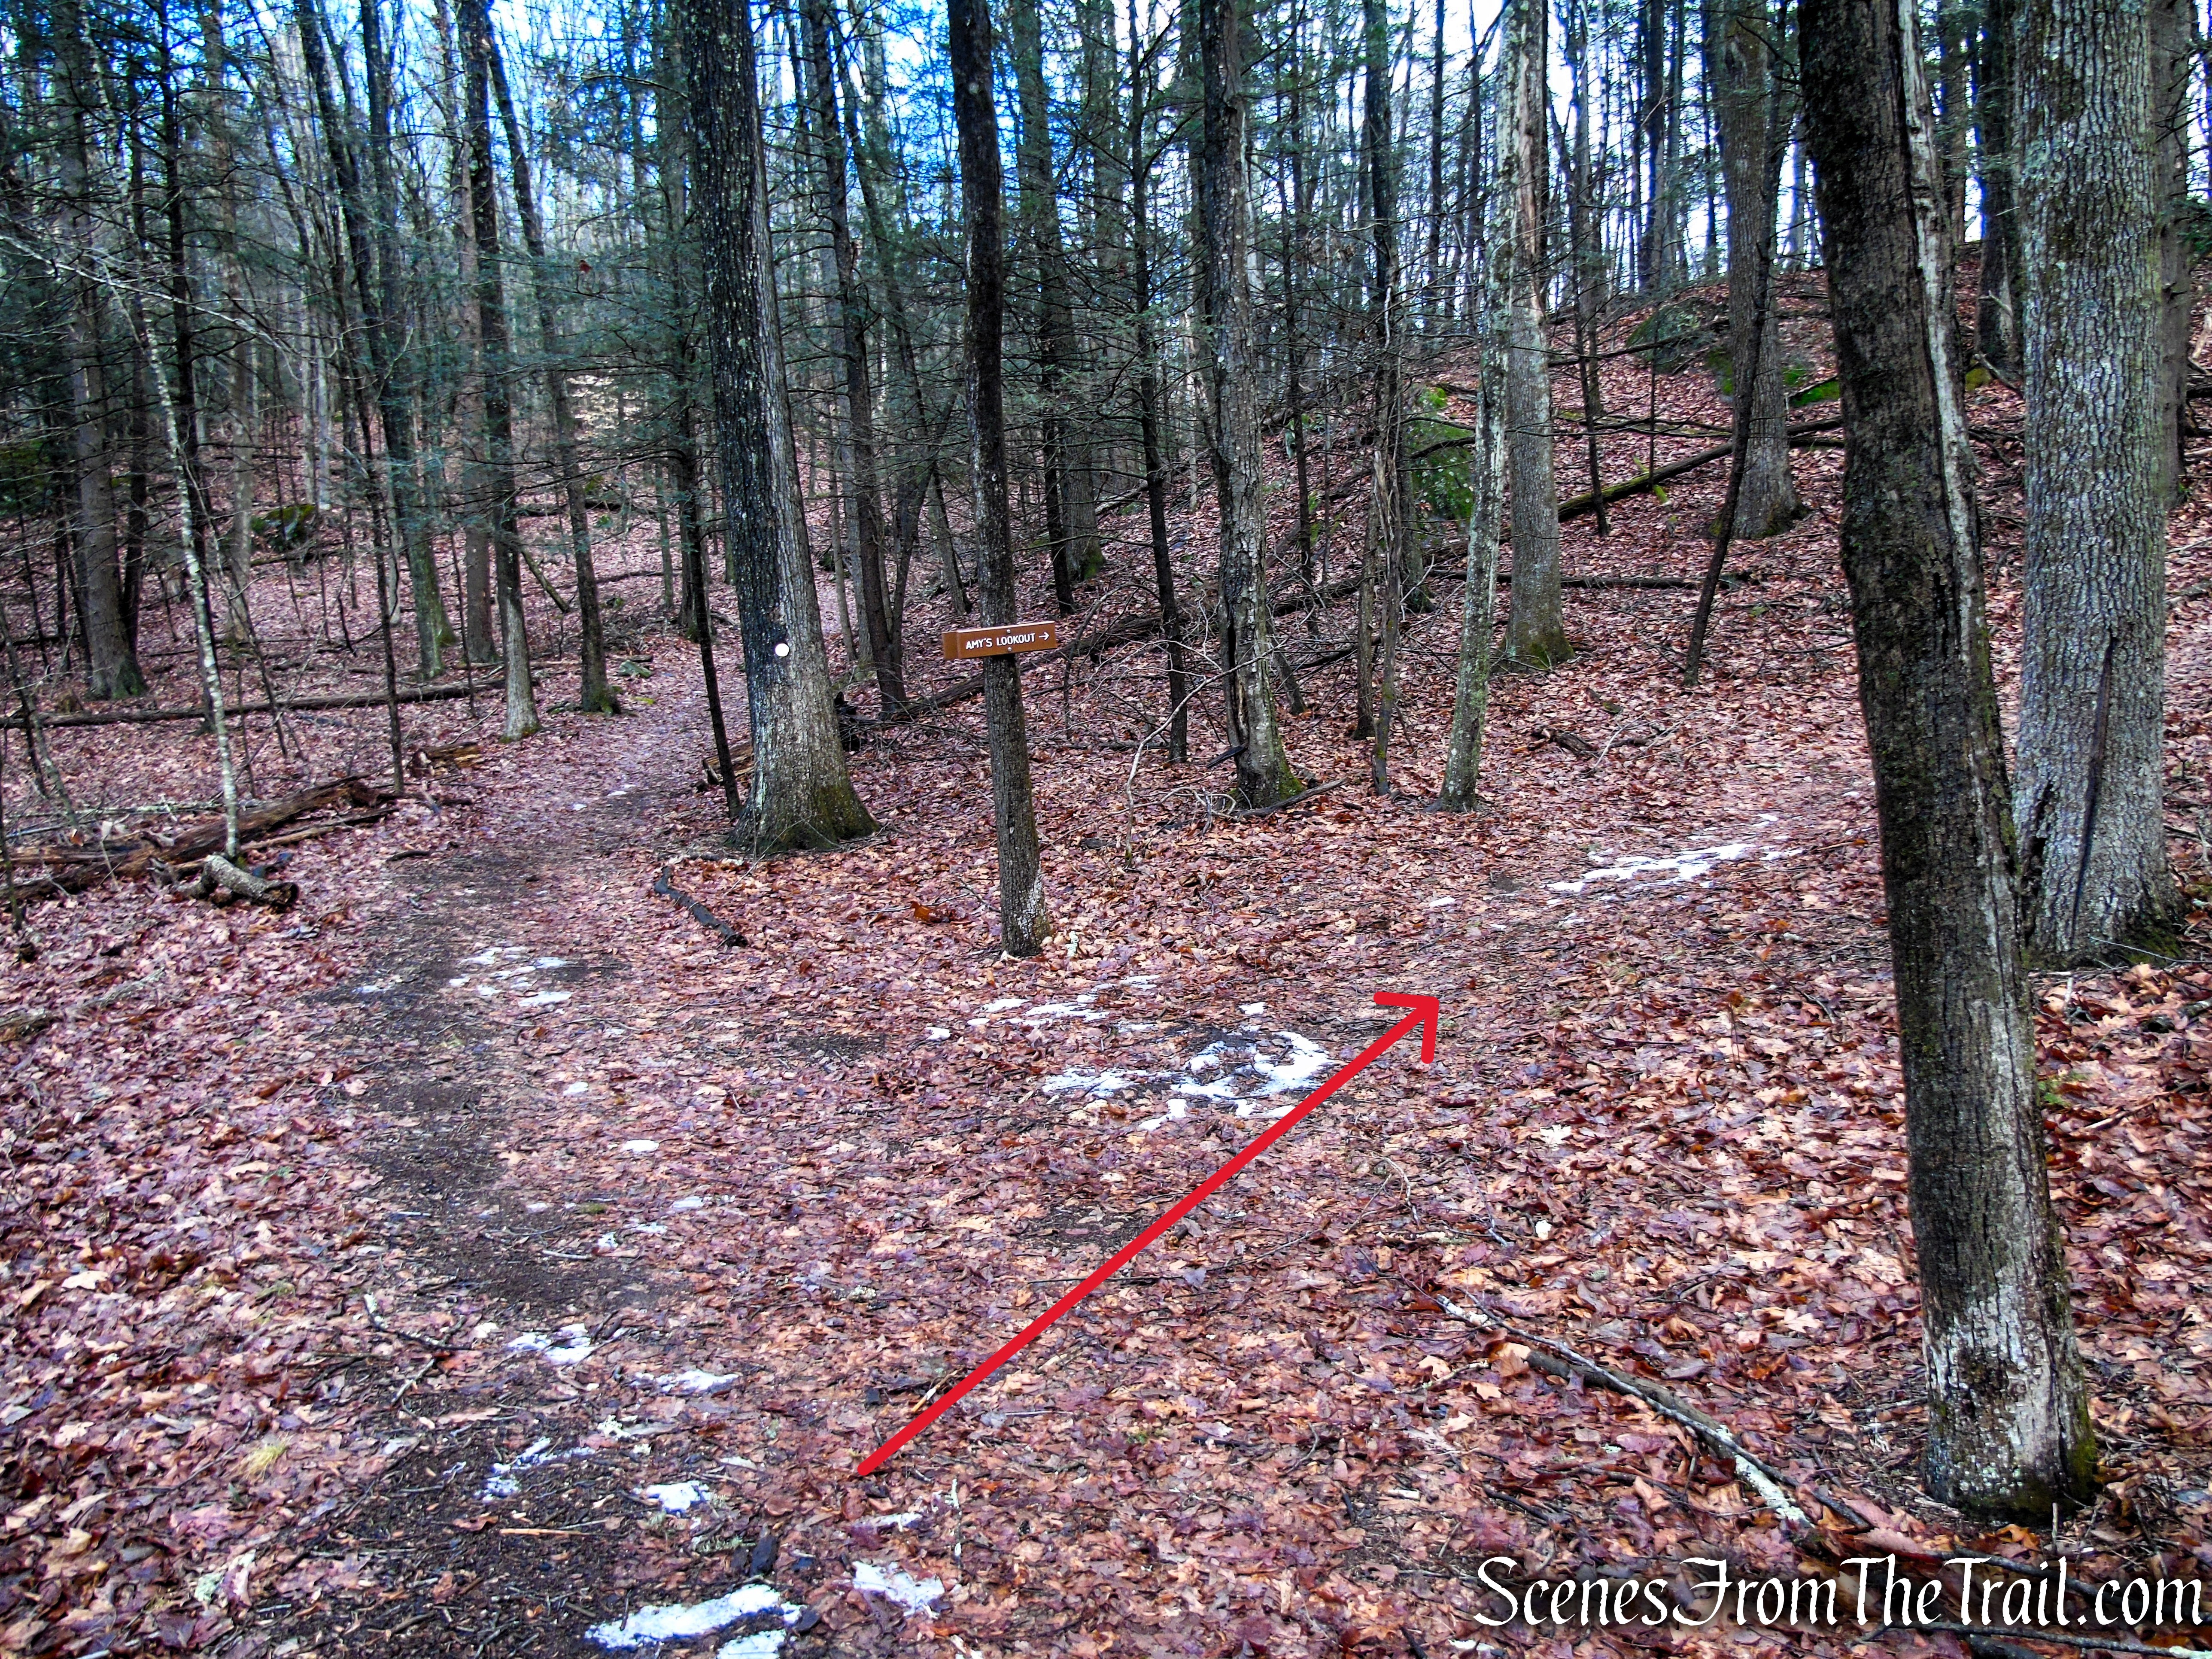
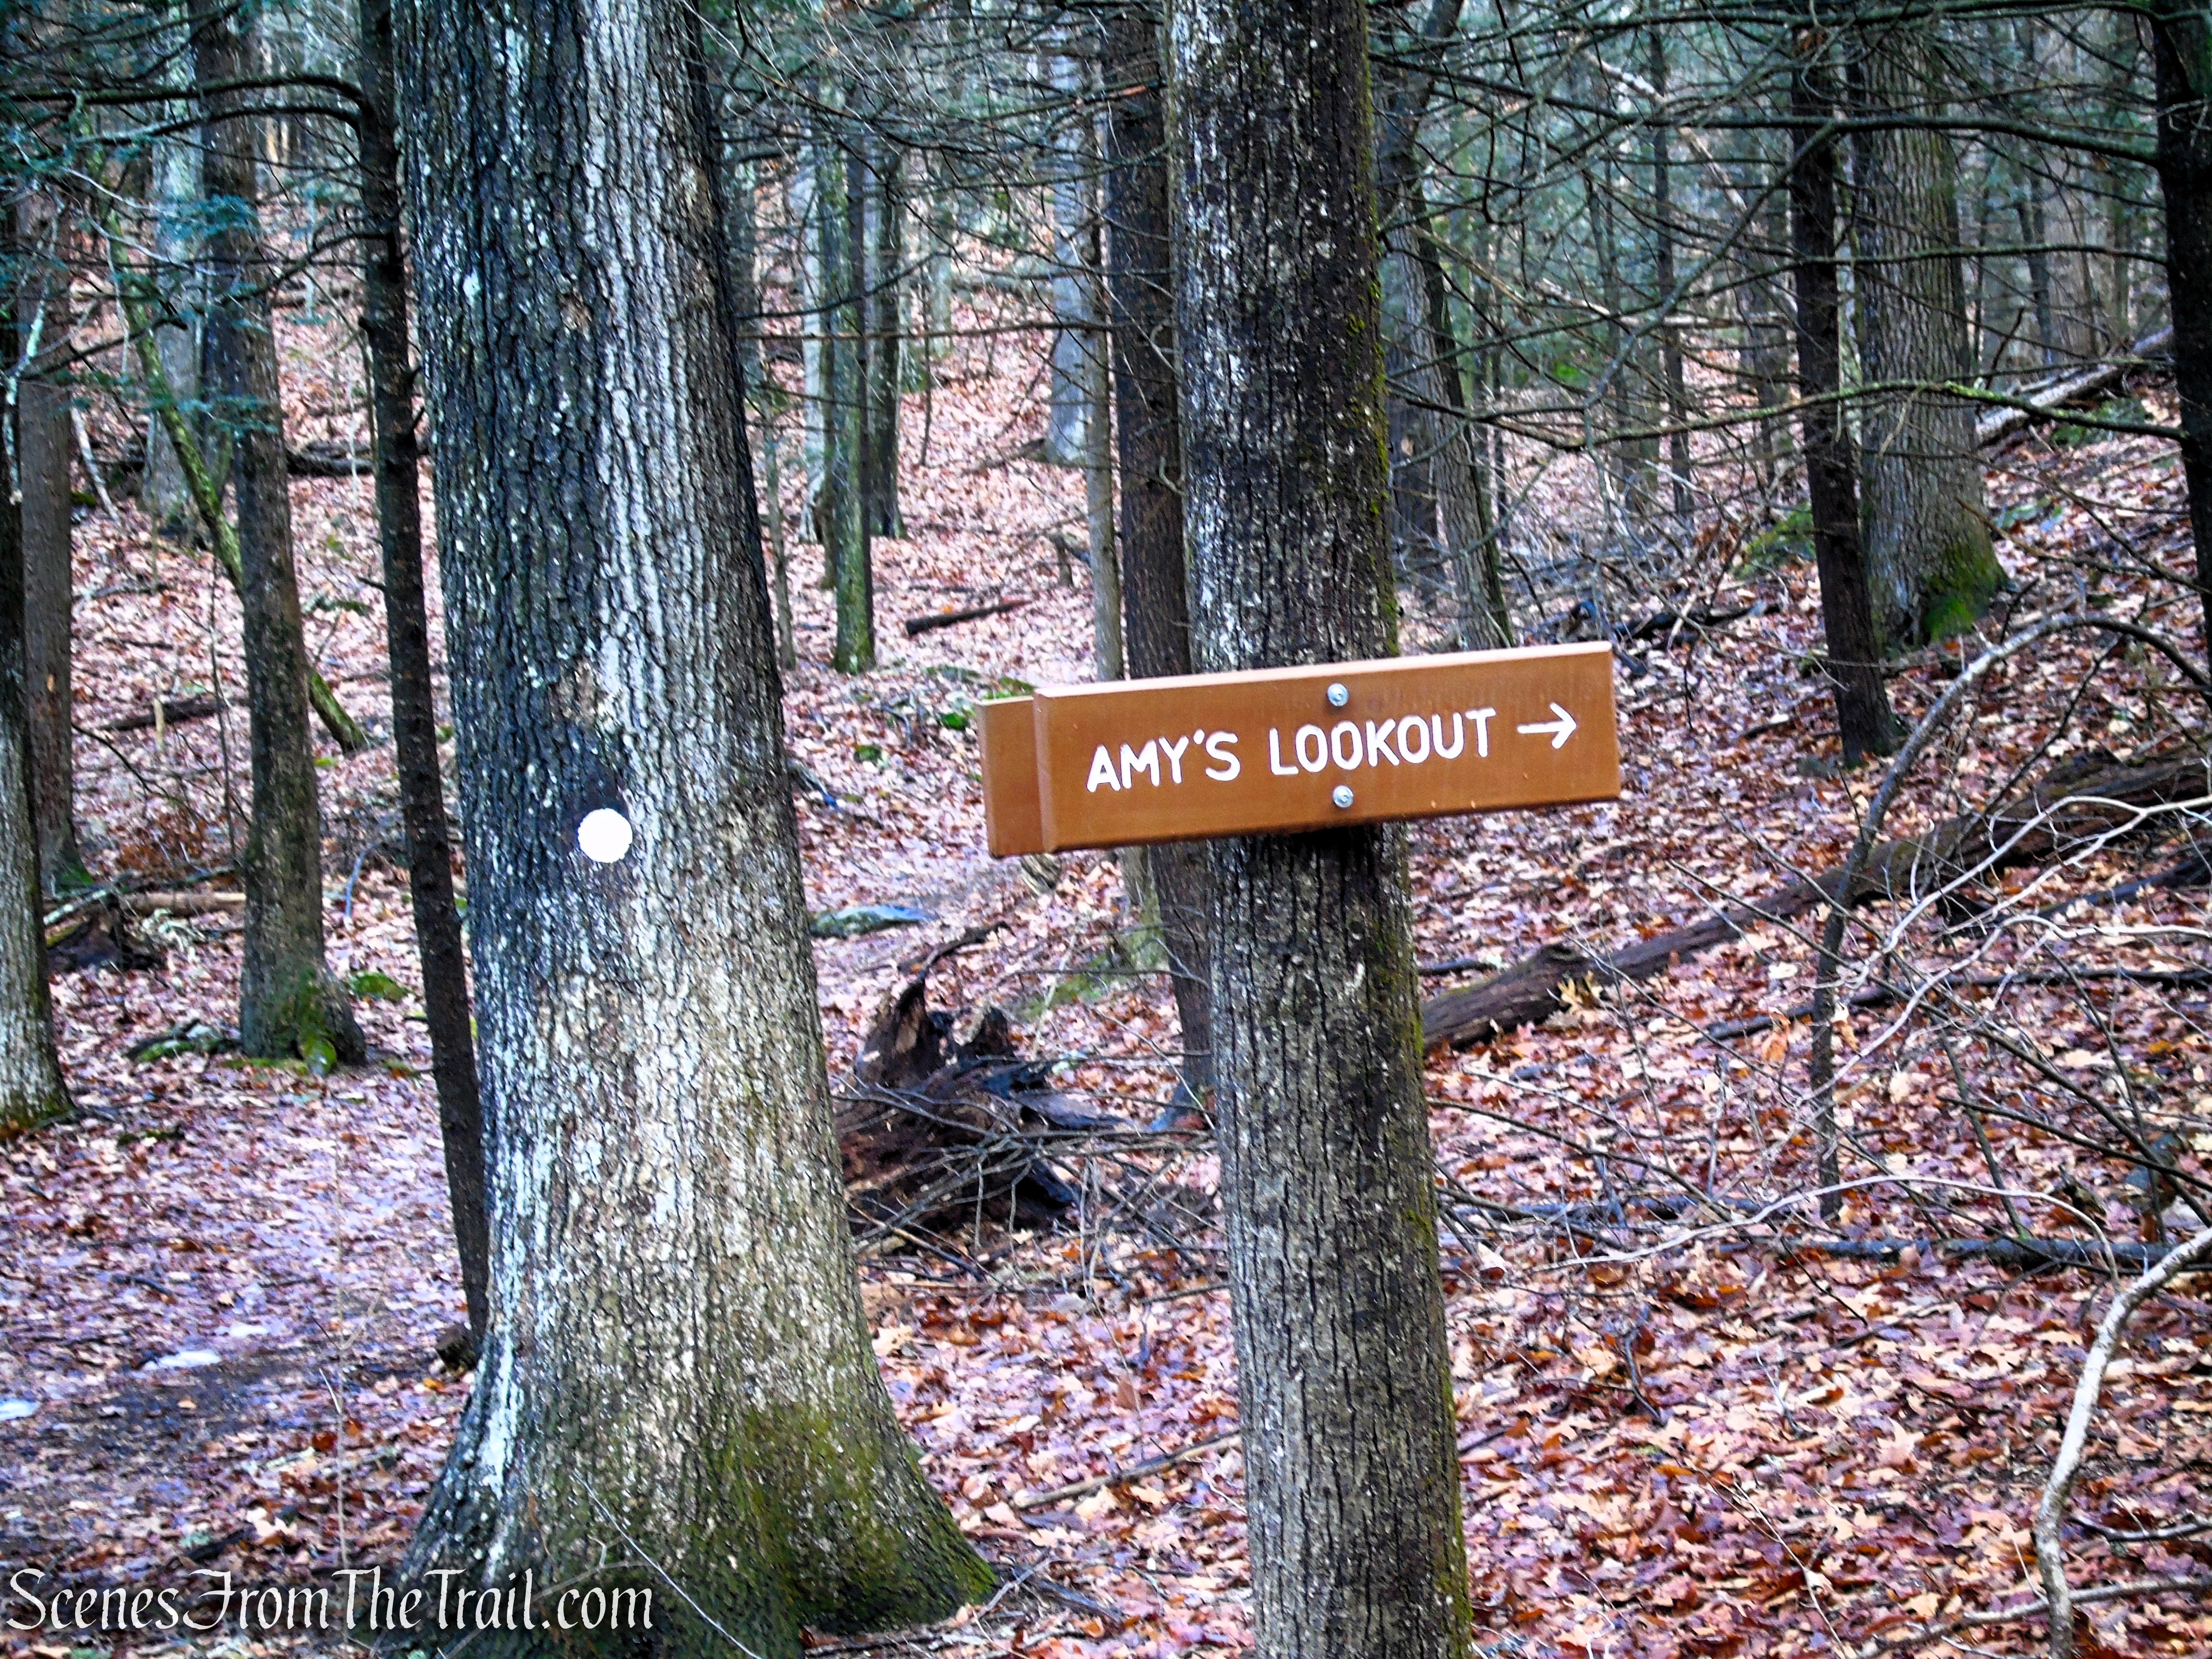
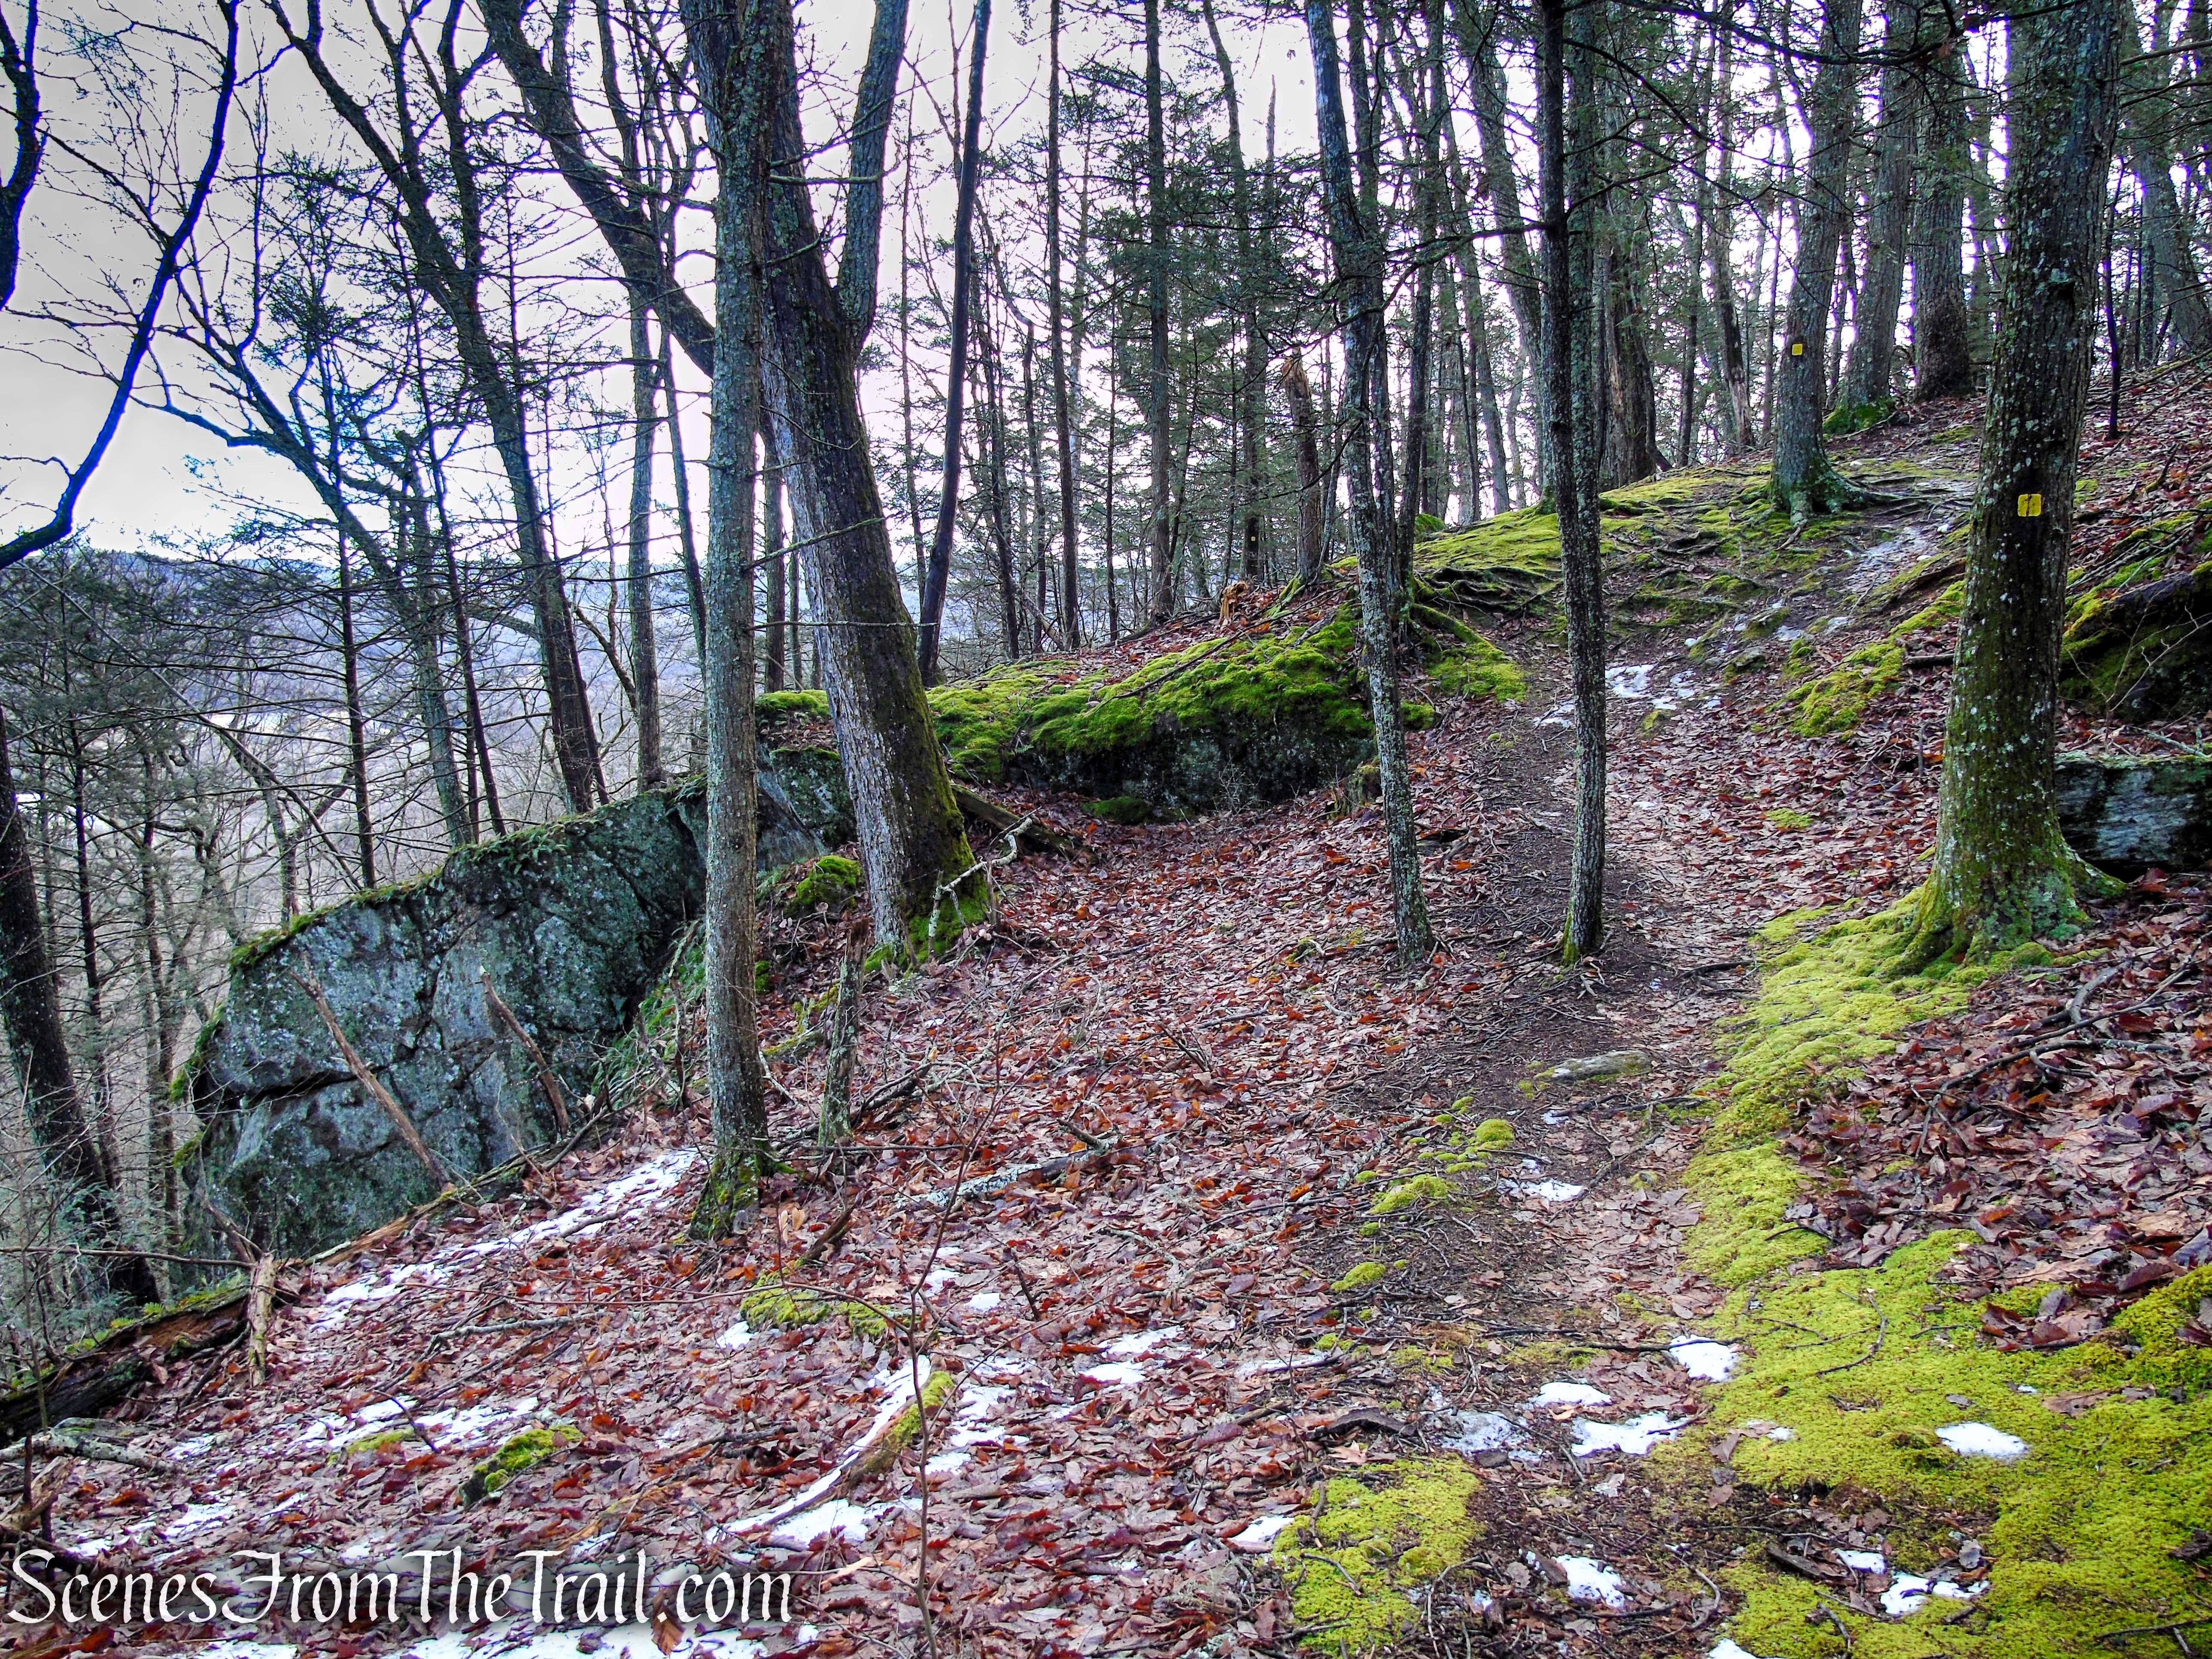
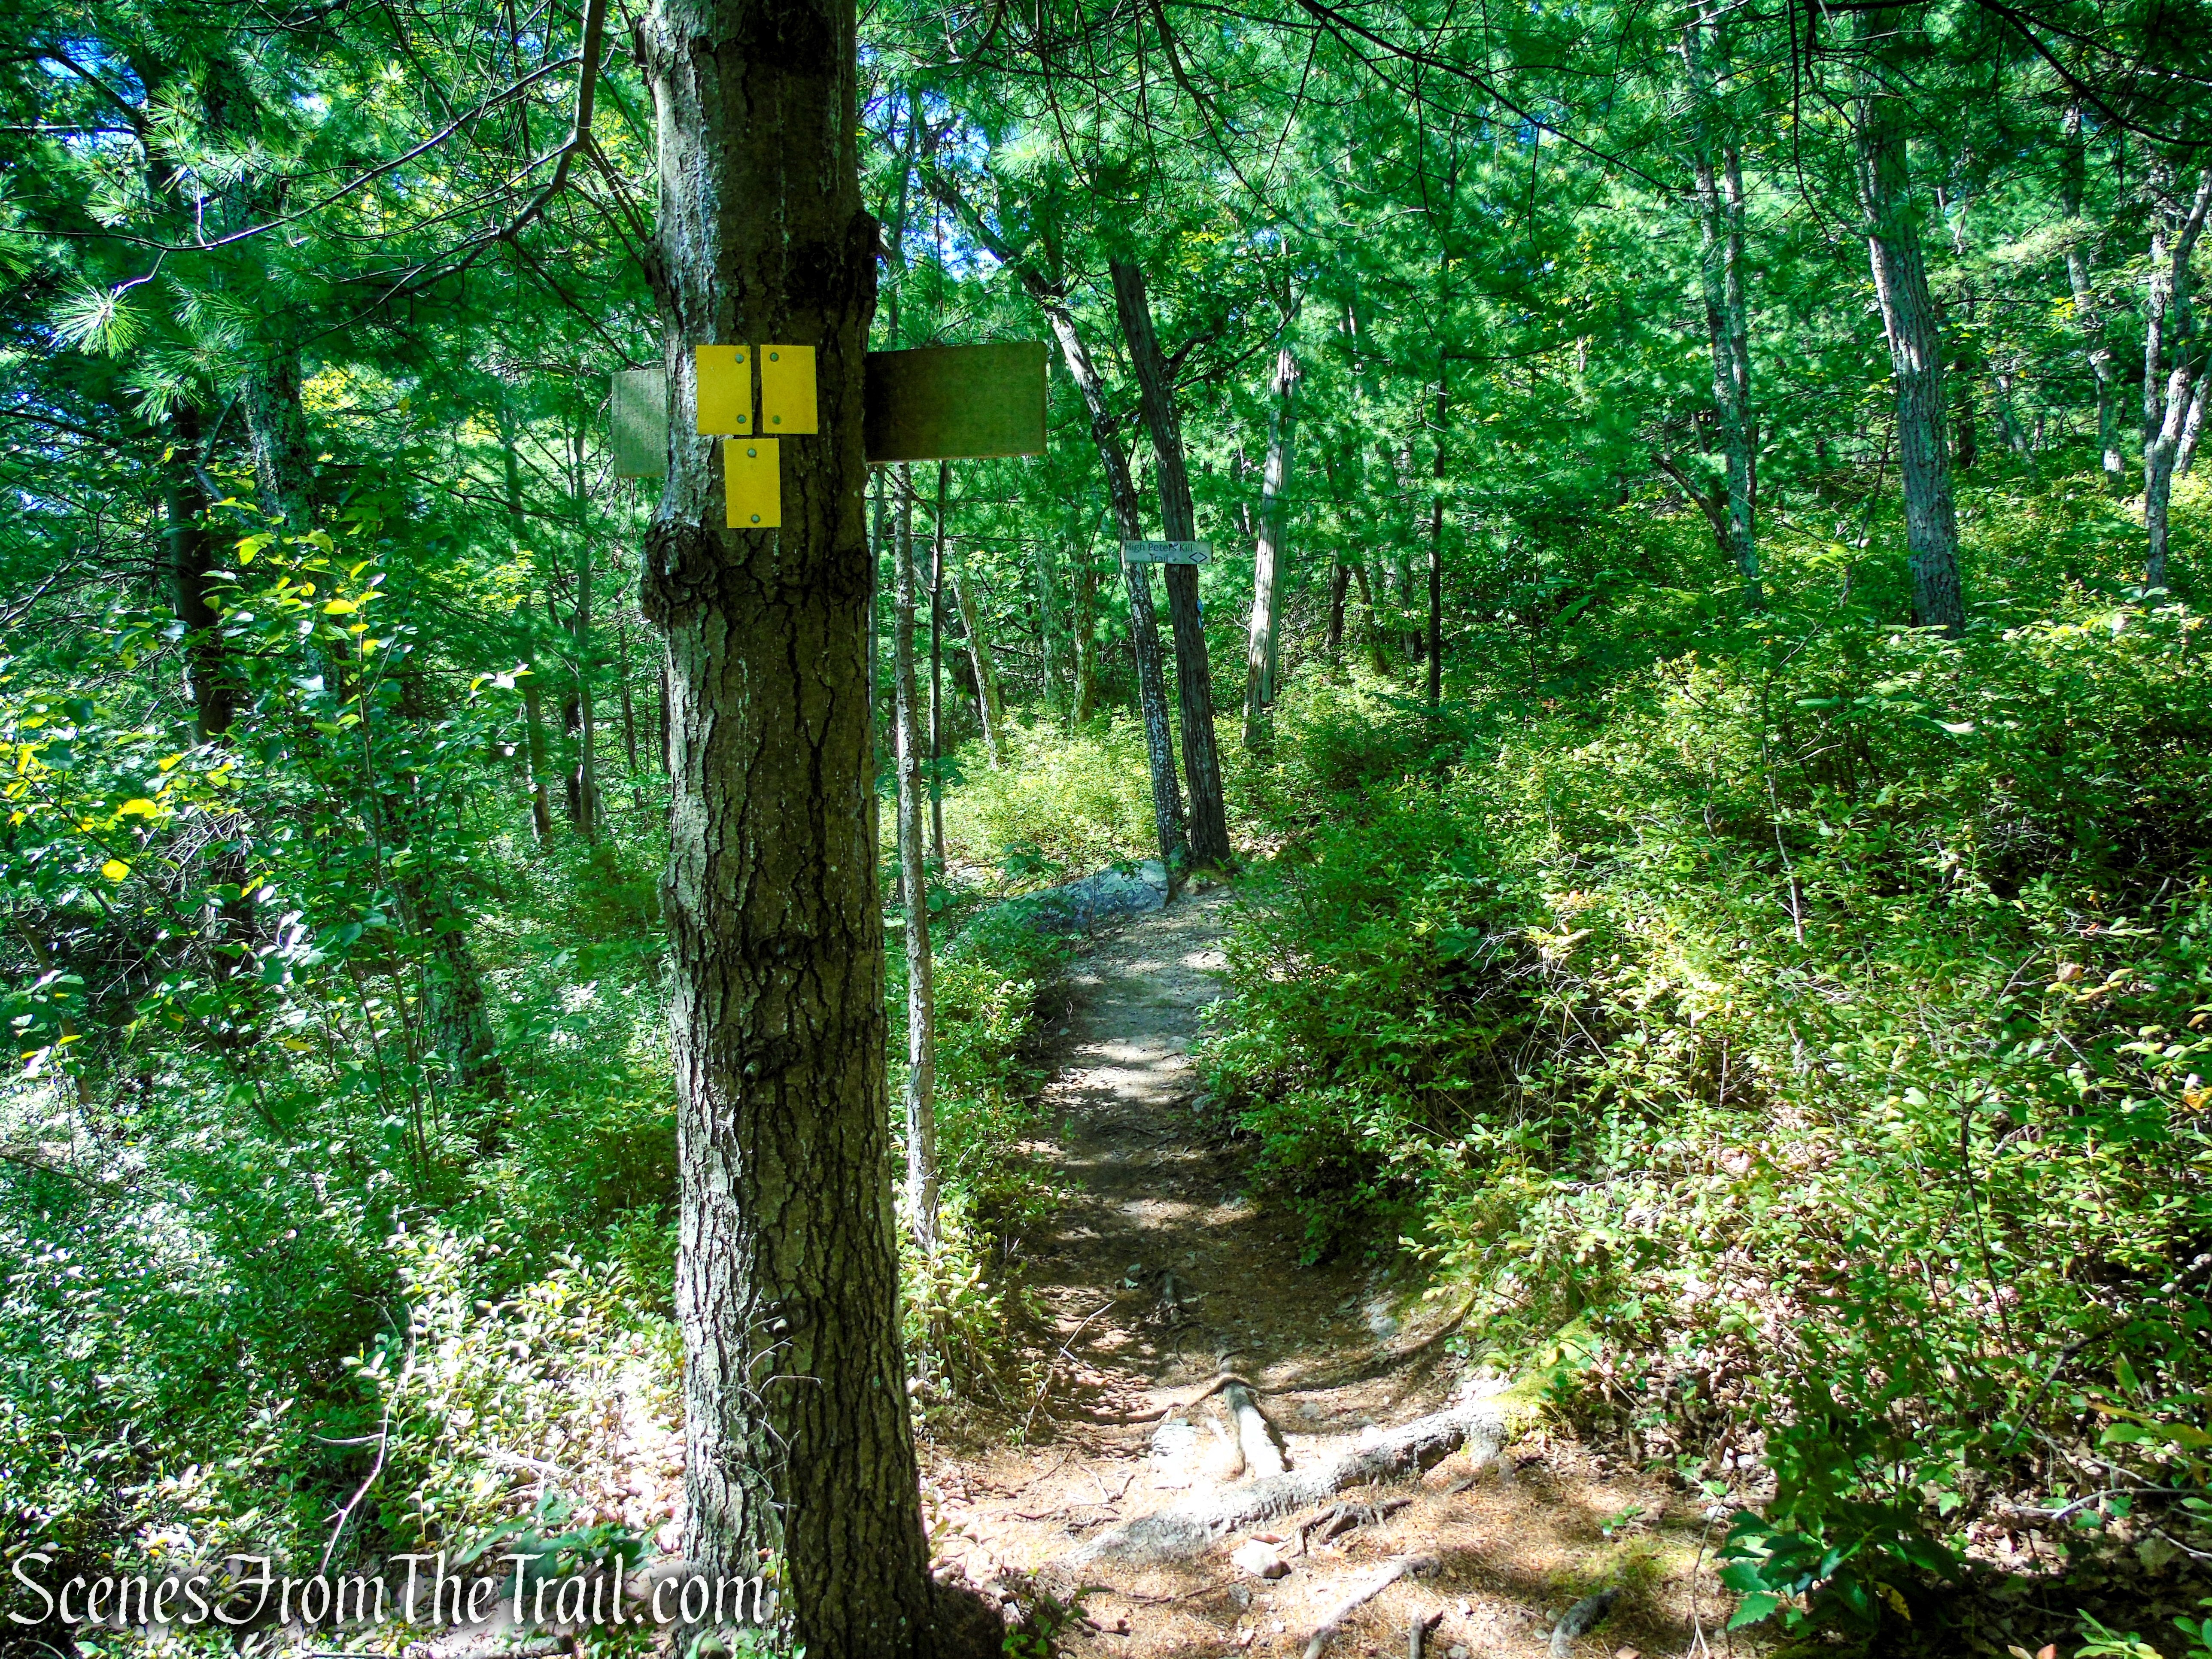
Shortly after passing through the chain-link fence, the Orange Trail reaches a T-intersection. The other end of the White Trail begins on the left, but turn right to remain on the Orange Trail. Almost immediately, the trail passes a clearing on the left. Leave the Orange Trail and head into the partially paved clearing, where you’ll notice several oddly shaped concrete rings scattered across the ground, some partially hidden by grass. It’s worth taking a few moments to explore this area.
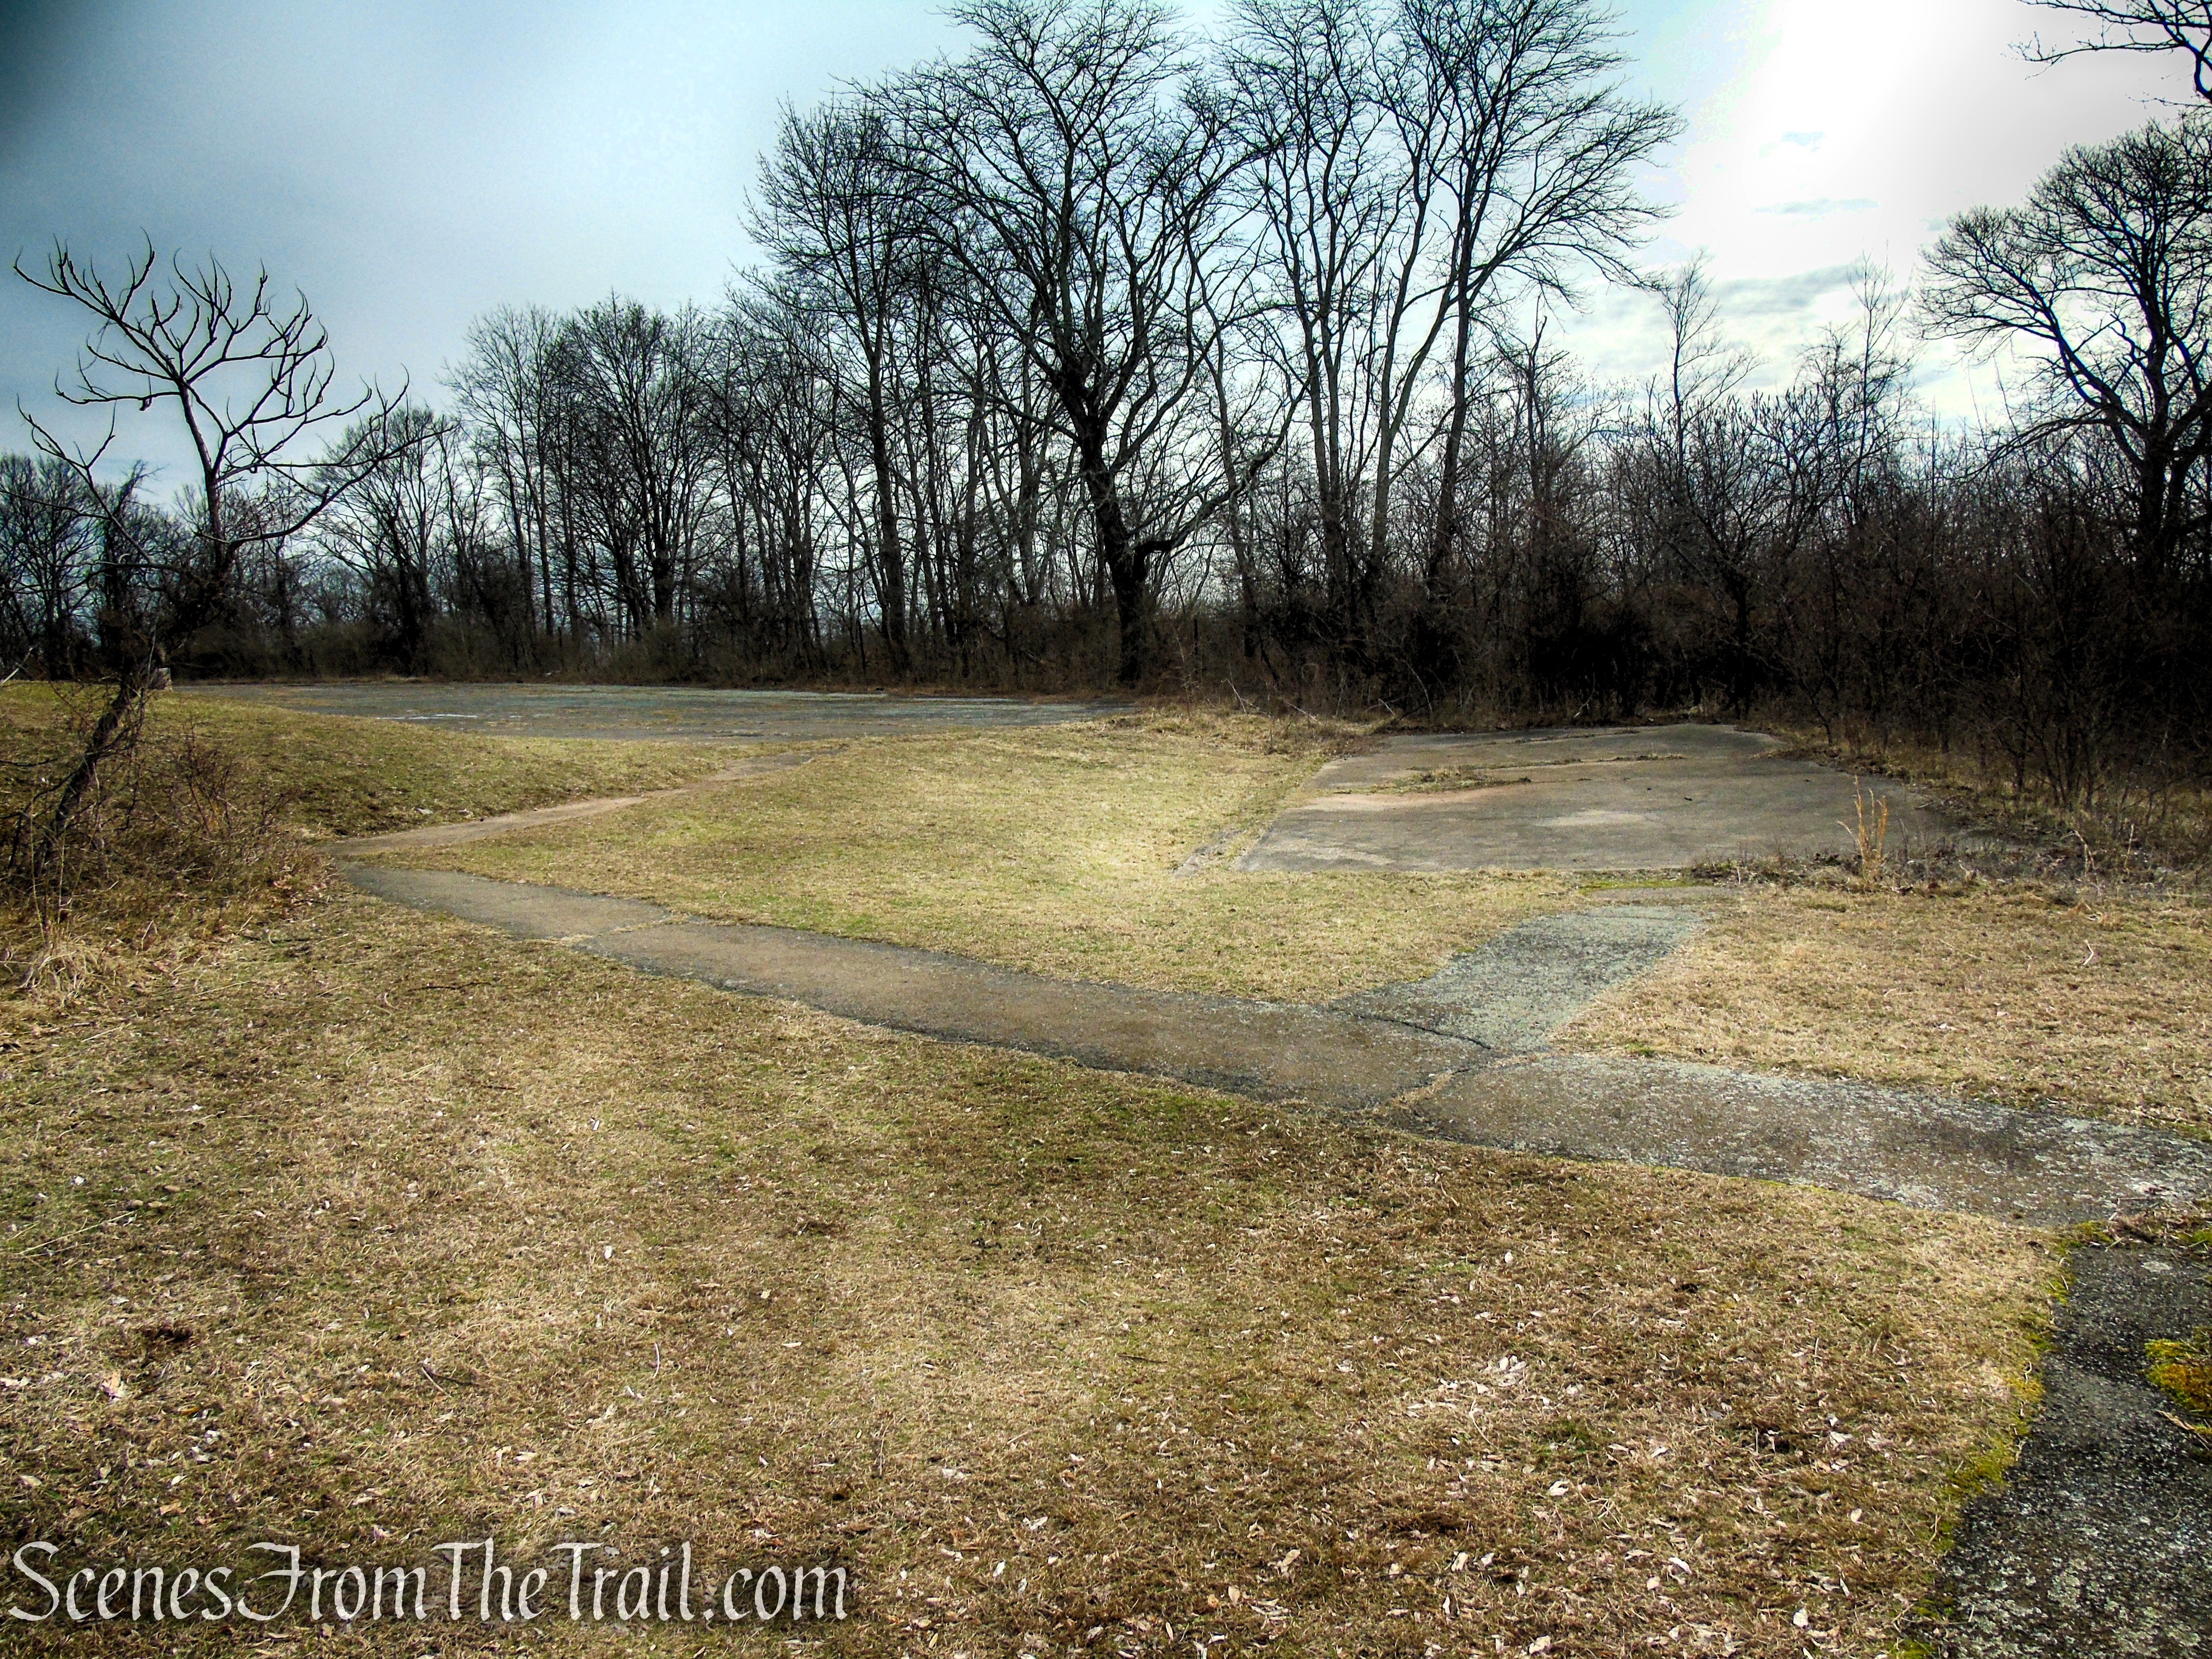
Nike Overlook Park
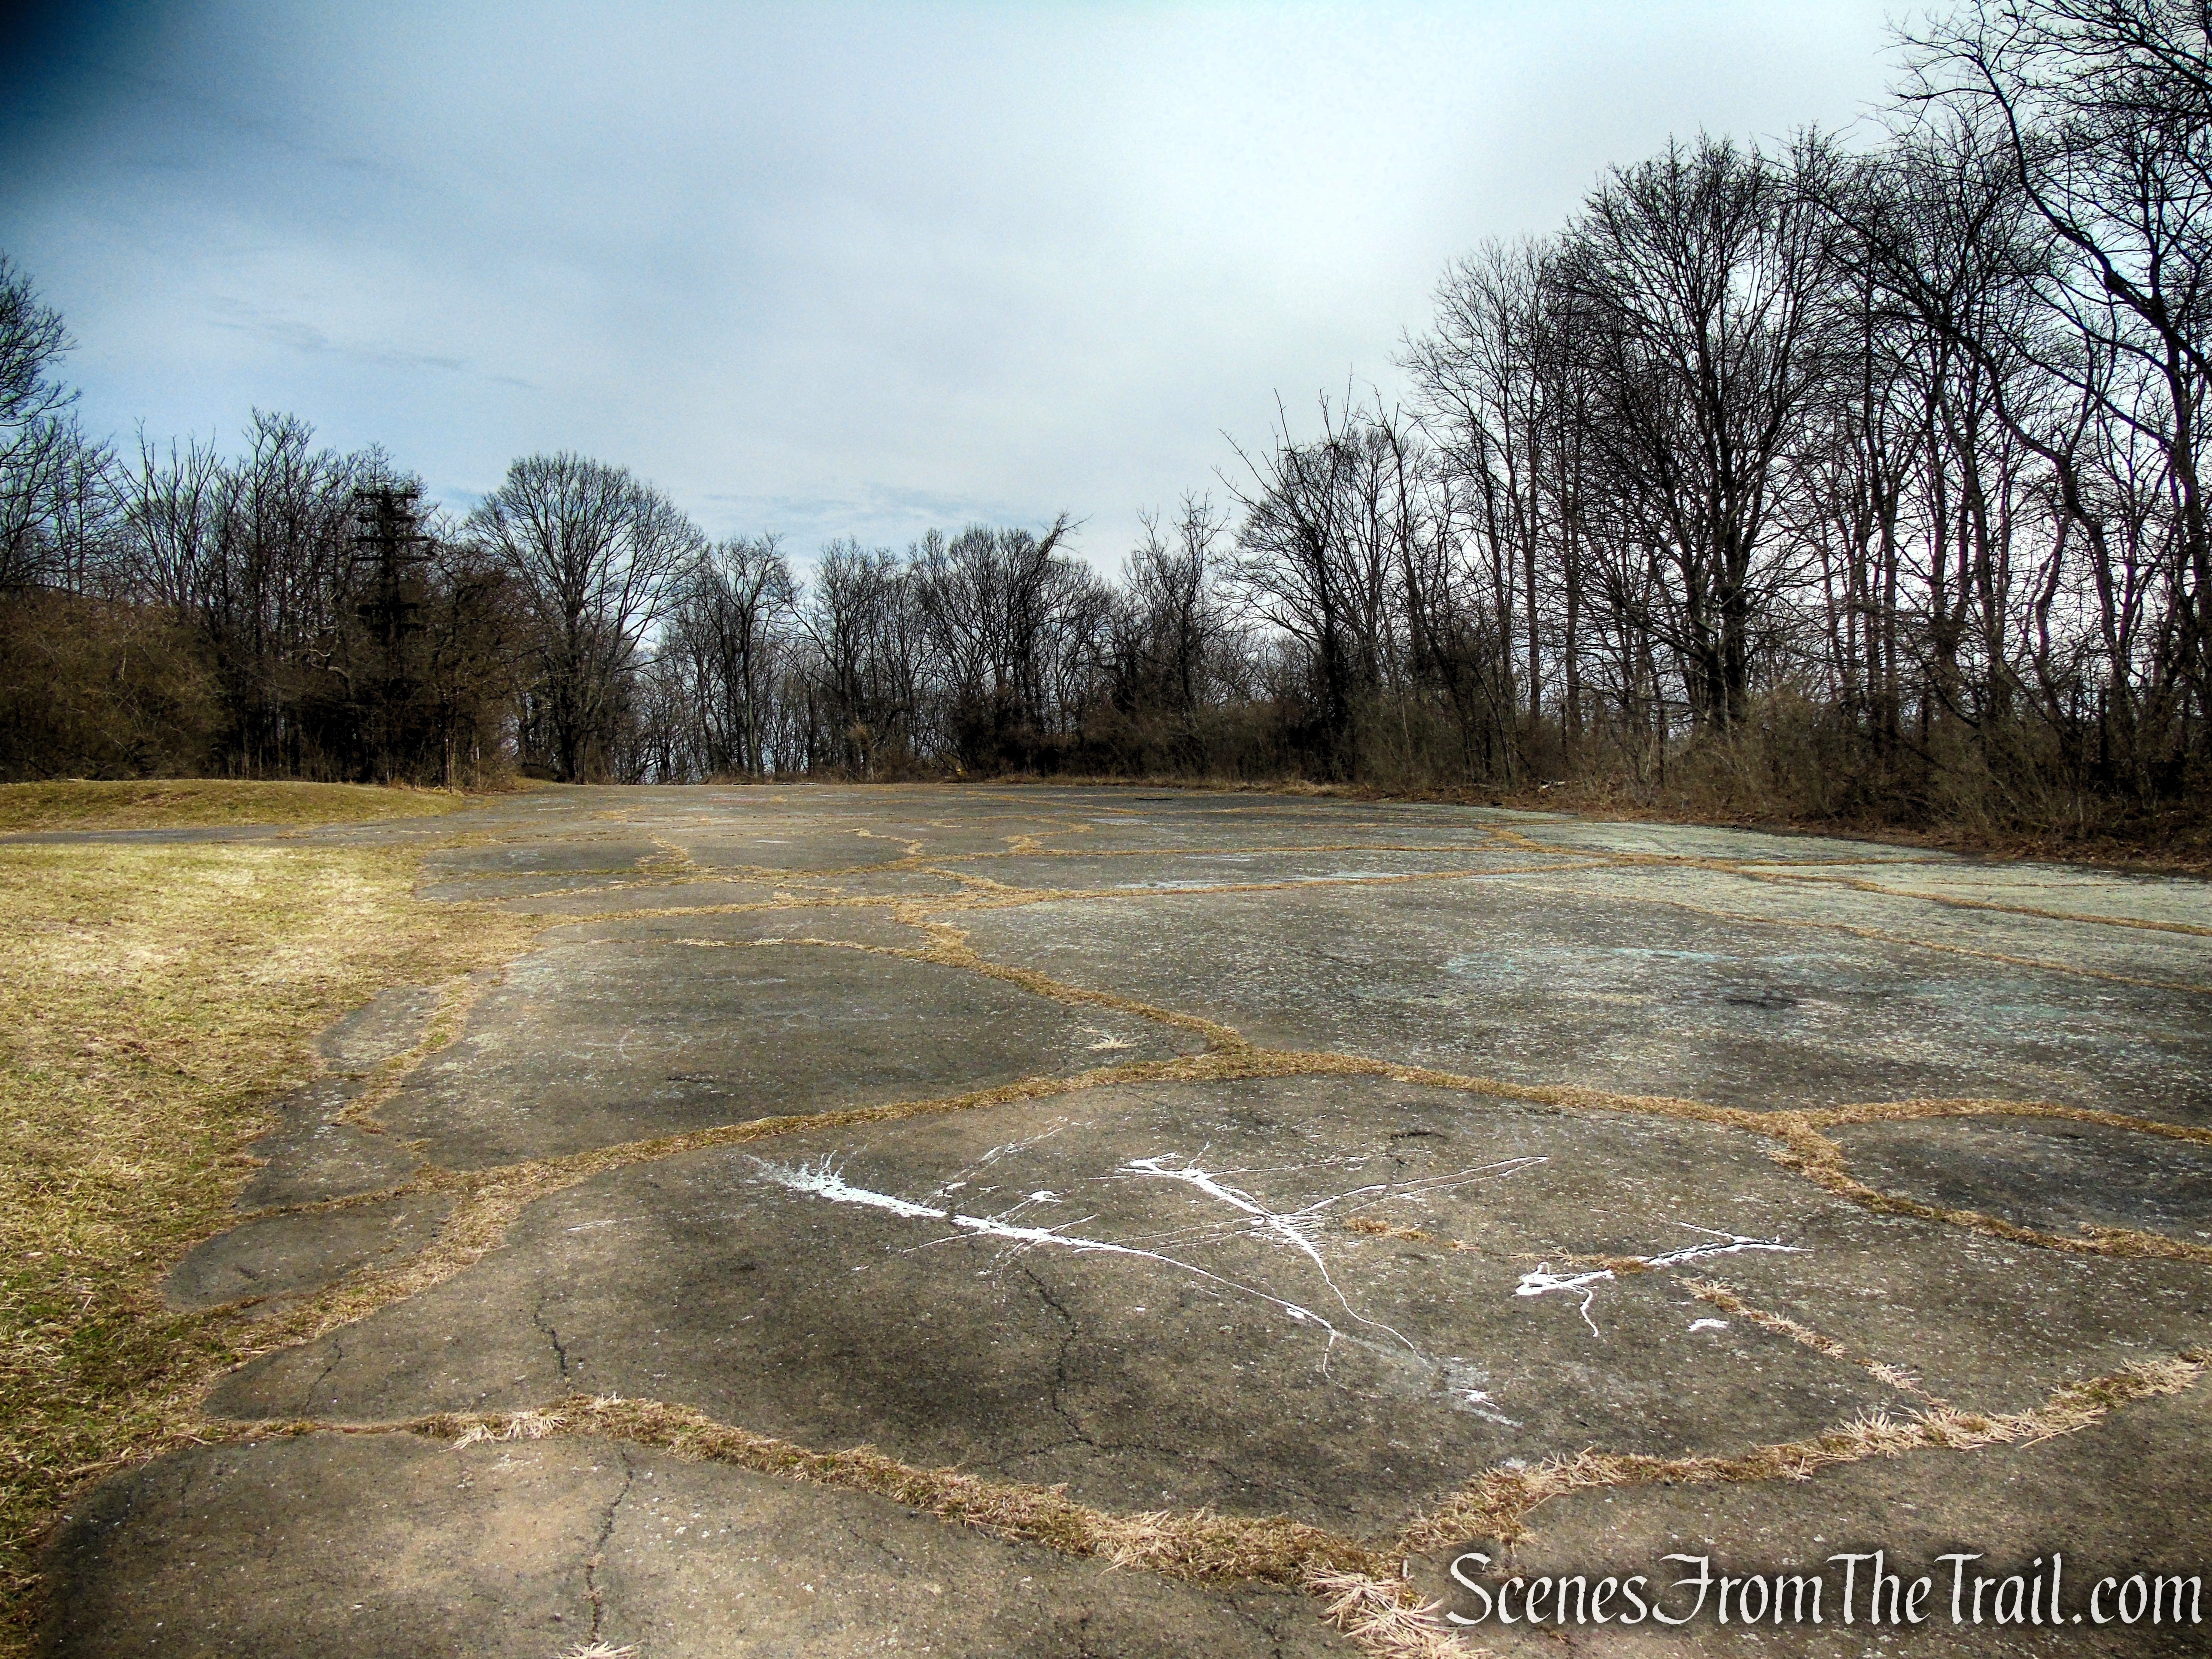
Nike Overlook Park
There isn’t much to see in this part of the park, though we did come across what appear to be concrete stands that once supported some kind of tank.
Nike Overlook Park
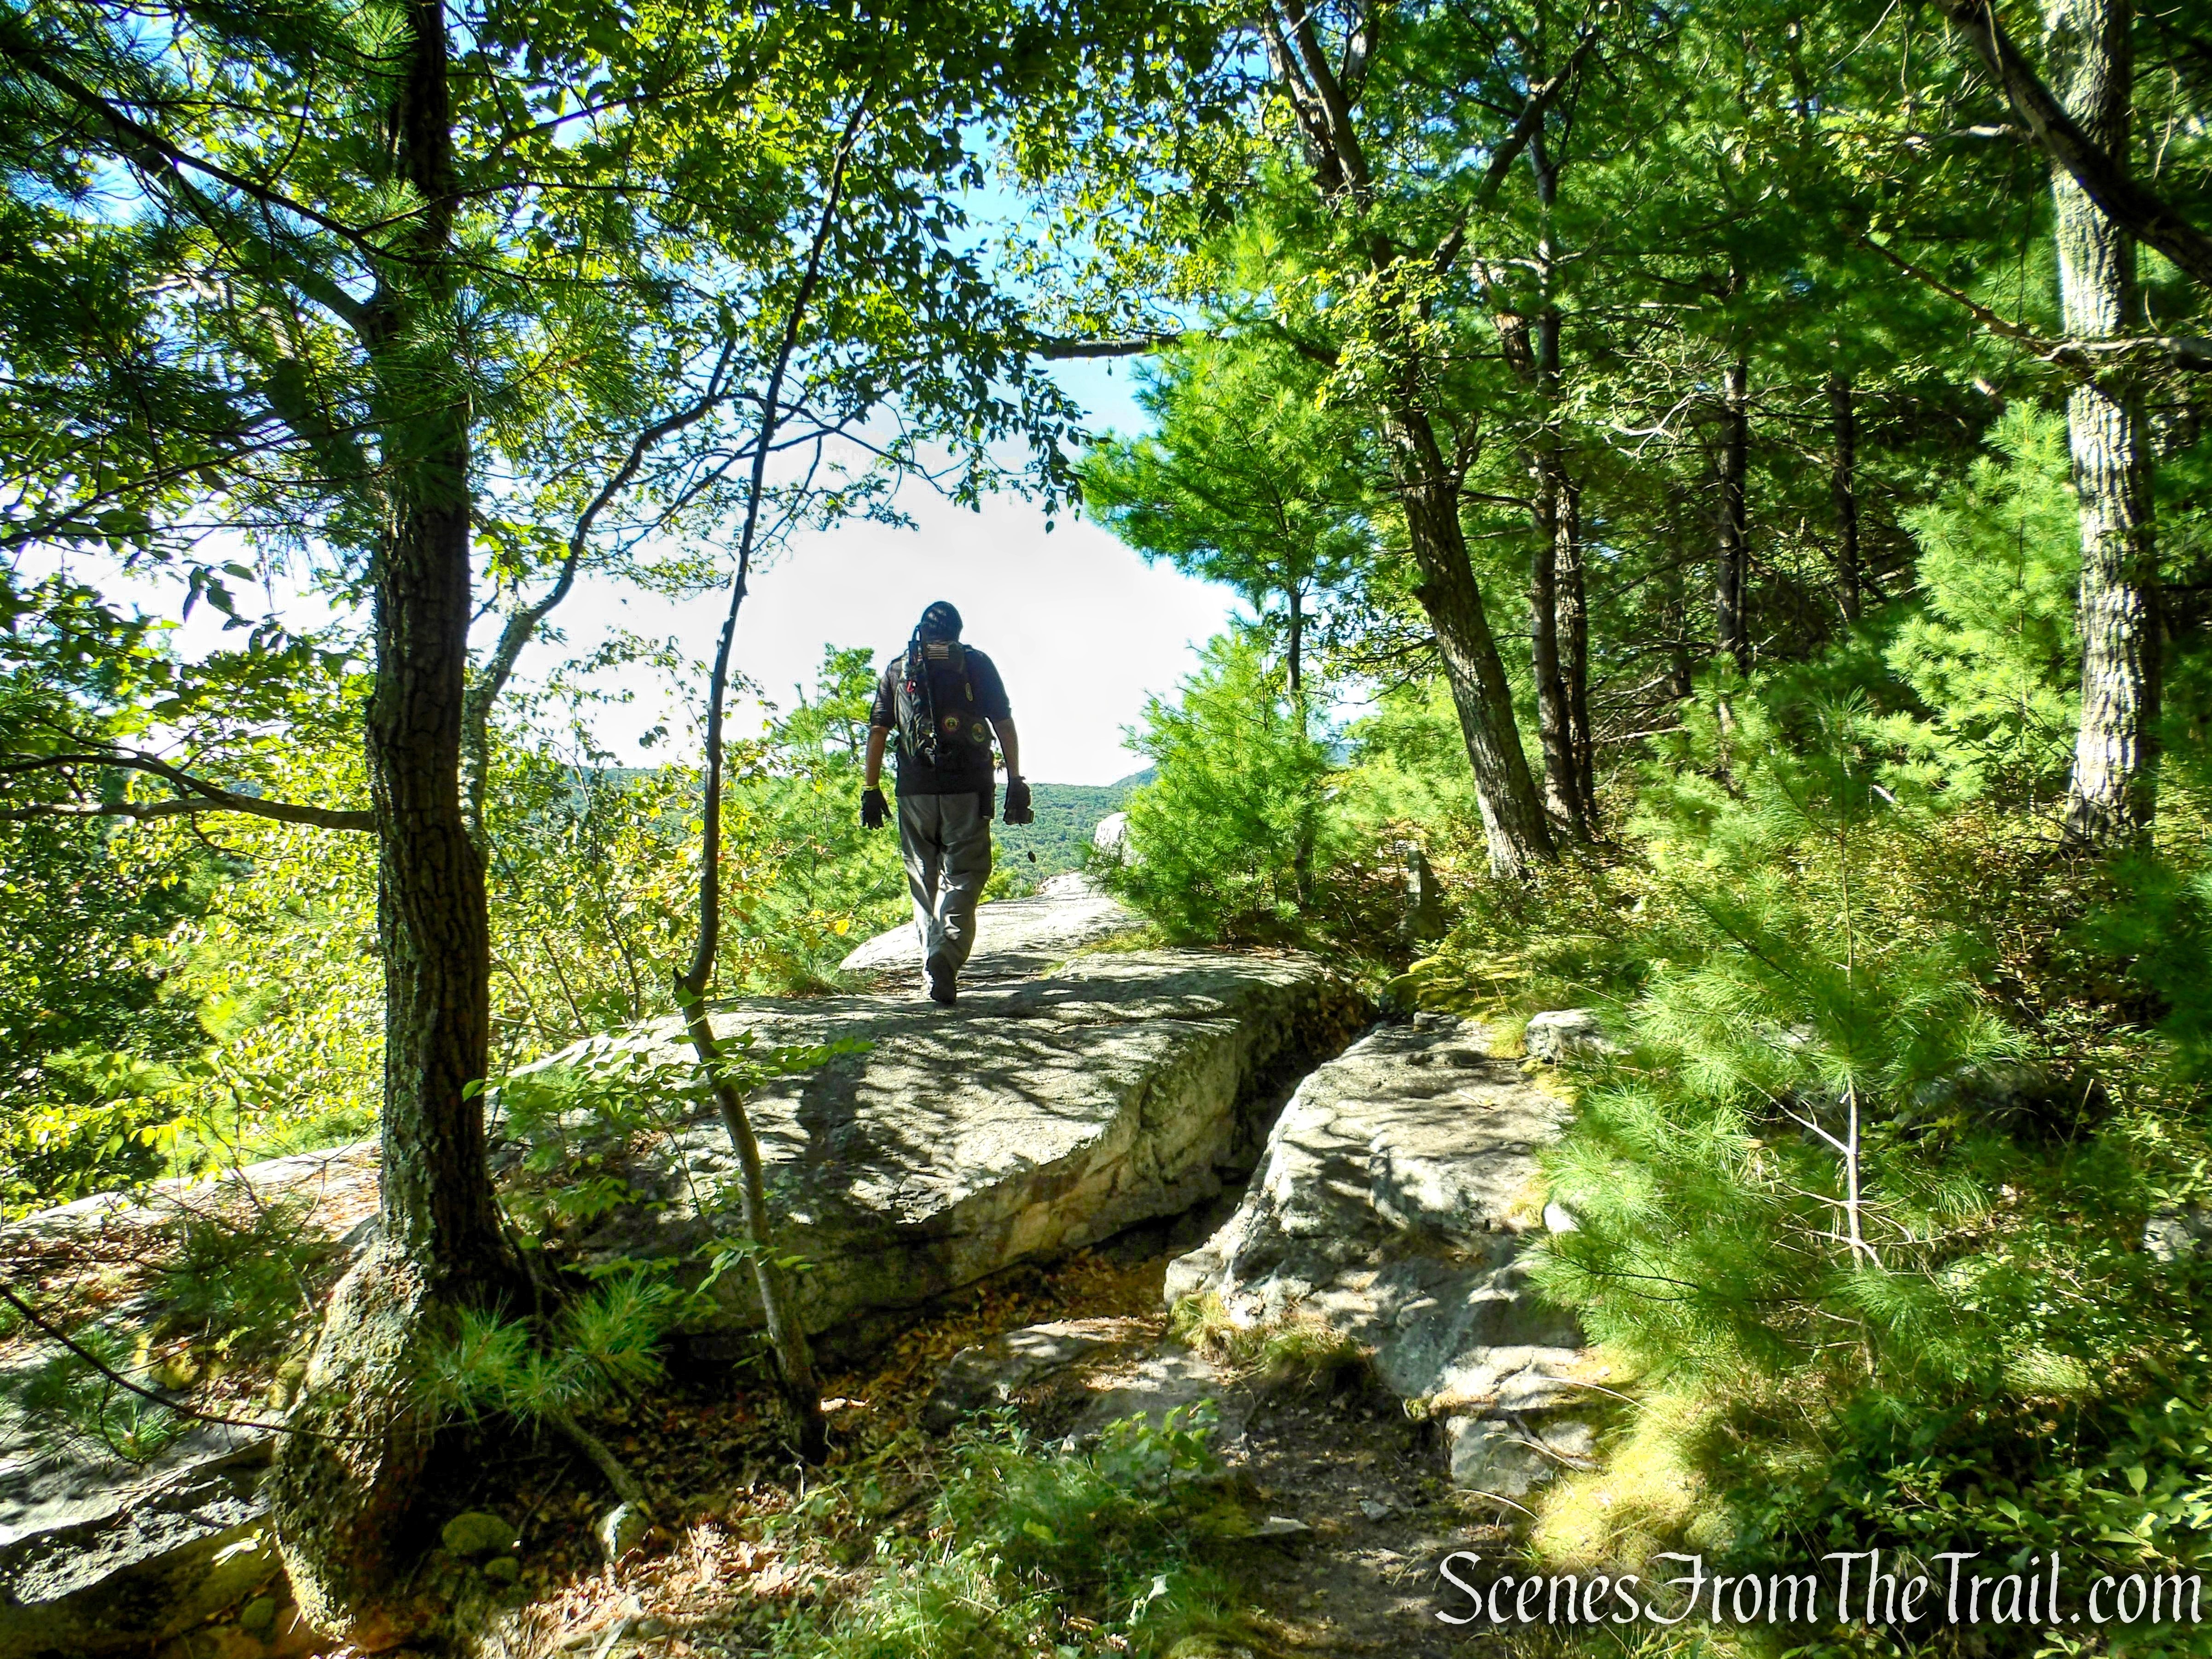
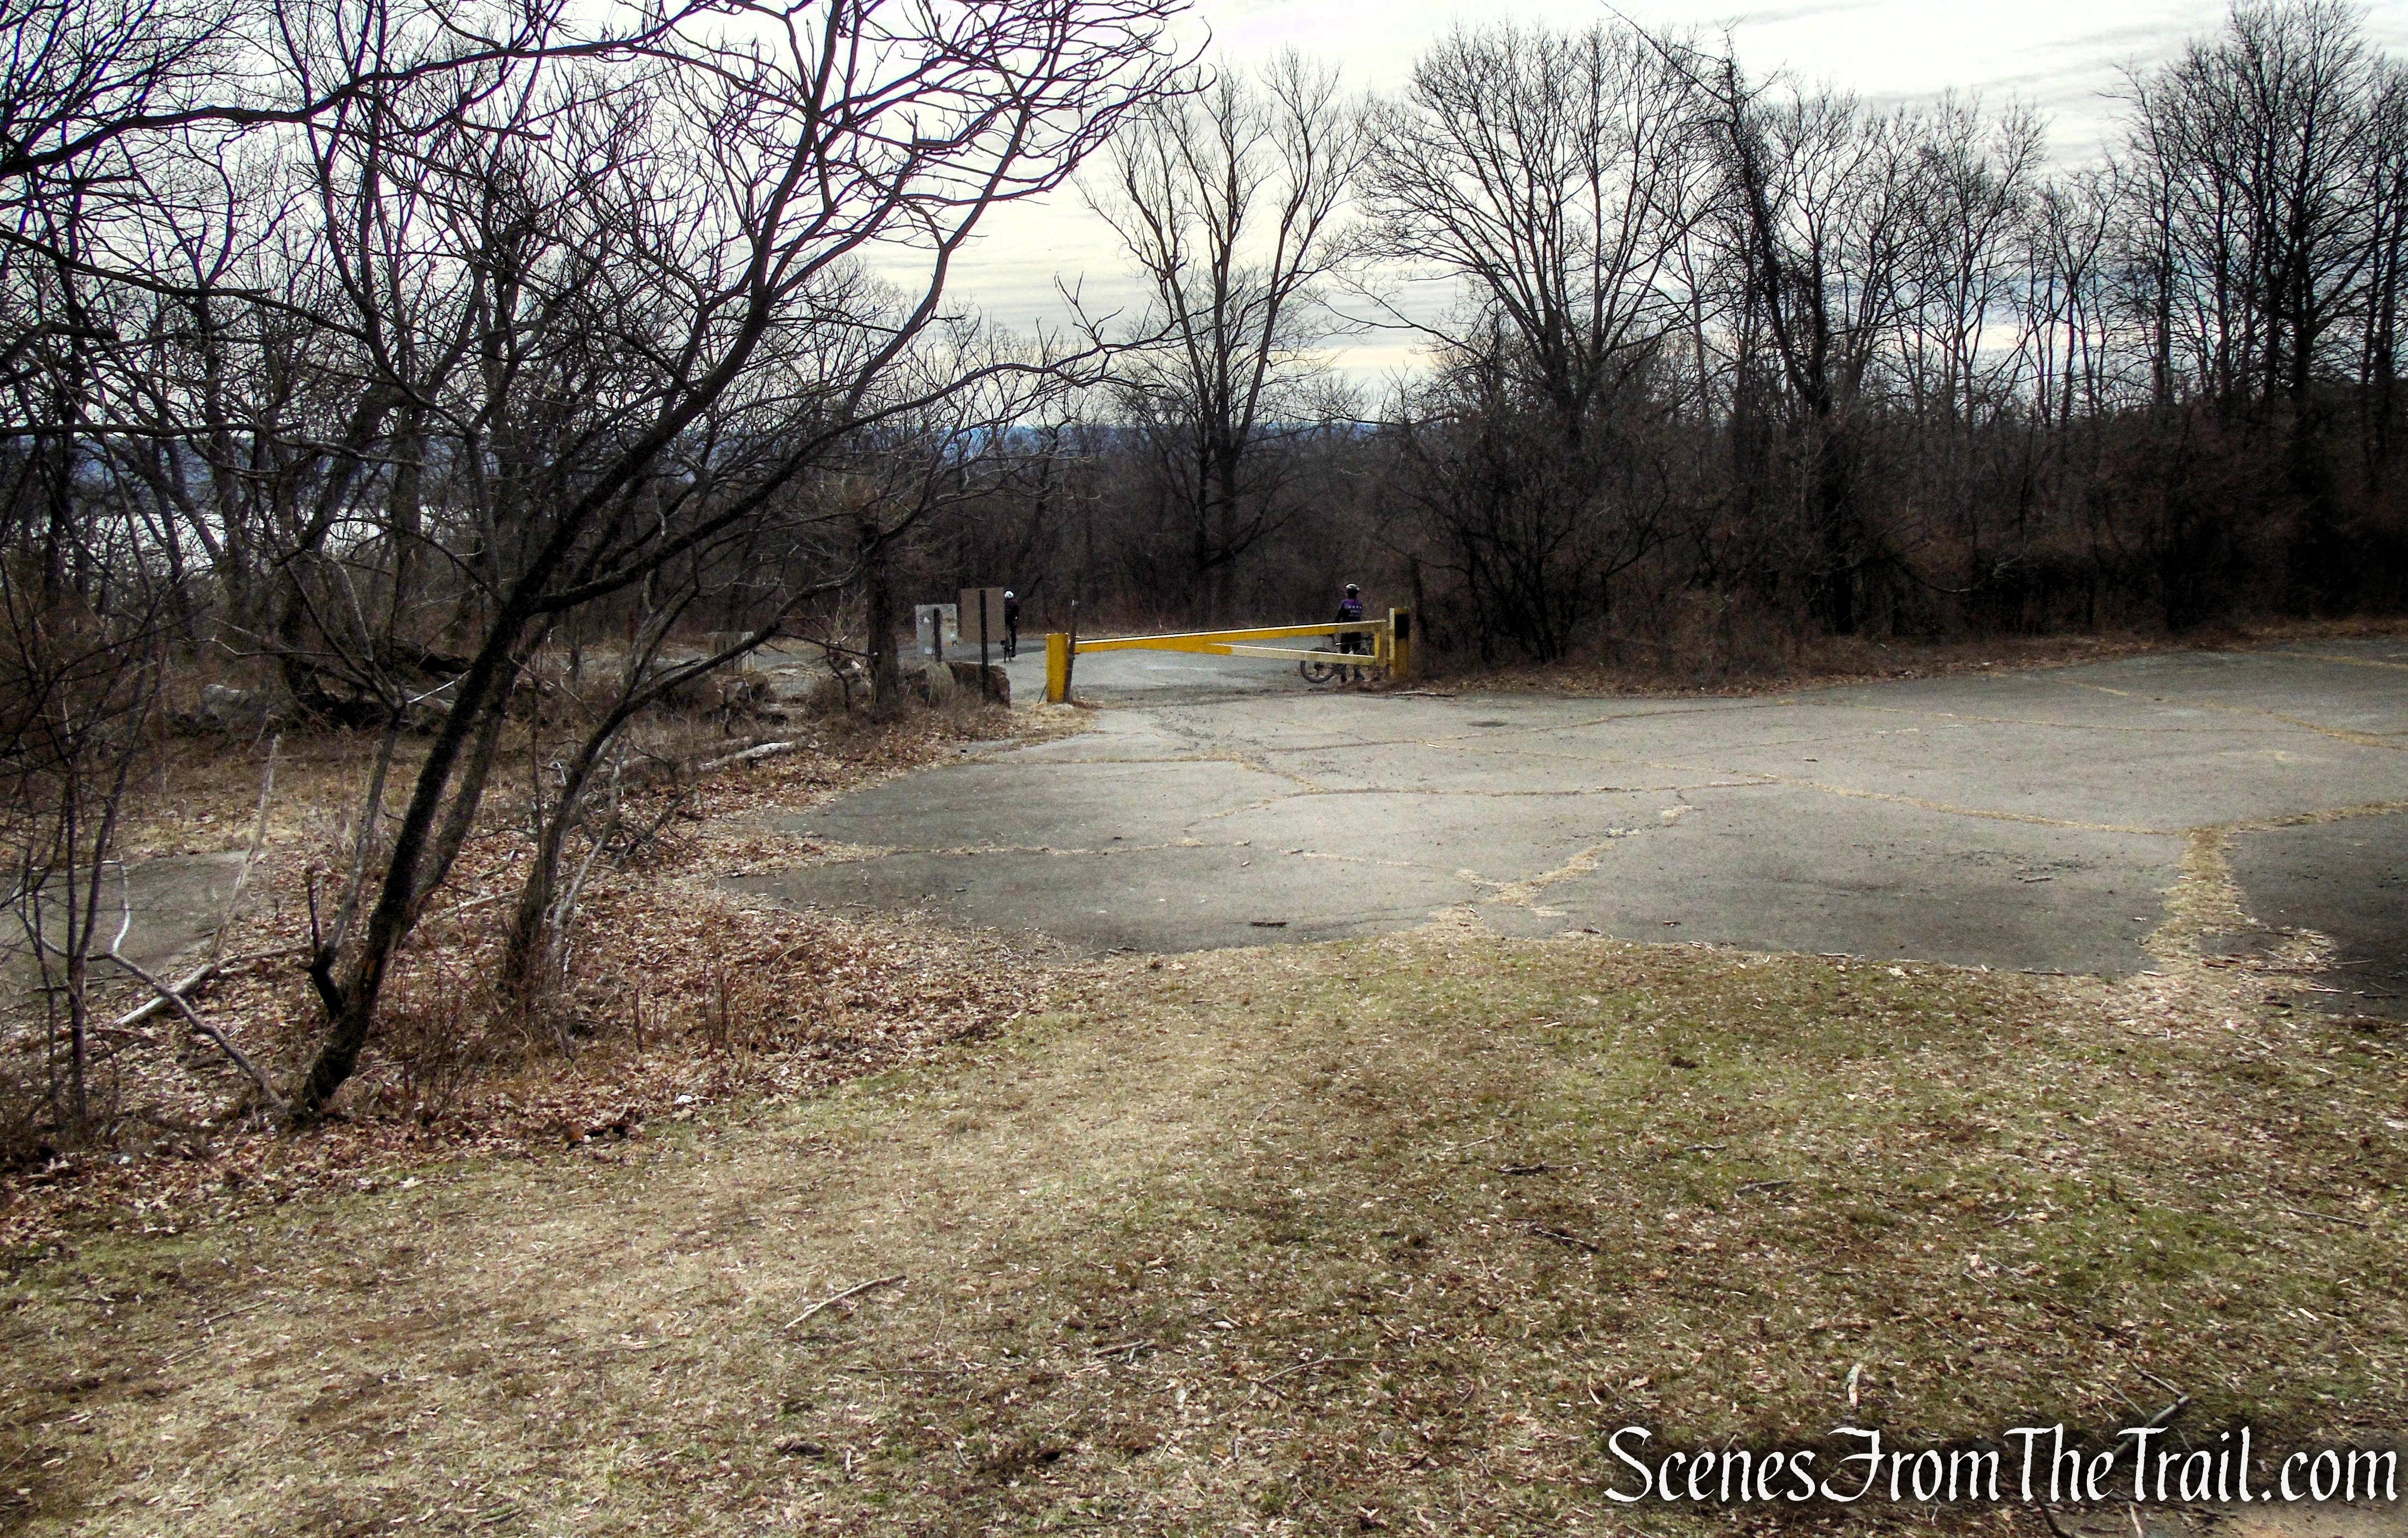
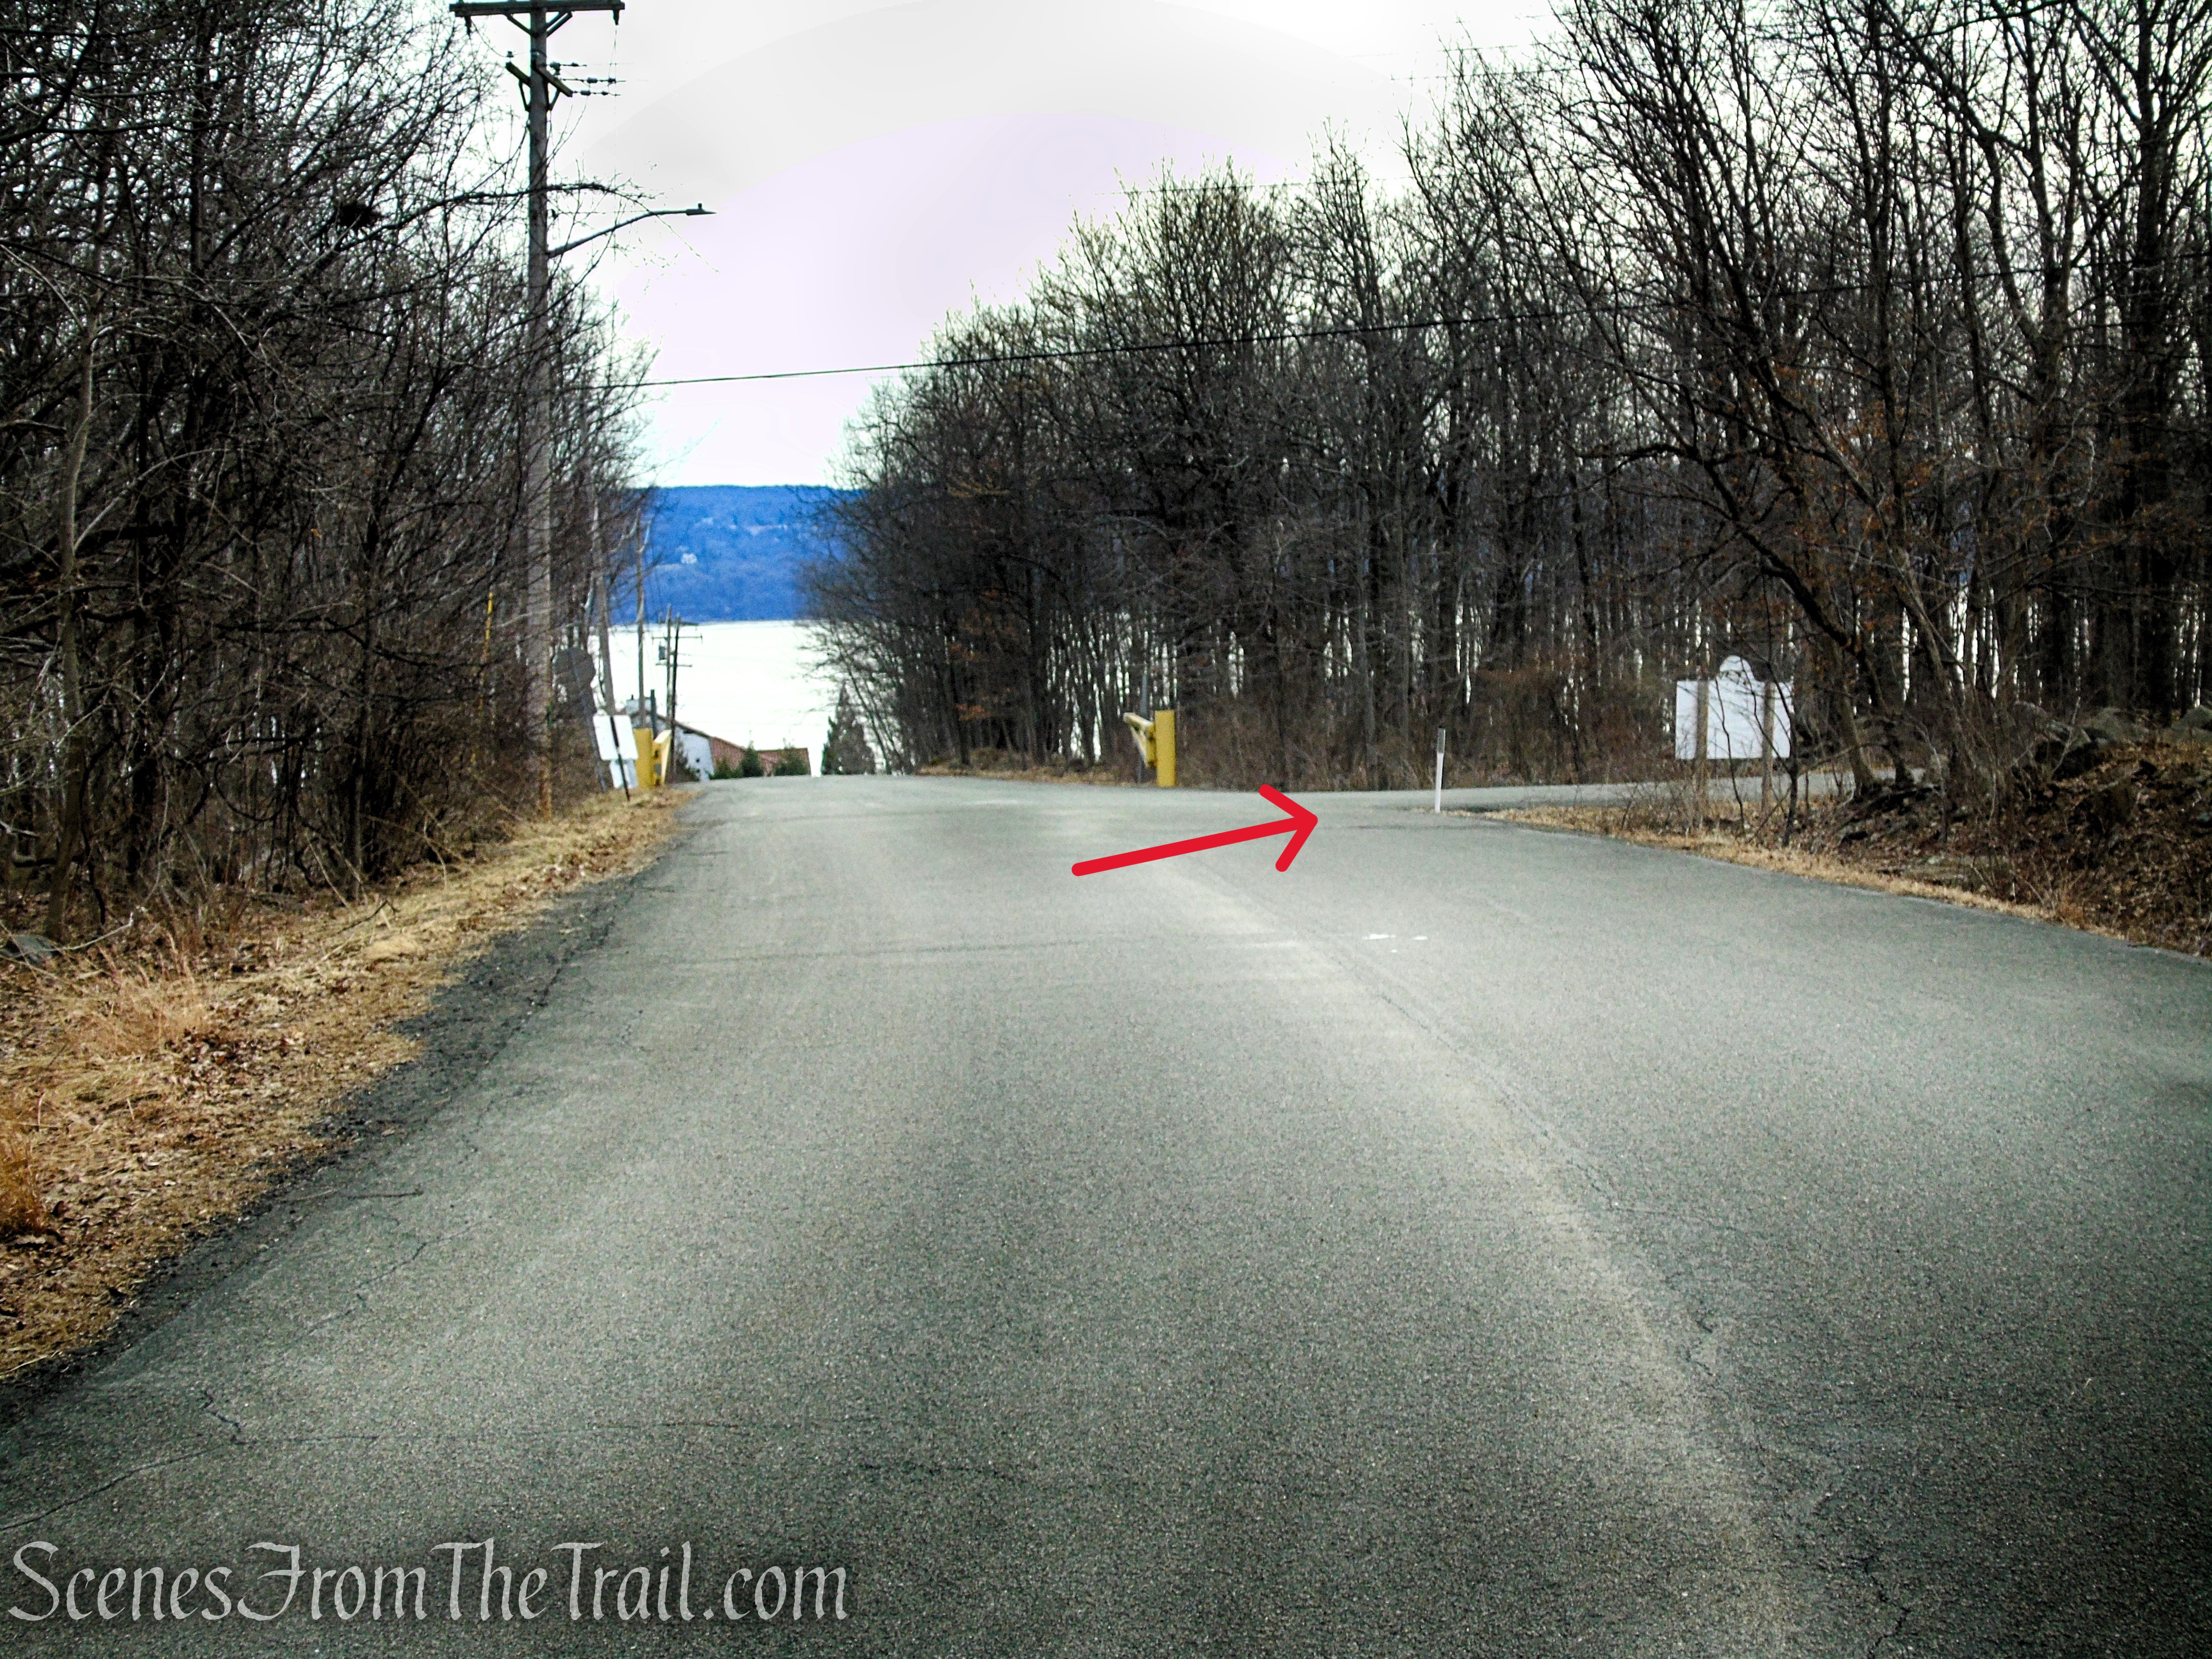
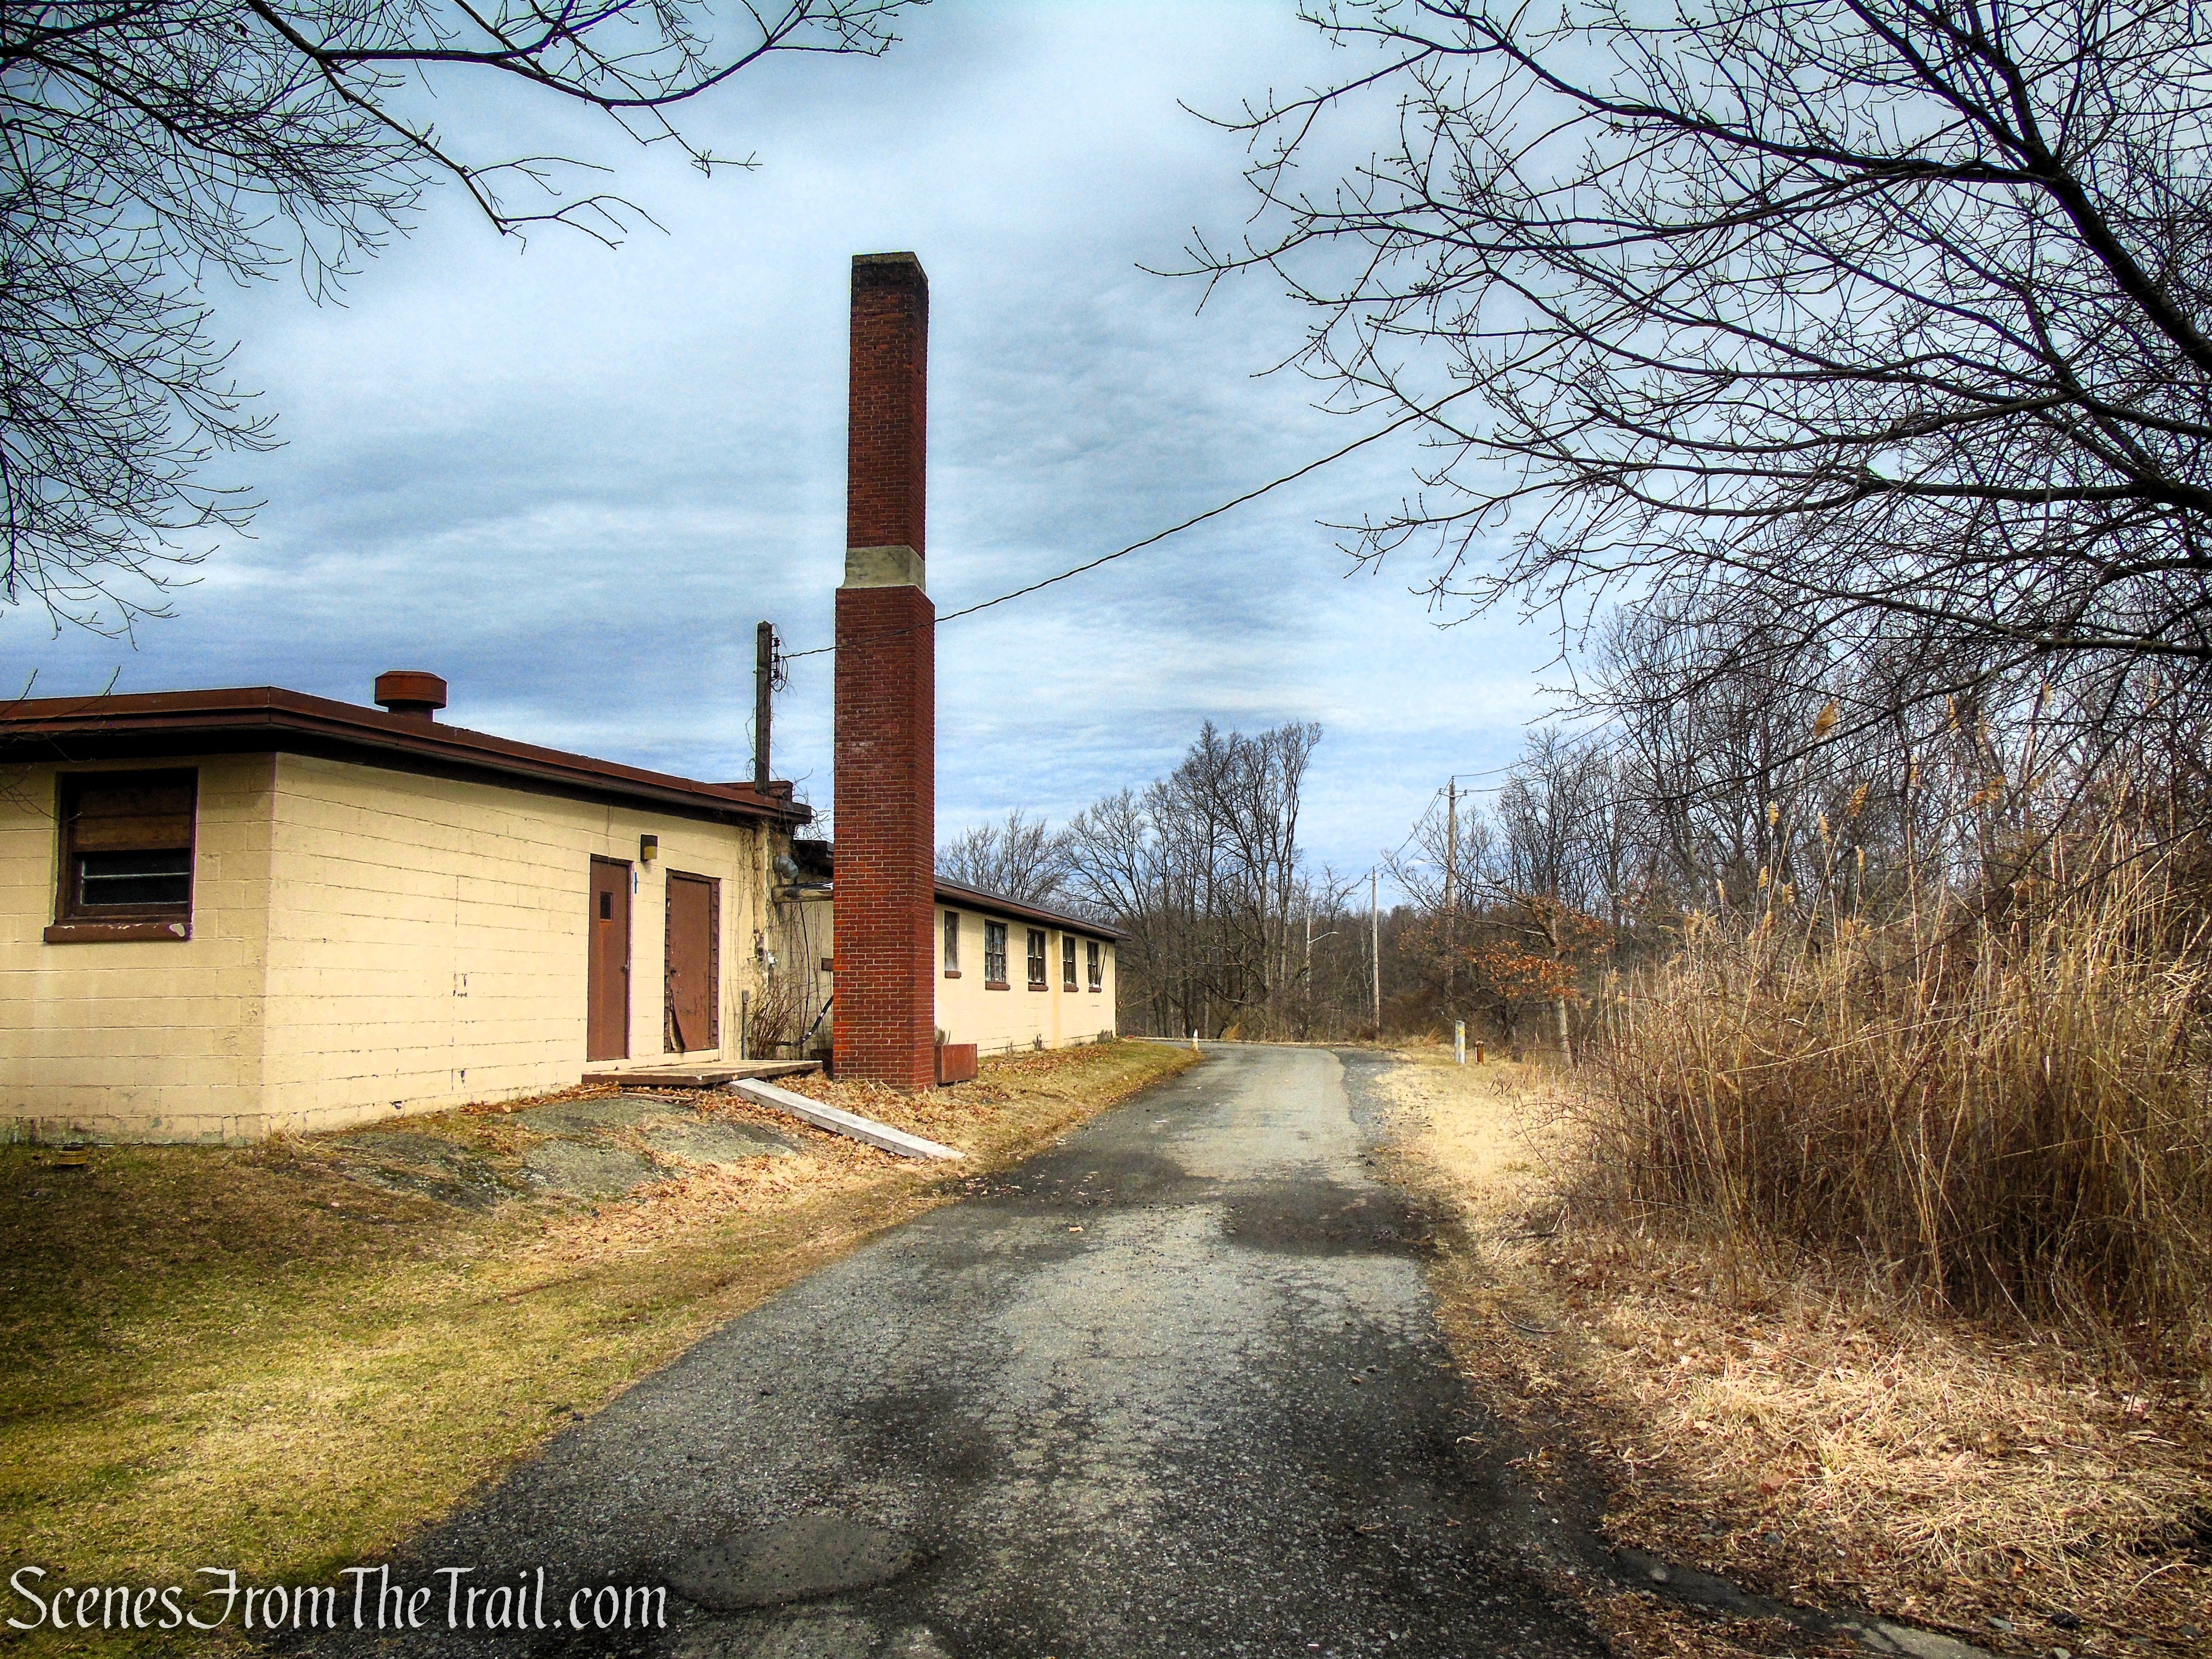
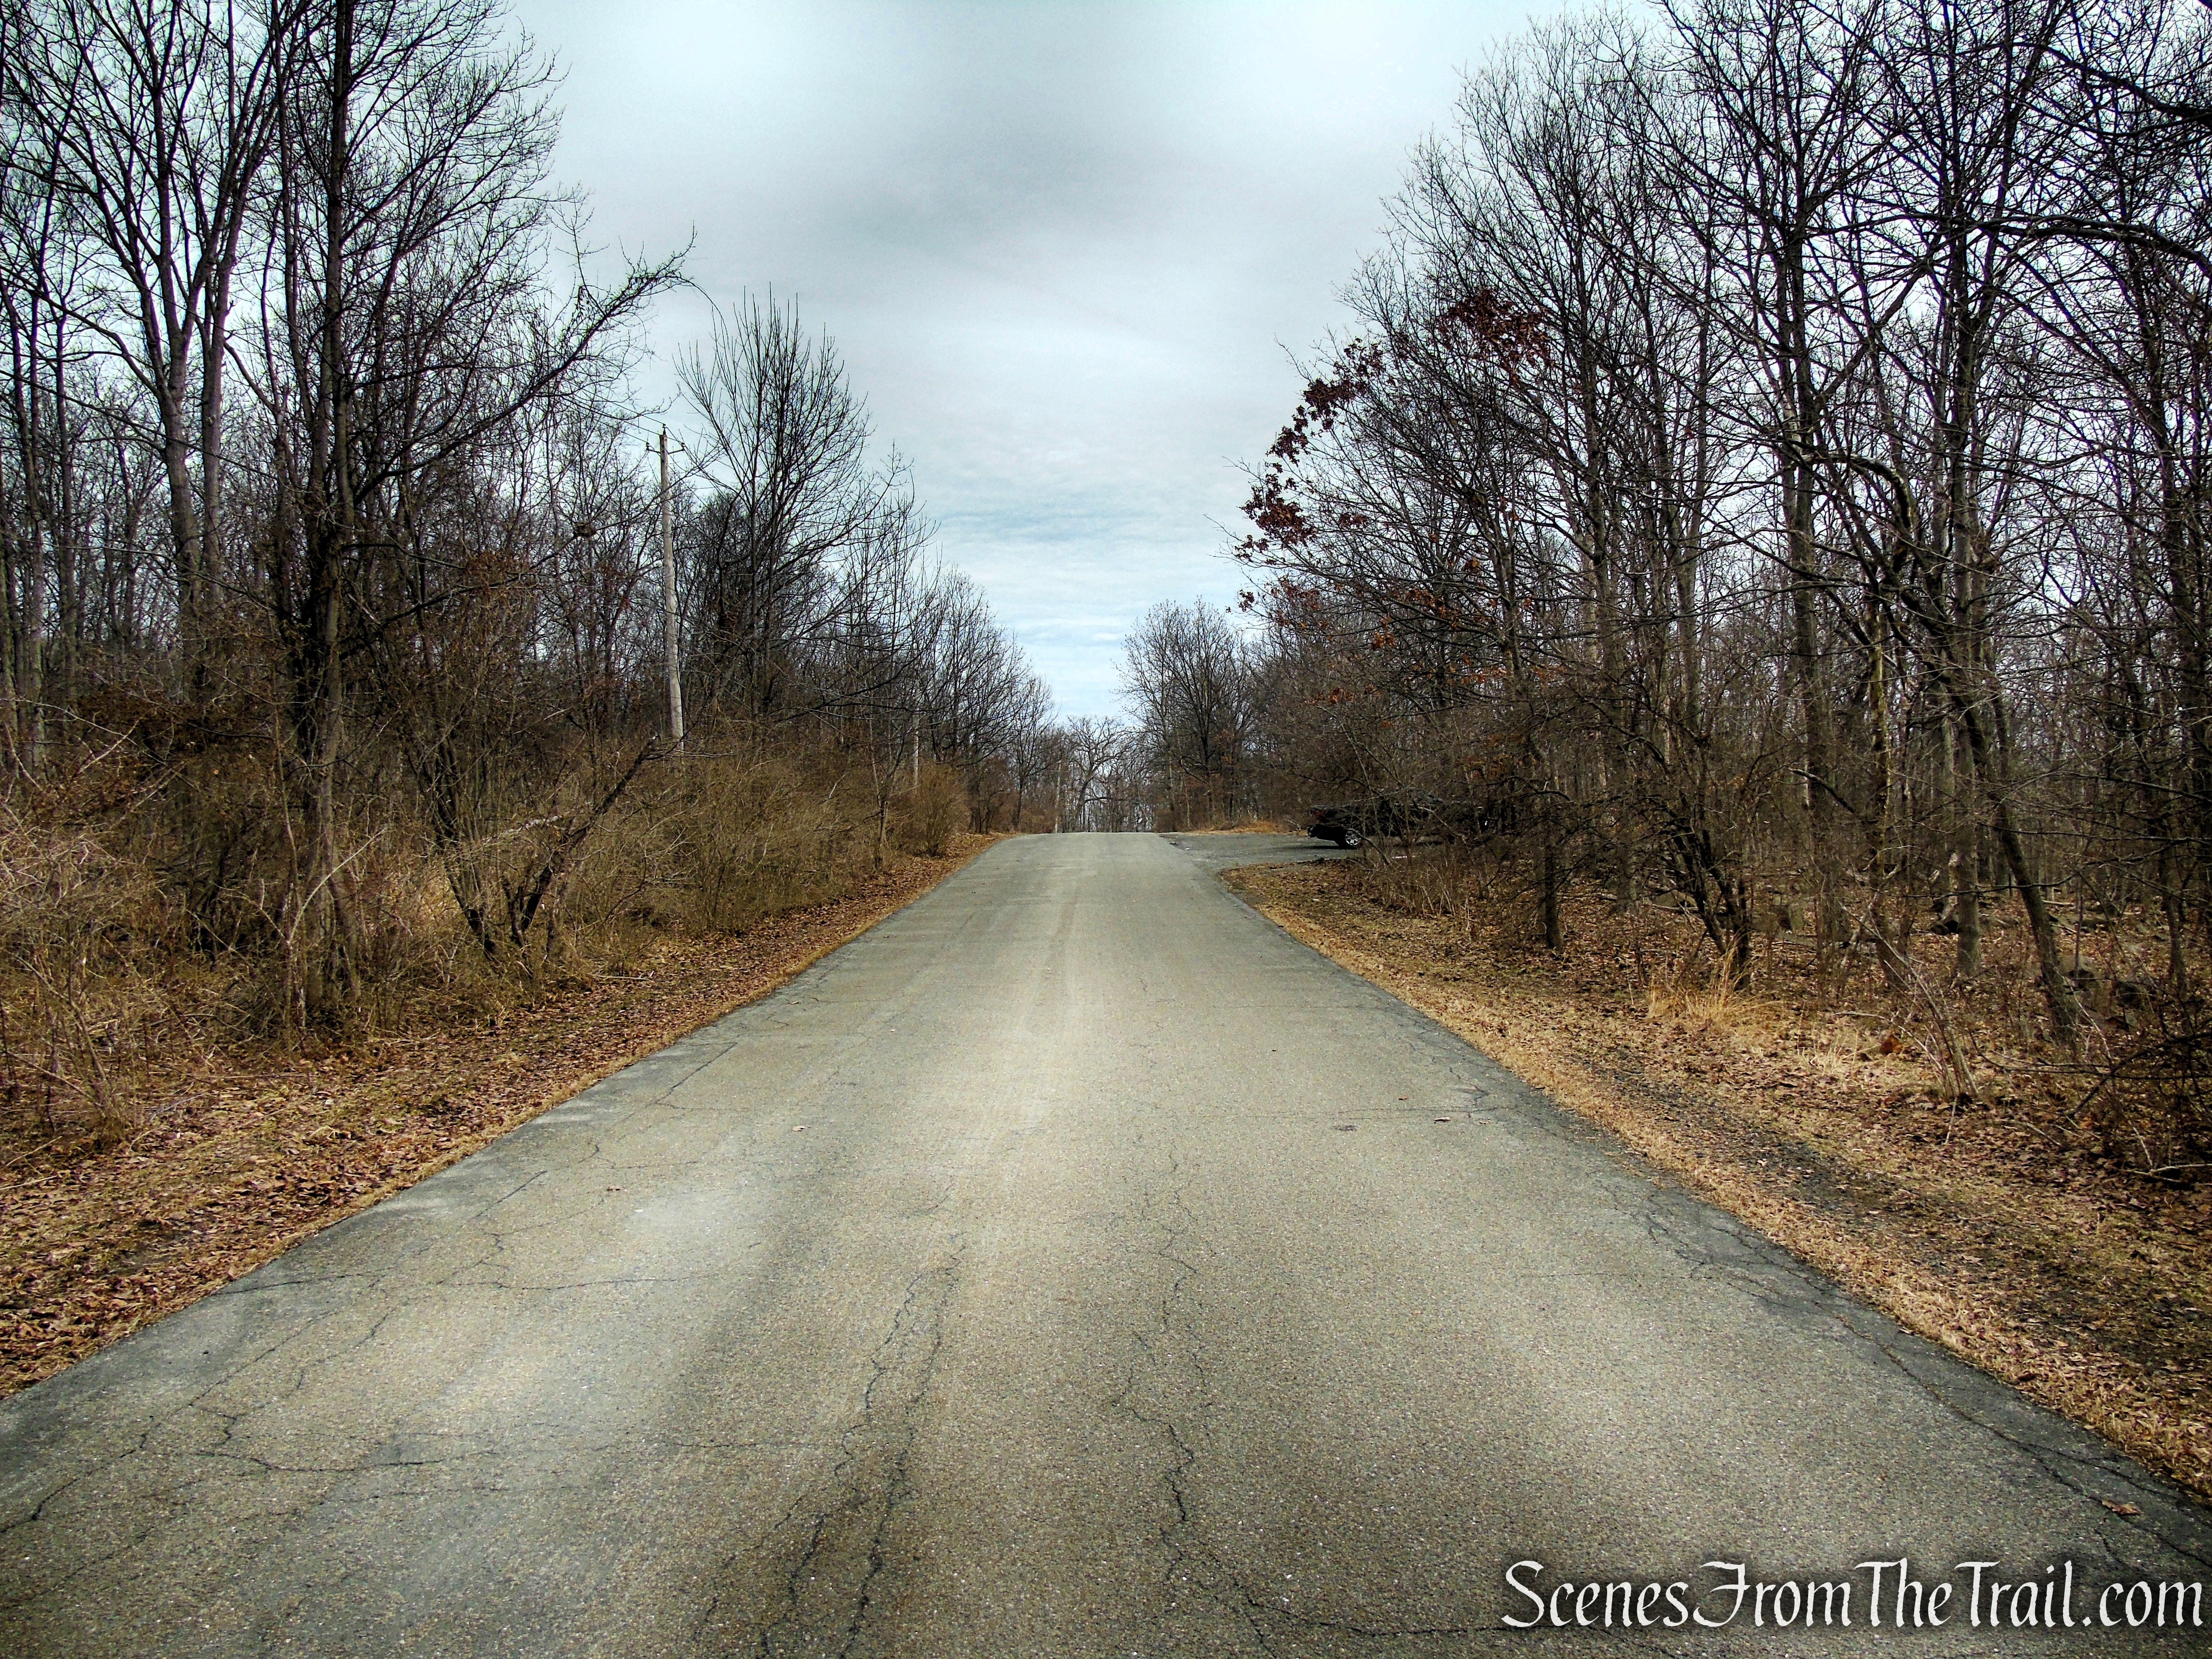
When you’re ready to continue, head toward the park’s main entrance gate and walk down the paved road, labeled “US Army Road” on Google Maps. Continue downhill for about 175 yards to the next intersection, then turn right onto Nike Lane. Follow the road for another 350 yards until you reach the main gate of the IFC site.
Nike Overlook Park
US Army Road
Nike Overlook Park

Nike Lane – Nike Overlook Park
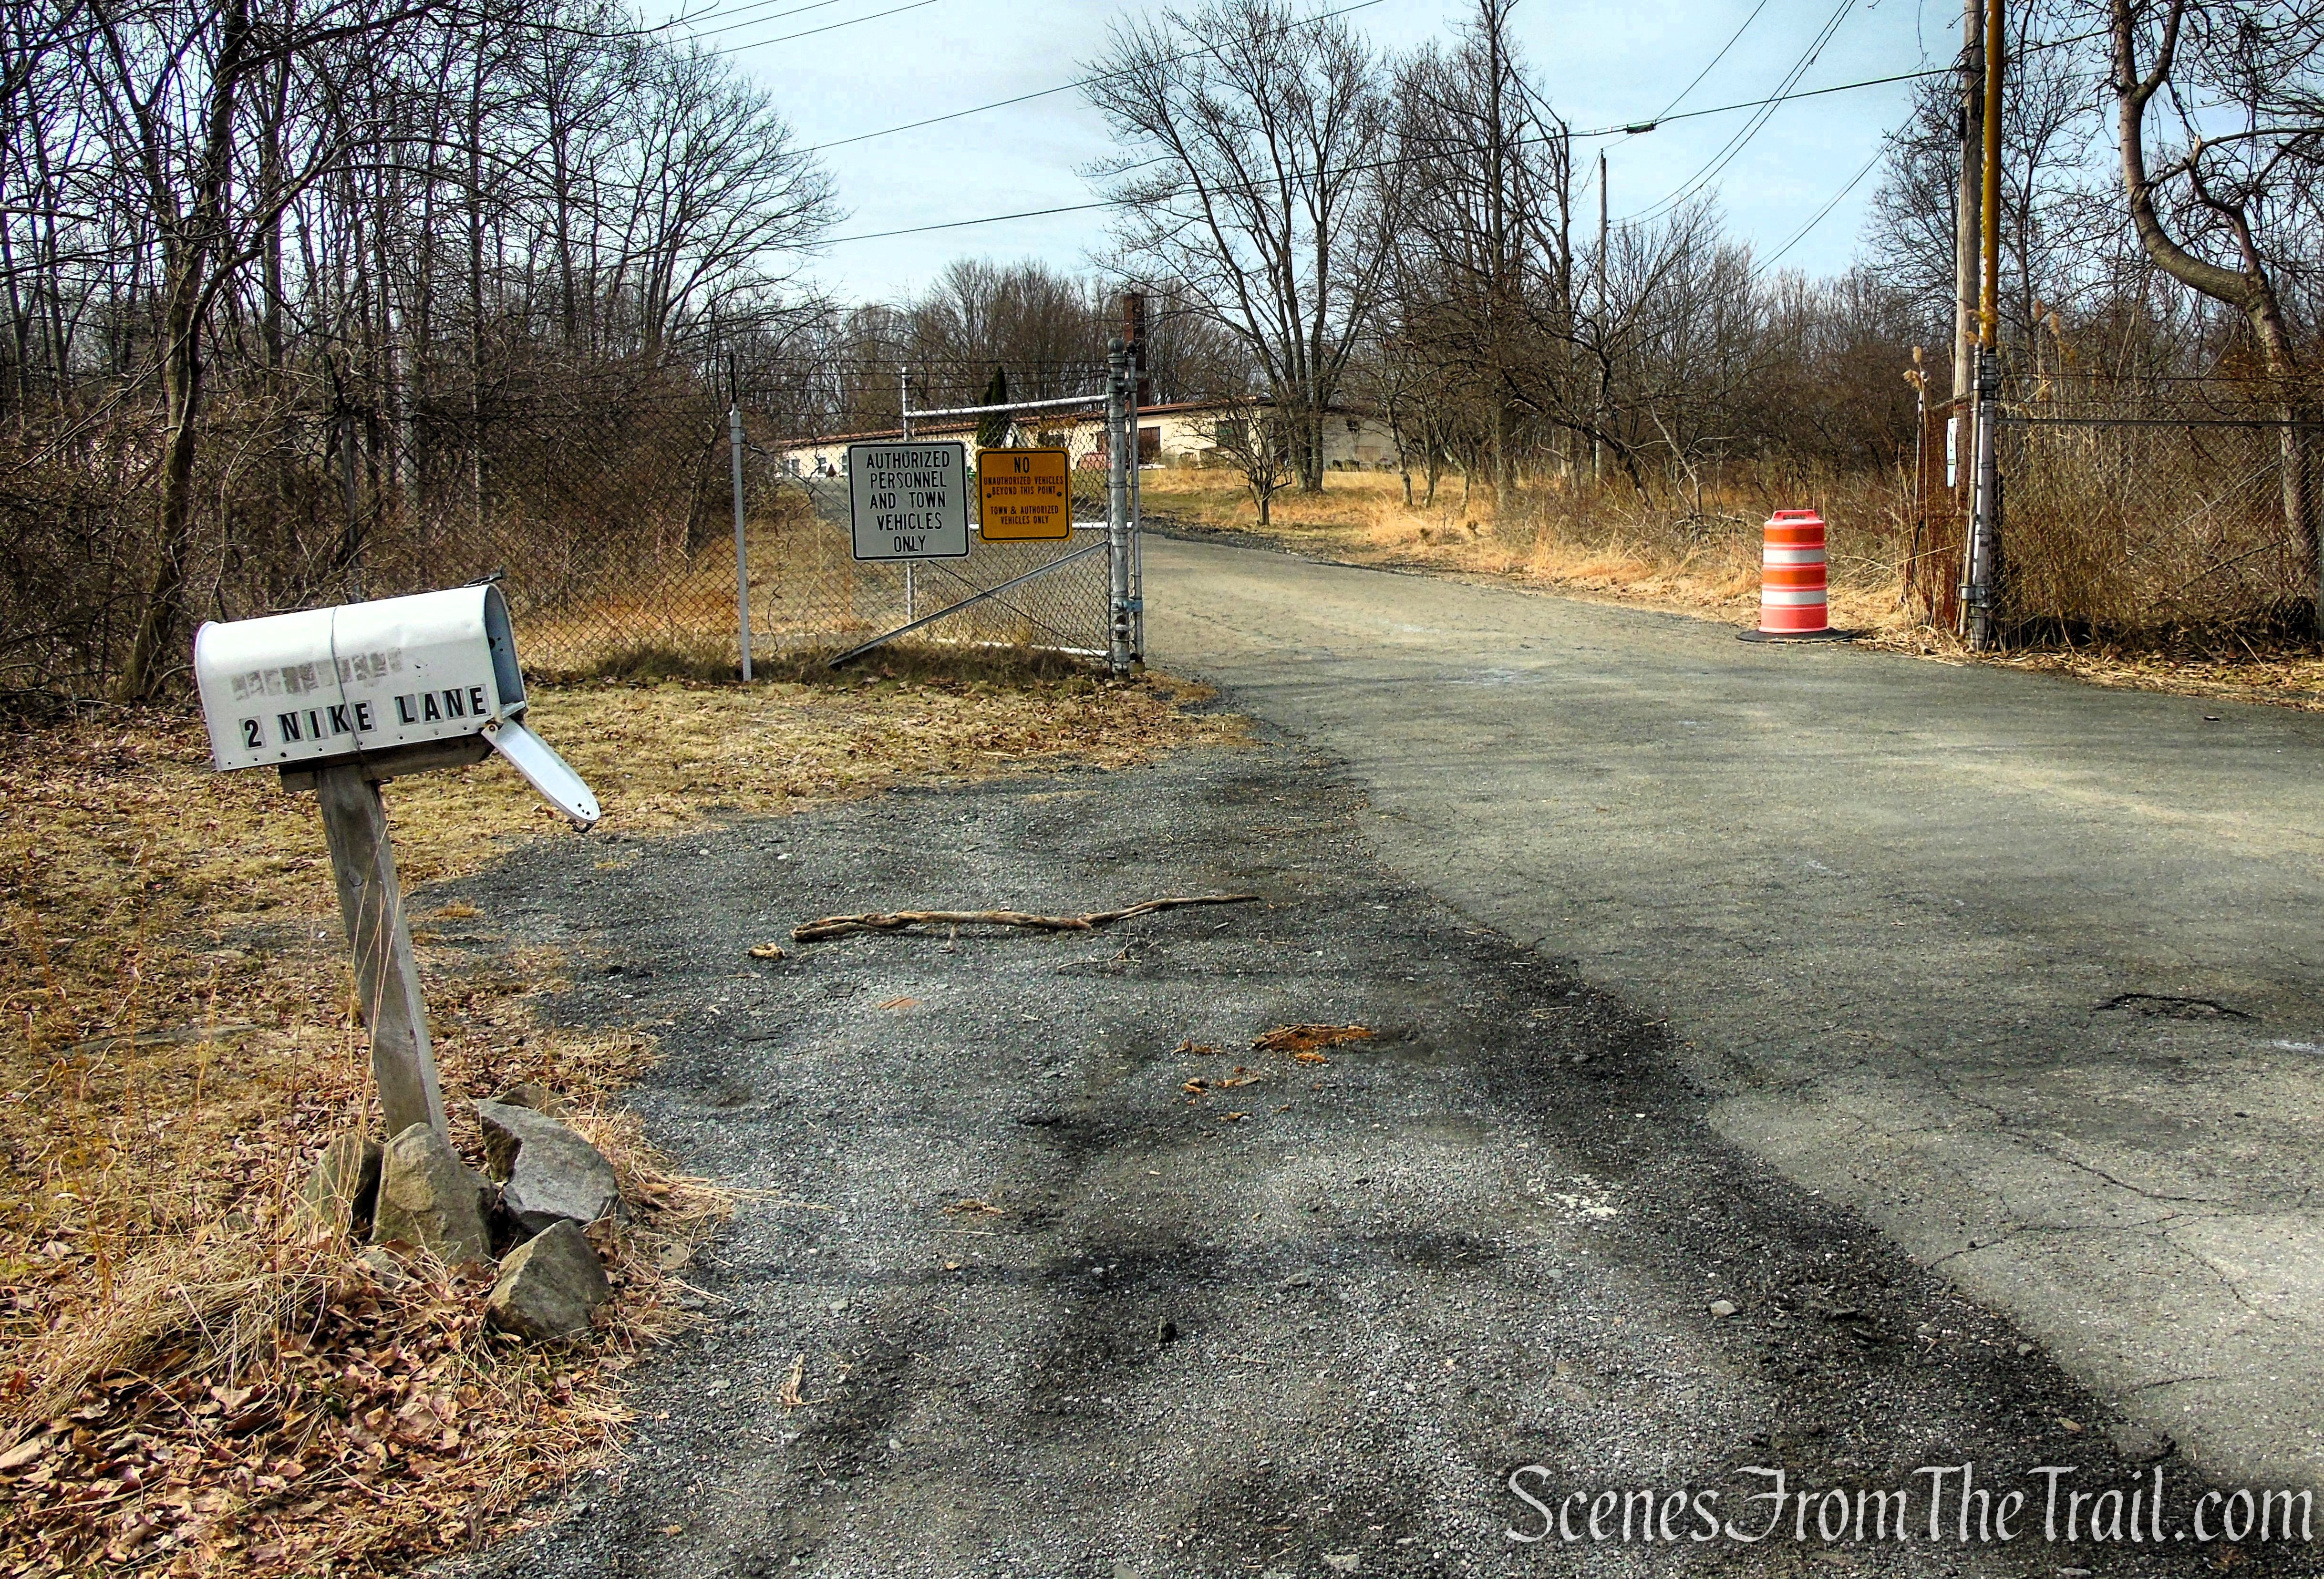
Nike Lane – Nike Overlook Park
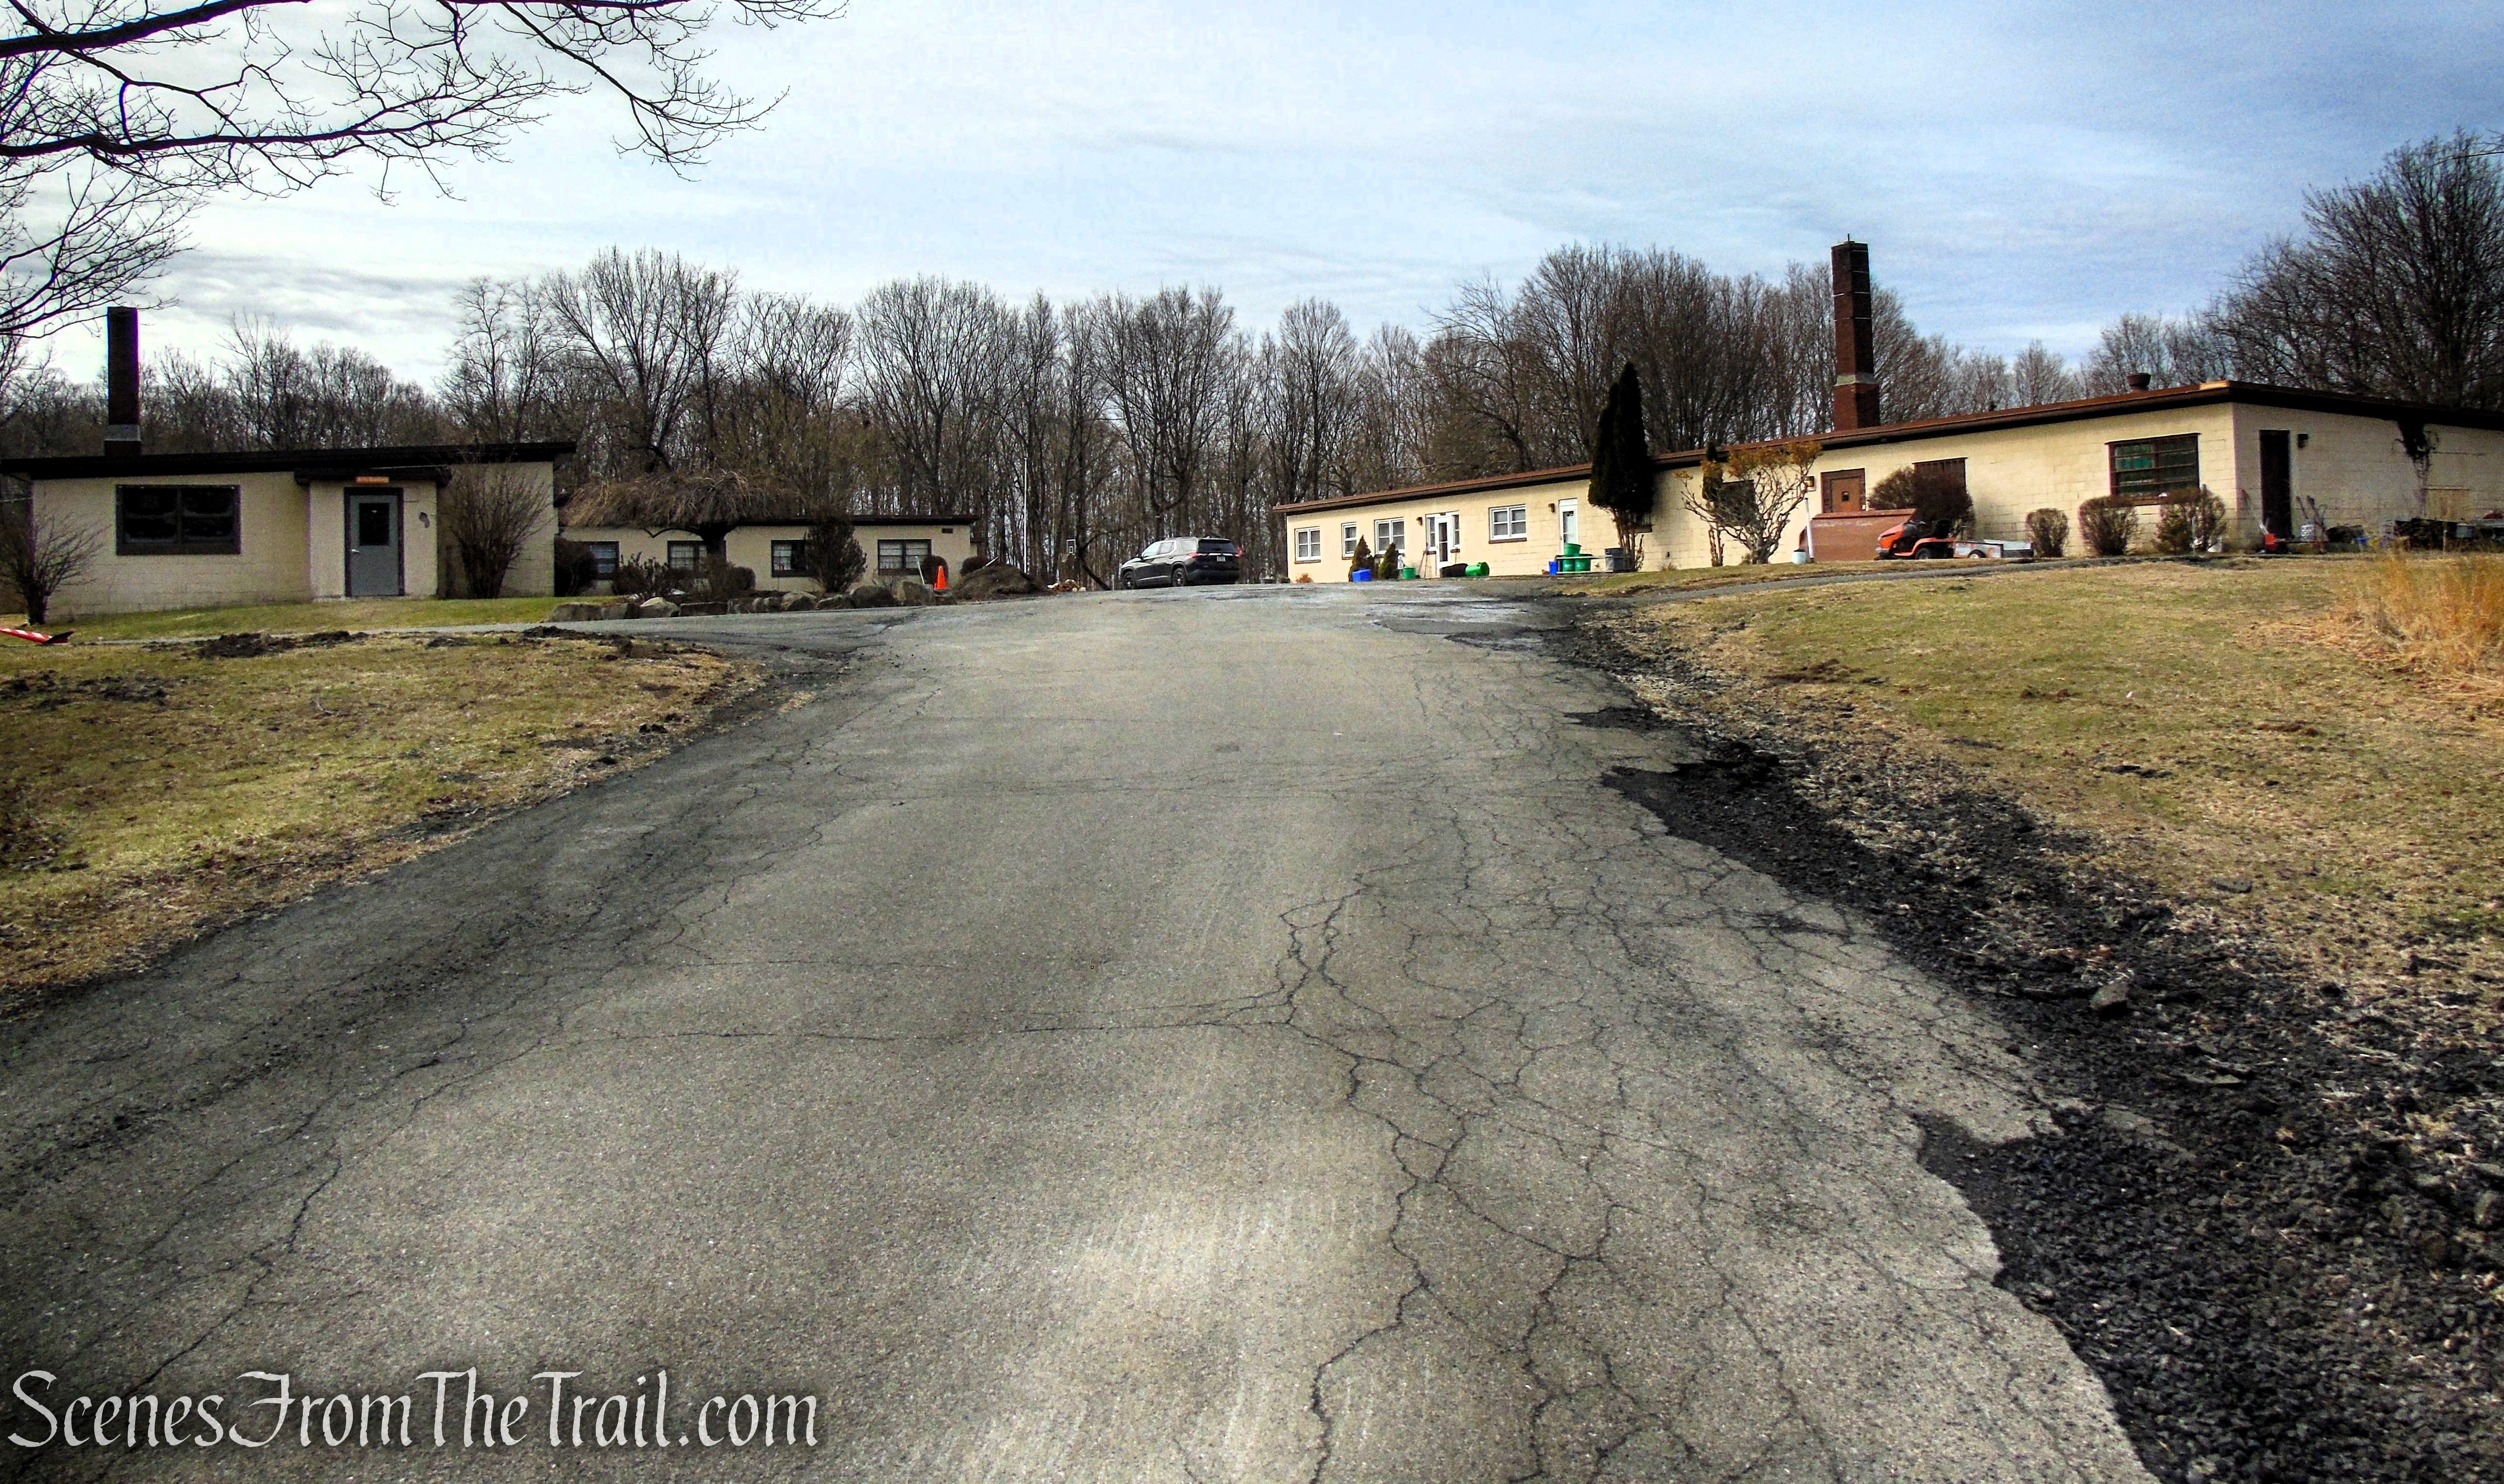
Nike Lane continues past the gate, bearing left as it passes the first set of buildings. Follow the road to the high point, keeping an eye out for remnants of the IFC site along the way.
Nike Lane – Nike Overlook Park
Nike Lane – Nike Overlook Park
Nike Lane – Nike Overlook Park
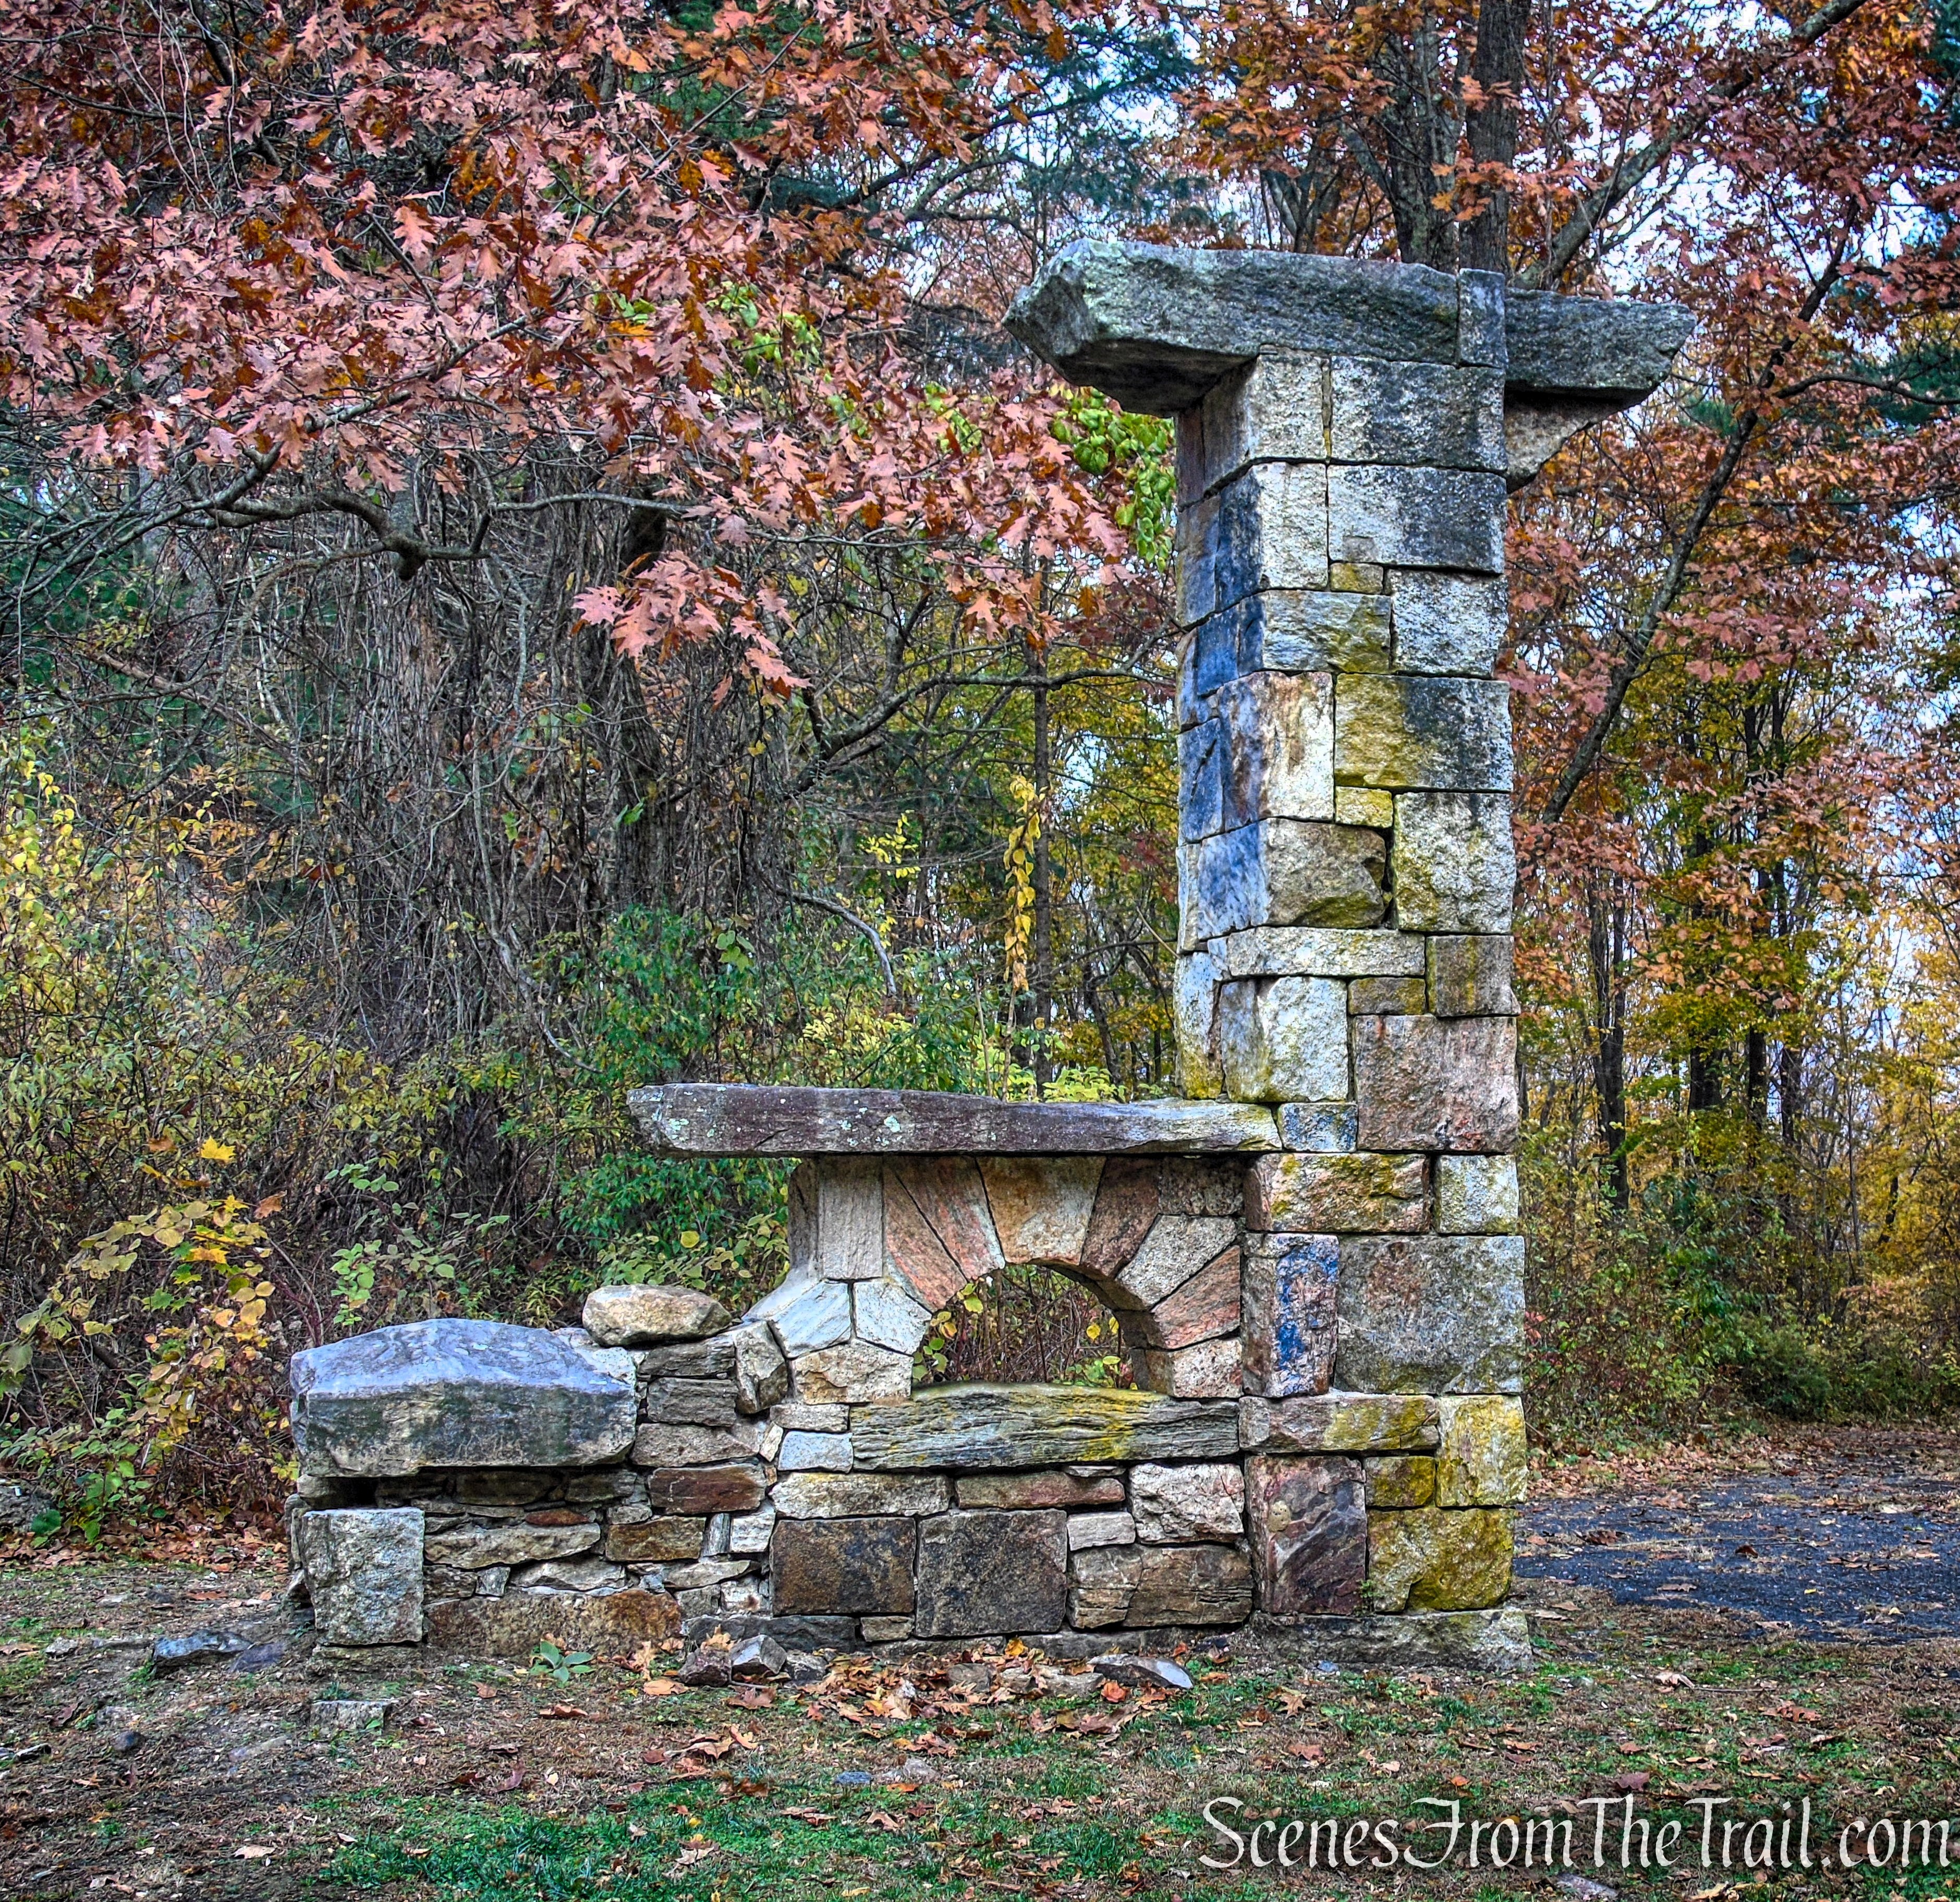
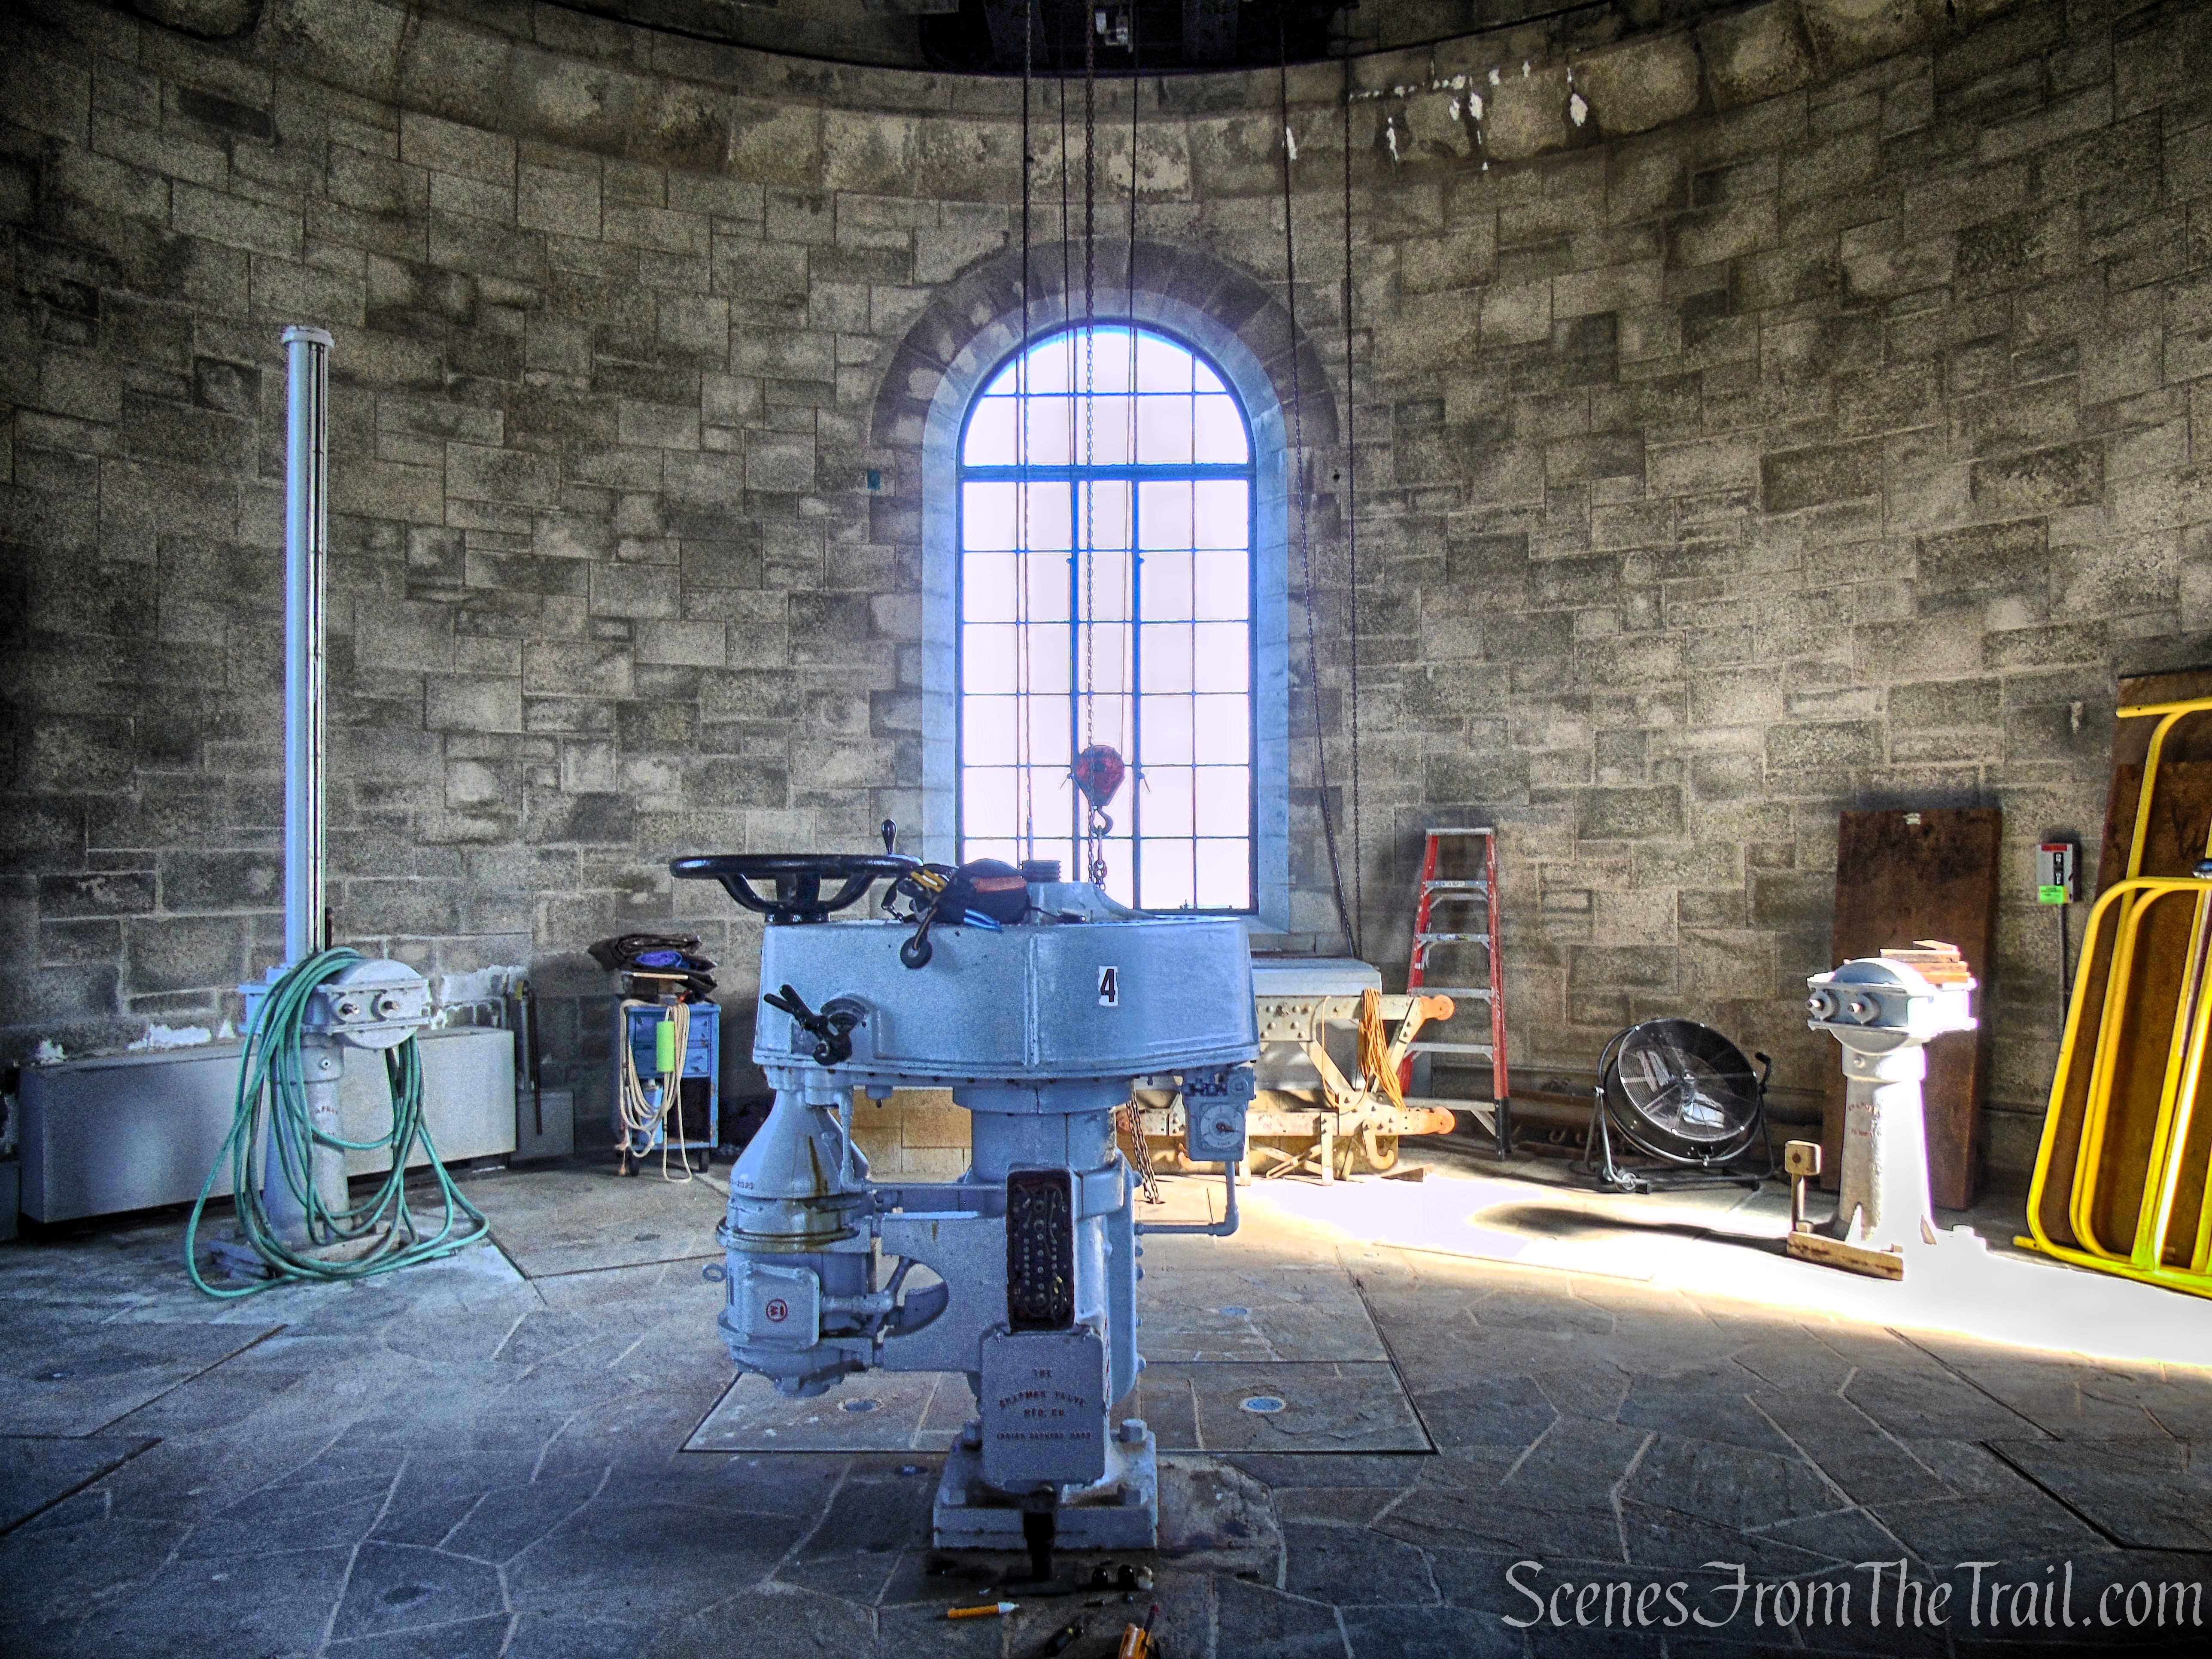
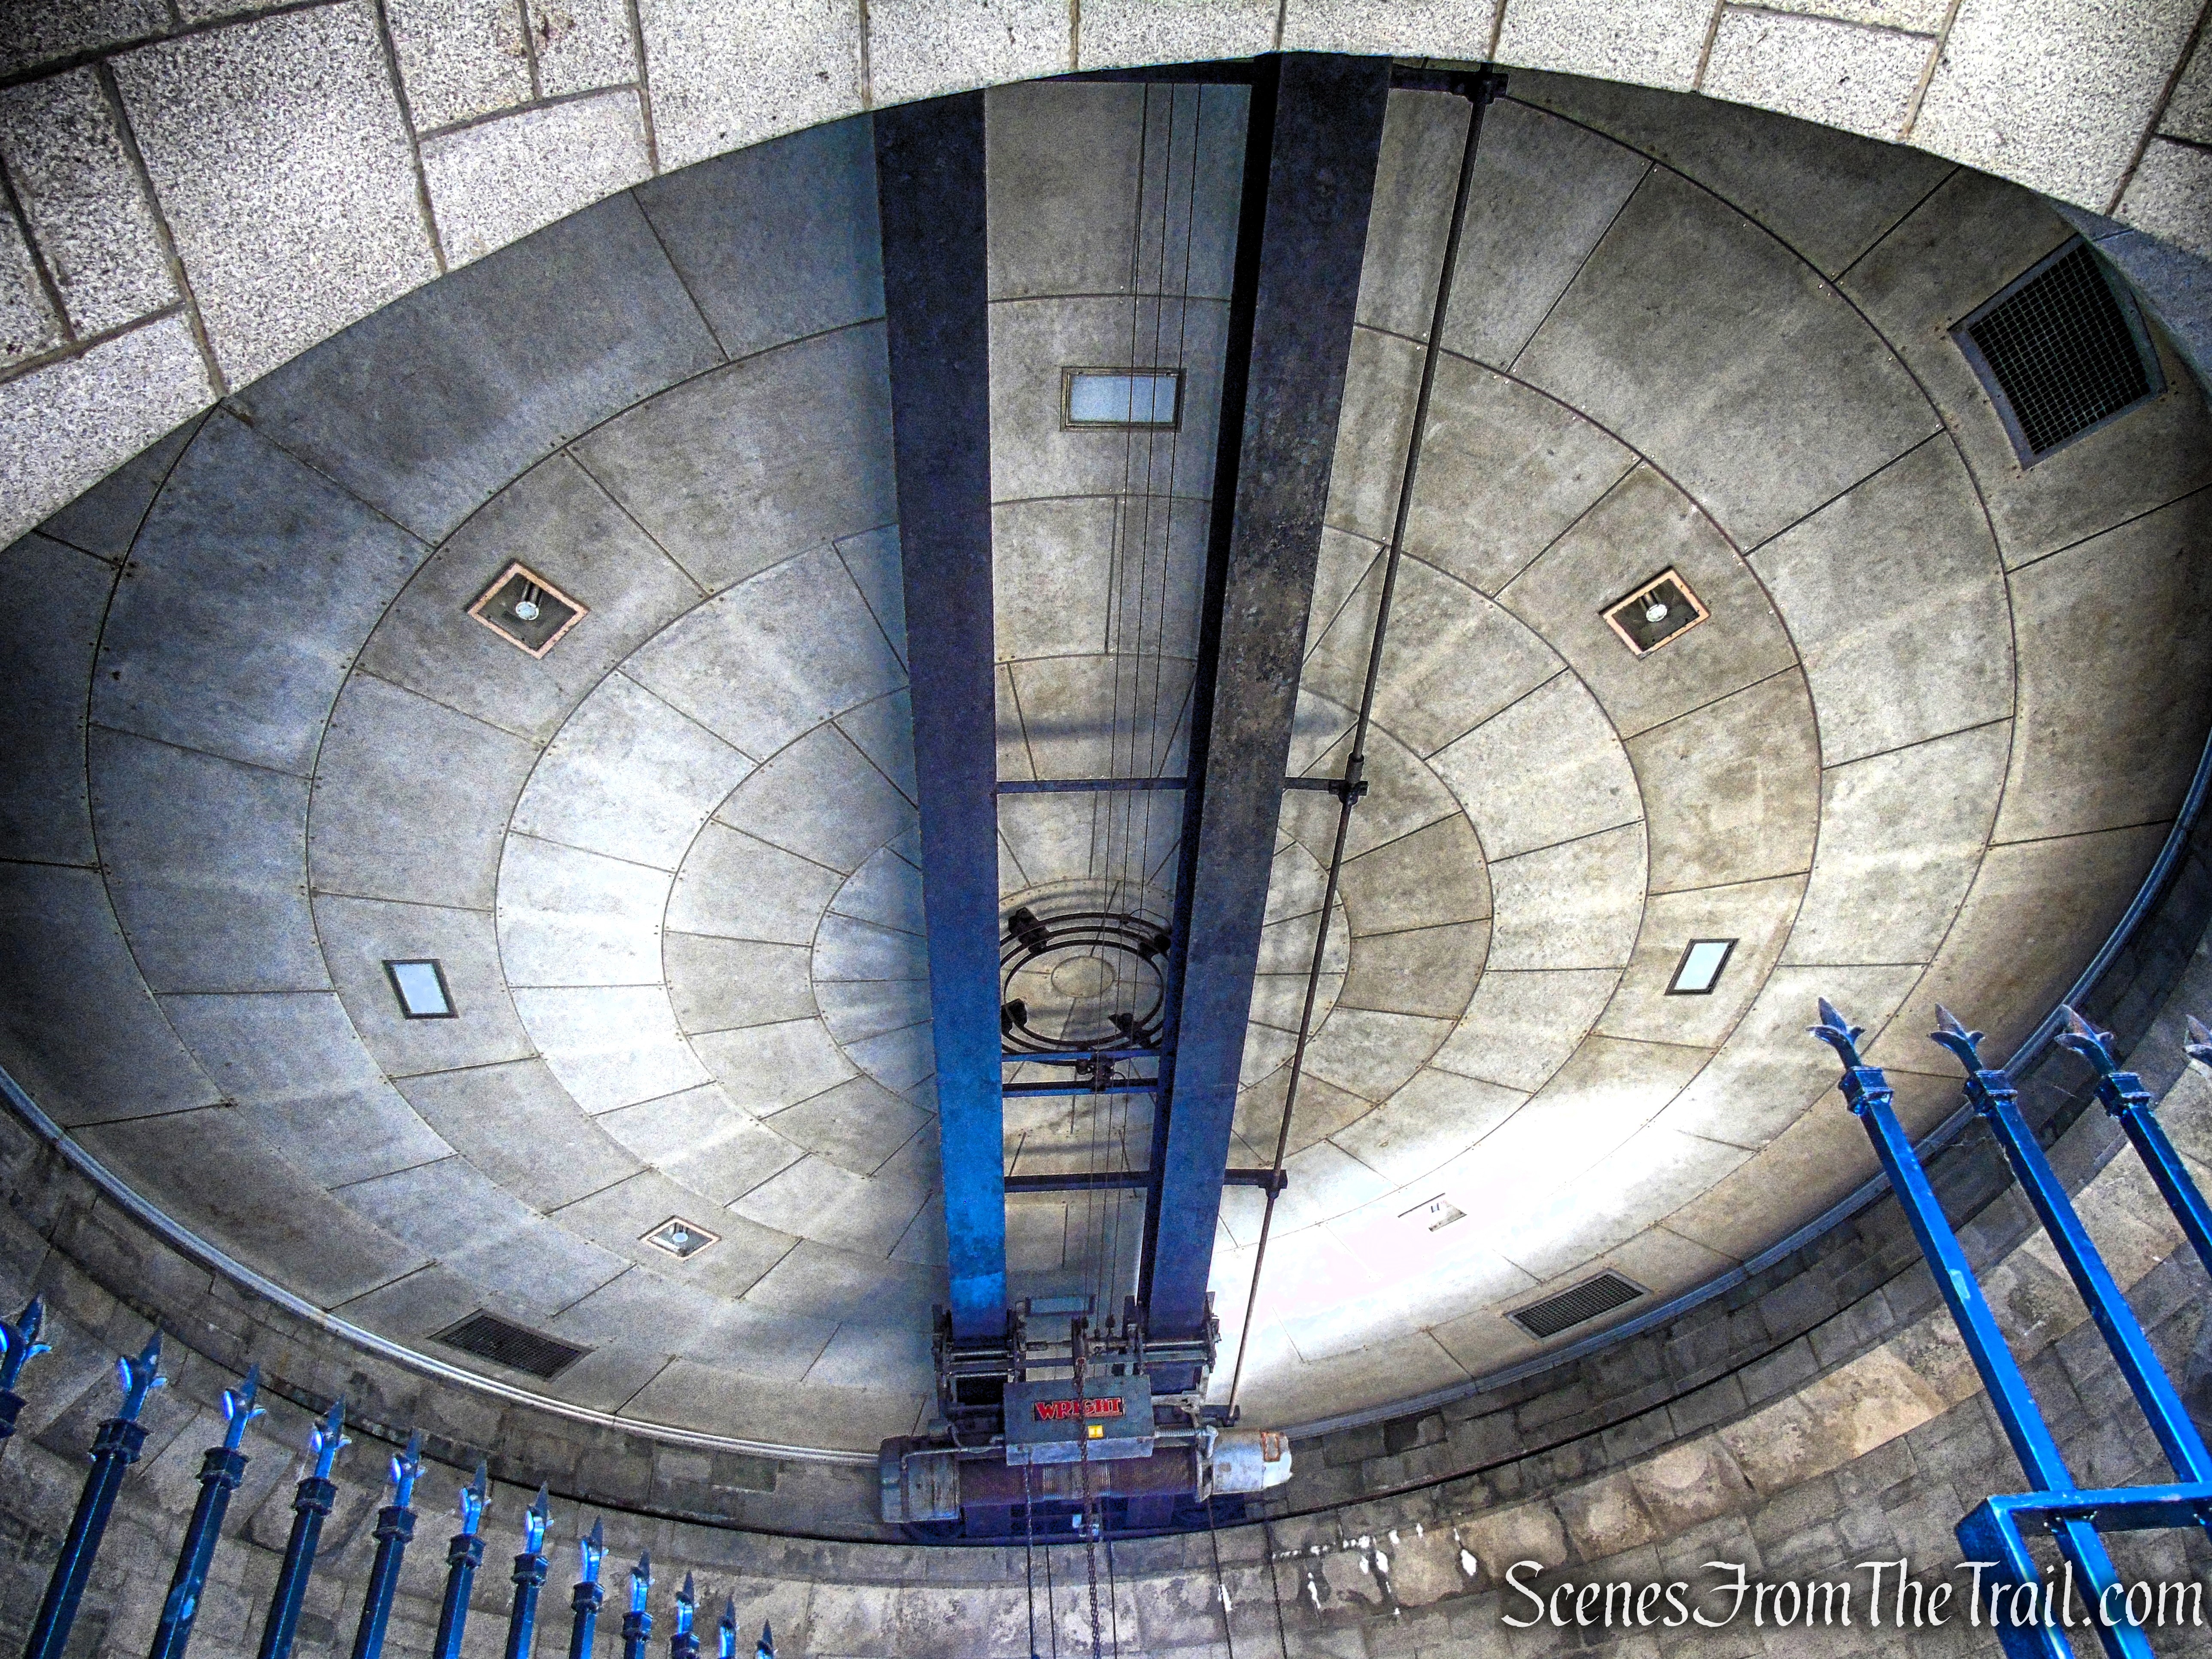
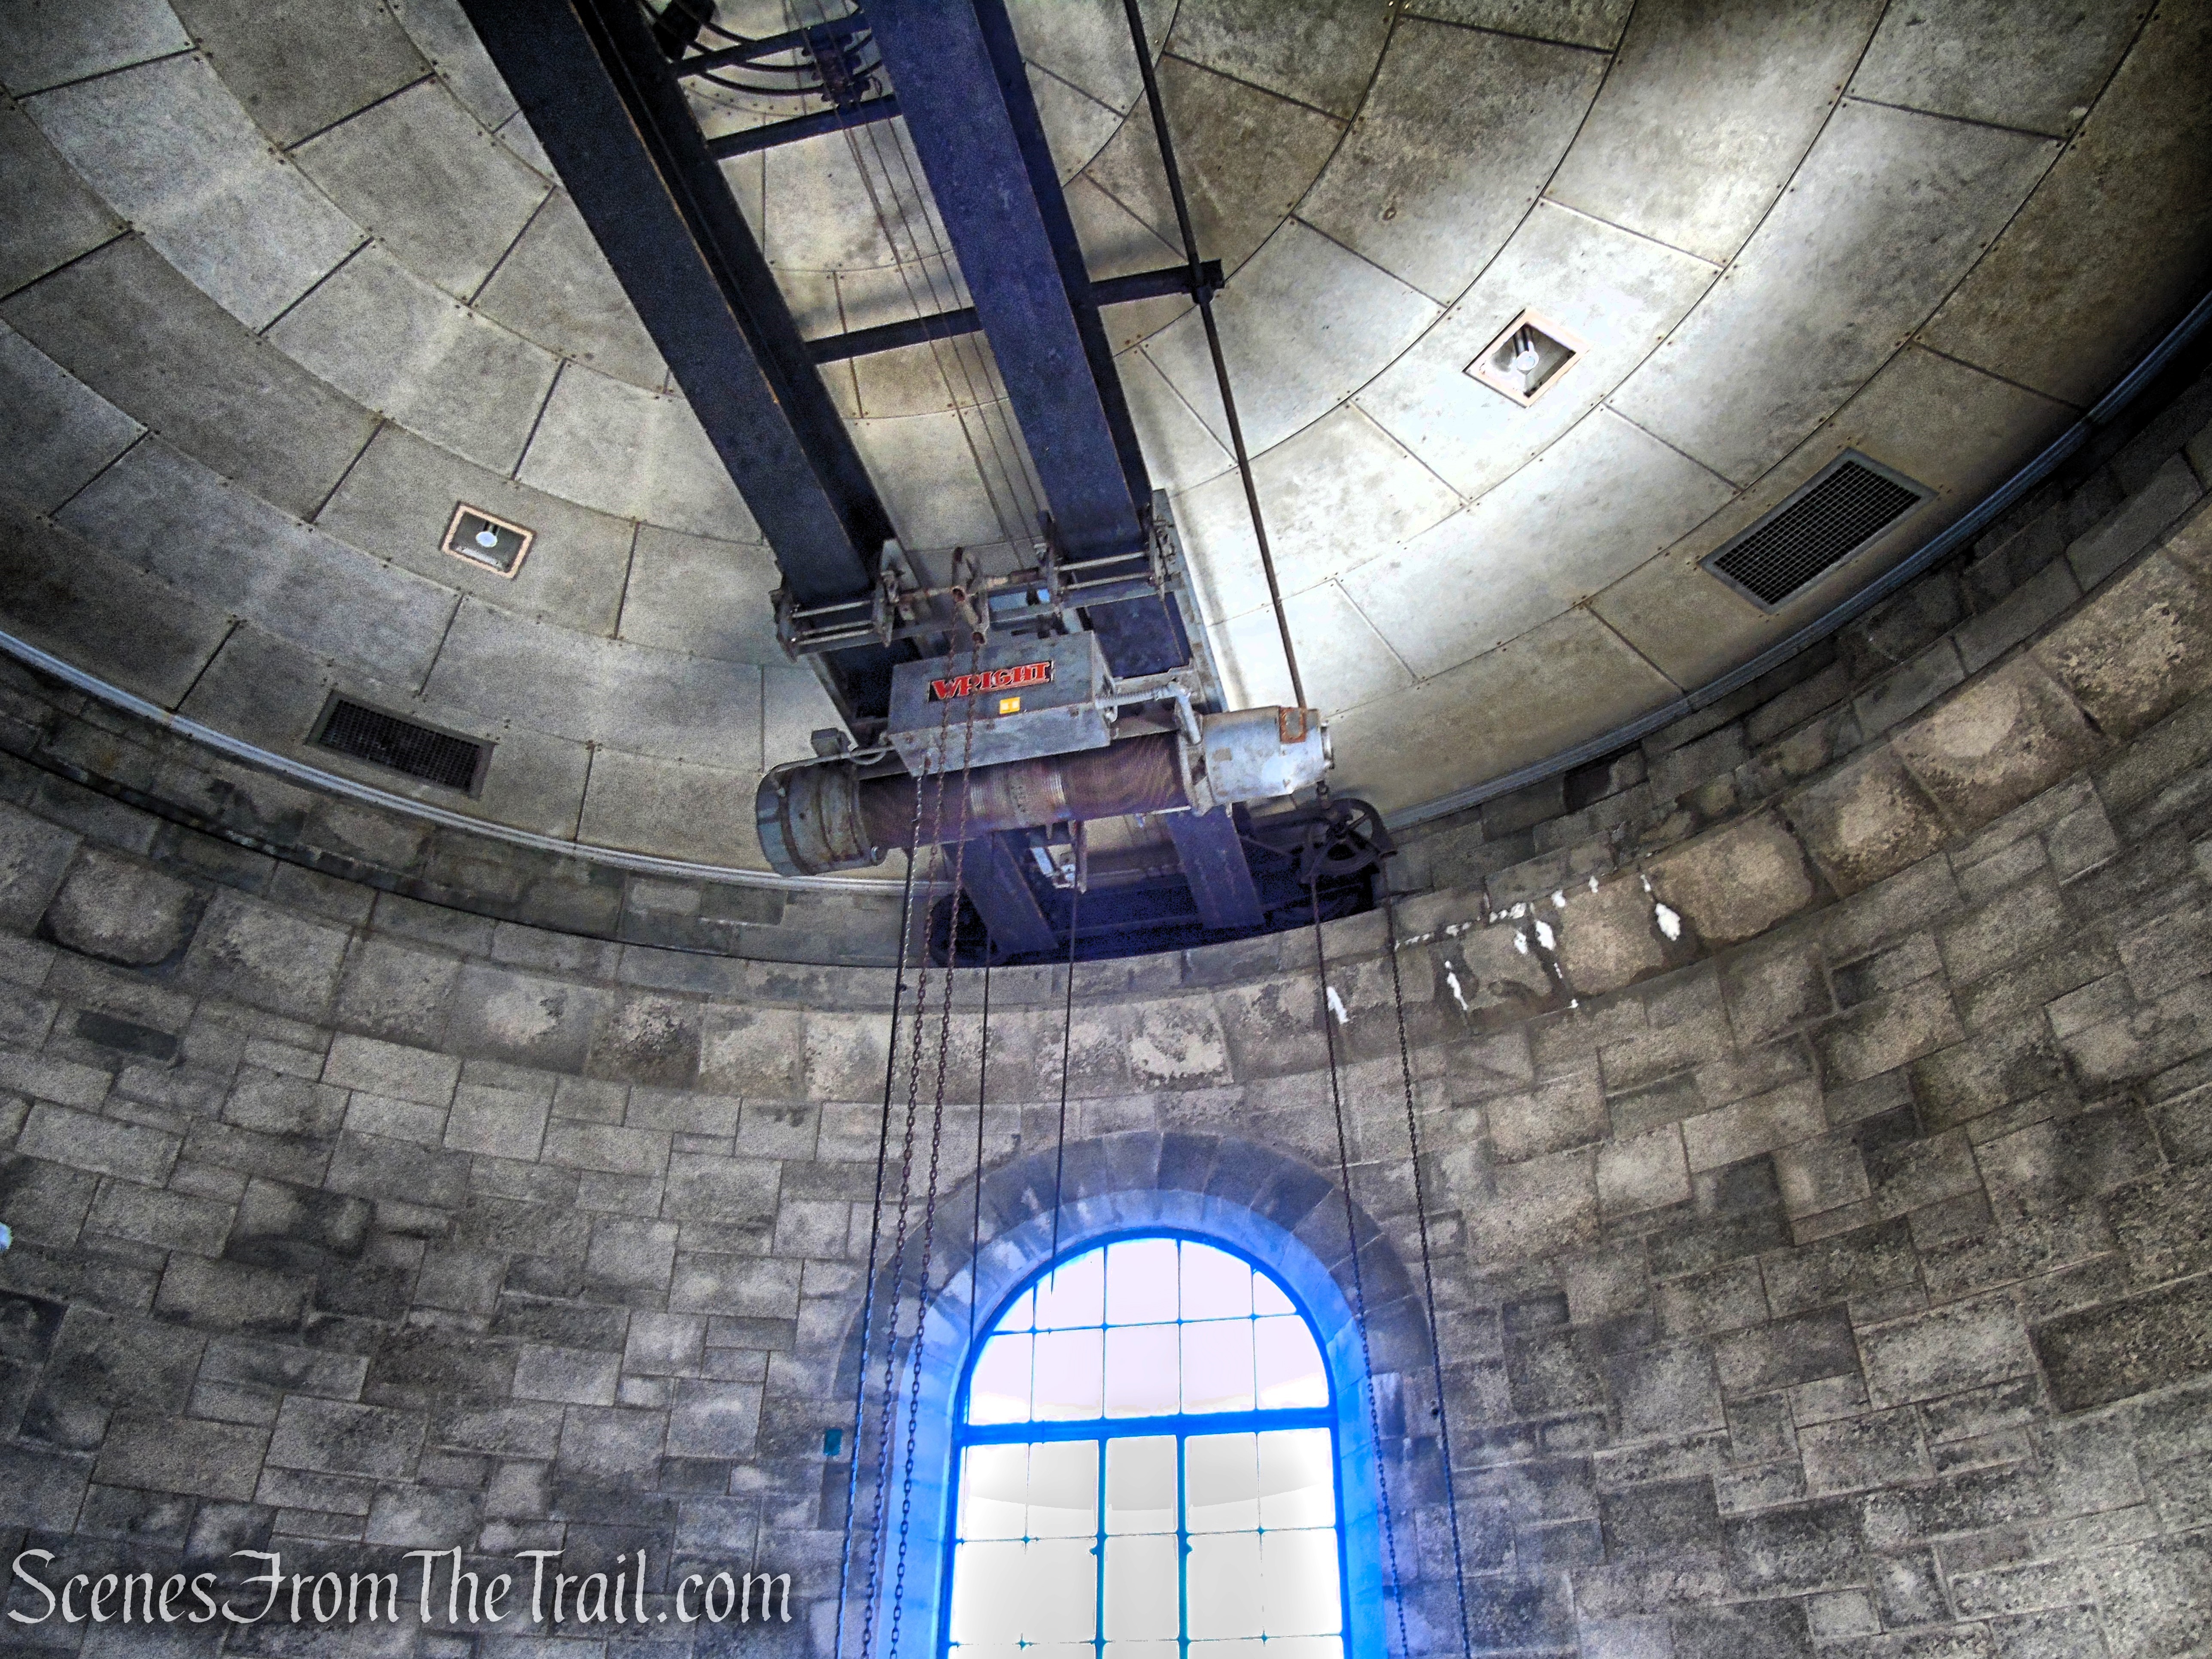
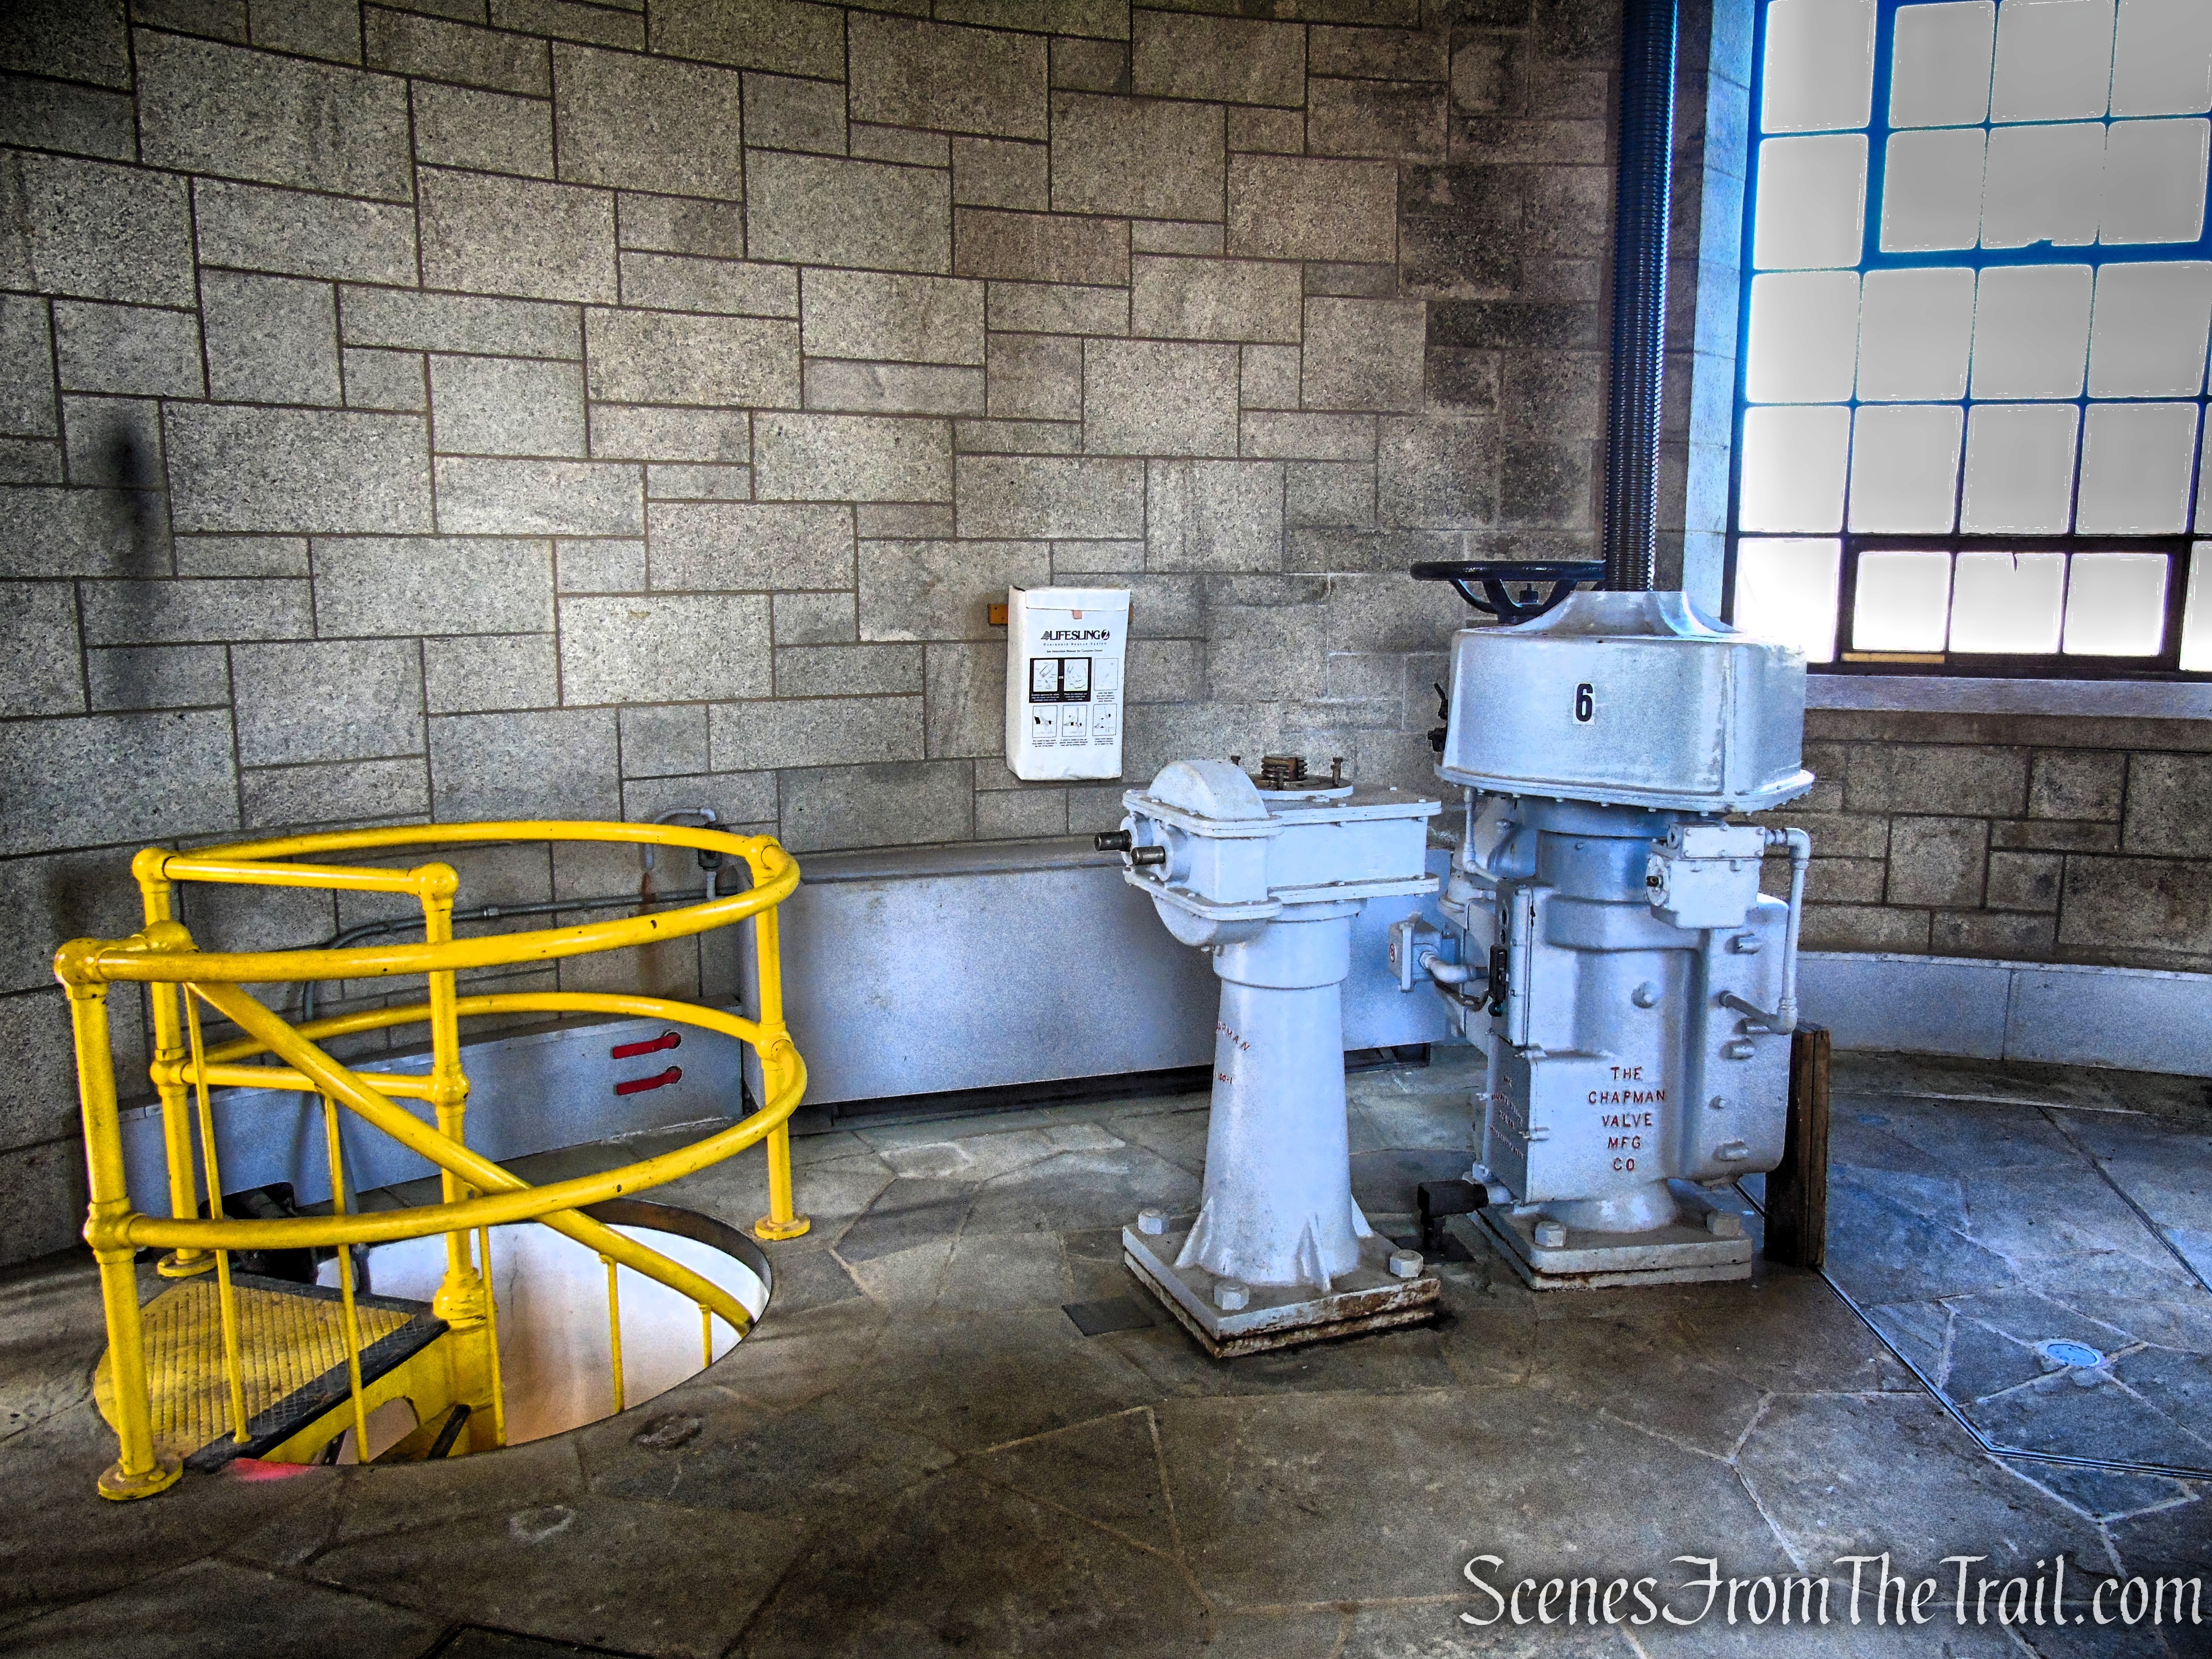
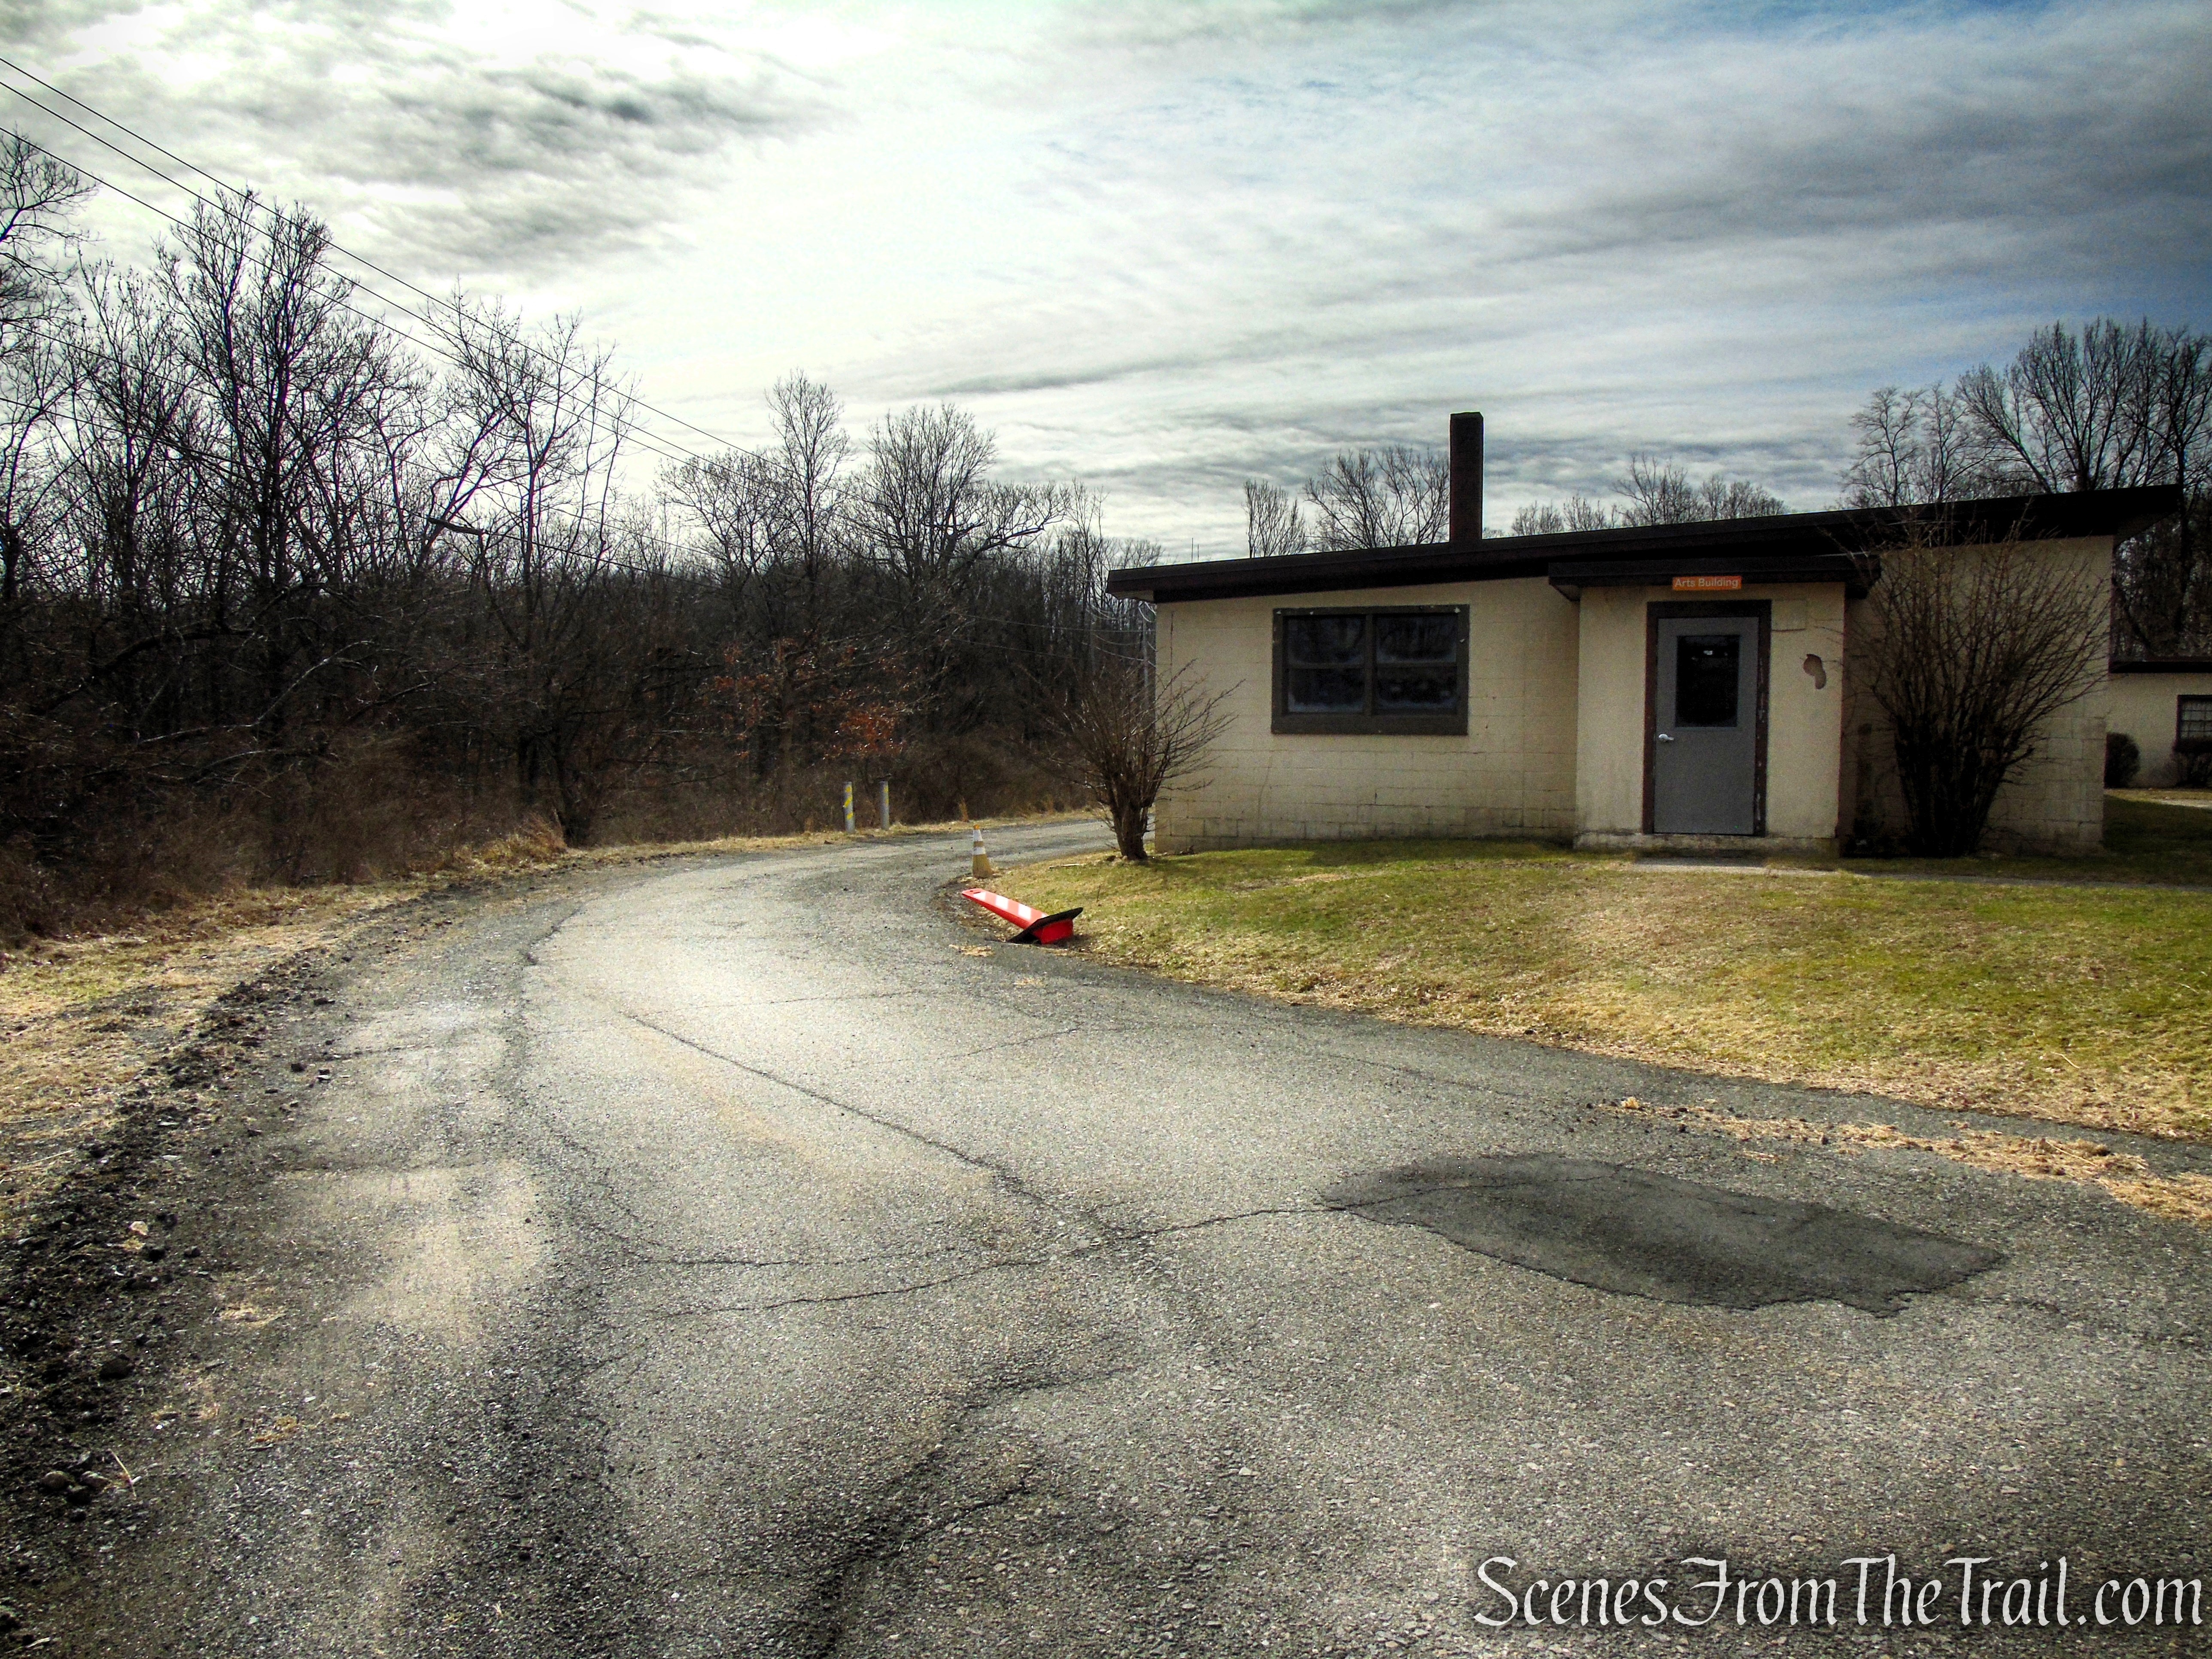
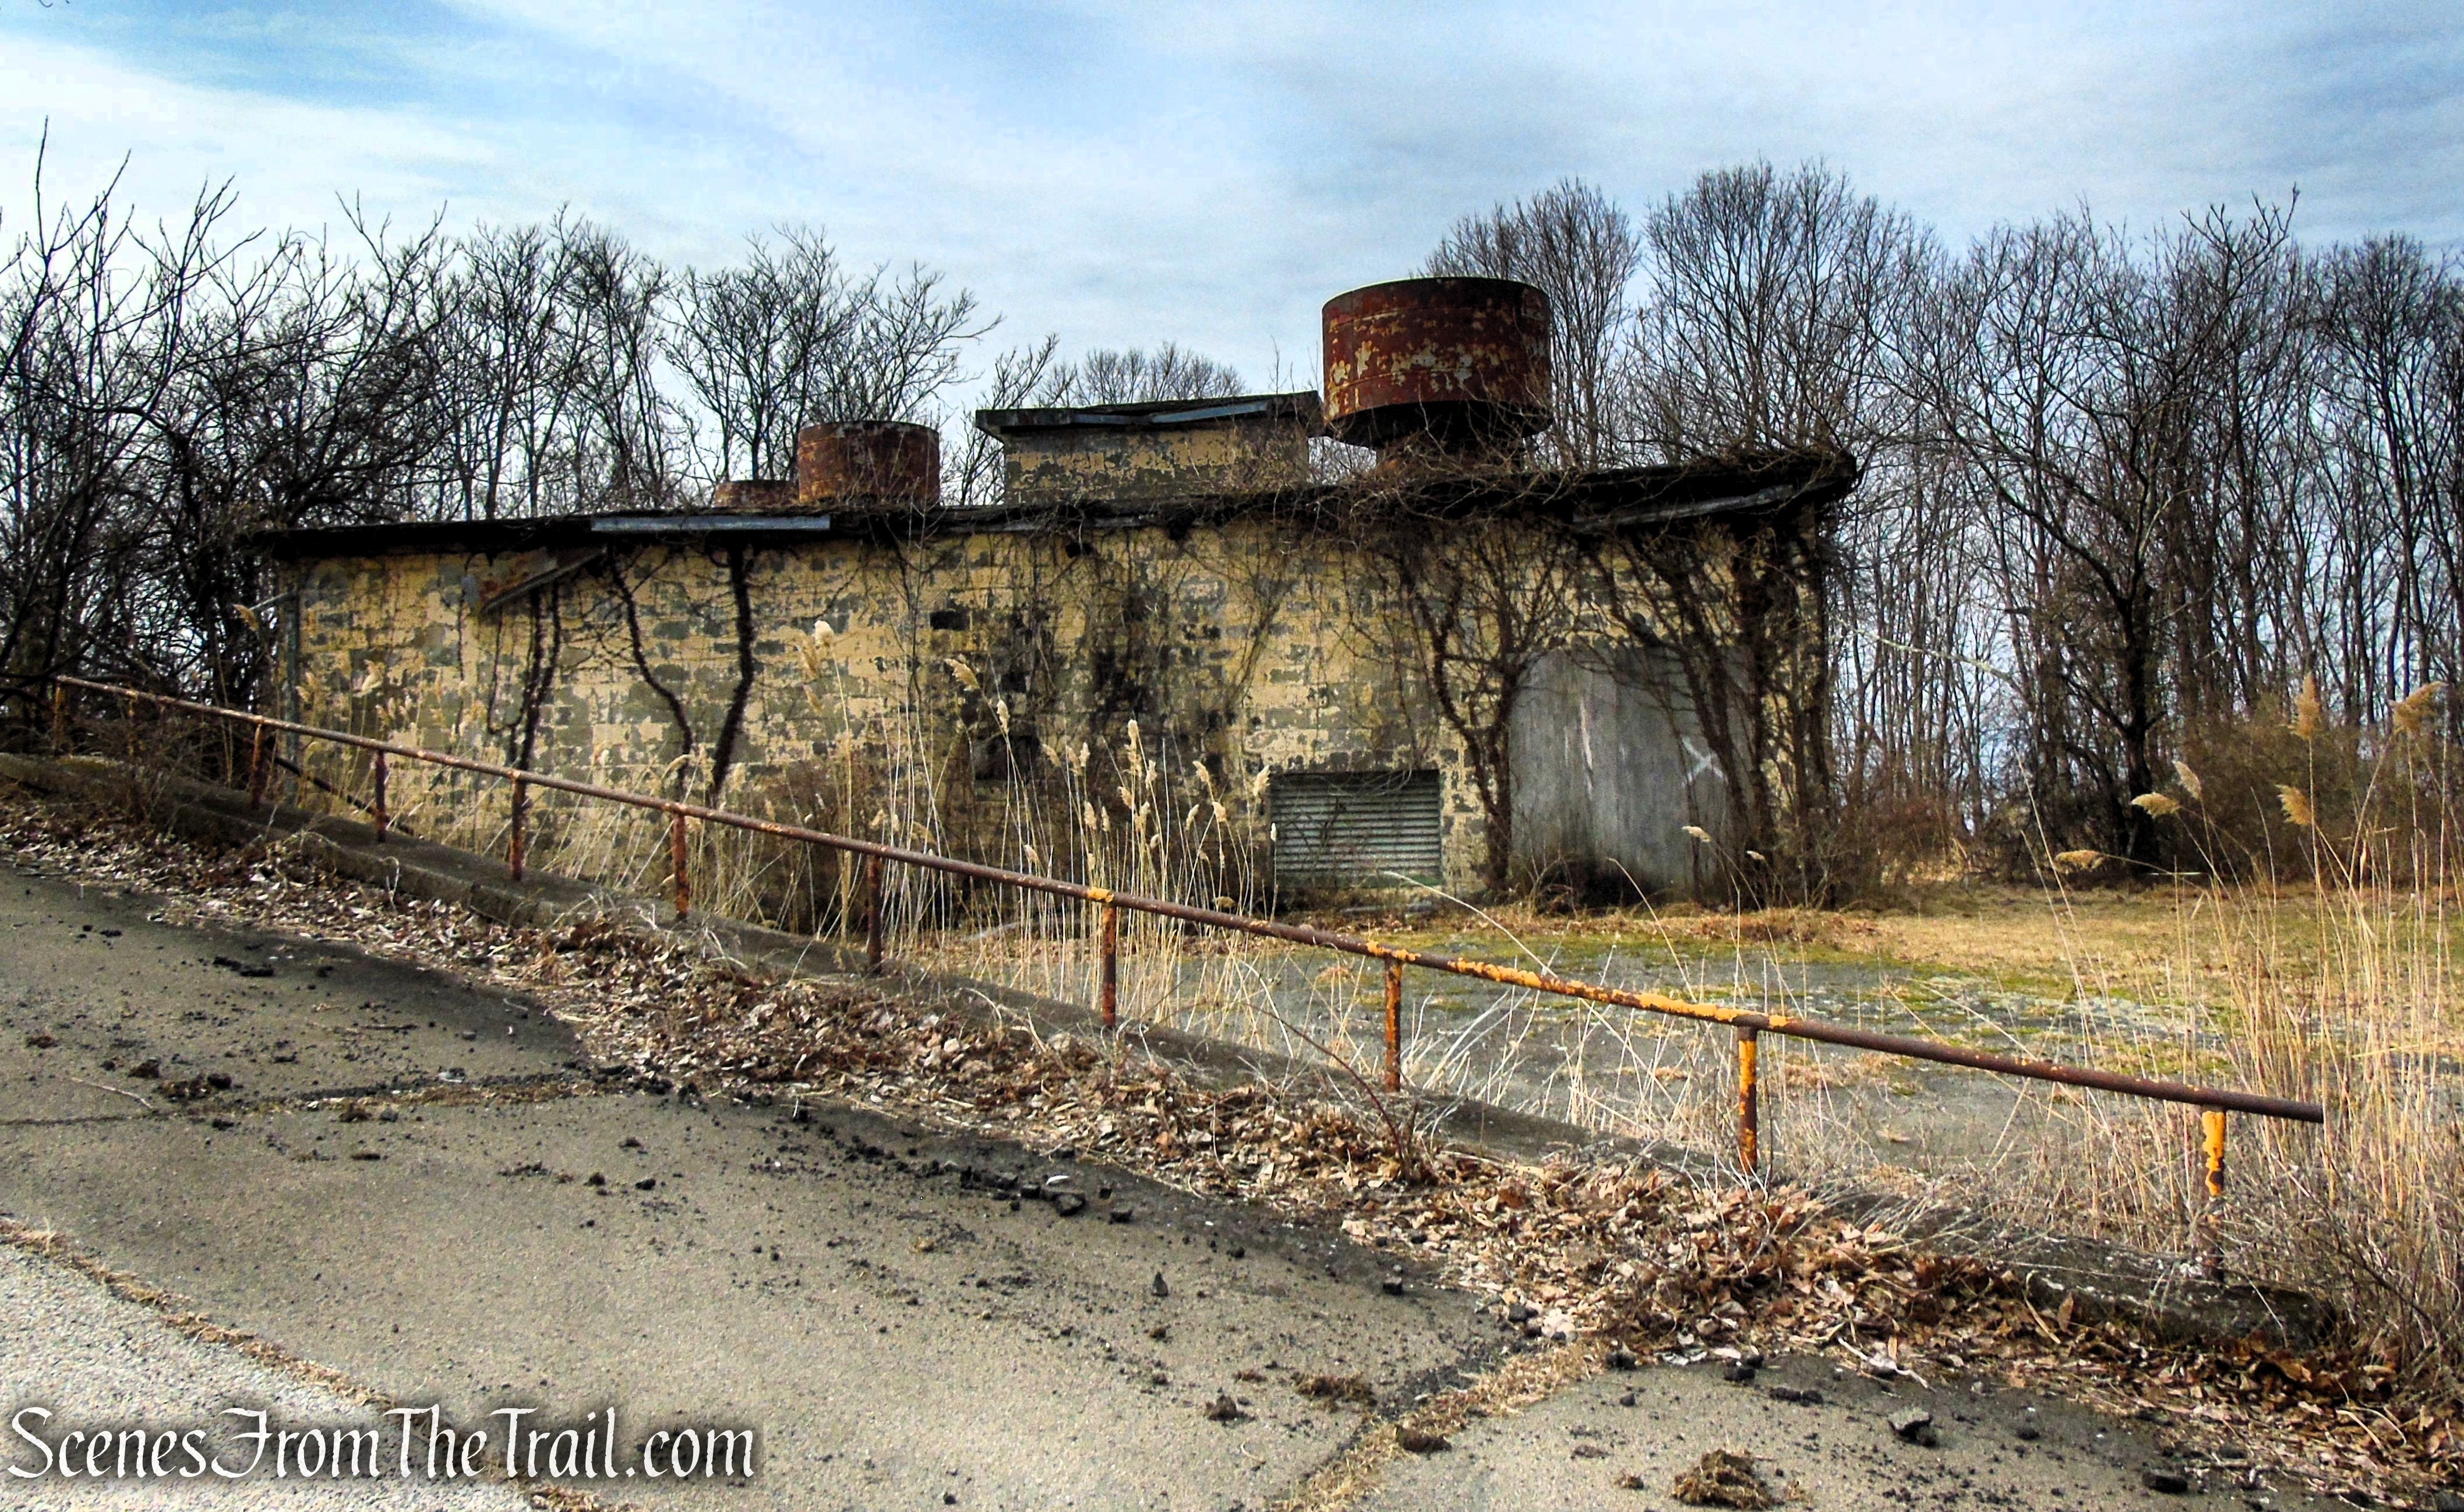
One of the buildings near the summit with a high-capacity venting system.
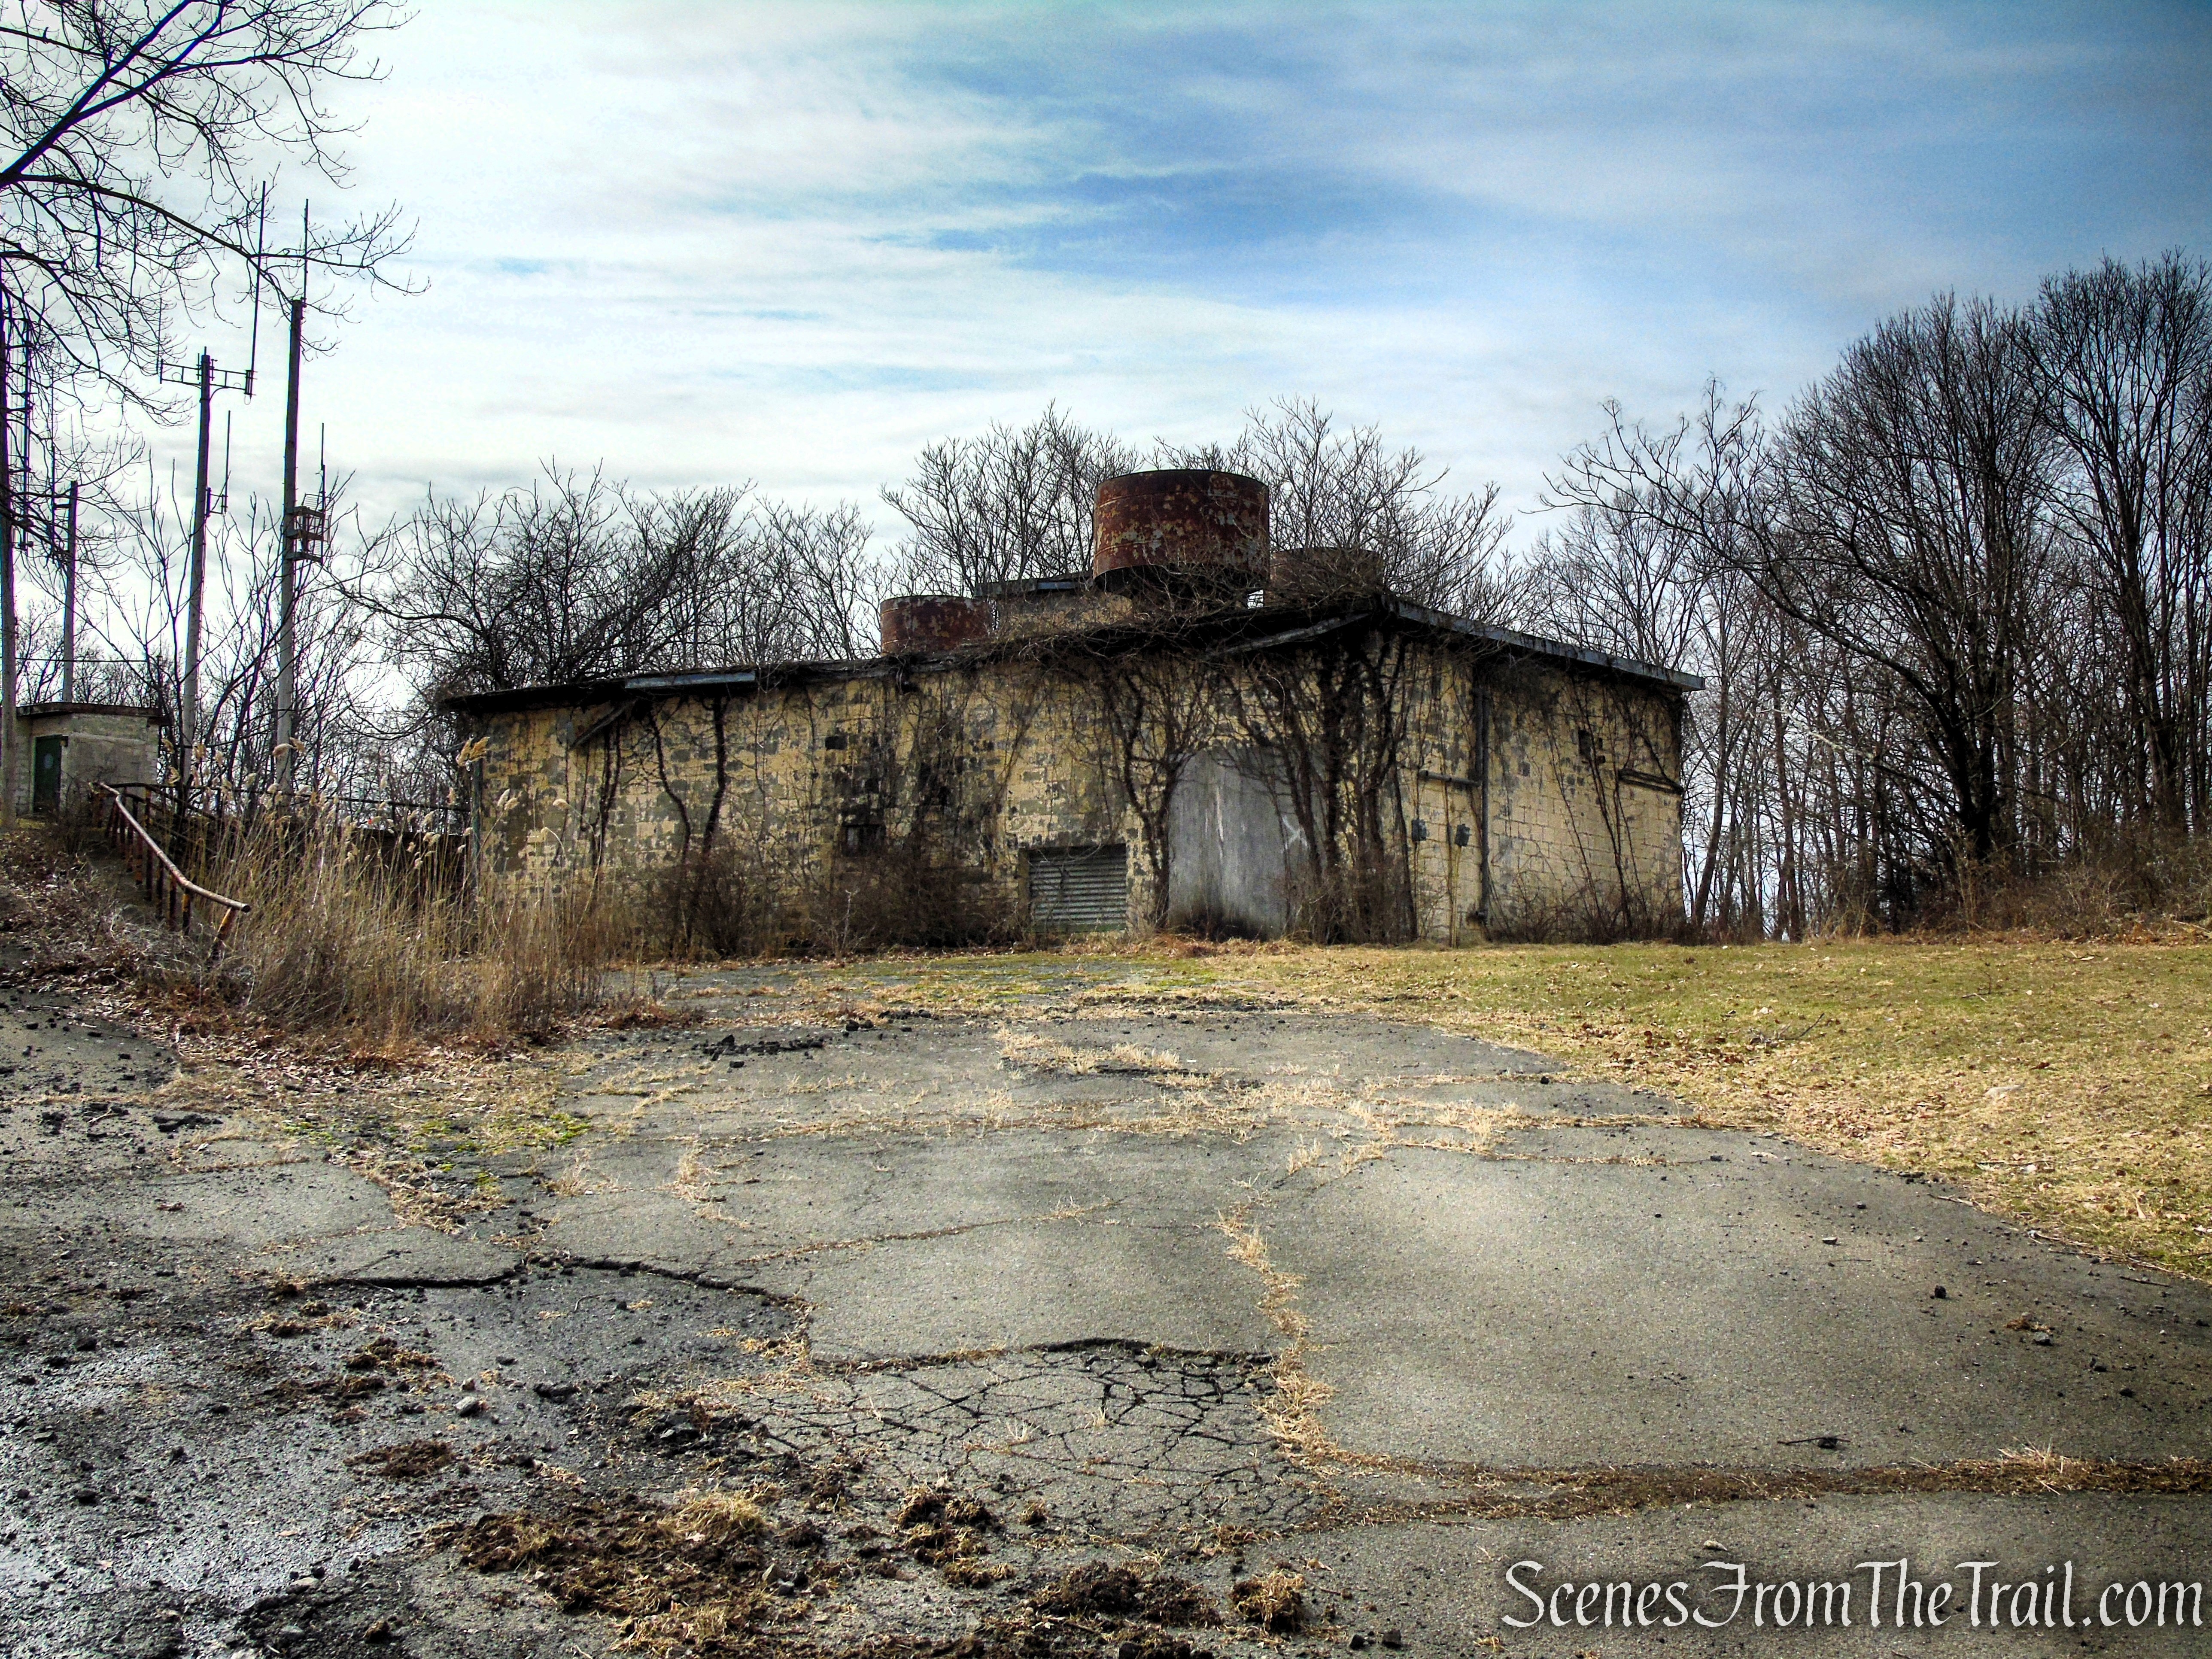
Nike Overlook Park
Nike Overlook Park
To the left of the road, almost hidden, is a rusty steel radar platform.
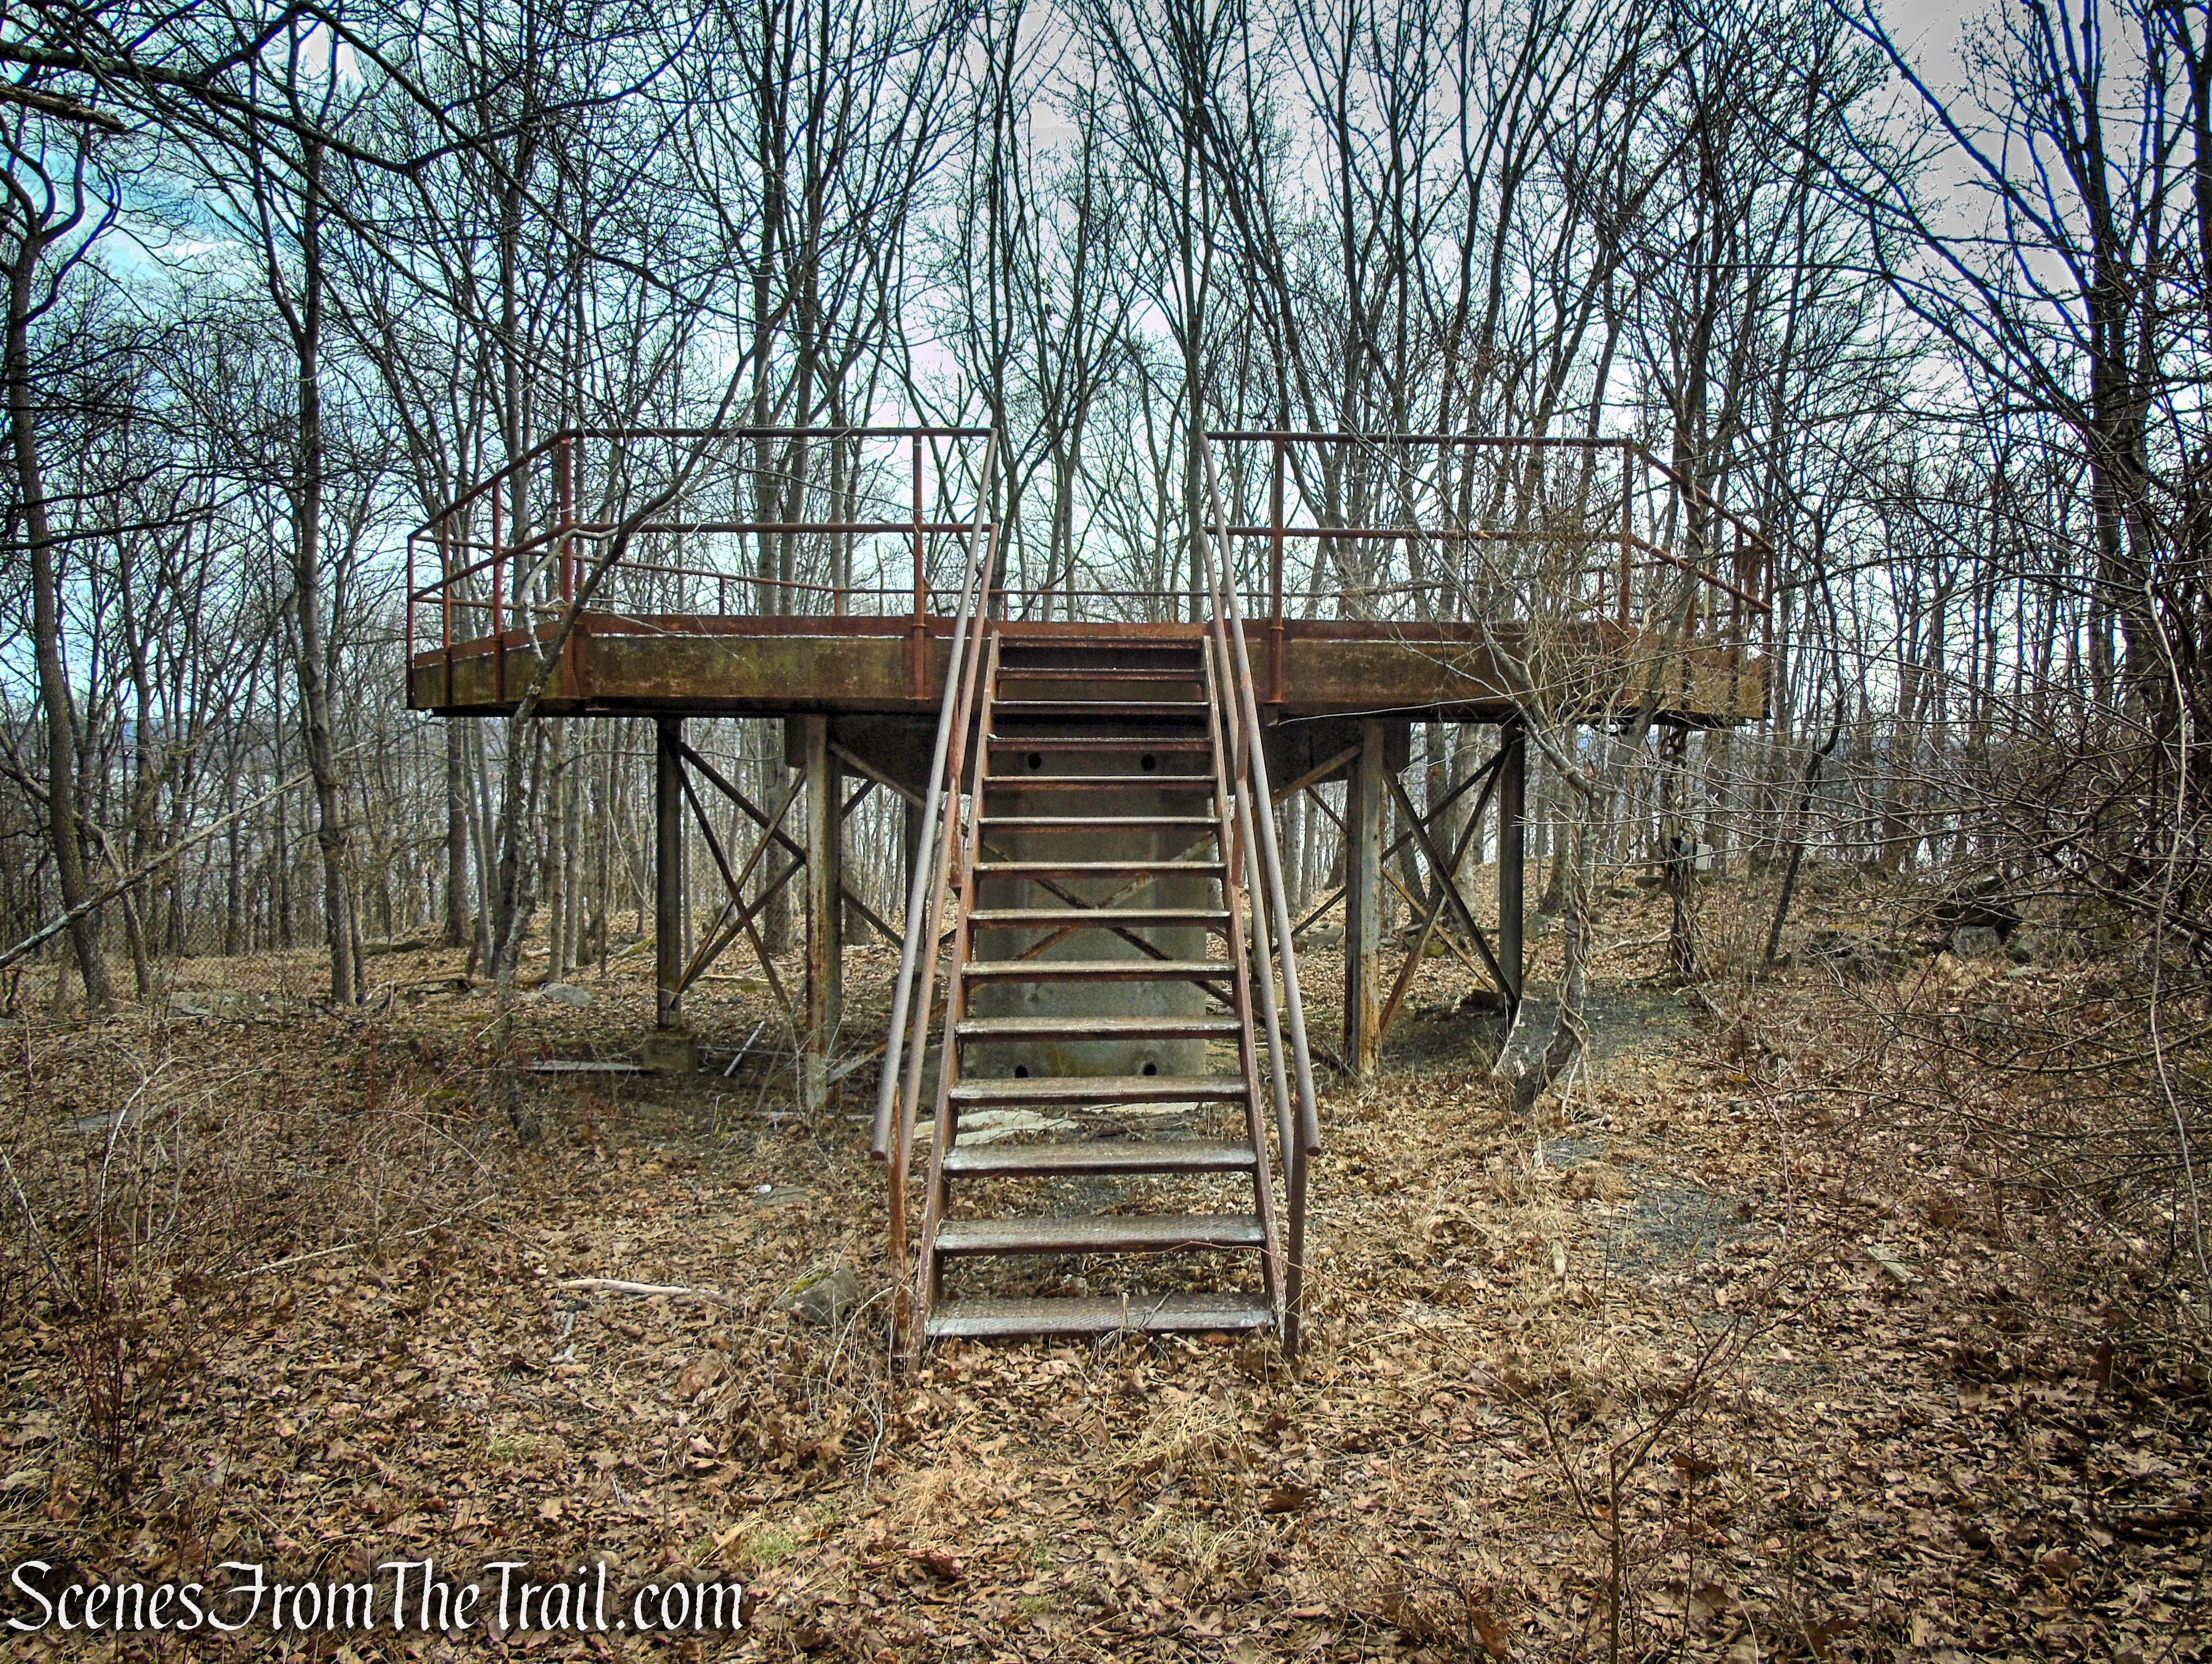
Nike Overlook Park
We took a short rest at the summit, then spent some time wandering the area, seeking out scattered remnants—some tucked away in the surrounding woods. We then began heading downhill on Nike Lane, stopping occasionally to check out anything we may have missed on the way up.
Nike Overlook Park
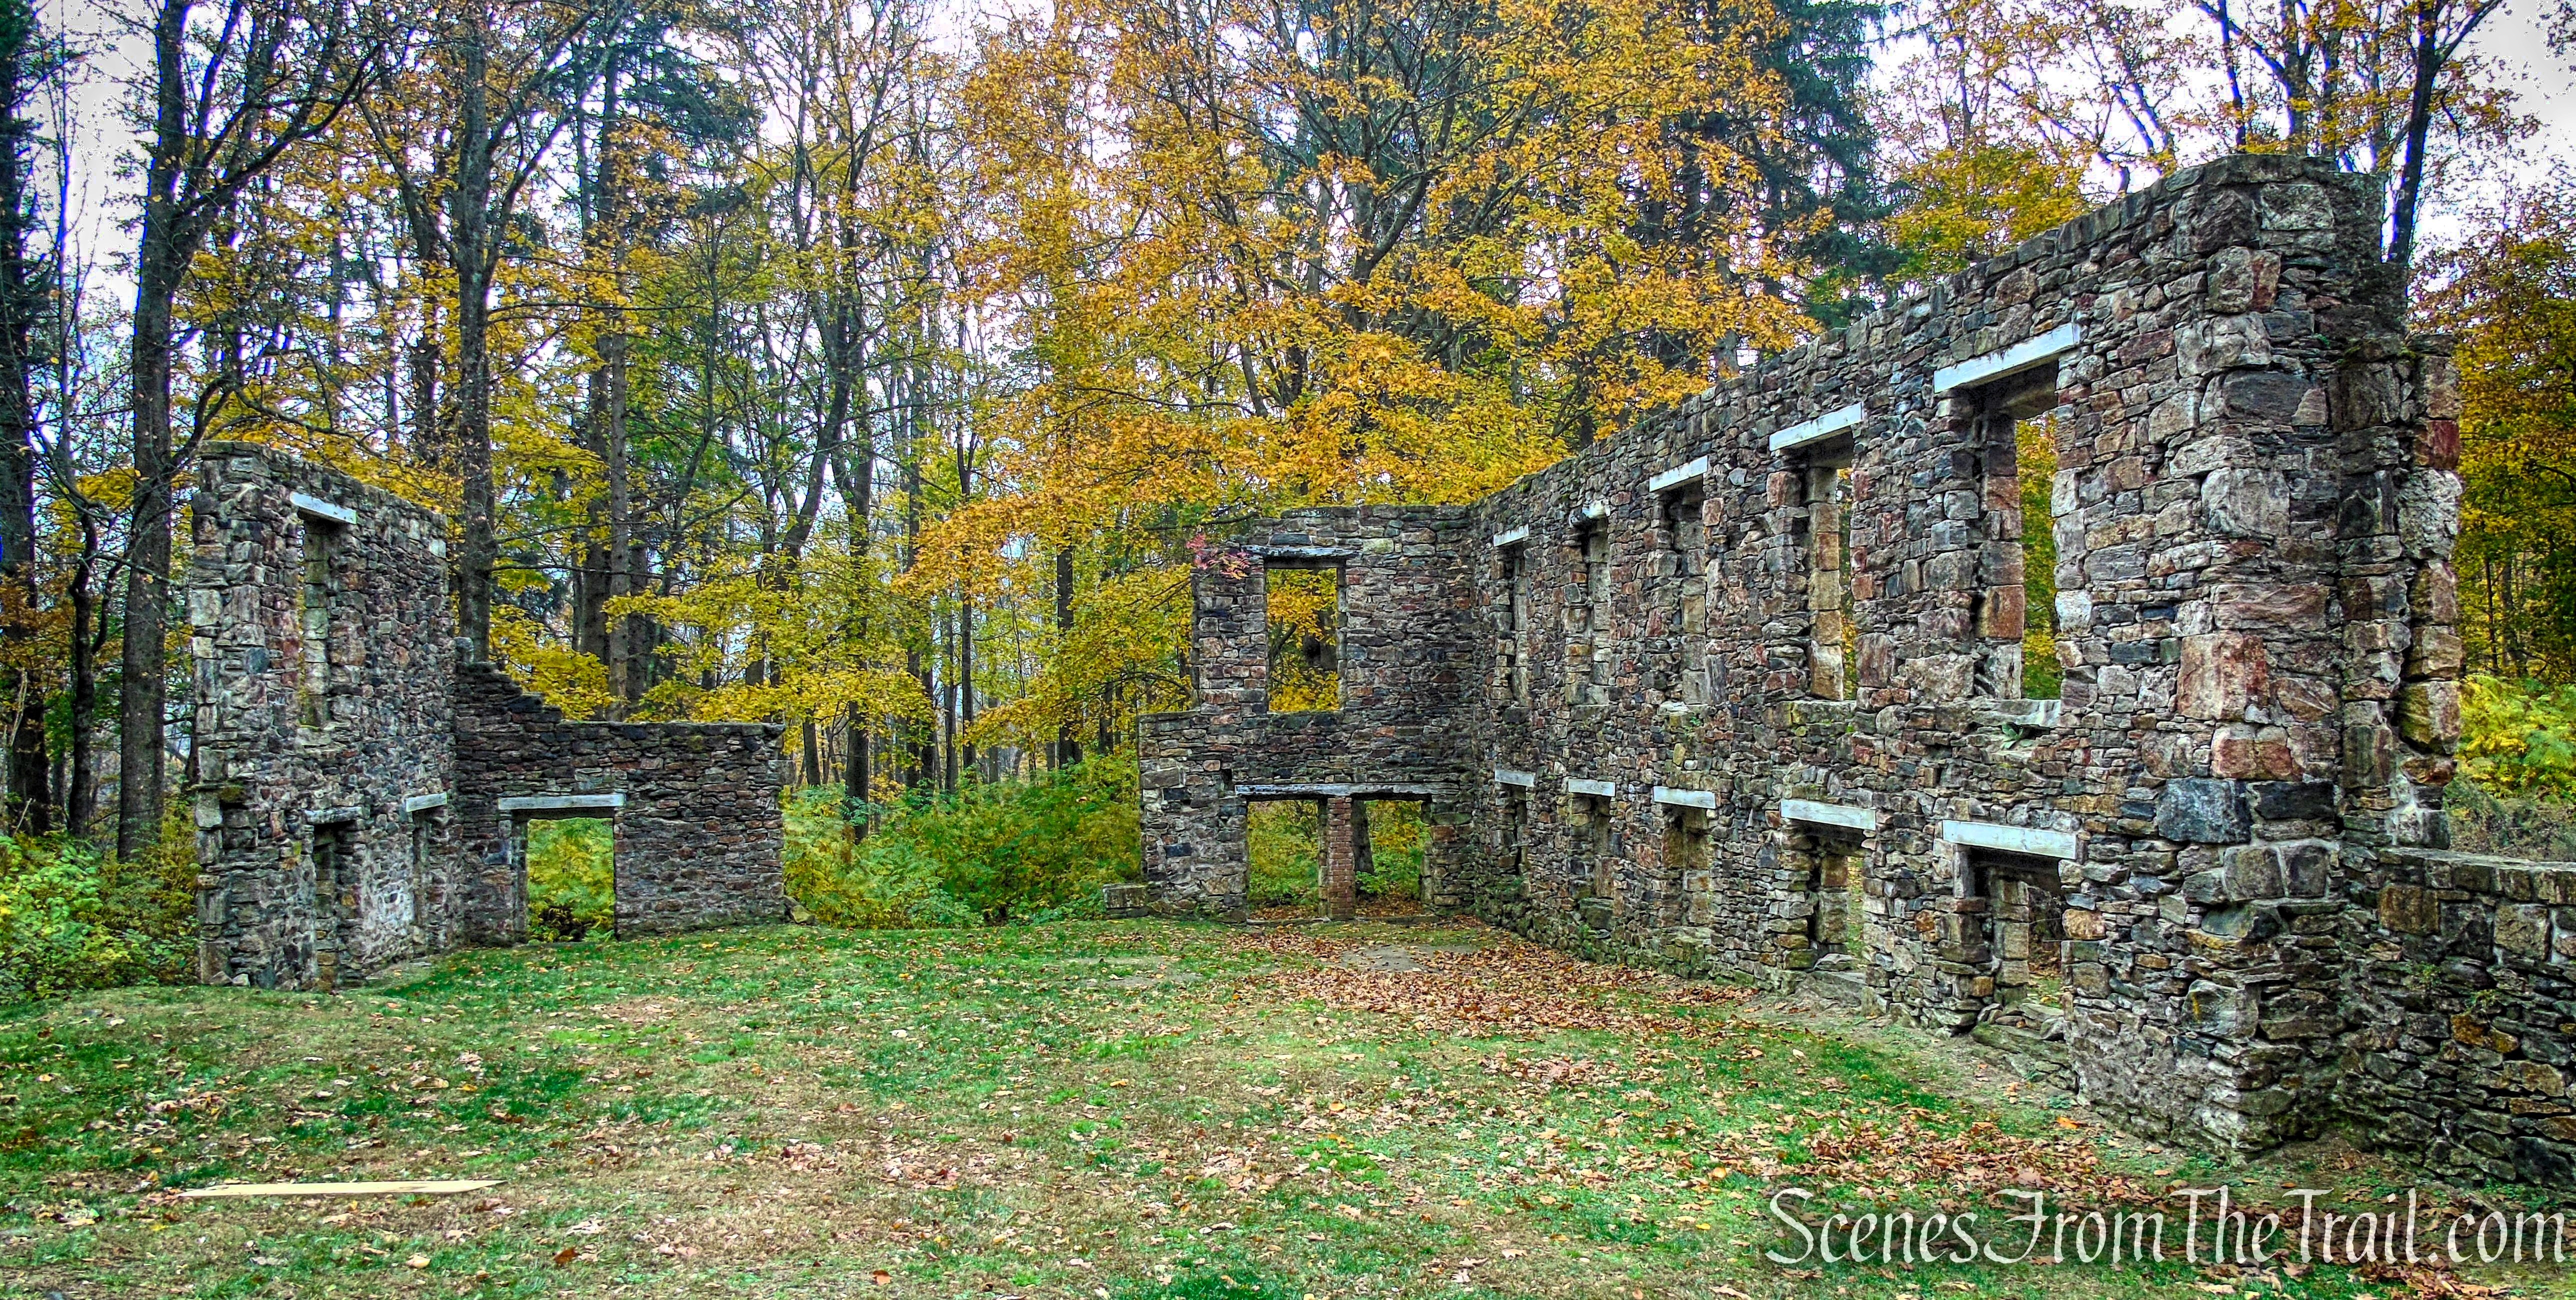
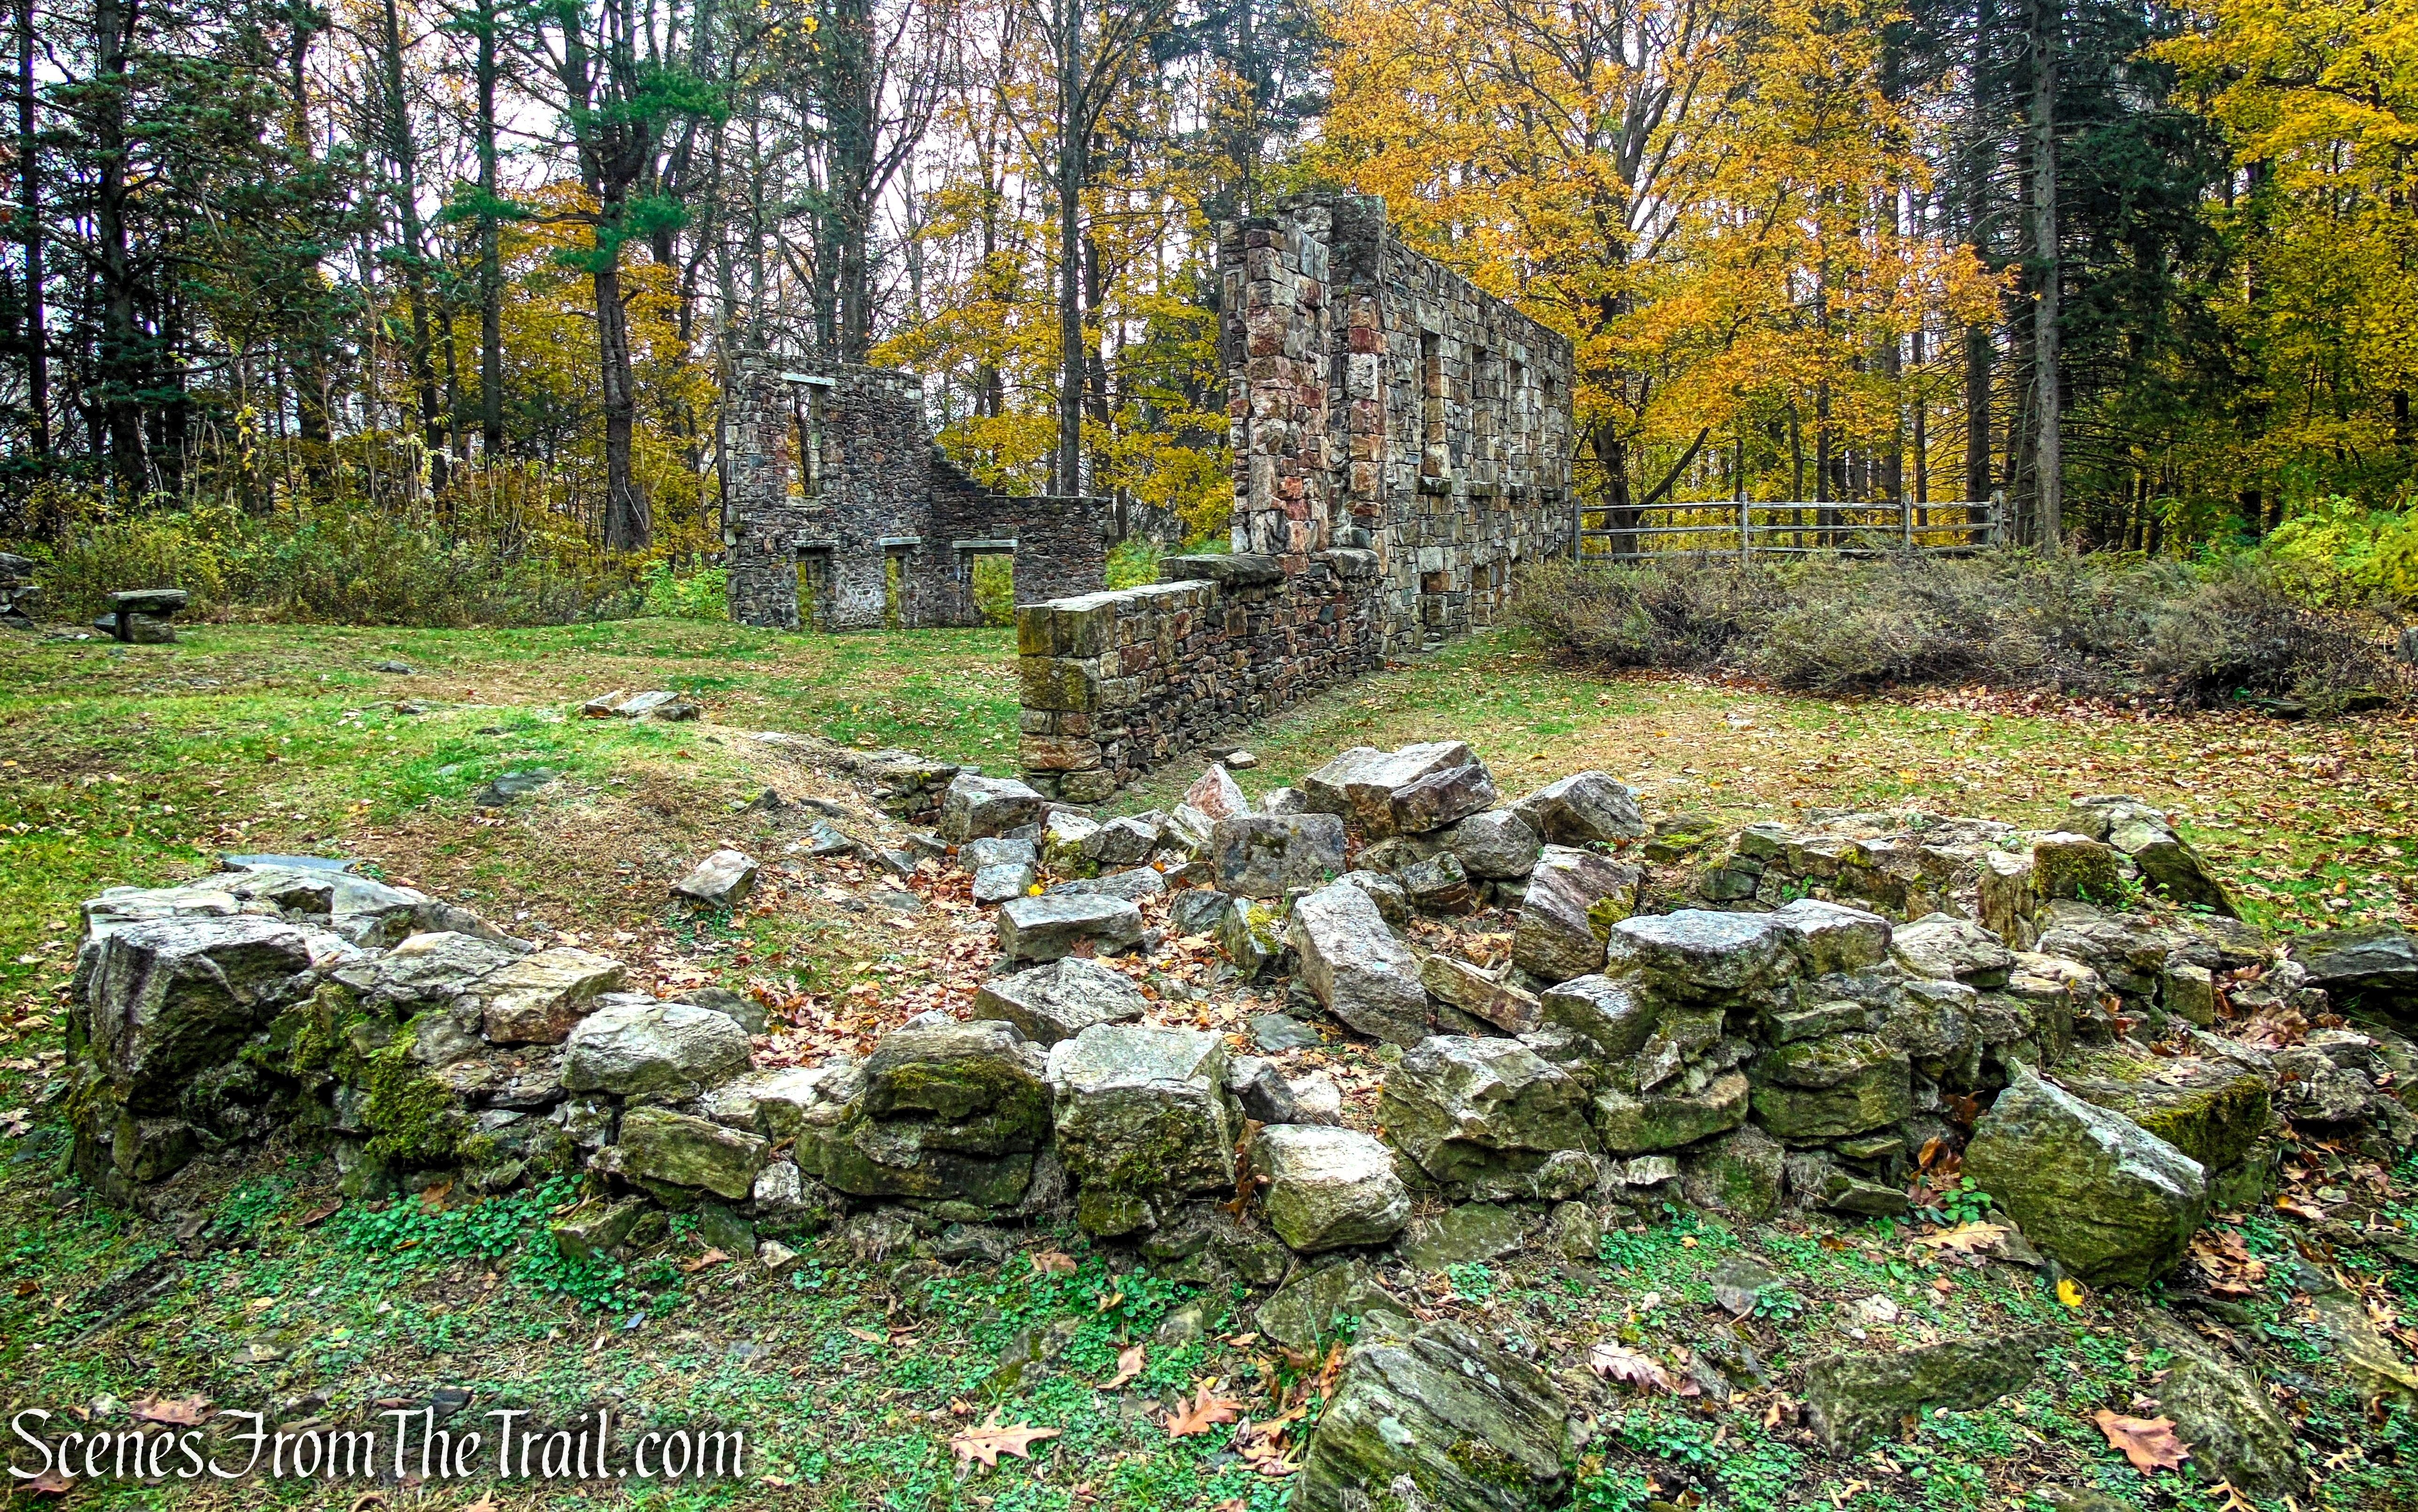
A few buildings still stand at Nike Overlook Park, originally supporting operations such as radar tracking, missile guidance, communications, and command functions. Typical structures at an IFC site included radar towers, control rooms, generator buildings, and other small support facilities.
Nike Overlook Park
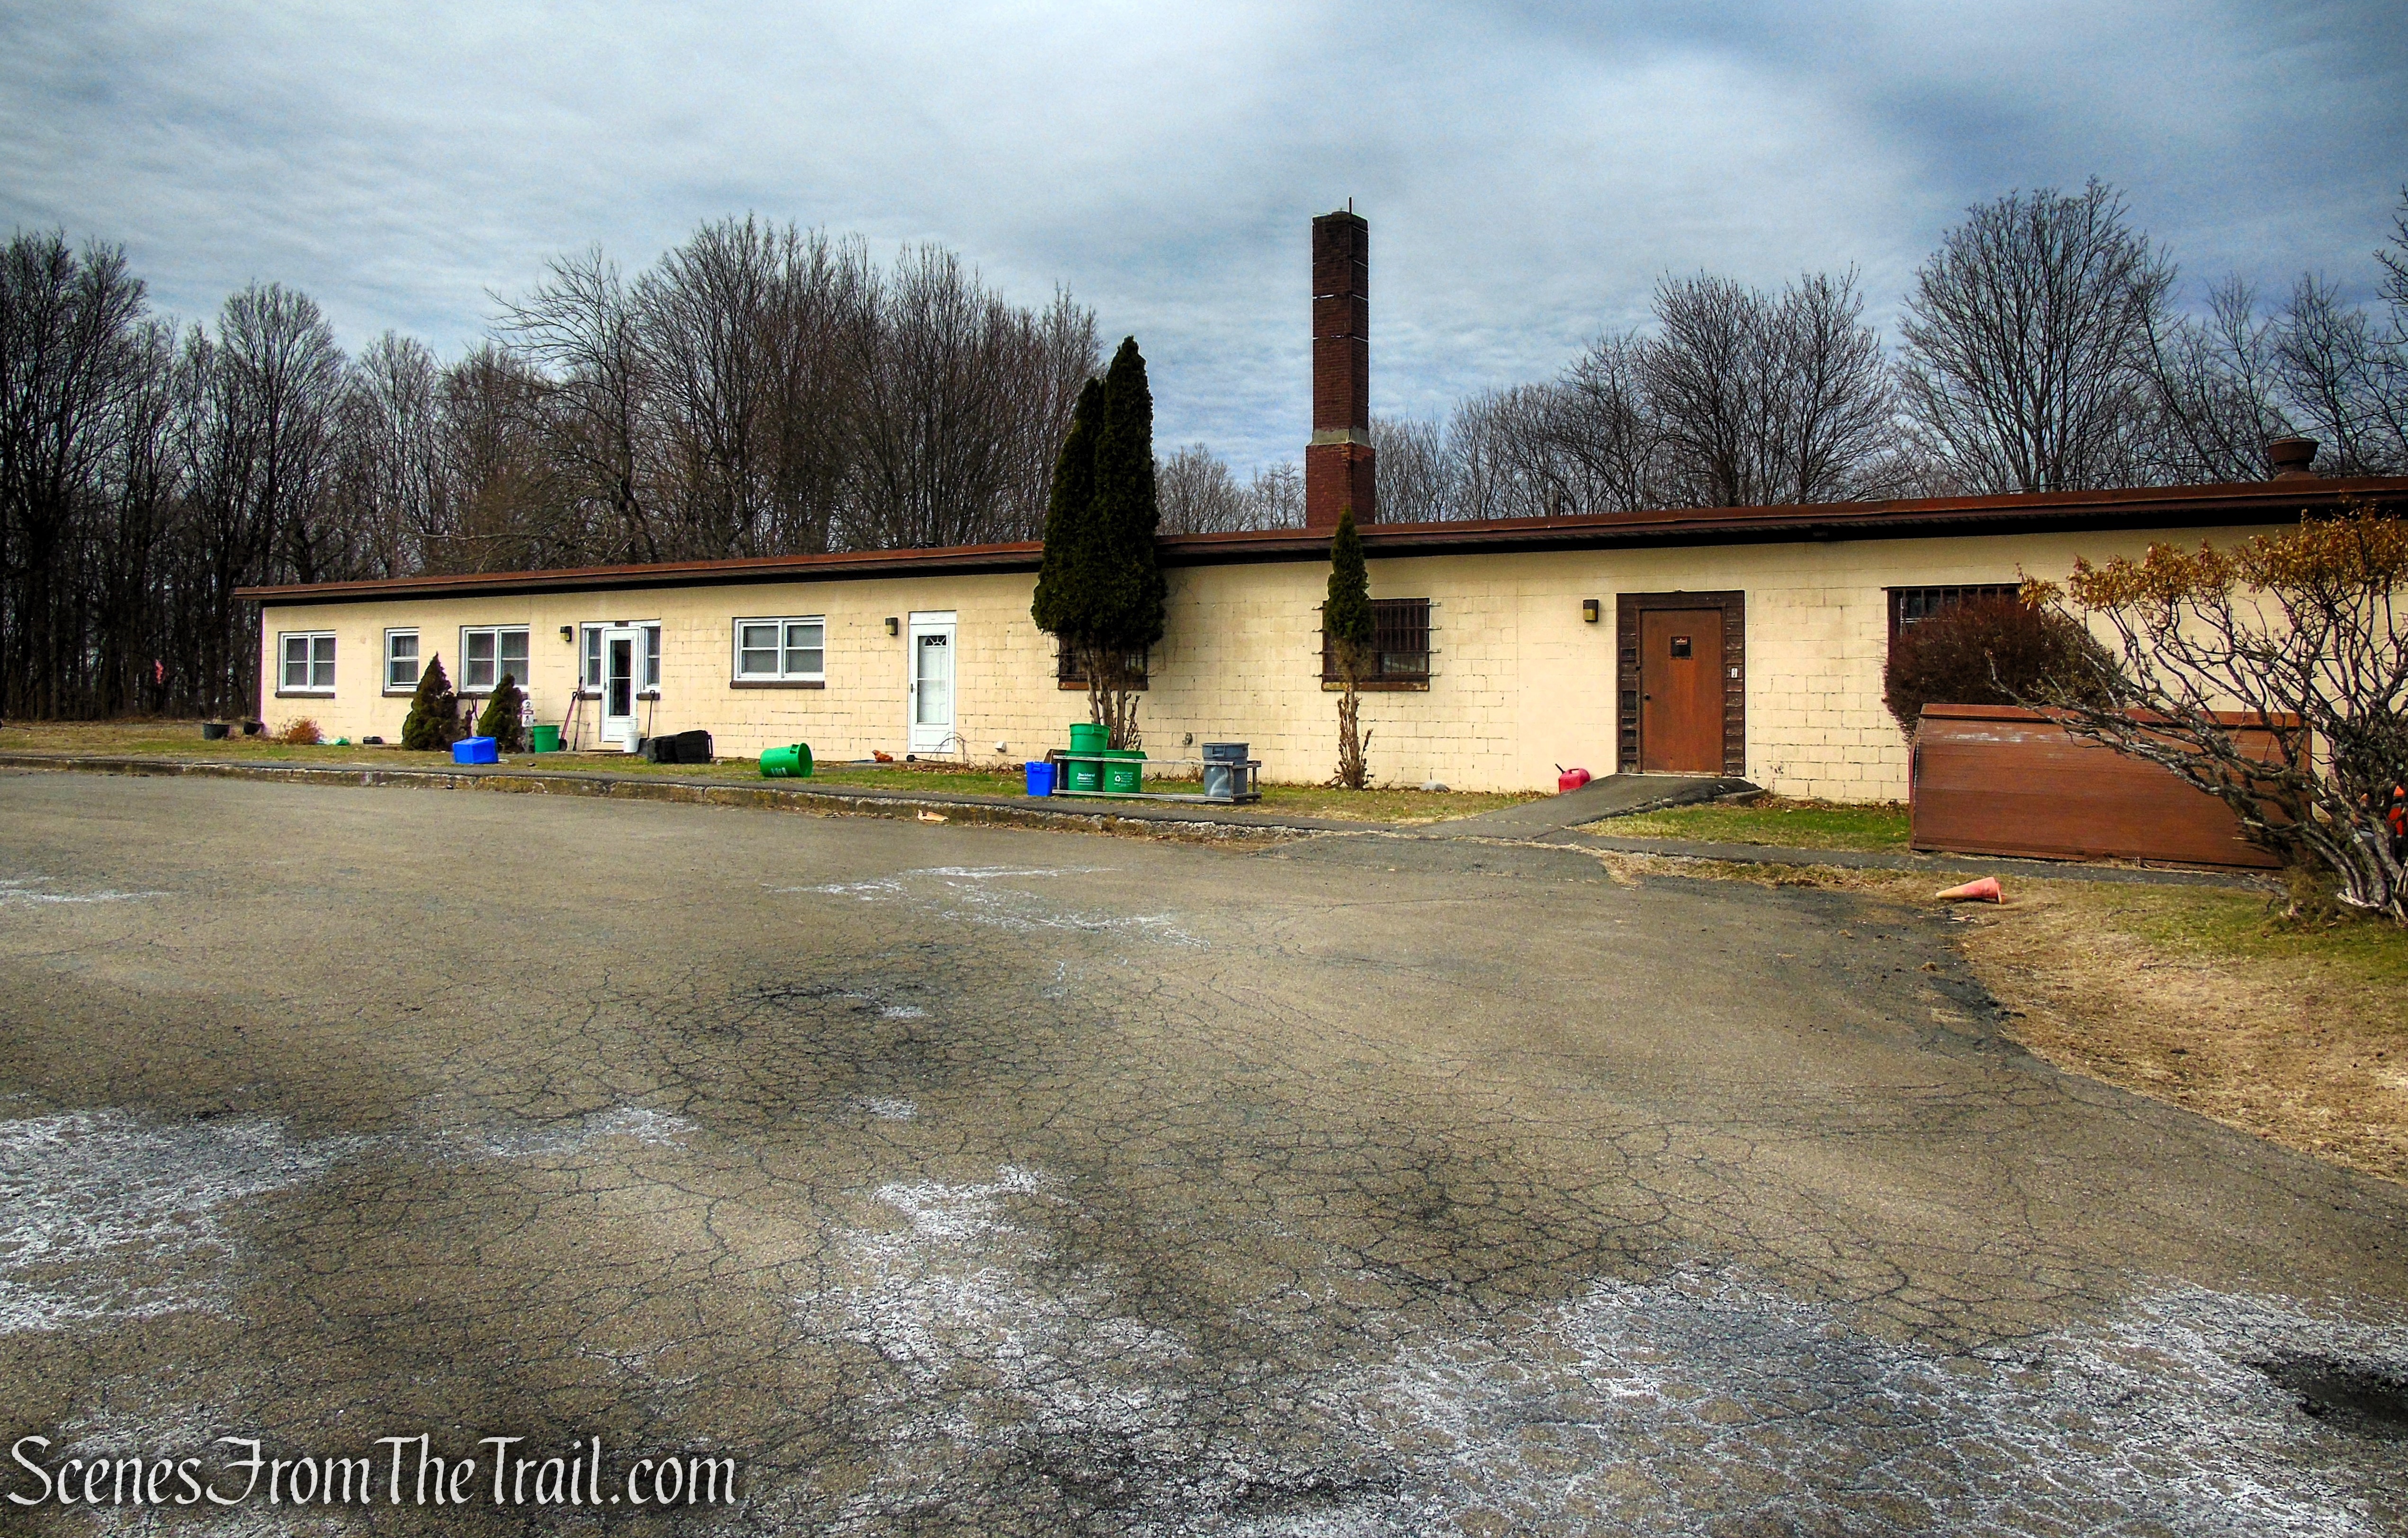
Nike Overlook Park
As you continue past the gate on Nike Lane, the Orange Trail begins on the left, across from the small parking area.
Nike Lane – Nike Overlook Park
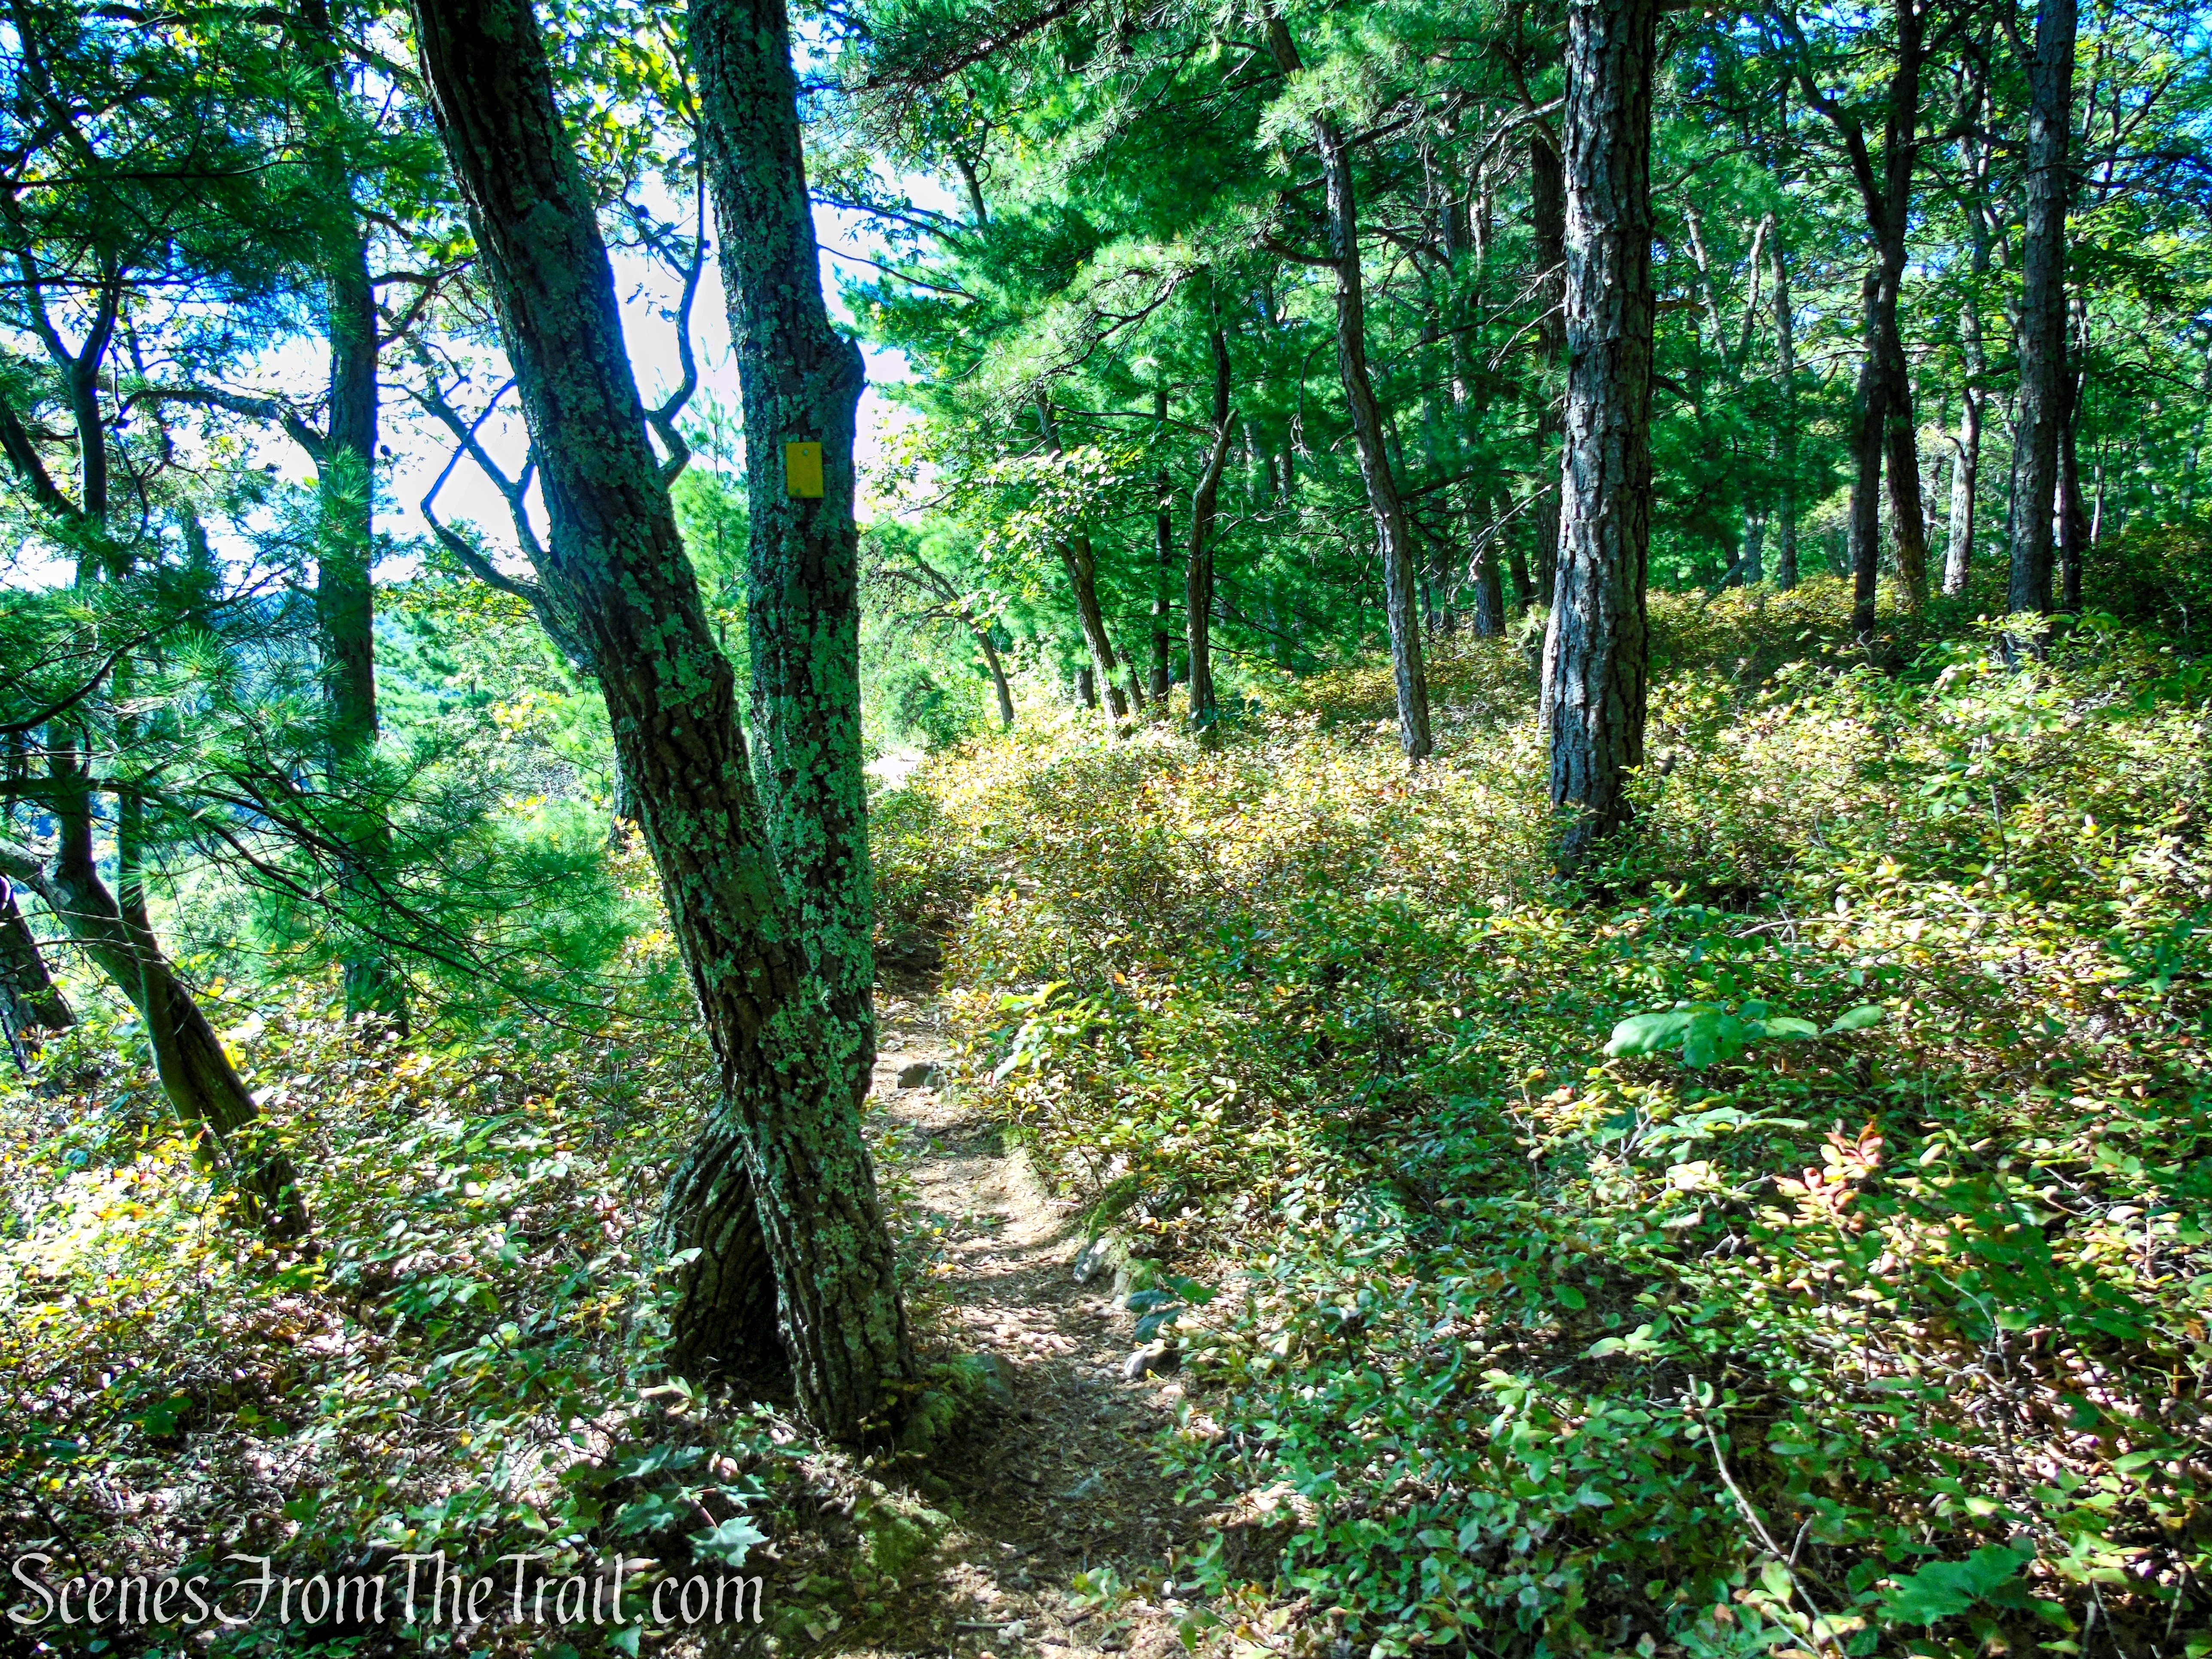
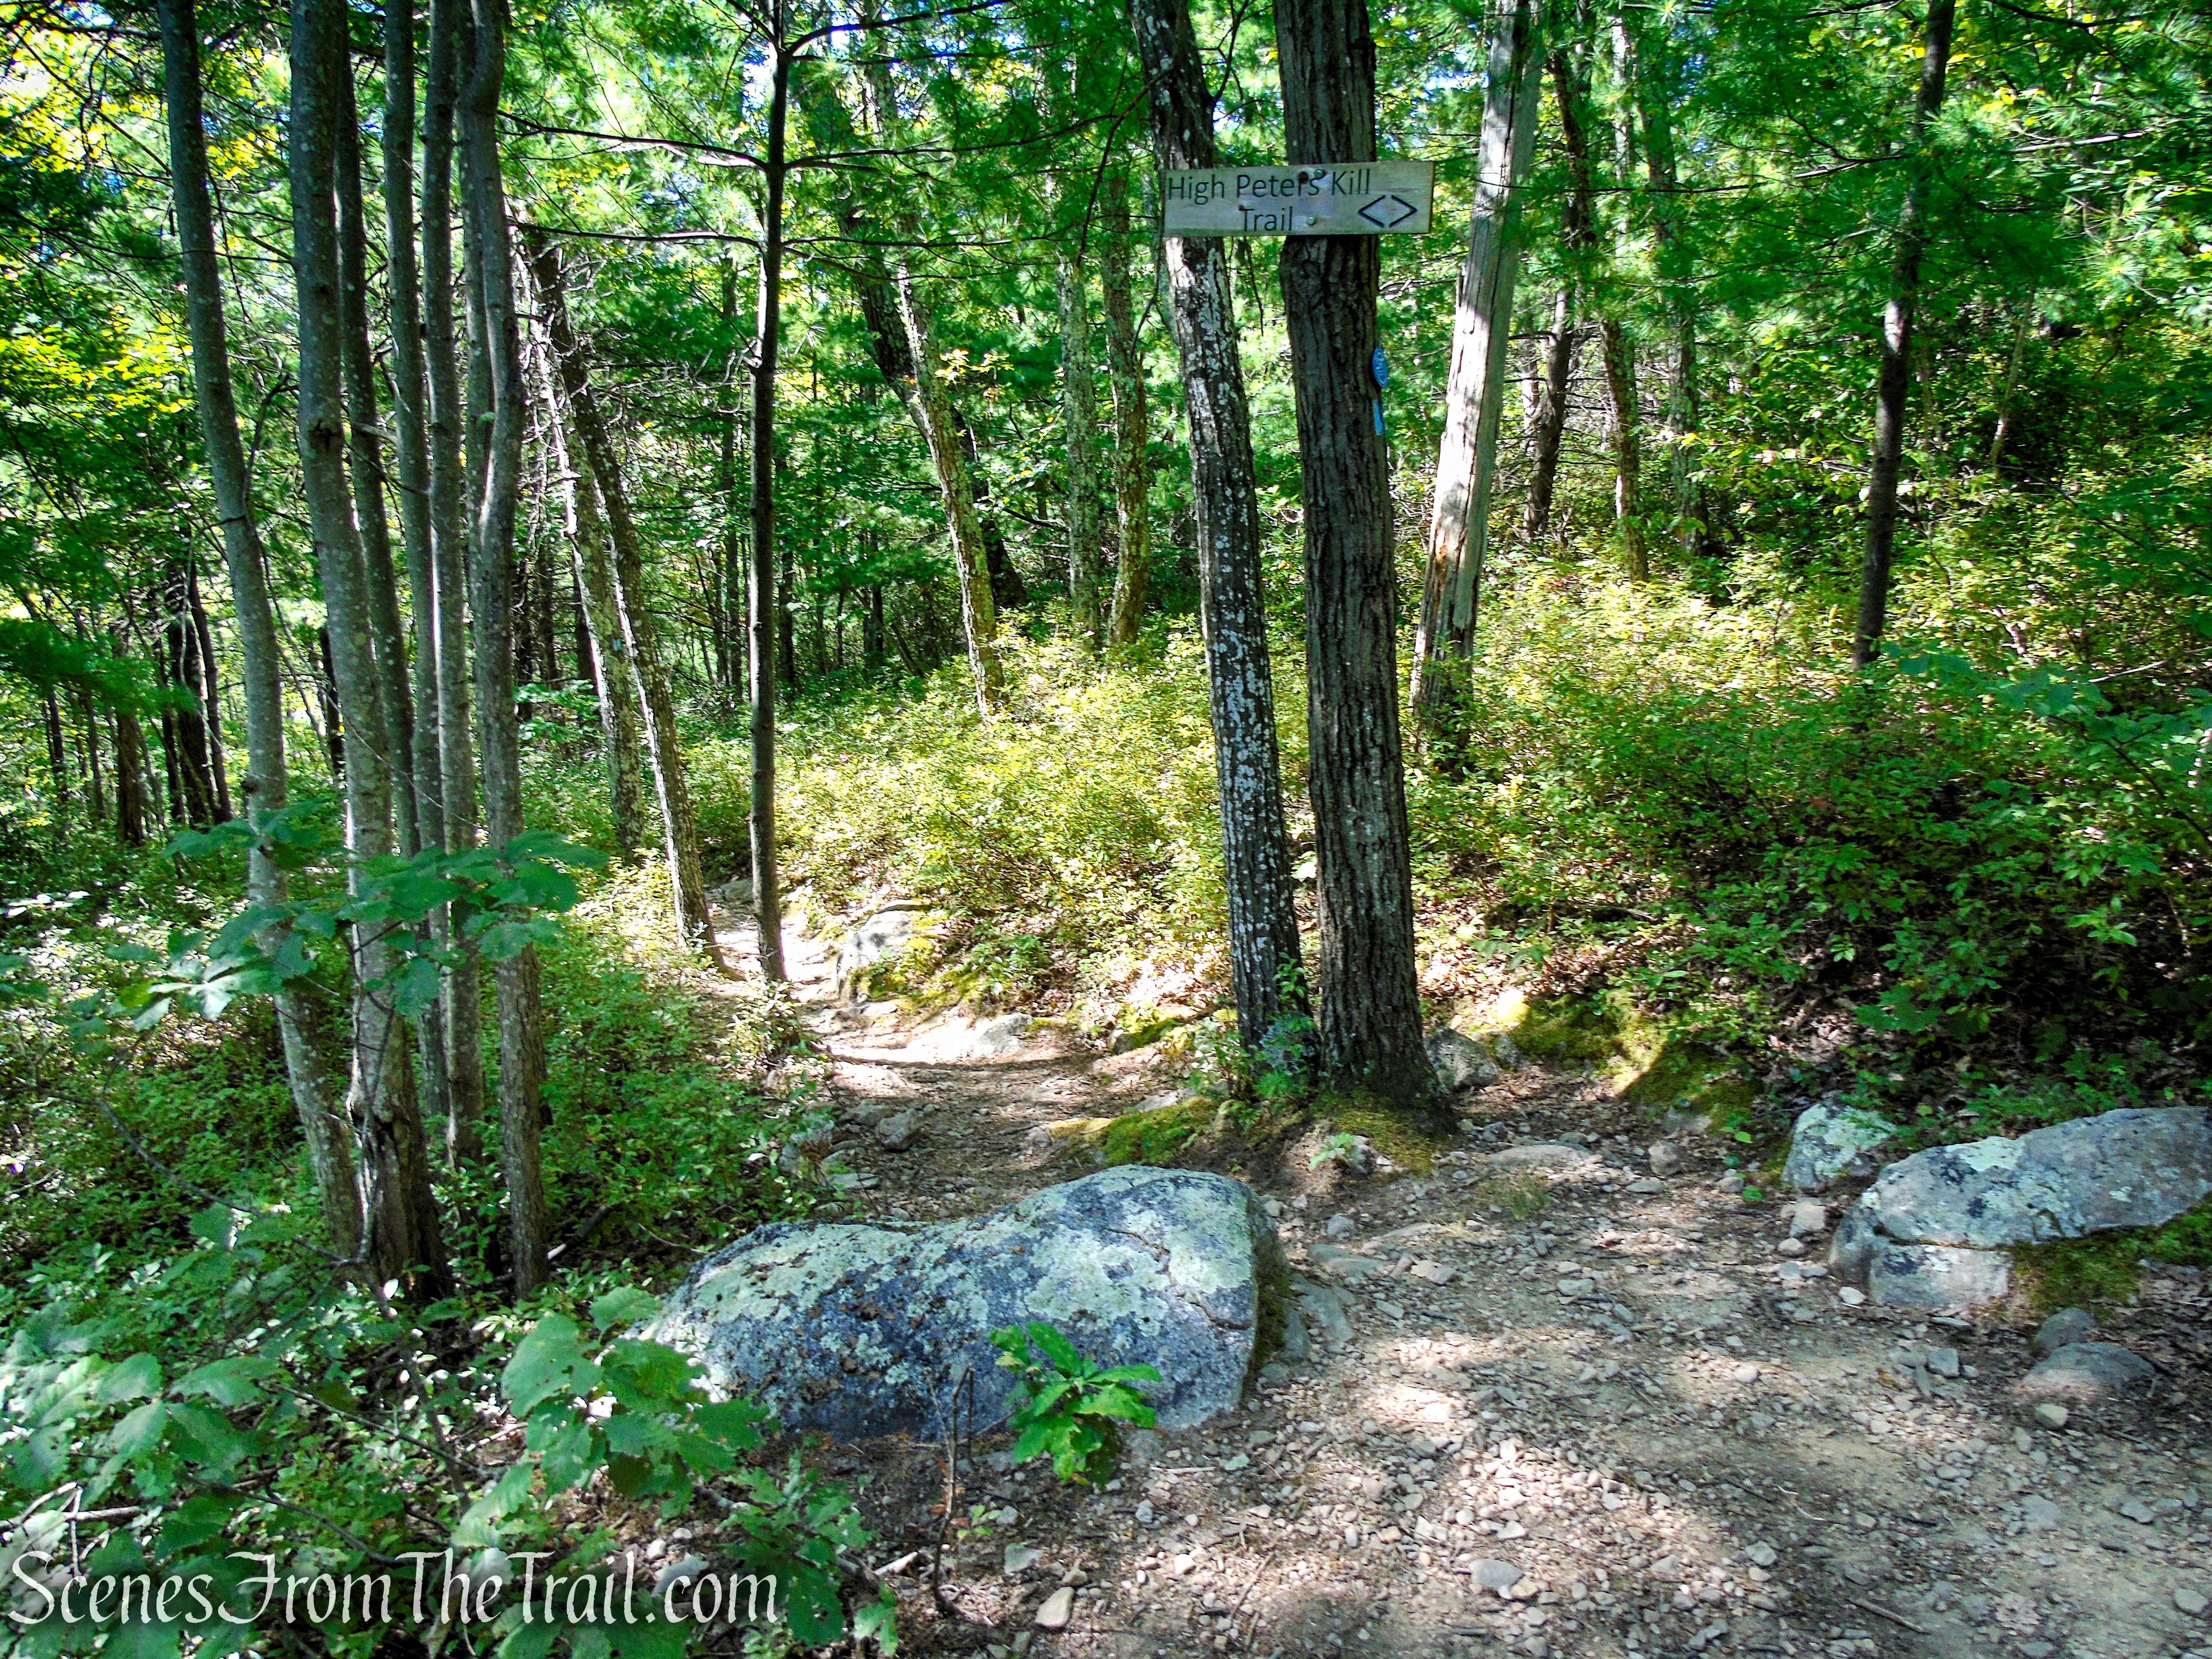
The Orange Trail leaves Nike Lane and enters the woods. Just ahead there are three orange blazes on a tree, marking the start of the trail. Continue ahead until you reach a T-intersection marked by a park map. Here, the Orange Trail goes in both directions. Turn RIGHT and follow the orange blazes as the trail weaves through the forest.
Orange Trail – Clausland Mountain Park
Orange Trail – Clausland Mountain Park
Orange Trail – Clausland Mountain Park
Orange Trail – Clausland Mountain Park
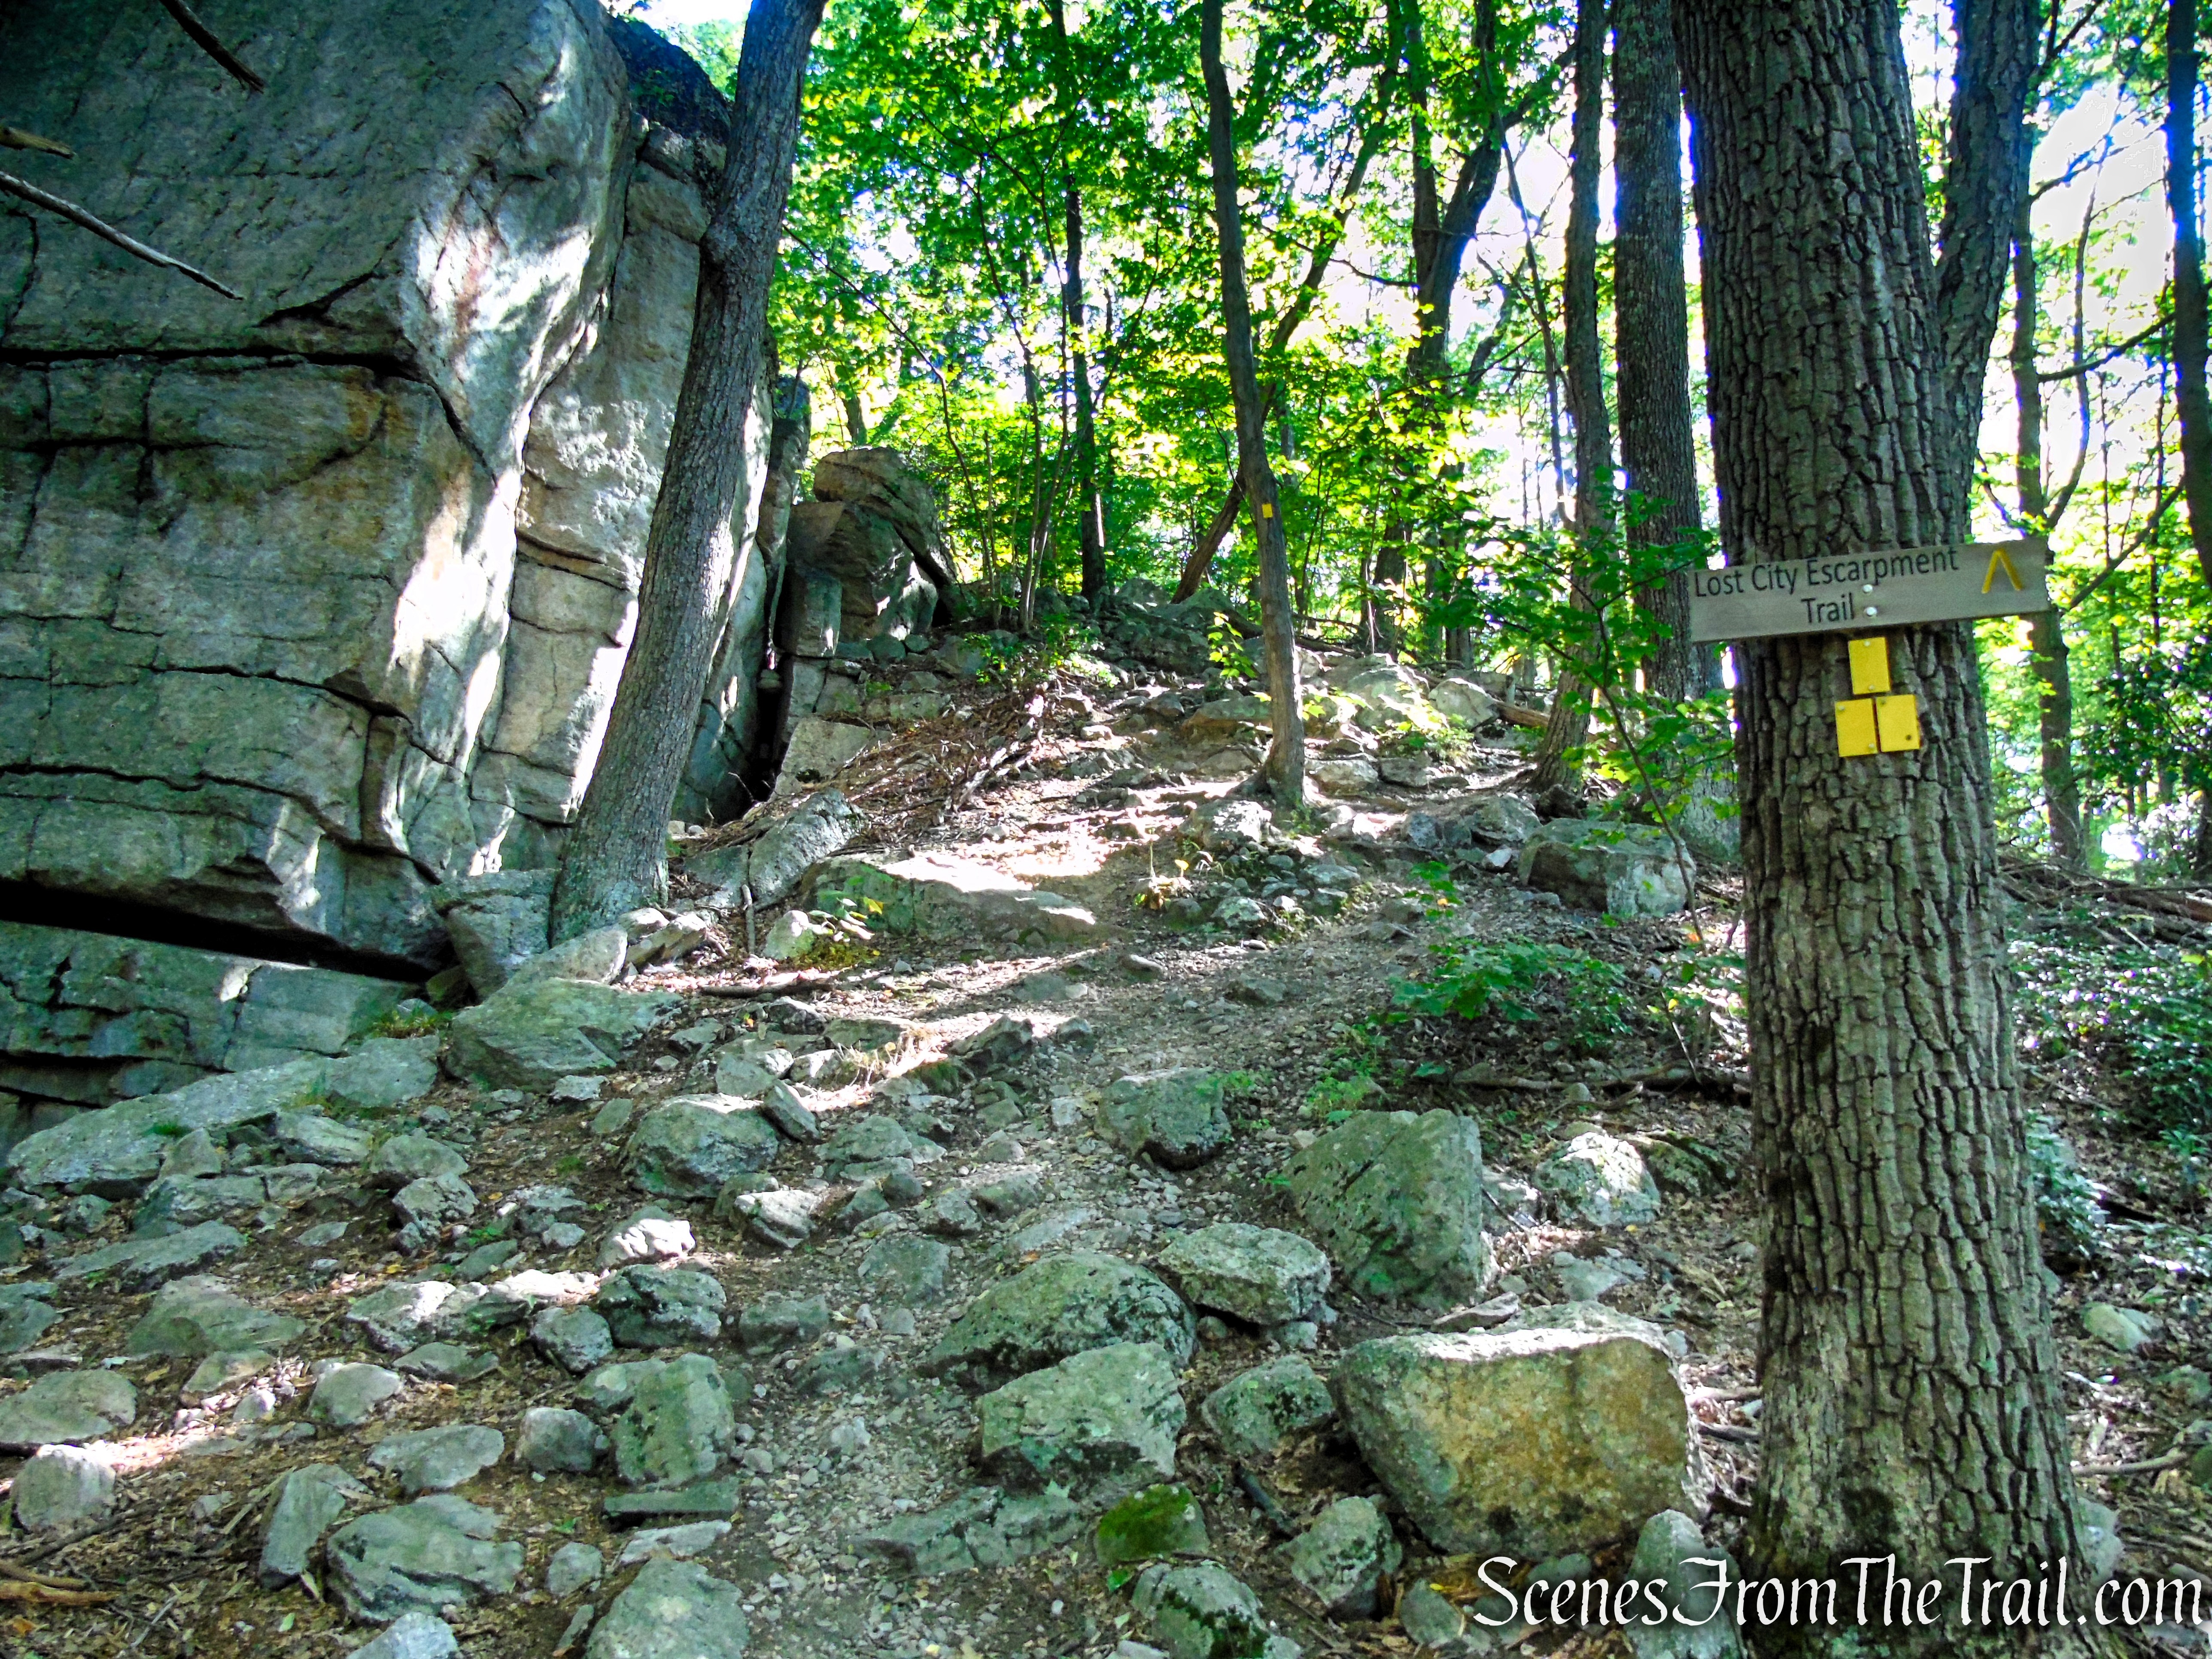
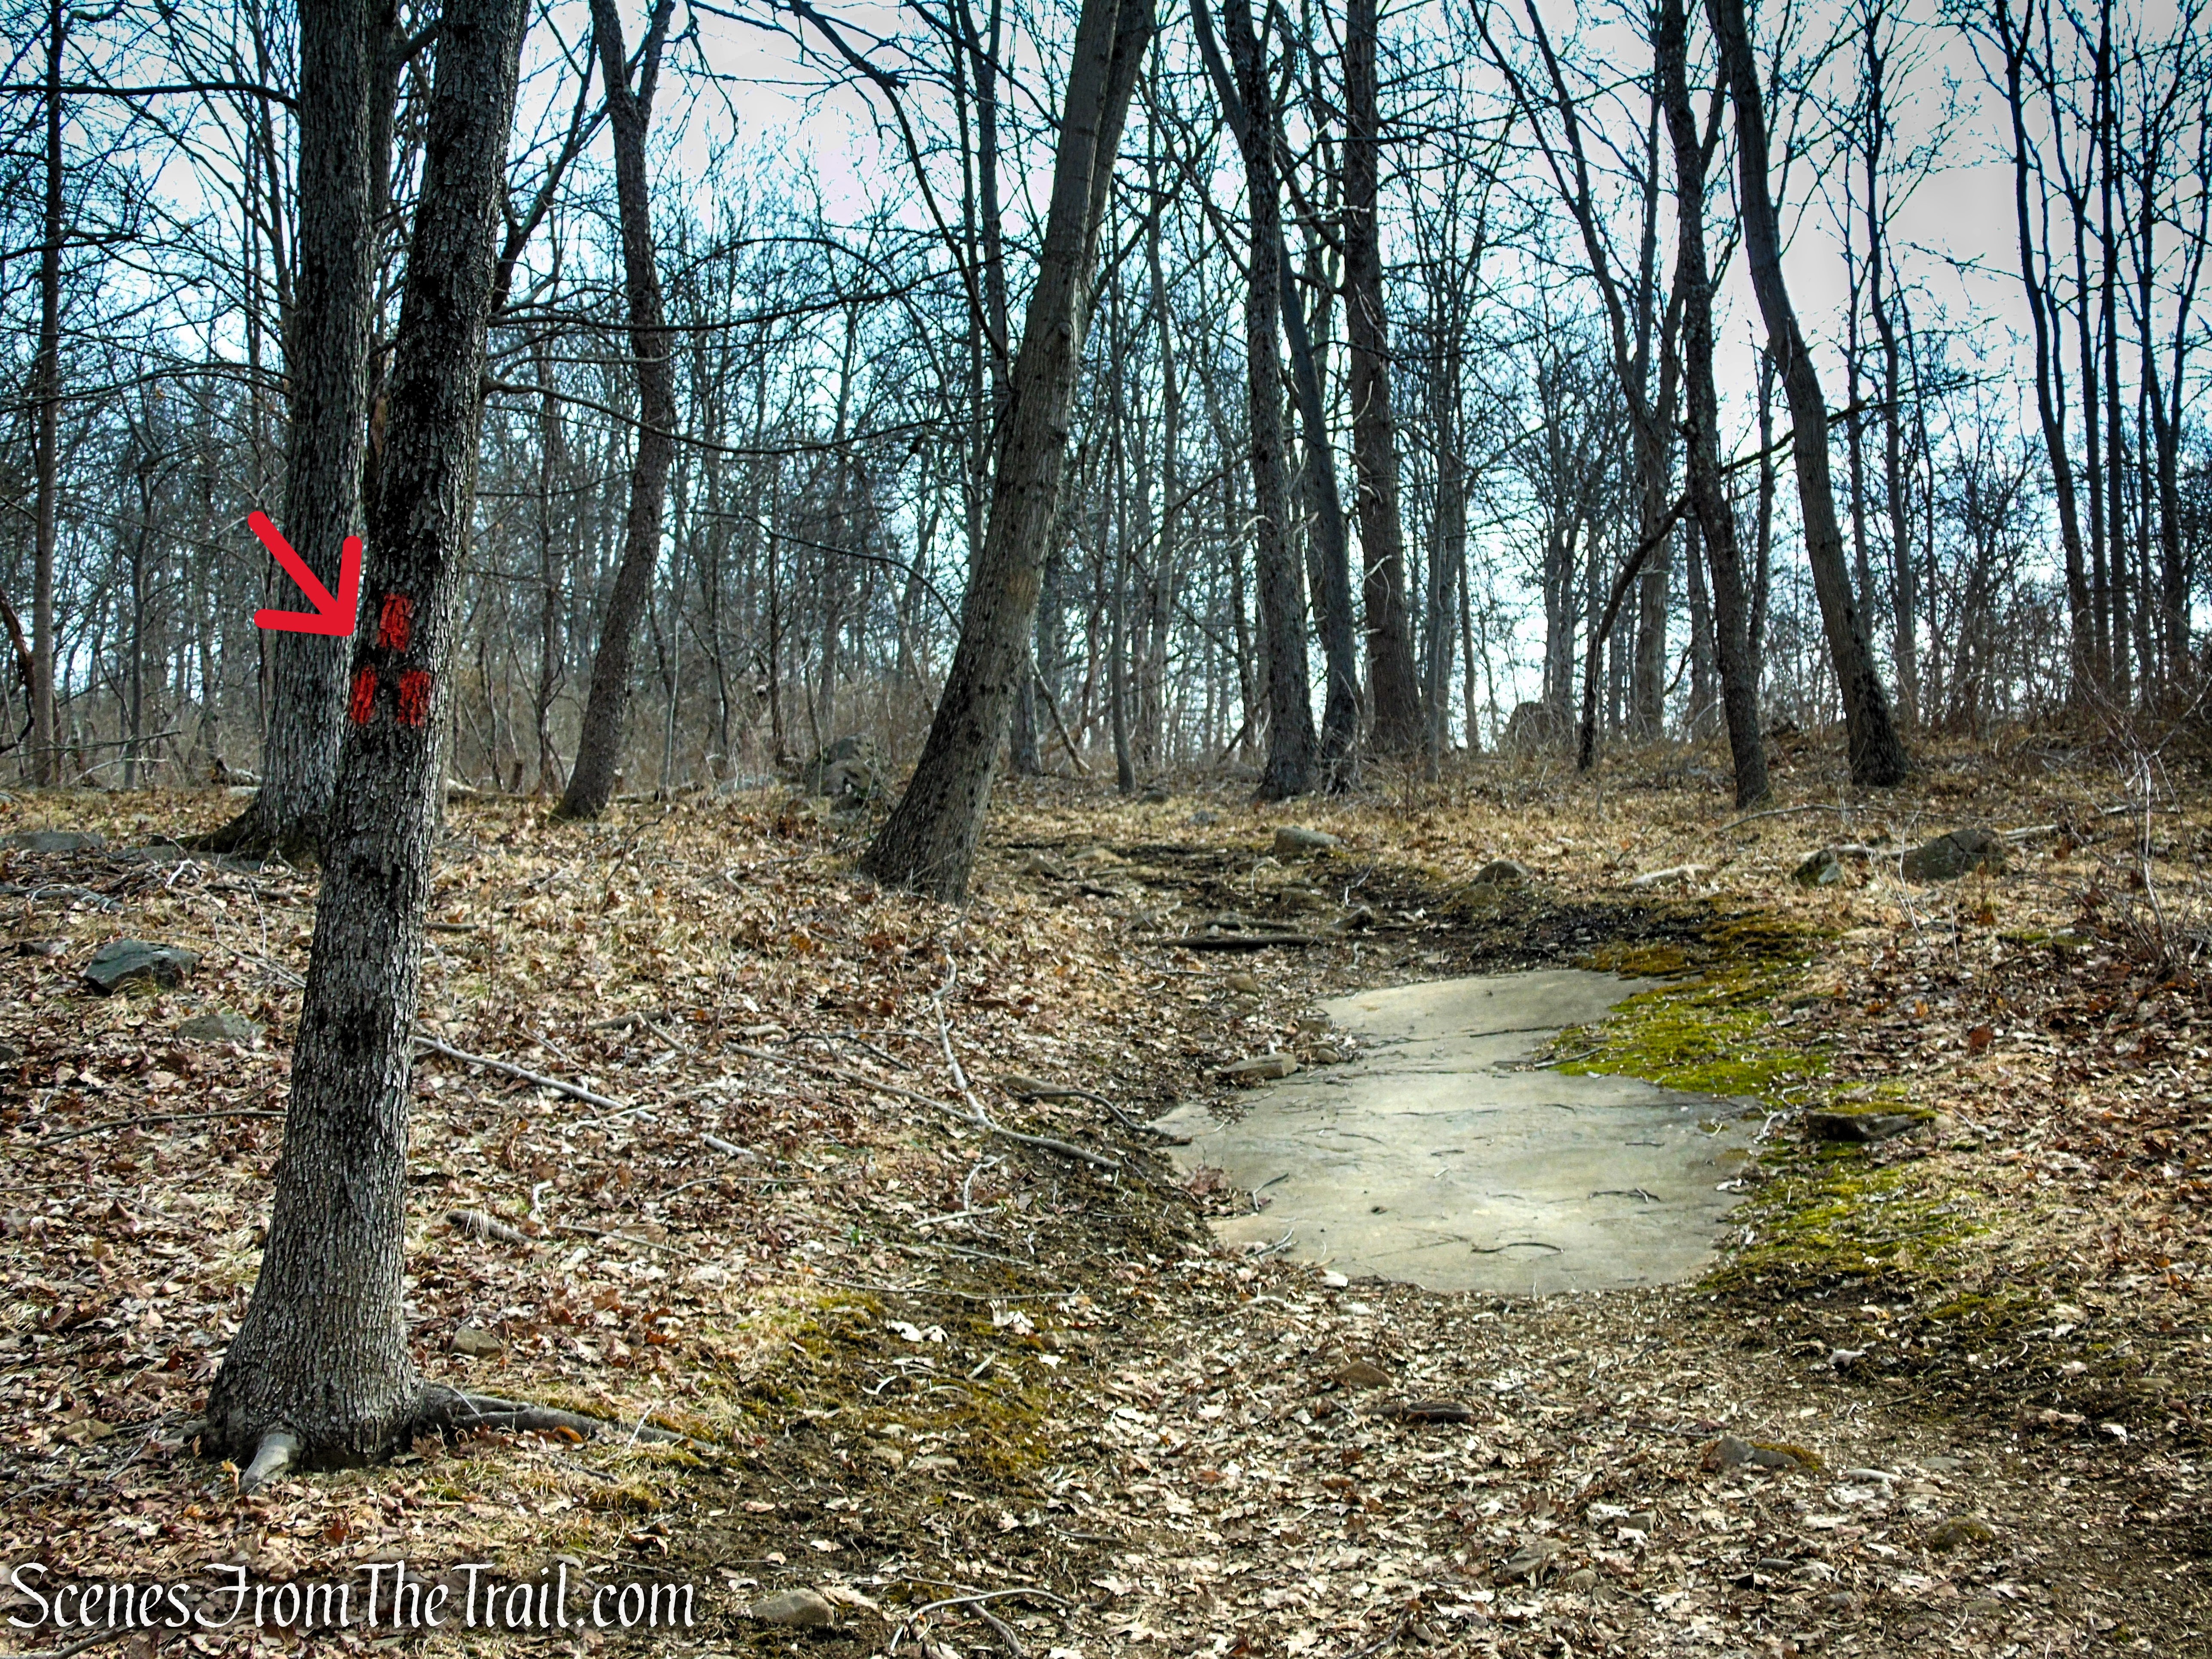
After about 260 yards, the Orange Trail reaches a junction where it makes a sharp left through a break in the fence—the same route you took on the way up. Just ahead, three white blazes on a tree mark the start of the White Trail. Continue forward, following the white blazes.
White Trail – Clausland Mountain Park
White Trail – Clausland Mountain Park
The White Trail soon passes through a clearing before re-entering the woods. It then goes through a break in a chain-link fence and turns left, leaving Nike Overlook Park and entering Clausland Mountain Park.

White Trail – Clausland Mountain Park
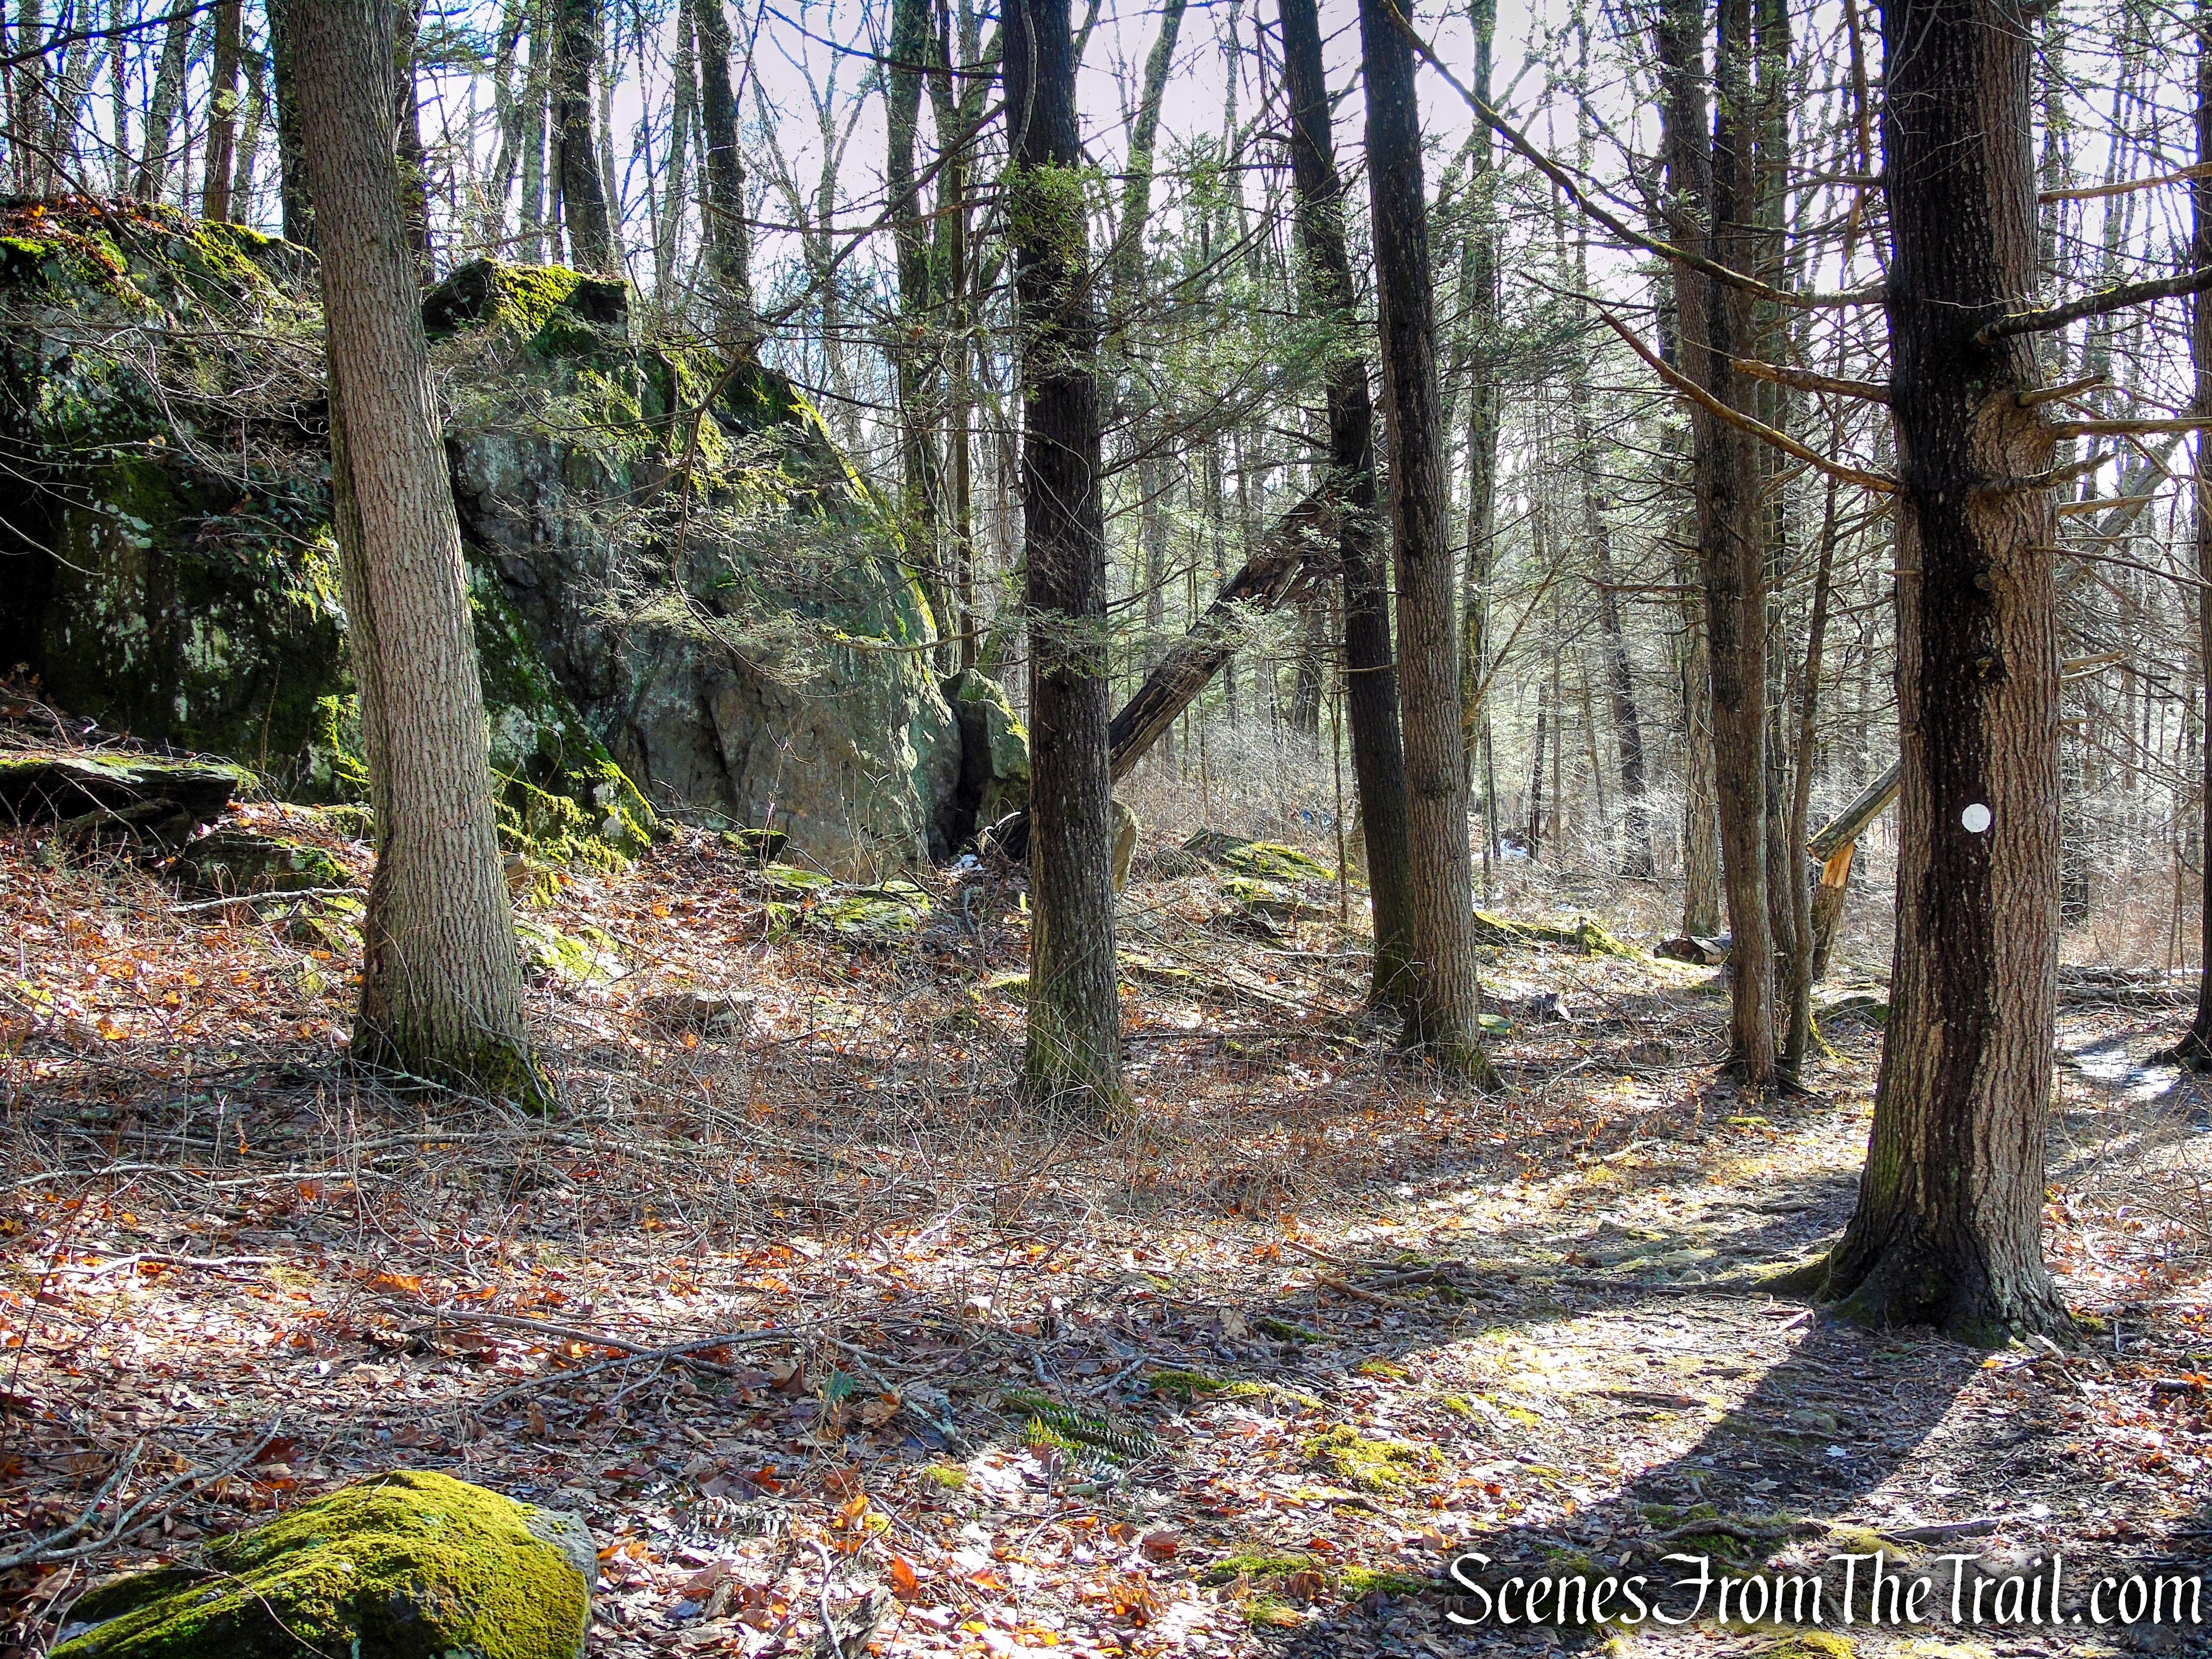
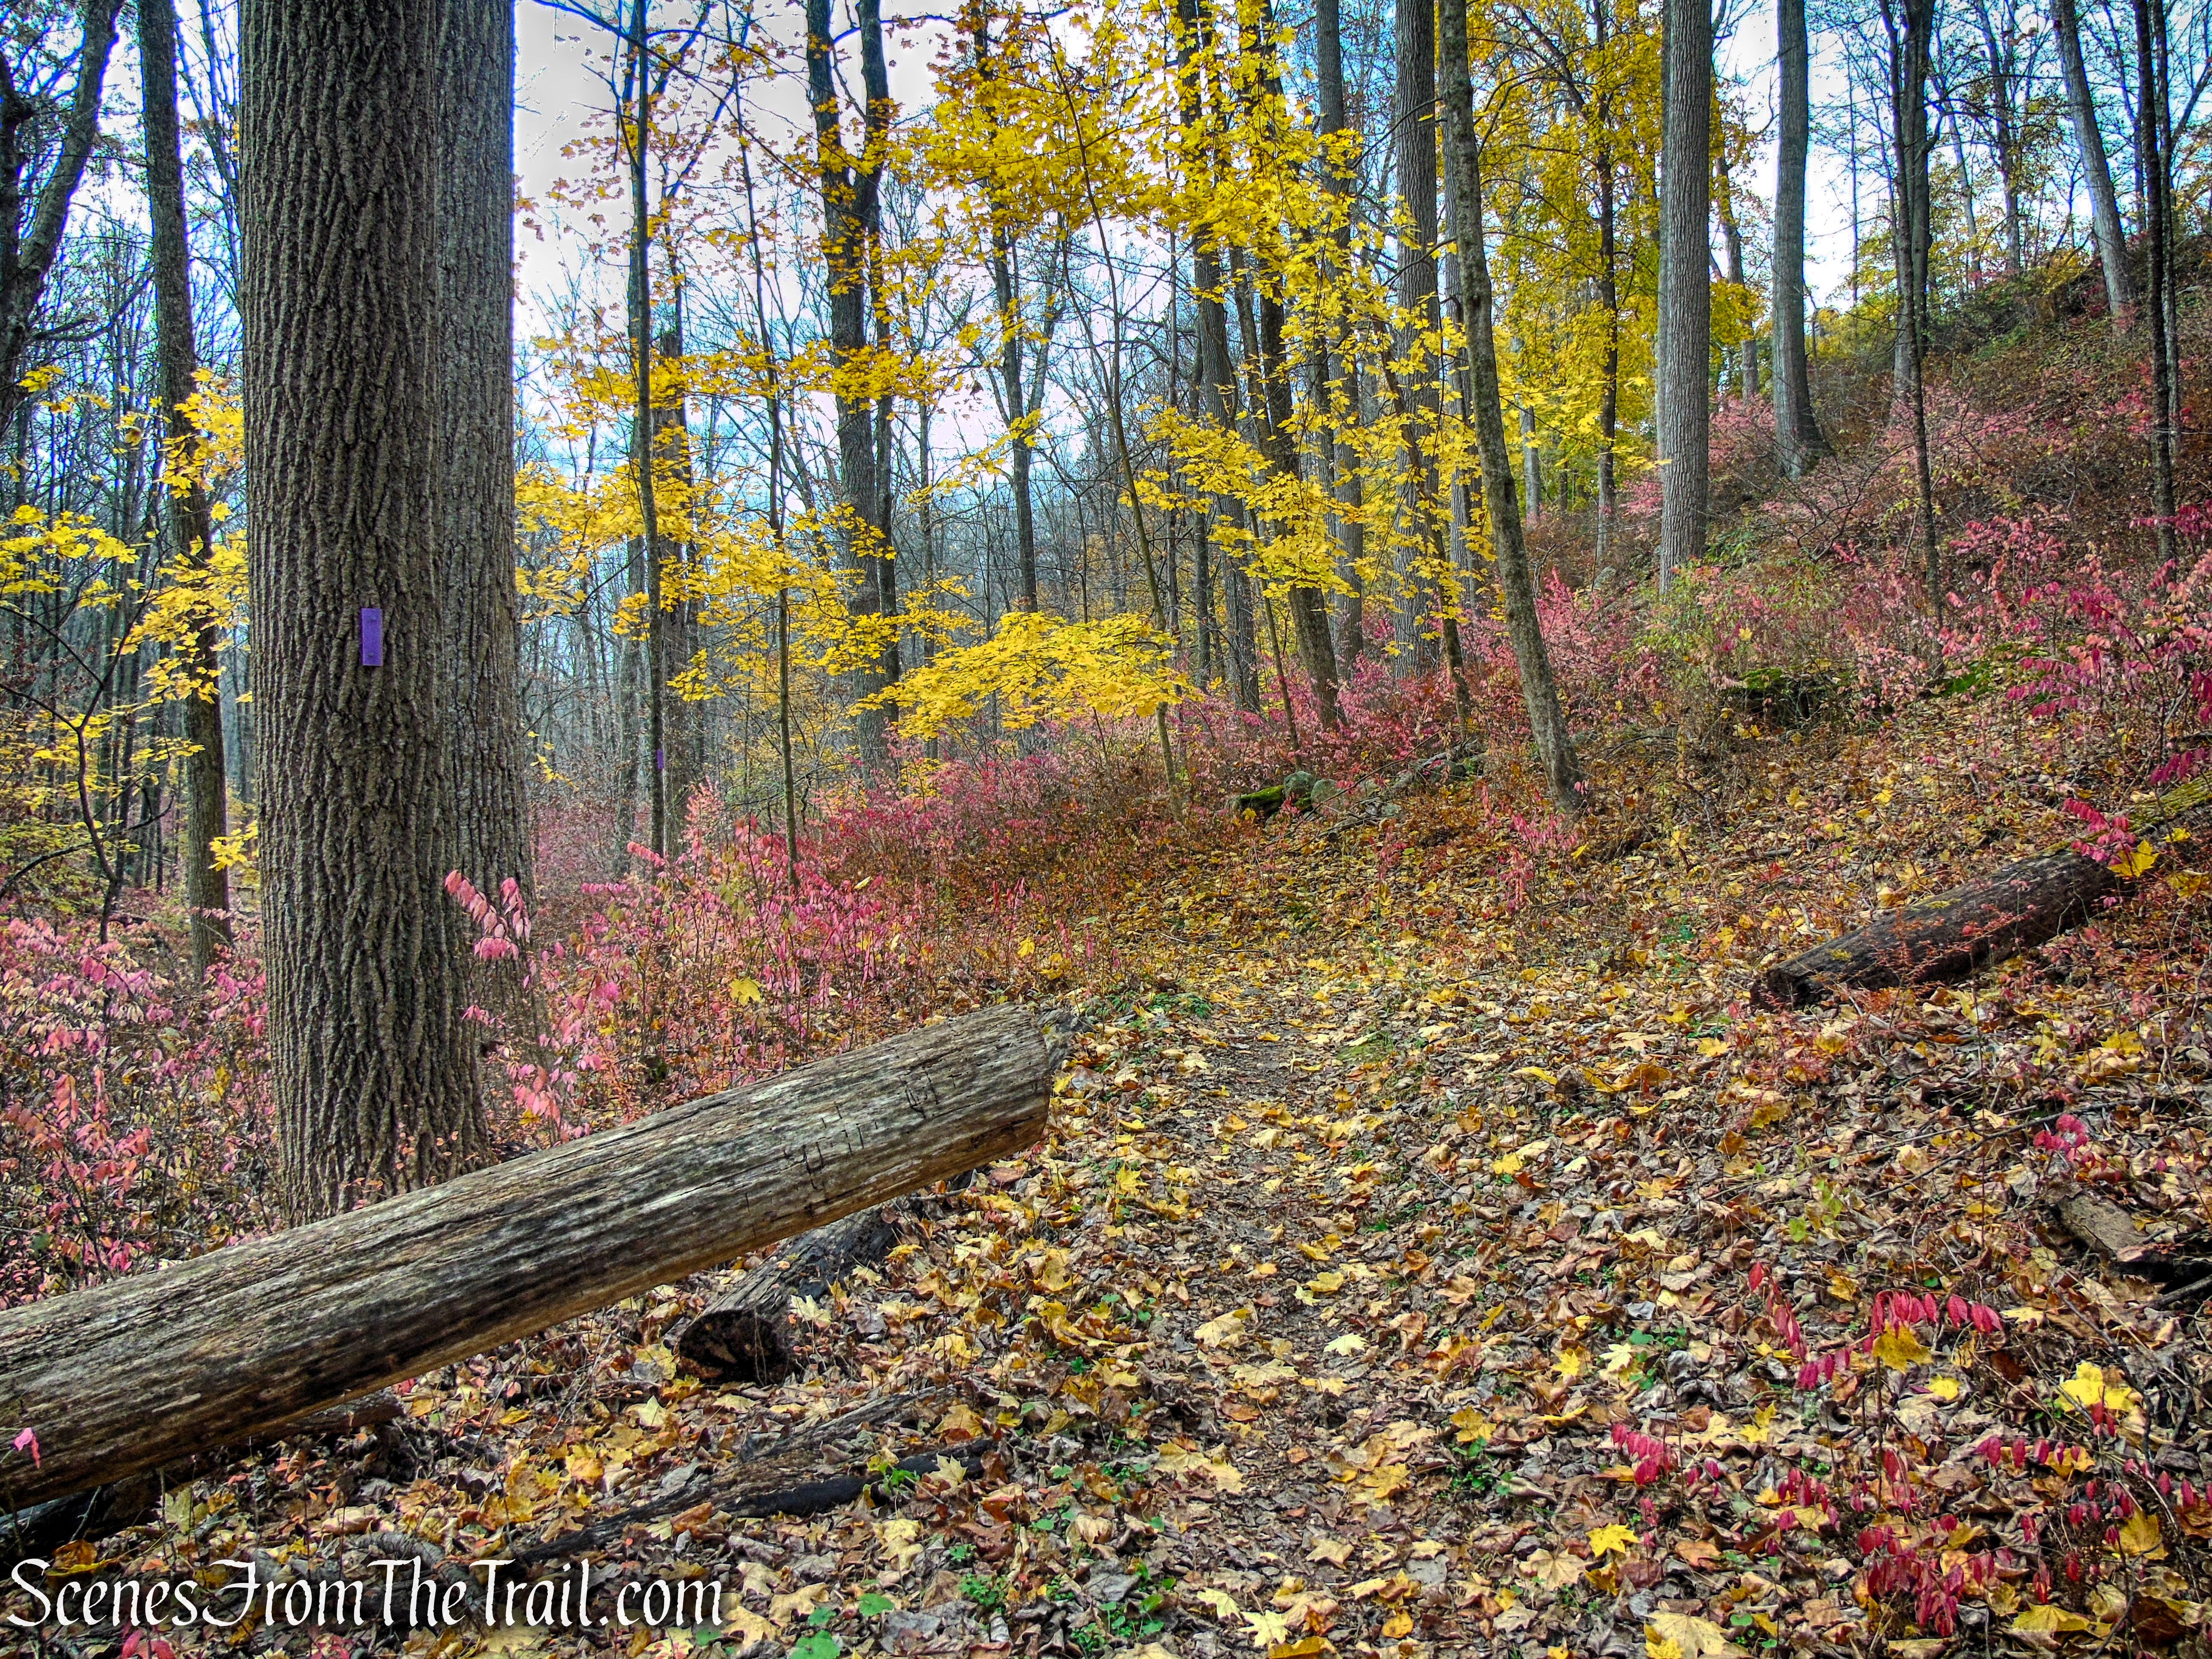
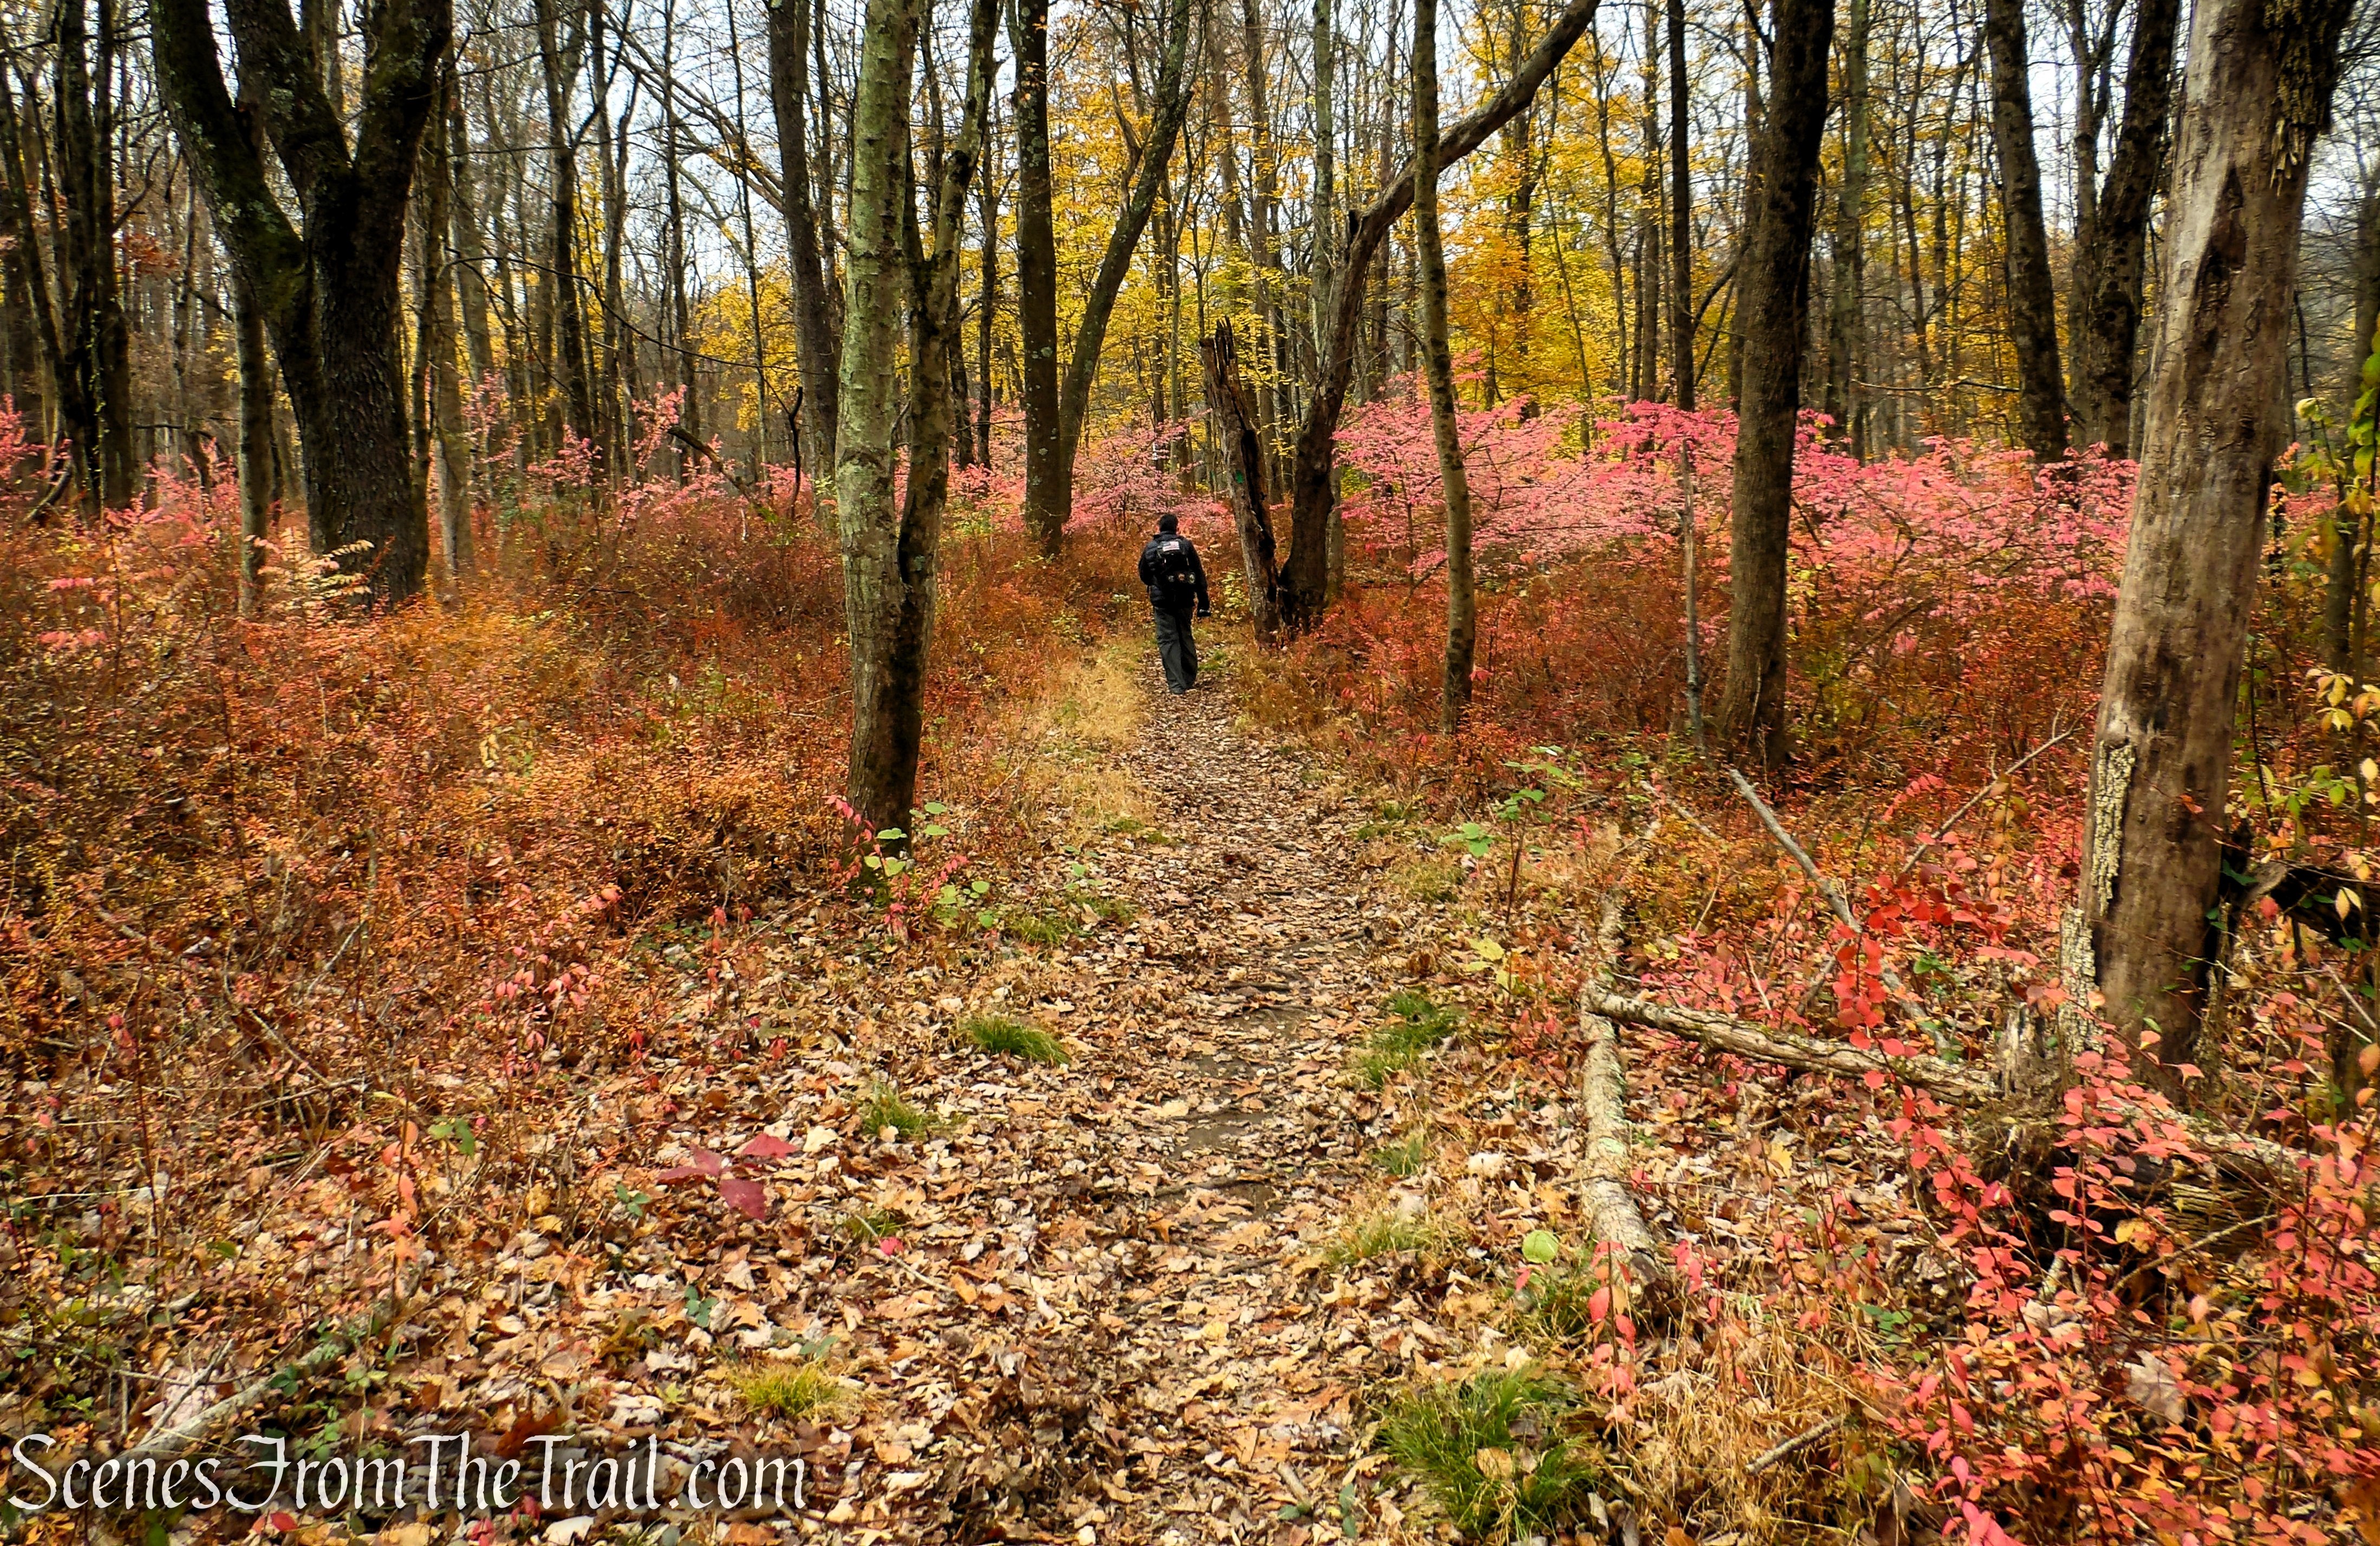
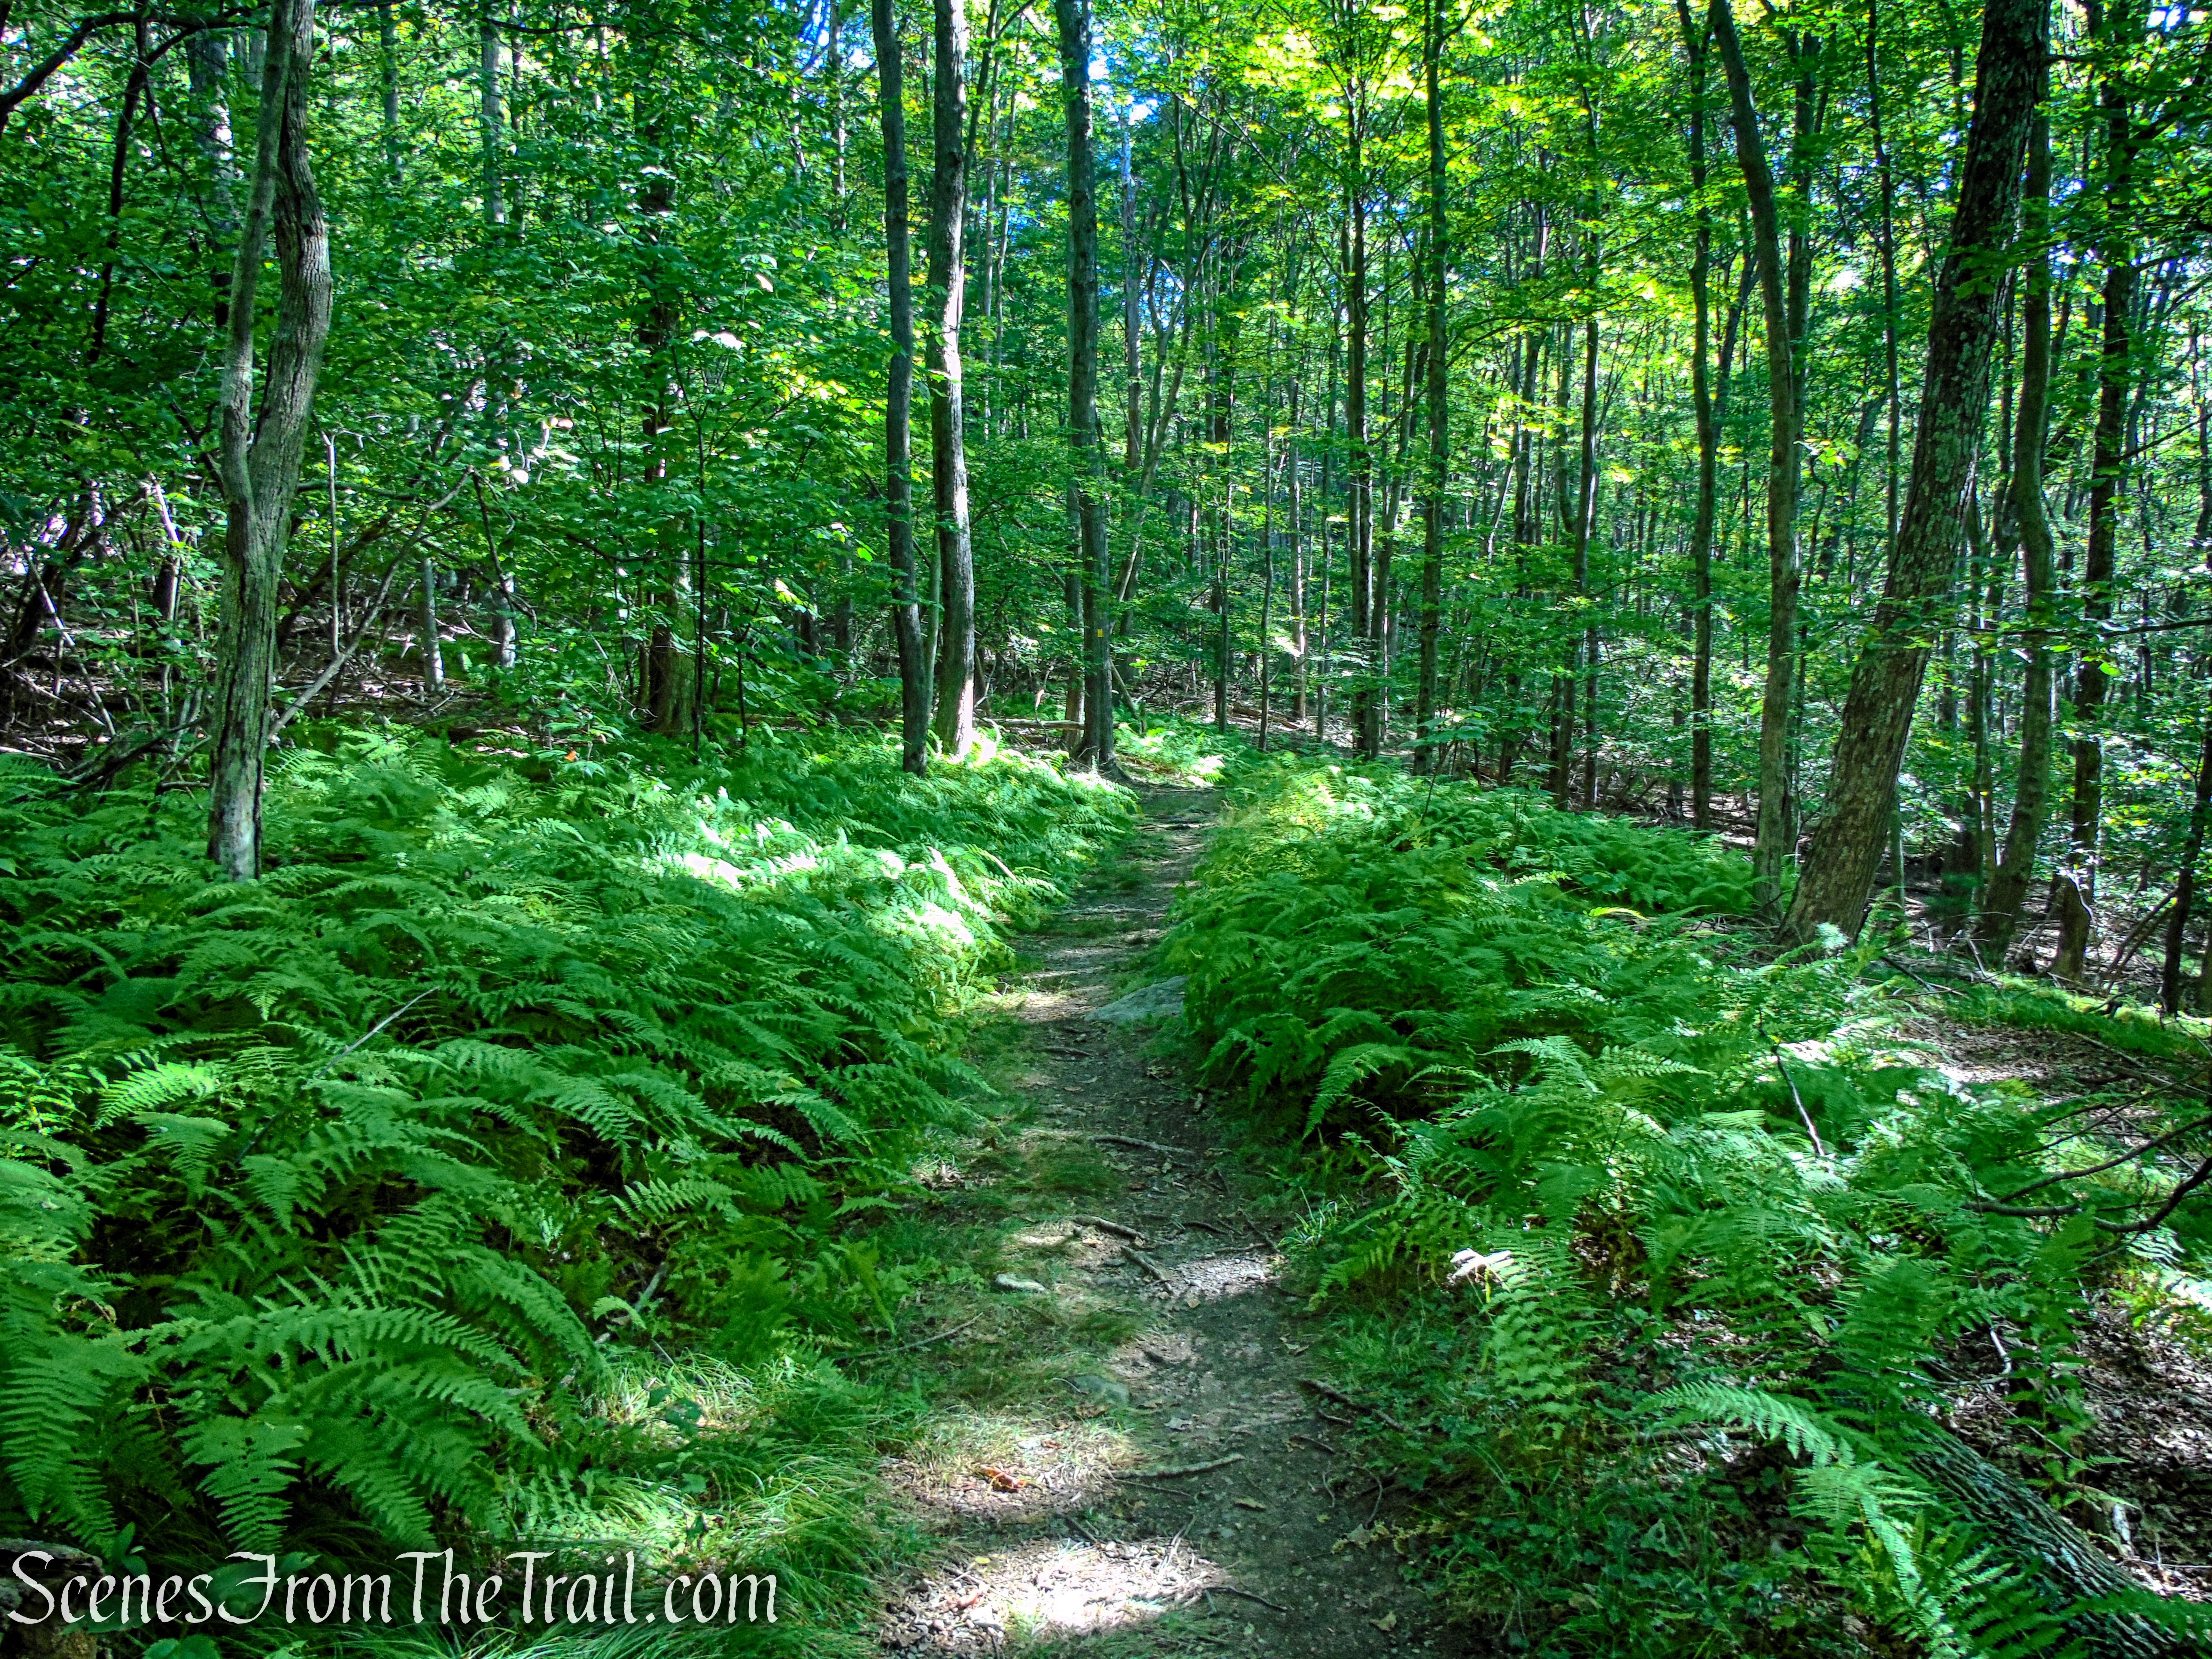
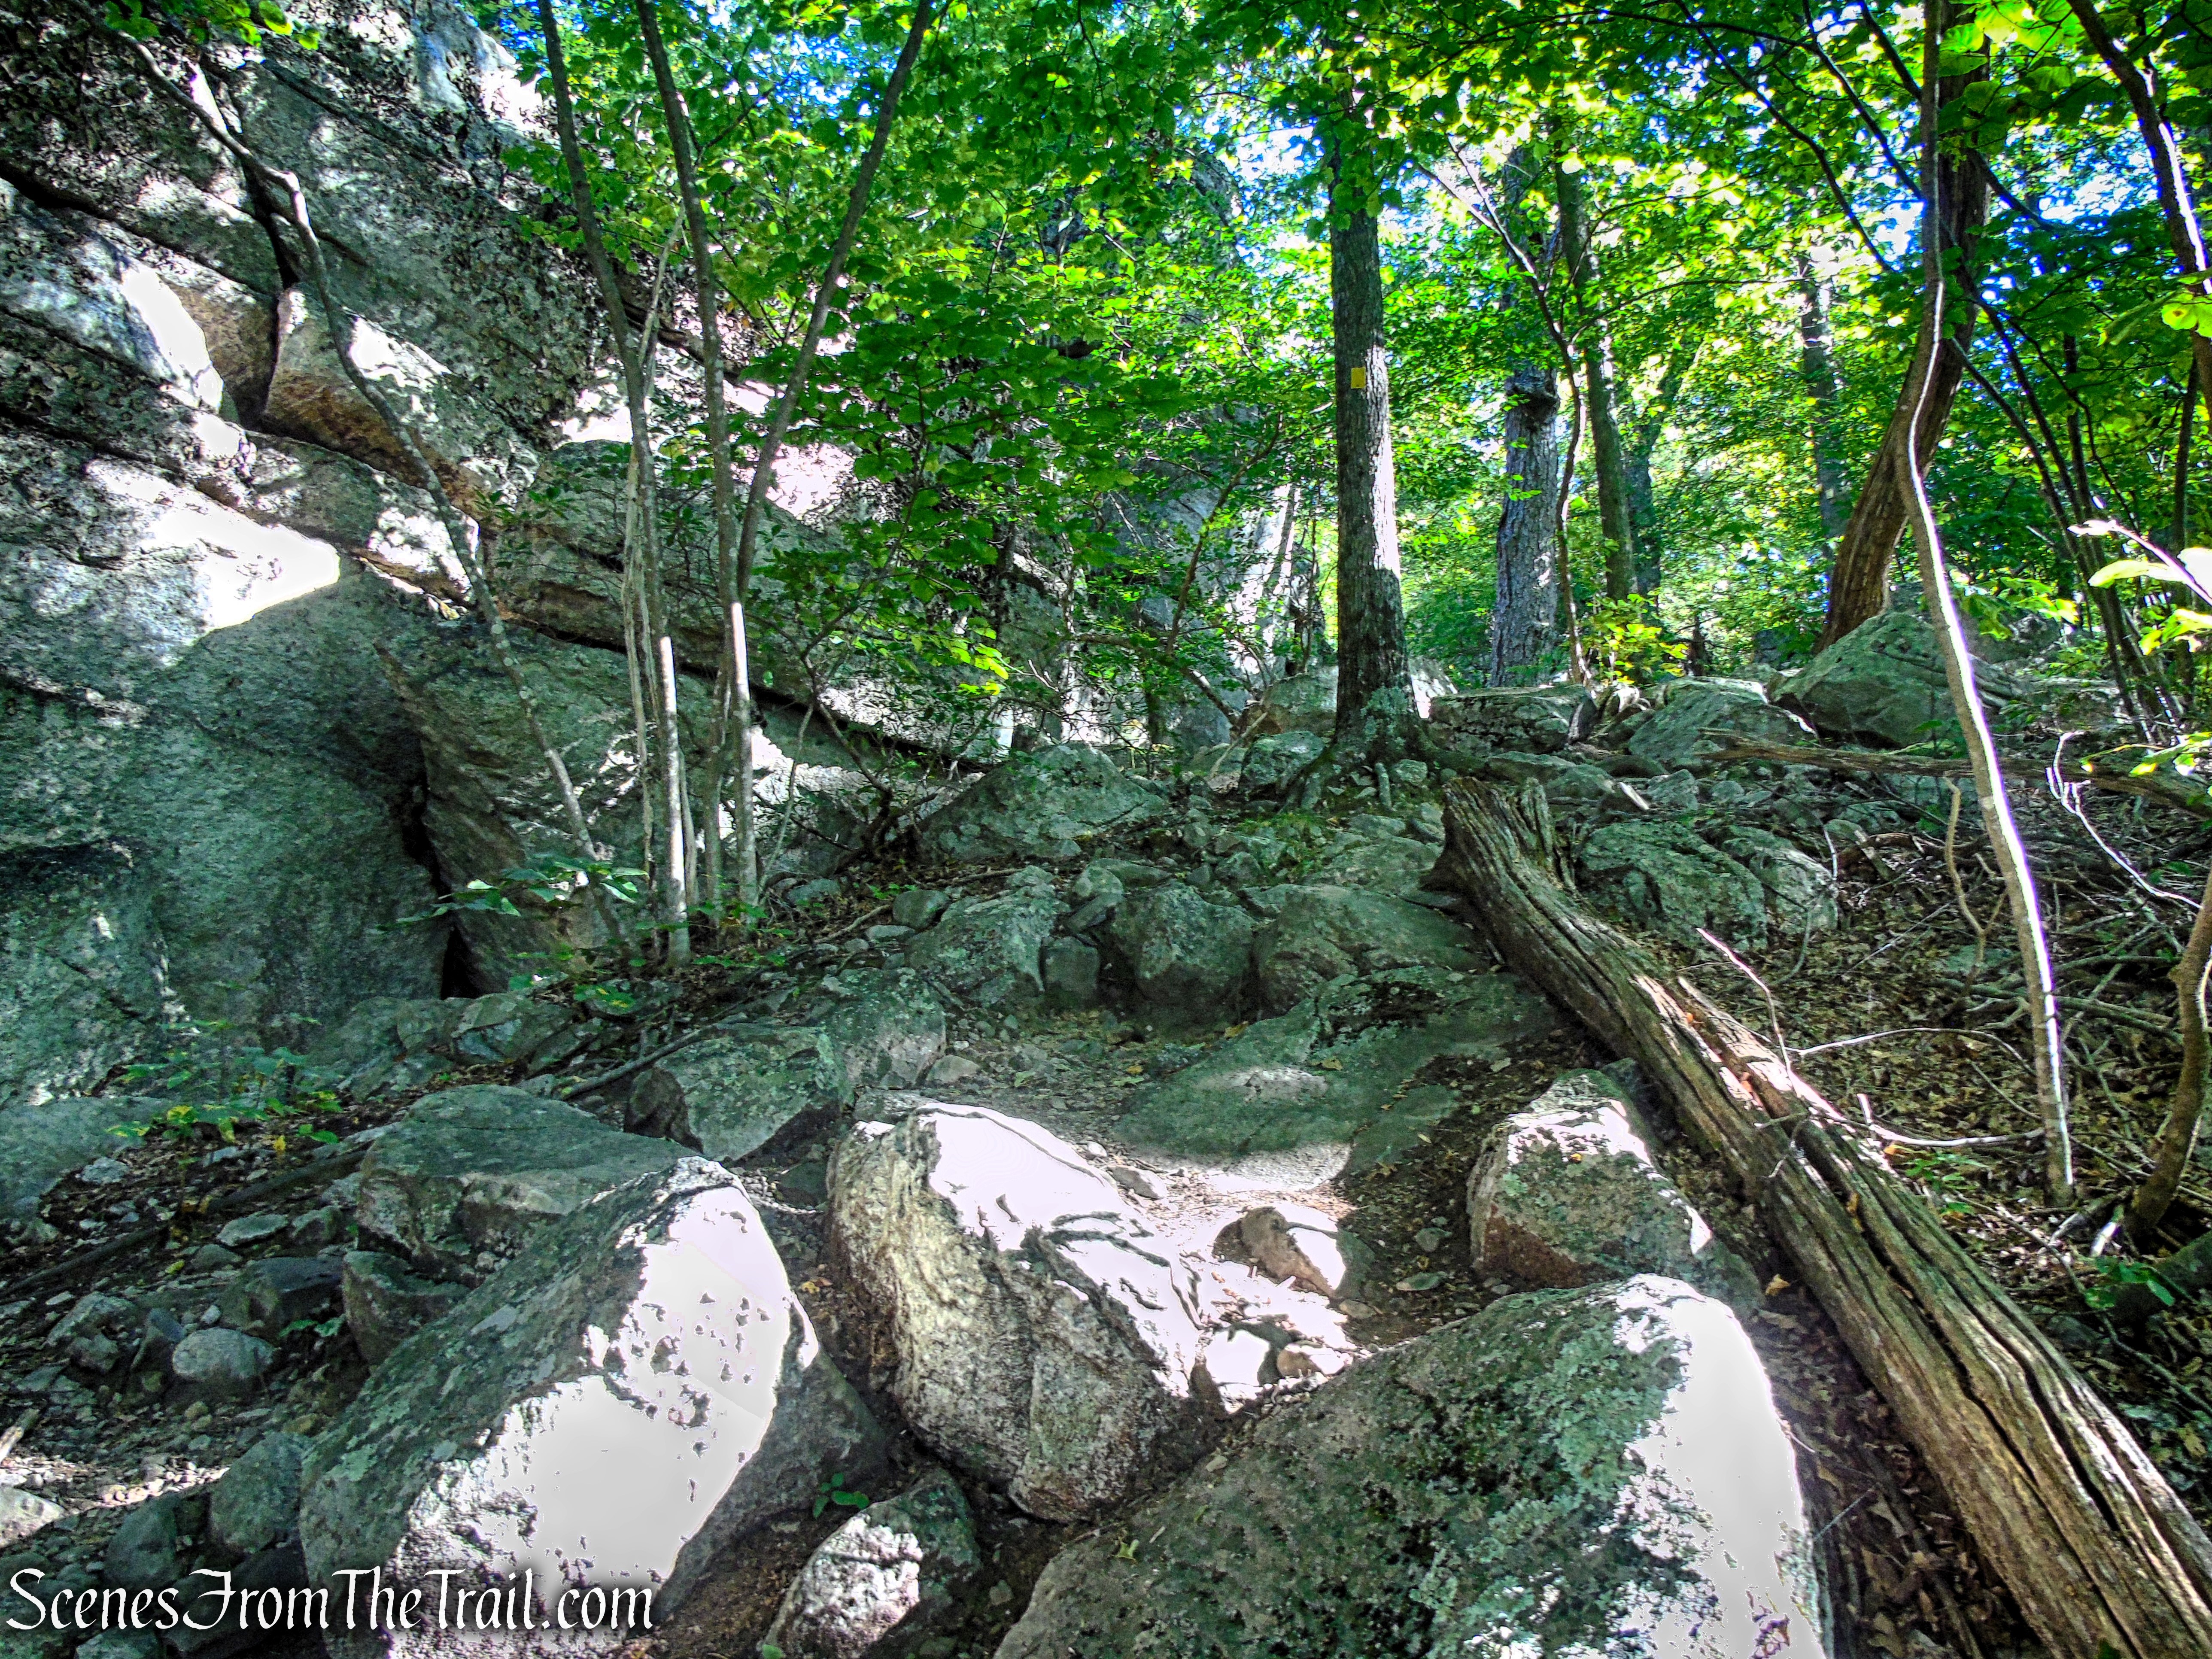
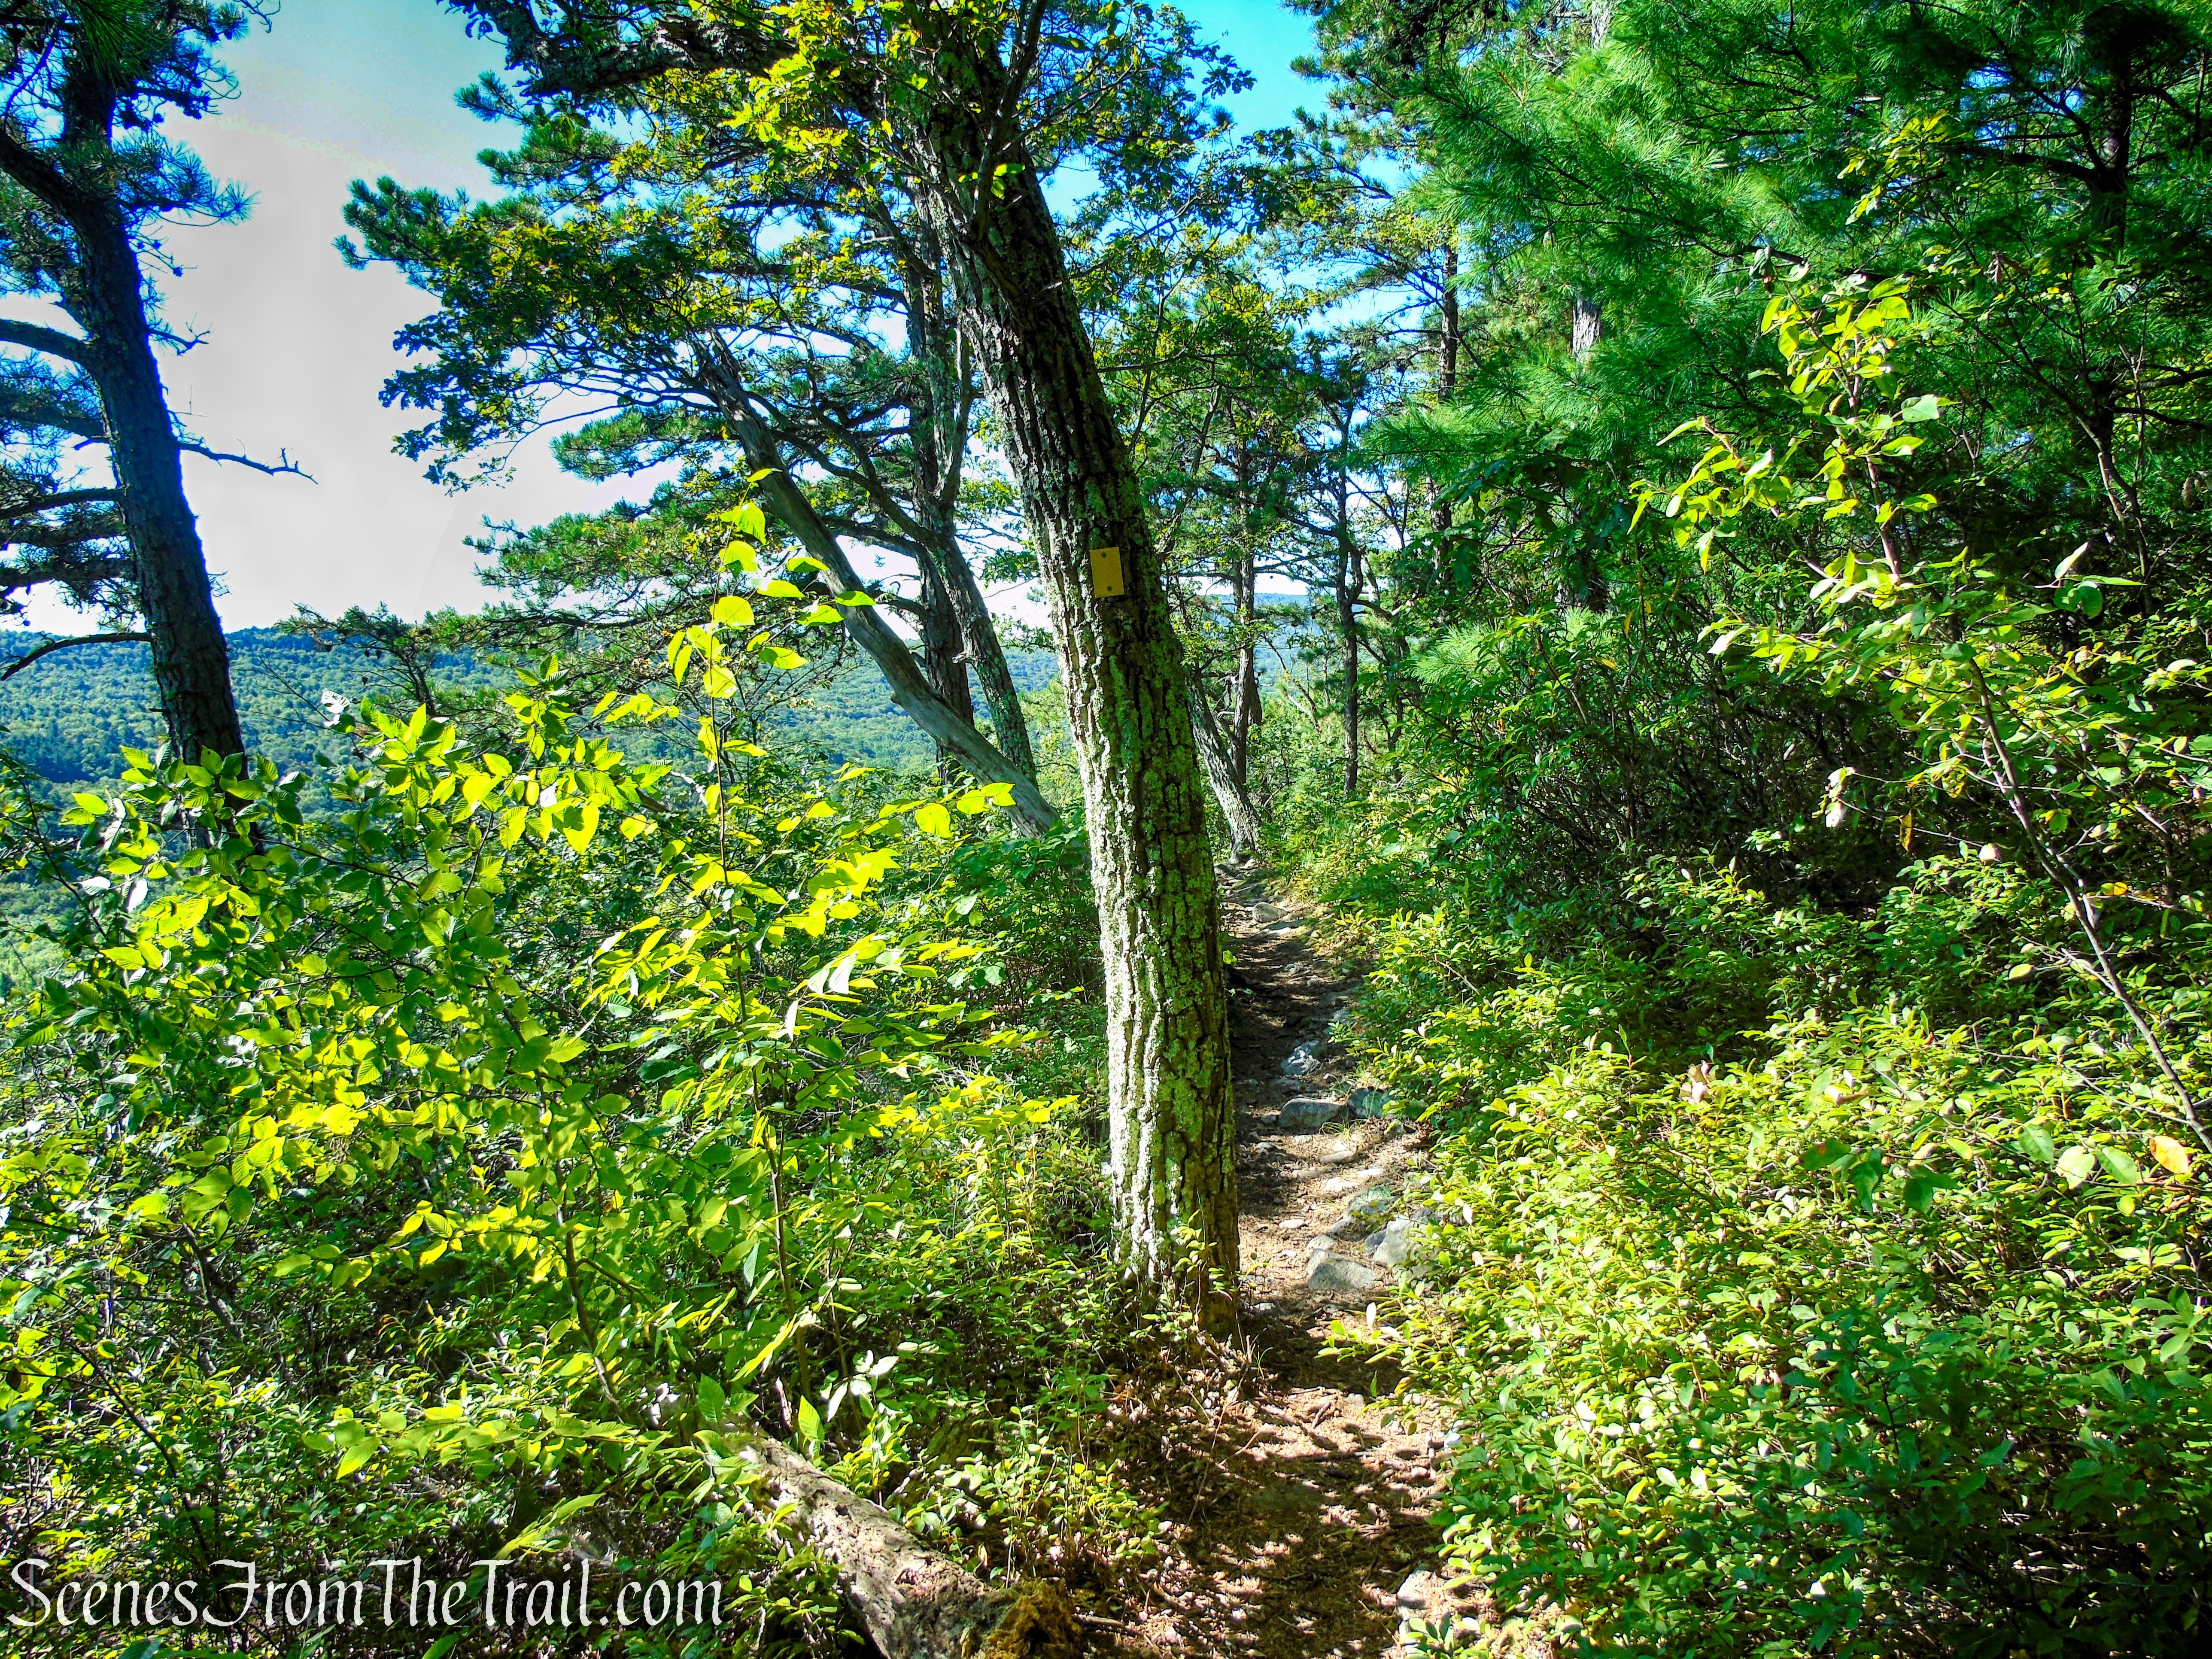
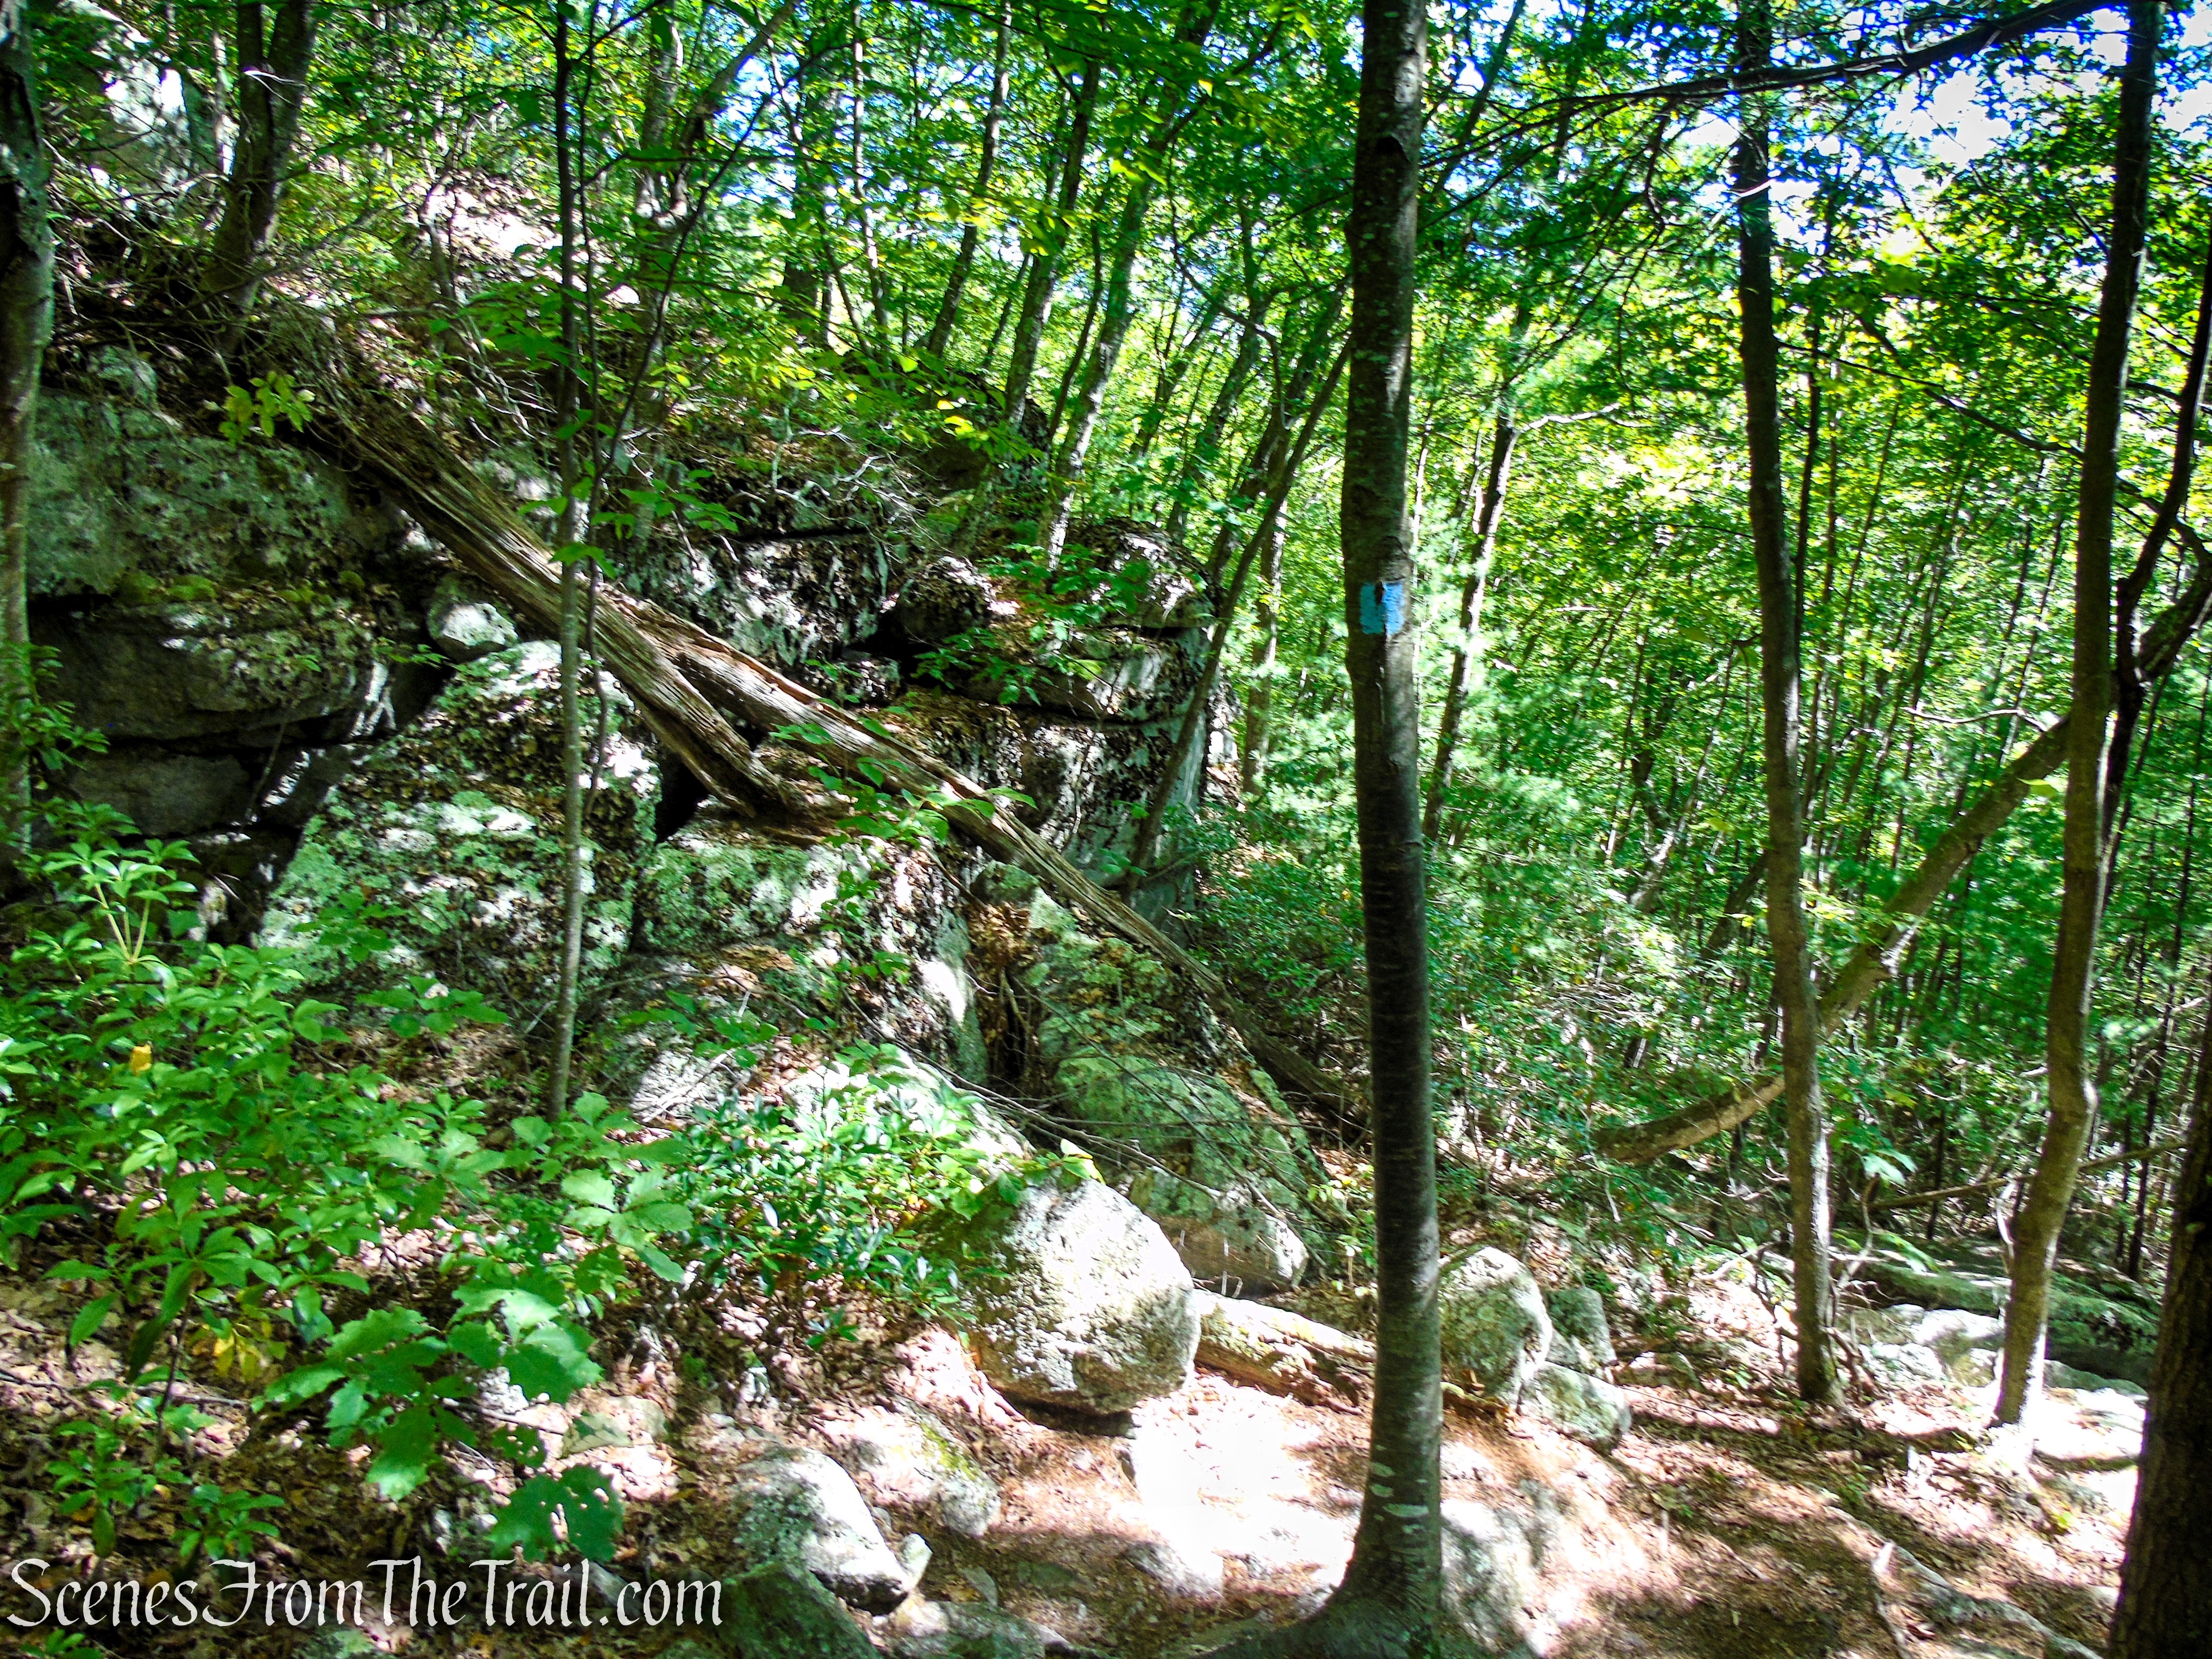
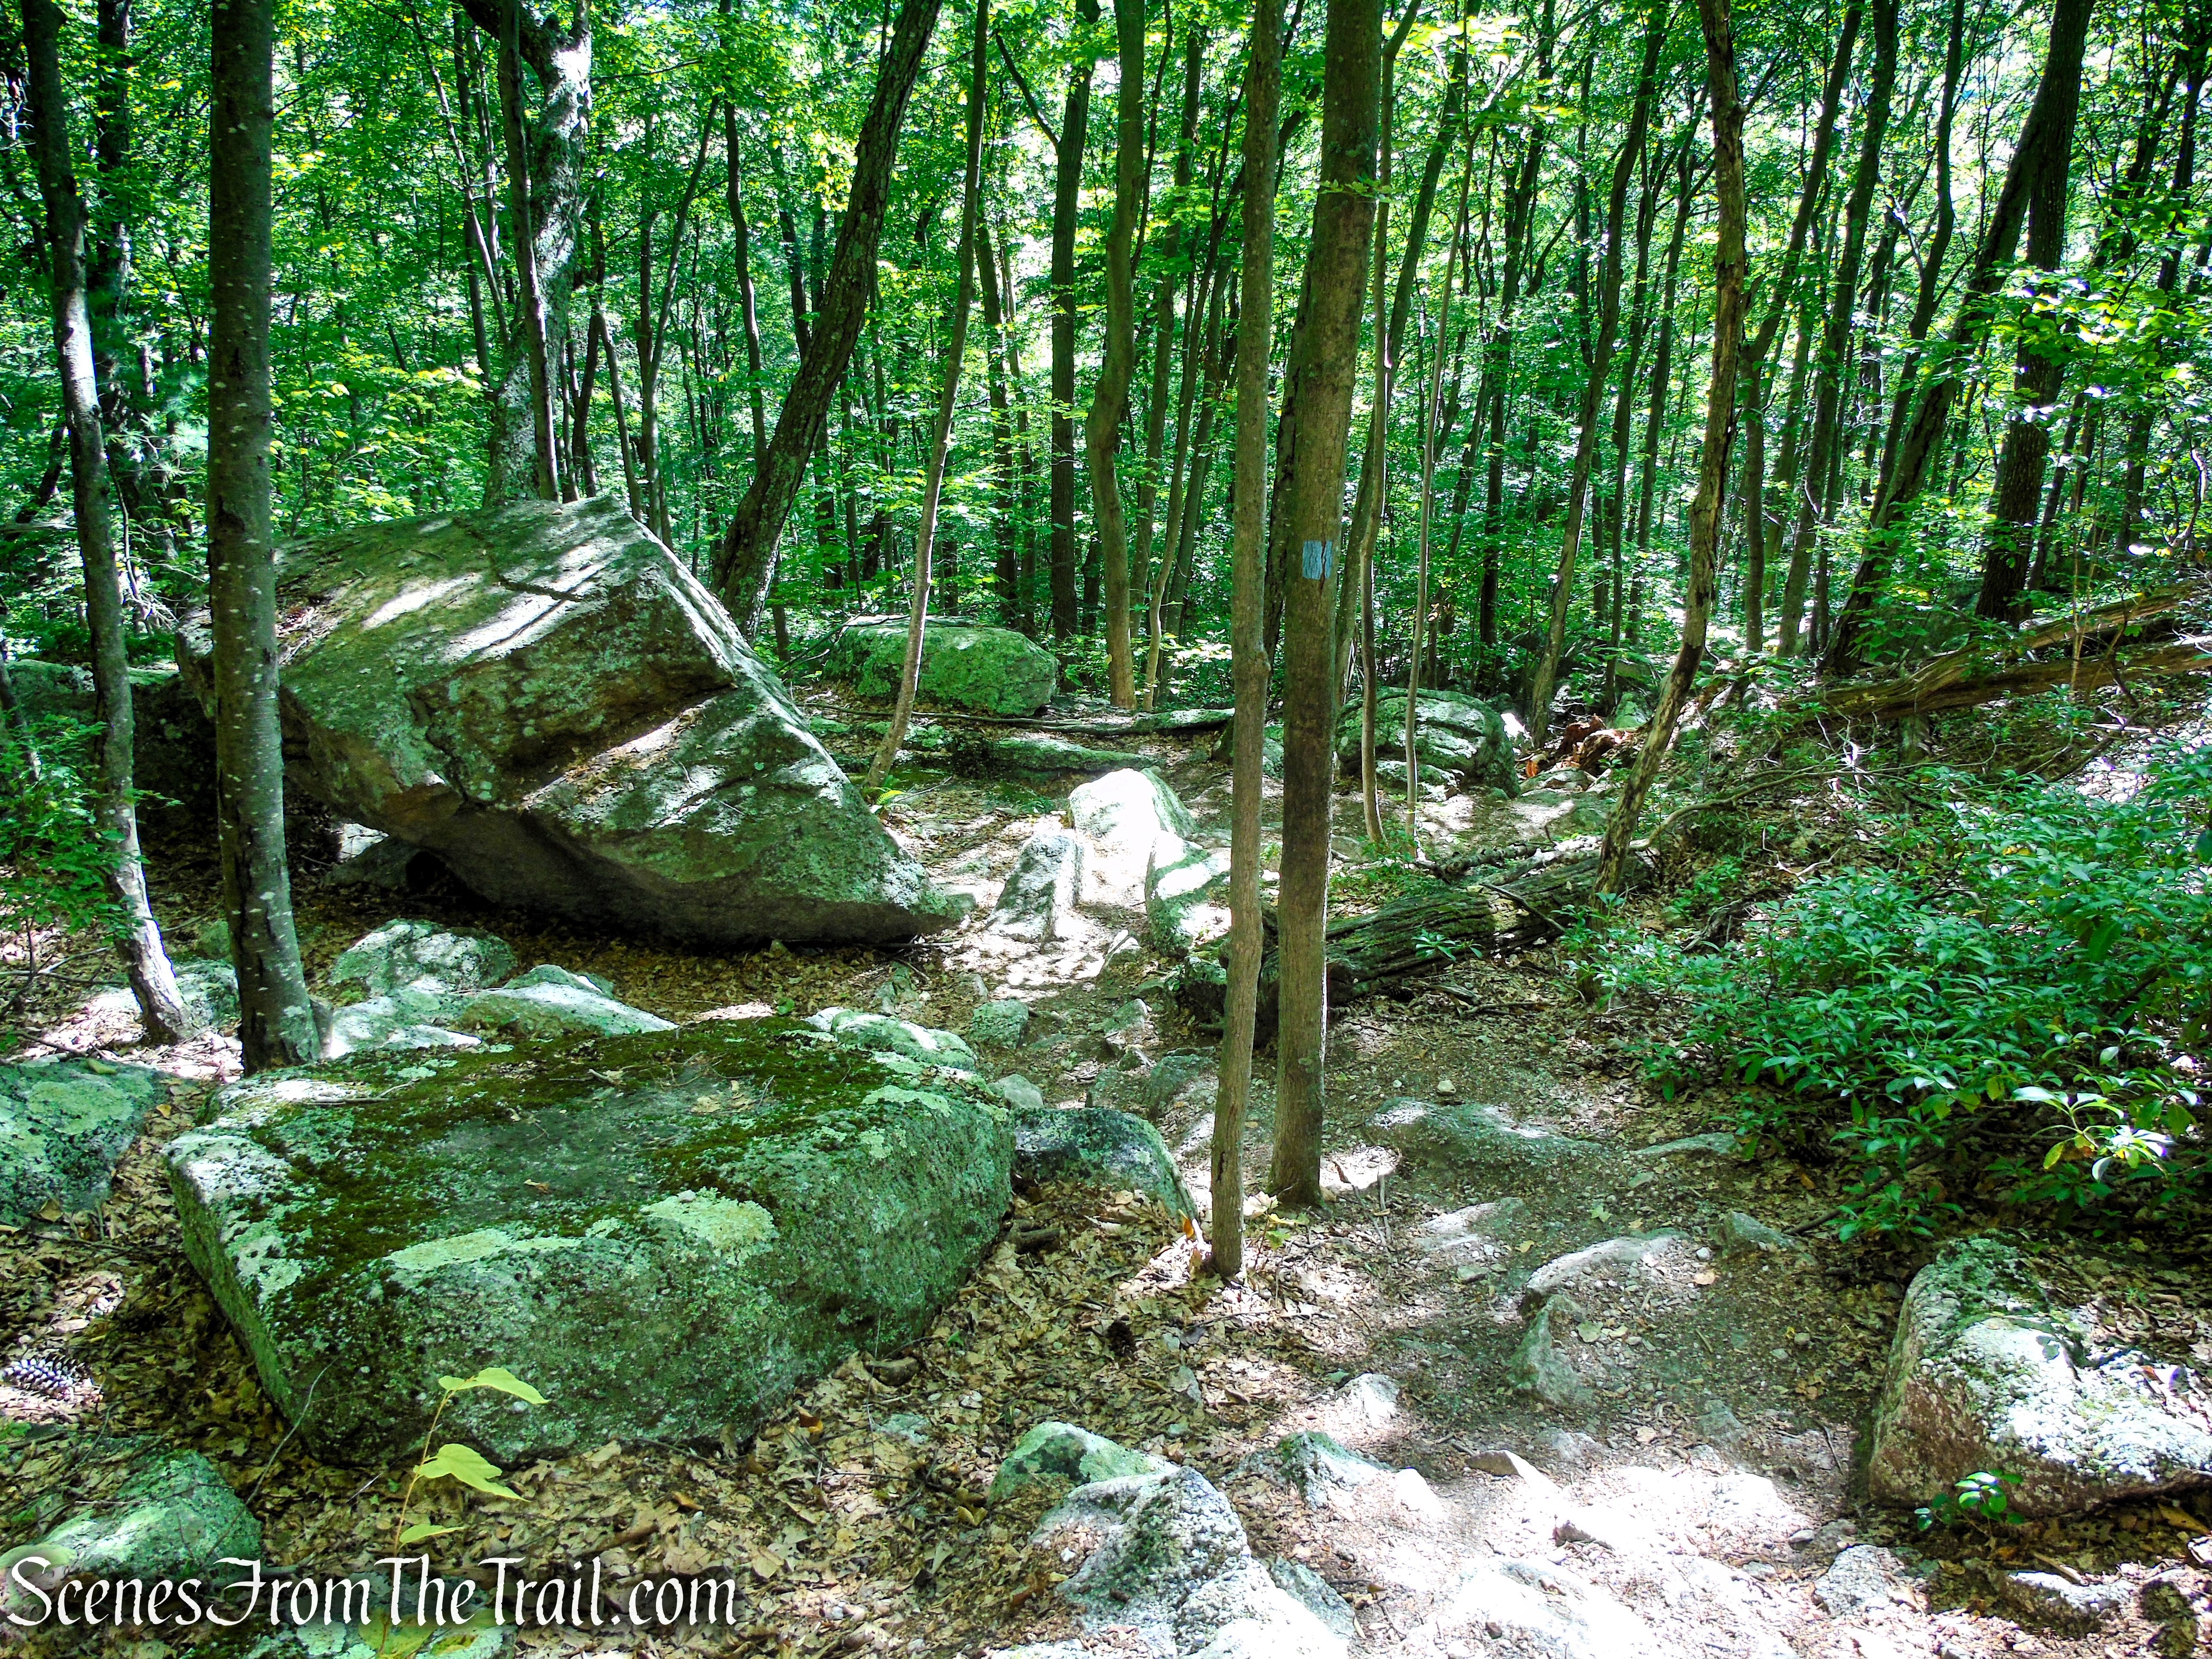
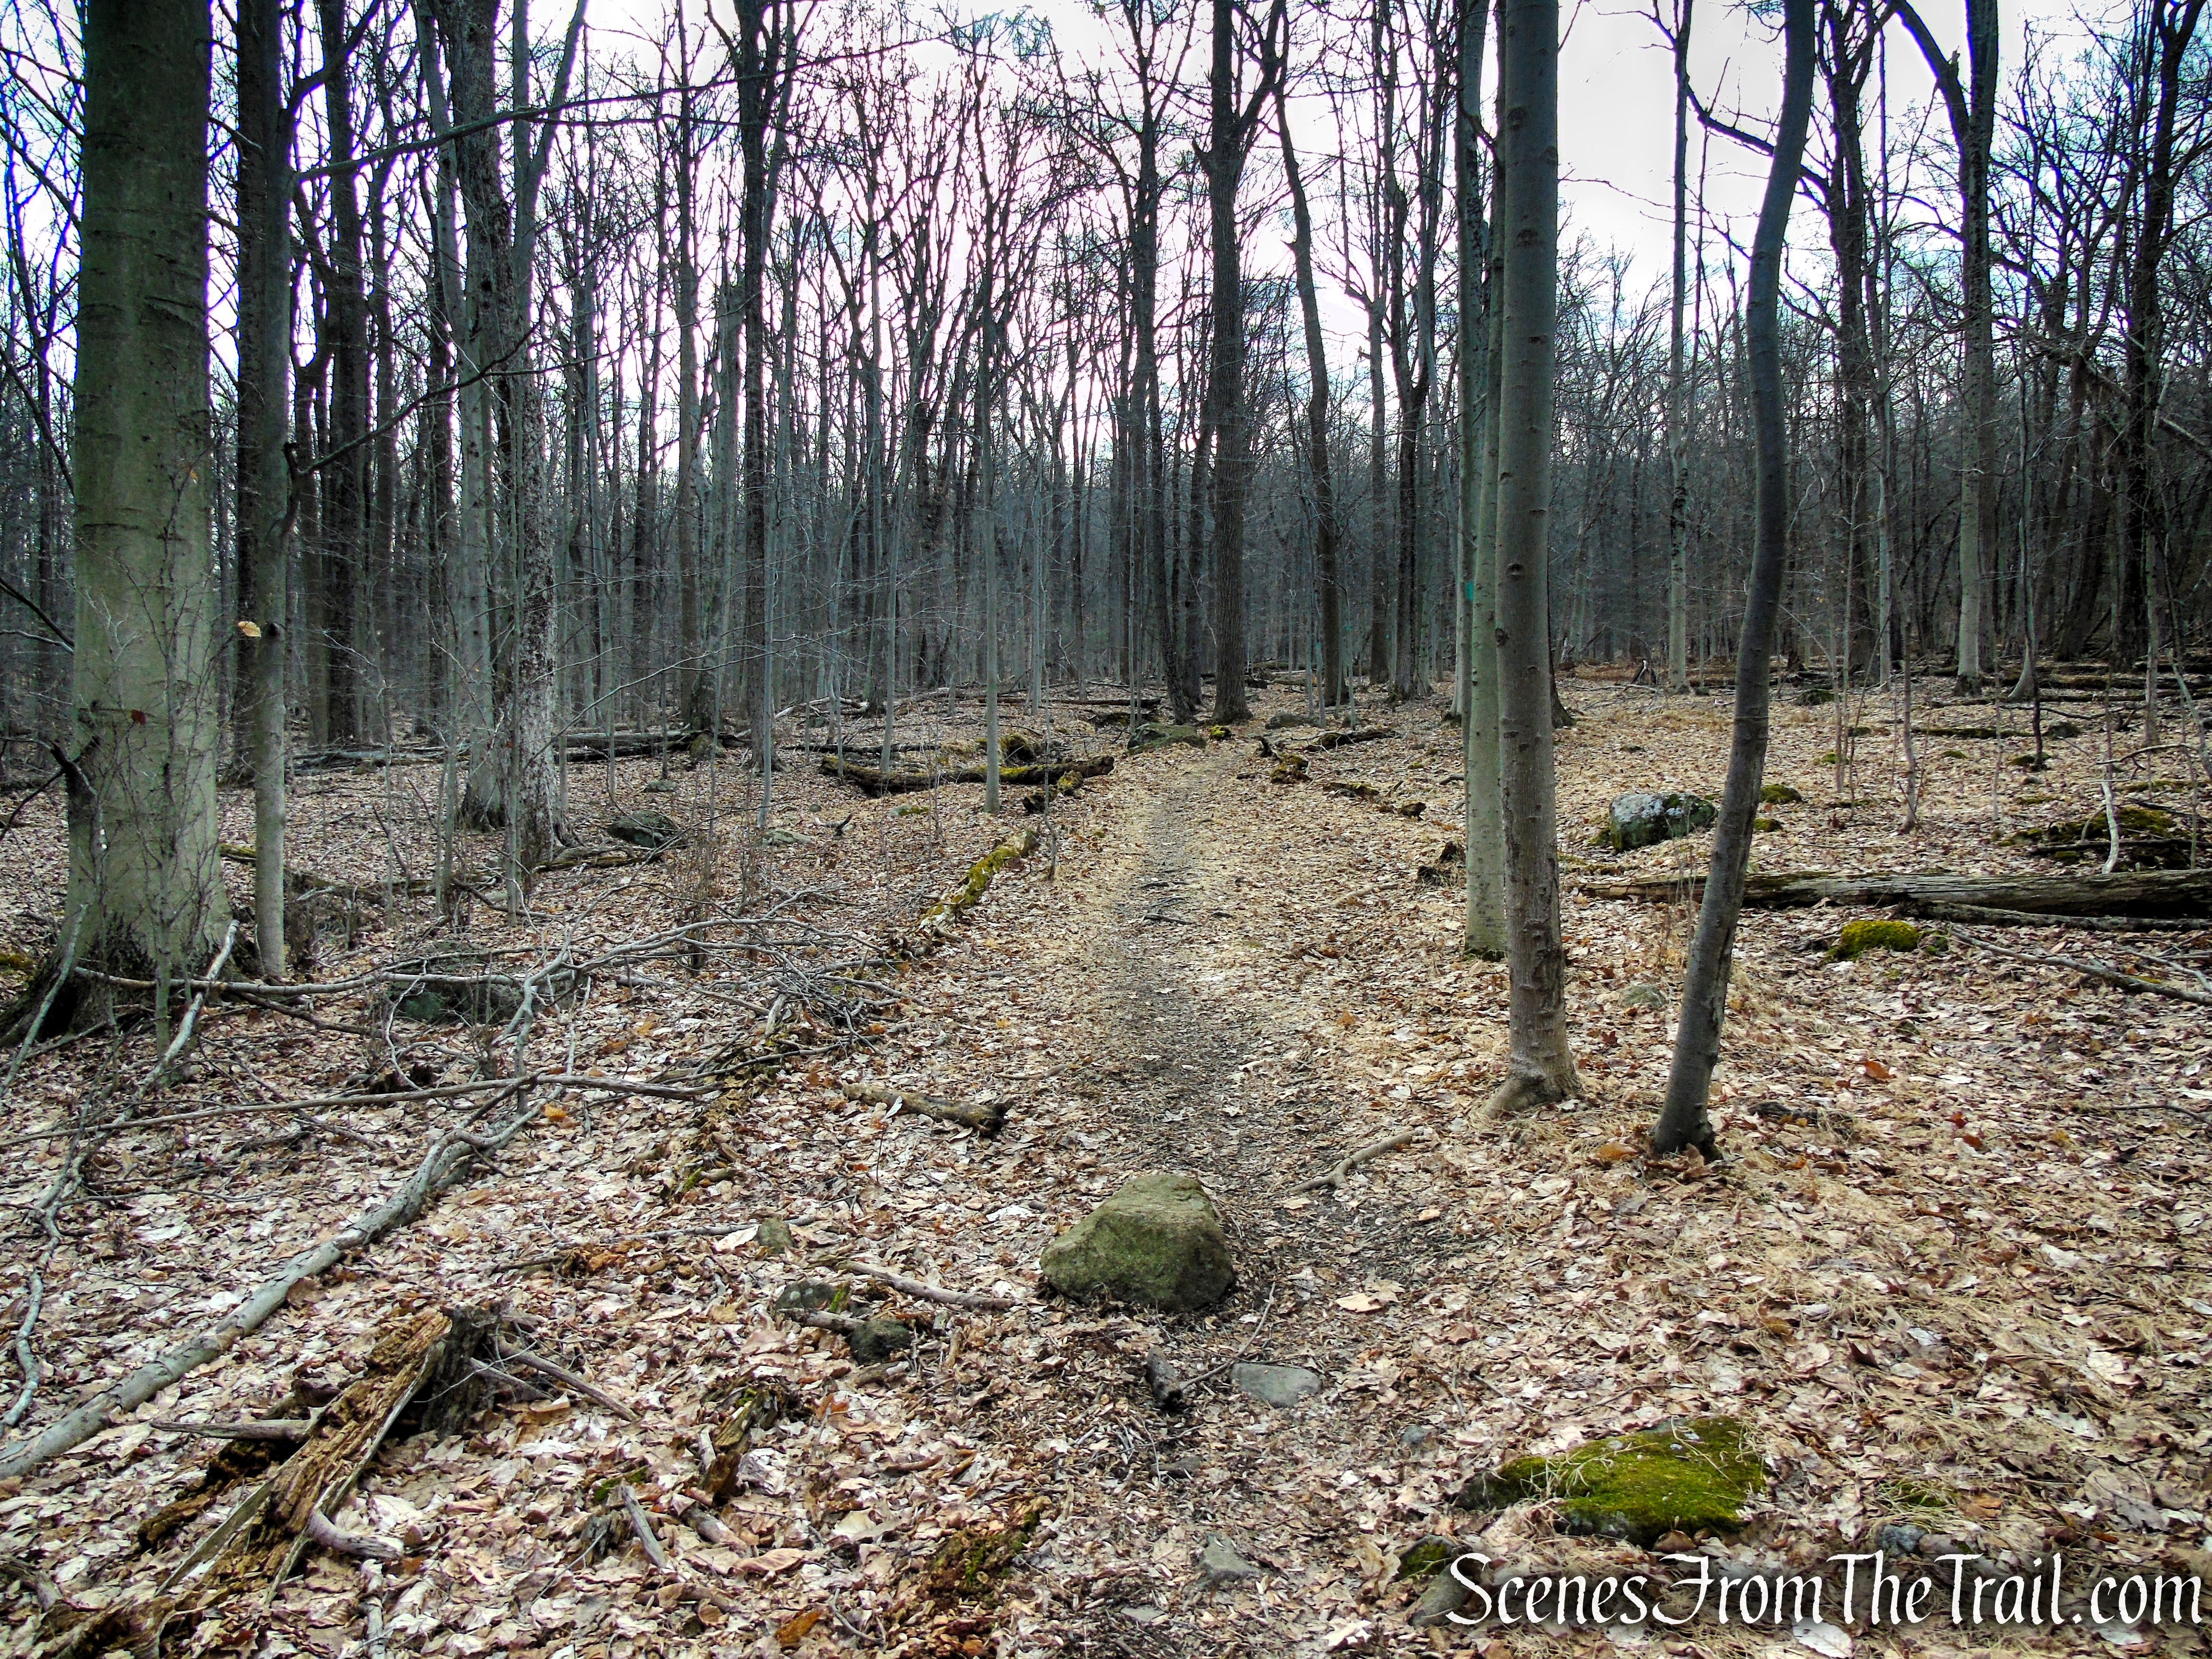
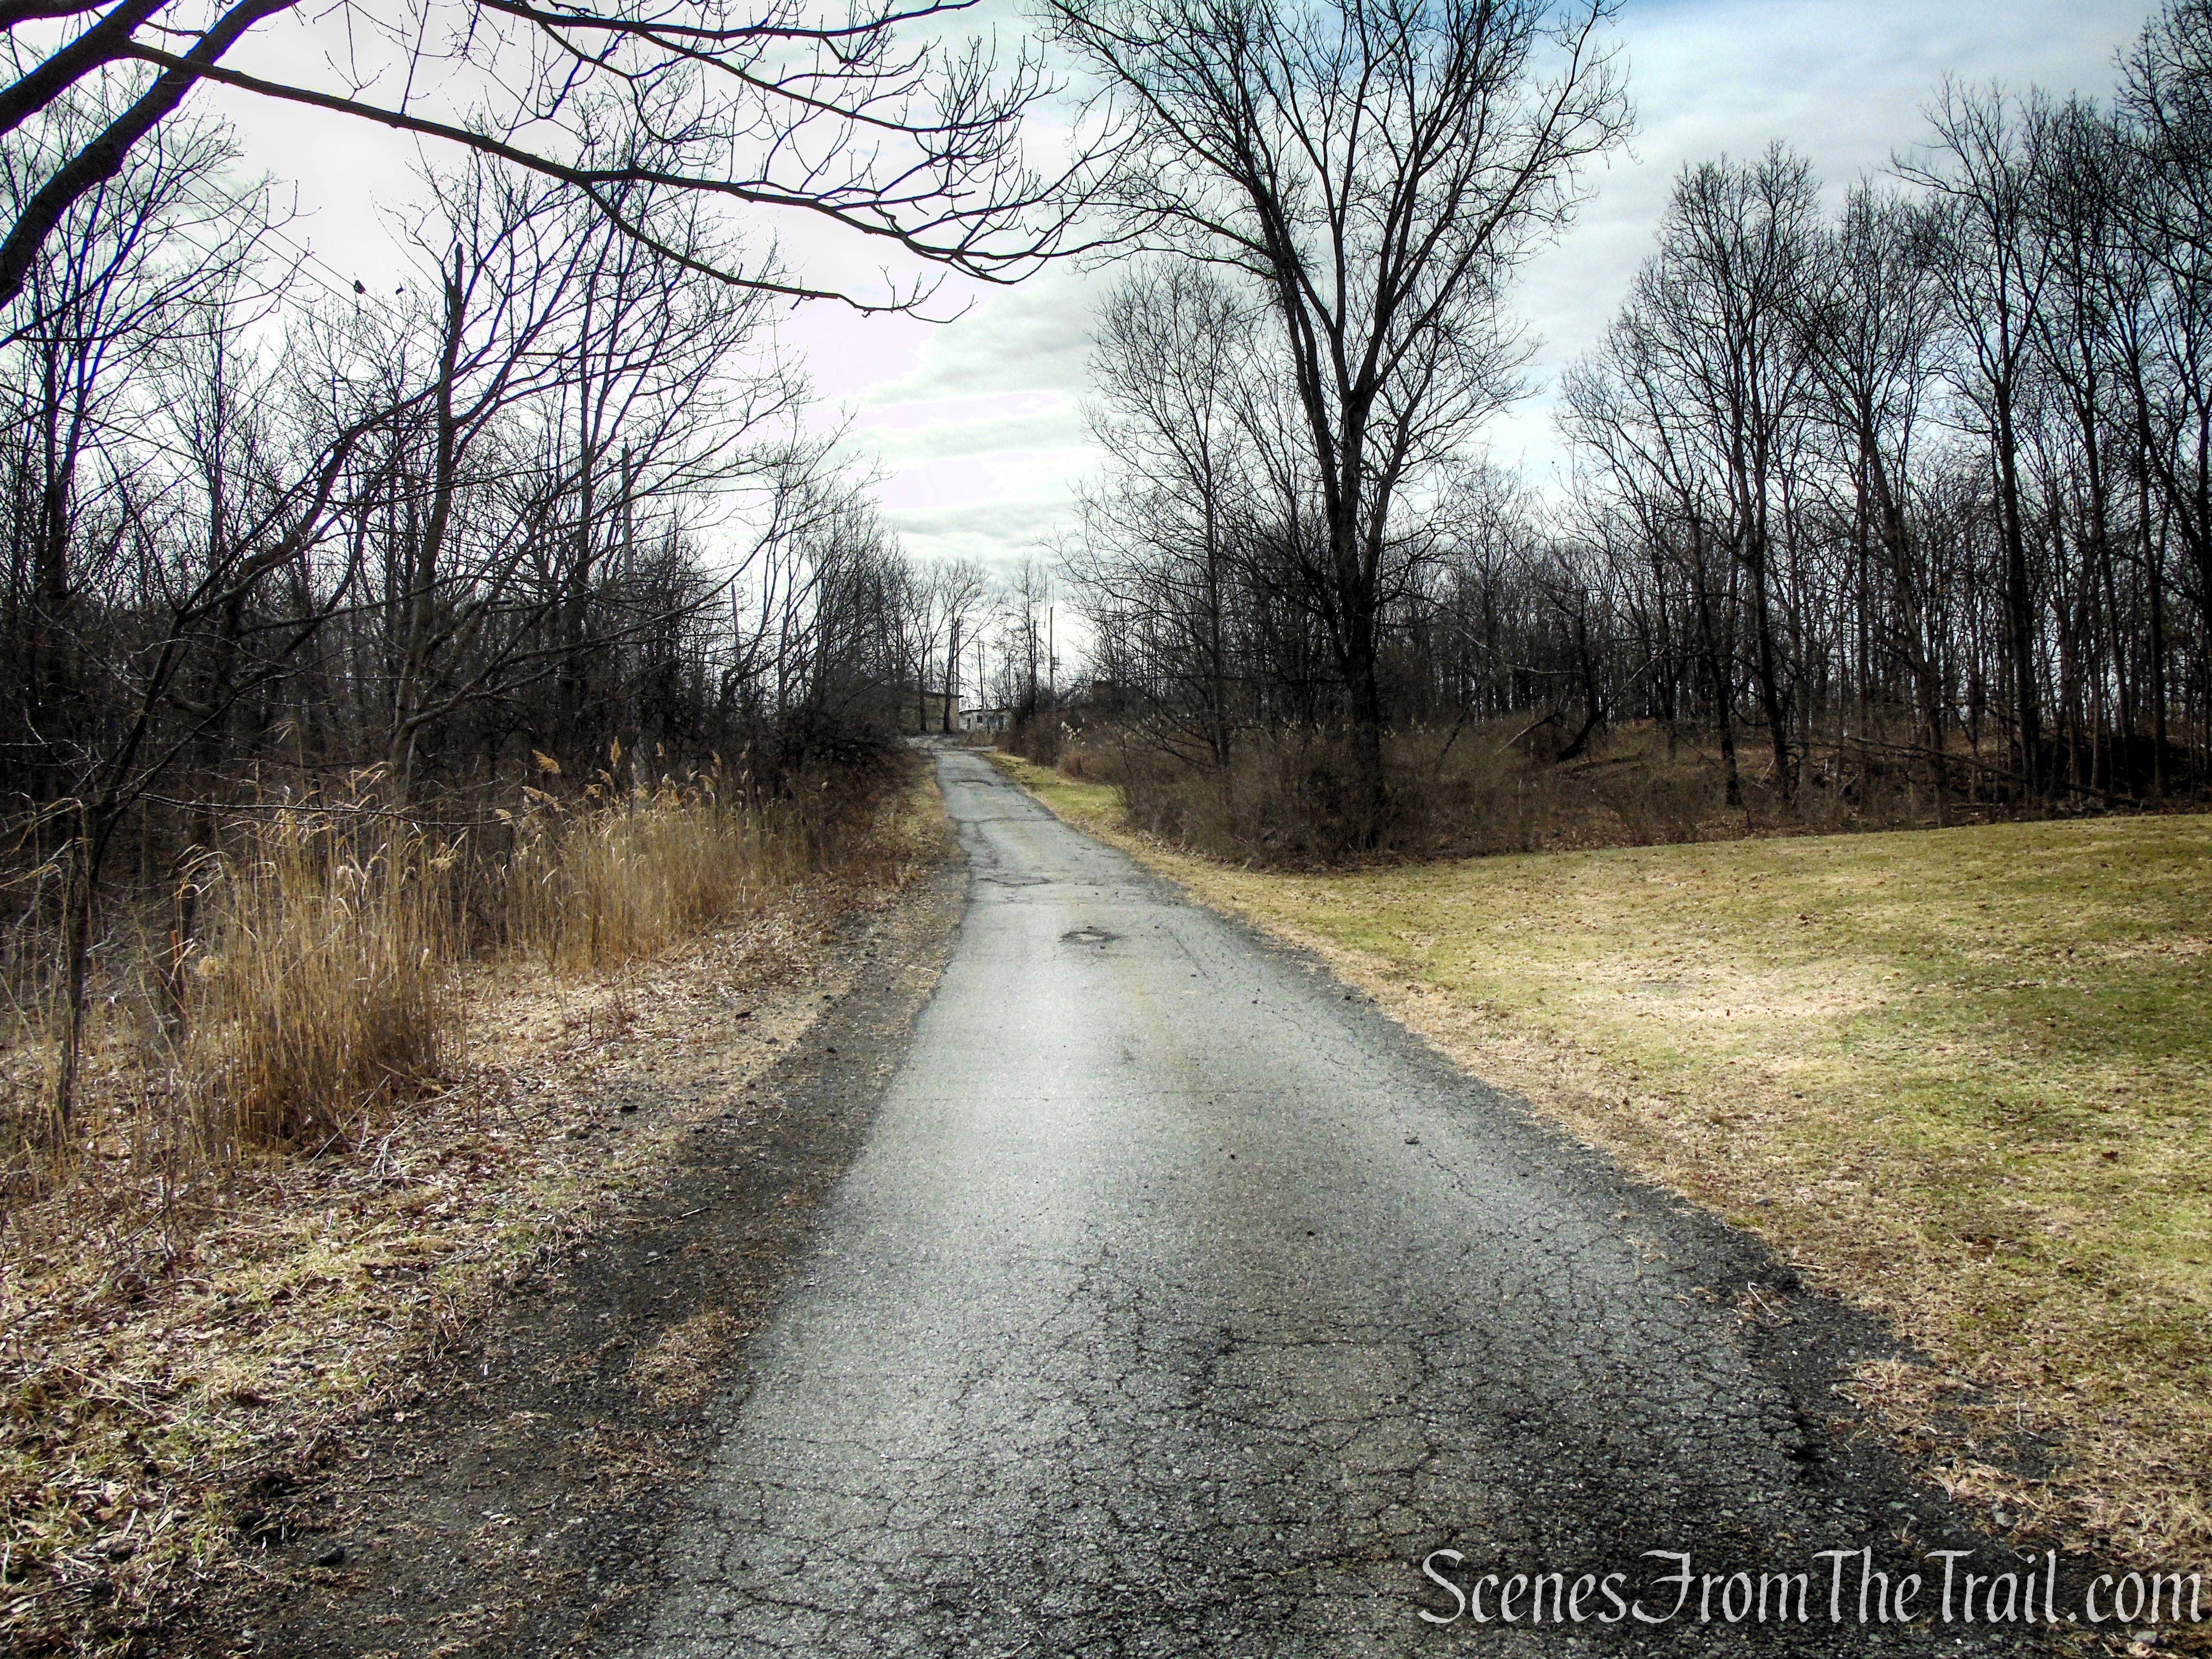
From Nike Overlook Park, the White Trail descends through Clausland Mountain Park, following long, looping switchbacks that wind through a mix of open clearings and shaded forest. The trail provides a peaceful, wooded route, with occasional glimpses of old fence lines. Its gradual downhill course makes for an easy, scenic return through the quiet woods.
White Trail – Clausland Mountain Park
White Trail – Clausland Mountain Park

White Trail – Clausland Mountain Park
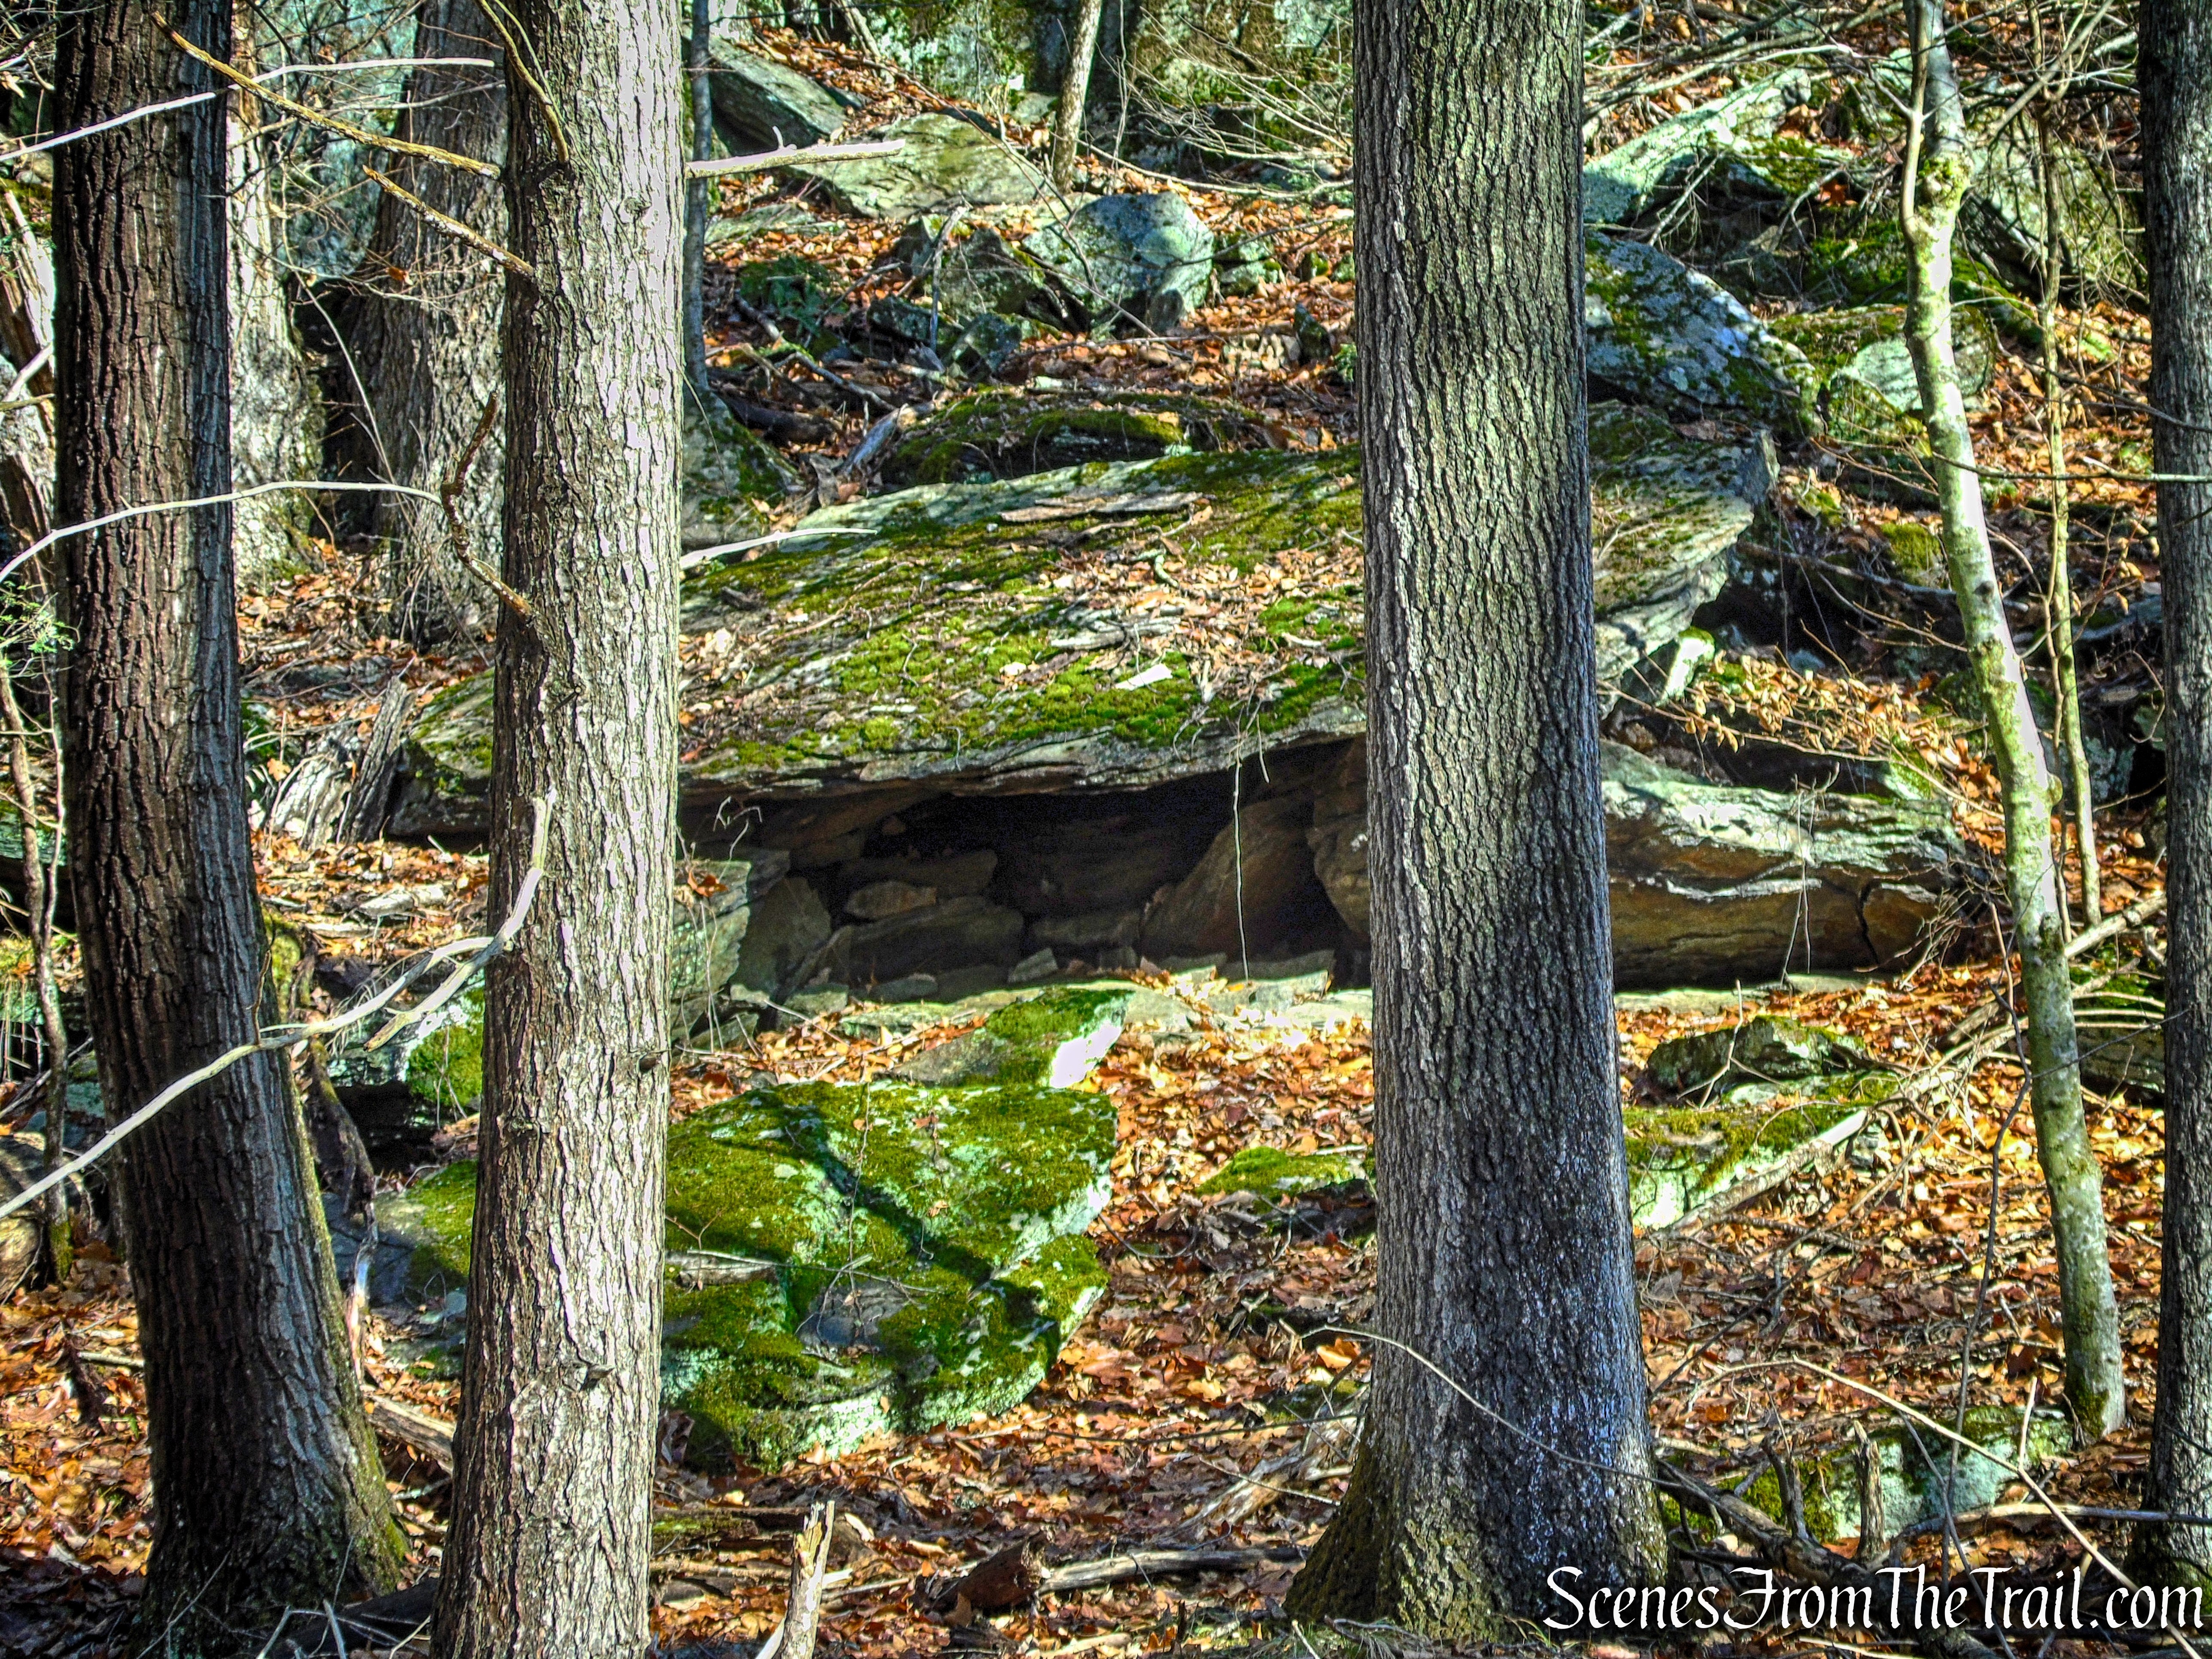
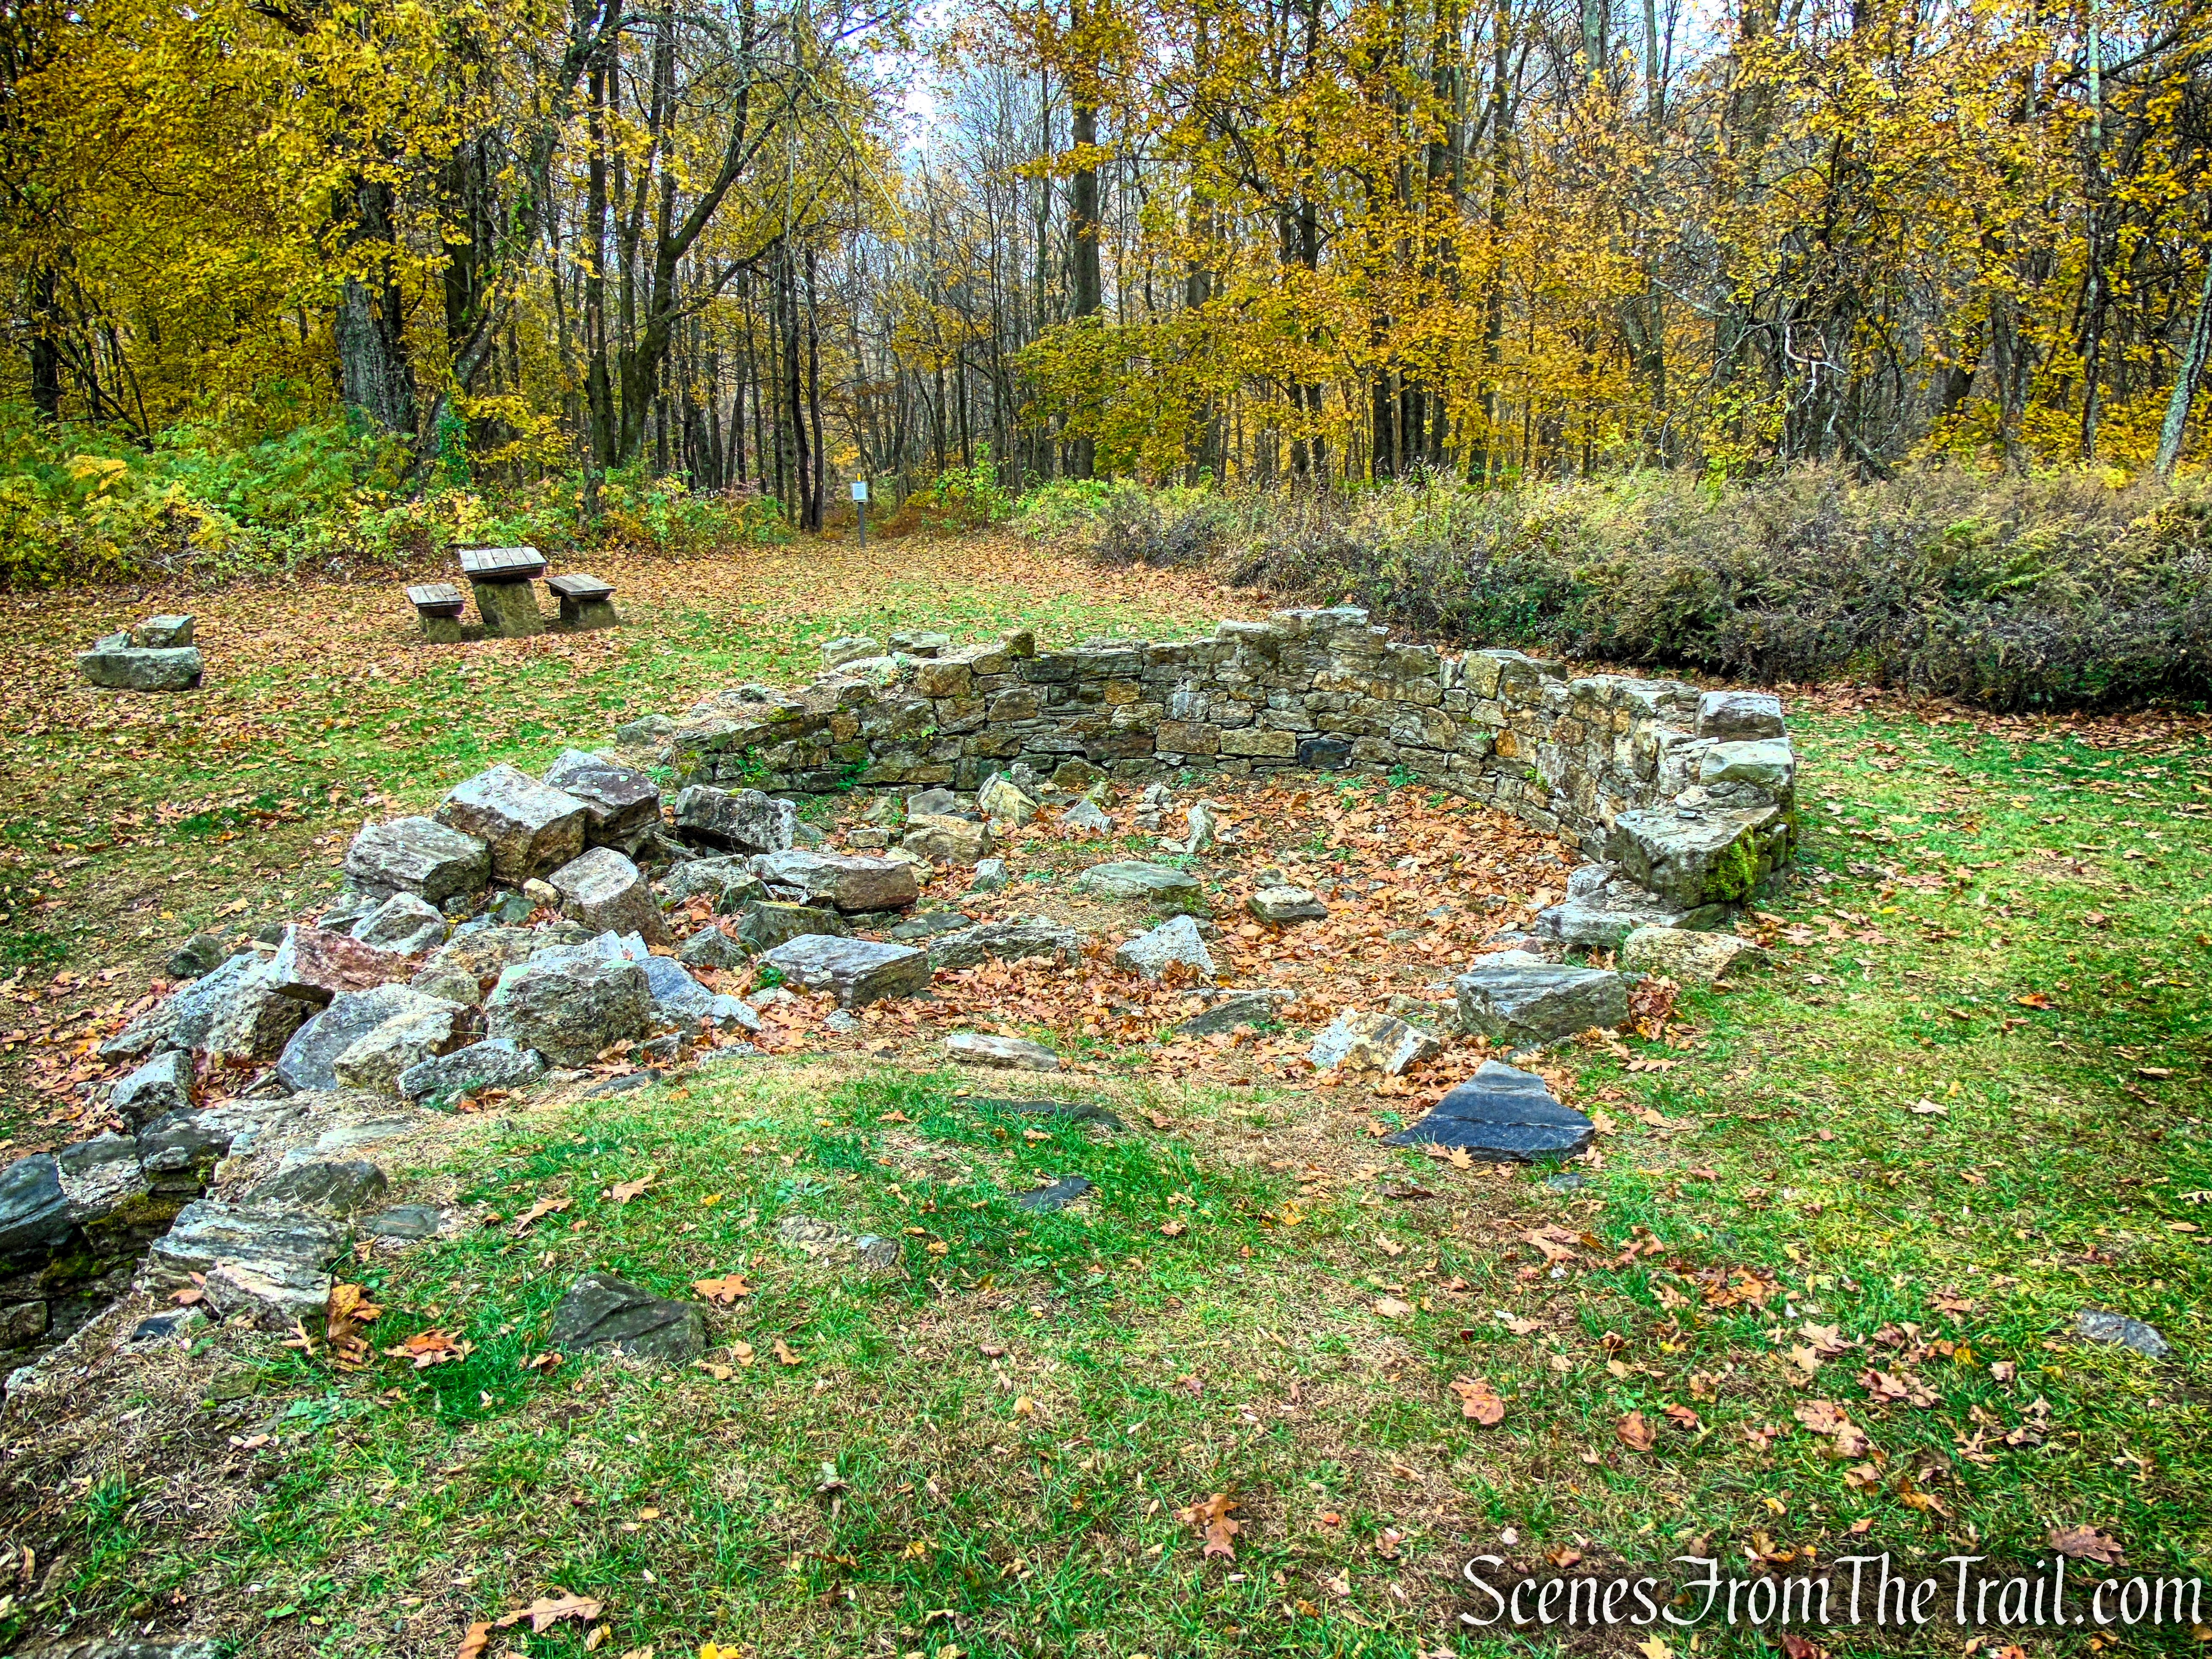
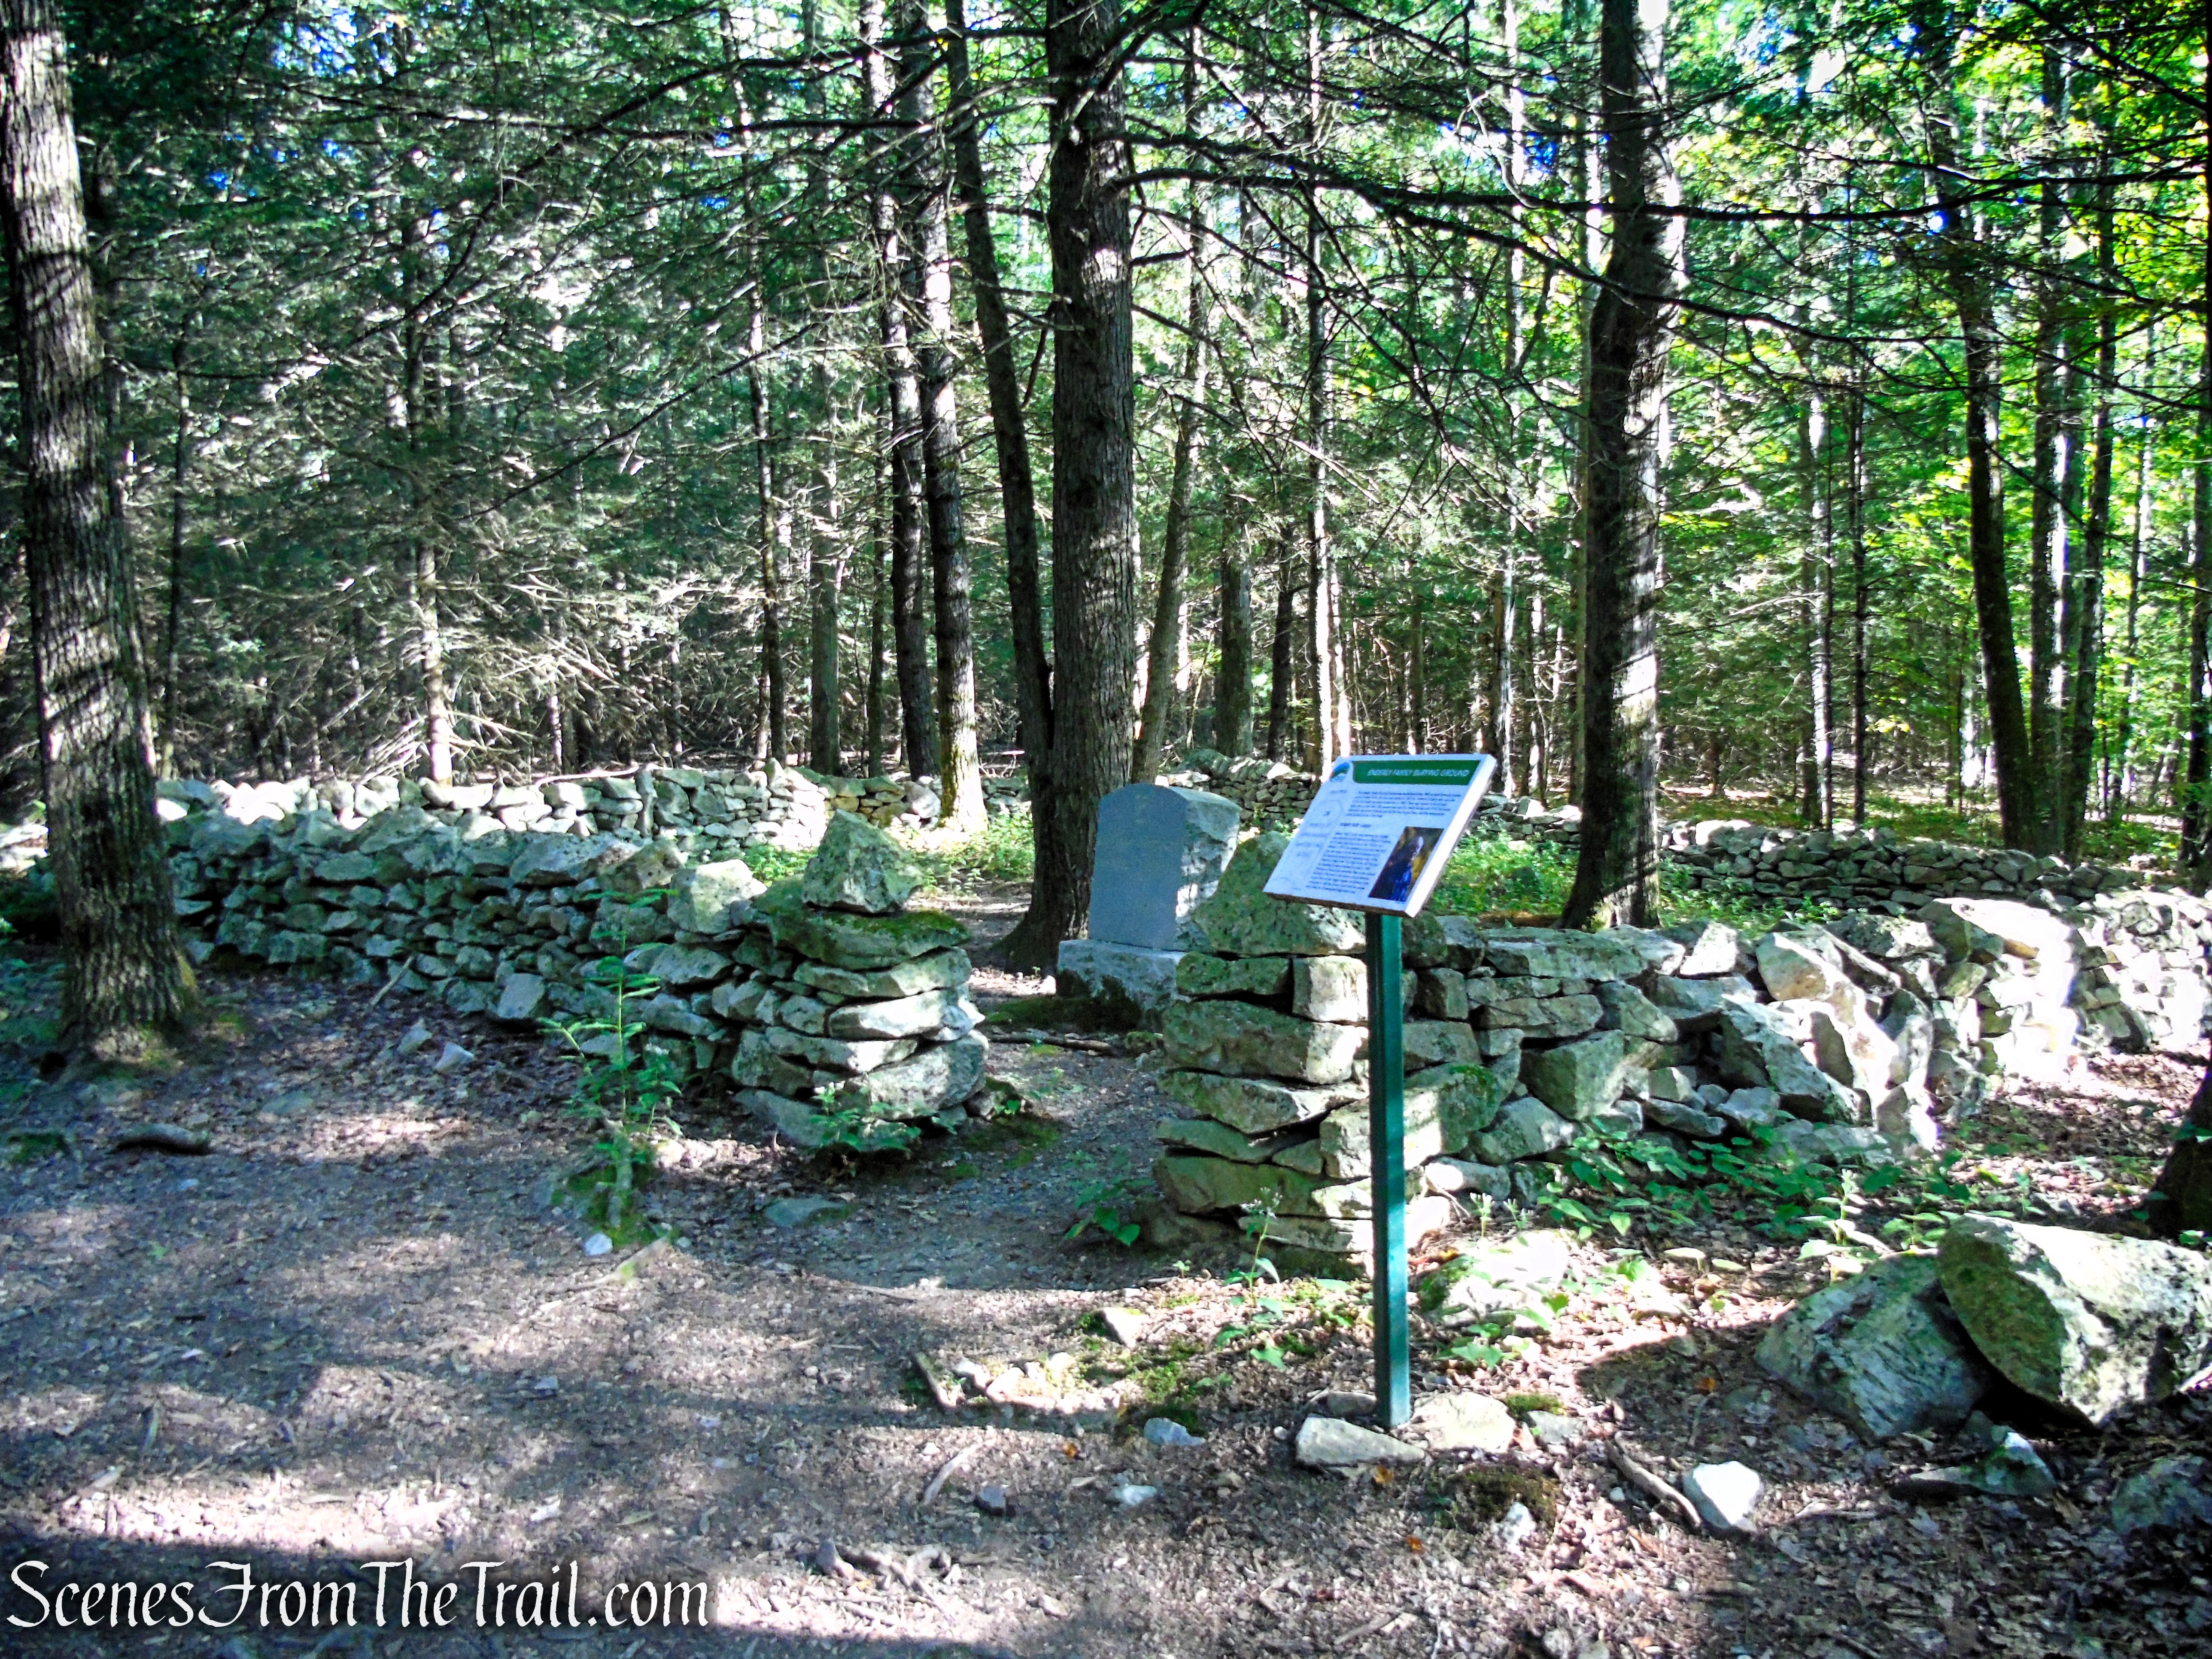
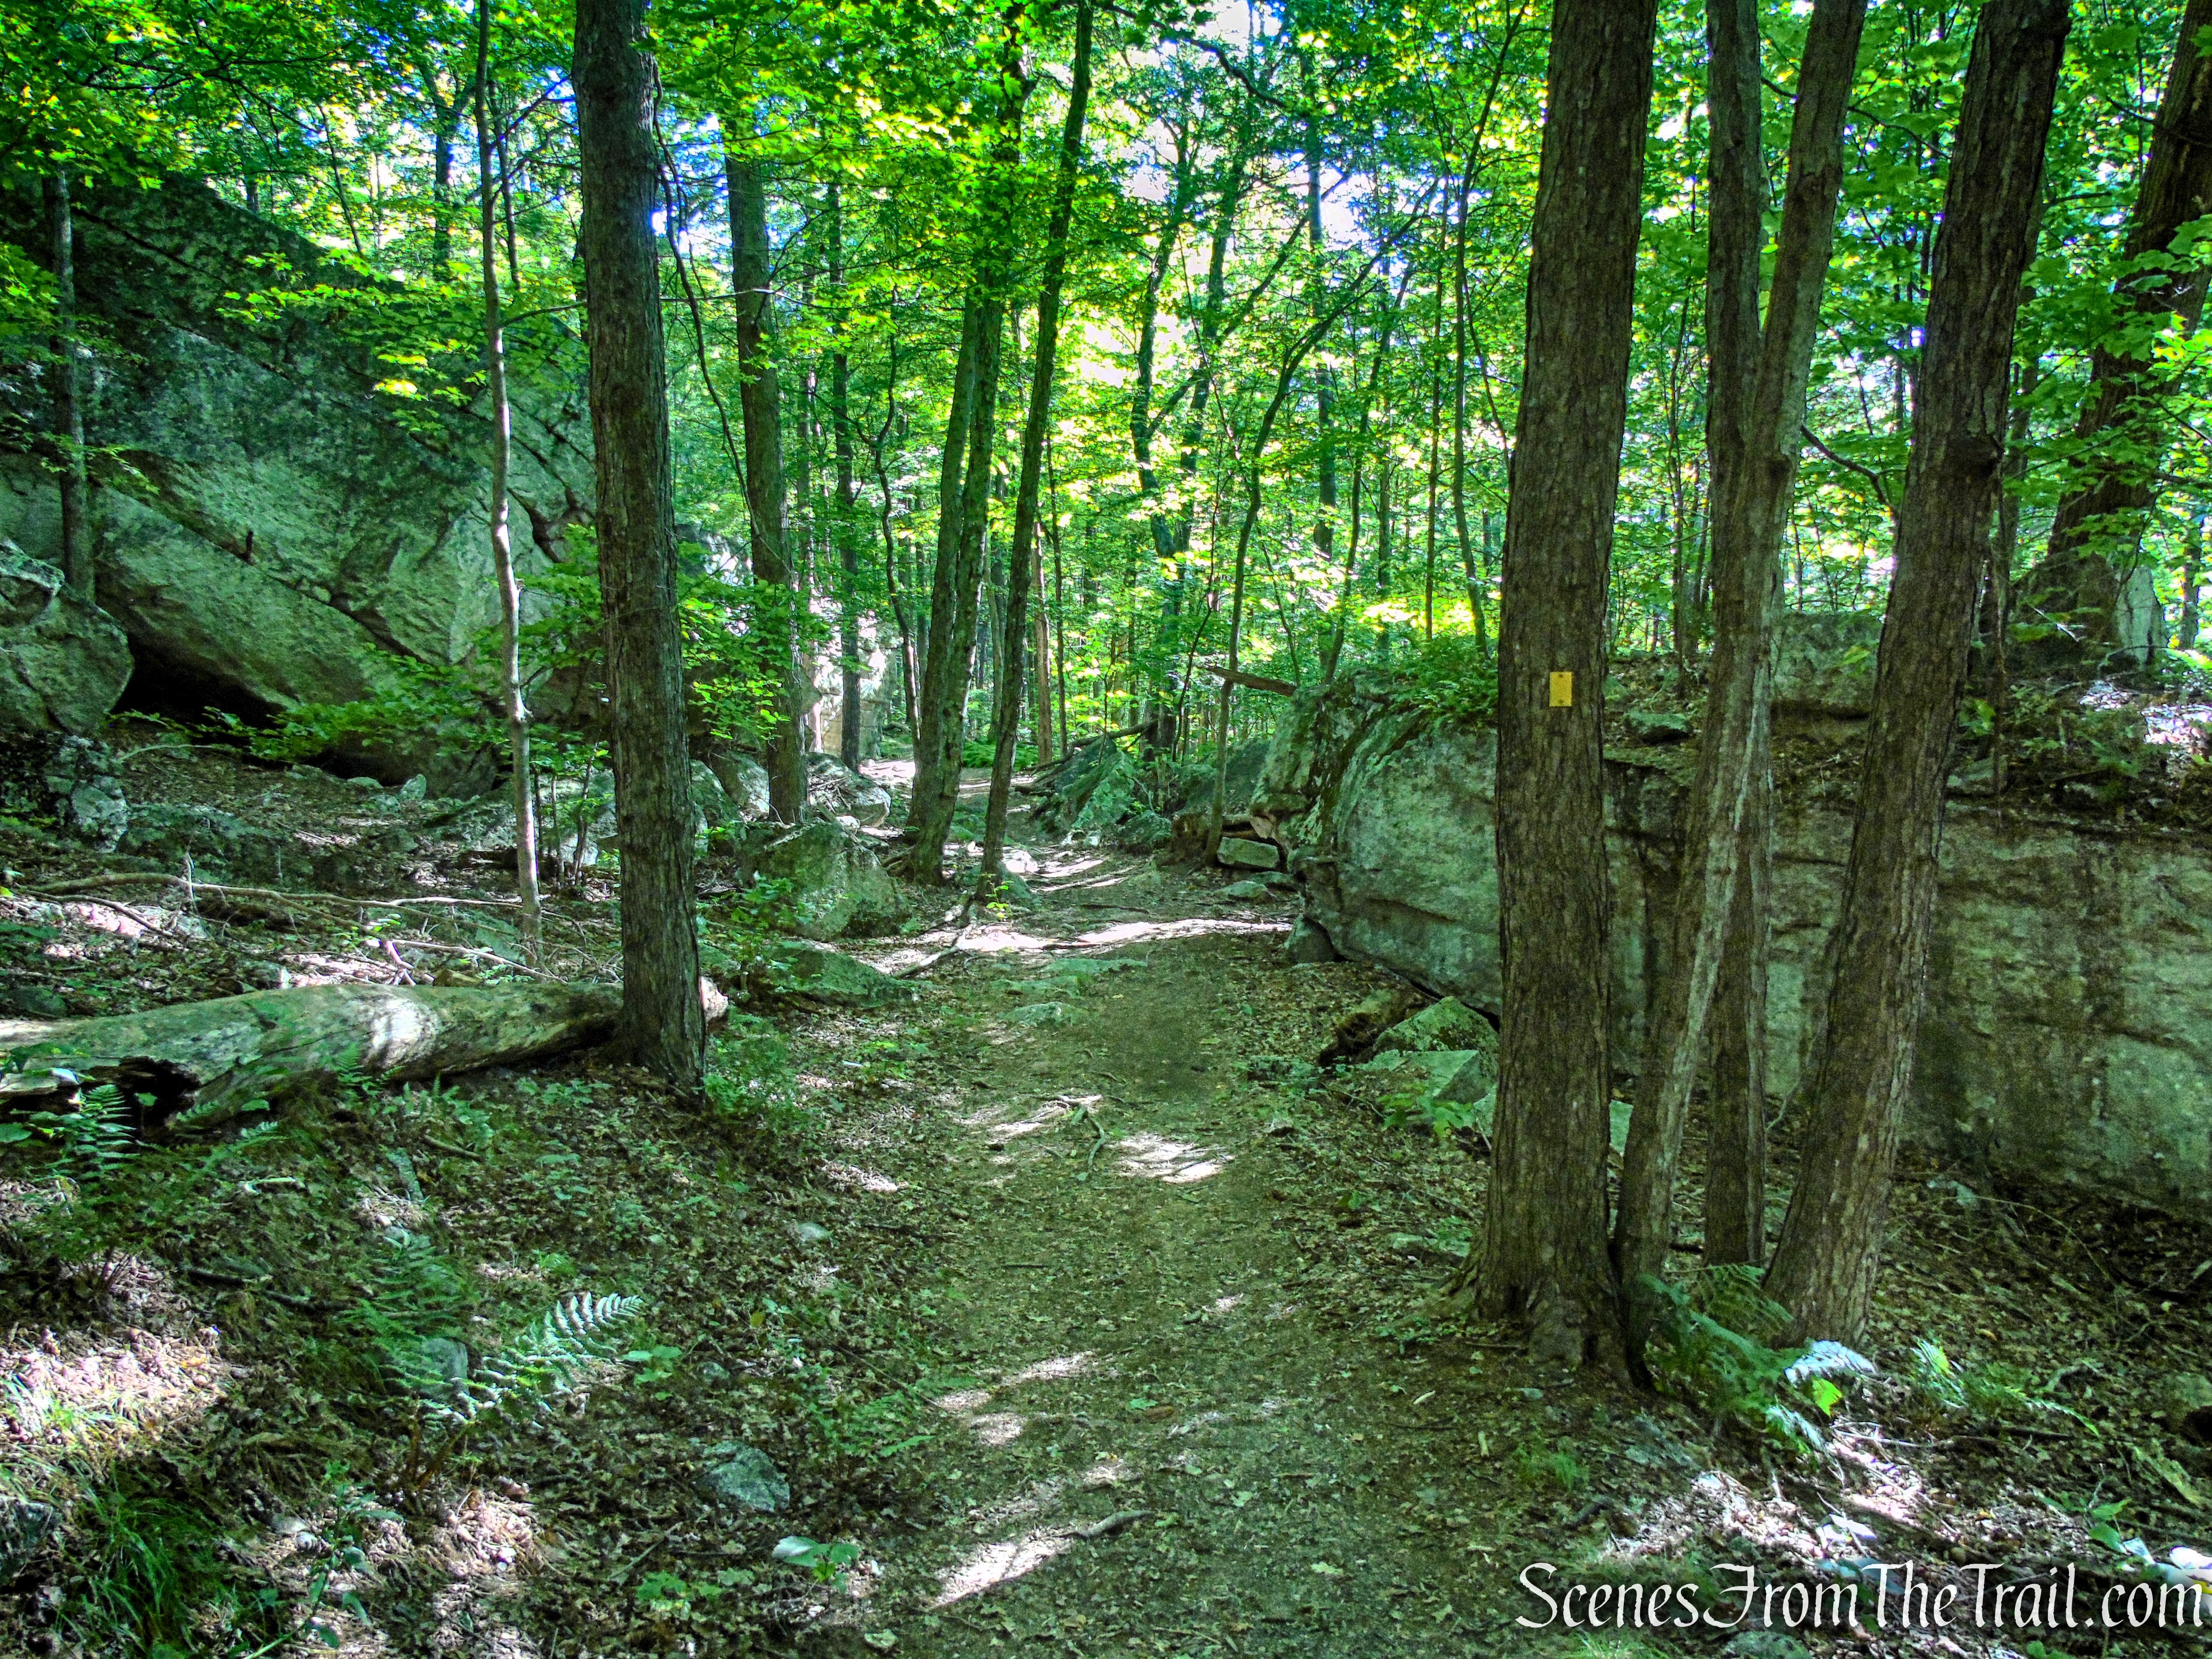
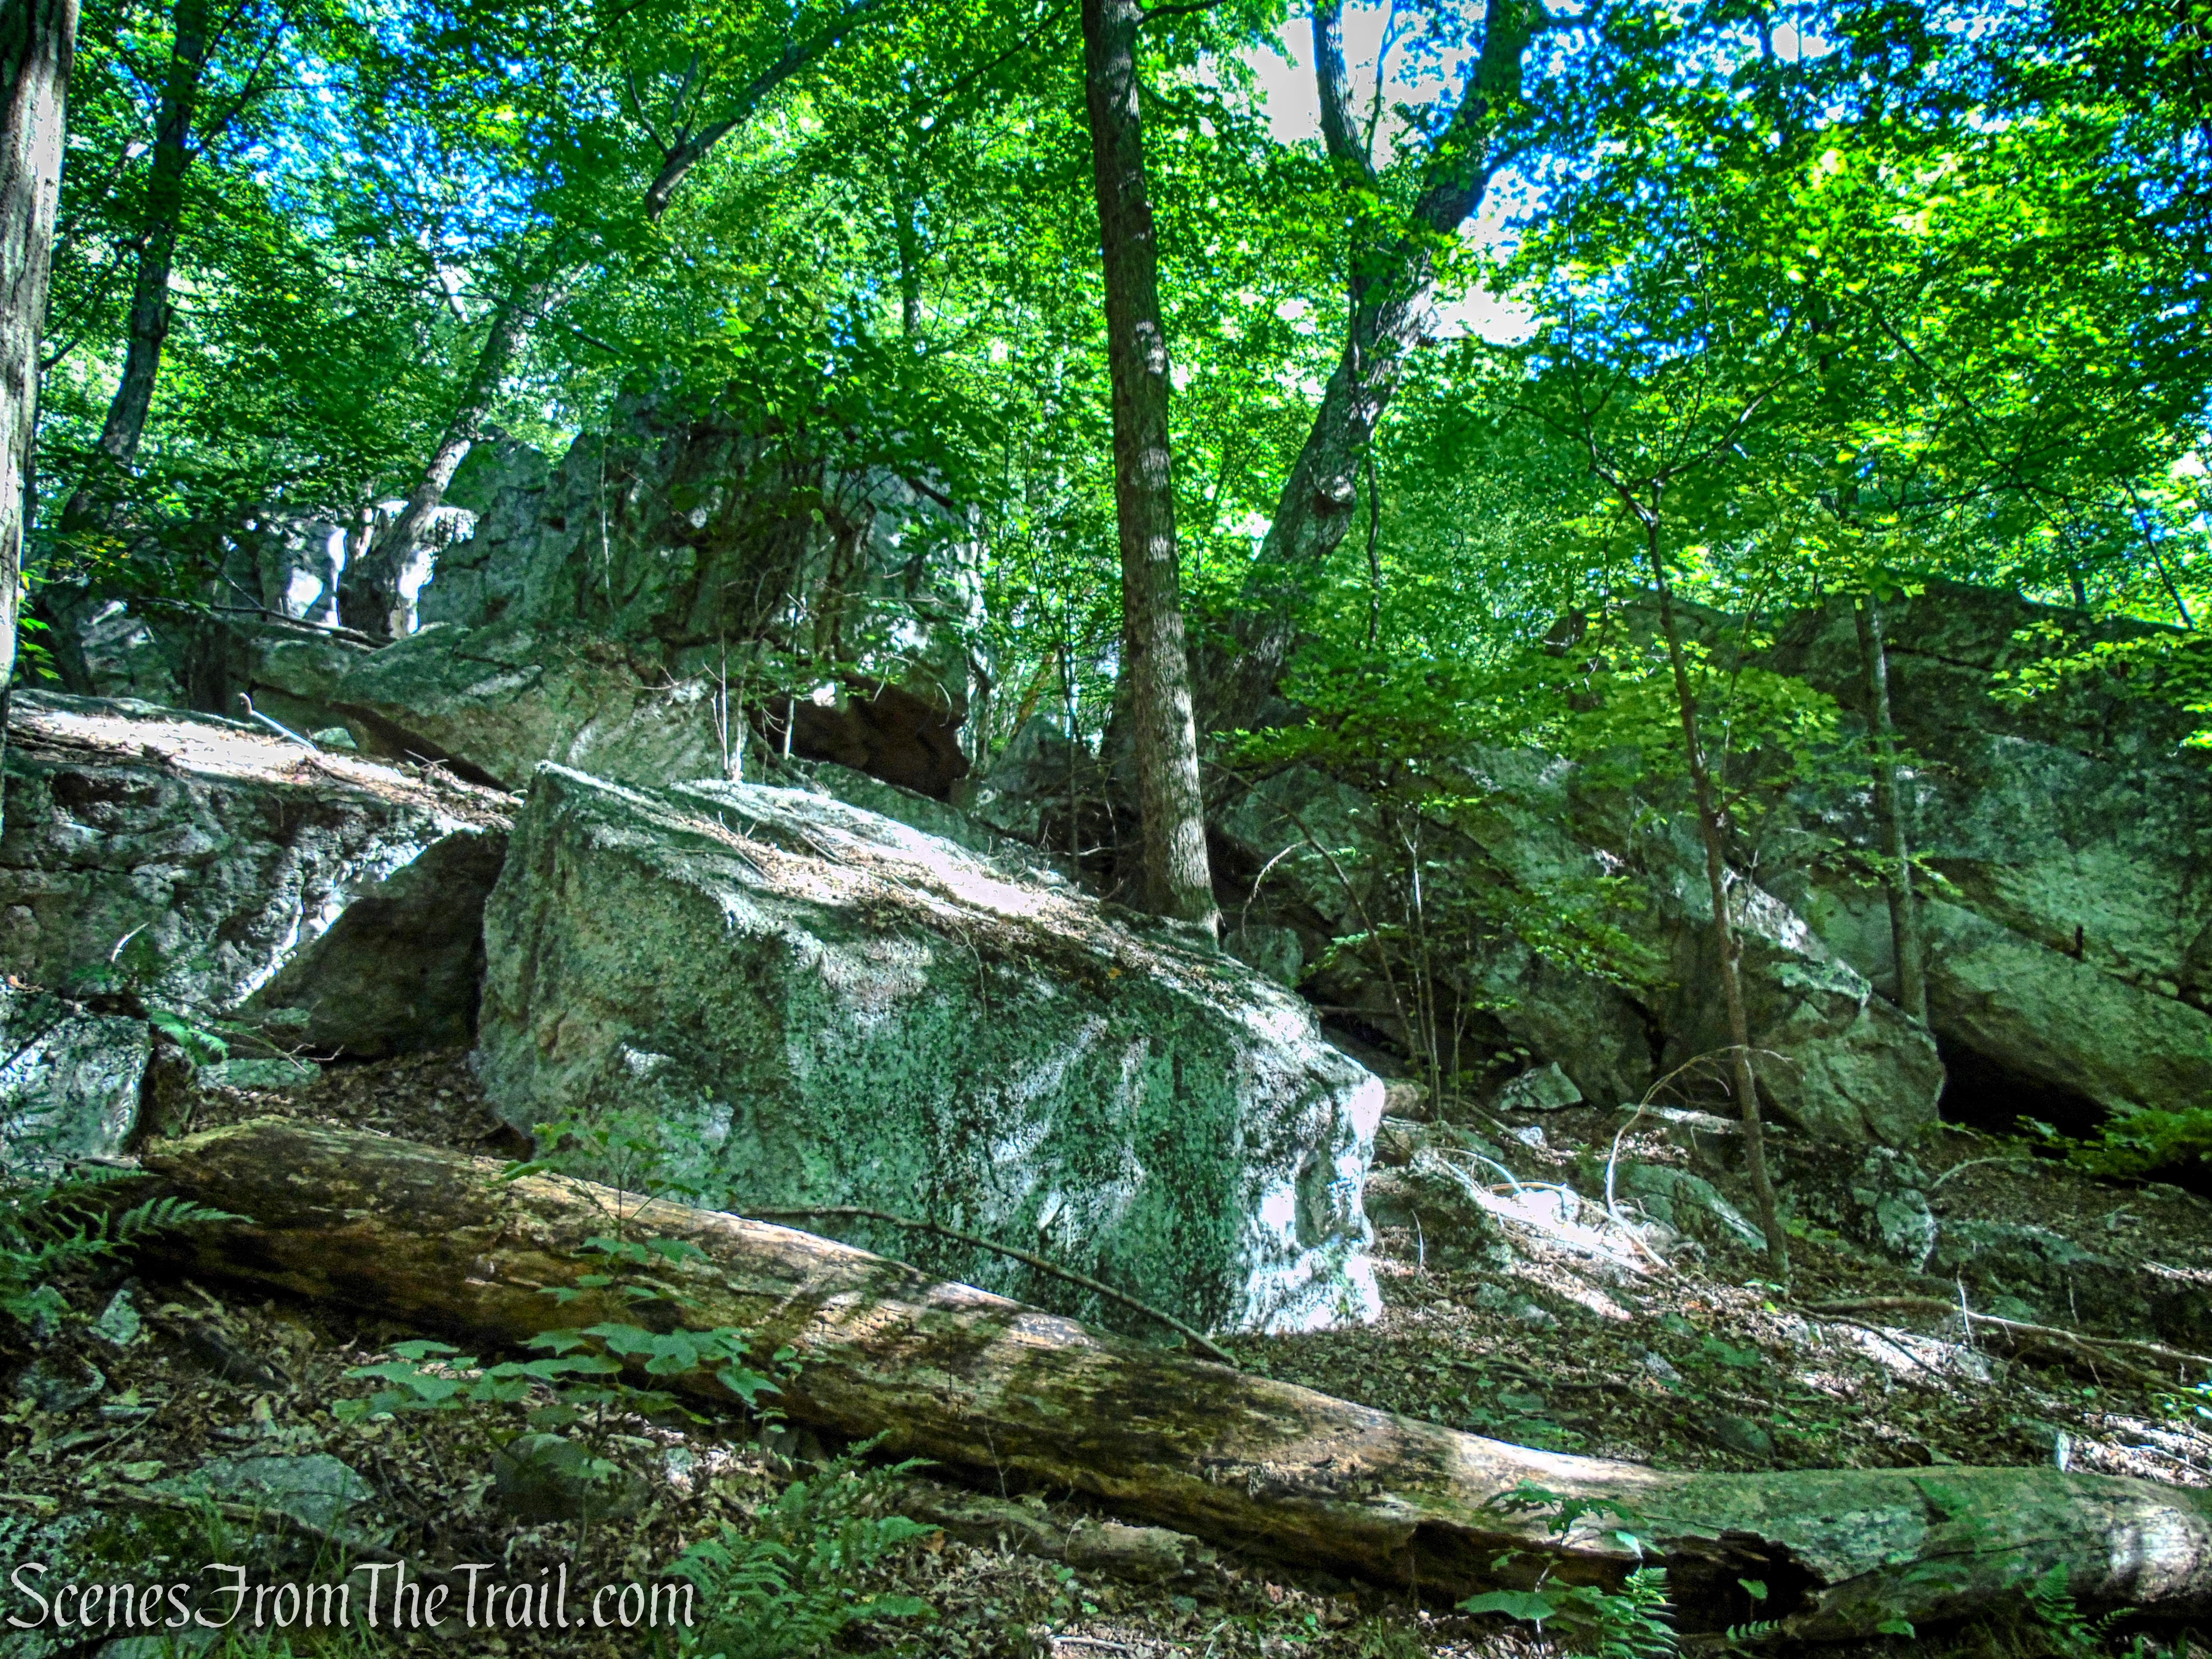
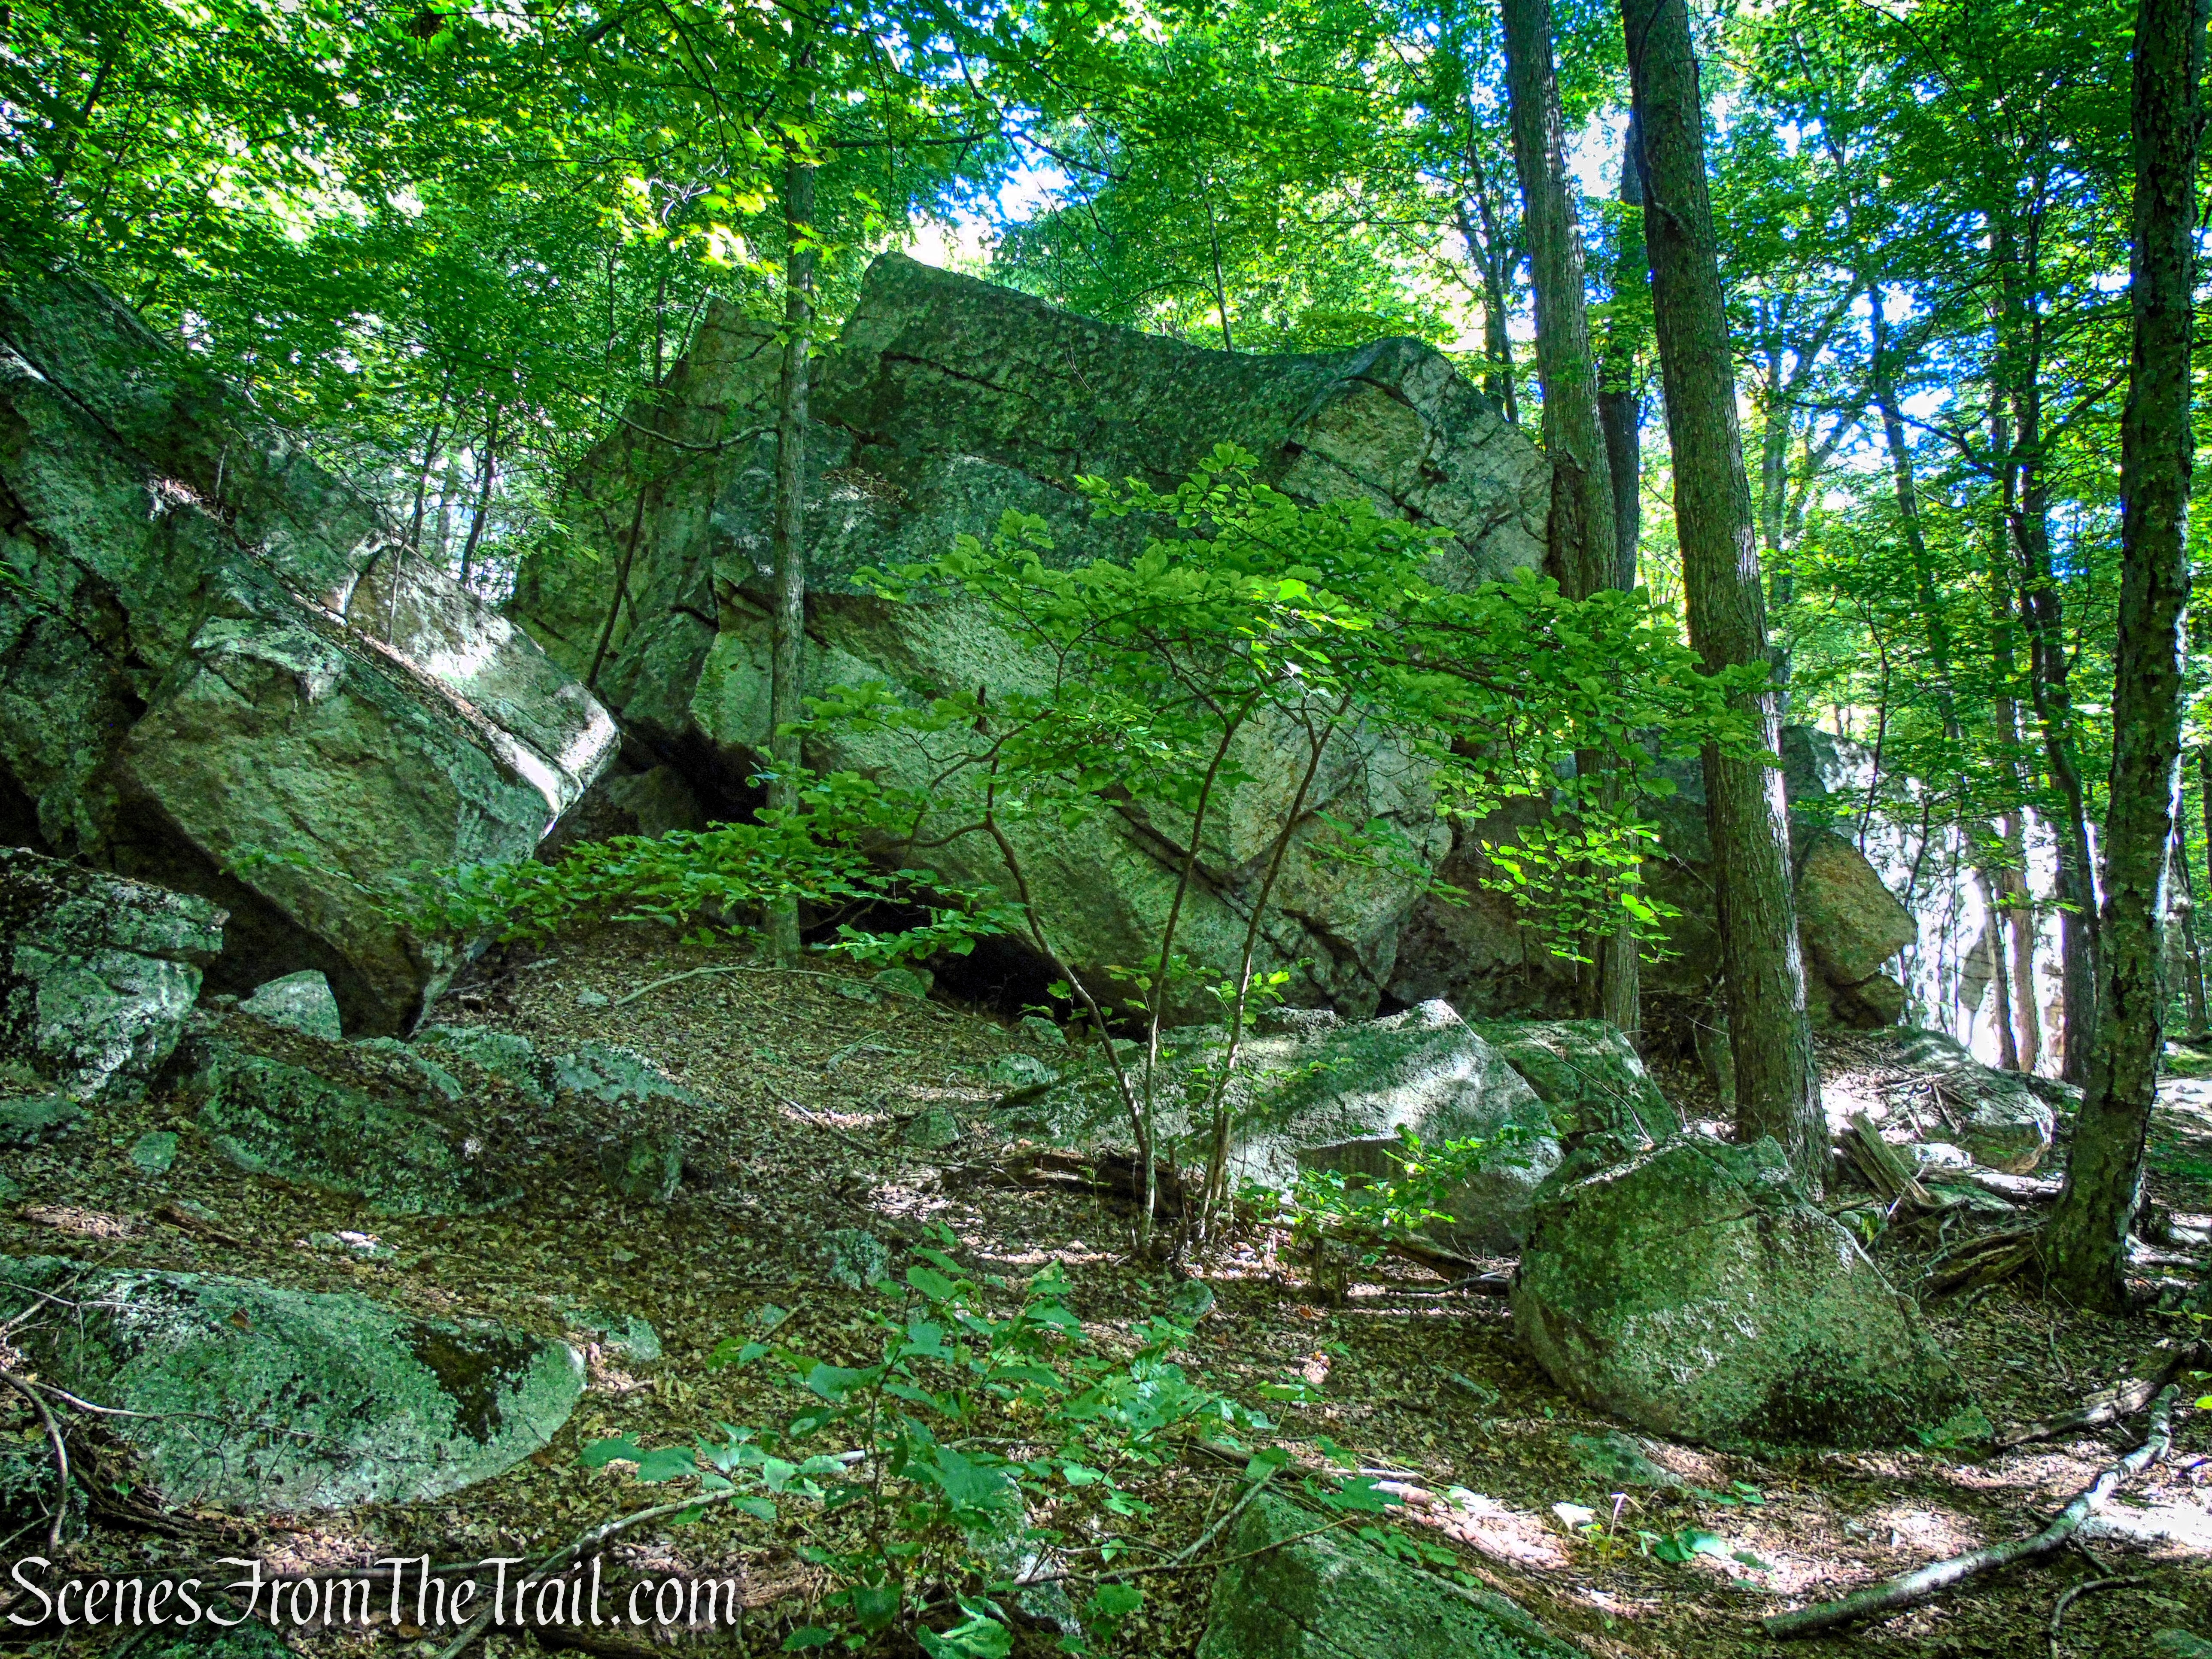
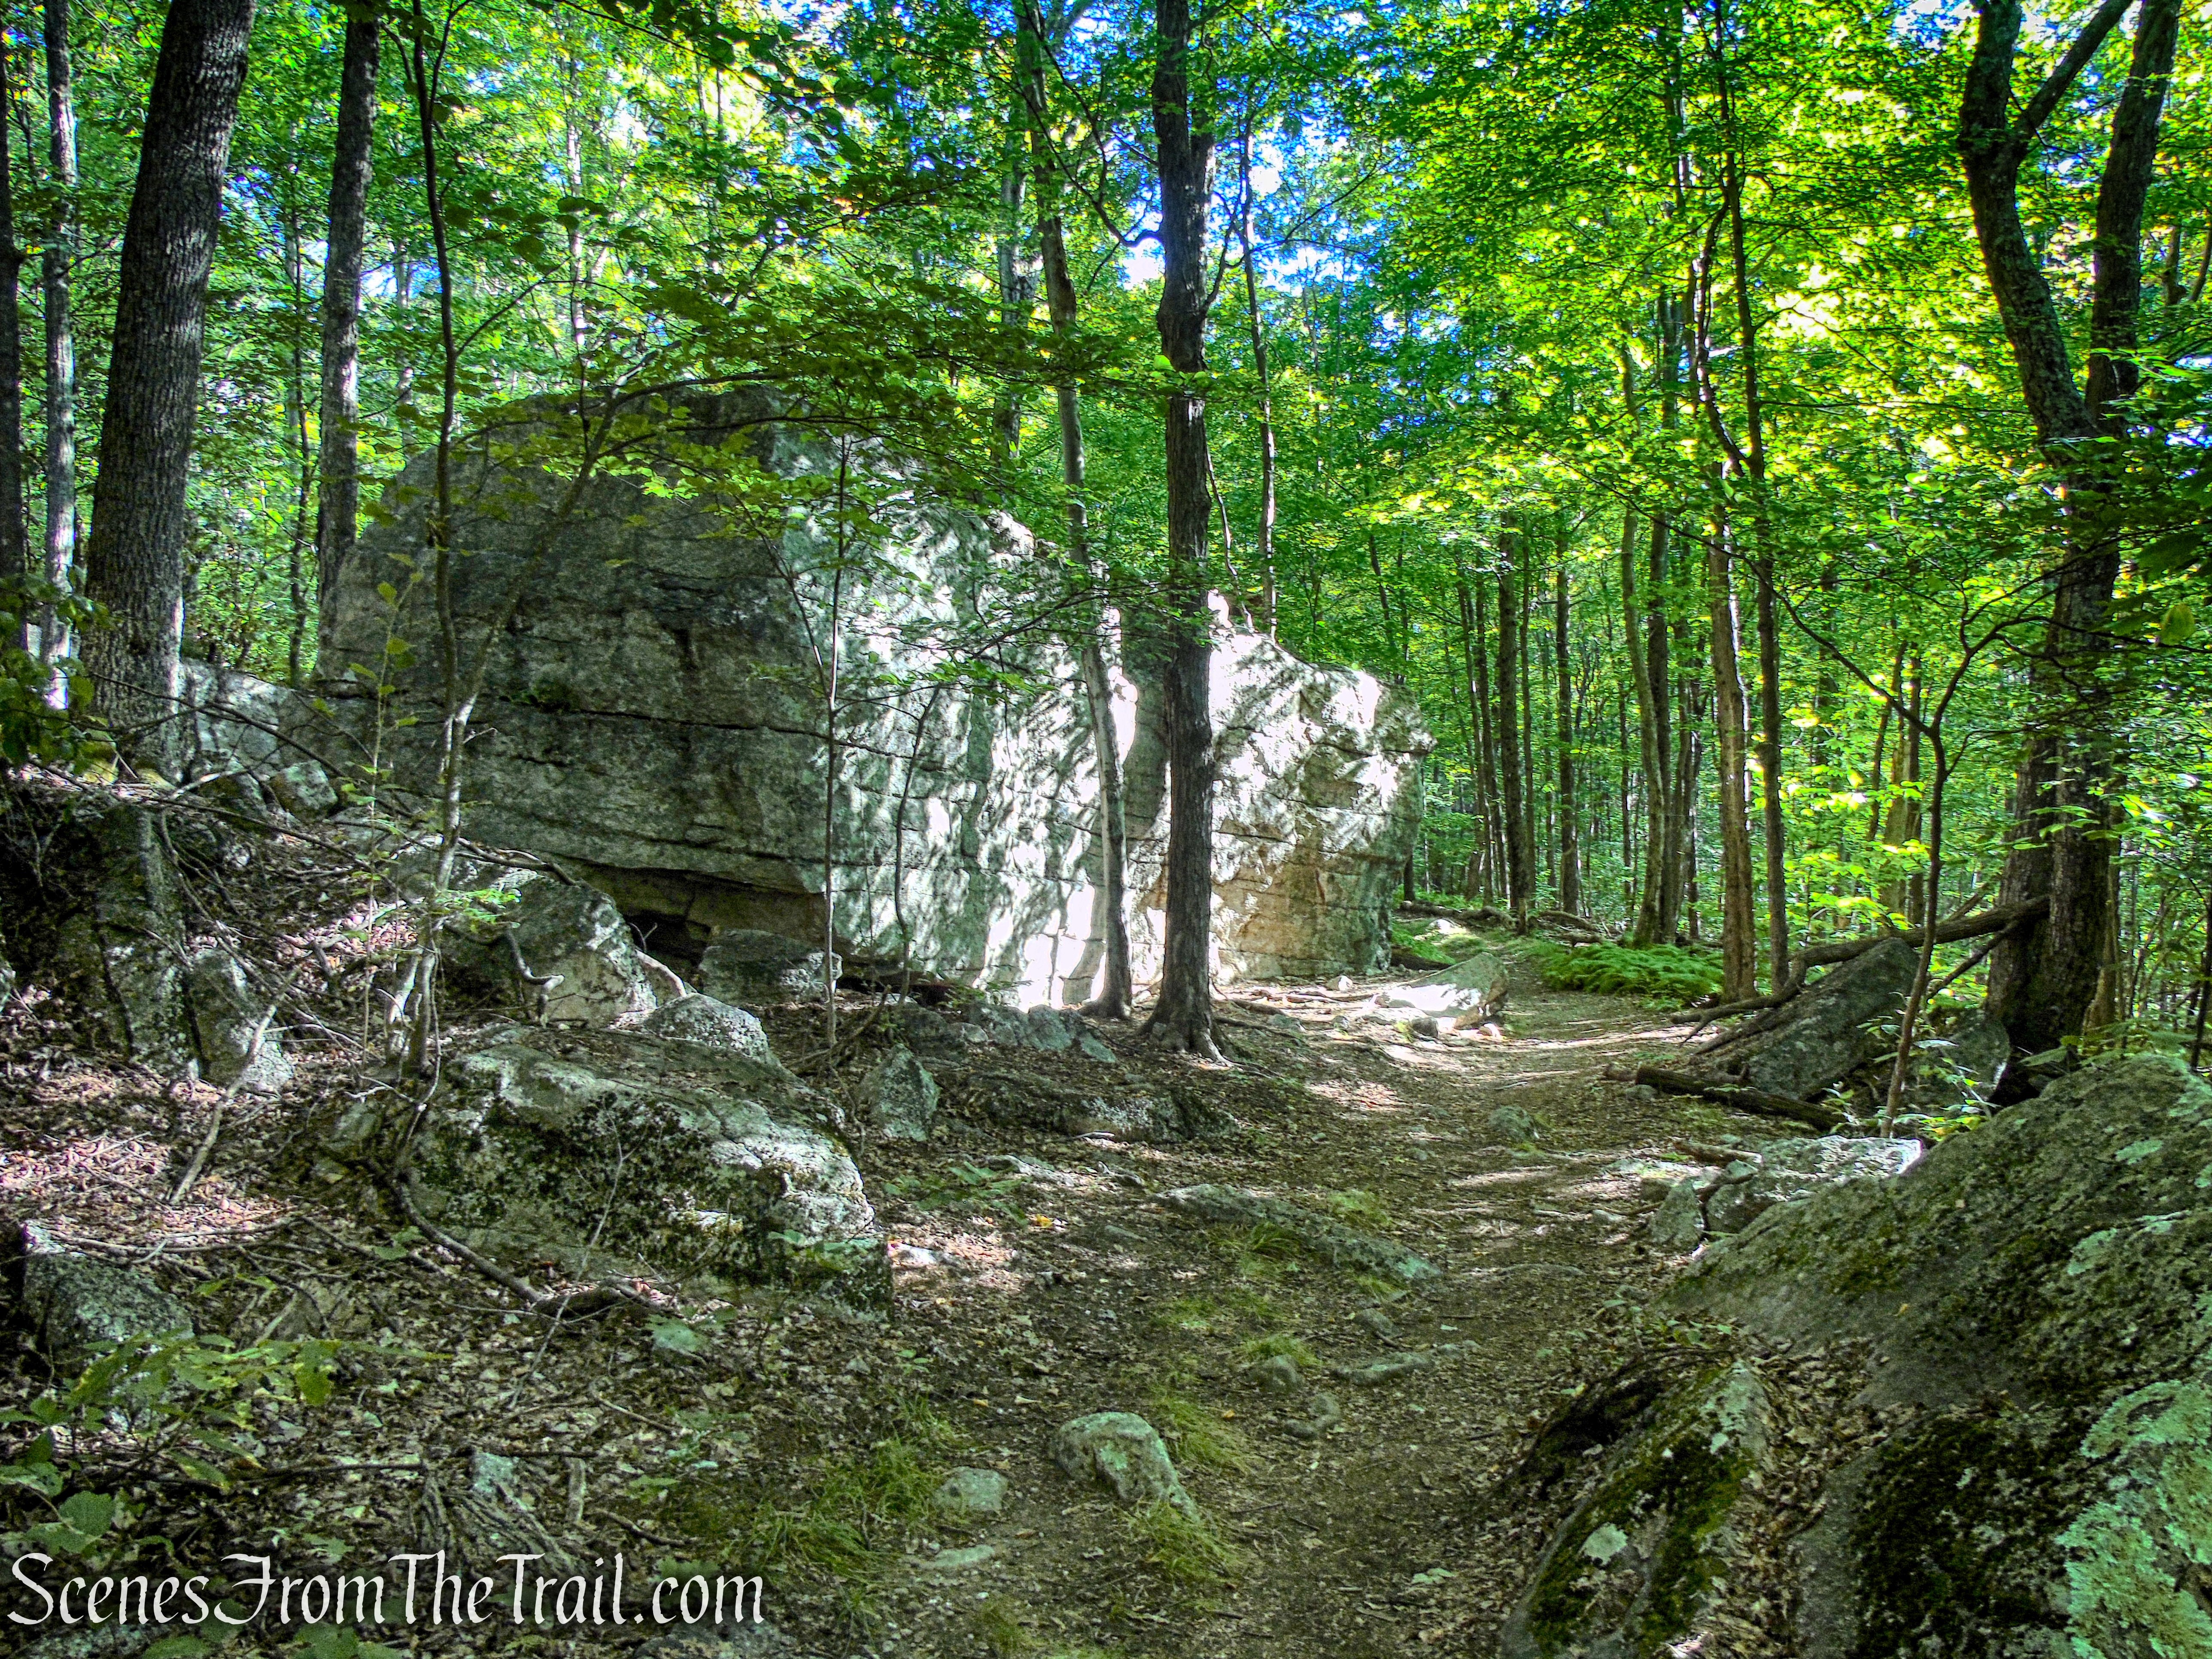
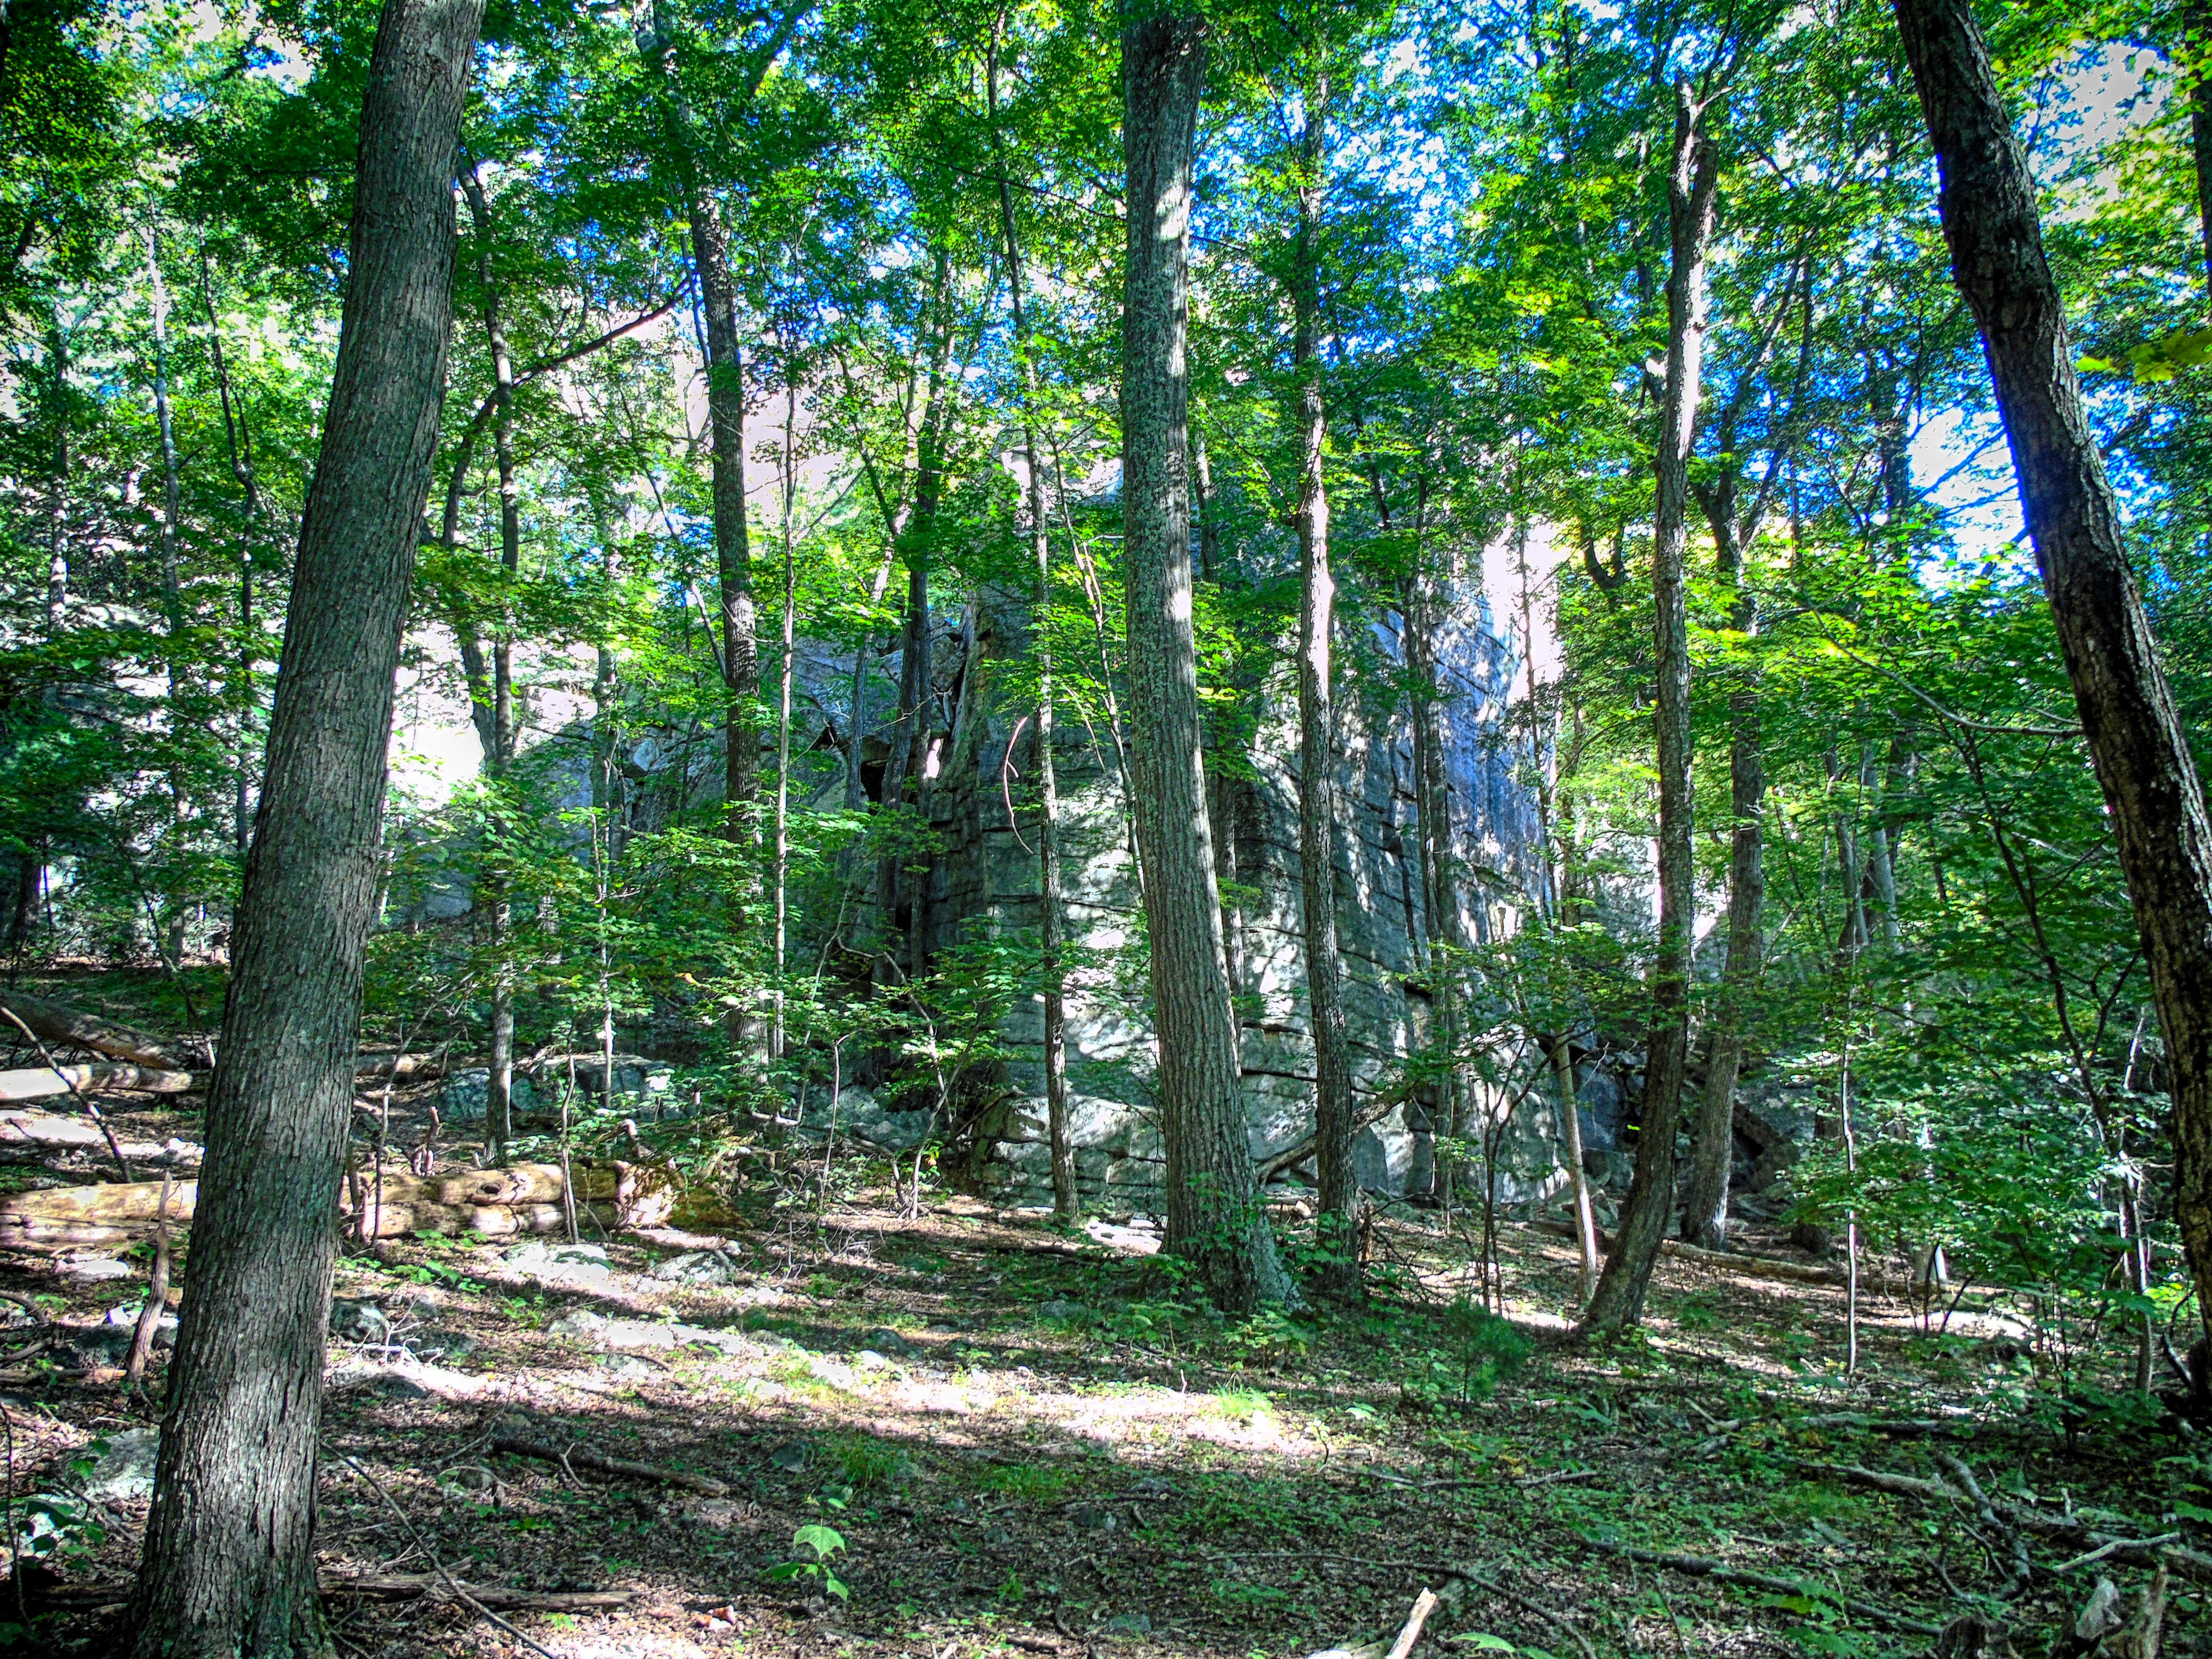
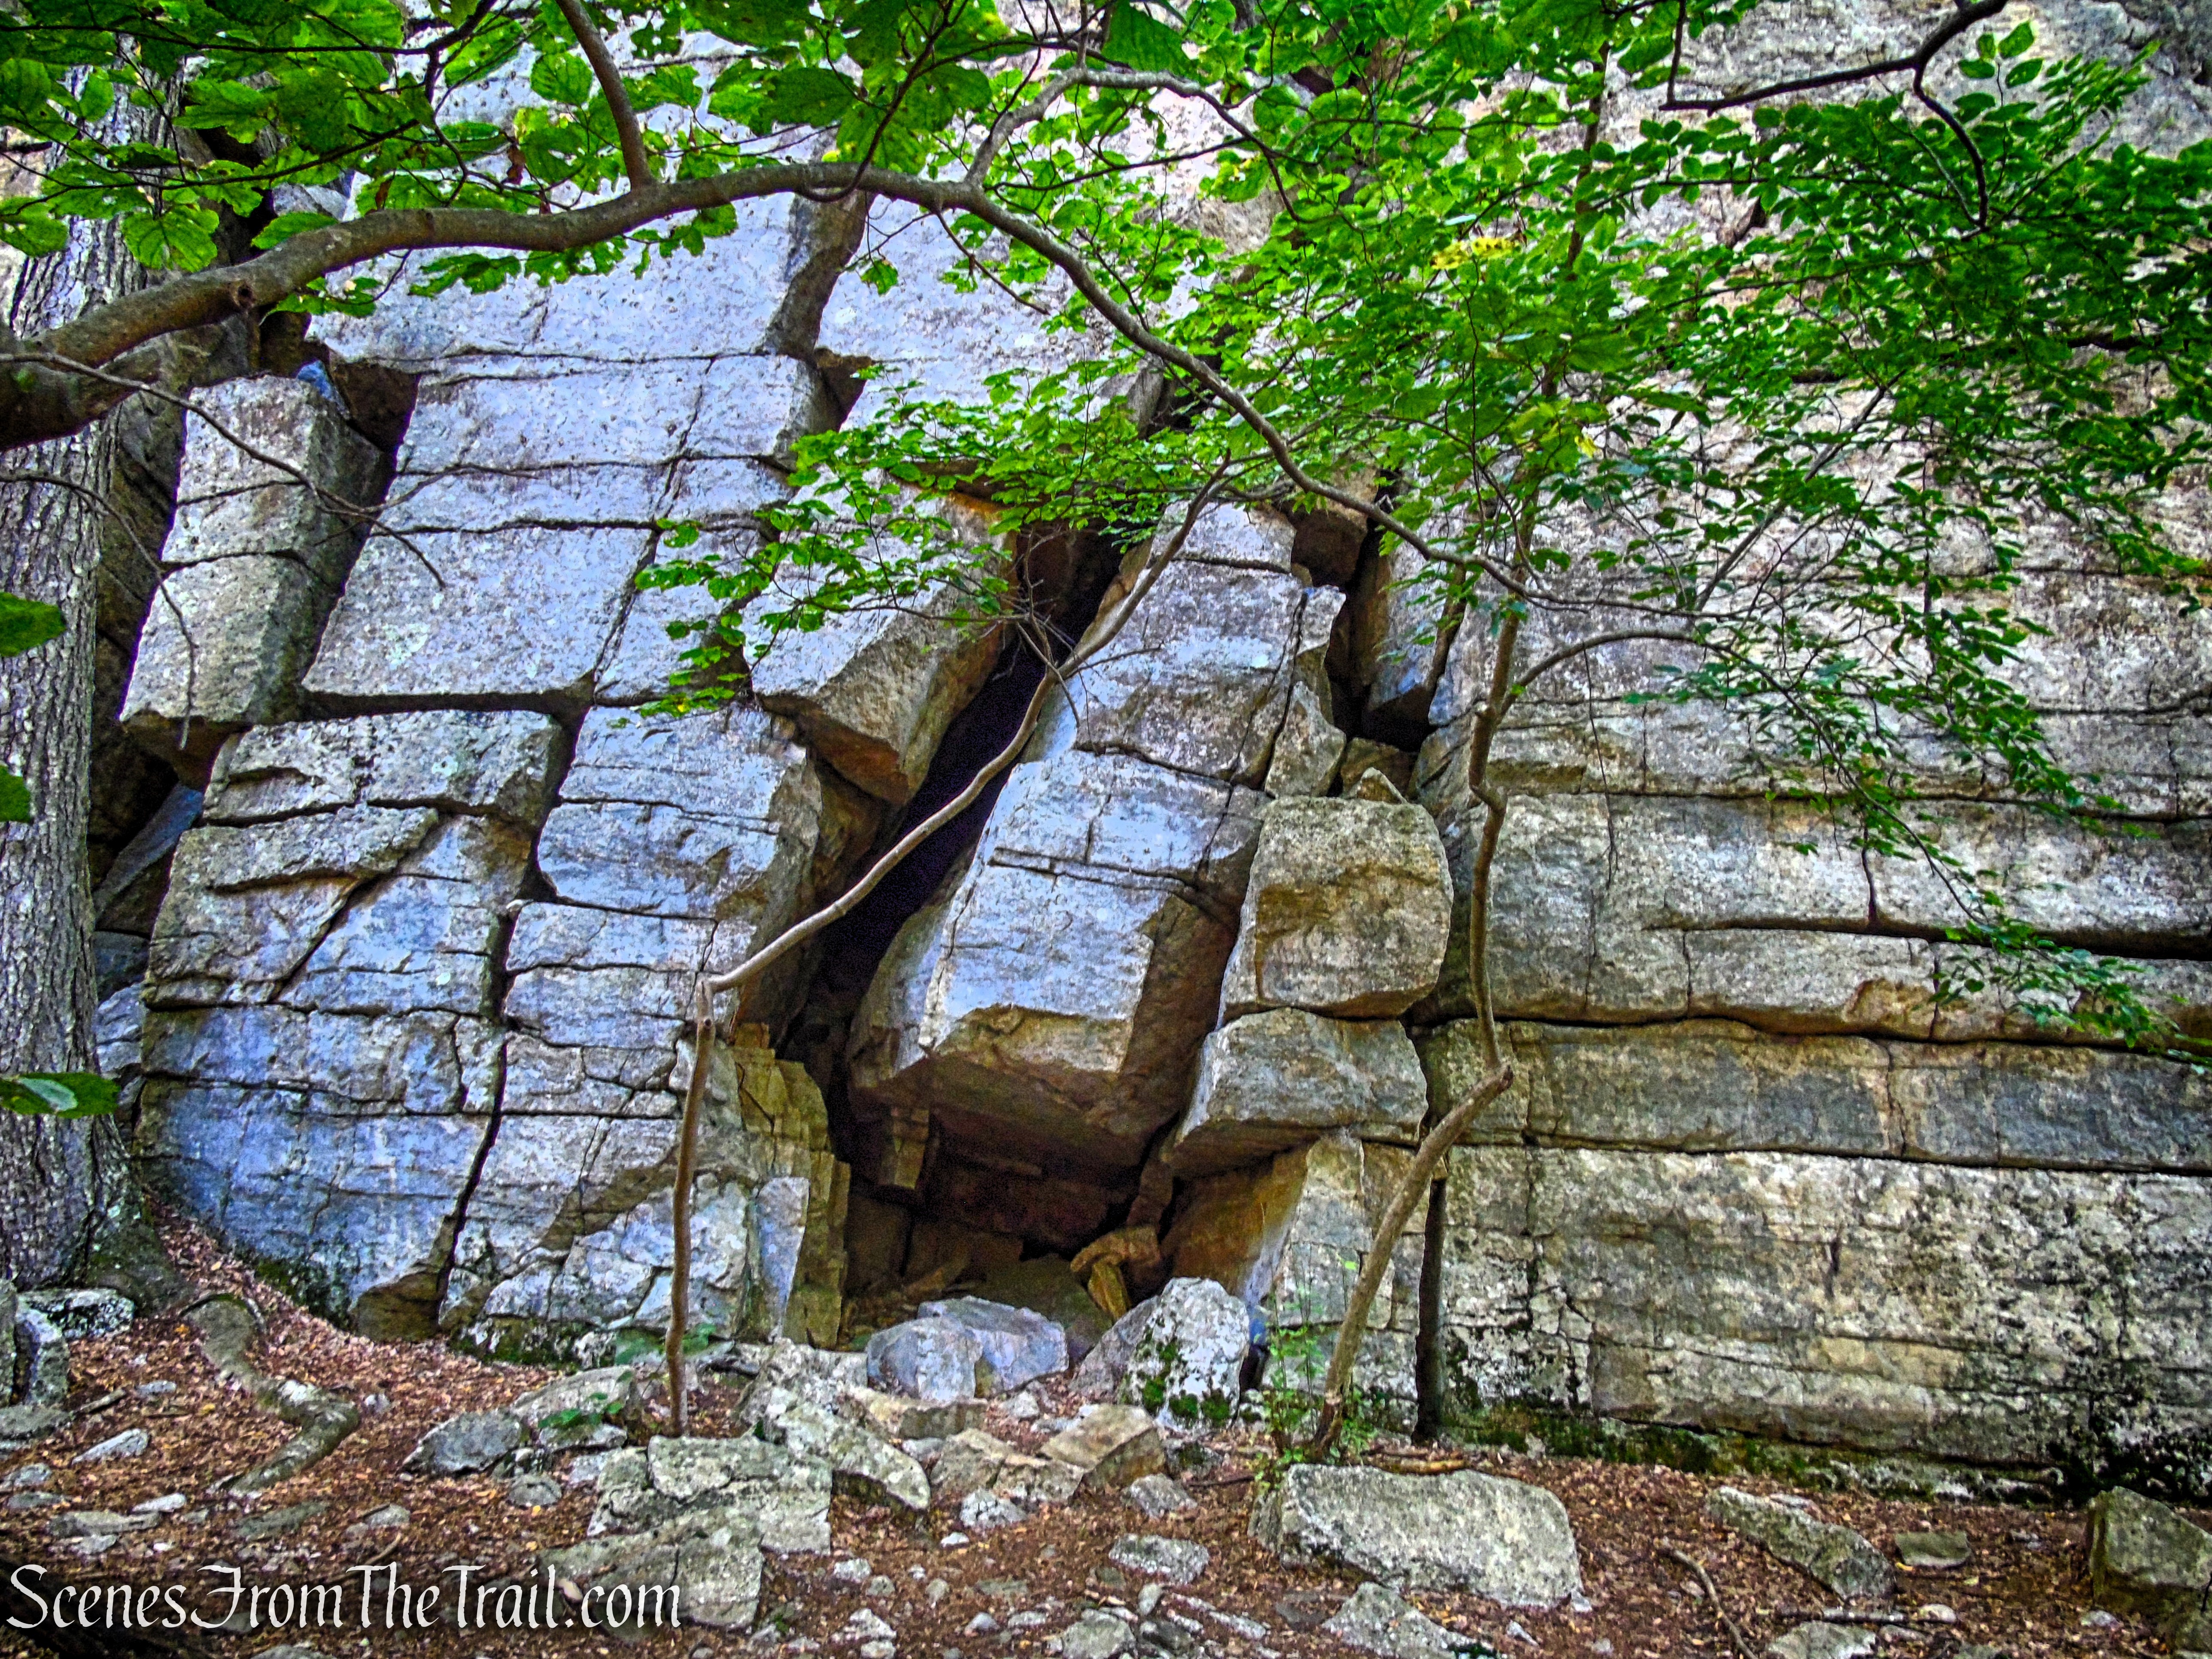
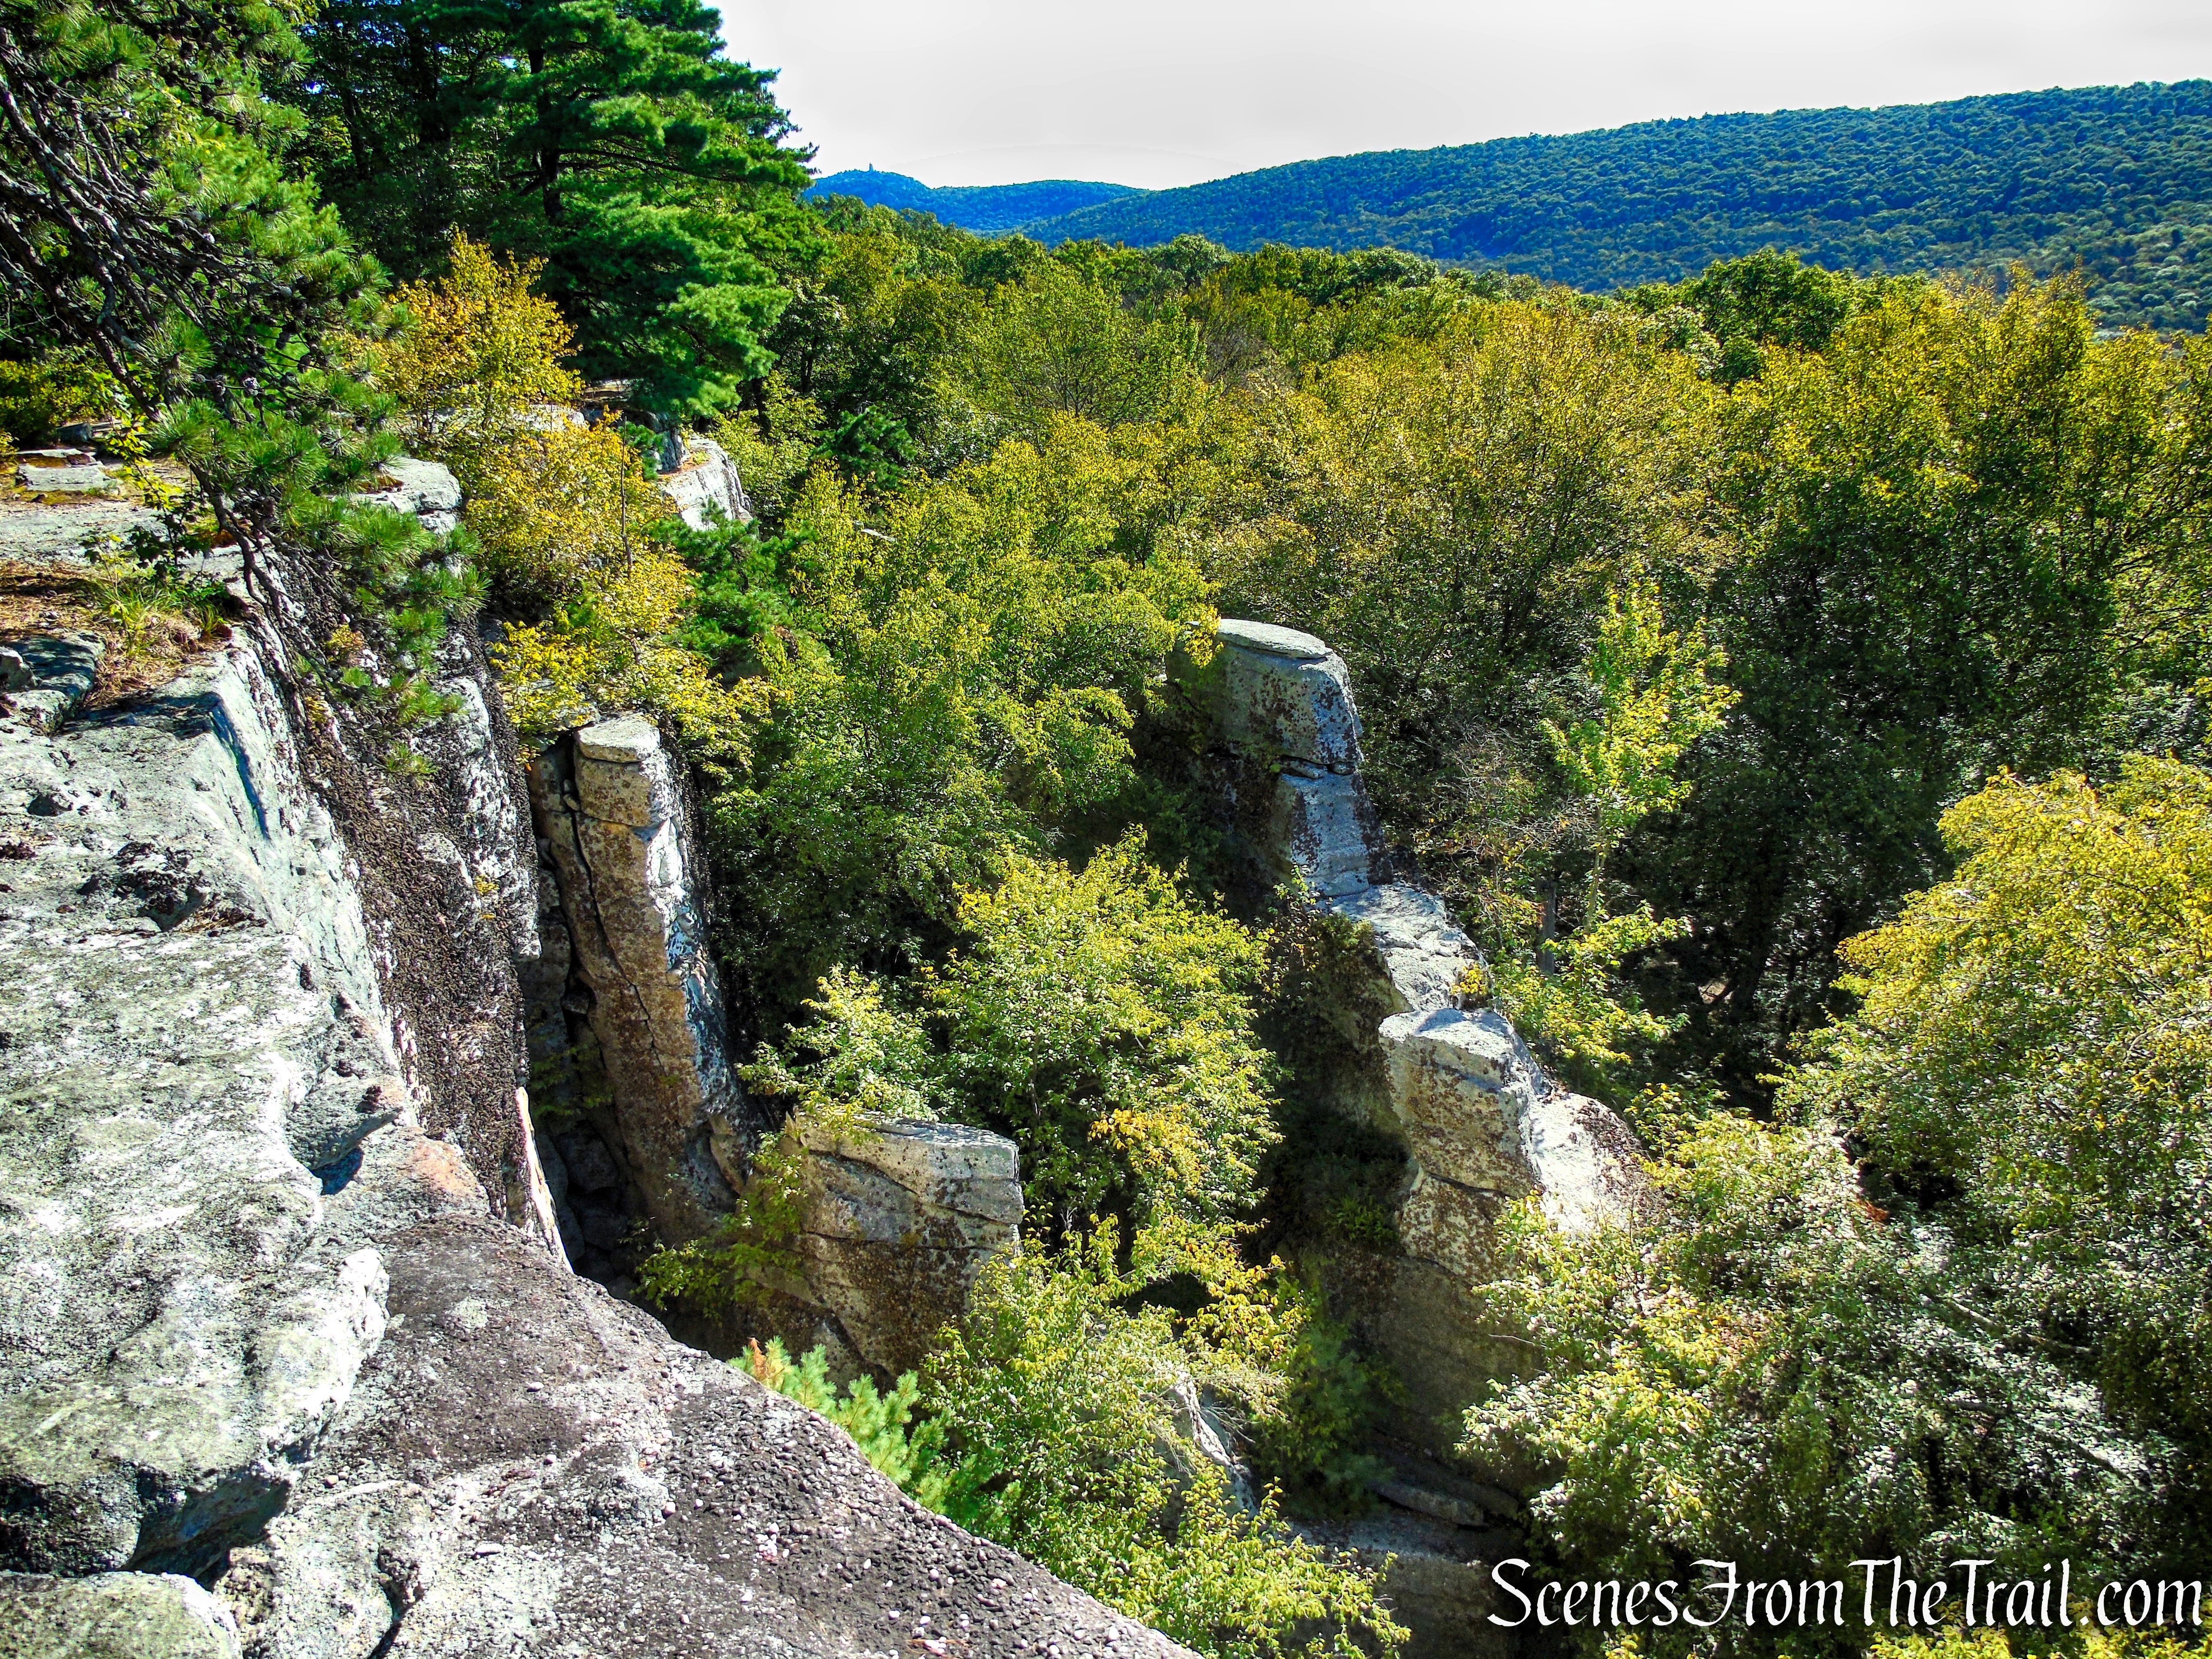
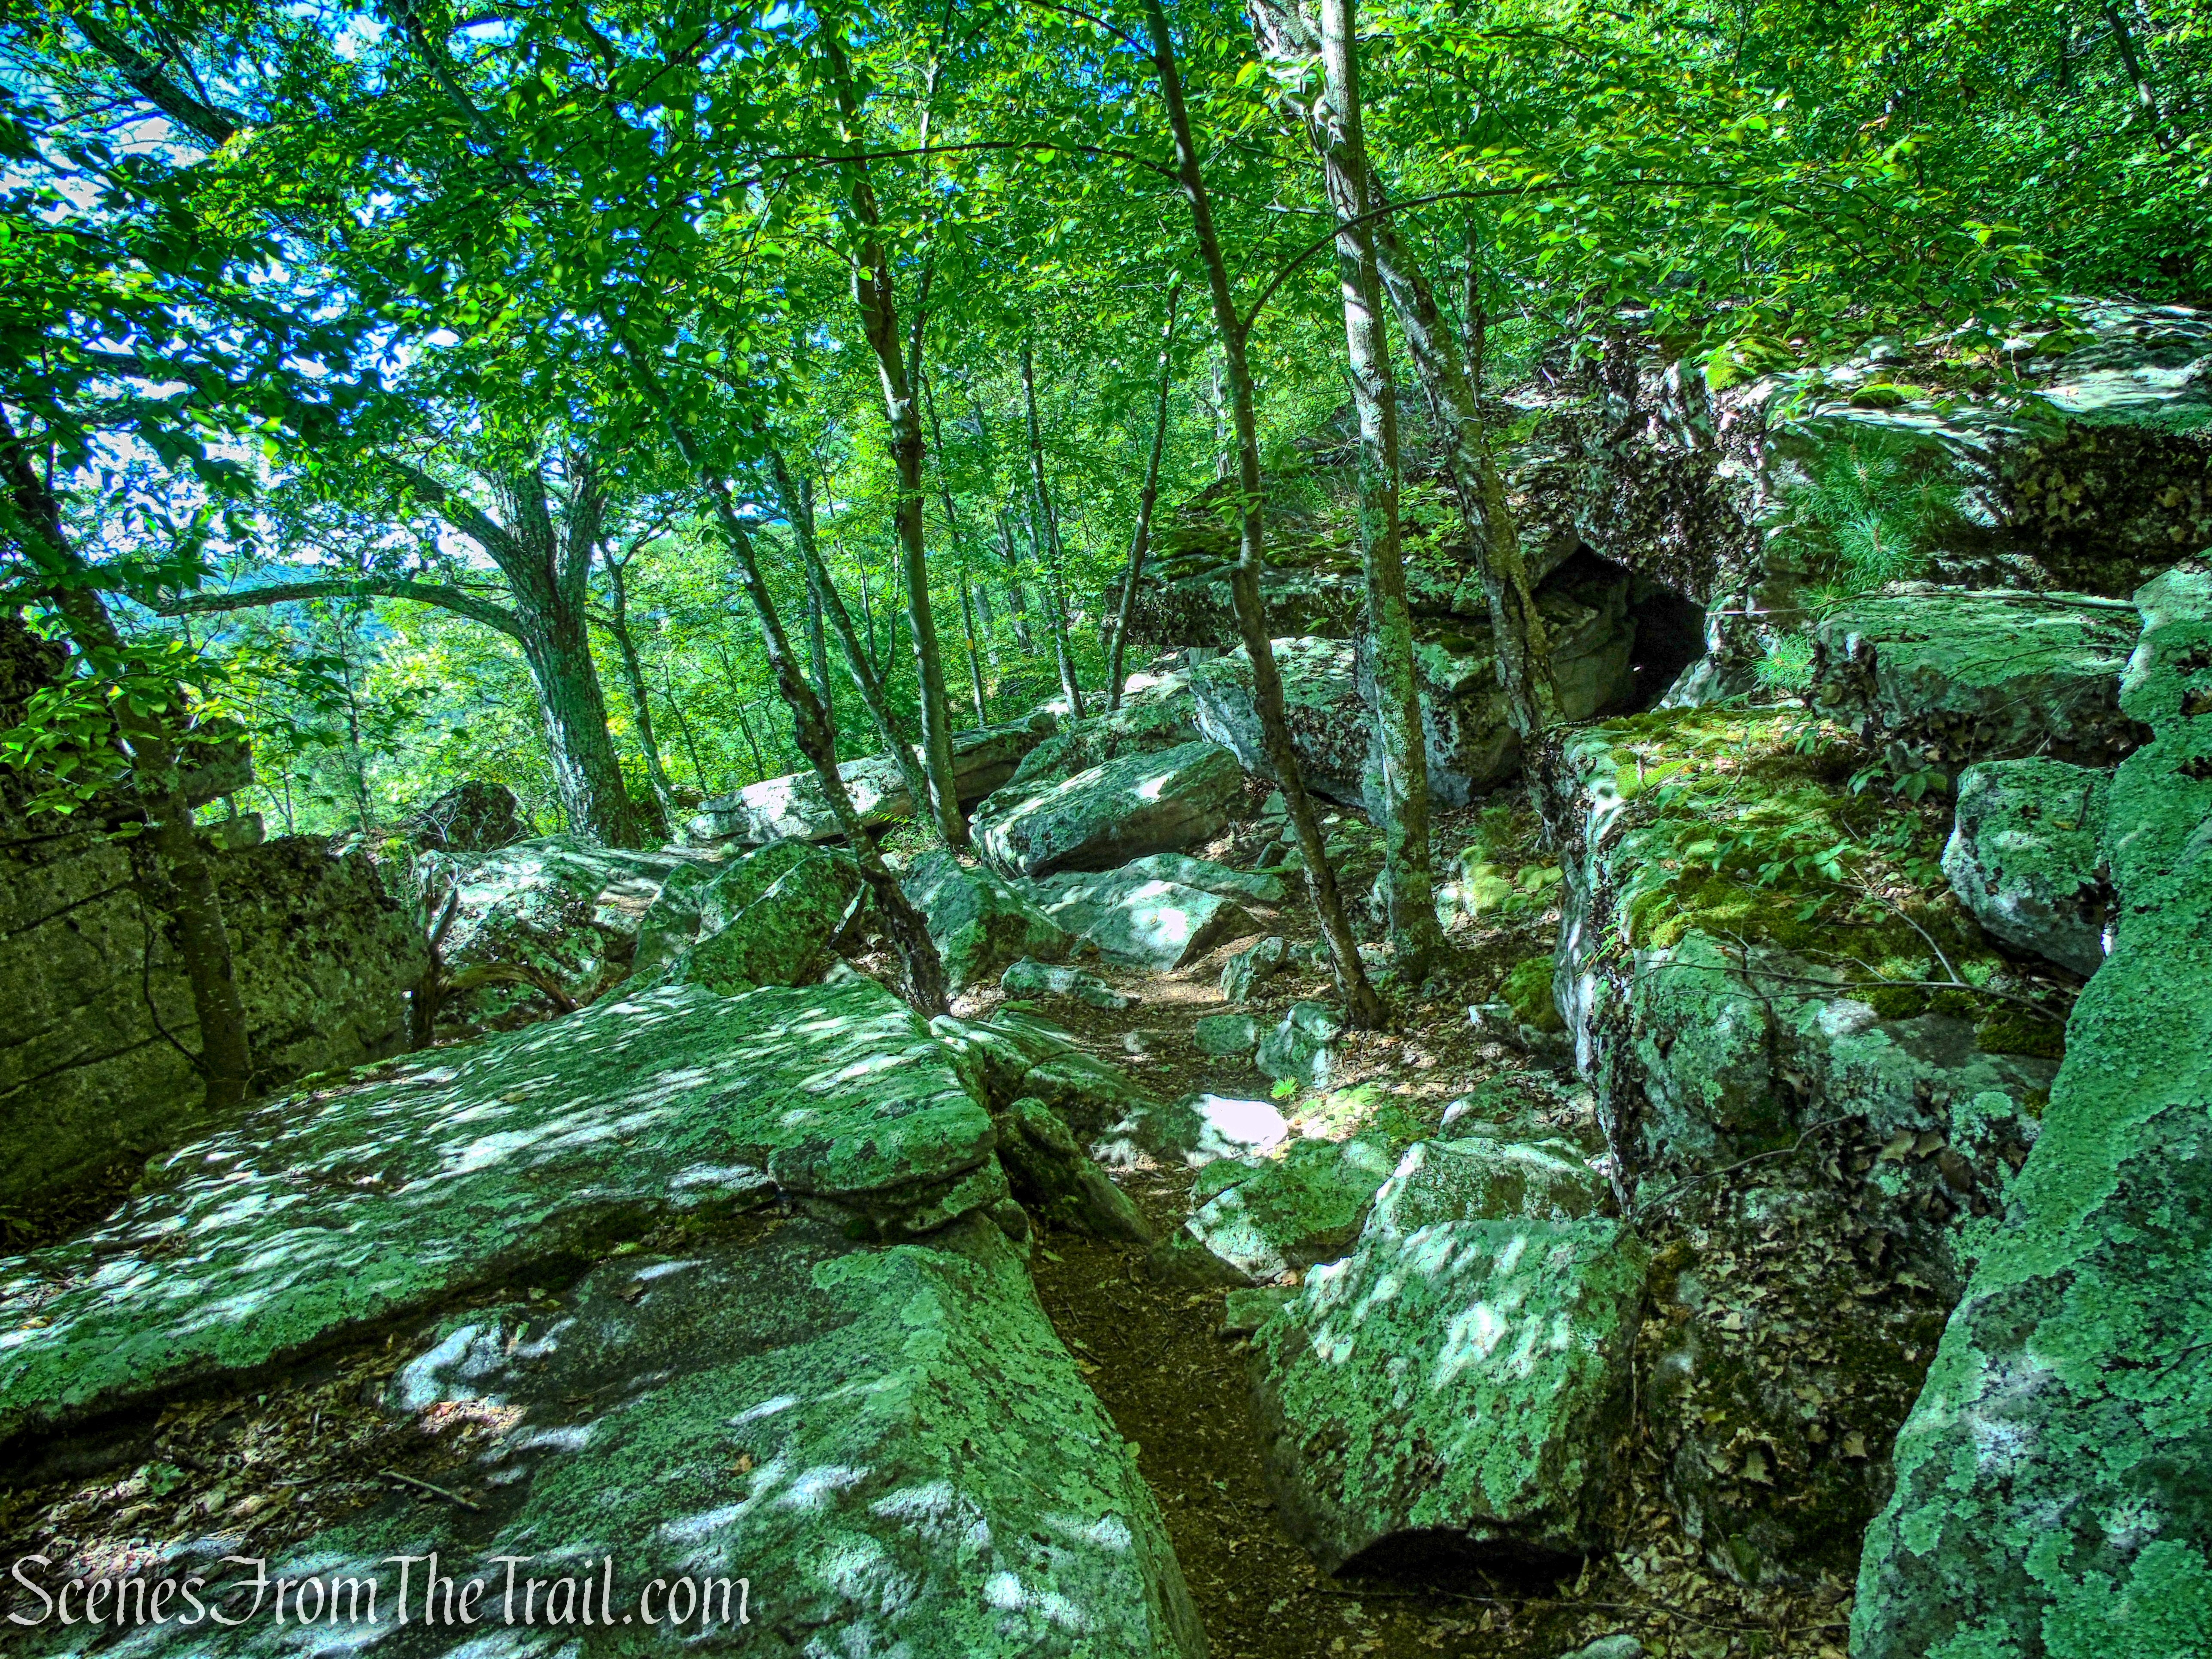
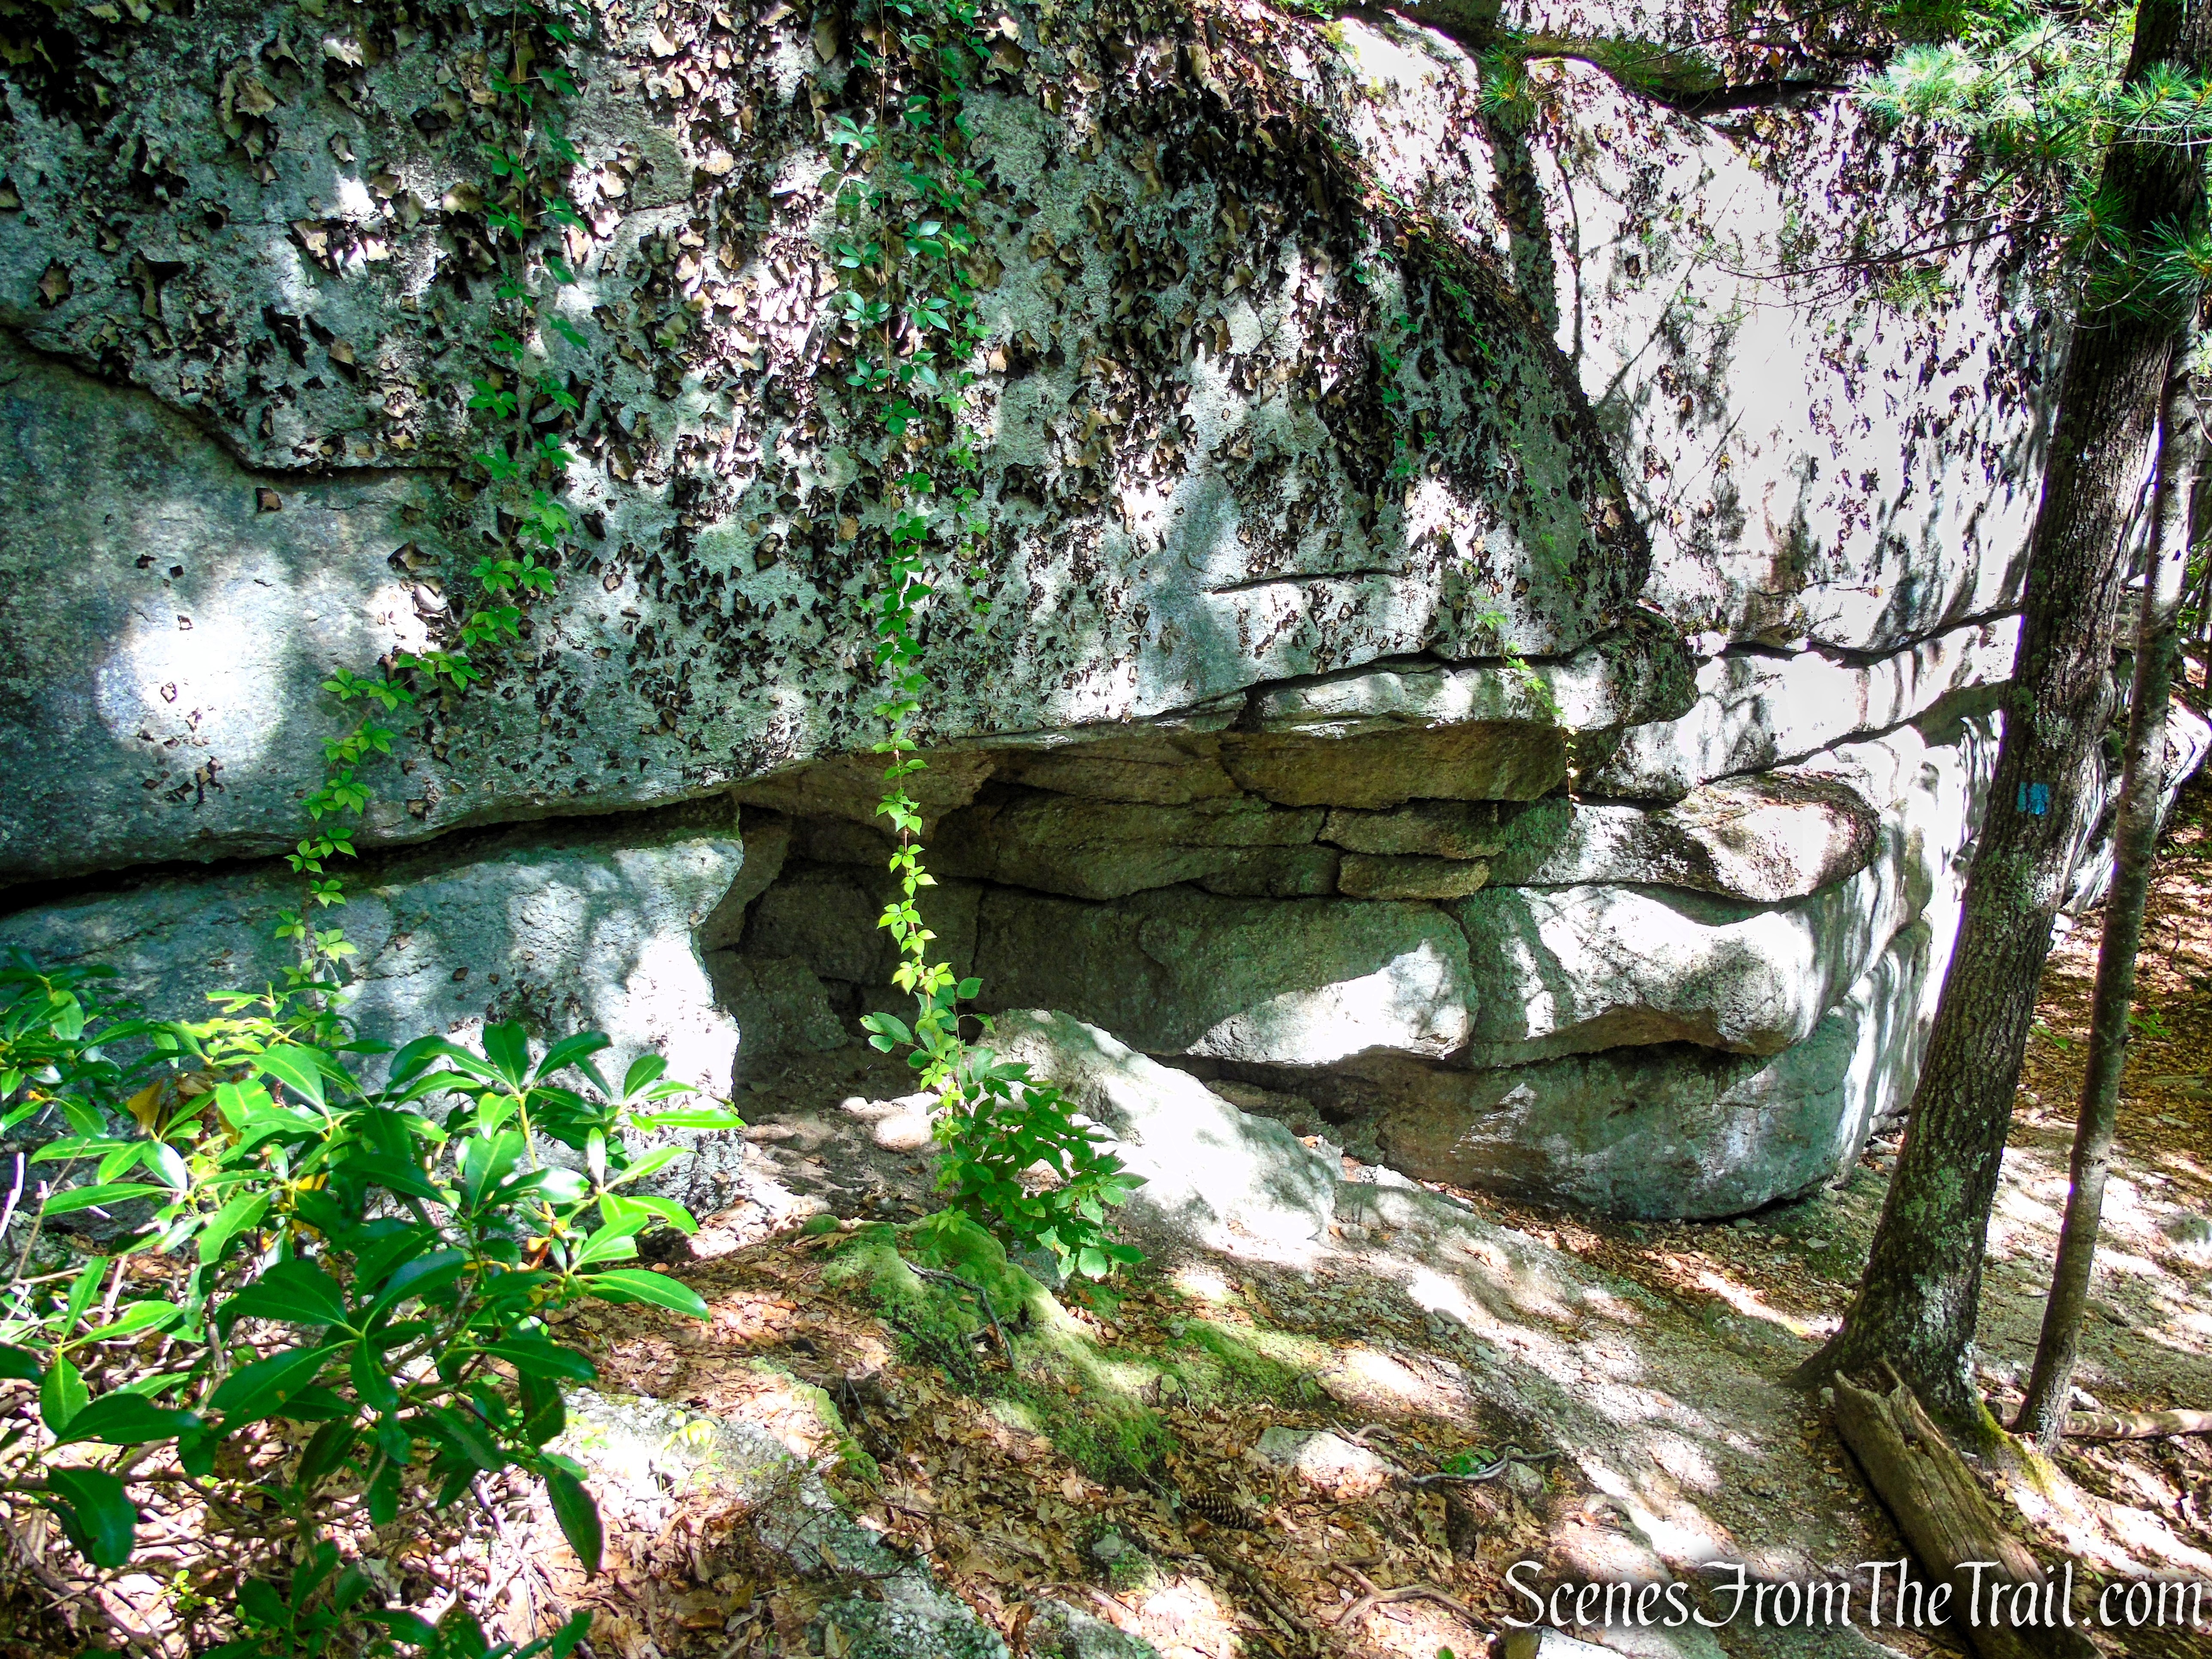
Along the White Trail, hikers will encounter a number of interesting boulders and low stone walls scattered throughout the woods. These features add character to the landscape, hinting at the area’s natural history and past human activity.
White Trail – Clausland Mountain Park
White Trail – Clausland Mountain Park
White Trail – Clausland Mountain Park
White Trail – Clausland Mountain Park
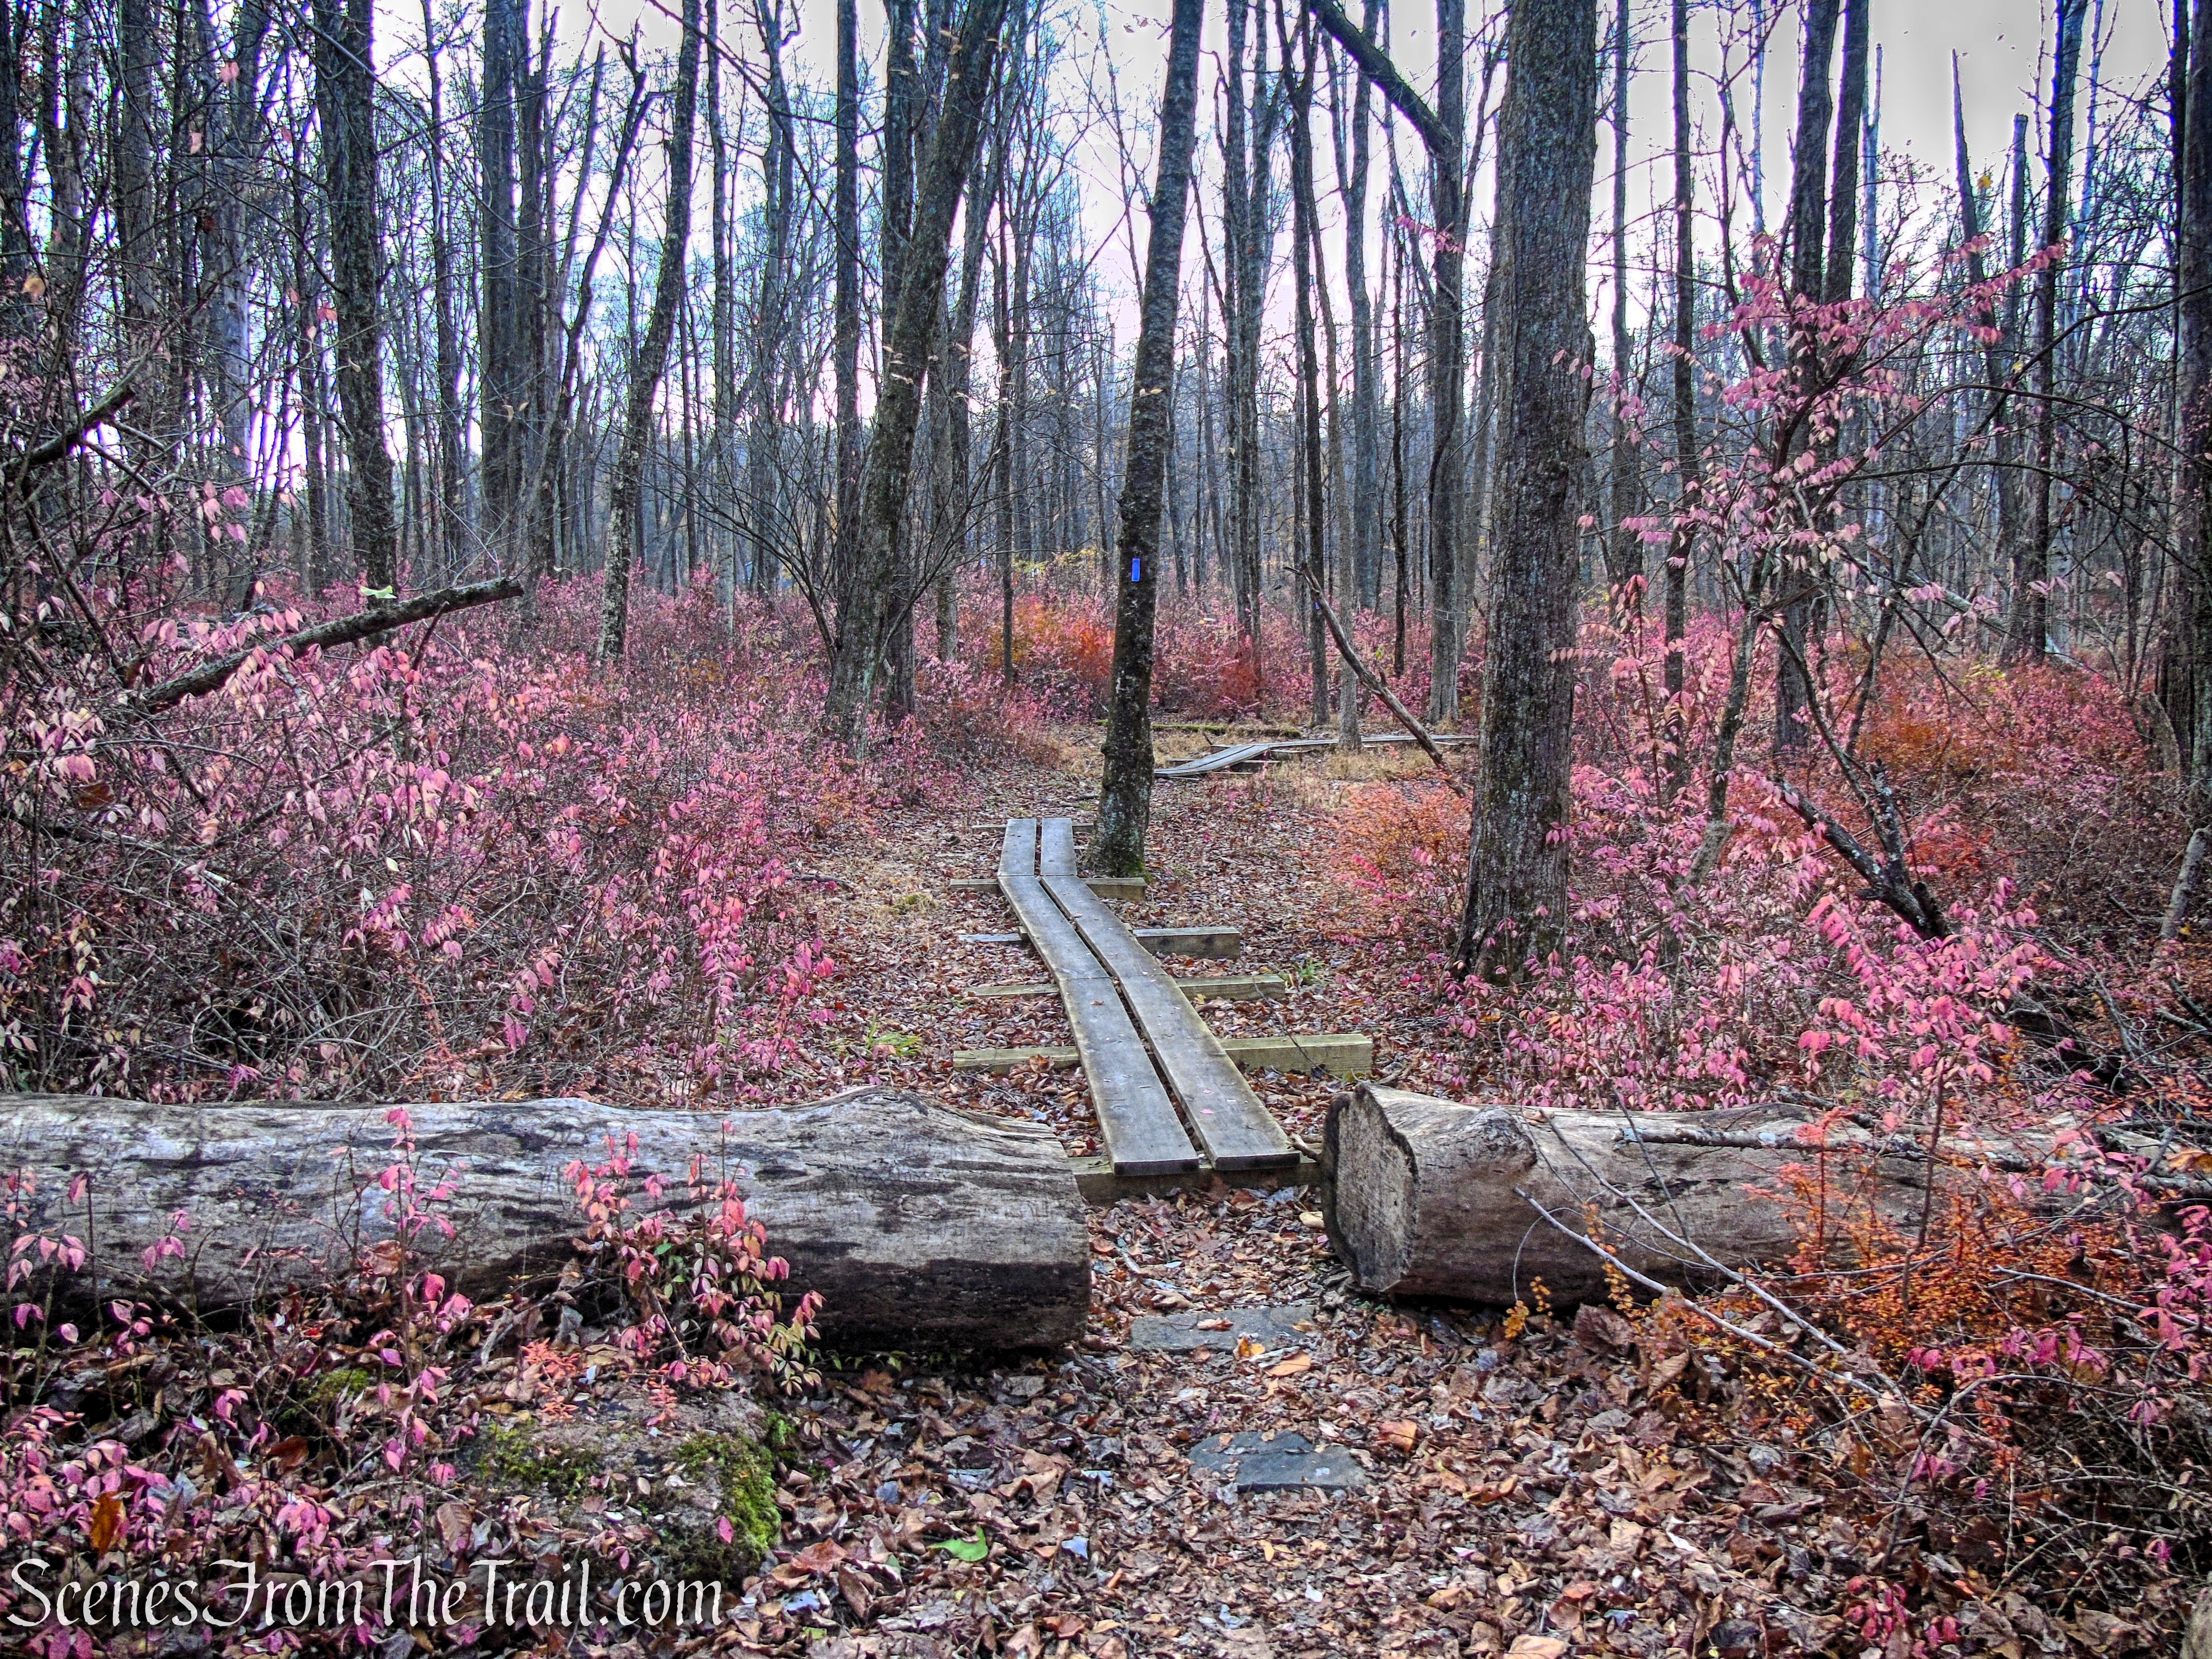
The White Trail also crosses several small streams, which can be easily hopped over. They provide a chance to pause and enjoy the gentle sounds of flowing water. These crossings add variety to the hike and highlight the quiet, natural beauty of the forest.
White Trail – Clausland Mountain Park
White Trail – Clausland Mountain Park
White Trail – Clausland Mountain Park
White Trail – Clausland Mountain Park
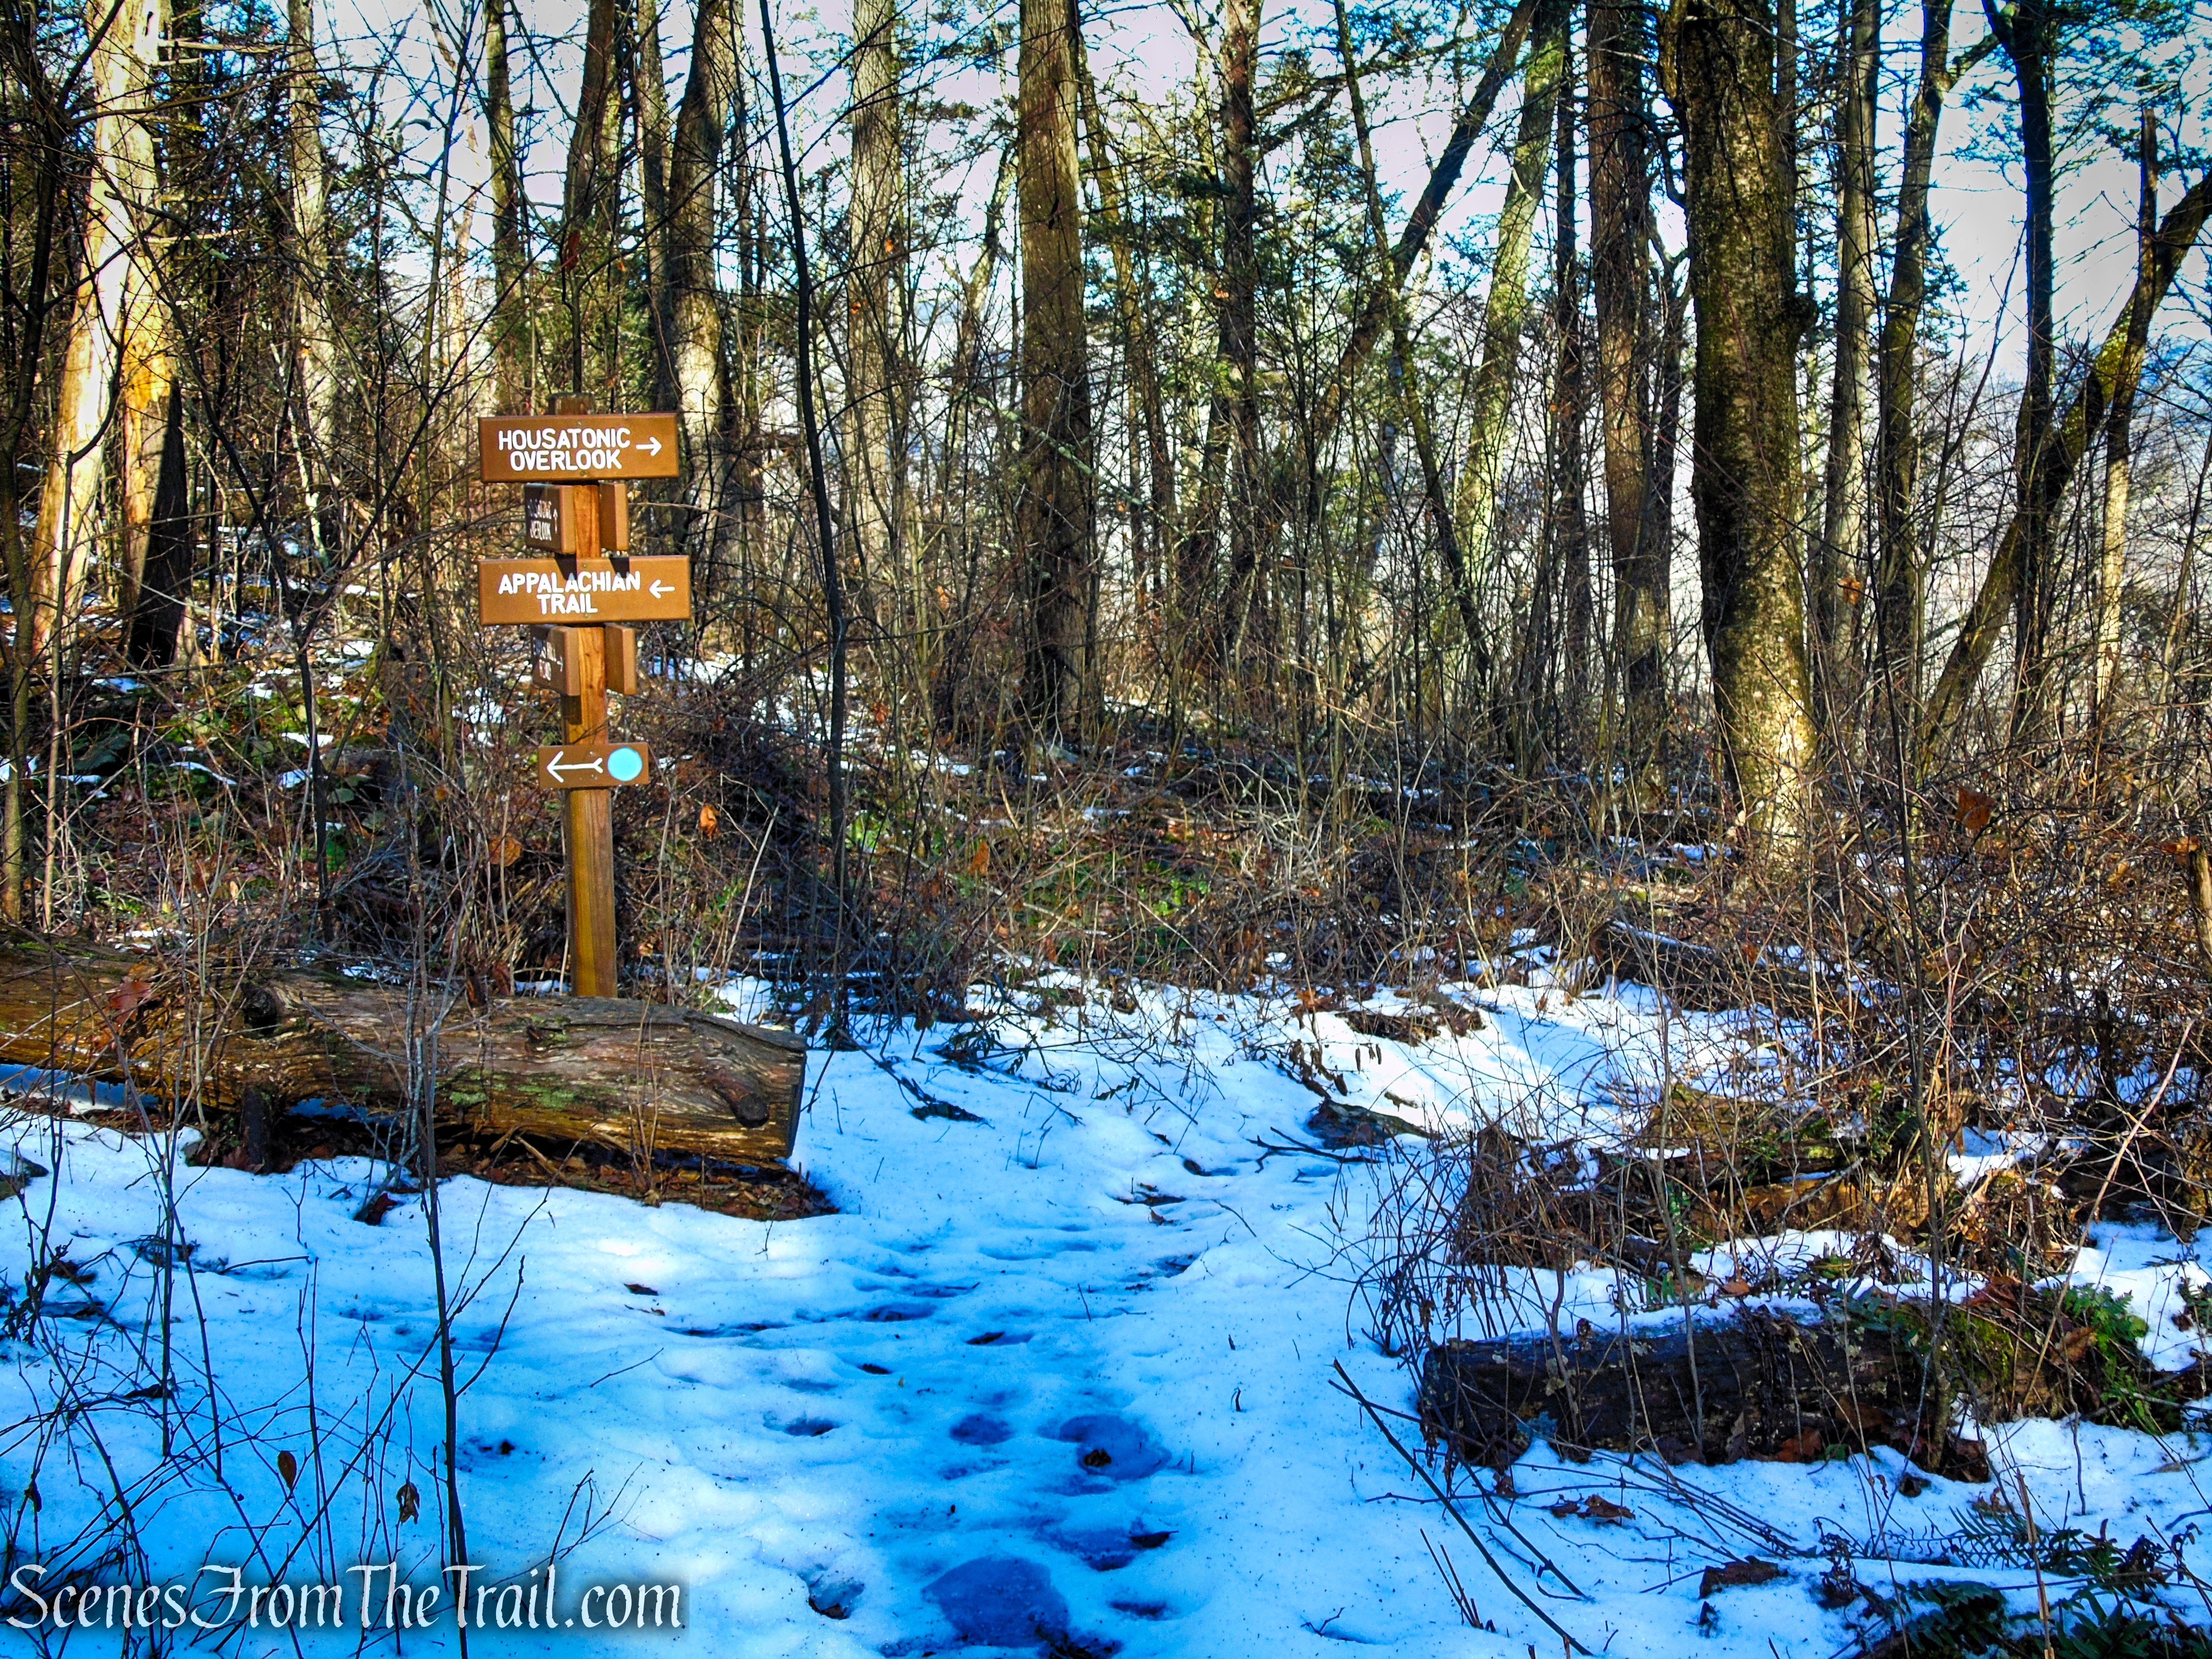
After about 2 miles, the White Trail ends at a junction with the Long Path. Turn right, cross Clausland Mountain Road, and continue back to the Tackamack Park parking lot, where the hike began.
White Trail – Clausland Mountain Park

White Trail – Clausland Mountain Park
Review:
This loop hike offers a rewarding mix of history, nature, and solitude, making it a hidden gem in Rockland County. Starting from Tackamack Park, the trail winds through quiet woods, gentle streams, and scenic clearings, with long switchbacks providing a comfortable climb and descent. Along the way, hikers can explore remnants of Cold War history at Nike Overlook Park on the summit of Mount Nebo. The combination of interesting boulders, low stone walls, and peaceful stream crossings adds variety and charm, while the lightly traveled trails ensure a sense of tranquility. Whether you’re a history enthusiast, a nature lover, or simply looking for a moderate hike away from the crowds, this route offers a unique and memorable experience.
Pros:
Cold War era history, Long Path, well marked trails, little foot traffic, scenic landscape.
Cons:
Some road noise becomes noticeable along the White Trail as it approaches nearby streets.
Take a hike!
Mt. Nebo Loop from Tackamack Park
Sources: